Fresh Cape Cod Style Berry Pie (Low FODMAP)
15 Minutes prep • 60 Minutes cook (pie crust) • Low FODMAP • Gluten-free • Serves 8 • Ok to make ahead: Steps 1-5
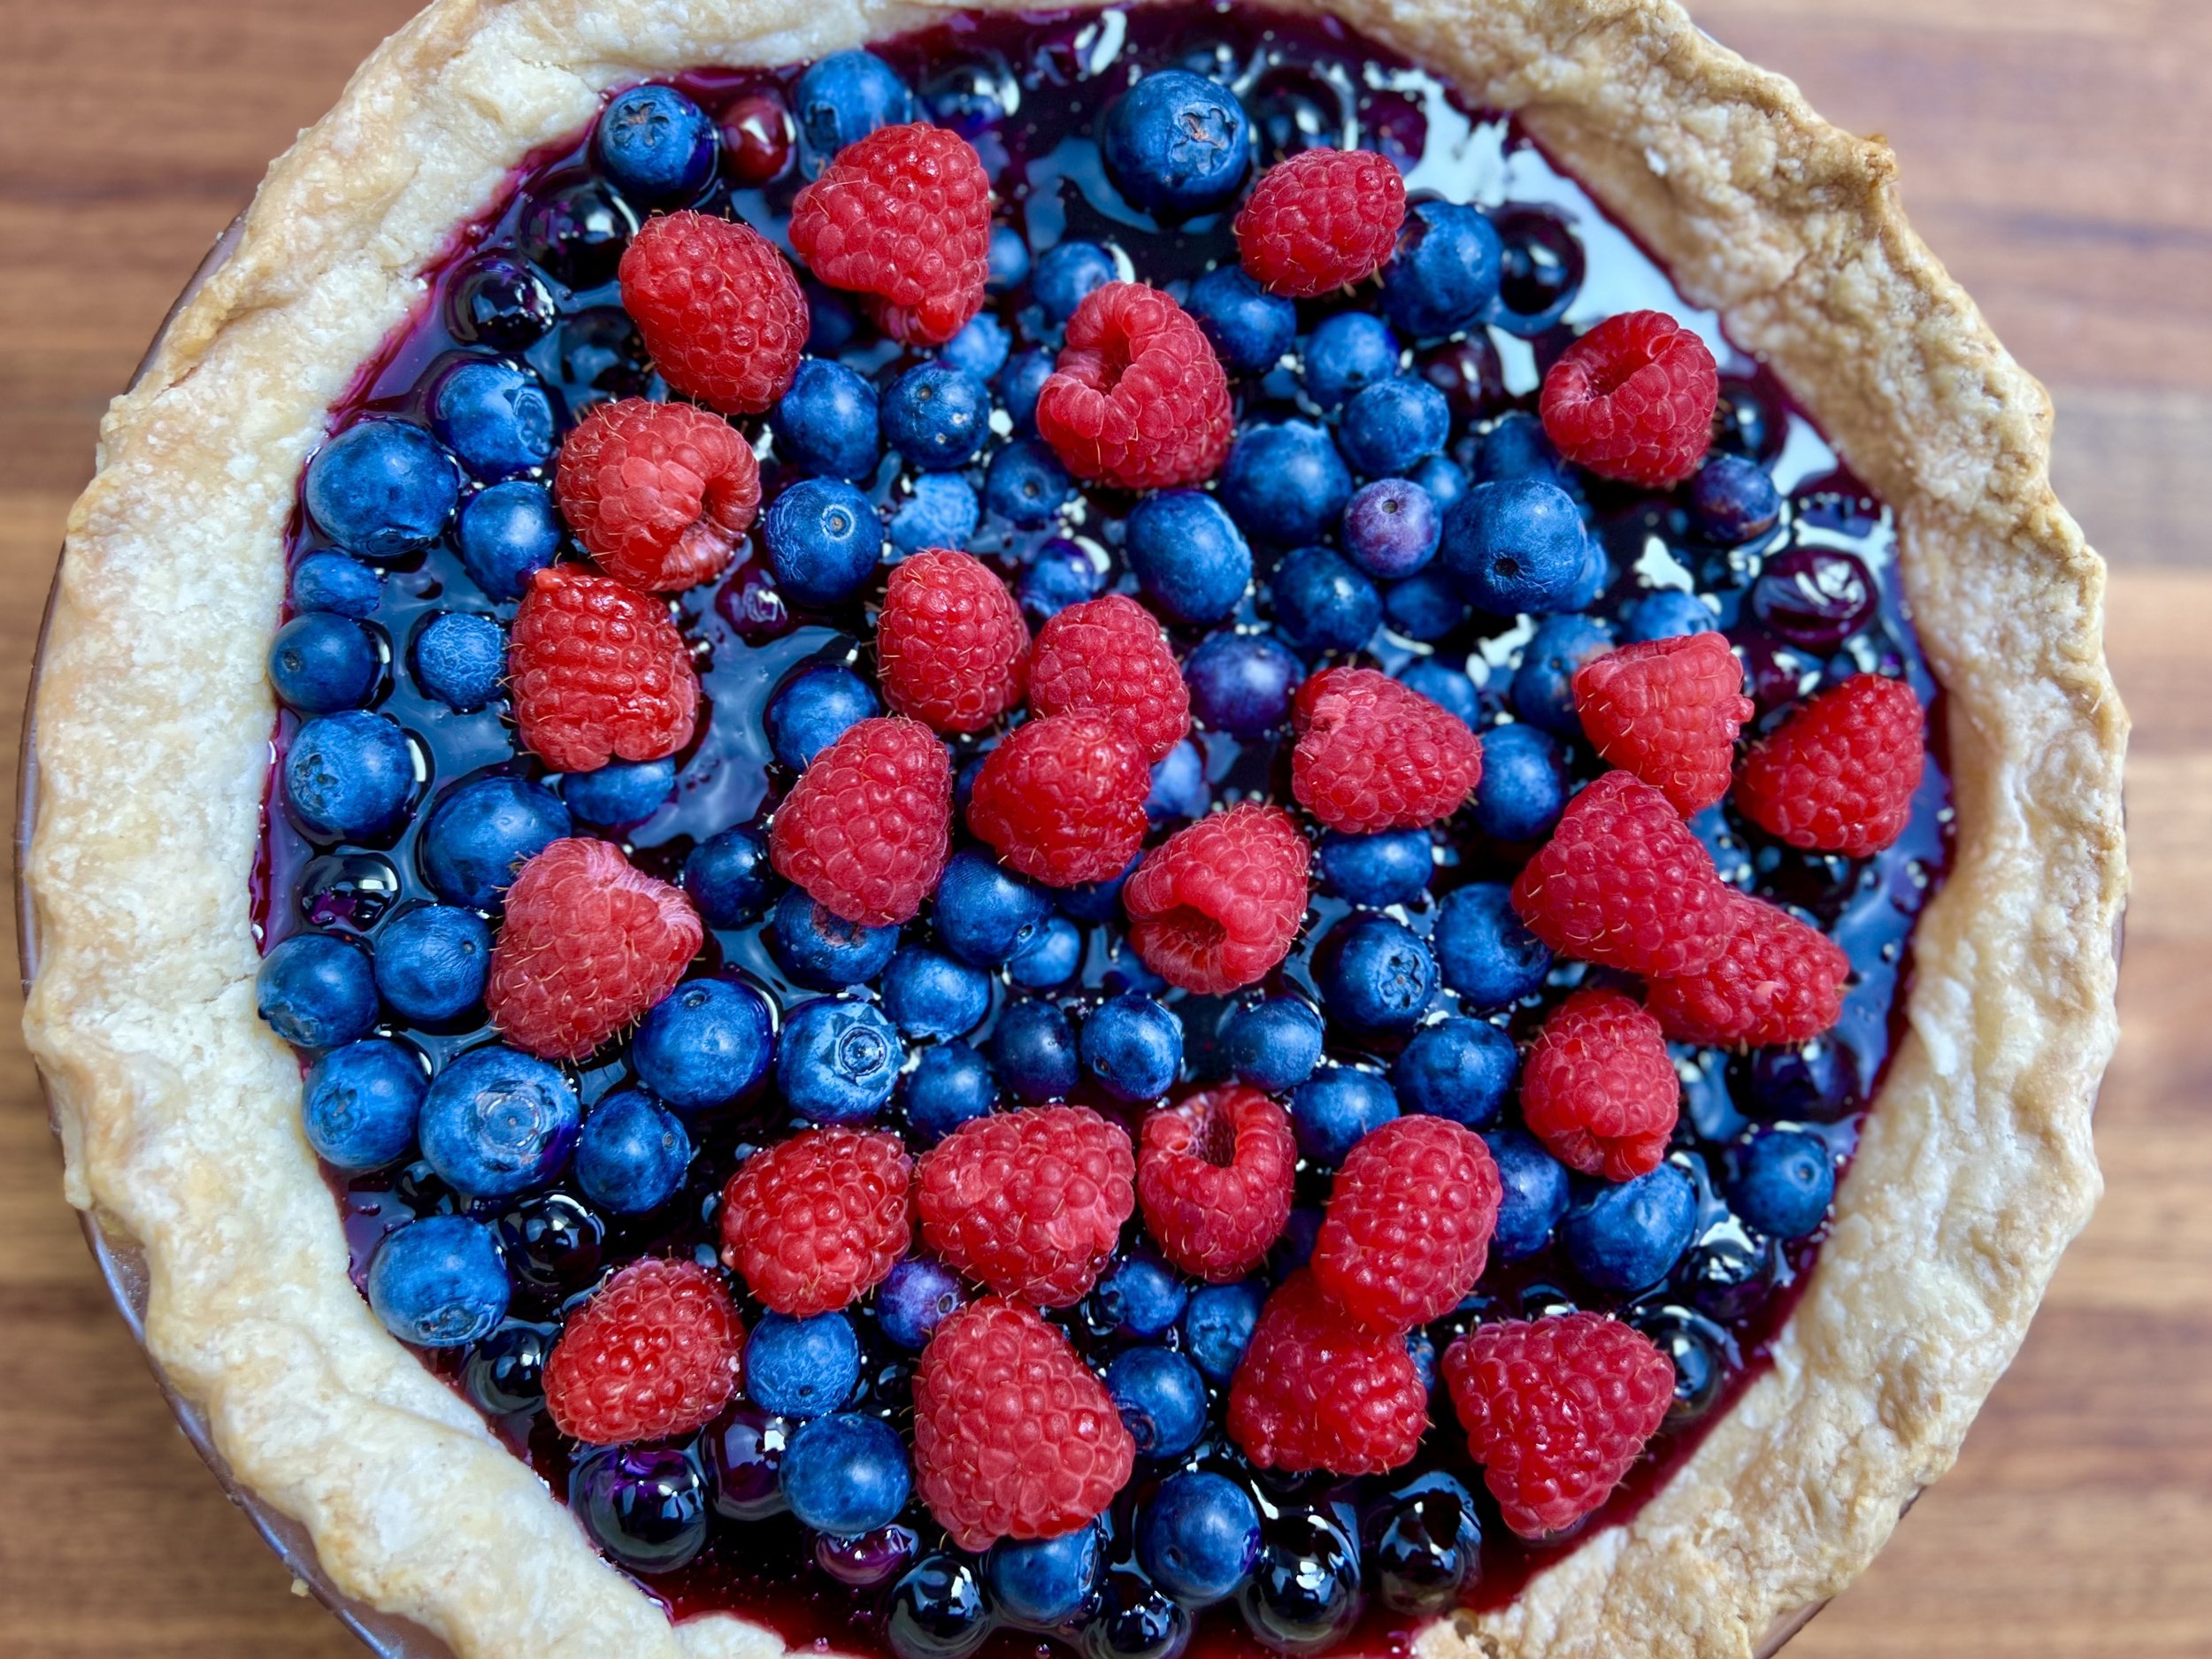
This is the perfect summer dessert as we are in the heart of the blueberry season. And this one-crust, no-bake pie is bursting with flavor in every bite. So easy to make and simply perfect with a dollop of my Real Whipped Cream or my Whipped Coconut Cream. Serve it to family, friends, or at the neighborhood potluck. You might even enter it in the next pie-baking competition you’re invited to. It’s a winner.
Ingredients
4 cups fresh blueberries, washed and dried (or combine with raspberries and/or strawberries)
1 cup water, divided
2 tablespoons cornstarch
3/4 cup superfine or granulated sugar (not powdered sugar)
1 pinch Kosher salt
1 tablespoon white vinegar (trust me, this balances the flavor)
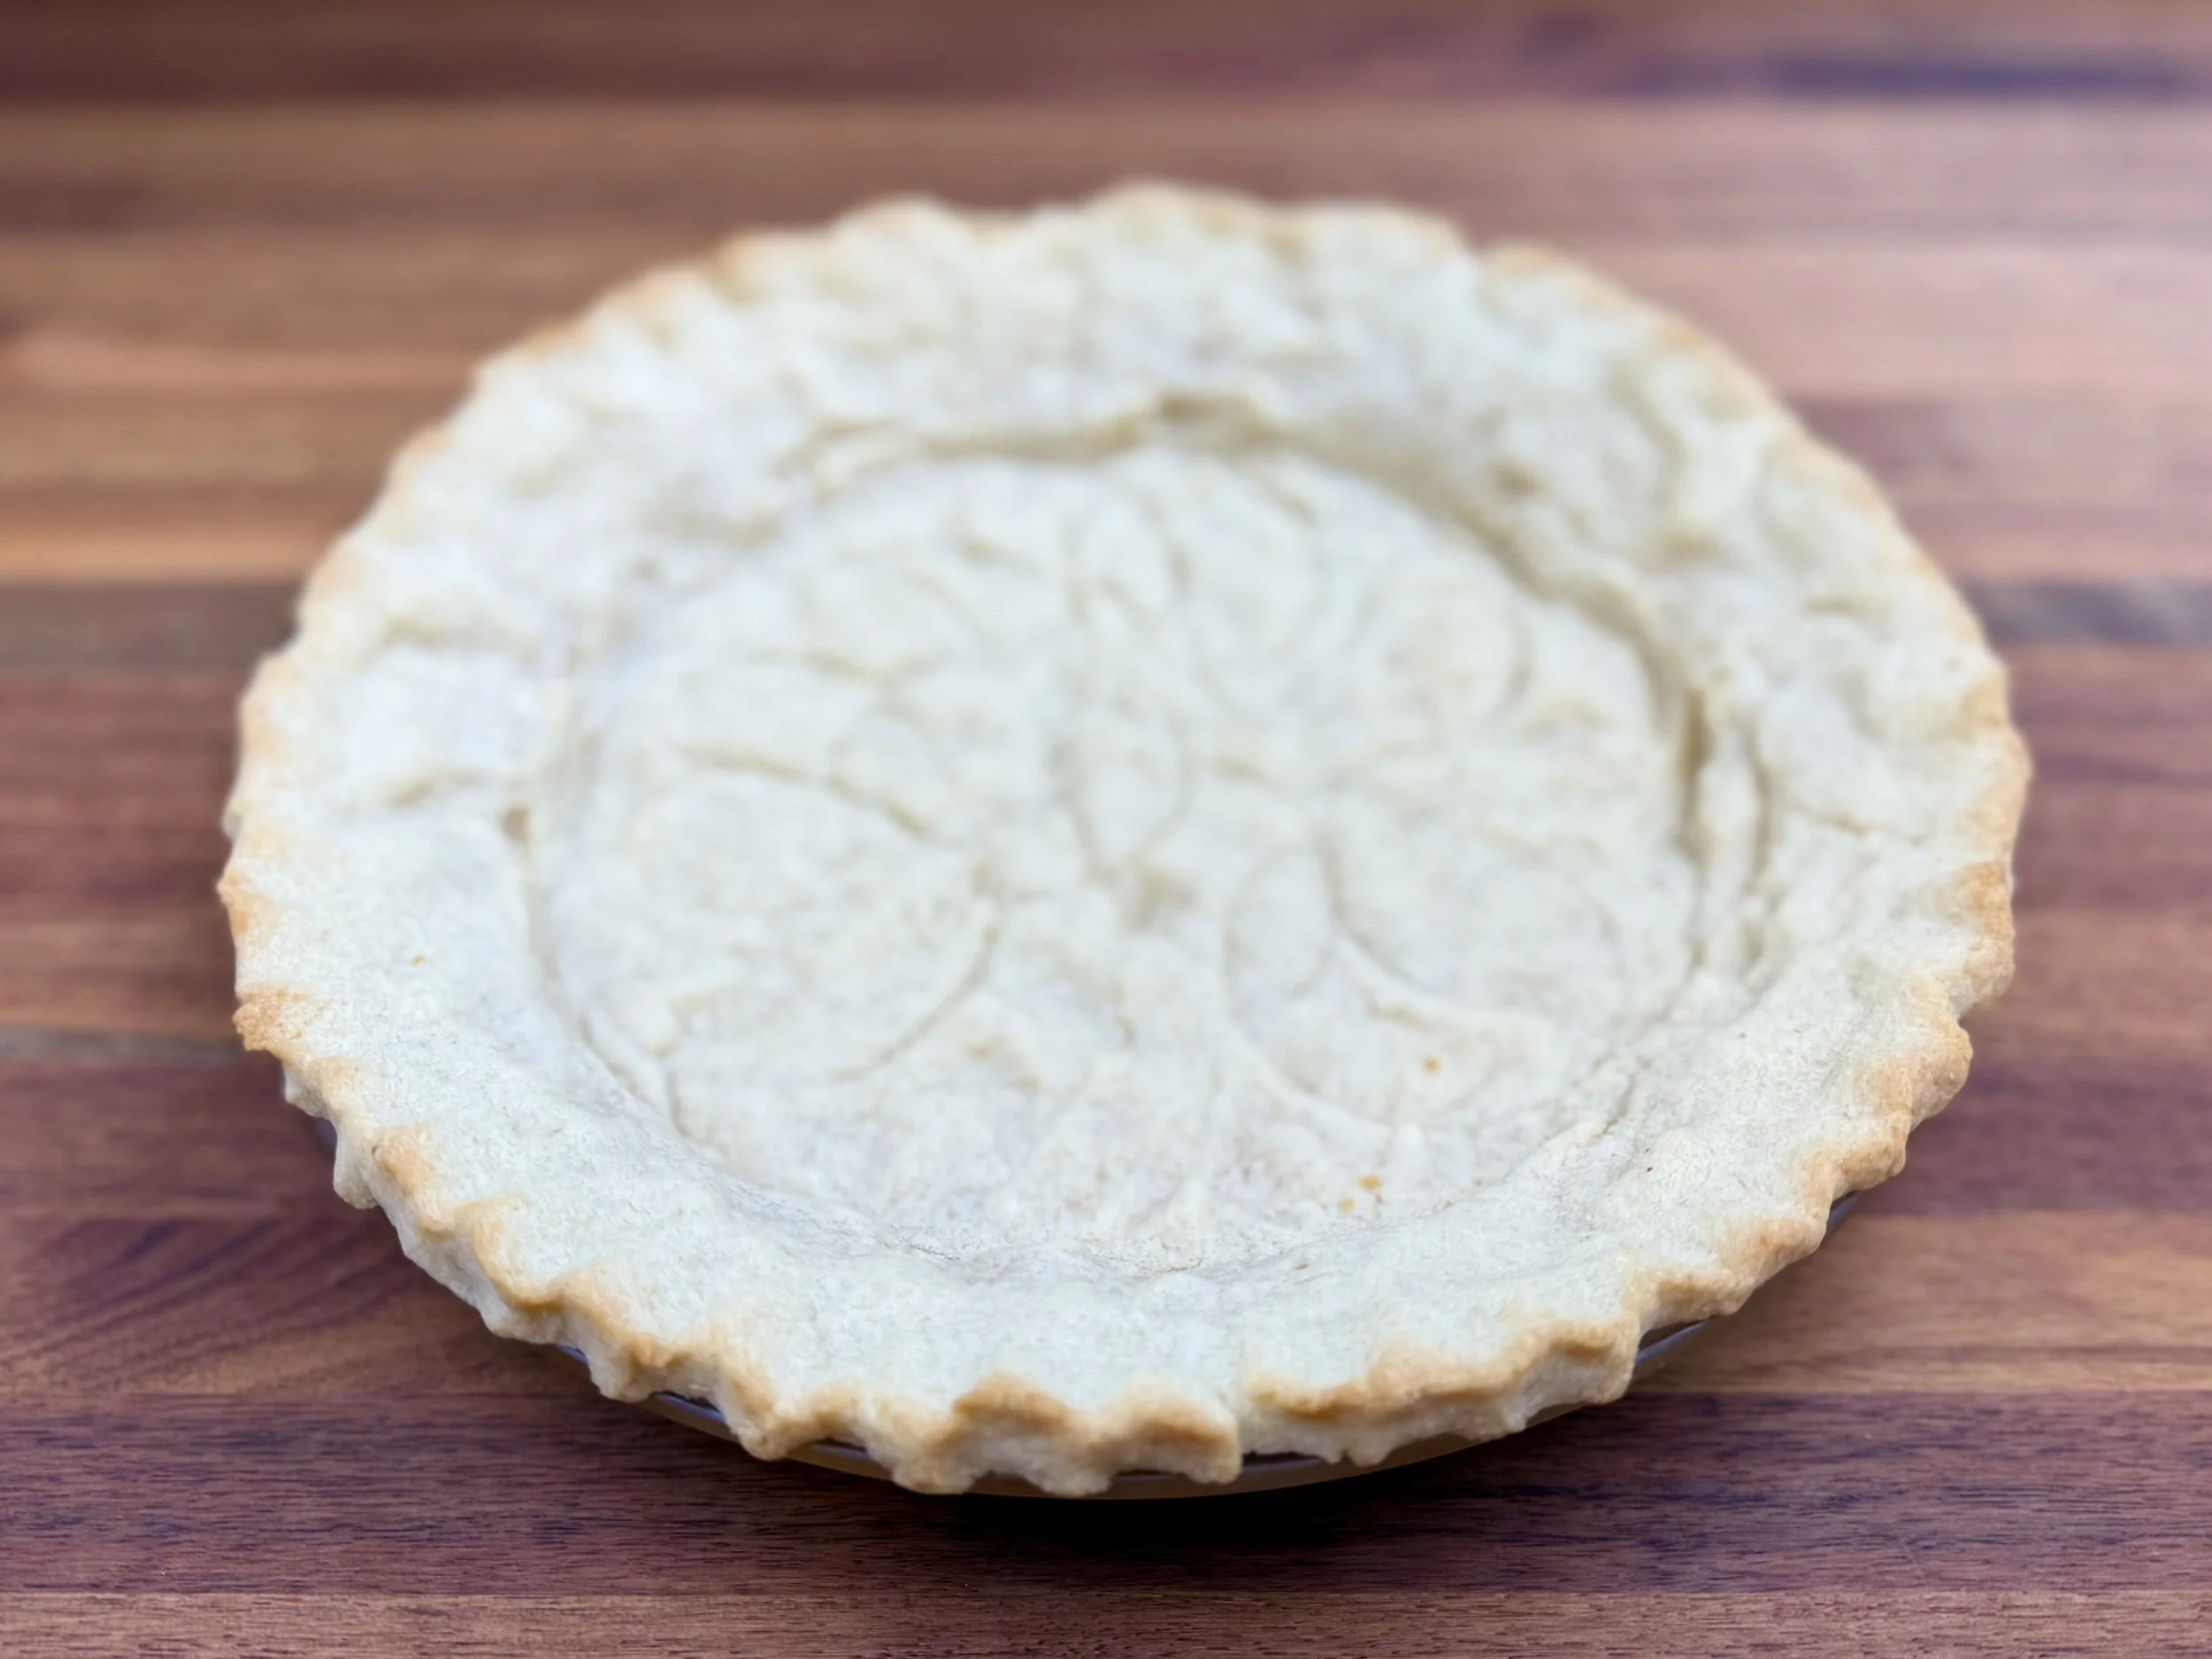
1 blind-baked 9-inch pie crust (I use my Perfectly Buttery Pate Brise pie crust—but you can also use any pre-made gluten-free crust you like) - see directions below.
Directions
(1) Prepare: Prepare and blind bake your pie crust (see directions below). Wash and dry the berries.
(2) Make the syrup: In a medium saucepan, set over medium-high heat, combine 1 cup blueberries and 3/4 cup water. Bring to a boil and simmer for about 5 minutes until the berries are softened and they have released their juice and color into the water.
(3) Strain and KEEP the berries: Strain the syrup away from the berries and KEEP the syrup AND the berries (which will be added back into the pie filling).
(4) Return the syrup to the saucepan: Blend 2 tablespoons of cornstarch with the remaining 1/4 cup water and stir to blend. Add the cornstarch mixture, sugar, and salt to the syrup in the saucepan. Bring to a boil while whisking constantly and cook until VERY thick and reduced which takes about 2 minutes after bringing it to a boil.
(5) Finish: Once thickened, remove from the heat. Stir in the vinegar. Then mix in reserved cooked berries and 1 cup of the remaining fresh berries. Pour the mixture into the pre-baked pie crust. Top with the remaining fresh blueberries/raspberries/strawberries and chill for 3-4 hours.
(6) Plate and serve: Serve with a generous dollop of my Real Whipped Cream or my Whipped Coconut Cream. Store leftover pie in the refrigerator for up to 2 days.
Eat and enjoy every bite because you can!
Recipe note: I use Diamond Crystal Kosher salt in all my recipes because it has a wonderful flat and crisp flake that tastes delicious. It is also the least salty salt available so you can use it more liberally as a seasoning than you can table salt or sea salt. If you use another type of salt, you may need to reduce the amount so it is not over-salted.
Directions for blind baking your pie crust: Blind-bake just means you are baking your pie crust with nothing in it. This method is simple and works well every time. Roll out the crust and press it into a 9-inch pie plate. Then put the crust in the refrigerator or freezer and let rest for an hour or 2 (or more). Heat the oven to 350 degrees F. It’s easiest to use a pie crust weight but you can also use a piece of foil that has been sprayed with cooking oil. Press the foil onto the crust and fill with pie weights (or dried beans work well too—fill to the top of the crust.) Bake for 50-55 minutes with the weights. Then remove from the oven and check. If the crust isn't brown enough on the bottom - bake for 5-10 minutes more. You want the crust to be fully cooked because it’s not going back in the oven once you fill it. When cooked, remove from the oven and let cool. Then, proceed to fill the pie per the instructions above.
Have a question you’d like to have answered? Email me at hello@ibsgamechanger.com
Link note: This post may contain affiliate links for you to easily purchase items that are linked. I may earn a small commission from qualifying purchases but none of this costs you a thing so feel free to use the links! In addition, for some items, I have provided a special discount code for IBS Game Changers so be sure to use the code when you purchase an item to get the discount that has been arranged just for you.
More Deliciously Low FODMAP™ dessert recipes
10 Minutes prep • 15 Minutes cook • Low FODMAP • Gluten-Free • Keto Friendly • Makes 36 bars
5 Minutes prep • 10 Minutes cook • Low FODMAP • Gluten-Free • Lactose-Free • Makes 5 cups
15 Minutes prep • 20 Minutes cook • 30 Minutes cool • Low FODMAP • Gluten-free • Makes 18 bars
20 Minutes prep • 10 Minutes cook • Low FODMAP • Gluten-free • Makes 12 Sandwiched Cookies
20 Minutes prep • 20 Minutes cook • Low FODMAP • Gluten-free • Lactose-free • Makes 12 - 24
20 Minutes prep • 2 Hours chill • 10 Minutes cook • Low FODMAP • Gluten-free • Makes 24 - 36

