Deliciously Low FODMAP
Inspire yourself with hundreds of delicious low FODMAP recipes, tips, and tools, and enjoy the abundance that is yours even when you have IBS.
Use the buttons and filters to find something specific or browse the complete collection for inspiration.
Discover a treasure trove of recipes with my FREE recipe club! Get new ideas delivered straight to your inbox every week.
Deliciously Low FODMAP is a trademark of IBS Game Changer, LLC
Filter to find Recipes and Tools
More Filtering Options
- All 733
- Appetizer 50
- BBQ 46
- Bowl 32
- Breakfast 58
- Cocktails 13
- Collection 1 58
- Collection 10 27
- Collection 11 30
- Collection 12 27
- Collection 13 31
- Collection 14 29
- Collection 15 31
- Collection 16 34
- Collection 17 31
- Collection 18 33
- Collection 19 36
- Collection 2 32
- Collection 20 33
- Collection 21 33
- Collection 22 40
- Collection 23 15
- Collection 24 1
- Collection 3 28
- Collection 4 29
- Collection 5 30
- Collection 6 32
- Collection 7 31
- Collection 8 31
- Collection 9 32
- Condiments 6
- Crock Pot 4
- Dessert 108
- Diabetes Game Changer Exception Protocol Contains Alcohol 11
- Diabetes Game Changer Exception Protocol Contains Flour 109
- Diabetes Game Changer Exception Protocol Contains Flour AND Sugar 77
- Diabetes Game Changer Exception Protocol Contains Sugar 49
- Diabetes Game Changer First Four Weeks 366
- Dinner 333
- Drink 8
- Easter 1
- Free Guide 17
- Gluten-free 594
- Gut Microbiome 2
- Guthealth 3
- Holidays 69
- IBS Triggers 4
- Keto Friendly 126
- Lactose-Free 175
- Low FODMAP Diet 719
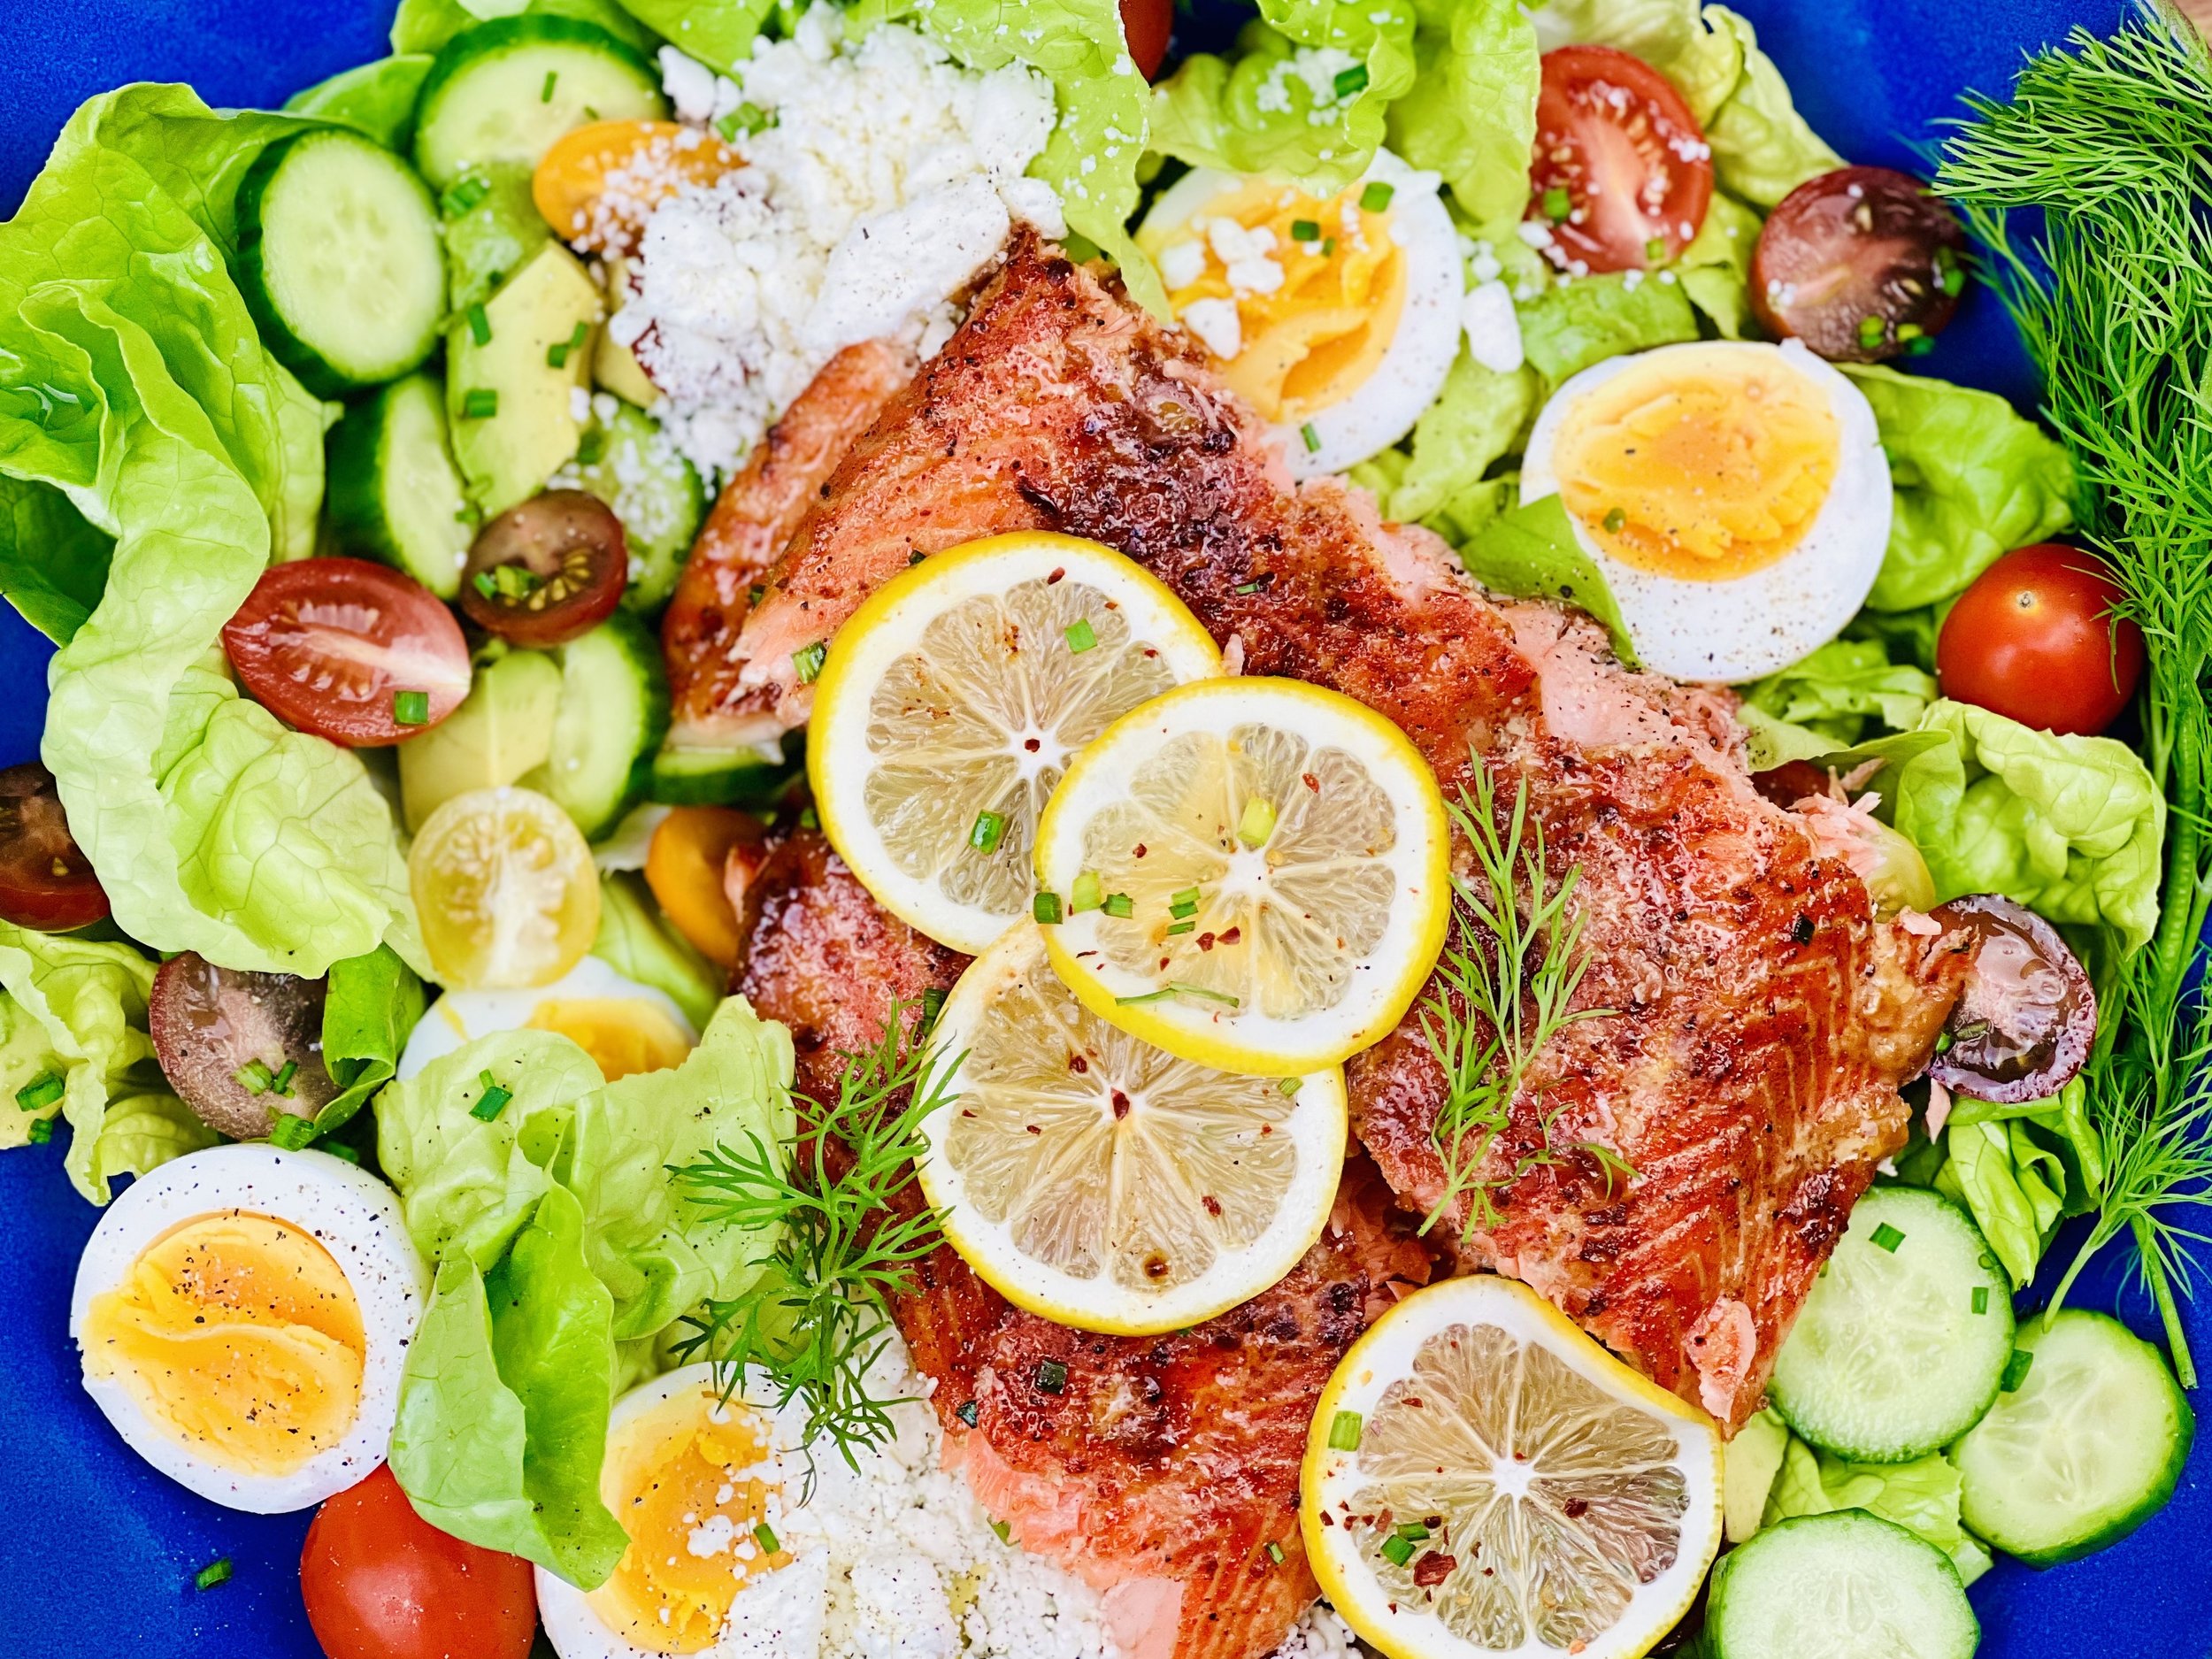
Sarah’s No Spike Nutty Bars (Low FODMAP)
10 Minutes prep • 15 Minutes cook • Low FODMAP • Gluten-Free • Keto Friendly • Makes 36 bars
10 Minutes prep • 15 Minutes cook • Low FODMAP • Gluten-Free • Keto Friendly • Makes 36 bars
Say hello to a sweet without the sugar crash! Sarah’s Spike Nutty Bars are the perfect blend of crunch, flavor, and nourishment—crafted with a powerhouse mix of nuts and seeds and naturally sweetened with allulose to keep your blood sugar happy. Whether you need a quick breakfast bite, a post-workout pick-me-up, or a guilt-free treat to satisfy your sweet tooth, these bars are a deliciously smart choice. No refined sugars, no spikes—just clean energy and pure nutty goodness in every bite.
See this new recipe in my FREE recipe club.
To streamline your search through hundreds of existing recipes, I'm moving the release of my new weekly creations to the Recipe Club on Patreon. In the club, you’ll get access to a treasure trove of low-FODMAP goodness, complete with collections and filters to use as your virtual cookbook!
Here's what awaits you in the club:
Exclusive weekly recipes: Be the first to try my latest delicious low-FODMAP creations!
Simple & Easy: My recipes continue to focus on readily available ingredients and effortless preparation, perfect for family-friendly meals (no more separate low-FODMAP meal prep!).
Hundreds of existing recipes: Gain access to my entire library of low-FODMAP recipes, all conveniently organized.
You can join for free or sign up for only $5/month. Your support fuels my passion for creating new, delicious, and easy-to-make low-FODMAP recipes just for you.
Let's go on this delicious low-FODMAP journey together.
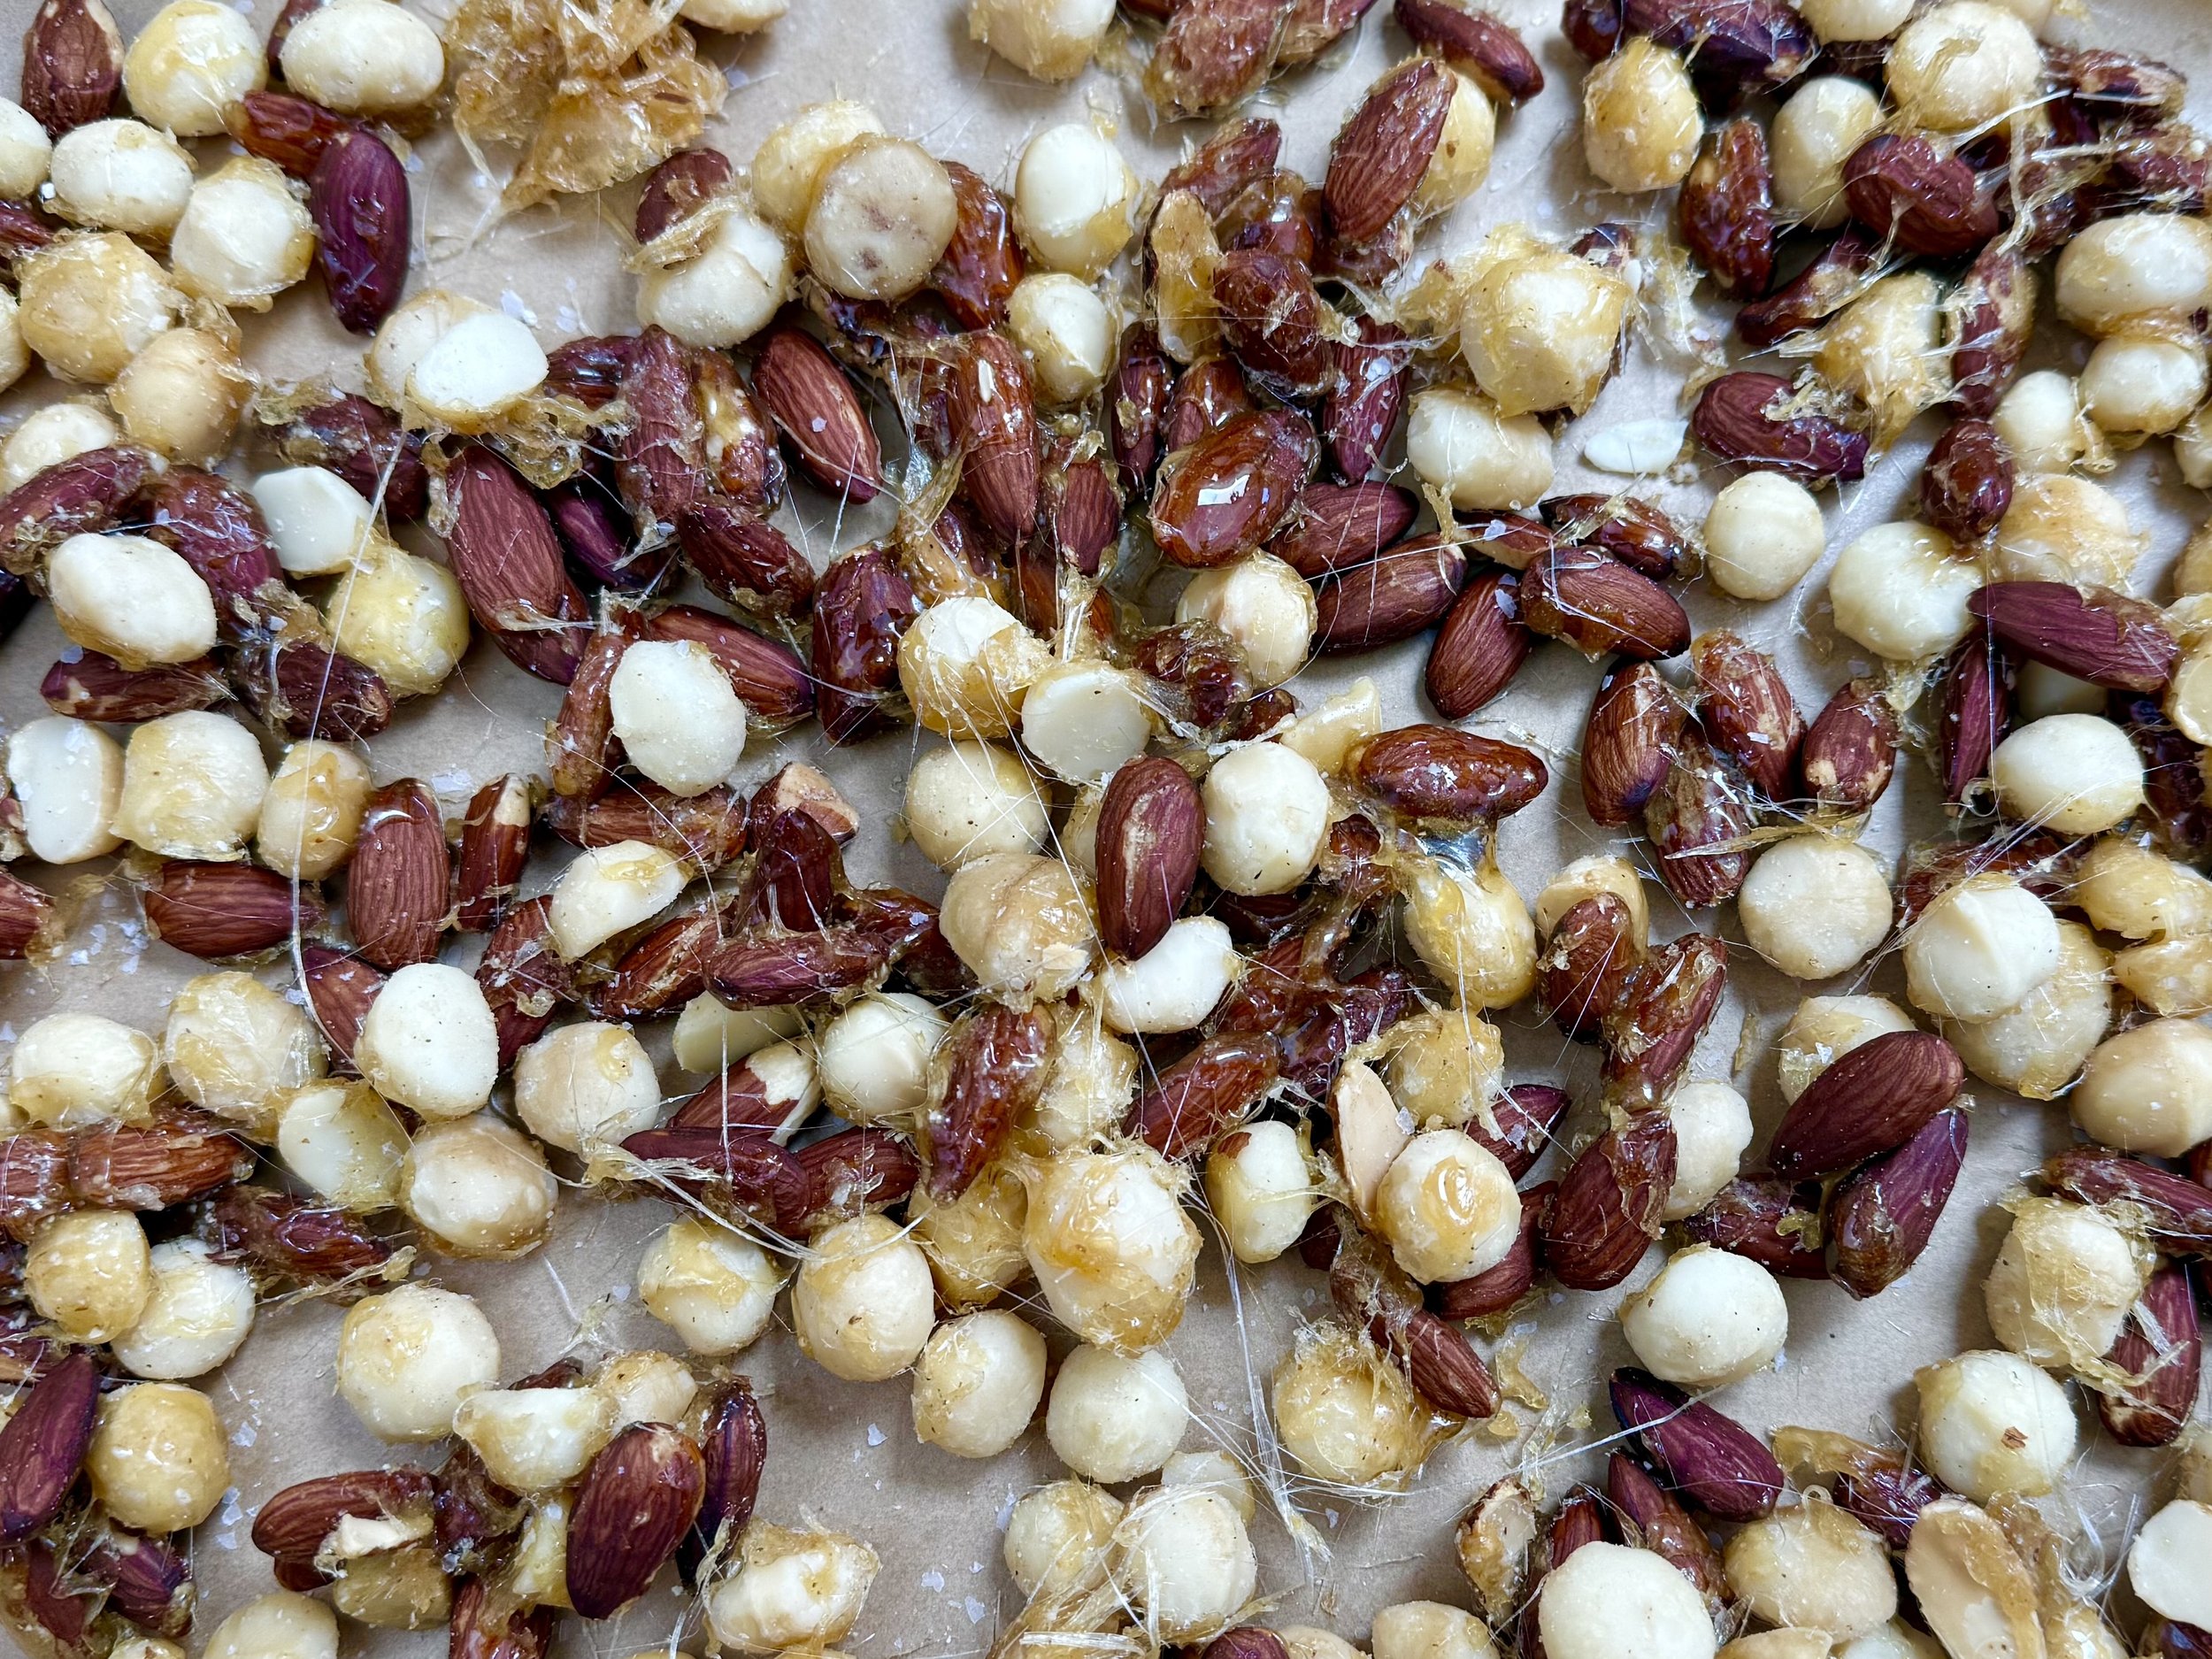
Lightly Sweet and Salty Nuts (Low FODMAP)
5 Minutes prep • 10 Minutes cook • Low FODMAP • Gluten-Free • Lactose-Free • Makes 5 cups
5 Minutes prep • 10 Minutes cook • Low FODMAP • Gluten-Free • Lactose-Free • Makes 5 cups • Ok to make-ahead: Steps 1 - 4
Craving a crunchy, flavorful snack? Look no further than these irresistible Lightly Sweet and Salty Nuts. The perfect balance of sweet and savory makes them impossible to resist. They are so easy to make, you have them ready in a jiffy. You can use other kinds of nuts instead, or in addition to, these two. I used nuts from Costco for this recipe which also made it very cost-effective.
See this new recipe in my FREE recipe club.
To streamline your search through hundreds of existing recipes, I'm moving the release of my new weekly creations to the Recipe Club on Patreon. In the club, you’ll get access to a treasure trove of low-FODMAP goodness, complete with collections and filters to use as your virtual cookbook!
Here's what awaits you in the club:
Exclusive weekly recipes: Be the first to try my latest delicious low-FODMAP creations!
Simple & Easy: My recipes continue to focus on readily available ingredients and effortless preparation, perfect for family-friendly meals (no more separate low-FODMAP meal prep!).
Hundreds of existing recipes: Gain access to my entire library of low-FODMAP recipes, all conveniently organized.
You can join for free or sign up for only $5/month. Your support fuels my passion for creating new, delicious, and easy-to-make low-FODMAP recipes just for you.
Let's go on this delicious low-FODMAP journey together.
Cinnamon Spice Cake with Eggnog Buttercream (Low FODMAP)
15 Minutes prep • 30 Minutes cook • Low FODMAP • Gluten-Free • Serves 12
15 Minutes prep • 30 Minutes cook • Low FODMAP • Gluten-Free • Serves 12 • Ok to make-ahead: Steps 1 - 2
Warm, cozy, and full of festive cheer, this Cinnamon Spice Cake with Eggnog Buttercream is the perfect dessert to keep the holiday season going! The cake itself is a soft, moist masterpiece, infused with the comforting flavors of cinnamon, nutmeg, and a hint of clove—spices that evoke memories of cozy winter nights and festive gatherings. Topped with a rich, velvety Eggnog Buttercream frosting, this cake is a luxurious treat that combines the creamy, spiced flavor of eggnog with the sweetness of buttercream. Whether you're hosting a party, celebrating a special occasion, or simply treating yourself, this cake is sure to be a seasonal favorite.
See this new recipe in my FREE recipe club.
To streamline your search through hundreds of existing recipes, I'm moving the release of my new weekly creations to the Recipe Club on Patreon. In the club, you’ll get access to a treasure trove of low-FODMAP goodness, complete with collections and filters to use as your virtual cookbook!
Here's what awaits you in the club:
Exclusive weekly recipes: Be the first to try my latest delicious low-FODMAP creations!
Simple & Easy: My recipes continue to focus on readily available ingredients and effortless preparation, perfect for family-friendly meals (no more separate low-FODMAP meal prep!).
Hundreds of existing recipes: Gain access to my entire library of low-FODMAP recipes, all conveniently organized.
You can join for free or sign up for only $5/month. Your support fuels my passion for creating new, delicious, and easy-to-make low-FODMAP recipes just for you.
Let's go on this delicious low-FODMAP journey together.
Raspberry Blueberry Sour Cream Coffee Cake (Low FODMAP)
15 Minutes prep • 45 Minutes cook • Low FODMAP • Gluten-Free • Serves 8
15 Minutes prep • 45 Minutes cook • Low FODMAP • Gluten-Free • Serves 8 • Ok to make-ahead: Steps 1 - 2
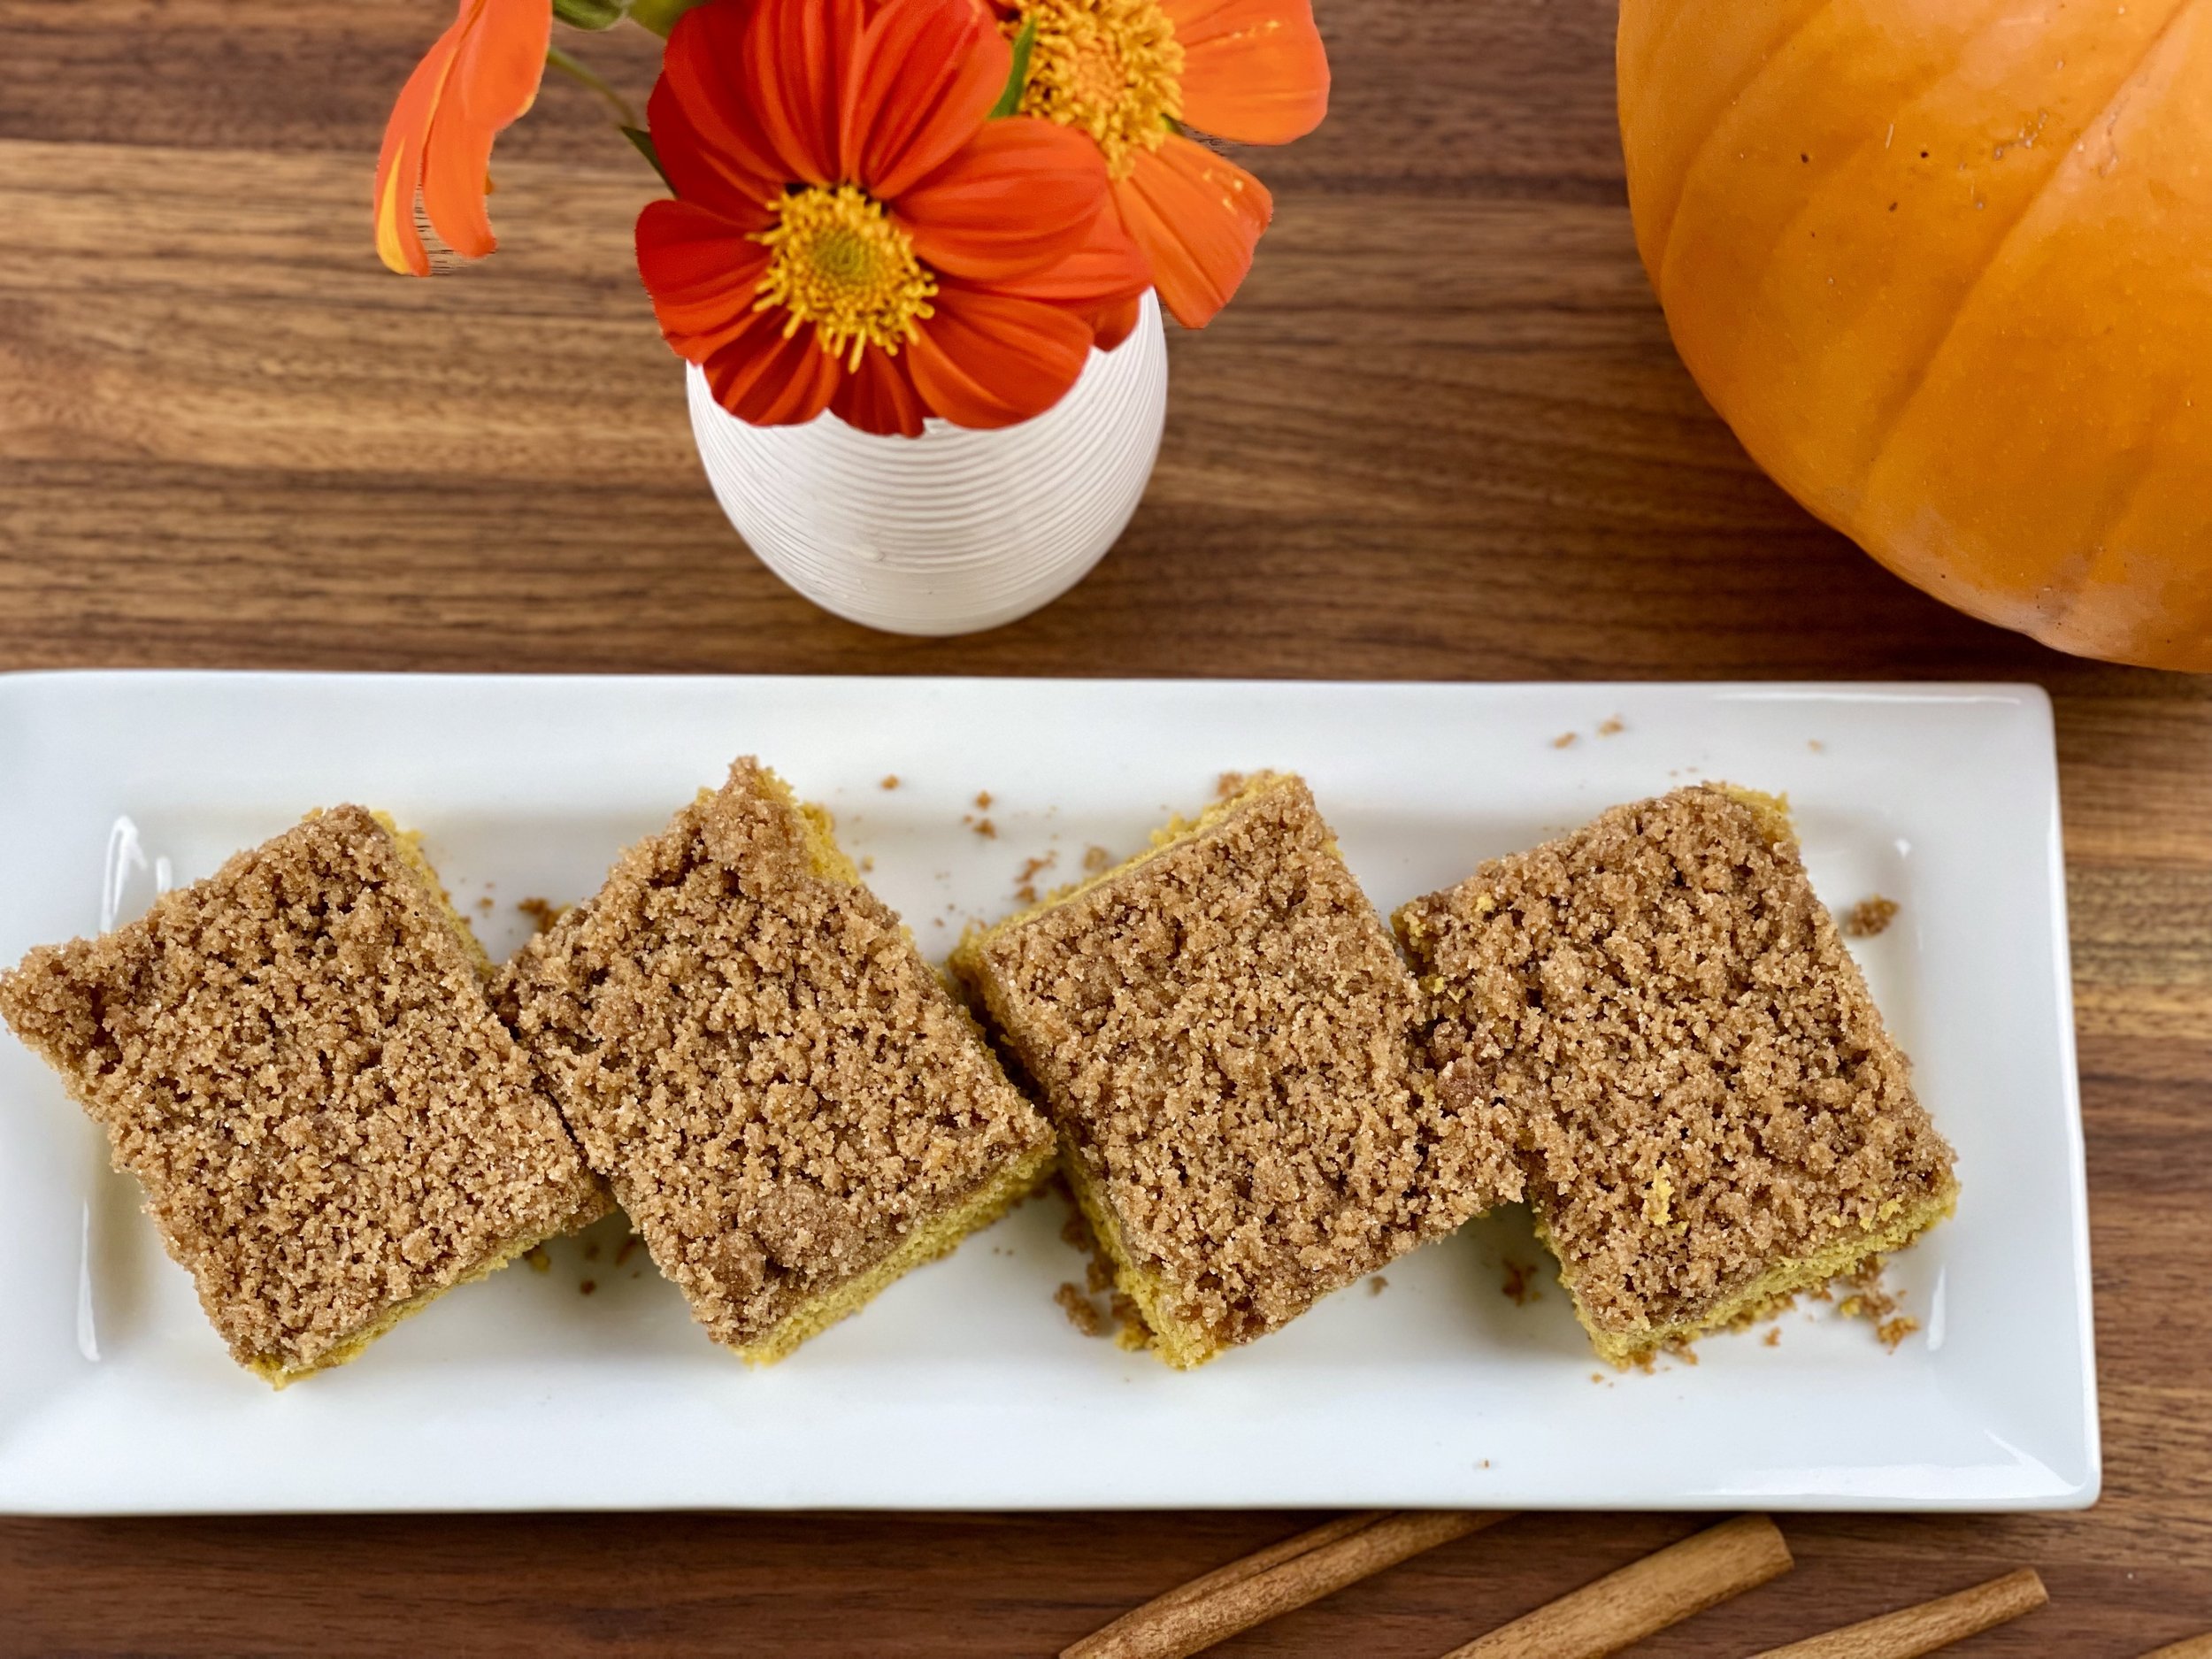
A delightful blend of sweet and tangy, this coffee cake is a perfect accompaniment to your morning coffee or afternoon tea. The juicy raspberries and blueberries add a burst of fruity flavor, while the creamy sour cream gives the cake a tender, moist texture.
See this new recipe in my FREE recipe club.
To streamline your search through hundreds of existing recipes, I'm moving the release of my new weekly creations to the Recipe Club on Patreon. In the club, you’ll get access to a treasure trove of low-FODMAP goodness, complete with collections and filters to use as your virtual cookbook!
Here's what awaits you in the club:
Exclusive weekly recipes: Be the first to try my latest delicious low-FODMAP creations!
Simple & Easy: My recipes continue to focus on readily available ingredients and effortless preparation, perfect for family-friendly meals (no more separate low-FODMAP meal prep!).
Hundreds of existing recipes: Gain access to my entire library of low-FODMAP recipes, all conveniently organized.
You can join for free or sign up for only $5/month. Your support fuels my passion for creating new, delicious, and easy-to-make low-FODMAP recipes just for you.
Let's go on this delicious low-FODMAP journey together.
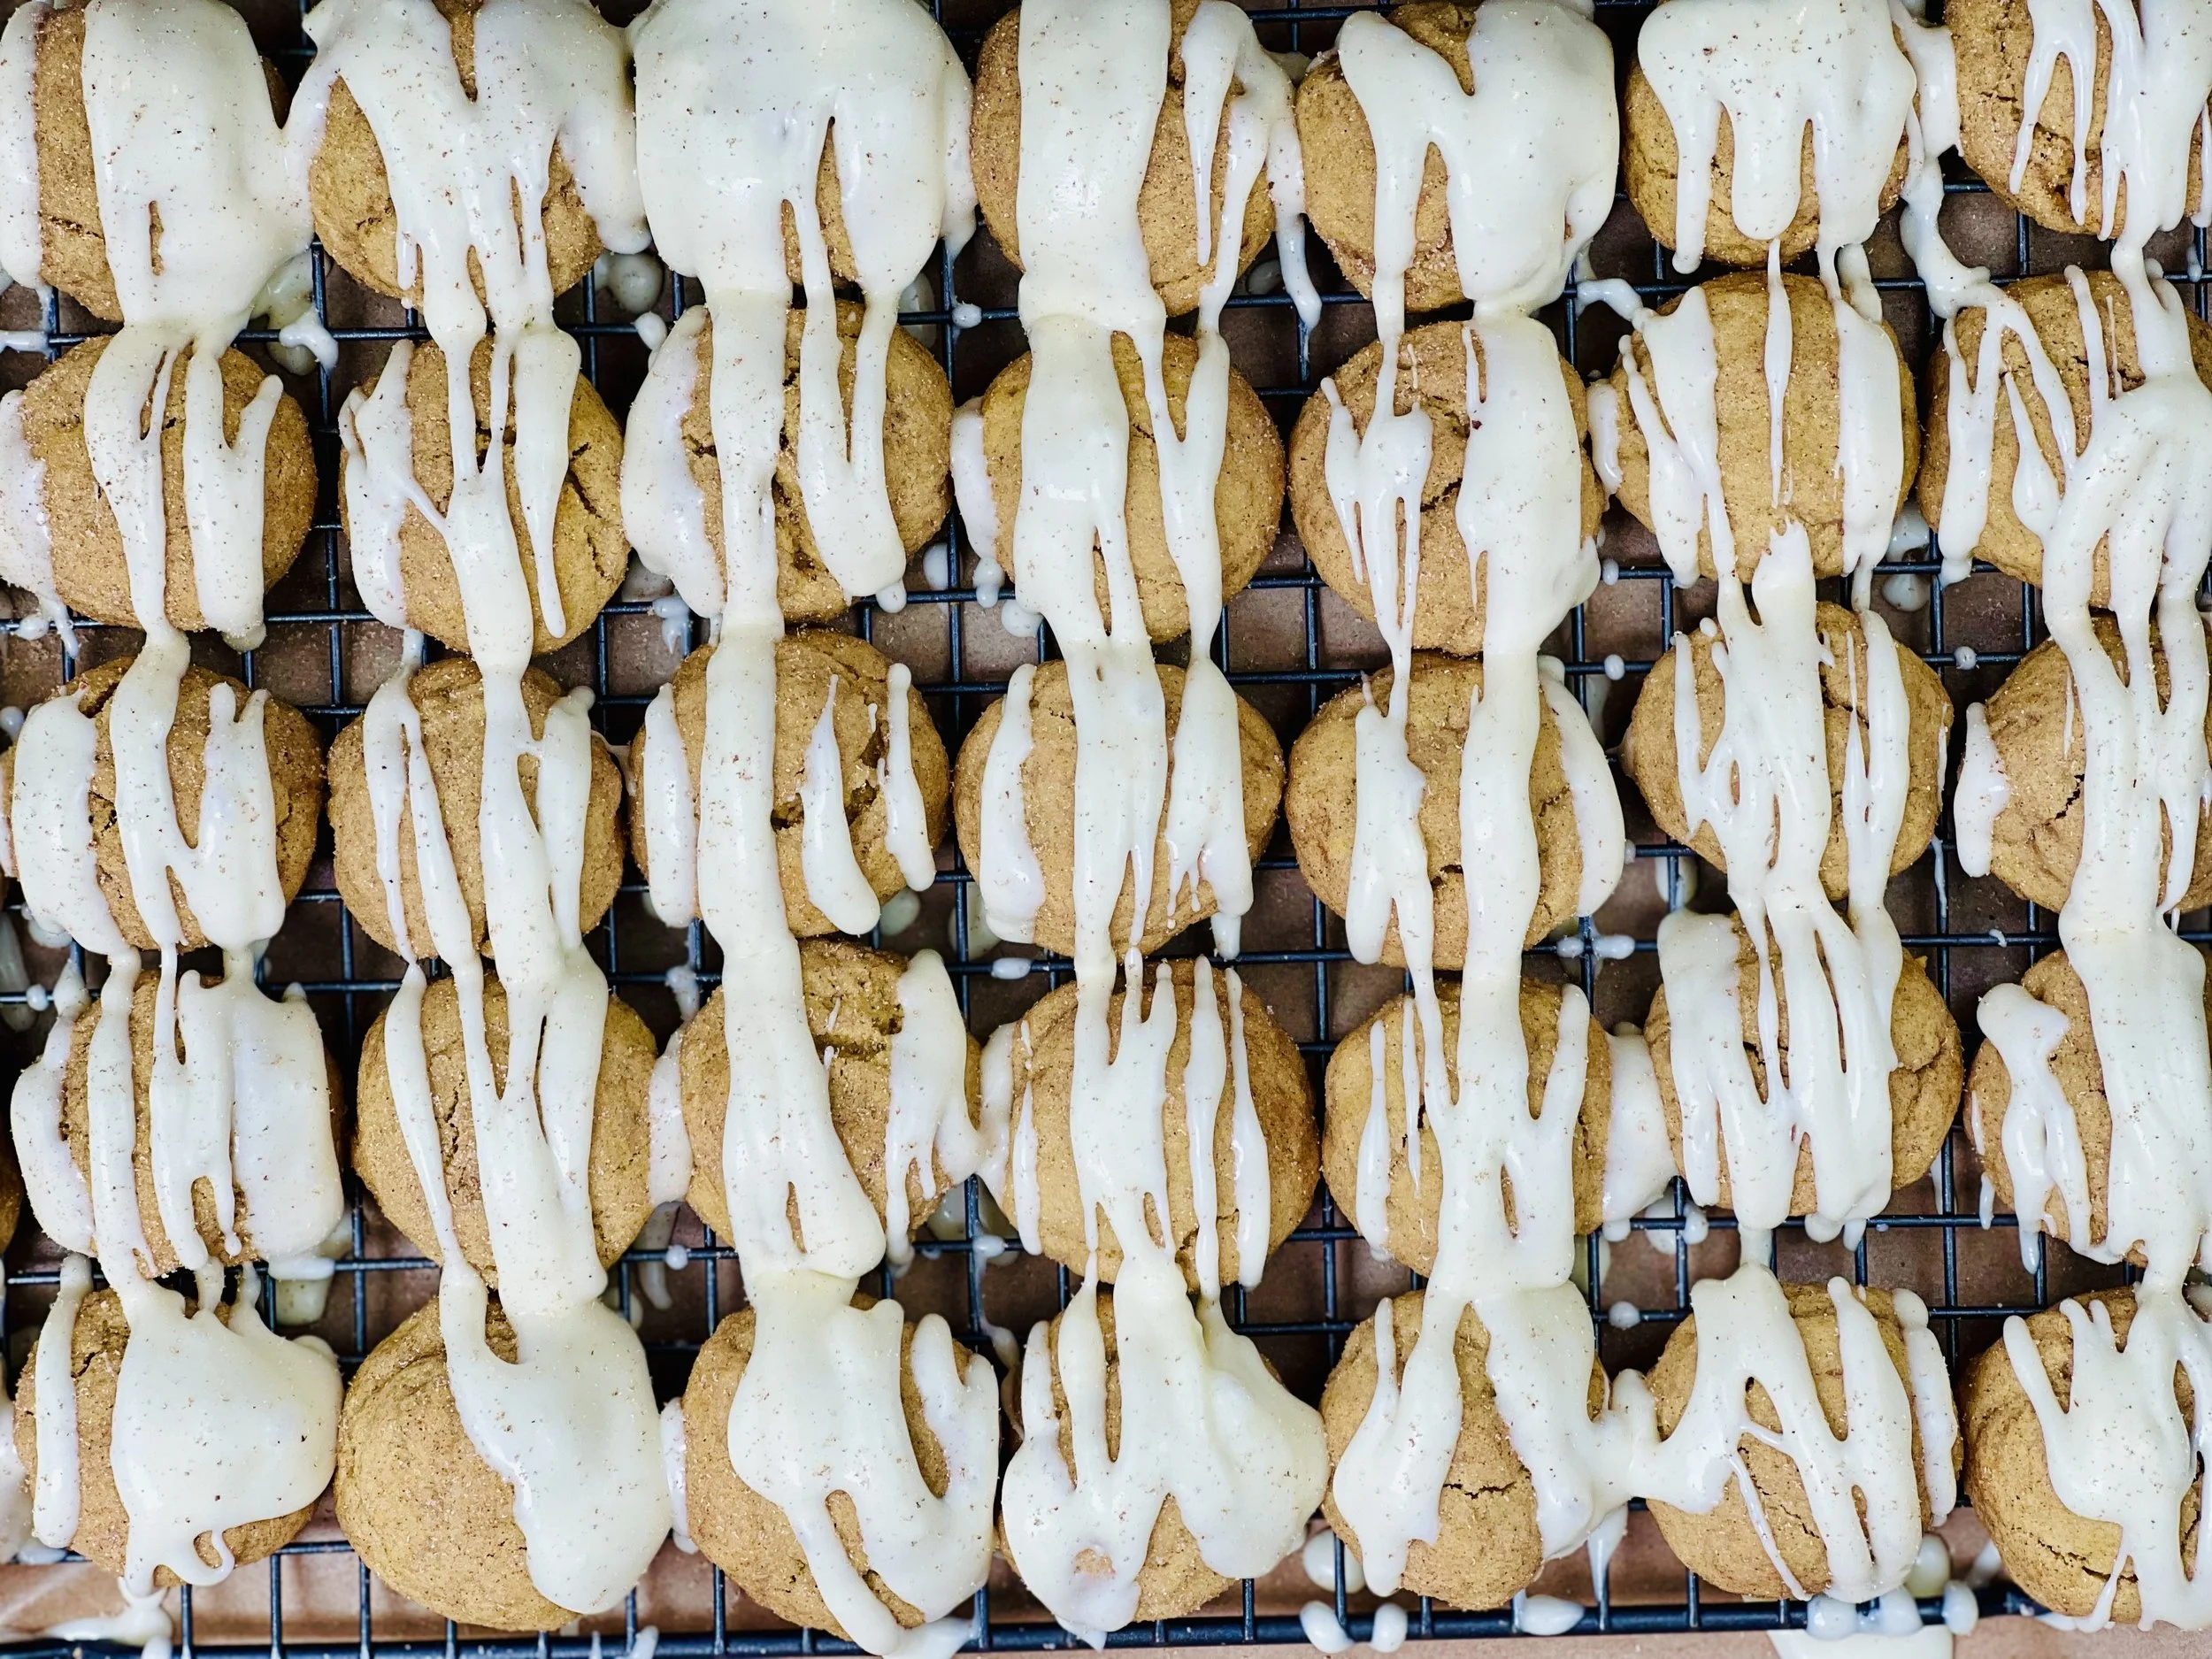
Soft Pumpkin Spice Cookies with Cream Cheese Frosting (Low FODMAP)
20 Minutes prep • 11 Minutes cook • Low FODMAP • Gluten-Free • Makes 24
20 Minutes prep • 11 Minutes cook • Low FODMAP • Gluten-Free • Makes 24 • Ok to make-ahead: Steps 1 - 5
These soft pumpkin cookies with cream cheese frosting are the perfect fall treat. Cake-like cookies, loaded with delightful pumpkin spice flavor capture all the cozy goodness of the season. Topped with a generous drizzle of cream cheese frosting and a dusting of fresh nutmeg, each bite melts in your mouth, making them an irresistible addition to any autumn gathering. Whether you're a pumpkin lover or just looking for a sweet treat to celebrate cooler days, these cookies are the ultimate indulgence.
See this new recipe in my FREE recipe club.
To streamline your search through hundreds of existing recipes, I'm moving the release of my new weekly creations to the Recipe Club on Patreon. In the club, you’ll get access to a treasure trove of low-FODMAP goodness, complete with collections and filters to use as your virtual cookbook!
Here's what awaits you in the club:
Exclusive weekly recipes: Be the first to try my latest delicious low-FODMAP creations!
Simple & Easy: My recipes continue to focus on readily available ingredients and effortless preparation, perfect for family-friendly meals (no more separate low-FODMAP meal prep!).
Hundreds of existing recipes: Gain access to my entire library of low-FODMAP recipes, all conveniently organized.
You can join for free or sign up for only $5/month. Your support fuels my passion for creating new, delicious, and easy-to-make low-FODMAP recipes just for you.
Let's go on this delicious low-FODMAP journey together.
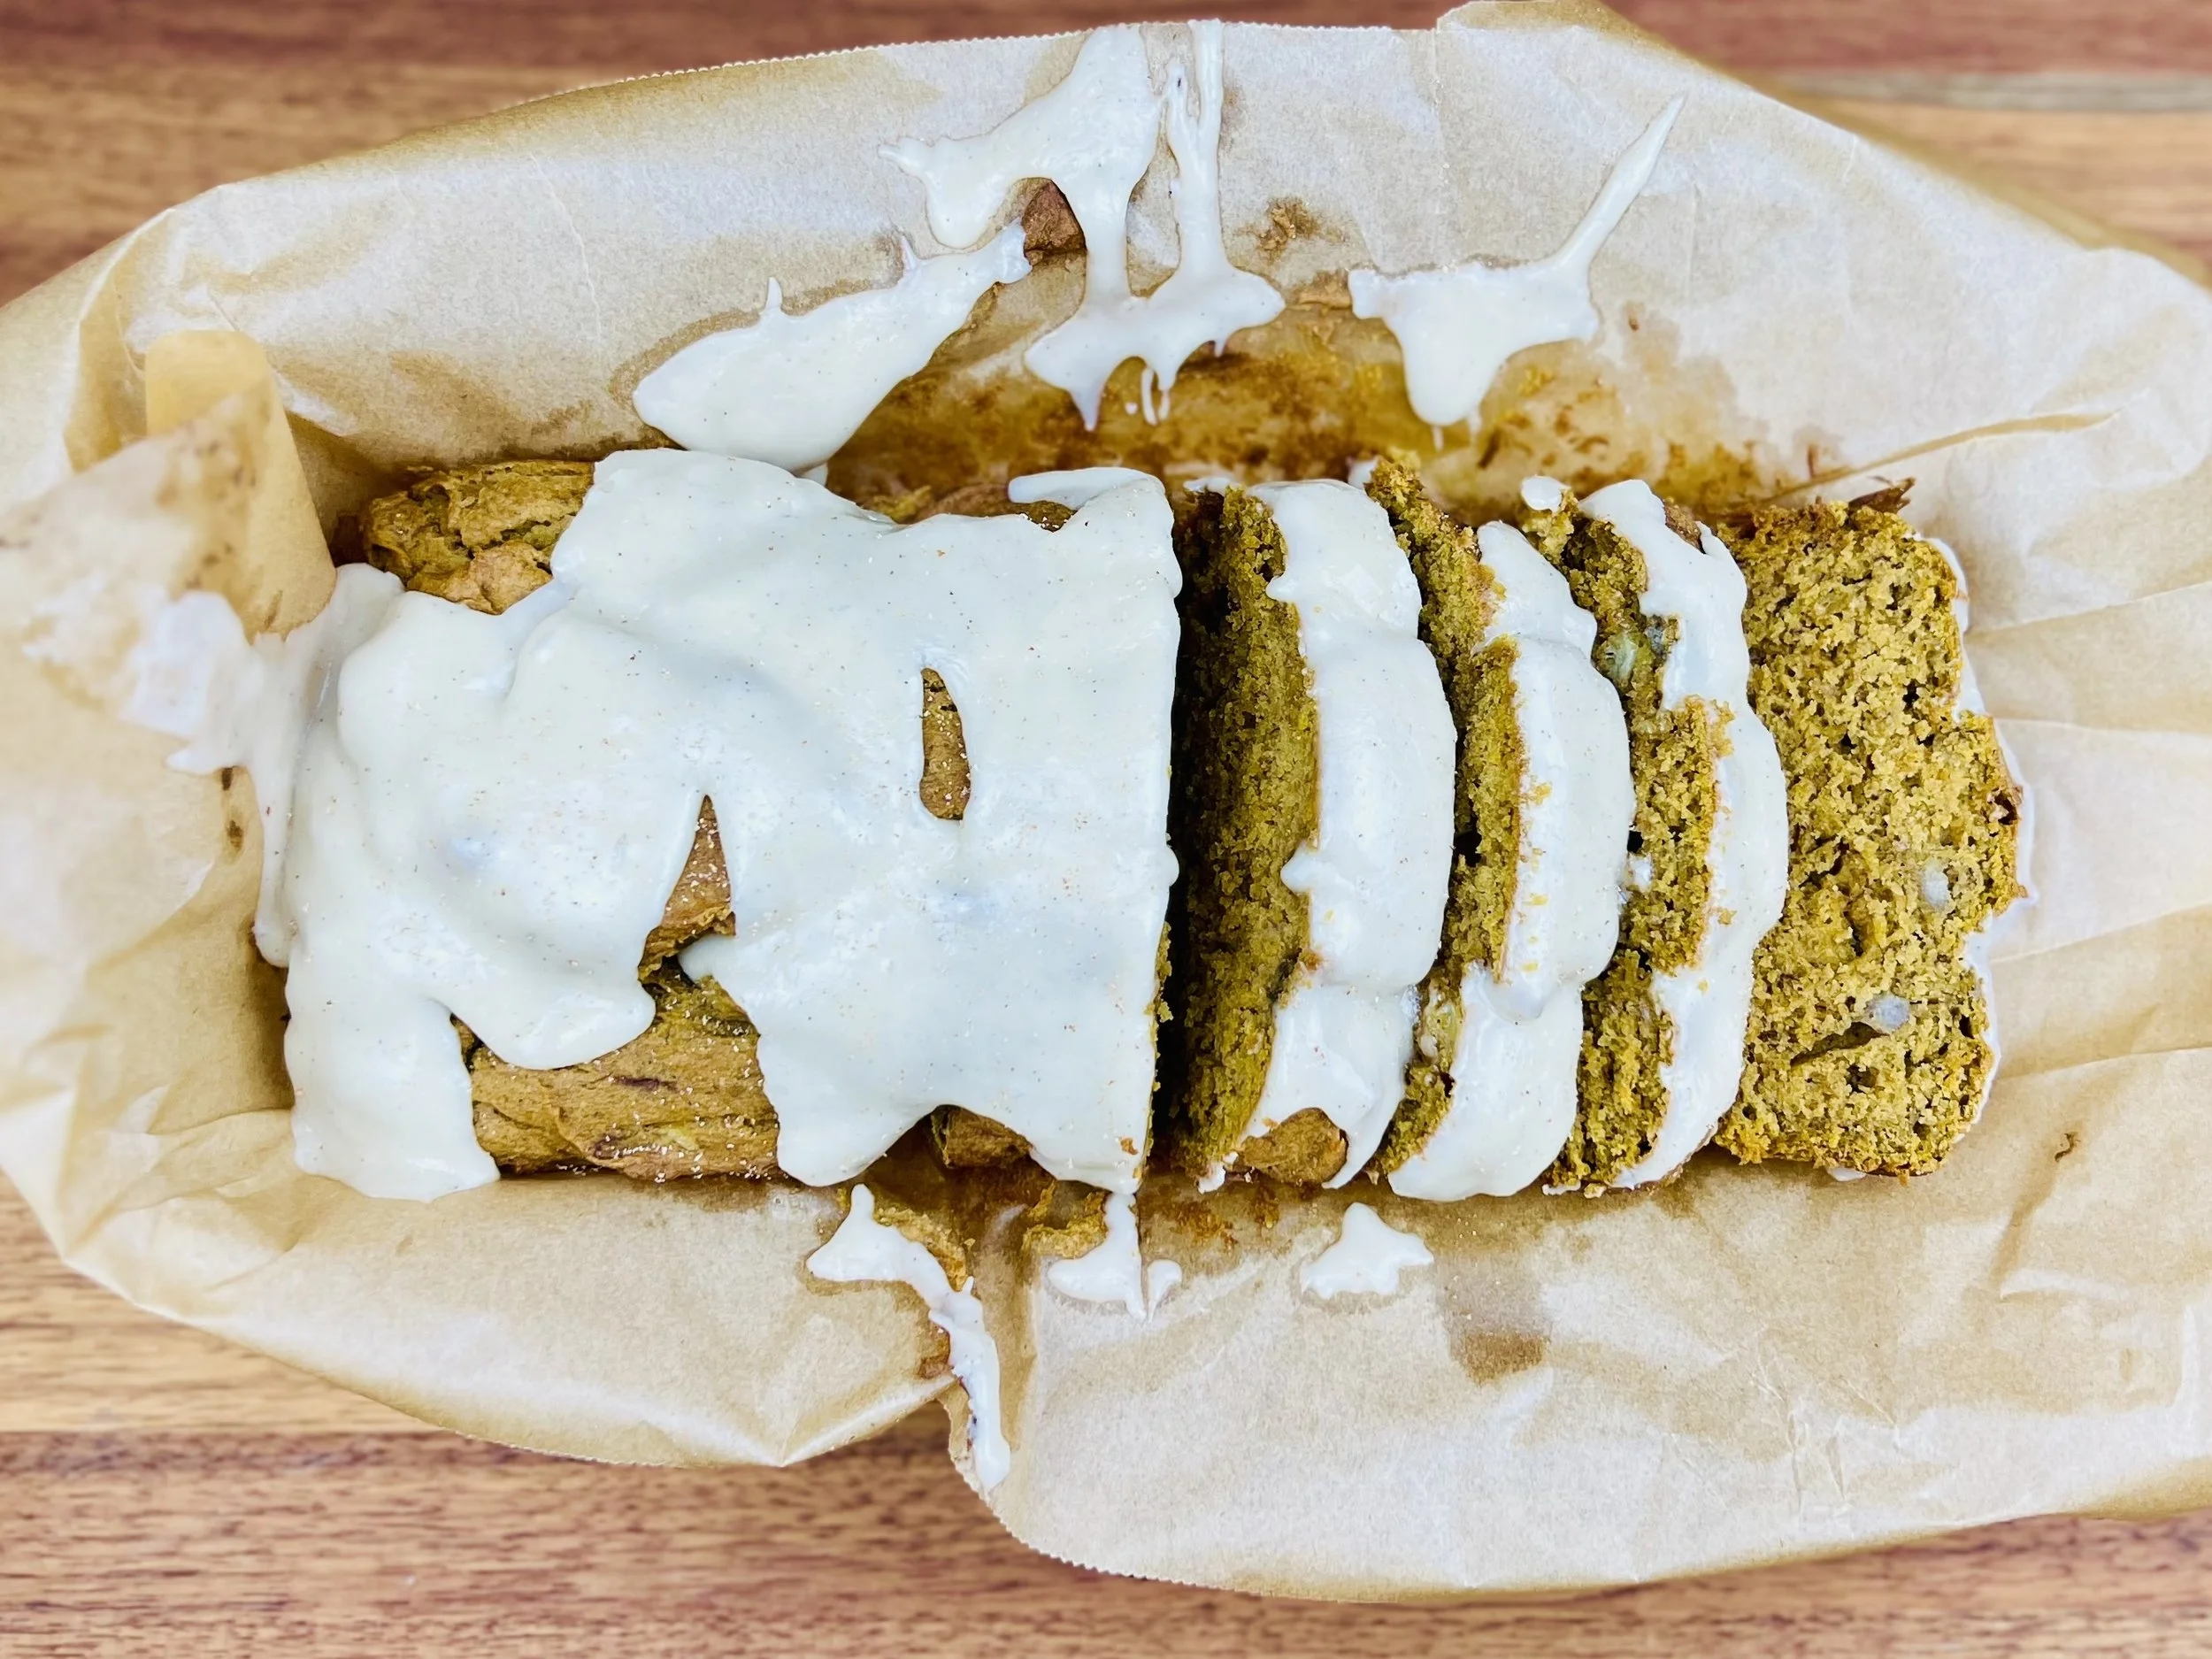
Maple Glazed Pumpkin Banana Quick Bread (Low FODMAP)
10 Minutes prep • 50 Minutes cook • Low FODMAP • Gluten-Free • Makes 2 Small Loaves
10 Minutes prep • 50 Minutes cook • Low FODMAP • Gluten-Free • Makes 2 Small Loaves • Ok to make-ahead: Steps 1 - 2
Pumpkin and seasonal spices make this delicious quick bread the perfect autumn treat. The addition of perfectly ripe bananas, and the sweet maple glaze creates the perfect balance of flavor for one of those comforting desserts you crave when the weather turns crisp. Enjoy a slice with your morning coffee or as a cozy dessert.
See this new recipe in my FREE recipe club.
To streamline your search through hundreds of existing recipes, I'm moving the release of my new weekly creations to the Recipe Club on Patreon. In the club, you’ll get access to a treasure trove of low-FODMAP goodness, complete with collections and filters to use as your virtual cookbook!
Here's what awaits you in the club:
Exclusive weekly recipes: Be the first to try my latest delicious low-FODMAP creations!
Simple & Easy: My recipes continue to focus on readily available ingredients and effortless preparation, perfect for family-friendly meals (no more separate low-FODMAP meal prep!).
Hundreds of existing recipes: Gain access to my entire library of low-FODMAP recipes, all conveniently organized.
You can join for free or sign up for only $5/month. Your support fuels my passion for creating new, delicious, and easy-to-make low-FODMAP recipes just for you.
Let's go on this delicious low-FODMAP journey together.
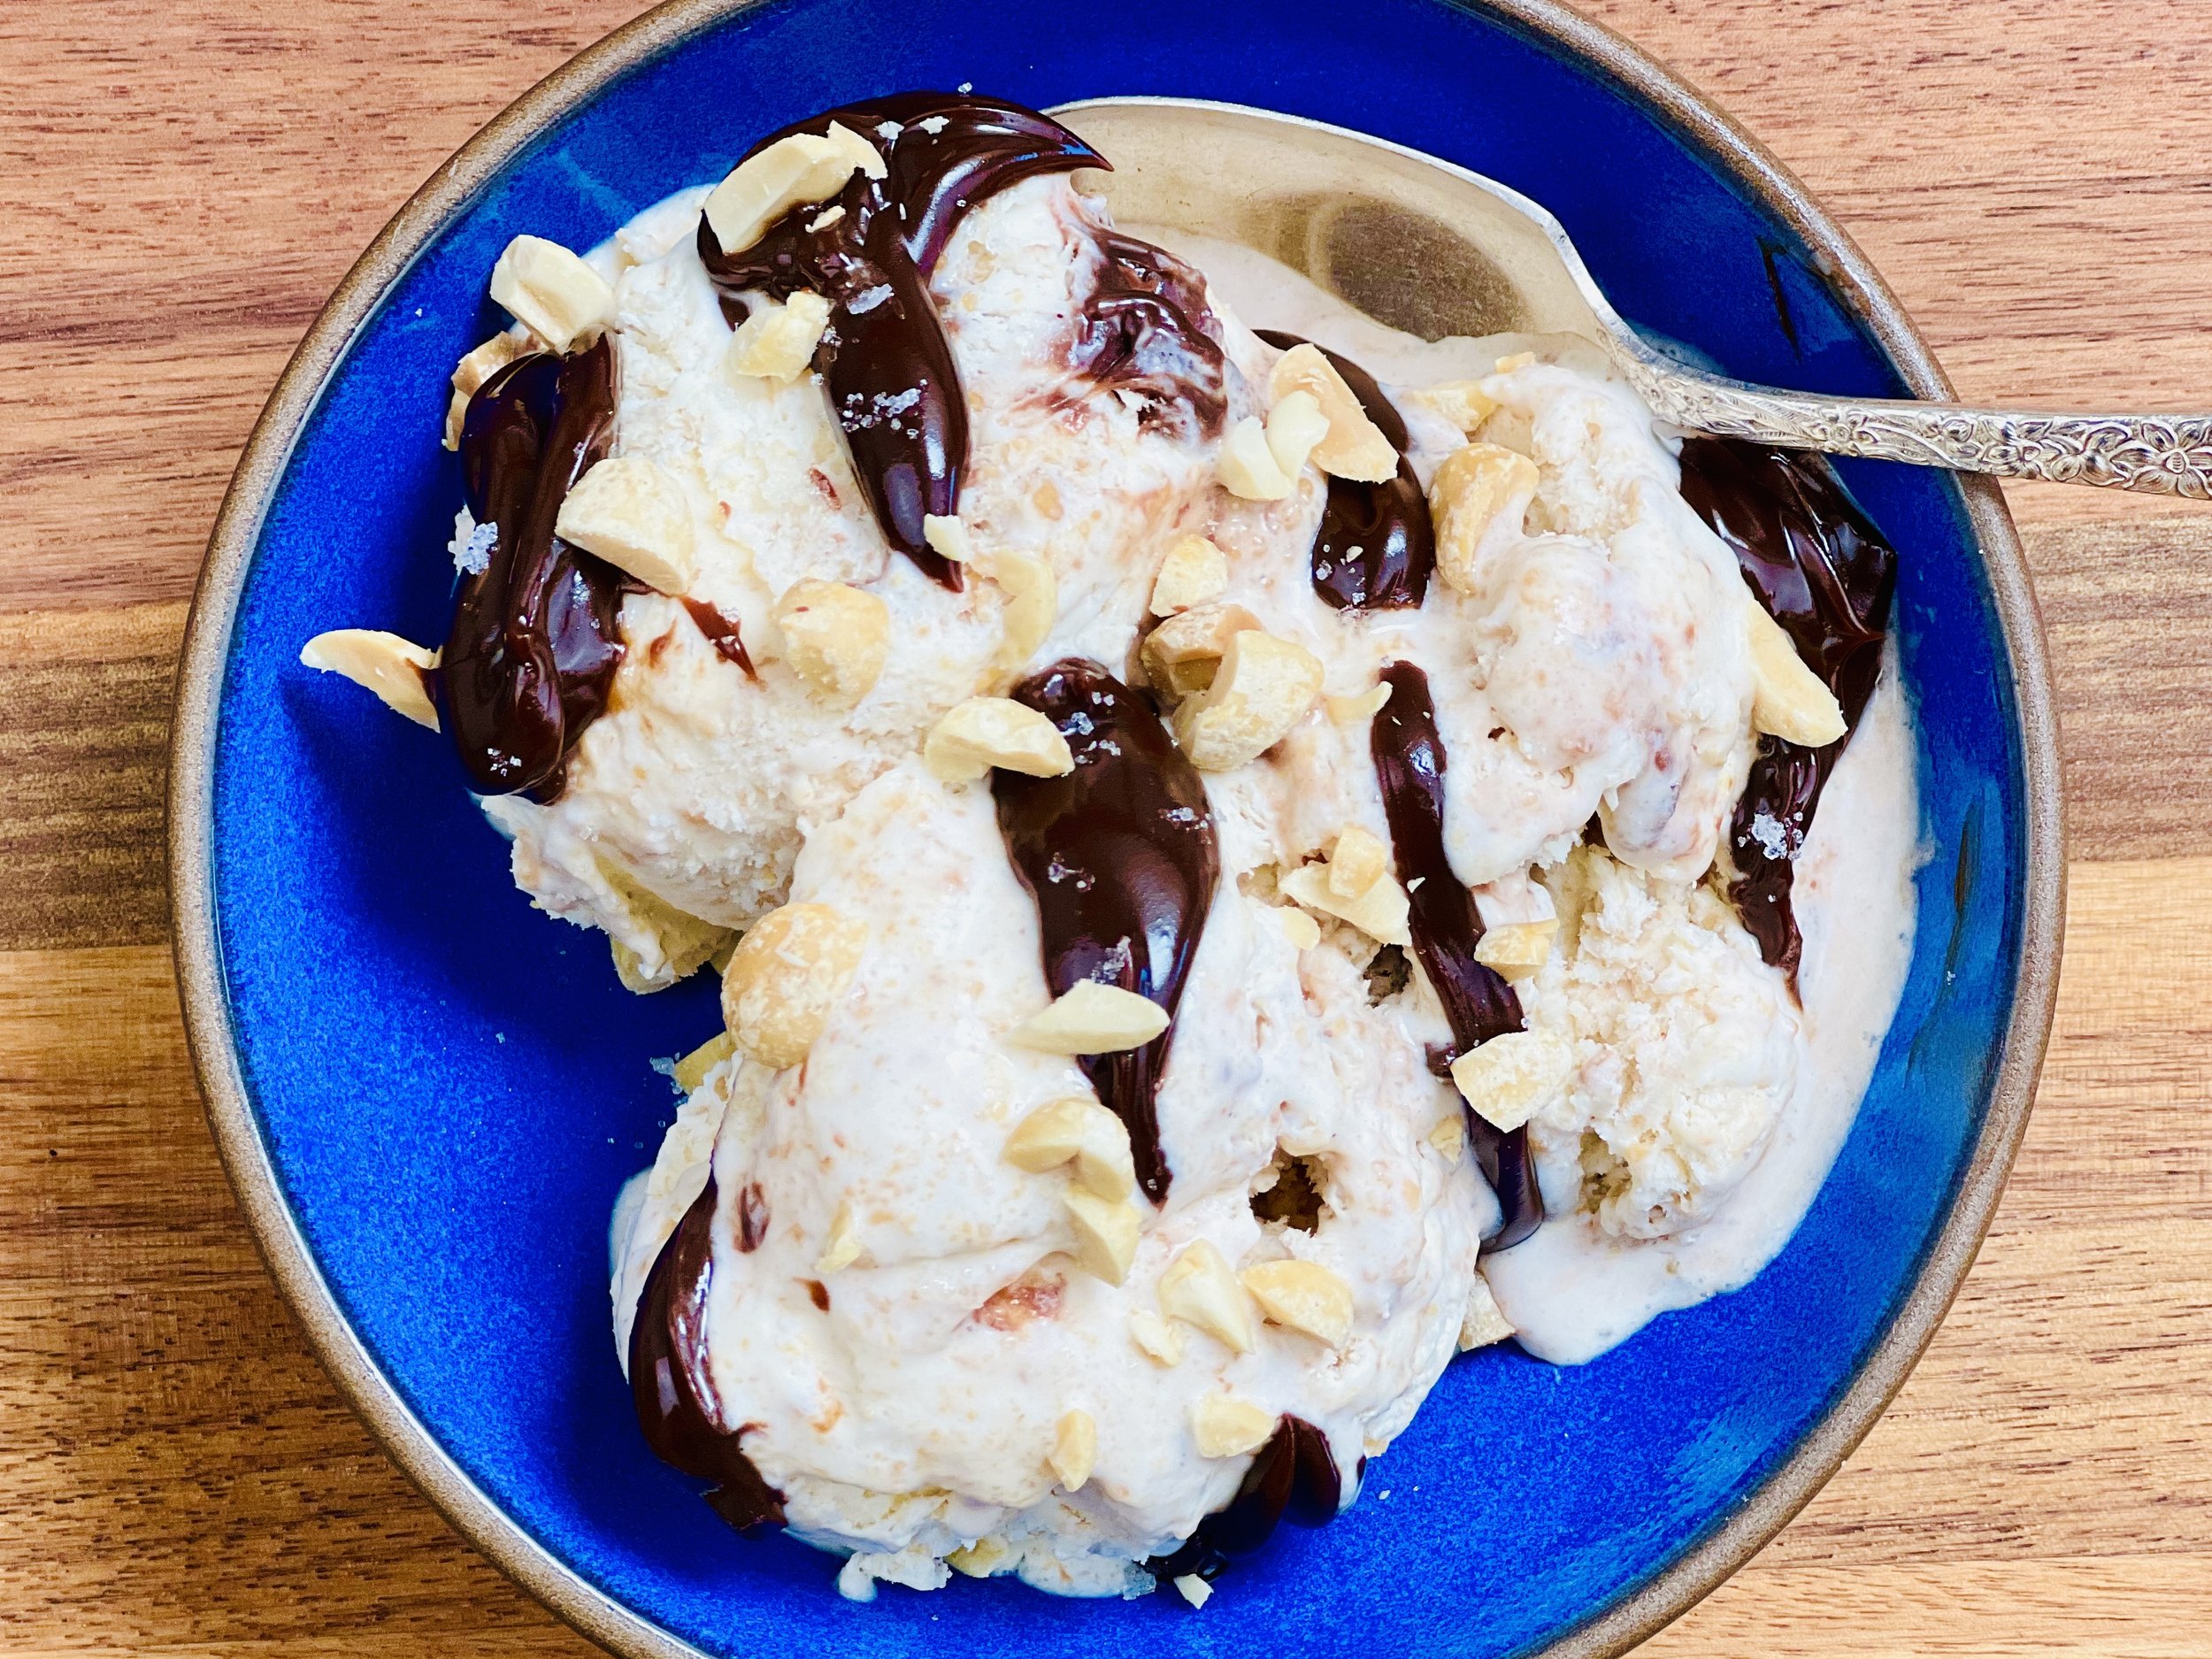
Perfect Peanut Butter Ice Cream (Low FODMAP)
15 Minutes prep • 6 Hours Chill • Low FODMAP • Gluten-free • Serves 8 - 10
15 Minutes prep • 6 Hours Chill • Low FODMAP • Gluten-free • Serves 8 - 10 • Ok to make ahead: Steps 1-3
Do you love peanut butter? Have you ever wished you could turn that love of peanut butter into an ice cream? Look no further. This is it! Made with just three basic ingredients, and no churning required, this incredible ice cream comes together in a flash. Plus, you have the freedom to customize it with your favorite mix-ins, such as fudge ribbon, chopped peanuts, chocolate chips, or anything your heart desires. So, get ready to whip up a batch of peanut butter paradise.
See this new recipe in my FREE recipe club.
To streamline your search through hundreds of existing recipes, I'm moving the release of my new weekly creations to the Recipe Club on Patreon. In the club, you’ll get access to a treasure trove of low-FODMAP goodness, complete with collections and filters to use as your virtual cookbook!
Here's what awaits you in the club:
Exclusive weekly recipes: Be the first to try my latest delicious low-FODMAP creations!
Simple & Easy: My recipes continue to focus on readily available ingredients and effortless preparation, perfect for family-friendly meals (no more separate low-FODMAP meal prep!).
Hundreds of existing recipes: Gain access to my entire library of low-FODMAP recipes, all conveniently organized.
You can join for free or sign up for only $5/month. Your support fuels my passion for creating new, delicious, and easy-to-make low-FODMAP recipes just for you.
Let's go on this delicious low-FODMAP journey together.
More Deliciously Low FODMAP™ dessert recipes
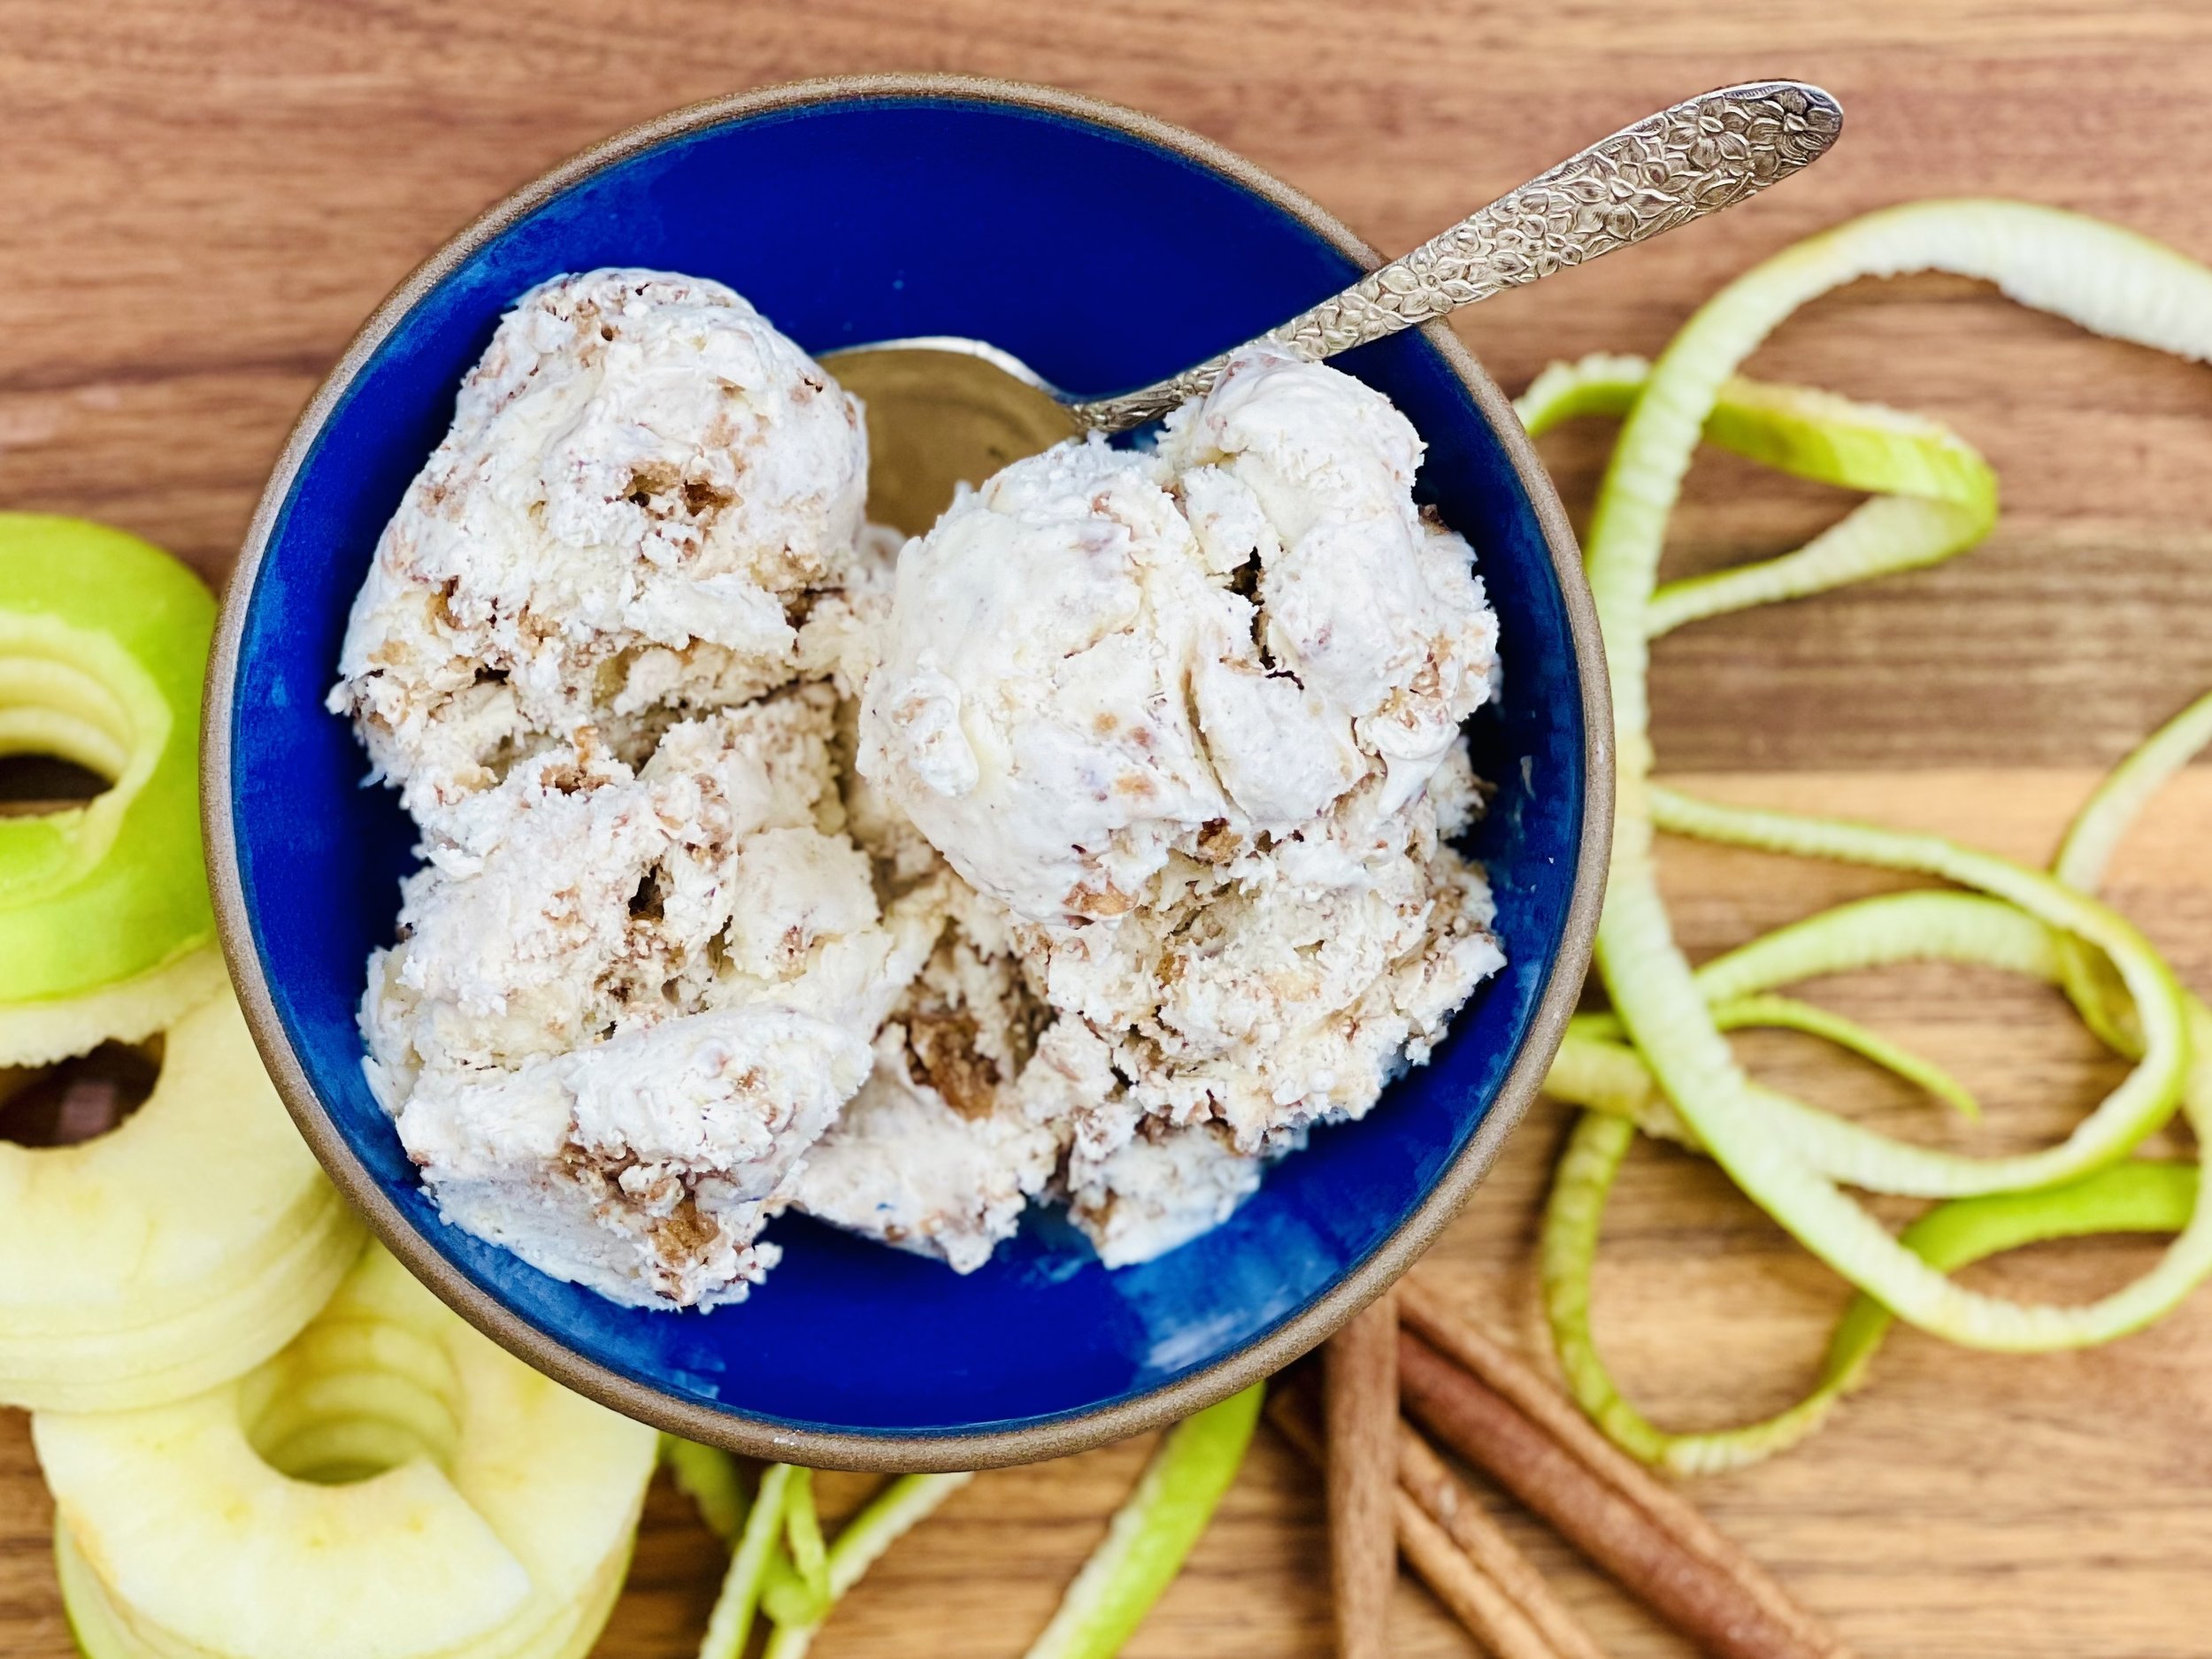
Amazing Apple Pie Ice Cream (Low FODMAP)
30 Minutes prep • 6 Hours Chill • Low FODMAP • Gluten-free • Serves 10
30 Minutes prep • 6 Hours Chill • Low FODMAP • Gluten-free • Serves 10 • Ok to make ahead: Steps 1-5
Calling all apple pie lovers! This isn't your average ice cream. This no-churn delight is bursting with the flavor of spiced apples, creamy vanilla ice cream, and crunchy sweet oatmeal clusters. This recipe captures all the delightful flavors of a classic apple pie a la mode in a refreshing frozen treat. Even better, by maximizing the flavor and minimizing the amount of apples used, you can enjoy a full serving of this recipe even while following a low-FODMAP diet. Get ready to experience the taste of apple pie in every delicious bite.
See this new recipe in my FREE recipe club.
To streamline your search through hundreds of existing recipes, I'm moving the release of my new weekly creations to the Recipe Club on Patreon. In the club, you’ll get access to a treasure trove of low-FODMAP goodness, complete with collections and filters to use as your virtual cookbook!
Here's what awaits you in the club:
Exclusive weekly recipes: Be the first to try my latest delicious low-FODMAP creations!
Simple & Easy: My recipes continue to focus on readily available ingredients and effortless preparation, perfect for family-friendly meals (no more separate low-FODMAP meal prep!).
Hundreds of existing recipes: Gain access to my entire library of low-FODMAP recipes, all conveniently organized.
You can join for free or sign up for only $5/month. Your support fuels my passion for creating new, delicious, and easy-to-make low-FODMAP recipes just for you.
Let's go on this delicious low-FODMAP journey together.
More Deliciously Low FODMAP™ dessert recipes
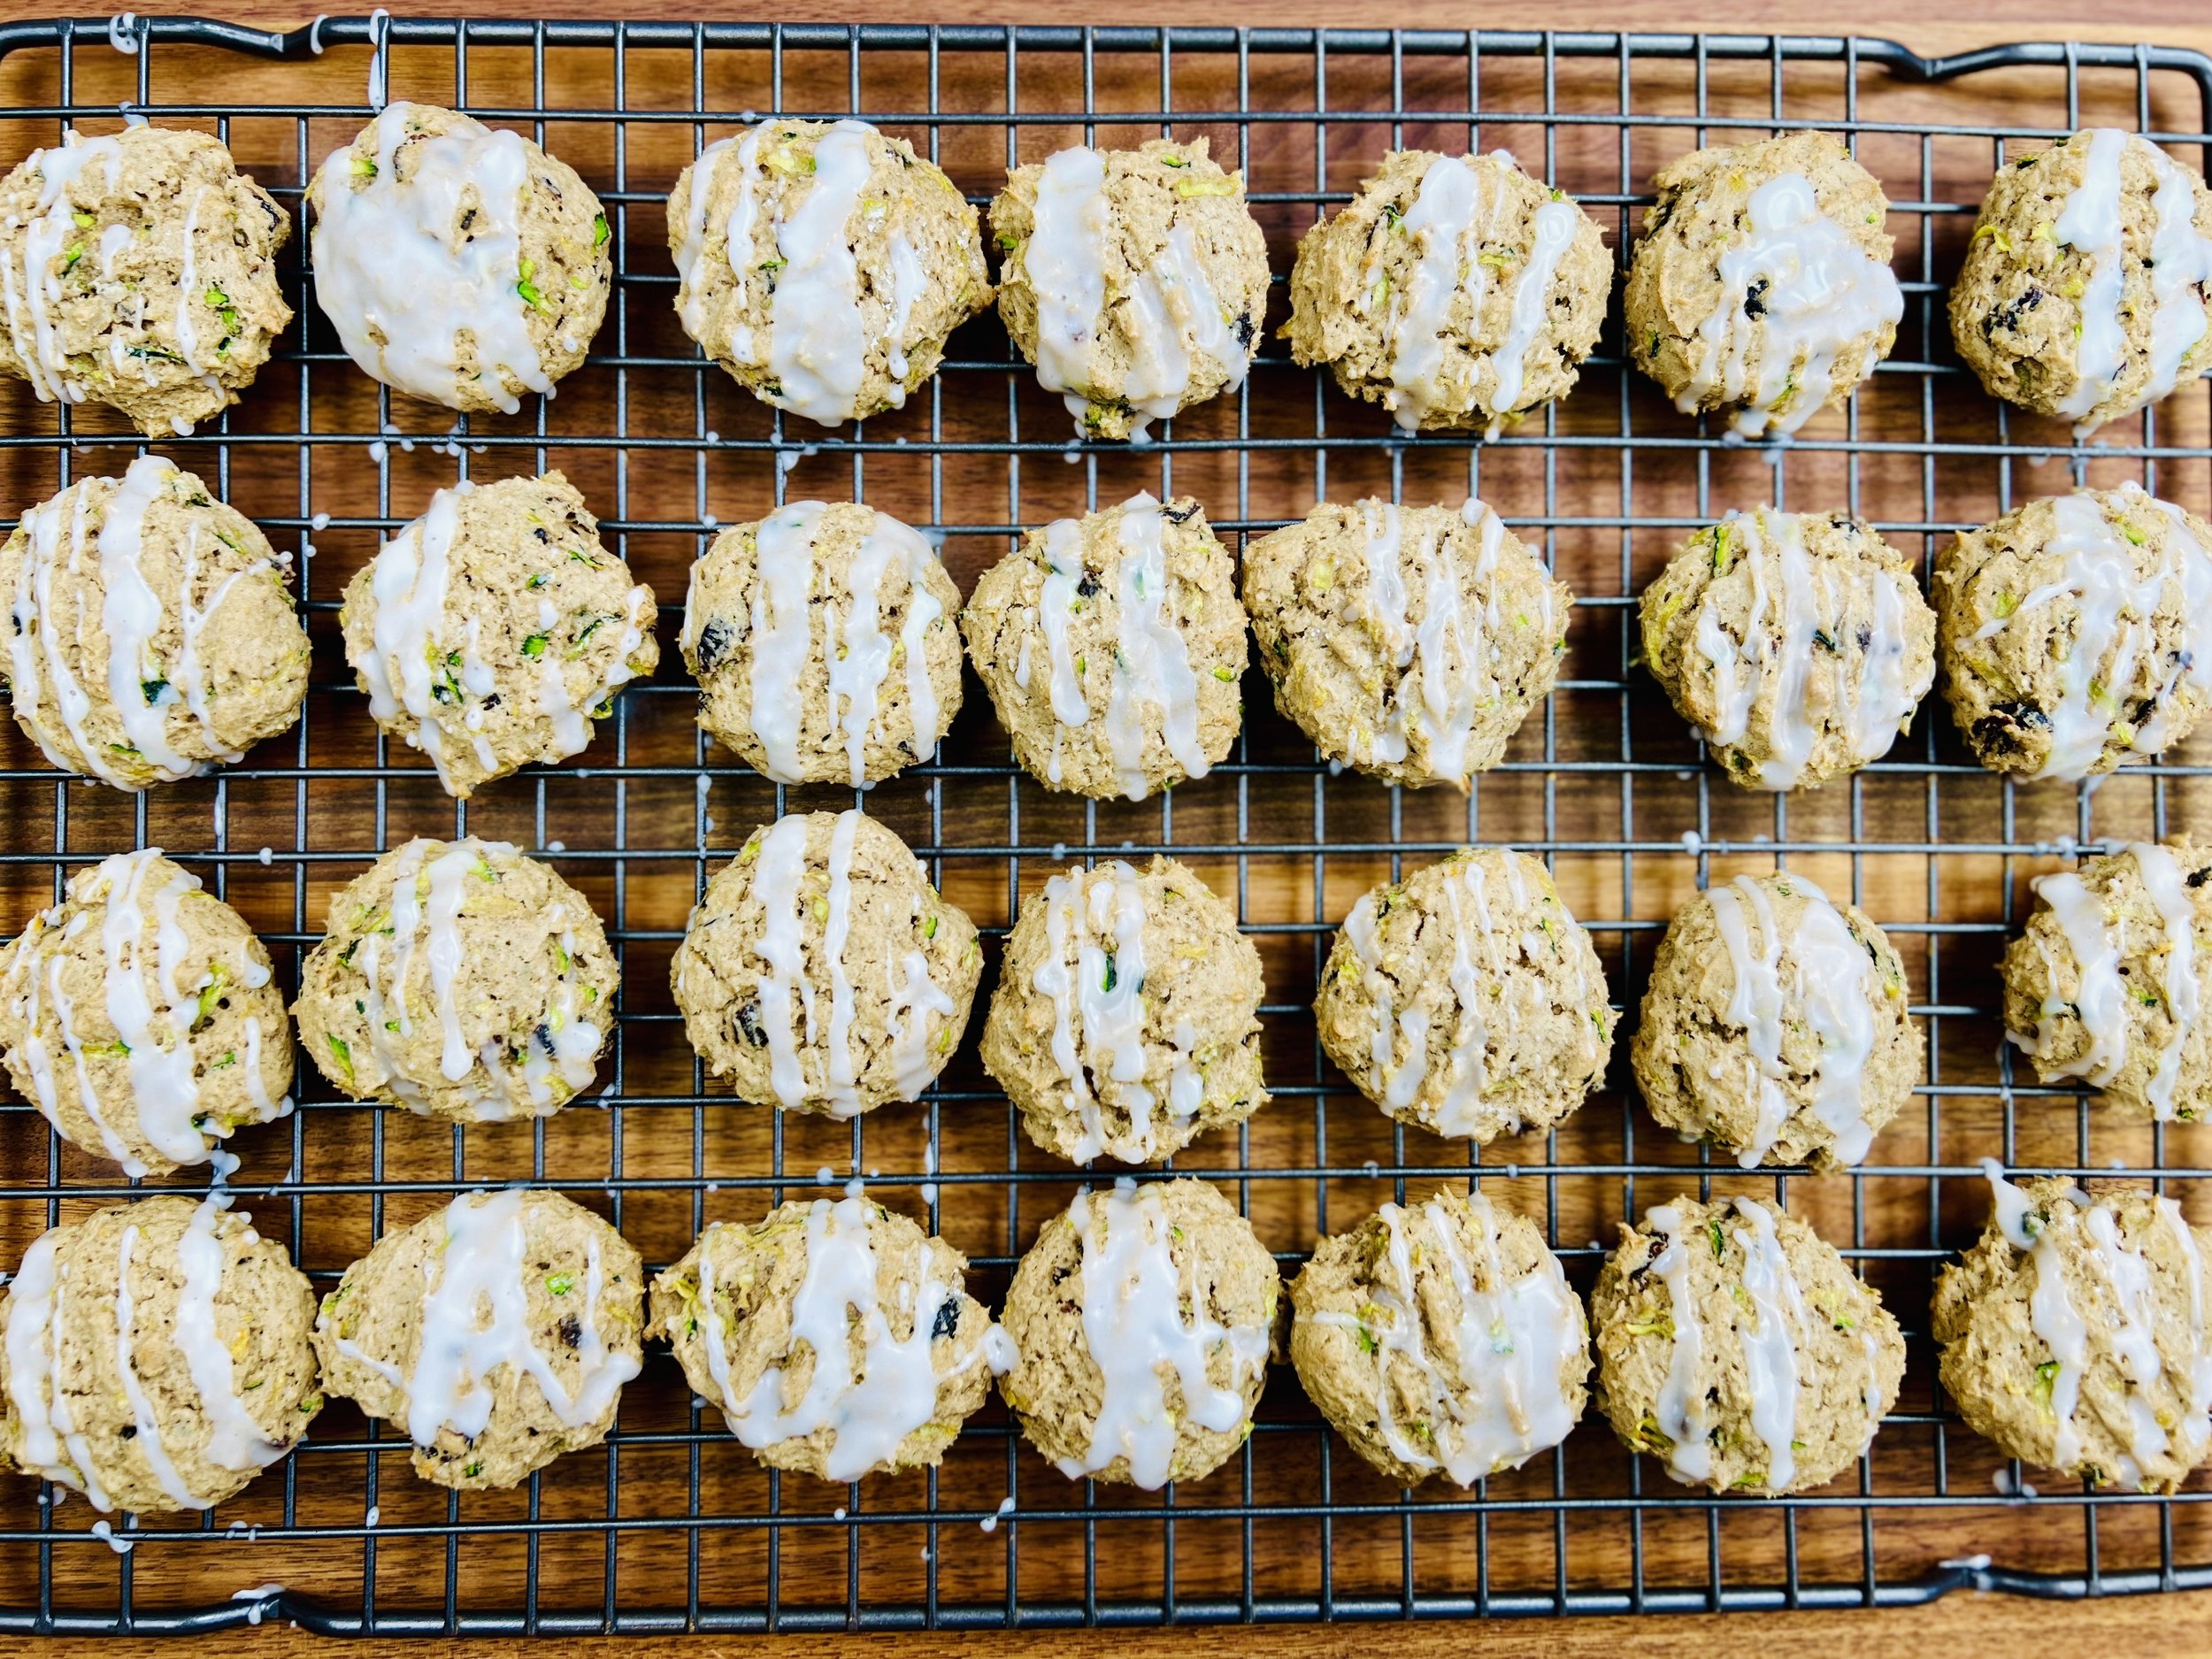
Lemon-Glazed Zucchini Cinnamon Spice Cookies (Low FODMAP)
25 Minutes • 11 Minutes cook • Low FODMAP • Gluten-Free • Makes 3 dozen
25 Minutes • 11 Minutes cook • Low FODMAP • Gluten-Free • Makes 3 dozen • Ok to make-ahead: Steps 1 - 4
Craving a delightful twist on a classic cookie? Look no further! These Lemon-Glazed Zucchini Cinnamon Spice Cookies boast moist, tender zucchini dough bursting with warm cinnamon flavor. A bright, sweet lemon glaze finishes them off, creating a perfect balance of sweet and tangy in every bite.
See this new recipe in my FREE recipe club.
To streamline your search through hundreds of existing recipes, I'm moving the release of my new weekly creations to the Recipe Club on Patreon. In the club, you’ll get access to a treasure trove of low-FODMAP goodness, complete with collections and filters to use as your virtual cookbook!
Here's what awaits you in the club:
Exclusive weekly recipes: Be the first to try my latest delicious low-FODMAP creations!
Simple & Easy: My recipes continue to focus on readily available ingredients and effortless preparation, perfect for family-friendly meals (no more separate low-FODMAP meal prep!).
Hundreds of existing recipes: Gain access to my entire library of low-FODMAP recipes, all conveniently organized.
You can join for free or sign up for only $5/month. Your support fuels my passion for creating new, delicious, and easy-to-make low-FODMAP recipes just for you.
Let's go on this delicious low-FODMAP journey together.
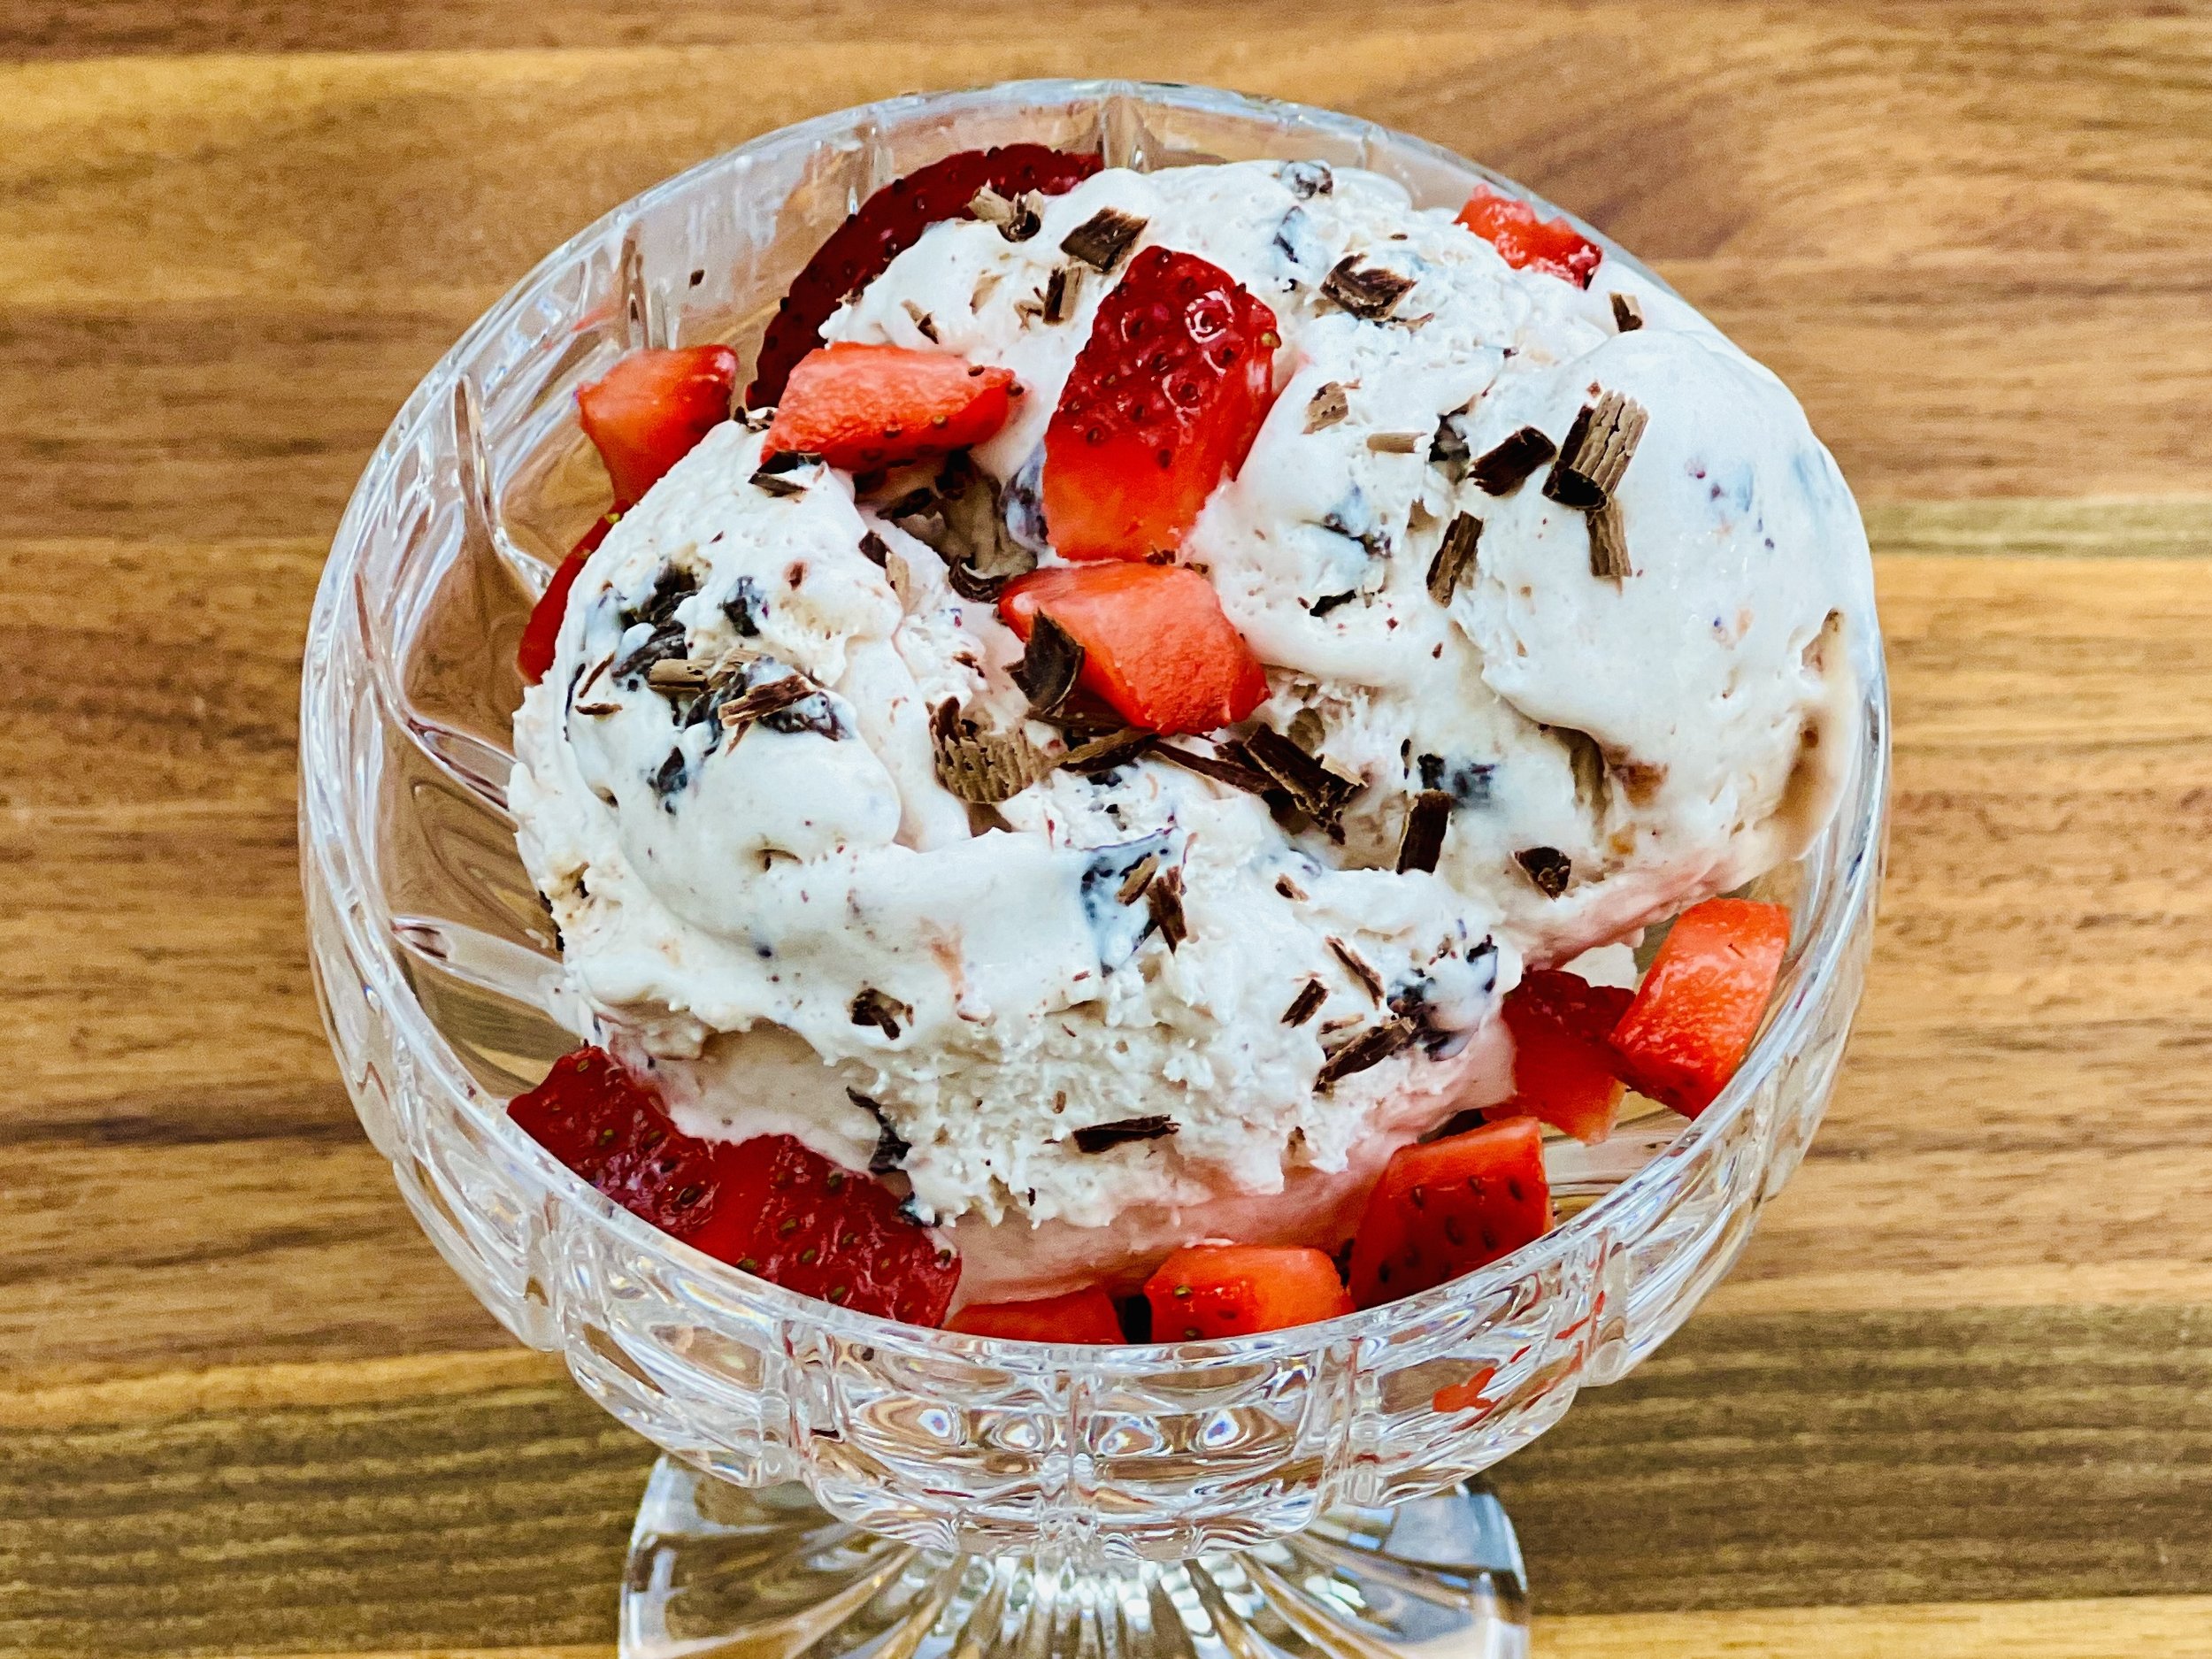
Chocolate Kissed Strawberry Ice Cream (Low FODMAP)
10 Minutes prep • 6 Hours Chill • Low FODMAP • Gluten-free • Serves 9
10 Minutes prep • 6 Hours Chill • Low FODMAP • Gluten-free • Serves 9 • Ok to make ahead: Steps 1-4
Are you looking for a simple yet amazing finish to your next BBQ or dinner? This no-churn homemade ice cream delivers! It’s the perfect combination of vivid strawberry flavor, blended with decadent dark chocolate chunks, all swirled into a luxuriously creamy base. With just five ingredients and minimal prep, you'll be savoring your new favorite ice cream in no time.
See this new recipe in my FREE recipe club.
To streamline your search through hundreds of existing recipes, I'm moving the release of my new weekly creations to the Recipe Club on Patreon. In the club, you’ll get access to a treasure trove of low-FODMAP goodness, complete with collections and filters to use as your virtual cookbook!
Here's what awaits you in the club:
Exclusive weekly recipes: Be the first to try my latest delicious low-FODMAP creations!
Simple & Easy: My recipes continue to focus on readily available ingredients and effortless preparation, perfect for family-friendly meals (no more separate low-FODMAP meal prep!).
Hundreds of existing recipes: Gain access to my entire library of low-FODMAP recipes, all conveniently organized.
You can join for free or sign up for only $5/month. Your support fuels my passion for creating new, delicious, and easy-to-make low-FODMAP recipes just for you.
Let's go on this delicious low-FODMAP journey together.
More Deliciously Low FODMAP™ dessert recipes
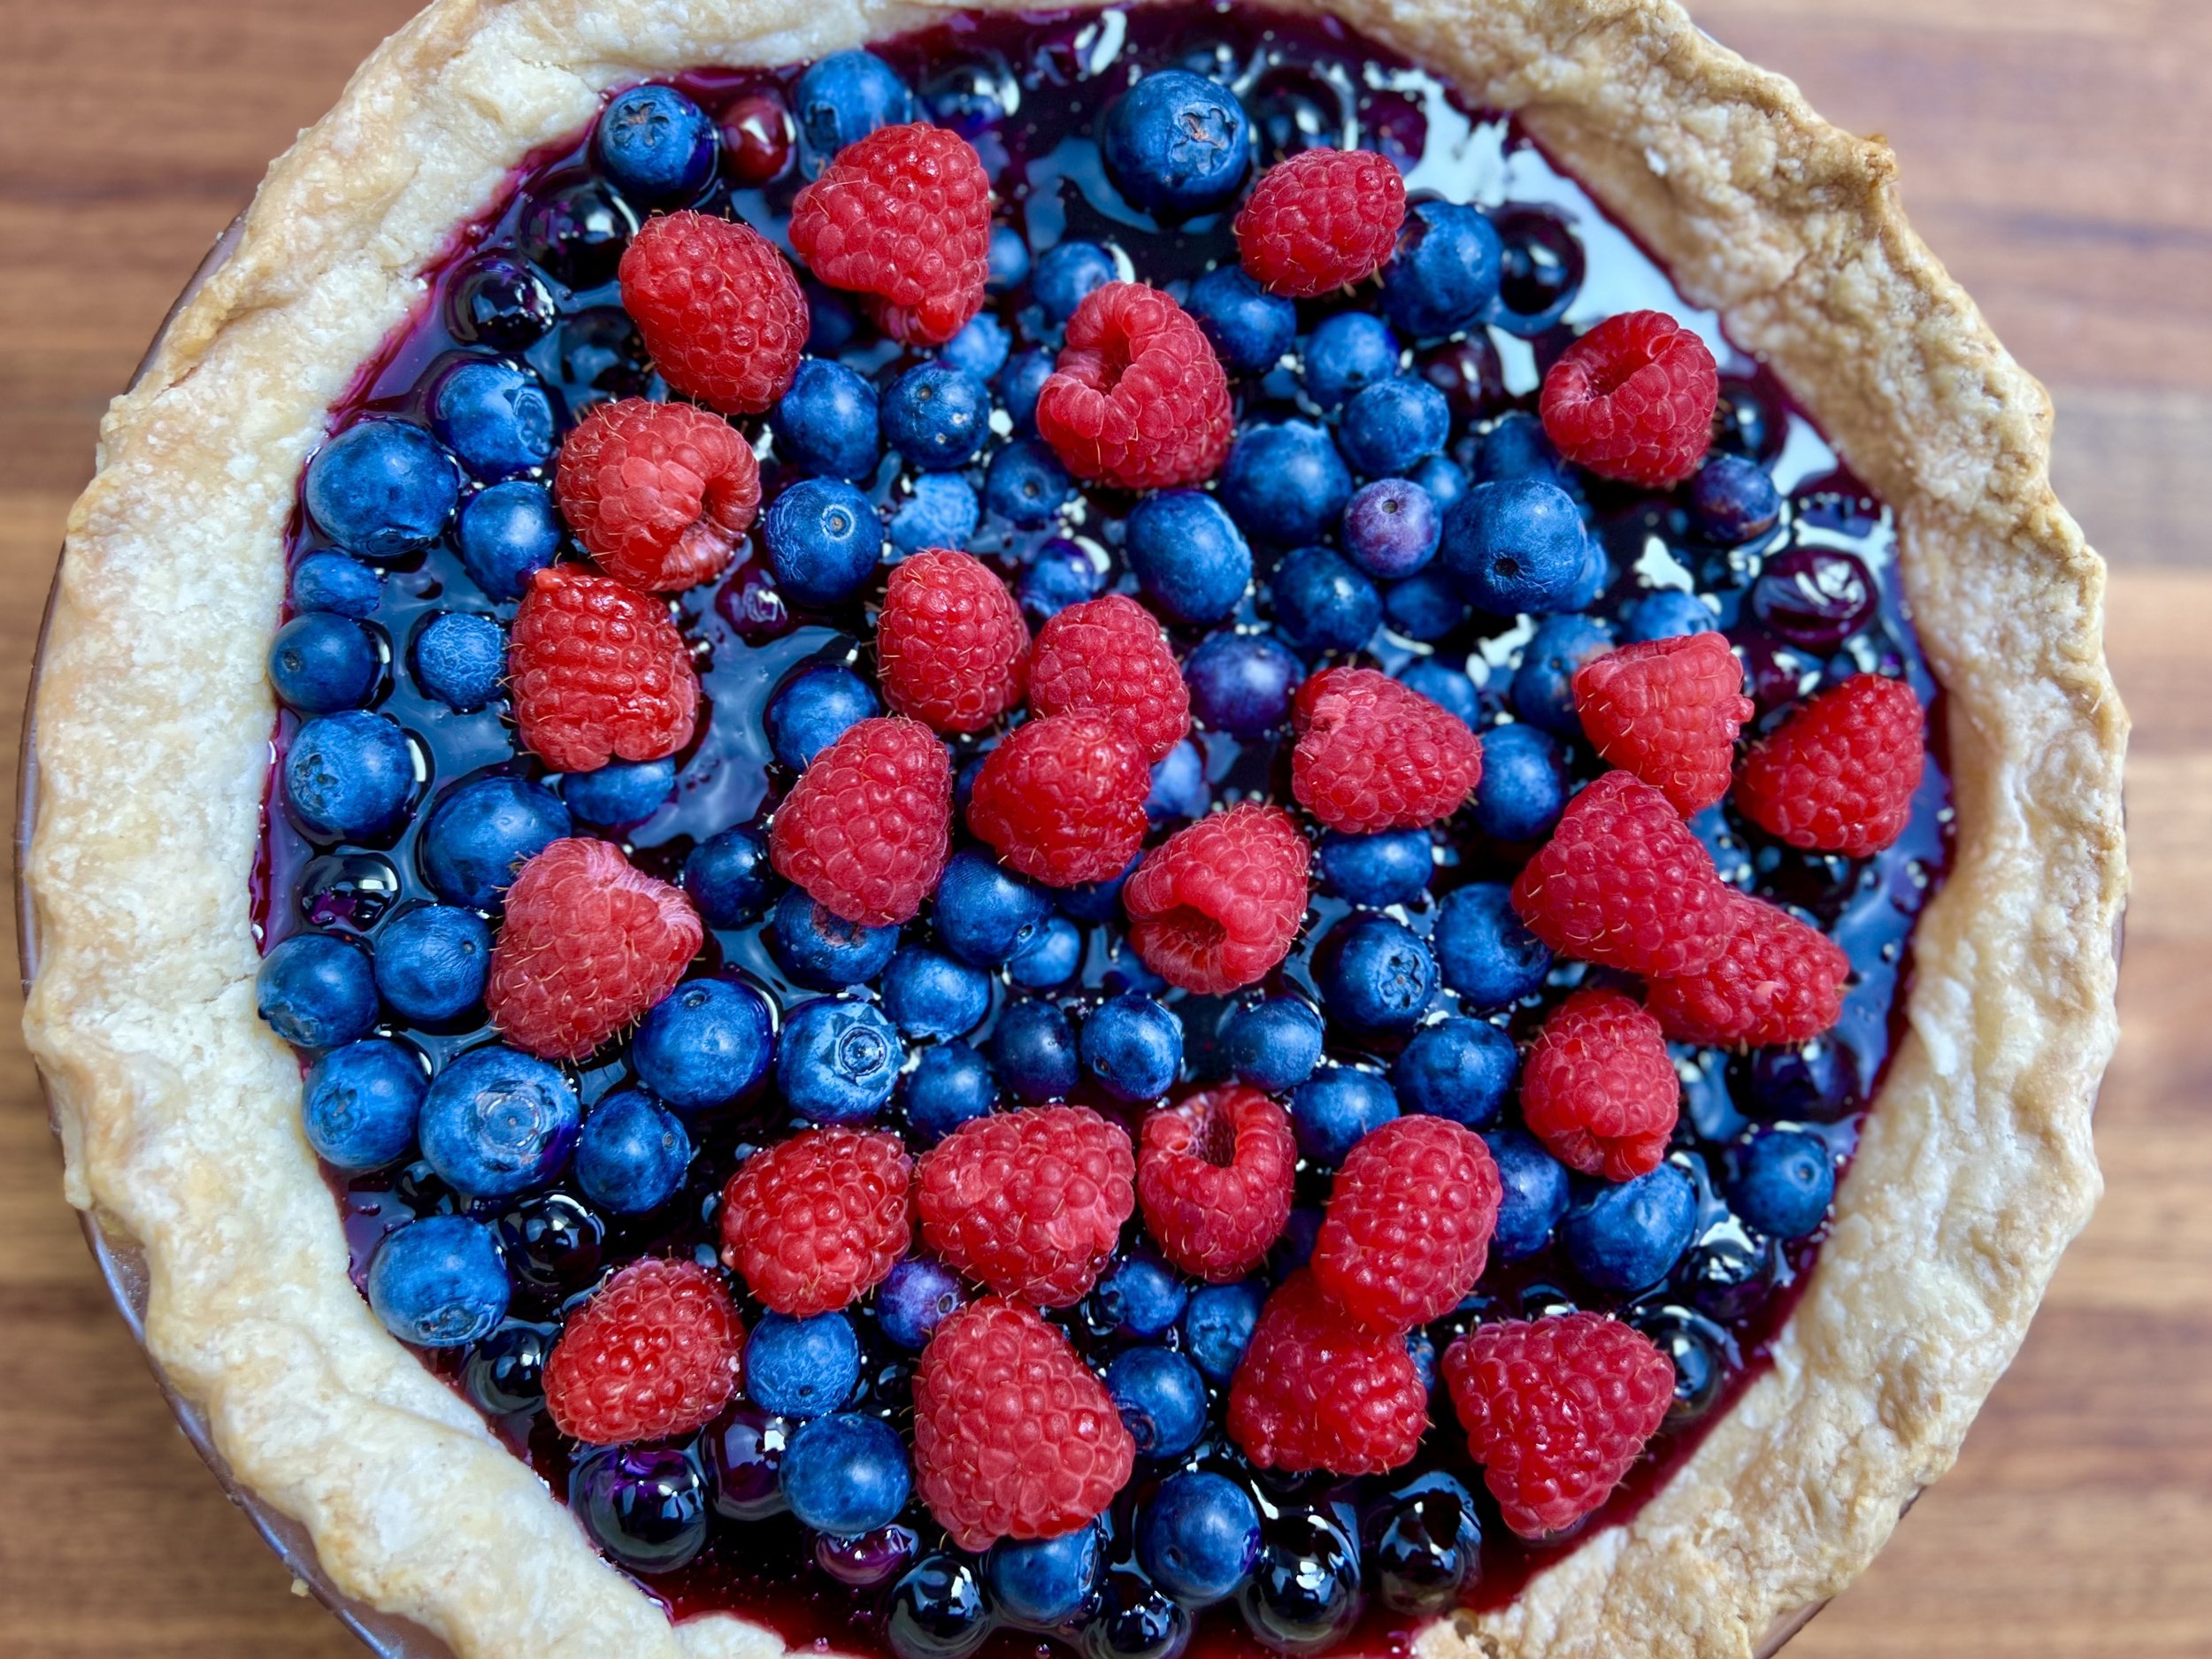
Fresh Cape Cod Style Berry Pie (Low FODMAP)
15 Minutes prep • 60 Minutes cook (pie crust) • Low FODMAP • Gluten-free • Serves 8
15 Minutes prep • 60 Minutes cook (pie crust) • Low FODMAP • Gluten-free • Serves 8 • Ok to make ahead: Steps 1-5
This is the perfect summer dessert as we are in the heart of the blueberry season. And this one-crust, no-bake pie is bursting with flavor in every bite. So easy to make and simply perfect with a dollop of my Real Whipped Cream or my Whipped Coconut Cream. Serve it to family, friends, or at the neighborhood potluck. You might even enter it in the next pie-baking competition you’re invited to. It’s a winner.
Ingredients
4 cups fresh blueberries, washed and dried (or combine with raspberries and/or strawberries)
1 cup water, divided
2 tablespoons cornstarch
3/4 cup superfine or granulated sugar (not powdered sugar)
1 pinch Kosher salt
1 tablespoon white vinegar (trust me, this balances the flavor)
1 blind-baked 9-inch pie crust (I use my Perfectly Buttery Pate Brise pie crust—but you can also use any pre-made gluten-free crust you like) - see directions below.
Directions
(1) Prepare: Prepare and blind bake your pie crust (see directions below). Wash and dry the berries.
(2) Make the syrup: In a medium saucepan, set over medium-high heat, combine 1 cup blueberries and 3/4 cup water. Bring to a boil and simmer for about 5 minutes until the berries are softened and they have released their juice and color into the water.
(3) Strain and KEEP the berries: Strain the syrup away from the berries and KEEP the syrup AND the berries (which will be added back into the pie filling).
(4) Return the syrup to the saucepan: Blend 2 tablespoons of cornstarch with the remaining 1/4 cup water and stir to blend. Add the cornstarch mixture, sugar, and salt to the syrup in the saucepan. Bring to a boil while whisking constantly and cook until VERY thick and reduced which takes about 2 minutes after bringing it to a boil.
(5) Finish: Once thickened, remove from the heat. Stir in the vinegar. Then mix in reserved cooked berries and 1 cup of the remaining fresh berries. Pour the mixture into the pre-baked pie crust. Top with the remaining fresh blueberries/raspberries/strawberries and chill for 3-4 hours.
(6) Plate and serve: Serve with a generous dollop of my Real Whipped Cream or my Whipped Coconut Cream. Store leftover pie in the refrigerator for up to 2 days.
Eat and enjoy every bite because you can!
Recipe note: I use Diamond Crystal Kosher salt in all my recipes because it has a wonderful flat and crisp flake that tastes delicious. It is also the least salty salt available so you can use it more liberally as a seasoning than you can table salt or sea salt. If you use another type of salt, you may need to reduce the amount so it is not over-salted.
Directions for blind baking your pie crust: Blind-bake just means you are baking your pie crust with nothing in it. This method is simple and works well every time. Roll out the crust and press it into a 9-inch pie plate. Then put the crust in the refrigerator or freezer and let rest for an hour or 2 (or more). Heat the oven to 350 degrees F. It’s easiest to use a pie crust weight but you can also use a piece of foil that has been sprayed with cooking oil. Press the foil onto the crust and fill with pie weights (or dried beans work well too—fill to the top of the crust.) Bake for 50-55 minutes with the weights. Then remove from the oven and check. If the crust isn't brown enough on the bottom - bake for 5-10 minutes more. You want the crust to be fully cooked because it’s not going back in the oven once you fill it. When cooked, remove from the oven and let cool. Then, proceed to fill the pie per the instructions above.
Have a question you’d like to have answered? Email me at hello@ibsgamechanger.com
Link note: This post may contain affiliate links for you to easily purchase items that are linked. I may earn a small commission from qualifying purchases but none of this costs you a thing so feel free to use the links! In addition, for some items, I have provided a special discount code for IBS Game Changers so be sure to use the code when you purchase an item to get the discount that has been arranged just for you.
More Deliciously Low FODMAP™ dessert recipes
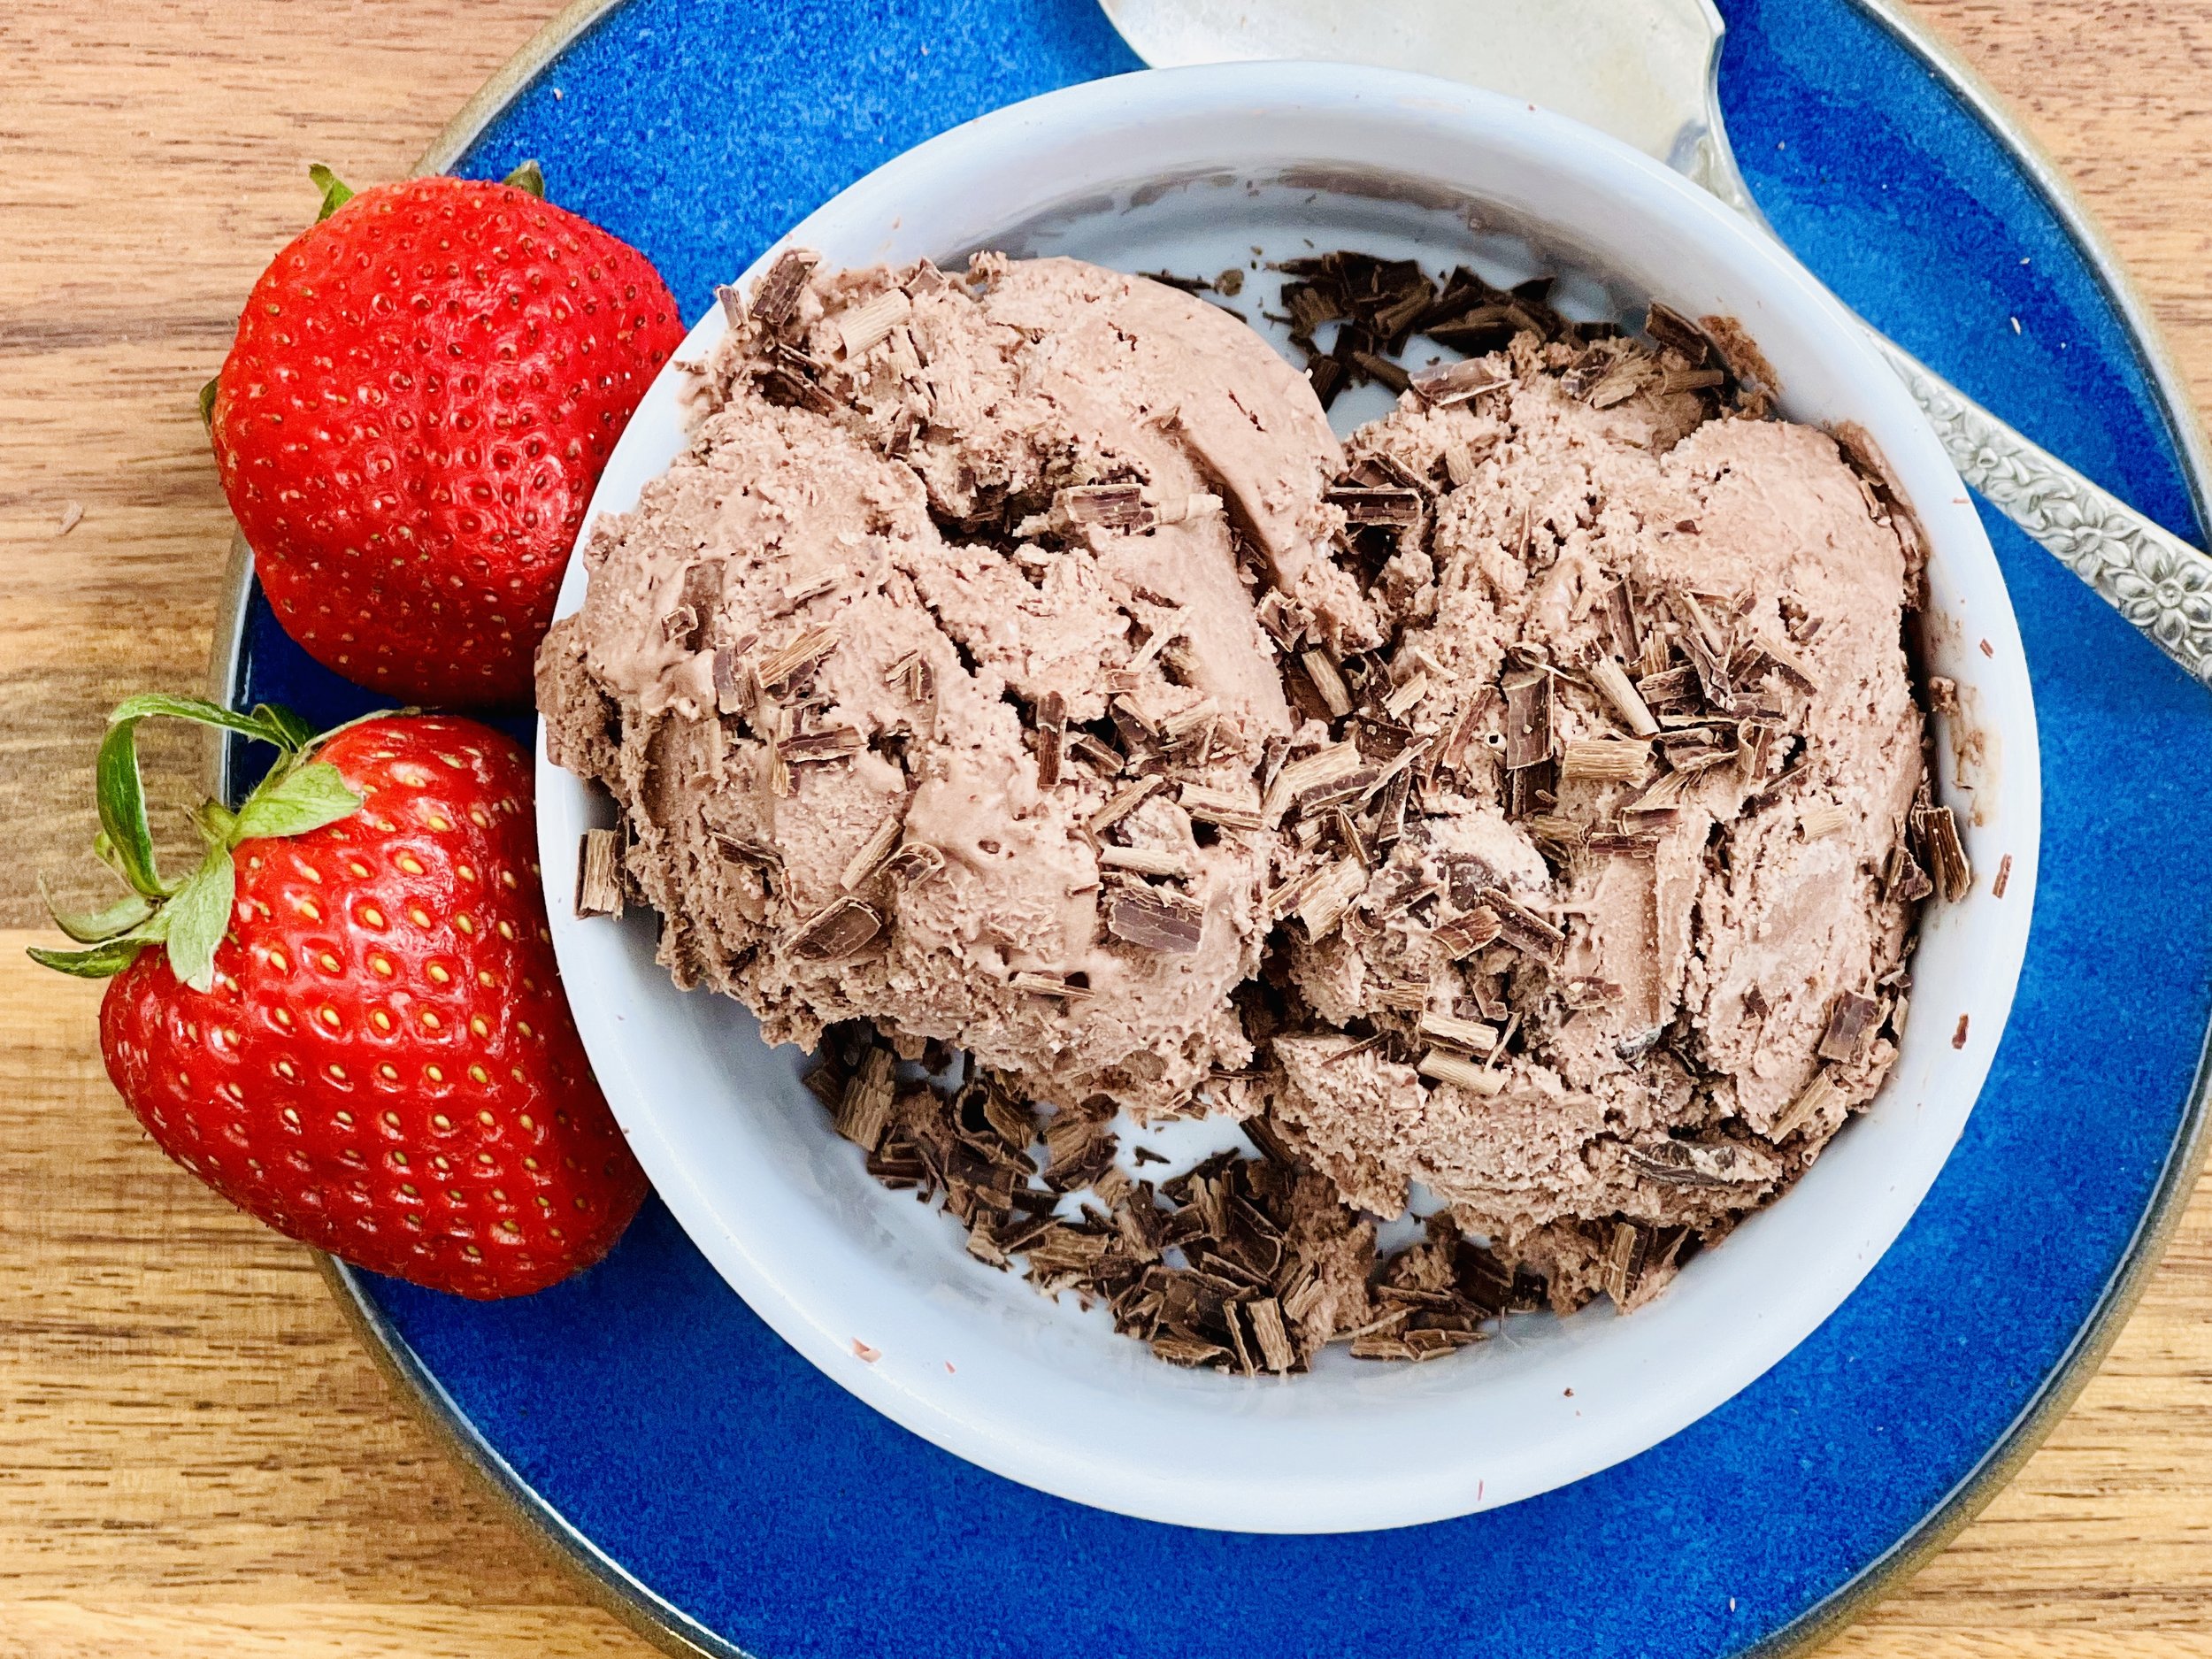
Easy No-Churn Chocolate Ice Cream (Low FODMAP)
15 Minutes prep • 4 Hours chill • Low FODMAP • Gluten-free • Serves 4 - 6
15 Minutes prep • 4 Hours chill • Low FODMAP • Gluten-free • Serves 4 - 6 • Ok to make ahead: Steps 1-2
Chocolate ice cream this creamy and rich is hard to find. Unless you make it yourself! This recipe comes together quickly and simply with two kinds of chocolate and real cream. These simple ingredients are the key to making it the best and easiest chocolate ice cream around. It needs a bit of chill time so it’s ideal to make it the night before you want to serve it. Eat it as is, or serve it with any of your favorite low FODMAP toppings.
Ingredients
2 cups heavy cream
1/2 cup superfine sugar (this is baking sugar, not confectioners sugar; you can substitute white sugar but it doesn’t dissolve as fast)
1/3 cup Dutch process cacao (I used Ghirardelli)
2 ounces bittersweet or semi-sweet chocolate, chopped (I used Ghirardelli 70% Extra Bittersweet)
1 teaspoon vanilla extract
1 pinch Kosher salt
Directions
(1) Prepare the ice cream: Put all ingredients, except the chopped chocolate, together in the bowl of your stand mixer fitted with the whisk attachment. Whisk until soft peaks form. Don’t keep whipping past the soft peaks stage. You’re not making whipped cream. Fold the chopped chocolate into the blended cream mixture.
(2) Freeze the ice cream: Put the whipped mixture into a container with some depth to it, cover tightly, and freeze until firm (about 3 - 4 hours or overnight).
Make-ahead note: At this point, the ice cream can be stored in an airtight container in the freezer for up to 4 weeks.
(3) Plate and serve: Remove and thaw for 2 - 3 minutes before scooping so the ice cream is nice and creamy.
Eat and enjoy every bite because you can!
Recipe note: I use Diamond Crystal Kosher salt in all my recipes because it has a wonderful flat and crisp flake that tastes delicious. It is also the least salty salt available so you can use it more liberally as a seasoning than you can table salt or sea salt. If you use another type of salt, you may need to reduce the amount so it is not over-salted.
Have a question you’d like to have answered? Email me at hello@ibsgamechanger.com
Link note: This post may contain affiliate links for you to easily purchase items that are linked. I may earn a small commission from qualifying purchases but none of this costs you a thing so feel free to use the links! In addition, for some items, I have provided a special discount code for IBS Game Changers so be sure to use the code when you purchase an item to get the discount that has been arranged just for you.
More Deliciously Low FODMAP™ dessert recipes
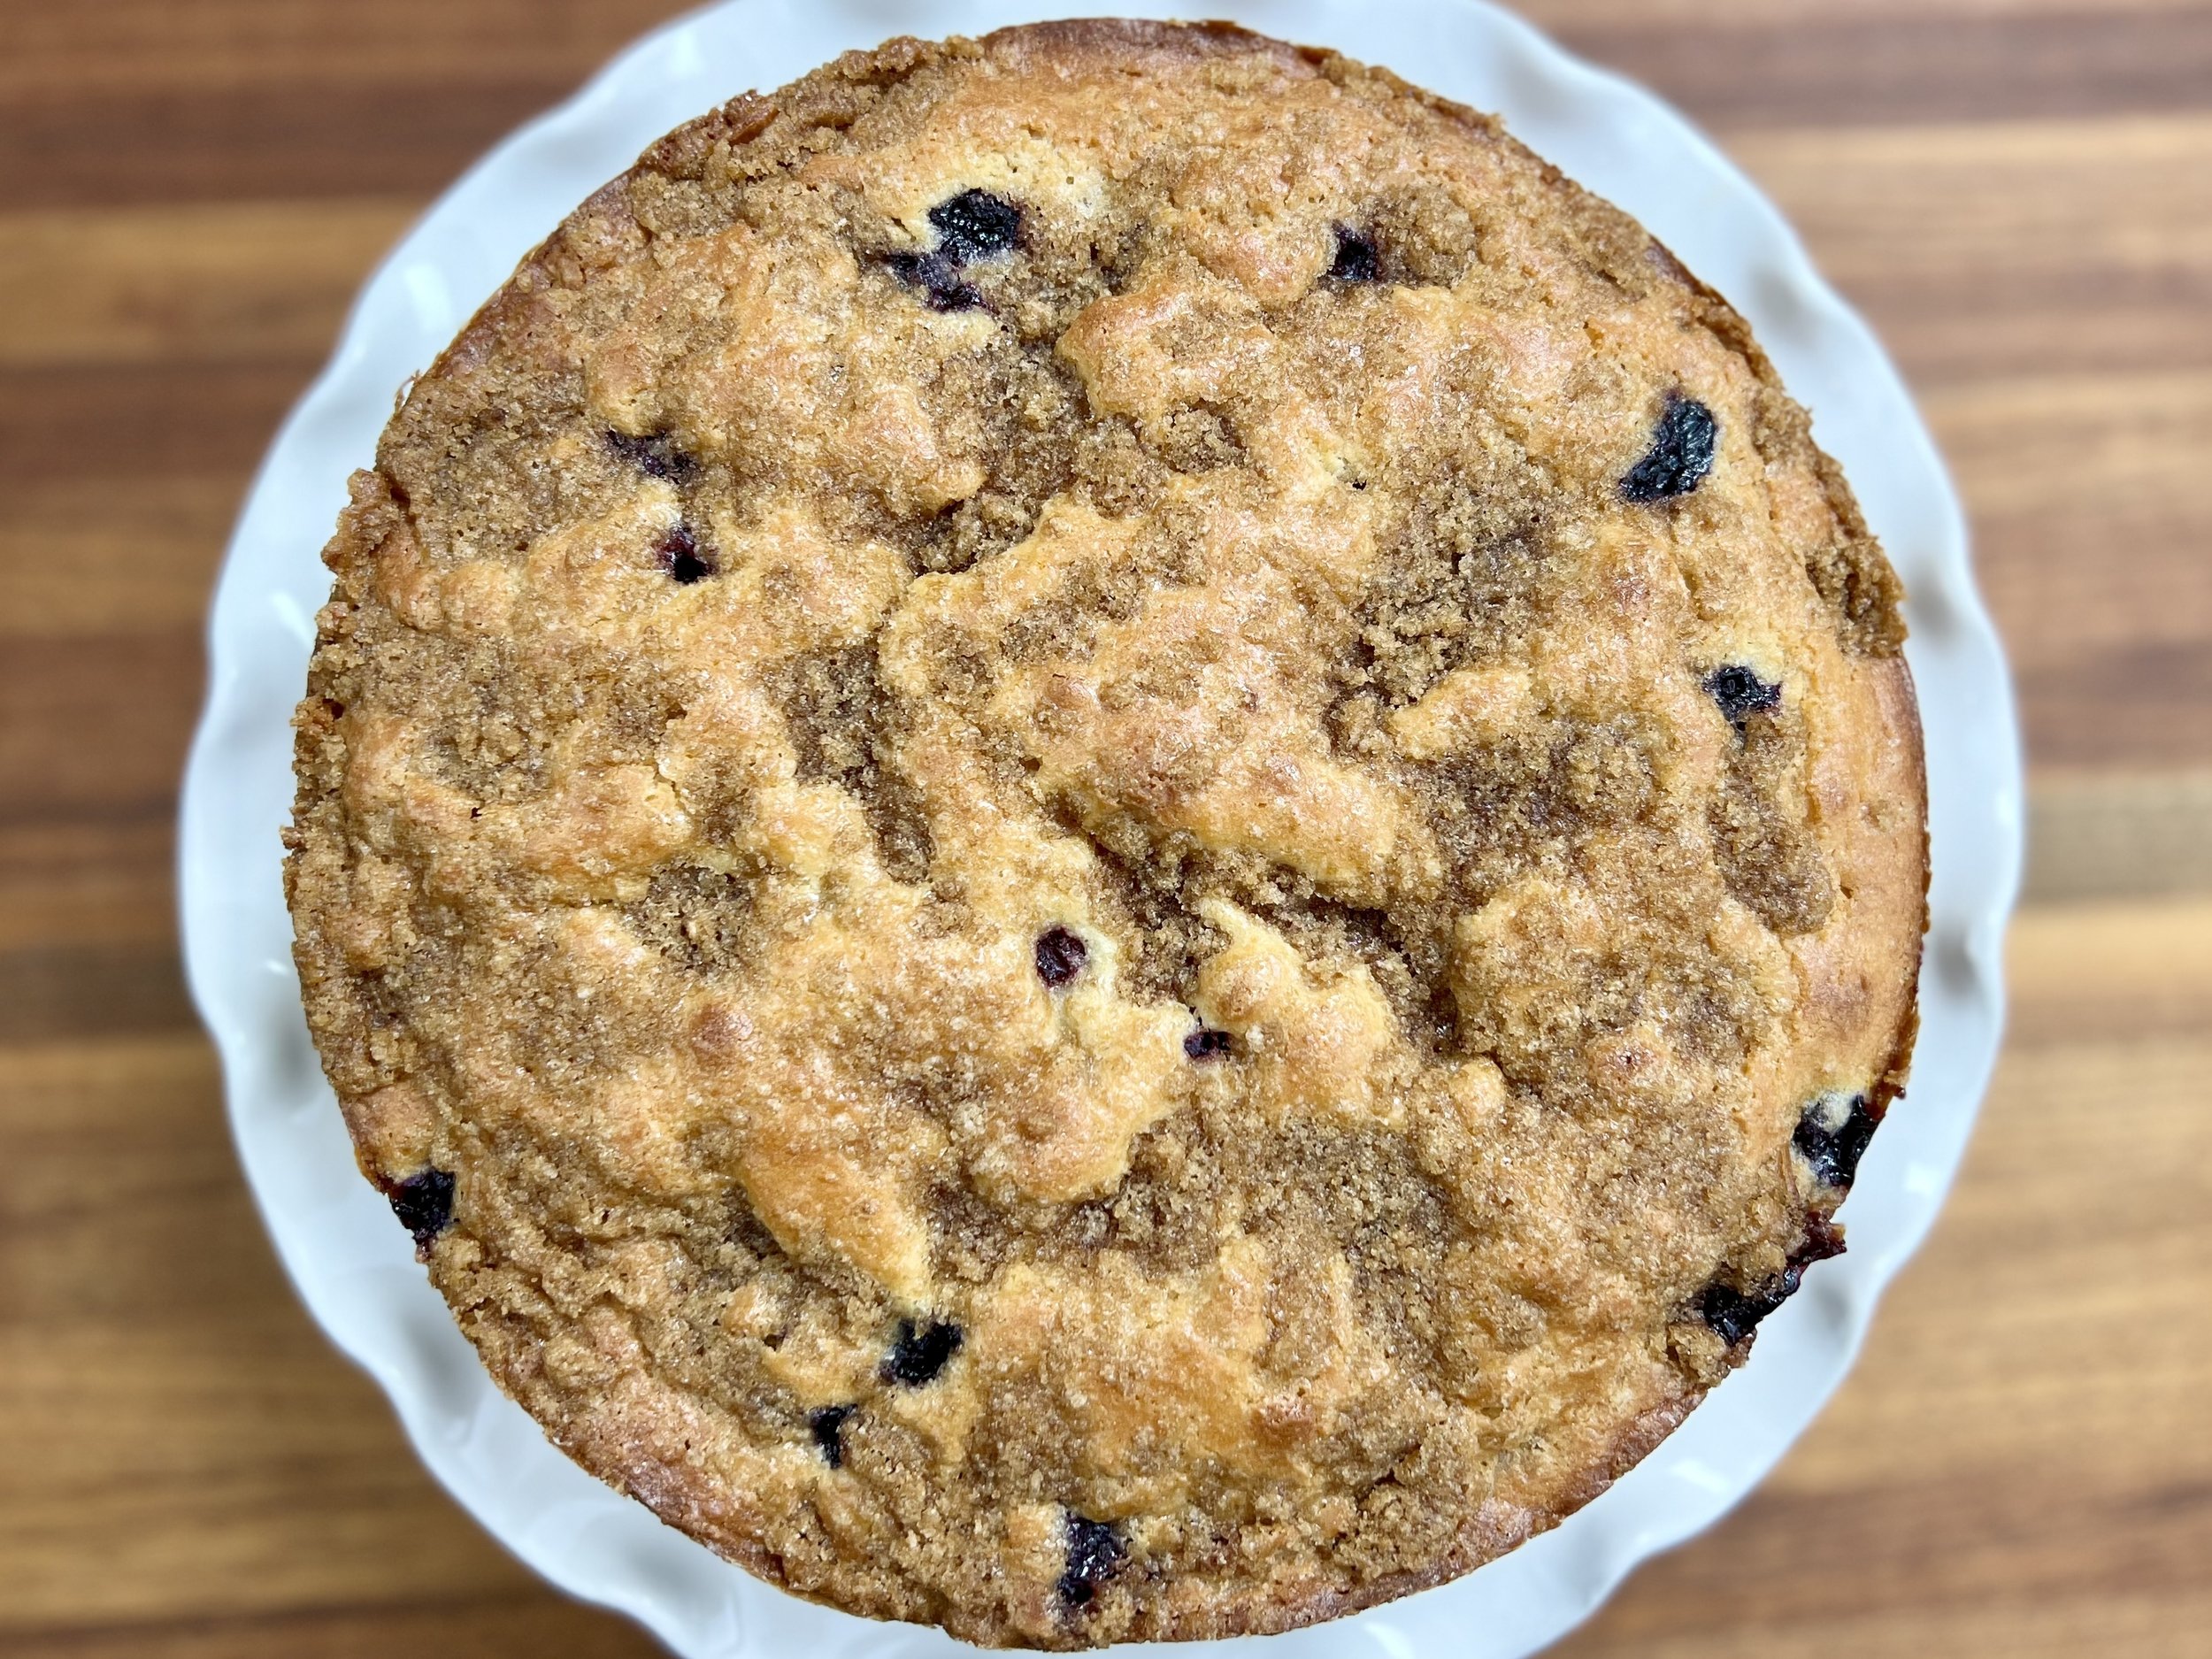
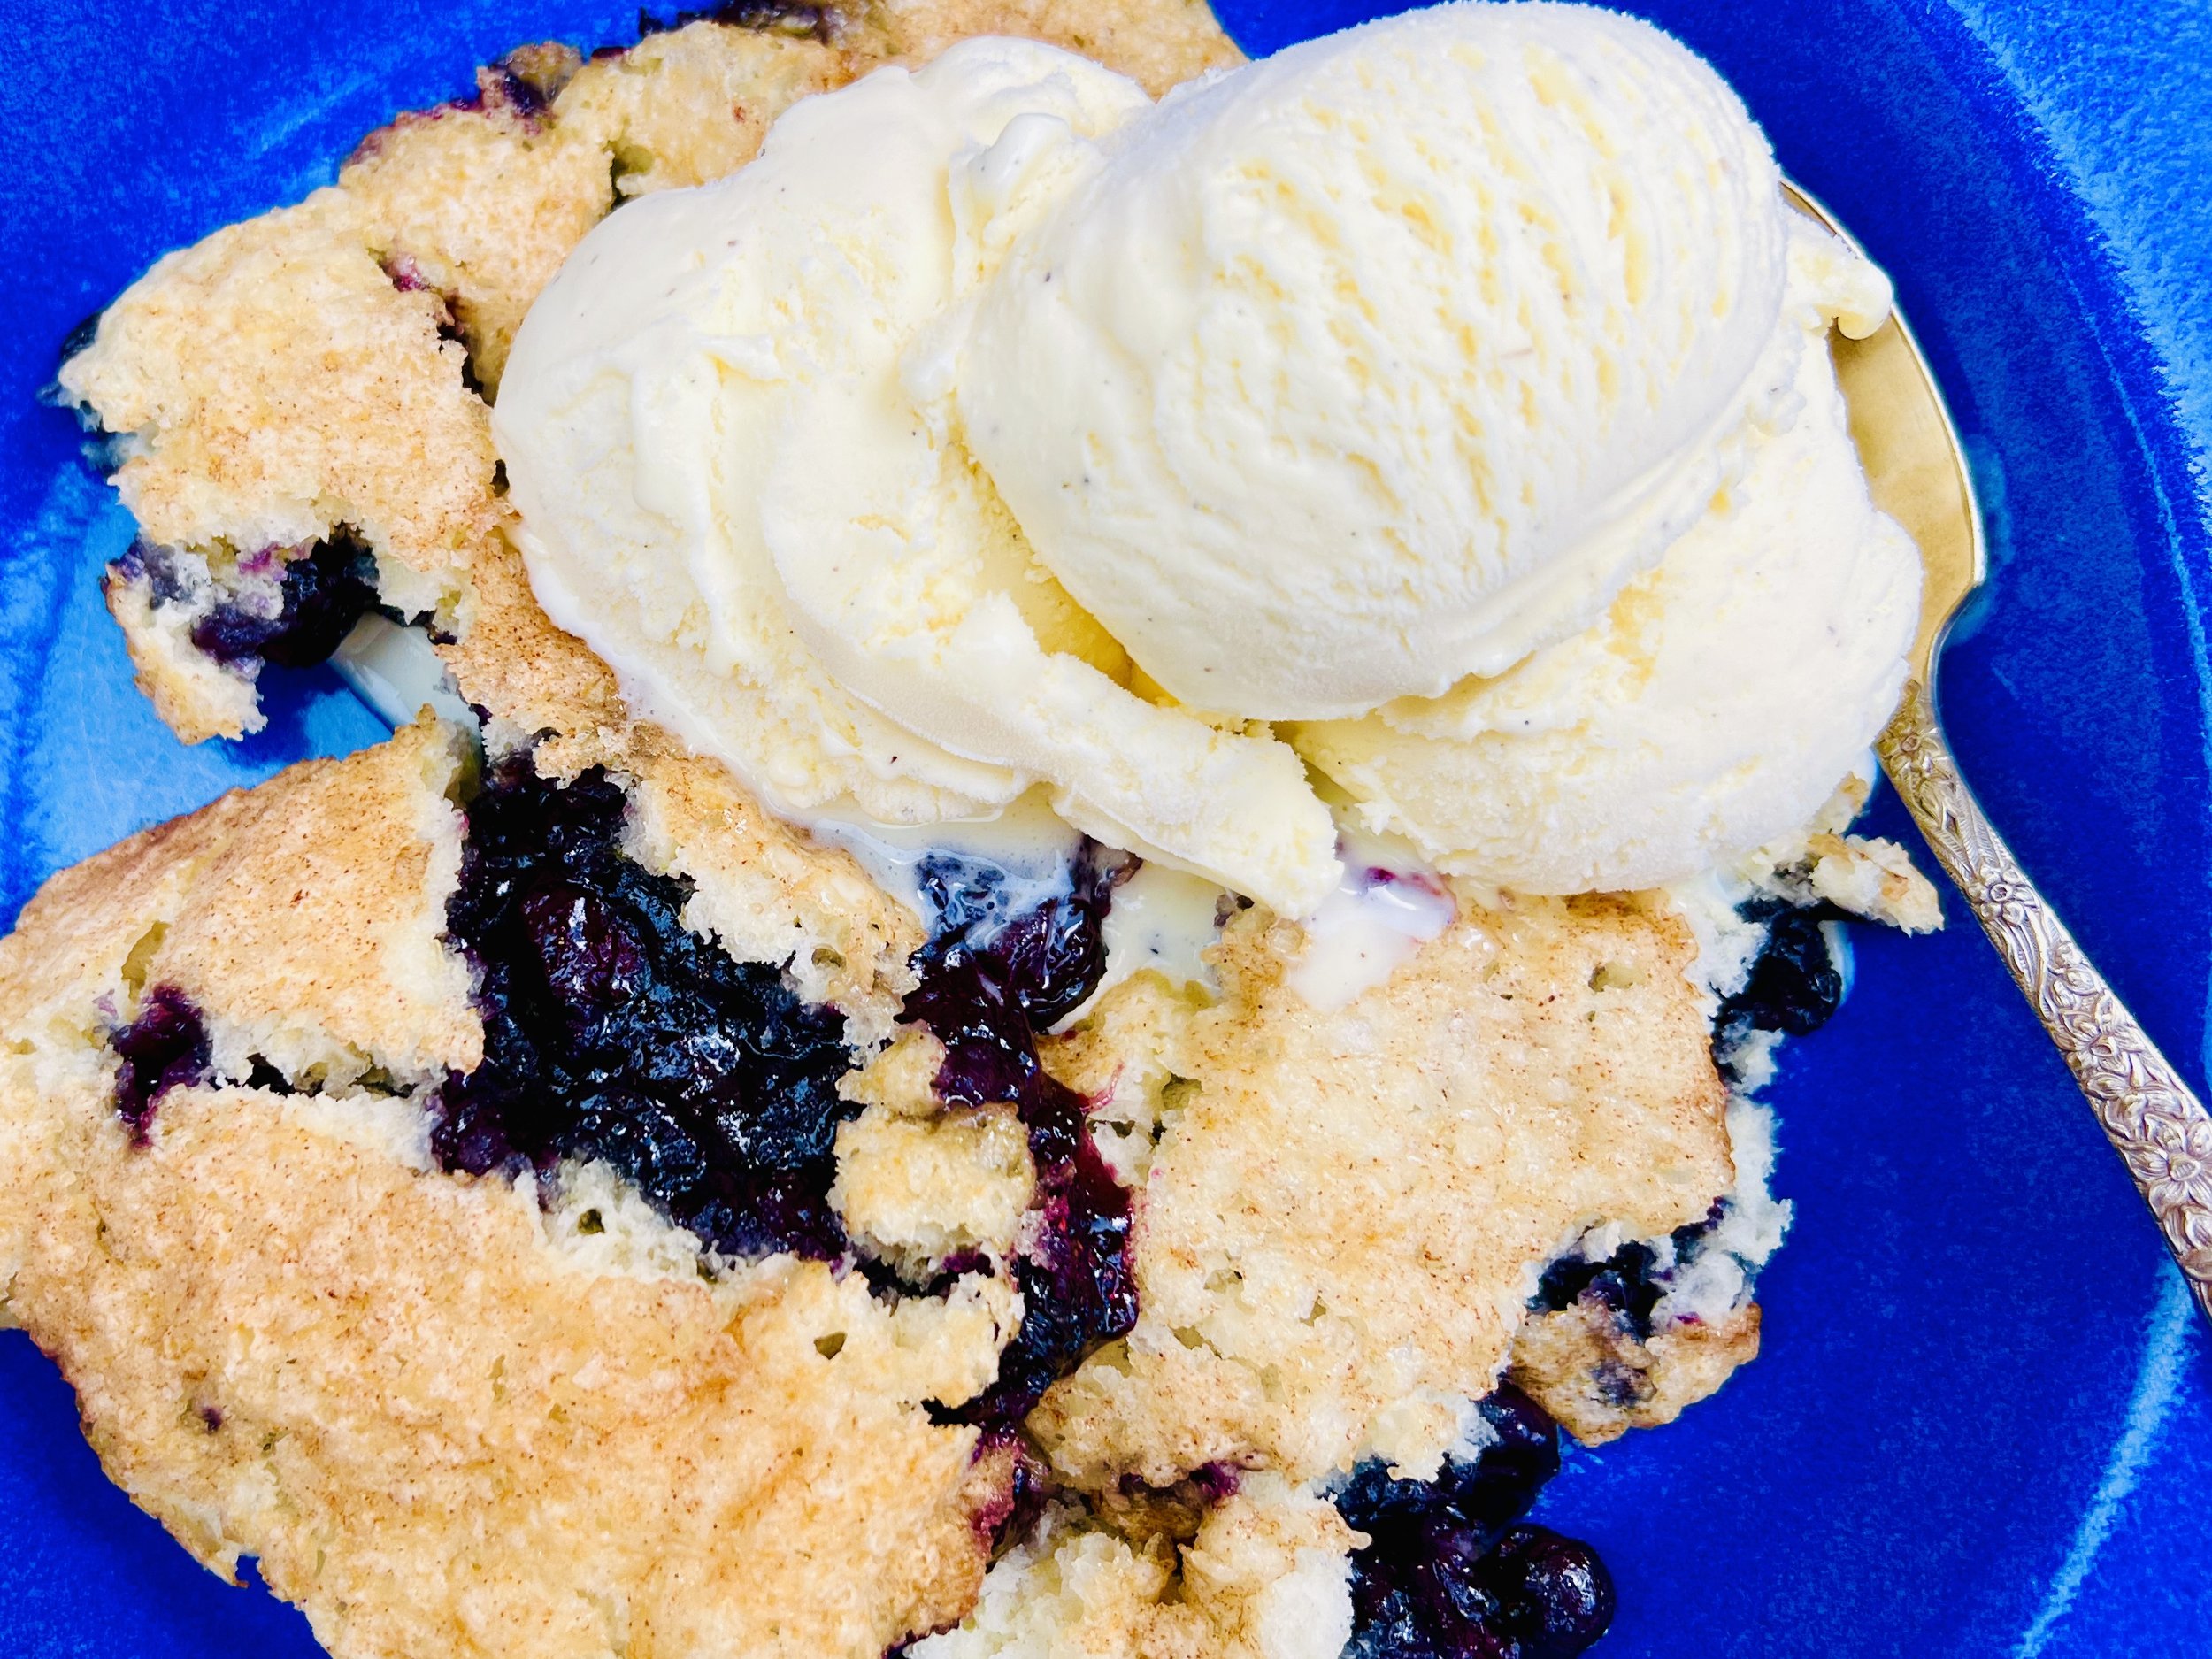
Sour Cream Blueberry Coffee Cake (Low FODMAP)
15 Minutes prep • 45 Minutes cook • Low FODMAP • Gluten-free • Serves 8
15 Minutes prep • 45 Minutes cook • Low FODMAP • Gluten-free • Serves 8 • Ok to make ahead: Steps 1-2
This is a classic. Tender cake with a crunchy streusel on top and in the middle with bright blueberries throughout. It’s comfort food that’s even more delicious when it’s warm with a bit of butter melting into it. Perfect for a slow Sunday morning with a cup of coffee and your slippers on. The kitchen will smell delightful so you’ll have to work fast before the house wakes up and realizes you’ve made something scrumptious!
Ingredients: Coffee Cake
1 stick (8 tablespoons) salted butter, at room temperature
1/2 cup granulated sugar
1 tablespoon lemon zest
1/2 cup lactose-free sour cream
1 tablespoon vanilla extract
3 large eggs, at room temperature
3/4 cup all-purpose gluten-free flour
1/4 cup gf Jules gluten-free flour (makes it lighter, but you can use all gluten-free all-purpose flour if you prefer)
3/4 cup almond flour
2 teaspoons baking powder
1/2 teaspoon Kosher salt
1 cup fresh or frozen blueberries
Ingredients: Streusel
1/2 cup light brown sugar
2 tablespoons gluten-free flour
2 tablespoons butter
Directions
(1) Prepare: Preheat the oven to 375 degrees F. Grease the bottom and sides of a 9-inch springform pan or (9 x 5-inch) loaf pan.
(2) Make the streusel: To make the streusel. Combine all ingredients in a bowl and mix until a crumble forms.
(3) Make the batter: In the bowl of your stand mixer, beat together the butter, sugar, and lemon zest until combined. Add the sour cream and vanilla, beating until smooth. Beat in the eggs, one at a time, until combined. Add the flour, almond flour, baking powder, and salt. Fold in the blueberries by hand so they don’t get crushed.
(4) Finish: Spoon half the batter into the prepared pan. Sprinkle 1/2 the streusel evenly over the batter. Add the remaining batter and then sprinkle evenly with the remaining streusel.
(5) Bake: Bake for 55-60 minutes, or until the center is just set and toothpick comes out clean.
(6) Plate and serve: Slice and serve warm with a pat of butter melting into the streusel topping.
Eat and enjoy every bite because you can!
Recipe note: I use Diamond Crystal Kosher salt in all my recipes because it has a wonderful flat and crisp flake that tastes delicious. It is also the least salty salt available so you can use it more liberally as a seasoning than you can table salt or sea salt. If you use another type of salt, you may need to reduce the amount so it is not over-salted.
Have a question you’d like to have answered? Email me at hello@ibsgamechanger.com
Link note: This post may contain affiliate links for you to easily purchase items that are linked. I may earn a small commission from qualifying purchases but none of this costs you a thing so feel free to use the links! In addition, for some items, I have provided a special discount code for IBS Game Changers so be sure to use the code when you purchase an item to get the discount that has been arranged just for you.
More Deliciously Low FODMAP™ dessert recipes
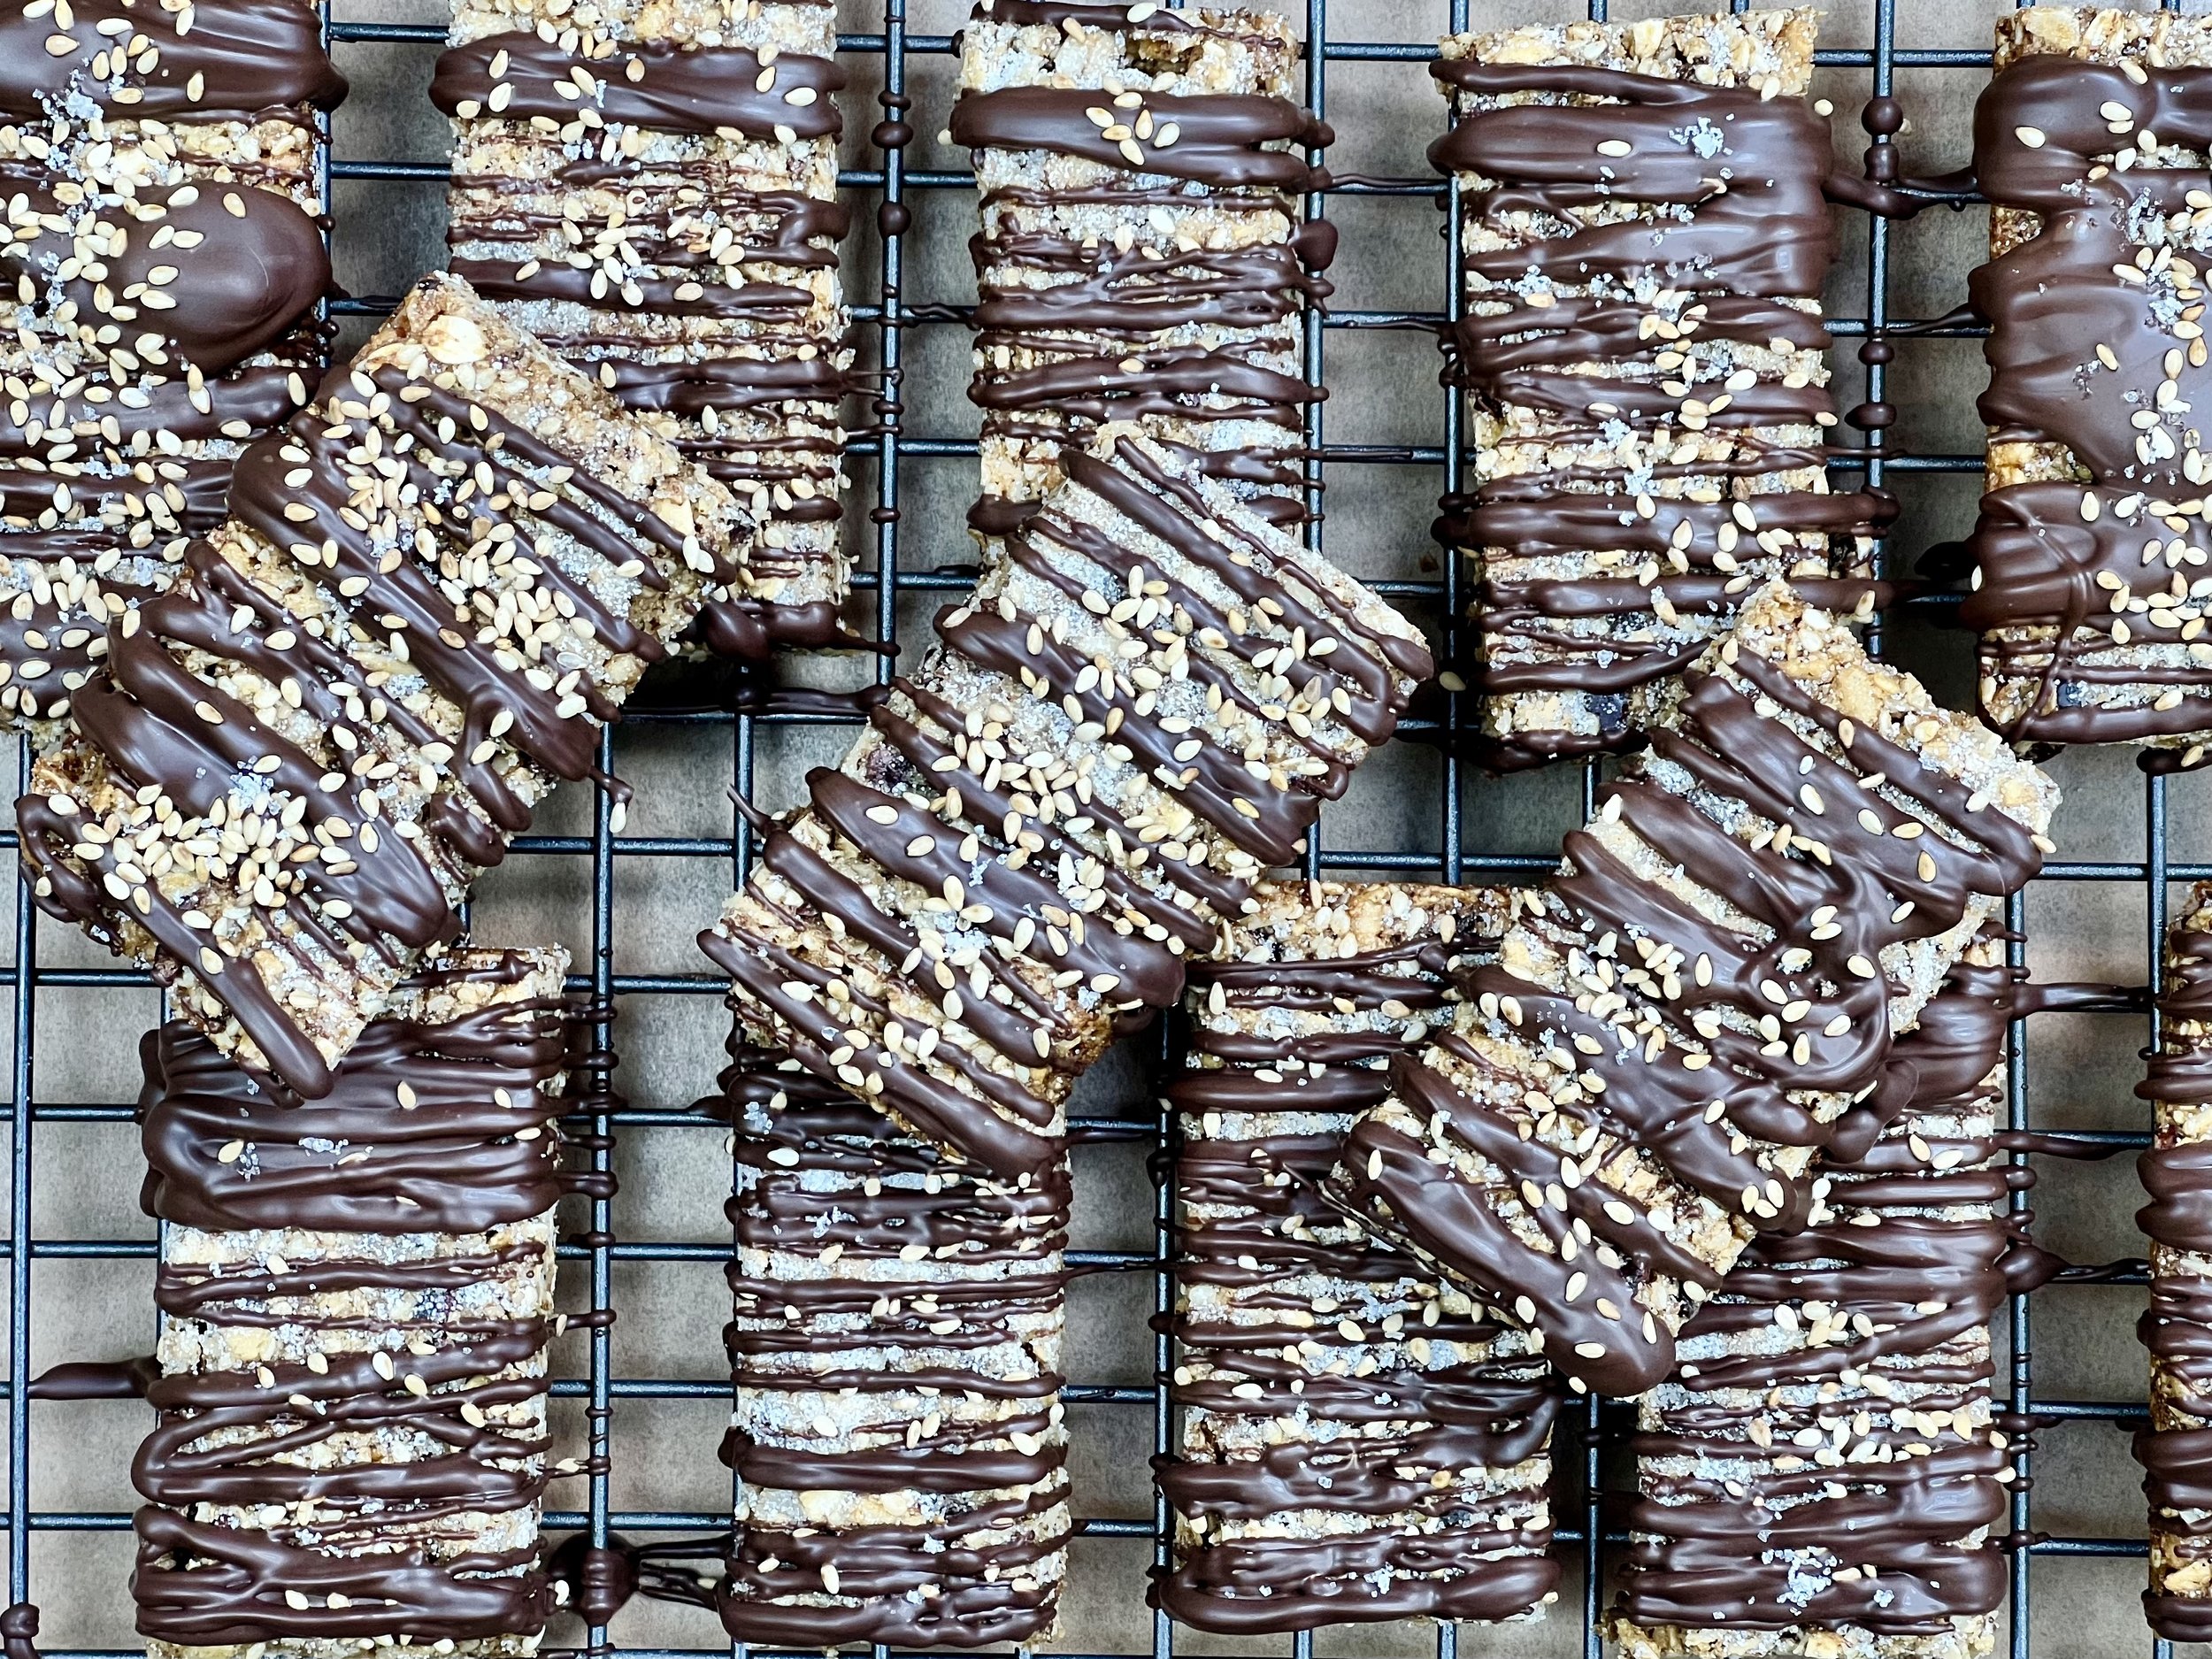
Sesame Almond Snack Bars (Low FODMAP)
15 Minutes prep • 20 Minutes cook • 30 Minutes cool • Low FODMAP • Gluten-free • Makes 18 bars
15 Minutes prep • 20 Minutes cook • 30 Minutes cool • Low FODMAP • Gluten-free • Makes 18 bars
I often get asked for links to low FODMAP portable snacks including granola bars and the like. The ones you buy off the shelf tend to be hard to find and quite pricey when you do find them. So, this recipe is an attempt to provide a crunchy/chewy and satisfying on-the-go snack that’s easy to make, minimally sweet, and maximally flavorful. The almonds, sesame seeds, flax seeds, and rolled oats provide a rich, nutty taste, while the combination of dark chocolate, cranberries, and a hint of salt brings out the perfect balance of salty sweetness. Join me in the kitchen and treat yourself to a homemade snack that's as easy to make as it is delightful to enjoy.
Ingredients
1 1/2 cups gluten-free old-fashioned oats
1/2 cup sesame seeds
1/2 cup gluten-free brown rice crisp cereal
1/2 cup raw almonds, chopped (optional)
1/2 cup dried cranberries, chopped (optional)
1/4 cup almond flour
1/4 cup cacao nibs
3 tablespoons ground flax seeds
1 tablespoon psyllium husk powder or chia seeds
1/2 teaspoon Kosher salt
1/4 teaspoon baking soda
1/4 cup maple syrup
1/4 cup corn syrup*
2 tablespoons coconut oil
2 teaspoons vanilla extract
5 ounces tempered dark chocolate (I use Ghirardelli Dark Chocolate melting Wafers)
2 tablespoons toasted sesame seeds, for topping
Flakey salt (optional) for topping
Directions
(1) Prepare: Preheat oven to 350 degrees F. Line an 8x8 inch square pan with parchment paper.
(2) Blend dry ingredients: In a bowl, mix the oats, sesame seeds, brown rice crisps, chopped almonds, almond flour, ground flax seed, psyllium husk or chia seeds, and baking soda.
(3) Heat the liquid: Warm the maple syrup, corn syrup, and coconut oil together in the microwave. Stir, add vanilla extract, then pour over the oats. Stir well to coat all the dry ingredients with the maple syrup mixture. Press the dough into the prepared pan and flatten it out with a rubber spatula. Press the dough down so it’s nicely compacted.
(4) Bake: Bake for 20 minutes, until golden on top. Let cool for 10-15 minutes, then remove the bars and the parchment from the pan to a cutting board. Cut into squares or bars.
(5) Finish: Melt dark chocolate melting wafers (tempered chocolate) in the microwave and drizzle the melted chocolate over the bars. Sprinkle with the toasted sesame seeds and flaky salt. Let stand until the chocolate hardens (about 15 minutes—depending on the temperature in your kitchen. Put in the refrigerator or freezer if you’re in a rush). Store extras in an airtight container.
Eat and enjoy every bite because you can!
Recipe note:
*I use Karo brand corn syrup, which contains no high-fructose corn syrup (HFCS is high in FODMAPS).
I use Diamond Crystal Kosher salt in all my recipes because it has a wonderful flat and crisp flake that tastes delicious. It is also the least salty salt available so you can use it more liberally as a seasoning than you can table salt or sea salt. If you use another type of salt, you may need to reduce the amount so it is not over-salted.
Have a question you’d like to have answered? Email me at hello@ibsgamechanger.com
Link note: This post may contain affiliate links for you to easily purchase items that are linked. I may earn a small commission from qualifying purchases but none of this costs you a thing so feel free to use the links! In addition, for some items, I have provided a special discount code for IBS Game Changers so be sure to use the code when you purchase an item to get the discount that has been arranged just for you.
More Deliciously Low FODMAP™ dessert recipes
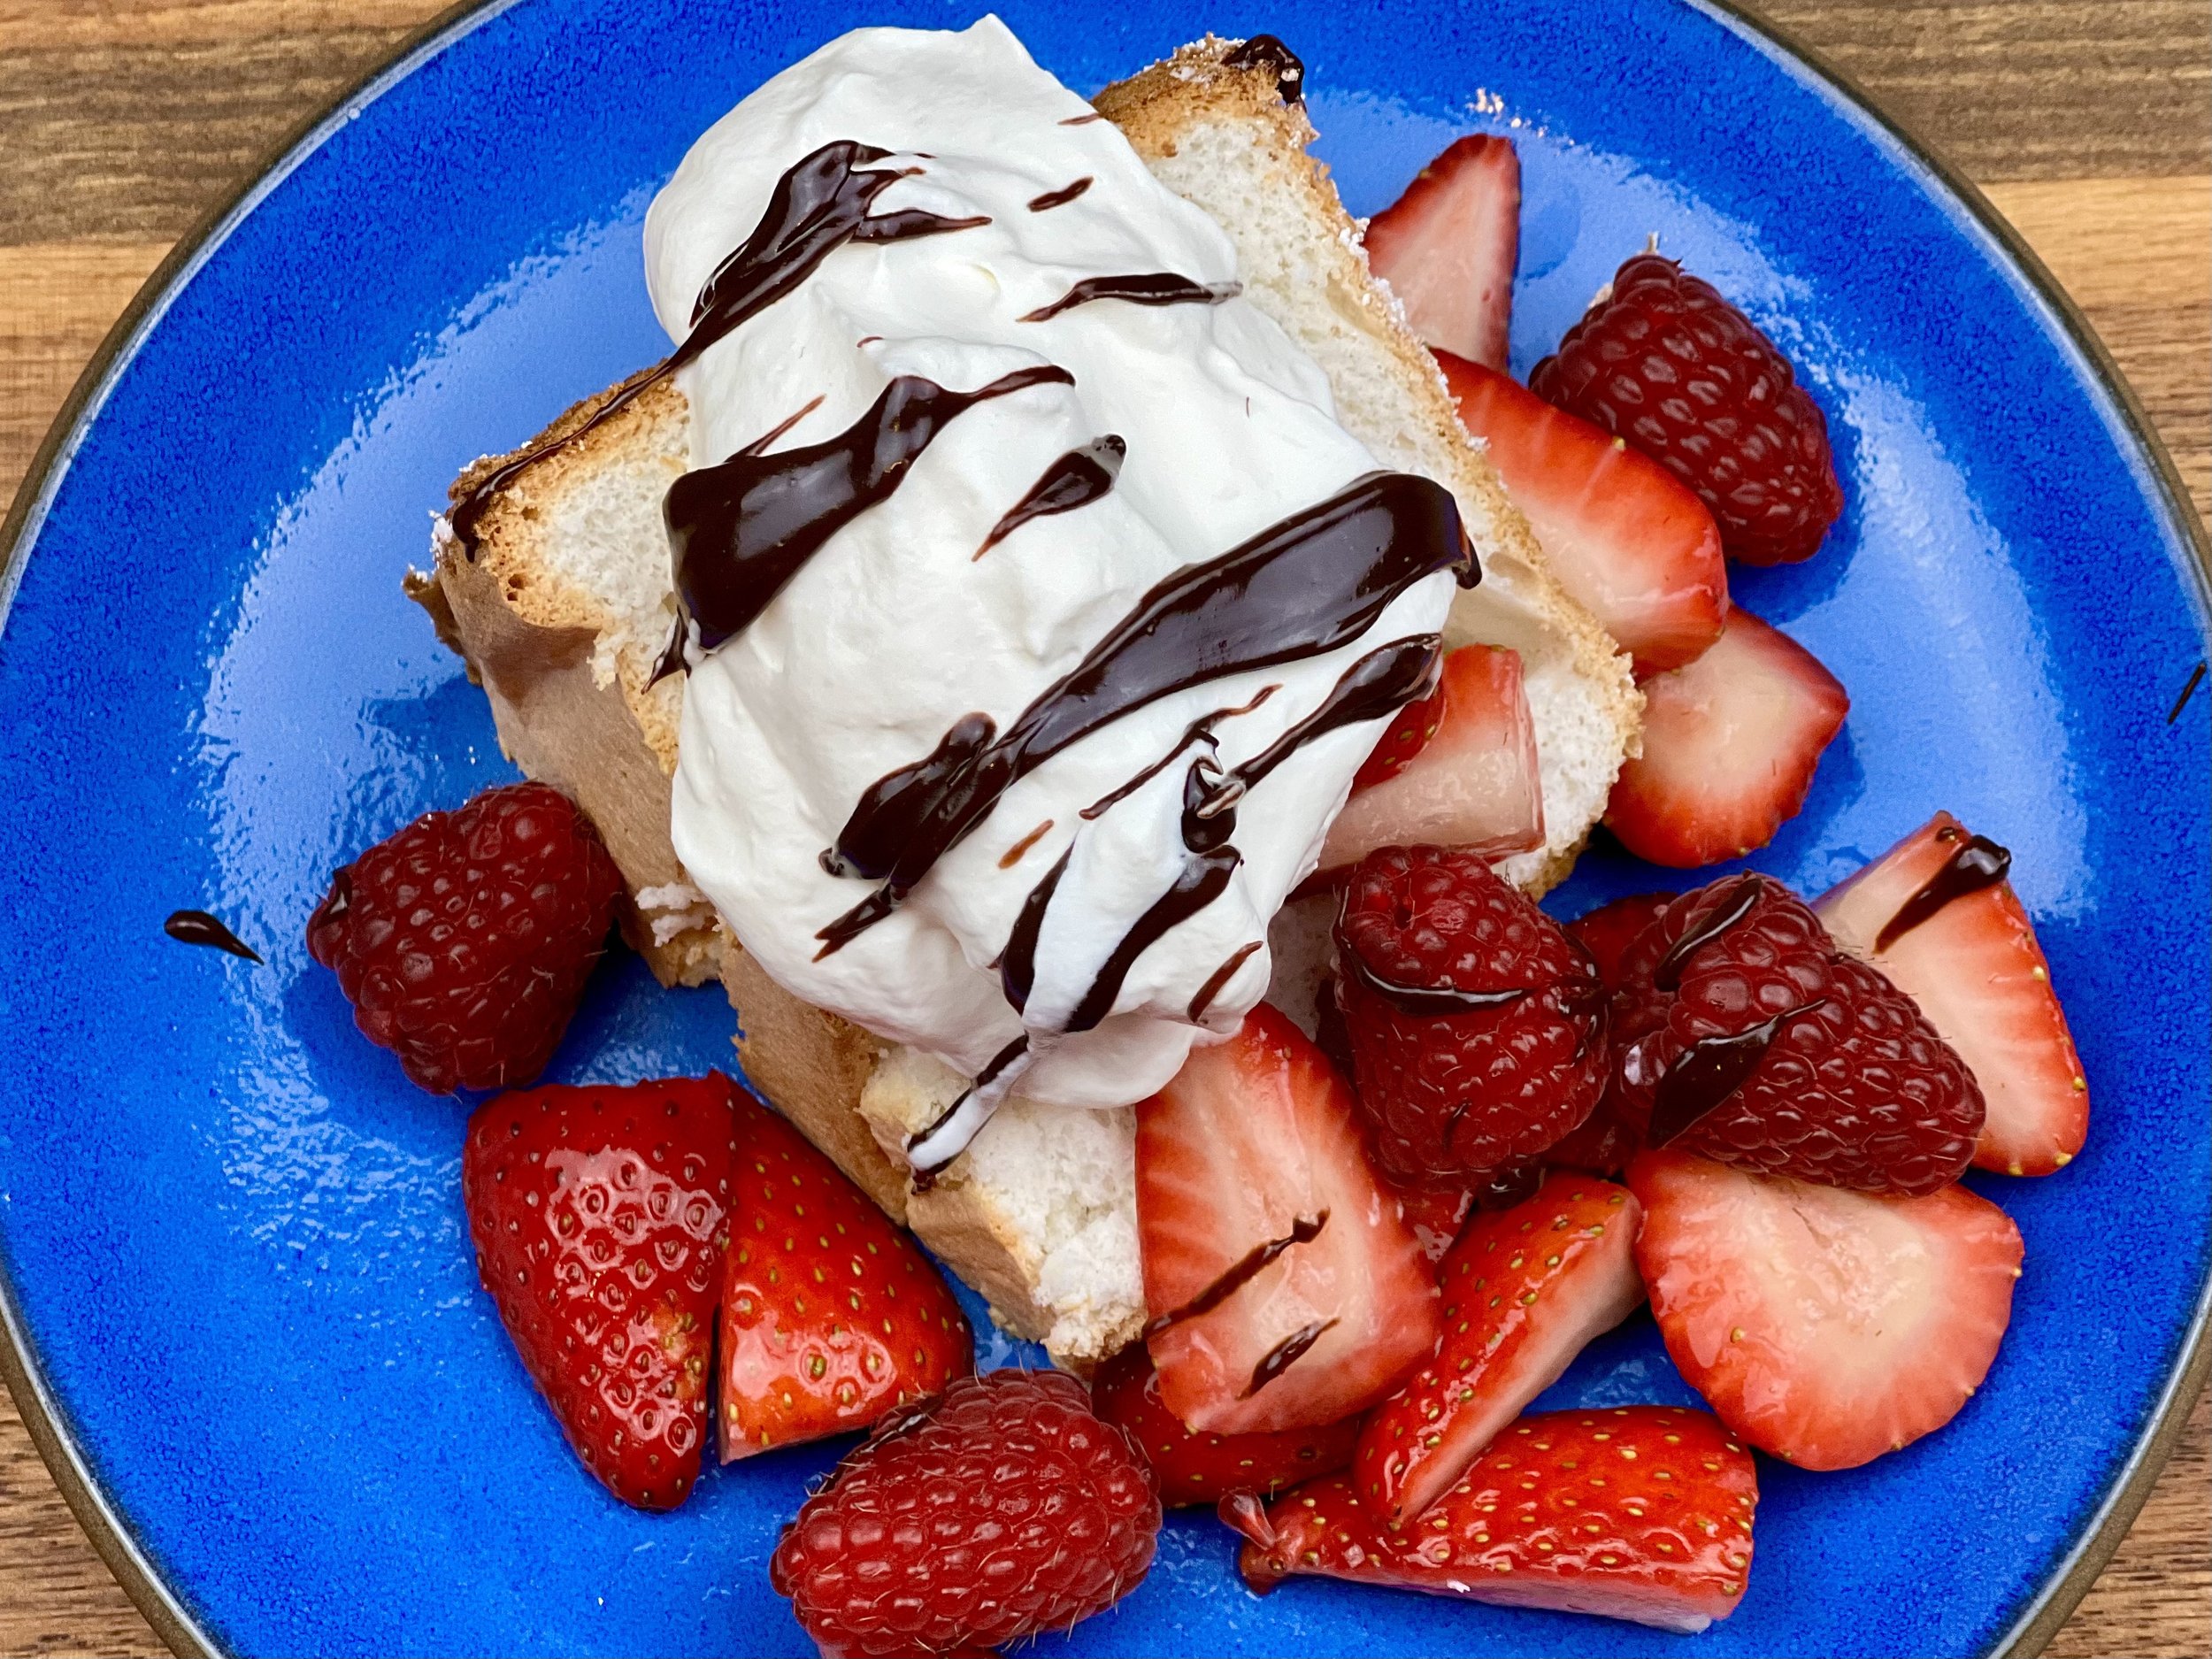
Perfect Angel Food Cake (Low FODMAP)
20 Minutes prep • 40 Minutes cook • Low FODMAP • Gluten-free • Lactose-free • Serves 8
20 Minutes prep • 40 Minutes cook • Low FODMAP • Gluten-free • Lactose-free • Serves 8
Thought you would never be able to enjoy Angel Food Cake while following a gluten-free diet? Think again and embrace the joy of having your cake and eating it too! Indulge in my Perfect Gluten-Free Angel Food Cake that captures the light and airy essence of the classic, but completely gluten-free. This cake is not only delicious, it's a testament to gluten-free desserts that can be just as light and delicious as the original. The secret lies in the seamless blend of gluten-free flour alternatives, ensuring a light and tender crumb that satisfies even the most discerning Angel Food Cake enthusiast.
Ingredients
1 1/2 cups egg whites from 10-11 large eggs
1/2 cup gluten-free all-purpose flour
1/2 cup GF Jules gluten-free baking flour
3/4 cup powdered sugar
3/4 cup + 2 tablespoons superfine baking sugar (or granulated sugar that has been pulsed in the food processor a few times)
1/2 teaspoon Kosher salt
1 1/2 teaspoons cream of tartar
1 tablespoon vanilla extract
1/4 teaspoon almond extract
Directions
(1) Prepare: Separate the egg whites and allow them to sit at room temperature for about 30 minutes. Preheat the oven to 350 degrees F. In the bowl of a food processor, pulse together the two flours and the powdered sugar until well blended, about 30 seconds. Set aside in a bowl.
Put the granulated sugar in the bowl of your food processor and pulse the sugar about 5-7 times. You don't want to turn it into powdered sugar, just a little finer than it normally is. Set aside.
(2) Beat the egg whites: Place the egg whites in the clean bowl of a stand mixer. With the whisk attachment, beat on high until the egg whites start to foam, then add the salt and cream of tartar and whip a few more seconds to combine. Add the vanilla and almond extract and continue whipping on high speed for another 30 seconds.
(3) Add the sugar: Add the granulated sugar slowly, about 1 tablespoon at a time to the egg whites while they are whipping. Continue whipping until stiff peaks form. (Remove the whisk attachment and lift it out of the mixture—if the peaks left behind stay standing, you have reached “stiff peak” stage.)
(4) Add the dry ingredients: Slowly fold in the dry ingredients 1/3 at a time with a spatula. Do this carefully and slowly so you don't deflate the egg whites. (This is the key to light and airy angel food cake.) Scoop into an ungreased 10-inch tube or round cake pan.
(5) Bake: Bake at 350 degrees F for about 35-40 minutes until lightly golden. Immediately invert the pan onto a cooling rack when you remove it from the oven. Cool completely then run a knife along the edges of the pan and carefully plate the cake.
Eat and enjoy every bite because you can!
Recipe note: I use Diamond Crystal Kosher salt in all my recipes because it has a wonderful flat and crisp flake that tastes delicious. It is also the least salty salt available so you can use it more liberally as a seasoning than you can table salt or sea salt. If you use another type of salt, you may need to reduce the amount so it is not over-salted.
Have a question you’d like to have answered? Email me at hello@ibsgamechanger.com
Link note: This post may contain affiliate links for you to easily purchase items that are linked. I may earn a small commission from qualifying purchases but none of this costs you a thing so feel free to use the links! In addition, for some items, I have provided a special discount code for IBS Game Changers so be sure to use the code when you purchase an item to get the discount that has been arranged just for you.
More Deliciously Low FODMAP™ dessert recipes
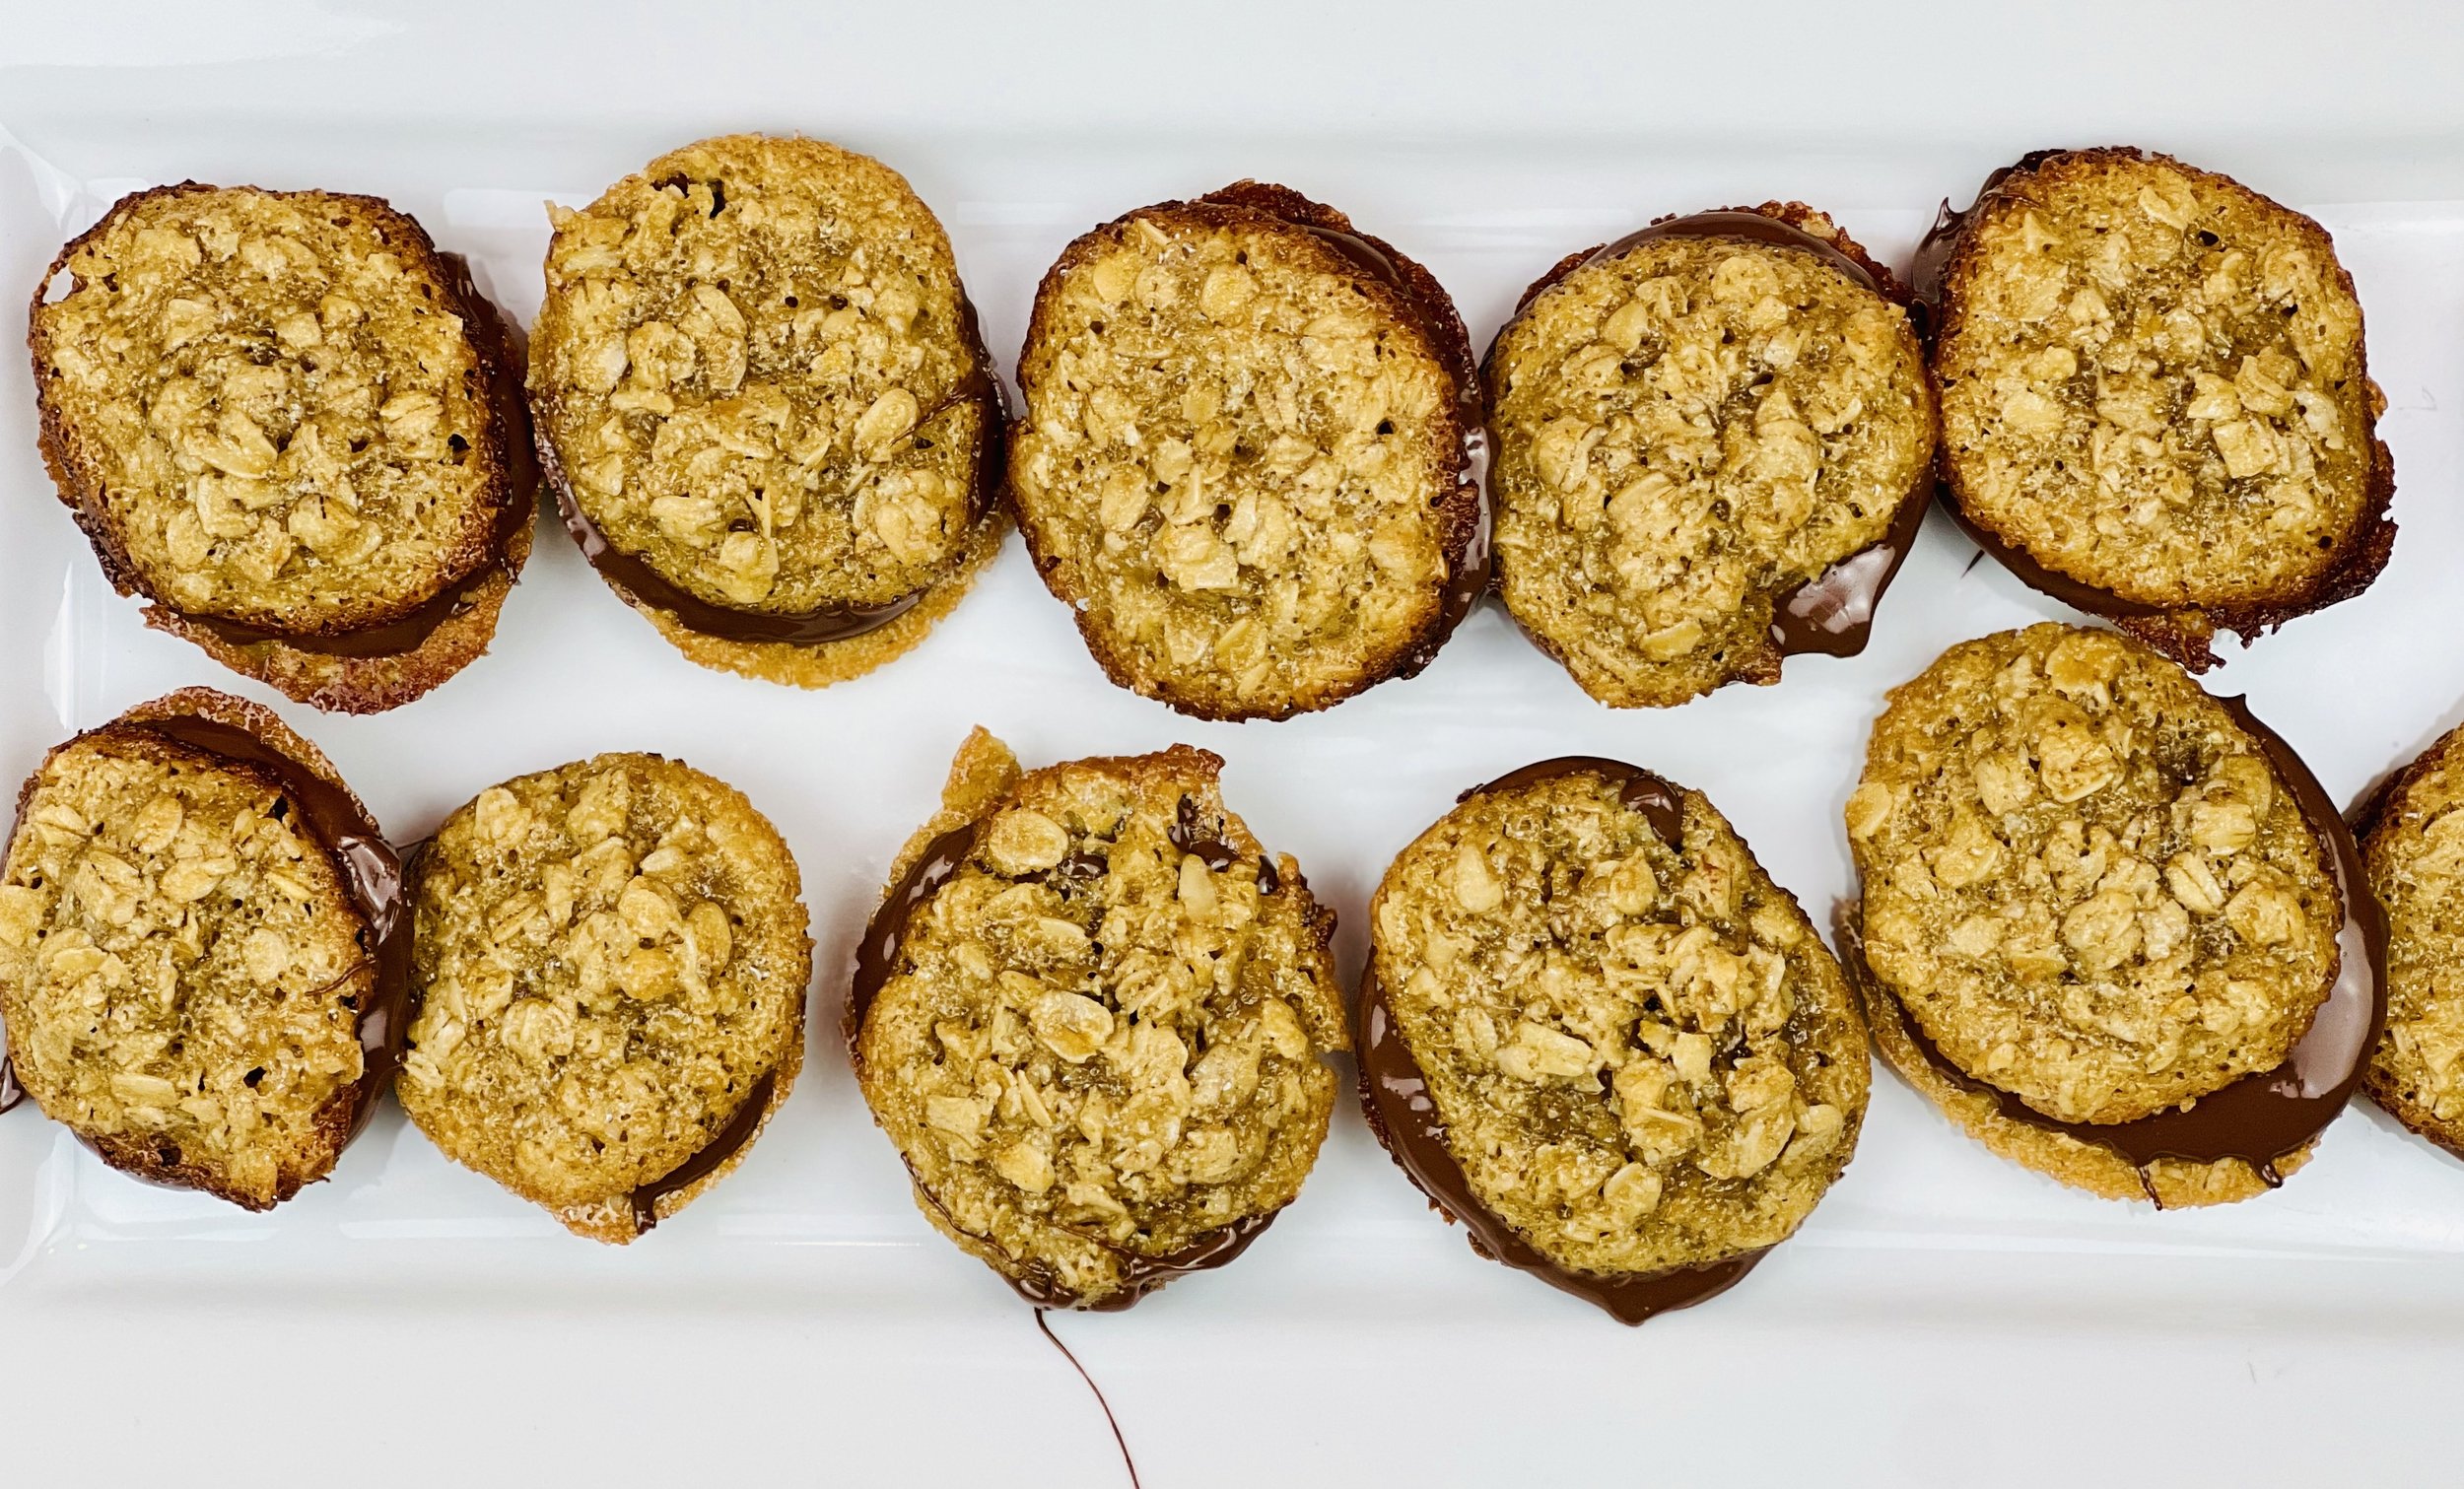
Chocolate Oatmeal Cookies (Low FODMAP)
20 Minutes prep • 10 Minutes cook • Low FODMAP • Gluten-free • Makes 12 Sandwiched Cookies
20 Minutes prep • 10 Minutes cook • Low FODMAP • Gluten-free • Makes 12 Sandwiched Cookies
Experience the best of two worlds with my delicious Chocolate Oatmeal Cookies—a delightful fusion of classic buttery oatmeal cookies and the indulgent richness of chocolate. Each bite promises just the right amount of each. Get ready to embark on a yummy journey of taste where the rustic charm of oatmeal cookies meets the decadent taste of chocolate in every delightful bite.
Ingredients
1 stick (8 tablespoons) salted butter
1/2 cup packed brown sugar
1 tablespoon corn syrup (see recipe note)
1 teaspoon vanilla extract
1 cup gluten-free rolled oats
1/4 cup almond flour
1/2 teaspoon kosher salt
1 egg white
1 1/2 cups semi-sweet chocolate chips, melted
Directions
(1) Prepare: Position racks in the upper and lower thirds of the oven. Preheat the oven to 350 degrees F. Line 2 baking sheets with parchment paper.
(2) Melt the butter and sugar: In a skillet over medium heat, melt the butter together with the brown sugar. Bring to a boil and cook for 1 minute, until the sugar dissolves and starts to look like caramel. Remove from the heat and transfer to a bowl. Whisk in the corn syrup and vanilla, and keep whisking until smooth and glossy. Add the oats, almond flour, and salt stirring until well combined. Let cool for 5 minutes, then stir in the egg white. Let the dough sit for 10 minutes to thicken.
(3) Bake: Drop a heaping teaspoon-size amount of dough on the prepared baking sheets, leaving about 3 inches of space between each one. Bake for 7-9 minutes until golden brown around the edges. Allow the cookies to cool on the baking sheet for 5 minutes, then transfer to a wire rack to cook completely.
(4) Melt the chocolate: Put the chocolate in a microwave-safe bowl or large measuring cup. Heat in 30-second increments, stirring once the chocolate has really started to melt. Keep heating and stirring just until the chocolate is smooth when you stir it.
(5) Sandwich the cookies: Put a dollop of melted chocolate on the bottom of one cookie and sandwich it together with another cookie of similar shape/size. Continue until all cookies have been paired and sandwiched.
(6) Plate and serve: Let sit at room temperature until the chocolate hardens, or refrigerate if you’re in a hurry. Store cookies in an airtight container for up to 4 days.
Eat and enjoy every bite because you can!
Recipe note: I use Diamond Crystal Kosher salt in all my recipes because it has a wonderful flat and crisp flake that tastes delicious. It is also the least salty salt available so you can use it more liberally as a seasoning than you can table salt or sea salt. If you use another type of salt, you may need to reduce the amount so it is not over-salted.
Recipe note: Please use Karo brand corn syrup, which contains no high-fructose corn syrup (HFCS is high in FODMAPS).
When you are following a low FODMAP diet, overconsumption of sugar of any sort is not recommended. So, even though you may want to eat the whole pan of treats, cut them into squares and eat only one to allow yourself a treat without triggering your IBS symptoms. And, if you are highly sensitive to fructose, you may not be able to tolerate any sweet desserts. You are your own best judge of your tolerance for any potential IBS trigger.
Have a question you’d like to have answered? Email me at hello@ibsgamechanger.com
Link note: This post may contain affiliate links for you to easily purchase items that are linked. I may earn a small commission from qualifying purchases but none of this costs you a thing so feel free to use the links! In addition, for some items, I have provided a special discount code for IBS Game Changers so be sure to use the code when you purchase an item to get the discount that has been arranged just for you.
More Deliciously Low FODMAP™ dessert recipes
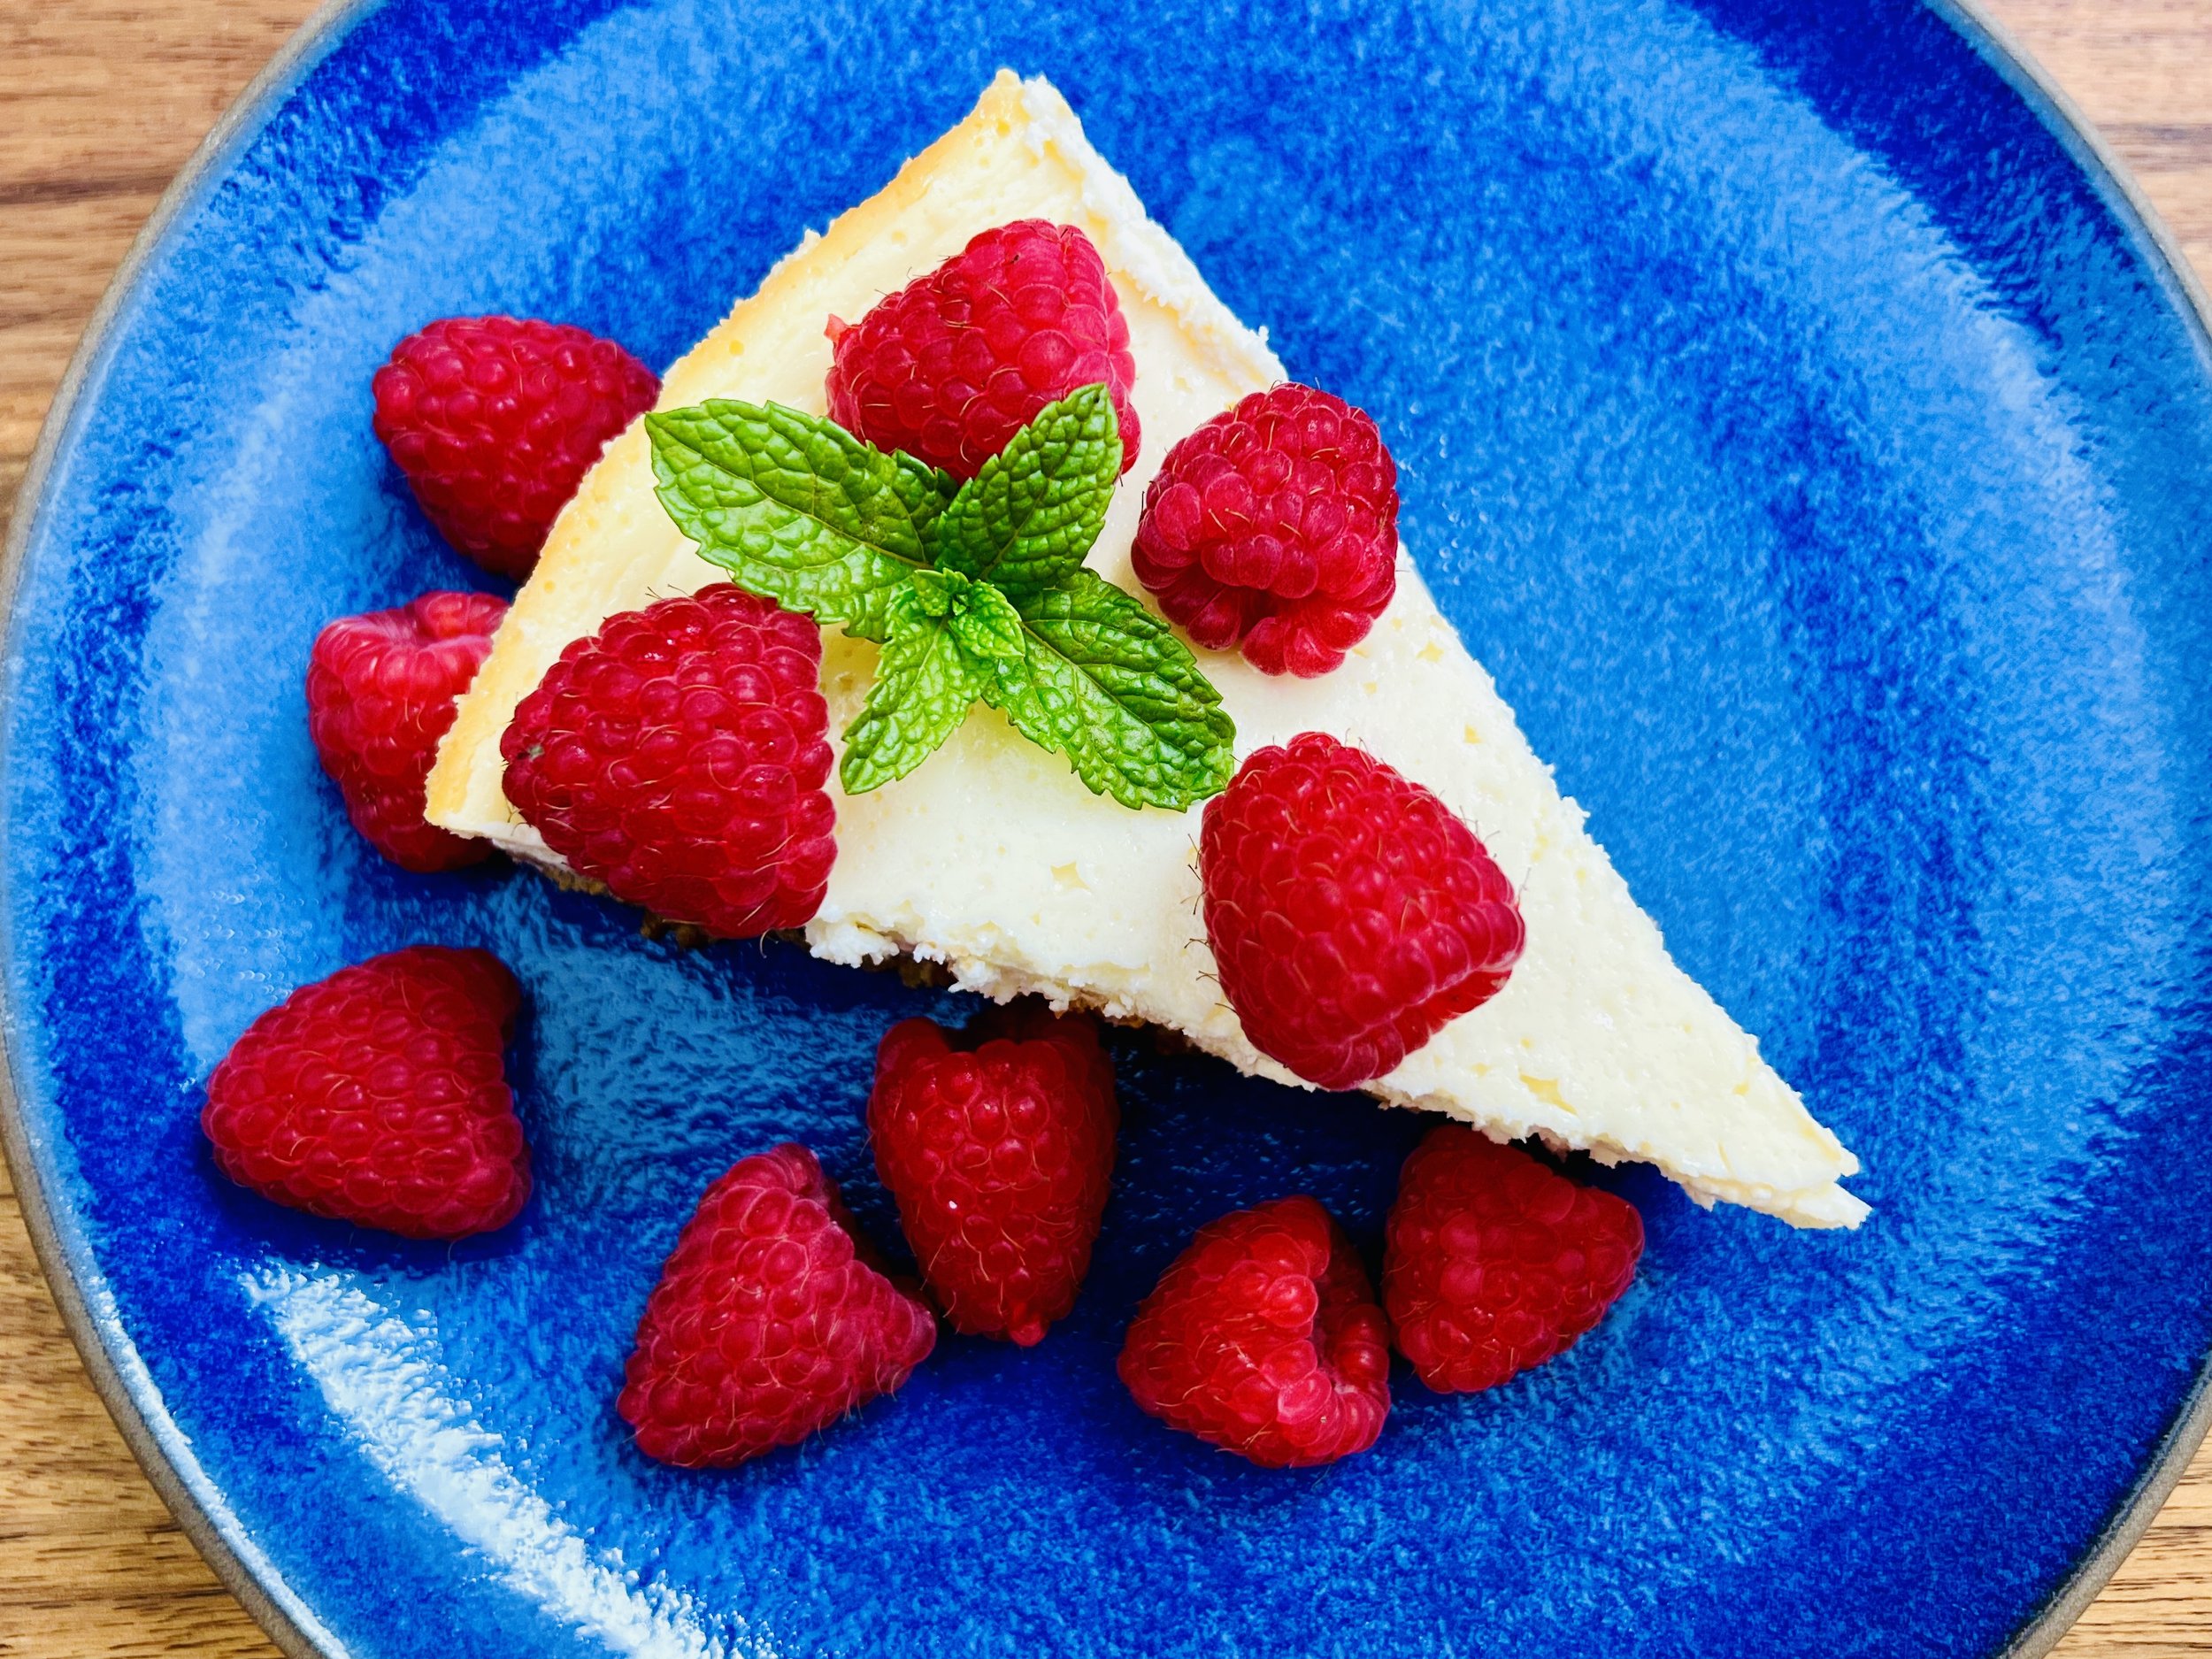
Classic Sour Cream Cheesecake (Low FODMAP)
20 Minutes prep • 9 Hours cook/chill • Low FODMAP • Serves 8
20 Minutes prep • 9 Hours cook/chill • Low FODMAP • Serves 8 • Ok to make ahead: Steps 1-6
This Classic Sour Cream Cheesecake has the perfect harmony of rich creaminess and just the right amount of sweetness. The velvety texture of cream cheese blends seamlessly with the tangy flavor of sour cream, creating a truly delicious filling that sits atop a buttery graham cracker crust. Whether you're entertaining guests or simply treating yourself, this Classic Sour Cream Cheesecake is a perfect choice because it’s easy to make, you can make it ahead of time, and it’s low FODMAP so everyone at the table can enjoy it.
Ingredients: Crust
1 1/2 cups gluten-free graham crackers (about 1 sleeve), ground into crumbs
6 tablespoons salted butter, melted
Ingredients: Cheesecake
16 ounces lactose-free cream cheese, at room temperature
16 ounces lactose-free sour cream, at room temperature
1 cup superfine white sugar (you can also use granulated sugar and be sure to blend very well)
3 eggs, at room temperature
1 tablespoon vanilla extract, vanilla bean paste or any other flavoring of your choice
Directions
(1) Prepare: Preheat the oven to 350 degrees F. Bring the cream cheese, sour cream, and eggs to room temperature. Melt the butter.
(2) Make the graham cracker crumbs: In the bowl of your food processor, add the graham crackers. Pulse on and off until all crackers have turned to crumbs. You can also do this by putting the graham crackers in a ziploc bag and using a rolling pin or heave glass to crunch them up.
(3) Make the crust: Drizzle the melted butter over the cracker crumbs in the bowl of your food processor. Pulse until all crumbs and butter are combined. You can also combine butter and crumbs in a mixing bowl with a wooden spoon. Pour the crumbs into the bottom of a 7 - 9-inch springform pan and pat them with your fingers to make an even layer or make it slightly thicker at the edges if you prefer.
(4) Bake the crust: Bake in the preheated oven for 10 minutes until the crust has dried out and begins to brown just a bit. Remove from the oven and set aside.
(5) Make the filling: In the bowl of your food processor or stand mixer, combine cream cheese and sour cream and blend until completely smooth. Add the sugar, eggs, and vanilla and blend well but don’t whip air into the mixture. Scrape down the sides to ensure all sugar and eggs are blended into the cheese mixture. Pour the batter into the pan gently so as not to disturb the crumb crust.
(6) Bake: Put in the preheated oven and bake for 30 minutes. Turn off the oven. Don’t open the oven door. Leave the cheesecake in the oven for one hour. Remove and let cool to room temperature. Cover with plastic wrap and refrigerate for at least 8 hours (more is fine).
(7) Plate and serve: Run a knife around the edge of the pan and carefully remove the sides of the springform pan. Slice the cake and serve with fresh berries or your favorite topping.
Eat and enjoy every bite because you can!
Have a question you’d like to have answered? Email me at hello@ibsgamechanger.com
Link note: This post may contain affiliate links for you to easily purchase items that are linked. I may earn a small commission from qualifying purchases but none of this costs you a thing so feel free to use the links! In addition, for some items, I have provided a special discount code for IBS Game Changers so be sure to use the code when you purchase an item to get the discount that has been arranged just for you.
More Deliciously Low FODMAP™ dessert recipes
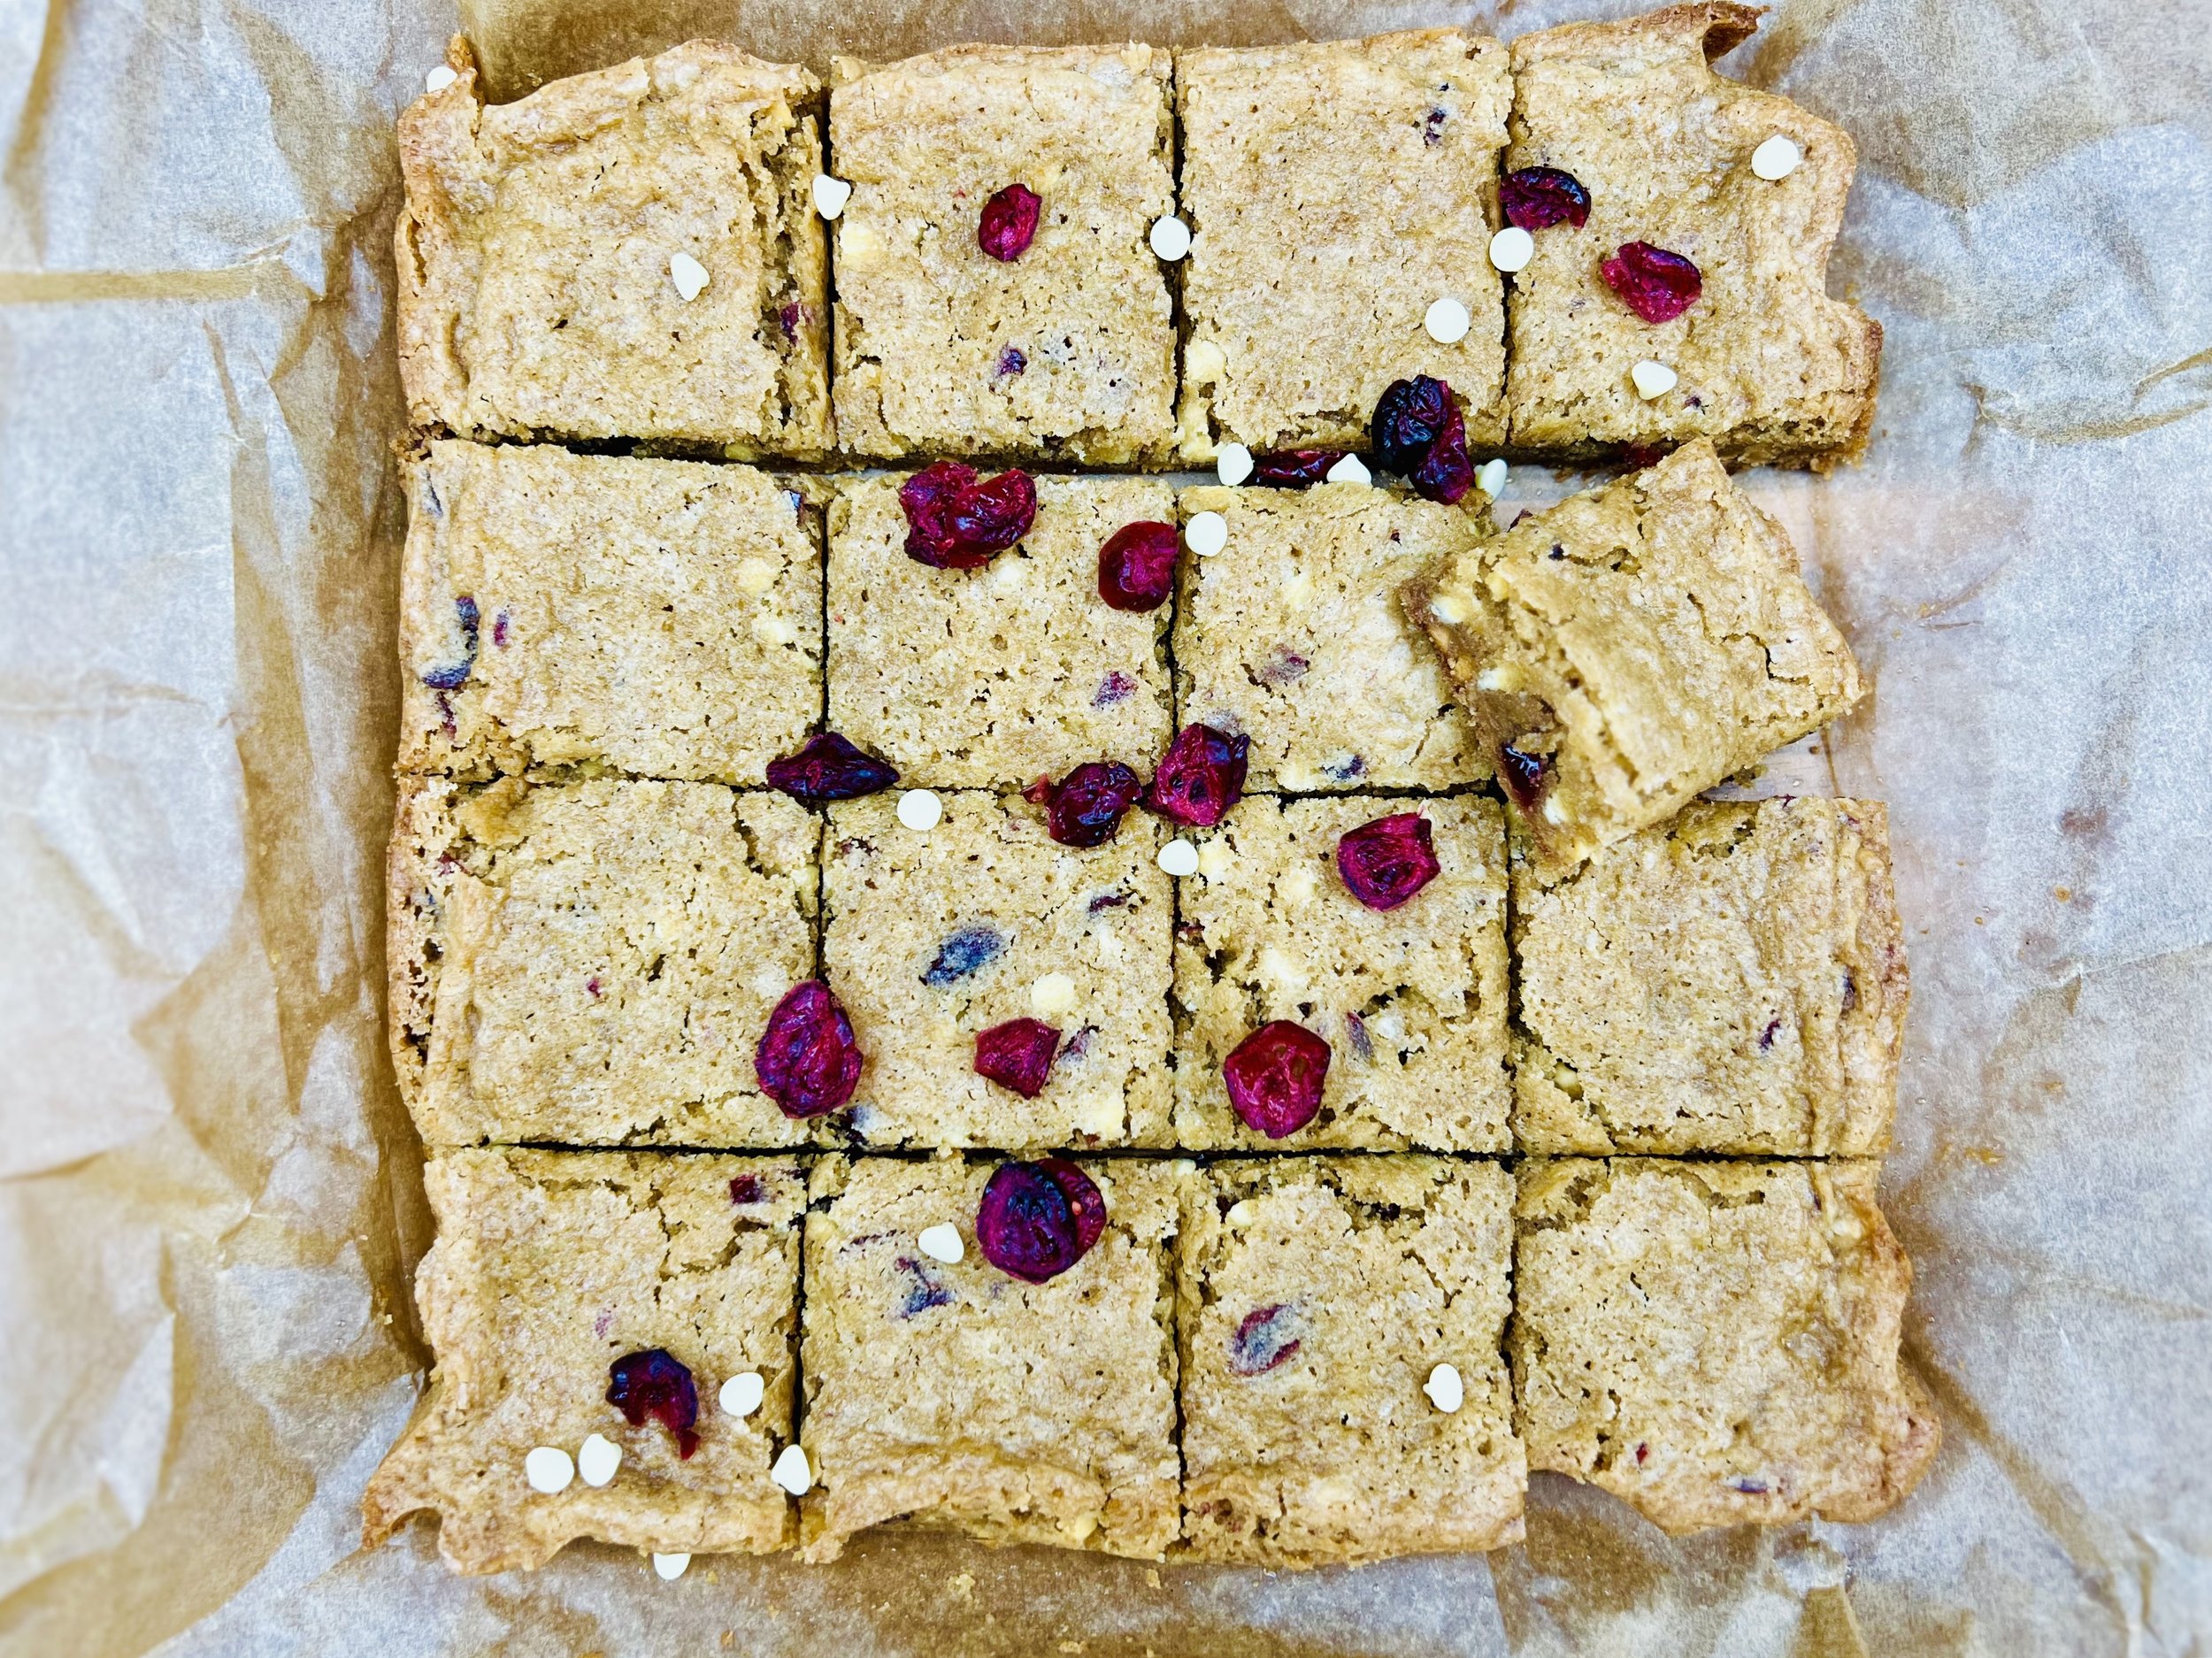
Cranberry Bliss Blondies (Low FODMAP)
15 Minutes prep • 20 Minutes cook • Low FODMAP • Gluten-free • Makes 16 - 25
15 Minutes prep • 20 Minutes cook • Low FODMAP • Gluten-free • Makes 16 • Ok to make ahead: Steps 1-3
The holidays are here and there’s no better time to make Cranberry Bliss Blondies. Combining the sweetness of white chocolate with the tangy taste of cranberries is the classic “bliss” combination. These IBS-friendly blondies are quick and easy to make so you can whip them up for the family in no time or share them at the neighborhood cookie exchange and prepare for recipe requests.
This is an exclusive recipe just for recipe club members.
In addition to the two free recipes I create each week I am creating and delivering one very special recipe just for my recipe club members. If you’re not yet a member, I encourage you to join! Membership in the club includes access to the complete archive of recipes with filters so it can become your virtual low FODMAP cookbook plus, I am creating and delivering one special NEW recipe every week ONLY for recipe club members.
Your membership in the club helps me continue creating new, delicious, easy-to-make, low FODMAP recipes just for you.
As always, all recipes will emphasize simple ingredients, easy preparation, and delicious low FODMAP results. Recipes will be for everything from main courses, salads, soups, side dishes, appetizers, desserts, sauces, breakfast and lunch, and even mocktails and cocktails. Everything you need to prepare fantastic low FODMAP meals everyone will love.
Join the club. Let’s keep making delicious Low FODMAP meals together.
More Deliciously Low FODMAP™ dessert recipes
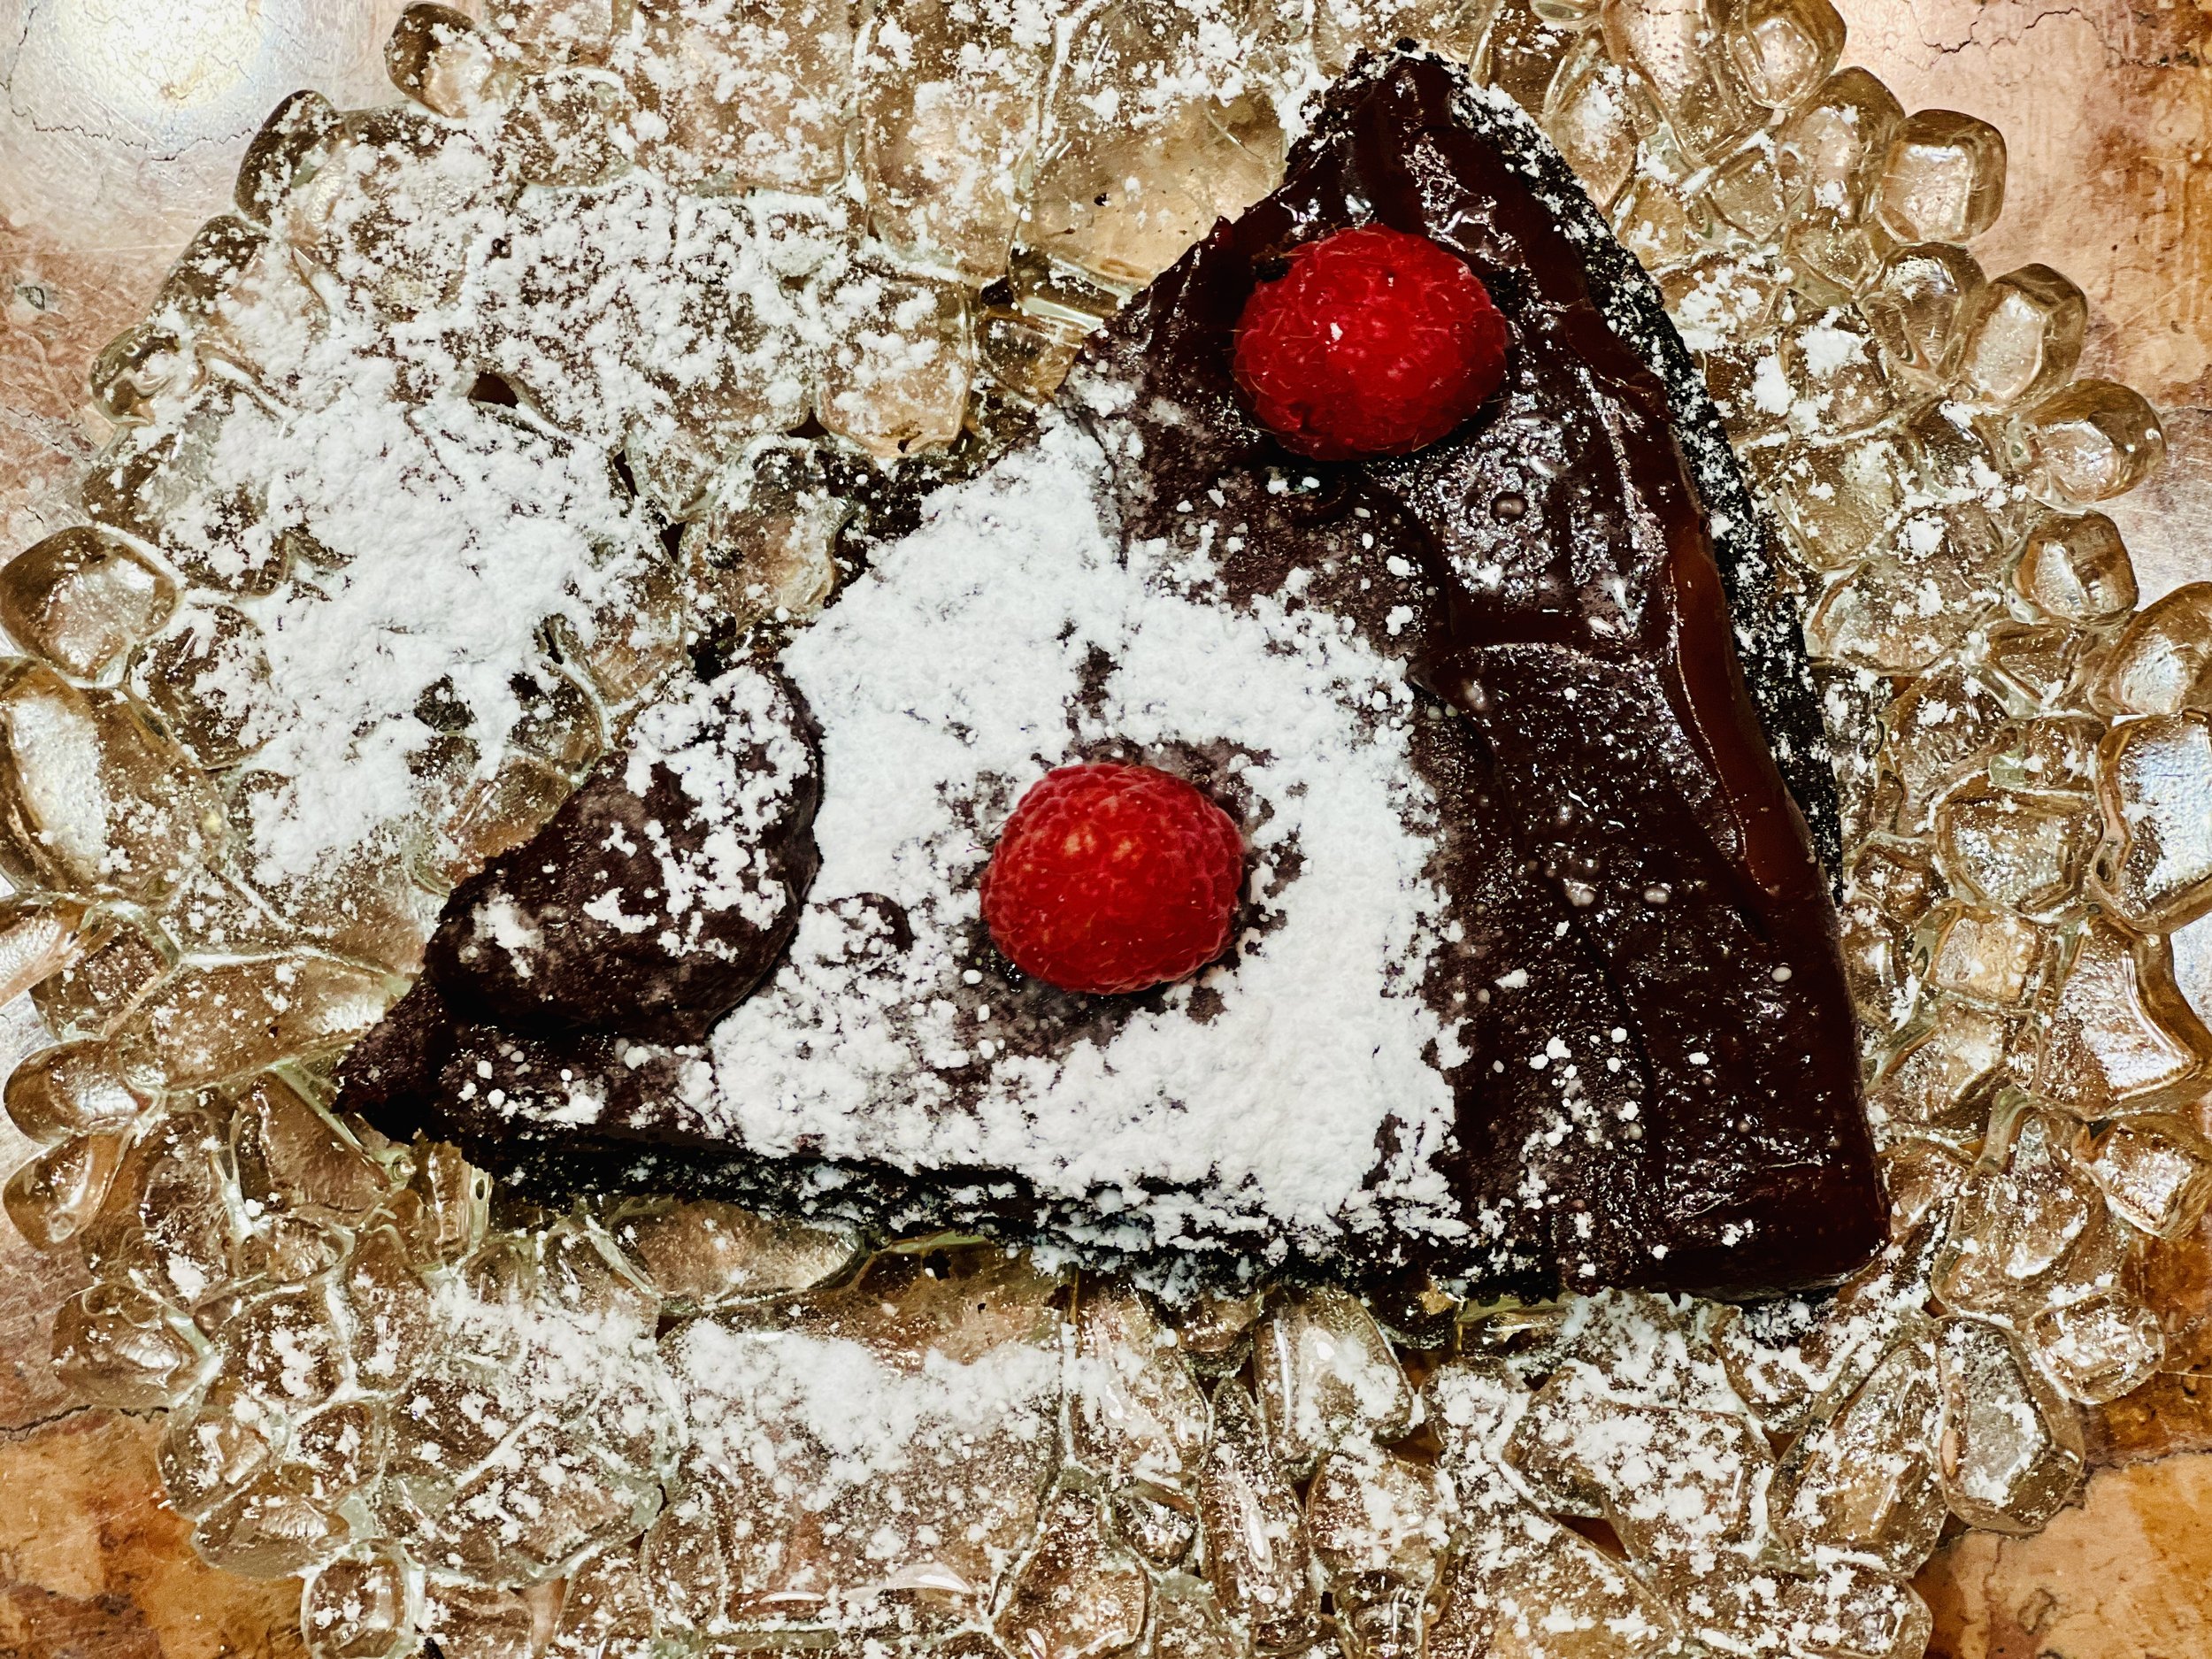
Flourless Chocolate Cake With Chocolate Ganache (Low FODMAP)
15 Minutes prep • 25 Minutes cook • Low FODMAP • Gluten-free • Serves 8
15 Minutes prep • 25 Minutes cook • Low FODMAP • Gluten-free • Serves 8 • Ok to make ahead: Steps 1-6
I know I’ve published flourless chocolate cake before but when I discover an even better recipe, well, I just have to share! Get ready for the best chocolate cake of your life. This flourless chocolate cake, topped with a deeply chocolatey ganache, is the epitome of decadence. Rich, gluten-free, and irresistibly delicious, it's the perfect dessert to elevate any celebration to a whole new level.
Ingredients: Cake
1 cup semisweet chocolate chips or chopped semi-sweet baking chocolate
1/2 cup unsalted butter
3/4 cup granulated sugar or superfine sugar
1/2 teaspoon Diamond Crystal Kosher salt or 1/4 teaspoon table salt
1 teaspoon vanilla extract or hazelnut extract
3 large eggs lightly beaten
1/2 cup Dutch process cocoa powder
Ingredients: Chocolate Ganache
1 cup semisweet chocolate chips or chopped semi-sweet baking chocolate
1/2 cup heavy cream
Powdered sugar and raspberries for serving
Other optional toppings: my real whipped cream, my whipped coconut cream, or lactose-free ice cream.
Directions
(1) Prepare: Preheat oven to 375 degrees F. Grease an 8-inch round springform cake pan or standard 8-inch round cake pan with butter or nonstick cooking spray (I like this coconut oil cooking spray for baking). Line the bottom of the pan with a round of parchment (I love these pre-cut 8-inch parchment rounds) and spray it with nonstick cooking spray. Set aside.
(2) Melt the butter and chocolate: Put the chocolate and butter in a large microwave-safe bowl, and heat in 30-second intervals until the butter is melted and the chocolate is soft, about 60 - 90 seconds. Remove from the microwave and stir until the chocolate is melted and the mixture is smooth. If you need to reheat, do so in 10-second intervals. Add the sugar, salt, and vanilla extract and stir until smooth and combined.
(3) Add the remaining ingredients: Lightly beat the eggs and add them to the chocolate mixture and stir until smooth. Add the cocoa powder and stir until just combined. Don't over-mix.
(4) Bake: Pour the batter into the prepared pan and bake for 25 minutes or until the cake has a thin crust on the top and the center registers 200 degrees F on an instant-read thermometer. Remove from the oven and let the cake cool on a wire cooling rack for 10 minutes. Loosen the edges of the cake from the pan by running a butter knife around the edge. Carefully remove the springform pan sides, or if using a non-springform pan, carefully turn it upside down onto a serving plate. The bottom of the cake will now be the top of the cake. Let the cake cool completely.
(5) Make the Chocolate Ganache: While the cake is cooling, make the chocolate ganache. Combine the chocolate and cream in a medium microwave-safe bowl, and heat until the cream is quite hot so it will melt the chocolate, about 30 seconds. Remove from the microwave, and stir until the chocolate melts and the mixture is smooth.
(6) Finish: Spread the chocolate ganache evenly over the cooled cake. Let the glaze set up for a few hours before cutting and serving. You can put it in the refrigerator to speed up the process.
(7) Plate and serve: Just before serving, dust the cake with powdered sugar and add the raspberries to the top. Cut the cake into slices and serve. This cake is also great with my real whipped cream, my whipped coconut cream, or lactose-free ice cream.
Eat and enjoy every bite because you can!
Recipe note: This recipe was originally published by King Arthur Flour and shared with me by my friend Leslie Kingsbury. No wonder it’s fit for a king!
Have a question you’d like to have answered? Email me at hello@ibsgamechanger.com
Link note: This post may contain affiliate links for you to easily purchase items that are linked. I may earn a small commission from qualifying purchases but none of this costs you a thing so feel free to use the links! In addition, for some items, I have provided a special discount code for IBS Game Changers so be sure to use the code when you purchase an item to get the discount that has been arranged just for you.
More Deliciously Low FODMAP™ dessert recipes
Halloween Candy Guide (What’s Low FODMAP and What’s Not)
What you need to know about eating Halloween candy
This time of year Halloween candy is everywhere you look. At work, at parties, at the checkout counter in your favorite store, even at the bank! And it’s tempting to enjoy snacking on a piece or two every place you go.
And let’s face it, at some point, you’re going to want to eat some Halloween candy!
If you are following a low FODMAP diet and Halloween is here. What do you do?
Instead of diving in and eating all of it with wild abandon, how about you do a little learning and planning so you don’t end up feeling terrible?!
Here are three rules to live by:
Don’t eat the candy at all those places I mentioned. You’ll just be stuffing it in your mouth because it’s there. Save your candy-eating for a time you can eat something you particularly like and you can take time to enjoy it.
Read the list below and stick to the low(er) FODMAP candies in the serving sizes recommended.
When you’re finished handing out candy to all the little neighborhood ghouls and goblins, toss it out or donate it. Don’t keep it around the house to “munch on” for days or weeks to come.
Keep it special. Keep it planned. And keep it to a minimum!
This list is excerpted from this post by FODMAP Every Day
Low(er) and High FODMAP Halloween Candy List
For the purposes of this list we are dealing with sweet candies and we feel fairly confident that no natural flavors were derived from onion or garlic, so a few of the candies listed below in the approved columns do contain natural flavors.
If you go rogue and start eating garlic jelly beans (yes, those are a thing), then all bets are off! Don’t do it.
Any candies that clearly list high FODMAP ingredients are on the high FODMAP list.
If you have a history with a particular ingredient, pay attention to your well-earned self-knowledge and stay away.
Serving Size Recommendations
Serving size recommendations are made by Vanessa Cobarrubia RDN as a guide and are based on the Monash University low FODMAP Diet App recommendations for serving sizes for individual ingredients.
As is always the case – we are not offering medical advice and you should always confer with your medical and healthcare team to ensure that you are following guidelines appropriate for your individual body’s needs.
Candy lists are below for your reference. See each list by clicking on the “+” sign to the right.
-
These are the candies we recommend (in alphabetical order by candy name) – in moderation, of course.
Atomic Fireballs: Practice moderation. Maybe 3 per serving.
Boston Baked Beans: Maximum 20 to 25 per serving.
Butterfingers: #7 on many favorite lists. These have some FODMAPs, but they are listed as less than 1% on the label. Start off with half a full-size bar or 1 to 2 fun size bars, or the equivalent of 3 to 4 bites.
Circus Peanuts: Practice moderation. Maybe 4 pieces max. Some say these are the most hated candy – but someone is eating them!
Conversation Hearts: Maybe 6 to 8 pieces max.
Dove Promises Silky Smooth Dark: Limit to 3 pieces (24 g total).
Dum Dums (lollipops): Limit to 4 to 5.
Haribo Gummi Bears: Limit to 15 gummi bears.
Haribo Sour Goldbears: Limit to 15 gummi bears.
Jolly Ranchers: Limit to 3 to 4.
Junior Mints: Limit to 12 mini mints.
Justin’s Dark Chocolate Peanut Butter Cups: Limit to 1 peanut butter cup (20 g) and increase to 2 peanut butter cups (if desired) based on personal tolerance.
Justin’s Milk Chocolate Peanut Butter Cups: There are no additional milk solids, milk, or lactose added in ingredients outside of the milk chocolate. Limiting to 1 peanut butter cup should keep milk chocolate in safe range.
Laffy Taffy: Limit to 3 mini pieces.
Lifesavers Peppermint and Wint-O-Green: Limit to 6
Marshmallows: Exclude any with high fructose corn syrup, inulin or other high FODMAP ingredients: For standard size limit to 4 to 5.
Mounds: Limit to ½ of a full size bar or 1 to 2 snack size bars.
Mr. Goodbar: Limit to ¼ of a full size bar or 1 fun size.
NECCO Wafers: Limit to 10 to 15 wafers.
Nerds: #6 on many lists. Limit to about 1 ½ tablespoons.
Peeps: These are marshmallows; see above. Limit to 3 to 4 peeps.
Reese’s Pieces: Limit to 20 to 25 pieces.
Skittles: #9 on many favorite lists. Limit to 15 to 20 skittles.
Smarties: Limit to 2 rolls.
Sno-Caps: Limit to 1 to 2 tablespoons.
Sour Patch Kids: #8 on many favorite lists. Limit to 6 to 8 pieces.
Swedish Fish: Limit to 2 to 3 pieces.
Sweet Tarts: Limit to 6 to 8 pieces.
-
We recommend that you do not eat these candies. Or, at least know what you are getting into.
Kit Kat: #4 on many favorite lists. Contain wheat flour, lactose, and dairy
Milk Duds: These are milk chocolate based, which is allowed in .5 ounce/15 g amounts, but also contain multiple milk products
Milky Way: These are milk chocolate based, which is allowed in .5 ounce/15 g amounts, but also contain additional milk products, lactose, and malted barley which is untested by Monash
Starbursts: Contain fruit juice concentrates, including apple.
Tootsie Rolls: Contain condensed skim milk and additional whey.
Twix: #3 on many favorite lists. Contain wheat flour, lactose, and dairy
-
For this category, Vanessa recommends trying a small piece to assess your own tolerances. Note that many of these come in “minis”, which might be a great place to start.
Almond Joy: These list milk products multiple times and we cannot be sure of the amount of lactose.
Dove Promises Silky Smooth Milk: These list milk products multiple times and we cannot be sure of the amount of lactose.
Heath Bar: These list milk products multiple times and we cannot be sure of the amount of lactose.
Hershey Bar: #10 on many favorite lists. These list milk products multiple times and we cannot be sure of the amount of lactose.
M & M’s: #5 on many favorite lists. We cannot be sure of lactose content. Try a few.
Mars Bar: These list milk products multiple times and we cannot be sure of the amount of lactose; also lists barley malt.
Nestlés Crunch: These list milk products multiple times and we cannot be sure of the amount of lactose; also lists barley malt.
Reese’s Peanut Butter Cups: #1 on many favorite lists. These list milk products multiple times and we cannot be sure of the amount of lactose.
Skor: These list milk products multiple times and we cannot be sure of the amount of lactose.
Snickers Bar: #2 on many favorite lists. These list milk products multiple times and we cannot be sure of the amount of lactose.
Three Musketeers: These list milk products multiple times and we cannot be sure of the amount of lactose.
Twizzlers: Contain wheat flour
