S’mores Cupcakes with Marshmallow Frosting (low FODMAP)
20 Minutes prep • 20 Minutes cook • Low FODMAP • Gluten-free • Lactose-free • Makes 12 - 24 • Ok to make ahead: Steps 1-4
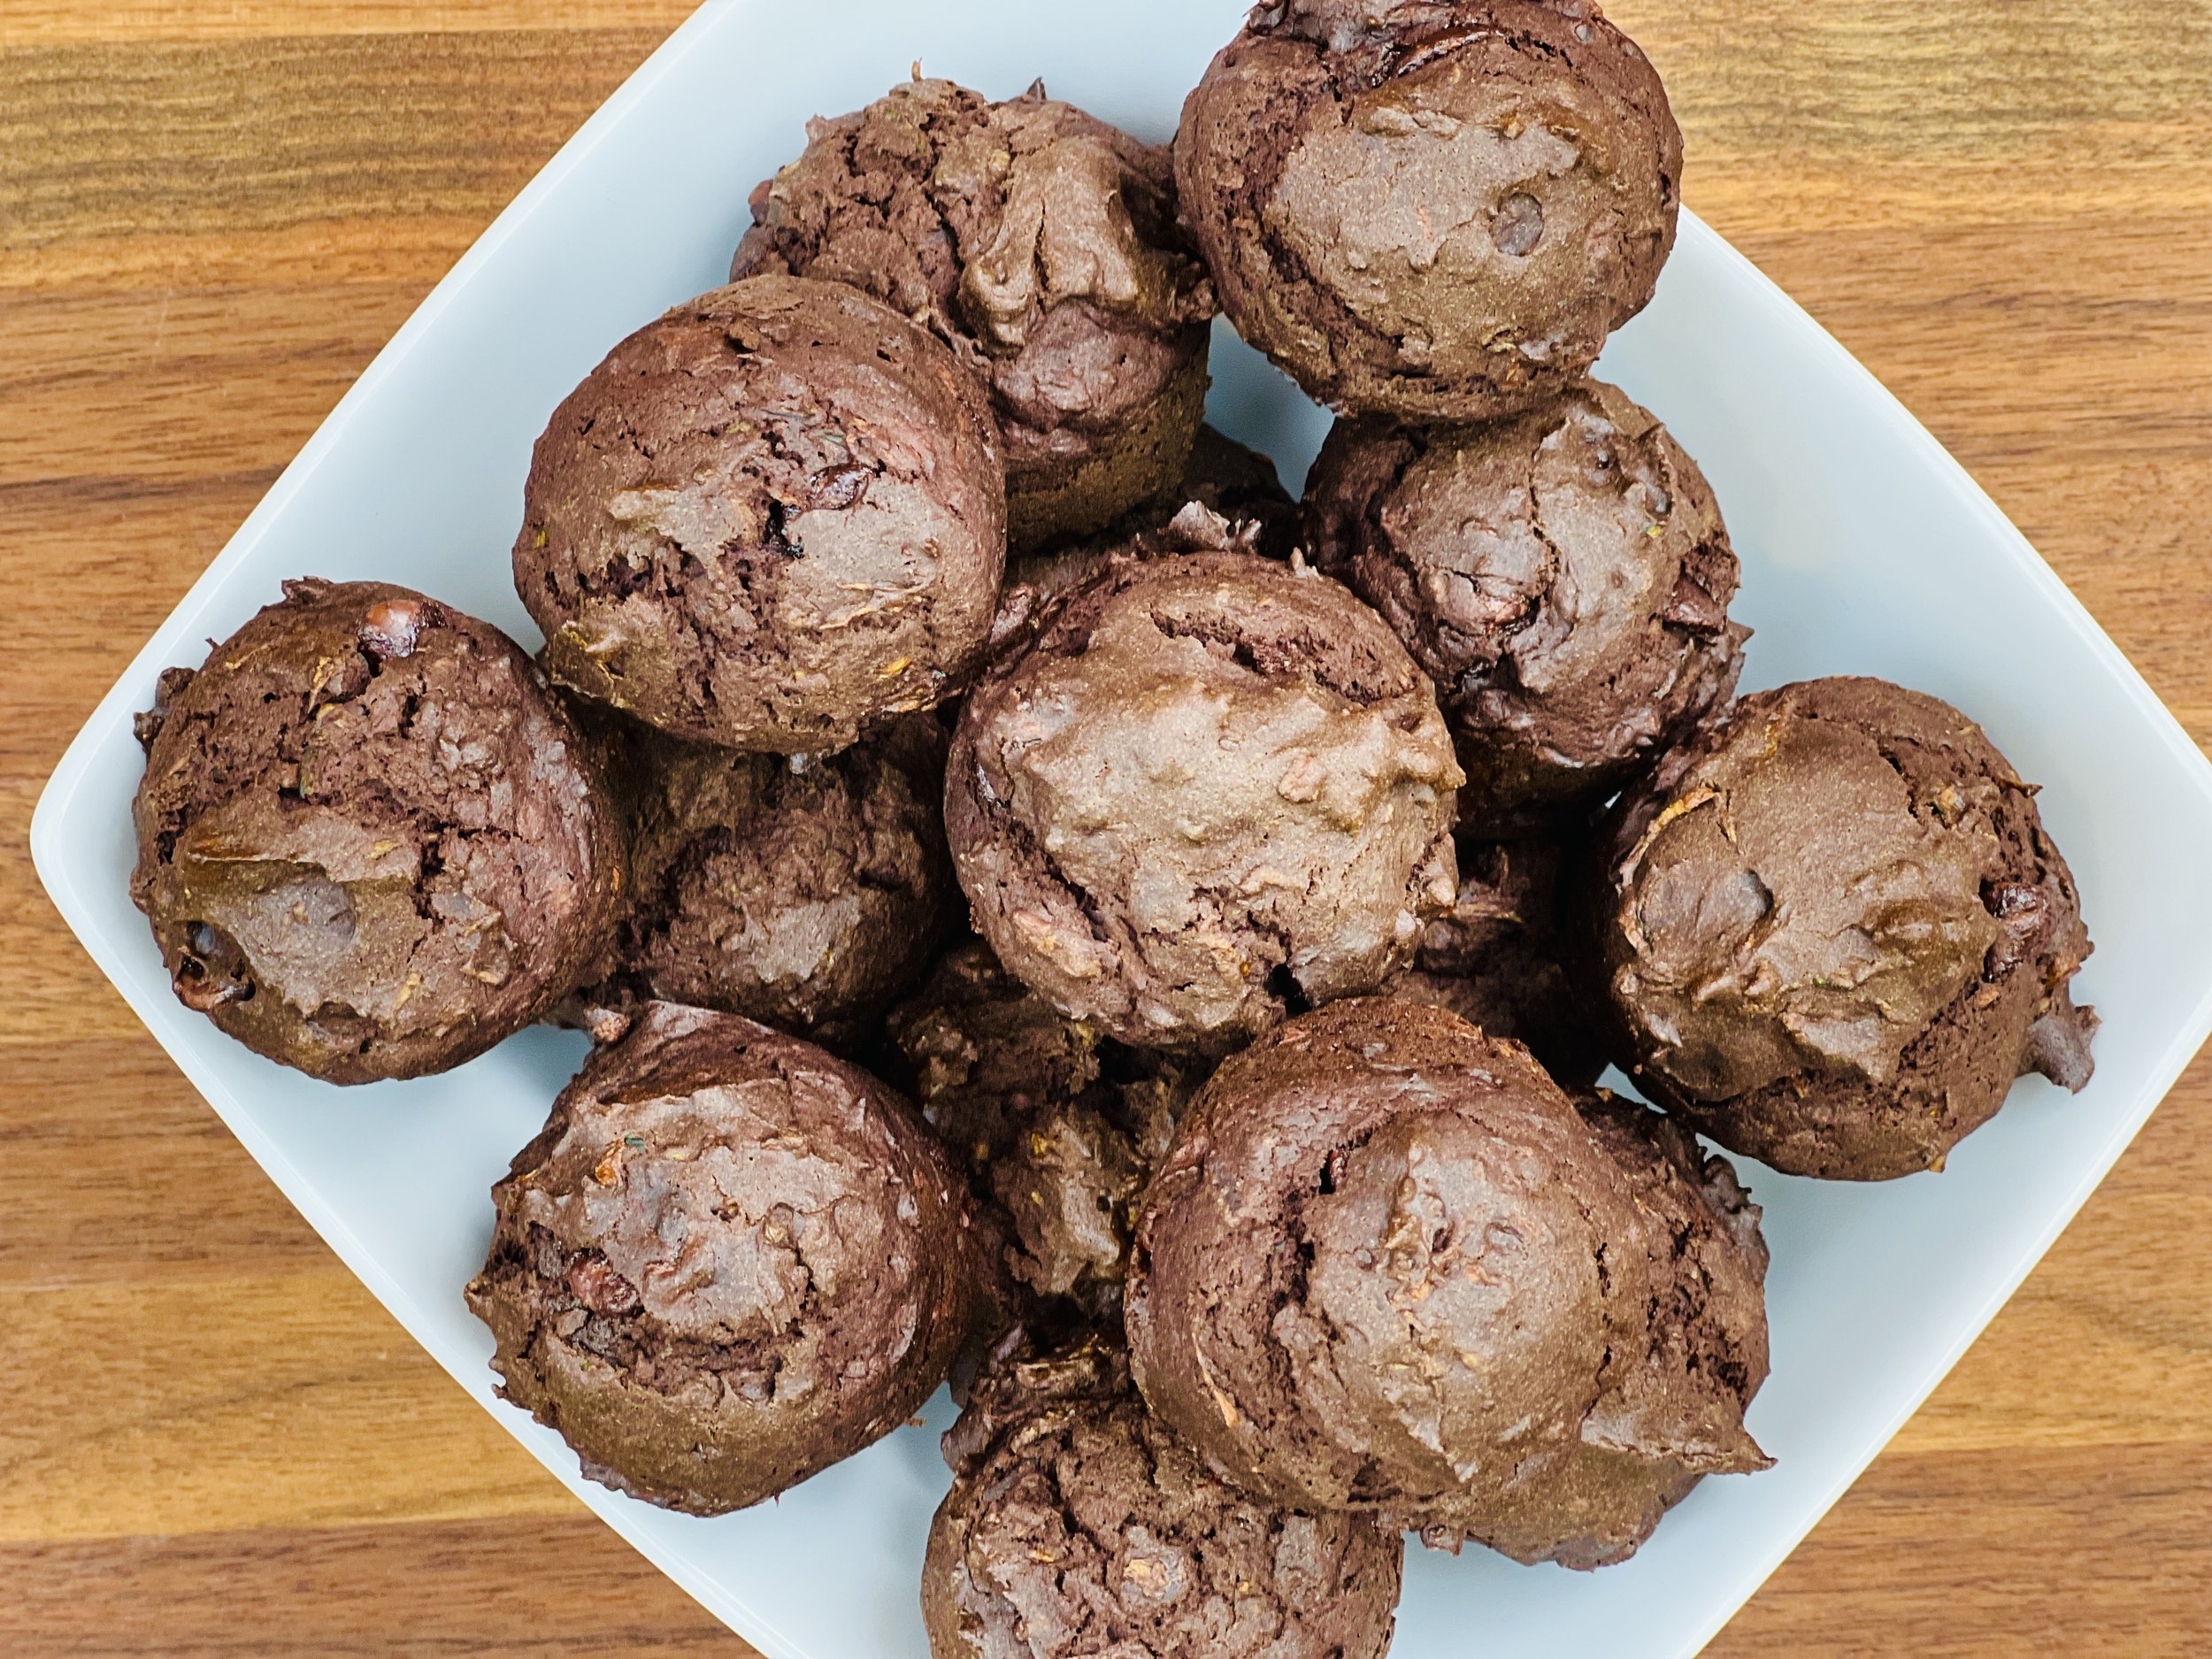
There’s something about cupcakes that is just fun! Add to that the pleasure of s’mores and these cupcakes take the fun (and deliciousness) to a whole new level! It’s the combination of everything you love about s’mores (chocolate, marshmallow, and graham crackers) but without the sand or the sticky fingers. These are best served soon after they come out of the oven so you can make the cupcakes ahead, but save the frosting and the finishing for the last hour before serving. Make them for a party or you might be tempted to eat them all yourself! I used a good gluten-free chocolate cake mix for the cupcakes in this recipe to keep it simple — since the frosting is a little more elaborate. Of course, you can make the cake from scratch if you prefer!
Ingredients: Chocolate Cupcakes
1 King Arthur Gluten-Free Chocolate Cake Mix
2/3 cup coconut oil, melted
1 1/3 cups water
4 large eggs
Ingredients: Swiss Meringue Frosting
3 large egg whites
1 1/2 cups granulated sugar
1 1/2 teaspoons light corn syrup (not high-fructose corn syrup)
1/2 teaspoon cream of tartar
1/4 teaspoon Kosher salt
1/4 cup water
1 teaspoon pure vanilla extract
Ingredients: Topping
1/2 cup semi-sweet chocolate chips
1 teaspoon coconut oil
1/2 cup gluten-free graham cracker crumbs (for topping)
Directions: Cupcakes
(1) Prepare: Preheat oven to 350 degrees F. Put cupcake liners (I like these parchment tulip liners) into two cupcake pans that make 12 cupcakes each (for a total of 24).
(2) Melt the coconut oil: In the microwave, melt the coconut oil until it’s pourable but not hot.
(3) Blend the batter: Beat the eggs together with the melted coconut oil and water. Stir in the cake mix and keep stirring until well blended.
(4) Bake: Pour the cake batter into the prepared cupcake pans. Bake for 18 - 20 minutes. Remove from oven and let cool.
Directions: Frosting and Finishing
(5) Prepare the meringue for the frosting: Add the egg whites, sugar, corn syrup, cream of tartar, salt, and water to the bowl of a stand mixer and place the bowl over a saucepan of gently simmering water over medium heat. Do not allow the bottom of the mixing bowl to touch the water.
(6) Heat and blend the mixture: Continuously, but gently, stir the mixture until the egg whites are very warm to the touch and the sugar has dissolved, about 4 minutes. Test this by dipping a finger into the mixture and rubbing it between your fingers—the mixture should no longer have any grains of sugar in it and should be very warm to the touch. Remove the bowl from the heat and place the bowl on the stand mixer fitted with the whisk attachment.
(7) Beat the egg white mixture: Beat the meringue on medium-low speed until foamy, about 2 minutes. Gradually increase the speed and beat until you achieve a stiff peak in the mixture that droops only slightly when you lift up the whisk, and the bottom and sides of the bowl no longer feel warm to the touch, about 4 minutes. Add the vanilla extract and beat for a few seconds to mix it in.
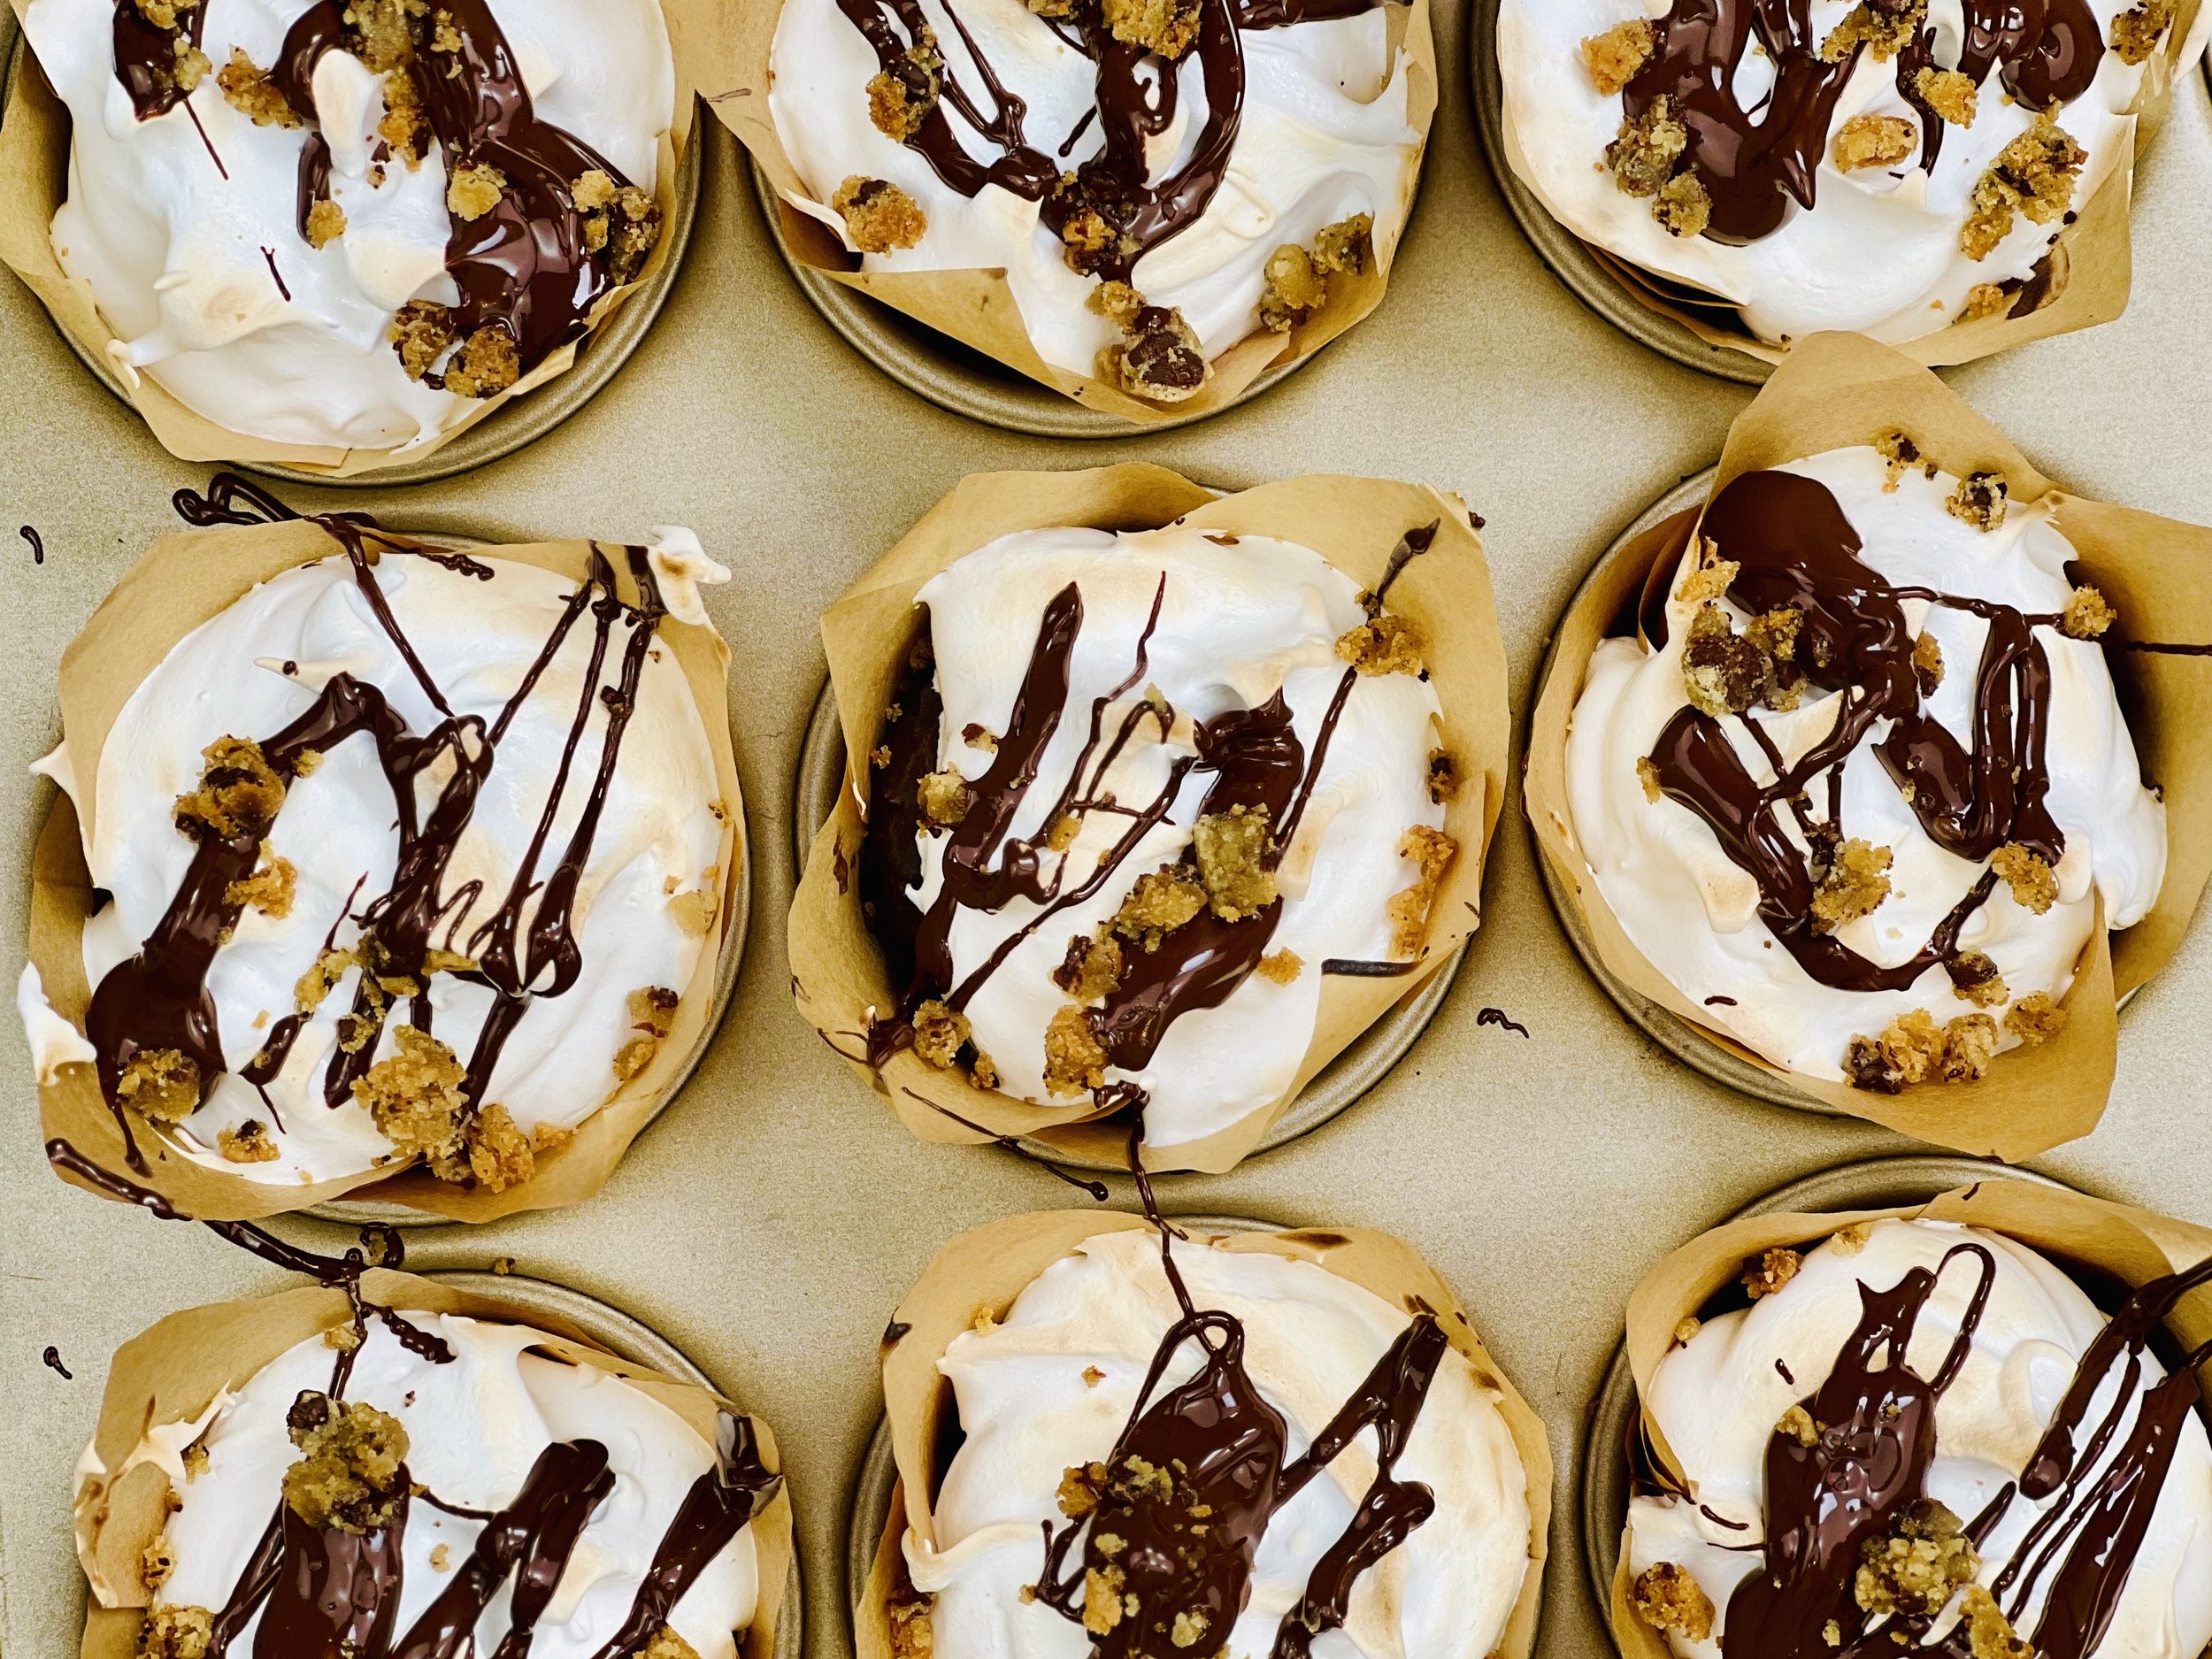
(8) Frost the cupcakes: Use a spoon, spatula, or broad knife to generously frost each cupcake. Make one big swirl or many little “points” in the meringue with your knife as you frost.
(9) Brown the frosting: Lightly brown the frosting using a kitchen torch or by placing the frosted cupcakes under the broiler briefly, until browned. Watch them carefully (just like roasting a marshmallow) so they don’t burn!
(10) Finish: Melt the chocolate with the coconut oil in the microwave. Crumble the graham crackers into crumbs. Remove the cupcakes from the oven, drizzle with the melted chocolate, and sprinkle with graham cracker crumbs (so they cling to the melted chocolate).
(11) Plate and serve: The frosted cupcakes are best served within a few hours, as the frosting will start to lose its structure over time, but any leftovers will keep on the counter lightly covered for up to 1 day.
Eat and enjoy every bite because you can!
Recipe note: I use Diamond Crystal Kosher salt in all my recipes because it has a wonderful flat and crisp flake that tastes delicious. It is also the least salty salt available so you can use it more liberally as a seasoning than you can table salt or sea salt. If you use another type of salt, you may need to reduce the amount so it is not over-salted.
Have a question you’d like to have answered? Email me at hello@ibsgamechanger.com
Link note: This post may contain affiliate links for you to easily purchase items that are linked. I may earn a small commission from qualifying purchases but none of this costs you a thing so feel free to use the links! In addition, for some items, I have provided a special discount code for IBS Game Changers so be sure to use the code when you purchase an item to get the discount that has been arranged just for you.
