Deliciously Low FODMAP
Inspire yourself with hundreds of delicious low FODMAP recipes, tips, and tools, and enjoy the abundance that is yours even when you have IBS.
Use the buttons and filters to find something specific or browse the complete collection for inspiration.
Discover a treasure trove of recipes with my FREE recipe club! Get new ideas delivered straight to your inbox every week.
Deliciously Low FODMAP is a trademark of IBS Game Changer, LLC
Filter to find Recipes and Tools
More Filtering Options
- All 734
- Appetizer 50
- BBQ 46
- Bowl 32
- Breakfast 58
- Cocktails 13
- Collection 1 58
- Collection 10 27
- Collection 11 30
- Collection 12 27
- Collection 13 31
- Collection 14 29
- Collection 15 31
- Collection 16 34
- Collection 17 31
- Collection 18 33
- Collection 19 36
- Collection 2 32
- Collection 20 33
- Collection 21 33
- Collection 22 40
- Collection 23 16
- Collection 24 1
- Collection 3 28
- Collection 4 29
- Collection 5 30
- Collection 6 32
- Collection 7 31
- Collection 8 31
- Collection 9 32
- Condiments 6
- Crock Pot 4
- Dessert 108
- Diabetes Game Changer Exception Protocol Contains Alcohol 11
- Diabetes Game Changer Exception Protocol Contains Flour 109
- Diabetes Game Changer Exception Protocol Contains Flour AND Sugar 77
- Diabetes Game Changer Exception Protocol Contains Sugar 49
- Diabetes Game Changer First Four Weeks 367
- Dinner 334
- Drink 8
- Easter 1
- Free Guide 17
- Gluten-free 595
- Gut Microbiome 2
- Guthealth 3
- Holidays 69
- IBS Triggers 4
- Keto Friendly 127
- Lactose-Free 175
- Low FODMAP Diet 720
DIY Natural Egg Dyeing: Colorful Creations from Your Kitchen
30 Minutes prep • 30 Minutes cook • 30 Minutes soak • 30 minutes dry
30 Minutes prep • 30 Minutes cook • 30 Minutes soak • 30 minutes dry
Ah, the classic cardboard box egg-dyeing kits - a staple of childhood Easter memories. Who doesn't recall carefully dropping tablets into vinegar-filled cups, eagerly anticipating the vibrant hues that would transform humble eggs into festive treasures? Yet, there's another enchanting way to imbue your eggs with color, one that taps into the natural beauty and creativity of your kitchen: DIY egg dyeing using vegetables.
Embracing Nature's Palette
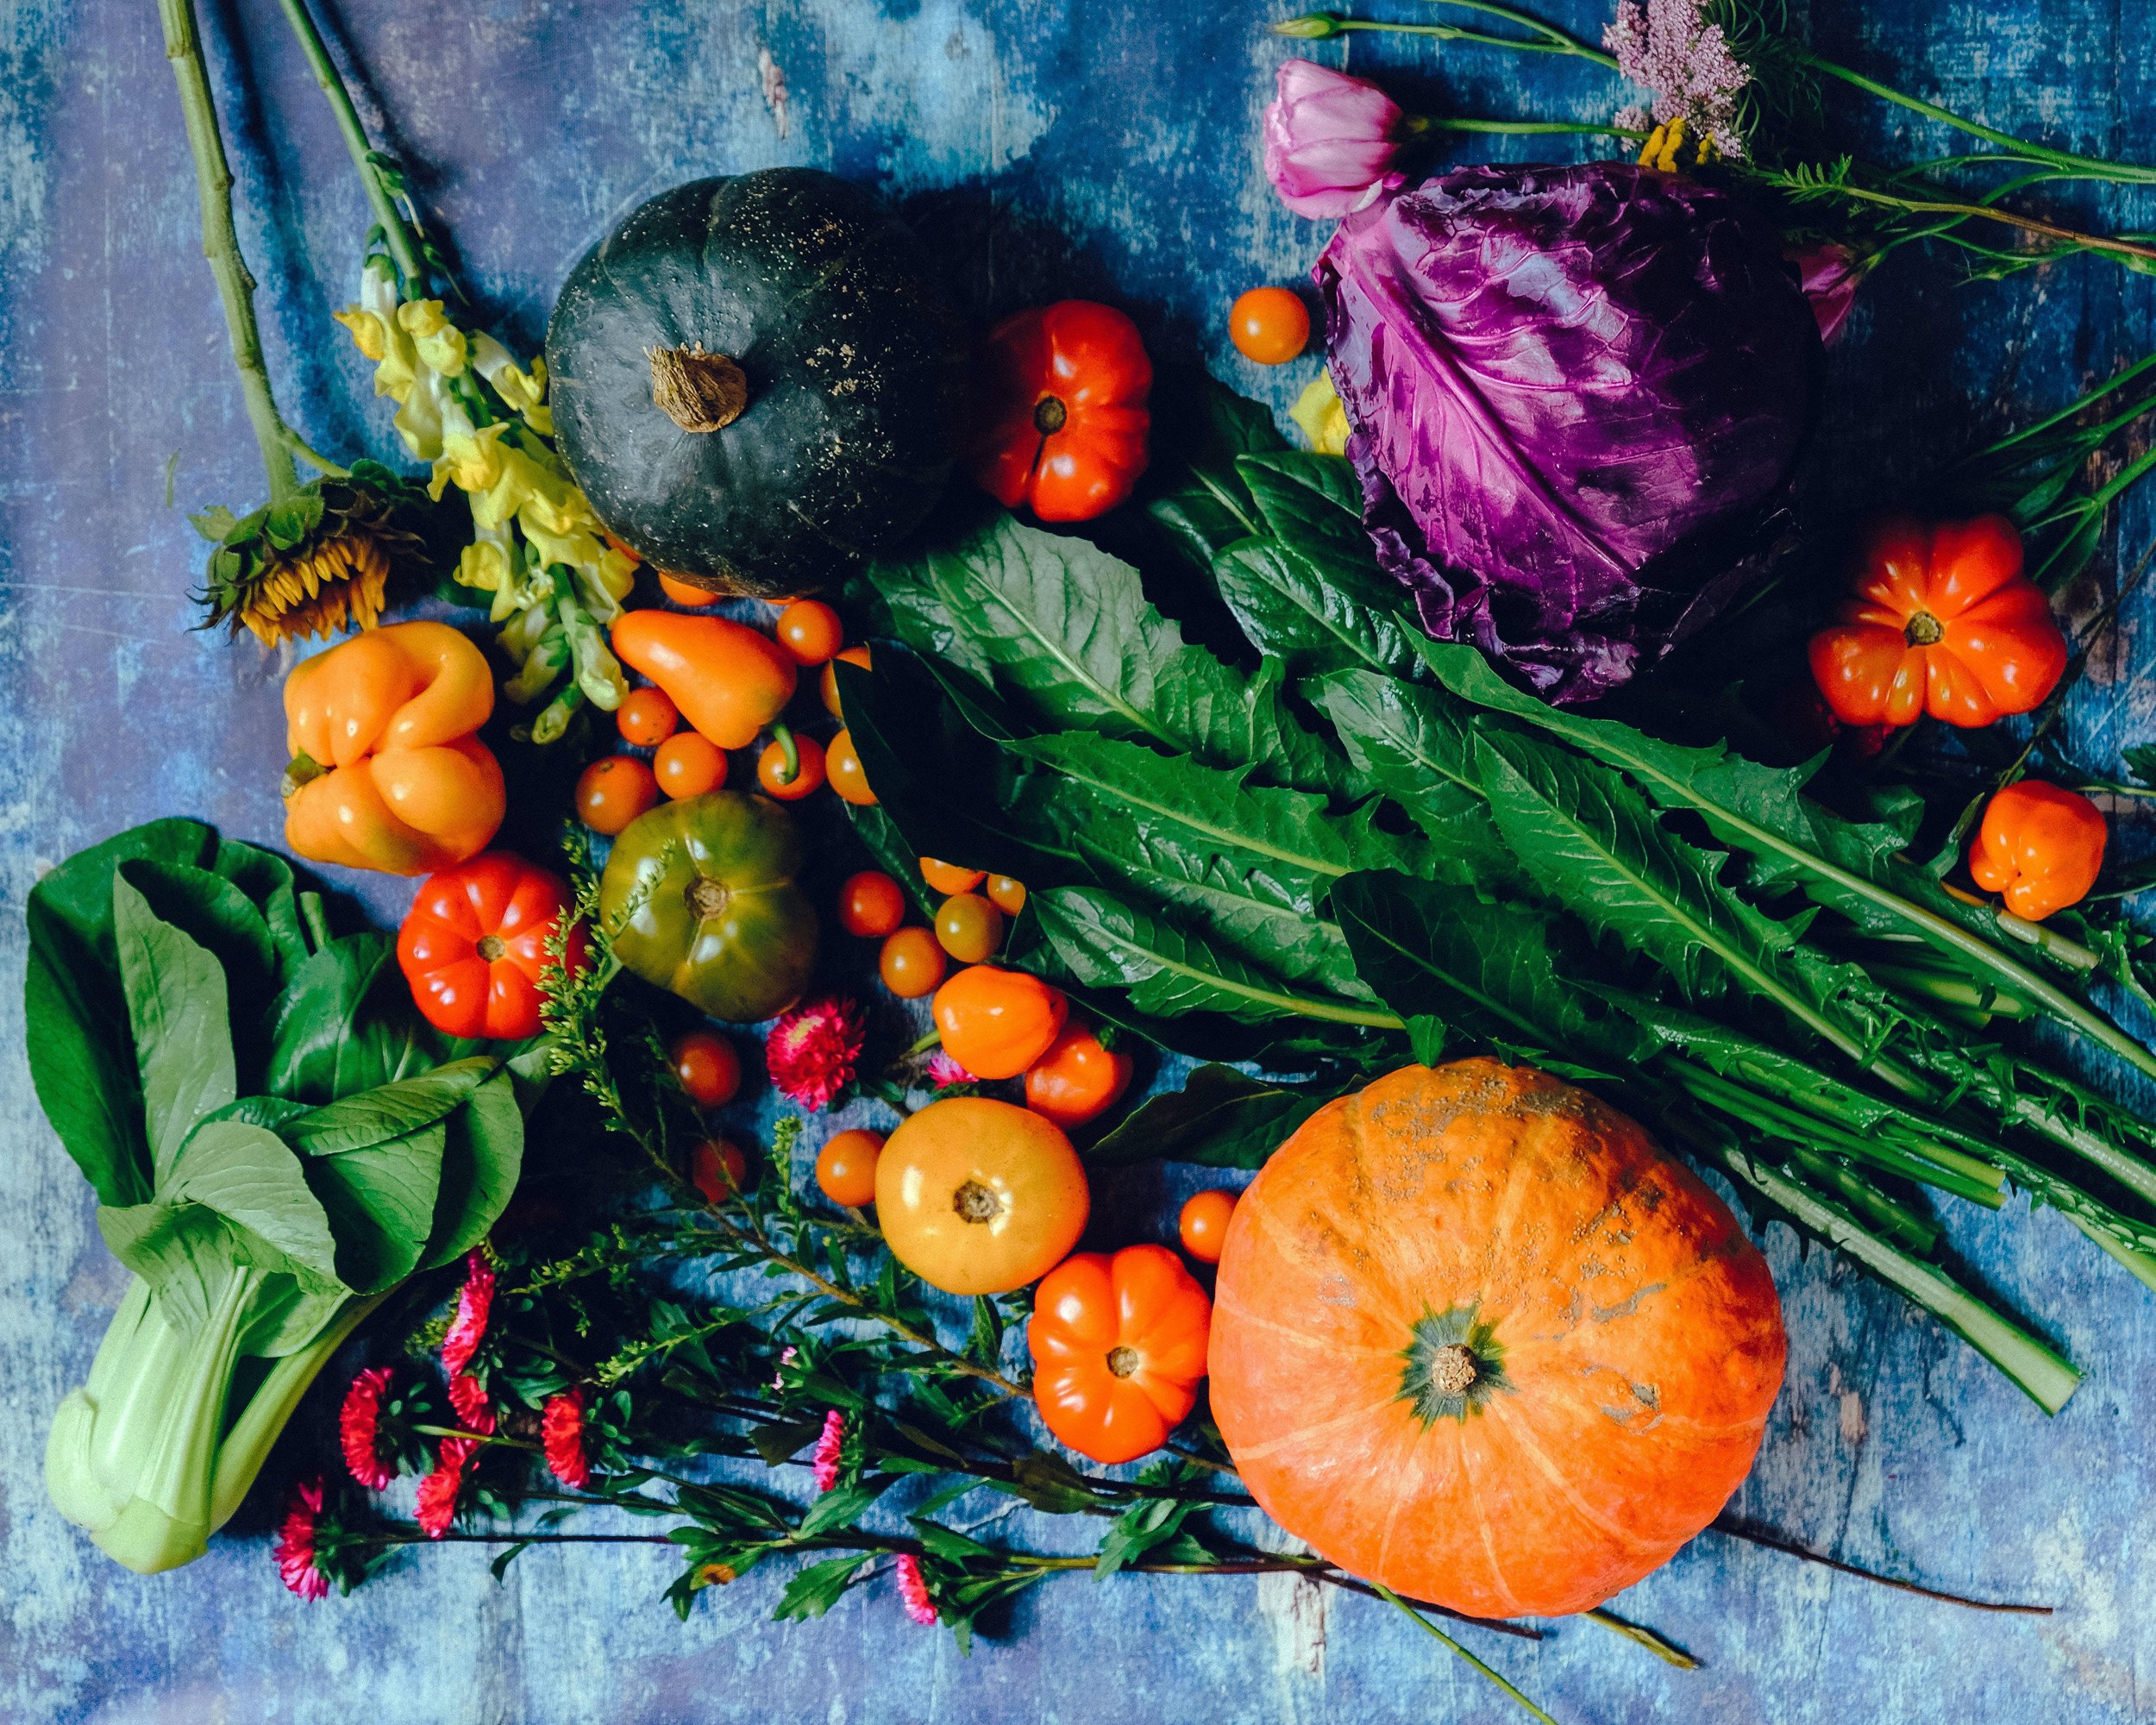
Nature offers an astonishing array of colors, and vegetables are no exception. From rich blue of purple cabbage to the sunny yellows of turmeric root, each vegetable brings its own unique pigment to the table. By harnessing these natural dyes, you not only create stunning Easter eggs but also embark on a sensory journey through hues inspired by the earth itself.
What You'll Need:
White eggs (boiled and cooled)
Various colorful vegetables (spinach, beets, red cabbage, turmeric root, etc.)
White vinegar
Water
Saucepans
Strainer or cheesecloth
Rubber gloves (to avoid staining your hands)
Step-by-Step Guide:
Prepare Your Dyes: Chop or grate your chosen vegetables and place them in separate saucepans. Cover with water (about 2 cups per vegetable) and add a tablespoon of vinegar. Bring to a boil, then simmer for about 15-30 minutes until the color is rich and concentrated. Strain the liquid into bowls and let it cool.
Dyeing Process: Once your dyes are ready and cooled, submerge your boiled eggs in each bowl of dye. For lighter shades, leave them for a few minutes; for deeper colors, let them soak longer. Rotate the eggs occasionally to ensure even coloring.
If you're aiming for deep, vibrant colors, you might want to leave the eggs in the dye overnight in the fridge. Otherwise, you’ll have beautifully colored eggs in about 2 hours.
Drying and Display: Remove the eggs with a spoon or tongs and place them on a drying rack or paper towels. Allow them to air dry completely. Once dry, marvel at the beautiful, naturally dyed eggs that reflect the hues of the vegetables they were dyed with.
Why Choose Natural Dyes?
Using natural dyes for egg decorating isn't just about aesthetics; it's about embracing sustainability and creativity. Unlike synthetic dyes, natural dyes are eco-friendly and biodegradable, making them a planet-friendly choice. Plus, each egg becomes a unique work of art, with colors that may vary slightly, adding to their charm.
A Celebration of Tradition and Creativity
While cardboard box kits evoke nostalgia, DIY natural egg dyeing adds a contemporary twist rooted in tradition and sustainability. It's a wonderful way to connect with nature, experiment with colors, and create meaningful memories with loved ones. So, this Easter, gather your vegetables, unleash your creativity, and enjoy the beauty of nature's palette on your eggs.
Let this DIY adventure inspire you to explore other natural dye sources and techniques and perhaps start a new tradition of your own. After all, the joy of crafting something beautiful with your own hands is timeless and oh-so-satisfying.
Happy egg-dyeing!
Have a question you’d like to have answered? Email me at hello@ibsgamechanger.com
