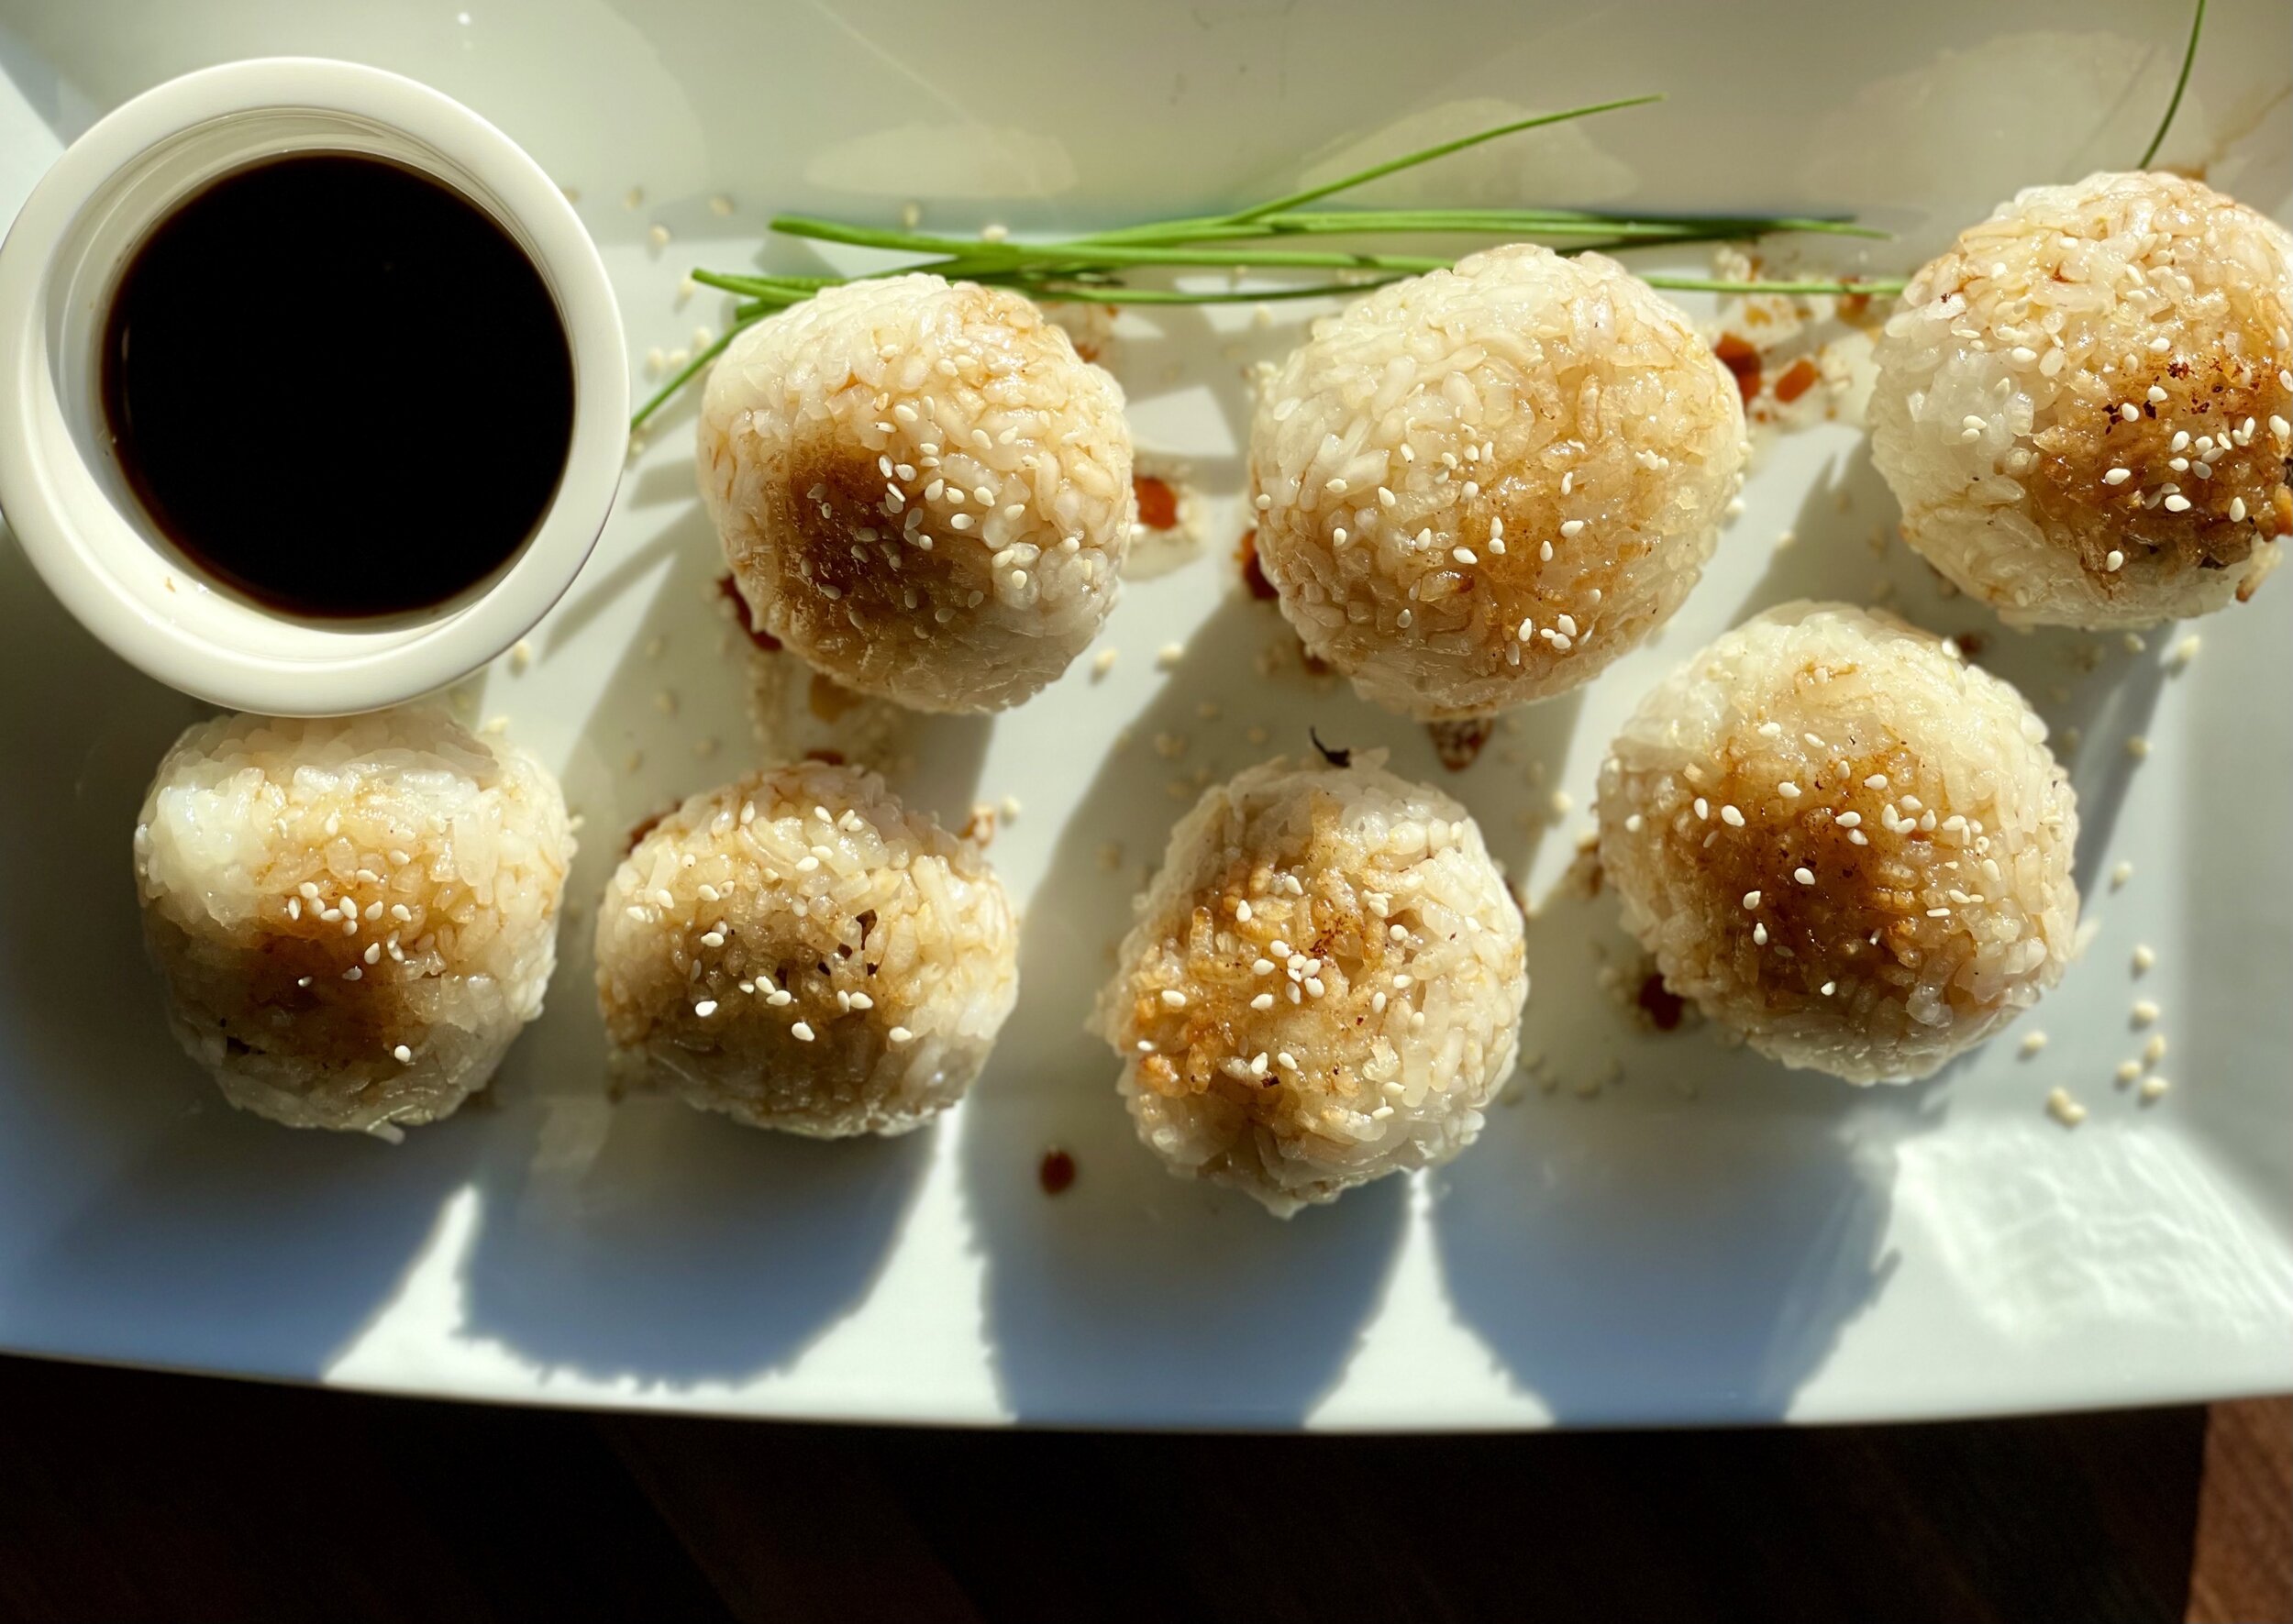
Japanese yaki onigiri sliders (low FODMAP)
60 minutes • Gluten-free • Lactose-free • Low FODMAP • Serves 4 • Japanese yaki onigiri are grilled crispy rice balls that are typically stuffed with something delicious. I had a pound of organic grass-fed ground beef in my fridge and I wanted to make these fun rice balls so…Japanese sliders were born! They can be served as an appetizer, side dish, or even a main course. They’re a fun change of pace and very tasty!
Ingredients: Sushi Rice (can be made ahead)
1 1/2 cups sushi rice or arborio rice
1 3/4 cups water
2 tablespoons rice vinegar
2 teaspoons sugar
1/2 teaspoon salt
Ingredients: Sliders
1 pound organic grass-fed ground beef, bison, or chicken
1/2 cup gluten-free rolled oats or gluten-free bread crumbs
3 green onions (green part only) chopped
1 tablespoon chives, chopped
1 teaspoon Smoke n Sanity Essence of Garlic Salt (10% off with code IBSGC10)
OR 1/2 teaspoon salt and 1/2 teaspoon Gourmend Garlic Scape Powder
Salt and black pepper
2 tablespoons garlic-infused olive oil for frying the sliders
2-3 tablespoons toasted sesame oil for frying the rice balls
Sesame seeds for garnish
Ingredients: Dipping Sauce
3 tablespoons gluten-free low sodium soy sauce
1 tablespoon toasted sesame oil
Directions
Rinse rice under cool running water until the water runs clear then drain well and transfer to a saucepan (or rice cooker). Pour in the water, cover, and bring to a boil. Then reduce the heat to low and simmer gently for 15-20 minutes, until the liquid has been completely absorbed (if it looks dry, add a few more tablespoons of hot water). Then remove from the heat and leave covered to steam for another 5-10 minutes. (Do not disturb the rice while it cooks. Leave the lid closed to ensure even cooking and don’t be tempted to stir it.)
In the meantime, heat the rice vinegar, salt, and sugar in a small saucepan and stir until the salt and sugar have dissolved.
Once the rice is cooked, transfer it into a bowl and fluff gently to loosen it. Drizzle the rice vinegar mixture over it, and mix gently to combine. If you’re not going to put the meat and rice together right away, cover the rice with a damp kitchen towel which will help prevent the rice from drying out. Allow to cool completely or at least enough so you can handle the rice.
Meanwhile, mix all ingredients for your sliders together in one bowl. Stir thoroughly to combine all ingredients.
Form into small patties (about 1 tablespoon each). One pound of meat should make about 20 small patties.
Put on a plate and sprinkle with a good grinding of black pepper and some additional salt.
Put 1 tablespoon garlic-infused olive oil in a large frying pan and add about half the patties to the pan. Brown on both sides and cook until just cooked through. Remove from the pan and set on a warm plate while you cook the rest of the patties.
When all your sliders are cooked, you’re ready to put it all together!
Place 1 heaping tablespoon of rice on a piece of plastic wrap, flattening it gently into a round shape. Add one cooked slider on top of the rice in the middle. Cover with a scant tablespoon of rice, pull the plastic wrap up around the rice and slider and form it into a tight ball covering the meat with the rice as you do. Flatten it slightly with your hands but keep the rice tight so it holds its shape when you remove the plastic wrap. Carefully remove the plastic wrap and set your rice ball on a plate. Continue this process with the rest of the rice and sliders until everything is used up. If you end up with some extra patties, just serve them on the side.
Meanwhile, make the dipping sauce by combining the soy sauce and toasted sesame oil in a small jar and shaking to combine.
Lightly brush the top of each rice ball with the dipping sauce.
Heat one tablespoon of toasted sesame oil in a large non-stick frying pan. Pan-fry a few of the rice balls on each side for 3-5 minutes, or until the rice forms a crispy skin. Transfer to a serving plate and sprinkle with sesame seeds. Continue this process until all rice balls are cooked.
Serve warm or room temperature with the remaining dipping sauce.
Eat and enjoy every bite because you can!
If you’re lucky enough to have a few leftover, seal them in a covered container and refrigerate them. These rice balls heat up wonderfully in the microwave and are sturdy enough to go in your lunchbox!
Pro tip: We love and recommend Smoke N Sanity’s Essence of Garlic Salt for its wonderful low FODMAP flavor. Get 10% off when you order your own bottle and use the code “IBSGC10”
More Deliciously Low FODMAP™ appetizers and side dishes you might enjoy
5 Minutes prep • 15 Minutes cook • Low FODMAP • Gluten-Free • Lactose-Free • Makes 2 cups
15 Minutes prep • 30 Minutes cook • Low FODMAP • Serves 4 • Ok to make-ahead: Steps 1 - 2
15 Minutes prep • 18 Minutes cook • Low FODMAP • Gluten-free • Makes 15 • Serving size 2
10 Minutes Prep • 50 Minutes Cook • Low FODMAP • Gluten-free • Dairy Free • Vegan • Serving size 3 - 4 crackers
10 Minutes prep • 10 Minutes cook • Low FODMAP • Gluten-free • Lactose-free • Vegan • Serves 4
10 Minutes prep • 25 Minutes cook • Low FODMAP • Gluten-free • Vegetarian • Plant Forward • Serves 4
20 Minutes prep • 25 Minutes cook • Low FODMAP • Gluten-free • Lactose-free • Vegetarian • Serves 4
10 Minutes prep • 15 Minutes rest • Low FODMAP • Gluten-free • Dairy-free • Serving size 3 tablespoons
10 Minutes prep • 20 Minutes cook • Low FODMAP • Gluten-free • Lactose-free • Vegan • Serves 5
15 Minutes prep • 1 hour chill • Low FODMAP • Gluten-free • Vegetarian • Serves 4 or more
15 Minutes prep • 45 Minutes cook • Low FODMAP • Gluten-free • Vegetarian • Serves 4 - 6
10 Minutes prep • Low FODMAP • Gluten-Free • Lactose-free • Vegetarian • Vegan • Makes 1.5 cups
