Deliciously Low FODMAP
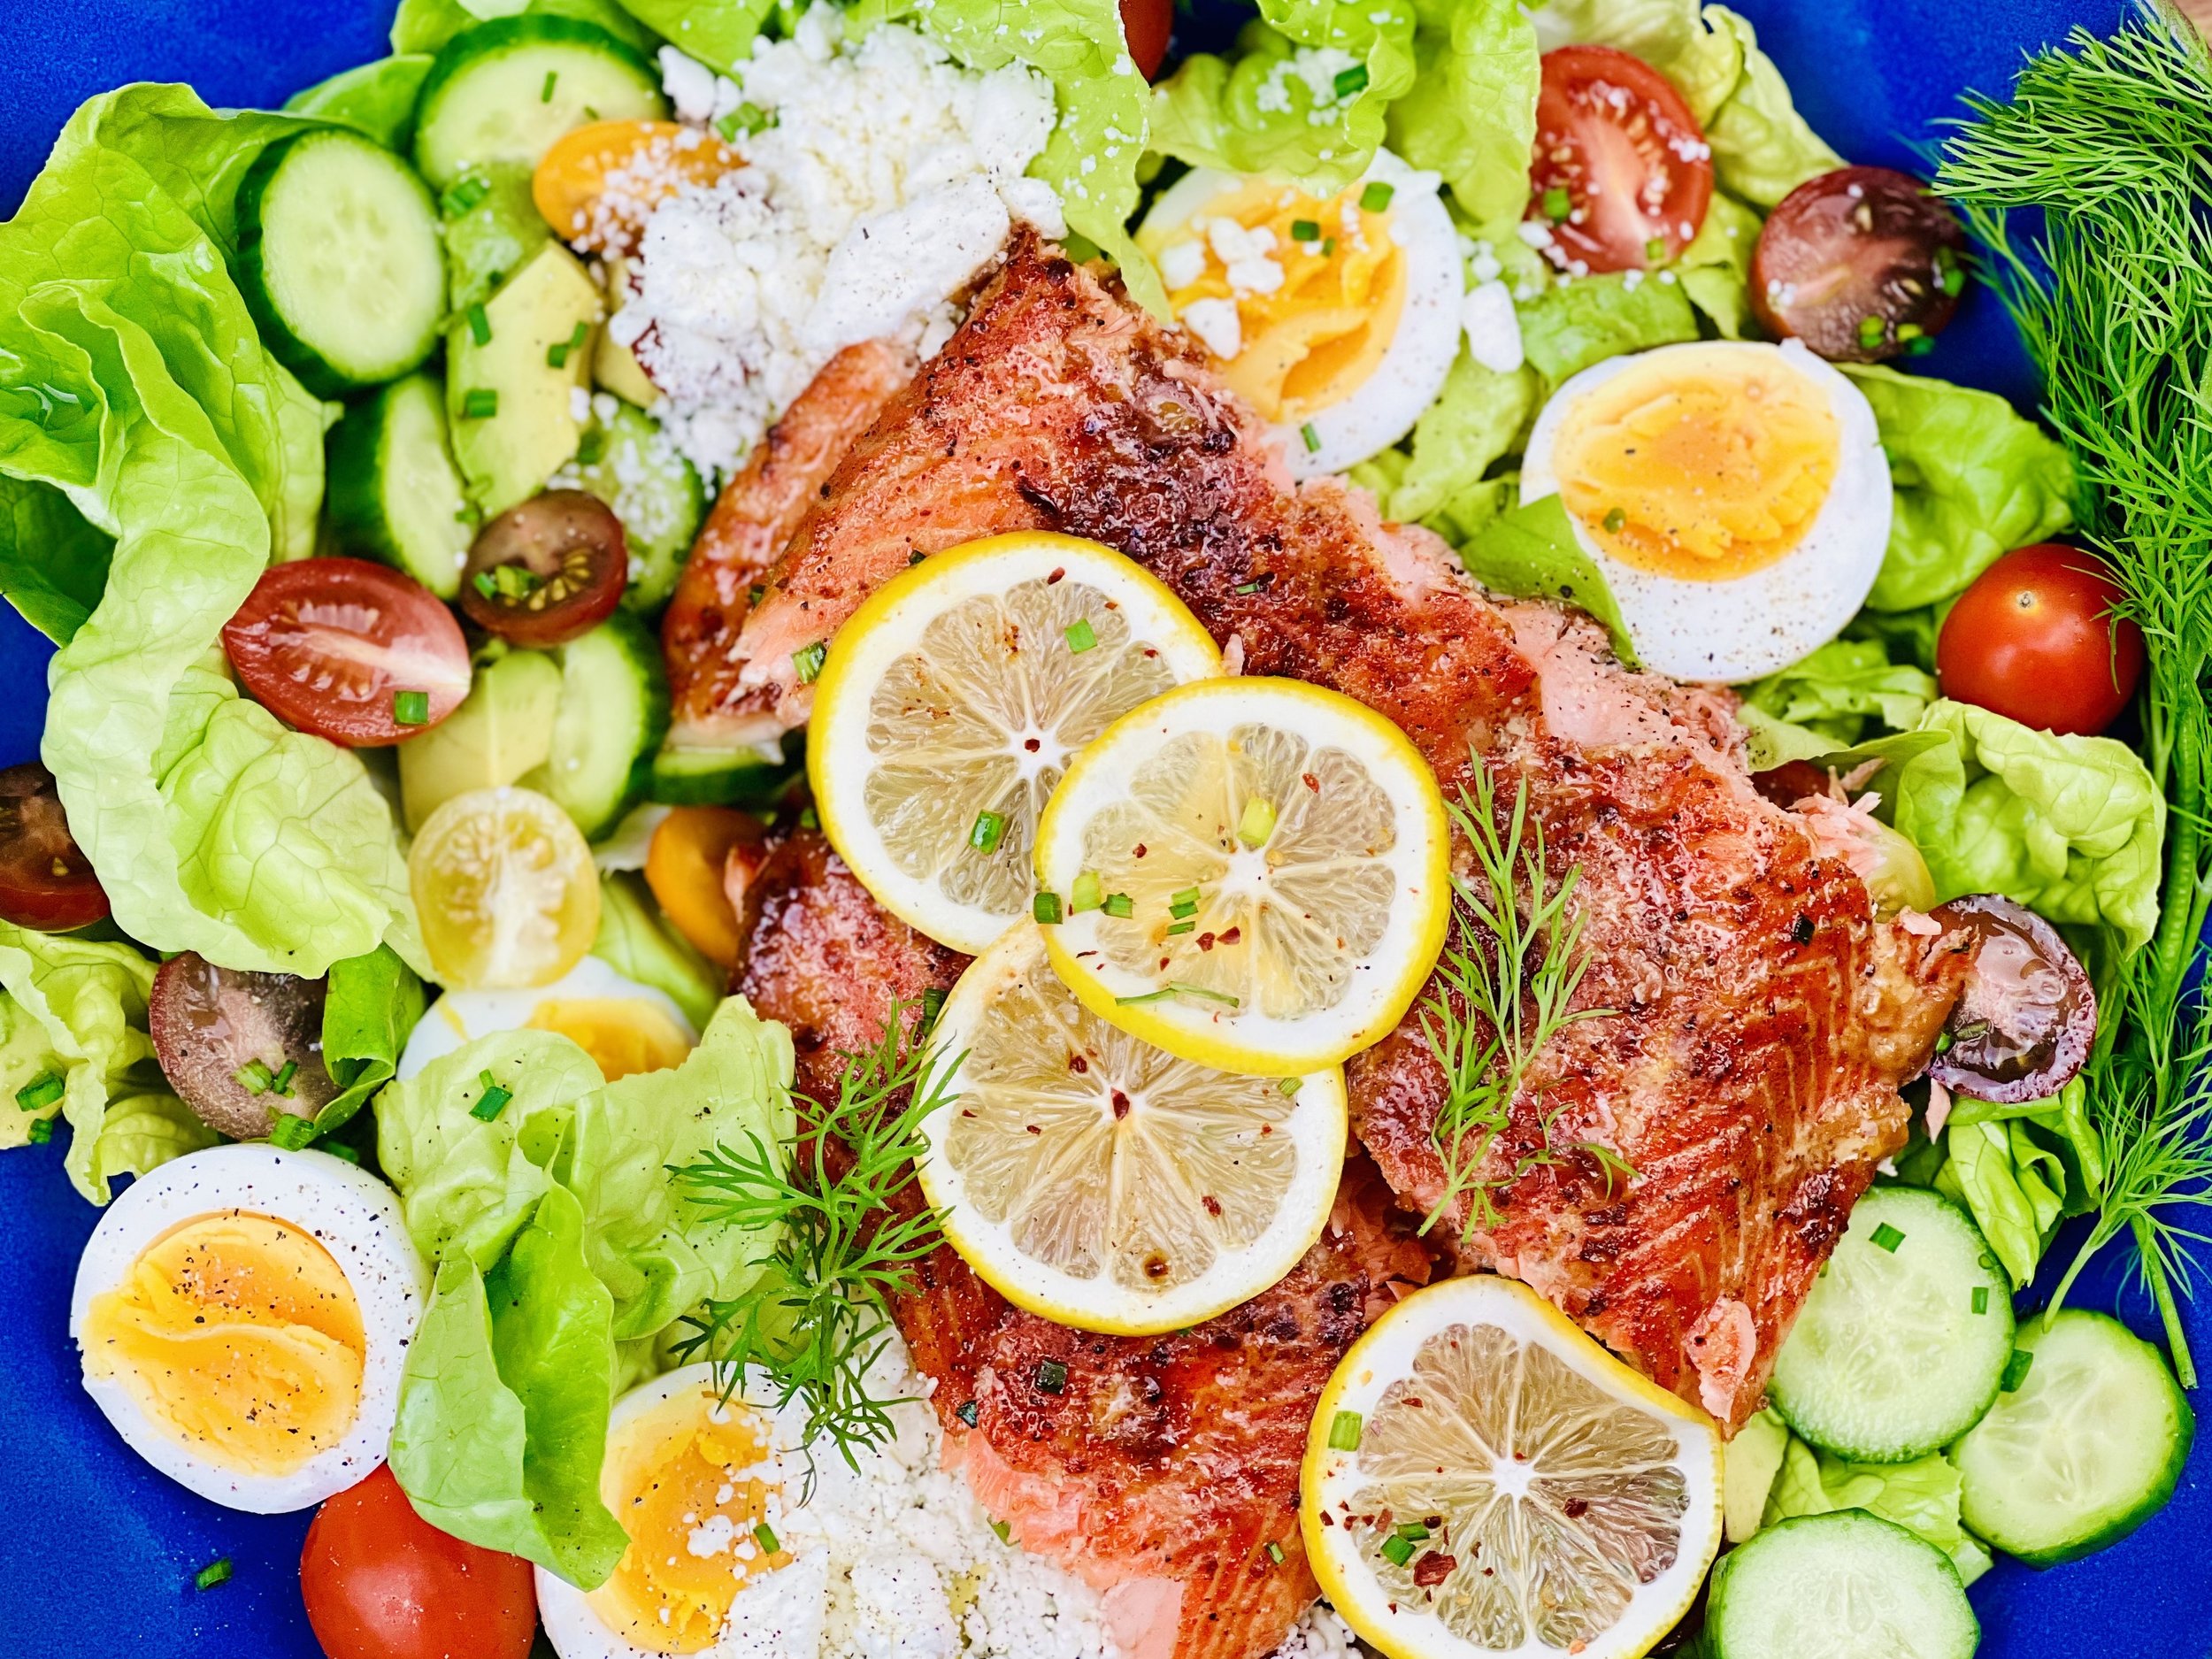
Inspire yourself with hundreds of delicious low FODMAP recipes, tips, and tools, and enjoy the abundance that is yours even when you have IBS.
Use the buttons and filters to find something specific or browse the complete collection for inspiration.
Discover a treasure trove of recipes with my FREE recipe club! Get new ideas delivered straight to your inbox every week.
Deliciously Low FODMAP is a trademark of IBS Game Changer, LLC
Filter to find Recipes and Tools
More Filtering Options
- All 704
- Appetizer 48
- BBQ 46
- Bowl 32
- Breakfast 58
- Cocktails 13
- Collection 1 58
- Collection 10 27
- Collection 11 30
- Collection 12 27
- Collection 13 31
- Collection 14 29
- Collection 15 31
- Collection 16 34
- Collection 17 31
- Collection 18 33
- Collection 19 36
- Collection 2 32
- Collection 20 33
- Collection 21 33
- Collection 22 27
- Collection 3 28
- Collection 4 29
- Collection 5 30
- Collection 6 32
- Collection 7 31
- Collection 8 31
- Collection 9 32
- Condiments 6
- Crock Pot 4
- Dessert 105
- Diabetes Game Changer Exception Protocol Contains Alcohol 11
- Diabetes Game Changer Exception Protocol Contains Flour 106
- Diabetes Game Changer Exception Protocol Contains Flour AND Sugar 76
- Diabetes Game Changer Exception Protocol Contains Sugar 46
- Diabetes Game Changer First Four Weeks 351
- Dinner 318
- Drink 7
- Free Guide 17
- Gluten-free 569
- Gut Microbiome 2
- Guthealth 3
- Holidays 63
- IBS Triggers 4
- Keto Friendly 112
- Lactose-Free 171
- Low FODMAP Diet 690
- Low Net Carb 126
- Low Net Starch 104
- Low Starch 107
Discover Effortless Low FODMAP Recipe Access in my Recipe Club
Explore curated low-FODMAP recipes in my Recipe Club
Unleash the power of streamlined recipe discovery in my Recipe Club. Simply head to the Collections tab, click on your preferred collection, and prepare to be inspired! You'll find curated sets of delicious, low-FODMAP recipes tailored to your interests.
Haven't joined the Recipe Club yet? For the cost of a simple latte, you can become a member today and unlock a world of easy-to-make, low-FODMAP appetizers, main courses, side dishes, salads, soups, desserts, and more. It’s now easier than ever to gain access to hundreds of my easy, mouthwatering, low-FODMAP recipes created with you in mind.
Have a question you’d like to have answered? Email me at hello@ibsgamechanger.com
Vietnamese Pho (Low FODMAP)
15 Minutes prep • 30 Minutes cook • Low FODMAP • Gluten-free • Lactose-free • Serves 4-6
15 Minutes prep • 30 Minutes cook • Low FODMAP • Gluten-free • Lactose-free • Serves 4-6 • Ok to make ahead: Steps 1-4
If you love Vietnamese Pho you’ll really love this easy low FODMAP Pho. This soup is an amazing fusion of Asian spices and vegetables, rice noodles, and rich clear broth. I added a few “extra” veggies to this recipe because I always think there’s room for a few more plants! The wonderful flavors will delight your palate and your tummy. This soup is healthy, delicious, and easy to make so if you haven’t tried making your own Pho, this is the perfect time to do it.
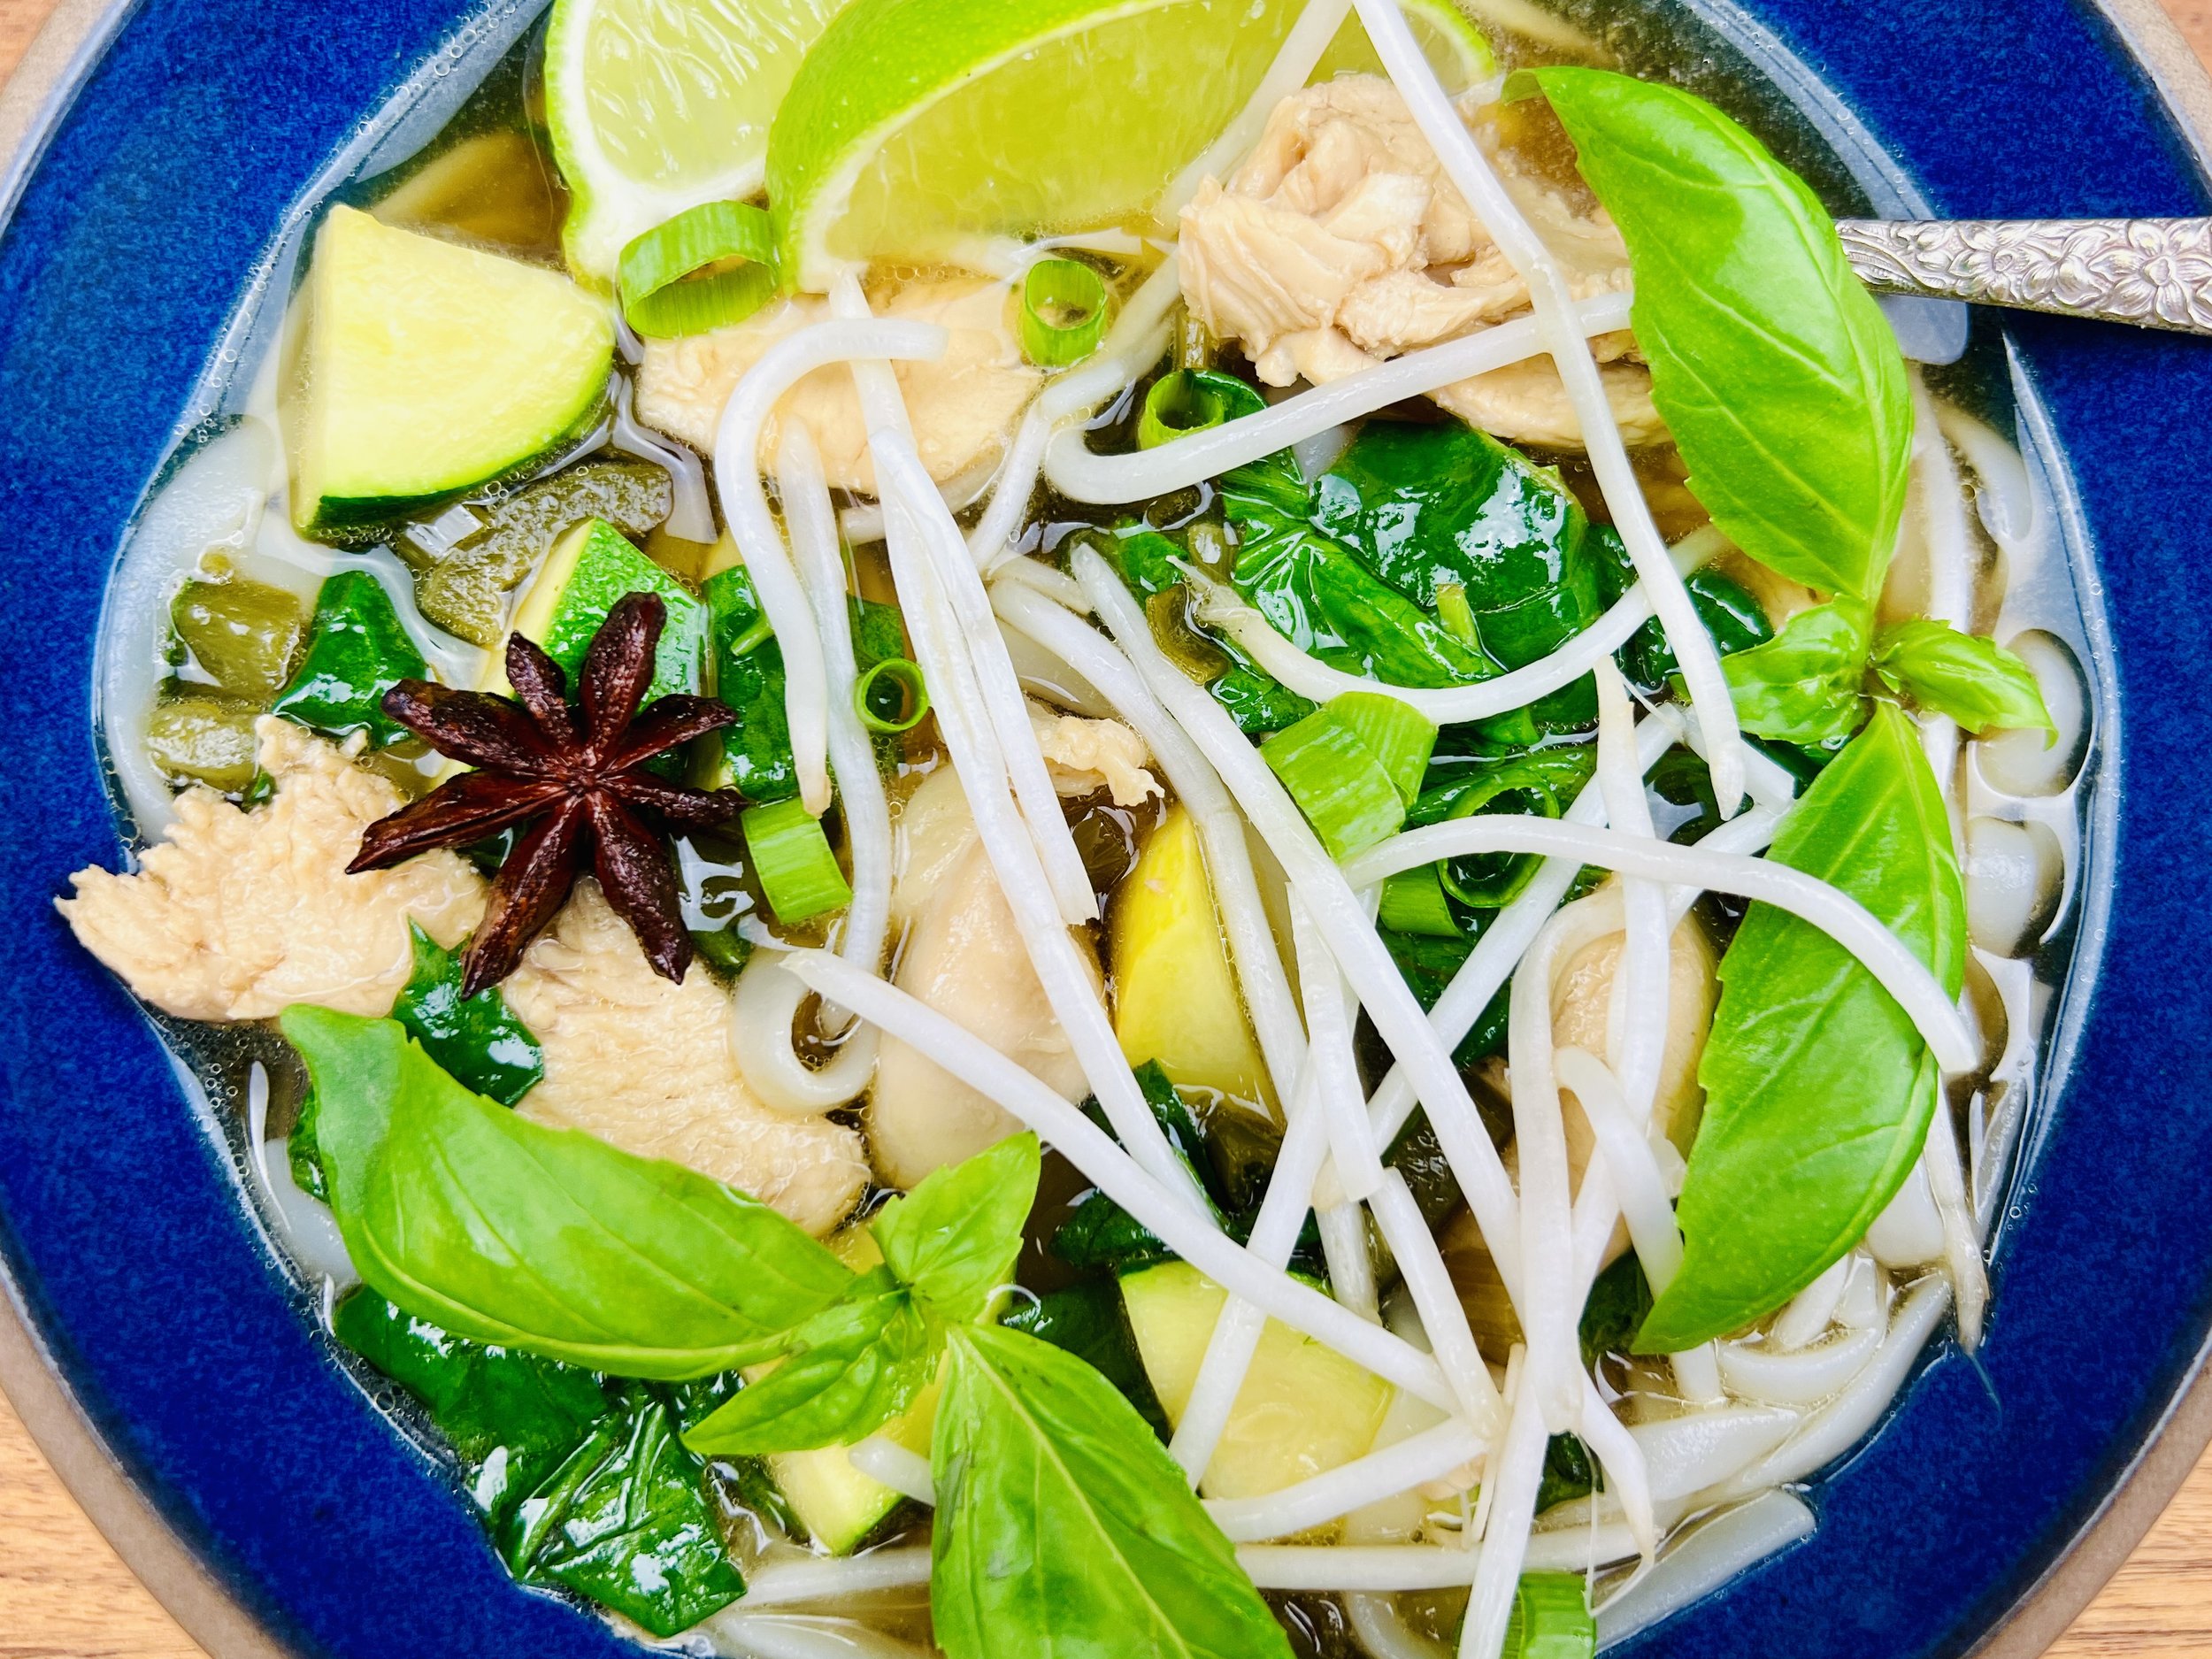
Ingredients: Chicken
2 tablespoons garlic-infused extra-virgin olive oil
1 tablespoon toasted sesame oil
1 1/2 pounds boneless, skinless chicken breasts, cut into thirds
2 green onions, green part only, chopped
1 teaspoon Kosher salt
1/2 teaspoon black pepper
Ingredients: Soup
6 cups low FODMAP chicken broth (I use Whole Foods Organic 365 chicken broth or Gourmend low FODMAP Organic Chicken Broth - use code IBSGC15 for 15% discount)
1/4 cup low sodium gluten-free soy sauce
2 tablespoons seasoned rice vinegar
1 tablespoon toasted sesame oil, plus more for serving
2 teaspoons maple syrup
4 green onions (green part only) chopped
6 slices fresh ginger
1-3 star anise
1 jalapeño pepper, seeded and chopped (optional)
1 zucchini, cubed
1 summer squash, cubed
2 cups chopped kale, bok choy, baby spinach, or a combination
1/2 cup chopped fresh basil, plus more for serving
8 ounces rice noodles
Mung bean sprouts, fresh basil, chopped avocado, and lime wedges, for serving
Directions
(1) Prepare: Cut the chicken breasts in half or thirds, depending on how big they are, and chop the vegetables.
(2) Cook the chicken: In a Dutch oven or large heavy soup pot, add 2 tablespoons of garlic-infused olive oil and 1 tablespoon of toasted sesame oil and heat over medium-high heat. When the oil is hot, add the chopped green onion greens and the chicken, and sprinkle with salt and pepper. Sear the chicken on all sides, about 2-3 minutes per side until it starts to brown. Add 2 cups of chicken broth and bring it to a low boil. Turn the heat down and gently boil until the chicken is just cooked through (165 degrees F on an instant-read thermometer). Remove the chicken to a cutting board, thinly slice, or use two forks to shred it, and set aside.
(3) Prepare the soup: Add 4 more cups of chicken broth to the soup pot so you have about 6 cups of liquid total. Then add the gluten-free soy sauce, rice vinegar, toasted sesame oil, maple syrup, green onion greens, ginger, star anise, cinnamon stick, and jalapeno pepper (if using). Bring to a boil over medium-high heat, then reduce the heat to low and simmer for 10 minutes. Add the chopped zucchini and summer squash and simmer for 5 more minutes, or until ready to serve. Just before serving, stir in the chopped greens and 1/2 cup chopped basil. Taste, and add more soy sauce if needed for flavor, or add some hot water (if the broth tastes too salty).
(4) Cook the noodles: Meanwhile, cook the noodles according to package directions. Drain, rinse, and set aside.
(5) Plate and serve: To serve, divide the noodles between bowls. Add the shredded chicken, then ladle the hot broth over the top. Add bean sprouts, chopped basil, chopped avocado (an unusual addition to Pho but absolutely delicious!), and a generous squeeze of lime juice. If you spot the ginger slices, you can remove them along with the star anise before serving.
Eat and enjoy every bite because you can!
Recipe note: I use Diamond Crystal Kosher salt in all my recipes because it has a wonderful flat and crisp flake that tastes delicious. It is also the least salty salt available so you can use it more liberally as a seasoning than you can table salt or sea salt. If you use another type of salt, you may need to reduce the amount so it is not over-salted.
Have a question you’d like to have answered? Email me at hello@ibsgamechanger.com
Link note: This post may contain affiliate links for you to easily purchase items that are linked. I may earn a small commission from qualifying purchases but none of this costs you a thing so feel free to use the links! In addition, for some items, I have provided a special discount code for IBS Game Changers so be sure to use the code when you purchase an item to get the discount that has been arranged just for you.
More Deliciously Low FODMAP™ soup recipes
15 Minutes prep • 30 Minutes cook • Low FODMAP • Gluten-free • Lactose-free • Serves 4-6
10 Minutes prep • 60 Minutes cook • Low FODMAP • Gltuen-free • Lactose-free • Serves 4 - 6
15 Minutes prep • 55 Minutes cook • Low FODMAP • Gluten-free • Lactose-free • Serves 4-6
15 Minutes prep • 55 Minutes cook • Low FODMAP • Gluten-free • Lactose-free • Serves 4-6
15 Minutes prep • 50 Minutes cook • Low FODMAP • Gluten-free • Lactose-free version • Serves 6
15 Minutes prep • 60 Minutes cook • Low FODMAP • Vegetarian • Dairy-free • Serves 4 - 6 • Ok to make-ahead: Steps 1 - 7
Classic Blueberry Cobbler (Low FODMAP)
15 Minutes prep • 35 Minutes cook • Low FODMAP • Gluten-free • Serves 4
15 Minutes prep • 35 Minutes cook • Low FODMAP • Gluten-free • Serves 4
Blueberry cobbler is an amazing combination of flavors, textures, and even temperatures when you serve warm cobbler with cold ice cream on top. Make this cobbler with basic pantry ingredients and frozen blueberries and you’ve got a masterpiece dessert in no time. It’s an extra-special treat with fresh berries in season (especially when you pick them yourself) but just as good with frozen berries when they’re not in season.
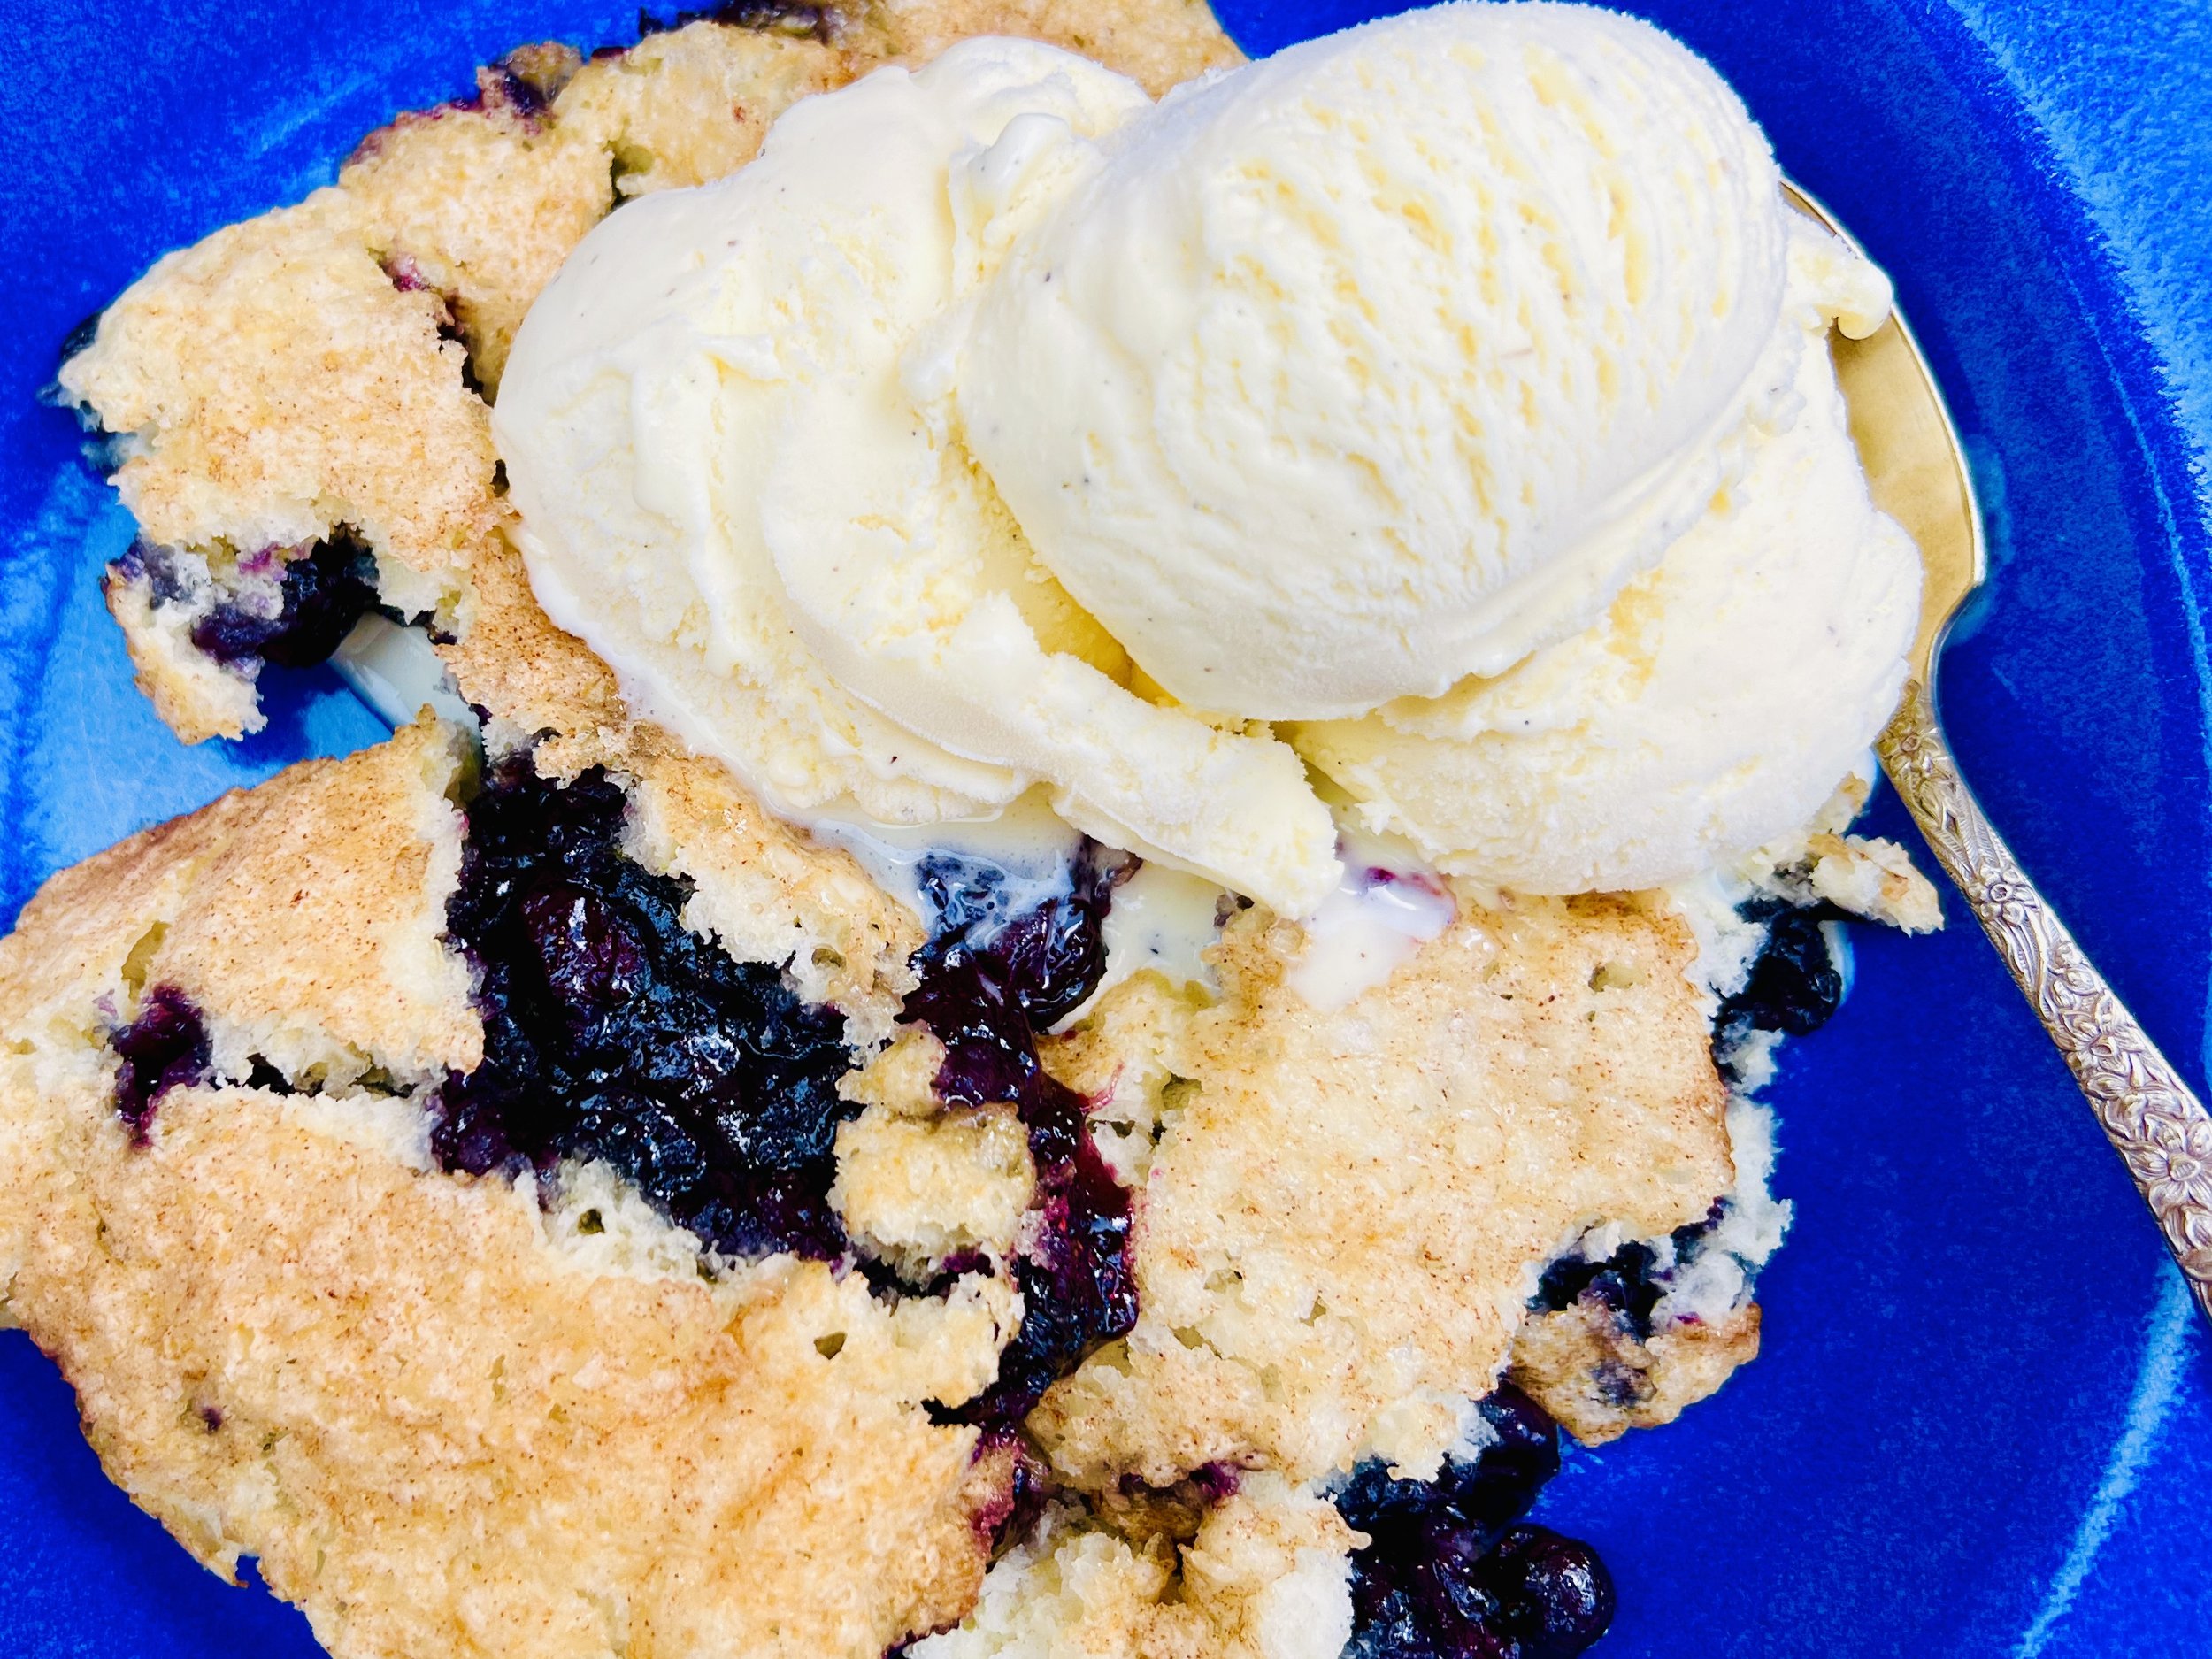
This is an exclusive recipe just for recipe club members.
In addition to the two free recipes I create each week I am creating and delivering one very special recipe just for my recipe club members. If you’re not yet a member, I encourage you to join! Membership in the club includes access to the complete archive of recipes with filters so it can become your virtual low FODMAP cookbook plus, I am creating and delivering one special NEW recipe every week ONLY for recipe club members.
Your membership in the club helps me continue creating new, delicious, easy-to-make, low FODMAP recipes just for you.
As always, all recipes will emphasize simple ingredients, easy preparation, and delicious low FODMAP results. Recipes will be for everything from main courses, salads, soups, side dishes, appetizers, desserts, sauces, breakfast and lunch, and even mocktails and cocktails. Everything you need to prepare fantastic low FODMAP meals everyone will love.
Join the club. Let’s keep making delicious Low FODMAP meals together.
Link note: This post may contain affiliate links for you to easily purchase items that are linked. I may earn a small commission from qualifying purchases but none of this costs you a thing so feel free to use the links! In addition, for some items, I have provided a special discount code for IBS Game Changers so be sure to use the code when you purchase an item to get the discount that has been arranged just for you.
More Deliciously Low FODMAP™ dessert recipes
15 Minutes prep • 20 Minutes cook • 30 Minutes cool • Low FODMAP • Gluten-free • Makes 18 bars
20 Minutes prep • 10 Minutes cook • Low FODMAP • Gluten-free • Makes 12 Sandwiched Cookies
20 Minutes prep • 20 Minutes cook • Low FODMAP • Gluten-free • Lactose-free • Makes 12 - 24
20 Minutes prep • 2 Hours chill • 10 Minutes cook • Low FODMAP • Gluten-free • Makes 24 - 36
I’m here to show you how to fully embrace the flavors of fall while keeping your digestive system happy.
10 Minutes prep • Overnight Chill • Low FODMAP • Gluten-free • Lactose-free • Serves 2 - 4
15 Minutes prep • 30 Minutes cook/cool • Low FODMAP • Gluten-free • Serves 8 • Serving Size 1/8
Easy Sweet Potato Wedge Fries (Low FODMAP)
10 Minutes prep • 40 Minutes cook • Low FODMAP • Gluten-free • Dairy-free • Services 4
10 Minutes prep • 40 Minutes cook • Low FODMAP • Gluten-free • Dairy-free • Serves 4 • Ok to make ahead: Step 1
Many thanks to my sister Sarah for sharing this great and simple recipe. Crisp on the outside and creamy smooth on the inside, these sweet potato fries are a delicious addition to just about any meal! They are easy to make and use only four ingredients you probably already have in your pantry. They are delicious plain or you can dip them in low-FODMAP ketchup or BBQ Sauce. Add a sweet potato to your shopping list and enjoy these delicious wedge fries tonight! (Keep in mind the low FODMAP serving of sweet potato is about 1/2 cup so, even though these are delicious, don’t eat the whole potato yourself!)
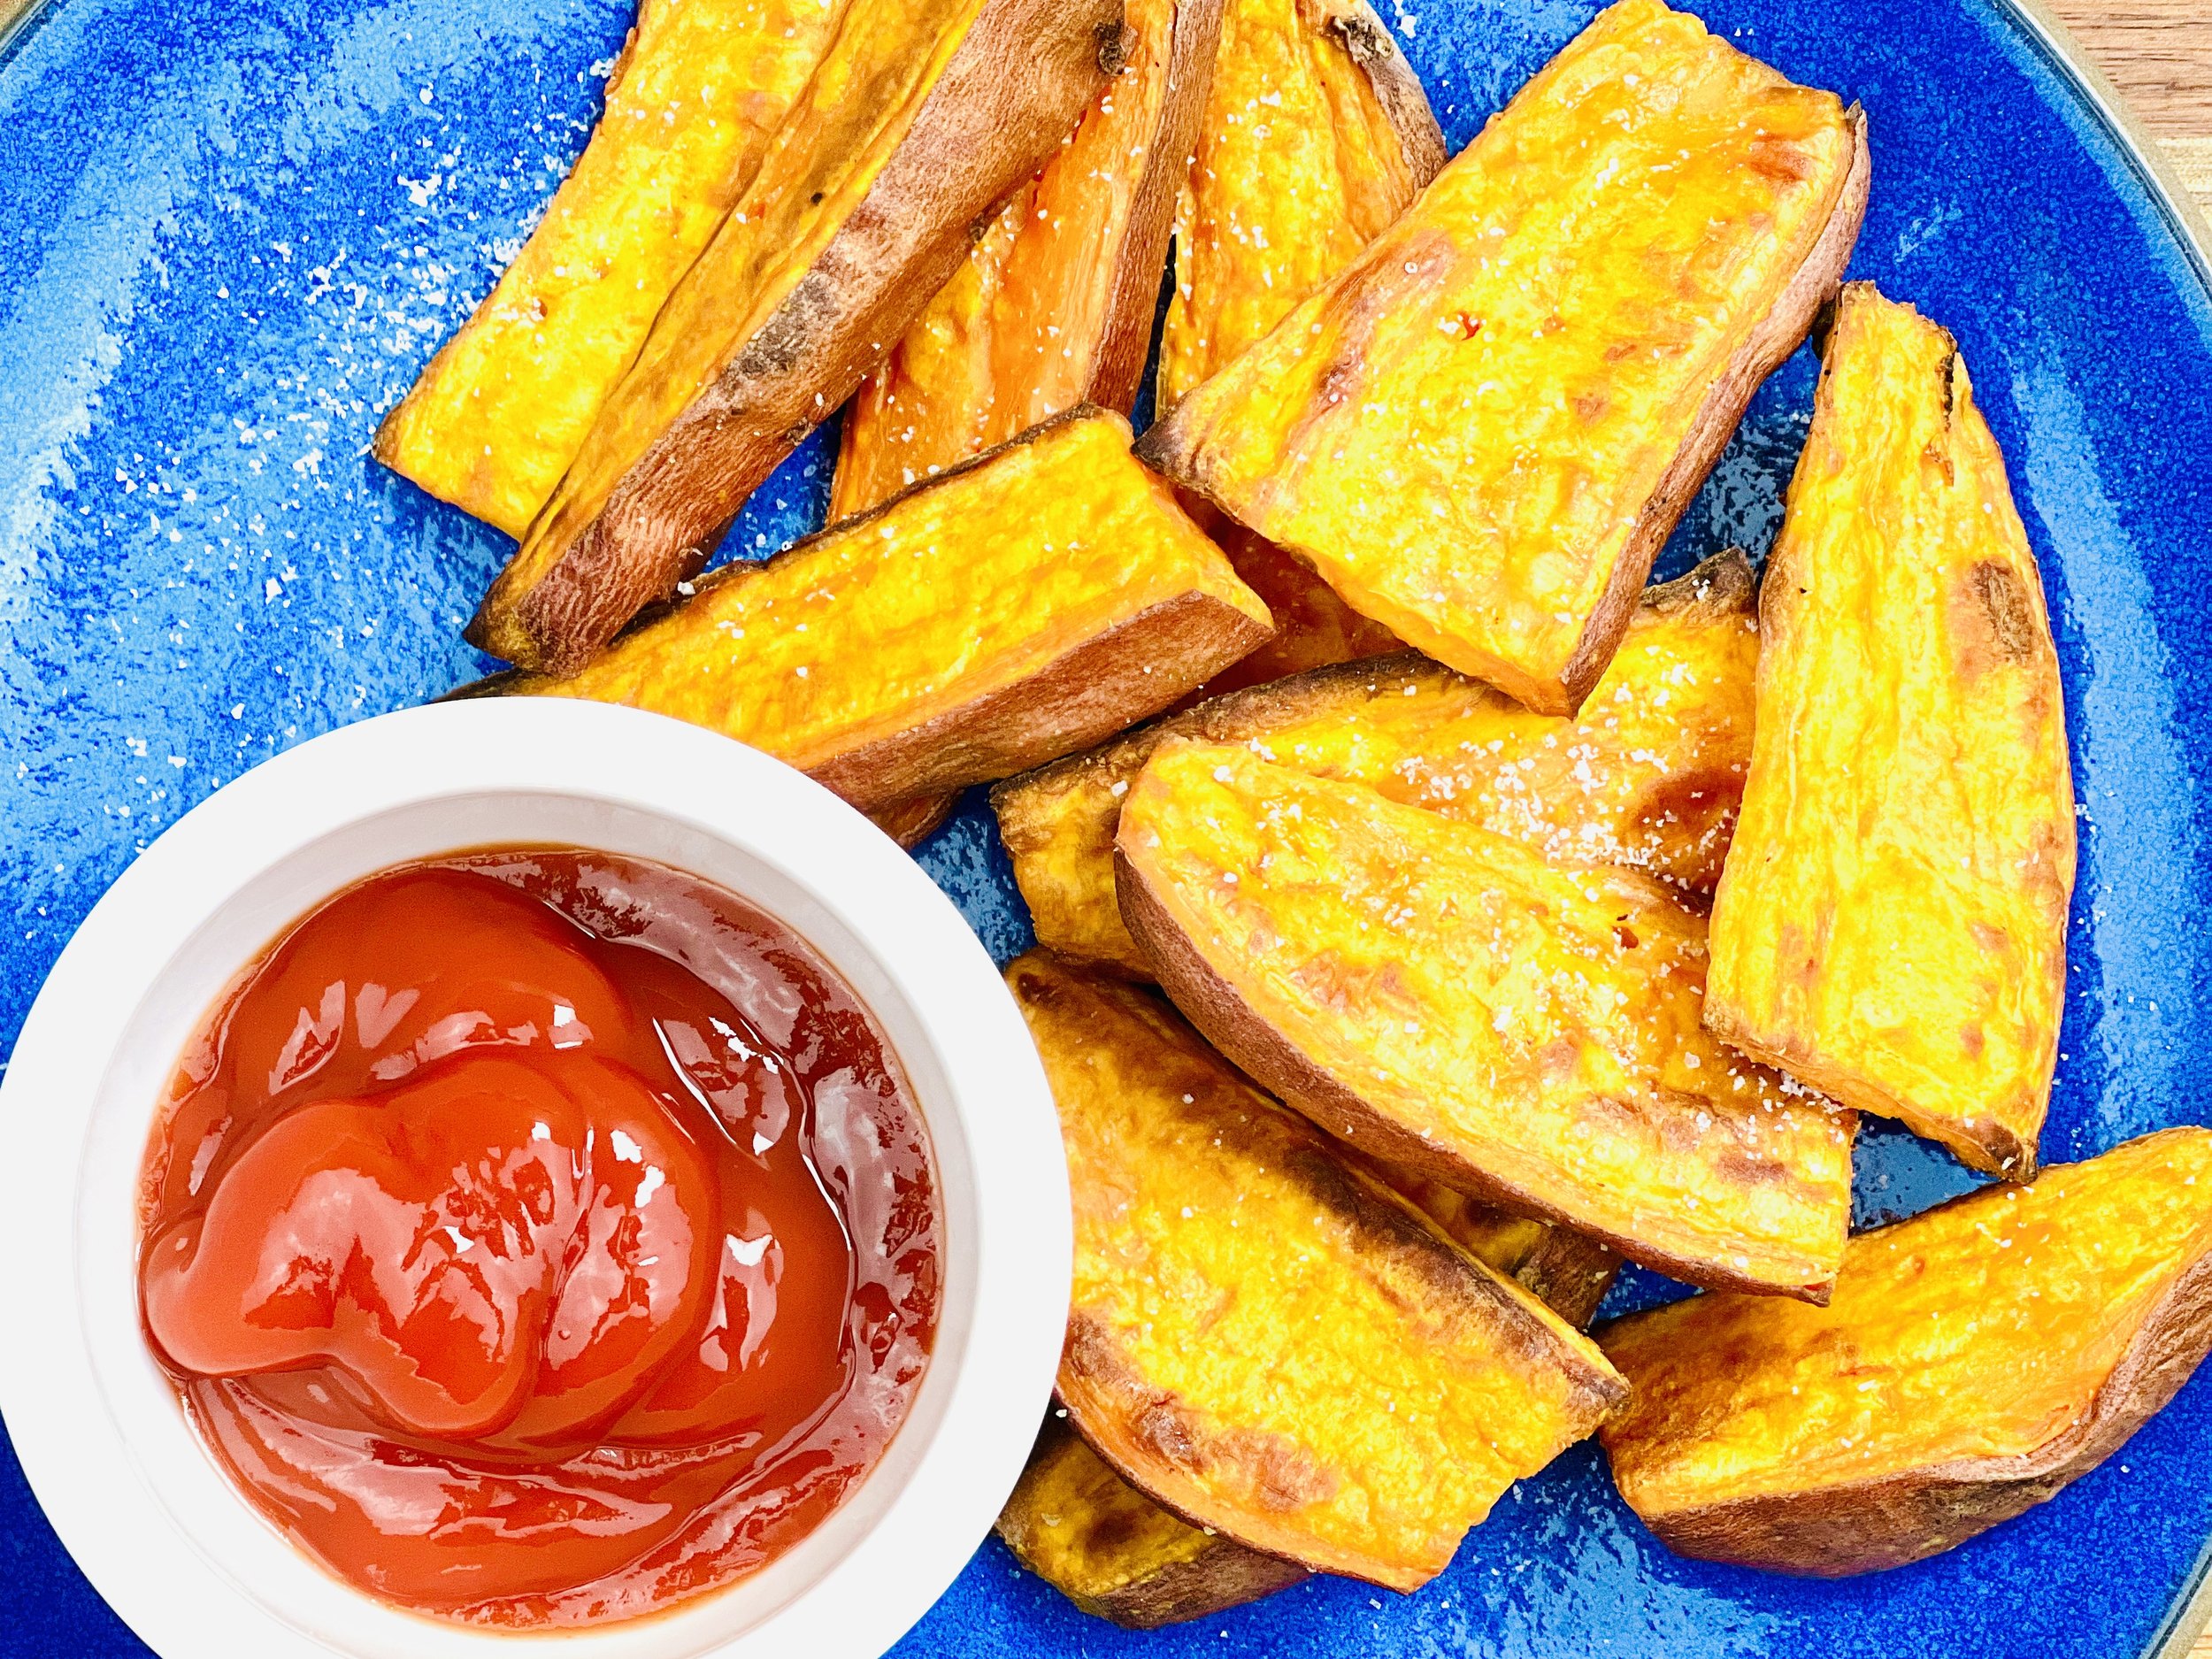
Ingredients
1 sweet potato, cut into wedges
1 tablespoon extra-virgin olive oil
1 teaspoon Kosher salt
1/4 - 1/2 teaspoon Black pepper
Directions
(1) Prepare: Wash and cut sweet potato into wedges. Line a rimmed baking sheet with parchment paper. Preheat oven to 425 degrees F.
(2) Combine: Put the potato wedges in a bowl and drizzle them with olive oil. Toss well to coat. Spread out on parchment lined rimmed cookie sheet, slab side down, and with skin facing the same direction so you can keep track when flipping them over. Sprinkle lightly with salt and pepper.
(3) Bake: Bake for 20 minutes at 425 degrees F. Flip the potato wedges over and bake another 20 minutes, being careful not to burn.
(4) Plate and serve: Serve plain or with your favorite low-FODMAP ketchup or BBQ Sauce.
Eat and enjoy every bite because you can!
Recipe note: I use Diamond Crystal Kosher salt in all my recipes because it has a wonderful flat and crisp flake that tastes delicious. It is also the least salty salt available so you can use it more liberally as a seasoning than you can table salt or sea salt. If you use another type of salt, you may need to reduce the amount so it is not over-salted.
Have a question you’d like to have answered? Email me at hello@ibsgamechanger.com
Link note: This post may contain affiliate links for you to easily purchase items that are linked. I may earn a small commission from qualifying purchases but none of this costs you a thing so feel free to use the links! In addition, for some items, I have provided a special discount code for IBS Game Changers so be sure to use the code when you purchase an item to get the discount that has been arranged just for you.
More Deliciously Low FODMAP™ side dish recipes
15 Minutes prep • 30 Minutes cook • Low FODMAP • Serves 4 • Ok to make-ahead: Steps 1 - 2
15 Minutes prep • 18 Minutes cook • Low FODMAP • Gluten-free • Makes 15 • Serving size 2
10 Minutes prep • 10 Minutes cook • Low FODMAP • Gluten-free • Lactose-free • Vegan • Serves 4
10 Minutes prep • 25 Minutes cook • Low FODMAP • Gluten-free • Vegetarian • Plant Forward • Serves 4
20 Minutes prep • 25 Minutes cook • Low FODMAP • Gluten-free • Lactose-free • Vegetarian • Serves 4
10 Minutes prep • 20 Minutes cook • Low FODMAP • Gluten-free • Lactose-free • Vegan • Serves 5
15 Minutes prep • 45 Minutes cook • Low FODMAP • Gluten-free • Vegetarian • Serves 4 - 6
30 Minutes prep • 20 Minutes cook • Low FODMAP • Gluten-free • Vegetarian • Makes 10 Squares
25 Minutes prep • 40 Minutes cook • Low FODMAP • Gluten-free • Vegetarian • Serves 4 - 6
It’s Pumpkin Spice Season! (Low FODMAP)
I’m here to show you how to fully embrace the flavors of fall while keeping your digestive system happy.
As the leaves start to change color and the air turns crisp, there's one thing that symbolizes the arrival of autumn like no other – the beloved pumpkin spice season. It's a time when cozy sweaters, warm drinks, and the aromatic blend of cinnamon, nutmeg, and cloves fill the air. But for those of us following a low FODMAP diet, the traditional pumpkin spice season can be a bit daunting. Fear not! I’m here to show you how to fully embrace the flavors of fall while keeping your digestive system happy.
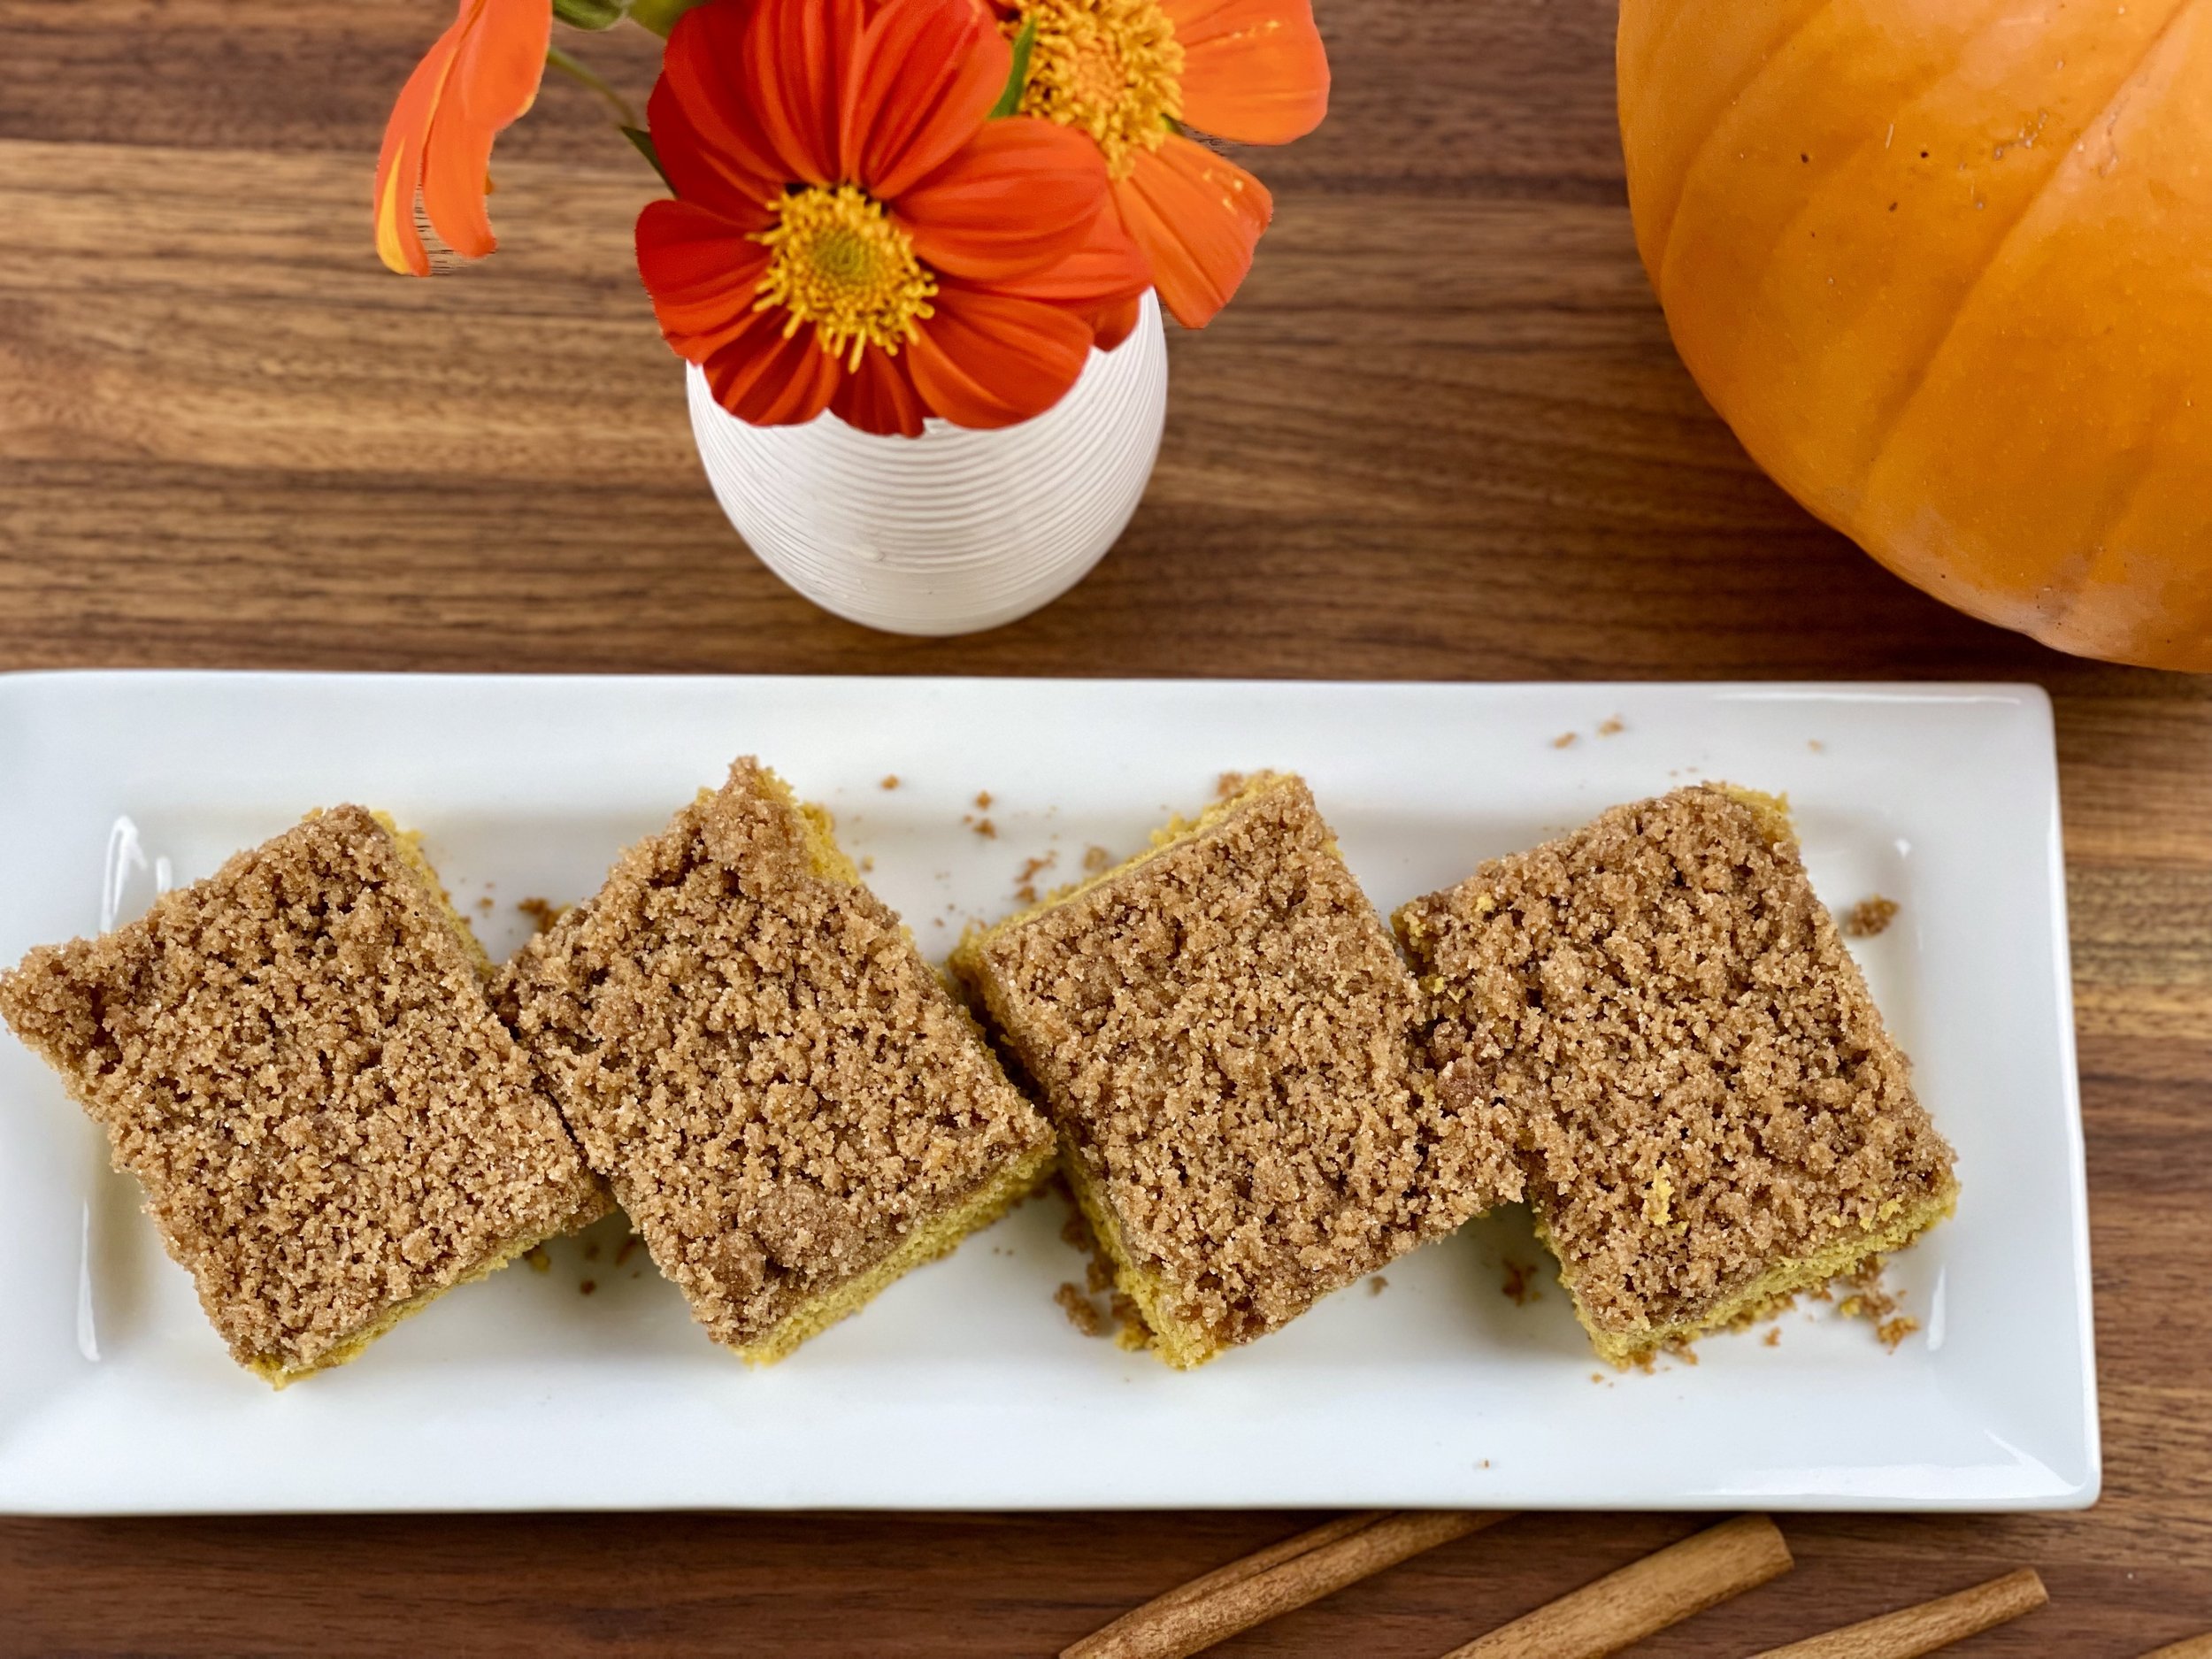
Pumpkin Spice: A Low FODMAP Delight
The good news is that many components of the classic pumpkin spice blend are low in FODMAPs. Cinnamon, nutmeg, and cloves—the heart and soul of pumpkin spice—are safe for most people following a low FODMAP diet. This means you can enjoy that warm, comforting flavor without the worry of digestive distress. (Watch out for the super sweet syrups that often get added to pumpkin spice delights and avoid those with high fructose corn syrup.)
Low FODMAP Pumpkin Spice Recipes
Here are a few of my low FODMAP Pumpkin Spice recipes. Want to see even more? Find them in the Recipe Club filtered for pumpkin right here.
Brown Butter Pumpkin Streusel Coffee Cake
This is a wonderful pumpkin recipe that uses my Pumpkin Butter as a key ingredient! This classic coffee cake has been made that much better with brown butter and pumpkin spice. The cake is light and pumpkiny and the streusel topping has a nice spiced crumble to it. It's quick to make and it's perfect for breakfast or afternoon tea.
Maple Pecan Pumpkin Bread
It’s that time of year again—pumpkin everything! I love a good pumpkin bread and this one is made extra special with pecans and maple syrup. It’s super moist so the crunchy cinnamon sugar topping makes a nice contrast to the cake-like bread. Enjoy it fresh or keep it wrapped up for a day or two. It’s the perfect fall flavor.
Pumpkin, Bacon, Cheddar Risotto
I don't know about you, but I love the fall when the air (finally) gets cold and crisp and we see pumpkin sneaking into lots of delicious recipes! Tis’ the season to roll out the comfort food, and this one’s a winner! The flavor is kind of like that yummy potato skin appetizer with the bacon and the cheese but the pumpkin and the risotto bring a whole new level of creamy deliciousness.
This is one of those recipes your family will ask for again and again and you will be free to enjoy it with them because, like all my recipes, it's low FODMAP!
I like to serve it with some crisp buttered sourdough toast for a bit of crunch to balance the creamy risotto. A nice green salad would round this out into a perfect weeknight, or any night, dinner.
Better than classic Pumpkin Pie
This version of the classic pumpkin pie is rich and flavorful and low FODMAP too. Baked in my perfect buttery pate brisee pie crust and filled with just the right combination of pumpkin, eggs, cream, and spices to deliver a wonderful flavor every time. Serve with freshly whipped cream for the best combination of flavor, color, and tradition. Looking for more holiday recipes? Check out my post on Navigating a Holiday Feast while on a low FODMAP diet.
Simple Pumpkin Spice Syrup
Make your own pumpkin spice cocktails, ice cream bars, or latte with this delicious pumpkin spice syrup. It’s simple to make and it keeps well in the fridge. So make up a batch and keep some on hand to spice up your holidays!
Pumpkin Mac and Cheese with Crispy Sage
Another pumpkin recipe to “spice” up your fall. I think adding pumpkin to anything just makes it better—and mac and cheese is no exception! This oh-so-creamy mac and cheese is made all in one pot and you can whip it up in 30 minutes. And, while it takes on a sophisticated taste with the addition of crispy sage and fresh thyme, don’t be fooled, your kids will love this cheesy, creamy, bowl of goodness. And so will you!
Pumpkin Spice Ice Cream Bars
Still a little warm where you live? This is a great way to get that pumpkin spice vibe in a cool package. I was born right on top of Thanksgiving and I’ve always attributed that happy connection to my love of all things pumpkin! Particularly pumpkin ice cream! This recipe captures all the scrumptious flavor of pumpkin spice set in the creamiest package you can imagine. If you’re a pumpkin fan, get ready to discover your new favorite pumpkin ice cream treat.
Great Pumpkin Cocktail
I love fall with the crisp air and the smell of fabulous things cooking in the kitchen. This is a wonderful fall cocktail with the flavors of pumpkin spice, maple syrup, and cinnamon. It uses my pumpkin spice butter as a base so make that ahead of time for the best version of this cocktail! (Don’t worry, it’s quick to make.)
Embracing the low FODMAP pumpkin spice season is not only possible but also deliciously enjoyable. With a little creativity and an understanding of your dietary needs, you can savor the flavors of fall without compromising your digestive comfort. So go ahead, indulge in the Pumpkin Streusel Coffee cake, bake my Better Than Classic Pumpkin Pie, or whip up my Great Pumpkin Cocktail – your taste buds and your tummy will thank you for it. Happy autumn!
Have a question you’d like to have answered? Email me at hello@ibsgamechanger.com
Link note: This post may contain affiliate links for you to easily purchase items that are linked. I may earn a small commission from qualifying purchases but none of this costs you a thing so feel free to use the links! In addition, for some items, I have provided a special discount code for IBS Game Changers so be sure to use the code when you purchase an item to get the discount that has been arranged just for you.
More Deliciously Low FODMAP™ dessert recipes
15 Minutes prep • 20 Minutes cook • 30 Minutes cool • Low FODMAP • Gluten-free • Makes 18 bars
20 Minutes prep • 10 Minutes cook • Low FODMAP • Gluten-free • Makes 12 Sandwiched Cookies
20 Minutes prep • 20 Minutes cook • Low FODMAP • Gluten-free • Lactose-free • Makes 12 - 24
20 Minutes prep • 2 Hours chill • 10 Minutes cook • Low FODMAP • Gluten-free • Makes 24 - 36
I’m here to show you how to fully embrace the flavors of fall while keeping your digestive system happy.
10 Minutes prep • Overnight Chill • Low FODMAP • Gluten-free • Lactose-free • Serves 2 - 4
15 Minutes prep • 30 Minutes cook/cool • Low FODMAP • Gluten-free • Serves 8 • Serving Size 1/8
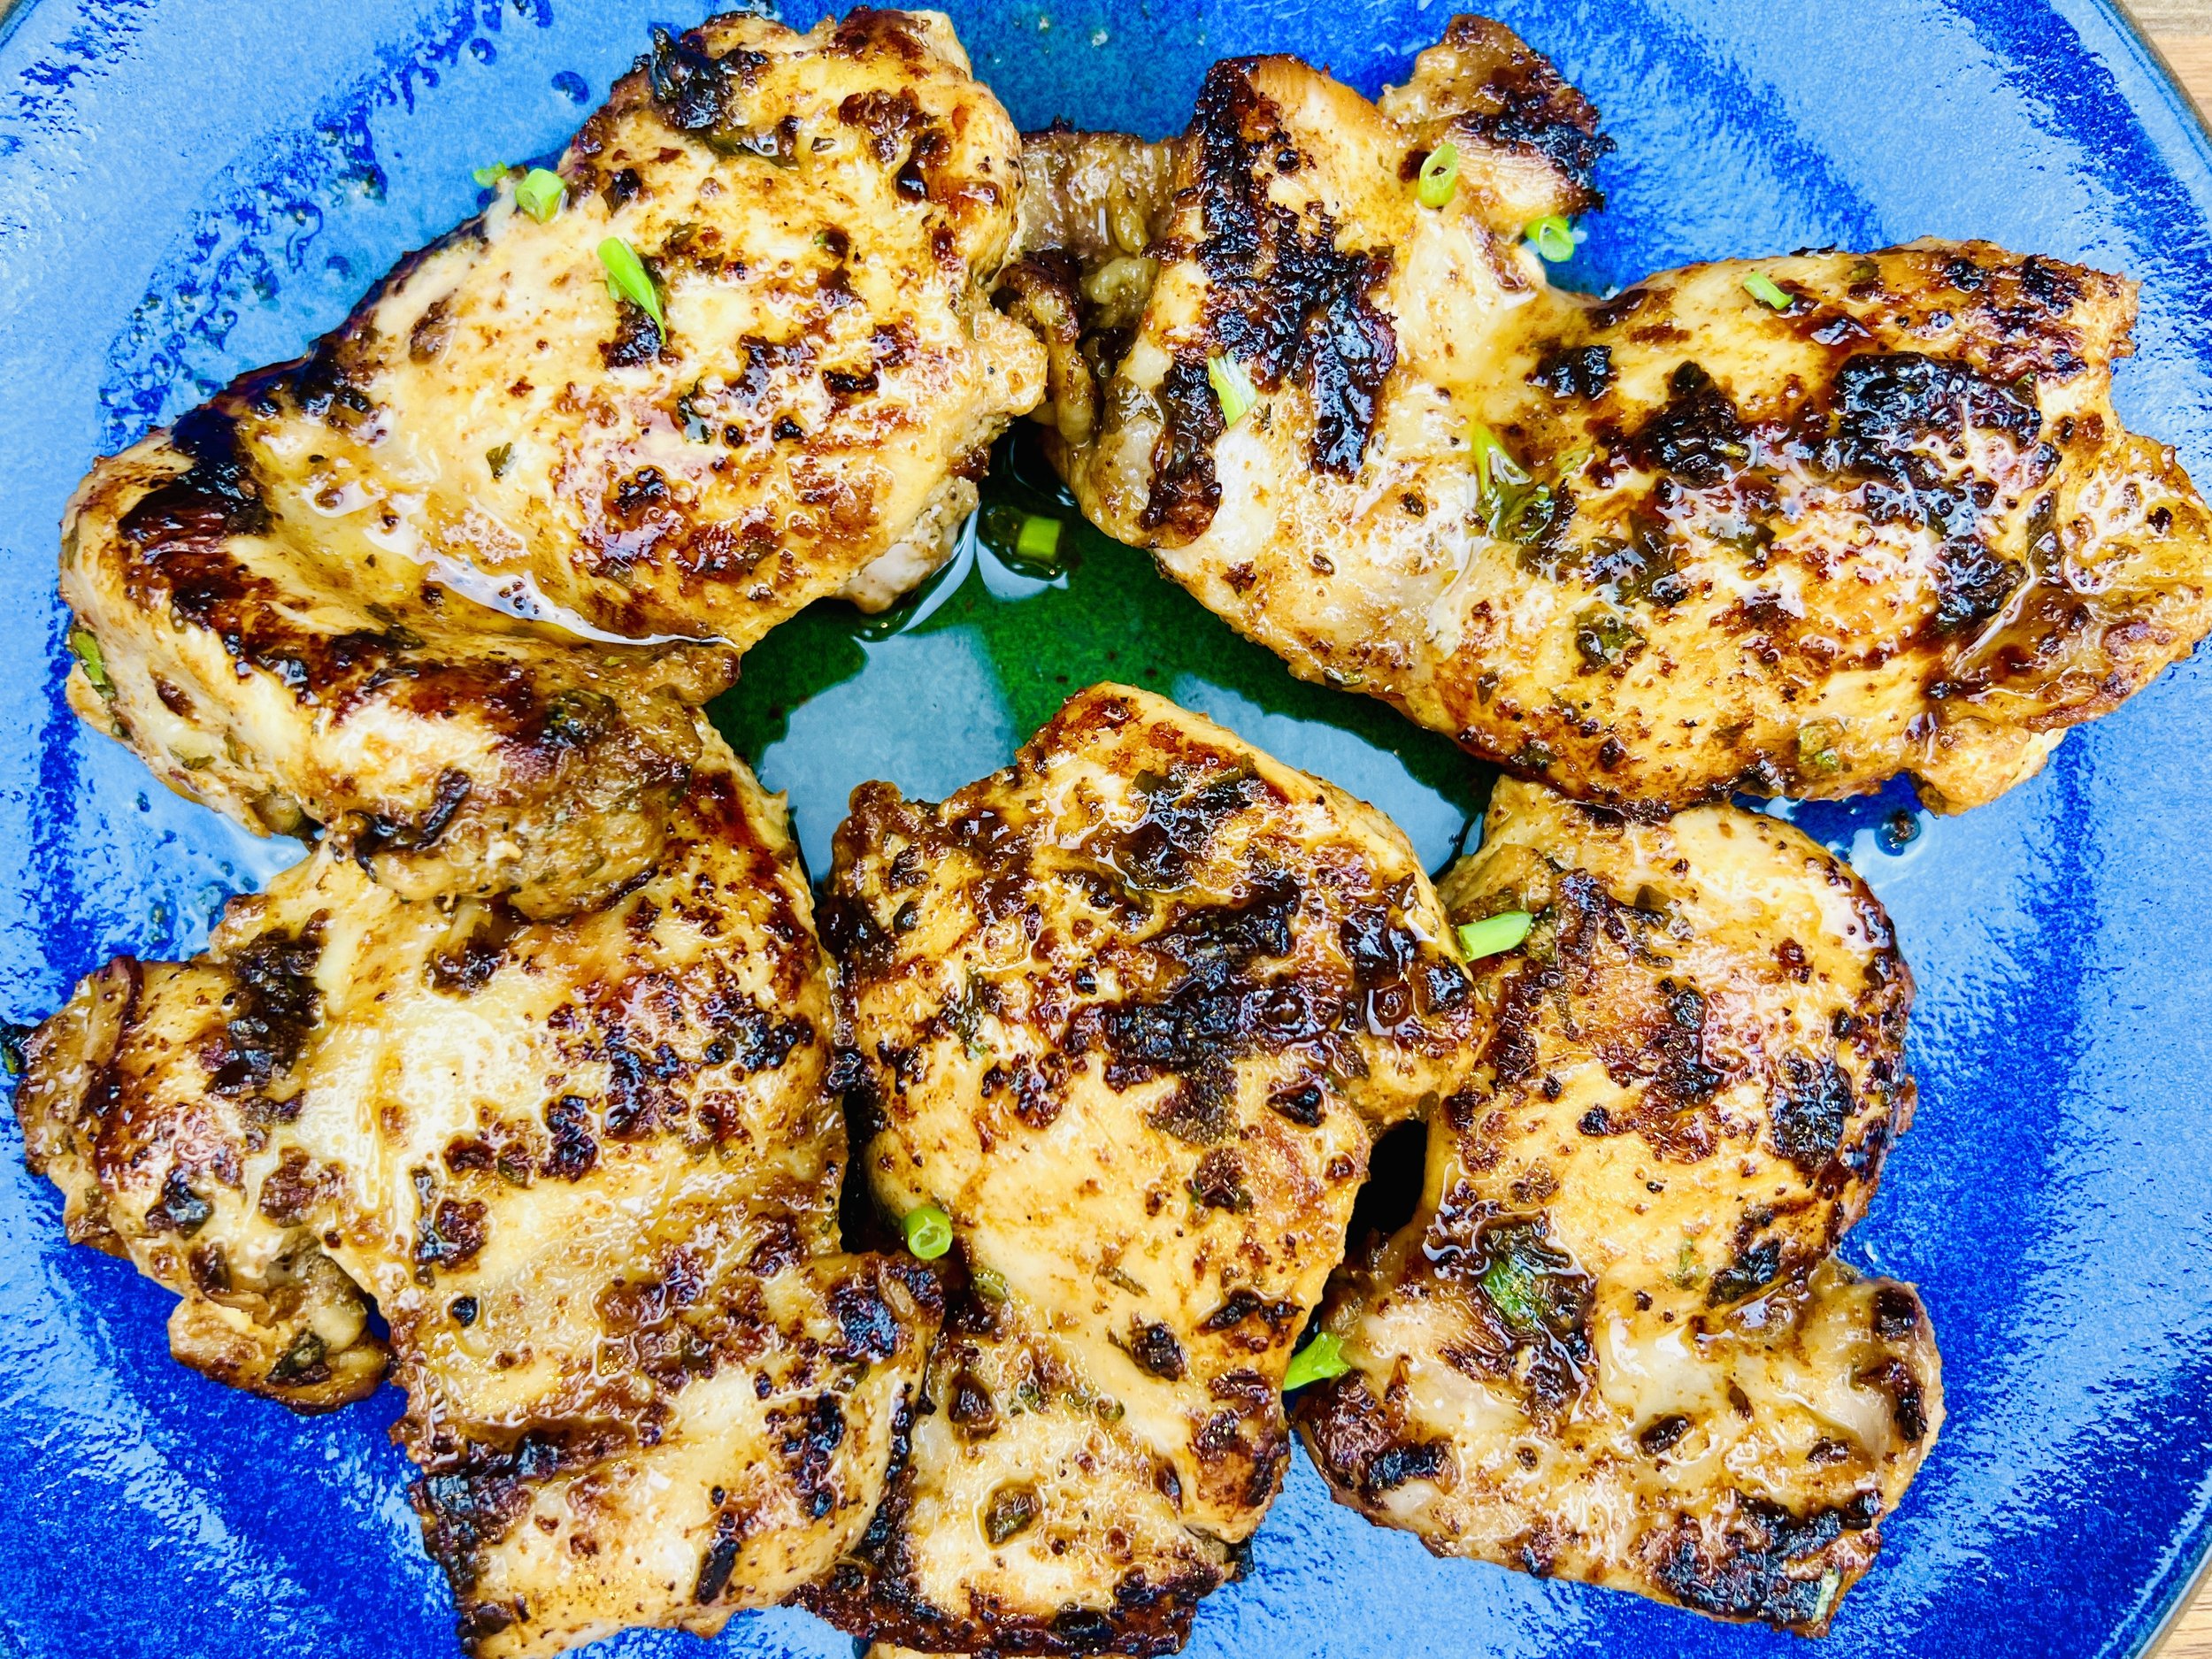
Chili Lime Chicken Thighs (Low FODMAP)
20 Minutes prep • 15 Minutes cook • Low FODMAP • Gluten-free • Serves 4
20 Minutes prep • 15 Minutes cook • Low FODMAP • Gluten-free • Serves 4 • Ok to make ahead: Step 1
Tender, tangy, and flavorful, these quick chicken thighs are sure to become a family favorite. The lime and the chili blend together for just the right amount of piquant flavor. The buttery pan sauce is delicious—especially if you serve it with some crusty sourdough bread to sop it up! You can easily double or triple this recipe for a crowd. Just be sure the chicken cooks in one layer in the frying pan (which may require multiple batches).
This is an exclusive recipe just for recipe club members.
In addition to the two free recipes I create each week I am creating and delivering one very special recipe just for my recipe club members. If you’re not yet a member, I encourage you to join! Membership in the club includes access to the complete archive of recipes with filters so it can become your virtual low FODMAP cookbook plus, I am creating and delivering one special NEW recipe every week ONLY for recipe club members.
Your membership in the club helps me continue creating new, delicious, easy-to-make, low FODMAP recipes just for you.
As always, all recipes will emphasize simple ingredients, easy preparation, and delicious low FODMAP results. Recipes will be for everything from main courses, salads, soups, side dishes, appetizers, desserts, sauces, breakfast and lunch, and even mocktails and cocktails. Everything you need to prepare fantastic low FODMAP meals everyone will love.
Join the club. Let’s keep making delicious Low FODMAP meals together.
Link note: This post may contain affiliate links for you to easily purchase items that are linked. I may earn a small commission from qualifying purchases but none of this costs you a thing so feel free to use the links! In addition, for some items, I have provided a special discount code for IBS Game Changers so be sure to use the code when you purchase an item to get the discount that has been arranged just for you.
More Deliciously Low FODMAP™ main course recipes
15 Minutes prep • 30 Minutes cook • Low FODMAP • Serves 4 • Ok to make-ahead: Steps 1 - 2
10 Minutes prep • 25 Minutes cook • Low FODMAP • Gluten-Free • Serves 6 • Ok to make-ahead: Step 1
45 Minutes prep • 60 Minutes cook • Low FODMAP • Gluten-free • Vegetarian • Serves 6 - 8
5 Minutes prep • 15 Minutes cook • Low FODMAP • Gluten-free • Lactose-free • Vegan • Serves 4
10 Minutes prep • 20 Minutes cook • Low FODMAP • Gluten-free • Serves 4 n skewers for your family and friends. They are sure to be a hit.
15 Minutes prep • 55 Minutes cook (if using brown rice) • Low FODMAP • Gluten-free • Lactose-free • Vegan • Serves 4
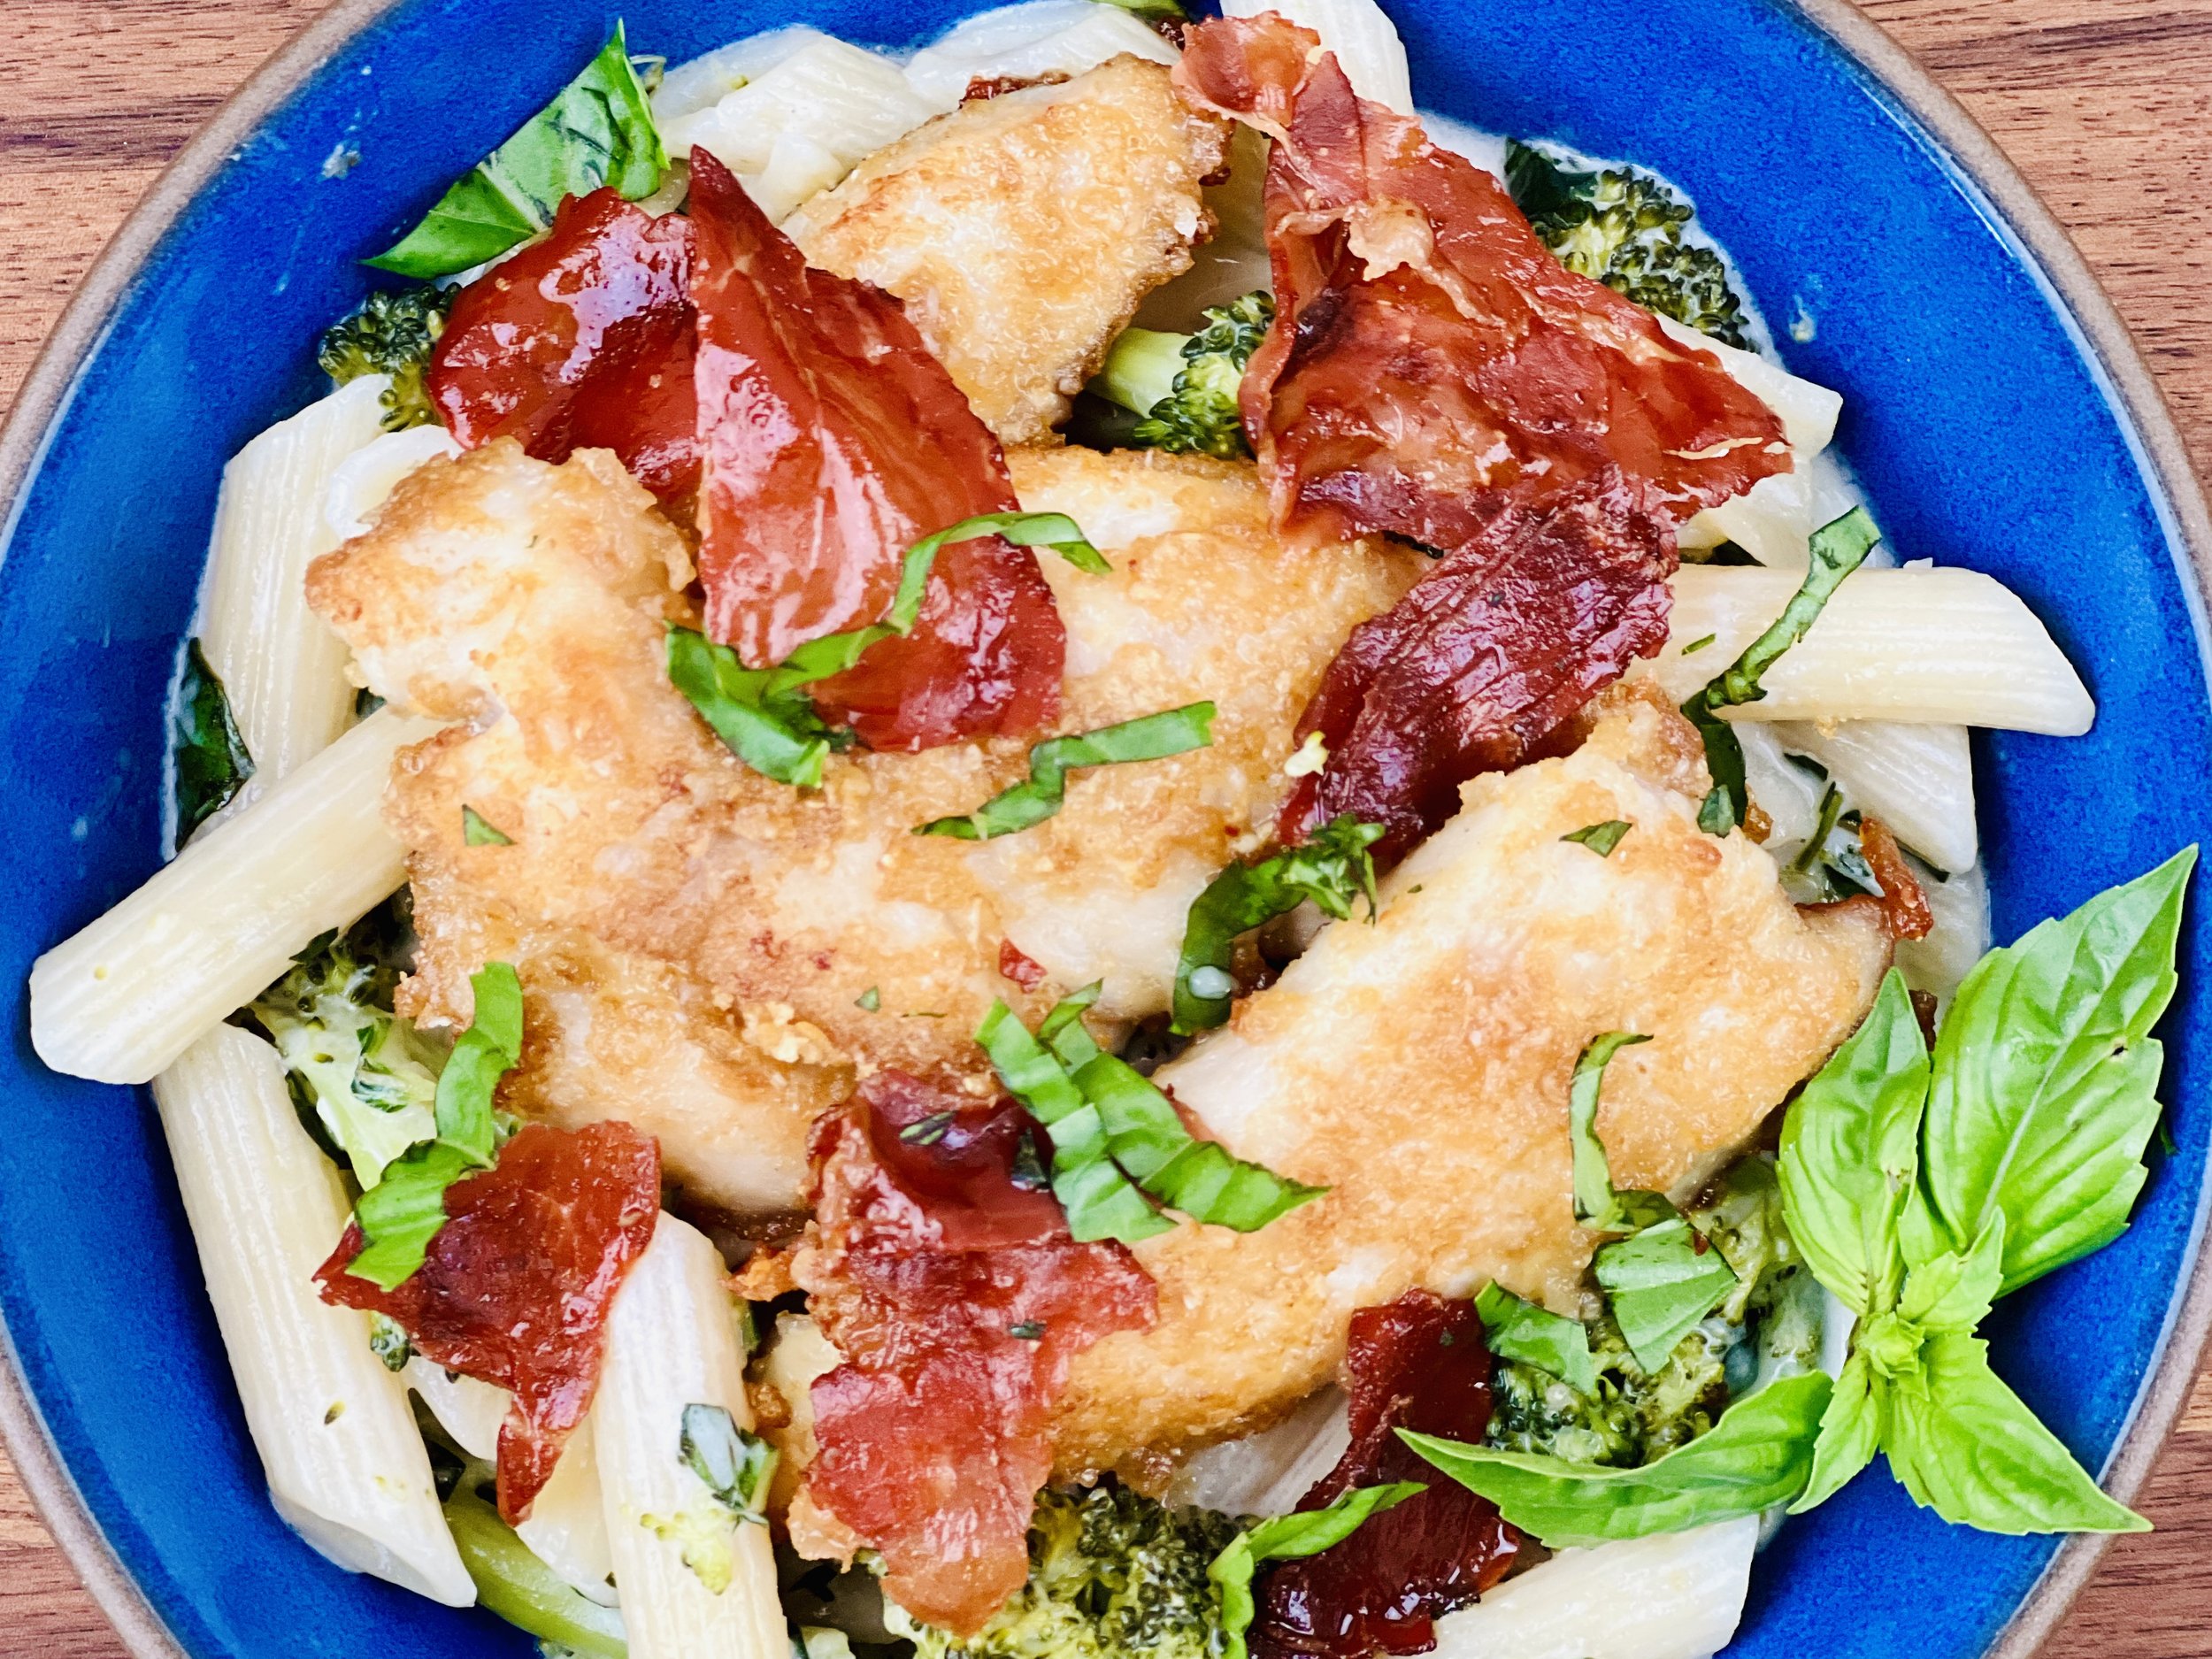
Broccoli Pasta with Crisp Prosciutto and Chicken (Low FODMAP)
20 Minutes prep • 25 Minutes cook • Low FODMAP • Gluten-free • Serves 4
20 Minutes prep • 25 Minutes cook • Low FODMAP • Gluten-free • Serves 4 • Ok to make ahead: Steps 1-2
This self-saucing pasta is very creamy and delicious and makes the perfect bed for crispy fried prosciutto and parmesan-crusted chicken. It might sound complicated but it’s really quite easy to make. The prosciutto crisps right up in the frying pan, and then the chicken gets cooked in the same pan, picking up some of the excellent flavor from the prosciutto. This is a perfect one-bowl meal that has a little something for everyone in it: pasta, crunchy chicken, crispy prosciutto, broccoli, and that delicious creamy sauce.
Ingredients
2 boneless, skinless chicken breasts sliced horizontally into 6 pieces
1 cup gluten-free panko or pork panko for low carb version
2 cups grated parmesan
1/2 teaspoon Smoke N Sanity Essence of Onion Salt (Use code IBSGC15 for 15% discount)
1/2 teaspoon Smoke N Sanity Essence of Garlic Salt (Use code IBSGC15 for 15% discount)
4 ounces thinly sliced prosciutto
3 tablespoons garlic-infused extra virgin olive oil
2 tablespoons salted butter
1/2 teaspoon Kosher salt
1/2 teaspoon Black pepper
12 ounces short-cut gluten-free pasta (I used Delallo Gluten-Free Penne Rigate )
2 cups broccoli tops only, chopped
1 1/2 cups fresh basil, chopped
3/4 cup heavy cream or canned coconut milk
2 ounces lactose-free cream cheese, at room temperature
Directions
(1) Prepare: Combine the panko, 3/4 cup parmesan, and the onion and garlic salt in a shallow bowl. Stir with a fork to blend well. Dredge the chicken pieces on both sides through the crumb mixture, pressing to make the panko stick. Set the chicken aside on a plate.
(2) Cook the prosciutto: Heat 1 tablespoon of olive oil in a large skillet set over medium-high heat. Add the prosciutto pieces and cook them until they’re crispy, turning after about 2 minutes, and cooking until crisp all over. Remove from the skillet and set aside on a plate. Once cooled, break into smaller pieces if the pieces are quite large.
(3) Cook the chicken: In the same skillet, add 1 tablespoon of olive oil and the chicken. Sear on both sides until golden and cooked through, 3-4 minutes per side. Remove from the heat when the chicken is just cooked through.
(4) Make the pasta: In a large pot set over medium heat, melt the butter. Pour in 4 cups of water and bring to a boil over high heat. Add 1 teaspoon salt, the pasta, and the broccoli. Cook, stirring occasionally, for 8-10 minutes (depending on the pasta you use). Do not drain the water. Stir in the cream, and cream cheese and cook until the cream cheese has melted and the pasta is al dente, about 4-5 minutes more.
(5) Finish: Add the parmesan and stir until melted and creamy. Remove from the heat. Stir in 1 cup of the basil and season with salt and pepper.
(6) Plate and serve: Divide the pasta between plates and top with chicken, prosciutto, and the remaining chopped basil.
Eat and enjoy every bite because you can!
Recipe note: I use Diamond Crystal Kosher salt in all my recipes because it has a wonderful flat and crisp flake that tastes delicious. It is also the least salty salt available so you can use it more liberally as a seasoning than you can table salt or sea salt. If you use another type of salt, you may need to reduce the amount so it is not over-salted.
Have a question you’d like to have answered? Email me at hello@ibsgamechanger.com
Link note: This post may contain affiliate links for you to easily purchase items that are linked. I may earn a small commission from qualifying purchases but none of this costs you a thing so feel free to use the links! In addition, for some items, I have provided a special discount code for IBS Game Changers so be sure to use the code when you purchase an item to get the discount that has been arranged just for you.
More Deliciously Low FODMAP™ main course recipes
15 Minutes prep • 30 Minutes cook • Low FODMAP • Serves 4 • Ok to make-ahead: Steps 1 - 2
10 Minutes prep • 25 Minutes cook • Low FODMAP • Gluten-Free • Serves 6 • Ok to make-ahead: Step 1
45 Minutes prep • 60 Minutes cook • Low FODMAP • Gluten-free • Vegetarian • Serves 6 - 8
5 Minutes prep • 15 Minutes cook • Low FODMAP • Gluten-free • Lactose-free • Vegan • Serves 4
10 Minutes prep • 20 Minutes cook • Low FODMAP • Gluten-free • Serves 4 n skewers for your family and friends. They are sure to be a hit.
15 Minutes prep • 55 Minutes cook (if using brown rice) • Low FODMAP • Gluten-free • Lactose-free • Vegan • Serves 4
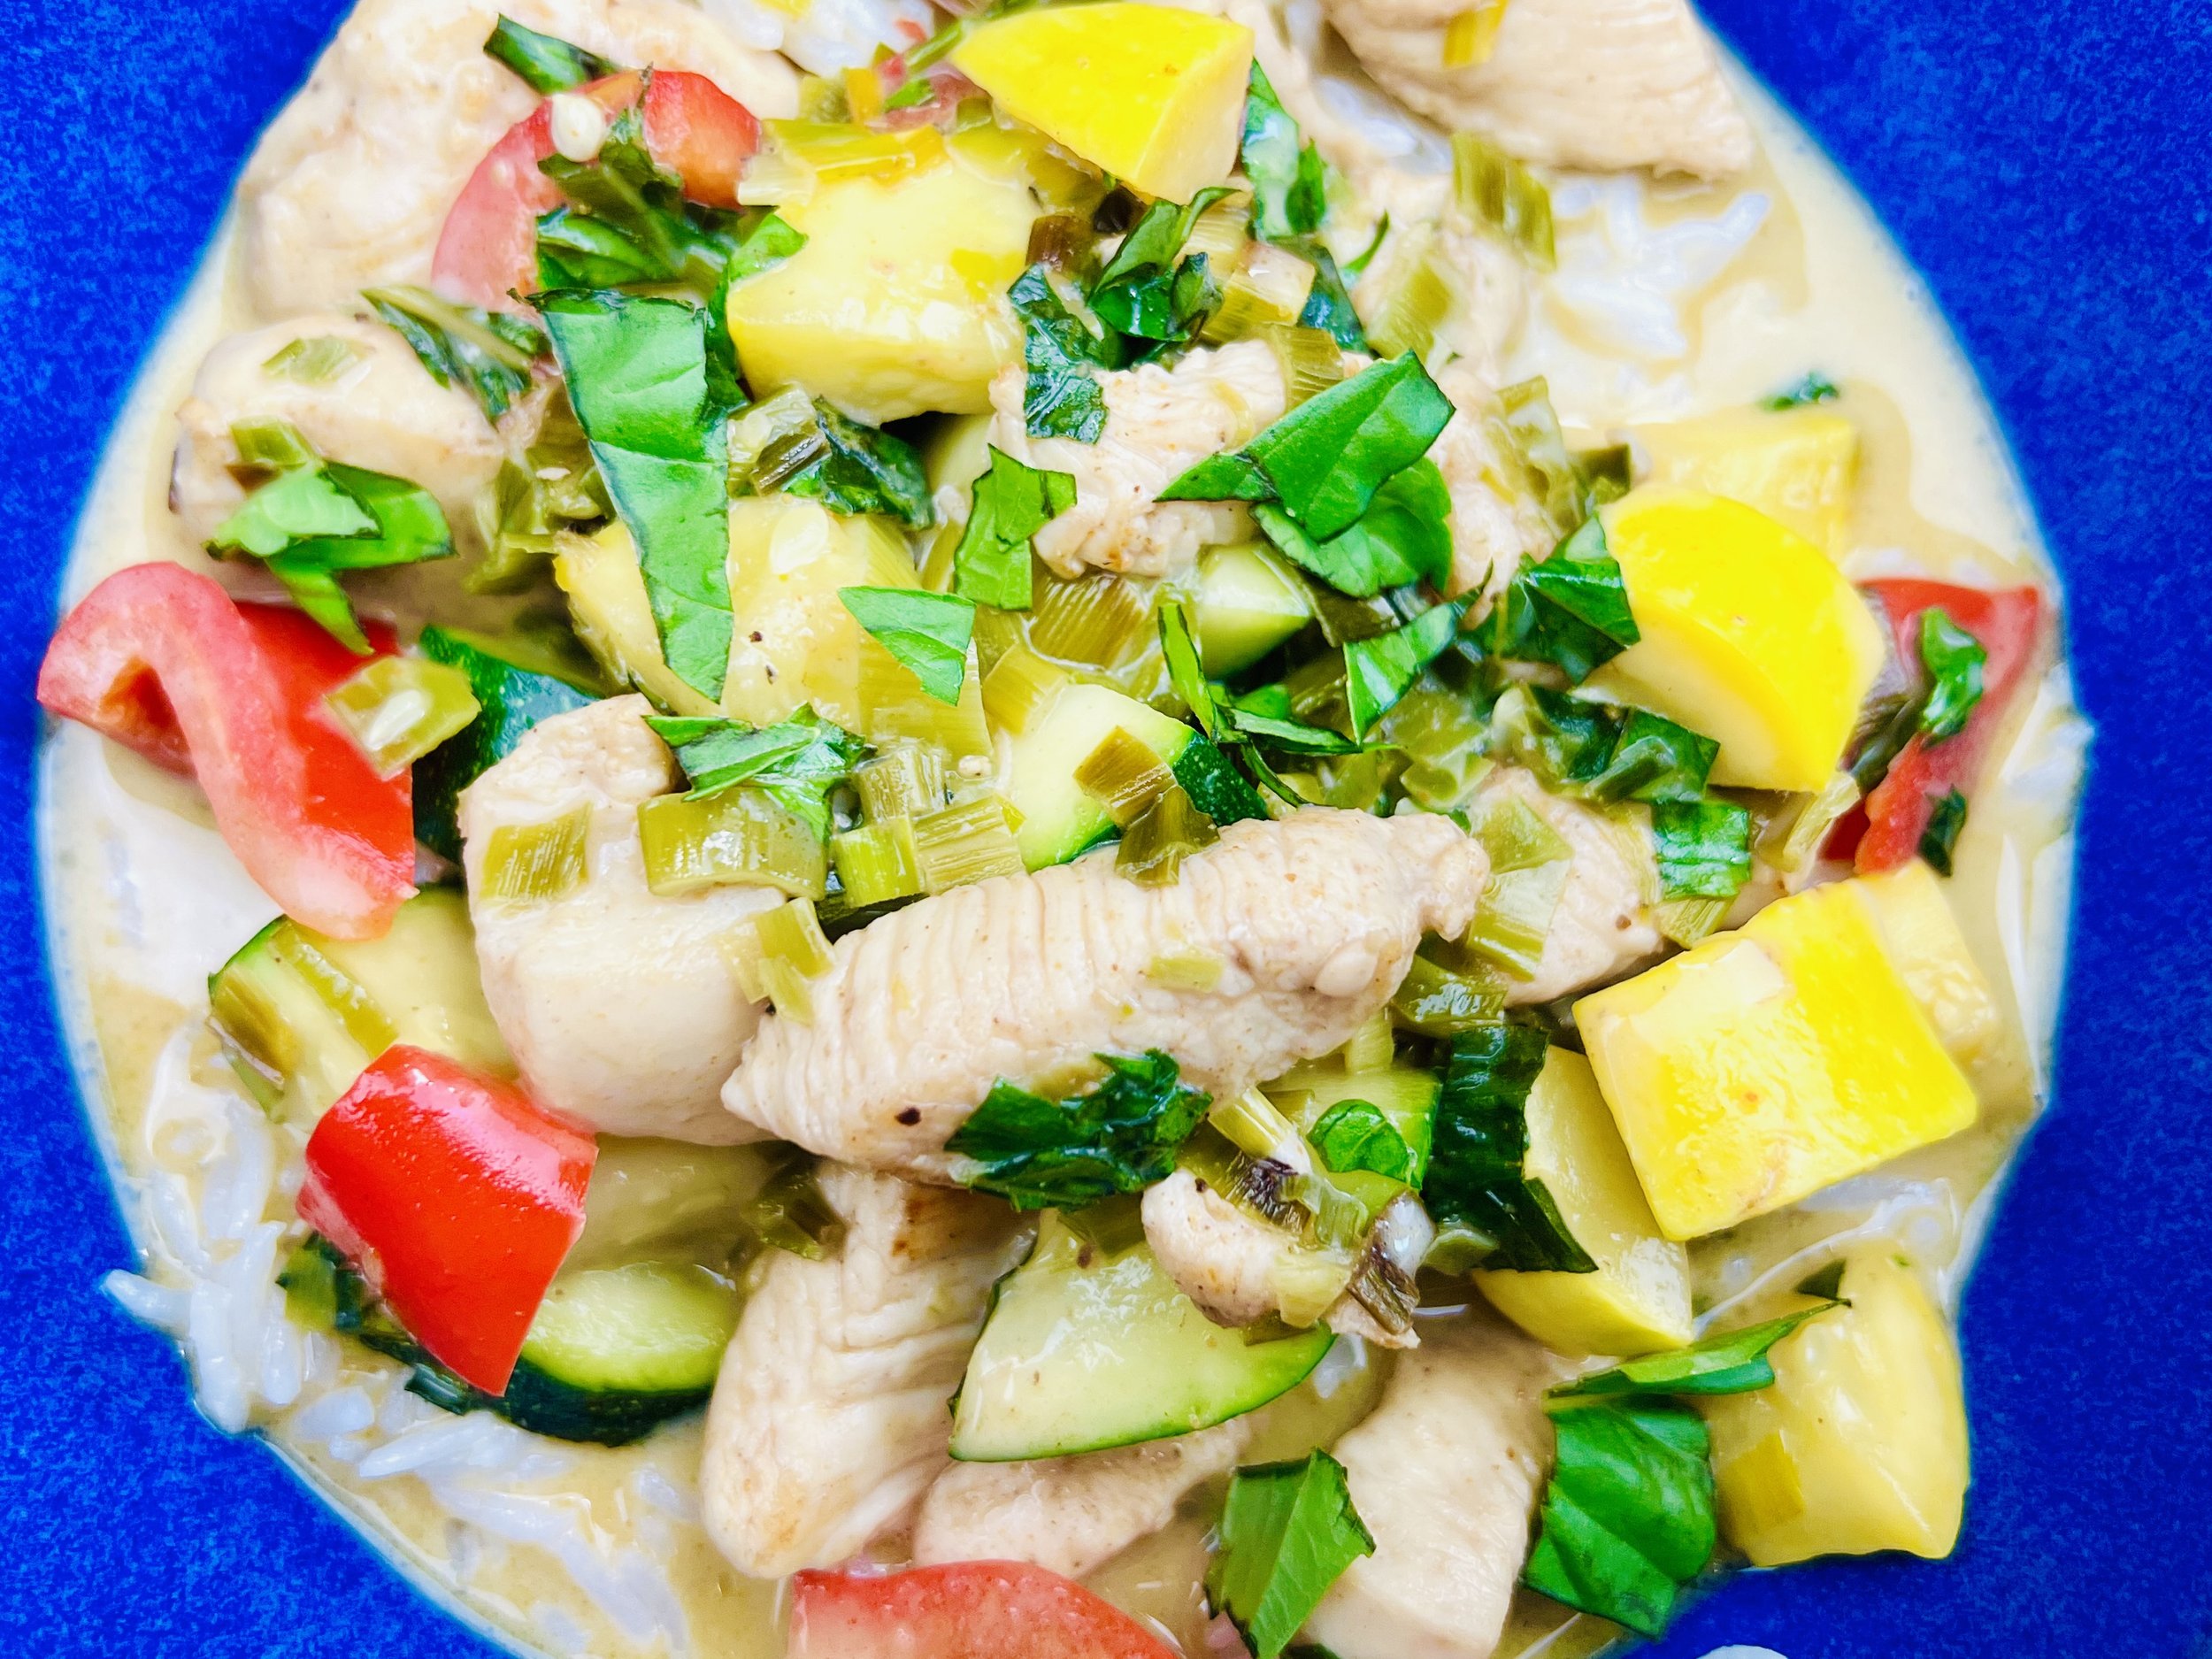
Creamy One-Pan Chicken Tikka Masala with Summer Veggies (Low FODMAP)
10 Minutes prep • 20 Minutes cook • Low FODMAP • Gluten-free • Dairy-free • Serves 4
10 Minutes prep • 20 Minutes cook • Low FODMAP • Gluten-free • Dairy-free • Serves 4 • Ok to make ahead: Step 1
One pan, 30 minutes and dinner is ready! And, it’s not only quick to make, it’s delicious to eat. Creamy coconut milk is the base for this dairy-free, one-pan, oh-so-delicious Tikka Masala dish. Adding fresh summer veggies at the end of cooking keeps them bright, and flavorful, balancing the rich sauce beautifully. Serve over steamed basmati rice for a complete one-bowl meal the whole family will love. Leftovers heat up nicely so don’t hesitate to make a little more than you need for dinner!
Ingredients
3 tablespoons garlic-infused extra virgin olive oil, divided
1 large leek, green part only, chopped
1 pound boneless skinless chicken breast, cubed
2 tablespoons Smoke N Sanity Tikka Masala Seasoning (use code IBSGC15 for 15% discount)
1/2 teaspoon Kosher salt
1/2 teaspoon black pepper
2 cups of any combination of cubed: zucchini, bell pepper, summer squash
1 tablespoon chopped fresh ginger
2 cups canned coconut milk
1 tablespoon gluten-free soy sauce
1/2 cup fresh basil, chopped
3 - 4 cups of steamed rice, divided into 4 bowls, for serving
Directions
(1) Prepare: Cut the chicken into cubes and put in a small bowl. Drizzle with 1 tablespoon of garlic-infused olive oil and 1 tablespoon Smoke N Sanity Tikka Masala seasoning. Stir well to coat all the chicken pieces with the oil and seasoning mixture. Set aside until ready to cook. If it’s going to be more than 20 minutes, keep it in the refrigerator.
(2) Cook the chicken: In a large skillet, heat 2 tablespoons of garlic-infused olive oil over medium-high heat. When hot, add the leek greens, and cook for about 2 minutes until softened. Add the cubed chicken, and sprinkle with 1 tablespoon of Tikka Masala seasoning, salt, and pepper. Cook over medium-high heat for about 5 minutes.
(3) Add the vegetables: Add the cubed vegetables and the ginger to the pan and cook another 5 minutes, then pour in the coconut milk and soy sauce. Cook 5 minutes until the chicken is cooked through and the sauce has thickened. Remove from the heat and stir in the basil.
(4) Plate and serve: Serve the chicken and sauce over steamed rice with a sprinkle of fresh chopped basil. If you like, you can serve it with warmed gluten-free naan on the side as well.
Eat and enjoy every bite because you can!
Recipe note: I use Diamond Crystal Kosher salt in all my recipes because it has a wonderful flat and crisp flake that tastes delicious. It is also the least salty salt available so you can use it more liberally as a seasoning than you can table salt or sea salt. If you use another type of salt, you may need to reduce the amount so it is not over-salted.
Have a question you’d like to have answered? Email me at hello@ibsgamechanger.com
Link note: This post may contain affiliate links for you to easily purchase items that are linked. I may earn a small commission from qualifying purchases but none of this costs you a thing so feel free to use the links! In addition, for some items, I have provided a special discount code for IBS Game Changers so be sure to use the code when you purchase an item to get the discount that has been arranged just for you.
More Deliciously Low FODMAP™ one-pan recipes
10 Minutes prep • 25 Minutes cook • Low FODMAP • Gluten-Free • Serves 6 • Ok to make-ahead: Step 1
10 Minutes prep • 15 Minutes cook • Low FODMAP • Gluten-free • Lactose-free • Serves 4-6
10 Minutes prep • 60 Minutes cook • Low FODMAP • Gltuen-free • Lactose-free • Serves 4 - 6
10 Minutes prep • 30 - 40 Minutes cook • Low FODMAP • Gluten-free • Lactose-free • Serves 4
10 Minutes prep • 20 Minutes cook • Low FODMAP • Vegetarian Option • Gluten-free • Serves 4
Fully Loaded Meat Loaf (Low FODMAP)
20 Minutes prep • 55 Minutes cook • Low FODMAP • Gluten-free • Keto-friendly • Serves 6
20 Minutes prep • 55 Minutes cook • Low FODMAP • Gluten-free • Keto-friendly • Serves 6 • Ok to make ahead: Steps 1-2
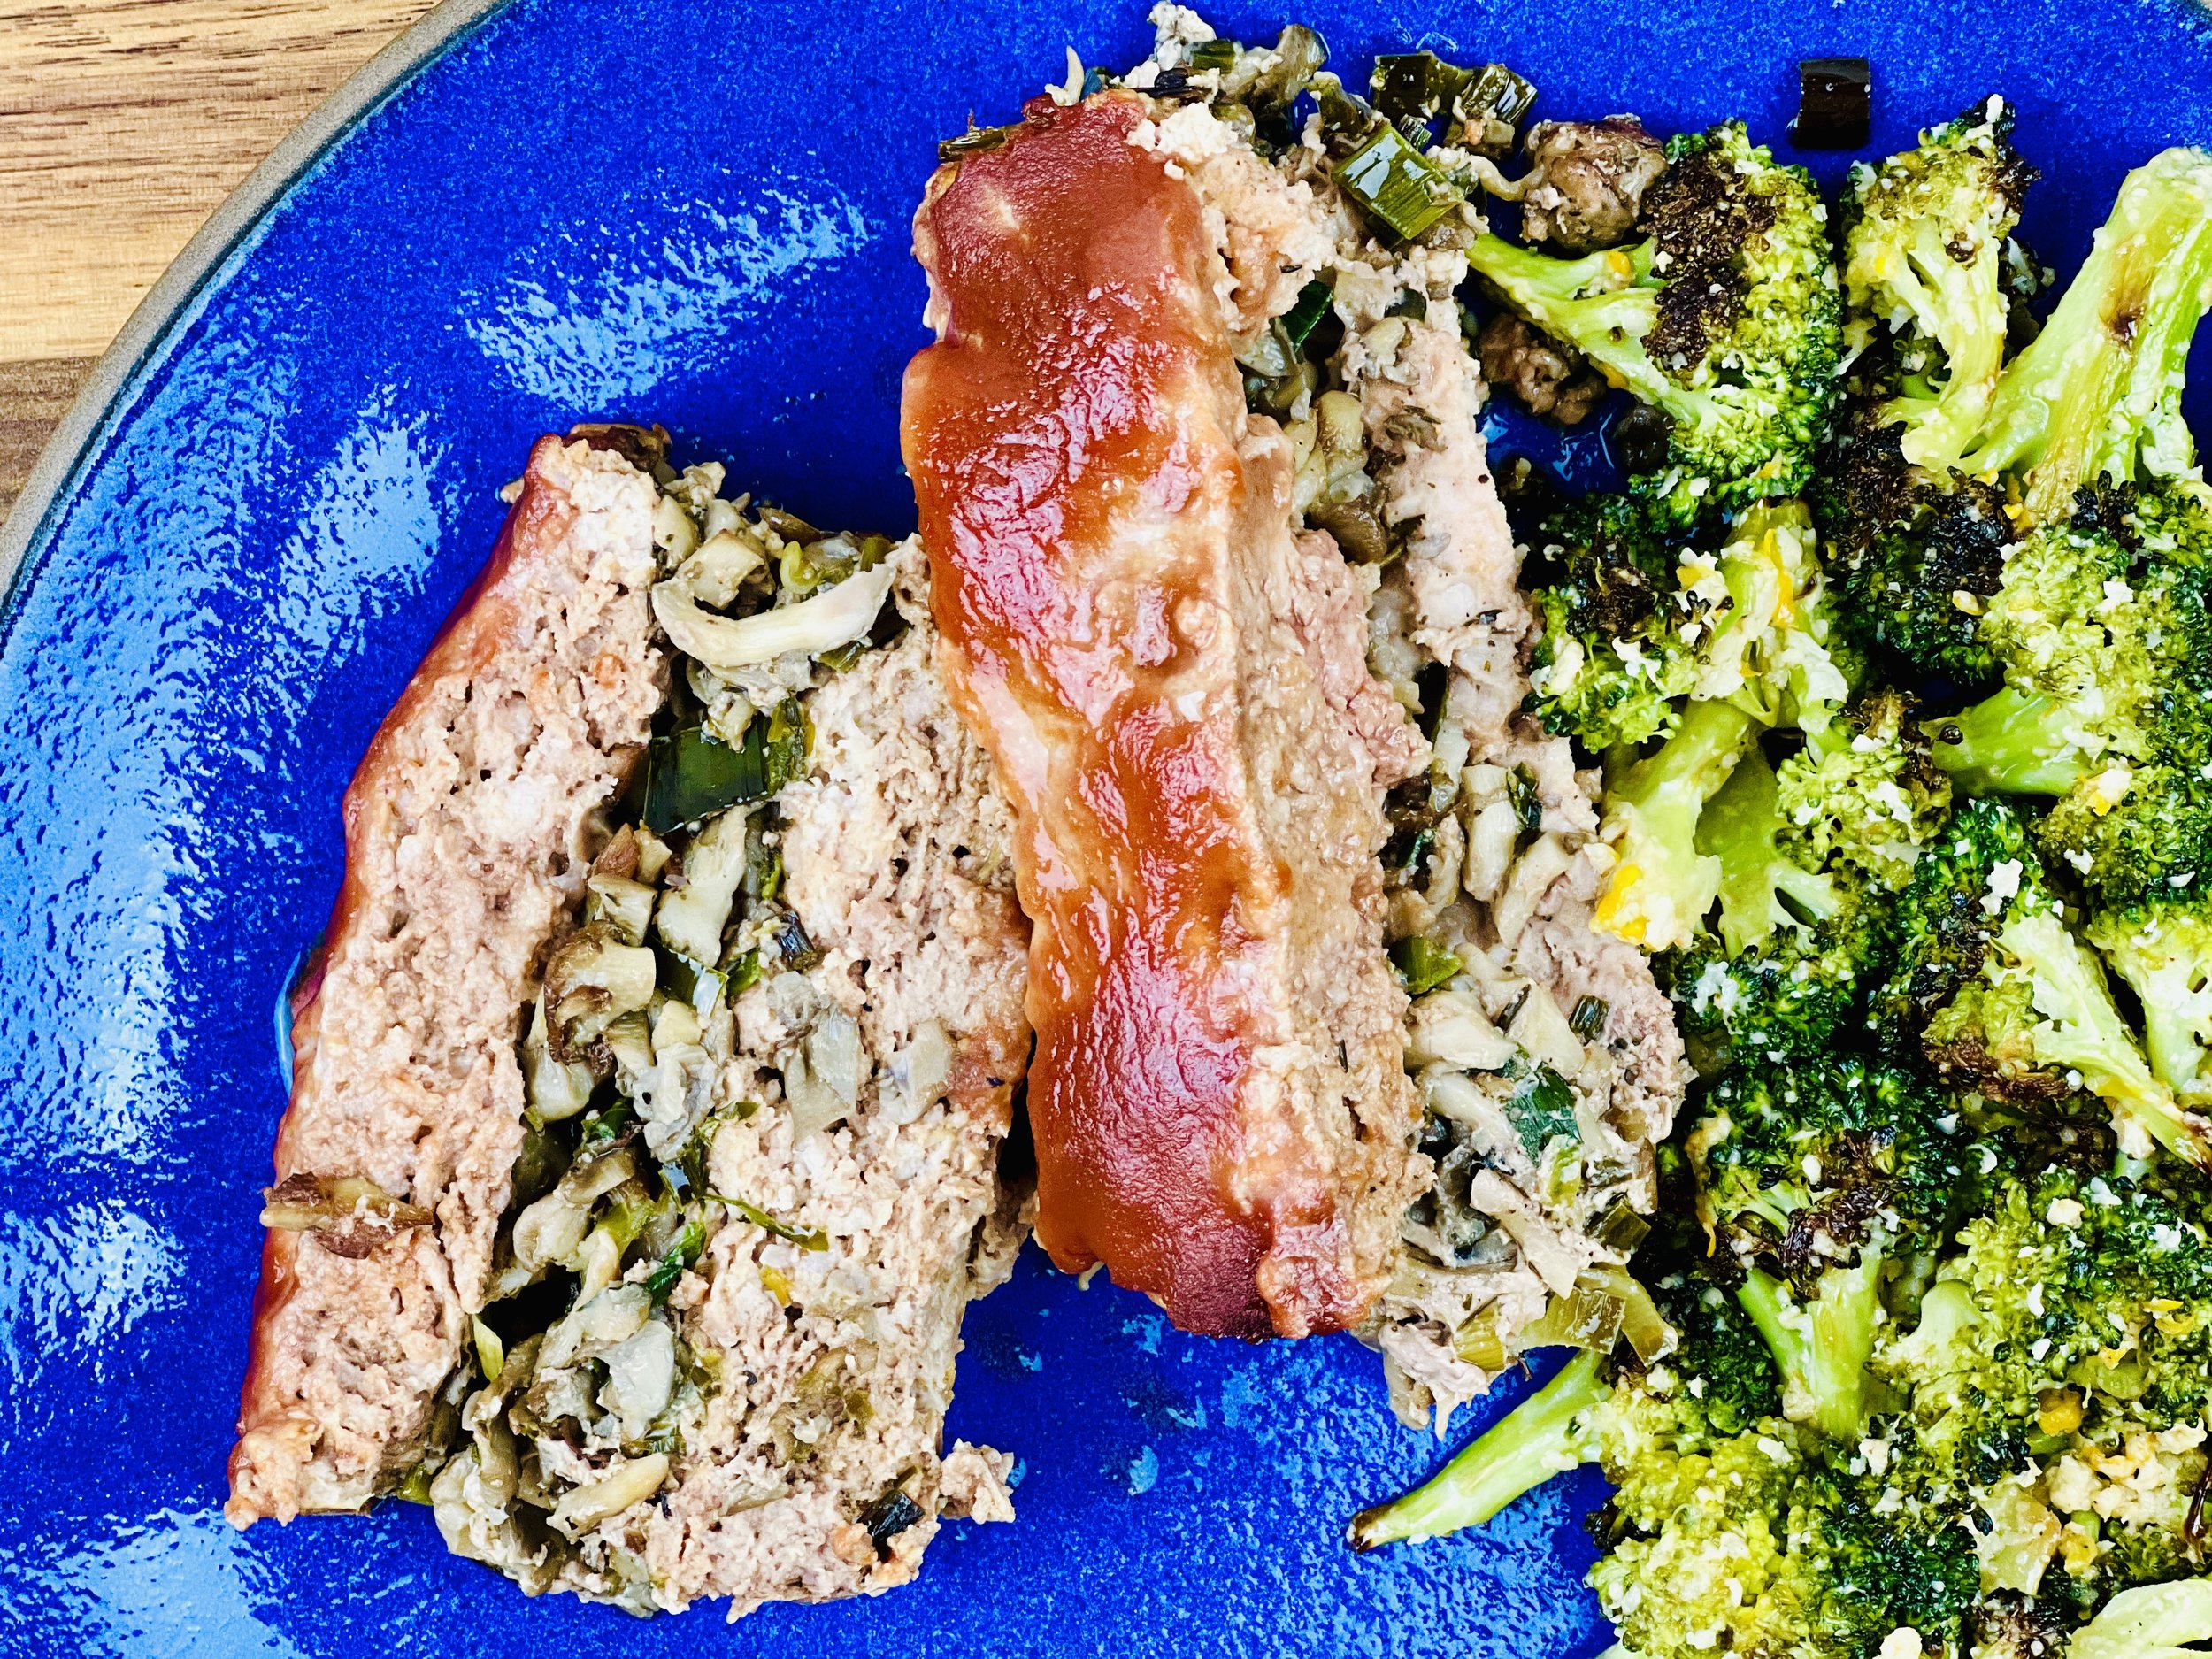
Good meatloaf is a delicious, comforting, and simple meal. This recipe includes a combination of sauteed leek and green onion greens, mushrooms, and thyme for an extra special flavor that takes typical meatloaf to a whole new level. The kitchen smells wonderful while it’s cooking. It’s great hot out of the oven, or cold as a meatloaf sandwich. Serve it with a side salad, roasted vegetables, or with my Buttery Mashed Yukon Gold Potatoes with some of the juice from the pan drizzled over the top. It’s sure to be a crowd-pleaser.
Ingredients
1 tablespoon garlic-infused olive oil
2 tablespoons salted butter
2 teaspoons, dry thyme
3/4 cup leek greens, chopped
1/4 cup green onion greens, chopped
12 ounces oyster mushrooms, chopped
1 pound organic grass-fed ground beef or bison (which tastes the same but is much better for you!)
1 pound ground pork, organic preferred
2 slightly beaten eggs
1 cup low FODMAP tomato sauce, divided
3/4 cup grated Parmesan cheese
1 teaspoon Kosher salt
1/2 teaspoon freshly ground black pepper
1 tablespoon rice vinegar
1 teaspoon Worcestershire sauce
Directions
(1) Prepare: Preheat oven to 350. Wash and chop the leek and green onion greens. Chop the mushrooms.
(2) Saute the vegetables: Heat a large frying pan over medium-high heat. When the pan is warm, add the olive oil and butter. When the butter is melted, add the thyme and let it sizzle in the fat for about 30 seconds. Then add the leek greens, green onion greens, and the mushrooms. Season with salt and pepper and cook, stirring intermittently, until the mushrooms begin to brown (about 5 minutes). Remove from the heat when done and let cool for a few minutes.
Make-ahead note: At this point, you can set the vegetables aside and even refrigerate if it’s going to be more than about an hour before you put it all together and cook it.
(3) Season the meat: In a medium bowl, combine the eggs, 1/2 cup of the tomato sauce, Parmesan cheese, salt, and pepper. Add the ground meat and mix well.
(4a) Finish as layers: Place half the meat mixture in the bottom of a 9” loaf pan or 8” x 8” pan, then spread the cooked vegetables over the top. Add the remaining meat mixture over the top of the vegetables and then drizzle the top of the meat with the remaining tomato sauce mixed with the rice vinegar and Worcestershire sauce.
(4b) Or Finish as a blend: Combine the cooked vegetables and the meat mixture together and put into a 9” loaf pan or 8” x 8” pan, then drizzle the top of the meat with the remaining tomato sauce mixed with the rice vinegar and Worcestershire sauce.
(5) Bake: Put in the oven and bake for 1 hour. Check for doneness with an instant-read thermometer. You want to be sure it reaches an internal temperature of 165 degrees F.
(6) Plate and serve: Remove from the oven and let sit for a couple of minutes. Then slice and serve with a side salad, roasted vegetables, or with my Mashed Yukon Gold potatoes with some of the juice from the pan drizzled over the top.
Eat and enjoy every bite because you can!
Recipe note: I use Diamond Crystal Kosher salt in all my recipes because it has a wonderful flat and crisp flake that tastes delicious. It is also the least salty salt available so you can use it more liberally as a seasoning than you can table salt or sea salt. If you use another type of salt, you may need to reduce the amount so it is not over-salted.
Have a question you’d like to have answered? Email me at hello@ibsgamechanger.com
Link note: This post may contain affiliate links for you to easily purchase items that are linked. I may earn a small commission from qualifying purchases but none of this costs you a thing so feel free to use the links! In addition, for some items, I have provided a special discount code for IBS Game Changers so be sure to use the code when you purchase an item to get the discount that has been arranged just for you.
More Deliciously Low FODMAP™ main course recipes
15 Minutes prep • 30 Minutes cook • Low FODMAP • Serves 4 • Ok to make-ahead: Steps 1 - 2
10 Minutes prep • 25 Minutes cook • Low FODMAP • Gluten-Free • Serves 6 • Ok to make-ahead: Step 1
45 Minutes prep • 60 Minutes cook • Low FODMAP • Gluten-free • Vegetarian • Serves 6 - 8
5 Minutes prep • 15 Minutes cook • Low FODMAP • Gluten-free • Lactose-free • Vegan • Serves 4
10 Minutes prep • 20 Minutes cook • Low FODMAP • Gluten-free • Serves 4 n skewers for your family and friends. They are sure to be a hit.
15 Minutes prep • 55 Minutes cook (if using brown rice) • Low FODMAP • Gluten-free • Lactose-free • Vegan • Serves 4
One Pan Oven-Braised Chicken Stew (Low FODMAP)
10 Minutes prep • 60 Minutes cook • Low FODMAP • Gltuen-free • Lactose-free • Serves 4 - 6
10 Minutes prep • 60 Minutes cook • Low FODMAP • Gluten-free • Serves 4 - 6 • Ok to make ahead: Steps 1-7
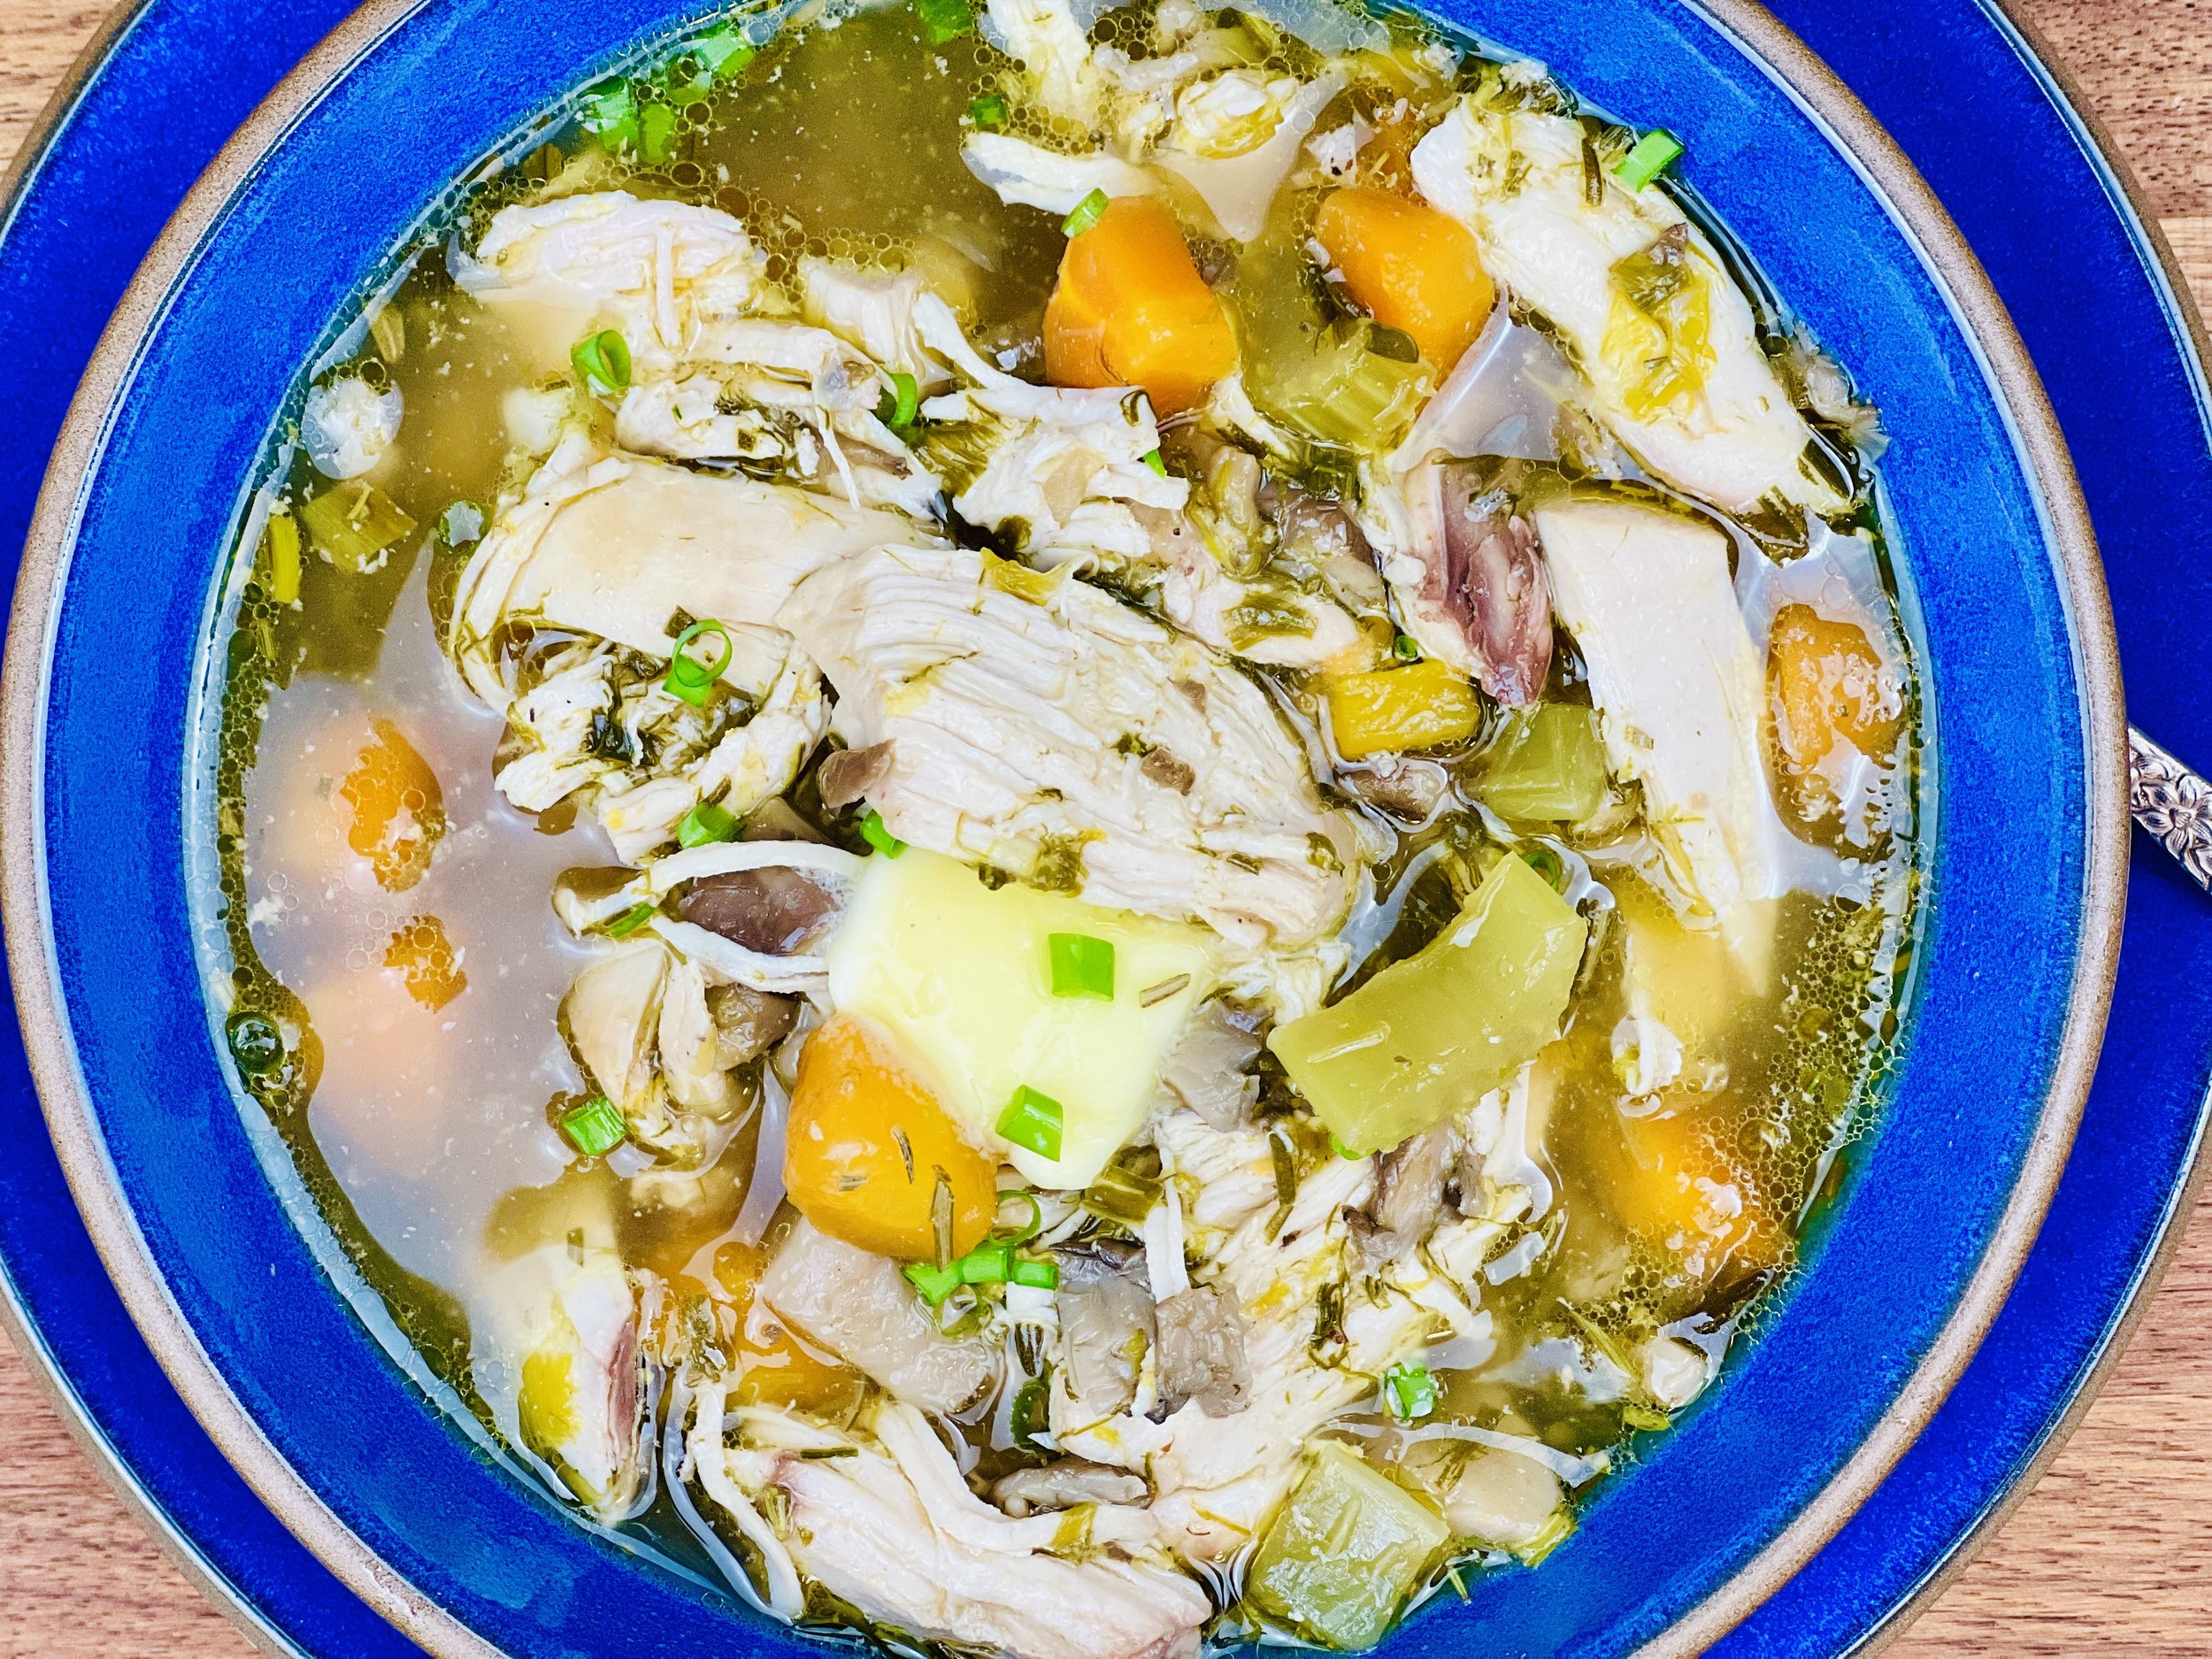
If you love my Braised Chicken and Roasted Vegetables, you’re really going to love this stew. Big chunks of chicken, lots of delicious vegetables, rich flavorful broth, and melty butter, make this chicken stew a truly wonderful meal. It comes together nicely all in one pot so clean up is a snap and it’s great the next day so you’ve got lunch (or a second dinner) all done ahead of time! While it takes a bit longer to cook, using bone-in, skin-on chicken makes a broth that is wonderfully rich and flavorful. This recipe has no added rice, potatoes, or pasta (and you will not miss them at all!) so it’s a great one if you’re keeping your starch intake low.
Ingredients
2 tablespoons olive oil
4 - 6 bone-in, skin-on chicken breasts (the bones and skin enhance the flavor of the broth and are easy to discard once the chicken is cooked)
1 teaspoon Kosher salt
1/2 teaspoon black pepper
3 small or 2 medium leeks, green part only, cleaned and chopped
2 large or 4 small carrots, chopped
2 - 4 celery ribs, chopped
1 pound oyster mushrooms, chopped (optional if you don’t like mushrooms)
3 to 4 sprigs of rosemary, leaves stripped and finely chopped (or substitute 2 - 3 teaspoons dry rosemary)
3 - 4 cups low FODMAP chicken broth (I use Whole Foods Organic 365 chicken broth or Gourmend low FODMAP Organic Chicken Broth - use code IBSGC15 for 15% discount)
1 Parmesan rind (optional but adds a lot of flavor)
3 tablespoons salted butter, for serving (leave out for lactose-free version)
Gruyere or Parmesan cheese, grated, for serving (optional - leave out for lactose-free version)
Directions
(1) Prepare: Preheat oven to 350 degrees F. Chop the vegetables. If chicken breasts are very large (most seem to be these days!) cut them in half before braising. You can cut right through the bone with a strong chef’s knife.
(2) Braise the chicken: Heat a heavy soup pot or Dutch Oven over medium-high heat. Add the oil and when it’s hot, put the chicken, skin side down, in the pan. Season with pepper and salt (if you didn’t pre-salt the chicken before cooking). Cook, turning and rotating the pieces as necessary until well browned on both sides, 6 to 8 minutes. Remove to a plate and set aside.
(3) Cook the vegetables: Add the leek greens, carrots, celery, mushrooms, and rosemary to the pot and cook until the vegetables are tender and beginning to brown, 10 to 15 minutes.
(4) Add the chicken and broth: Nestle the chicken breasts among the vegetables, skin side up. Add enough of the stock so the liquid comes about halfway up the meat. (The amount will depend on the size of your pan.) Add the Parmesan rind (if using).
(5) Bake: Put the pan in the oven and cook, uncovered, for about 30 - 40 minutes for bone-in white meat (50 minutes if you’ve used bone-in dark meat instead) until the meat is just cooked (use an instant-read thermometer to confirm white meat is 165 degrees F or dark meat is 175-180 degrees F). Check the pan occasionally and stir the vegetables if they threaten to brown too much. Add a bit more broth if it’s getting dry. (If you don’t have an instant-read thermometer then cut into the chicken and make sure the juices run clear rather than pink.)
(6) Shred chicken: Once just cooked through, remove the chicken from the pan to a cutting board. Shred the chicken with two forks, discarding the bones and the skin.
(7) Finish: Return the shredded chicken to the pan and stir. If the broth has cooled in the process, reheat it before serving. Remove the Parmesan rind before serving too.
(8) Plate and Serve: Ladle generous servings into bowls. Top each bowl with 1/2 tablespoon of salted butter and a sprinkling of aged gruyere or Parmesan cheese (optional).
Eat and enjoy every bite because you can!
Recipe note: I use Diamond Crystal Kosher salt in all my recipes because it has a wonderful flat and crisp flake that tastes delicious. It is also the least salty salt available so you can use it more liberally as a seasoning than you can table salt or sea salt. If you use another type of salt, you may need to reduce the amount so it is not over-salted.
Have a question you’d like to have answered? Email me at hello@ibsgamechanger.com
Link note: This post may contain affiliate links for you to easily purchase items that are linked. I may earn a small commission from qualifying purchases but none of this costs you a thing so feel free to use the links! In addition, for some items, I have provided a special discount code for IBS Game Changers so be sure to use the code when you purchase an item to get the discount that has been arranged just for you.
More Deliciously Low FODMAP™ soup recipes
15 Minutes prep • 30 Minutes cook • Low FODMAP • Gluten-free • Lactose-free • Serves 4-6
10 Minutes prep • 60 Minutes cook • Low FODMAP • Gltuen-free • Lactose-free • Serves 4 - 6
15 Minutes prep • 55 Minutes cook • Low FODMAP • Gluten-free • Lactose-free • Serves 4-6
15 Minutes prep • 55 Minutes cook • Low FODMAP • Gluten-free • Lactose-free • Serves 4-6
15 Minutes prep • 50 Minutes cook • Low FODMAP • Gluten-free • Lactose-free version • Serves 6
15 Minutes prep • 60 Minutes cook • Low FODMAP • Vegetarian • Dairy-free • Serves 4 - 6 • Ok to make-ahead: Steps 1 - 7
The Delicious Dimension: Exploring the Visual and Textural Joys of a Restricted Diet
While the nutritional content of food takes center stage, the way food looks and feels should not be underestimated.
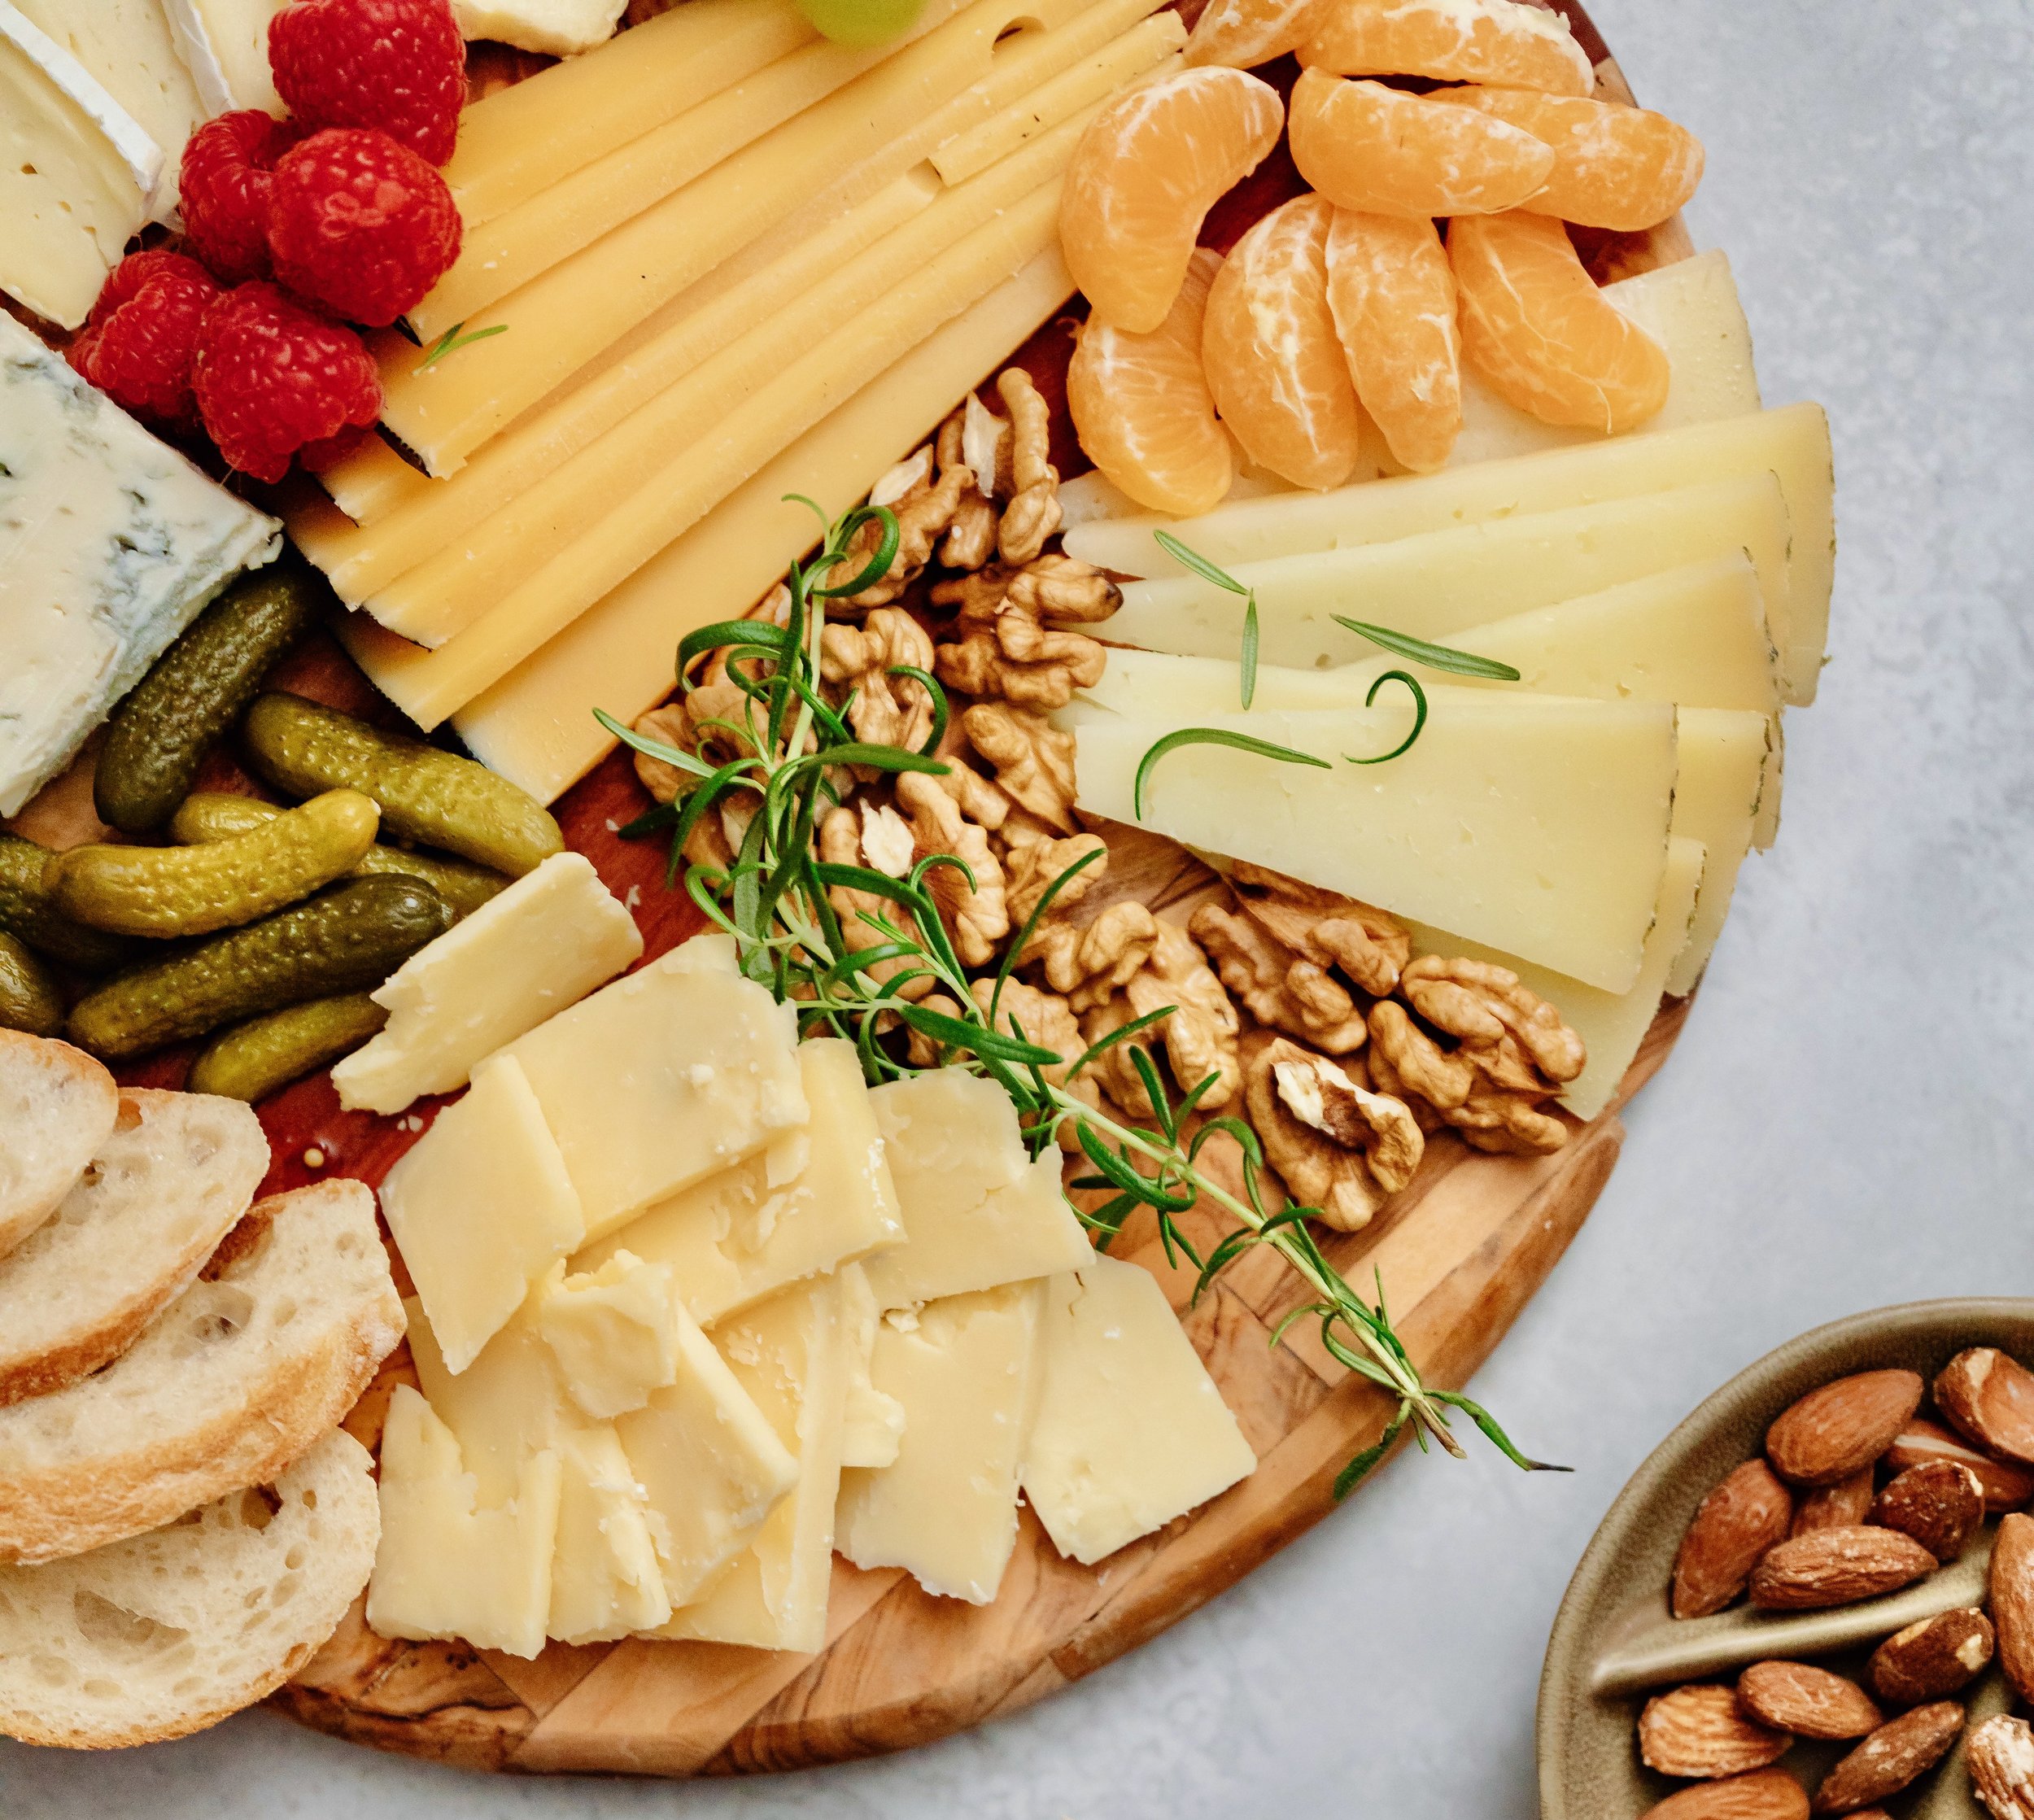
When you’re limiting the selection of foods you eat for any reason, it’s important that the foods you do eat are as appealing and delicious as possible. That includes what your food LOOKS like and what it FEELS like when you eat it! Embarking on a restricted diet can be a challenging journey, often requiring meticulous attention to what you eat. While the nutritional content of food takes center stage, the way food looks and feels should not be underestimated. In this post, I’m digging into the significance of considering the aesthetics and textures of food when following a restricted diet and why this aspect matters for our overall well-being. I’ve included lots of links to delicious low-FODMAP recipes you can try when you’re ready to experience the many amazing things you can eat when following a low-FODMAP diet.
The Power of Presentation
A Feast for the Eyes: The old adage "we eat with our eyes first" holds true, especially for those on restricted diets. The visual appeal of food plays a crucial role in anticipation, satisfaction, and even the desire to consume the meal. When faced with dietary limitations, crafting visually appealing dishes can make each meal a delightful experience. Taking the time to chop some fresh herbs, grate some extra-flavorful cheese, or drizzle a little olive oil on the final dish can make all the difference. Try this Chicken Cobb Salad or Spring Roll Salad with Peanut dressing in my recipe club for example, or Better Than Takeout Sesame Chicken on my blog.
Emotional Fulfillment: Restricted diets can evoke feelings of deprivation and monotony. By putting effort into the visual presentation of meals, we transform our eating experience from a mere necessity to an emotionally satisfying ritual. A colorful and well-arranged plate can boost mood and elevate the overall enjoyment of the meal. Try my Super Simple Chocolate Lava Cakes or my Mushroom Gruyere Savory Bread Pudding, for example or any of the soup recipes in my recipe club.
The Crucial Role of Texture
A Multisensory Experience: Texture influences our perception of food more than we realize. The crunch of a fresh salad or the creaminess of mashed potatoes engages our senses, enhancing the dining experience beyond taste alone. This multisensory engagement becomes especially significant on restricted diets where the range of foods may be limited. Try my Crisp and Crunchy Chicken Salad, or my One Pan Thai Peanut Chicken and Veggies for example.
Appetite Stimulation: Texture can influence our appetite as well as our sense of satiation. Foods with varying textures stimulate our taste buds and appetite, making us more likely to enjoy and feel satisfied with a meal. For those adhering to specific dietary restrictions, incorporating diverse textures can make each bite more enticing. Try my Vegetable Chicken Stew, or my Chinese New Year Chicken Salad for example.
Mimicking Familiar Foods: On restricted diets, finding alternatives to favorite foods can be challenging. Texture can play a crucial role in replicating the experience of familiar meals. For example, creating a gluten-free pizza crust with a satisfying array of toppings can, not only mimic the texture of traditional pizza, but you might just find you like it even better than the original! This sameness with your old standards can provide a sense of comfort and normalcy. Check out this amazing Rosemary Mushroom Flatbread, or this BBQ Chicken Pizza with Bacon and Pineapple, or my Chocolate Cake with Umami Chocolate Frosting, in my recipe club for inspiration!
Expanding Culinary Creativity: Exploring new textures within the confines of a restricted diet can foster culinary creativity. Discovering how to use ingredients like nuts, seeds, and alternative flours to create crunchy crusts, velvety sauces, or chewy snacks can turn dietary limitations into an opportunity for innovation. In my recipes, I do my best to incorporate as much variety as possible—especially when it comes to plants as they play a vital role in keeping our gut biome healthy. Try my Umami Chicken and Butternut Squash Ramen, or my One Pan Chicken Arroz Caldo, for example.
Summing it all up
As we all experience our own IBS journey and the Low FODMAP diet that often accompanies that journey, keep in mind that food is not just sustenance—it's a sensory experience. The way food looks, feels, and engages our senses can significantly impact our relationship with our meals. By embracing the power of presentation and texture, you can infuse joy, anticipation, and a deeper connection with your meals. Crafting visually appealing dishes and experimenting with diverse textures can turn the challenge of eating a restricted diet into an opportunity to explore new horizons. So, let's celebrate the beauty and diversity of food, even within the boundaries of our dietary restrictions. After all, savoring a meal is not just about nourishment; it's about relishing life's sensory pleasures.
Have a question you’d like to have answered? Email me at hello@ibsgamechanger.com
Greek Lemon Chicken (Low FODMAP)
10 Minutes prep • 30 - 40 Minutes cook • Low FODMAP • Gluten-free • Lactose-free • Serves 4
10 Minutes prep • 30 - 40 Minutes cook • Low FODMAP • Gluten-free • Lactose-free • Serves 4 • Ok to make ahead: Steps 1-2
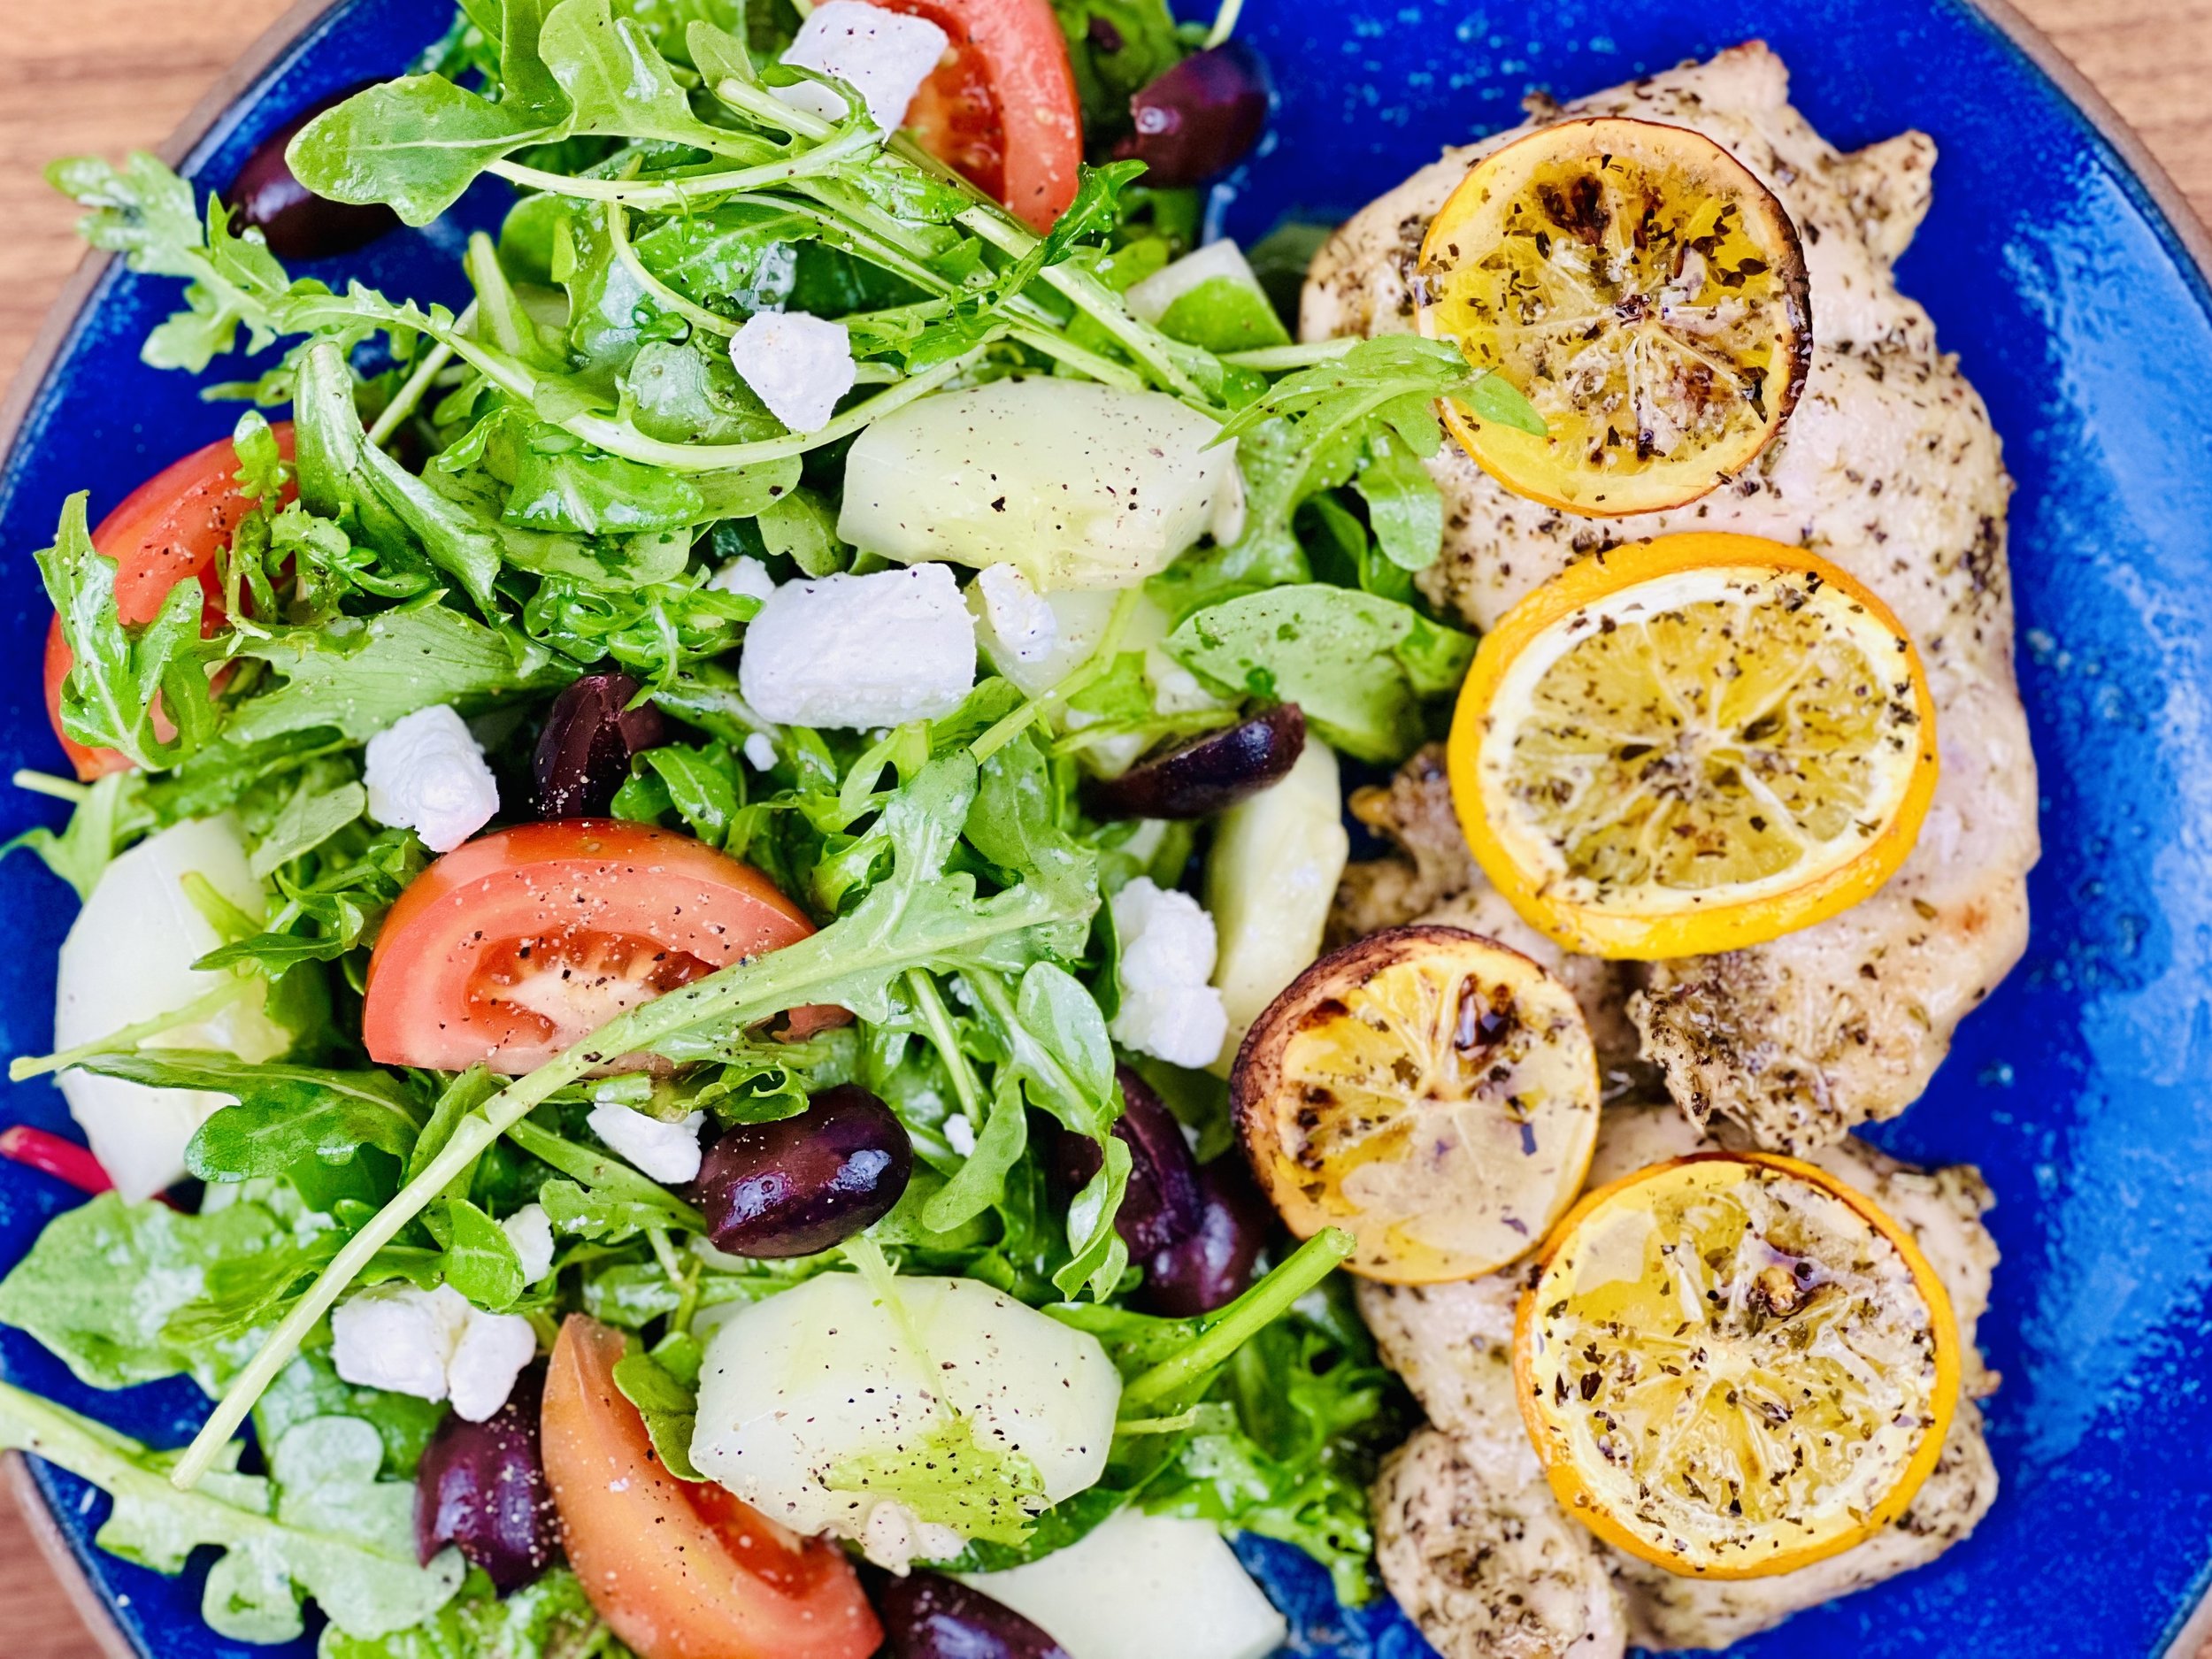
This simple preparation results in wonderfully tender and juicy chicken thighs with crispy skin (if you use skin-on chicken) or delicious charred lemons (if you use skinless chicken). Perfection, right? Marinating ahead and letting it sit overnight will save you time when you’re ready to cook but it’s unnecessary if you didn’t plan ahead. Serve this chicken alongside my Great Greek Salad with some crusty sourdough bread and butter and you’ve got a delicious meal fit for the family or for company.
Ingredients
4 boneless, skin-on or skinless chicken thighs
1/3 cup garlic-infused olive oil
1/4 cup lemon juice
1 tablespoon Smoke N Sanity Greek Seasoning (use code IBSGC15 for 15% discount)
OR 1 tablespoon dried oregano plus 2 teaspoons dried thyme
2 teaspoons Dijon mustard
2 teaspoons Kosher salt
1 teaspoon freshly ground black pepper
If using skinless chicken thigns, you’ll also need:
1 lemon, 1 tablespoon olive oil, and 1/2 teaspoon dry oregano, and a sprinkle of Kosher salt
Directions
(1) Make the marinade: In a small bowl, whisk together the garlic-infused olive oil, lemon juice, SnS Italian seasoning or oregano and thyme, Dijon mustard, salt, and pepper.
(2) Marinate the chicken: Add the chicken thighs to a Ziploc bag or bowl and pour the marinade on top. Toss the chicken thighs to ensure they are fully immersed in the marinade. Put in the refrigerator to marinate for 1 to 2 hours (and up to 8 hours).
(3) Prepare to bake: Preheat the oven to 350 degrees F. Place the chicken in a baking dish and pour the remaining marinade on top. If using skinless chicken thighs, add a couple of lemon slices to the top of each chicken thigh, drizzle with olive oil and spinkle with oregano. This will keep the chicken moist while cooking.
(4) Bake the chicken: Bake for 30 to 40 minutes , until the chicken is fully cooked and registers 170 - 175 degrees F on an instant-read thermometer. If you like, you may baste the chicken a few times while it cooks. And, if using skin-on chicken, you can broil the dish for 2 - 3 minutes at the end of the cooking time to make the skin get nice and crispy.
(5) Plate and serve: Garnish with lemon slices and a sprinkle of fresh thyme. Serve this chicken alongside my Great Greek Salad with some crusty sourdough bread and butter and you’ve got a delicious meal fit for the family or for company.
Eat and enjoy every bite because you can!
Recipe note: I use Diamond Crystal Kosher salt in all my recipes because it has a wonderful flat and crisp flake that tastes delicious. It is also the least salty salt available so you can use it more liberally as a seasoning than you can table salt or sea salt. If you use another type of salt, you may need to reduce the amount so it is not over-salted.
Have a question you’d like to have answered? Email me at hello@ibsgamechanger.com
Link note: This post may contain affiliate links for you to easily purchase items that are linked. I may earn a small commission from qualifying purchases but none of this costs you a thing so feel free to use the links! In addition, for some items, I have provided a special discount code for IBS Game Changers so be sure to use the code when you purchase an item to get the discount that has been arranged just for you.
More Deliciously Low FODMAP™ main course recipes
15 Minutes prep • 30 Minutes cook • Low FODMAP • Serves 4 • Ok to make-ahead: Steps 1 - 2
10 Minutes prep • 25 Minutes cook • Low FODMAP • Gluten-Free • Serves 6 • Ok to make-ahead: Step 1
45 Minutes prep • 60 Minutes cook • Low FODMAP • Gluten-free • Vegetarian • Serves 6 - 8
5 Minutes prep • 15 Minutes cook • Low FODMAP • Gluten-free • Lactose-free • Vegan • Serves 4
10 Minutes prep • 20 Minutes cook • Low FODMAP • Gluten-free • Serves 4 n skewers for your family and friends. They are sure to be a hit.
15 Minutes prep • 55 Minutes cook (if using brown rice) • Low FODMAP • Gluten-free • Lactose-free • Vegan • Serves 4
30-Minute One-Pan Keto Veggie Bake (Low FODMAP)
10 Minutes prep • 20 Minutes cook • Low FODMAP • Vegetarian Option • Gluten-free • Serves 4
10 Minutes prep • 20 Minutes cook • Low FODMAP • Vegetarian Option • Gluten-free • Serves 4 • Ok to make ahead: Steps 1-2
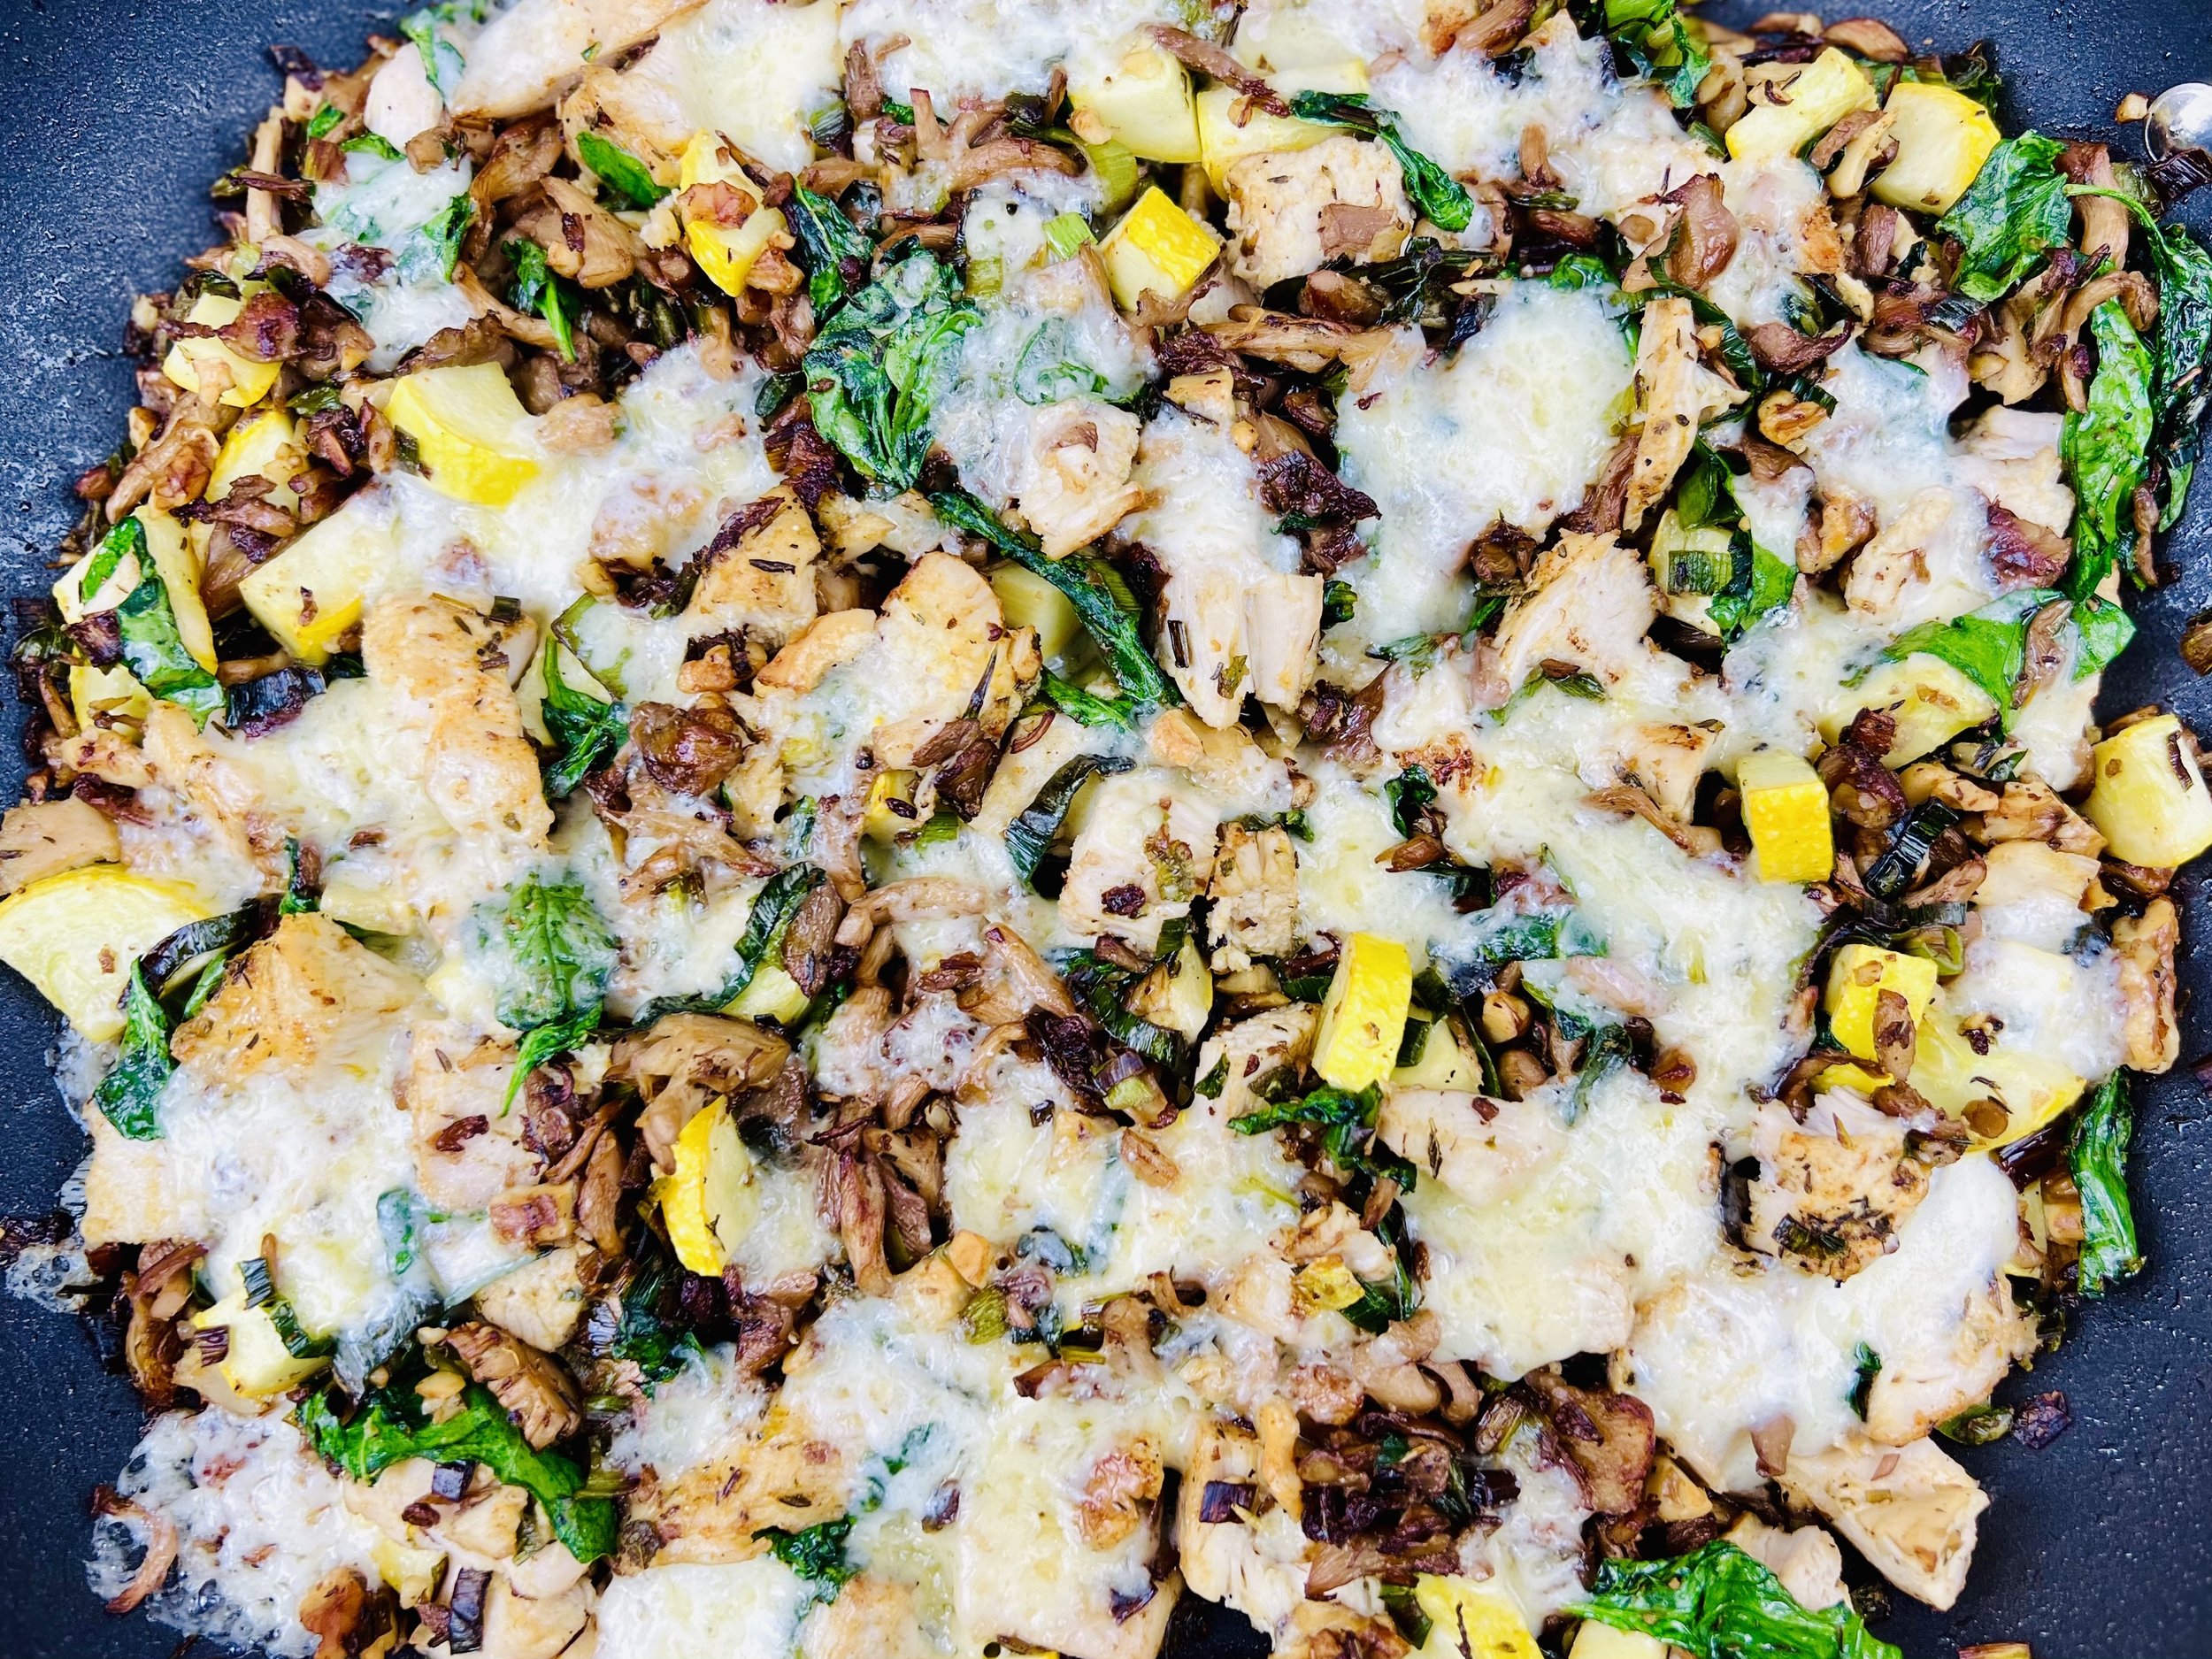
It all started because I had chicken left over from the Buttery Sage One-Pan Company Chicken dinner I published recently. What to do with this delicious chicken? So, I set about to create the most wonderful combination of buttery vegetables, seasonings, and really flavorful cheese (it was so good, the chicken became totally optional!) For the cheese, I used the sharp cheddar and havarti I had left from a recent cheeseboard, but you can use any cheese you like! This comes together in one pan in 30 minutes or less and it’s the perfect combination of comfort food, plenty of plants, and really excellent flavor.
This is an exclusive recipe just for recipe club members.
In addition to the two free recipes I create each week I am creating and delivering one very special recipe just for my recipe club members. If you’re not yet a member, I encourage you to join! Membership in the club includes access to the complete archive of recipes with filters so it can become your virtual low FODMAP cookbook plus, I am creating and delivering one special NEW recipe every week ONLY for recipe club members.
Your membership in the club helps me continue creating new, delicious, easy-to-make, low FODMAP recipes just for you.
As always, all recipes will emphasize simple ingredients, easy preparation, and delicious low FODMAP results. Recipes will be for everything from main courses, salads, soups, side dishes, appetizers, desserts, sauces, breakfast and lunch, and even mocktails and cocktails. Everything you need to prepare fantastic low FODMAP meals everyone will love.
Join the club. Let’s keep making delicious Low FODMAP meals together.
More Deliciously Low FODMAP™ keto-friendly recipes
One of the biggest challenges when struggling with gut issues is getting answers to your many questions about cause and treatment. With this in mind, we in the content creator space, work hard to bring you specific and actionable information to help answer your questions.
10 Minutes prep • 25 Minutes cook • Low FODMAP • Gluten-Free • Serves 6 • Ok to make-ahead: Step 1
45 Minutes prep • 60 Minutes cook • Low FODMAP • Gluten-free • Vegetarian • Serves 6 - 8
10 Minutes prep • 20 Minutes cook • Low FODMAP • Gluten-free • Serves 4 n skewers for your family and friends. They are sure to be a hit.
Crispy Cheesy Chaffles (Low FODMAP)
20 Minutes prep • 25 Minutes cook • Low FODMAP • Gluten-free • Serves 4
10 Minutes prep • 10 Minutes cook • Low FODMAP • Gluten-free • Serves 4 • Ok to make ahead: Steps 1-2
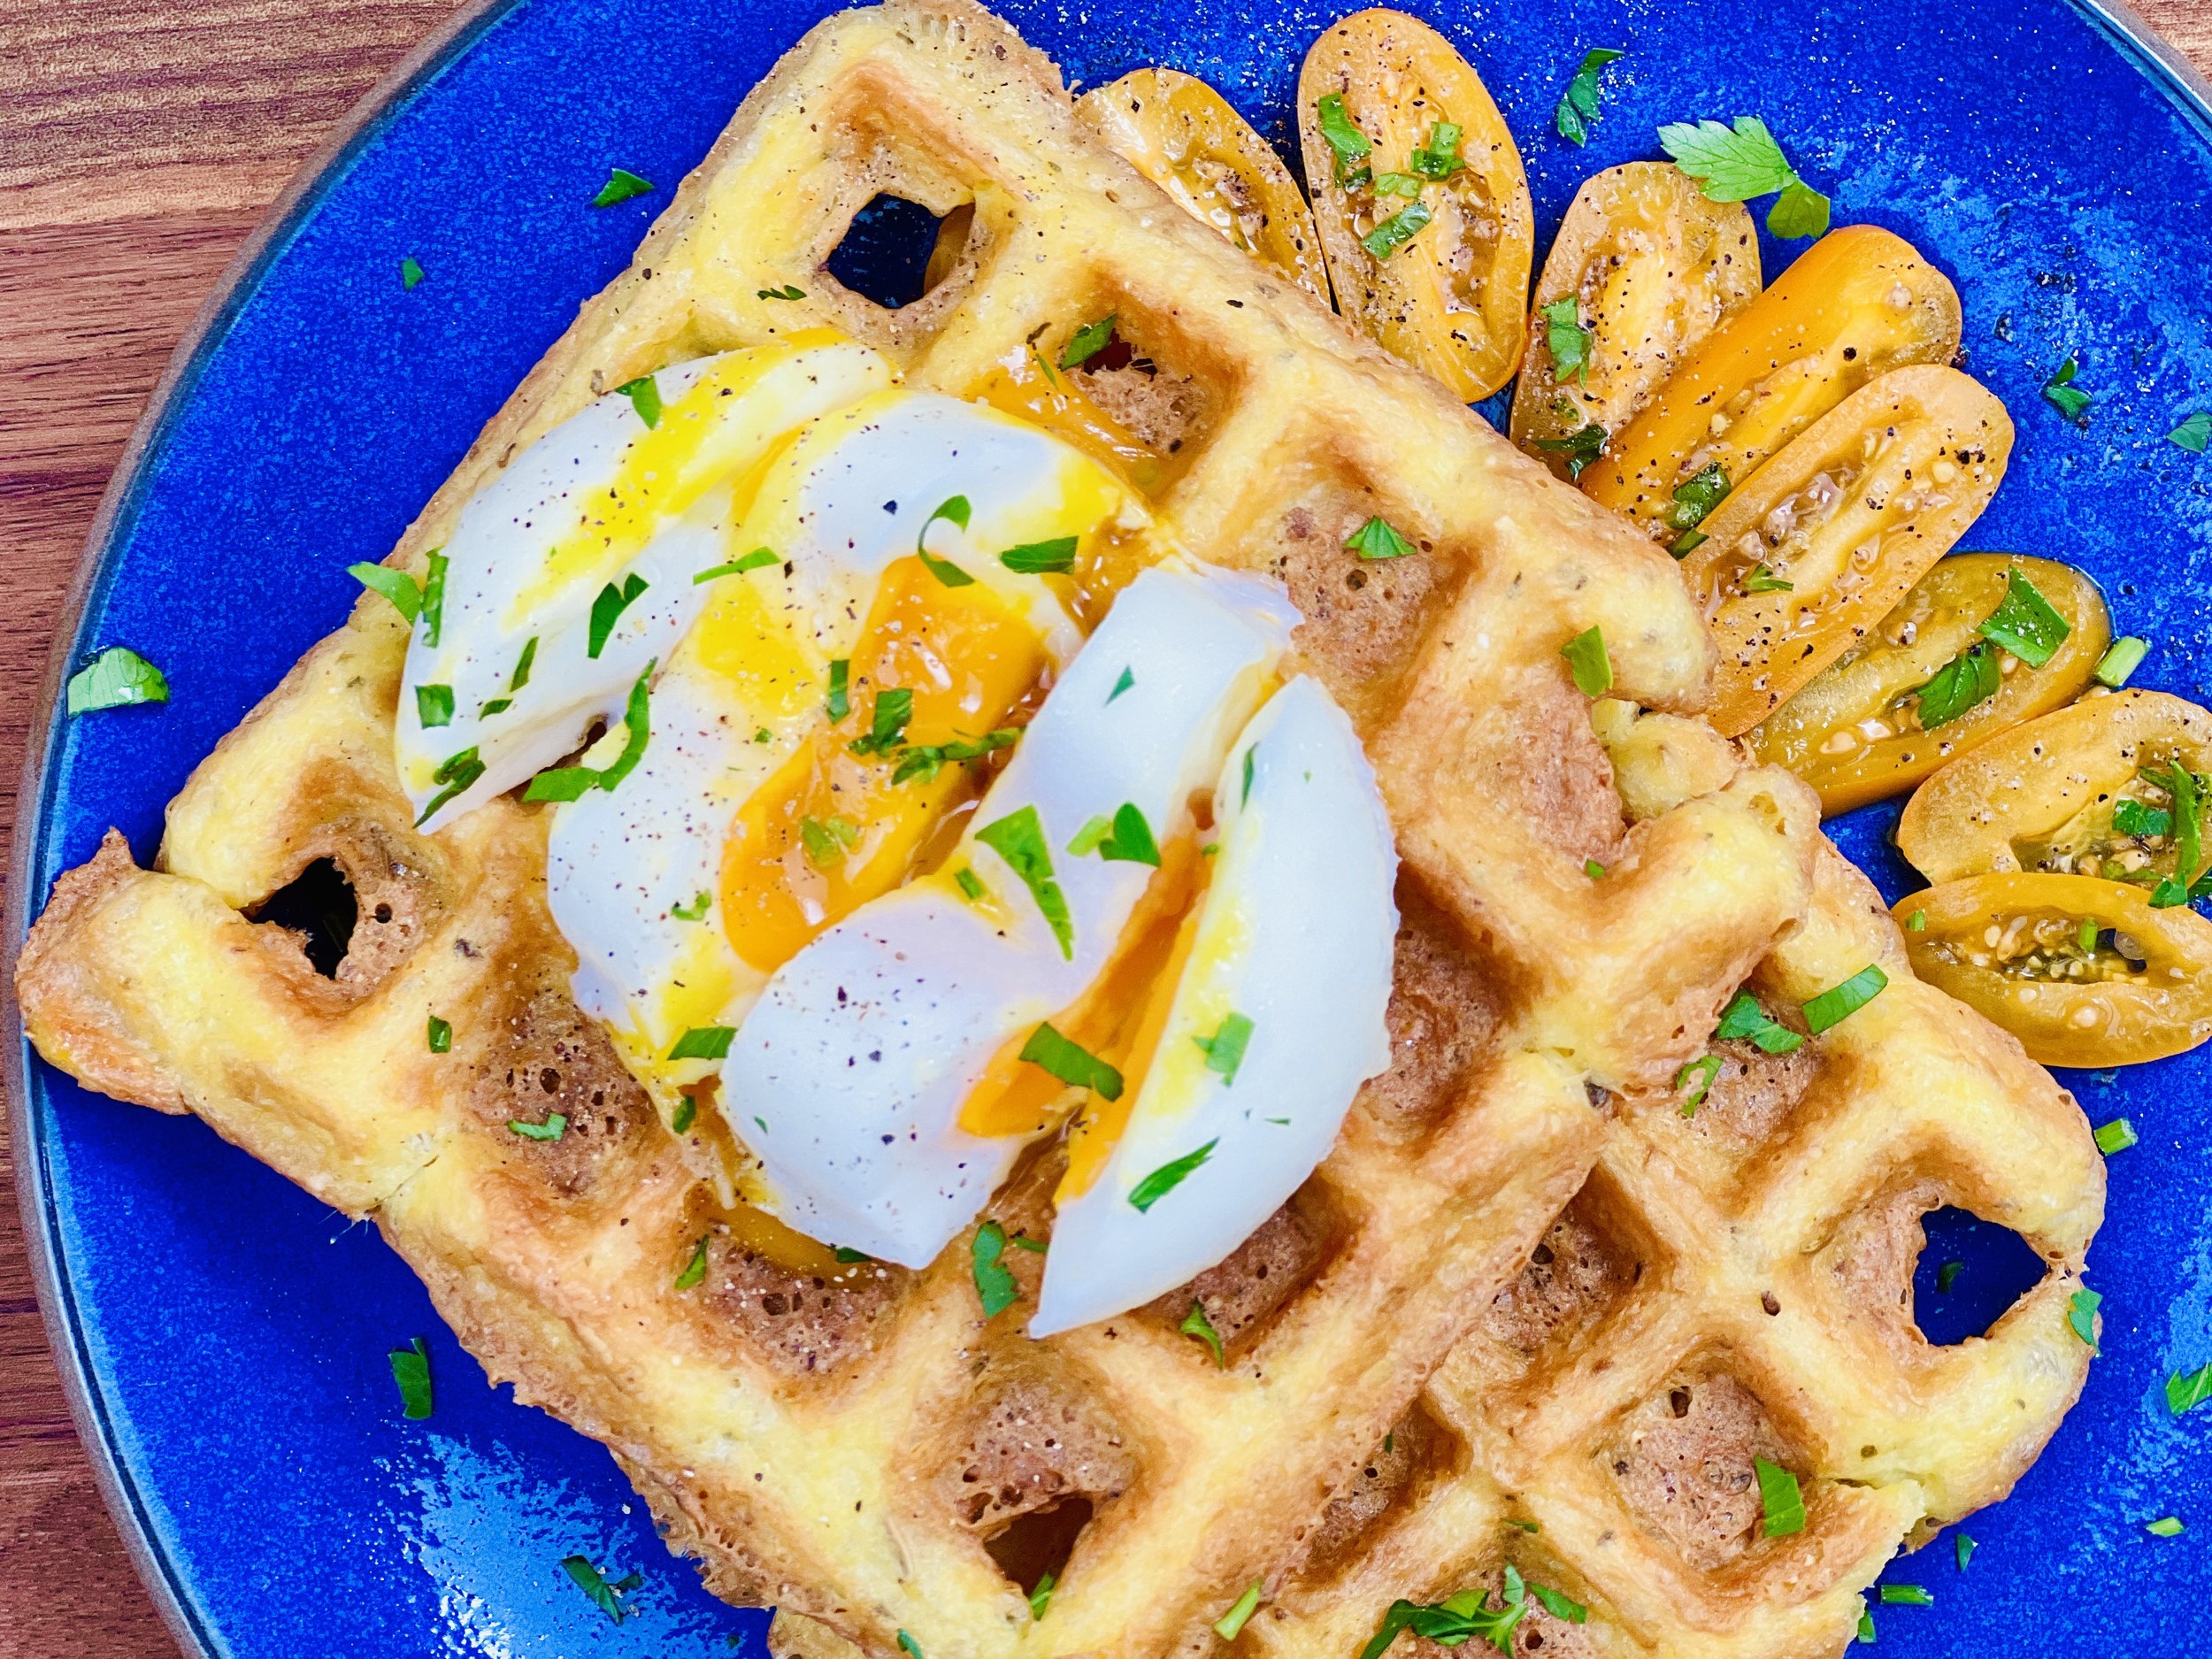
Crispy, cheesy, and a perfect substitute for toast with your eggs benedict or avocado toast, buns on your burger, bread on your grilled cheese, crust on your pizza, you get the idea! Five ingredients and a waffle iron are all it takes to have these delicious chaffles. Be creative with the cheese and seasoning you use according to what you have on hand and what you are planning to put on top. Cheddar, gruyere, swiss, mozzarella, or even pepper jack are all great choices for cheese. And Italian, Cajun, Taco, or just plain thyme, rosemary, or basil are all great choices for seasoning. They freeze beautifully and reheat from frozen so make a bunch to have on hand (if they last that long!)
Ingredients
2 large eggs (or 3 medium eggs)
1/2 teaspoon baking powder
1 teaspoon savory seasoning of your choice (I used Smoke N Sanity Beyond Italian Seasoning, use code IBSGC15 for 15% discount)
1 tablespoon almond flour (optional but helps keep them sturdy for reheating in the toaster)
1 1/2 cups flavorful cheese (I used 1 cup extra sharp cheddar and 1/2 cup Parmesan, finely grated)
Directions
(1) Prepare: Preheat your waffle iron for about 5 minutes, until hot.
(2) Make the batter: Whisk together the eggs, baking powder, almond flour and seasoning. Add the cheese and stir until well combined.
(3) Cook: Spoon enough of the chaffle batter into the waffle maker to cover the surface well when the lid closes. (That's about 1/2 cup batter for a regular waffle maker and 1/4 cup for a mini waffle maker.) Close the lid and let cook until browned and crispy, about 3-4 minutes. (Watch for the steam to stop coming out of the waffle iron, or at least slow way down to indicate they are done.)
(4) Finish: Carefully remove the chaffle from the waffle maker and set aside on a cooling rack to crisp up more. (Cooling is important for crispy texture!) Repeat with remaining batter, if any.
(5) Plate and serve: Serve at room temperature or reheat in the oven or toaster, with your favorite toppings.
Storage: Once you’ve let your waffles cool, you can store them in an airtight container in the refrigerator for up to 5 days or the freezer up to 6 months.
Reheating: Reheat in the toaster, toaster oven, skillet, or conventional oven at 350 degrees F. (You can even reheat right from frozen.) I like to use the toaster, which is the fastest and easiest. Do not microwave as the chaffles will lose their crispiness.
Eat and enjoy every bite because you can!
Recipe note: I use Diamond Crystal Kosher salt in all my recipes because it has a wonderful flat and crisp flake that tastes delicious. It is also the least salty salt available so you can use it more liberally as a seasoning than you can table salt or sea salt. If you use another type of salt, you may need to reduce the amount so it is not over-salted.
Have a question you’d like to have answered? Email me at hello@ibsgamechanger.com
Link note: This post may contain affiliate links for you to easily purchase items that are linked. I may earn a small commission from qualifying purchases but none of this costs you a thing so feel free to use the links! In addition, for some items, I have provided a special discount code for IBS Game Changers so be sure to use the code when you purchase an item to get the discount that has been arranged just for you.
More Deliciously Low FODMAP™ breakfast recipes
15 Minutes prep • 30 Minutes cook • Low FODMAP • Serves 4 • Ok to make-ahead: Steps 1 - 2
10 Minutes prep • 20 Minutes cook • Low FODMAP • Gluten-free • Lactose-free • Vegan • Makes 6 cups
I’m here to show you how to fully embrace the flavors of fall while keeping your digestive system happy.
10 Minutes prep • Overnight Chill • Low FODMAP • Gluten-free • Lactose-free • Serves 2 - 4
15 Minutes prep • 45 Minutes cook • Low FODMAP • Gluten-free • Vegetarian • Serves 4 - 6
15 Minutes prep • 15 Minutes cook • Low FODMAP • Gluten-free • Makes 8 Belgian waffle squares
30 Minutes prep • 20 Minutes cook • Low FODMAP • Gluten-free • Vegetarian • Makes 10 Squares
Buttery Sage One-Pan Company Chicken (Low FODMAP)
20 Minutes prep • 25 Minutes cook • Low FODMAP • Serves 4
20 Minutes prep • 40 Minutes cook • Low FODMAP • Gluten-free • Serves 6 • Ok to make ahead: Steps 1-2
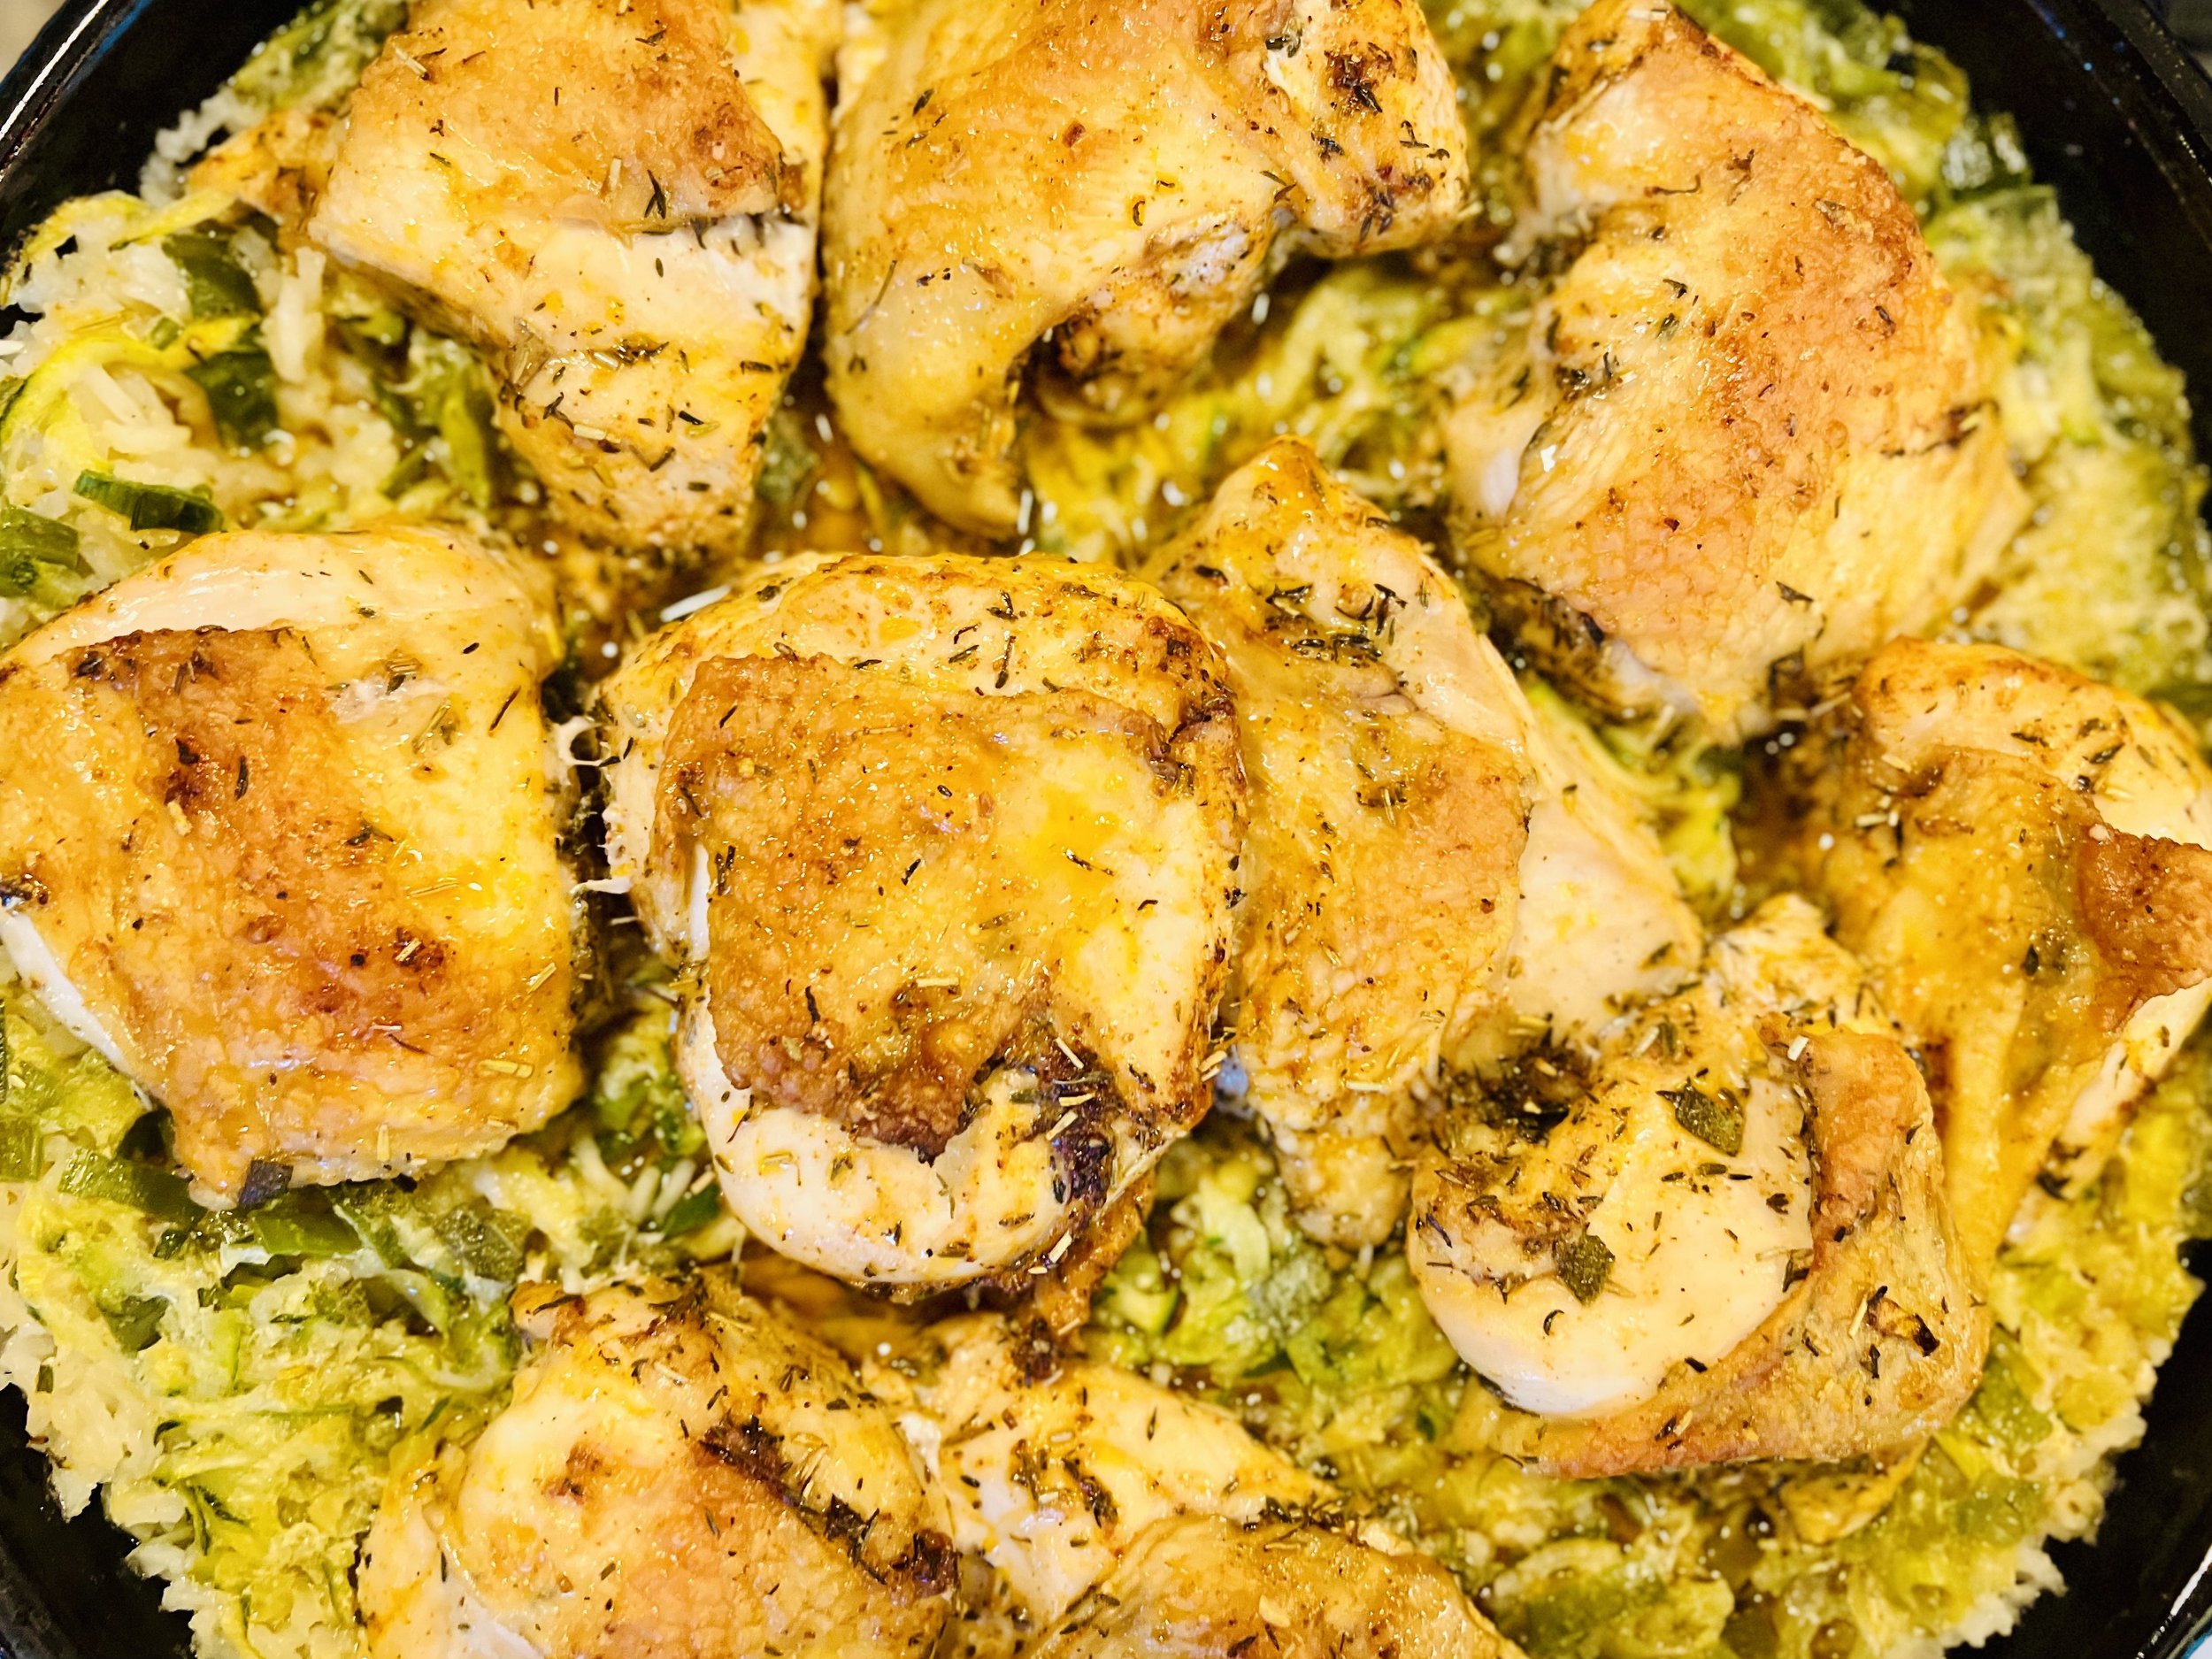
I love dinners that you make all in one pan that cook themselves while you enjoy time with your guests. Here is my latest favorite in this category! This dish has rice, vegetables, and chicken all cooked together in the oven so all you have to do is add one of my delicious salads and you’ve got a meal fit for company.
Ingredients
6 boneless chicken thighs or breasts (skin on)
2 tablespoons garlic-infused extra virgin olive oil
1/4 cup grated parmesan
2 teaspoons dry thyme
1 teaspoon dry rosemary
1 teaspoon smoked paprika
1/8 - 1/4 teaspoon cayenne pepper (depending on how spicy you like it)
1/2 teaspoon Kosher salt
1/4 teaspoon black pepper
1 1/2 cups dry long-grain or jasmine white rice
1 bunch green onions (green part only), chopped (about 1 cup)
1 leek (green part only), chopped (about 1 cup)
1 cup grated zucchini, summer squash, or a combination of the two
1 tablespoon chopped fresh sage, plus 8 sage leaves
3 cups low FODMAP chicken broth (I use Whole Foods Organic 365 chicken broth or Gourmend low FODMAP Organic Chicken Broth - use code IBSGC15 for 15% discount)
4 tablespoons salted butter
1 parmesan rind (optional but adds great flavor)
Directions
(1) Marinate the chicken: In a bowl combine garlic-infused olive oil, parmesan, thyme, rosemary, smoked paprika, cayenne, salt, and pepper. Add the chicken and use your hands to combine the chicken with the marinade ensuring all the chicken is coated with the marinade. Set aside in the refrigerator until you’re ready to cook.
(2) Prepare: Preheat the oven to 400 degrees F. Chop the leek and green onion greens. In a large baking dish (9” x 13” or equivalent) pour the rice, green onion greens, leek greens, zucchini and/or summer squash, and chopped sage.
(3) Add the chicken: Pour over the 3 cups of chicken broth. Stir gently to ensure all the rice is loosened from the bottom of the pan. Sprinkle over the mixture 2 tablespoons of butter cut into small pieces. Arrange the chicken over the rice mixture. Add the parmesan rind, if using.
(4) Bake: Bake 30-40 minutes, until the rice is fluffy and the chicken is just cooked through (internal temperature of 165 degrees F). If the rice is still hard, add 1/3 cup water or chicken broth and cook for an additional 10 minutes.
(5) Finish: Just before serving, remove the parmesan rind (if you added one). Melt together the 2 tablespoons butter and sage leaves in a skillet set over medium heat. Cook until the butter is browning and the sage is crisp which will take about 4 minutes.
(6) Plate and serve: Serve the chicken and rice drizzled with sage butter and crispy sage leaves.
Eat and enjoy every bite because you can!
Recipe note: I use Diamond Crystal Kosher salt in all my recipes because it has a wonderful flat and crisp flake that tastes delicious. It is also the least salty salt available so you can use it more liberally as a seasoning than you can table salt or sea salt. If you use another type of salt, you may need to reduce the amount so it is not over-salted.
Have a question you’d like to have answered? Email me at hello@ibsgamechanger.com
Link note: This post may contain affiliate links for you to easily purchase items that are linked. I may earn a small commission from qualifying purchases but none of this costs you a thing so feel free to use the links! In addition, for some items, I have provided a special discount code for IBS Game Changers so be sure to use the code when you purchase an item to get the discount that has been arranged just for you.
More Deliciously Low FODMAP™ main course recipes
15 Minutes prep • 30 Minutes cook • Low FODMAP • Serves 4 • Ok to make-ahead: Steps 1 - 2
10 Minutes prep • 25 Minutes cook • Low FODMAP • Gluten-Free • Serves 6 • Ok to make-ahead: Step 1
45 Minutes prep • 60 Minutes cook • Low FODMAP • Gluten-free • Vegetarian • Serves 6 - 8
5 Minutes prep • 15 Minutes cook • Low FODMAP • Gluten-free • Lactose-free • Vegan • Serves 4
10 Minutes prep • 20 Minutes cook • Low FODMAP • Gluten-free • Serves 4 n skewers for your family and friends. They are sure to be a hit.
15 Minutes prep • 55 Minutes cook (if using brown rice) • Low FODMAP • Gluten-free • Lactose-free • Vegan • Serves 4
Keto Veggie Eggplant Pizza (Low FODMAP)
15 Minutes prep • 20 Minutes cook • Low FODMAP • Gluten-free • Vegetarian • Serves 2-3
15 Minutes prep • 20 Minutes cook • Low FODMAP • Gluten-free • Vegetarian • Serves 4
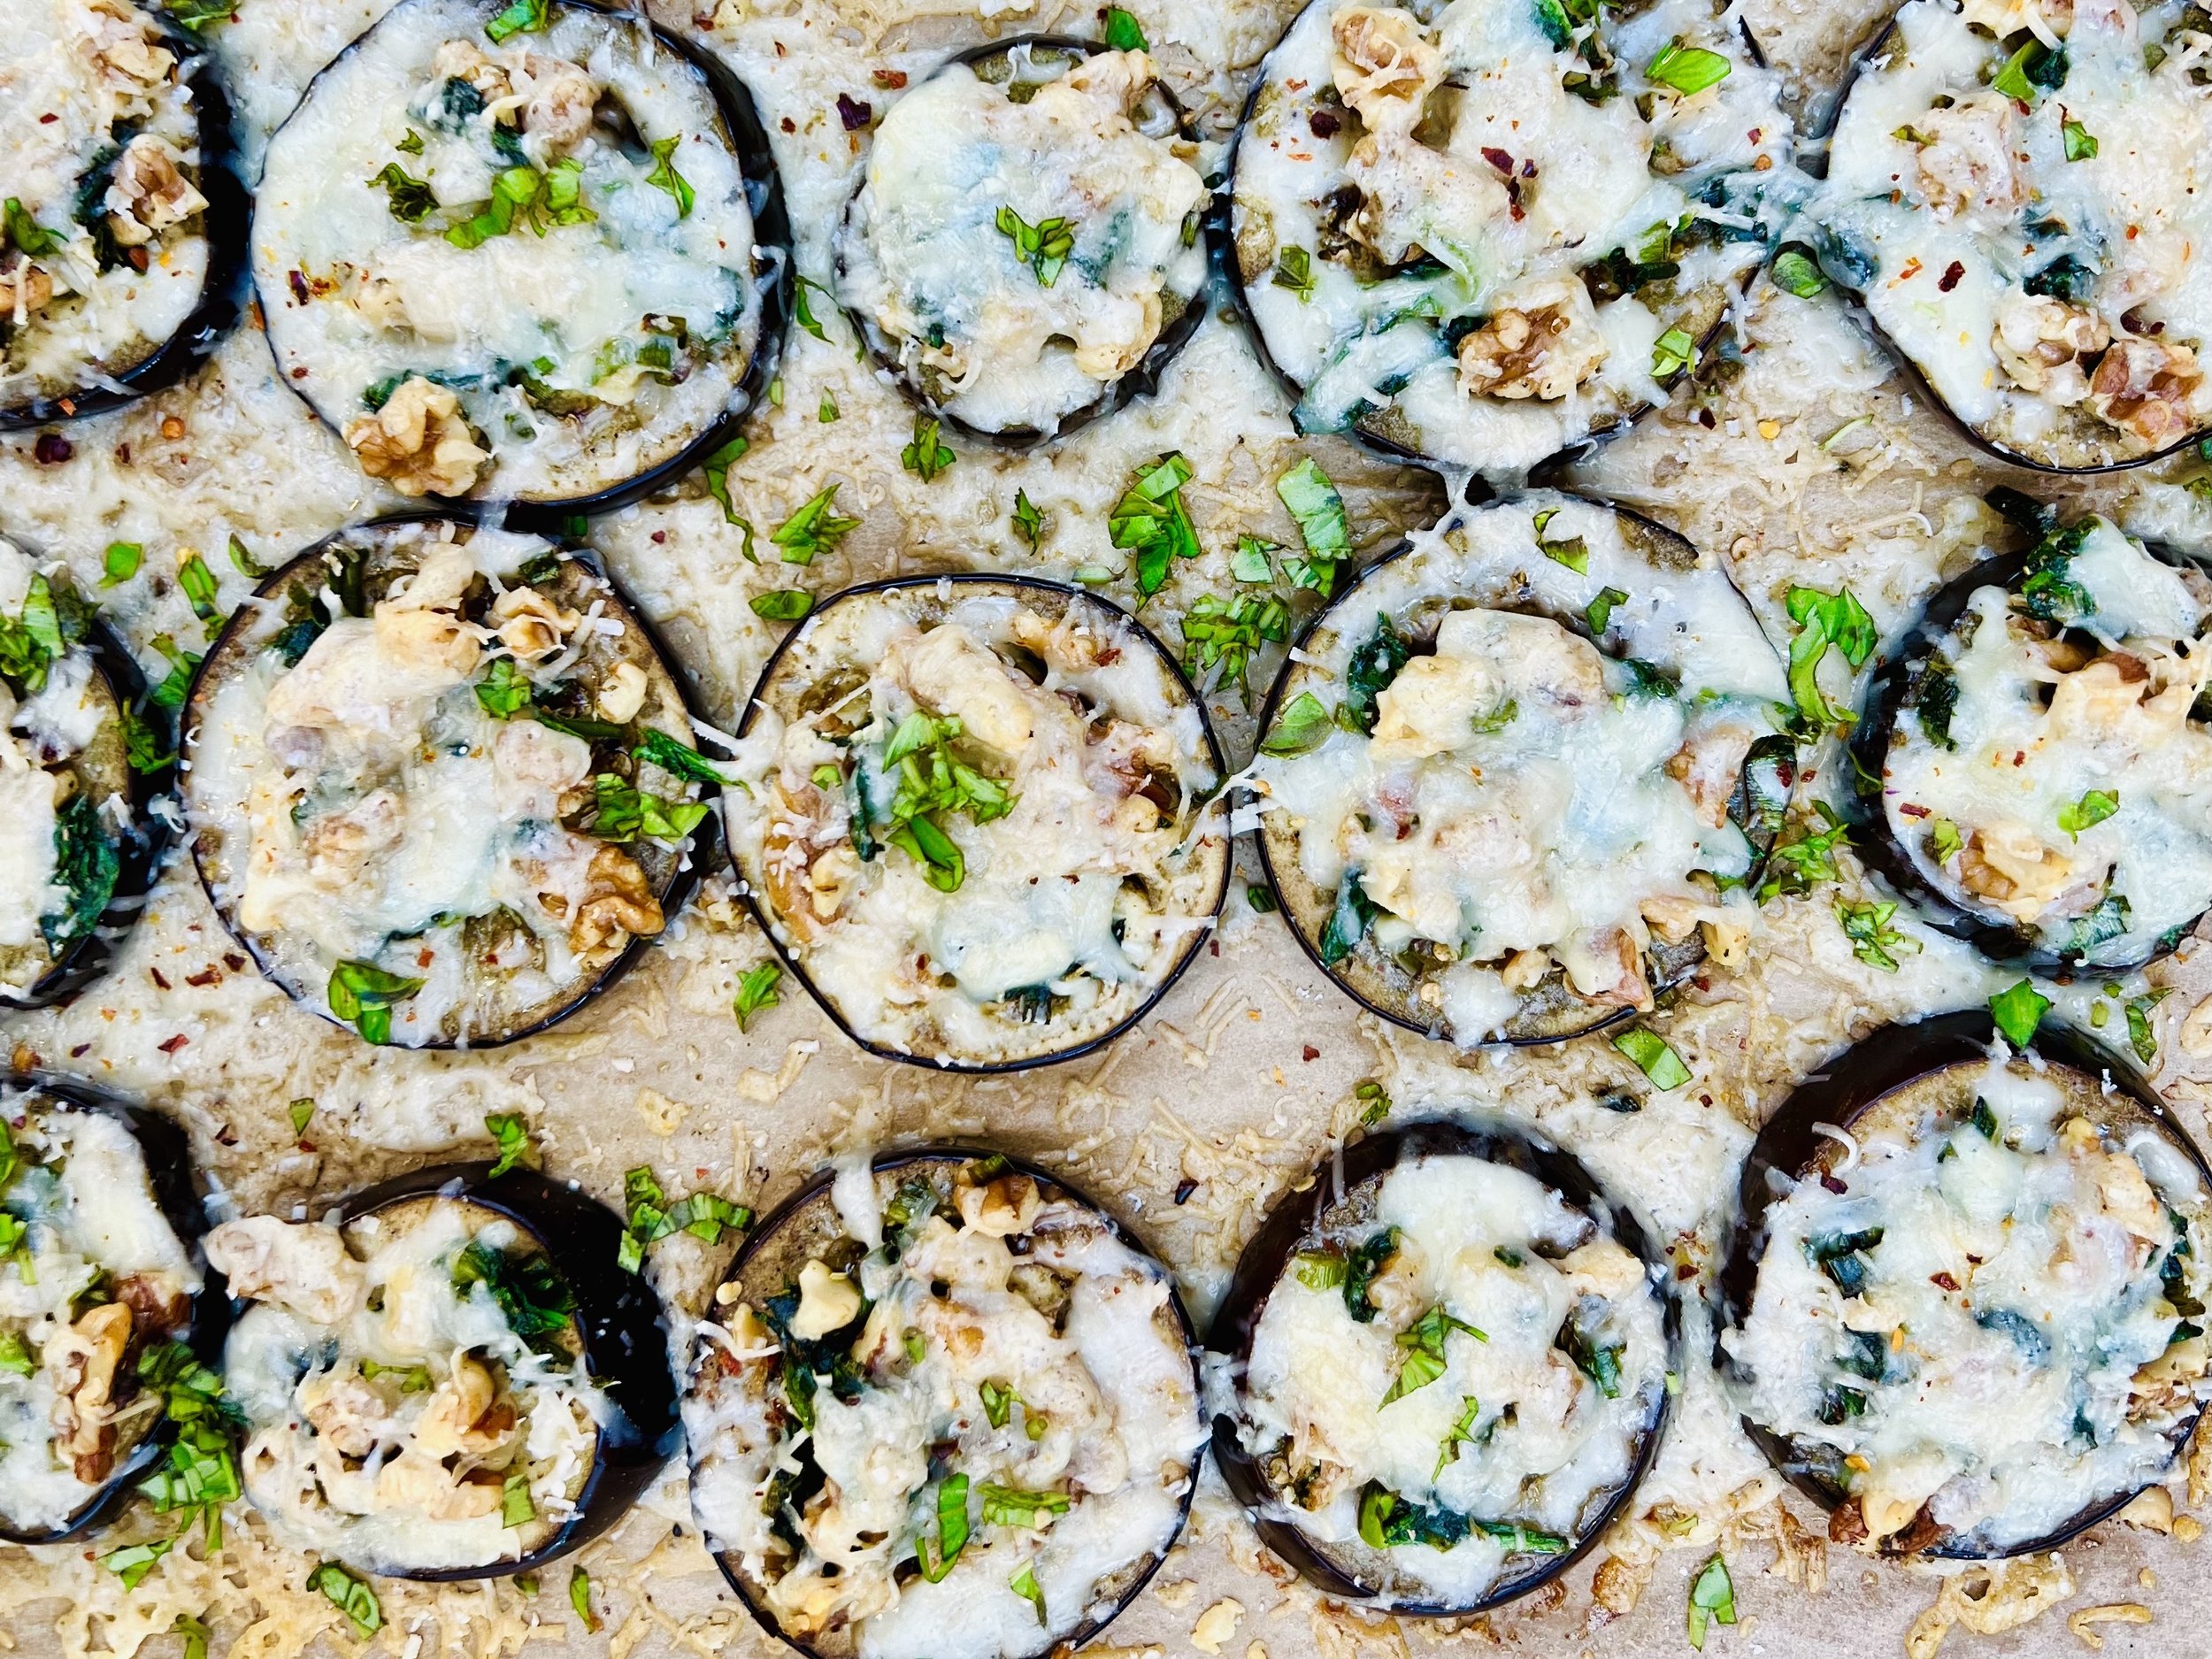
For all the taste of delicious artisan vegetarian pizza without the gluten or the carbs, these eggplant pizzas are perfect. Leeks, green onions, spinach, and mushrooms come together for classic pizza taste. Walnuts add amazing flavor and texture. And super-flavorful cheese adds a delicious depth that tops it off perfectly. The kitchen smelled wonderfully like pizza and the flavor did not disappoint. The roasted eggplant made a perfect foundation for all the delicious toppings.
Ingredients
1 eggplant cut into 1/4 inch slices
5 tablespoons garlic-infused olive oil, divided
1 small leek (green part only), chopped
2 green onions (green part only), chopped
1 cup oyster mushrooms, chopped
2 teaspoons Smoke n Sanity Italian Seasoning use code IBSGC15 for 15% discount
OR 1/4 teaspoon each dry basil, oregano, rosemary, and thyme
1 packed cup baby spinach, long stems removed and roughly chopped
1/2 - 3/4 cup walnuts, roughly chopped
6 ounces gruyere cheese, grated (or other robust flavored cheese you prefer)
1/2 cup parmesan cheese, grated
1/2 teaspoon Kosher salt
1/4 teaspoon black pepper
Fresh basil, chopped (for serving)
Red pepper flakes (optional for serving)
Directions
(1) Prepare: Preheat the oven to 400 degrees F. Grate the cheese. Line a cookie sheet with parchment paper. Slice the eggplant into 1/4-inch slices and toss out the two ends. Lay the eggplant slices on the prepared baking sheet and brush both sides of each slice with olive oil (using about 3 tablespoons altogether). Sprinkle lightly with salt and pepper.
(2) Pre-cook the eggplant: Put the cookie sheet in the preheated oven and cook for 7 - 10 minutes until the eggplant is hot and starts to cook down.
(2) Cook the veggies: Meanwhile, heat the remaining 2 tablespoons of olive oil in a medium-size skillet over medium-high heat. When the oil shimmers, add the Italian seasoning and let sizzle for about 30 seconds. Then add the leek greens, green onions, and chopped mushrooms. Cook for 3 - 4 minutes. Stir in walnuts, and season the whole thing lightly with salt and pepper. Cook for another minute. Add the spinach and stir and continue to cook until the spinach is wilted and cooked through. Remove from the heat and set aside.
(3) Layer the toppings: Once the eggplant is pre-cooked, remove from the oven. Layer the cooked veggie mixture equally across all the eggplant slices. Sprinkle on the gruyere cheese and then the parmesan cheese. Sprinkle lightly with black pepper.
(4) Bake: Put the whole tray back in the oven and bake for another 5 - 10 minutes until the cheese is melted and starting to crisp.
(5) Plate and serve: Serve warm with fresh basil and a light sprinkling of red pepper flakes.
Eat and enjoy every bite because you can!
Recipe note: I use Diamond Crystal Kosher salt in all my recipes because it has a wonderful flat and crisp flake that tastes delicious. It is also the least salty salt available so you can use it more liberally as a seasoning than you can table salt or sea salt. If you use another type of salt, you may need to reduce the amount so it is not over-salted.
Have a question you’d like to have answered? Email me at hello@ibsgamechanger.com
Link note: This post may contain affiliate links for you to easily purchase items that are linked. I may earn a small commission from qualifying purchases but none of this costs you a thing so feel free to use the links! In addition, for some items, I have provided a special discount code for IBS Game Changers so be sure to use the code when you purchase an item to get the discount that has been arranged just for you.
More Deliciously Low FODMAP™ vegetarian recipes
15 Minutes prep • 30 Minutes cook • Low FODMAP • Serves 4 • Ok to make-ahead: Steps 1 - 2
45 Minutes prep • 60 Minutes cook • Low FODMAP • Gluten-free • Vegetarian • Serves 6 - 8
5 Minutes prep • 15 Minutes cook • Low FODMAP • Gluten-free • Lactose-free • Vegan • Serves 4
10 Minutes Prep • 50 Minutes Cook • Low FODMAP • Gluten-free • Dairy Free • Vegan • Serving size 3 - 4 crackers
15 Minutes prep • 55 Minutes cook (if using brown rice) • Low FODMAP • Gluten-free • Lactose-free • Vegan • Serves 4
10 Minutes prep • 10 Minutes cook • Low FODMAP • Gluten-free • Lactose-free • Vegan • Serves 4
10 Minutes prep • 25 Minutes cook • Low FODMAP • Gluten-free • Vegetarian • Plant Forward • Serves 4
20 Minutes prep • 40 Minutes cook • Low FODMAP • Gluten-free • Vegetarian • Serves 4 - 6 • Ok to make ahead: Steps 1-4
15 Minutes prep • Low FODMAP • Gluten-free • Lactose-free • Vegetarian • Vegan • Serves 4
10 Minutes prep • 20 Minutes cook • Low FODMAP • Vegetarian Option • Gluten-free • Serves 4
20 Minutes prep • 20 Minutes cook • Low FODMAP • Serves 4 as main • Serves 6-8 as a side
10 Minutes prep • 20 Minutes cook • Low FODMAP • Gluten-free • Lactose-free • Vegan • Serves 5
15 Minutes prep • 1 hour chill • Low FODMAP • Gluten-free • Vegetarian • Serves 4 or more
15 Minutes prep • 45 Minutes cook • Low FODMAP • Gluten-free • Vegetarian • Serves 4 - 6
Amazing Magnificent Chia Pudding (Low FODMAP)
10 Minutes prep • Overnight Chill • Low FODMAP • Gluten-free • Lactose-free • Serves 2 - 4
10 Minutes prep • Overnight Chill • Low FODMAP • Gluten-free • Lactose-free • Serves 2 - 4 • Ok to make ahead: Steps 1-3
Why do I call this Amazing and Magnificent? Chia seeds are considered a super food for their many health benefits including blood sugar regulation, weight management, and bone health. They are also full of antioxidants, fiber, and omega-3 fatty acids, and they are gluten-free, and low FODMAP among other things! For those of us with IBS-C, they can also be a super-regulating food! I use chia in my Amazing Seed Crackers, of course, and I often find myself wondering how I can incorporate more chia into my recipes. Hence, this recipe for chia pudding! It’s not only delicious, it’s easy to make and incredibly healthy. Learn more about the health benefits of chia seeds at the end of this recipe.
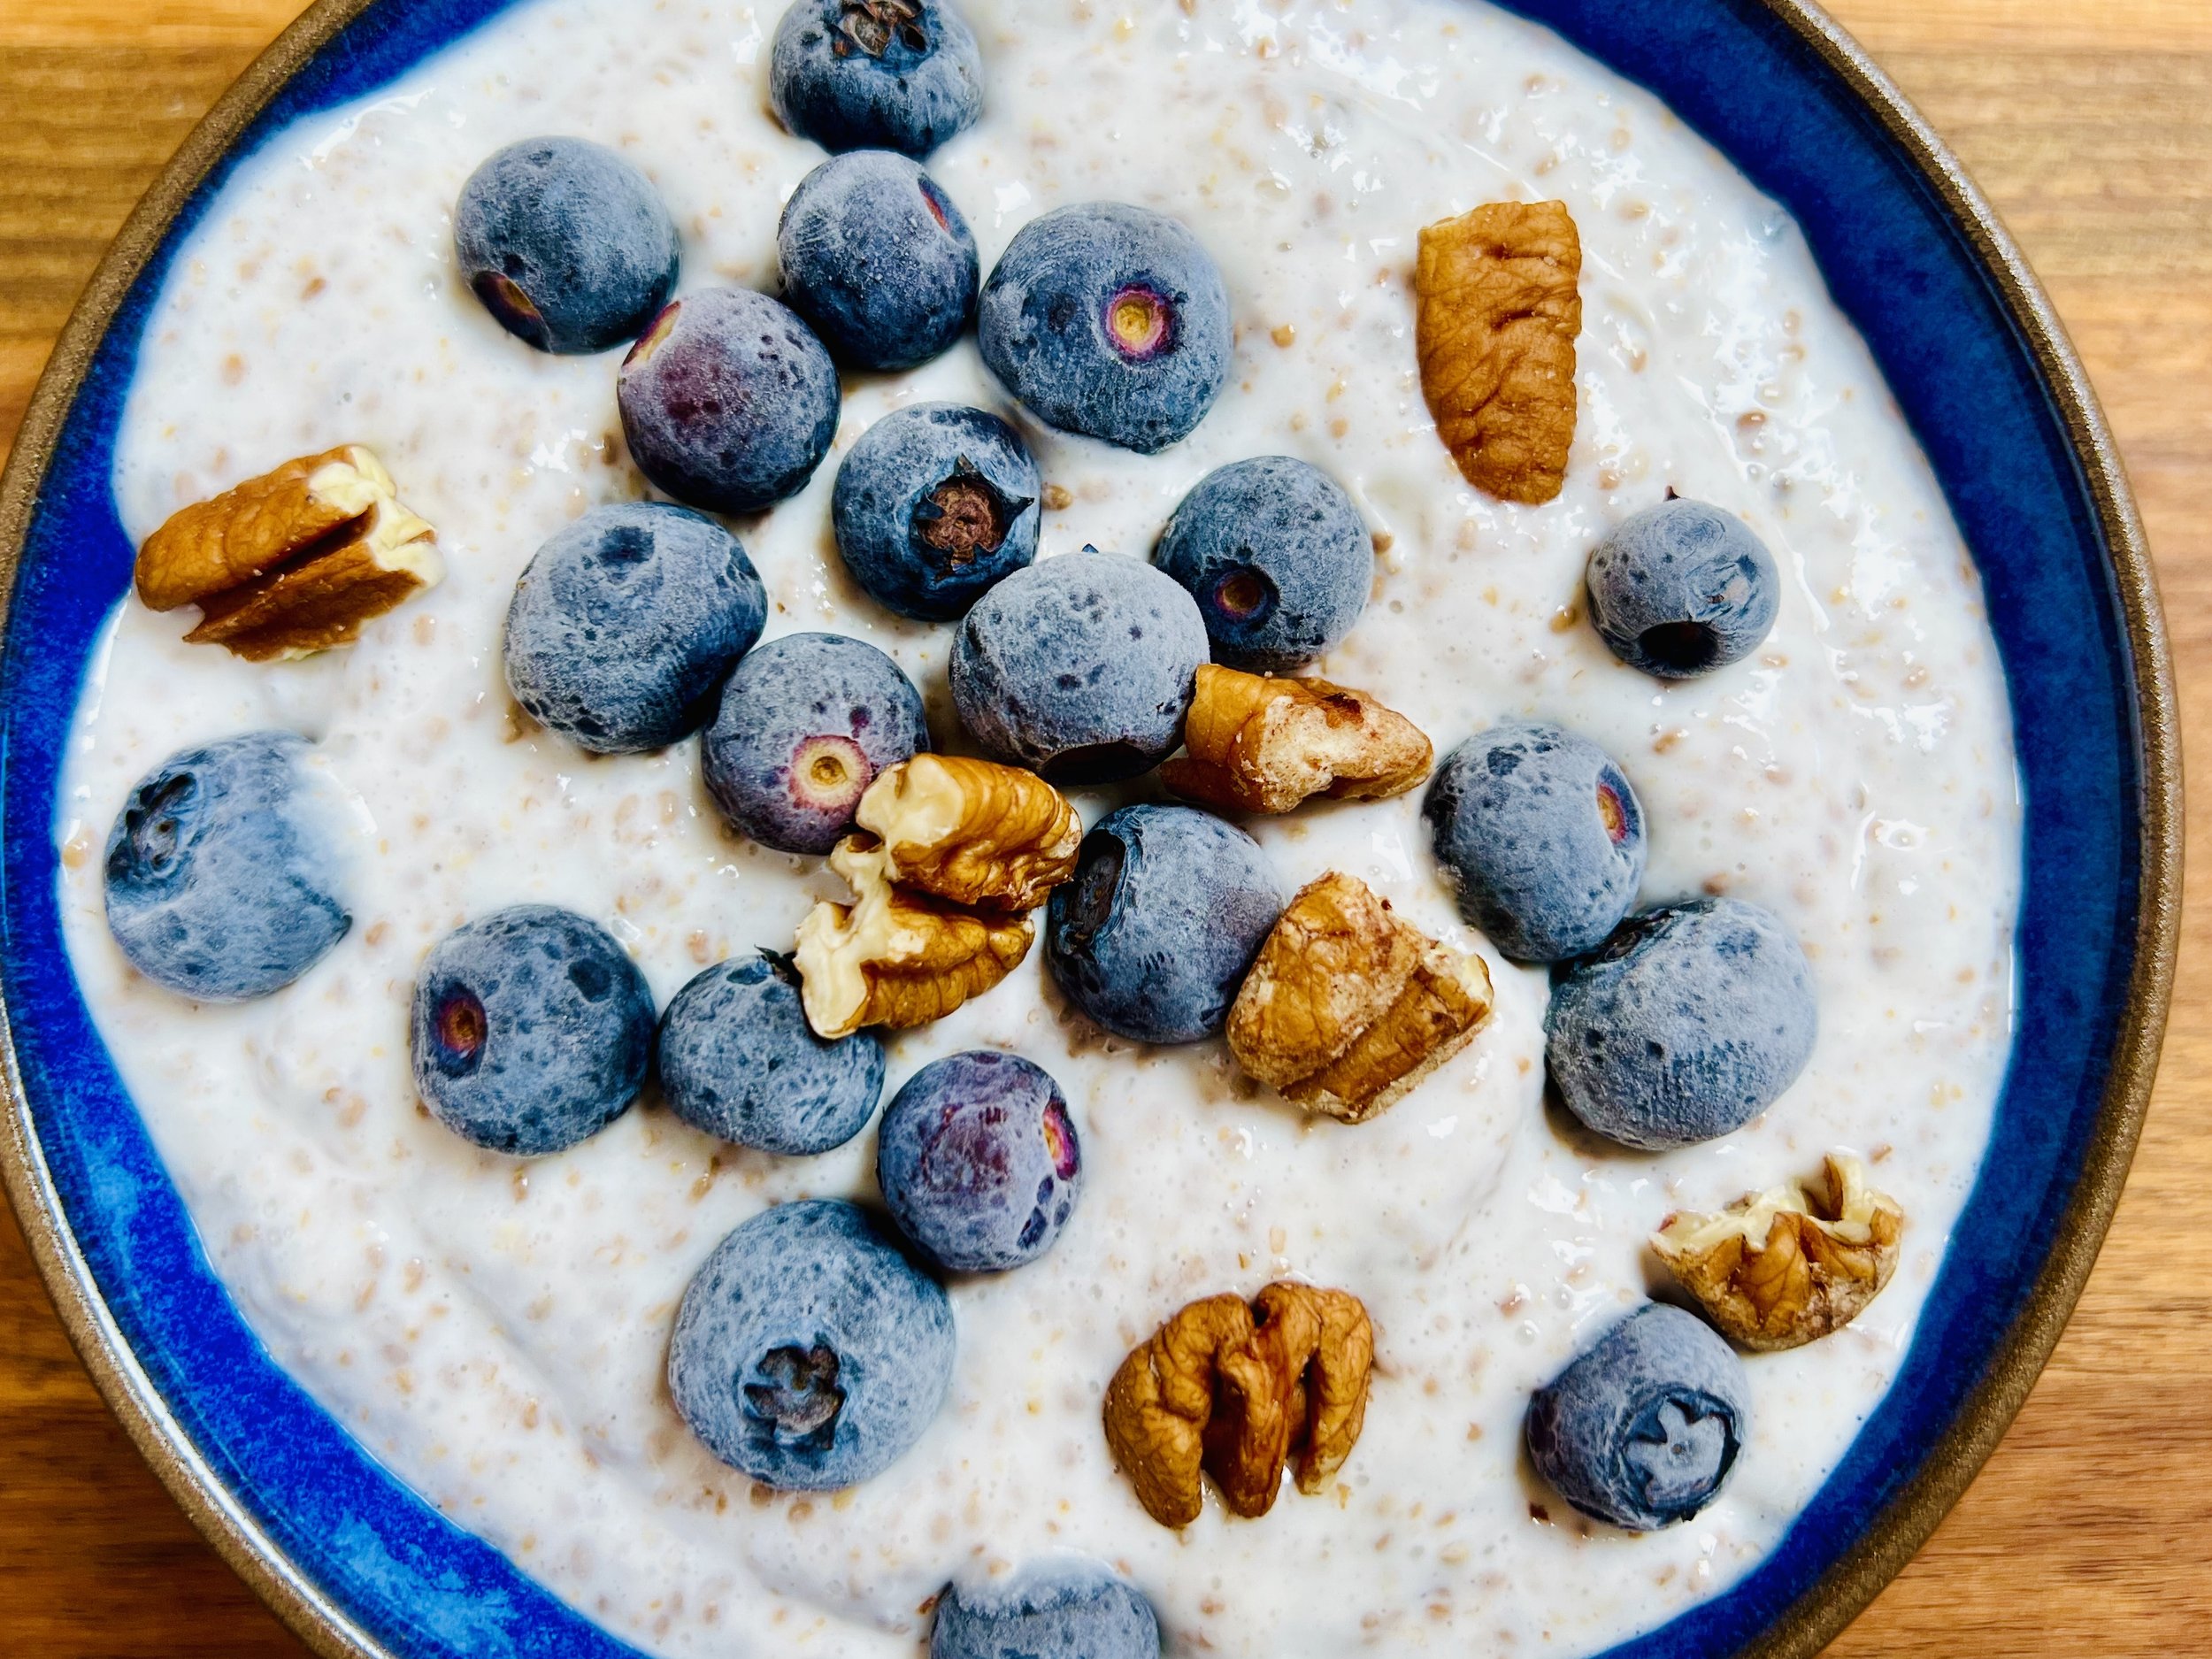
Ingredients
3-4 Tablespoons of chia seeds (more if you use dairy or almond milk, and less if you use coconut milk)
1 cup of lactose-free milk, almond milk, or full-fat canned coconut milk (coconut milk creates an ultra-thick and creamy chia pudding), or some combination of low-FODMAP milks
1 - 2 teaspoons maple syrup (depending on how sweet you like it)
1/2 teaspoon vanilla extract or vanilla bean paste (or coconut extract if you prefer to use that with coconut milk)
Any combination of nuts, seeds, berries, bananas, my great granola, shredded coconut, dried cranberries, raisins, cacao nibs, etc. for serving
Directions
(1) Prepare: Combine the chia and the milk or milk alternative in a mason jar or small bowl. Stir well to blend. Once the mixture is well combined, let it sit for 5 minutes, and then stir it again to break up any clumps of chia seeds.
(2) Chill: Cover the container and put it in the refrigerator to “set” ideally overnight. (I like to use a wide-mouth Mason Jar with one of these awesome air and water-tight easy on/off plastic Mason Jar Lids)
(3) Finish: If you don’t like the texture of chia pudding, try blending at high speed in your blender. Once blended, the mixture will be smooth and creamy, more like a regular pudding instead of a bit seedy like tapioca pudding.
Eat and enjoy every bite because you can!
Here are some reasons why chia seeds are considered good for you:
Rich in Nutrients: Chia seeds are packed with essential nutrients. They are a good source of dietary fiber, protein, healthy fats (omega-3 fatty acids), vitamins (such as vitamin B, thiamin, and niacin), and minerals (such as calcium, phosphorus, and magnesium).
High in Antioxidants: Chia seeds contain antioxidants, which help protect your cells from damage caused by free radicals. Antioxidants are important for overall health and may contribute to disease prevention.
Dietary Fiber: Chia seeds are an excellent source of soluble fiber, which absorbs water and forms a gel-like substance in your digestive tract. This can help improve digestion, promote a feeling of fullness, and regulate bowel movements.
Omega-3 Fatty Acids: Chia seeds are one of the richest plant-based sources of alpha-linolenic acid (ALA), a type of omega-3 fatty acid. Omega-3s are important for heart health, brain function, and in reducing inflammation.
Hydration: Chia seeds can absorb many times their weight in water and form a gel-like substance. This property can help you stay hydrated and maintain electrolyte balance, especially during exercise.
Low FODMAP: Chia seeds are considered low FODMAP, making them suitable for people with IBS or those following a low FODMAP diet.
Blood Sugar Regulation: The soluble fiber in chia seeds can help slow down the digestion and absorption of carbohydrates, which may contribute to more stable blood sugar levels.
Weight Management: Due to their high fiber and protein content, chia seeds can help promote satiety and reduce overall calorie intake, potentially supporting weight management.
Bone Health: Chia seeds are a good source of calcium, magnesium, and phosphorus, which are important minerals for maintaining healthy bones and teeth.
Gluten-Free: Chia seeds are naturally gluten-free, making them a suitable option for those with gluten sensitivities or celiac disease.
Link note: This post may contain affiliate links for you to easily purchase items that are linked. I may earn a small commission from qualifying purchases but none of this costs you a thing so feel free to use the links! In addition, for some items, I have provided a special discount code for IBS Game Changers so be sure to use the code when you purchase an item to get the discount that has been arranged just for you.
Cahill, J. P., Etherton, T. D., & Moag-Stahlberg, A. (2006). Omega-3 fatty acids from fish oils and cardiovascular disease. Molecular and Cellular Biochemistry, 283(1-2), 165-173.
Tovar, J., Johansson, E., Björck, I. (2008). A multifunctional diet improves cardiometabolic-related biomarkers independently of weight changes: an 8-week randomized controlled intervention in healthy overweight and obese subjects. European Journal of Nutrition, 47(5), 294-300.
Valenzuela, R., Videla, L. A. (2003). The importance of the long-chain polyunsaturated fatty acid n-6/n-3 ratio in development of non-alcoholic fatty liver associated with obesity. Food & Function, 4(1), 6-26.
Vuksan, V., Whitham, D., Sievenpiper, J. L., Jenkins, A. L., Rogovik, A. L., Bazinet, R. P., ... & Hanna, A. (2007). Supplementation of conventional therapy with the novel grain Salba (Salvia hispanica L.) improves major and emerging cardiovascular risk factors in type 2 diabetes: results of a randomized controlled trial. Diabetes Care, 30(11), 2804-2810.
More Deliciously Low FODMAP™ breakfast recipes
15 Minutes prep • 30 Minutes cook • Low FODMAP • Serves 4 • Ok to make-ahead: Steps 1 - 2
10 Minutes prep • 20 Minutes cook • Low FODMAP • Gluten-free • Lactose-free • Vegan • Makes 6 cups
I’m here to show you how to fully embrace the flavors of fall while keeping your digestive system happy.
10 Minutes prep • Overnight Chill • Low FODMAP • Gluten-free • Lactose-free • Serves 2 - 4
15 Minutes prep • 45 Minutes cook • Low FODMAP • Gluten-free • Vegetarian • Serves 4 - 6
15 Minutes prep • 15 Minutes cook • Low FODMAP • Gluten-free • Makes 8 Belgian waffle squares
30 Minutes prep • 20 Minutes cook • Low FODMAP • Gluten-free • Vegetarian • Makes 10 Squares
SnS Smokehouse Chicken (Low FODMAP)
5 Minutes prep • 25 Minutes cook • Low FODMAP • Gluten-free • Serves 2
5 Minutes prep • 25 Minutes cook • Low FODMAP • Gluten-free • Serves 2 • Ok to make ahead: Steps 1-3
Want quick juicy smokey chicken without using the grill? Smoke n Sanity’s latest creation, Smokehouse Seasoning, makes it easy to do just that right on your stove! This chicken is ready in 30 minutes and, paired with one of my delicious salads, it makes a perfectly wonderful dinner. This chicken is also delicious cold so don’t hesitate to double the recipe and chill the extra for making some fantastic Crisp and Crunchy Chicken Salad the next day!
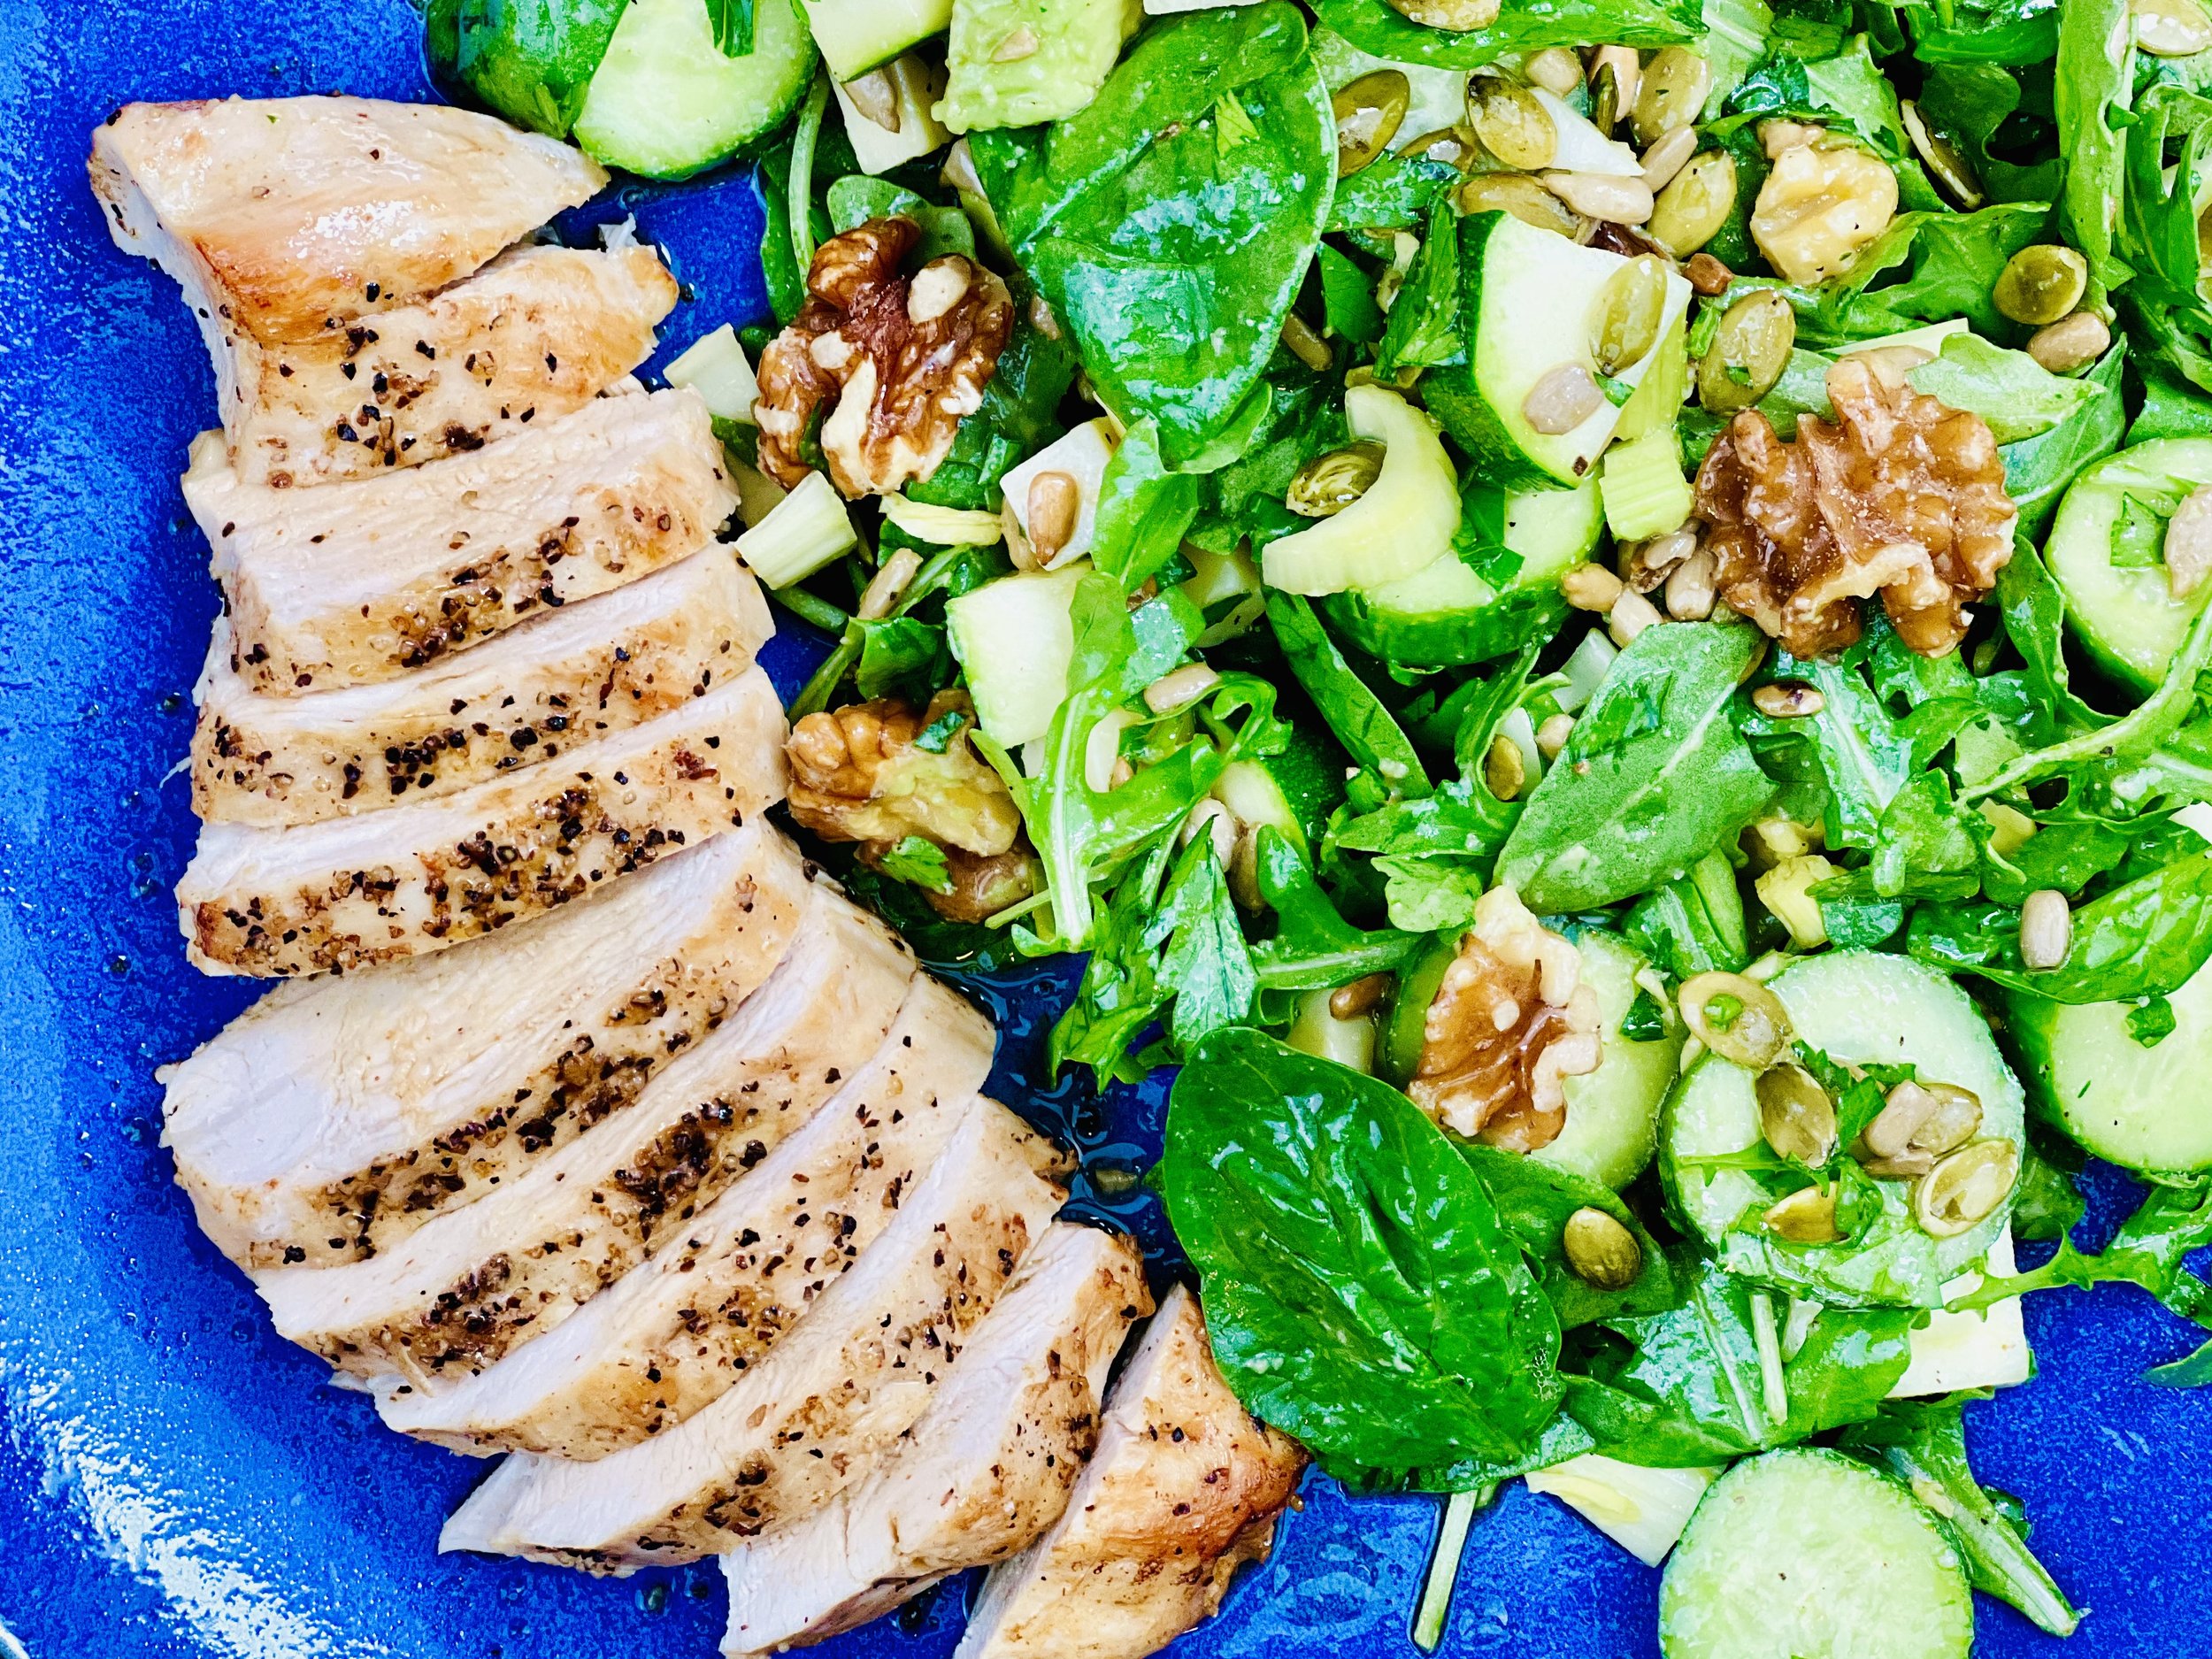
Ingredients
2 boneless, skinless chicken breasts
1 tablespoon olive oil
1 tablespoon salted butter
2 - 3 teaspoons Smoke N Sanity Smokehouse Seasoning
Directions
(1) Prepare: Sprinkle both sides of each chicken breast with Smoke N Sanity Smokehouse Seasoning. Set aside on a plate.
(2) Cook the chicken: Put a medium-size frying pan over medium-high heat. Put the oil and butter in the frying pan and warm over medium-high heat until the butter melts. The butter and oil should sizzle but not smoke before you put the chicken in. Lay the chicken breasts in one layer in the pan. Cook (sear) for about 2 minutes until it’s nicely browned on the bottom. Flip the chicken and cook for another 1 - 2 minutes until it’s nicely browned on the other side. Cover the pan and turn the heat down to low. Cook for 12 minutes. Leave the cover on the pan and turn the heat off. Let stand with the cover on for another 12 minutes.
(3) Finish: When the chicken is cooked, remove it to a cutting board. Cut into slices, then return the slices to the pan and toss in the pan juice.
(4) Plate and serve: Serve the chicken alongside one of my green salads.
Eat and enjoy every bite because you can!
Have a question you’d like to have answered? Email me at hello@ibsgamechanger.com
Link note: This post may contain affiliate links for you to easily purchase items that are linked. I may earn a small commission from qualifying purchases but none of this costs you a thing so feel free to use the links! In addition, for some items, I have provided a special discount code for IBS Game Changers so be sure to use the code when you purchase an item to get the discount that has been arranged just for you.
More Deliciously Low FODMAP™ main course recipes
15 Minutes prep • 30 Minutes cook • Low FODMAP • Serves 4 • Ok to make-ahead: Steps 1 - 2
10 Minutes prep • 25 Minutes cook • Low FODMAP • Gluten-Free • Serves 6 • Ok to make-ahead: Step 1
45 Minutes prep • 60 Minutes cook • Low FODMAP • Gluten-free • Vegetarian • Serves 6 - 8
5 Minutes prep • 15 Minutes cook • Low FODMAP • Gluten-free • Lactose-free • Vegan • Serves 4
10 Minutes prep • 20 Minutes cook • Low FODMAP • Gluten-free • Serves 4 n skewers for your family and friends. They are sure to be a hit.
15 Minutes prep • 55 Minutes cook (if using brown rice) • Low FODMAP • Gluten-free • Lactose-free • Vegan • Serves 4
Vegetable Casserole (Low FODMAP)
20 Minutes prep • 20 Minutes cook • Low FODMAP • Serves 4 as main • Serves 6-8 as a side
20 Minutes prep • 20 Minutes cook • Low FODMAP • Serves 4 as main • Serves 6-8 as a side • Ok to make ahead: Steps 1-3
This delicious creamy casserole is a great way to get a large serving of healthy vegetables into everyone at the table. It’s so good, nobody will notice it’s vegetarian or healthy. (Sneaky mom!) Enjoy this recipe as a vegetarian main or as a hearty side dish. It’s a great addition to a gathering with multiple food preferences. You can make it very low-carb by substituting pork panko—as long as you aren’t trying to keep it pure vegetarian. No matter how you make it, I’m sure you will find it delicious!
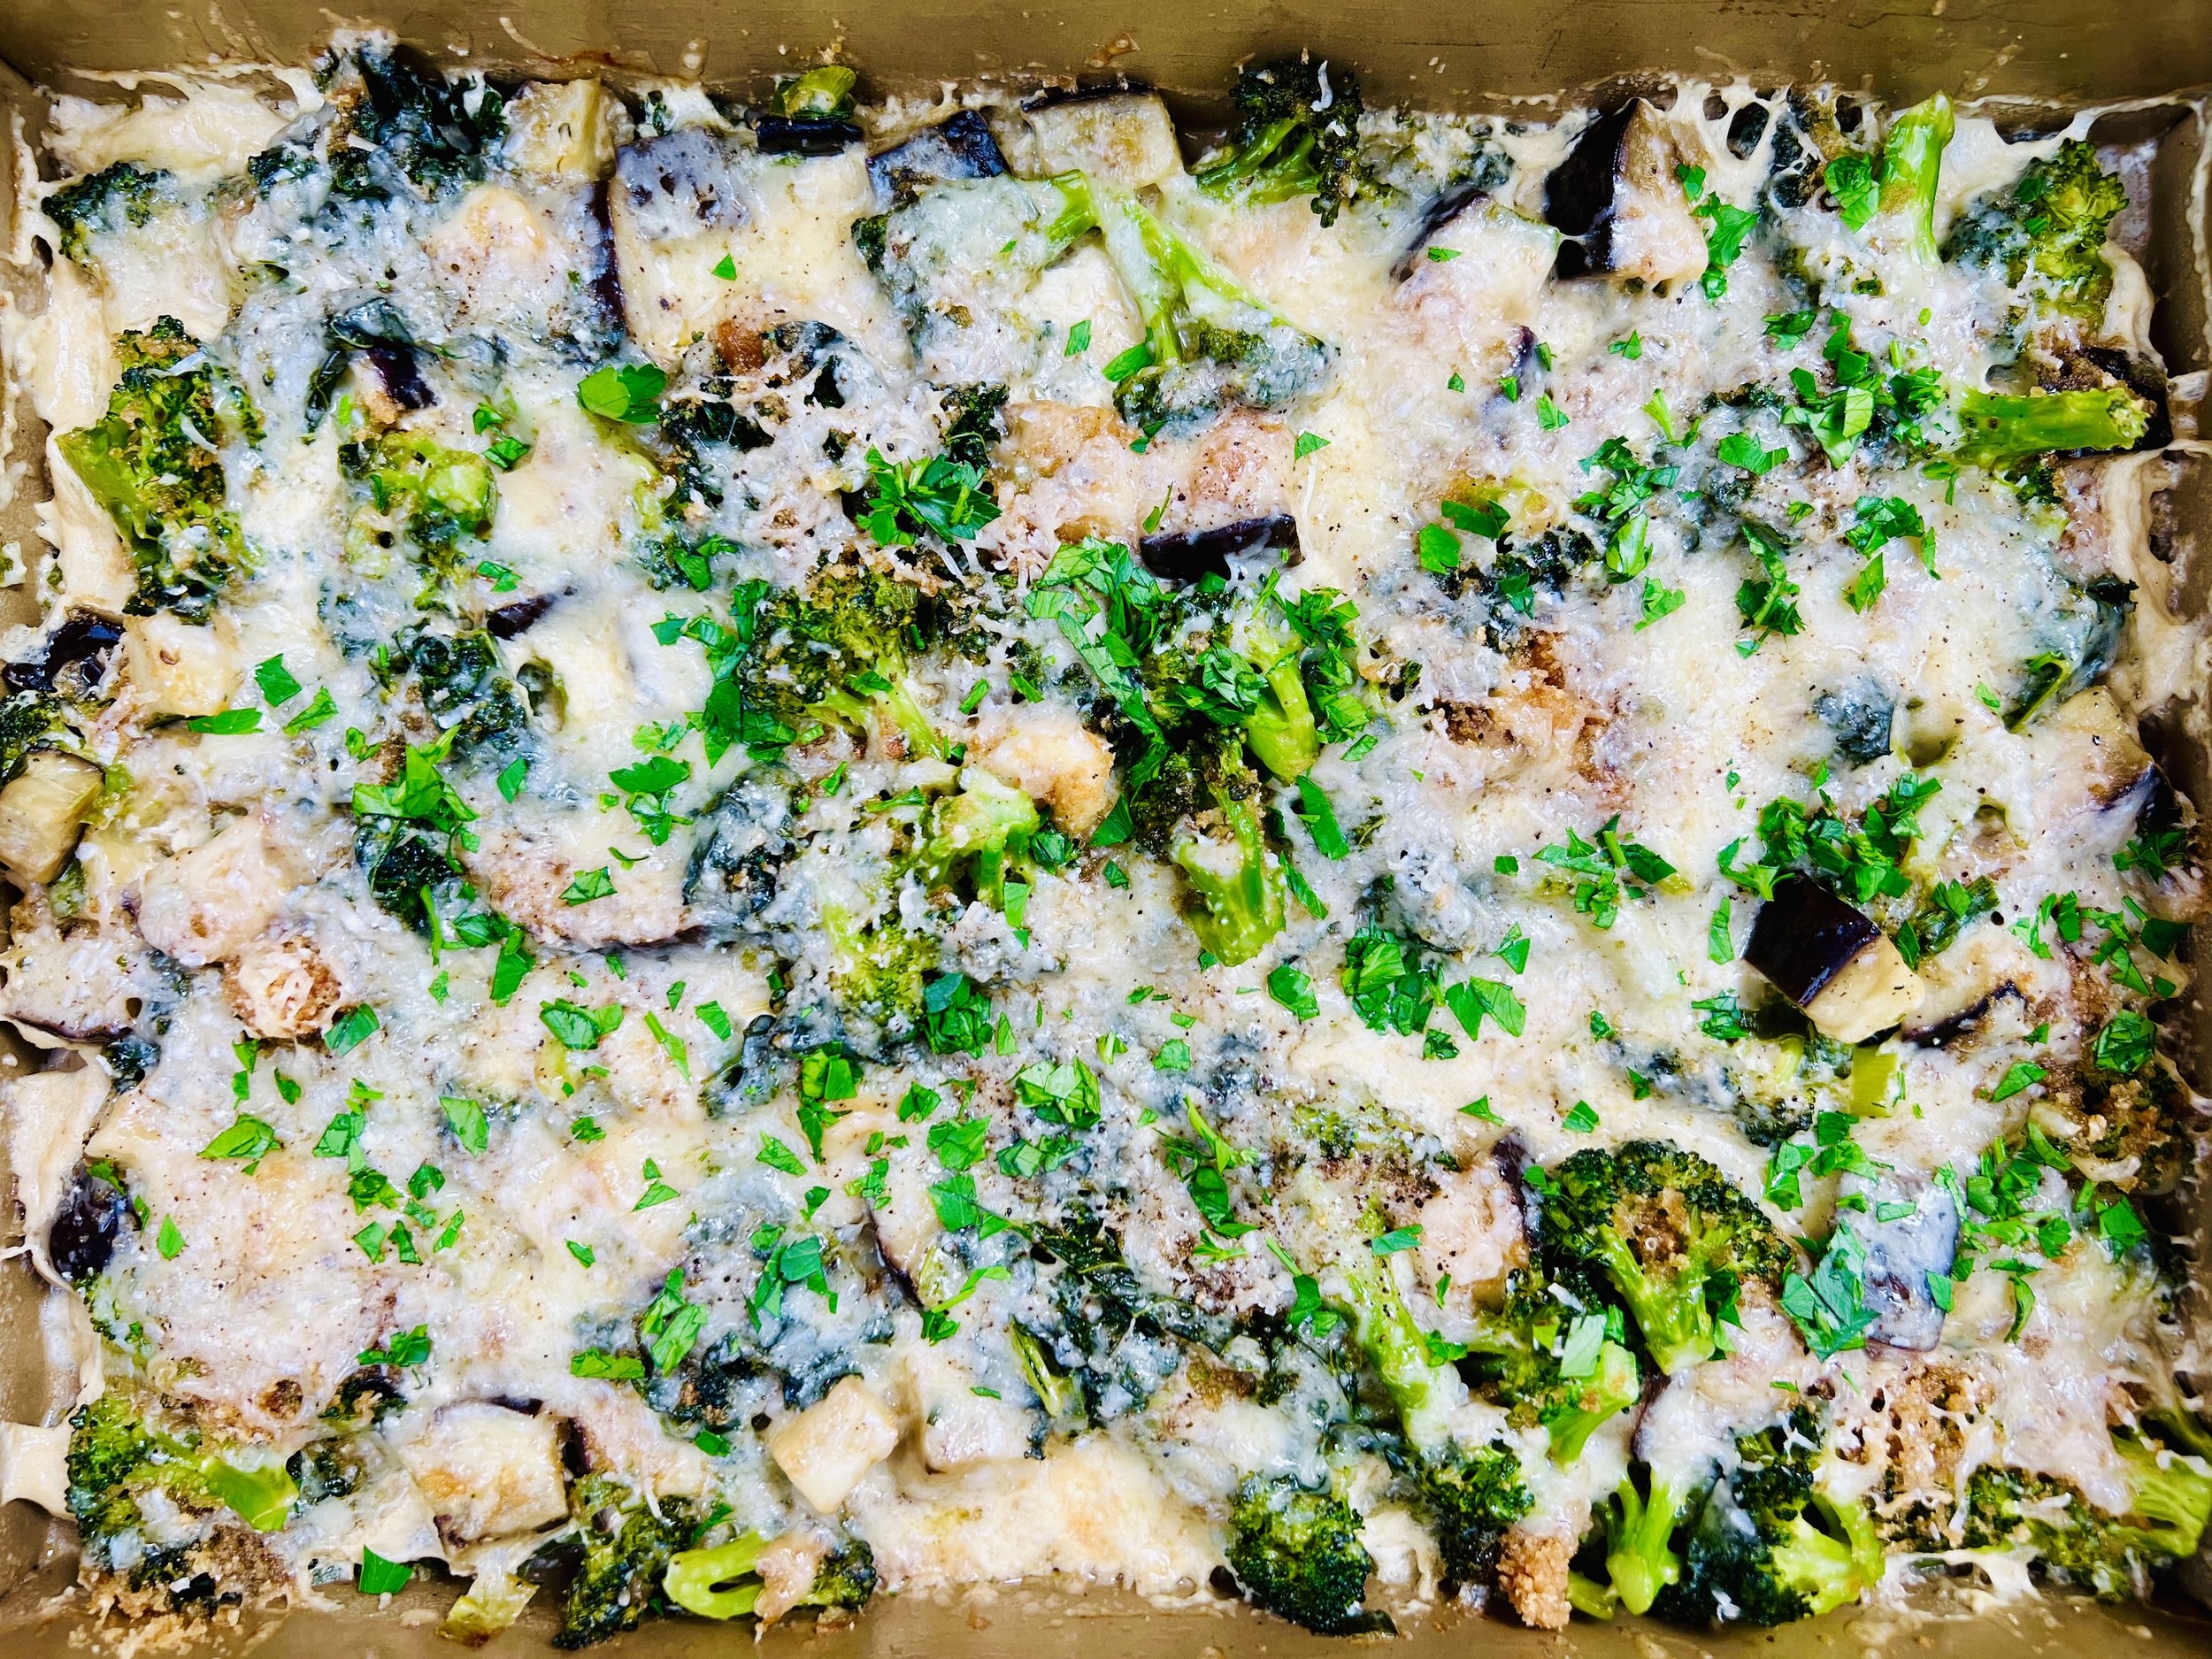
Ingredients
4 tablespoons salted butter
1/2 cup green onion greens, chopped
2 cups eggplant, cubed
1 cup broccoli florets only
2 cups curly kale, washed, dried, central stems removed and massaged with 1 tablespoon olive oil
1 cup lactose-free whole milk
2 tablespoons heavy cream
2/3 cup gluten-free panko, or use pork panko for a very low-carb (but not vegetarian) version
1 cup grated gruyere cheese or other strong-flavored well-aged cheese
1/2 cup freshly grated parmesan cheese
1 teaspoon Kosher salt
1/2 teaspoon black pepper
1/4 cup flat leaf or regular parsley, chopped (for serving)
Directions
(1) Prepare: Wash, spin dry, and cut away the thick central stems from the kale. Roughly chop, add to a bowl, drizzle with 1 tablespoon of olive oil, and massage the kale with the oil. Cube the eggplant. Cut the broccoli into florets (no stems). Grate the cheeses. Preheat oven to 375 degrees F. Grease a 2-quart baking dish with salted butter.
(2) Pre-cook the vegetables: Put a large frying pan over medium-high heat. Add the butter to the pan. Once melted, add the green onions, eggplant, broccoli, and kale. Toss the vegetables in the melted butter and let cook for about 10 minutes until the vegetables have softened and are starting to crisp and brown, and the kale has turned bright green.
(3) Add the dairy: Add the milk and cream to the mixture. Stir to combine. Once the milk is heated and starting to bubble, remove the pan from the heat and pour the mixture into the greased baking dish.
(4) Finish: Sprinkle the panko, grated gruyere, and grated parmesan cheese evenly over the top of the vegetables.
Make-ahead note: At this point, you may cover the baking dish and let sit until ready to bake and serve. If it’s longer than 30 minutes, then refrigerate the dish.
(5) Bake: Put in the oven and bake for 15 - 20 minutes until the cheese is melted and the vegetables are tender.
(6) Plate and serve: Remove from the oven, garnish with chopped parsley. You may also garnish with, or serve alongside, some chopped walnuts. They add a nice layer of protein and crunch to the dish. Serve hot.
Eat and enjoy every bite because you can!
Recipe note: I use Diamond Crystal Kosher salt in all my recipes because it has a wonderful flat and crisp flake that tastes delicious. It is also the least salty salt available so you can use it more liberally as a seasoning than you can table salt or sea salt. If you use another type of salt, you may need to reduce the amount so it is not over-salted.
Have a question you’d like to have answered? Email me at hello@ibsgamechanger.com
Link note: This post may contain affiliate links for you to easily purchase items that are linked. I may earn a small commission from qualifying purchases but none of this costs you a thing so feel free to use the links! In addition, for some items, I have provided a special discount code for IBS Game Changers so be sure to use the code when you purchase an item to get the discount that has been arranged just for you.
More Deliciously Low FODMAP™ vegetarian recipes
15 Minutes prep • 30 Minutes cook • Low FODMAP • Serves 4 • Ok to make-ahead: Steps 1 - 2
45 Minutes prep • 60 Minutes cook • Low FODMAP • Gluten-free • Vegetarian • Serves 6 - 8
5 Minutes prep • 15 Minutes cook • Low FODMAP • Gluten-free • Lactose-free • Vegan • Serves 4
10 Minutes Prep • 50 Minutes Cook • Low FODMAP • Gluten-free • Dairy Free • Vegan • Serving size 3 - 4 crackers
15 Minutes prep • 55 Minutes cook (if using brown rice) • Low FODMAP • Gluten-free • Lactose-free • Vegan • Serves 4
10 Minutes prep • 10 Minutes cook • Low FODMAP • Gluten-free • Lactose-free • Vegan • Serves 4
10 Minutes prep • 25 Minutes cook • Low FODMAP • Gluten-free • Vegetarian • Plant Forward • Serves 4
20 Minutes prep • 40 Minutes cook • Low FODMAP • Gluten-free • Vegetarian • Serves 4 - 6 • Ok to make ahead: Steps 1-4
15 Minutes prep • Low FODMAP • Gluten-free • Lactose-free • Vegetarian • Vegan • Serves 4
10 Minutes prep • 20 Minutes cook • Low FODMAP • Vegetarian Option • Gluten-free • Serves 4
20 Minutes prep • 20 Minutes cook • Low FODMAP • Serves 4 as main • Serves 6-8 as a side
10 Minutes prep • 20 Minutes cook • Low FODMAP • Gluten-free • Lactose-free • Vegan • Serves 5
15 Minutes prep • 1 hour chill • Low FODMAP • Gluten-free • Vegetarian • Serves 4 or more
15 Minutes prep • 45 Minutes cook • Low FODMAP • Gluten-free • Vegetarian • Serves 4 - 6
Chocolate-Covered Peanut Butter Pretzel Treats (Low FODMAP)
15 Minutes prep • 20 Minutes chill • Low FODMAP • Gluten-free • Makes 24
15 Minutes prep • 20 Minutes chill • Low FODMAP • Gluten-free • Makes 24 • Ok to make ahead: Steps 1-6
These crunchy treats are just that. A treat! They are quick and easy to make — no cooking required. The combination of peanut butter, pretzels, and chocolate is delicious (I love anything with peanut butter and chocolate!) The crunch of the added rice cereal brings out the “treat” in anything! They are so good you’ll be tempted to eat them all at once so plan to make them when you have a few friends around to help.
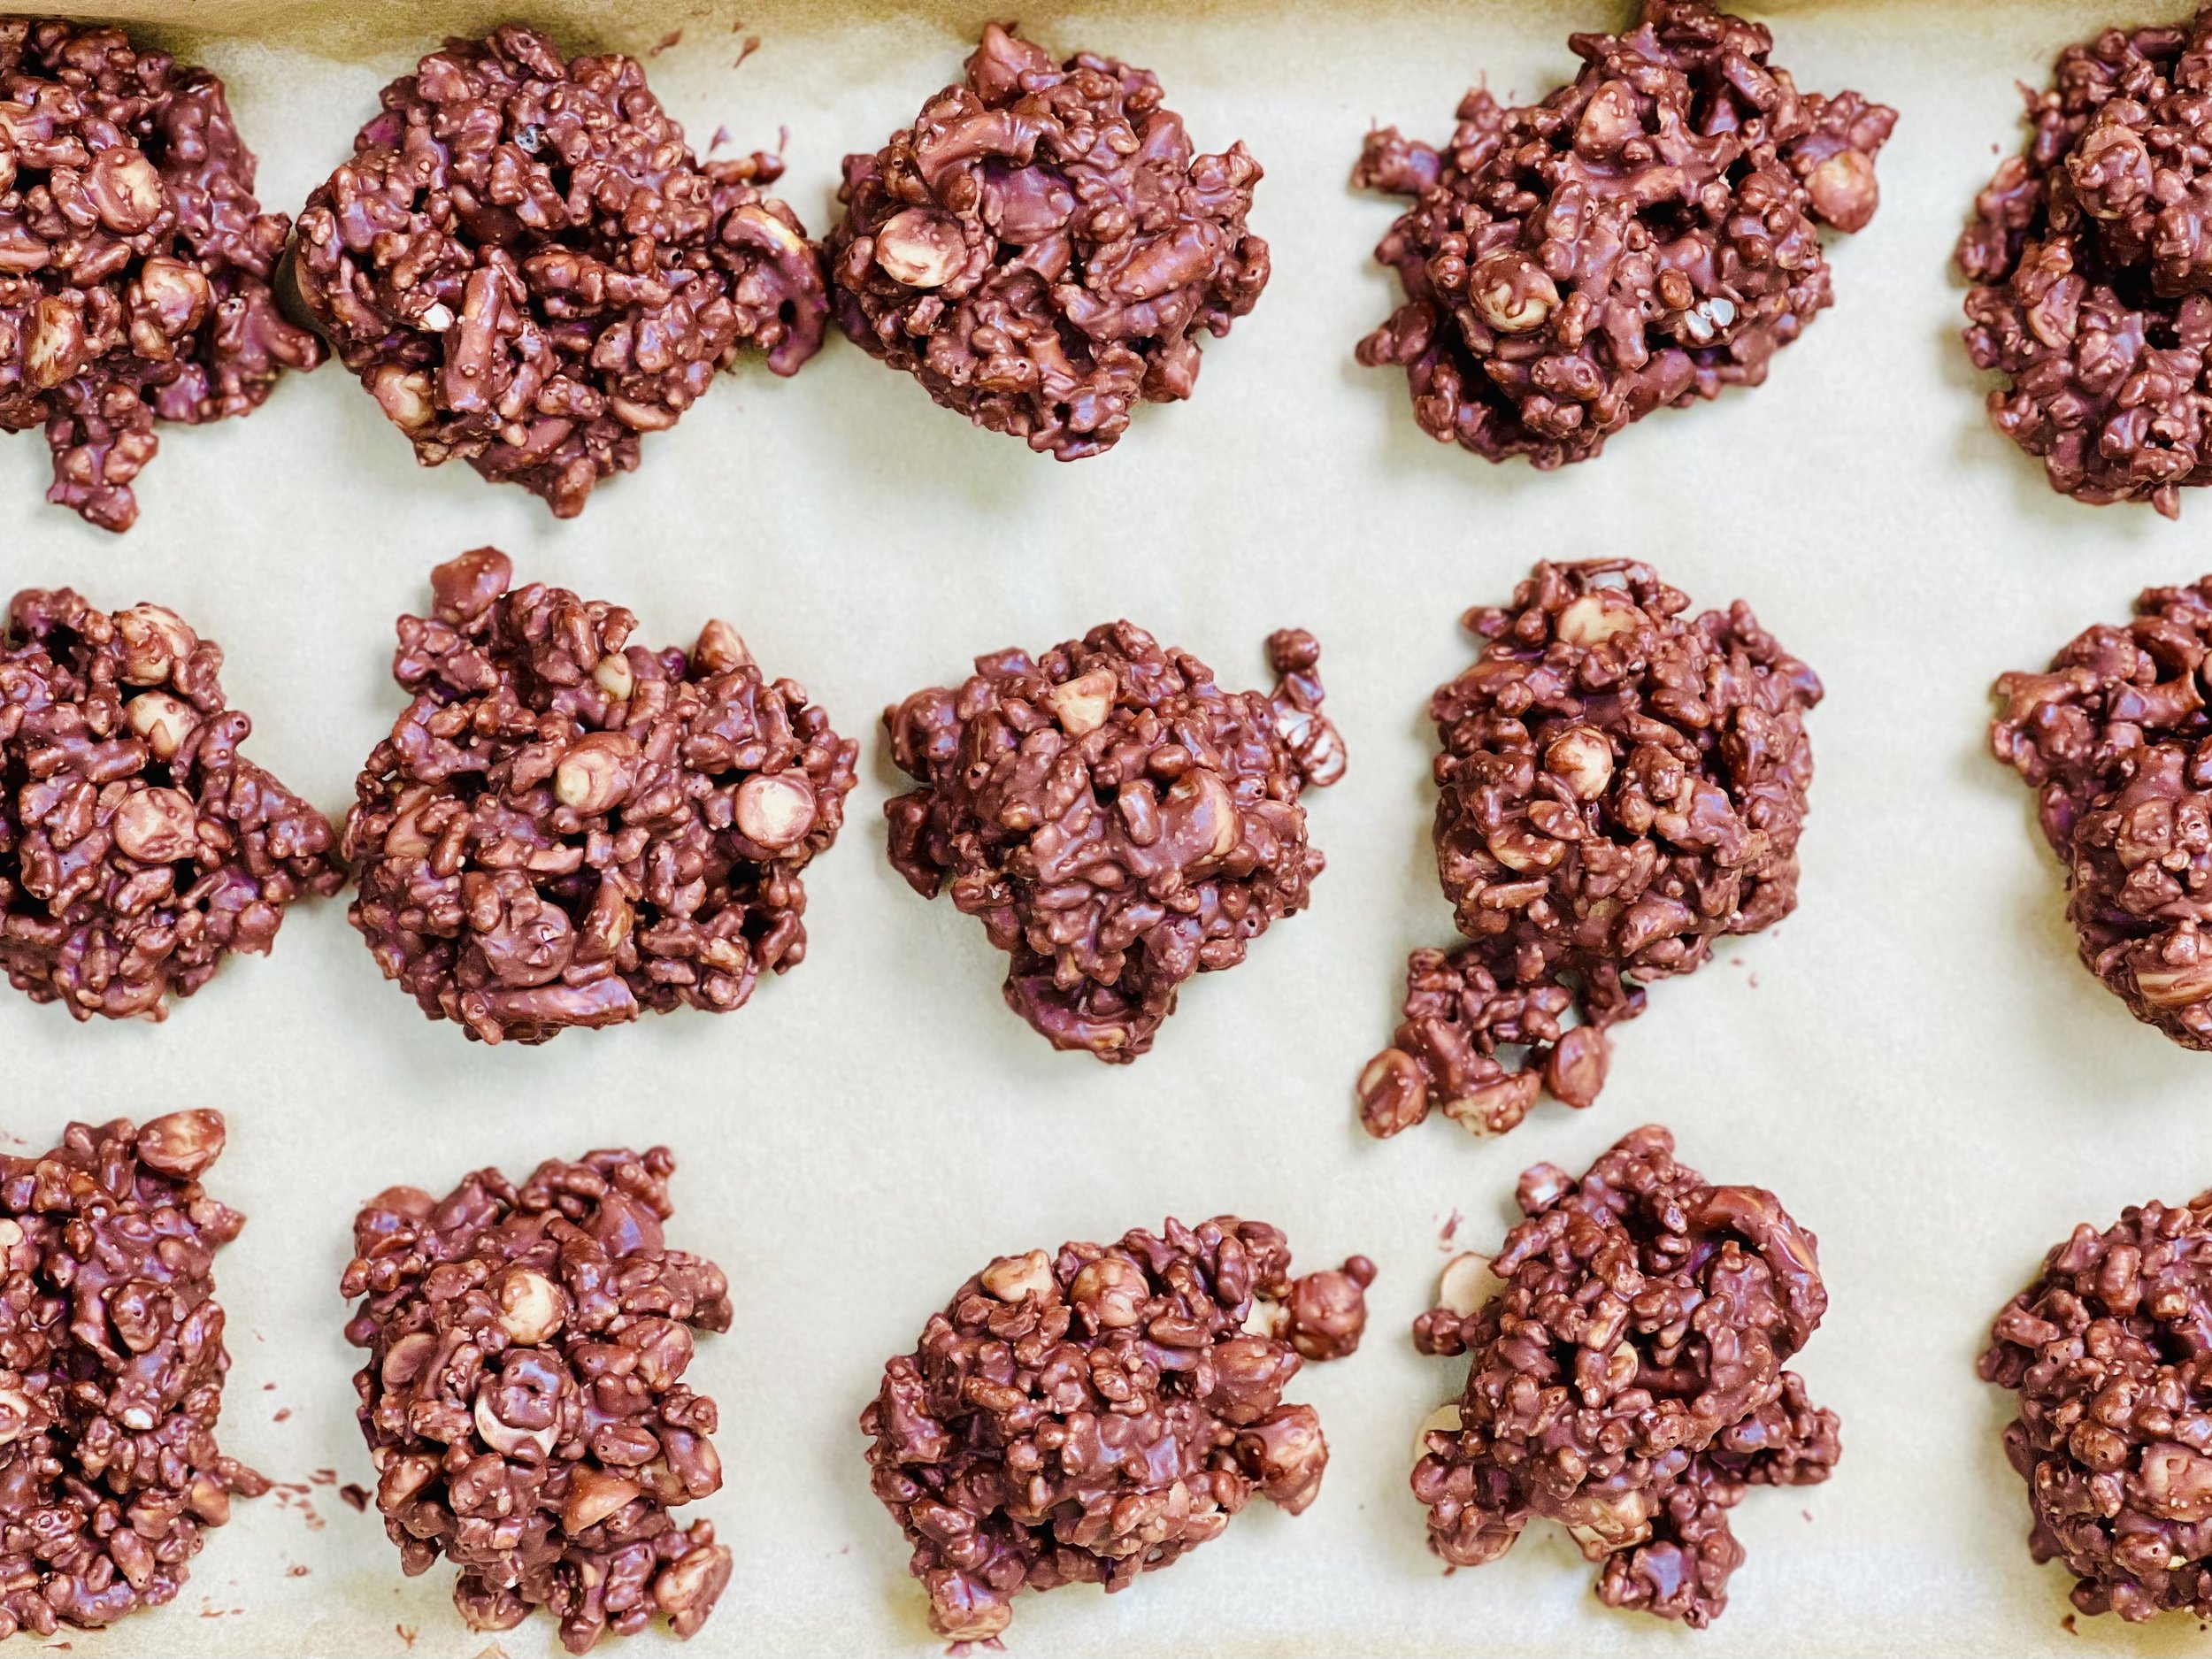
Ingredients
1 (12-ounce) bag good quality semi-sweet chocolate chips (I used Guittard)
1 tablespoon coconut oil
3/4 cup crunchy or creamy natural peanut butter (just peanuts and salt)
3 cups gluten-free crispy brown rice cereal
1 cup gluten-free pretzels, broken into pieces
1 cup peanut butter chips, peanuts, or Peanut Butter M&Ms
Directions
(1) Prepare: Line a cookie sheet or two (that fit in your refrigerator) with parchment paper.
(2) Melt chocolate: Combine the chocolate chips and the coconut oil in a microwave save bowl and heat on high for 1 minute. Stir and heat for another 30 seconds (or more) if additional time is needed to melt the chips completely.
(3) Add the pretzels: In a large bowl, combine the pretzel pieces and the crisp rice cereal. Pour the chocolate mixture over the pretzel blend and fold the mixture with a rubber spatula just until everything is coated in chocolate.
(4) Add the chips: Add the peanut butter chips, peanuts, or M&M and stir just until combined.
(5) Shape the treats: Use a cookie scoop to scoop out about 1 1/2 tablespoon size balls and drop them onto the parchment-lined pan with a little space between each one.
(6) Chill: Put the pan(s) in the refrigerator to chill for about 20 minutes until set. If you have any left, store them in the refrigerator so they don’t get too melty.
Eat and enjoy every bite because you can!
Have a question you’d like to have answered? Email me at hello@ibsgamechanger.com
Link note: This post may contain affiliate links for you to easily purchase items that are linked. I may earn a small commission from qualifying purchases but none of this costs you a thing so feel free to use the links! In addition, for some items, I have provided a special discount code for IBS Game Changers so be sure to use the code when you purchase an item to get the discount that has been arranged just for you.
More Deliciously Low FODMAP™ dessert recipes
15 Minutes prep • 20 Minutes cook • 30 Minutes cool • Low FODMAP • Gluten-free • Makes 18 bars
20 Minutes prep • 10 Minutes cook • Low FODMAP • Gluten-free • Makes 12 Sandwiched Cookies
20 Minutes prep • 20 Minutes cook • Low FODMAP • Gluten-free • Lactose-free • Makes 12 - 24
20 Minutes prep • 2 Hours chill • 10 Minutes cook • Low FODMAP • Gluten-free • Makes 24 - 36
I’m here to show you how to fully embrace the flavors of fall while keeping your digestive system happy.
10 Minutes prep • Overnight Chill • Low FODMAP • Gluten-free • Lactose-free • Serves 2 - 4
15 Minutes prep • 30 Minutes cook/cool • Low FODMAP • Gluten-free • Serves 8 • Serving Size 1/8

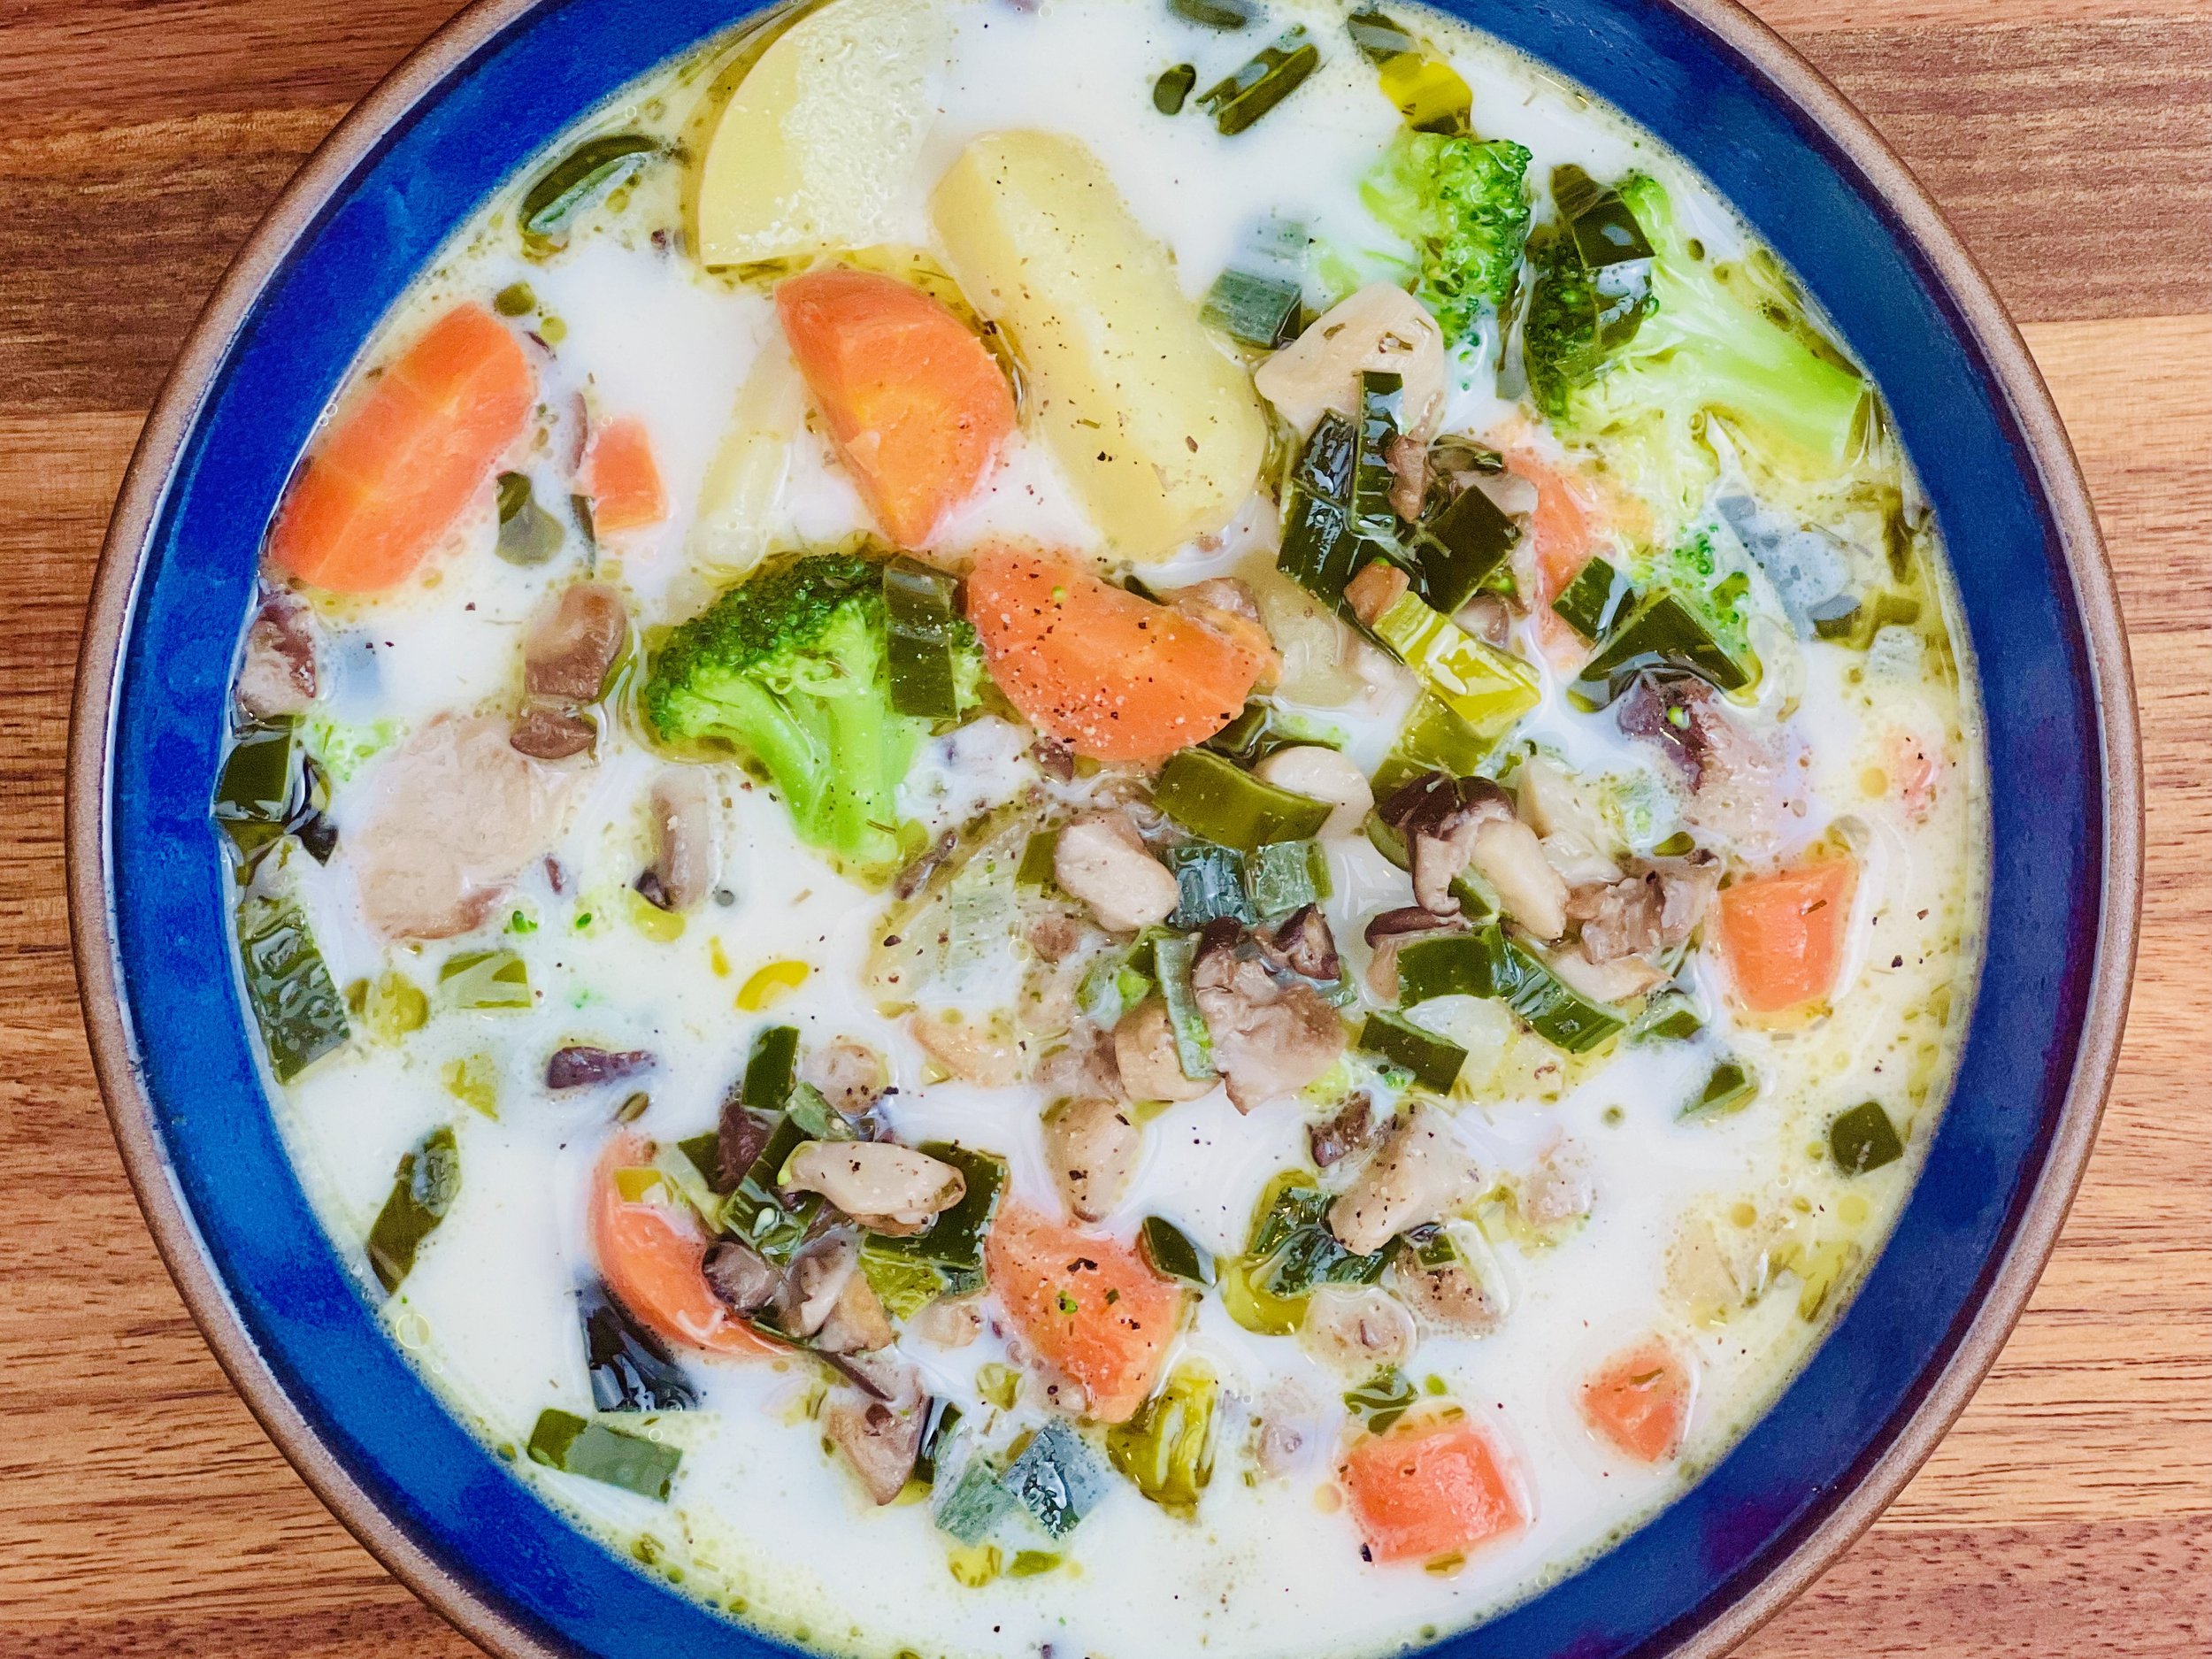


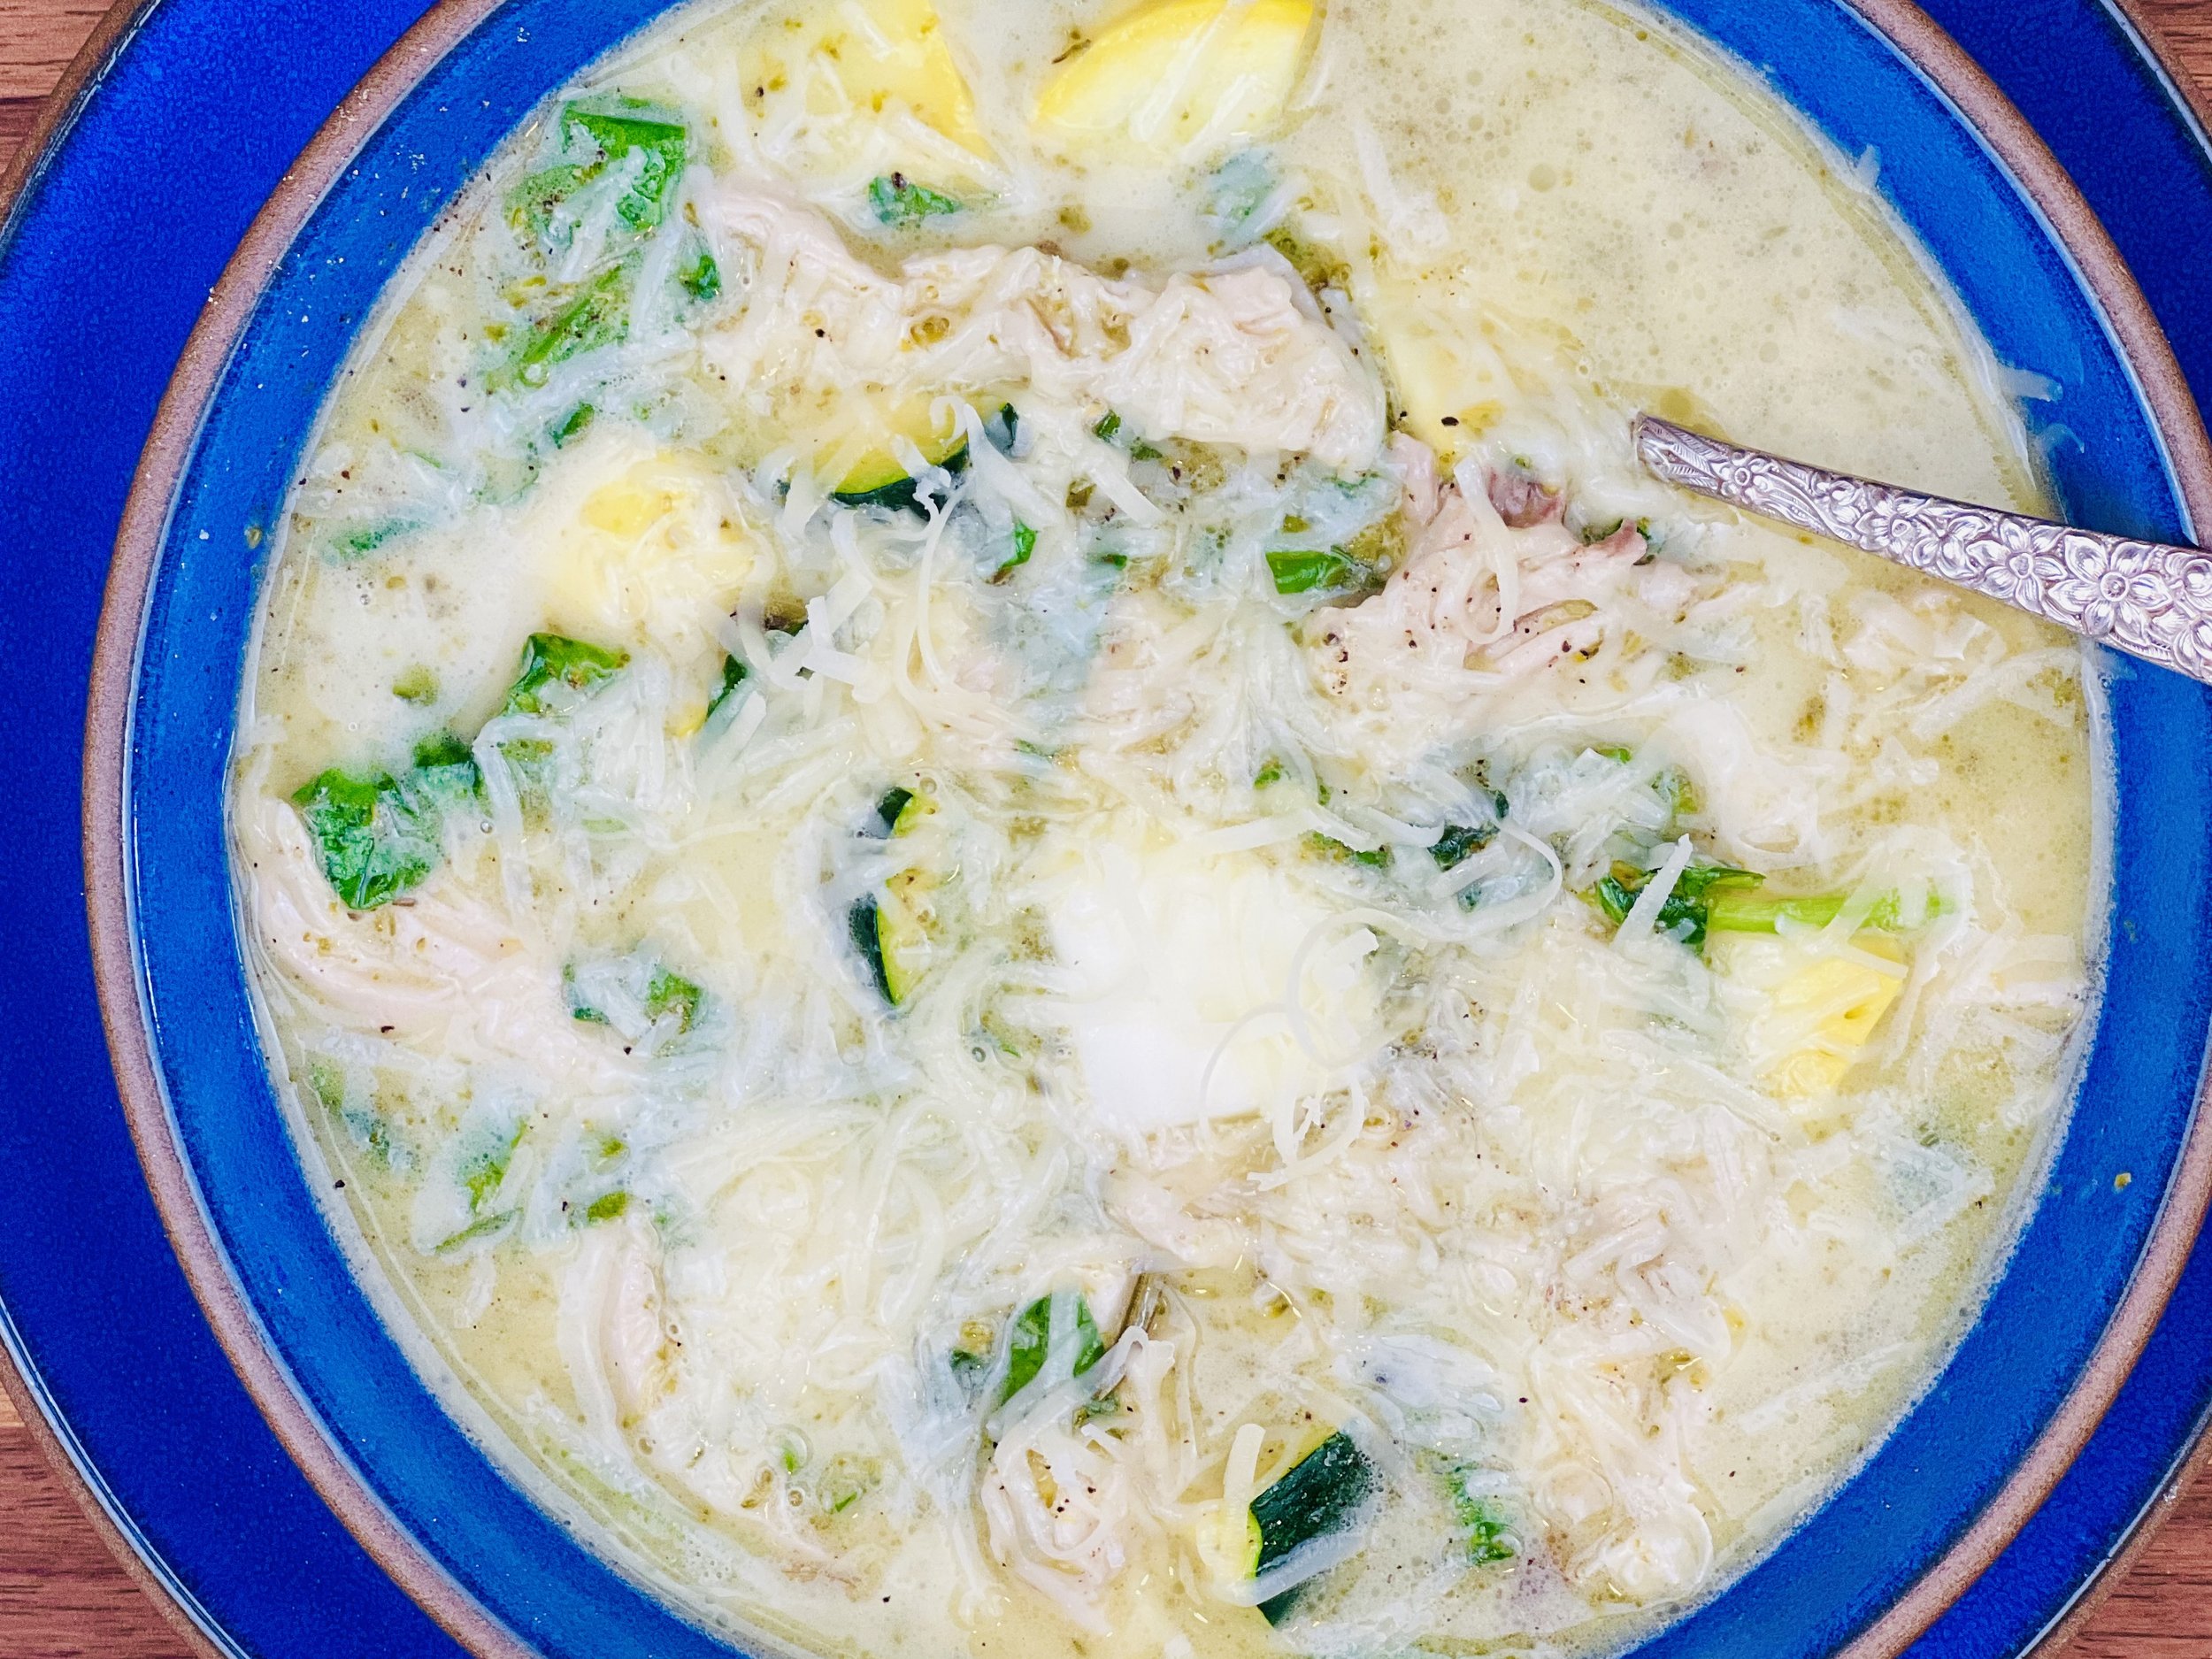
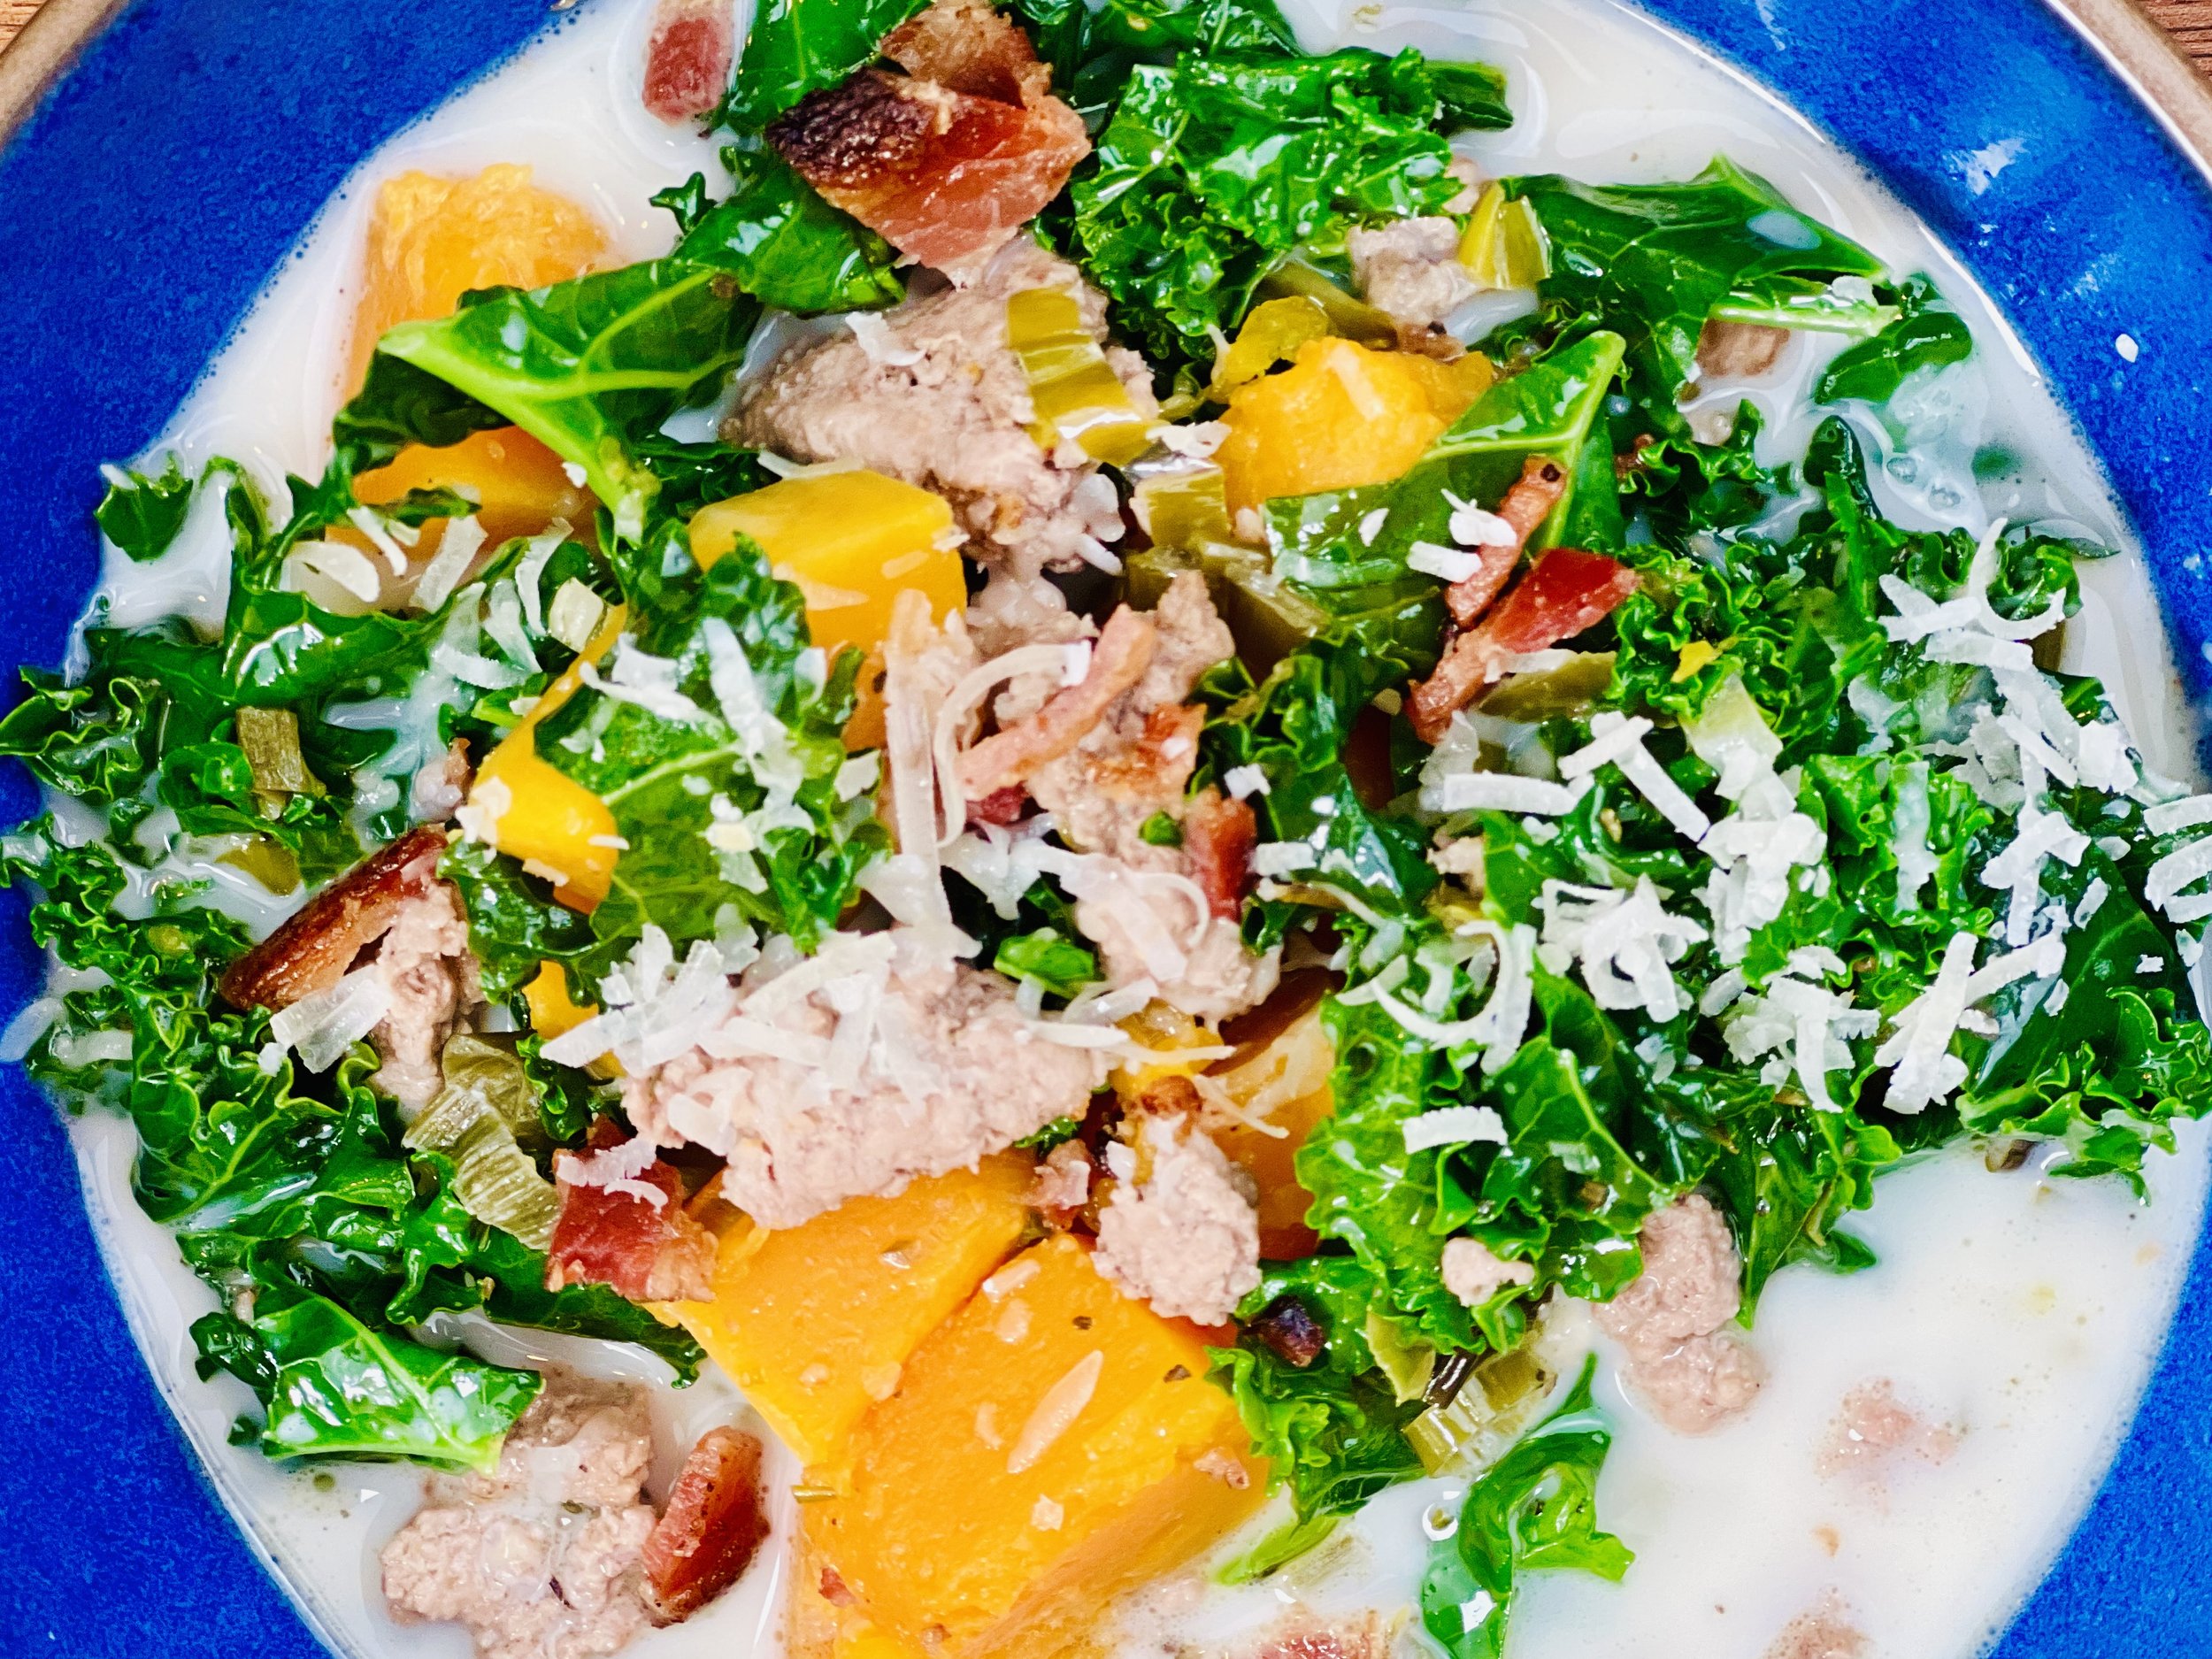
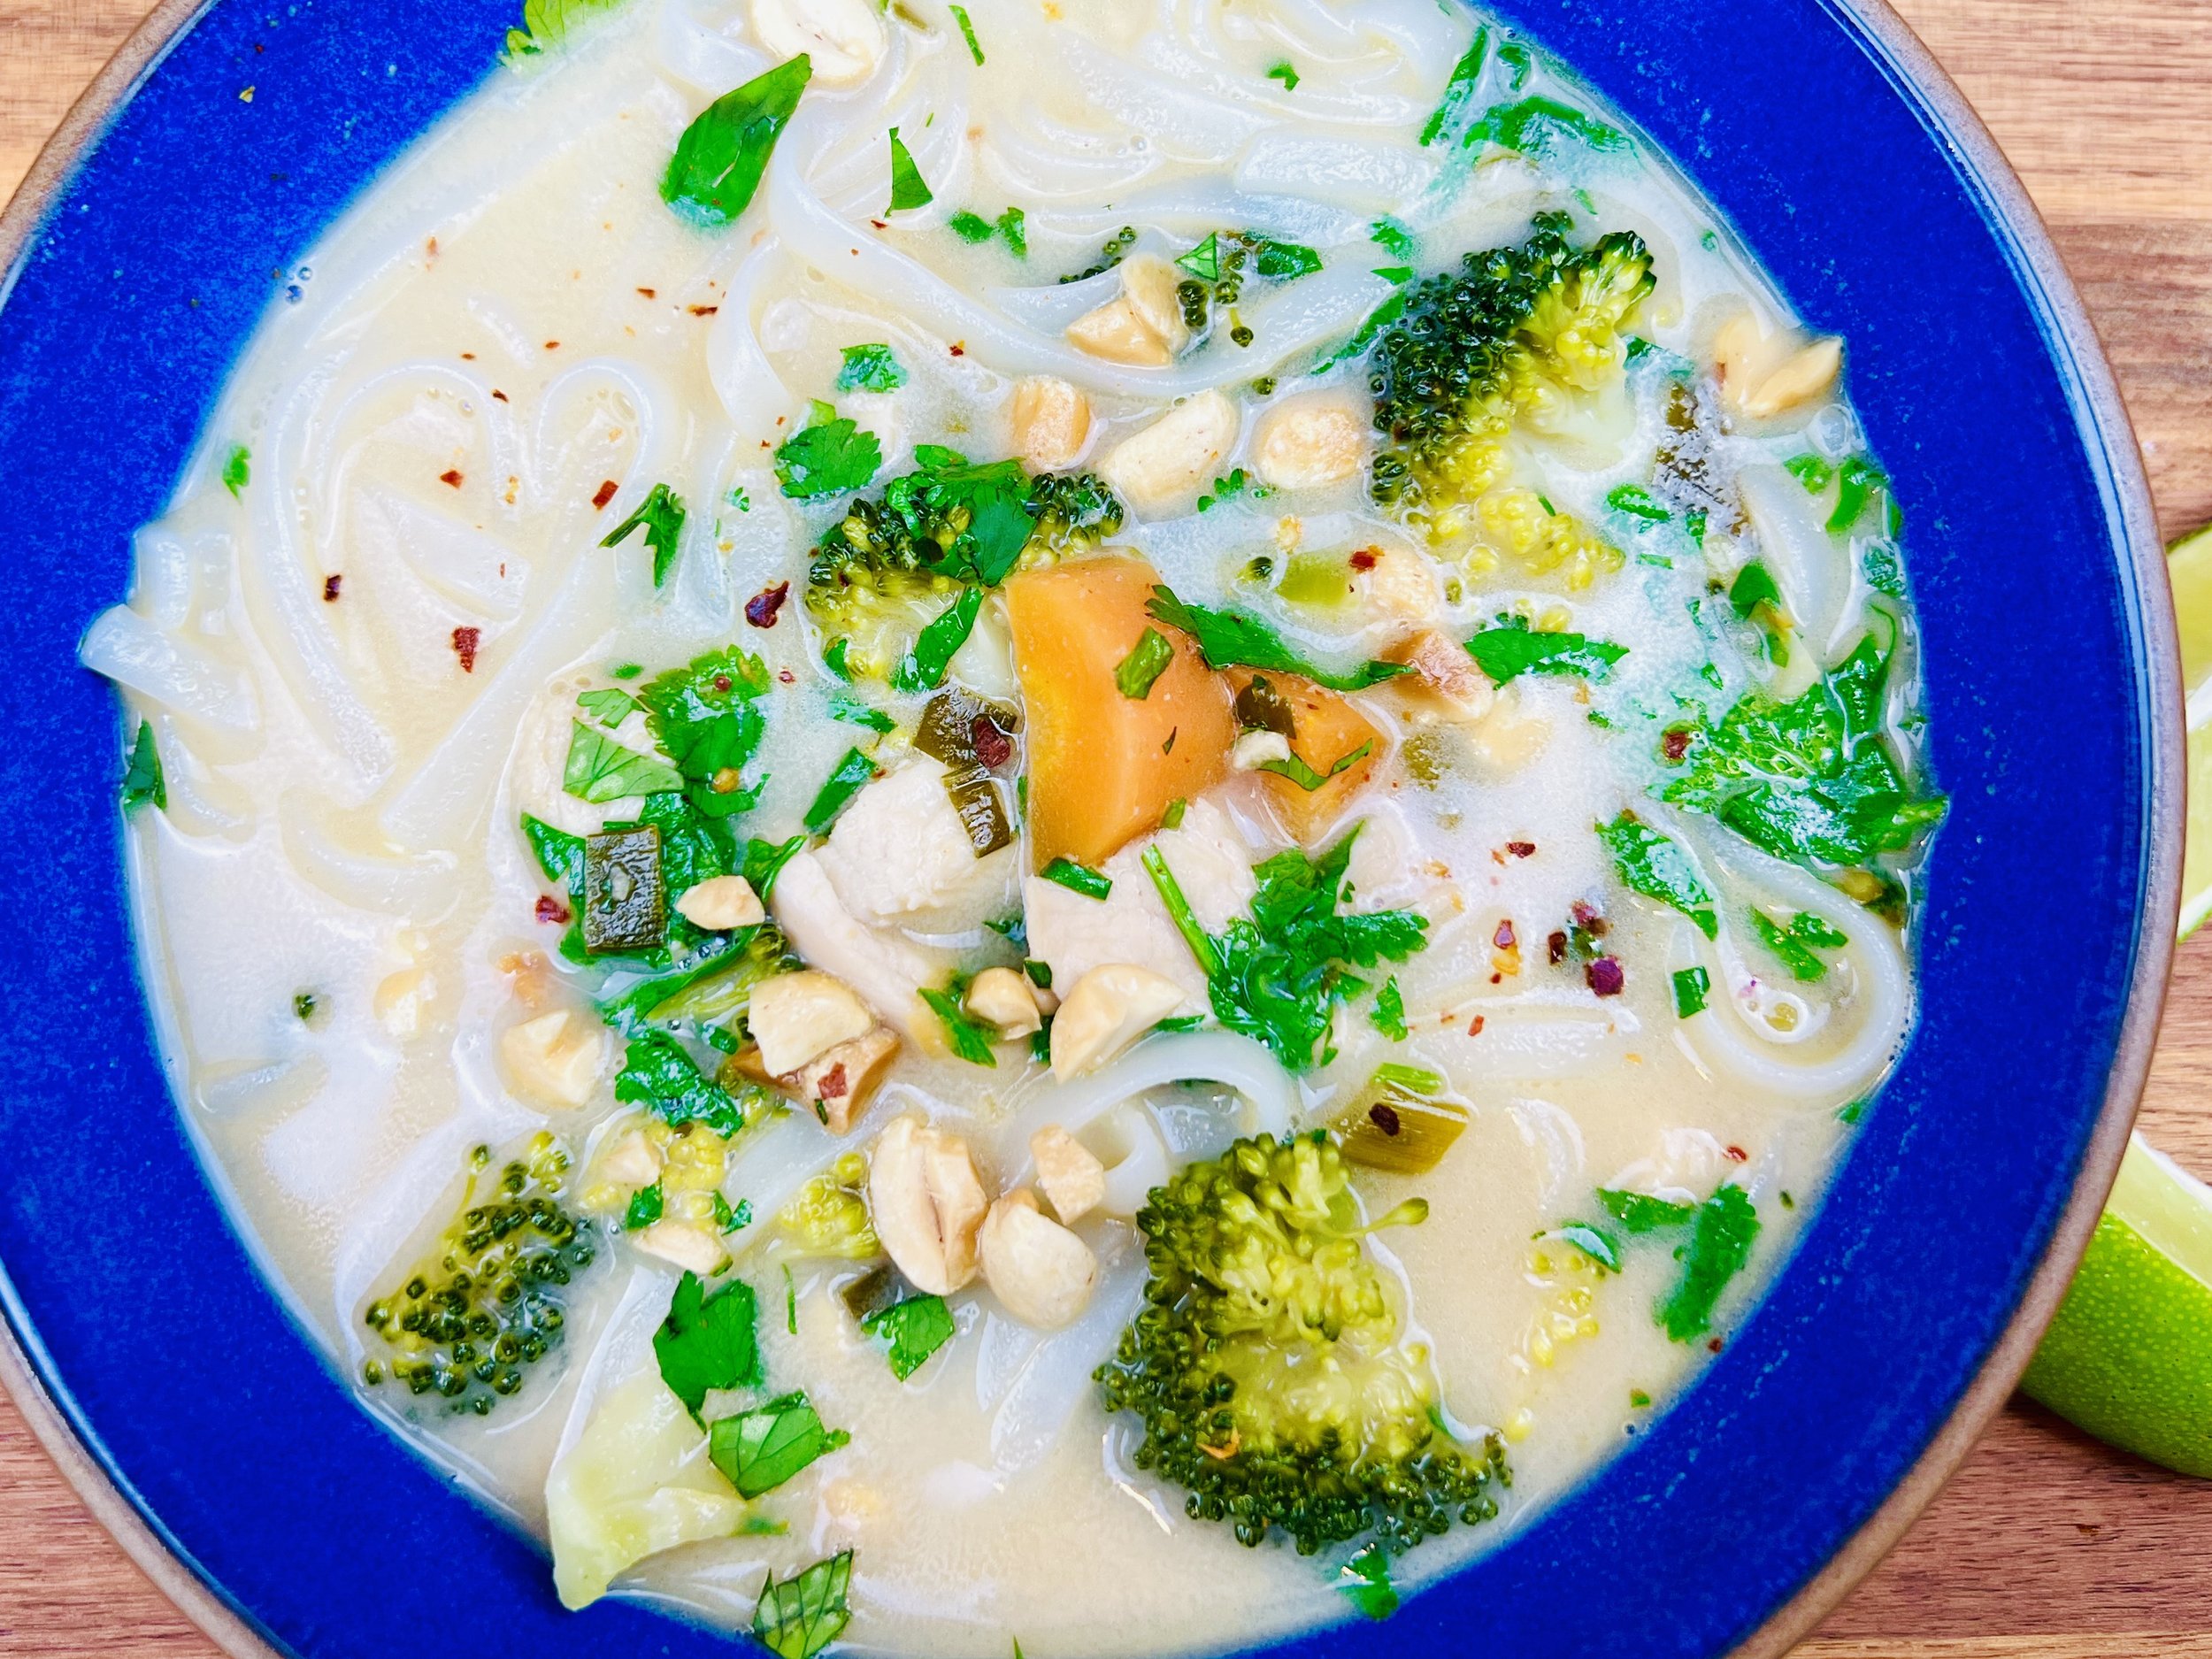
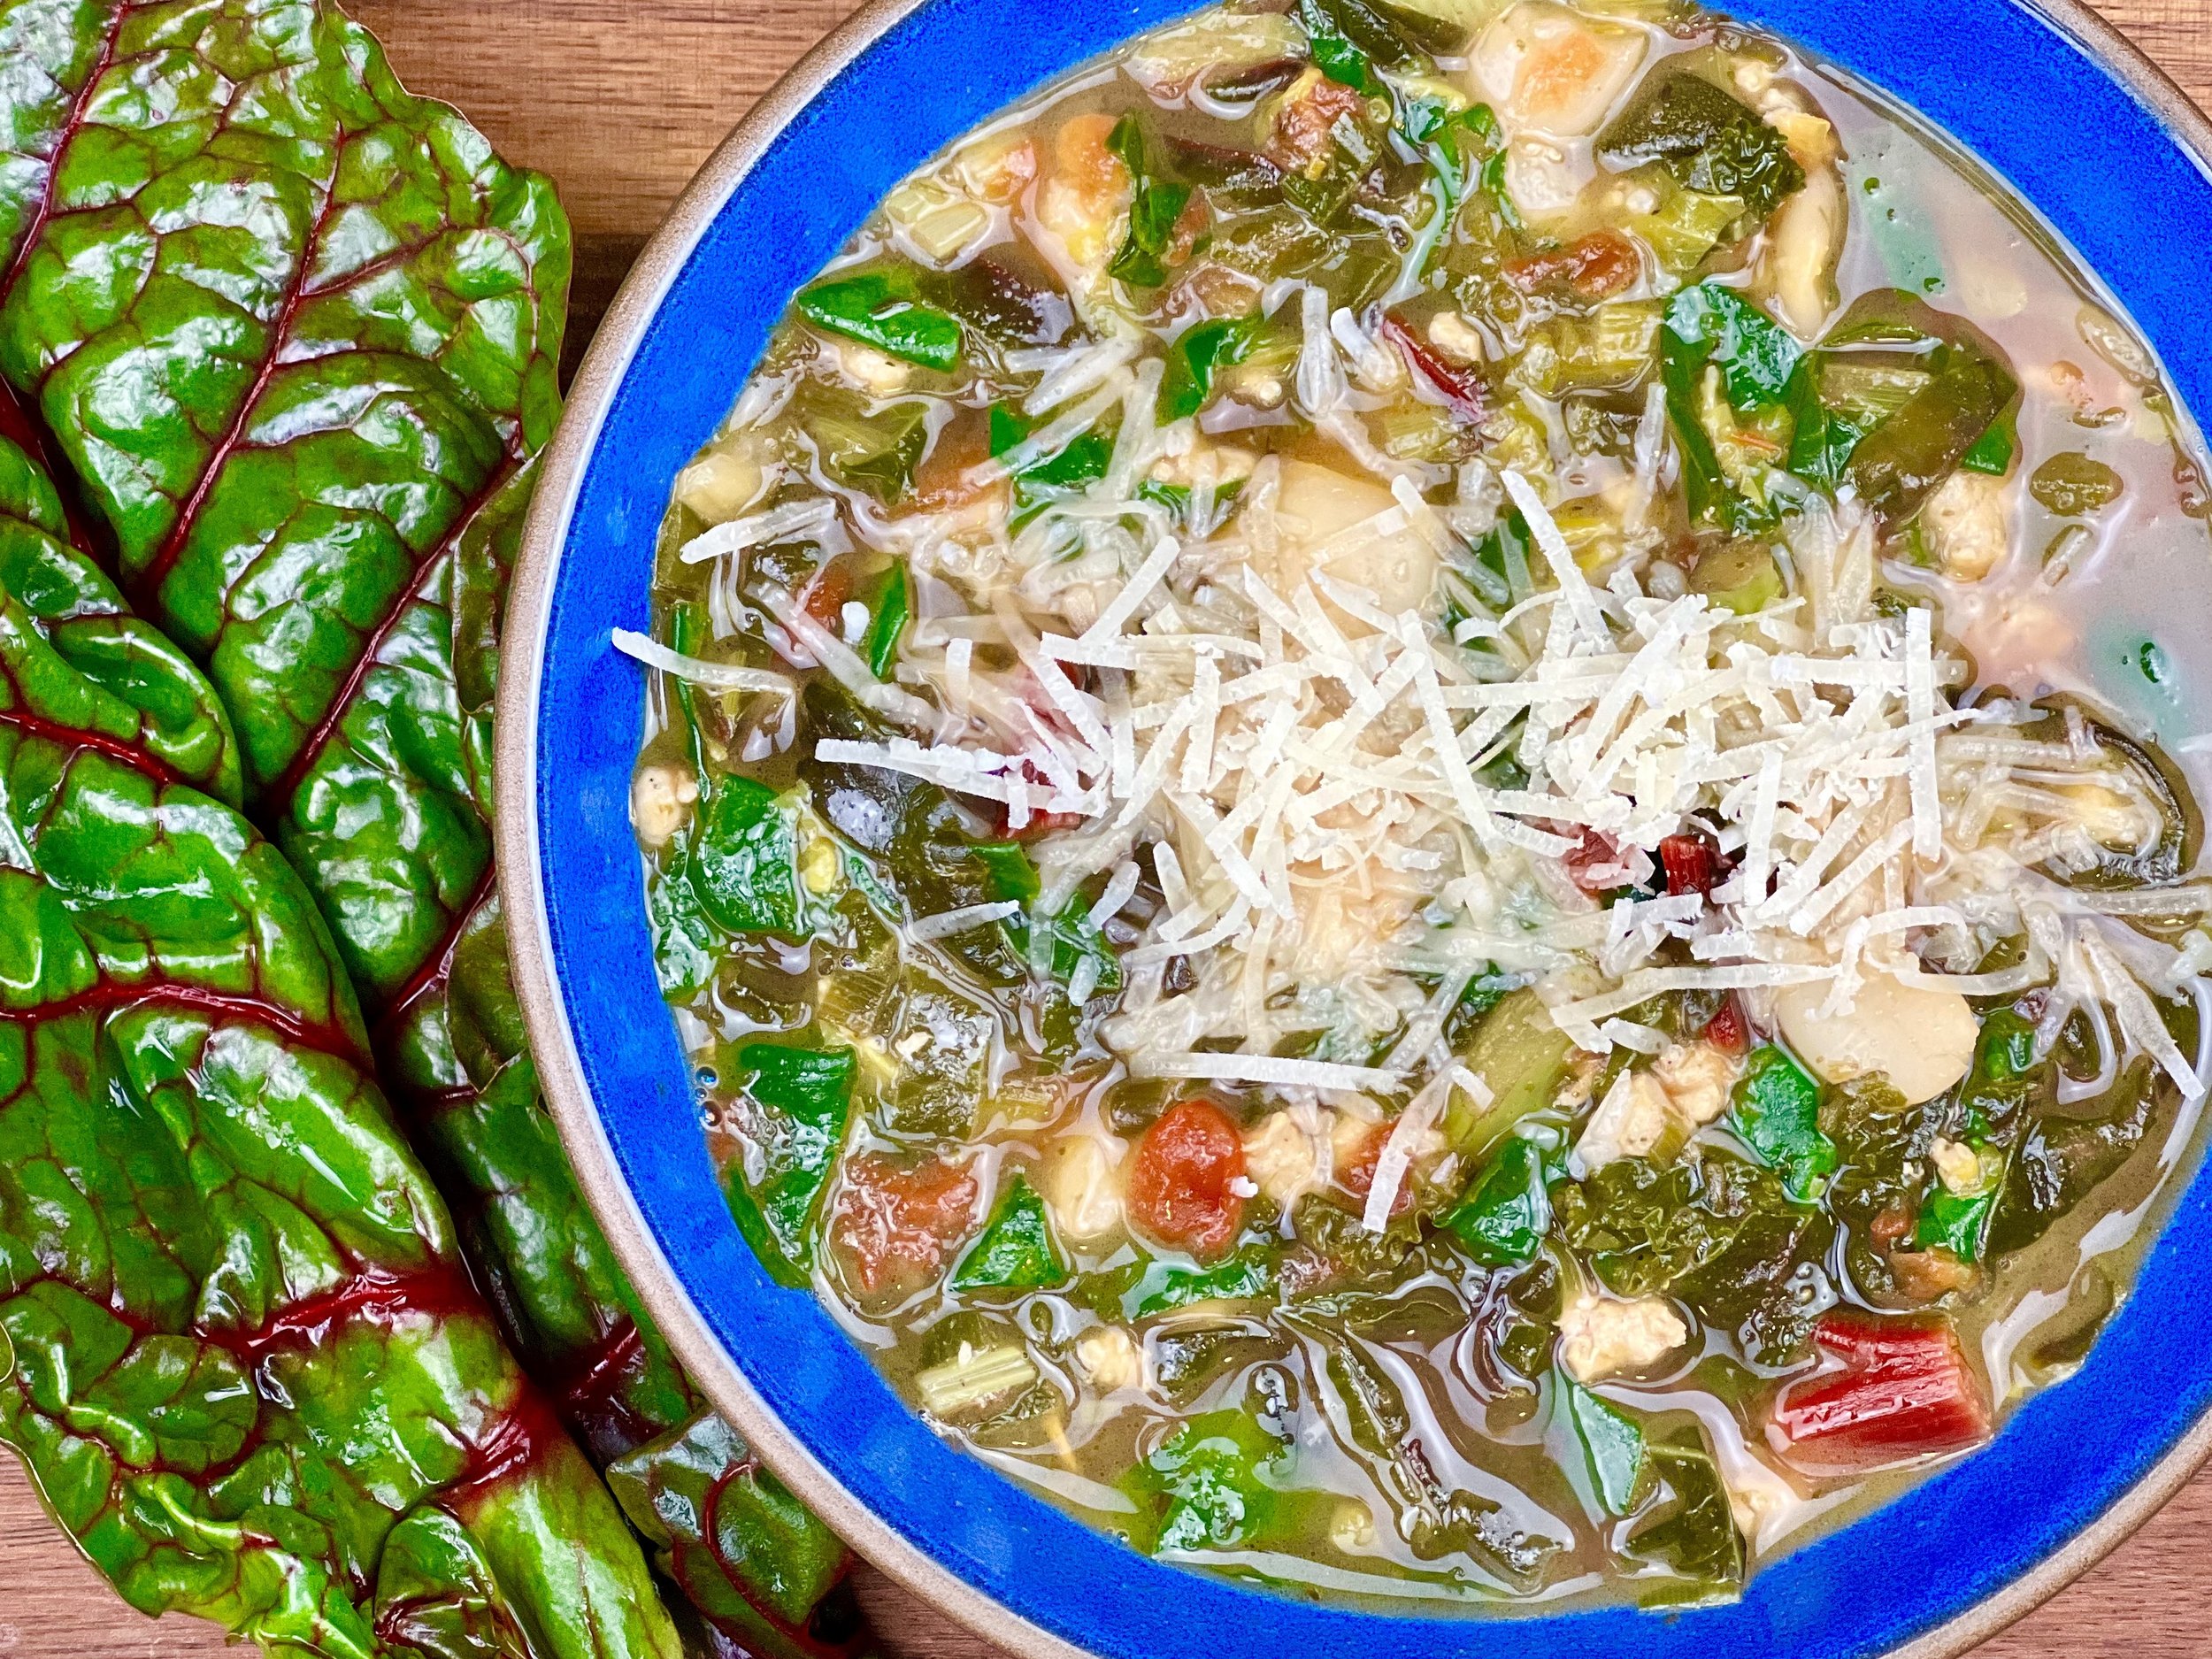
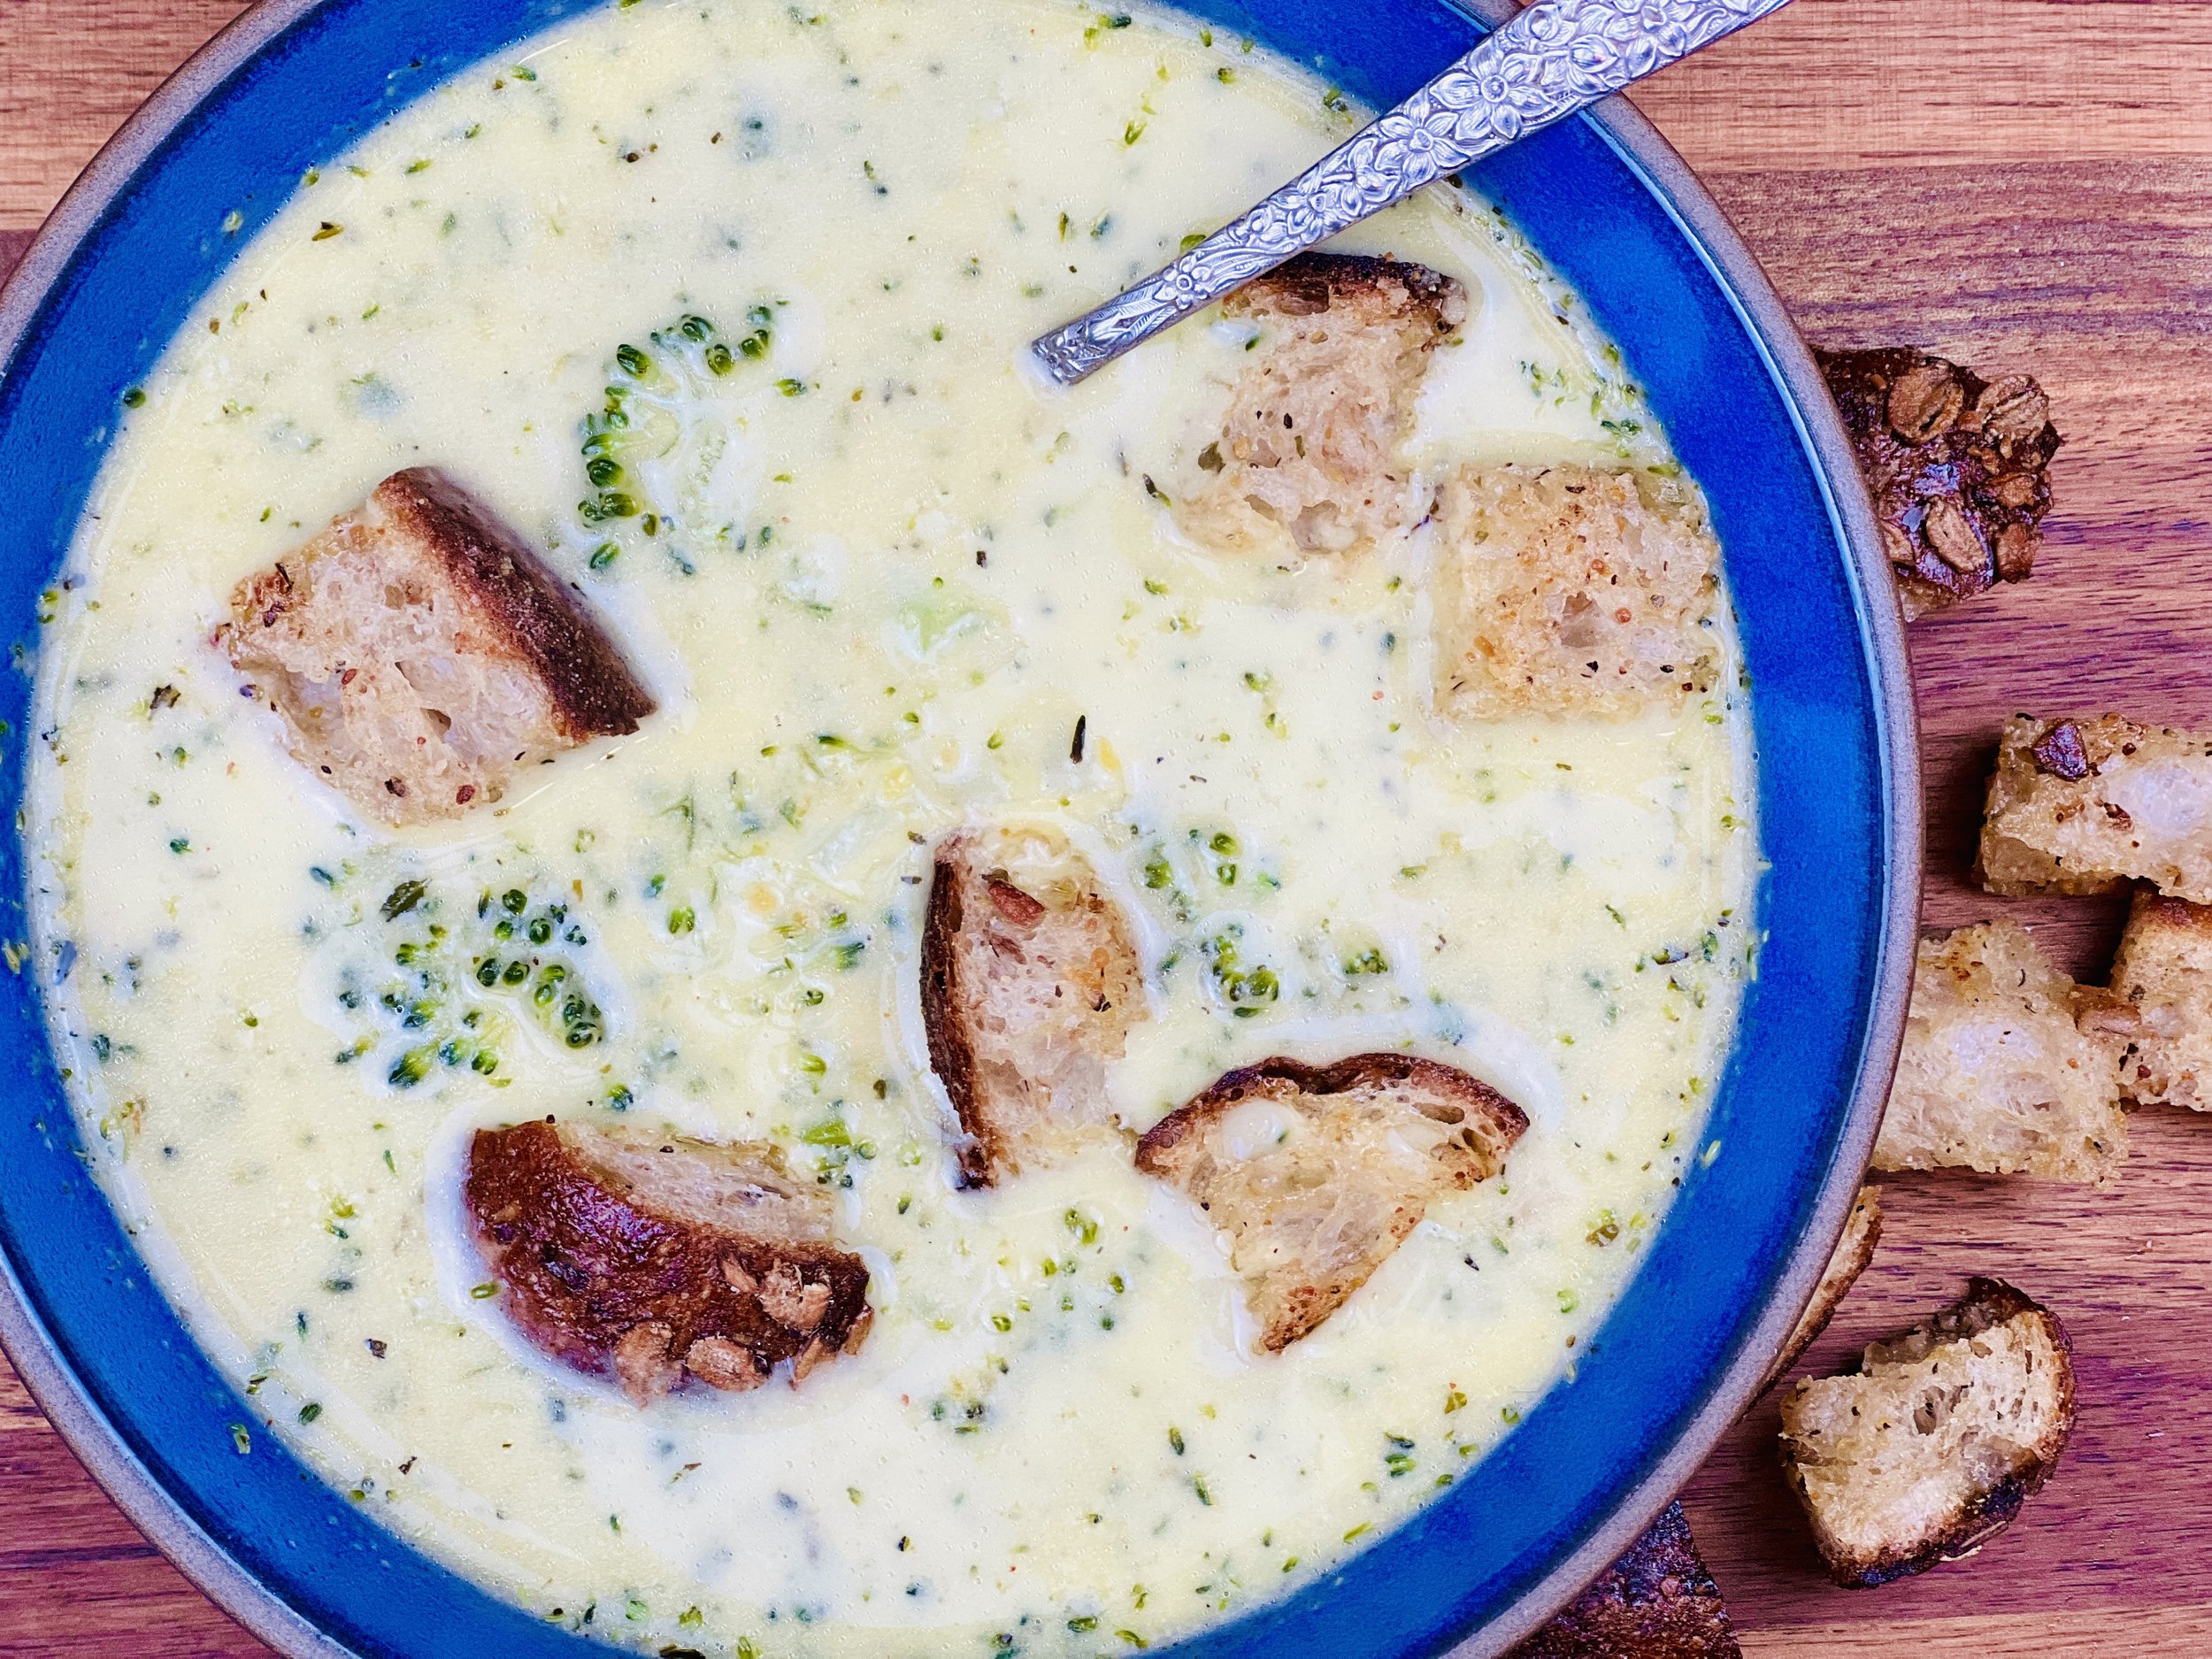
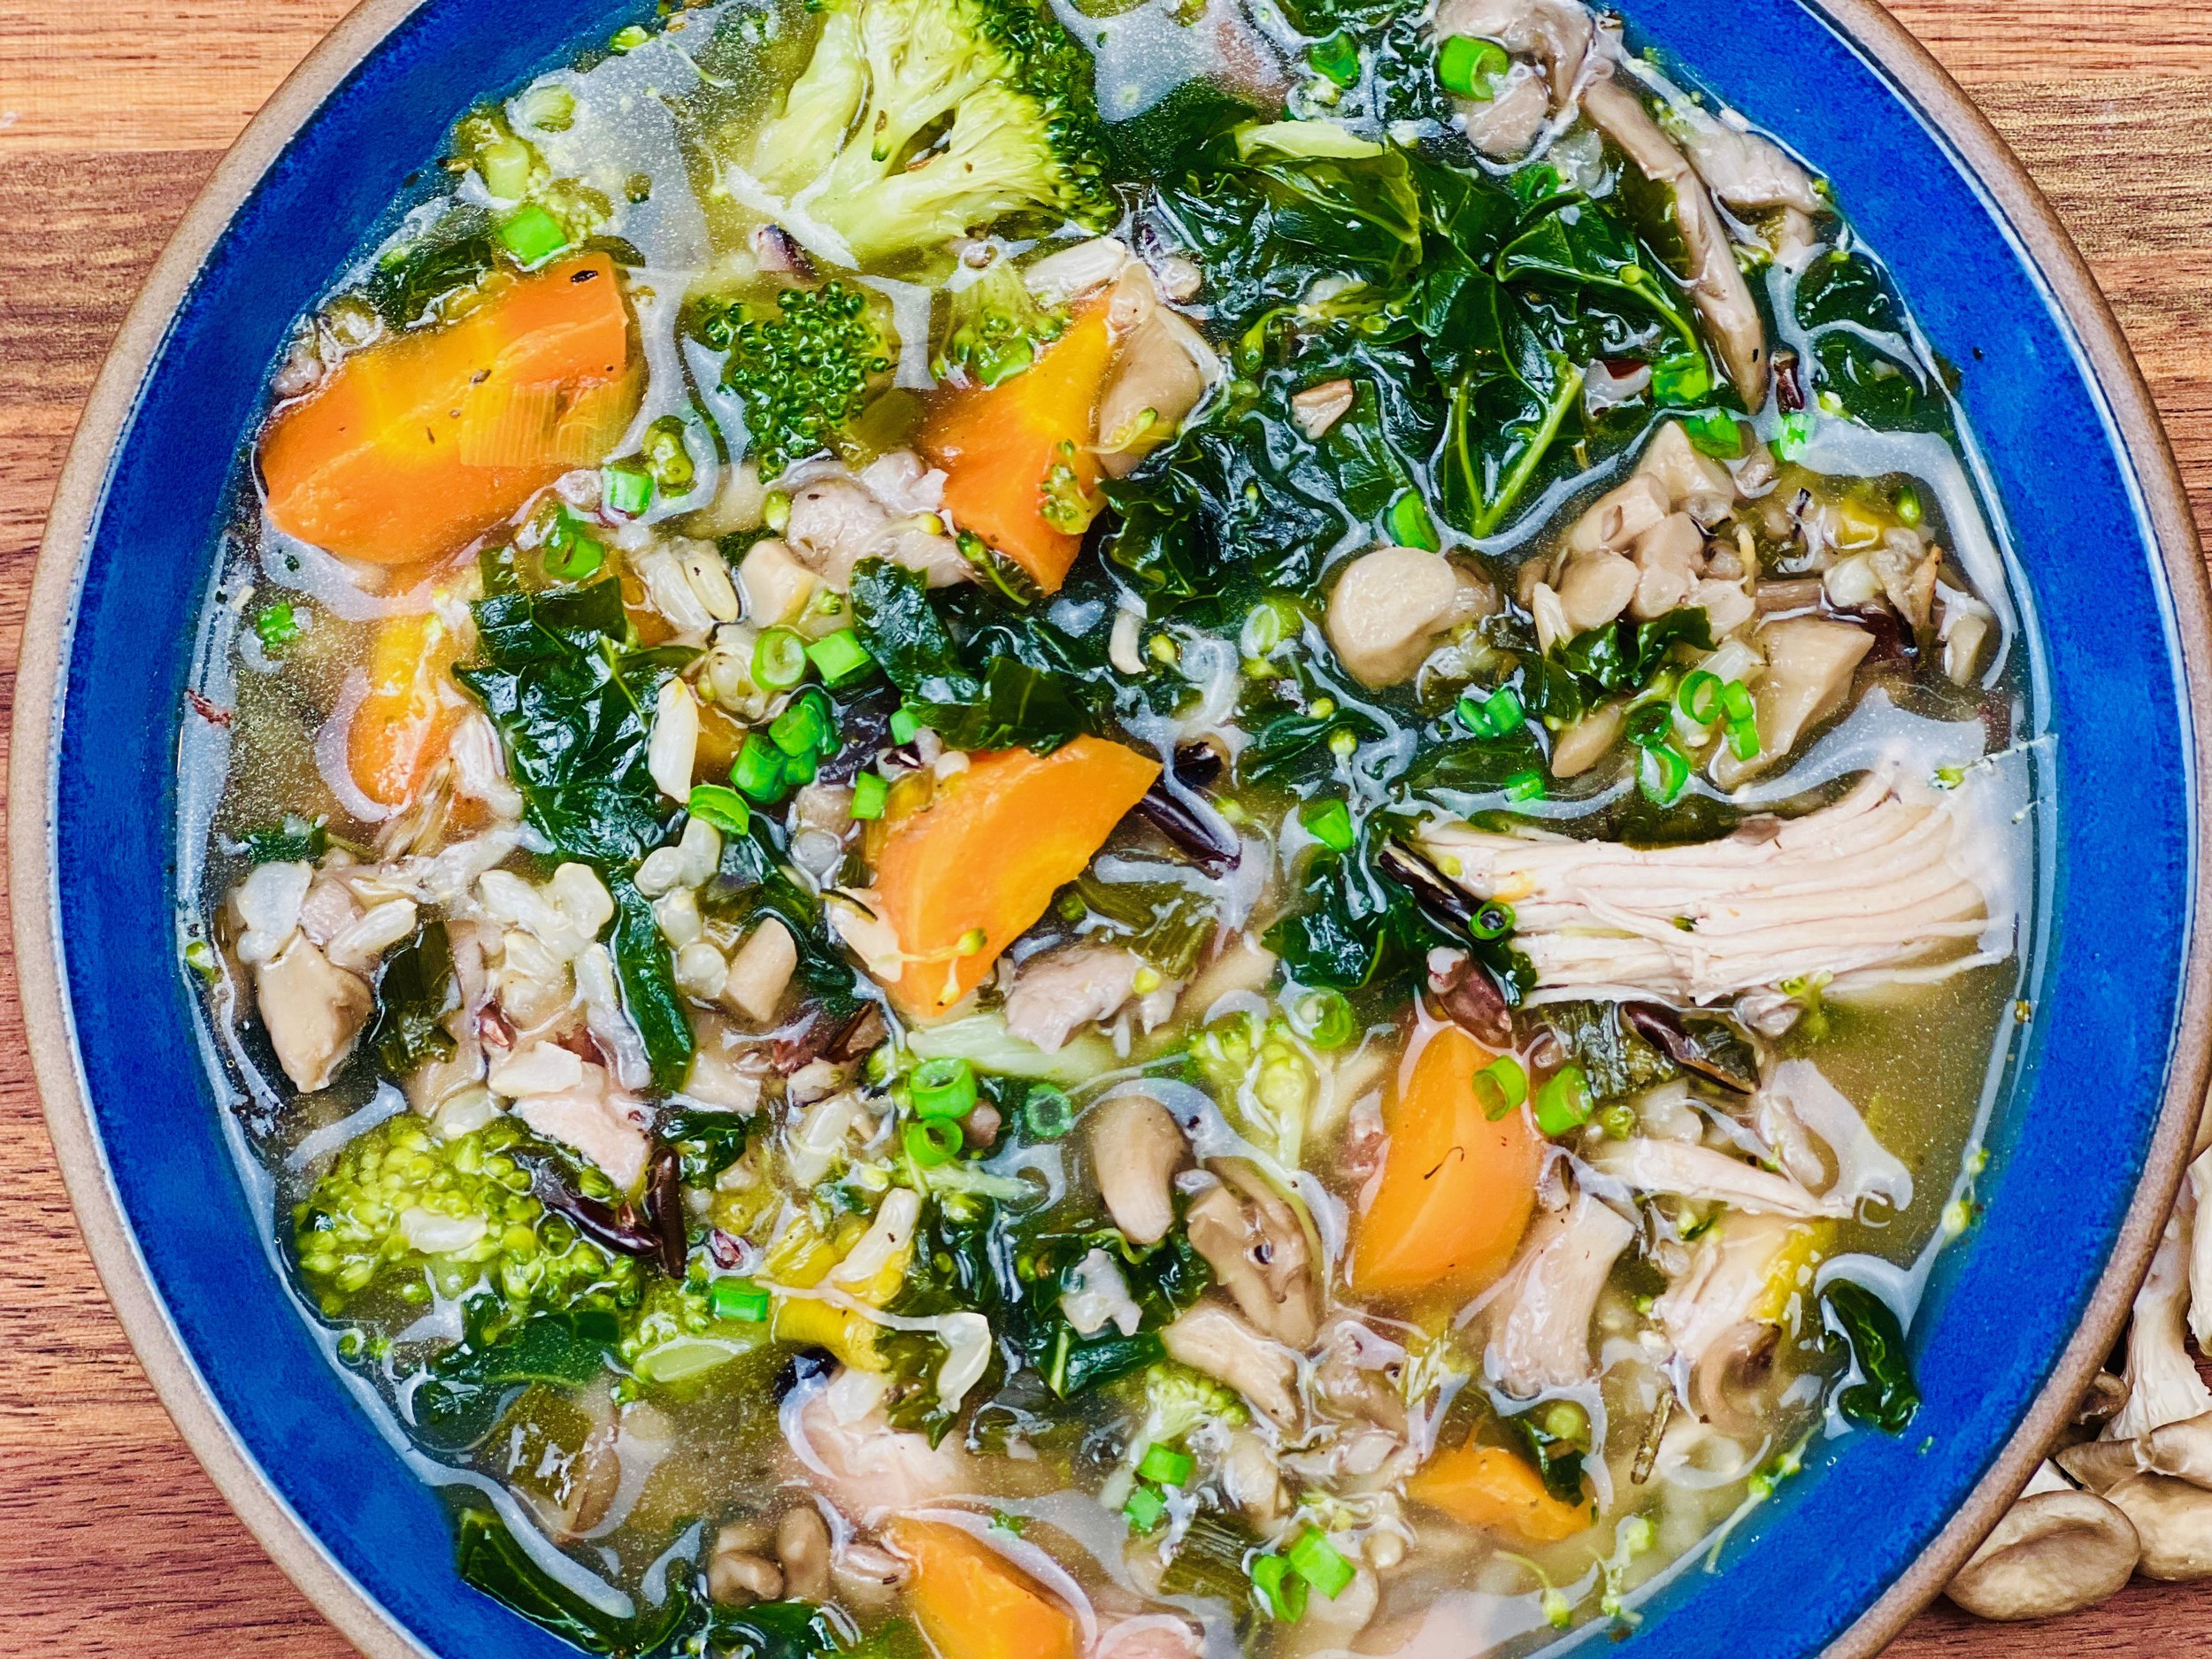
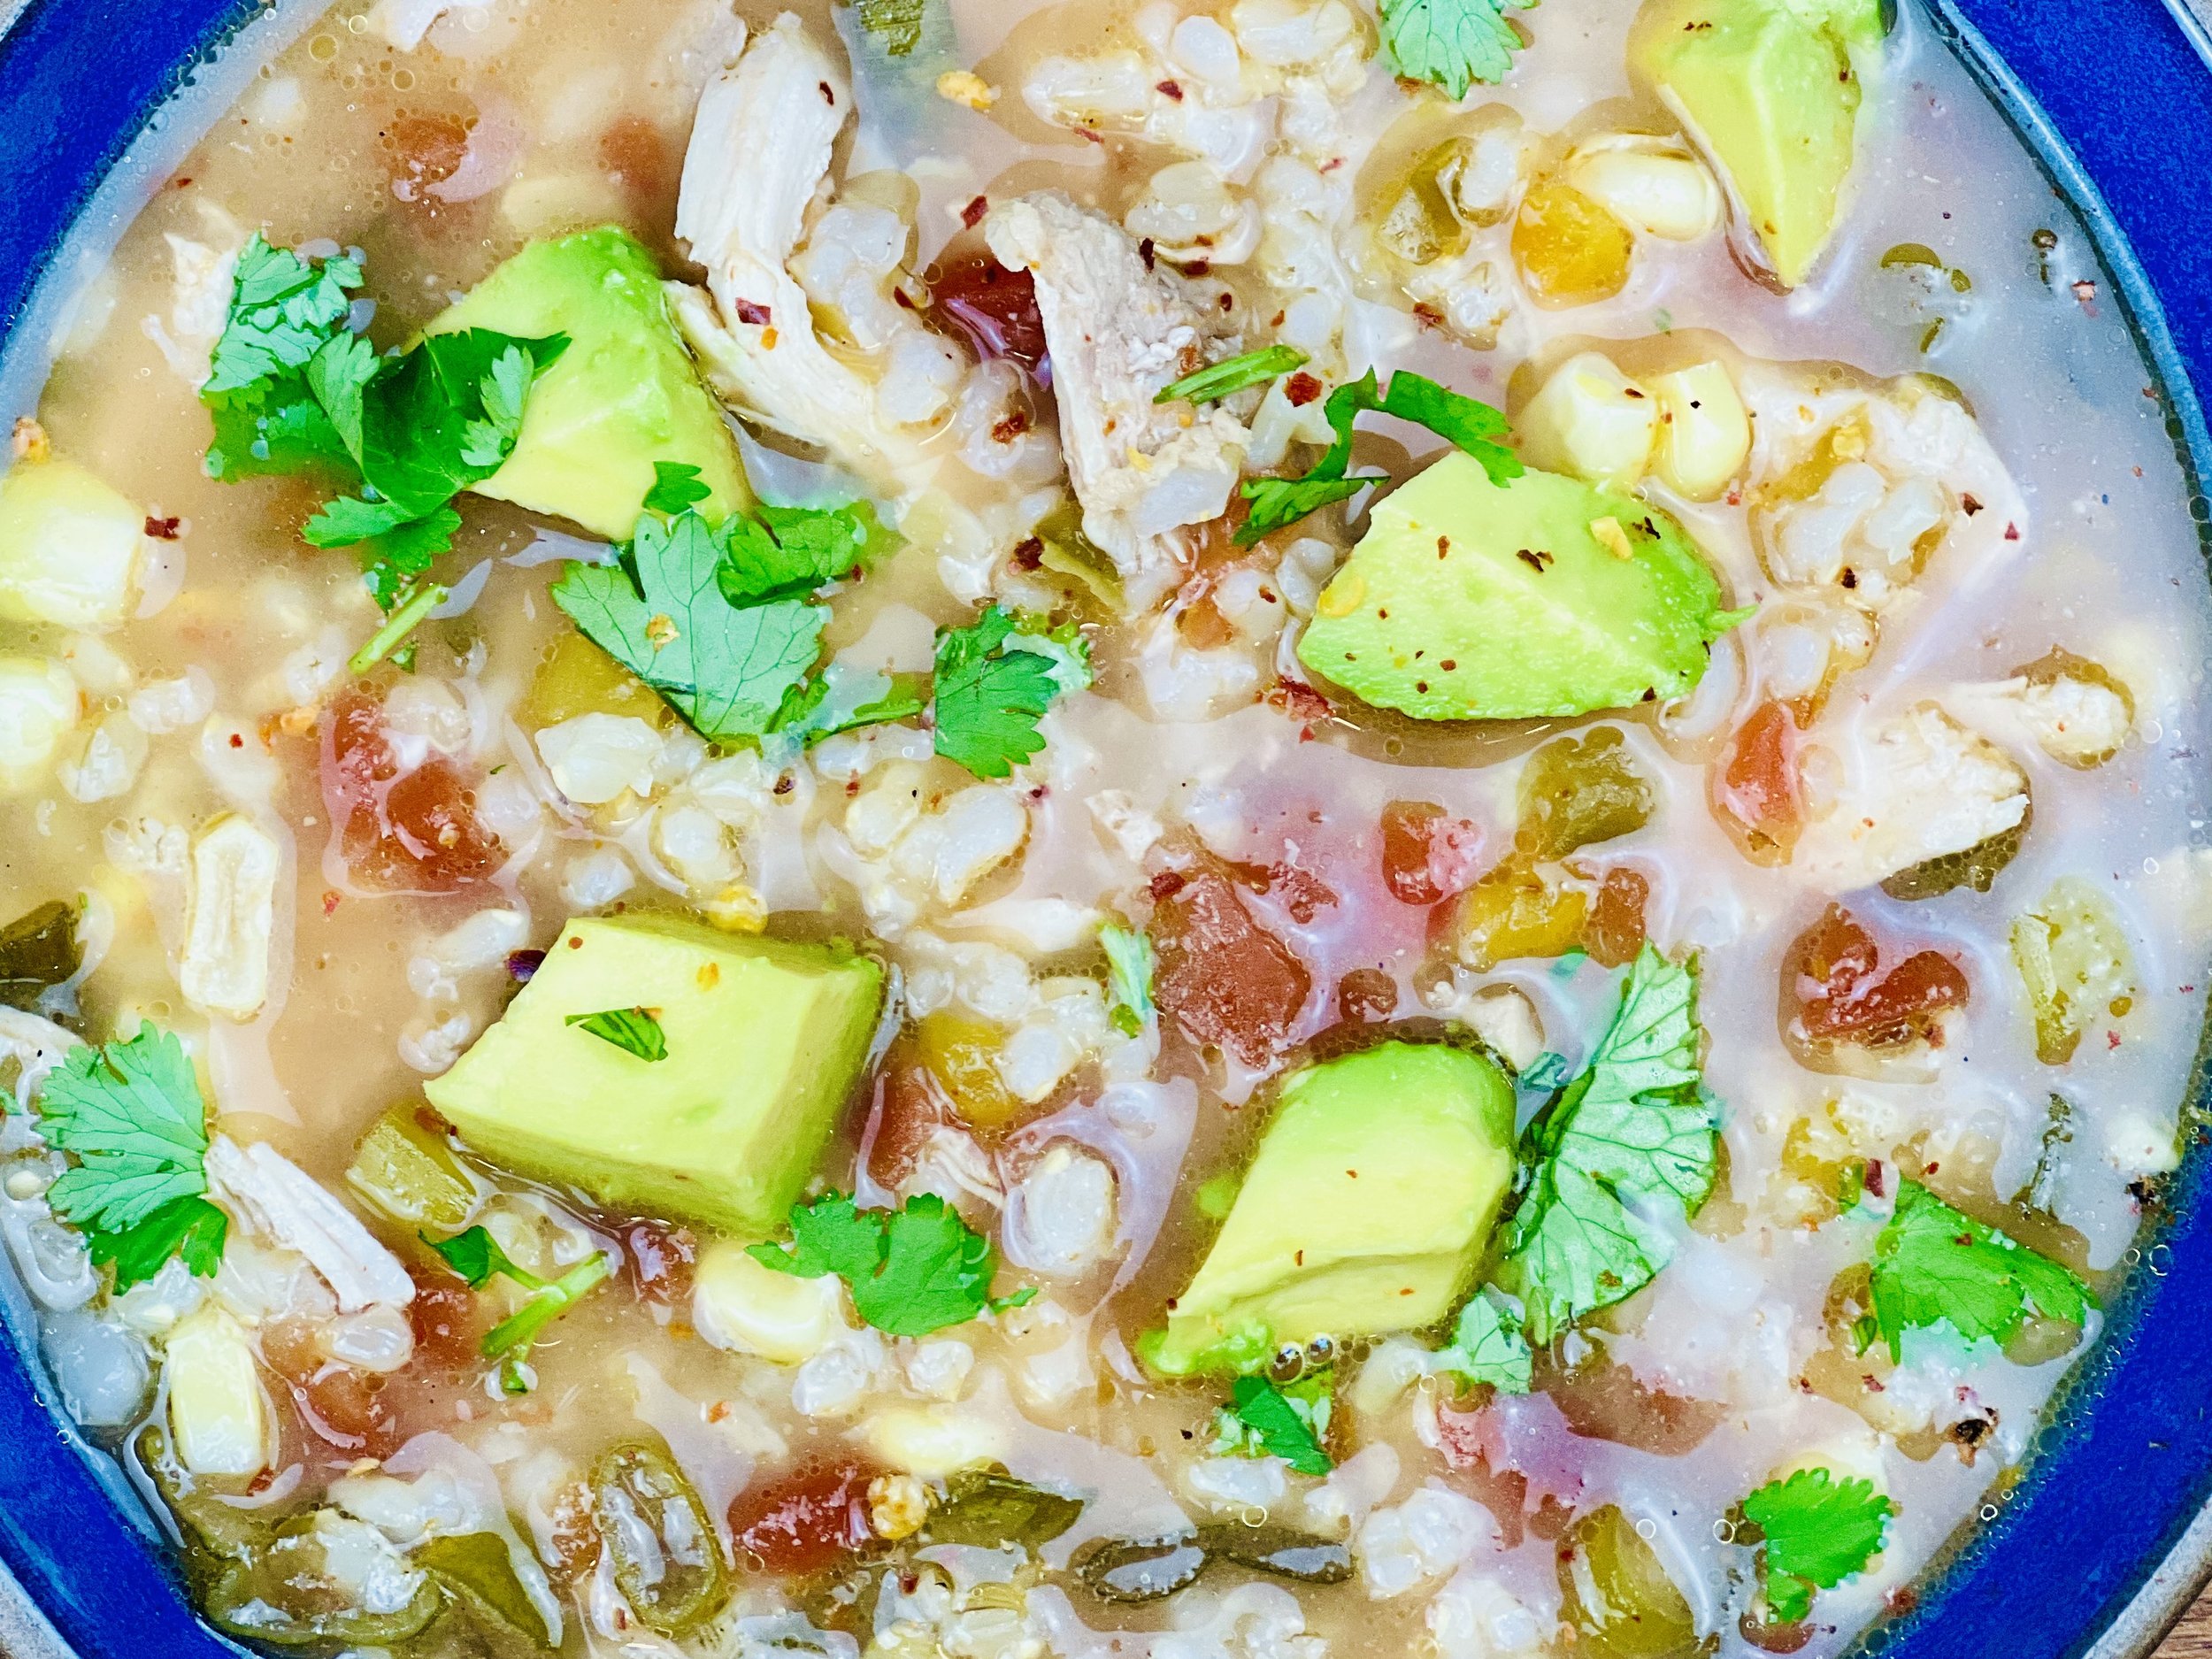
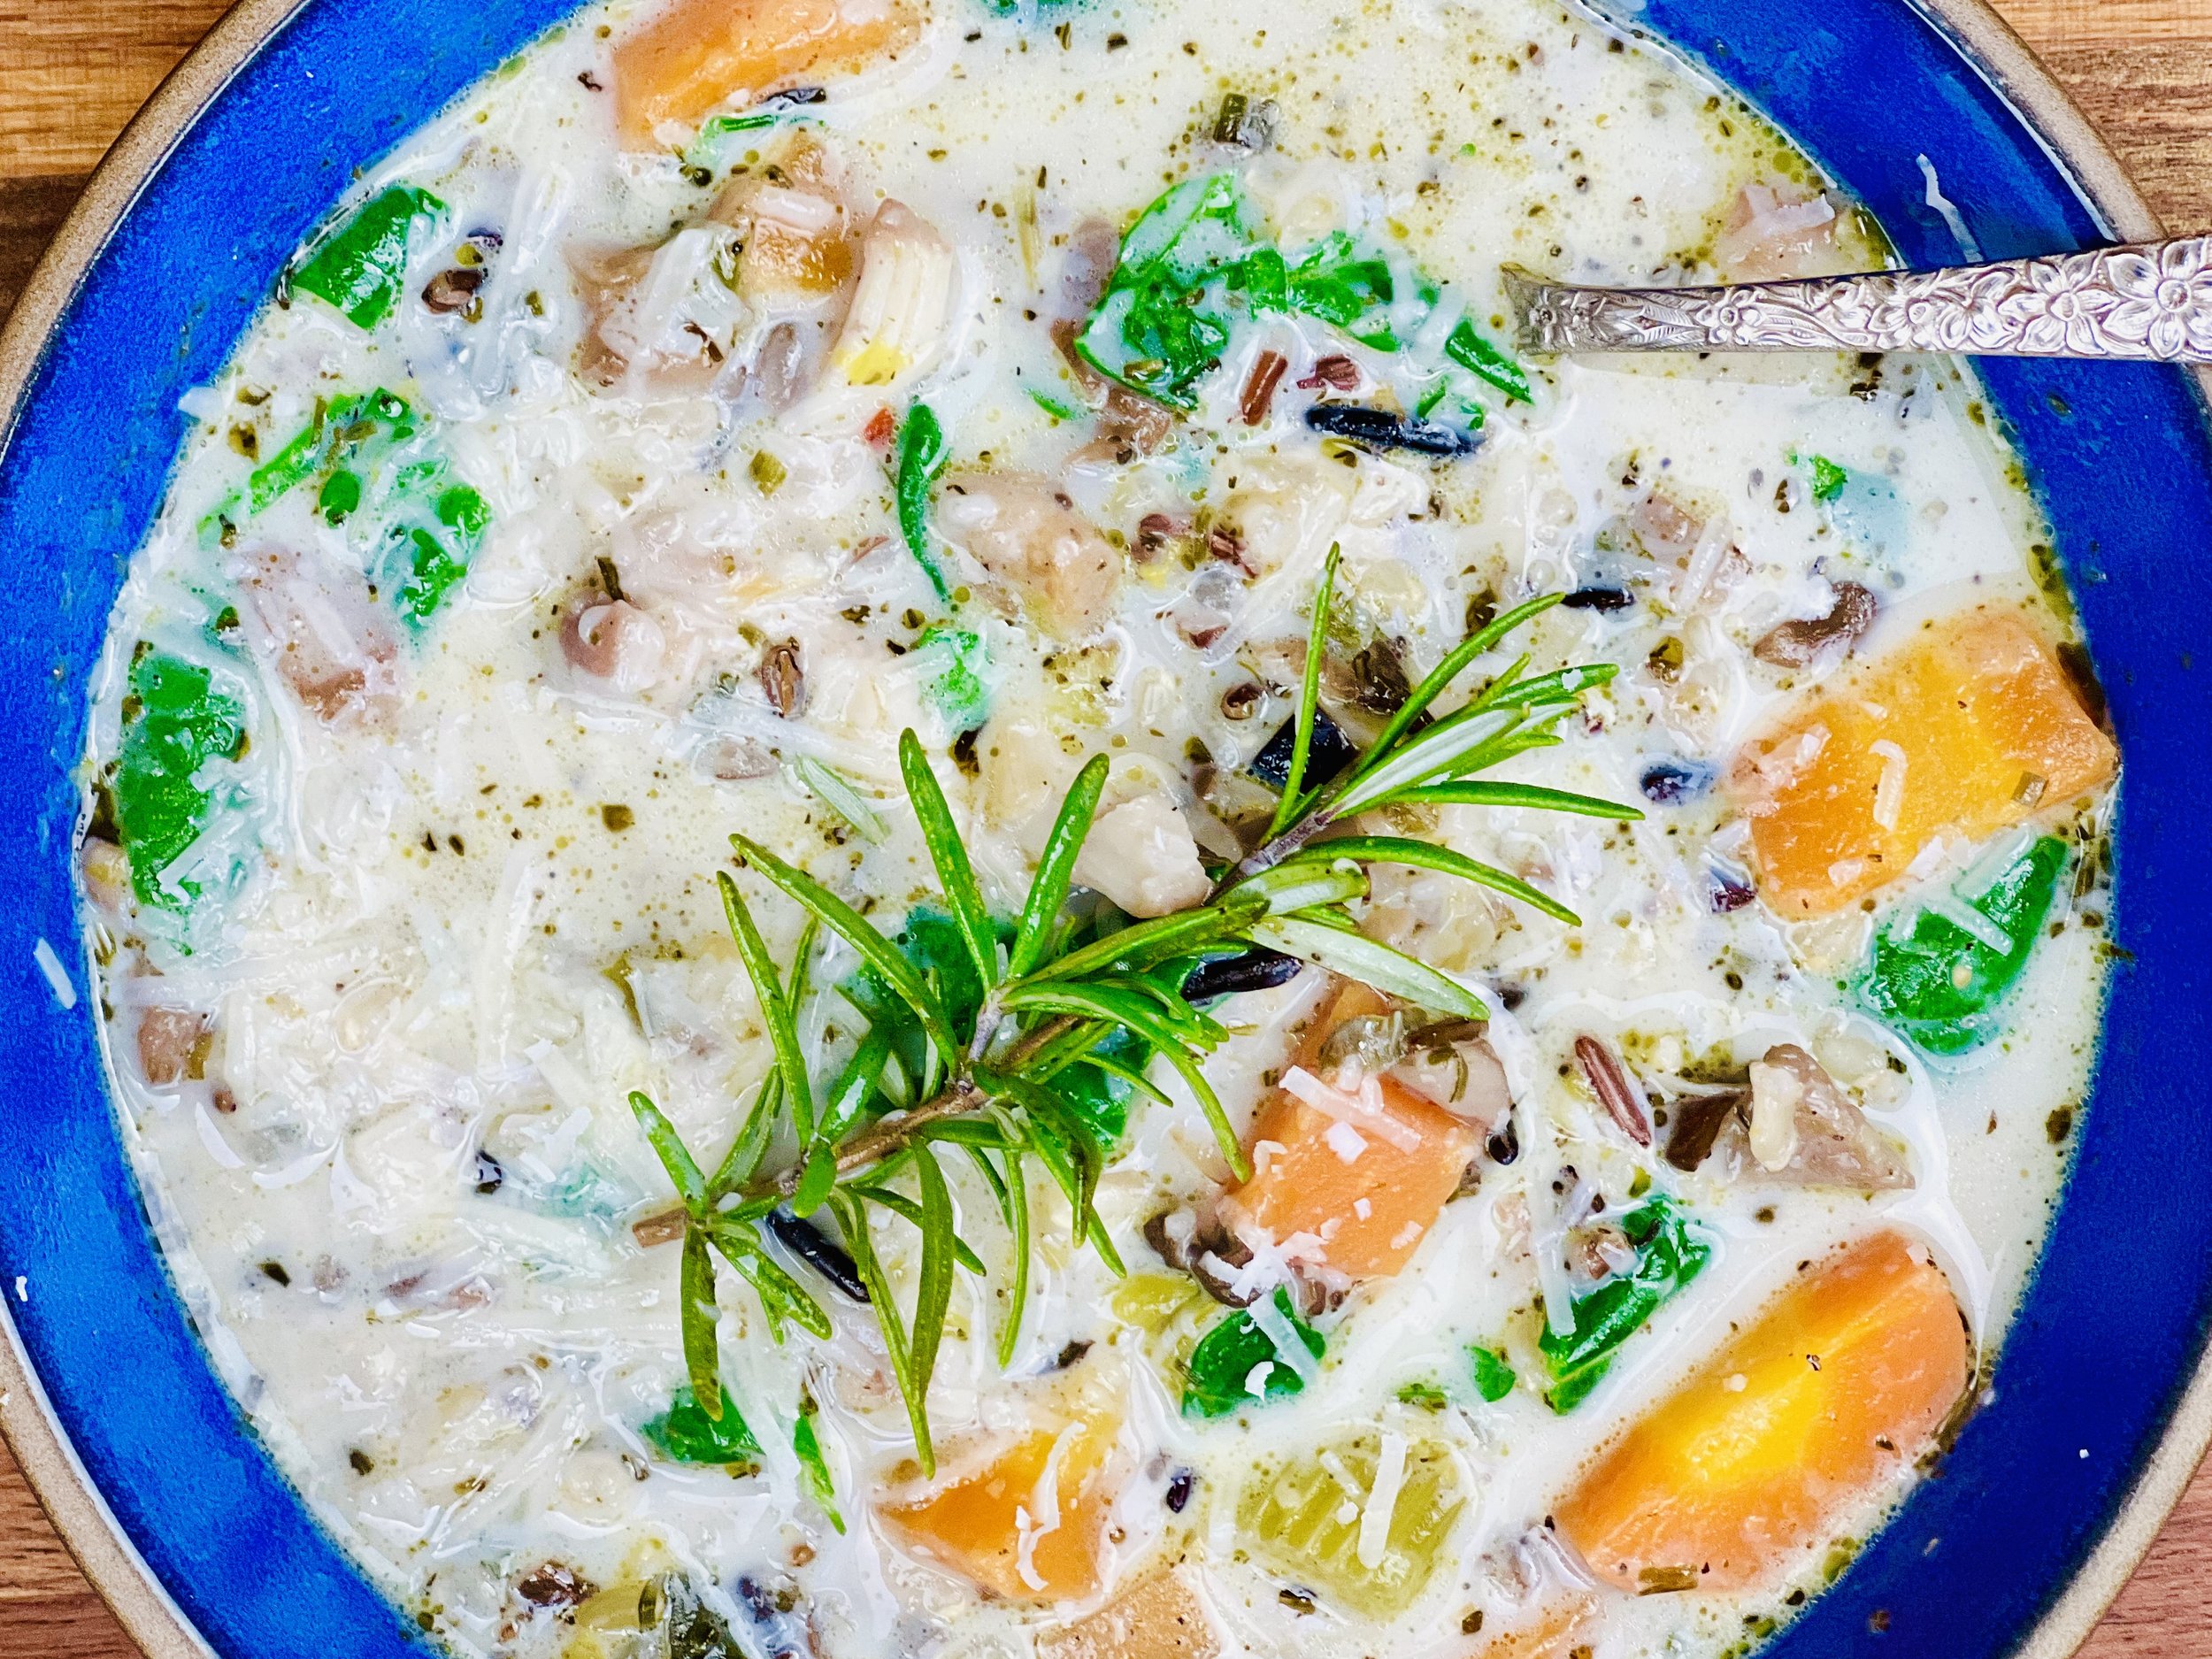
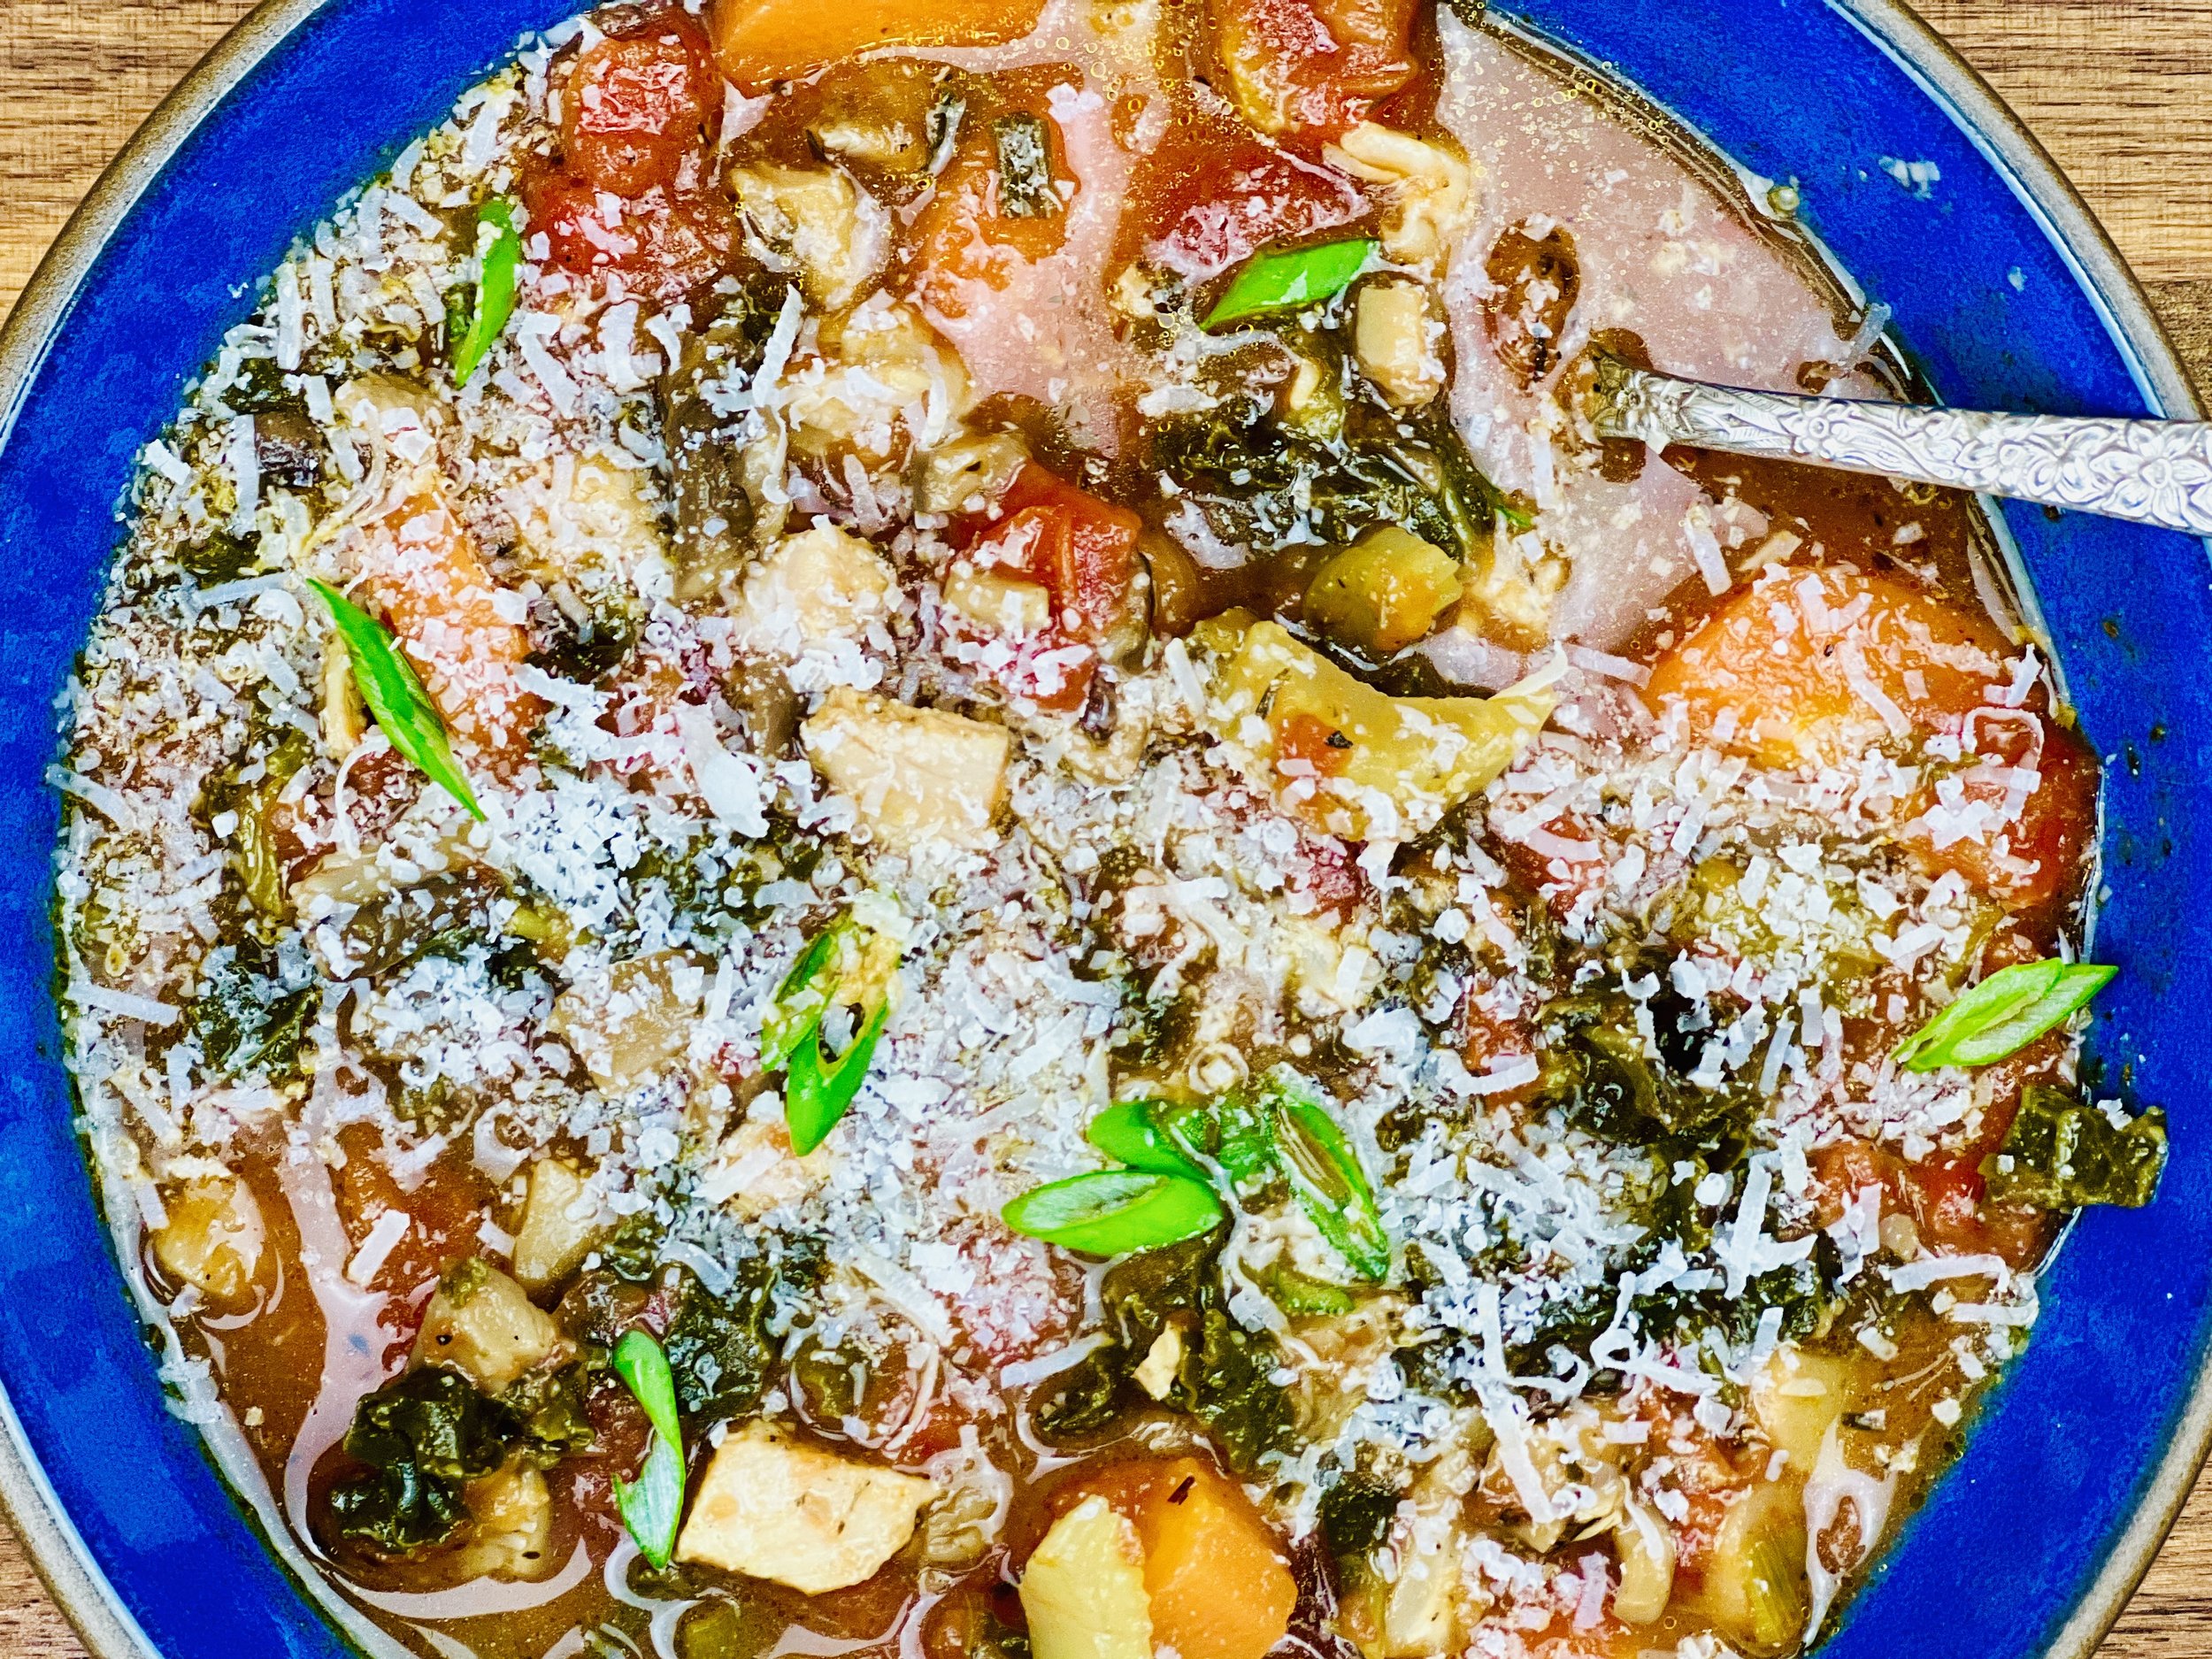
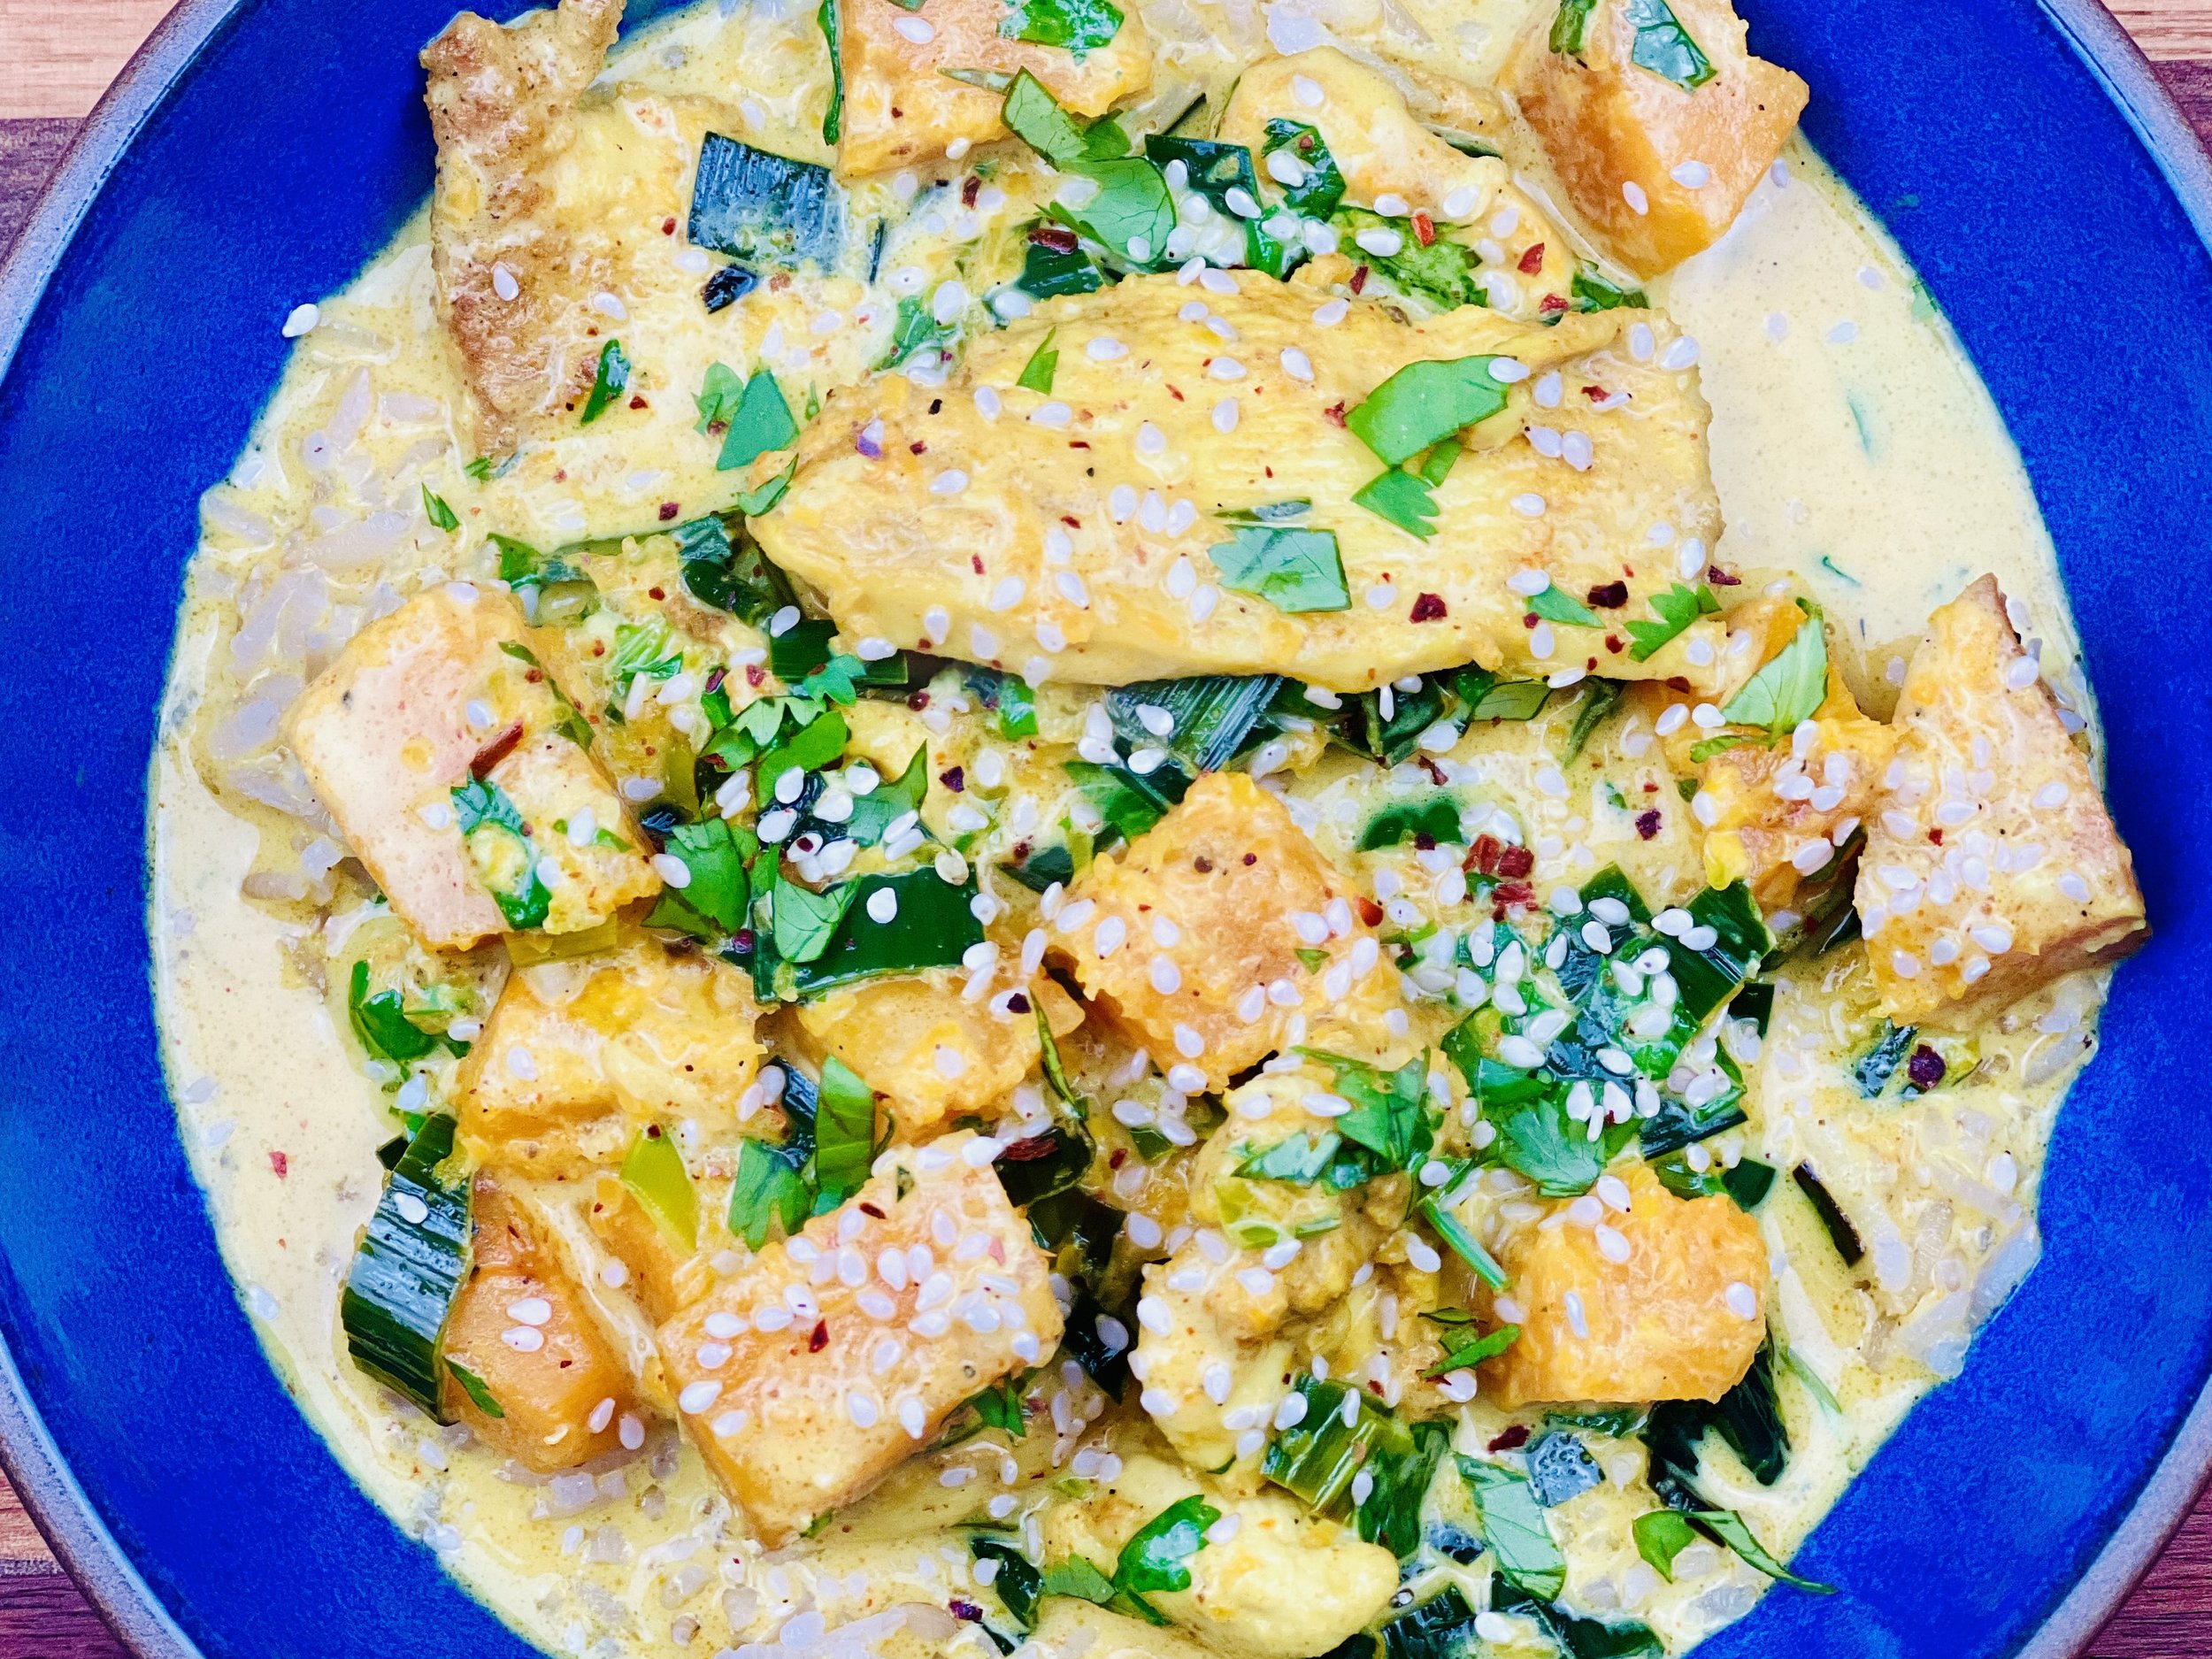
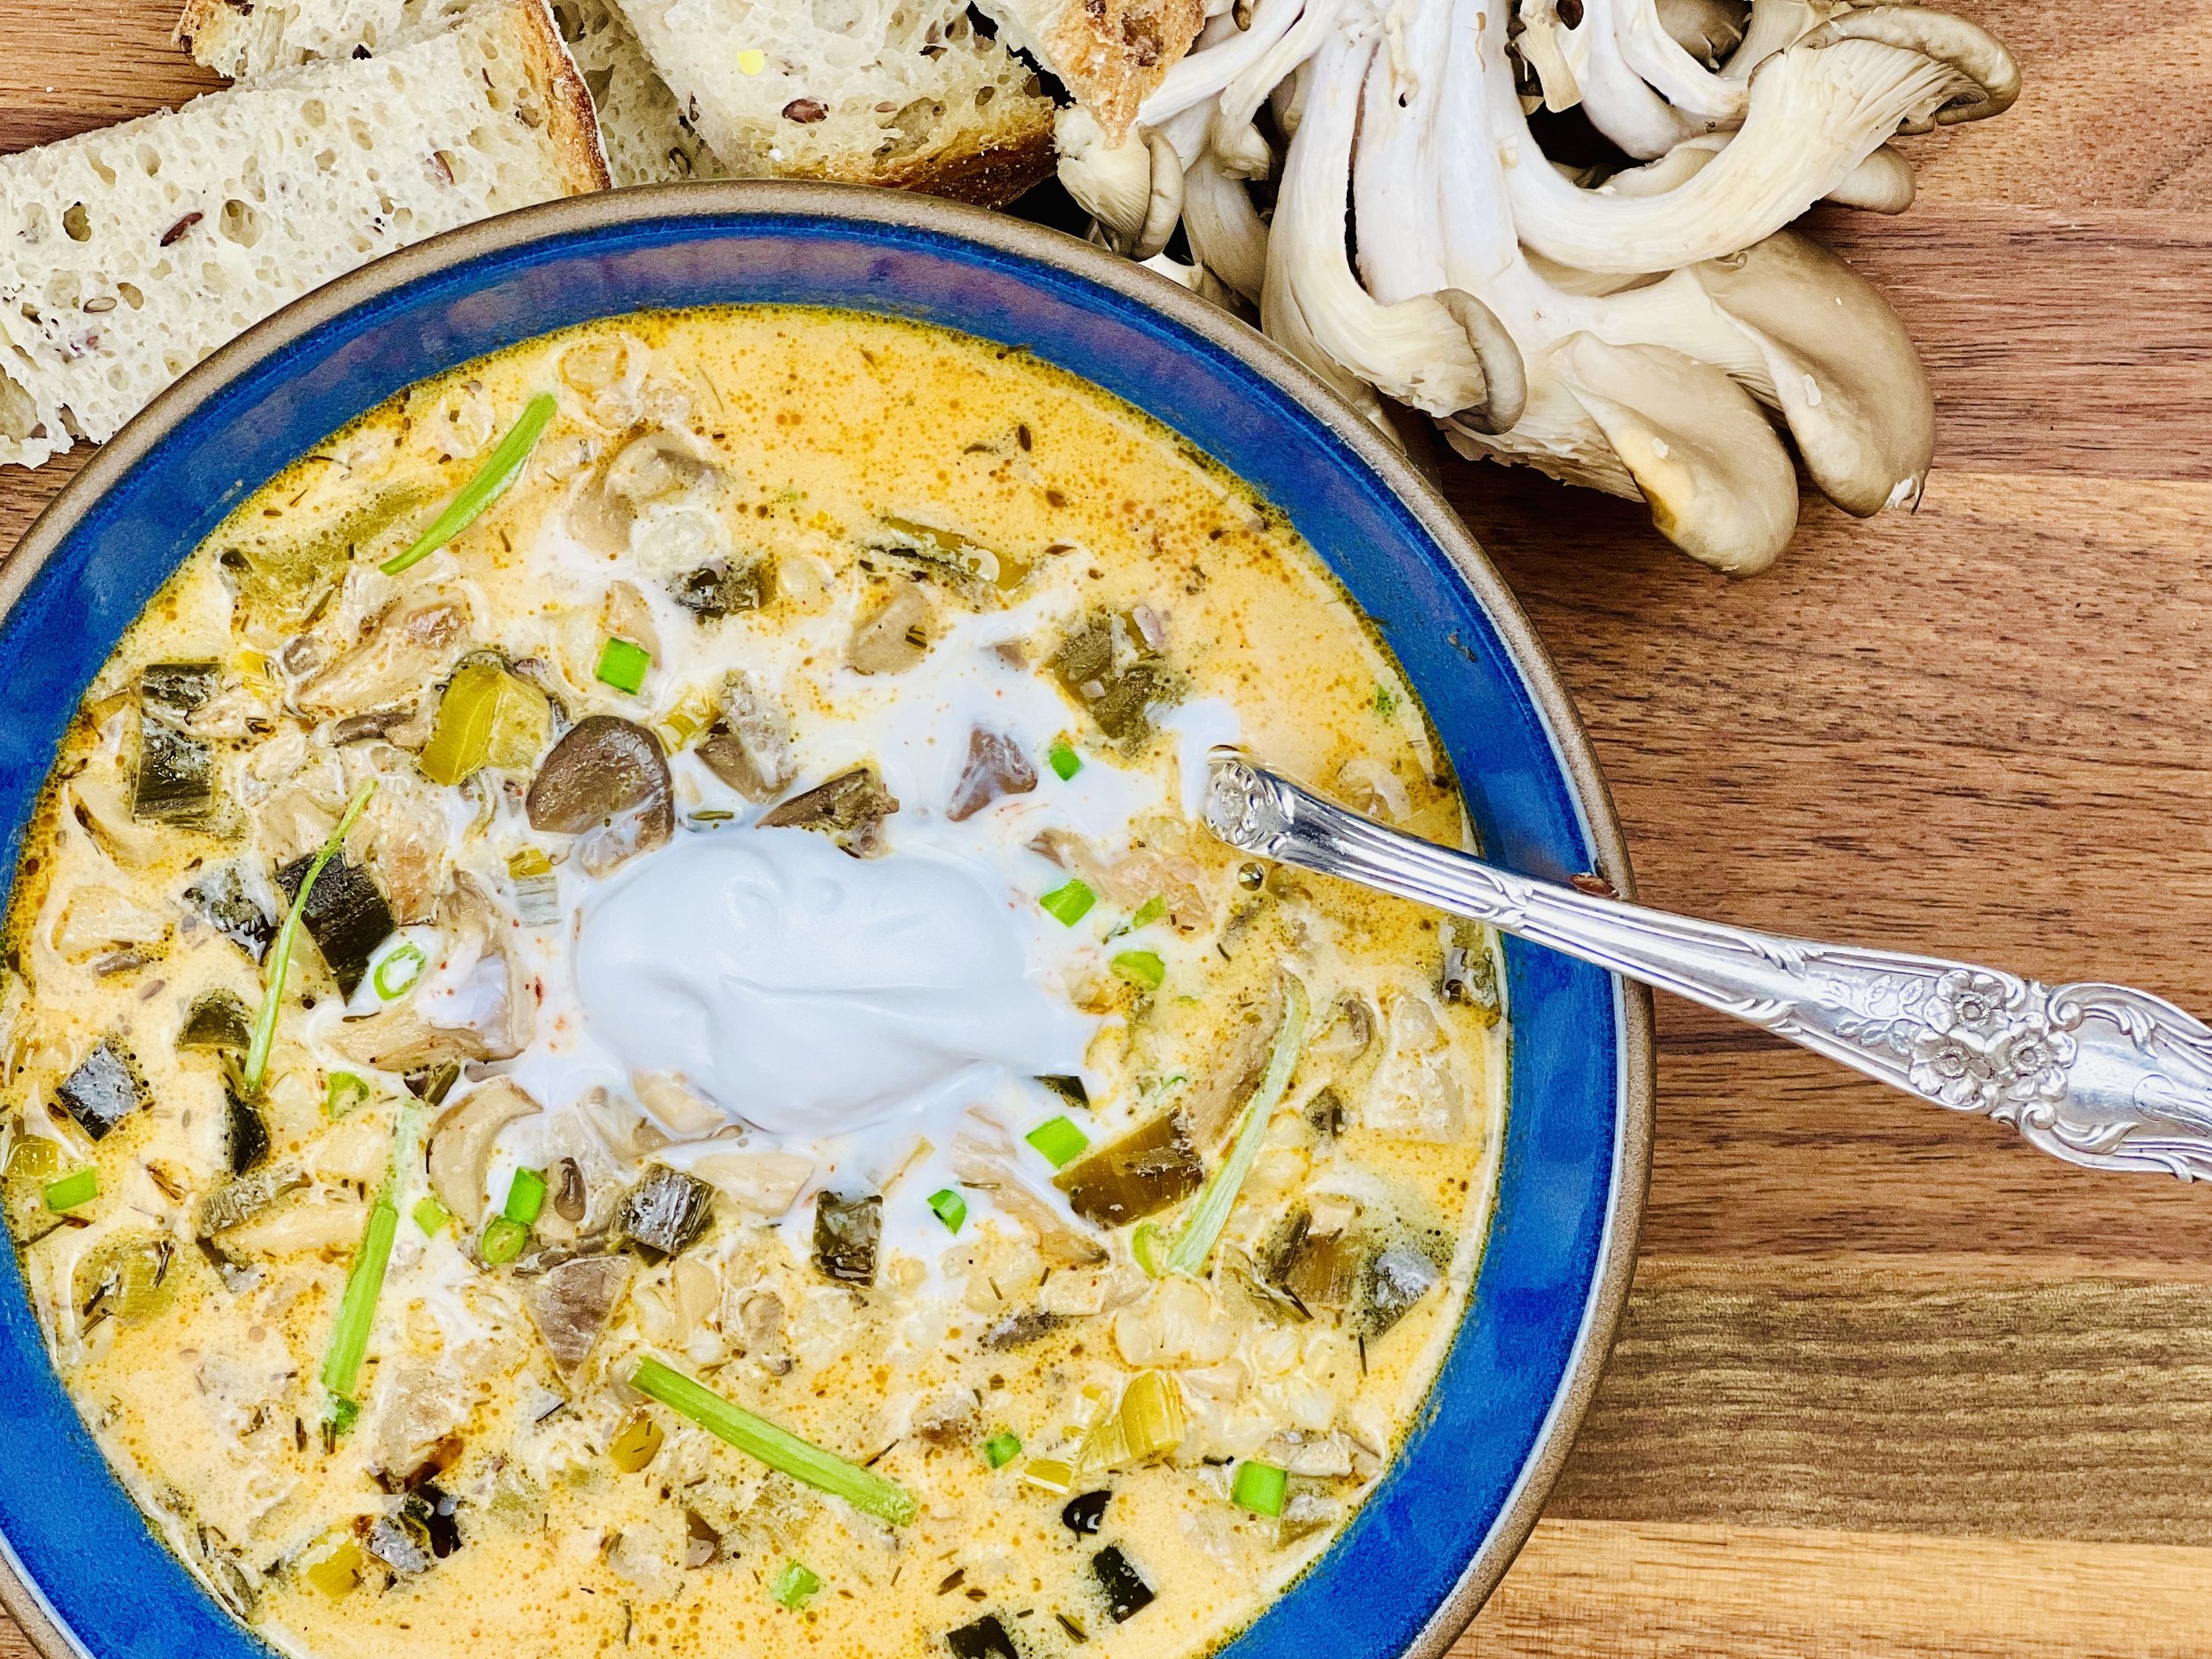
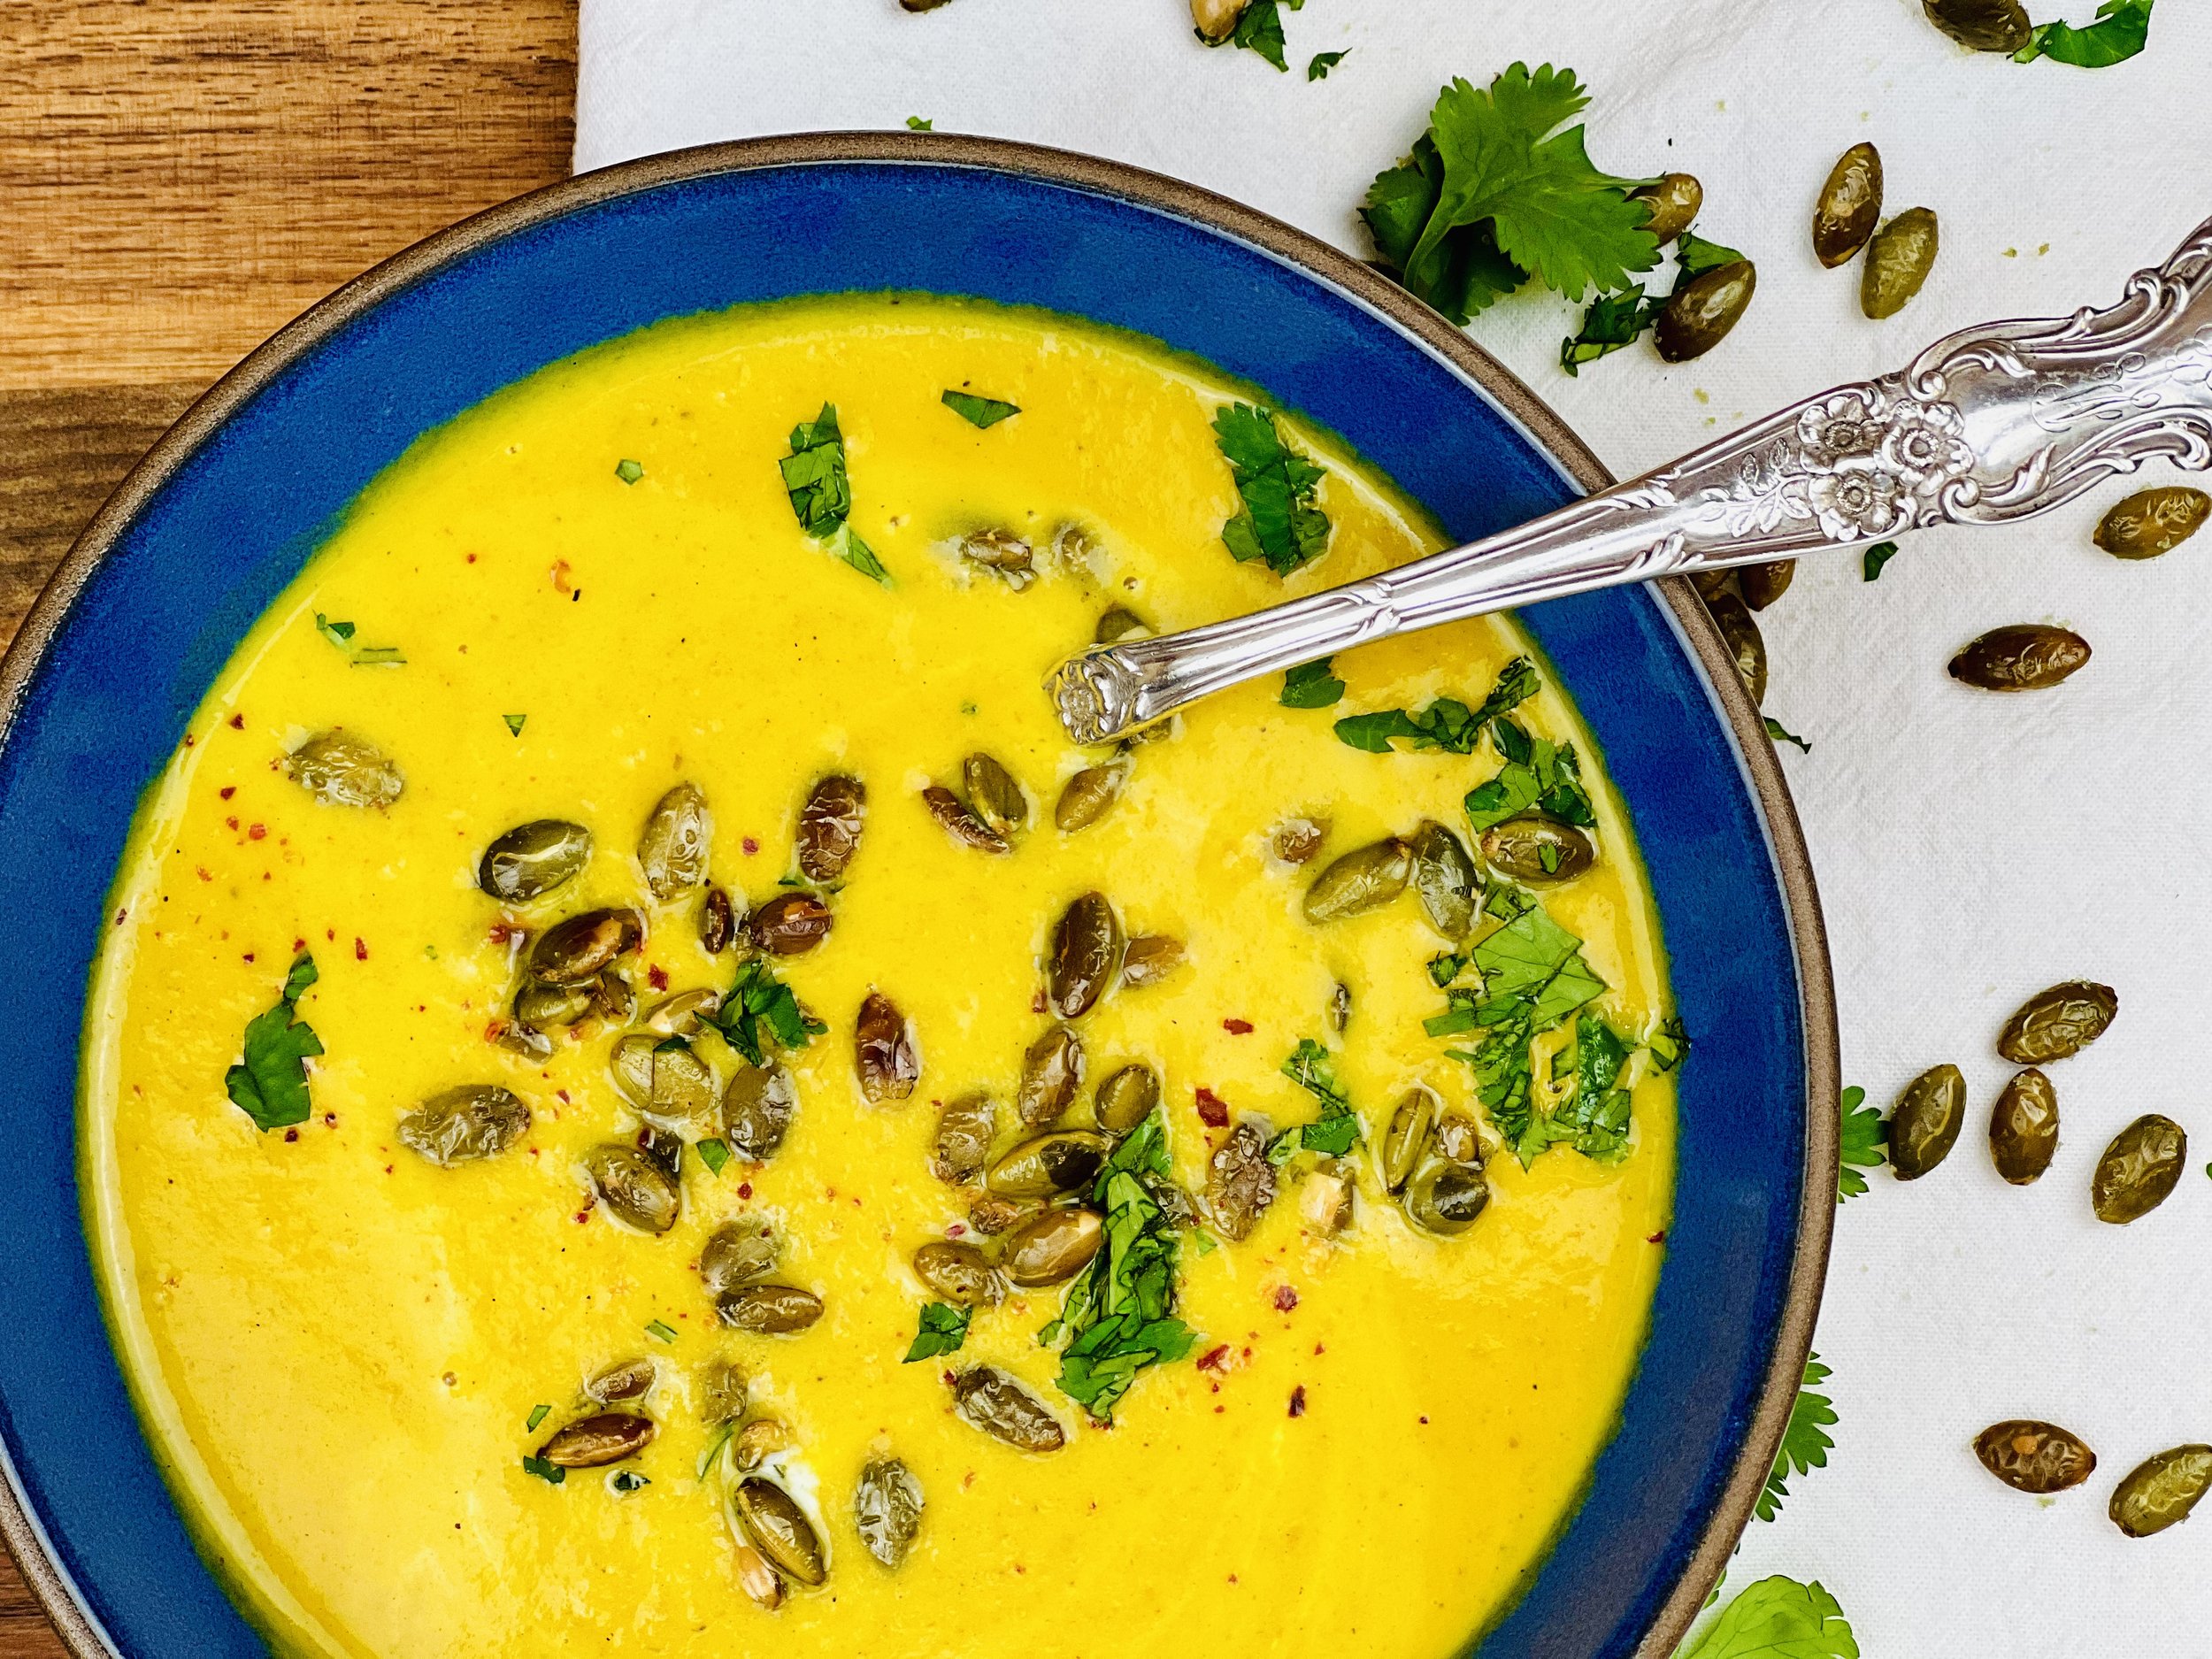
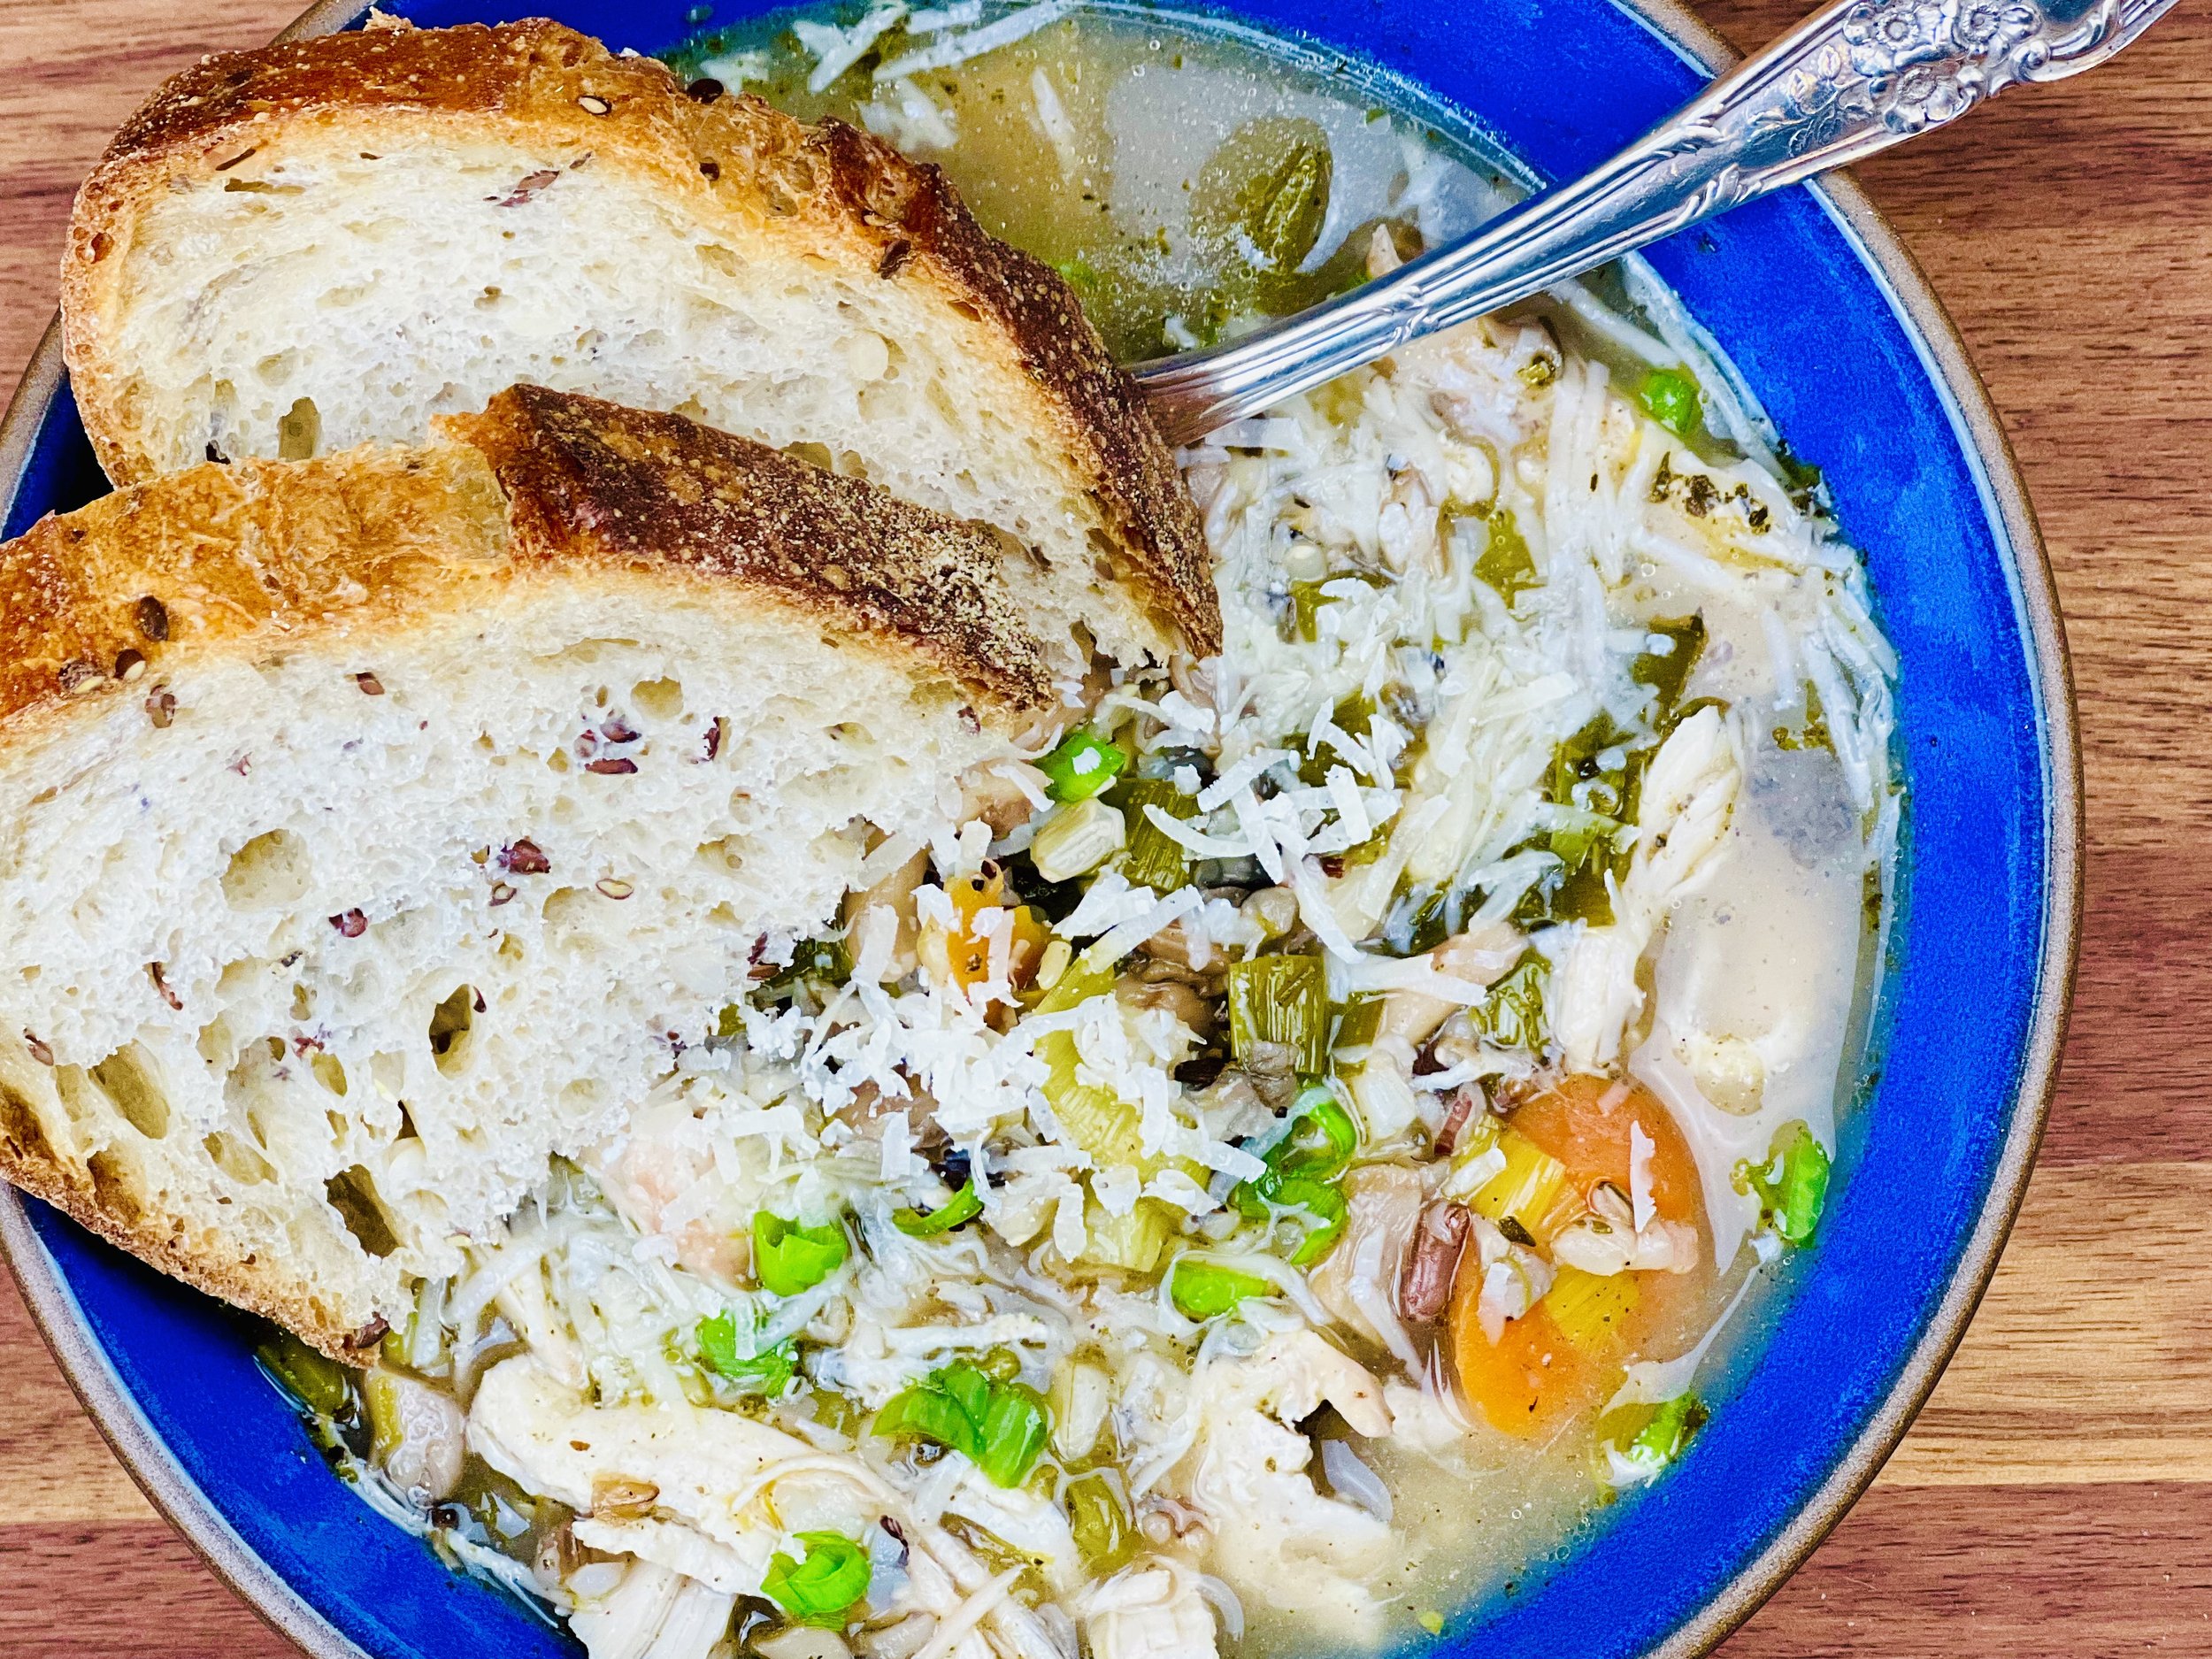
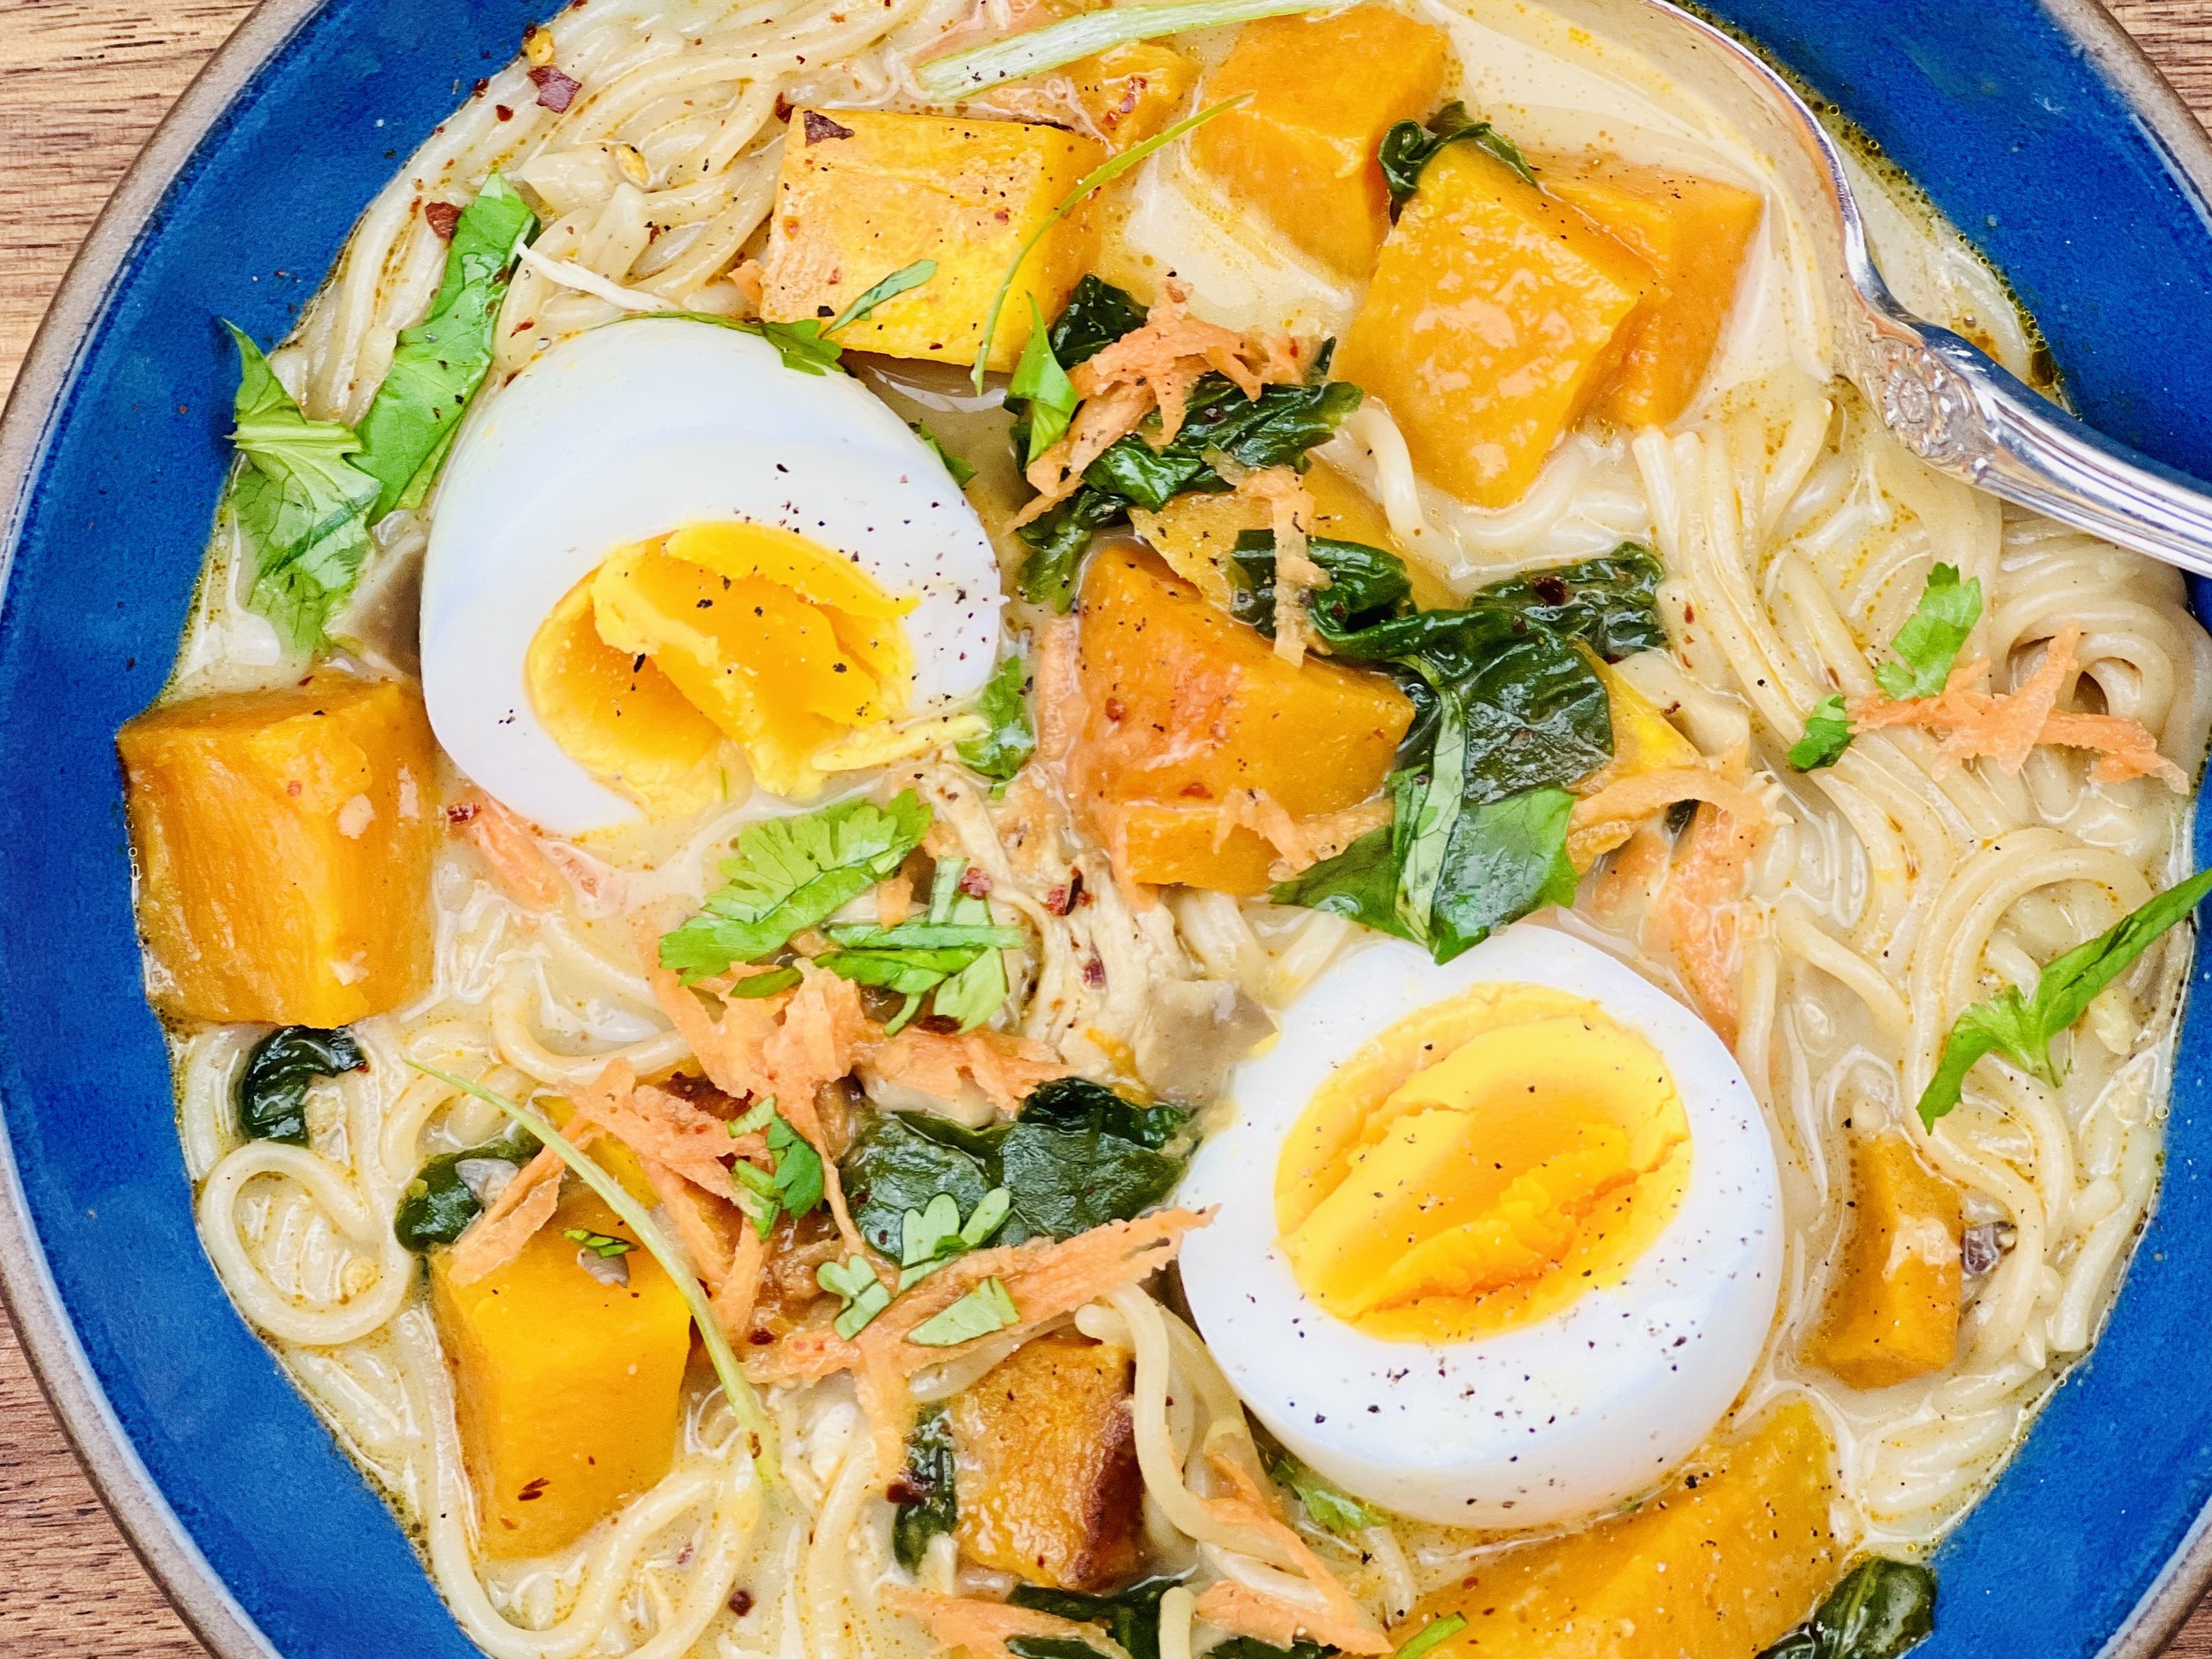
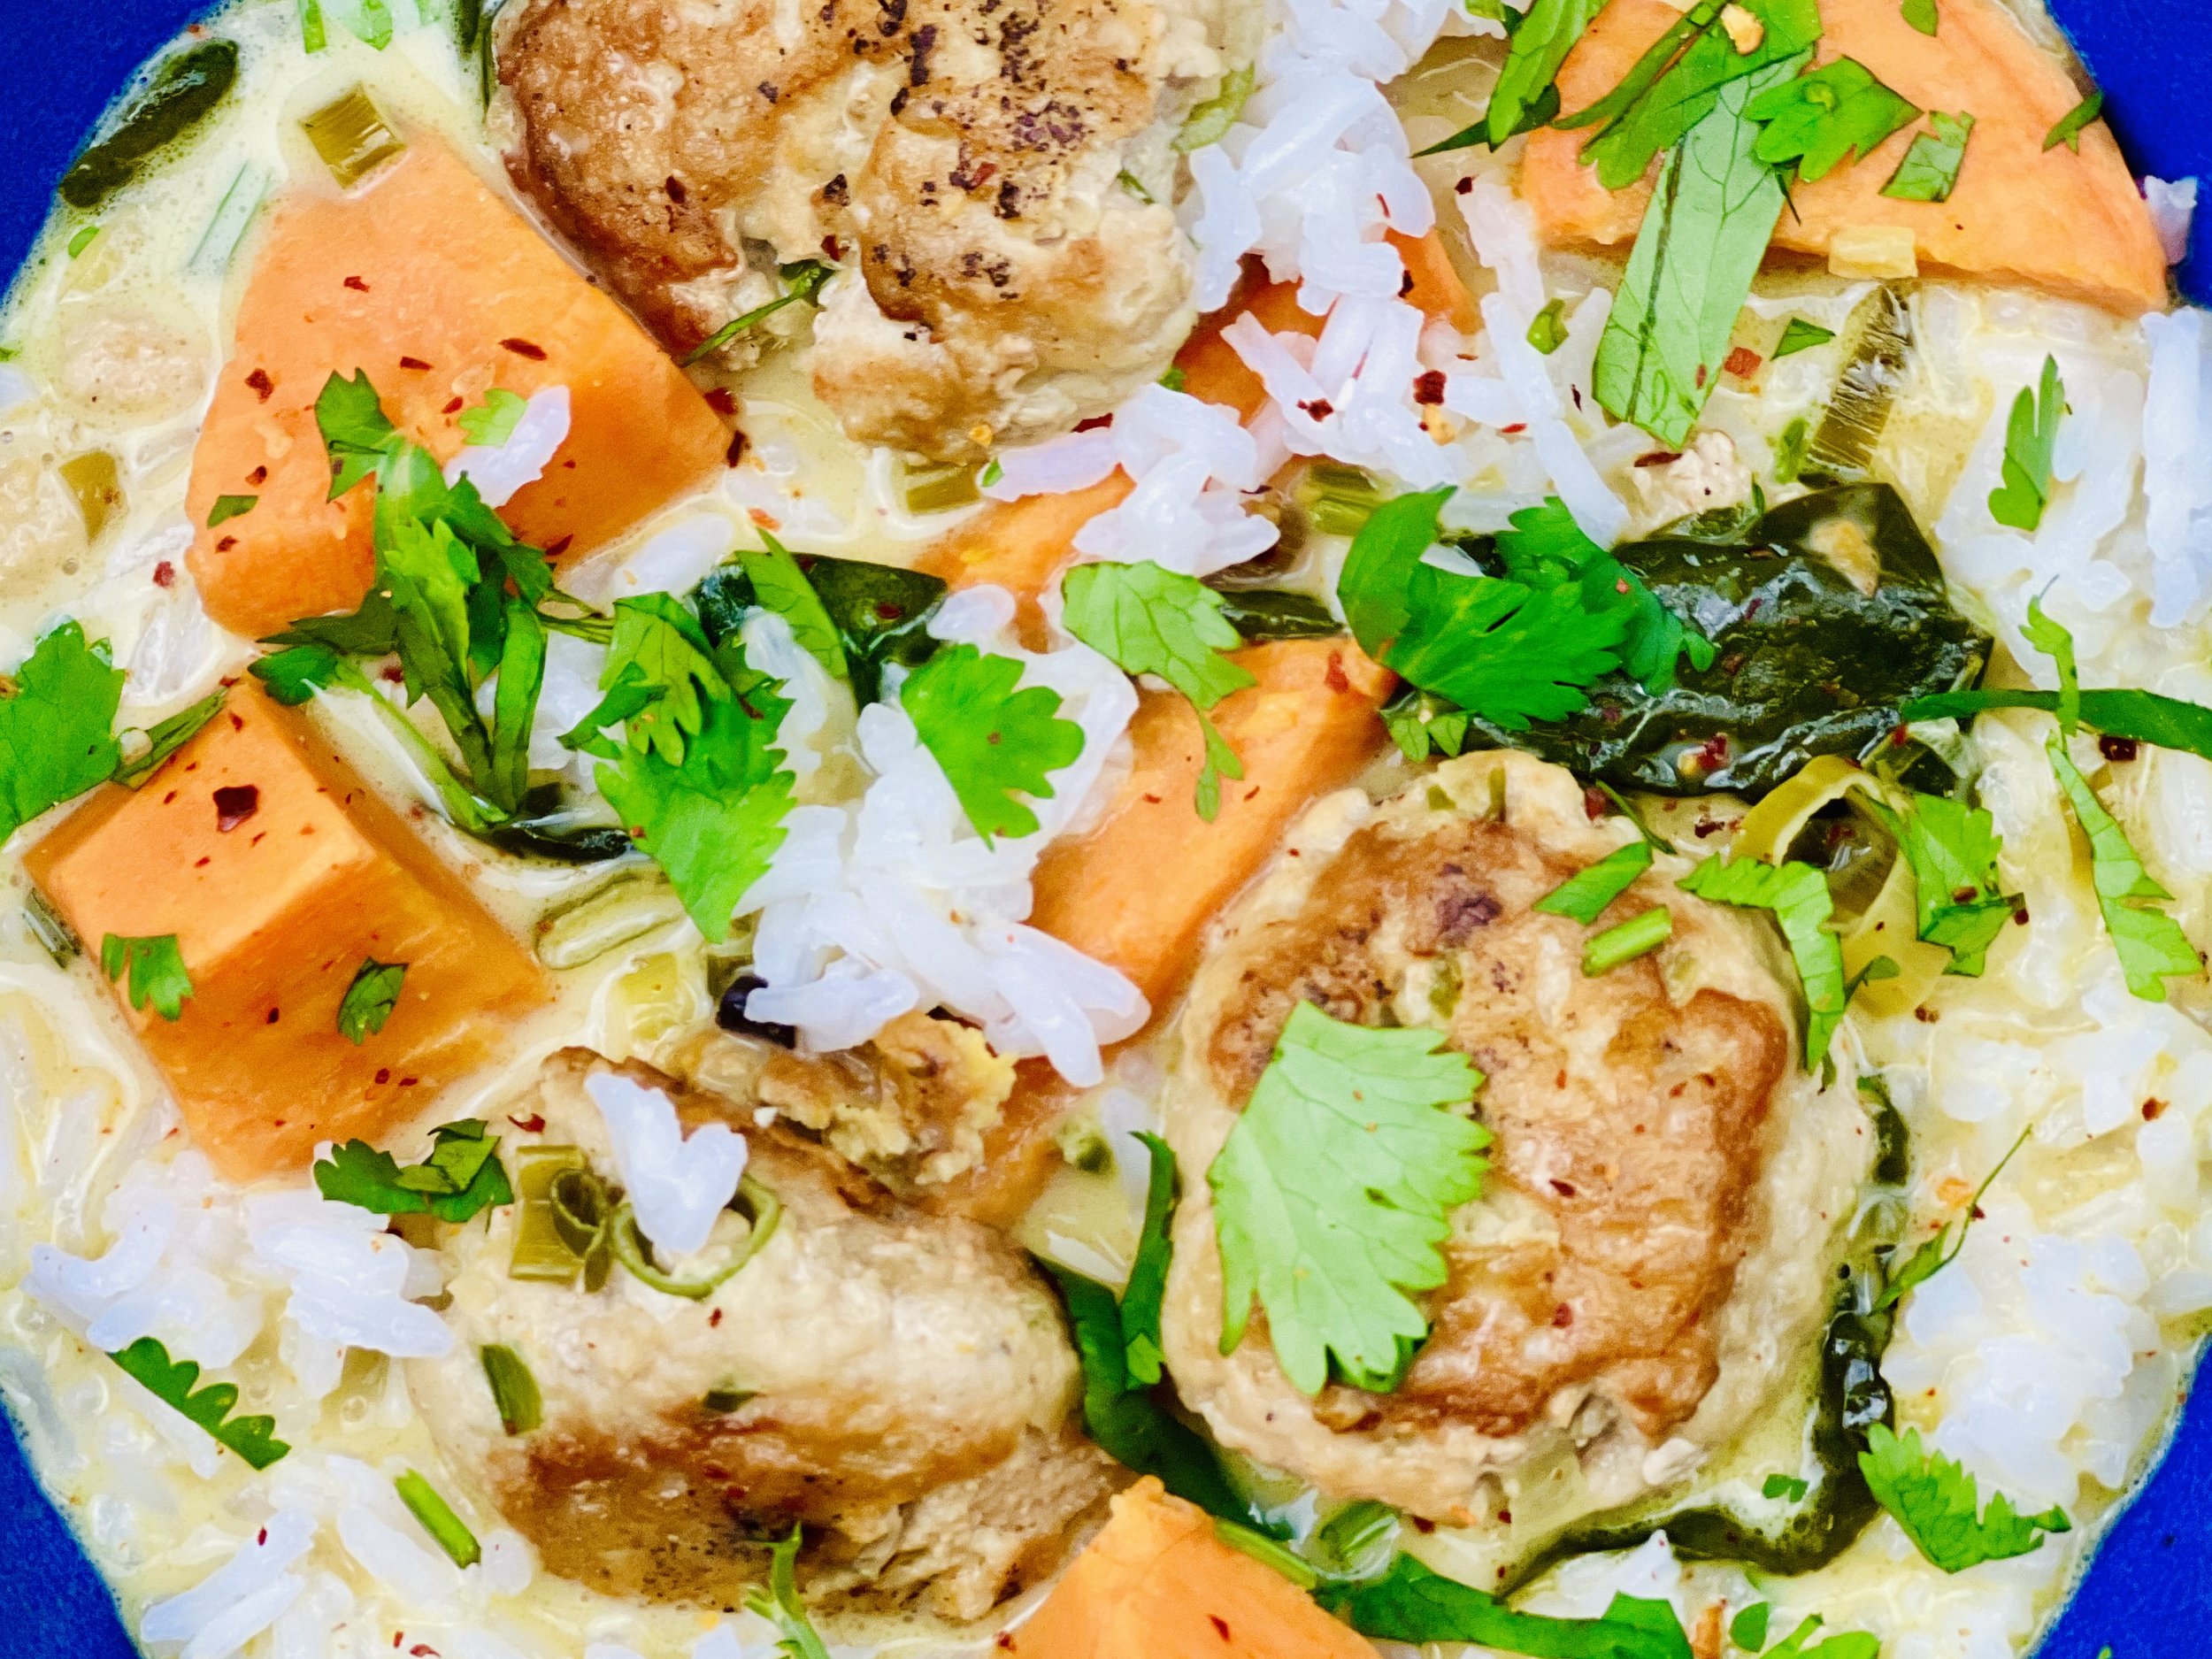
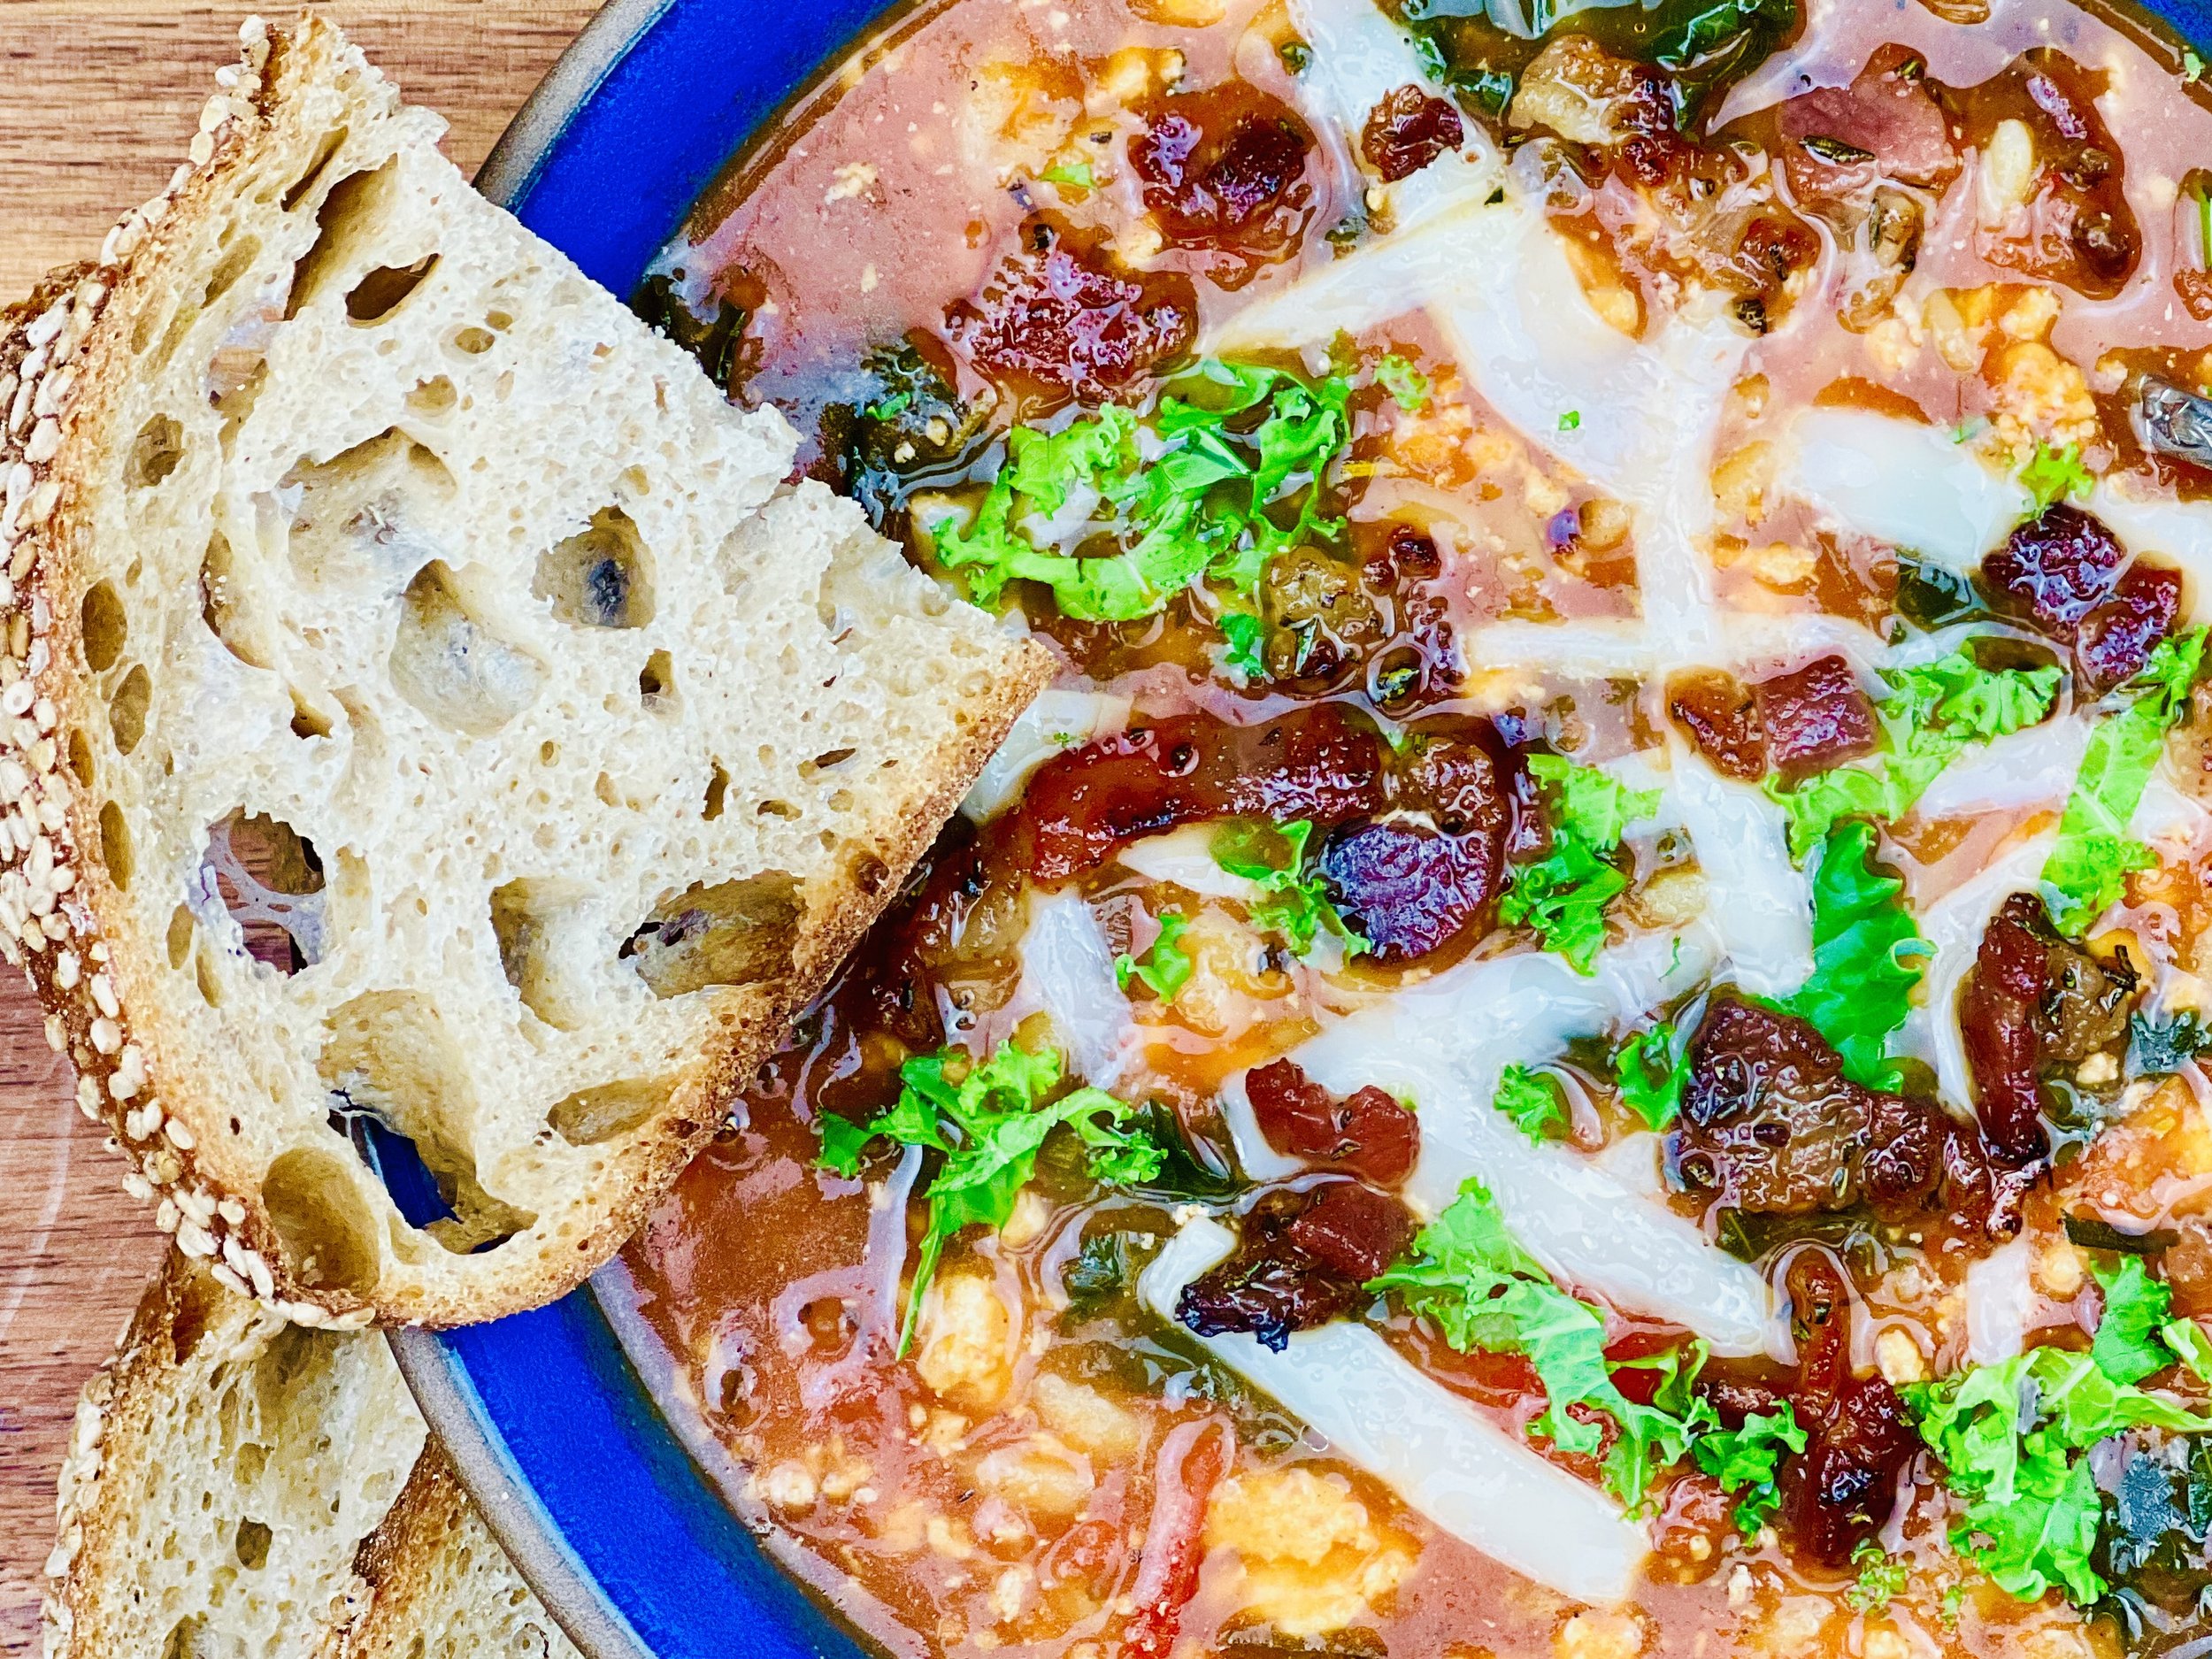
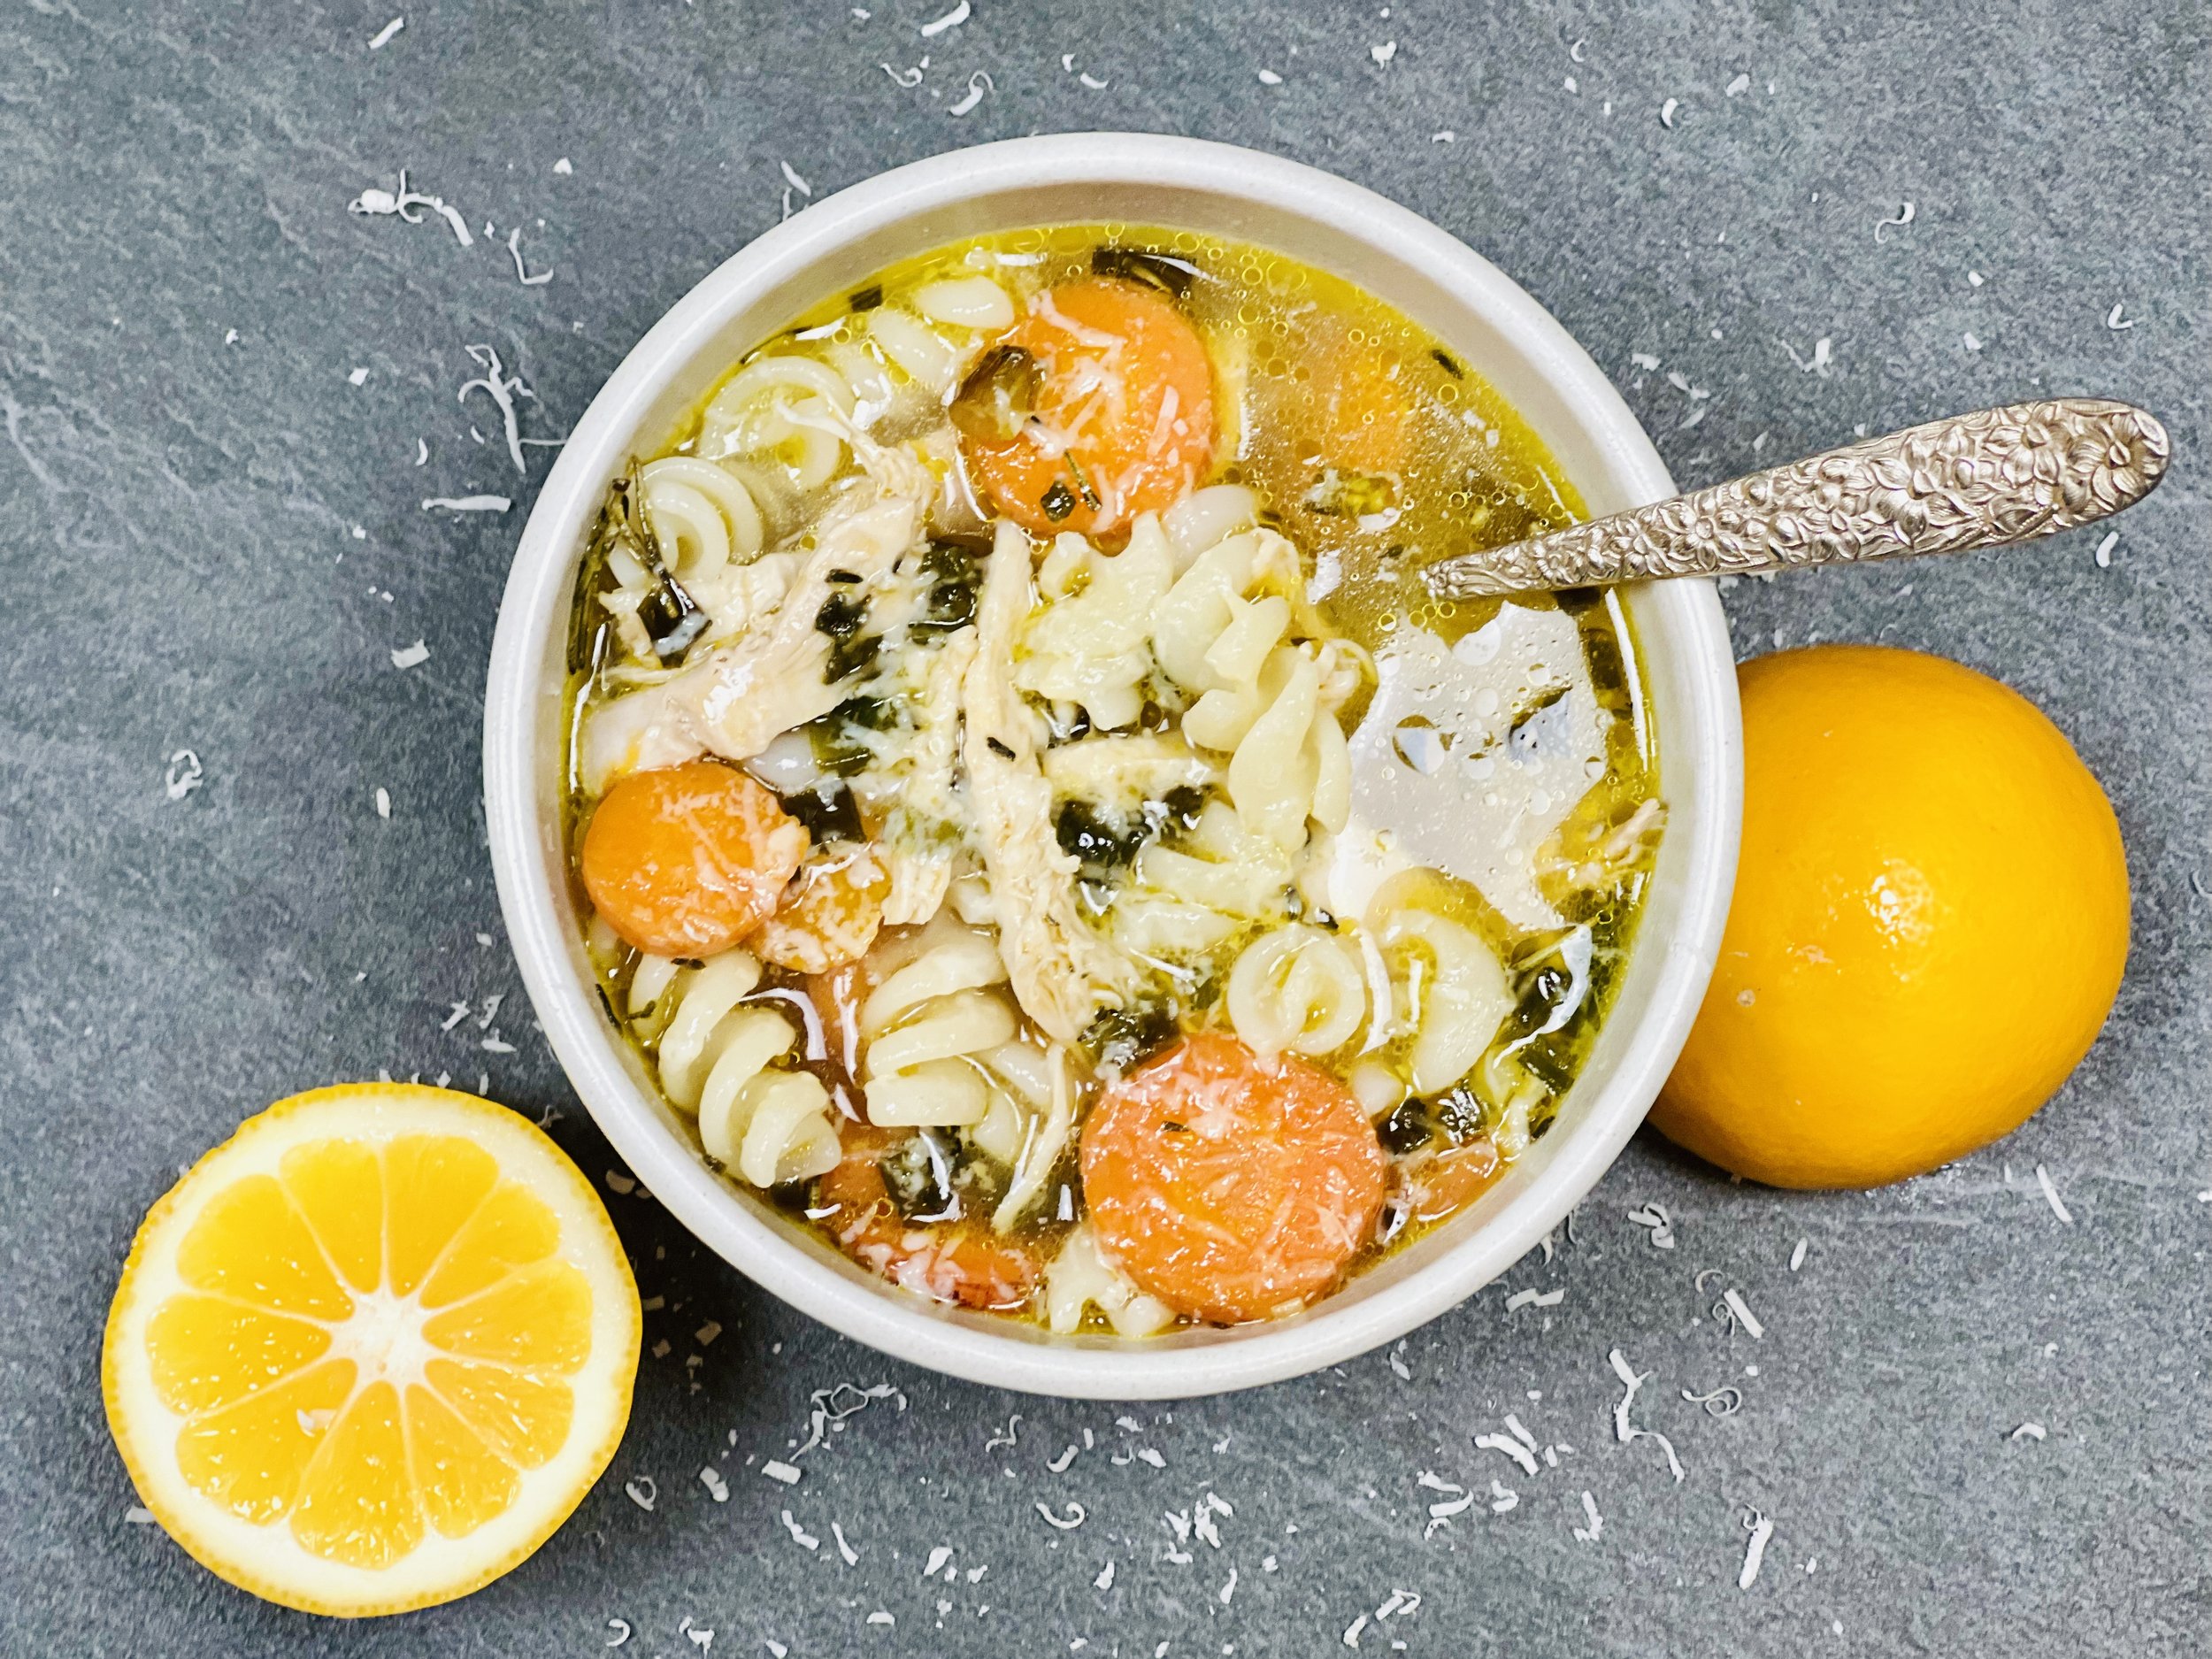
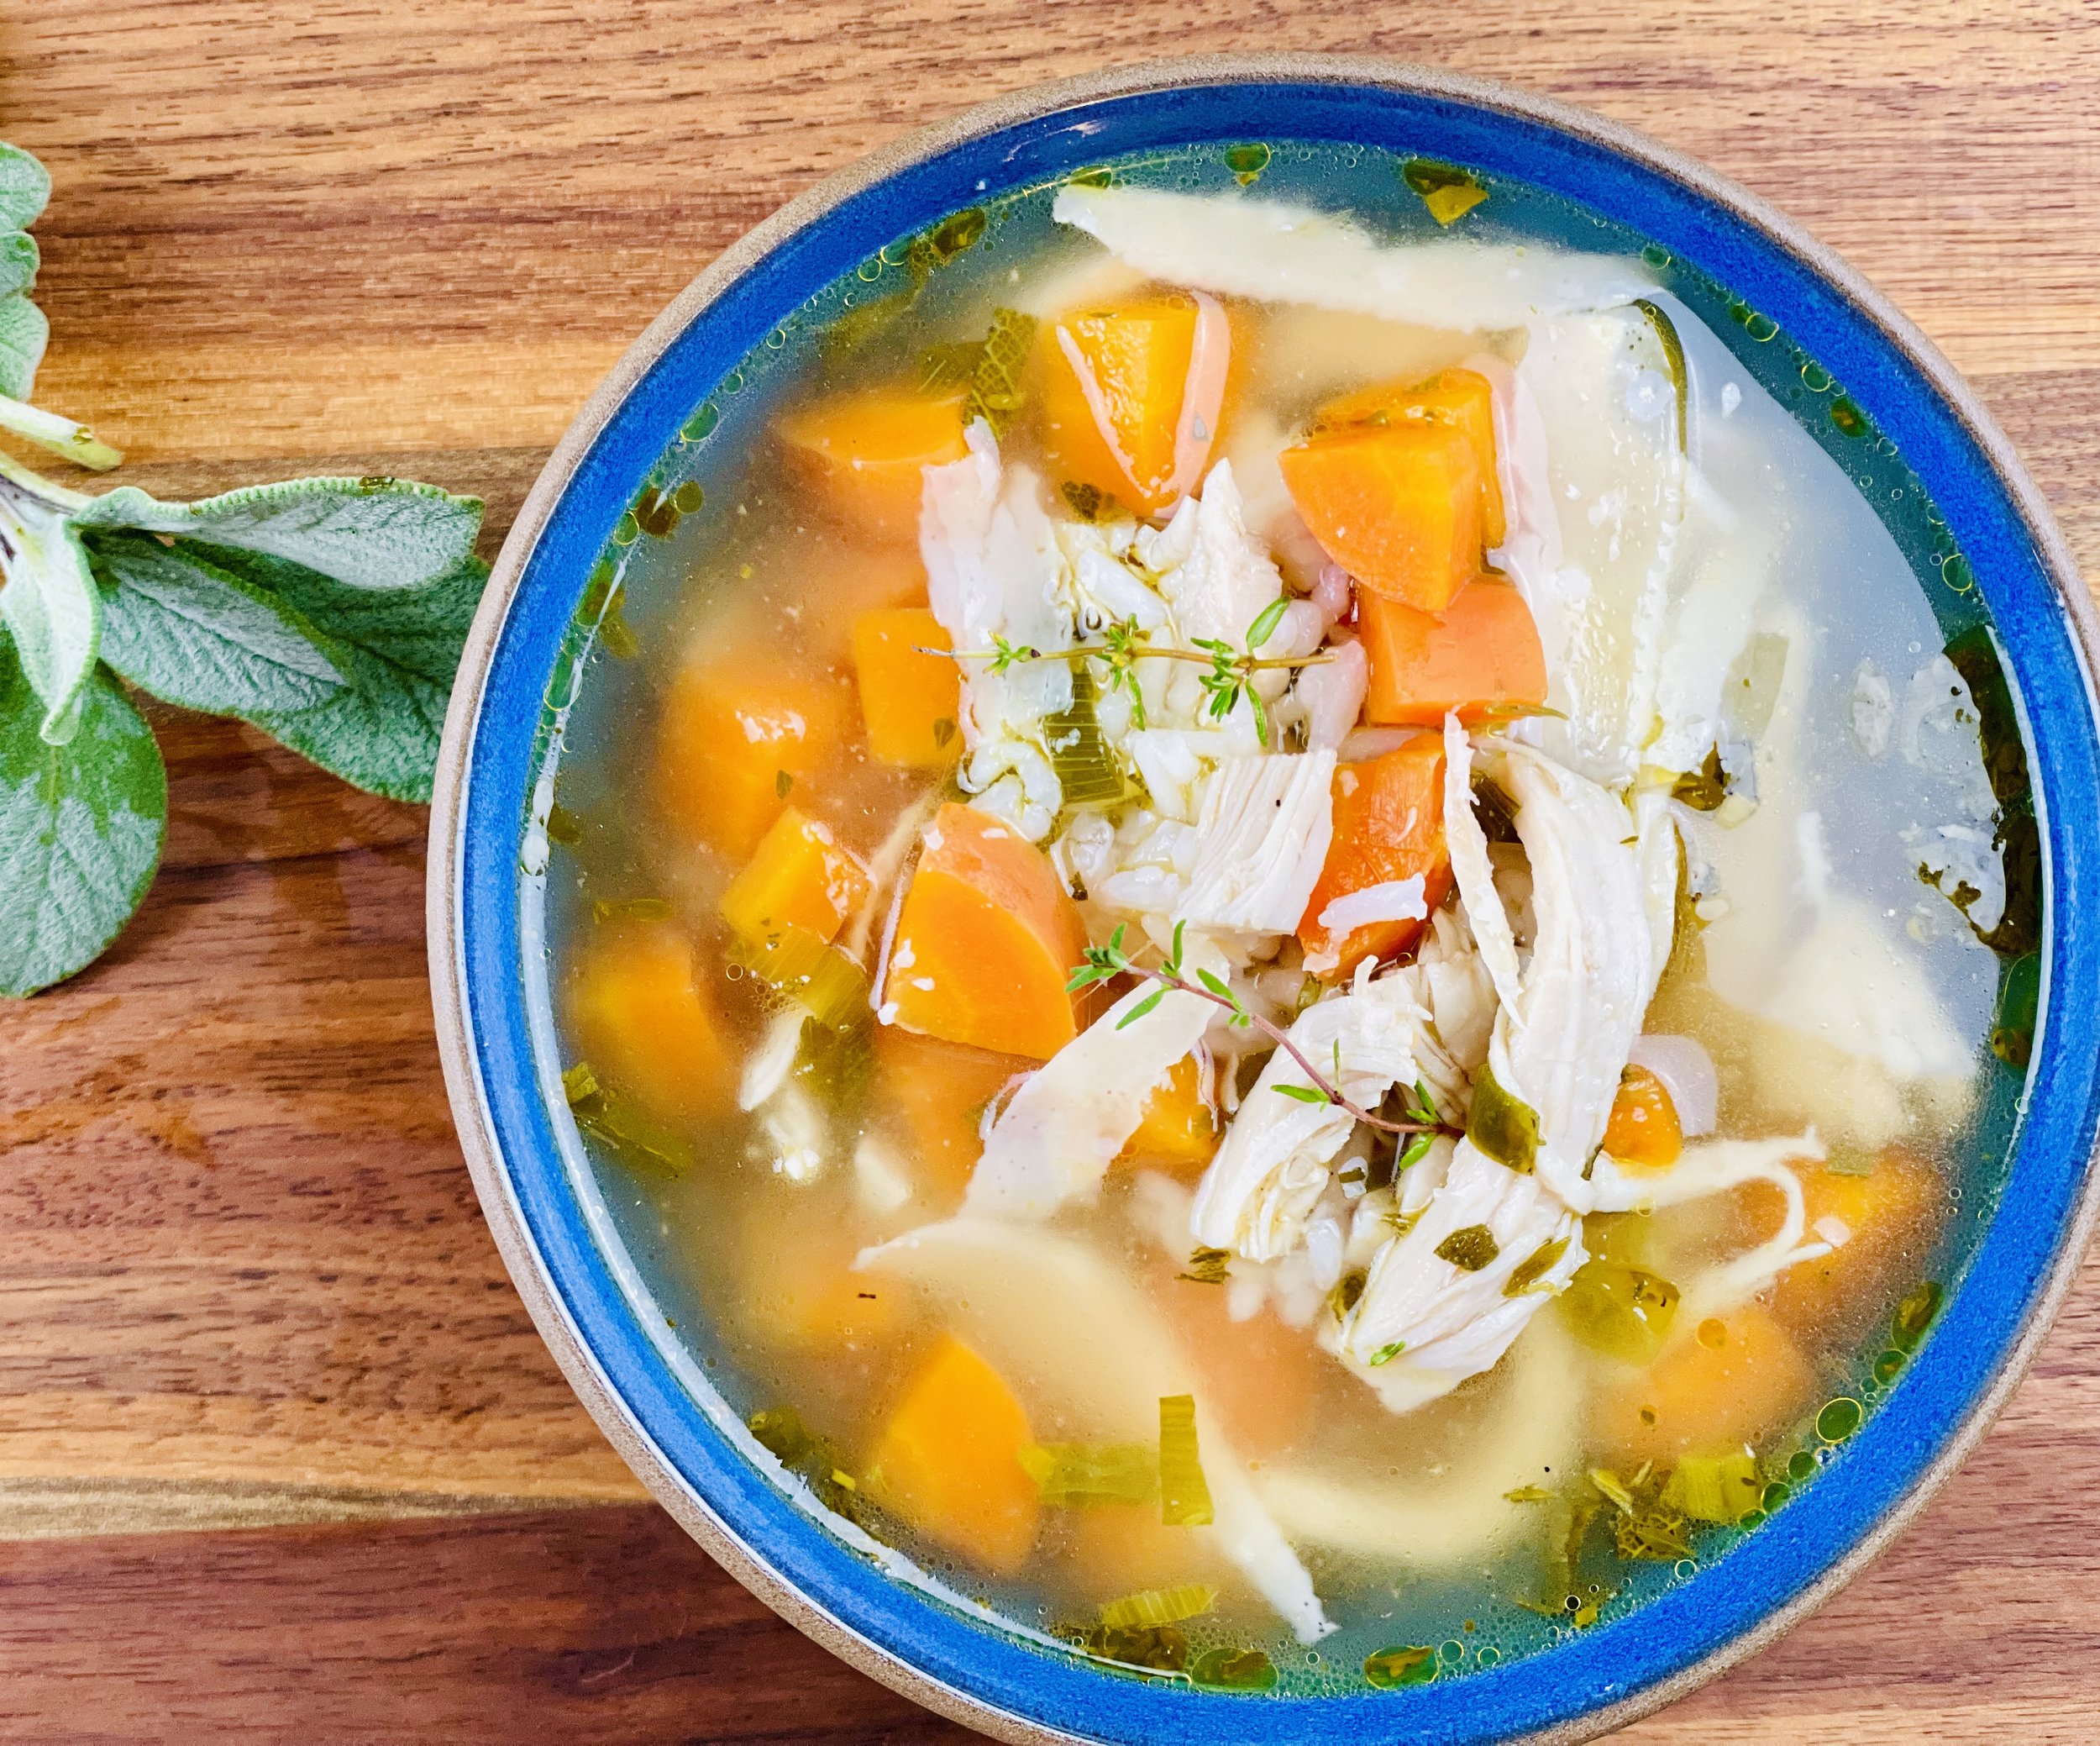
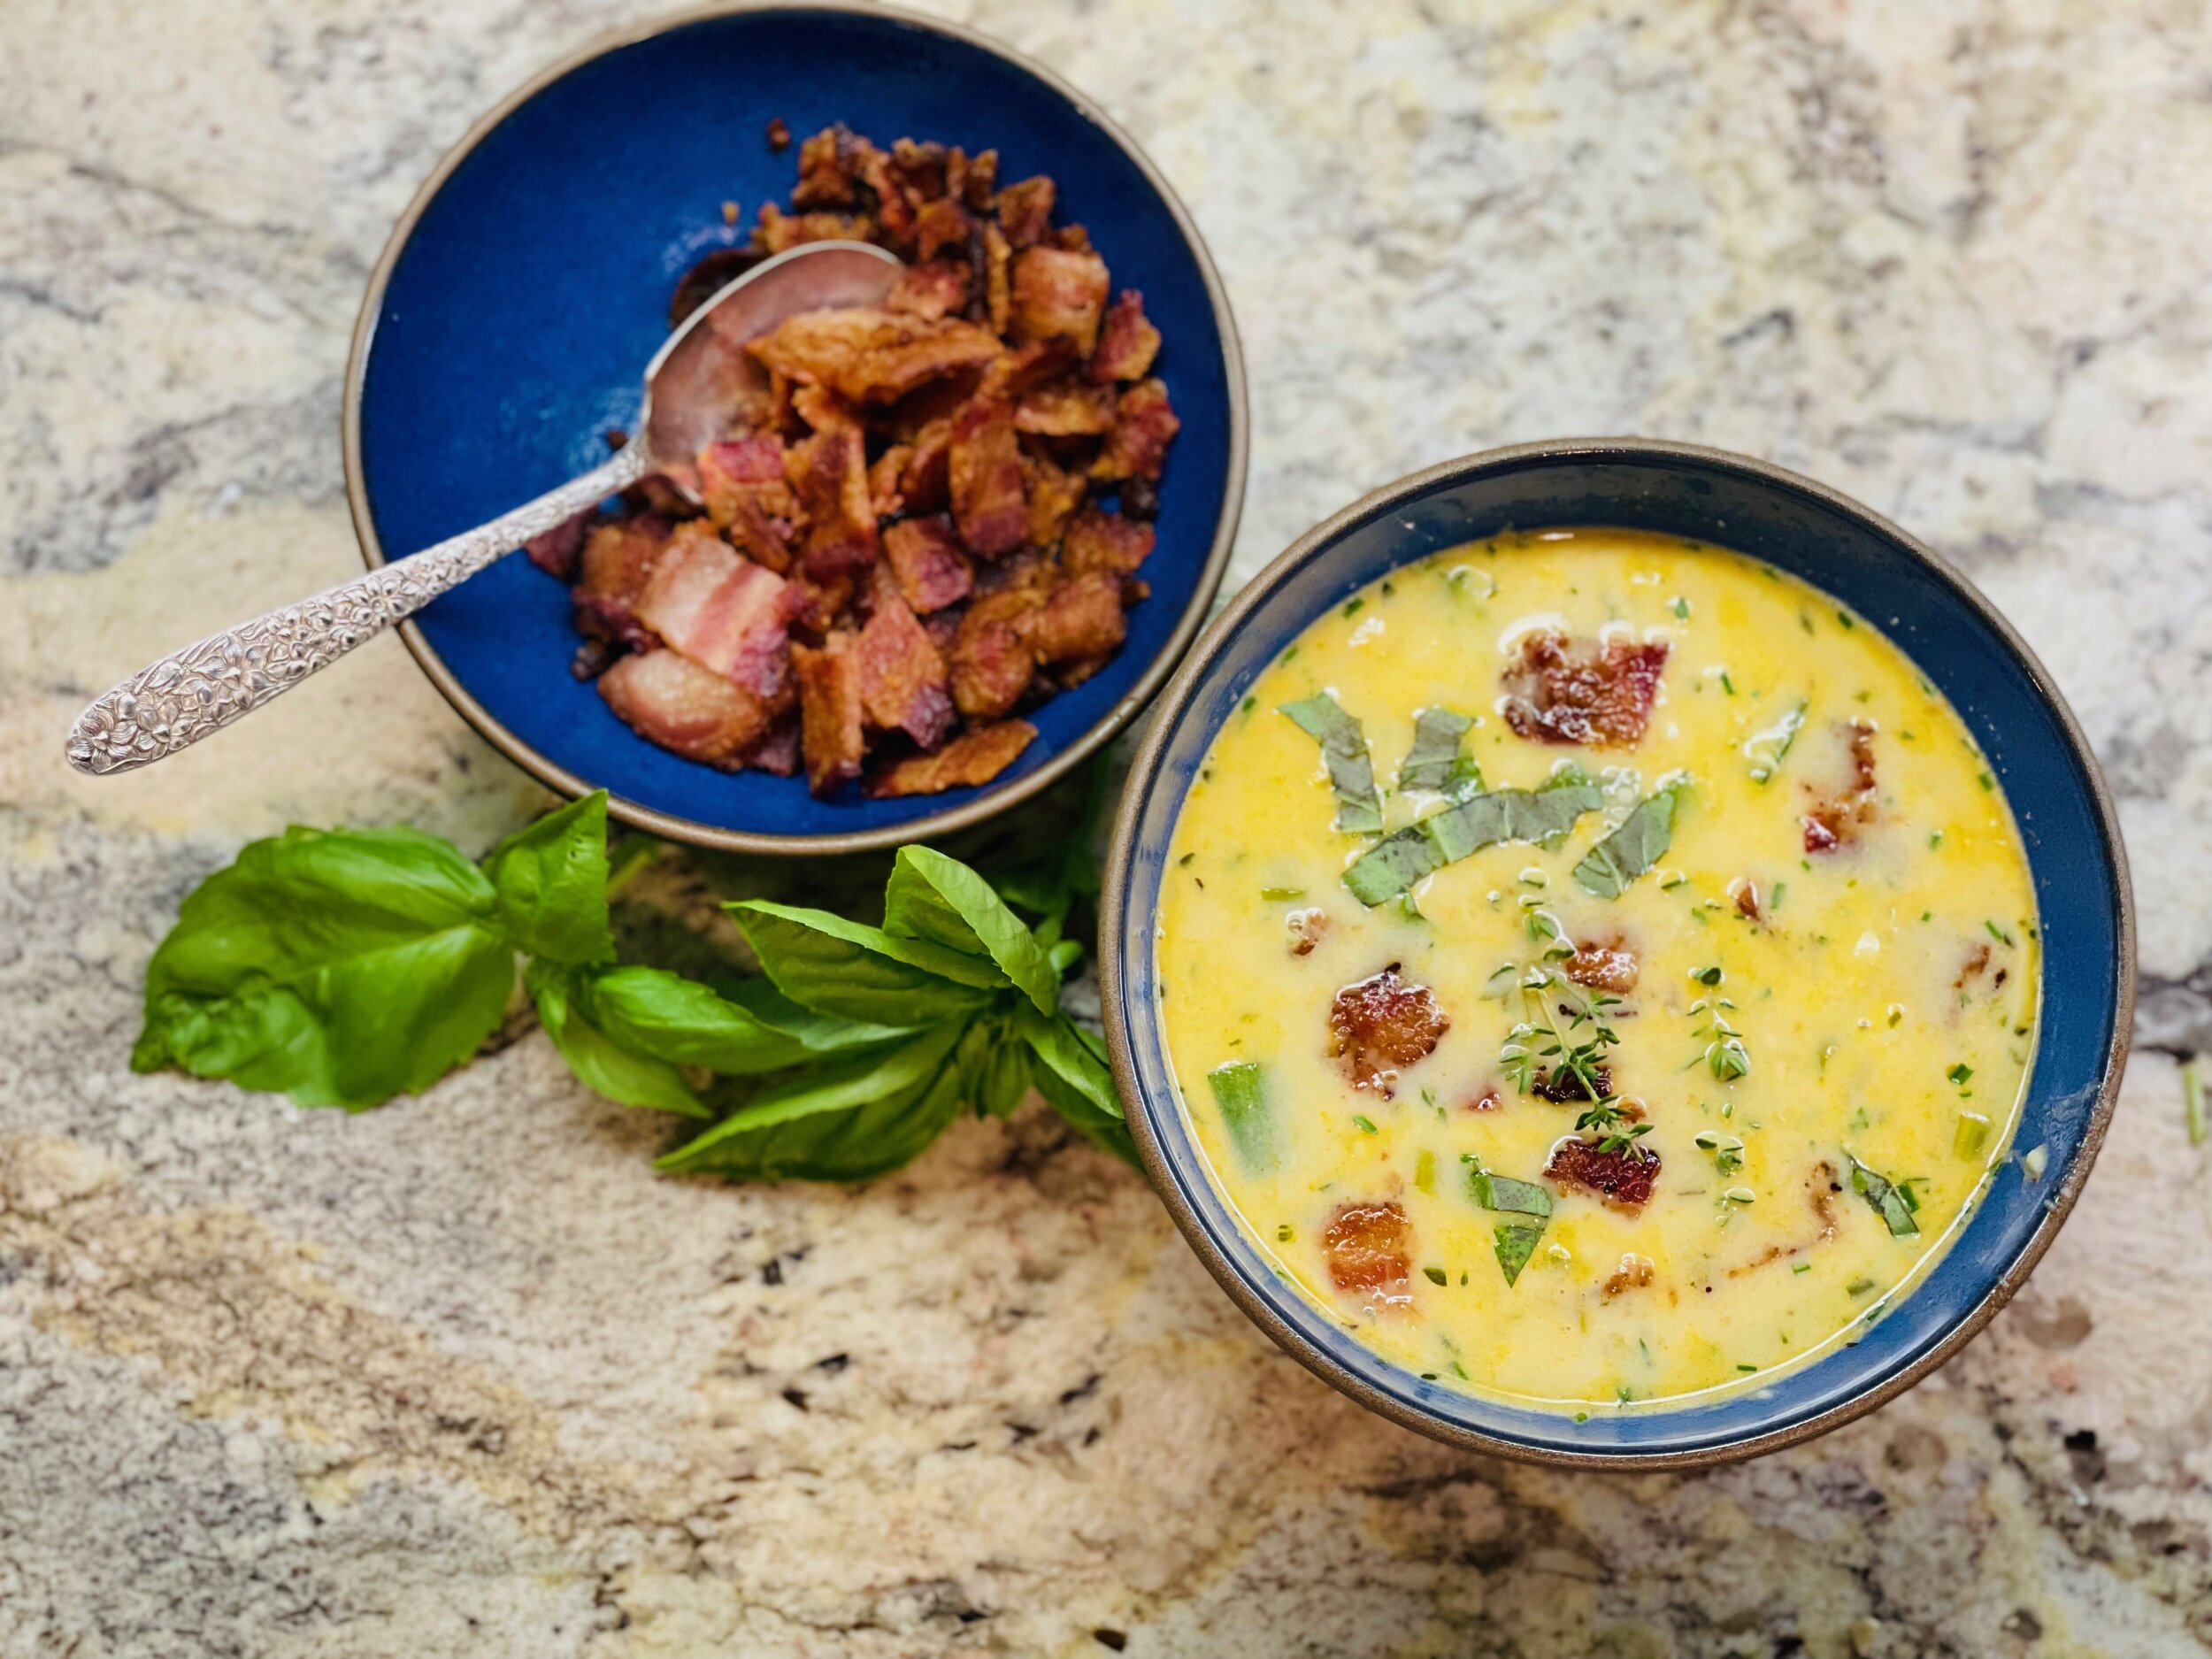

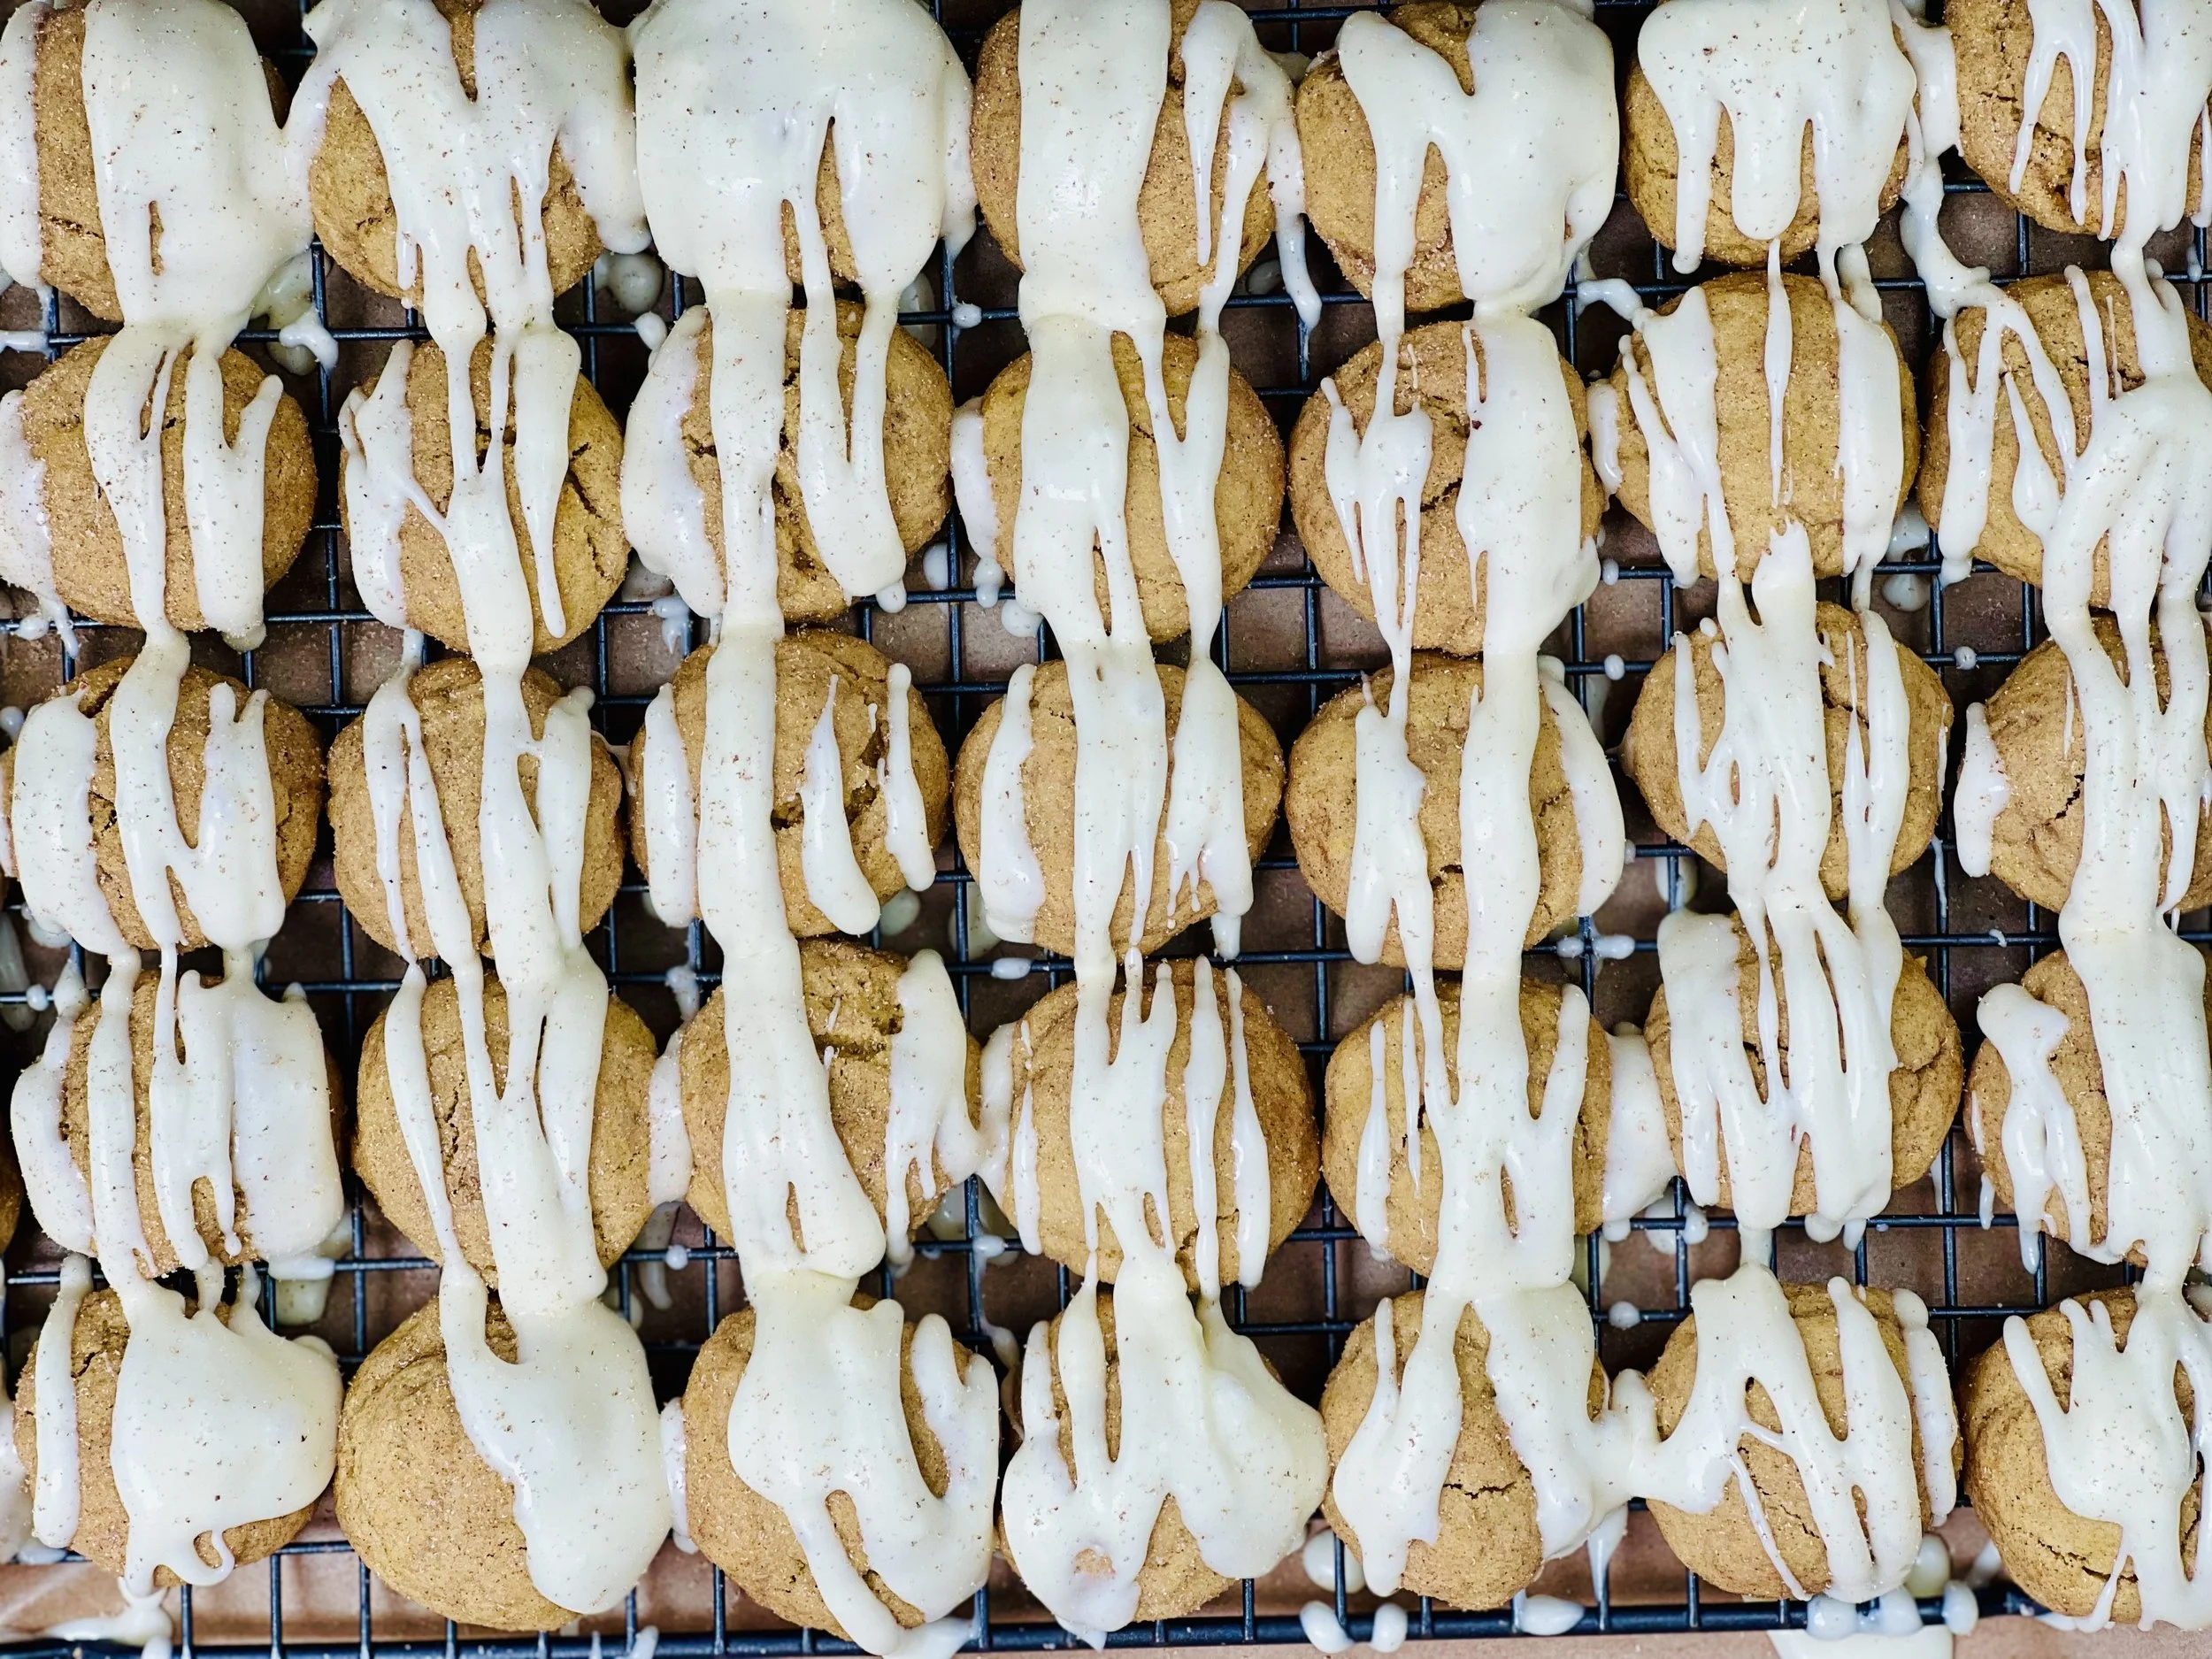
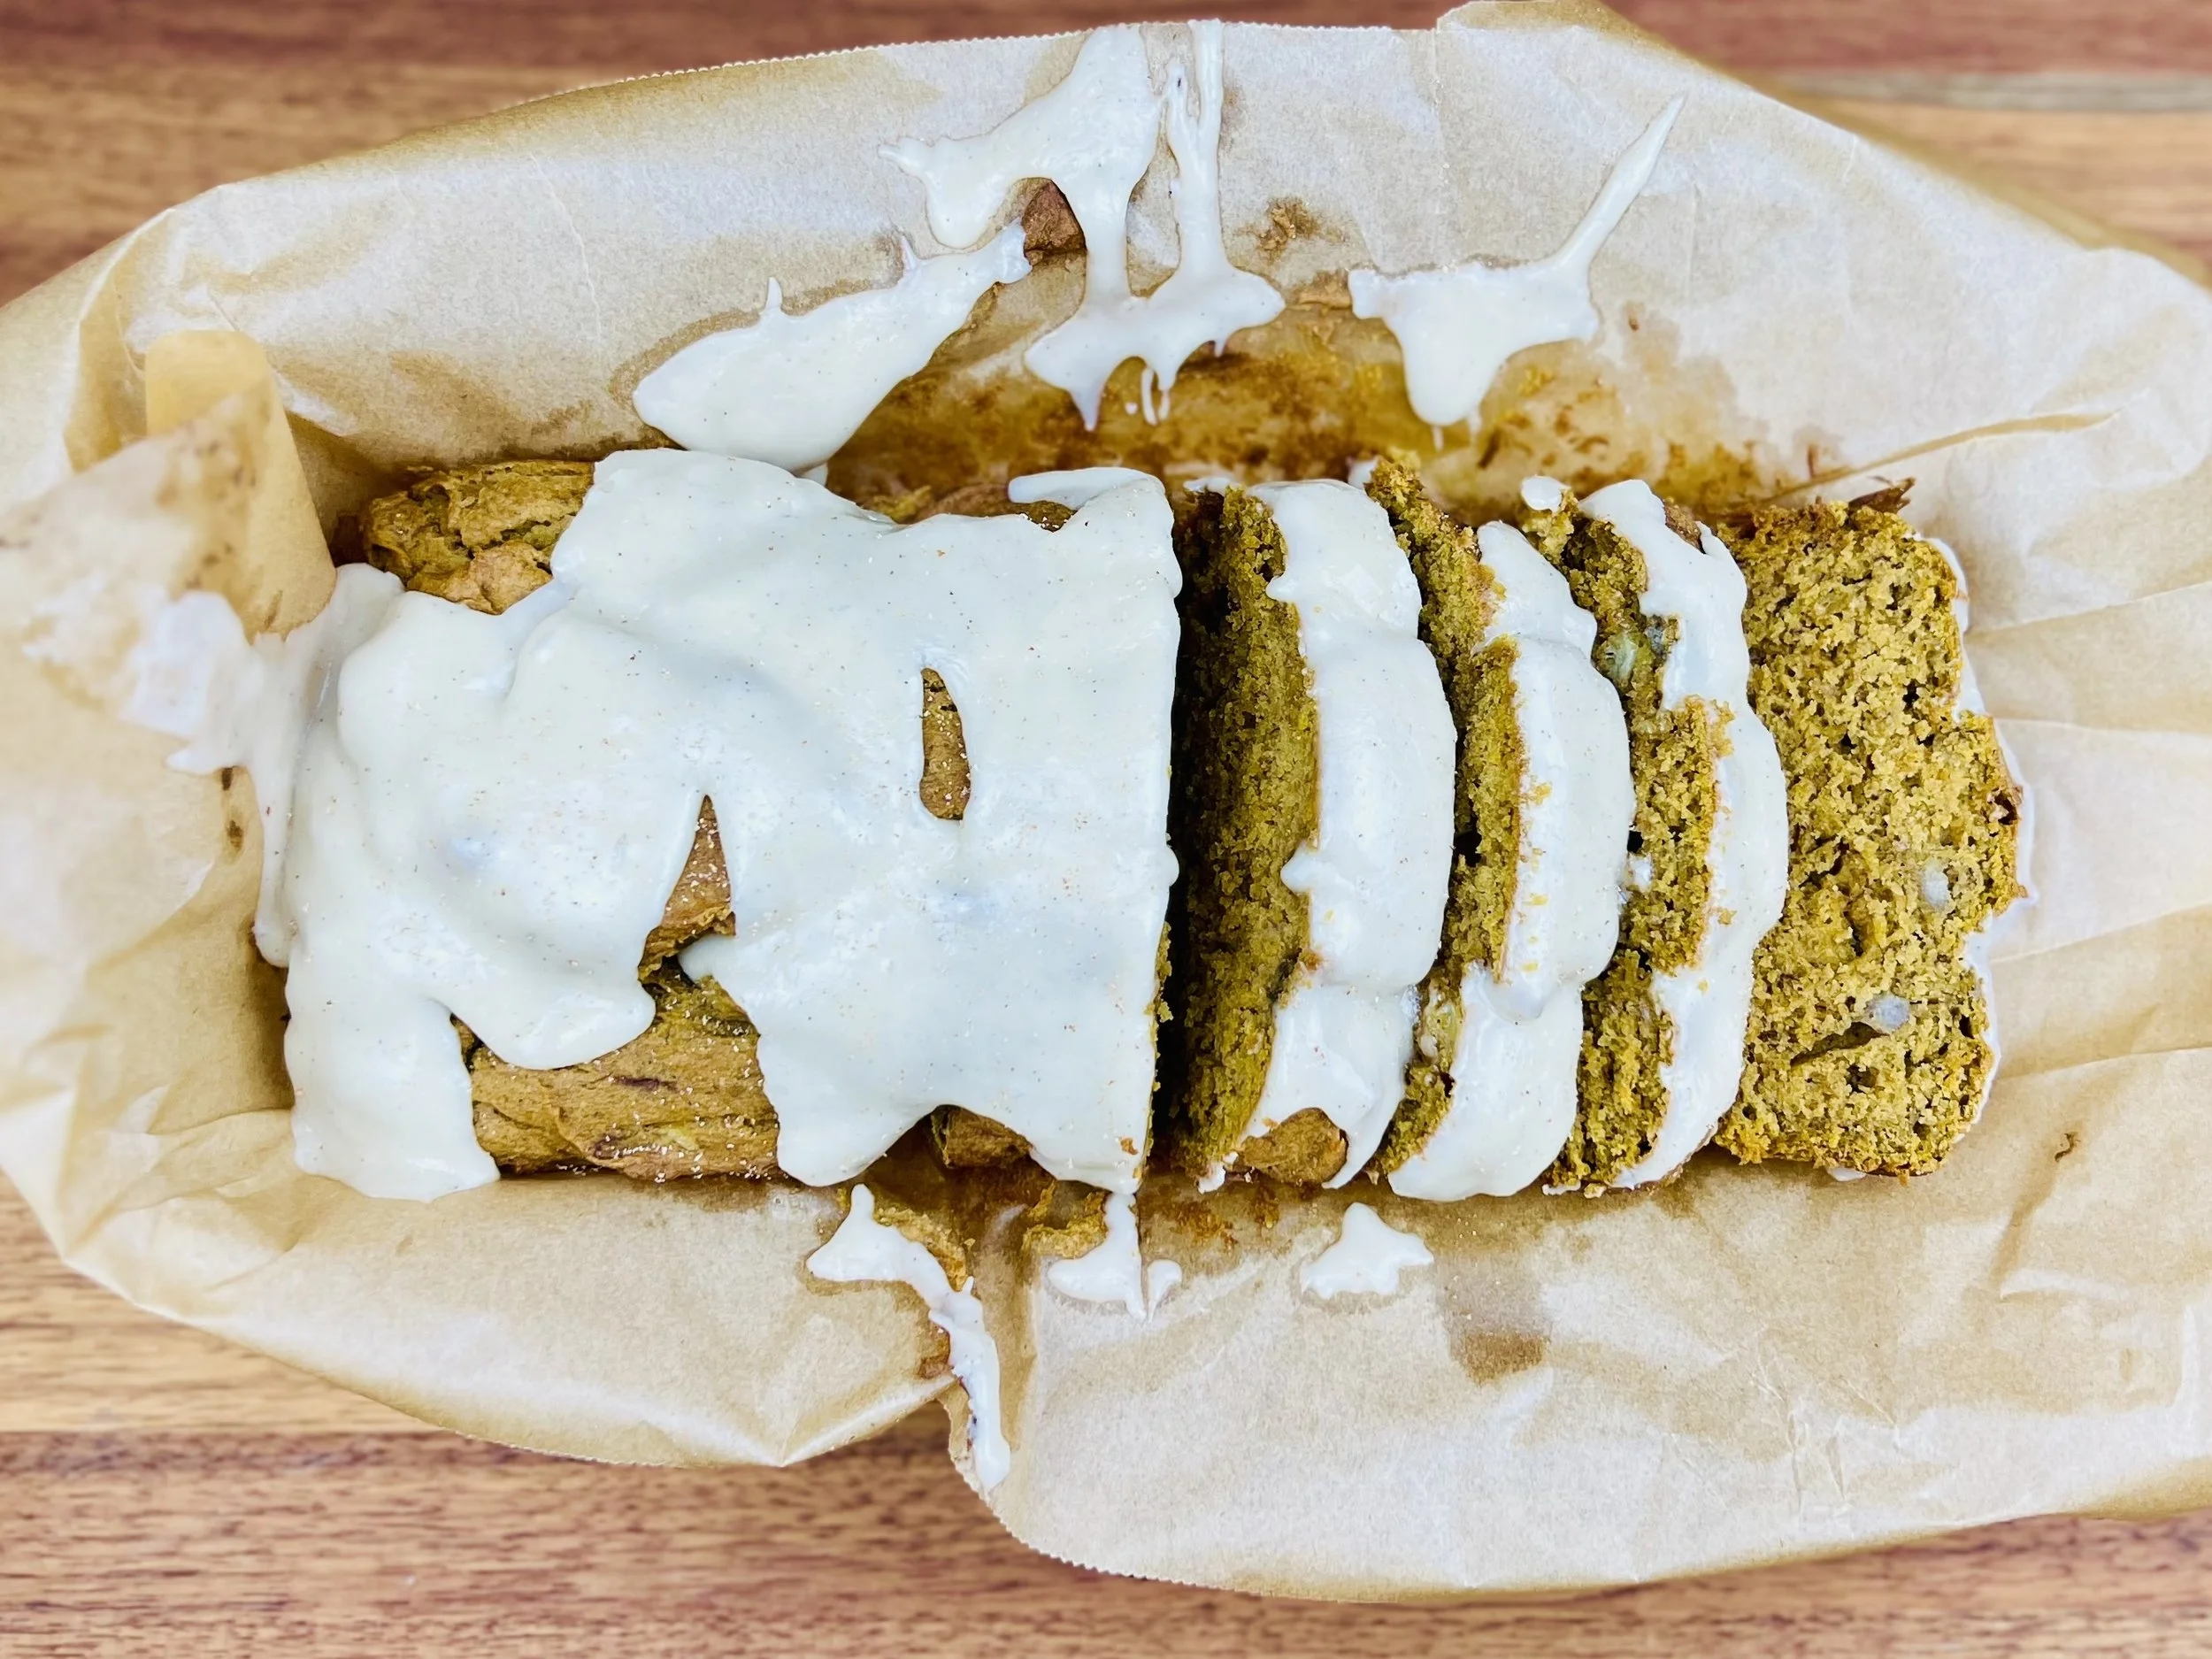
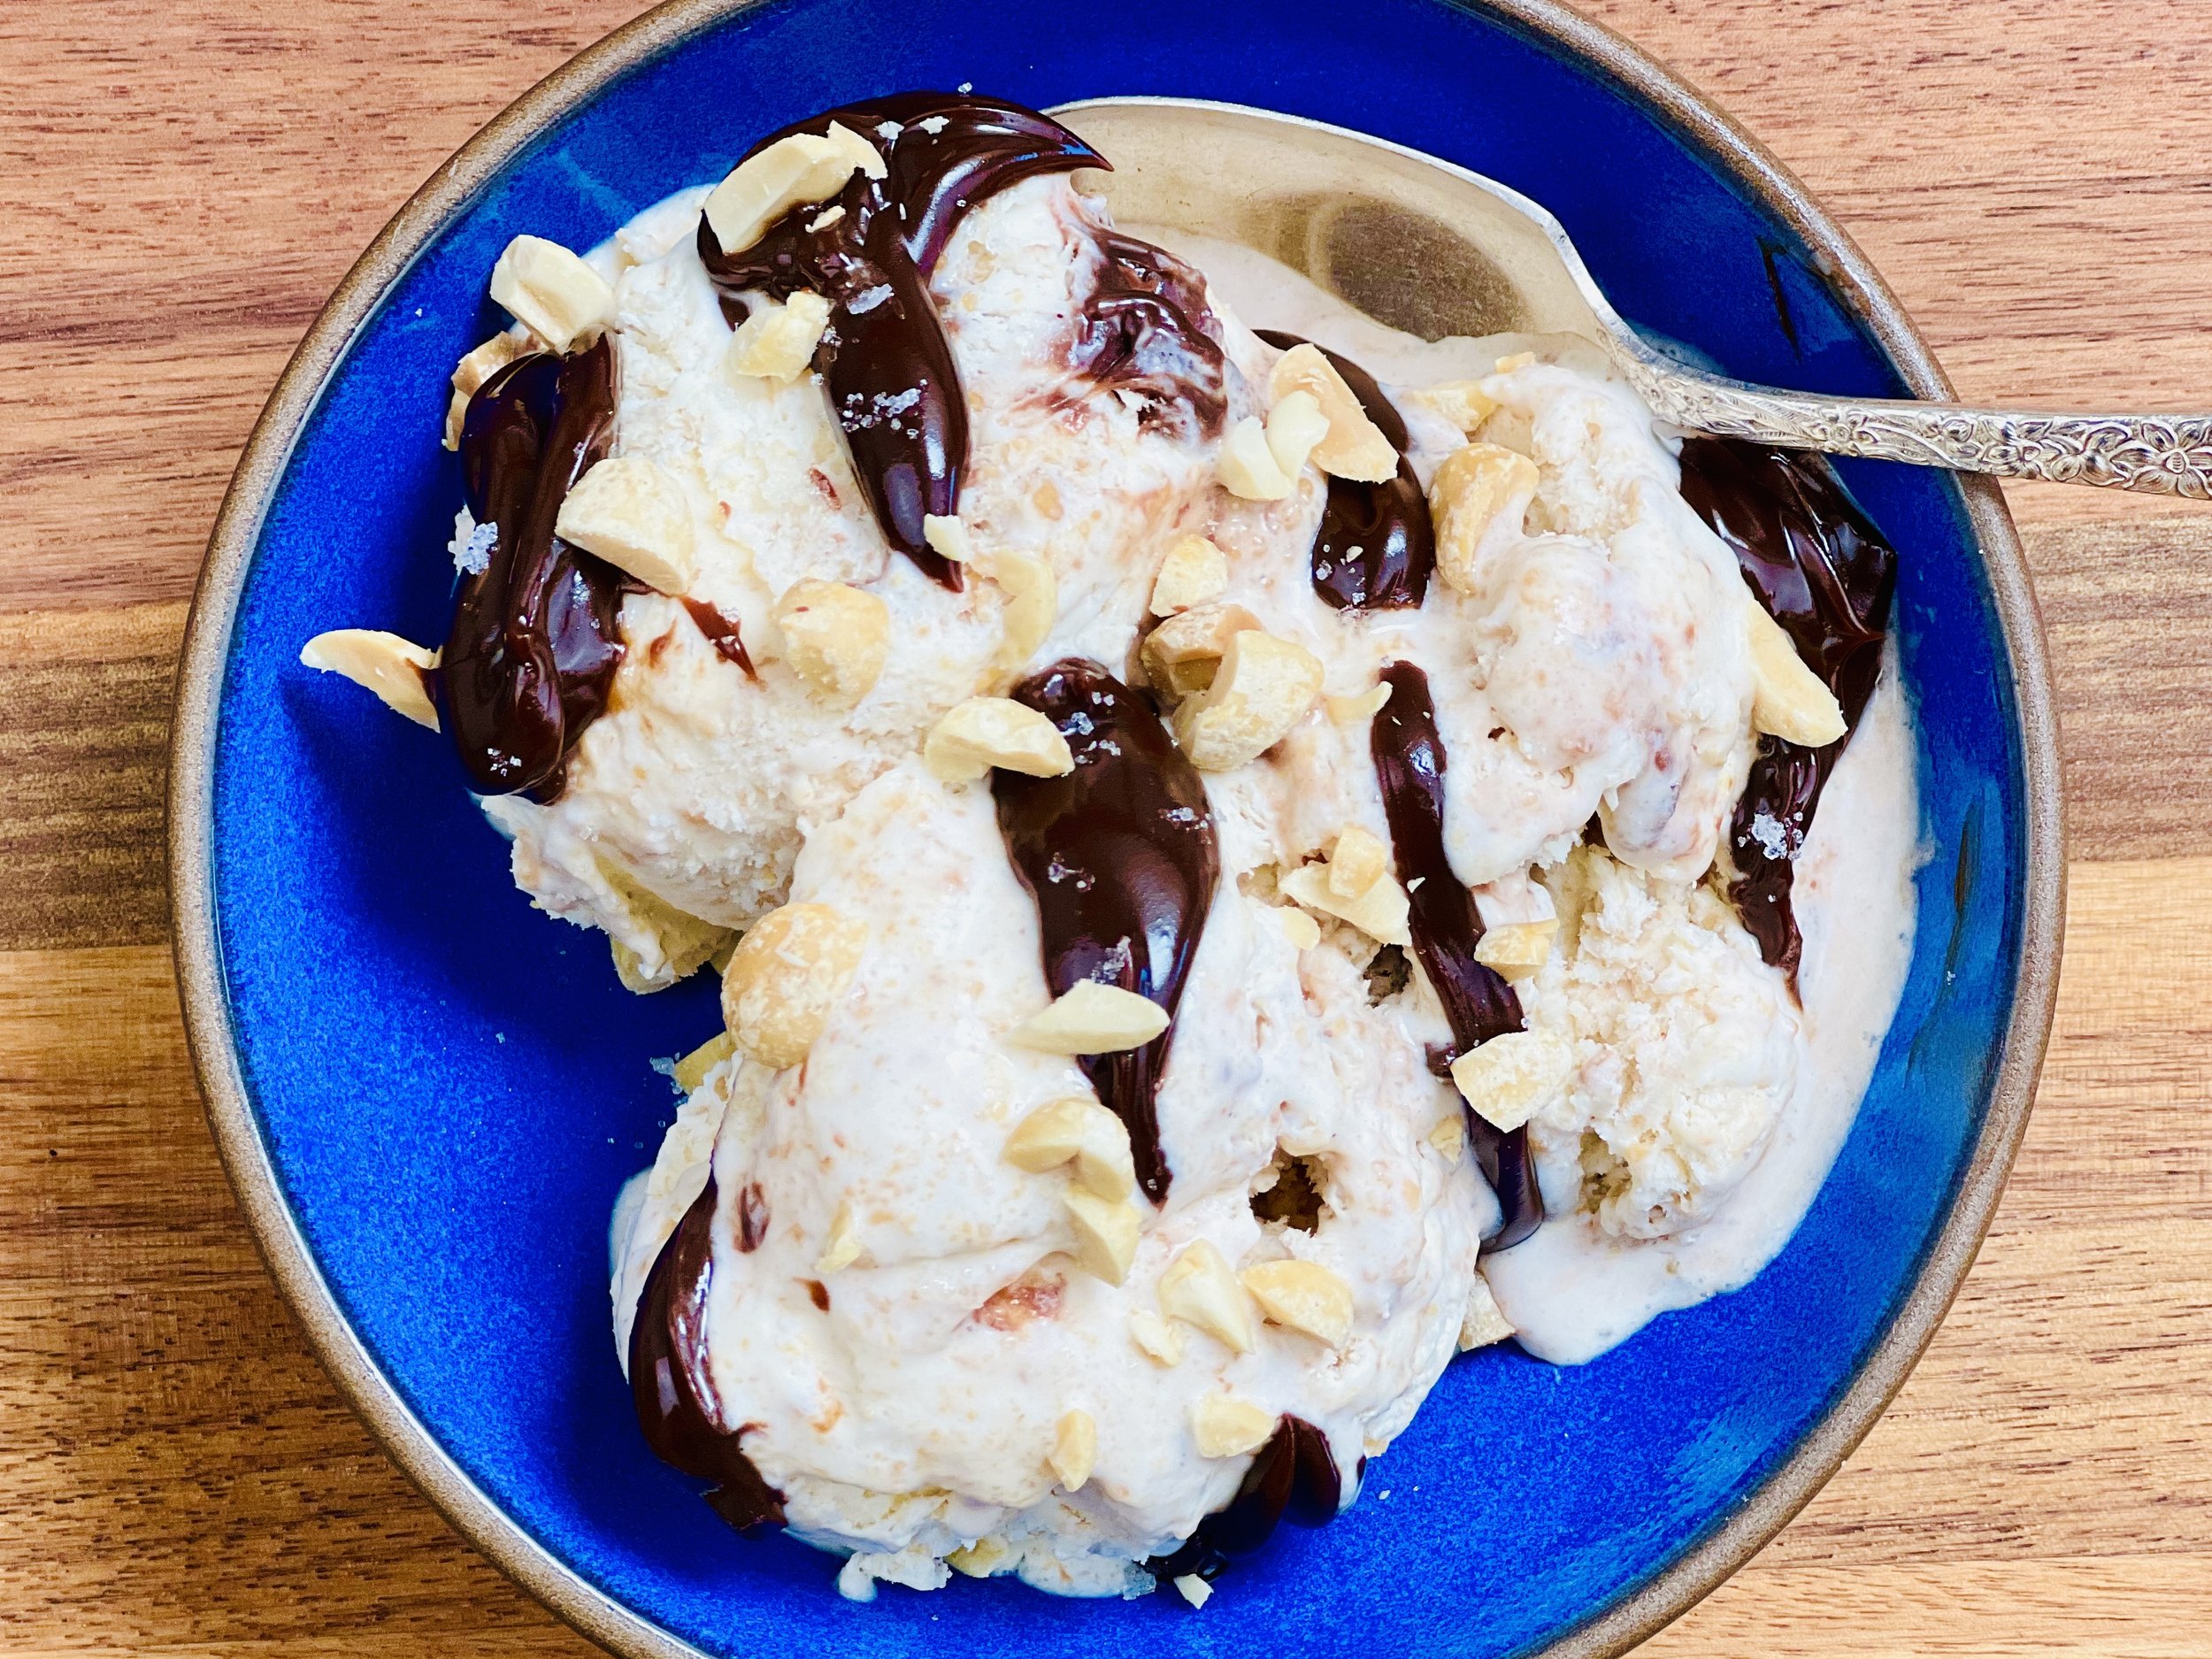
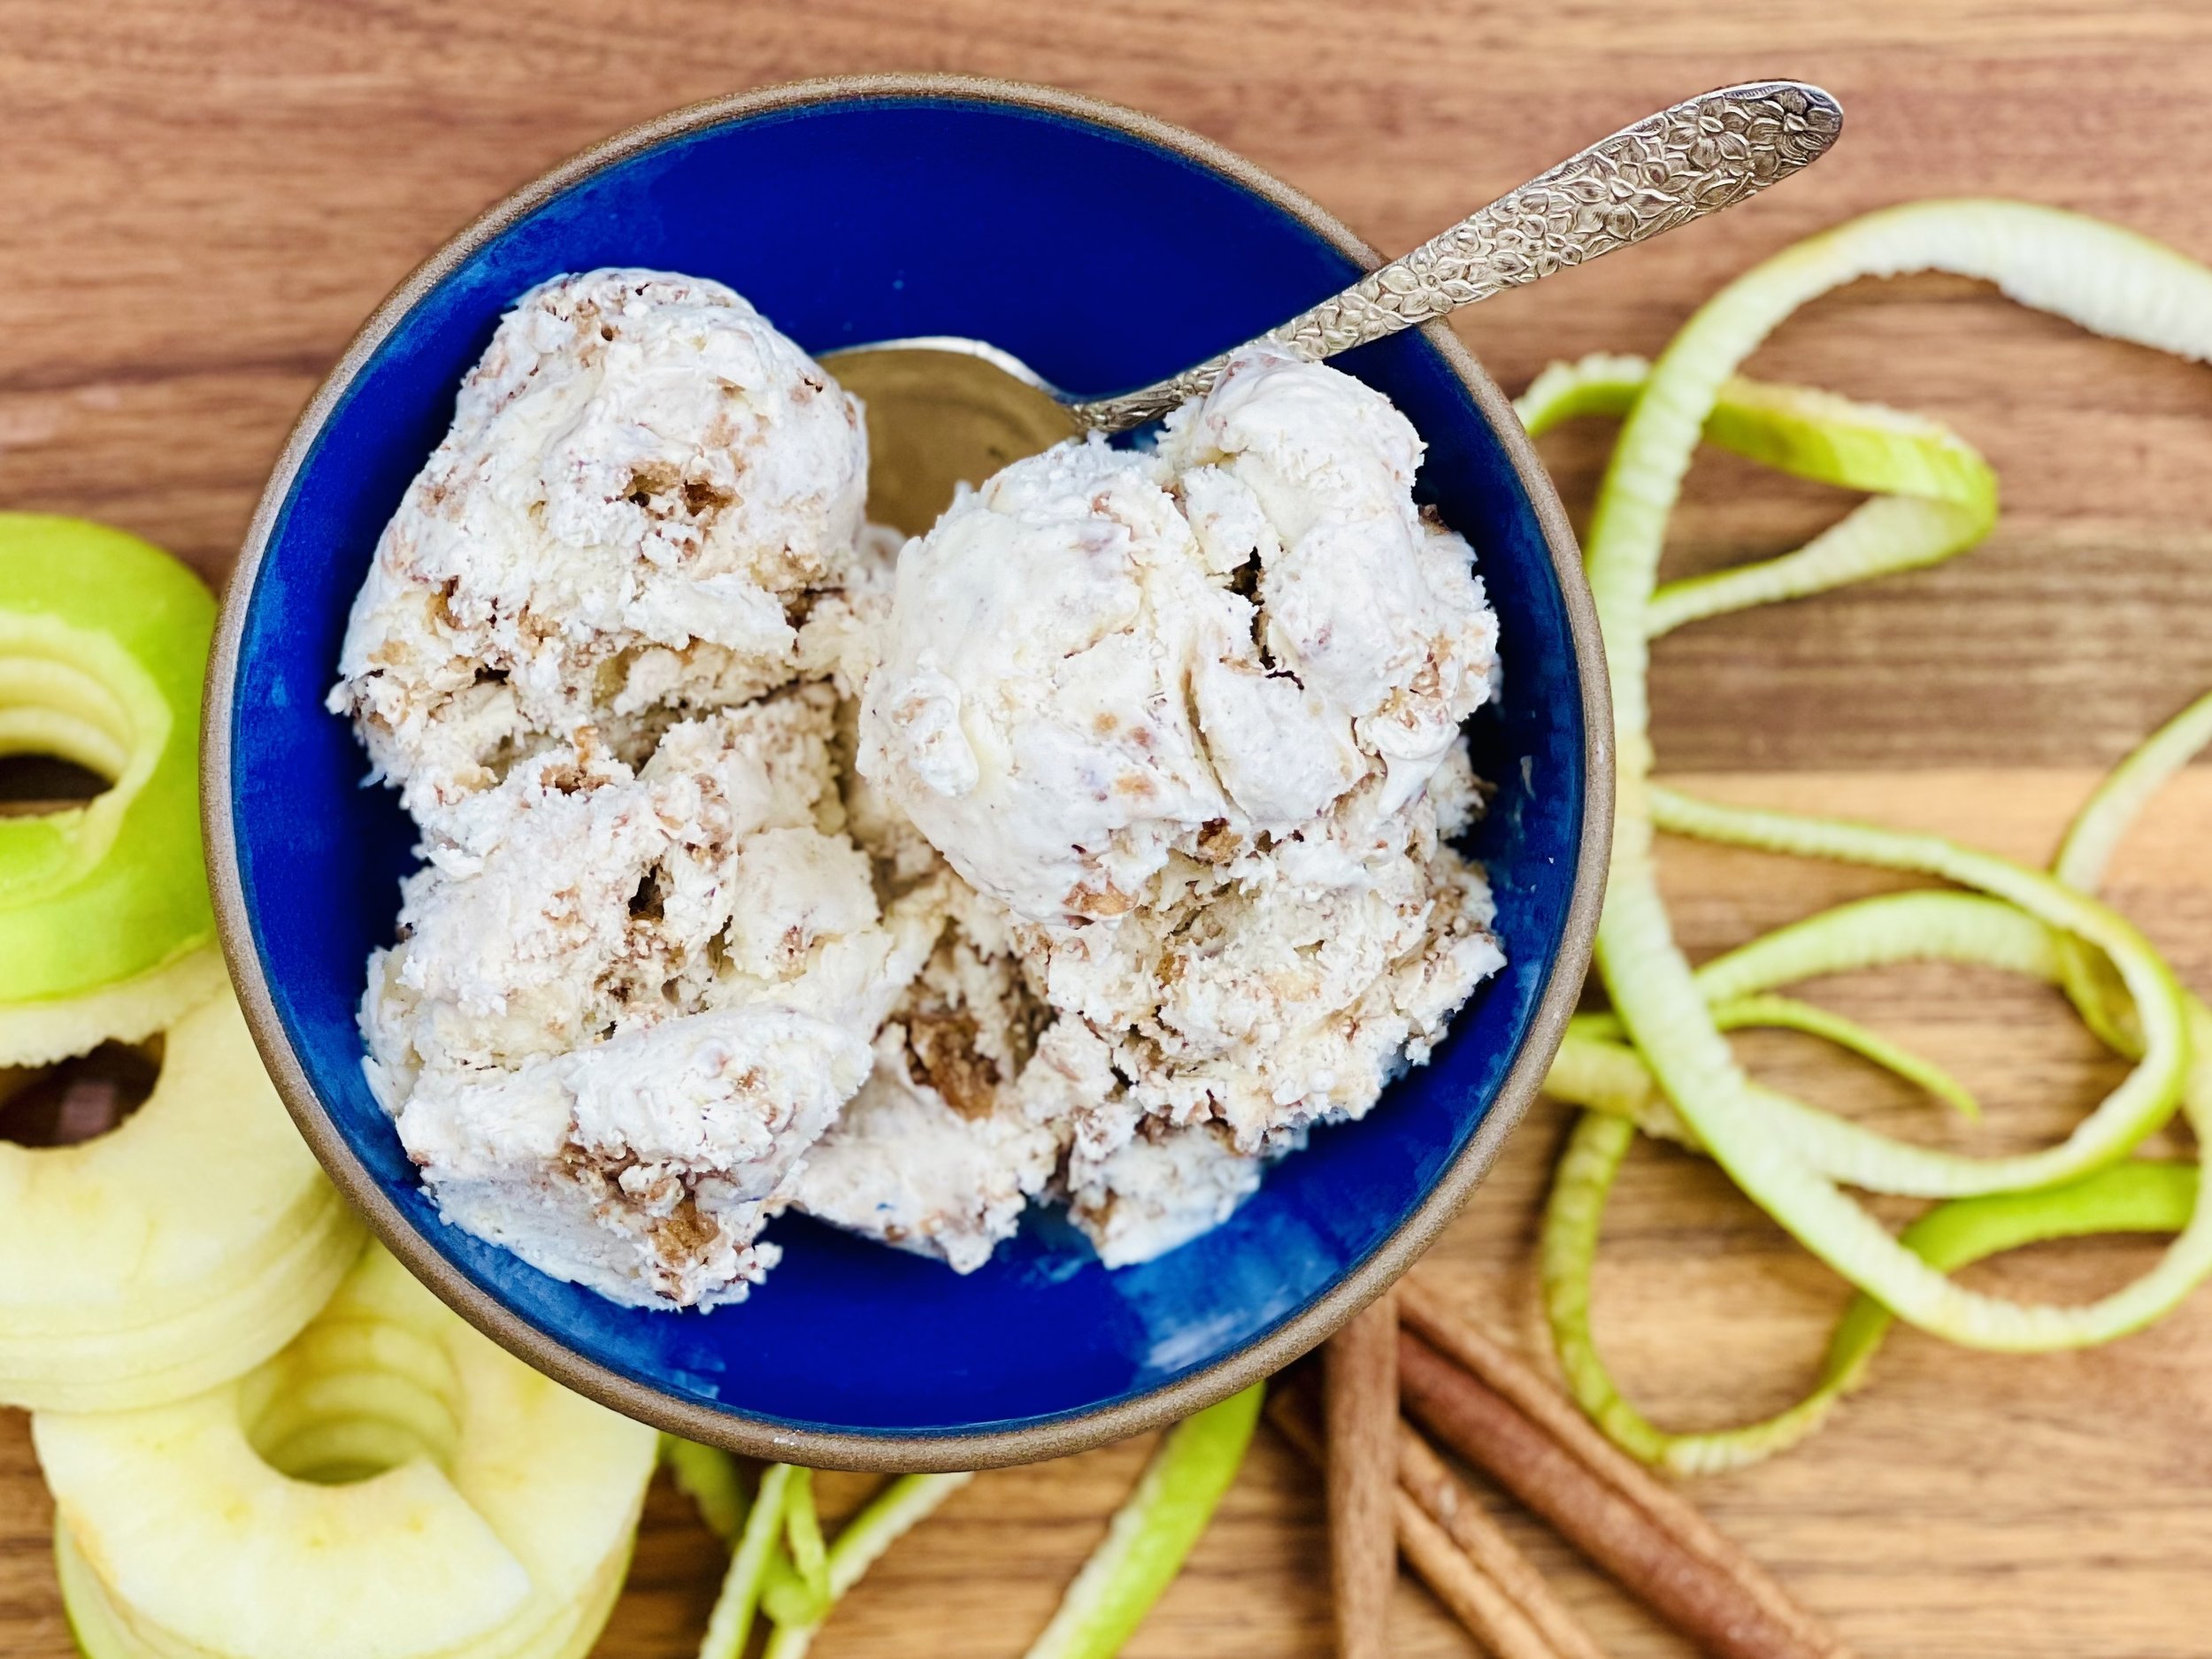
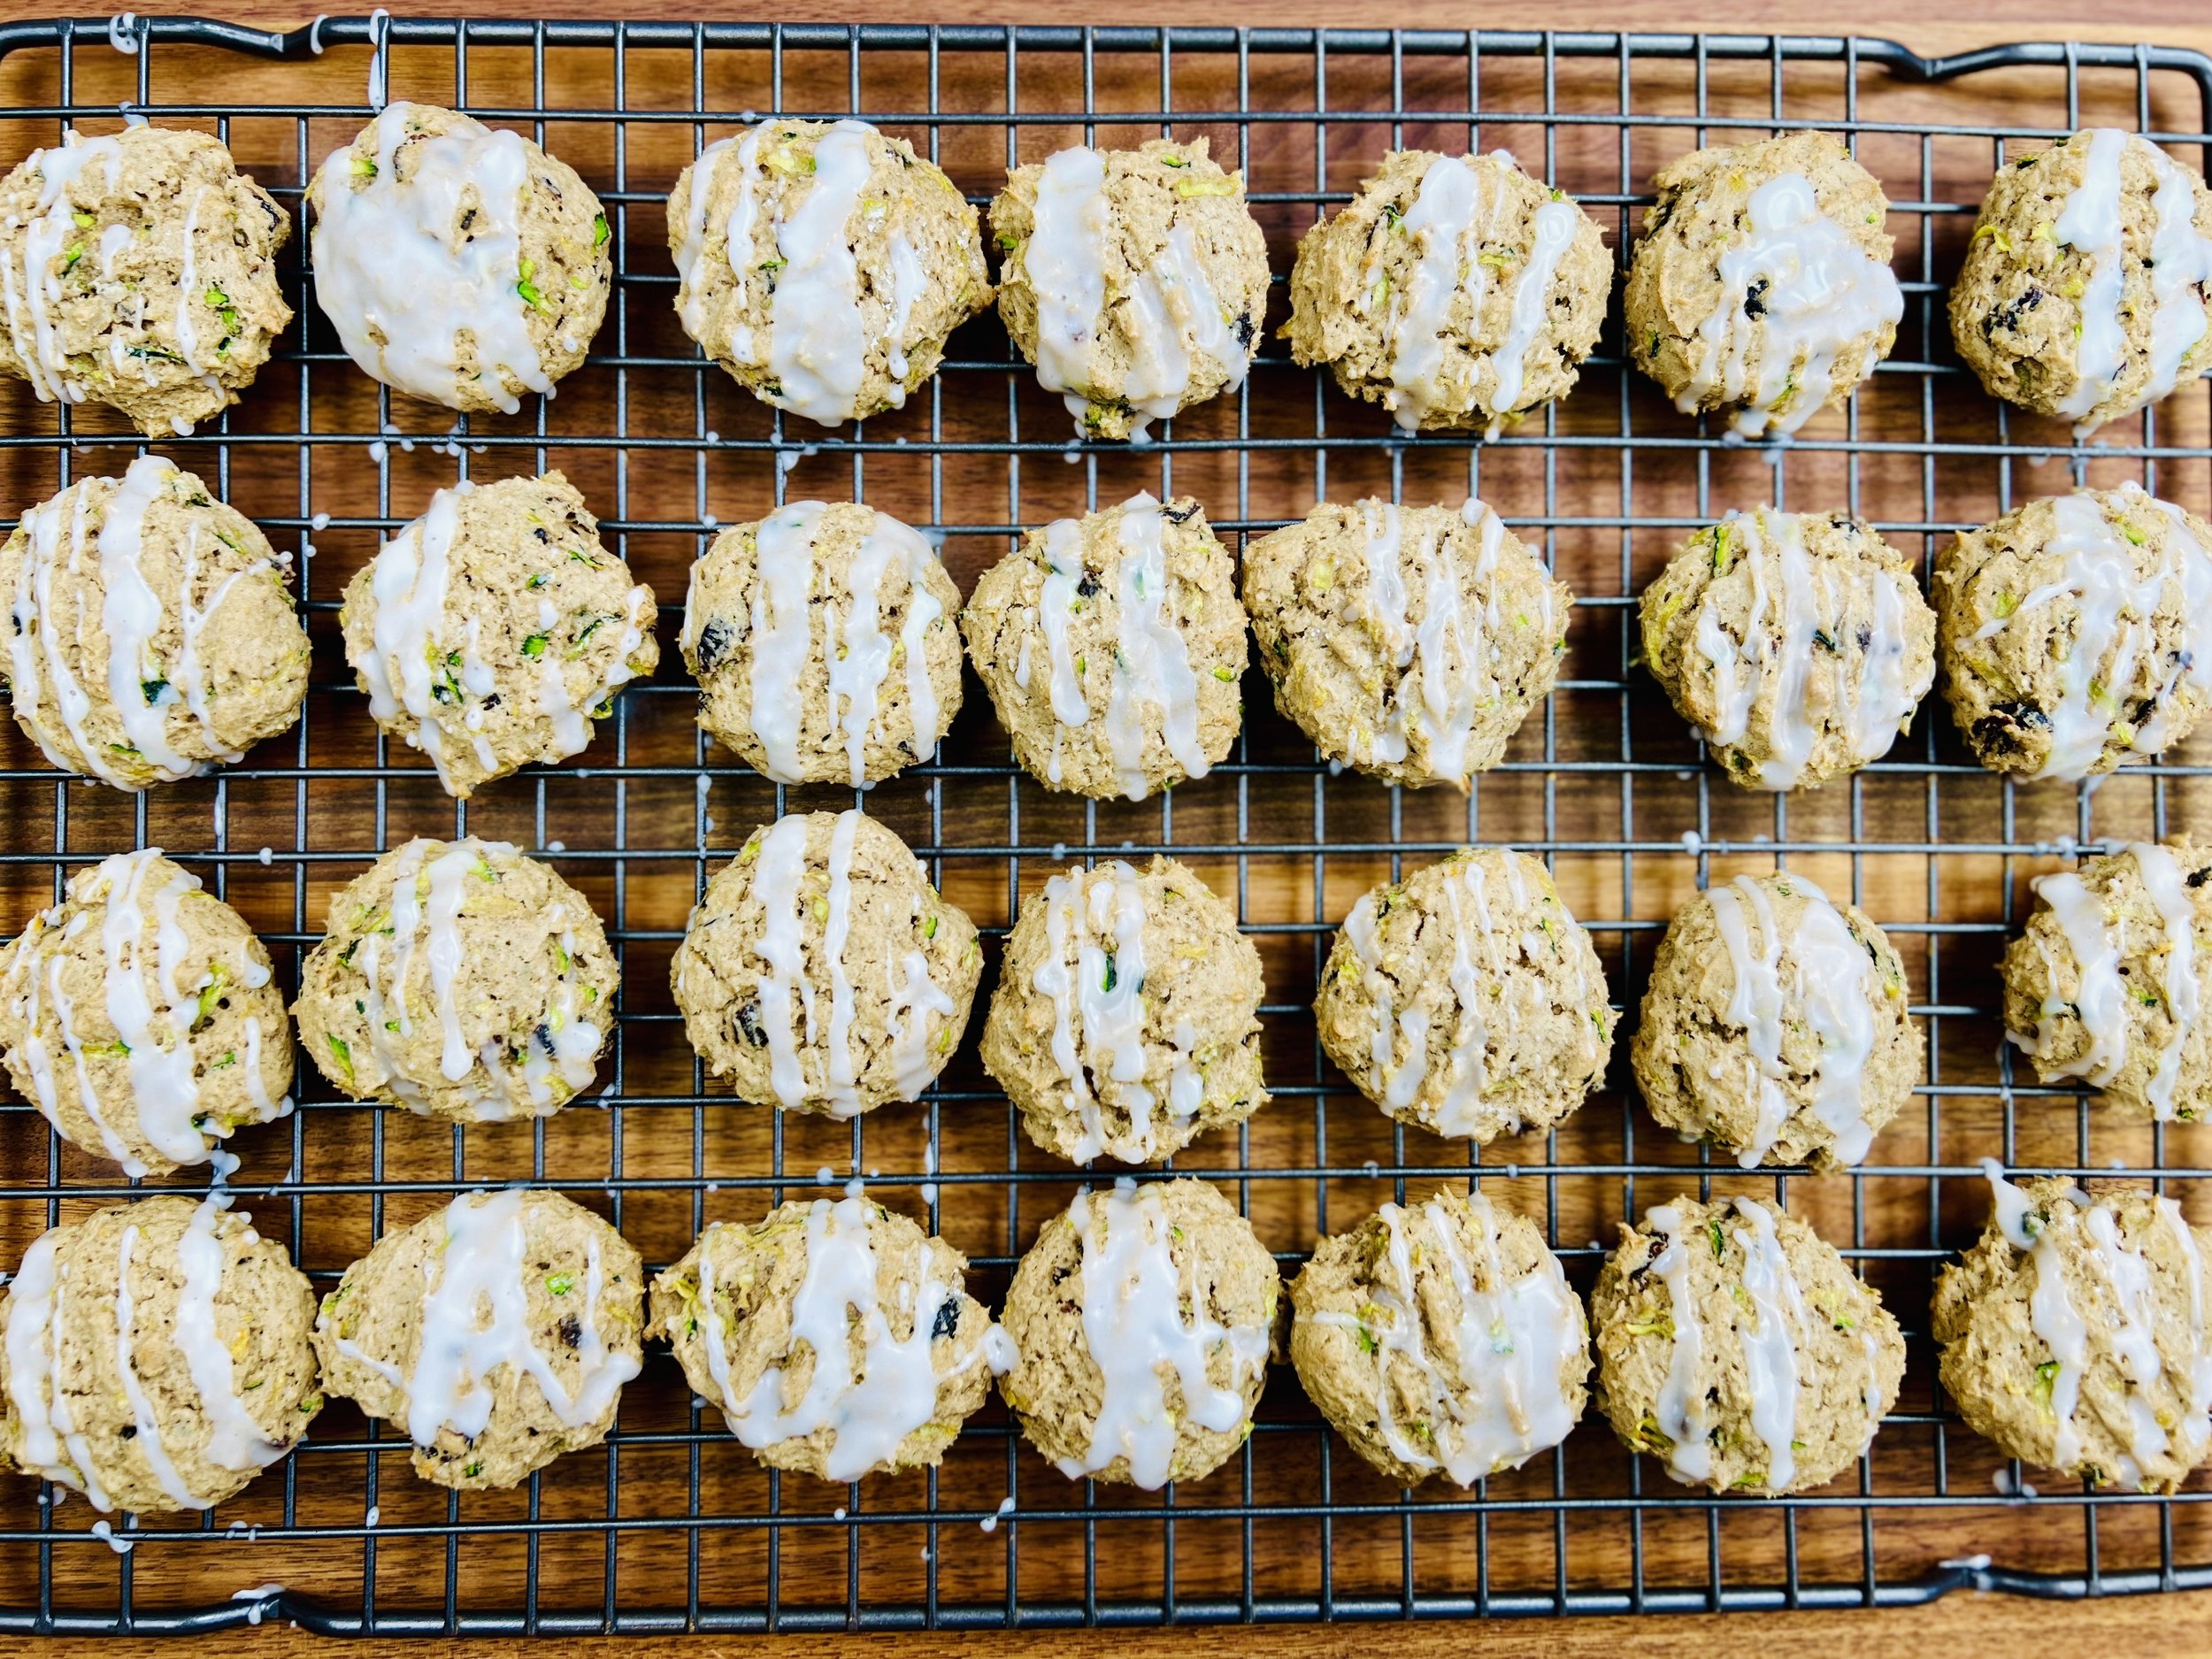
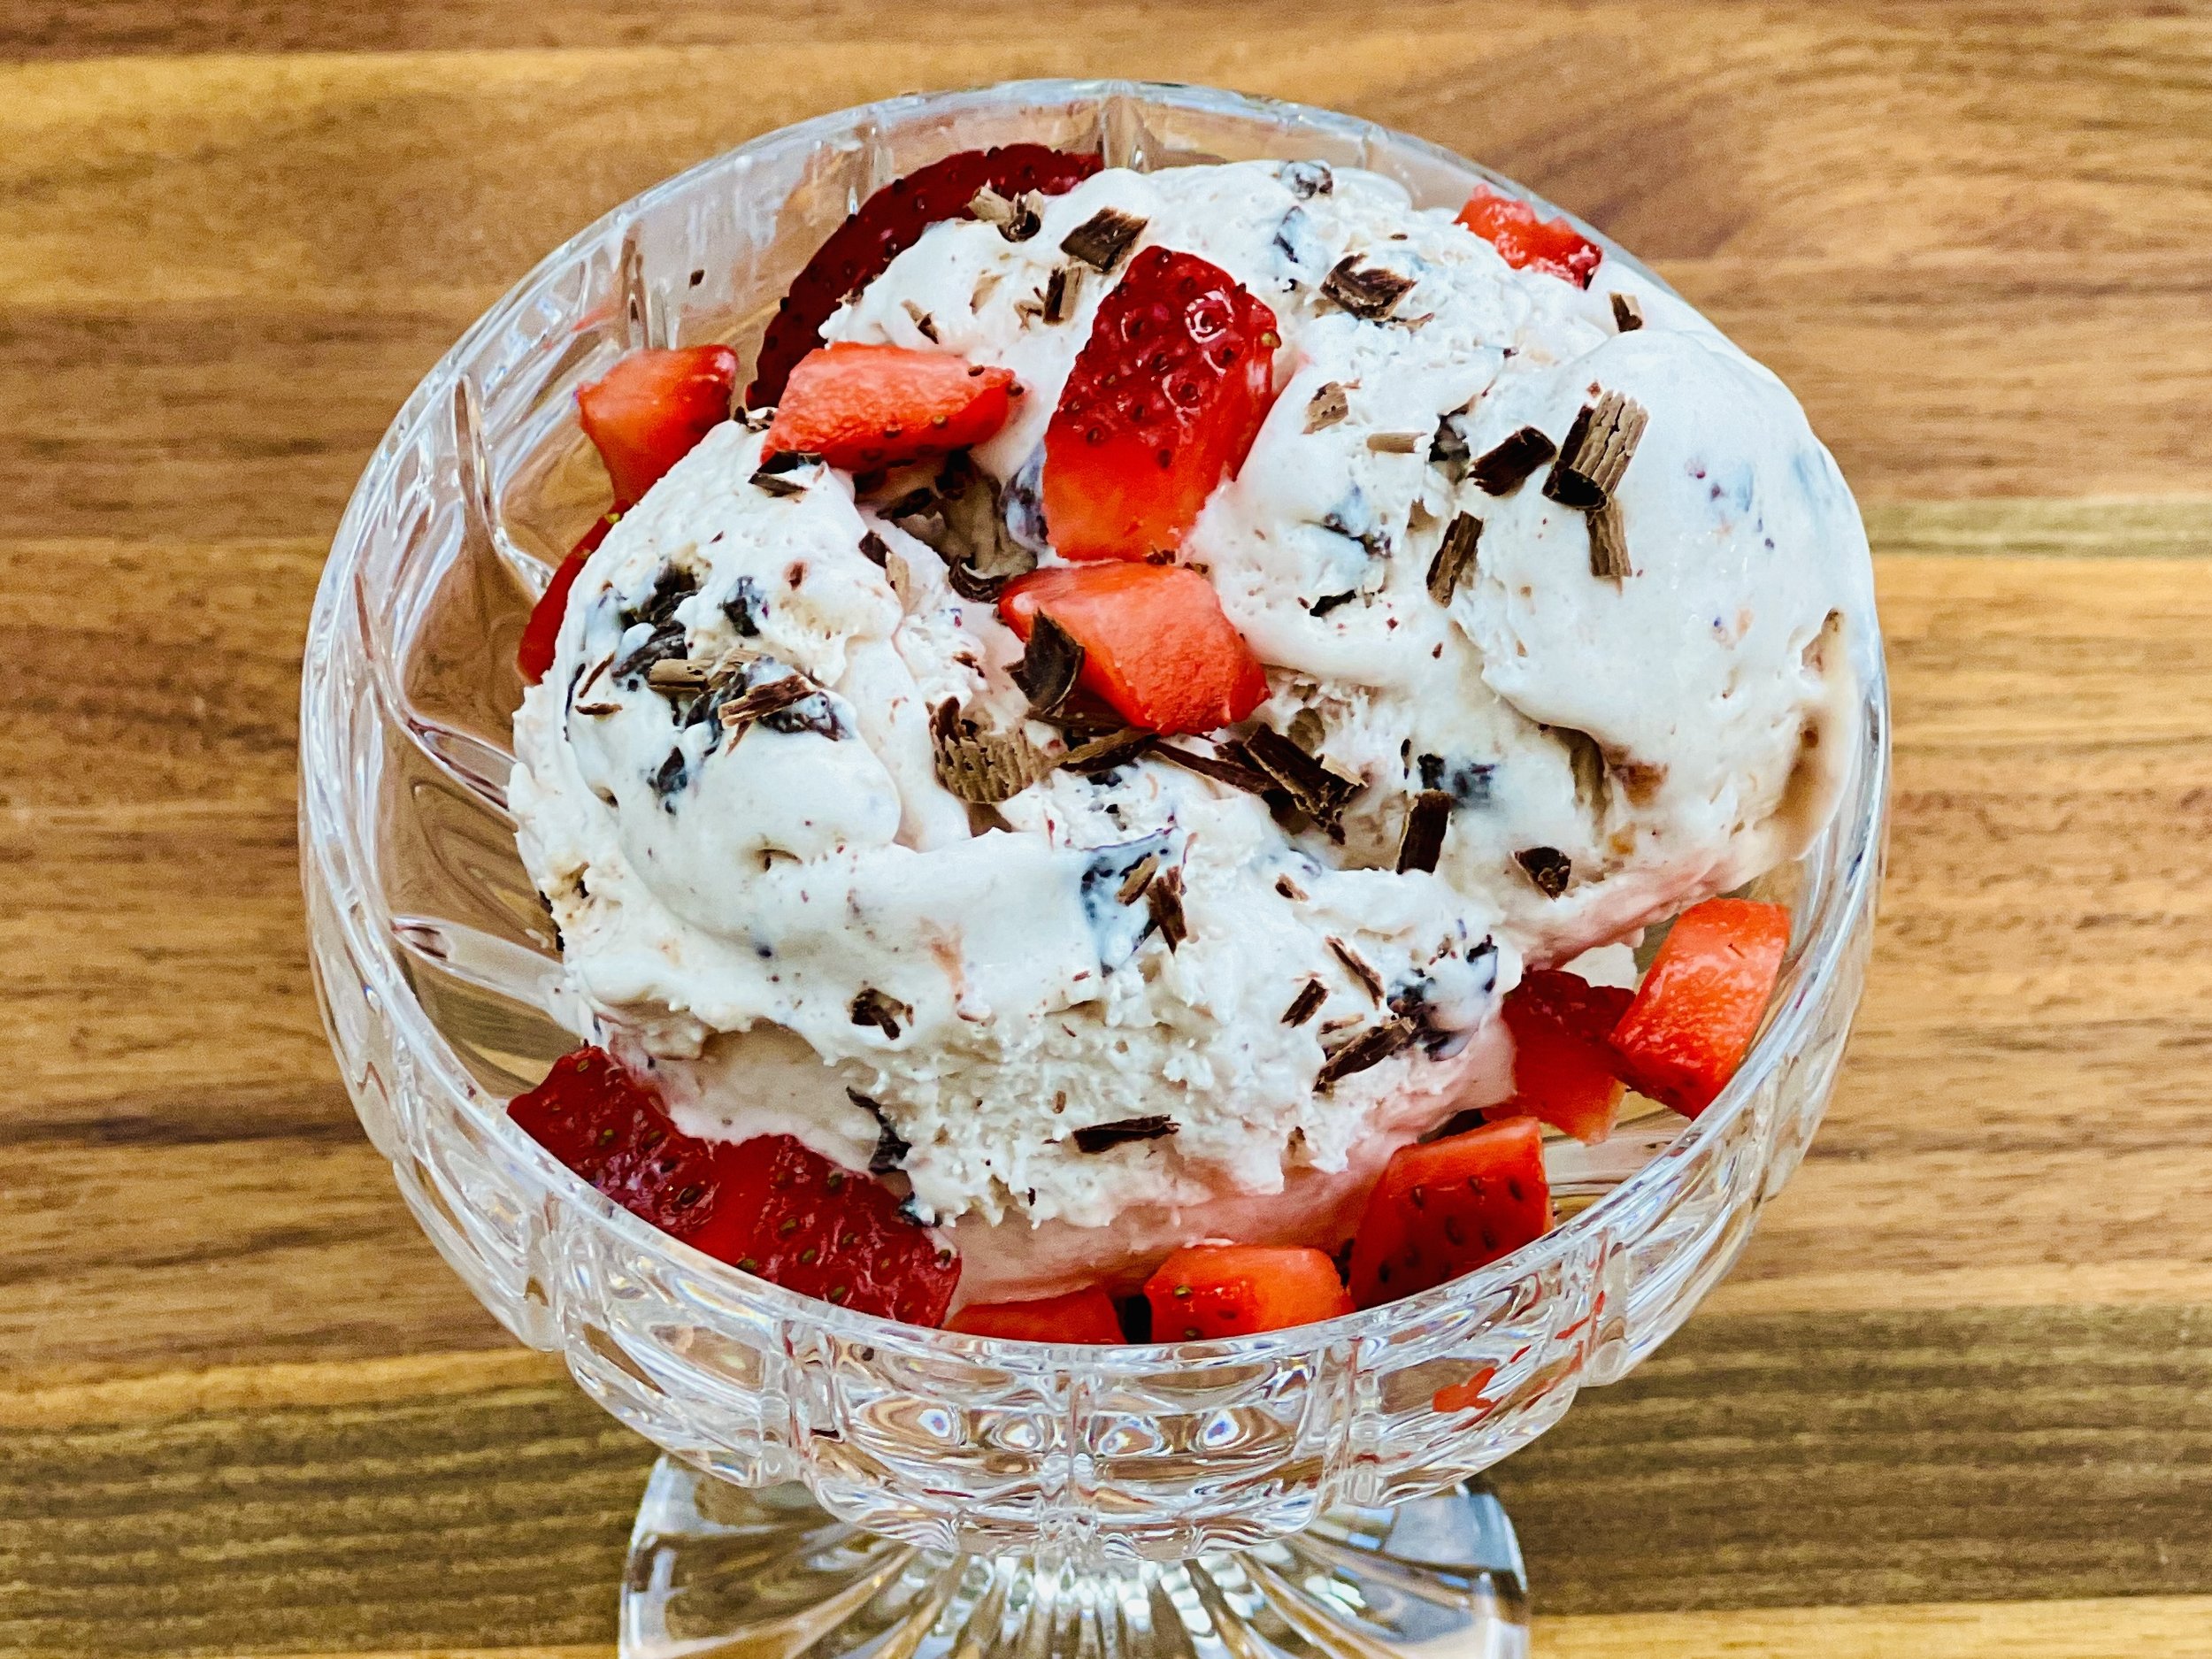
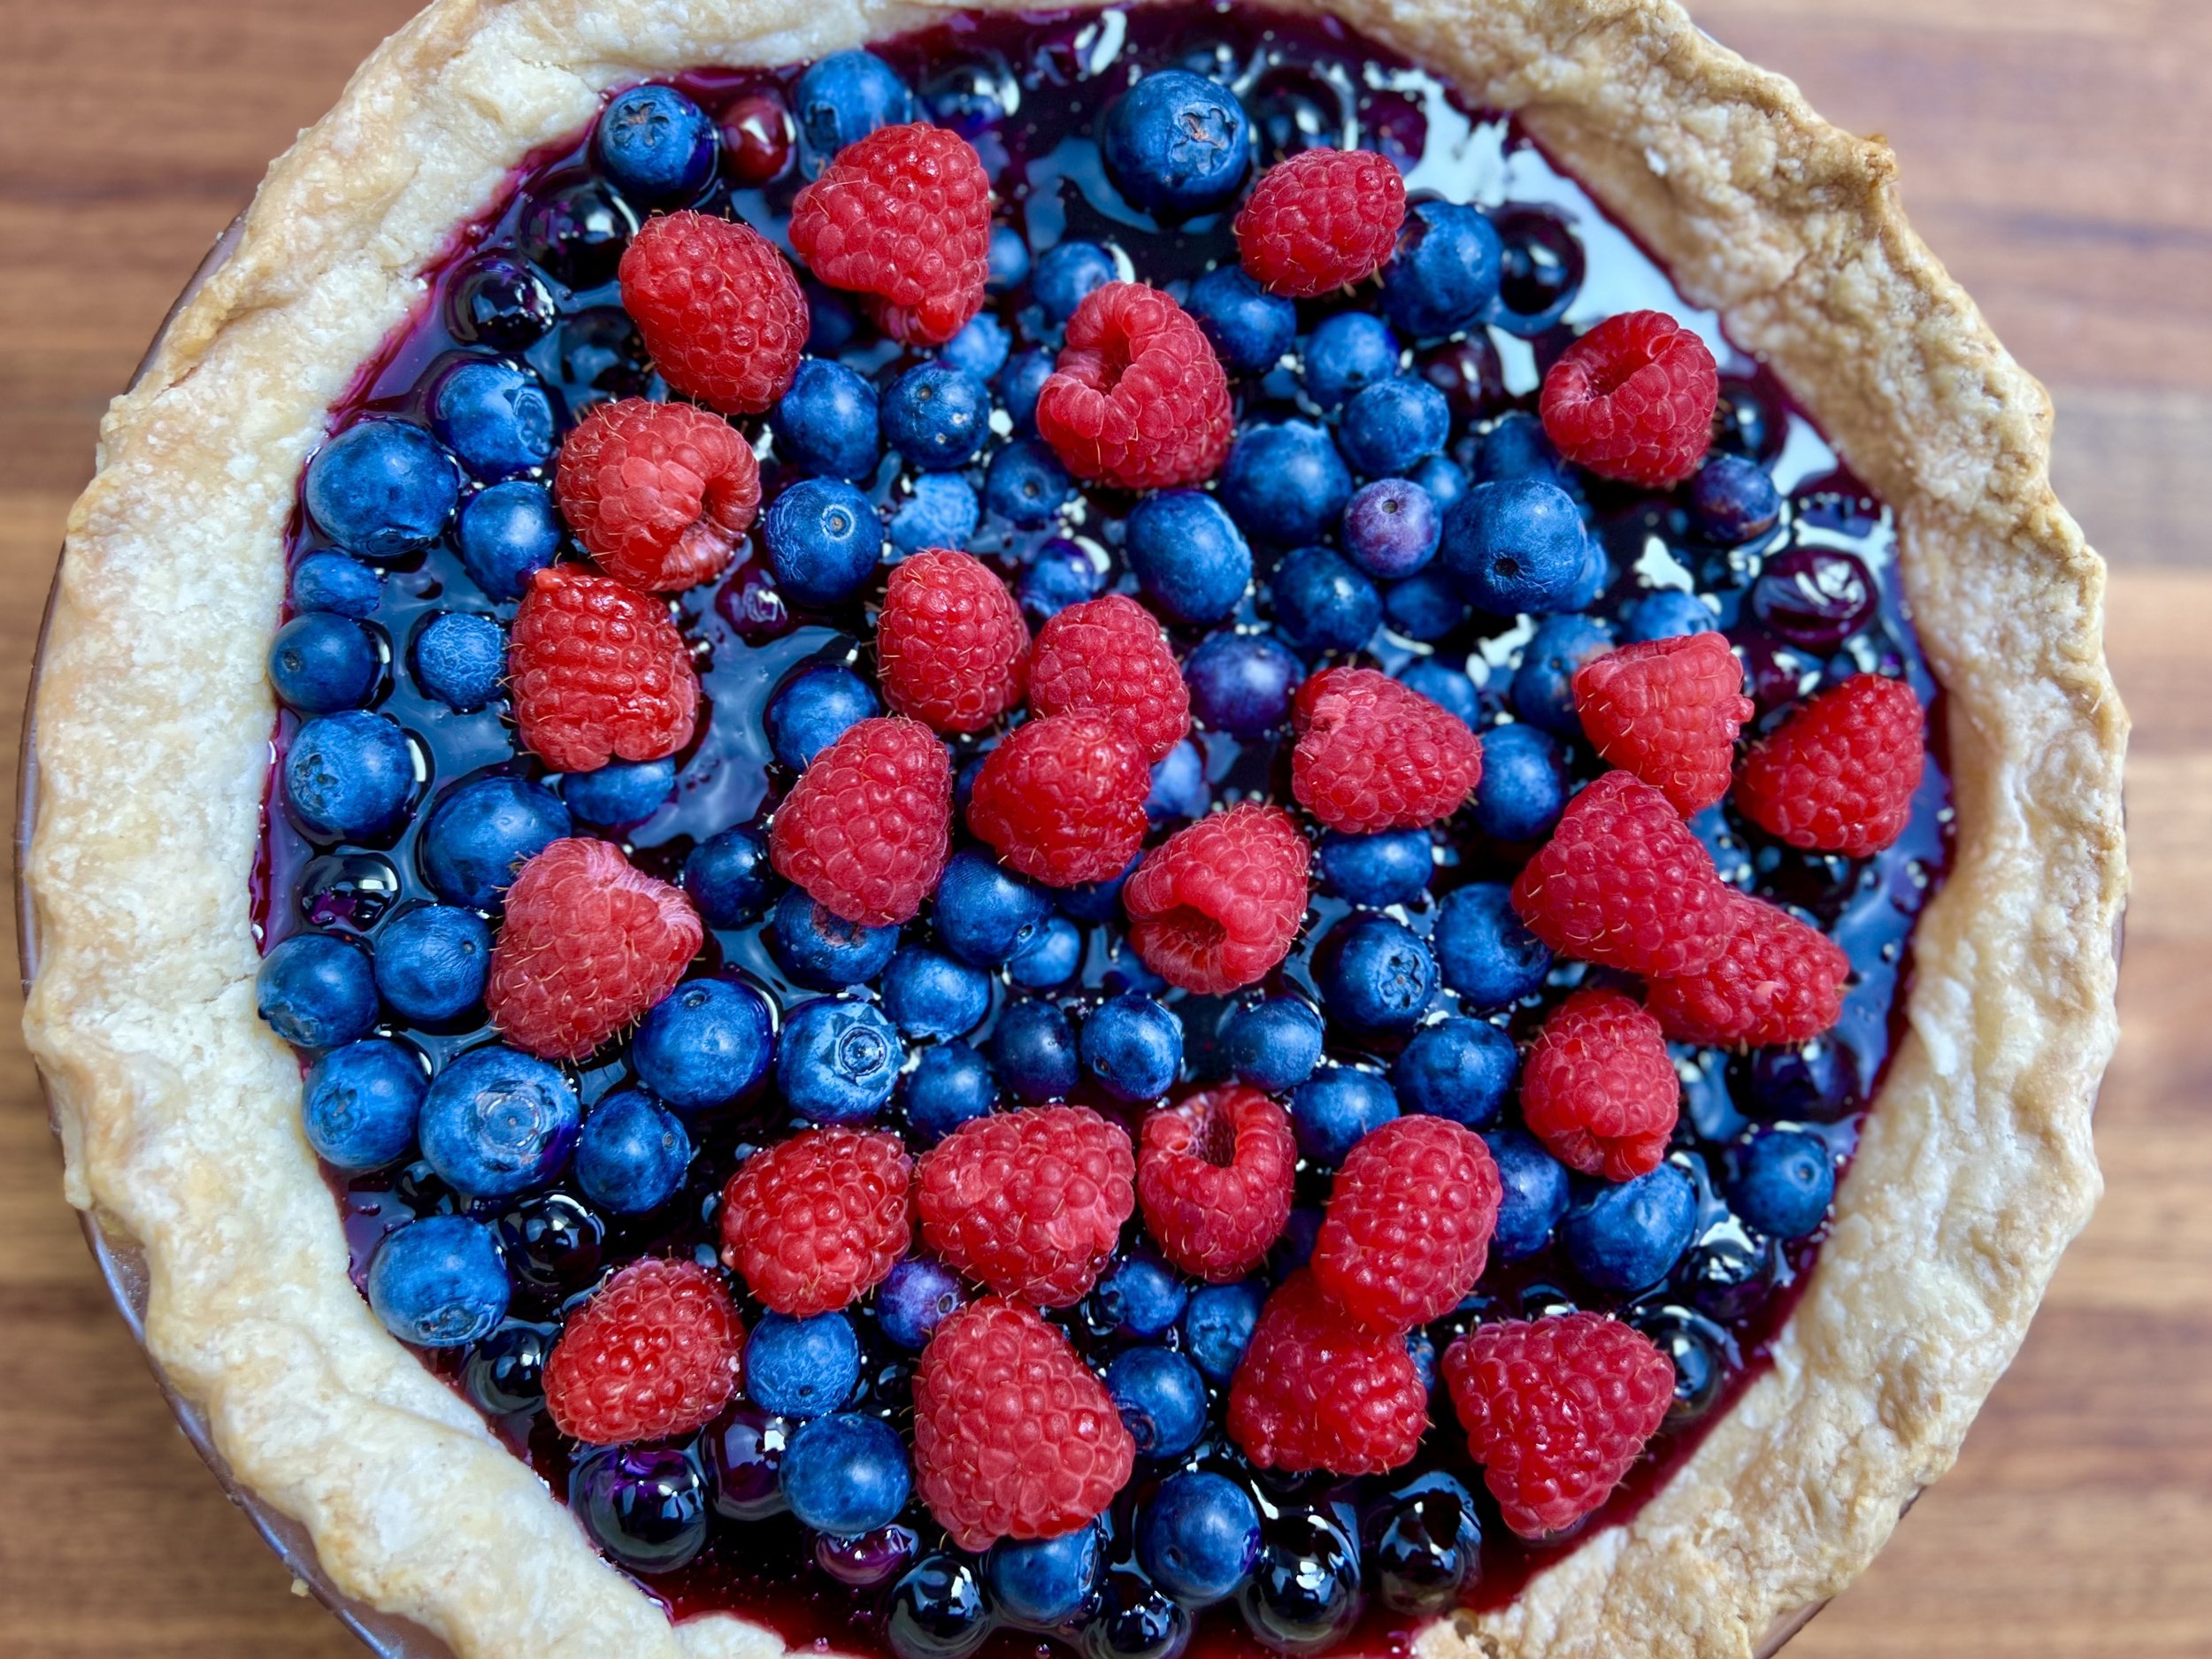
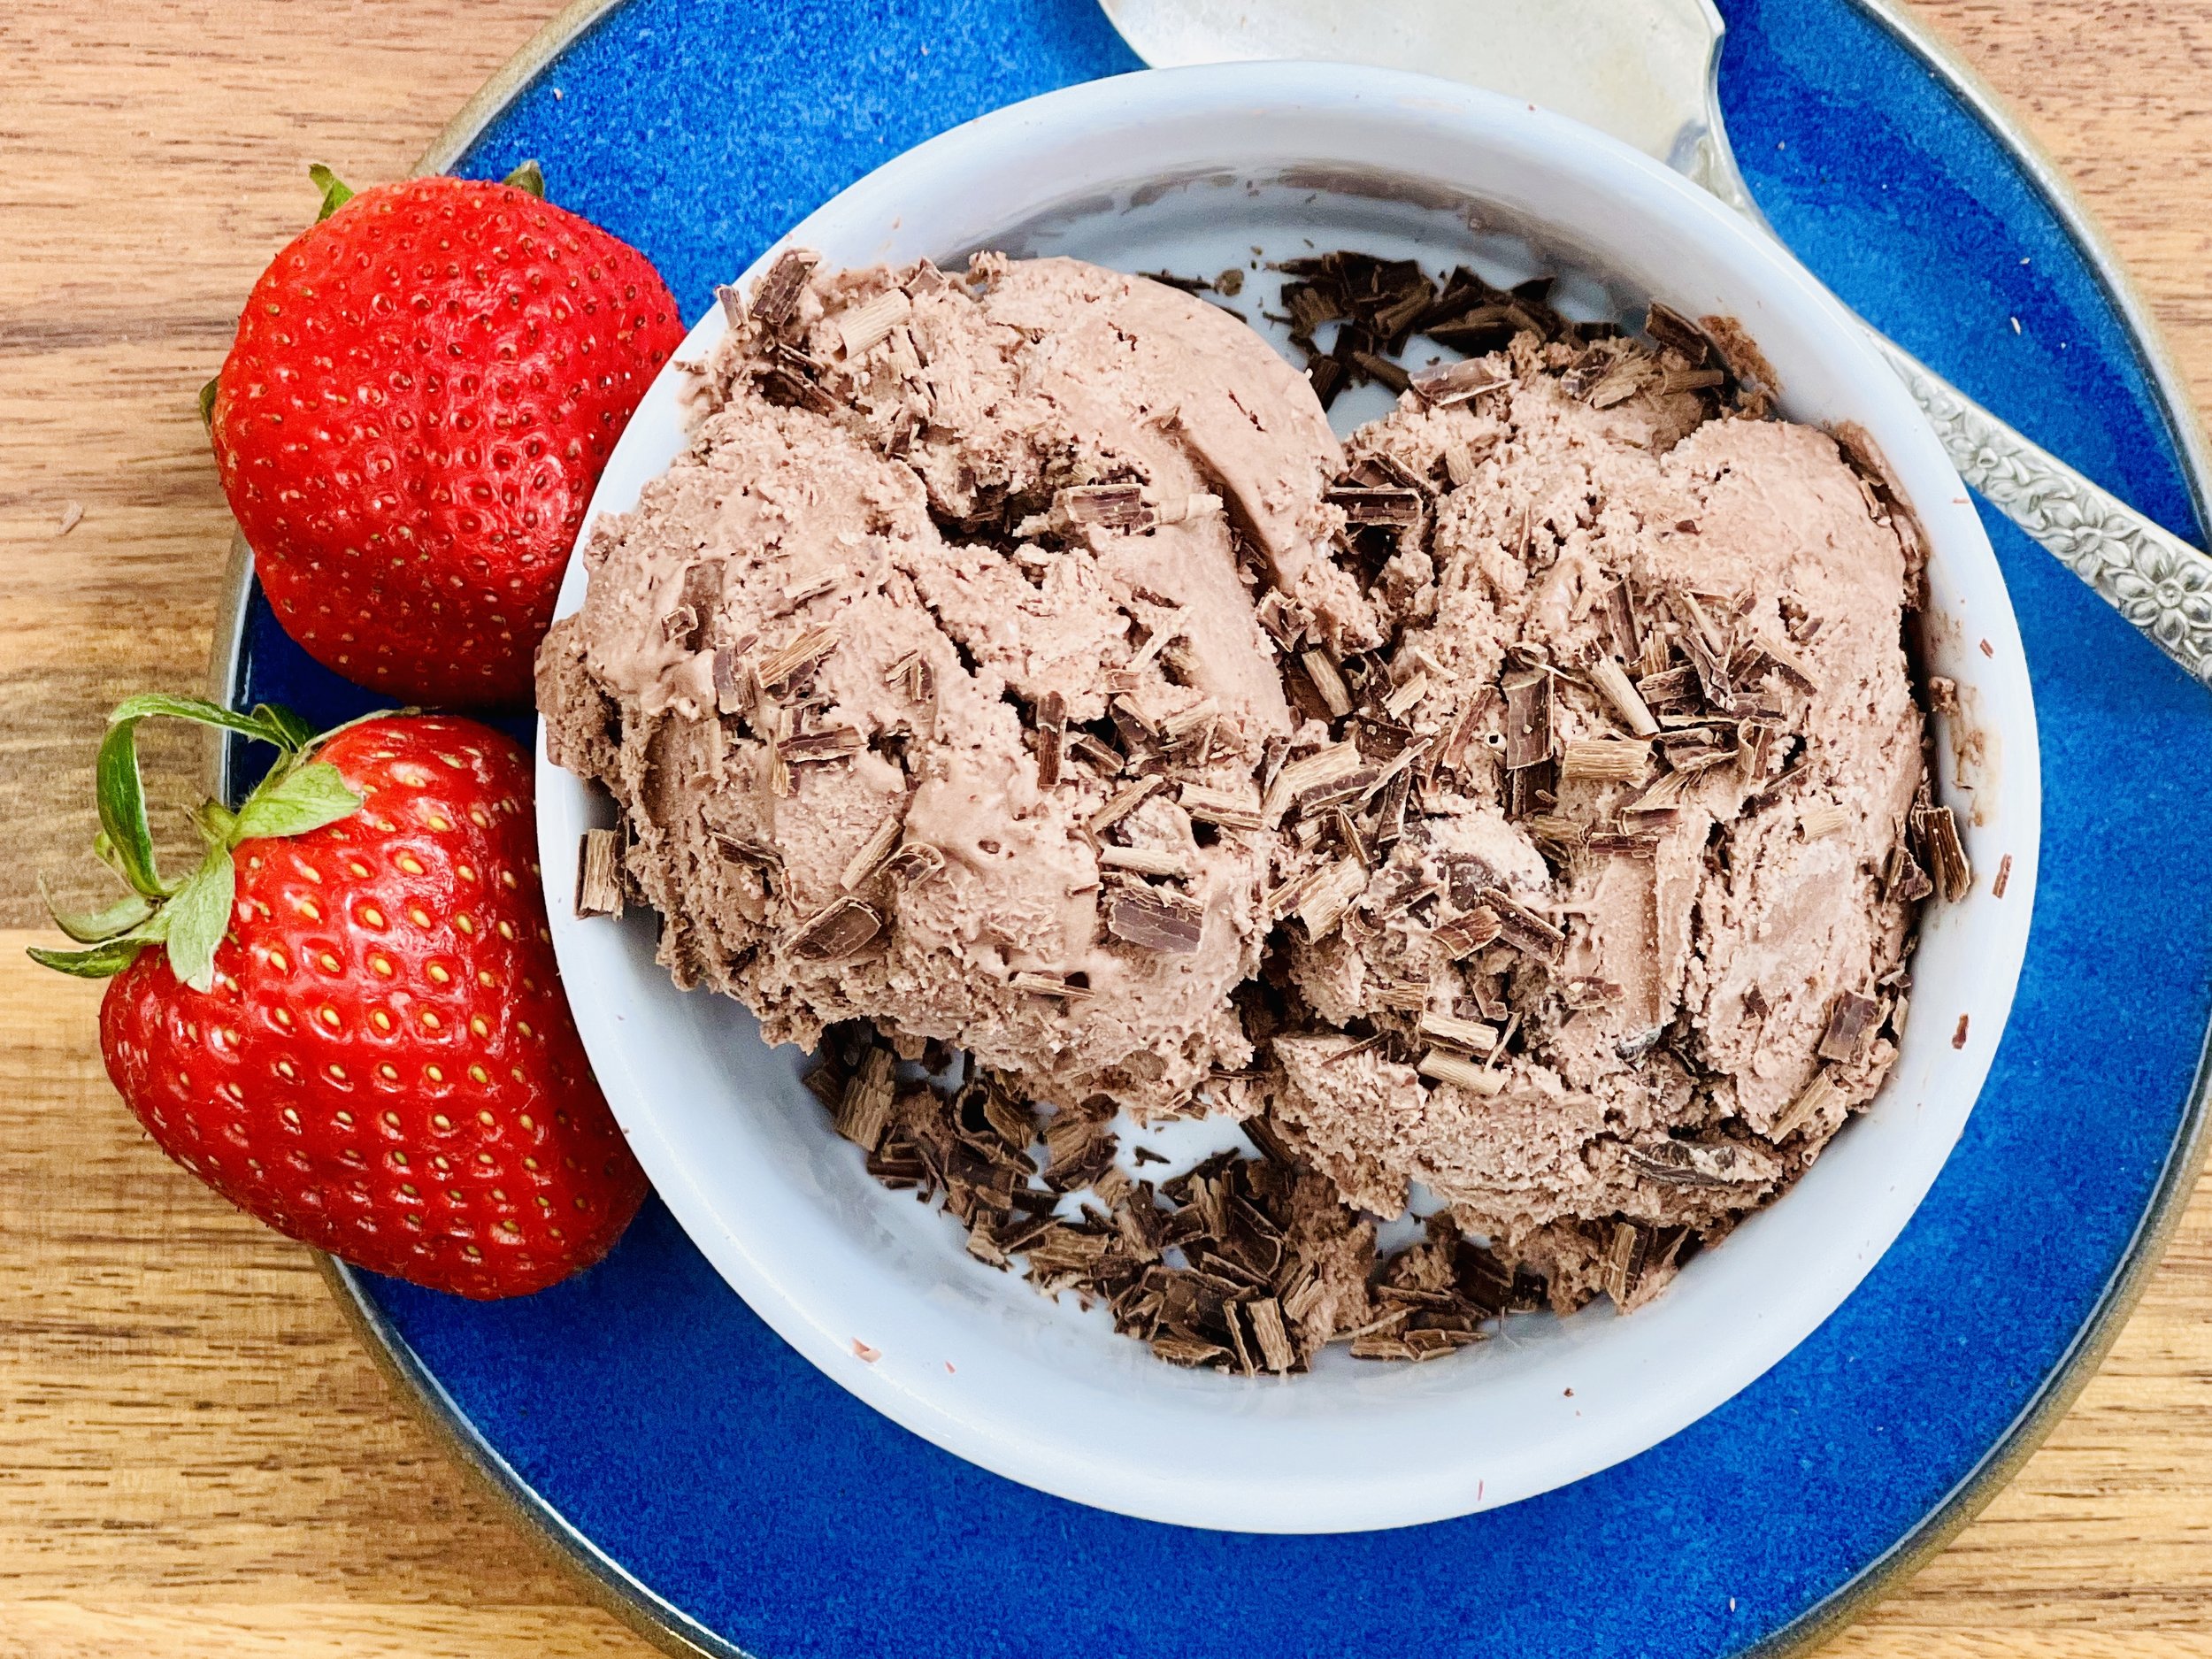
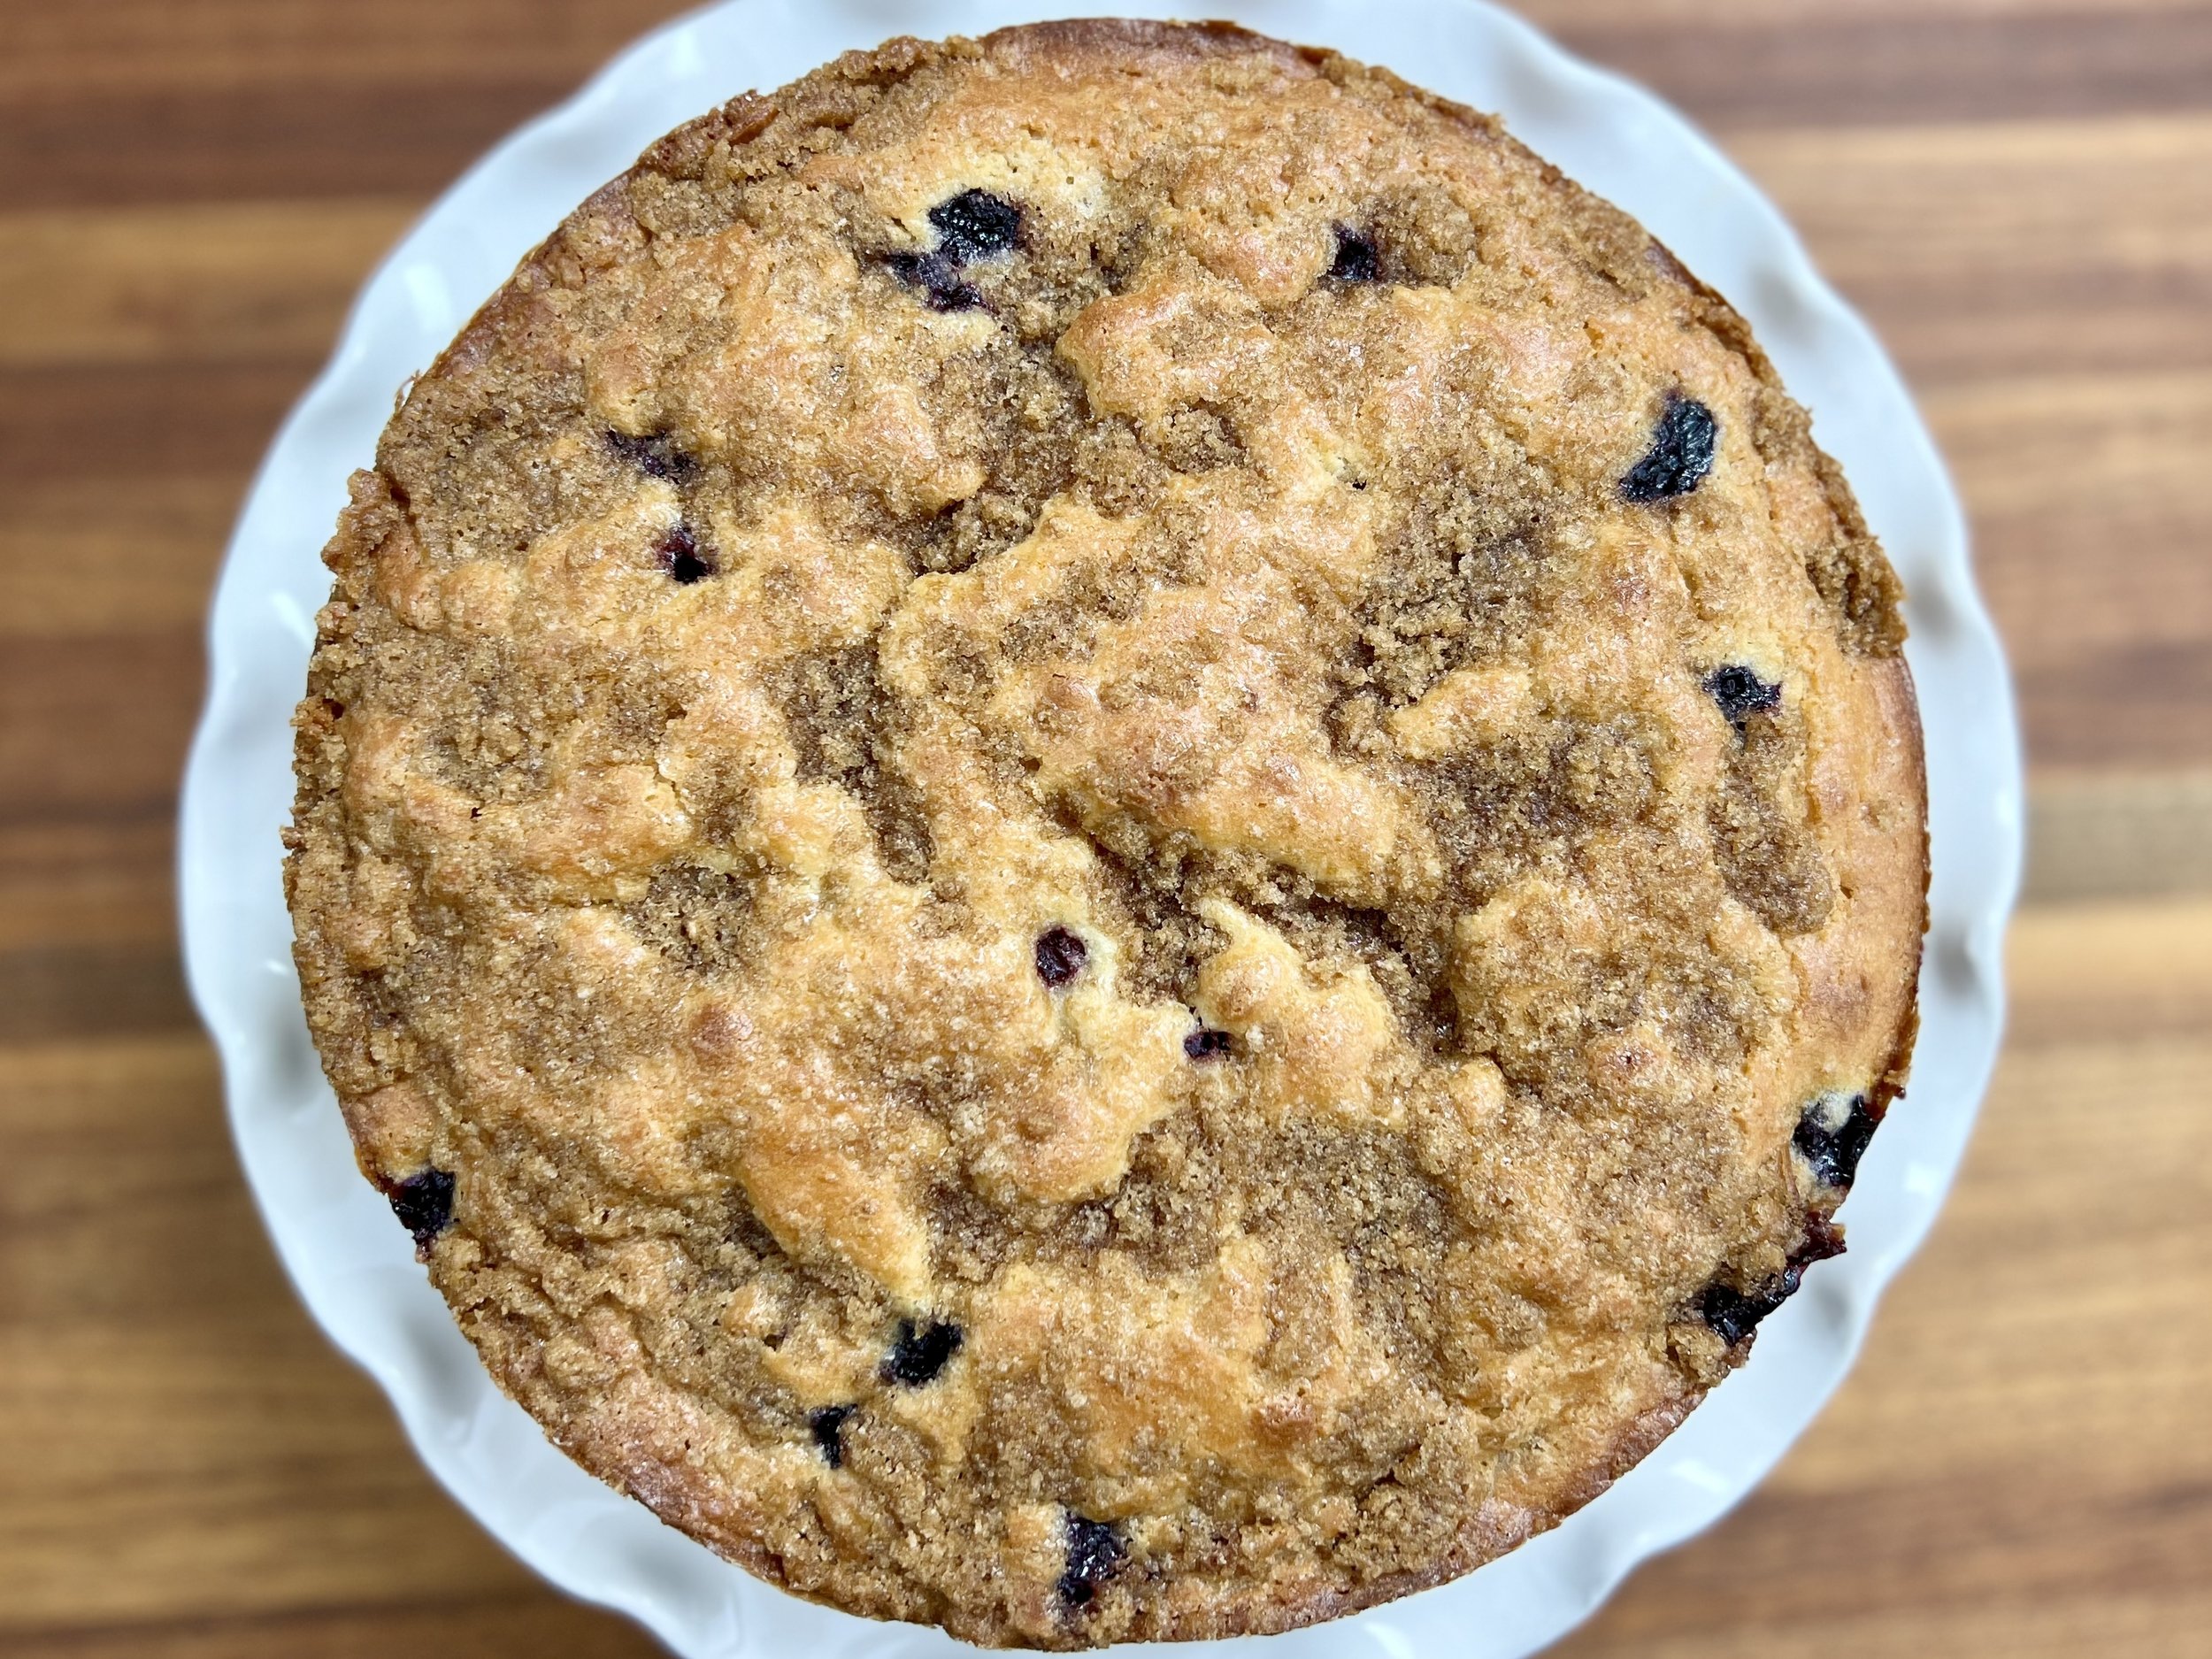
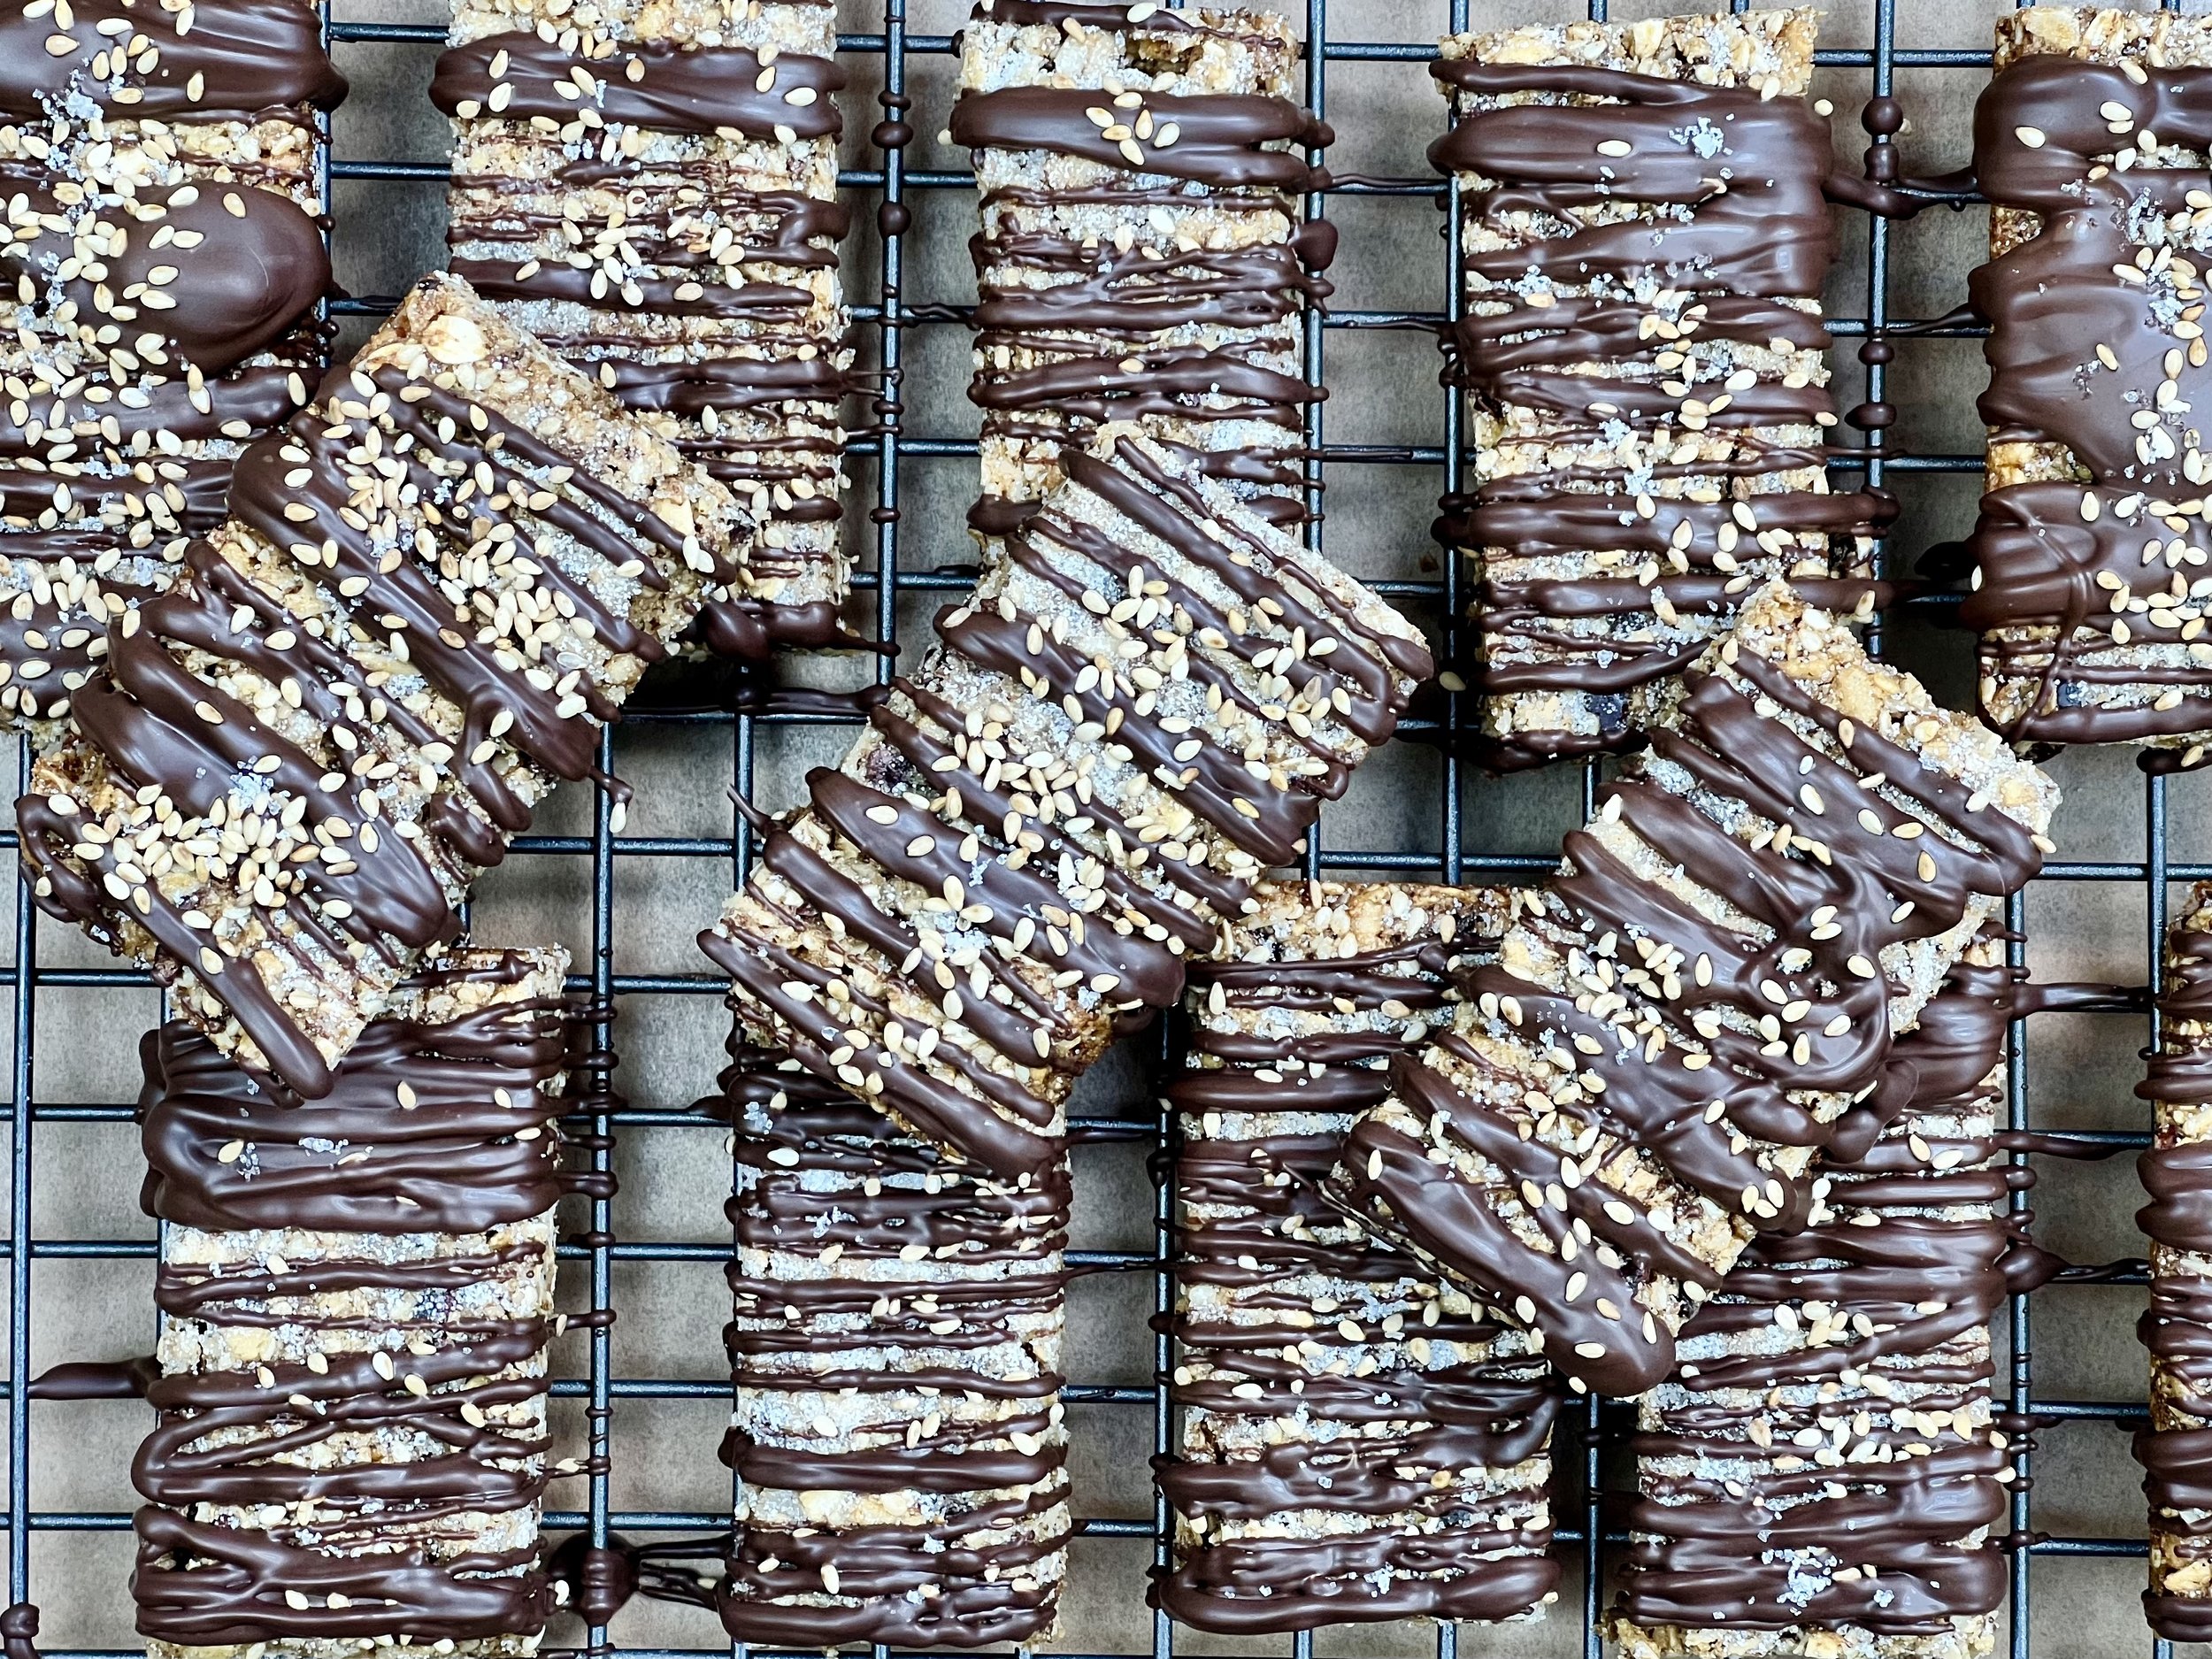
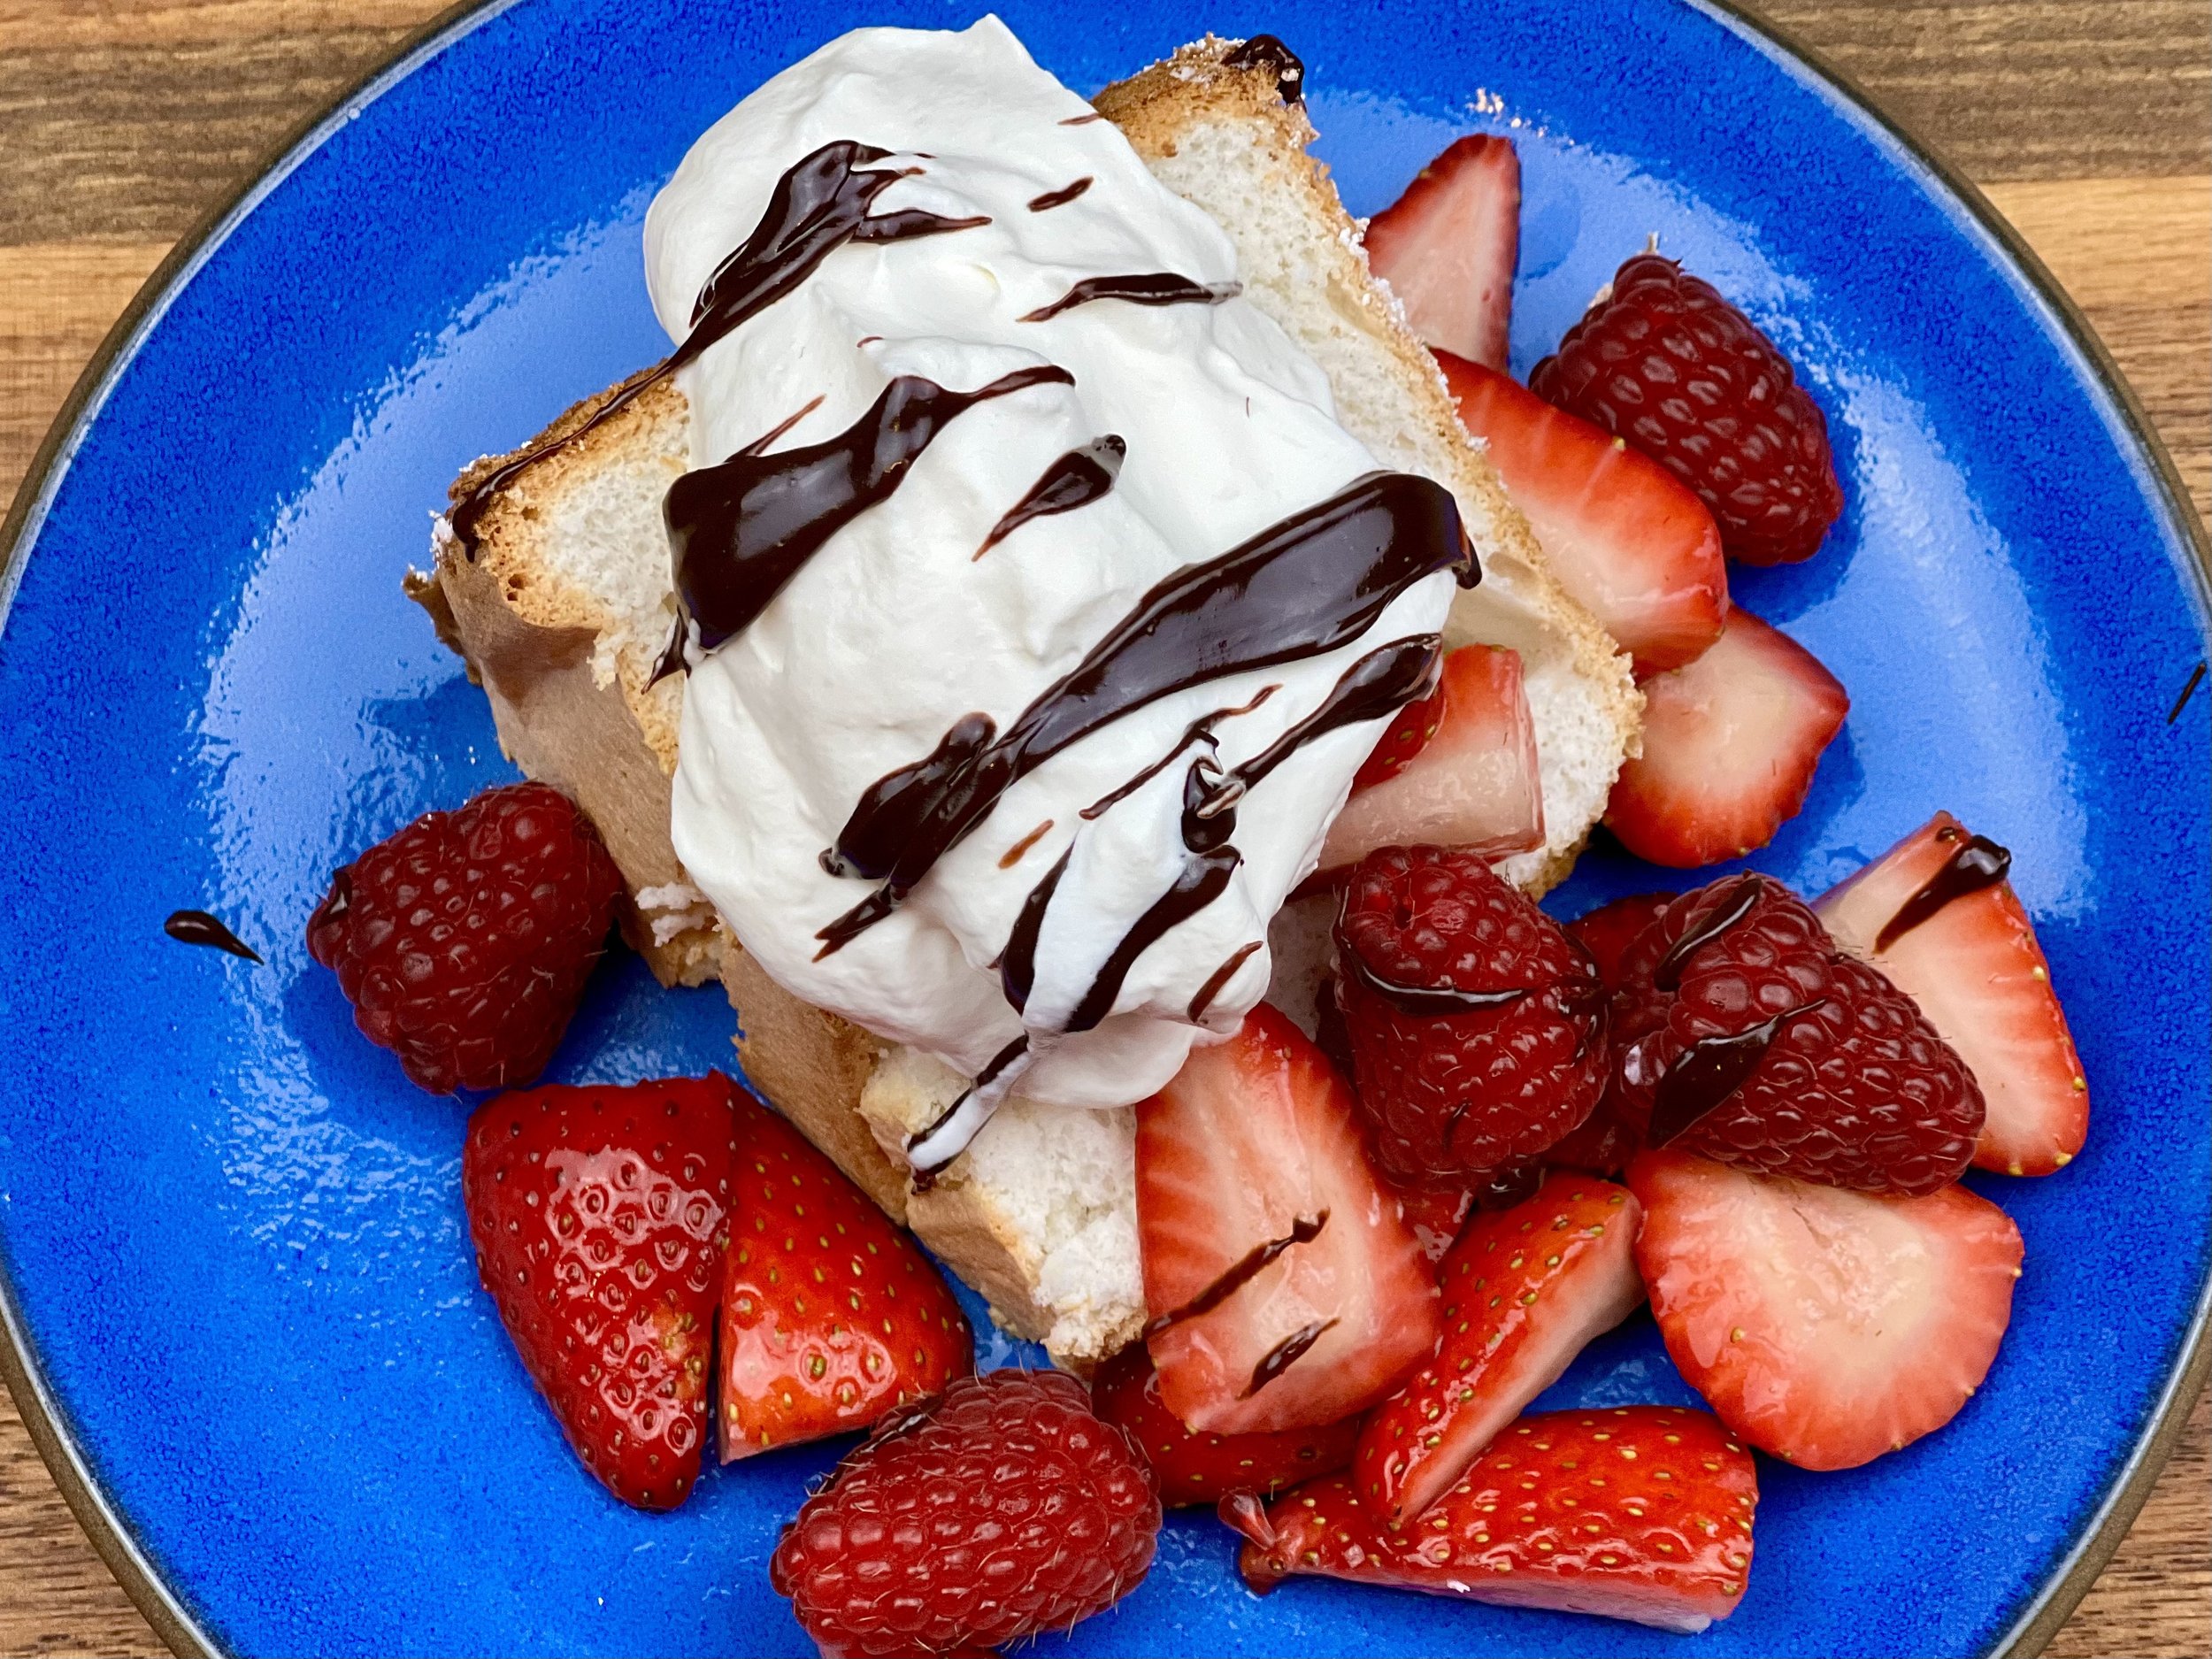
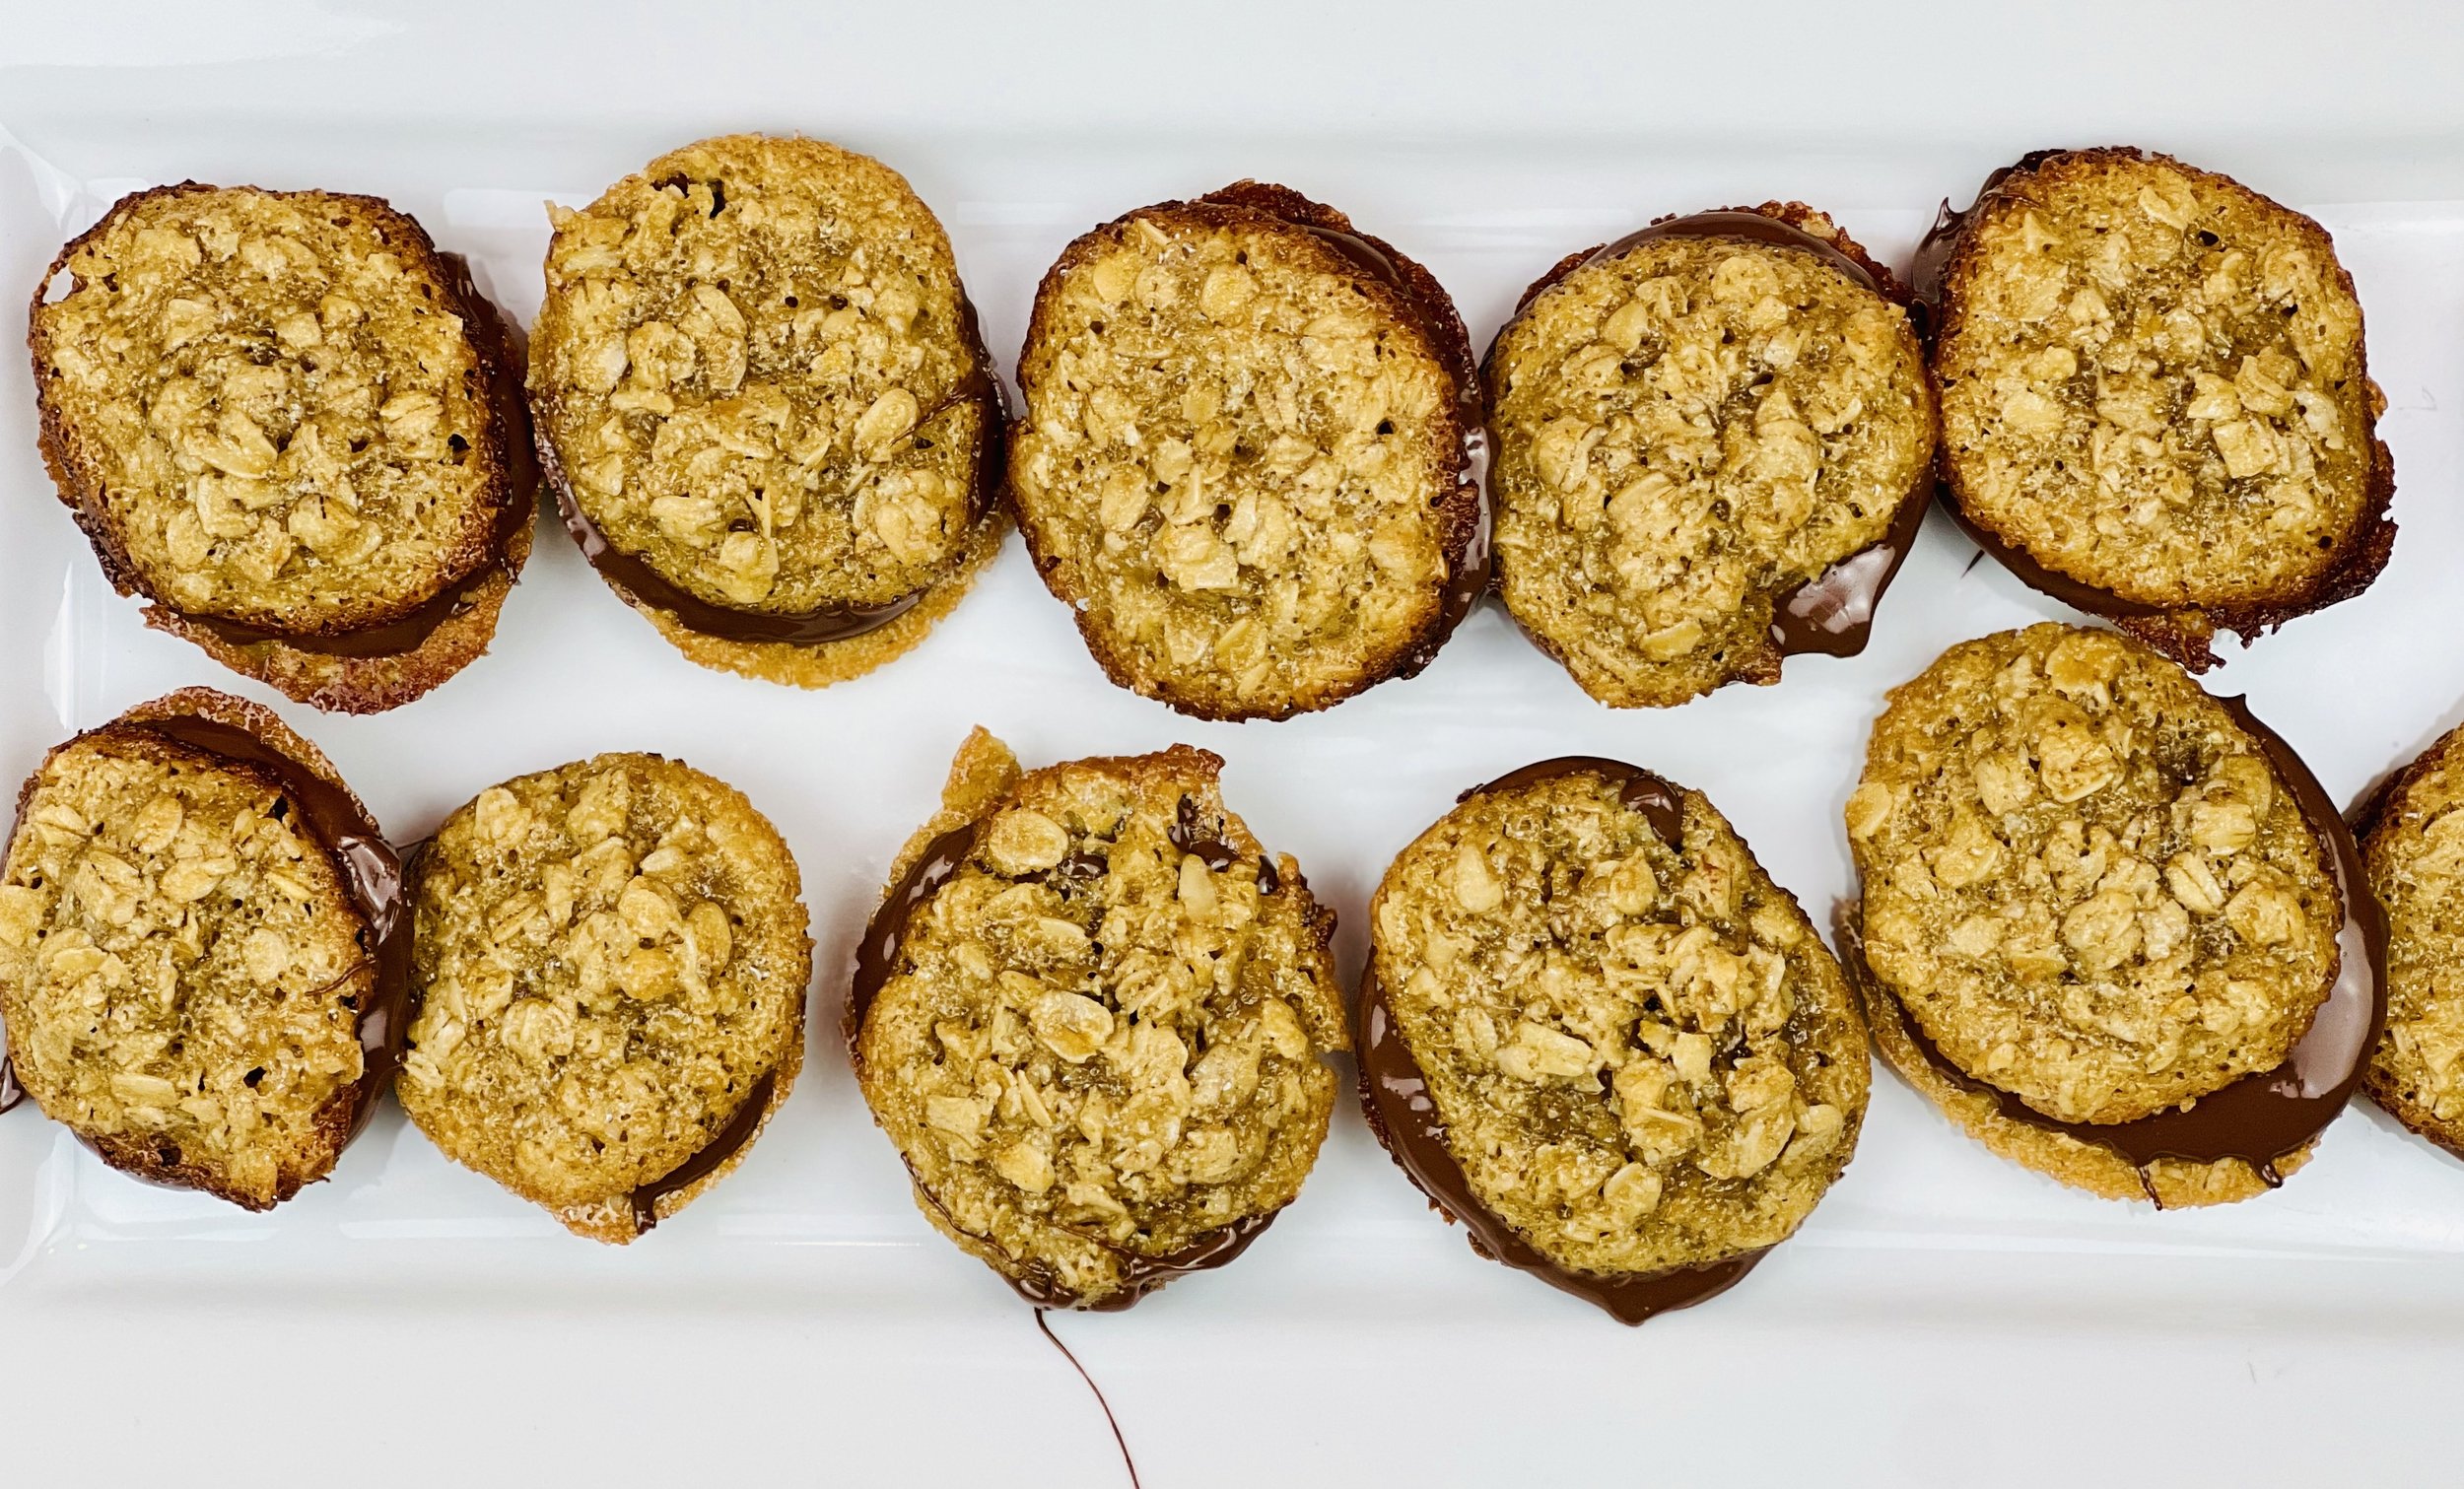
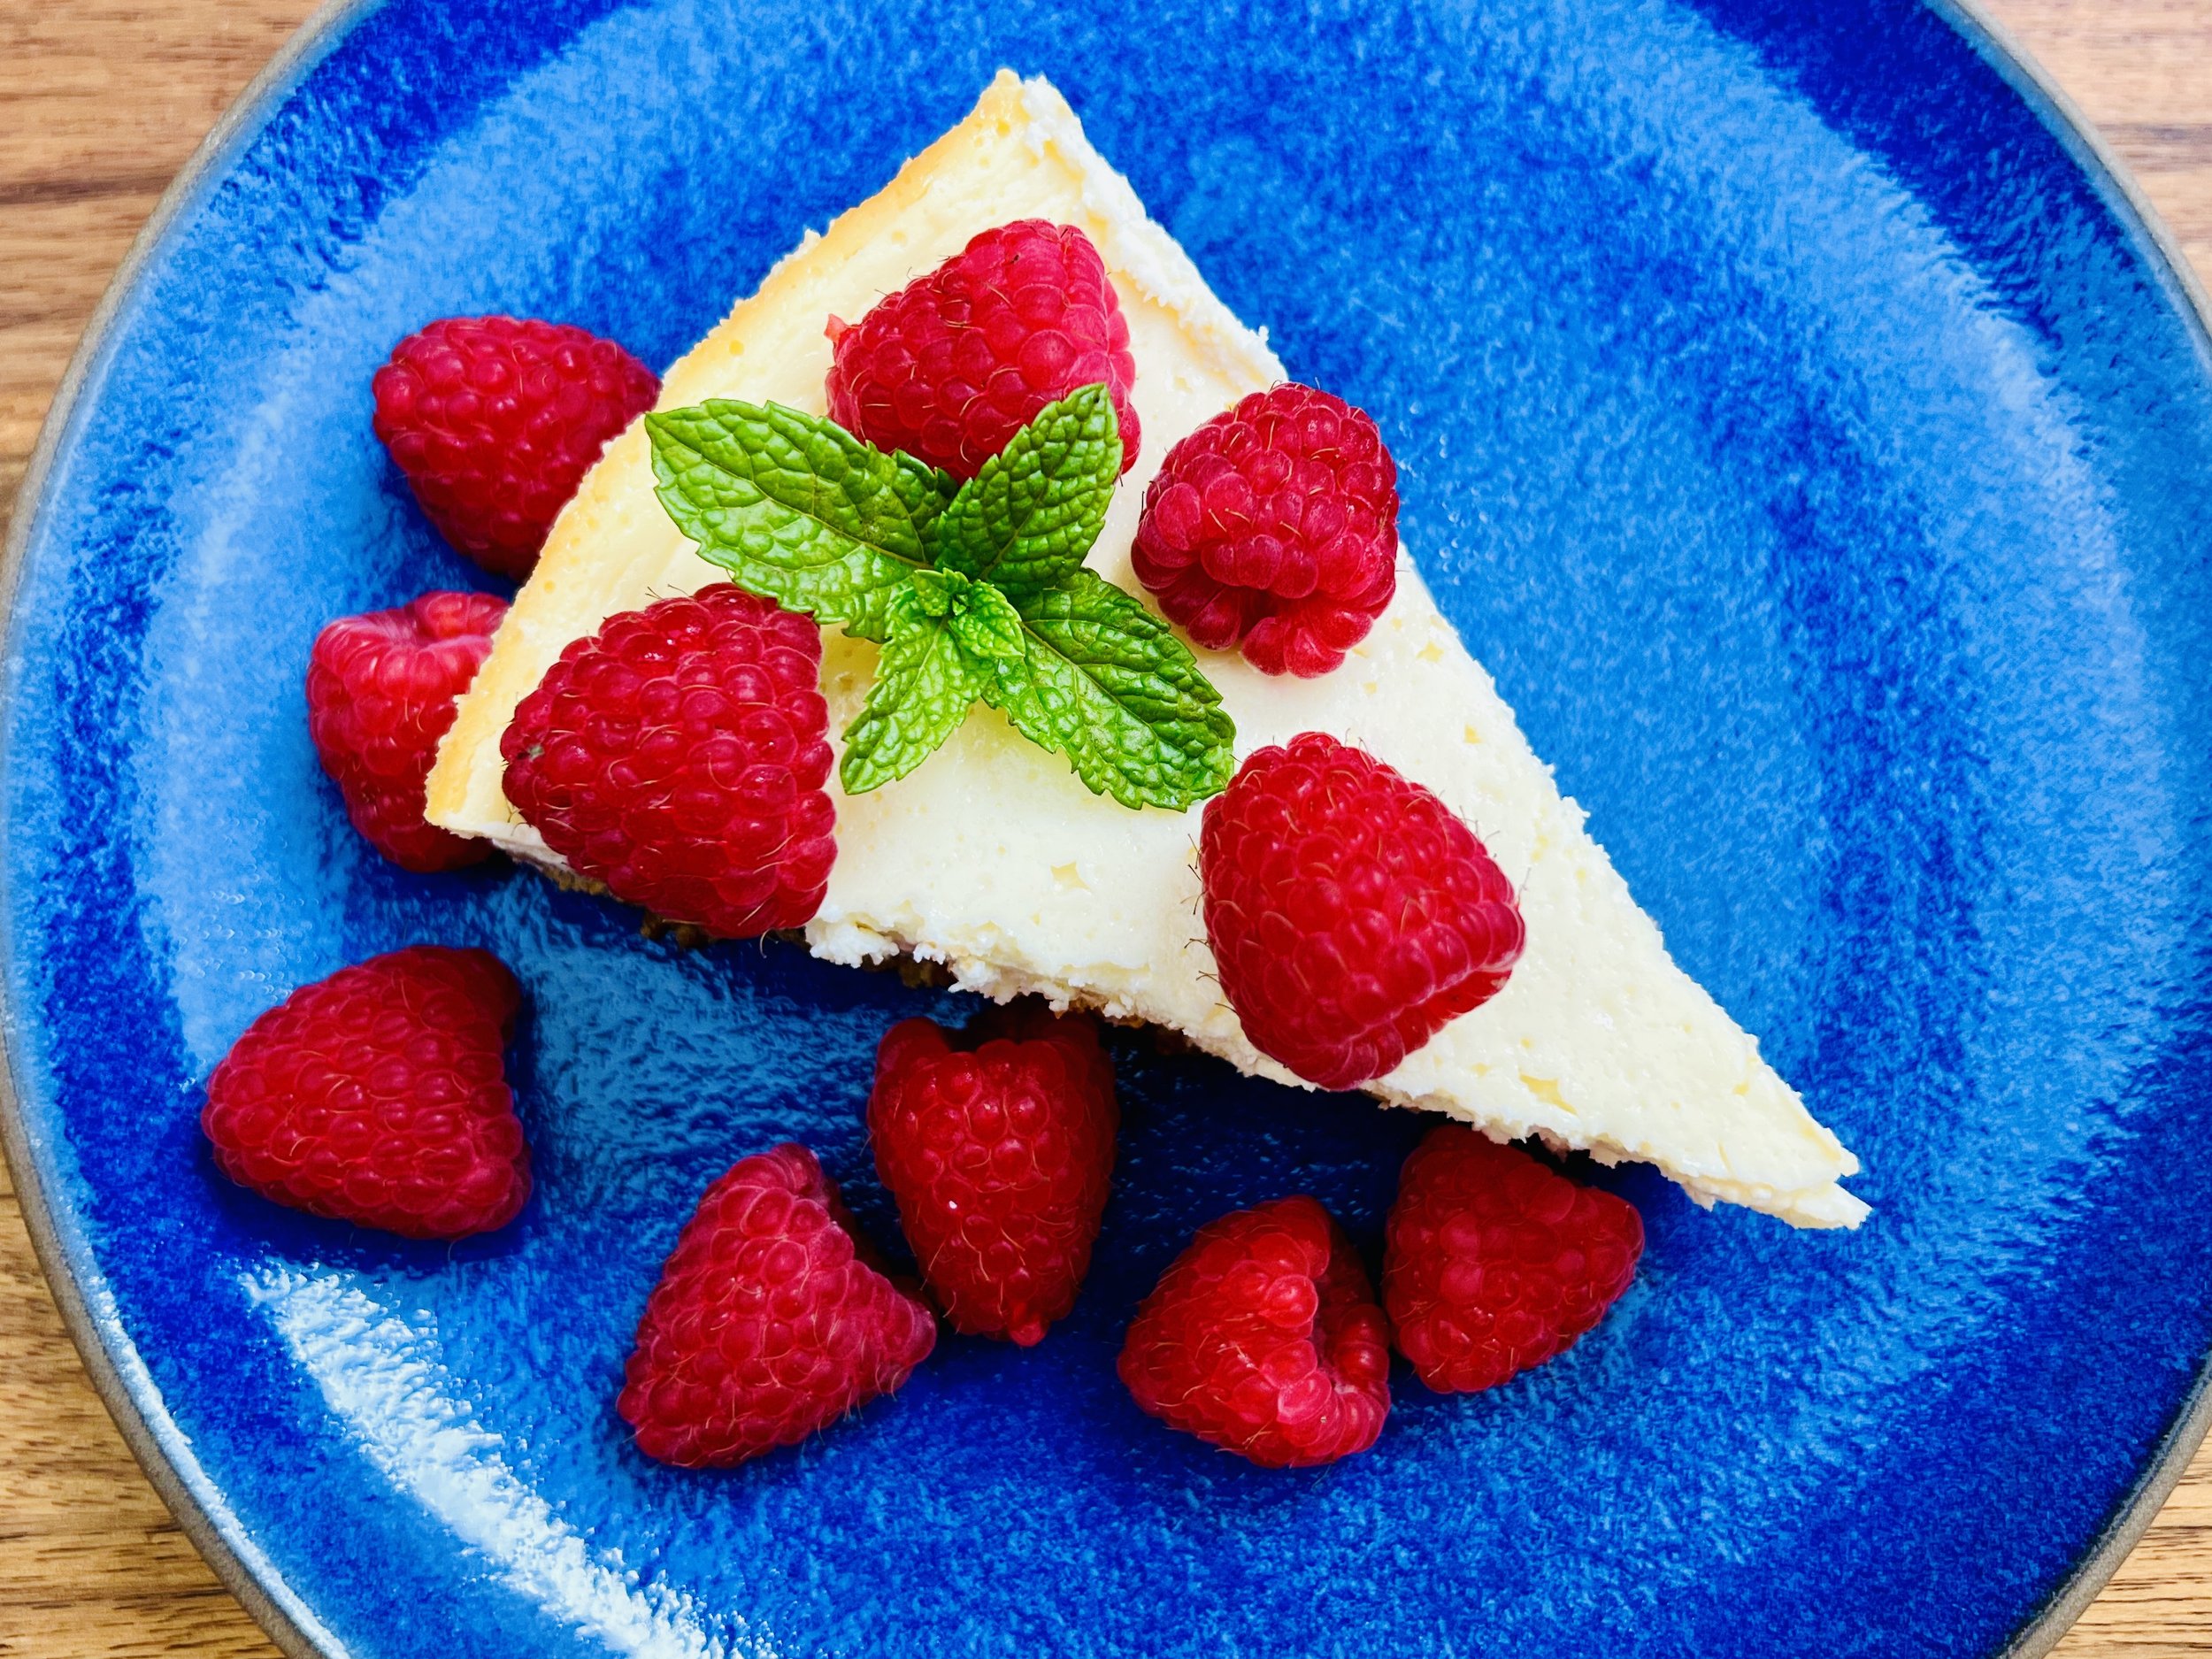
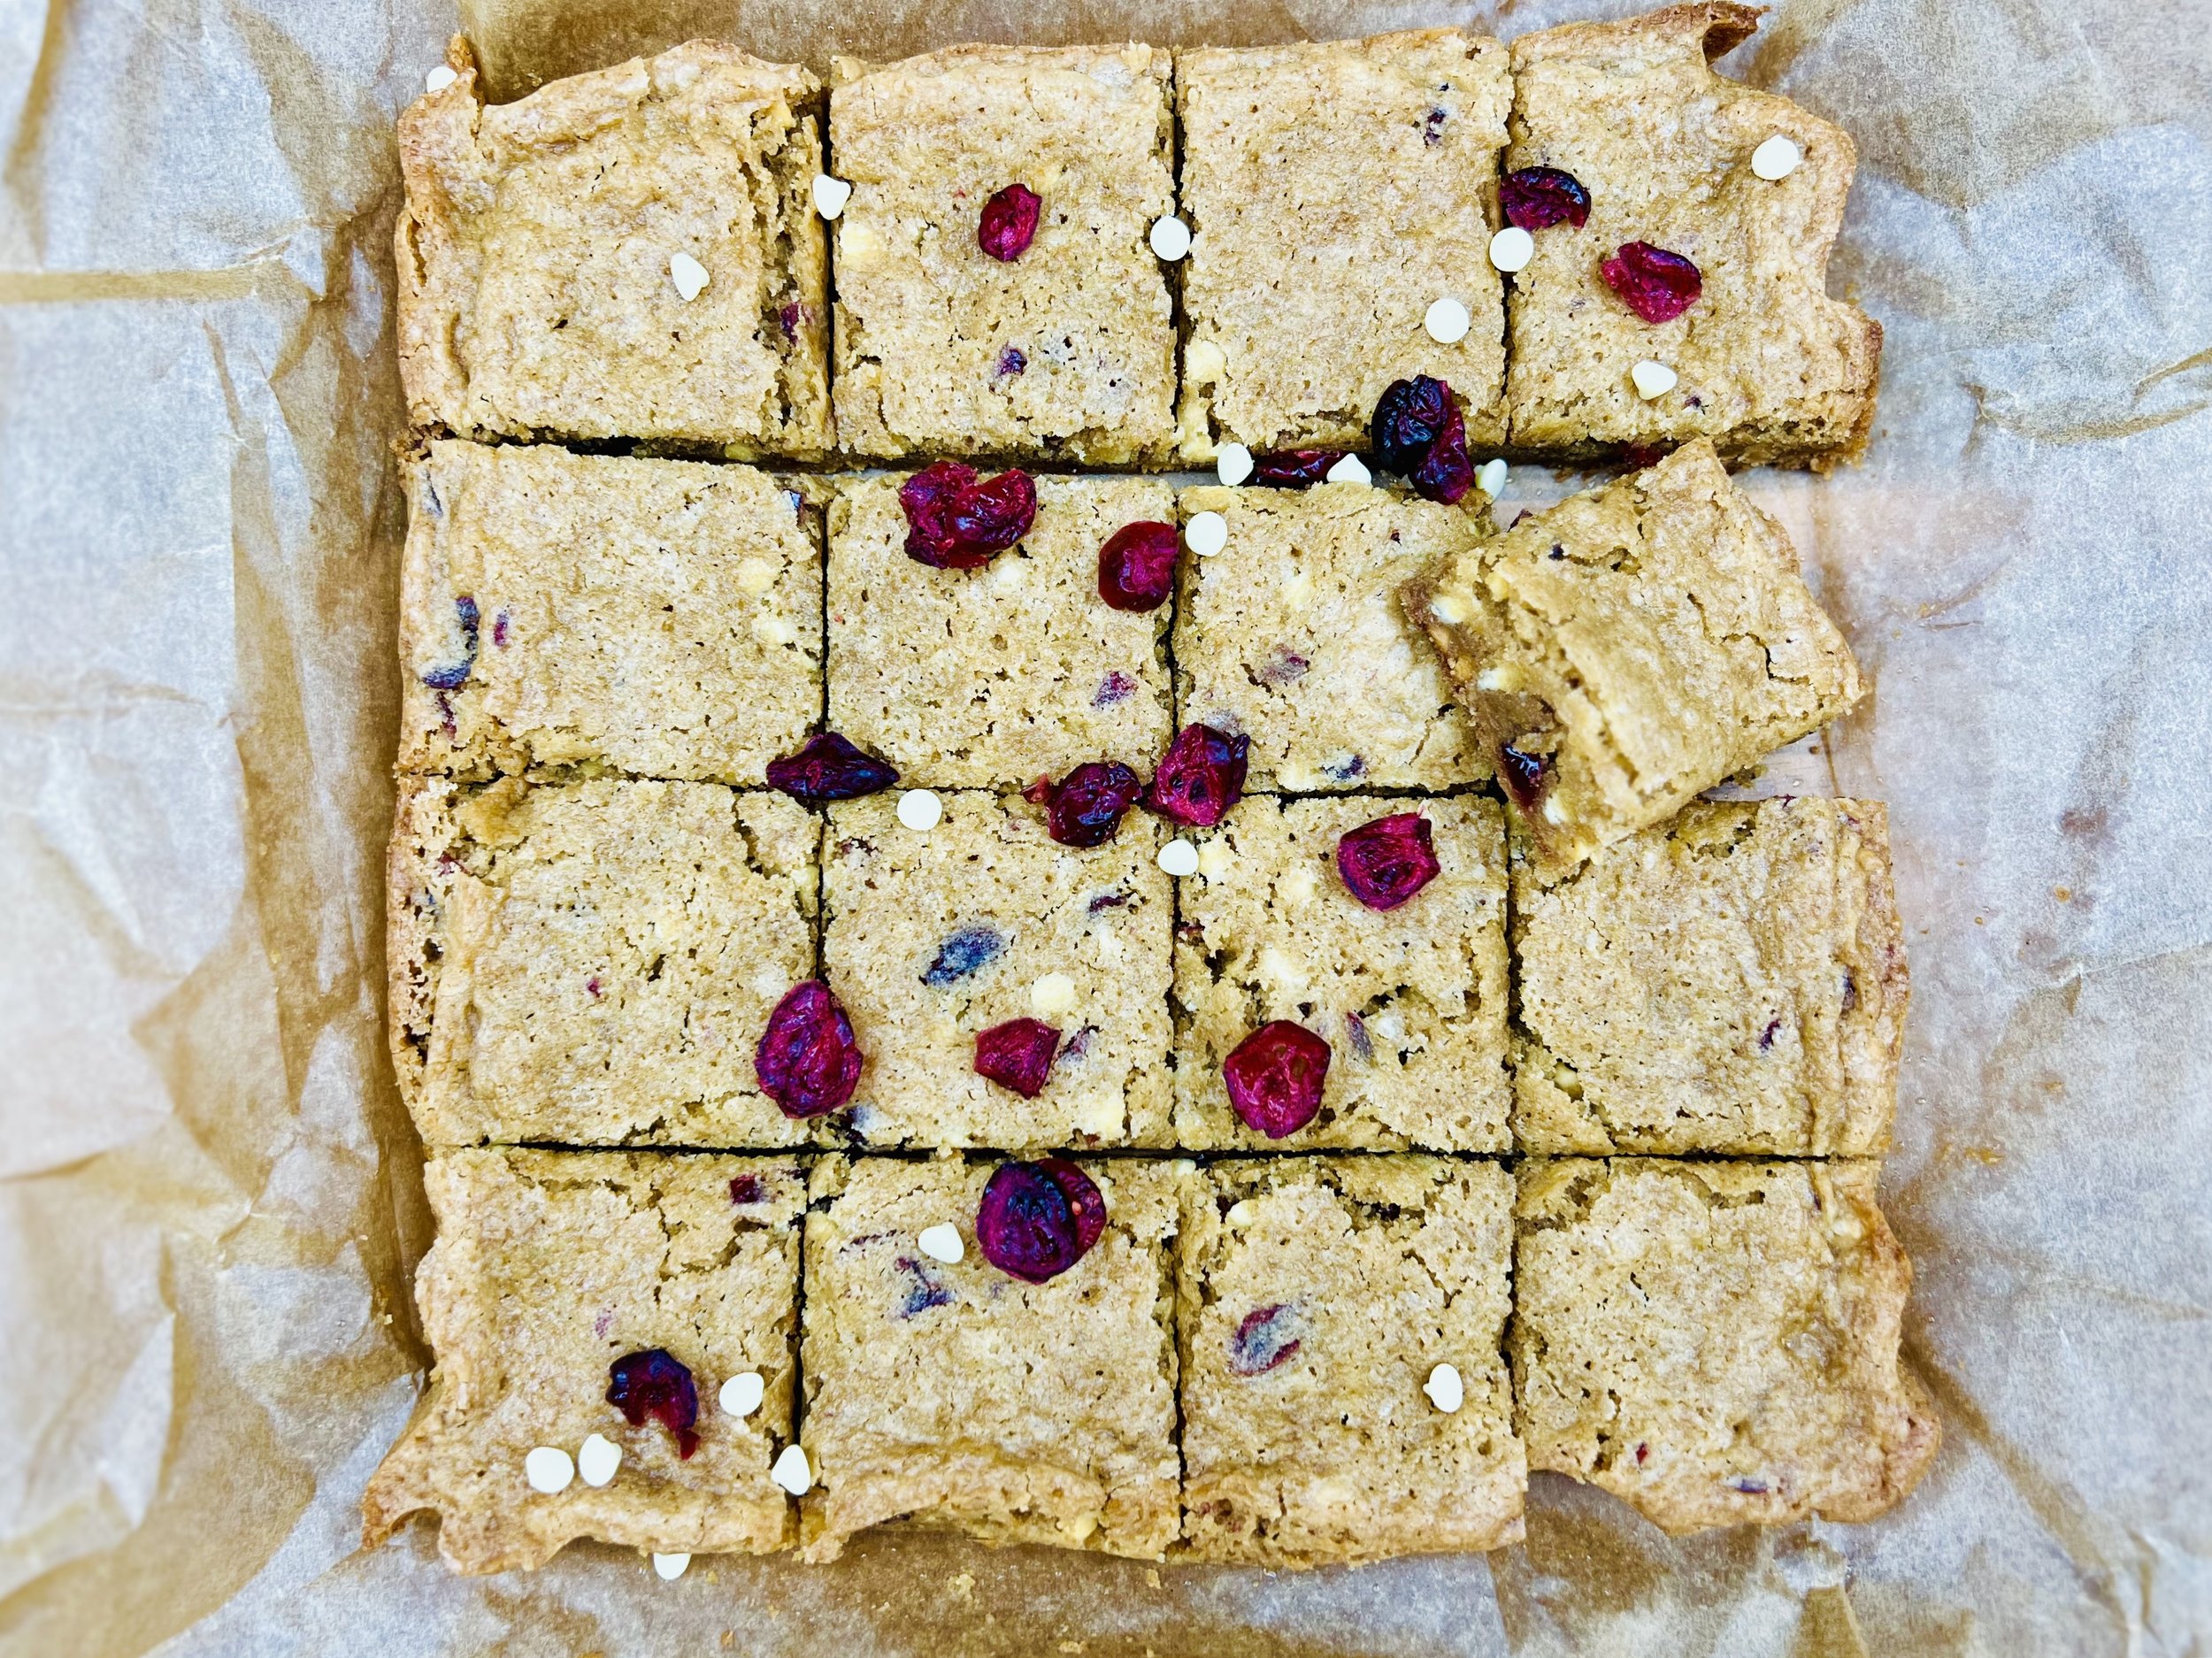

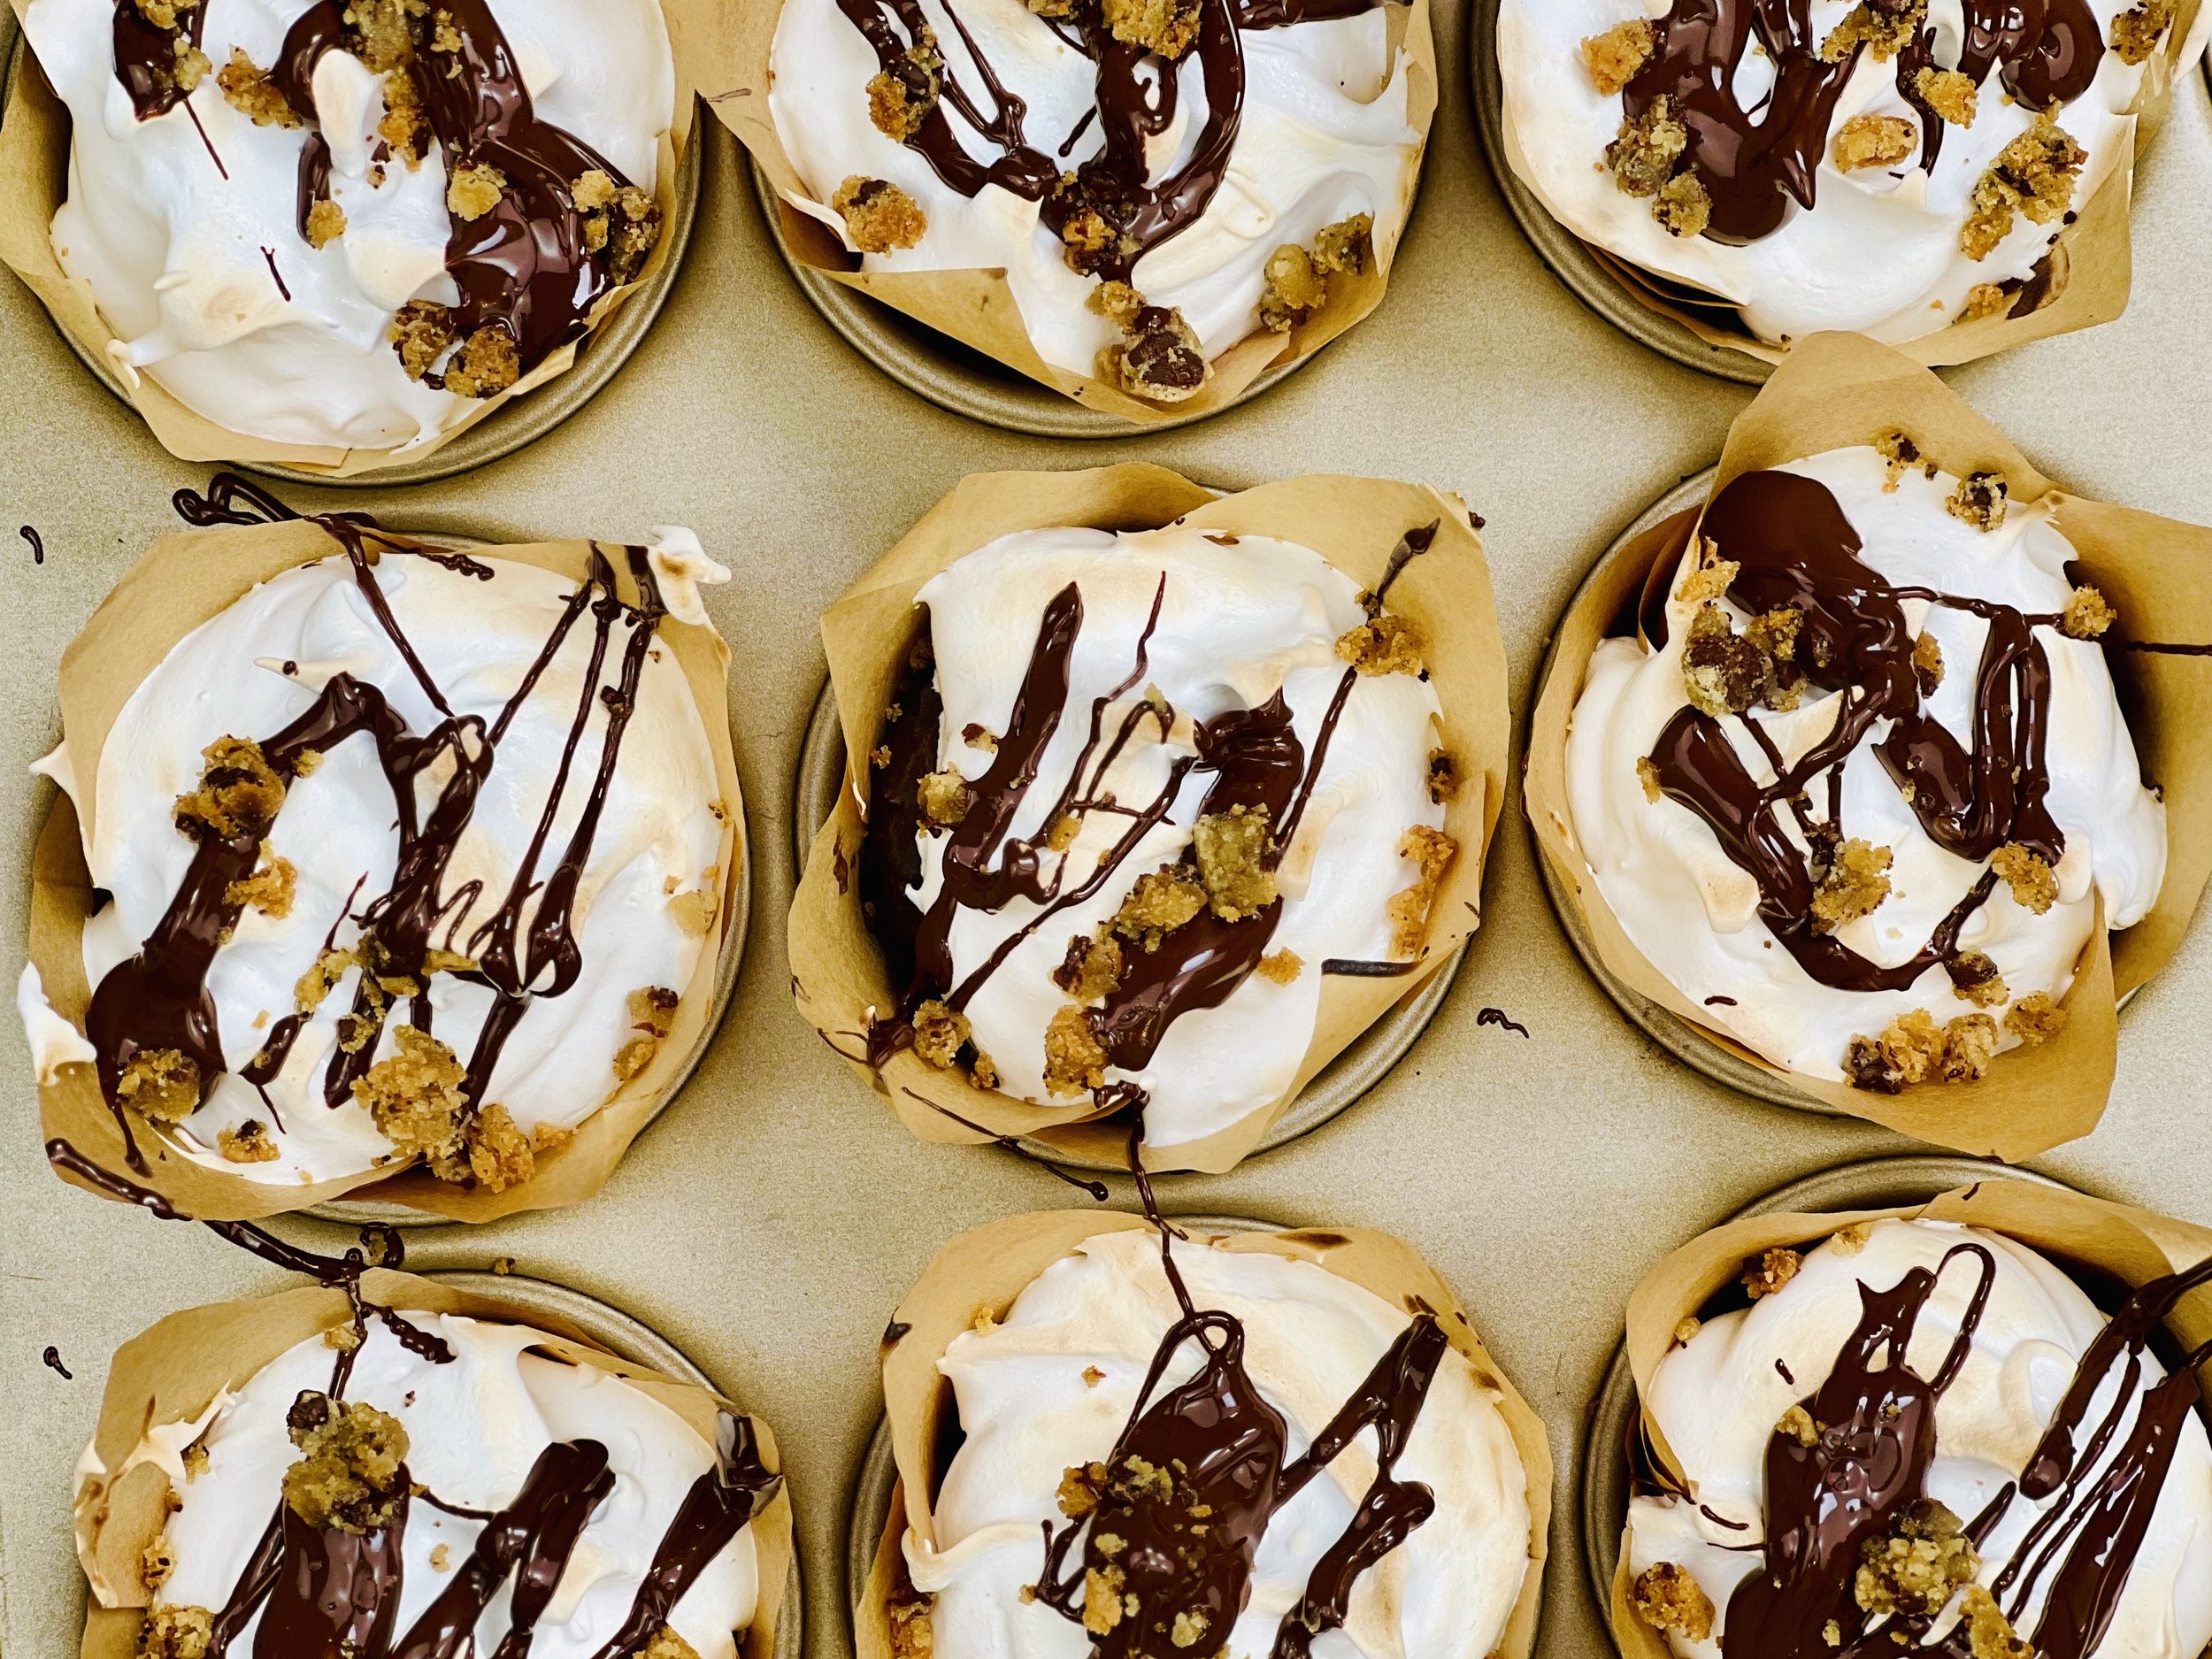
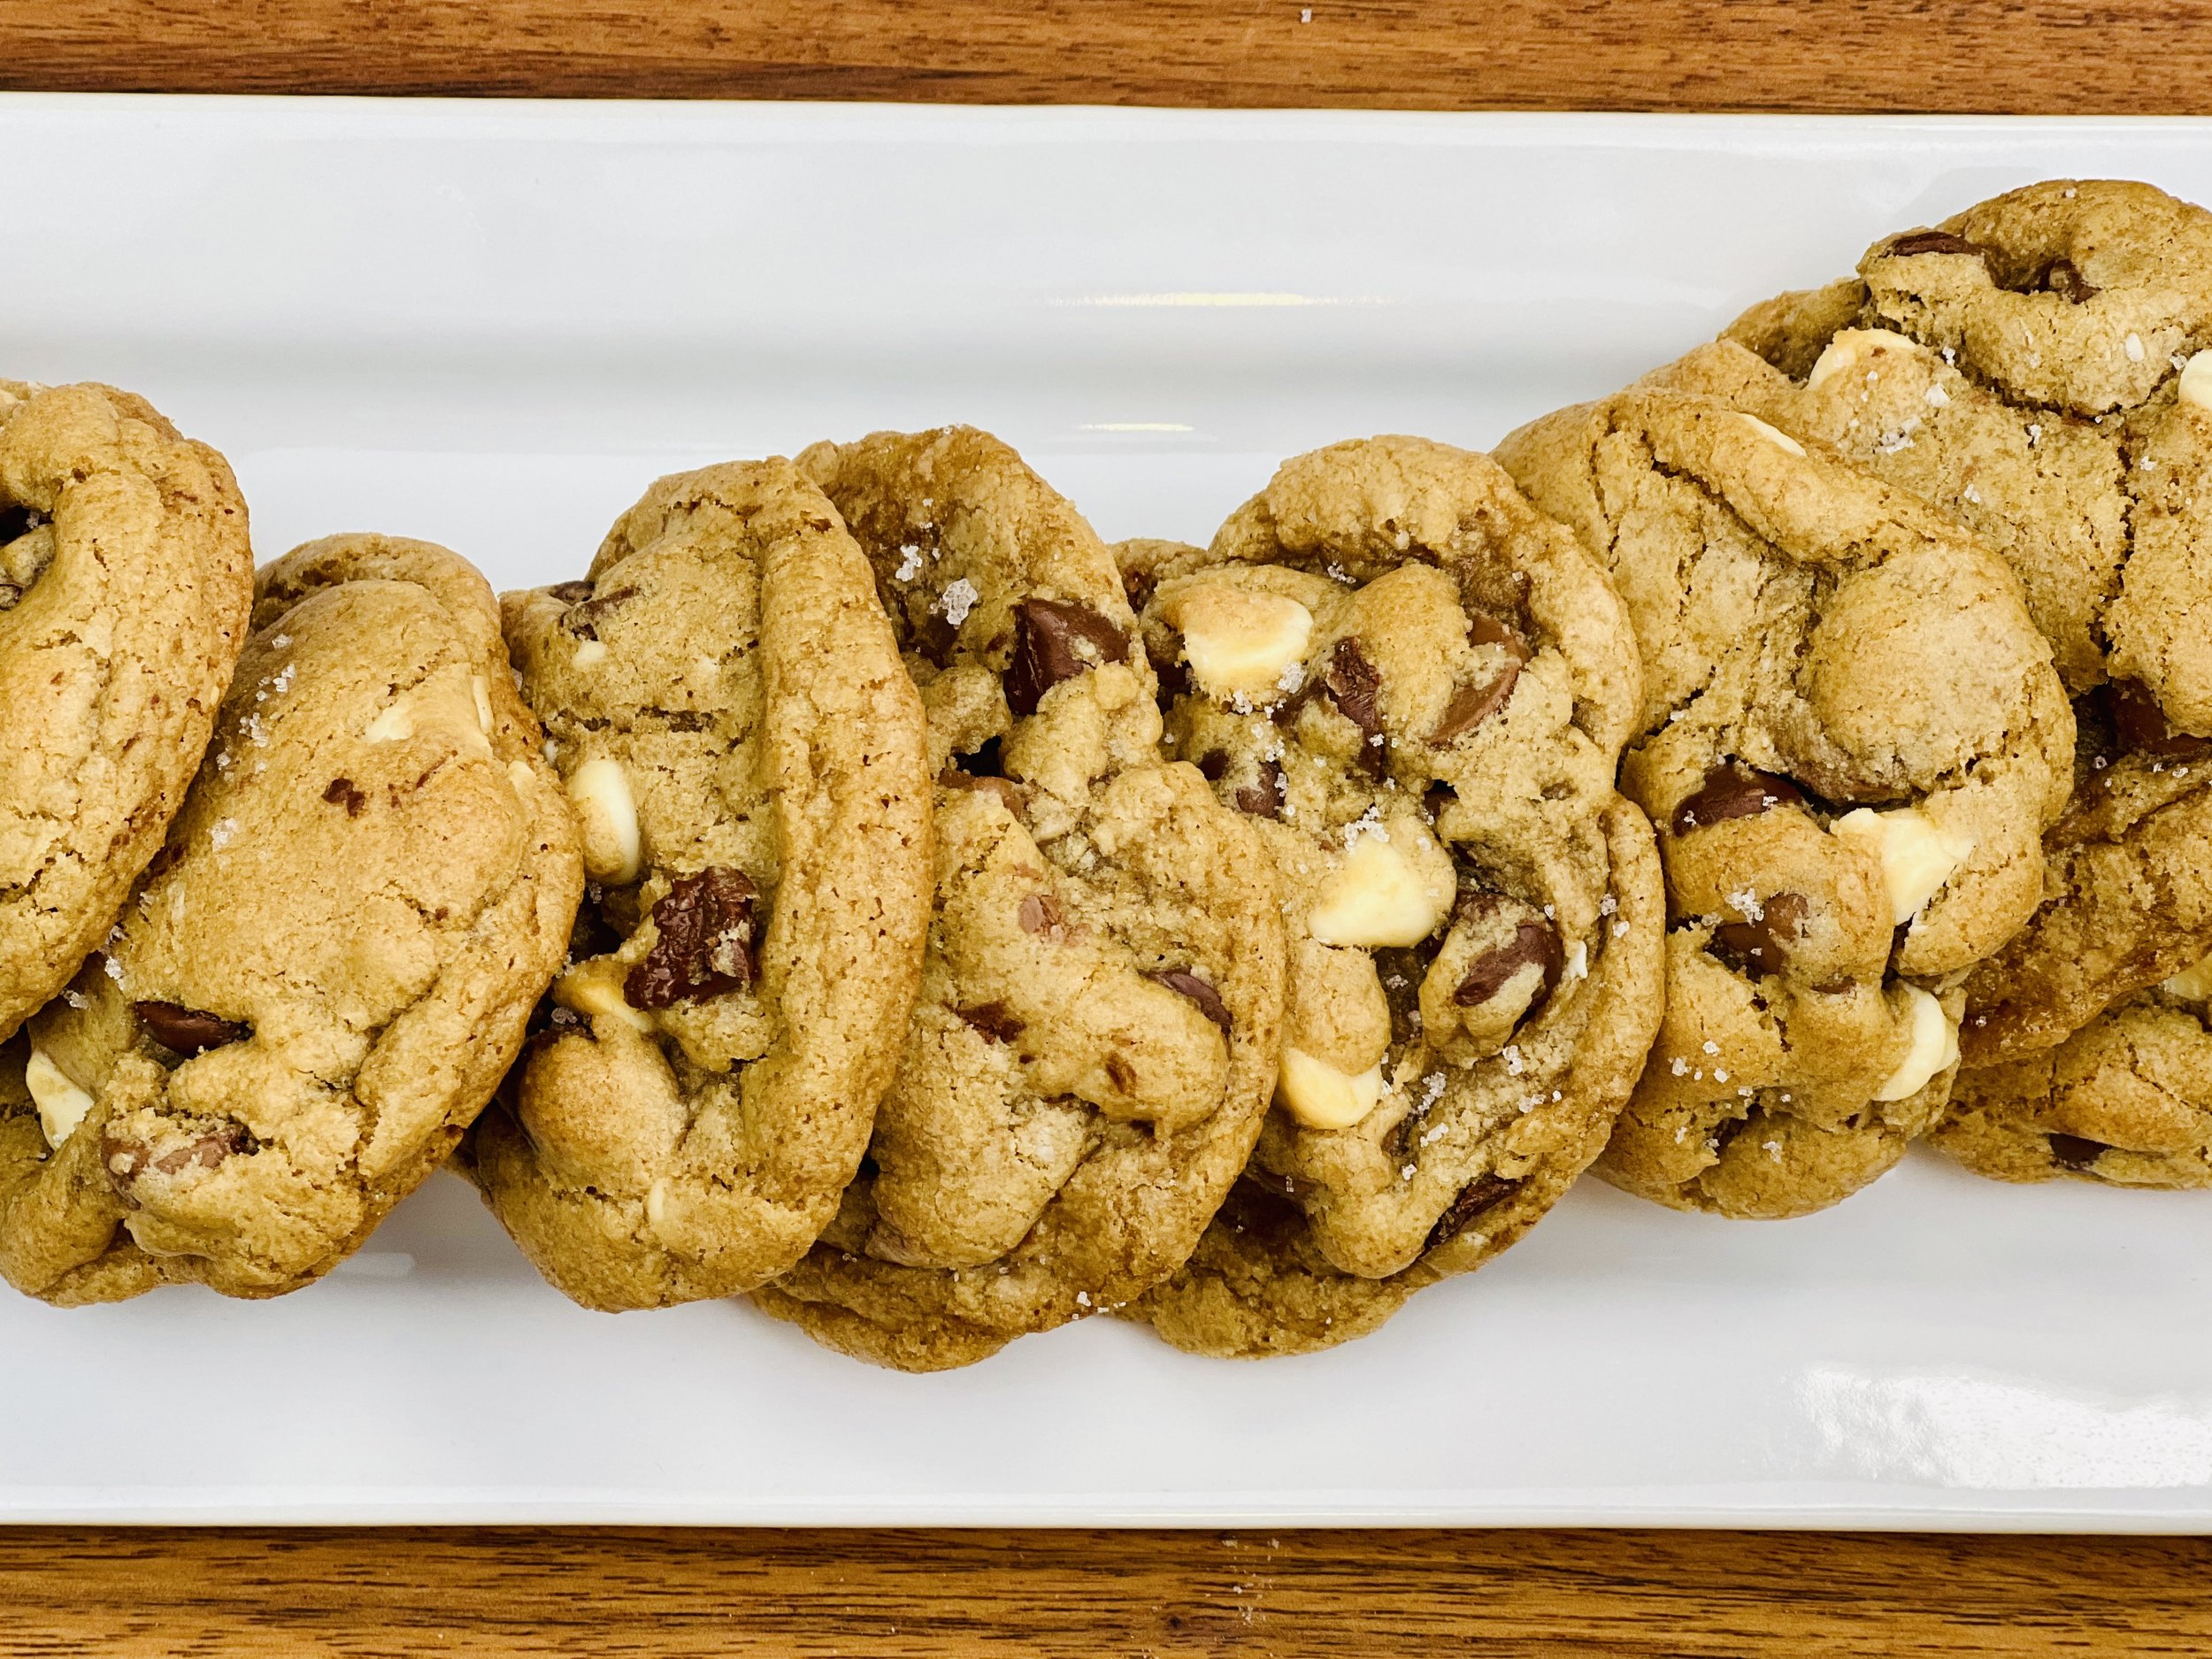
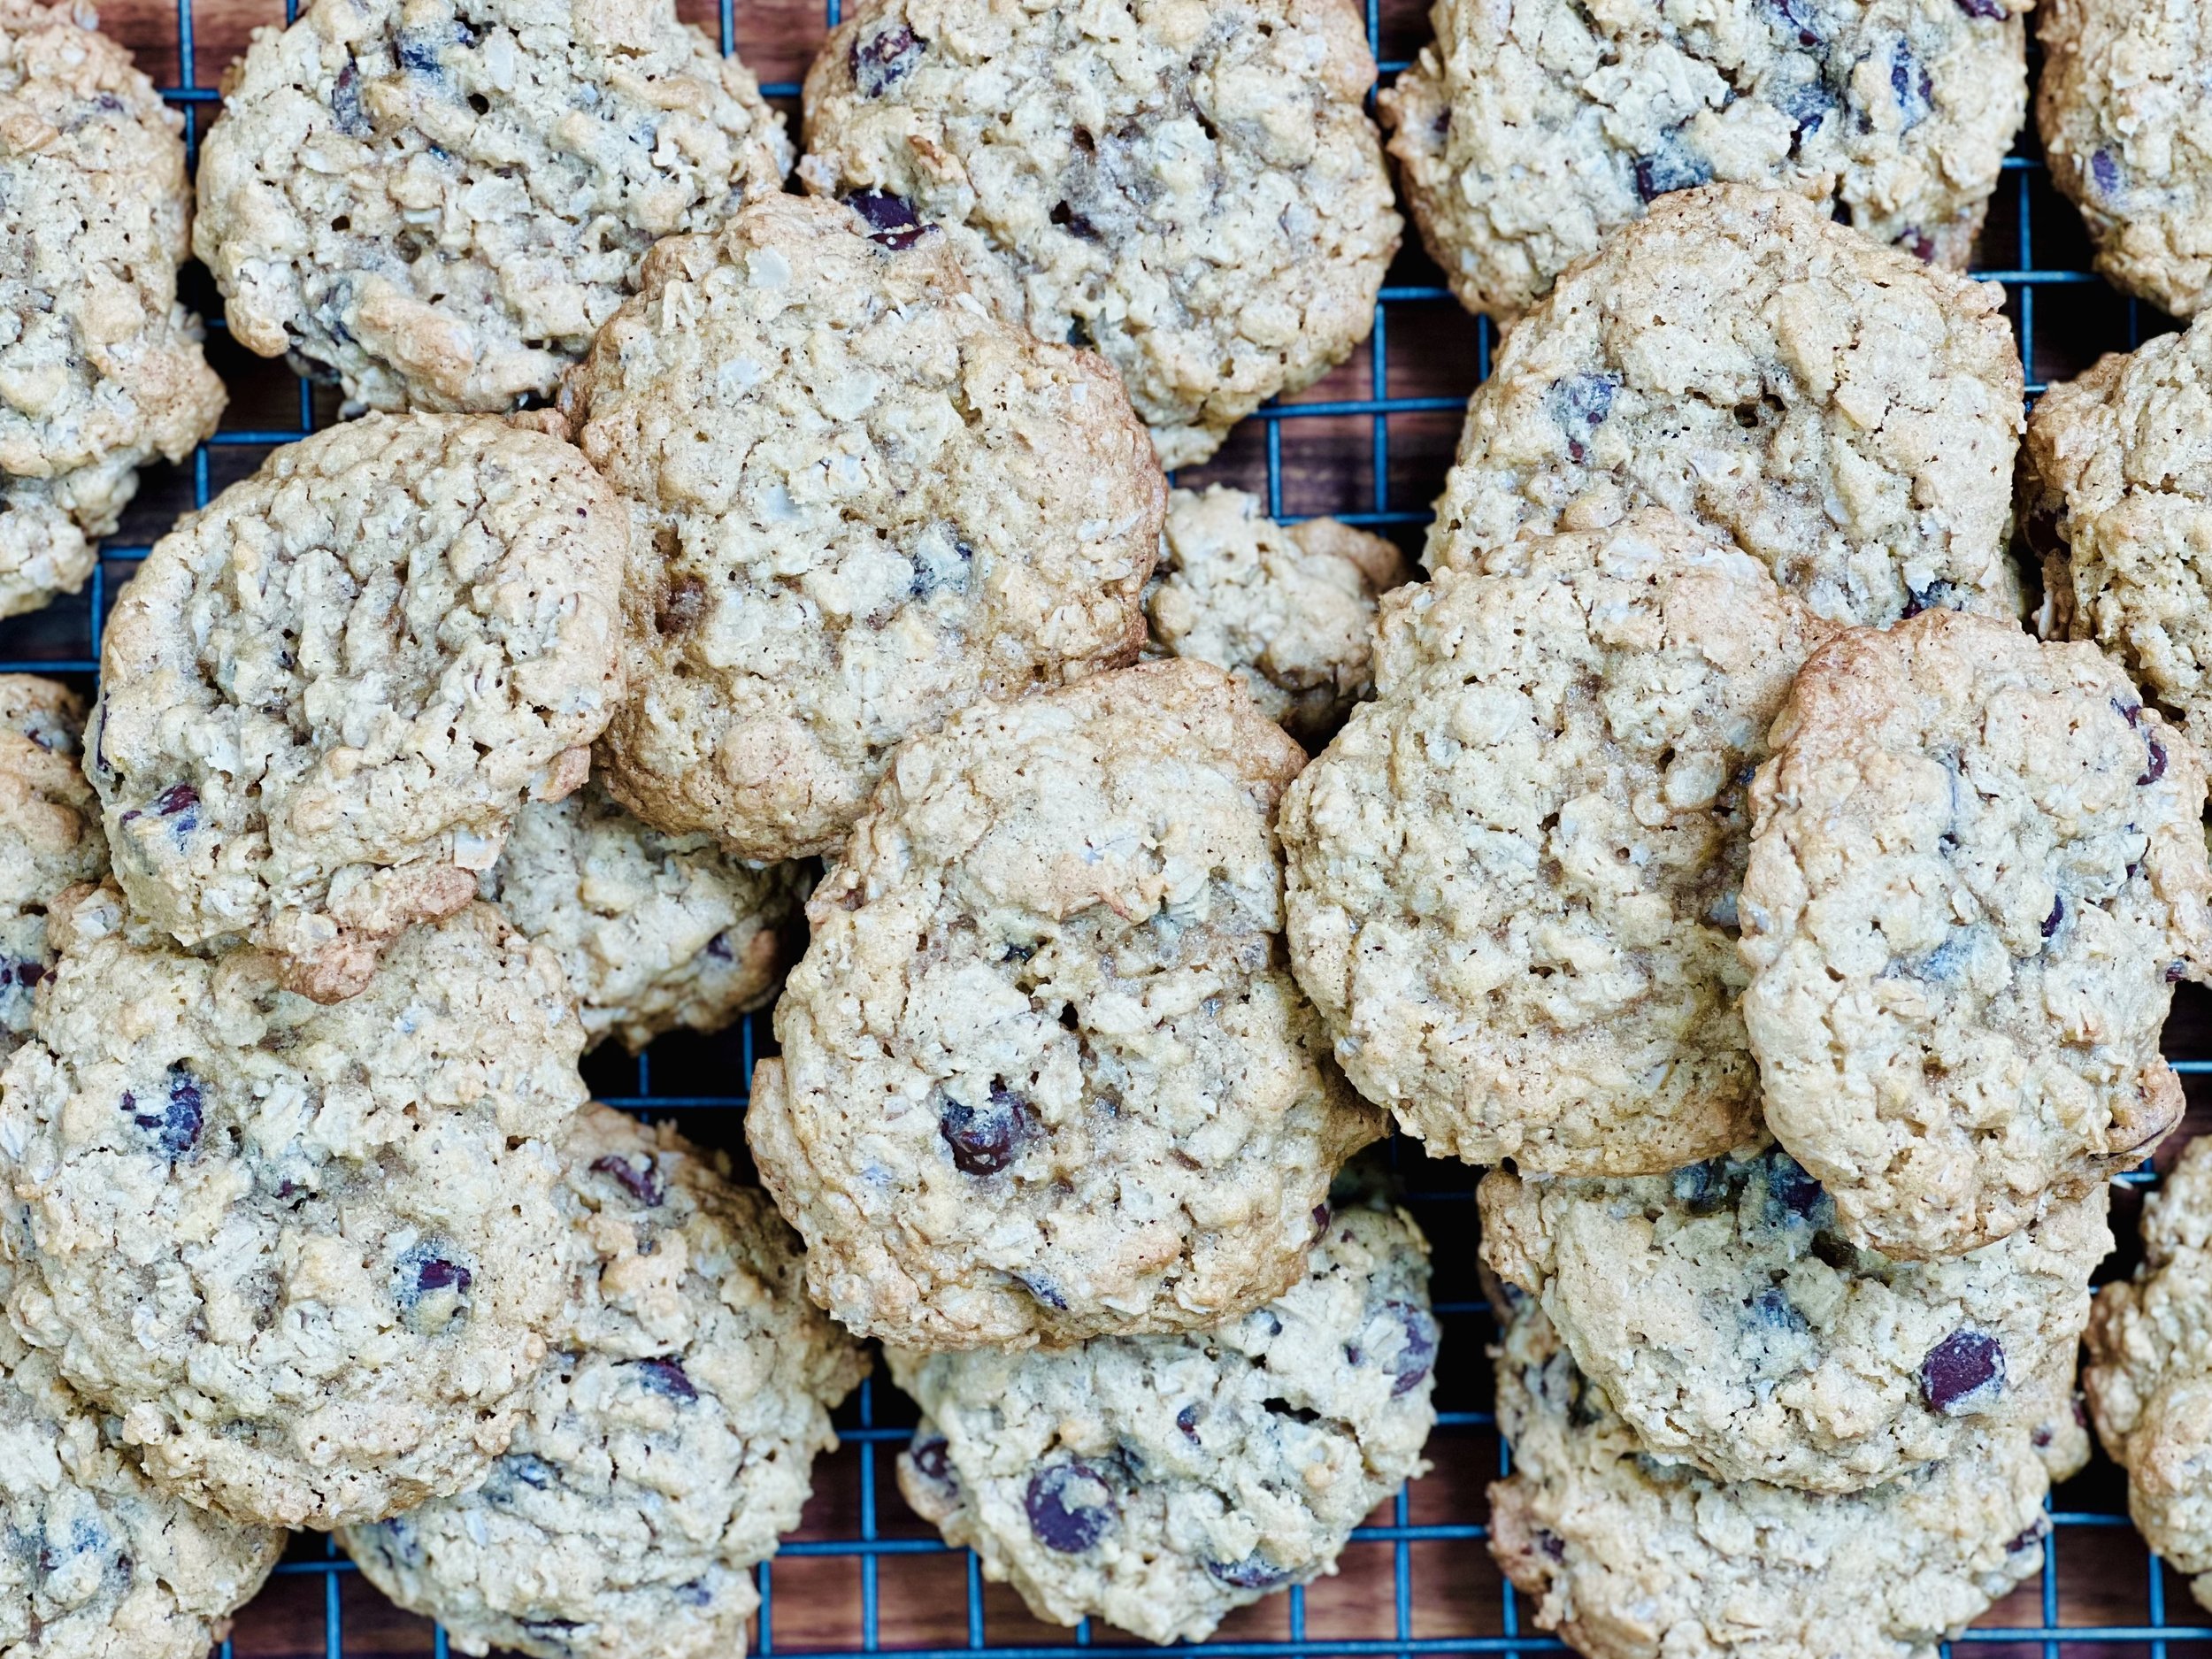
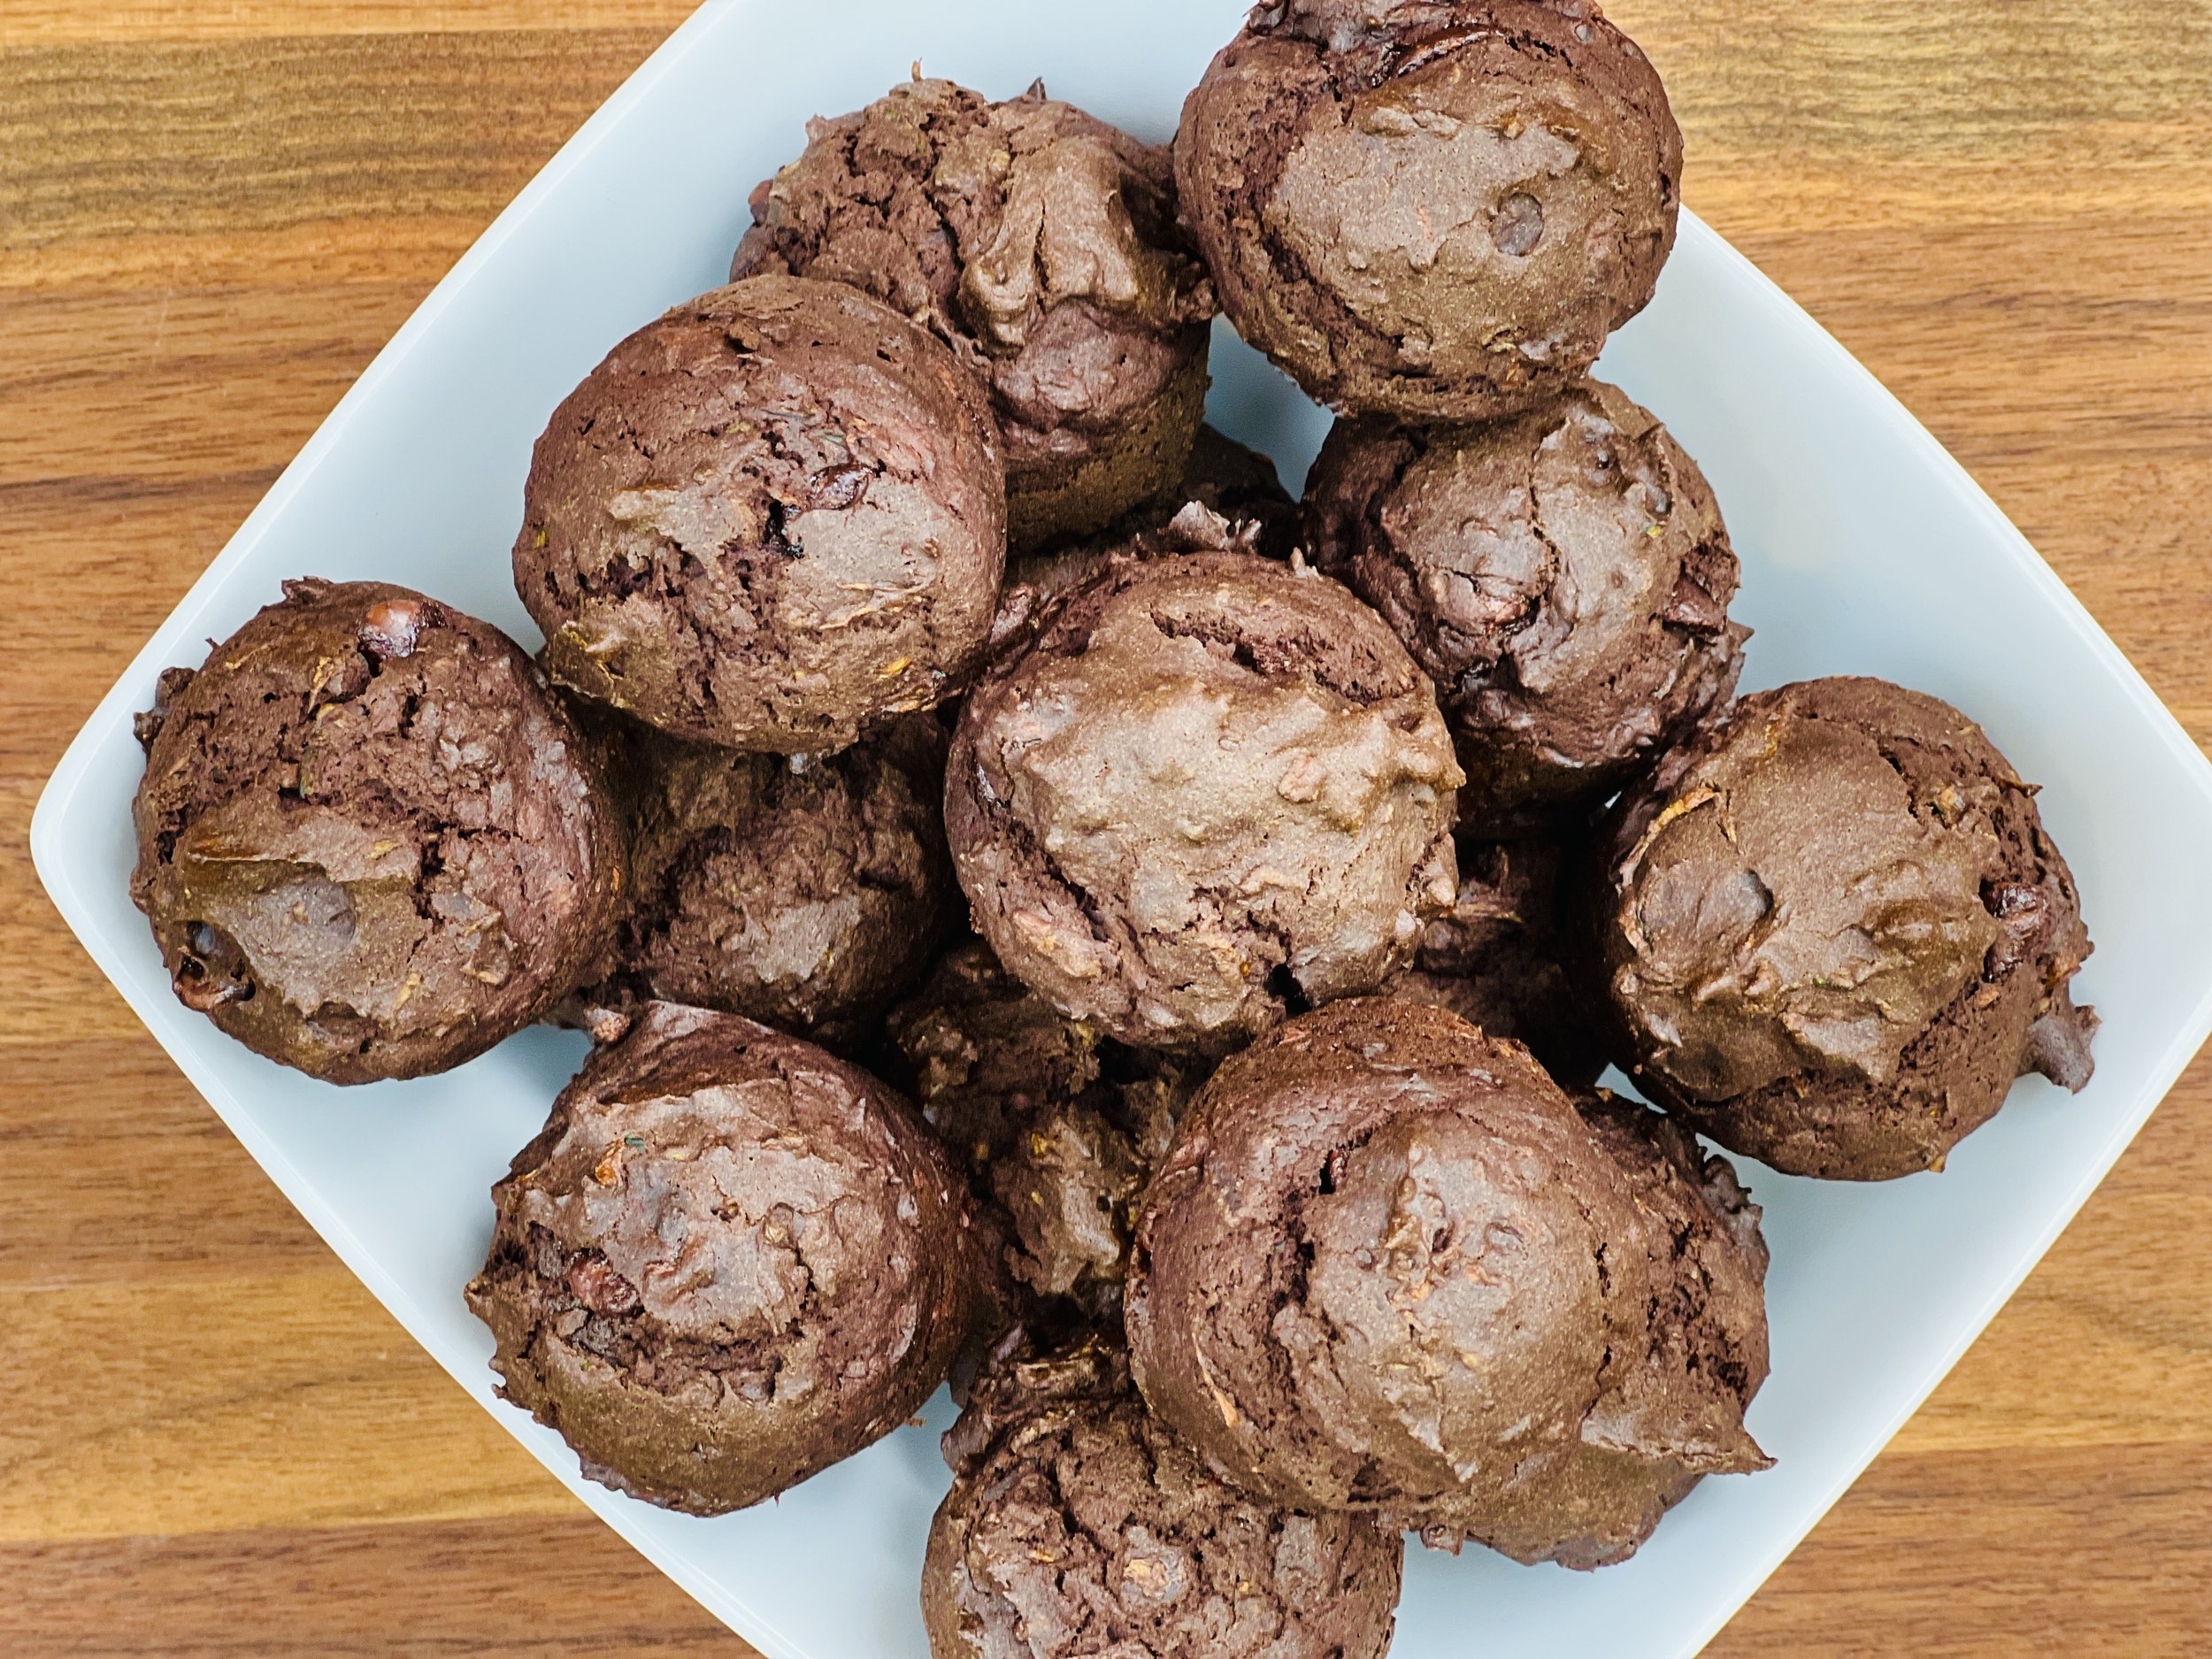
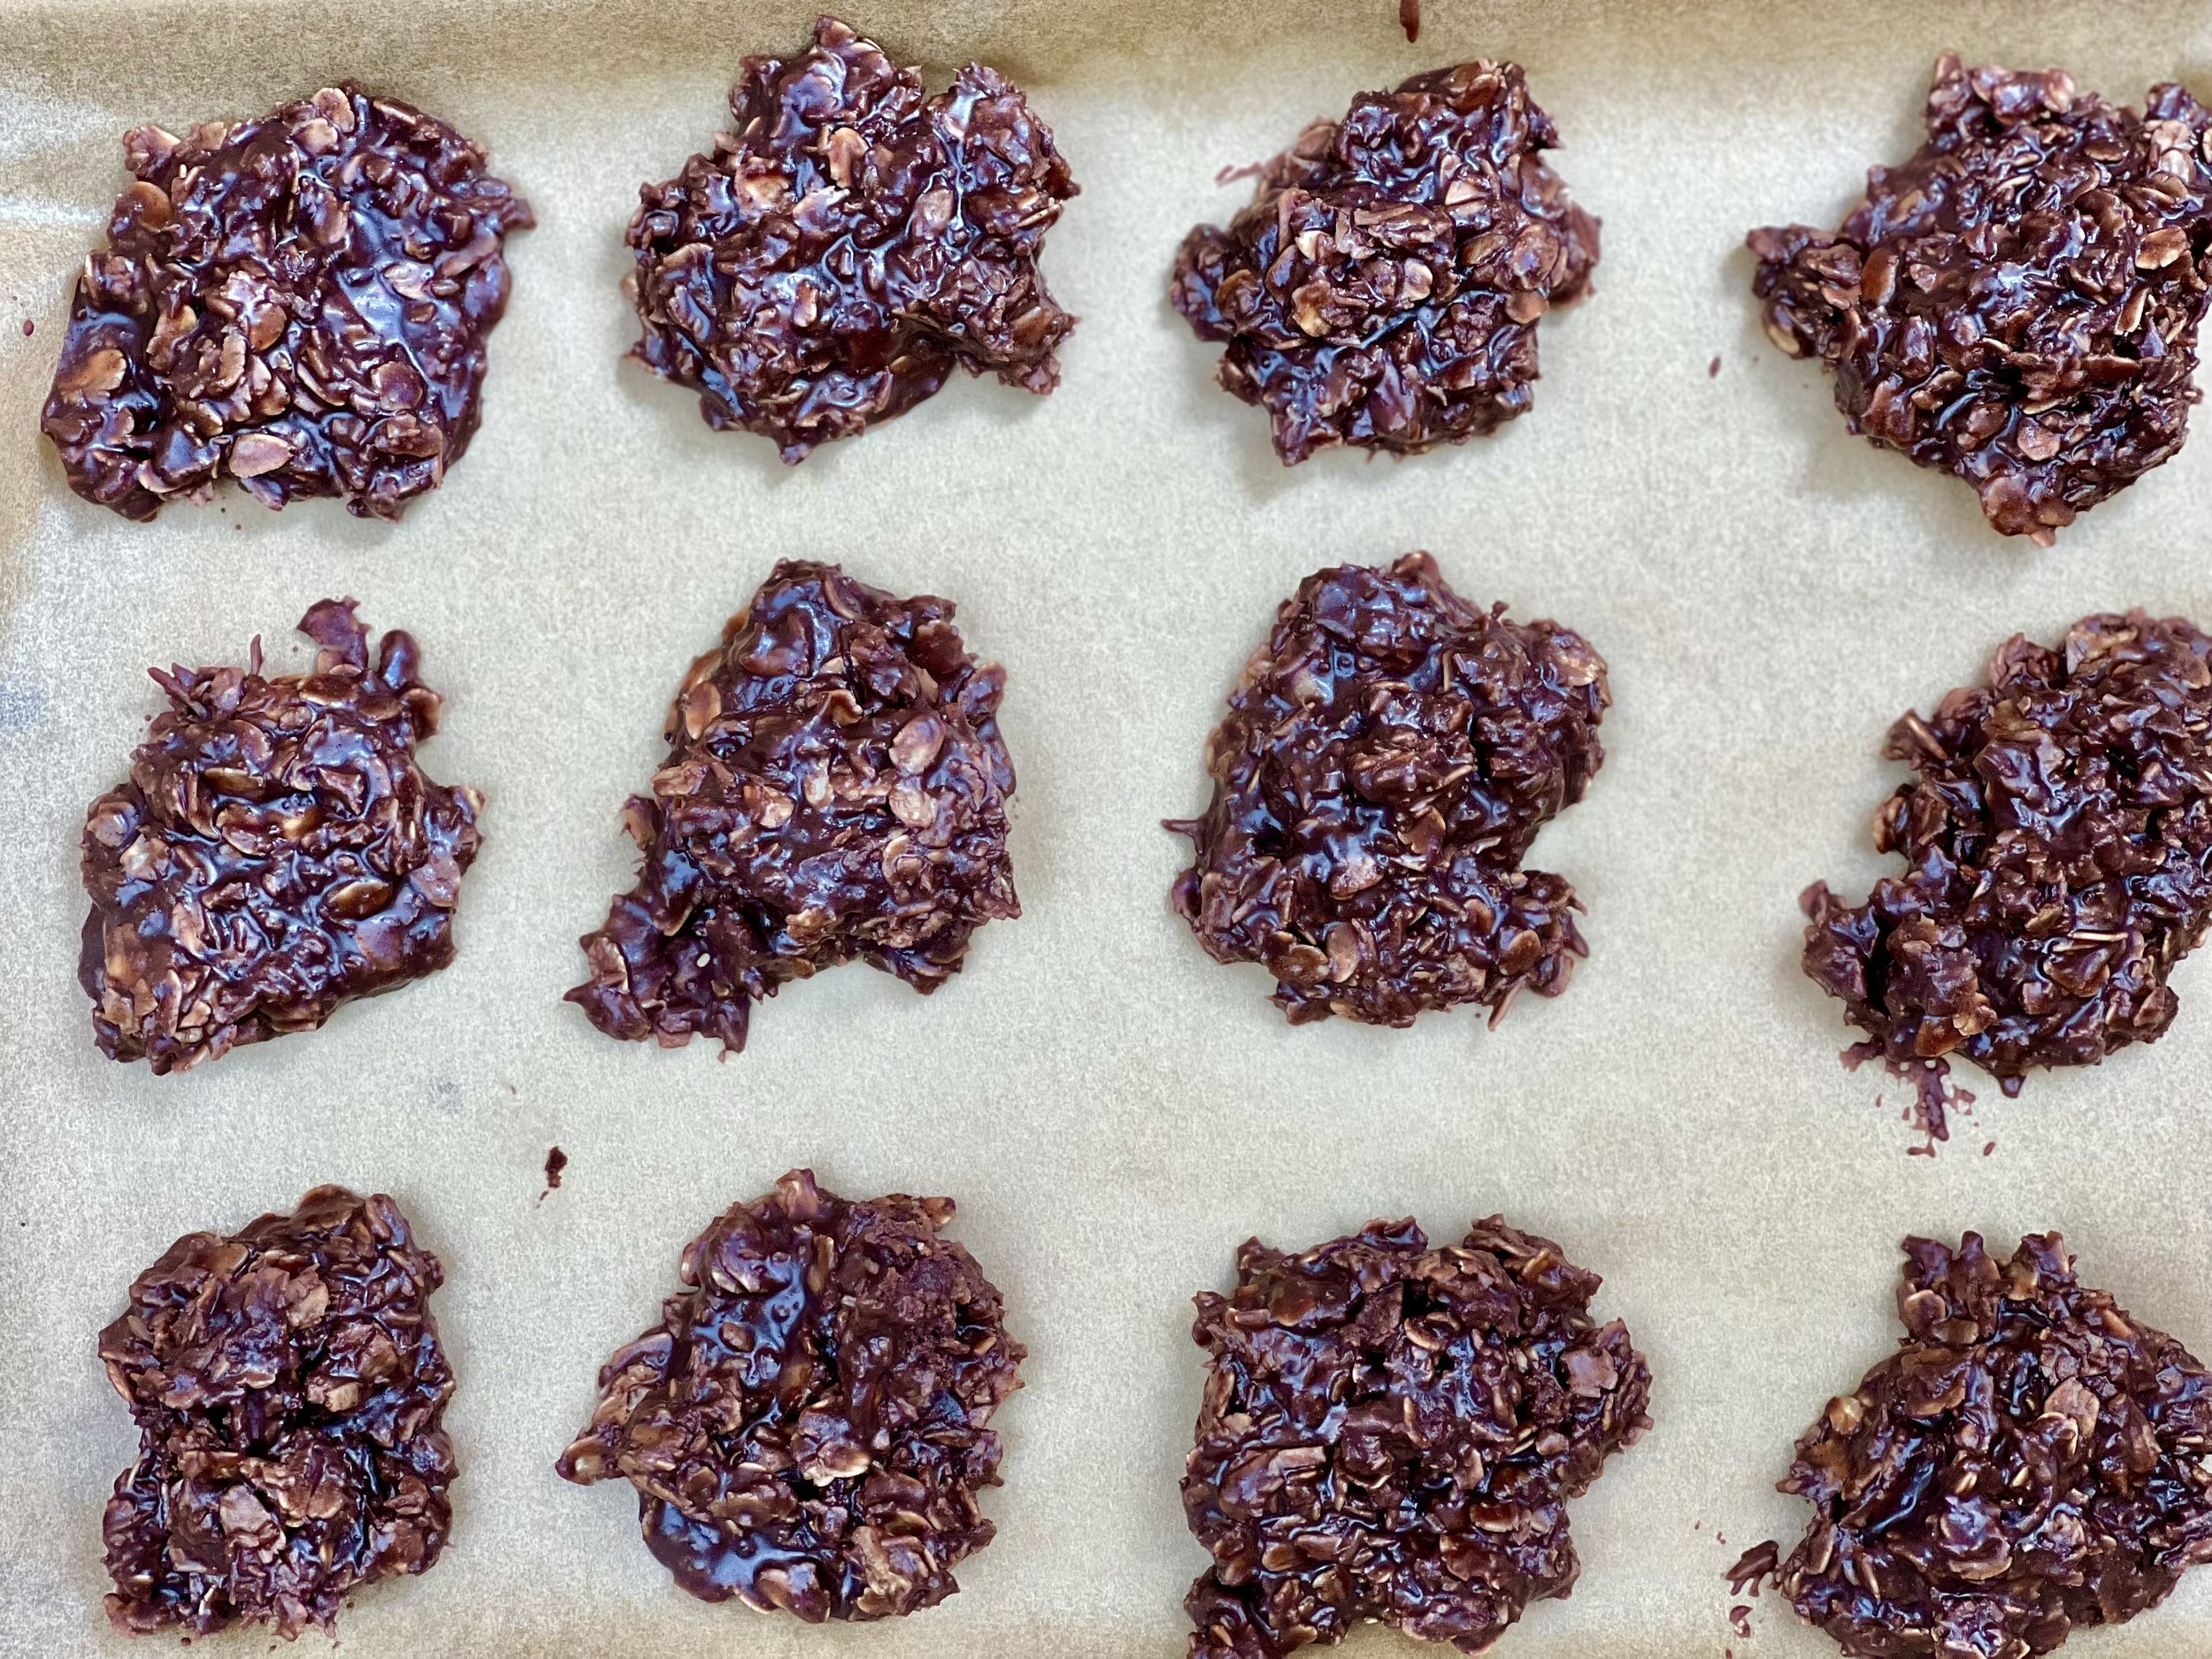
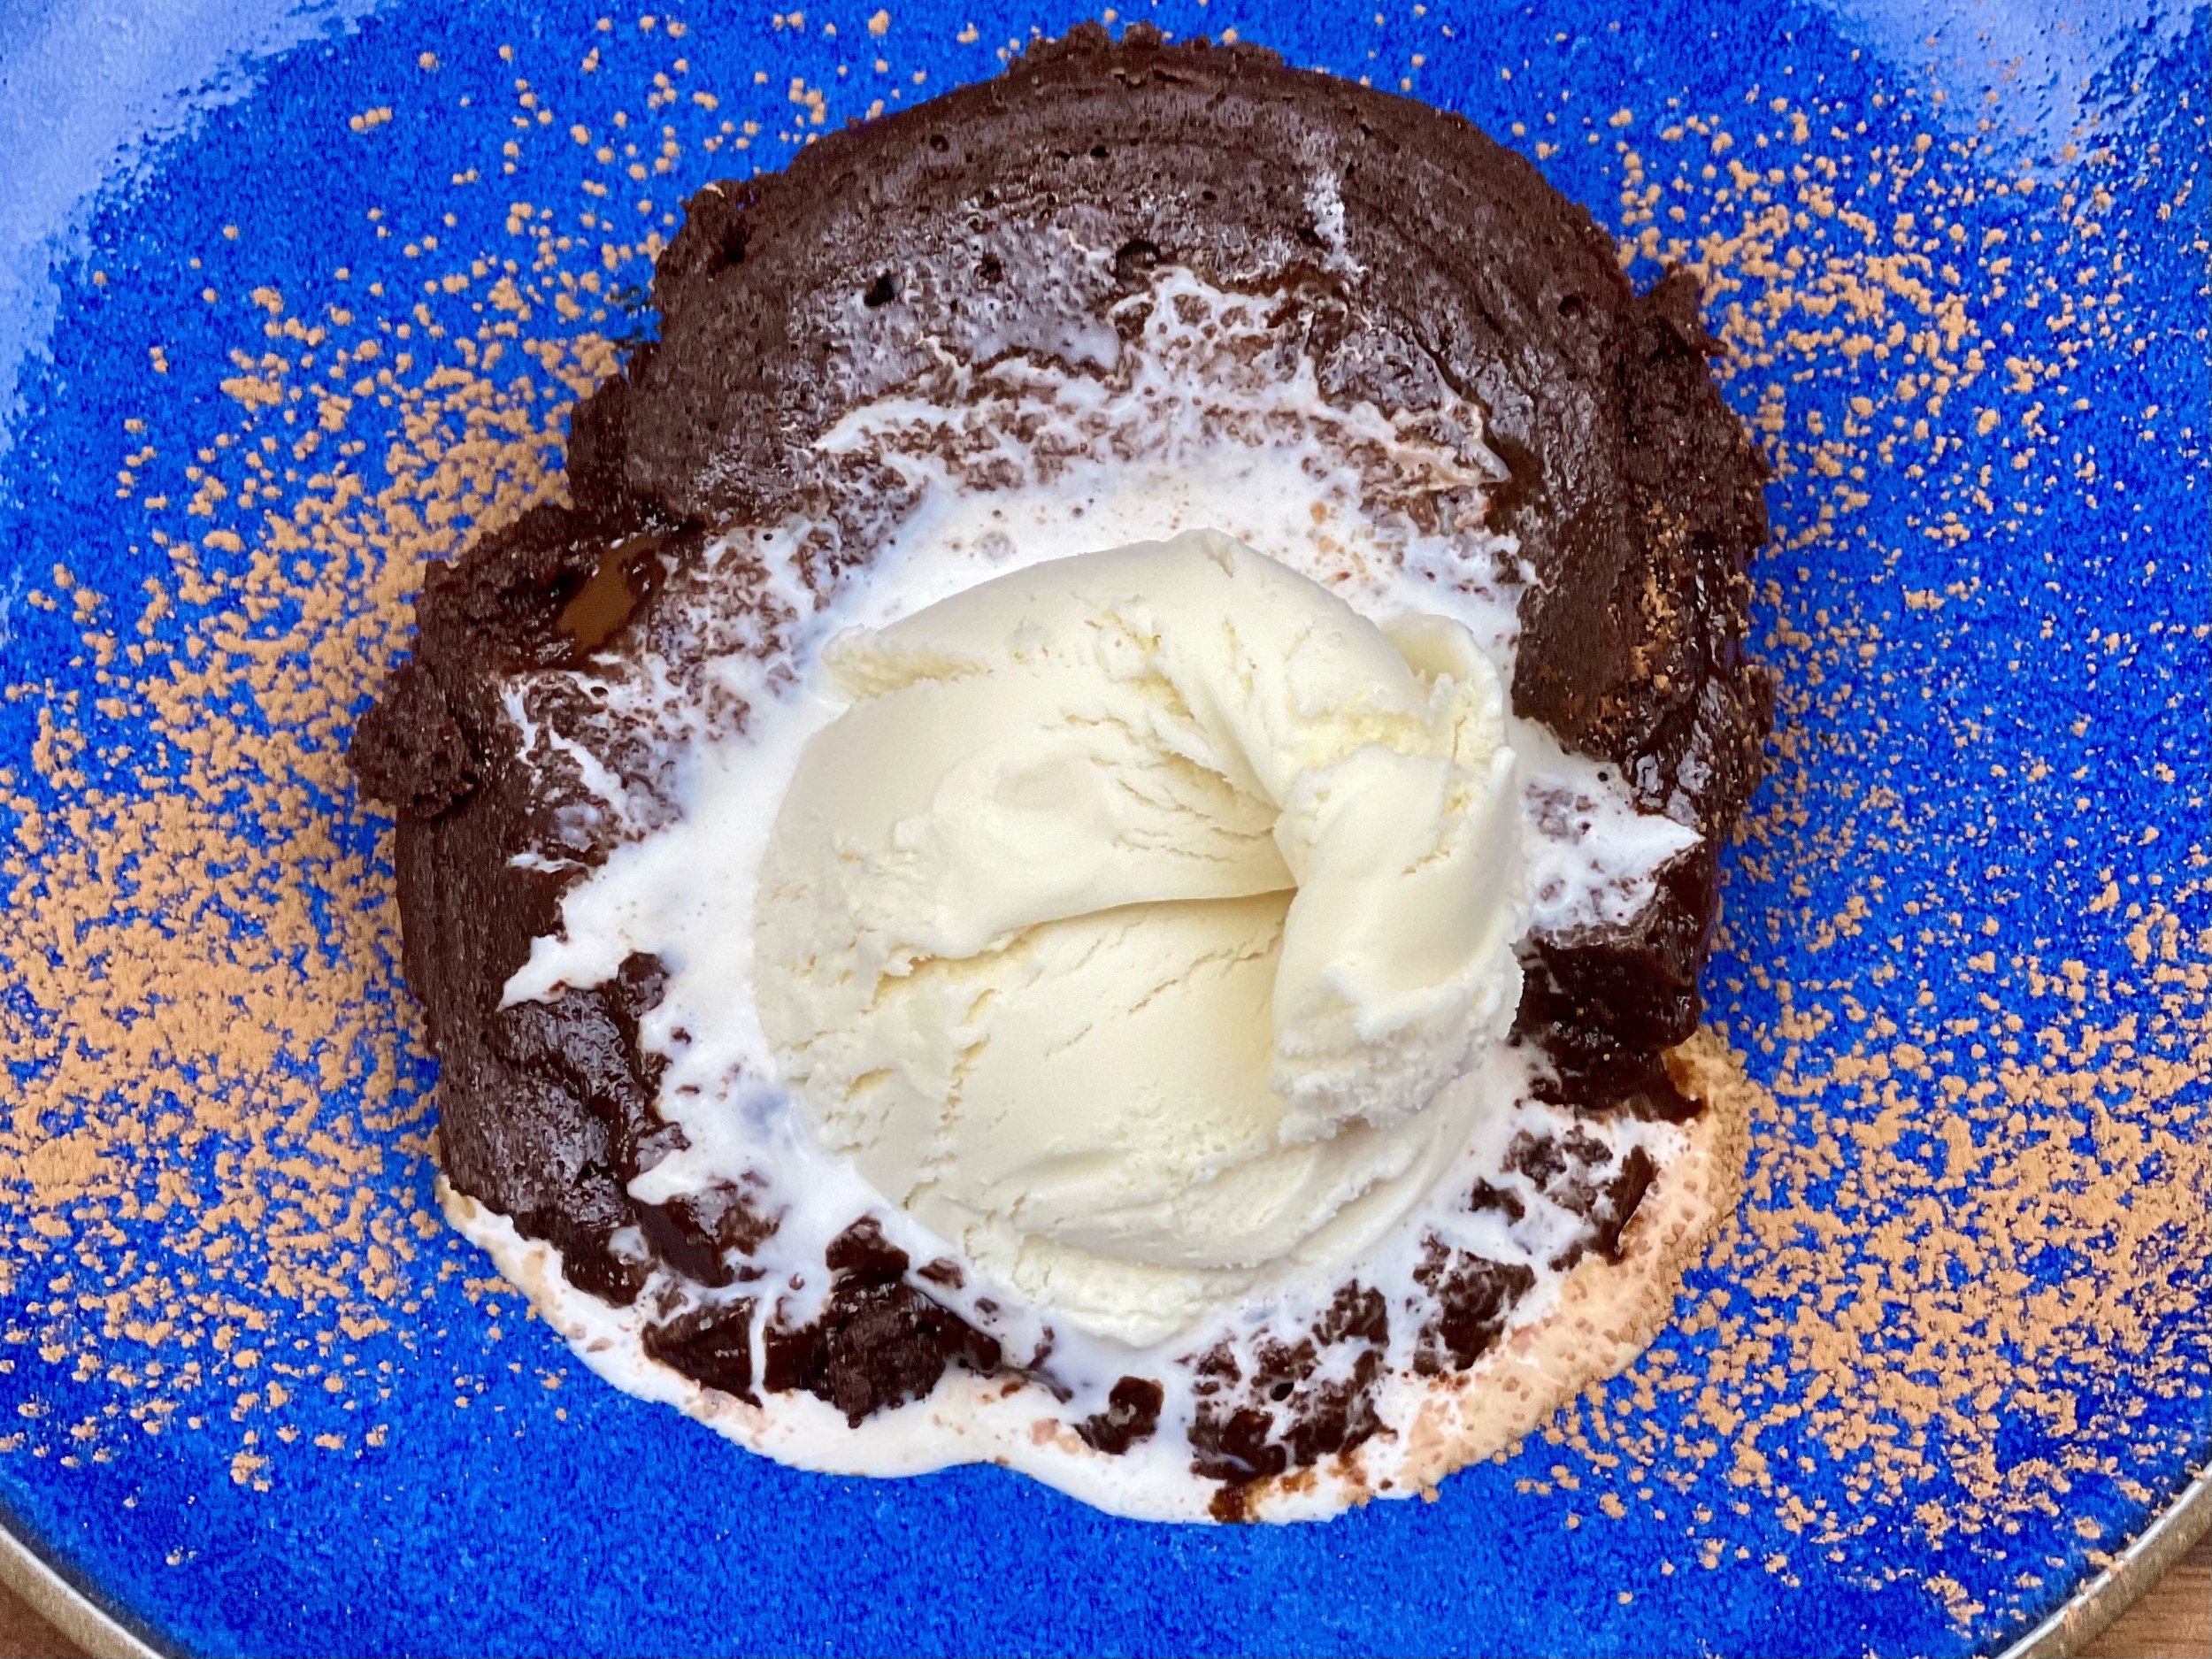
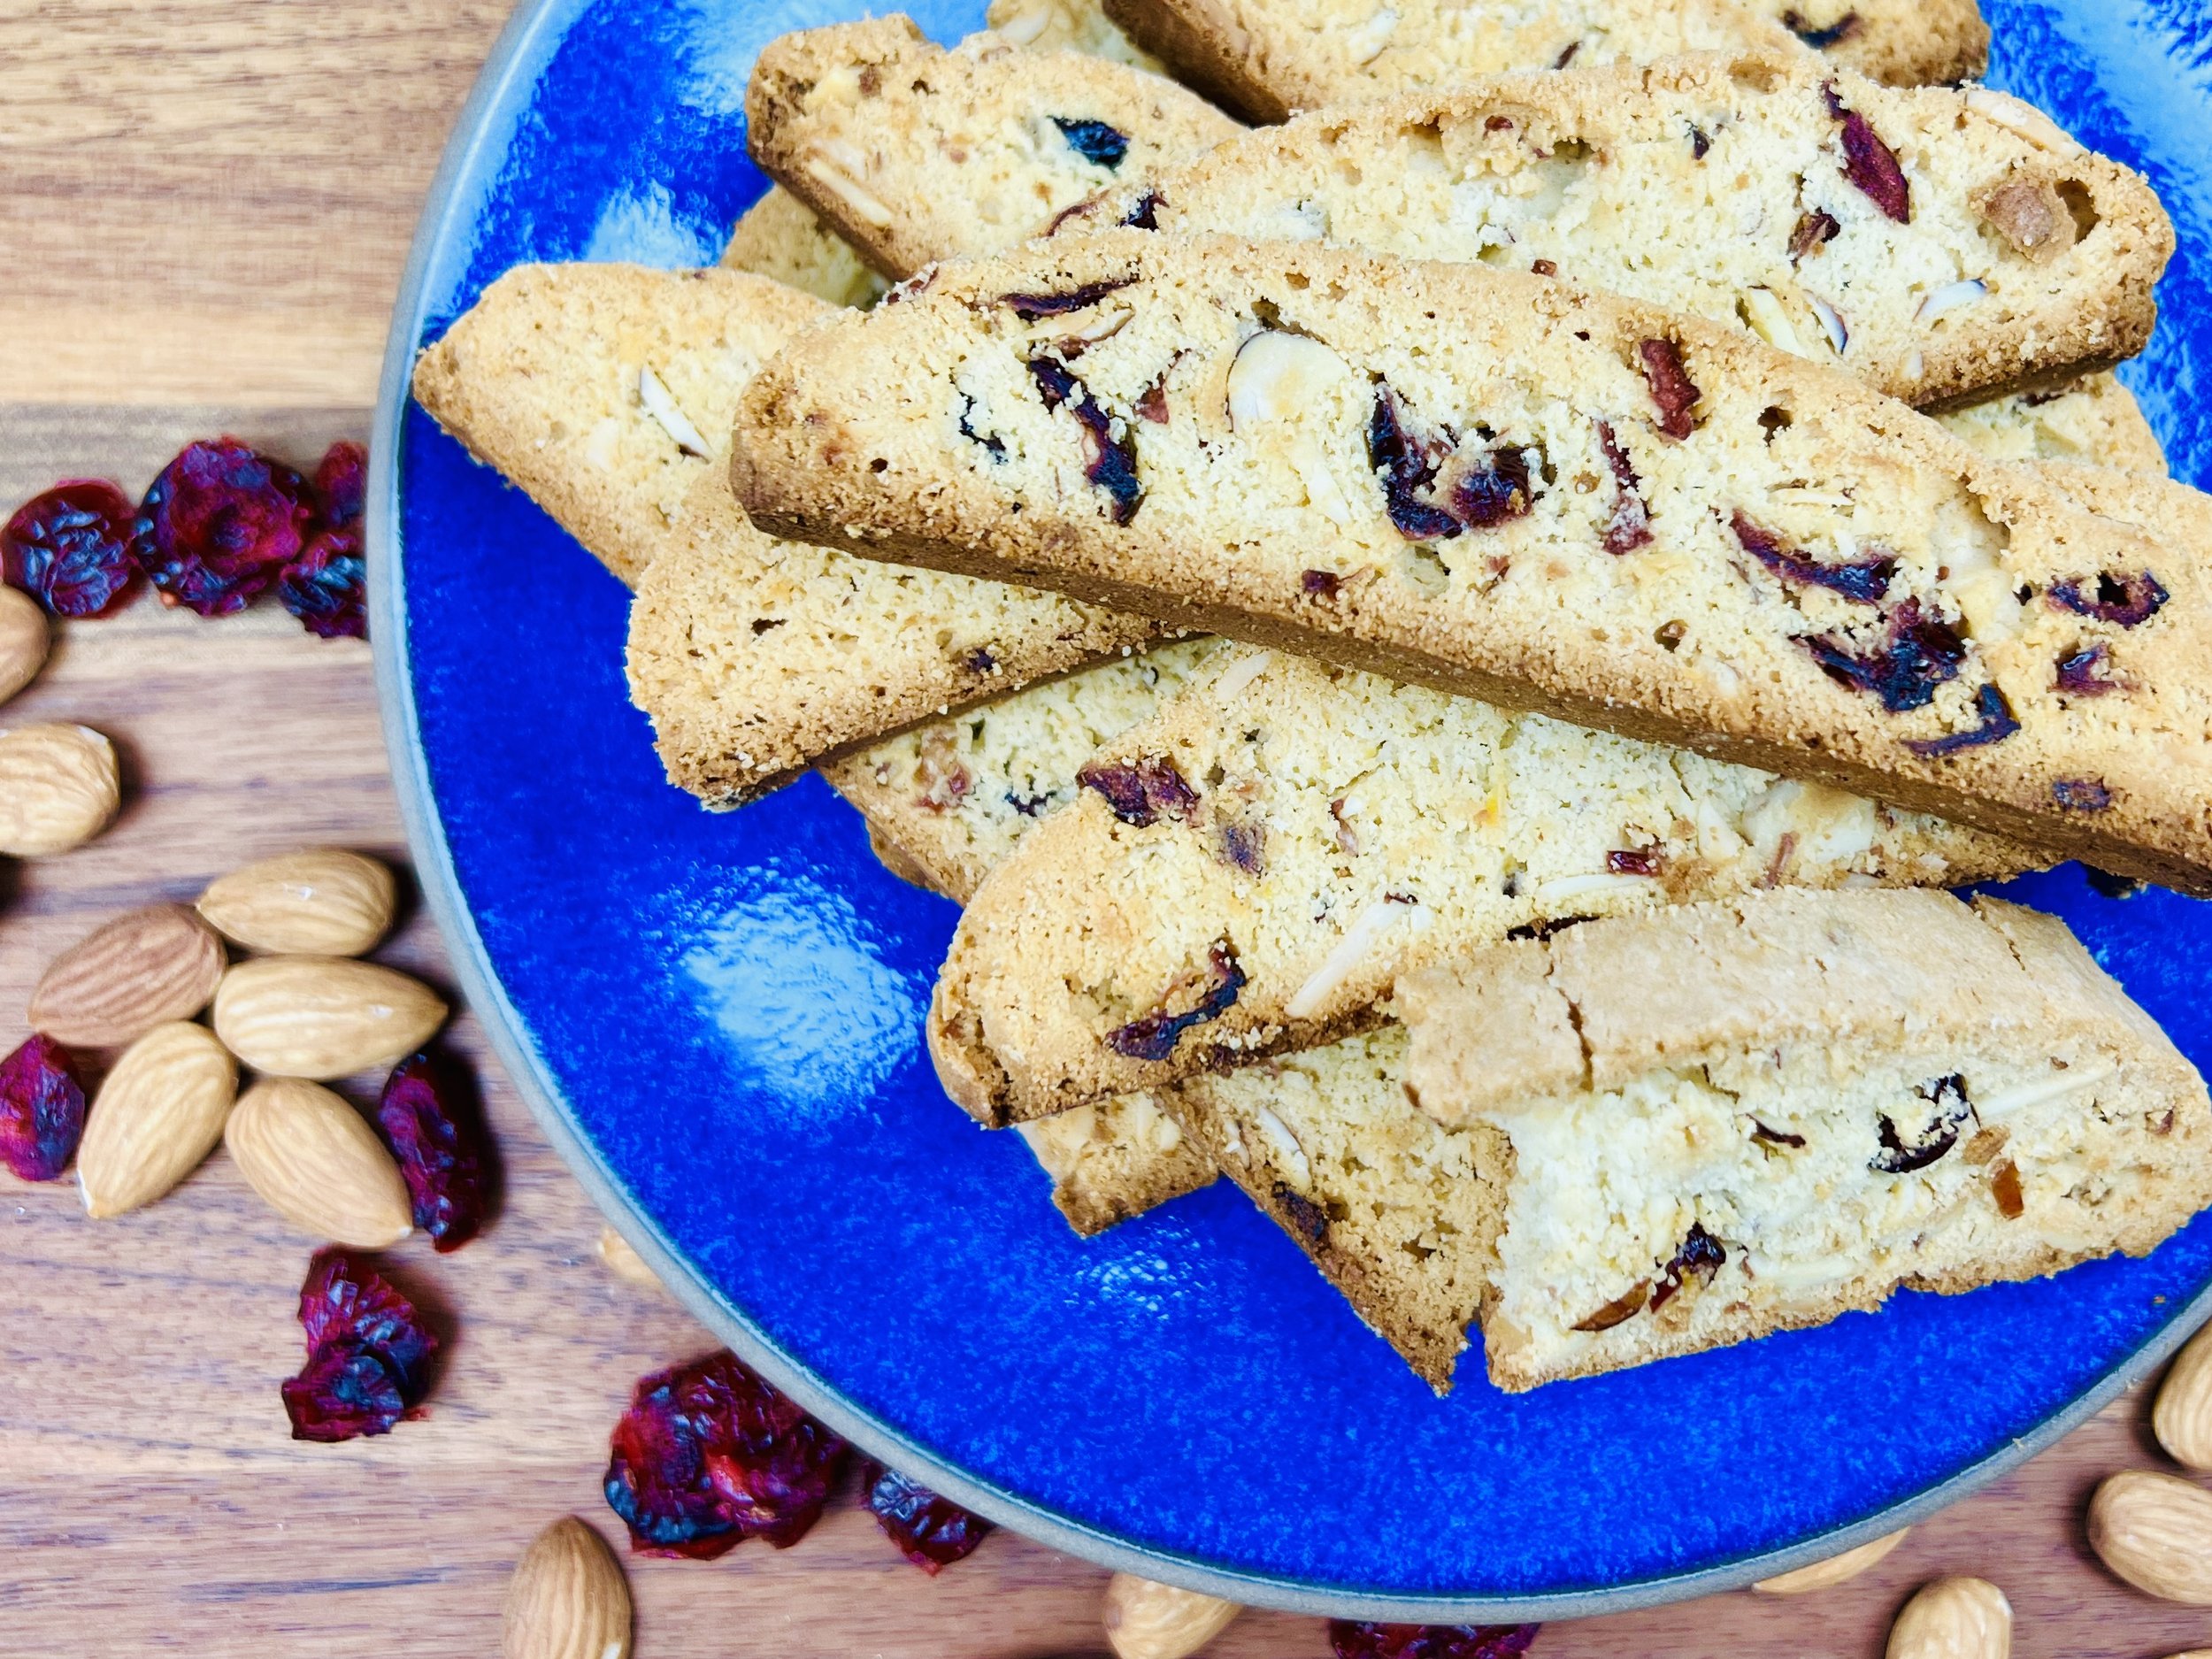
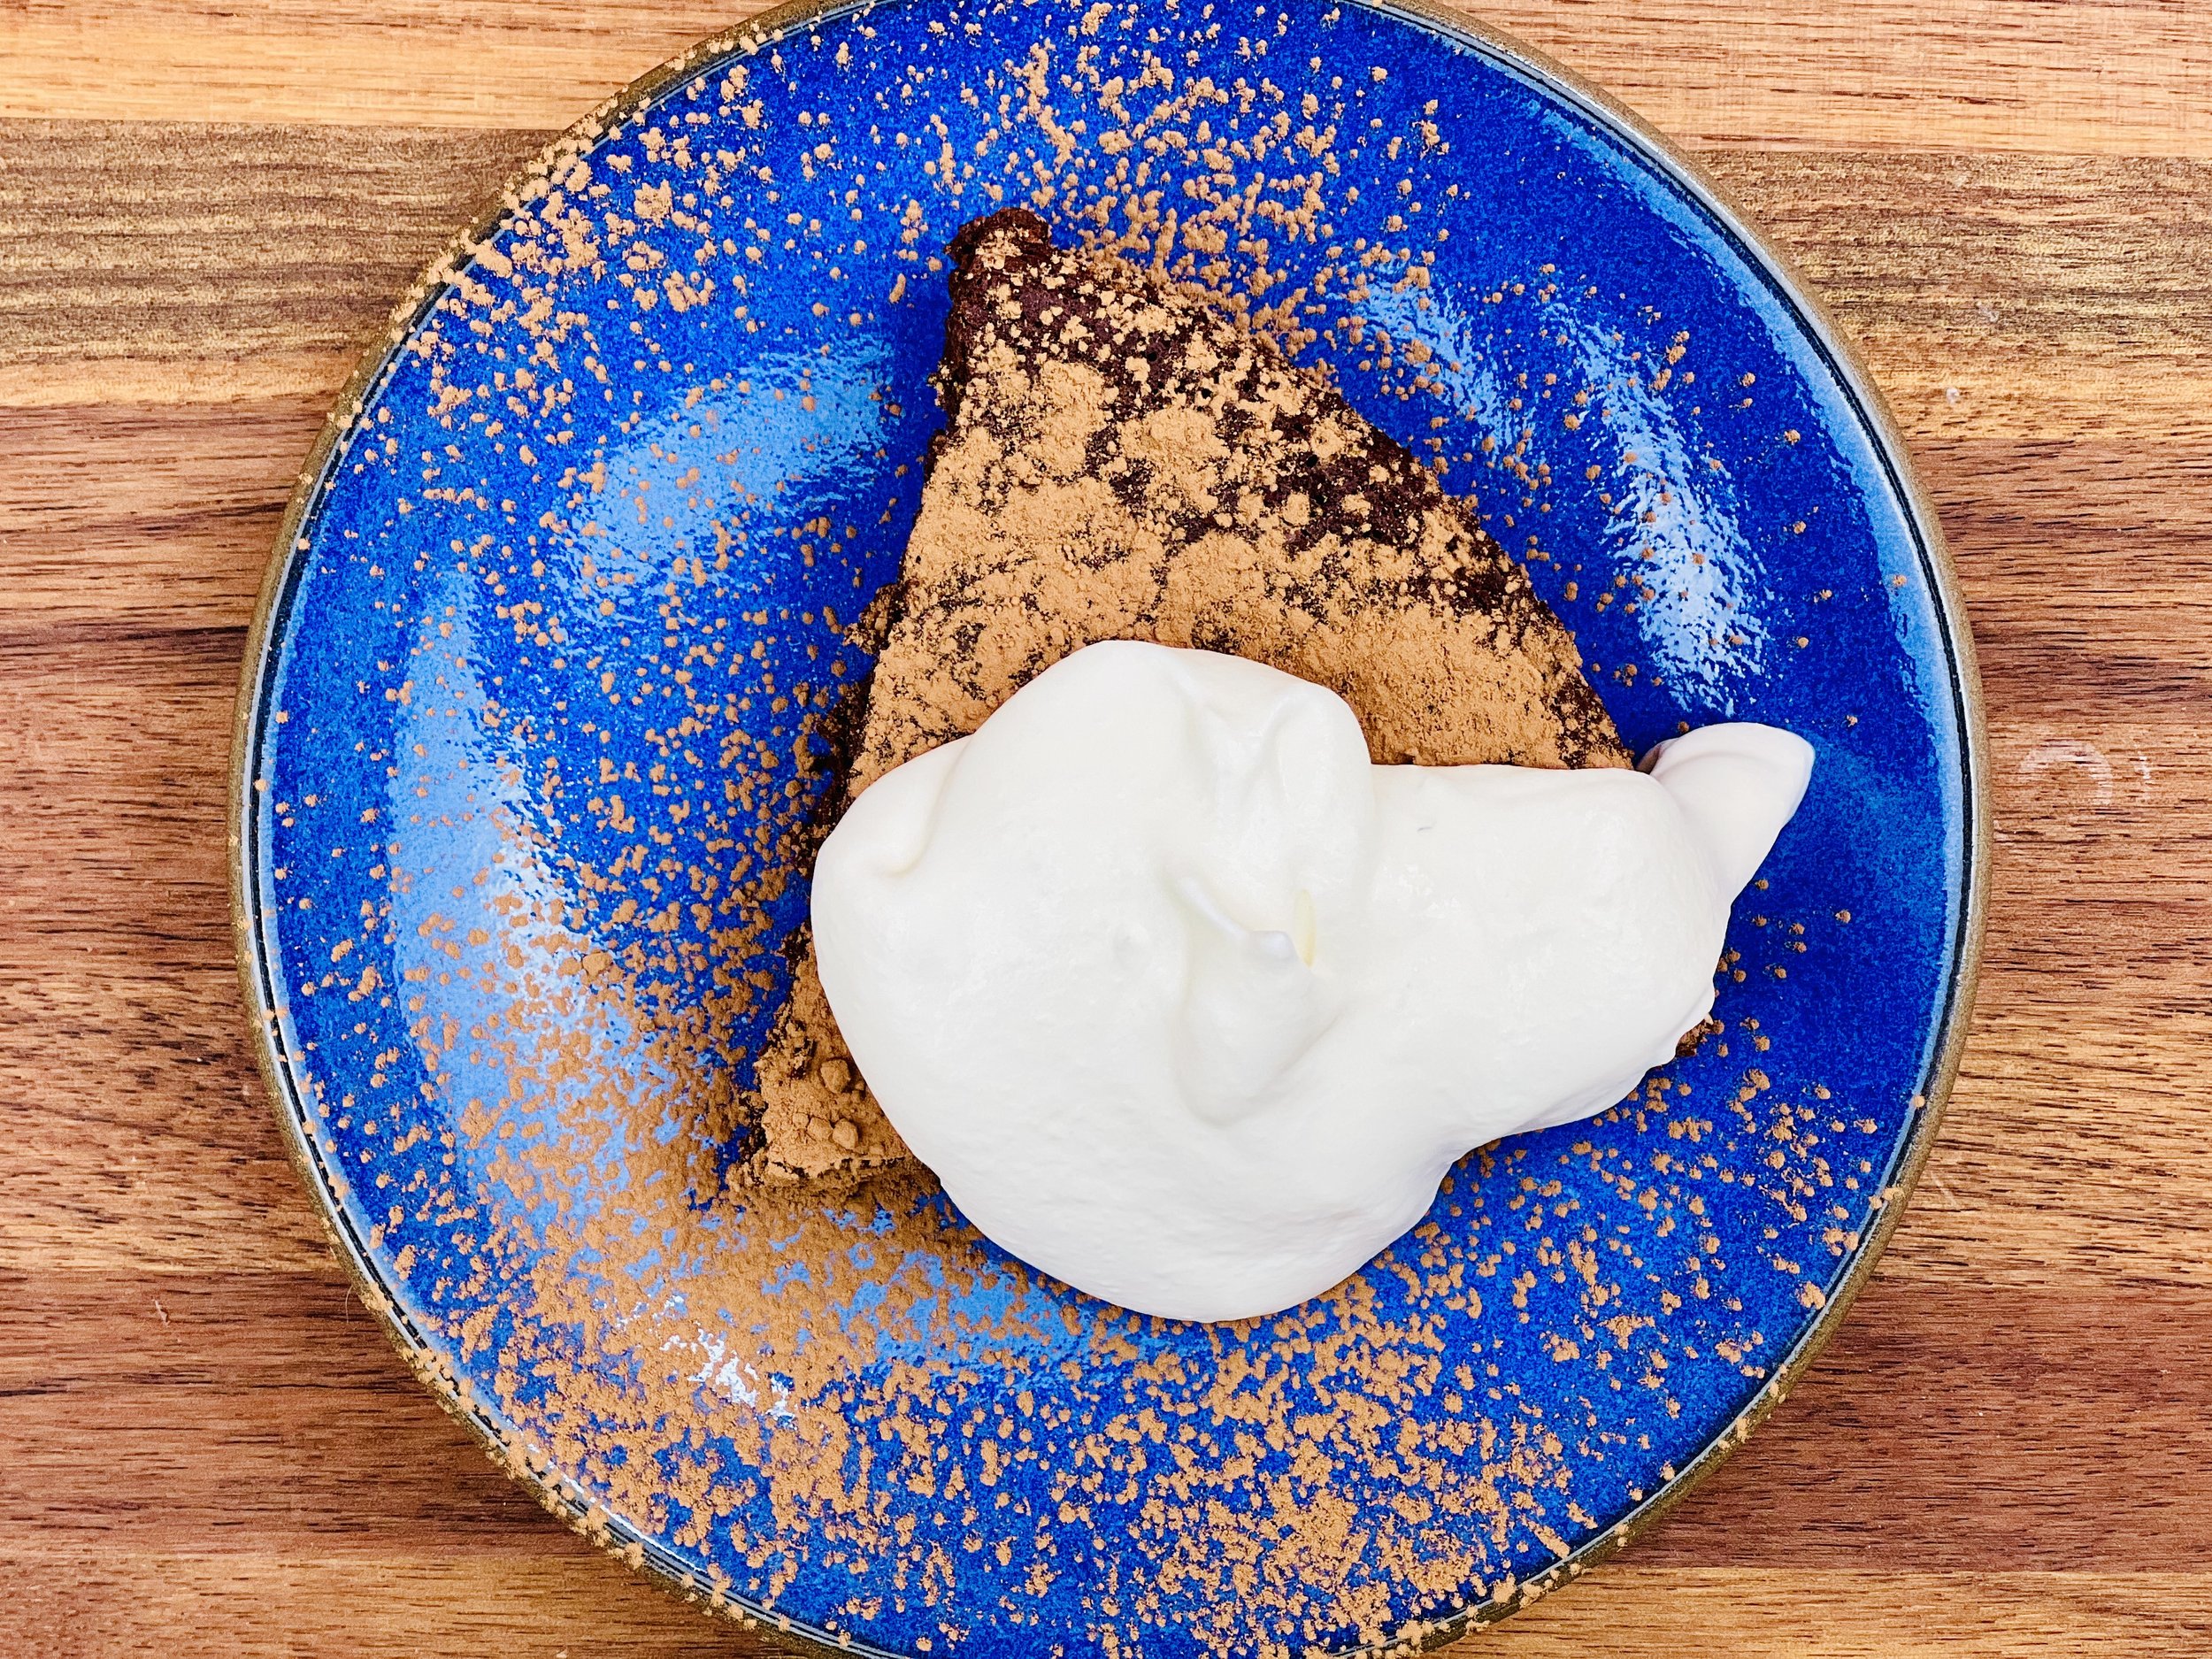
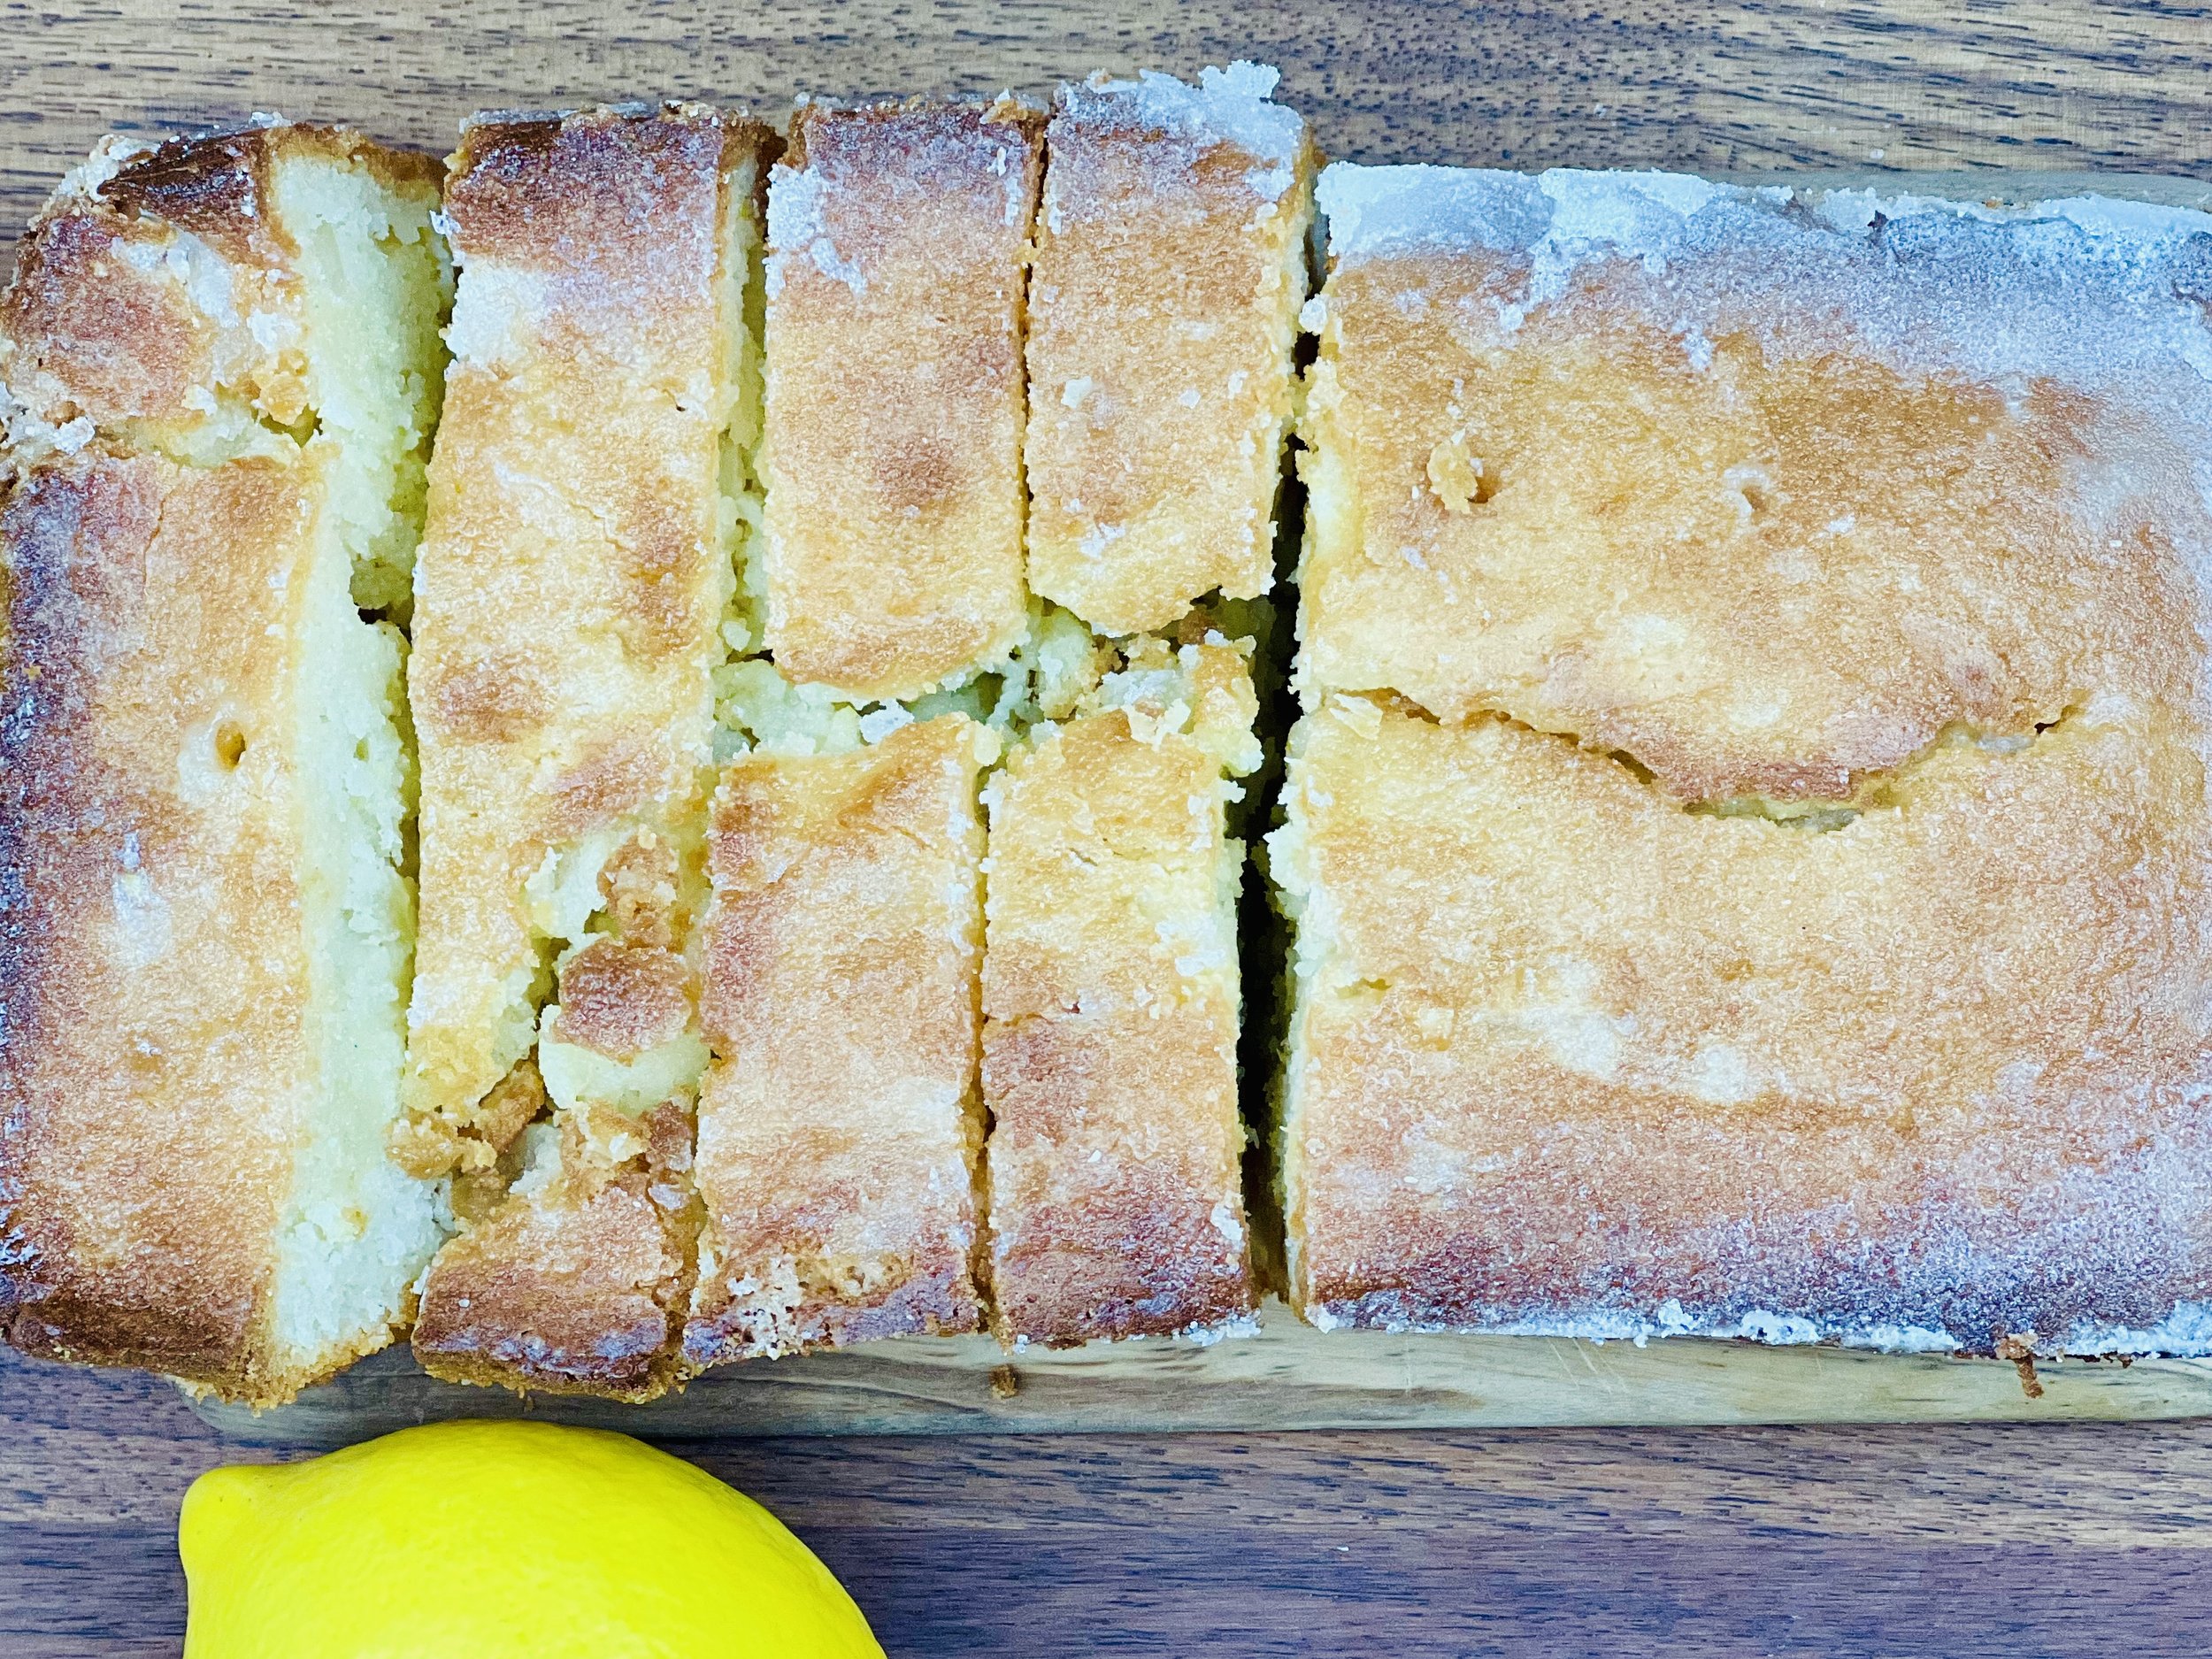
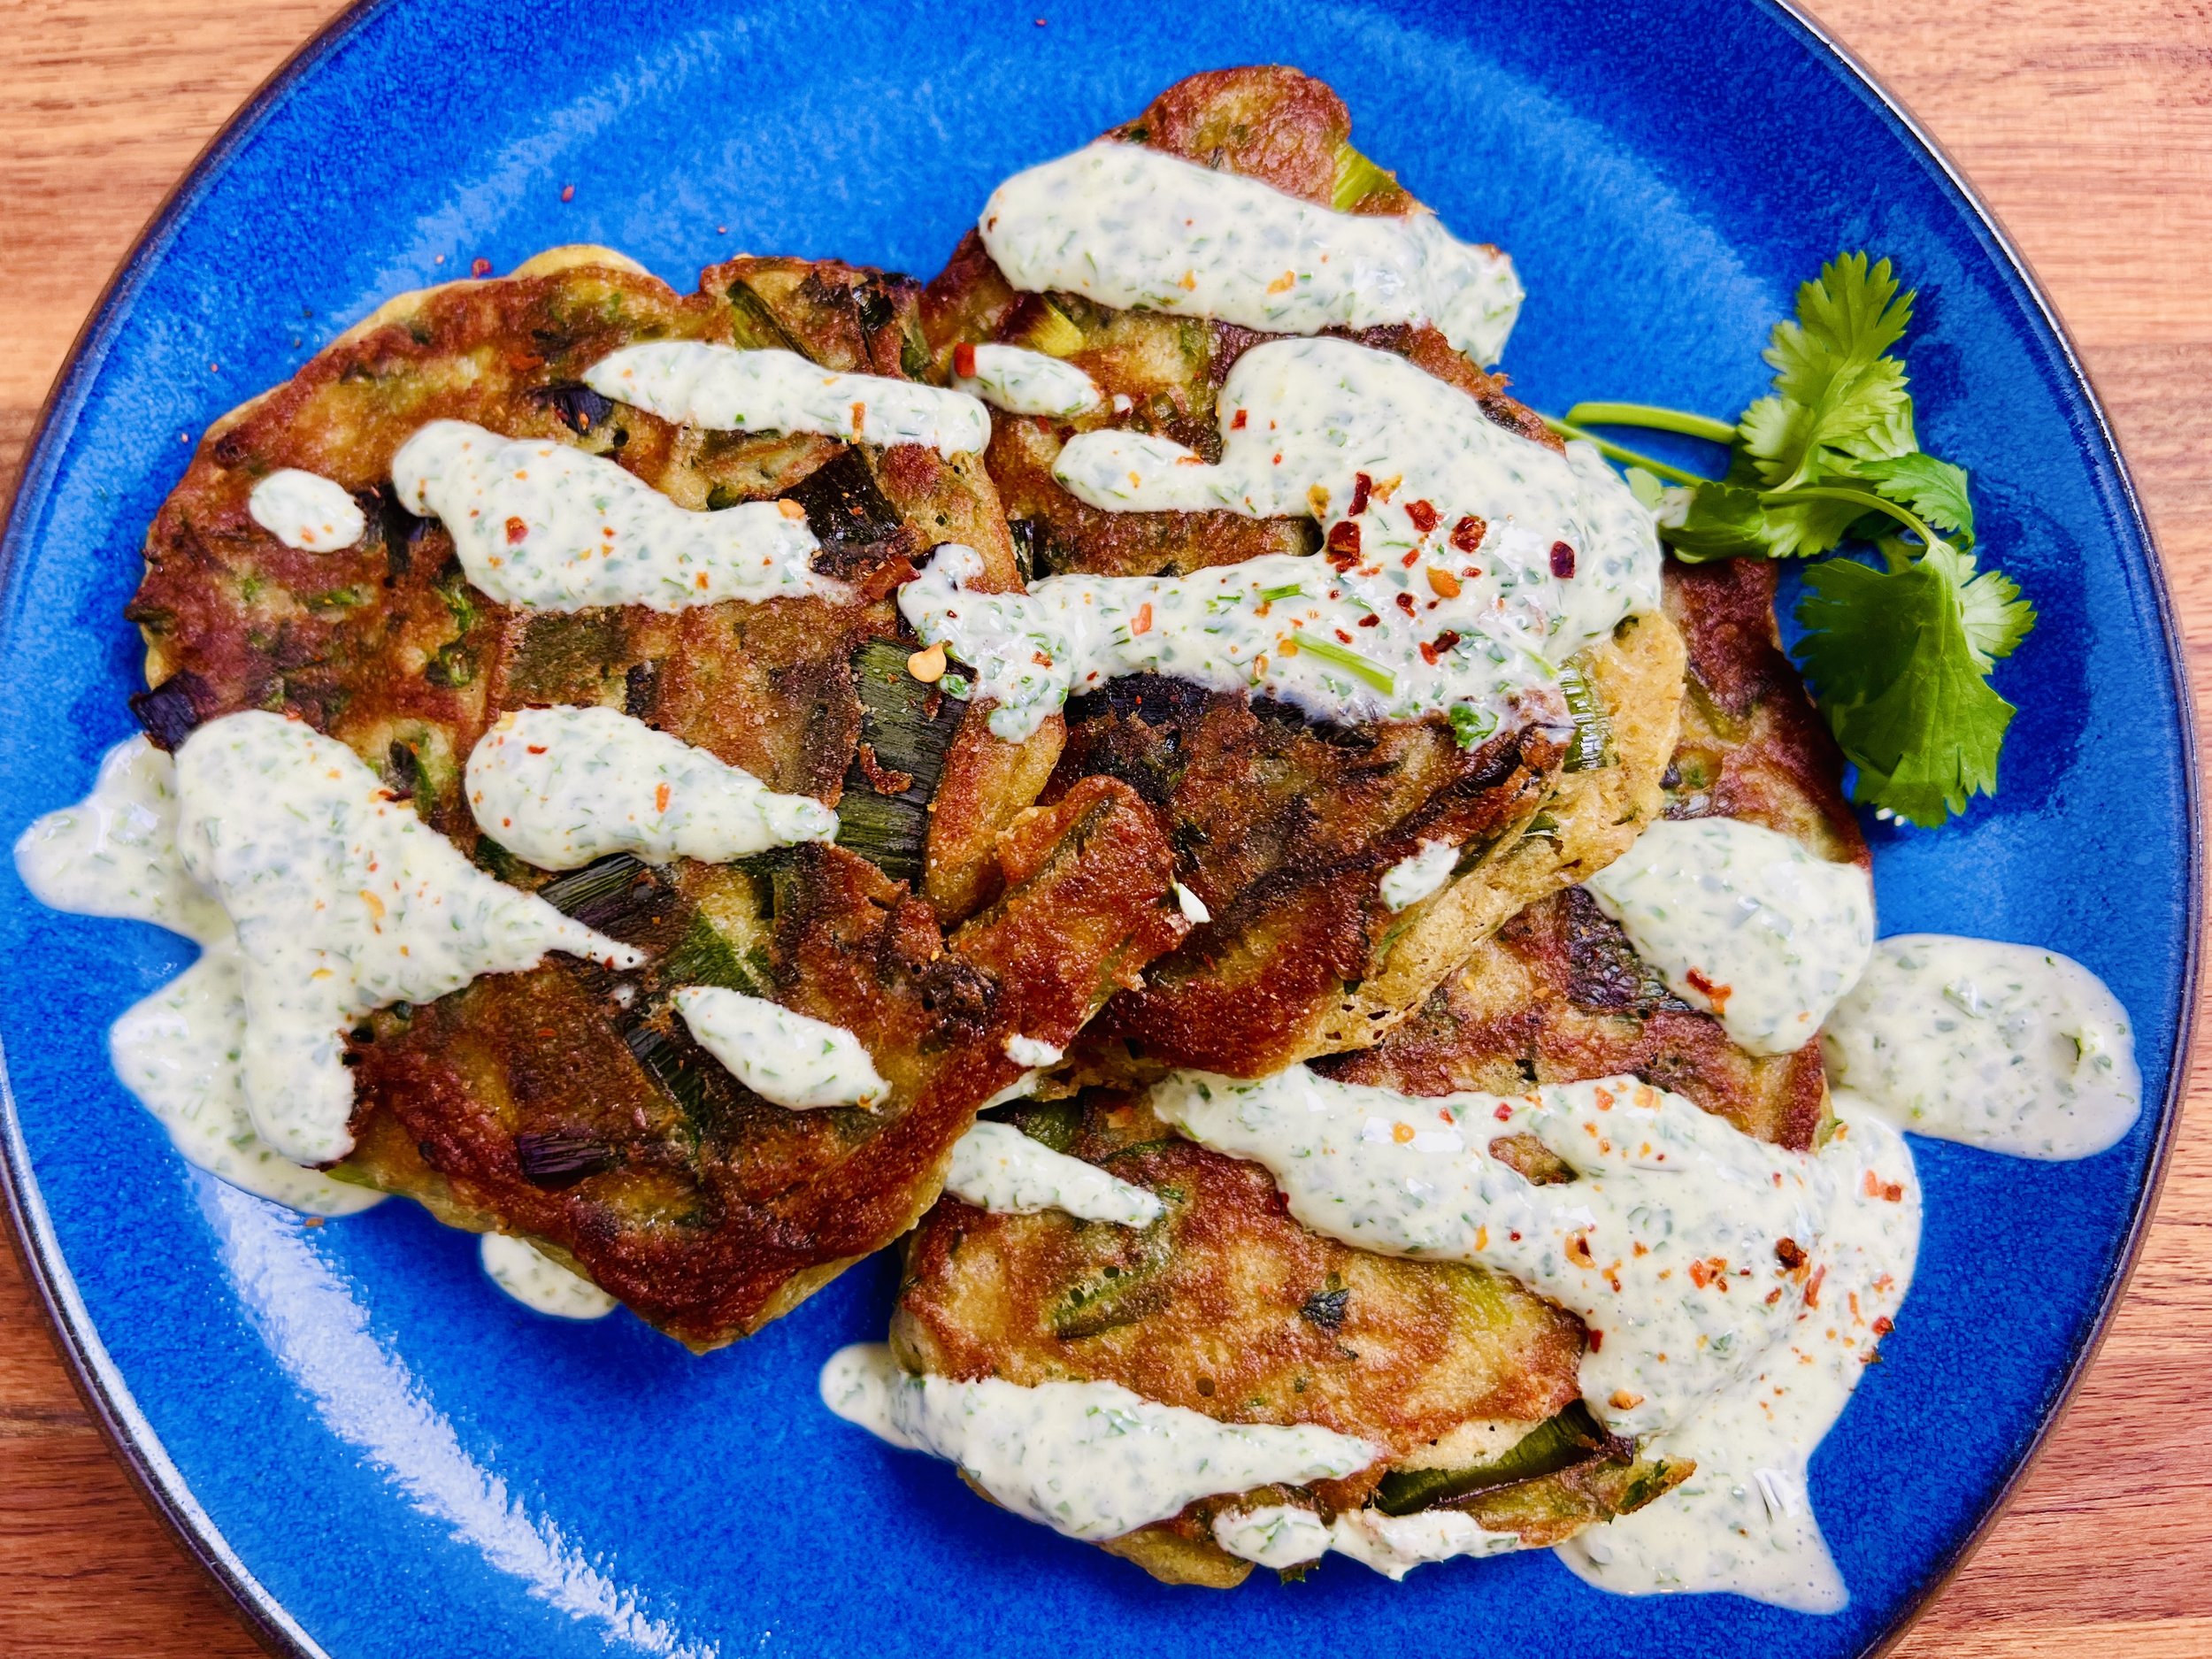
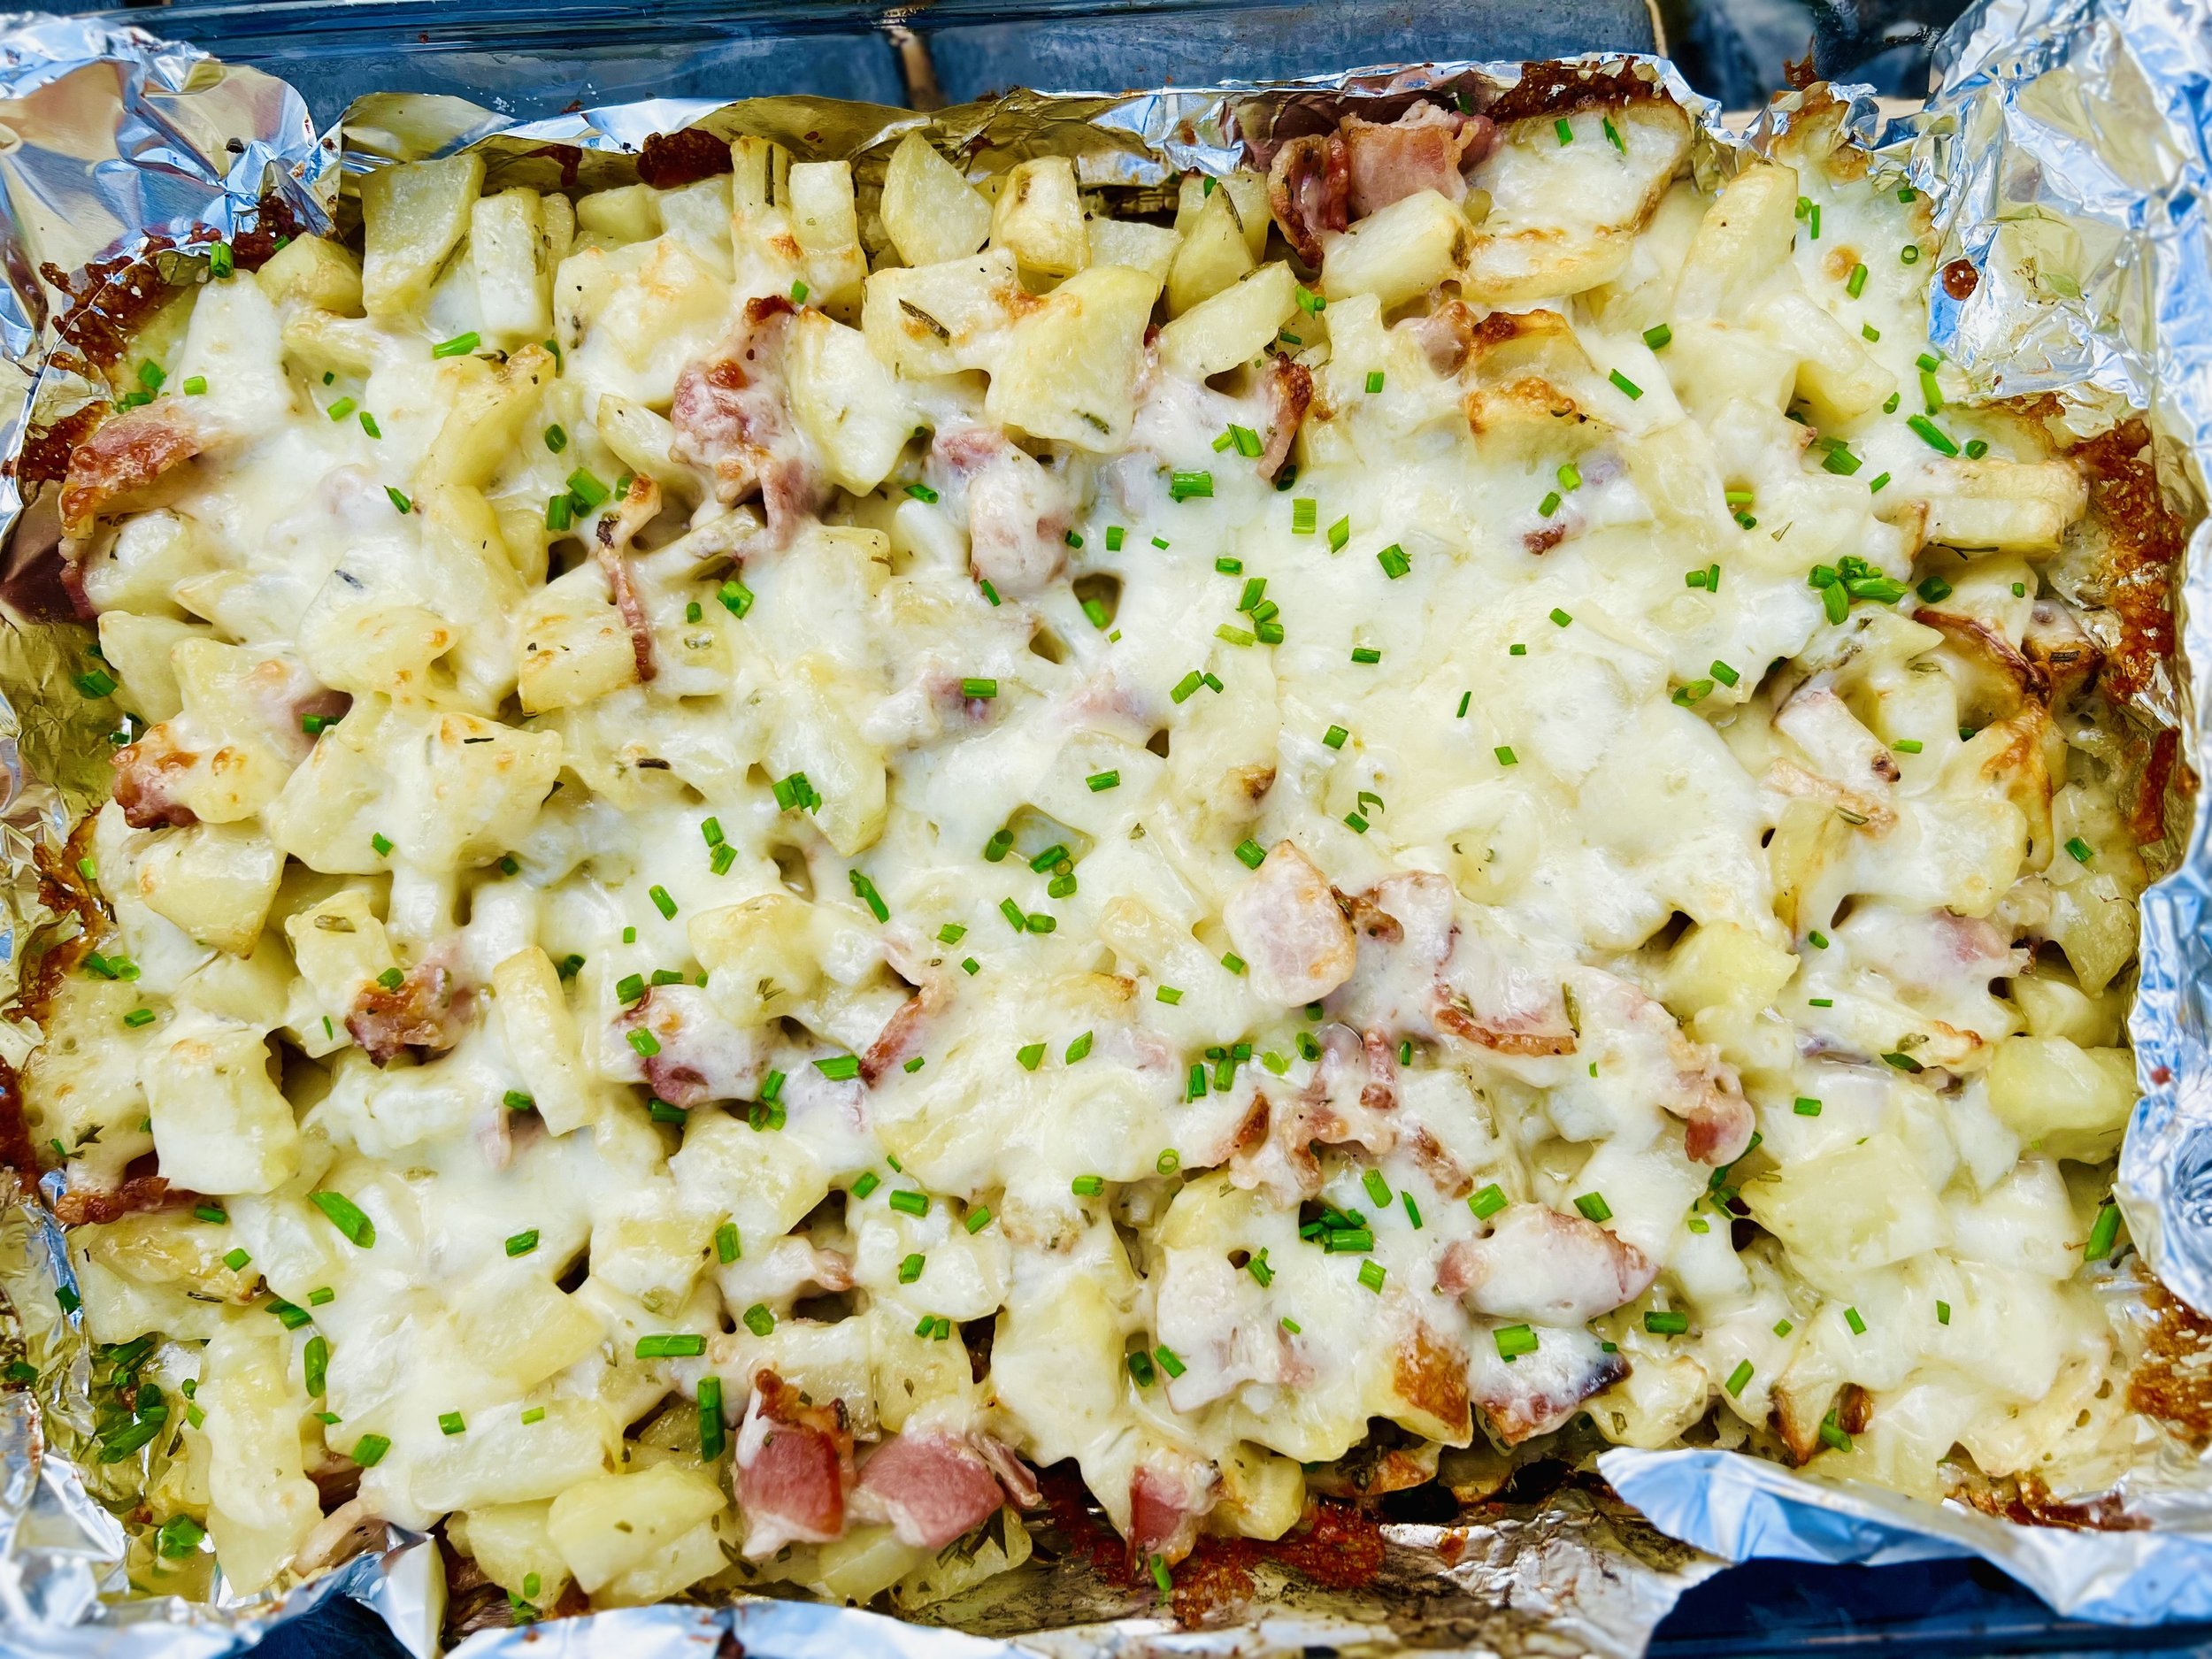
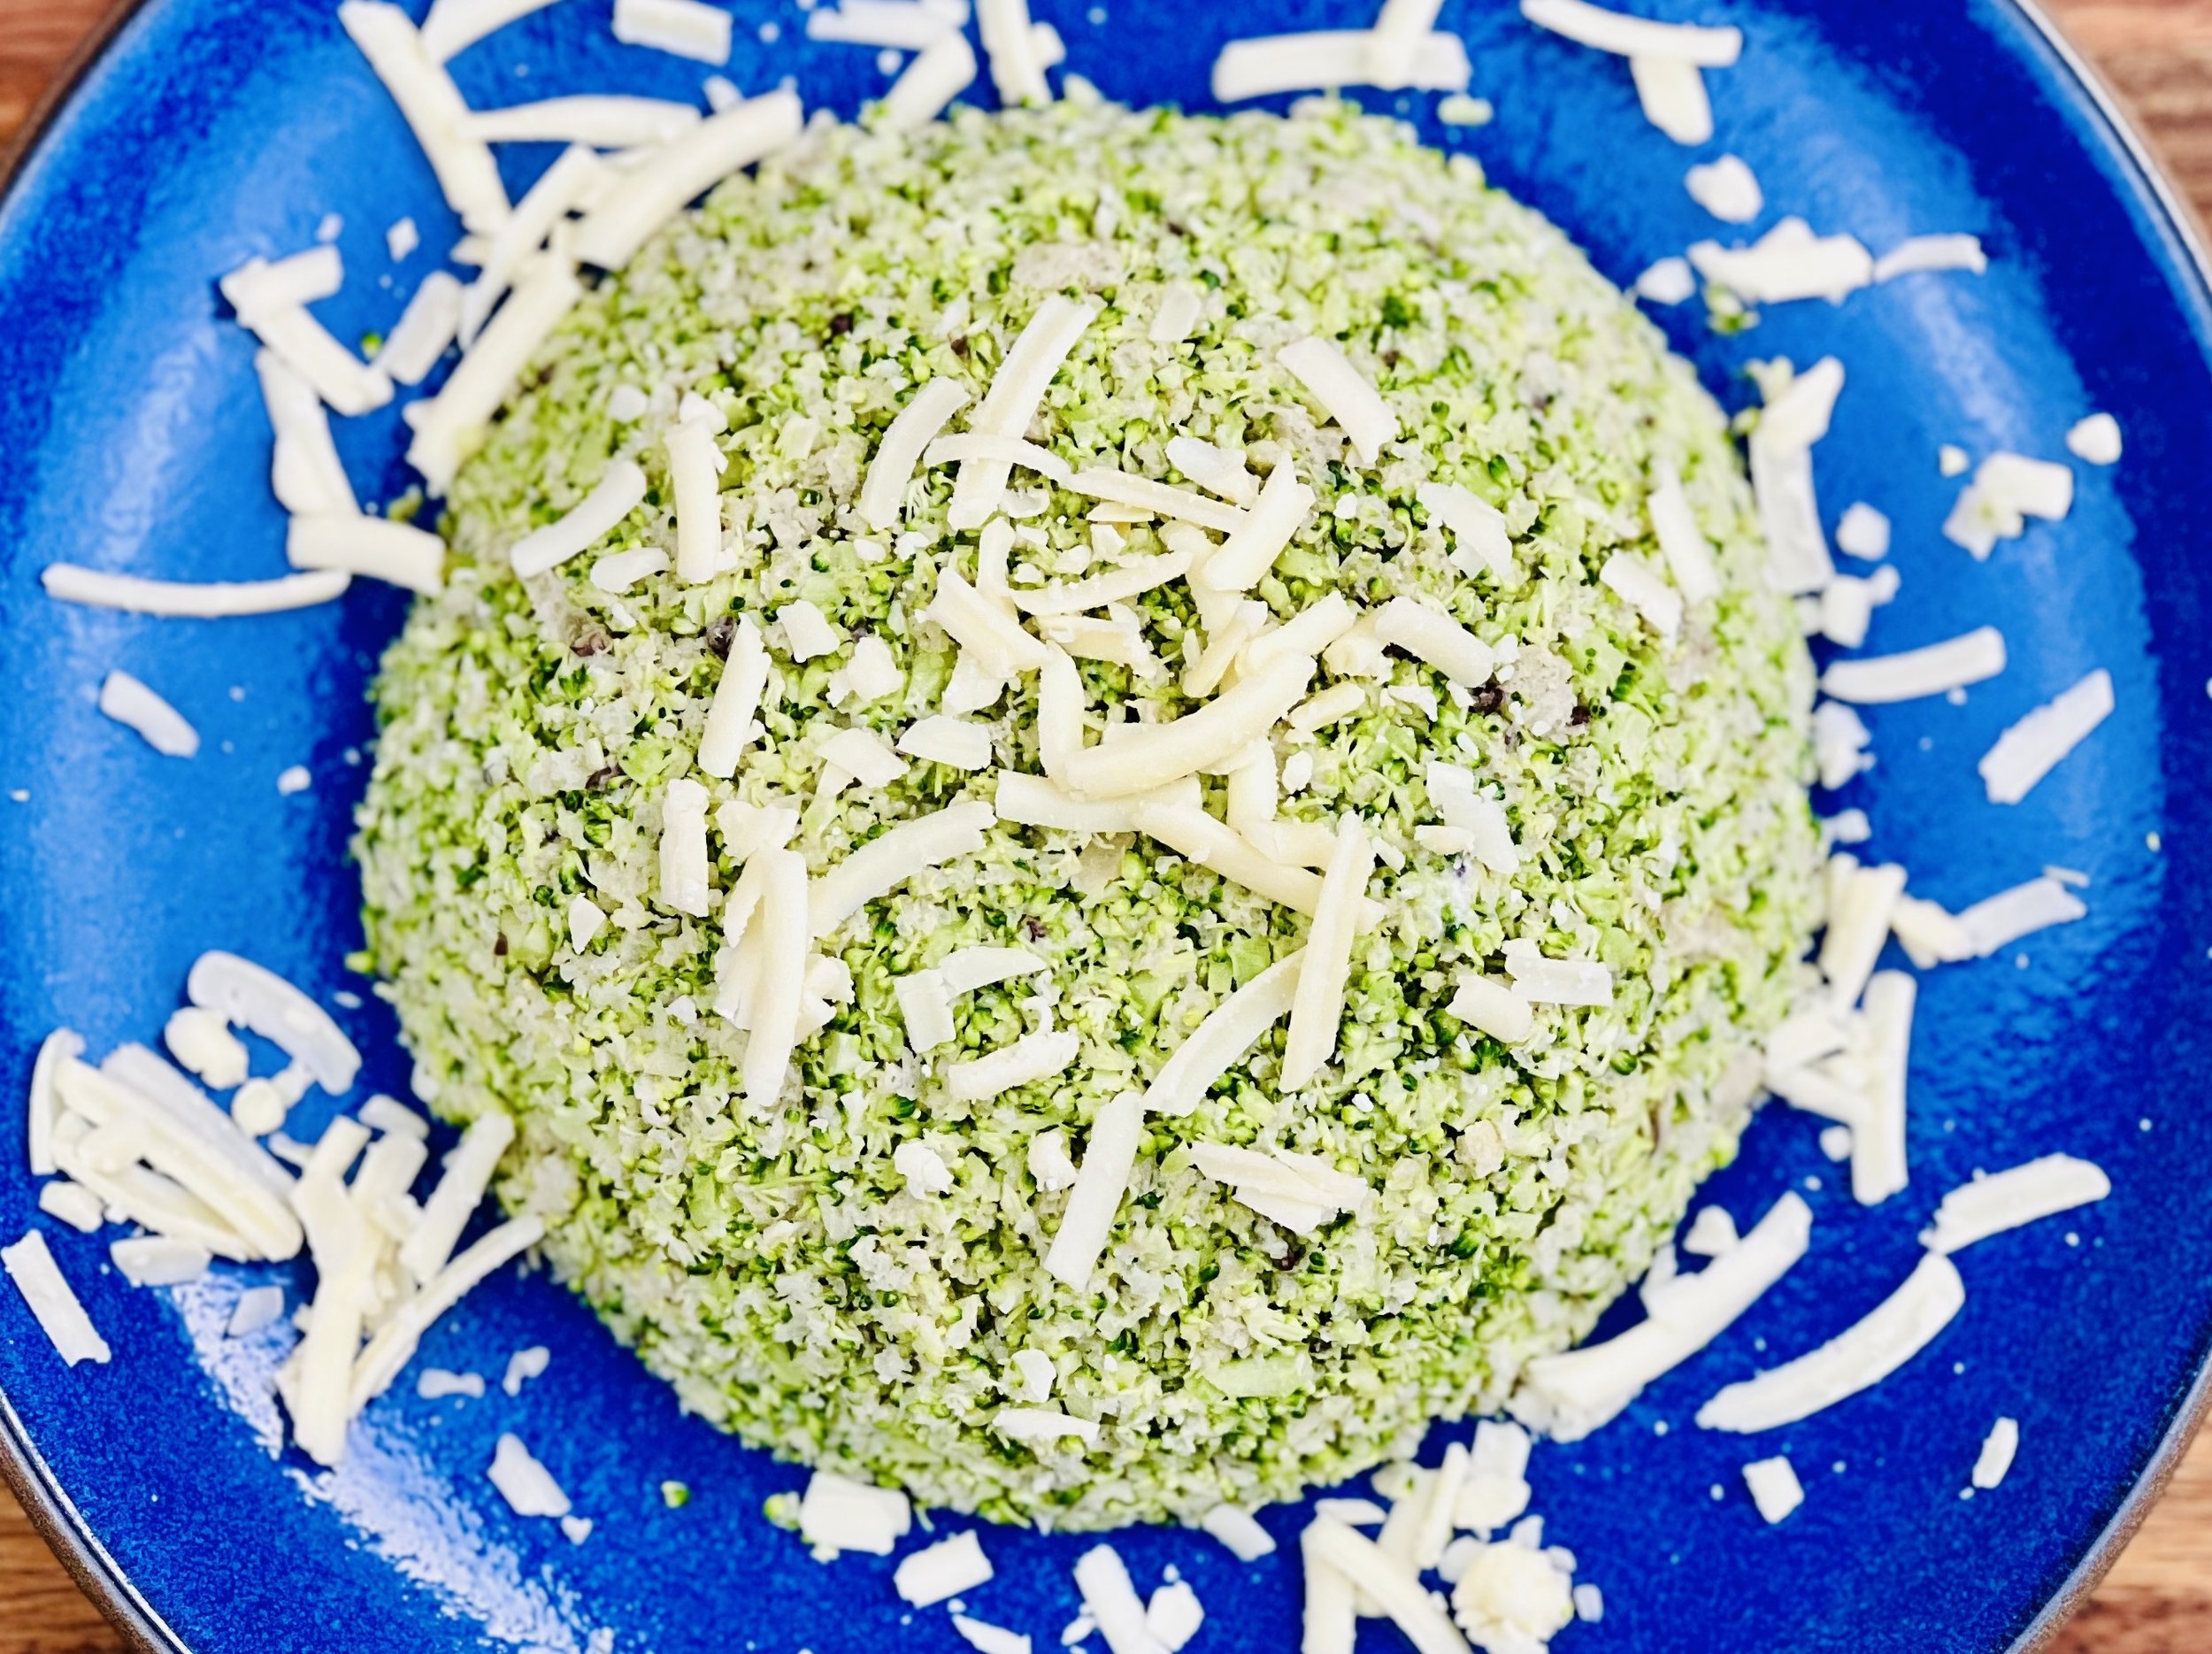
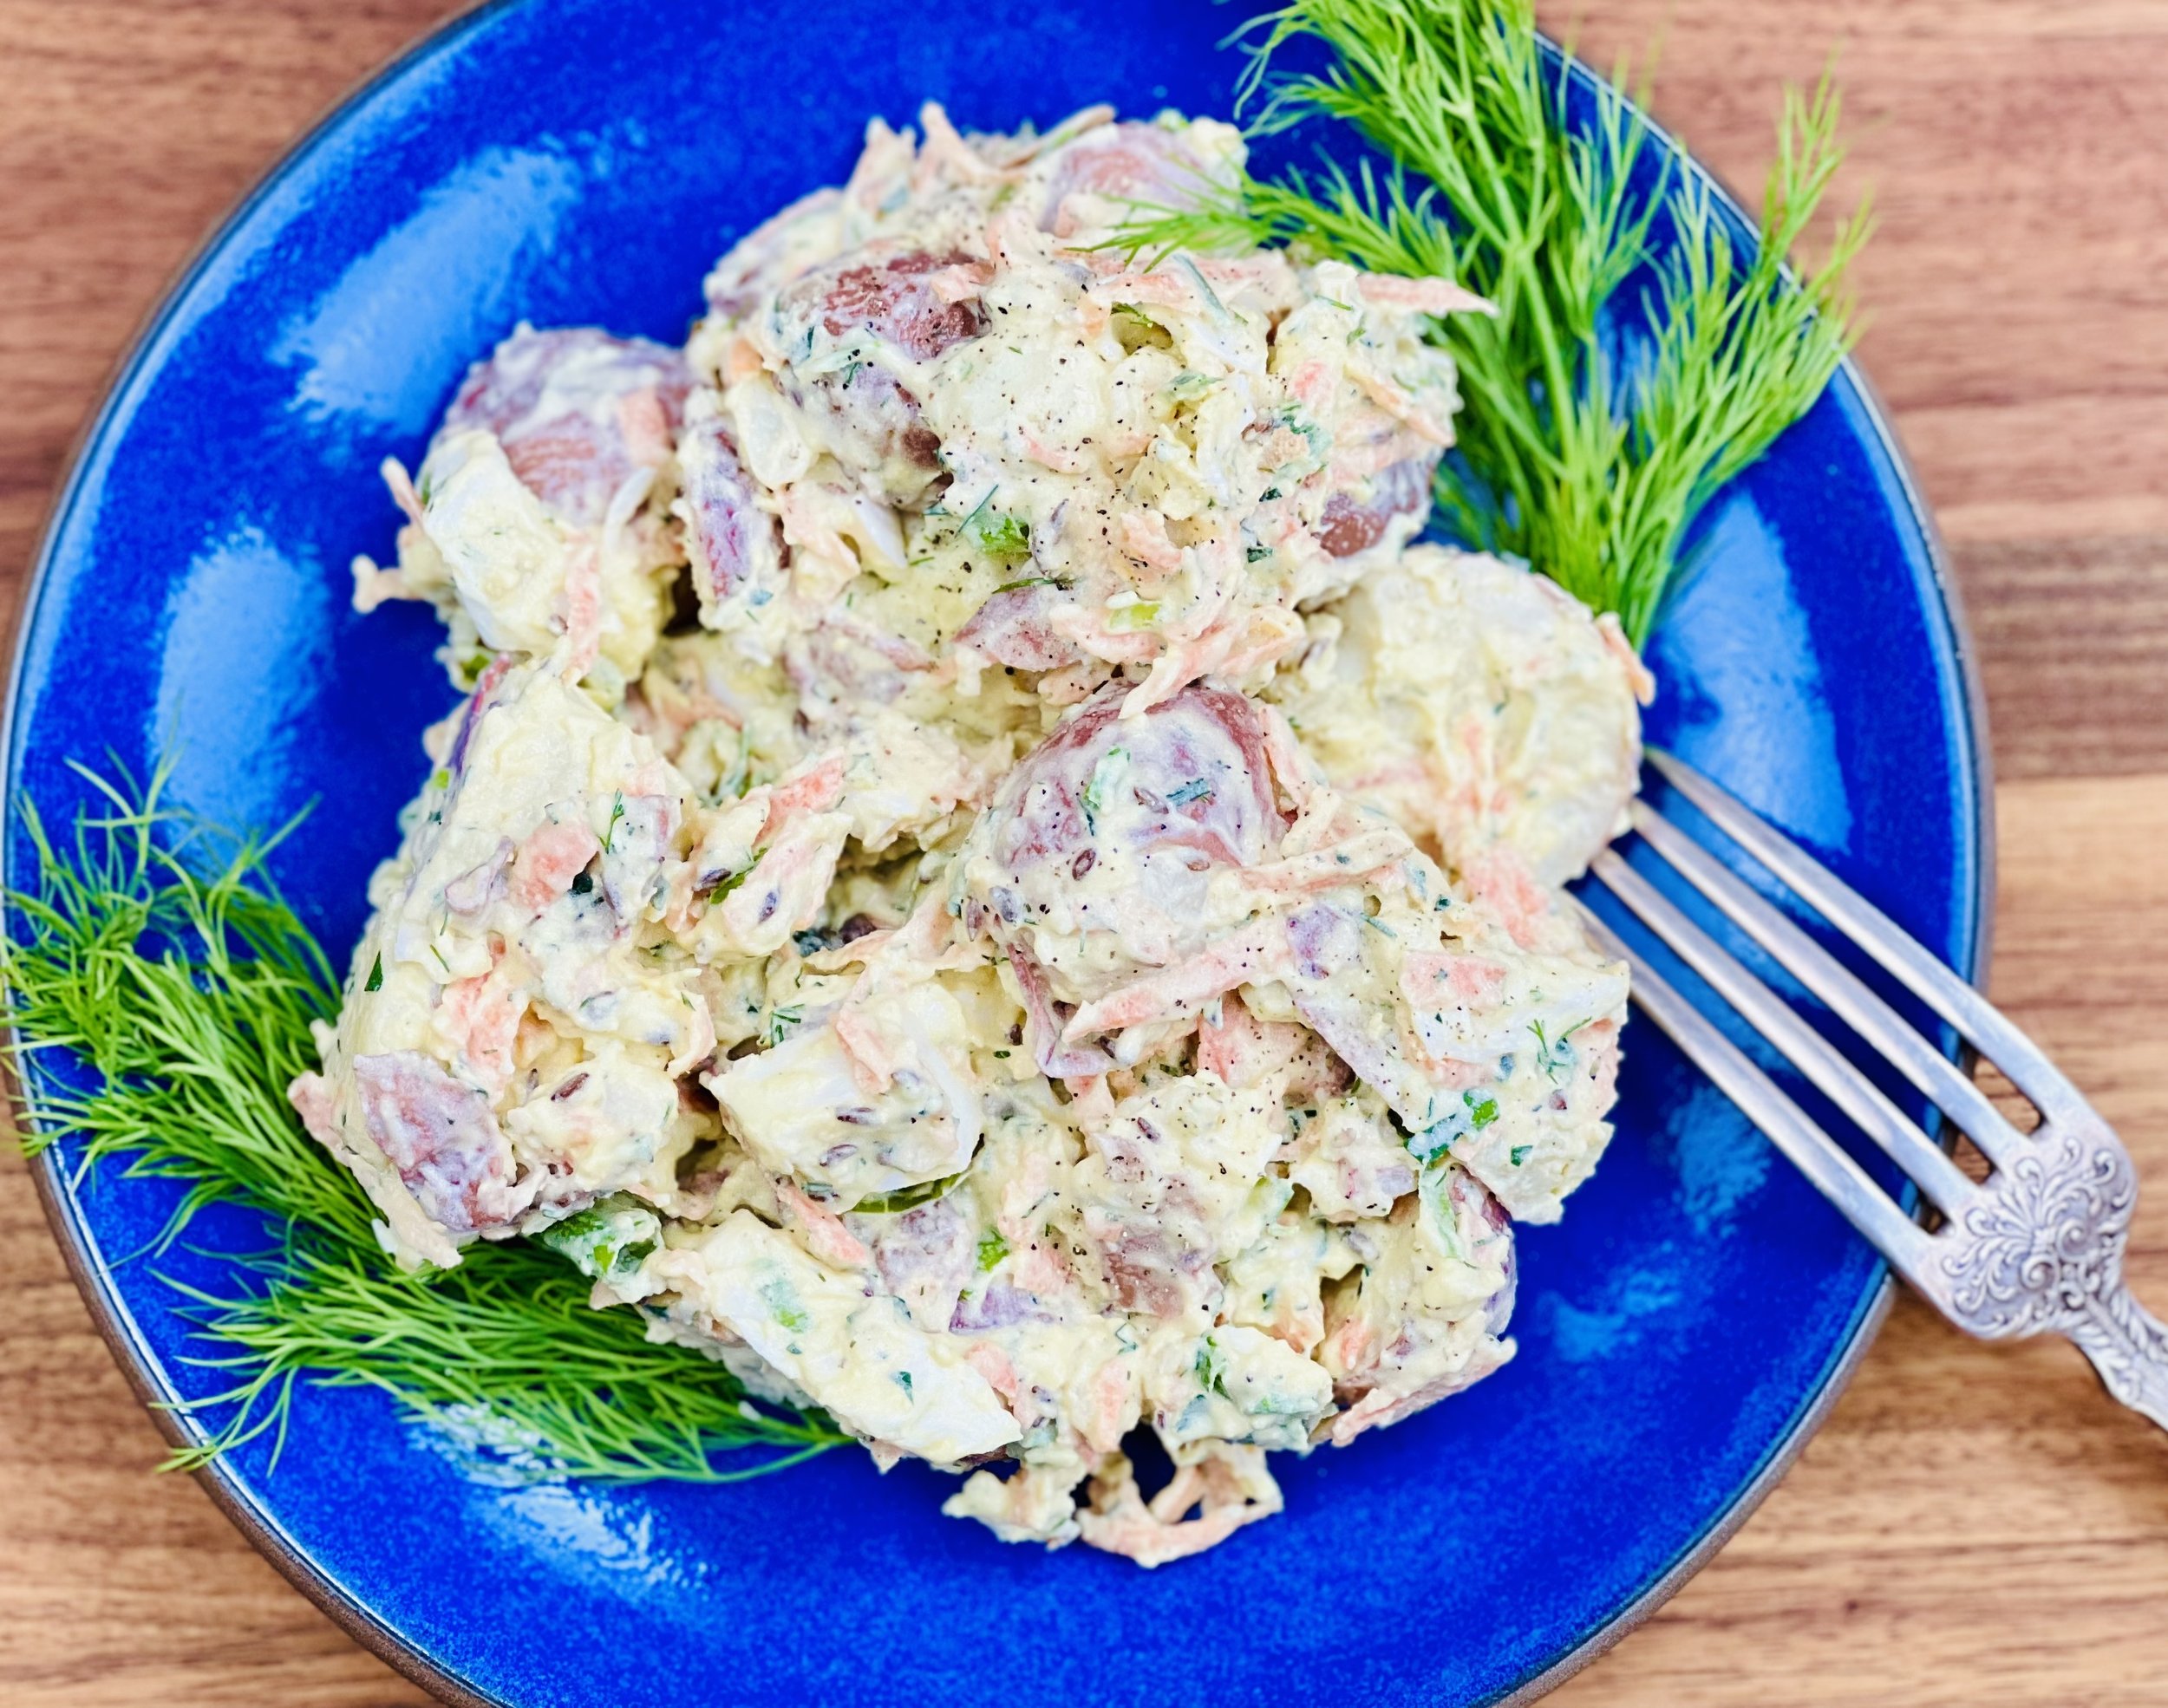
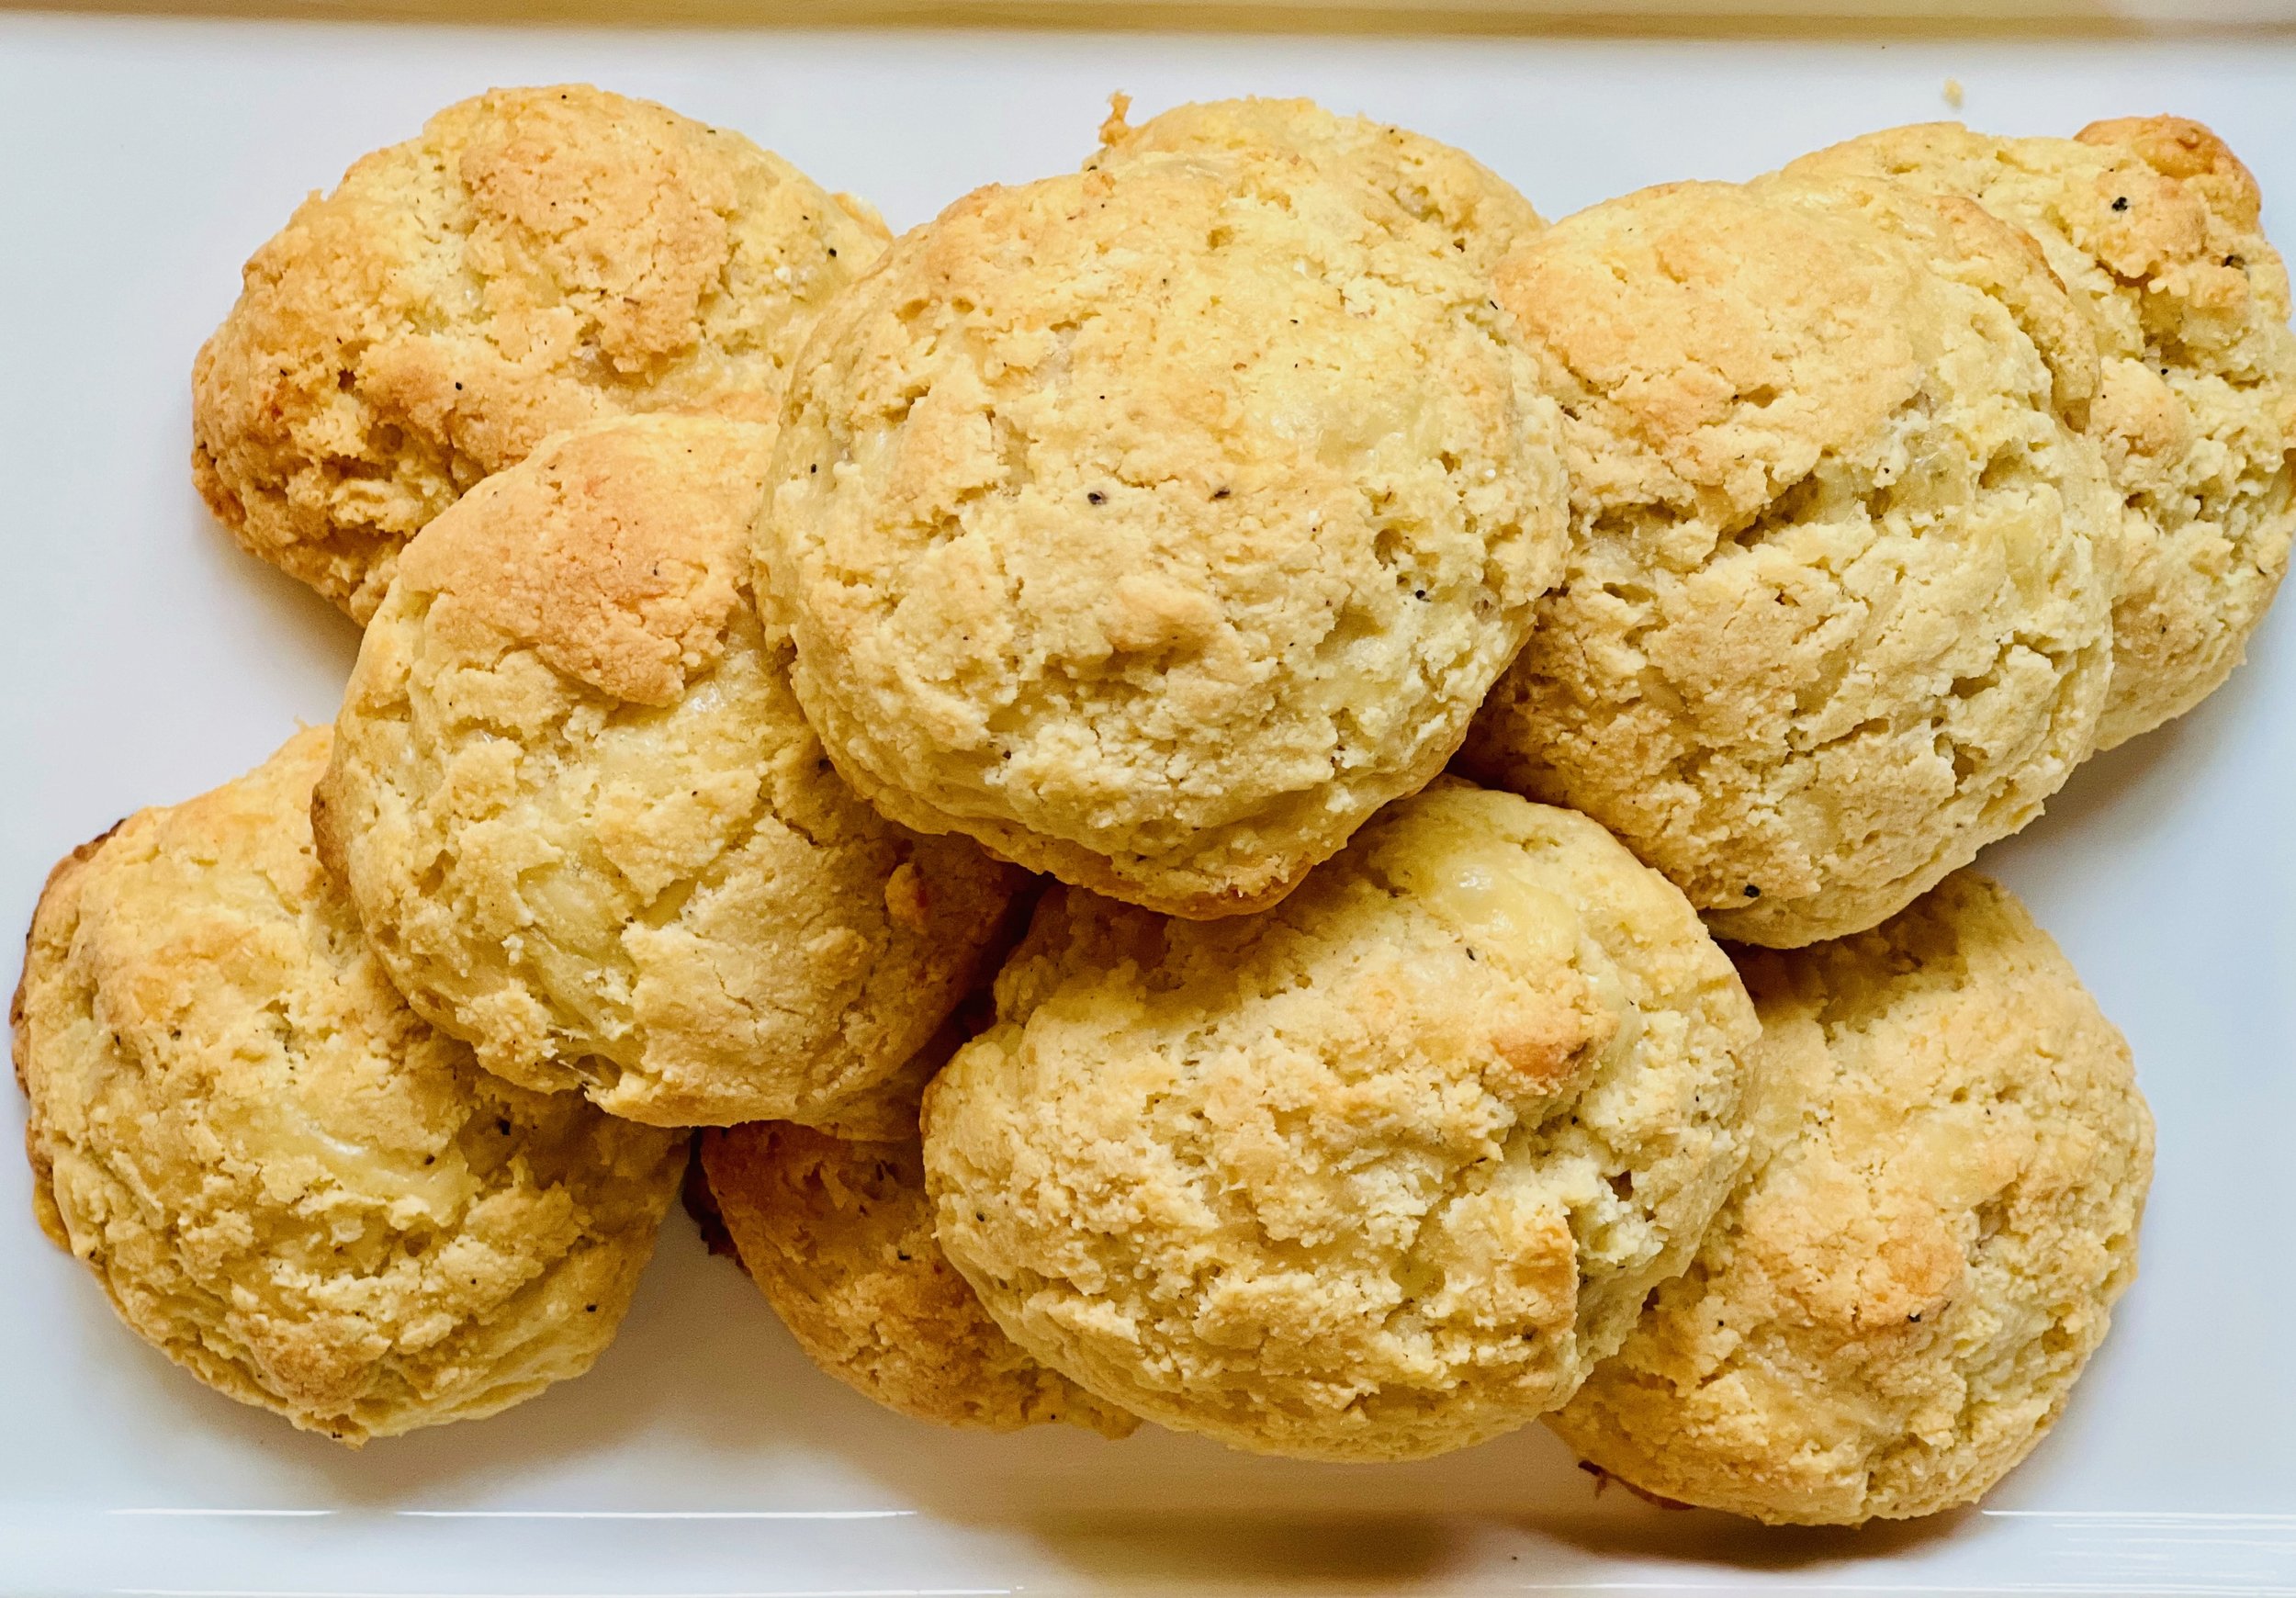
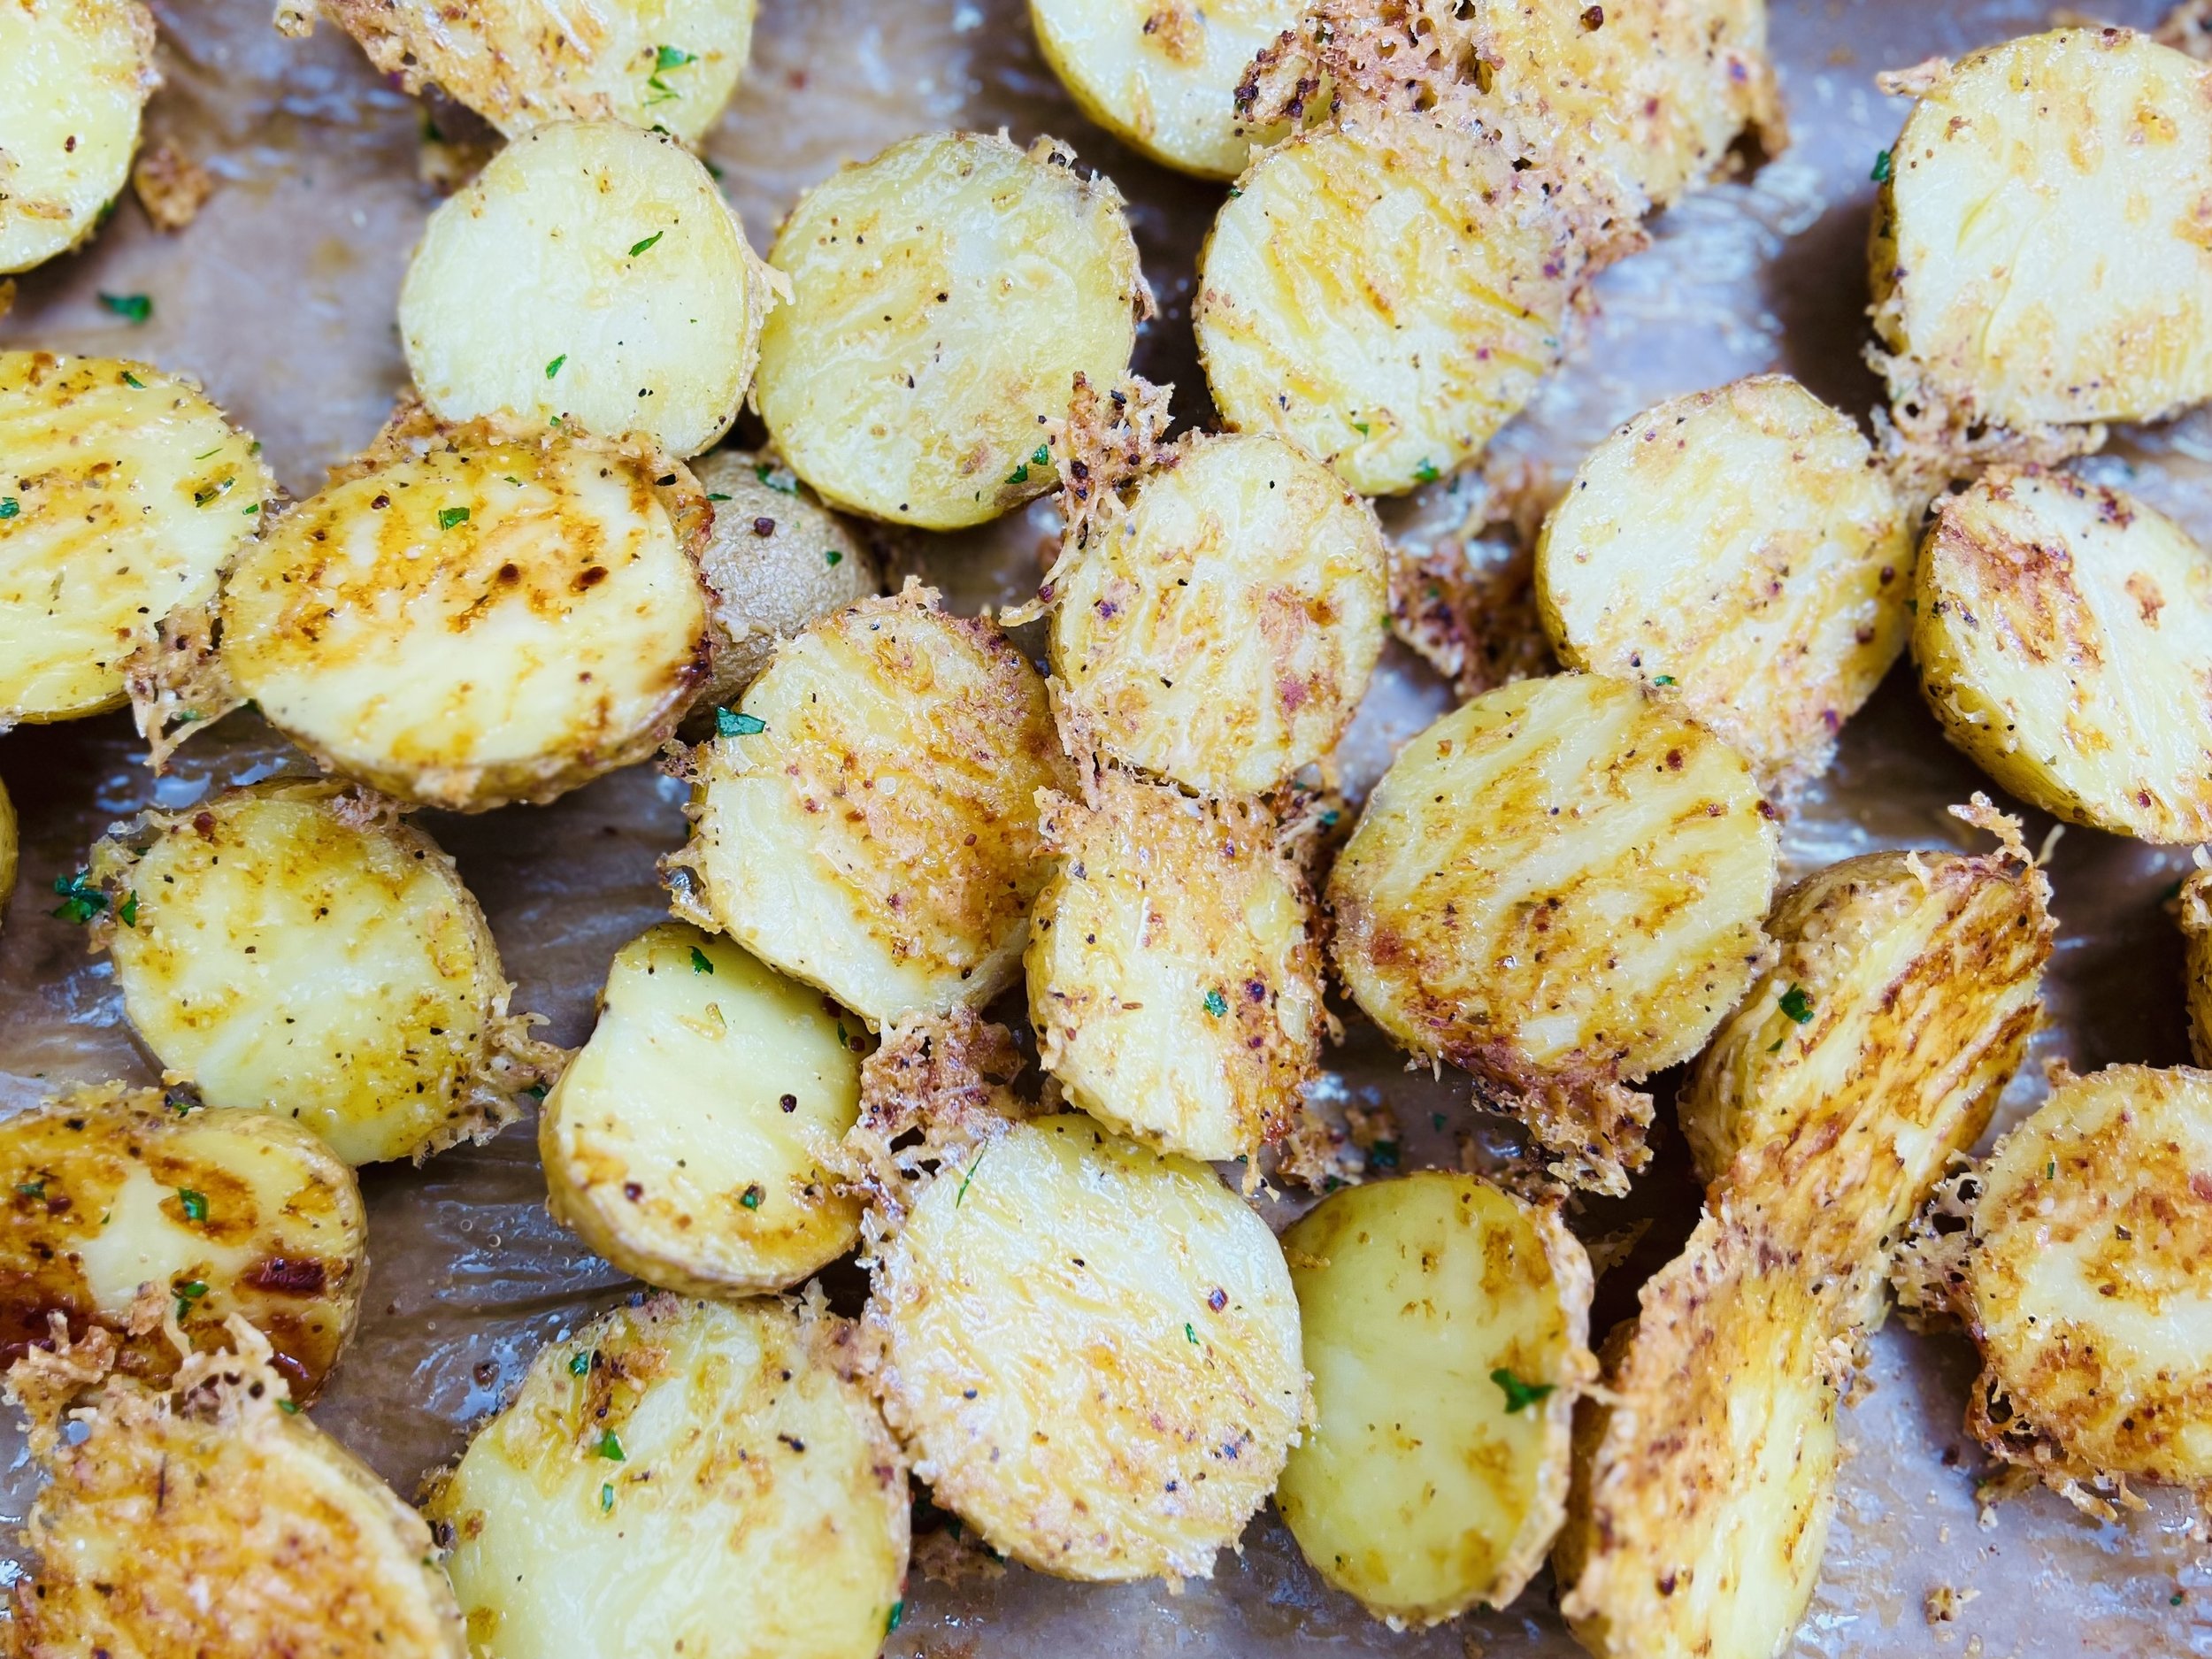
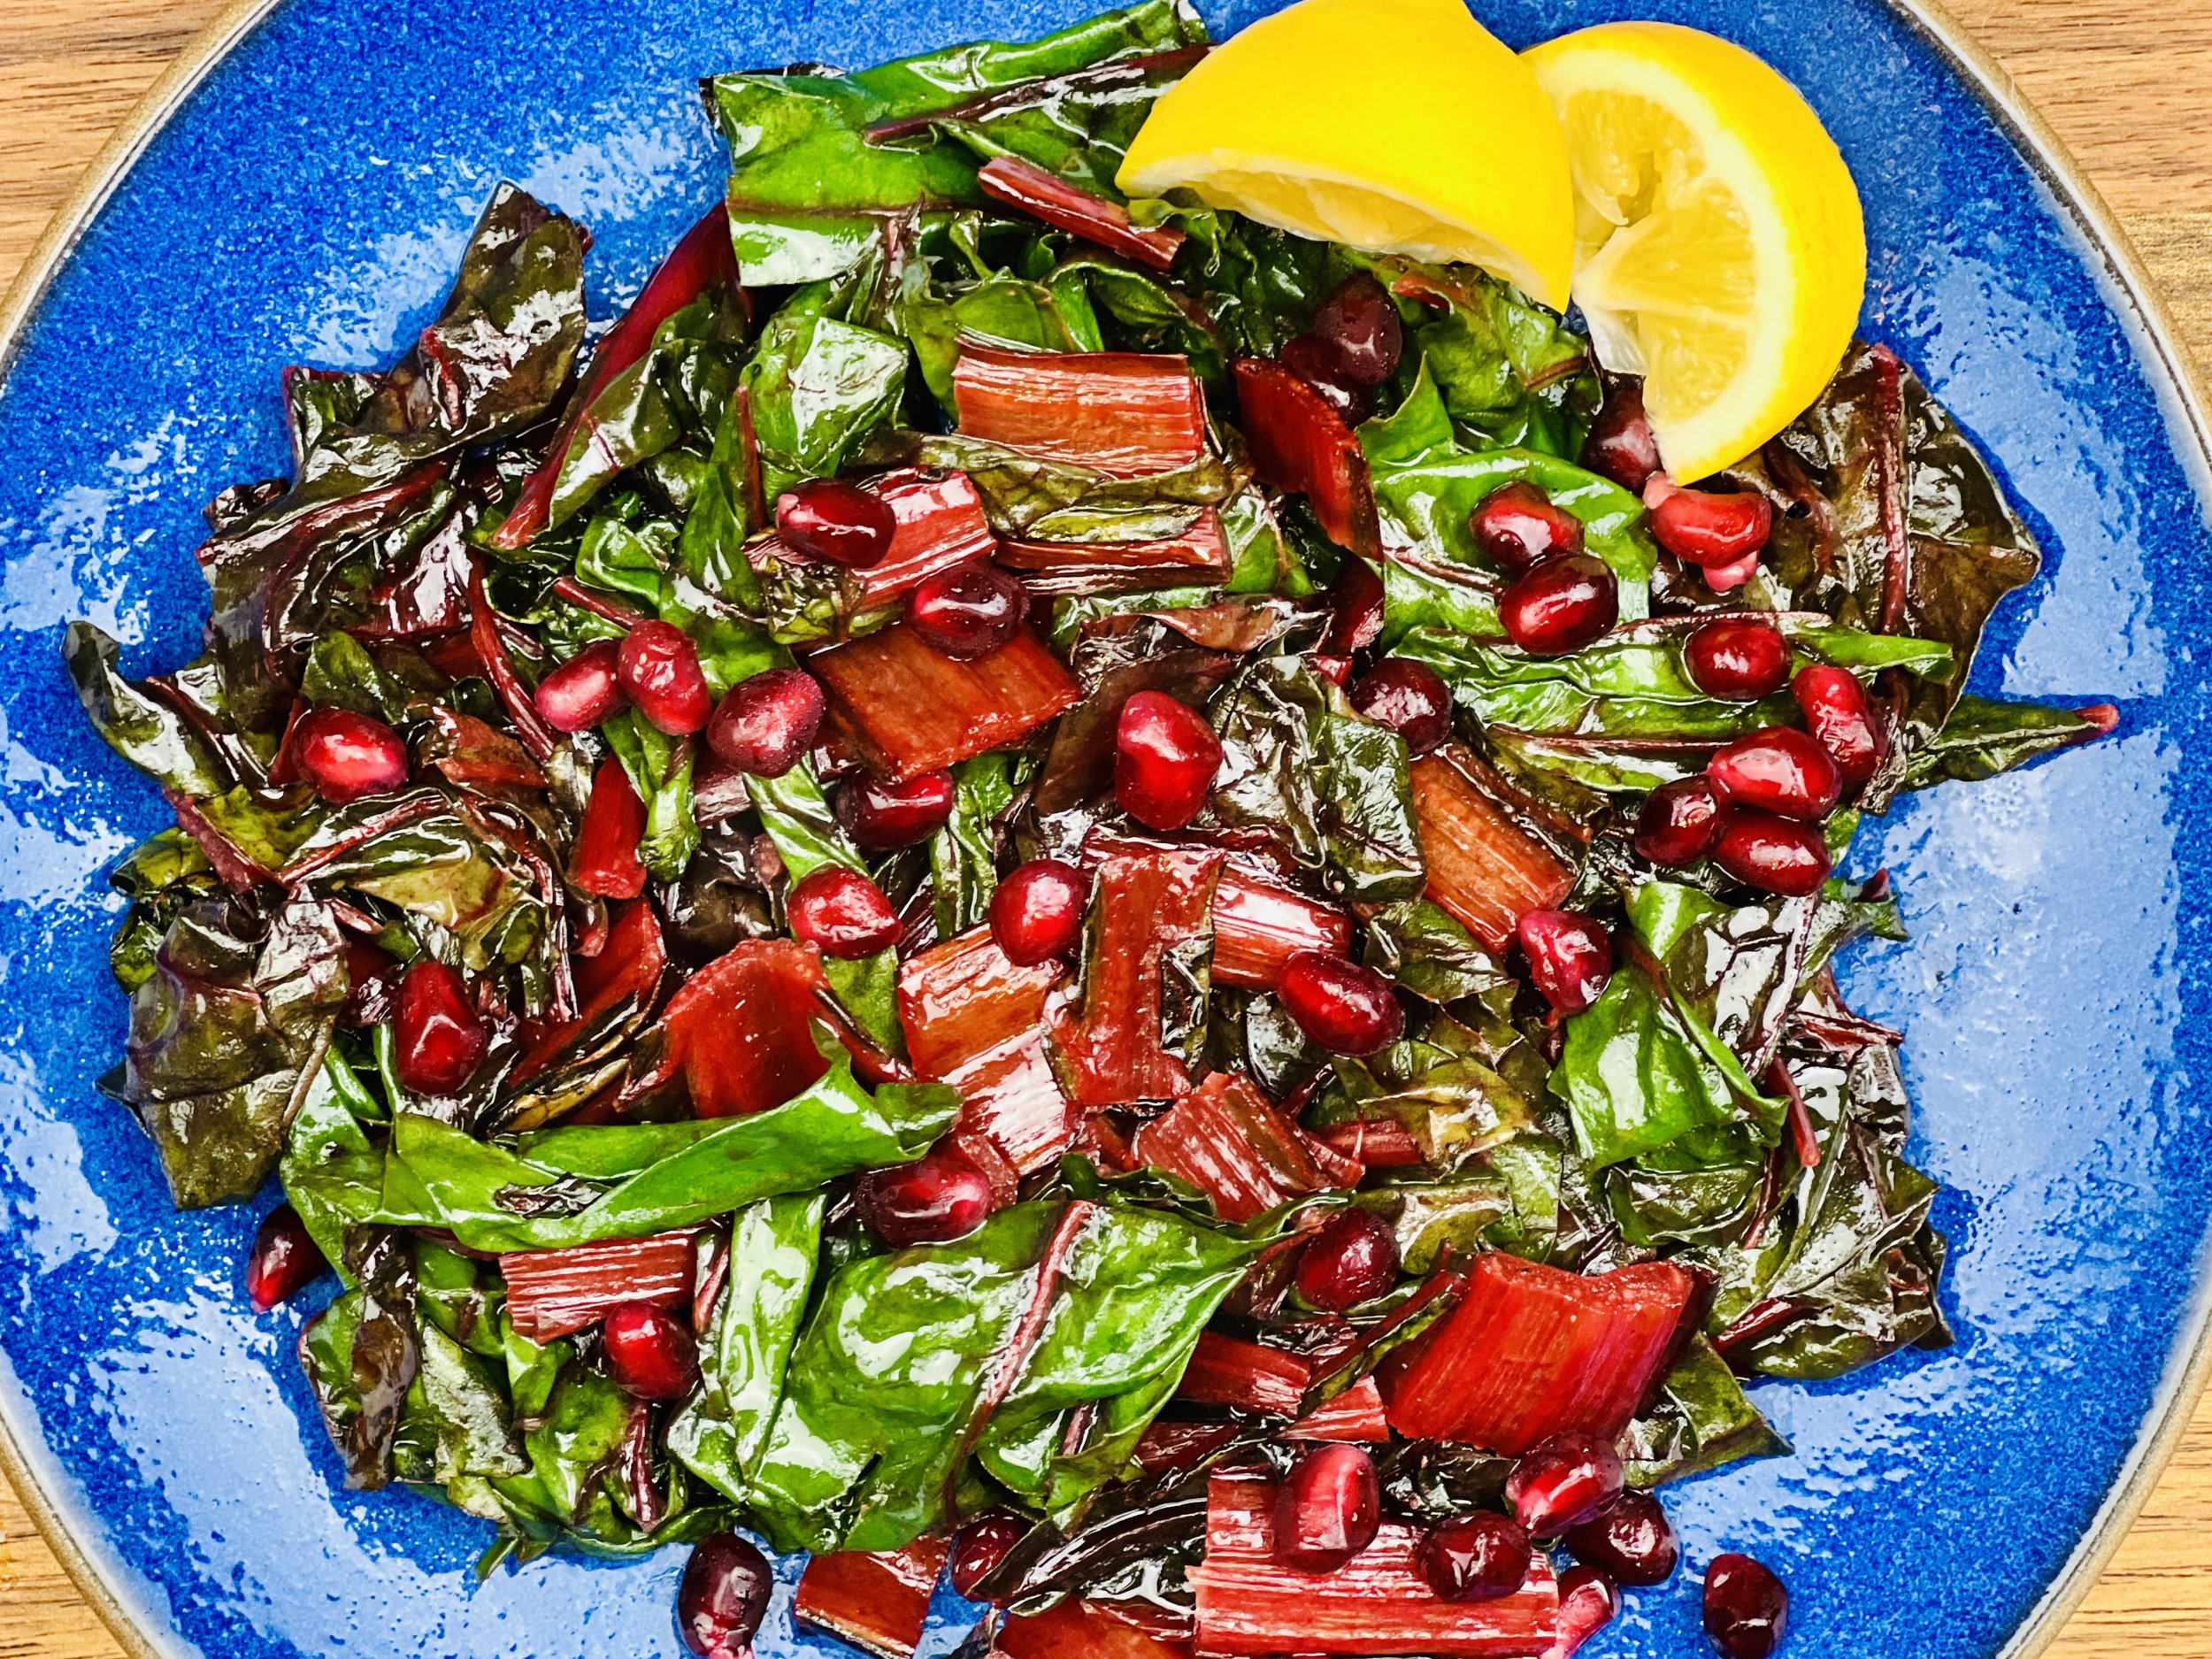
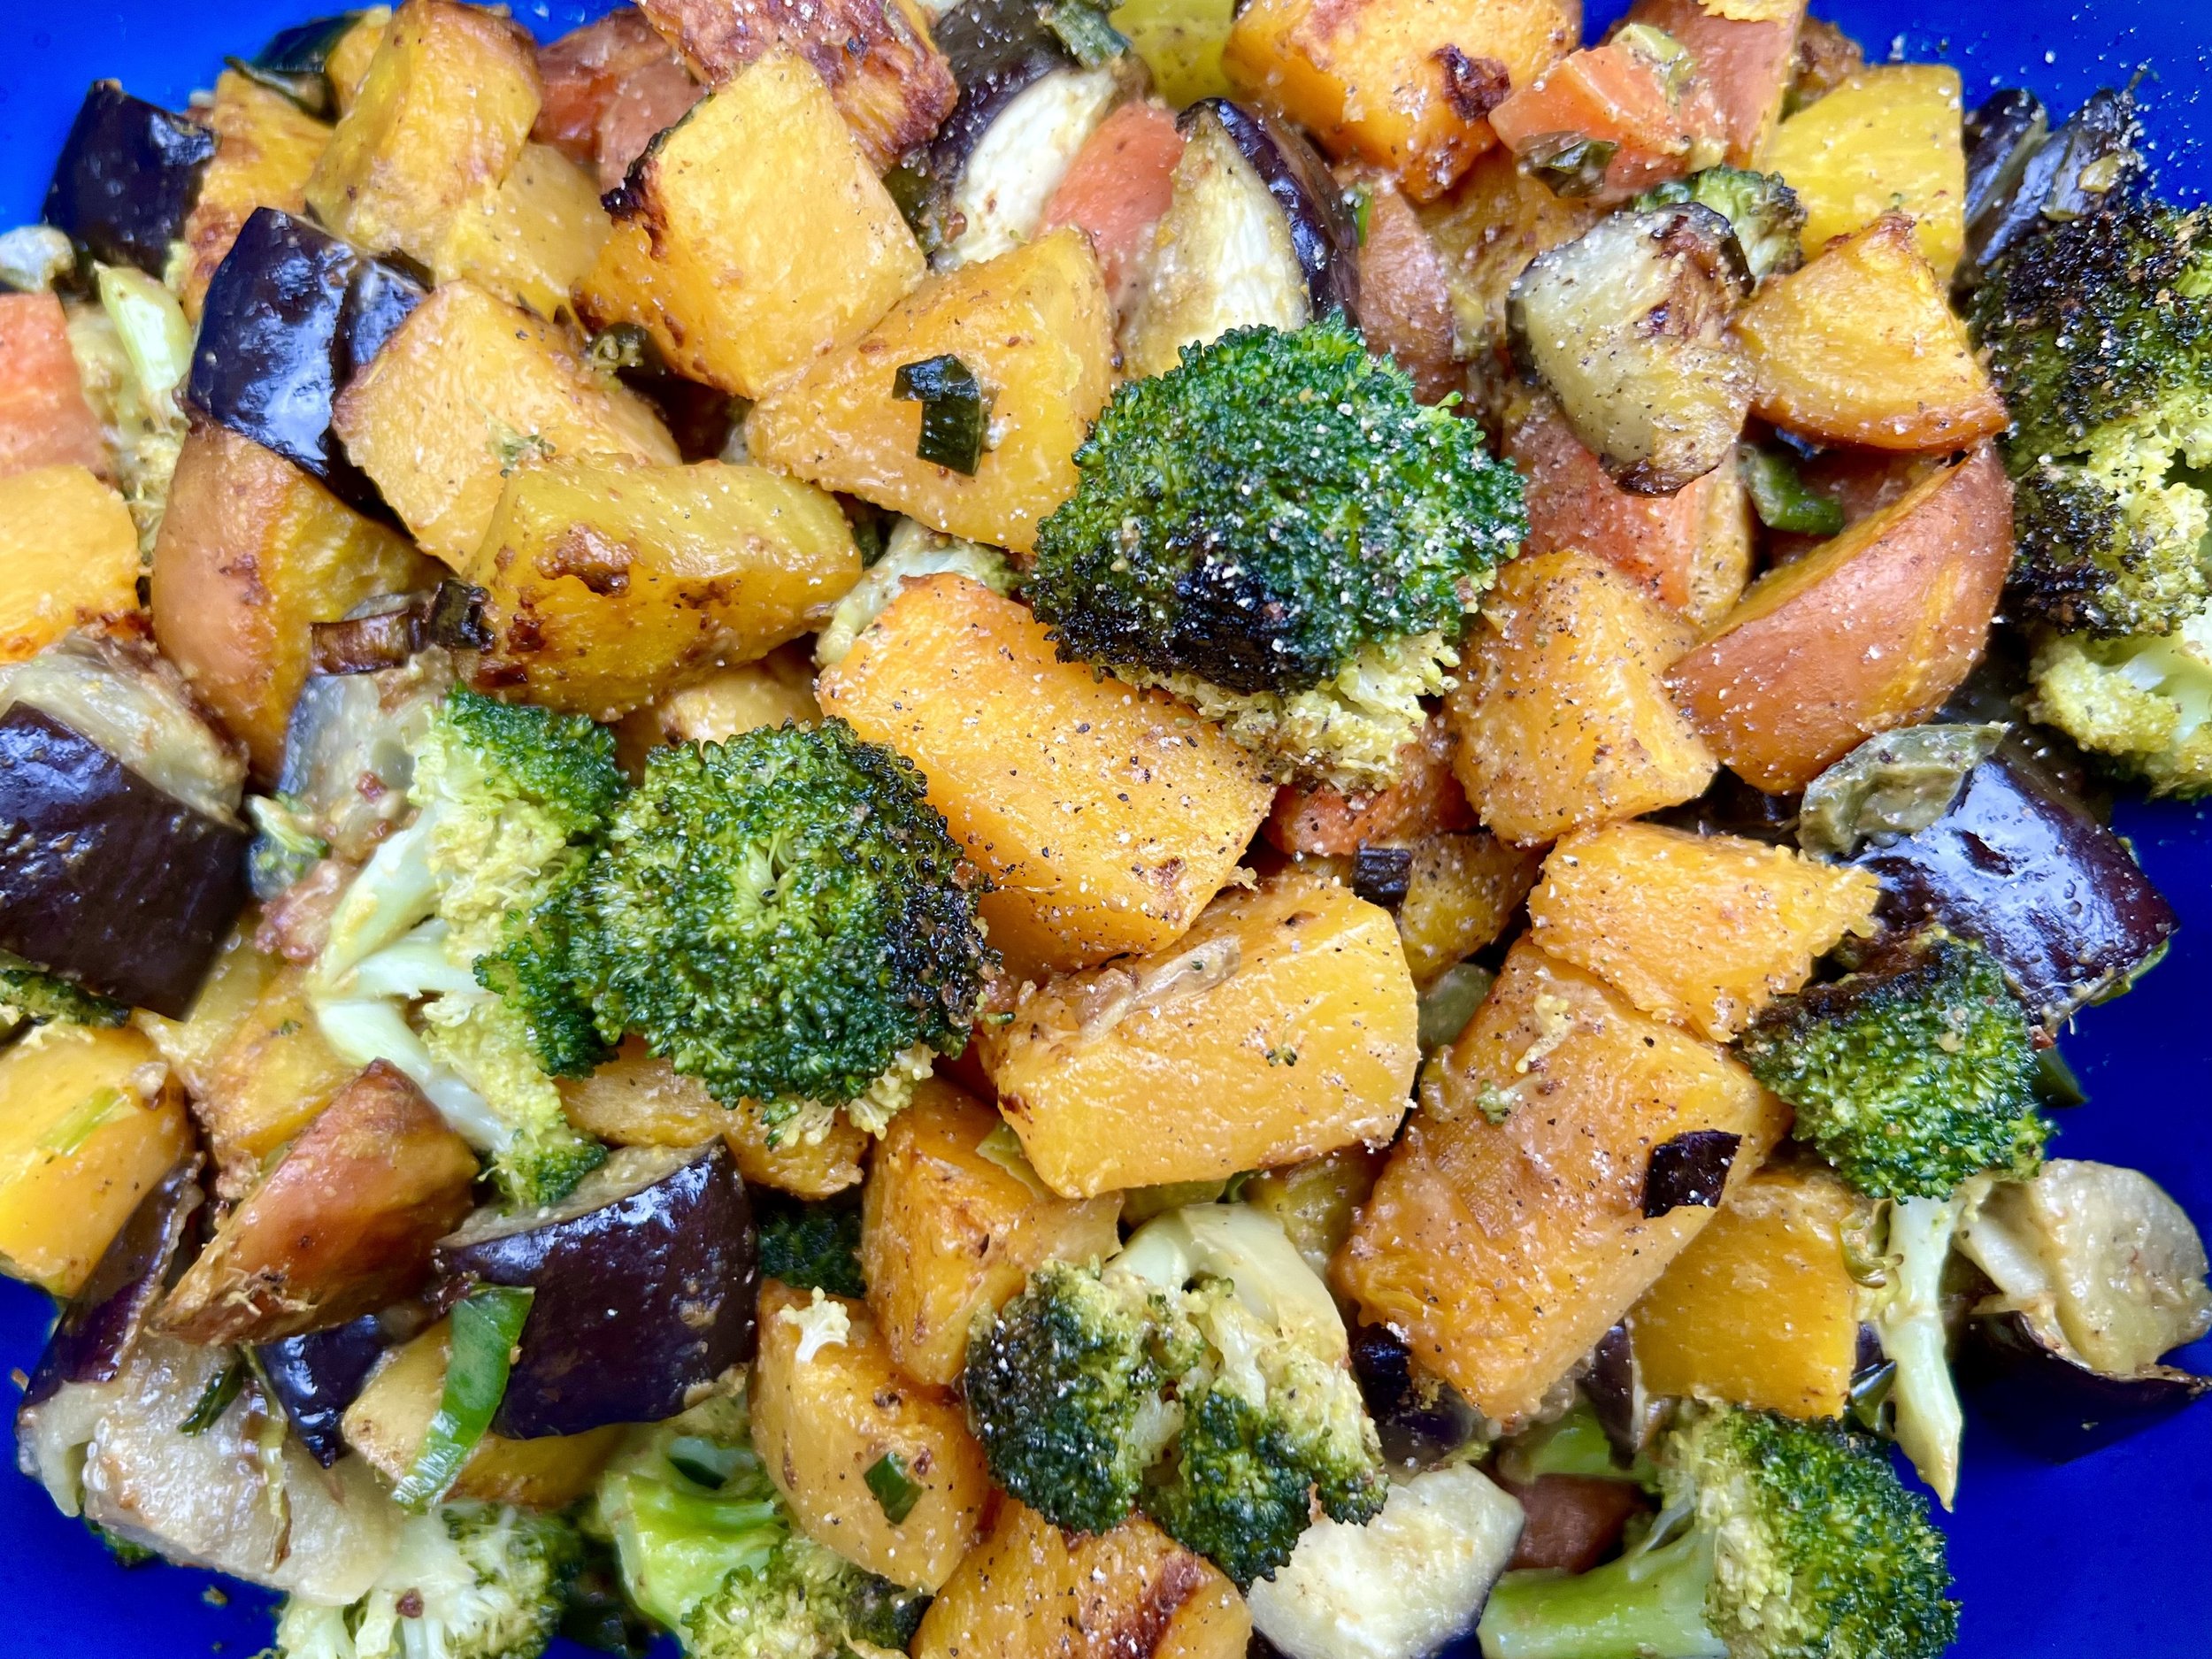
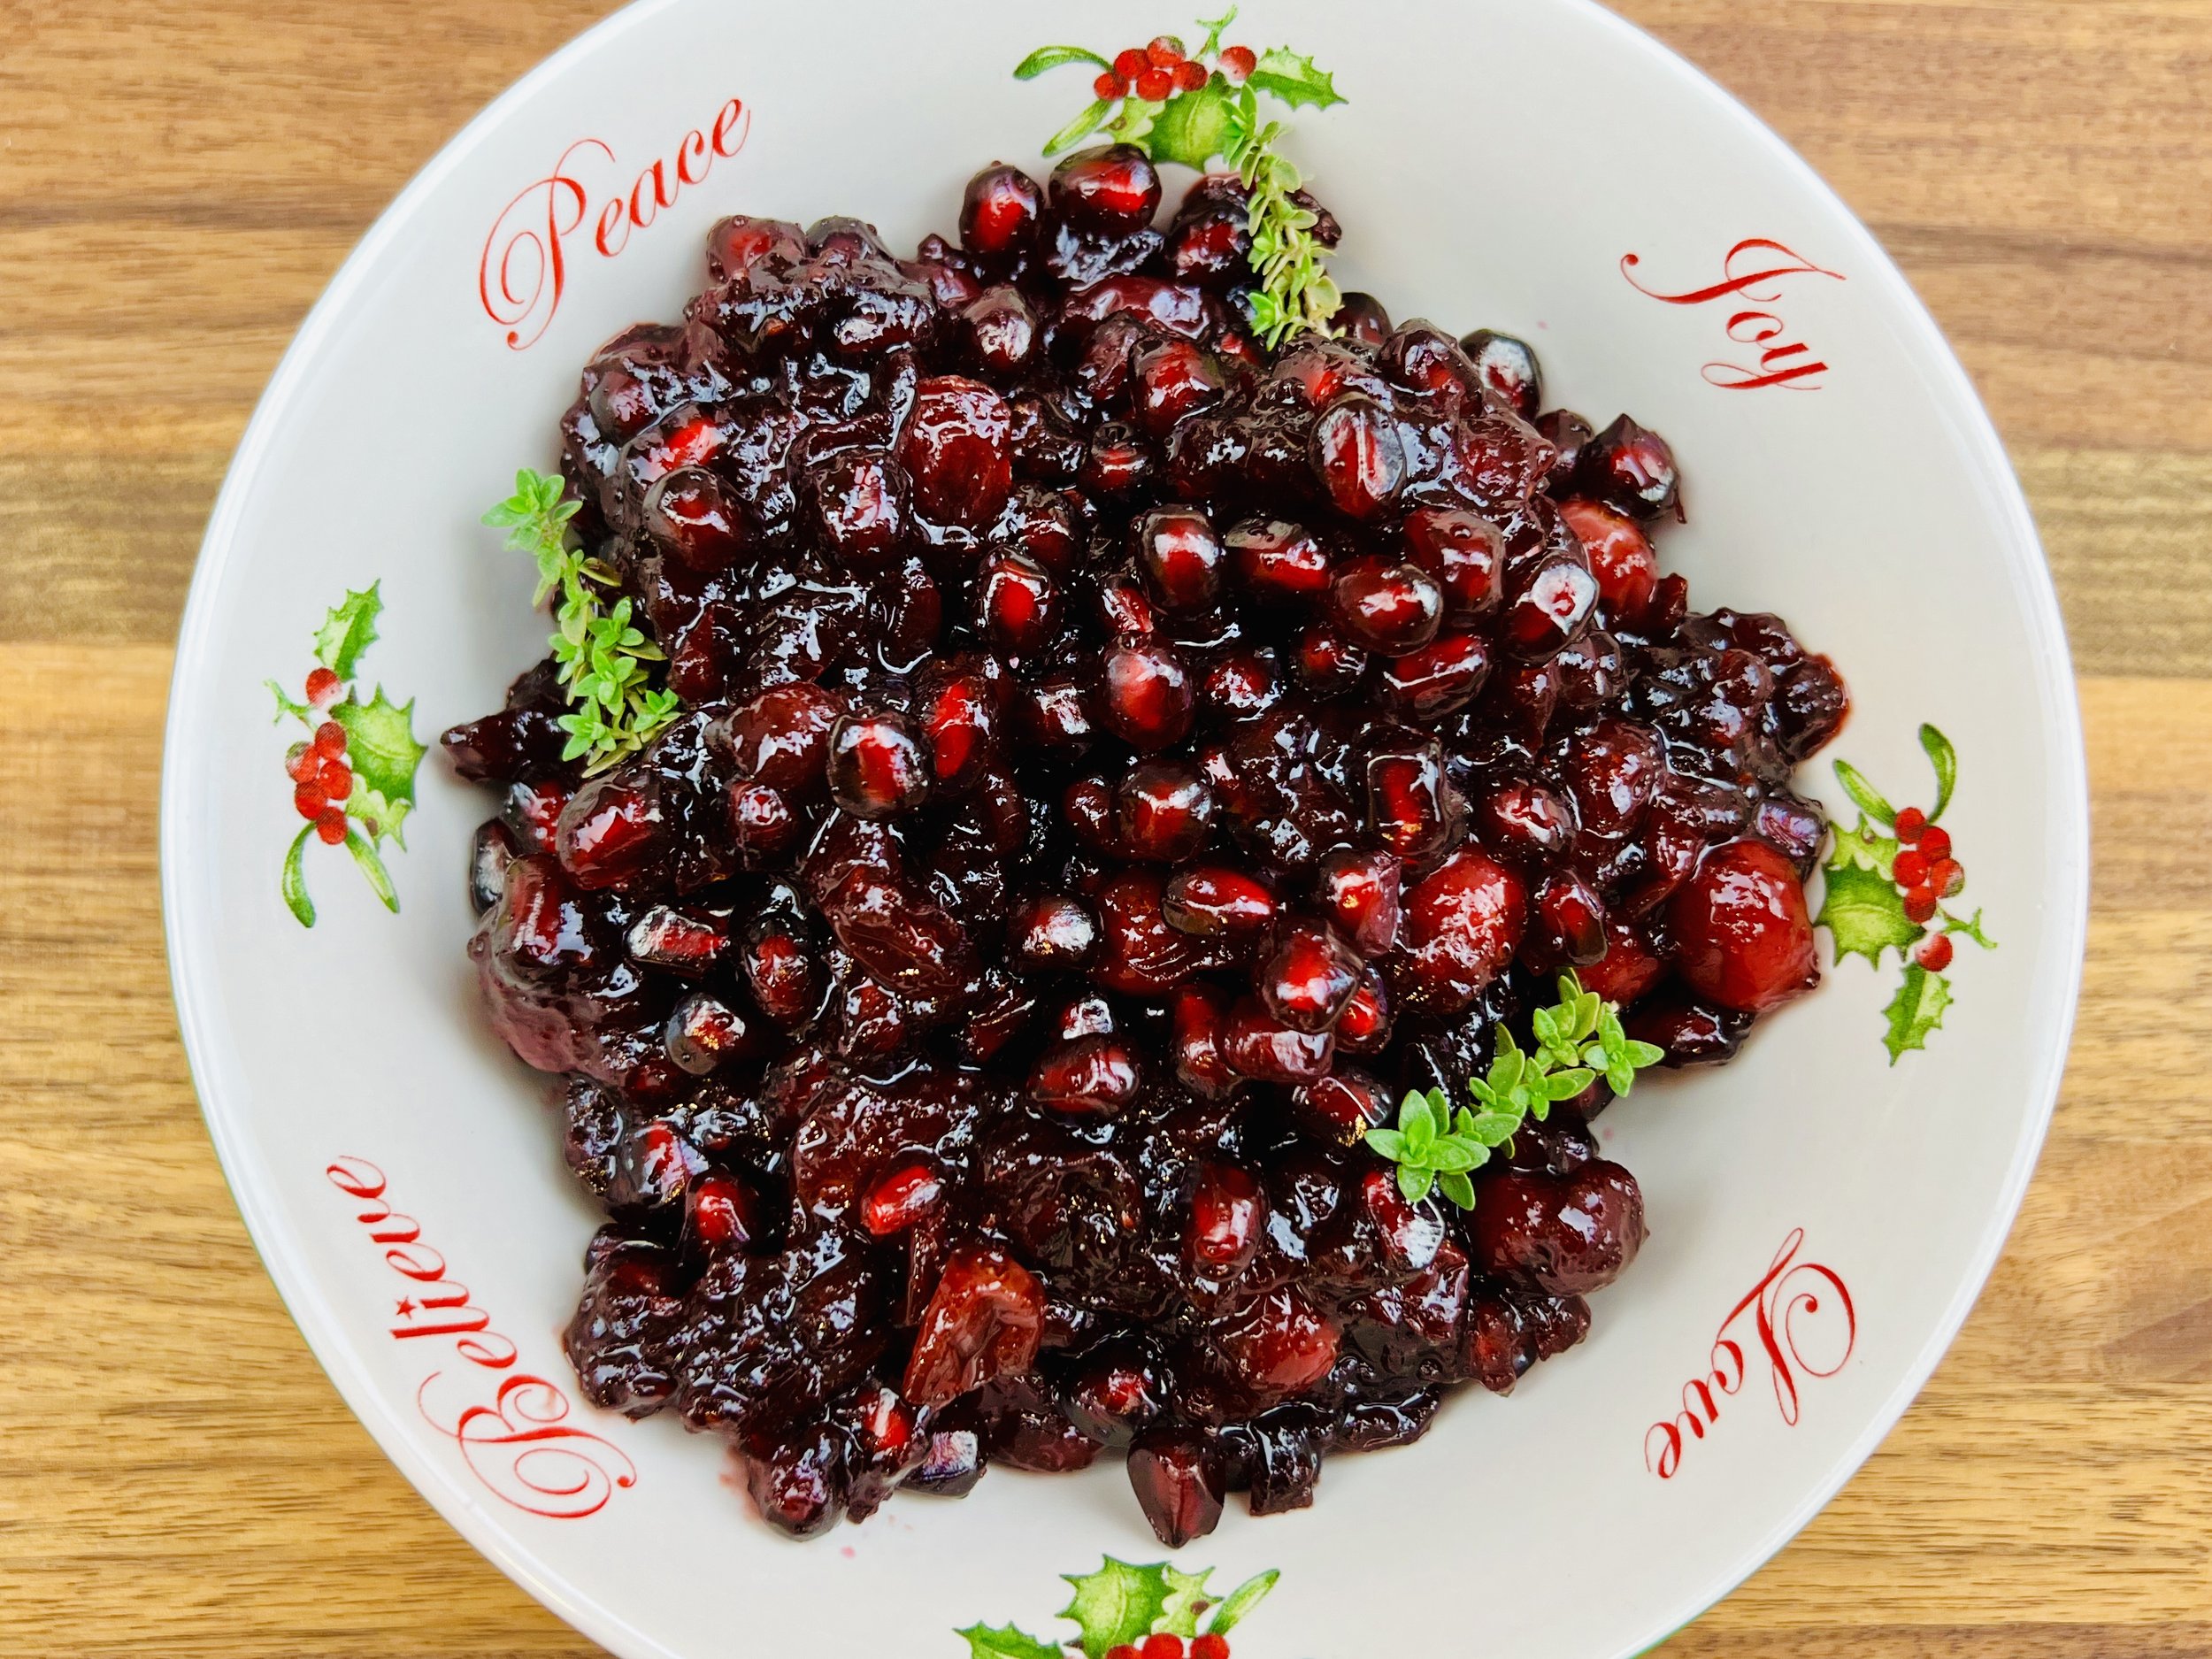
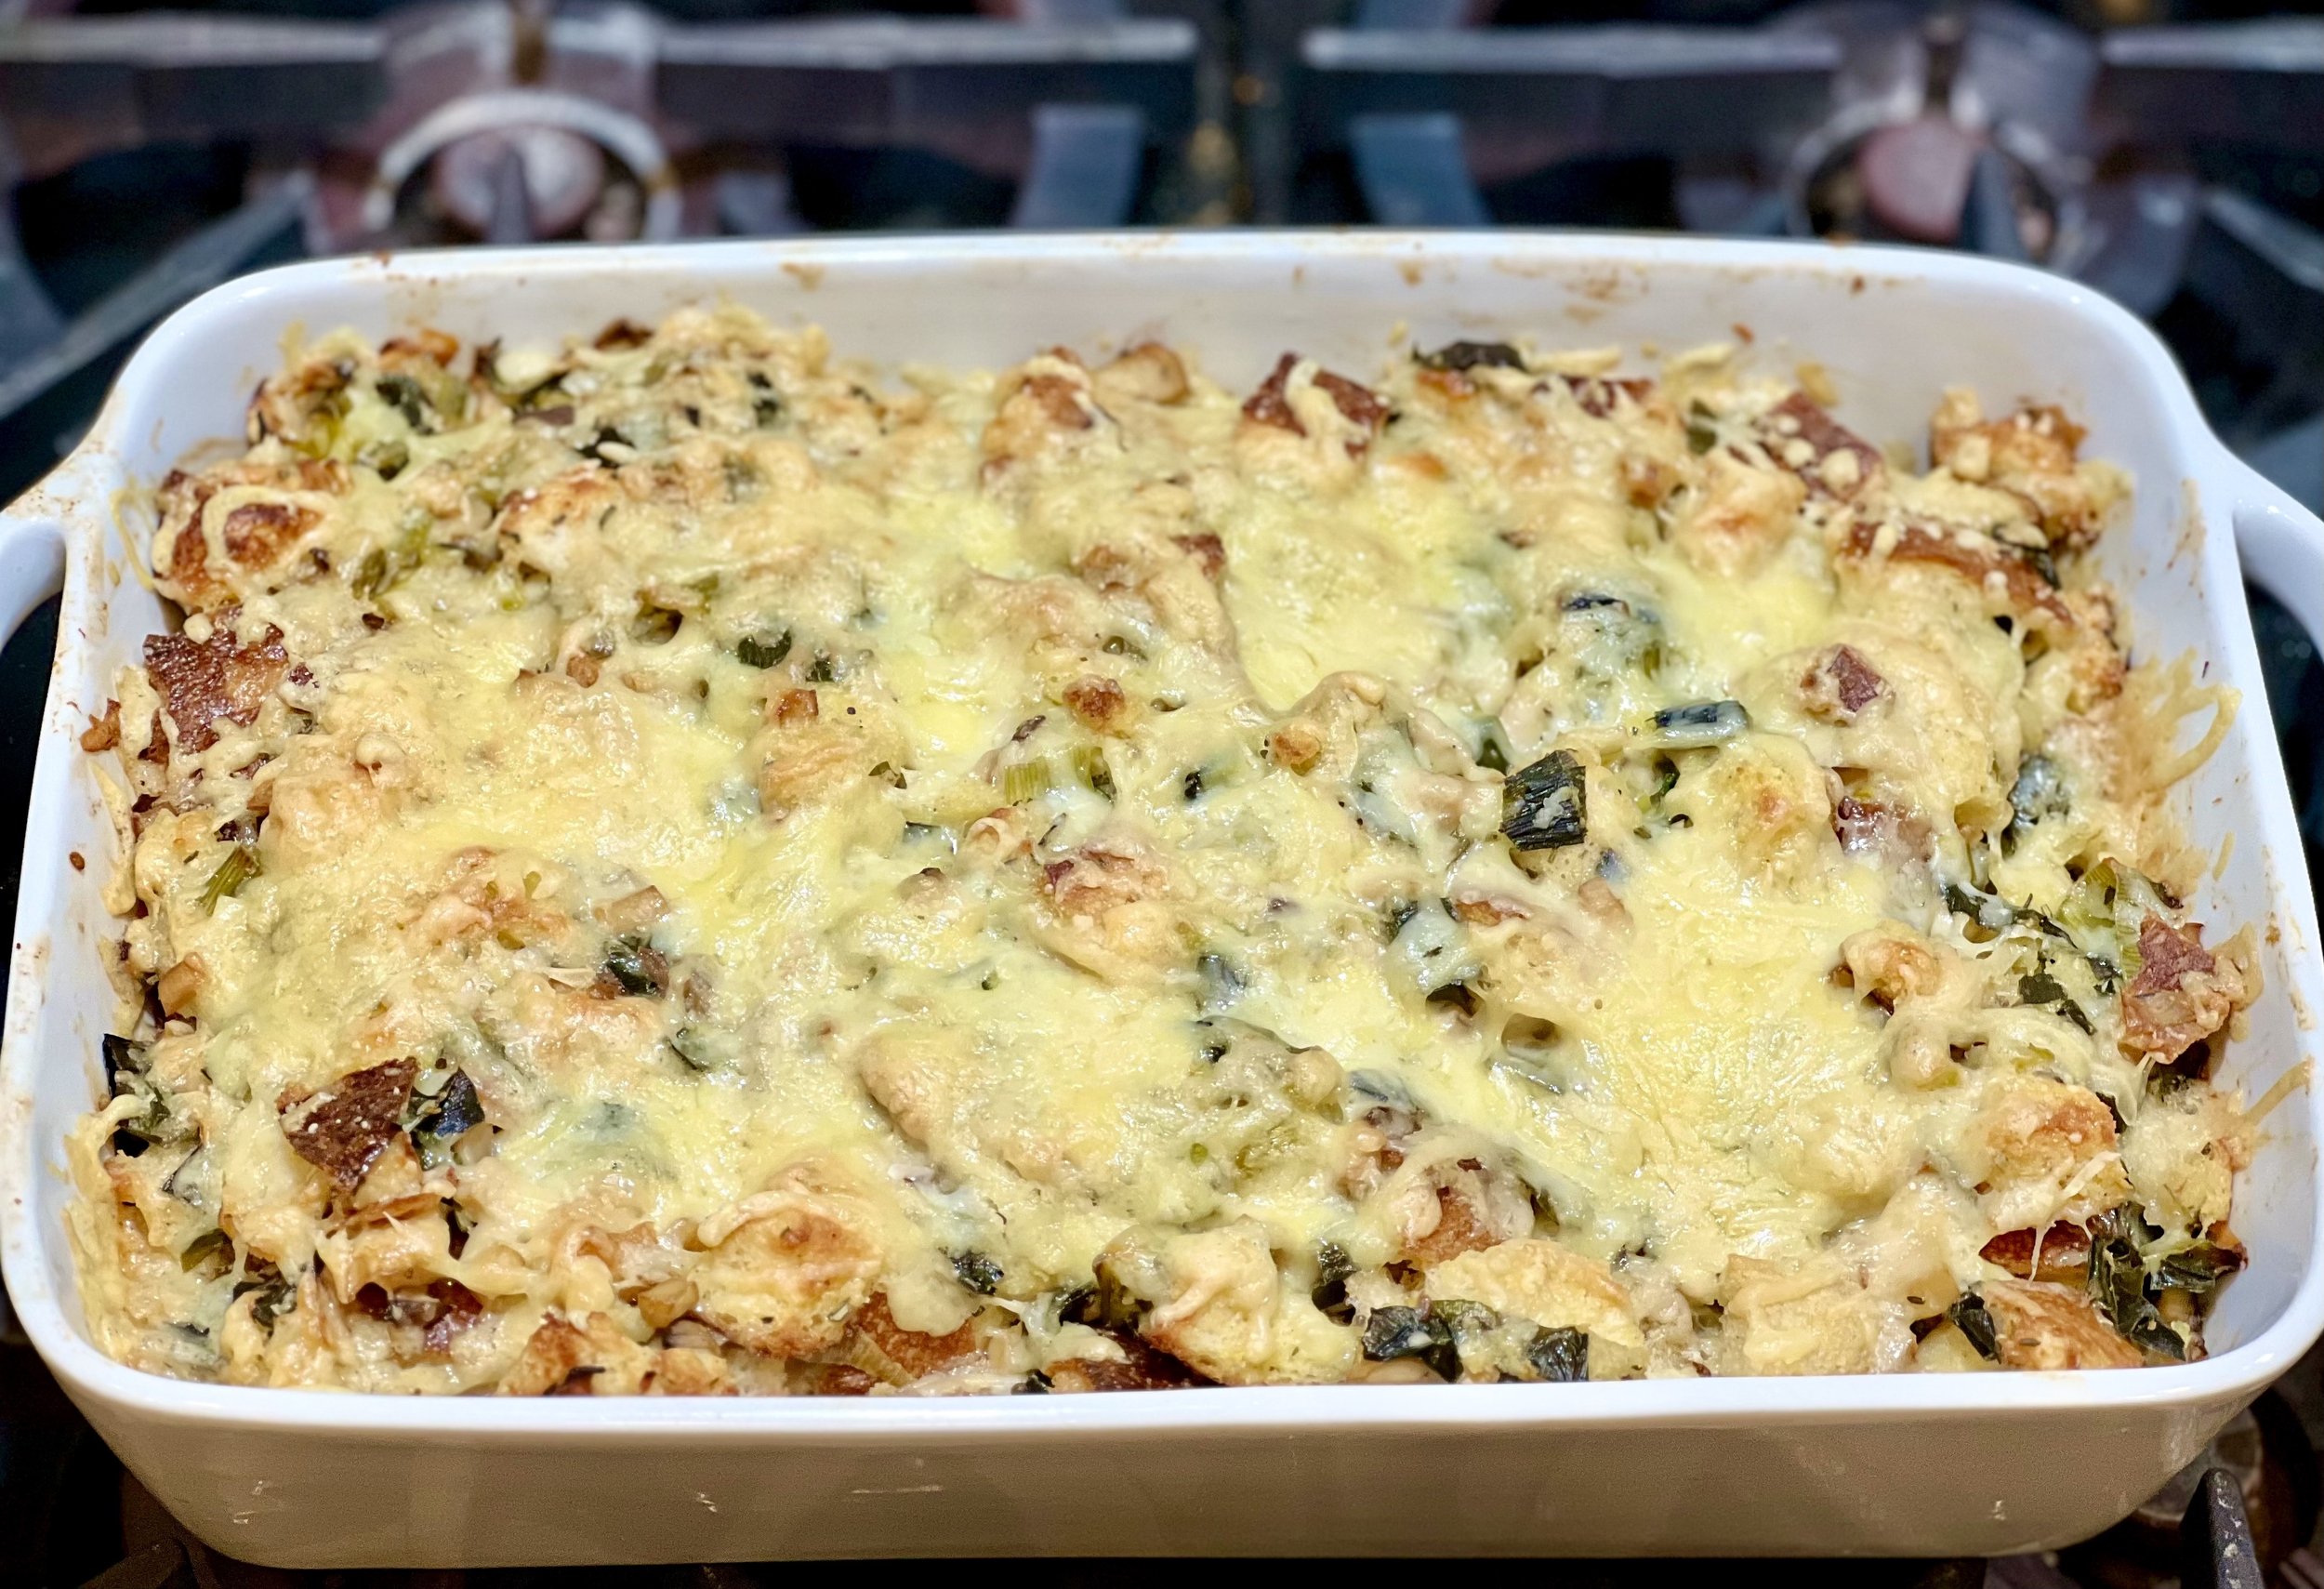
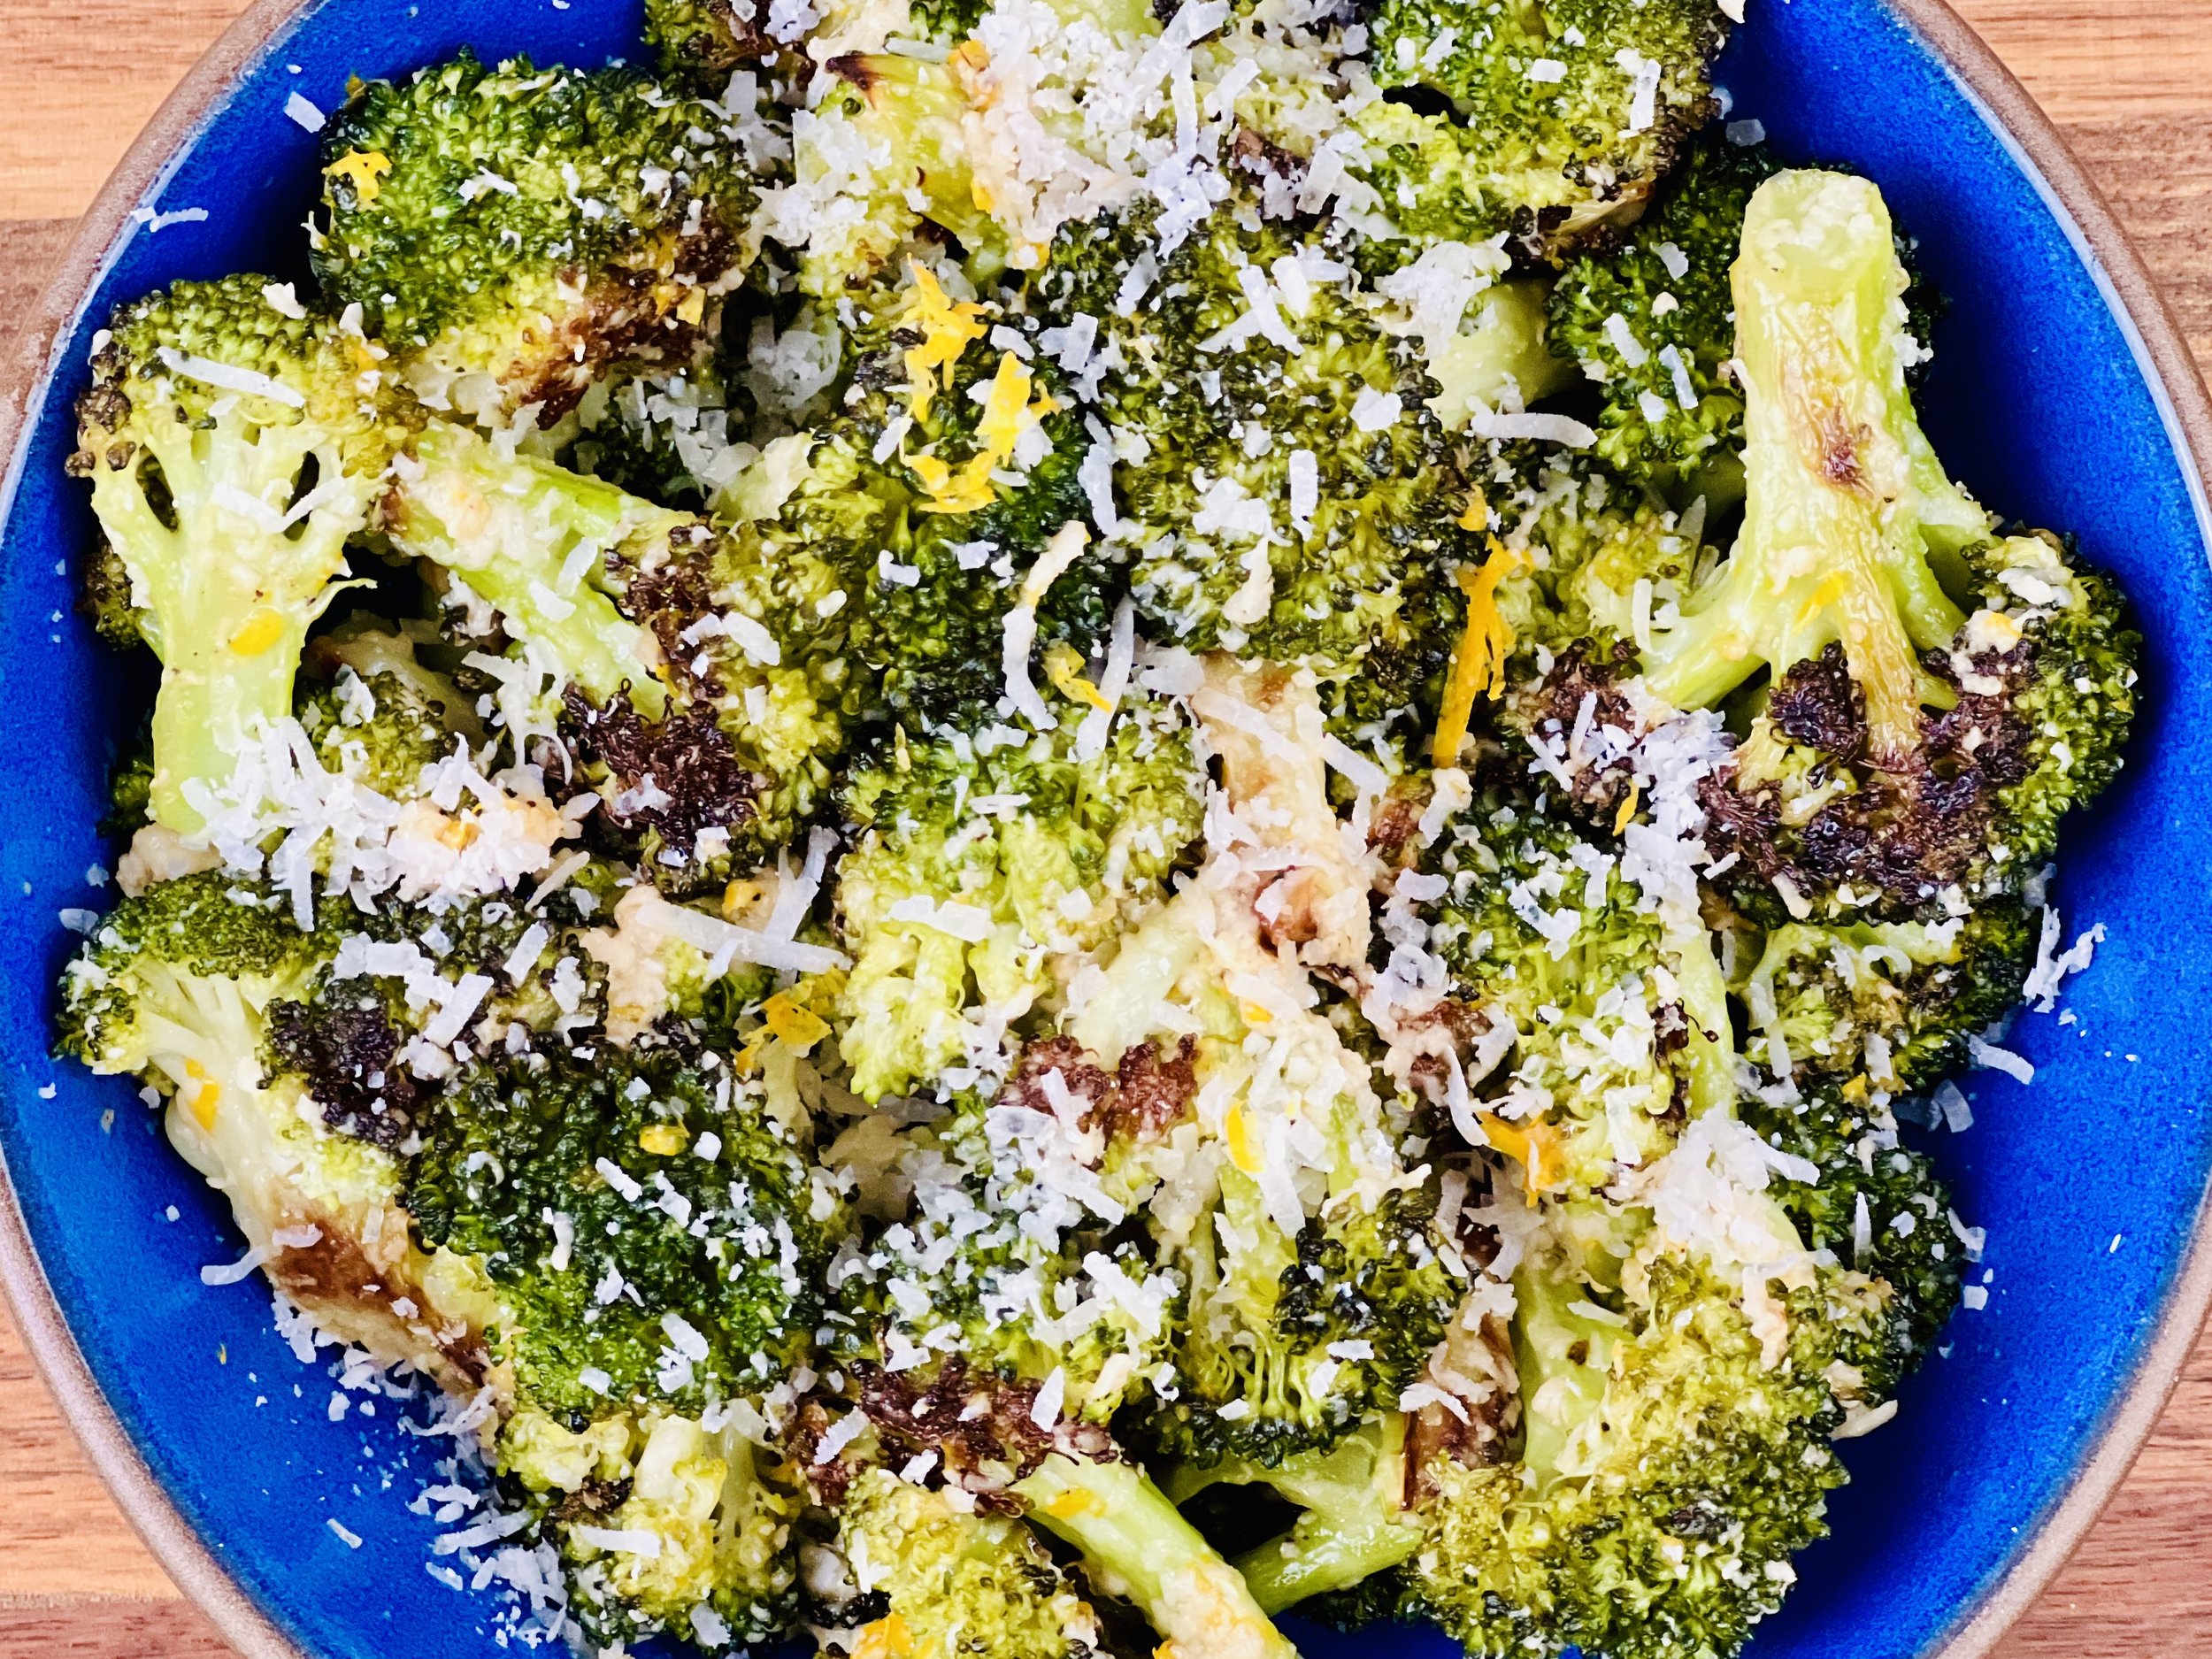
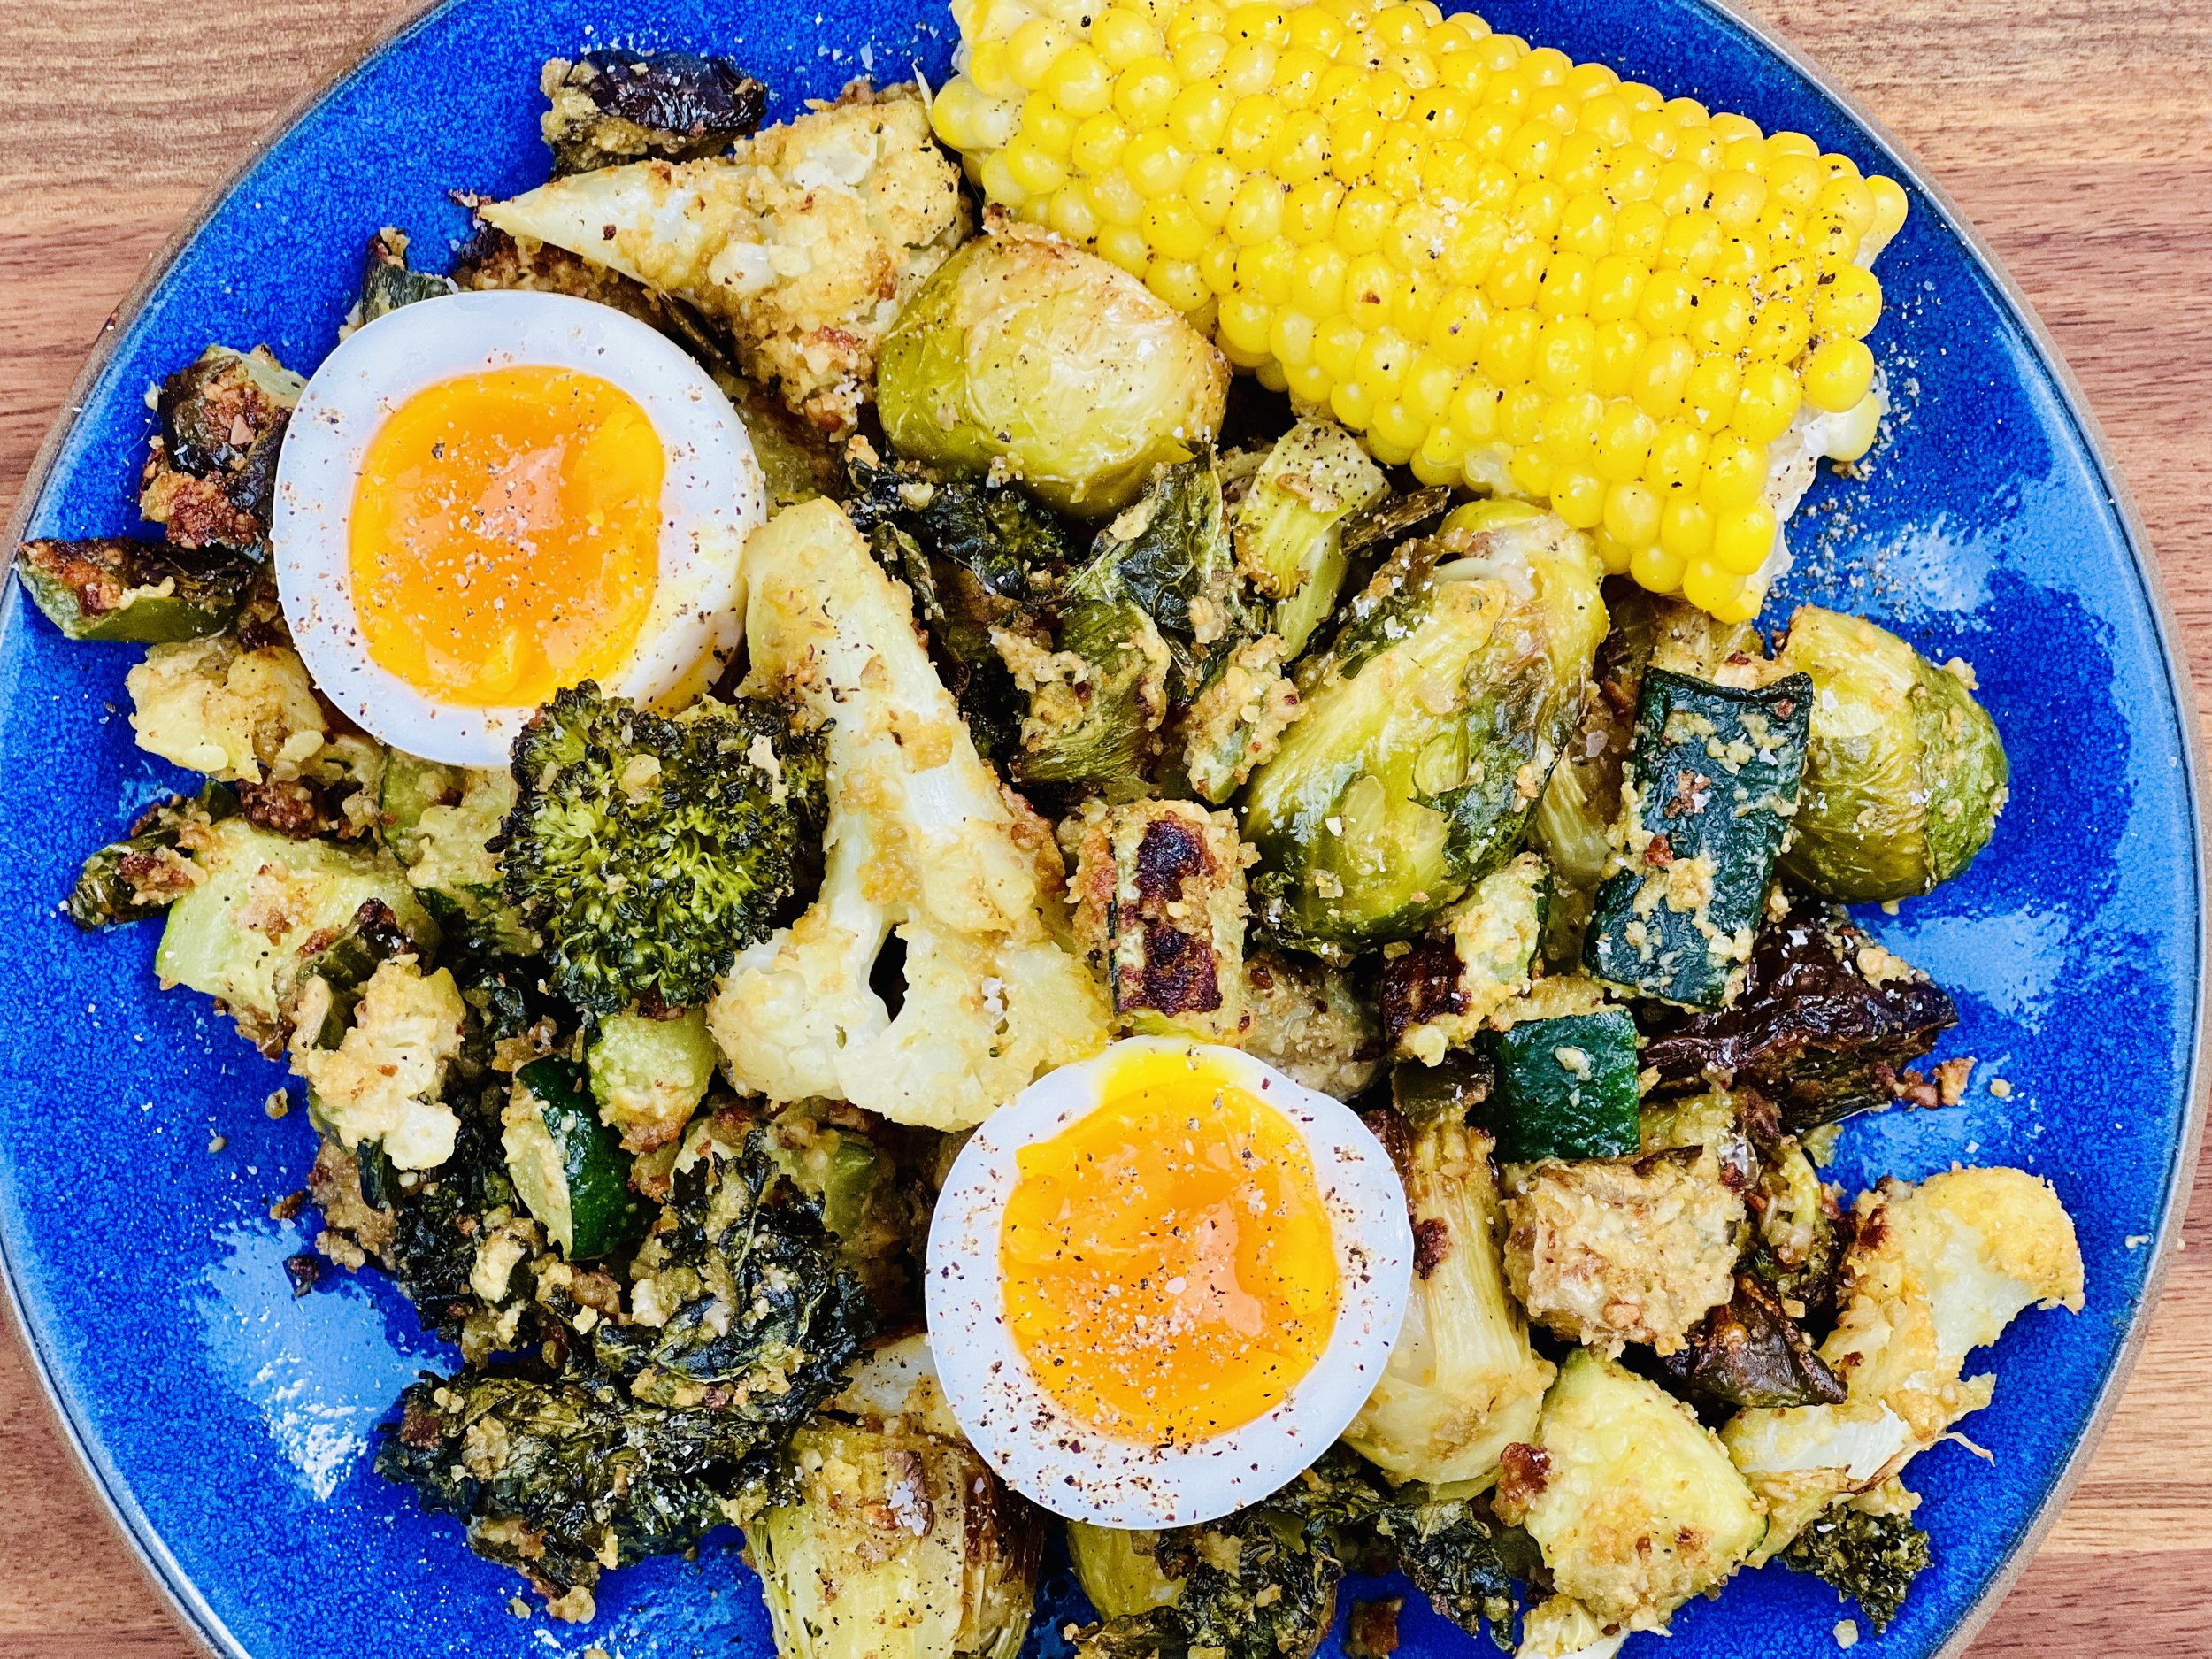
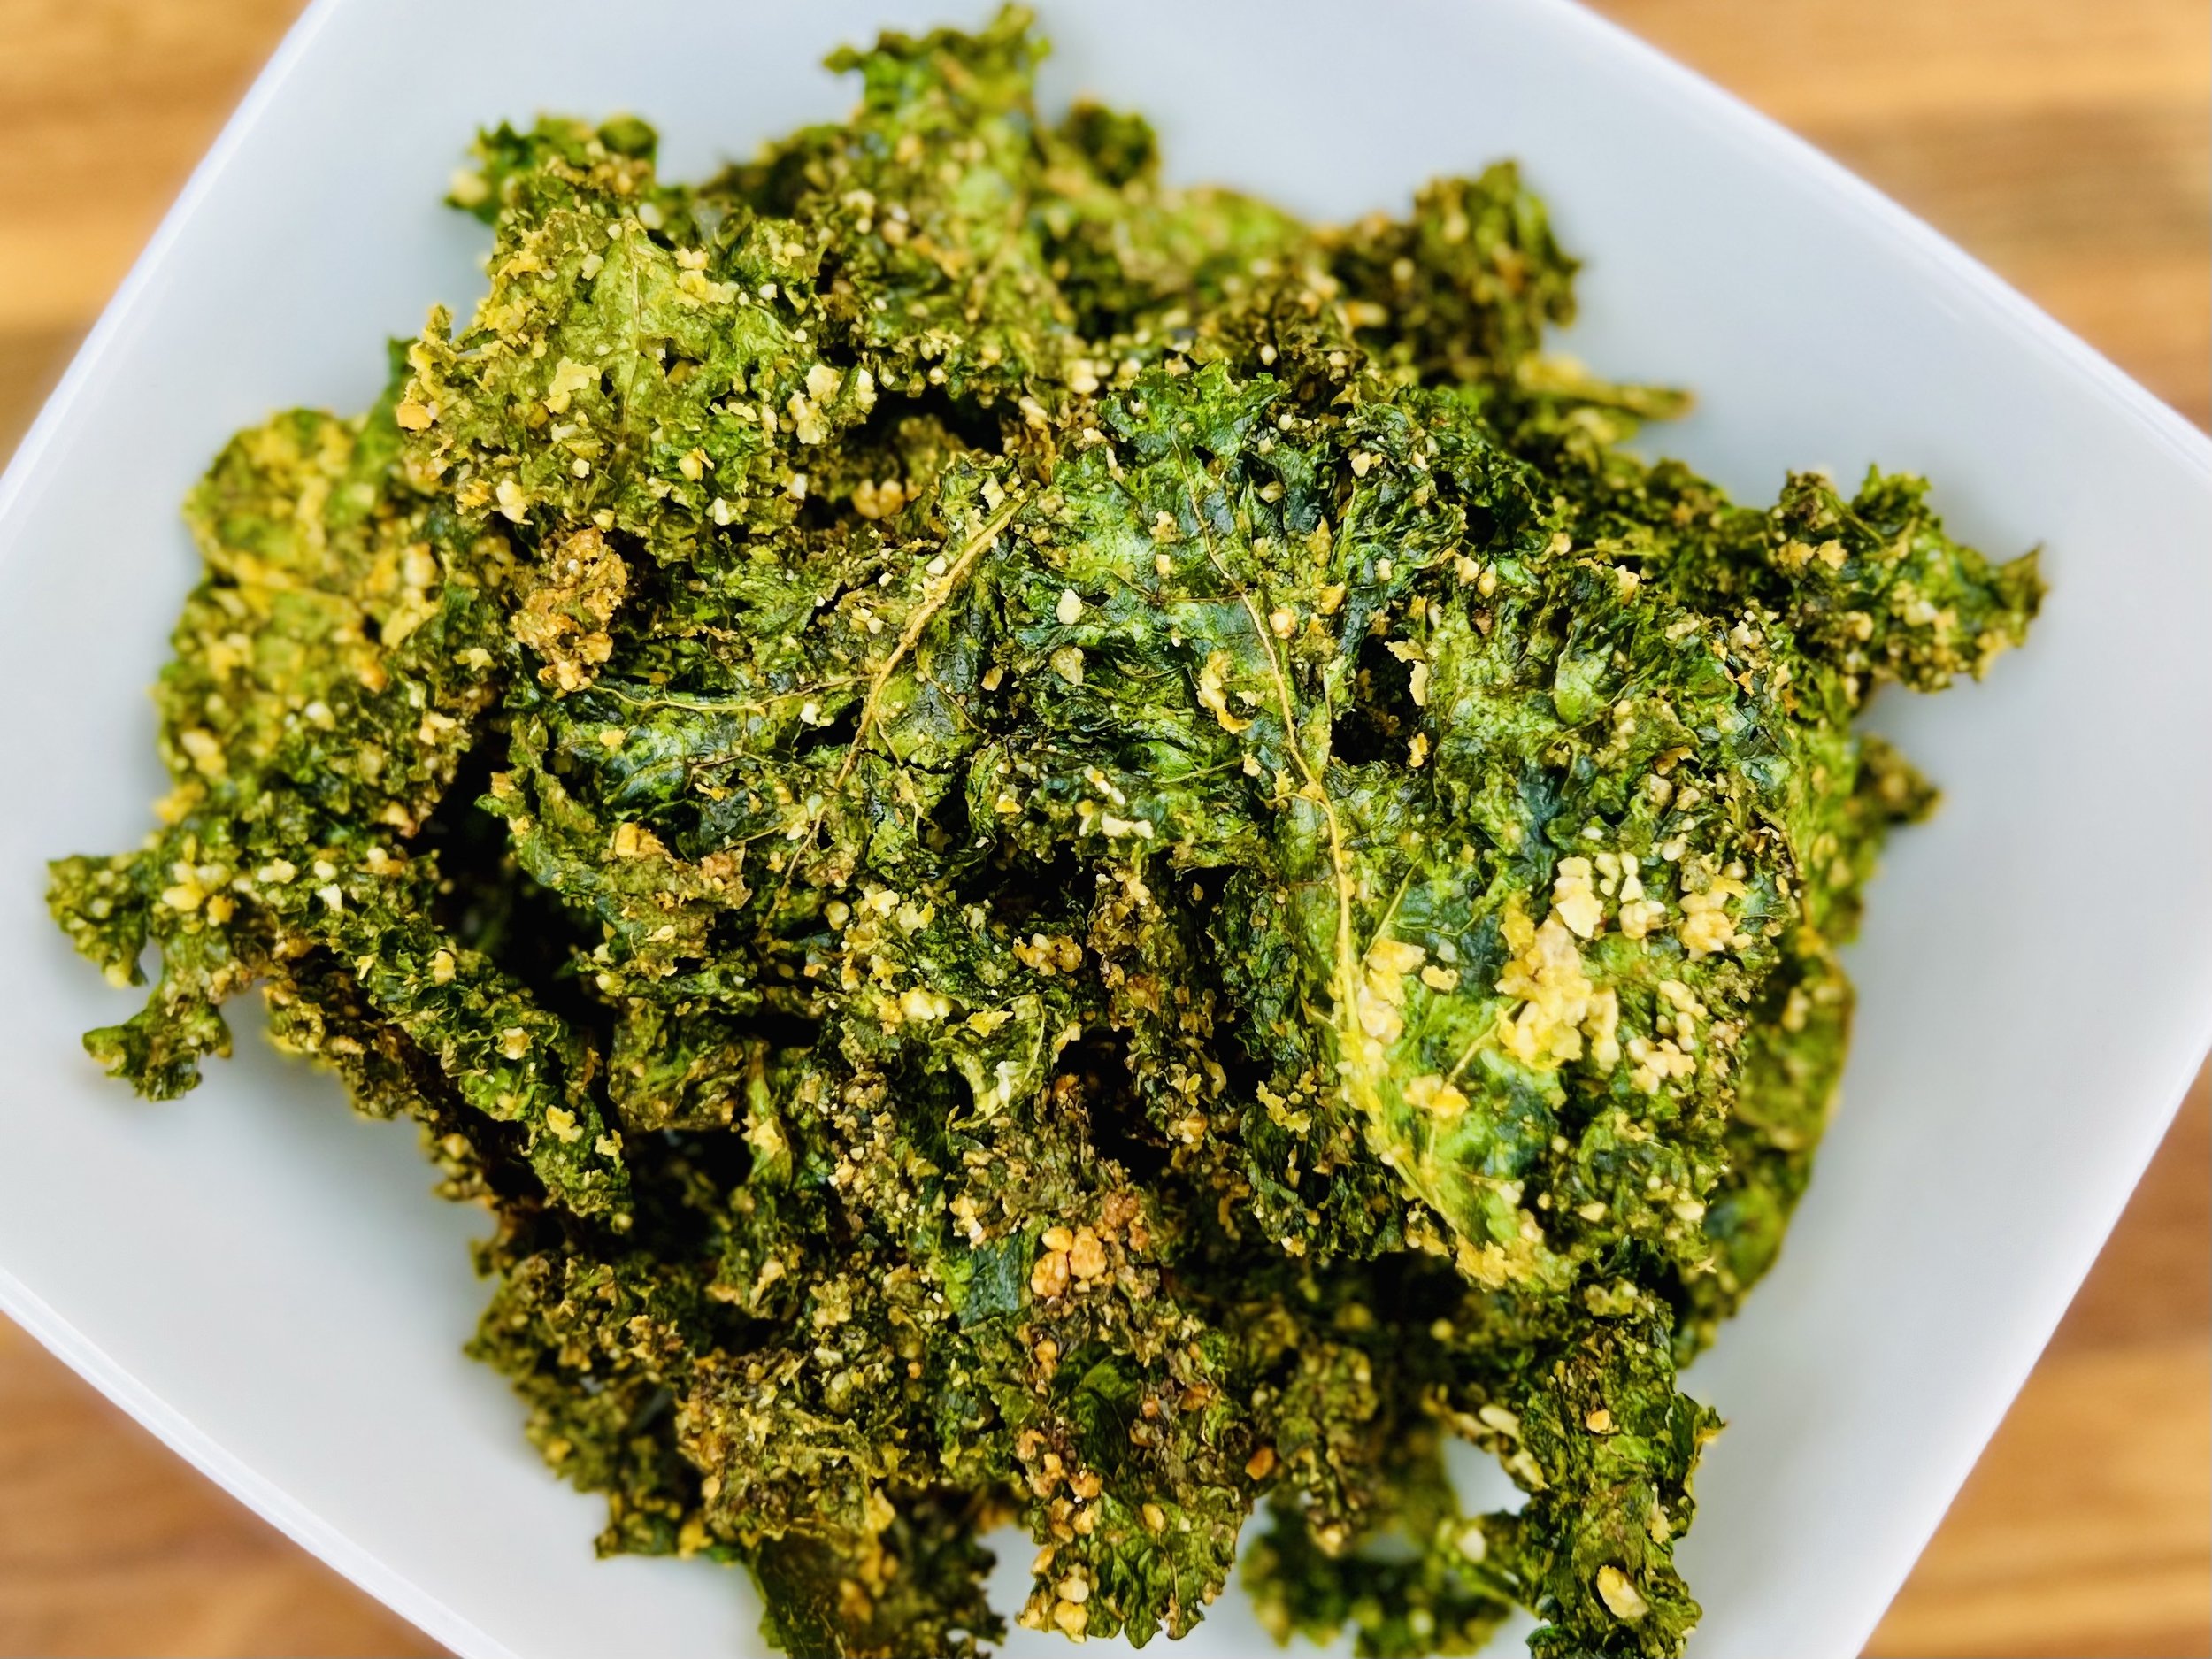
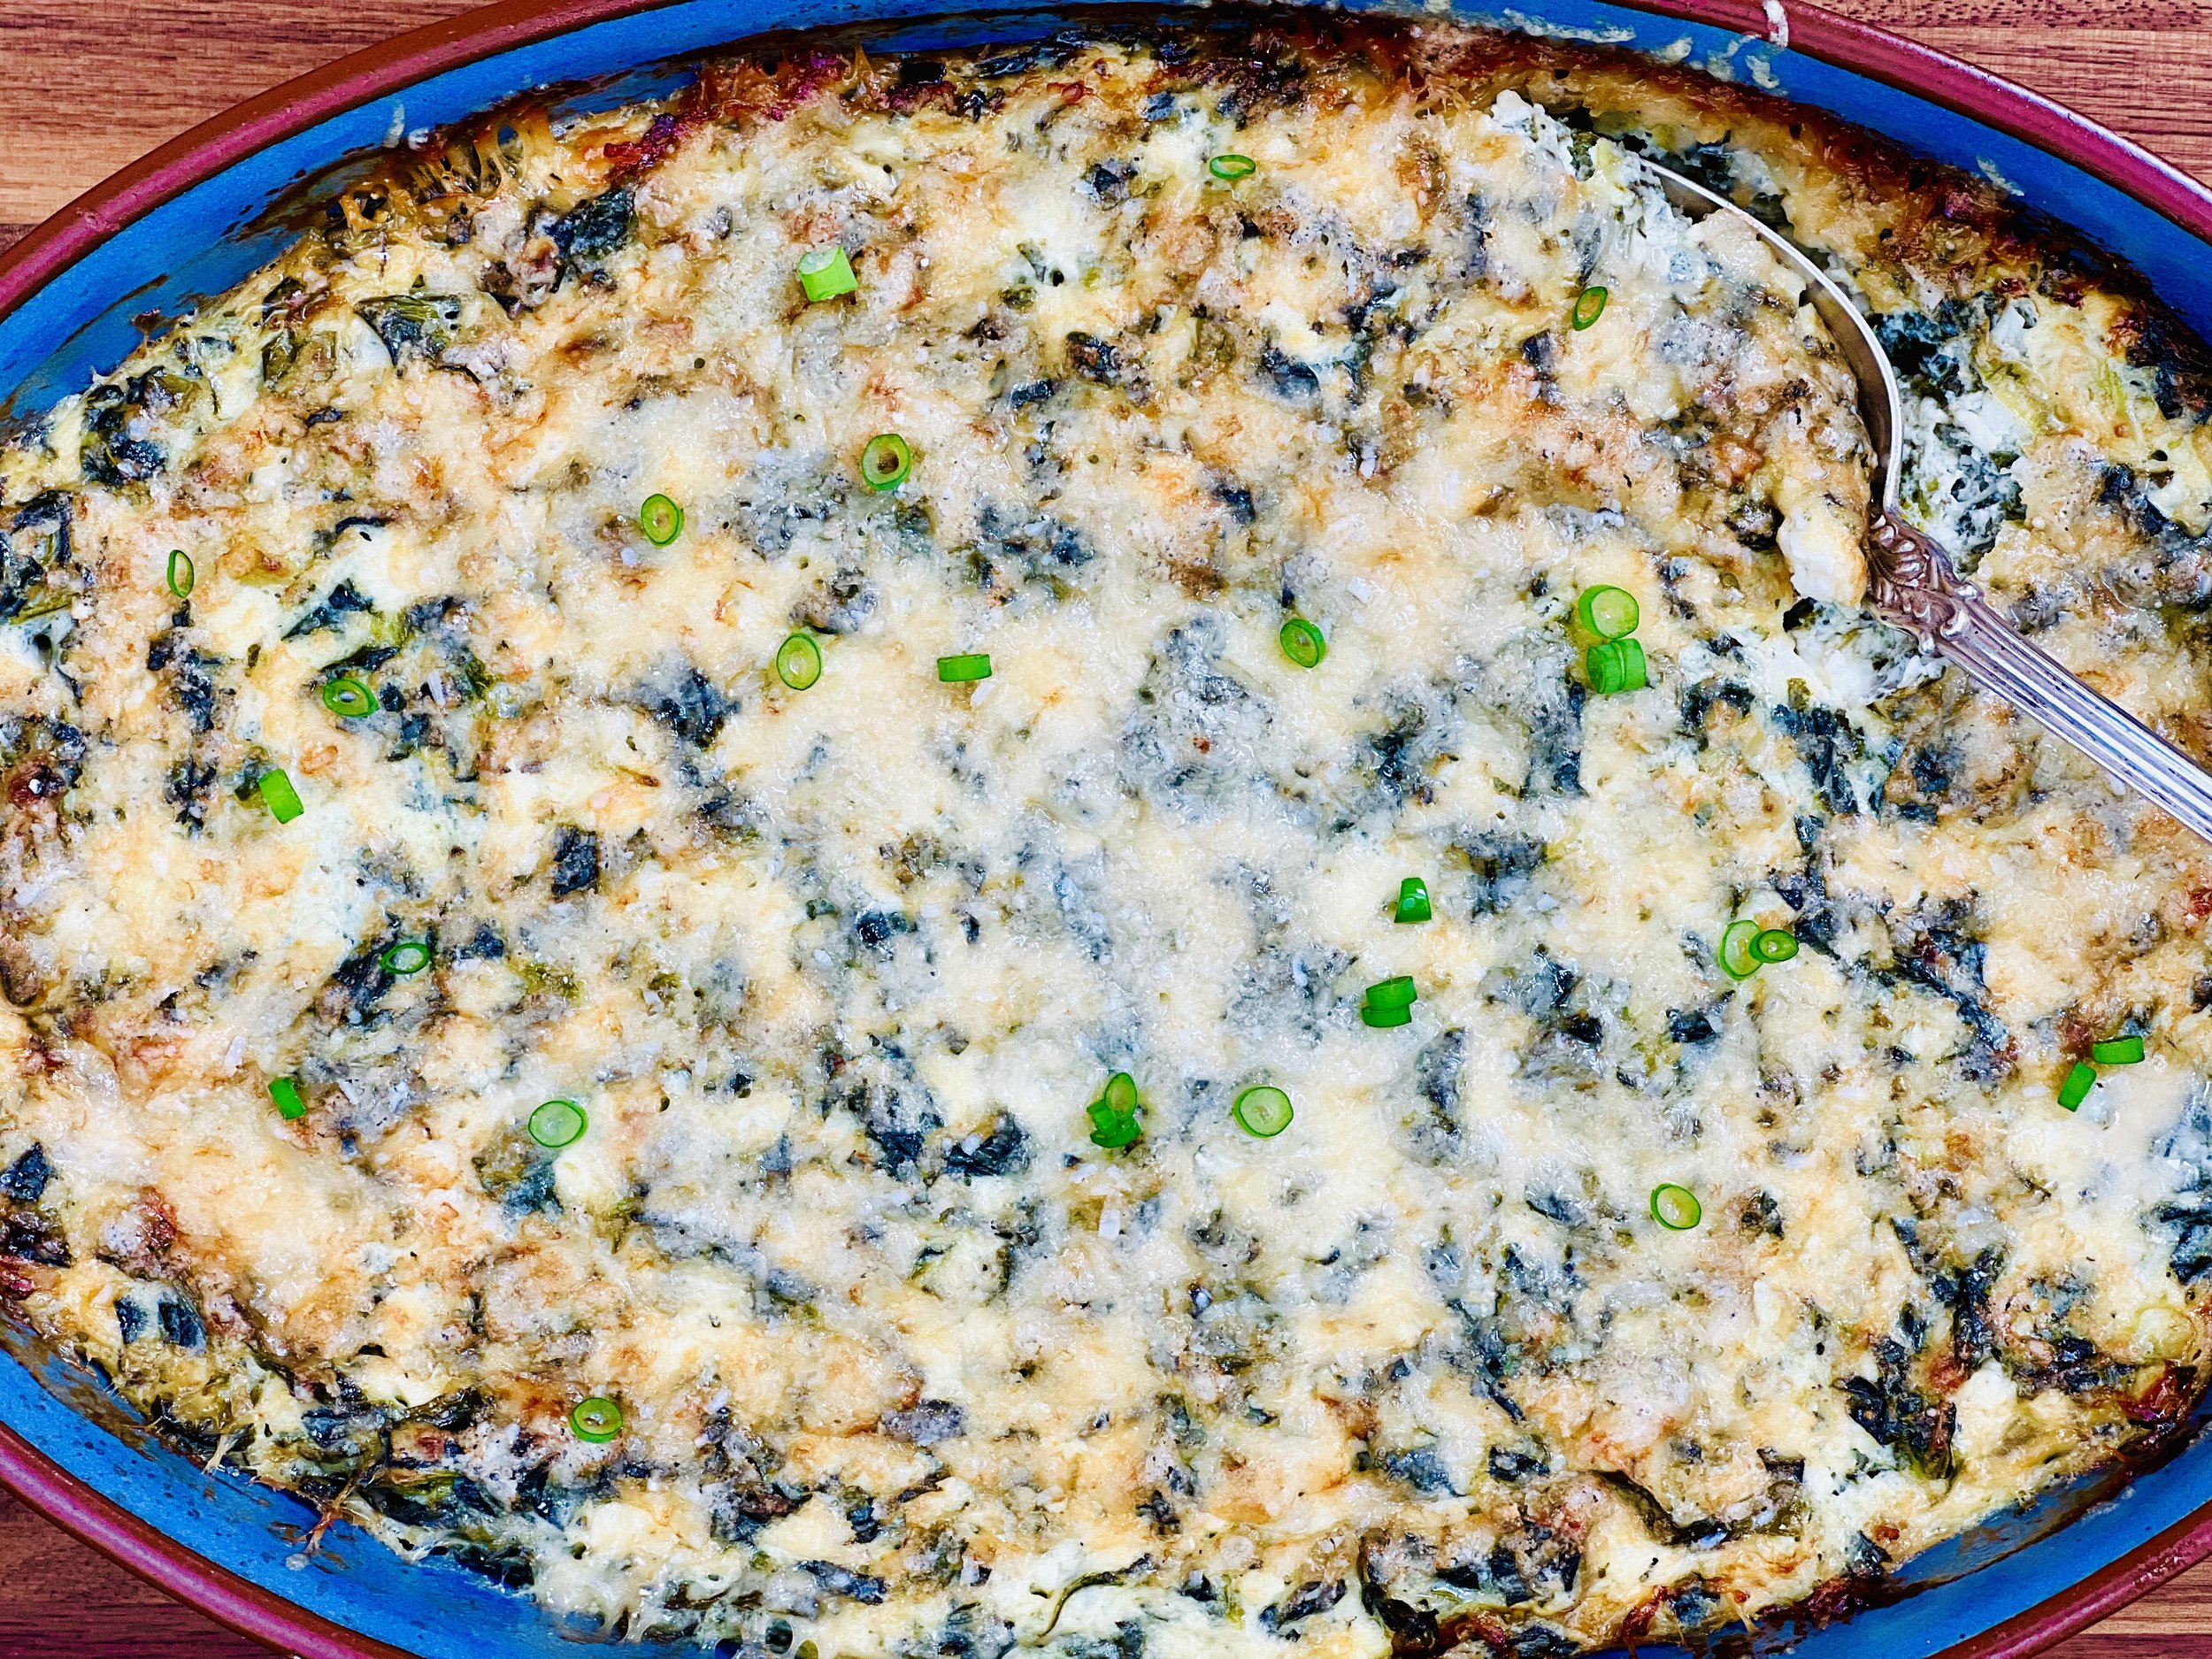
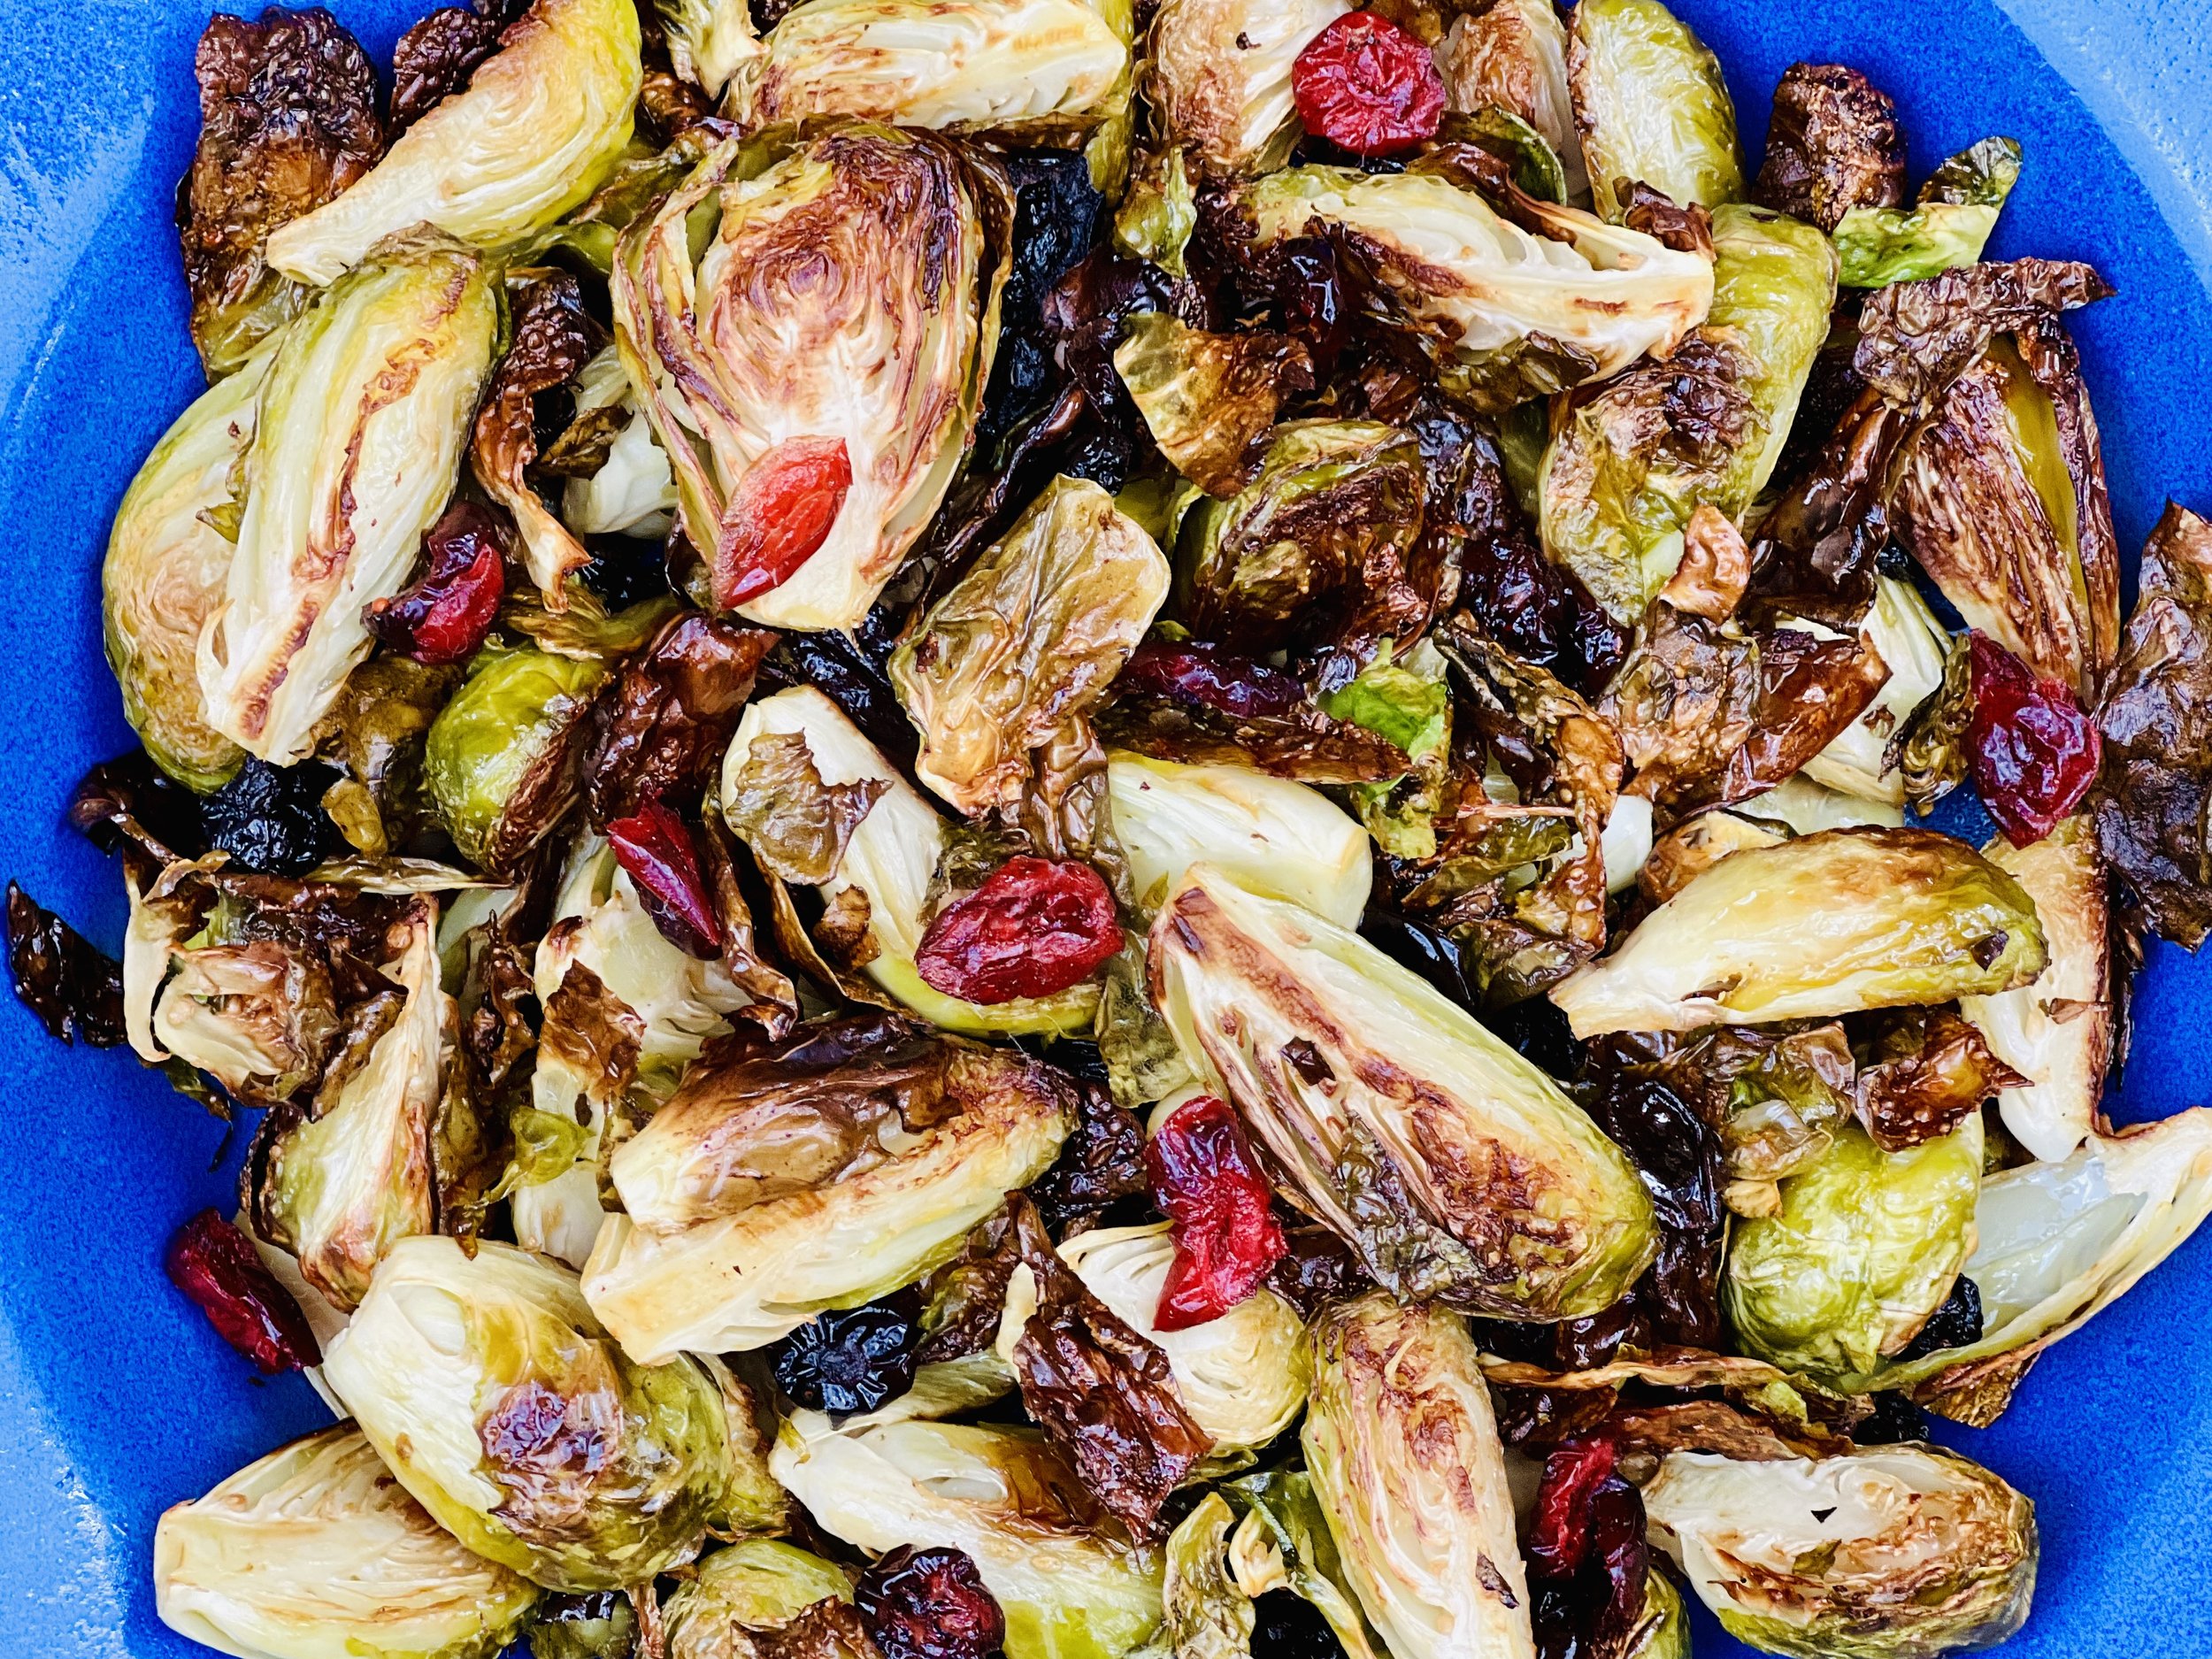
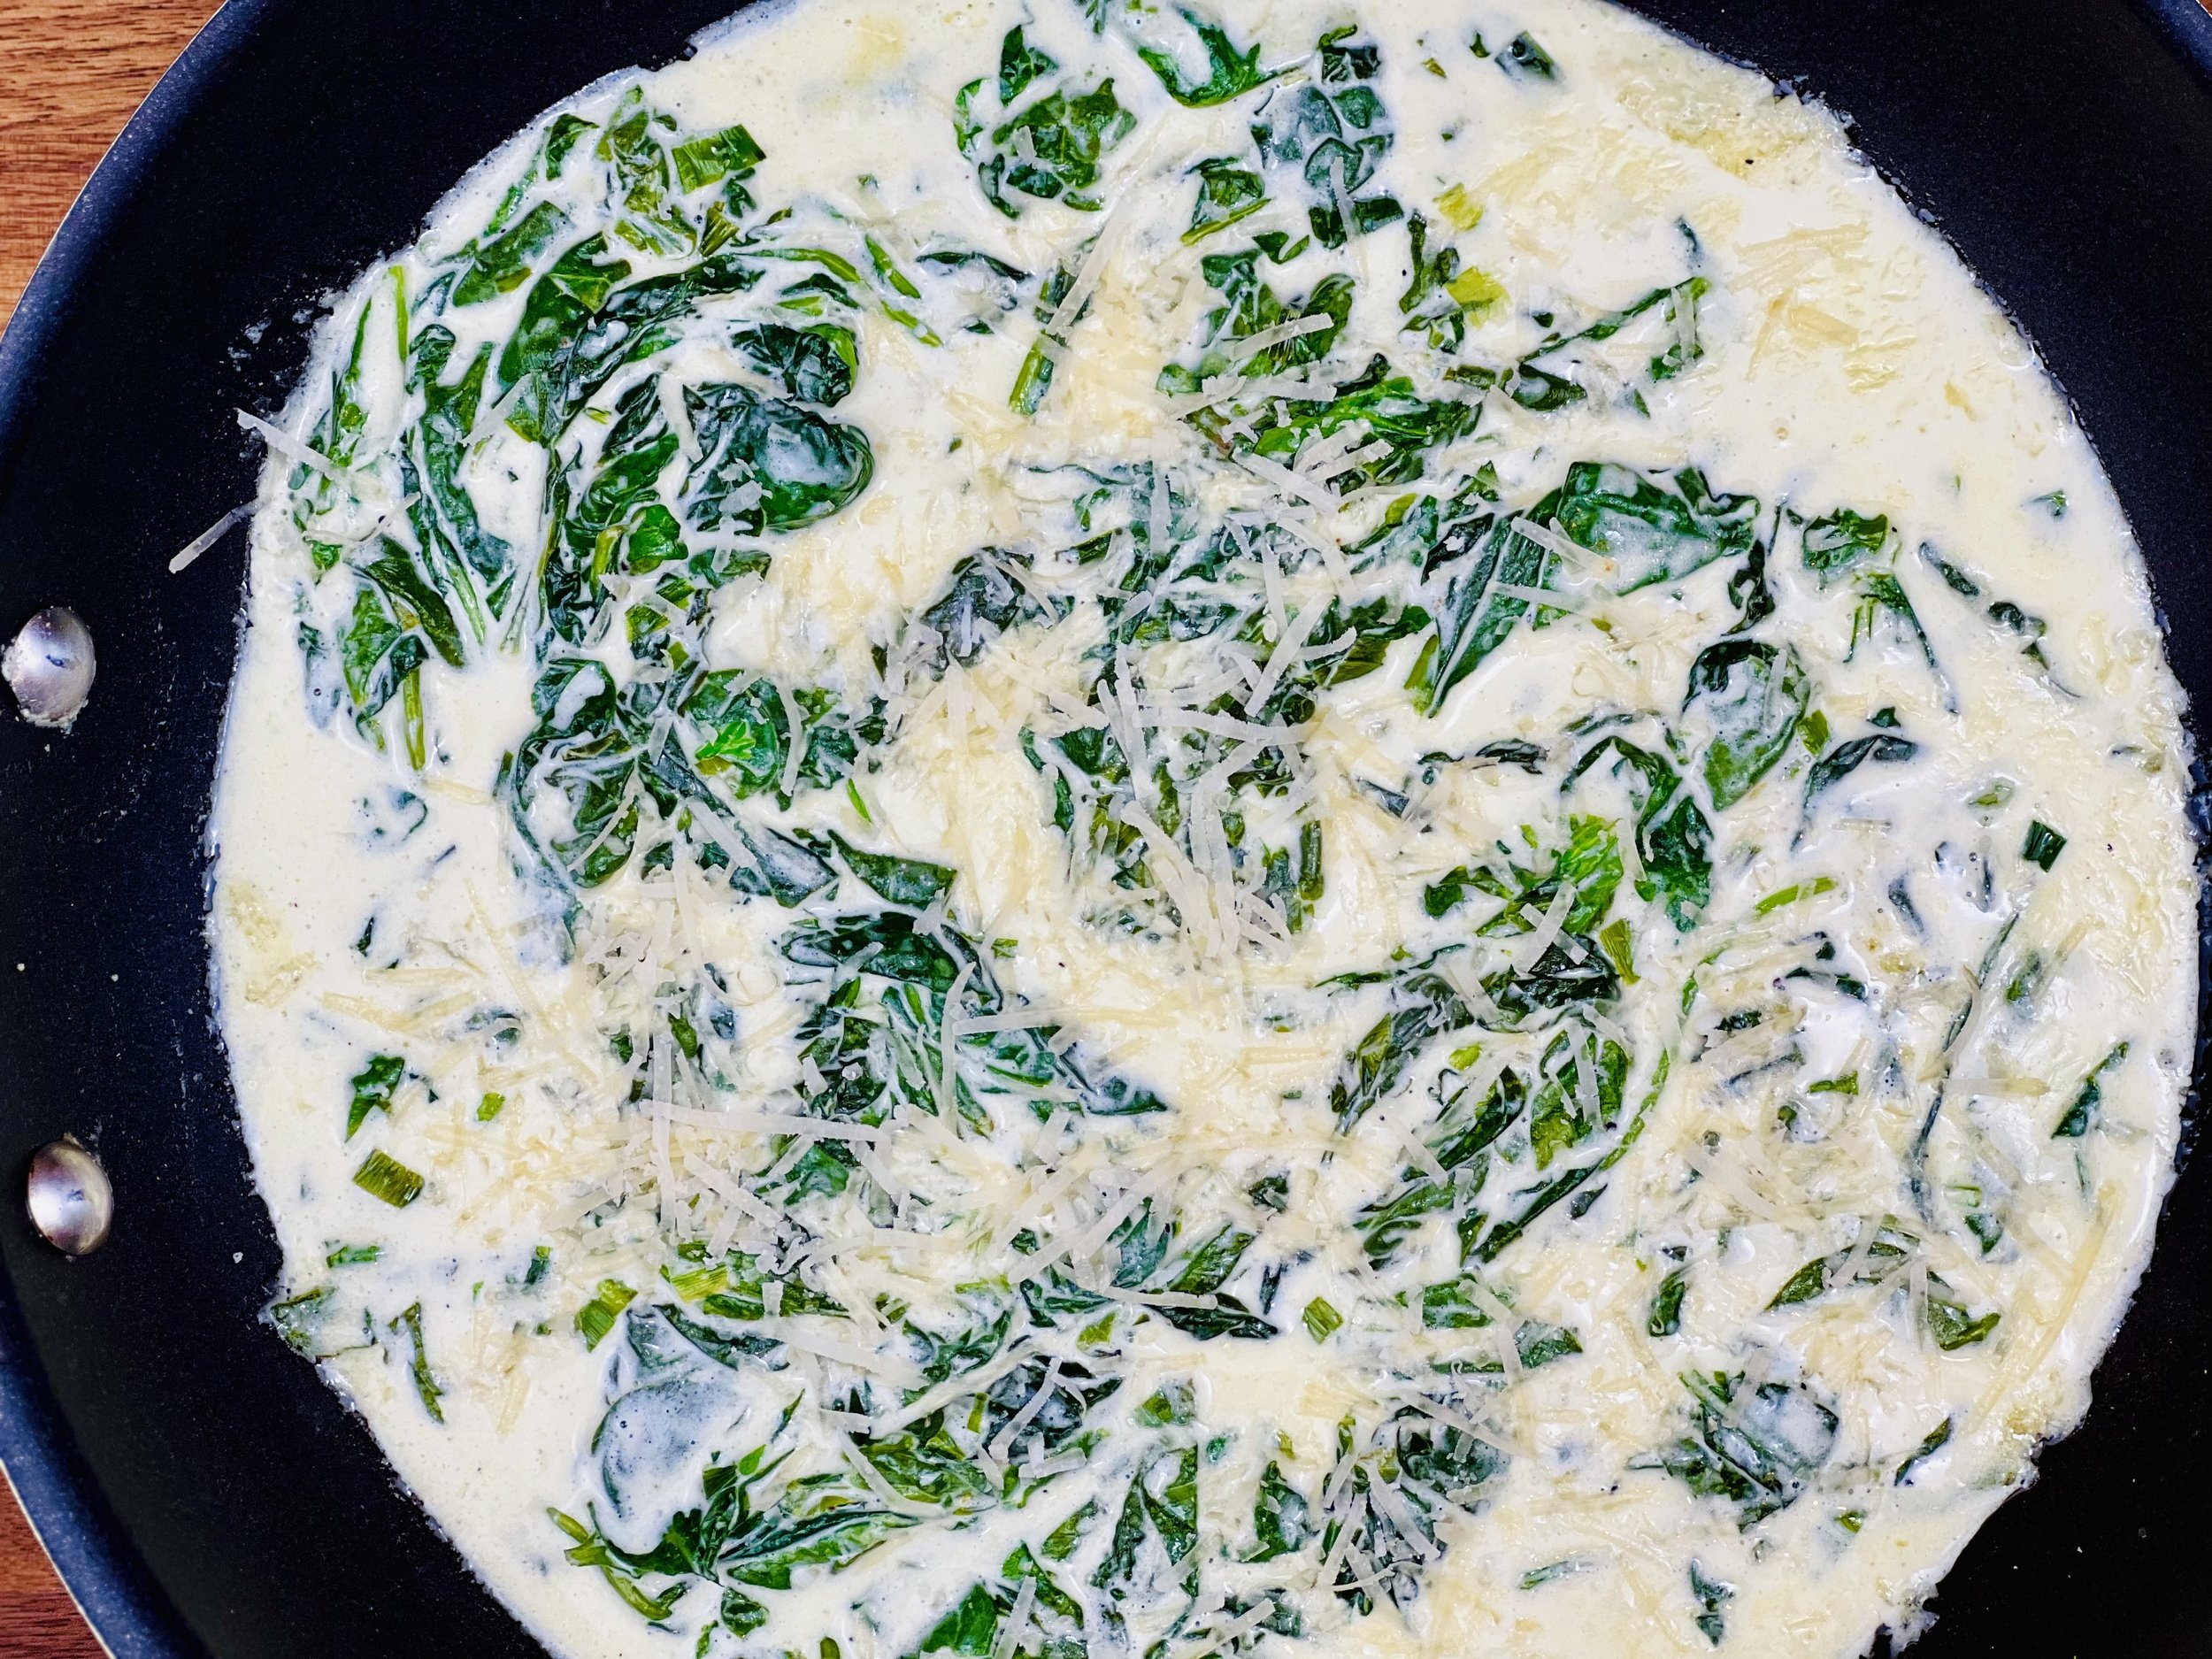
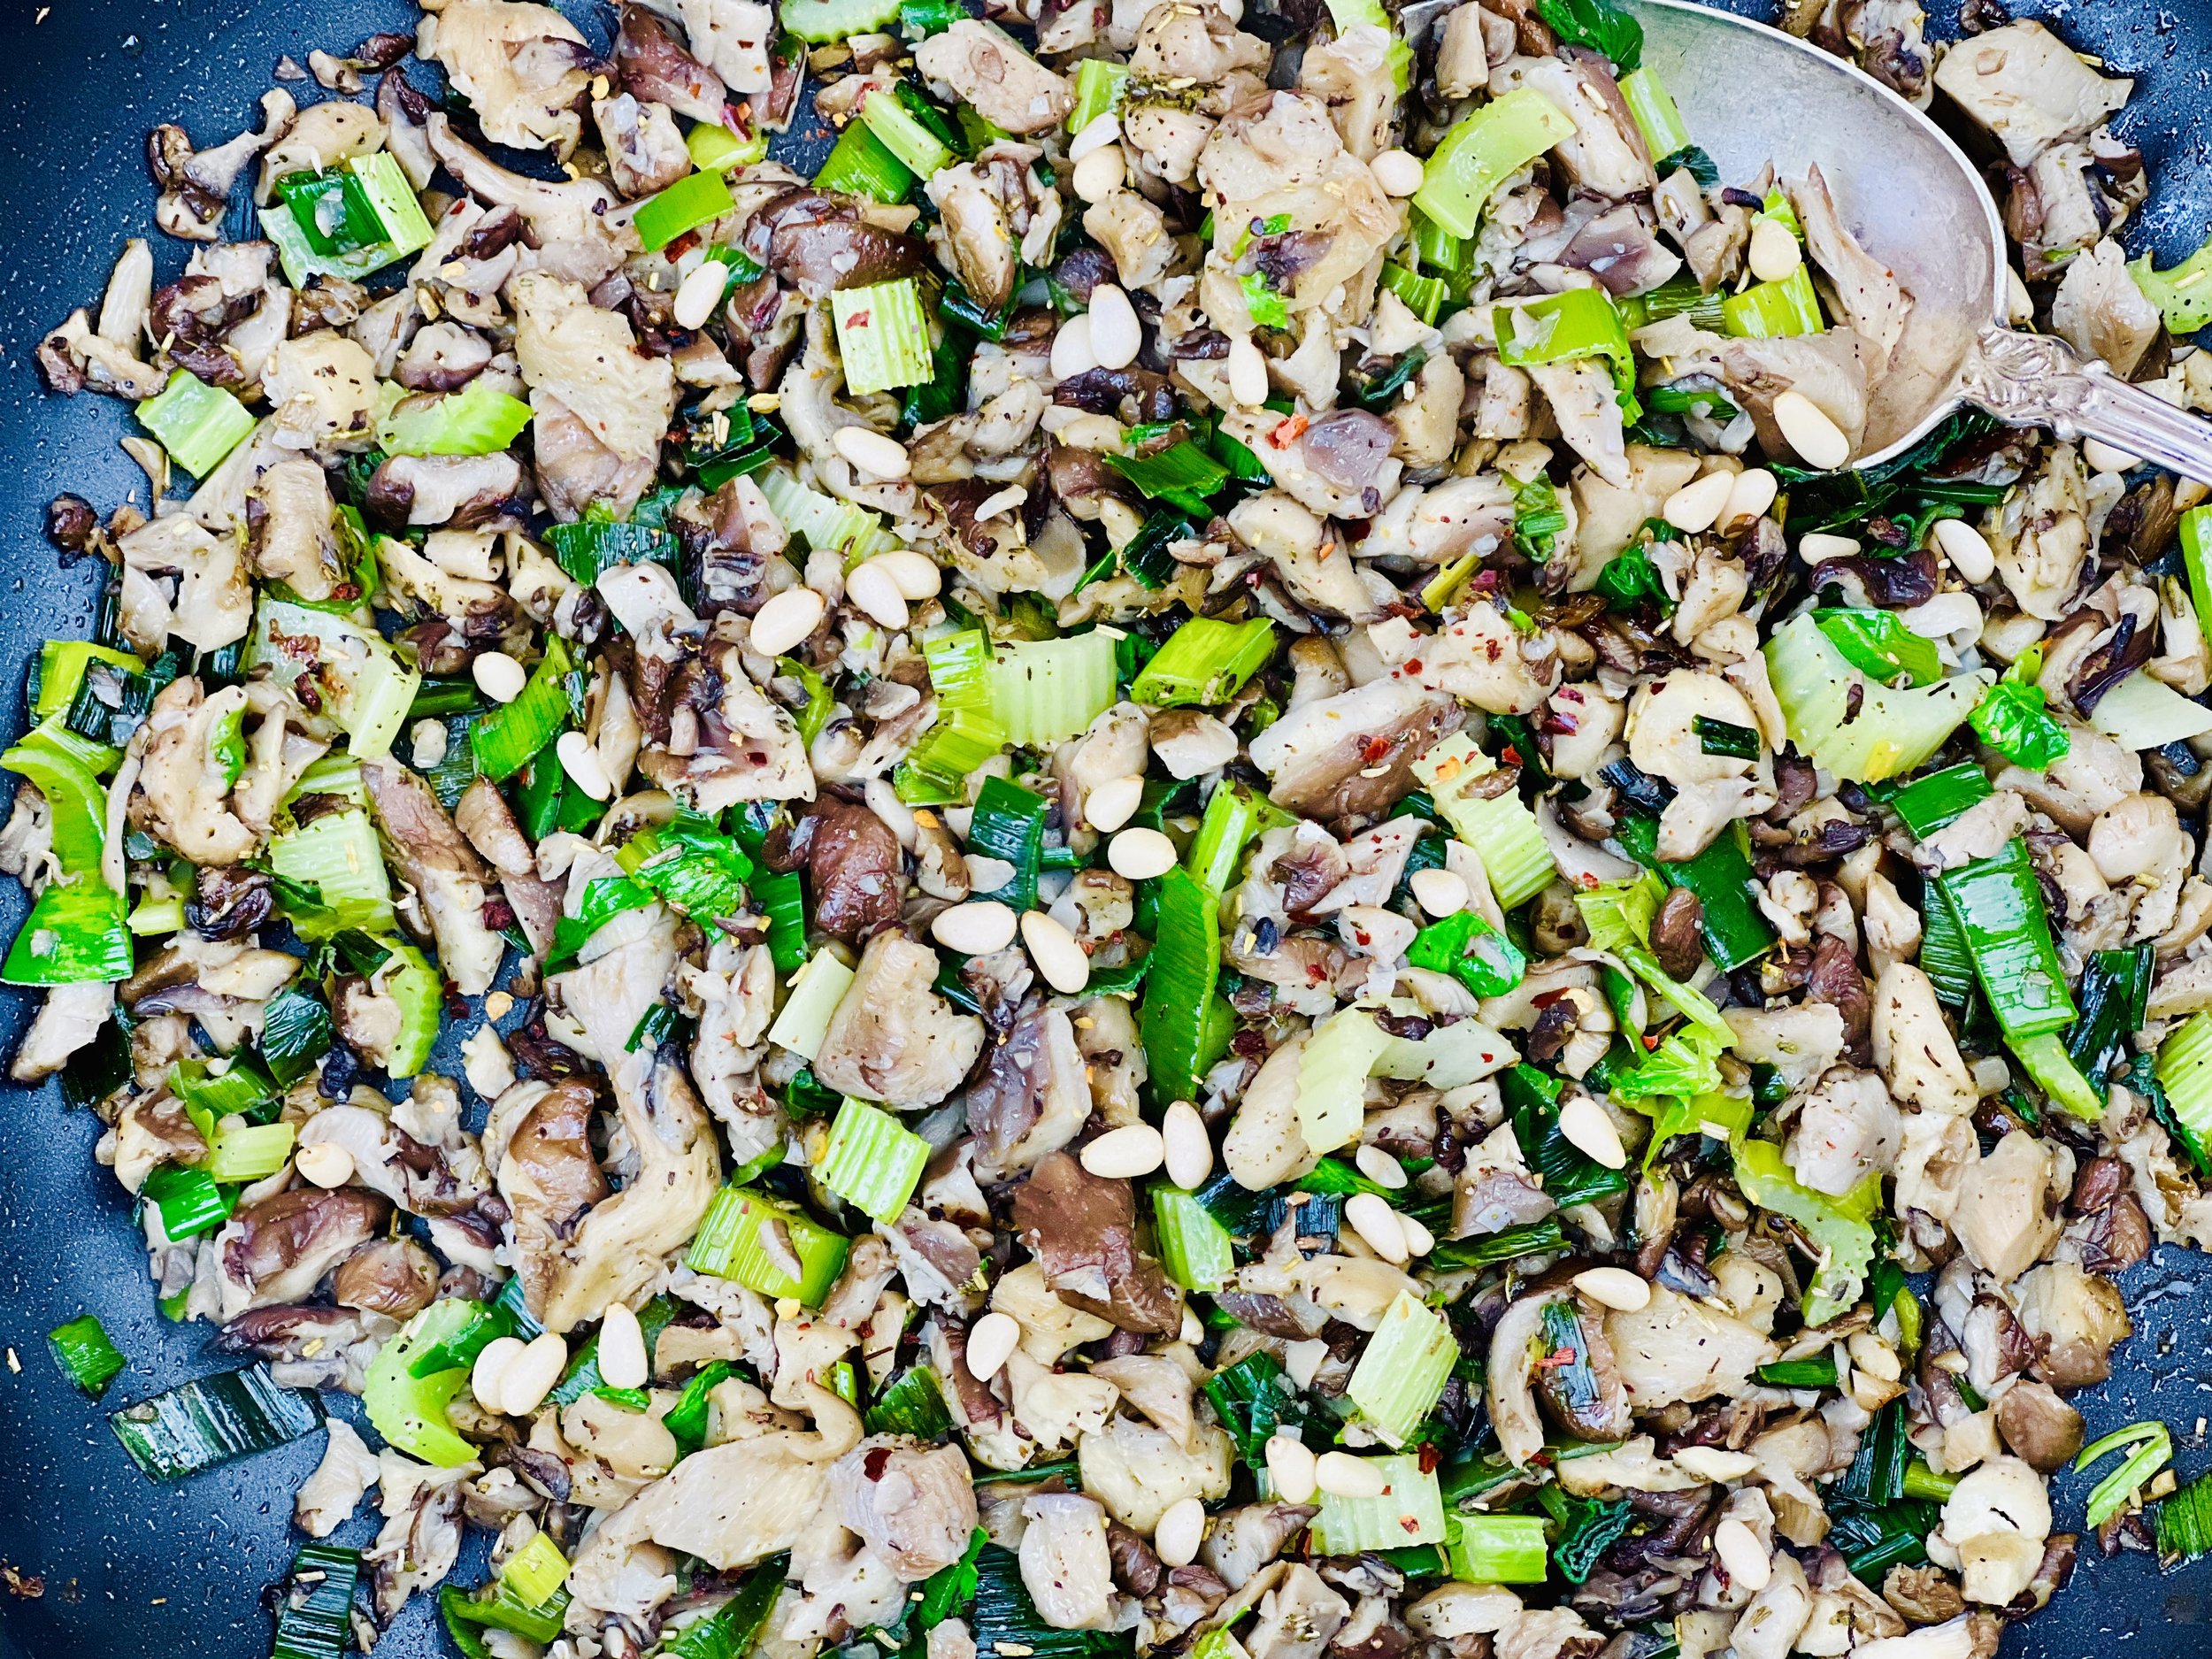
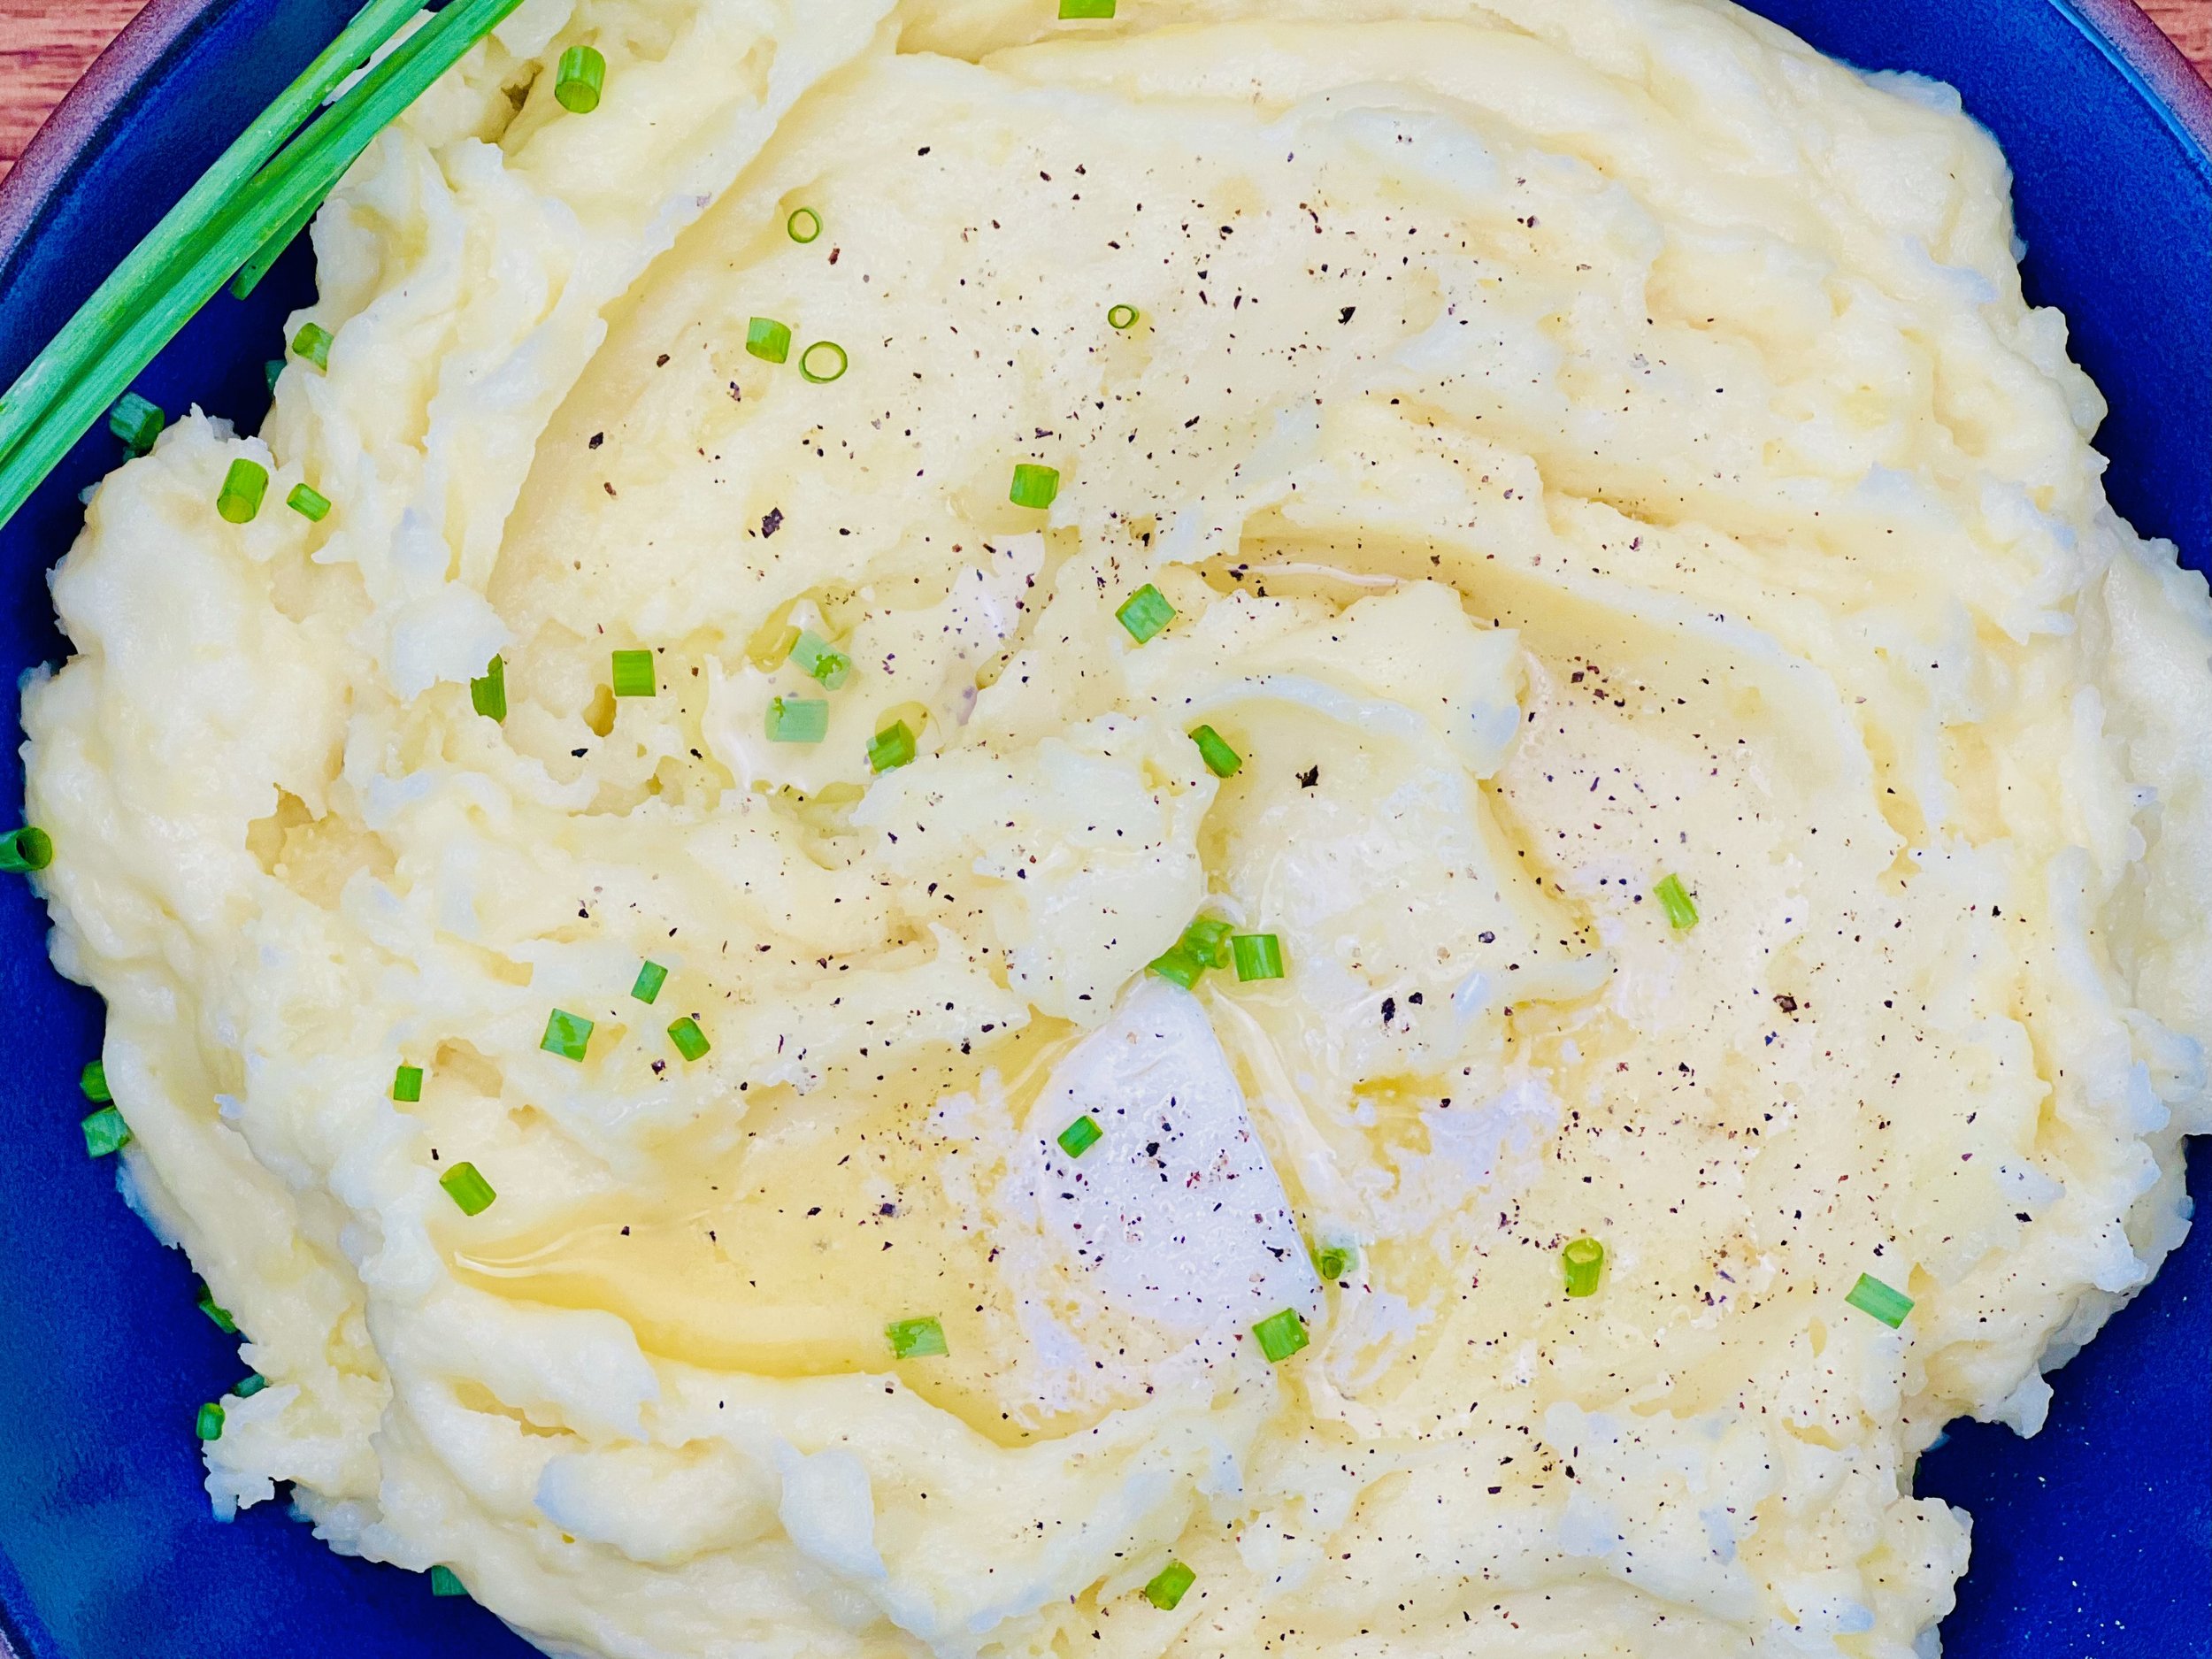

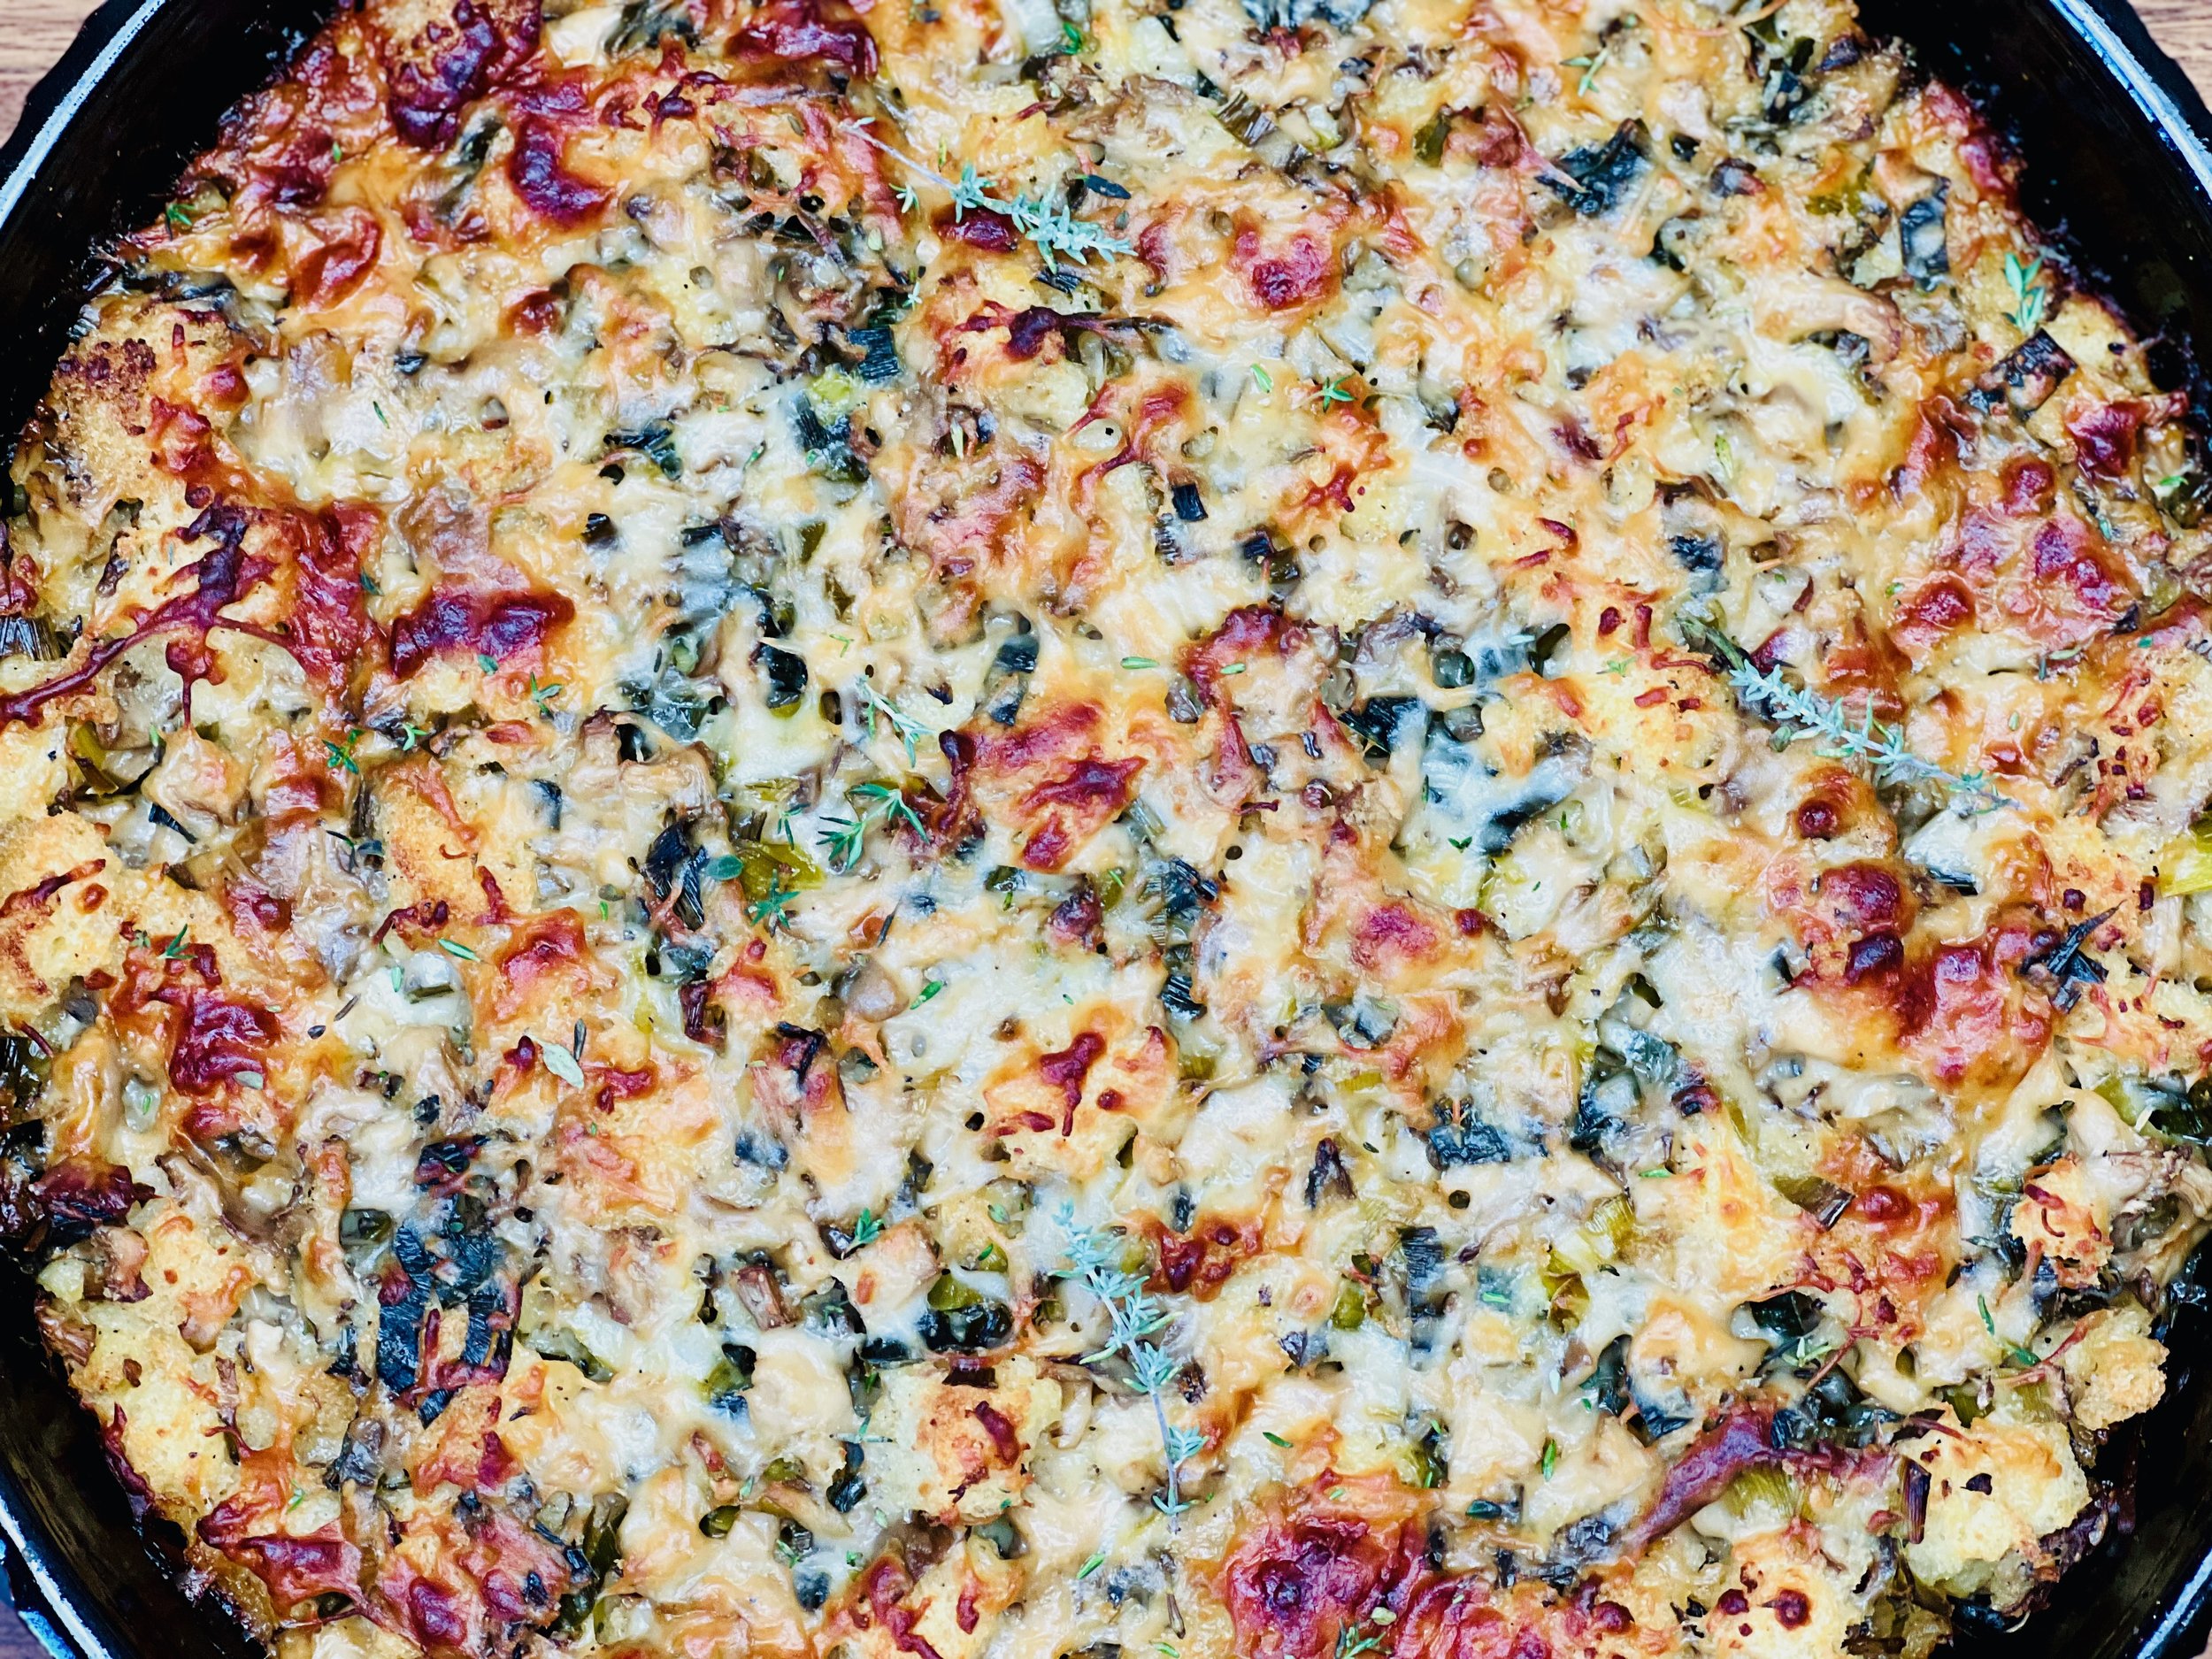
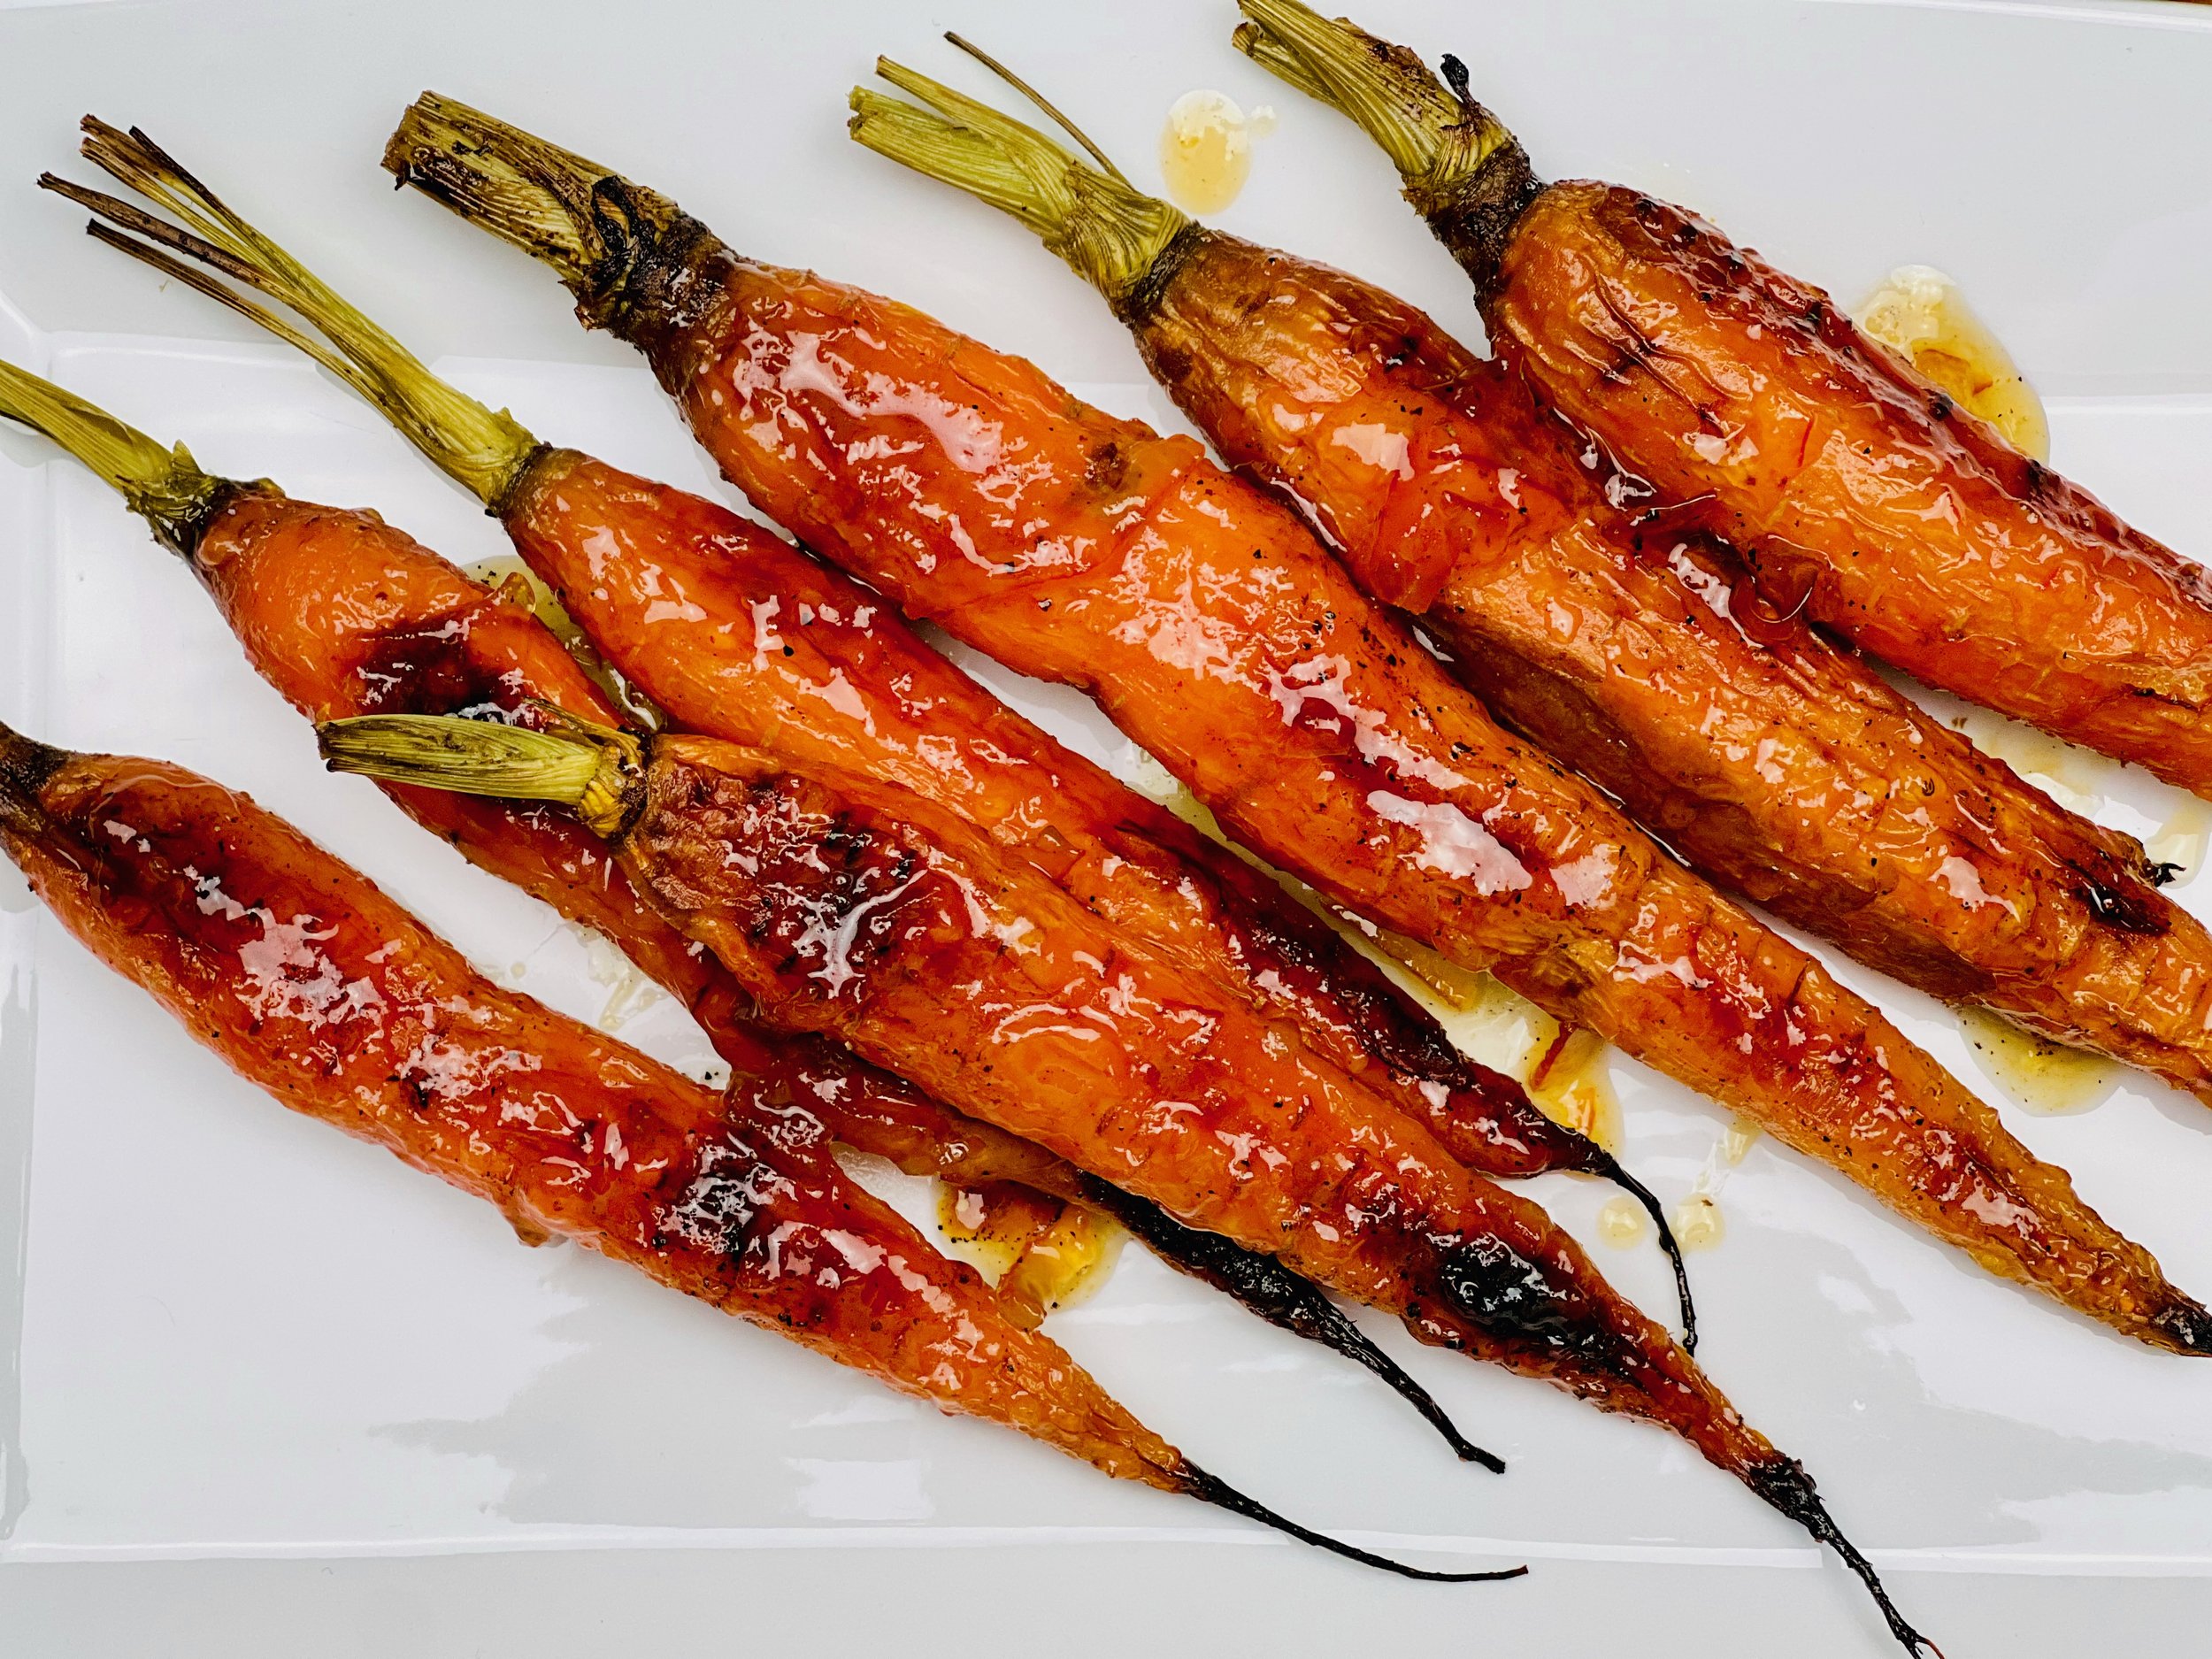

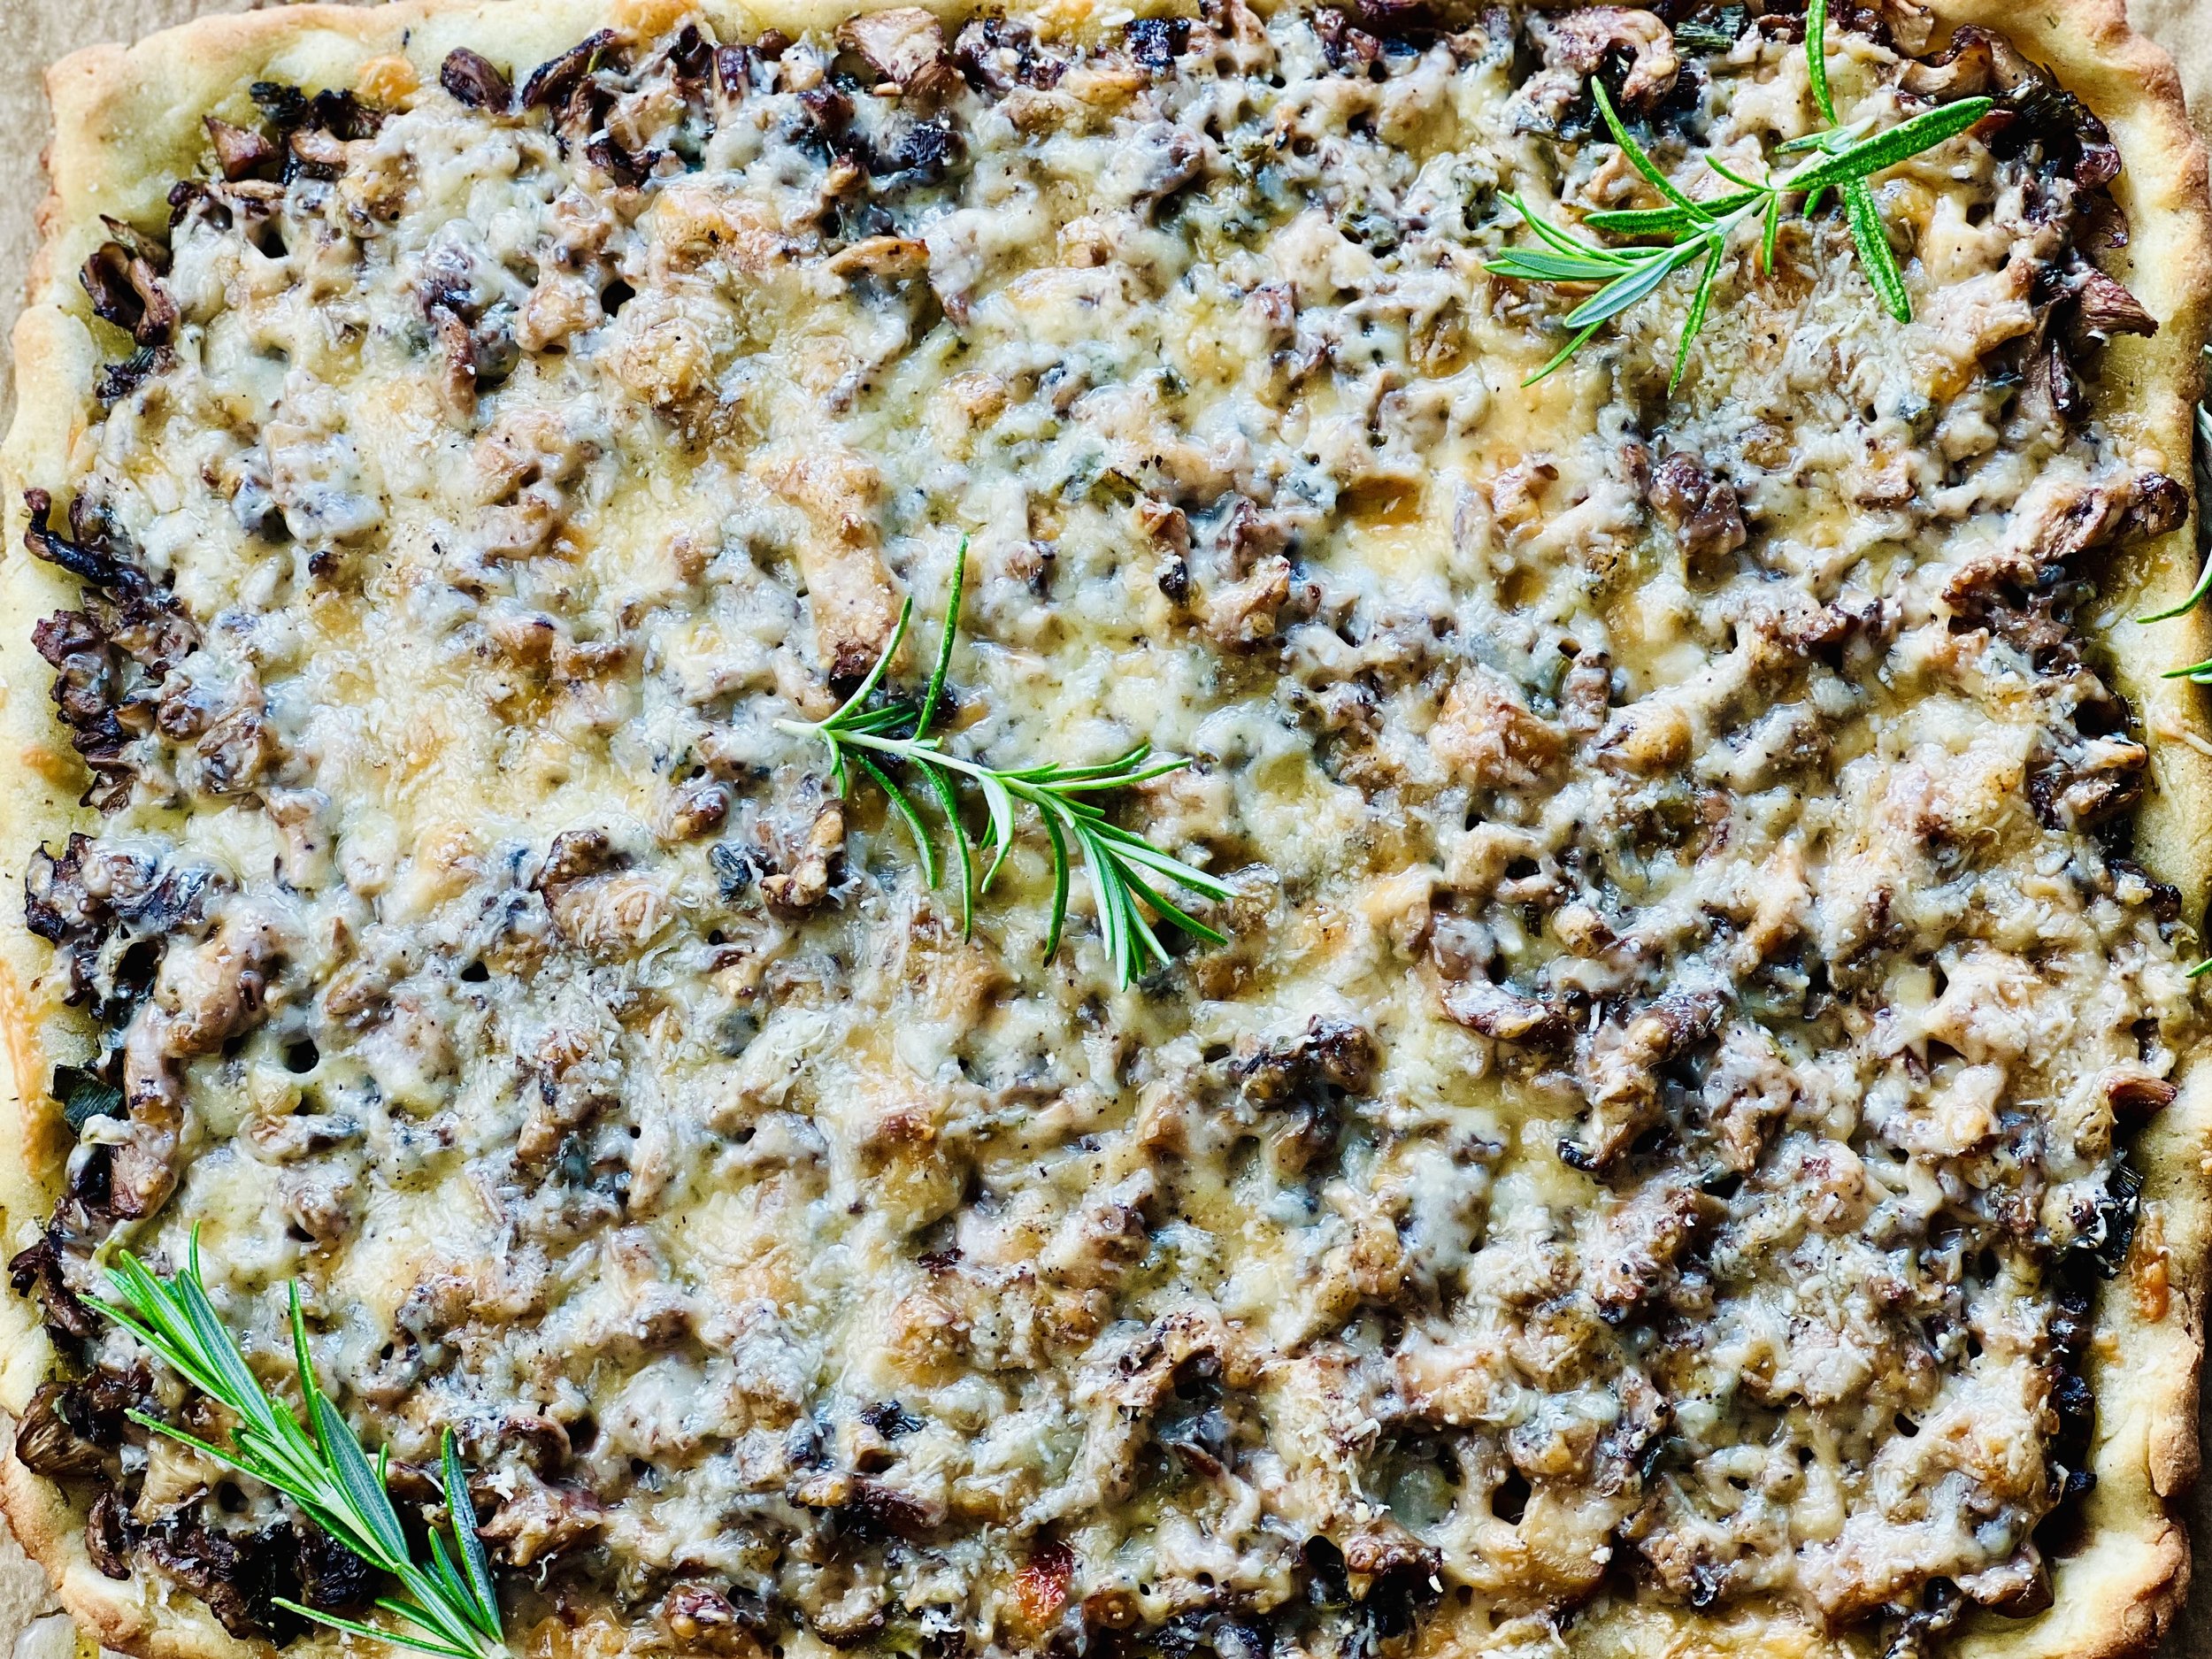
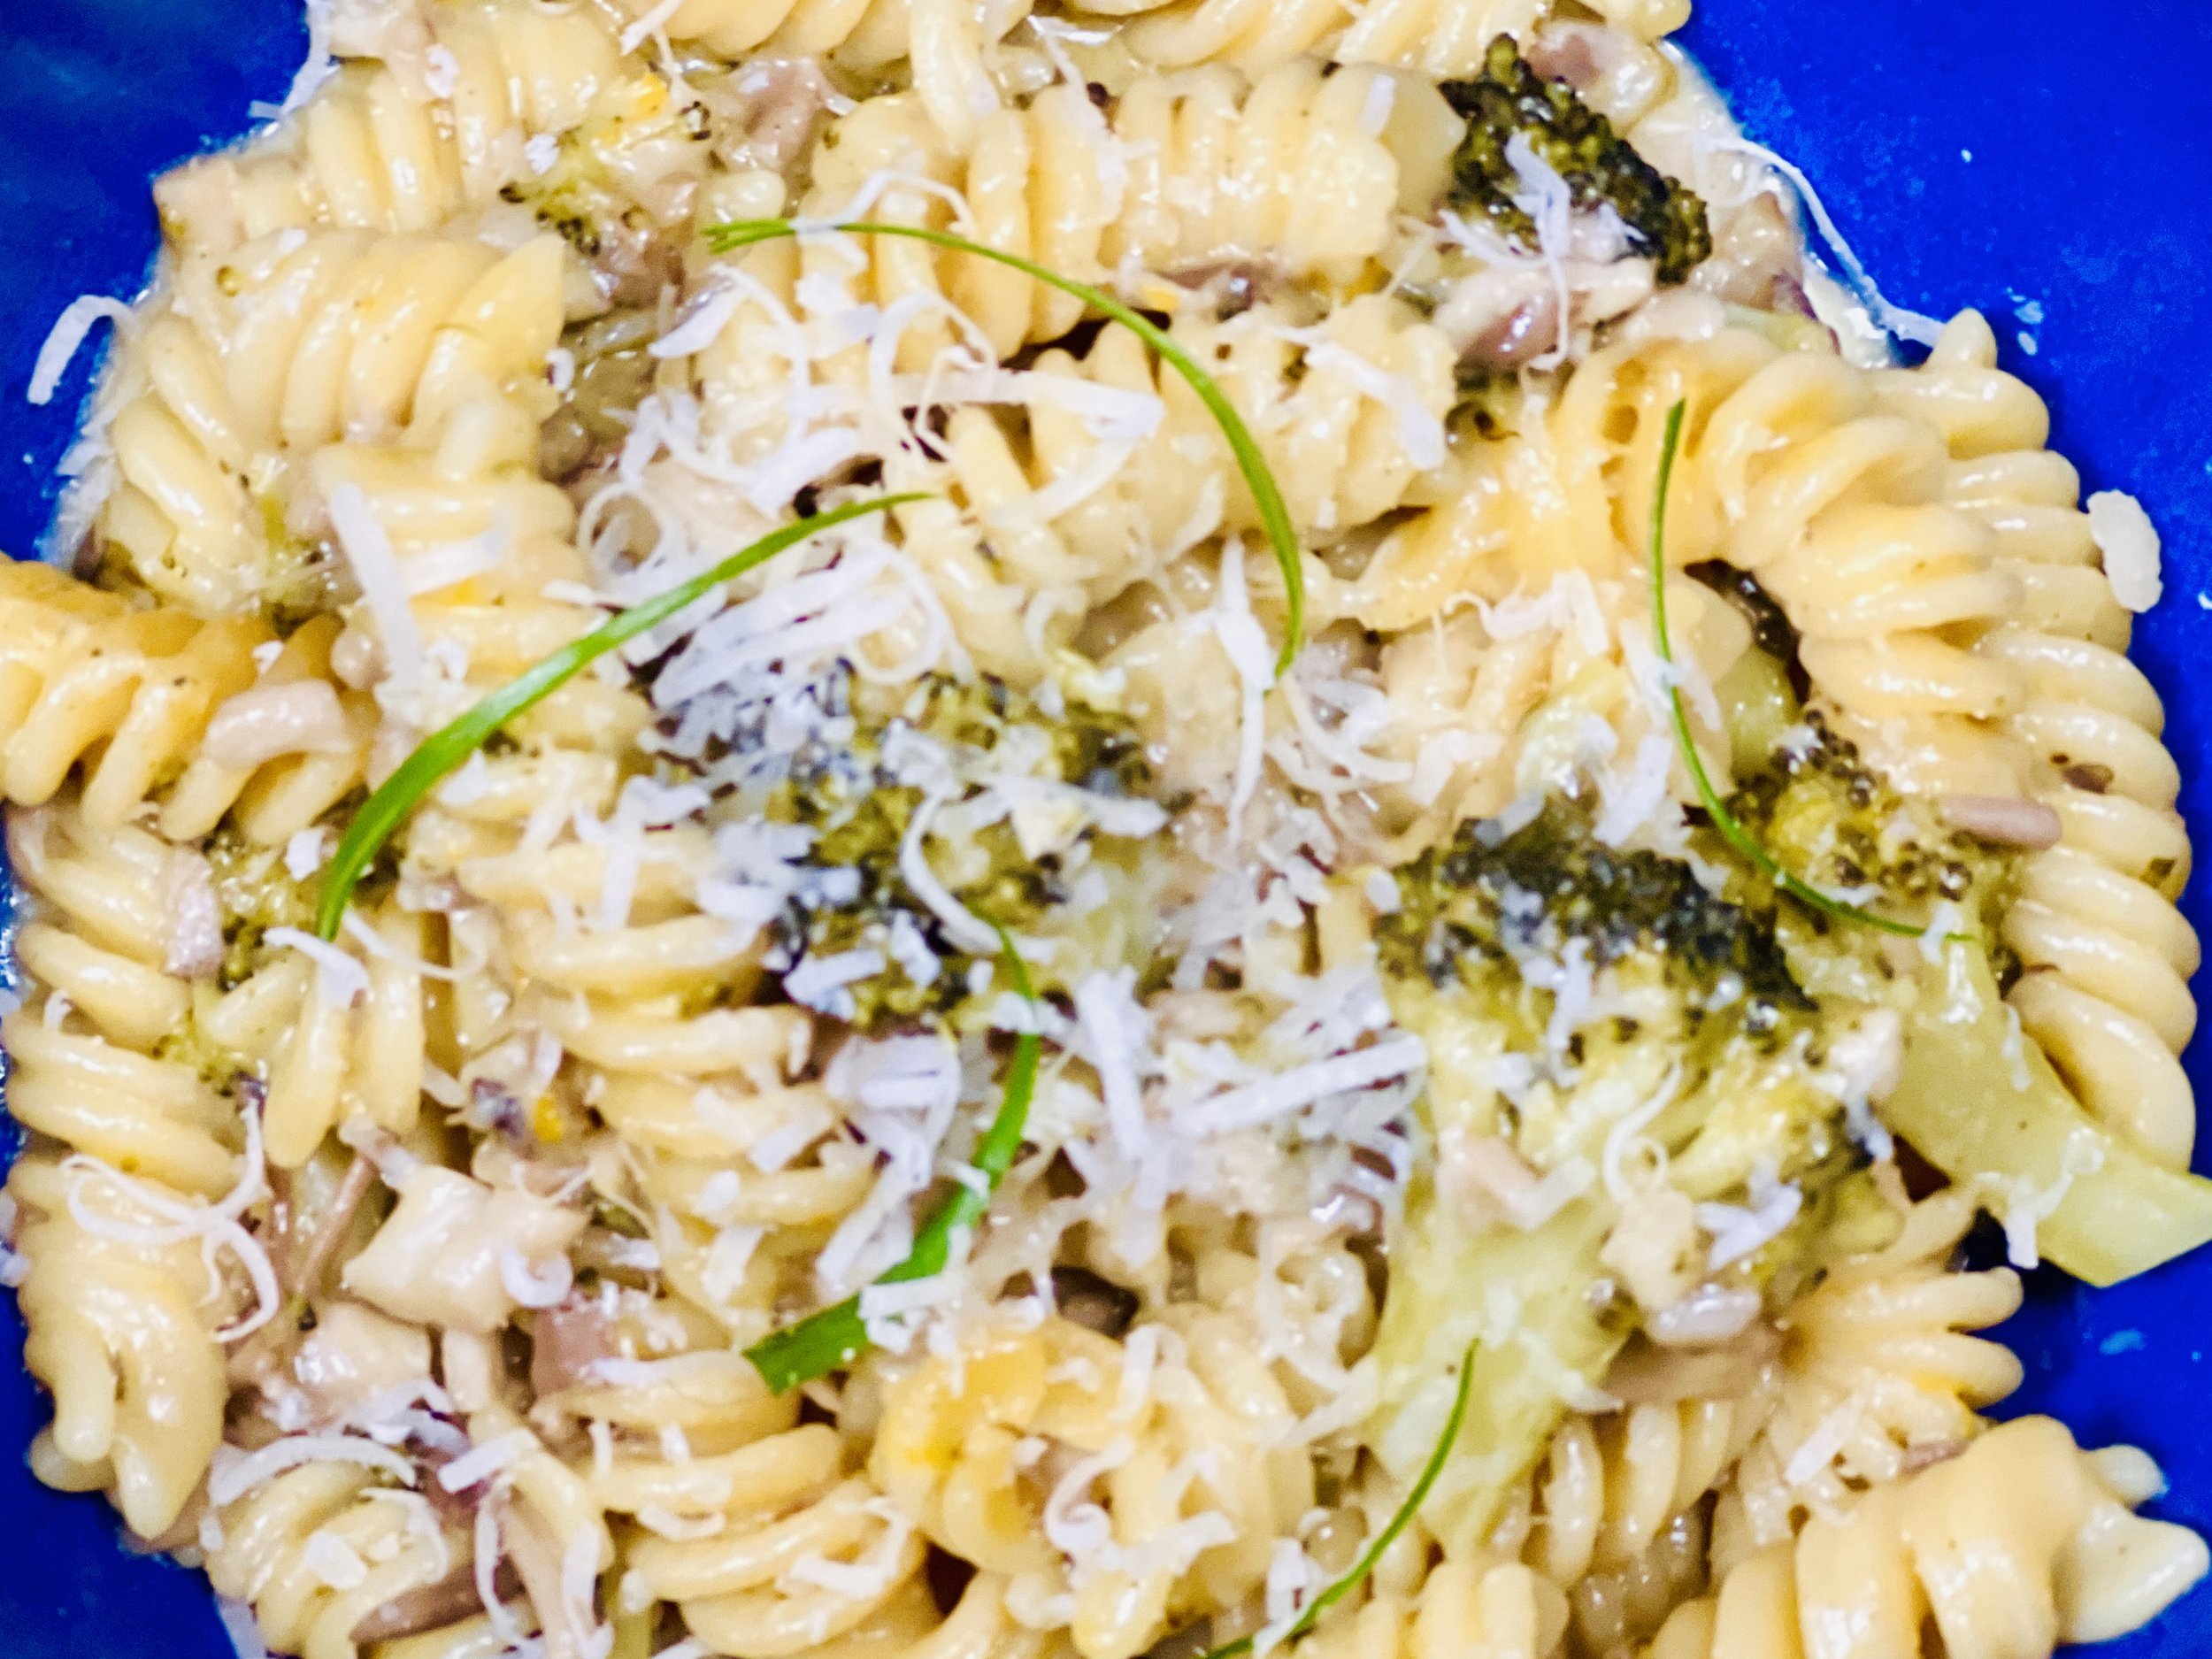
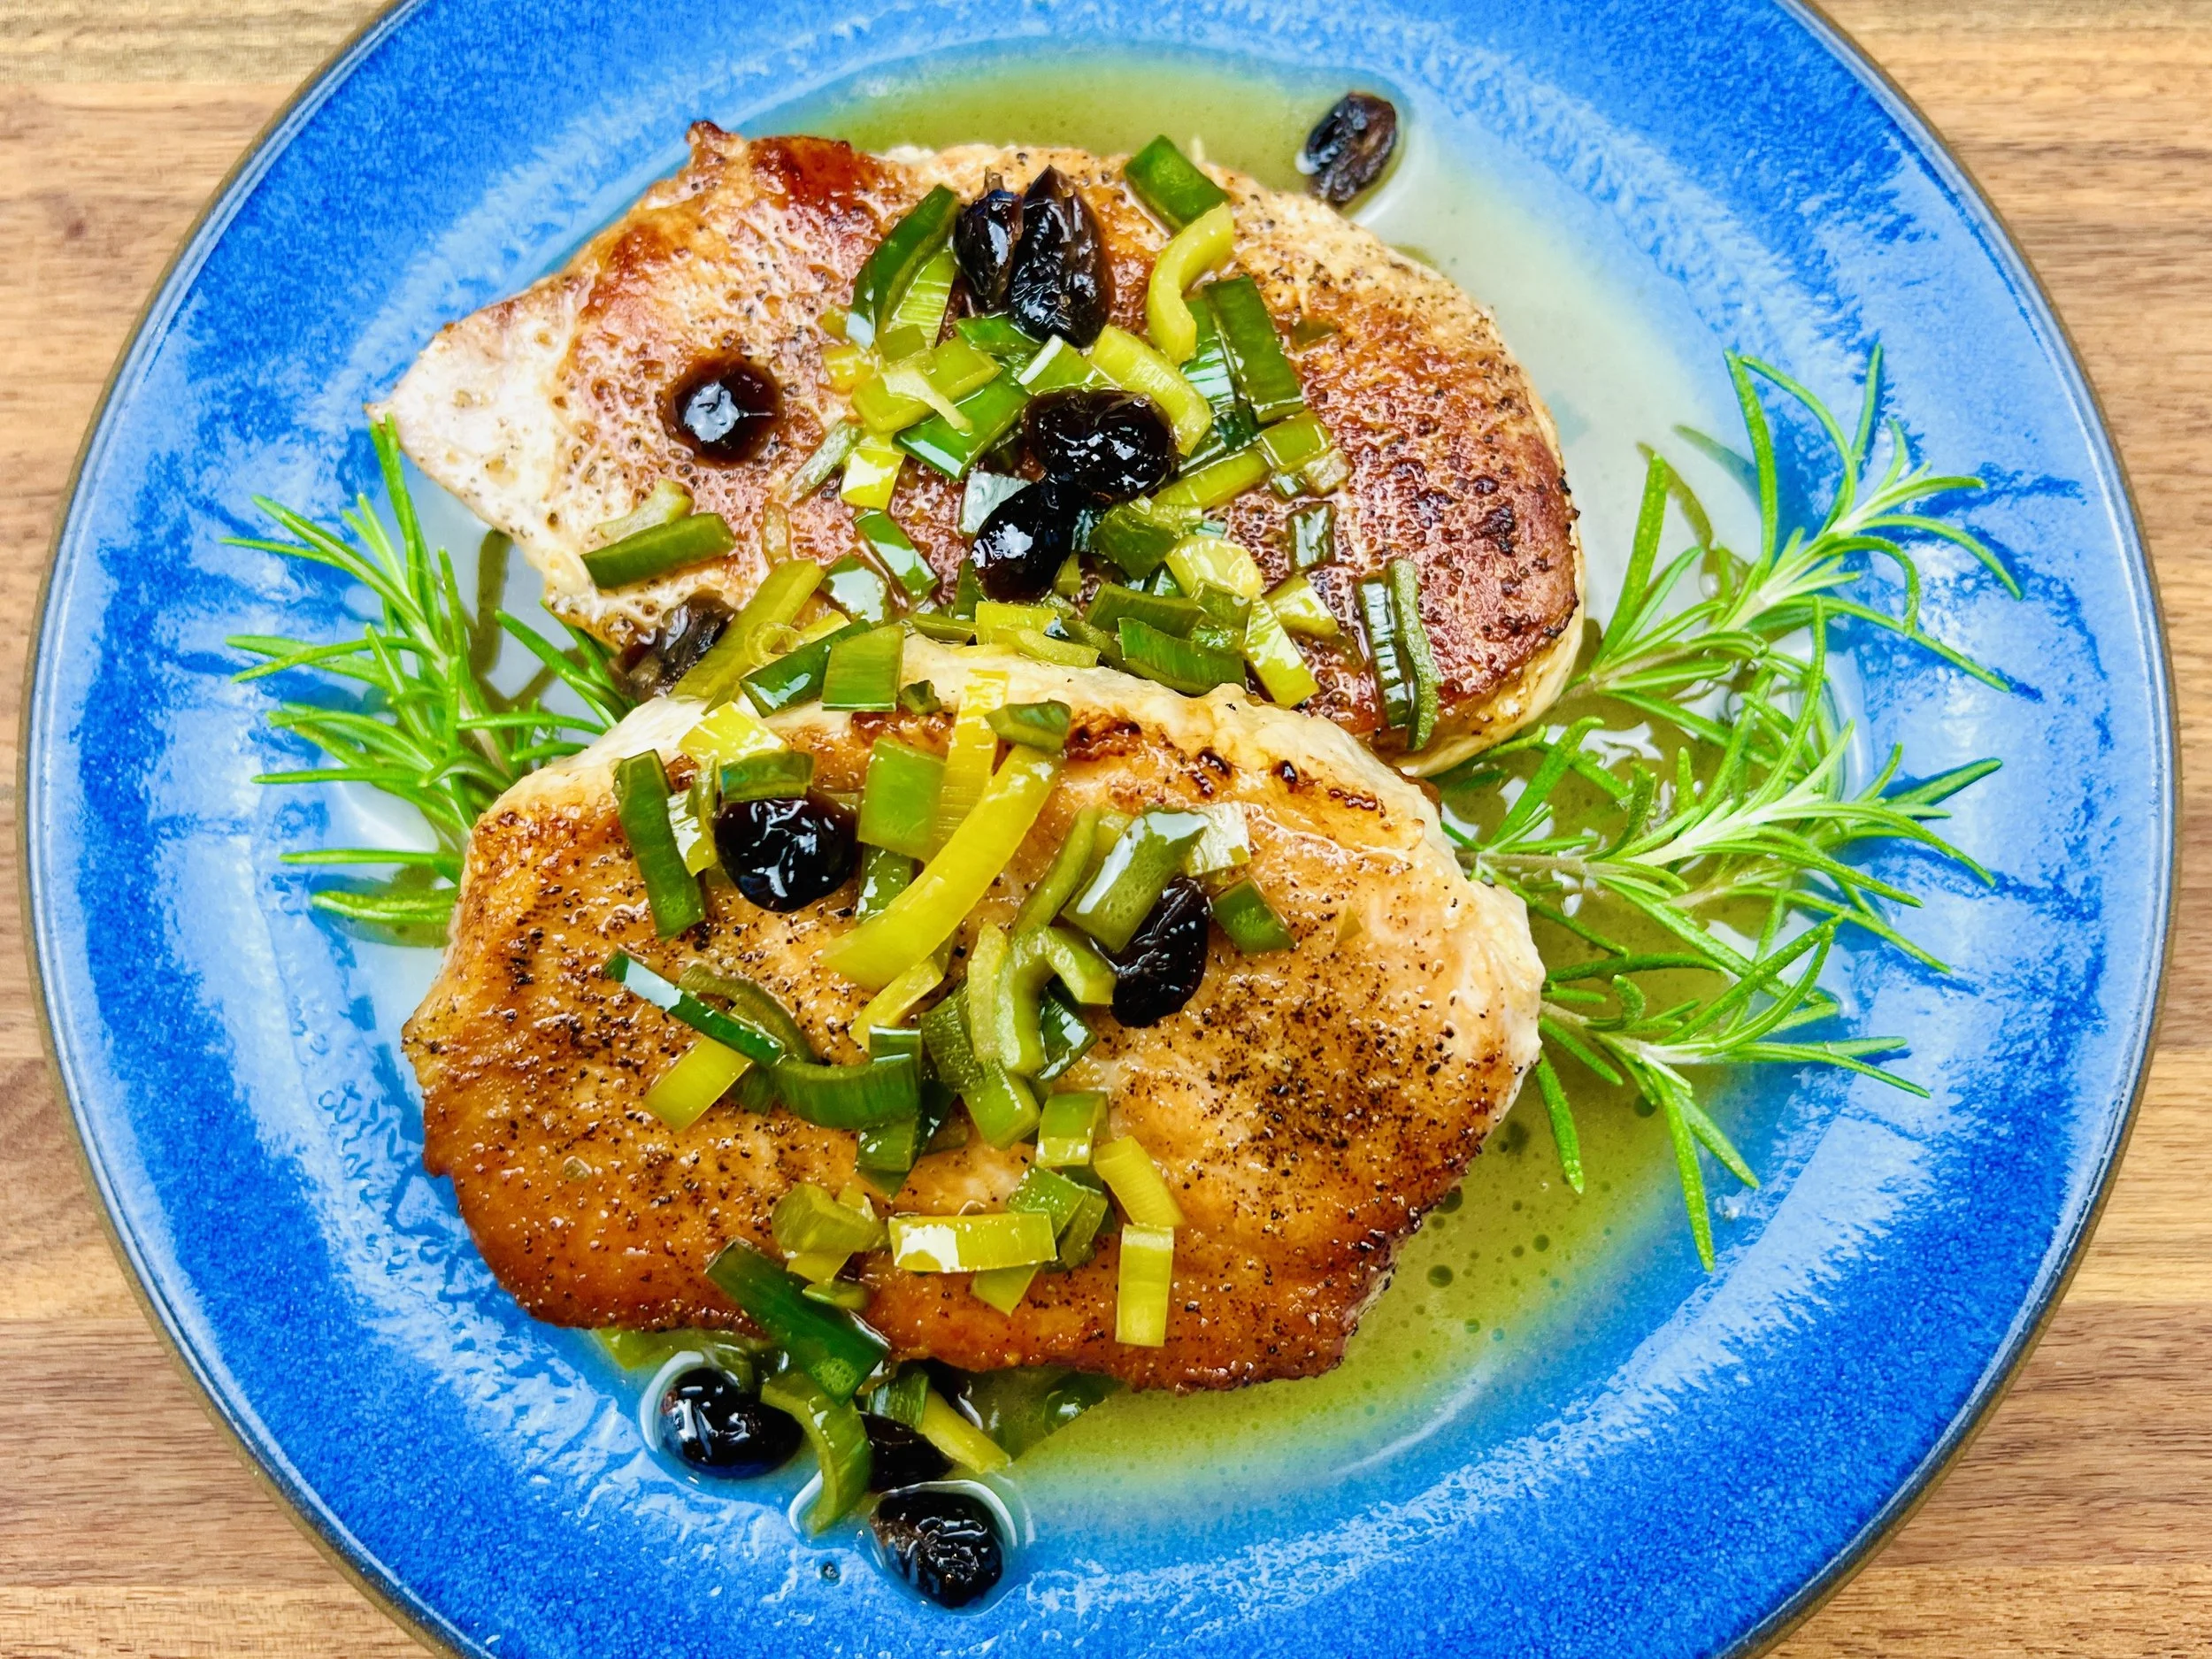


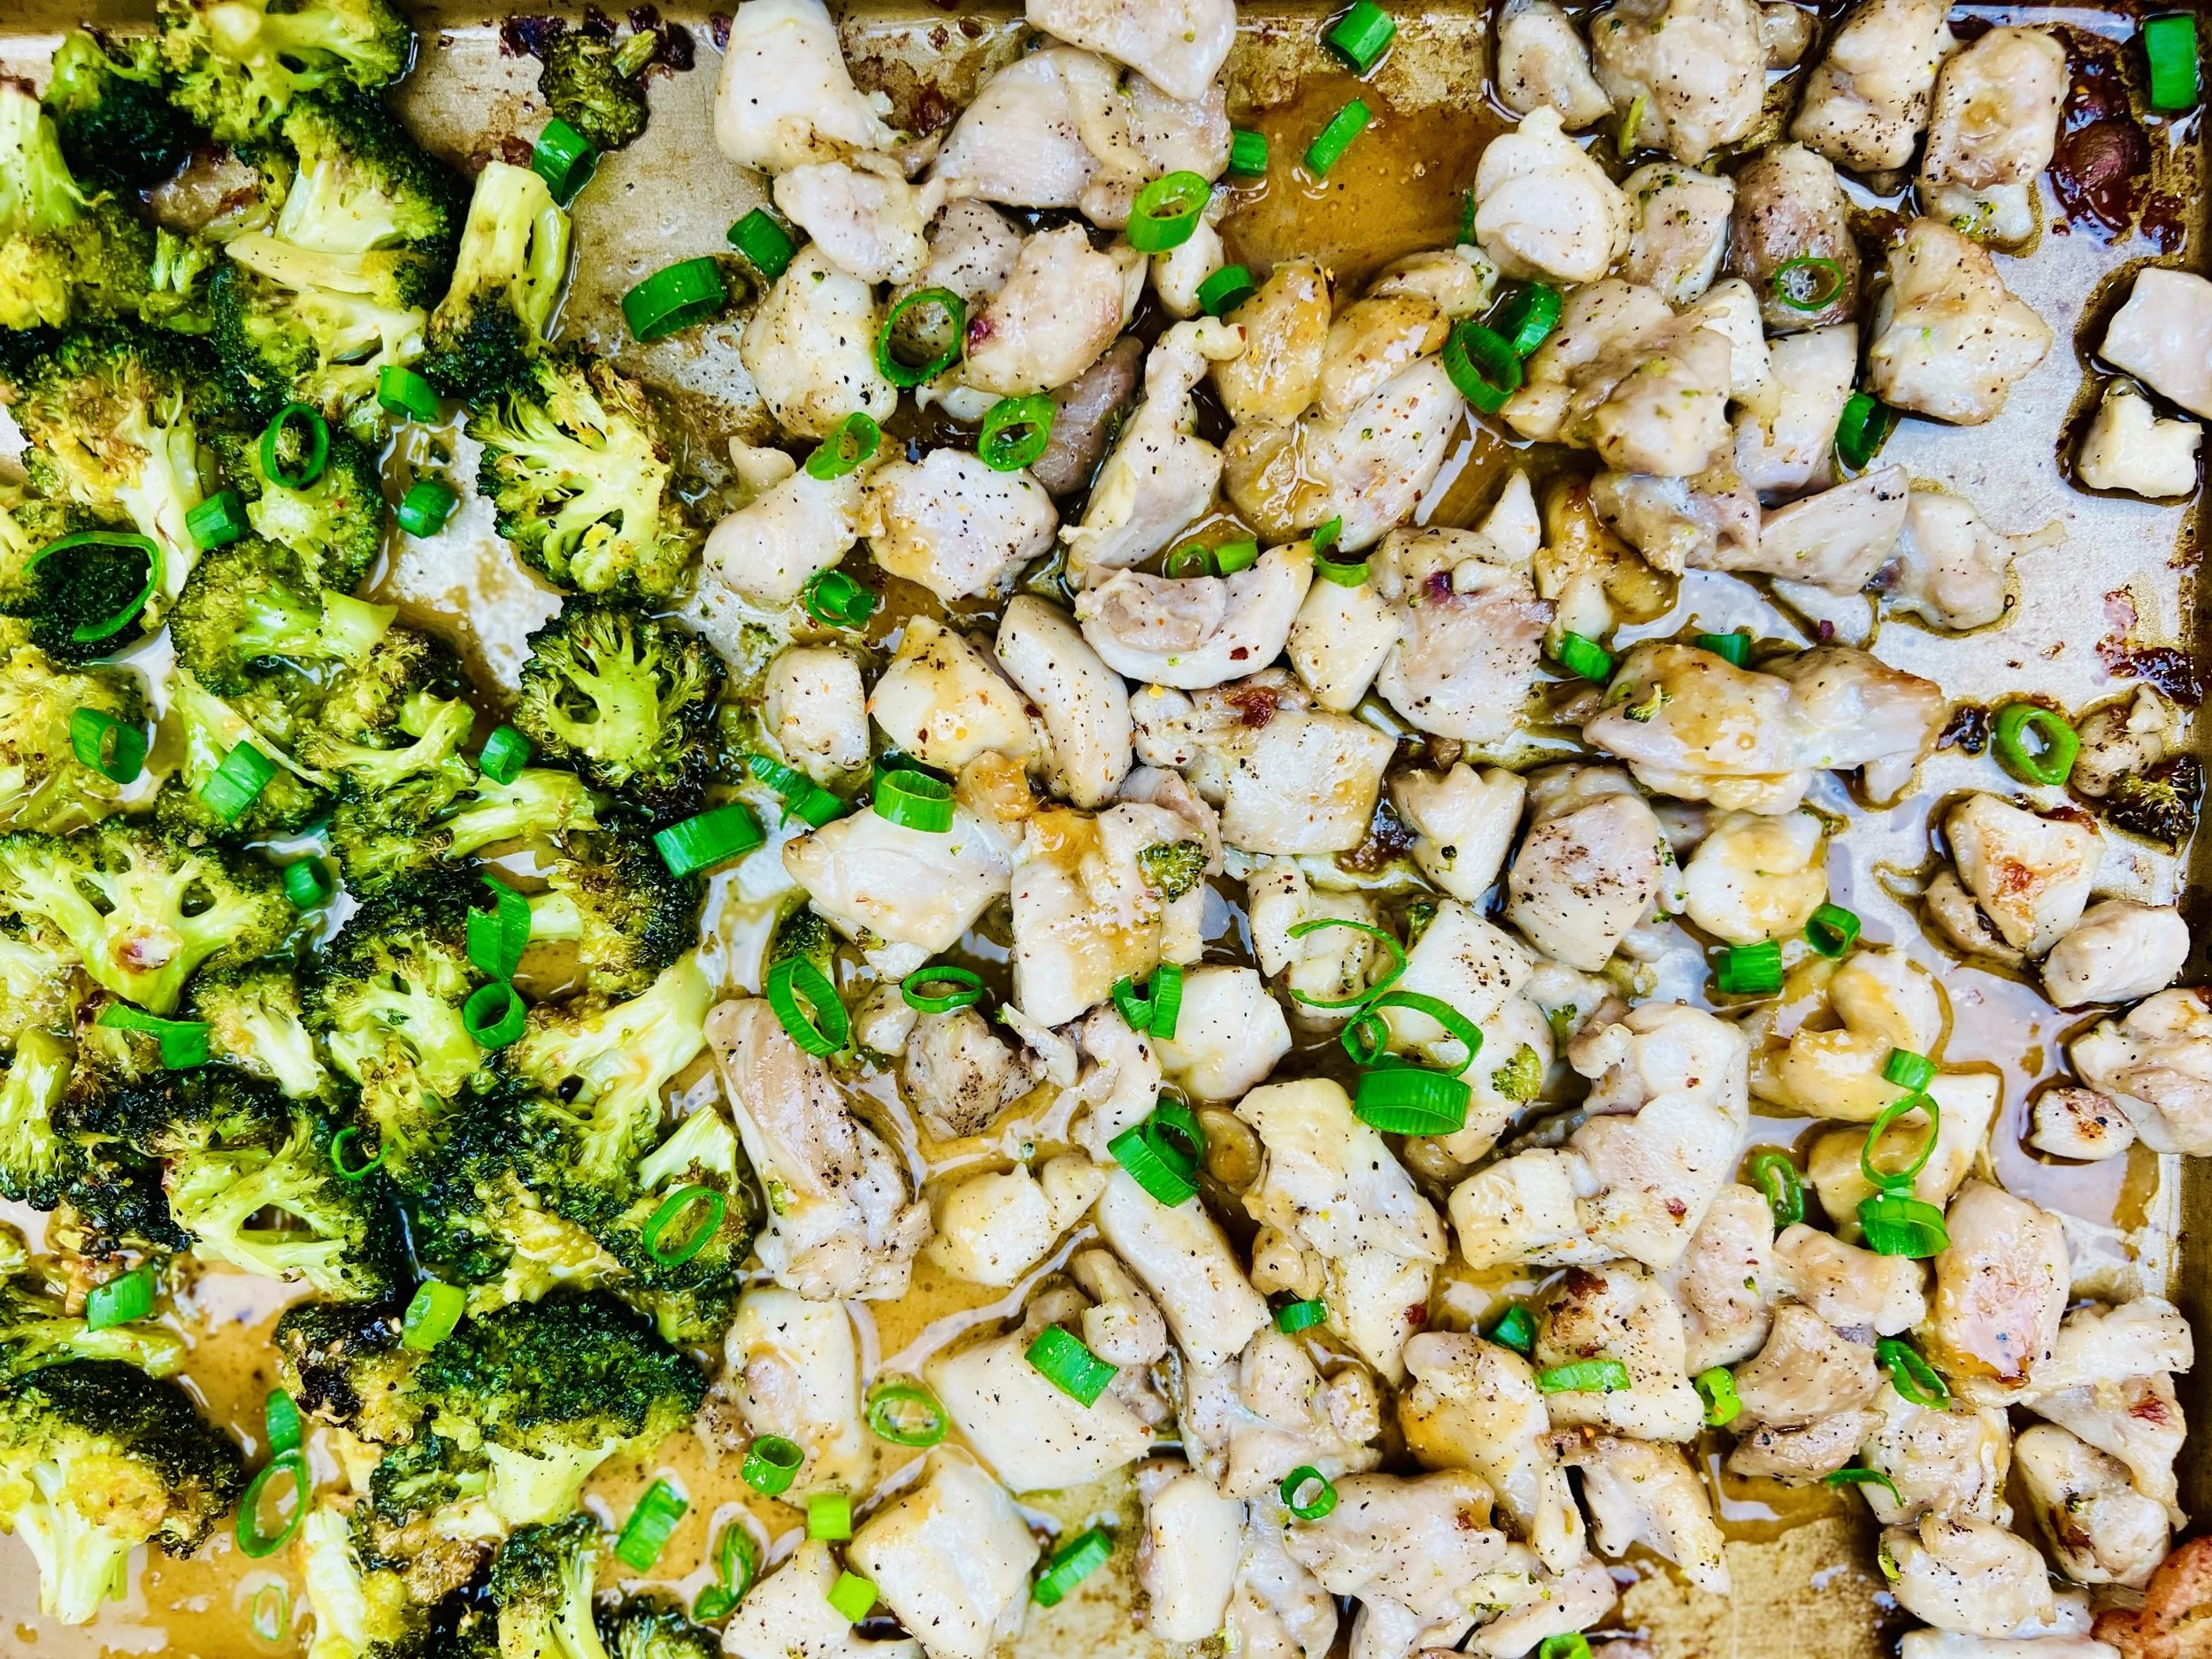
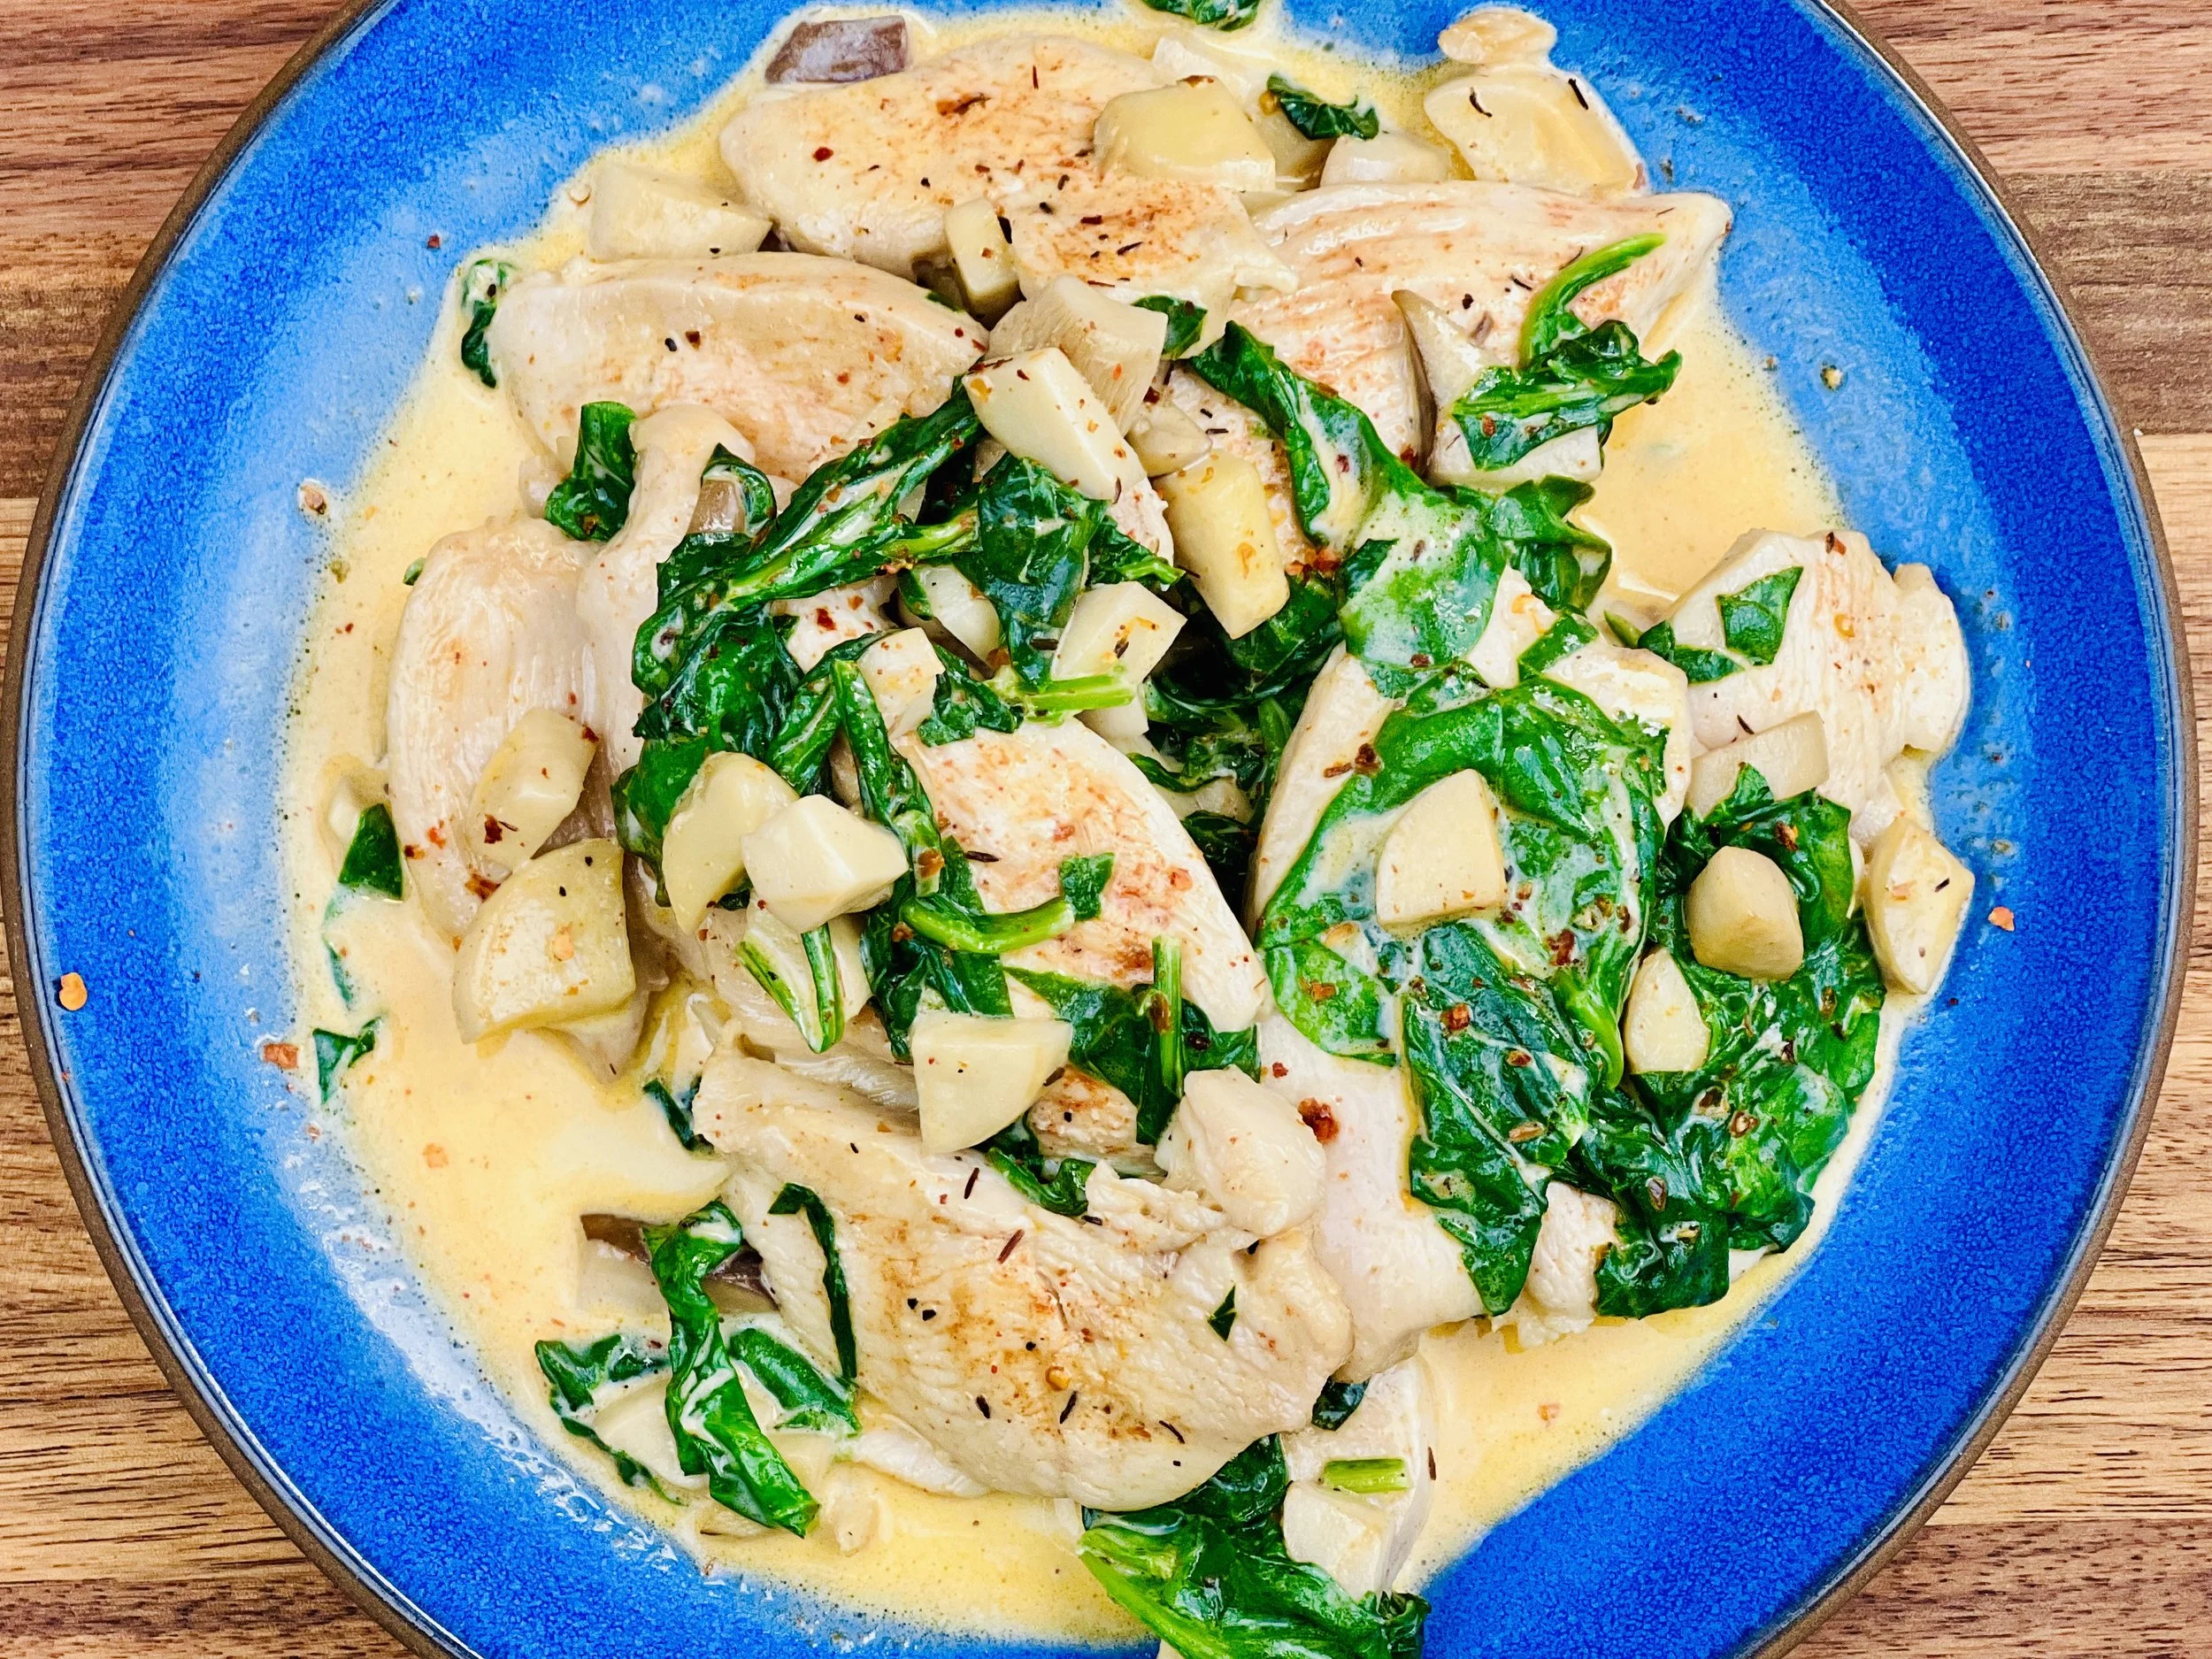
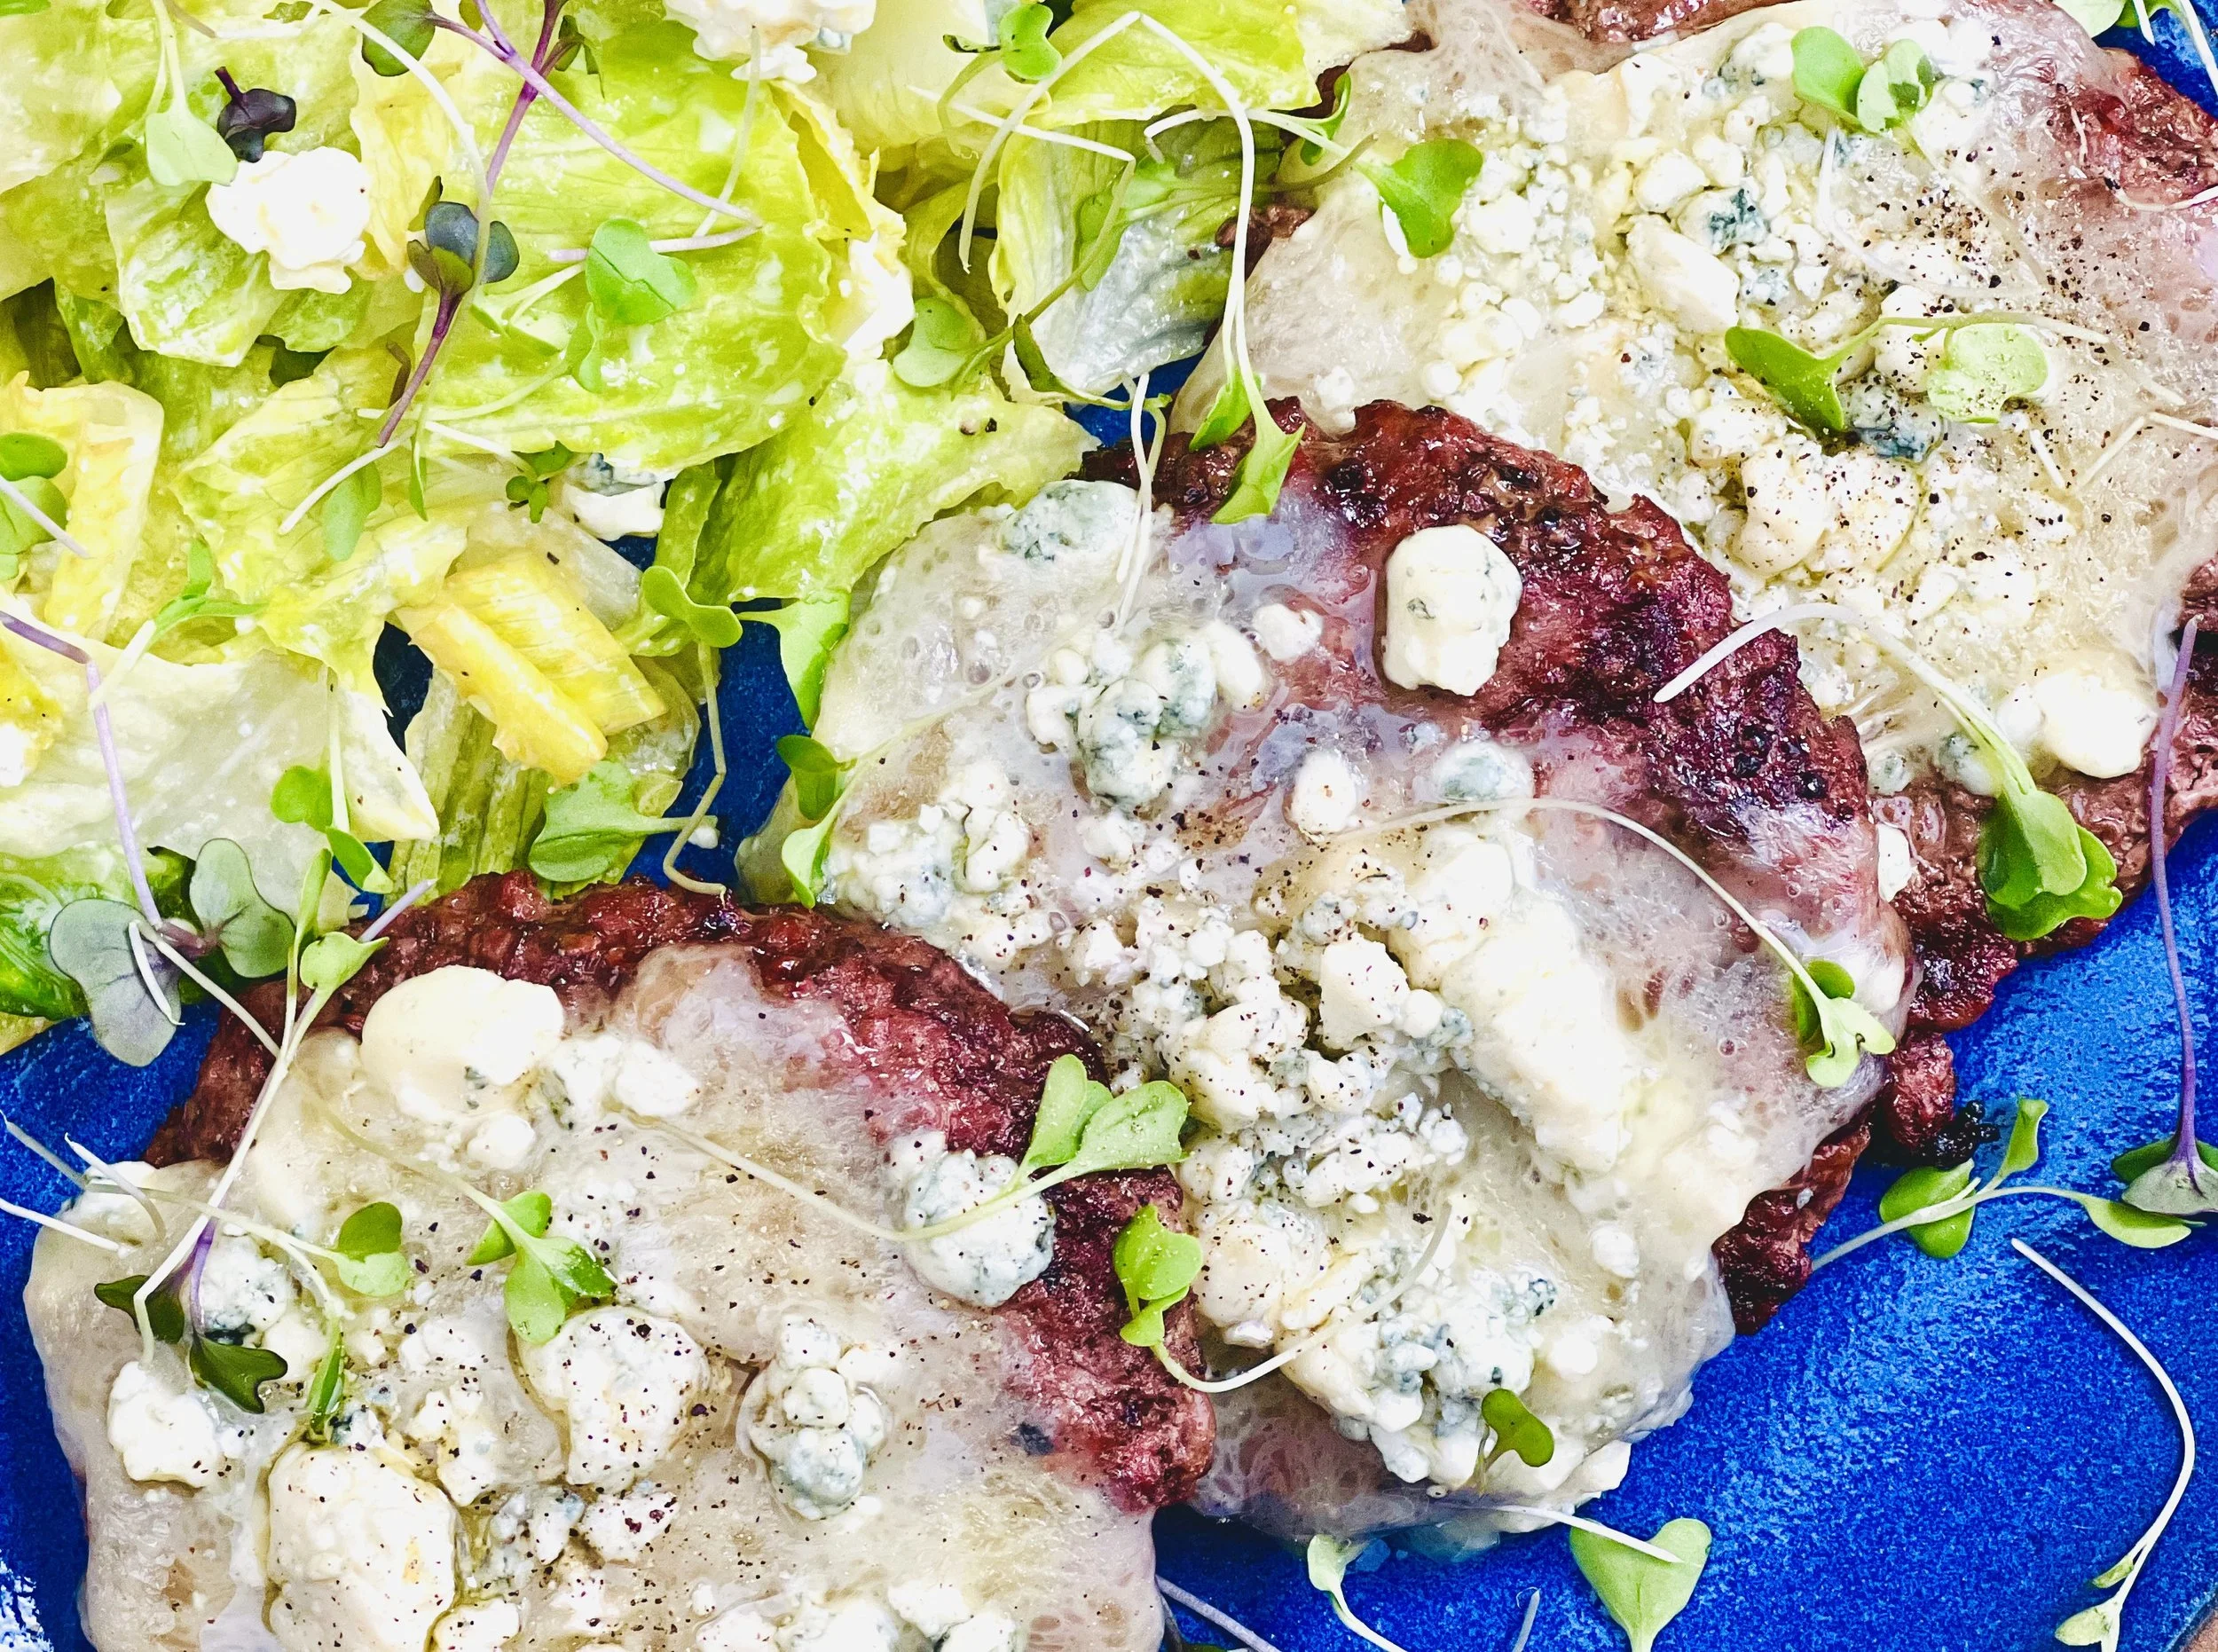
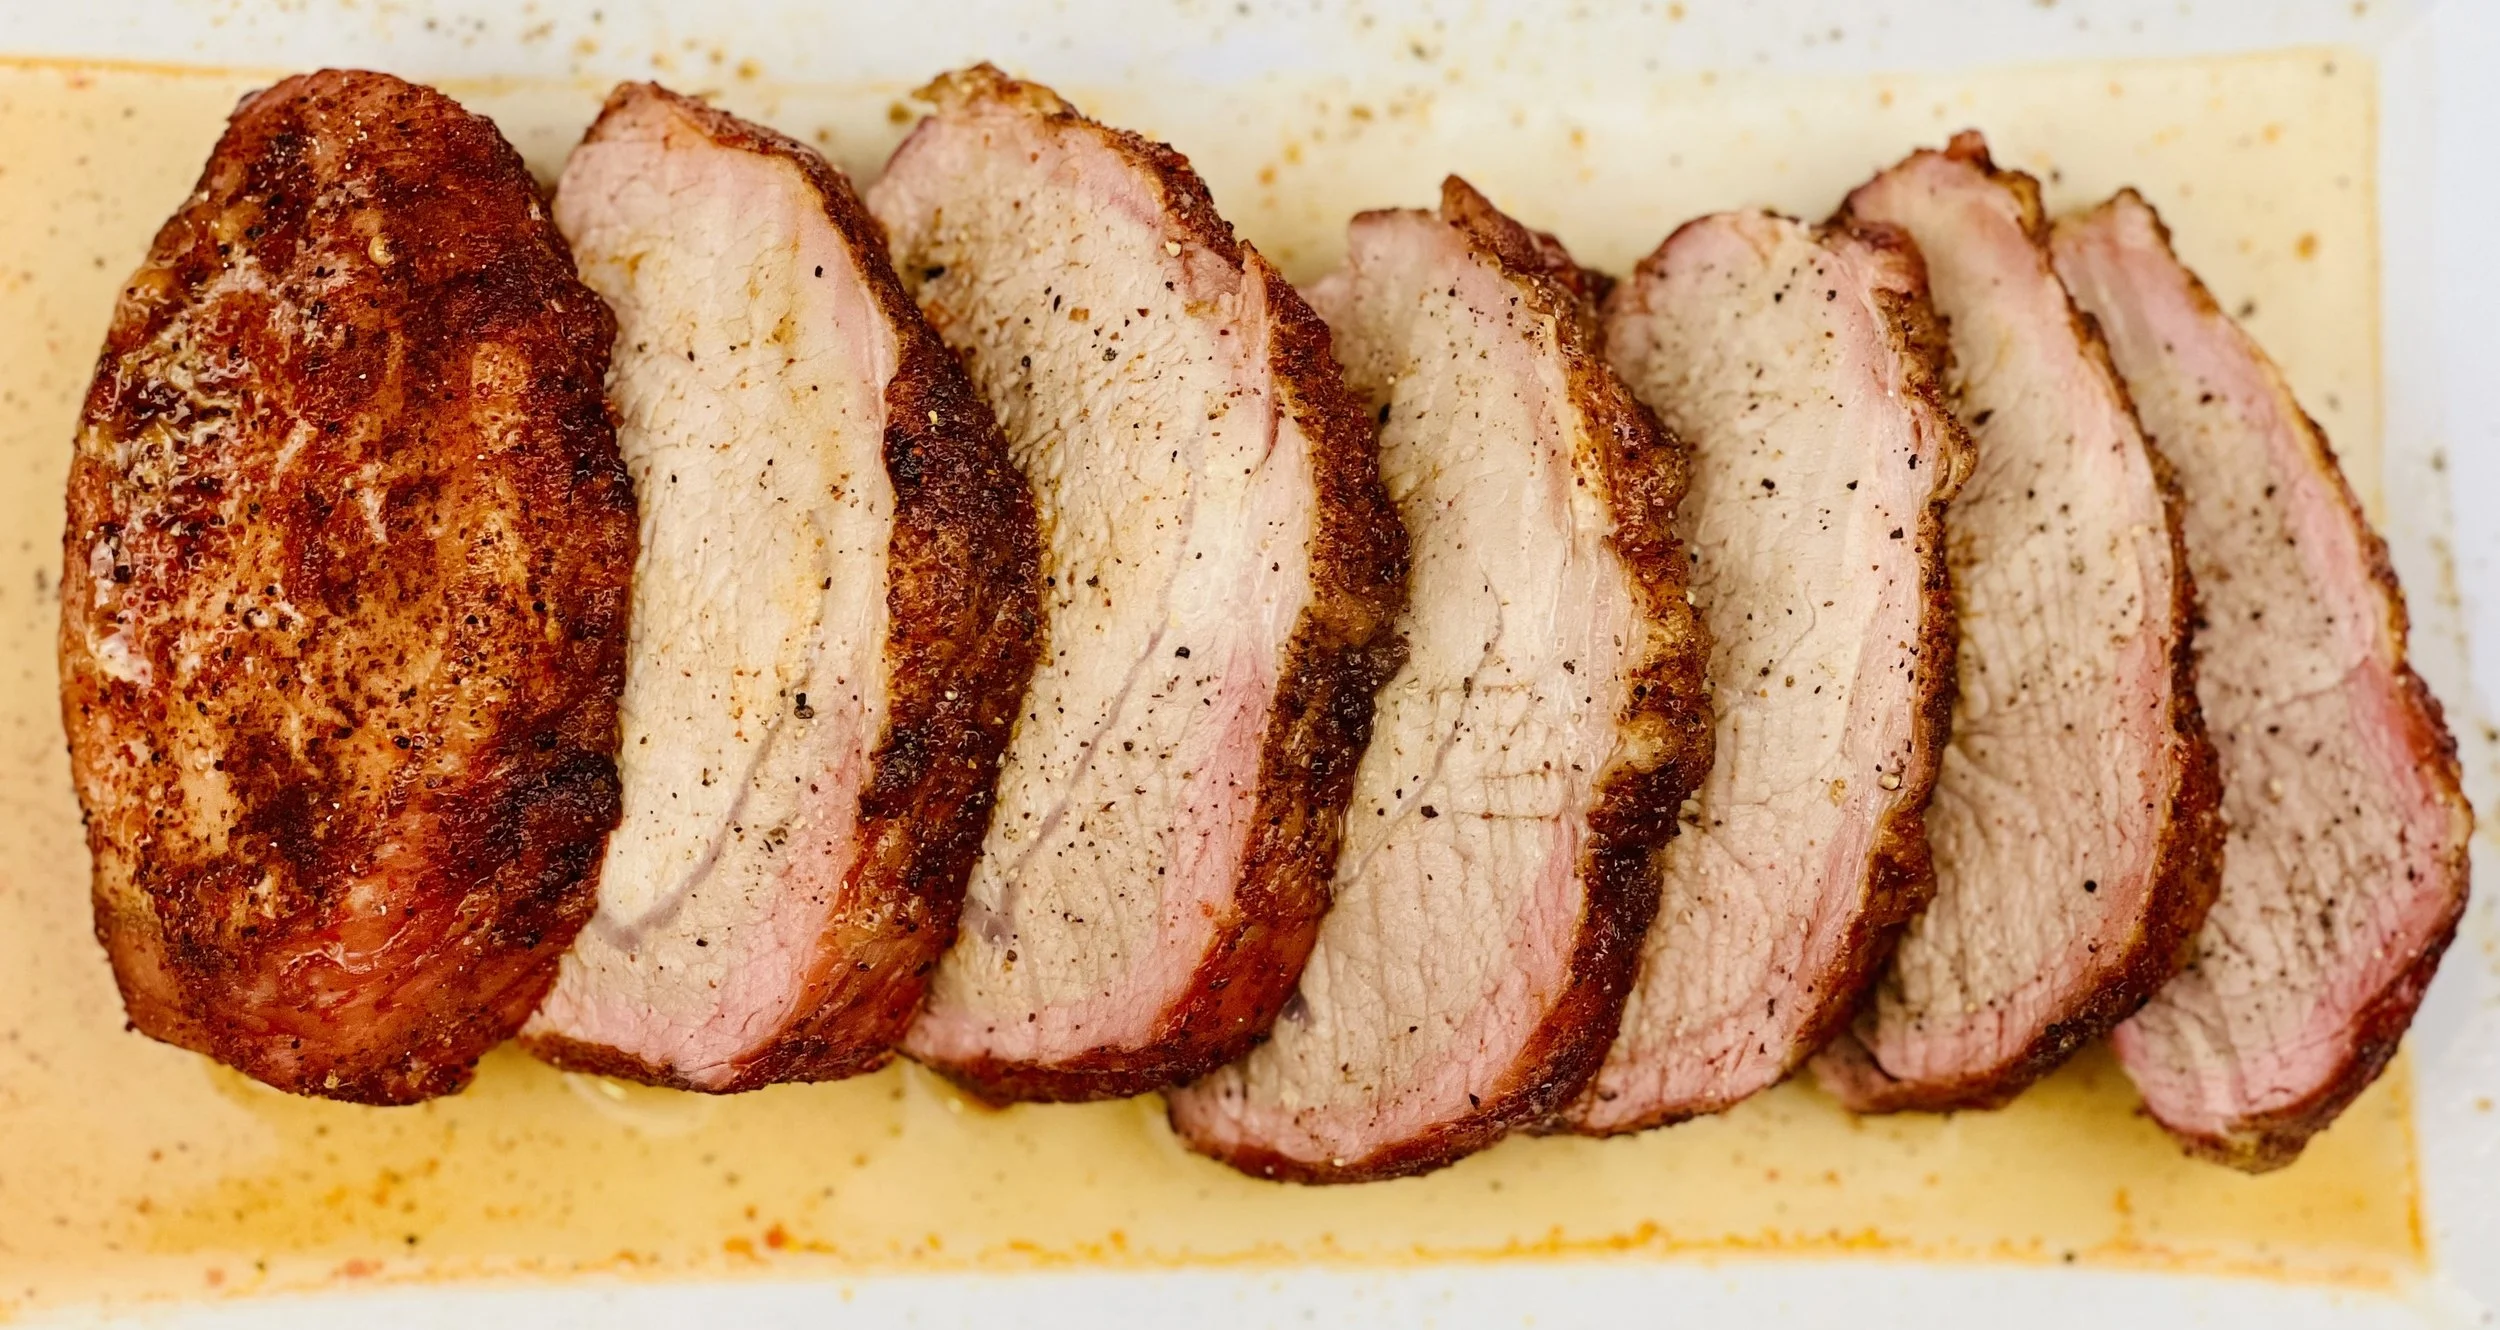
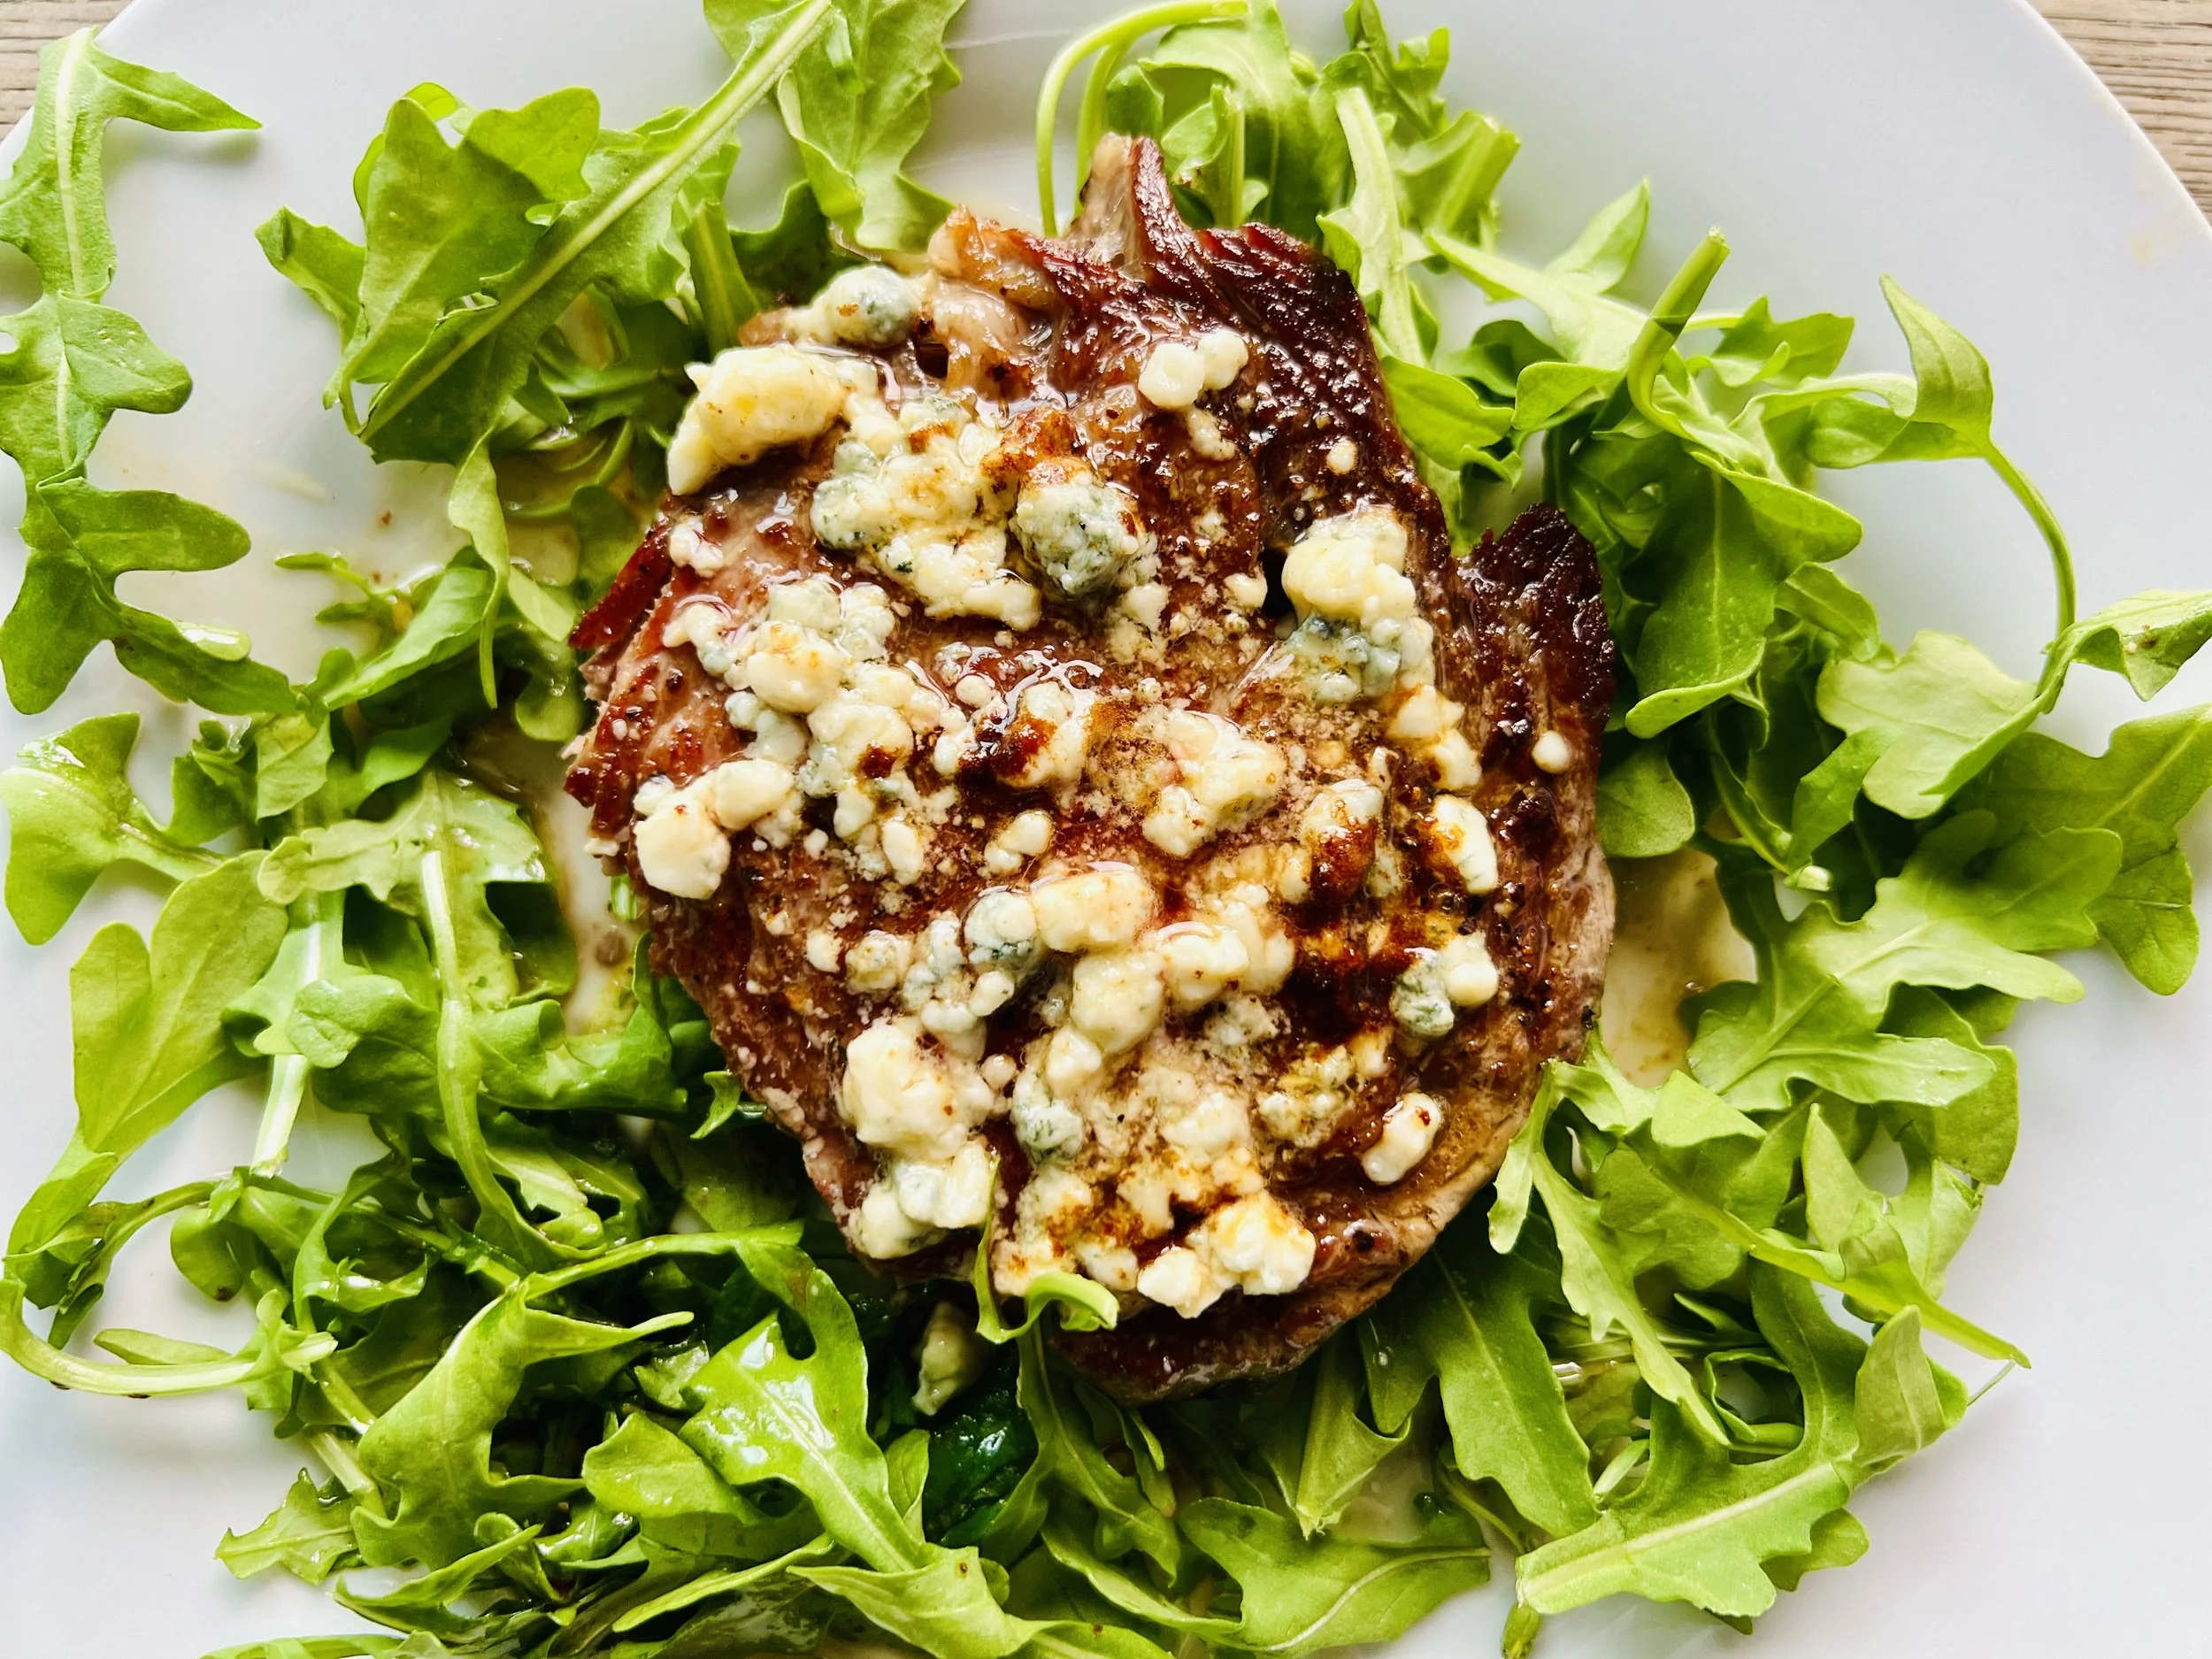
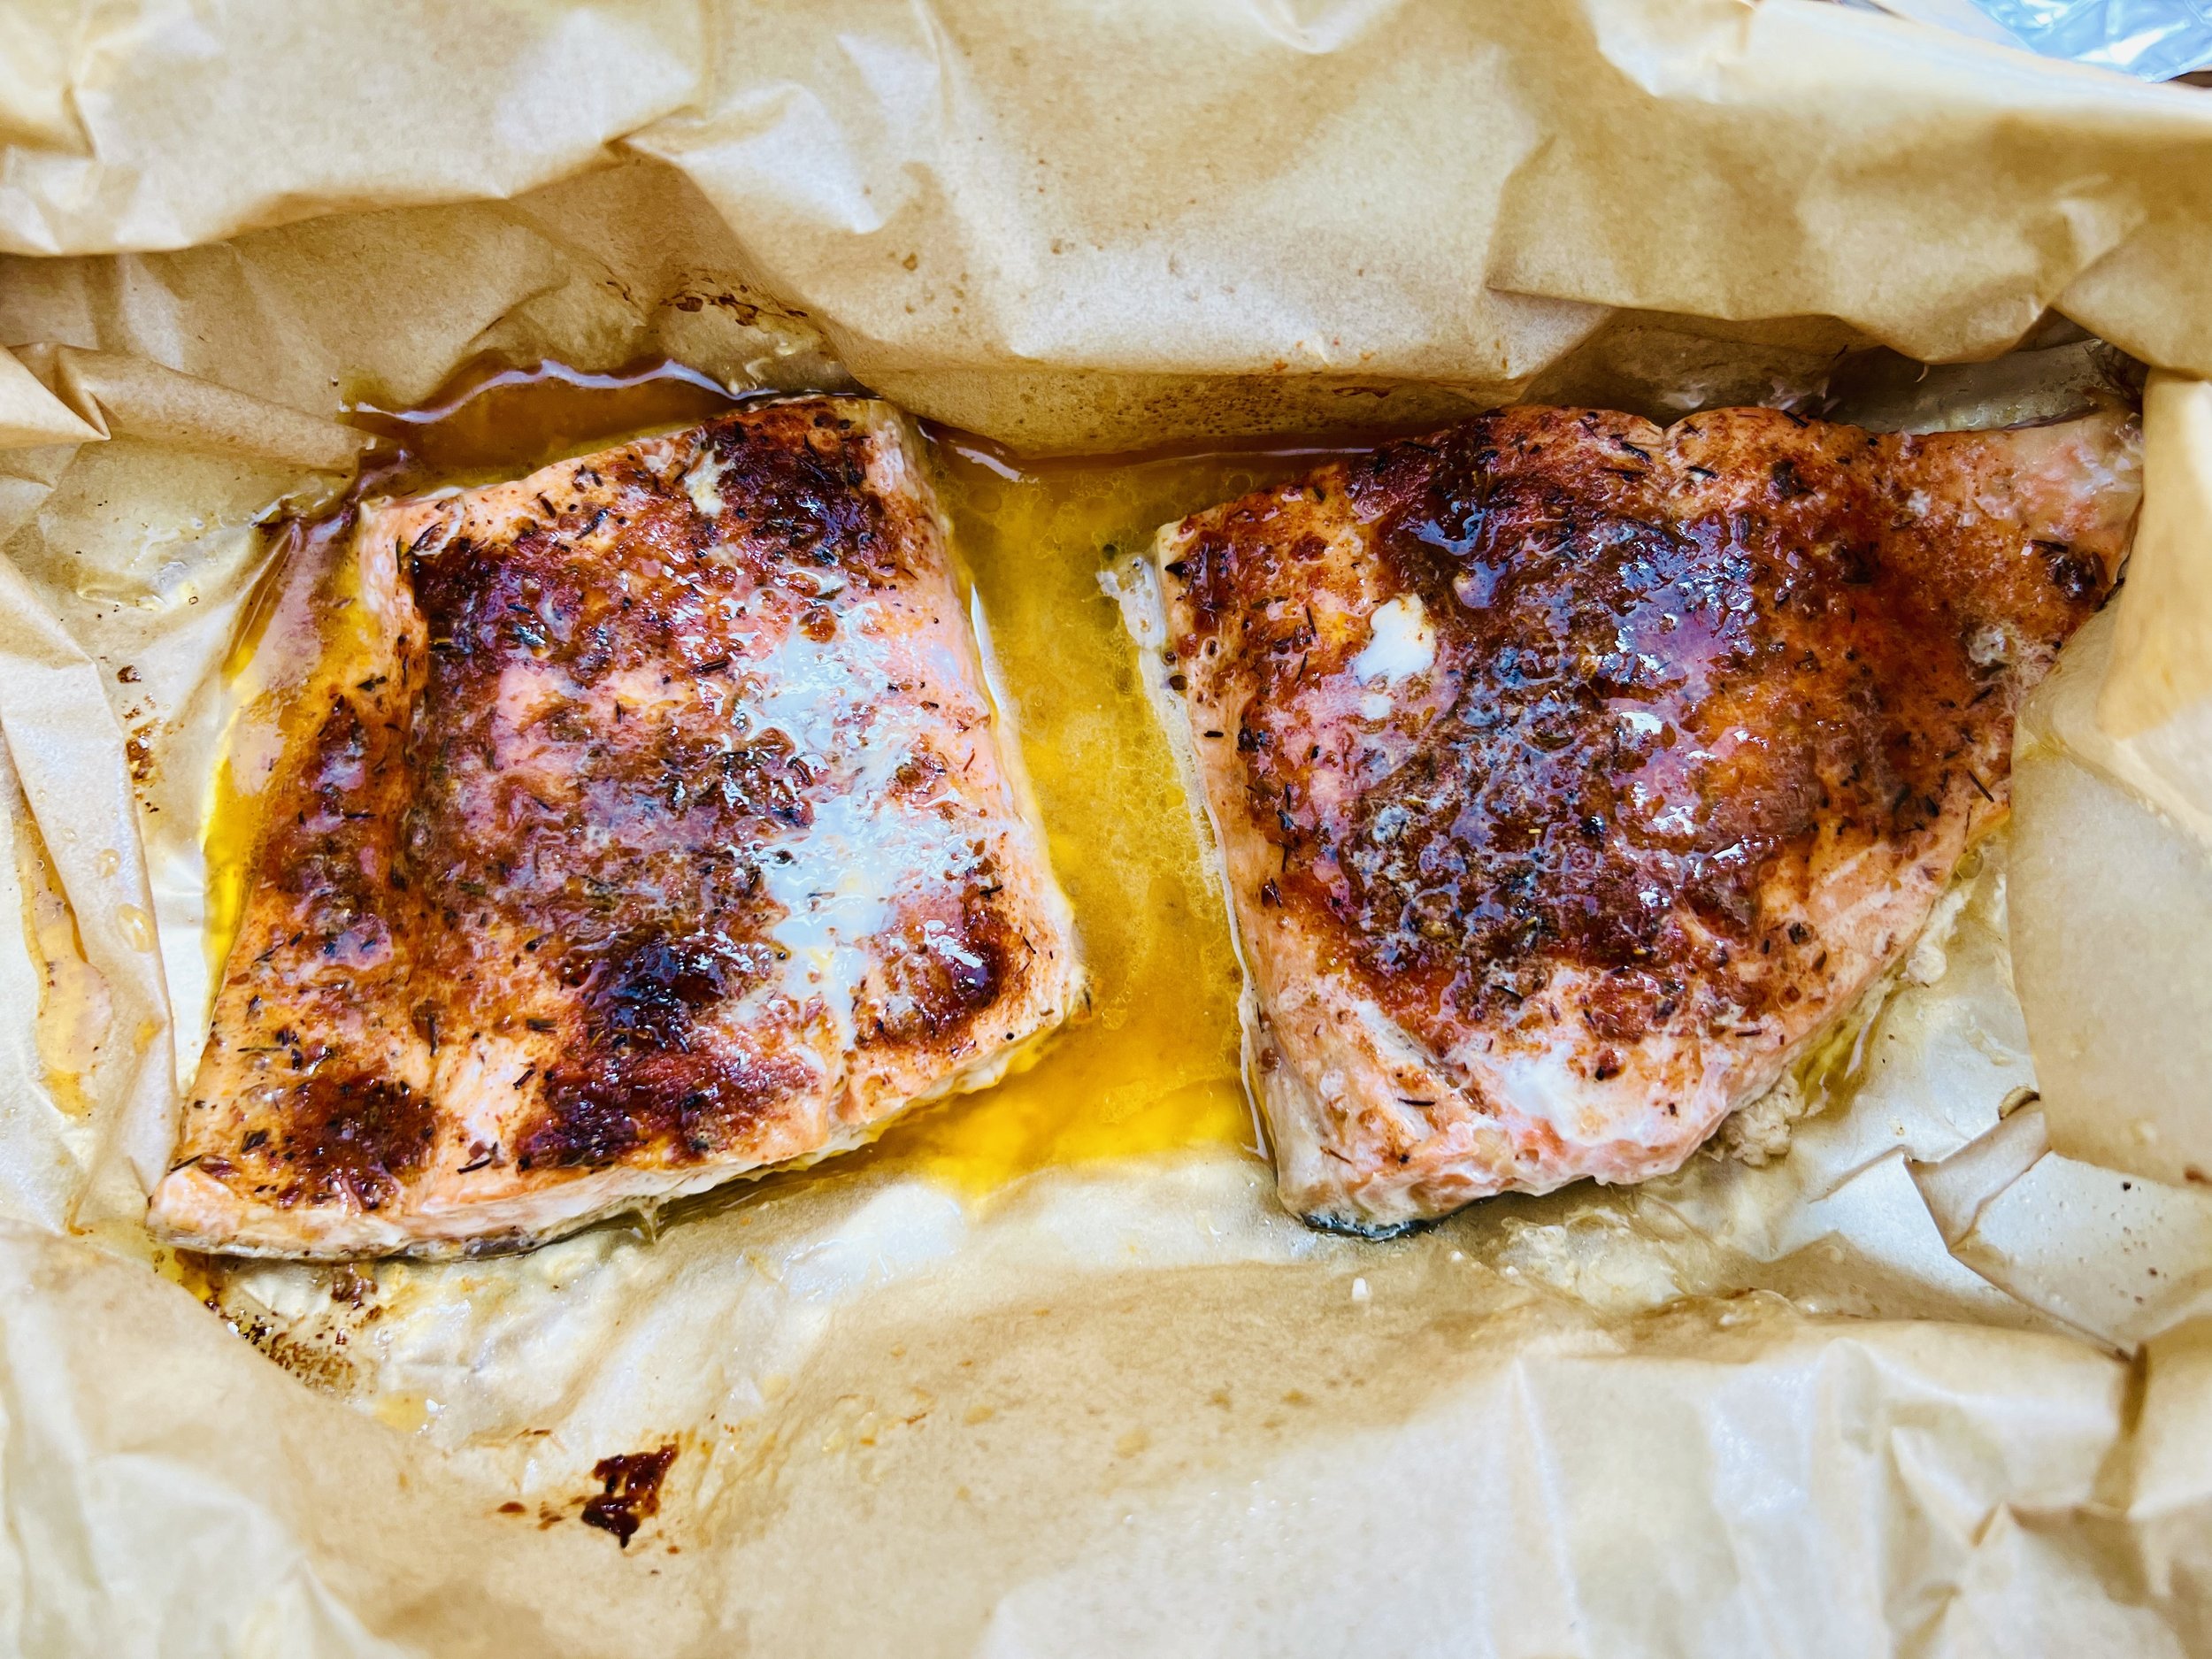


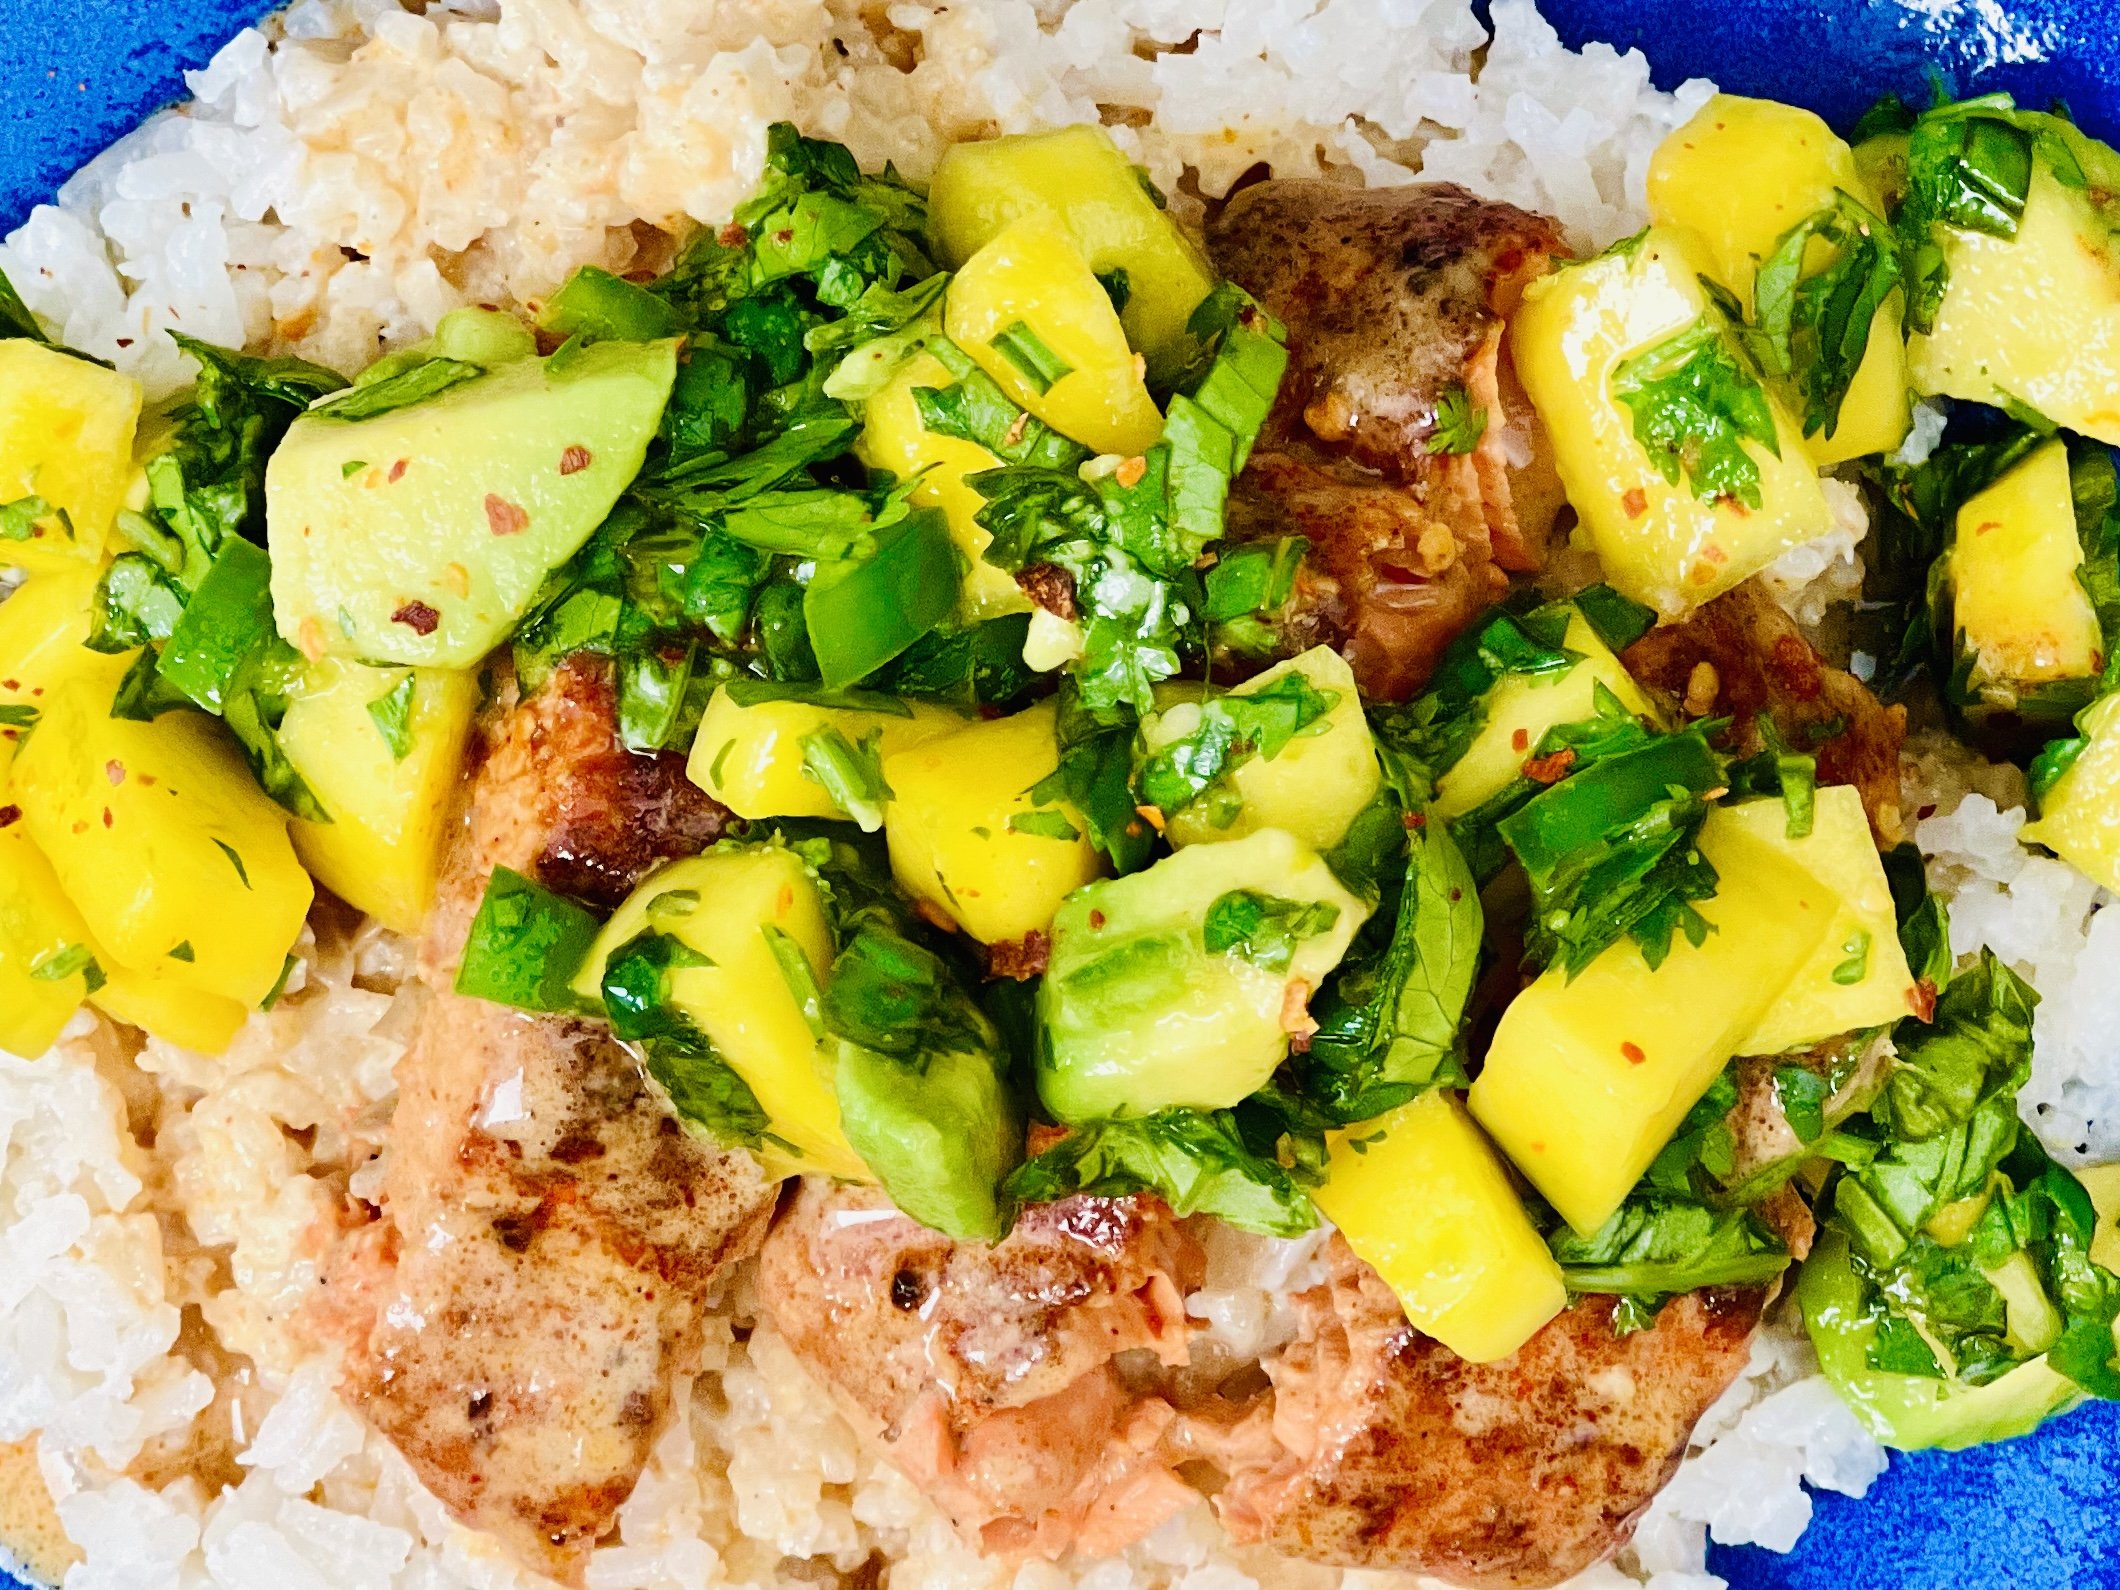
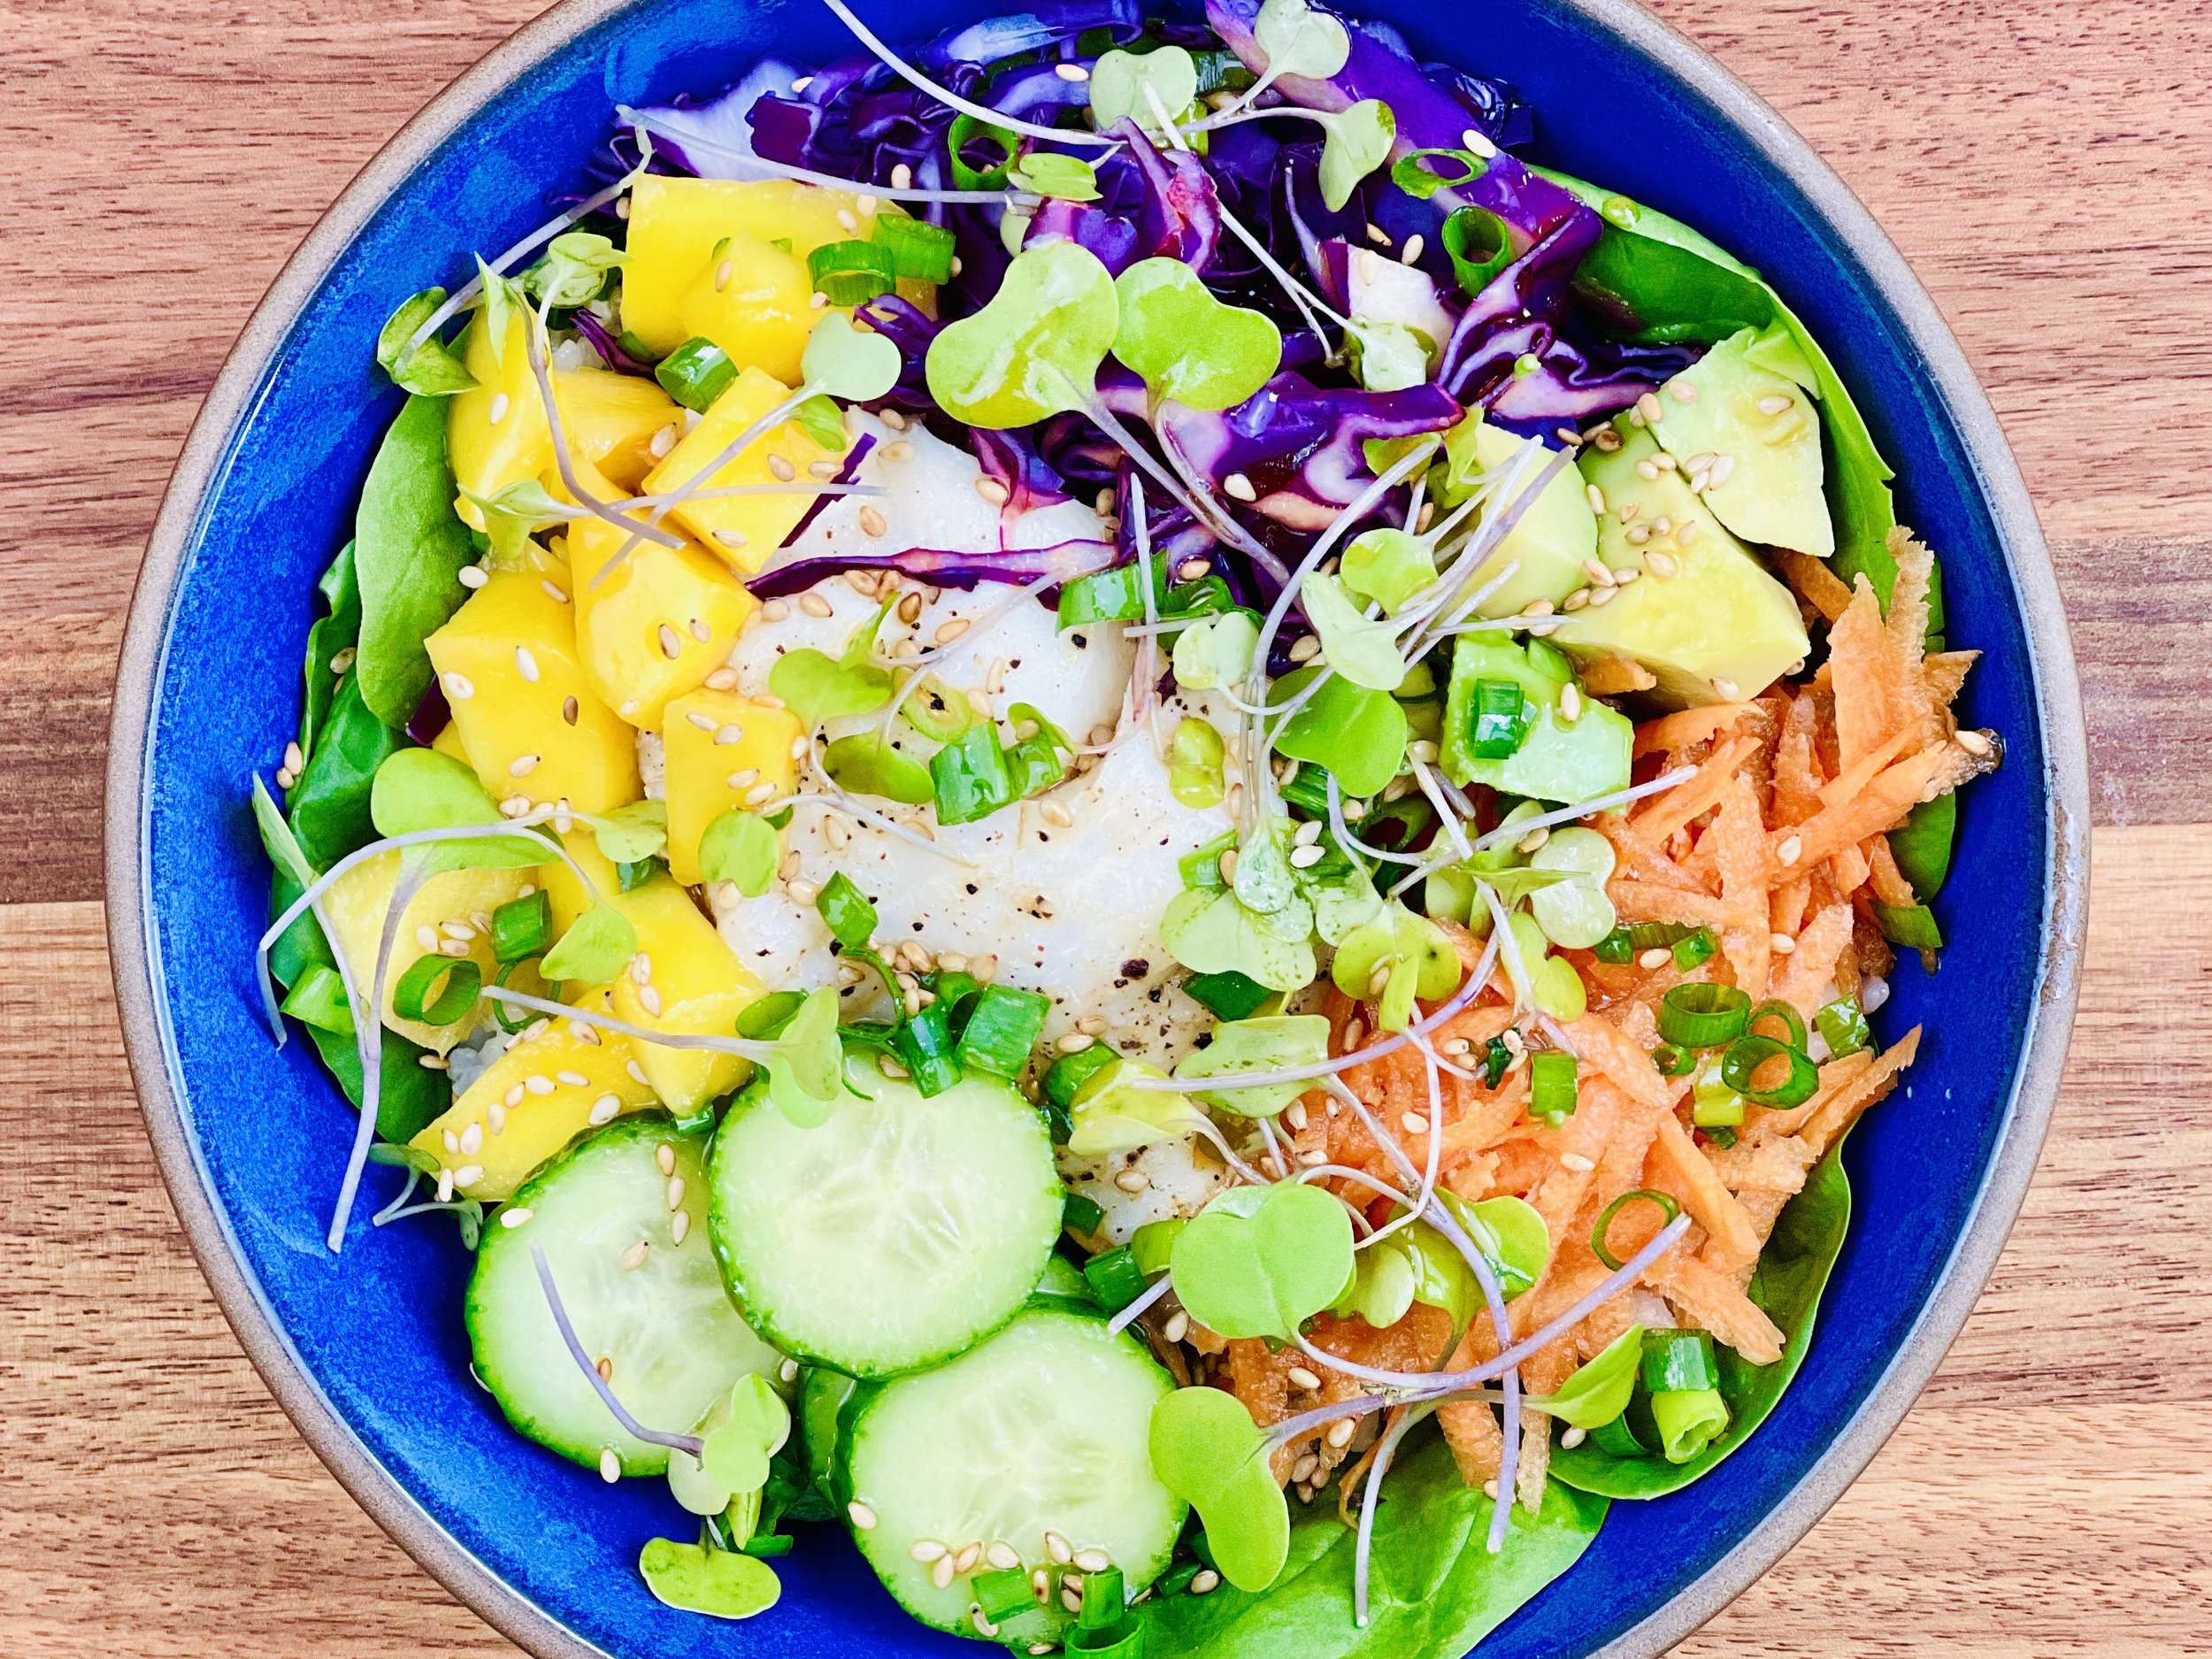
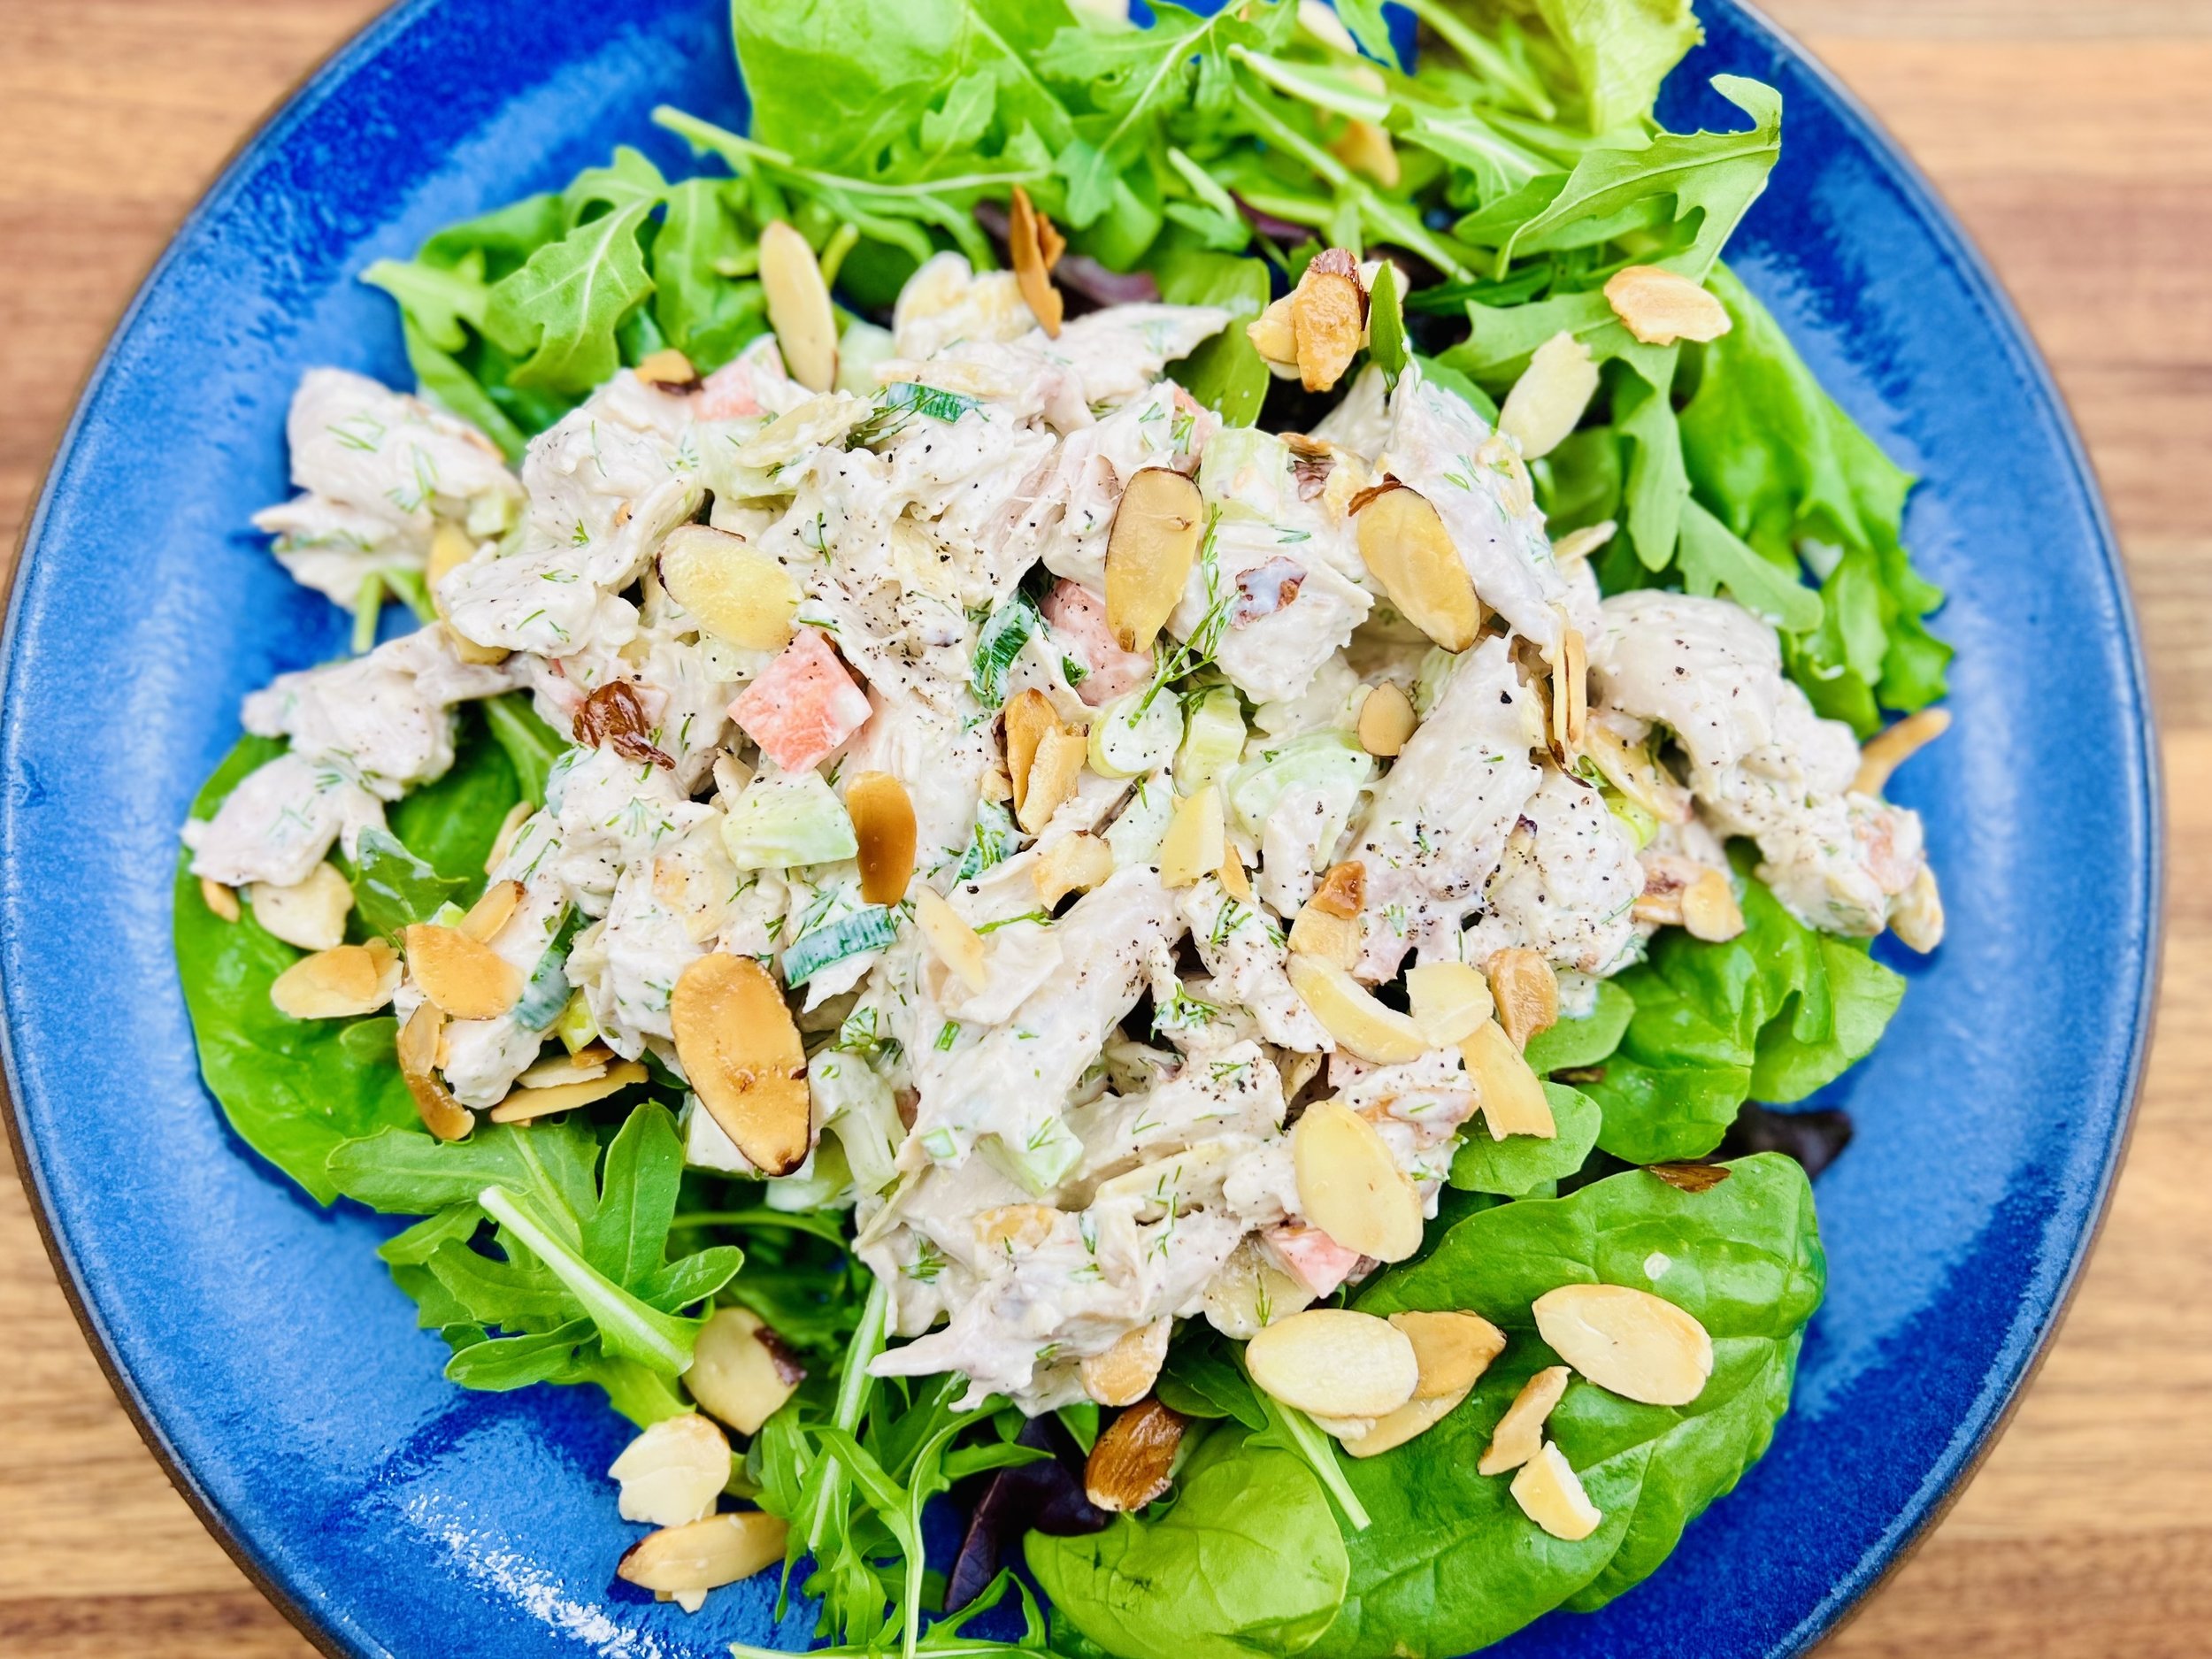
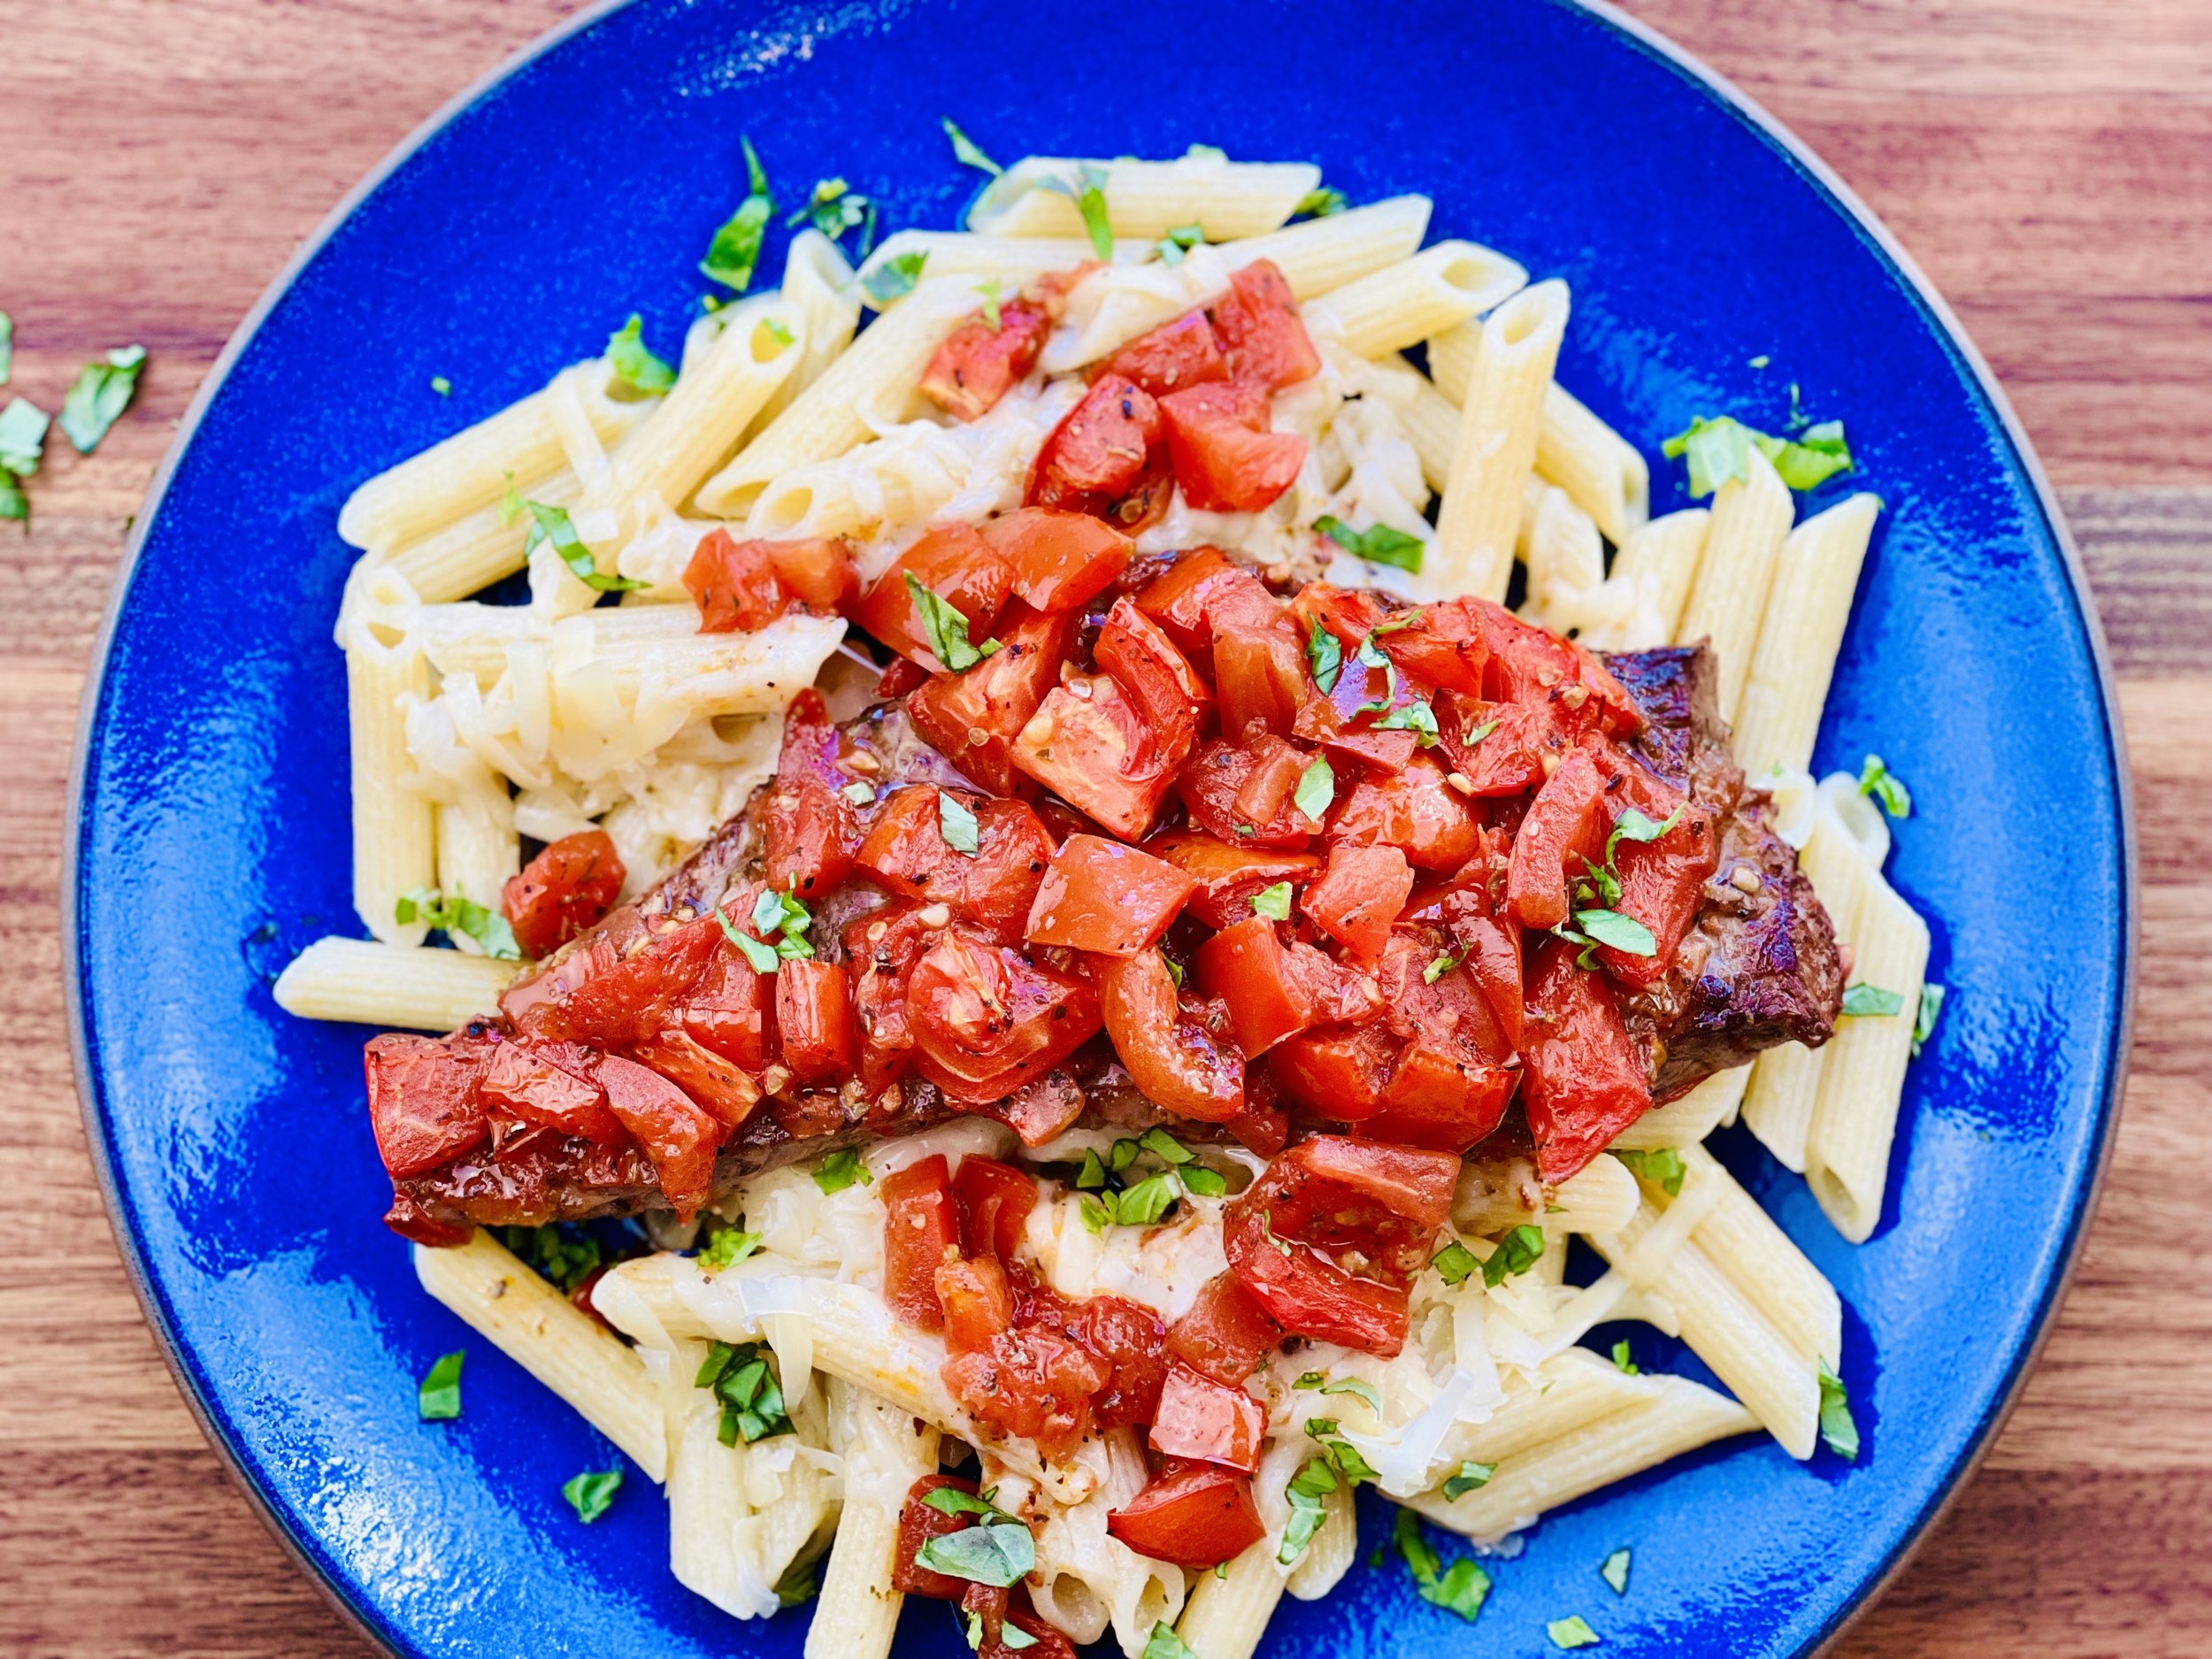
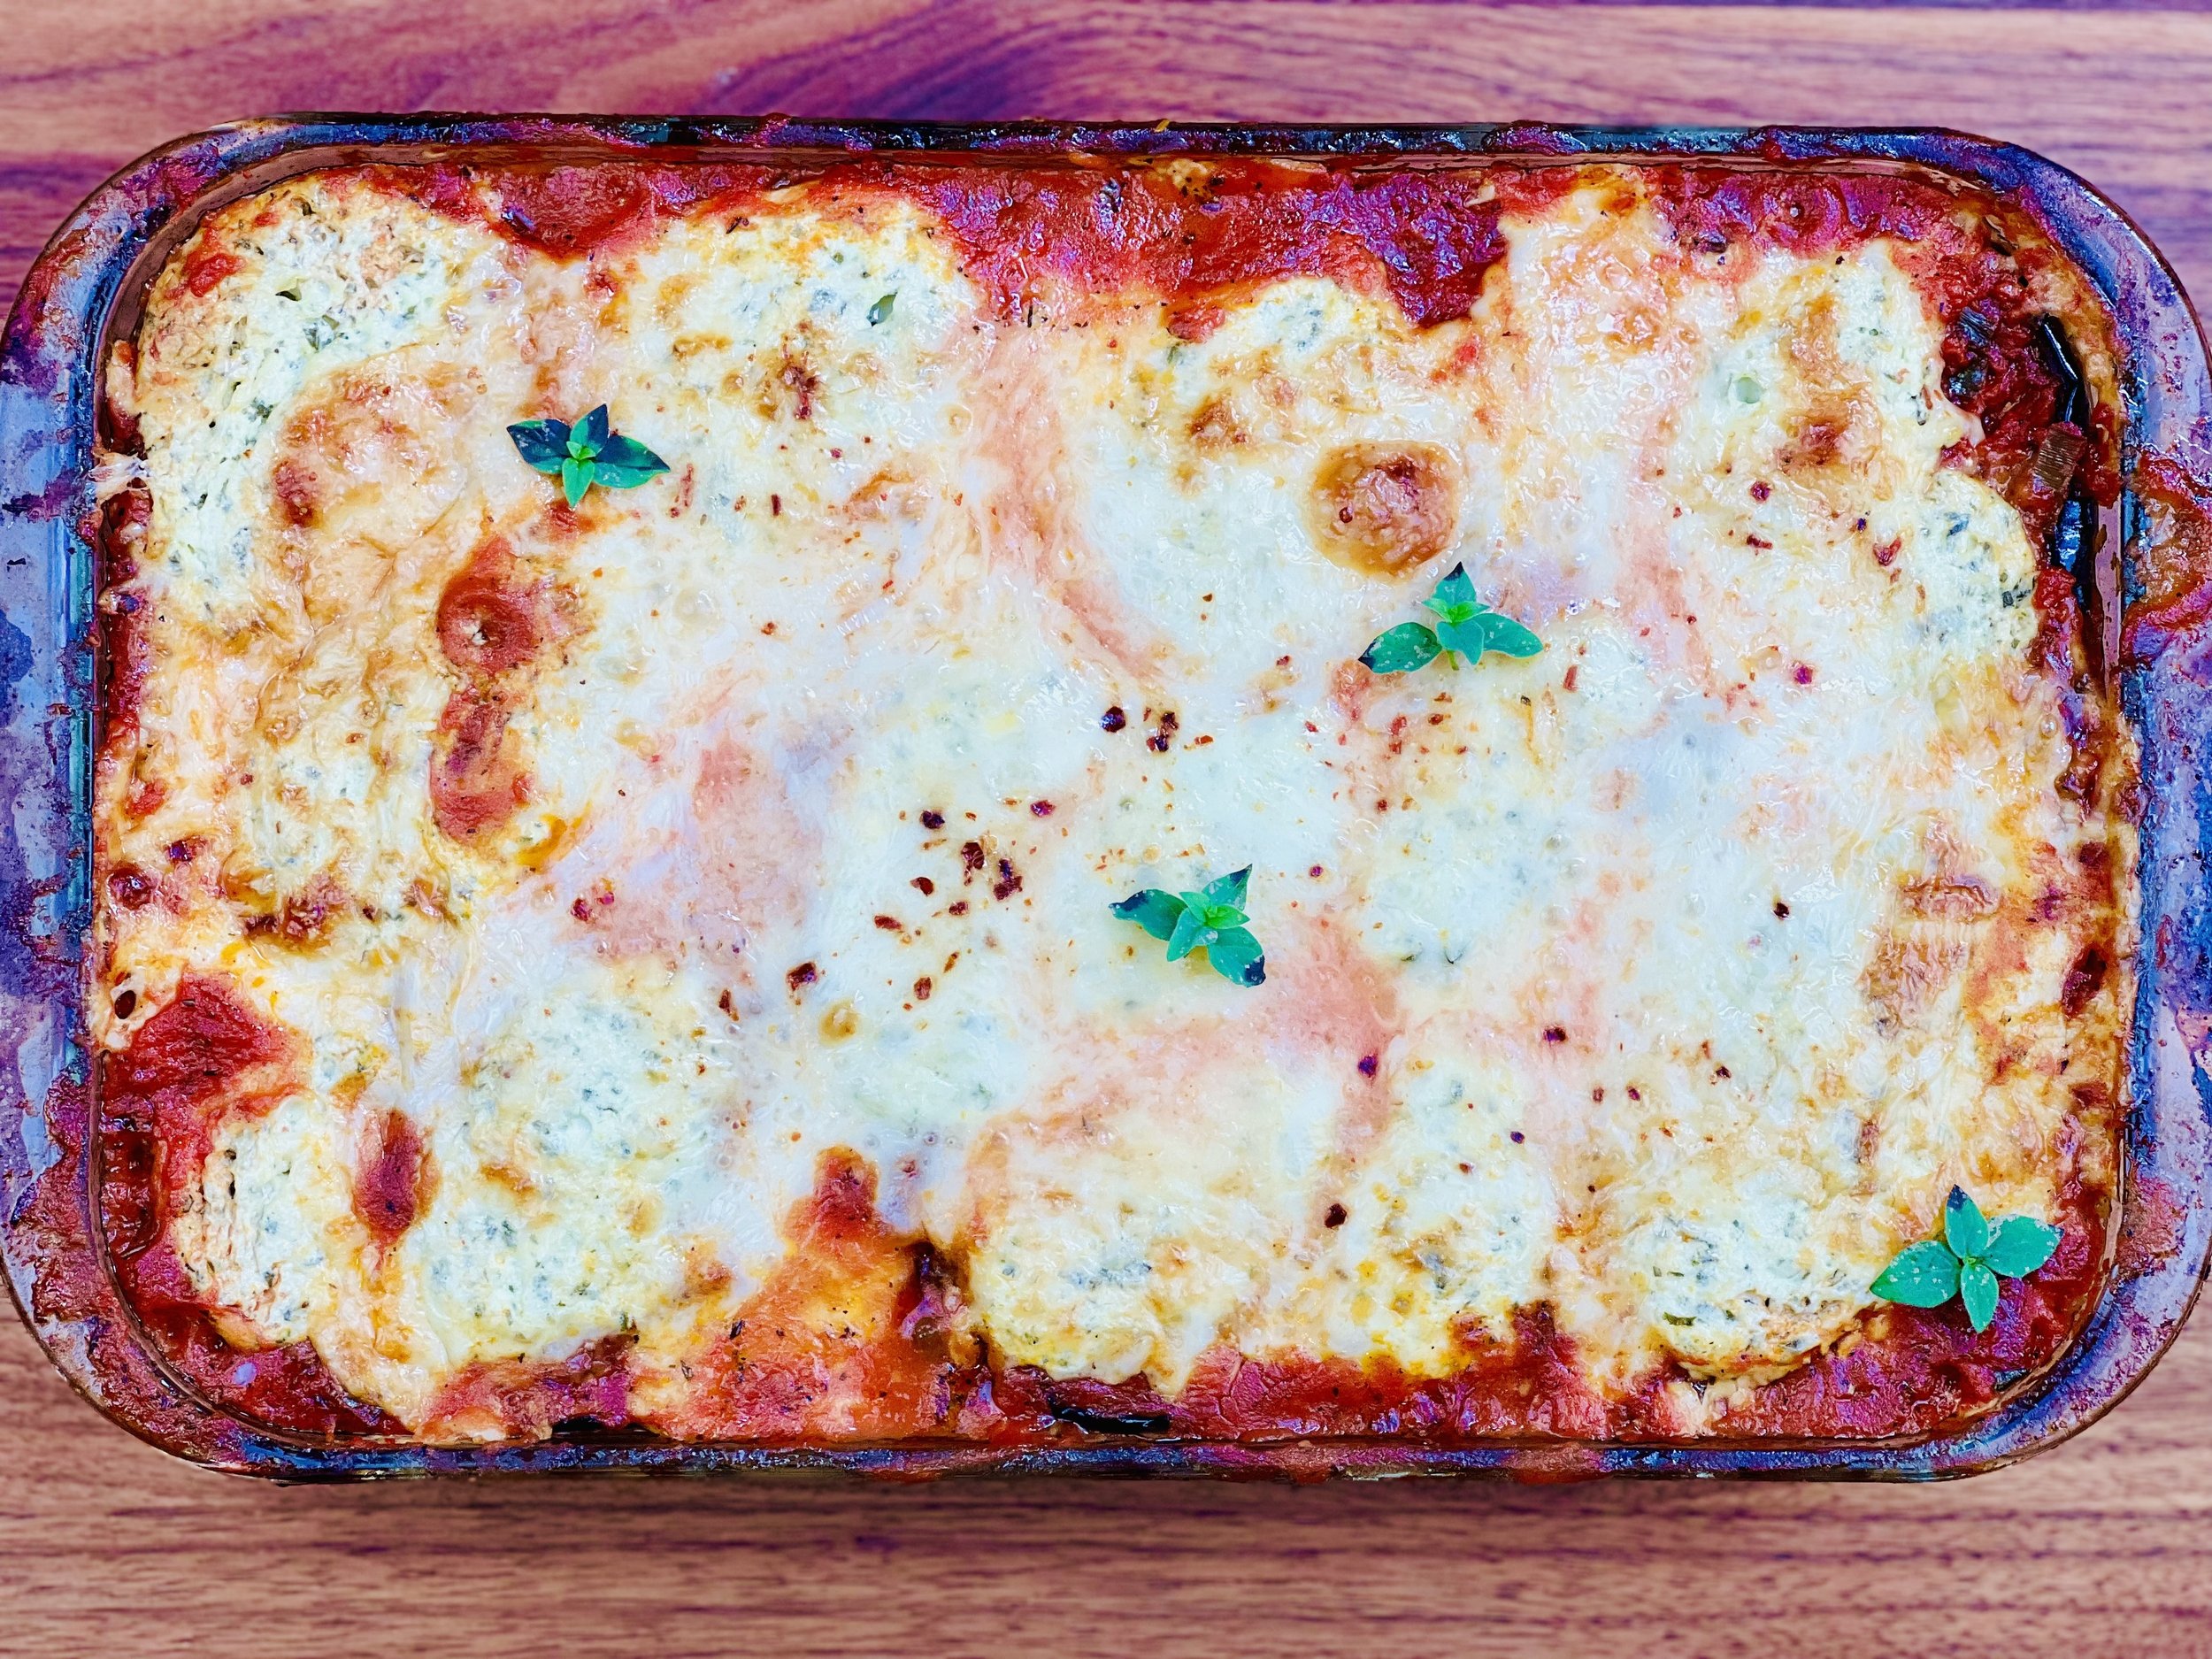
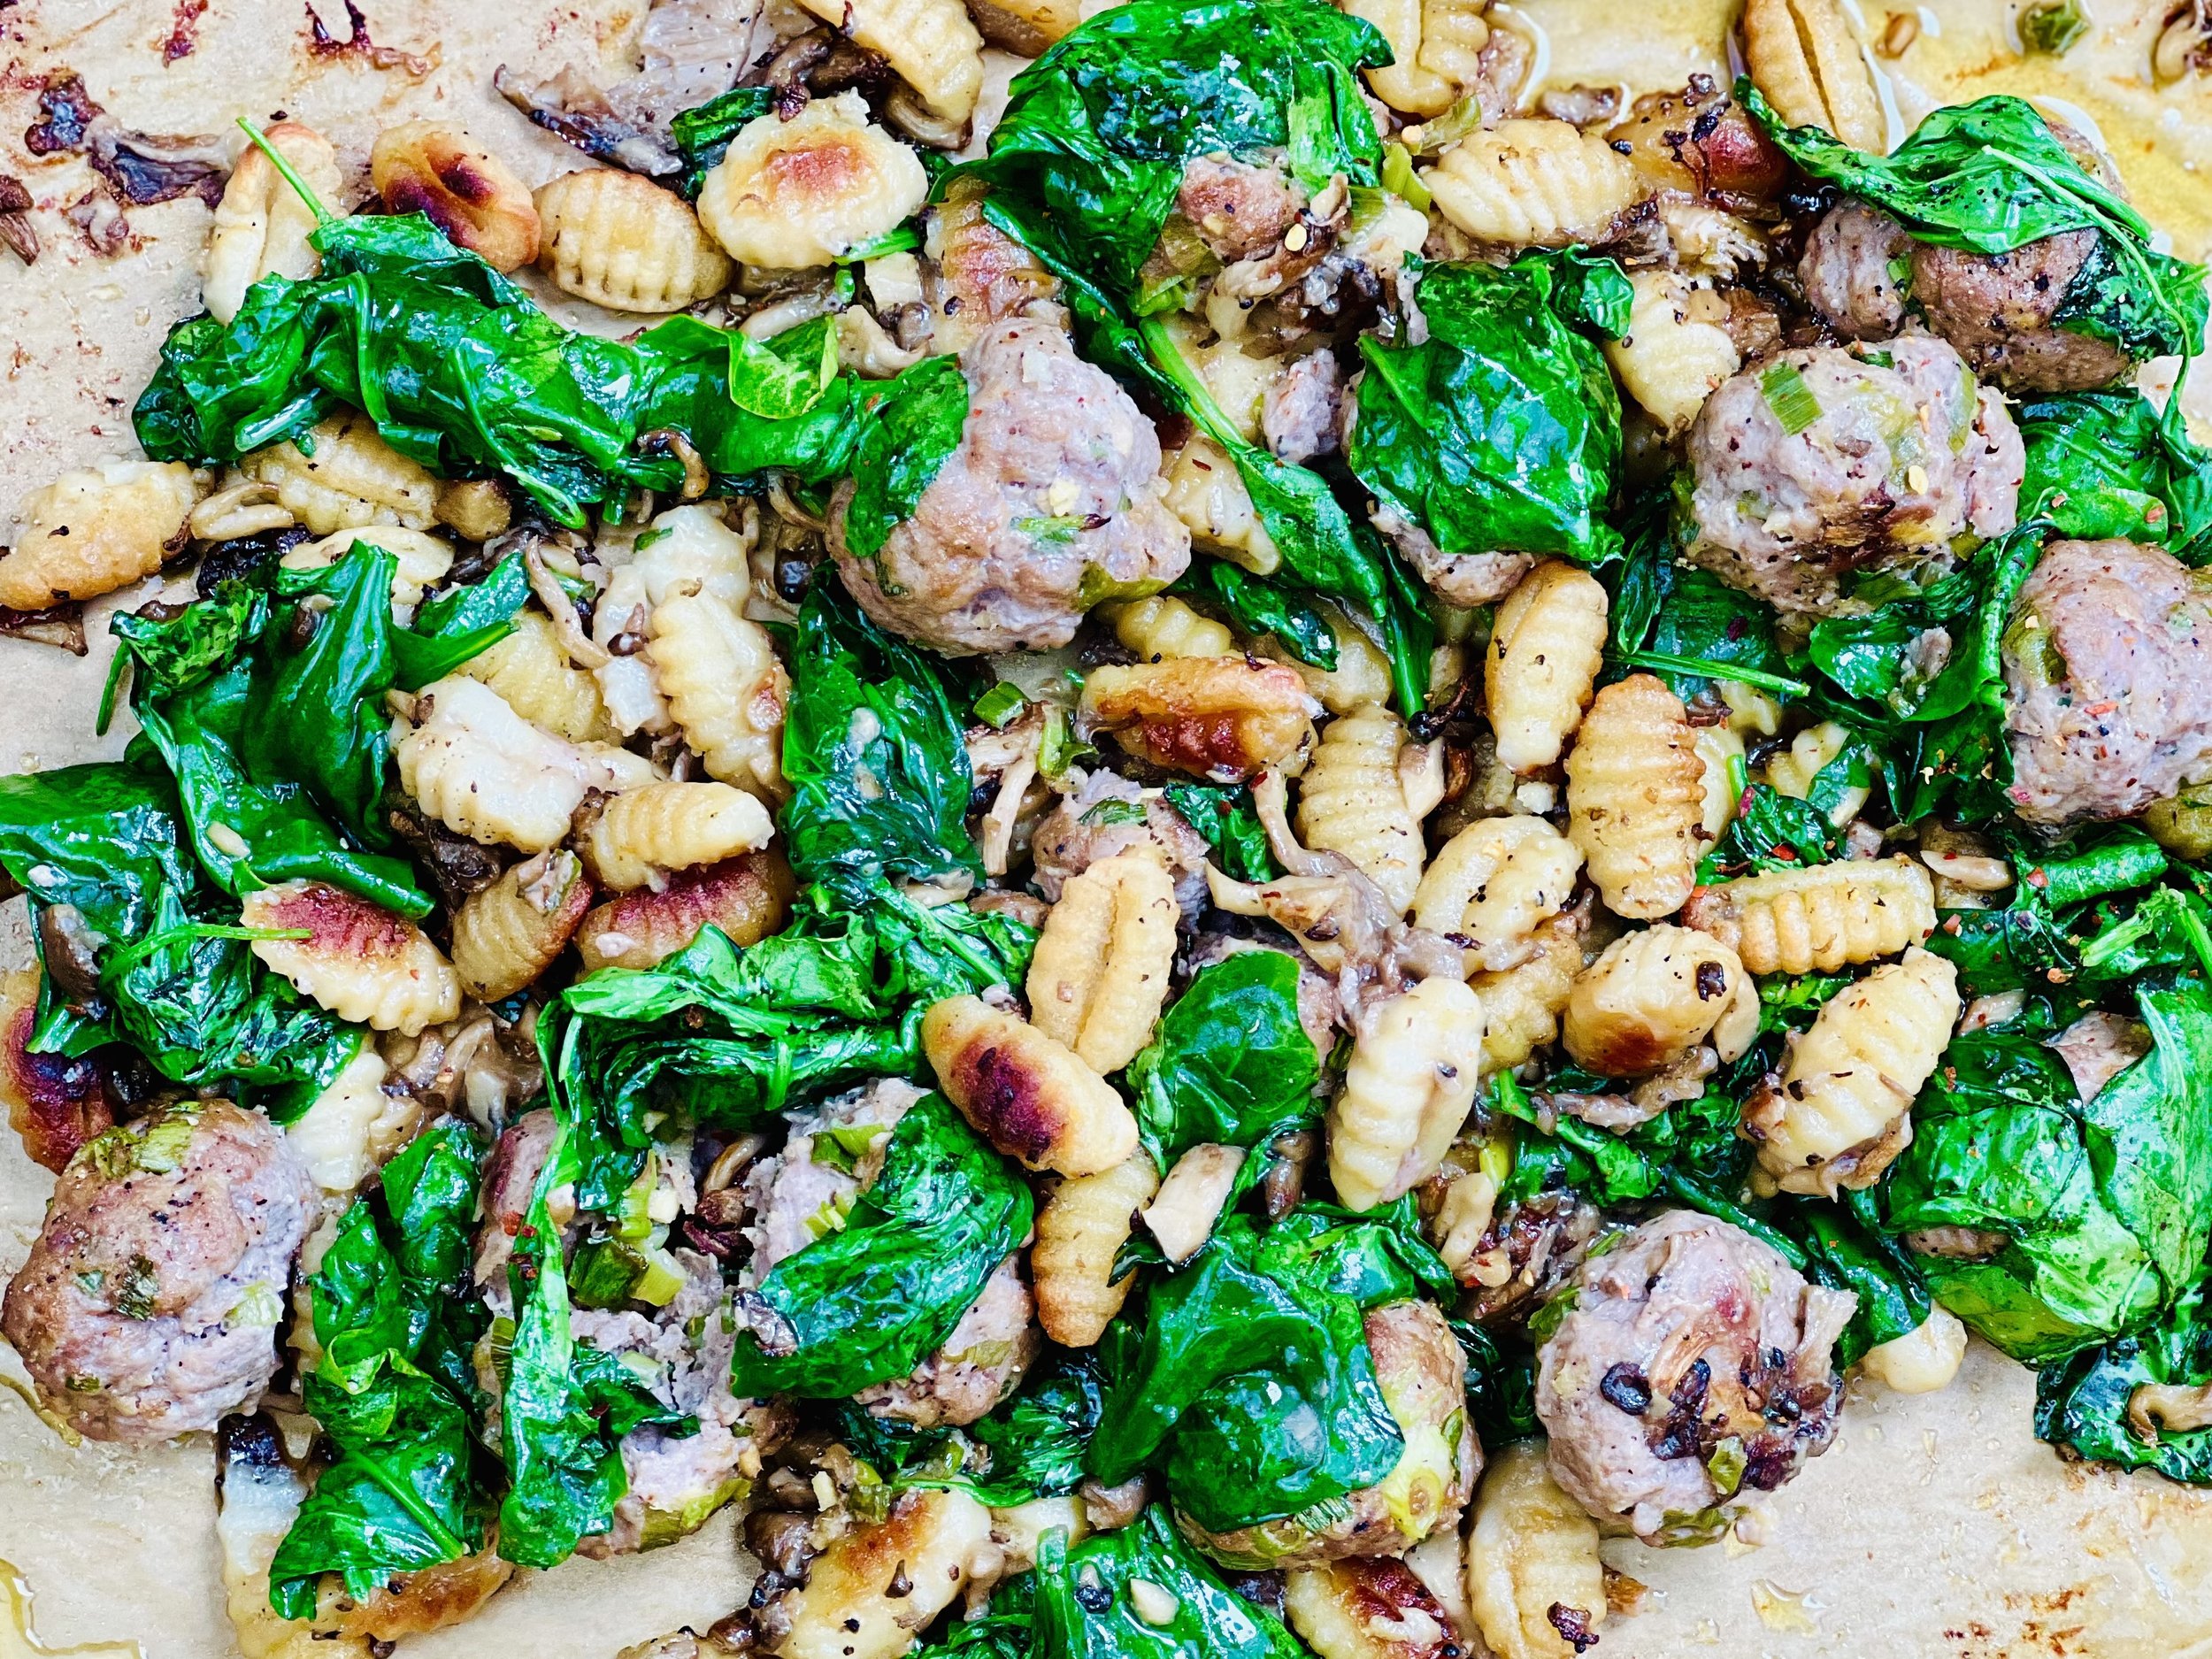
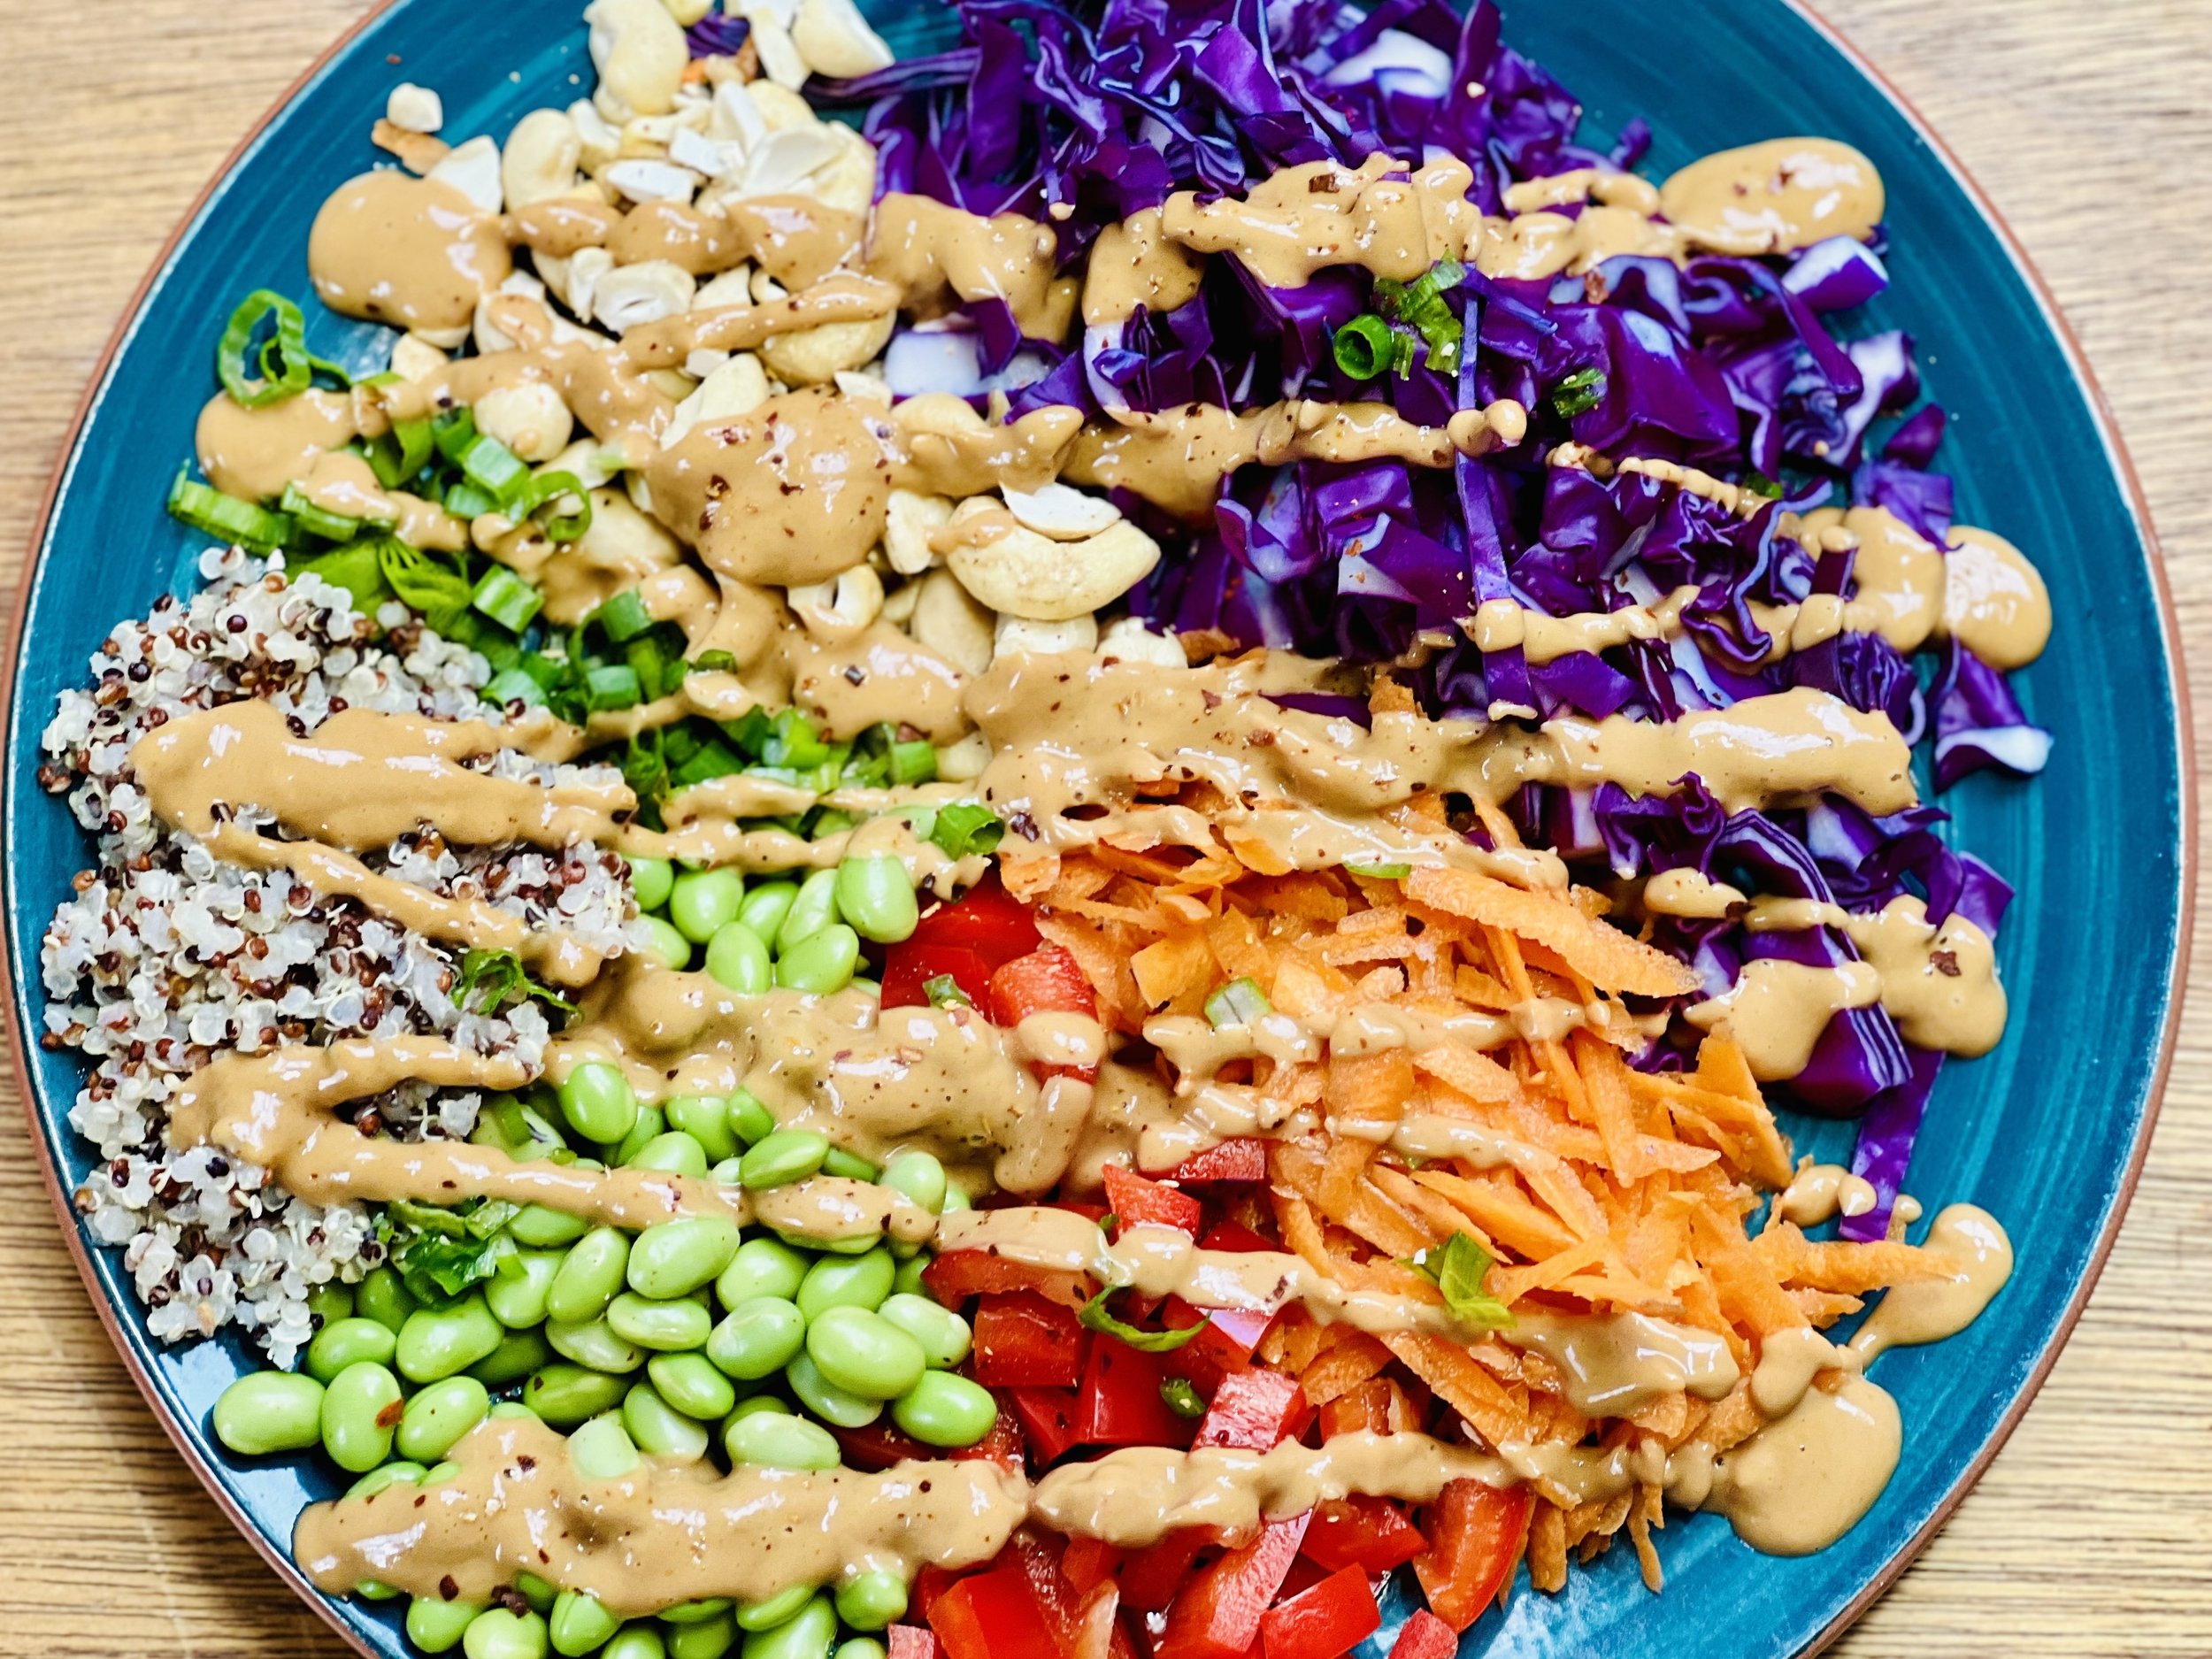
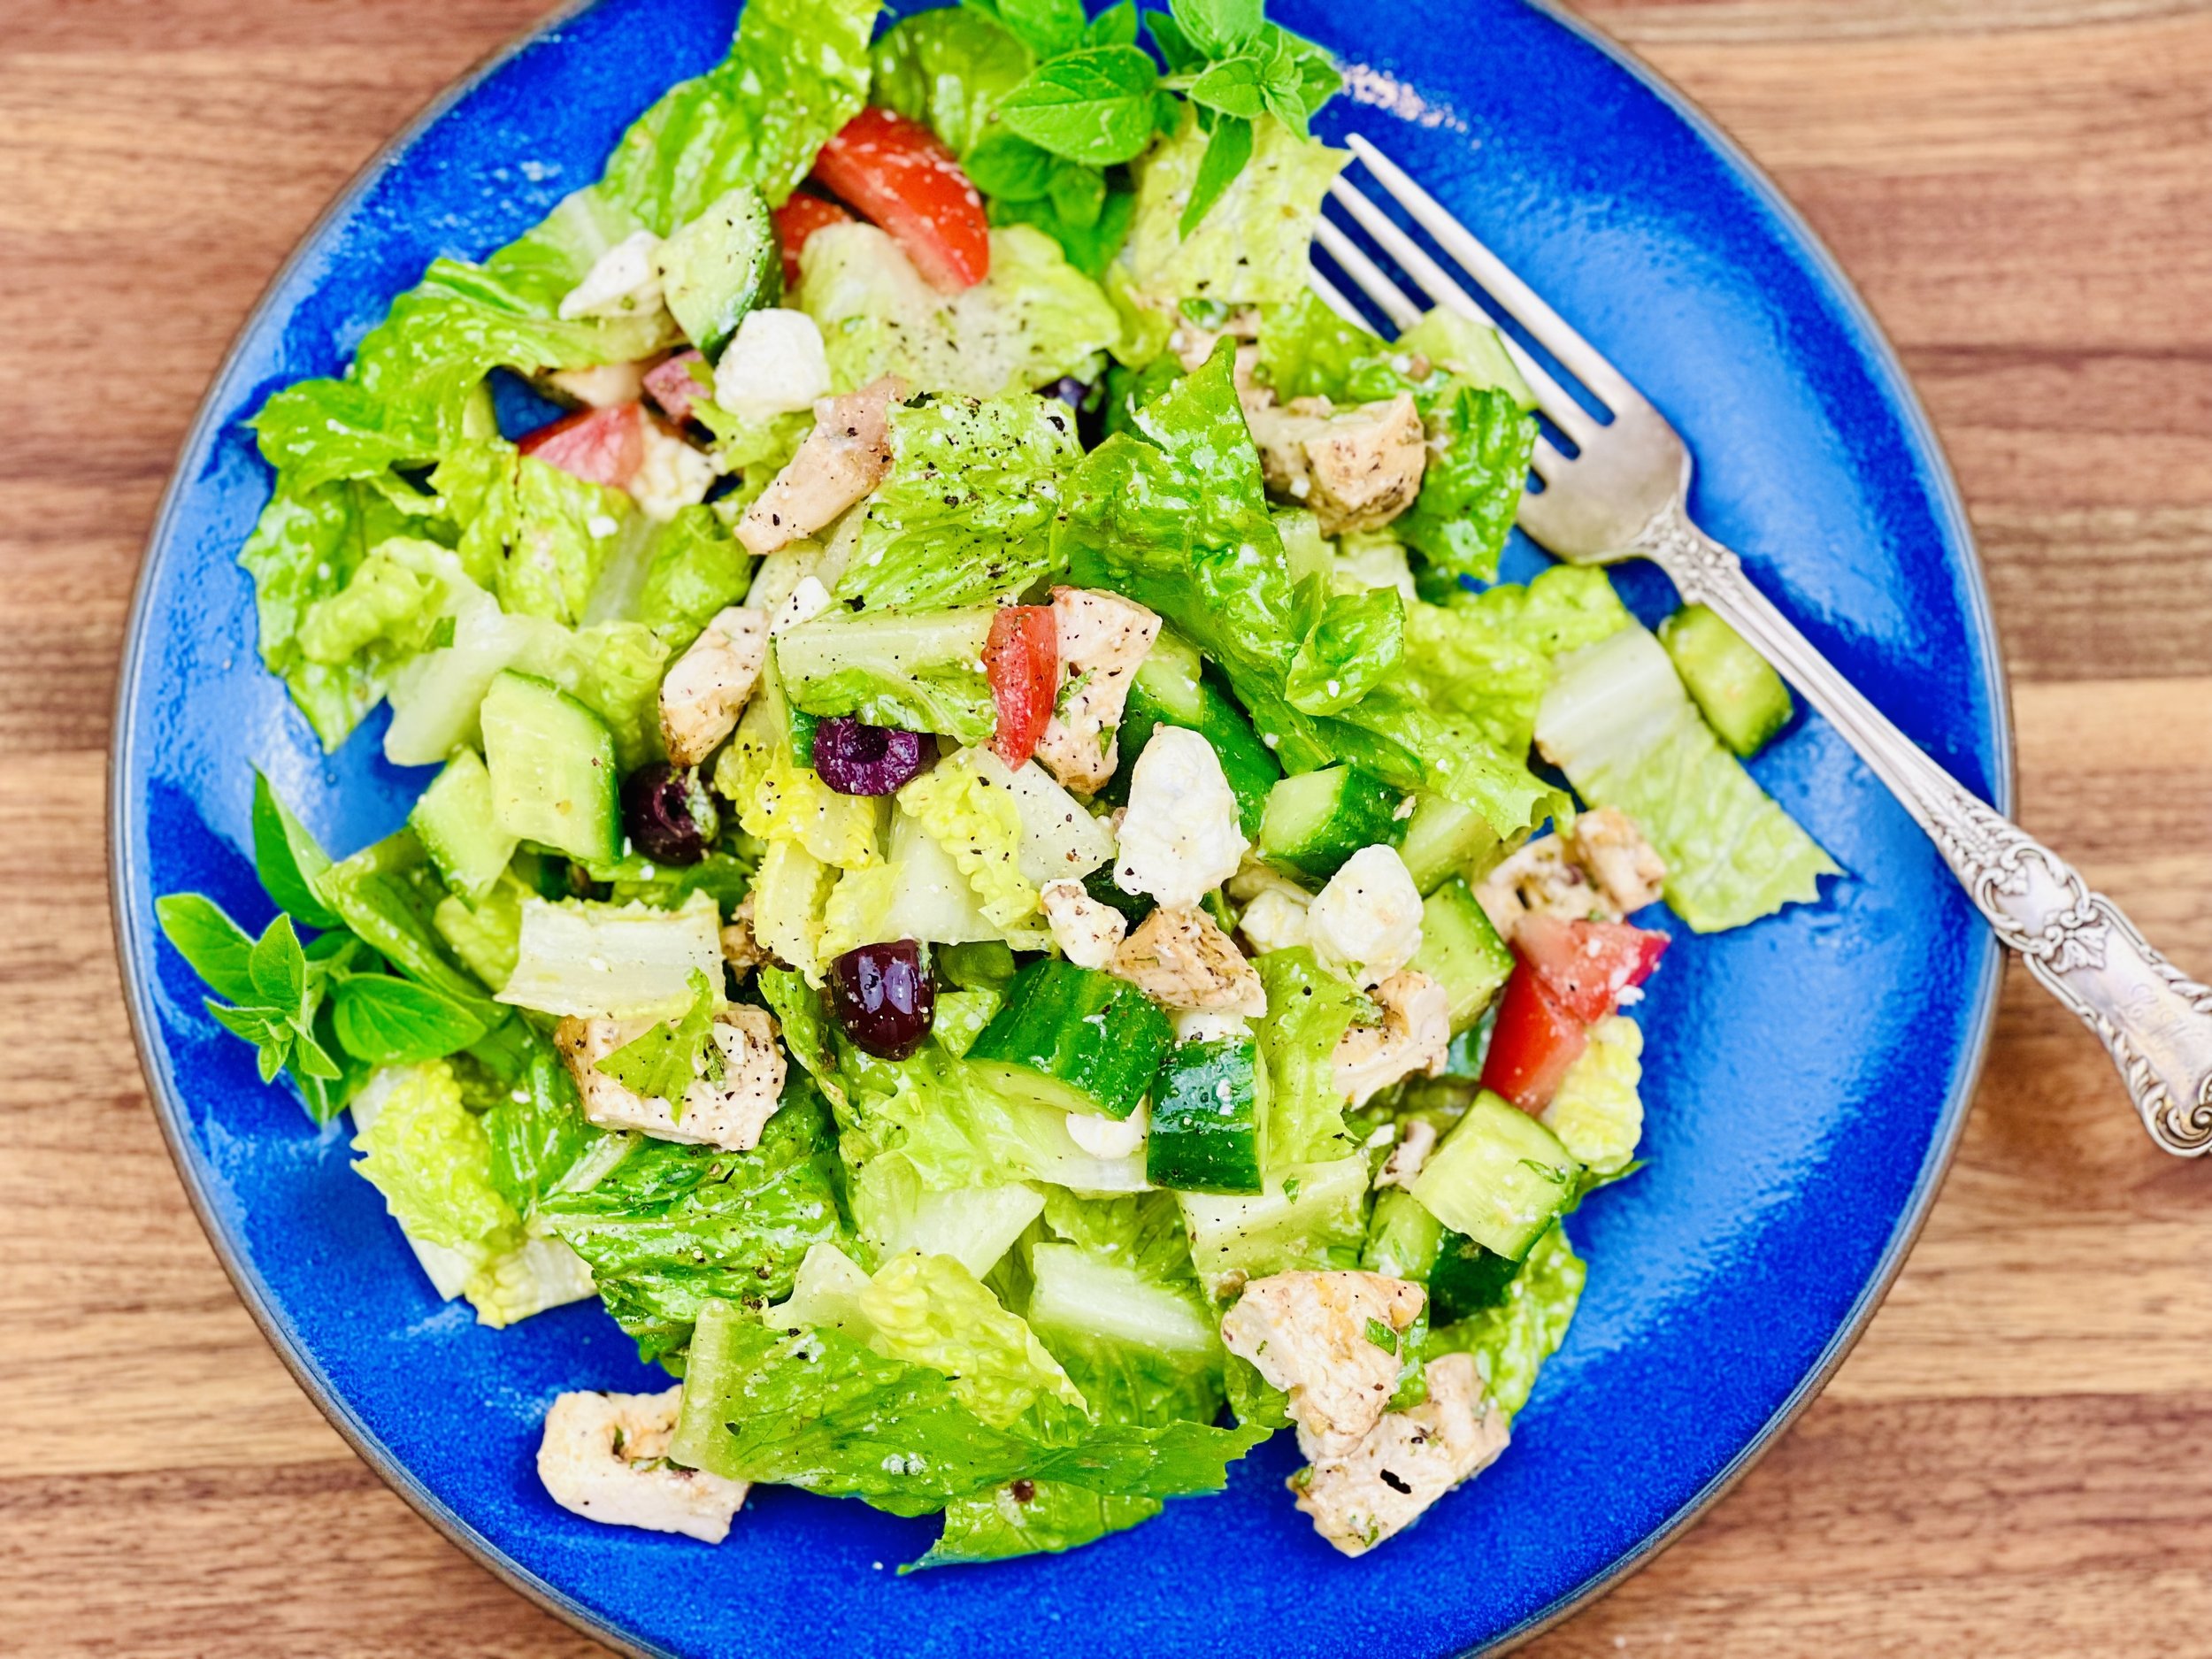
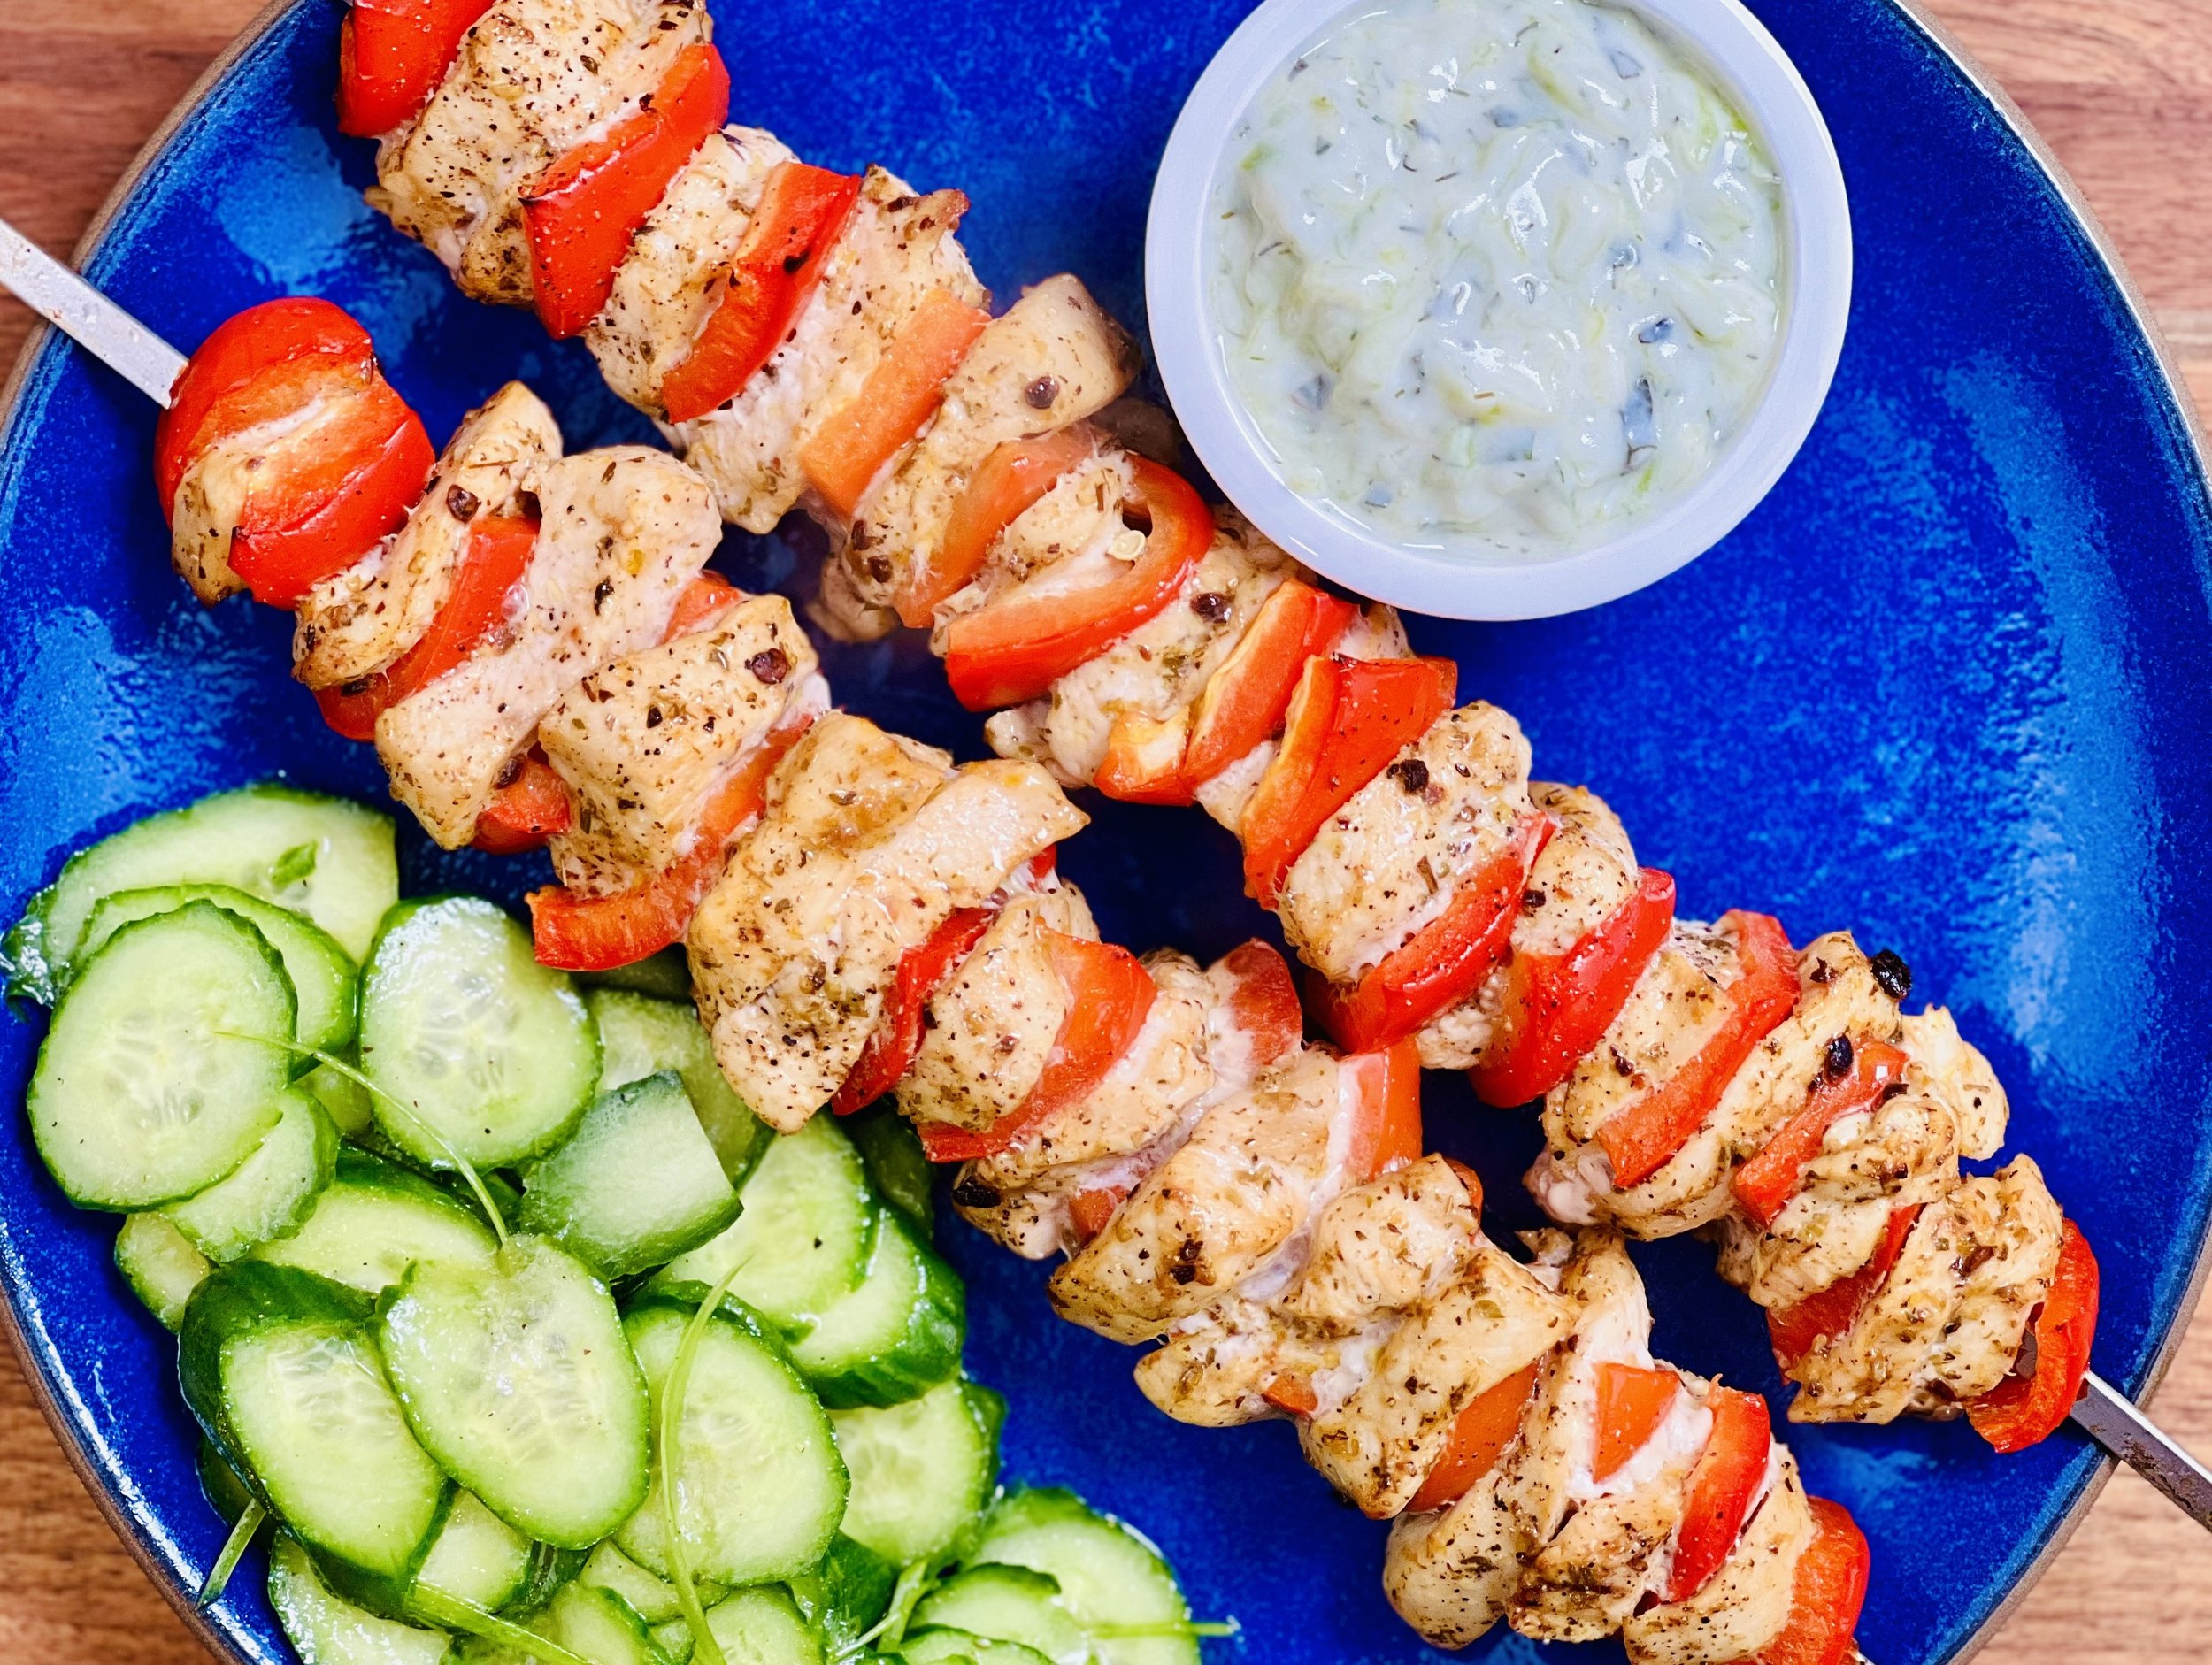
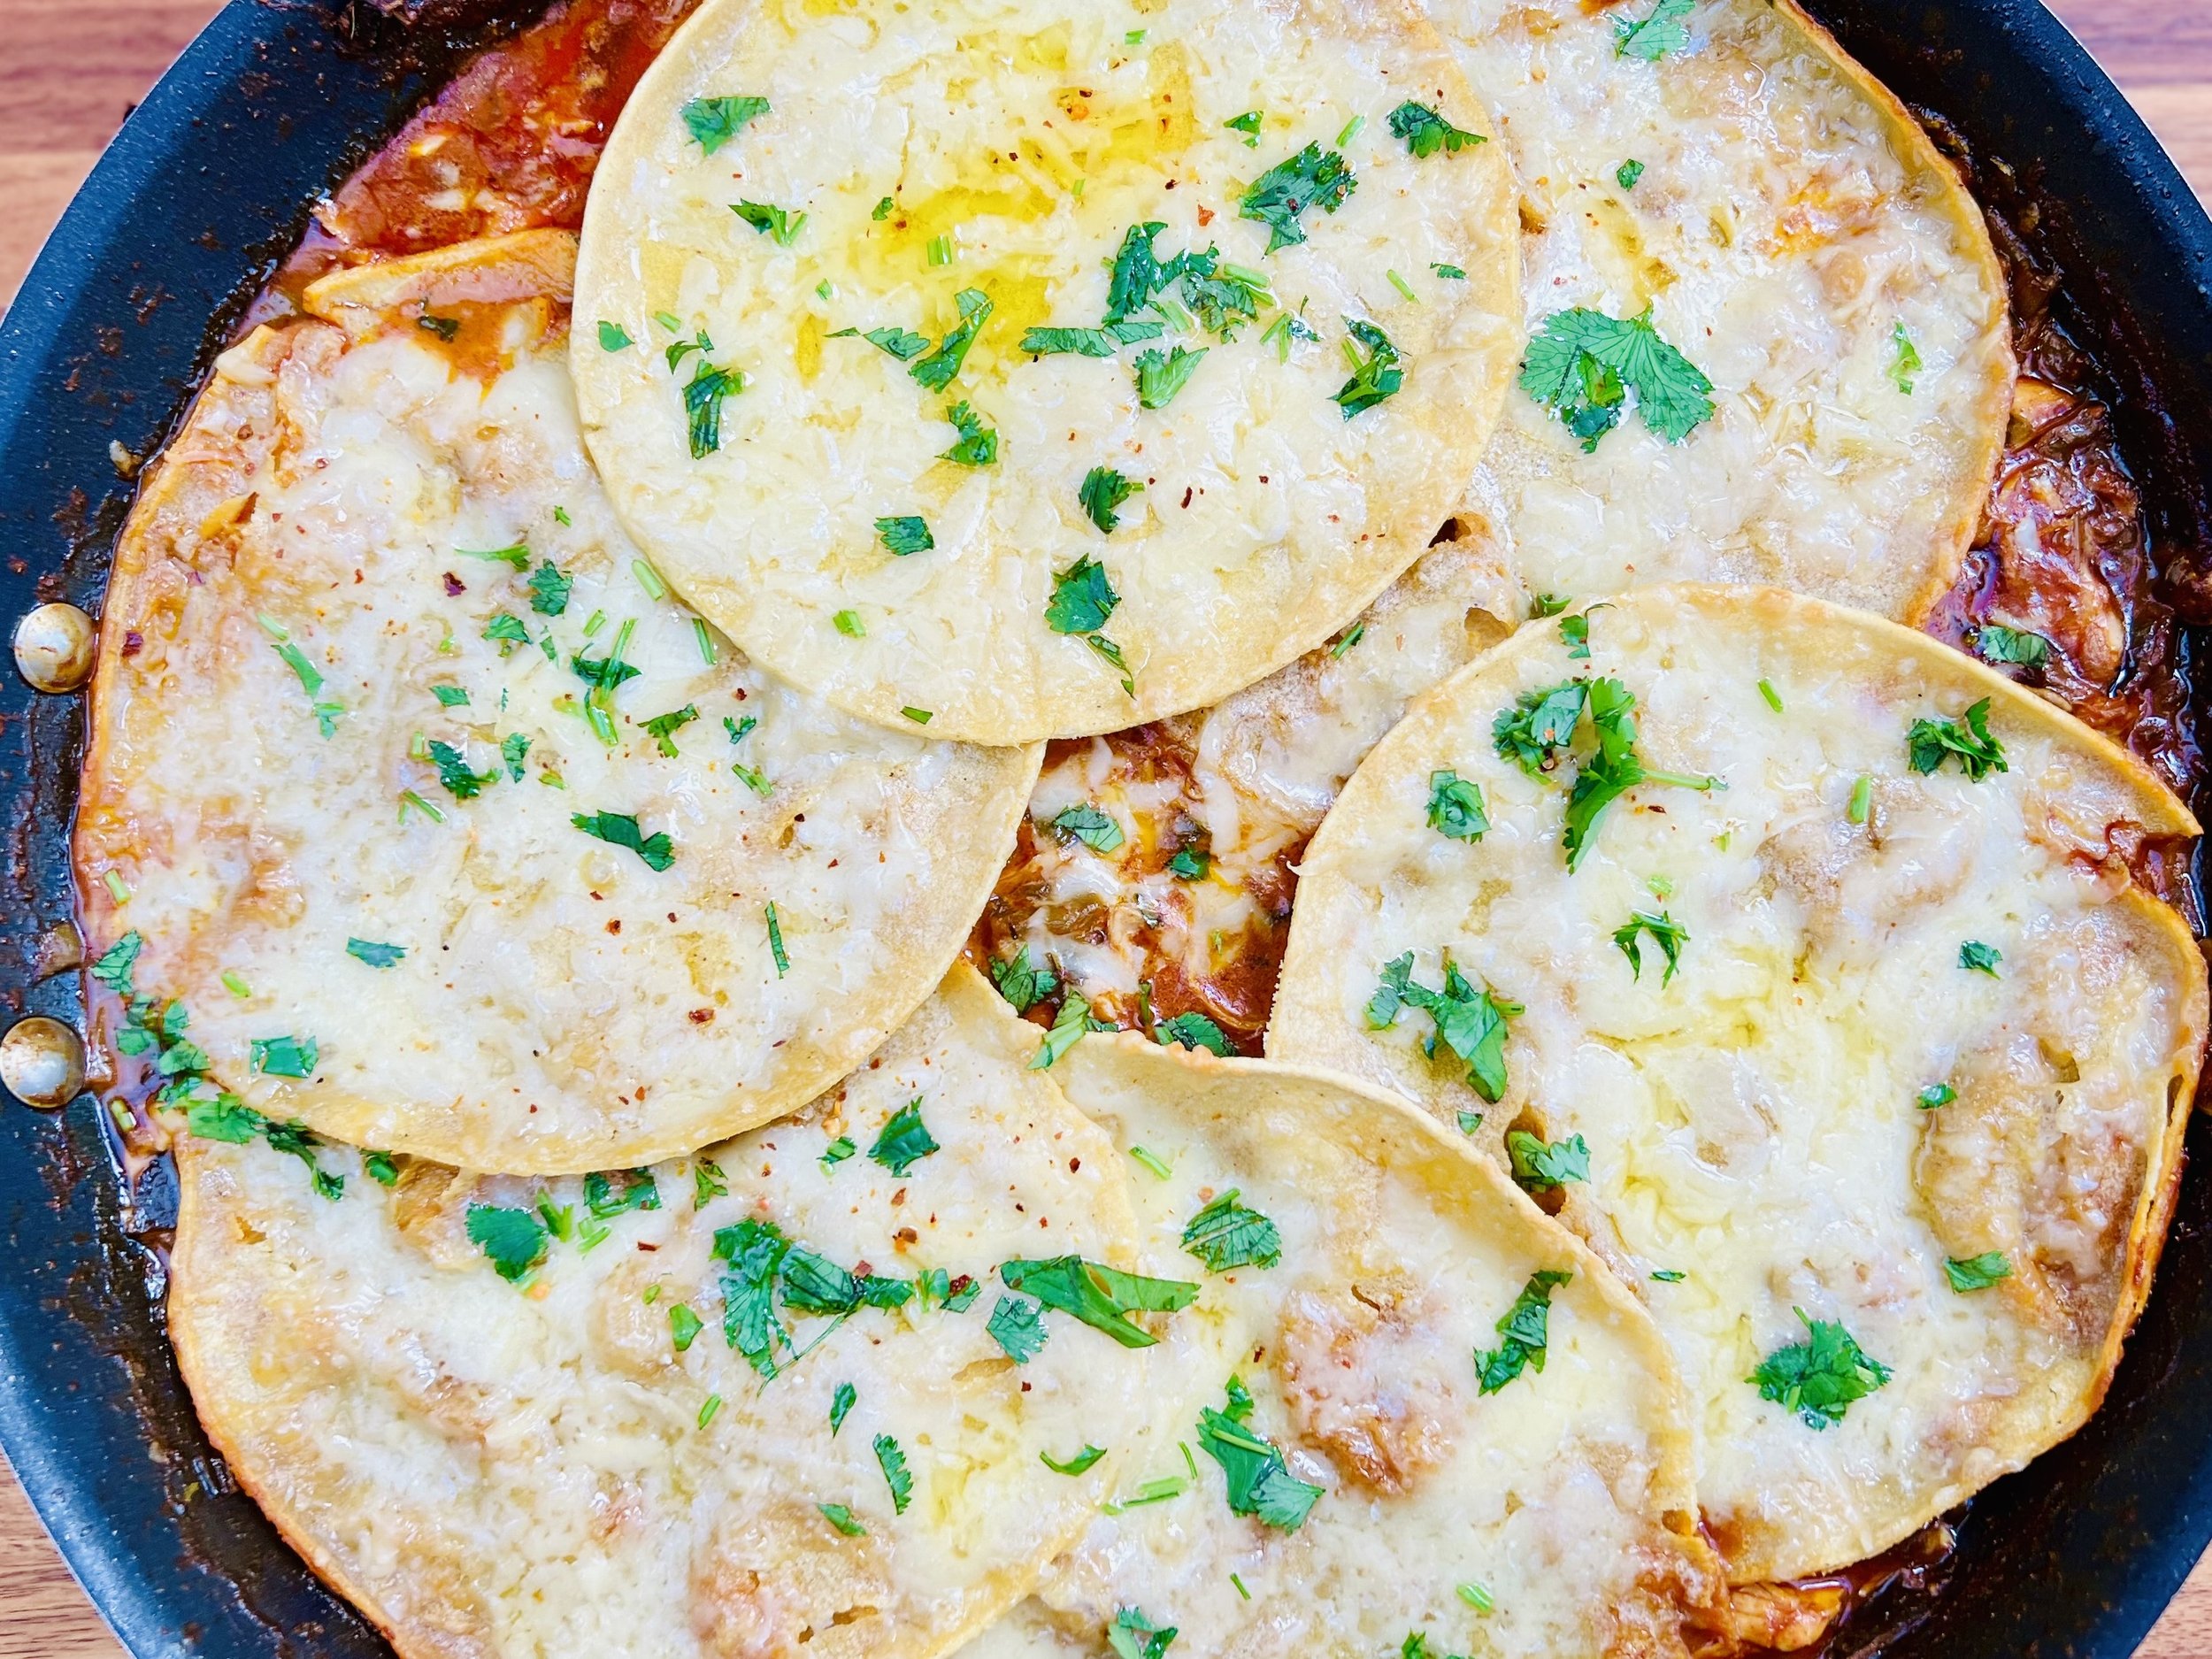
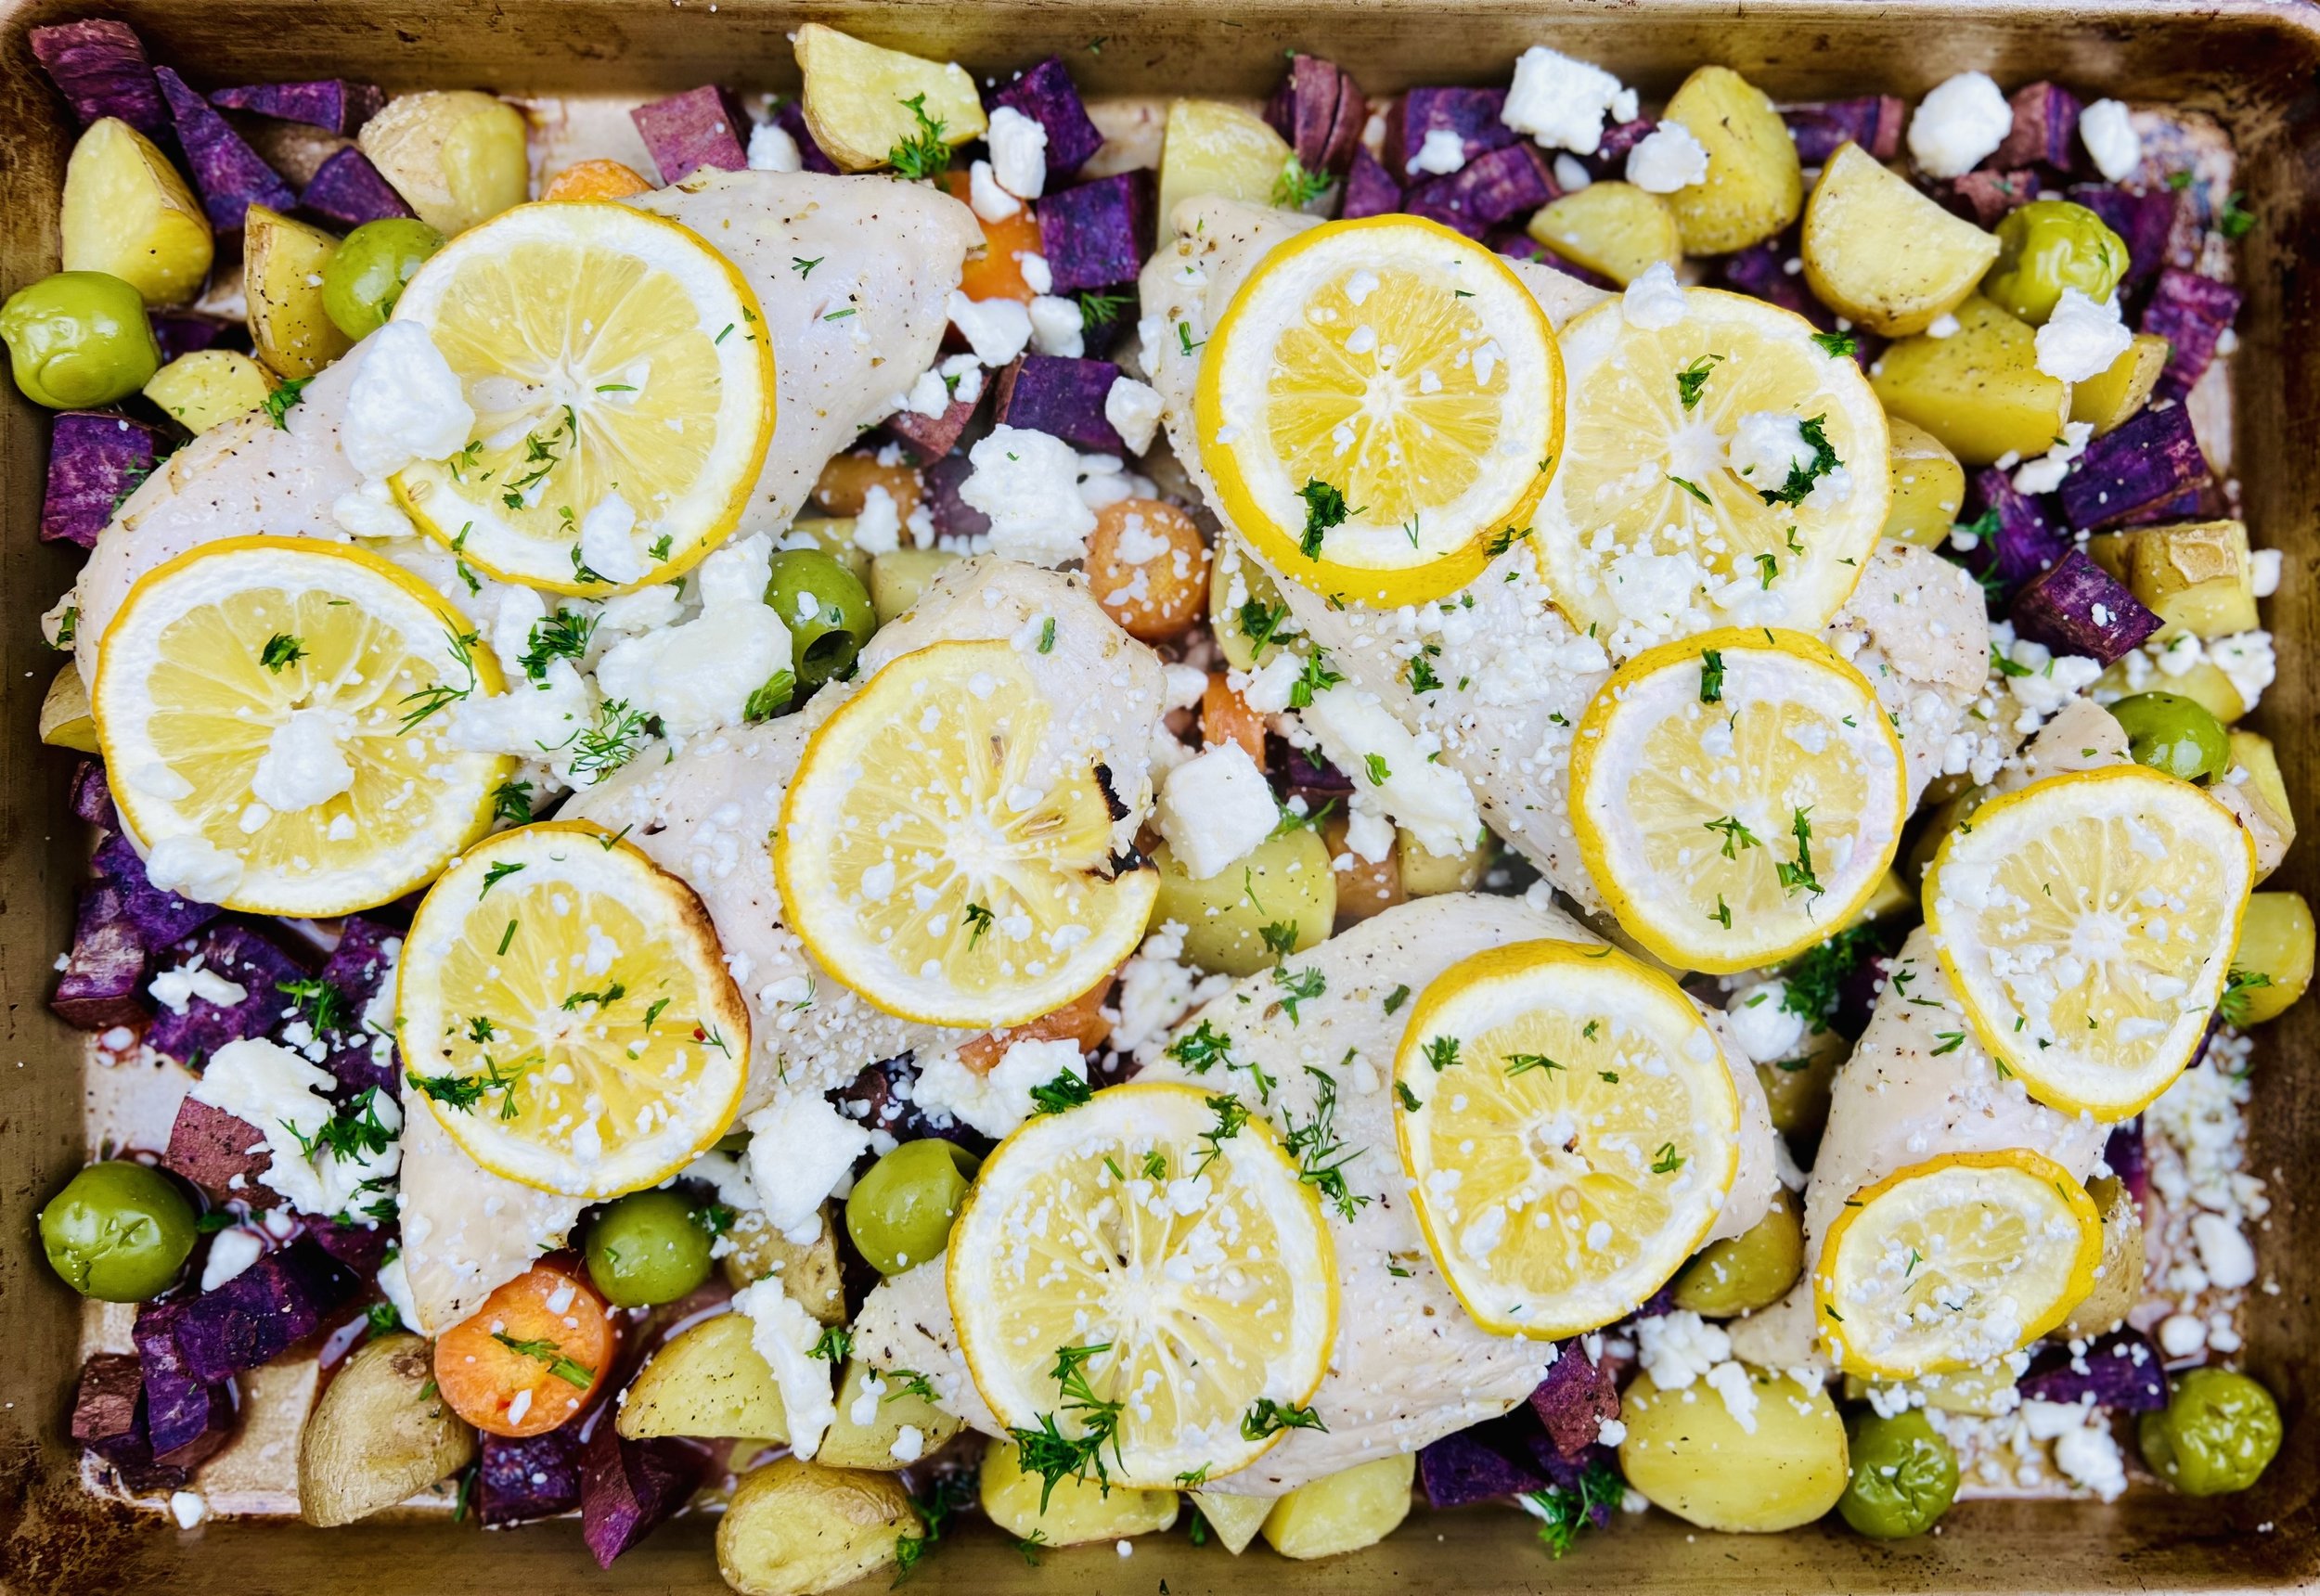
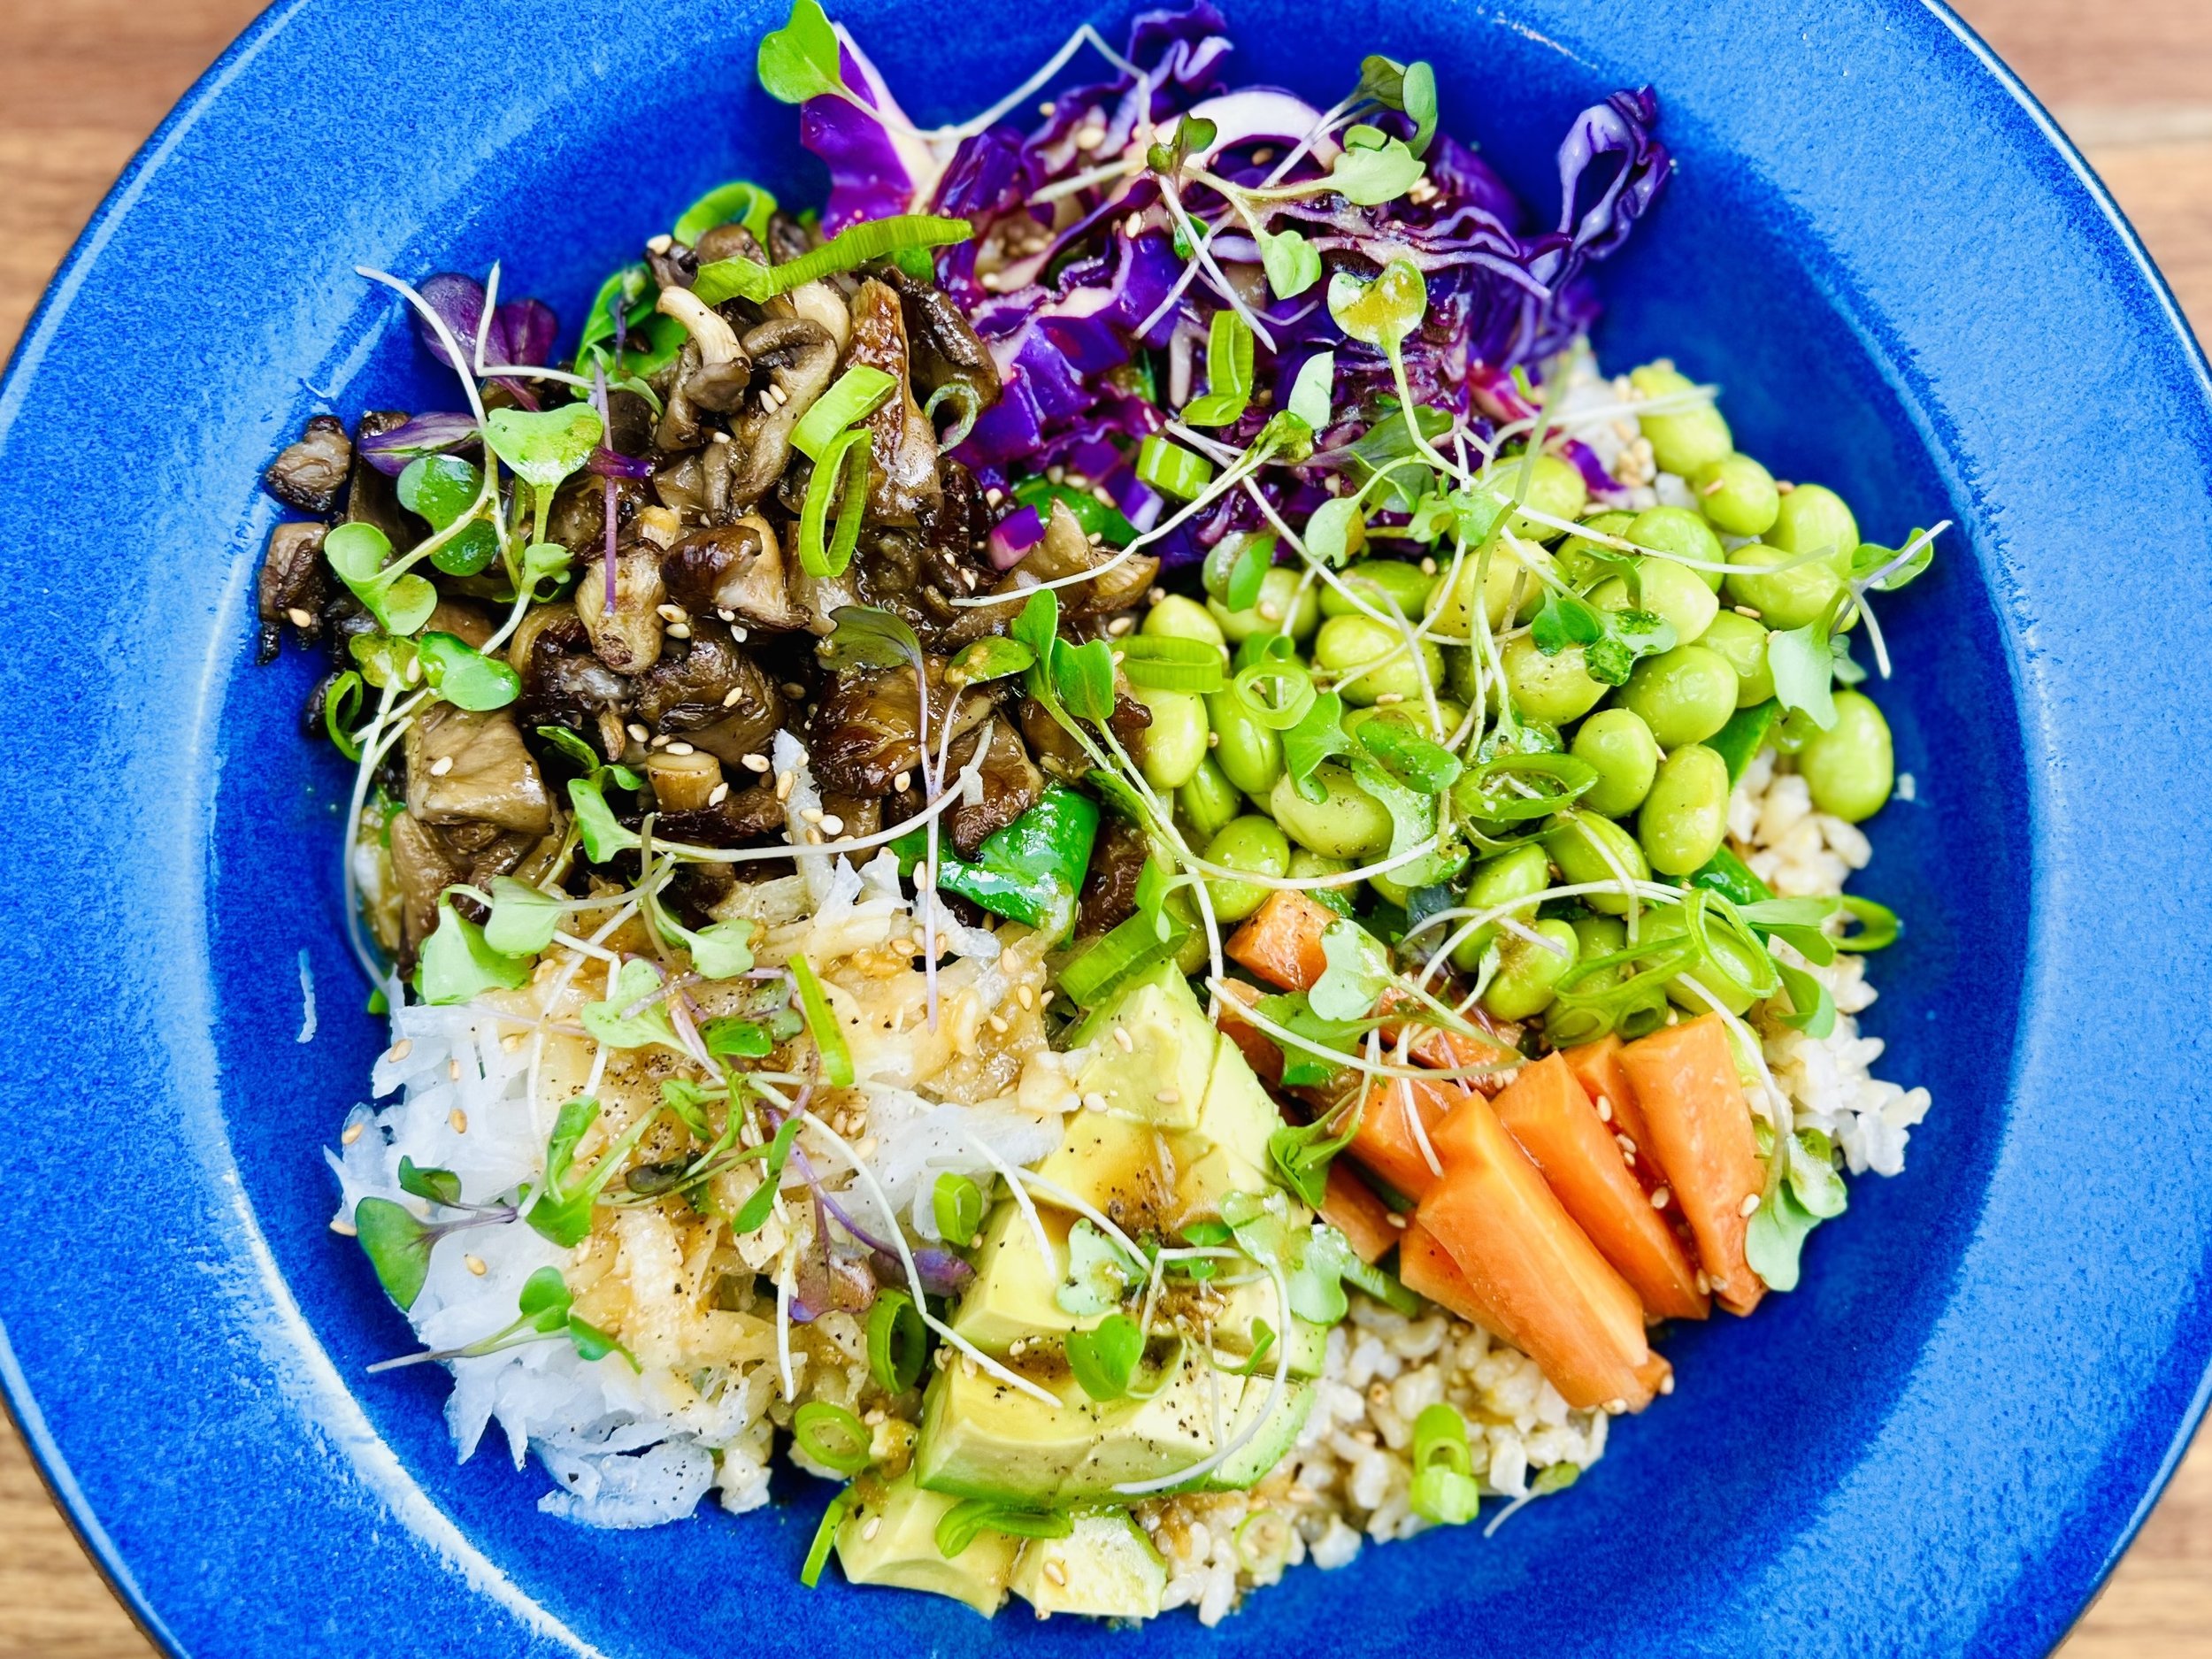
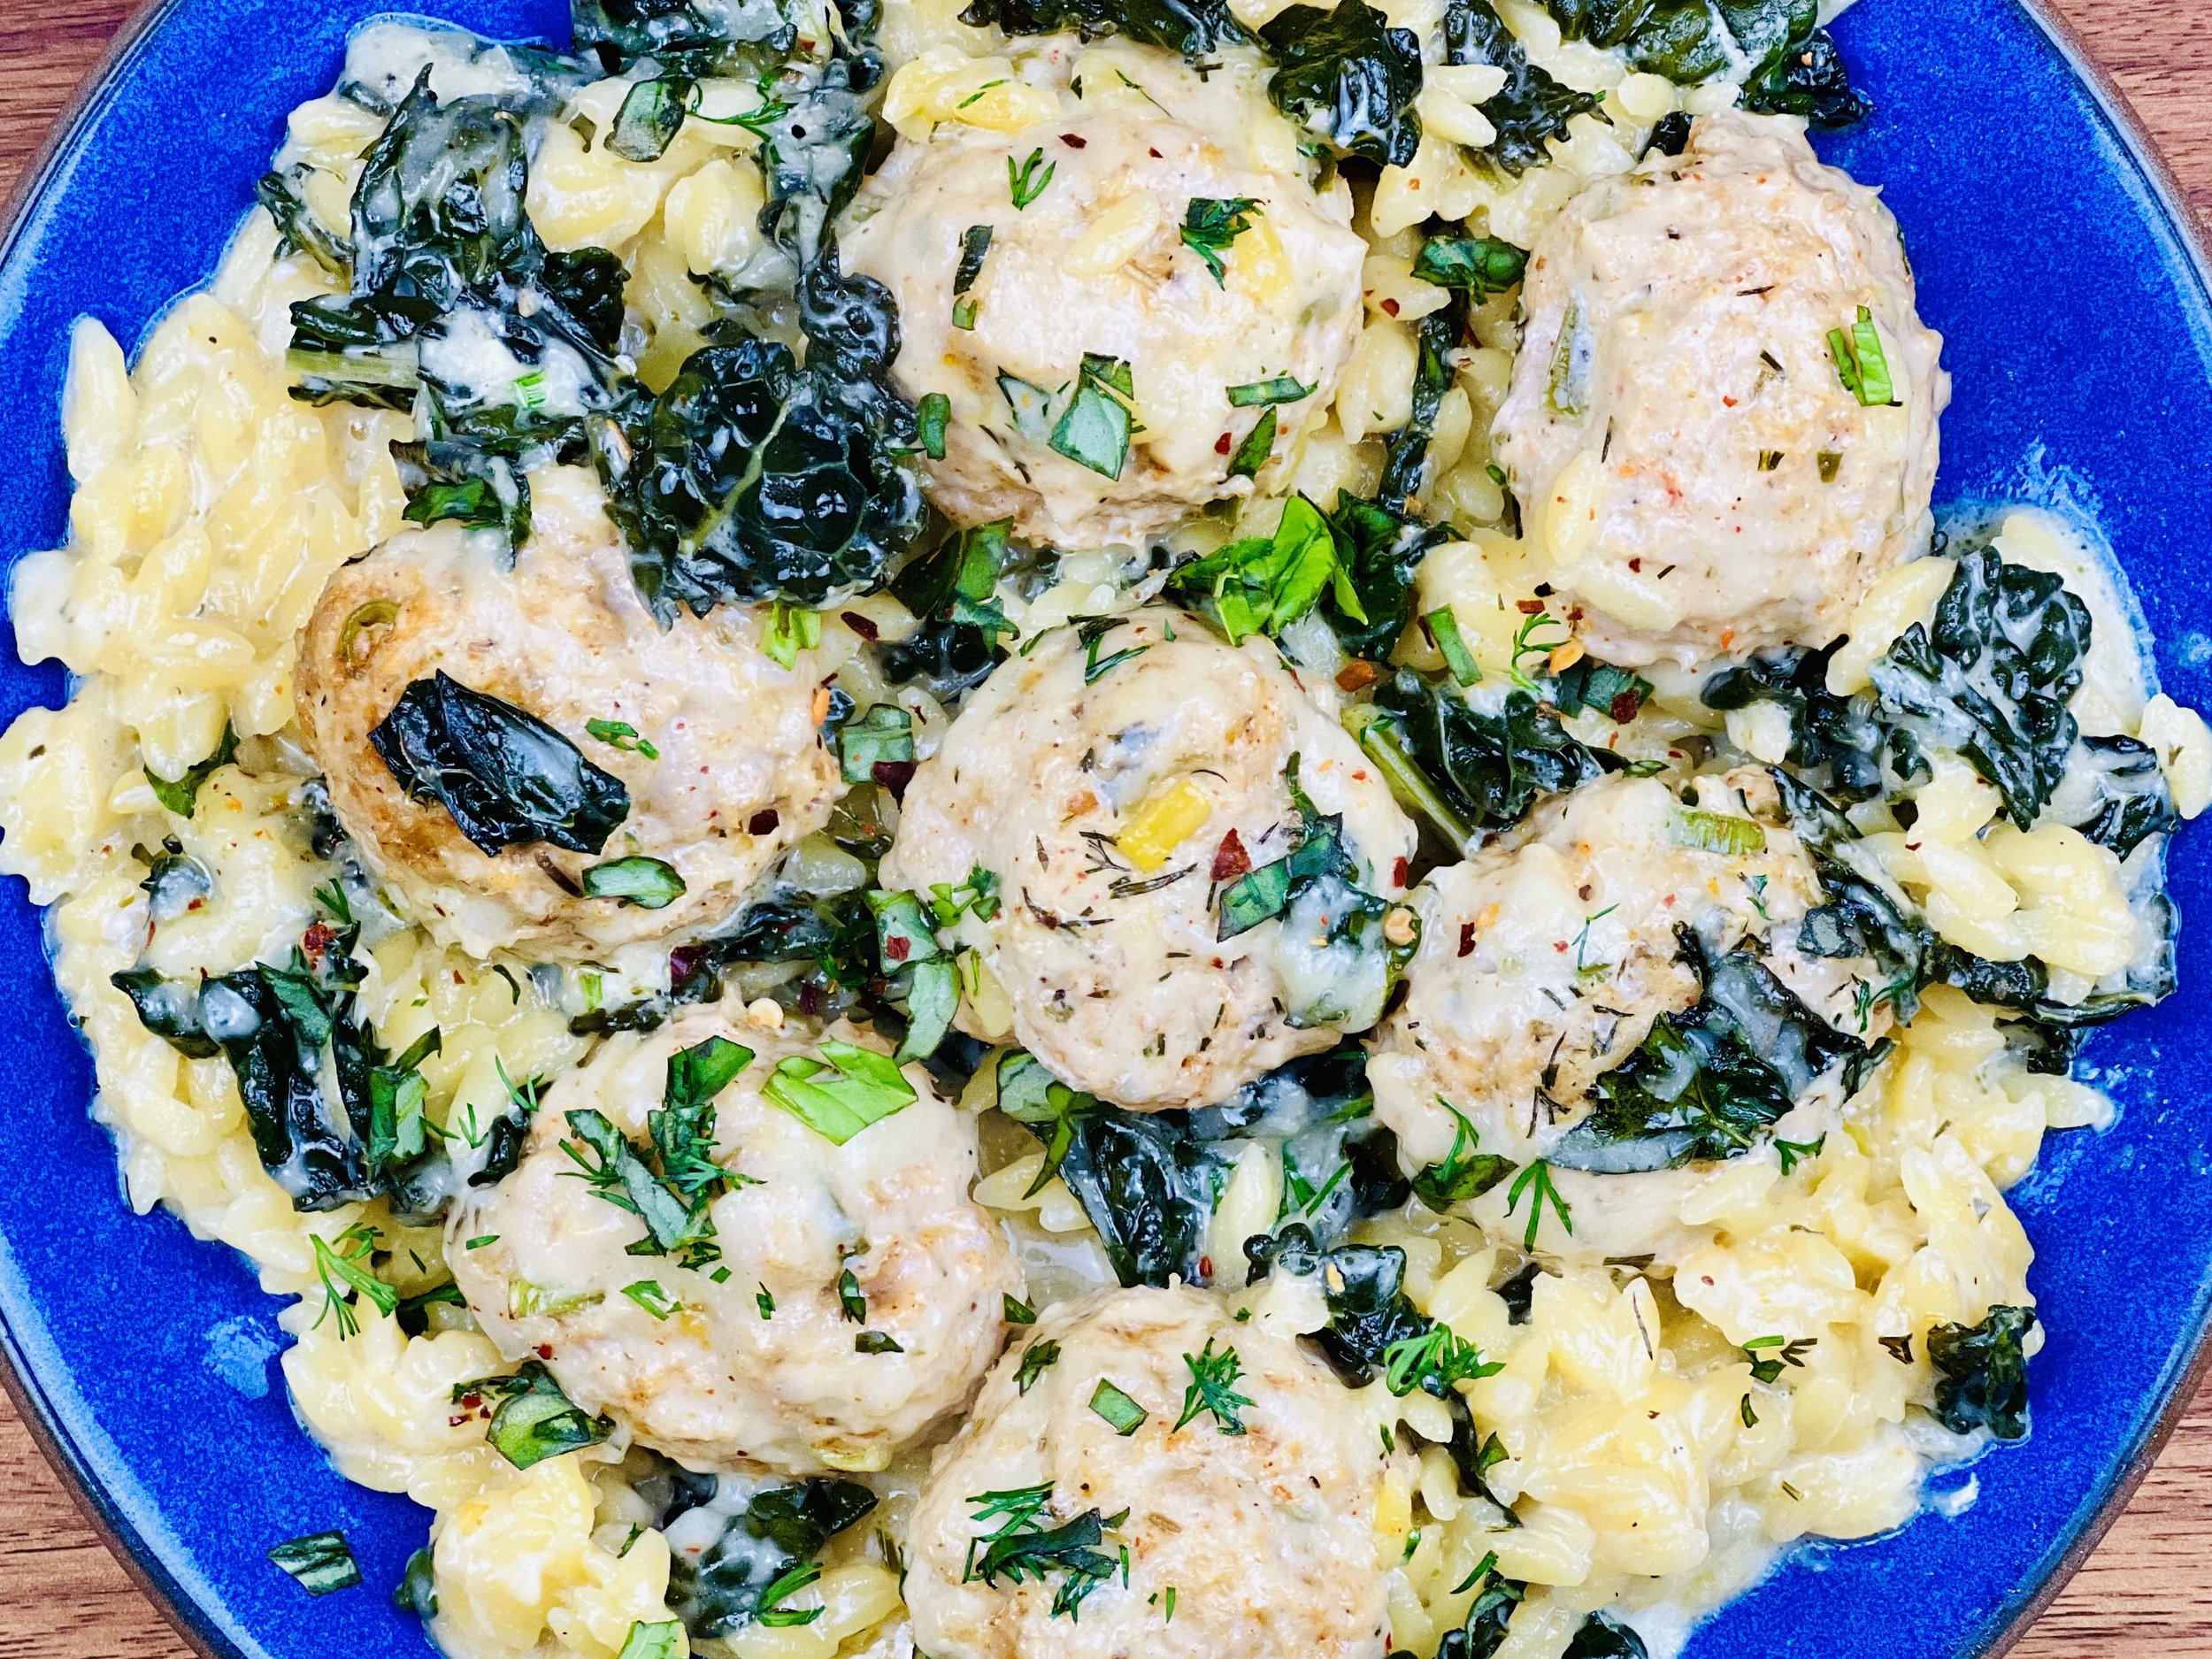
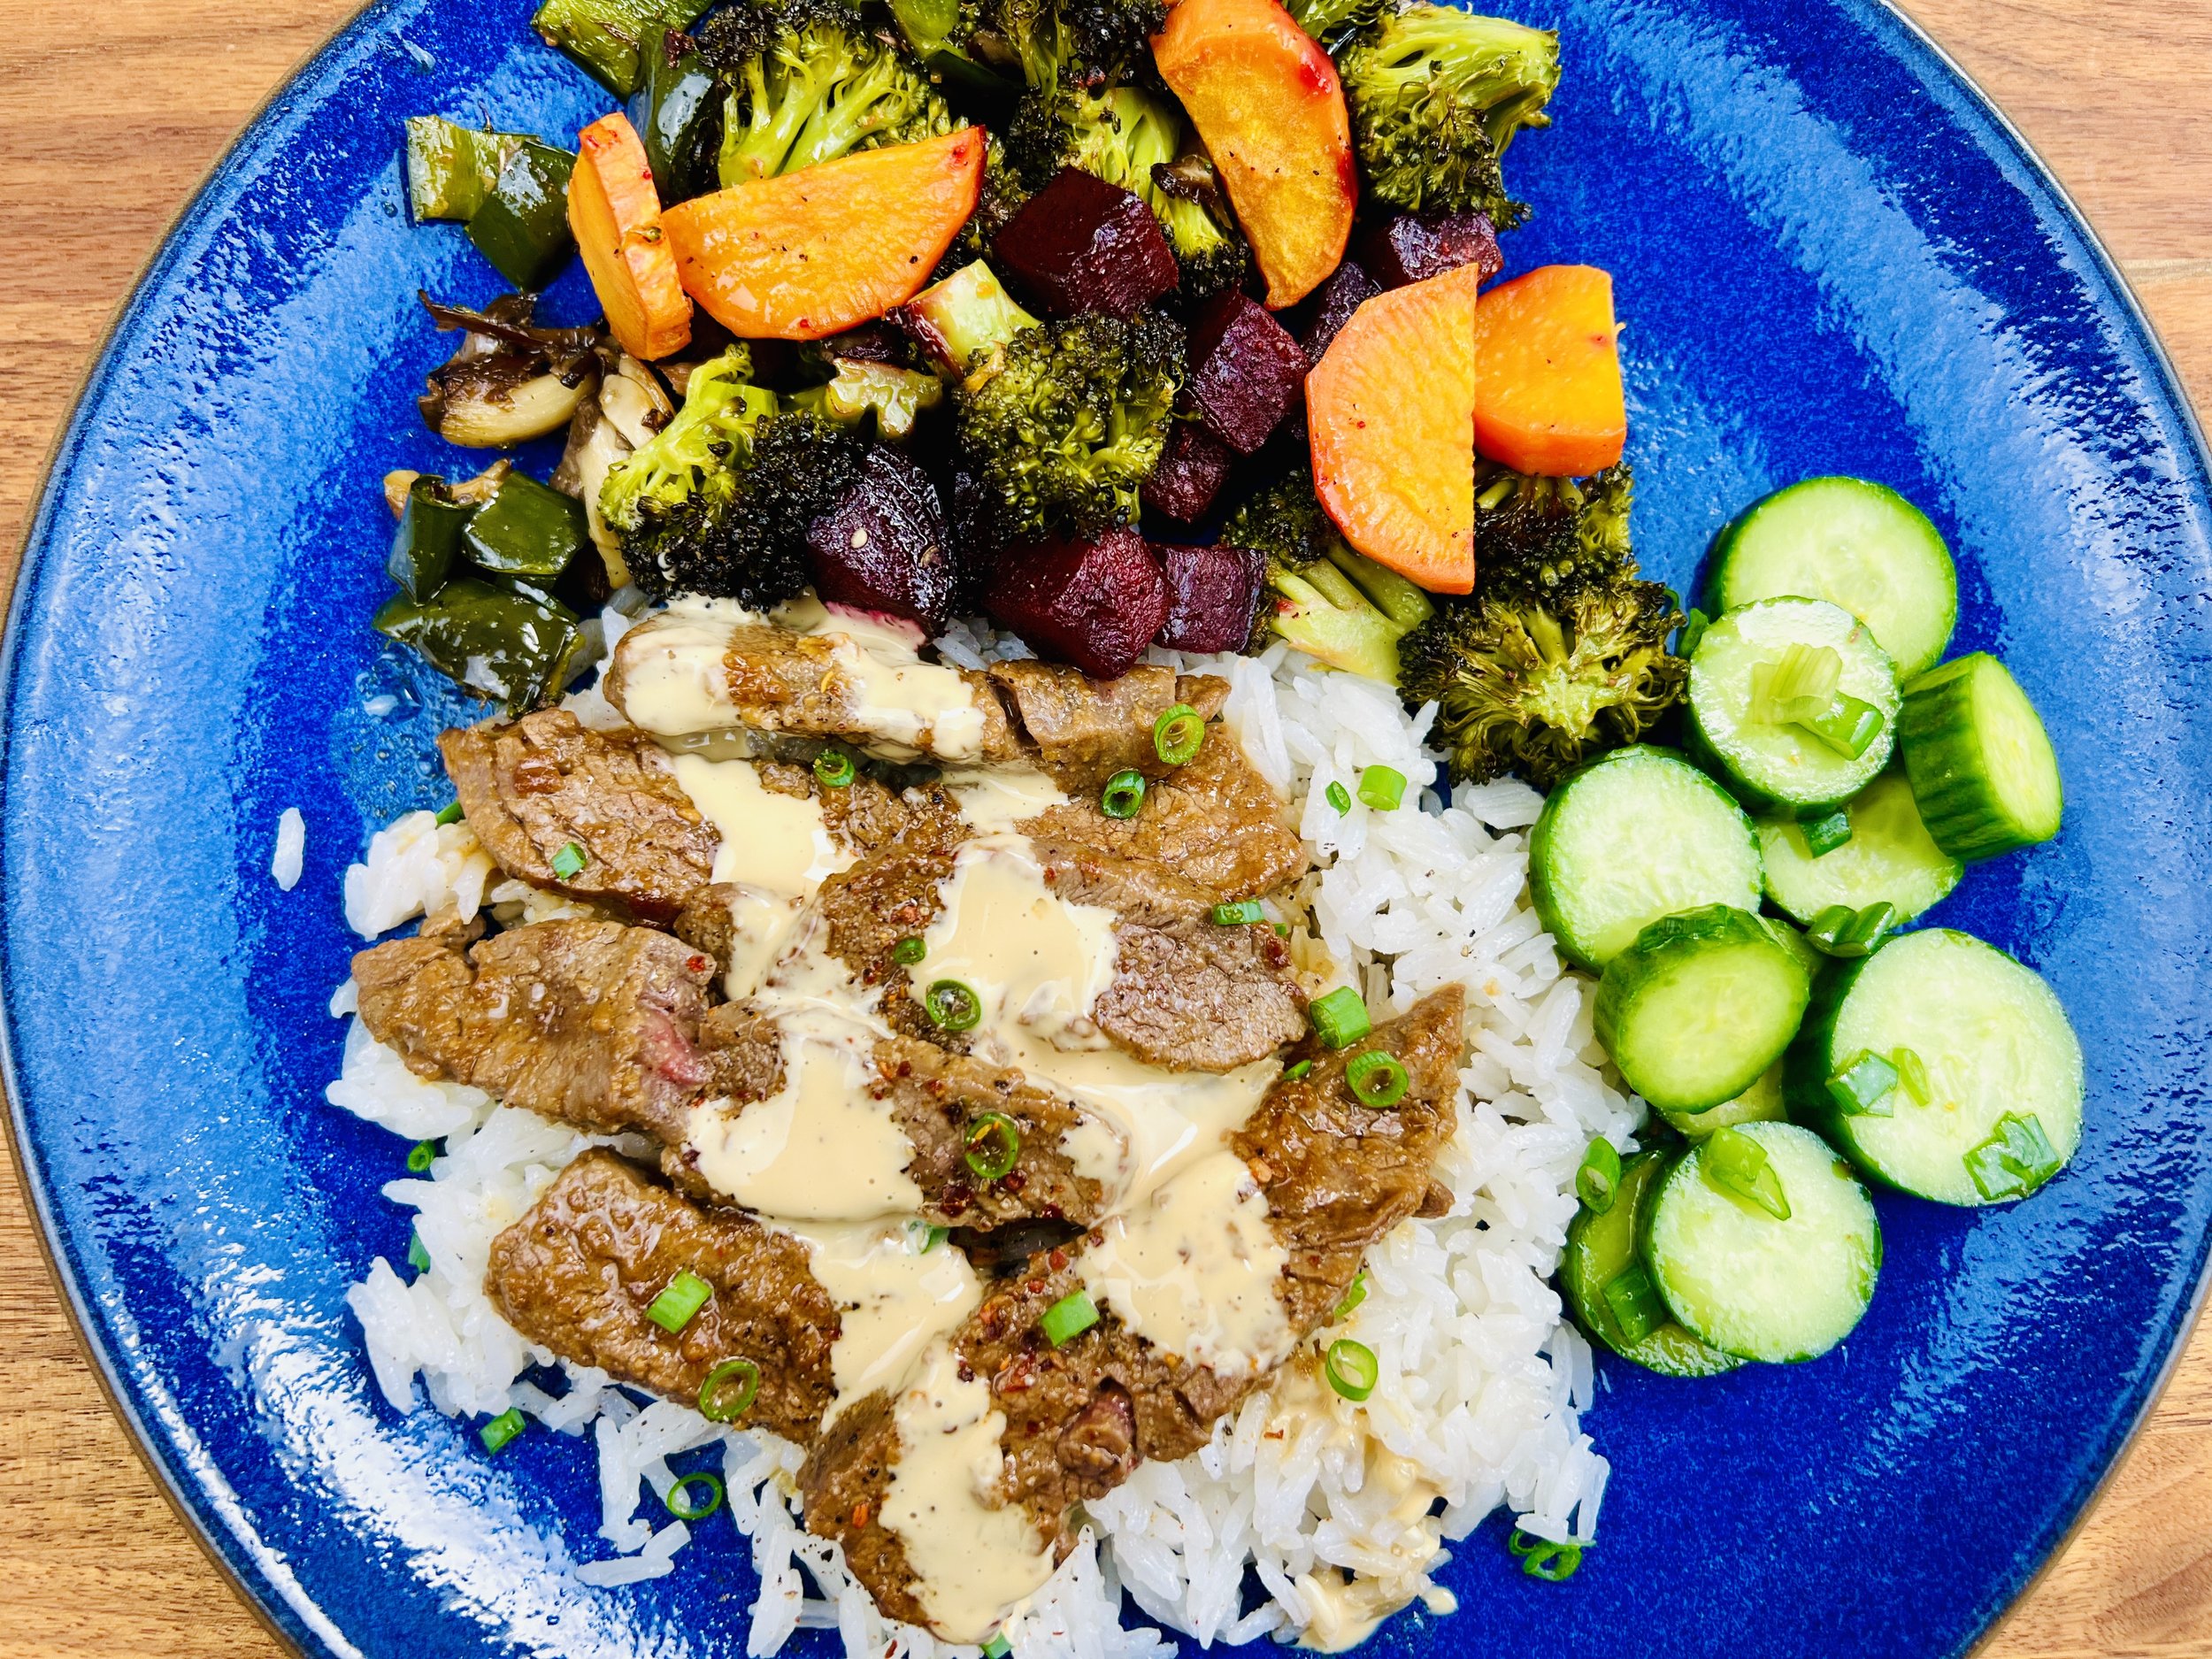
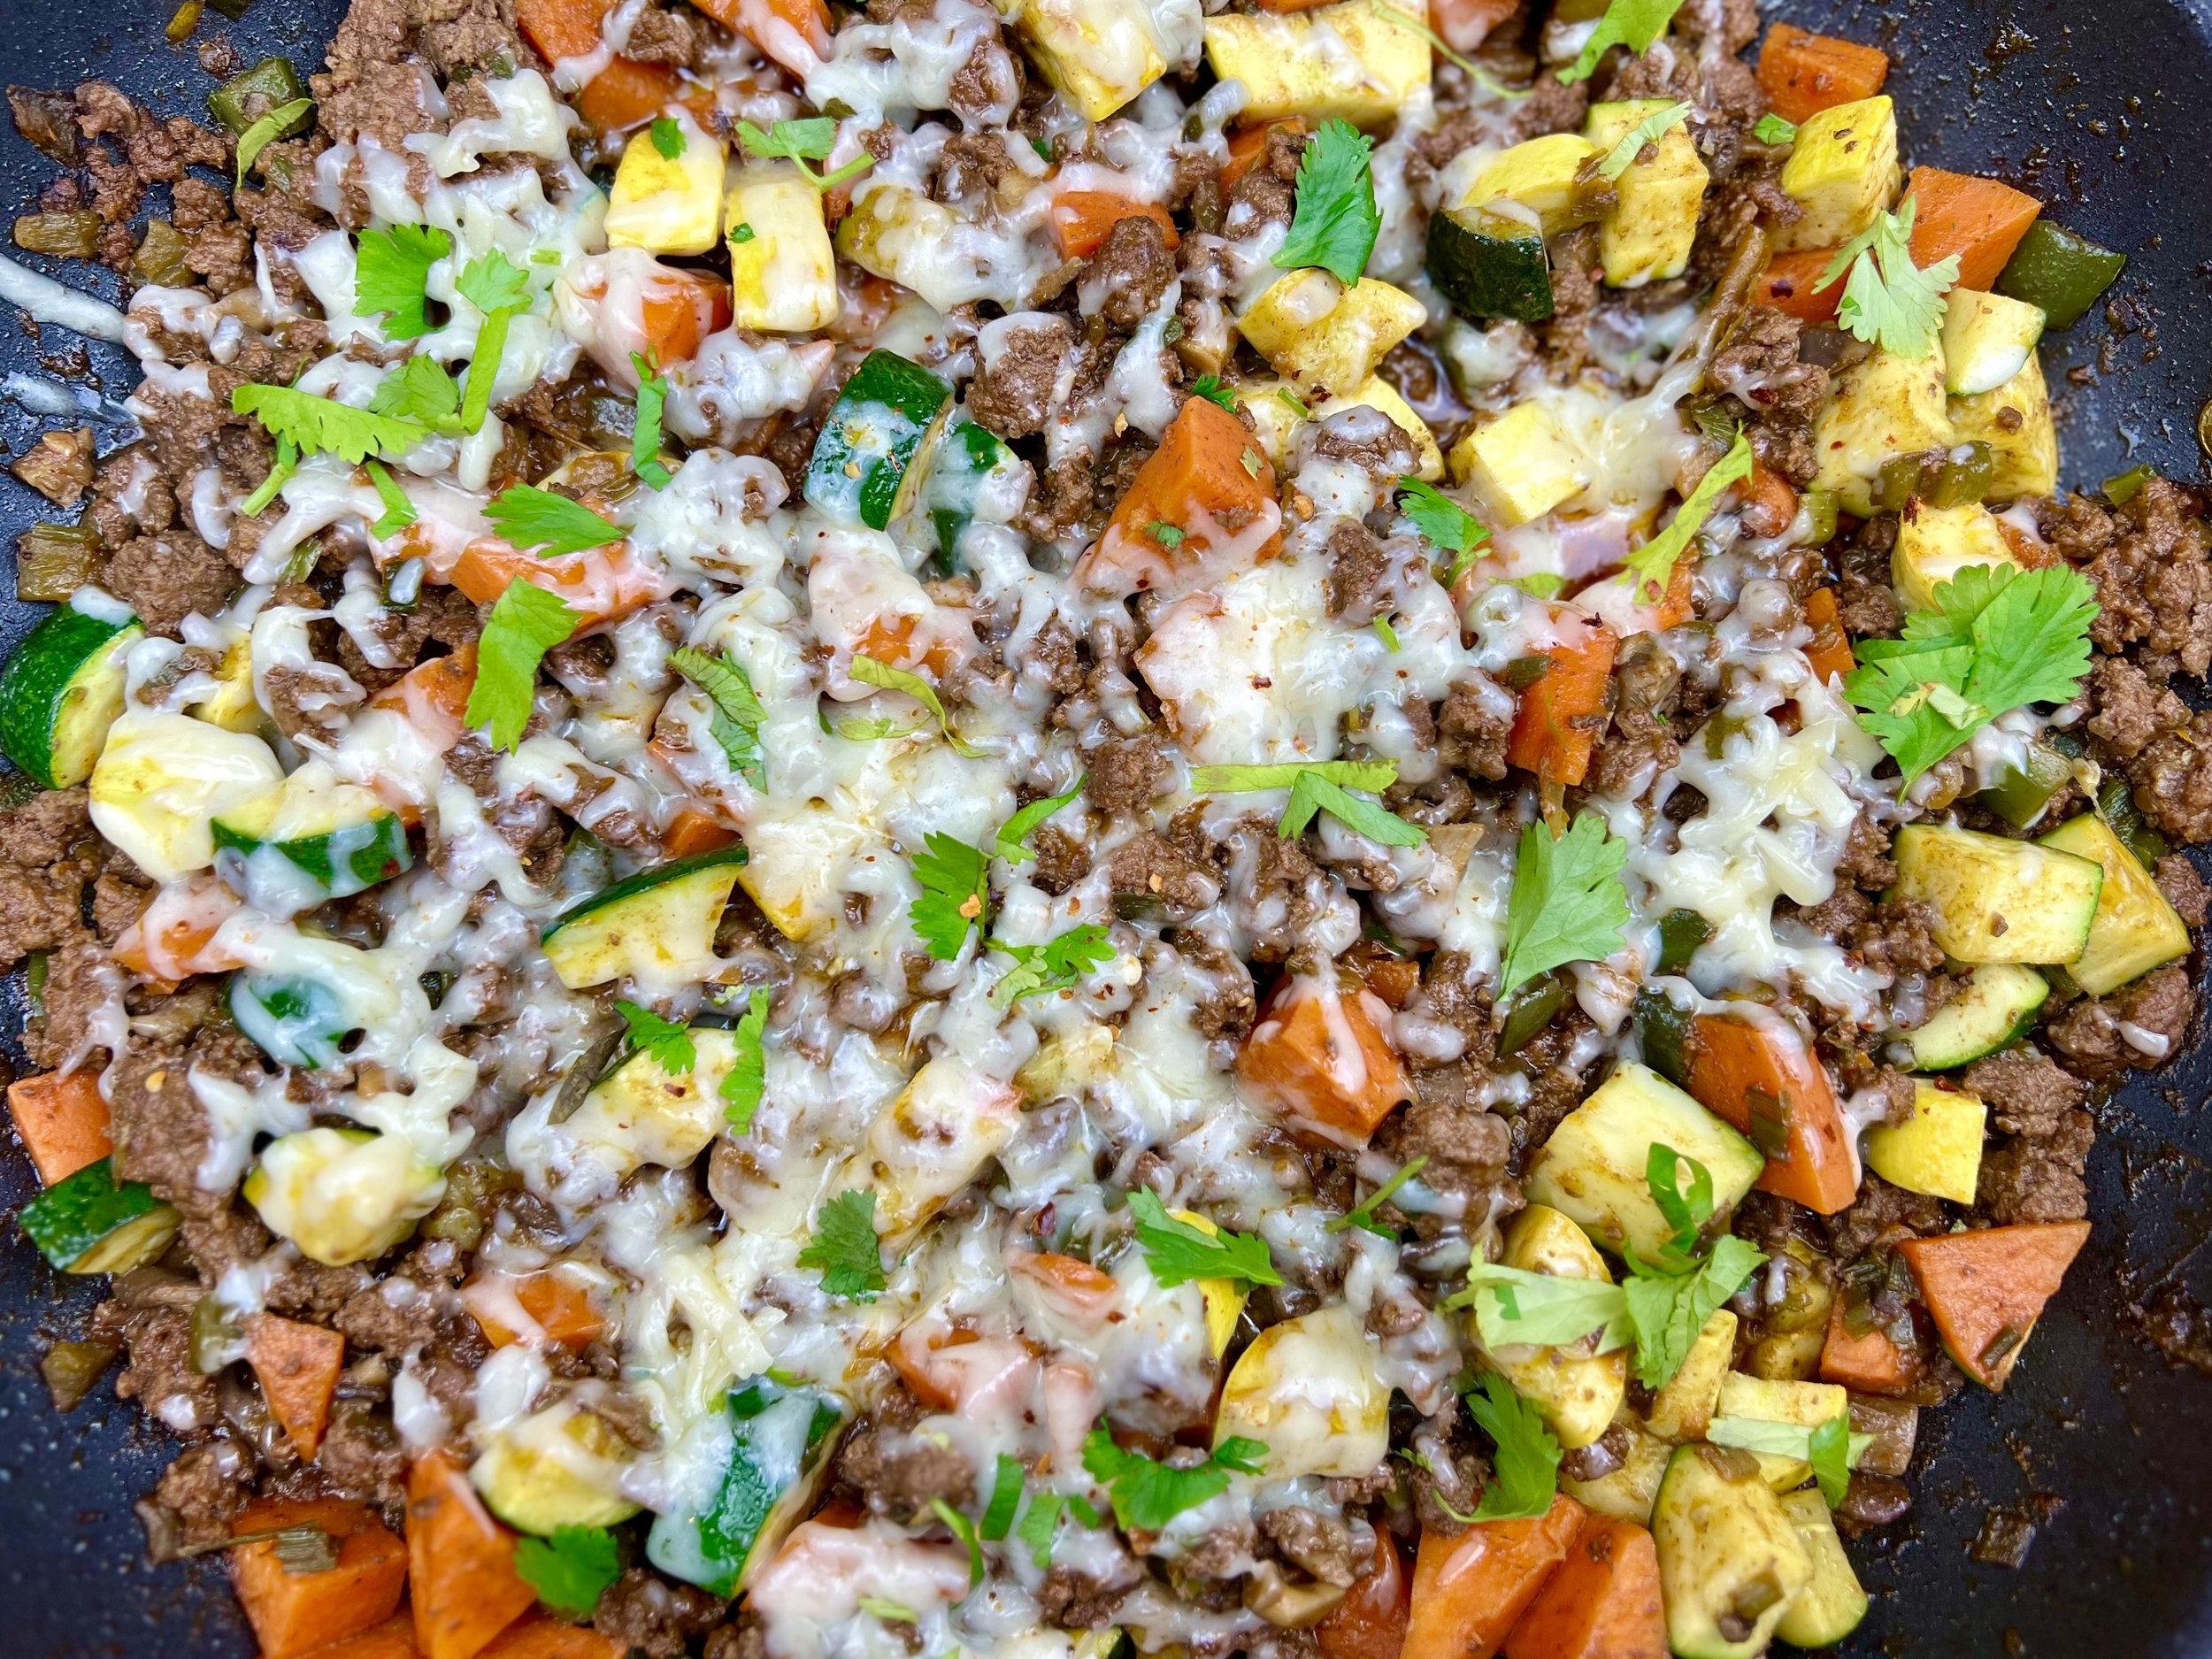
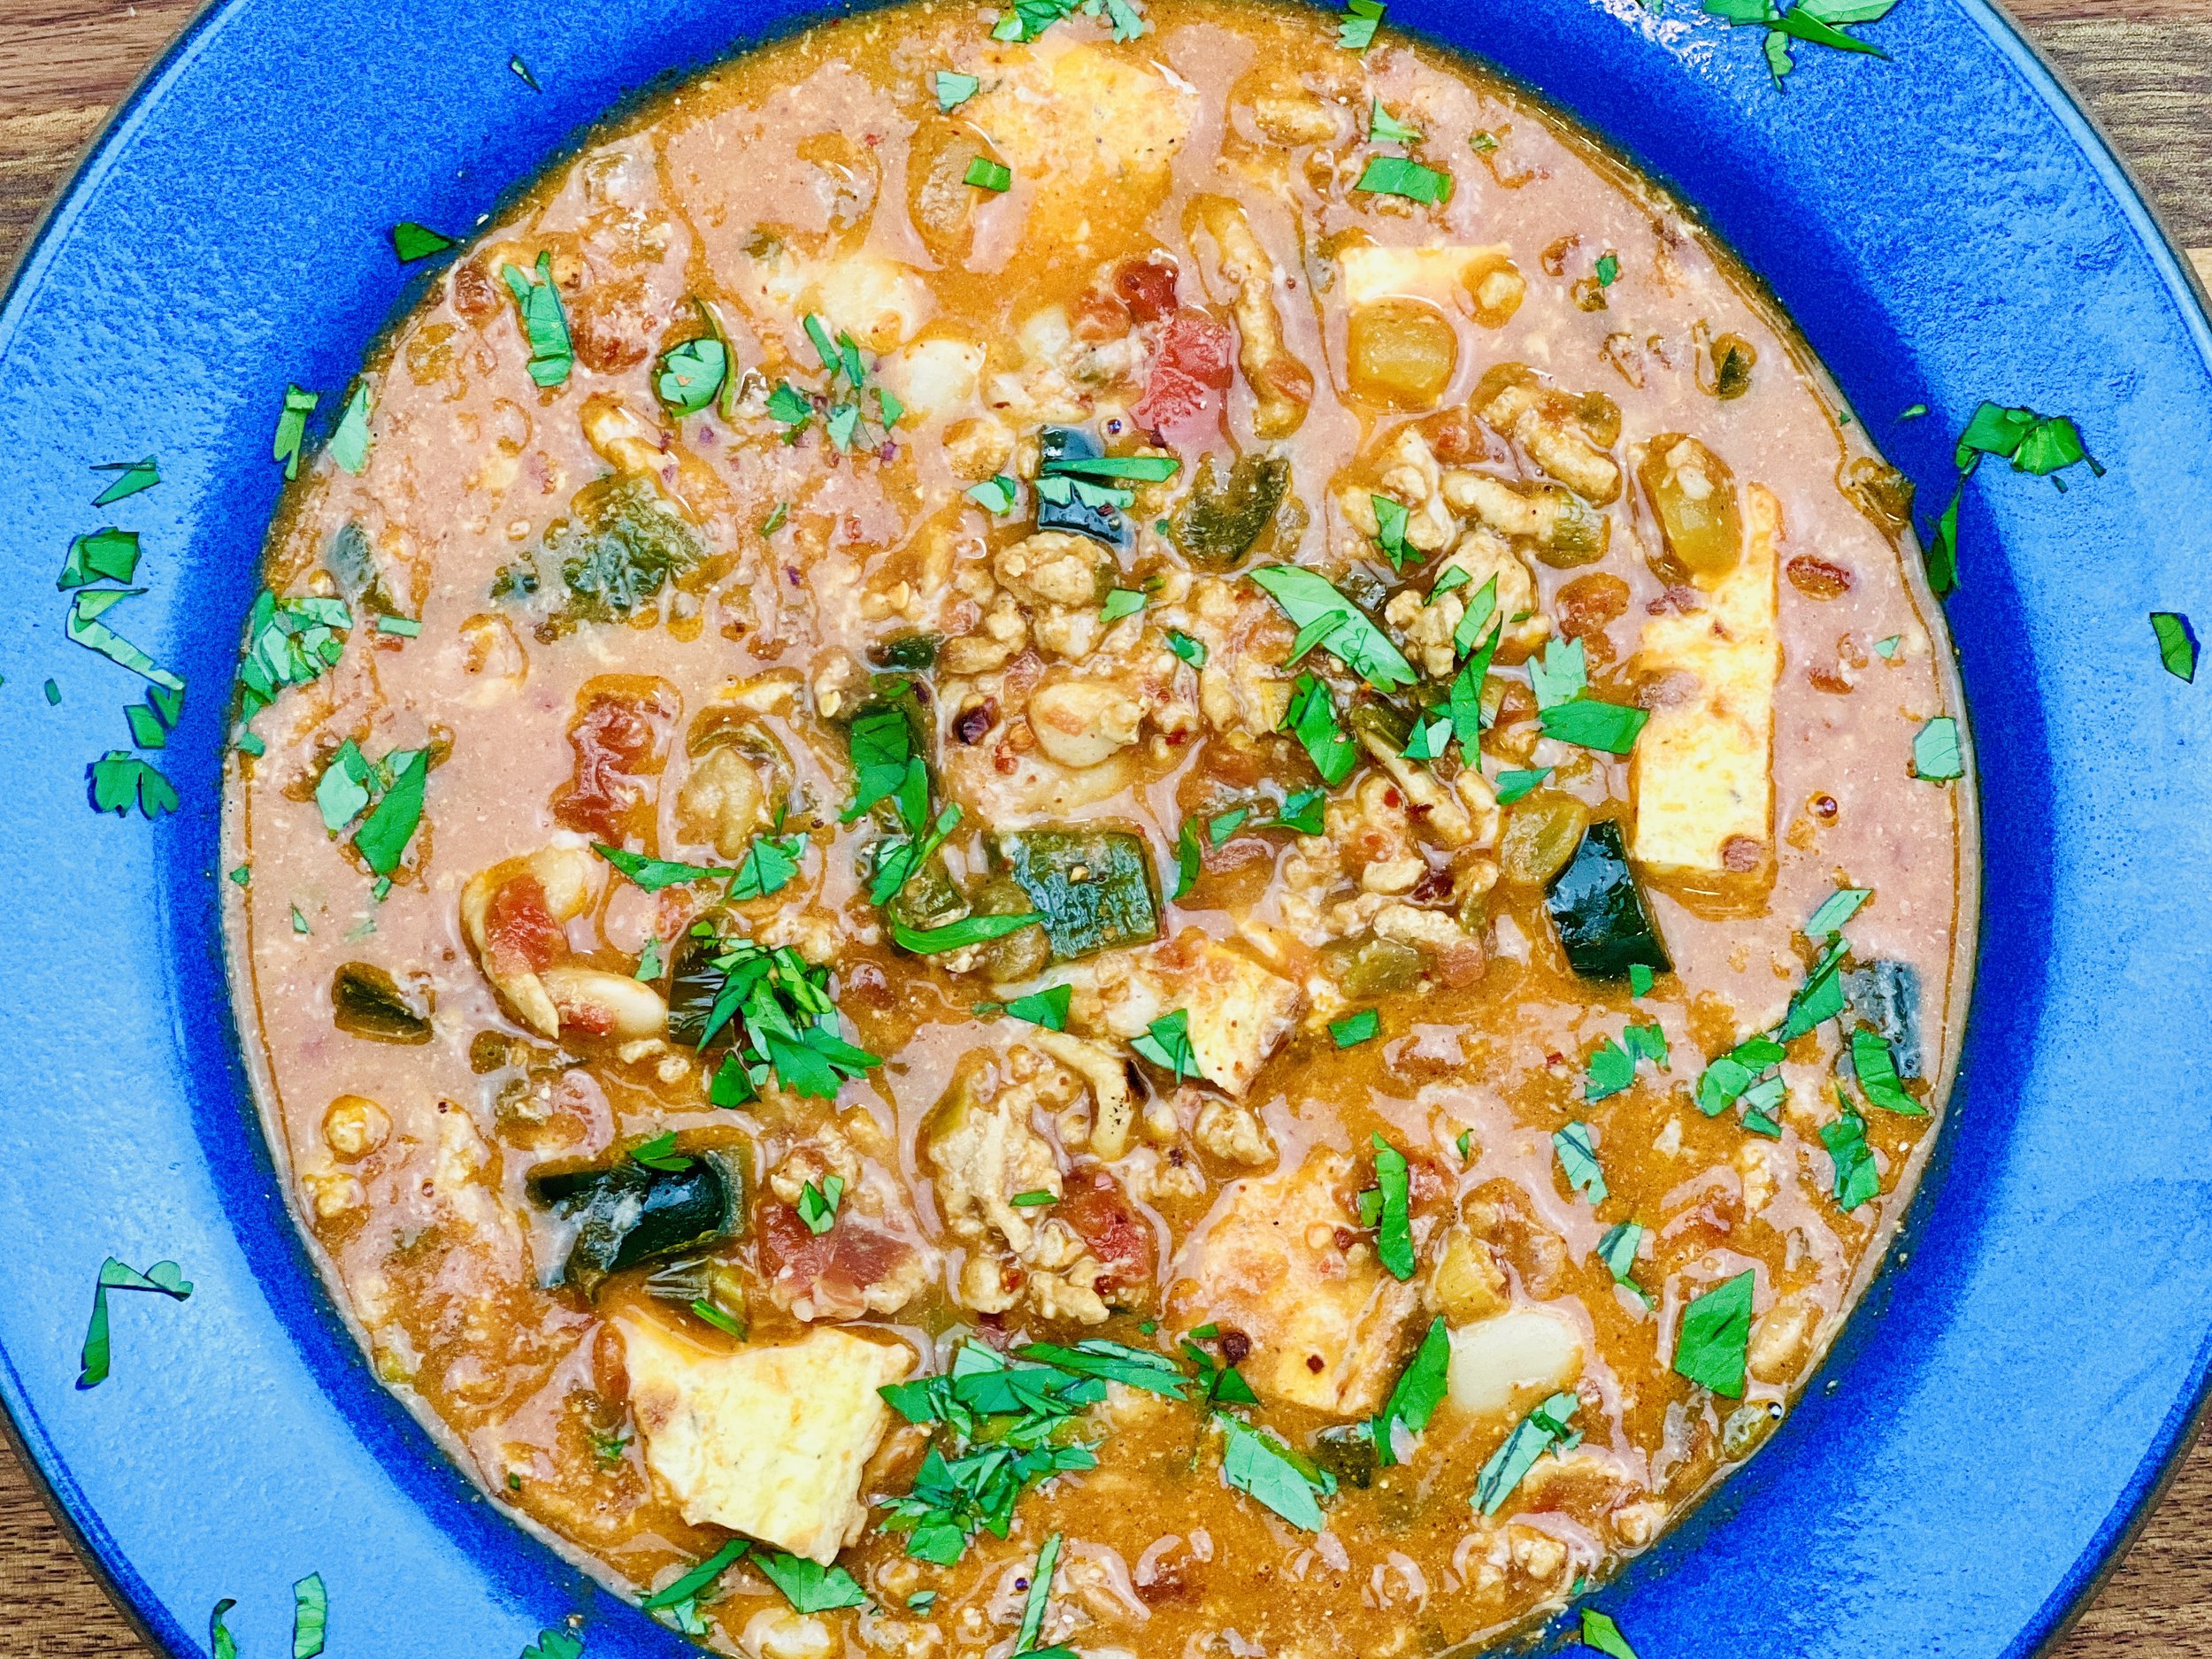
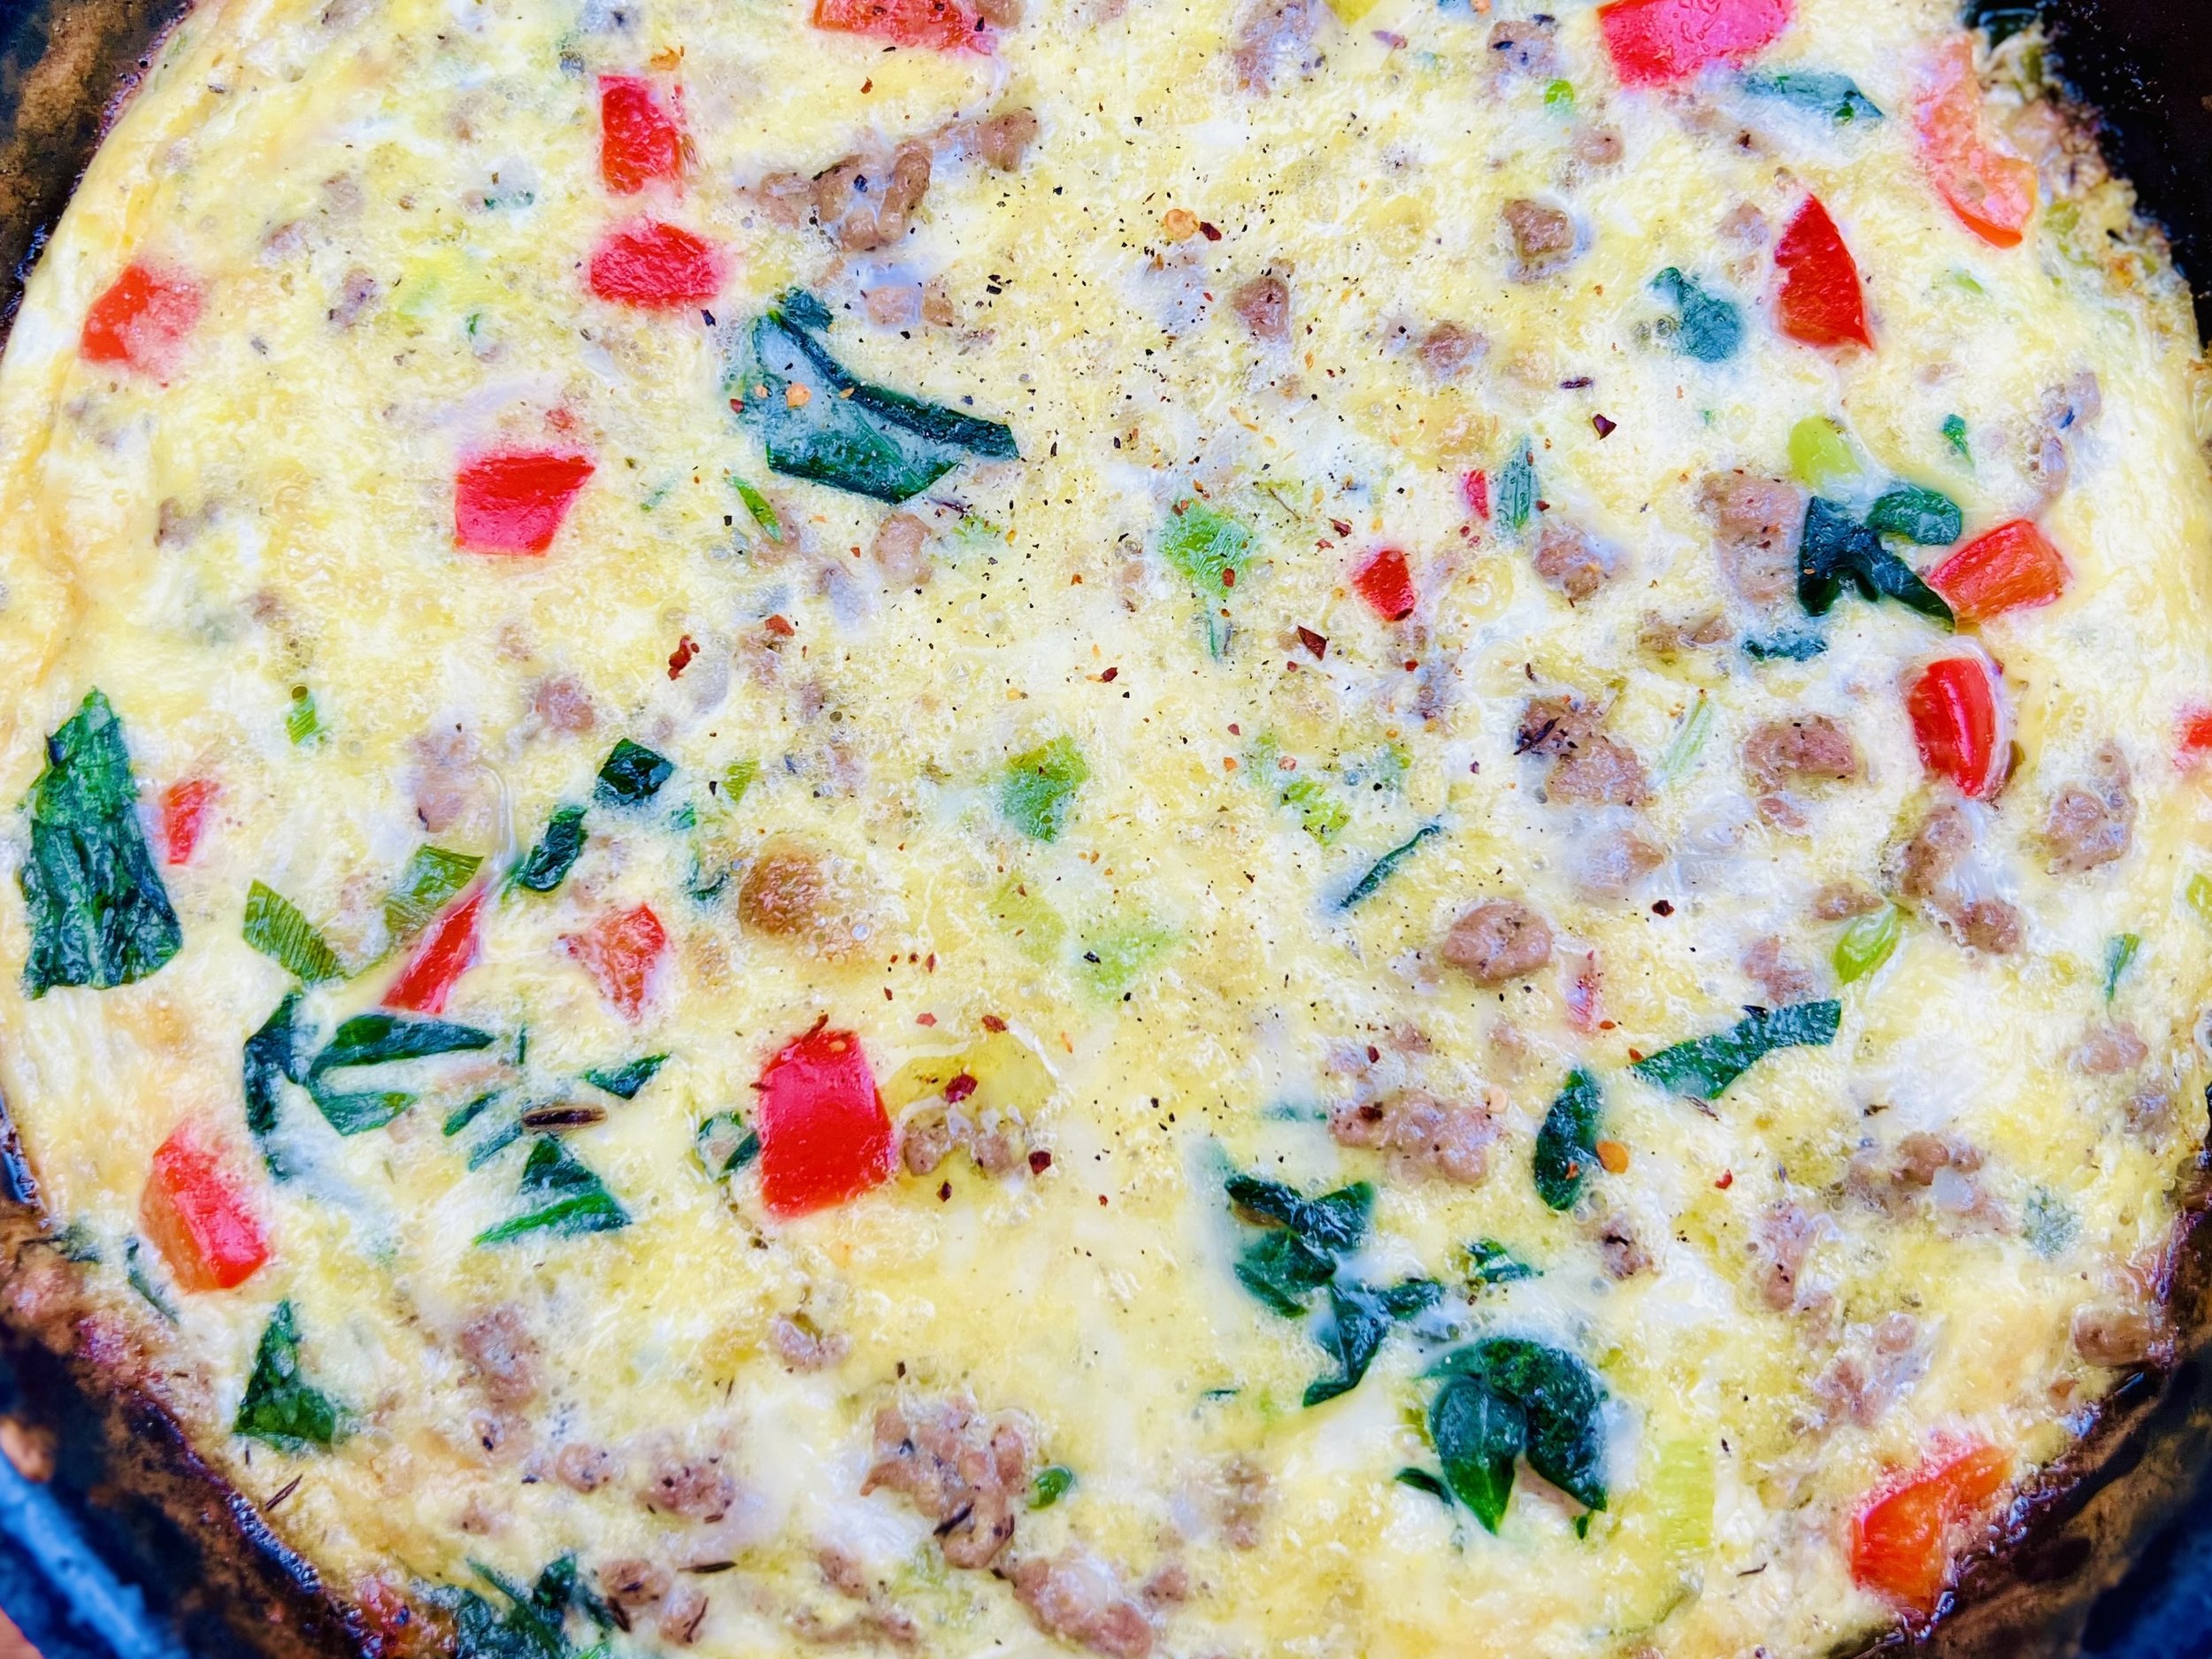
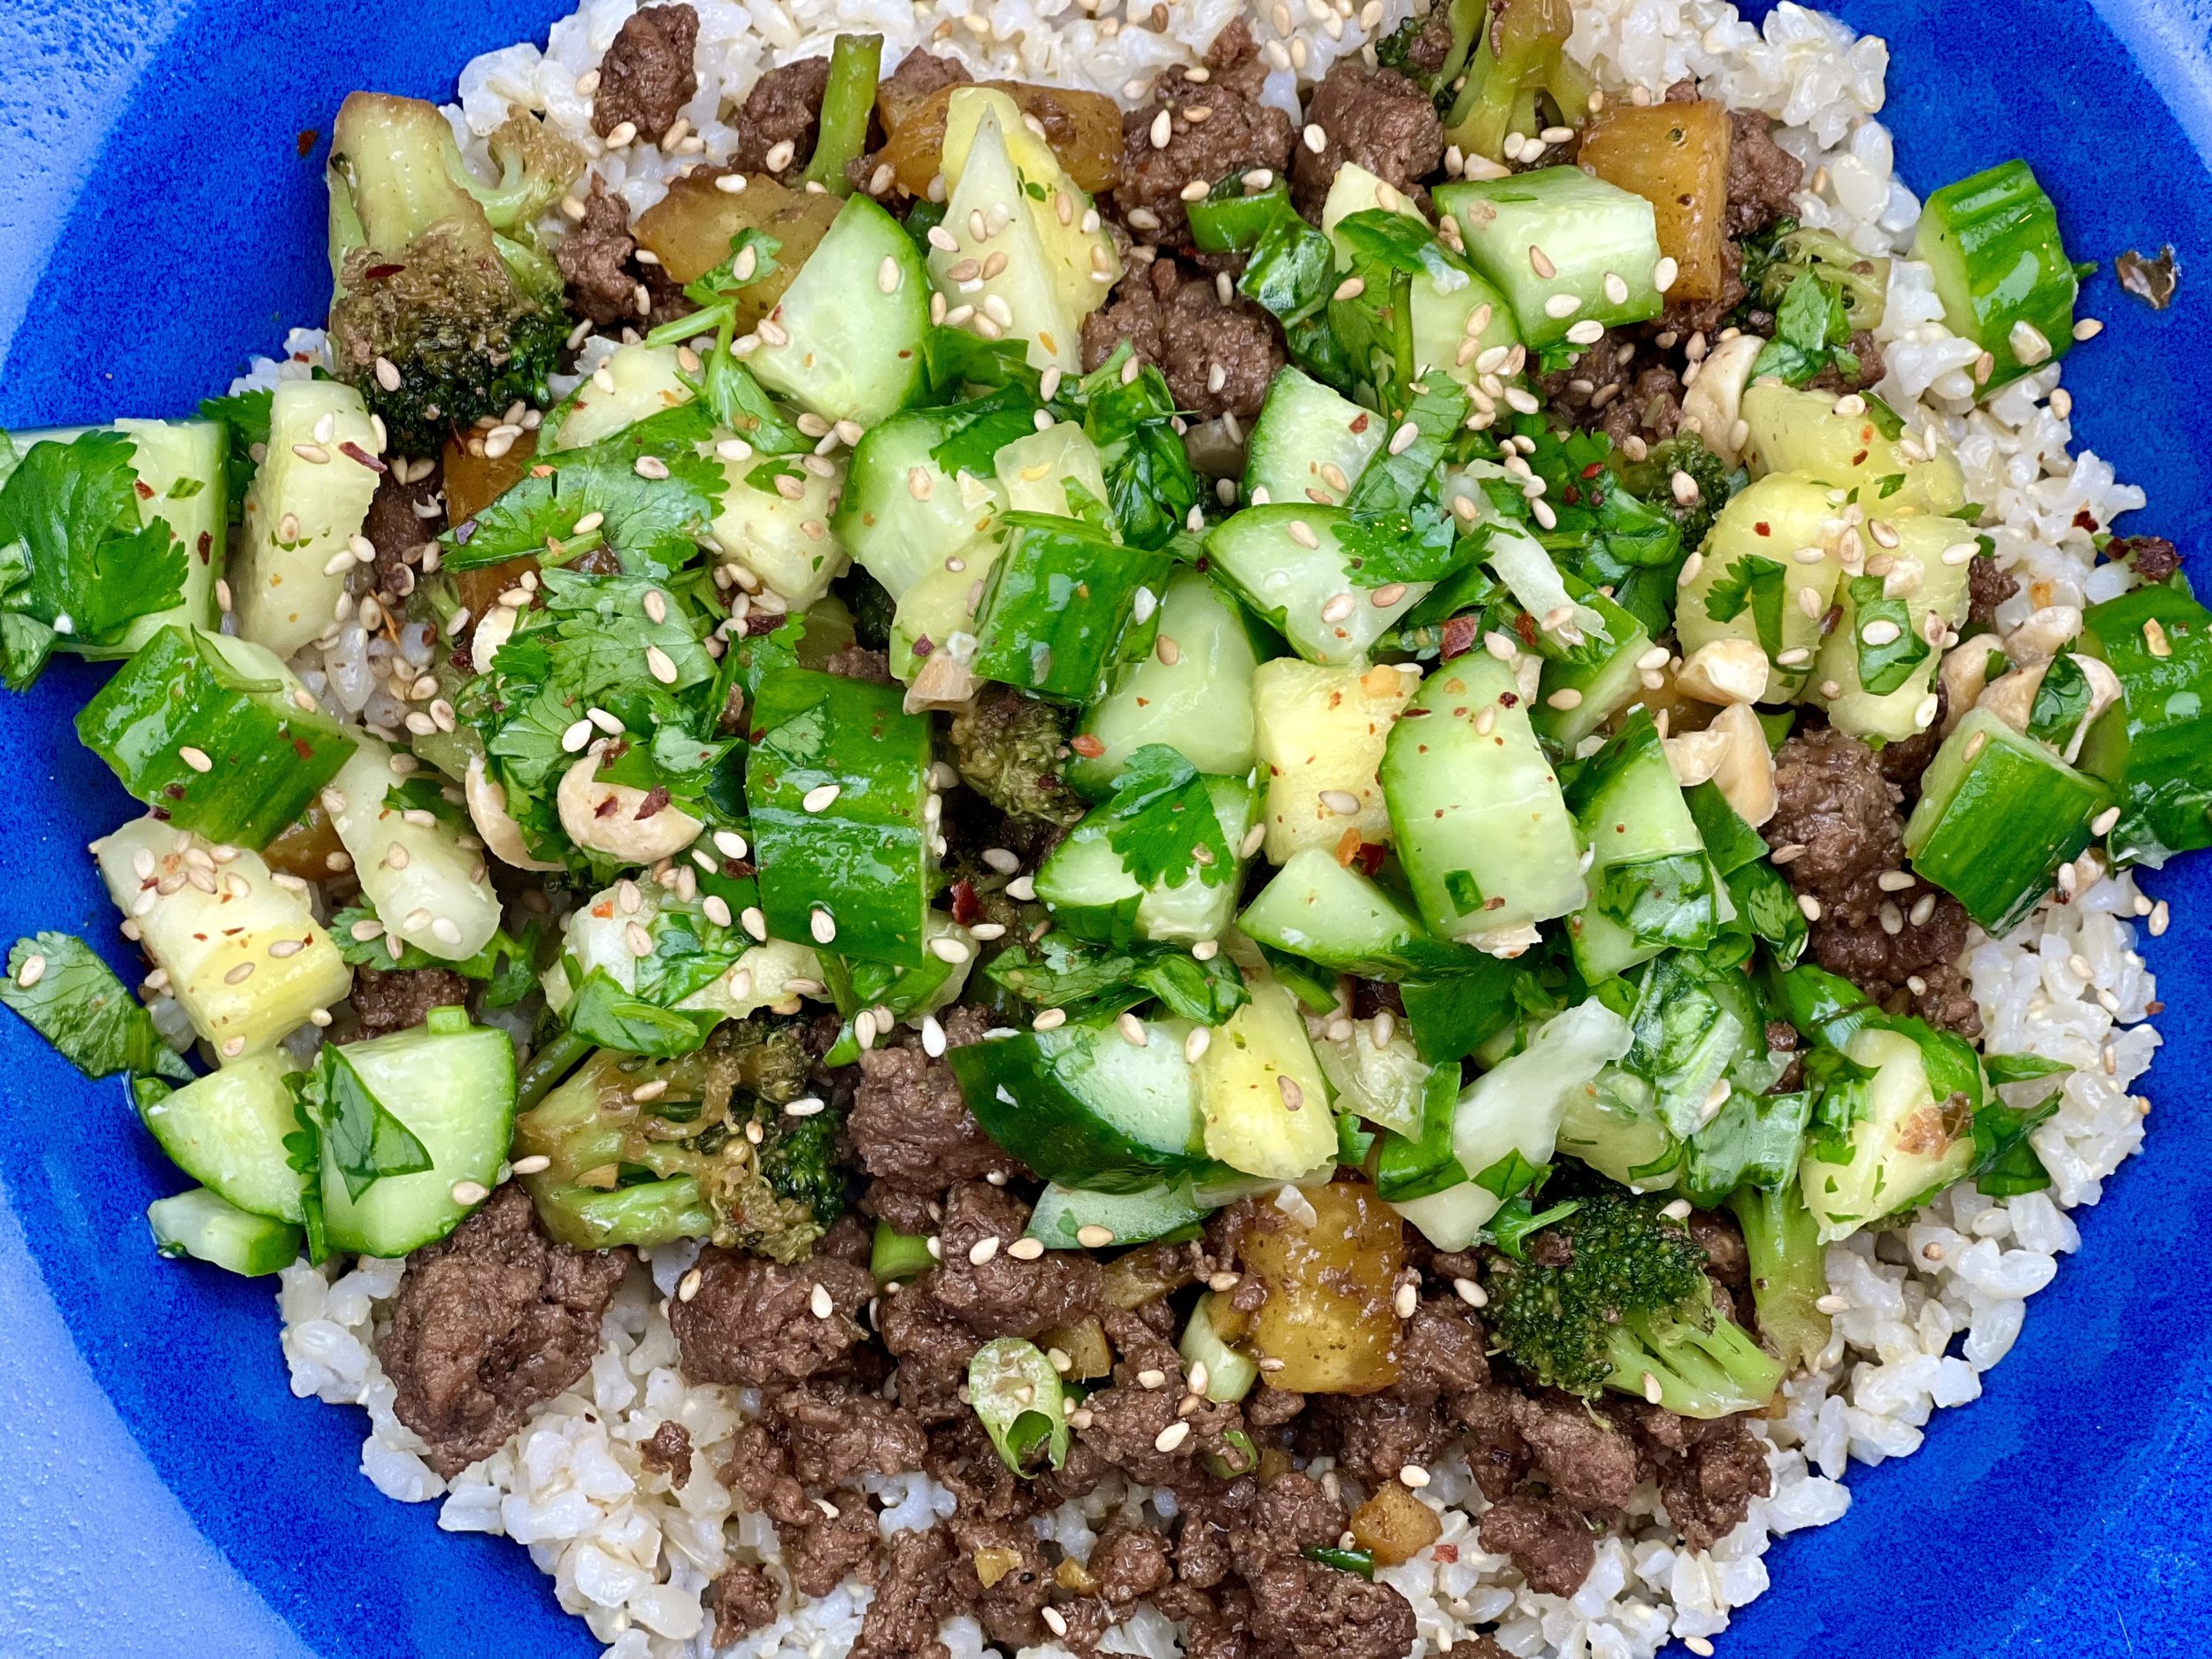
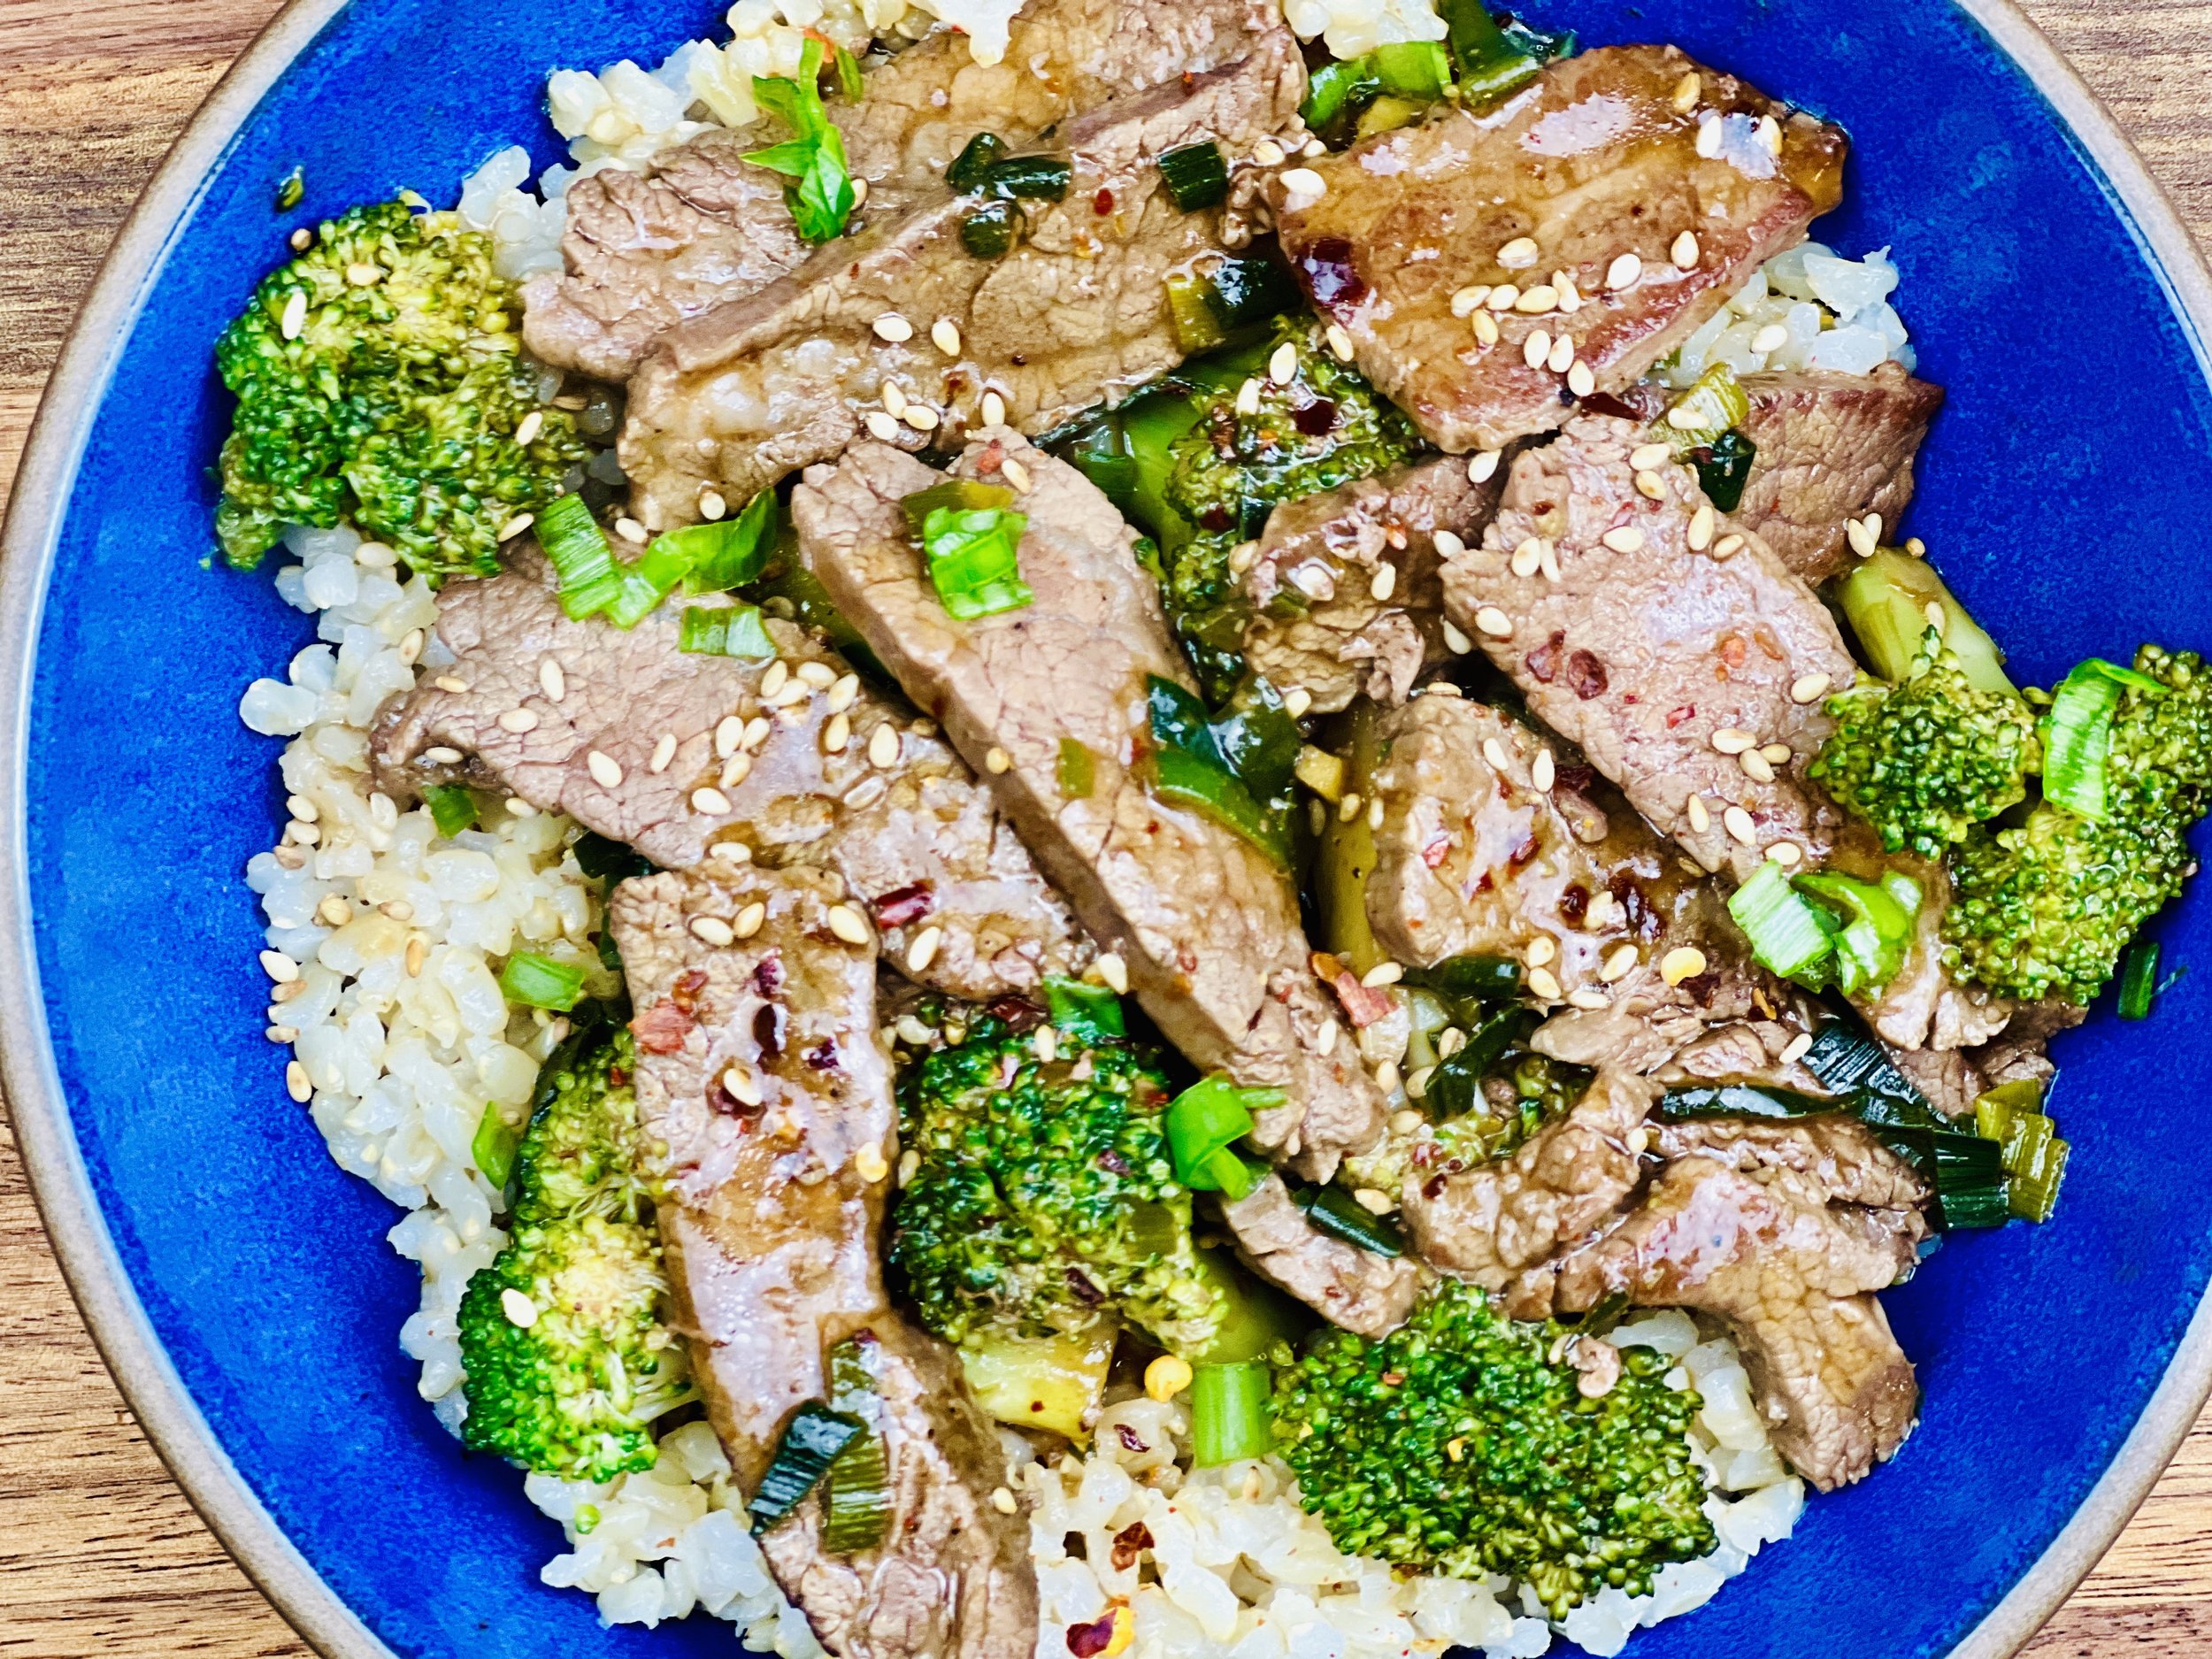
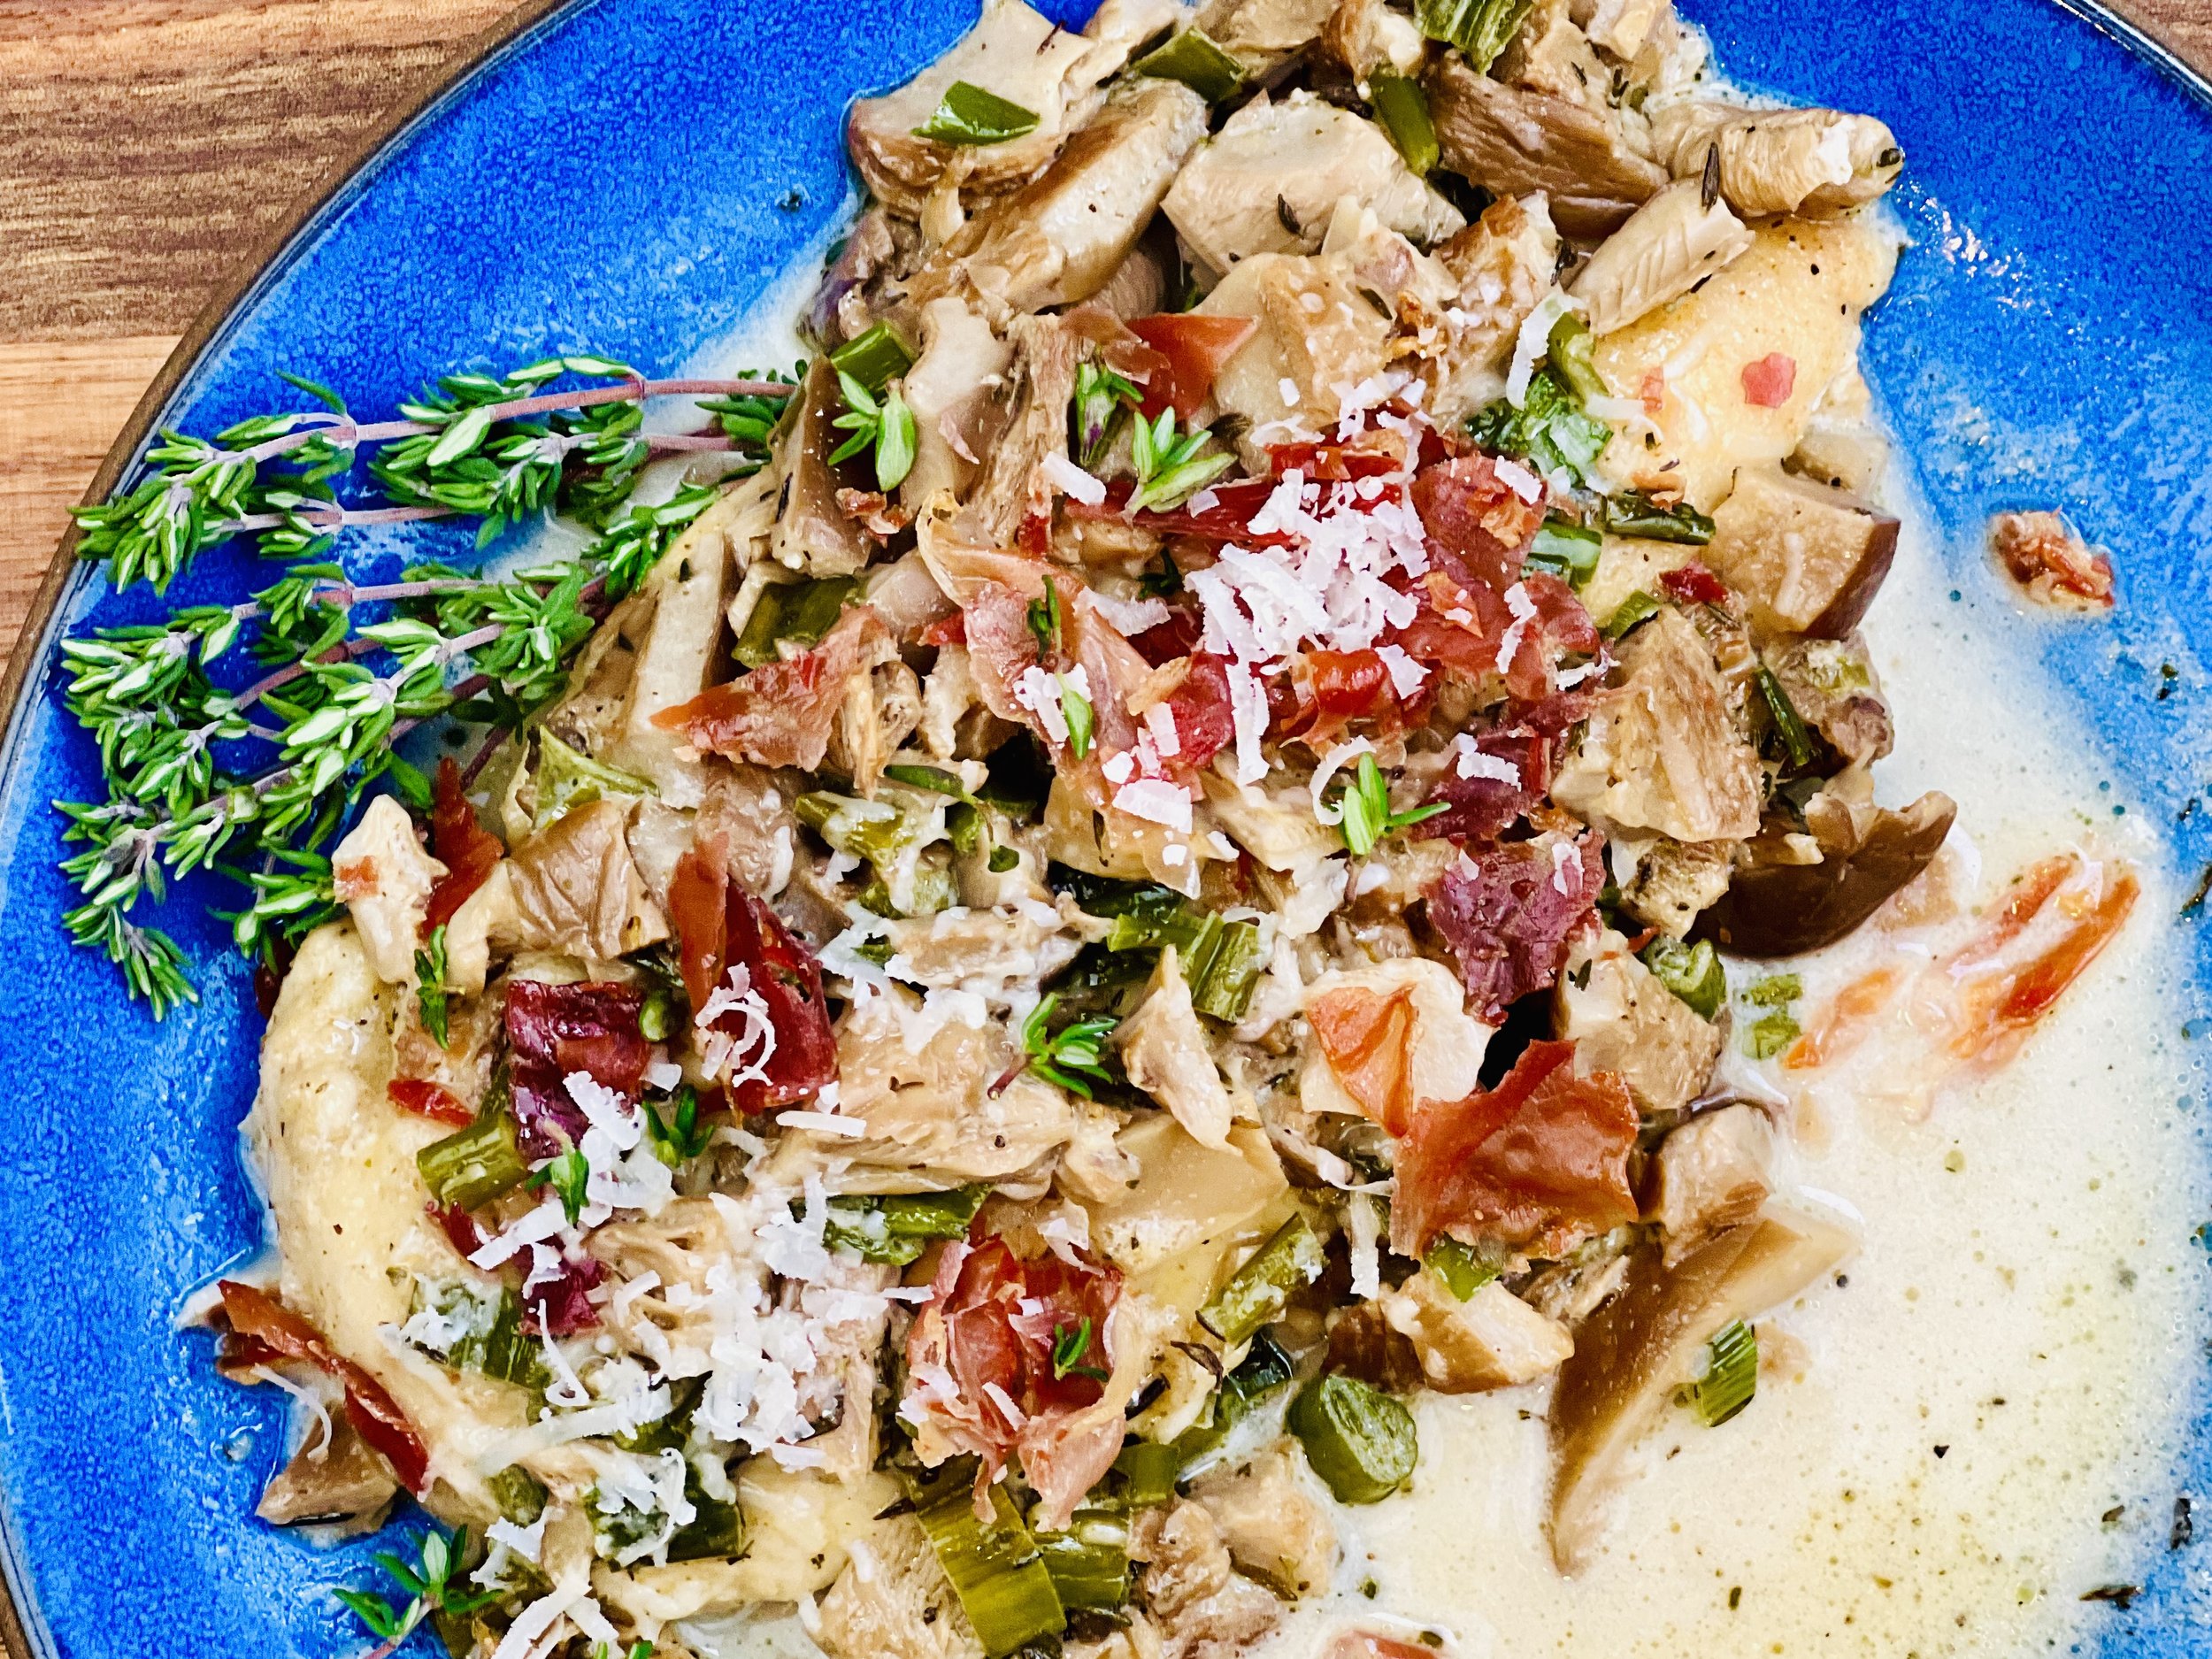
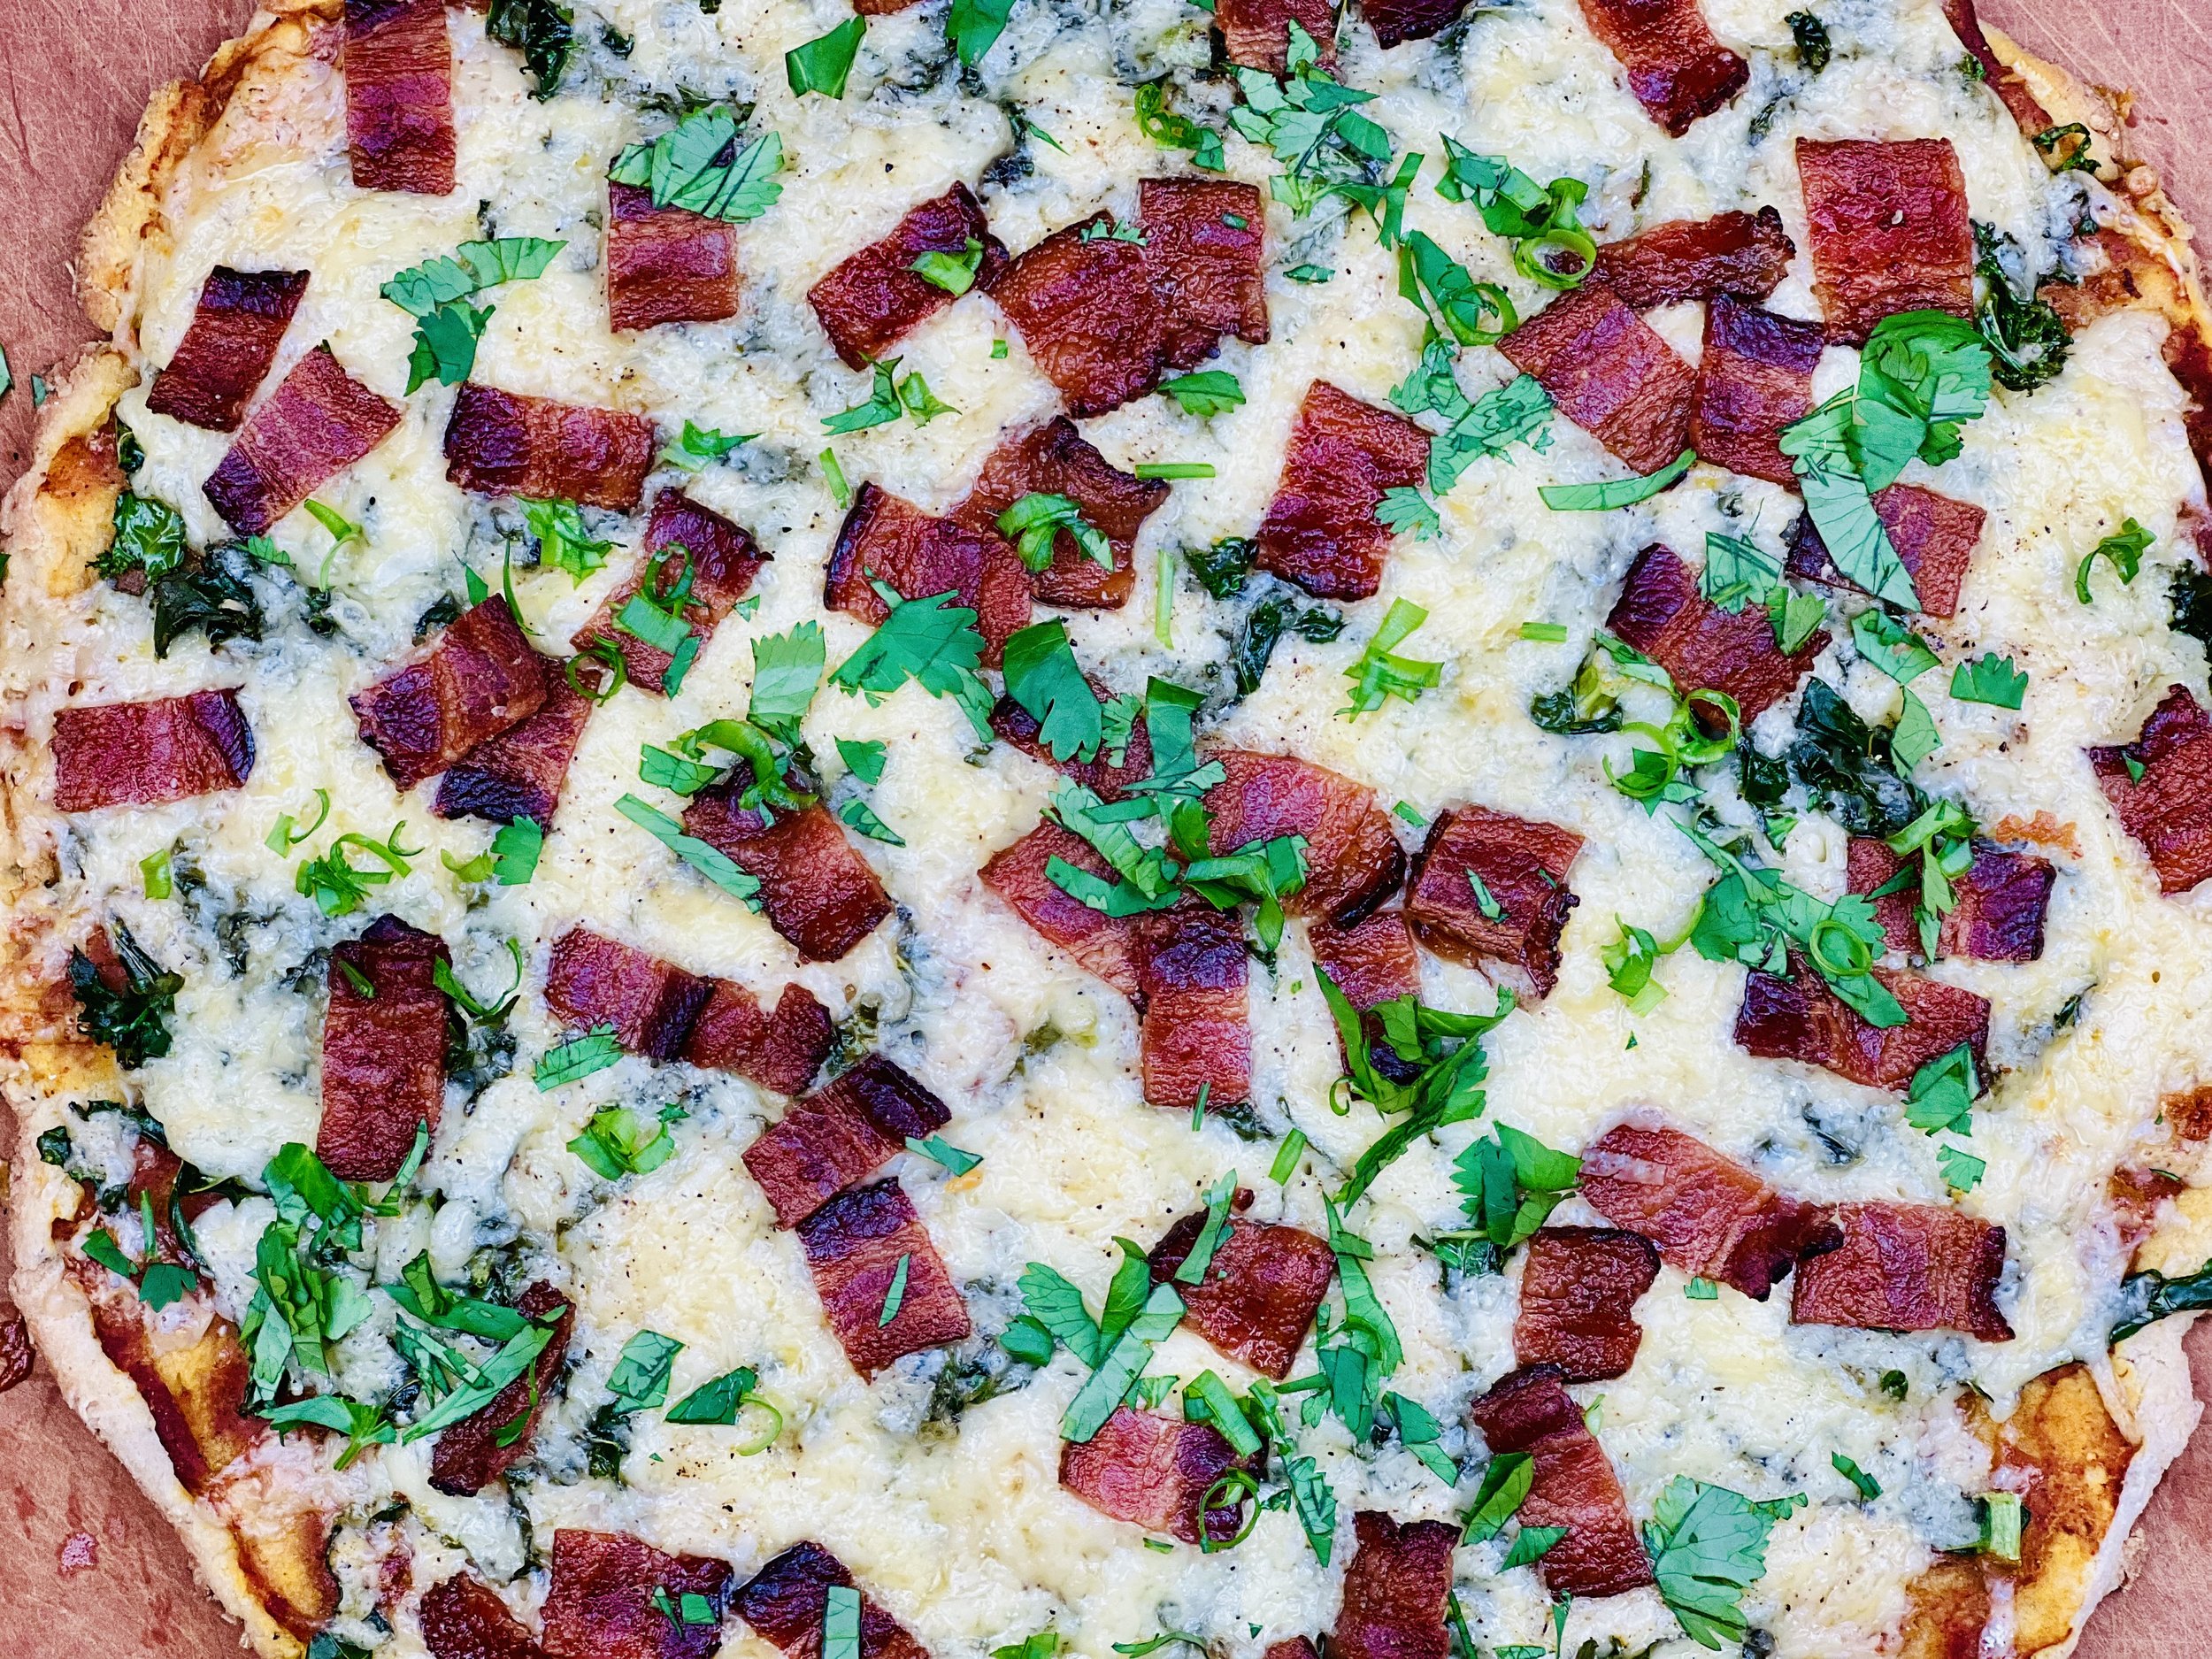
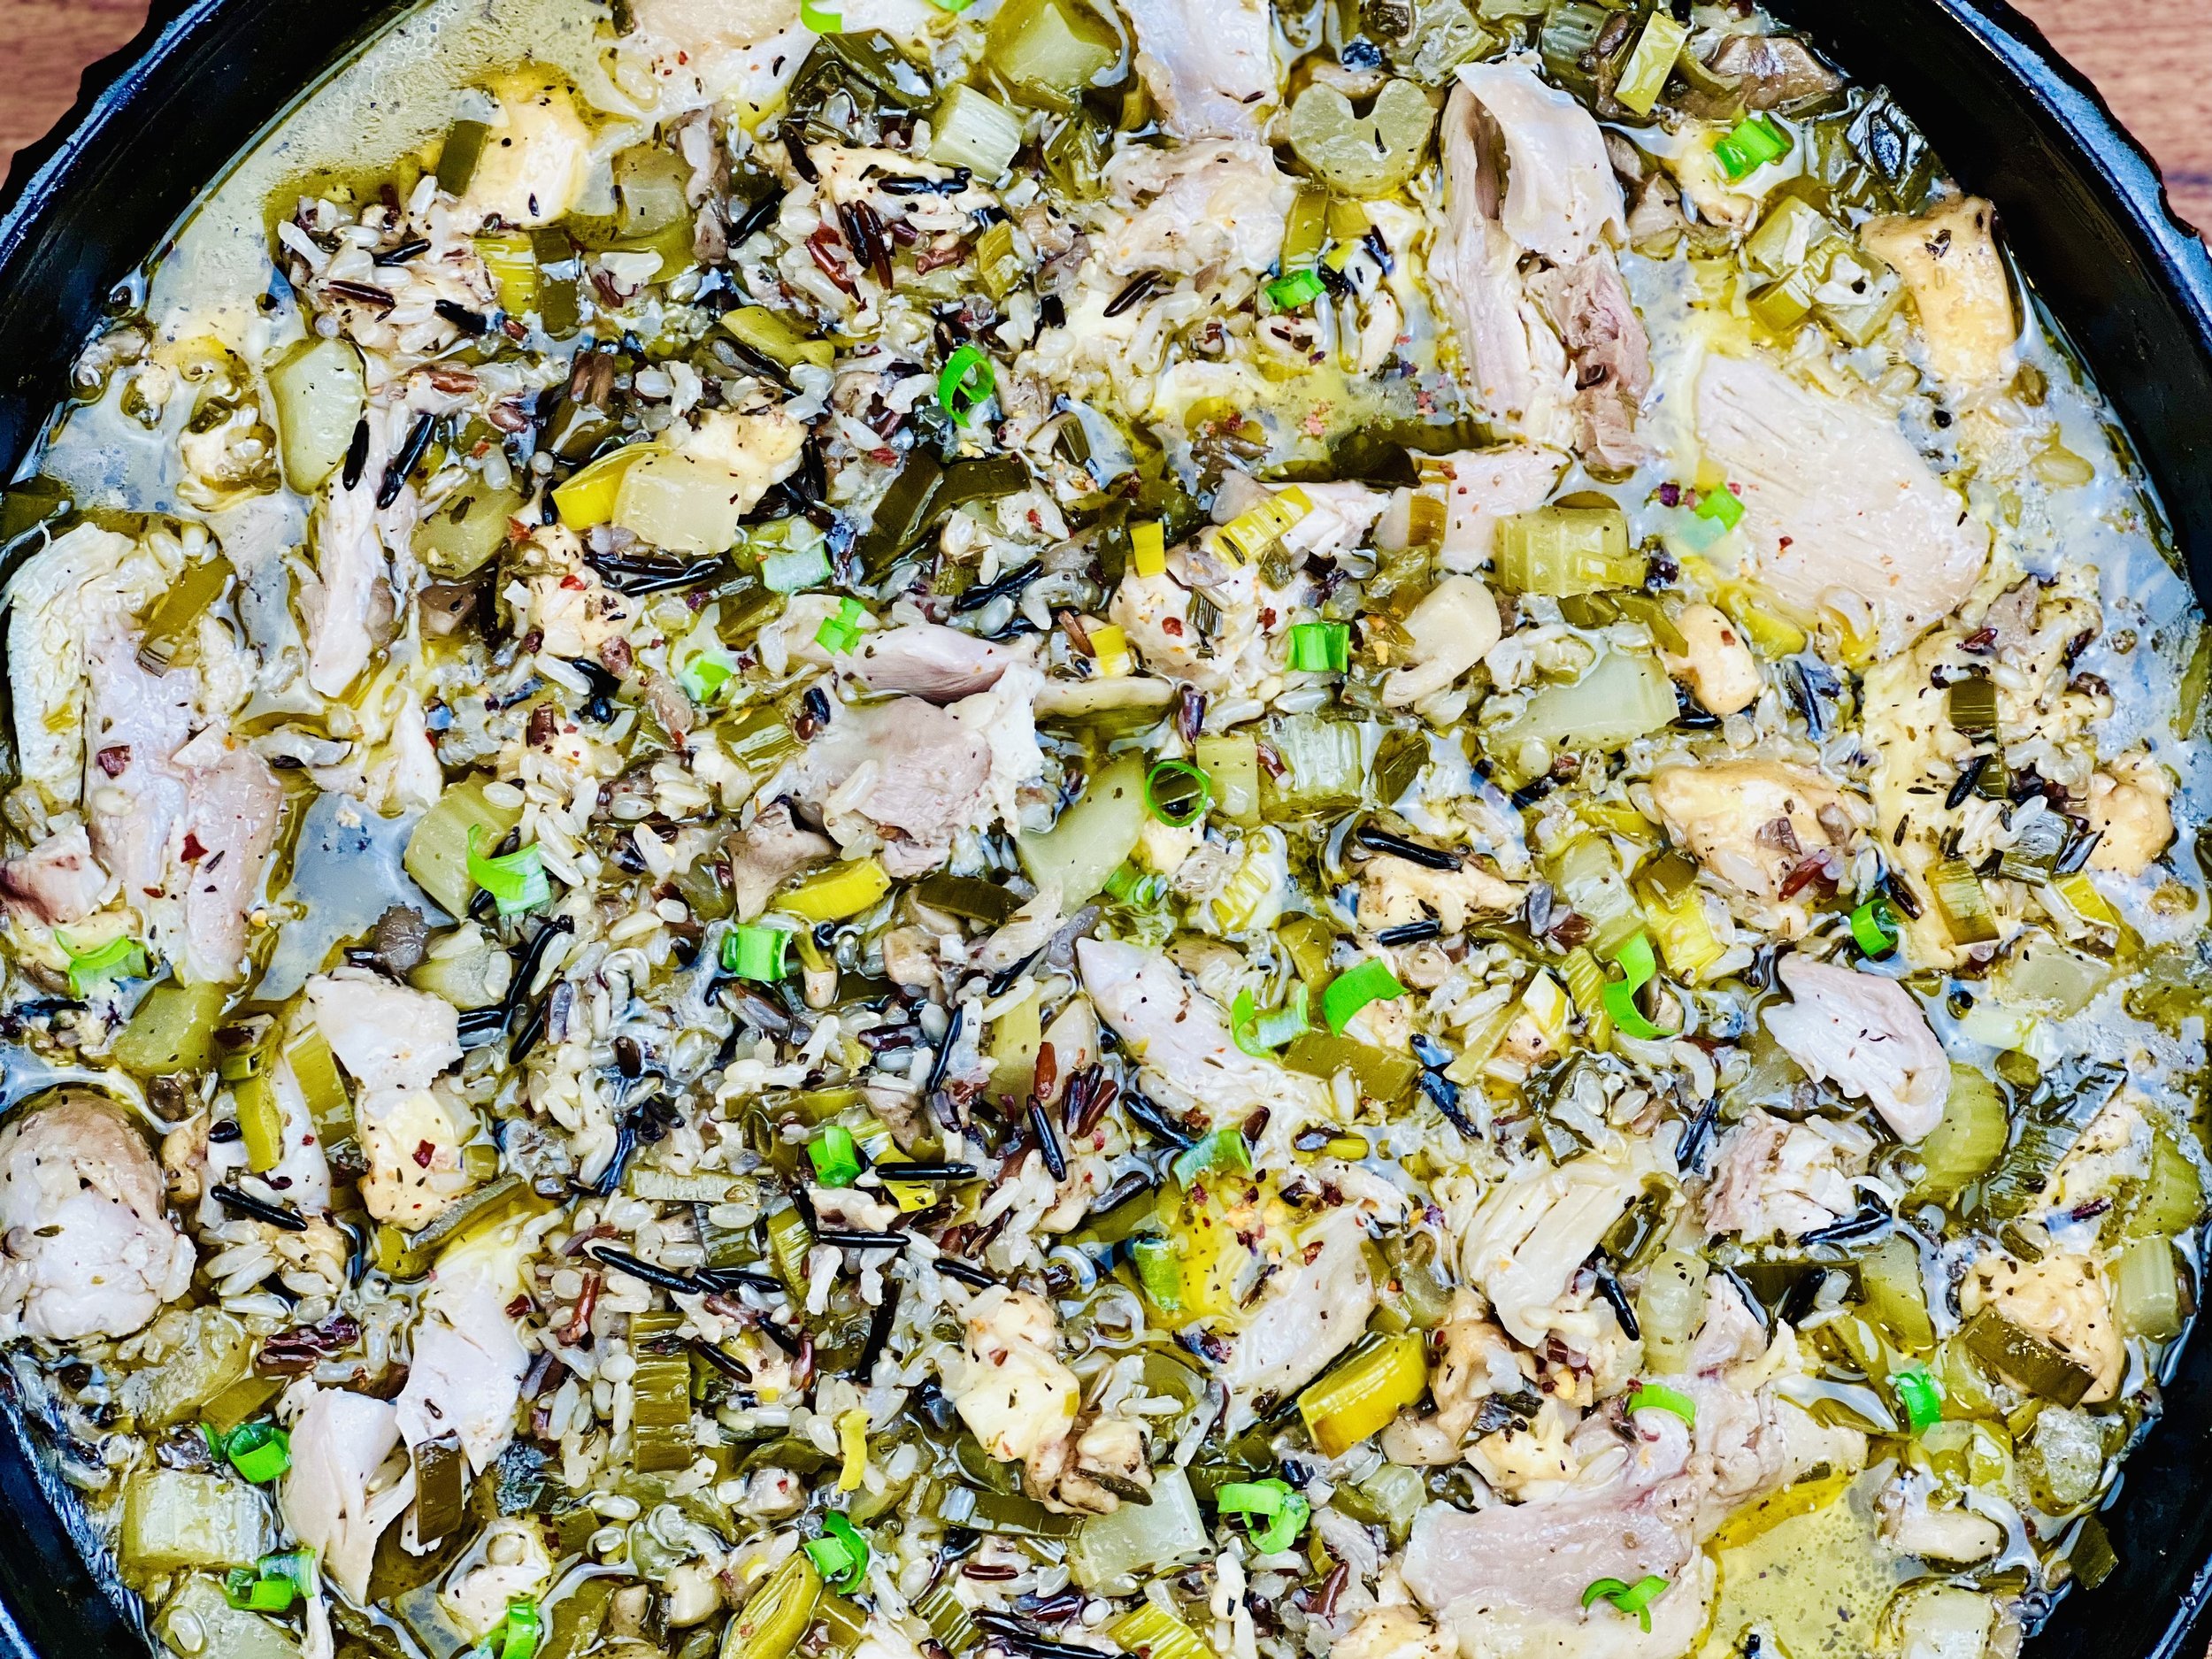
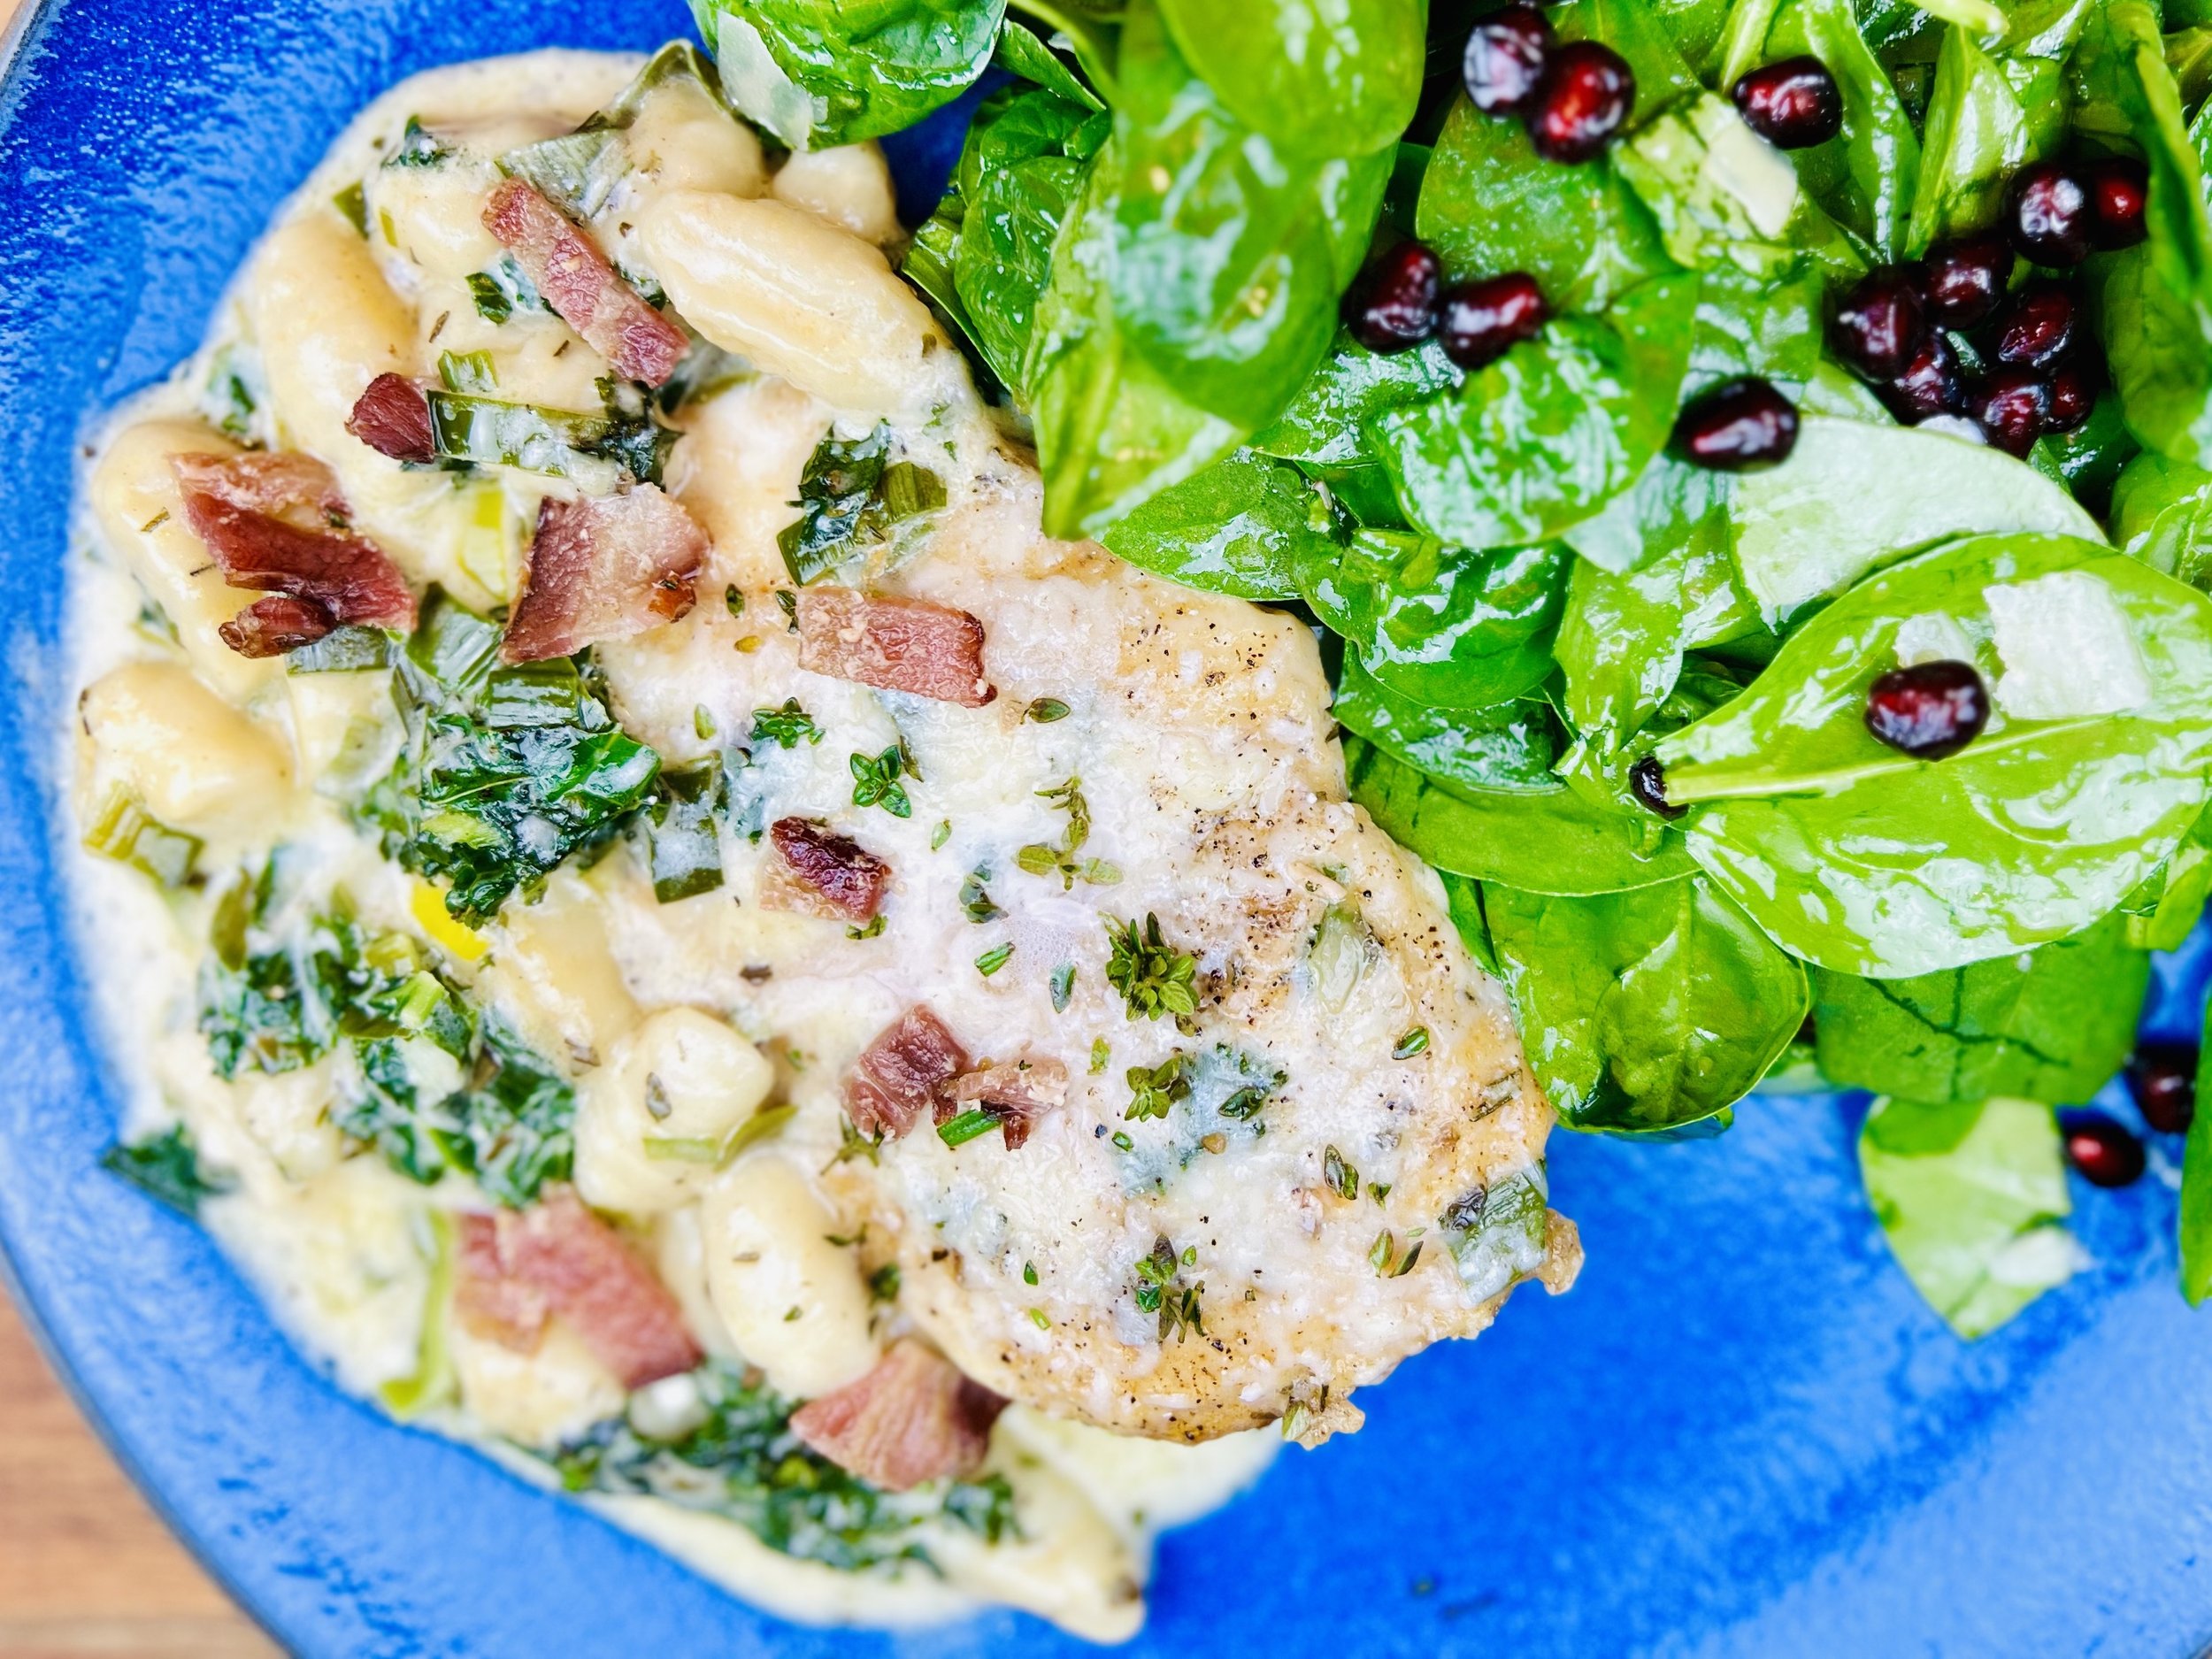
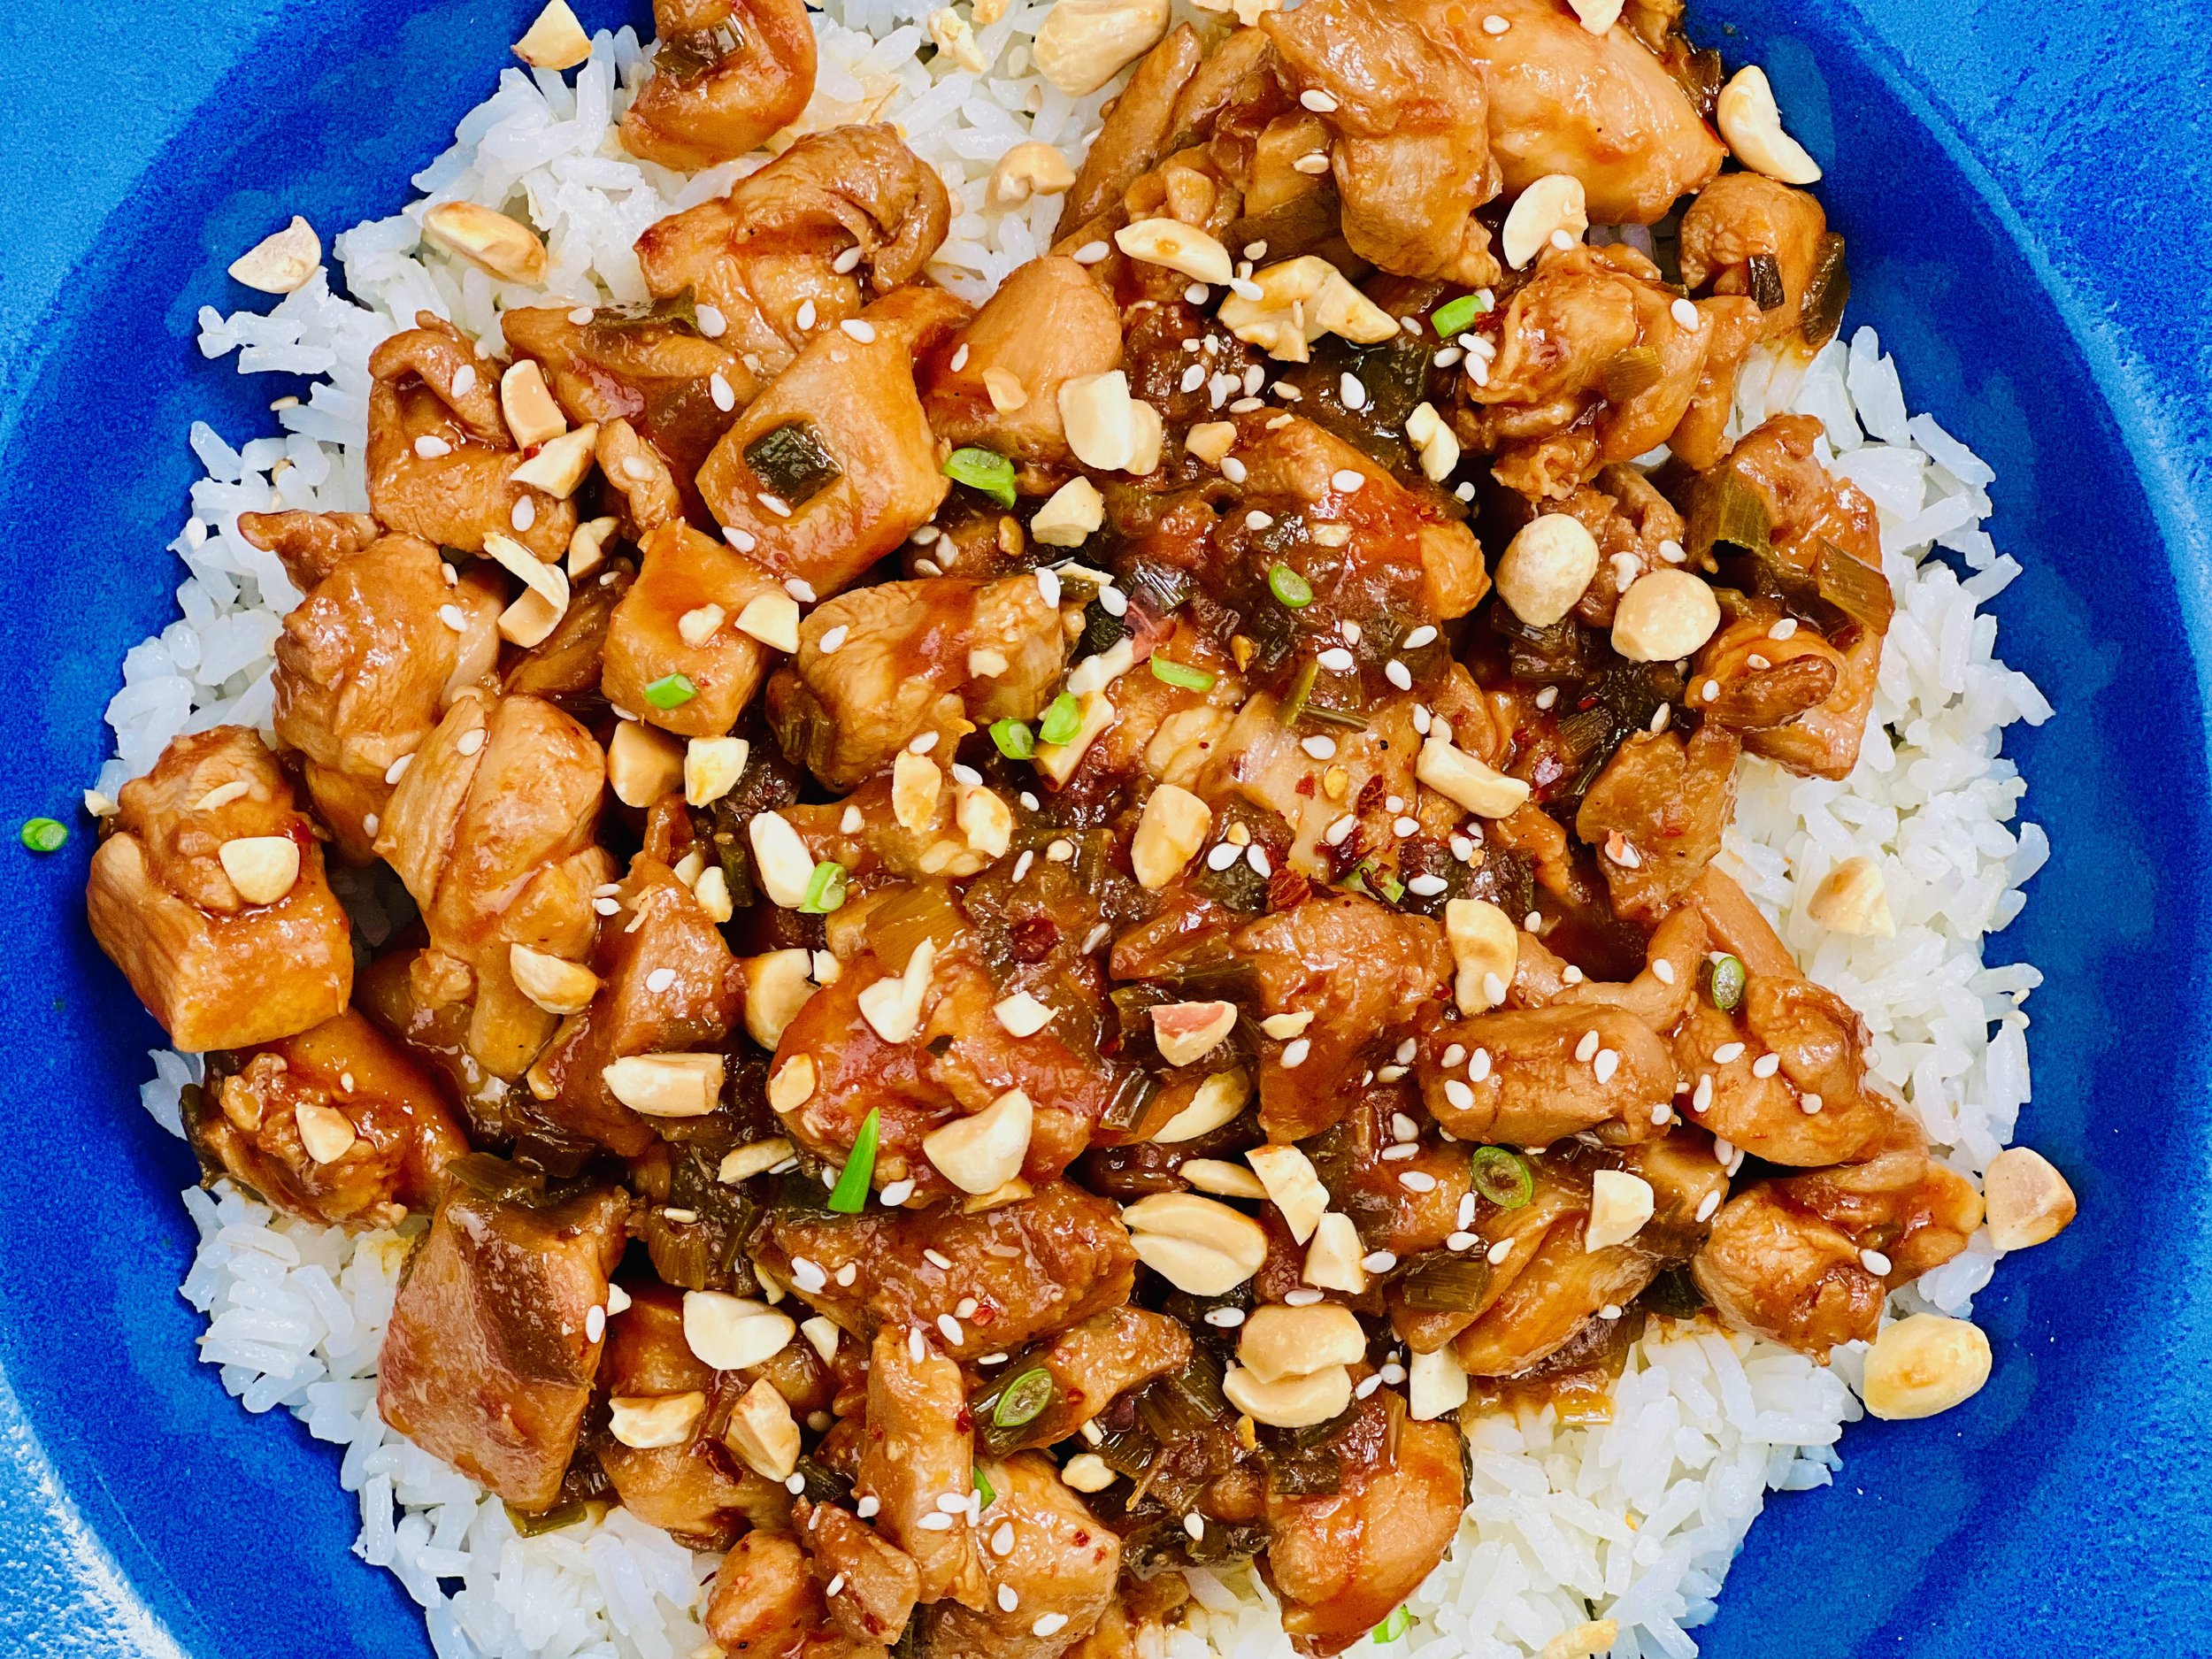
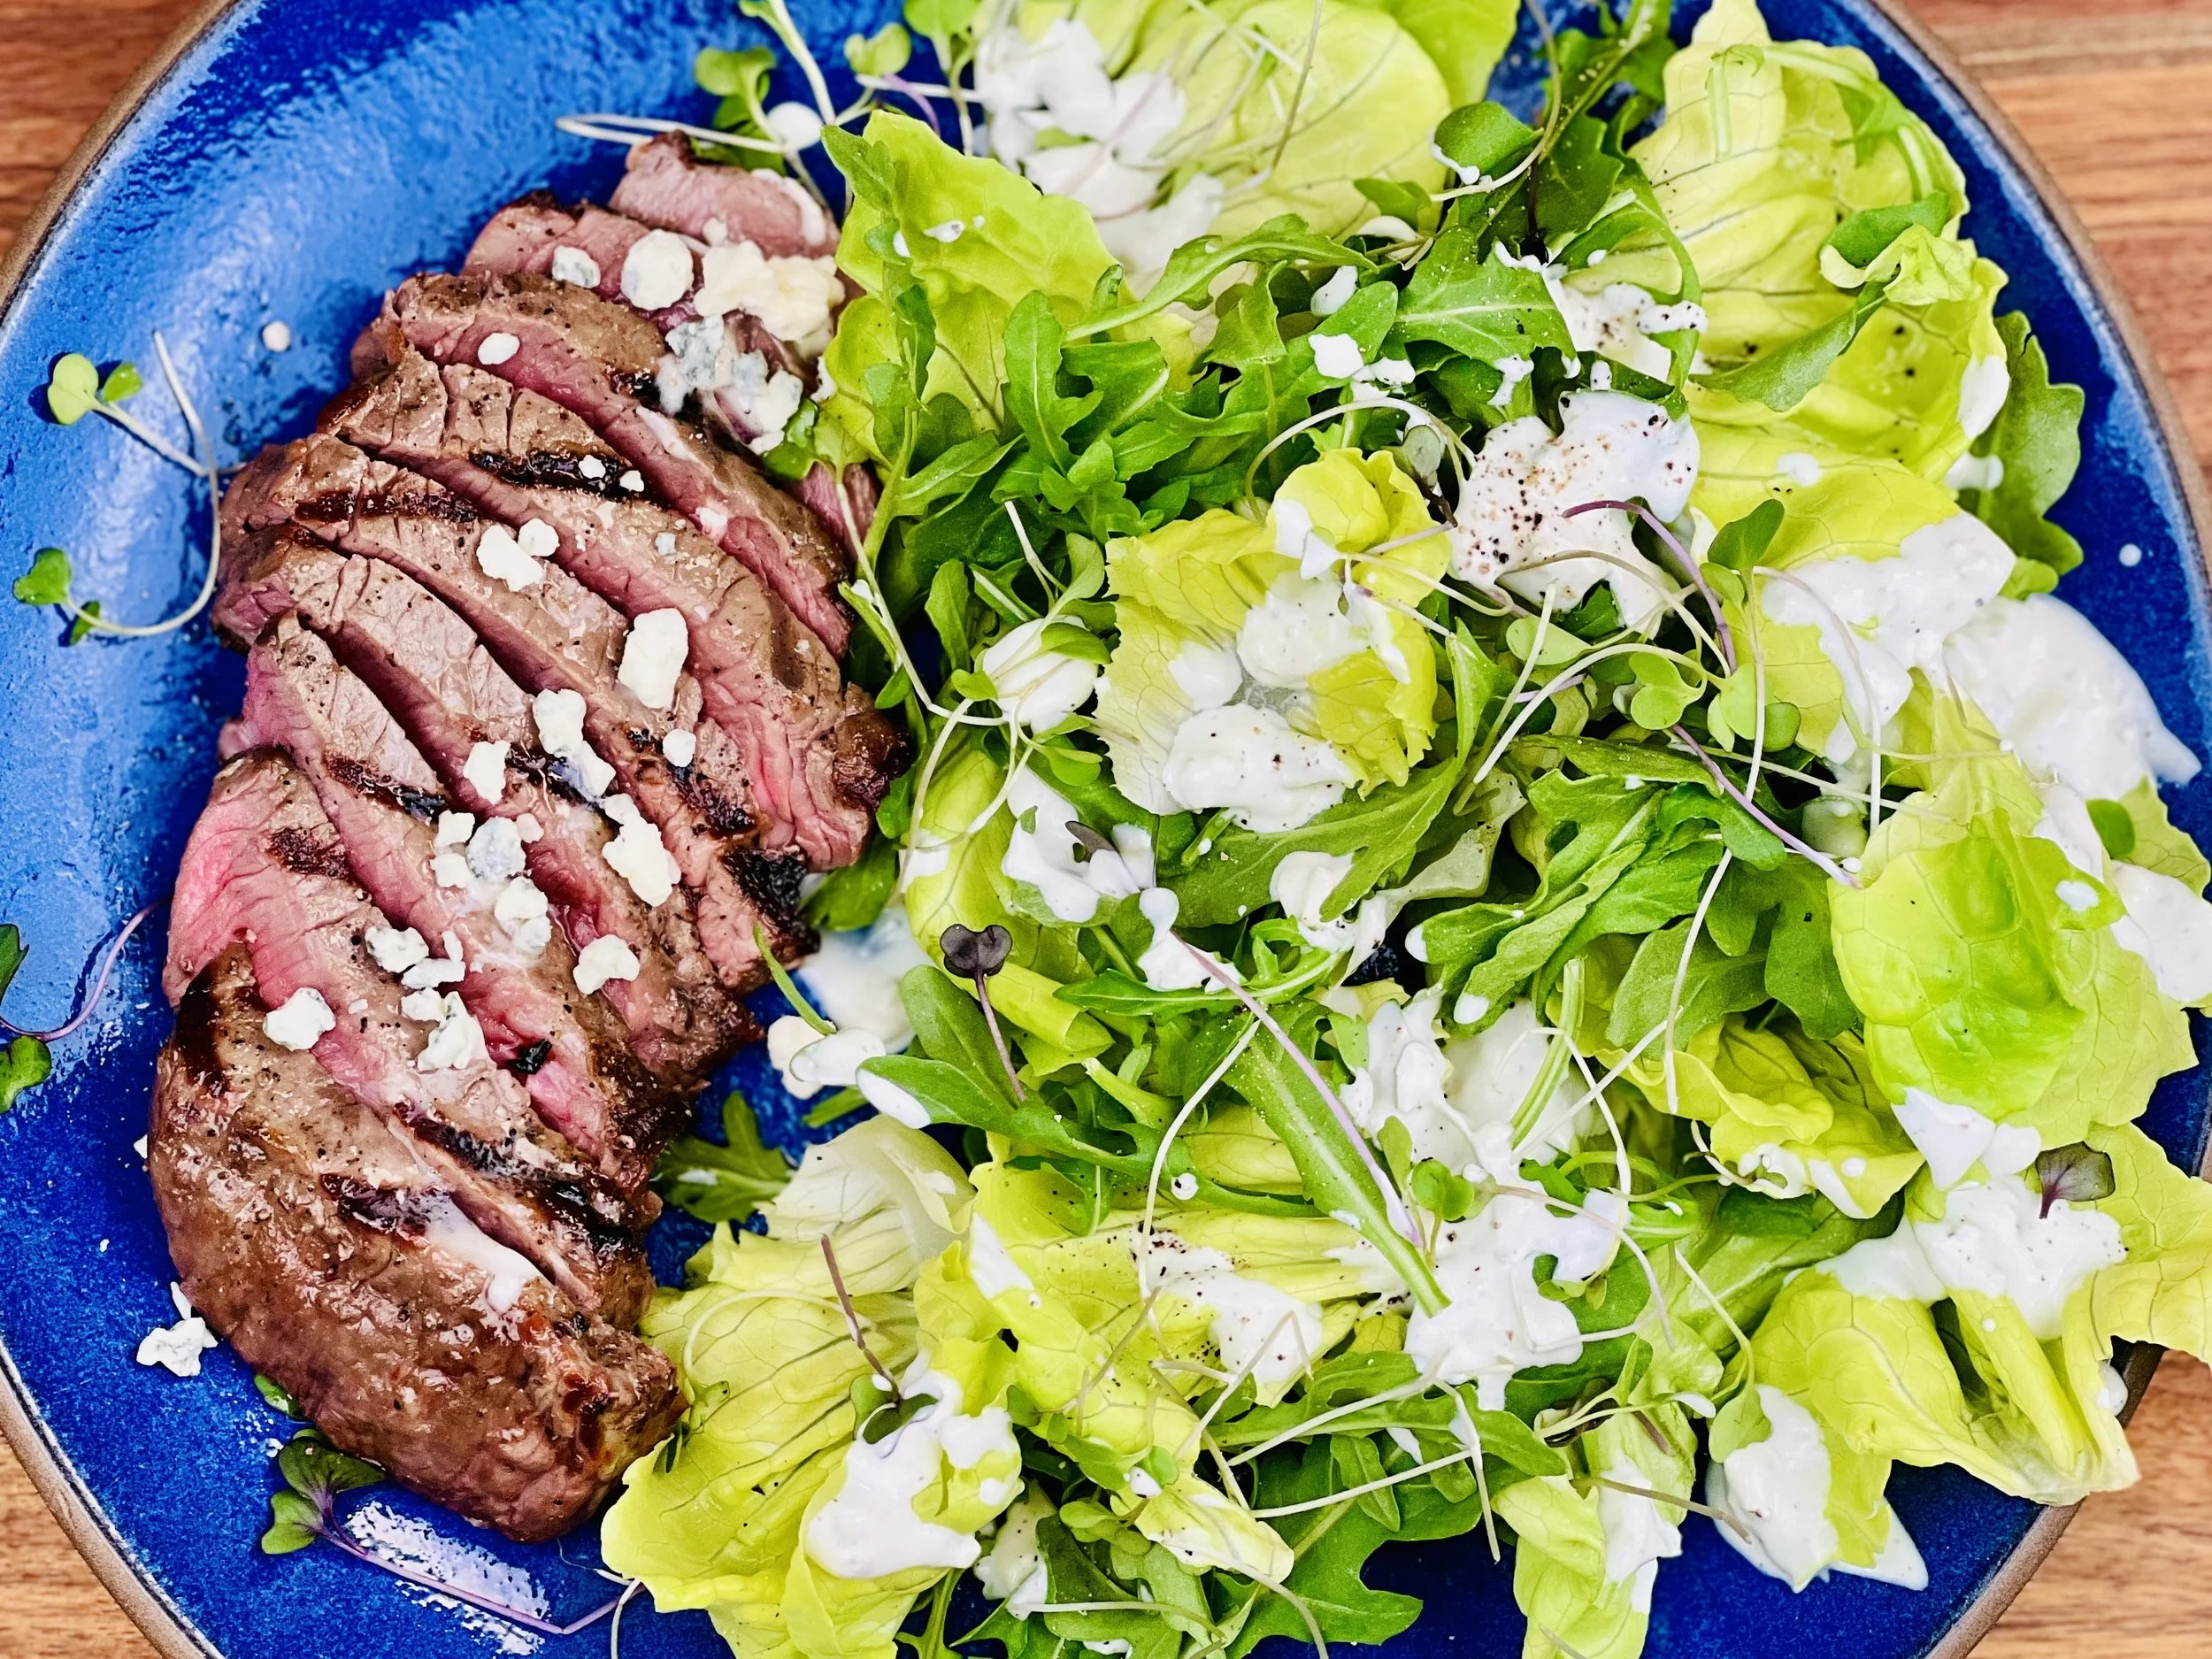
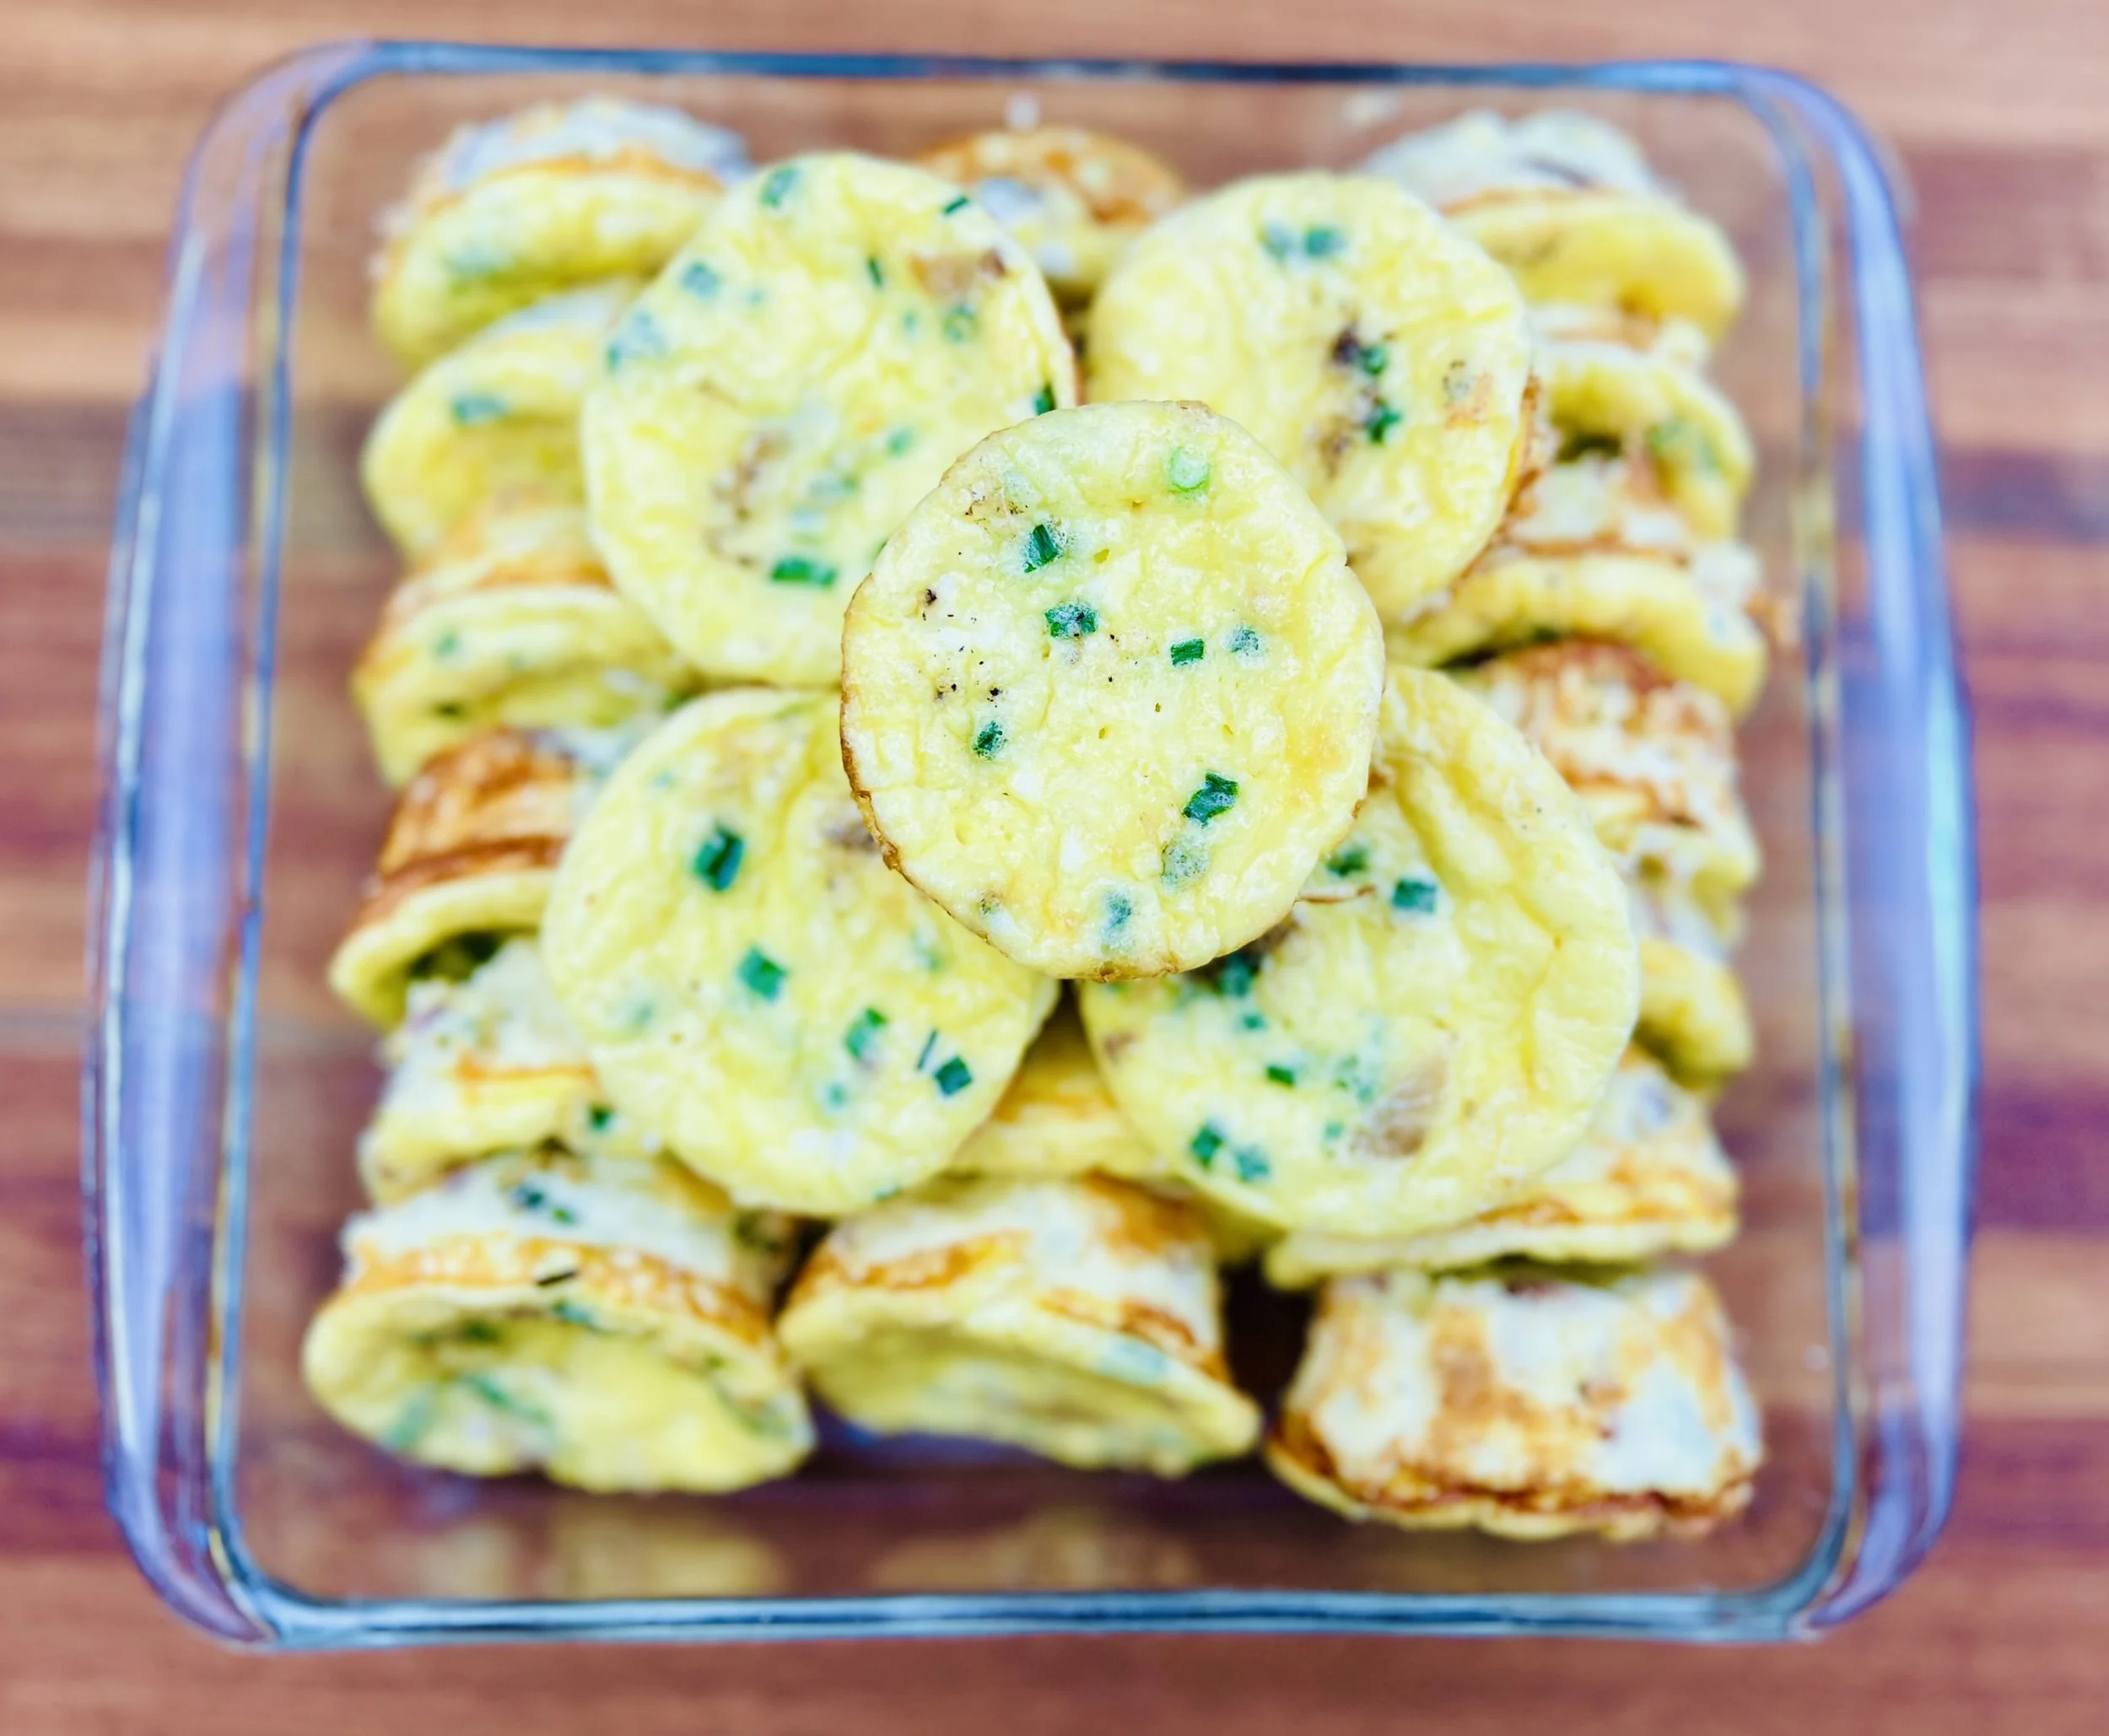
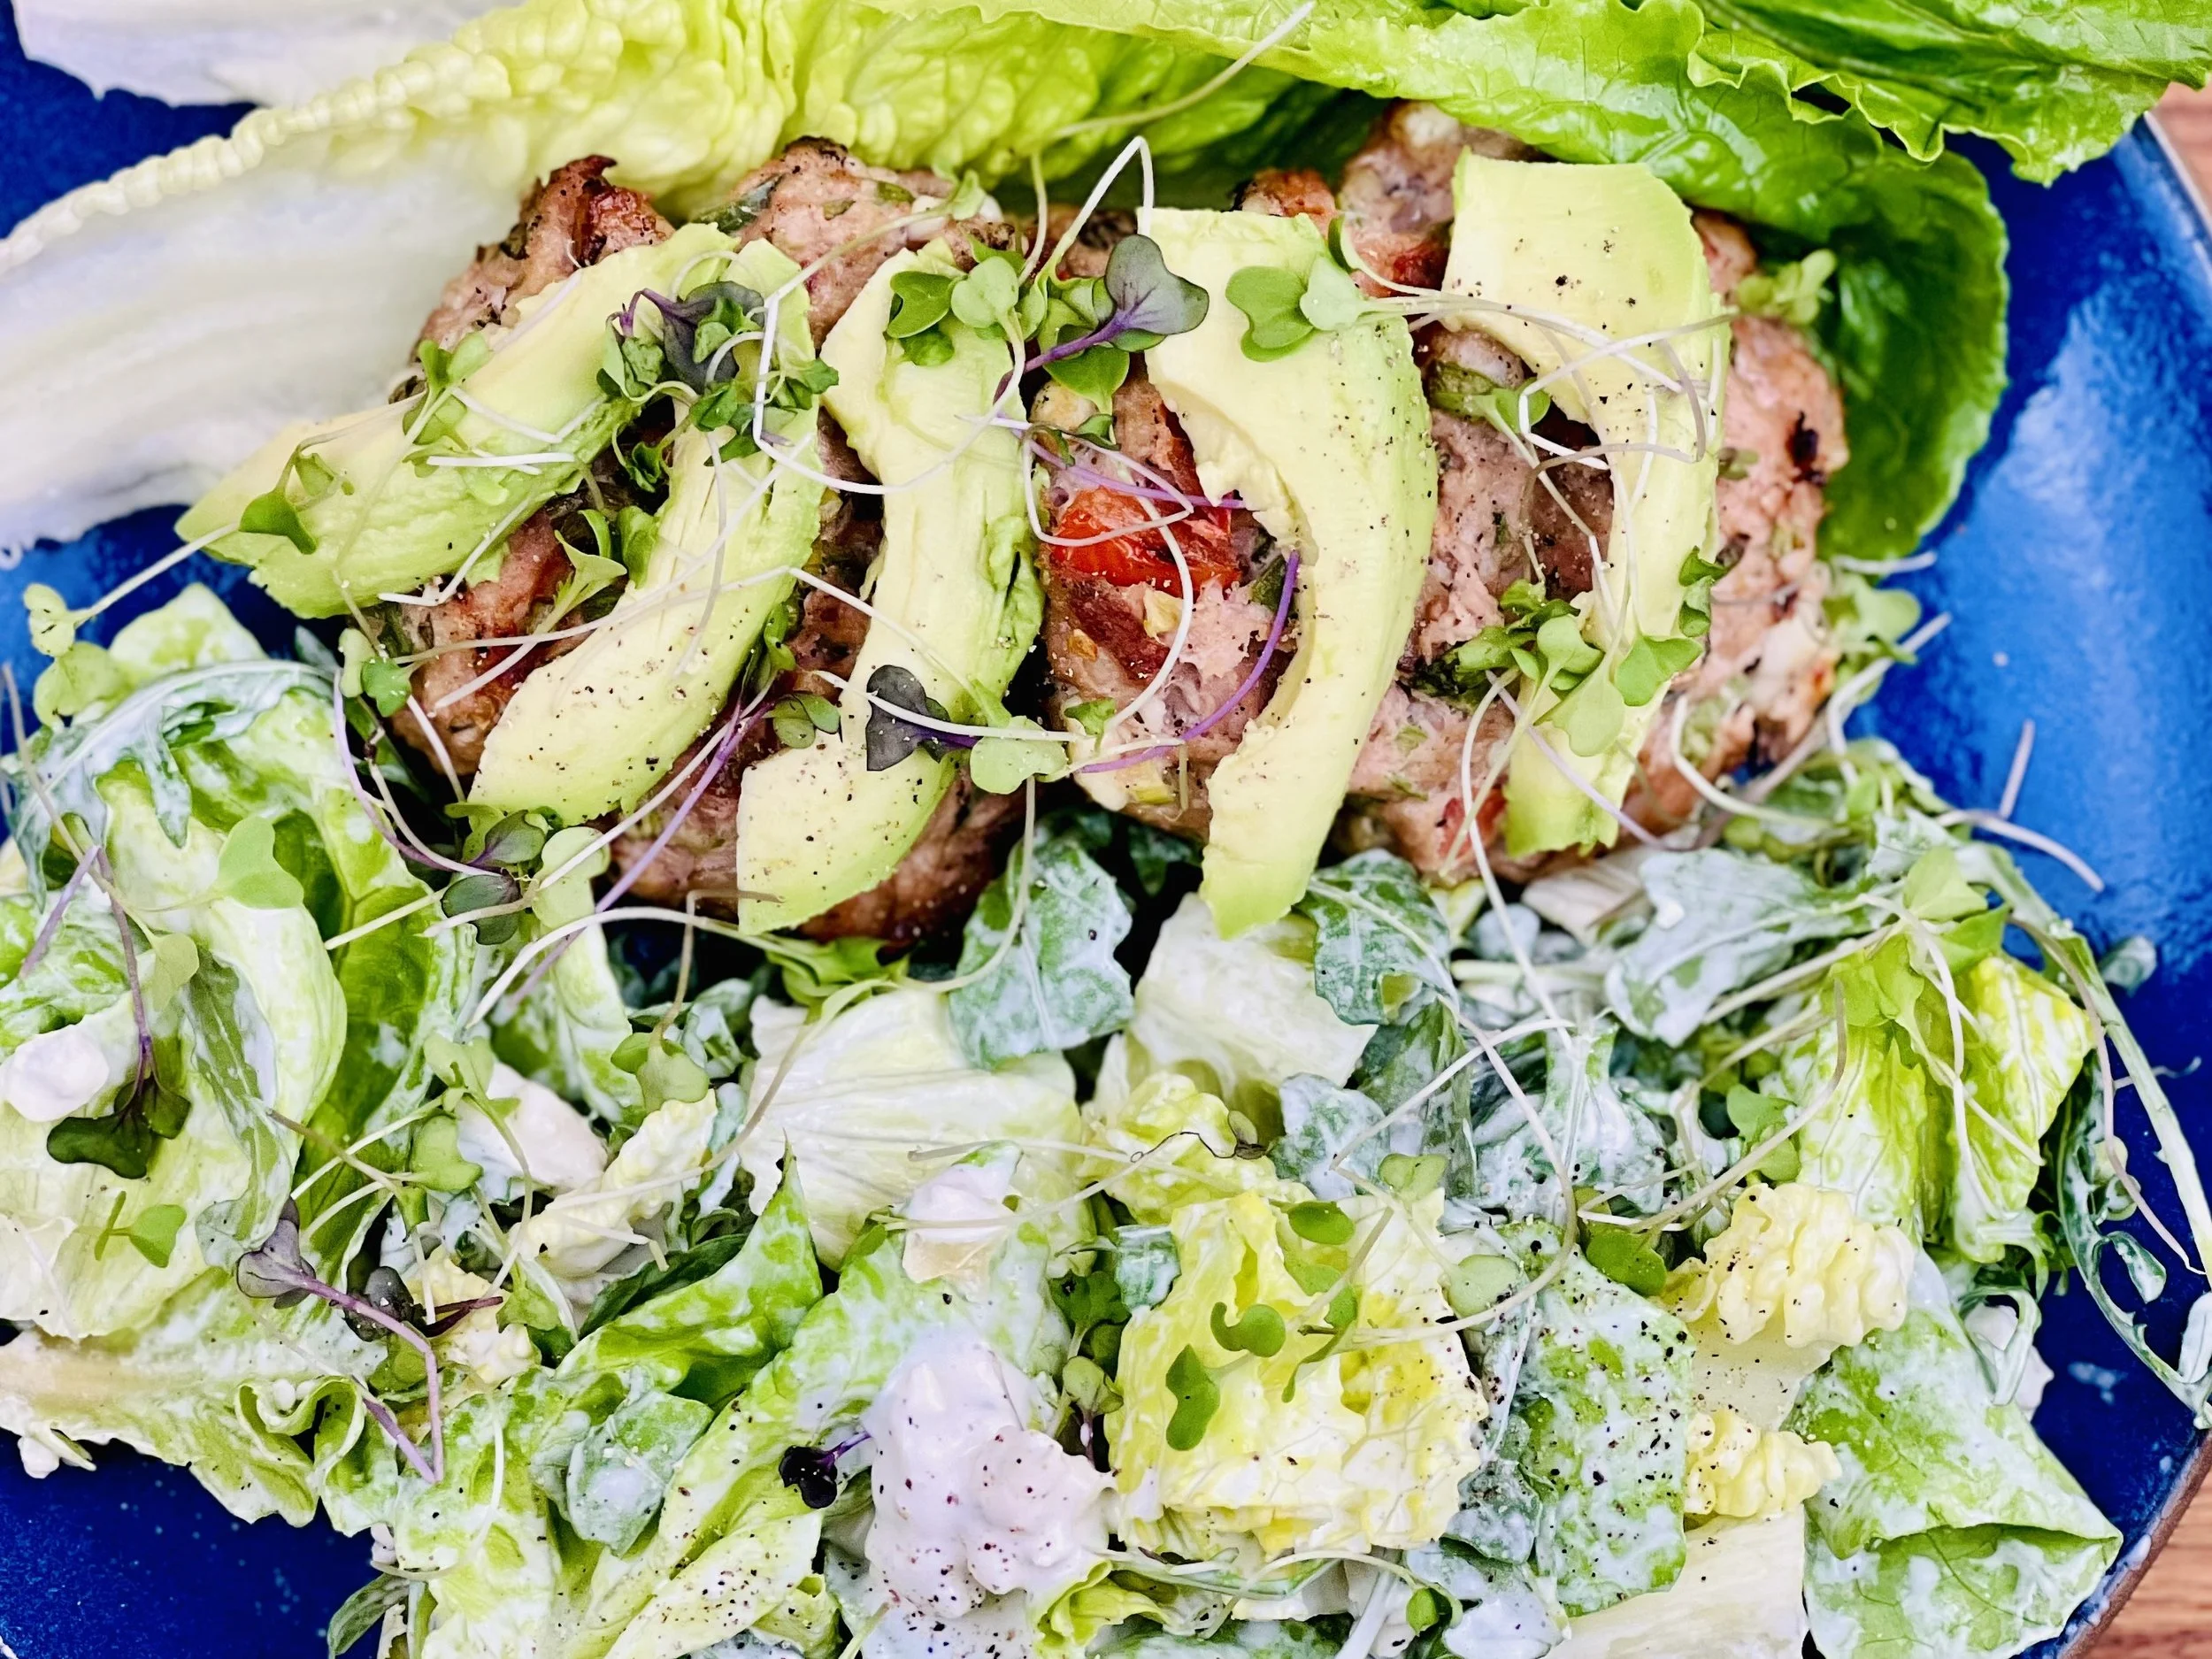
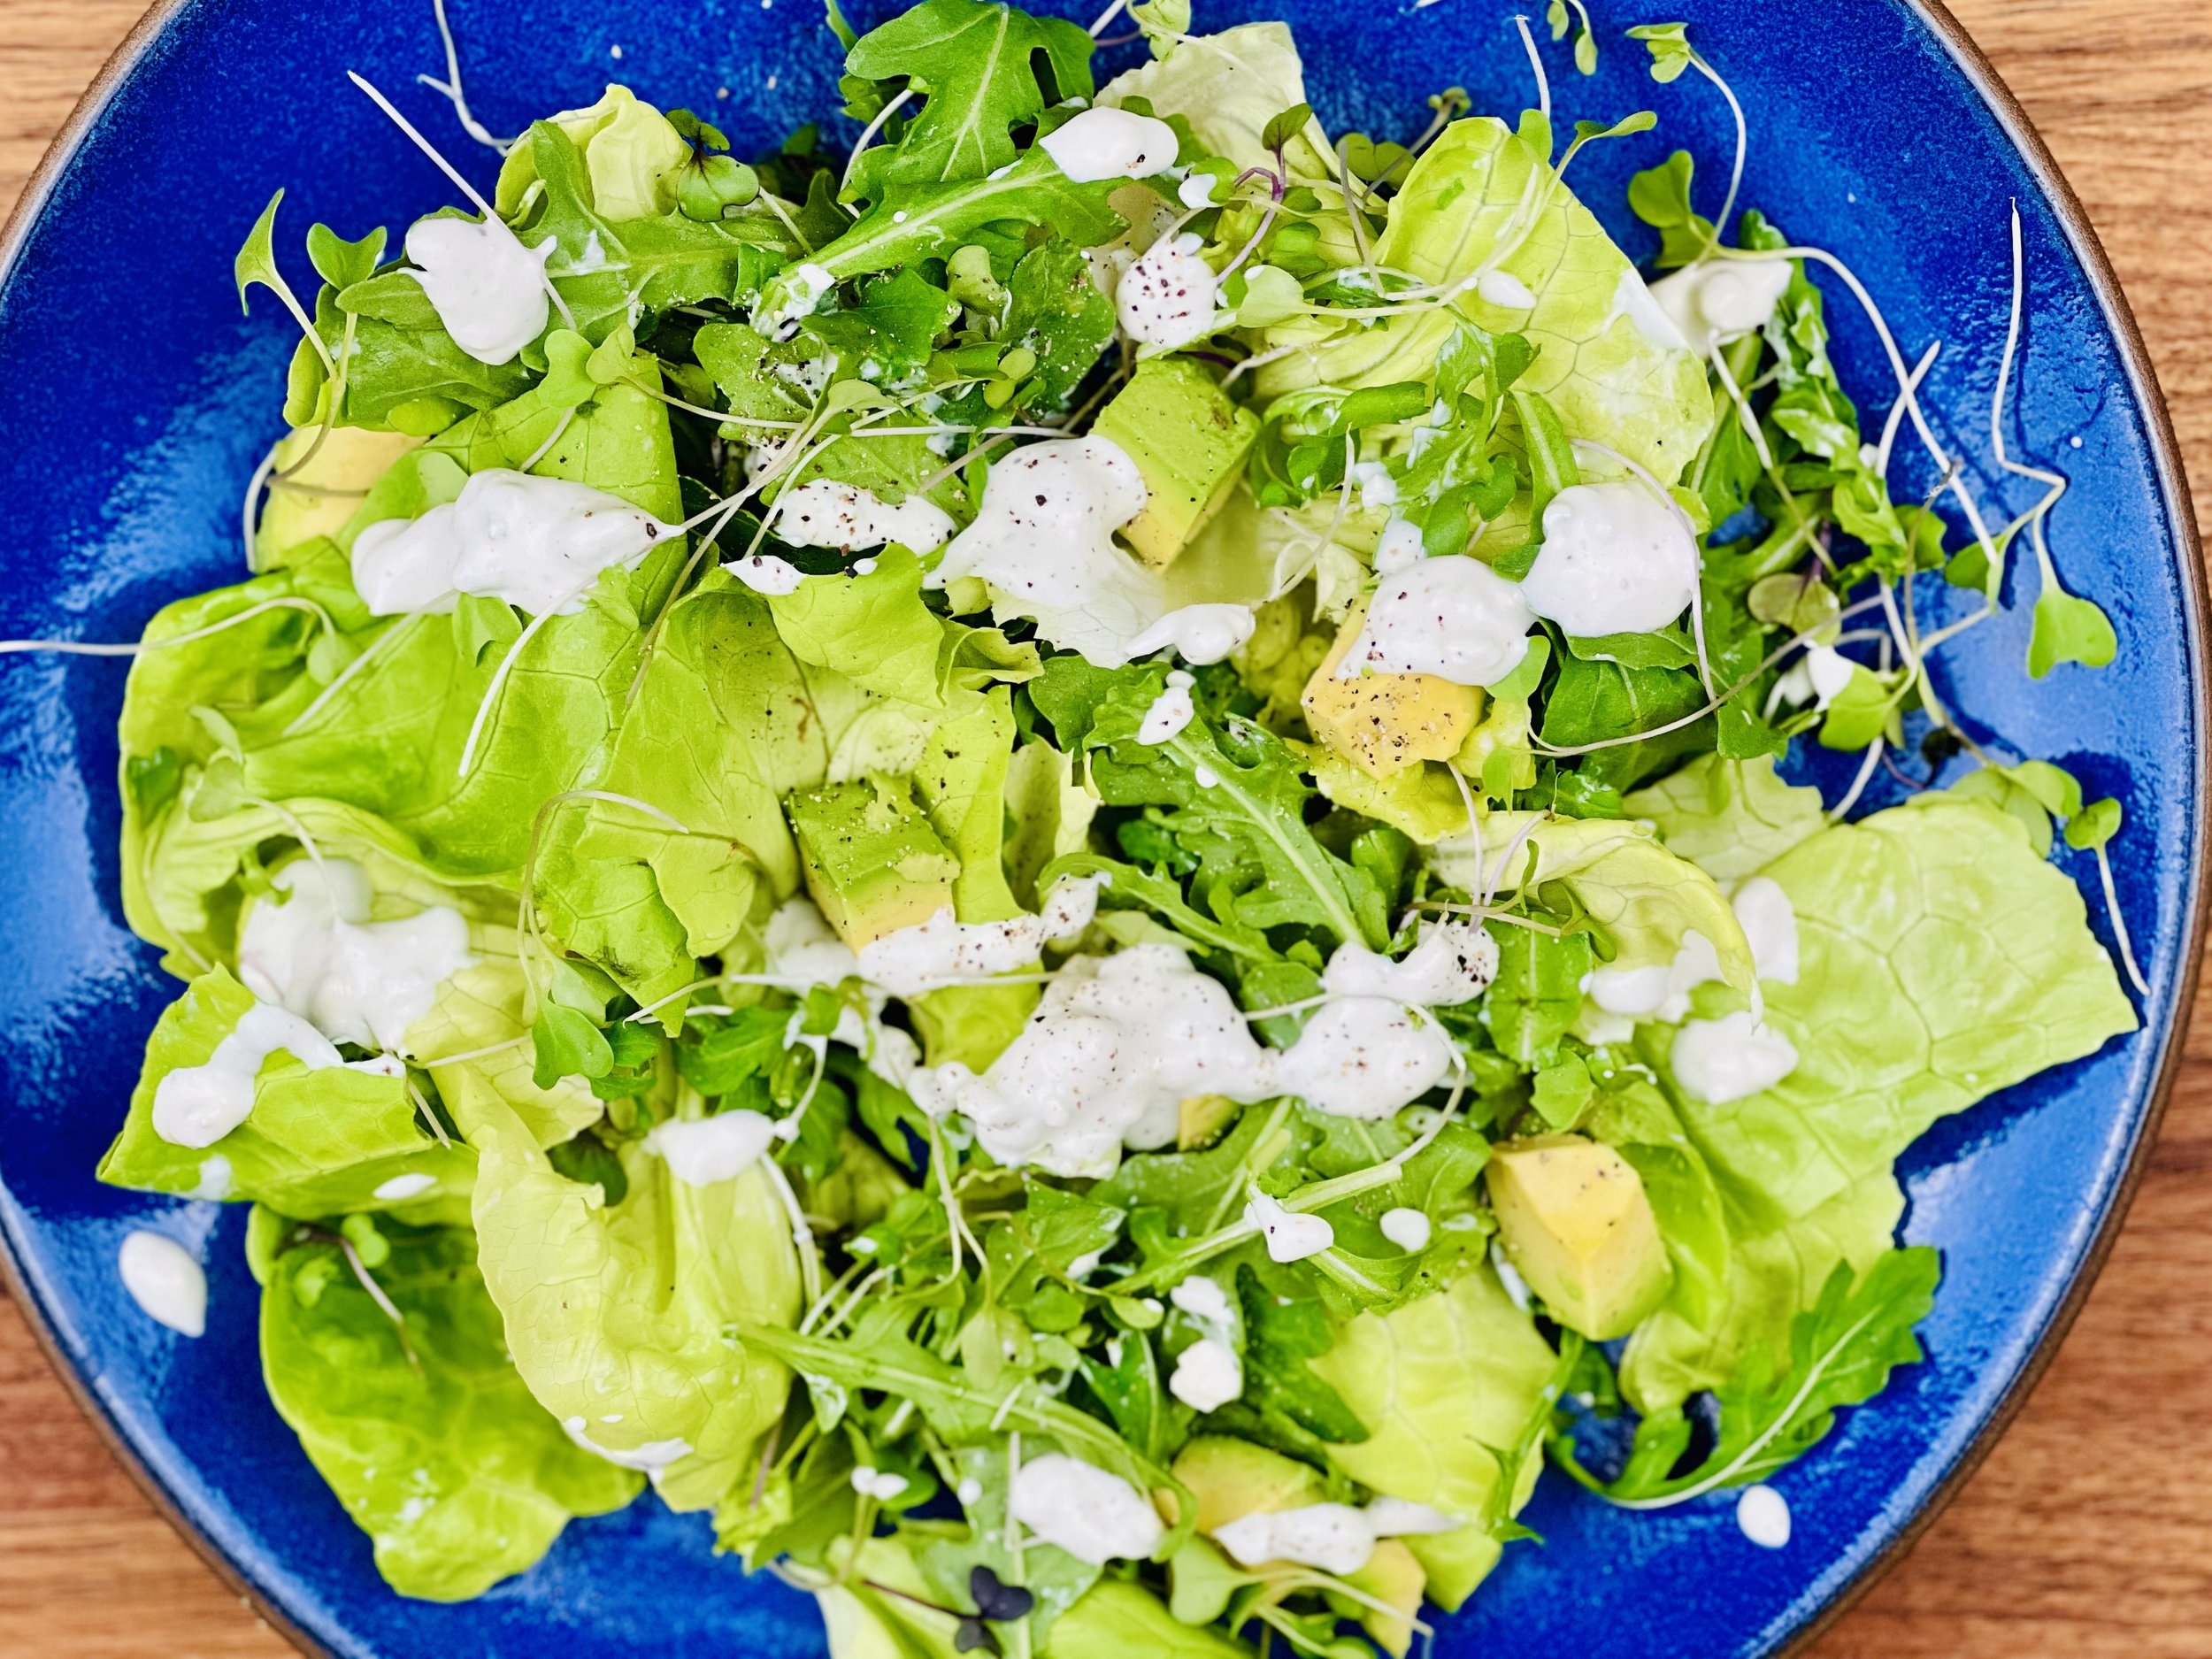
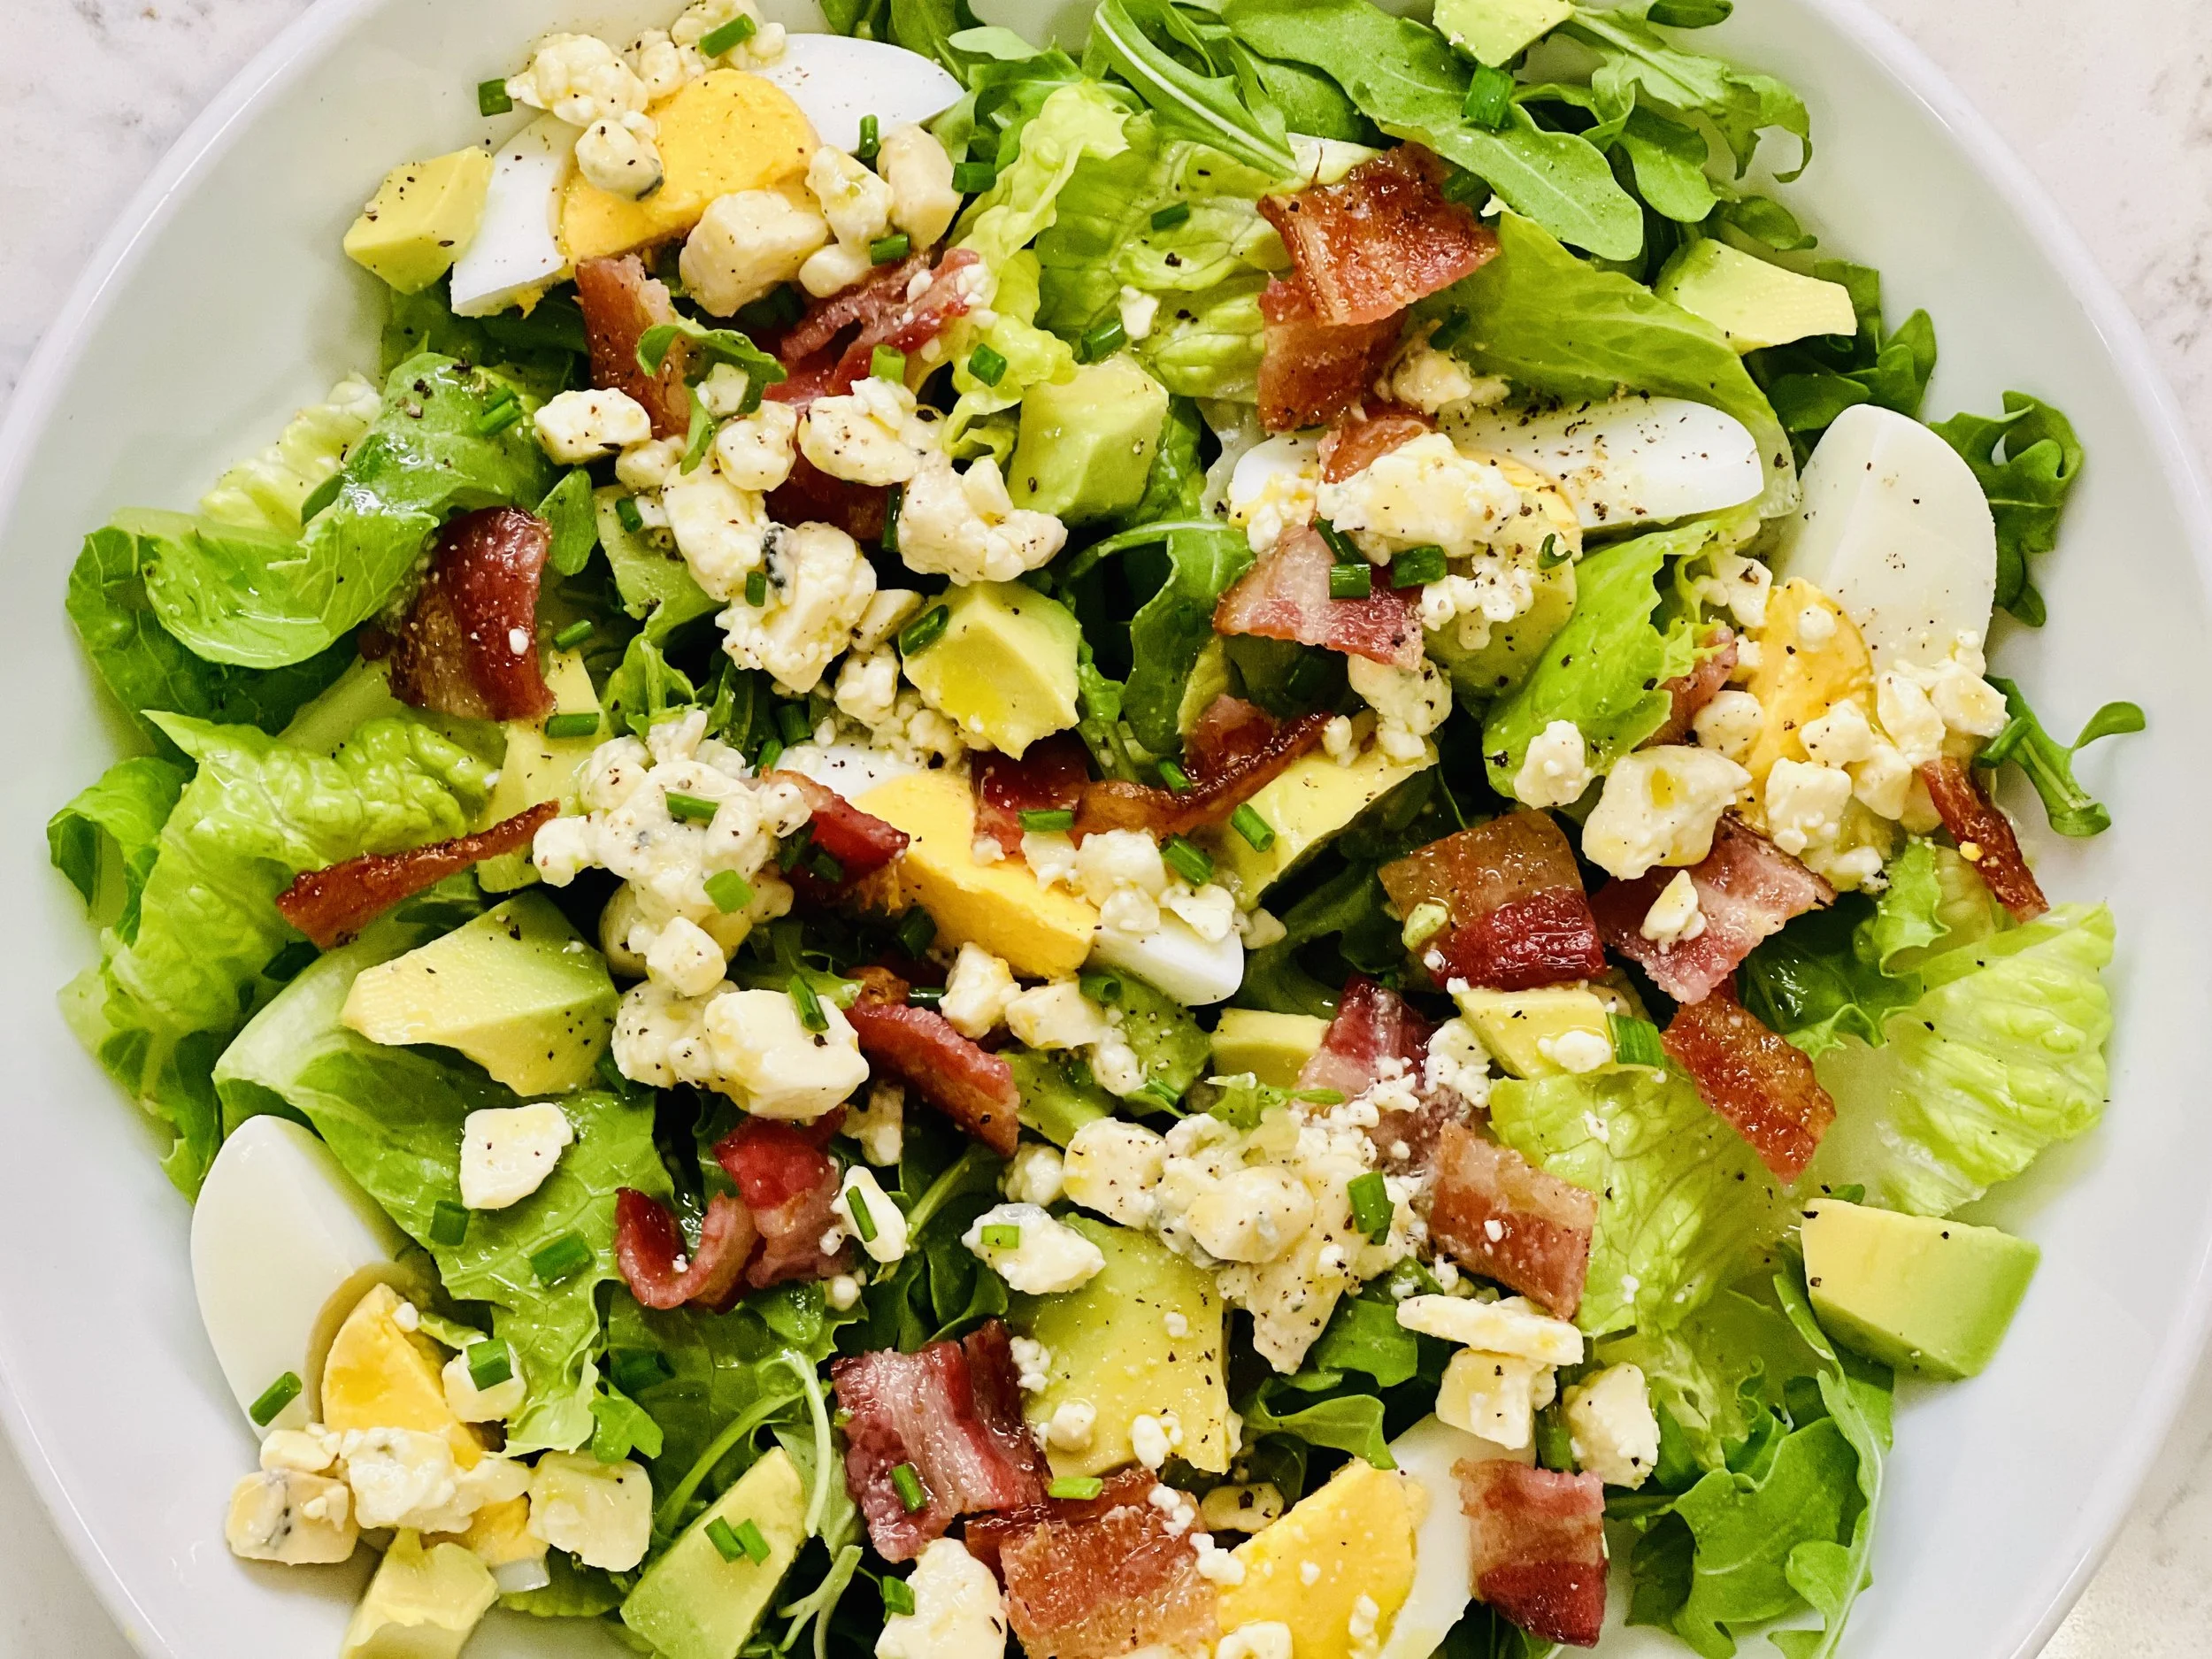
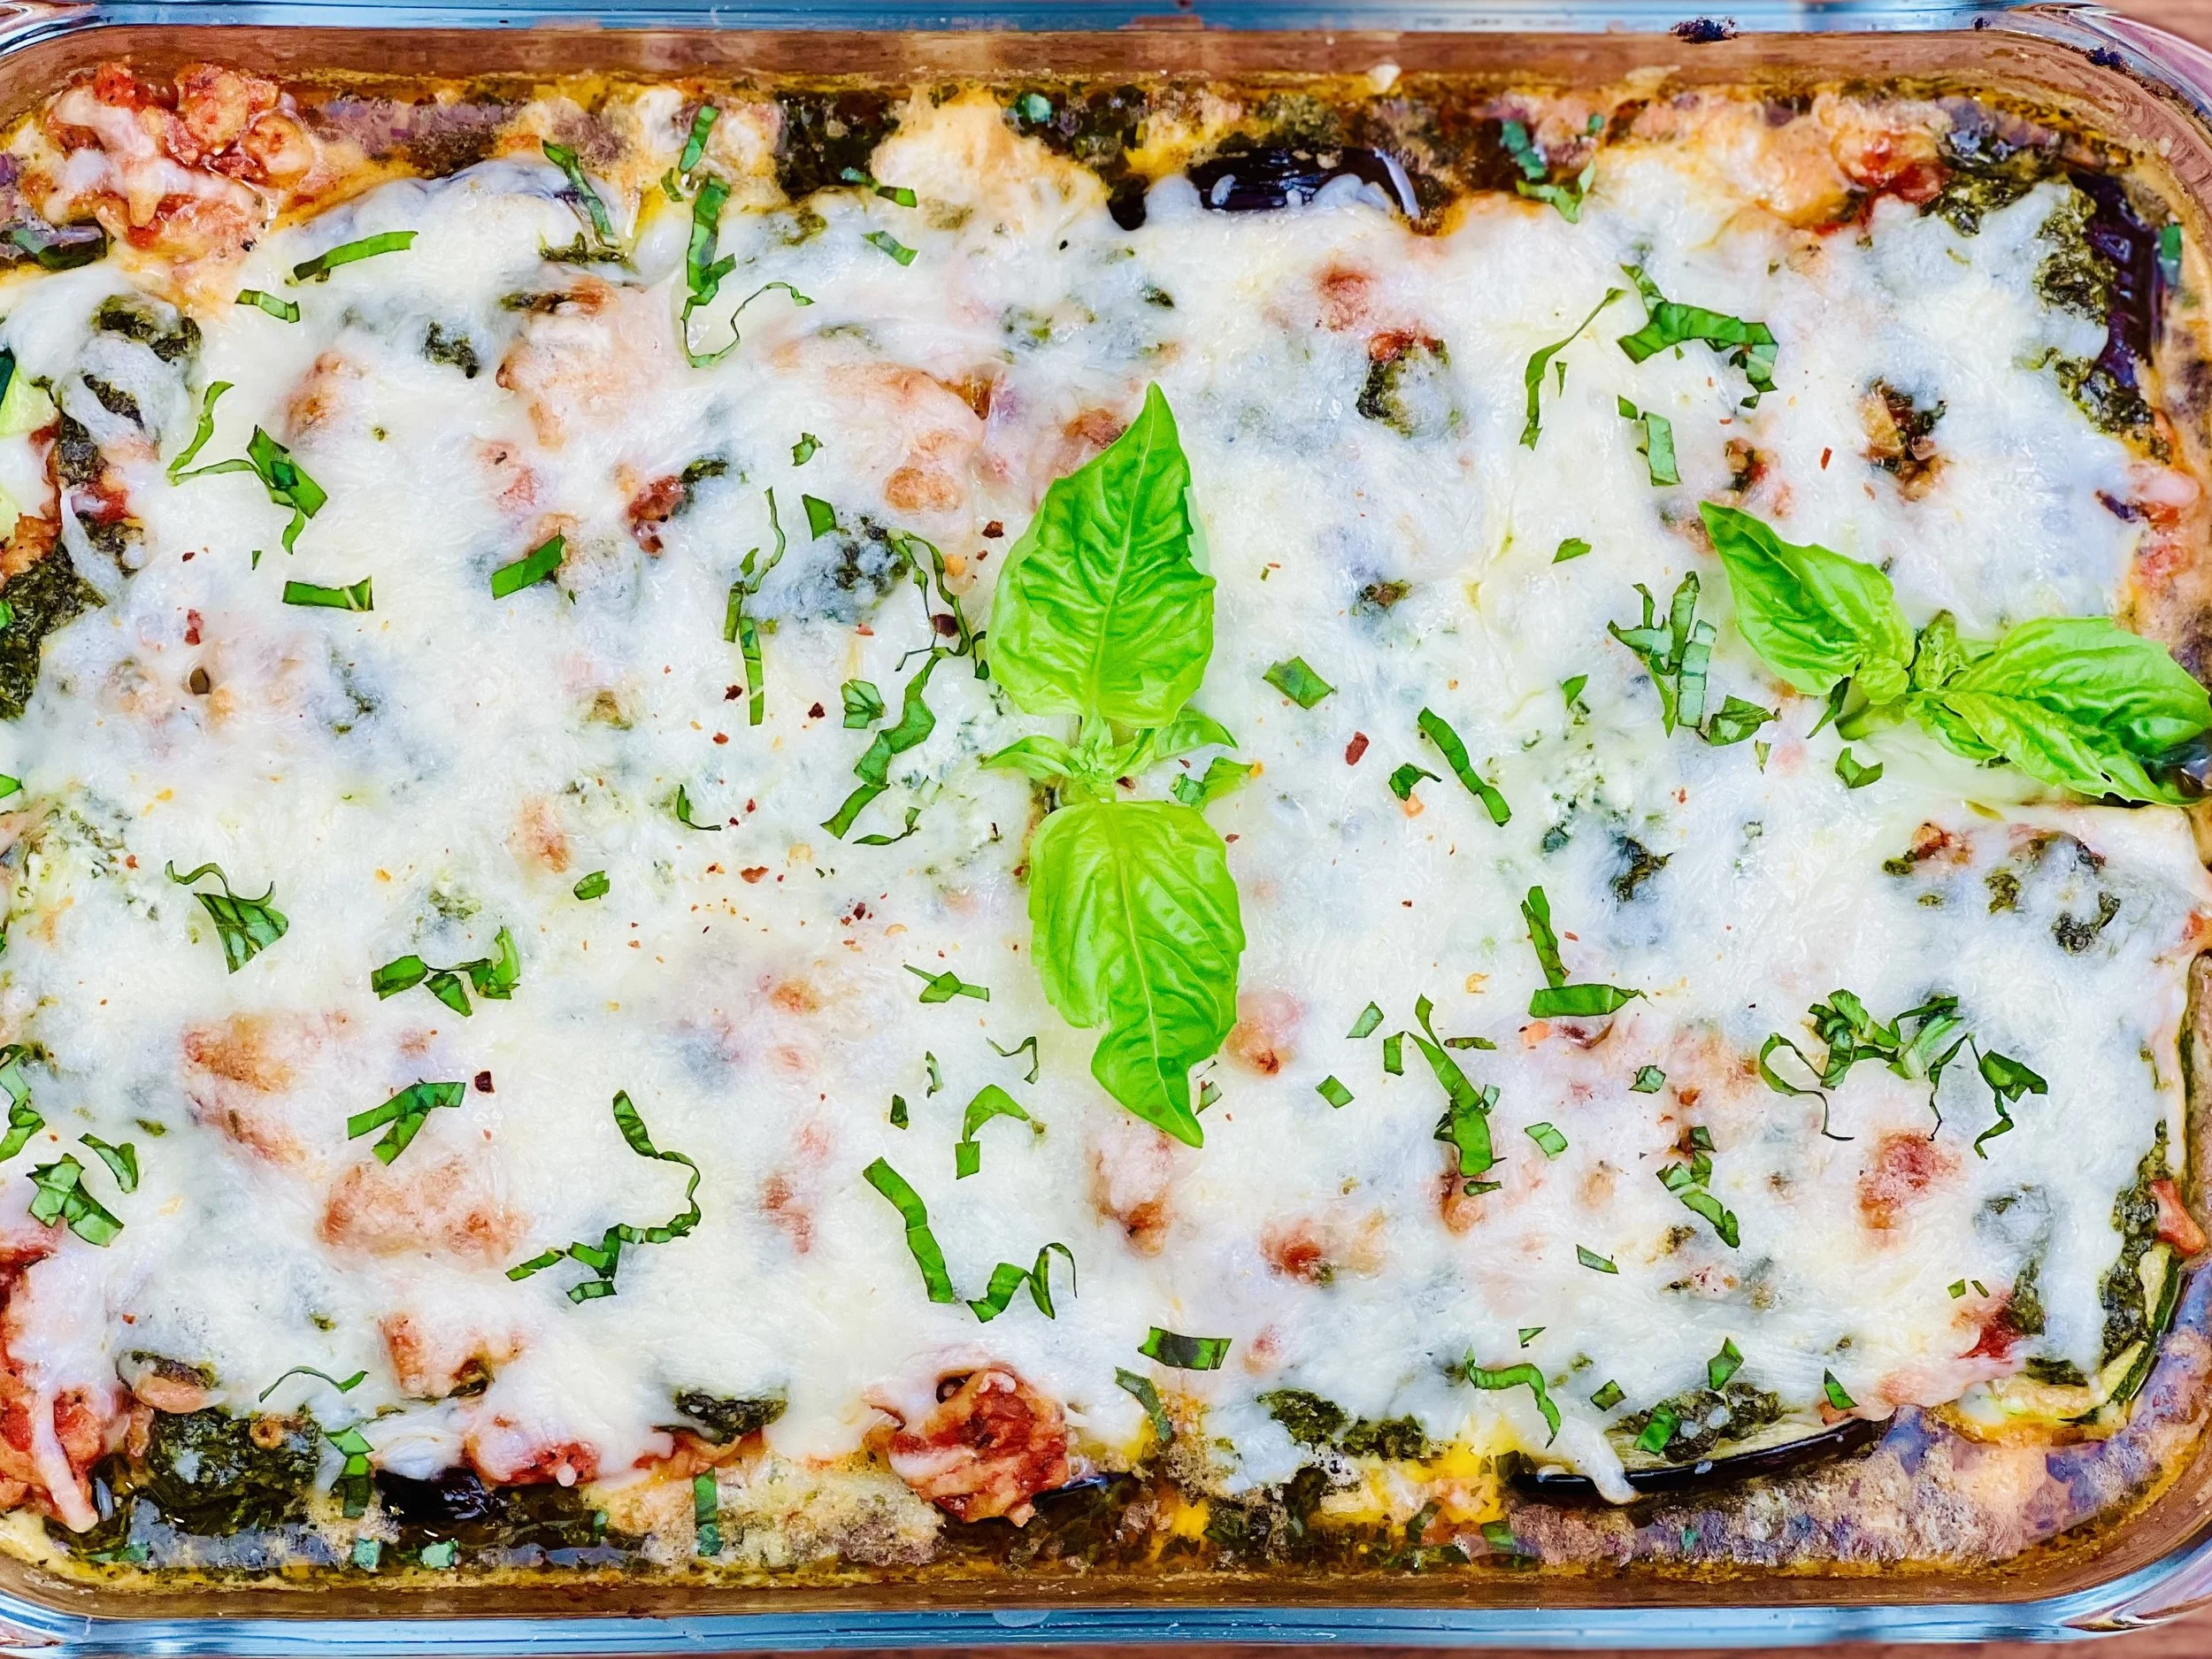
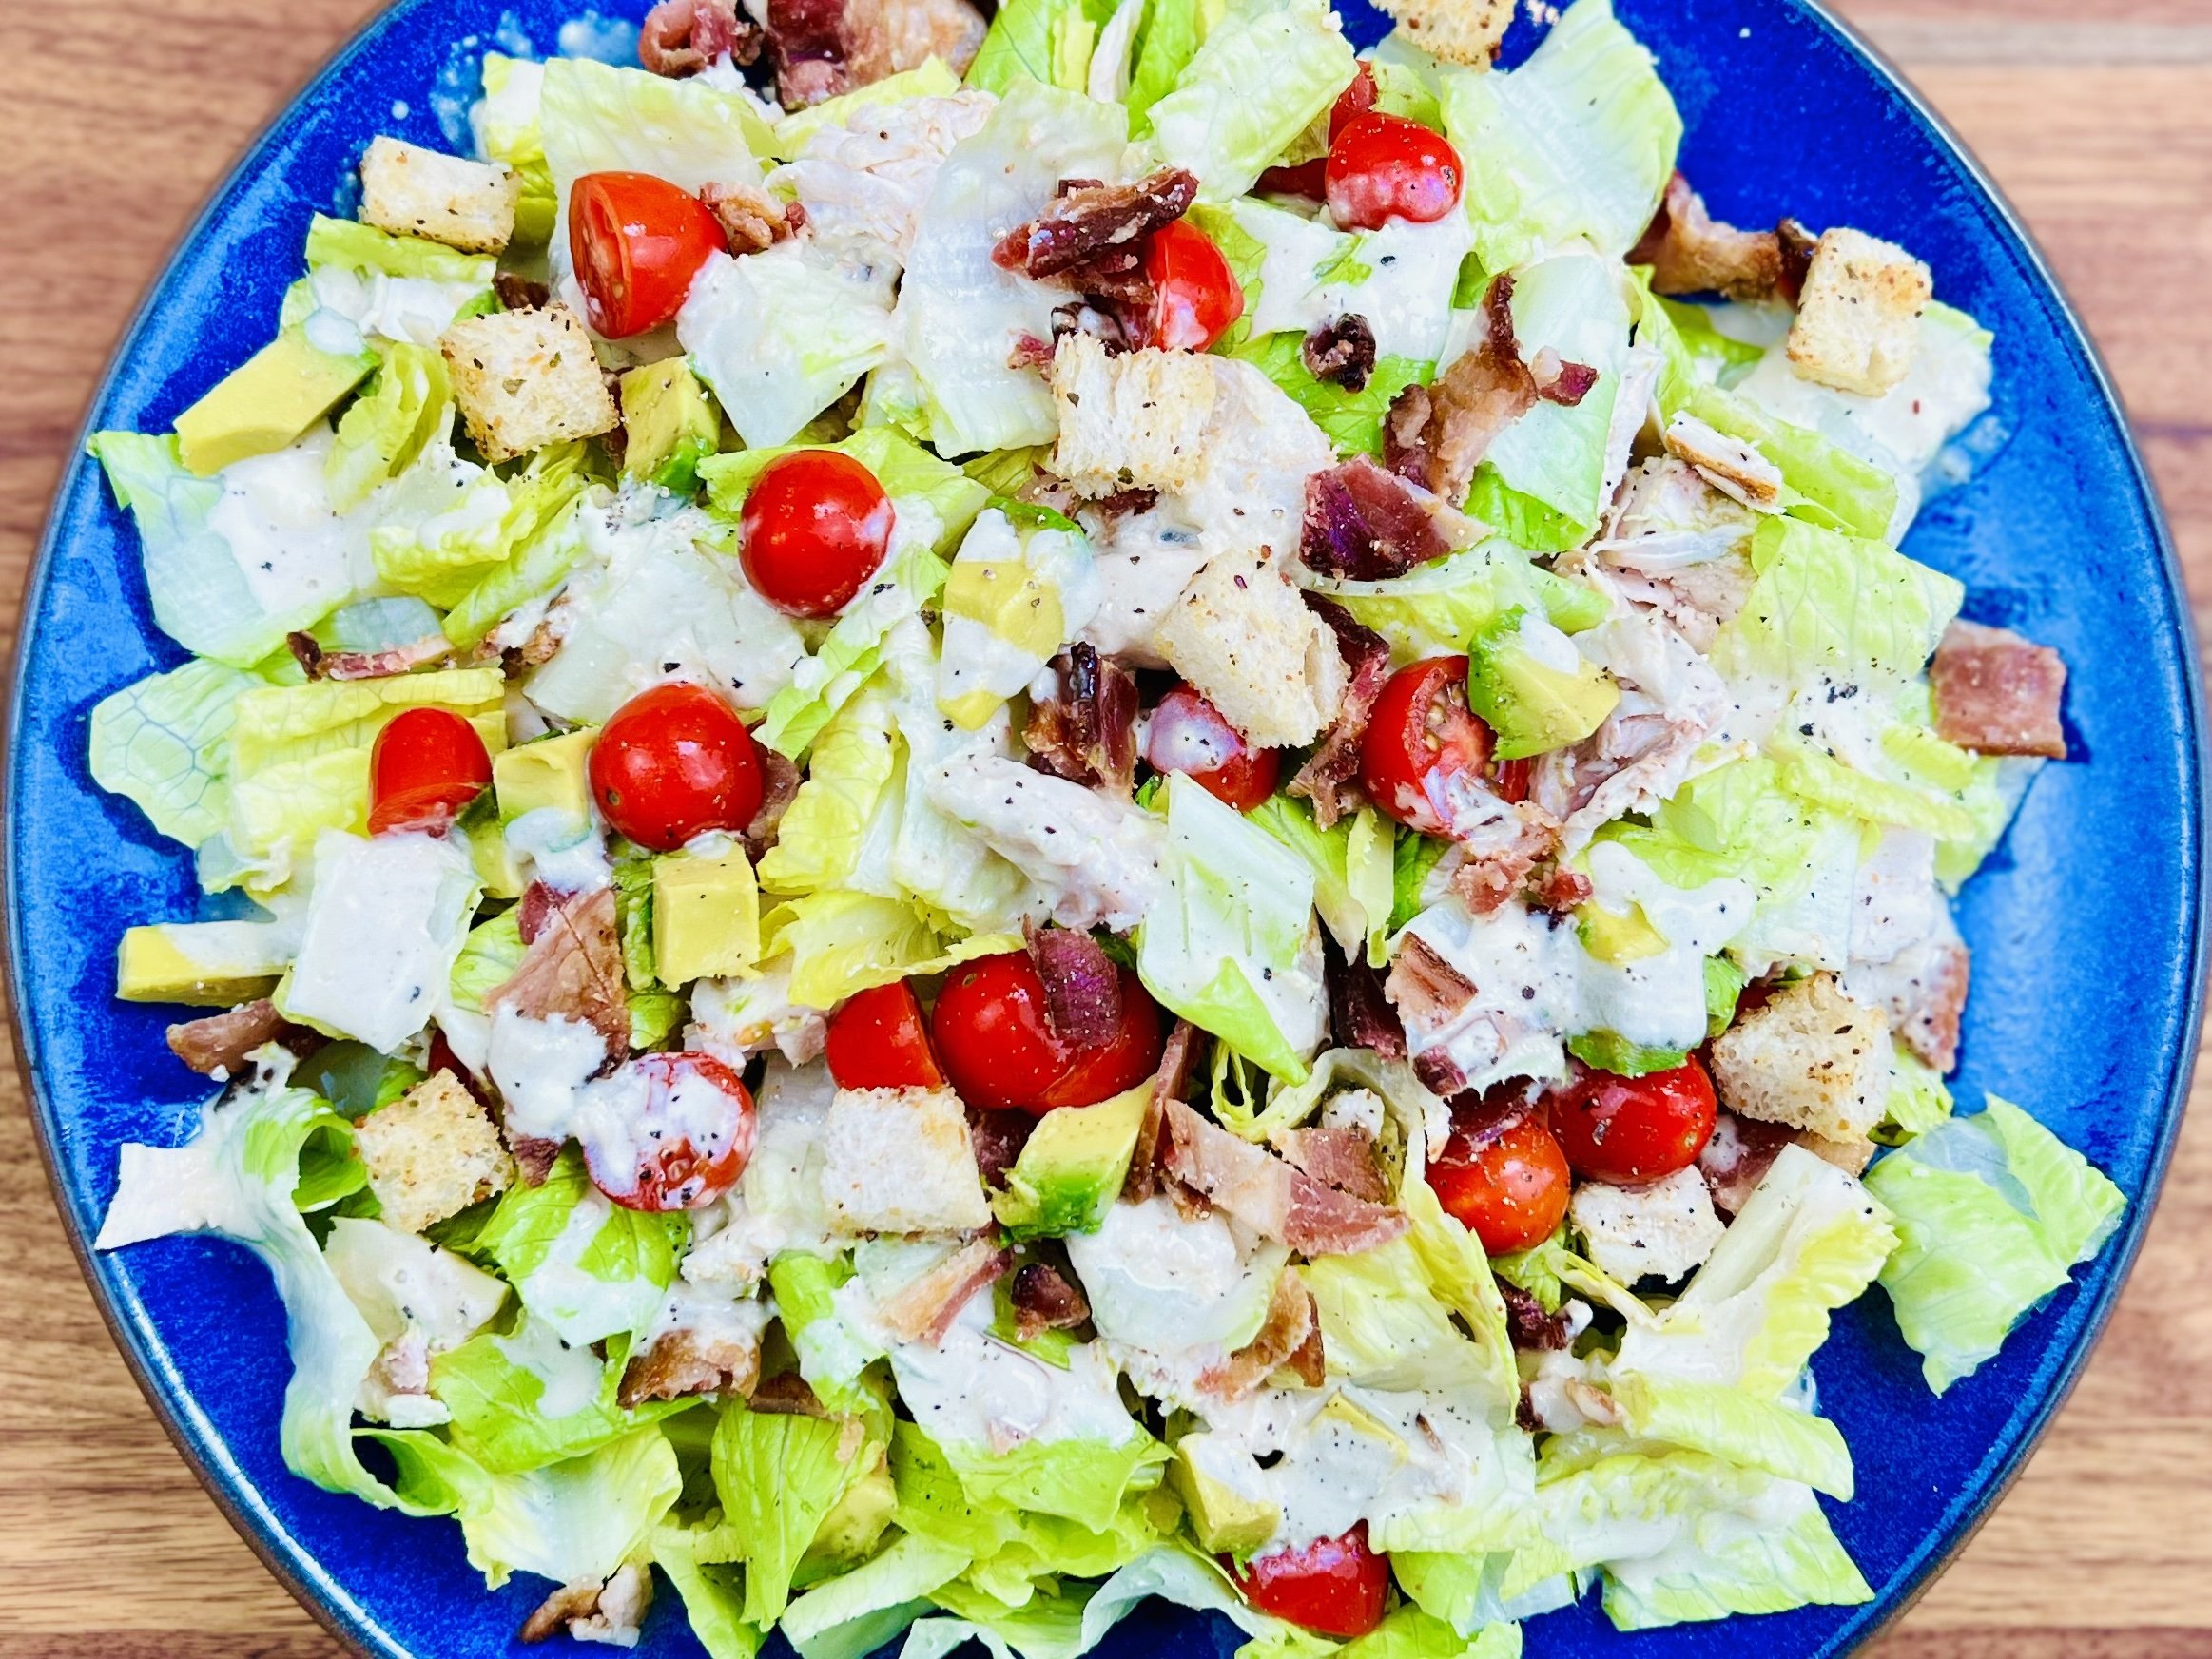
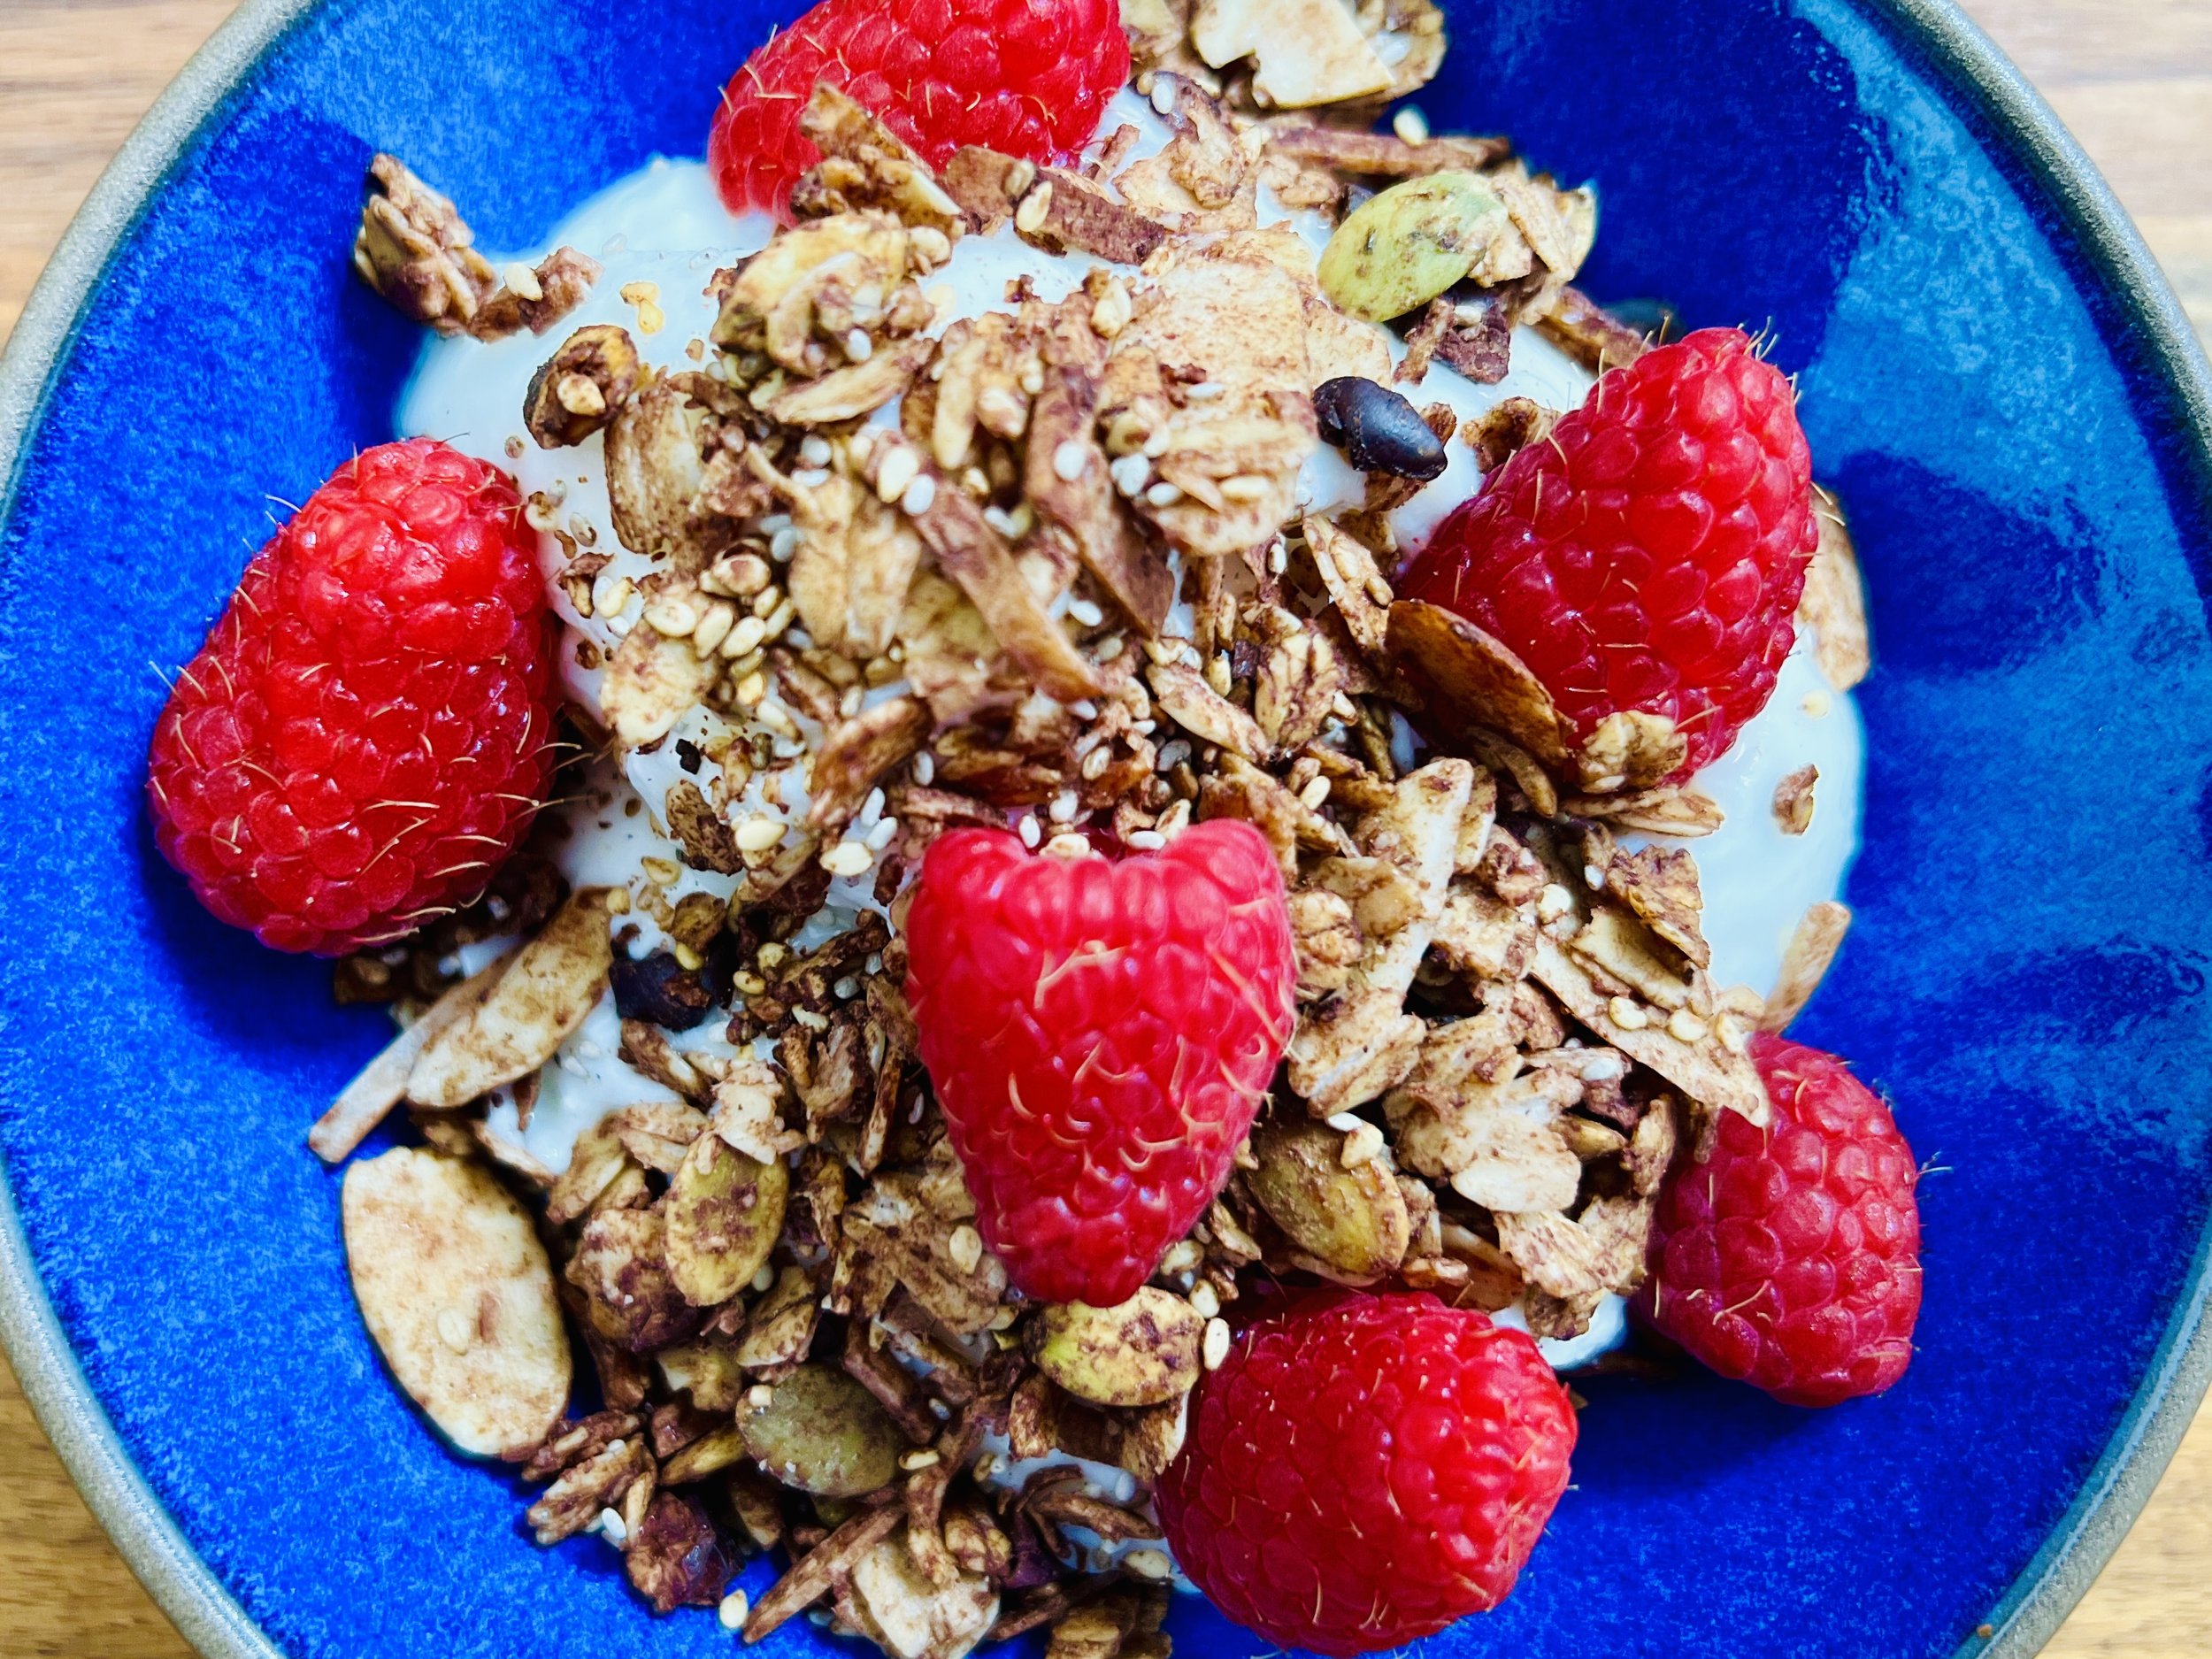
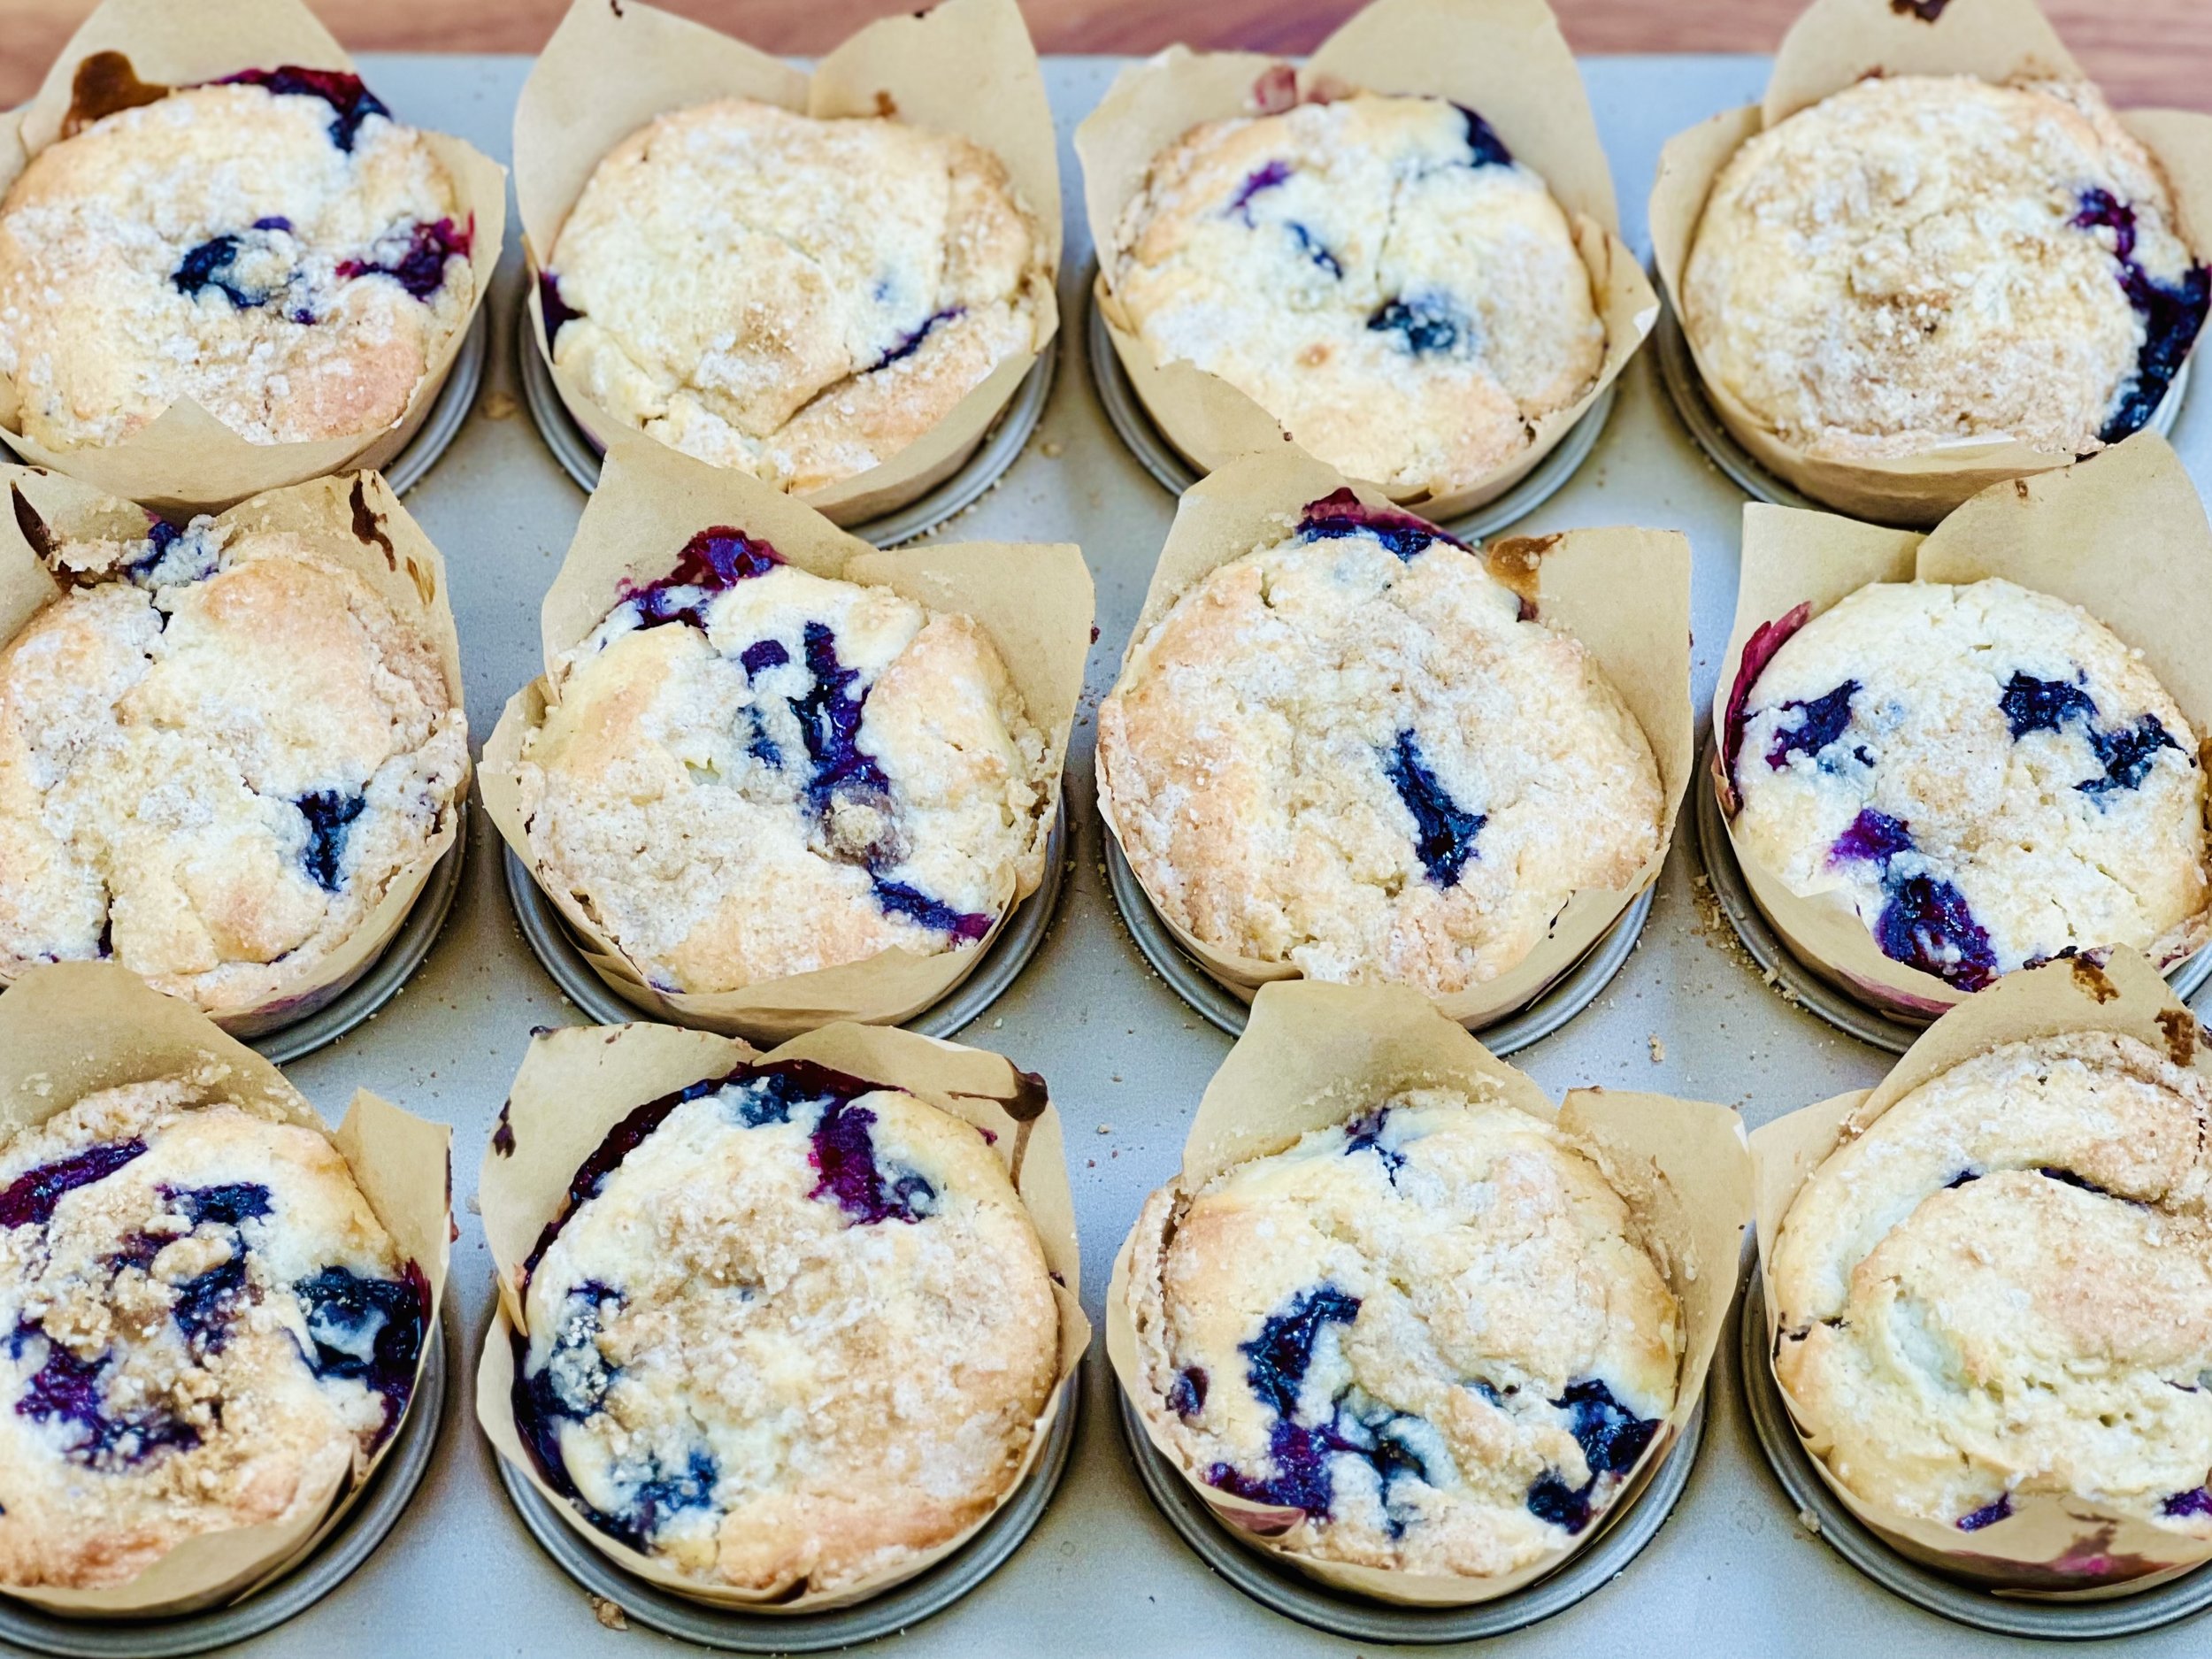
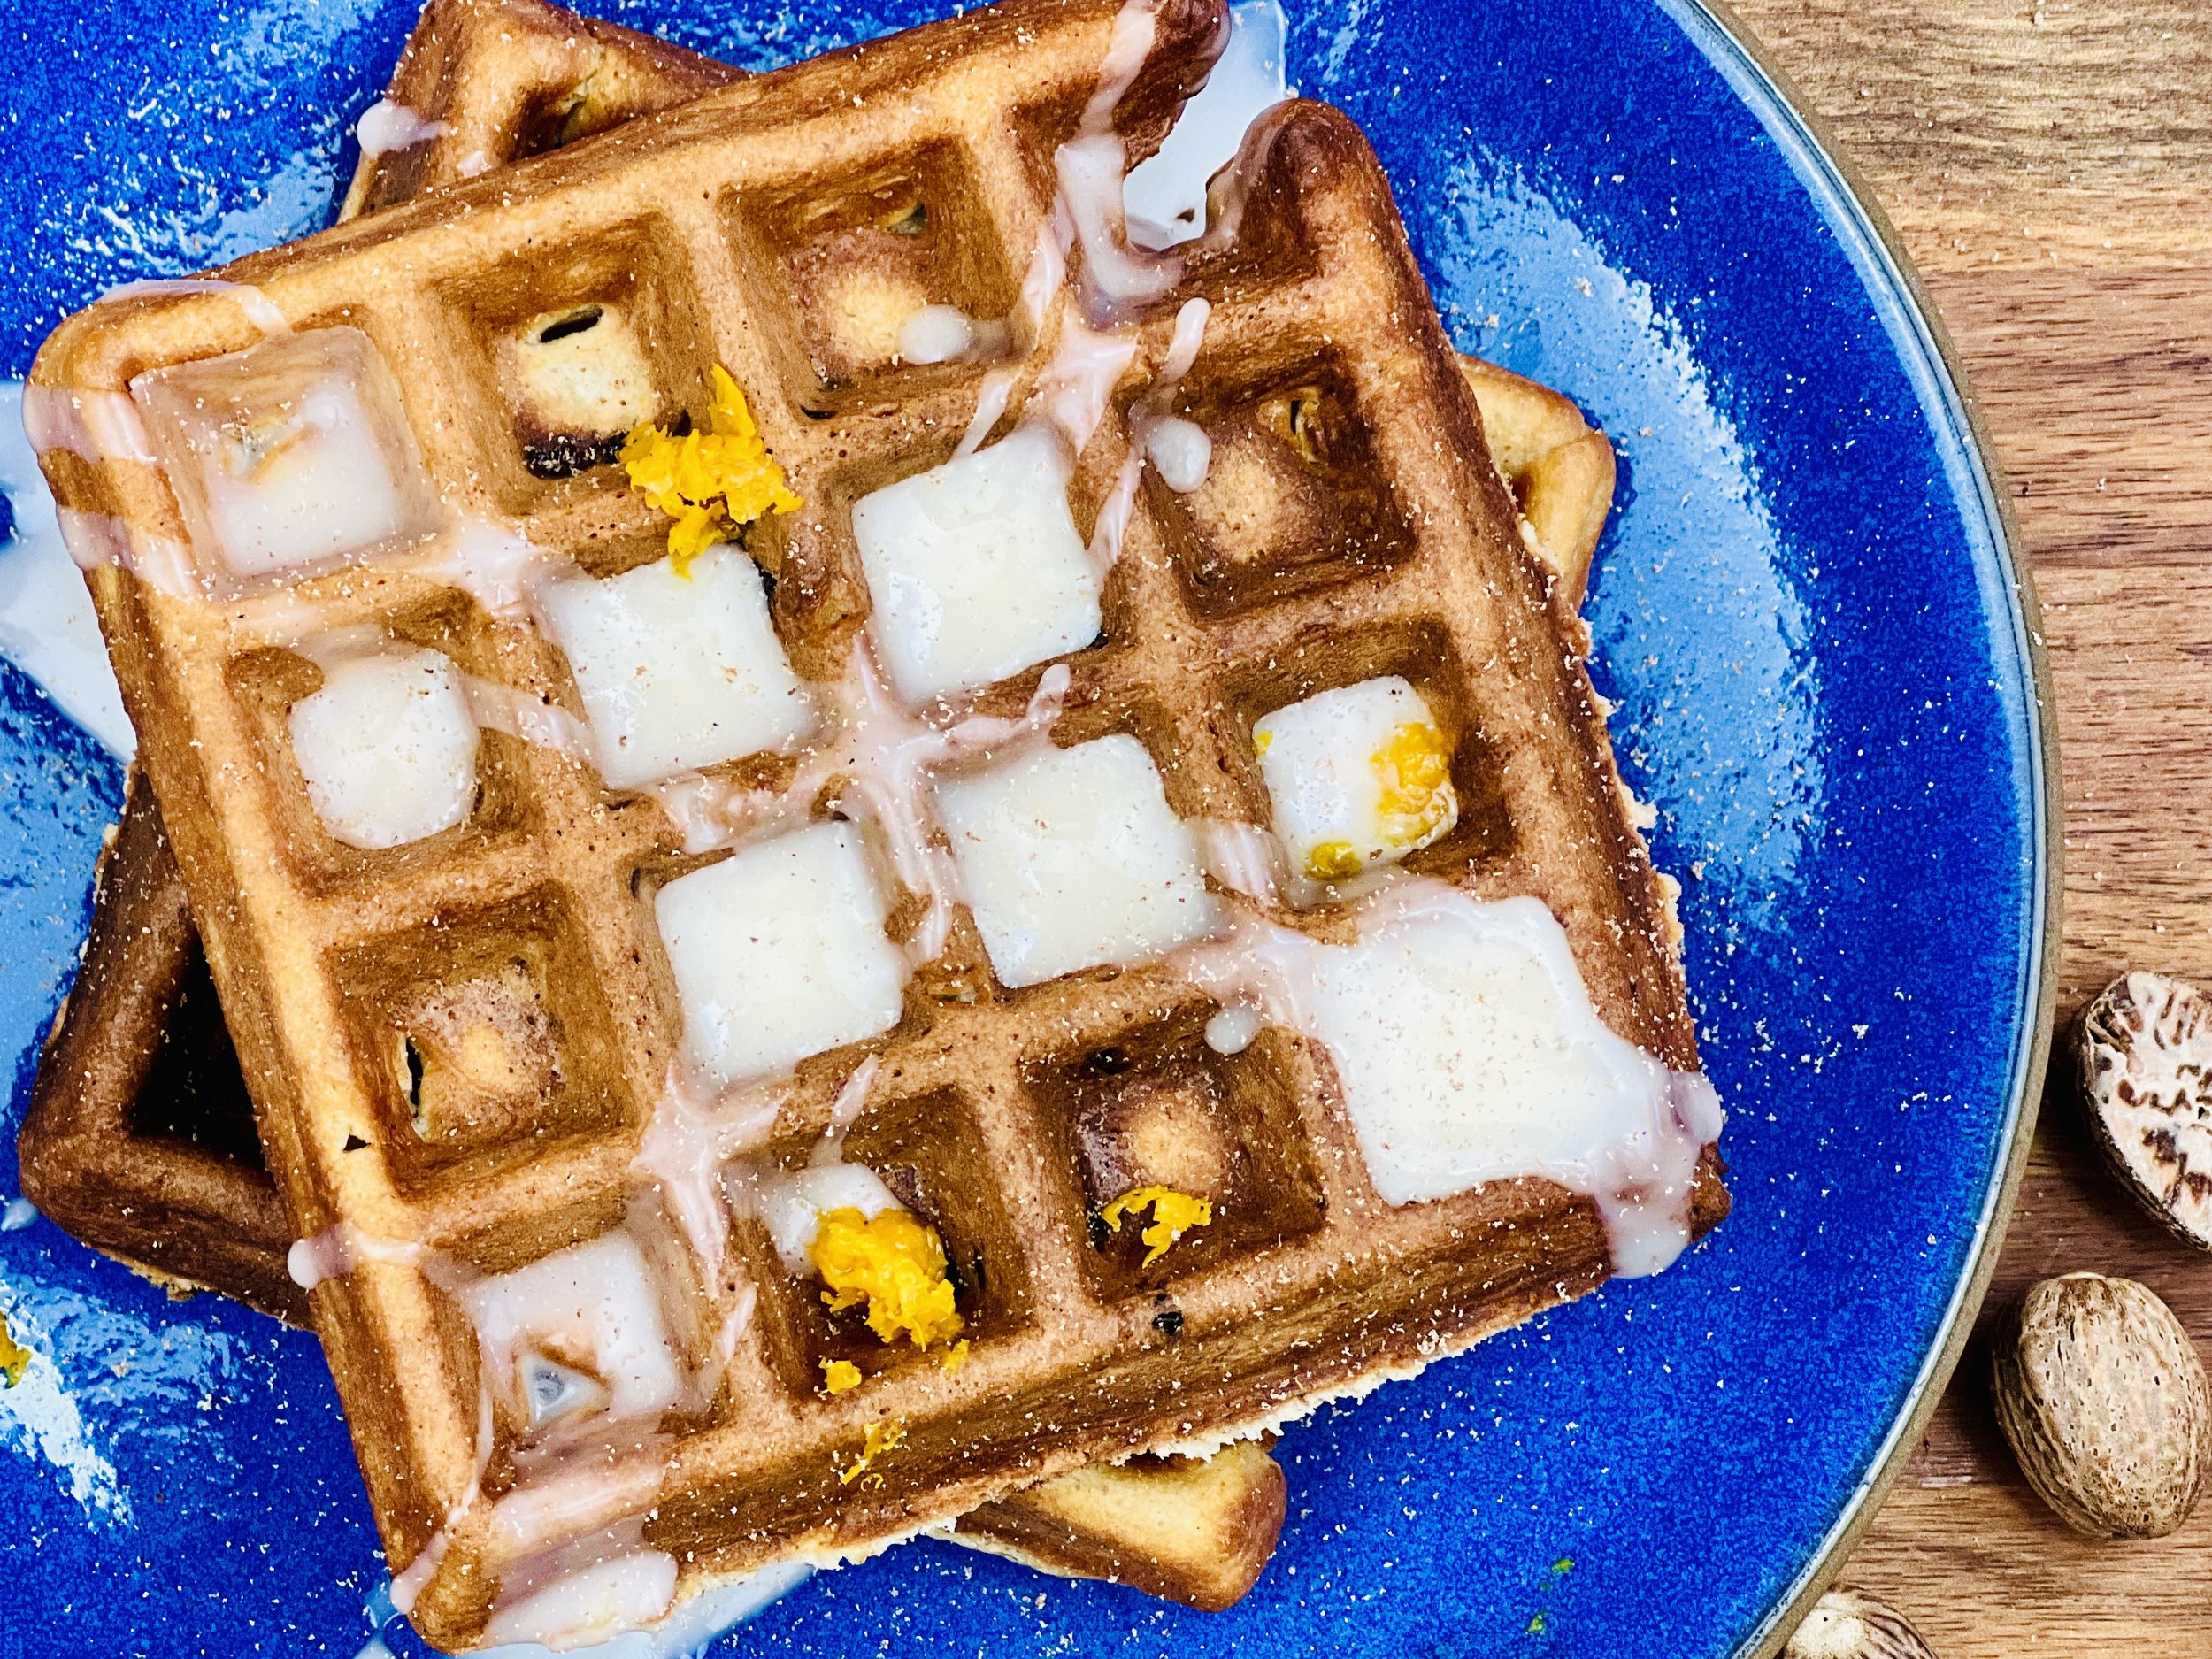
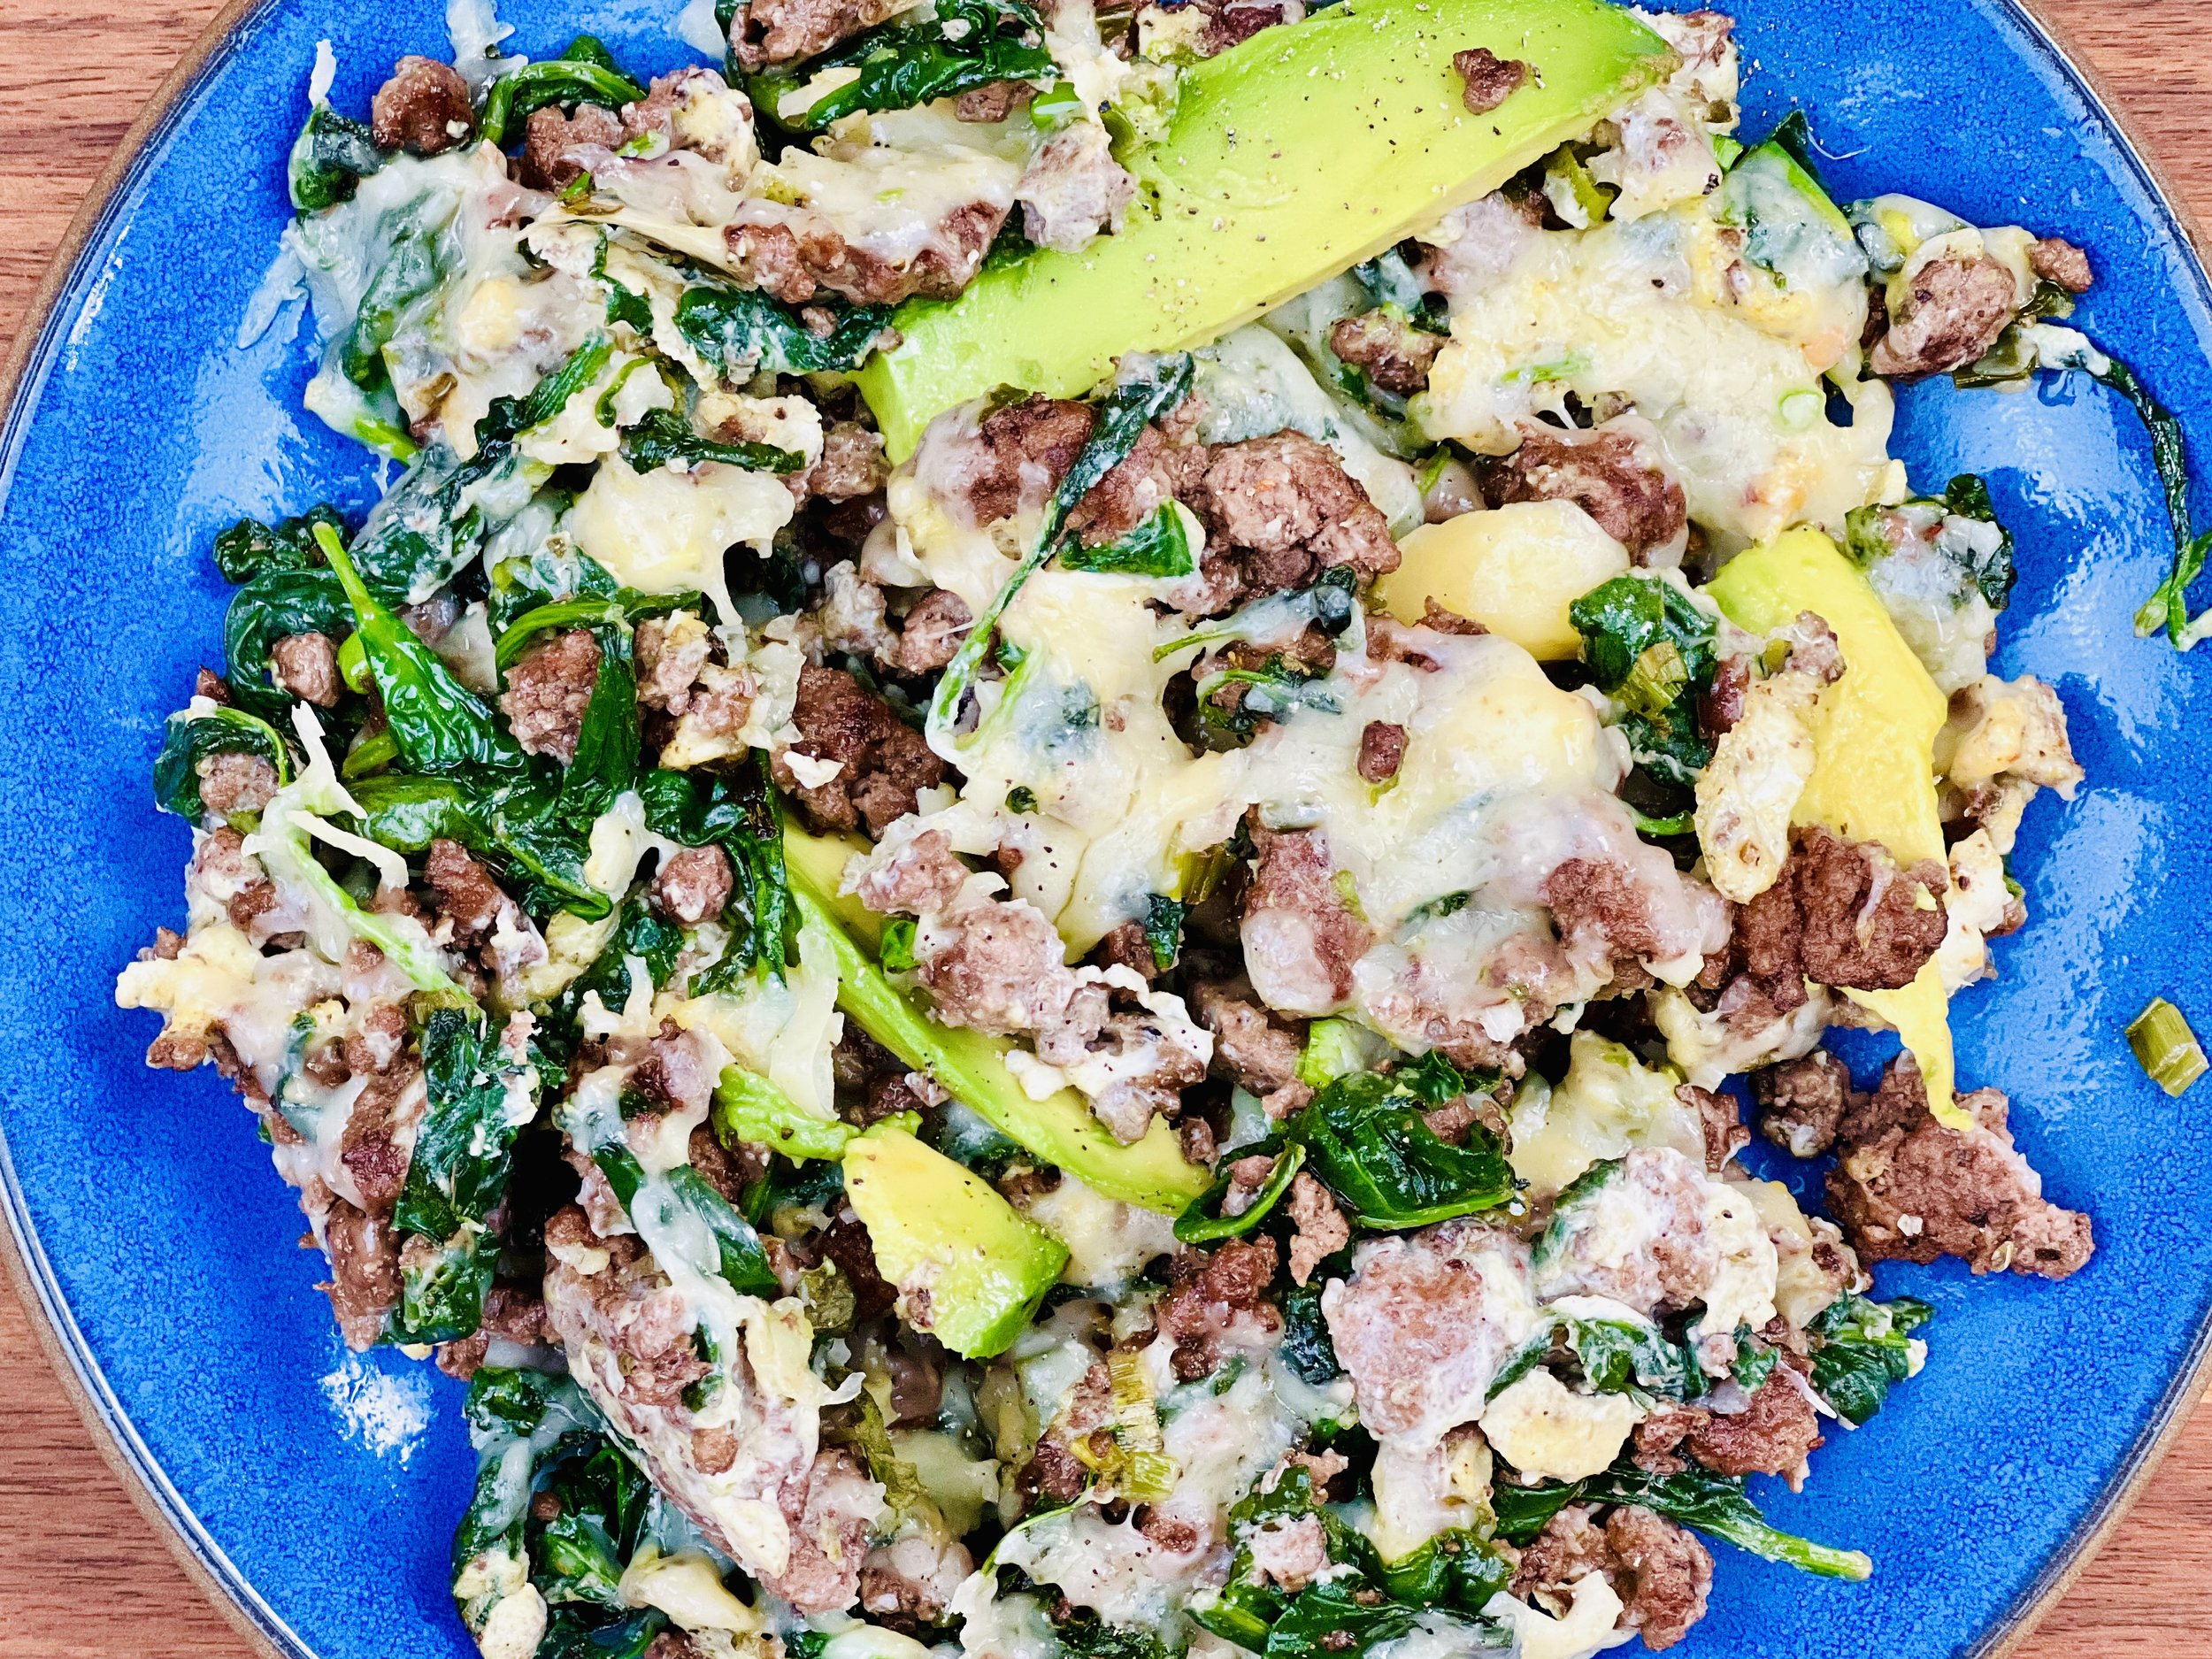
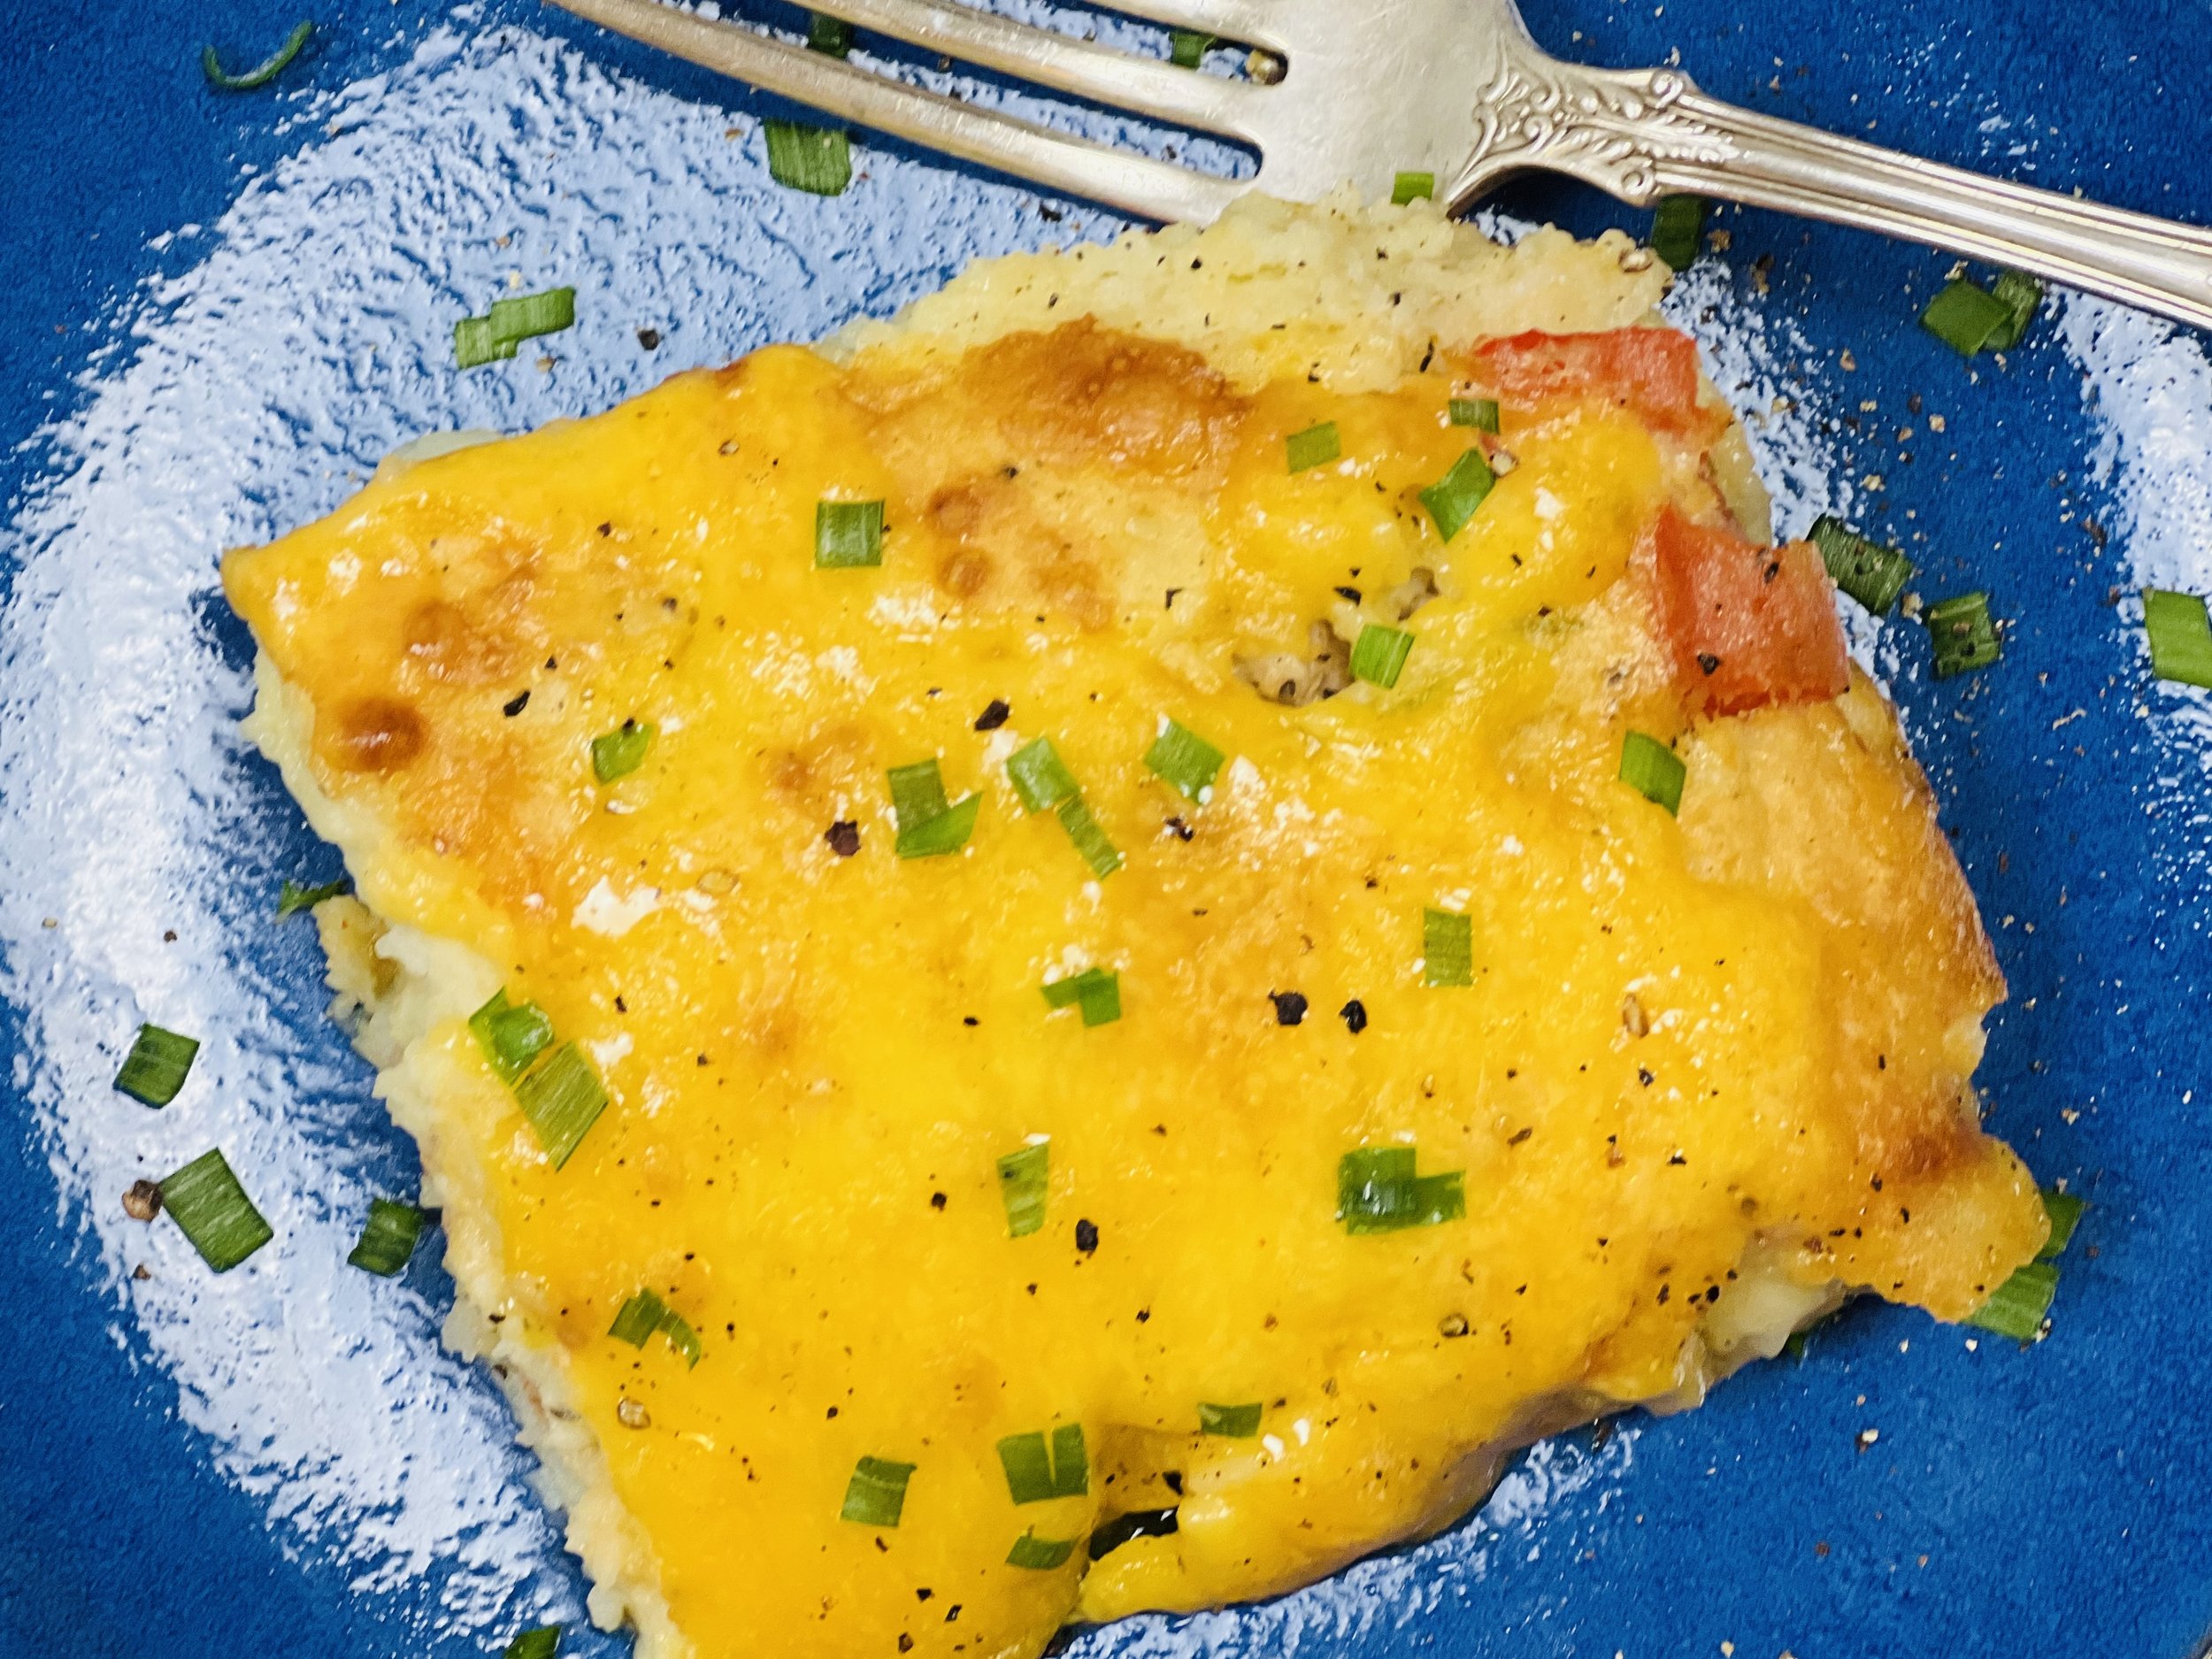
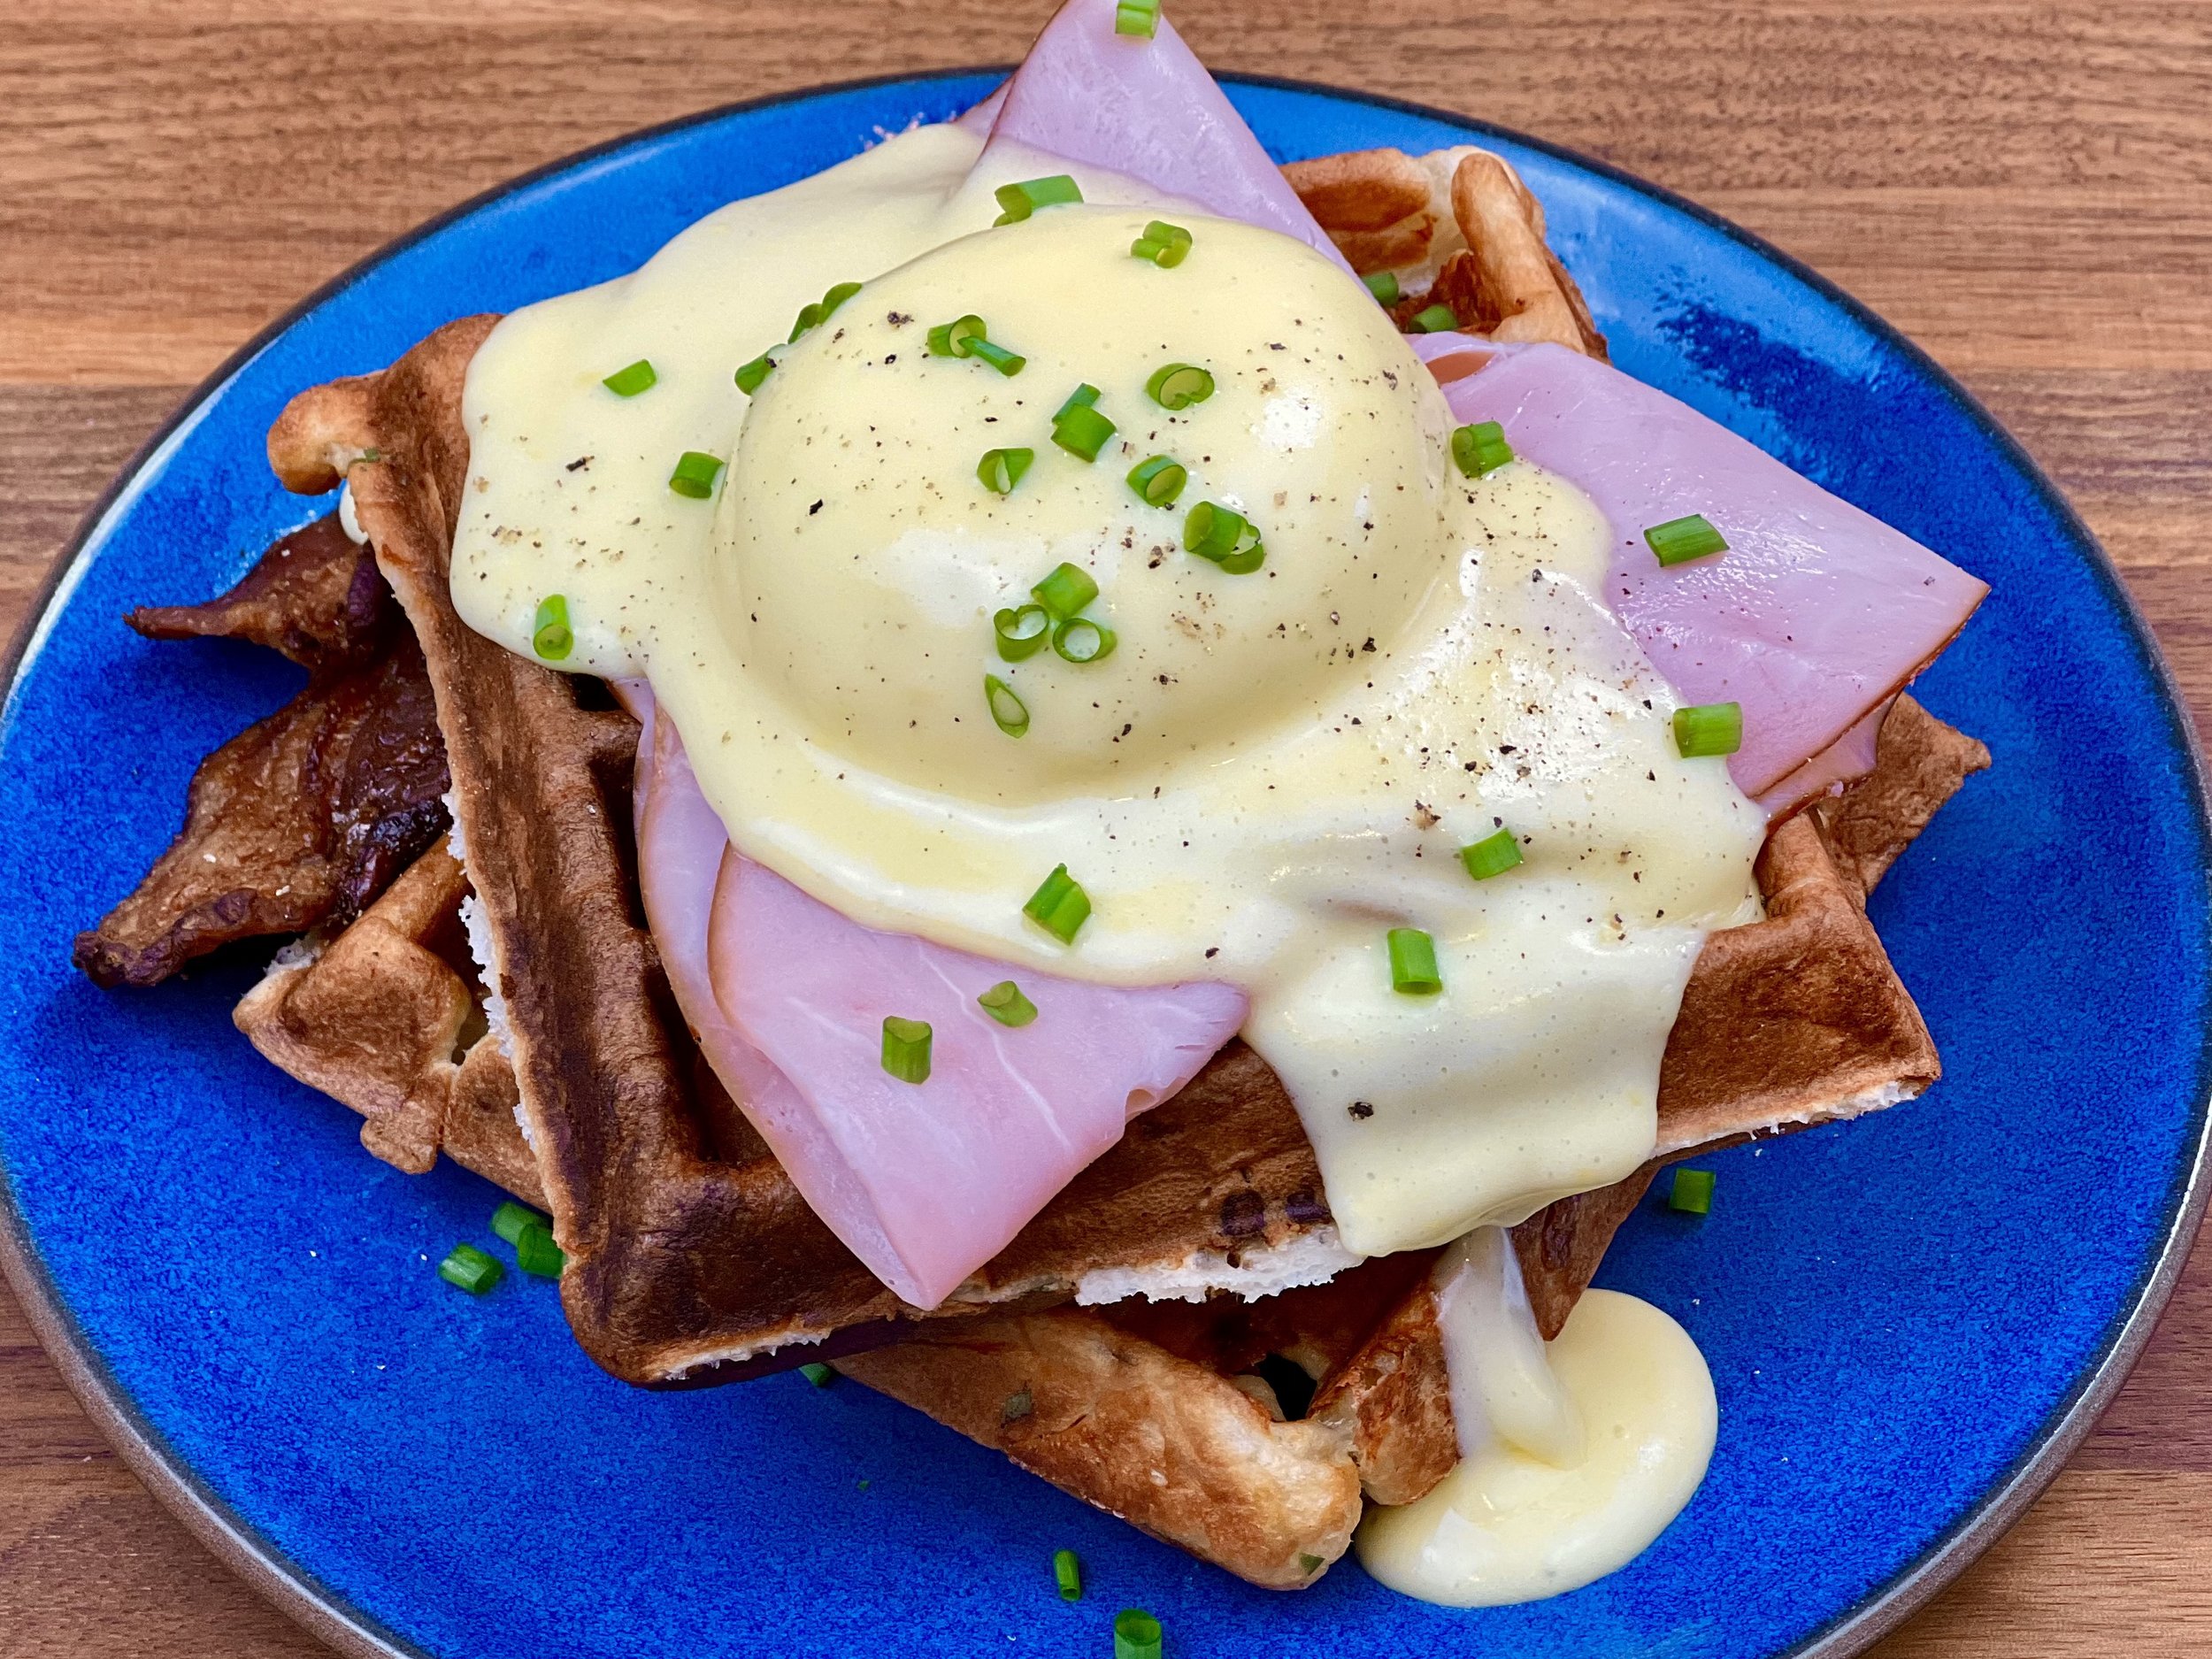
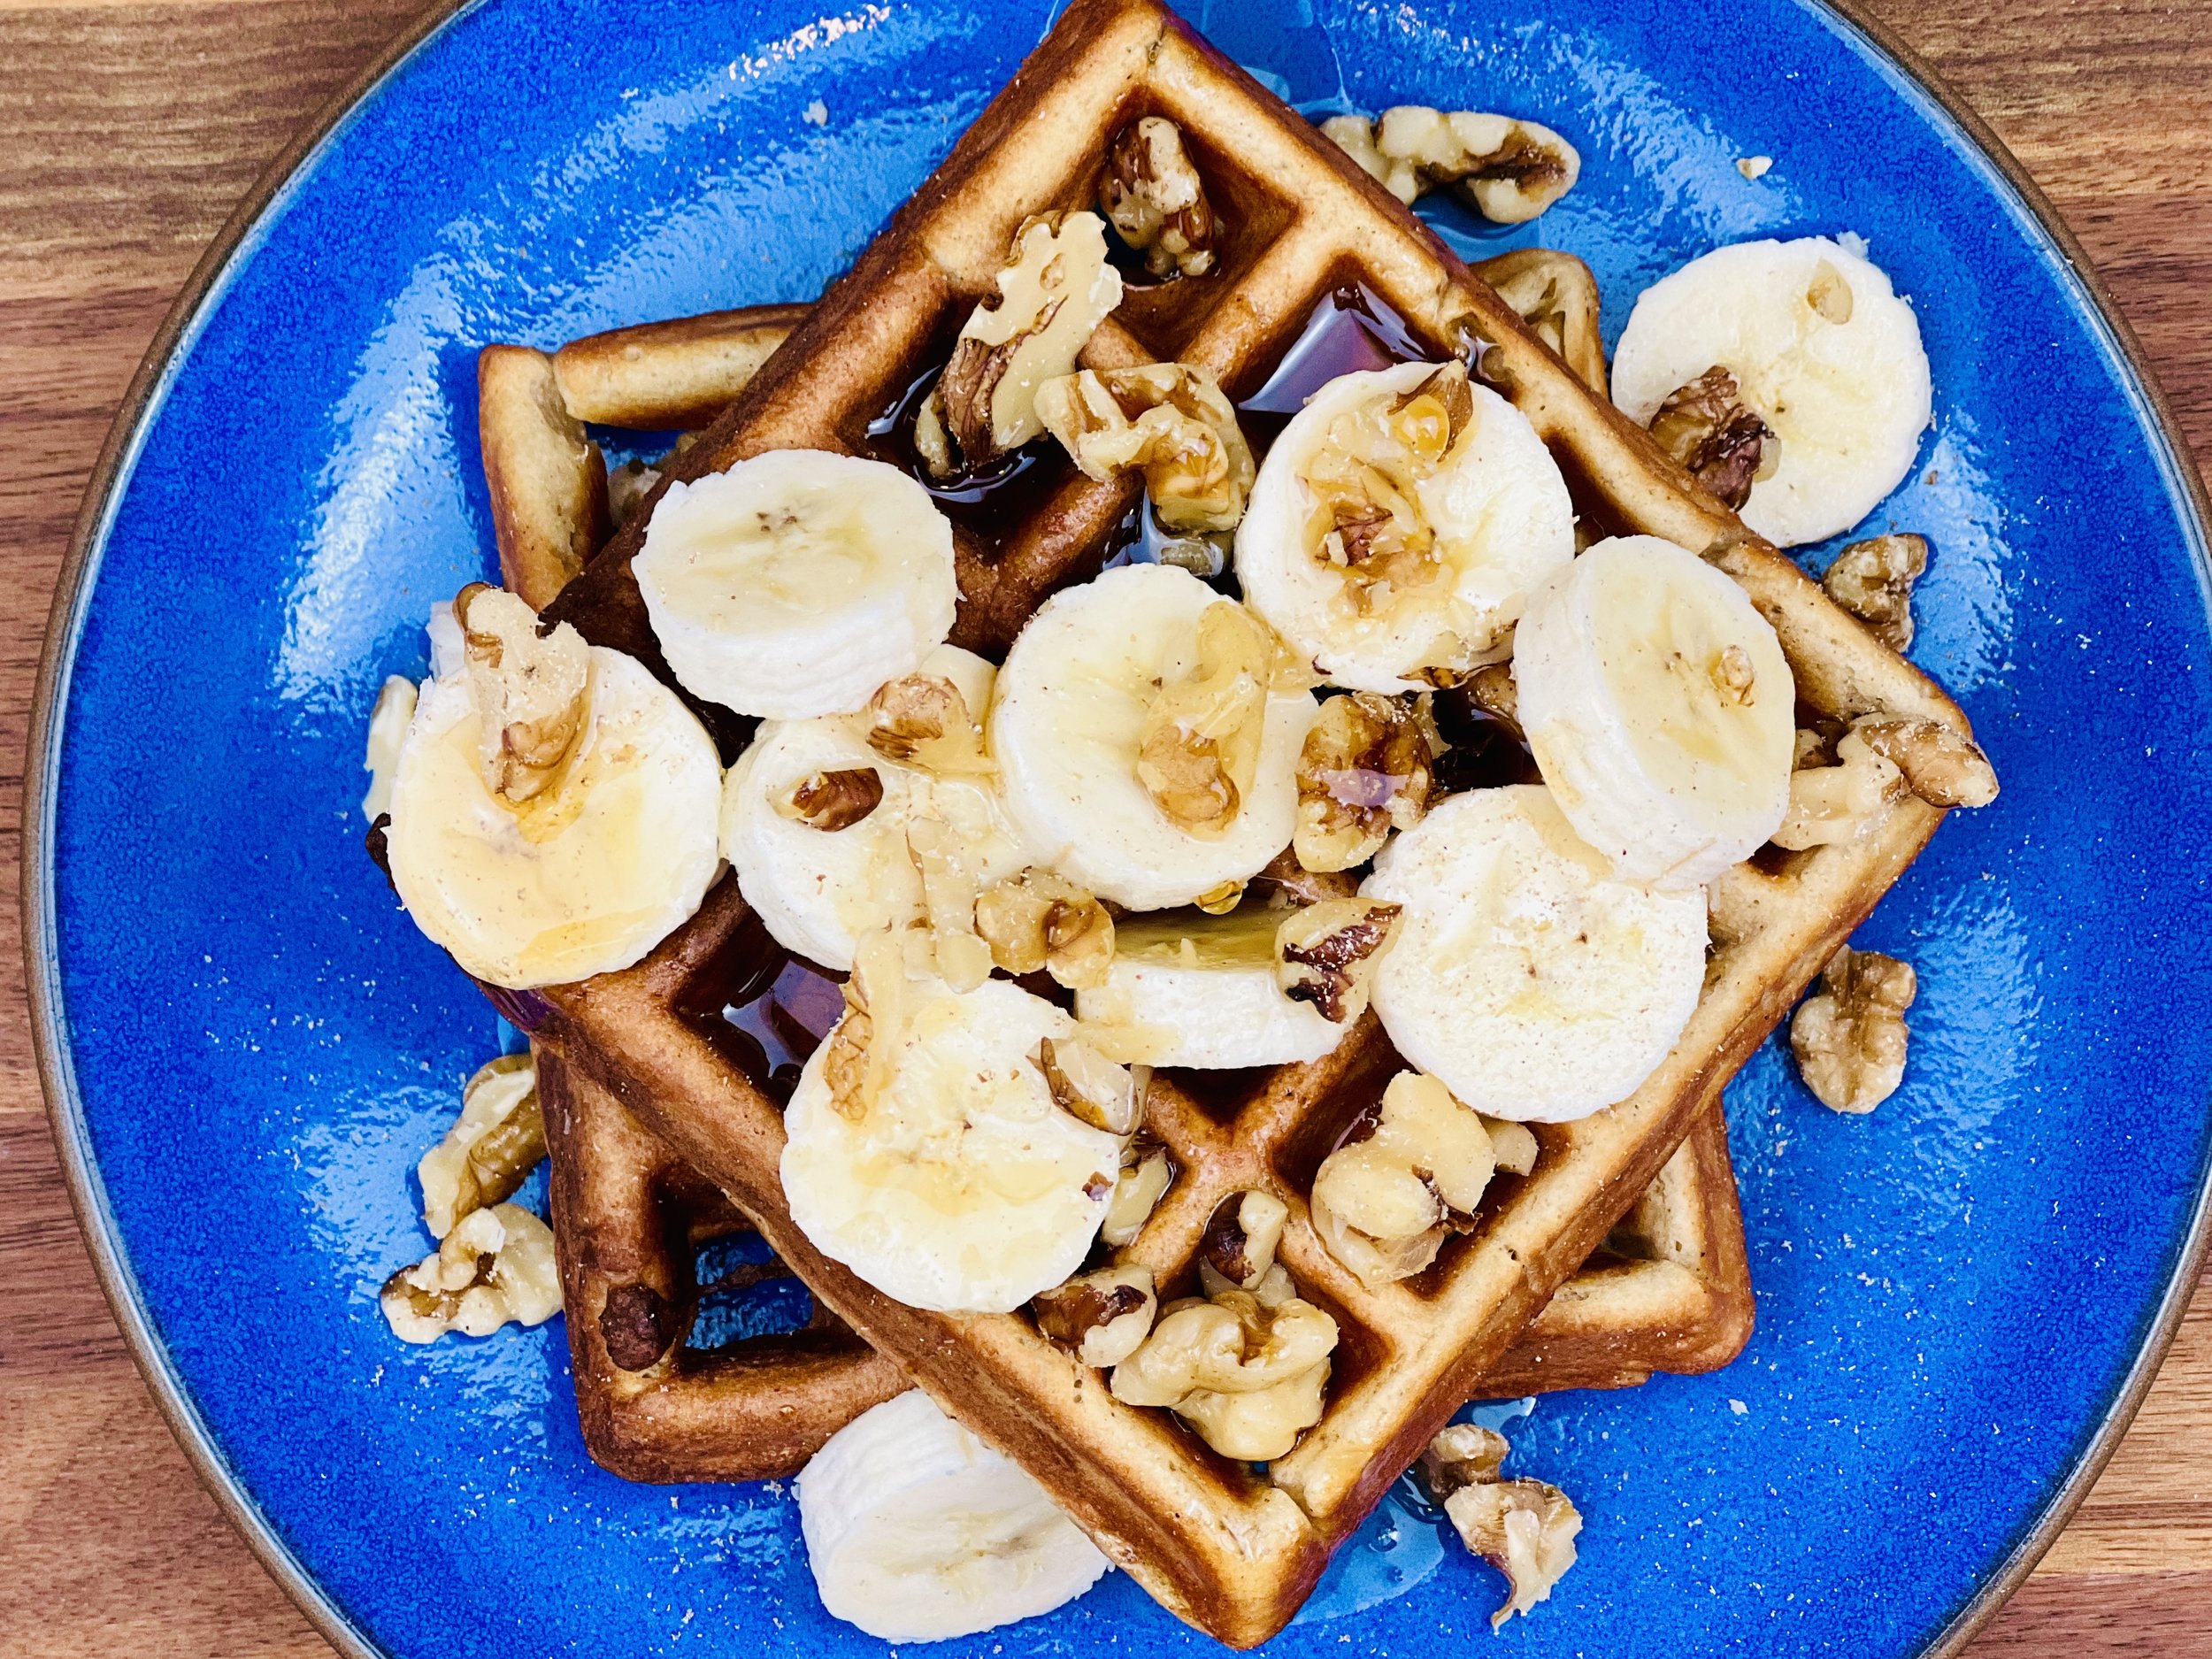
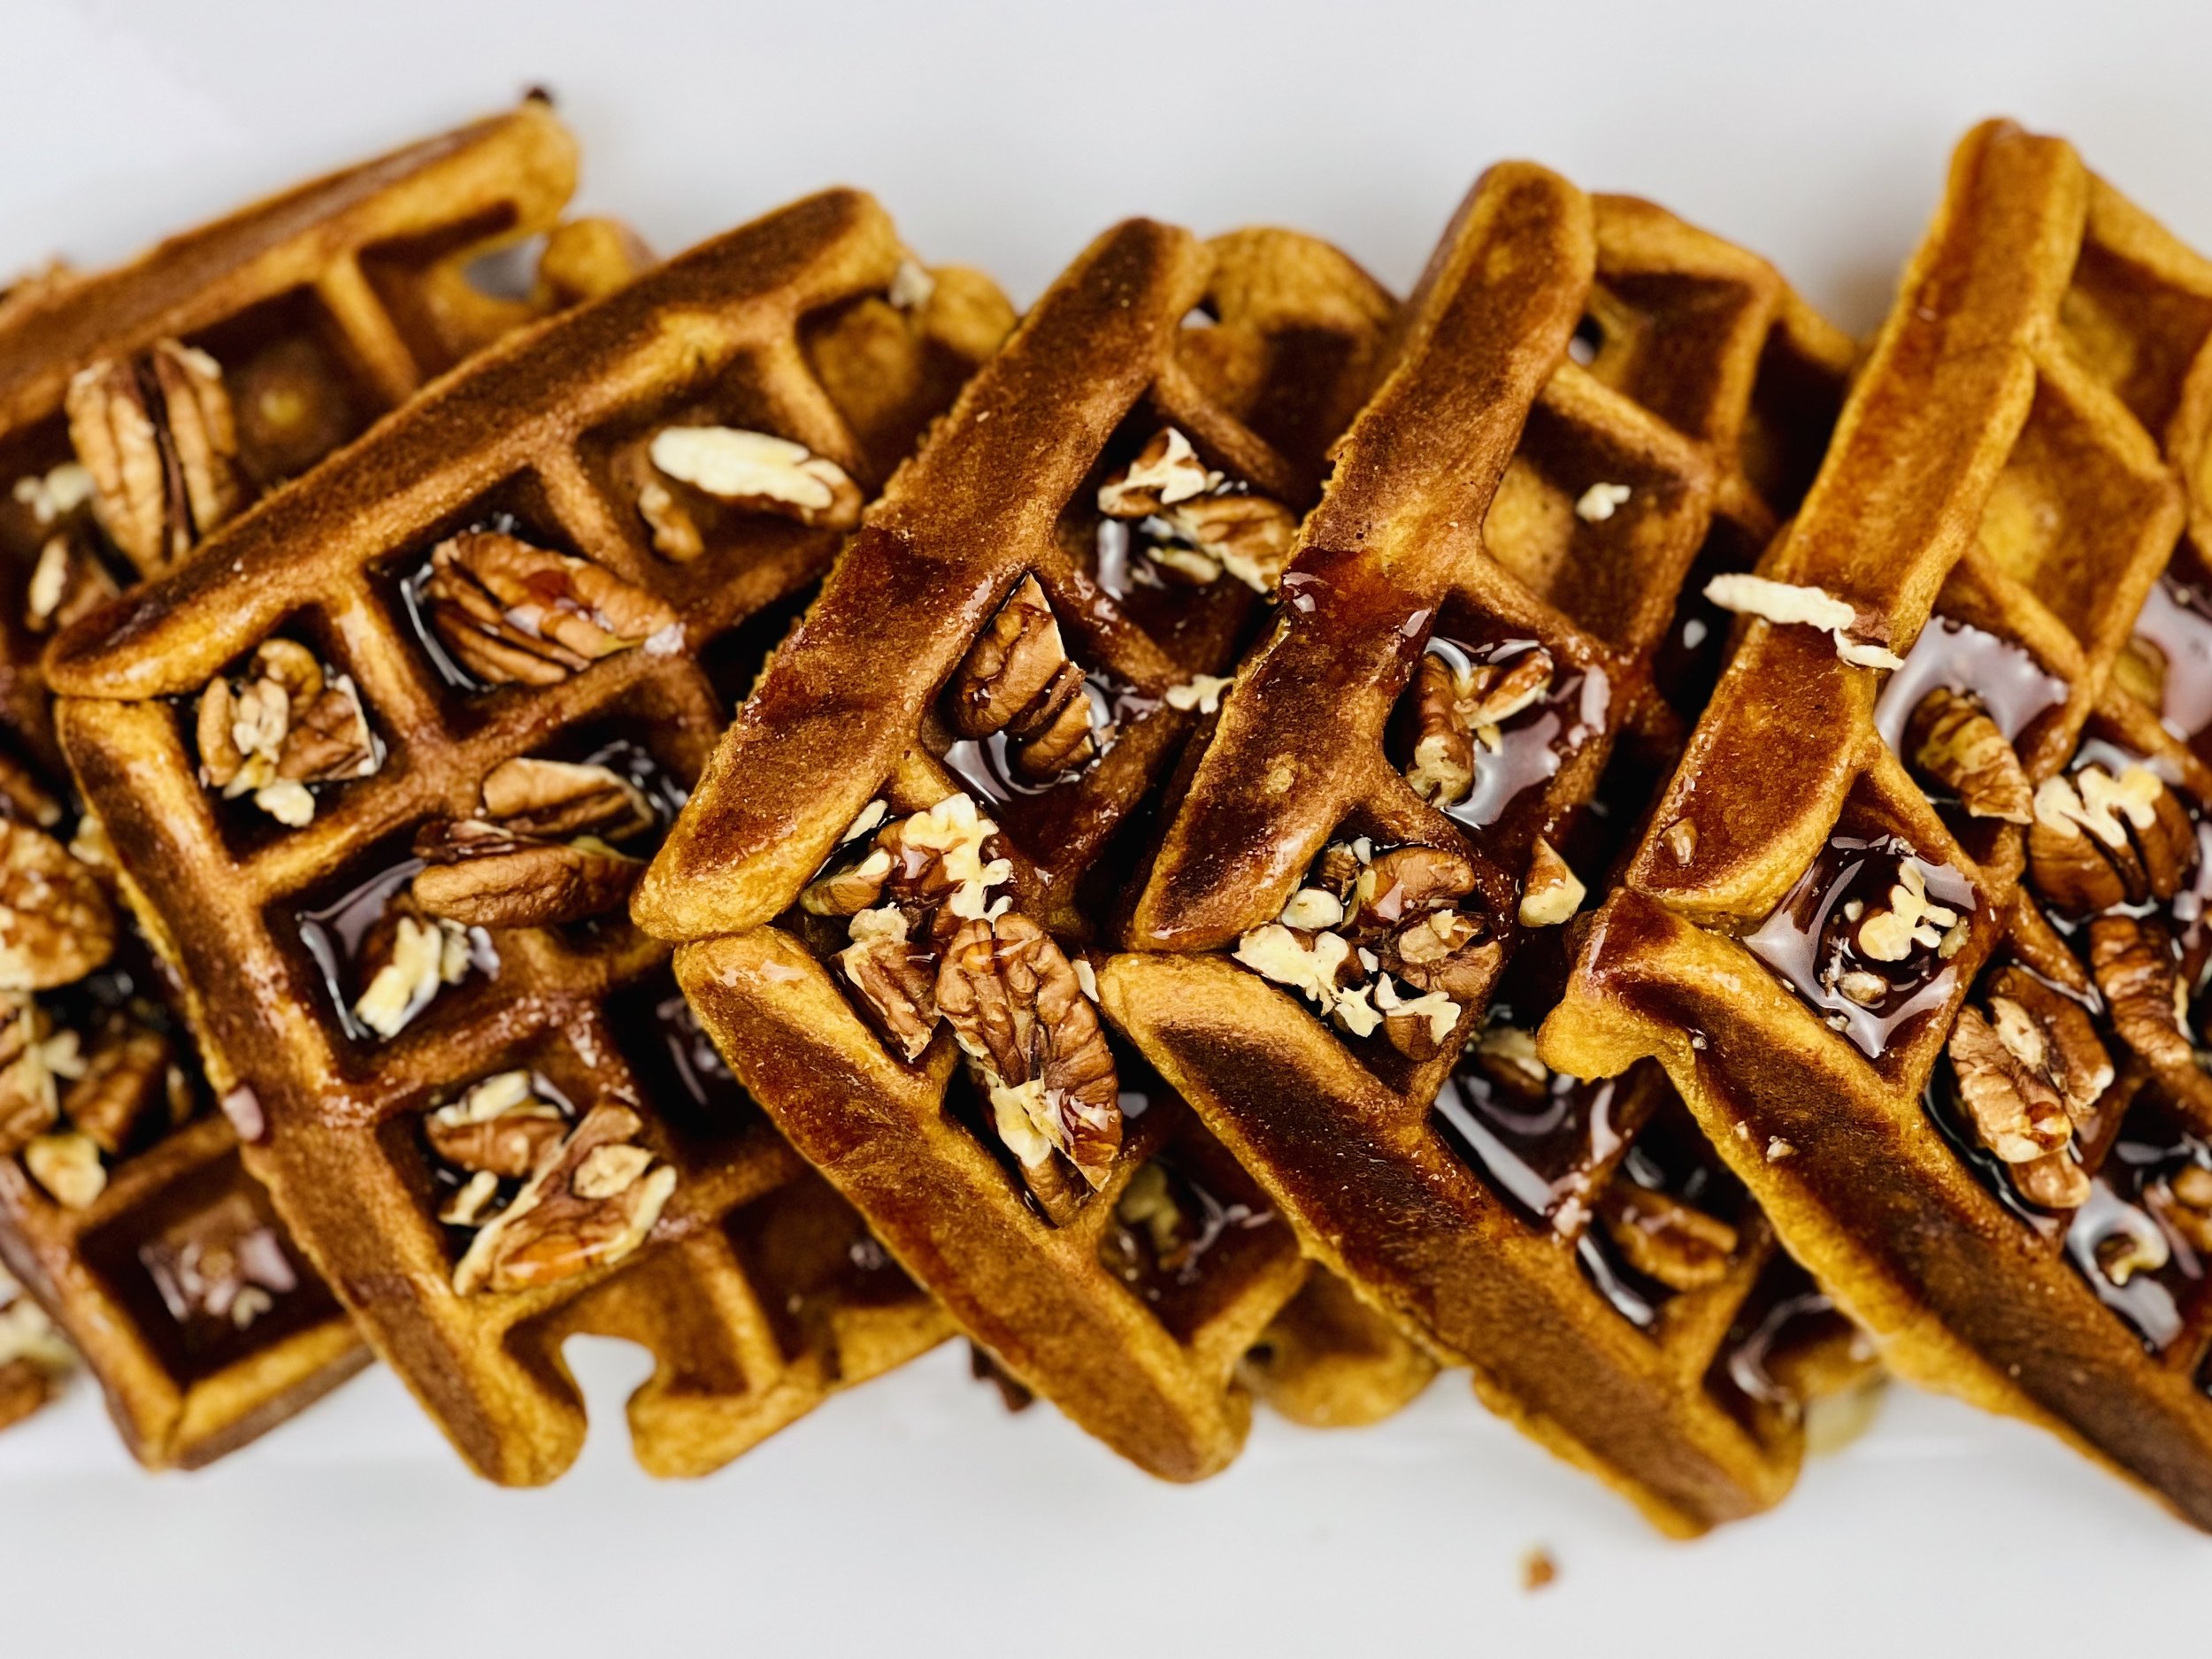
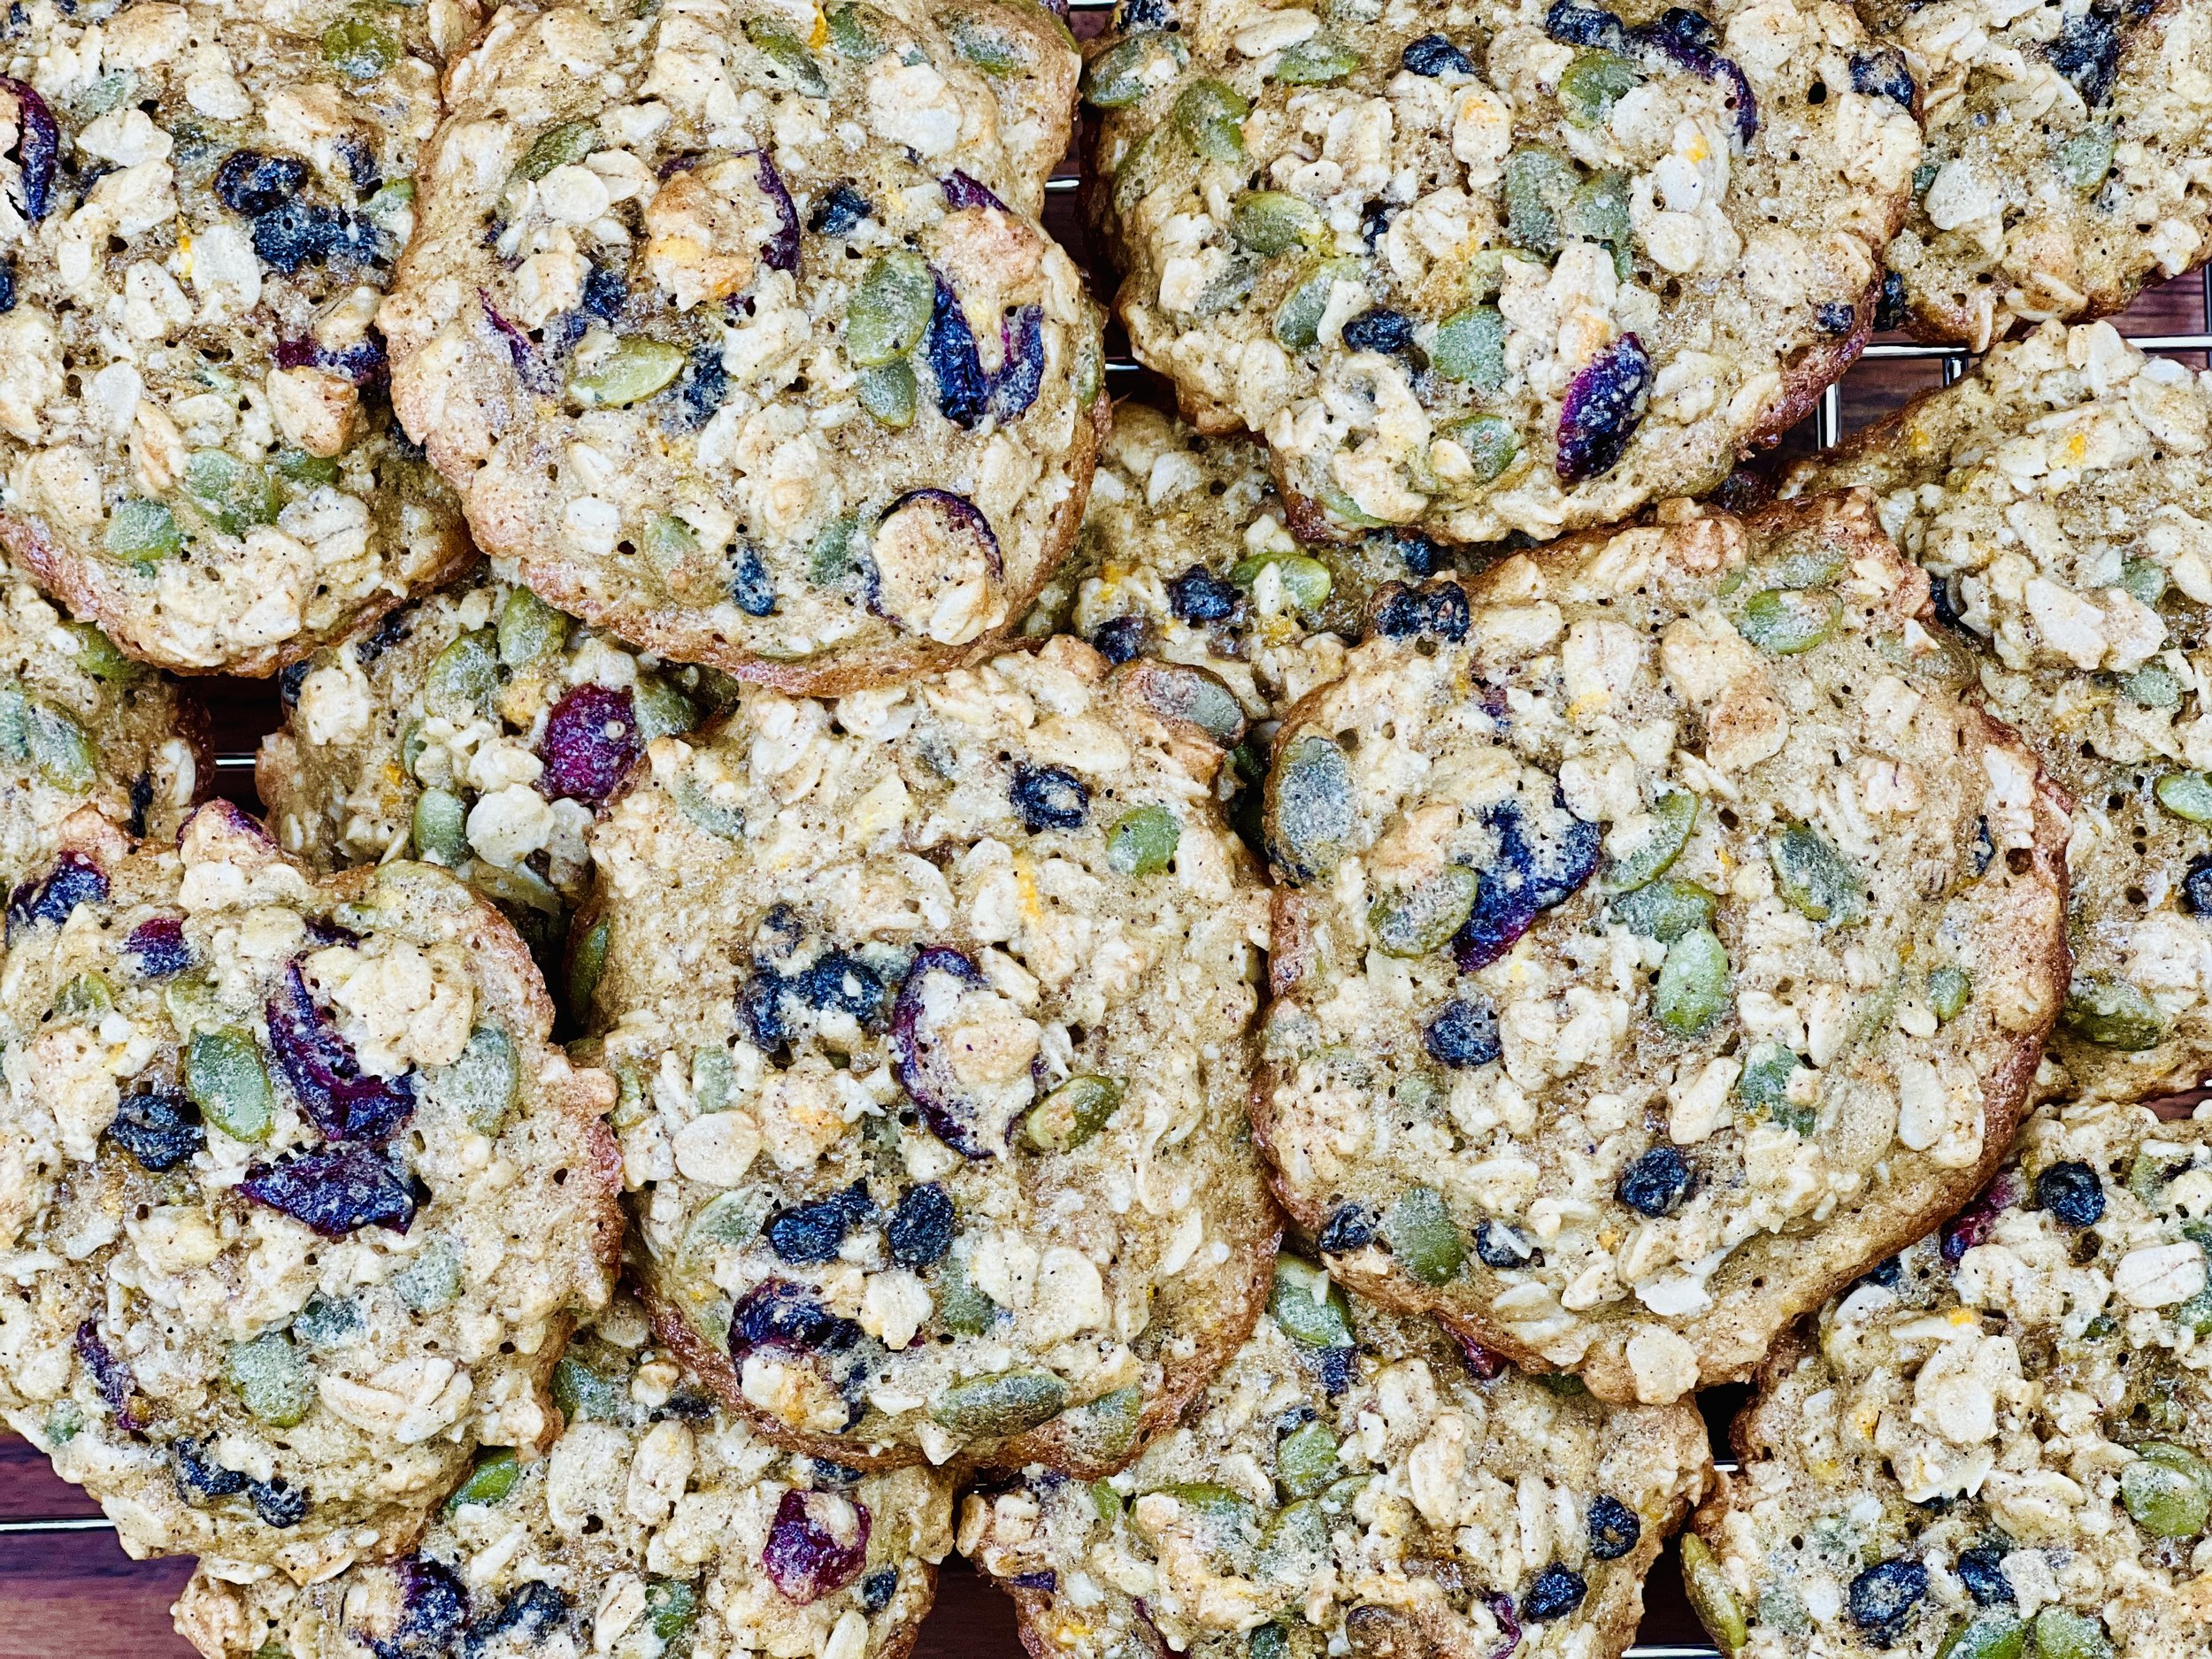
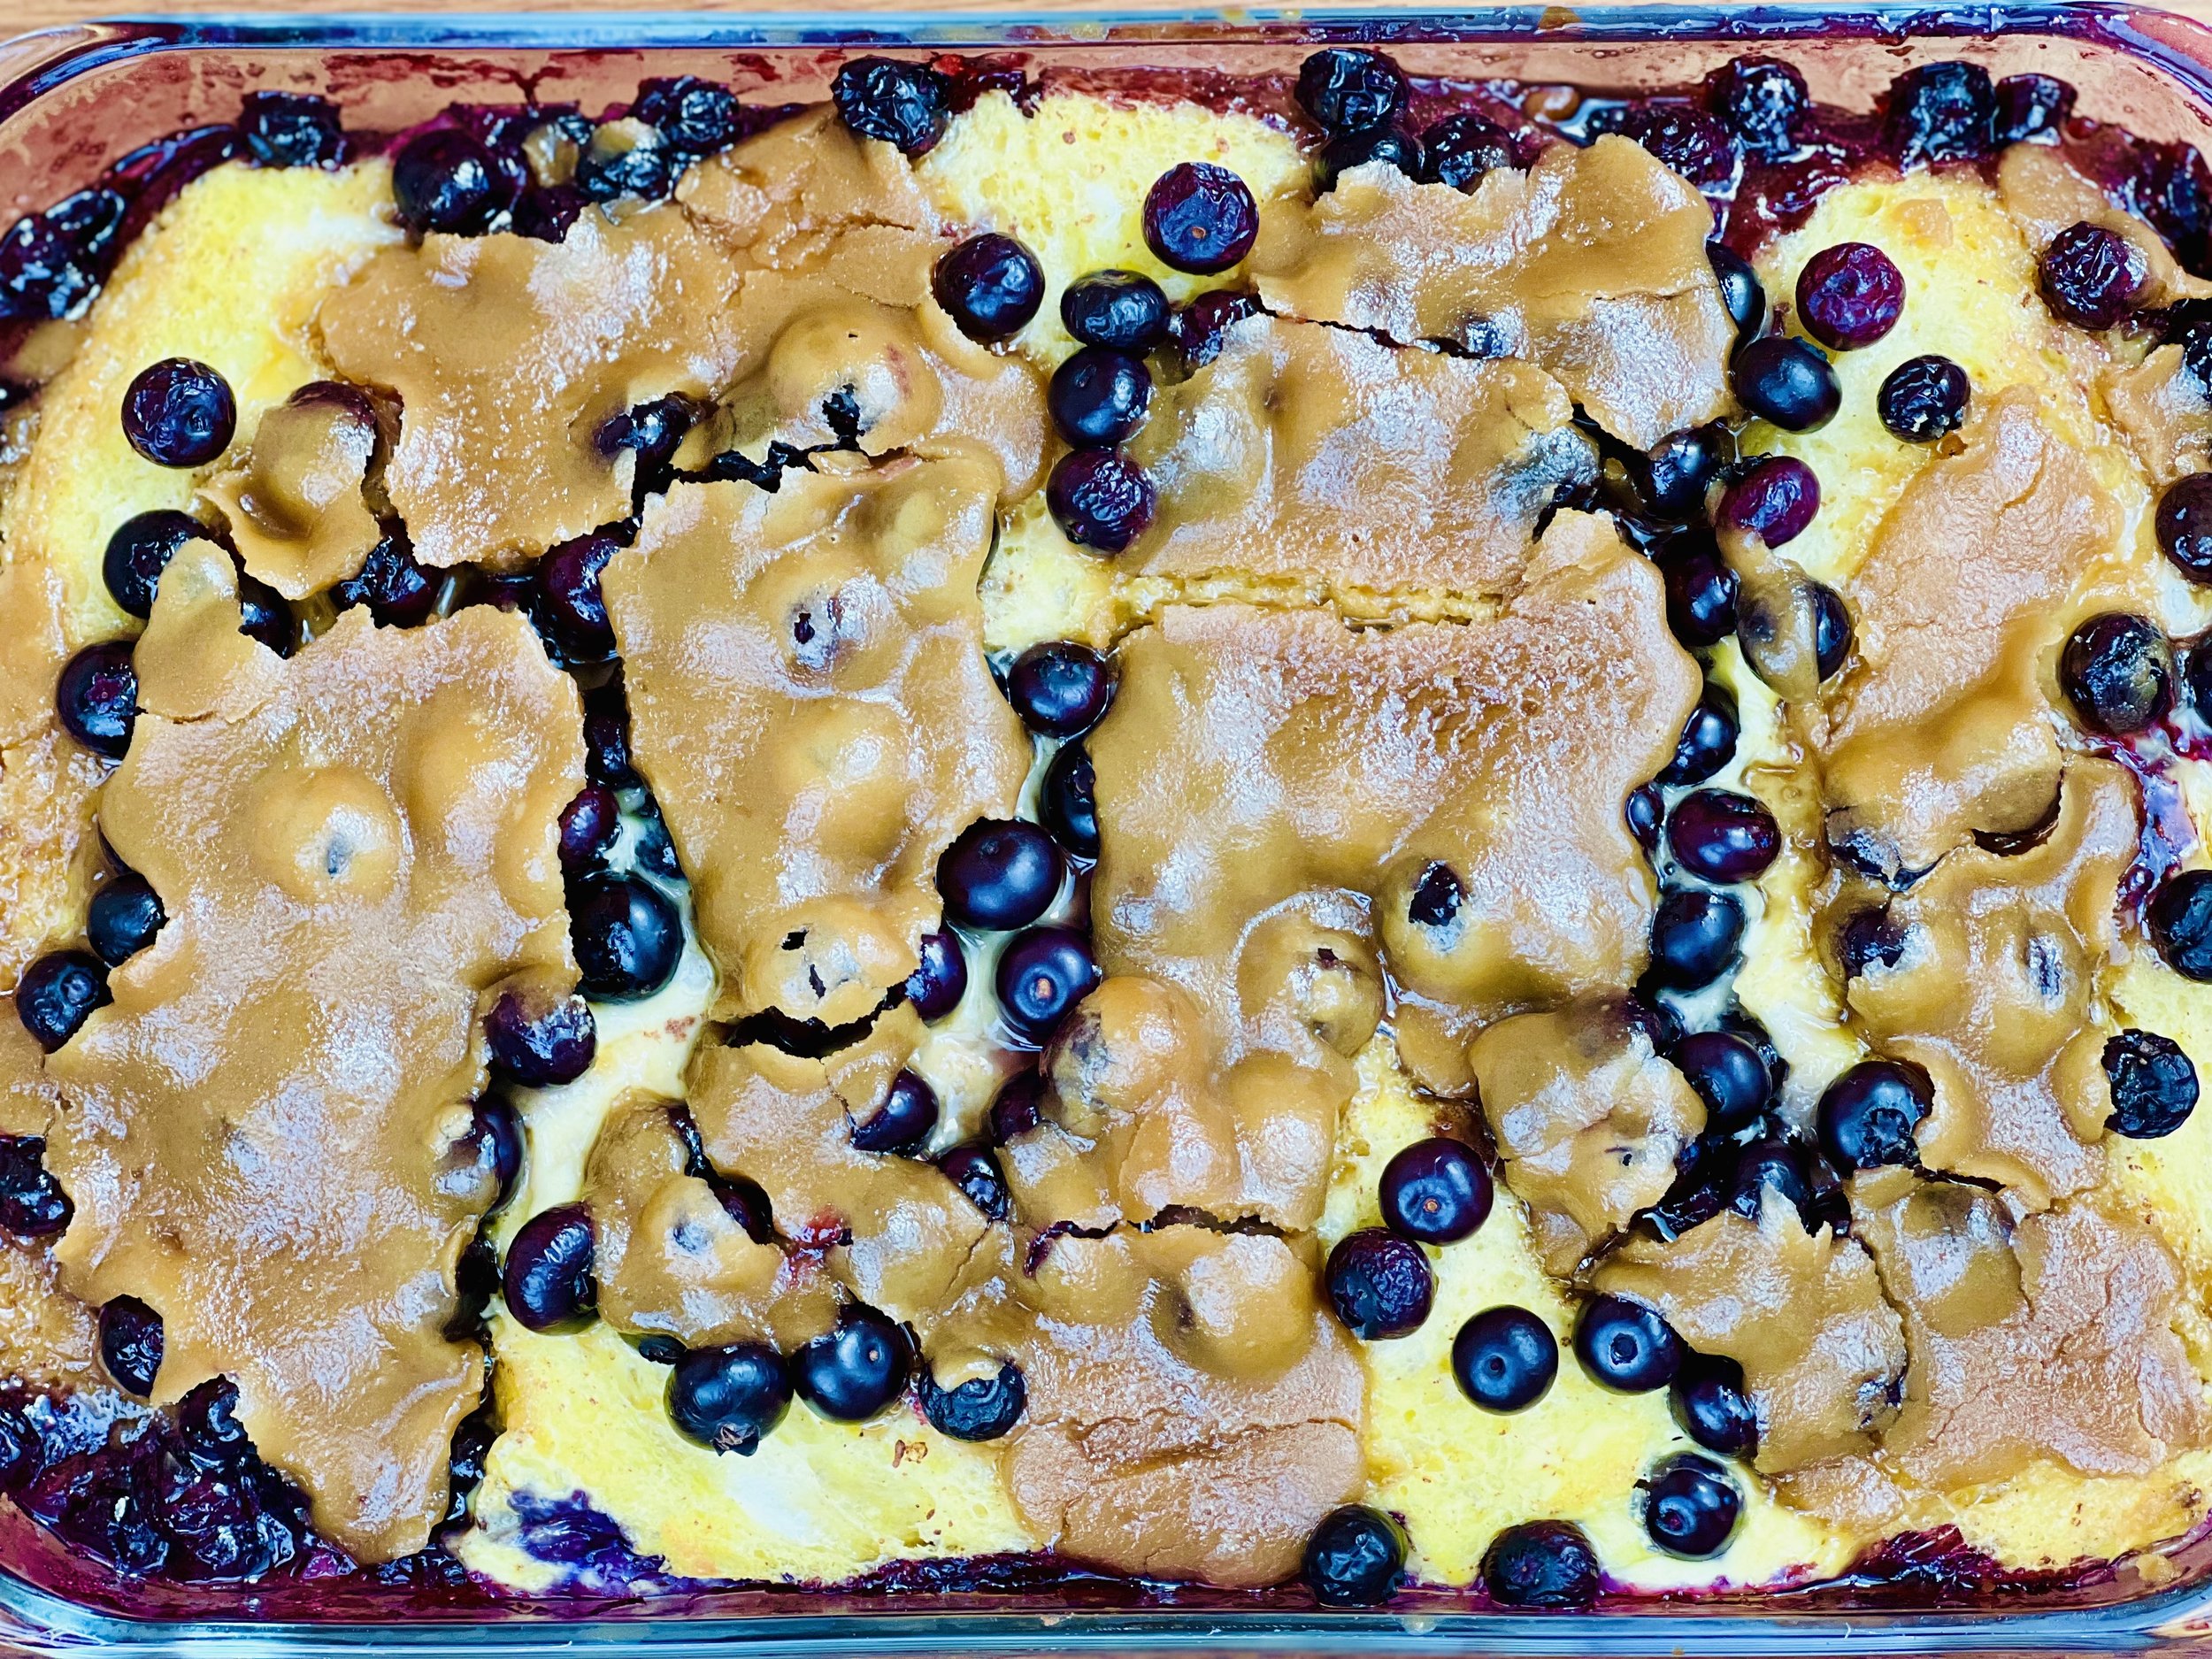
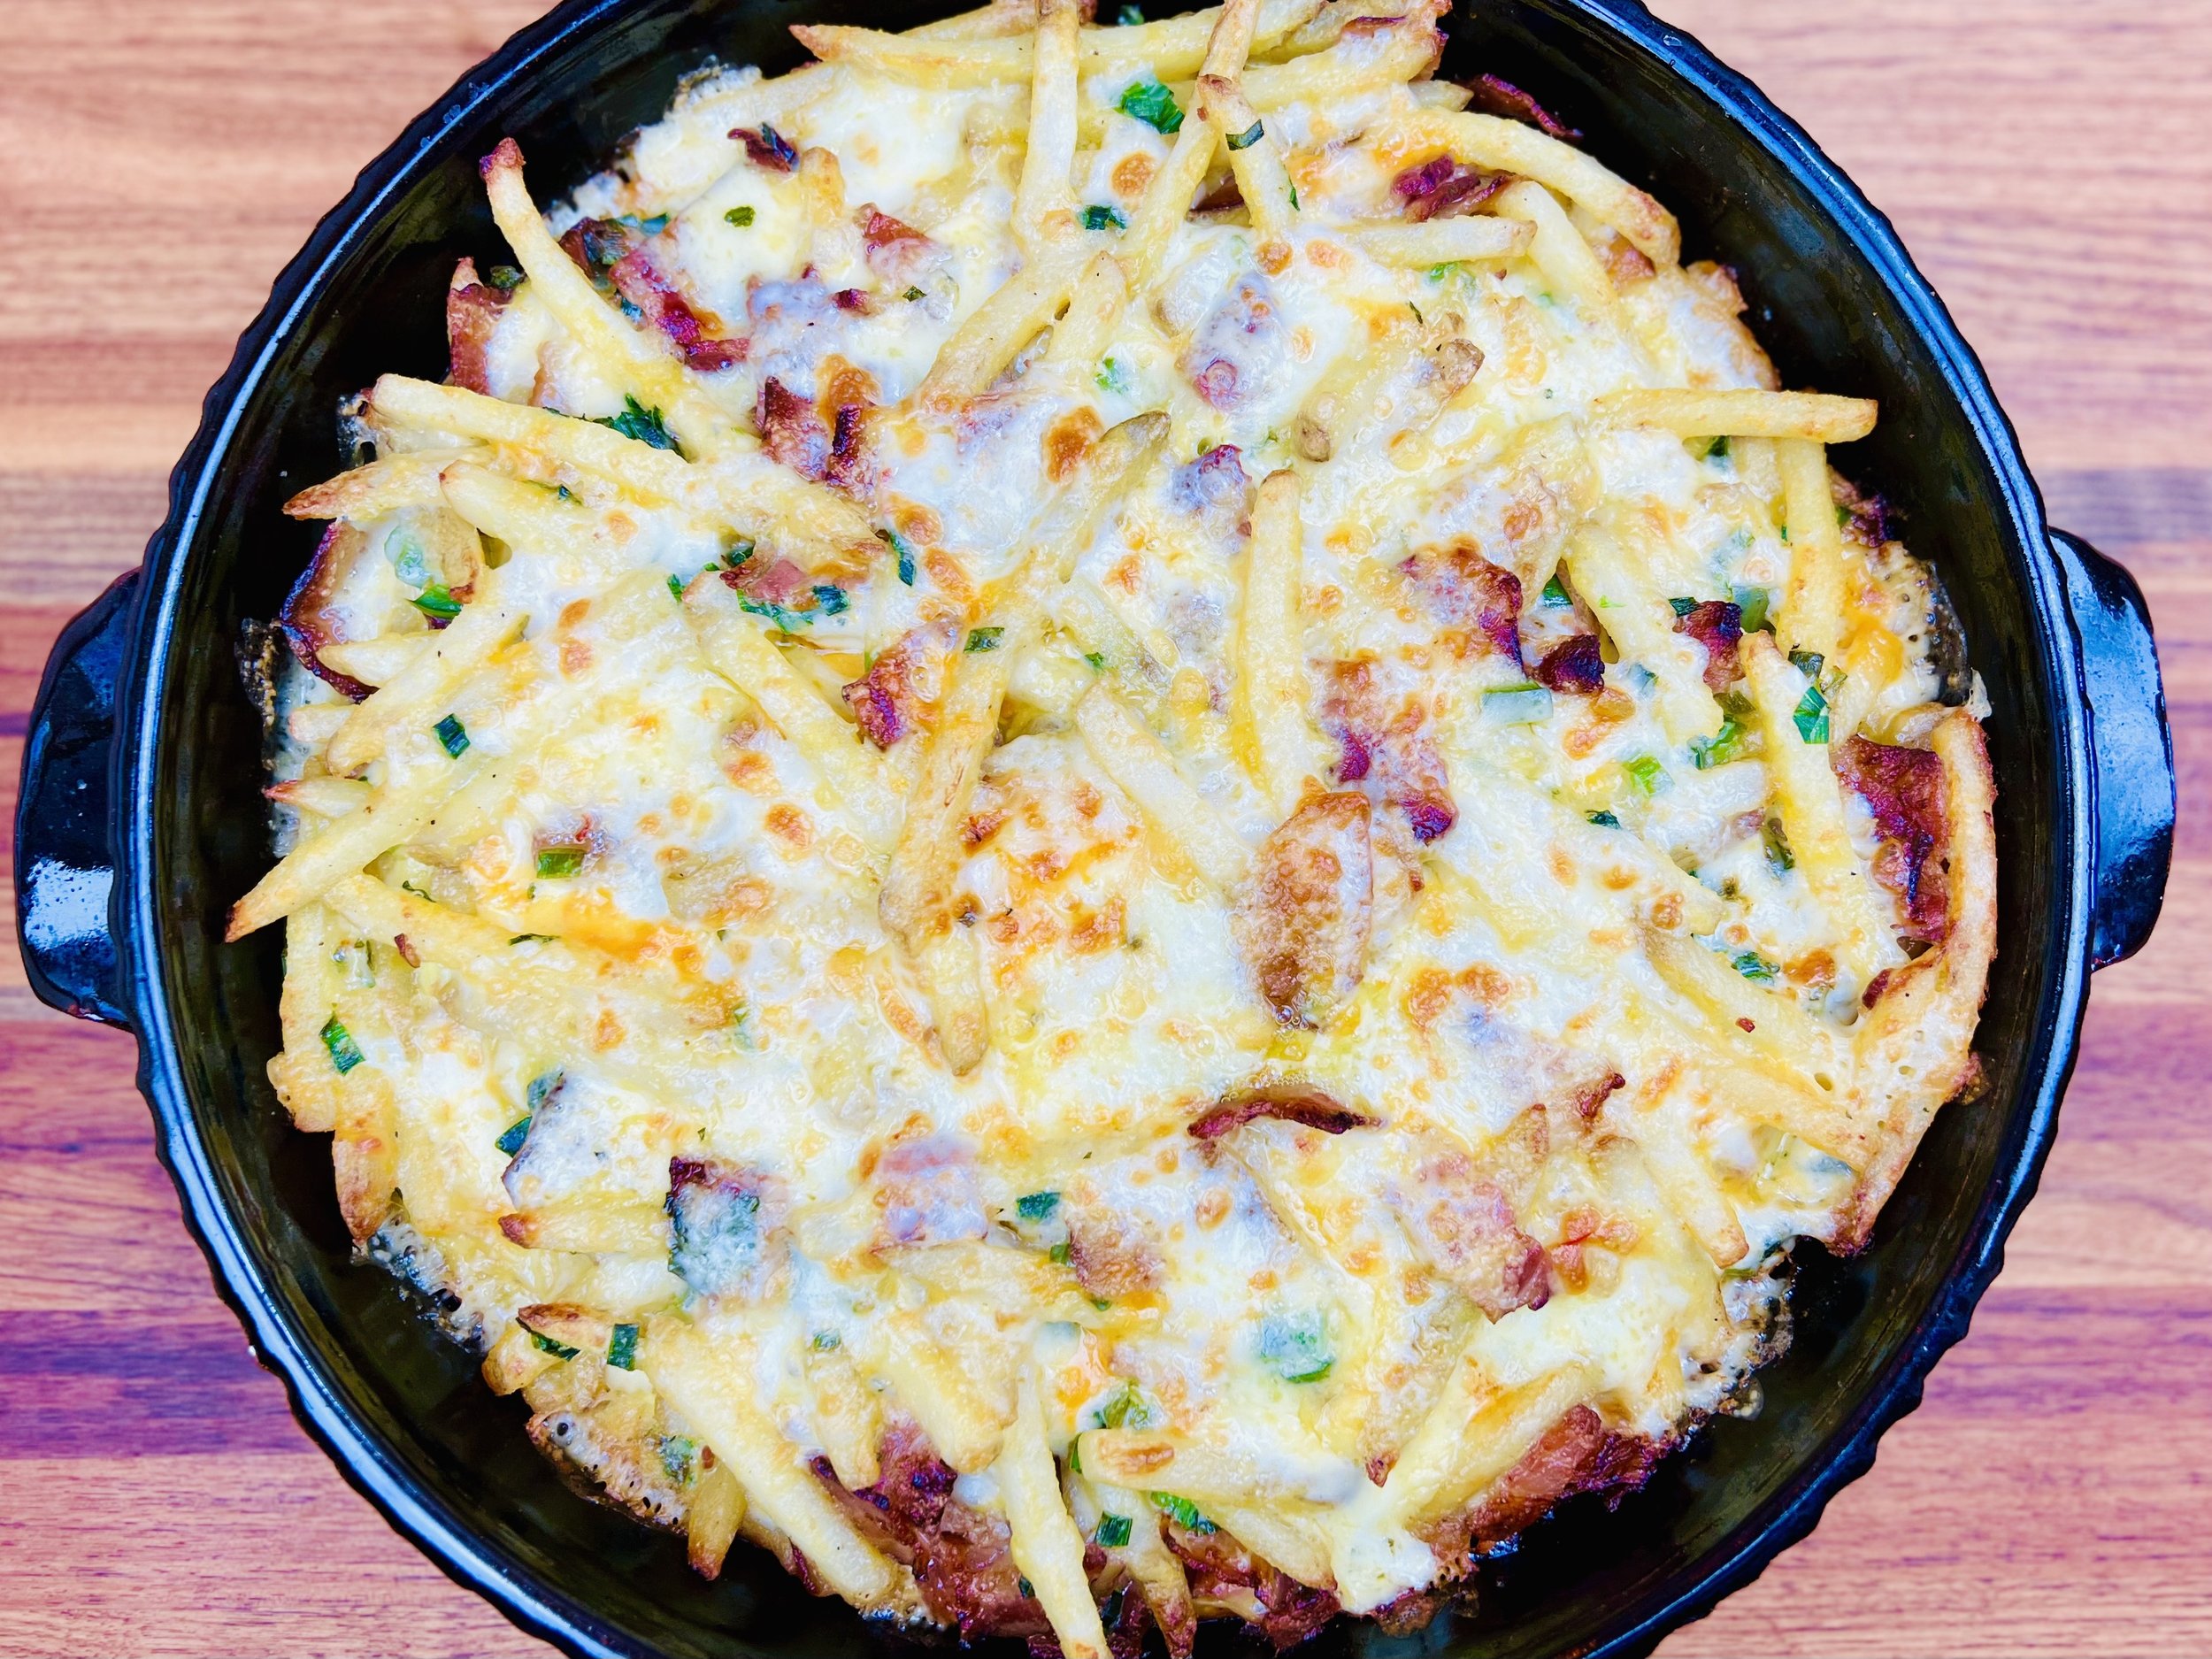
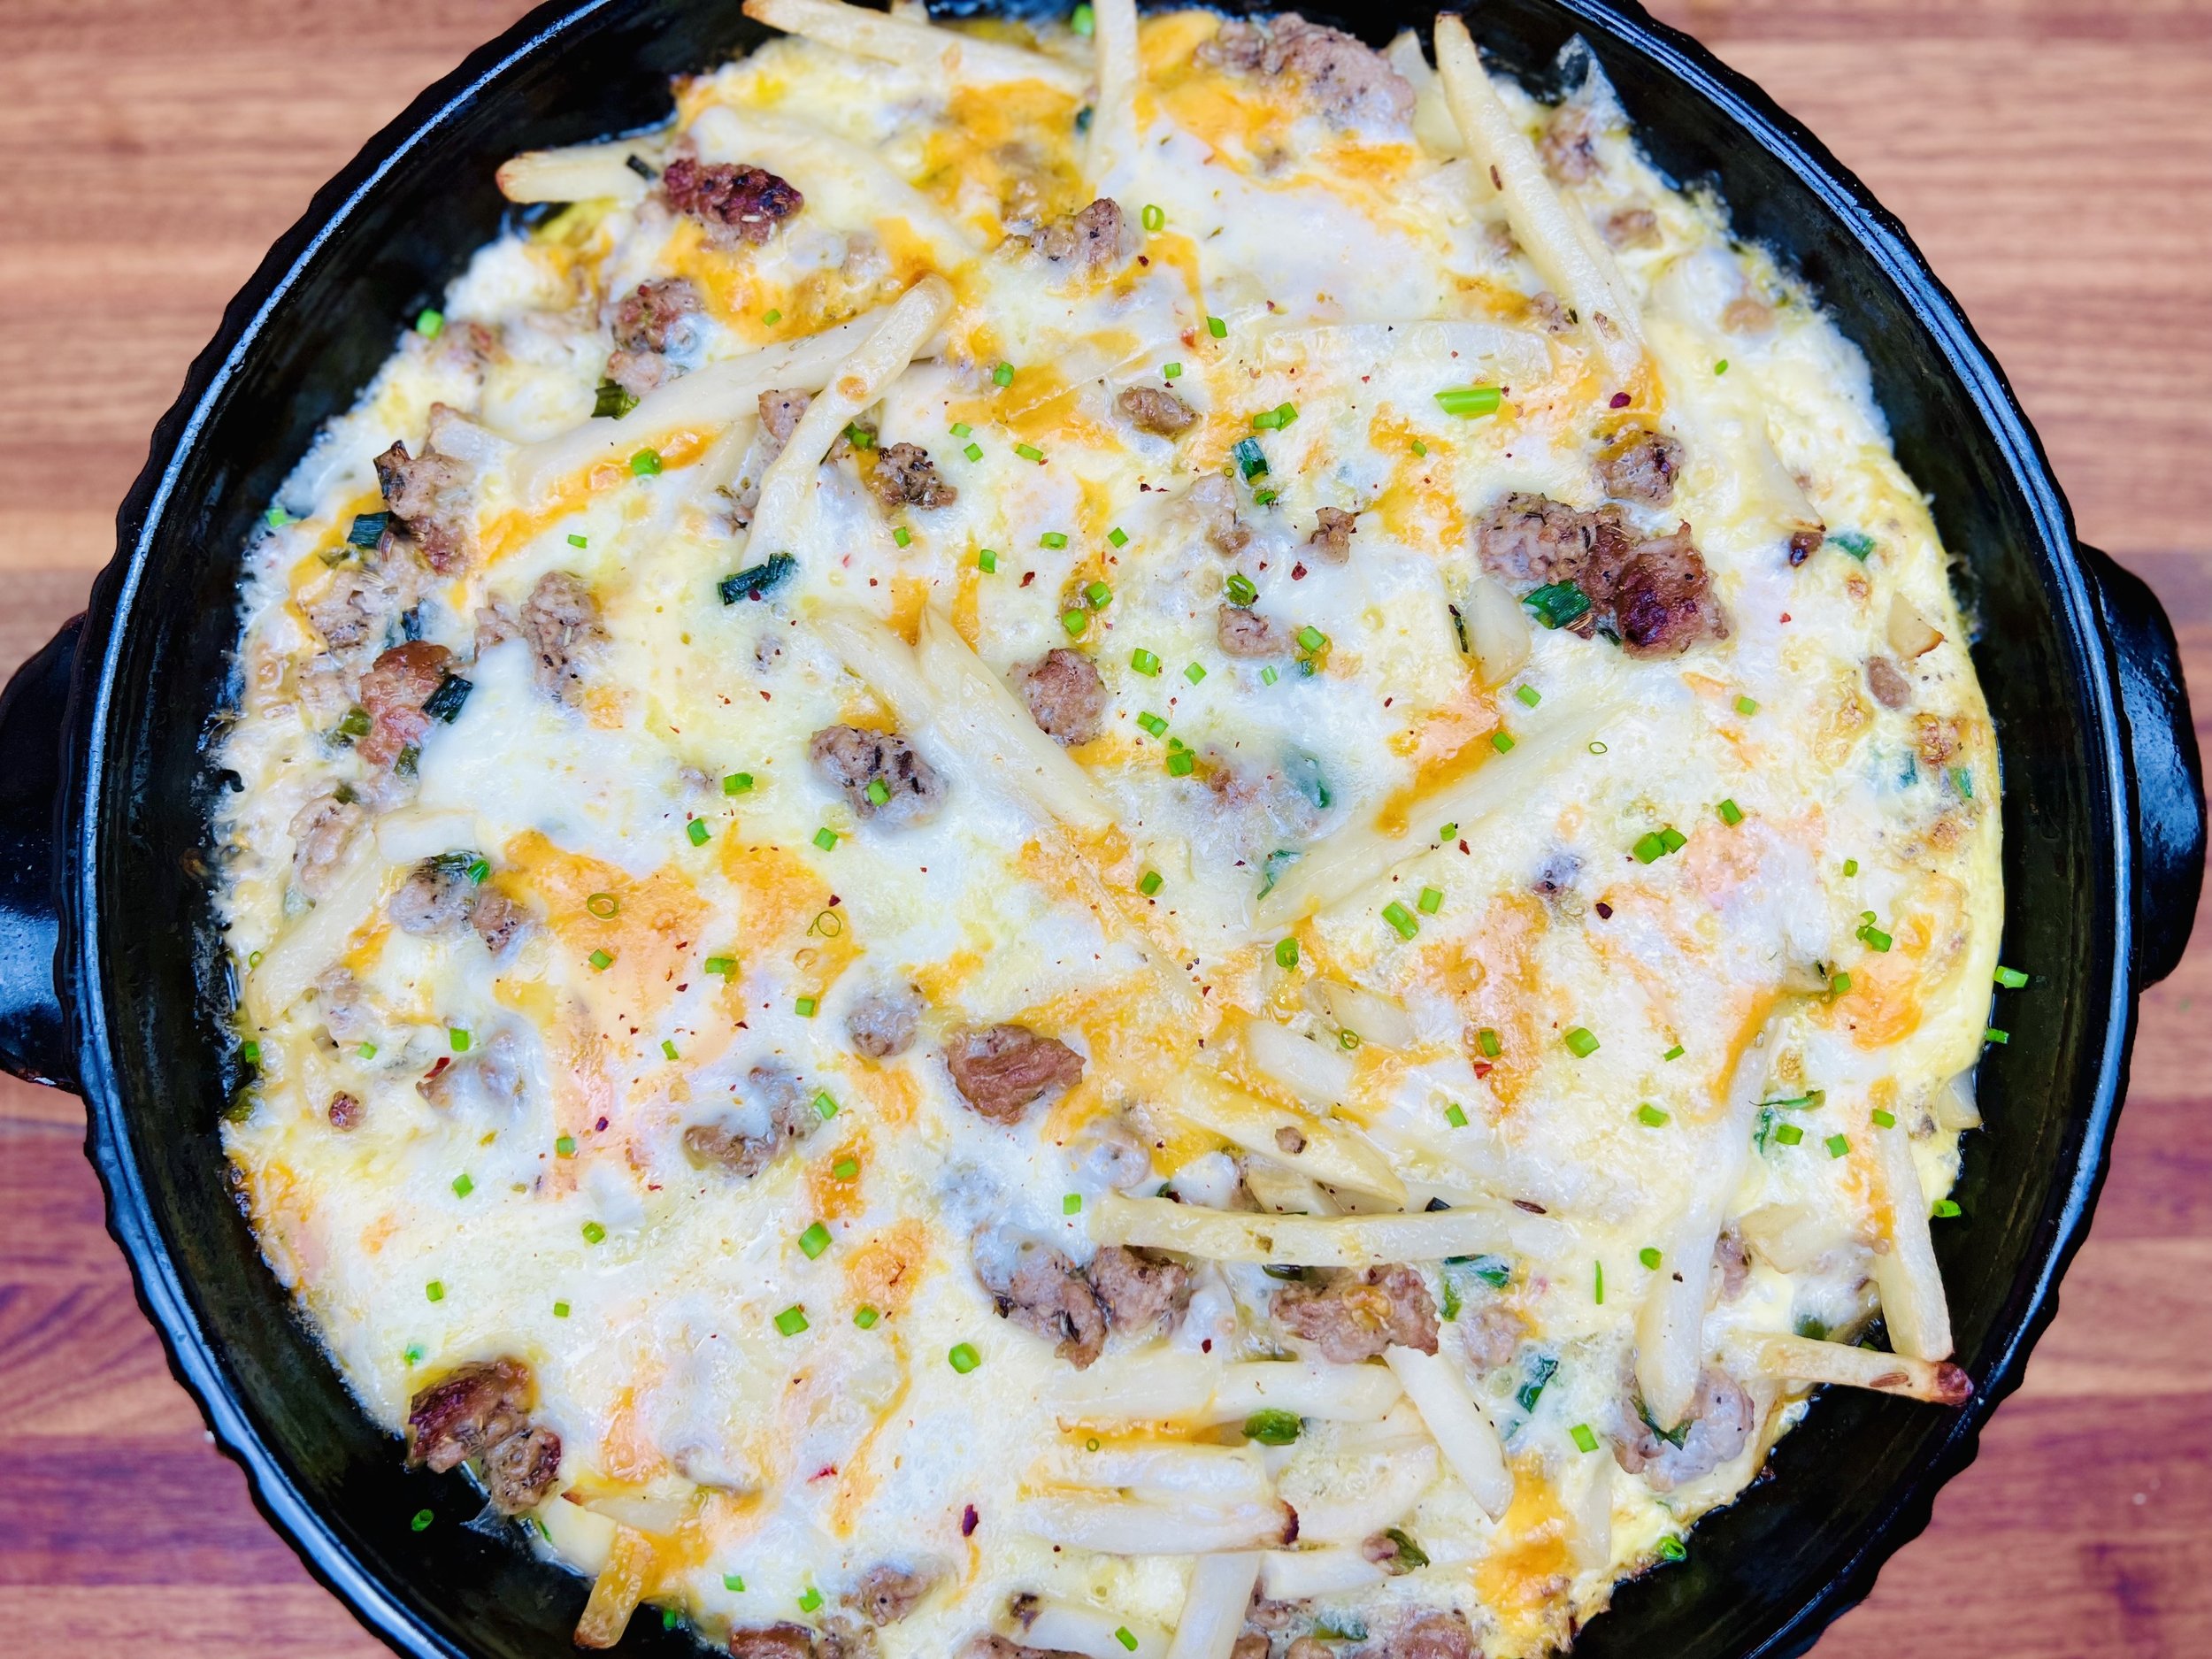
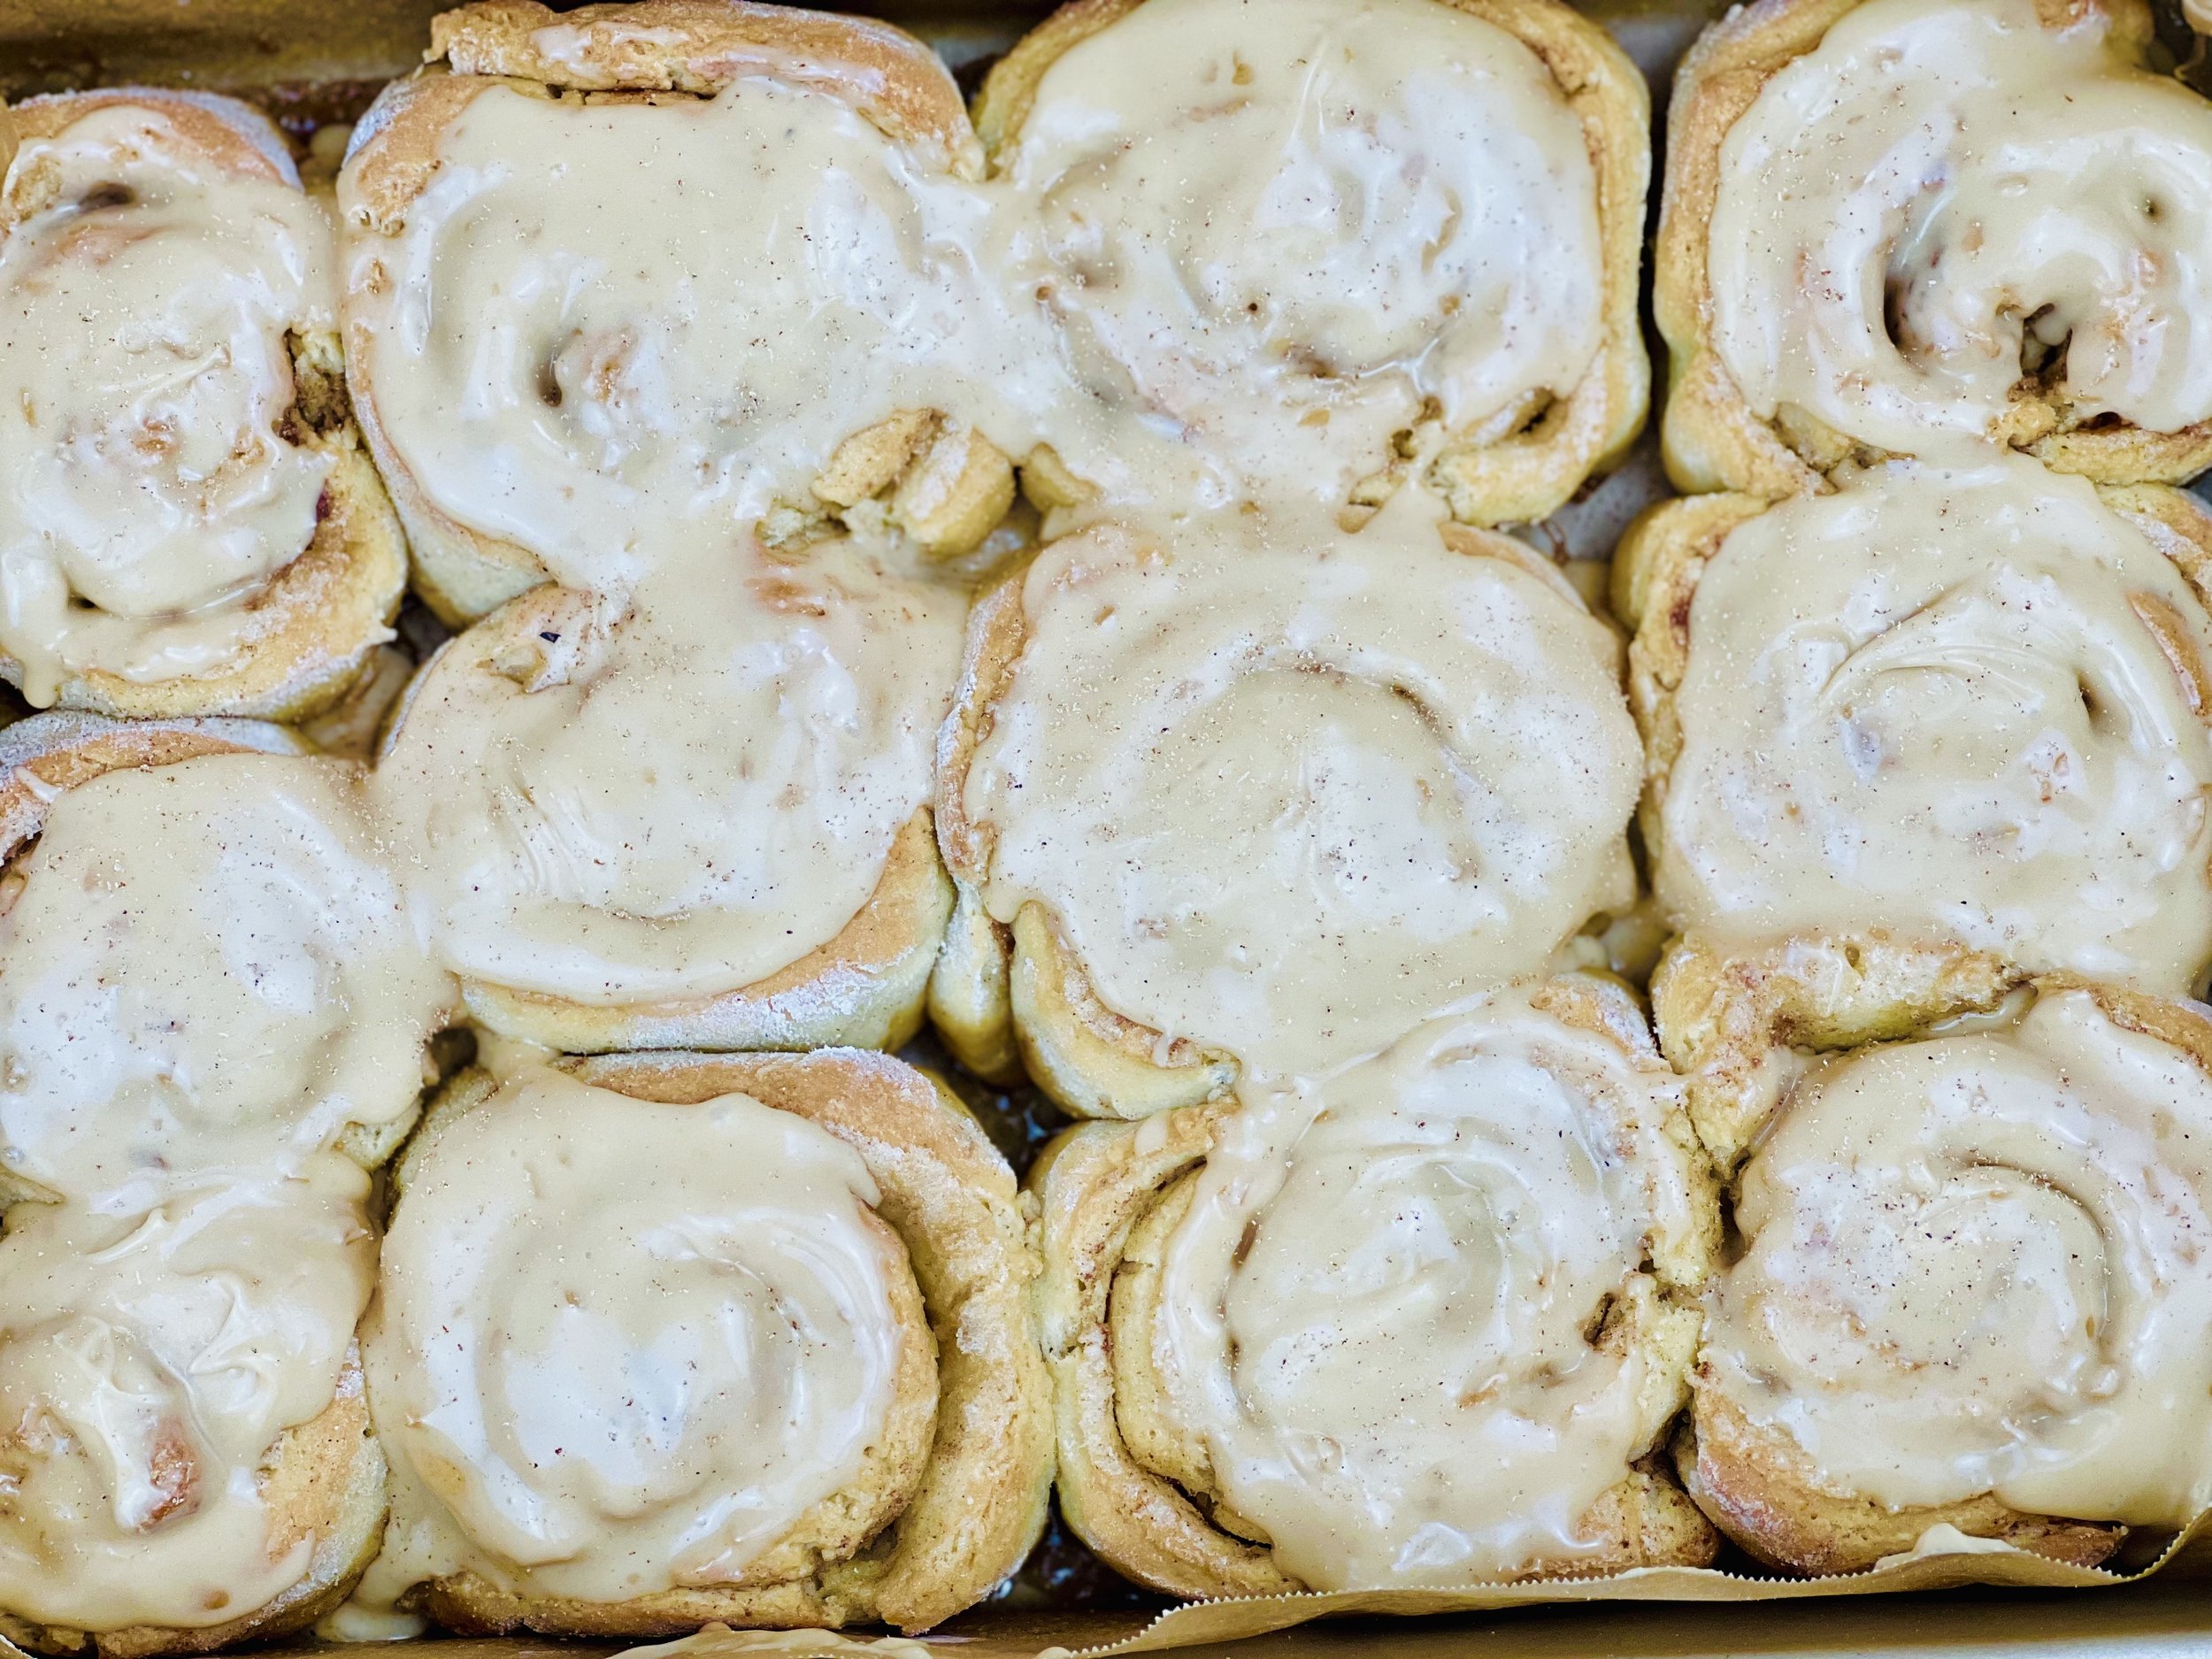
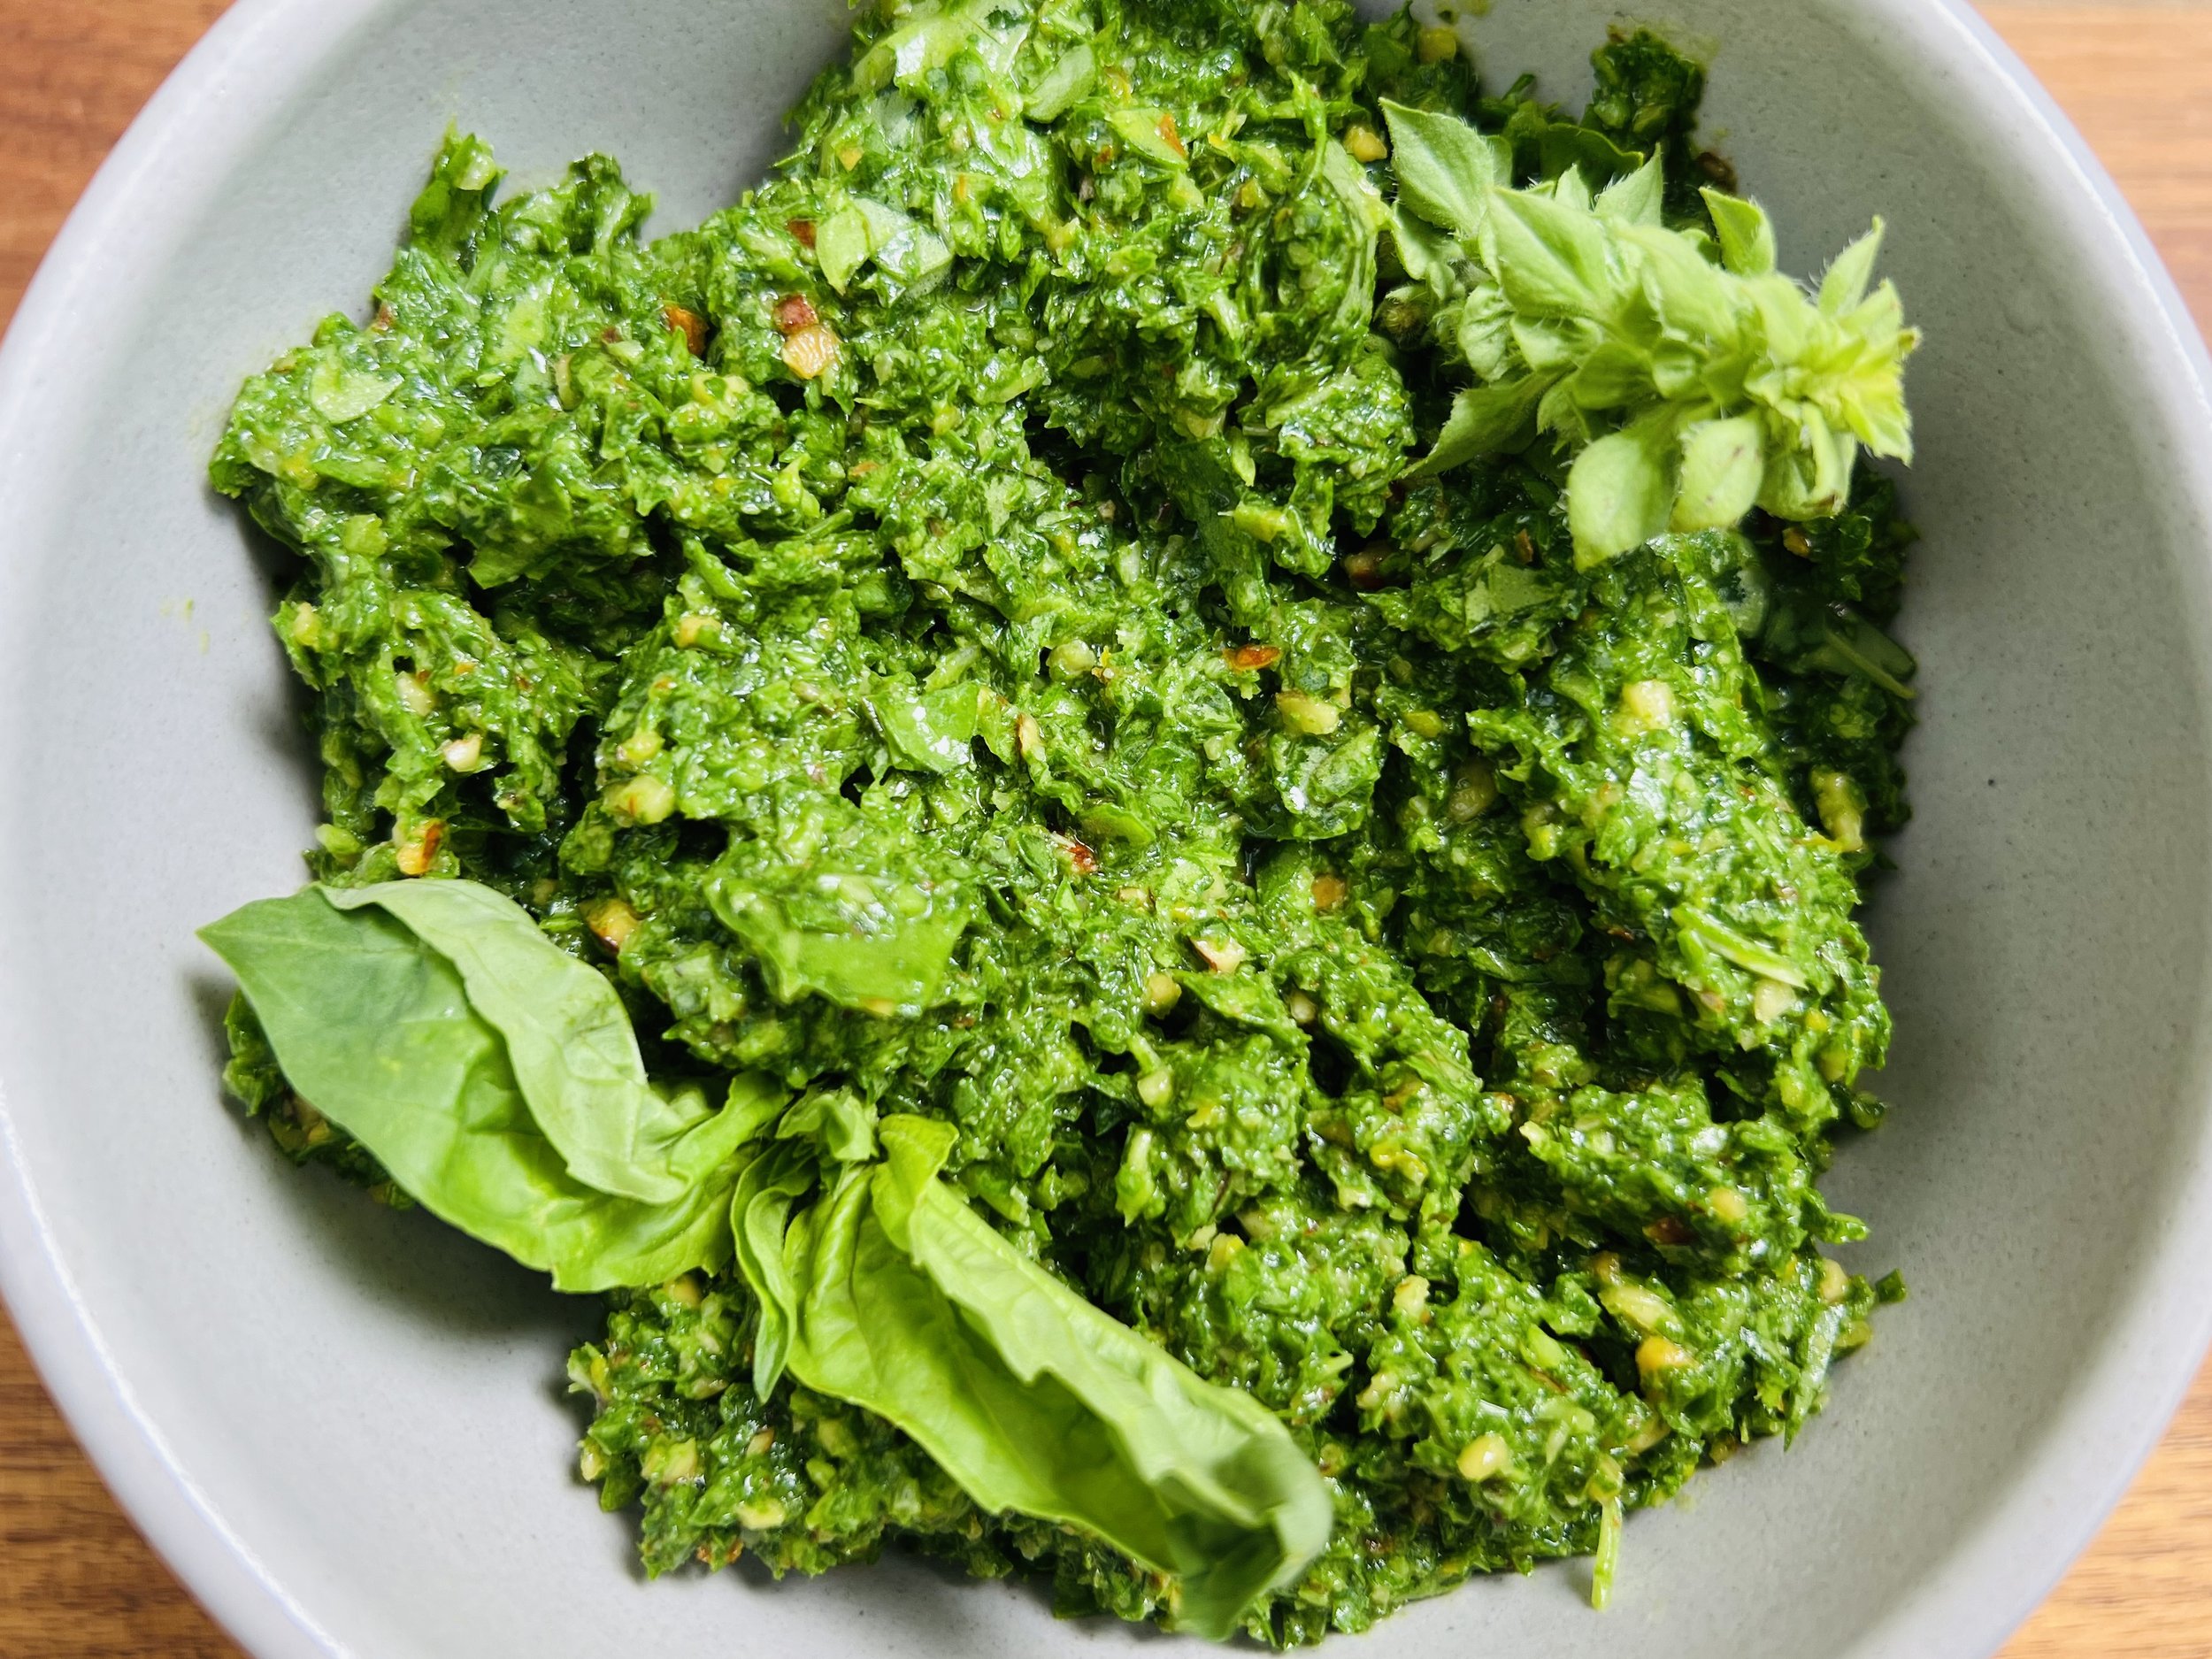
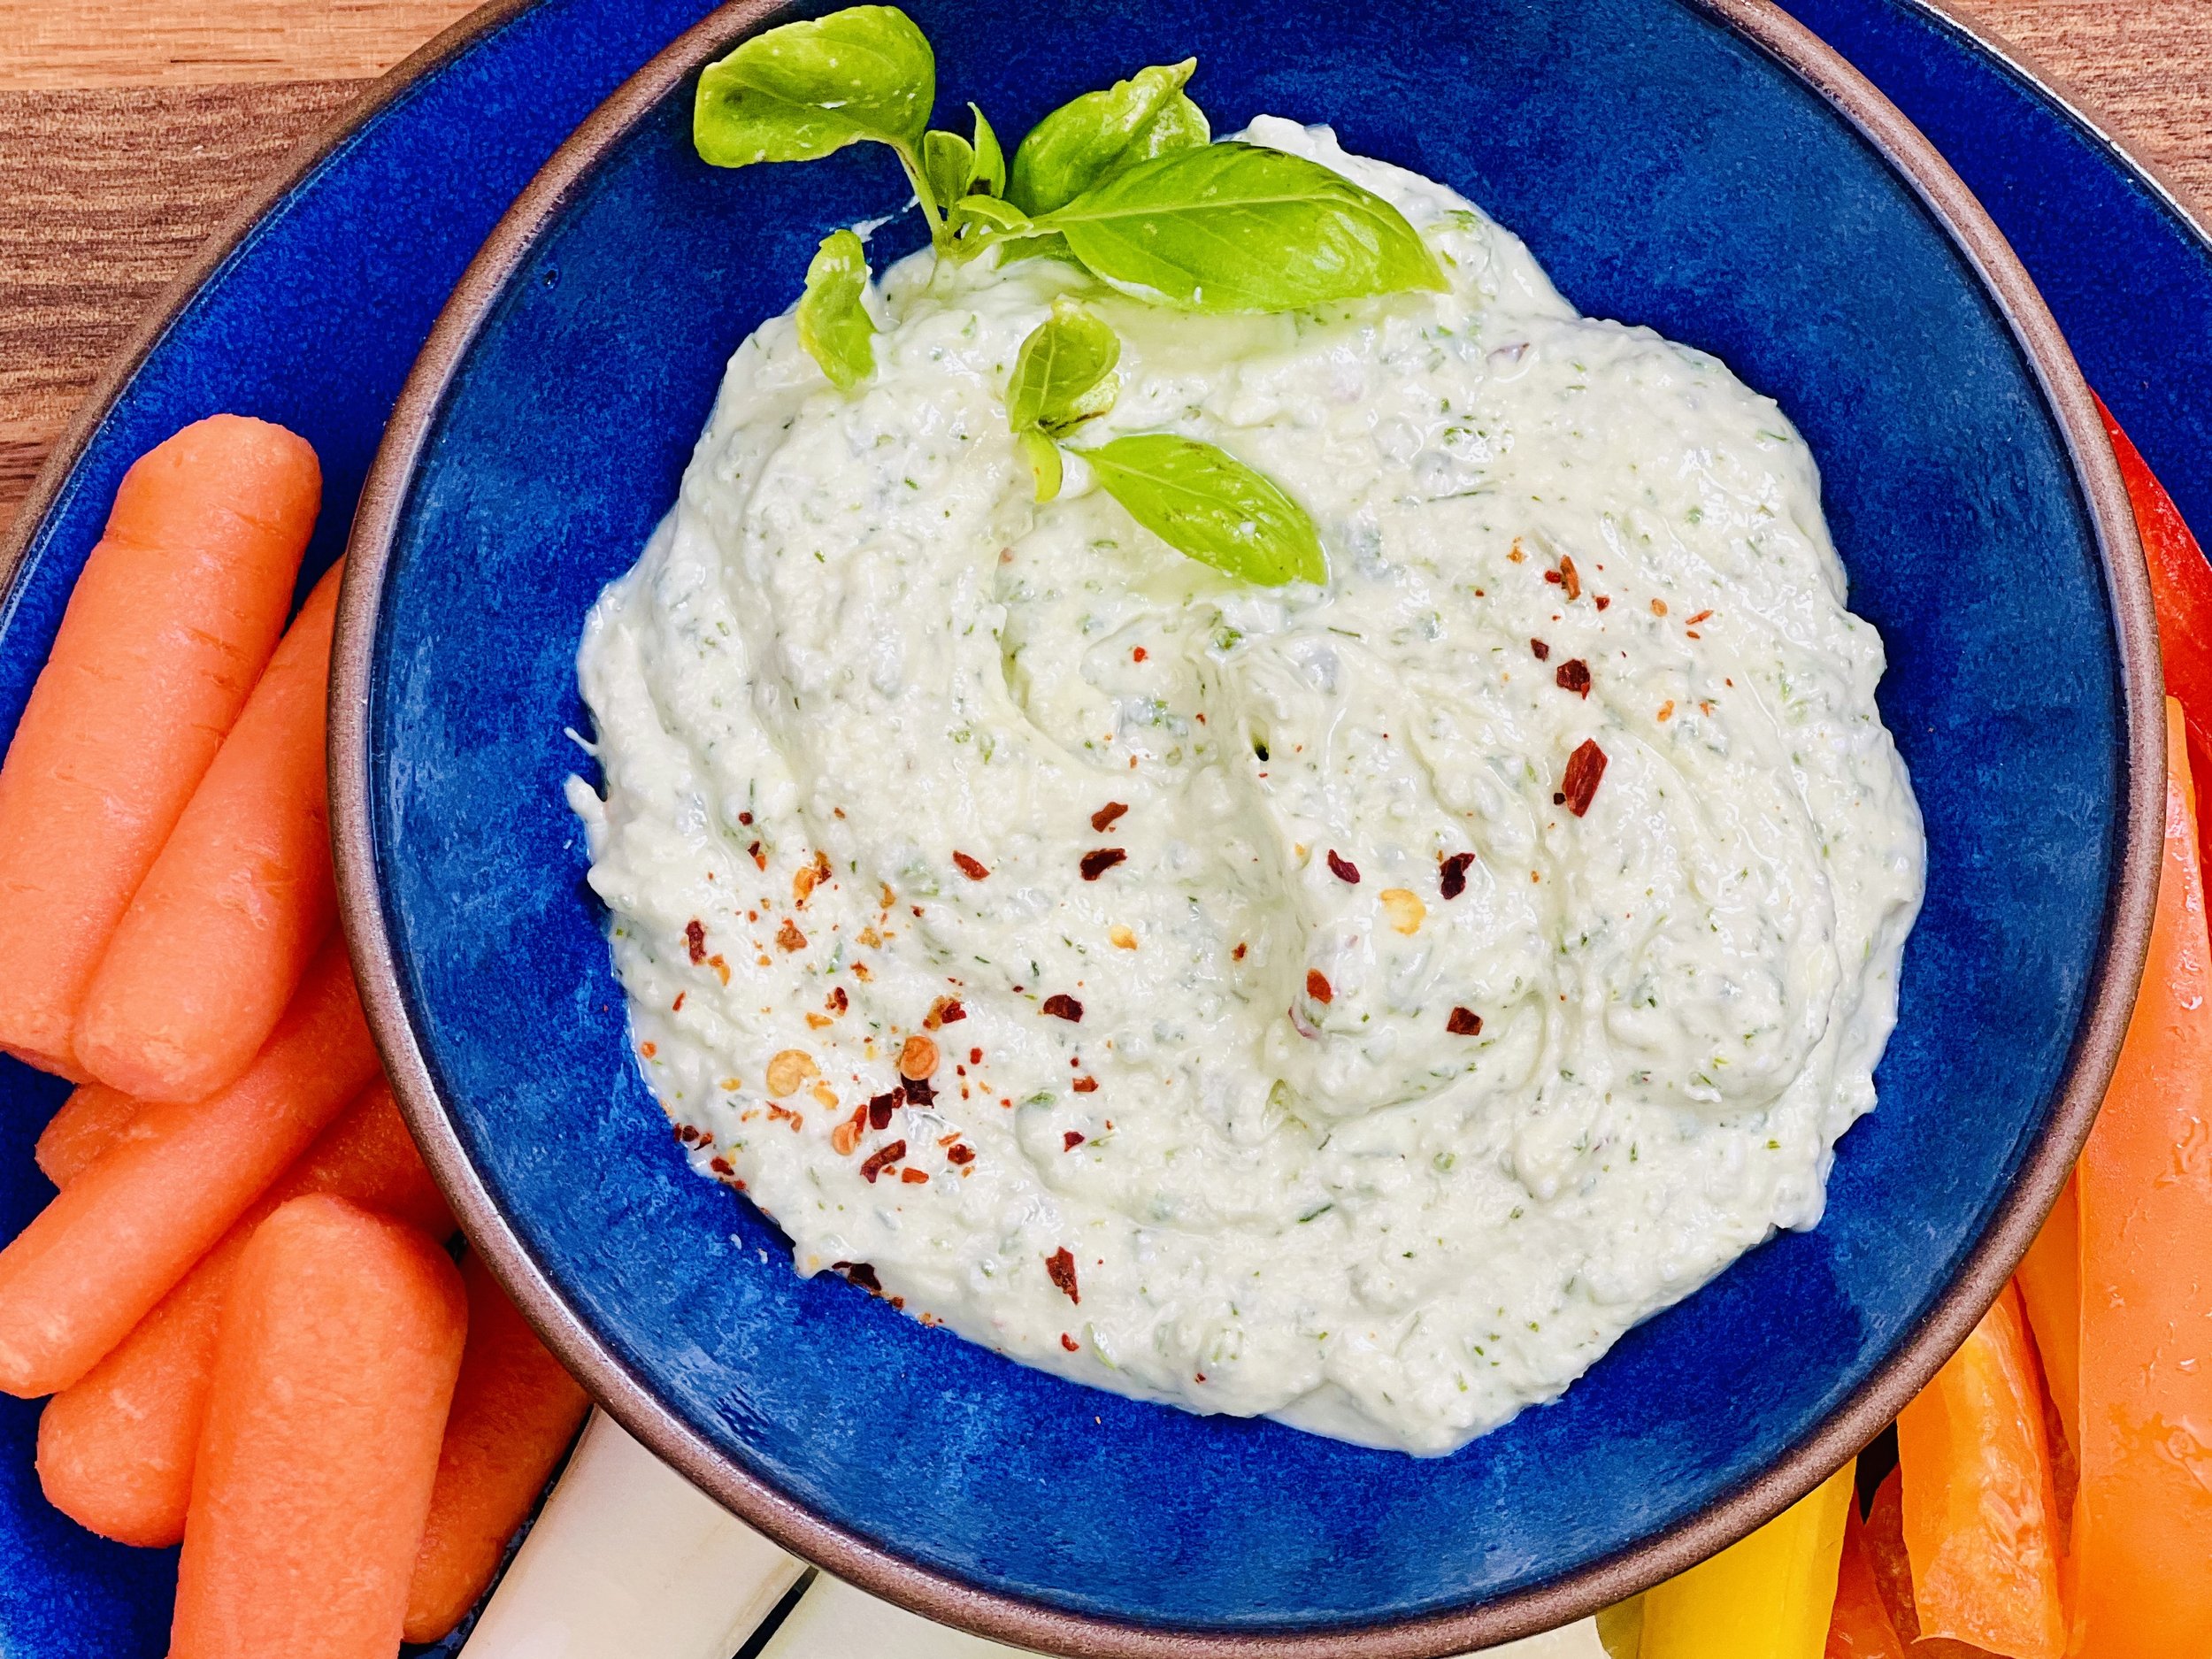
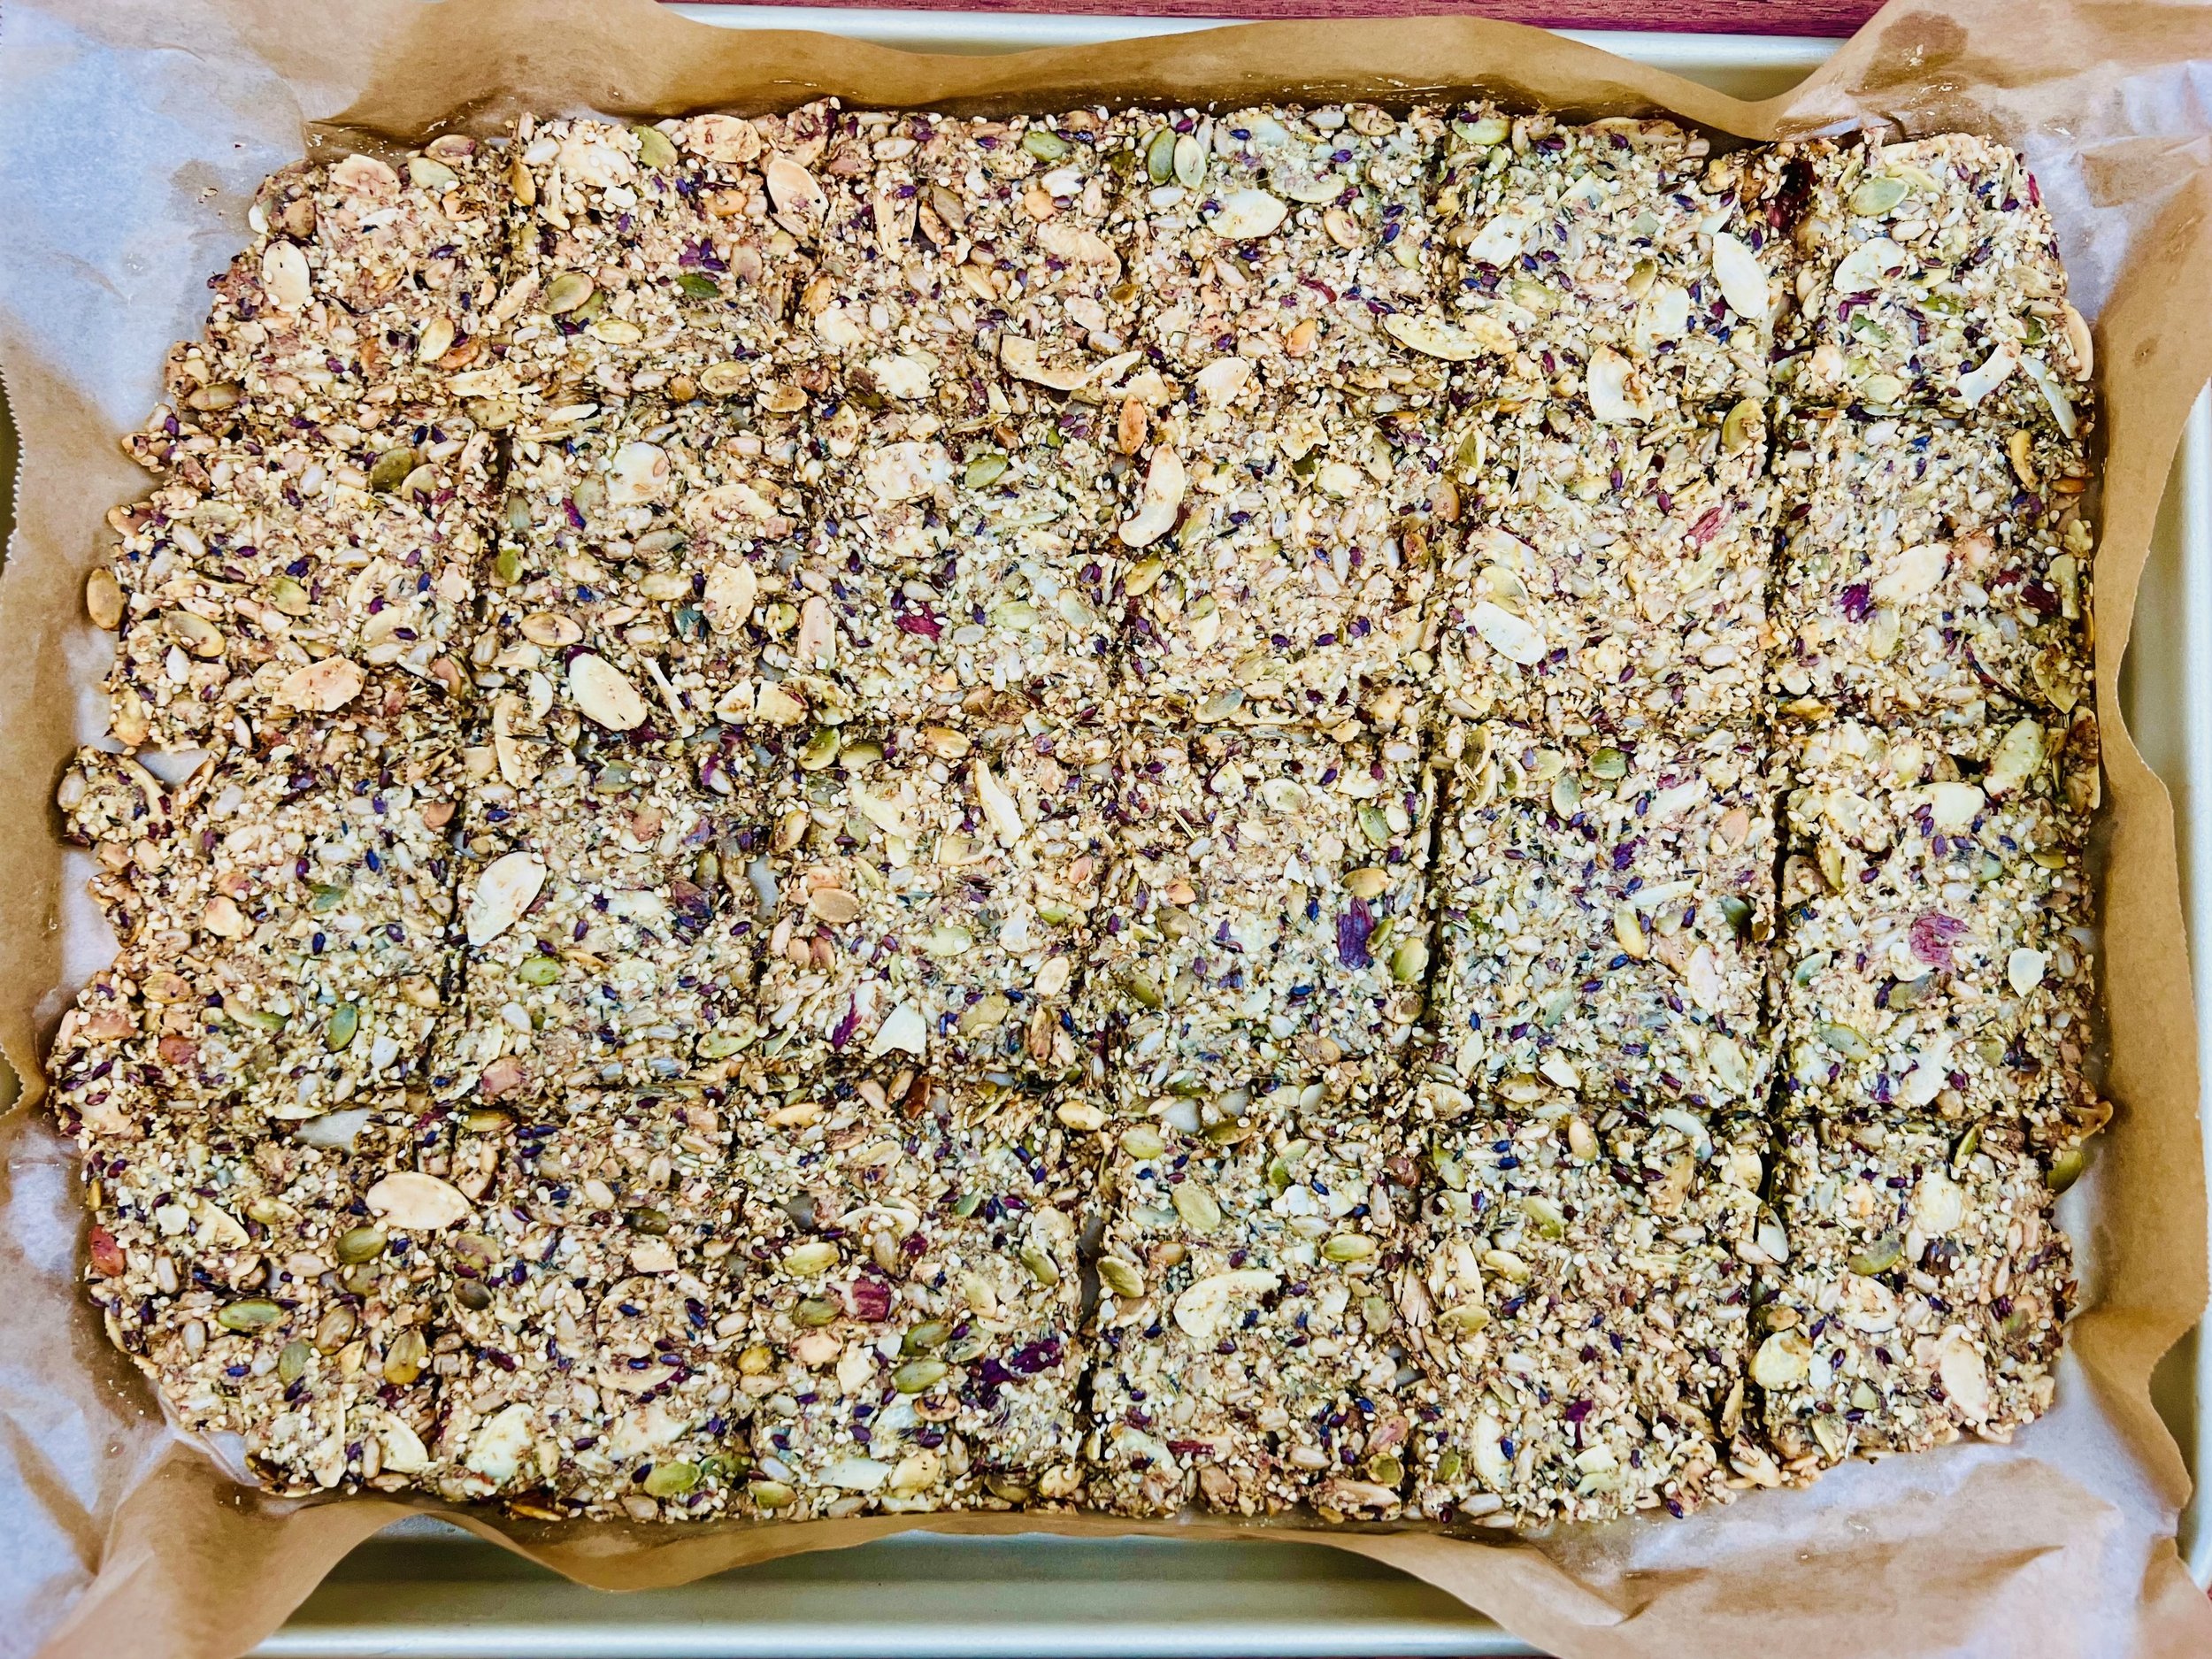
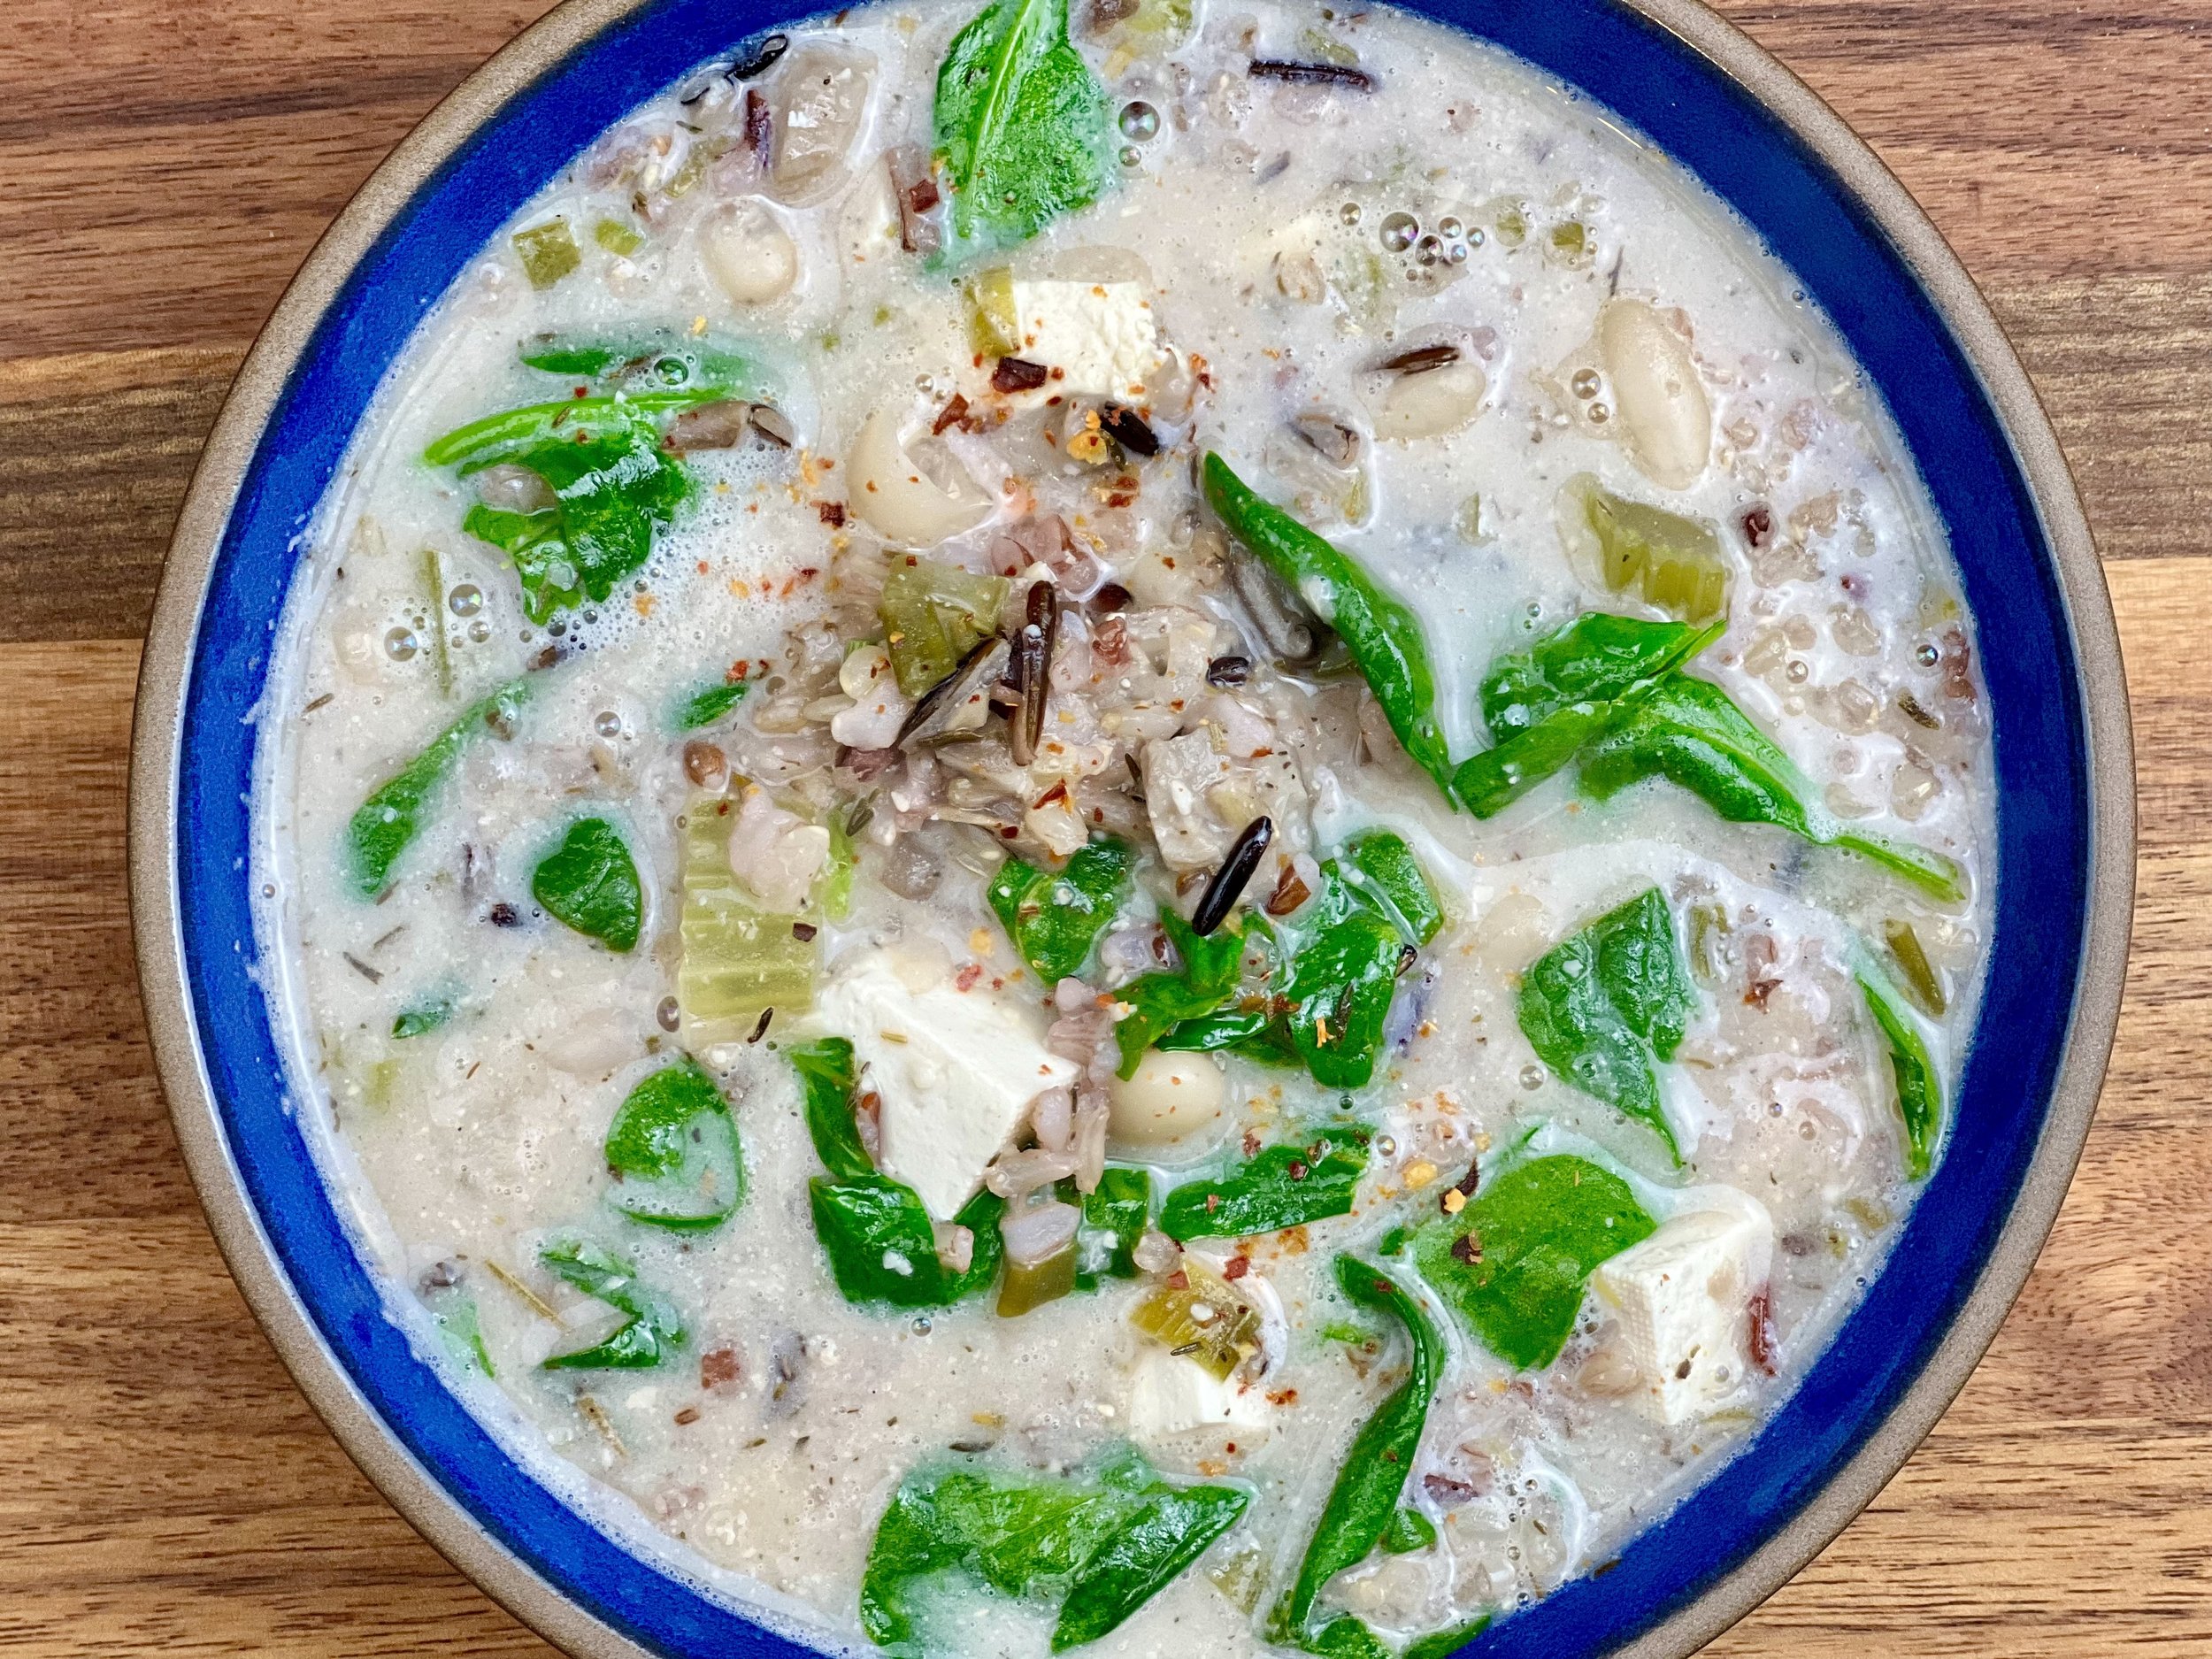
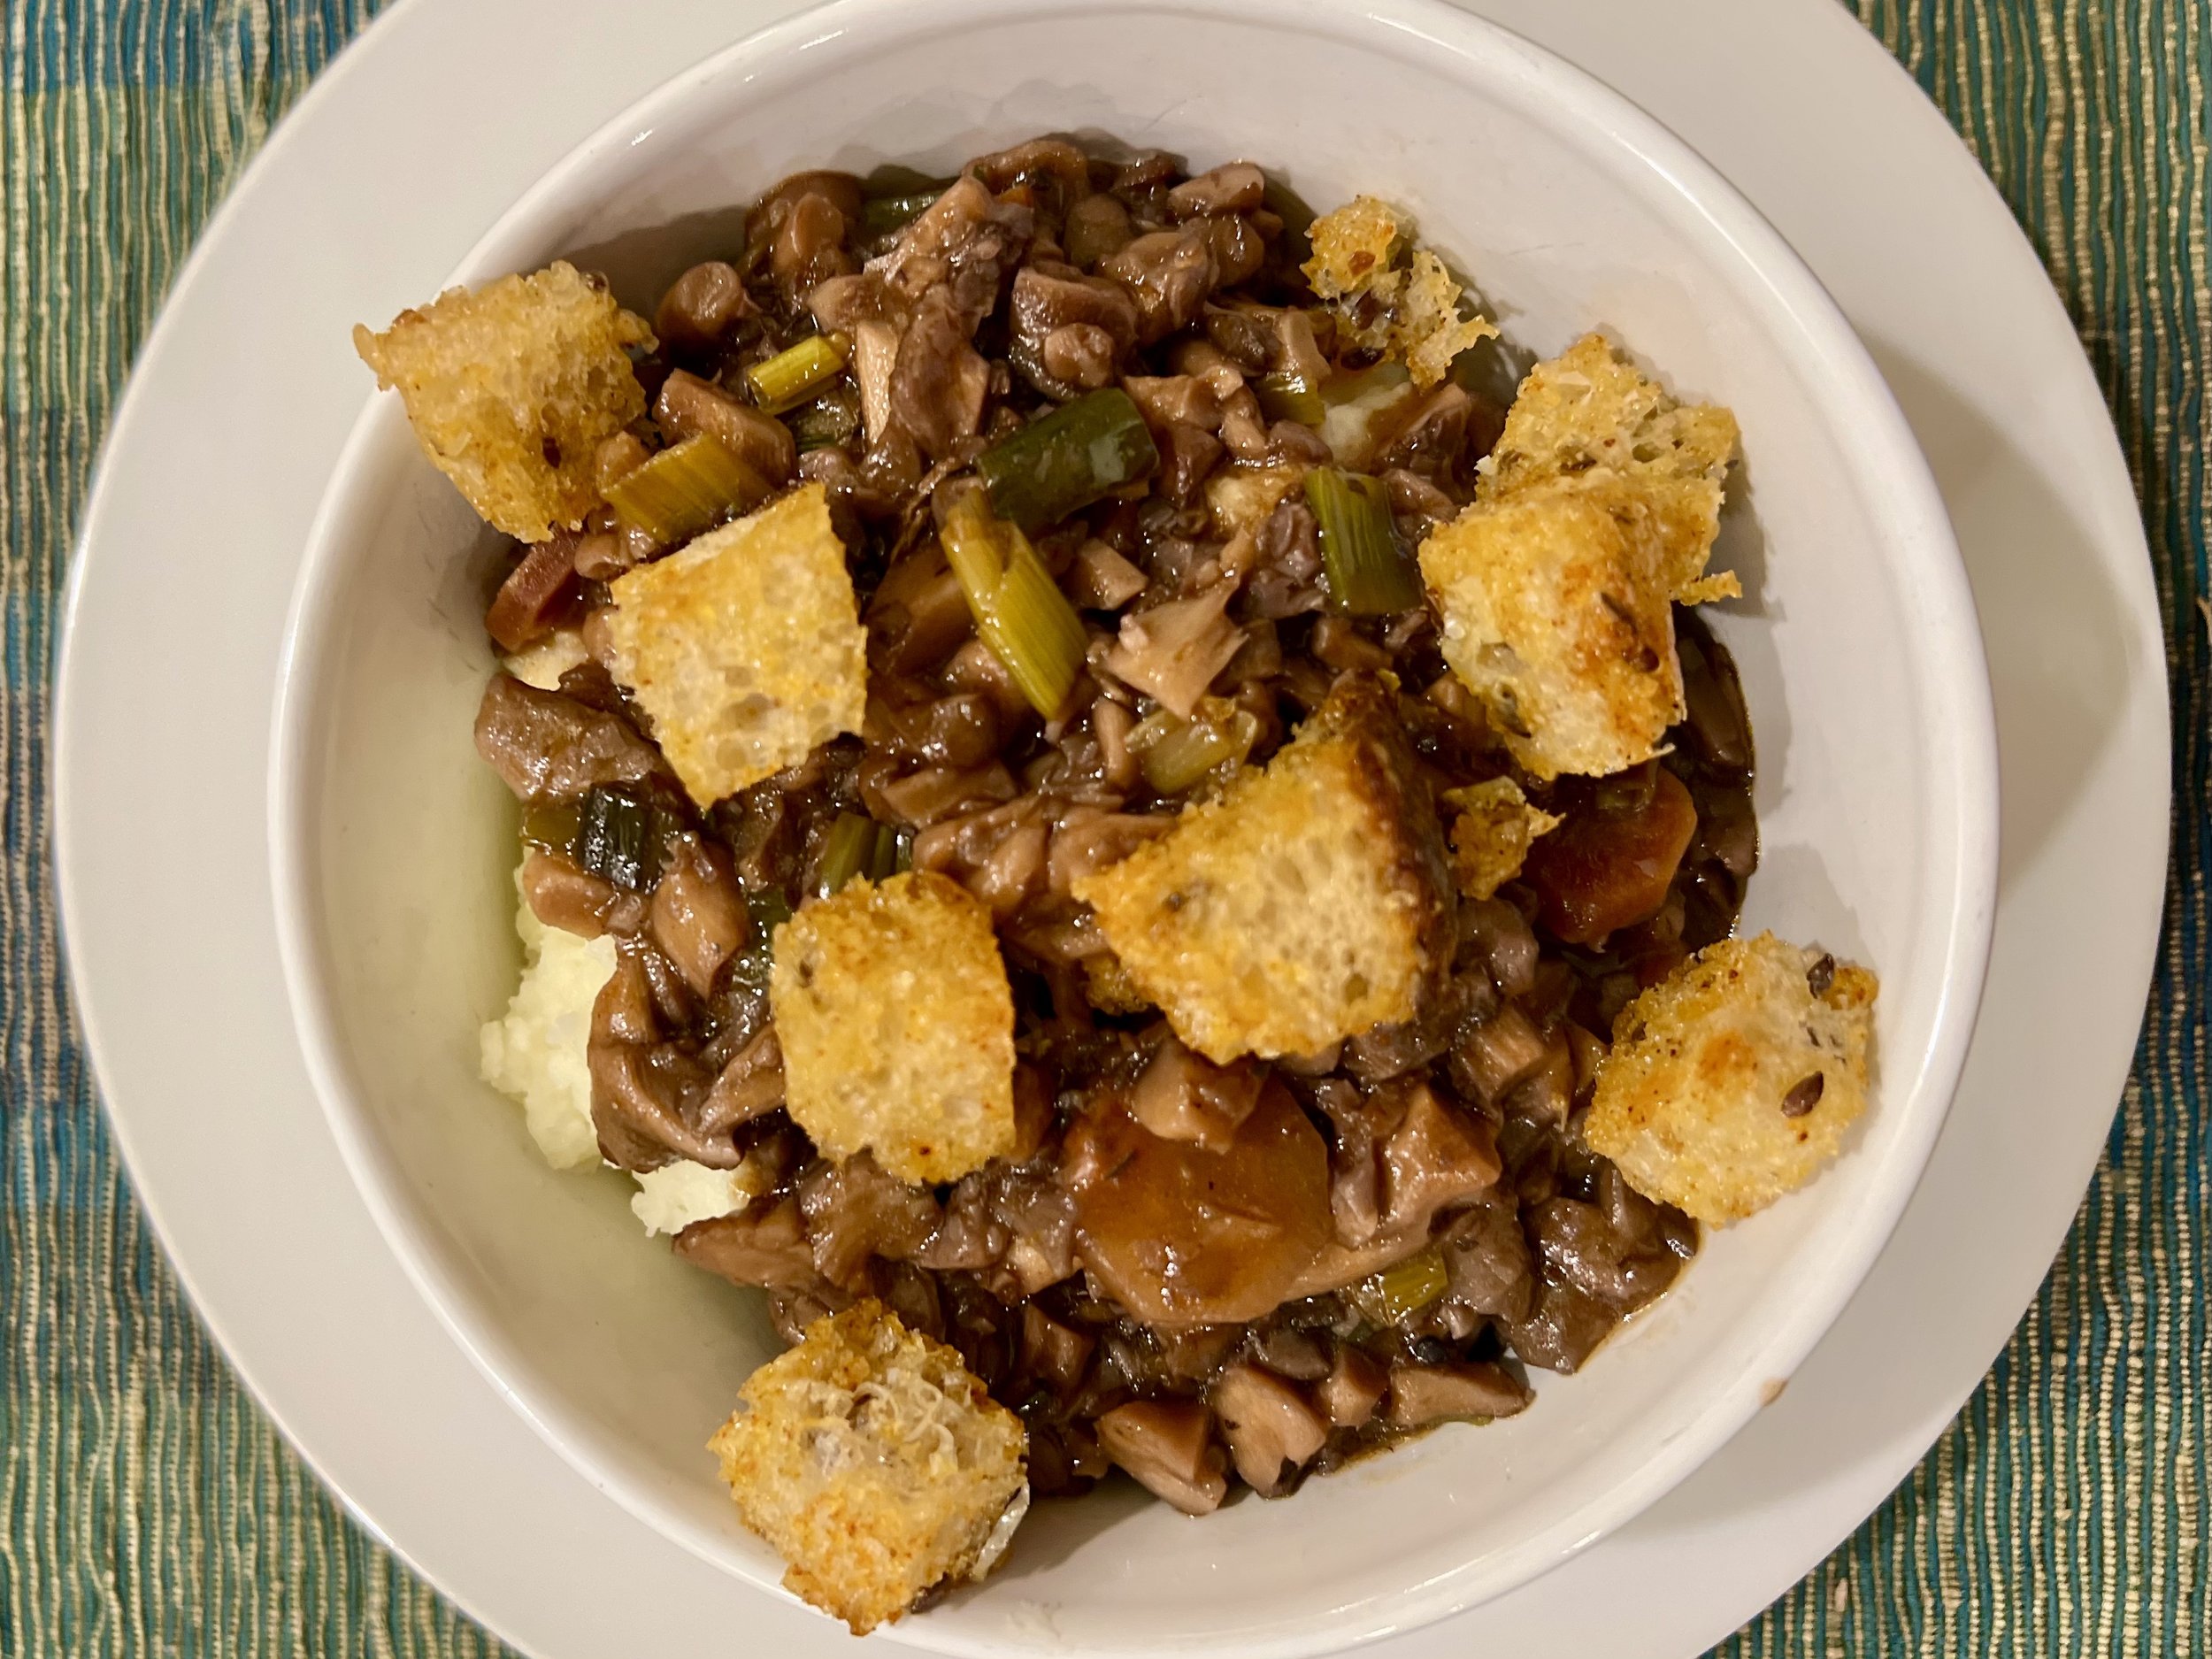
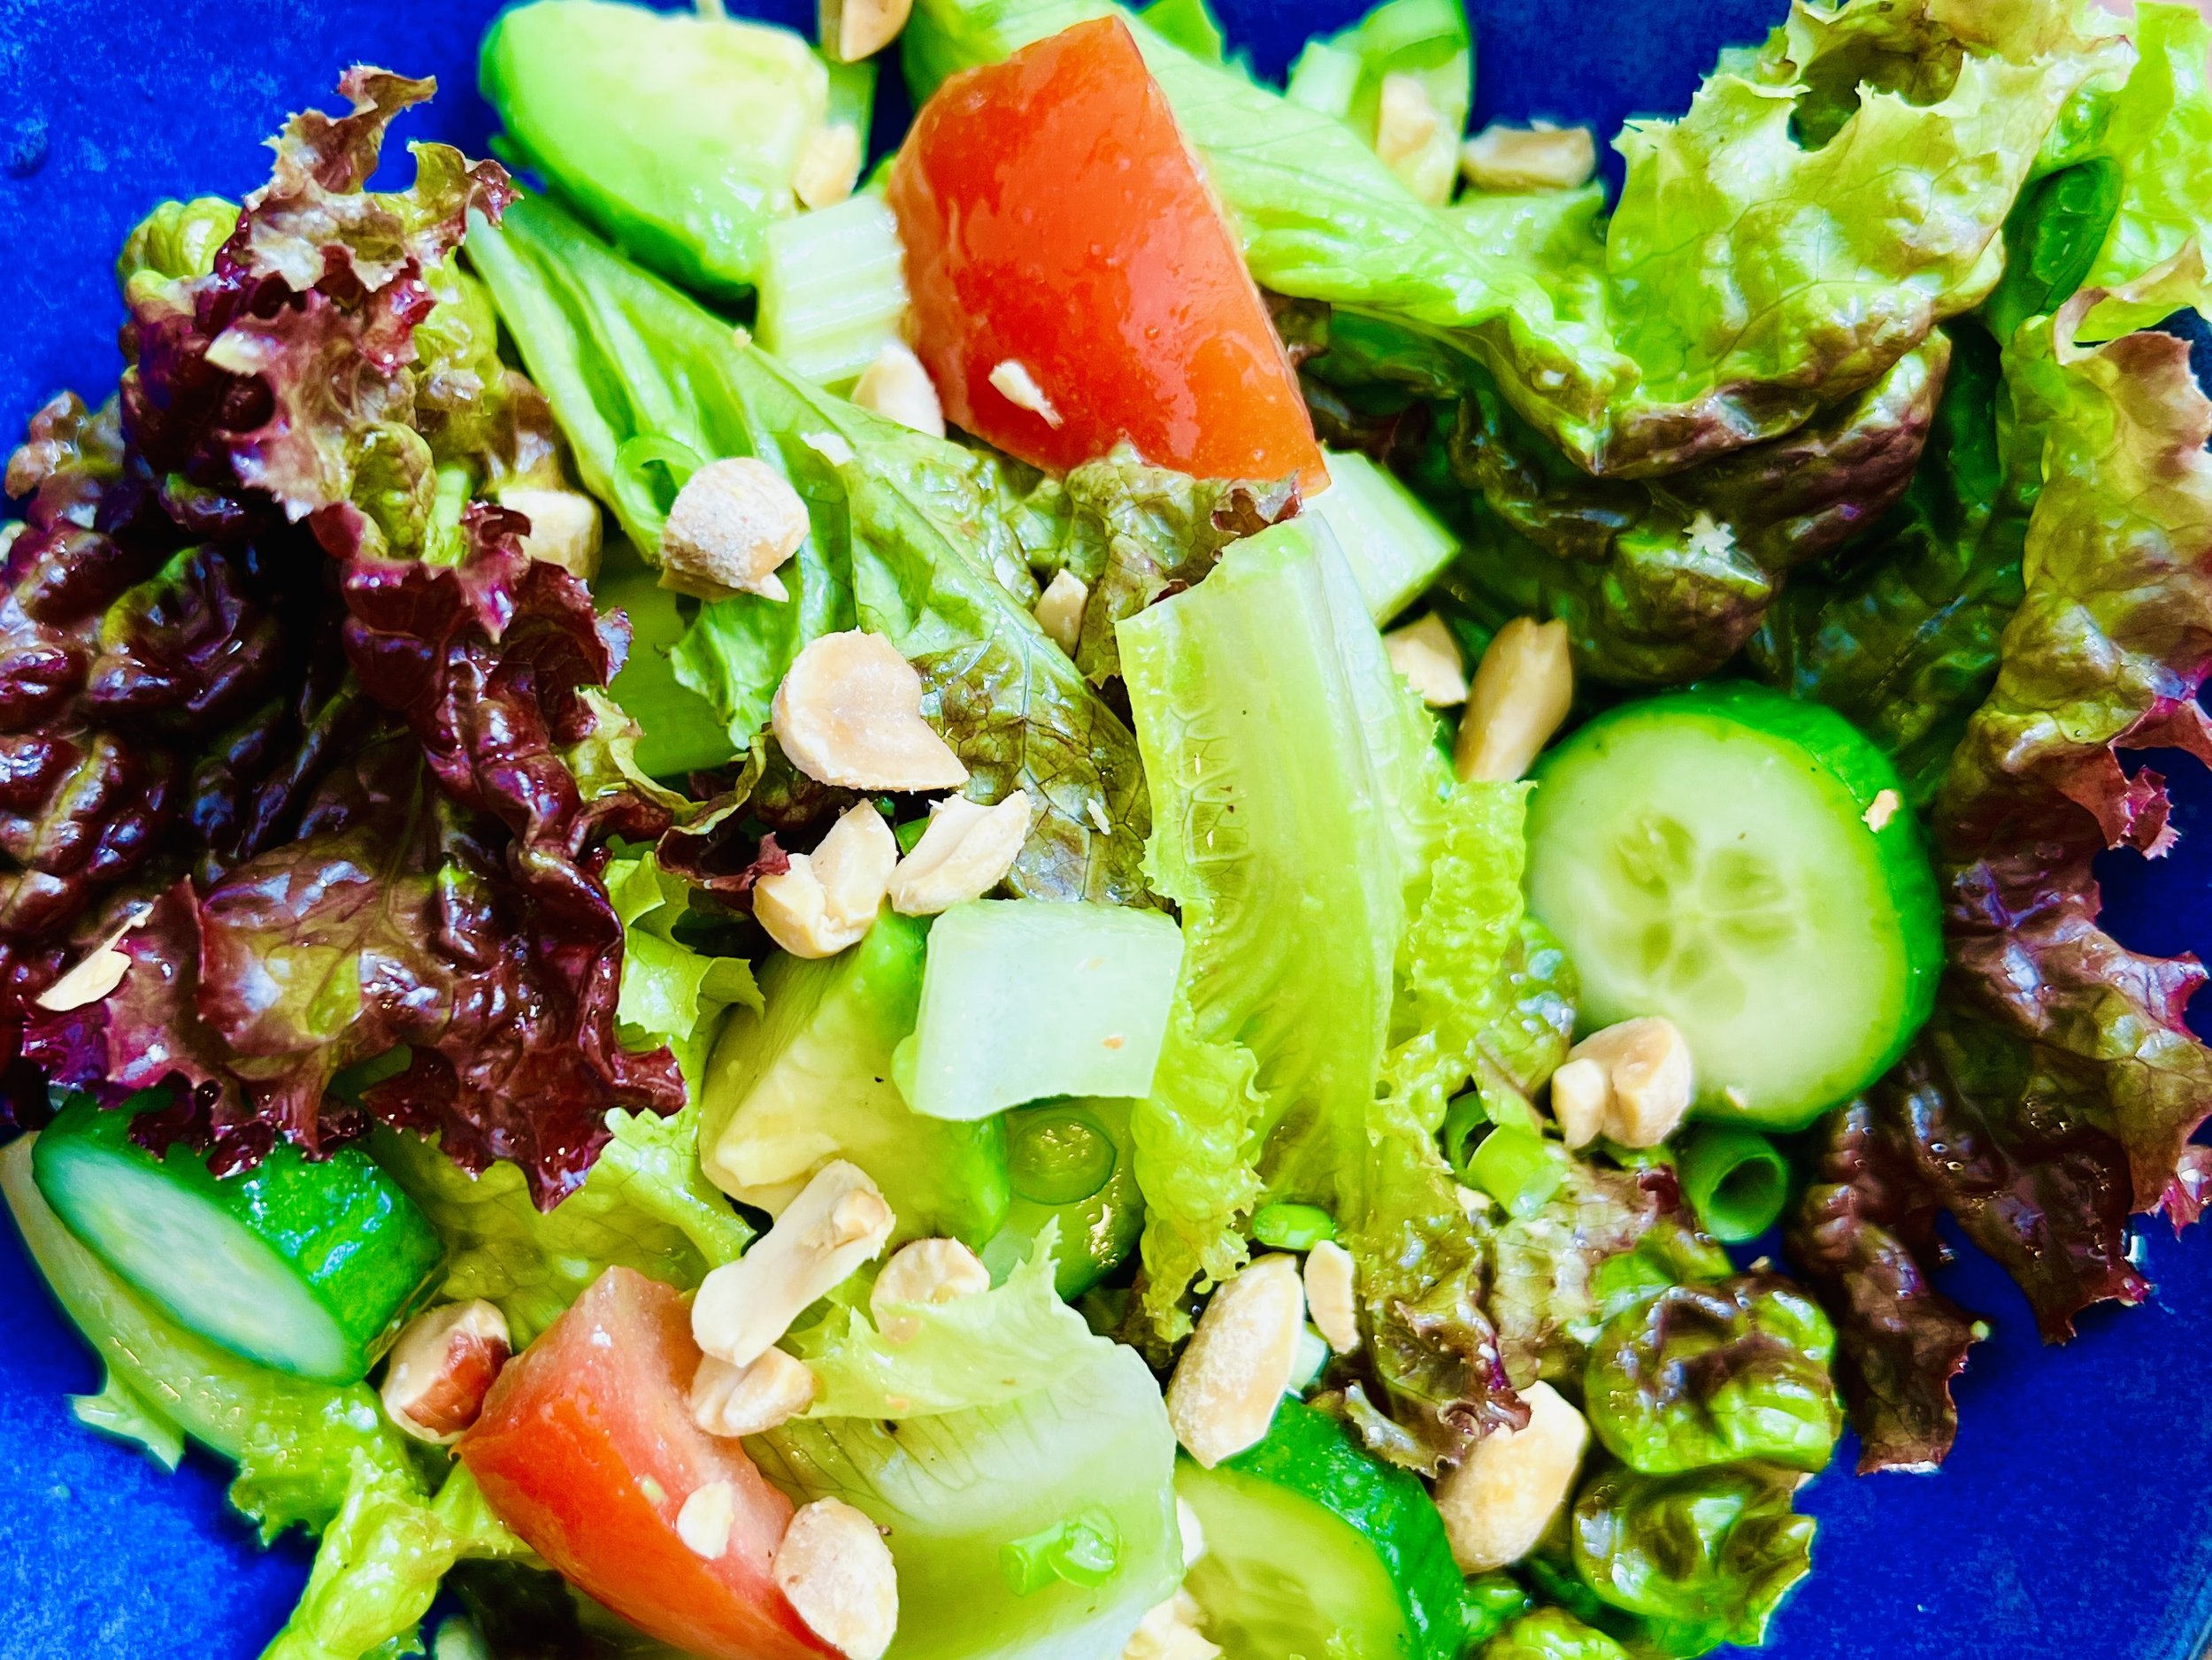
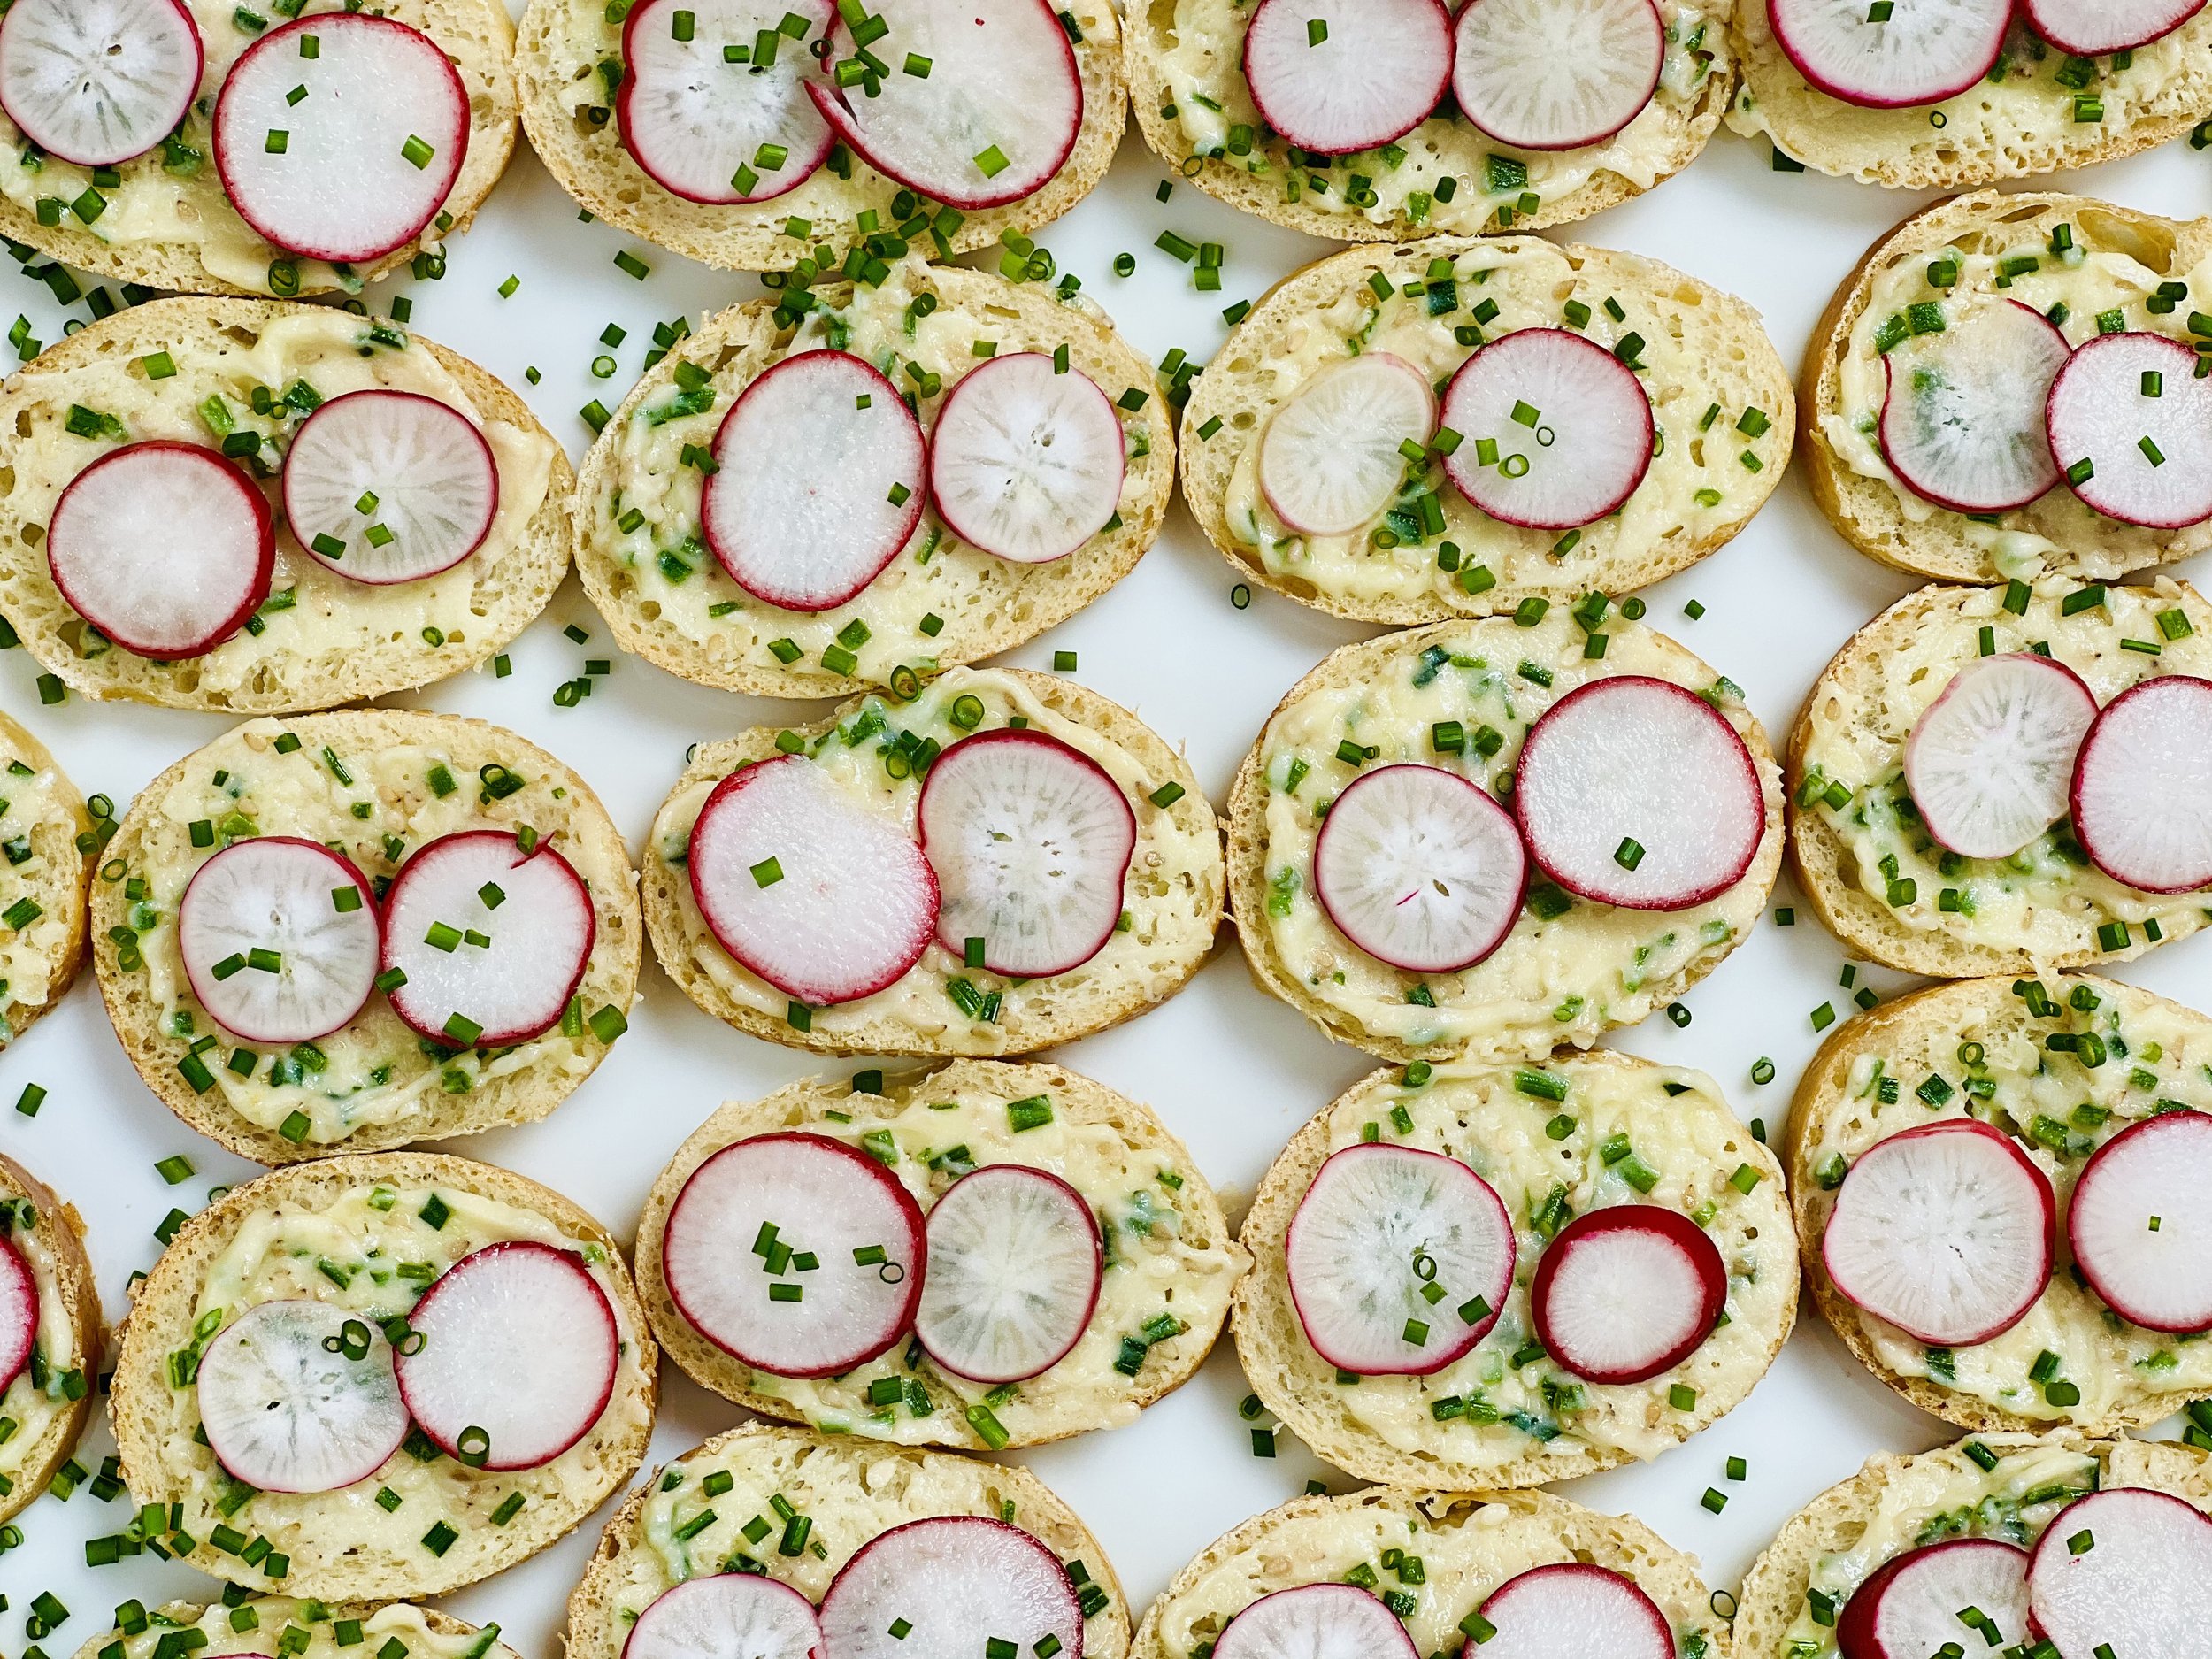
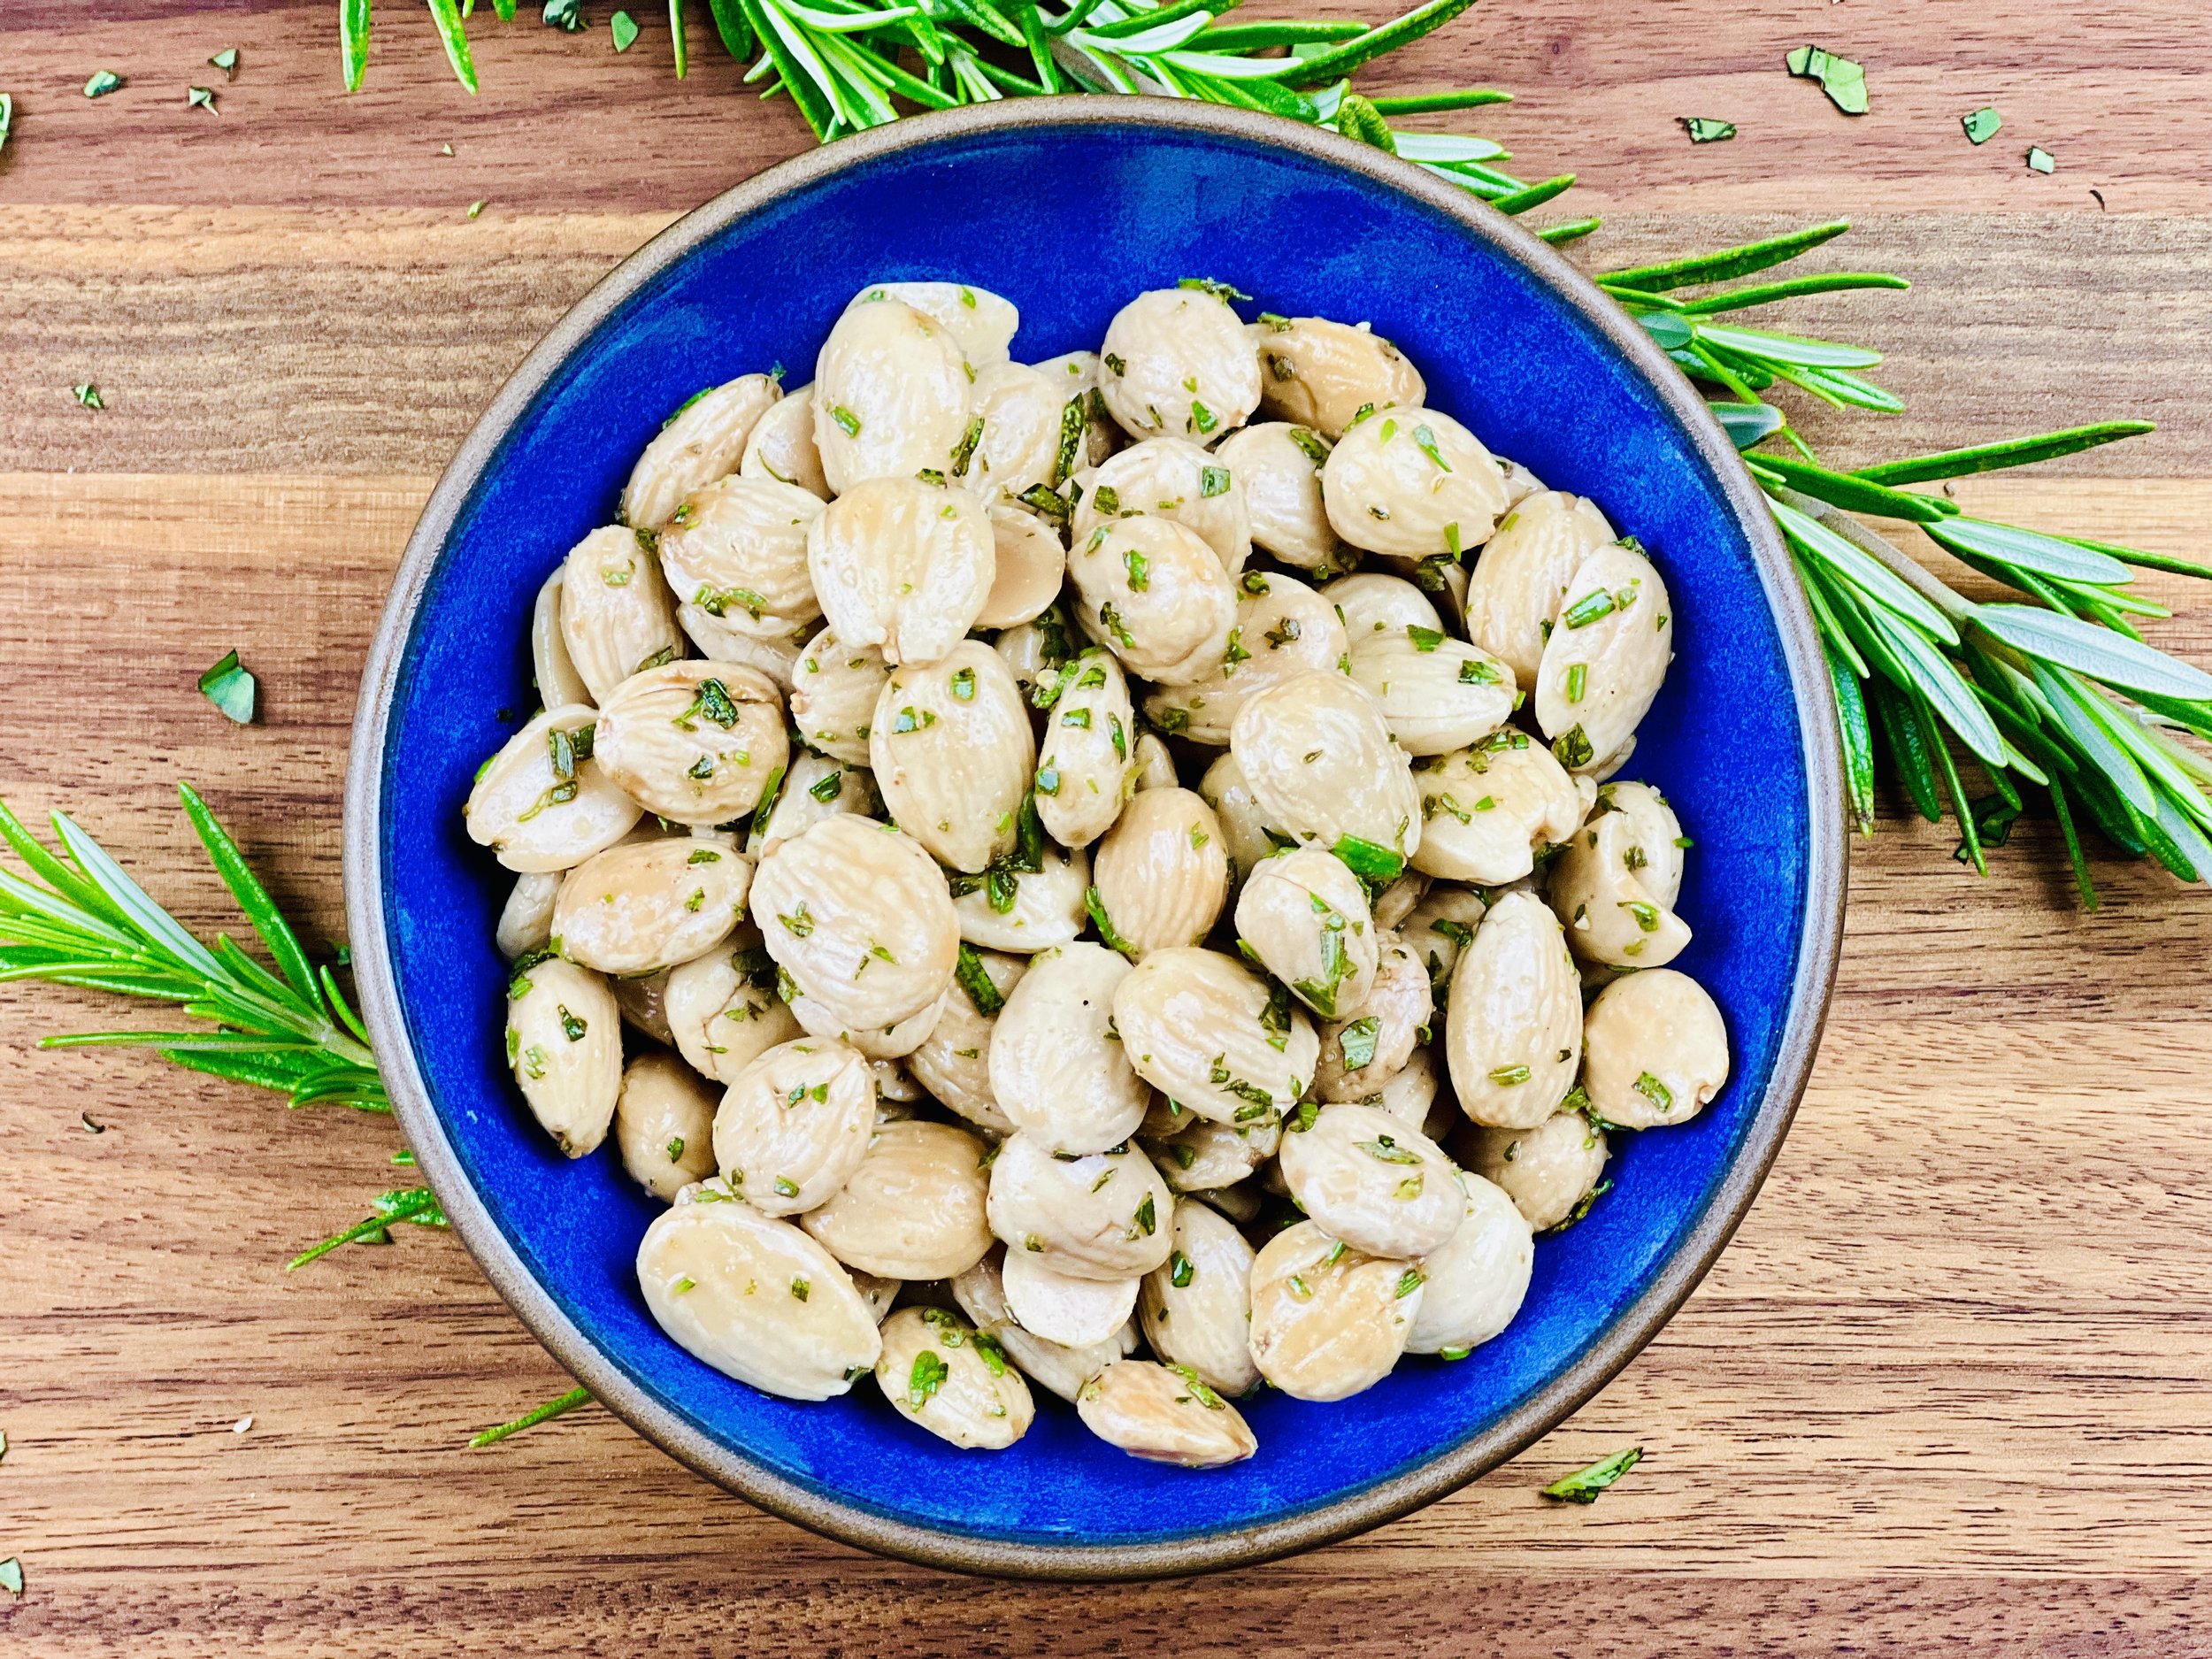
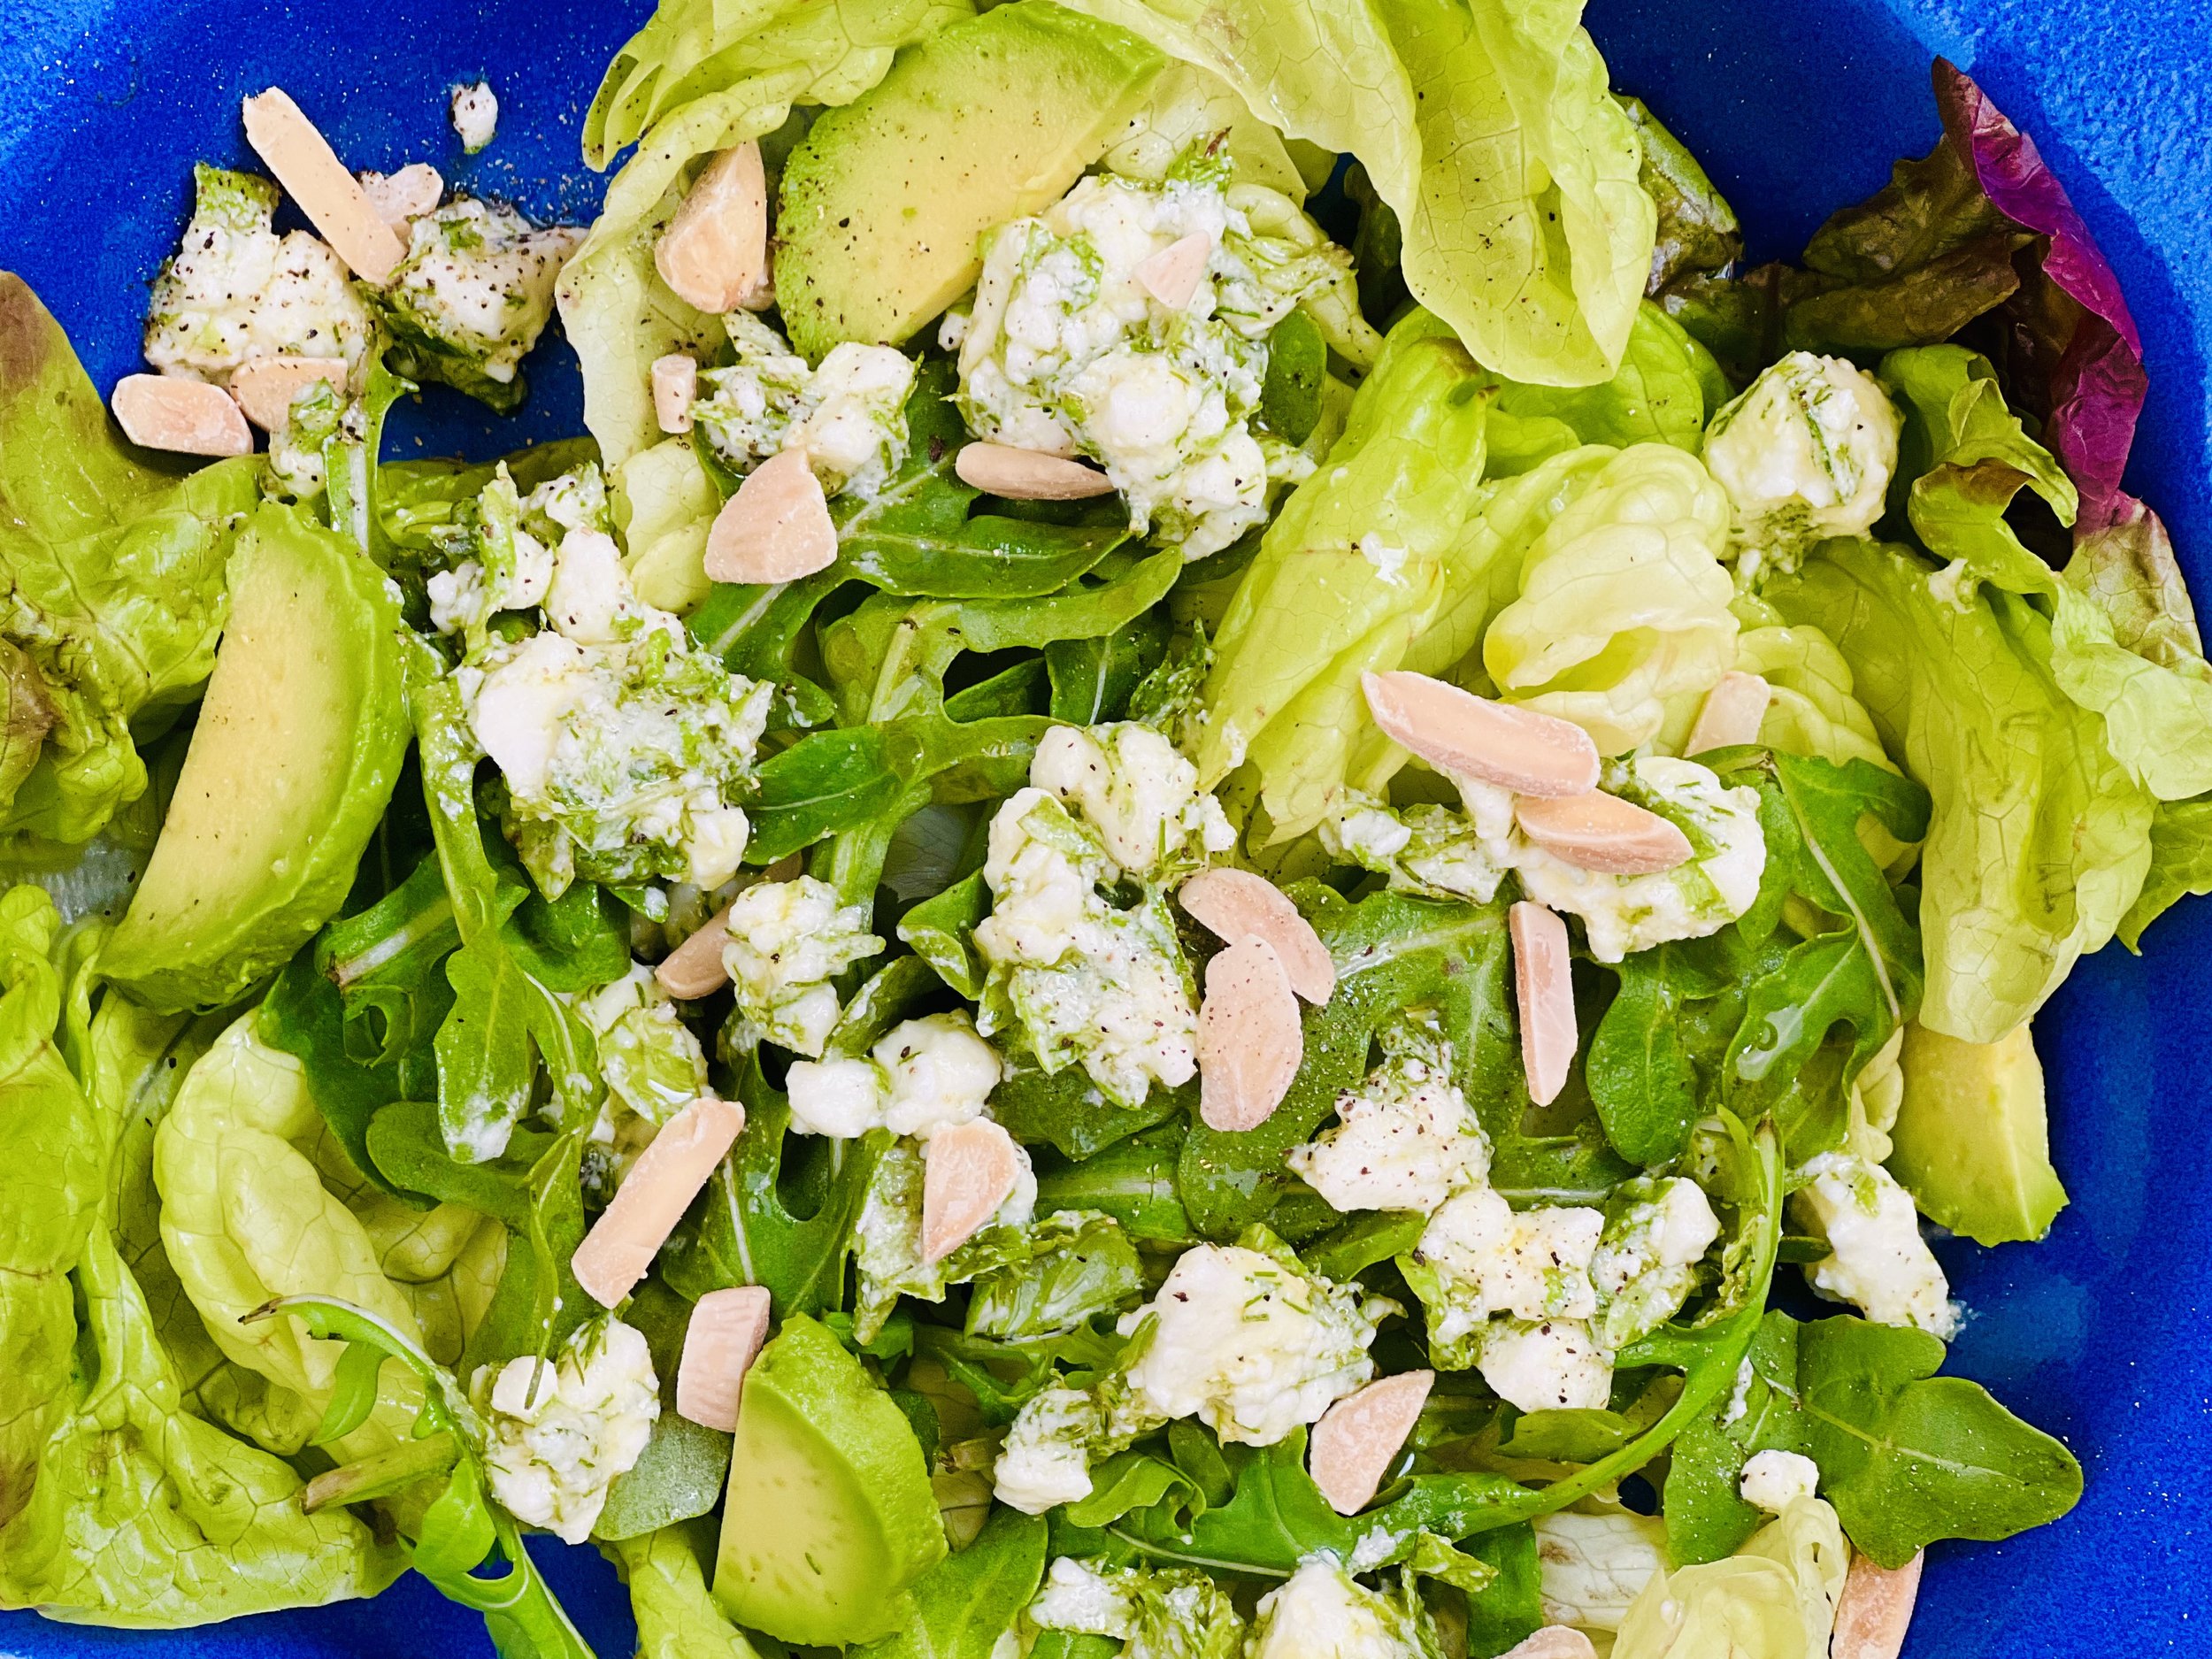

10 minutes • Gluten-free • Dairy-free • Low FODMAP • Serves 1