Deliciously Low FODMAP
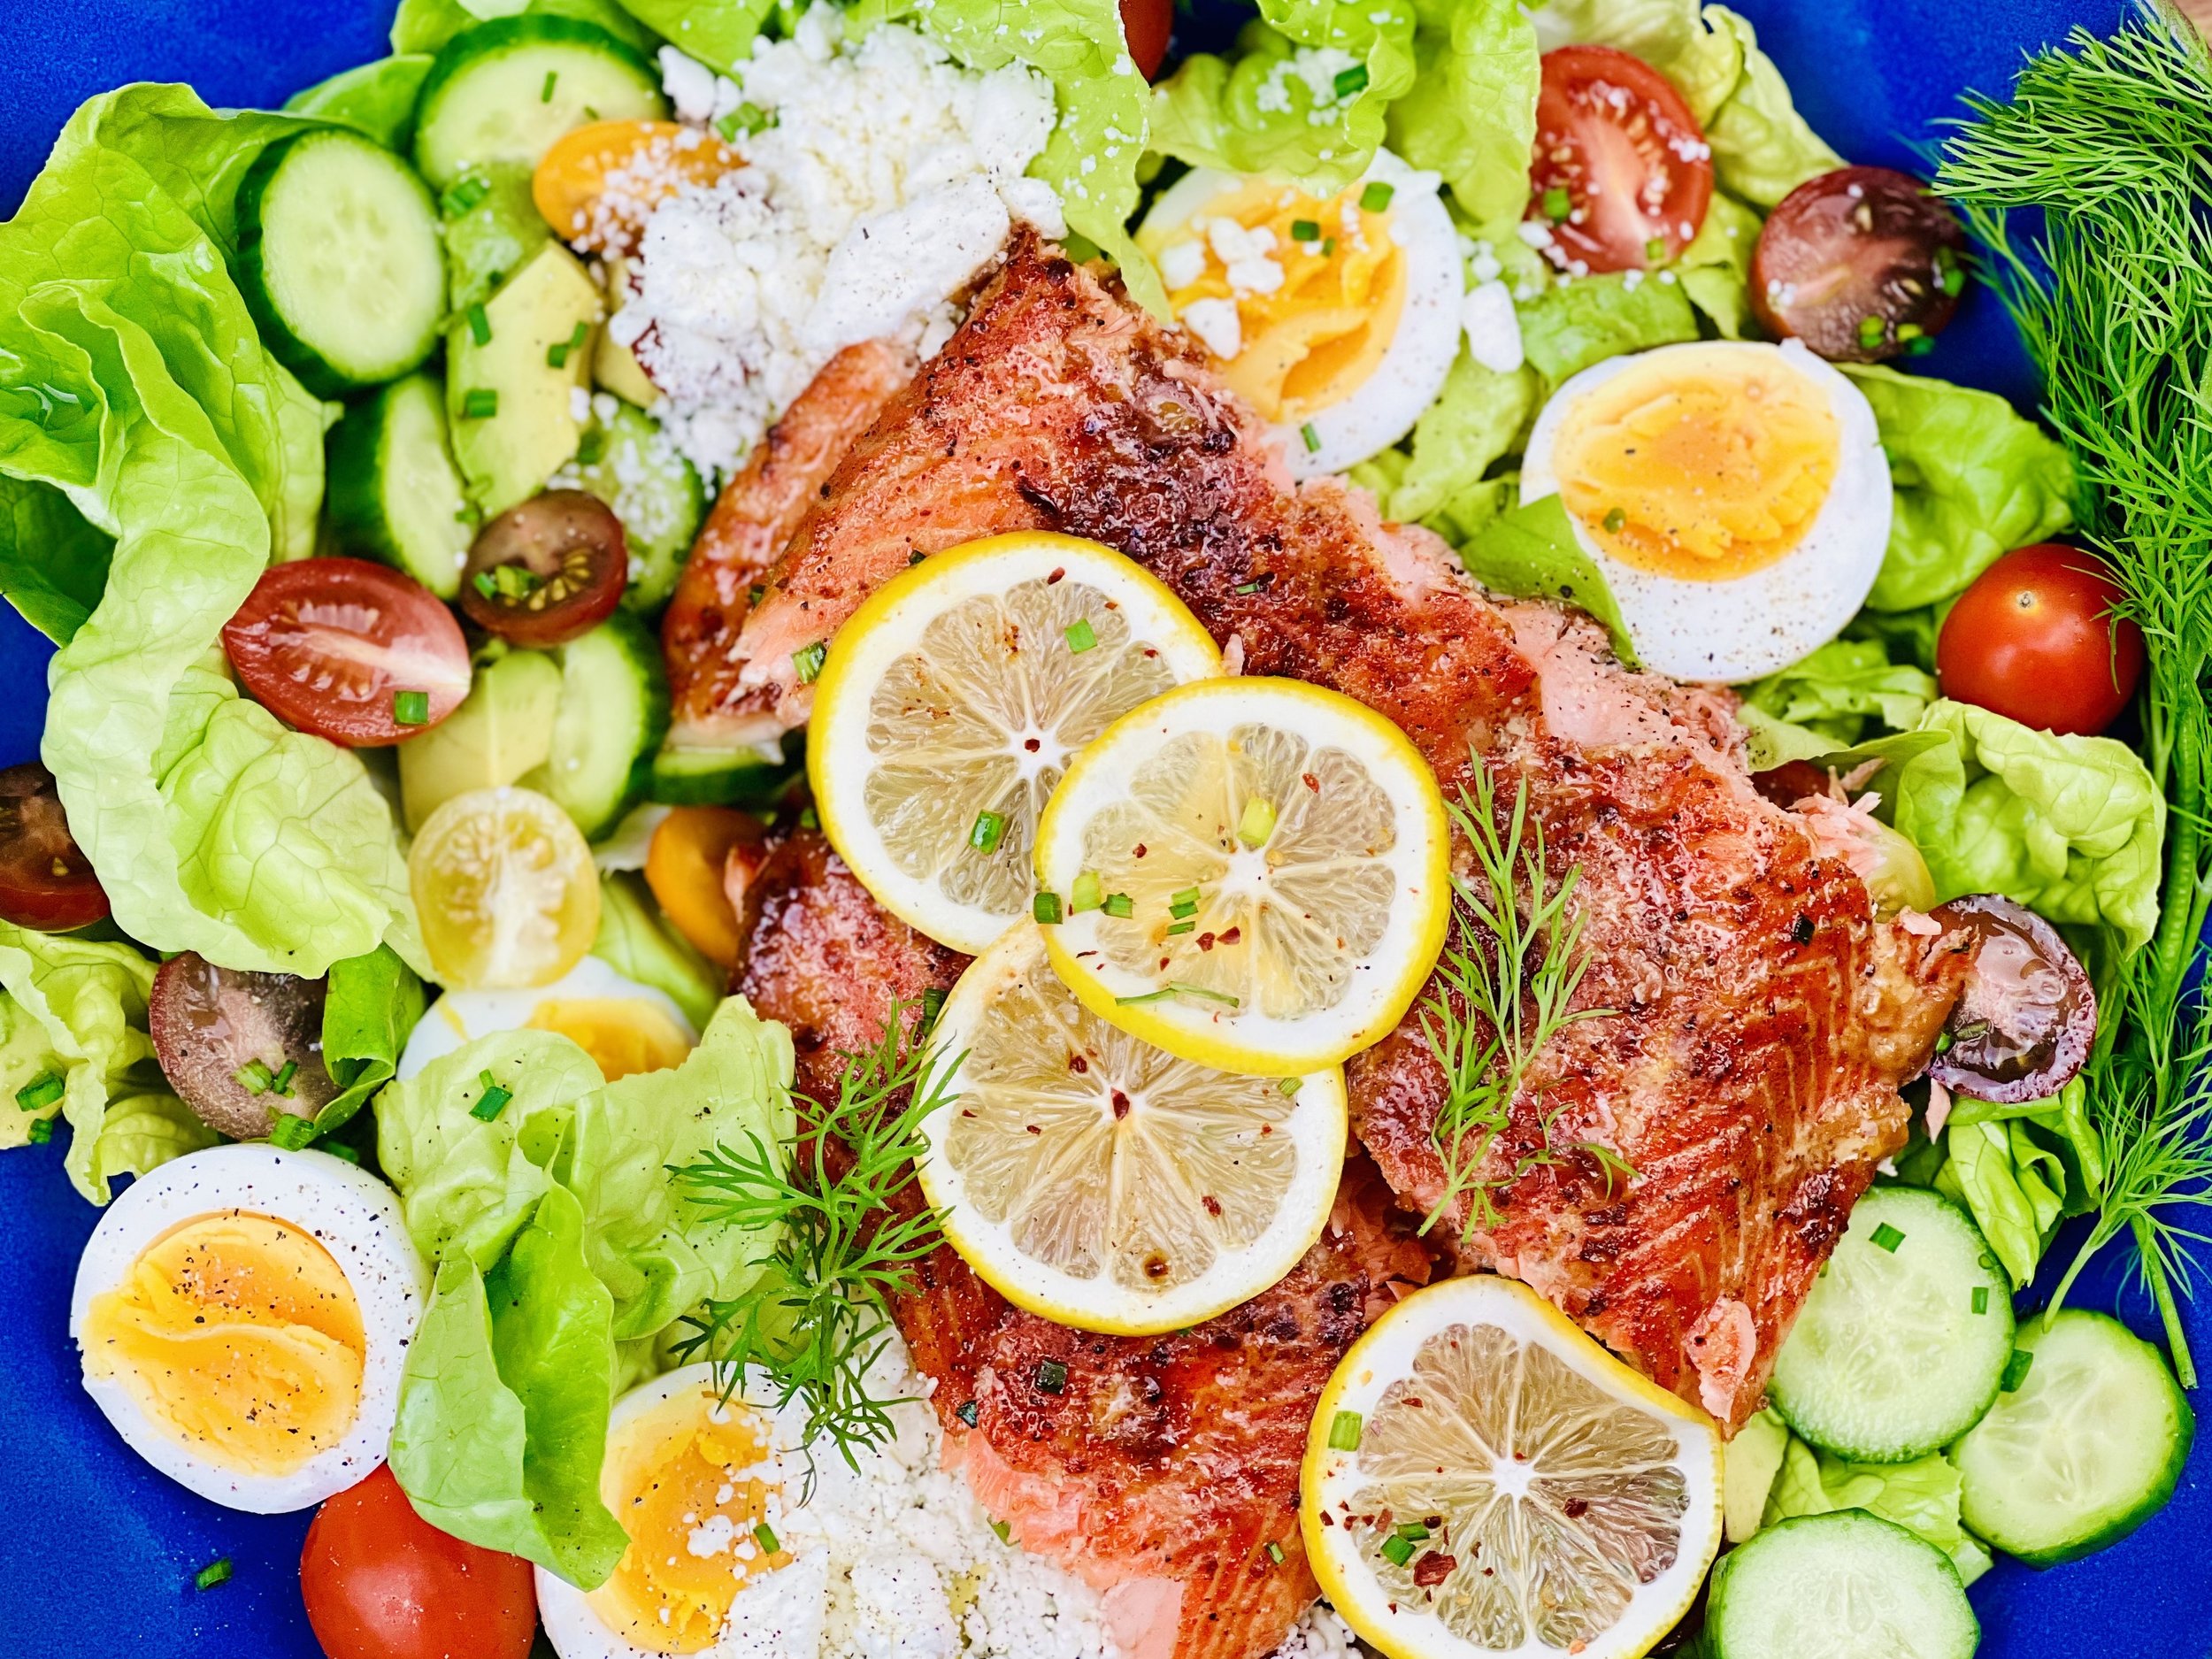
Inspire yourself with hundreds of delicious low FODMAP recipes, tips, and tools, and enjoy the abundance that is yours even when you have IBS.
Use the buttons and filters to find something specific or browse the complete collection for inspiration.
Discover a treasure trove of recipes with my FREE recipe club! Get new ideas delivered straight to your inbox every week.
Deliciously Low FODMAP is a trademark of IBS Game Changer, LLC
Filter to find Recipes and Tools
More Filtering Options
- All 704
- Appetizer 48
- BBQ 46
- Bowl 32
- Breakfast 58
- Cocktails 13
- Collection 1 58
- Collection 10 27
- Collection 11 30
- Collection 12 27
- Collection 13 31
- Collection 14 29
- Collection 15 31
- Collection 16 34
- Collection 17 31
- Collection 18 33
- Collection 19 36
- Collection 2 32
- Collection 20 33
- Collection 21 33
- Collection 22 27
- Collection 3 28
- Collection 4 29
- Collection 5 30
- Collection 6 32
- Collection 7 31
- Collection 8 31
- Collection 9 32
- Condiments 6
- Crock Pot 4
- Dessert 105
- Diabetes Game Changer Exception Protocol Contains Alcohol 11
- Diabetes Game Changer Exception Protocol Contains Flour 106
- Diabetes Game Changer Exception Protocol Contains Flour AND Sugar 76
- Diabetes Game Changer Exception Protocol Contains Sugar 46
- Diabetes Game Changer First Four Weeks 351
- Dinner 318
- Drink 7
- Free Guide 17
- Gluten-free 569
- Gut Microbiome 2
- Guthealth 3
- Holidays 63
- IBS Triggers 4
- Keto Friendly 112
- Lactose-Free 171
- Low FODMAP Diet 690
- Low Net Carb 126
- Low Net Starch 104
- Low Starch 107
A Few IBS Game-Changing Tips for a Happy Holiday
From Mindful Munching to making Social Connections — here are some tips for a happy holiday!
As we all enjoy the holiday season, I want to extend warm wishes and a virtual hug to this incredible community of warriors who navigate the world of IBS with resilience and strength. Amidst the festive cheer, I understand the unique challenges the holidays can pose for those managing IBS symptoms. But fear not, I'm here to spread some joy and offer a few game-changing tips to make your holidays as enjoyable and stress-free as possible.
1. Mindful Munching: 'Tis the season of treats, and while indulging is part of the joy, I encourage mindful munching. Consider low FODMAP alternatives to your favorite holiday snacks, and savor each bite consciously.
2. Festive Flavors, Low FODMAP Style: Transform your holiday feast into a symphony of flavors that won't trigger discomfort. Explore some of my creative recipes that embrace the festive spirit while staying true to your low FODMAP lifestyle. Think roasted meats, flavorful herbs, and festive spices!
3. Sip Smart: Stay hydrated with gentle, soothing beverages. Opt for low FODMAP choices like peppermint tea or infused water with seasonal fruits (keeping an eye on FODMAP content, of course!).
4. Self-Care Amidst the Celebrations: Remember to prioritize self-care. Take breaks when needed, practice deep breathing, and find a quiet space to recharge. Your well-being is the best gift you can give yourself.
5. Connect and Share: The IBS journey can be challenging, but you're not alone. Reach out to this amazing community for support, tips, and shared experiences.
As we navigate the holiday festivities, let's celebrate the victories, big and small, that make us true IBS game changers. From me to you, may your holidays be filled with joy, delicious low FODMAP delights, and the warmth of connection.
Wishing you all a happy and healthy holiday season!
Warmly,
Katherine
More Deliciously Low FODMAP™ Tips and Tools
15 Minutes prep • 30 Minutes cook • Low FODMAP • Serves 4 • Ok to make-ahead: Steps 1 - 2
10 Minutes prep • 25 Minutes cook • Low FODMAP • Gluten-Free • Serves 6 • Ok to make-ahead: Step 1
45 Minutes prep • 60 Minutes cook • Low FODMAP • Gluten-free • Vegetarian • Serves 6 - 8
5 Minutes prep • 15 Minutes cook • Low FODMAP • Gluten-free • Lactose-free • Vegan • Serves 4
10 Minutes prep • 20 Minutes cook • Low FODMAP • Gluten-free • Serves 4 n skewers for your family and friends. They are sure to be a hit.
15 Minutes prep • 55 Minutes cook (if using brown rice) • Low FODMAP • Gluten-free • Lactose-free • Vegan • Serves 4
Pomegranate Cranberry Sauce (Low FODMAP)
20 Minutes prep • 8 Hours chill • Low FODMAP • Gluten-free • Lactose-free • Serves 8
20 Minutes prep • 8 Hours chill • Low FODMAP • Gluten-free • Lactose-free • Serves 8 • Ok to make ahead: Steps 1-4
Celebrate the season with the perfect blend of cranberries and pomegranates in this delicious Pomegranate Cranberry Sauce that’s about to become your new favorite! Both of these vibrant gems come together to create a sauce that strikes the perfect balance between sweet and tart. Whether you're serving it alongside the classic turkey, spreading it on warm rolls, or pairing it with your other favorite festive dishes, this Pomegranate Cranberry Sauce will add a touch of elegance and a burst of holiday flavor to every bite.
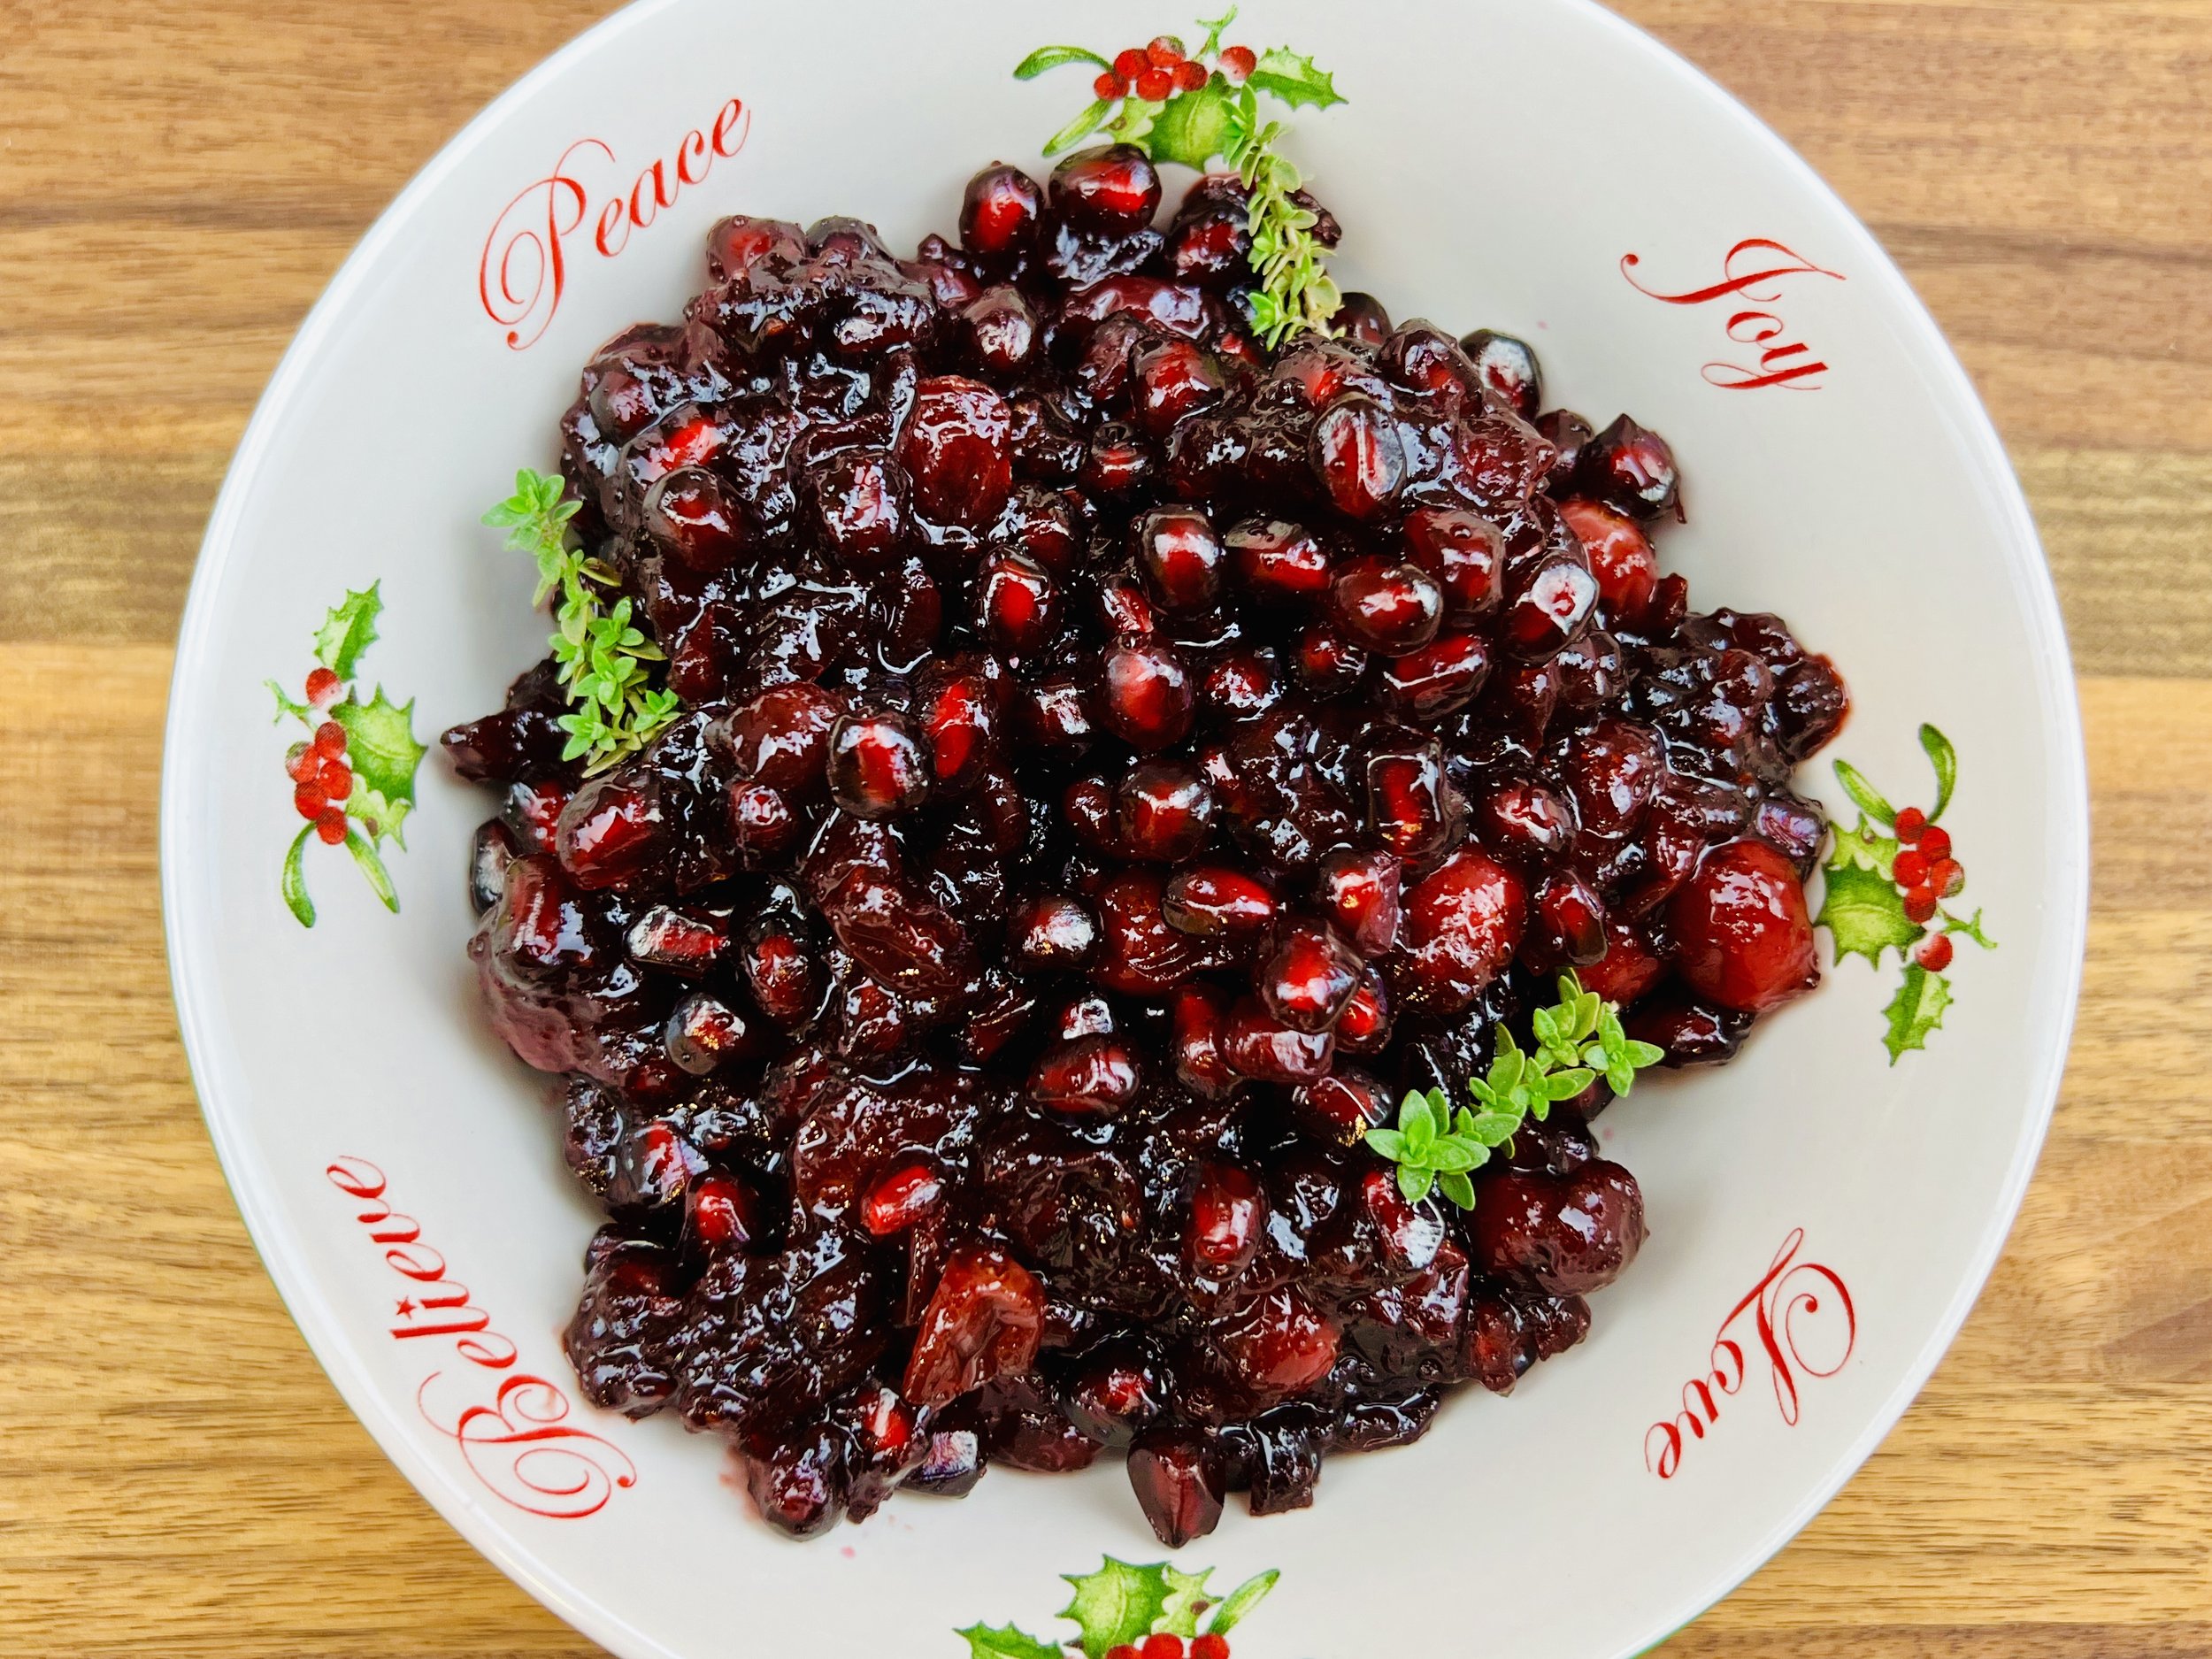
Ingredients
12 ounces fresh cranberries
1/2 cup light brown sugar, packed
1/4 cup pomegranate molasses (or corn syrup* will also work)
3 sprigs fresh thyme
1 medium pomegranate, arils (seeds) removed (about 1 cup pomegranate arils)
Directions
(1) Prepare: Remove the seeds from the pomegranate, being careful to keep them whole.
(2) Cook the cranberries: Put the cranberries, sugar, pomegranate molasses or corn syrup, and thyme in a saucepan over medium heat. Bring to a boil and stir gently, but often, as it cooks for about 5 minutes until most of the cranberries have burst open.
(3) Cool: Remove from the heat, remove the thyme sprigs, and let cool.
(4) Finish: When cooled to room temperature, add the pomegranate arils and stir gently to combine.
Make-ahead note: At this point, you may put it in an airtight container and refrigerate it overnight (or longer), until ready to serve
(5) Plate and serve: Serve chilled with your holiday turkey, pork loin, or everyday chicken!
Eat and enjoy every bite because you can!
*Recipe note: If you use corn syrup in place of the pomegranate molasses, please use Karo brand corn syrup, which contains no high-fructose corn syrup (HFCS is high in FODMAPS).
Have a question you’d like to have answered? Email me at hello@ibsgamechanger.com
Link note: This post may contain affiliate links for you to easily purchase items that are linked. I may earn a small commission from qualifying purchases but none of this costs you a thing so feel free to use the links! In addition, for some items, I have provided a special discount code for IBS Game Changers so be sure to use the code when you purchase an item to get the discount that has been arranged just for you.
More Deliciously Low FODMAP™ holiday recipes
20 Minutes prep • 3-5 hours cook/rest • Low FODMAP • Gluten-free • Lactose-free • Serves 6
5 Minutes prep • 10 Minutes cook • Low FODMAP • Gluten-free • Lactose-free • Makes 1 cup
Creamy Winter Chicken Soup with Gnocchi and Vegetables (Low FODMAP)
20 Minutes prep • 25 Minutes cook • Low FODMAP • Gluten-free • Serves 6
20 Minutes prep • 25 Minutes cook • Low FODMAP • Gluten-free • Serves 6 • Ok to make ahead: Steps 1-6
Warm your soul with my easy-to-make Creamy Winter Chicken Soup with Gnocchi and Vegetables—an indulgent medley of smoky, creamy, and hearty flavors that promises to be an instant family favorite. This soup is a comforting escape from the chill of winter, bringing together chicken, gnocchi, and a robust assortment of vegetables. Embrace the coziness of the season with a bowl of this delicious and richly flavorful soup tonight.
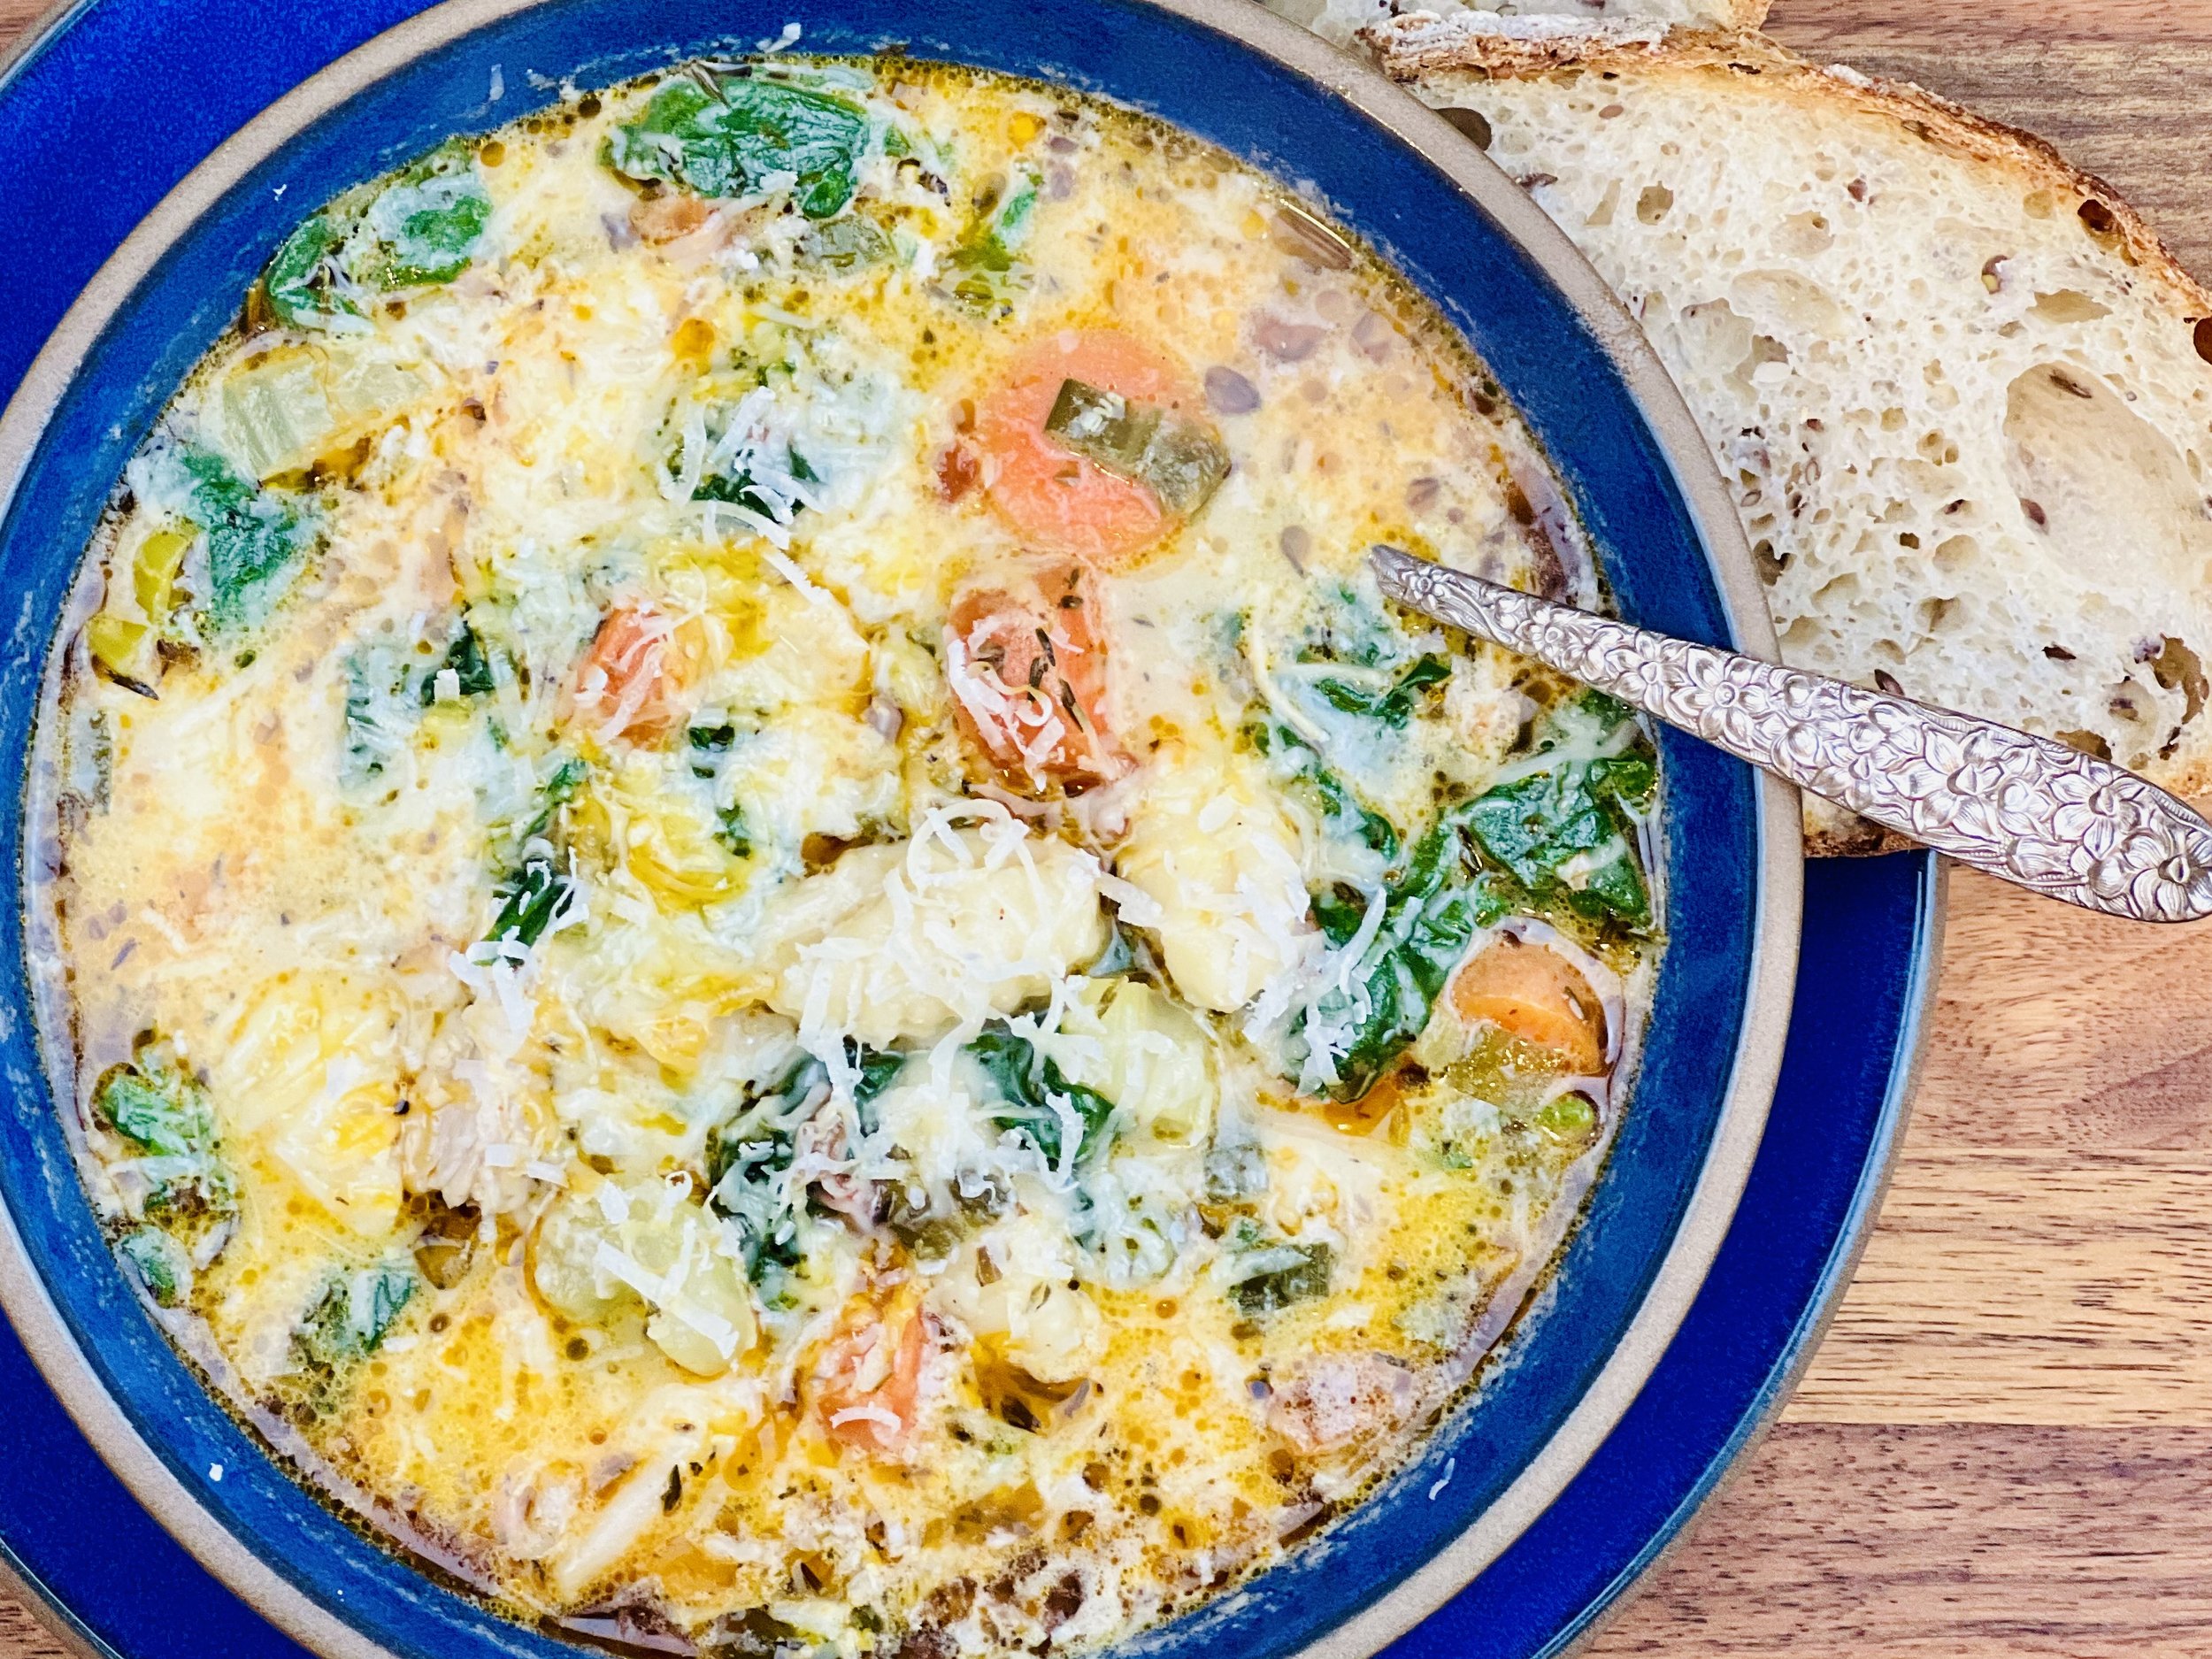
Ingredients
2 tablespoons garlic-infused olive oil
1 large leek, green part only, chopped (about 1 cup chopped greens)
6 small-medium carrots, chopped
4 celery stalks, chopped
2 tablespoons salted butter
2 tablespoons gluten-free all-purpose flour
1 pound boneless skinless chicken breasts or thighs
1 tablespoon Italian seasoning (see note)
1 teaspoon smoked paprika
2 teaspoons dry thyme
1/4 teaspoon red pepper flakes
1/4 teaspoon Kosher salt
1/4 teaspoon black pepper
1 parmesan rind (optional but adds great flavor)
4-6 cups low FODMAP chicken broth (I use Whole Foods Organic 365 chicken broth or Gourmend low FODMAP Organic Chicken Broth - use code IBSGC15 for 15% discount)
1/2 cup chopped sun-dried tomatoes
4-6 cups baby spinach (stems removed)
1/2 - 1 cup heavy cream, or lactose-free whole milk
3/4 cup grated parmesan
12 ounces fresh potato gnocchi
Directions
(1) Prepare: Chop the vegetables.
(2) Cook the vegetables: In a large soup pot set over medium heat, add the olive oil and, once hot, add the leek greens. Cook 3 minutes, until tender. Add the carrots and celery. Cook another 3 minutes.
(3) Add the seasoning: Shift the vegetables to one side and add the butter to the pan. Once melted, add the flour to the butter and let cook for one minute. Add the Italian seasoning, smoked paprika, thyme, and 1/4 teaspoon each of red pepper flakes, salt, and pepper.
(4) Add the broth and chicken: Add 4 cups chicken broth. Put the chicken into the soup and add the parmesan rind, if using. Bring to a simmer and keep simmering over medium heat for 20 minutes, until the chicken is cooked through.
(5) Shred the chicken: Remove the chicken to a cutting board and shred using two forks or cut it into bite-sized pieces if you prefer. Add the chicken back to the soup.
(6) Add remaining ingredients: Stir in the sun-dried tomatoes, cream/milk, parmesan, and spinach, and, once the spinach has wilted down in the broth, add the gnocchi. Cook until the gnocchi are cooked and the soup is nice and warm throughout about 5 minutes. If the soup is too thick, add additional chicken broth.
(7) Plate and serve: Serve the soup topped with parmesan and with some real sourdough bread alongside.
Note: To make your own Italian seasoning, combine 1 tablespoon dried basil, 1 tablespoon dried oregano, 1 teaspoon dried thyme, 1/2 teaspoon dried rosemary, and 1/2 teaspoon dried sage. Store any extra in an empty spice jar or other airtight container.
Eat and enjoy every bite because you can!
Recipe note: I use Diamond Crystal Kosher salt in all my recipes because it has a wonderful flat and crisp flake that tastes delicious. It is also the least salty salt available so you can use it more liberally as a seasoning than you can table salt or sea salt. If you use another type of salt, you may need to reduce the amount so it is not over-salted.
Have a question you’d like to have answered? Email me at hello@ibsgamechanger.com
Link note: This post may contain affiliate links for you to easily purchase items that are linked. I may earn a small commission from qualifying purchases but none of this costs you a thing so feel free to use the links! In addition, for some items, I have provided a special discount code for IBS Game Changers so be sure to use the code when you purchase an item to get the discount that has been arranged just for you.
More Deliciously Low FODMAP™ soup recipes
15 Minutes prep • 30 Minutes cook • Low FODMAP • Gluten-free • Lactose-free • Serves 4-6
10 Minutes prep • 60 Minutes cook • Low FODMAP • Gltuen-free • Lactose-free • Serves 4 - 6
15 Minutes prep • 55 Minutes cook • Low FODMAP • Gluten-free • Lactose-free • Serves 4-6
15 Minutes prep • 55 Minutes cook • Low FODMAP • Gluten-free • Lactose-free • Serves 4-6
15 Minutes prep • 50 Minutes cook • Low FODMAP • Gluten-free • Lactose-free version • Serves 6
15 Minutes prep • 60 Minutes cook • Low FODMAP • Vegetarian • Dairy-free • Serves 4 - 6 • Ok to make-ahead: Steps 1 - 7
Smoky Bacon Gouda Pizza (Low FODMAP)
20 Minutes prep • 20 Minutes cook • Low FODMAP • Gluten-free • Serves 4
20 Minutes prep • 20 Minutes cook • Low FODMAP • Gluten-free • Serves 4 • Ok to make ahead: Steps 1-4
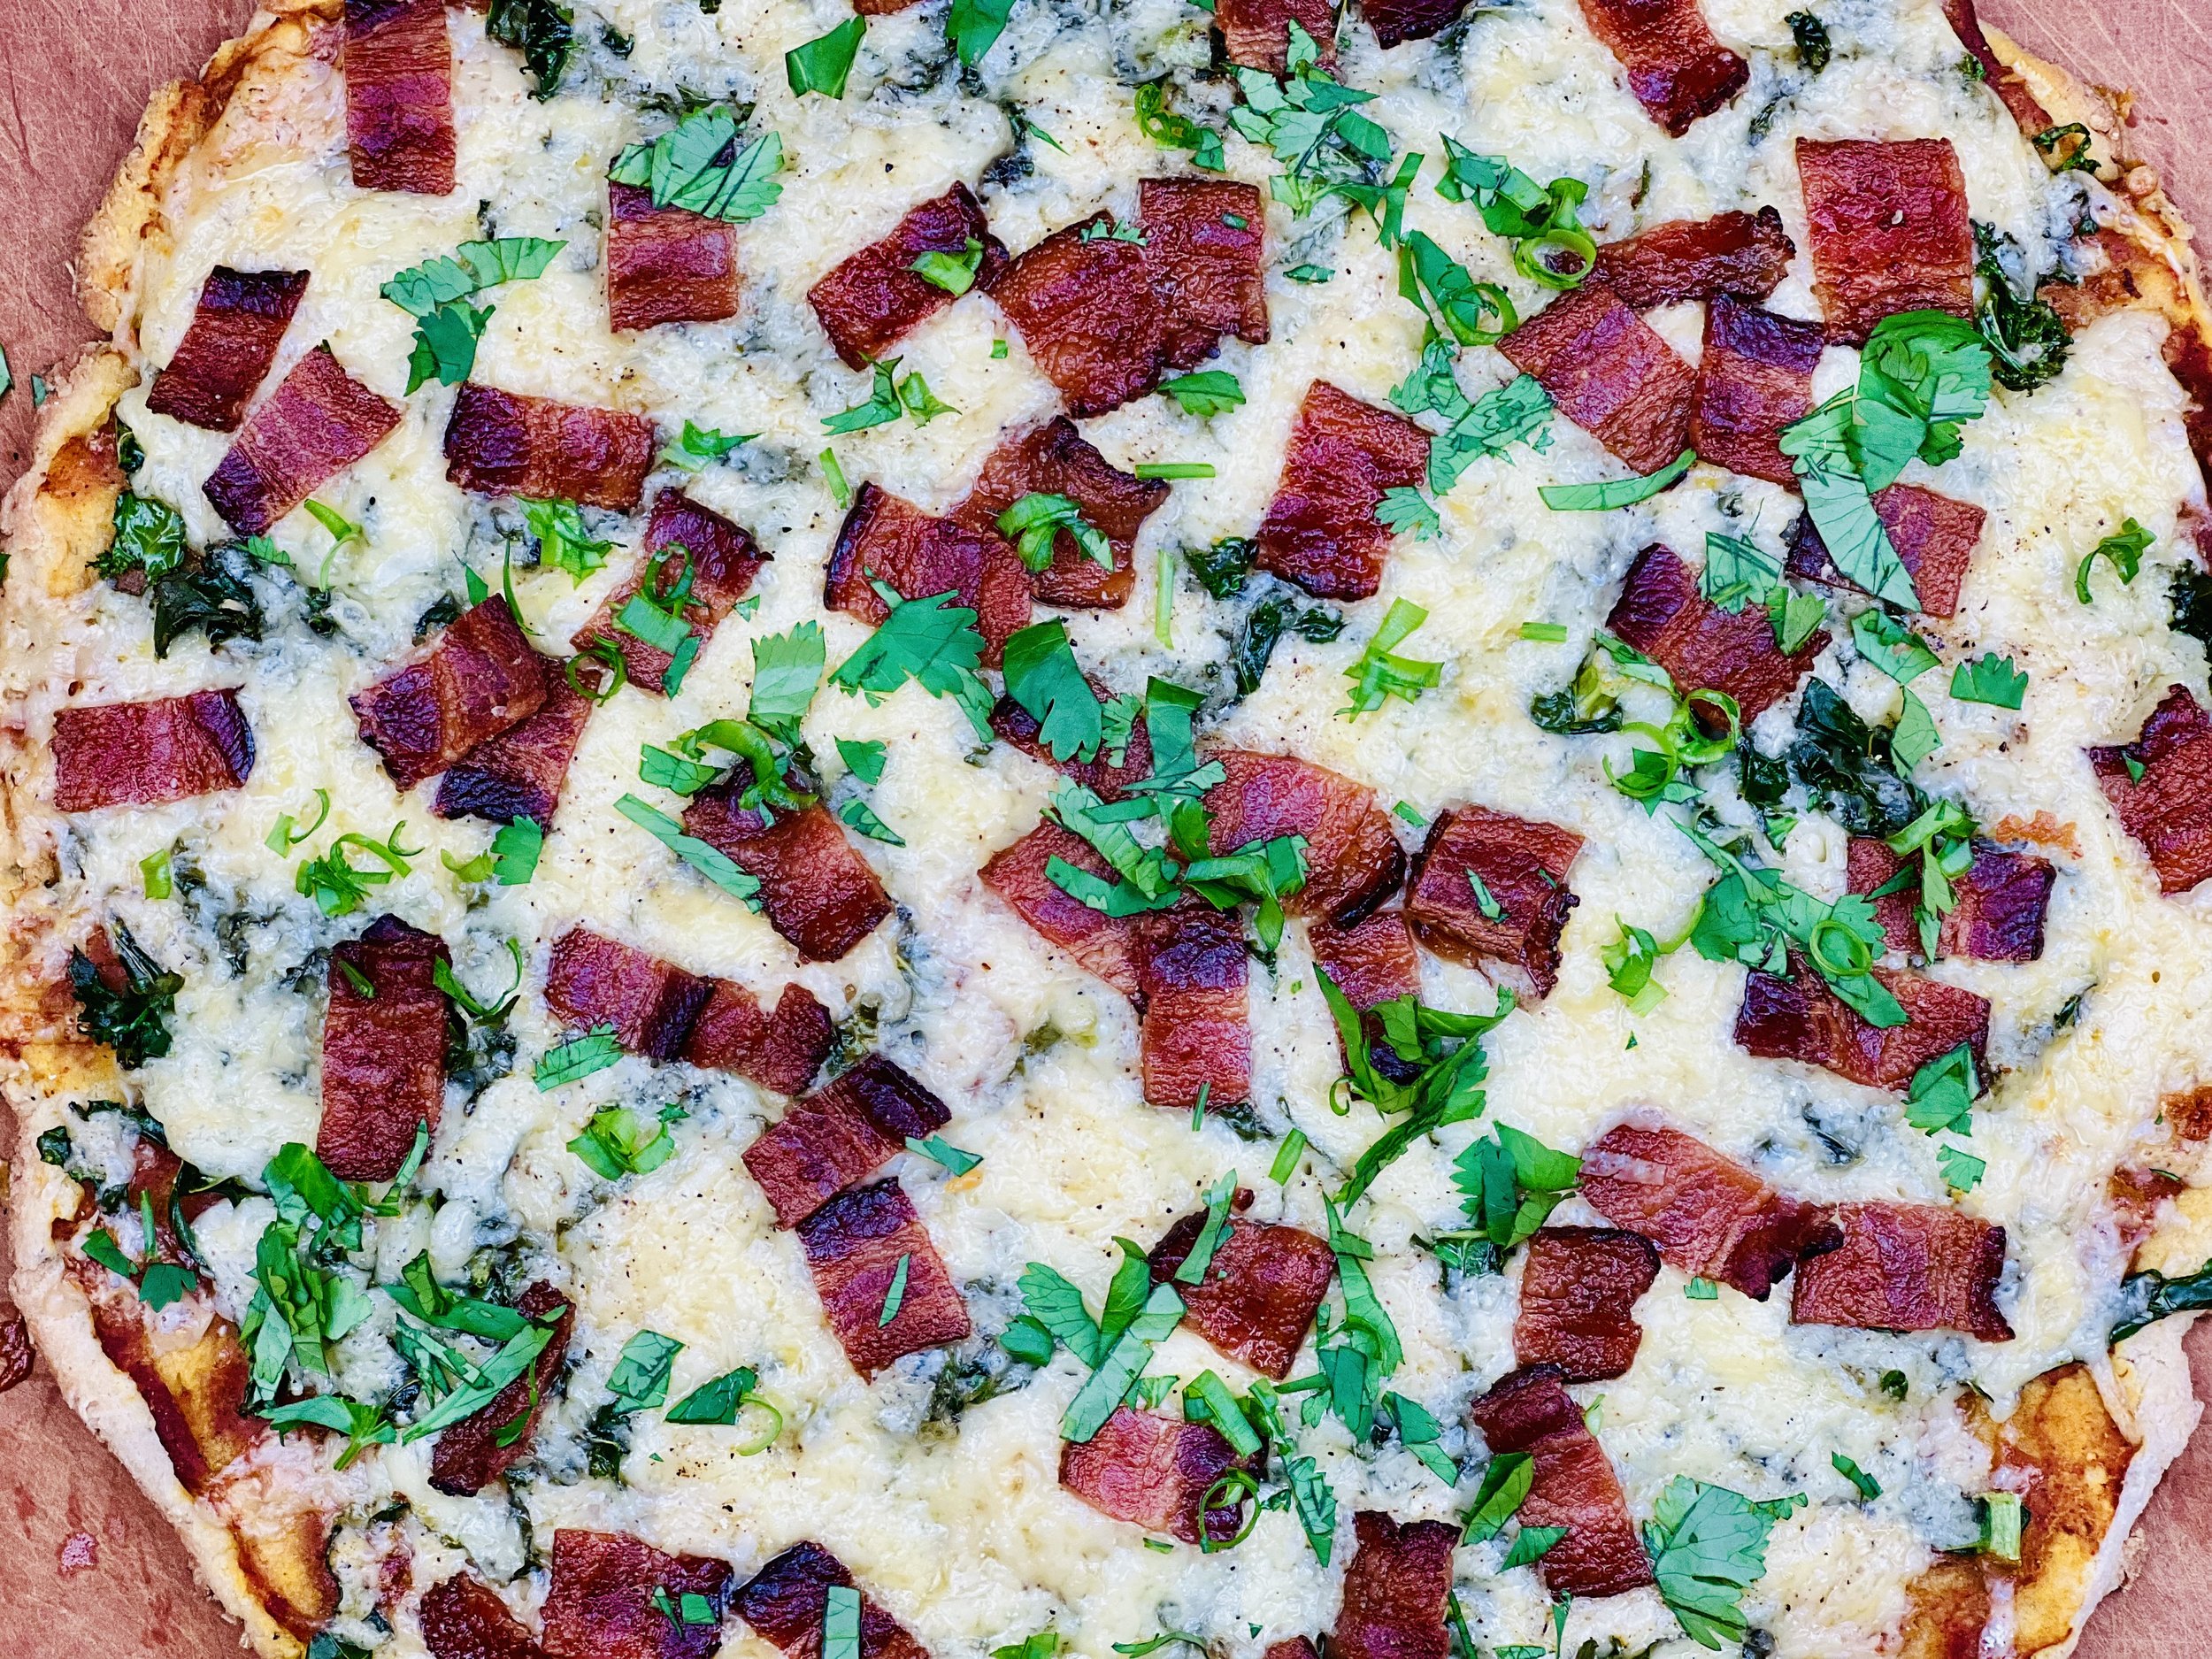
My gluten-free crust is so good, whatever you put on top already has a head start on being delicious! This Smoky Bacon Gouda Pizza is full of fall flavor with bacon, gouda, and even a touch of pumpkin in the sauce. Each bite is a savory celebration of smoky seasoning, cheesy goodness, and the subtle hint of pumpkin. Get ready to savor the essence of the season with this irresistibly flavorful and gluten-free pizza.
Ingredients: Crust
3⁄4 cup warm water (105 – 110 degrees F)
1 tablespoon sugar
1 packet active dry yeast (2 1/4 tsp)
2 cups gluten-free flour (I used Bob’s Red Mill 1 to 1)
1 teaspoon Kosher salt
1 teaspoon dried basil
1 large egg
1 teaspoon apple cider vinegar (or white vinegar works too)
2 tablespoons garlic-infused olive oil (or regular)
Additional olive oil for spreading the dough
Ingredients: Topping
1/2 cup pumpkin puree (or you can use tomato sauce if you prefer)
1 teaspoon chili powder
1 teaspoon smoked paprika
1 teaspoon Smoke N Sanity Essence of Garlic Salt (use code IBSGC15 for 15% discount)
1 tablespoon low FODMAP hot sauce
1 cup chopped kale
1/2 cup grated extra sharp cheddar cheese
1 1/2 cups grated gouda cheese
4 slices thick-cut bacon, cooked and chopped
Chopped cilantro, green onion greens, and just a drizzle of honey (optional) for serving
Directions
(1) Prepare: Set pizza stone or cookie sheet on the lower rack of the oven and preheat oven to 425 degrees F. Grate the cheese. Cook the bacon and chop it into small pieces. Line a cookie sheet (without edges) with parchment paper.
(2) Prove the yeast: Combine water, sugar, and yeast in a small bowl and let sit for 2-3 minutes until it begins to froth.
(3) Make the dough: Combine flour, salt, and dried basil in a large bowl. Add in the egg, olive oil, vinegar, and yeast mixture.
Stir until the flour is combined and the dough comes away from the sides of the bowl. Don’t add more flour – the dough is supposed to be a bit sticky. Transfer the dough to the prepared cookie sheet with the parchment paper.
(4) Form the dough: Using your fingers dipped in olive oil, press and push the dough out into a round or rectangle. This part takes a bit of patience but keep pressing the dough out across the parchment. It will be a bit sticky so keep dipping your fingers in olive oil and keep pressing the dough out until it’s all about the same thickness and in the shape you want. The surface of your crust doesn’t have to be smooth, your toppings will be covering it anyway. I like to spread it out fairly thin so I have more room to add toppings! You can roll the edges under if you like a thicker edge.
(5) First bake: Before adding any toppings, pre-bake the crust. Transfer the crust on the parchment to the hot pizza stone or cookie sheet in the oven and cook for 8 minutes.
(6) Make the sauce: Combine pumpkin (or tomato sauce), chili powder, smoked paprika, garlic salt, hot sauce (if using) and stir well to combine.
(7) Add toppings: Remove the crust from the oven and spread about half the pumpkin/tomato mixture on the crust. Use just enough to cover the pizza crust but don’t create a thick layer (save the extra for another pizza). Top with Kale, both grated cheeses, and the bacon pieces.
(8) Bake: Slide the pizza on the parchment paper back onto the hot pizza stone or cookie sheet in the oven and cook for 10 minutes until the cheese is melted and bubbling, and the crust is starting to brown.
(9) Plate and serve: Remove from the oven onto a cutting board then slice and serve while it’s still nice and hot topped with chopped cilantro, green onion greens, and an optional (but very delicious) light drizzle of honey (1 teaspoon of honey is low FODMAP serving).
Eat and enjoy every bite because you can!
Recipe note: I use Diamond Crystal Kosher salt in all my recipes because it has a wonderful flat and crisp flake that tastes delicious. It is also the least salty salt available so you can use it more liberally as a seasoning than you can table salt or sea salt. If you use another type of salt, you may need to reduce the amount so it is not over-salted.
Have a question you’d like to have answered? Email me at hello@ibsgamechanger.com
Link note: This post may contain affiliate links for you to easily purchase items that are linked. I may earn a small commission from qualifying purchases but none of this costs you a thing so feel free to use the links! In addition, for some items, I have provided a special discount code for IBS Game Changers so be sure to use the code when you purchase an item to get the discount that has been arranged just for you.
More Deliciously Low FODMAP™ main course recipes
15 Minutes prep • 30 Minutes cook • Low FODMAP • Serves 4 • Ok to make-ahead: Steps 1 - 2
10 Minutes prep • 25 Minutes cook • Low FODMAP • Gluten-Free • Serves 6 • Ok to make-ahead: Step 1
45 Minutes prep • 60 Minutes cook • Low FODMAP • Gluten-free • Vegetarian • Serves 6 - 8
5 Minutes prep • 15 Minutes cook • Low FODMAP • Gluten-free • Lactose-free • Vegan • Serves 4
10 Minutes prep • 20 Minutes cook • Low FODMAP • Gluten-free • Serves 4 n skewers for your family and friends. They are sure to be a hit.
15 Minutes prep • 55 Minutes cook (if using brown rice) • Low FODMAP • Gluten-free • Lactose-free • Vegan • Serves 4
Savory One-Pan Chicken, Wild Rice, and Vegetables (Low FODMAP)
20 Minutes prep • 60 Minutes cook • Low FODMAP • Gluten-free • Serves 6
20 Minutes prep • 60 Minutes cook • Low FODMAP • Gluten-free • Serves 6 • Ok to make ahead: Steps 1 - 2
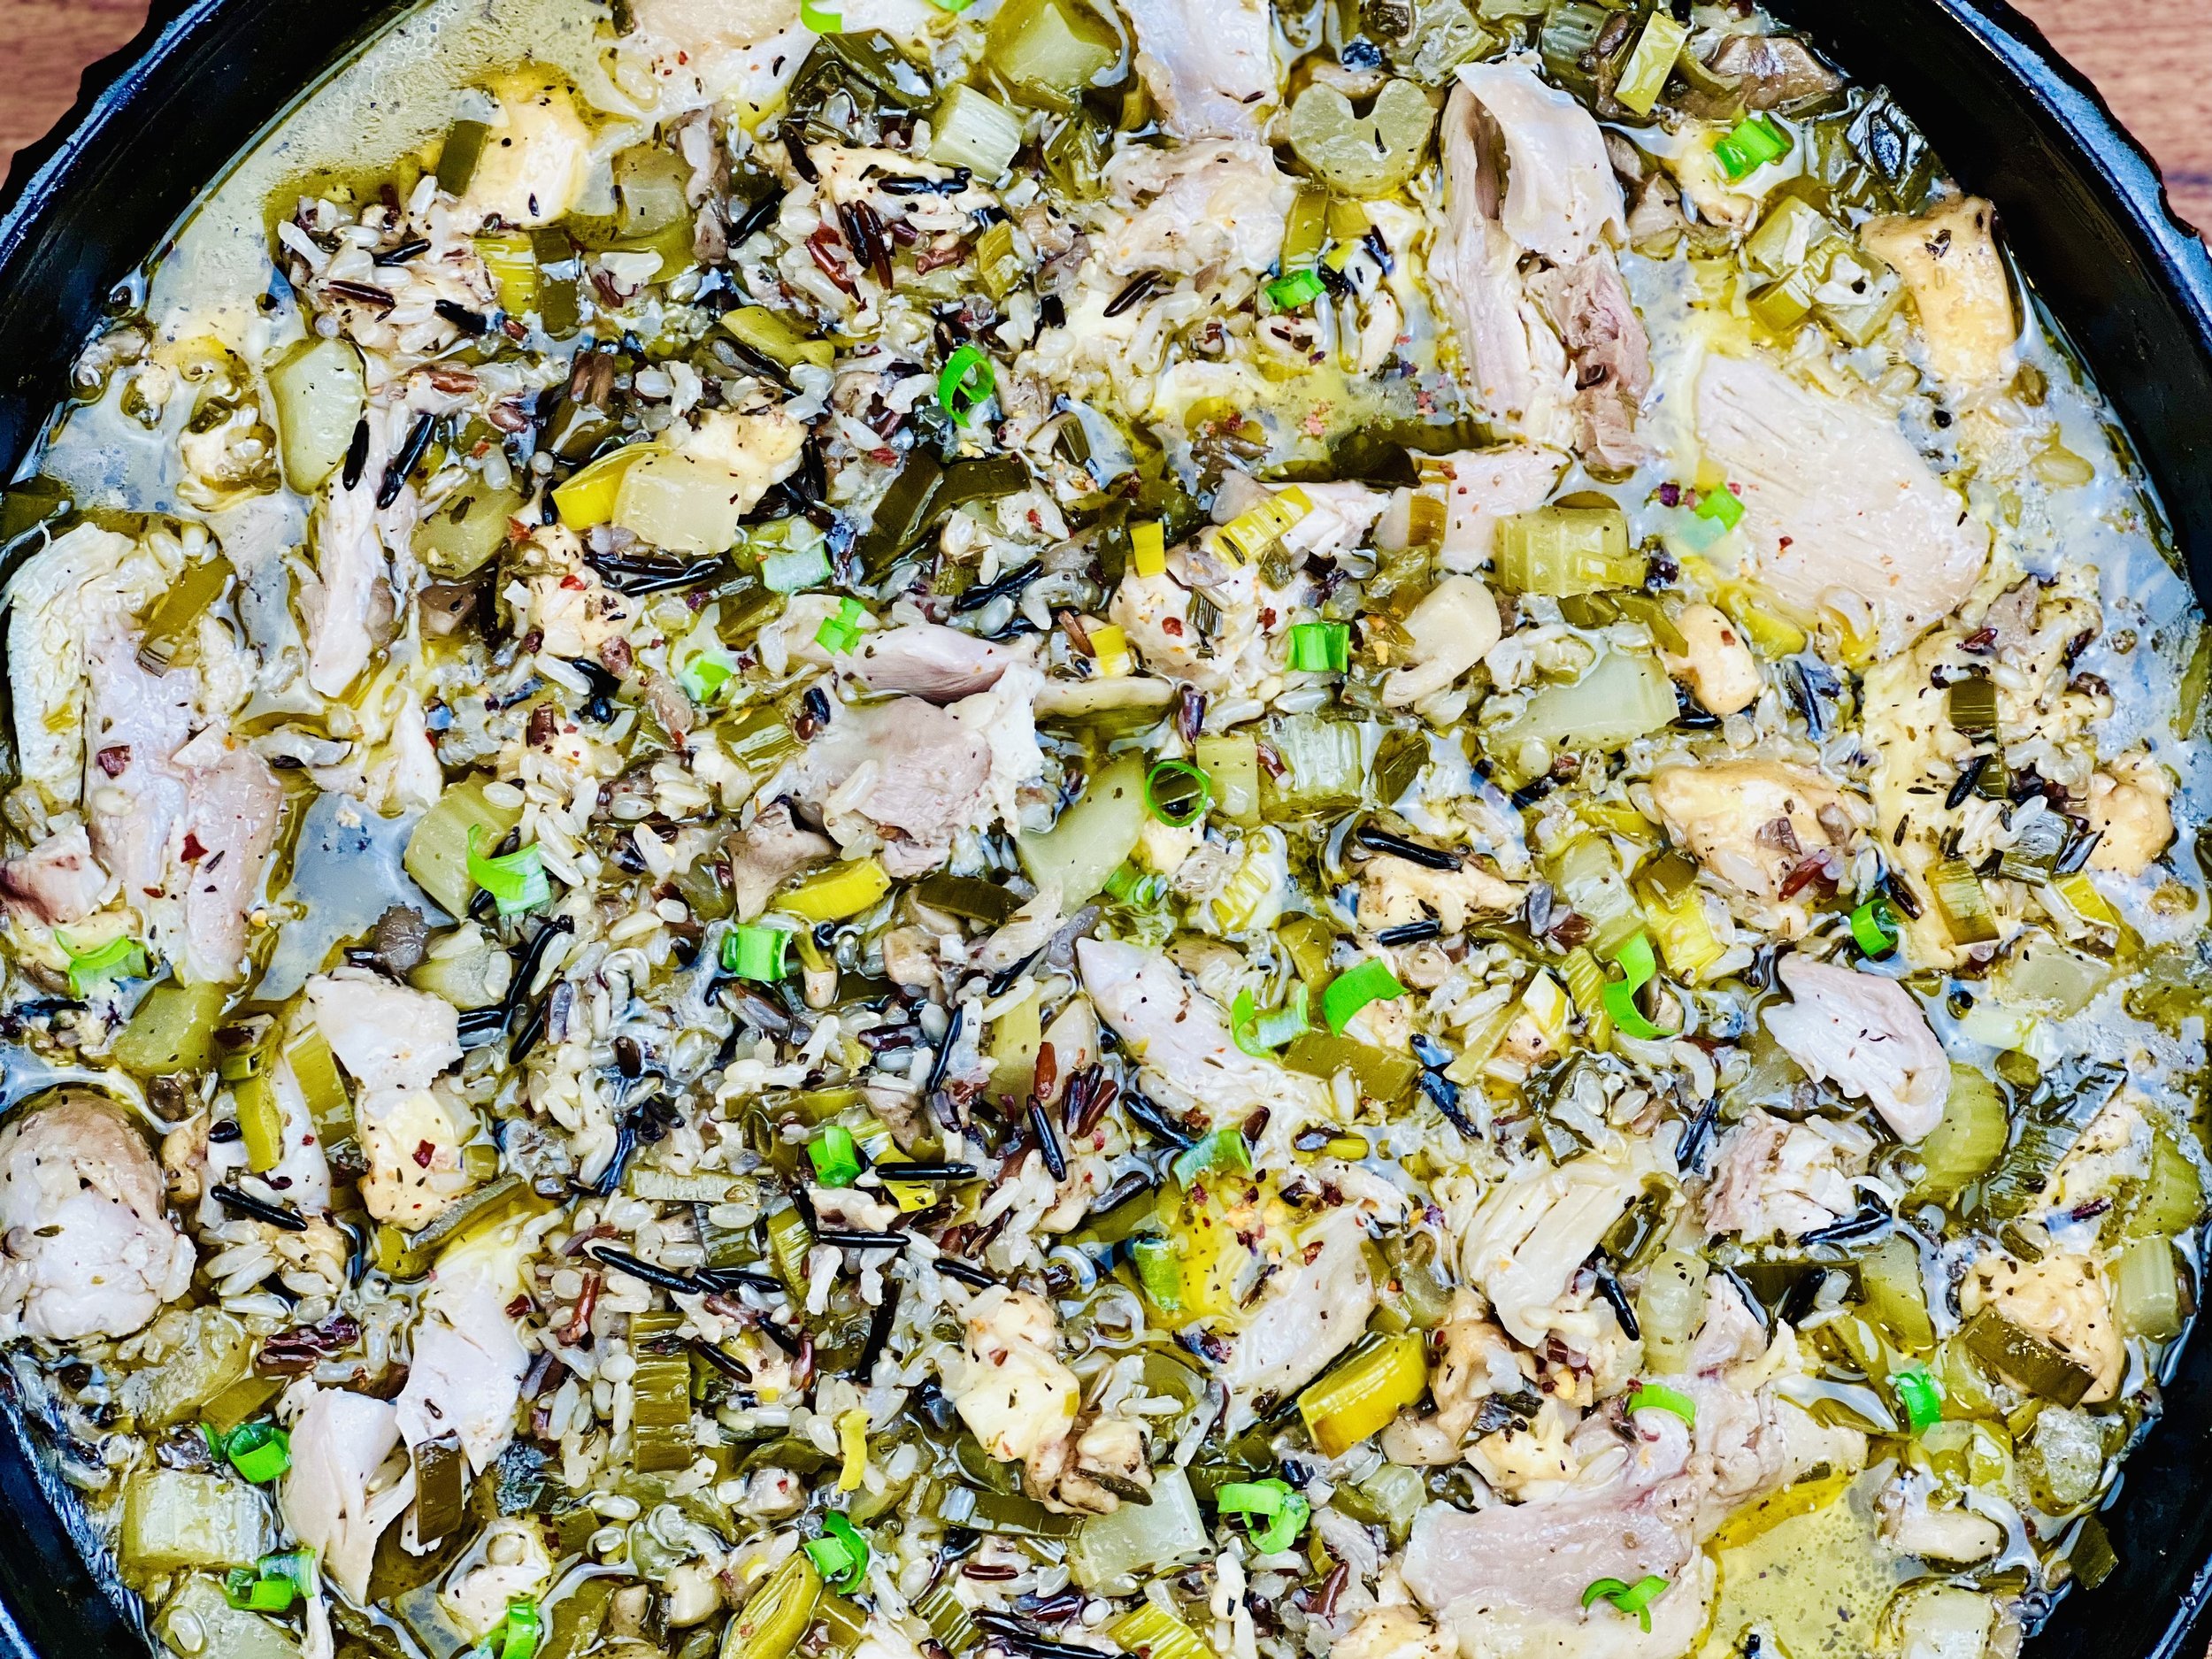
Delicious, comforting, and easy to make. What could be better? This recipe combines plenty of vegetables, wild rice, and chicken with the perfect blend of herbs and seasonings plus rich Gouda cheese and butter to deliver simple goodness in every bite. Enjoy simplicity at its finest with this easy-to-make, one-pan, utterly delicious recipe.
Ingredients
6 chicken thighs (bone-in, skin on)
2 tablespoons garlic-infused olive oil
1 large leek, green part only, chopped (about 1 cup chopped greens)
2 tablespoons fresh chopped thyme (or 2 teaspoons dry thyme)
1 tablespoon fresh chopped sage (or 1 teaspoon dry sage)
1 tablespoon Italian seasoning (To make your own, combine 1 tablespoon each basil and oregano with 1 teaspoon each thyme, rosemary, and dry sage. Store the extra in an empty spice jar for next time!)
1/2 teaspoon chili powder
1 teaspoon Kosher salt
1/2 teaspoon black pepper
1 1/2 cups dry wild rice blend
1 cup oyster mushrooms, chopped
1 cup chopped celery
1 cup cubed gouda cheese
1 cup dry white wine (or use more chicken broth if you prefer)
2 cups chicken broth (I use Whole Foods Organic 365 chicken broth or Gourmend low FODMAP Organic Chicken Broth - use code IBSGC15 for 15% discount)
6 tablespoons salted butter
Pinch (or more) red pepper flakes (optional) for serving
Directions
(1) Prepare: Preheat the oven to 400 degrees F. Chop the leek greens, mushrooms, and fresh herbs (if not using dry herbs).
(2) Saute the veggies and herbs: In an oven-safe skillet with reasonably high sides, heat the olive oil over medium-high heat. When the oil is hot, add the dry herbs (thyme, sage, Italian seasoning) to the oil and let sizzle for about 30 seconds. Next add the leek greens, mushrooms, celery, chili powder, and salt and pepper, and cook for about 3 minutes until the leek greens have softened. Finally, add the wild rice, and the Gouda cheese and stir to combine.
(3) Add the liquid: Pour over the wine (if using) and let it sizzle and burn off some of the alcohol. Then add the chicken broth. Lay the chicken pieces over the rice mixture. Add a slice of butter on top of each chicken piece then a grinding of black pepper and a sprinkle of salt.
(4) Bake: Cover with foil (or a lid if you have one for your pan) and bake for 45 minutes. Remove the cover and bake for another 15-20 minutes, until the rice is cooked to your liking and the chicken is cooked through. If the rice is a bit hard, add 1/3 cup water or broth and cook for an additional 10 minutes.
(5) Plate and serve: Remove from the oven and serve topped with a sprinkle of red pepper flakes, chopped green onion greens, and/or fresh thyme.
Eat and enjoy every bite because you can!
Recipe note: I use Diamond Crystal Kosher salt in all my recipes because it has a wonderful flat and crisp flake that tastes delicious. It is also the least salty salt available so you can use it more liberally as a seasoning than you can table salt or sea salt. If you use another type of salt, you may need to reduce the amount so it is not over-salted.
Have a question you’d like to have answered? Email me at hello@ibsgamechanger.com
Link note: This post may contain affiliate links for you to easily purchase items that are linked. I may earn a small commission from qualifying purchases but none of this costs you a thing so feel free to use the links! In addition, for some items, I have provided a special discount code for IBS Game Changers so be sure to use the code when you purchase an item to get the discount that has been arranged just for you.
More Deliciously Low FODMAP™ main course recipes
15 Minutes prep • 30 Minutes cook • Low FODMAP • Serves 4 • Ok to make-ahead: Steps 1 - 2
10 Minutes prep • 25 Minutes cook • Low FODMAP • Gluten-Free • Serves 6 • Ok to make-ahead: Step 1
45 Minutes prep • 60 Minutes cook • Low FODMAP • Gluten-free • Vegetarian • Serves 6 - 8
5 Minutes prep • 15 Minutes cook • Low FODMAP • Gluten-free • Lactose-free • Vegan • Serves 4
10 Minutes prep • 20 Minutes cook • Low FODMAP • Gluten-free • Serves 4 n skewers for your family and friends. They are sure to be a hit.
15 Minutes prep • 55 Minutes cook (if using brown rice) • Low FODMAP • Gluten-free • Lactose-free • Vegan • Serves 4
Sweet Potato Enchilada Bake (Low FODMAP)
20 Minutes prep • 40 Minutes cook • Low FODMAP • Gluten-free • Serves 8
20 Minutes prep • 40 Minutes cook • Low FODMAP • Gluten-free • Serves 8 • Ok to make ahead: Steps 1-5
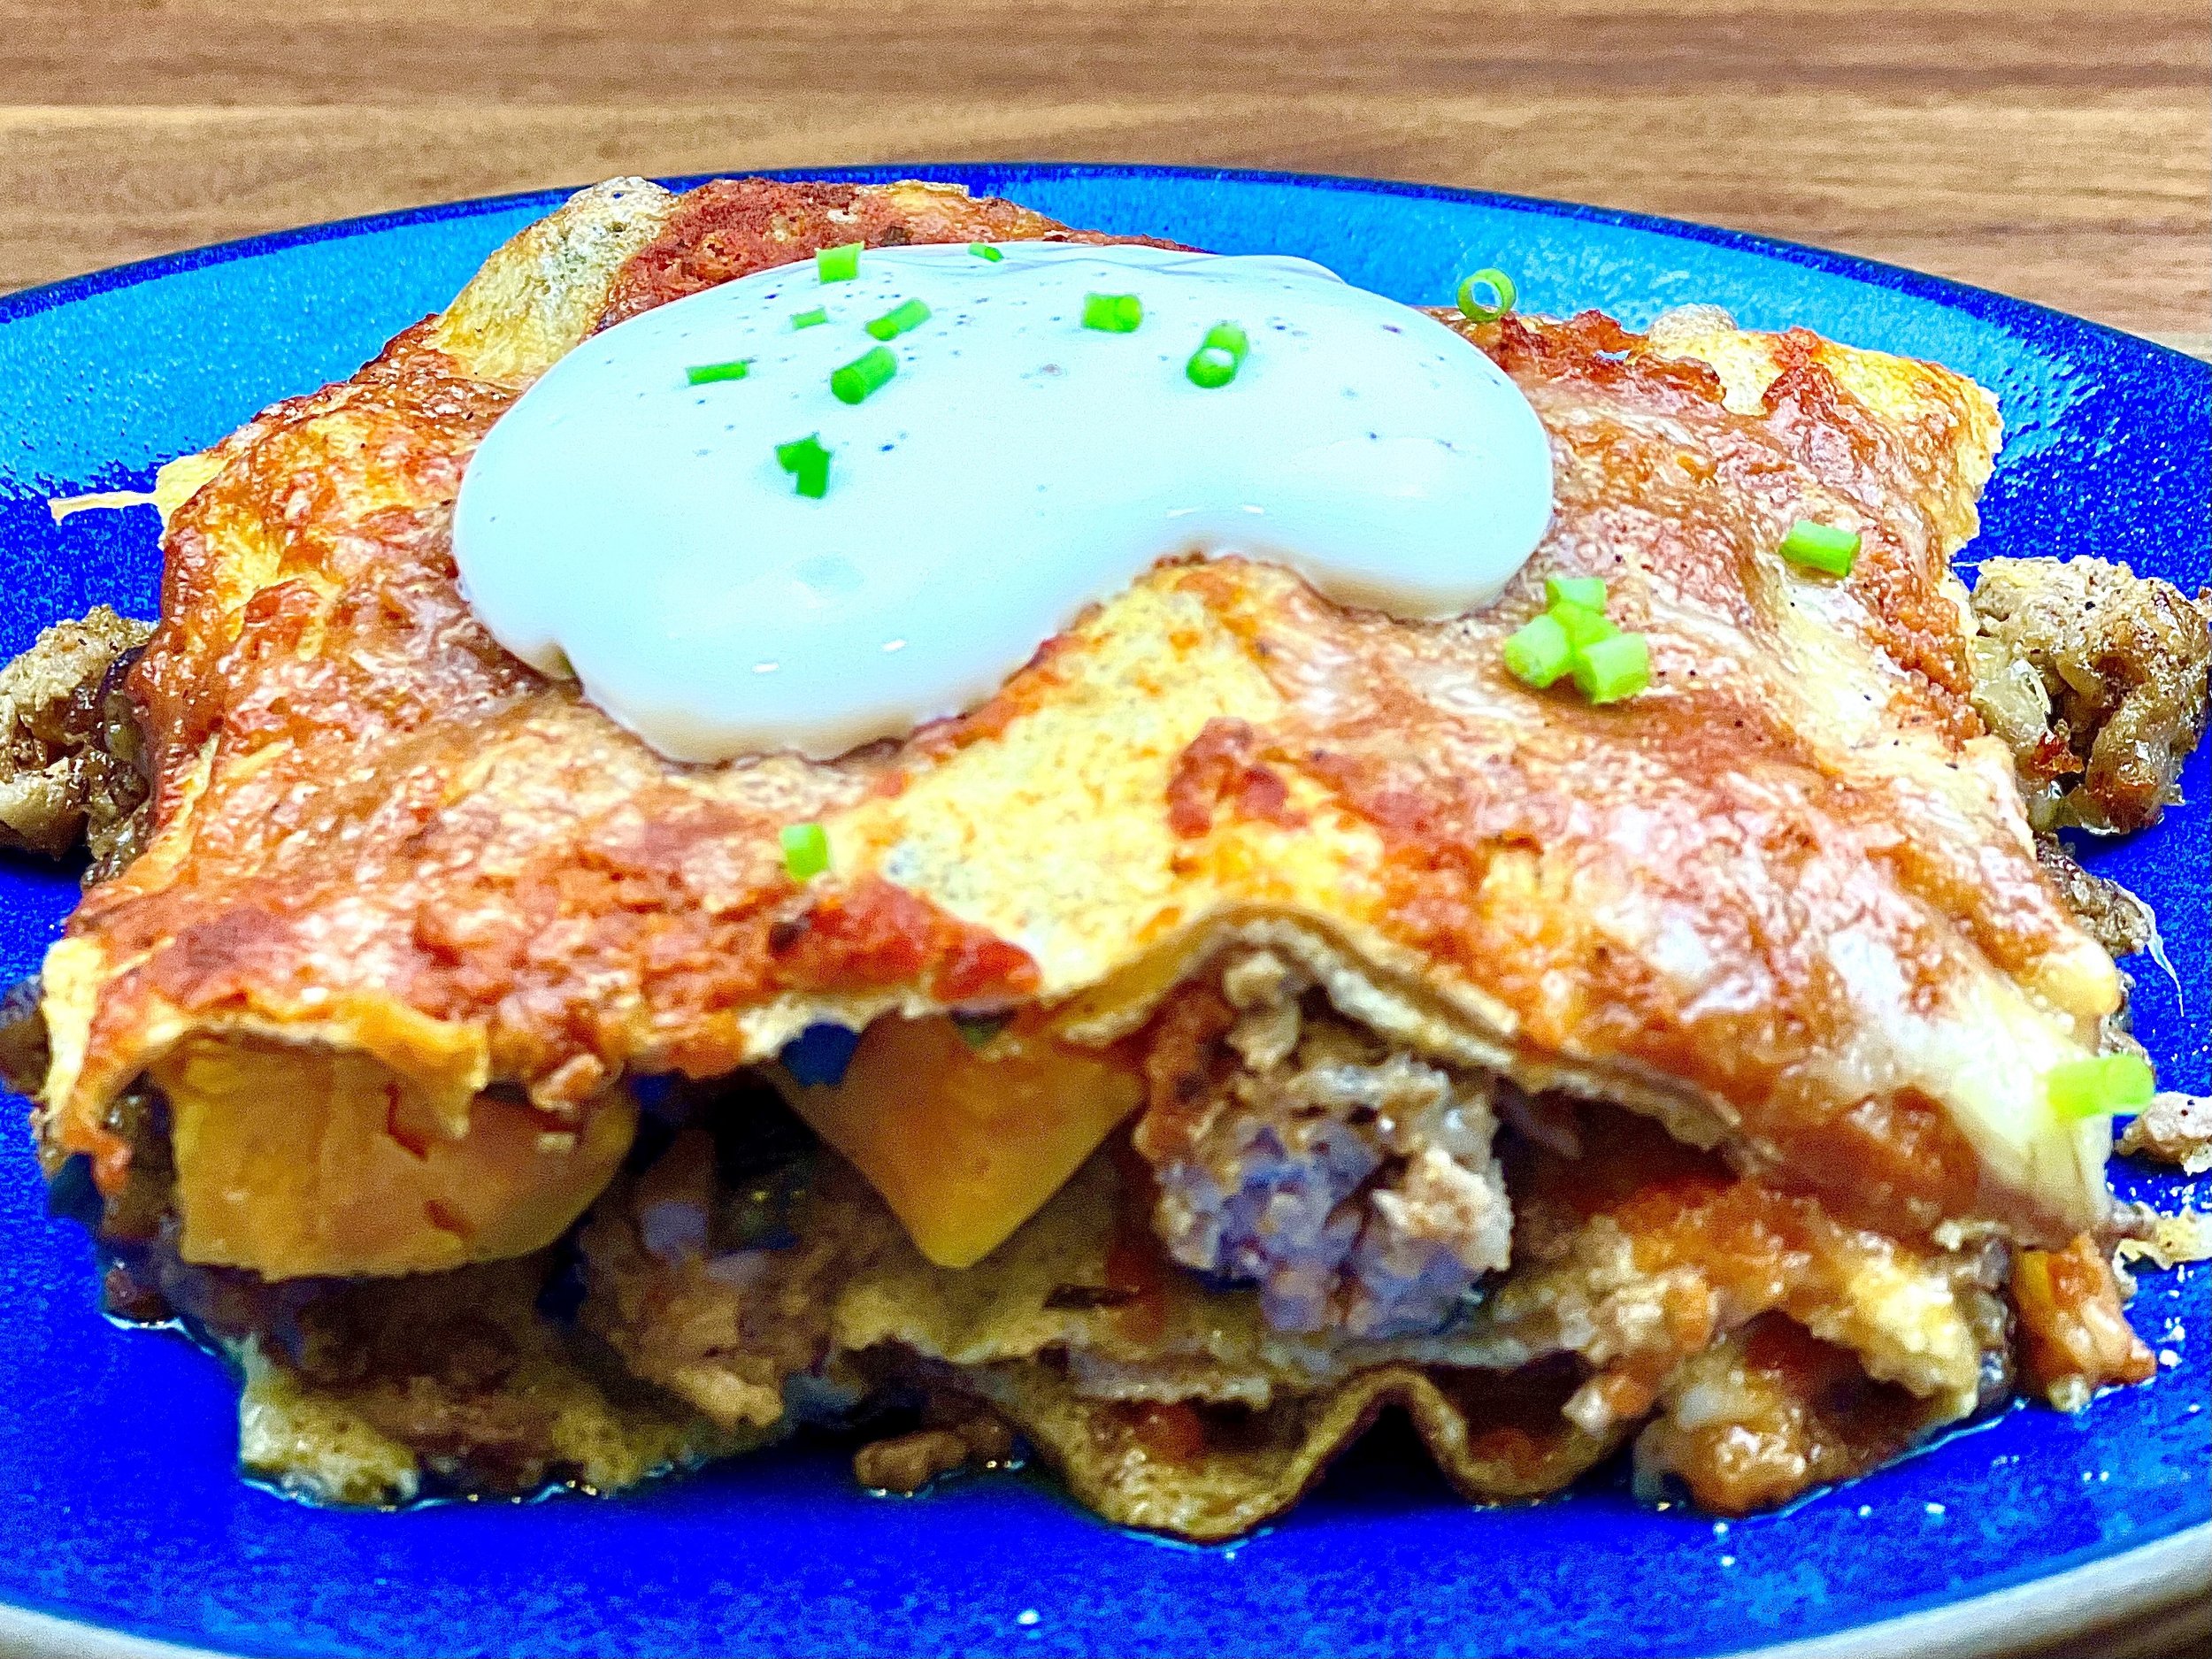
Indulge in a vibrant fusion of Mexican flavors and the velvety creaminess of sweet potatoes with my quick and easy Sweet Potato Enchilada Bake. In this recipe, I've incorporated a simple homemade enchilada sauce, addressing the challenge of finding truly low FODMAP canned options. For added versatility, you can opt for classic corn tortillas or create a lighter, lower-carb version using Trader Joe's Egg Wraps—a surprisingly airy choice for a dish of this nature. Prepare to delight your taste buds with this blend of bold spices and the comforting flavor of sweet potatoes in every bite.
Ingredients: Easy Low FODMAP Enchilada Sauce
10 ounces boxed or canned diced tomatoes (the low FODMAP Serving is 1.27 ounces)
1/4 cup water
2 tablespoons garlic-infused olive oil
2 teaspoons apple cider vinegar
1 teaspoon cumin
2 teaspoons Smoke N Sanity Essence of Onion Salt (use code IBSGC15 for 15% off)
2 teaspoons chili powder
1/4–1/2 teaspoon chipotle chili powder
1/2 teaspoon kosher salt
1 teaspoon oregano– optional (dry or 1 tablespoon chopped fresh)
Ingredients: Casserole
12 x 6-inch gluten-free corn tortillas or 6 Trader Joe’s Egg Wraps (for a lower-carb version)
2–3 cups grated extra-sharp cheese
For serving: chopped cilantro, green onion greens, diced avocado, sour cream, and Low FODMAP hot sauce
Ingredients: Filling
2 tablespoons garlic-infused olive oil
1 bunch green onions, green part only, chopped
1 large yam or sweet potato, diced into 1/2 inch cubes (optional, or use 1 large bell pepper, or 2 zucchini)
3 cups cooked shredded chicken, browned seasoned ground chicken, turkey, or beef
Or 1 can butter or cannellini beans, drained and rinsed (for a vegetarian version)
1 can fire-roasted mild diced green chilies (optional)
2 teaspoons cumin
2 teaspoons chili powder
1 teaspoon kosher salt
Directions
(1) Prepare: Preheat oven to 400 degrees F. Grate the cheese. Chop the green onion greens and the sweet potato. Chop the veggies, if using.
(2) Make the Enchilada Sauce: Place all the sauce ingredients in a blender and blend until smooth, set aside.
(3) Make the vegetable filling: Place a large frying pan over medium heat, add the oil when the pan is hot, then saute the green onion greens and sweet potatoes (or other vegetables of your choice) until tender, about 10-12 minutes, covering half way through, to allow the potatoes to get tender. Add cumin, chili powder, and salt and saute until blended and potatoes are tender. Remove from the pan and set aside.
(4) Make the meat filling: In the same large frying pan over medium heat, add the oil when the pan is hot, then add one pound each ground beef and ground pork (or all beef or all pork if you prefer) to the pan. Break up the meat and cook until browned. Add cumin, chili powder, and salt and saute until blended
(5) Put together the casserole: In a 9 x 13 inch baking dish, spread out ½ cup of enchilada sauce, to lightly coat the bottom of the pan. Spread out 2 egg wraps or 4 tortillas on top of the sauce. Spread about half of the filling over the egg wraps/tortillas. Layer on about half of the canned green chilies (if using), and 1 cup of the grated cheese. Drizzle with about 1/2 cup enchilada sauce. Top with 2 more egg wraps or 4 more tortillas, add the remaining filling, green chilies, 1 cup cheese, and top with 2 more egg wraps or 4 more tortillas. Drizzle the top with the remaining enchilada sauce and any additional cheese you have left.
Make-ahead note: At this point, you may put the whole casserole in the refrigerator and bring it out when you are ready to cook and serve.
(6) Bake: Cover tightly with 1 layer of parchment and then a layer of foil (to prevent foil from sticking to the casserole) and bake for 30 minutes. Uncover, and bake 10 more minutes. Remove from the oven and let rest 5 minutes before cutting and serving.
(7) Plate and serve: Serve with sour cream, diced avocado, and cilantro or chopped green onion greens.
Eat and enjoy every bite because you can!
Recipe note: I use Diamond Crystal Kosher salt in all my recipes because it has a wonderful flat and crisp flake that tastes delicious. It is also the least salty salt available so you can use it more liberally as a seasoning than you can table salt or sea salt. If you use another type of salt, you may need to reduce the amount so it is not over-salted.
Have a question you’d like to have answered? Email me at hello@ibsgamechanger.com
Link note: This post may contain affiliate links for you to easily purchase items that are linked. I may earn a small commission from qualifying purchases but none of this costs you a thing so feel free to use the links! In addition, for some items, I have provided a special discount code for IBS Game Changers so be sure to use the code when you purchase an item to get the discount that has been arranged just for you.
More Deliciously Low FODMAP™ main course recipes
15 Minutes prep • 30 Minutes cook • Low FODMAP • Serves 4 • Ok to make-ahead: Steps 1 - 2
10 Minutes prep • 25 Minutes cook • Low FODMAP • Gluten-Free • Serves 6 • Ok to make-ahead: Step 1
45 Minutes prep • 60 Minutes cook • Low FODMAP • Gluten-free • Vegetarian • Serves 6 - 8
5 Minutes prep • 15 Minutes cook • Low FODMAP • Gluten-free • Lactose-free • Vegan • Serves 4
10 Minutes prep • 20 Minutes cook • Low FODMAP • Gluten-free • Serves 4 n skewers for your family and friends. They are sure to be a hit.
15 Minutes prep • 55 Minutes cook (if using brown rice) • Low FODMAP • Gluten-free • Lactose-free • Vegan • Serves 4
Chocolate Oatmeal Cookies (Low FODMAP)
20 Minutes prep • 10 Minutes cook • Low FODMAP • Gluten-free • Makes 12 Sandwiched Cookies
20 Minutes prep • 10 Minutes cook • Low FODMAP • Gluten-free • Makes 12 Sandwiched Cookies
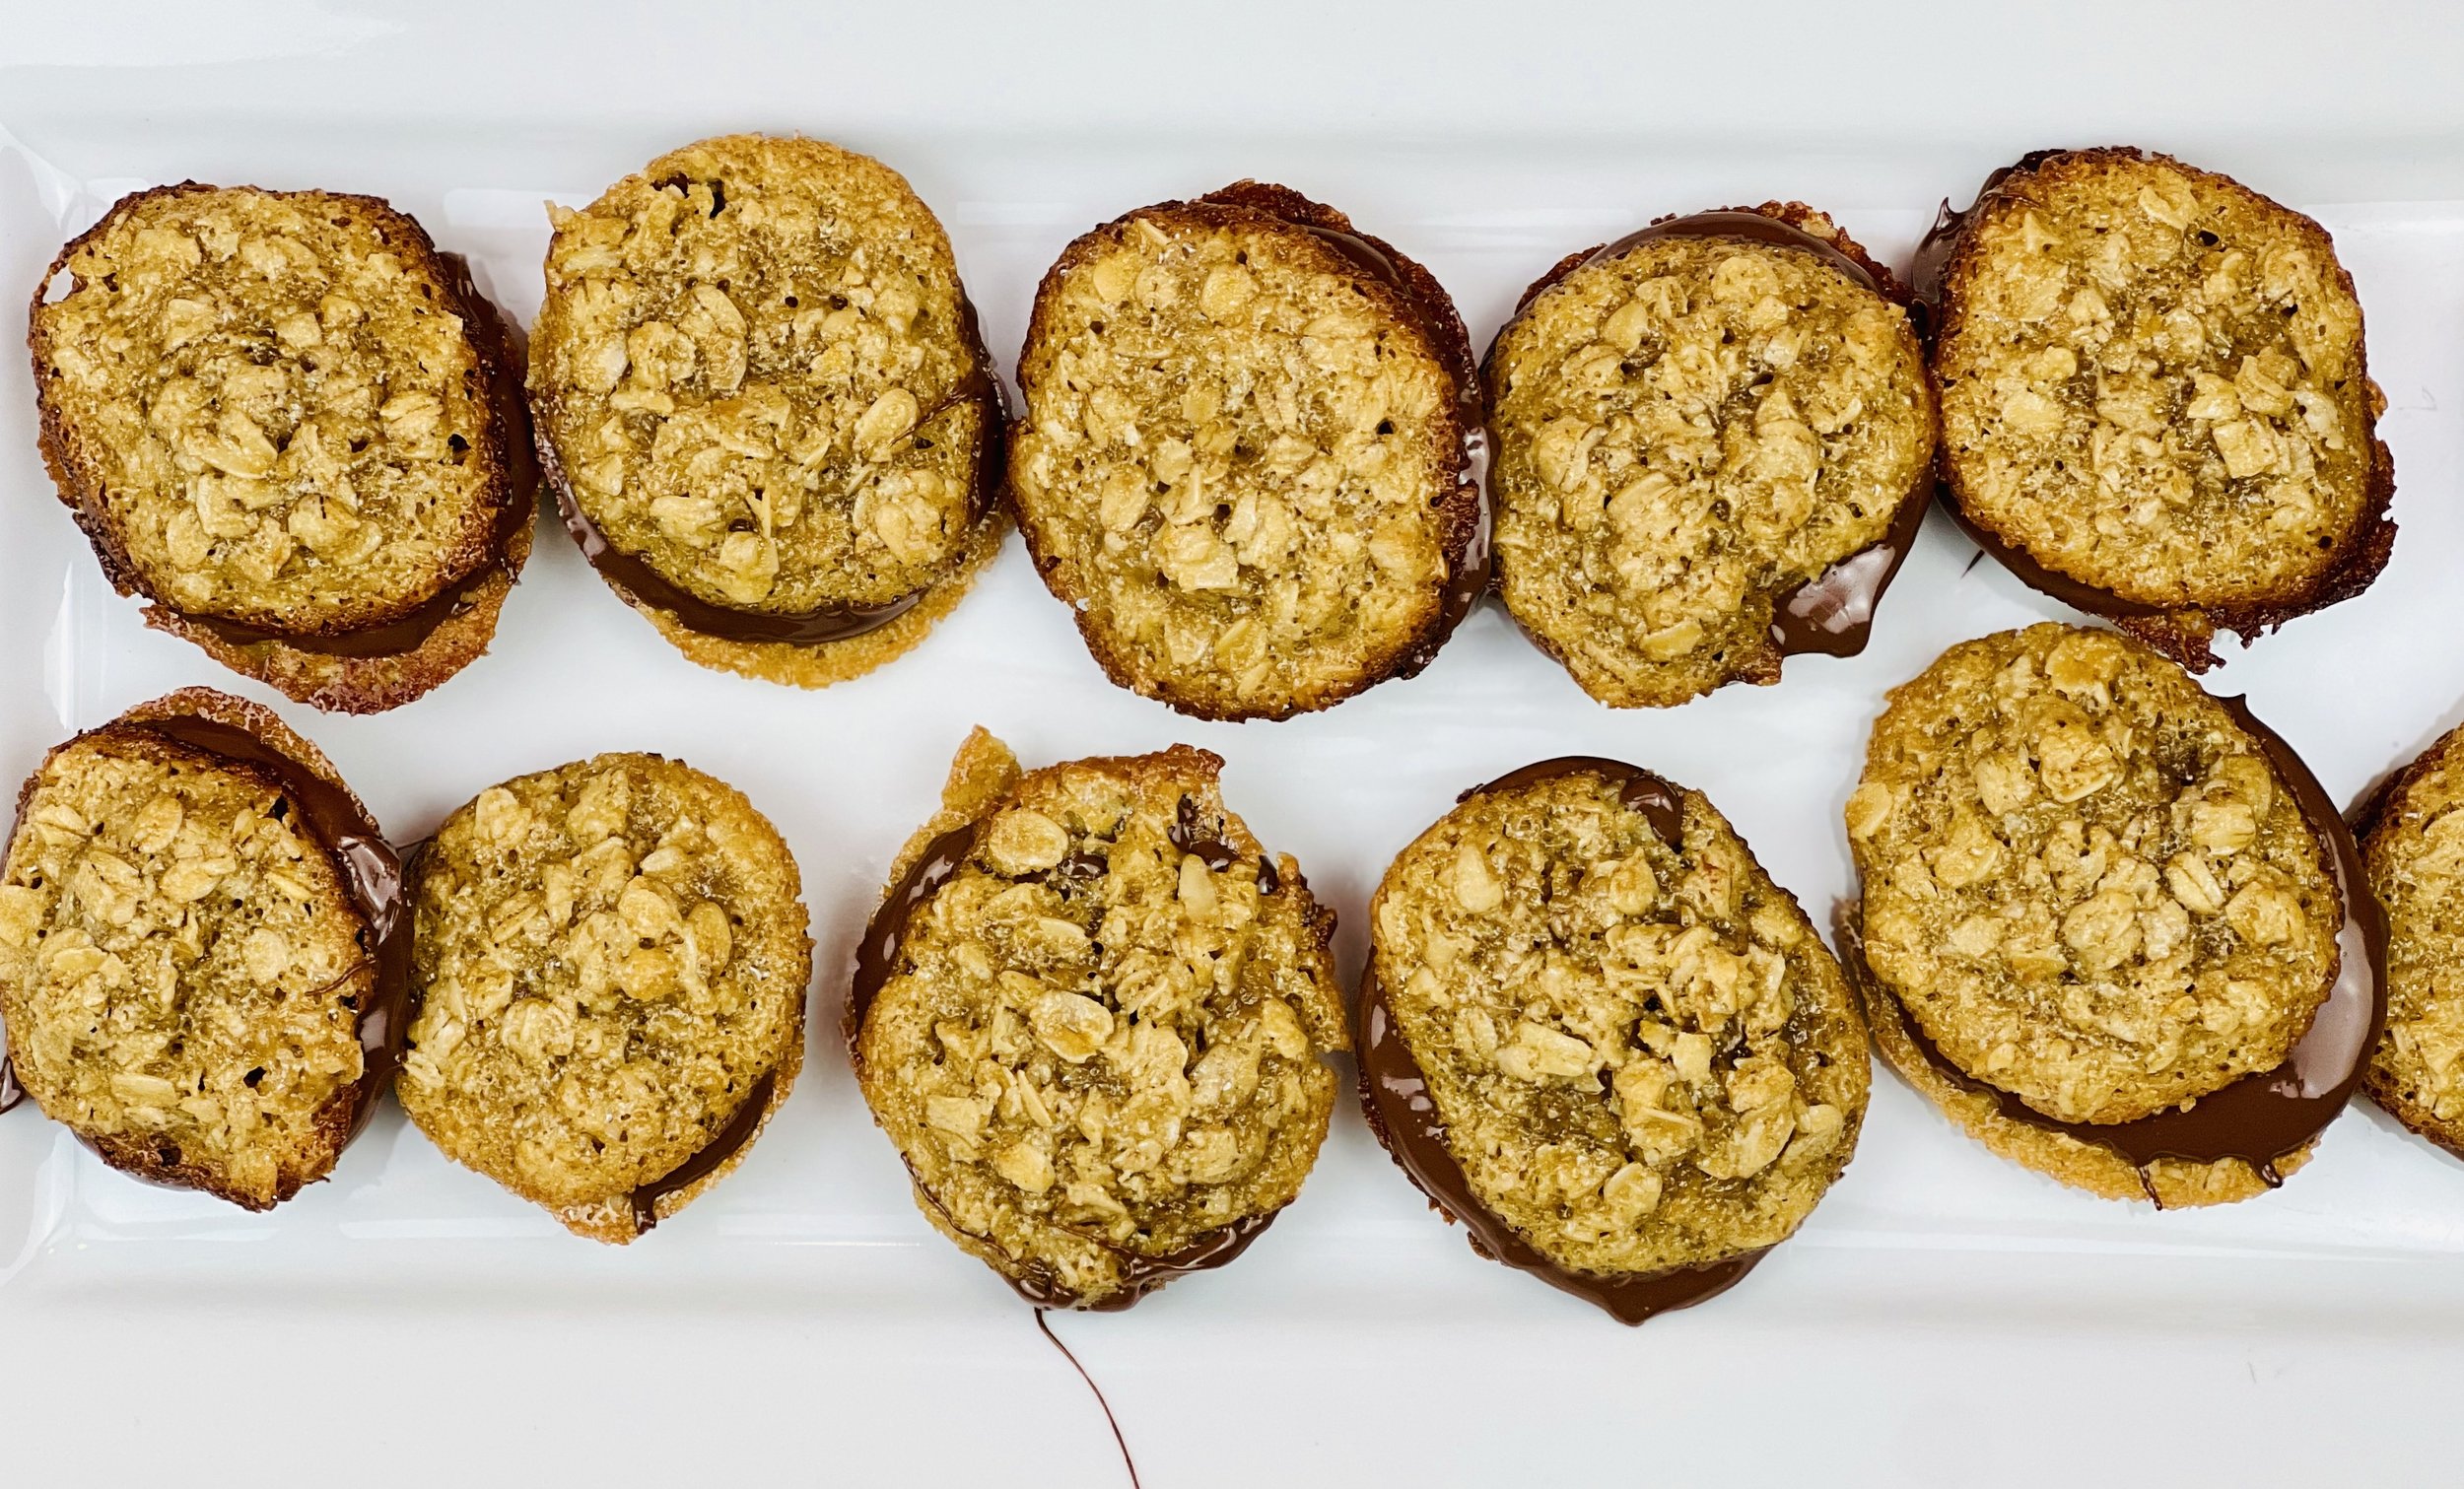
Experience the best of two worlds with my delicious Chocolate Oatmeal Cookies—a delightful fusion of classic buttery oatmeal cookies and the indulgent richness of chocolate. Each bite promises just the right amount of each. Get ready to embark on a yummy journey of taste where the rustic charm of oatmeal cookies meets the decadent taste of chocolate in every delightful bite.
Ingredients
1 stick (8 tablespoons) salted butter
1/2 cup packed brown sugar
1 tablespoon corn syrup (see recipe note)
1 teaspoon vanilla extract
1 cup gluten-free rolled oats
1/4 cup almond flour
1/2 teaspoon kosher salt
1 egg white
1 1/2 cups semi-sweet chocolate chips, melted
Directions
(1) Prepare: Position racks in the upper and lower thirds of the oven. Preheat the oven to 350 degrees F. Line 2 baking sheets with parchment paper.
(2) Melt the butter and sugar: In a skillet over medium heat, melt the butter together with the brown sugar. Bring to a boil and cook for 1 minute, until the sugar dissolves and starts to look like caramel. Remove from the heat and transfer to a bowl. Whisk in the corn syrup and vanilla, and keep whisking until smooth and glossy. Add the oats, almond flour, and salt stirring until well combined. Let cool for 5 minutes, then stir in the egg white. Let the dough sit for 10 minutes to thicken.
(3) Bake: Drop a heaping teaspoon-size amount of dough on the prepared baking sheets, leaving about 3 inches of space between each one. Bake for 7-9 minutes until golden brown around the edges. Allow the cookies to cool on the baking sheet for 5 minutes, then transfer to a wire rack to cook completely.
(4) Melt the chocolate: Put the chocolate in a microwave-safe bowl or large measuring cup. Heat in 30-second increments, stirring once the chocolate has really started to melt. Keep heating and stirring just until the chocolate is smooth when you stir it.
(5) Sandwich the cookies: Put a dollop of melted chocolate on the bottom of one cookie and sandwich it together with another cookie of similar shape/size. Continue until all cookies have been paired and sandwiched.
(6) Plate and serve: Let sit at room temperature until the chocolate hardens, or refrigerate if you’re in a hurry. Store cookies in an airtight container for up to 4 days.
Eat and enjoy every bite because you can!
Recipe note: I use Diamond Crystal Kosher salt in all my recipes because it has a wonderful flat and crisp flake that tastes delicious. It is also the least salty salt available so you can use it more liberally as a seasoning than you can table salt or sea salt. If you use another type of salt, you may need to reduce the amount so it is not over-salted.
Recipe note: Please use Karo brand corn syrup, which contains no high-fructose corn syrup (HFCS is high in FODMAPS).
When you are following a low FODMAP diet, overconsumption of sugar of any sort is not recommended. So, even though you may want to eat the whole pan of treats, cut them into squares and eat only one to allow yourself a treat without triggering your IBS symptoms. And, if you are highly sensitive to fructose, you may not be able to tolerate any sweet desserts. You are your own best judge of your tolerance for any potential IBS trigger.
Have a question you’d like to have answered? Email me at hello@ibsgamechanger.com
Link note: This post may contain affiliate links for you to easily purchase items that are linked. I may earn a small commission from qualifying purchases but none of this costs you a thing so feel free to use the links! In addition, for some items, I have provided a special discount code for IBS Game Changers so be sure to use the code when you purchase an item to get the discount that has been arranged just for you.
More Deliciously Low FODMAP™ dessert recipes
15 Minutes prep • 20 Minutes cook • 30 Minutes cool • Low FODMAP • Gluten-free • Makes 18 bars
20 Minutes prep • 10 Minutes cook • Low FODMAP • Gluten-free • Makes 12 Sandwiched Cookies
20 Minutes prep • 20 Minutes cook • Low FODMAP • Gluten-free • Lactose-free • Makes 12 - 24
20 Minutes prep • 2 Hours chill • 10 Minutes cook • Low FODMAP • Gluten-free • Makes 24 - 36
I’m here to show you how to fully embrace the flavors of fall while keeping your digestive system happy.
10 Minutes prep • Overnight Chill • Low FODMAP • Gluten-free • Lactose-free • Serves 2 - 4
15 Minutes prep • 30 Minutes cook/cool • Low FODMAP • Gluten-free • Serves 8 • Serving Size 1/8
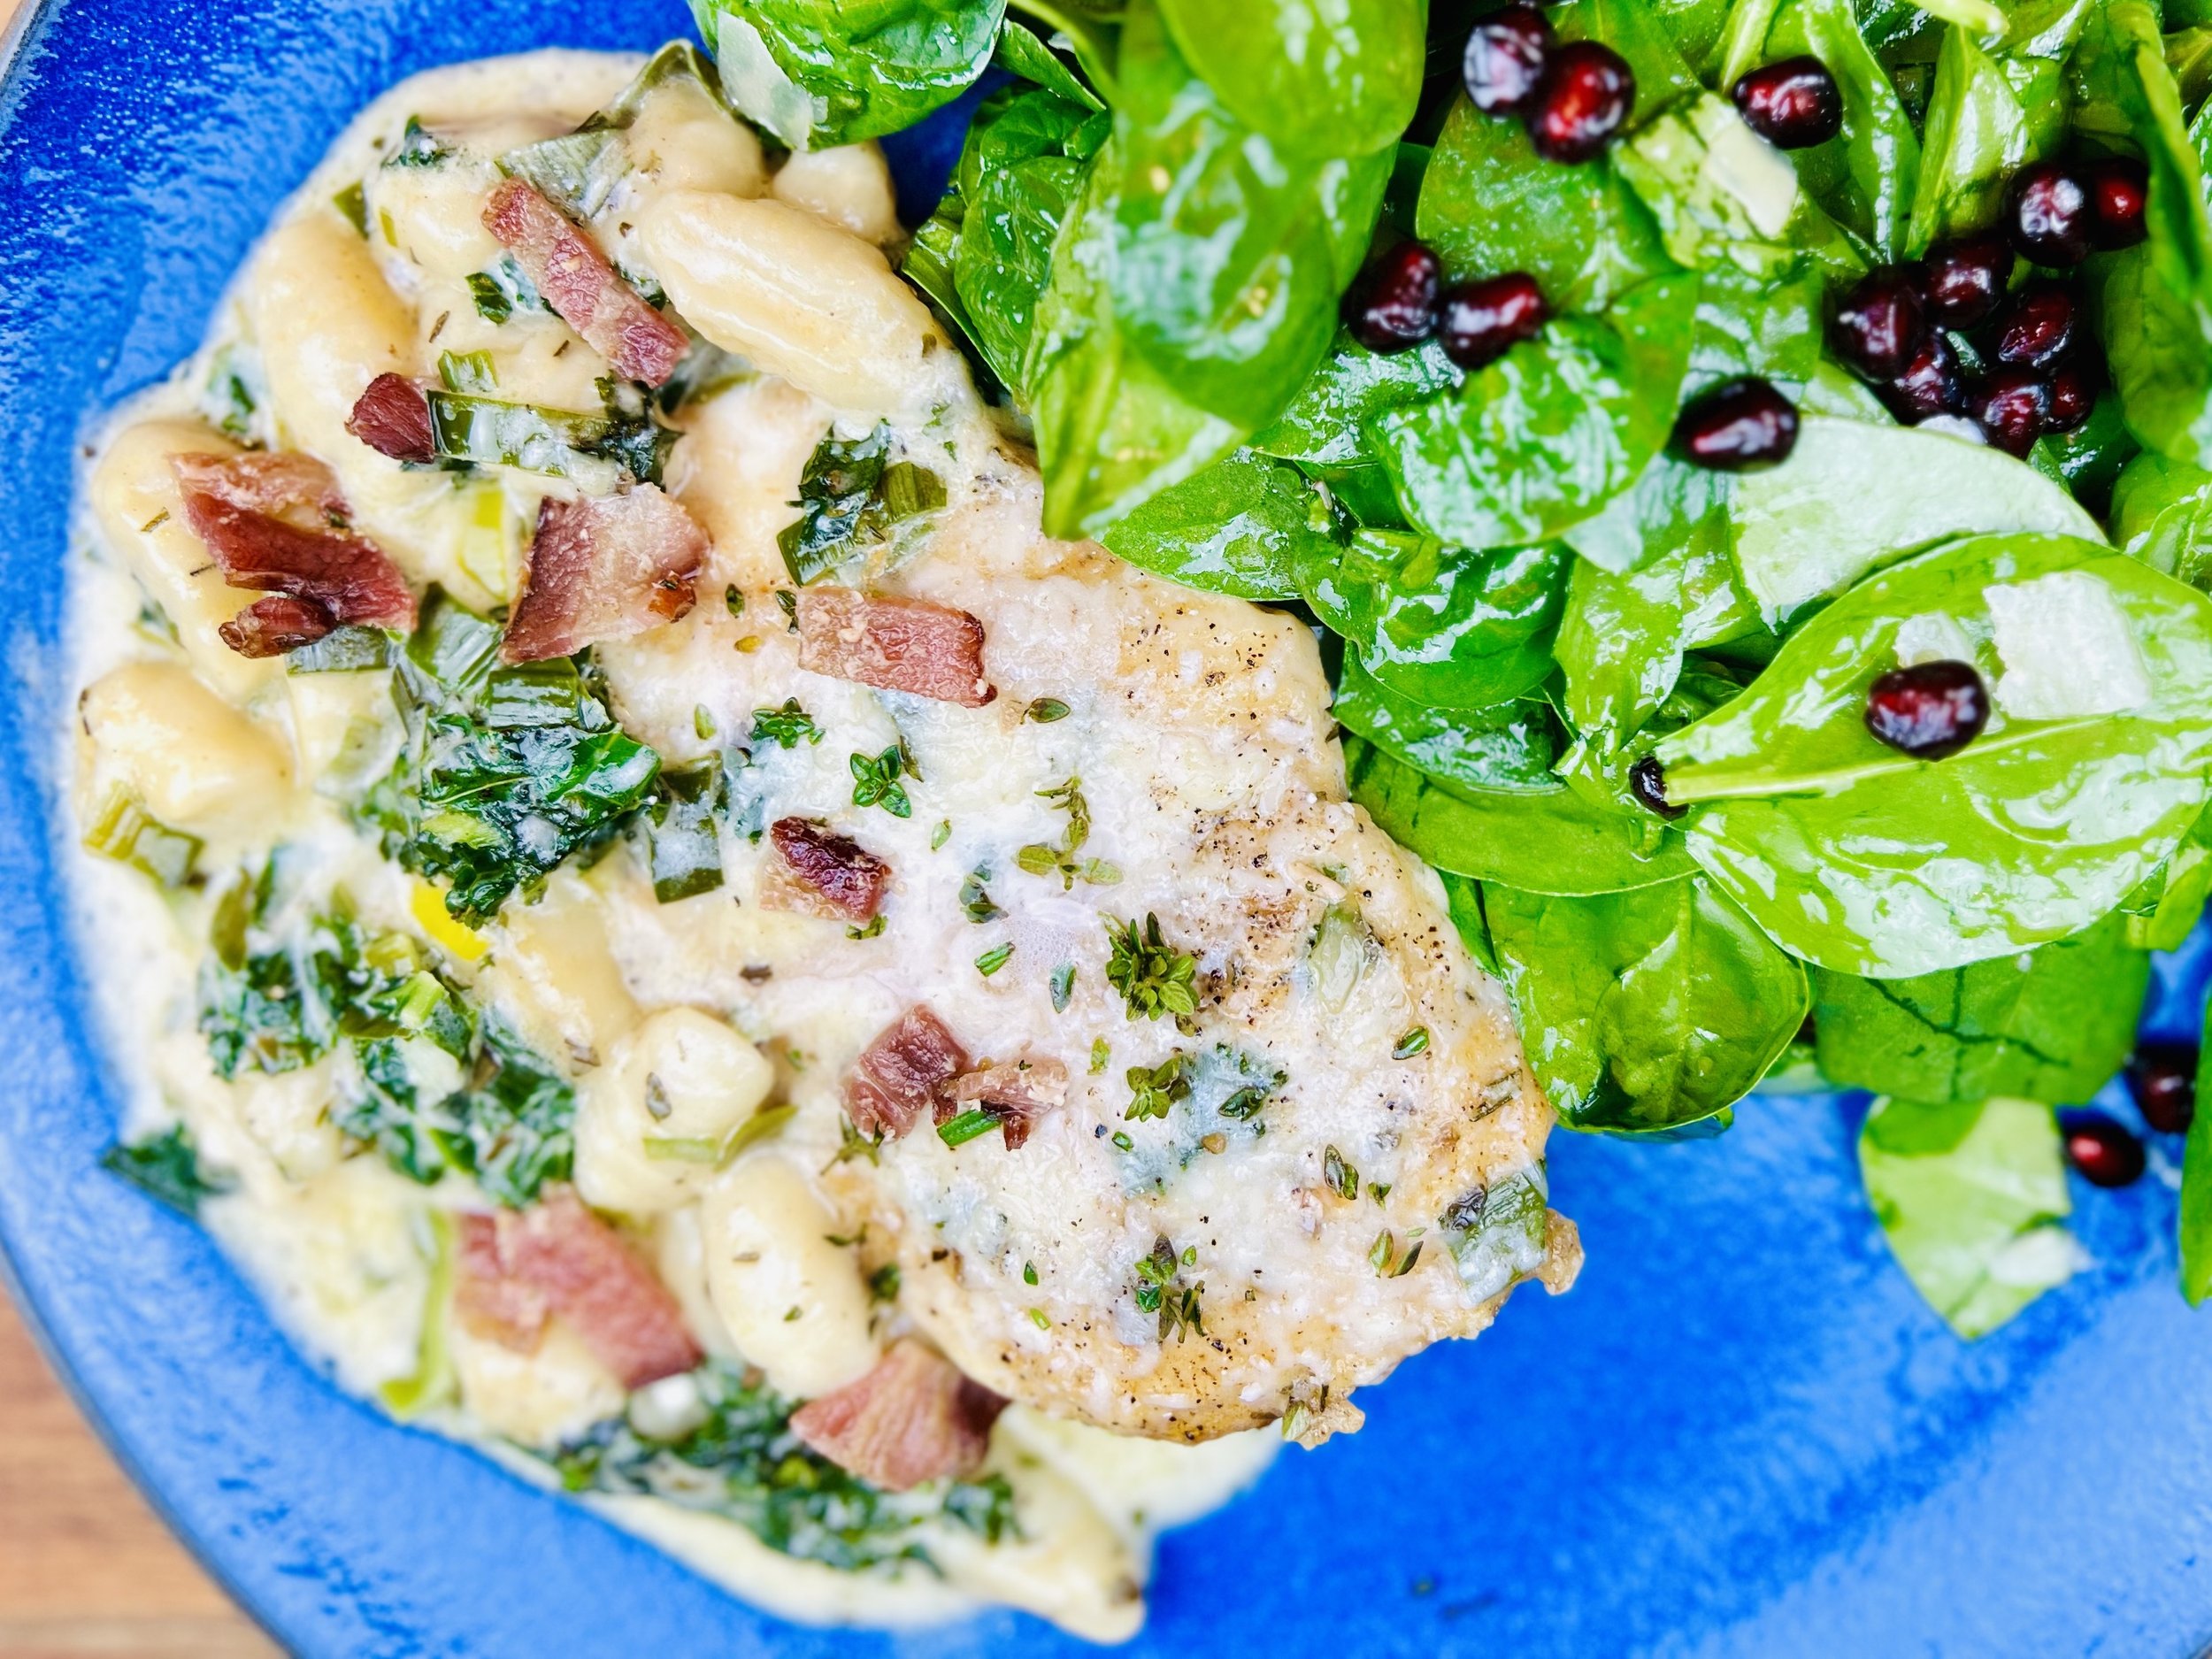
Creamy Parmesan Chicken with Rosemary Bacon (Low FODMAP)
15 Minutes prep • 30 Minutes cook • Low FODMAP • Gluten-free • Serves 4
15 Minutes prep • 30 Minutes cook • Low FODMAP • Gluten-free • Serves 4 • Ok to make ahead: Steps 1-3
Succulent chicken in a creamy Parmesan sauce, topped with crispy rosemary-infused bacon, and served atop potato gnocchi—all cooked to perfection in a single pan. This dish has amazing flavor and it’s easy to make. Add a side salad and you’ve got a meal! Change up your weekly routine with this excellent blend of creamy, savory, and herby goodness. I think the whole family will love it!
Ingredients
4 small or 2 large boneless chicken breasts (slice the large ones horizontally in two)
1/2 teaspoon Kosher salt
1/4 teaspoon black pepper
1/3 cup gluten-free flour
1/2 teaspoon paprika
1 pinch cayenne
2 tablespoons fresh thyme leaves (or 2 teaspoons dry thyme), plus more for serving
4 slices thick-cut bacon
1 tablespoon fresh rosemary, finely chopped, or 1 teaspoon dry rosemary
3 tablespoons salted butter
1 large leek, green part only, chopped (about 1 cup chopped greens)
1 1/2 cups low FODMAP chicken broth (I use Whole Foods Organic 365 chicken broth or Gourmend low FODMAP Organic Chicken Broth - use code IBSGC15 for 15% discount)
3/4 -1 cup heavy cream
2 cups roughly chopped kale or spinach
1 pound gluten-free potato gnocchi or you can substitute a firm gluten-free pasta such as Rummo gluten-free Penne Rigate
3/4 cup grated parmesan cheese
Directions
(1) Prepare the chicken: This step is optional but results in a more flavorful and tender chicken. Remove chicken from the package, and put it in one layer on a rimmed plate or baking dish. Season both sides of each piece lightly with Kosher salt (about 1/4 - 1/2 teaspoon per side). Cover the dish with plastic wrap and refrigerate until ready to use, ideally about 4 hours before cooking or overnight.
(2) Prepare: Preheat the oven to 400 degrees F. Wash and chop the leek greens, rosemary, and the kale or spinach. Season the chicken with salt (if you didn’t pre-salt the chicken ahead of time) and pepper. Add the flour, paprika, cayenne, and 1 tablespoon fresh thyme or 1 teaspoon dry thyme to a shallow bowl. Dredge the chicken through the flour mixture, tossing to coat each piece well.
(3) Cook the bacon: In an oven-proof skillet large enough to hold all the chicken in one layer, cook the bacon over medium heat until crisp, about 5 minutes. During the last minute of cooking, sprinkle the chopped rosemary on the bacon and flip the bacon over a few times to distribute. Transfer the cooked bacon to paper towels to drain. When cooled, chop the bacon and reserve it for serving.
(4) Sear the chicken: In the same skillet, add 1 tablespoon of butter and let melt. Add the chicken and sear the chicken (cook for 3 - 5 minutes on each side until golden brown.) Add another tablespoon of butter to the pan and let it melt and brown around the chicken in the pan, about 2 minutes. Remove the chicken from the skillet to a plate.
(5) Cook the chicken: To the same skillet, add 1 more tablespoon of butter, the leek greens, a tablespoon of chopped fresh thyme (or a teaspoon of dry thyme), and a pinch each of salt and pepper. Add the chicken broth. Simmer for 3 - 5 minutes, pour in the cream. Add the kale and the gnocchi. Cook for 5 minutes, until the gnocchi floats. Slide the chicken back into the skillet. Spoon sauce over the chicken in the pan. Sprinkle with the parmesan. Transfer to the oven and cook, uncovered, for 10 minutes, until the sauce is bubbling around the chicken.
(6) Plate and serve: Serve the chicken, gnocchi (or pasta), and sauce topped with the rosemary bacon and extra chopped fresh thyme.
Eat and enjoy every bite because you can!
Recipe note: I use Diamond Crystal Kosher salt in all my recipes because it has a wonderful flat and crisp flake that tastes delicious. It is also the least salty salt available so you can use it more liberally as a seasoning than you can table salt or sea salt. If you use another type of salt, you may need to reduce the amount so it is not over-salted.
Have a question you’d like to have answered? Email me at hello@ibsgamechanger.com
Link note: This post may contain affiliate links for you to easily purchase items that are linked. I may earn a small commission from qualifying purchases but none of this costs you a thing so feel free to use the links! In addition, for some items, I have provided a special discount code for IBS Game Changers so be sure to use the code when you purchase an item to get the discount that has been arranged just for you.
More Deliciously Low FODMAP™ main course recipes
15 Minutes prep • 30 Minutes cook • Low FODMAP • Serves 4 • Ok to make-ahead: Steps 1 - 2
10 Minutes prep • 25 Minutes cook • Low FODMAP • Gluten-Free • Serves 6 • Ok to make-ahead: Step 1
45 Minutes prep • 60 Minutes cook • Low FODMAP • Gluten-free • Vegetarian • Serves 6 - 8
5 Minutes prep • 15 Minutes cook • Low FODMAP • Gluten-free • Lactose-free • Vegan • Serves 4
10 Minutes prep • 20 Minutes cook • Low FODMAP • Gluten-free • Serves 4 n skewers for your family and friends. They are sure to be a hit.
15 Minutes prep • 55 Minutes cook (if using brown rice) • Low FODMAP • Gluten-free • Lactose-free • Vegan • Serves 4
The Transformative Power of Exercise for IBS
Research underscores the point that moderate-intensity exercise often outperforms vigorous exercise in relieving IBS symptoms. But individualization is key.
Unlocking the potential of exercise as an IBS game-changer is a revelation you might not have expected. While the overall health benefits of physical activity are widely known – stress management, cardiovascular health, improved sleep – the impact of exercise on IBS symptoms is equally profound. Yes, you heard it right. Walk your way to feeling better!

In the toolkit of IBS management, which might already include things like the low FODMAP diet and stress-relieving activities such as yoga and meditation, physical exercise must be considered as an important and powerful addition. Supported by a robust body of evidence, it’s clear it has the potential to transform overall IBS symptoms.
Understanding IBS as a disorder of gut-brain interaction reveals an important point: miscommunication between the gut and the brain can lead to painful symptoms and irregularities. Exercise can be an incredible normalizer, bridging the gap and improving overall symptoms. Not only that, but the movement induced by physical activity also sparks life into the gastrointestinal tract, offering relief from the clutches of constipation (which is an issue for many of you).
When it comes to choosing the best types of exercise for IBS, the game-changing principle is simple: go for what you enjoy the most and what you will actually DO. Long-term commitment and regular engagement are key to getting the most benefit from exercise. In general, moderate-intensity exercises are the most beneficial for those with IBS – think walking, hiking, aerobic exercise, yoga, pilates, or even tai chi and qigong. All have proven to be allies in relieving bloating, gas, and other IBS symptoms.
But what about more intense workouts like running or HIIT? Here's where the game changes. While moderate-intensity exercise is great for relieving IBS symptoms, ramping up the intensity and duration can over-stress the body. Why? Because exercise (especially intense exercise) redirects blood away from the gastrointestinal tract, prioritizing muscles that are working hard. For some, this shift might trigger diarrhea or abdominal cramps. For others, it may induce significant pain. Your body will give you the feedback you need. All you need to do is listen!
The research underscores the point that moderate-intensity exercise often outperforms vigorous exercise in relieving IBS symptoms. But, and it's a significant but, individualization is key.
Individualization extends to how you feel in the moment. In a flare? Gentle exercises like yoga or tai chi might be your best allies. Feeling your best? Experiment with jogging or cycling. The game-changing truth is clear: exercise isn't a one-size-fits-all solution, but when tailored to you, it's an IBS ally like no other. And if you find an exercise you enjoy that also makes you feel good, then you’ll be able to do it regularly. And that’s where you’ll see the greatest benefit.
Have a question you’d like to have answered? Email me at hello@ibsgamechanger.com
More Deliciously Low FODMAP™ Tips and Tools
In this blog post, I explore some of the ways deep tissue massage can support IBS symptom management, giving you one more tool in your toolbox to find a holistic path to comfort and well-being.
One of the biggest challenges when struggling with gut issues is getting answers to your many questions about cause and treatment. With this in mind, we in the content creator space, work hard to bring you specific and actionable information to help answer your questions.
Since launching IBS Game Changer, I’ve been on a mission to support individuals living with Irritable Bowel Syndrome (IBS) by providing expert coaching, delicious recipes, and essential tips for symptom management.
In this post, I’m sharing many of the essential pantry staples I use in my recipes all the time.
One of the biggest challenges when struggling with gut issues is getting answers to your many questions about cause and treatment. With this in mind, we in the content creator space, work hard to bring you specific and actionable information to help answer your questions.
Monash University recently re-tested avocados for FODMAP content and they made an interesting discovery
In this blog post, I’m addressing the intricate relationship between anxiety and Irritable Bowel Syndrome, exploring how they impact each other, and giving you some specific things you can do to get them both under control.
Not all cheeses are created equal in terms of their compatibility with the low FODMAP diet. This article will help you make informed choices that align with both your preferences and your gut health.
The warmth and soothing nature of bone broth can provide relief from digestive discomfort. Sipping on a warm cup of bone broth may help ease symptoms such as bloating and cramping.
After the holidays or any time you want to improve your relationship with food, use these techniques to master mindful eating and regain control of your health.
From Mindful Munching to making Social Connections — here are some tips for a happy holiday!
Research underscores the point that moderate-intensity exercise often outperforms vigorous exercise in relieving IBS symptoms. But individualization is key.
Taking a moment each day to acknowledge and appreciate the positive aspects of our lives can have a profound impact on our well-being.
How can you ensure your gut biome is in the best shape possible? I’ve put together the top 10 strategies to promote a healthy and diverse gut biome. Read on…
Constipation: What is it? What are some common myths about it? What can you do about it?
A step-by-step guide to assist you in getting through the grocery store and coming out with all the low-FODMAP foods and ingredients you need.
While the nutritional content of food takes center stage, the way food looks and feels should not be underestimated.
If you are based in the United States and have never tried FODZYME before, you can get a free sample of FODZYME.
Thanks to our friends at Good Fod Foods you can now have delicious Beef Sticks and Jerky in a variety of flavors that you can keep on hand for a quick snack or light lunch on the go.
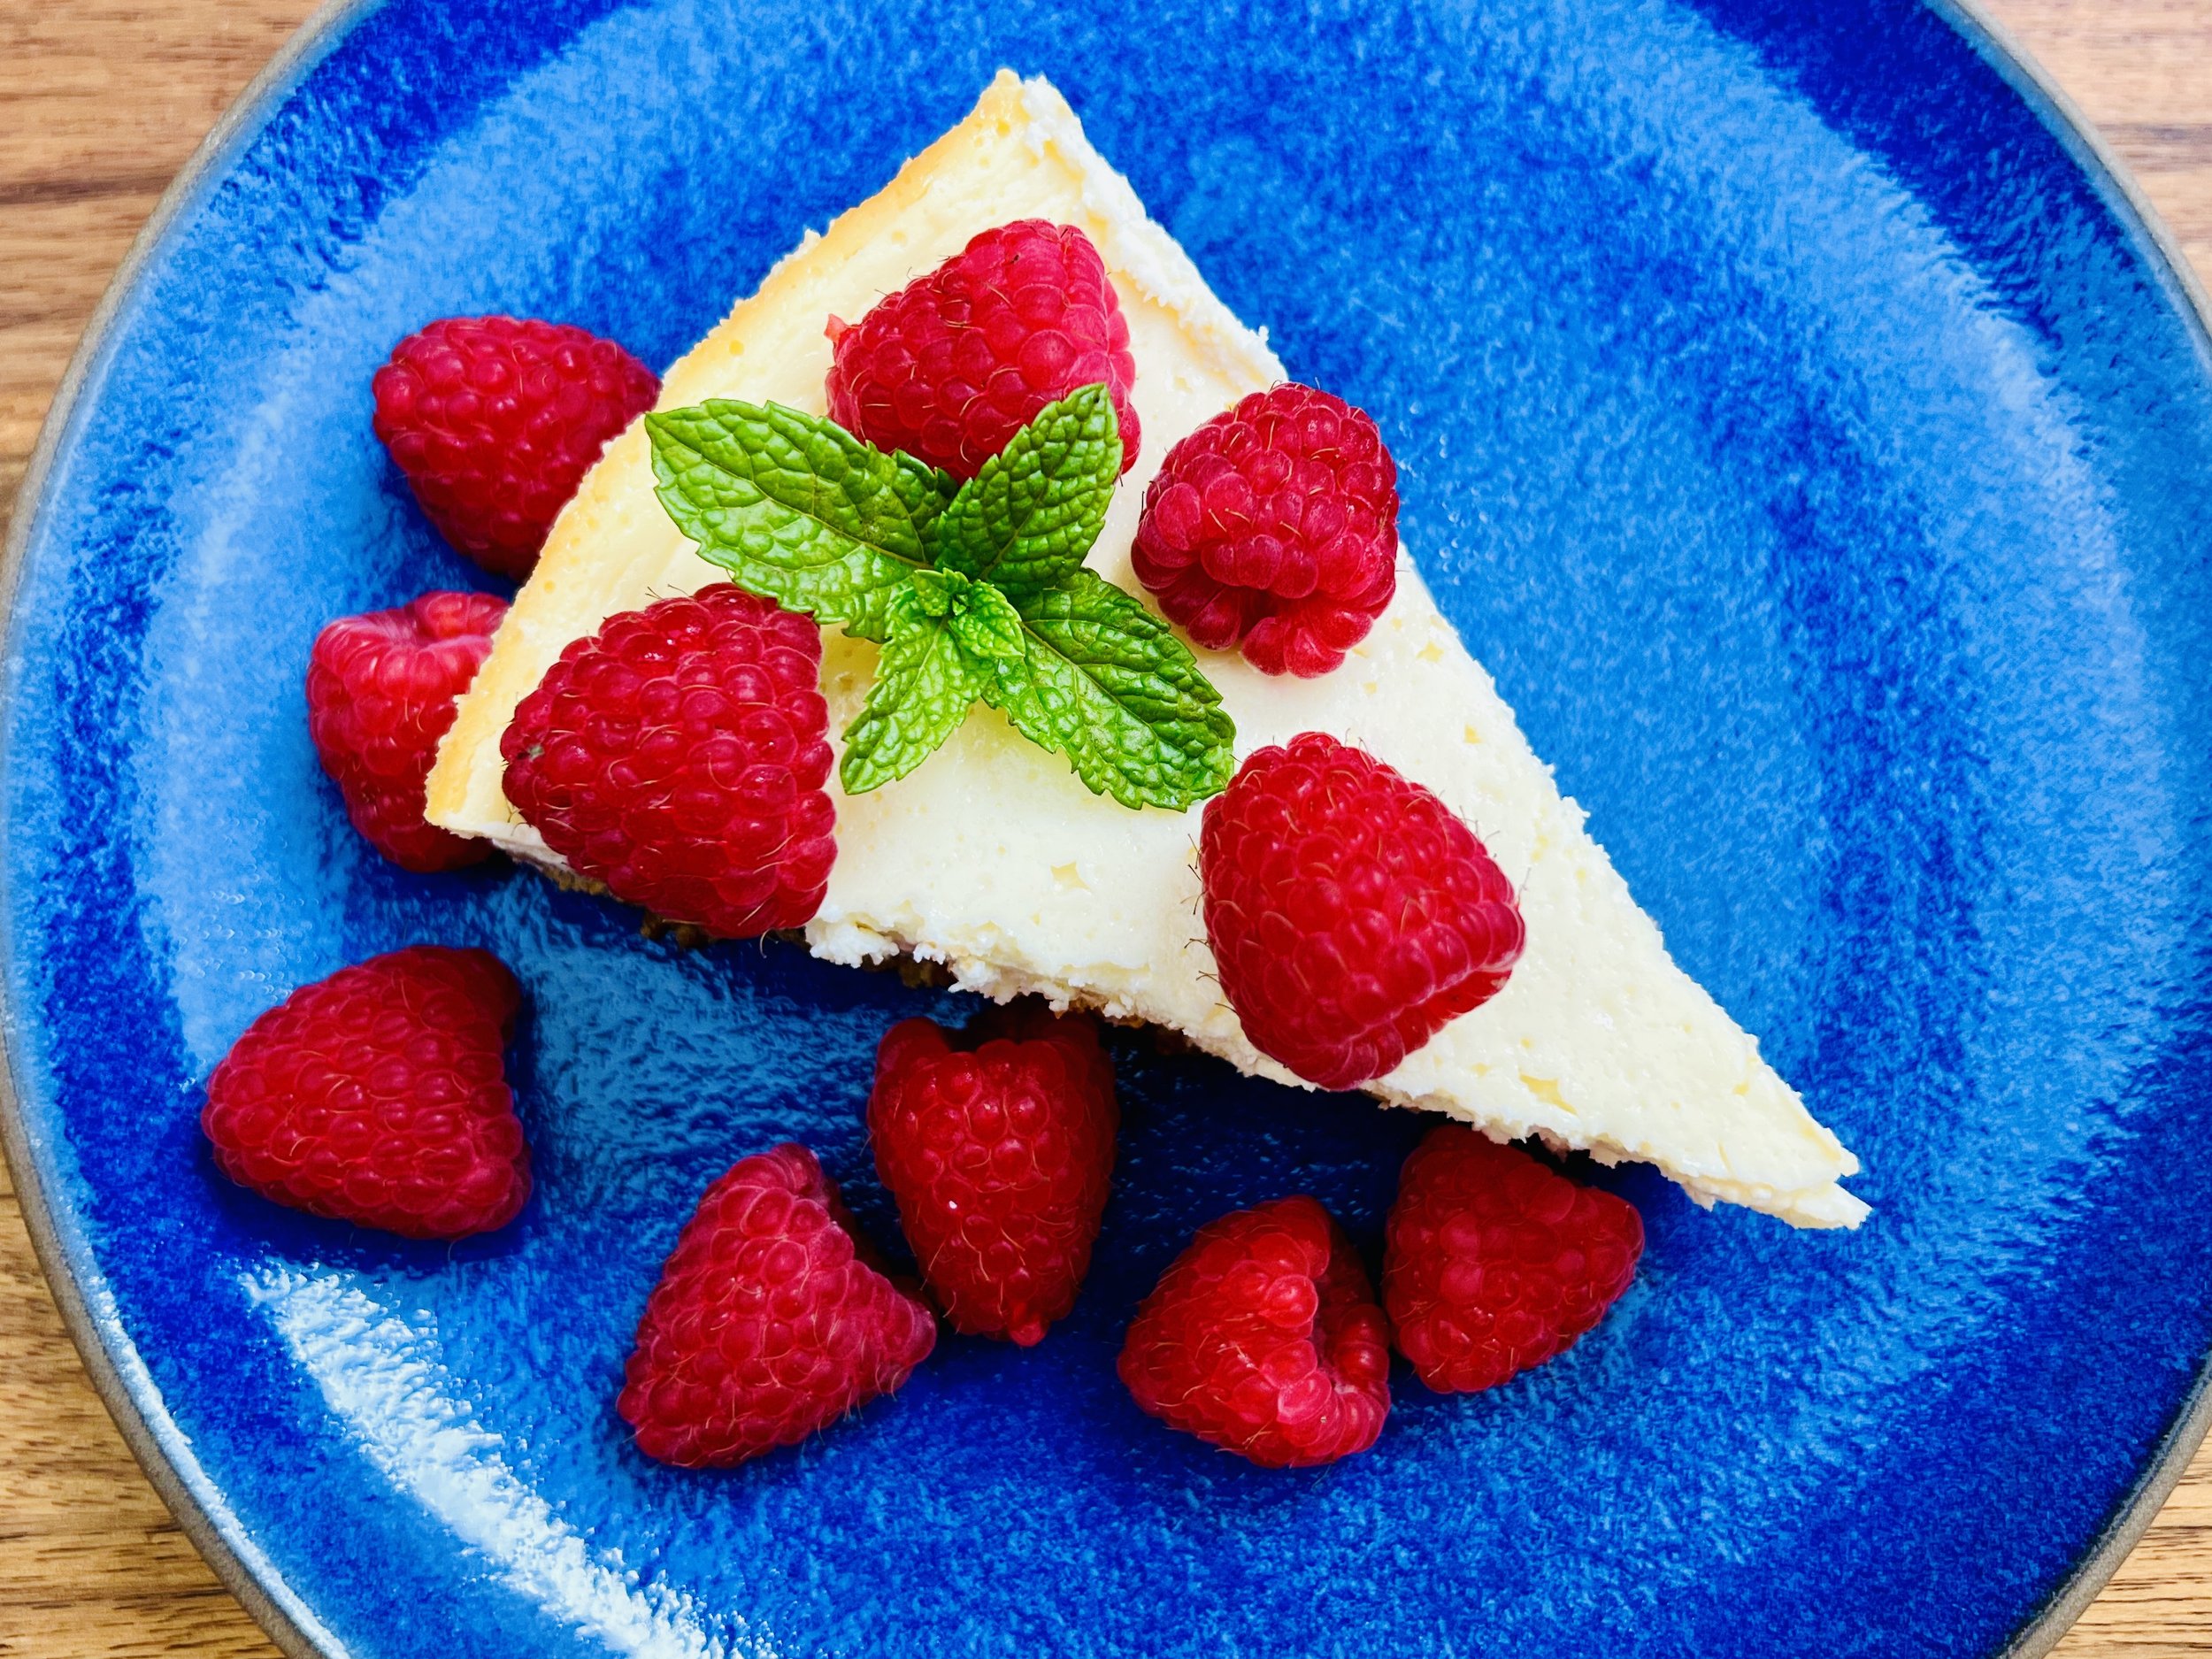
Classic Sour Cream Cheesecake (Low FODMAP)
20 Minutes prep • 9 Hours cook/chill • Low FODMAP • Serves 8
20 Minutes prep • 9 Hours cook/chill • Low FODMAP • Serves 8 • Ok to make ahead: Steps 1-6
This Classic Sour Cream Cheesecake has the perfect harmony of rich creaminess and just the right amount of sweetness. The velvety texture of cream cheese blends seamlessly with the tangy flavor of sour cream, creating a truly delicious filling that sits atop a buttery graham cracker crust. Whether you're entertaining guests or simply treating yourself, this Classic Sour Cream Cheesecake is a perfect choice because it’s easy to make, you can make it ahead of time, and it’s low FODMAP so everyone at the table can enjoy it.
Ingredients: Crust
1 1/2 cups gluten-free graham crackers (about 1 sleeve), ground into crumbs
6 tablespoons salted butter, melted
Ingredients: Cheesecake
16 ounces lactose-free cream cheese, at room temperature
16 ounces lactose-free sour cream, at room temperature
1 cup superfine white sugar (you can also use granulated sugar and be sure to blend very well)
3 eggs, at room temperature
1 tablespoon vanilla extract, vanilla bean paste or any other flavoring of your choice
Directions
(1) Prepare: Preheat the oven to 350 degrees F. Bring the cream cheese, sour cream, and eggs to room temperature. Melt the butter.
(2) Make the graham cracker crumbs: In the bowl of your food processor, add the graham crackers. Pulse on and off until all crackers have turned to crumbs. You can also do this by putting the graham crackers in a ziploc bag and using a rolling pin or heave glass to crunch them up.
(3) Make the crust: Drizzle the melted butter over the cracker crumbs in the bowl of your food processor. Pulse until all crumbs and butter are combined. You can also combine butter and crumbs in a mixing bowl with a wooden spoon. Pour the crumbs into the bottom of a 7 - 9-inch springform pan and pat them with your fingers to make an even layer or make it slightly thicker at the edges if you prefer.
(4) Bake the crust: Bake in the preheated oven for 10 minutes until the crust has dried out and begins to brown just a bit. Remove from the oven and set aside.
(5) Make the filling: In the bowl of your food processor or stand mixer, combine cream cheese and sour cream and blend until completely smooth. Add the sugar, eggs, and vanilla and blend well but don’t whip air into the mixture. Scrape down the sides to ensure all sugar and eggs are blended into the cheese mixture. Pour the batter into the pan gently so as not to disturb the crumb crust.
(6) Bake: Put in the preheated oven and bake for 30 minutes. Turn off the oven. Don’t open the oven door. Leave the cheesecake in the oven for one hour. Remove and let cool to room temperature. Cover with plastic wrap and refrigerate for at least 8 hours (more is fine).
(7) Plate and serve: Run a knife around the edge of the pan and carefully remove the sides of the springform pan. Slice the cake and serve with fresh berries or your favorite topping.
Eat and enjoy every bite because you can!
Have a question you’d like to have answered? Email me at hello@ibsgamechanger.com
Link note: This post may contain affiliate links for you to easily purchase items that are linked. I may earn a small commission from qualifying purchases but none of this costs you a thing so feel free to use the links! In addition, for some items, I have provided a special discount code for IBS Game Changers so be sure to use the code when you purchase an item to get the discount that has been arranged just for you.
More Deliciously Low FODMAP™ dessert recipes
15 Minutes prep • 20 Minutes cook • 30 Minutes cool • Low FODMAP • Gluten-free • Makes 18 bars
20 Minutes prep • 10 Minutes cook • Low FODMAP • Gluten-free • Makes 12 Sandwiched Cookies
20 Minutes prep • 20 Minutes cook • Low FODMAP • Gluten-free • Lactose-free • Makes 12 - 24
20 Minutes prep • 2 Hours chill • 10 Minutes cook • Low FODMAP • Gluten-free • Makes 24 - 36
I’m here to show you how to fully embrace the flavors of fall while keeping your digestive system happy.
10 Minutes prep • Overnight Chill • Low FODMAP • Gluten-free • Lactose-free • Serves 2 - 4
15 Minutes prep • 30 Minutes cook/cool • Low FODMAP • Gluten-free • Serves 8 • Serving Size 1/8
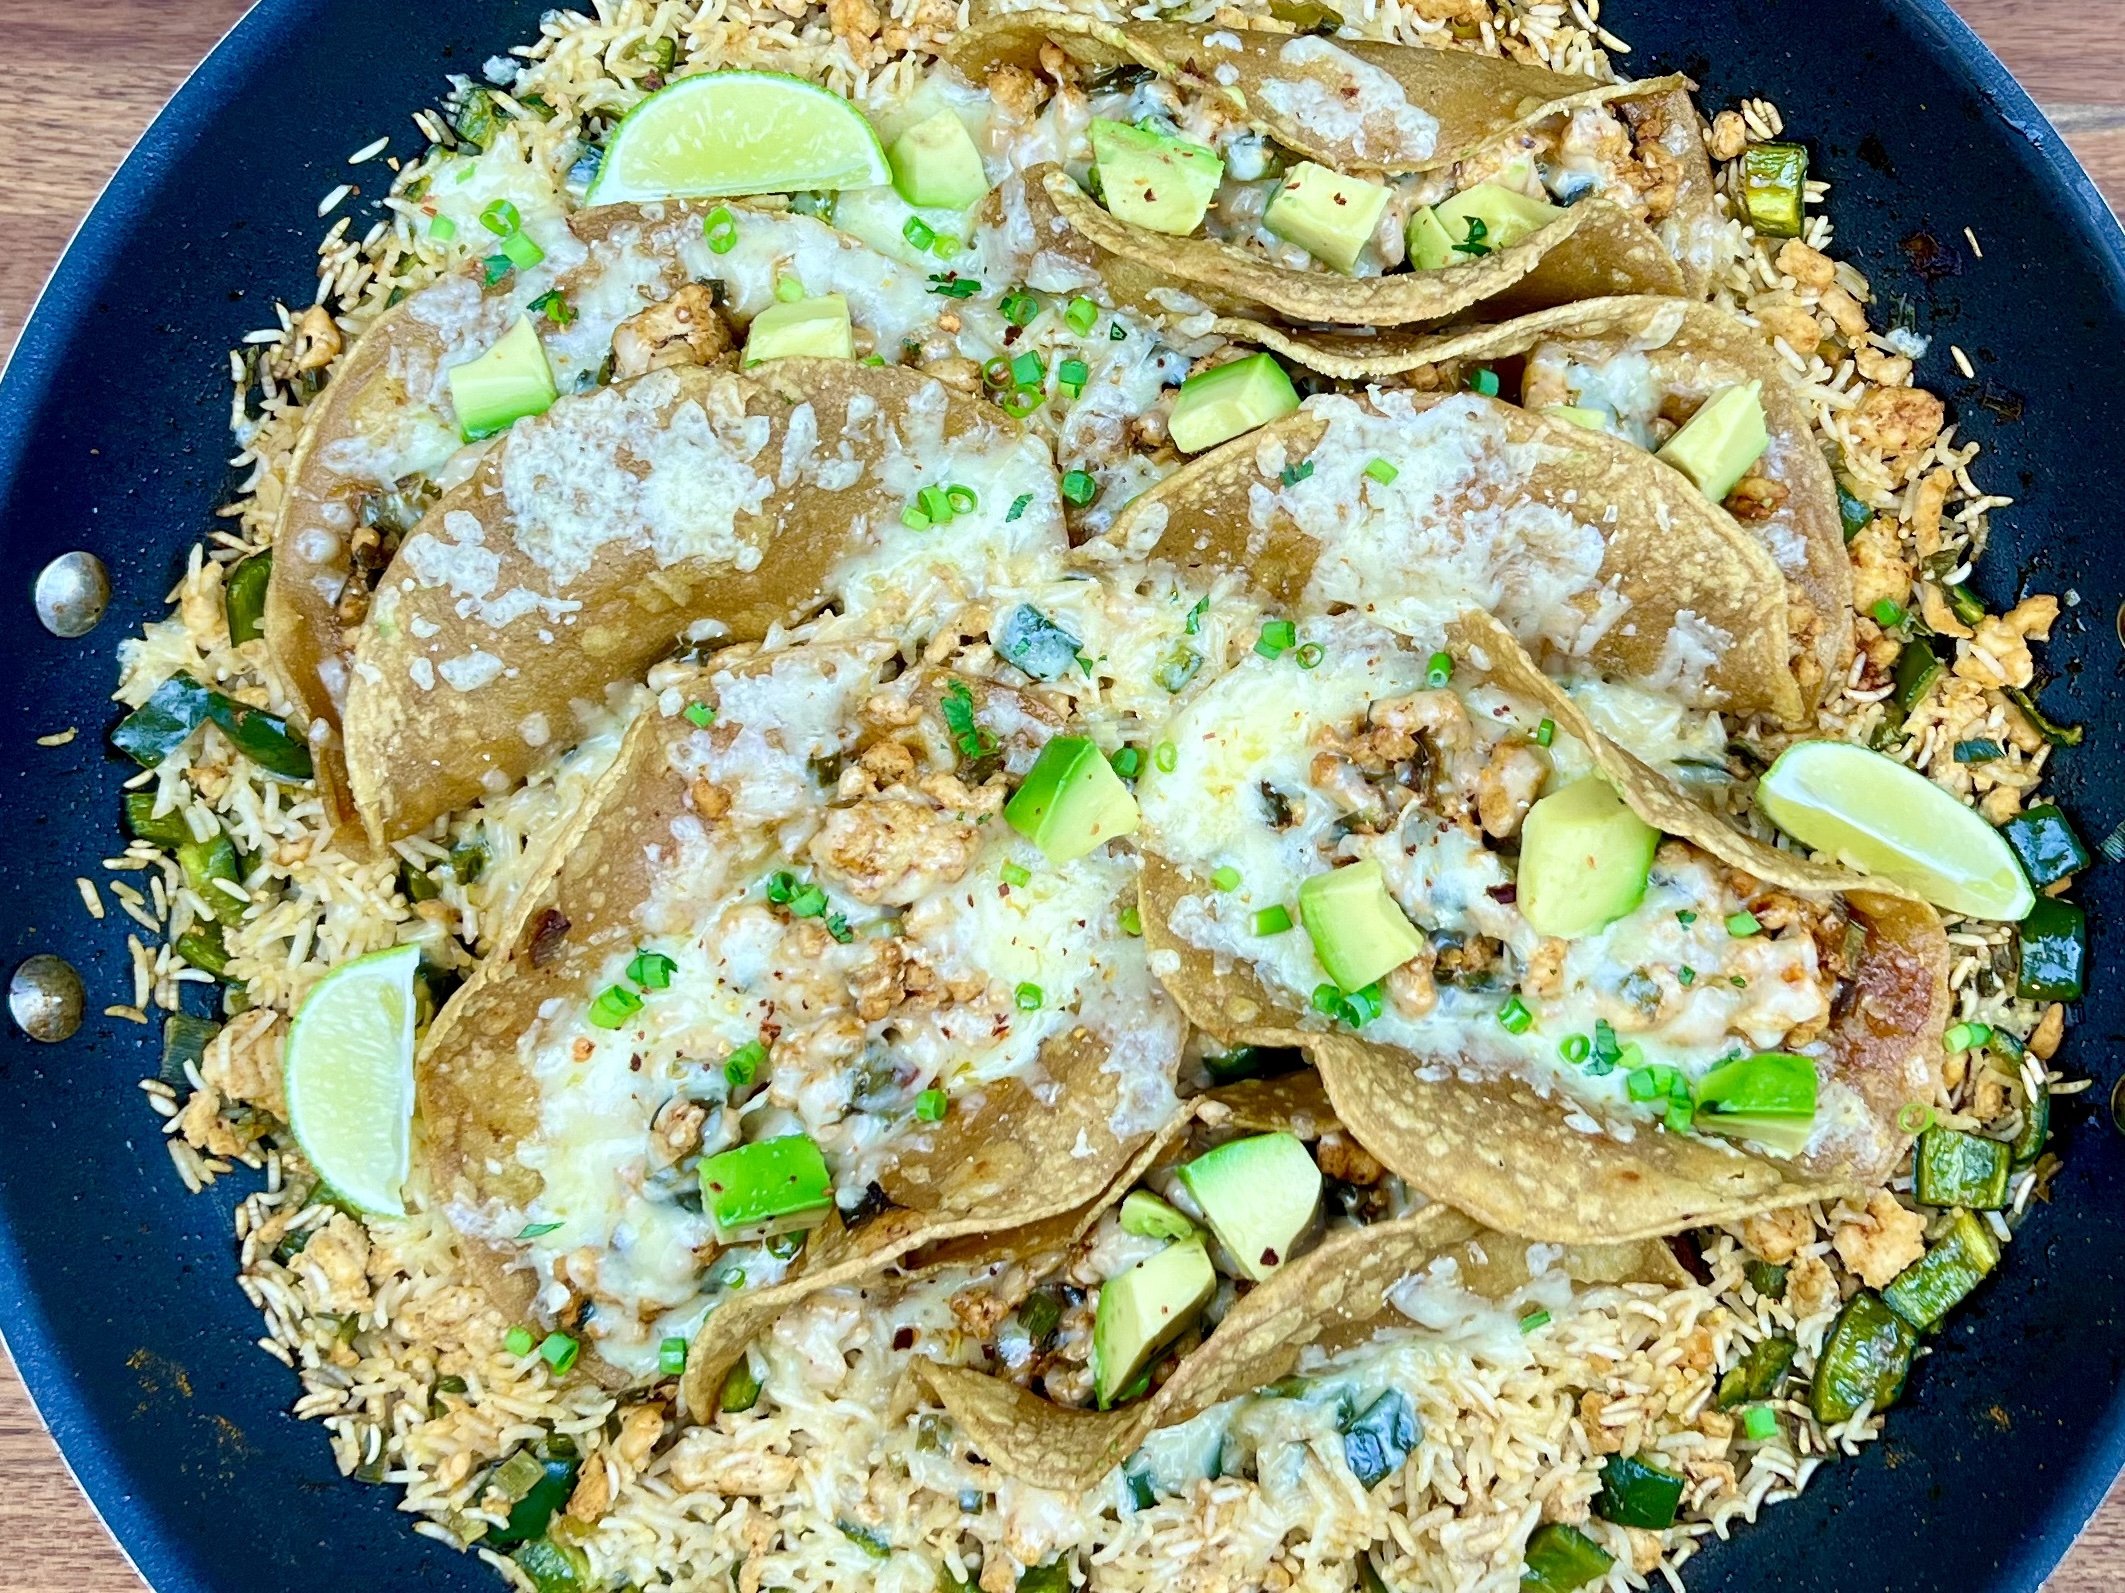
Crispy Baked Tacos and Mexican Rice (Low FODMAP)
15 Minutes prep • 30 Minutes cook • Low FODMAP • Gluten-free • Serves 3 - 4
15 Minutes prep • 30 Minutes cook • Low FODMAP • Gluten-free • Serves 3 - 4 • Ok to make ahead: Step 1
Get ready to elevate your taco night with a twist that's sure to become a family favorite: Crispy Tacos Baked together with Mexican Rice! This mouthwatering recipe combines the best of both worlds – the classic flavors of crispy tacos and the comforting goodness of baked rice. This dish comes together effortlessly in the oven and is a crowd-pleaser striking the perfect balance between simplicity and indulgence.
Ingredients: Tacos
1 pound ground beef, chicken, or turkey
1 bunch green onions, green part only, chopped
2 tablespoons Smoke N Sanity Taco Seasoning (use code IBSGC15 for 15% discount)
6-8 corn tortillas (gluten-free) or 6-8 premade gluten-free crispy taco shells
4 tablespoons olive oil or avocado oil
1-2 cups shredded extra sharp cheddar cheese, pepper jack, or Mexican cheese blend
1 tablespoon salted butter
1 cup dry long-grain rice
1 poblano pepper, seeded and chopped
2 1/2 cups low FODMAP chicken broth or water (I use Whole Foods Organic 365 chicken broth or Gourmend low FODMAP Organic Chicken Broth - use code IBSGC15 for 15% discount)
1/2 cup fresh chopped cilantro/green onions for serving
1/2 avocado, chopped, for serving
Red pepper flakes (optional), for serving, and here’s a nifty red pepper flake grinder too!
Ingredients: Cilantro Lime Sour Cream
1 cup lactose-free sour cream
3/4 cup fresh cilantro, chopped
1 teaspoon Smoke N Sanity Essence of Garlic Salt (use code IBSGC15 for 15% discount)
1 teaspoon Smoke N Sanity Essence of Onion Salt (use code IBSGC15 for 15% discount)
2 tablespoons lime juice
Directions
(1) Prepare: Preheat the oven to 425 degrees F. Line an 8” x 8” baking pan with foil or parchment. Grate the cheese. Chop the green onions. Seed and chop the pepper.
(2) Cook the meat: Heat a large oven-safe skillet over medium-high heat. When hot, add 1 tablespoon olive oil, then add the ground meat, cook the meat and onion, breaking up the meat as it cooks, until the meat is browned, about 5 minutes. Add the taco seasoning and 3/4 cup water. Reduce the heat to medium and simmer until the sauce has thickened slightly around the meat, 5 minutes. Then remove 3/4 of the meat from the skillet to a plate and set aside.
(3) Cook the rice: To the skillet, add the butter, rice, and chopped poblano pepper. Cook until the rice is toasted (about 3 minutes), then stir in 2 1/2 cups of chicken broth or water (I like to heat before adding, but it’s not necessary). Bring to a boil over high heat, then reduce the heat to low and cook, uncovered, for 15 minutes. If the rice is getting dry during this time, add a bit more broth or water.
(4) Fry the tortillas: Add 1 tablespoon of olive oil to a small frying pan, and cook the taco shells one at a time over medium-high heat. Turn each tortilla when it starts to bubble up, about 30 seconds per side if the oil is hot enough. Add more oil and let it get hot before putting in the next tortilla. When you take each tortilla out of the hot oil, fold it in half over the round handle of a wooden spoon (to allow it to fold without breaking) and set it on paper towels to drain. You can also buy and use premade crispy taco shells (just make sure they are gluten-free).
(5) Pre-bake the tacos: Put the cooked taco shells in the prepared baking dish. Divide the meat among each shell and top with half the cheese. Bake for 10 minutes, until the cheese has melted.
(6) Final bake: Move the pre-baked tacos from the oven and nestle them into the rice in the skillet. Sprinkle with the remaining cheese, and transfer to the oven to bake for 10-15 minutes until the cheese is melted. Watch to be sure the tortillas don’t get overly brown.
(7) Make the cilantro lime sour cream: Meanwhile, make the cilantro lime sour cream. Combine all ingredients in a small bowl and stir until well blended.
(8) Plate and serve: Serve the hot tacos and rice drizzled with cilantro lime sour cream and topped with additional cilantro, green onions, avocado, and red pepper flakes.
Eat and enjoy every bite because you can!
Have a question you’d like to have answered? Email me at hello@ibsgamechanger.com
Link note: This post may contain affiliate links for you to easily purchase items that are linked. I may earn a small commission from qualifying purchases but none of this costs you a thing so feel free to use the links! In addition, for some items, I have provided a special discount code for IBS Game Changers so be sure to use the code when you purchase an item to get the discount that has been arranged just for you.
More Deliciously Low FODMAP™ main course recipes
15 Minutes prep • 30 Minutes cook • Low FODMAP • Serves 4 • Ok to make-ahead: Steps 1 - 2
10 Minutes prep • 25 Minutes cook • Low FODMAP • Gluten-Free • Serves 6 • Ok to make-ahead: Step 1
45 Minutes prep • 60 Minutes cook • Low FODMAP • Gluten-free • Vegetarian • Serves 6 - 8
5 Minutes prep • 15 Minutes cook • Low FODMAP • Gluten-free • Lactose-free • Vegan • Serves 4
10 Minutes prep • 20 Minutes cook • Low FODMAP • Gluten-free • Serves 4 n skewers for your family and friends. They are sure to be a hit.
15 Minutes prep • 55 Minutes cook (if using brown rice) • Low FODMAP • Gluten-free • Lactose-free • Vegan • Serves 4
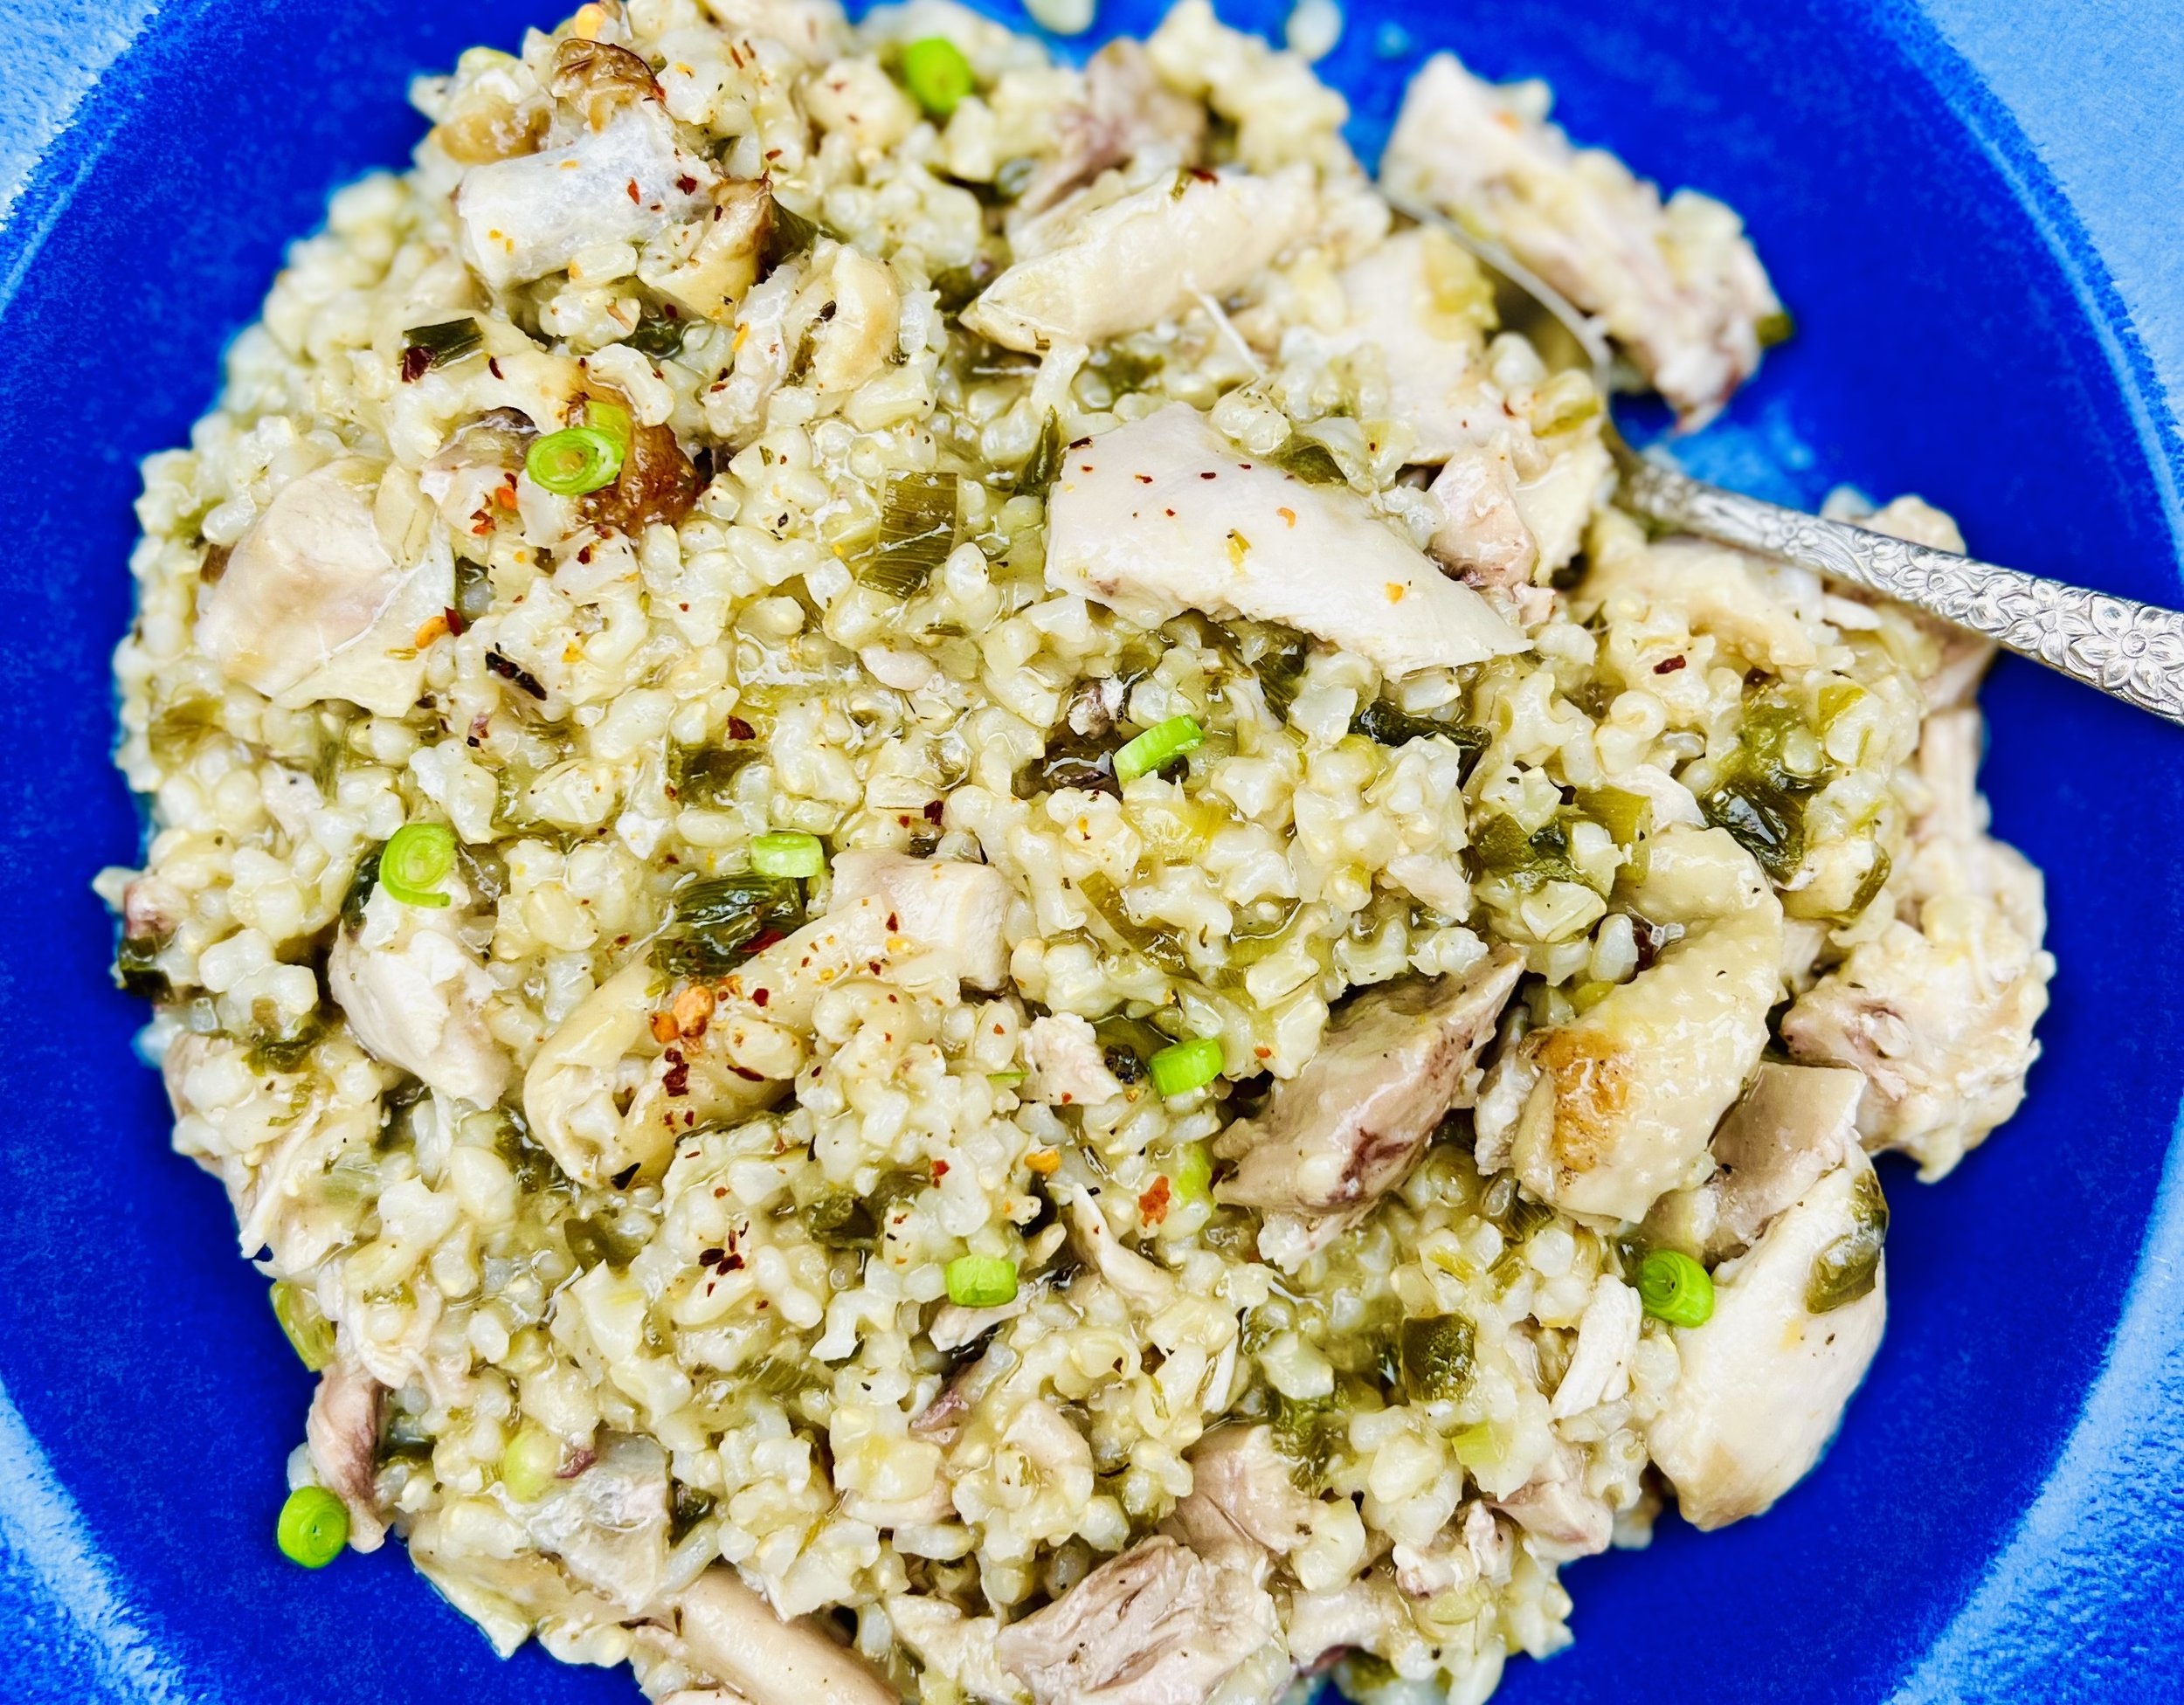
One Pan Chicken and Rice: Creamy Comfort Food (Low FODMAP)
10 Minutes prep • 45 - 50 Minutes cook • Low FODMAP • Gluten-free • Serves 4
10 Minutes prep • 45 - 50 Minutes cook • Low FODMAP • Gluten-free • Serves 4
Indulge in the ultimate comfort of my One-Pan Chicken and Rice. This effortlessly delicious recipe brings together tender chicken, perfectly cooked rice, and a luxuriously creamy sauce all in a single pan, minimizing the fuss and maximizing the flavor. Reminiscent of risotto it's a comforting feast that promises not only to satisfy your taste buds but also to make your kitchen smell wonderful while it’s cooking. Get ready for a creamy, savory experience that will have everyone asking for more!
Ingredients
2 tablespoons garlic-infused olive oil
4 bone-in, skin-on chicken breasts (the bones and skin enhance the flavor and creaminess of the sauce)
1 teaspoon Kosher salt
1/2 teaspoon black pepper
1 teaspoon dry thyme
1 teaspoon dry rosemary
1 leek, green part only, chopped
1 bunch green onions, green part only, chopped (plus a few for serving)
4 cups low FODMAP chicken broth (I use Whole Foods Organic 365 chicken broth or Gourmend low FODMAP Organic Chicken Broth - use code IBSGC15 for 15% discount)
1-2 Parmesan rinds (optional but adds a lot of flavor)
1 cup short-grain brown rice
1/4 teaspoon red pepper flakes for serving (optional) and here’s a nifty red pepper flake grinder
Directions
(1) Prepare: Preheat oven to 350 degrees F. Chop the vegetables.
(2) Cook the vegetables: In a heavy soup pot or Dutch Oven set over medium-high heat, add 2 tablespoons garlic-infused olive oil. When hot, add the leek and green onion greens, and cook for a couple of minutes to soften.
(3) Braise the chicken: Add the chicken, skin side down, to the pan, pushing the greens out of the way so the skin of the chicken is on the bottom of the pan. Season with Kosher salt and pepper and sprinkle with 1/2 of the thyme and rosemary. Cook for about 5 minutes until well browned. Flip the chicken pieces over, sprinkle with salt and pepper, and the other half of the thyme and rosemary.
(4) Add the chicken broth: Add the chicken broth, parmesan rinds, and bay leaves.
(5) Bake: Put the pan in the oven and cook, uncovered, for about 40 minutes until the rice is tender. Check the pan occasionally and add more broth if it’s getting dry.
(6) Chop the chicken: After about 40 minutes, when the rice is cooked, take the pan out of the oven. Remove the Parmesan rinds and bay leaves. Remove the chicken pieces from the pan to a cutting board. Pull the meat and skin from the bones with a fork (it will be falling off the bone). Discard the bones and chop the chicken meat and finely chop the skin (skin is optional but it adds a lot of flavor and creaminess to the final dish).
(7) Finish: Return the chopped meat to the pan and stir.
(8) Plate and Serve: Spoon generous servings into bowls and sprinkle with chopped green onion greens and red pepper flakes.
Eat and enjoy every bite because you can!
Recipe note: I use Diamond Crystal Kosher salt in all my recipes because it has a wonderful flat and crisp flake that tastes delicious. It is also the least salty salt available so you can use it more liberally as a seasoning than you can table salt or sea salt. If you use another type of salt, you may need to reduce the amount so it is not over-salted.
Have a question you’d like to have answered? Email me at hello@ibsgamechanger.com
Link note: This post may contain affiliate links for you to easily purchase items that are linked. I may earn a small commission from qualifying purchases but none of this costs you a thing so feel free to use the links! In addition, for some items, I have provided a special discount code for IBS Game Changers so be sure to use the code when you purchase an item to get the discount that has been arranged just for you.
More Deliciously Low FODMAP™ main course recipes
15 Minutes prep • 30 Minutes cook • Low FODMAP • Serves 4 • Ok to make-ahead: Steps 1 - 2
10 Minutes prep • 25 Minutes cook • Low FODMAP • Gluten-Free • Serves 6 • Ok to make-ahead: Step 1
45 Minutes prep • 60 Minutes cook • Low FODMAP • Gluten-free • Vegetarian • Serves 6 - 8
5 Minutes prep • 15 Minutes cook • Low FODMAP • Gluten-free • Lactose-free • Vegan • Serves 4
10 Minutes prep • 20 Minutes cook • Low FODMAP • Gluten-free • Serves 4 n skewers for your family and friends. They are sure to be a hit.
15 Minutes prep • 55 Minutes cook (if using brown rice) • Low FODMAP • Gluten-free • Lactose-free • Vegan • Serves 4
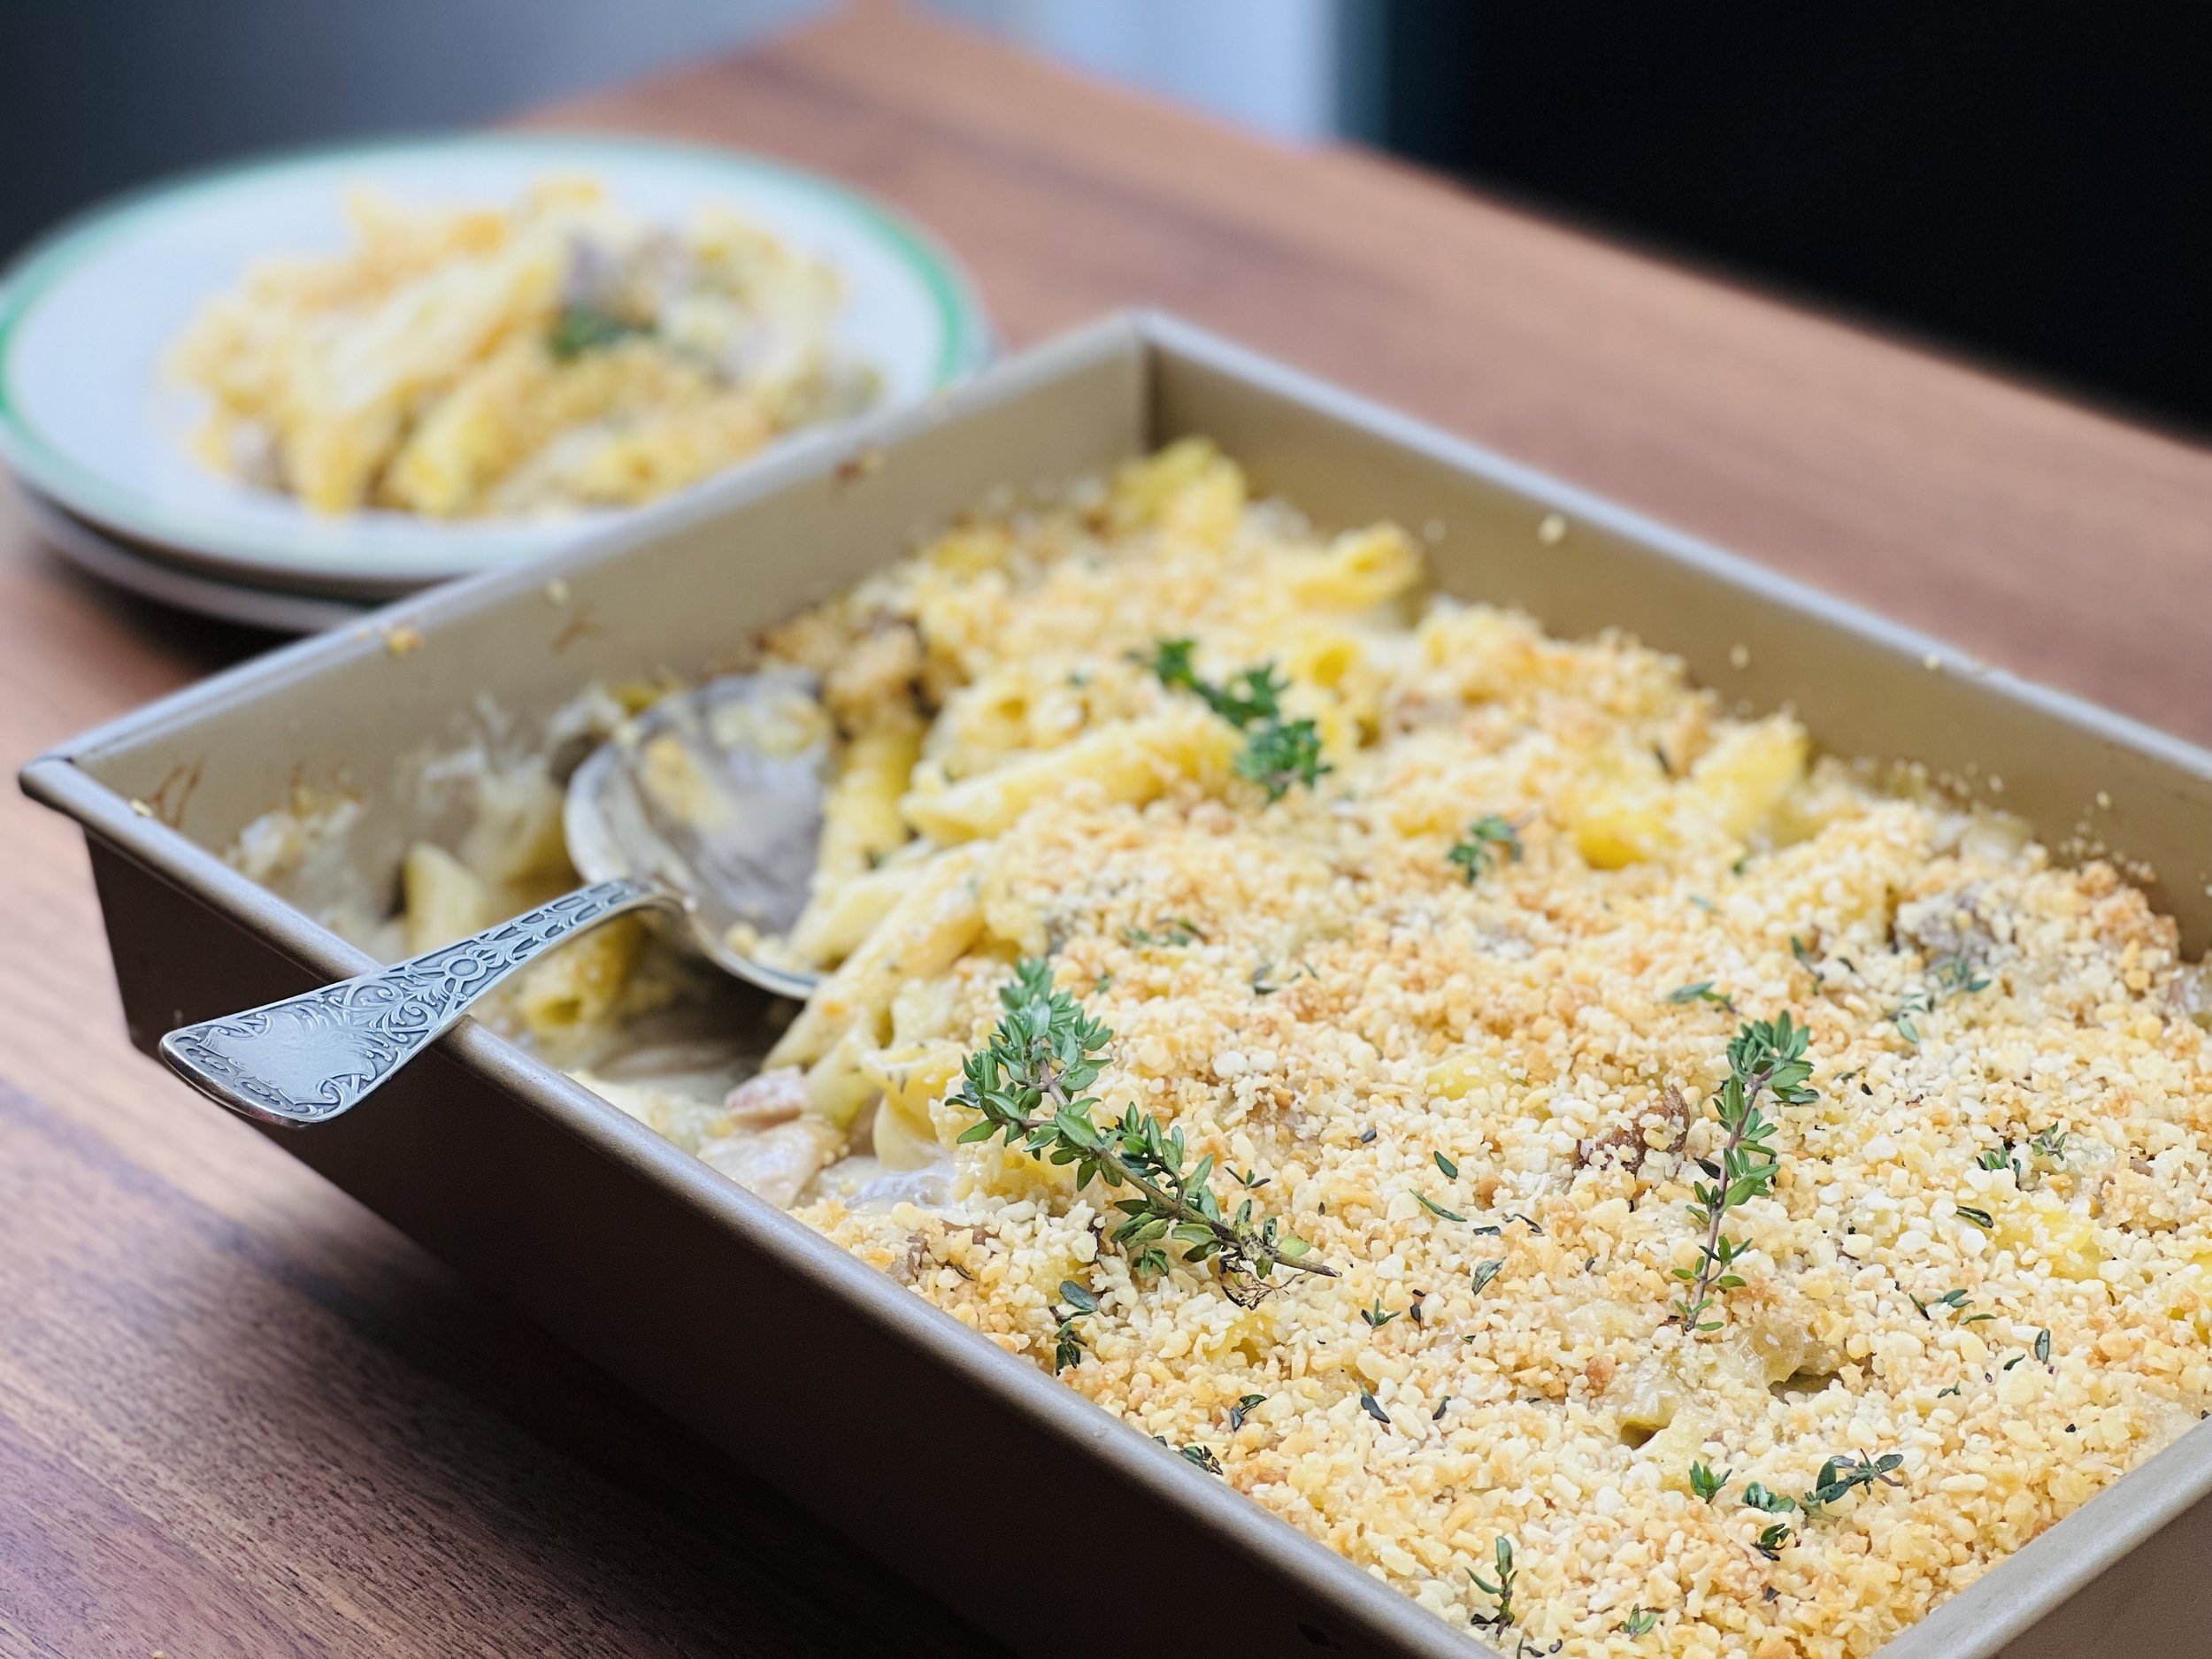
Extra Special Turkey Tetrazzini (low FODMAP)
20 minutes prep • 25 minutes cook • Low FODMAP • Gluten-free • Serves 6
20 minutes prep • 25 minutes cook • Low FODMAP • Gluten-free • Serves 6 • Ok to make ahead: Step 1
This is not an old-fashioned mushroom soup tetrazzini! It’s super creamy, full of fresh herbs and seasonings, and topped with parmesan panko crumbs that form a wonderful crisp crust over the creamy pasta. It’s easy to make and turns your holiday leftover turkey into a delicious dish the whole family will love. Serve it with some crusty sourdough and our Holiday Salad or our Simple Gem Salad and you’ll have a perfect meal.
Ingredients
12 ounces gluten-free pasta (I used Delallo Penne Rigate)
7 tablespoons butter, divided
One bunch green onions (green part only) chopped
2 stalks celery, chopped
1 pound oyster mushrooms, chopped (optional)
1/2 cup white wine (I used Sauvignon Blanc)
1 teaspoon Smoke N Sanity Essence of Garlic Salt (use code IBSGC15 for 15% discount)
1 teaspoon Smoke N Sanity Essence of Onion Salt (use code IBSGC15 for 15% discount)
2 teaspoons fresh or freeze-dried chives
1/4 cup gluten-free flour (I used Bob’s Red Mill 1 for 1)
2 1/4 cups low FODMAP chicken broth (I use Whole Foods Organic 365 chicken broth or Gourmend low FODMAP Organic Chicken Broth - use code IBSGC15 for 15% discount)
1 cup heavy cream
1 pound cooked turkey, chopped (about 2 1/2 cups)
1 cup extra sharp cheddar cheese, grated
1 cup fresh grated parmesan, divided
1 cup chopped roasted vegetables if you have them leftover (optional)
1/2 cup walnuts, chopped (optional)
1 teaspoon dried thyme
1 cup gluten-free panko bread crumbs (or pork panko for lower carb version)
2 tablespoons garlic-infused olive oil
Directions
(1) Prepare: This recipe leverages leftovers so if you’re making from scratch, you’ll want to cook the turkey ahead of time. Preheat oven to 350 degrees F and grease a 9”x13” (or equivalent) baking dish with 1 tablespoon of butter.
(2) Make the pasta: In a large pot of boiling salted water cook the pasta according to package directions. Drain. Do not rinse. Toss with a drizzle of garlic-infused olive oil if it begins to stick together.
(3) Cook the vegetables: In a large skillet over medium heat, melt 2 tablespoons of butter. Add green onions and celery, and cook until tender, 1 minute. Add the mushrooms and wine and cook until most of the wine is absorbed and the mushrooms are soft, 5 minutes.
(4) Make the creamy sauce: Add the remaining 4 tablespoons of butter to the skillet with the vegetables and stir gently until butter is melted. Whisk in the flour and cook until golden, 2 - 3 minutes. Slowly add the chicken broth and the cream and whisk until no lumps remain. Simmer until thickened, 3 - 5 minutes. Add Smoke N Sanity seasonings and chives. Taste and season with additional salt and pepper if needed.
(5) Add remaining ingredients: Add turkey, cheese, chopped veggies, and thyme, and toss until combined. Add cooked pasta and toss to coat. Taste and season with salt and pepper then transfer the mixture into the prepared dish.
(6) Make the parmesan panko: In a medium bowl, toss to combine the panko, Parmesan, and garlic-infused olive oil. Sprinkle evenly over the pasta.
(7) Finish: Bake for 25 minutes until the top is golden and the sauce is bubbly.
(8) Plate and serve: Let cool for 10 minutes before serving. Serve it with some crusty sourdough and our Holiday Salad or our Simple Gem Salad and you’ll have a perfect meal.
Eat and enjoy every bite because you can!
Link note: This post may contain affiliate links for you to easily purchase items that are linked. I may earn a small commission from qualifying purchases but none of this costs you a thing so feel free to use the links! In addition, for some items, I have provided a special discount code for IBS Game Changers so be sure to use the code when you purchase an item to get the discount that has been arranged just for you.
More Deliciously Low FODMAP™ main courses you might enjoy
15 Minutes prep • 30 Minutes cook • Low FODMAP • Serves 4 • Ok to make-ahead: Steps 1 - 2
10 Minutes prep • 25 Minutes cook • Low FODMAP • Gluten-Free • Serves 6 • Ok to make-ahead: Step 1
45 Minutes prep • 60 Minutes cook • Low FODMAP • Gluten-free • Vegetarian • Serves 6 - 8
5 Minutes prep • 15 Minutes cook • Low FODMAP • Gluten-free • Lactose-free • Vegan • Serves 4
10 Minutes prep • 20 Minutes cook • Low FODMAP • Gluten-free • Serves 4 n skewers for your family and friends. They are sure to be a hit.
15 Minutes prep • 55 Minutes cook (if using brown rice) • Low FODMAP • Gluten-free • Lactose-free • Vegan • Serves 4
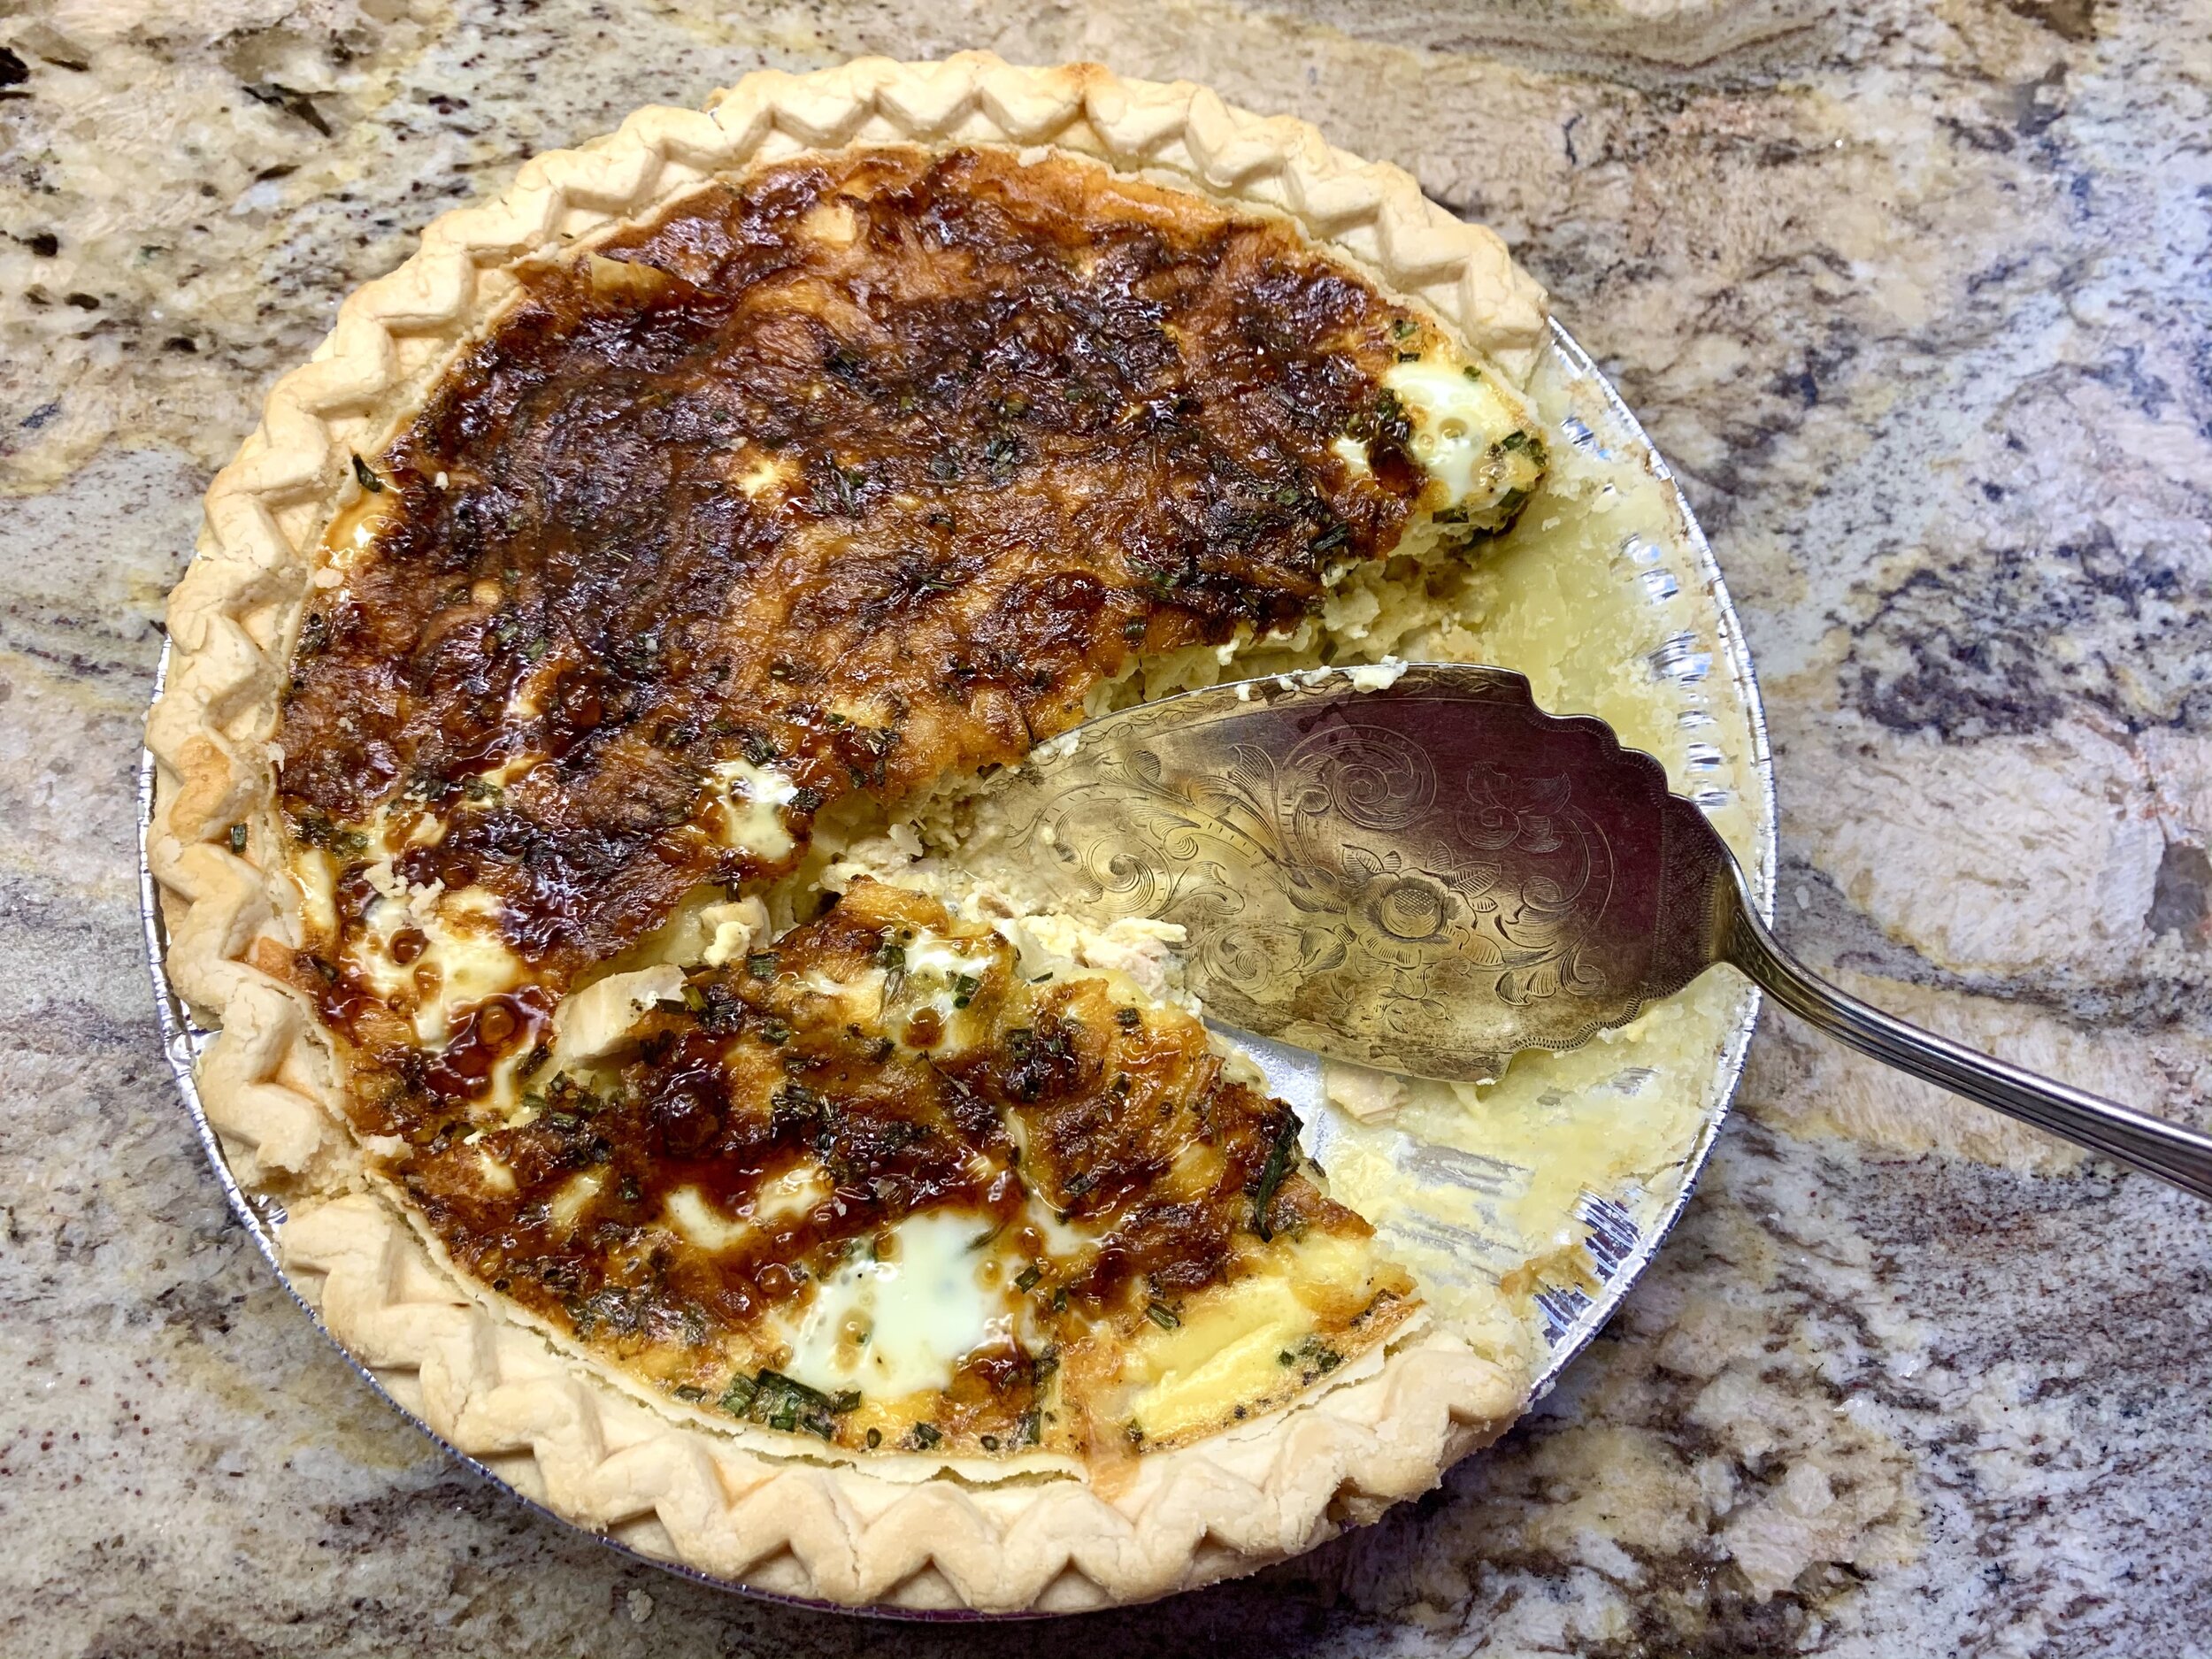
Super Easy Holiday Leftover Turkey Pie (Low FODMAP)
10 Minutes prep • 20 Minutes cook • Low FODMAP • Gluten-free • Serves 4 - 6 • Ok to make ahead: Steps 1-3
10 Minutes prep • 20 Minutes cook • Low FODMAP • Gluten-free • Serves 4 - 6 • Ok to make ahead: Steps 1-3
Turn your holiday leftovers into a new meal by baking them into a savory pie. You’ll have all your favorite holiday flavors combined into one scrumptious, easy-to-make pie. You can even use a frozen gluten-free butter crust as I did here to make this savory pie in a snap! Also, you can easily modify this recipe and use turkey only, or turkey and stuffing only, or whatever you have left over. You can even add cooked greens such as spinach or mushrooms (just make sure you cook them before you put them in the pie so they don’t give off too much moisture). The thyme/sage eggs, milk, and cheese bring it all together so don’t worry if you don’t have ALL the leftovers. It will still be delicious!
Ingredients
1 butter pie crust (frozen gluten-free butter crust, or Bob’s Red Mill gluten-free pie crust mix, or my perfect buttery pate brisee crust)
1 pound chopped turkey meat (no skin)
2 cups mashed potatoes (optional)
2 cups cooked stuffing (optional)
1 - 2 cups grated gruyere or sharp cheddar cheese (or some of each)
5 eggs + 1 egg white
2 cups lactose-free whole milk (or lactose-free 2% milk or half and half)
1 teaspoon dry thyme
½ teaspoon dry sage
1 tablespoon chopped chives (optional)
Kosher salt and black pepper to taste
Cranberry sauce and my Great Gravy for serving (optional)
Directions
(1) Prepare: Prepare your pie crust and place in an 8 - 9-inch pie pan and place in the freezer until ready to fill. Preheat oven to 400 degrees F. Chop the turkey.
(2) Fill the crust: When ready to fill, remove the crust from the freezer and brush inside the bottom of the crust with egg white. Arrange chopped turkey in an even layer over the bottom of the crust. Spread an even layer of stuffing and then an even layer of mashed potatoes over the turkey. Spread the cheese over the mashed potatoes.
(3) Add the egg mixture: Beat the eggs, milk, thyme, sage, salt, and pepper together in a small bowl and pour over the pie. If there’s not enough liquid to just cover the ingredients in the crust, beat another egg in ½ cup of milk and add it in.
(4) Bake: Bake for 15 minutes at 400 degrees F and then turn down to 350 degrees F and cook for another 25 minutes or until golden brown and the egg mixture isn’t jiggly anymore.
(5) Plate and serve: Let the pie stand for 5 minutes before serving. Serve with cranberry sauce and gravy on the side (both optional as it’s delicious without them too.)
Eat and enjoy every bite because you can!
Recipe note: I use Diamond Crystal Kosher salt in all my recipes because it has a wonderful flat and crisp flake that tastes delicious. It is also the least salty salt available so you can use it more liberally as a seasoning than you can table salt or sea salt. If you use another type of salt, you may need to reduce the amount so it is not over-salted.
Have a question you’d like to have answered? Email me at hello@ibsgamechanger.com
Link note: This post may contain affiliate links for you to easily purchase items that are linked. I may earn a small commission from qualifying purchases but none of this costs you a thing so feel free to use the links! In addition, for some items, I have provided a special discount code for IBS Game Changers so be sure to use the code when you purchase an item to get the discount that has been arranged just for you.
More Deliciously Low FODMAP™ main course recipes
15 Minutes prep • 30 Minutes cook • Low FODMAP • Serves 4 • Ok to make-ahead: Steps 1 - 2
10 Minutes prep • 25 Minutes cook • Low FODMAP • Gluten-Free • Serves 6 • Ok to make-ahead: Step 1
45 Minutes prep • 60 Minutes cook • Low FODMAP • Gluten-free • Vegetarian • Serves 6 - 8
5 Minutes prep • 15 Minutes cook • Low FODMAP • Gluten-free • Lactose-free • Vegan • Serves 4
10 Minutes prep • 20 Minutes cook • Low FODMAP • Gluten-free • Serves 4 n skewers for your family and friends. They are sure to be a hit.
15 Minutes prep • 55 Minutes cook (if using brown rice) • Low FODMAP • Gluten-free • Lactose-free • Vegan • Serves 4
The Power of Gratitude: A Small Shift with a Big Impact
Taking a moment each day to acknowledge and appreciate the positive aspects of our lives can have a profound impact on our well-being.
In the hustle and bustle of our daily lives, it's easy to get caught up in the chaos and forget about the simple practice that can transform our outlook: gratitude. Taking a moment each day to acknowledge and appreciate the positive aspects of our lives can have a profound impact on our well-being.
Gratitude is more than a fleeting feeling; it's a mindset, a way of approaching the world with a sense of appreciation. It doesn't require grand gestures or life-altering events; it thrives in the ordinary moments. Today is a day for being thankful. Look for those ordinary moments and pause to reflect on just how wonderful they can be. You might surprise yourself as you notice how good this practice makes you feel.

When we make a conscious effort to practice gratitude, we begin to notice a shift in our perspective. Suddenly, the challenges we face become opportunities for growth, and the ordinary moments become extraordinary. It's not about denying the difficulties but about recognizing the good that coexists.
Start small. Take a few minutes today and every day to reflect on what you're thankful for. It could be as simple as the warmth of the sunshine on your face, a kind word from a friend, or the smell of your morning coffee. Write them down in a gratitude journal or simply tuck them away in your mind.
Research has shown that practicing gratitude can lead to improved mental well-being, reduced stress, and increased overall happiness. It rewires our brains to focus on the positive aspects of life rather than dwelling on the negatives.
In a world that often emphasizes what we lack, gratitude shifts our attention to what we have. It's a reminder that even on challenging days, there's something to be grateful for—a silver lining waiting to be acknowledged.
So, why not embark on this simple yet transformative journey today? Get started, and watch as gratitude gradually becomes a habit, transforming your perspective and enriching your life in ways you never imagined.
Have a question you’d like to have answered? Email me at hello@ibsgamechanger.com
More Deliciously Low FODMAP™ Tips and Tools
In this blog post, I explore some of the ways deep tissue massage can support IBS symptom management, giving you one more tool in your toolbox to find a holistic path to comfort and well-being.
One of the biggest challenges when struggling with gut issues is getting answers to your many questions about cause and treatment. With this in mind, we in the content creator space, work hard to bring you specific and actionable information to help answer your questions.
Since launching IBS Game Changer, I’ve been on a mission to support individuals living with Irritable Bowel Syndrome (IBS) by providing expert coaching, delicious recipes, and essential tips for symptom management.
In this post, I’m sharing many of the essential pantry staples I use in my recipes all the time.
One of the biggest challenges when struggling with gut issues is getting answers to your many questions about cause and treatment. With this in mind, we in the content creator space, work hard to bring you specific and actionable information to help answer your questions.
Monash University recently re-tested avocados for FODMAP content and they made an interesting discovery
In this blog post, I’m addressing the intricate relationship between anxiety and Irritable Bowel Syndrome, exploring how they impact each other, and giving you some specific things you can do to get them both under control.
Not all cheeses are created equal in terms of their compatibility with the low FODMAP diet. This article will help you make informed choices that align with both your preferences and your gut health.
The warmth and soothing nature of bone broth can provide relief from digestive discomfort. Sipping on a warm cup of bone broth may help ease symptoms such as bloating and cramping.
After the holidays or any time you want to improve your relationship with food, use these techniques to master mindful eating and regain control of your health.
From Mindful Munching to making Social Connections — here are some tips for a happy holiday!
Research underscores the point that moderate-intensity exercise often outperforms vigorous exercise in relieving IBS symptoms. But individualization is key.
Taking a moment each day to acknowledge and appreciate the positive aspects of our lives can have a profound impact on our well-being.
How can you ensure your gut biome is in the best shape possible? I’ve put together the top 10 strategies to promote a healthy and diverse gut biome. Read on…
Constipation: What is it? What are some common myths about it? What can you do about it?
A step-by-step guide to assist you in getting through the grocery store and coming out with all the low-FODMAP foods and ingredients you need.
While the nutritional content of food takes center stage, the way food looks and feels should not be underestimated.
If you are based in the United States and have never tried FODZYME before, you can get a free sample of FODZYME.
Thanks to our friends at Good Fod Foods you can now have delicious Beef Sticks and Jerky in a variety of flavors that you can keep on hand for a quick snack or light lunch on the go.
Your Guide to a Deliciously Low FODMAP Thanksgiving Feast
Your Guide to a Deliciously Low FODMAP Thanksgiving Feast
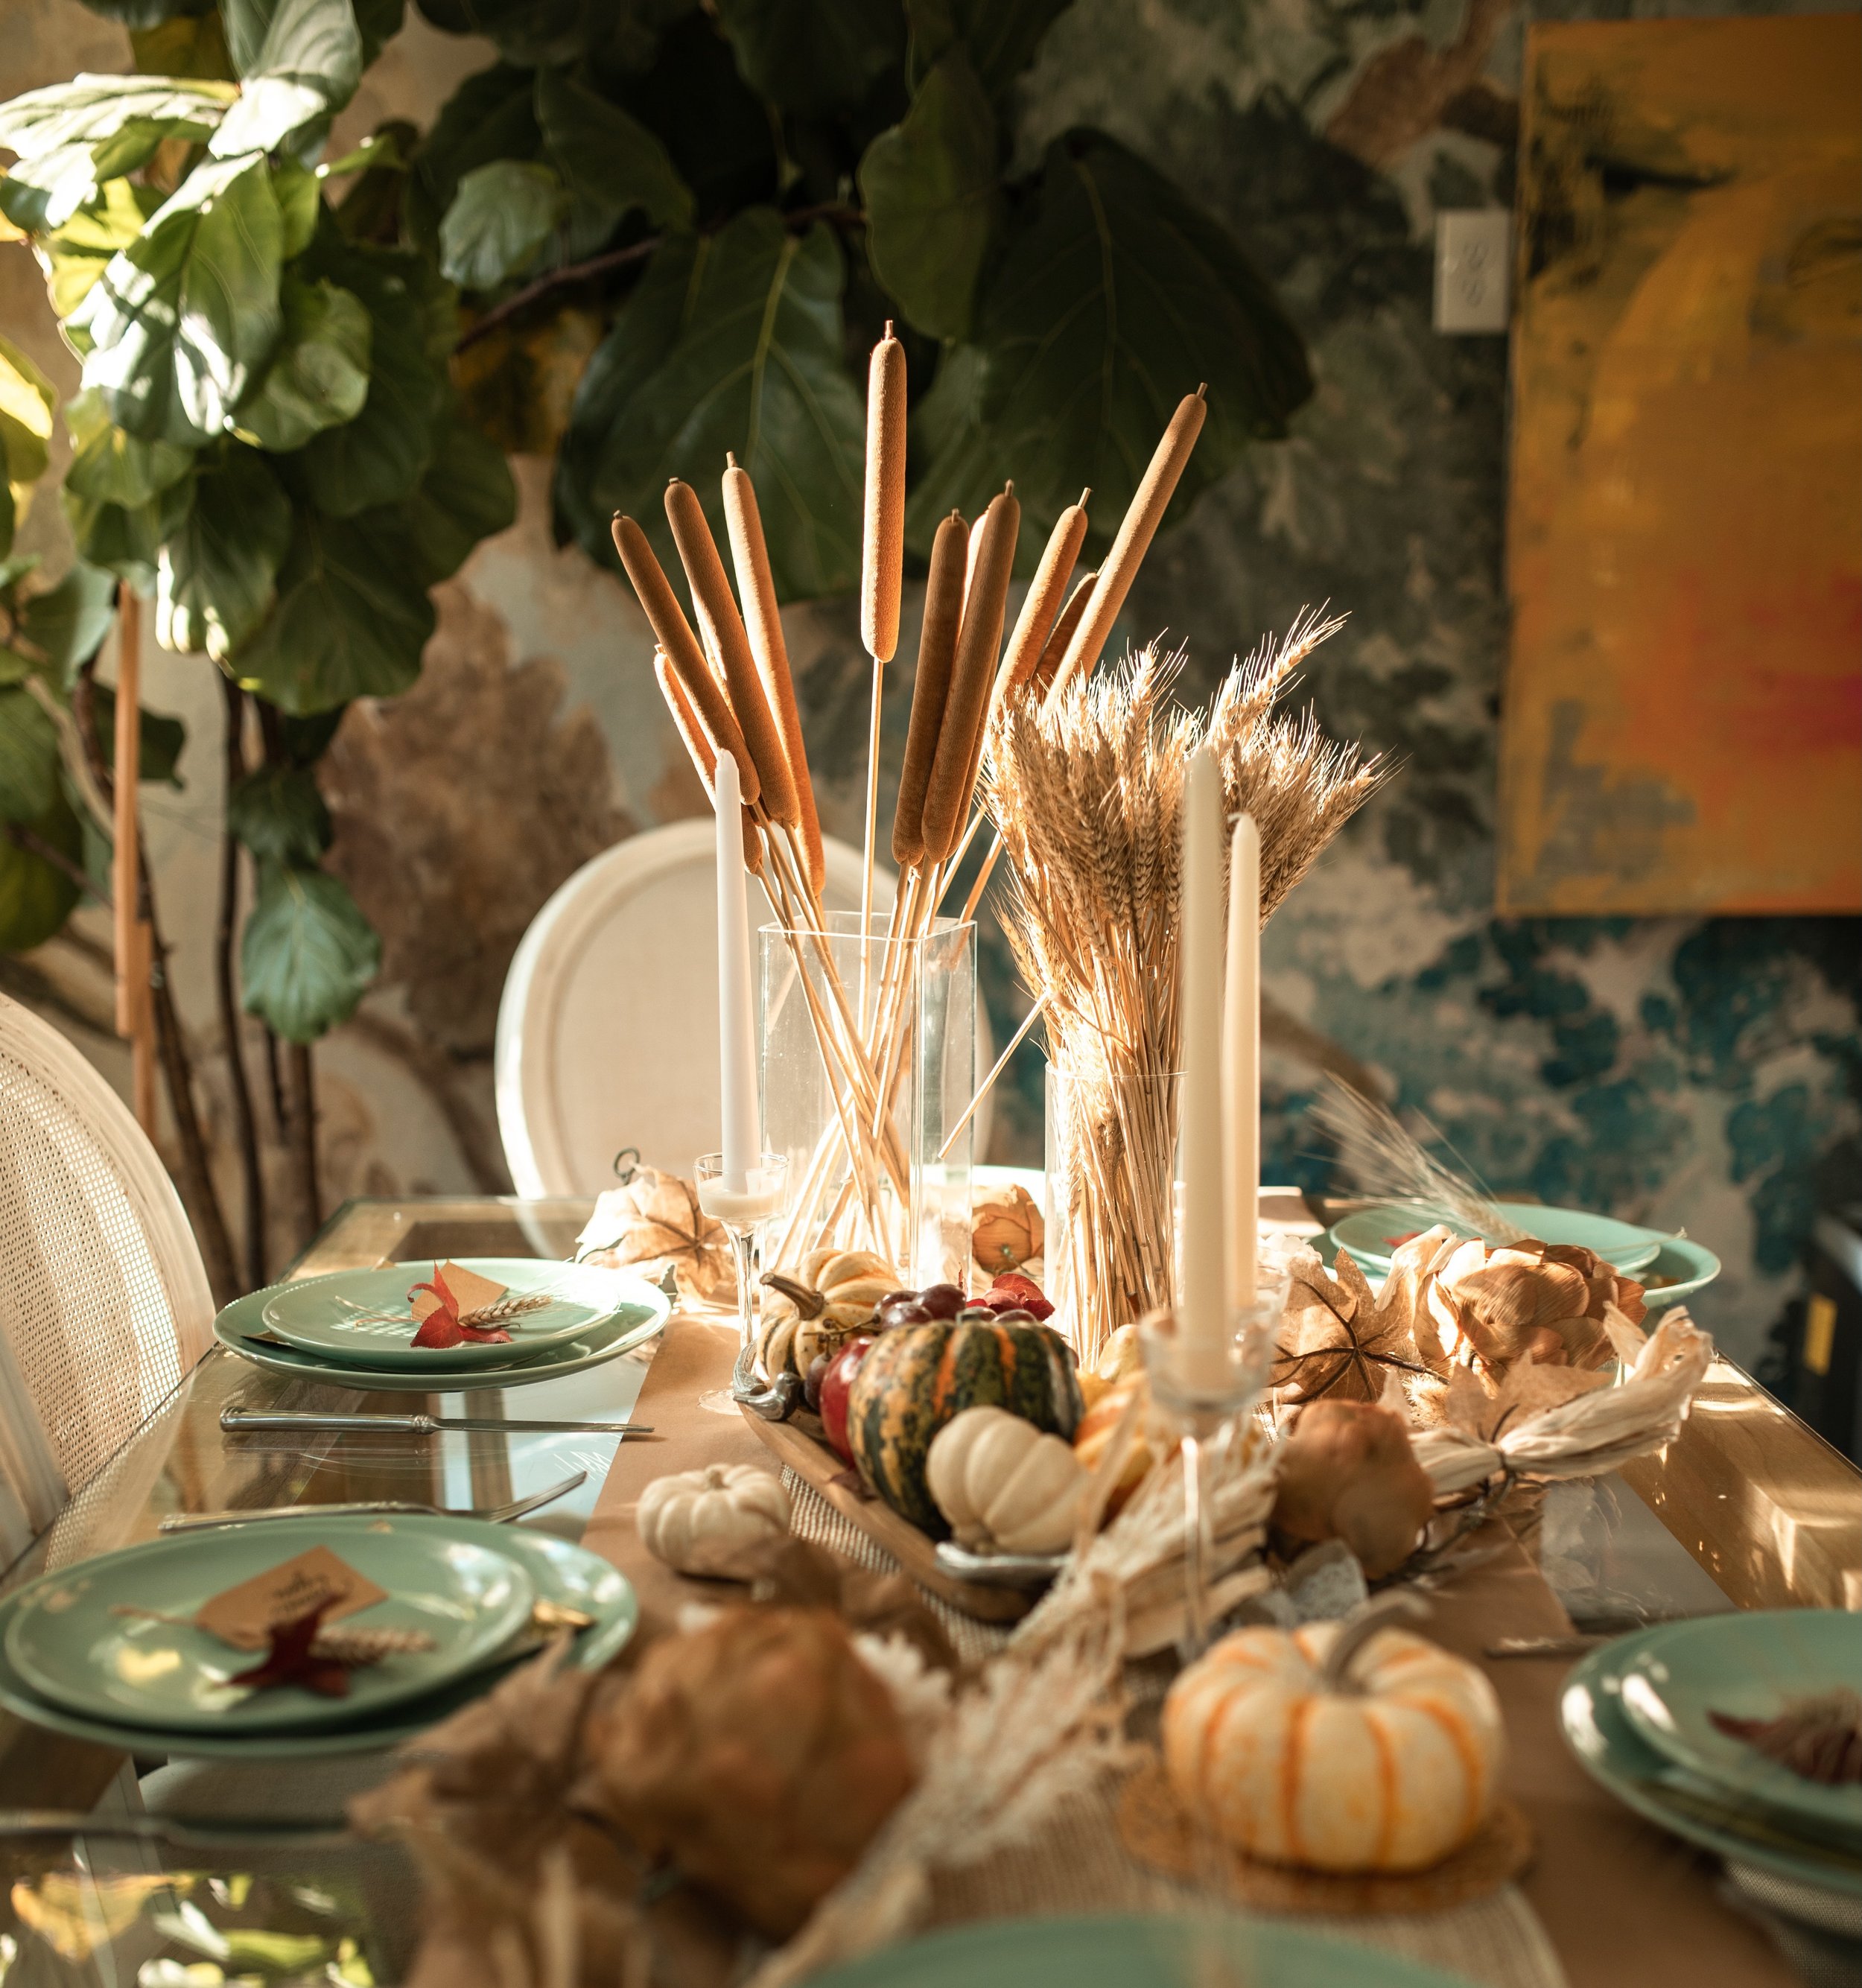
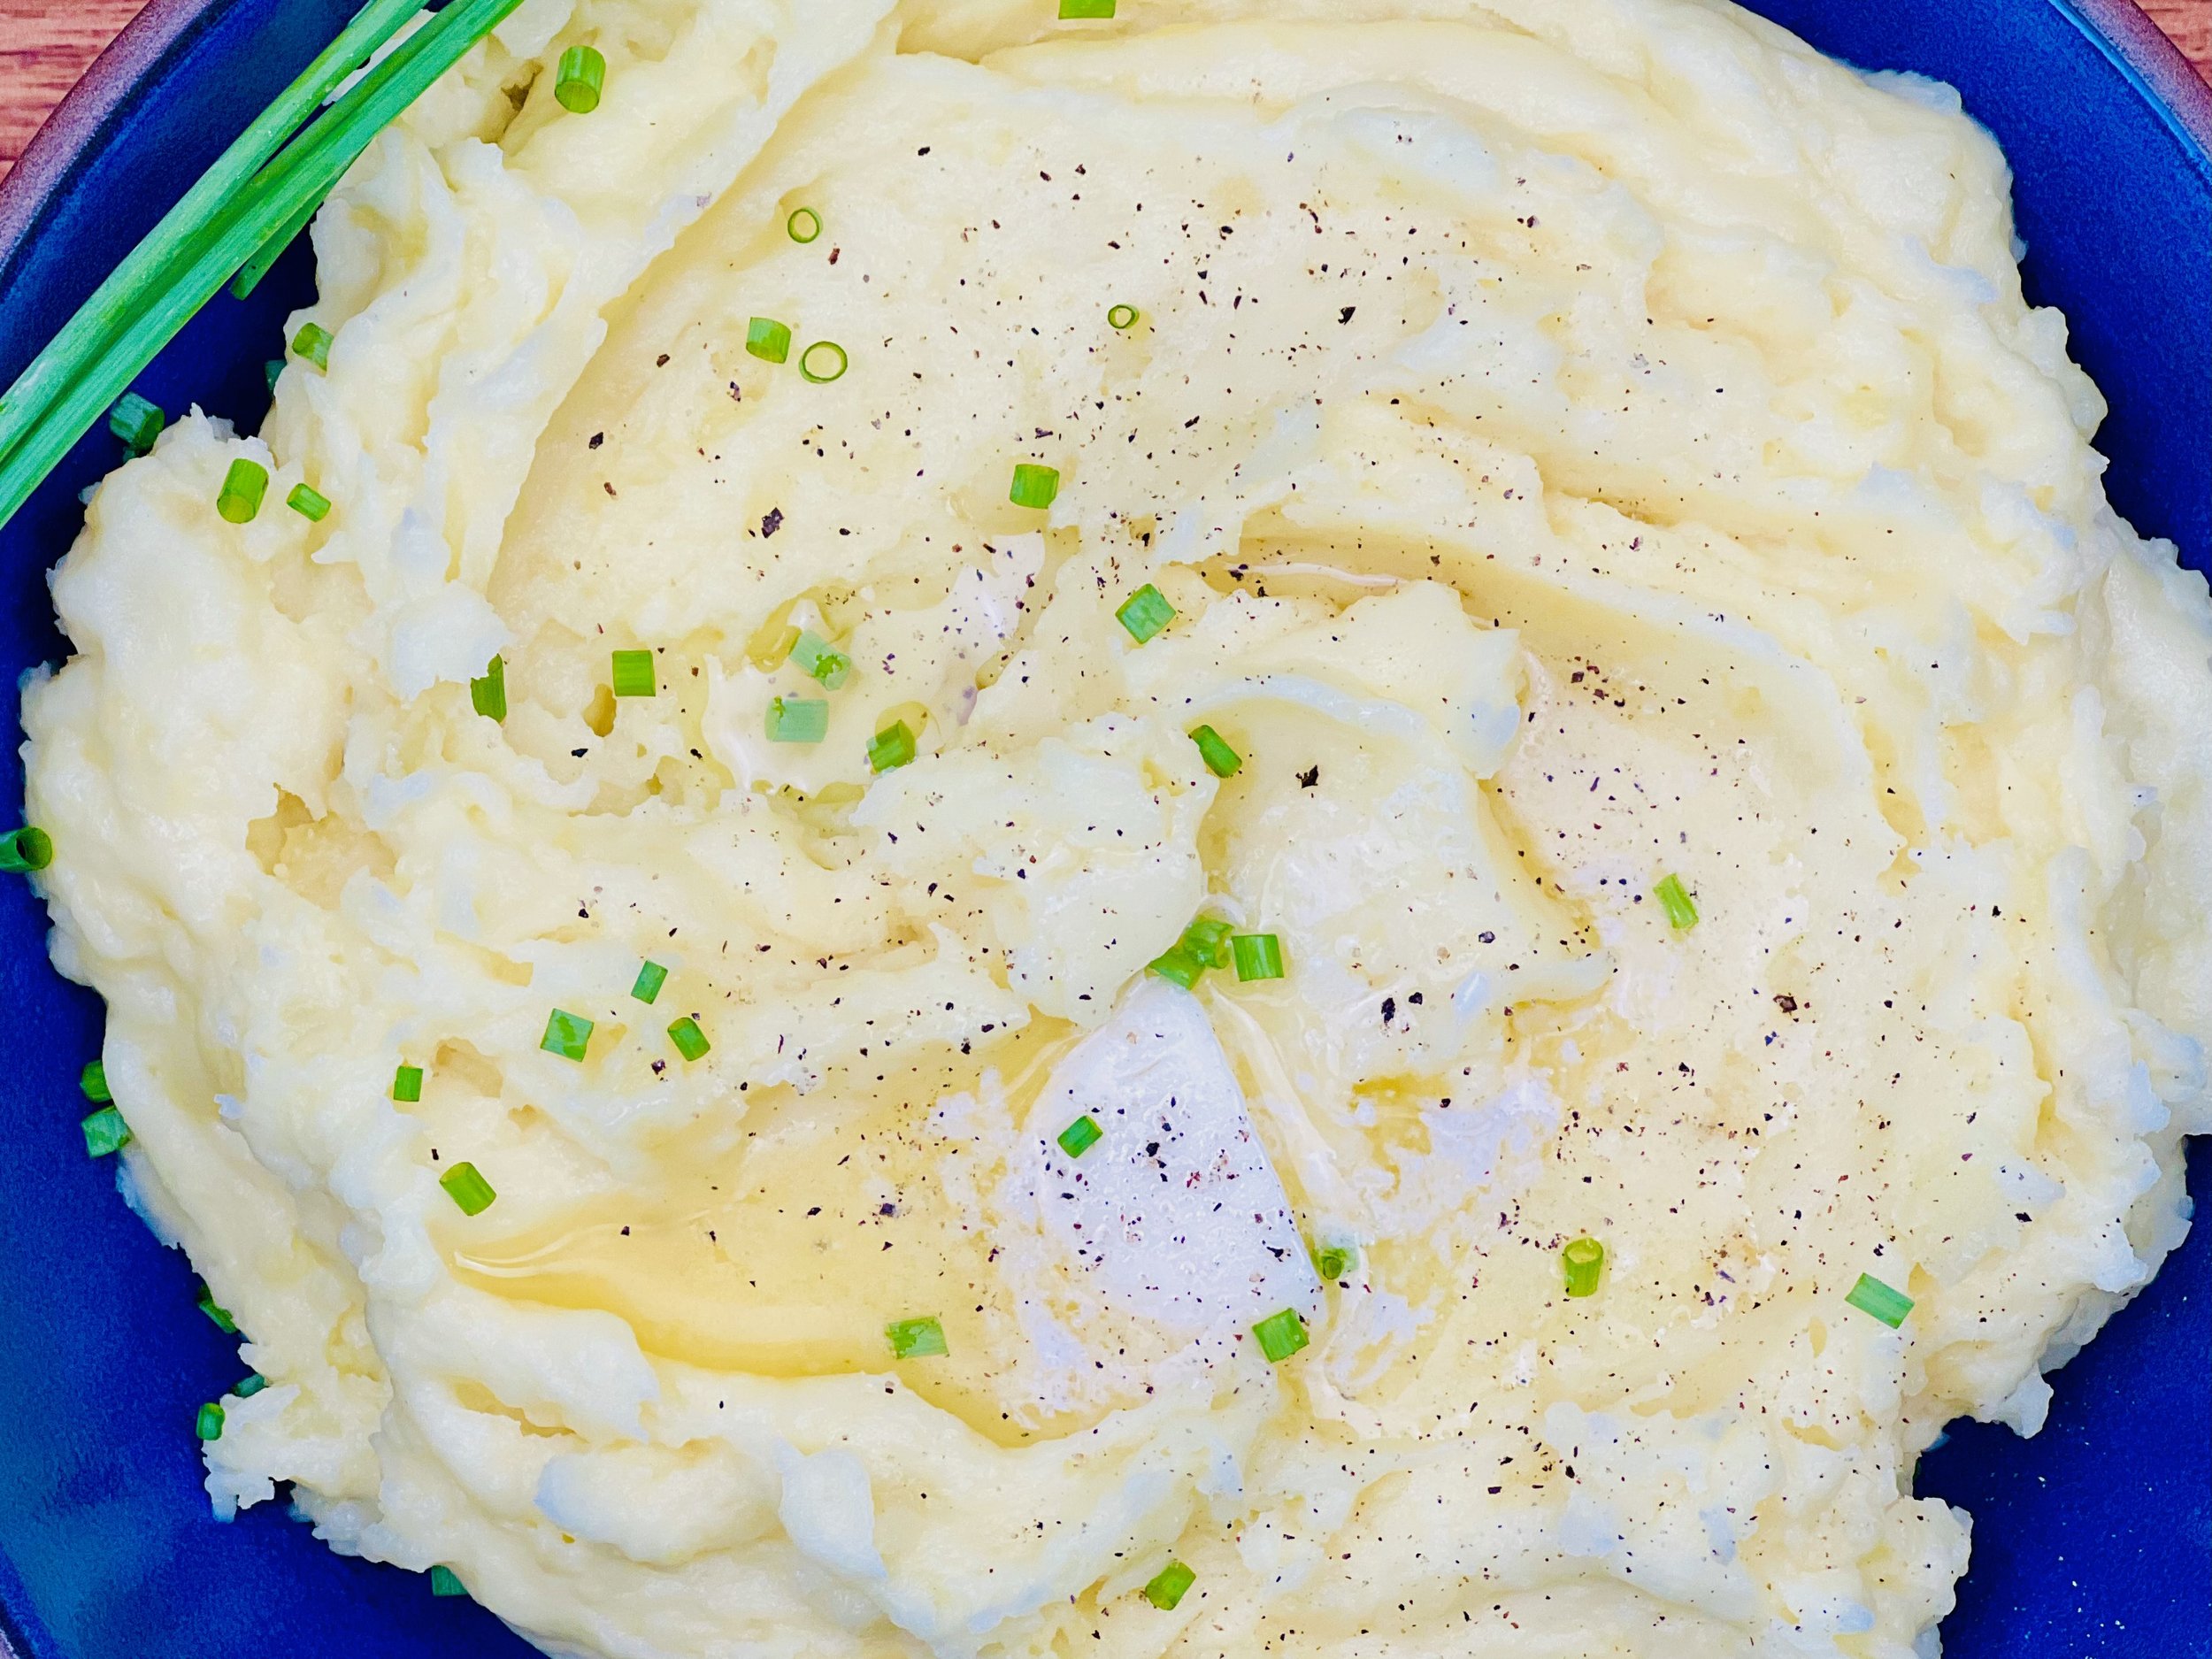
Believe it or not, another Thanksgiving feast is upon us! And with it, comes about a million decisions for you to make about what you will prepare for appetizers, the main meal, the desserts, a special cocktail, and then what to do with the leftovers! With all that in mind, I’ve put together a list (and links) to some of my most popular (and favorite) low-FODMAP recipes that would be perfect for your entire family, or whoever might be joining your Thanksgiving table. I hope you find this guide helpful as you plan your holiday weekend—wherever in the world you might be.
Stuffing/Potatoes/Sides

Salads/Vegetables

Friday Feasting
Jan’s Amazing Cranberry Almond Biscotti
Holiday Leftover Turkey Nachos
Extra Special Turkey Tetrazzini
Eat and enjoy every bite because you can!
More Deliciously Low FODMAP™ holiday recipes
10 Minutes prep • 20 Minutes cook • Low FODMAP • Gluten-free • Serves 4 - 6 • Ok to make ahead: Steps 1-3
20 Minutes prep • 3-5 hours cook/rest • Low FODMAP • Gluten-free • Lactose-free • Serves 6
5 Minutes prep • 10 Minutes cook • Low FODMAP • Gluten-free • Lactose-free • Makes 1 cup
Have a question you’d like to have answered? Email us at hello@ibsgamechanger.com
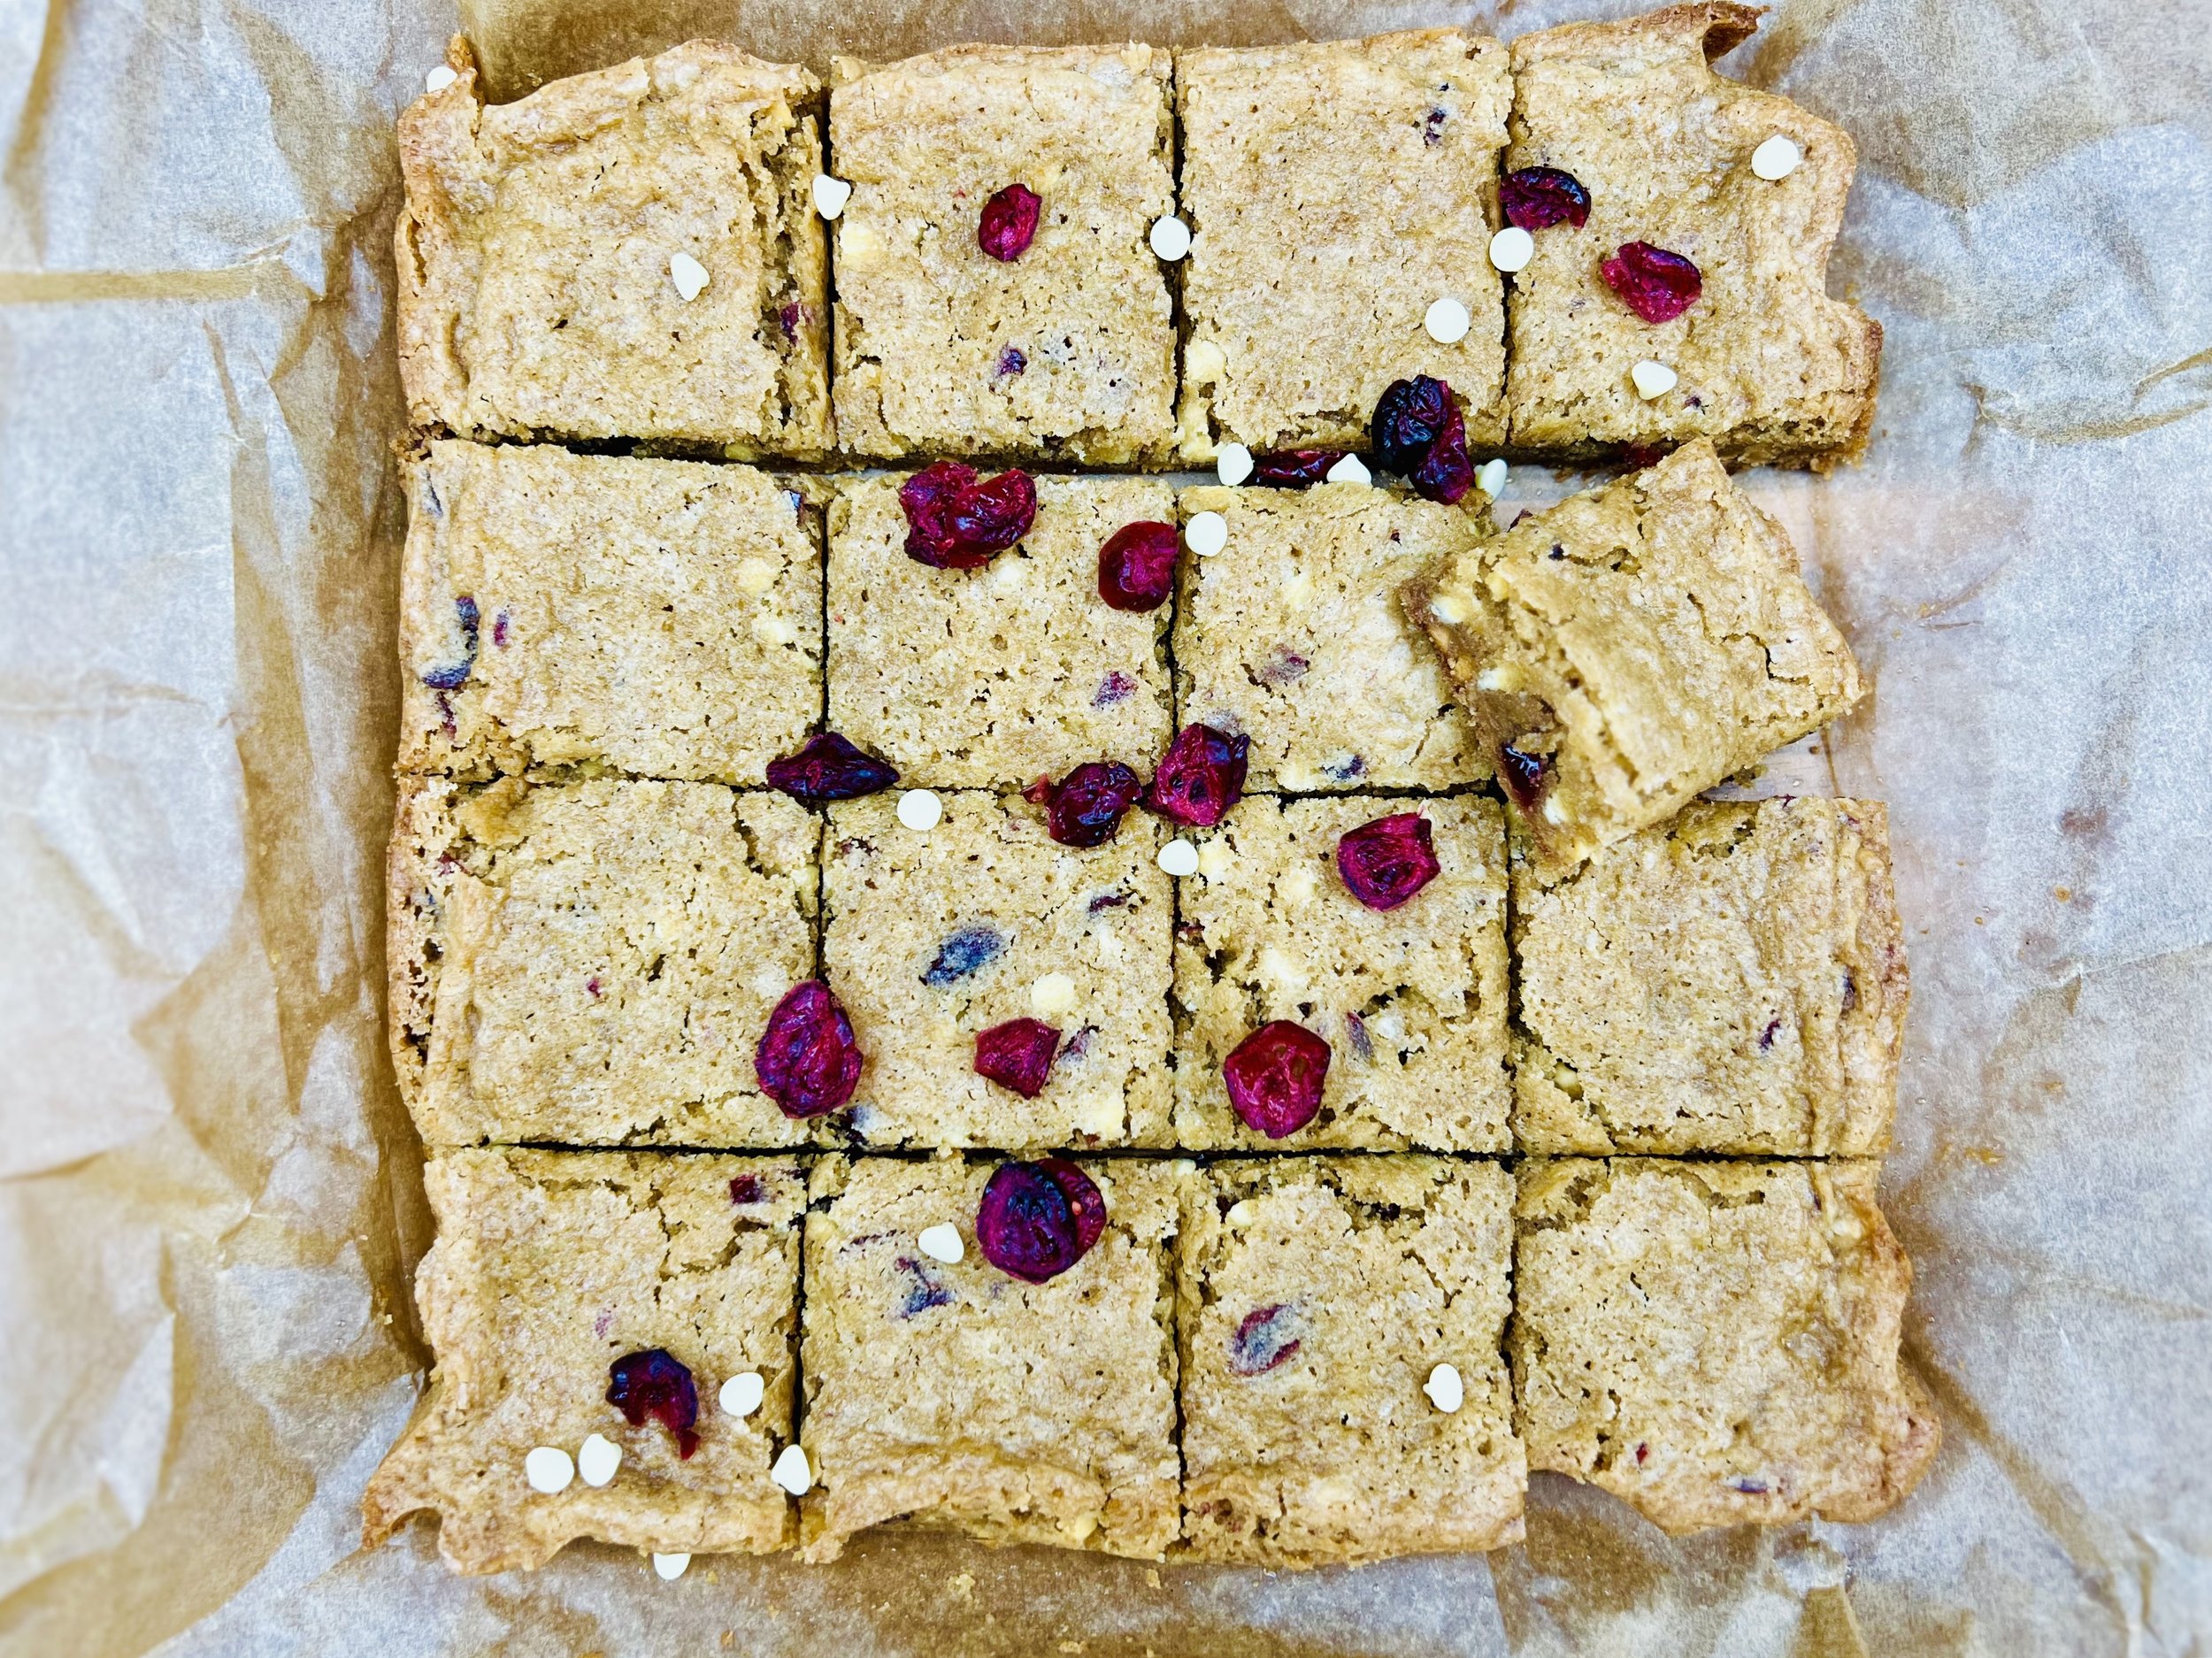
Cranberry Bliss Blondies (Low FODMAP)
15 Minutes prep • 20 Minutes cook • Low FODMAP • Gluten-free • Makes 16 - 25
15 Minutes prep • 20 Minutes cook • Low FODMAP • Gluten-free • Makes 16 • Ok to make ahead: Steps 1-3
The holidays are here and there’s no better time to make Cranberry Bliss Blondies. Combining the sweetness of white chocolate with the tangy taste of cranberries is the classic “bliss” combination. These IBS-friendly blondies are quick and easy to make so you can whip them up for the family in no time or share them at the neighborhood cookie exchange and prepare for recipe requests.
This is an exclusive recipe just for recipe club members.
In addition to the two free recipes I create each week I am creating and delivering one very special recipe just for my recipe club members. If you’re not yet a member, I encourage you to join! Membership in the club includes access to the complete archive of recipes with filters so it can become your virtual low FODMAP cookbook plus, I am creating and delivering one special NEW recipe every week ONLY for recipe club members.
Your membership in the club helps me continue creating new, delicious, easy-to-make, low FODMAP recipes just for you.
As always, all recipes will emphasize simple ingredients, easy preparation, and delicious low FODMAP results. Recipes will be for everything from main courses, salads, soups, side dishes, appetizers, desserts, sauces, breakfast and lunch, and even mocktails and cocktails. Everything you need to prepare fantastic low FODMAP meals everyone will love.
Join the club. Let’s keep making delicious Low FODMAP meals together.
More Deliciously Low FODMAP™ dessert recipes
15 Minutes prep • 20 Minutes cook • 30 Minutes cool • Low FODMAP • Gluten-free • Makes 18 bars
20 Minutes prep • 10 Minutes cook • Low FODMAP • Gluten-free • Makes 12 Sandwiched Cookies
20 Minutes prep • 20 Minutes cook • Low FODMAP • Gluten-free • Lactose-free • Makes 12 - 24
20 Minutes prep • 2 Hours chill • 10 Minutes cook • Low FODMAP • Gluten-free • Makes 24 - 36
I’m here to show you how to fully embrace the flavors of fall while keeping your digestive system happy.
10 Minutes prep • Overnight Chill • Low FODMAP • Gluten-free • Lactose-free • Serves 2 - 4
15 Minutes prep • 30 Minutes cook/cool • Low FODMAP • Gluten-free • Serves 8 • Serving Size 1/8
Brandon’s Cheesy Mushroom and Leek Bread Stuffing (Low FODMAP)
20 Minutes prep • 90 minutes cook • Low FODMAP • Serves 8
20 Minutes prep • 90 minutes cook • Low FODMAP • Serves 8 • Ok to make ahead: Steps 1-3
Indulge in the rich flavors of Brandon's Cheesy Mushroom and Leek Bread Stuffing this holiday season. With rosemary sourdough, oyster mushrooms, and a blend of gruyere and Jarlsberg cheeses, this dish is a celebration of tastes and texture in every bite. The final dish is a flavorful masterpiece that pairs perfectly with meats, poultry, or pork. Savor each bite, and relish the joy of good food and good company. Brandon's Cheesy Mushroom and Leek Bread Stuffing is not just a side dish—it's a culinary experience worth celebrating.
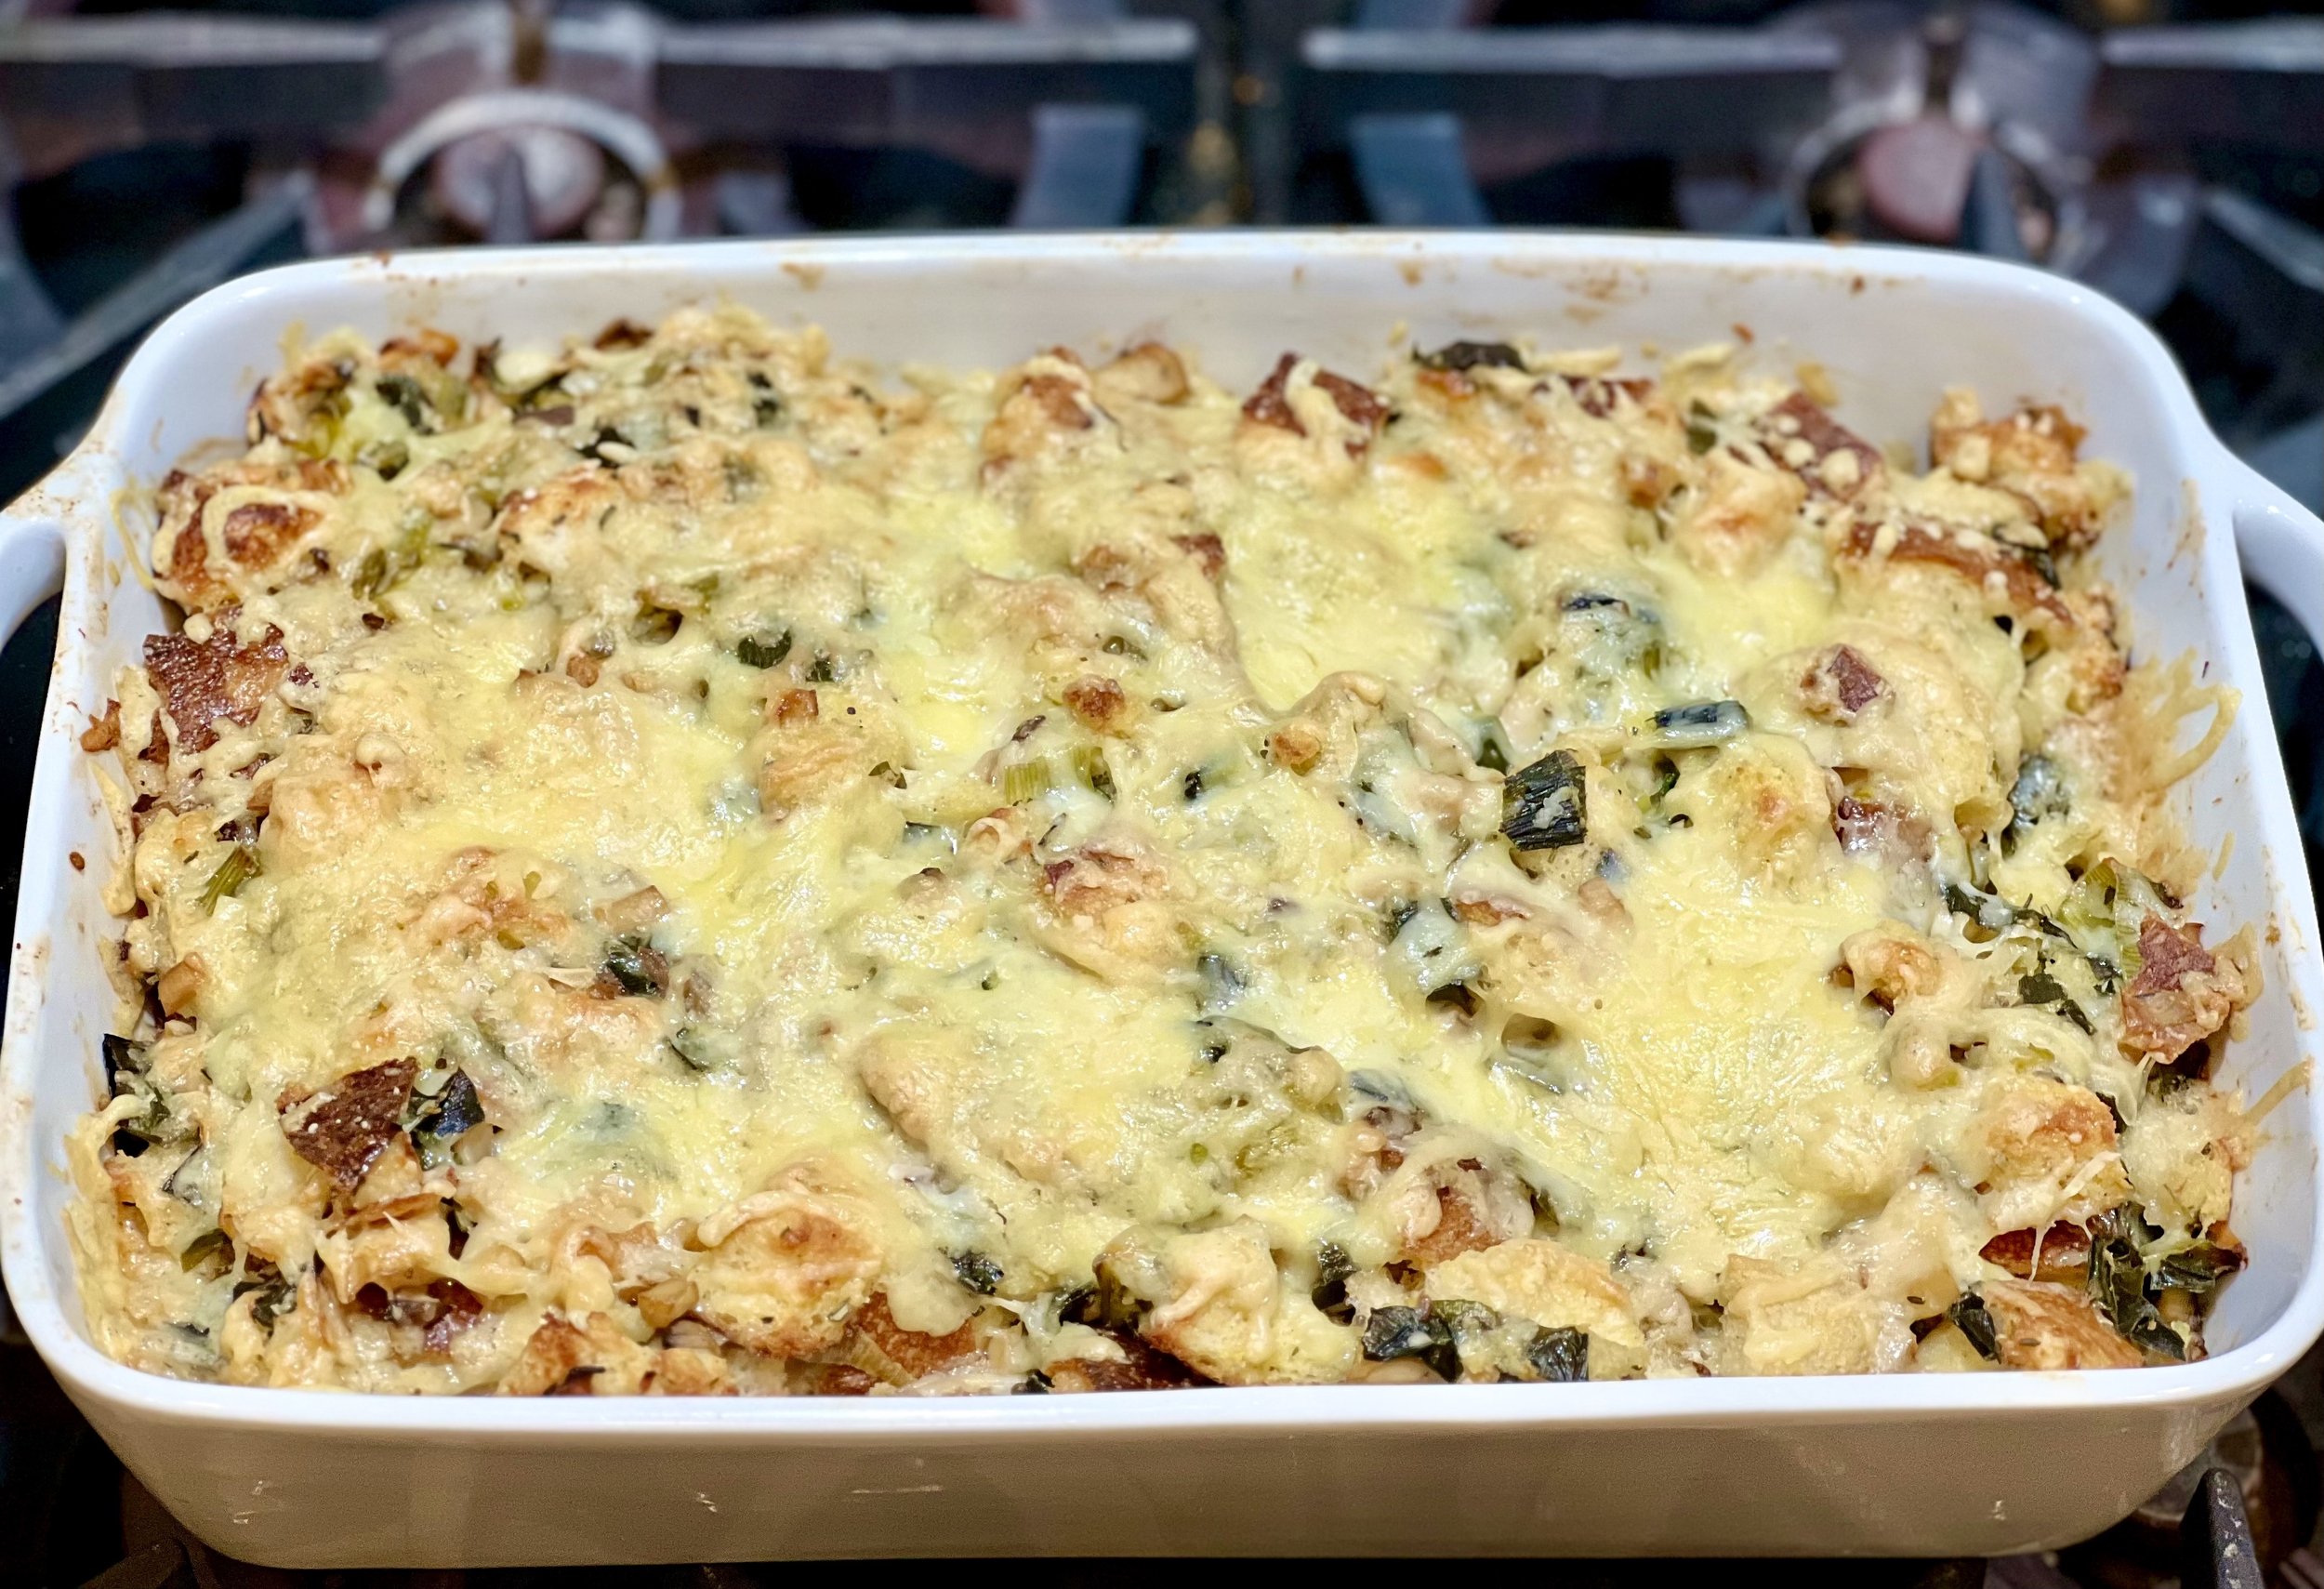
Ingredients
24 ounces Organic Rosemary Sourdough Bread (you can also use plain sourdough bread)
4 ounces dried, sweetened cranberries (optional)
1 tablespoon garlic-infused olive oil
3 tablespoons salted butter, room temperature
2 Large leeks (green part only), washed and chopped (you will need 2 cups total)
1 pound oyster mushrooms, chopped
1/2 pound gruyere cheese, grated
1/4 pound Jarlsberg cheese, grated
2 cups chicken broth (I use Whole Foods Organic 365 chicken broth or Gourmend low FODMAP Organic Chicken Broth - use code IBSGC15 for 15% discount)
3 eggs, room temperature, beaten
1 tablespoon fresh, or 1 teaspoon dry rosemary
1 tablespoon fresh, or 1 teaspoon dry thyme
2 teaspoons fresh, or 3/4 teaspoon dry sage
1 teaspoon Kosher salt
1/2 teaspoon black pepper
Directions
(1) Prepare: Preheat oven to 300 degrees F. Cube the bread (including the crust) into bite-sized pieces. Chop the mushrooms, leek greens, and fresh herbs (if using). Grate the cheeses. Grease a 9”x 13” pan or equivalent with 1 tablespoon butter.
(2) Toast bread cubes: Spread the bread cubes evenly across two rimmed baking sheets. Put in preheated oven and bake for 10 mins. Remove from the oven and sprinkle very lightly with Kosher salt. Set aside.
(3) Cook the greens: In a medium skillet over medium-high heat, add the garlic olive oil, when hot, add dry herbs and let sizzle for 30 seconds. (If using fresh herbs, add them with the leek greens.) Add the leek greens and sauté for about 5 minutes, or until tender. Add the butter to the pan and then, when melted, add the chopped mushrooms and sauté until mushrooms start to turn golden brown (about 10 minutes more). Set aside.
(4) Combine: In a large mixing bowl, combine the sauteed greens with the toasted bread cubes and cranberries (if using). Lightly whisk the eggs before you add them to the bread cube mixture. Toss well. Add 2 cups of chicken broth. Toss again. Add salt and pepper and, if it seems dry add another 1/2 cup of chicken broth. Add about 3/4 of the grated cheese to the mixture and toss once more.
(5) Bake: Put the bread cube mixture in the prepared baking dish. Cover with aluminum foil and bake for 30 minutes. After 30 minutes, remove from the oven and remove the foil. Top with your remaining cheese and bake for another 20-30 minutes until the cheese is fully melted. If you like a crisp top, you may finish the cooking time with 2 - 3 minutes under the broiler.
(6) Plate and serve: Serve as a hearty side dish for meat, poultry, or pork. This bread stuffing goes great with traditional turkey and gravy or even with a less traditional rosemary cream sauce.
Eat and enjoy every bite because you can!
Recipe note: I use Diamond Crystal Kosher salt in all my recipes because it has a wonderful flat and crisp flake that tastes delicious. It is also the least salty salt available so you can use it more liberally as a seasoning than you can table salt or sea salt. If you use another type of salt, you may need to reduce the amount so it is not over-salted.
Have a question you’d like to have answered? Email me at hello@ibsgamechanger.com
Link note: This post may contain affiliate links for you to easily purchase items that are linked. I may earn a small commission from qualifying purchases but none of this costs you a thing so feel free to use the links! In addition, for some items, I have provided a special discount code for IBS Game Changers so be sure to use the code when you purchase an item to get the discount that has been arranged just for you.
More Deliciously Low FODMAP™ side dish recipes
15 Minutes prep • 30 Minutes cook • Low FODMAP • Serves 4 • Ok to make-ahead: Steps 1 - 2
15 Minutes prep • 18 Minutes cook • Low FODMAP • Gluten-free • Makes 15 • Serving size 2
10 Minutes prep • 10 Minutes cook • Low FODMAP • Gluten-free • Lactose-free • Vegan • Serves 4
10 Minutes prep • 25 Minutes cook • Low FODMAP • Gluten-free • Vegetarian • Plant Forward • Serves 4
20 Minutes prep • 25 Minutes cook • Low FODMAP • Gluten-free • Lactose-free • Vegetarian • Serves 4
10 Minutes prep • 20 Minutes cook • Low FODMAP • Gluten-free • Lactose-free • Vegan • Serves 5
15 Minutes prep • 45 Minutes cook • Low FODMAP • Gluten-free • Vegetarian • Serves 4 - 6
30 Minutes prep • 20 Minutes cook • Low FODMAP • Gluten-free • Vegetarian • Makes 10 Squares
25 Minutes prep • 40 Minutes cook • Low FODMAP • Gluten-free • Vegetarian • Serves 4 - 6
Tender Slow-Cooked Pork Roast (Low FODMAP)
20 Minutes prep • 5 - 10 hours cook • Low FODMAP • Gluten-free • Lactose-free • Serves 8
20 Minutes prep • 5 - 10 hours cook • Low FODMAP • Gluten-free • Lactose-free • Serves 8 • Ok to make ahead: Step 1
Discover this simple method of cooking pork butt (a cut that actually comes from the shoulder of the pig) to get meat so tender it falls off the bone. With only a handful of ingredients, you'll not only achieve a delicious result but also infuse your kitchen with a wonderful aroma as it cooks. And, there are endless possibilities for this meat: pulled pork sandwiches, flavorful enchiladas, loaded nachos, savory tacos, or perhaps a hearty burrito bowl. Let your imagination run wild, and turn tonight's dinner into a home-cooked feast.
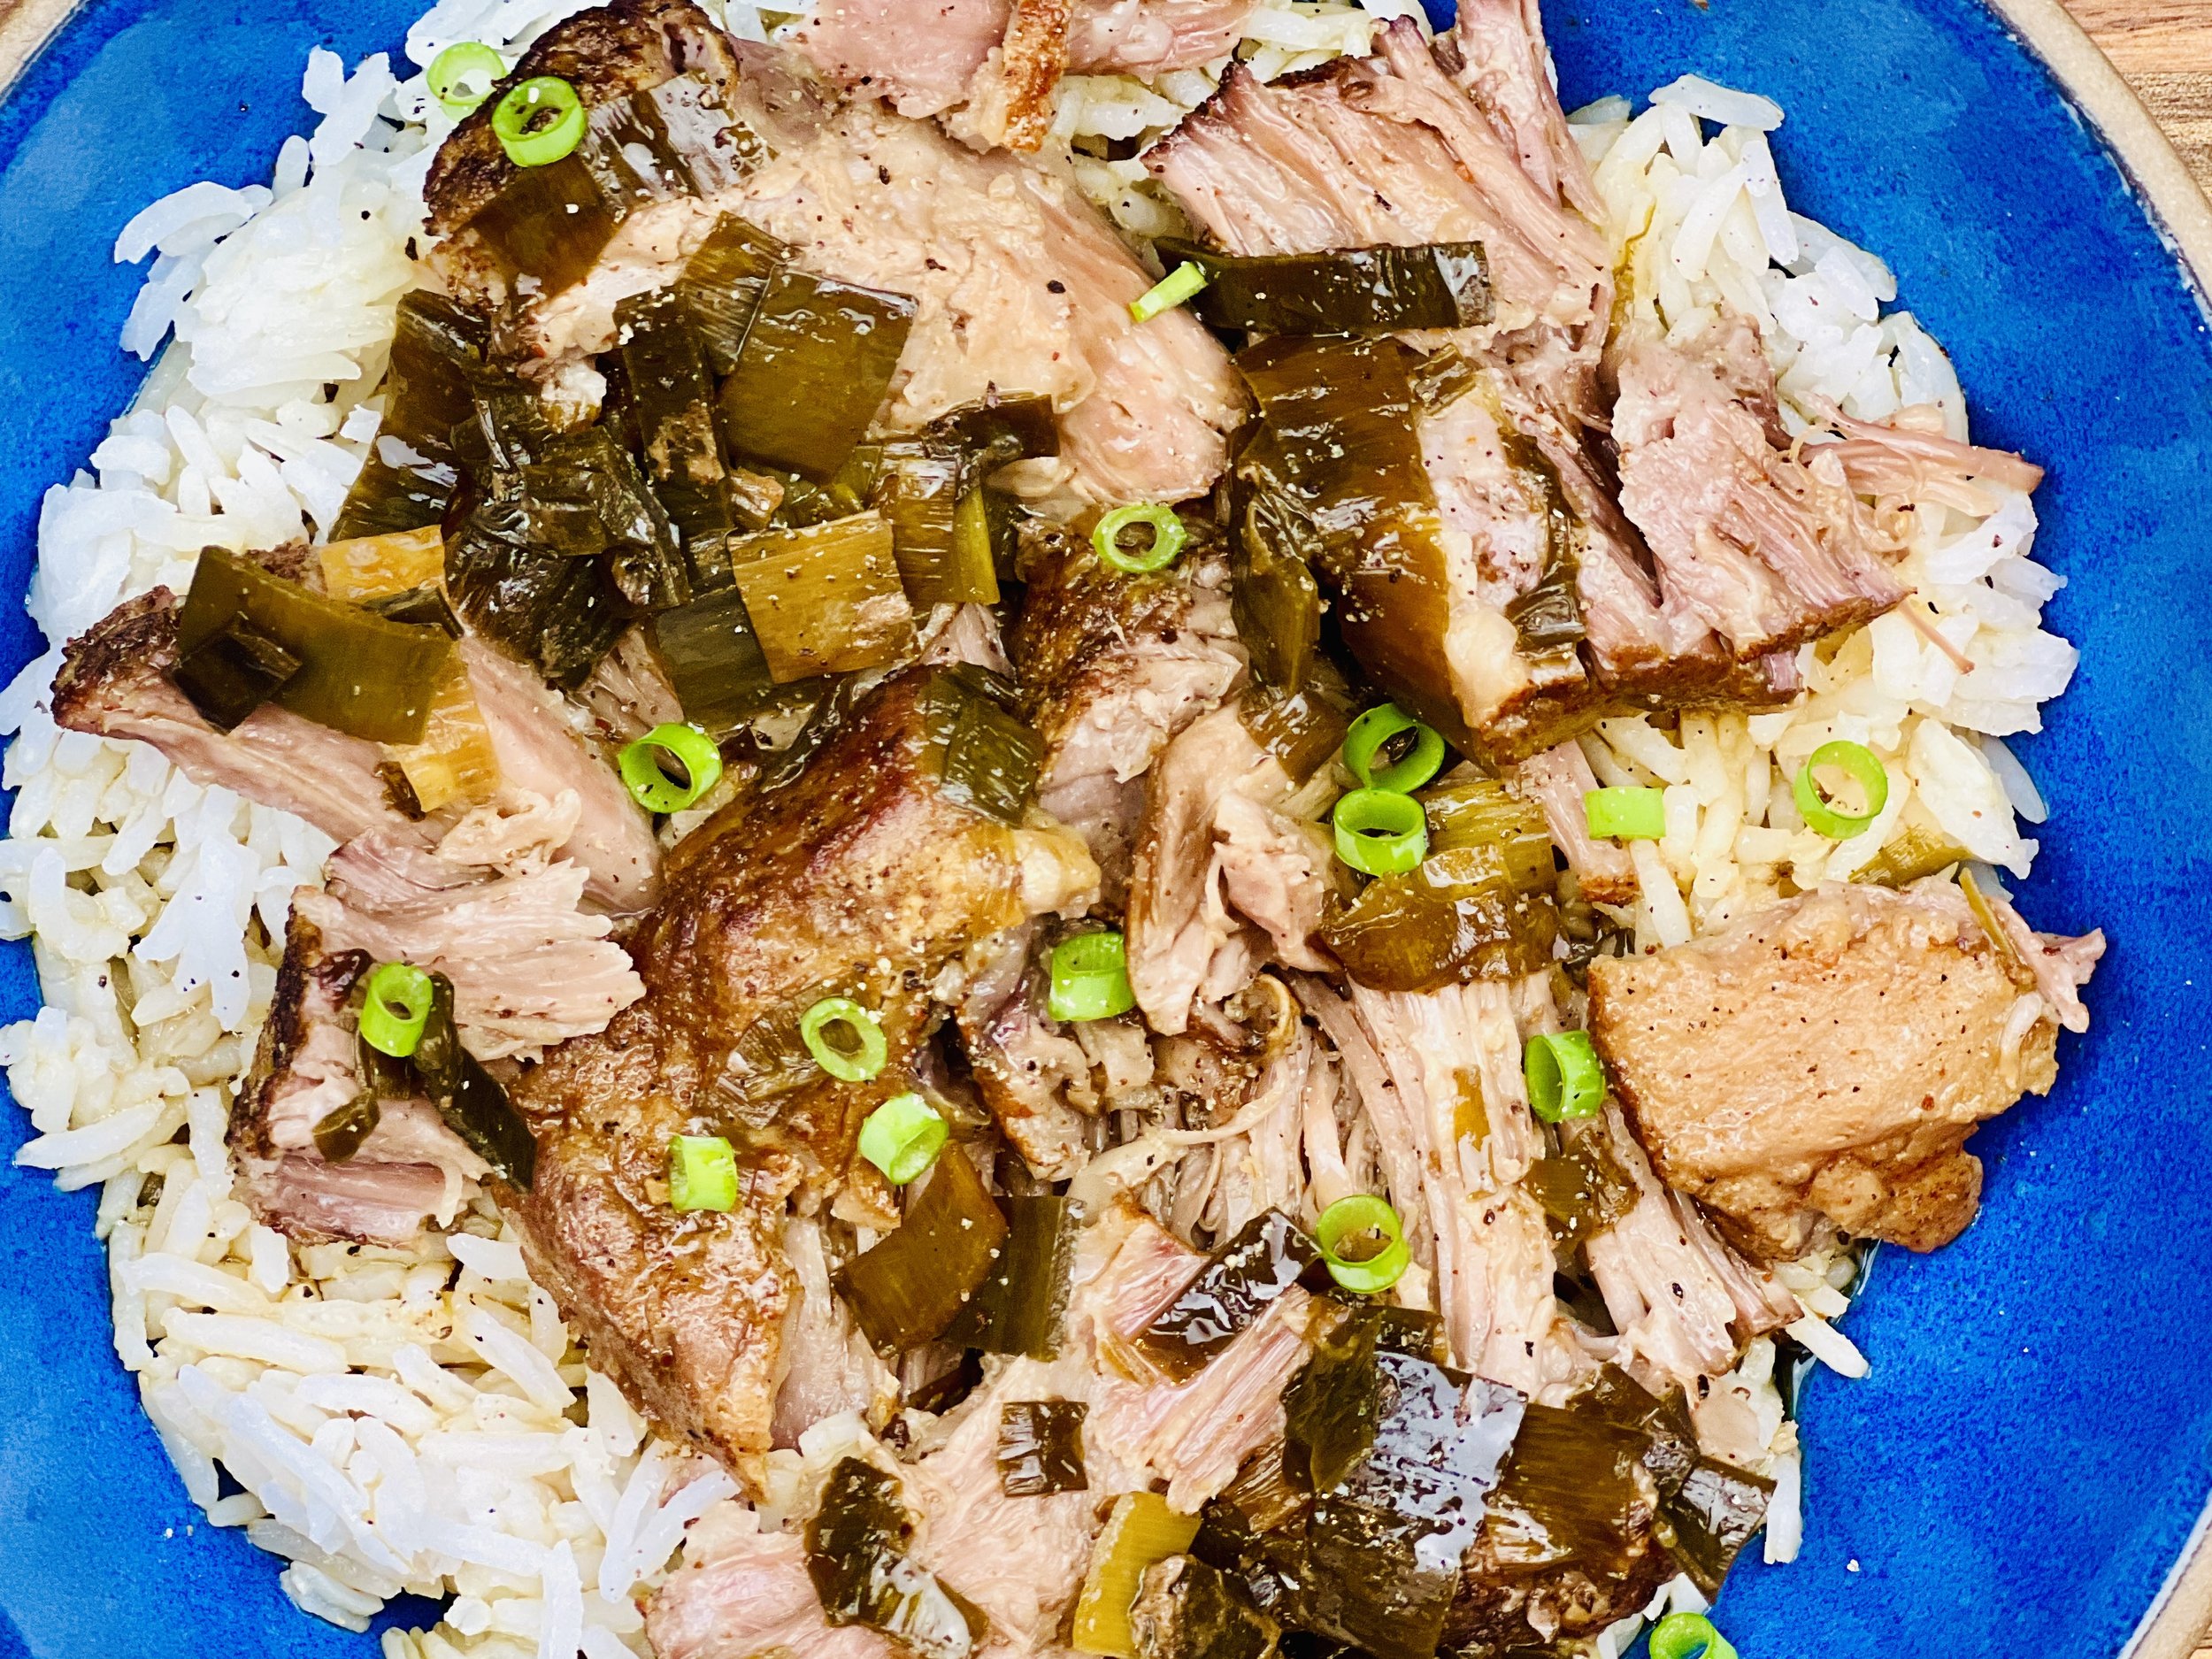
Ingredients
1 tablespoon olive oil or avocado oil
3 - 4 pound pork butt (or shoulder) roast
1/3 cup gluten-free soy sauce
1 large leek, green part only, washed and chopped
3 inches of fresh ginger, peeled and sliced thickly
3 - 4 tablespoons Smoke n Sanity Triple S Seasoning (use code IBSGC15 for a 15% discount)
Or, use your favorite low FODMAP dry rub
1/2 cup water
1/2 cup heavy cream (or more water if you want to keep it dairy-free)
Directions
(1) Prepare: Sprinkle all sides of the roast with your dry rub. Wash and chop the leek greens and peel and slice the ginger.
(2) Brown the pork roast: Heat the olive oil in a cast iron skillet over medium-high heat. When the oil shimmers, add the prepared pork roast and brown on all sides (about 2 minutes per side). This step helps to seal in the juices which improves the flavor.
(3) Prepare to slow cook: Put 1/2 the leek greens in the bottom of the crock pot. Put the browned pork roast on top of the leek greens then cover with the rest of the chopped leek greens. Pour the soy sauce over the pork and pour the water around the pork.
(4) Cook: Cook on low for 8-10 hours or on high for 5 - 6 hours. Meat should be falling apart at the end of the cooking time. You can use an instant-read thermometer to check the temperature — which should be at least 160 degrees F and ideally about 190 degrees F.
(5) Finish: Remove the pork from the crock pot and shred the meat with two forks. Add the cream (or water) to the pan juices and stir to blend. If still a bit salty, add more cream or hot water and stir and taste before drizzling over the meat.
(5) Plate and serve: Serve warm over steamed rice, or over roasted vegetables for a low-carb version, with the creamy sauce spooned over the meat and rice. Do you prefer a more traditional “pulled pork” flavor? Add low FODMAP BBQ sauce such as Smoke N Sanity Sweet and Sassy BBQ Sauce (use code IBSGC15 for 15% discount) instead of cream or water to make the sauce. You can also use this slow-cooked pork in place of chicken in my Cheesy Chicken Enchilada recipe, combine it with chips and cheese for delicious nachos, or use it in tacos, burrito bowls, and more.
Eat and enjoy every bite because you can!
Have a question you’d like to have answered? Email me at hello@ibsgamechanger.com
Link note: This post may contain affiliate links for you to easily purchase items that are linked. I may earn a small commission from qualifying purchases but none of this costs you a thing so feel free to use the links! In addition, for some items, I have provided a special discount code for IBS Game Changers so be sure to use the code when you purchase an item to get the discount that has been arranged just for you.
More Deliciously Low FODMAP™ slow cooker recipes
20 Minutes prep • 5 - 10 hours cook • Low FODMAP • Gluten-free • Lactose-free • Serves 8
15 Minutes prep • 50 Minutes stove • 2-3 Hours crock pot • Low FODMAP • Gluten-free • Serves 4
Top 10 Strategies for Building a Healthy Gut Biome
How can you ensure your gut biome is in the best shape possible? I’ve put together the top 10 strategies to promote a healthy and diverse gut biome. Read on…
The gut biome, that intricate world of microorganisms within your digestive system, plays a vital role in your overall health. A balanced and thriving gut biome can influence everything from digestion to immunity and even mood. So, how can you ensure your gut biome is in the best shape possible? That’s a question lots of us are asking ourselves these days. With that in mind, I’ve put together the top 10 strategies to promote a healthy and diverse gut biome. Read on…
Your gut biome is a dynamic and influential part of your overall well-being. By following these top 10 strategies, you can help nurture a diverse and robust gut biome that supports your health in numerous ways. So, embark on this journey to a healthier you by prioritizing your gut health with these top ten strategies:
1. A Diet Rich in Fiber:
A diet that has an abundance of fiber from fruits, vegetables, whole grains, and legumes provides essential nutrients for beneficial gut bacteria. Fiber acts as fuel for these microbes, promoting their growth and diversity. When you promote the growth of the “good” bacteria, you leave less room for the “bad” bacteria to thrive and proliferate.
2. Probiotic Foods:
Probiotics are a big topic of interest here. Lots of people take a probiotic supplement, which is great if you happen to choose the right one for your unique gut biome profile. A better approach may be to incorporate probiotic-rich foods into your diet such as yogurt, kefir, sauerkraut, and even kimchi into your diet. These foods introduce live beneficial bacteria into your gut, bolstering its health.
3. Prebiotic Foods:
Prebiotics are non-digestible fibers that nourish the good bacteria in your gut. They're found in foods like cabbage, jicama, leeks, and sauerkraut (also in onions and garlic so if you can tolerate some of those, definitely keep them in your diet for the sake of your gut biome).
4. Diverse Diet with a “Target 30” mentality:
Variety is key. A diverse diet exposes your gut to different types of microorganisms and nutrients, fostering a more diverse and resilient gut biome. I have talked many times about trying to consume at least 30 different plants per week. If that’s your target then you’re surely going eat more than the standard set of 5 or 6 you’re probably eating now. Keep in mind, “plants” include nuts, seeds, grains, herbs, seasonings, veggies, fruits, and even plant-based oils so getting to 30 each week isn’t as hard as it seems!
5. Reduce Sugar and Processed Foods:
Excess sugar and processed foods can disrupt the balance of gut bacteria by feeding the bad bacteria which then crowd out the good guys. Minimize your sugar and processed food intake to support a healthier gut and a healthier you! Does that mean you can’t ever have your favorite dessert? No, it does not! It just means you aren’t going to have it every day. Focus on eating whole foods that you can recognize as food and you’ll find you’re less hungry for the processed stuff.
6. Fermented Foods:
Fermented foods such as miso, kombucha, olives, soy sauce, sourdough bread, and apple cider vinegar, to name just a few, are rich in natural probiotics and are great to incorporate into your meals. Make miso soup and dip some sourdough bread in it. Drink some Kombucha, which is readily available in multiple varieties on the grocery store shelves so you can a few you like and drink a small glass (you don’t need to drink the whole bottle) to get a delicious blast of probiotics. Isn’t that better than taking a handful of pills?
7. Manage Stress:
High stress levels have been proven to negatively impact your gut health. Actively incorporating practices to reduce your stress levels by doing such things as yoga, meditation, mindfulness, and other relaxation techniques, can help keep your stress in check (while offering many other benefits as well!)
8. Get Enough Sleep:
Quality sleep is essential for a healthy gut biome. To get the recommended 7-8 hours of restful sleep each night, make your sleep environment as conducive to sleep as possible. The ideal combination is a cool and totally dark room that is as quiet as possible. Even the smallest light (especially blue light) can disrupt your sleep so put tape over plugs and switches that light up. For even more sleep benefits, you can add such things as a weighted blanket, white noise if your environment isn’t quiet, and an eye mask if you can’t get the room fully dark. Definitely put any electronics that might disrupt your sleep in another room or at the very least on do not disturb mode. There’s lots more to sleep hygiene but the bottom line is to develop a sleep routine that works for you and then do it every night.
9. Regular Exercise:
Physical activity can positively influence your gut health. It doesn’t have to be a long sweaty session at the gym. Just get out for a walk at least once, if not several times, a day. Can’t (or don’t want to) walk? Then do some exercises in your chair: March your legs, raise your heels, lift some weights, or just stretch. There are so many different forms of exercise that will benefit you and there seems to be an equally large number of excuses as to why we can’t find time to do any of them! Your whole body will thank you for adding regular exercise to your routine.
10. Avoid Overuse of Antibiotics:
We live in a society that likes to push pills as the answer to everything. So, when you end up at the doctor with a cold virus that has been with you for a week, it’s natural to think a round of antibiotics will be just the thing to put you right. Truth be told, most viruses take about 10 days to run their course. So, if you start taking antibiotics after a week, it’s easy to imagine that’s what’s making you better when most likely the virus is just running its course. While antibiotics are essential for treating actual bacterial infections, overuse can harm your gut biome. Take them only when prescribed by a healthcare professional and only when they are truly indicated to cure whatever you have going on.
Adopting some of these strategies is sure to make a difference in your overall health and the health of your gut biome. All of them are accessible, easy to add to your routine, and in many cases, delicious! Need help navigating the changes needed to improve your gut biome and get your IBS under control? Feel free to set up a consult with me right here.
Have a question you’d like to have answered? Email me at hello@ibsgamechanger.com
More Deliciously Low FODMAP™ Tips and Tricks
In this blog post, I explore some of the ways deep tissue massage can support IBS symptom management, giving you one more tool in your toolbox to find a holistic path to comfort and well-being.
One of the biggest challenges when struggling with gut issues is getting answers to your many questions about cause and treatment. With this in mind, we in the content creator space, work hard to bring you specific and actionable information to help answer your questions.
Since launching IBS Game Changer, I’ve been on a mission to support individuals living with Irritable Bowel Syndrome (IBS) by providing expert coaching, delicious recipes, and essential tips for symptom management.
In this post, I’m sharing many of the essential pantry staples I use in my recipes all the time.
One of the biggest challenges when struggling with gut issues is getting answers to your many questions about cause and treatment. With this in mind, we in the content creator space, work hard to bring you specific and actionable information to help answer your questions.
Monash University recently re-tested avocados for FODMAP content and they made an interesting discovery
In this blog post, I’m addressing the intricate relationship between anxiety and Irritable Bowel Syndrome, exploring how they impact each other, and giving you some specific things you can do to get them both under control.
Not all cheeses are created equal in terms of their compatibility with the low FODMAP diet. This article will help you make informed choices that align with both your preferences and your gut health.
The warmth and soothing nature of bone broth can provide relief from digestive discomfort. Sipping on a warm cup of bone broth may help ease symptoms such as bloating and cramping.
After the holidays or any time you want to improve your relationship with food, use these techniques to master mindful eating and regain control of your health.
From Mindful Munching to making Social Connections — here are some tips for a happy holiday!
Research underscores the point that moderate-intensity exercise often outperforms vigorous exercise in relieving IBS symptoms. But individualization is key.
Taking a moment each day to acknowledge and appreciate the positive aspects of our lives can have a profound impact on our well-being.
How can you ensure your gut biome is in the best shape possible? I’ve put together the top 10 strategies to promote a healthy and diverse gut biome. Read on…
Constipation: What is it? What are some common myths about it? What can you do about it?
A step-by-step guide to assist you in getting through the grocery store and coming out with all the low-FODMAP foods and ingredients you need.
While the nutritional content of food takes center stage, the way food looks and feels should not be underestimated.
If you are based in the United States and have never tried FODZYME before, you can get a free sample of FODZYME.
Thanks to our friends at Good Fod Foods you can now have delicious Beef Sticks and Jerky in a variety of flavors that you can keep on hand for a quick snack or light lunch on the go.
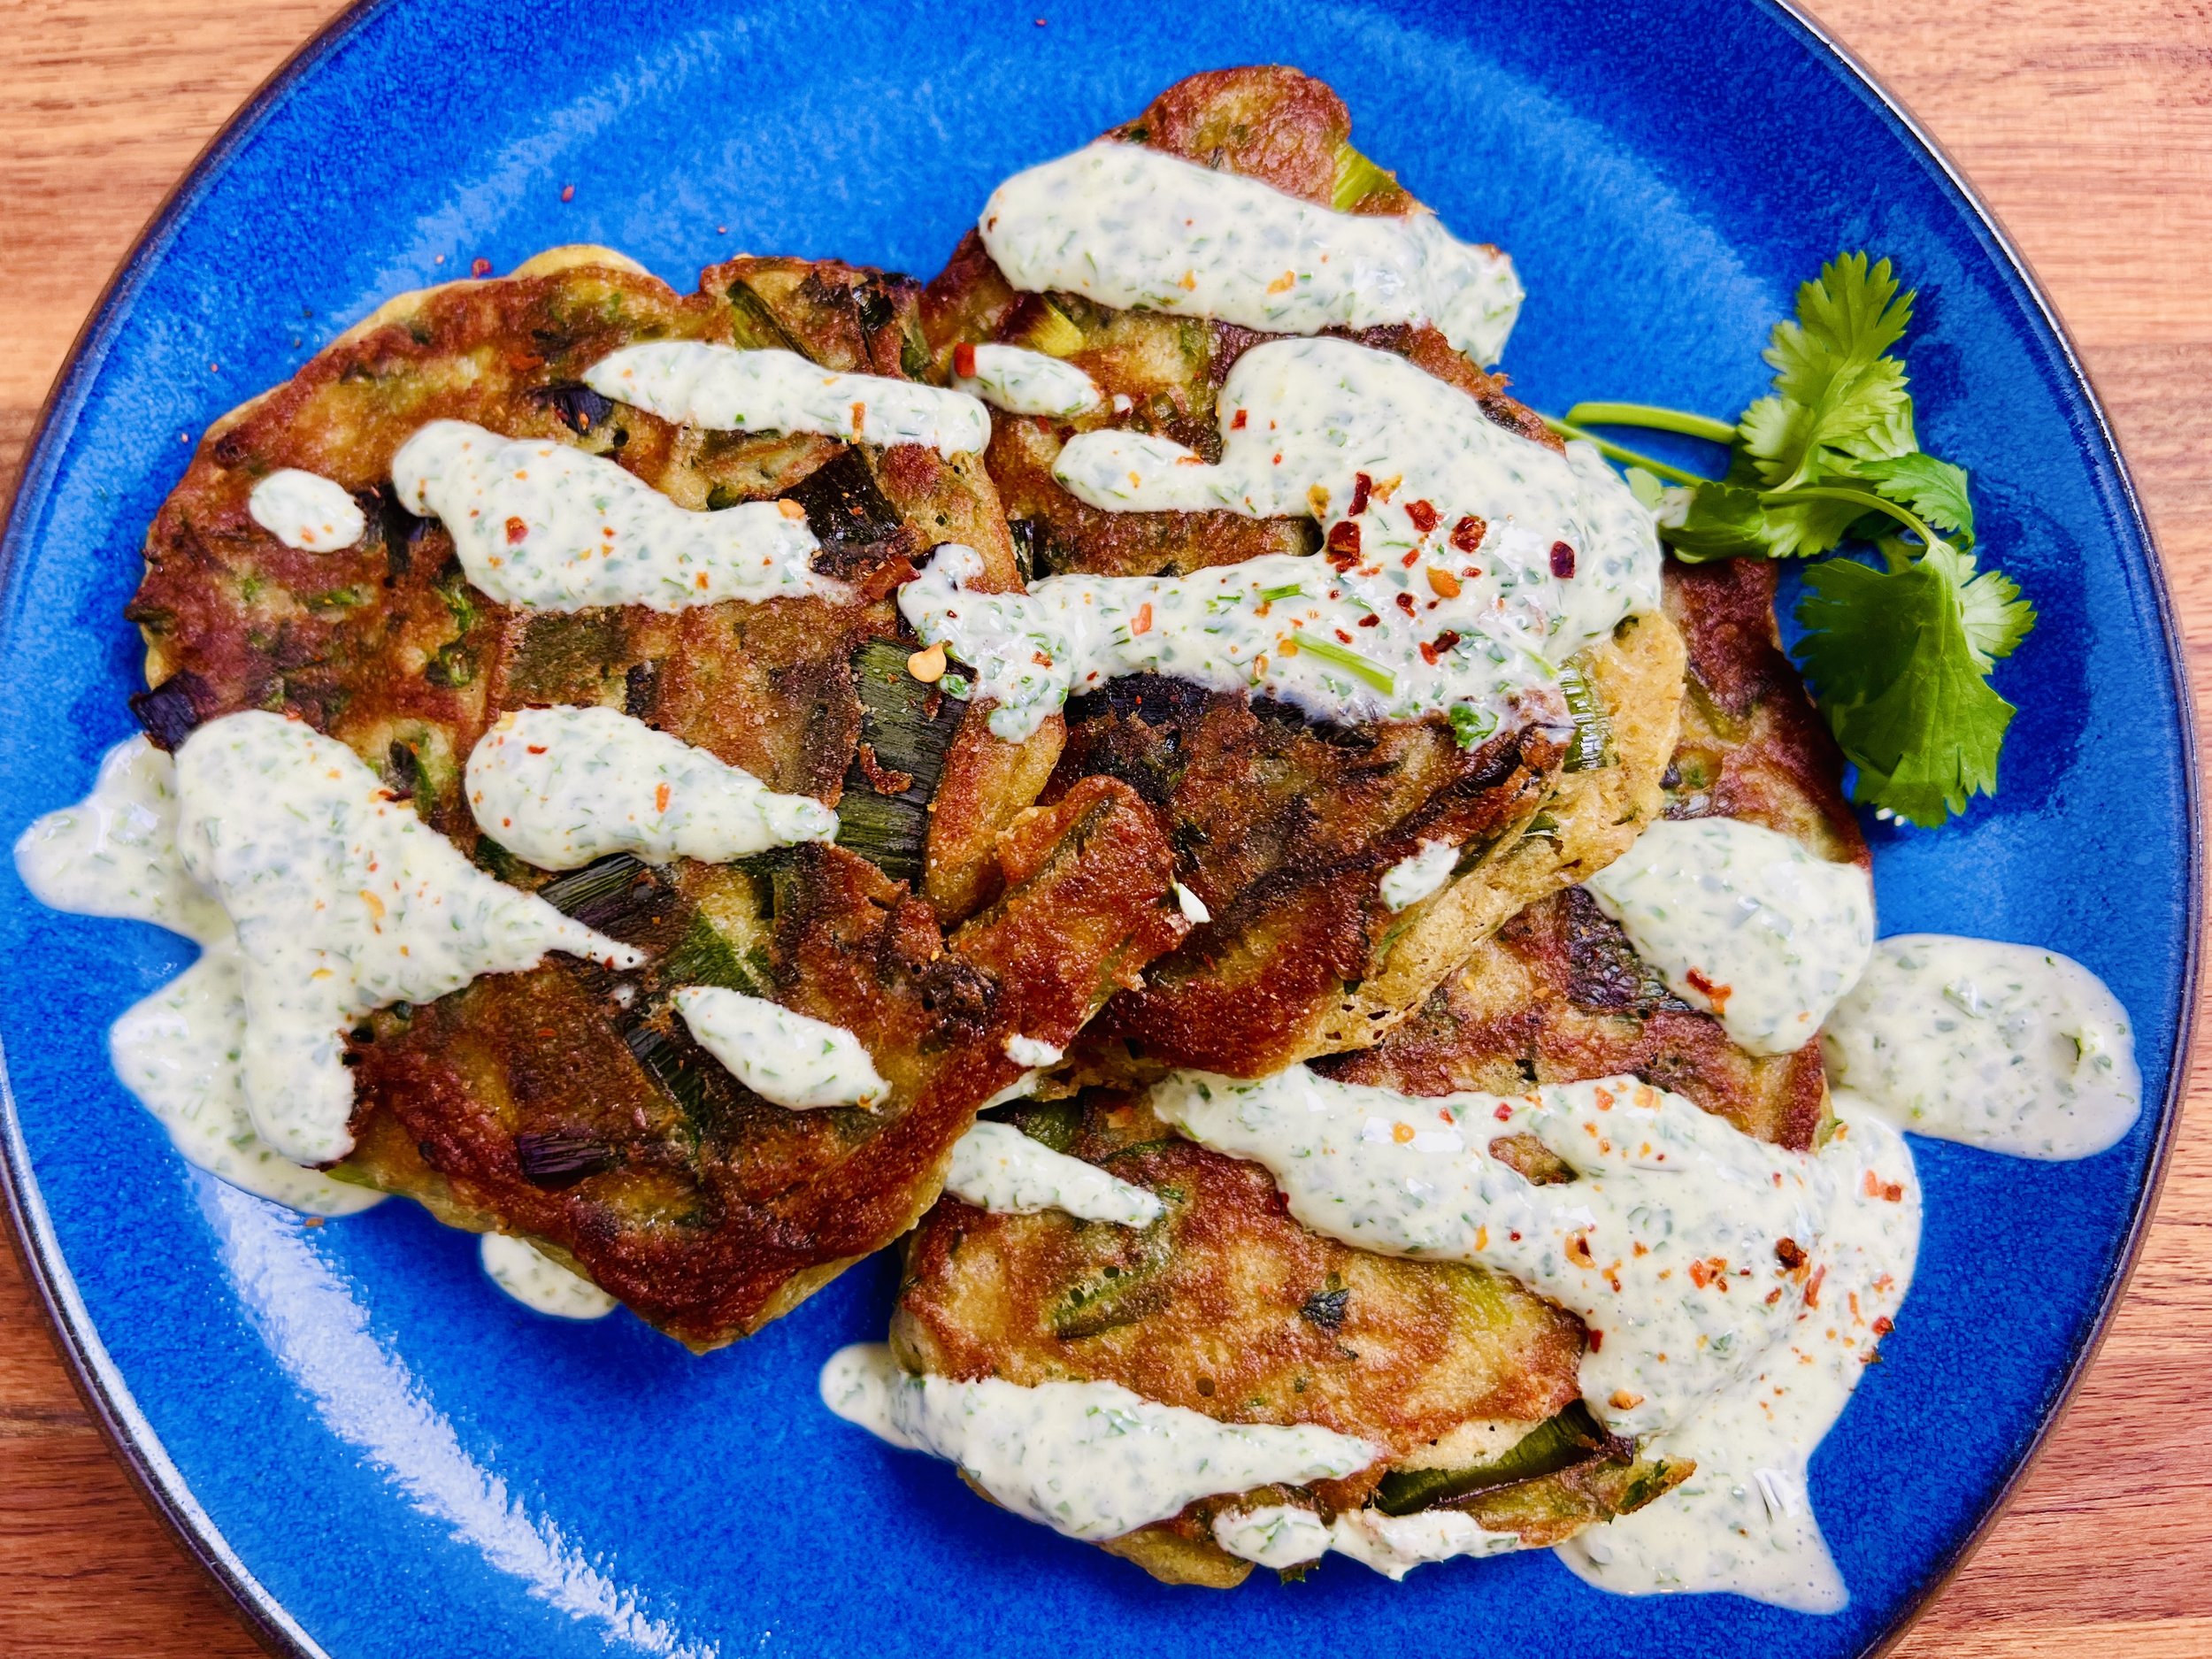
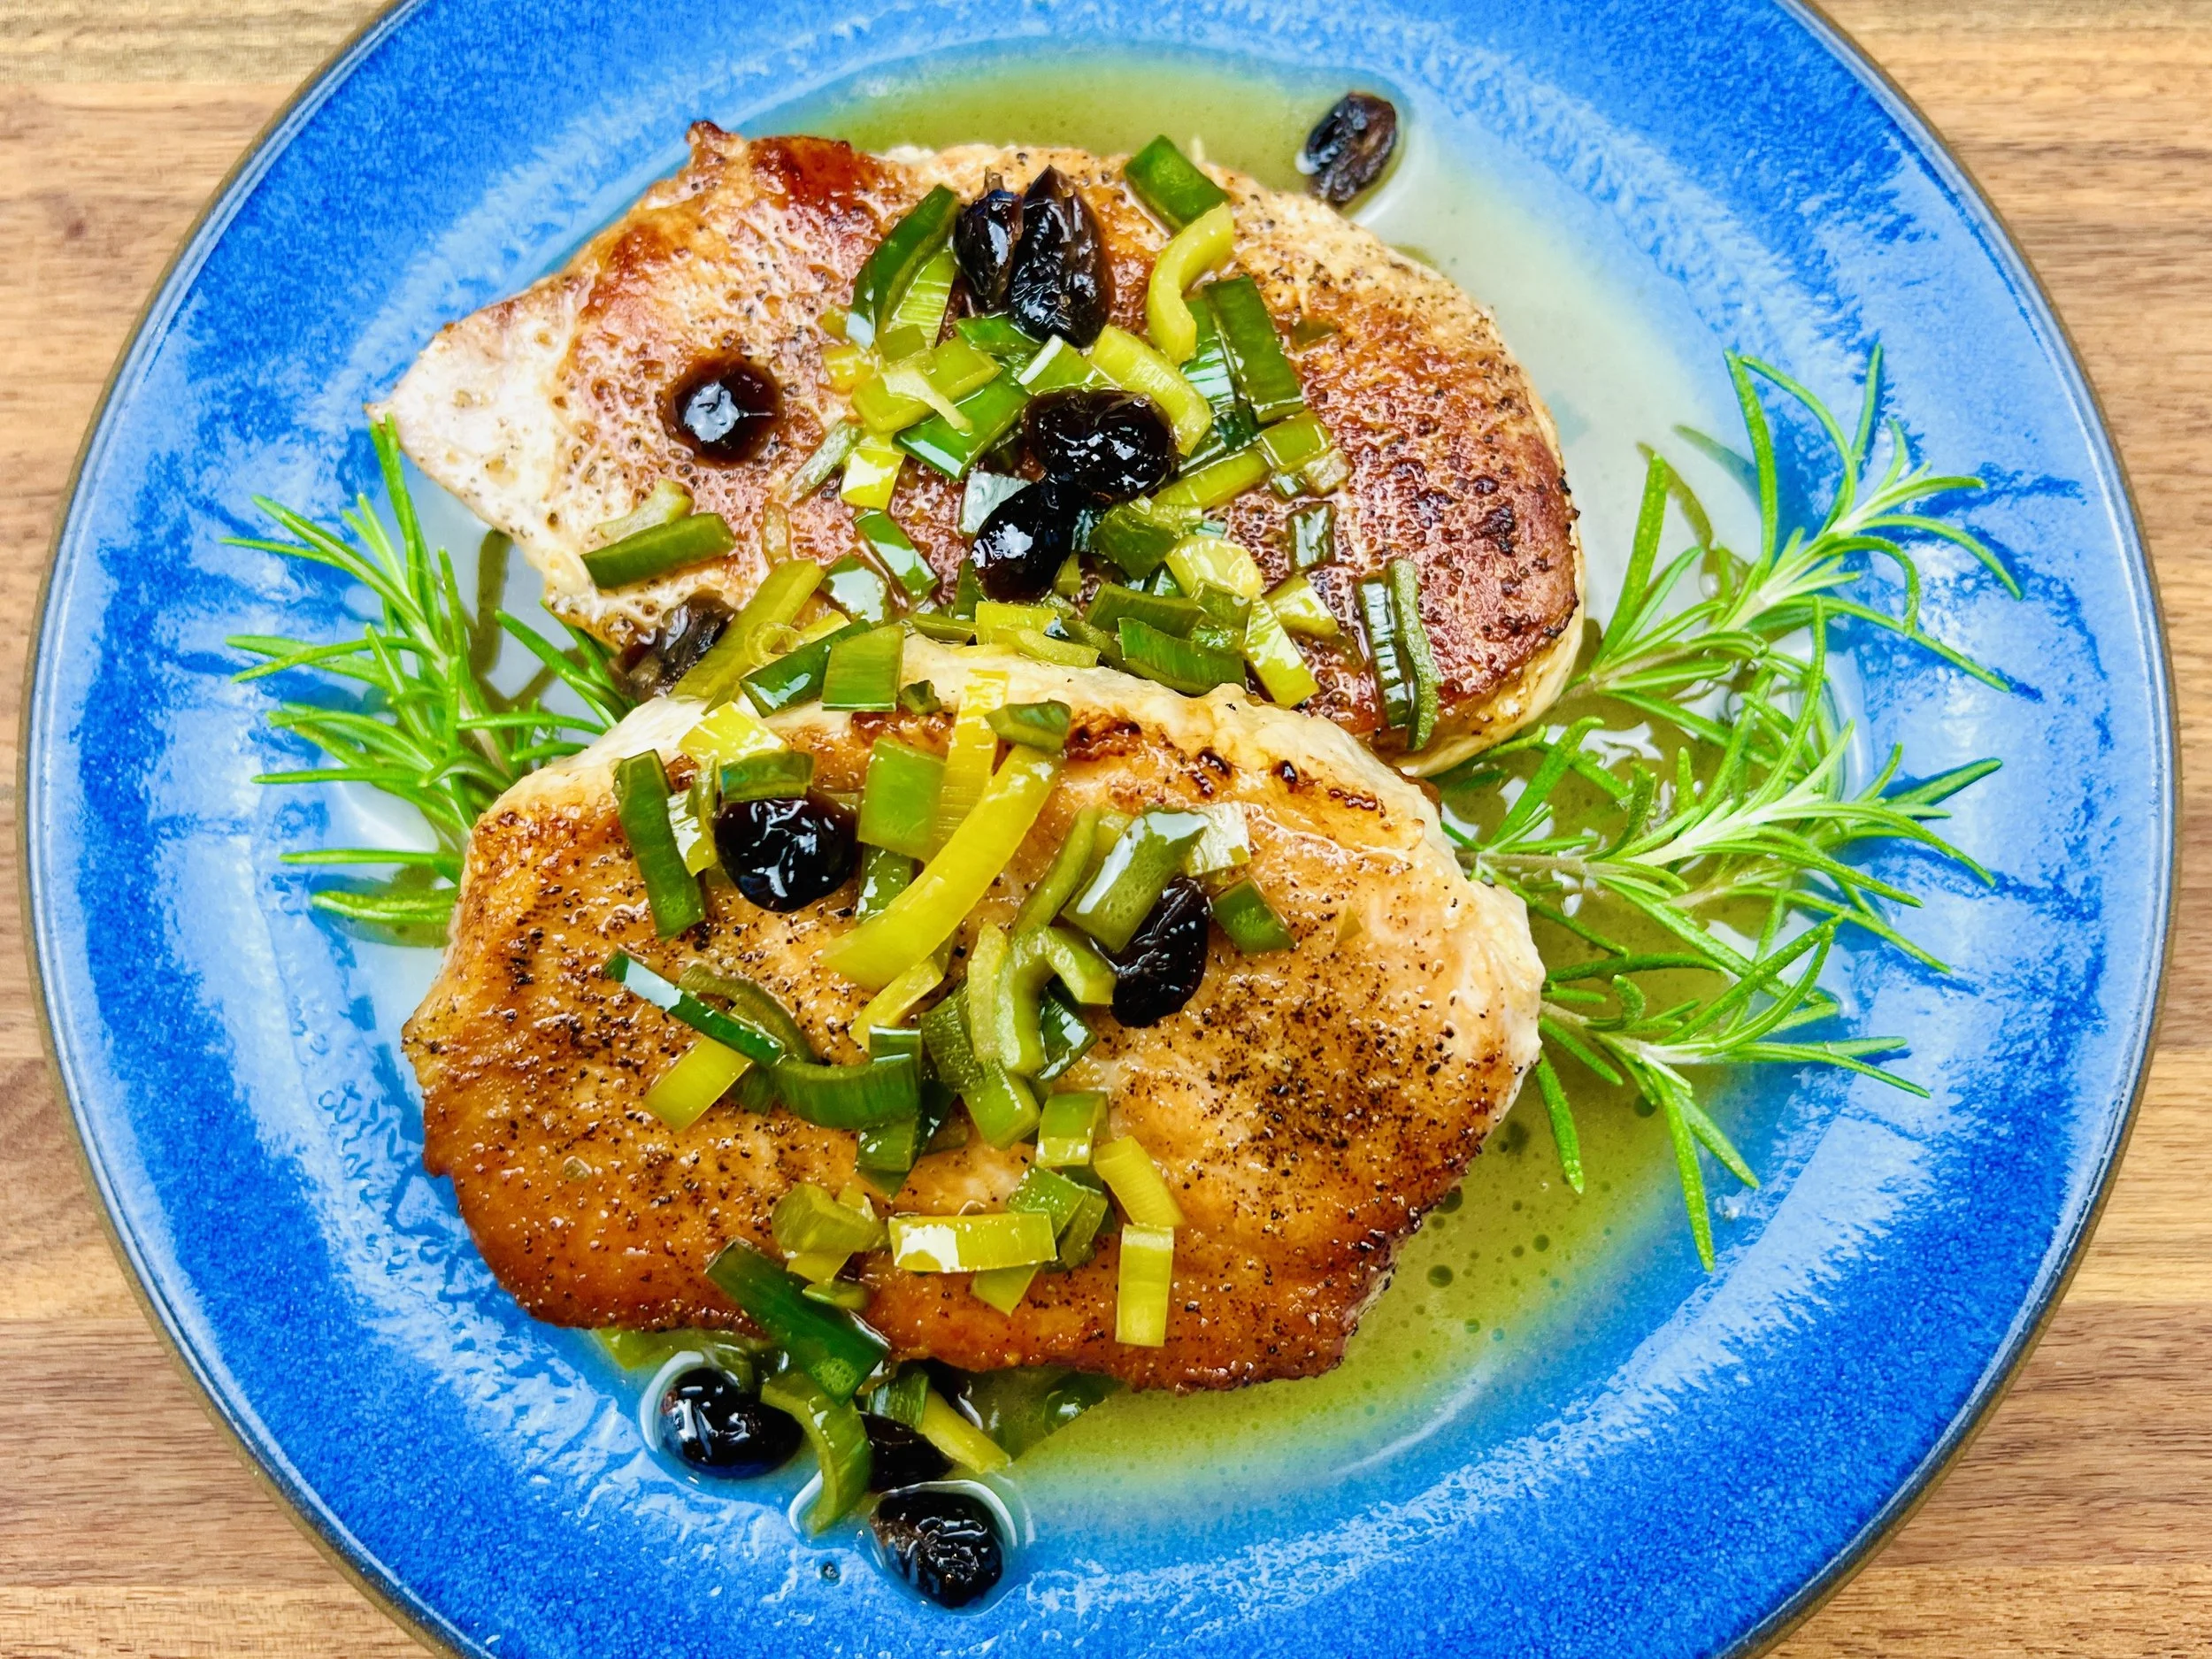


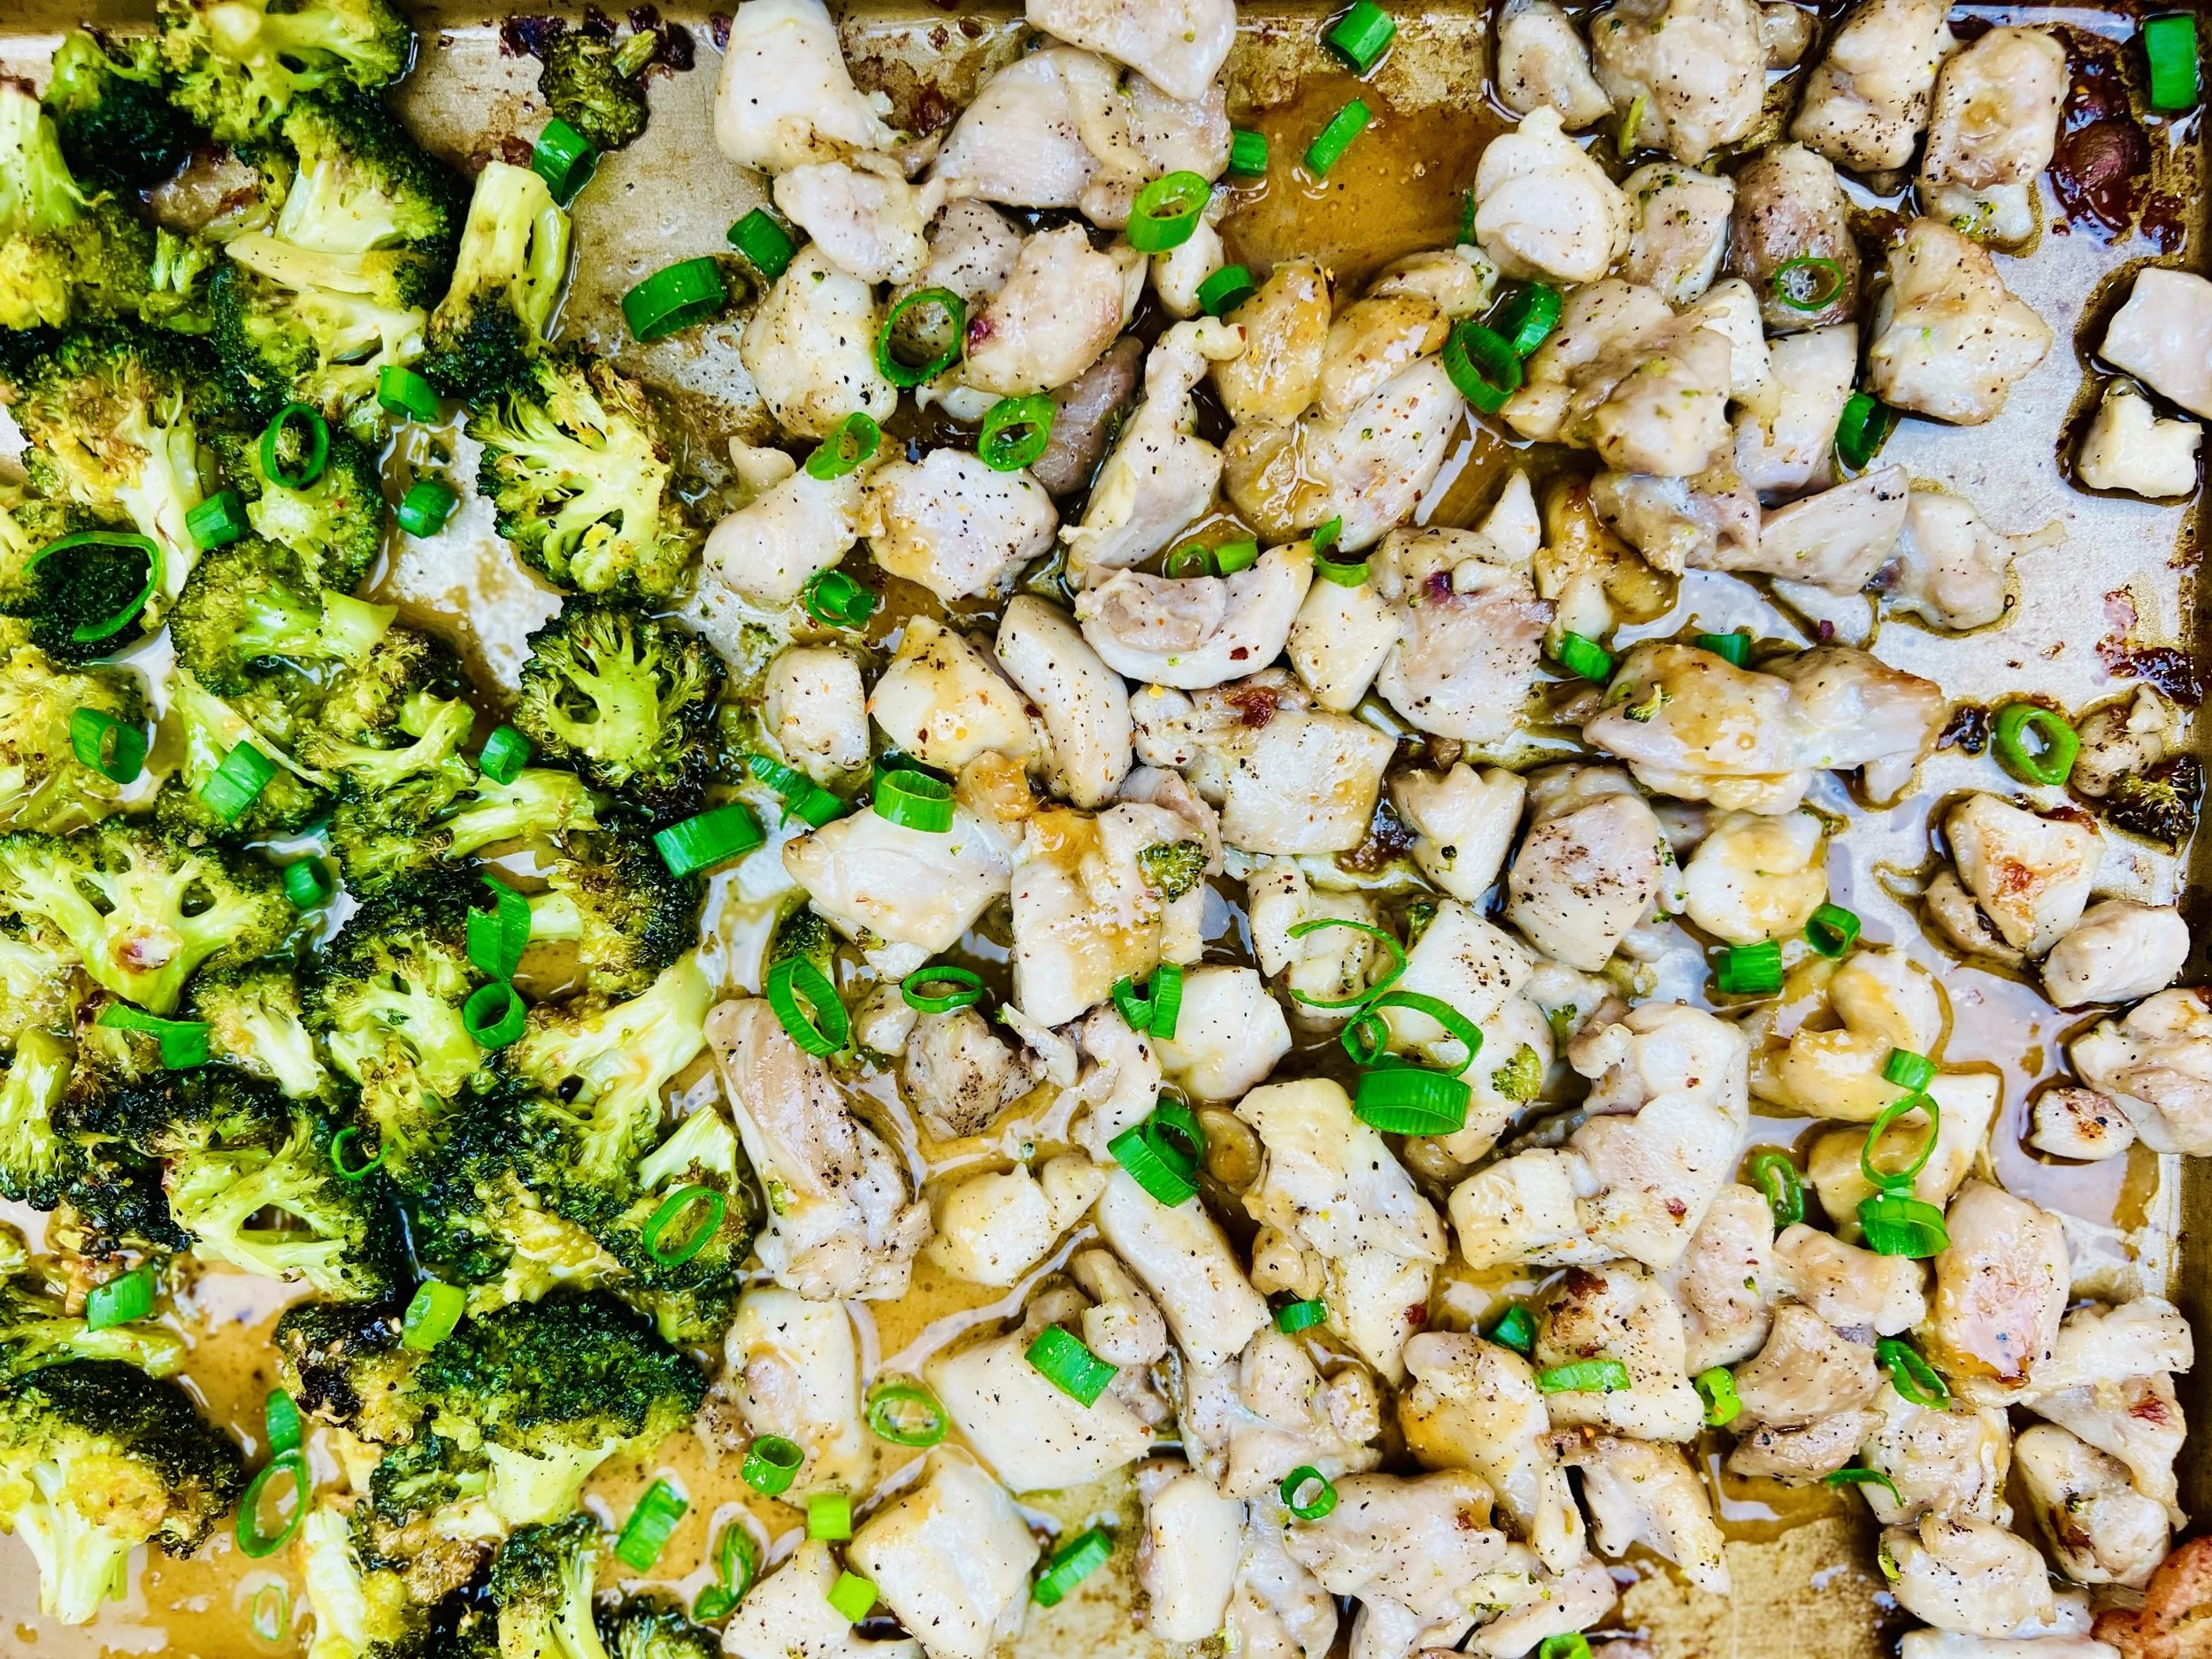
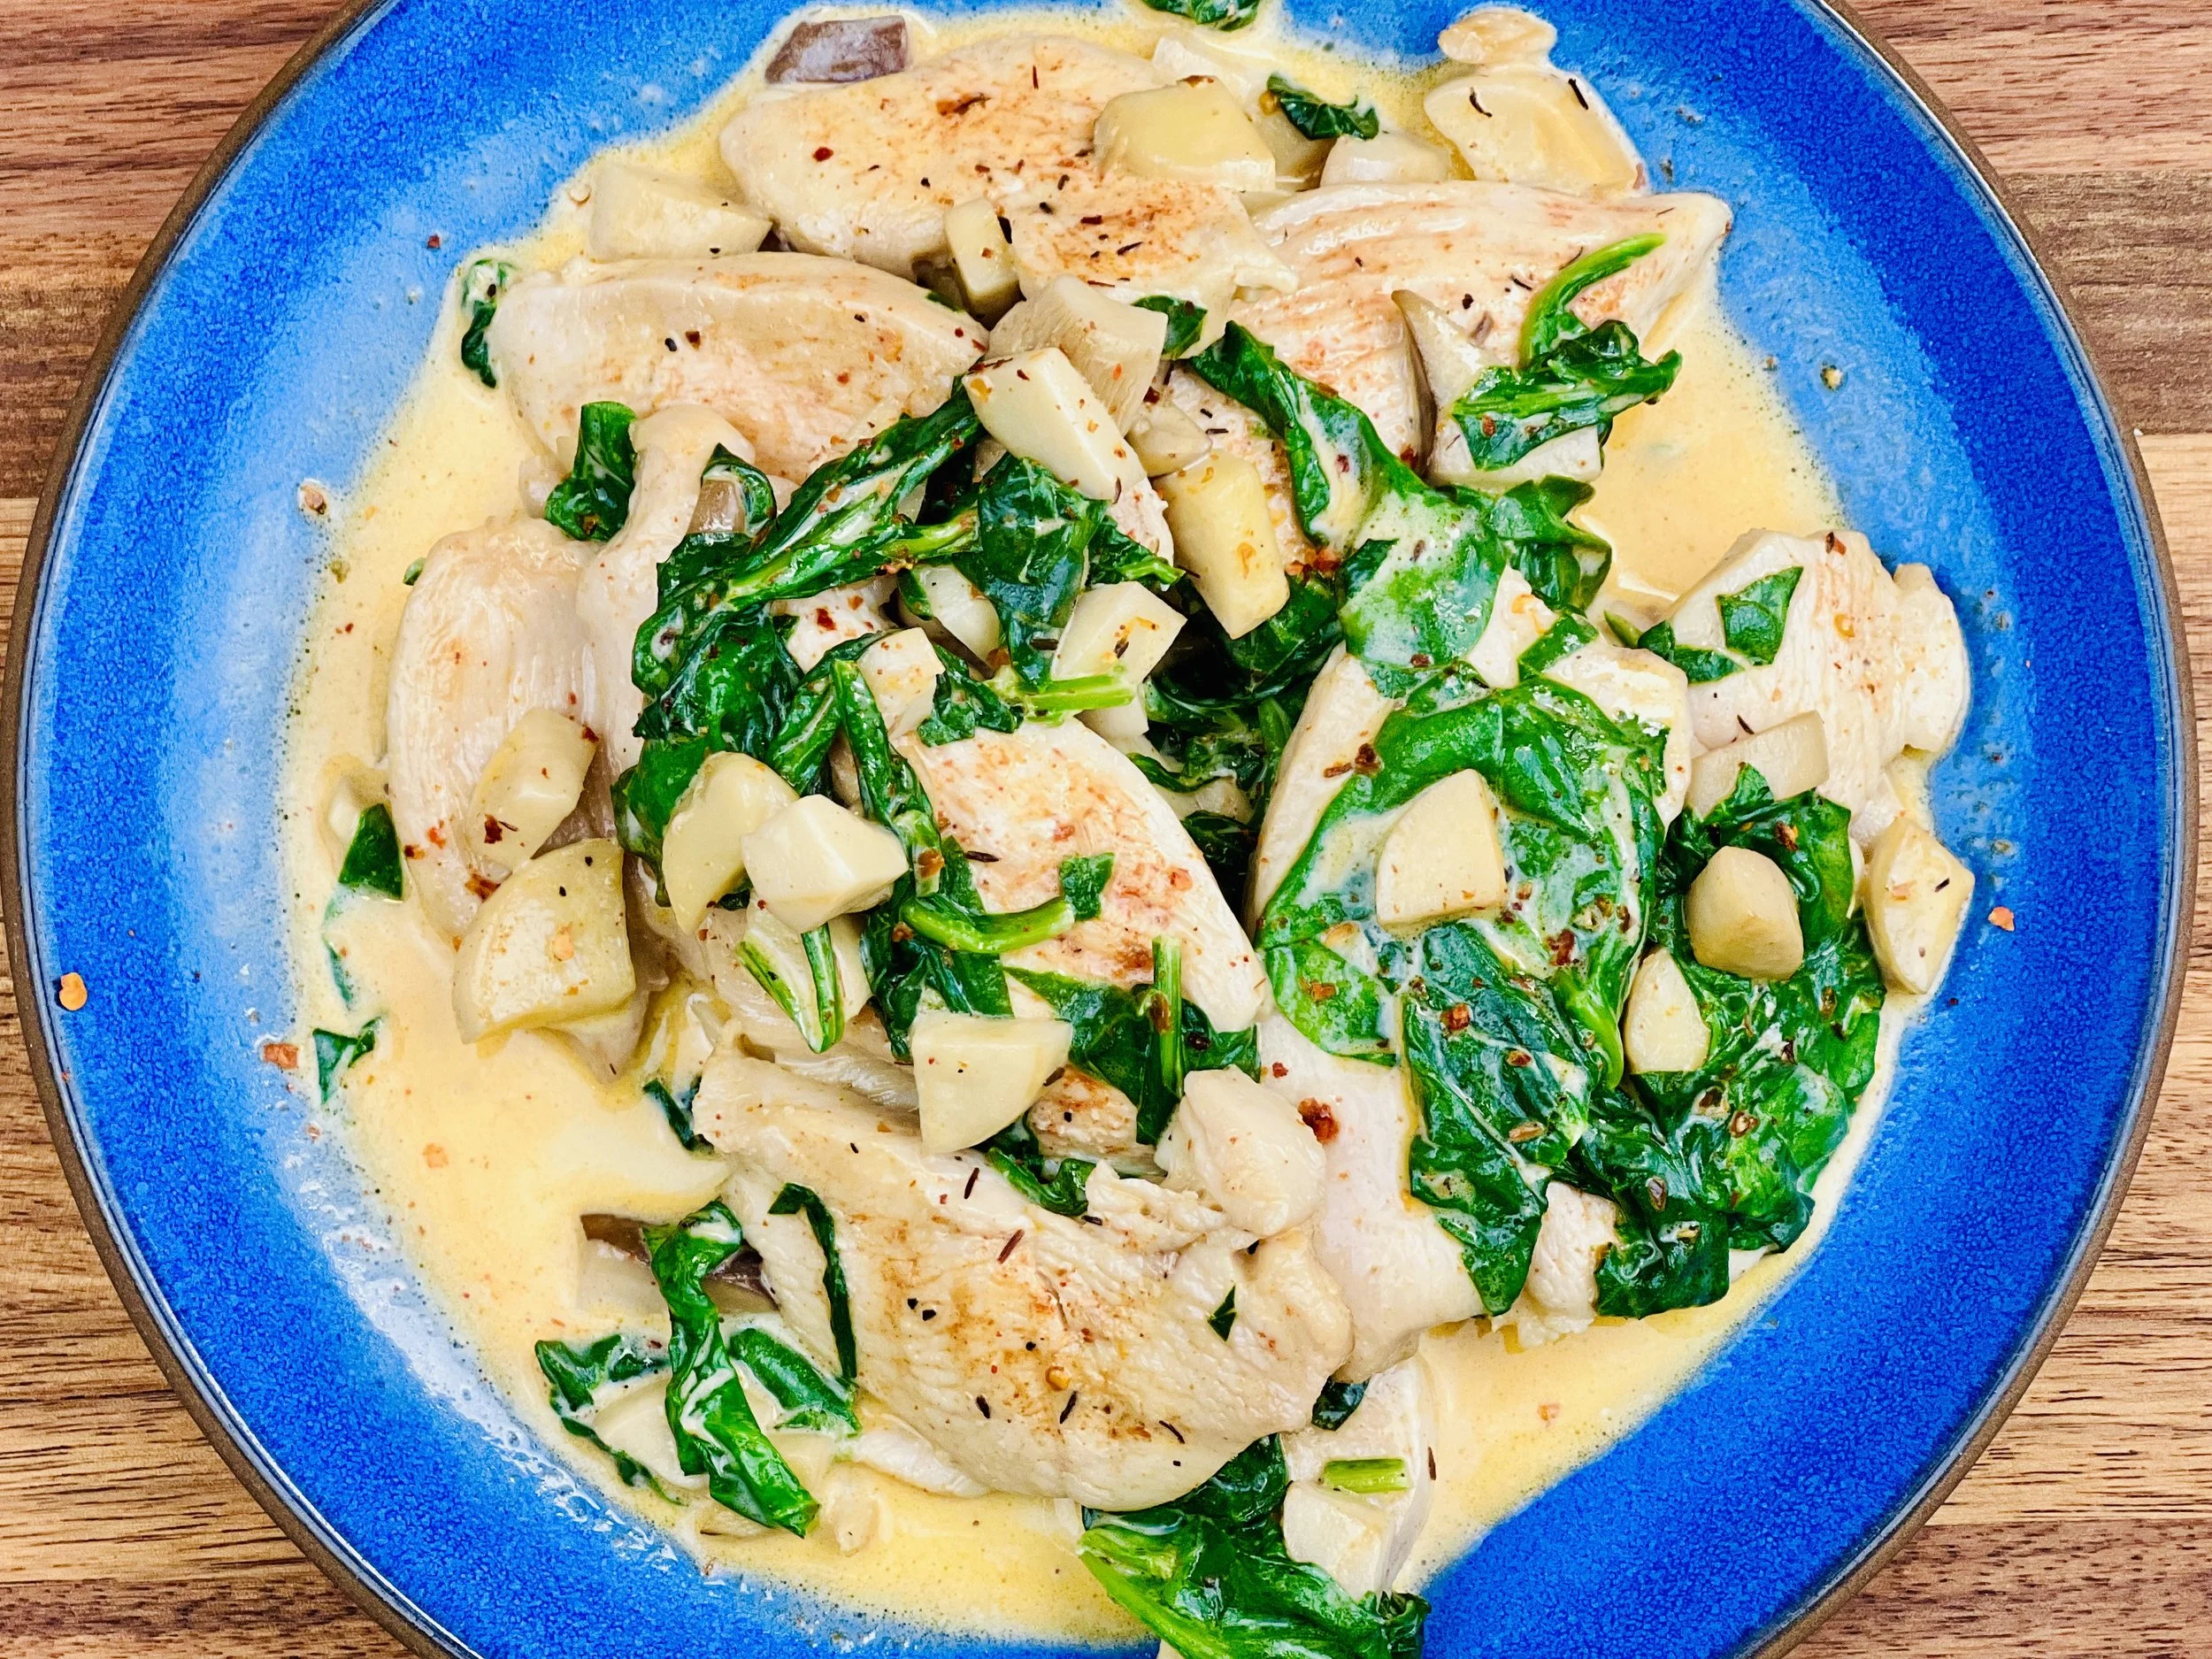
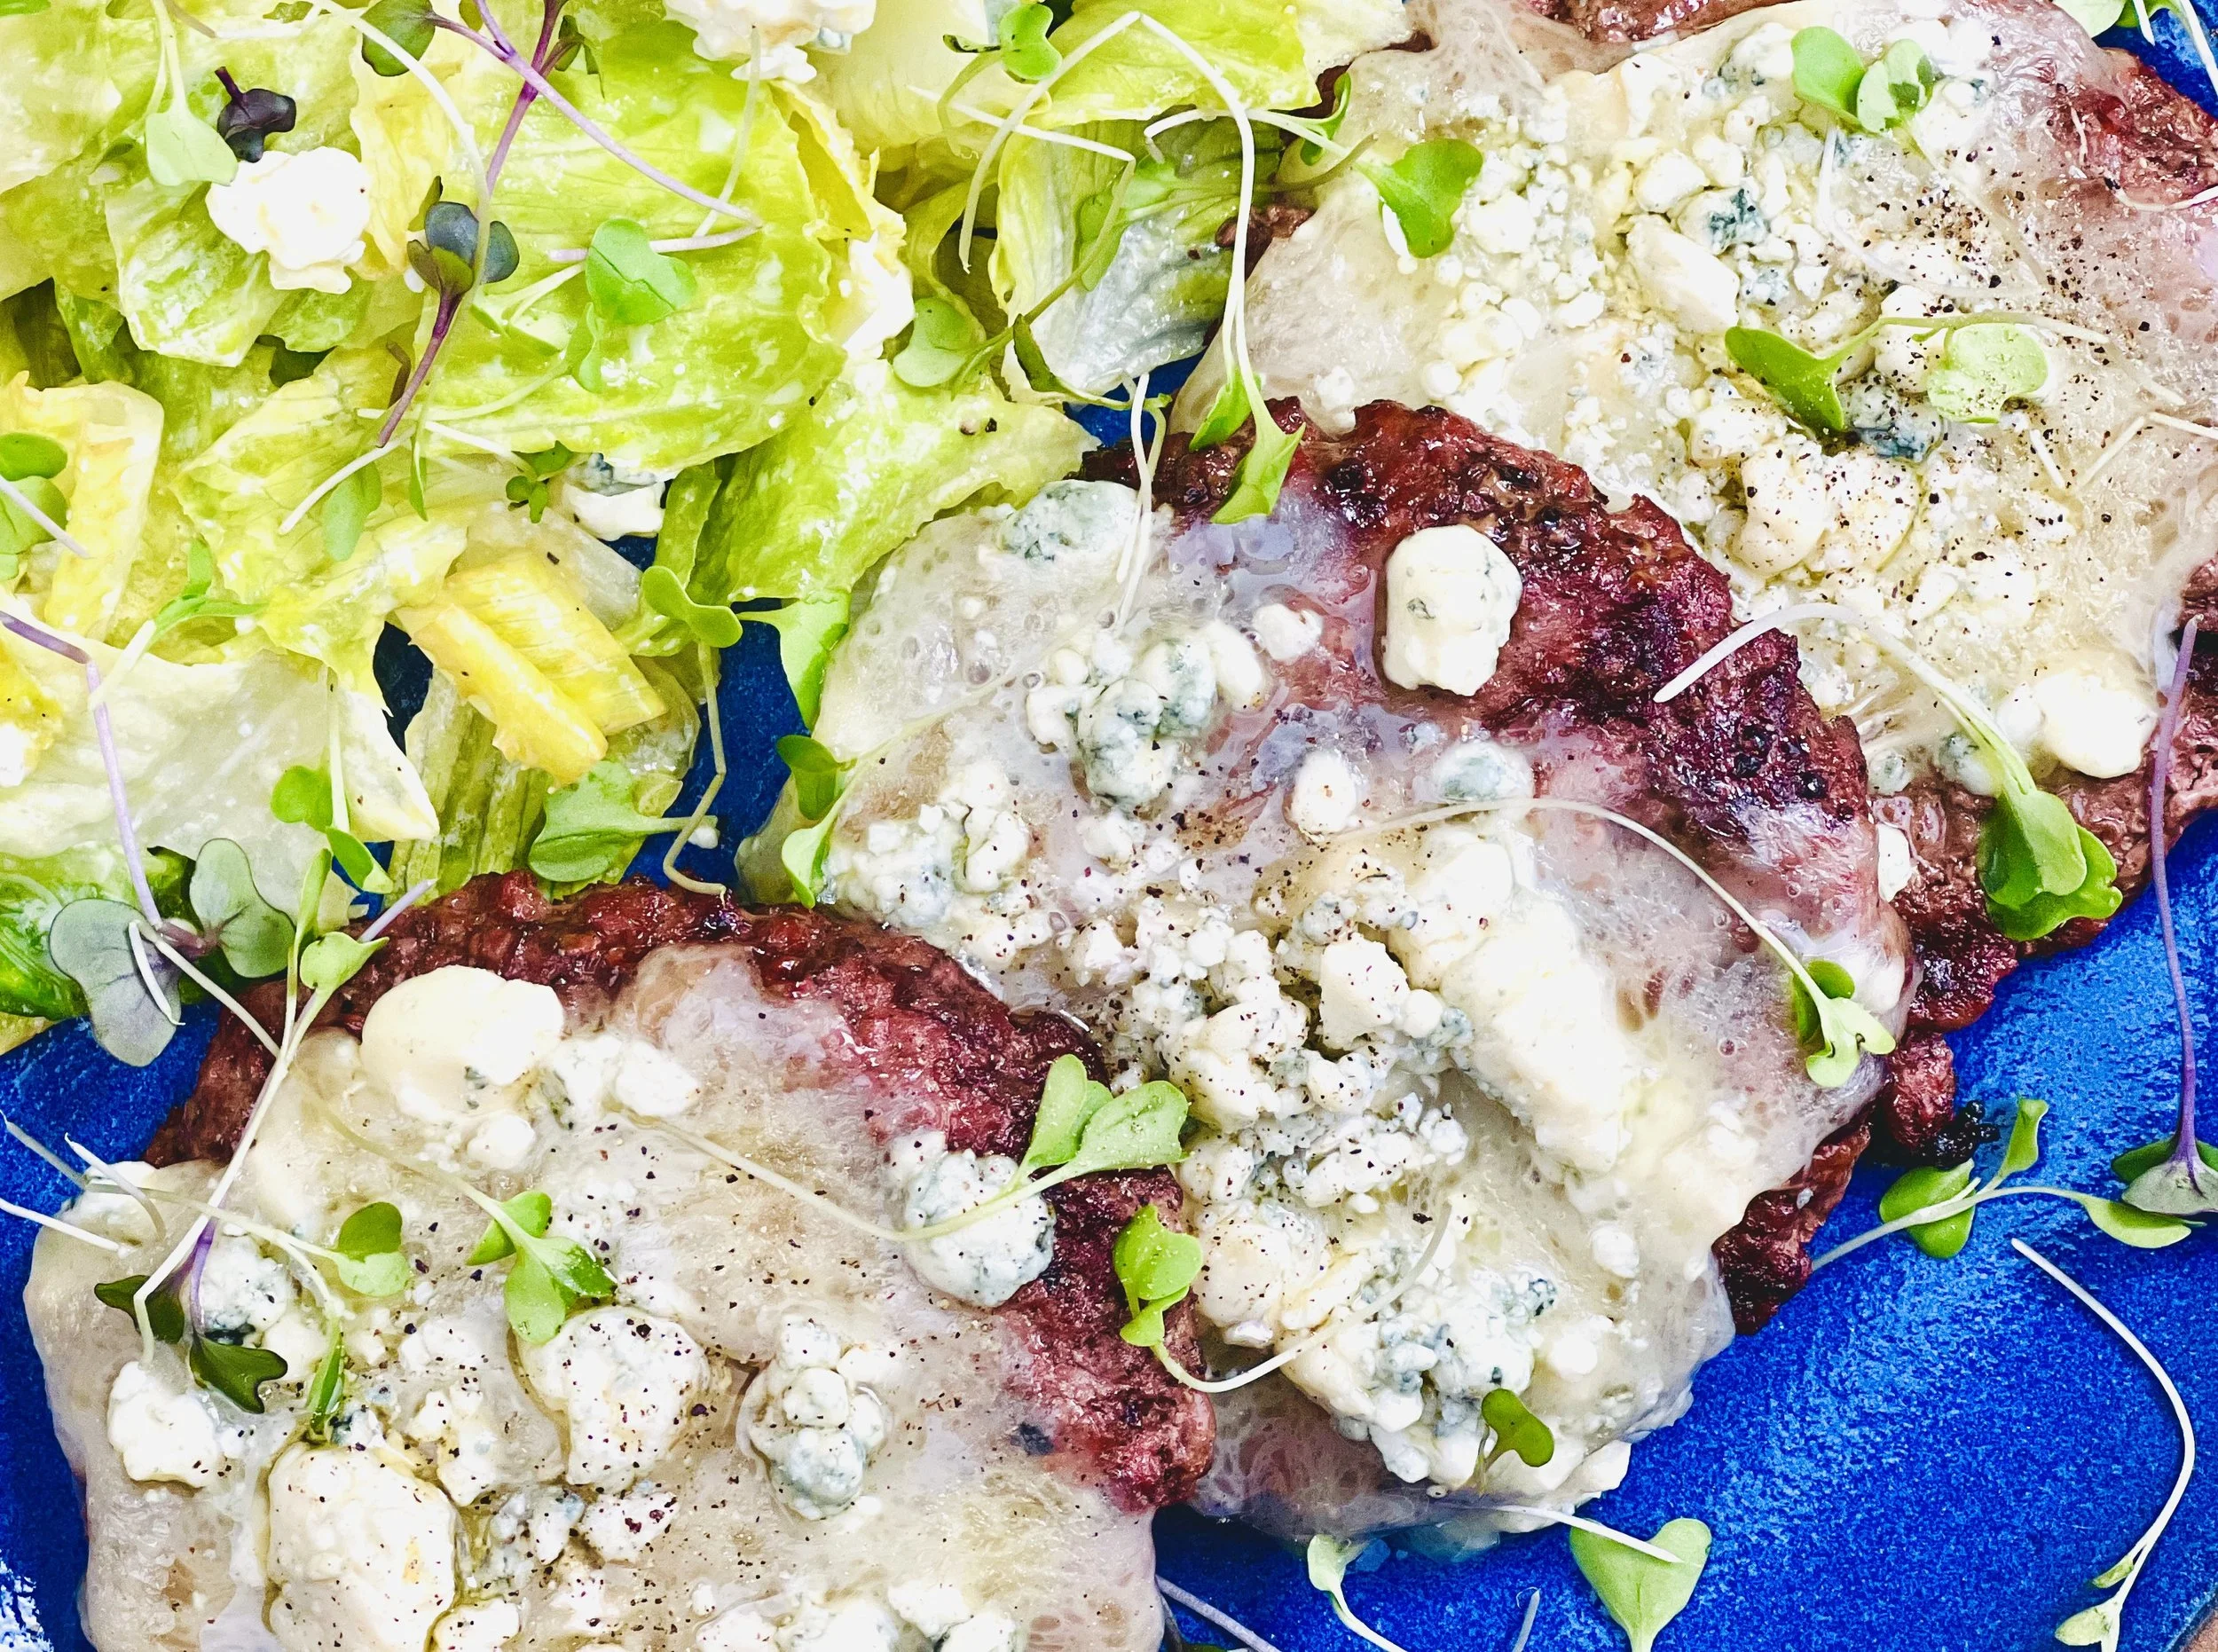
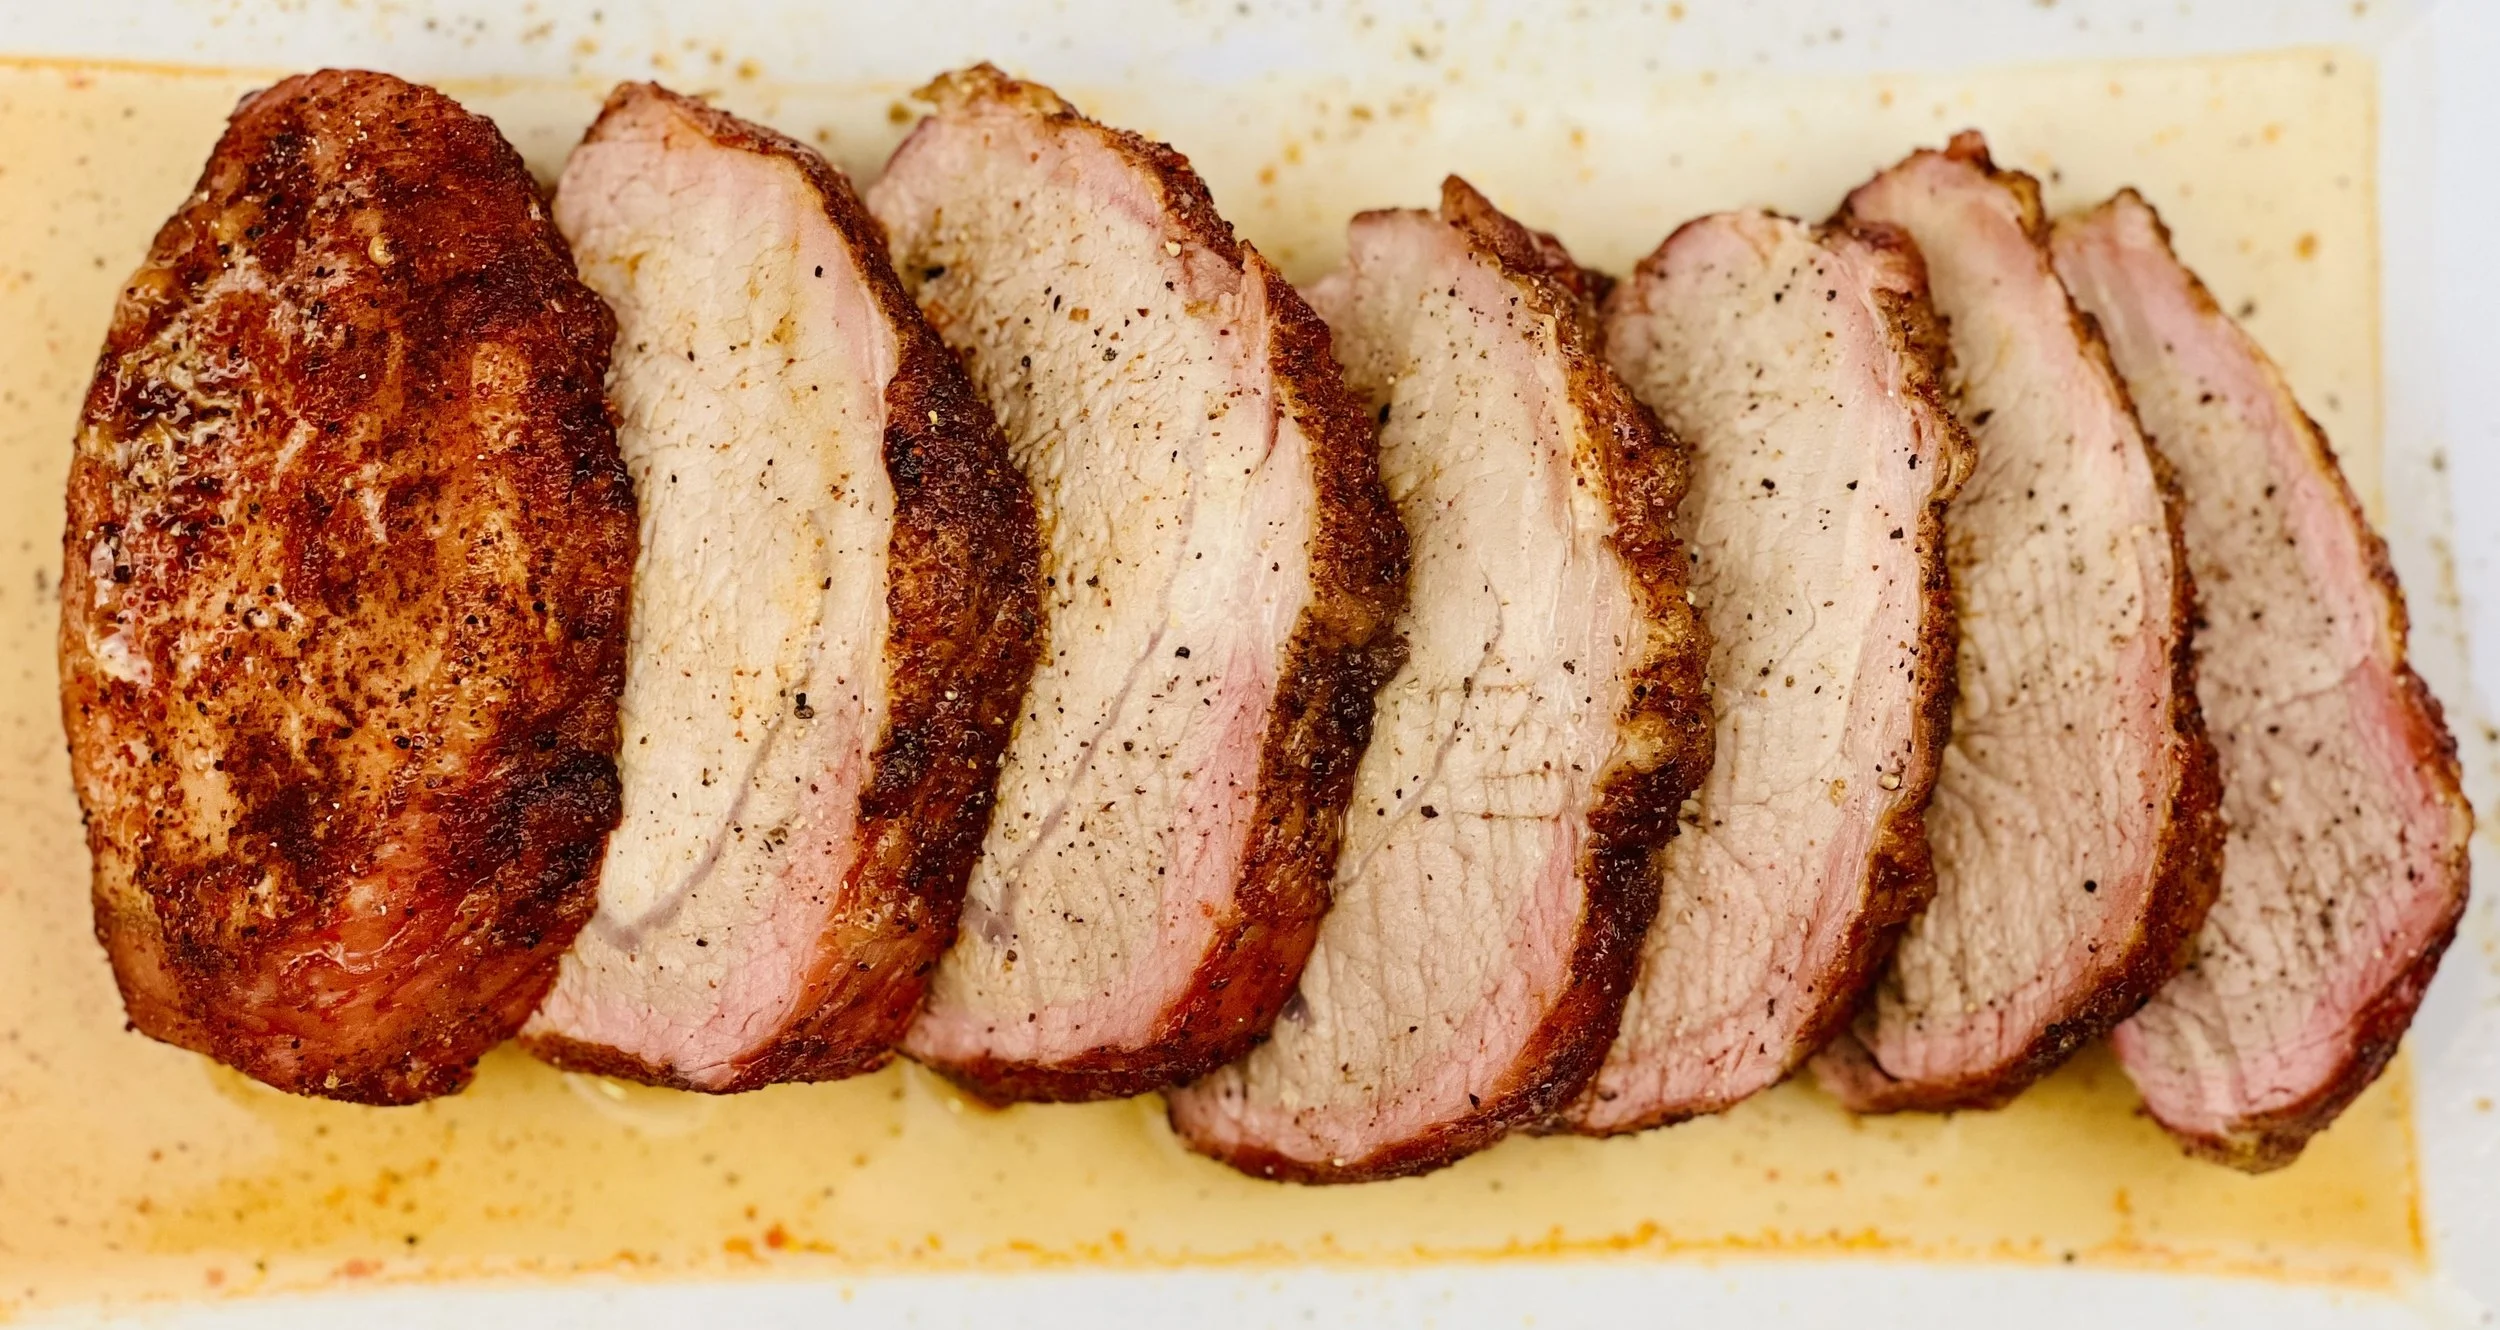
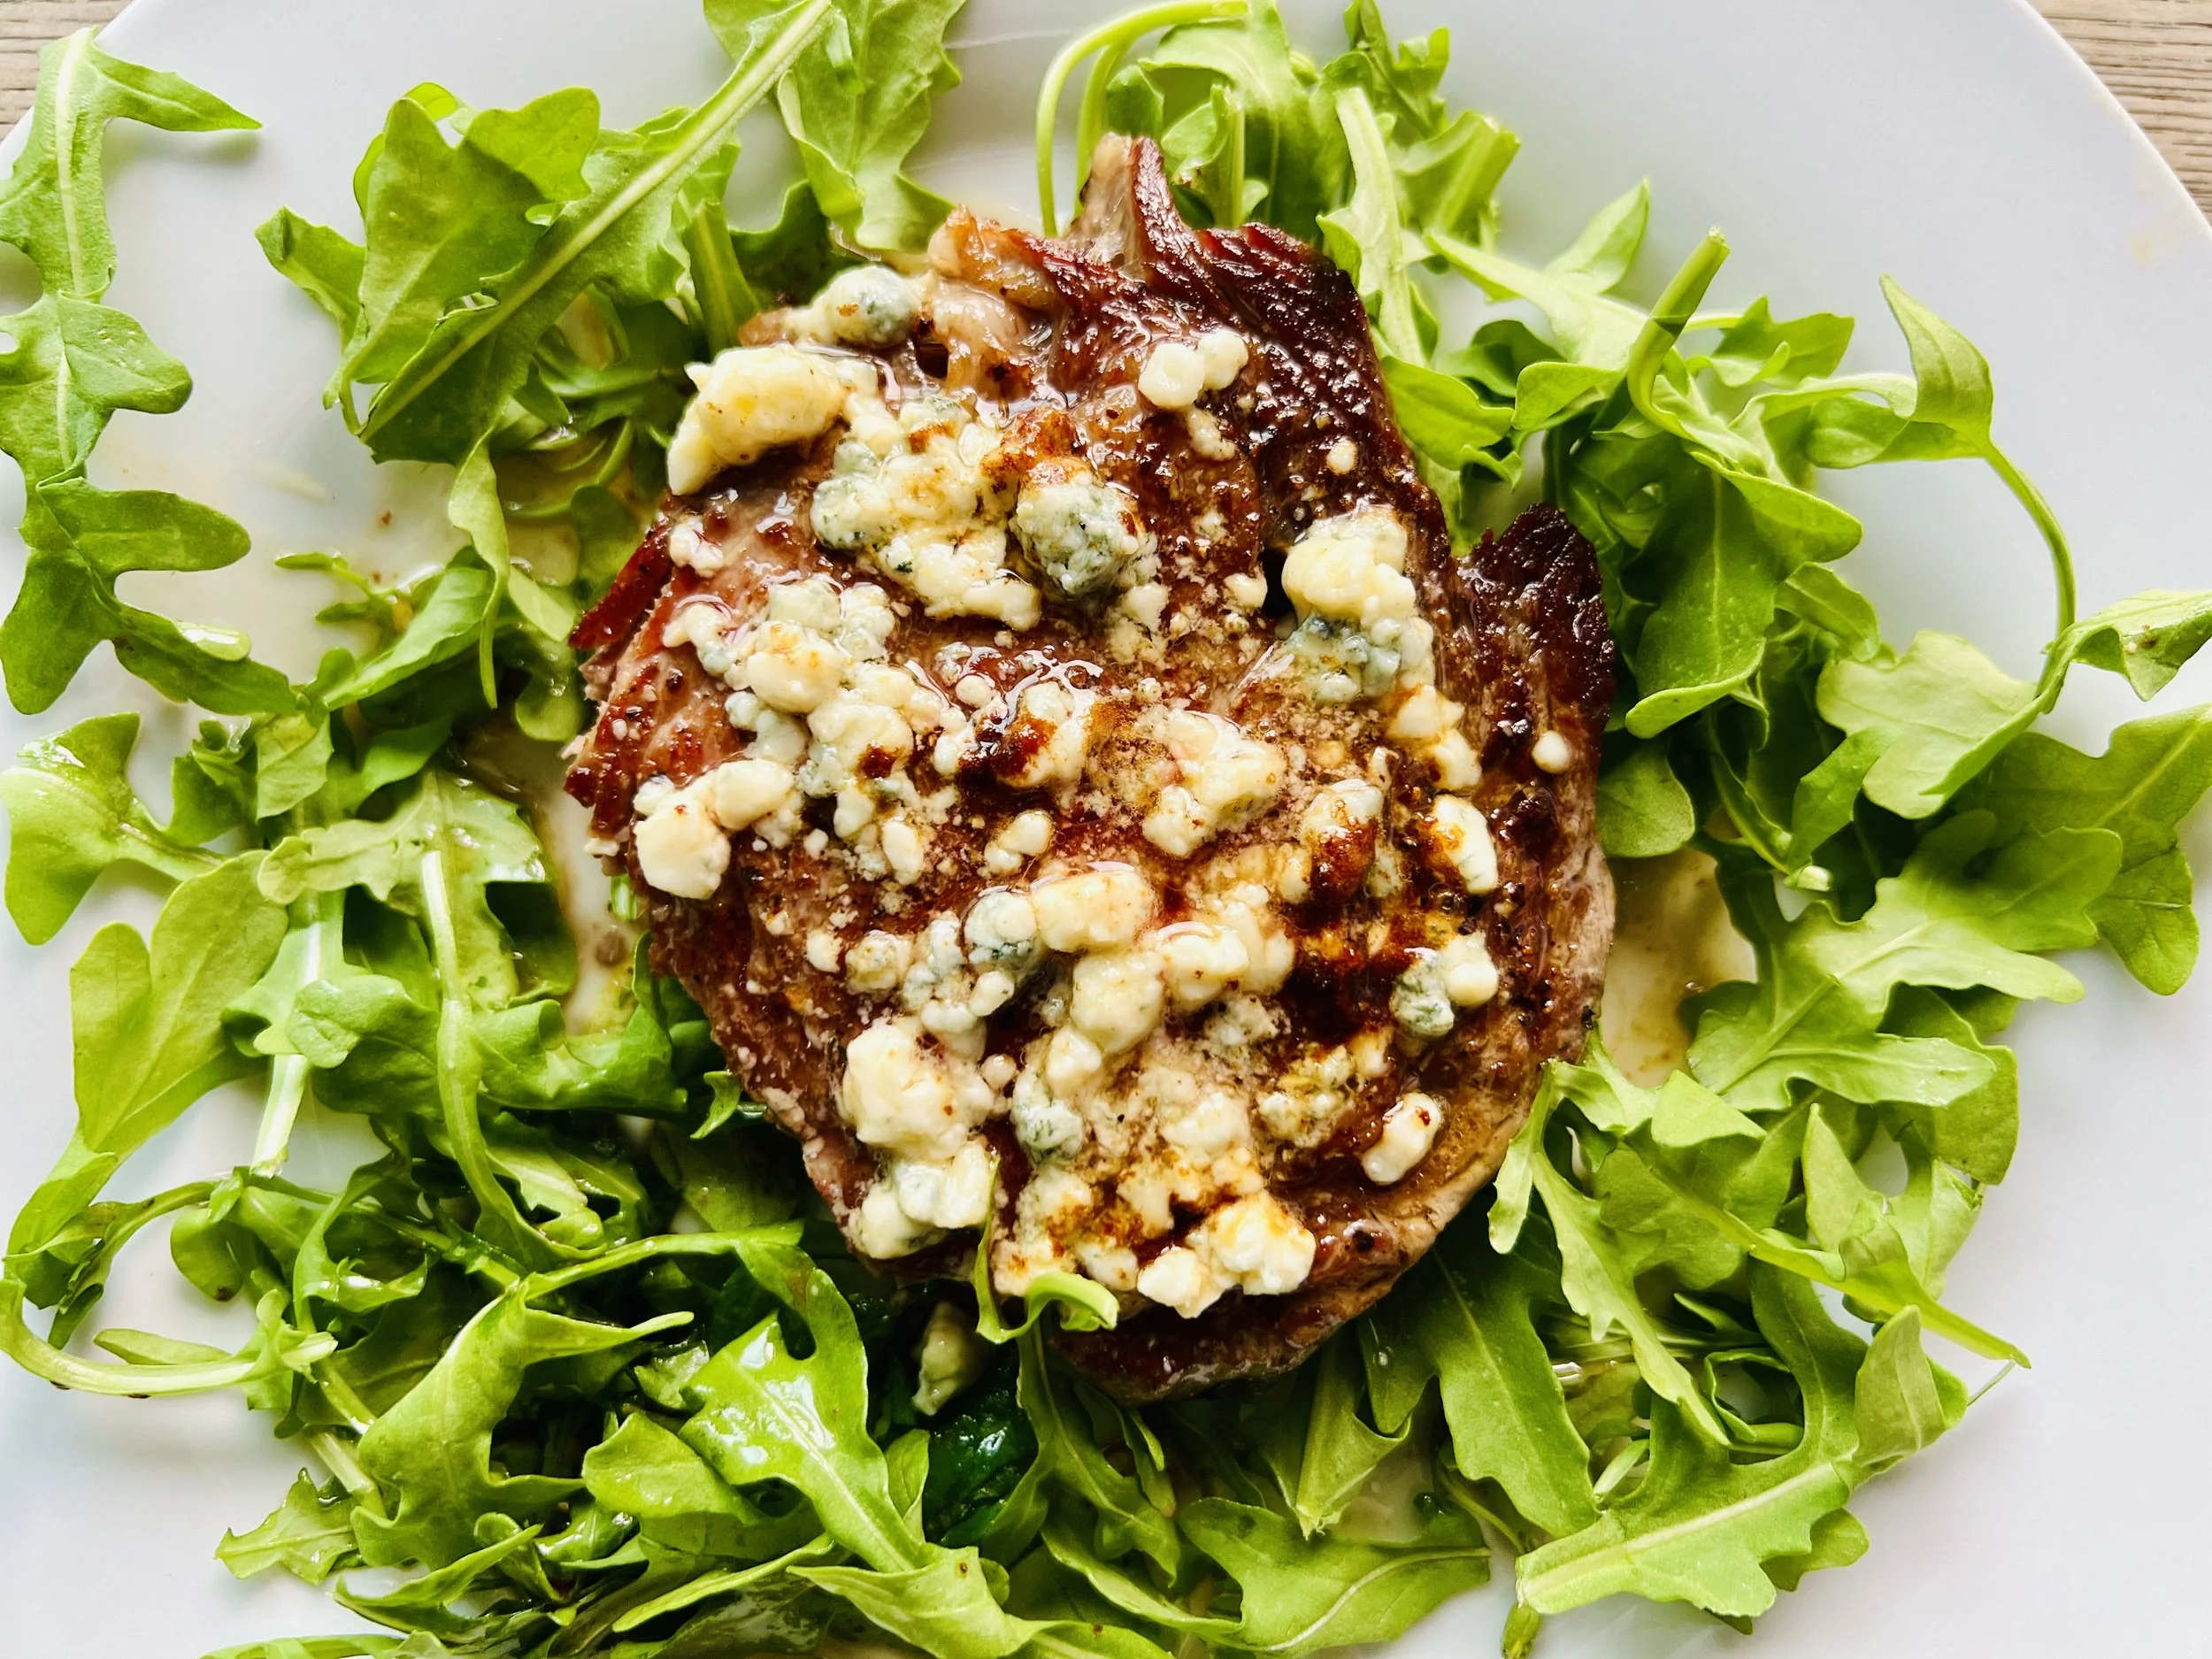
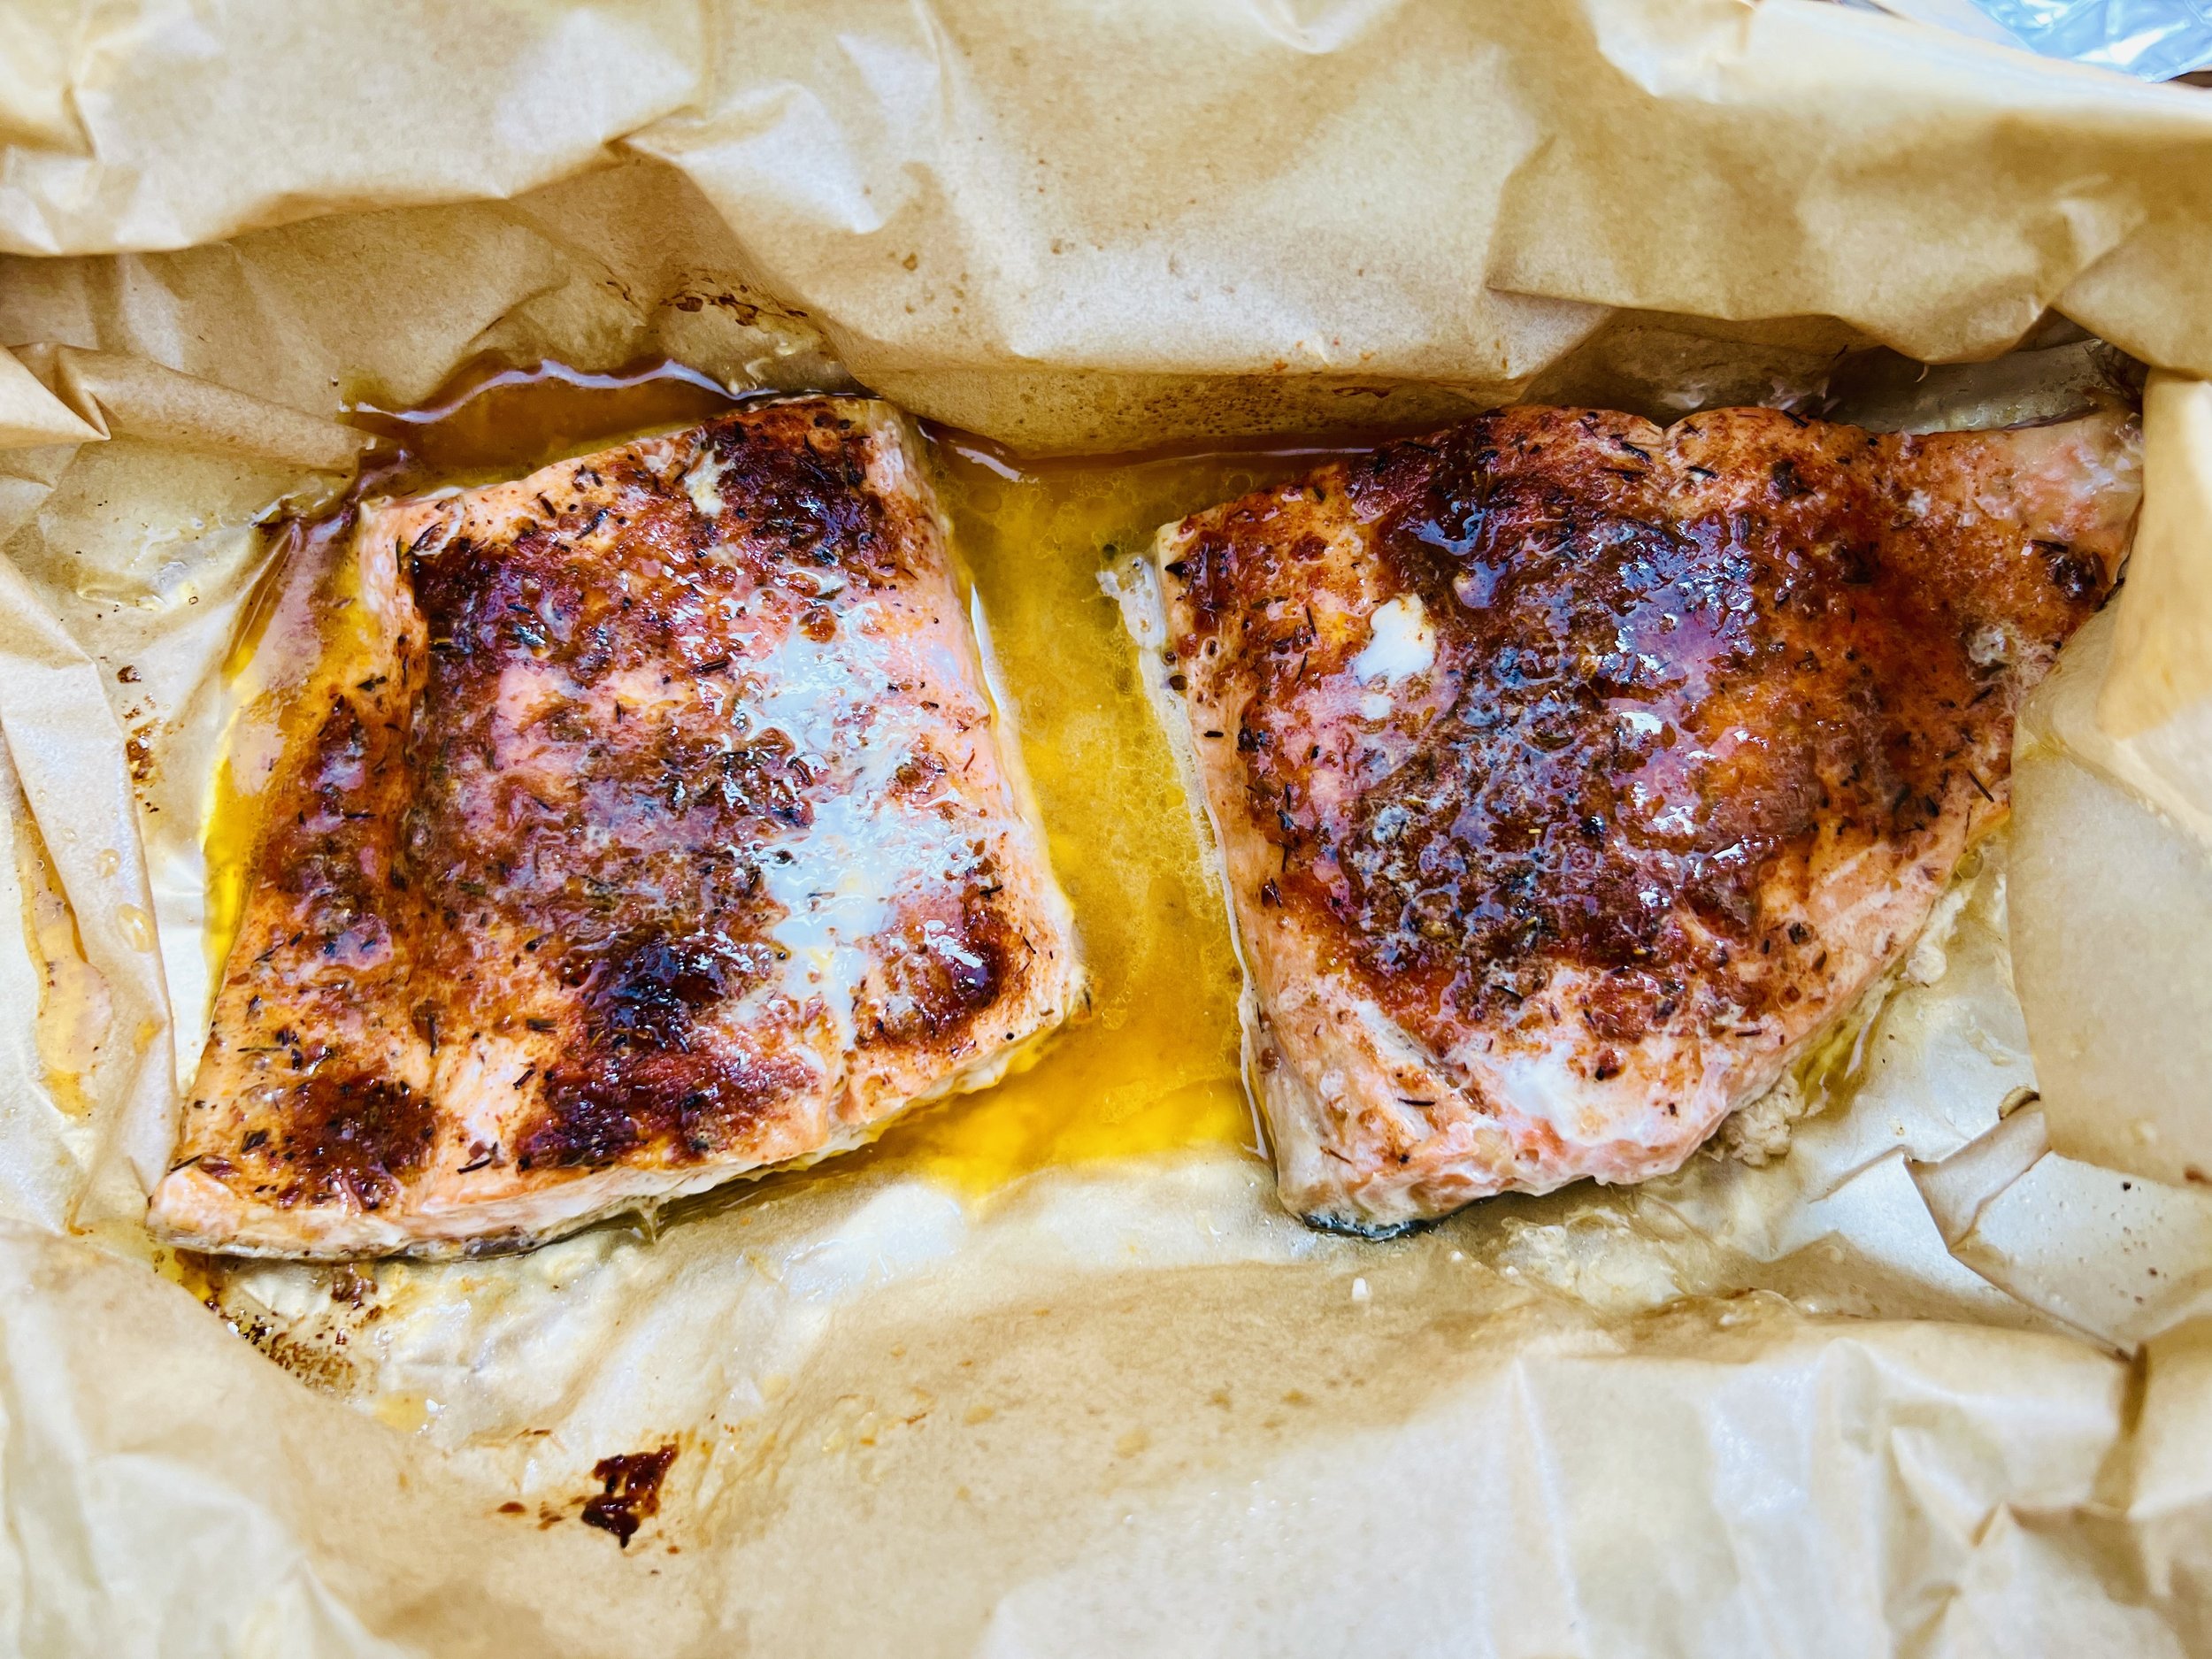


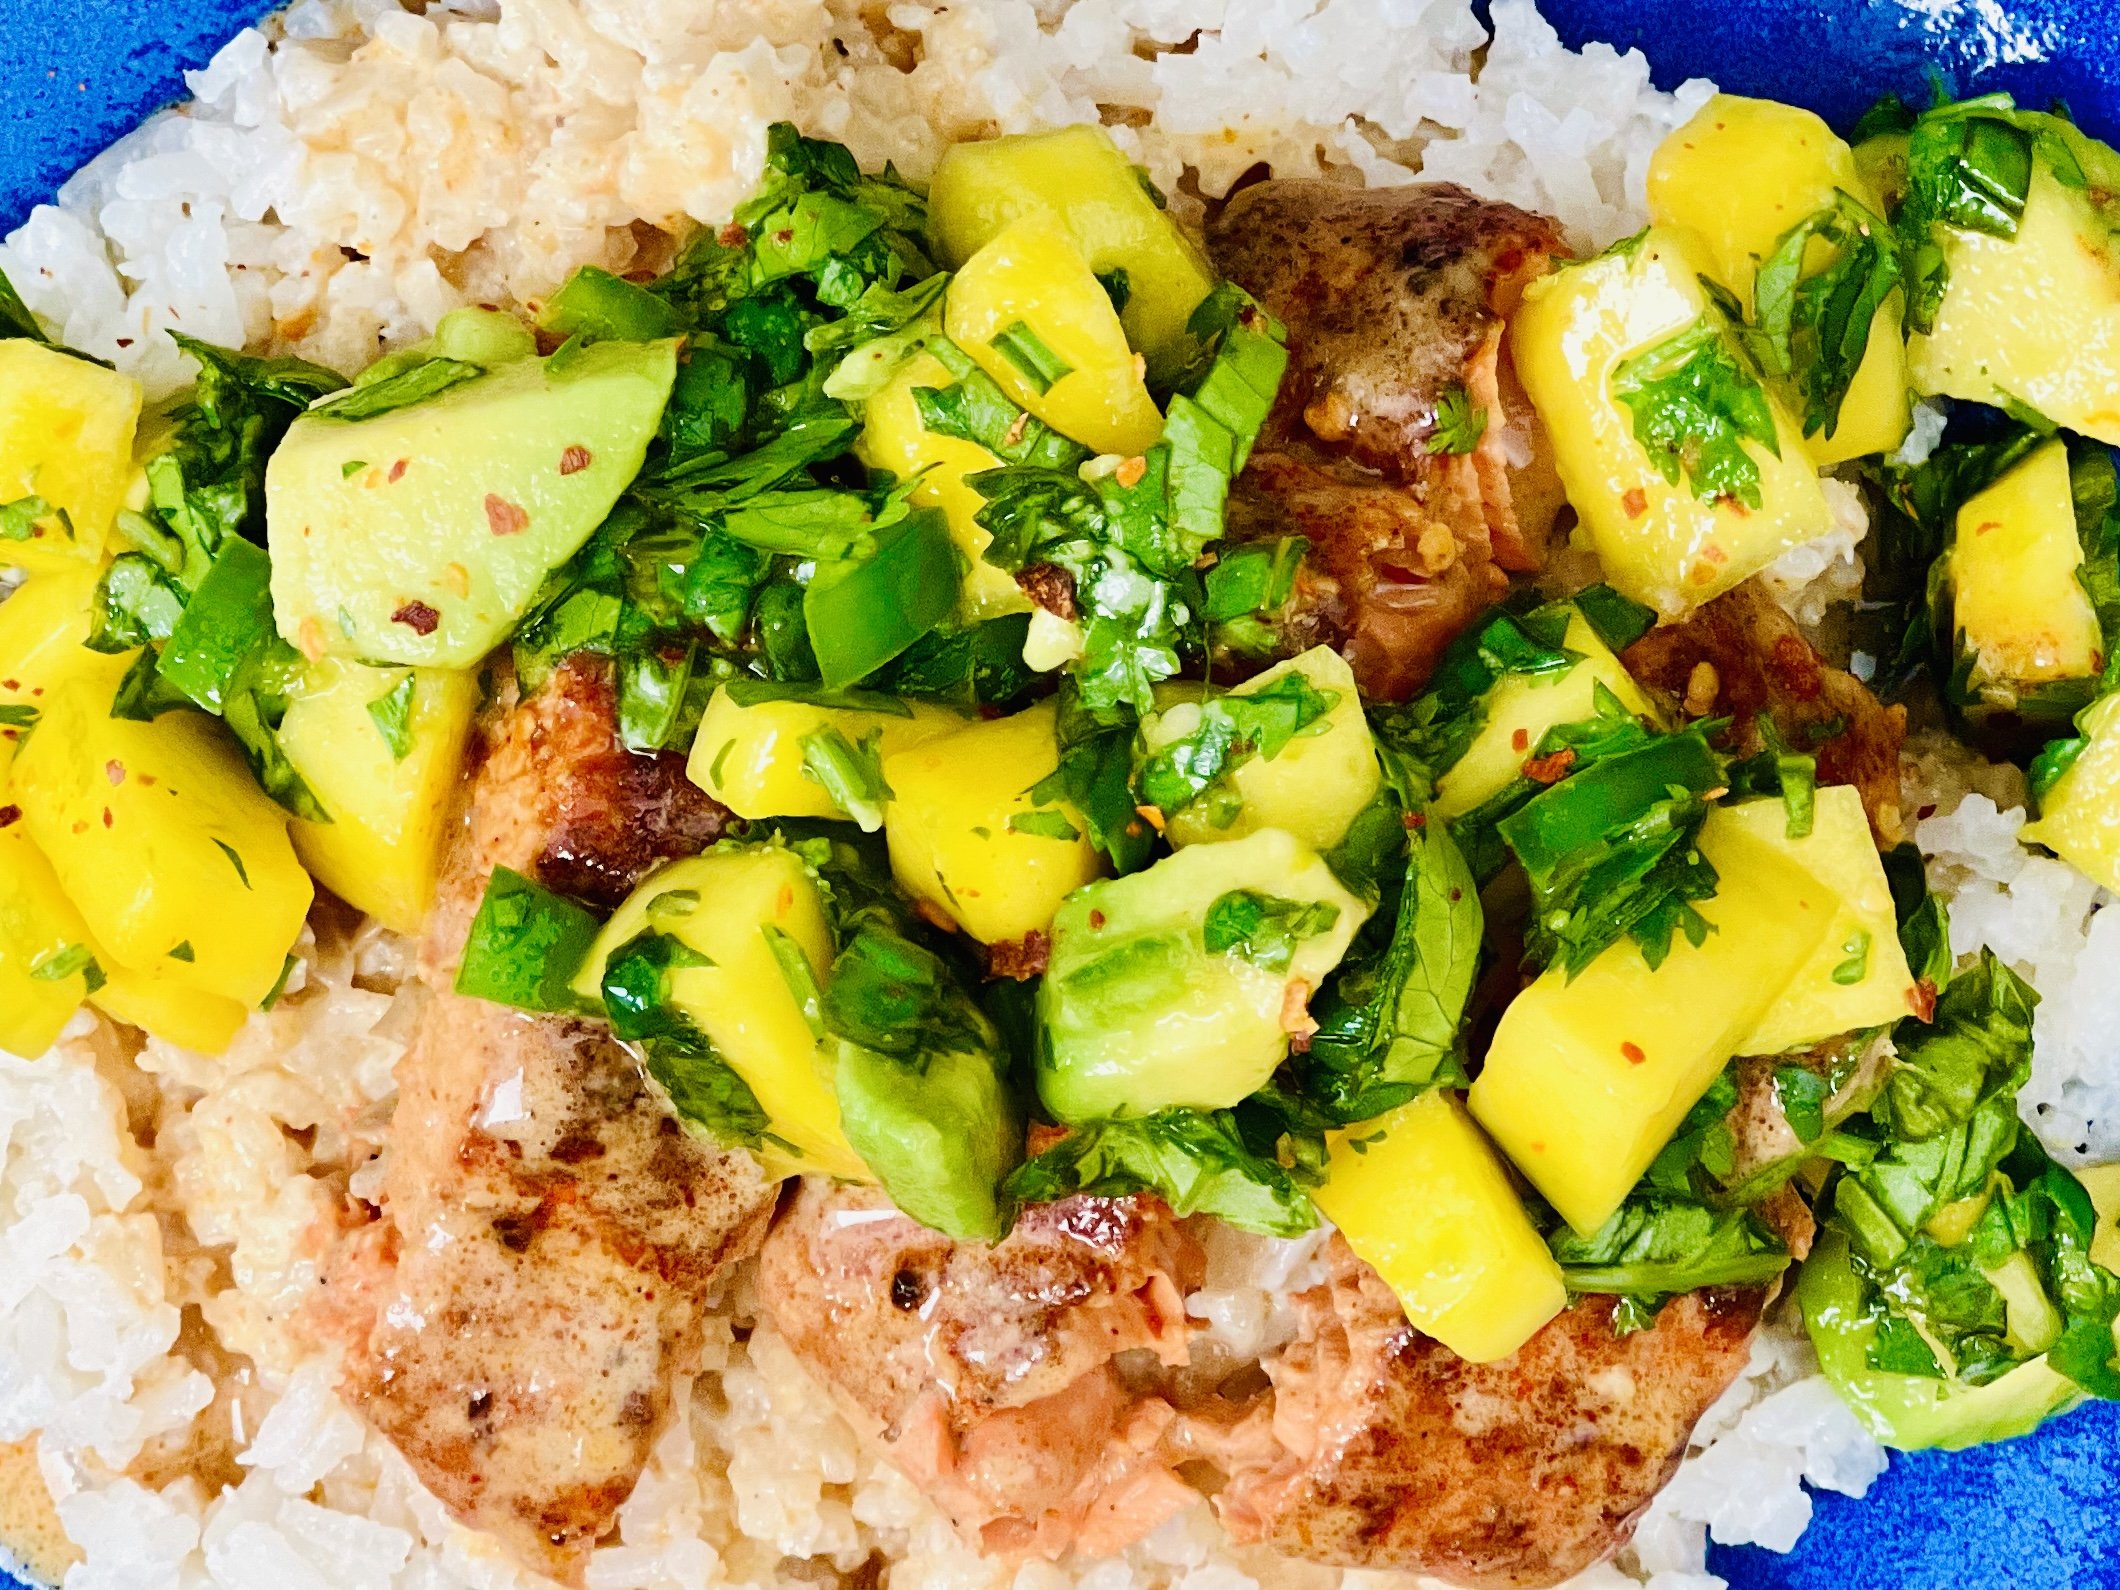
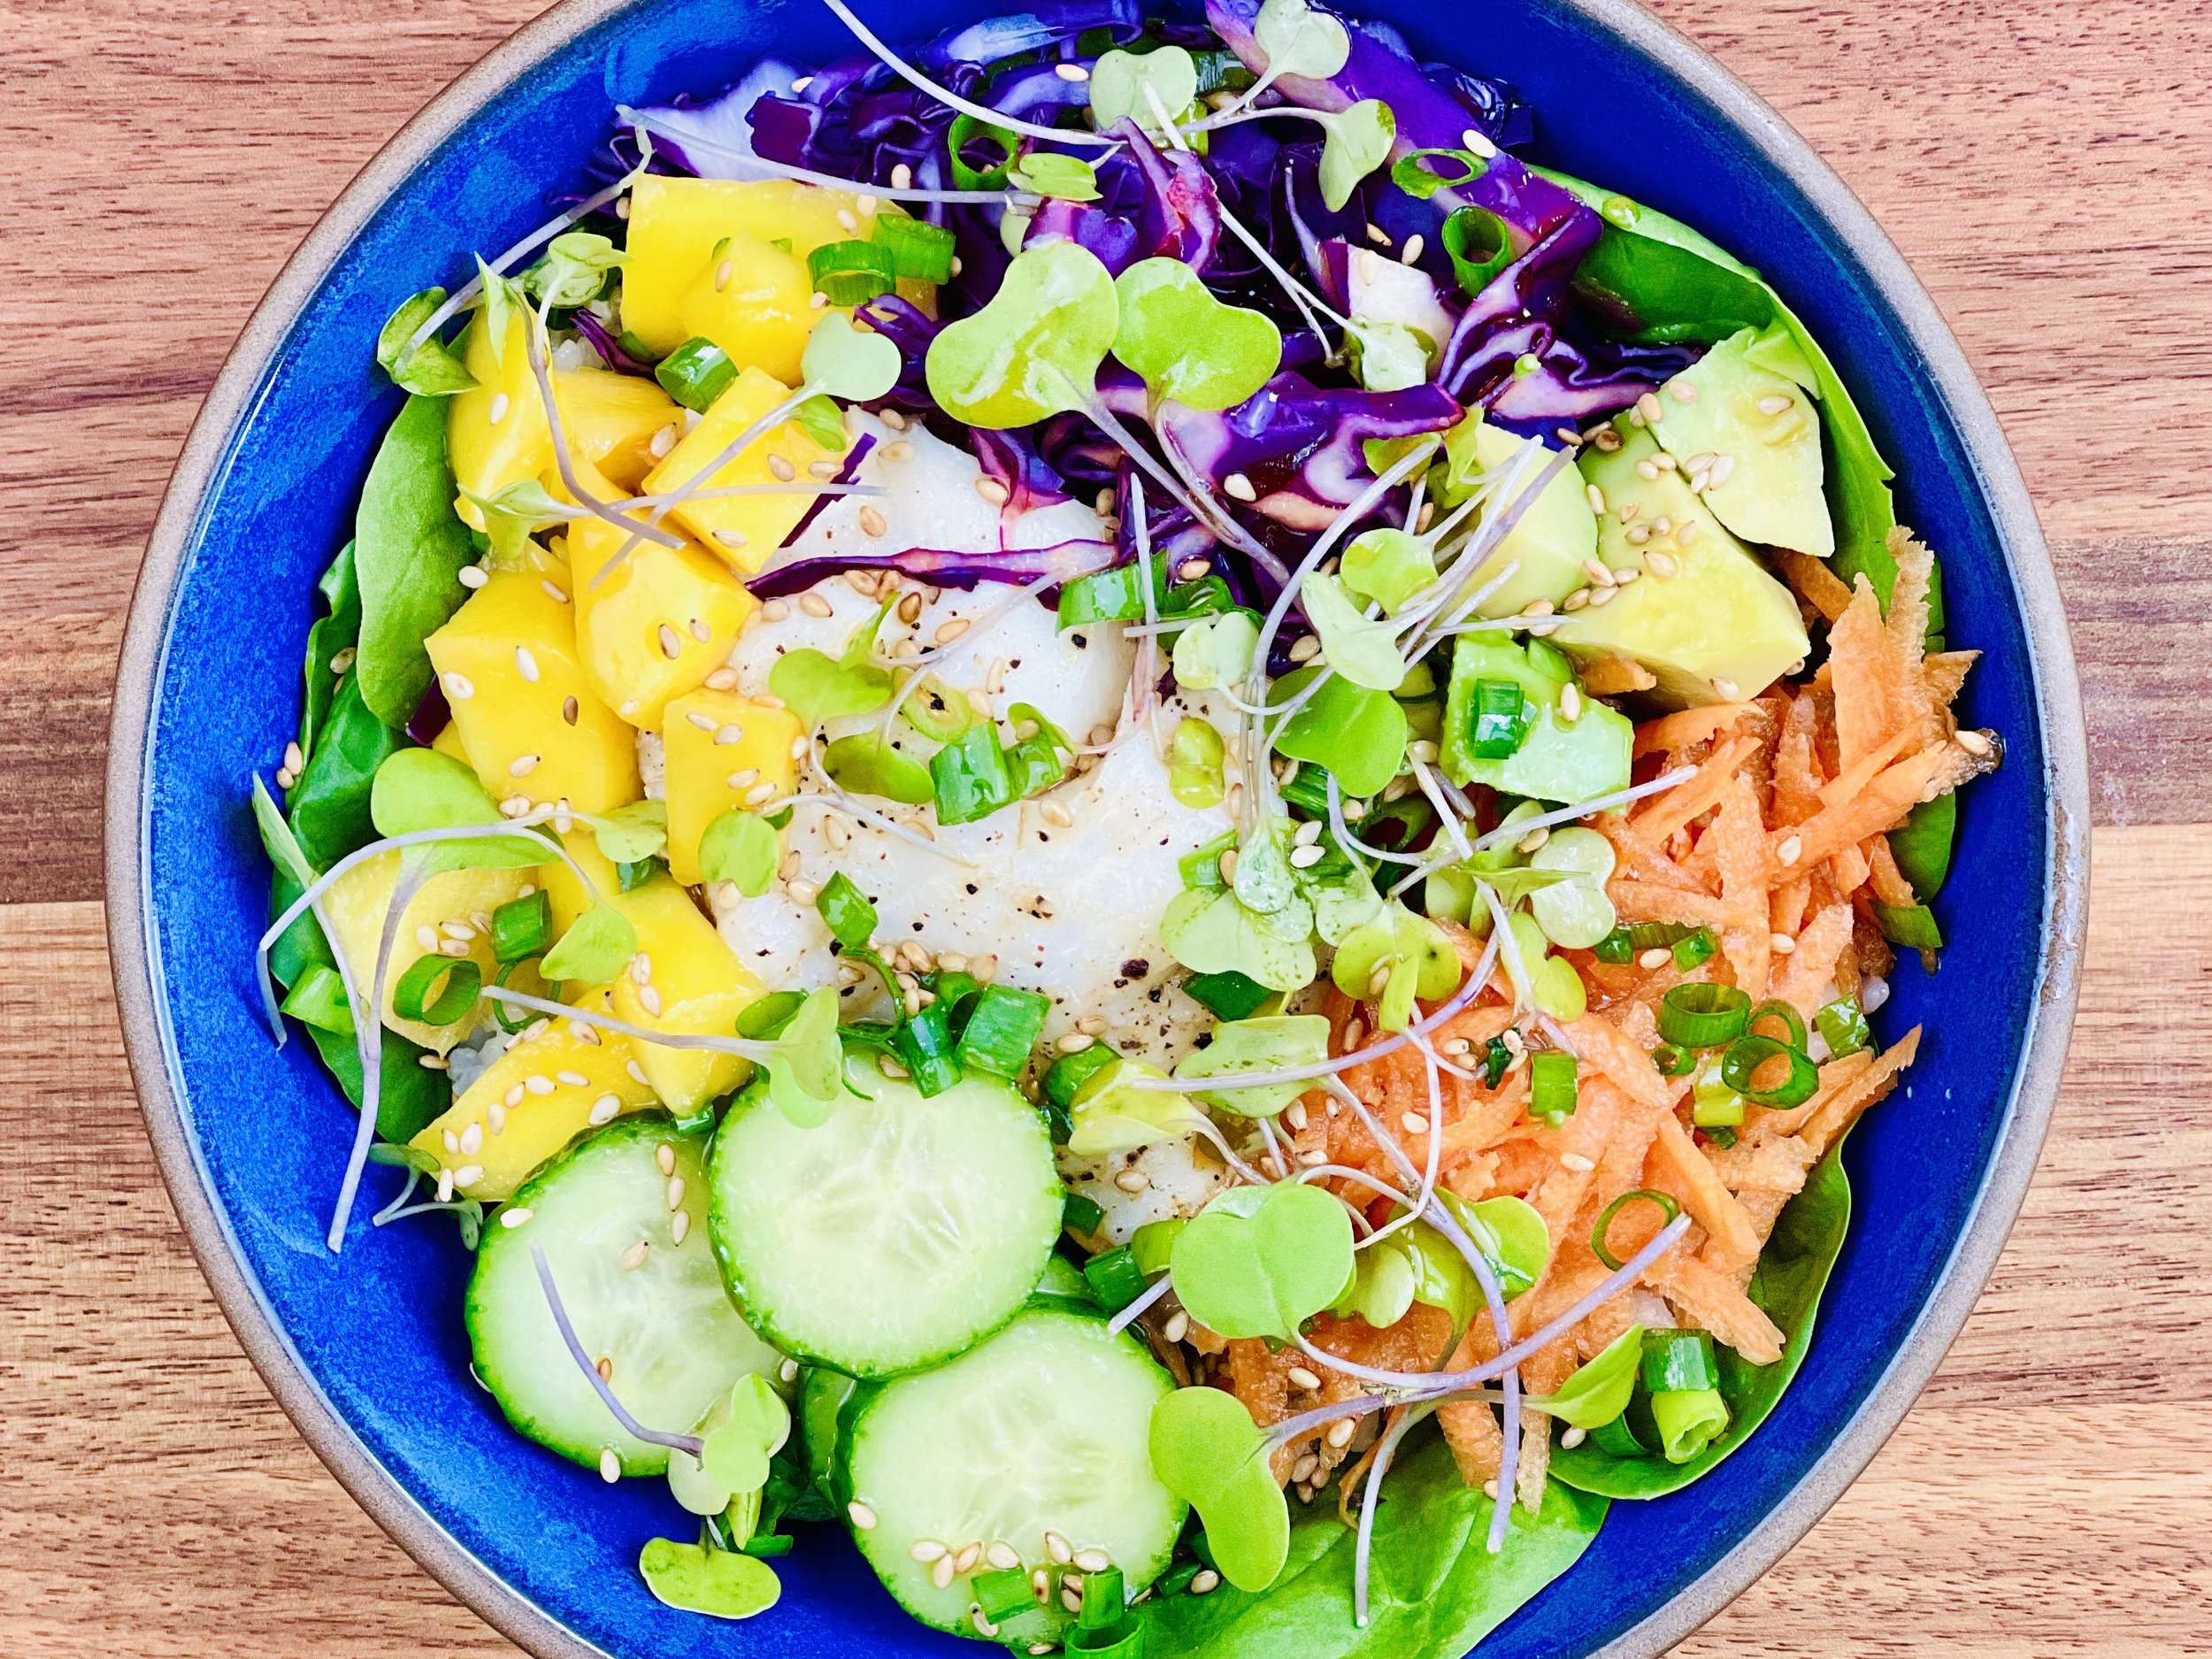
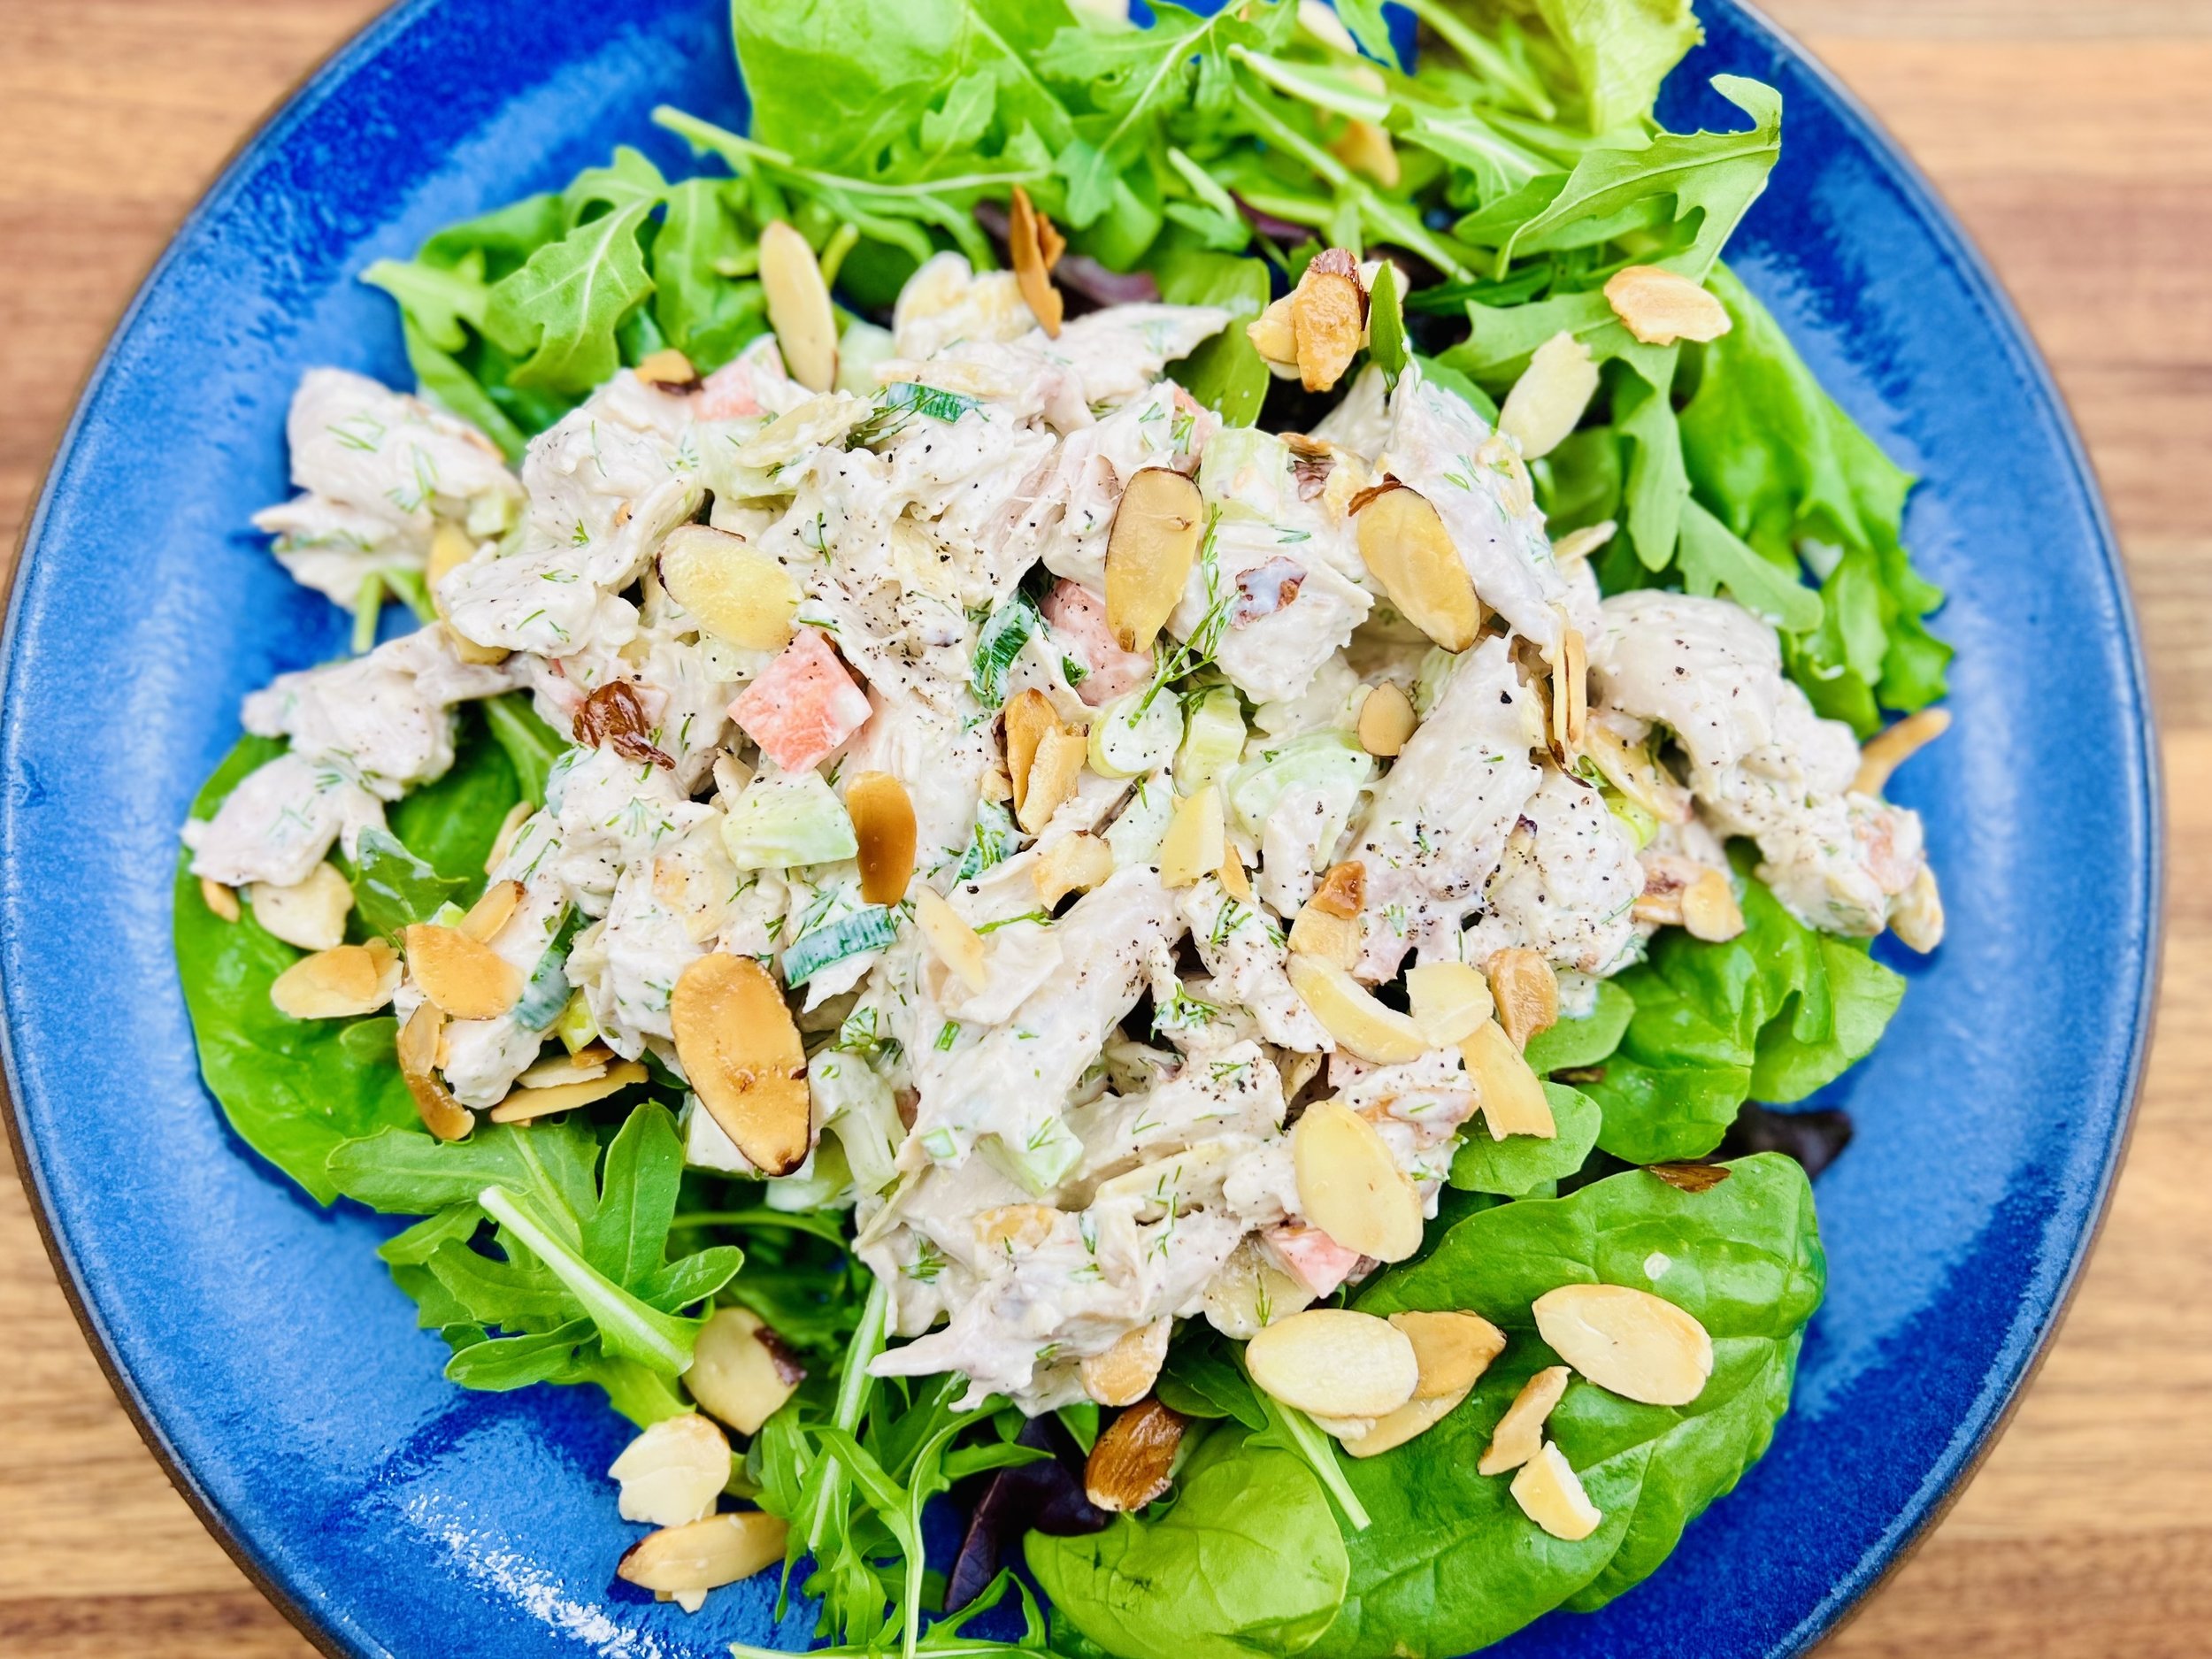
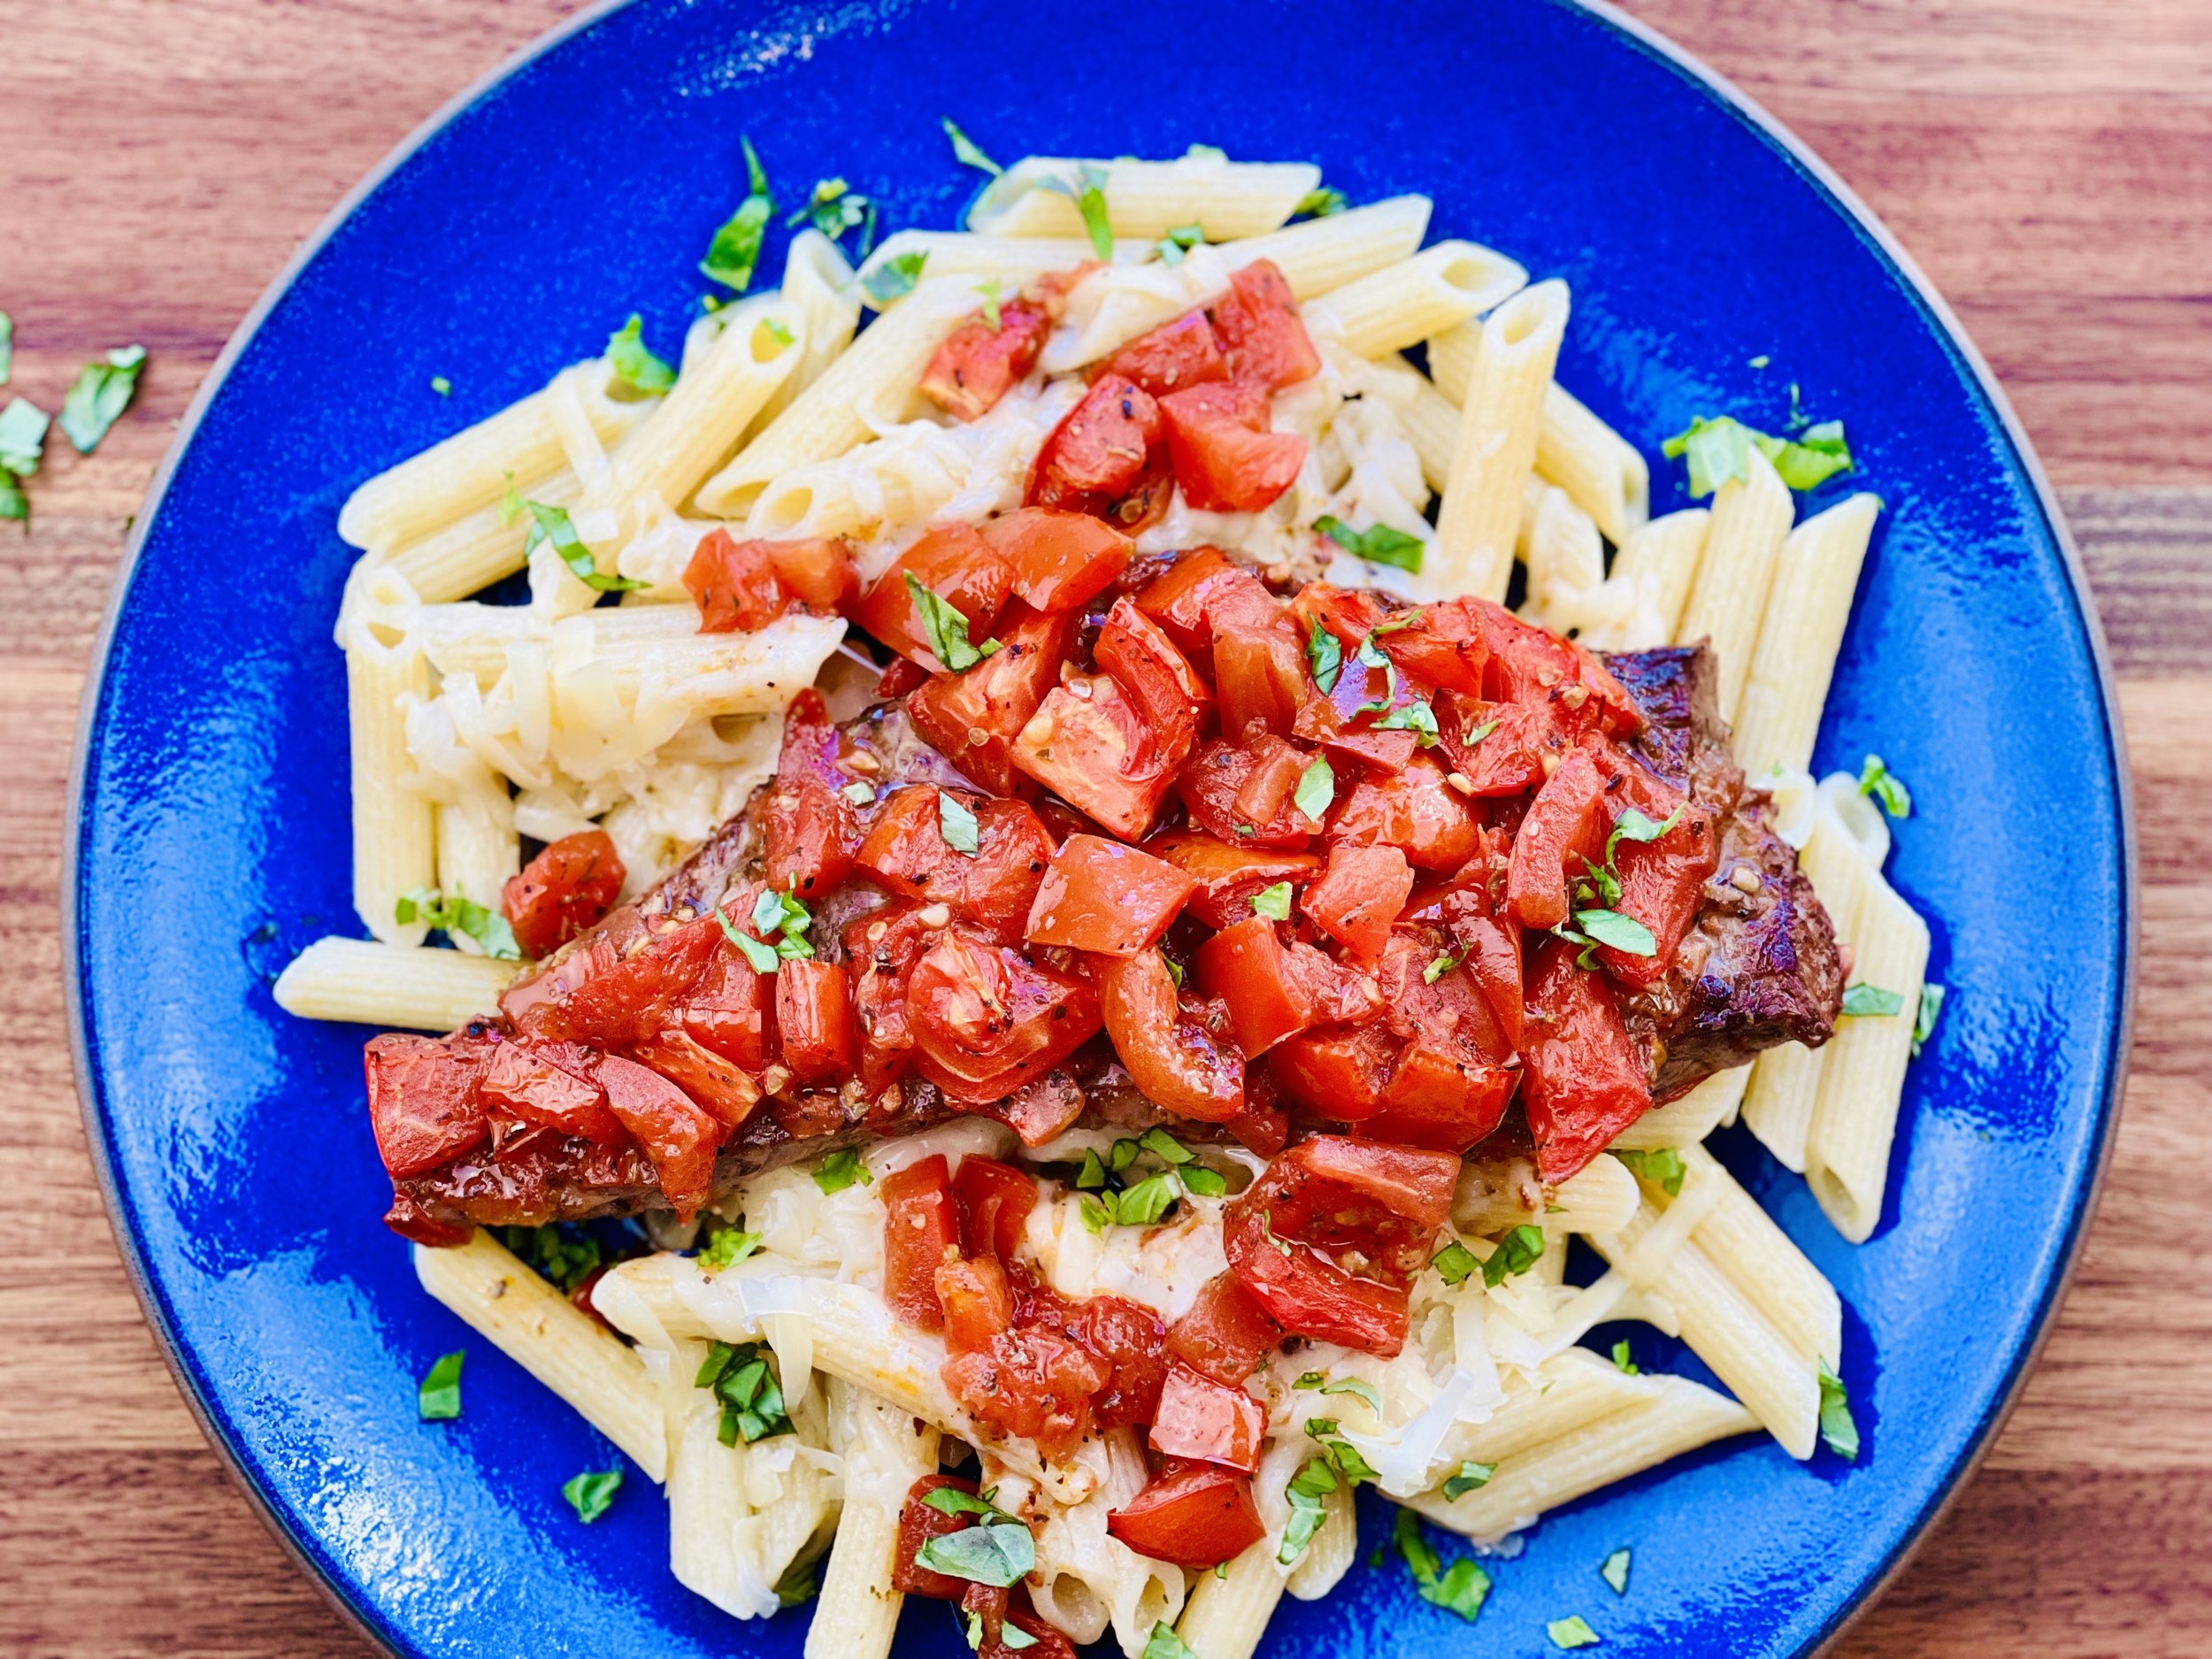
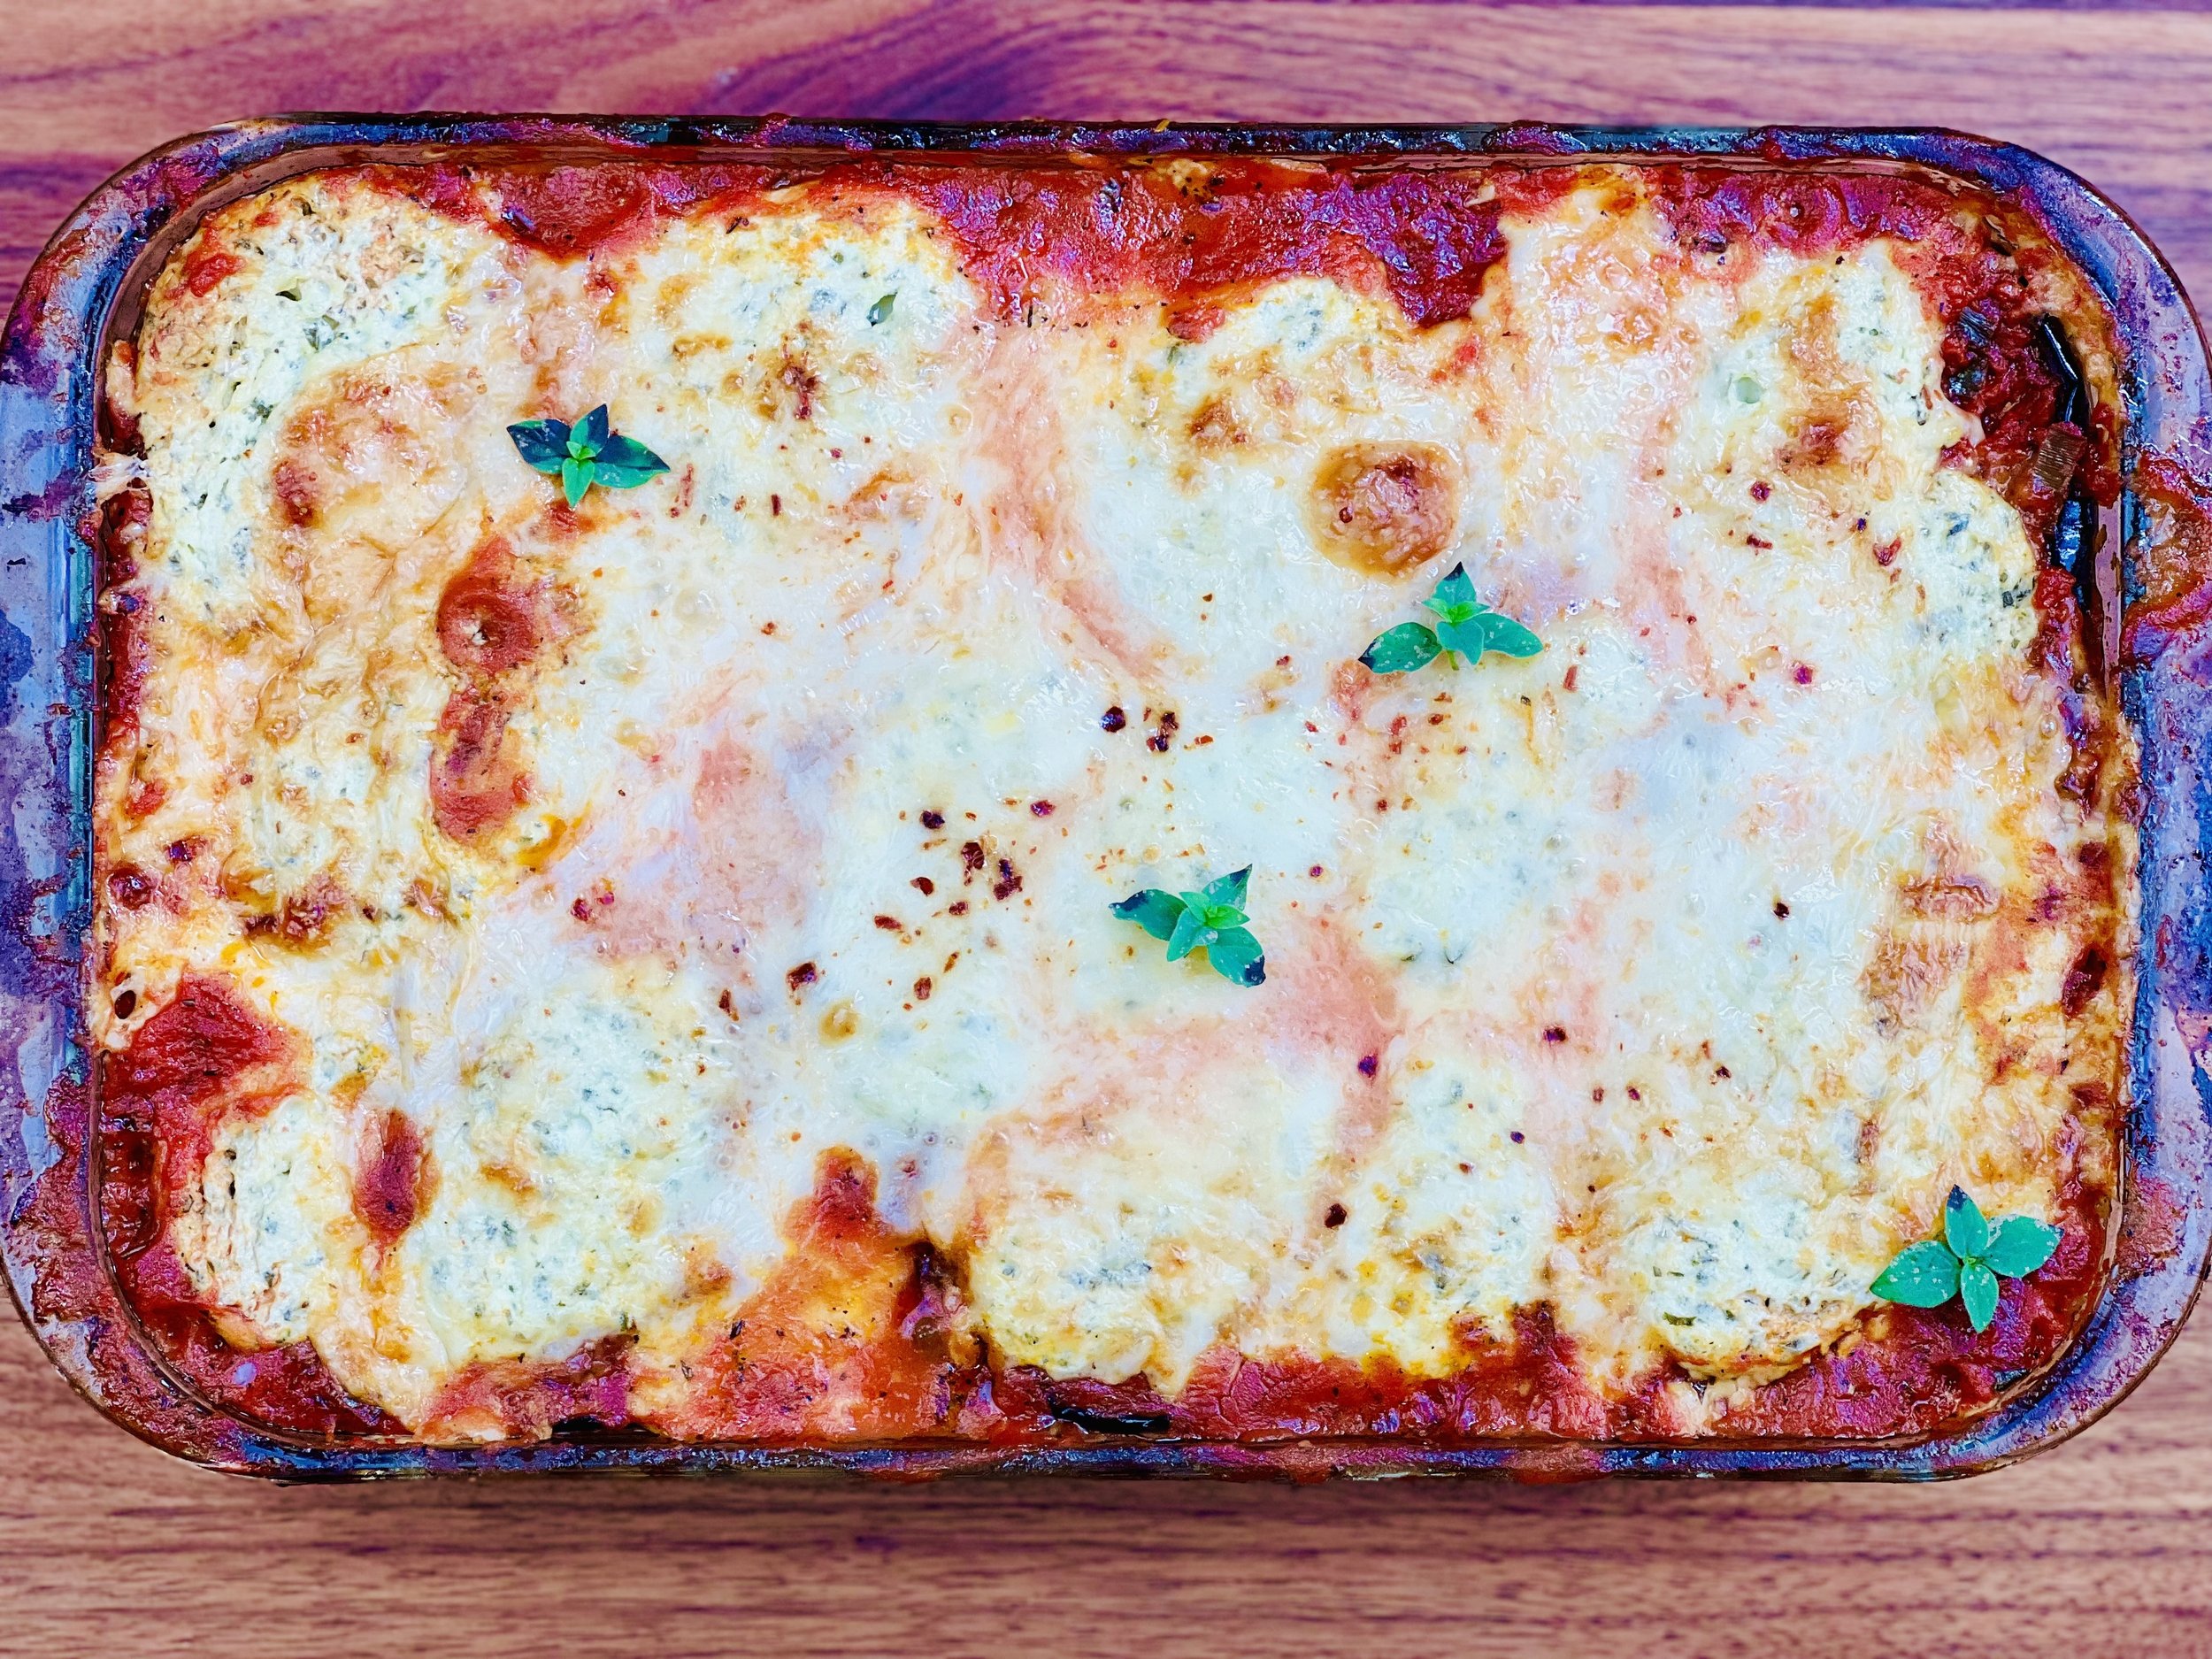
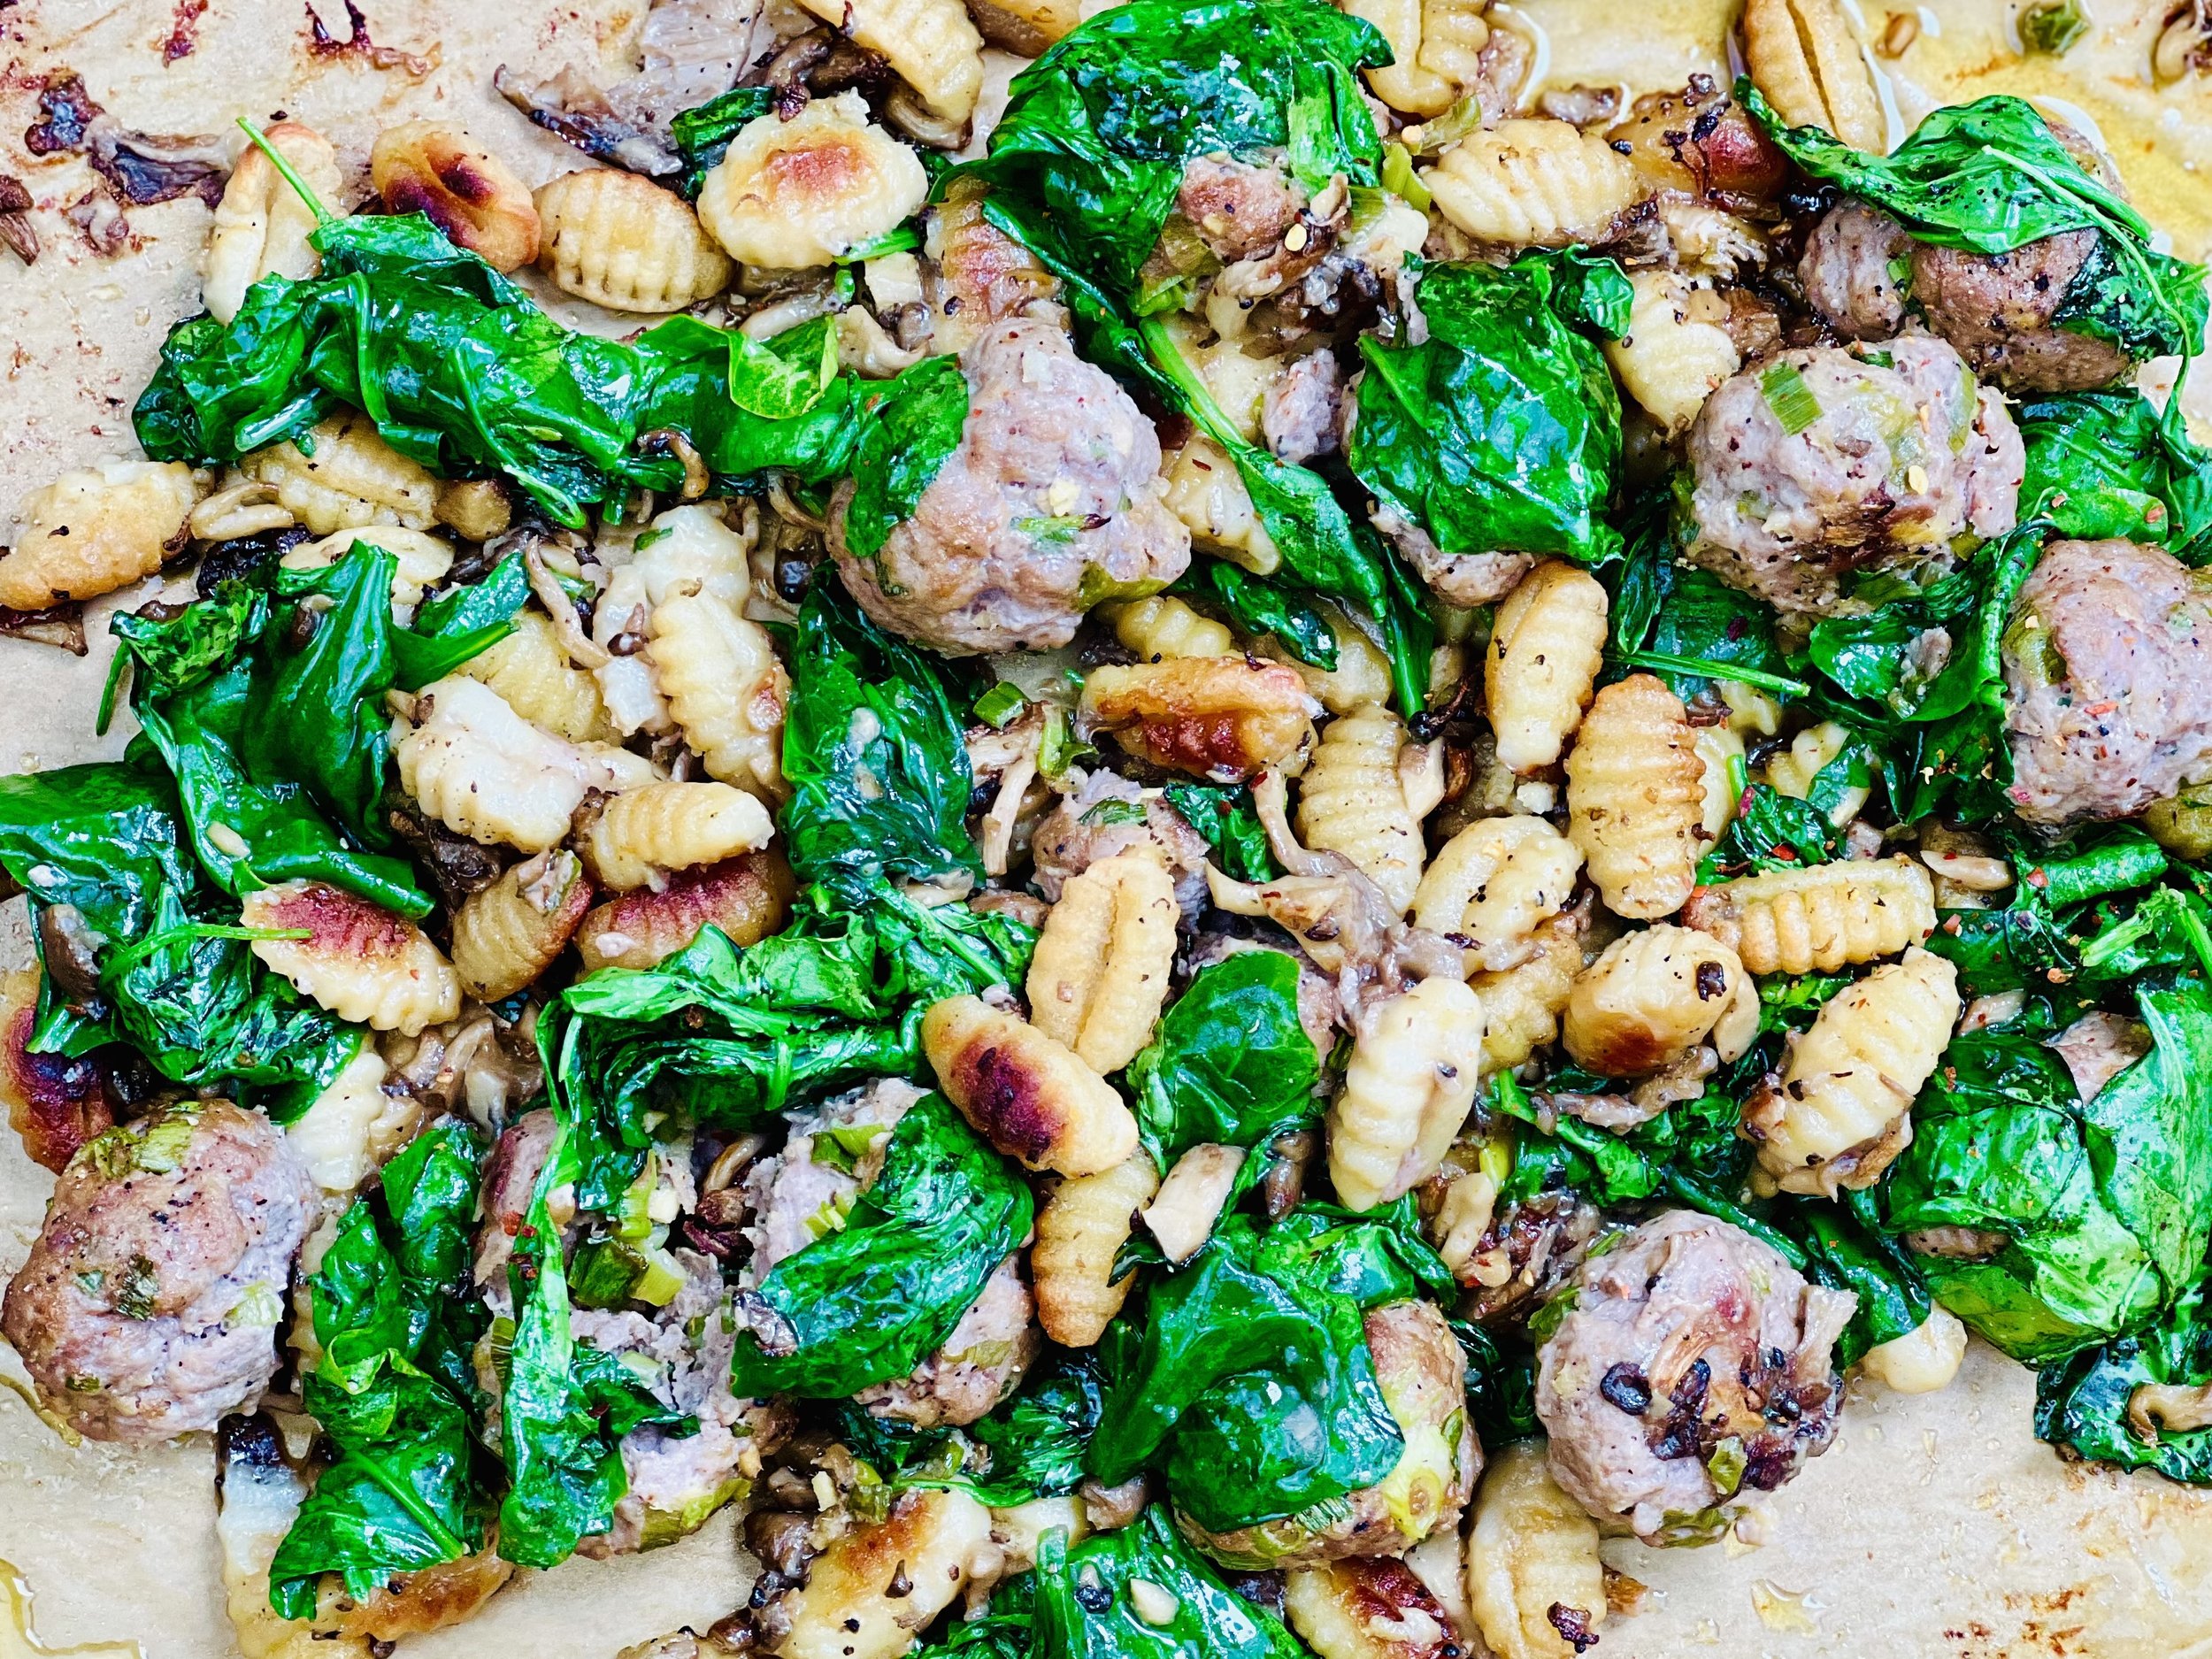
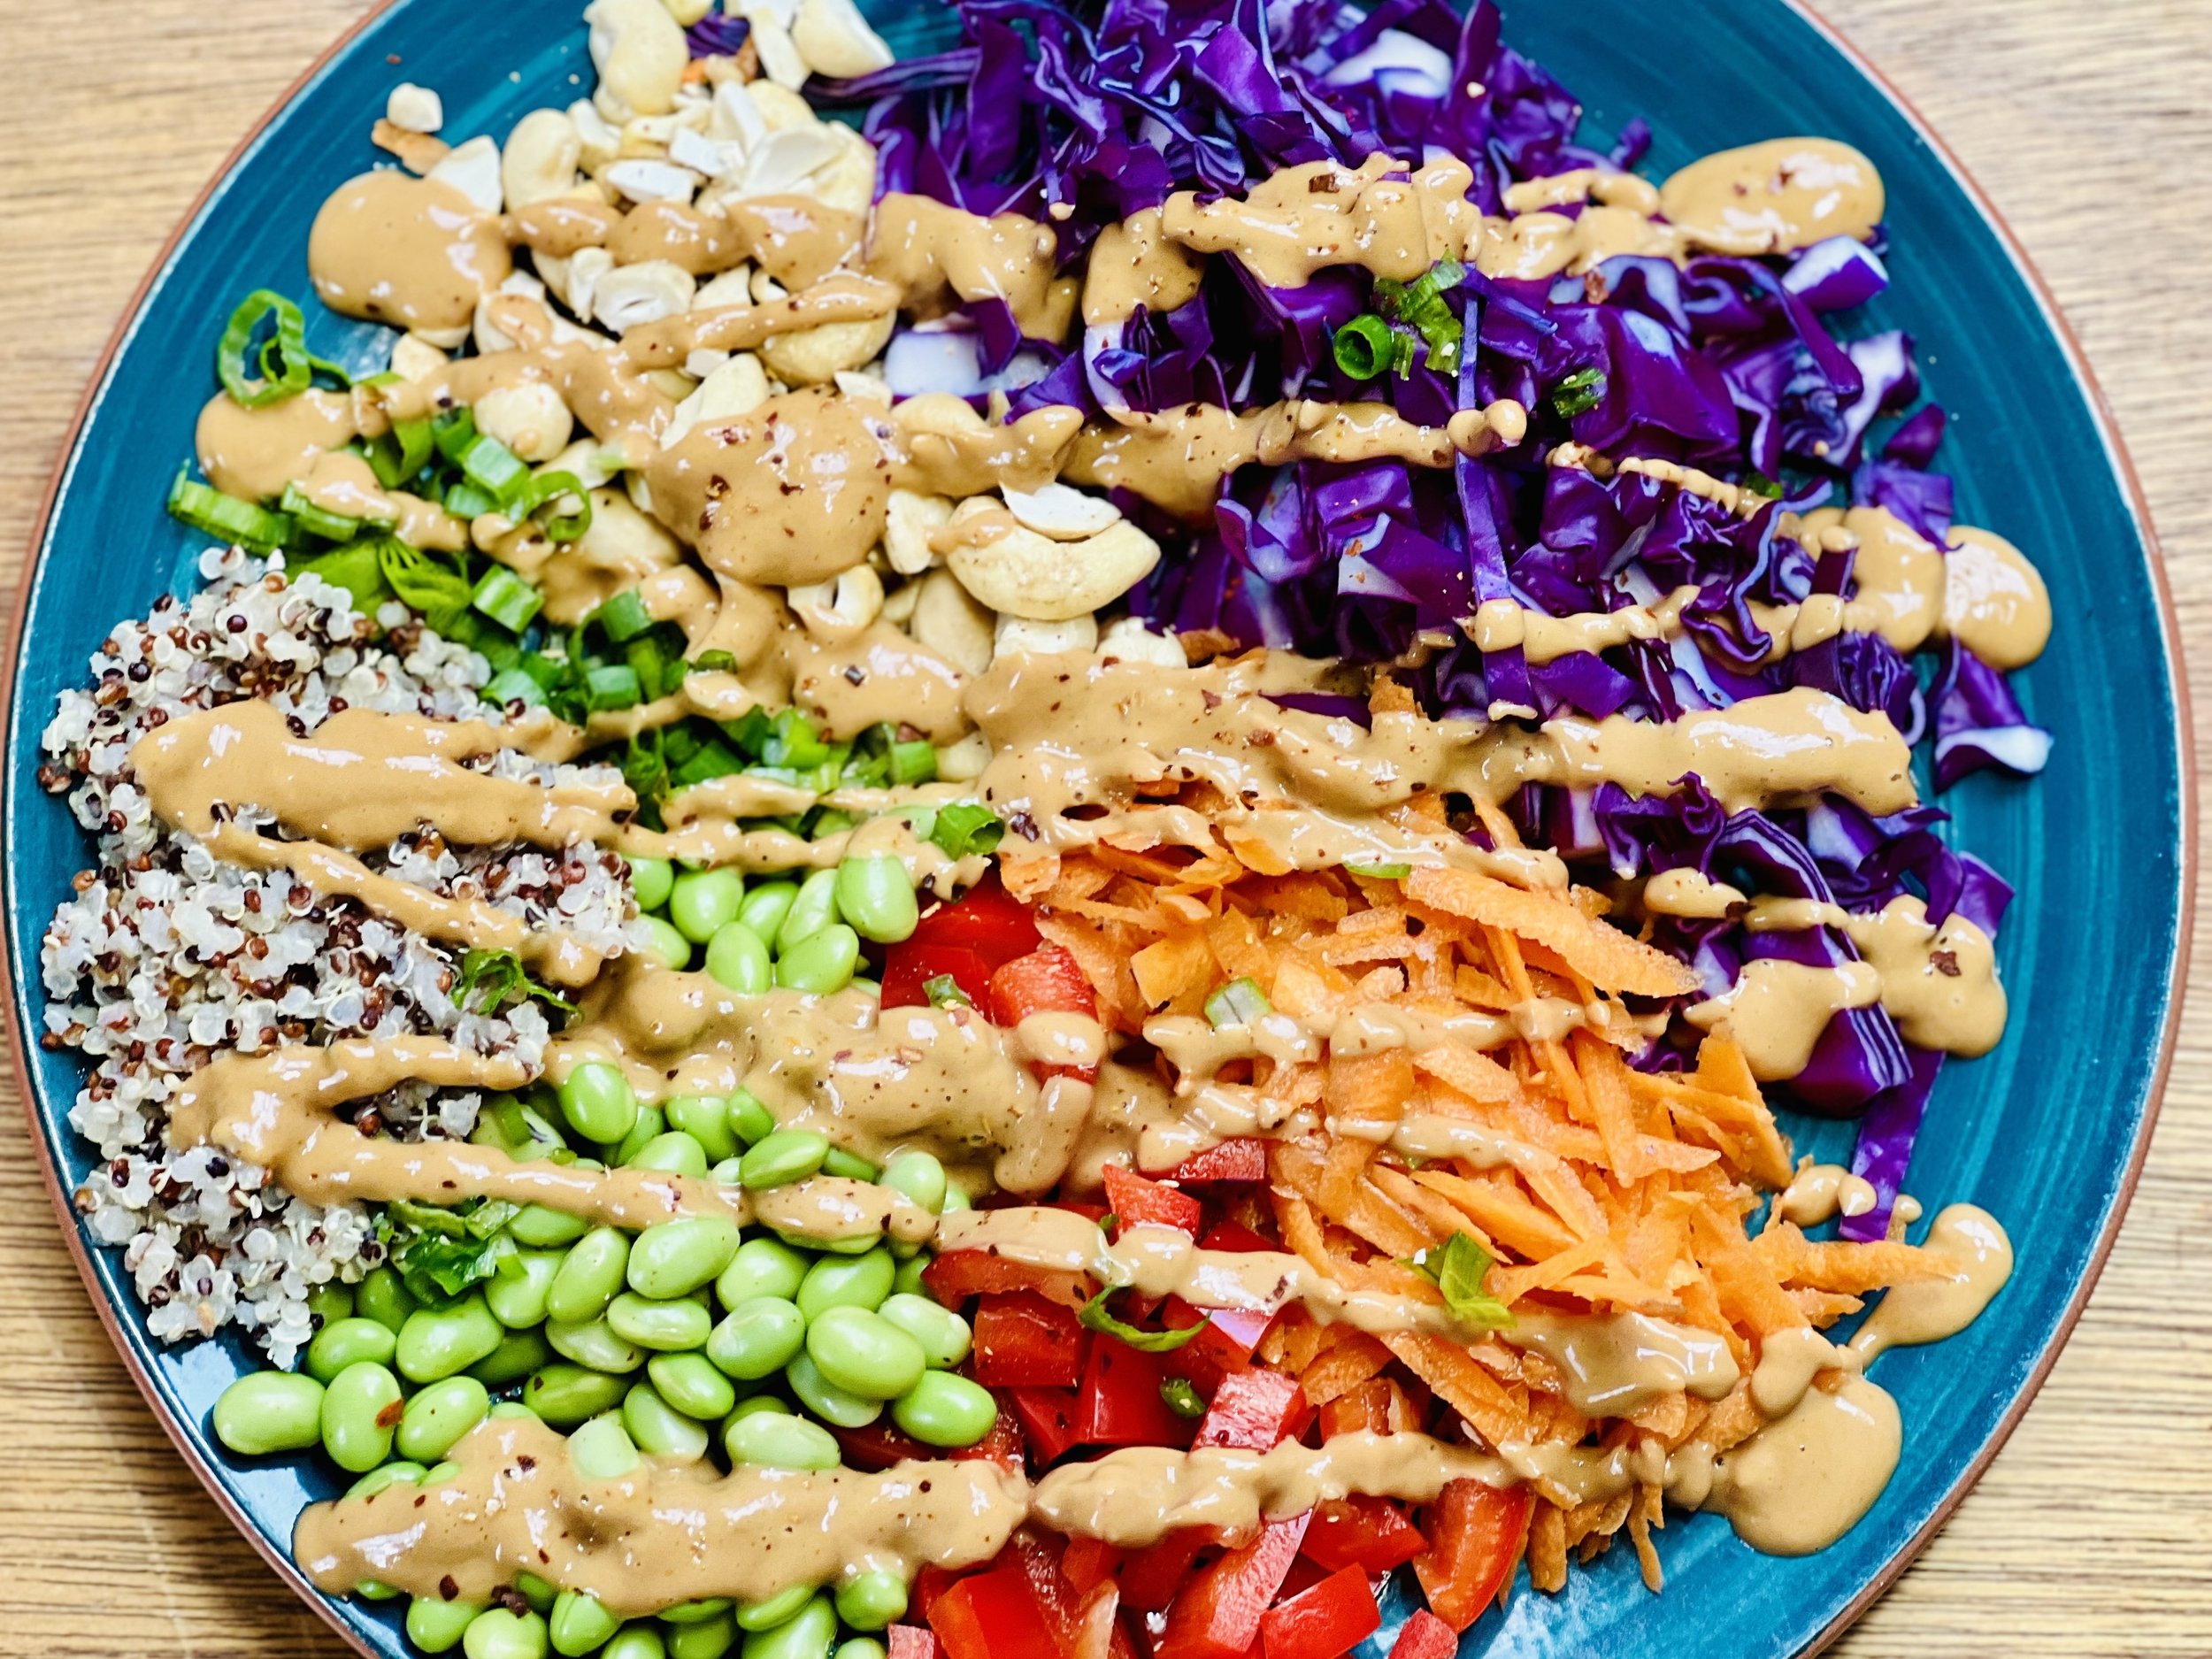
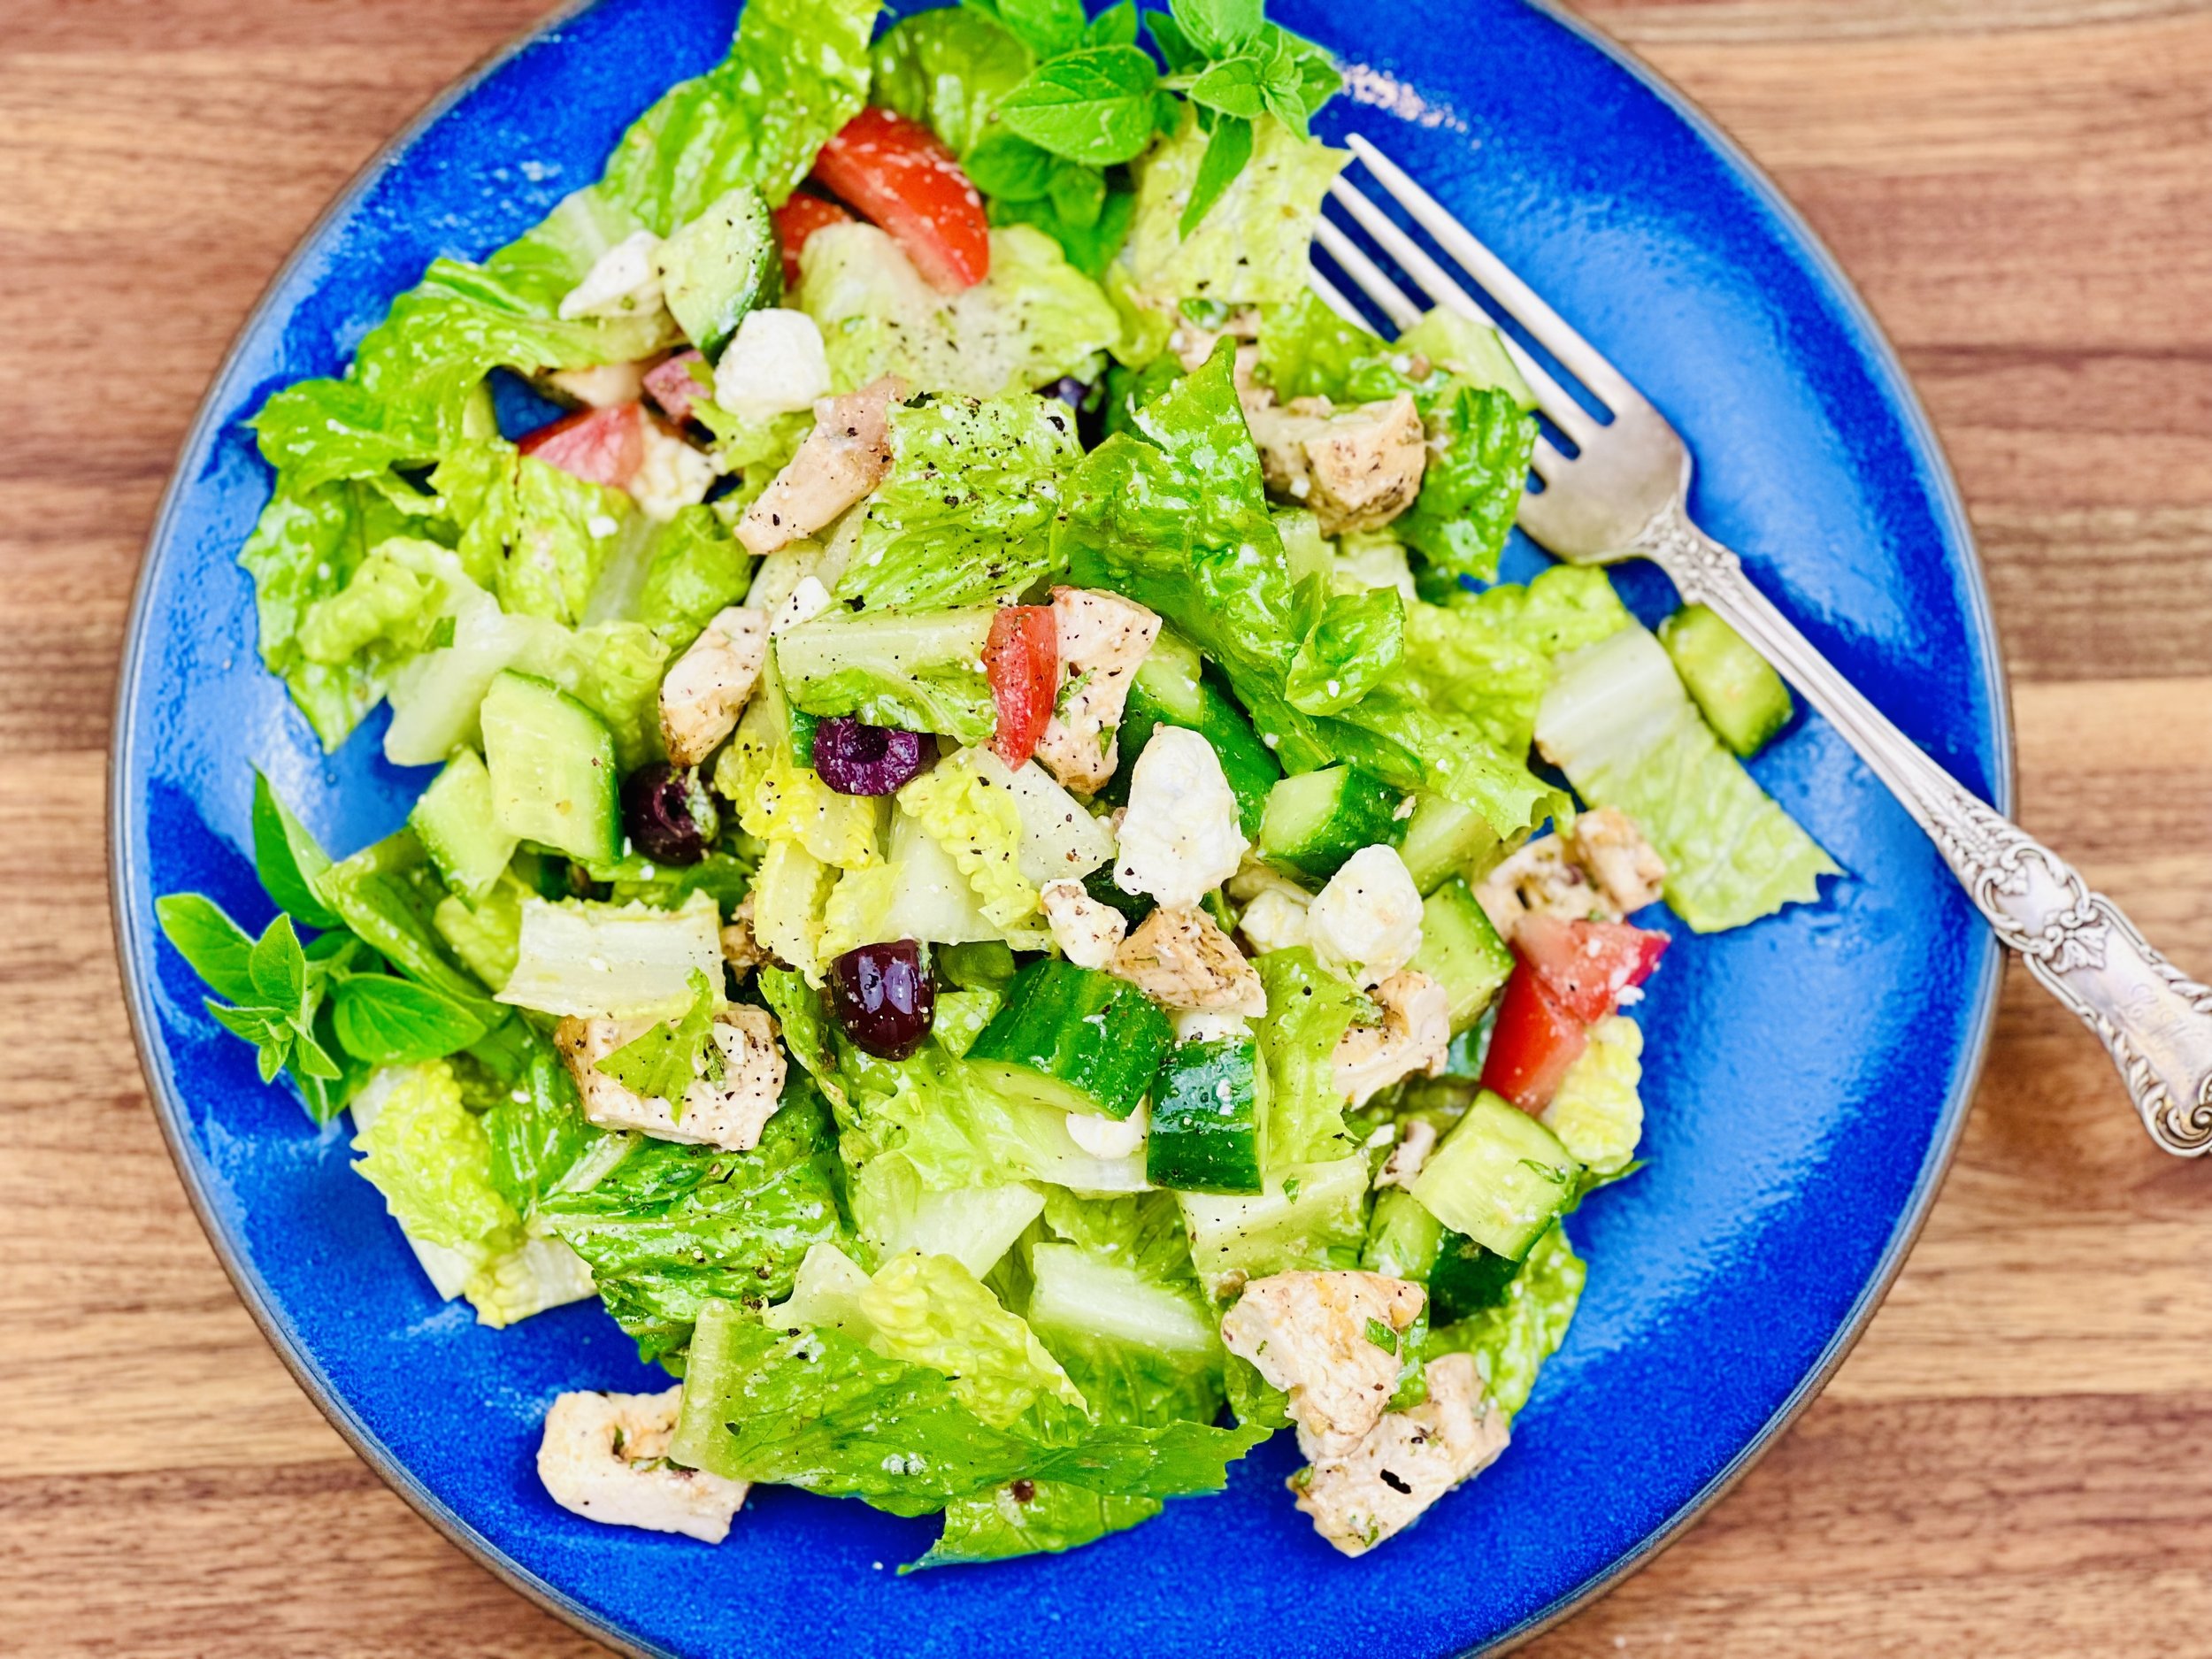
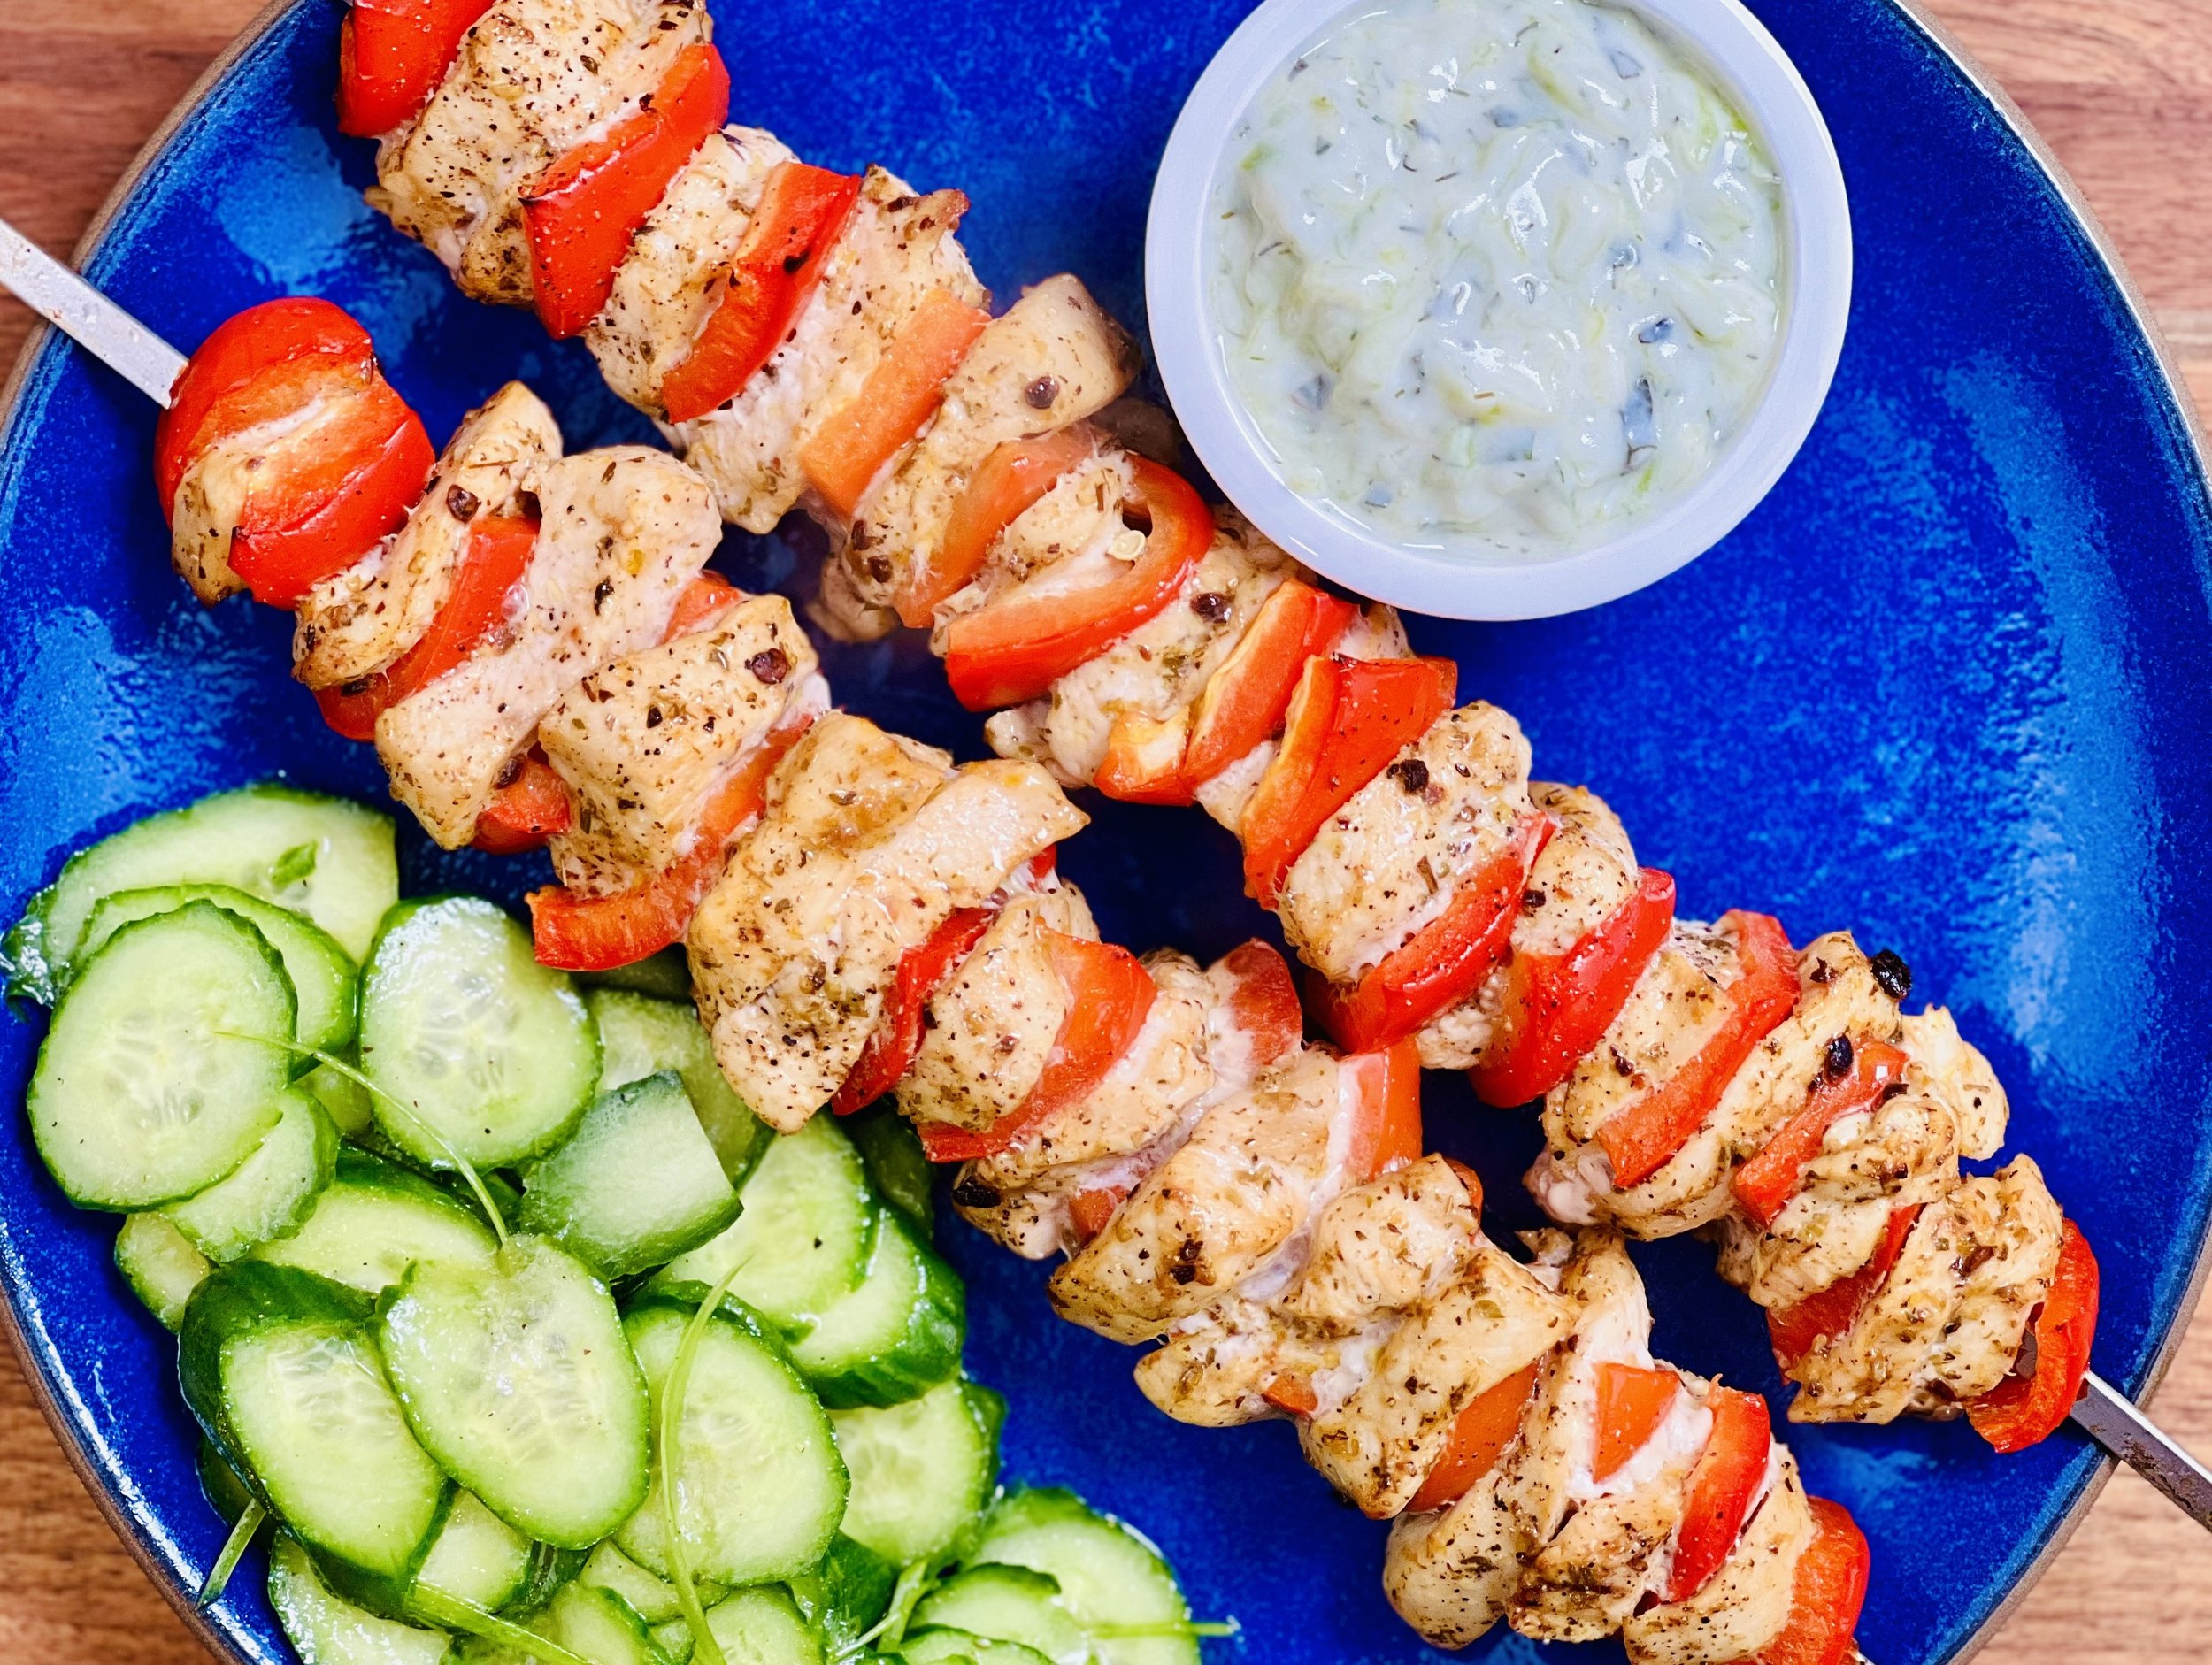
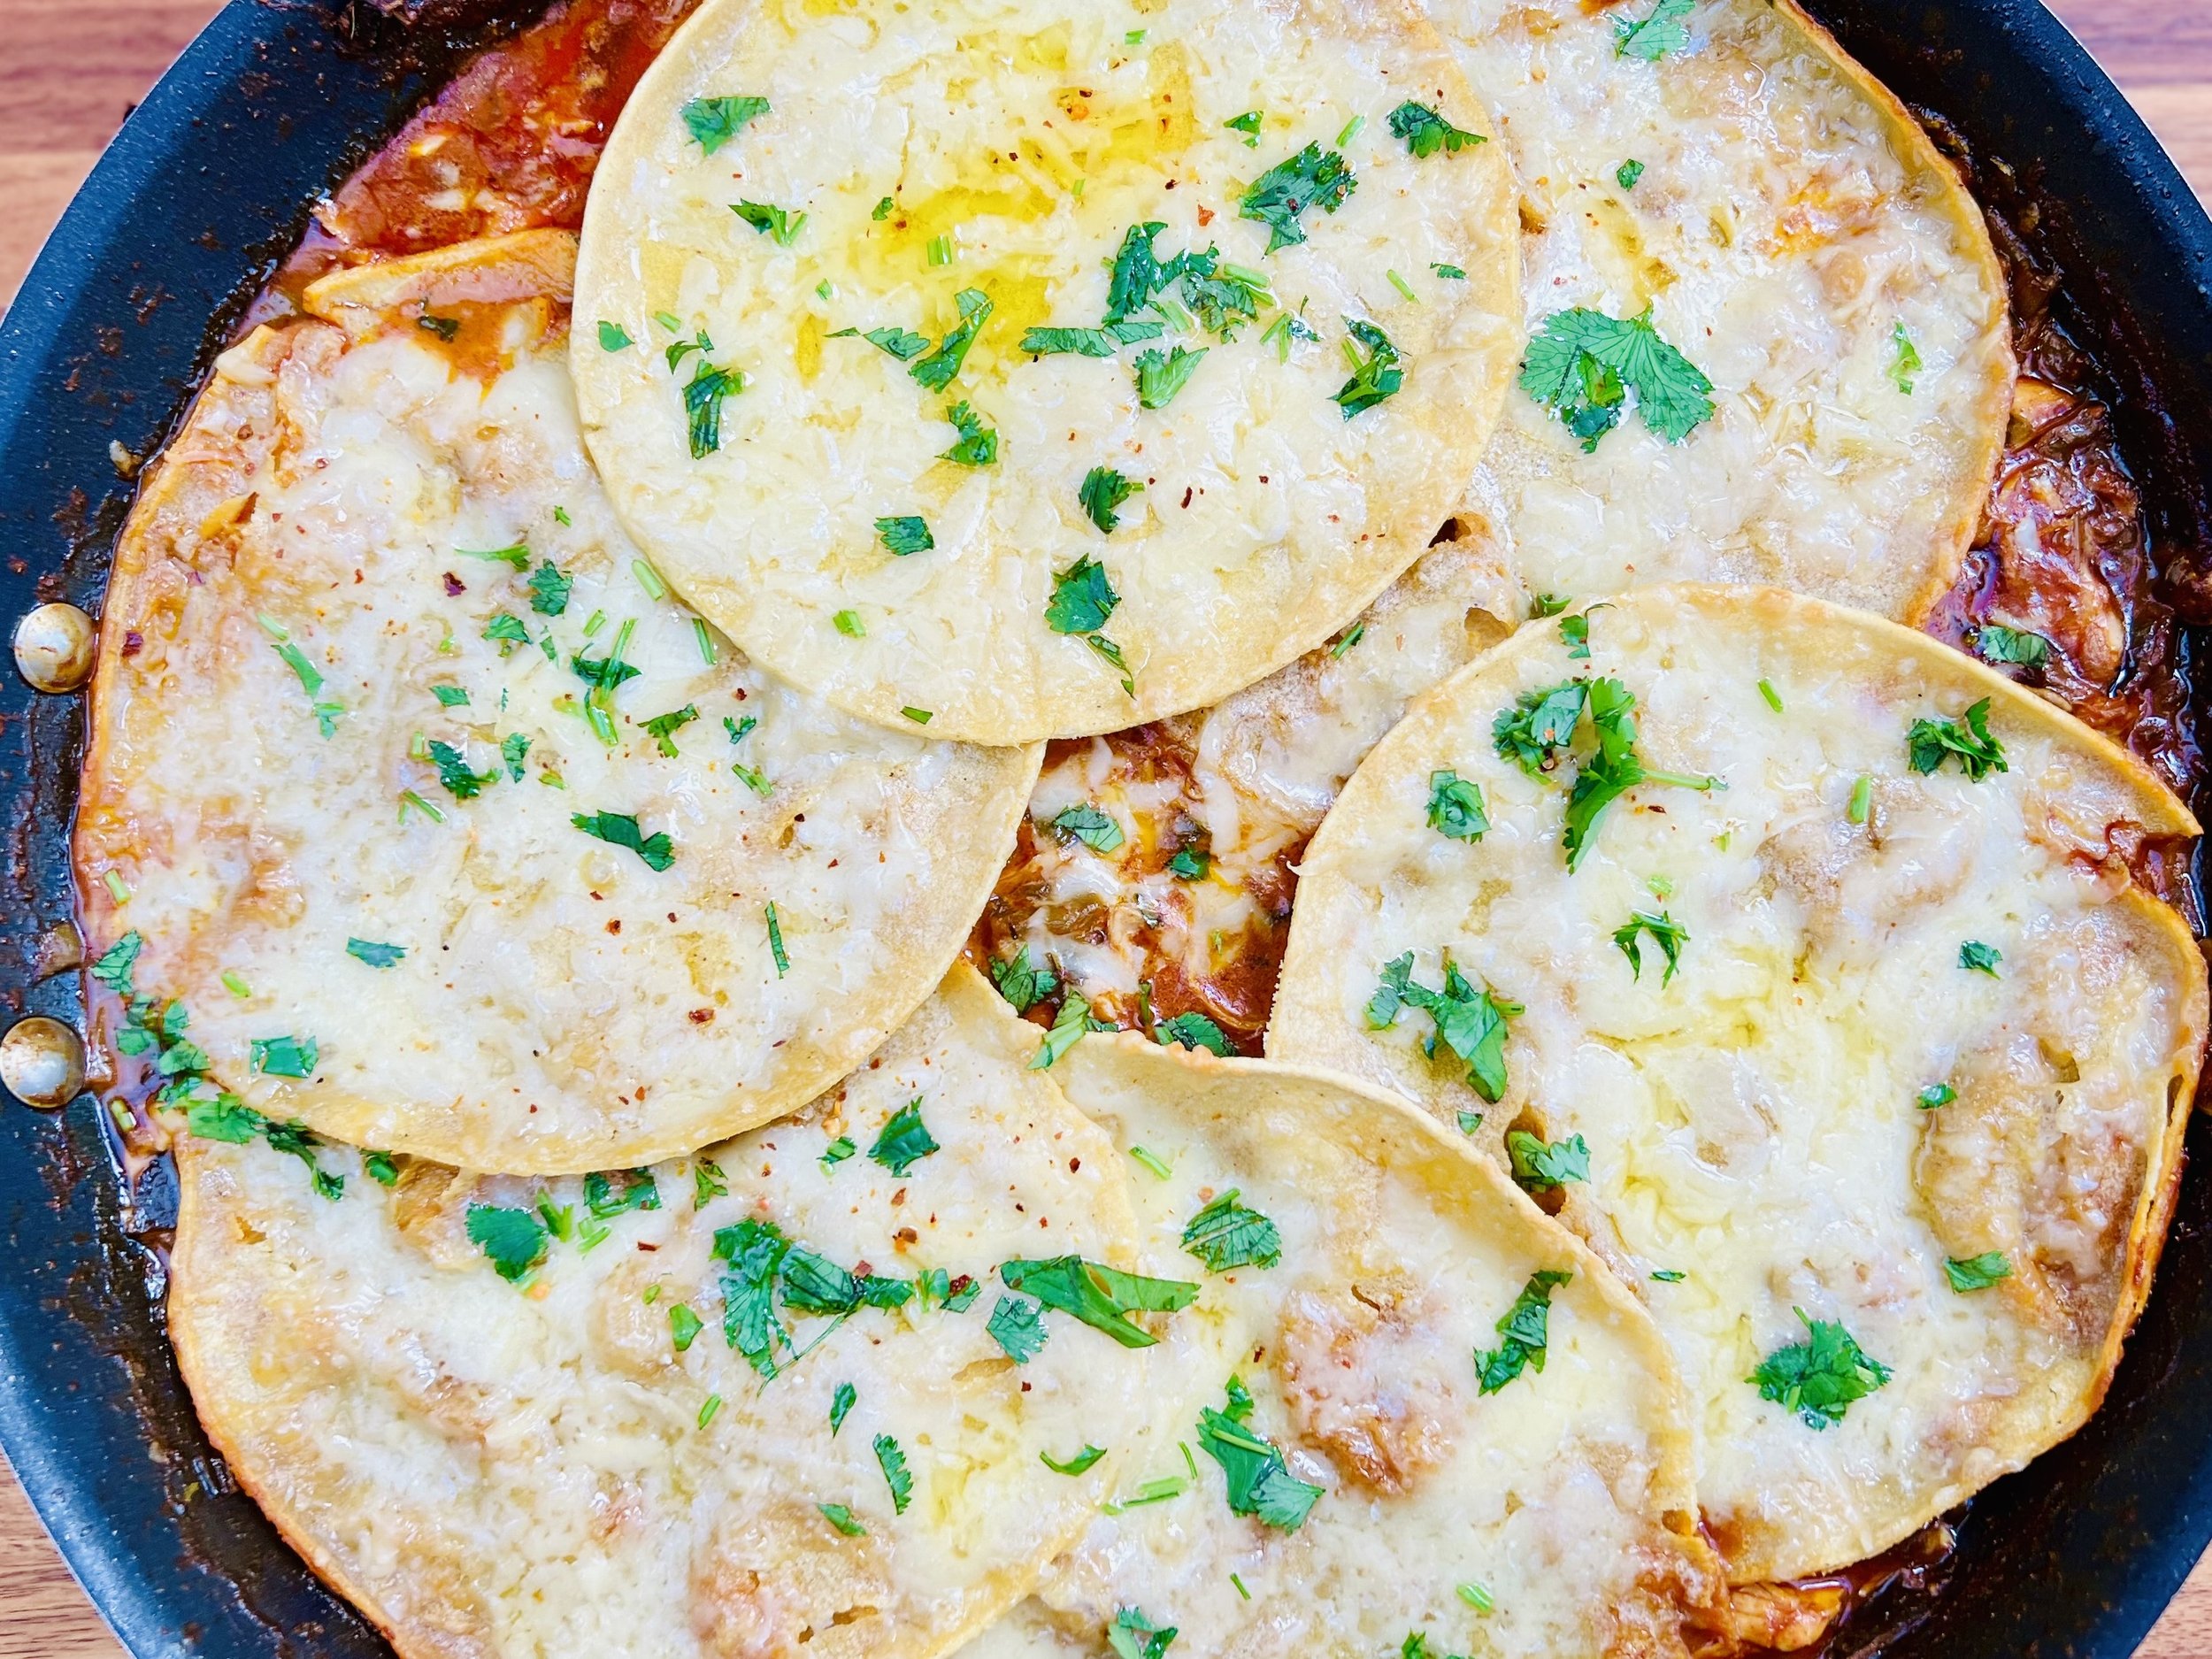
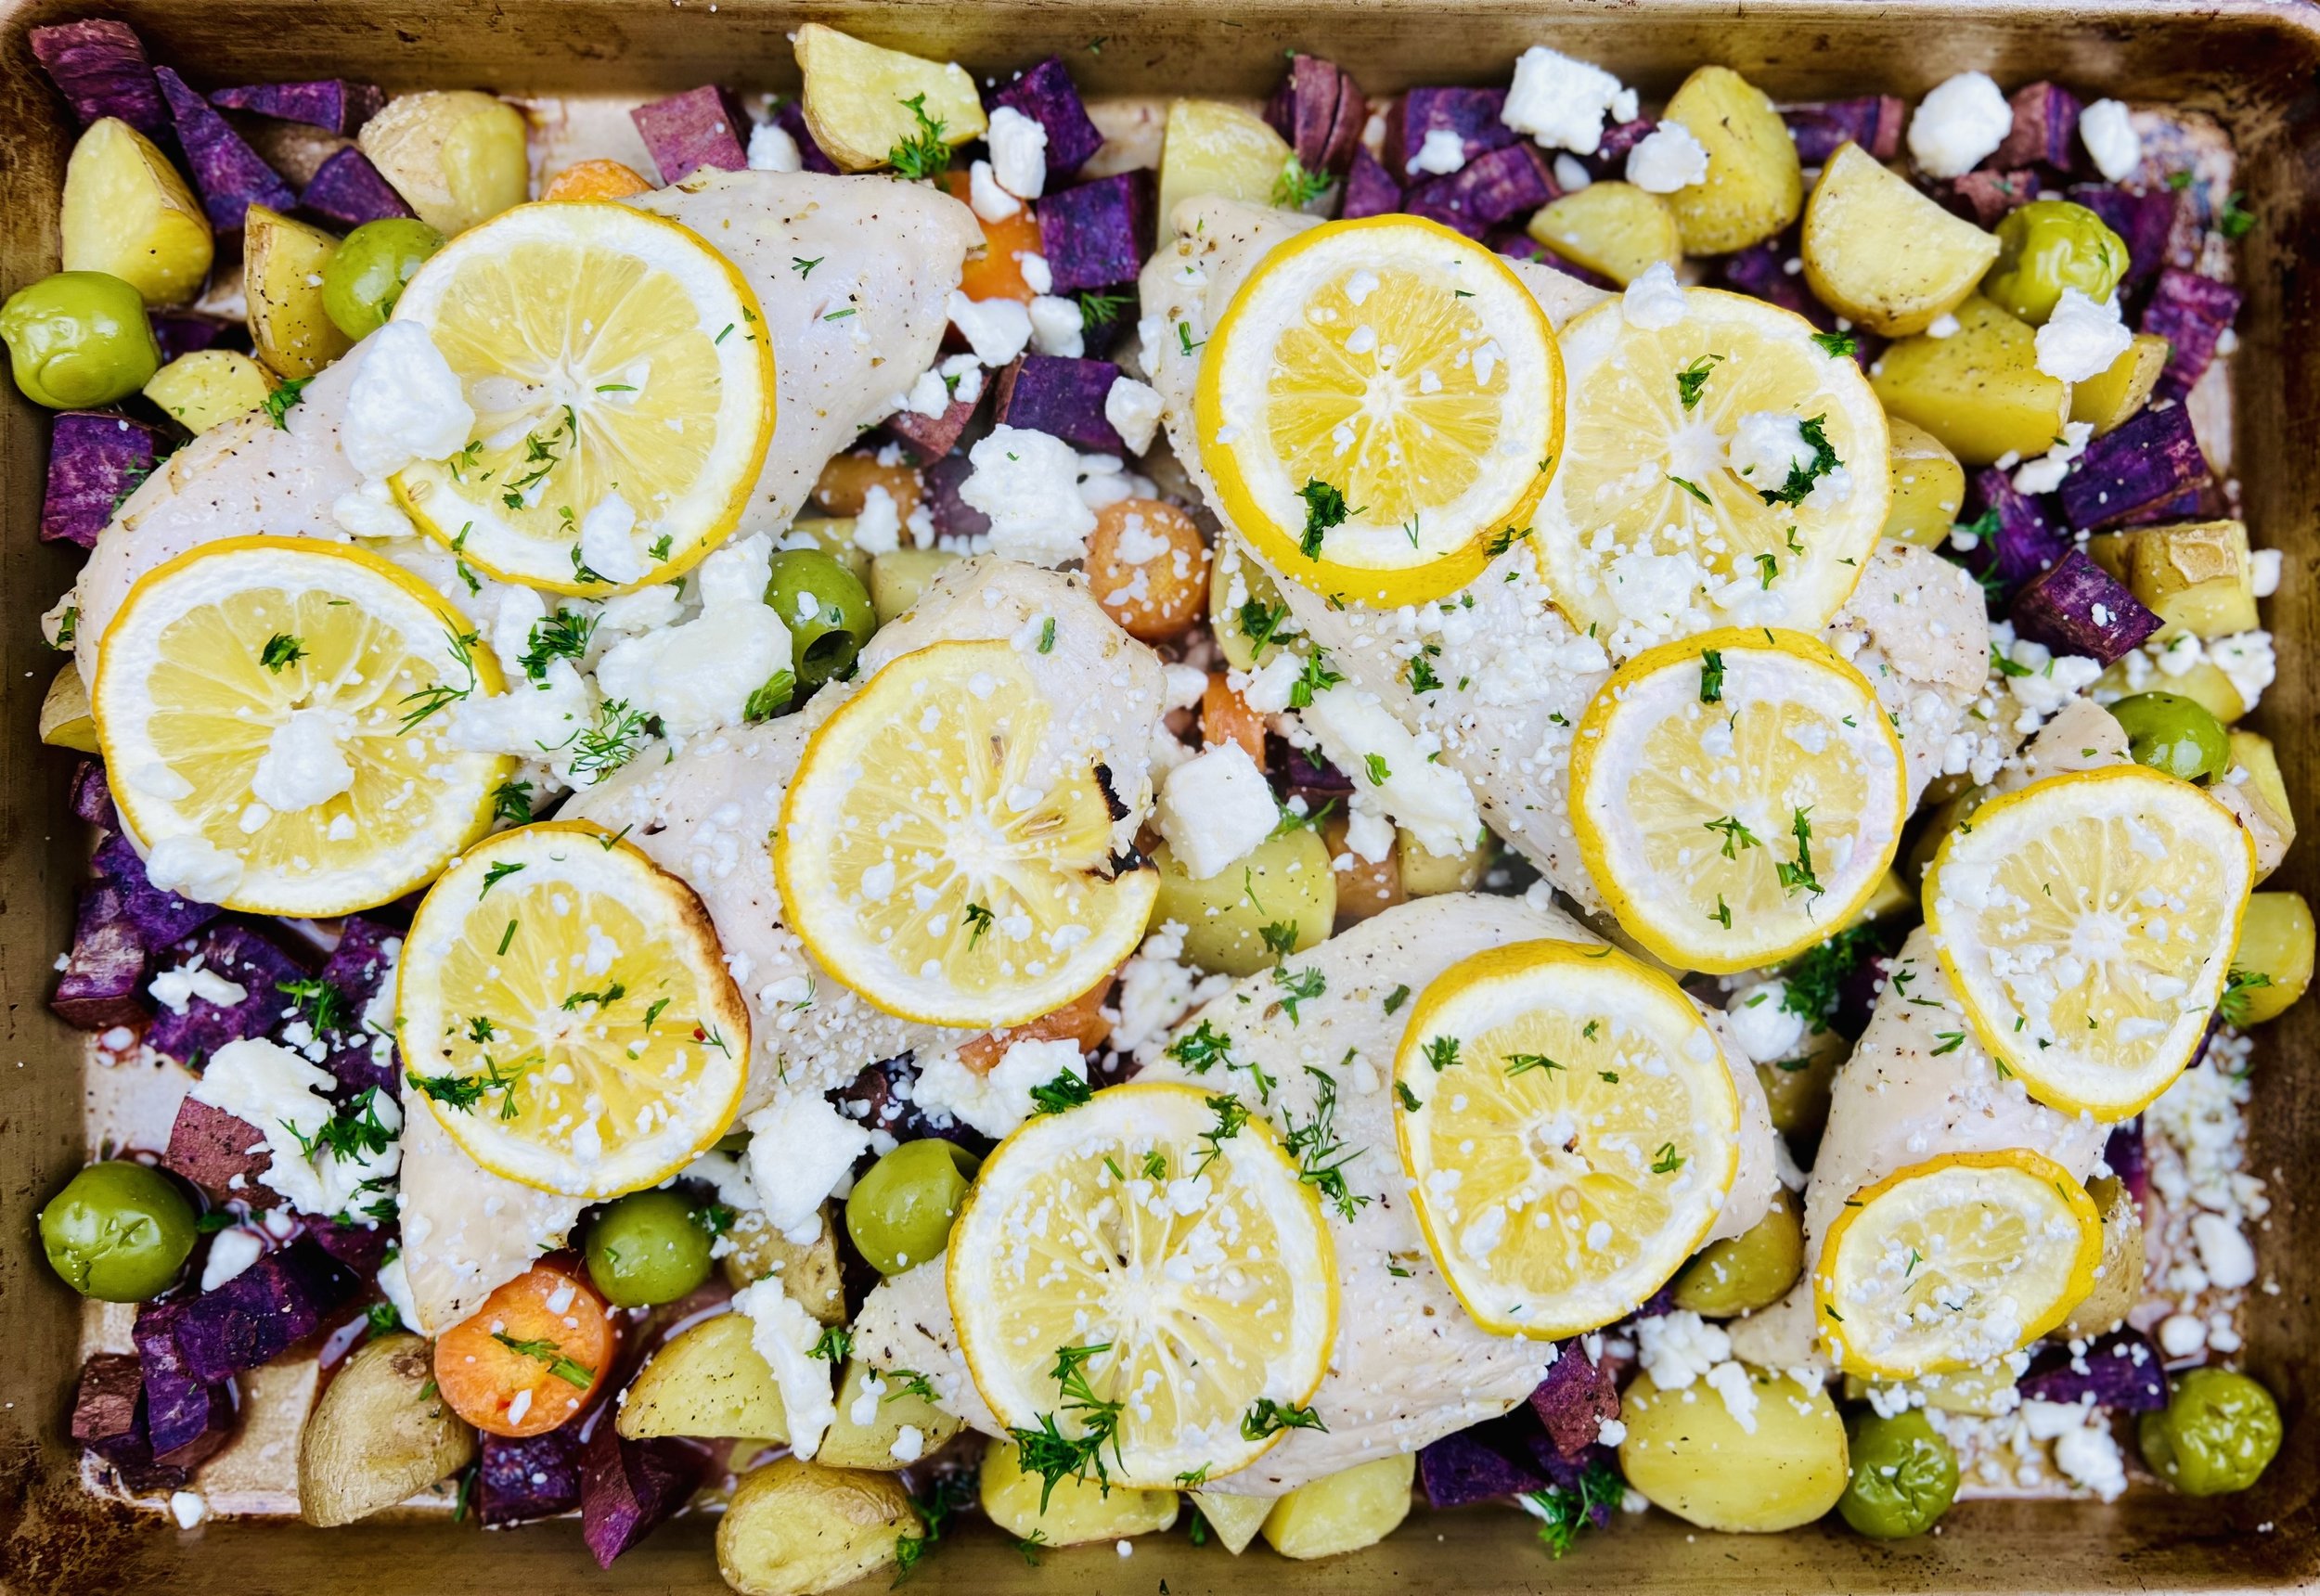
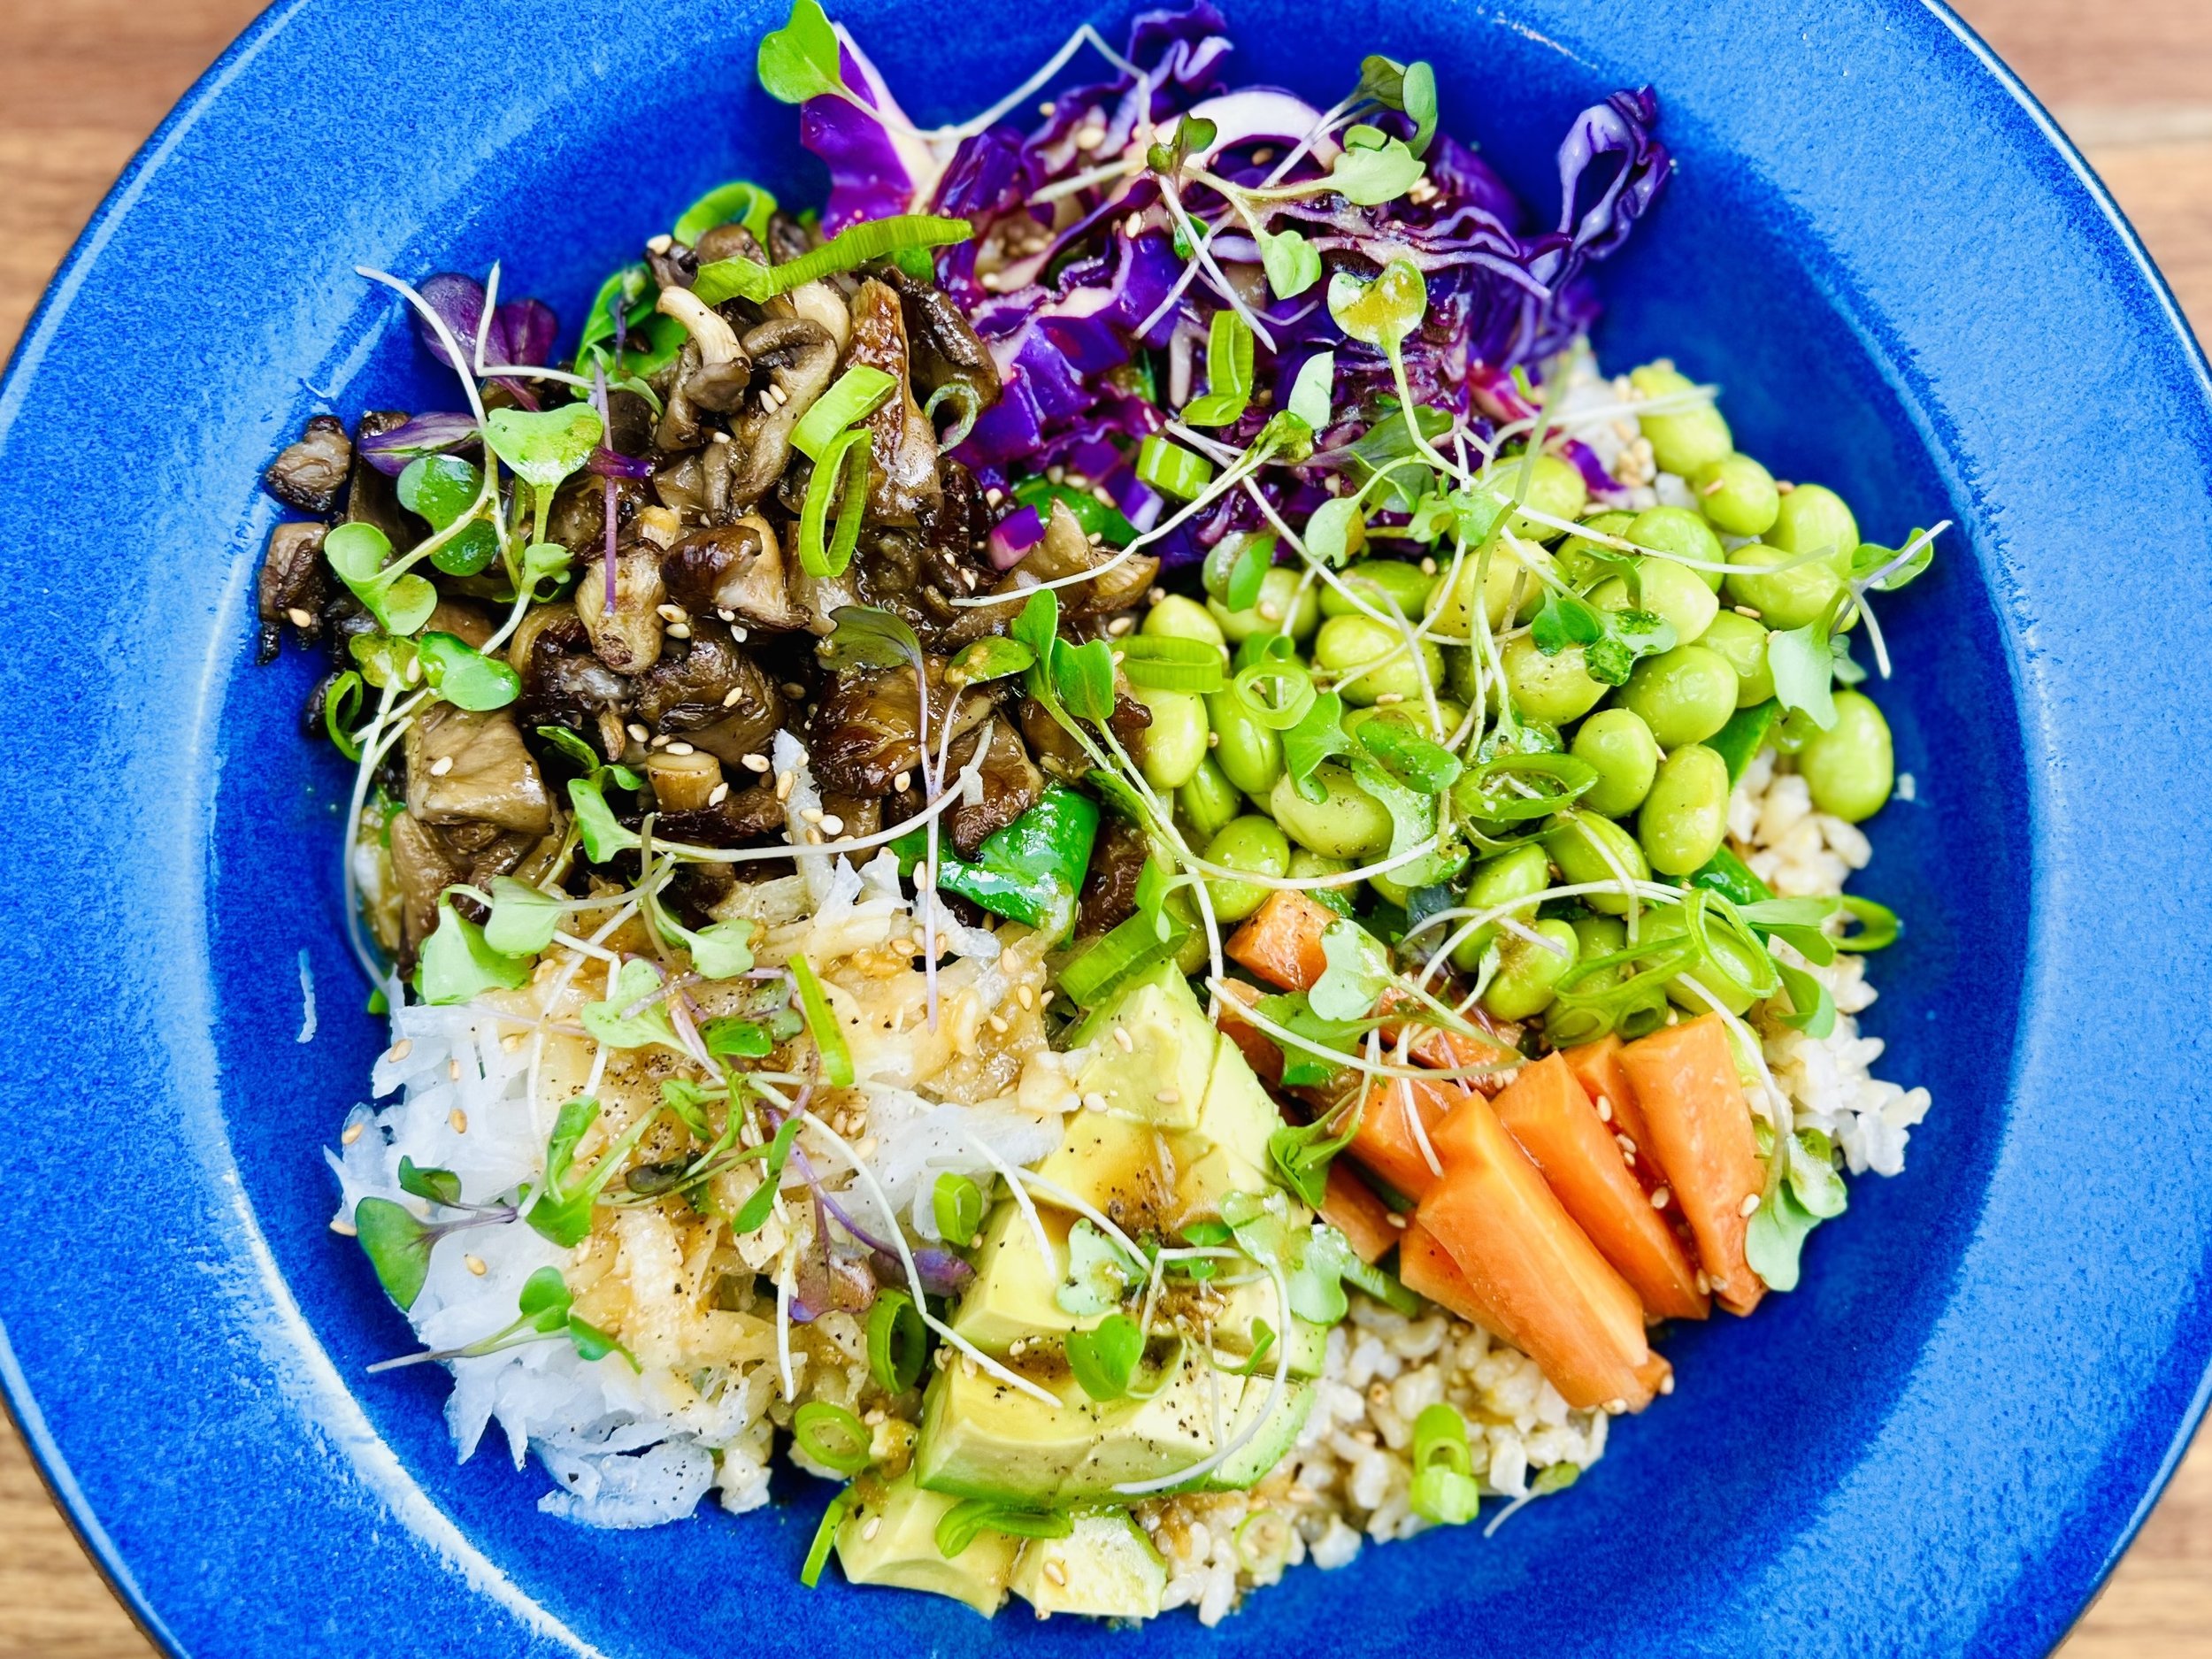
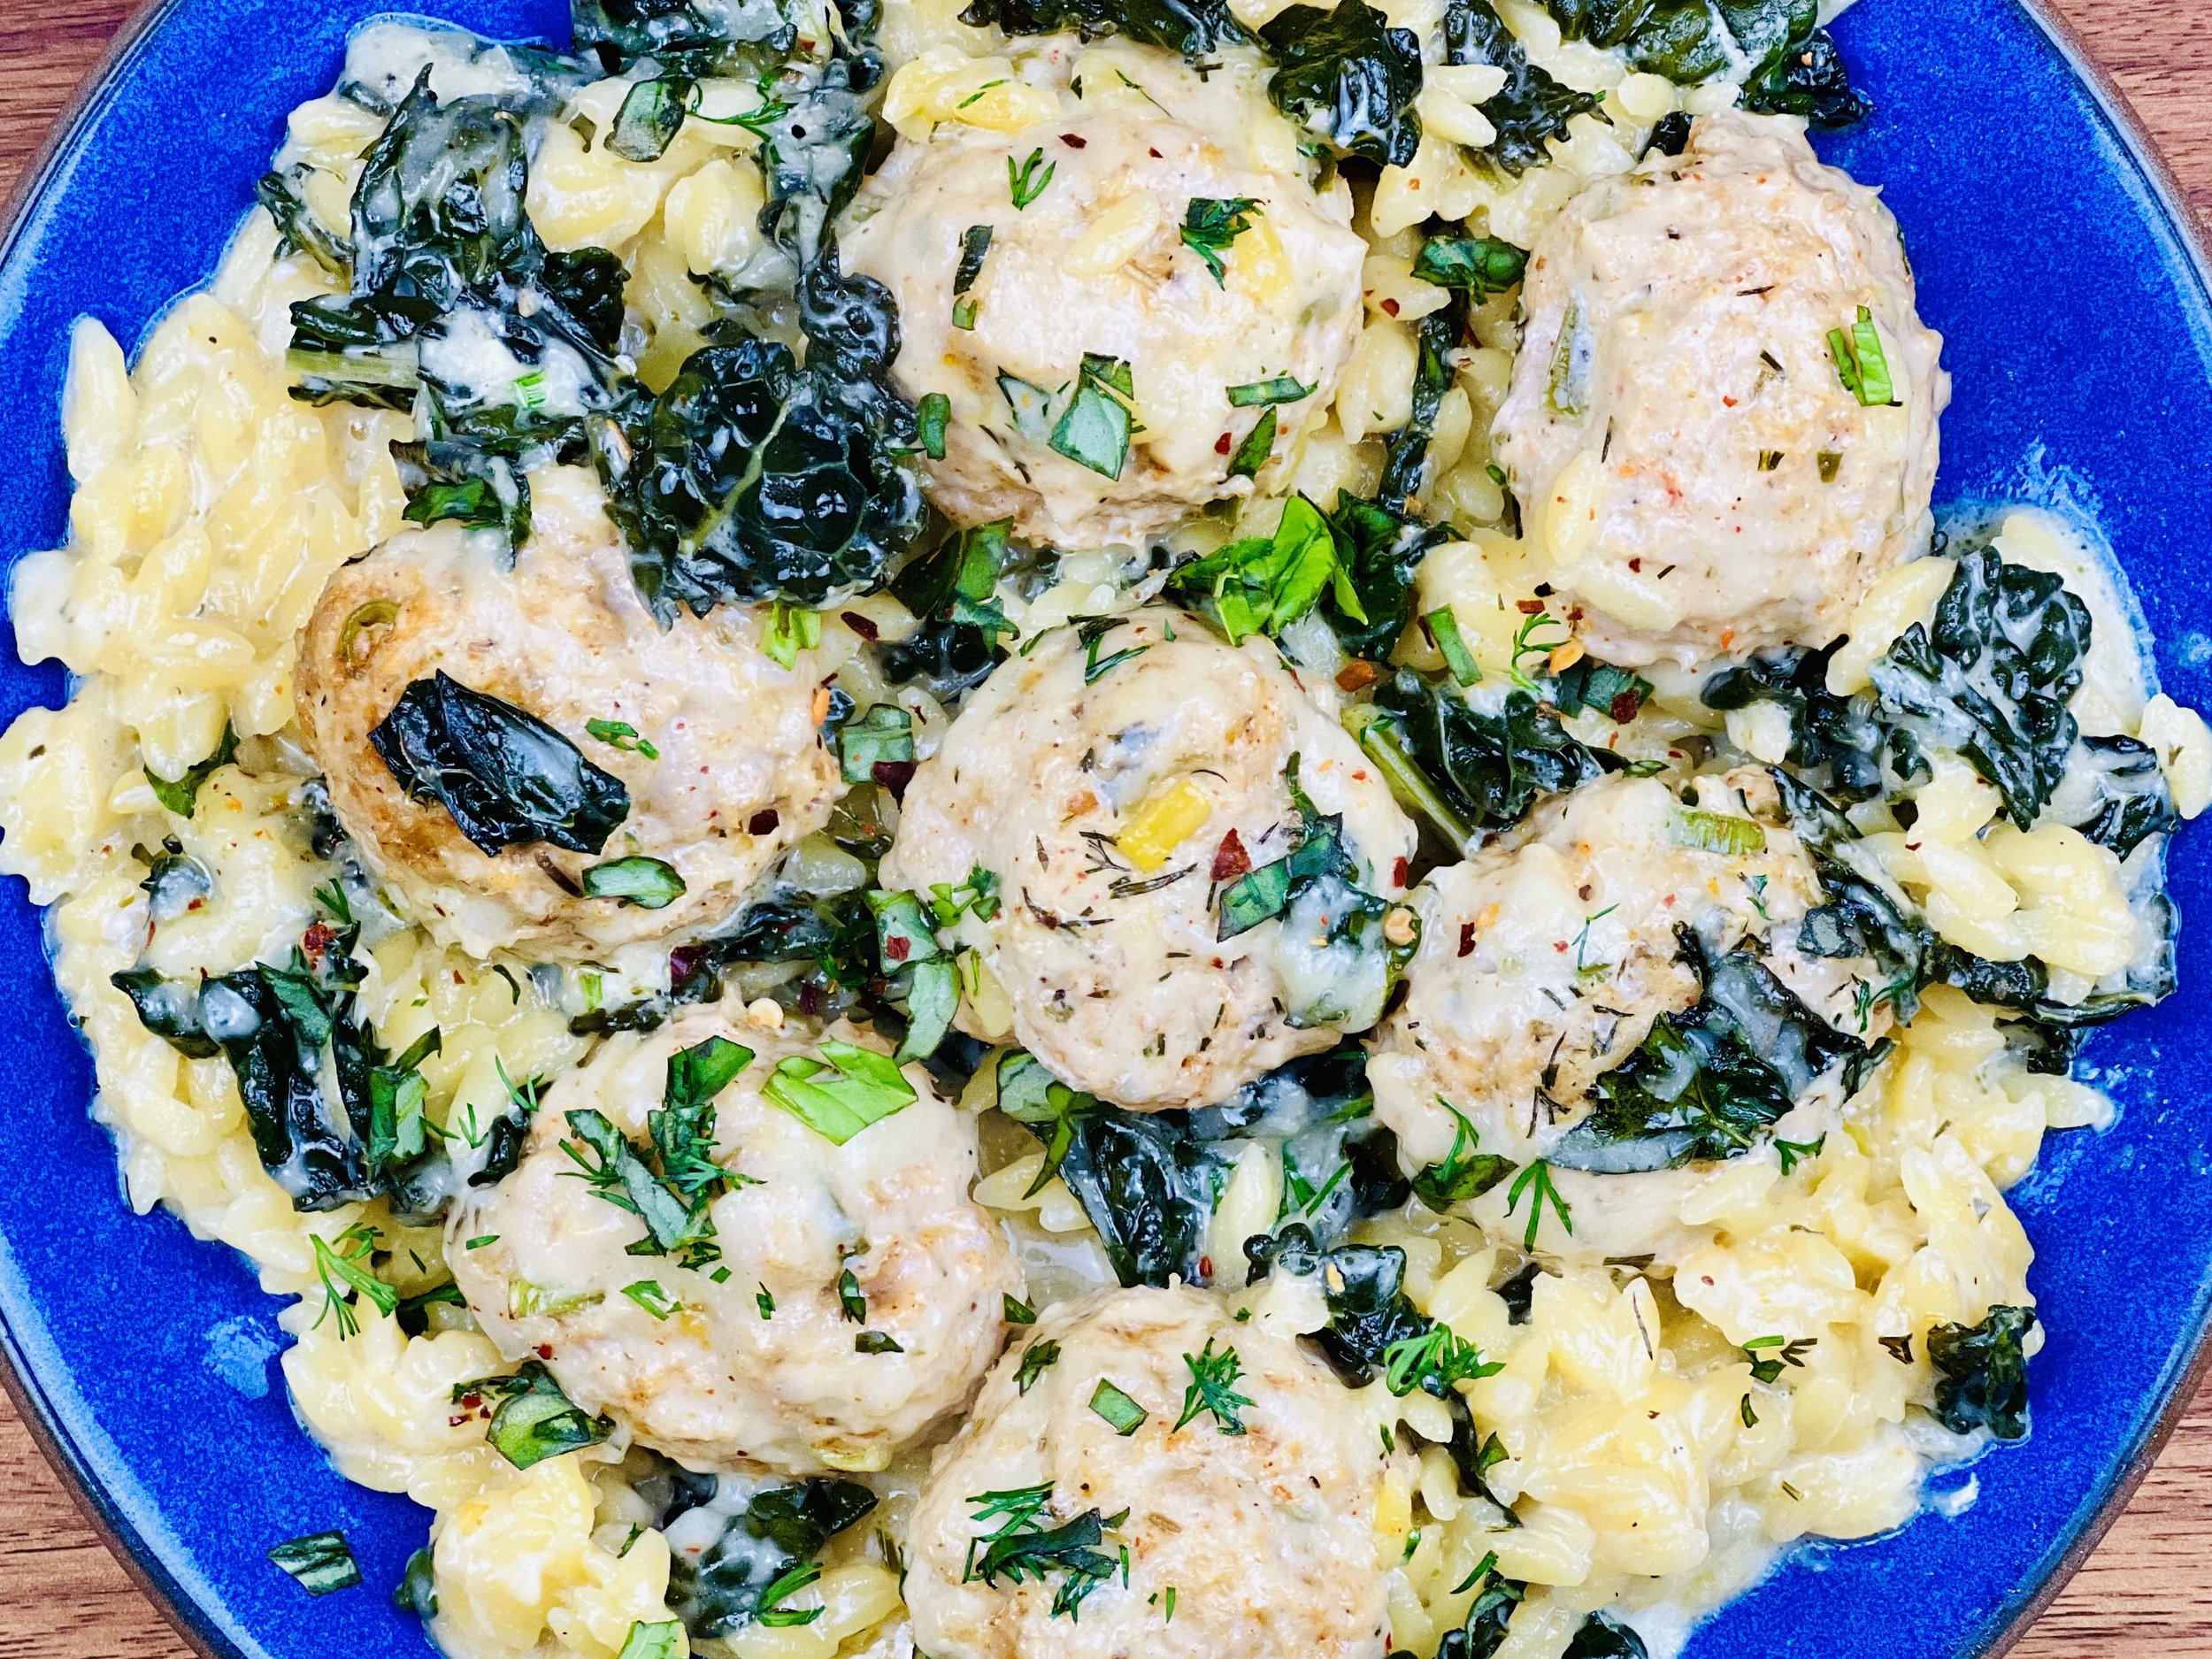
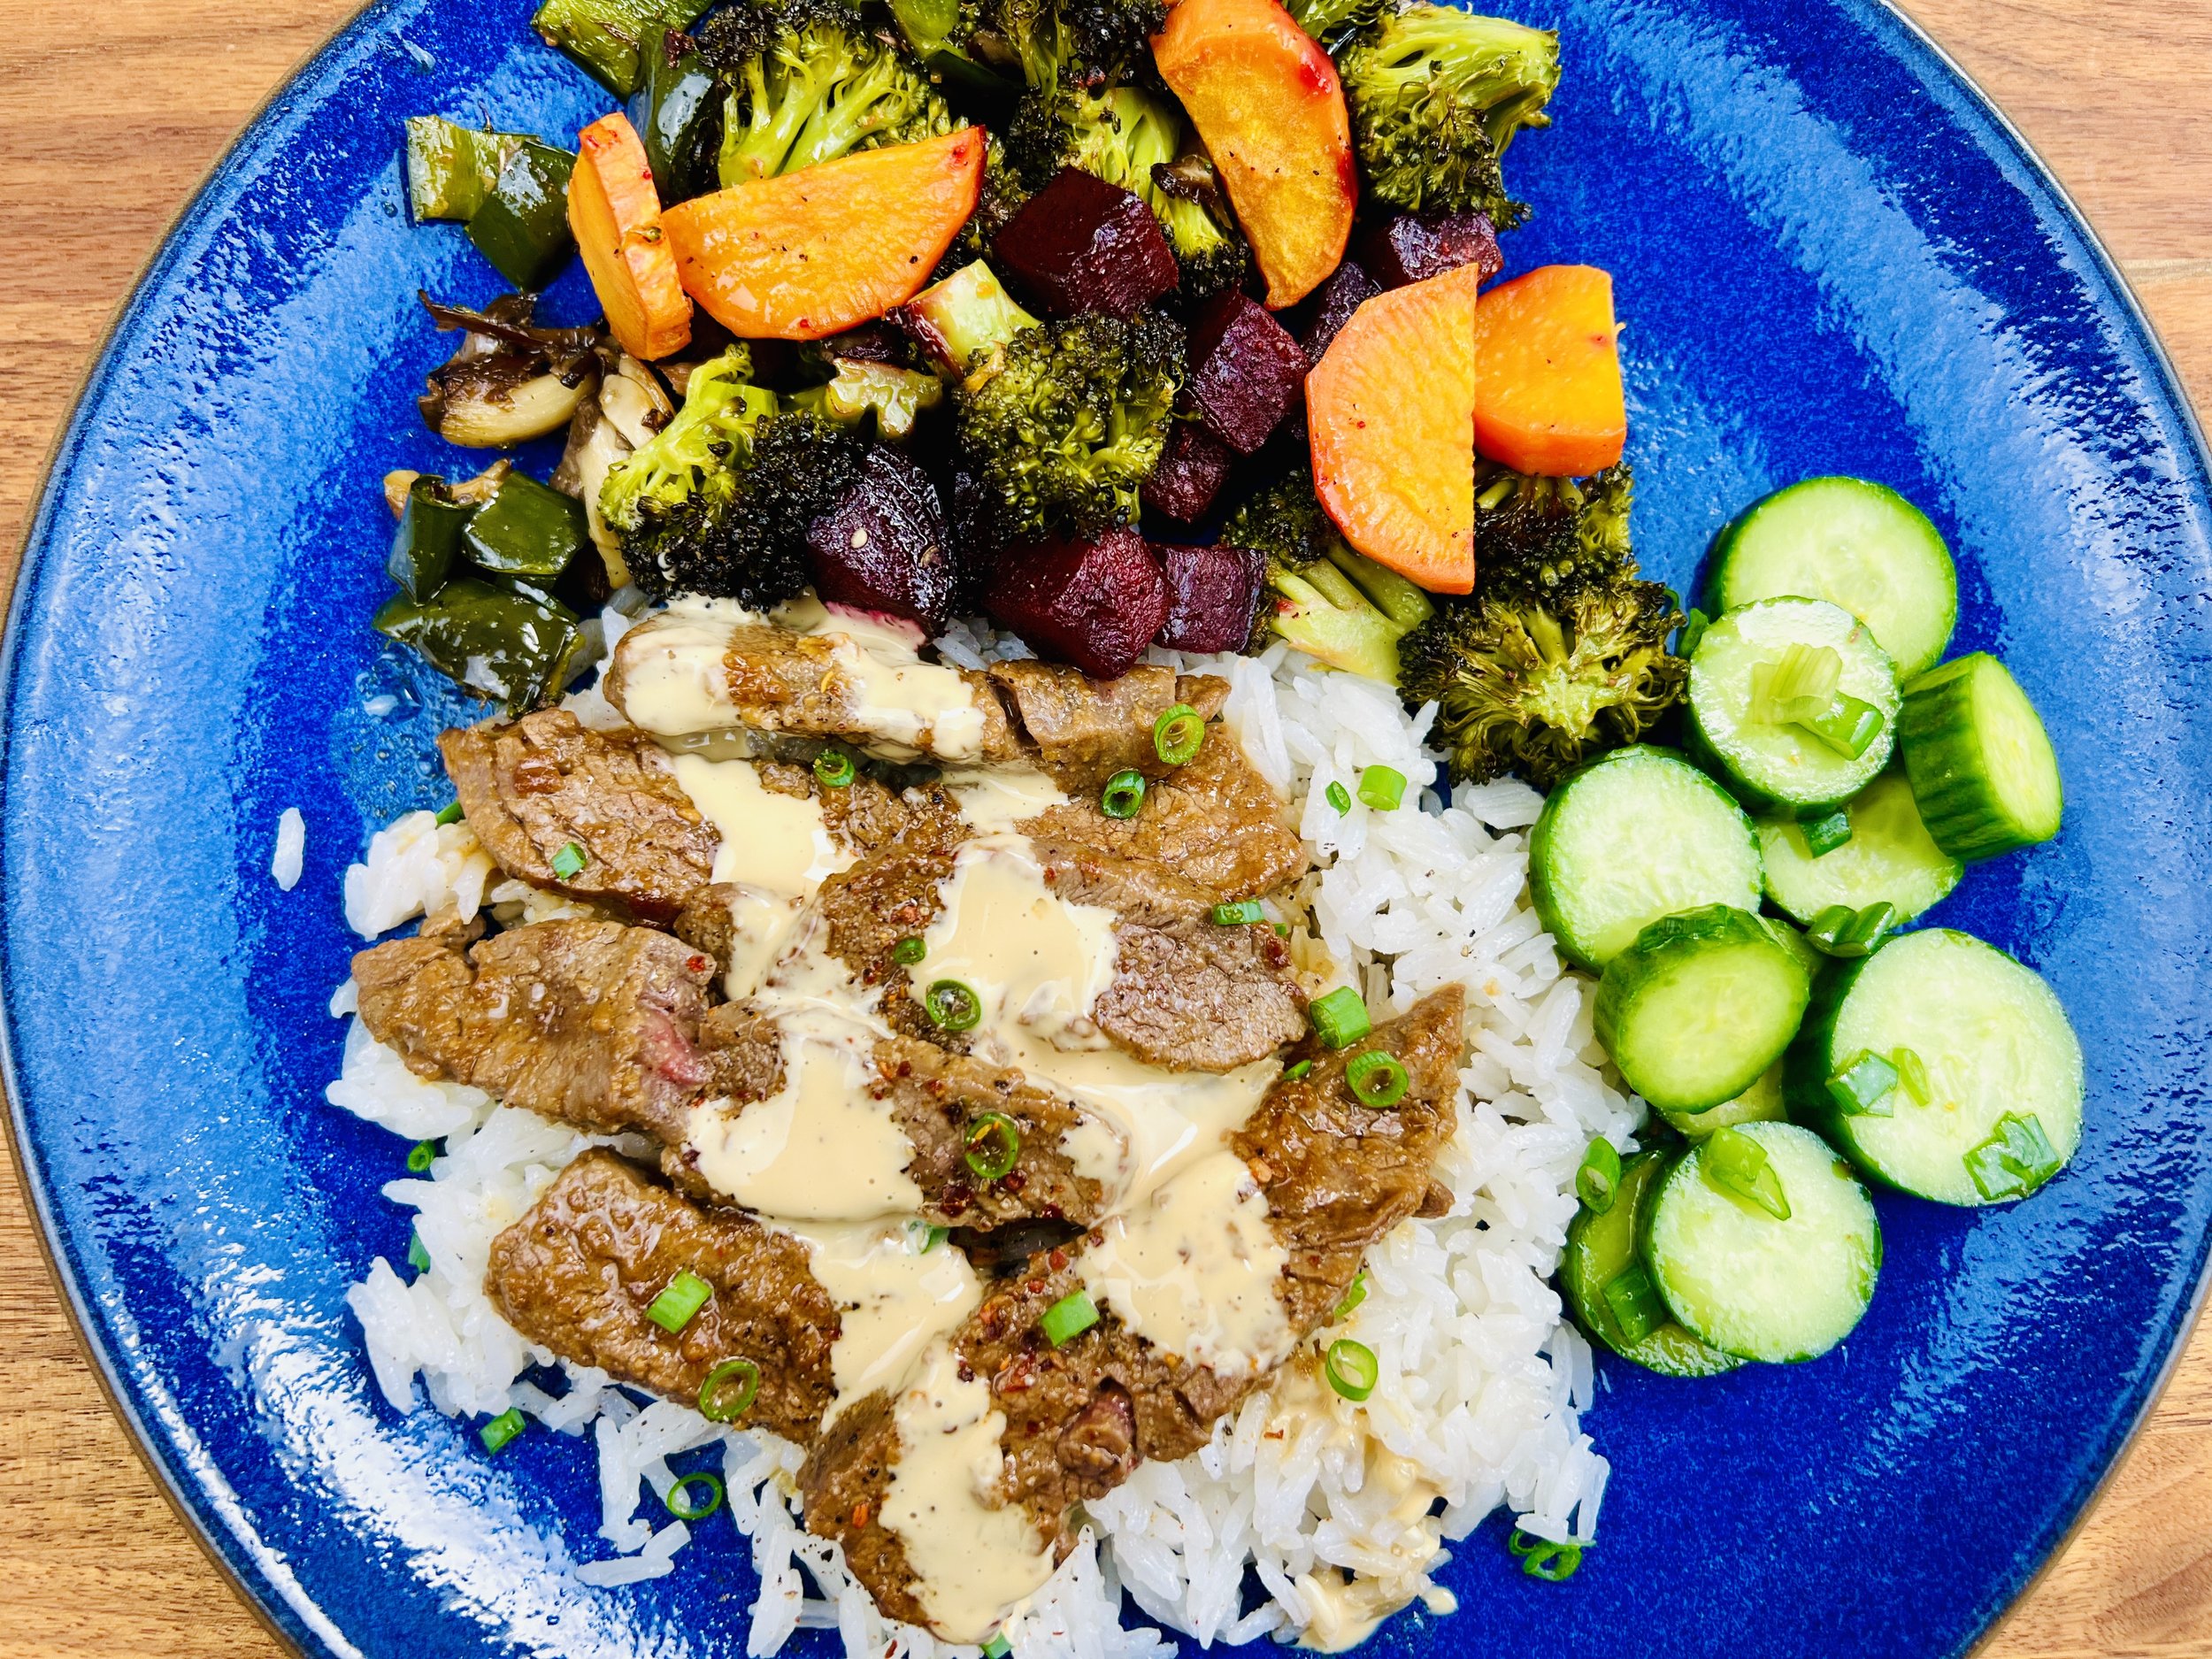

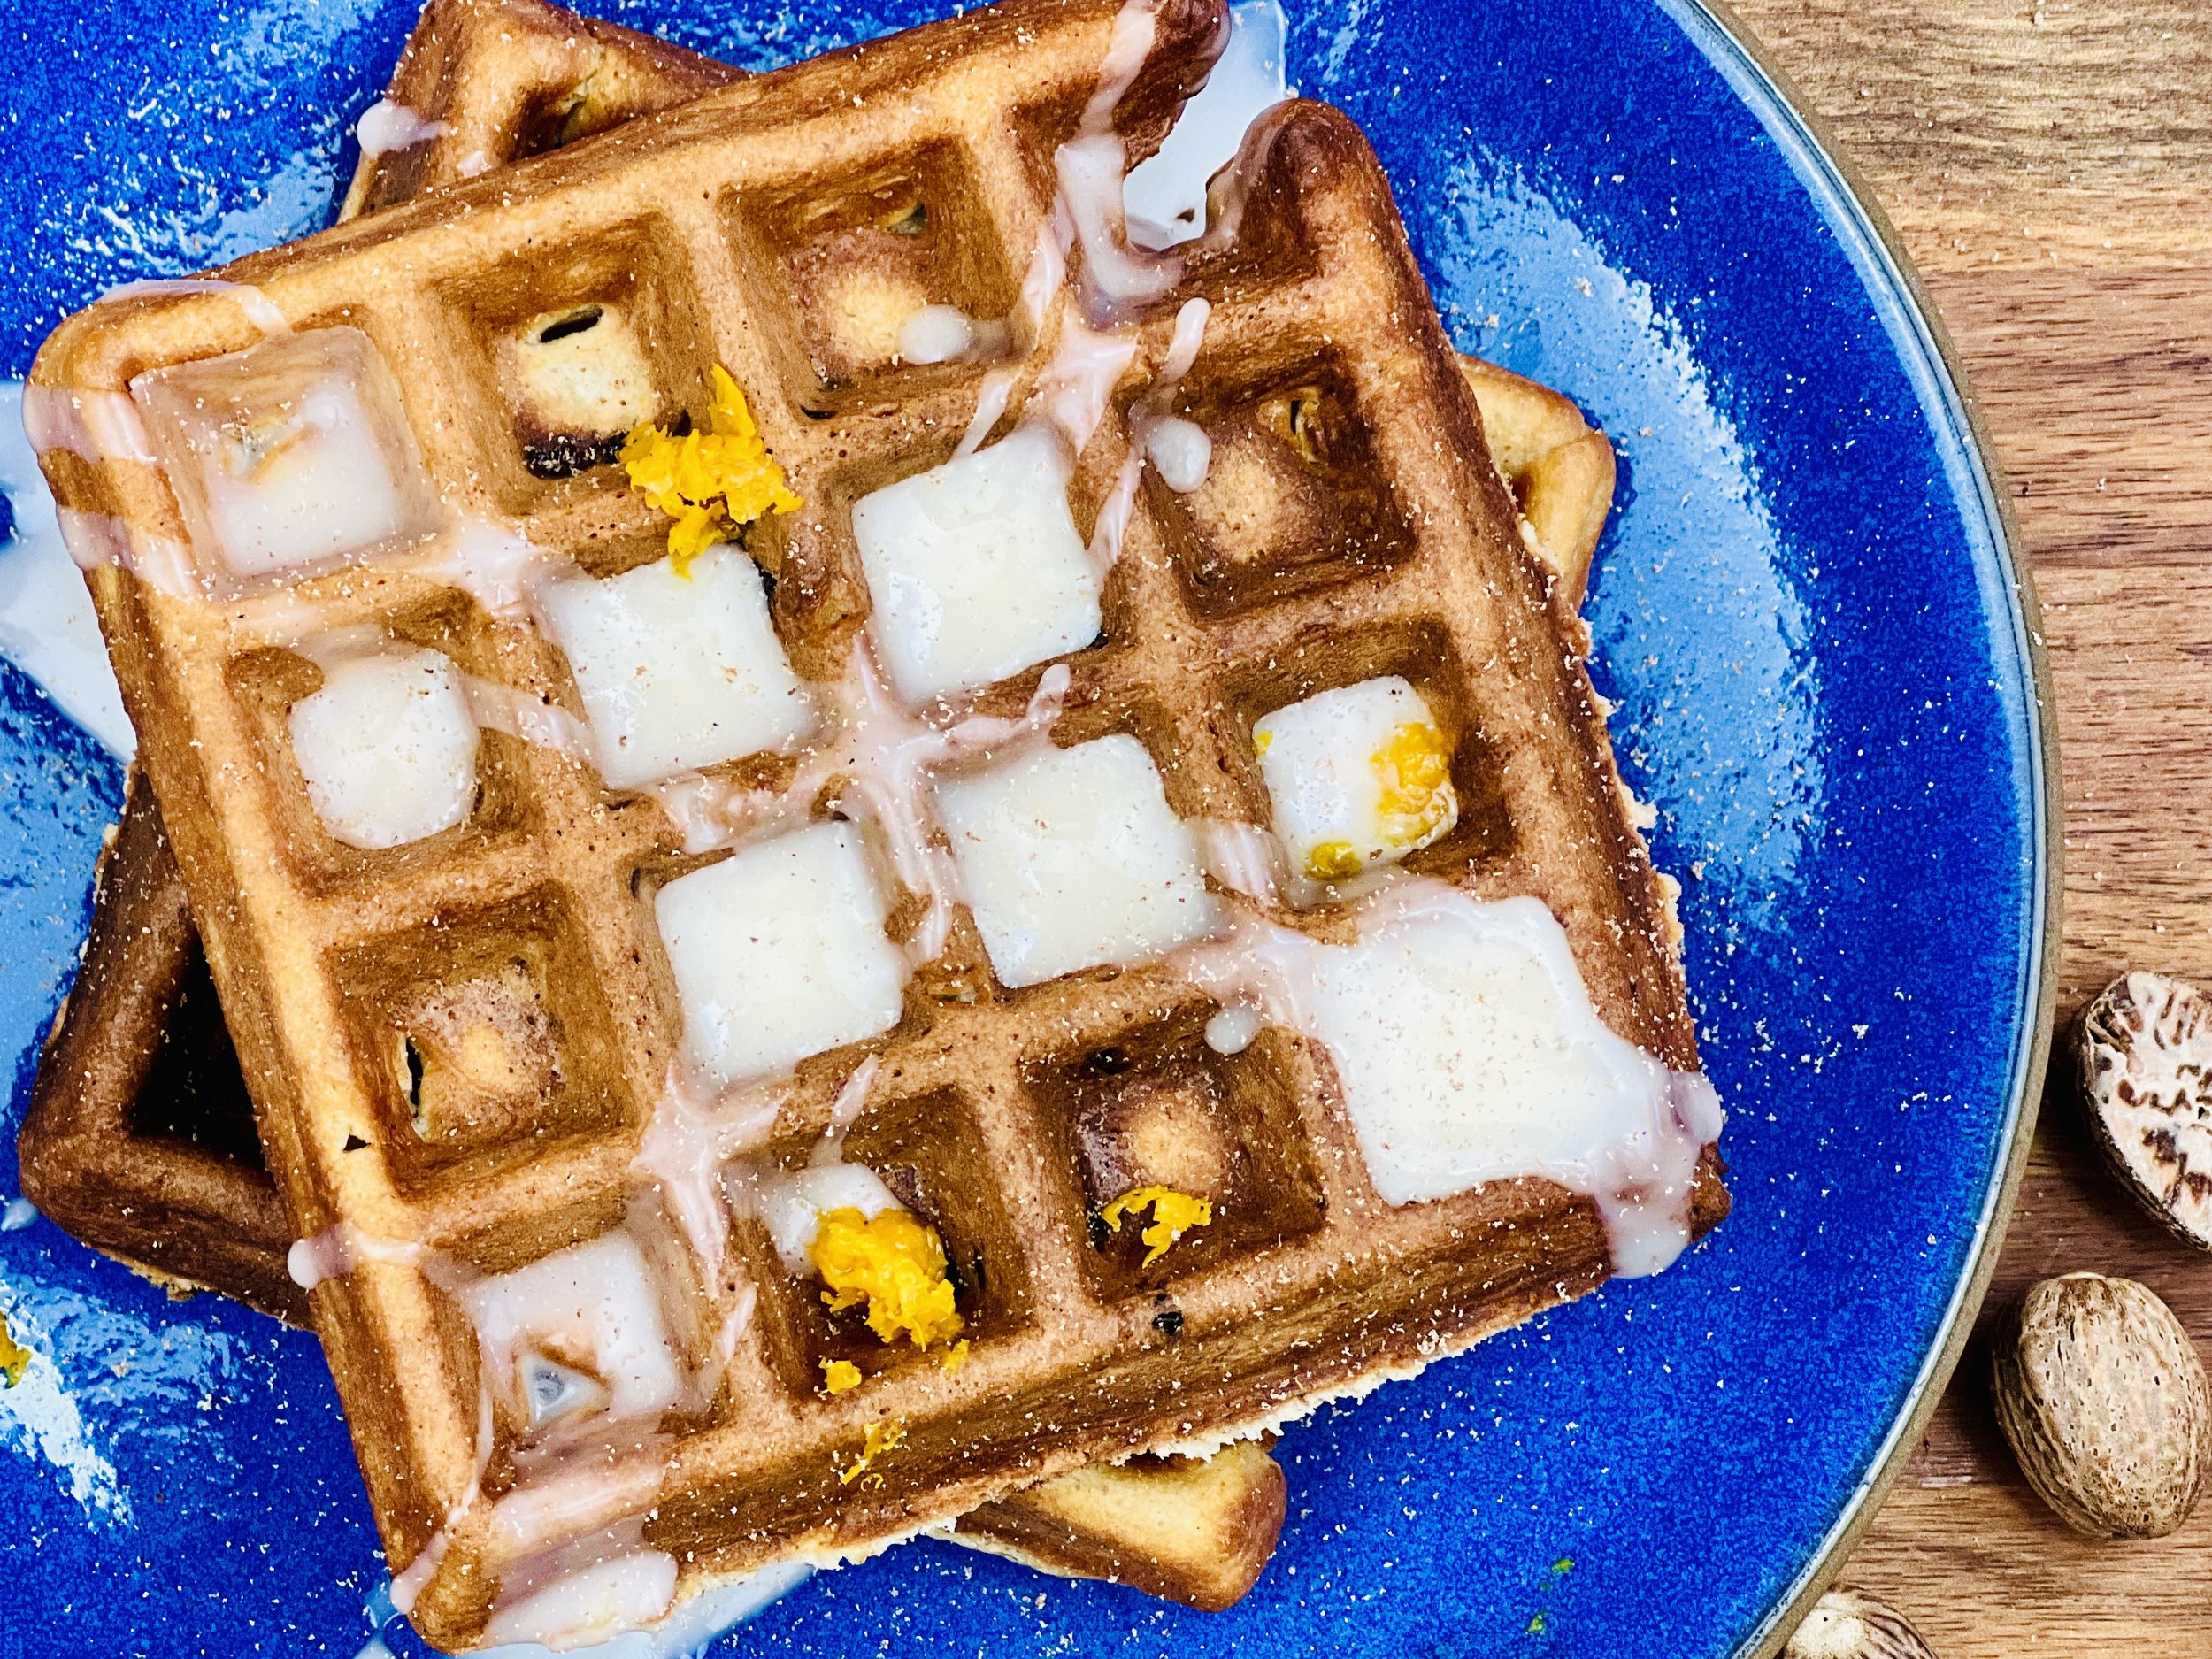
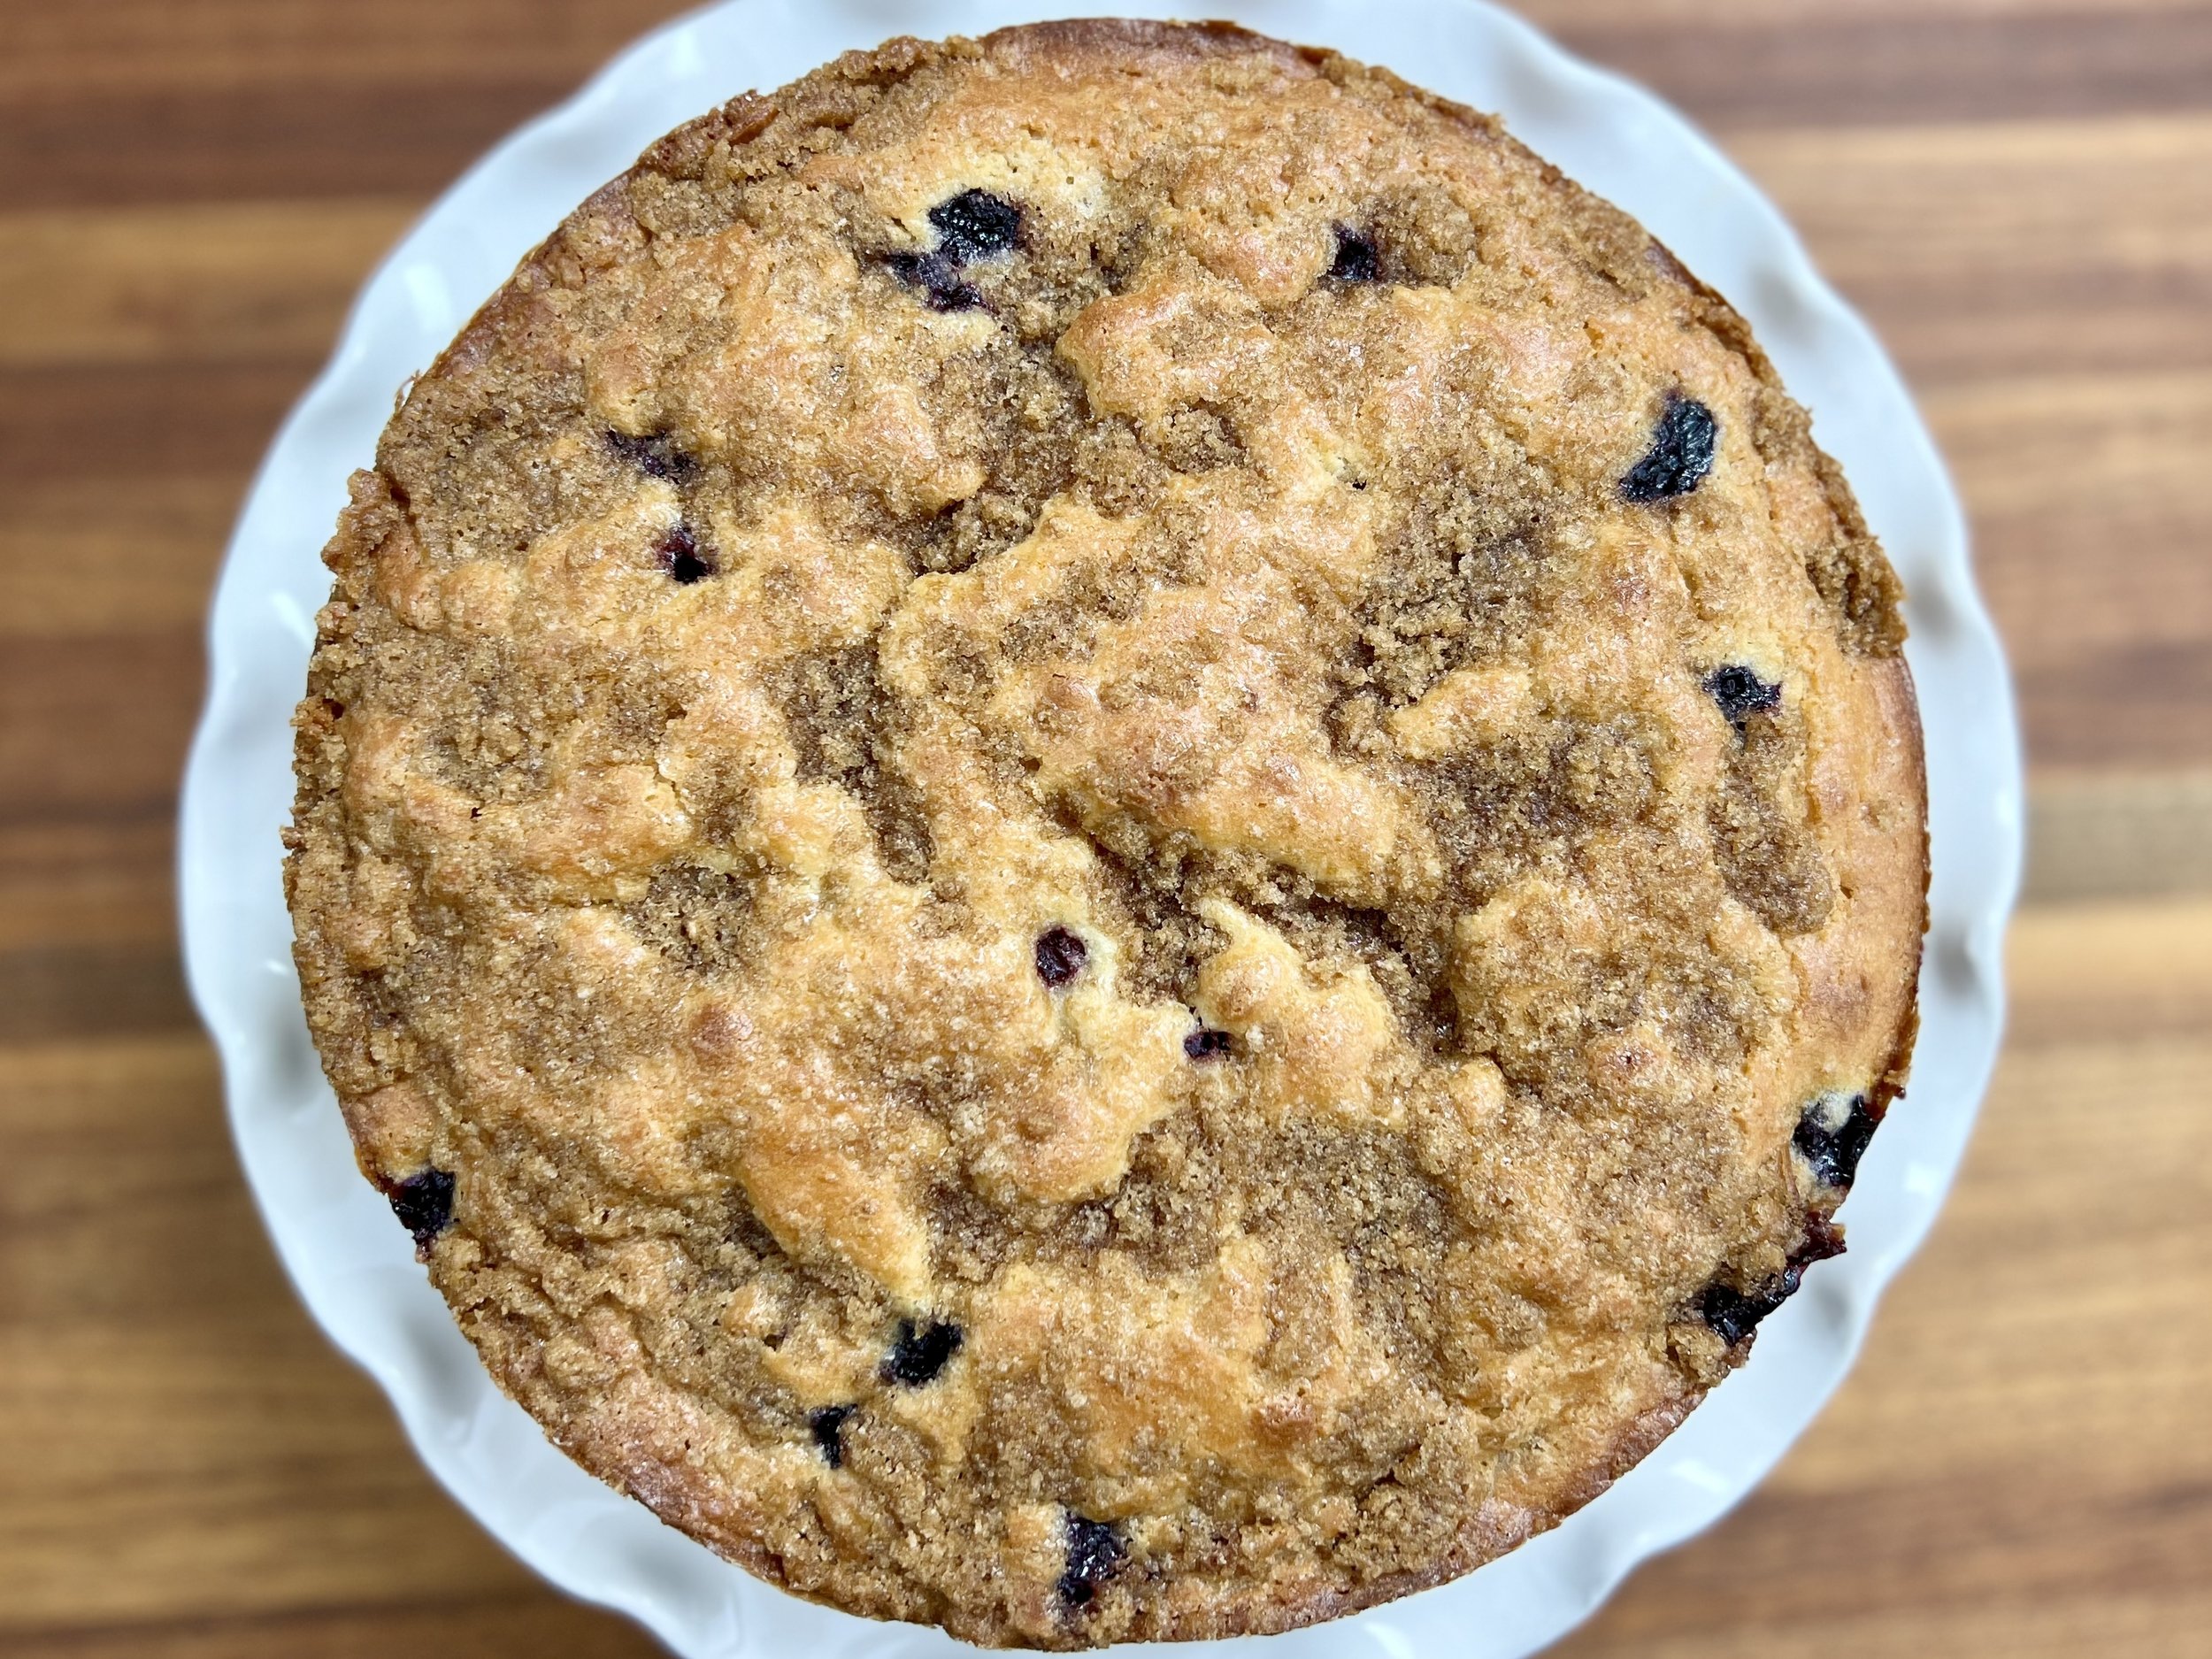
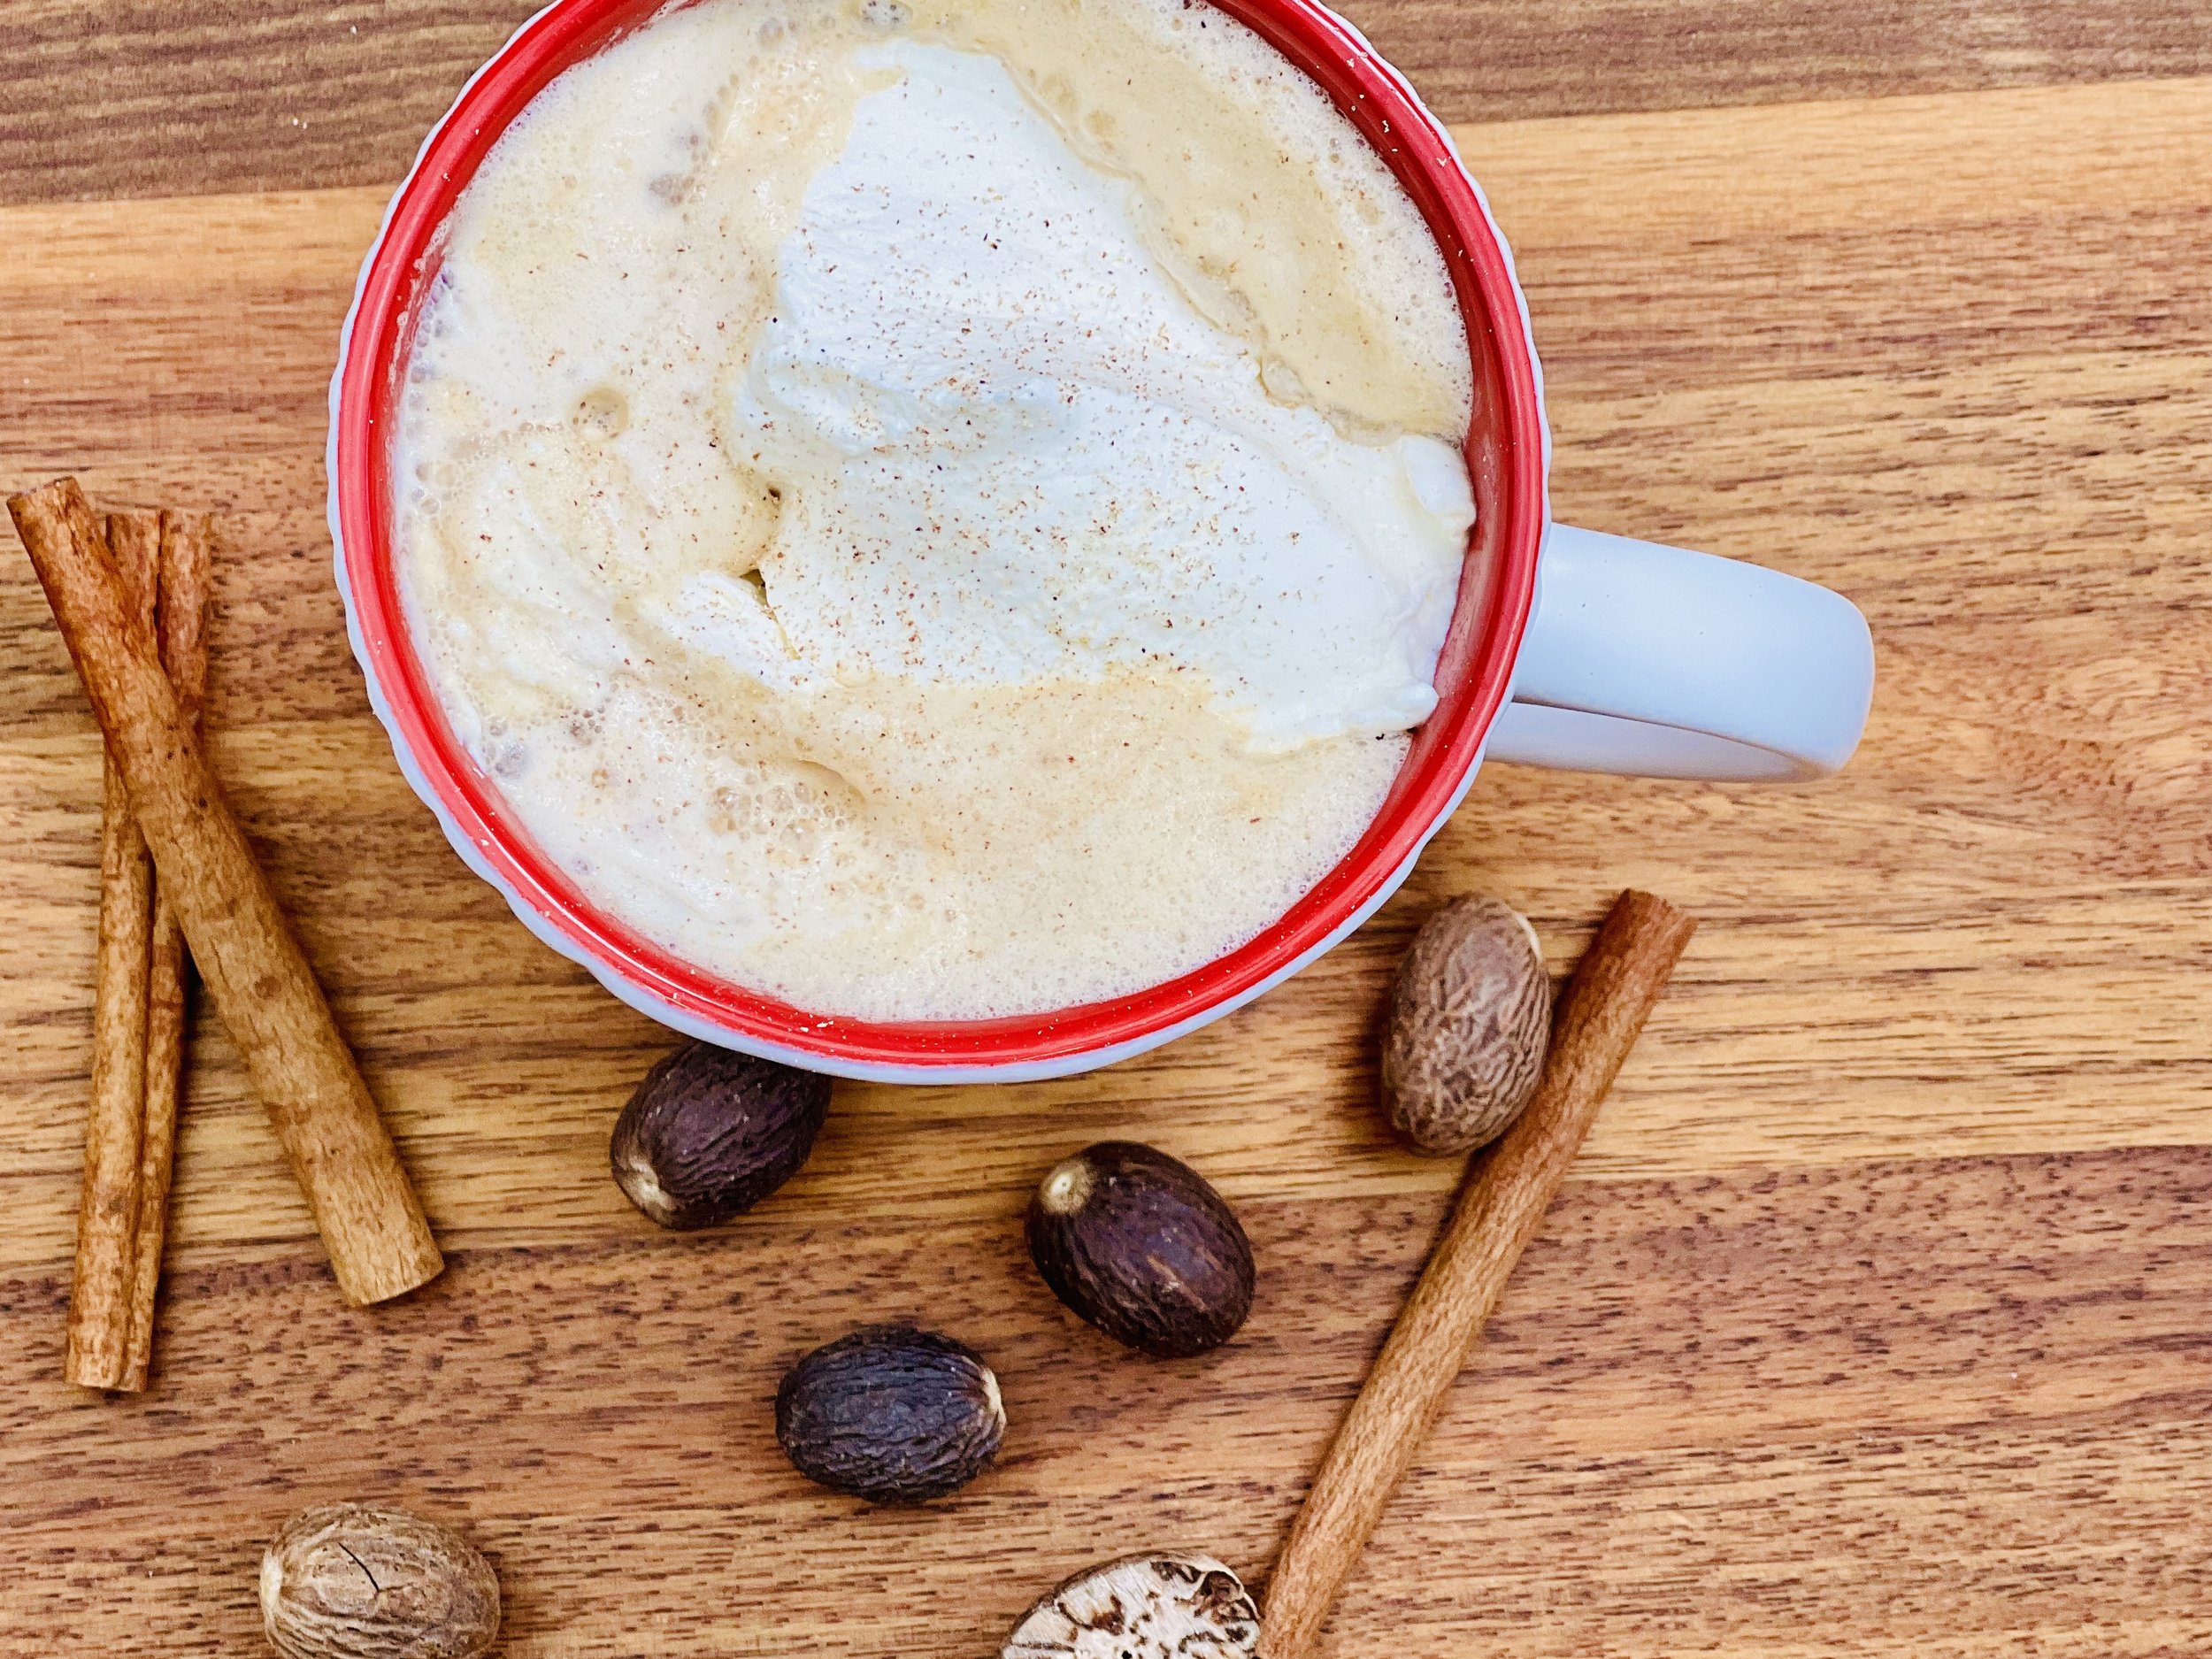

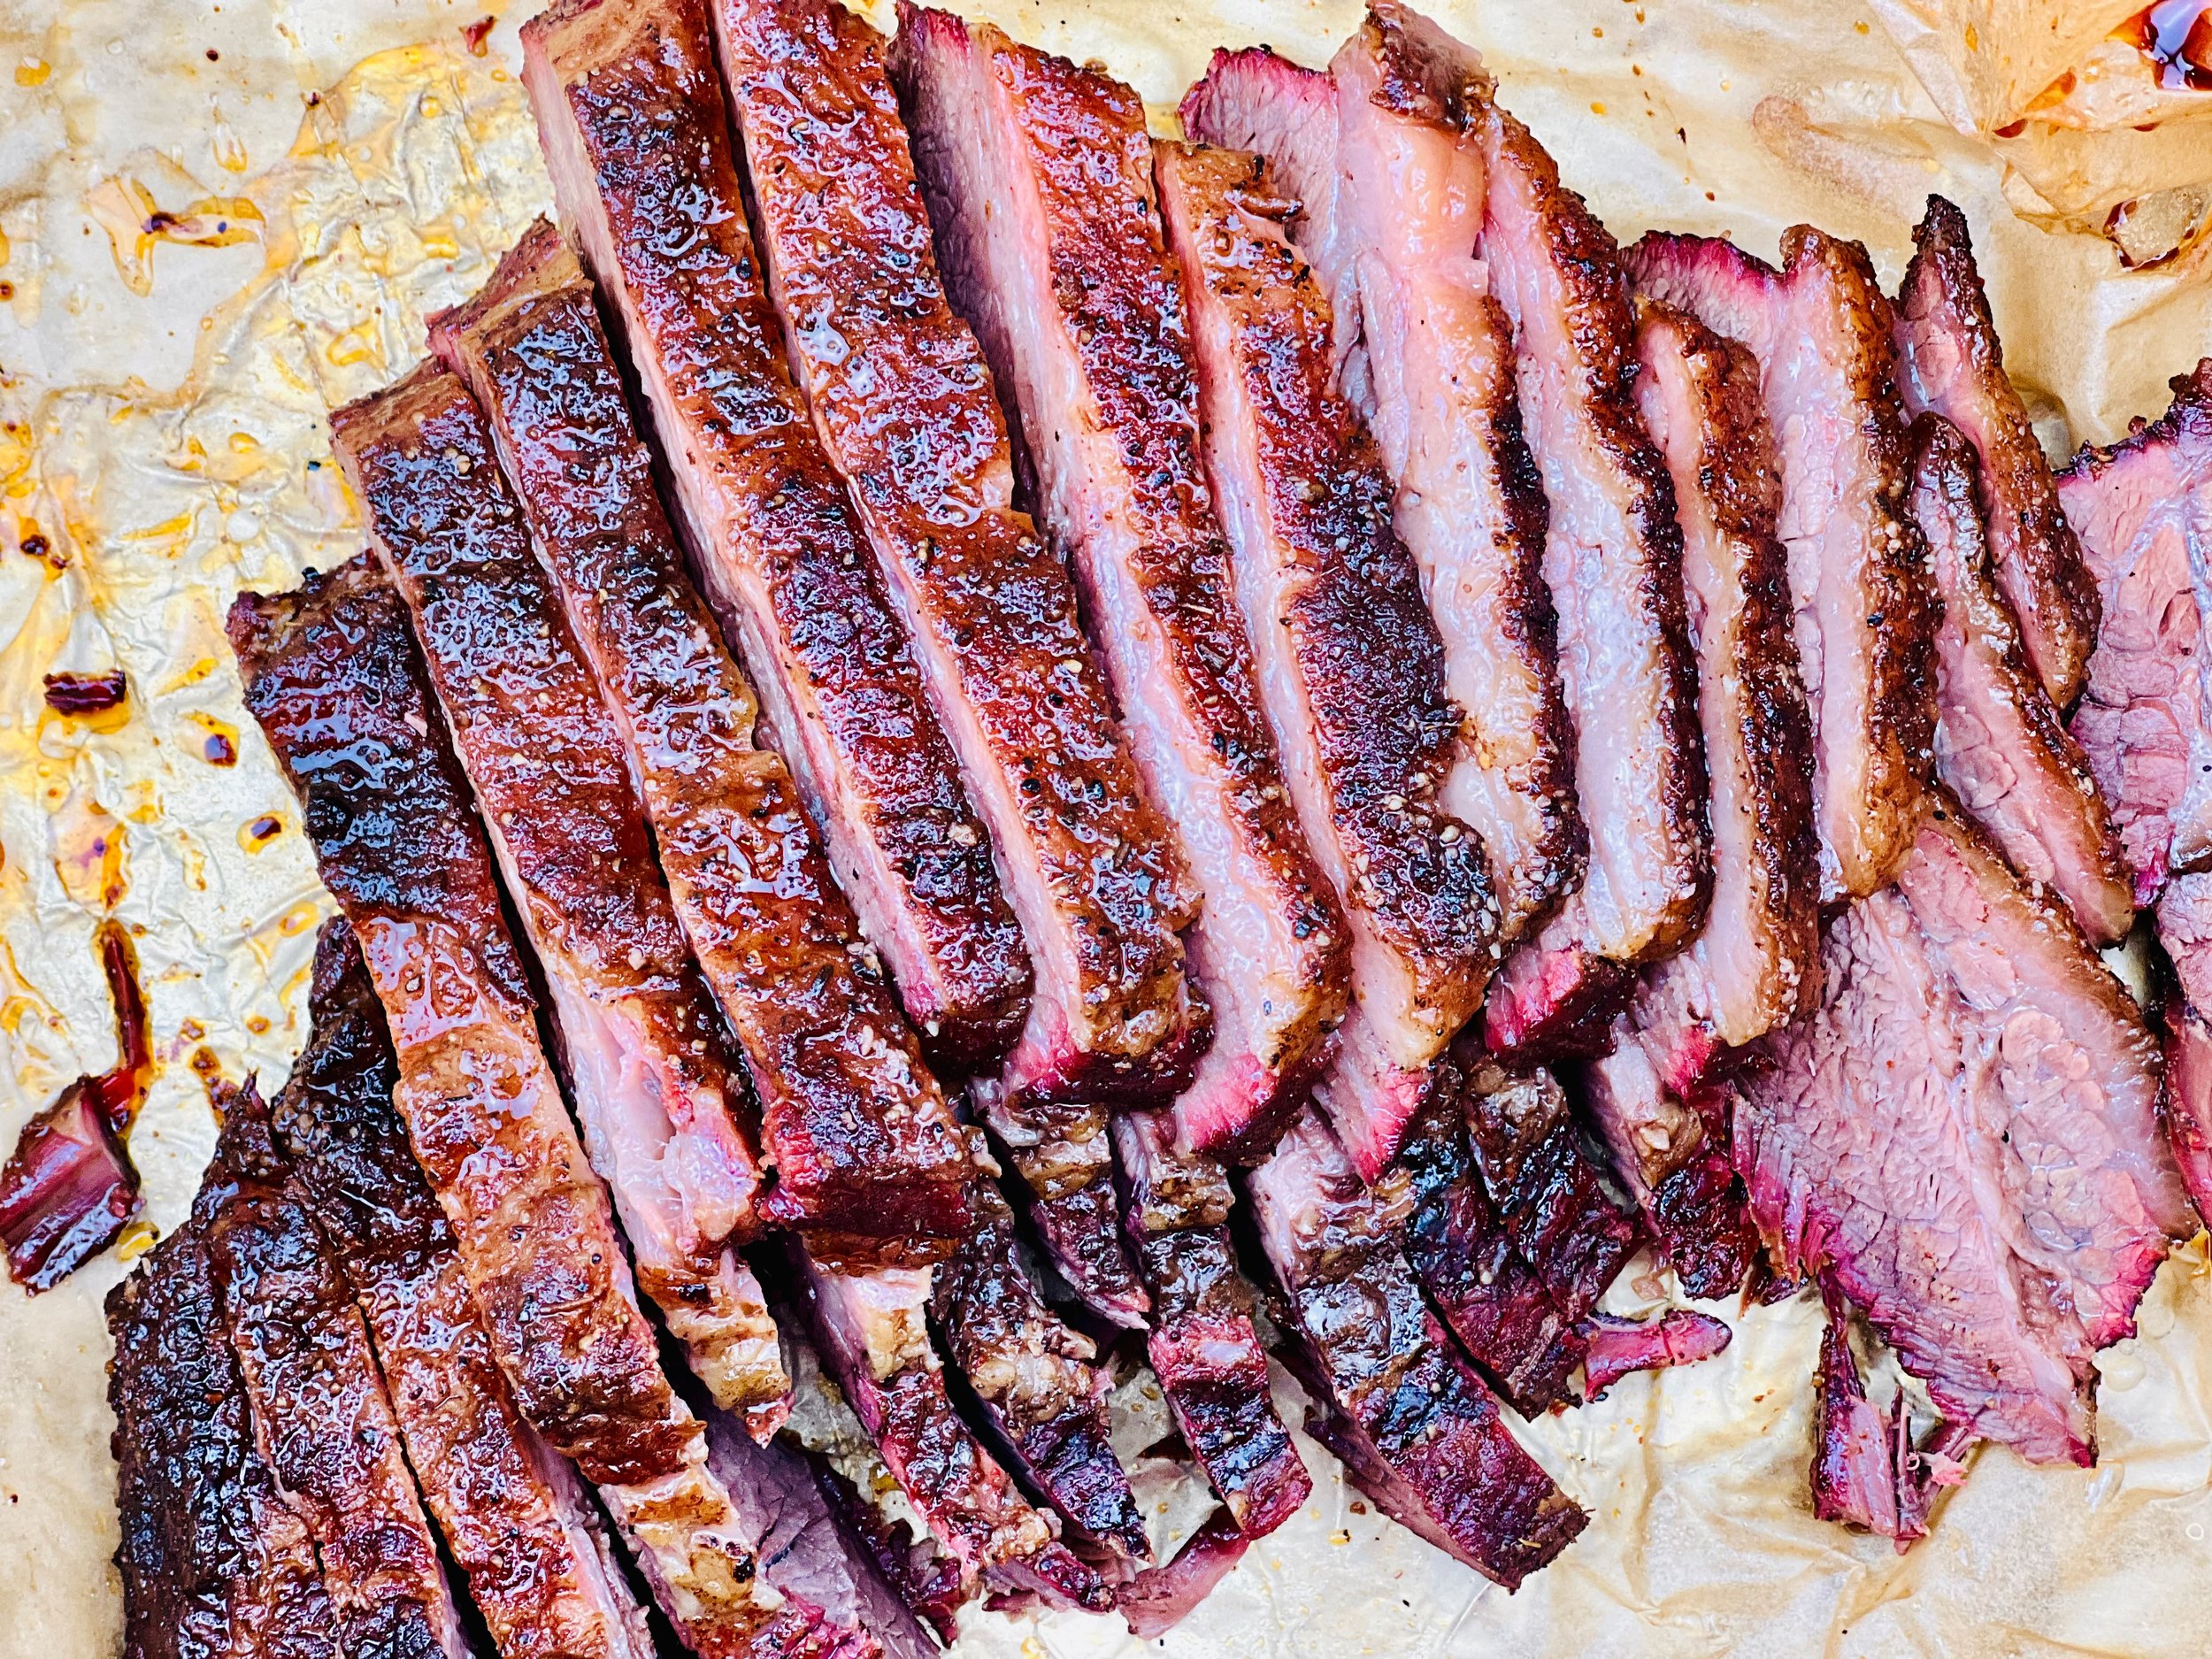
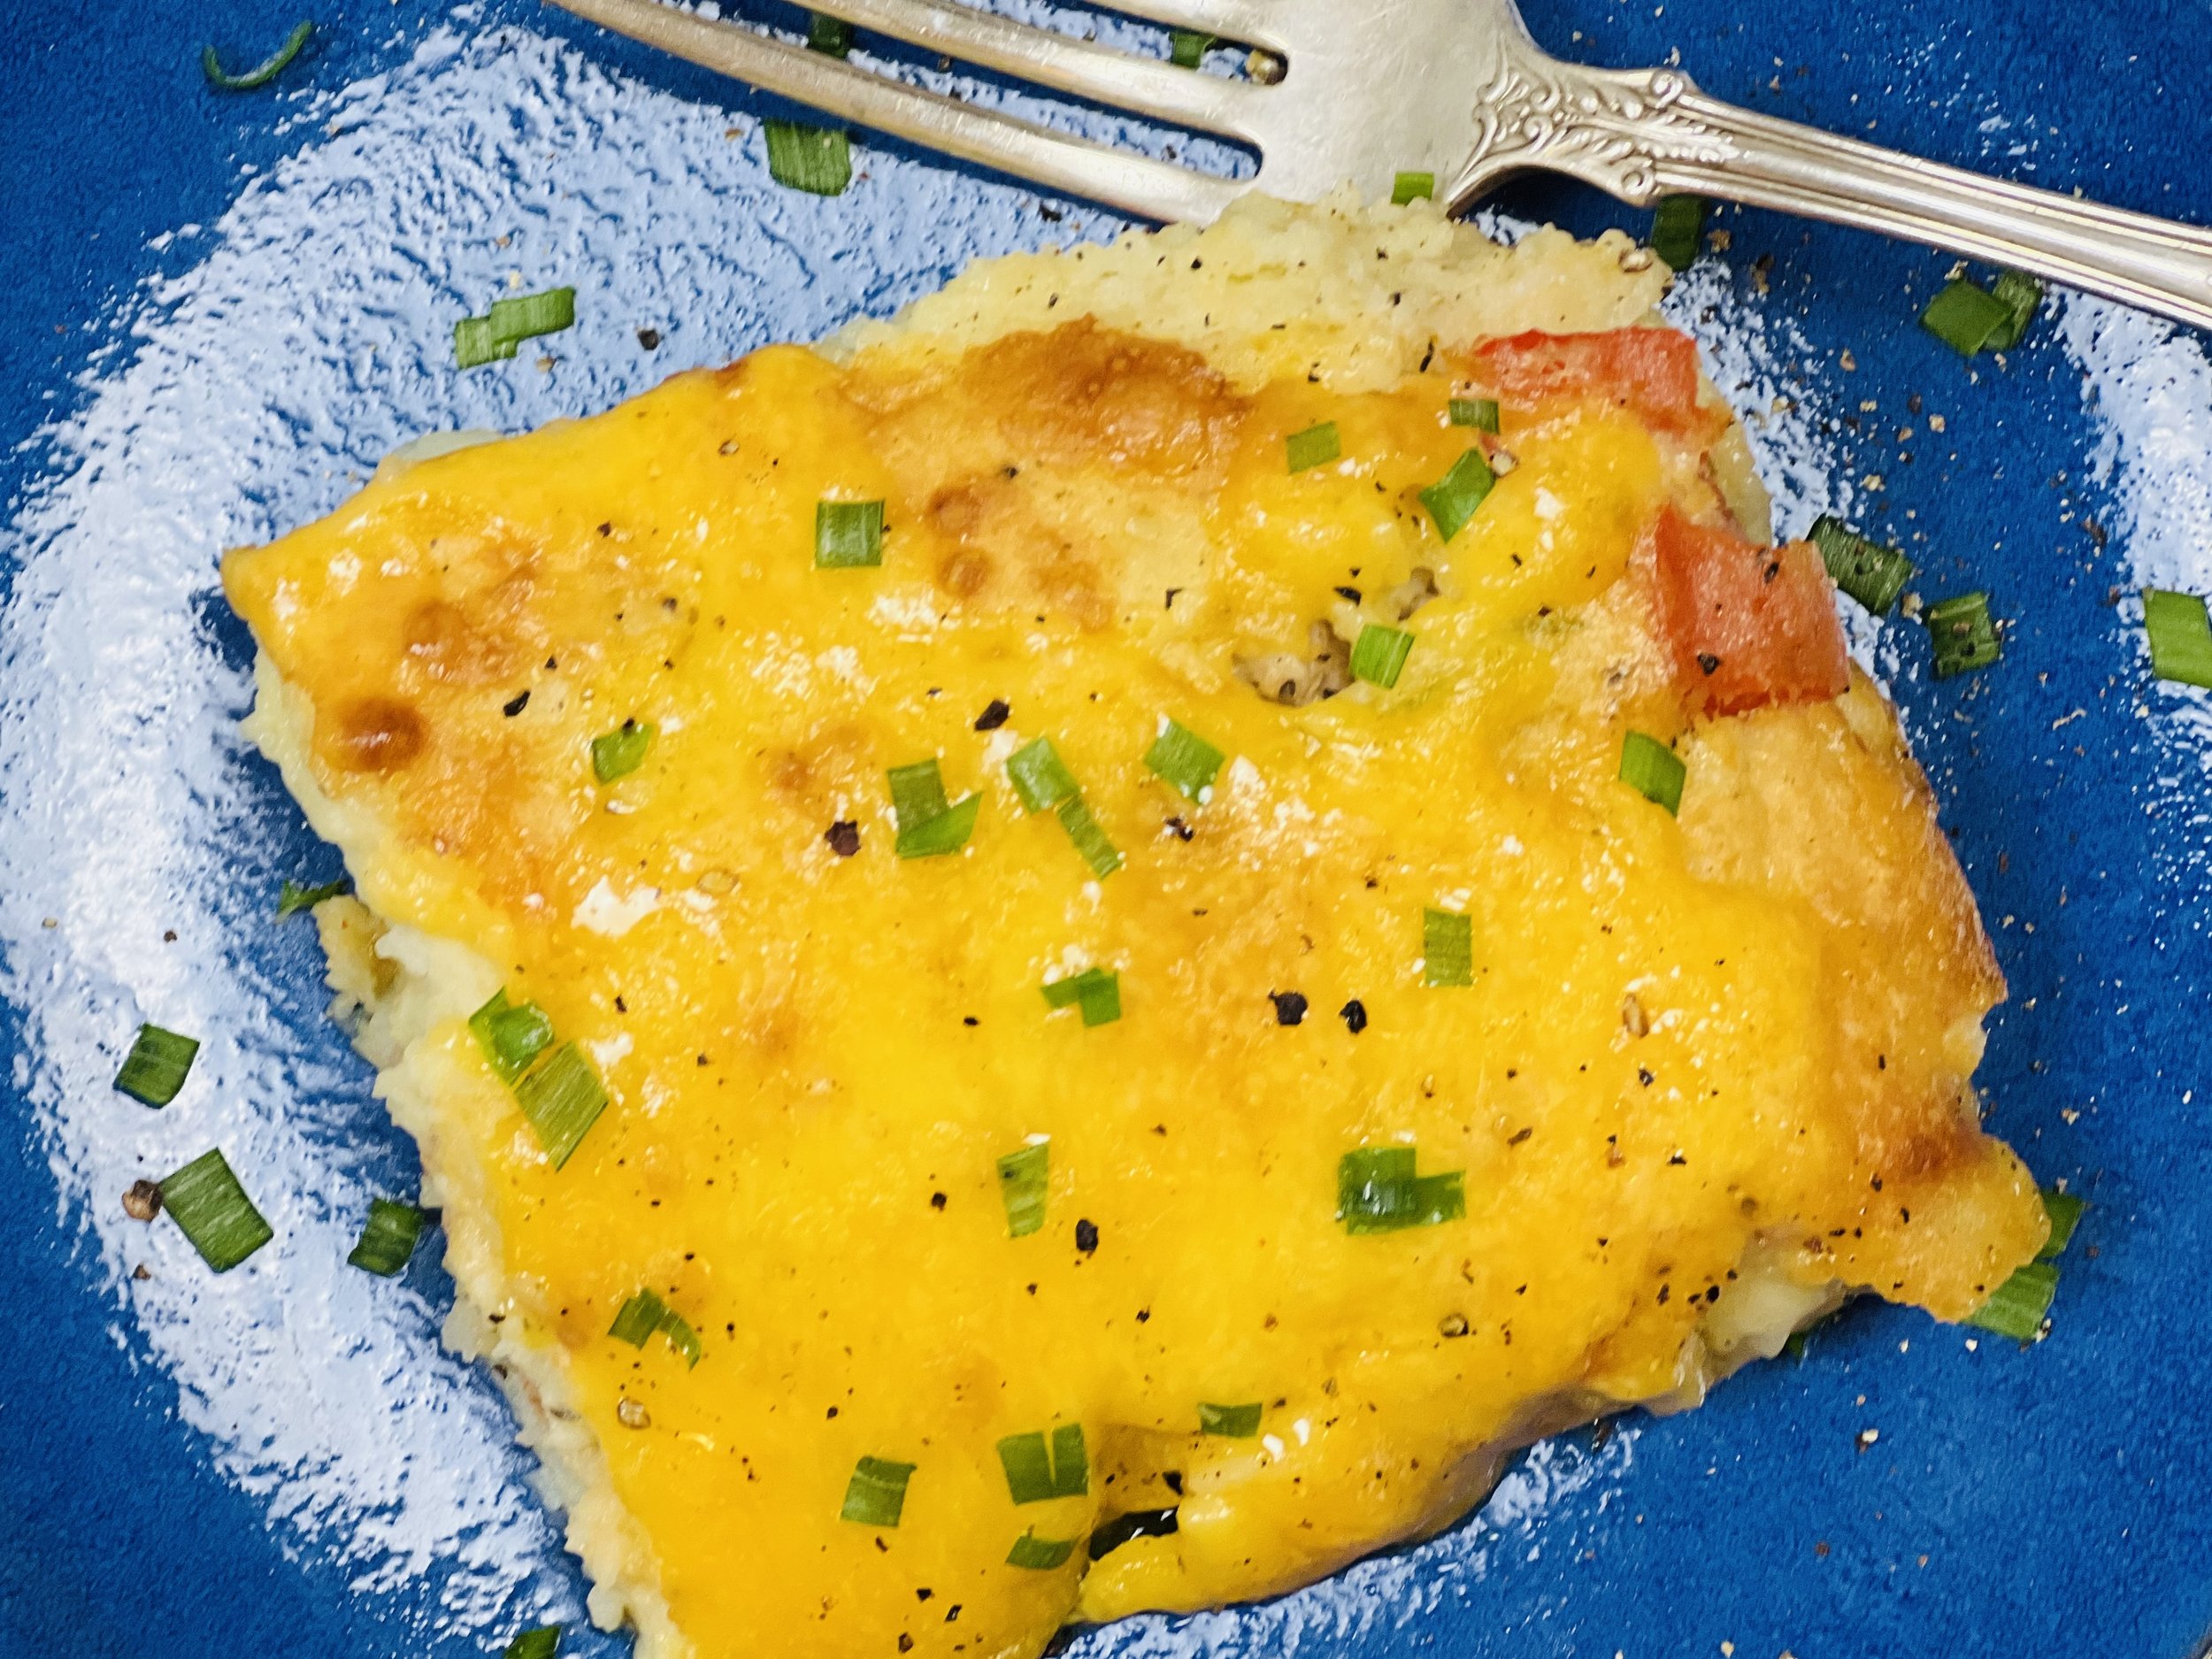
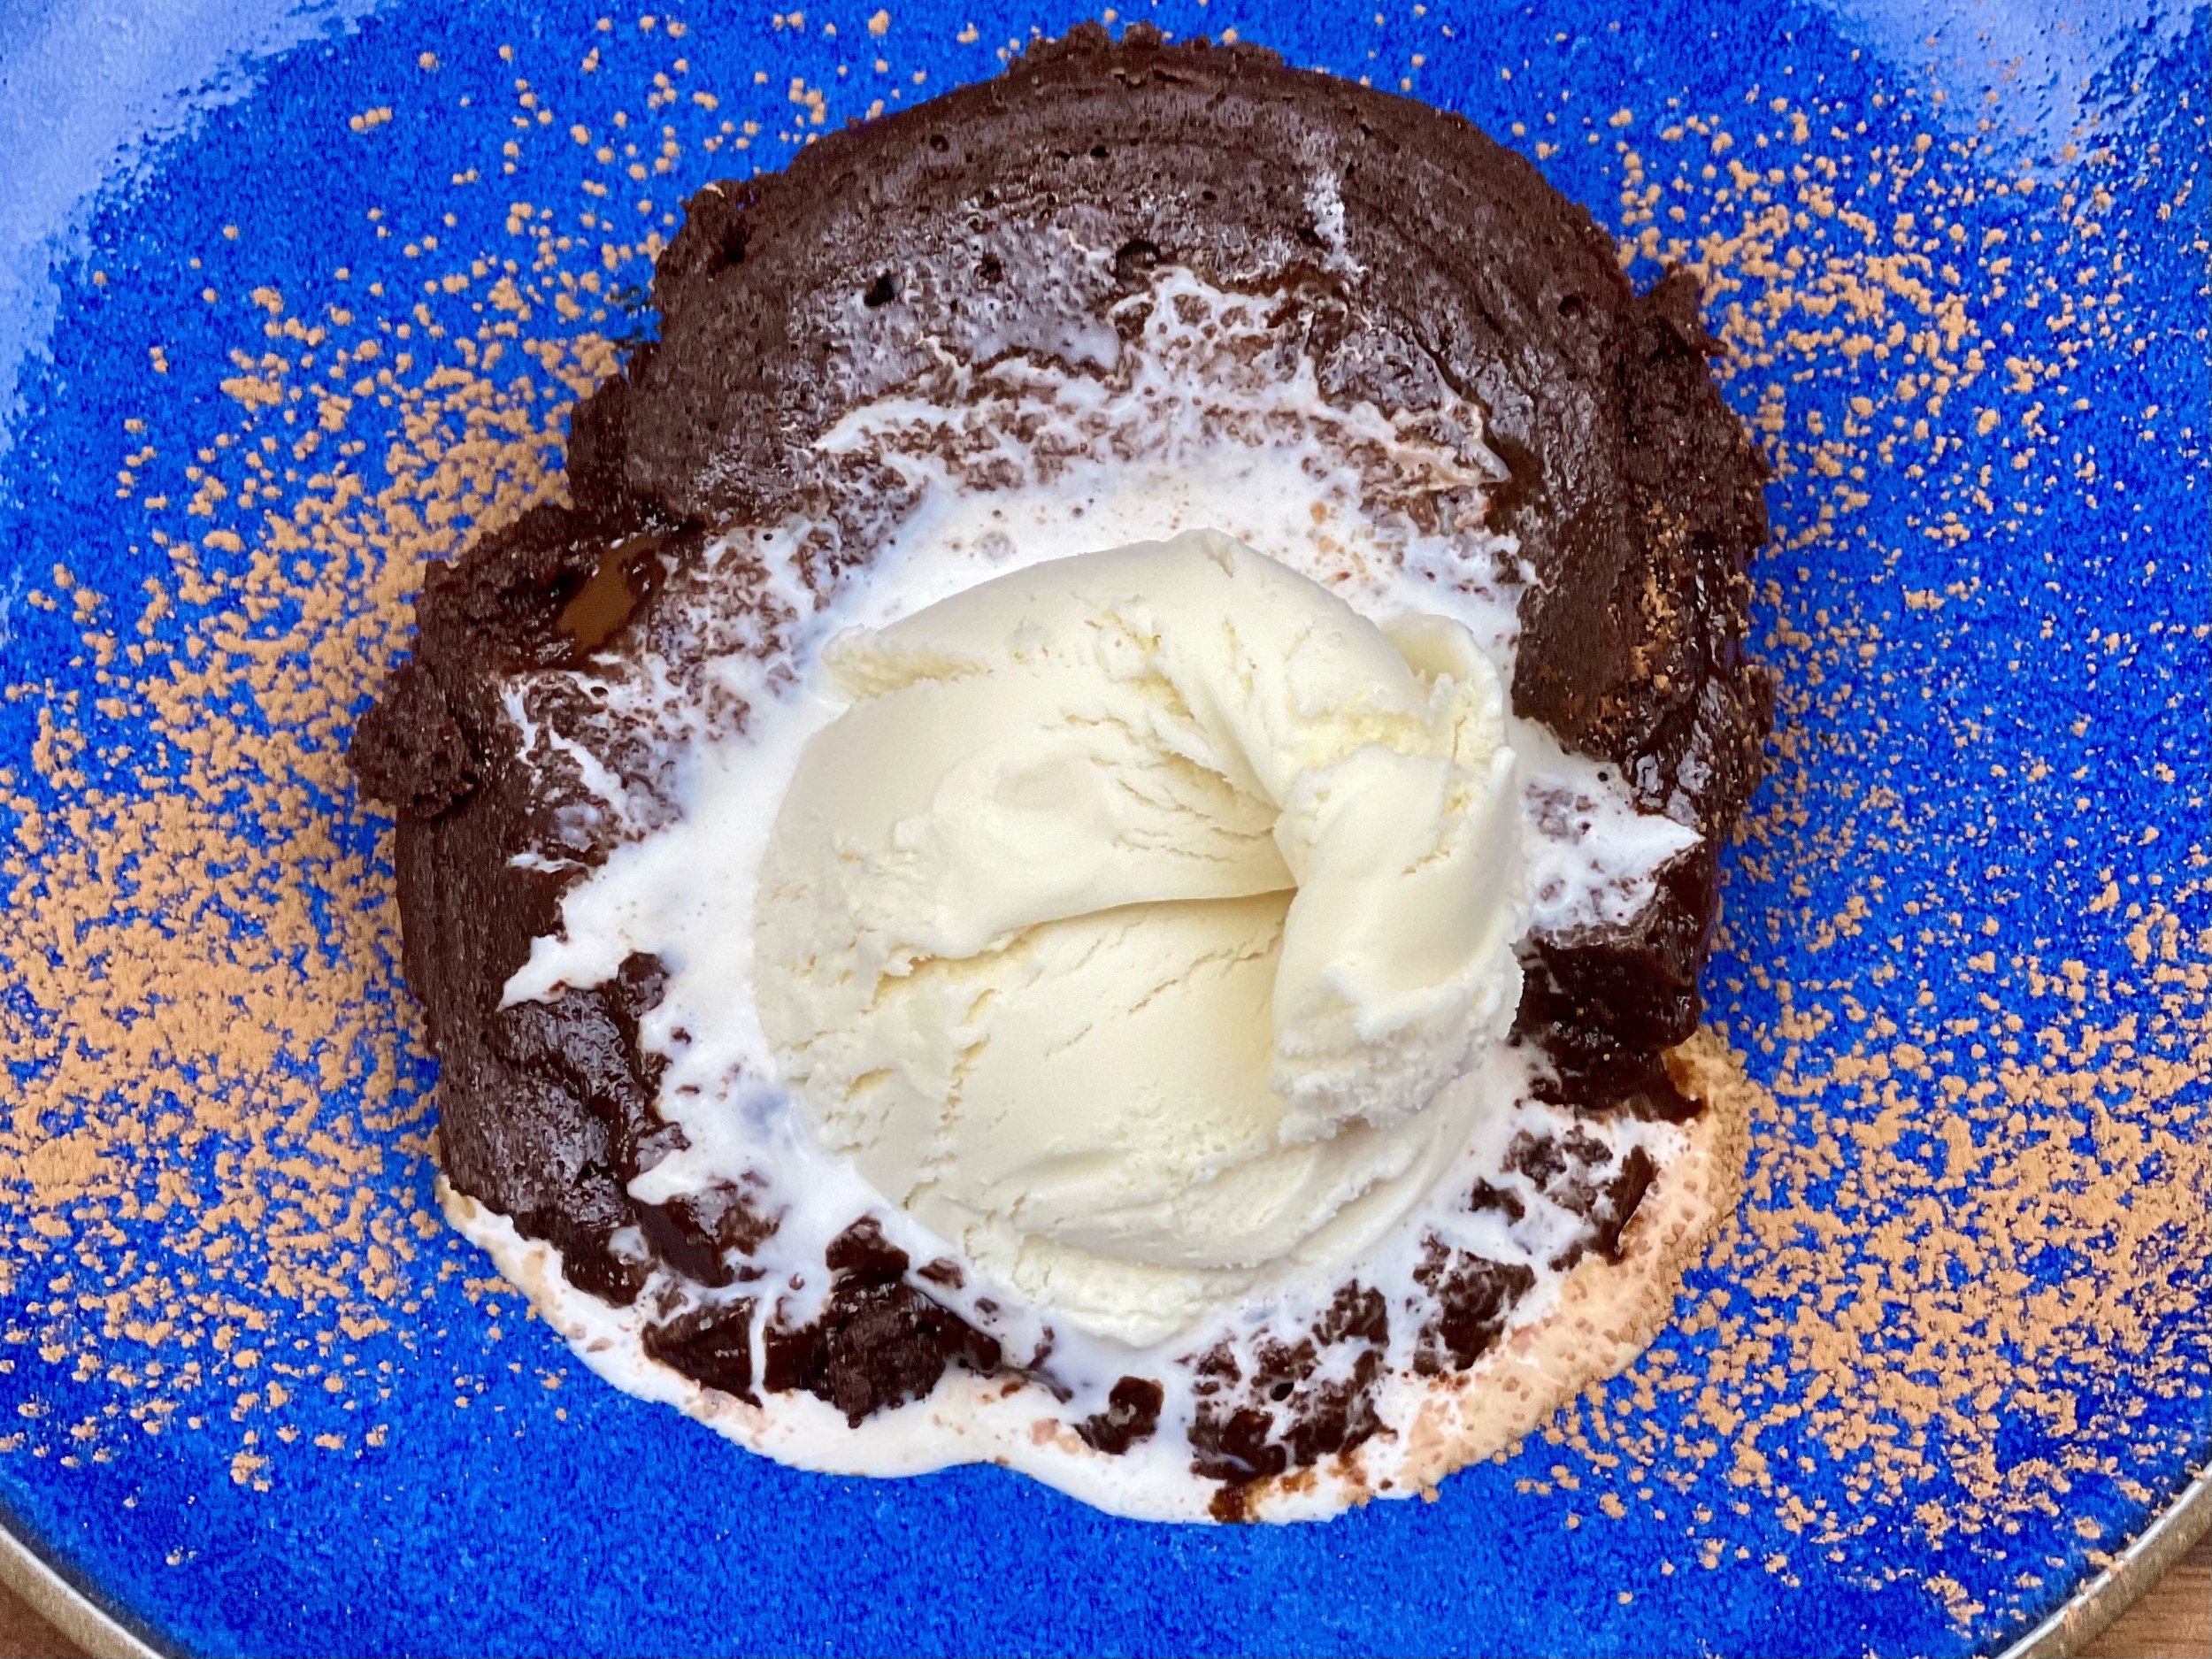
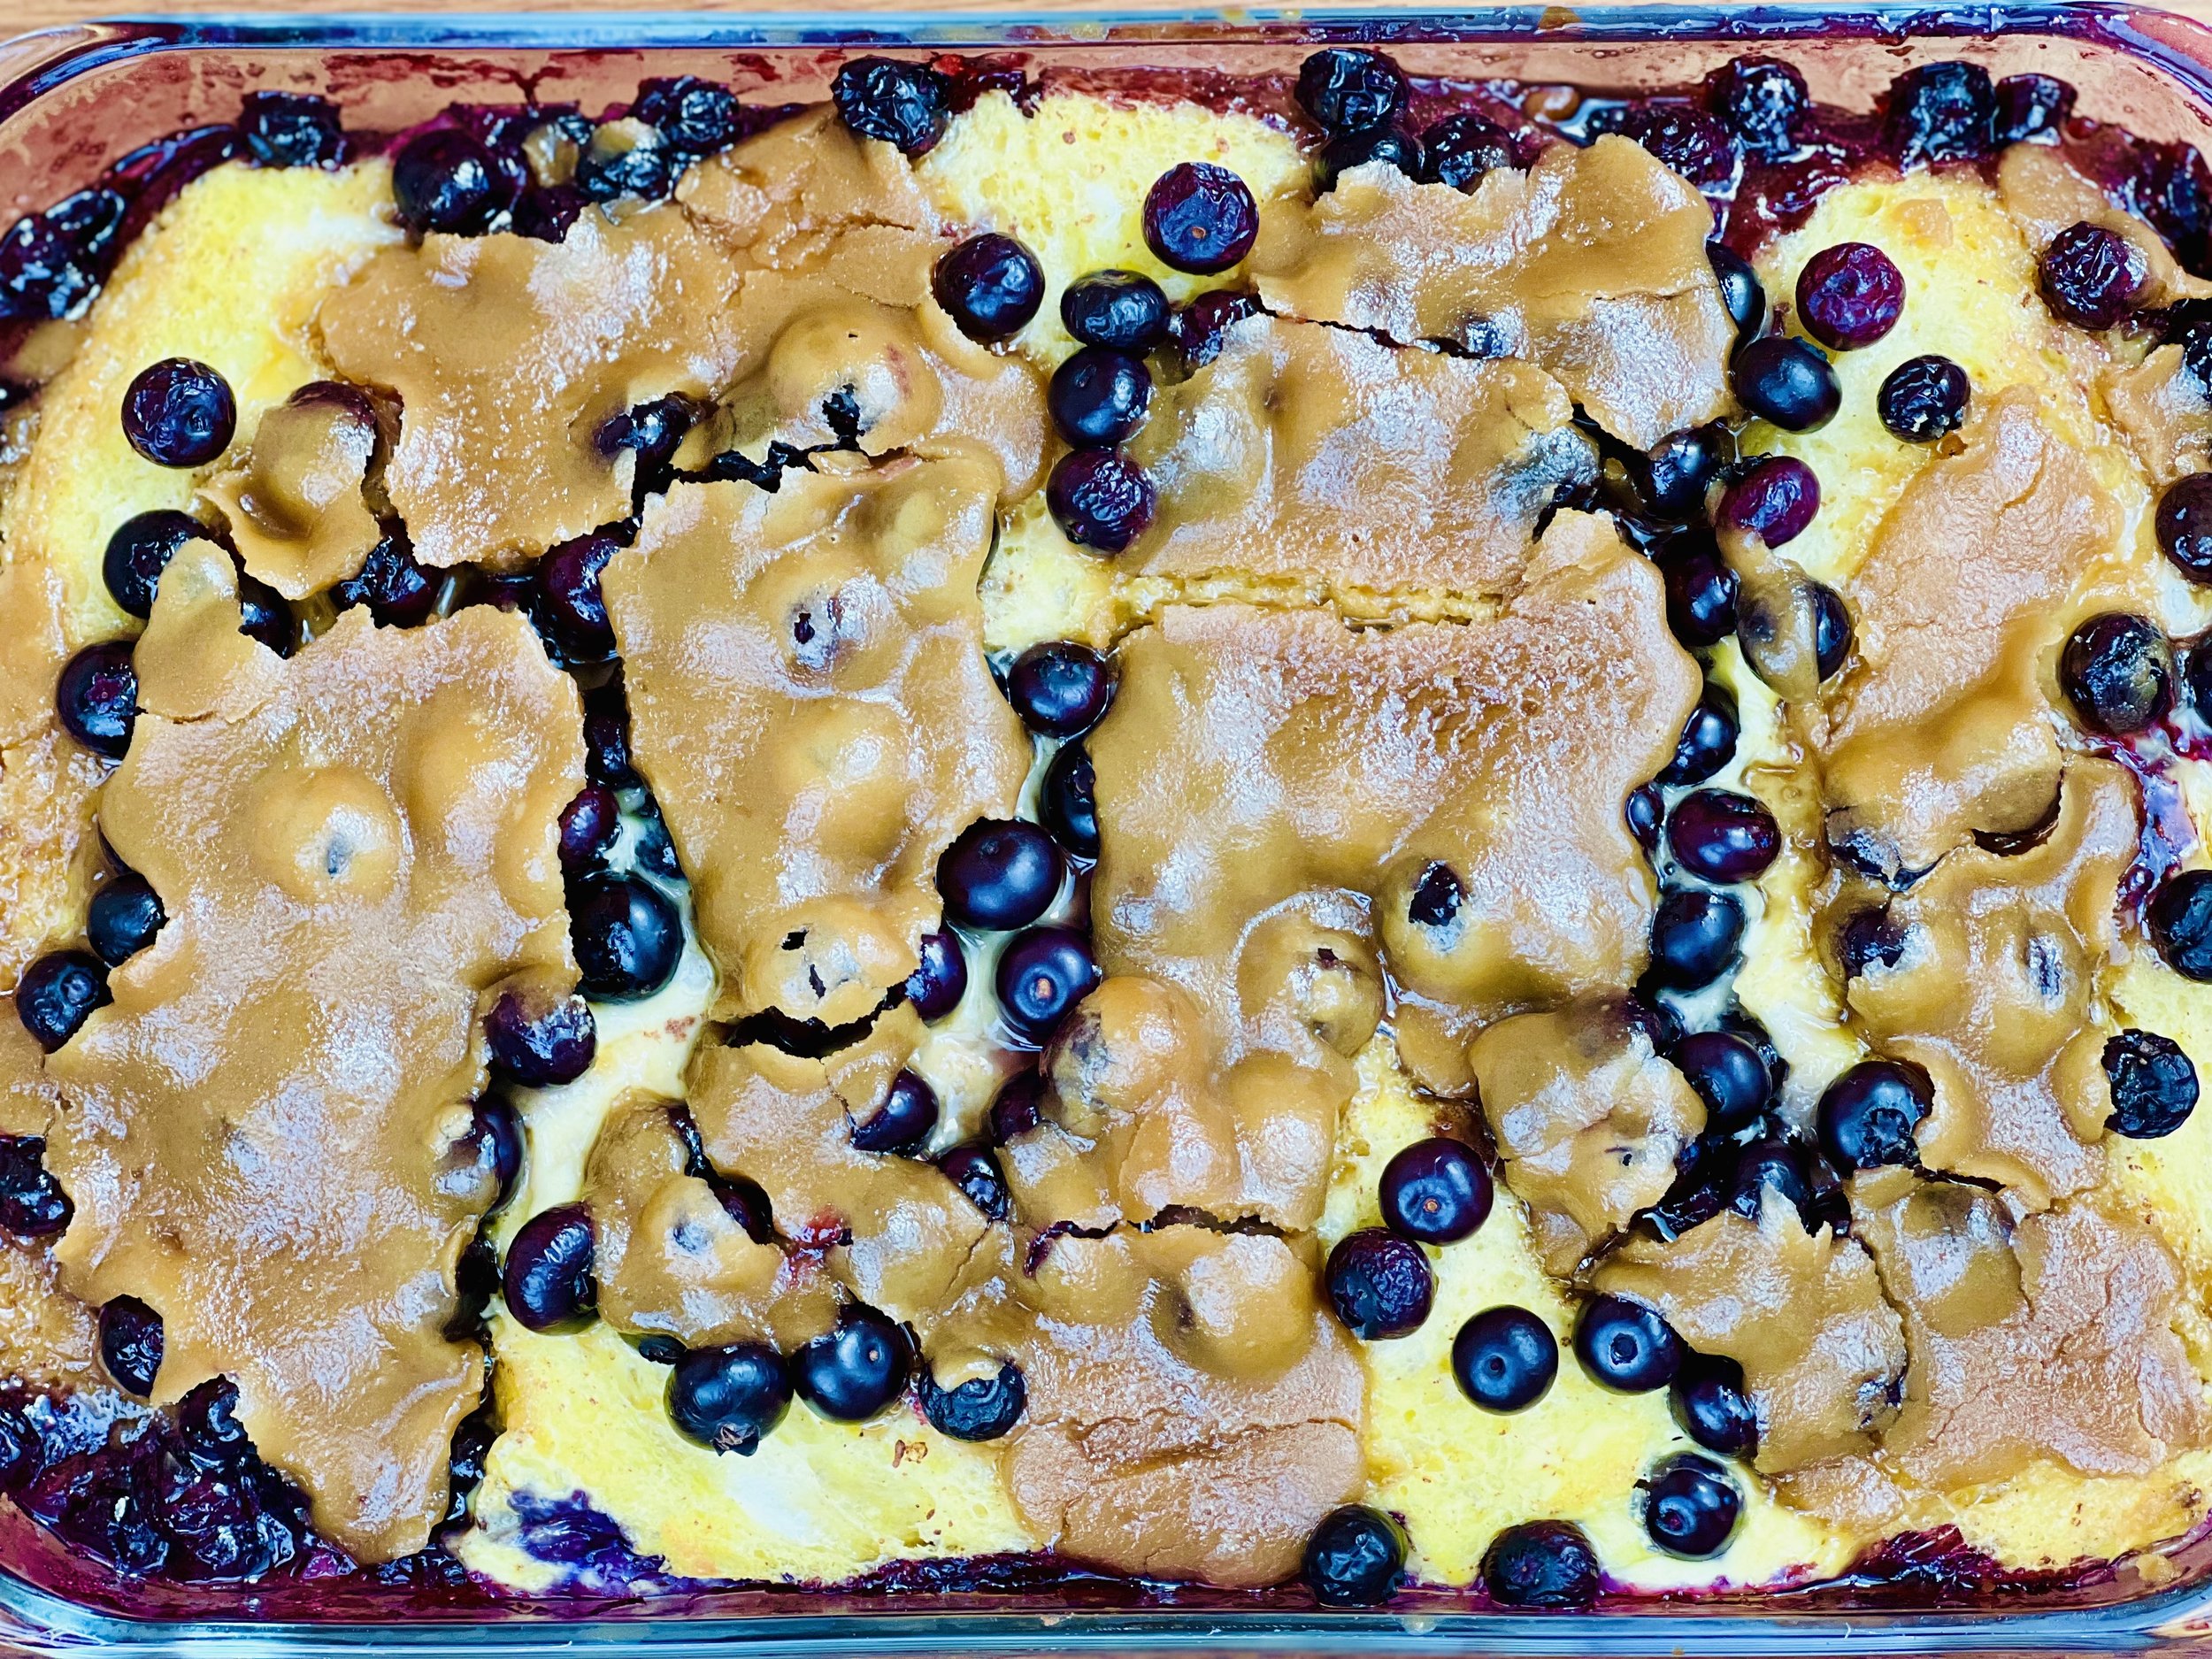
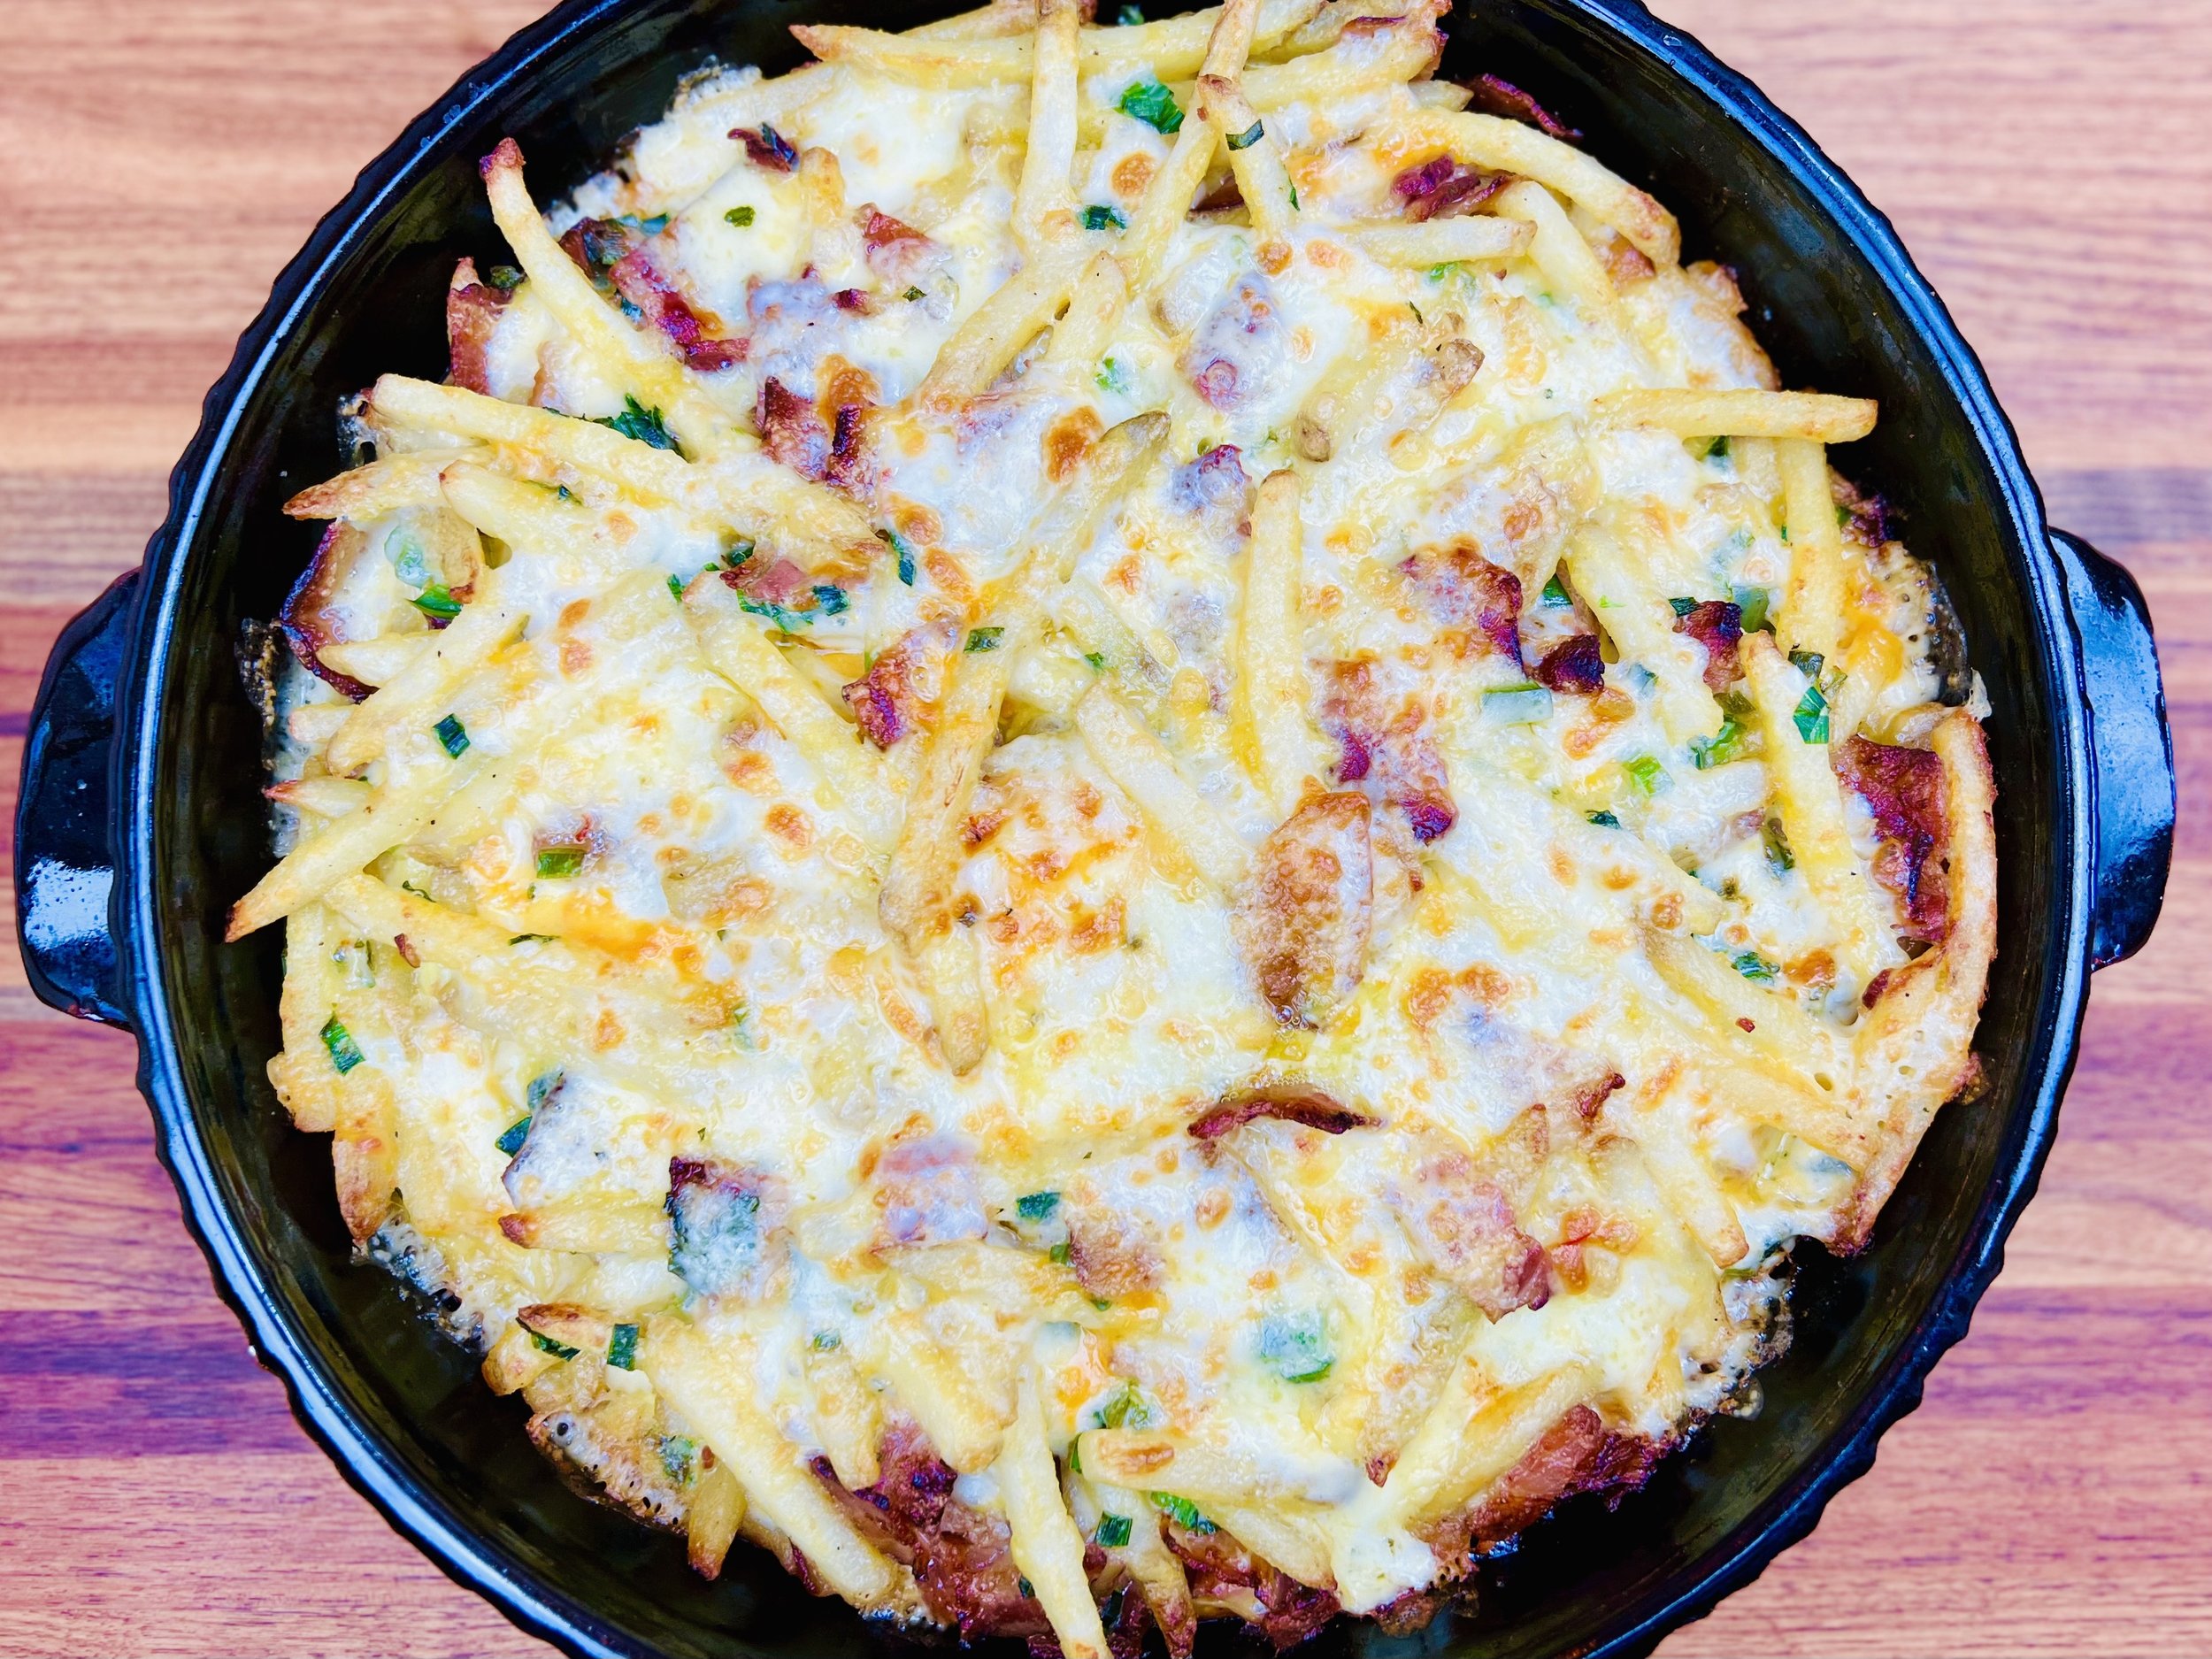
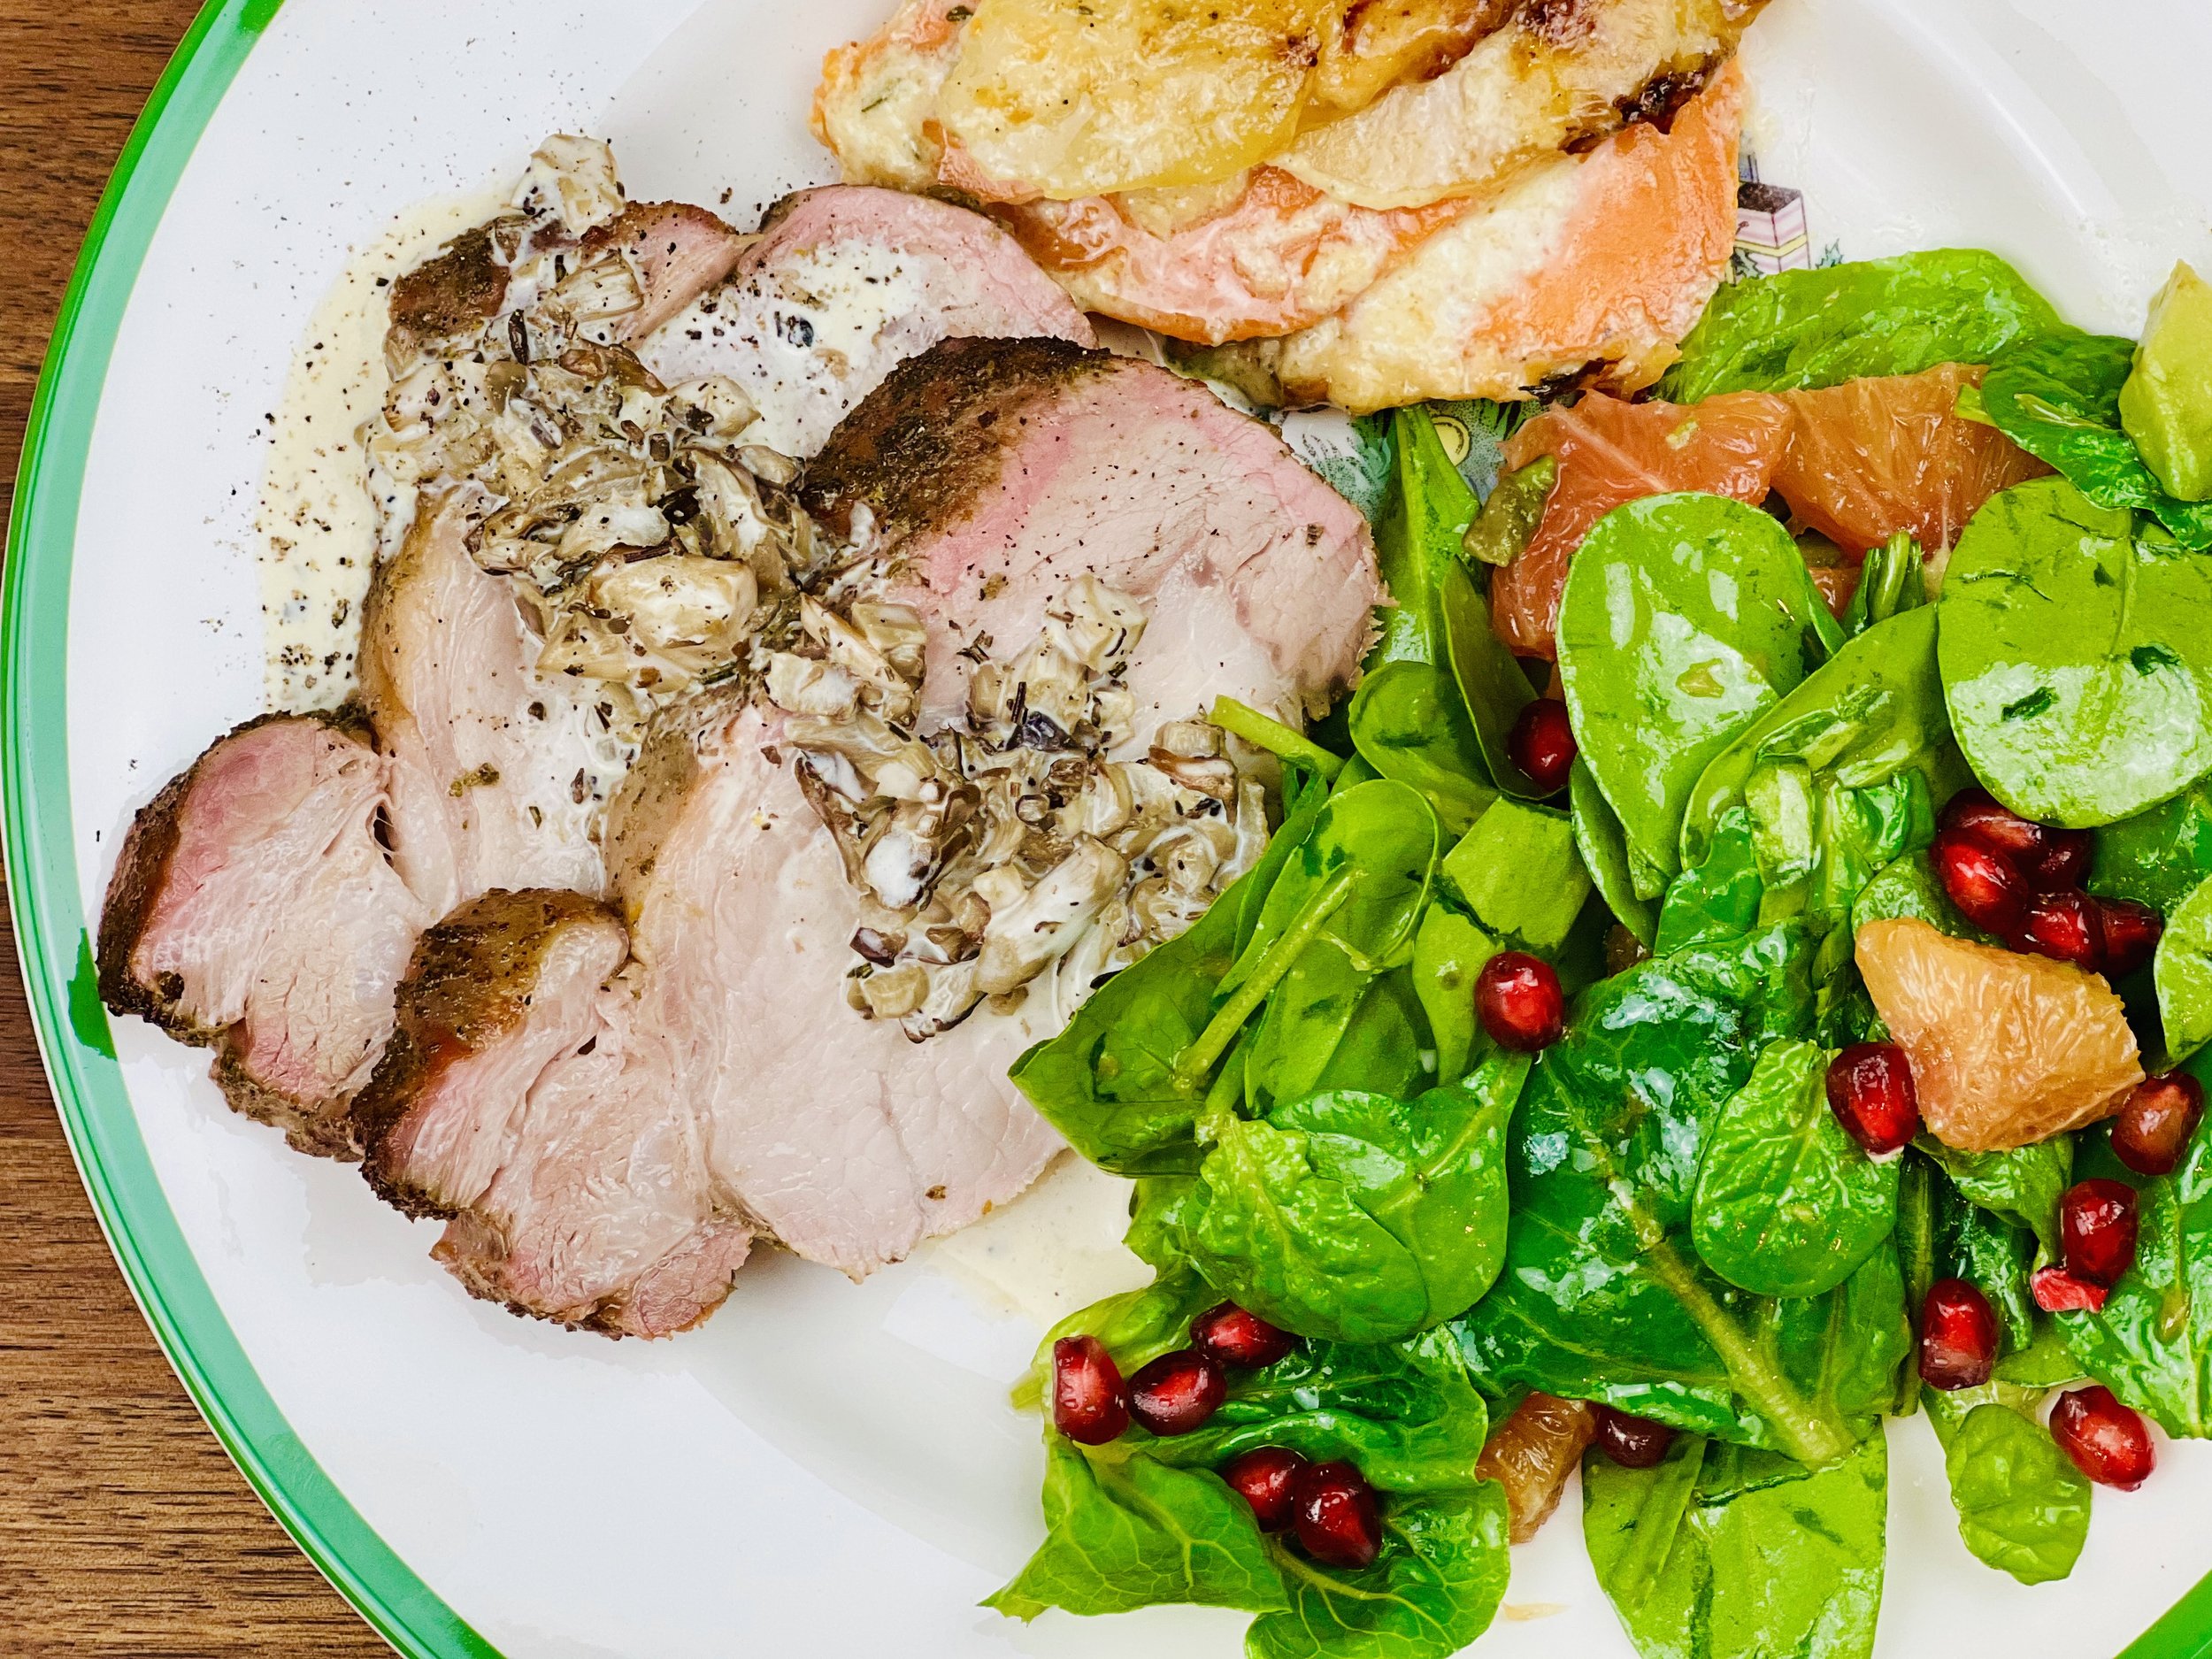

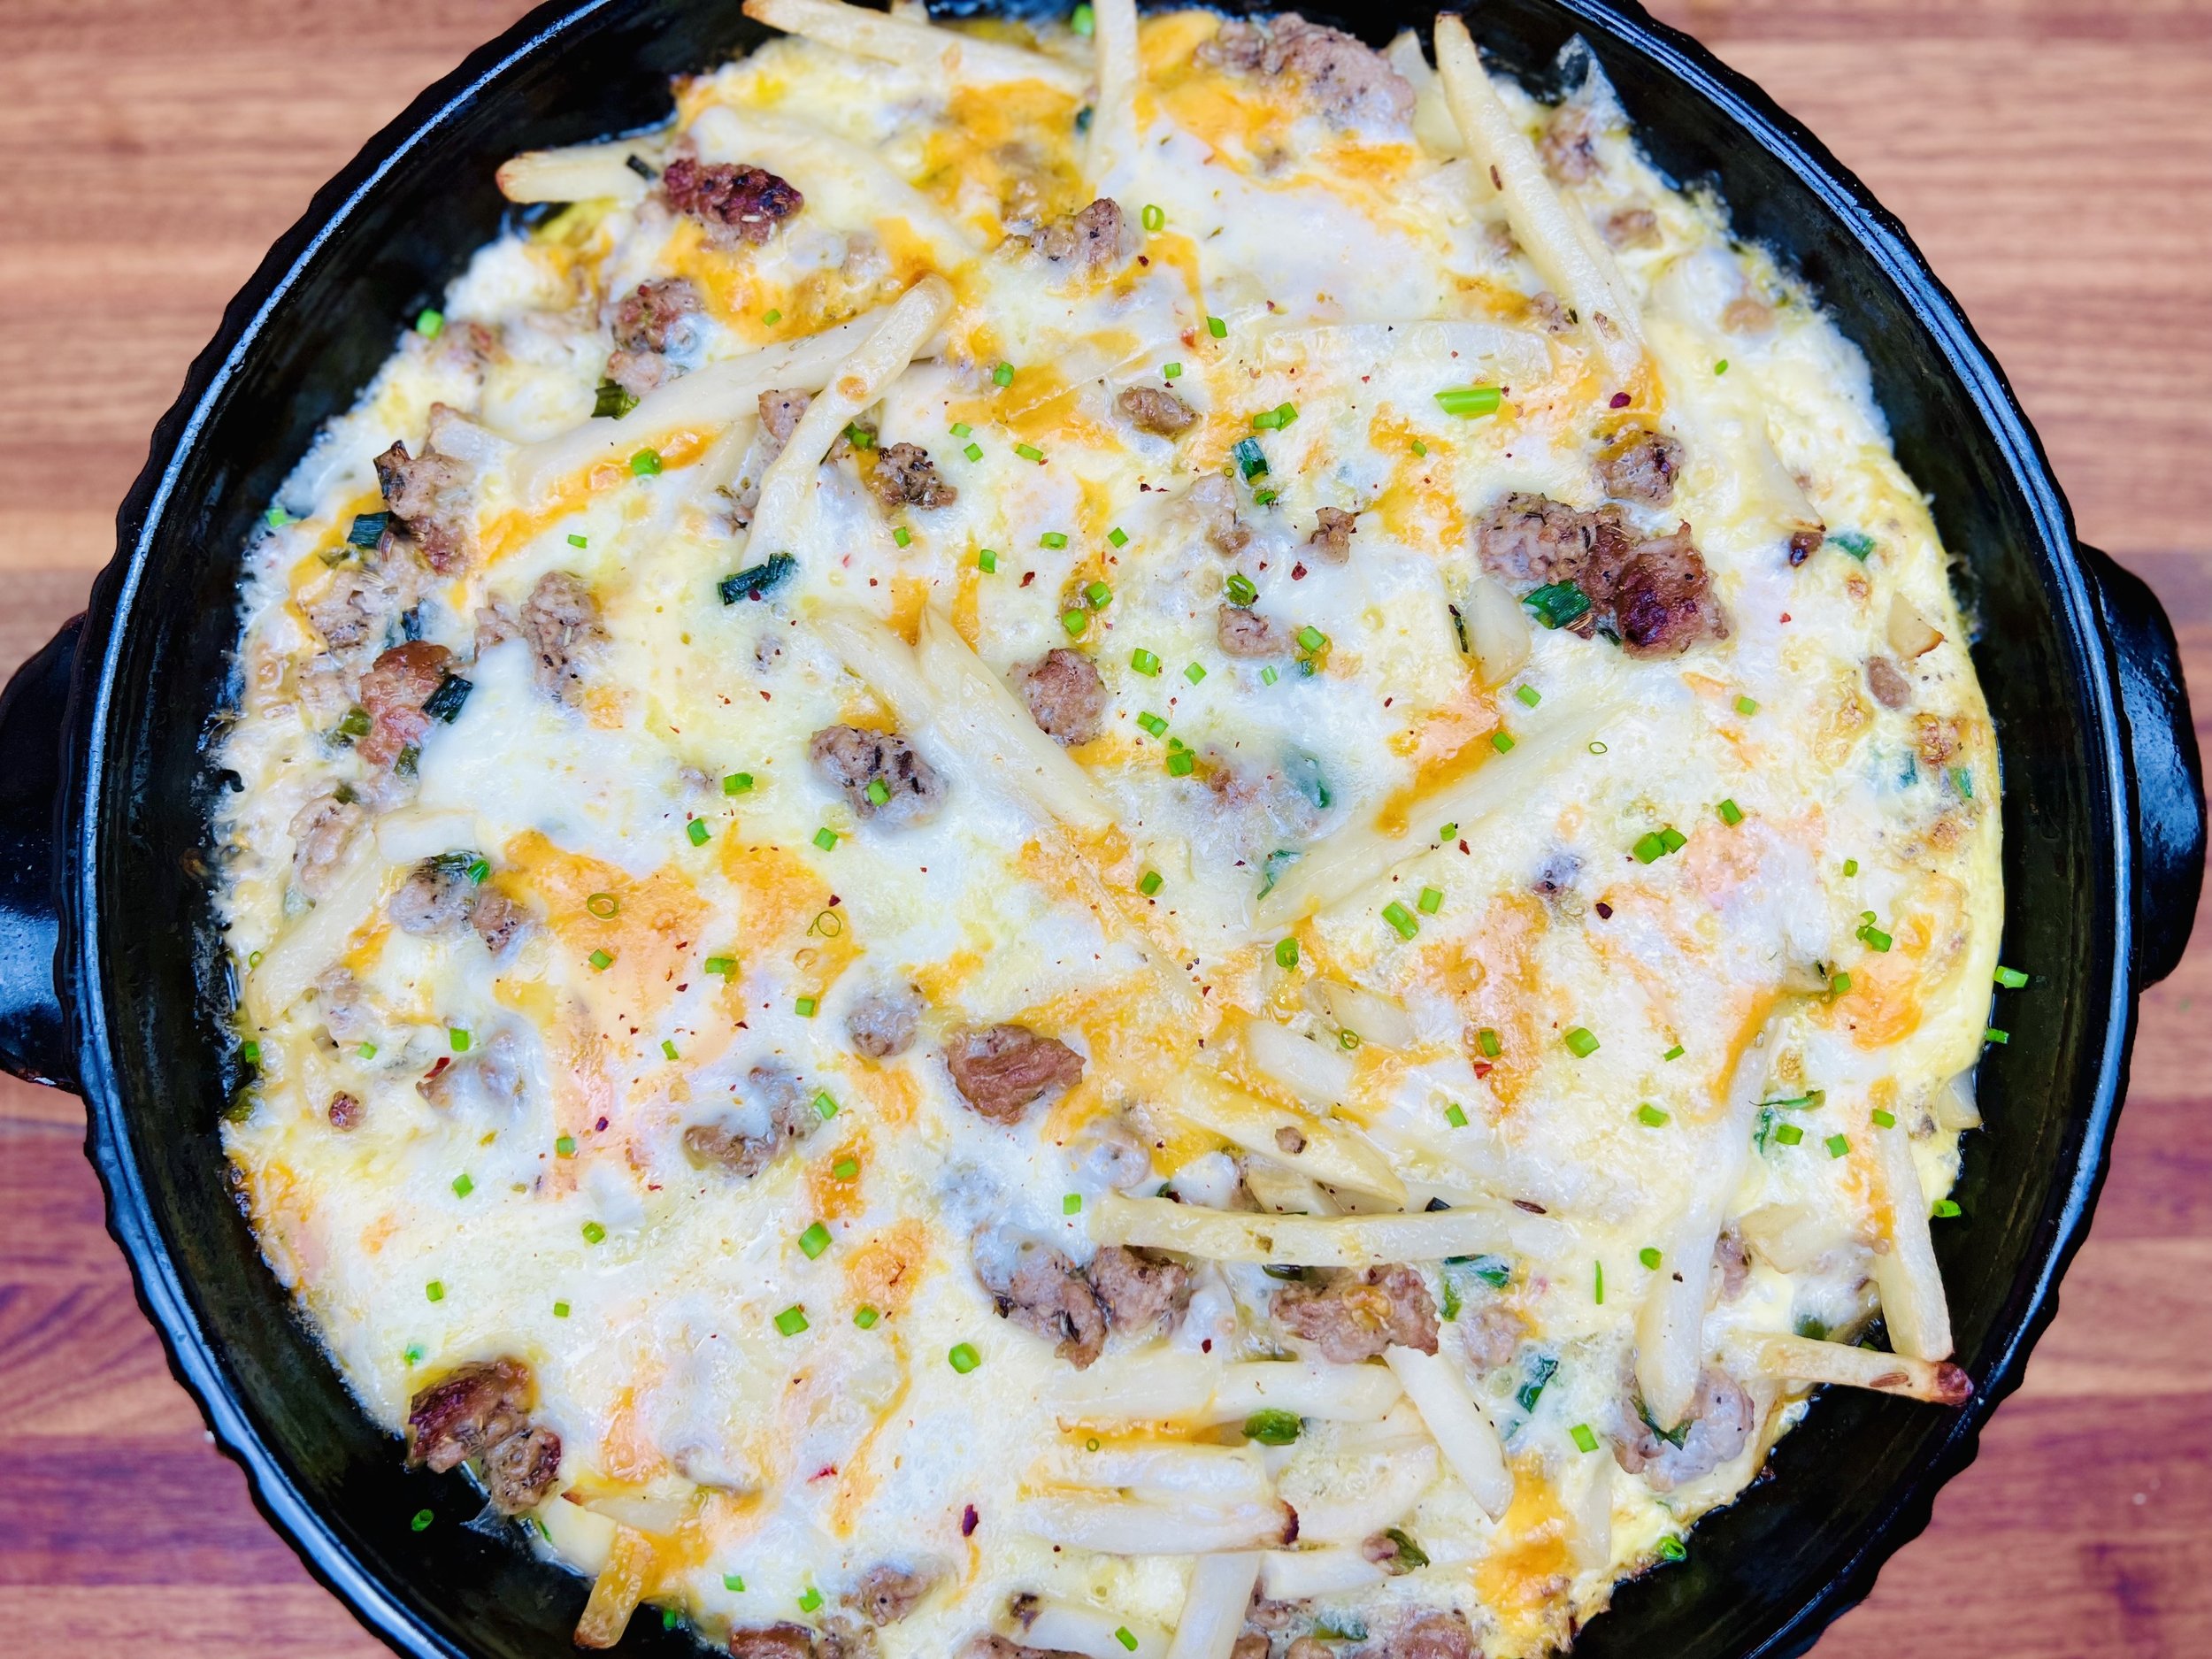
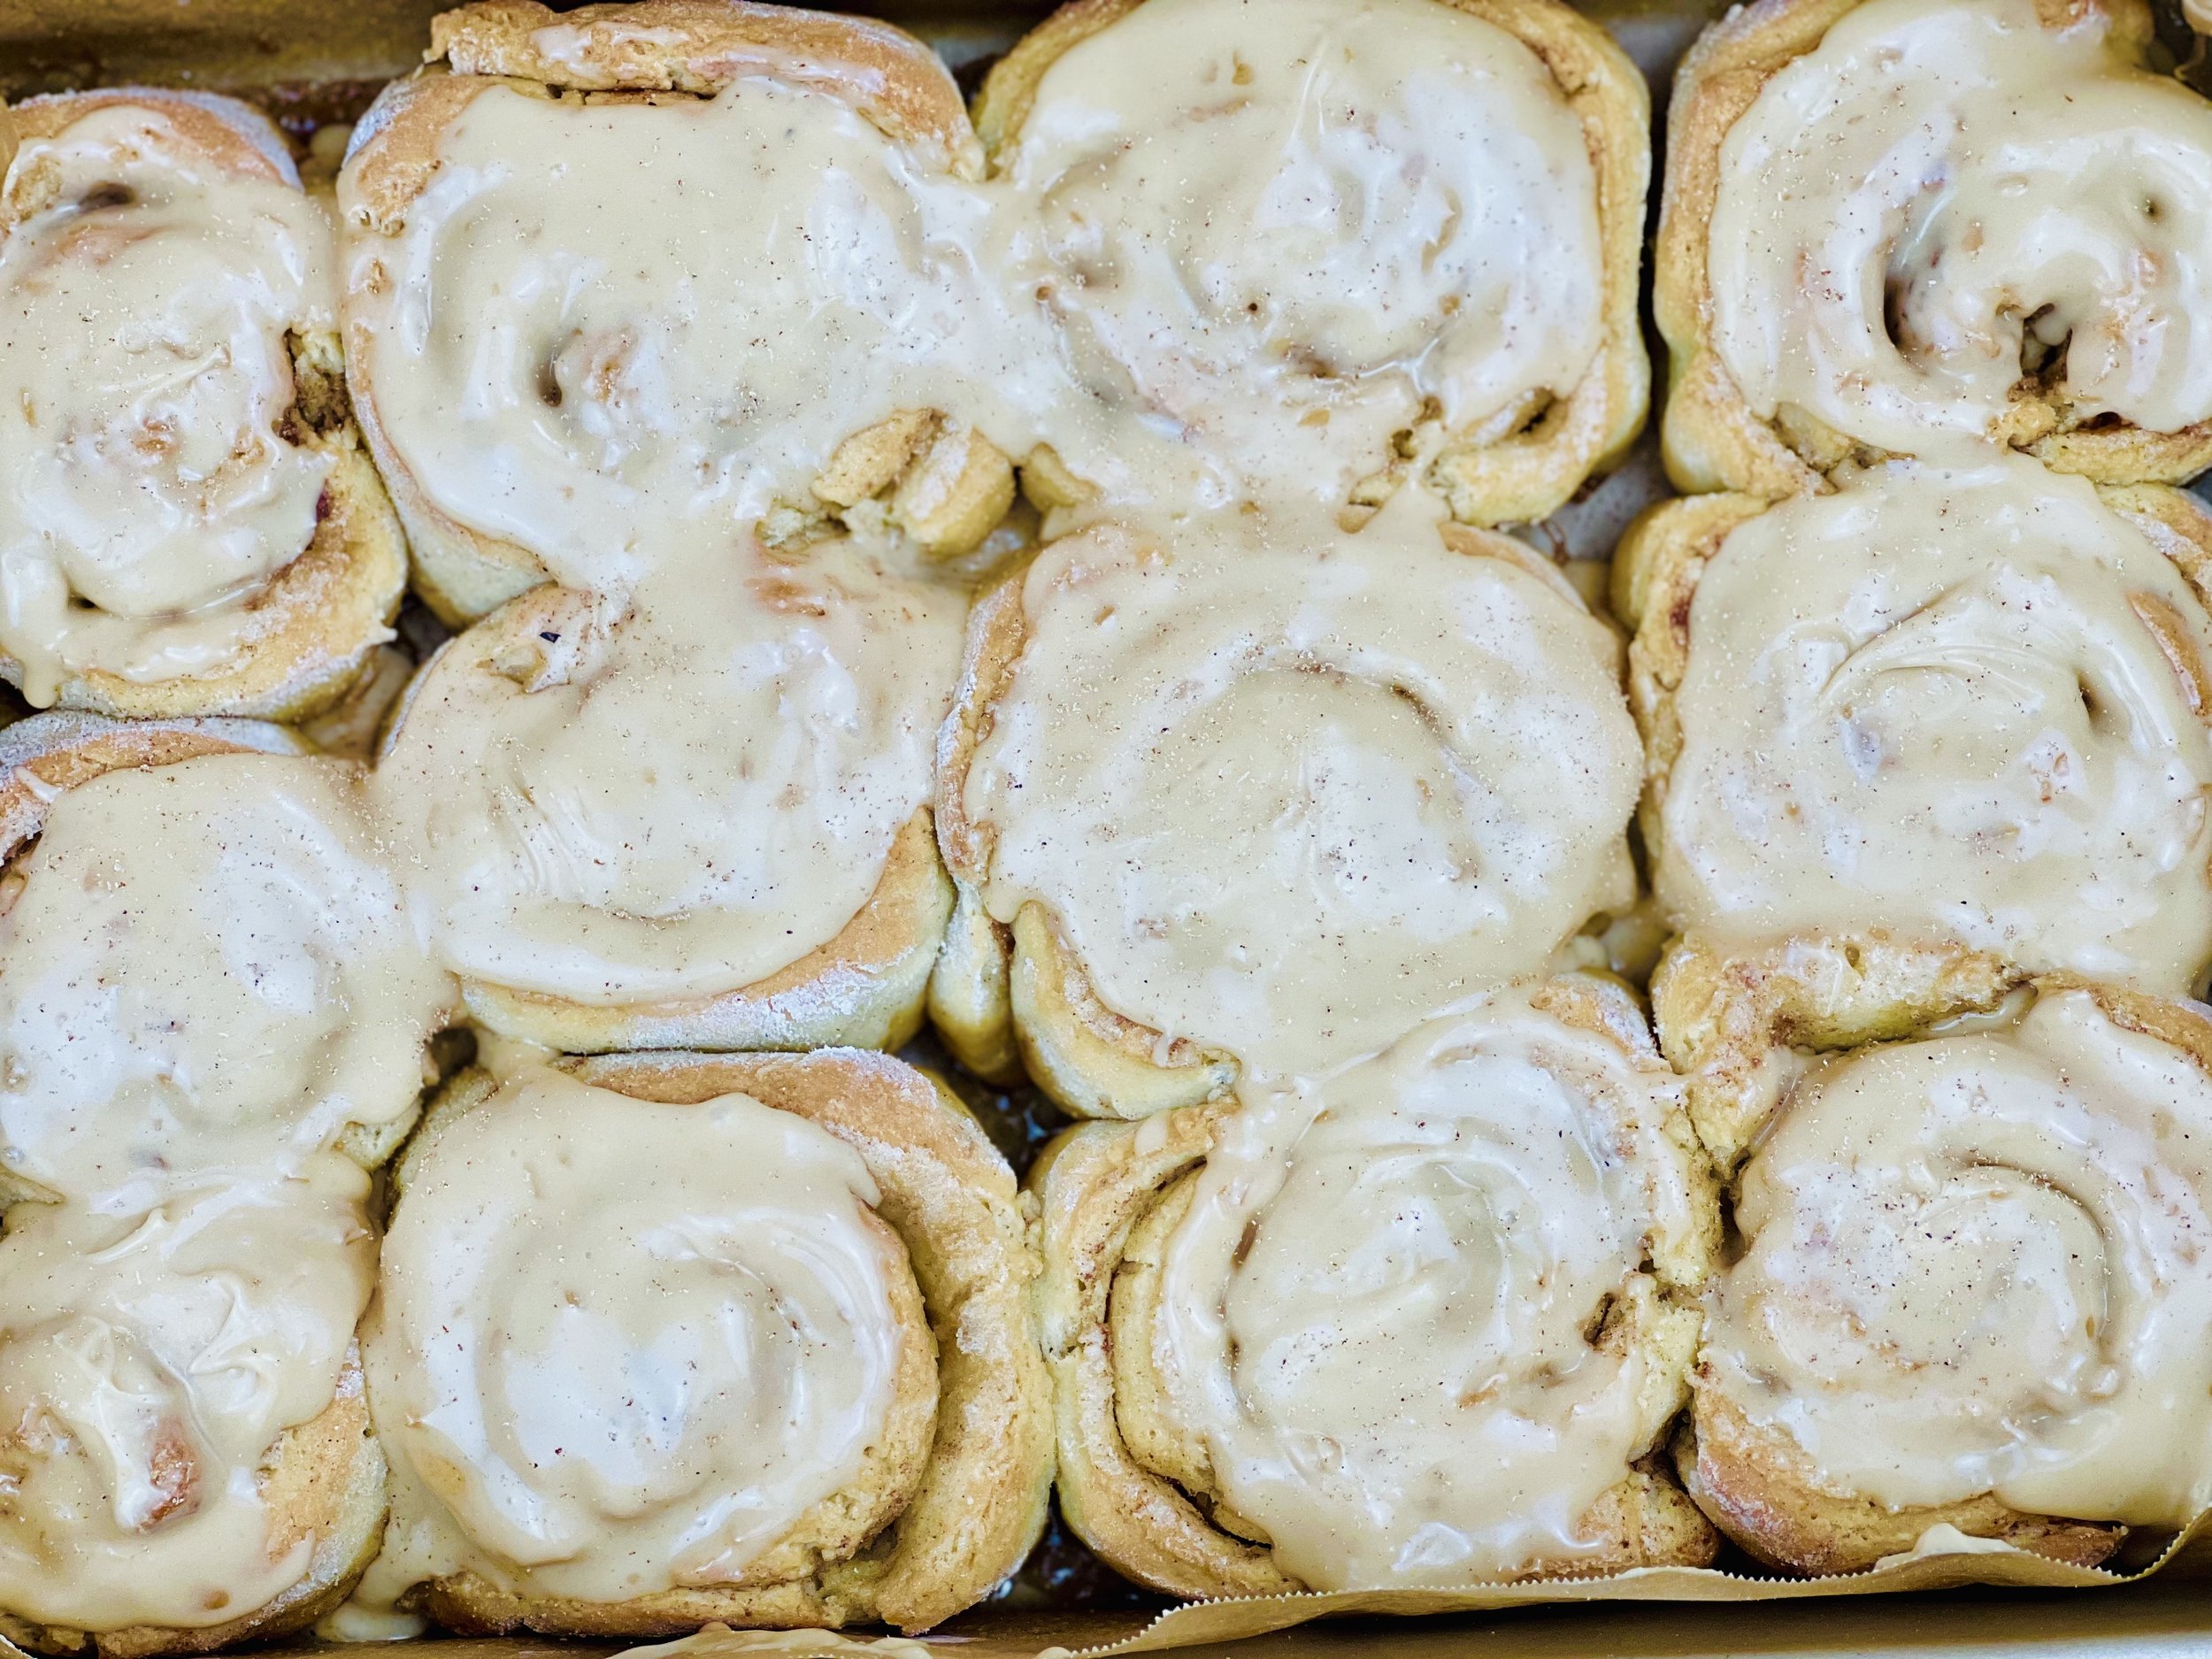
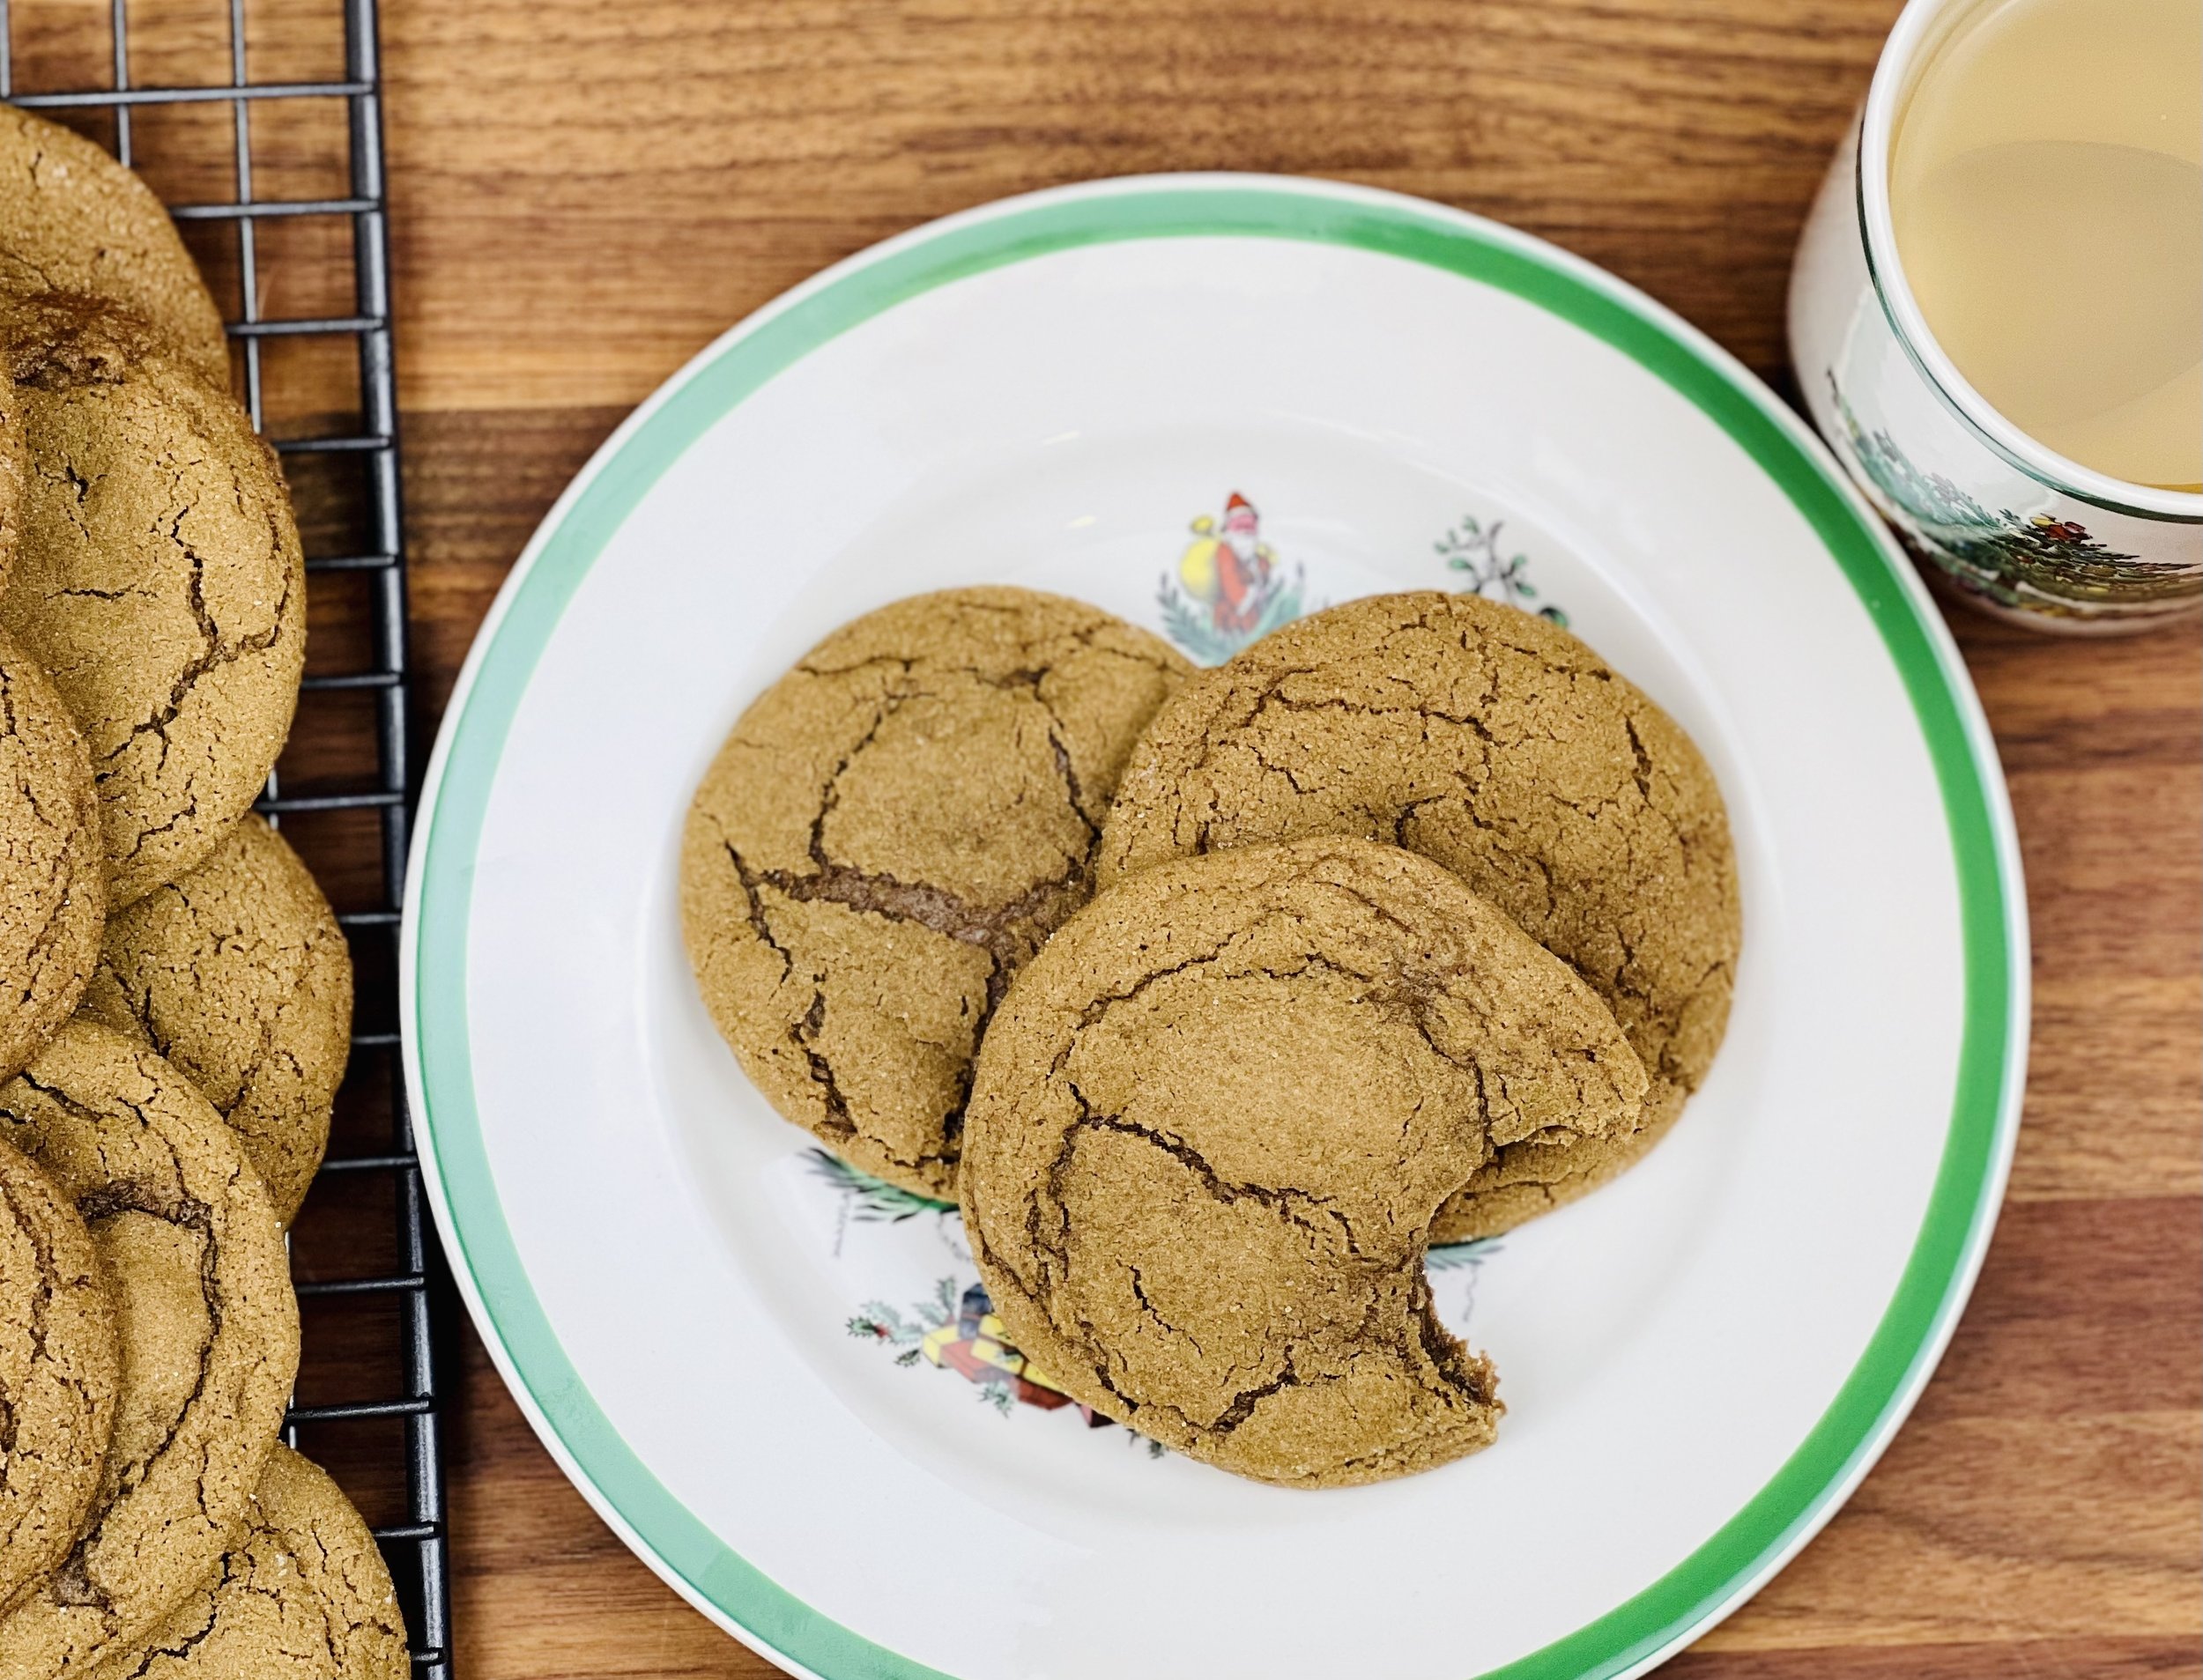
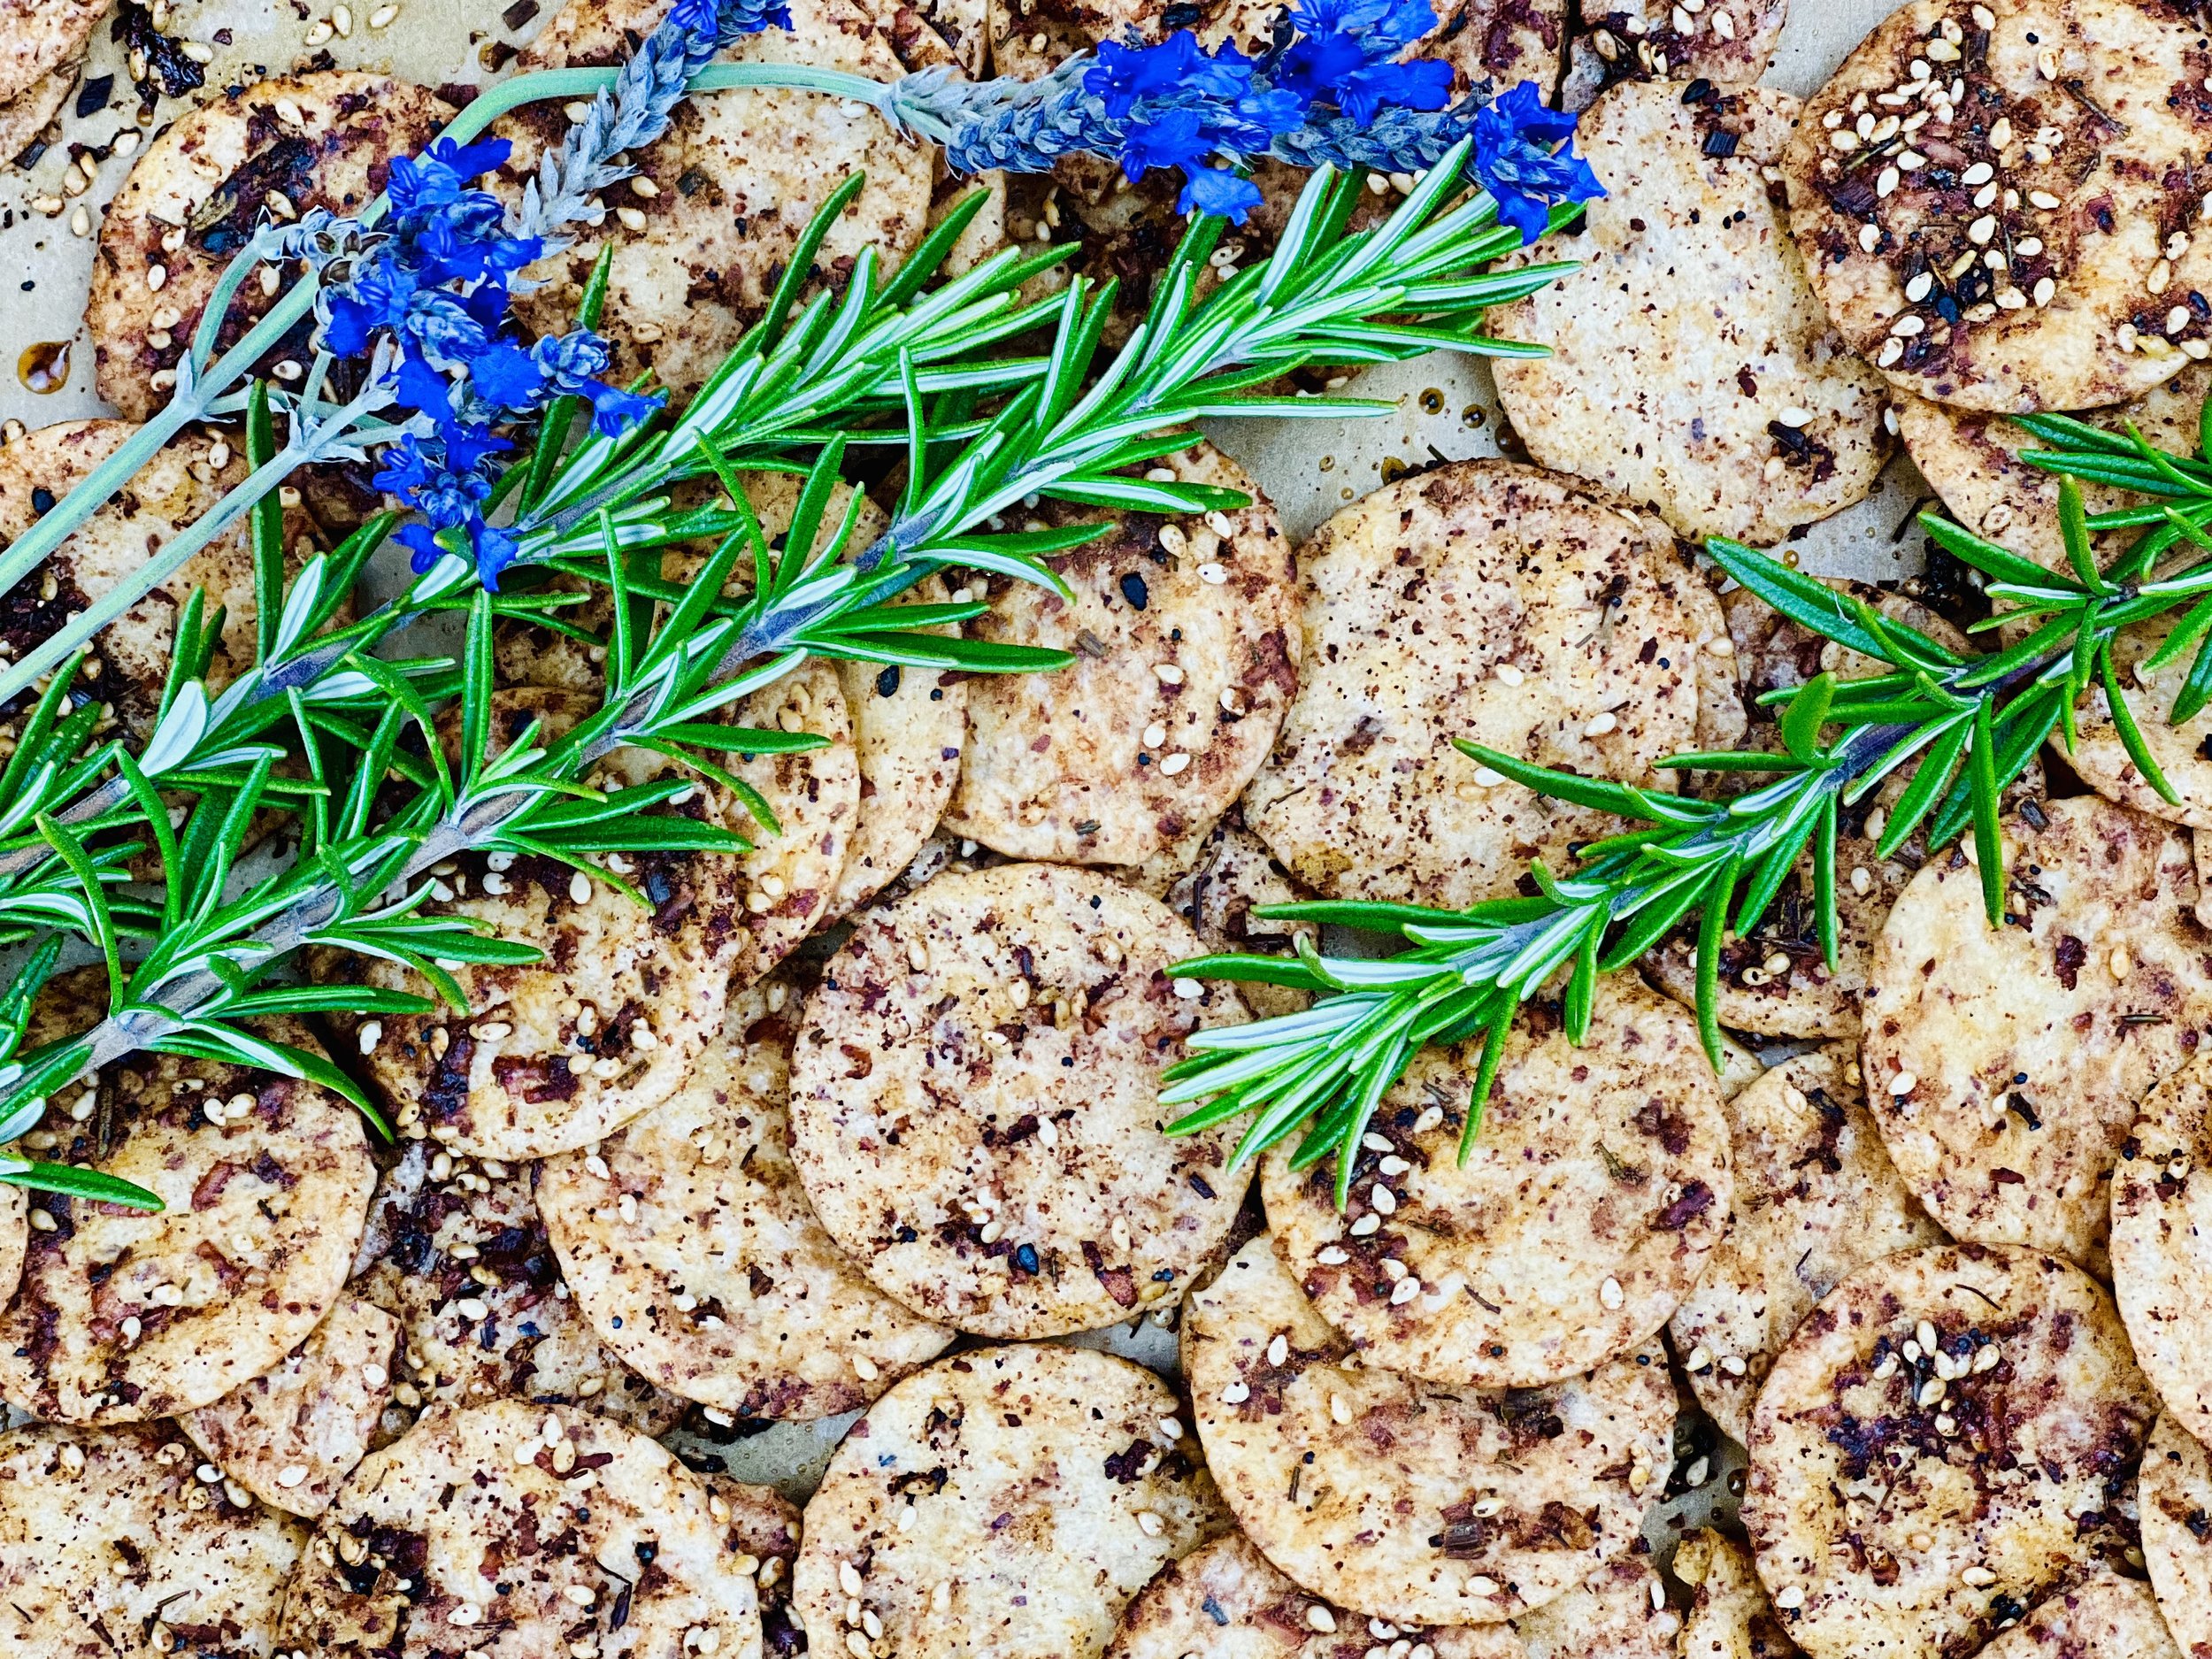
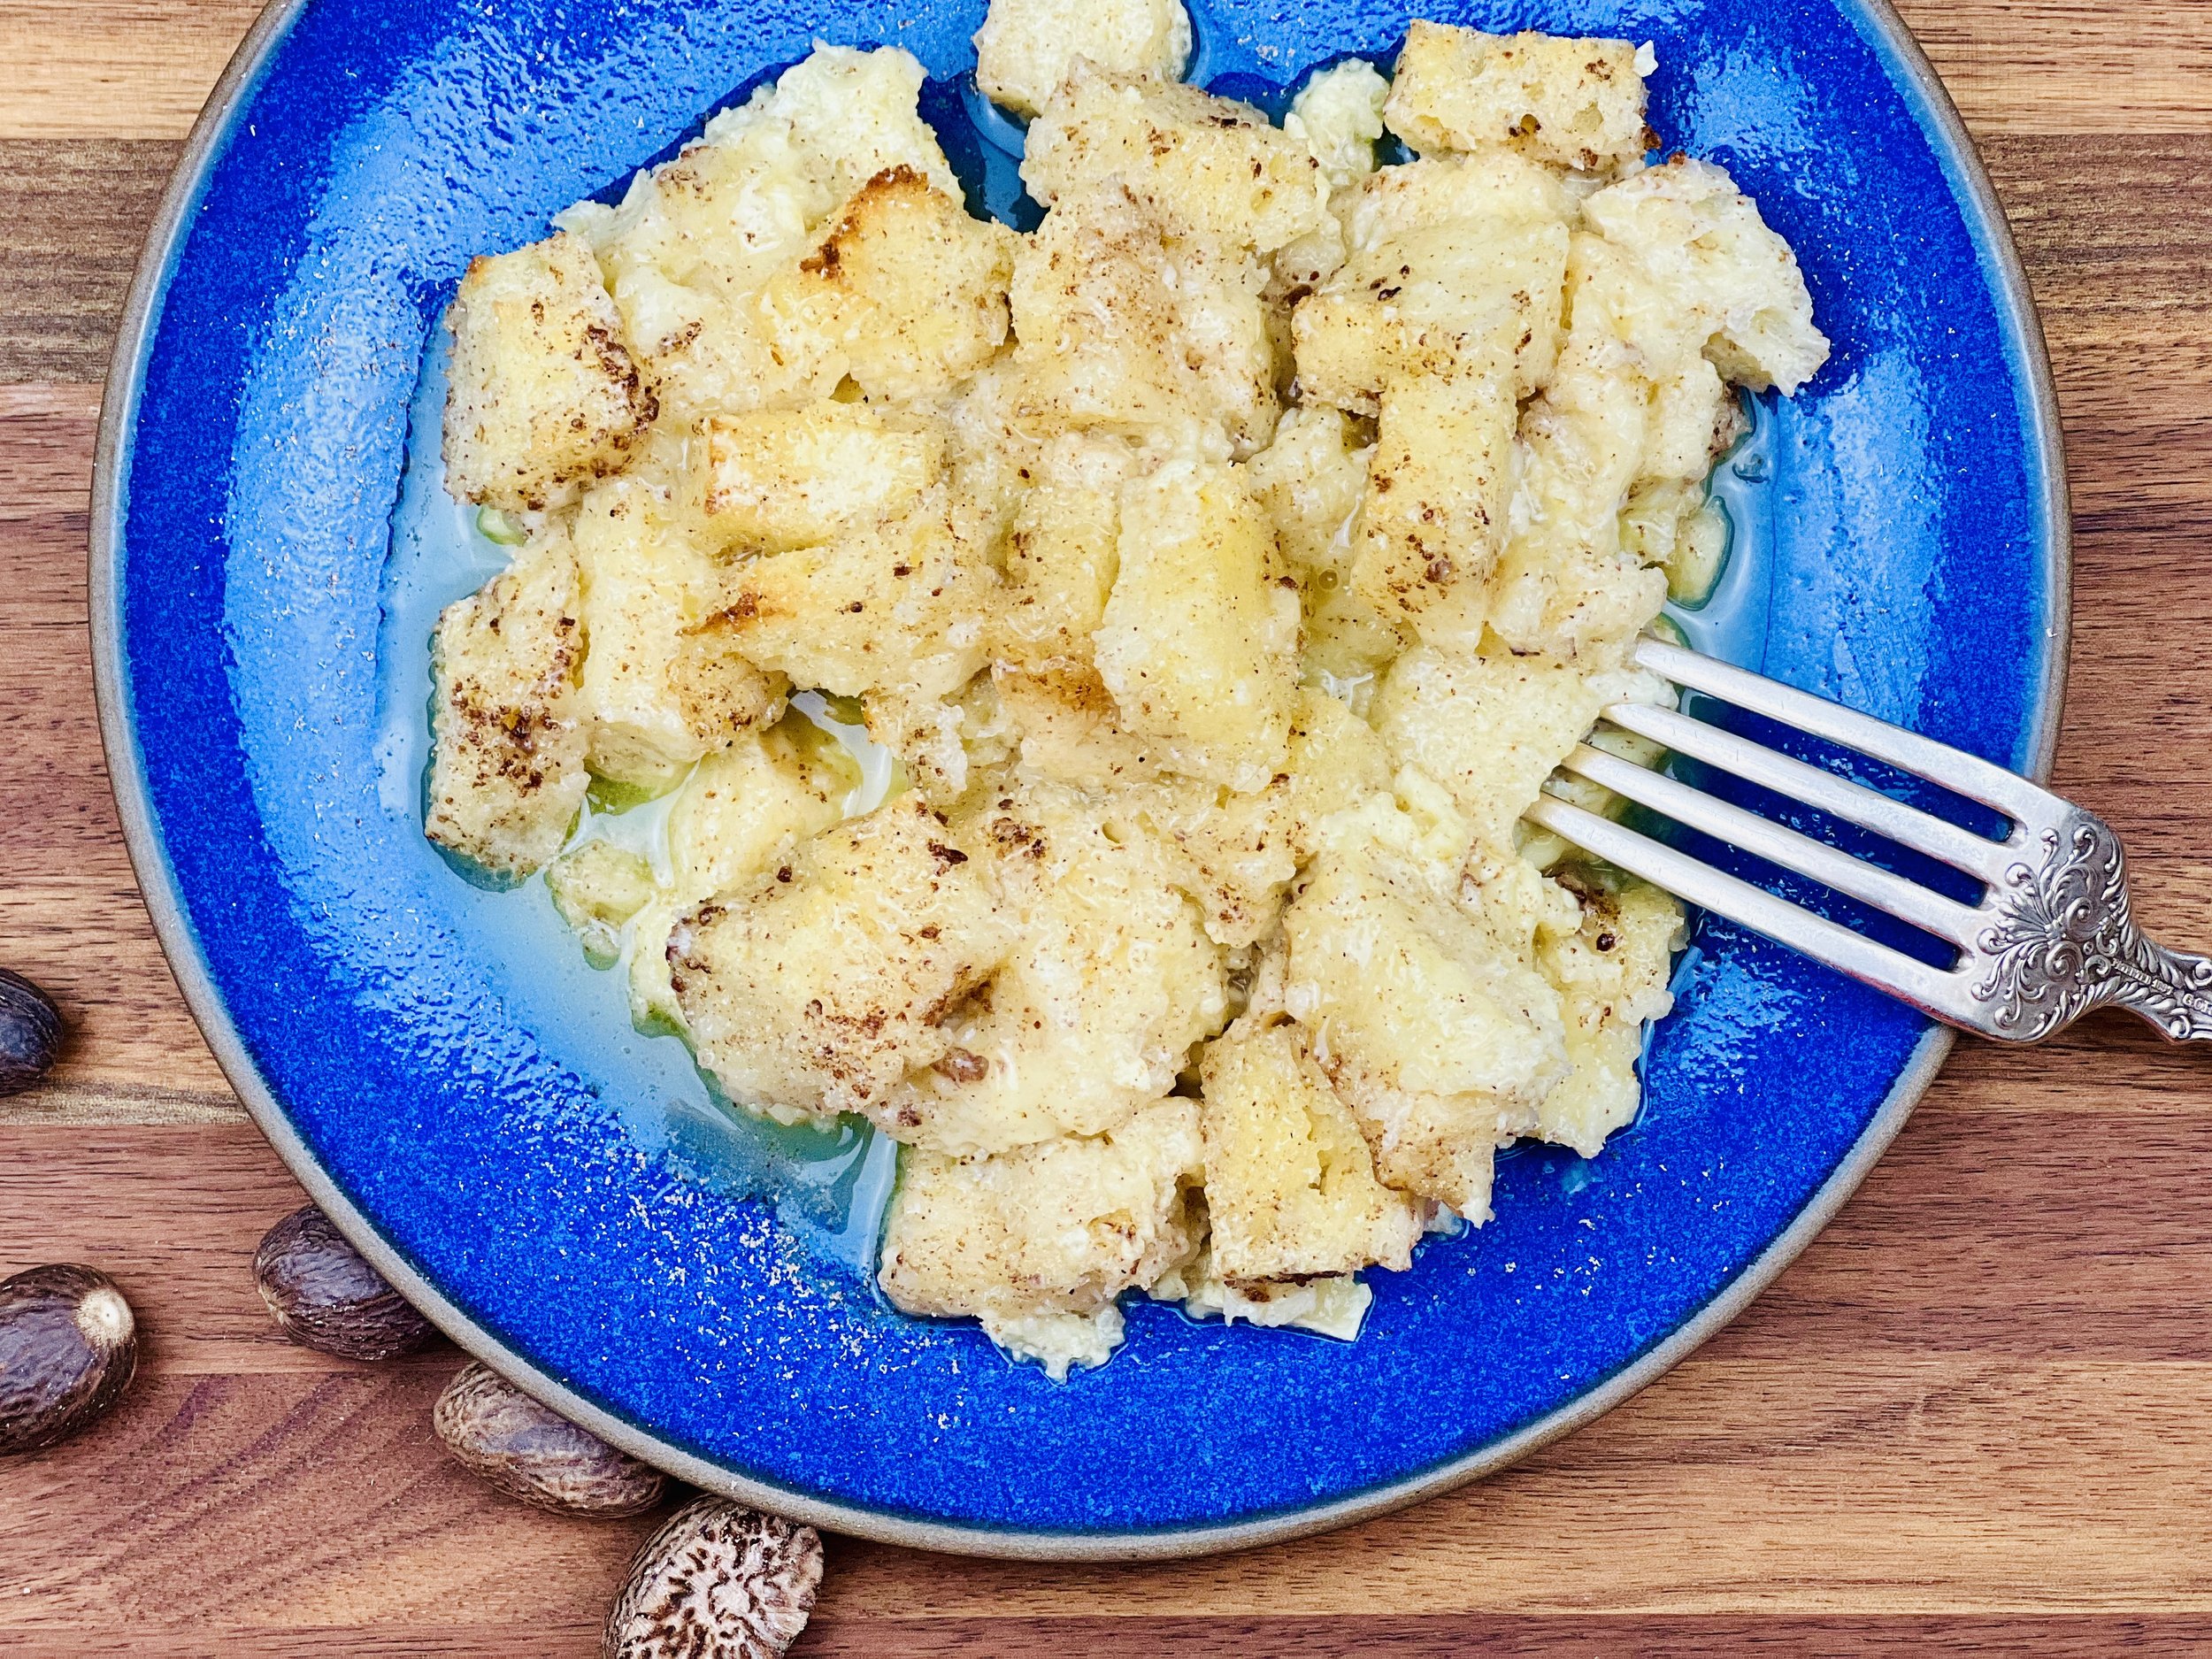
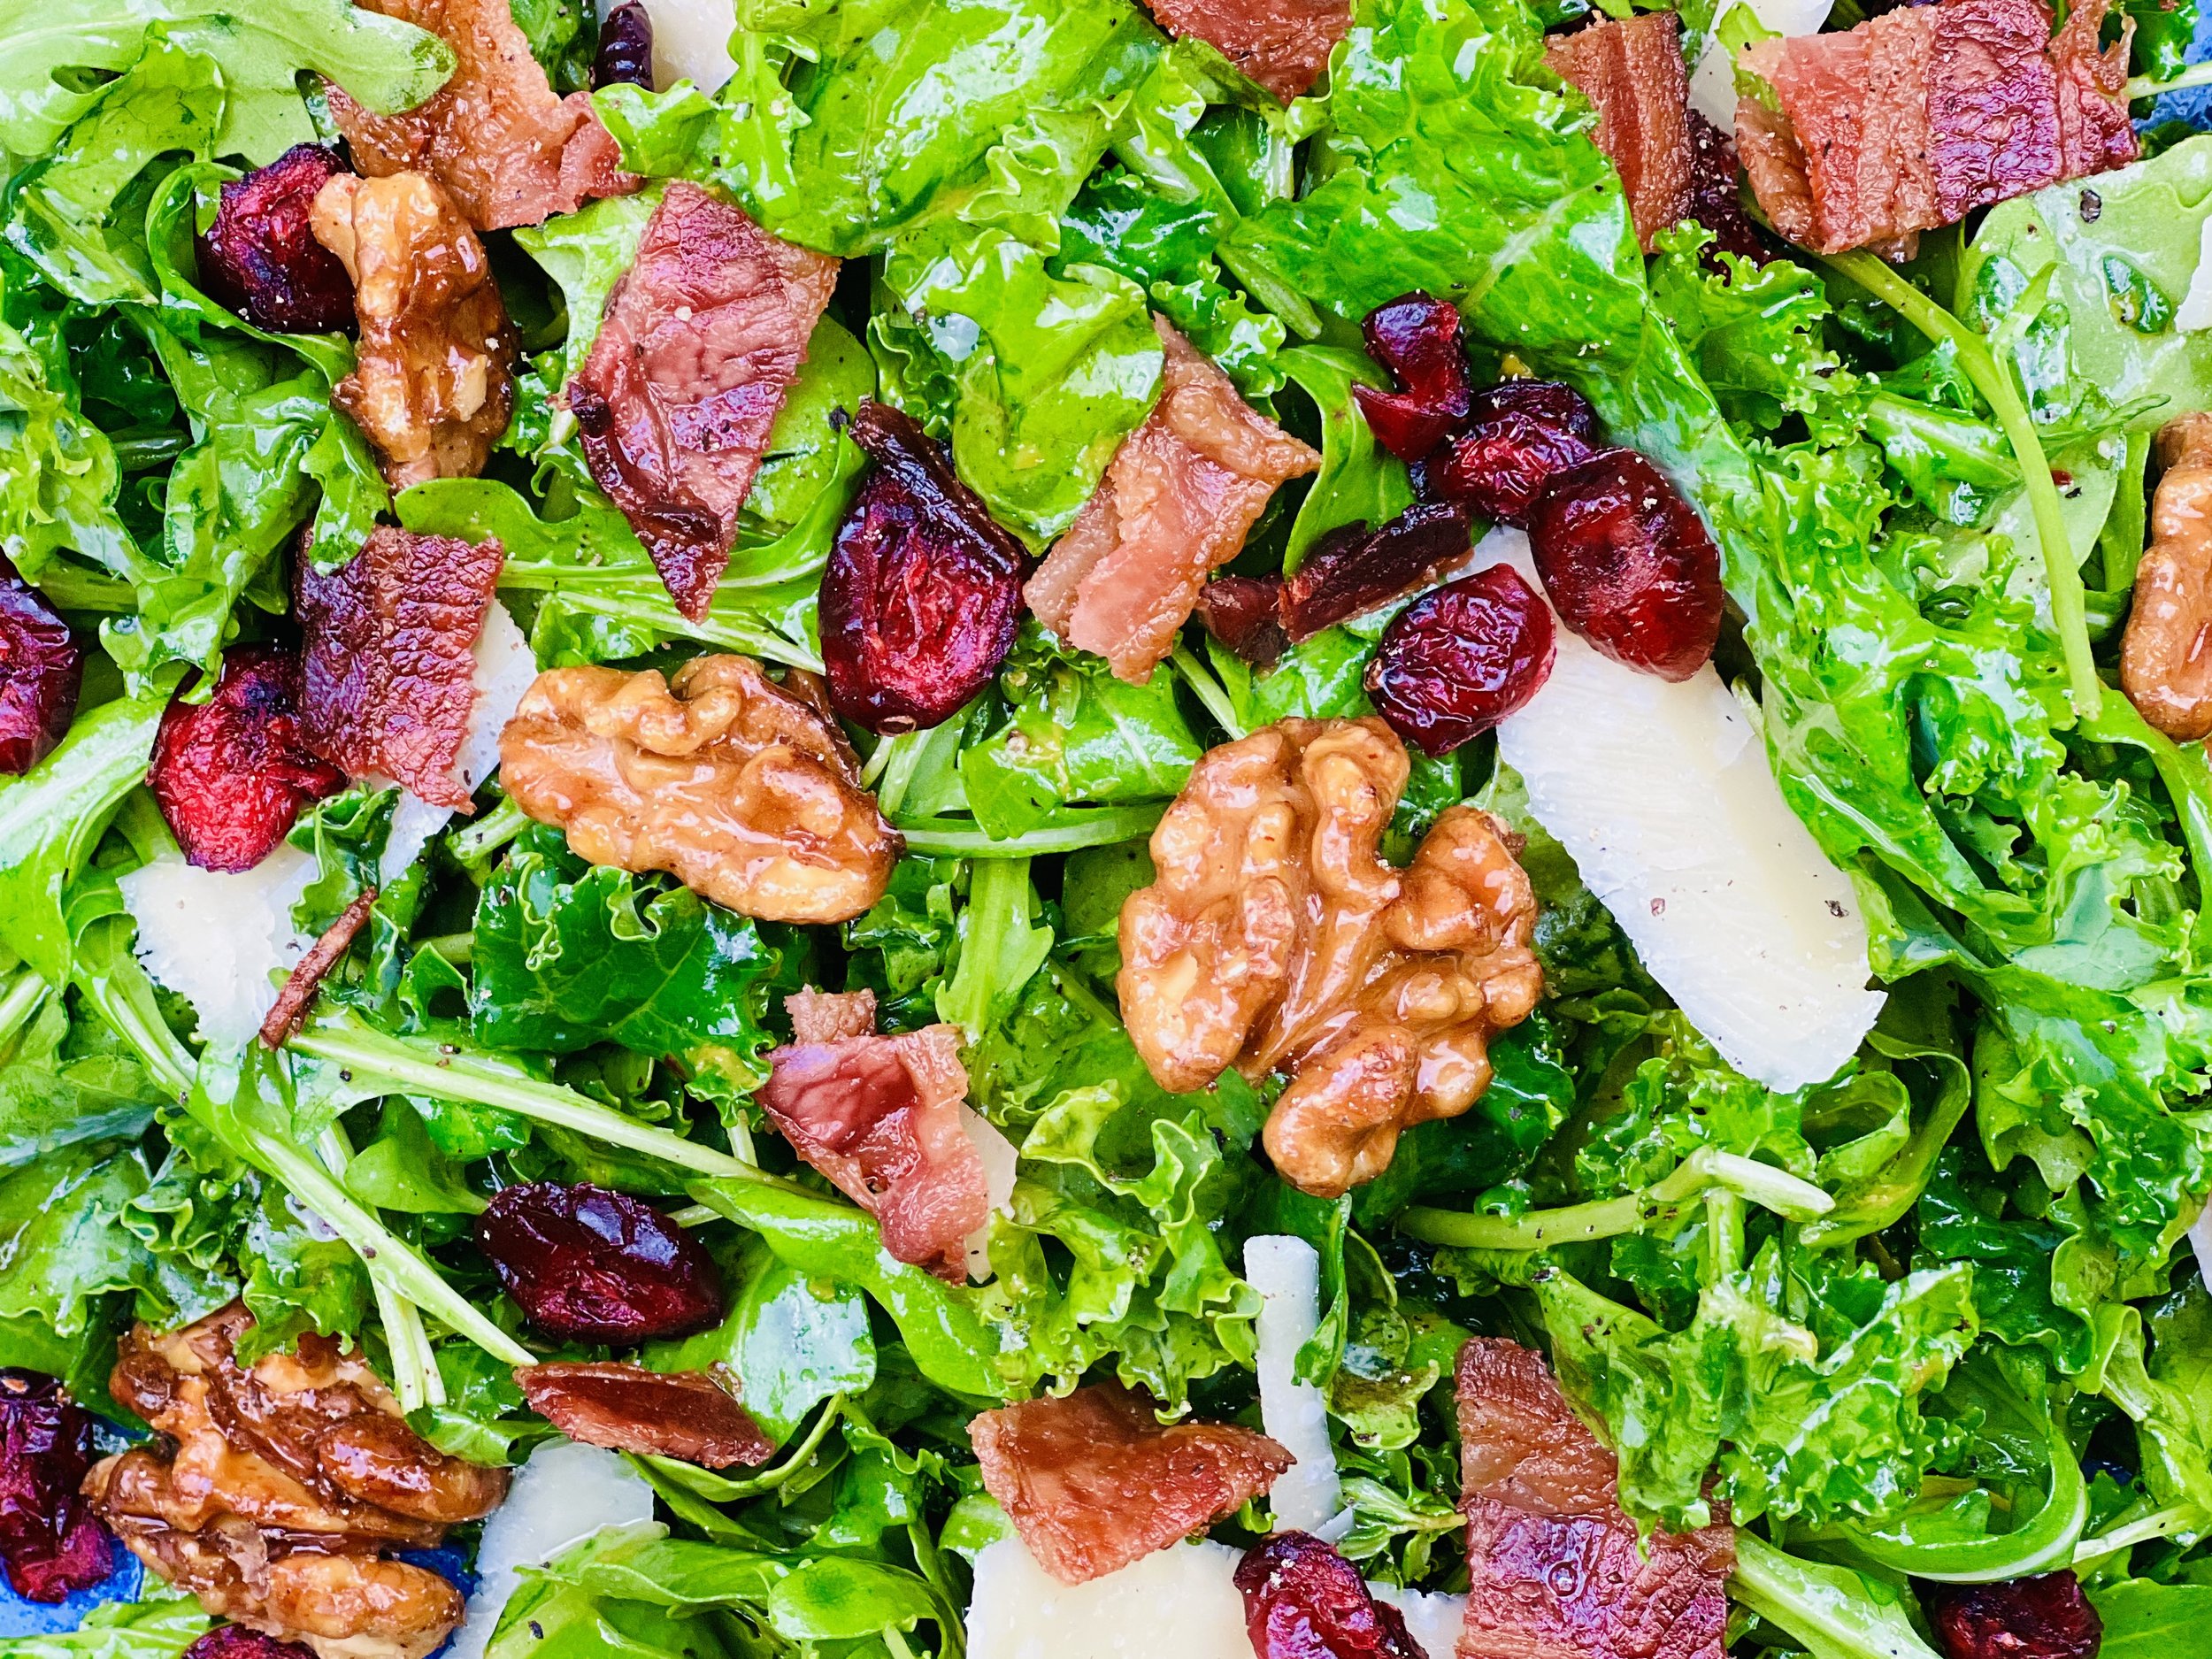
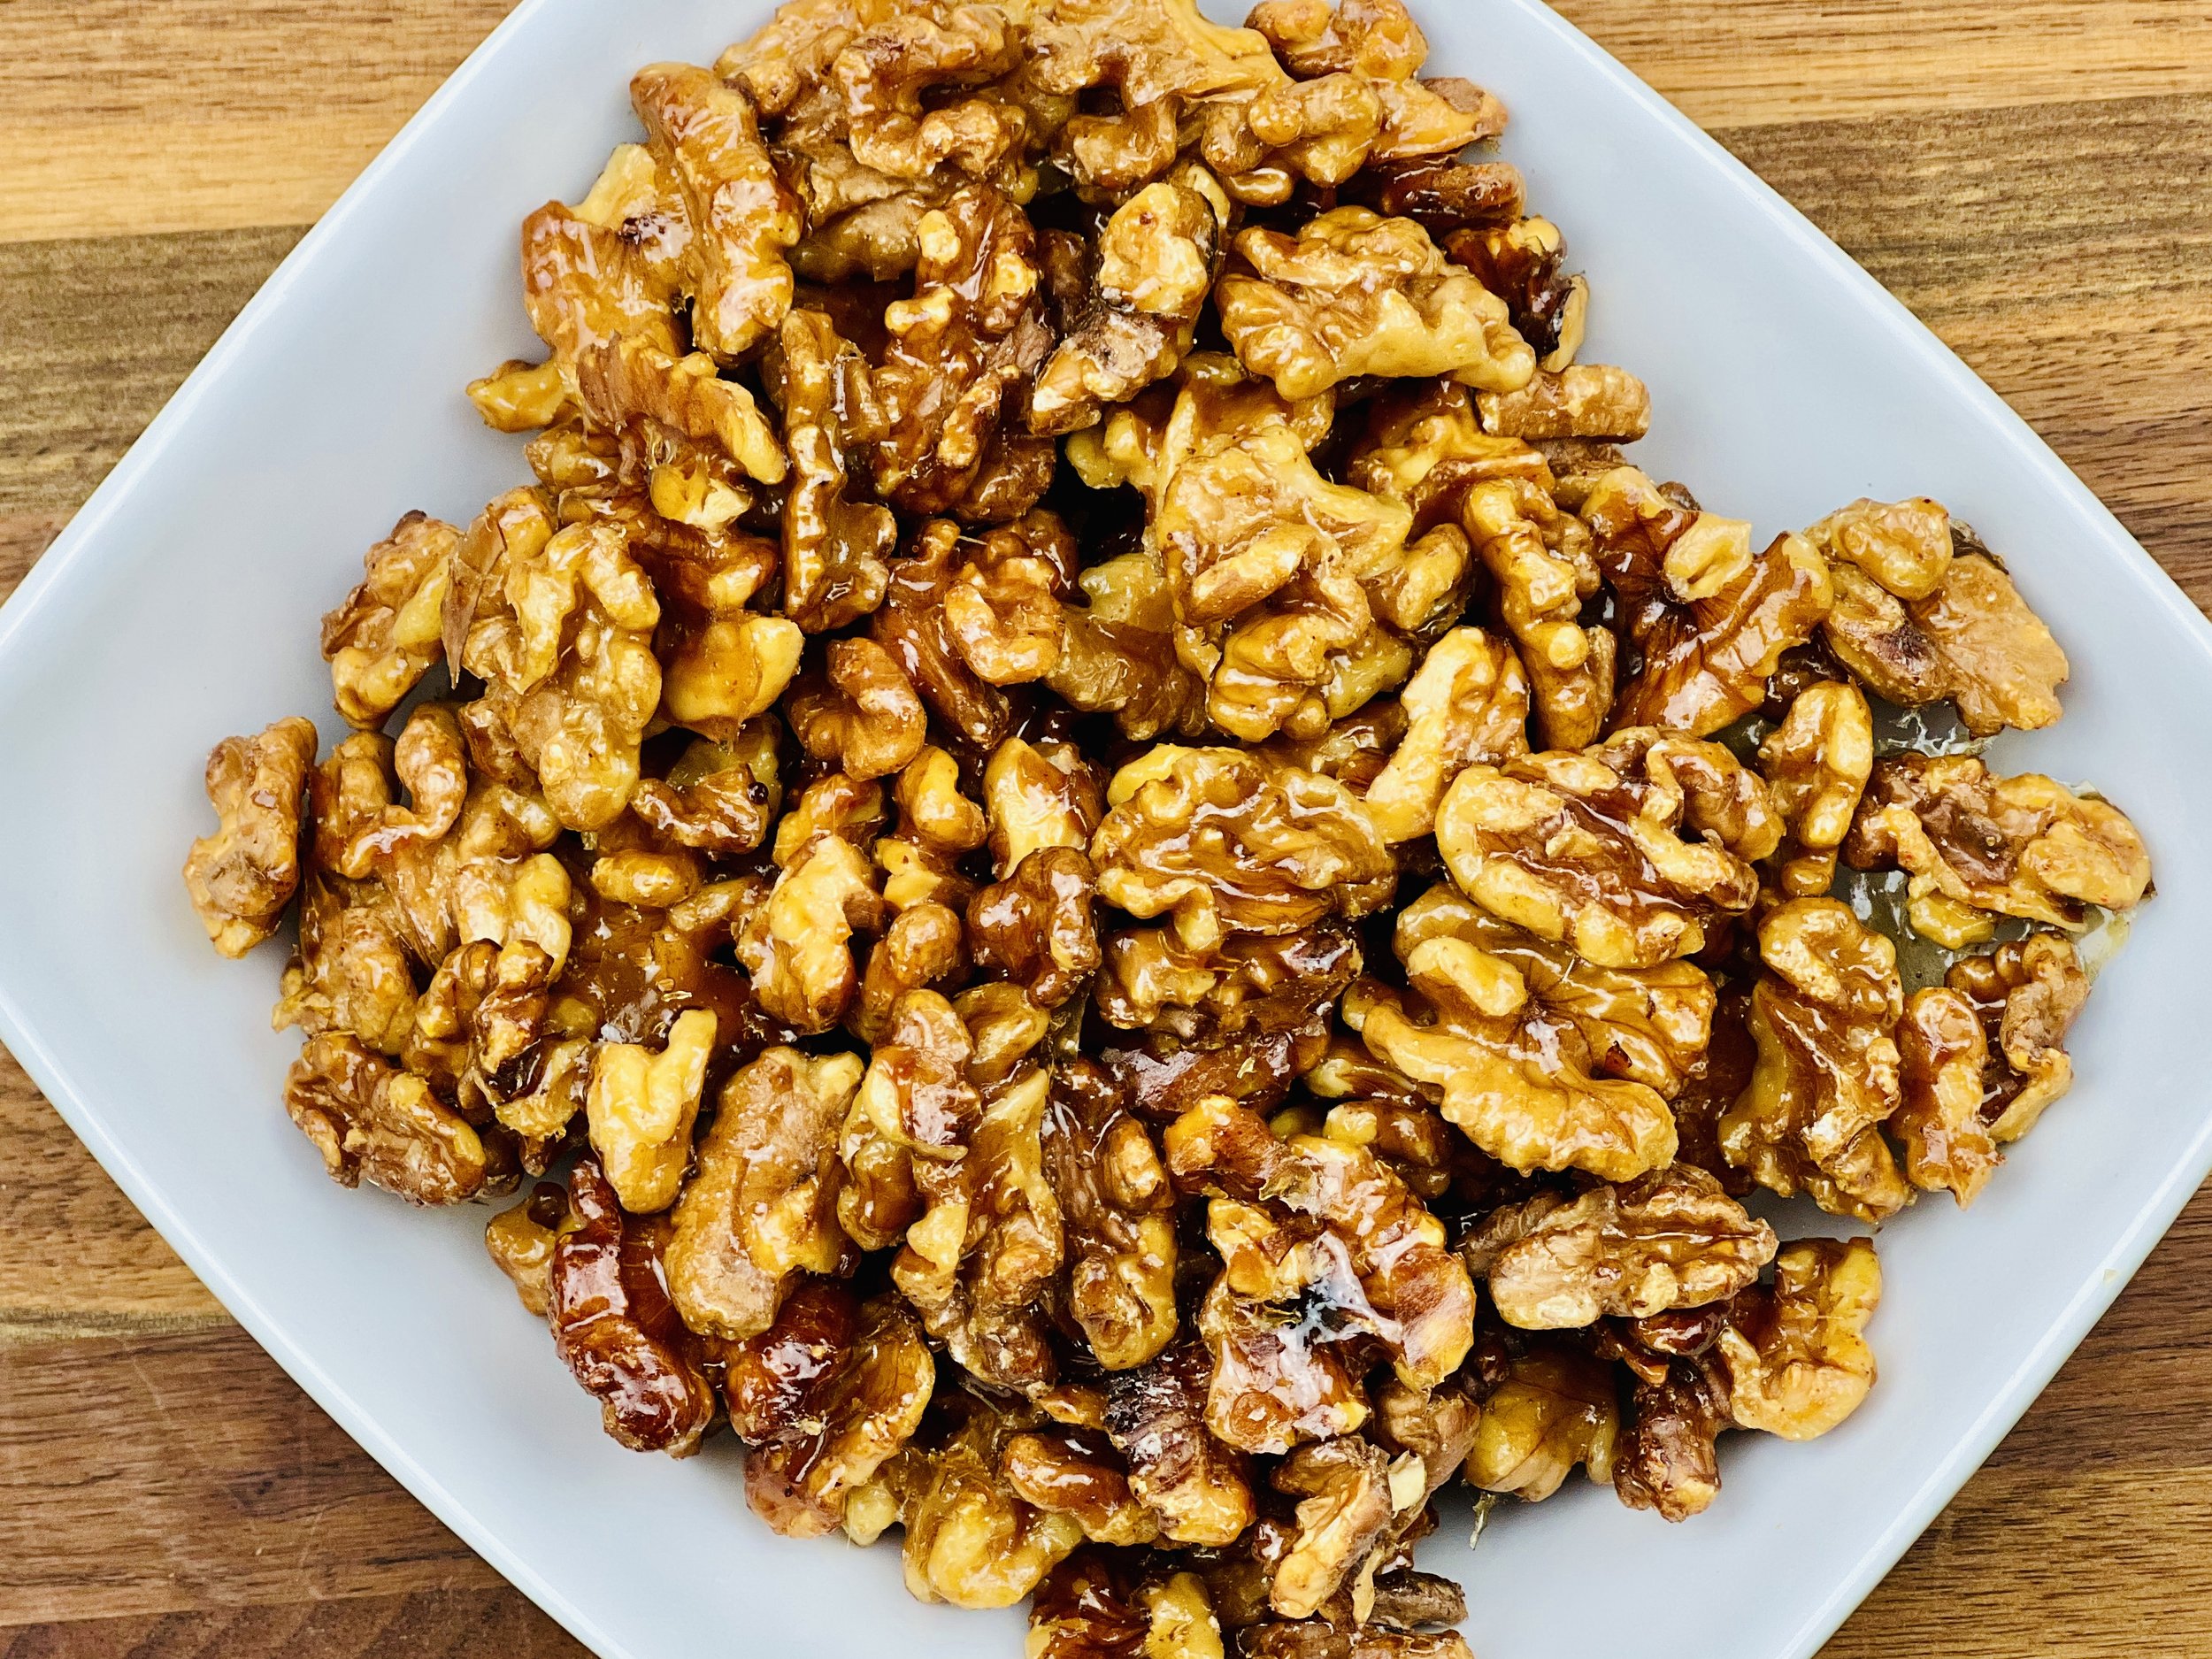
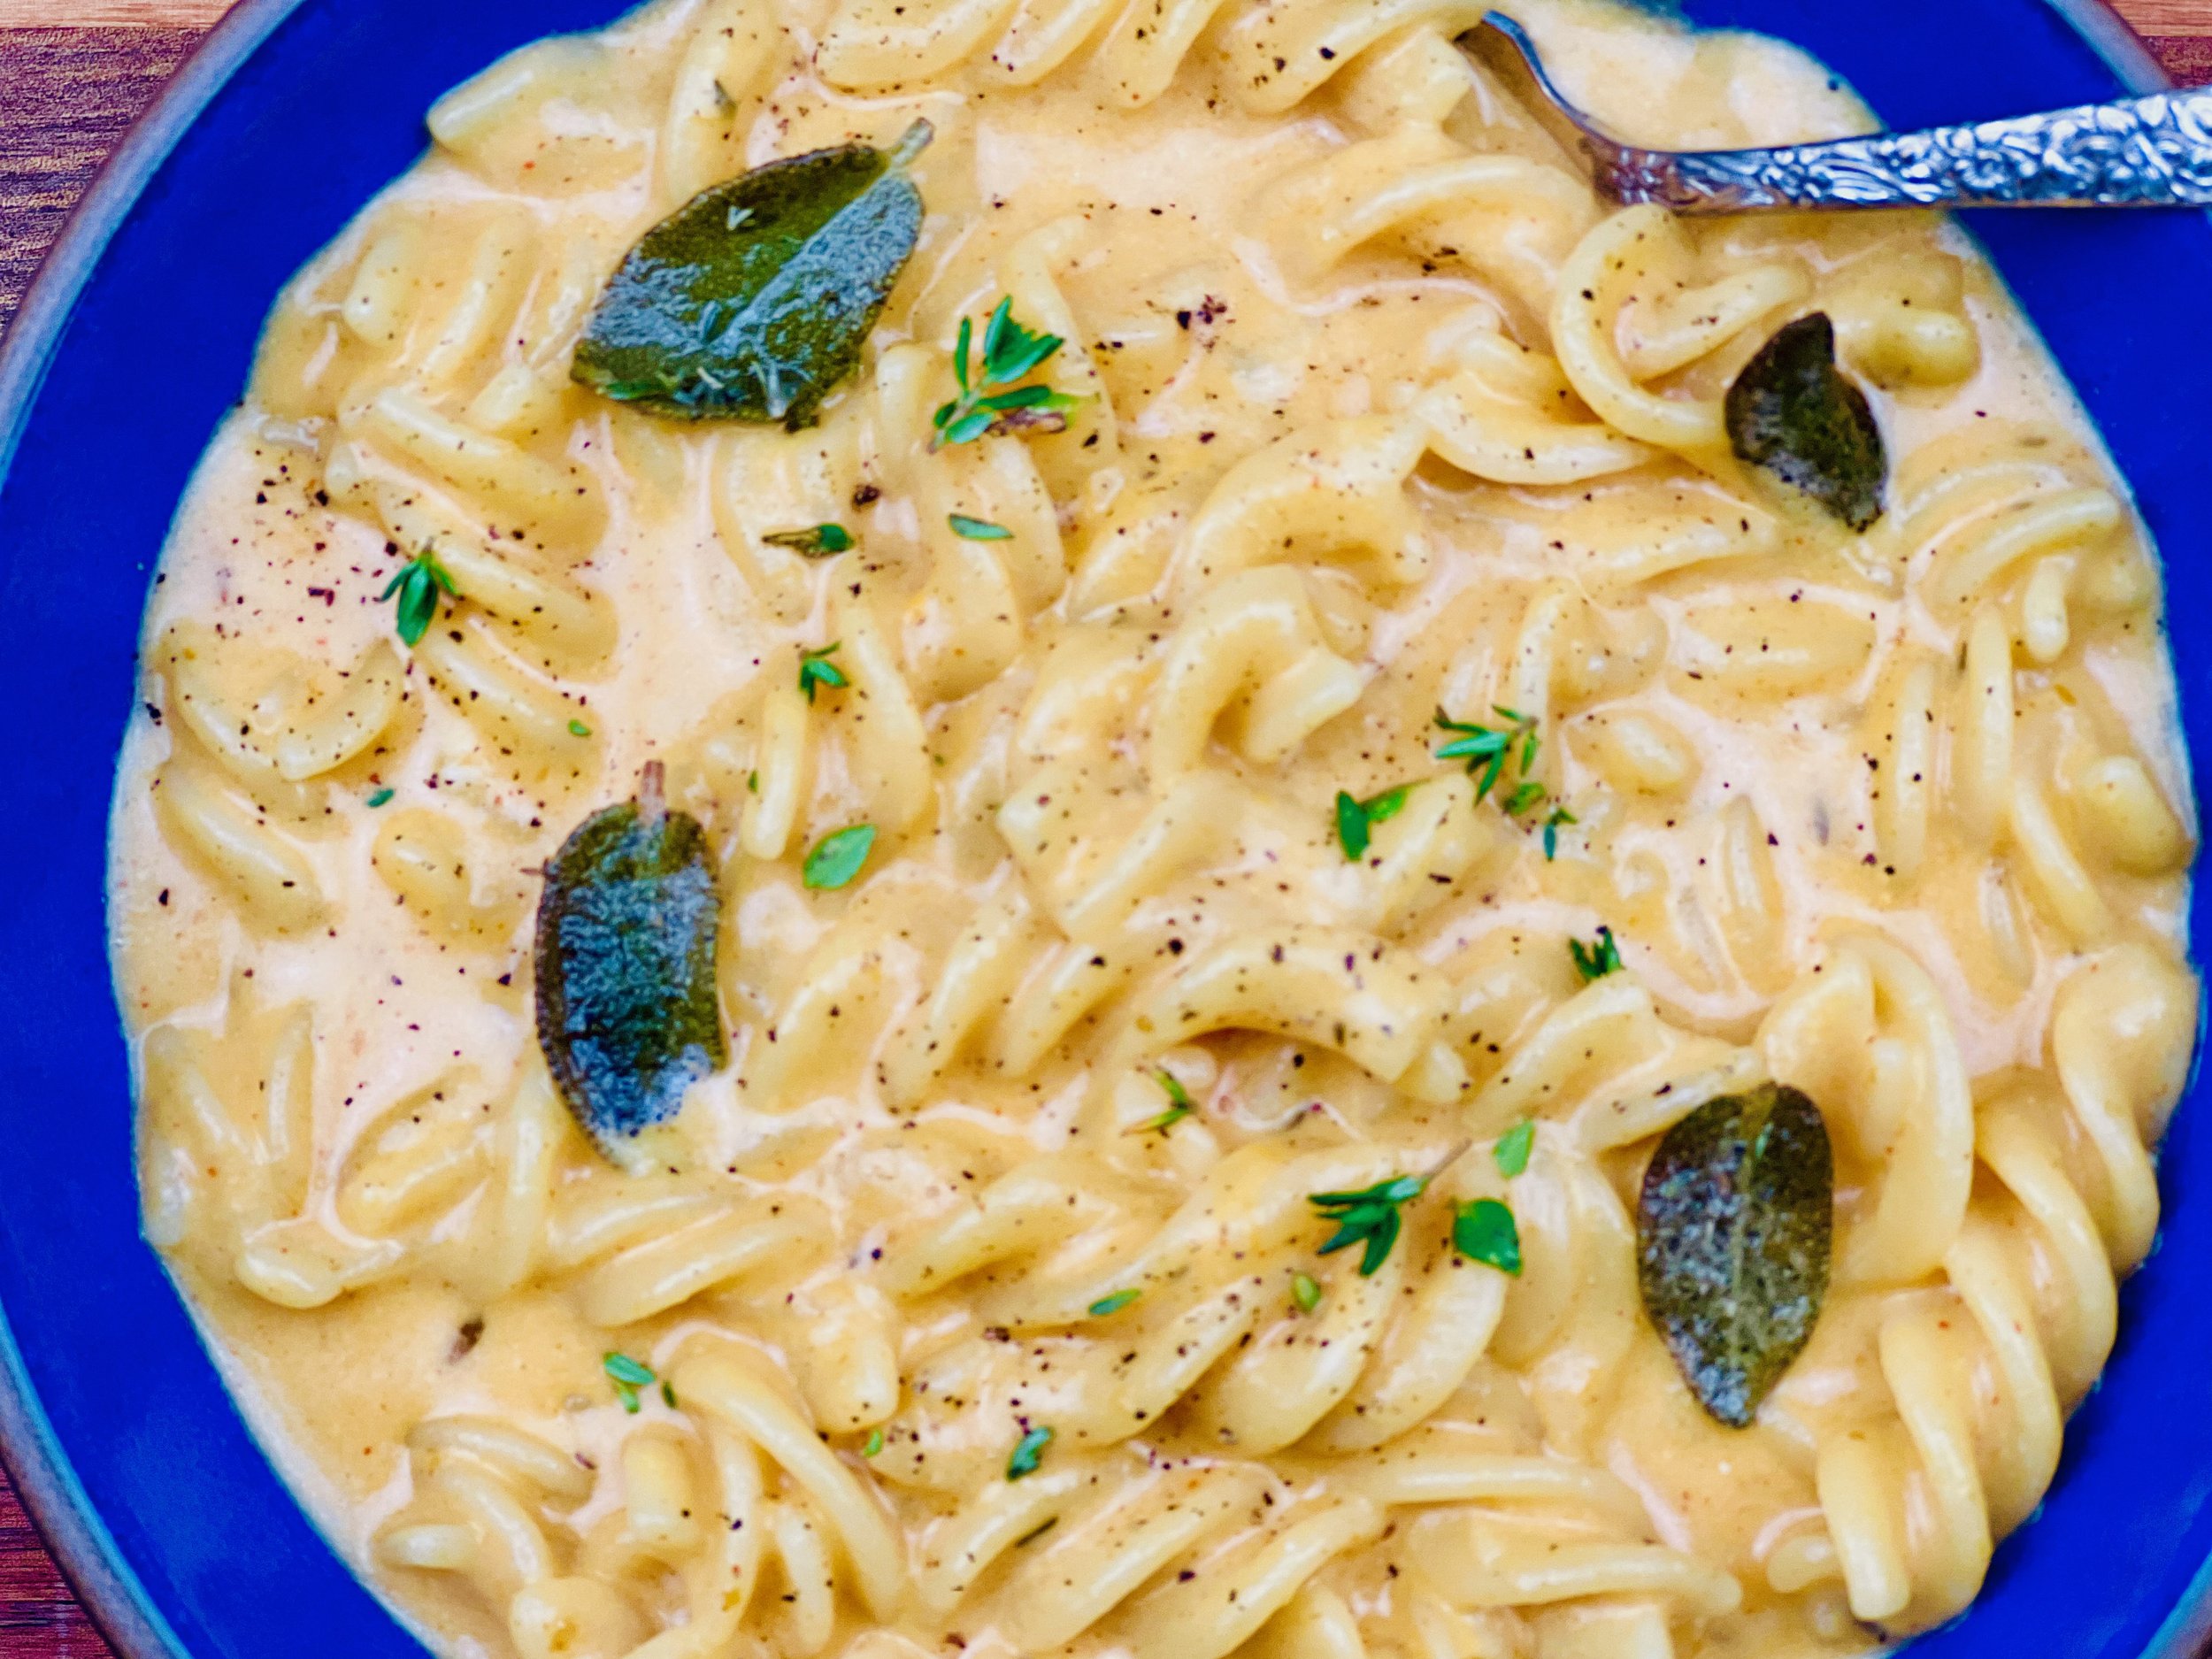
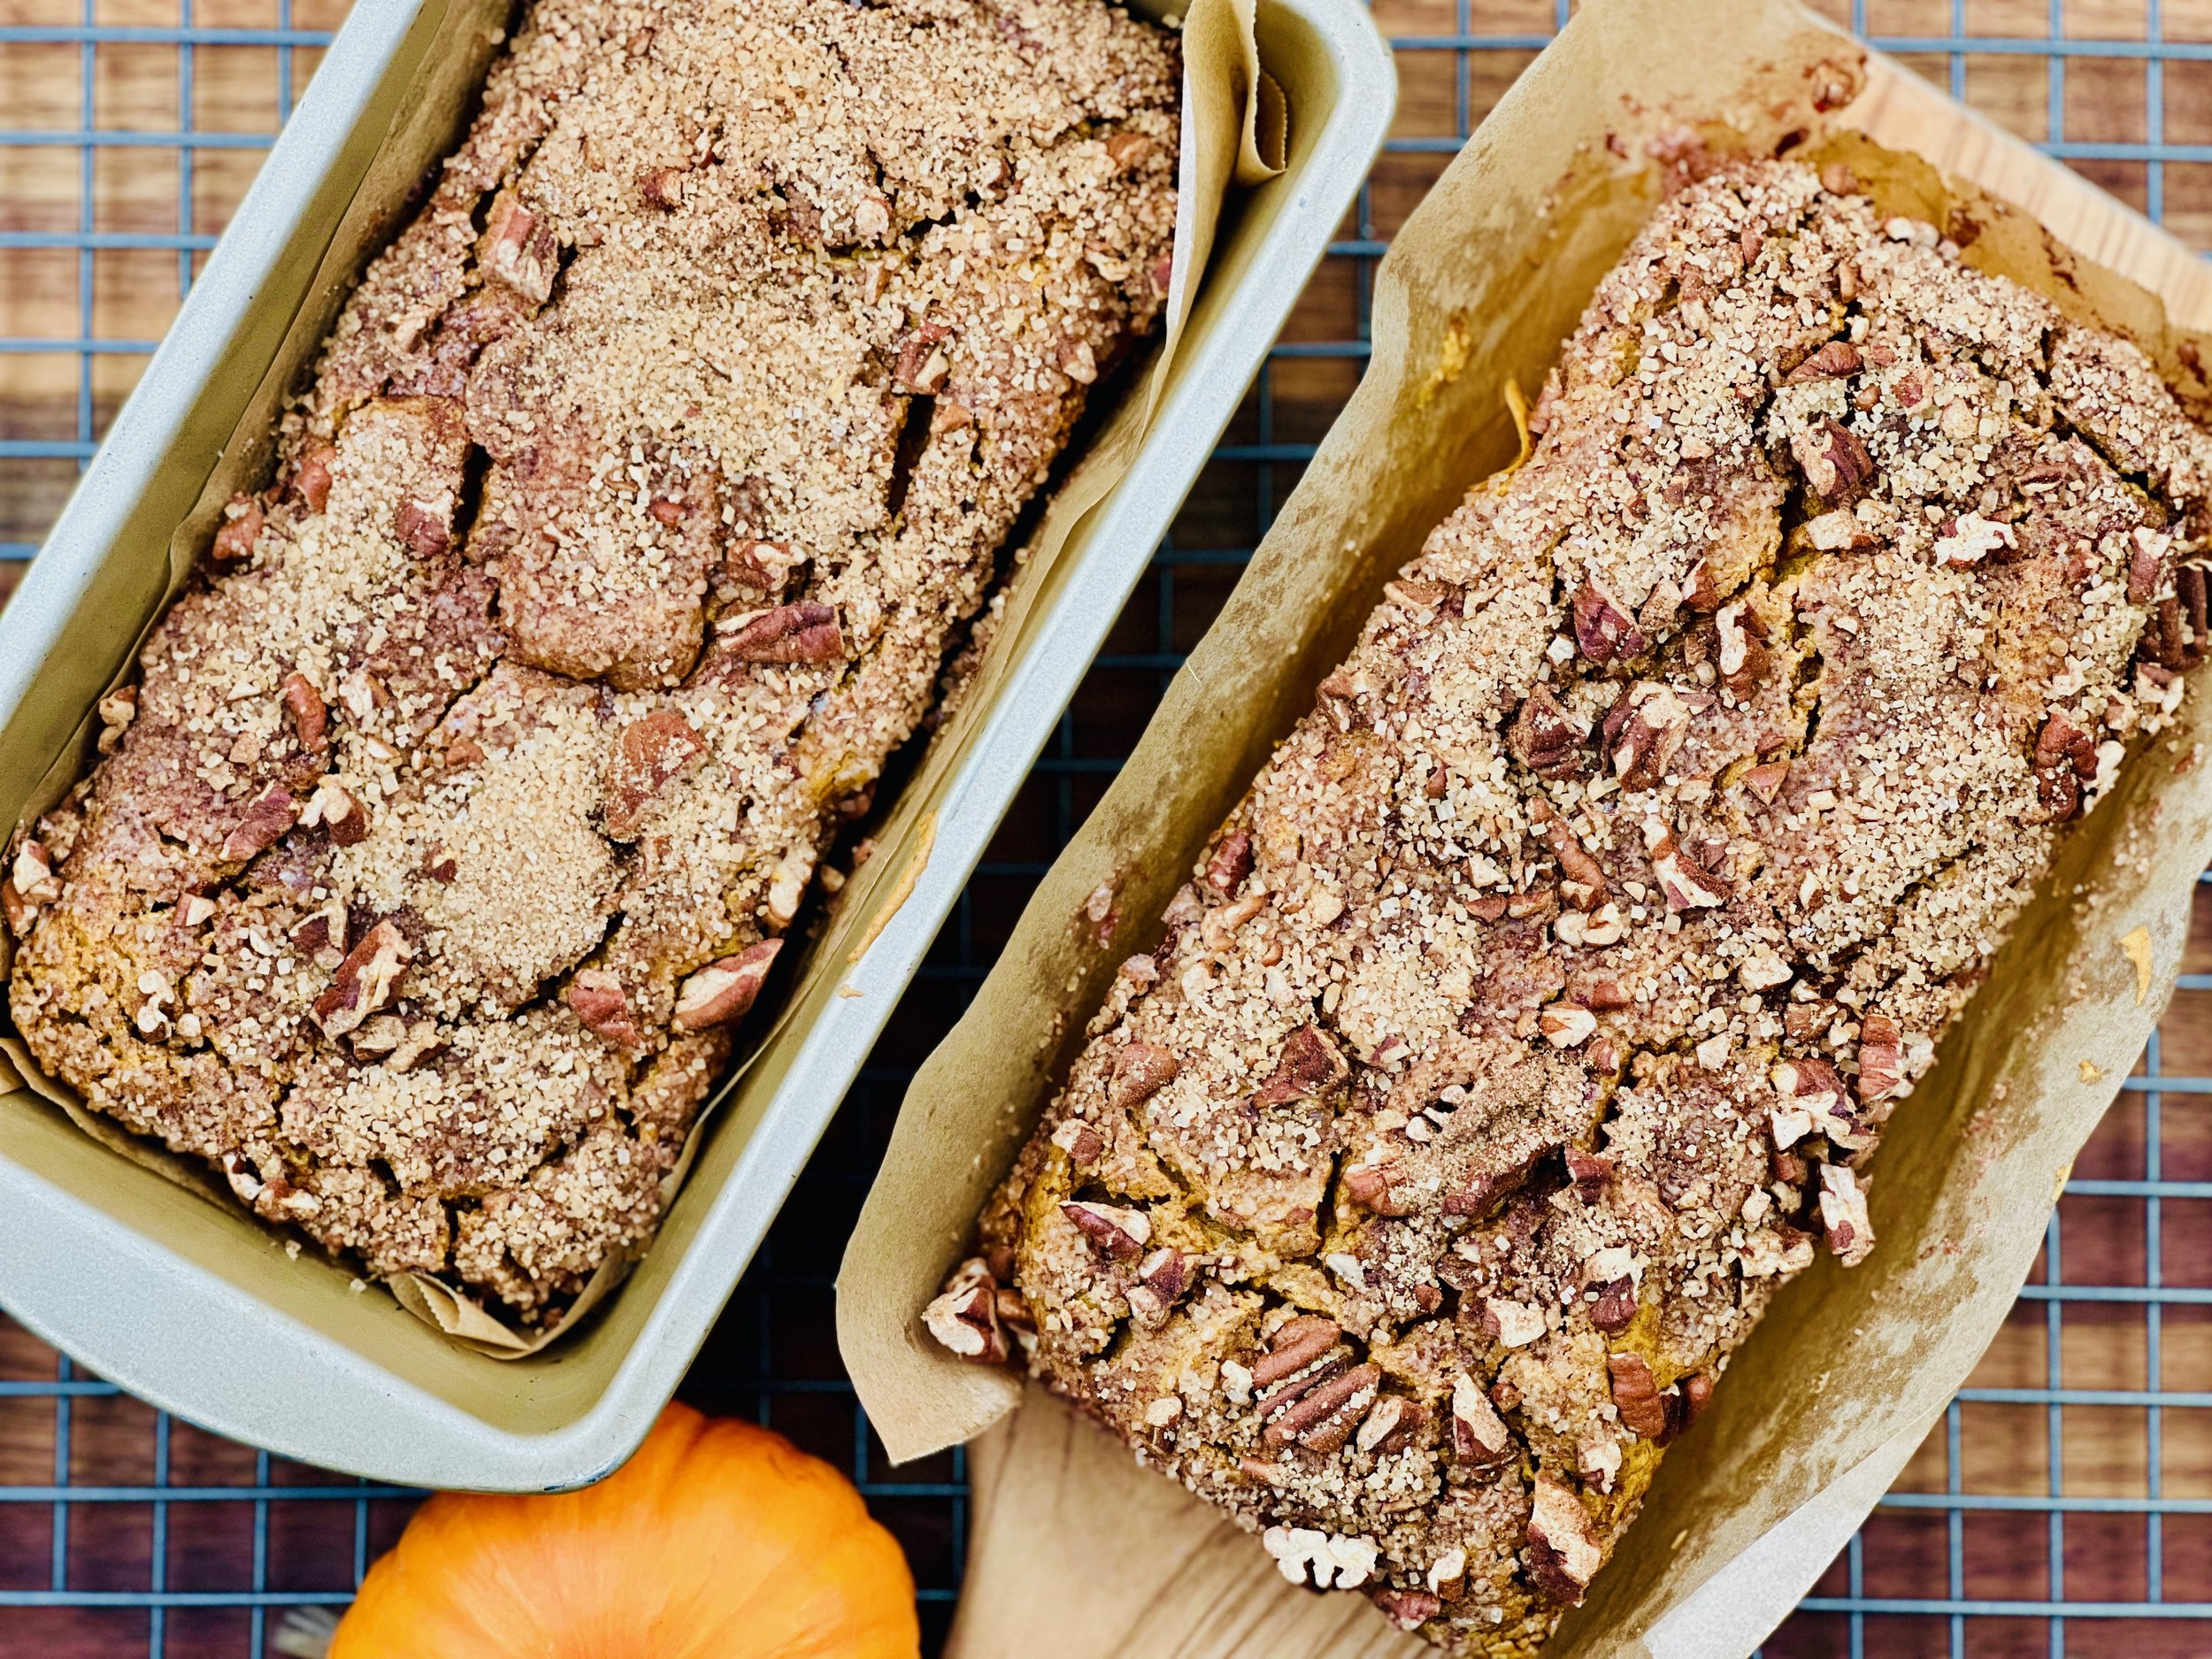
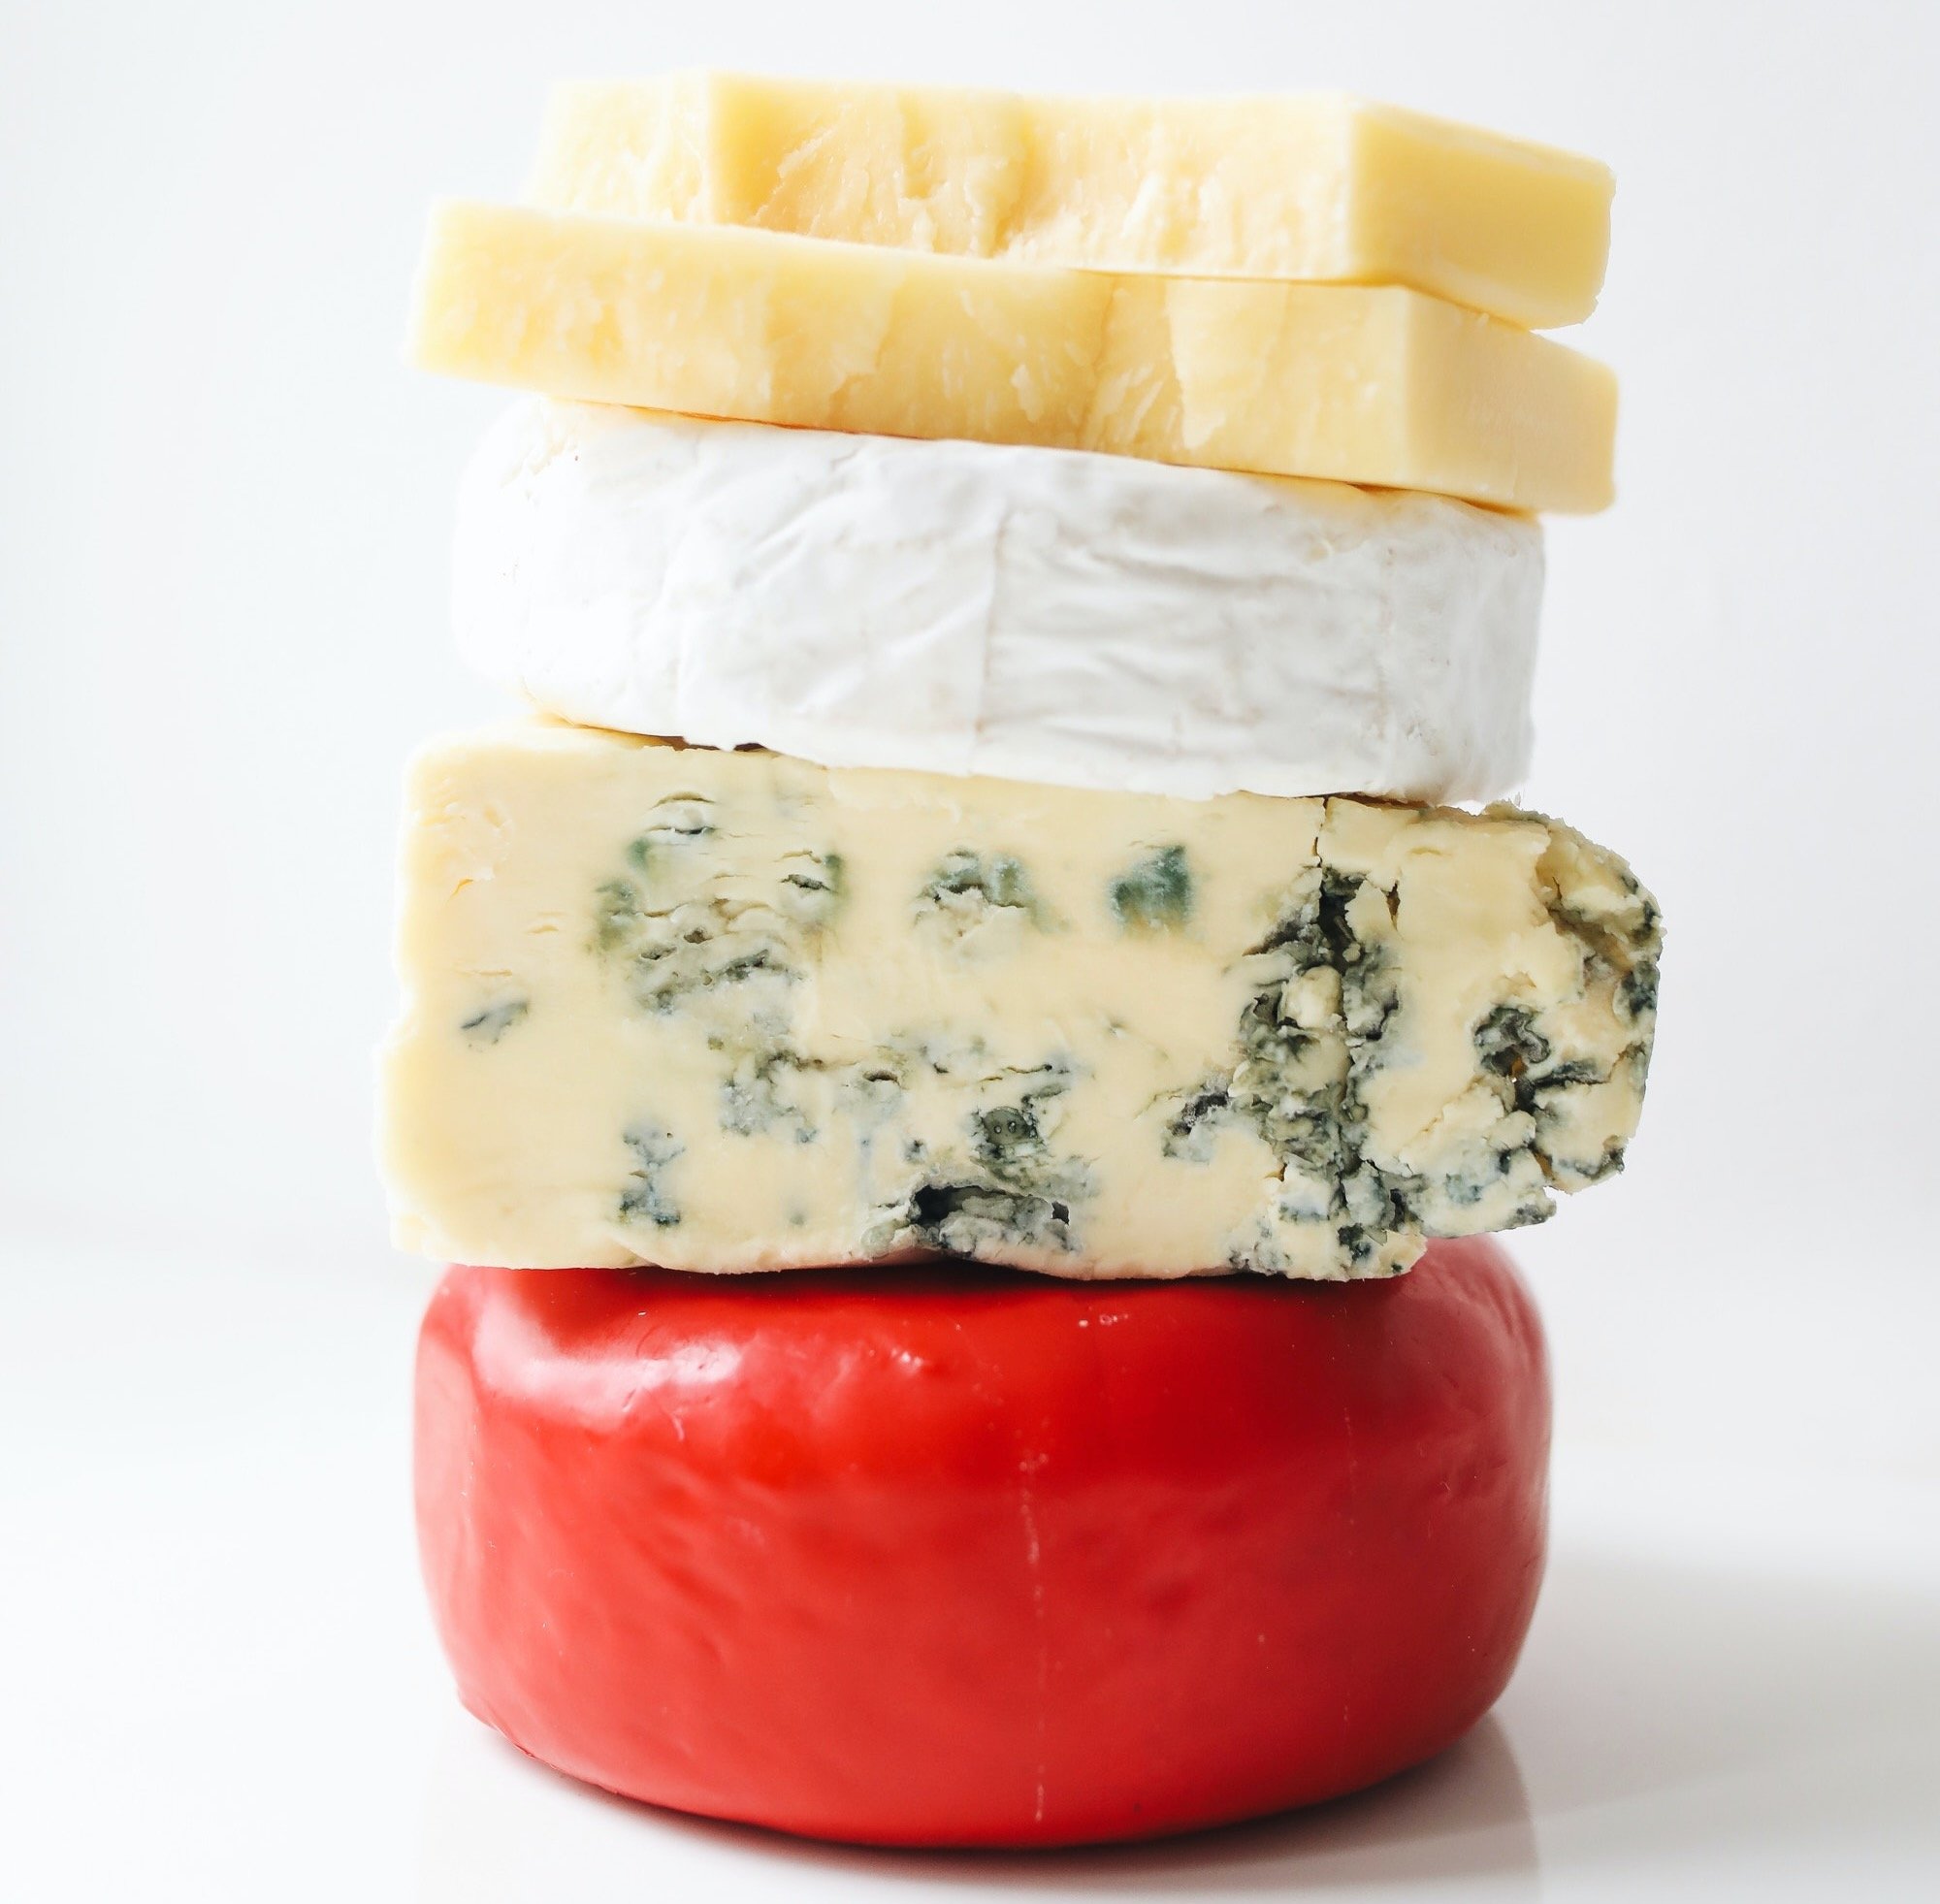
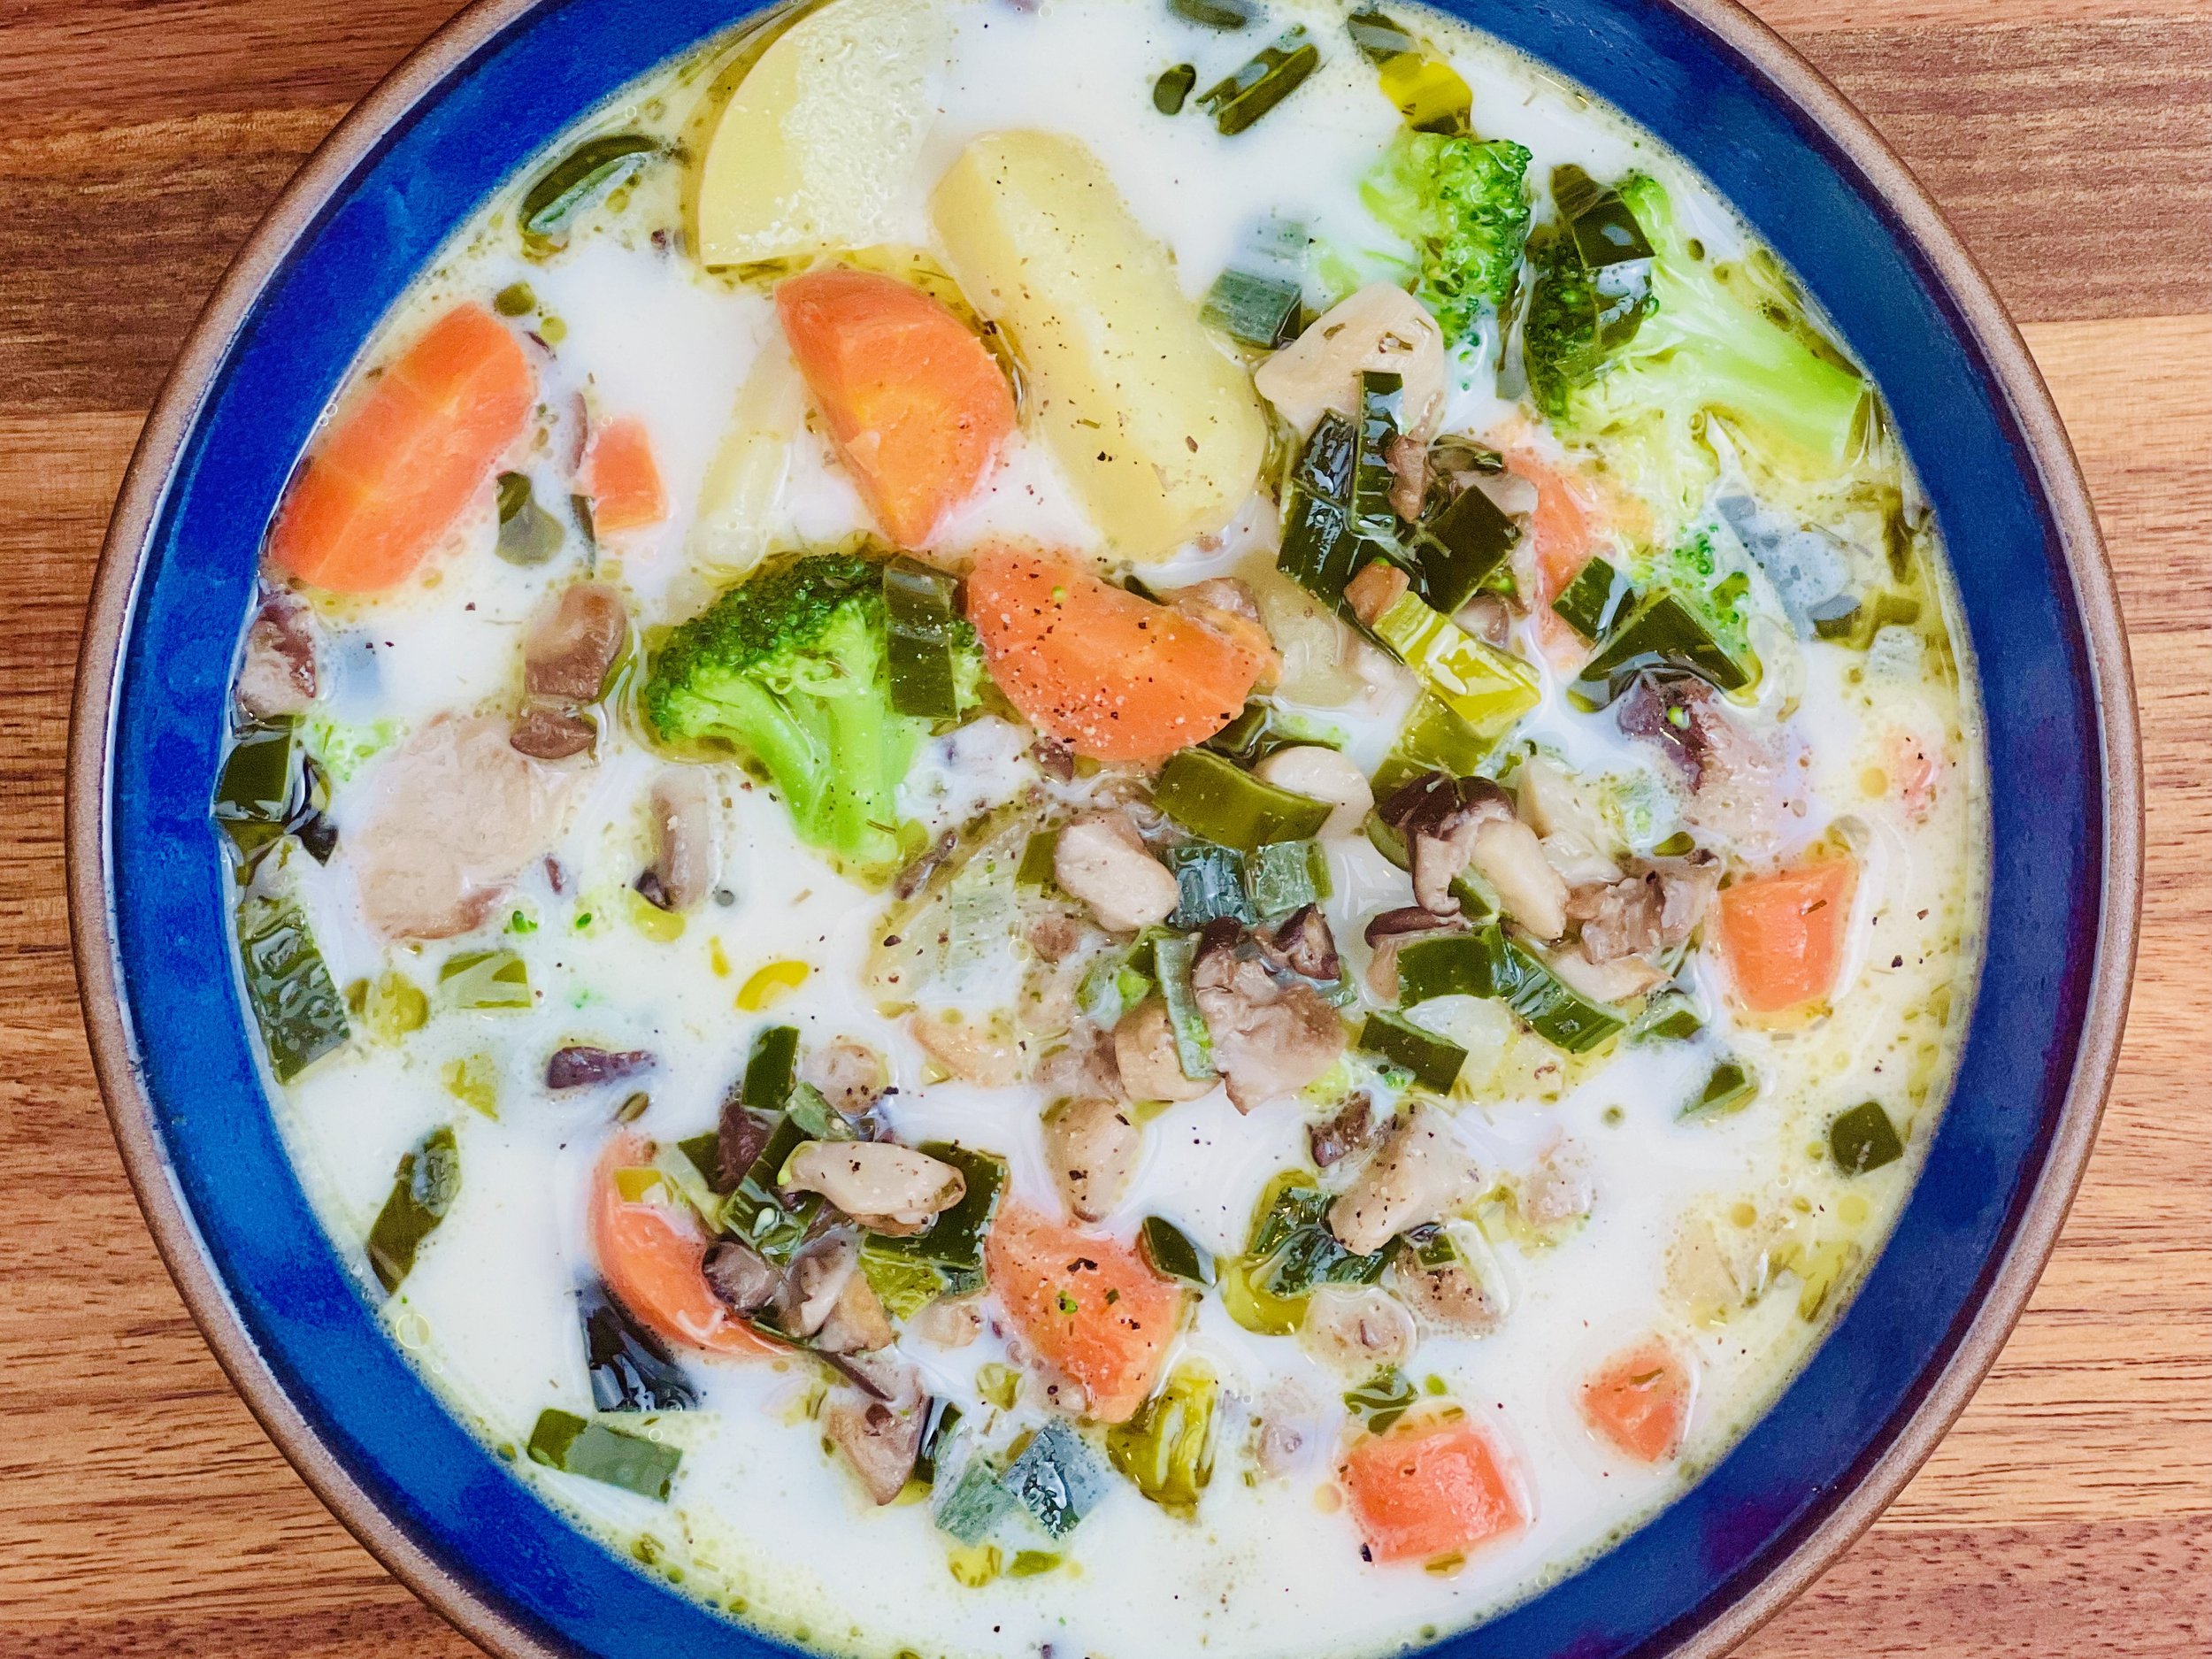


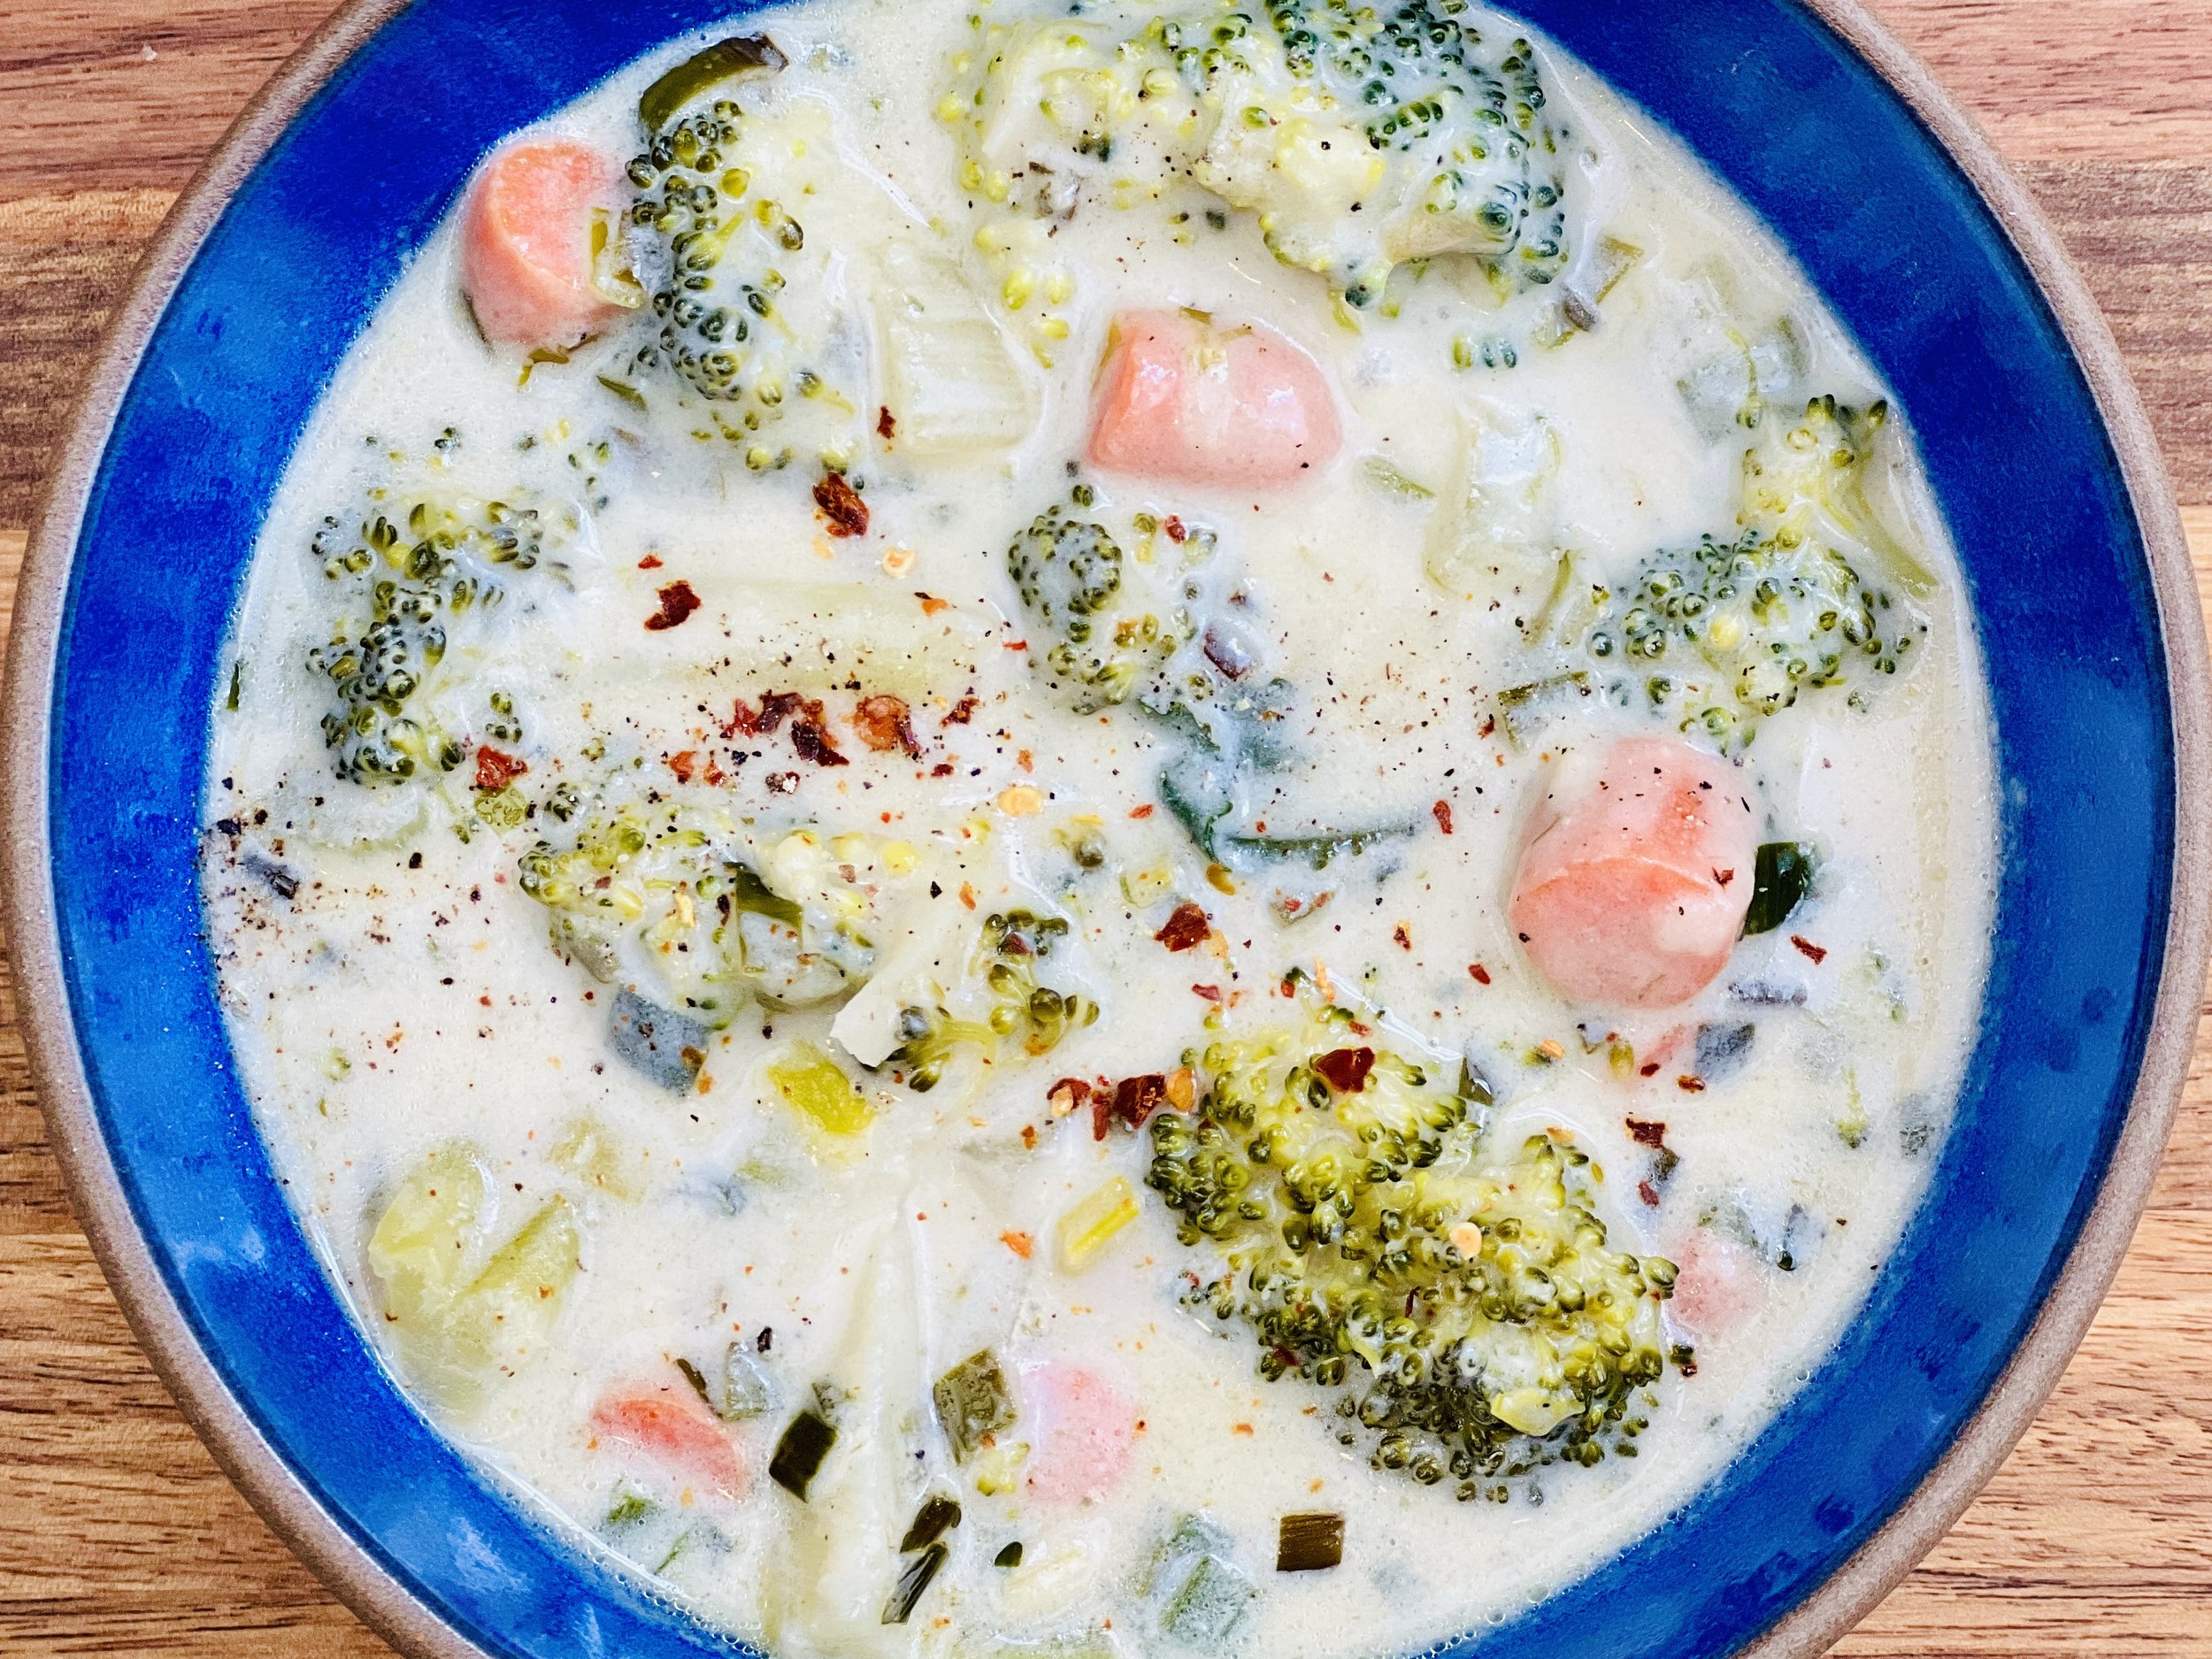
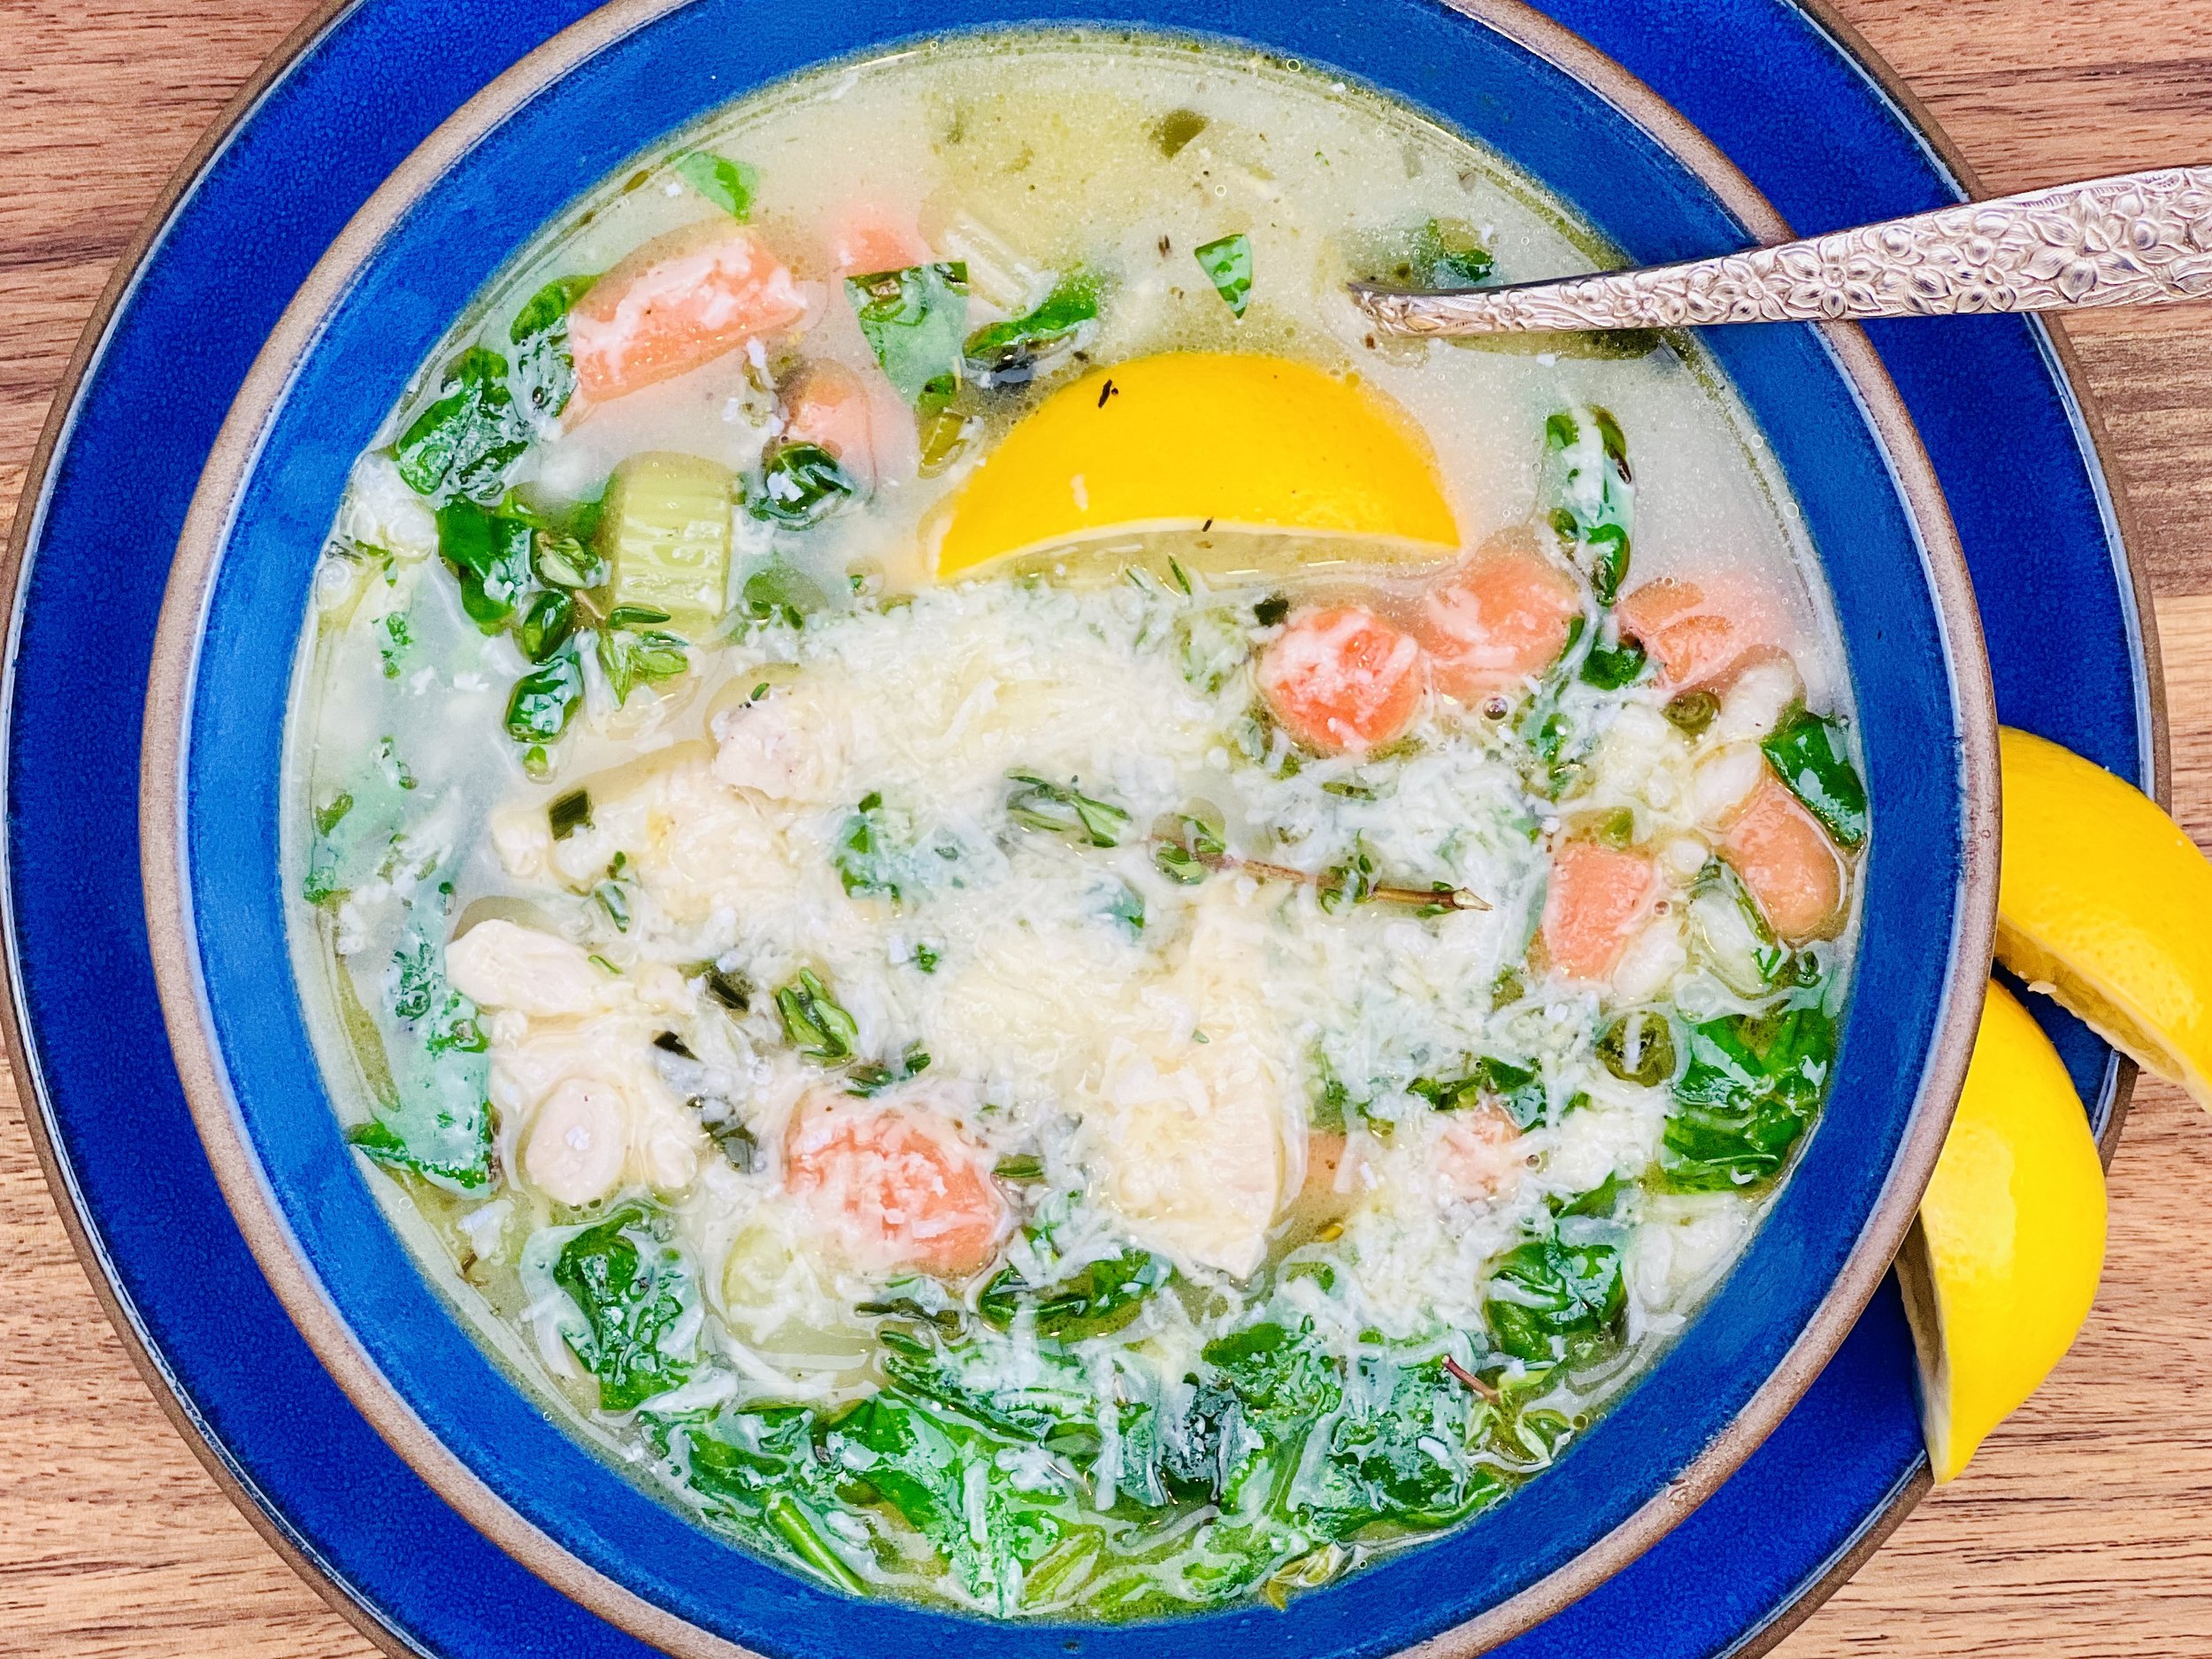

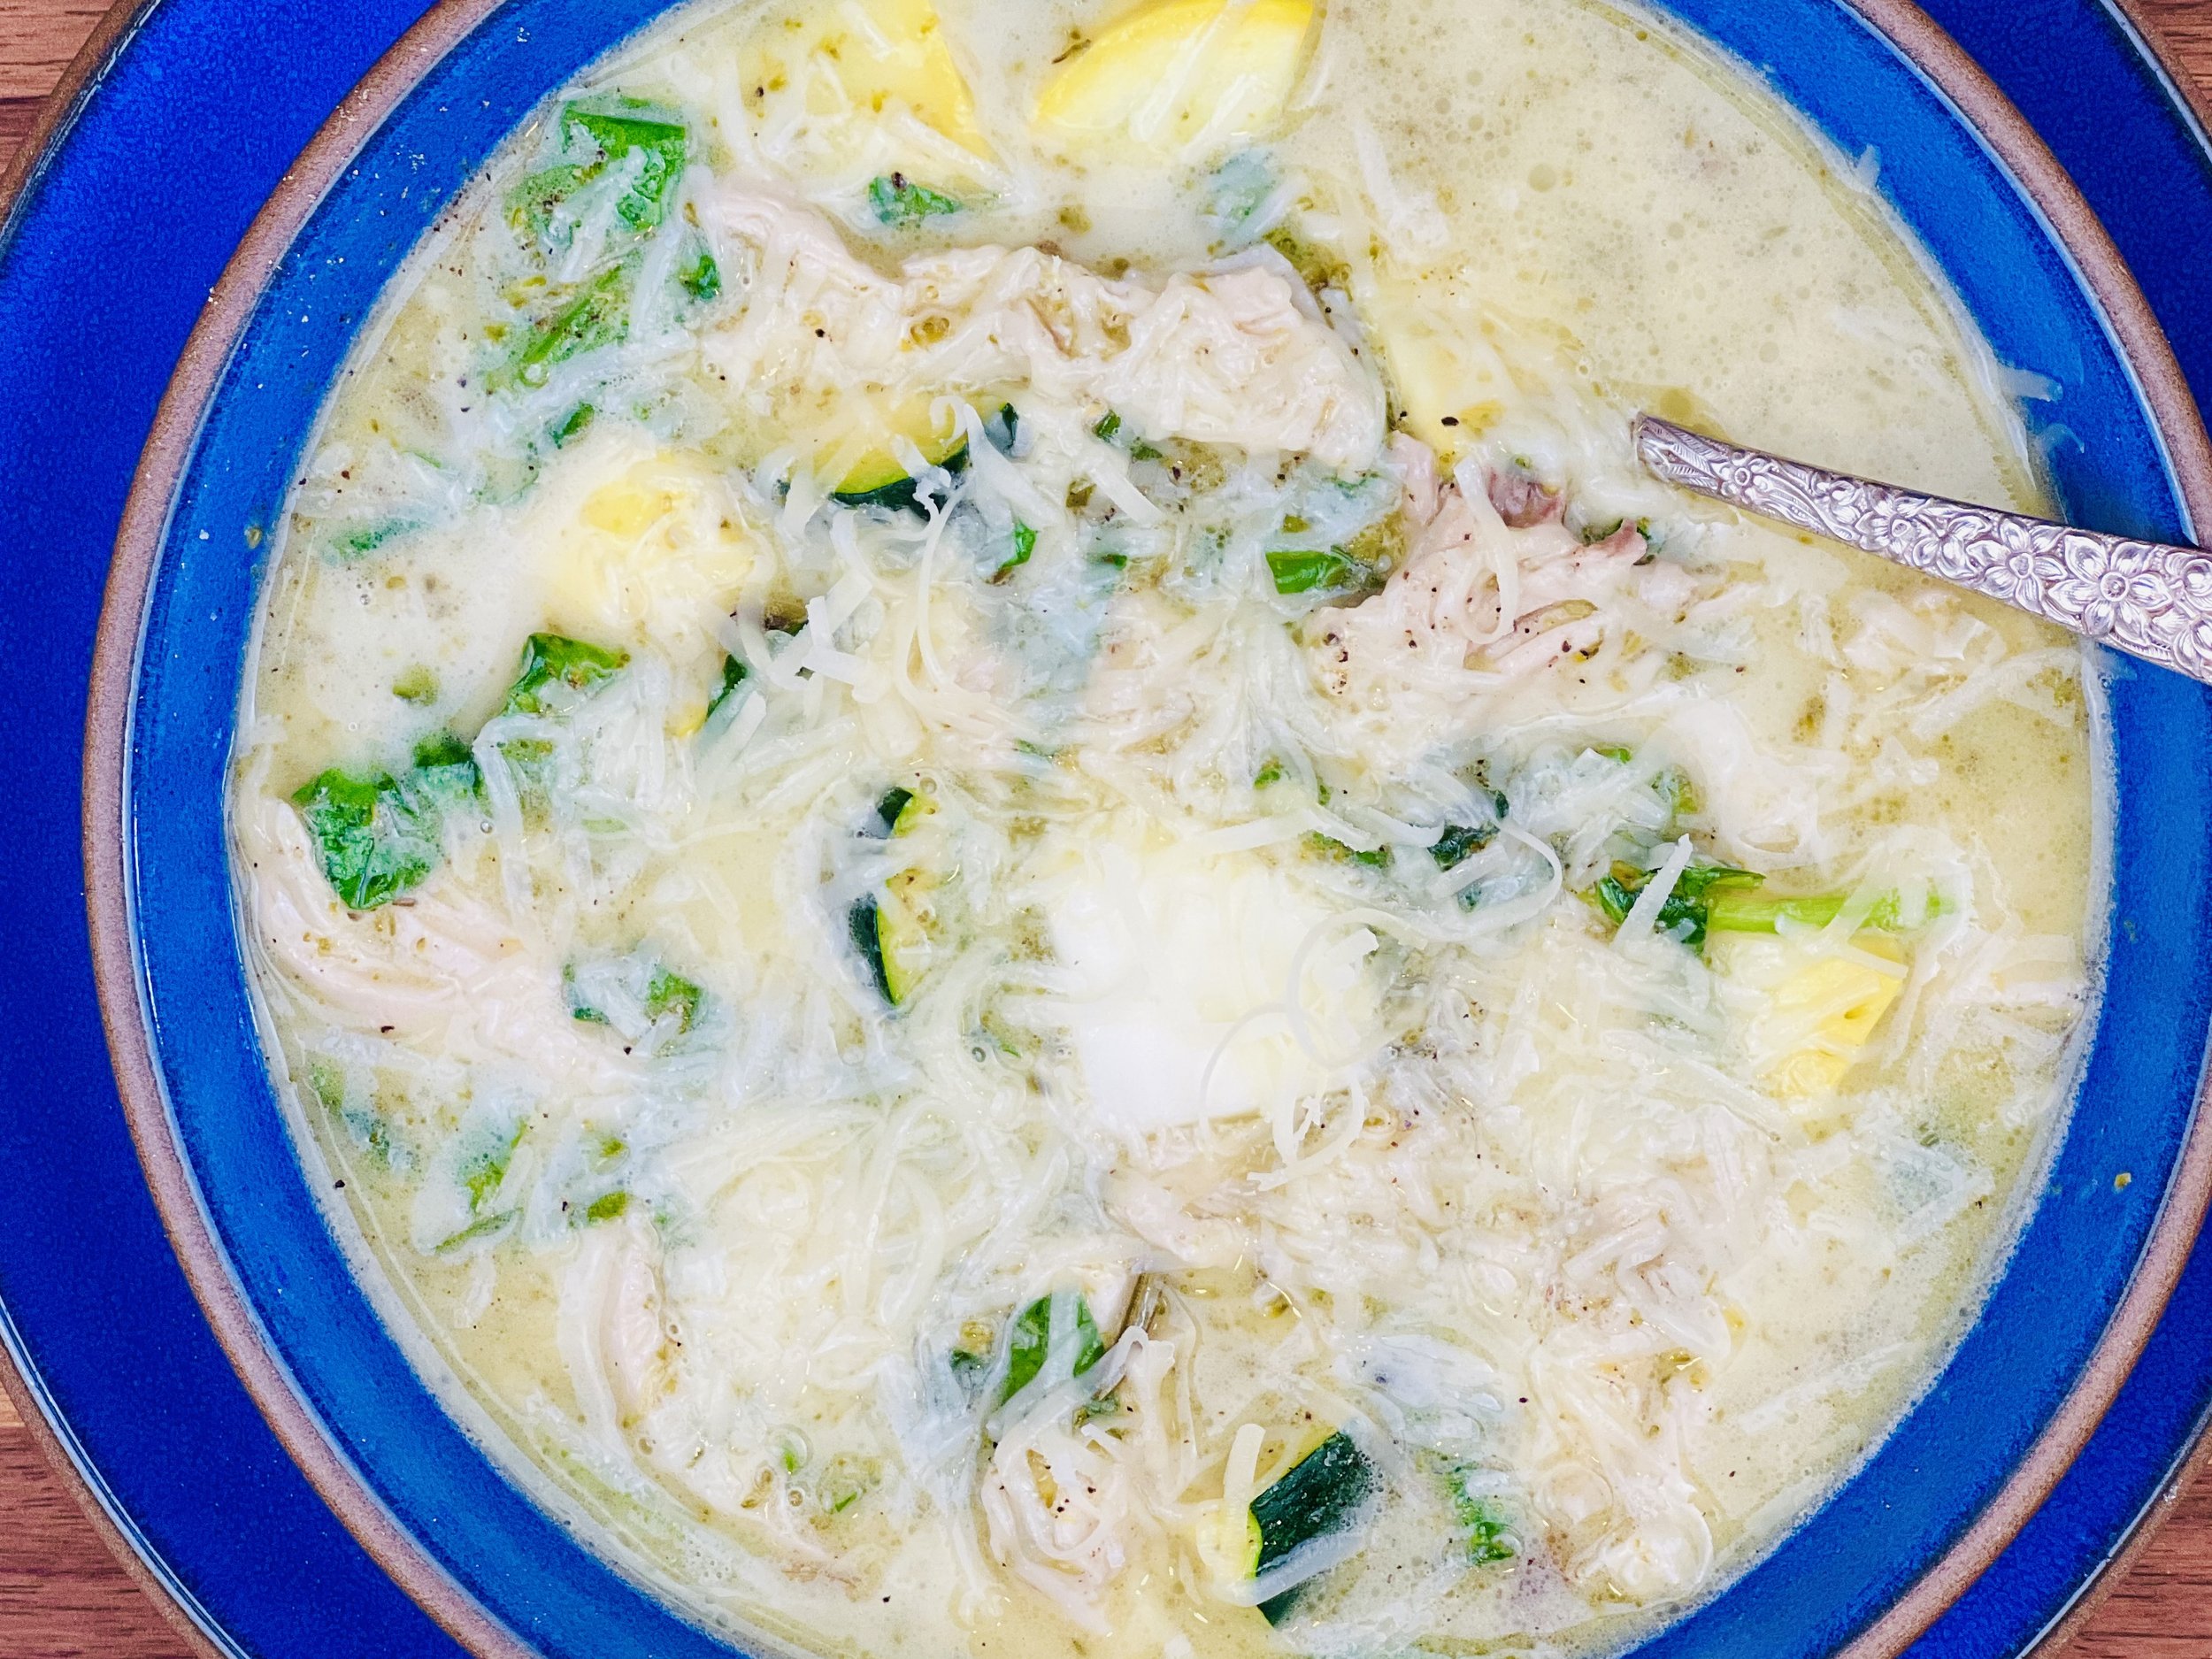
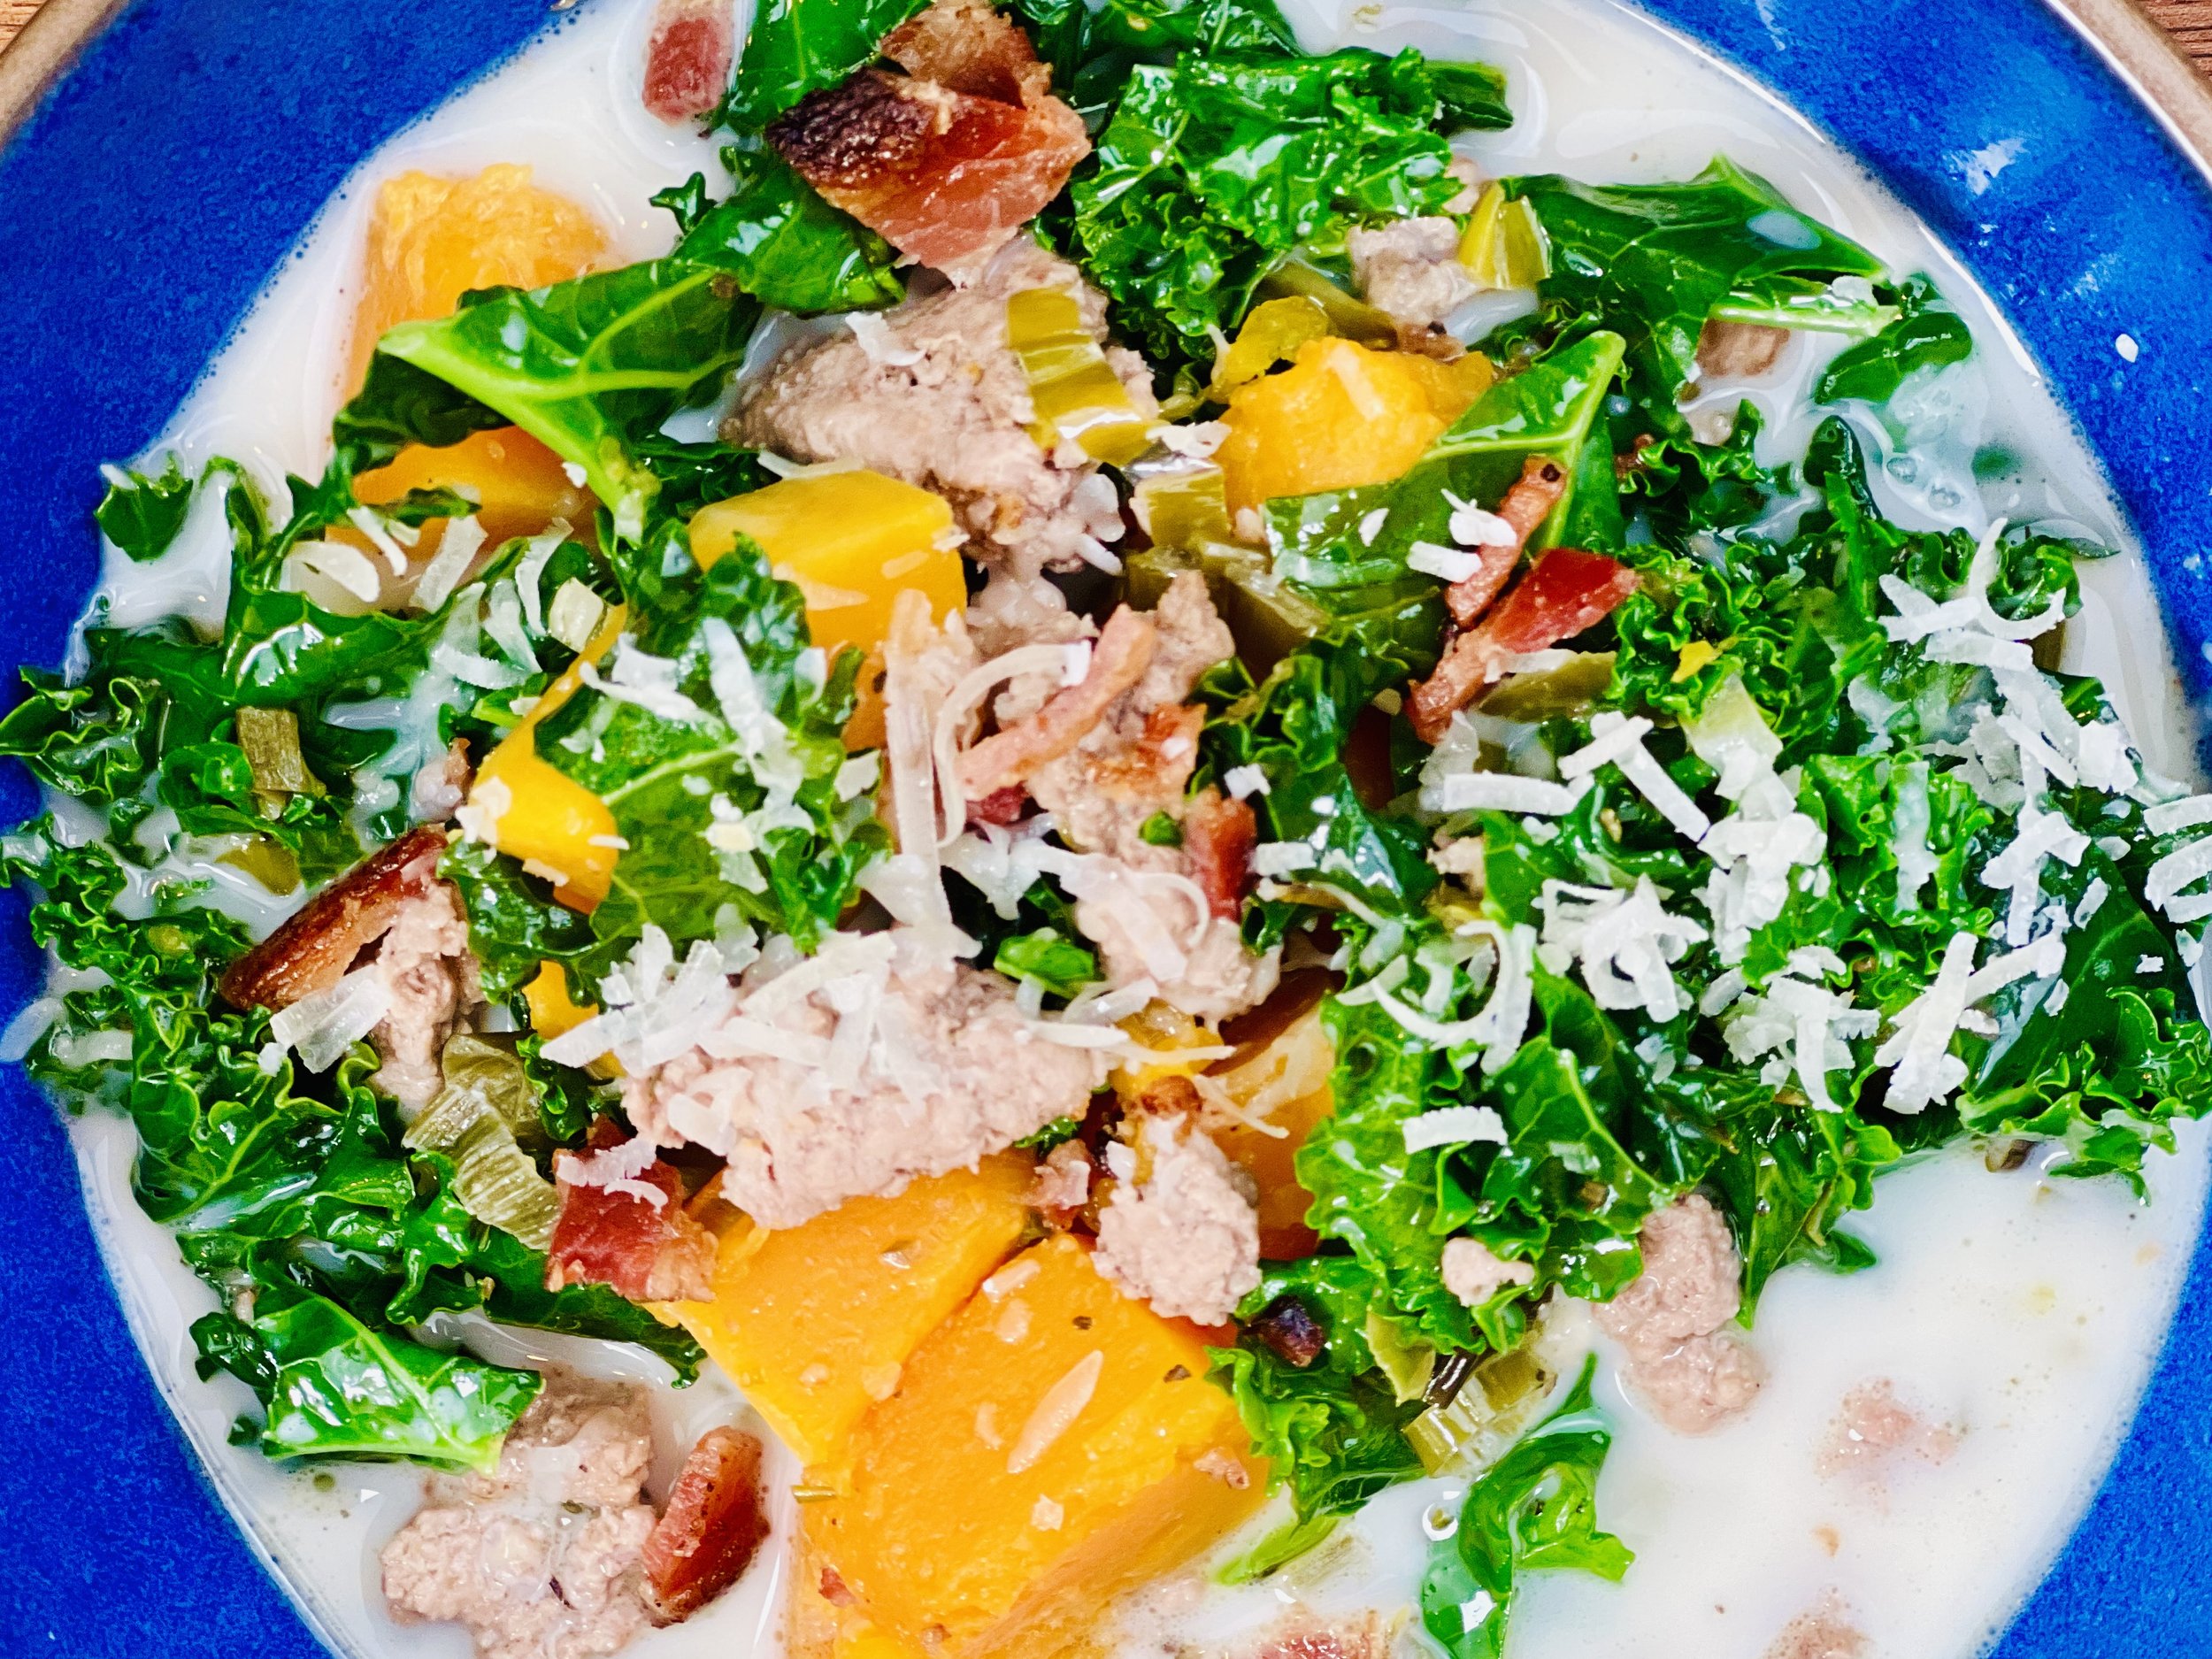
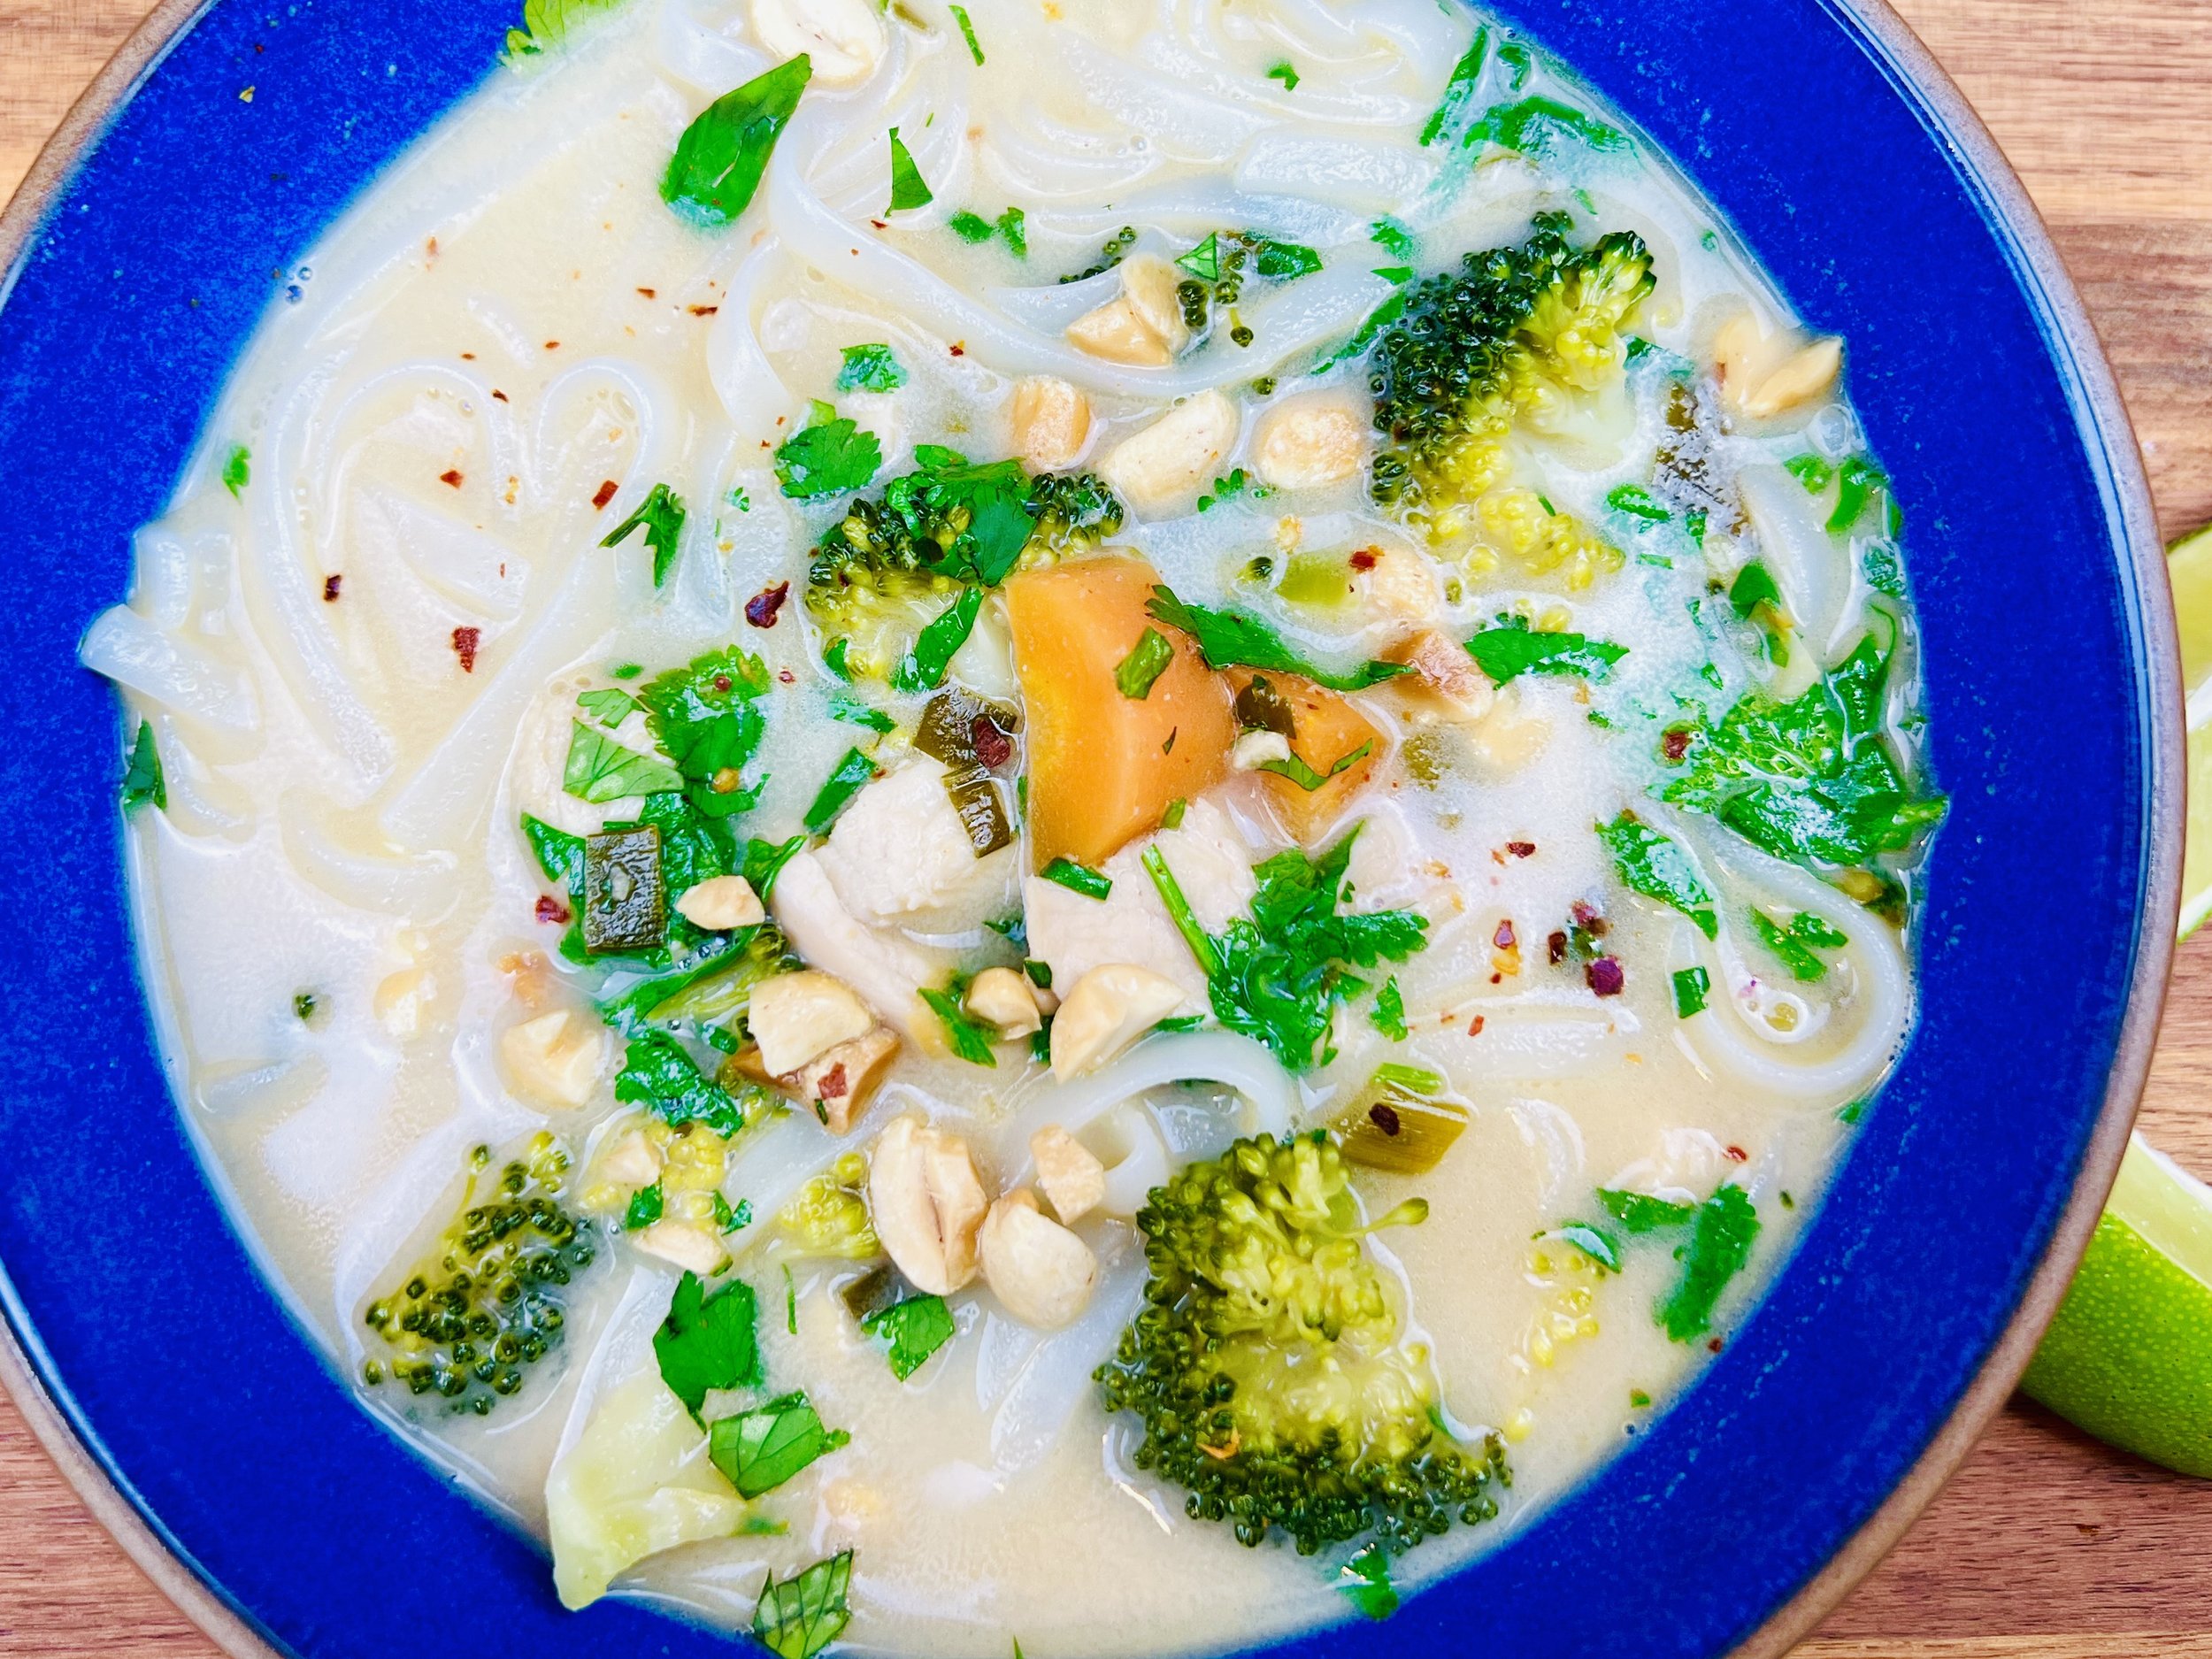
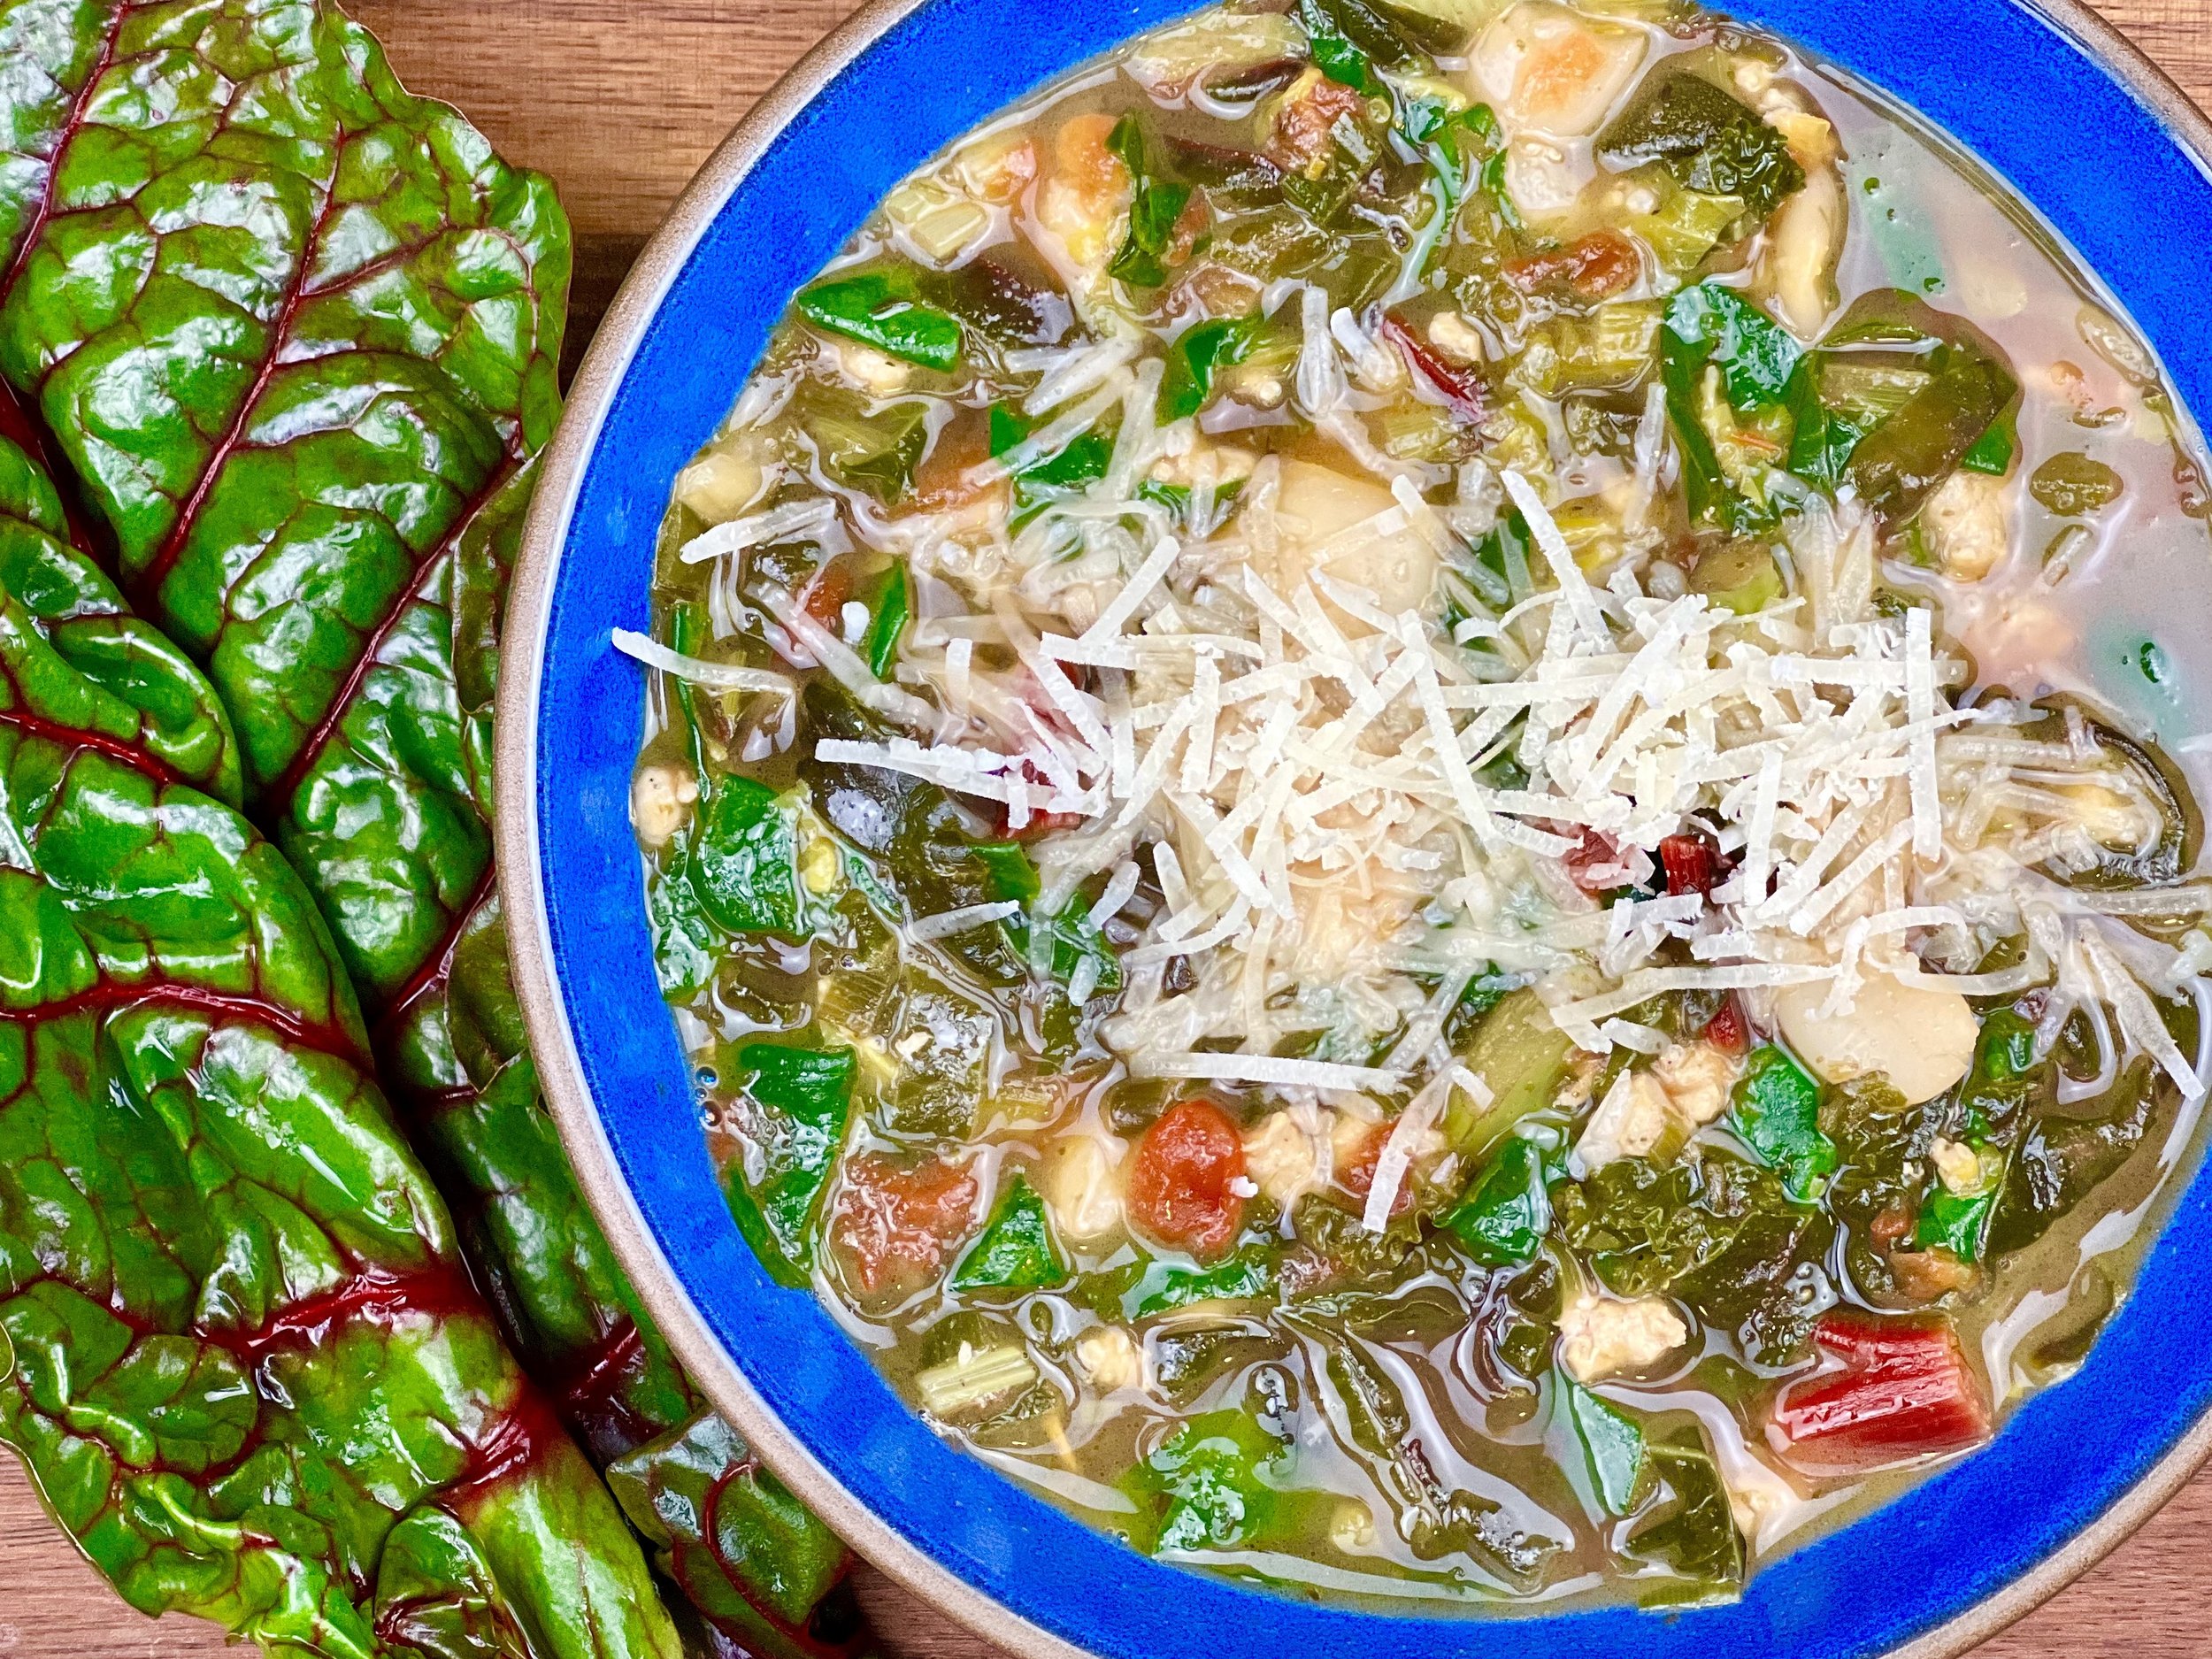
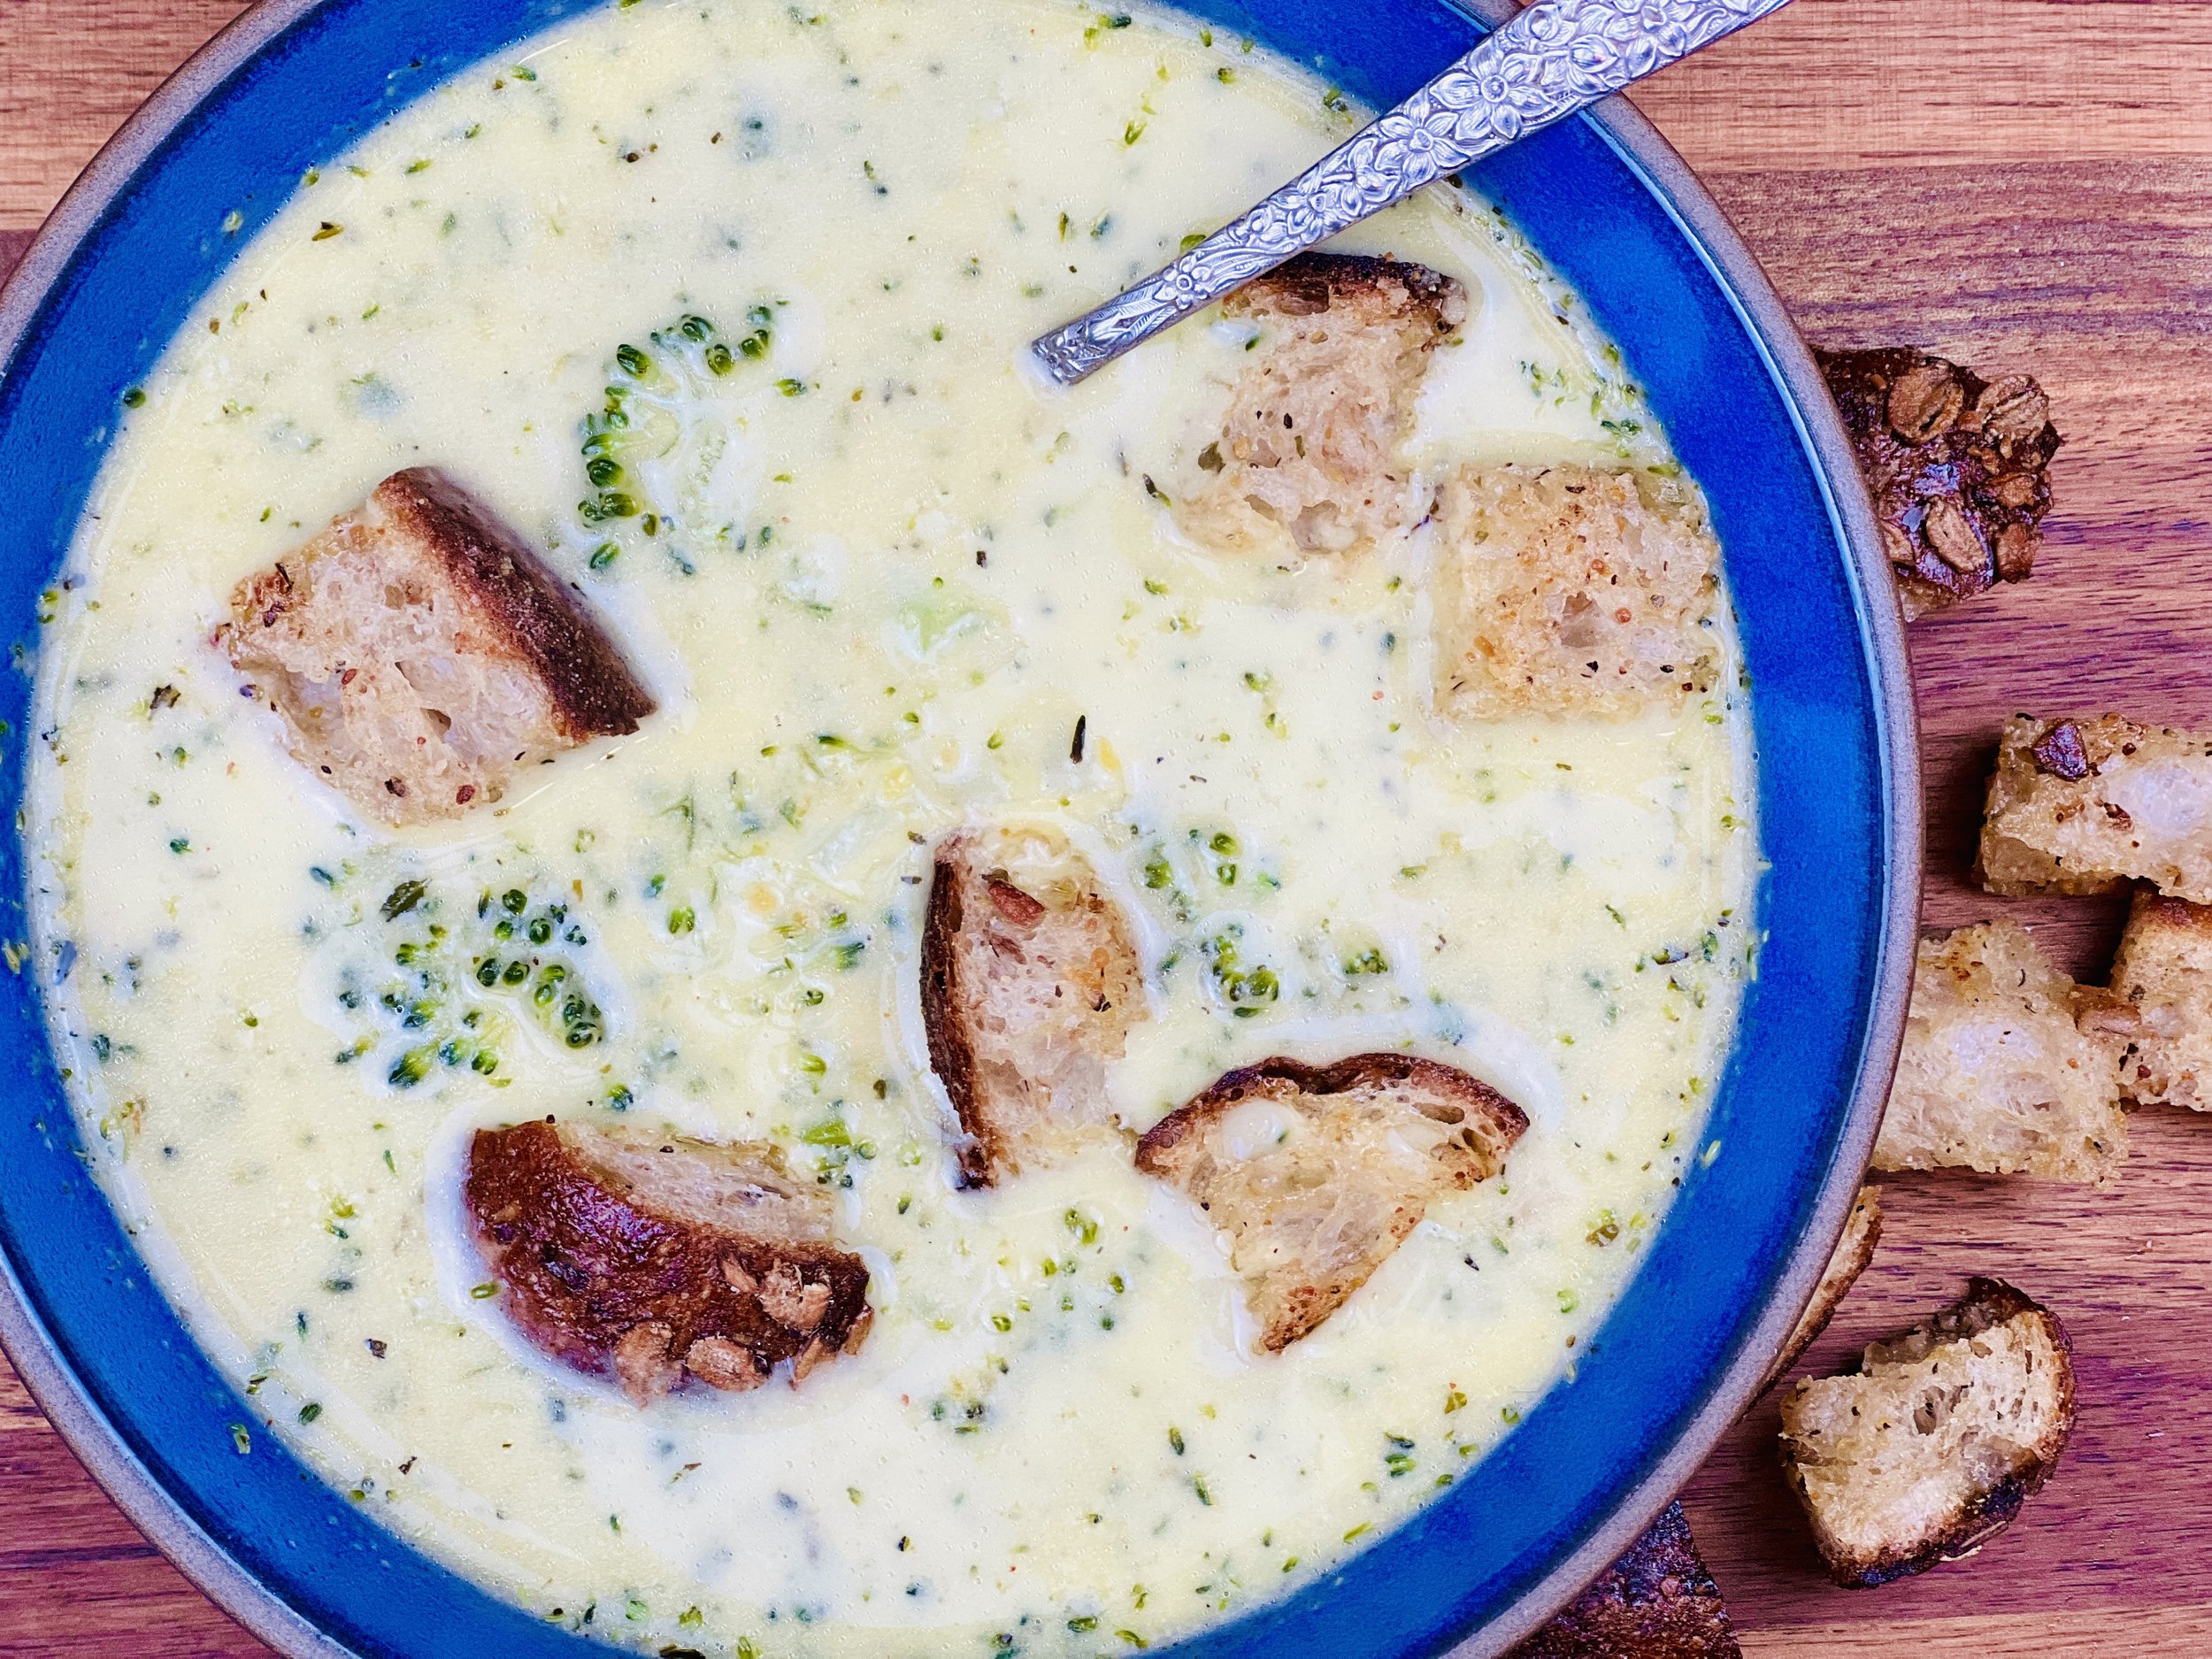
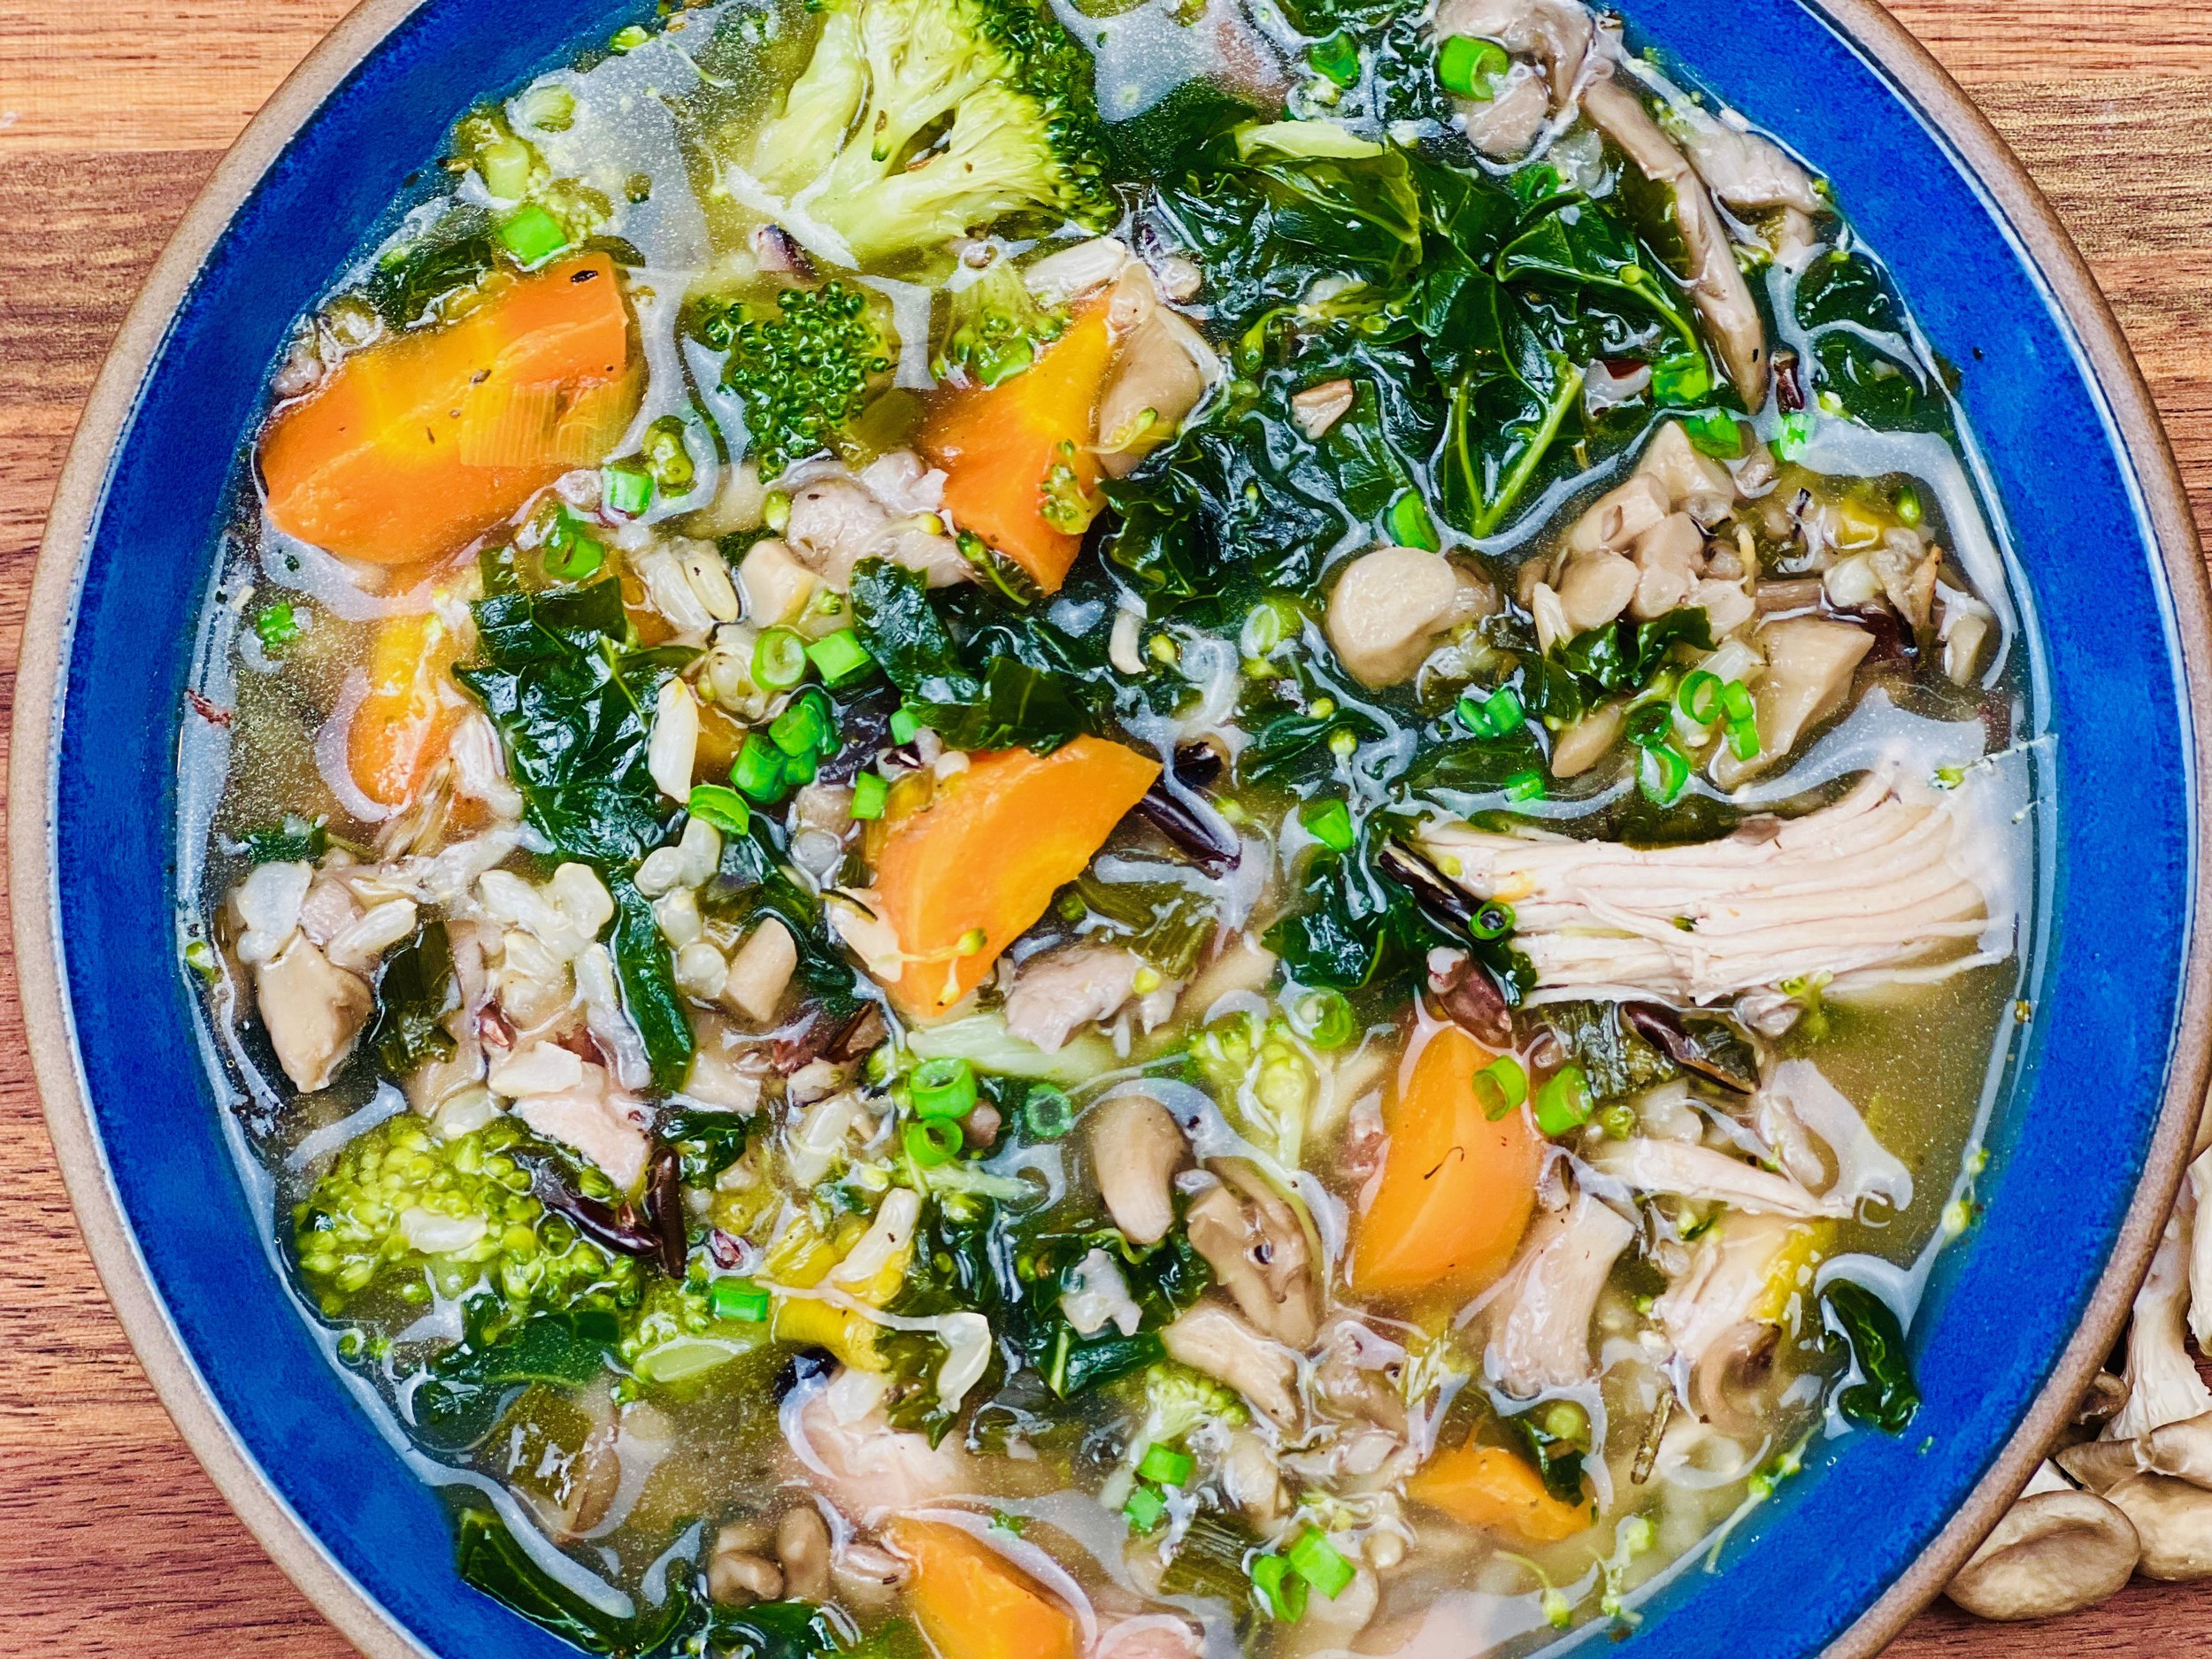
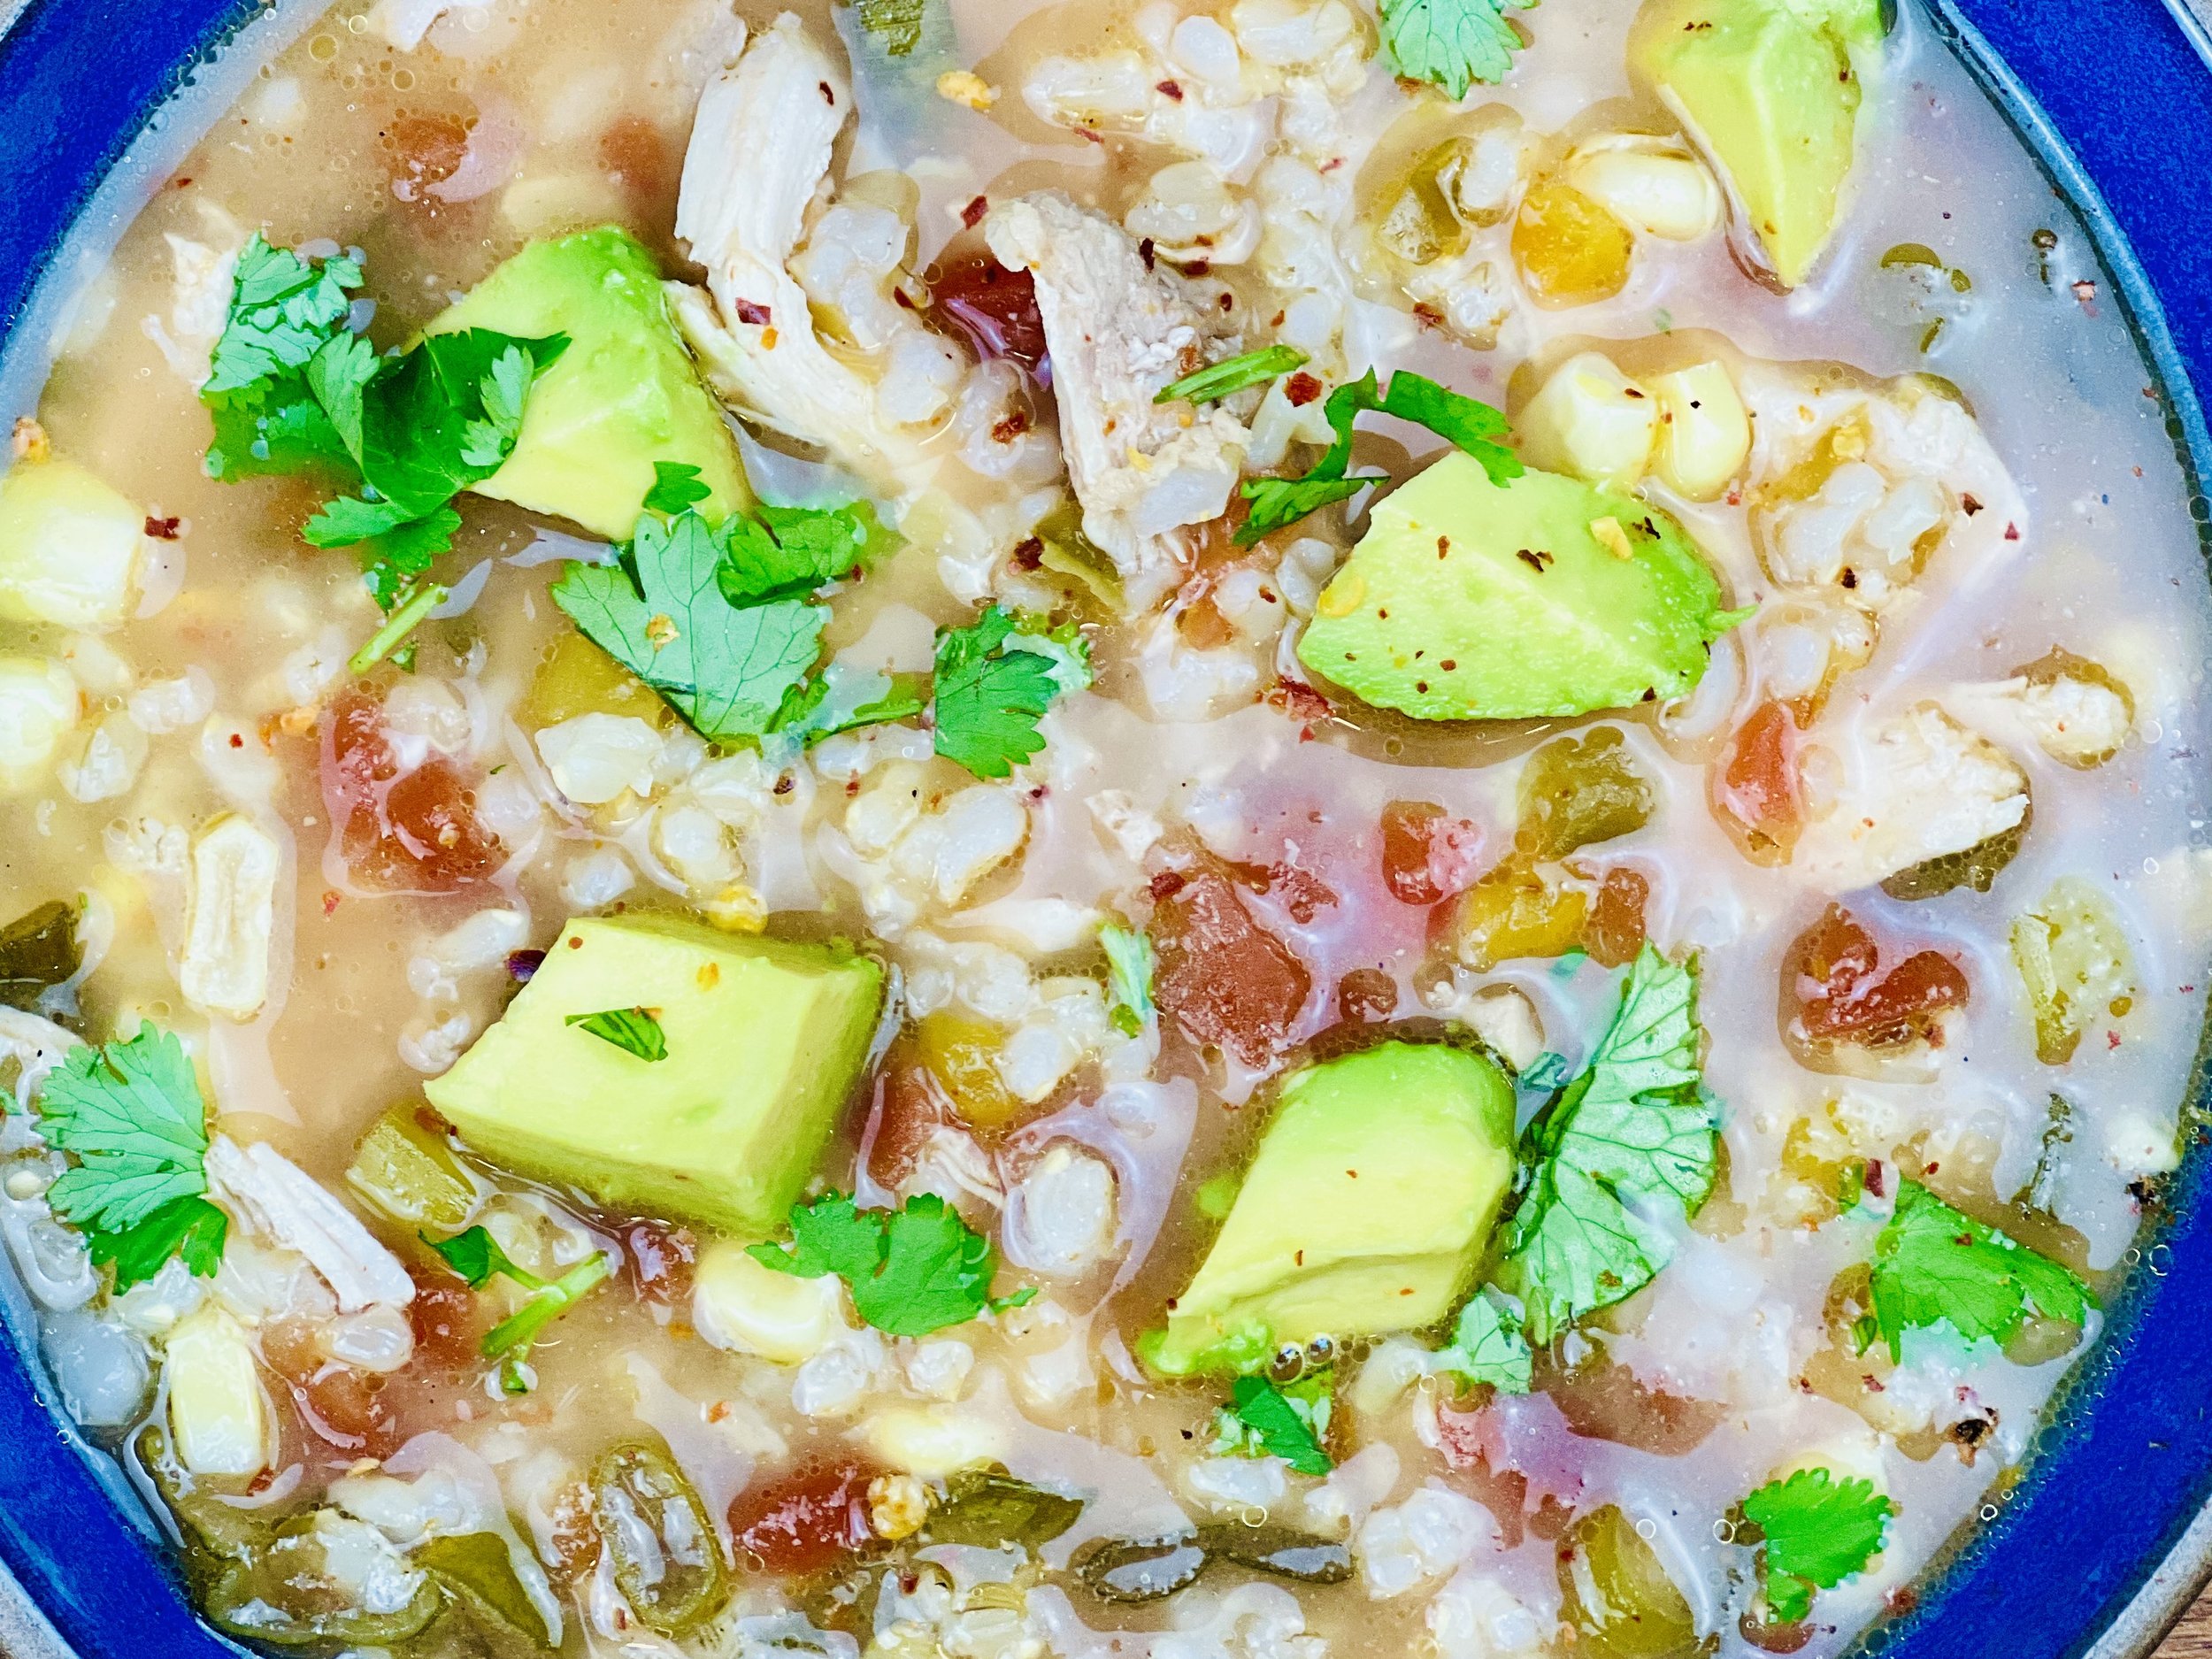
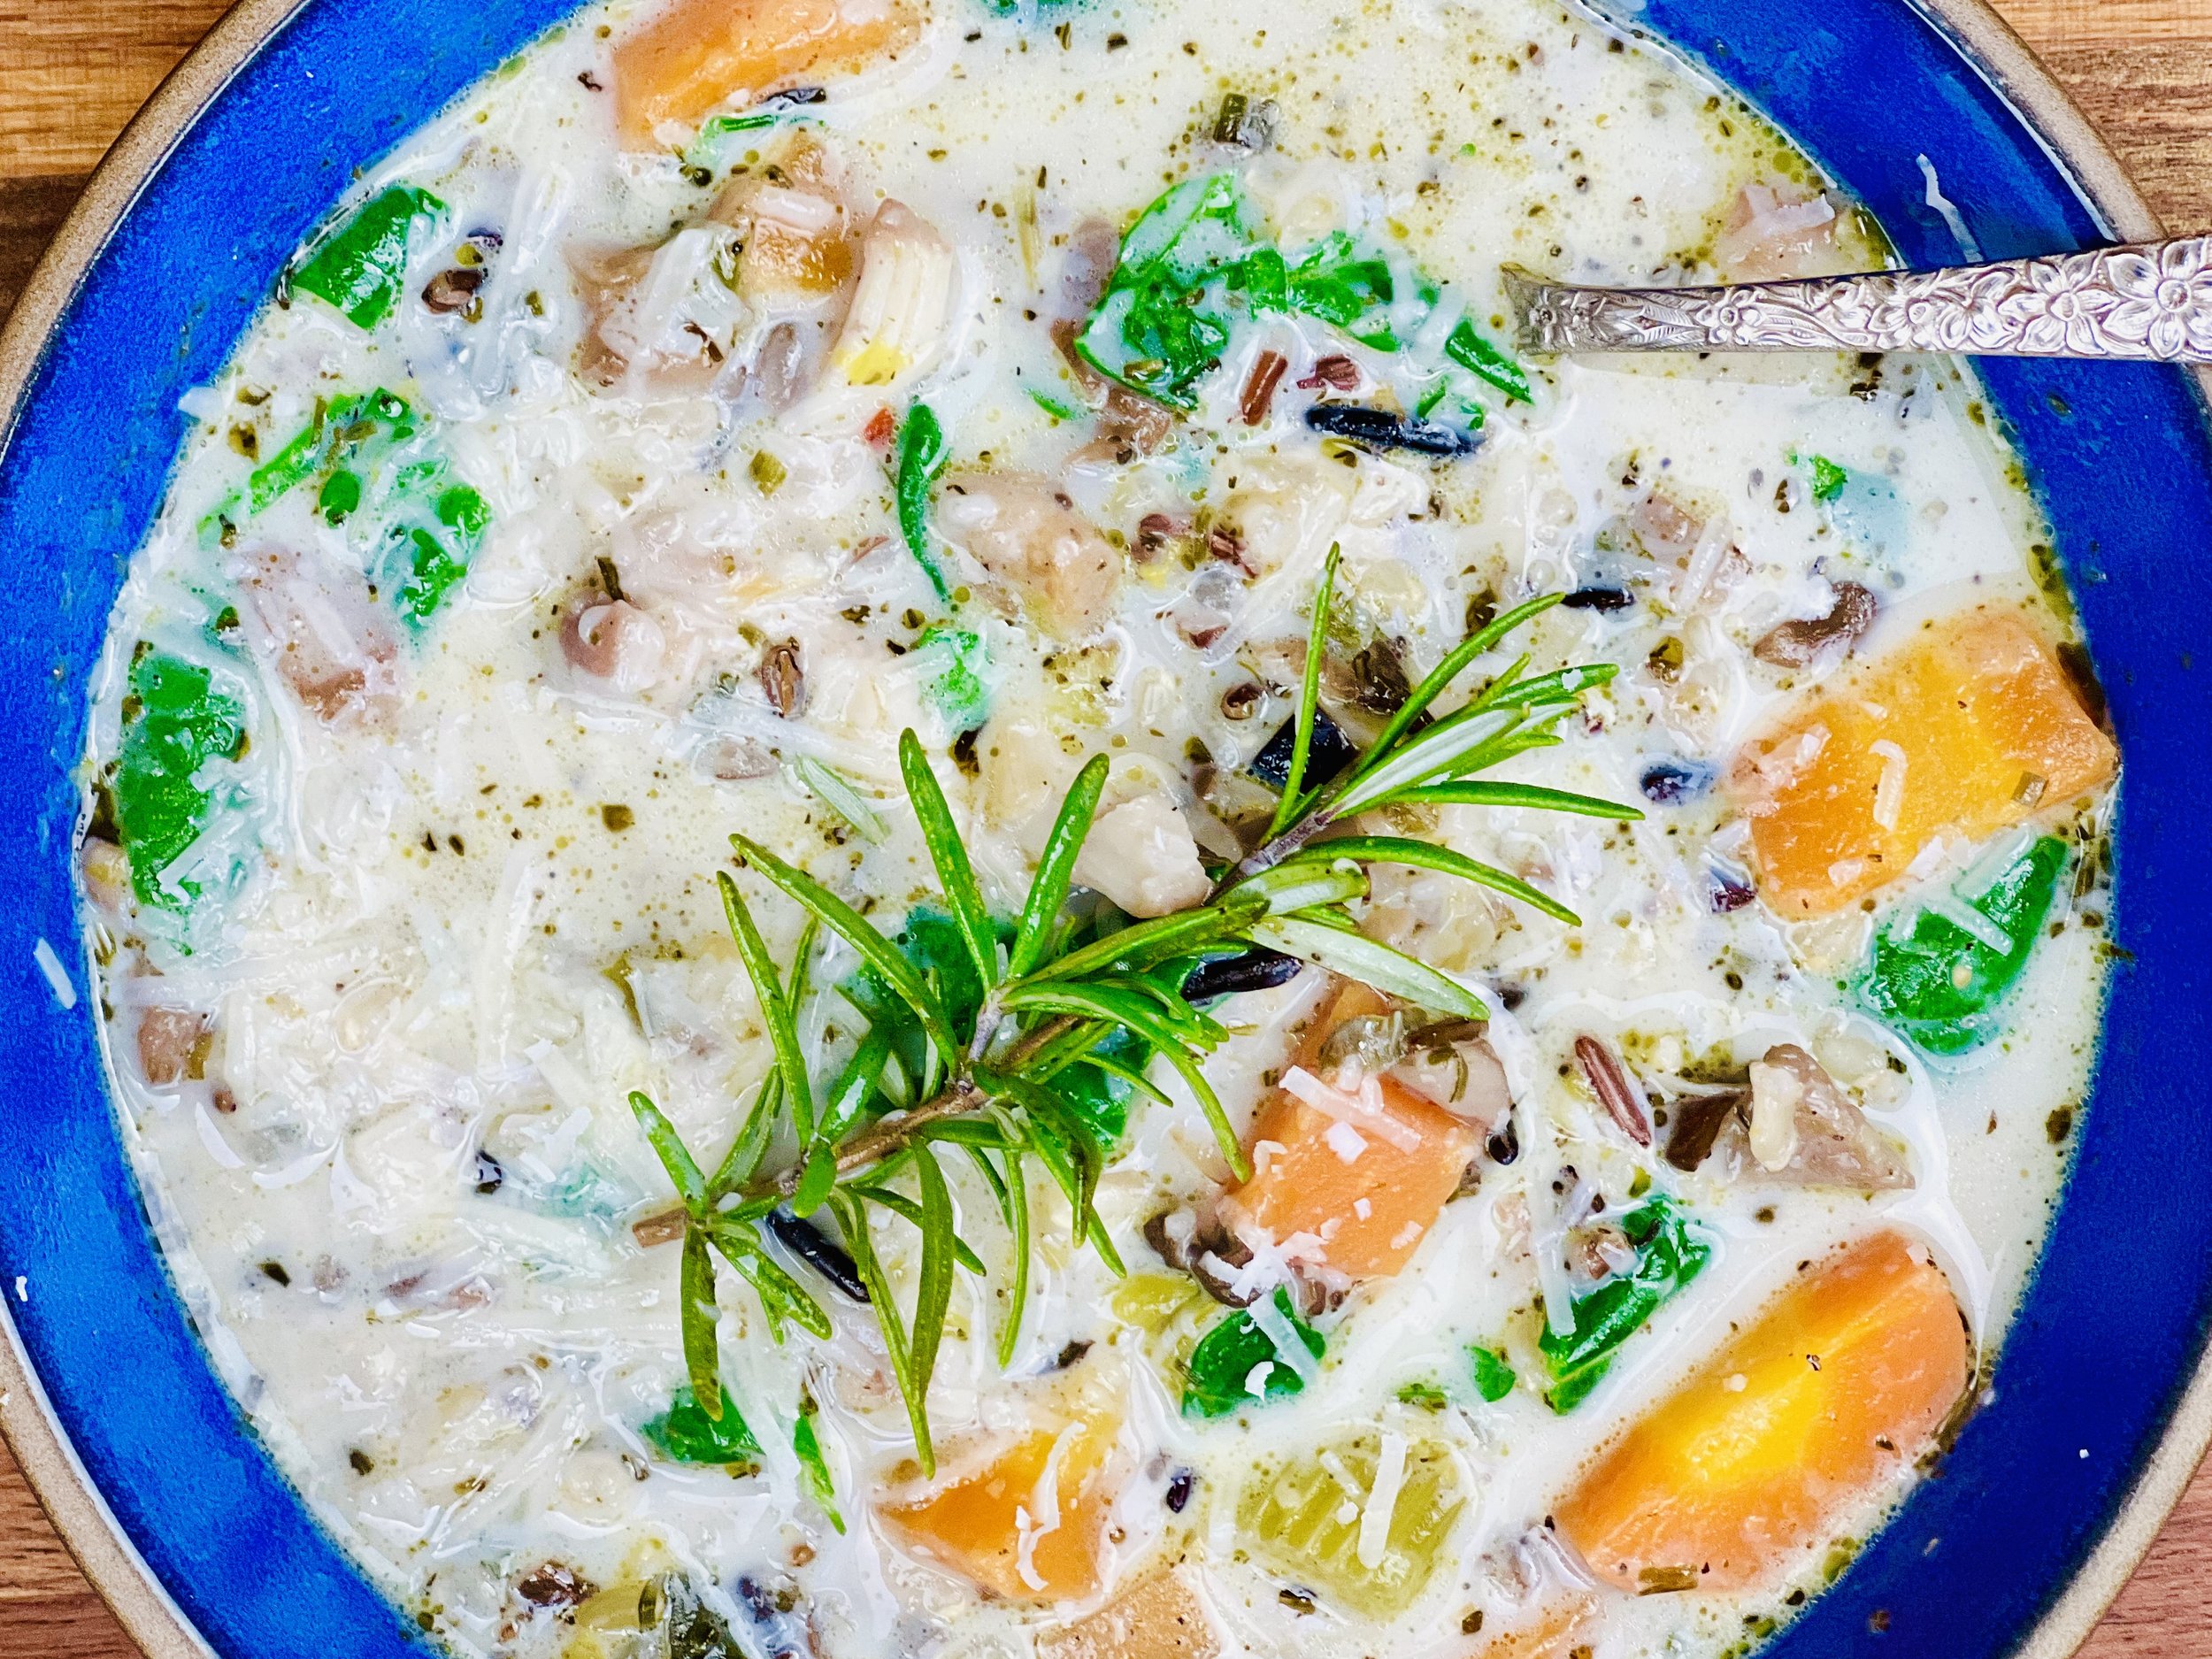
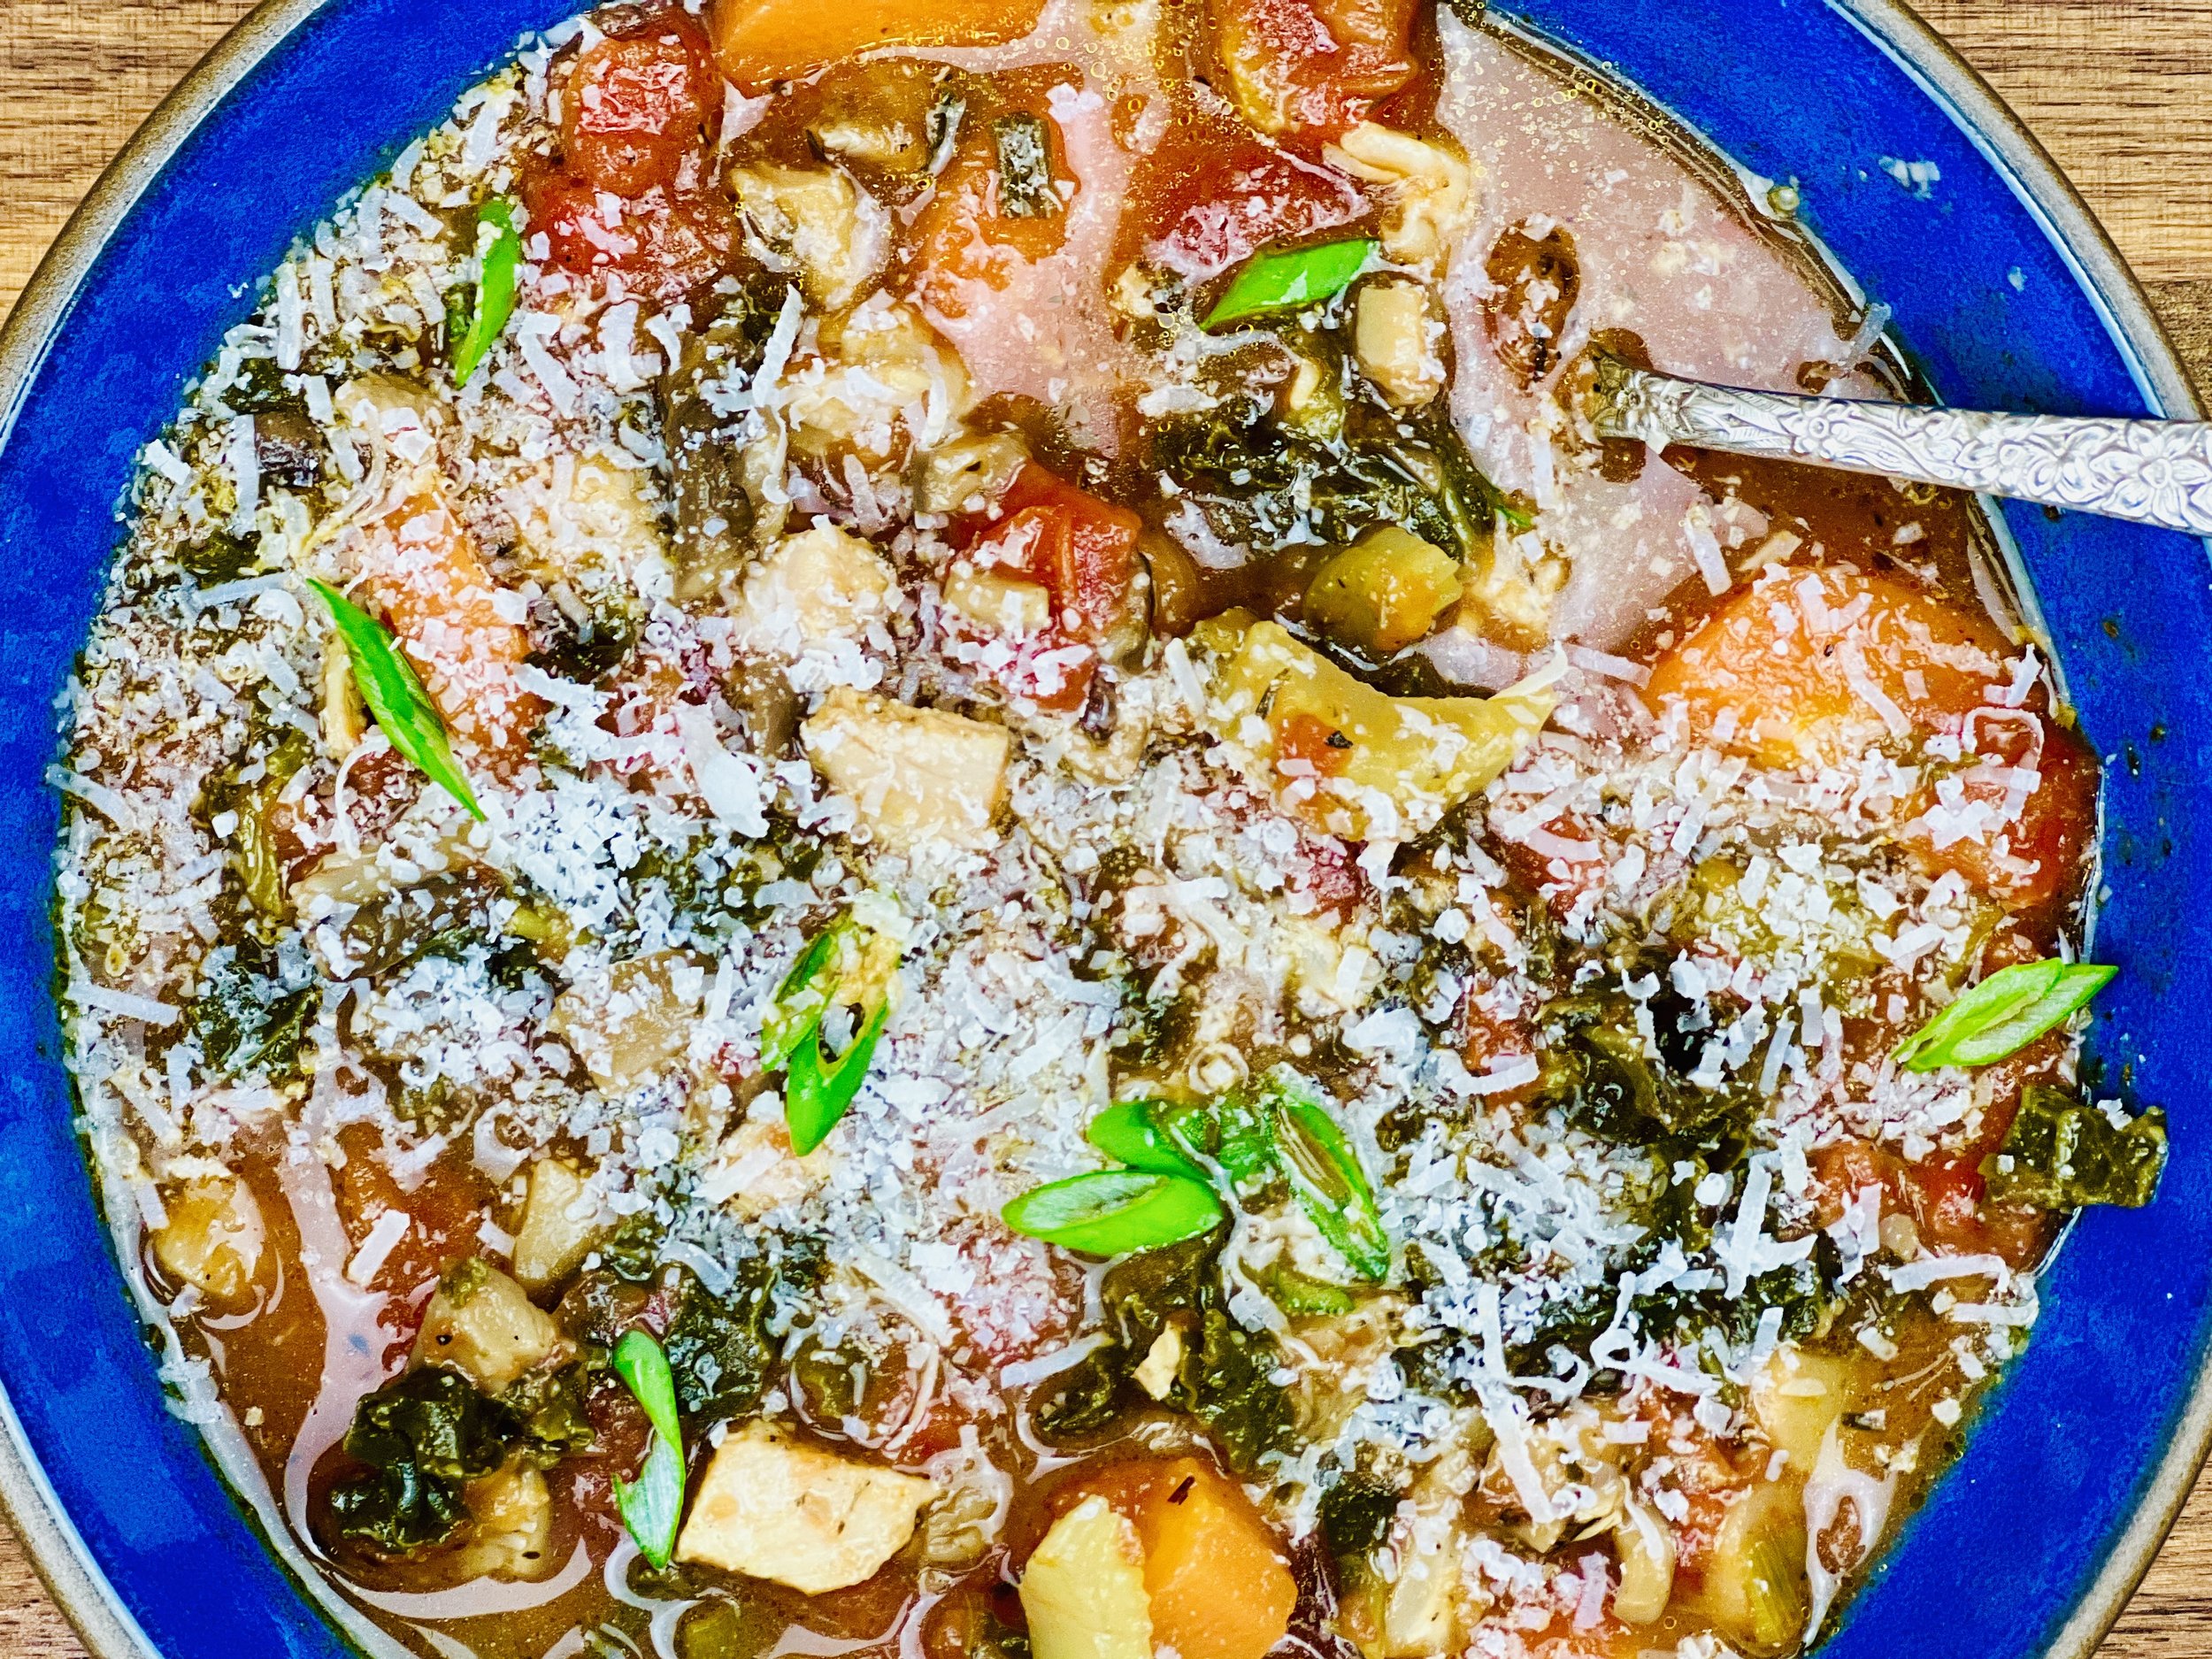
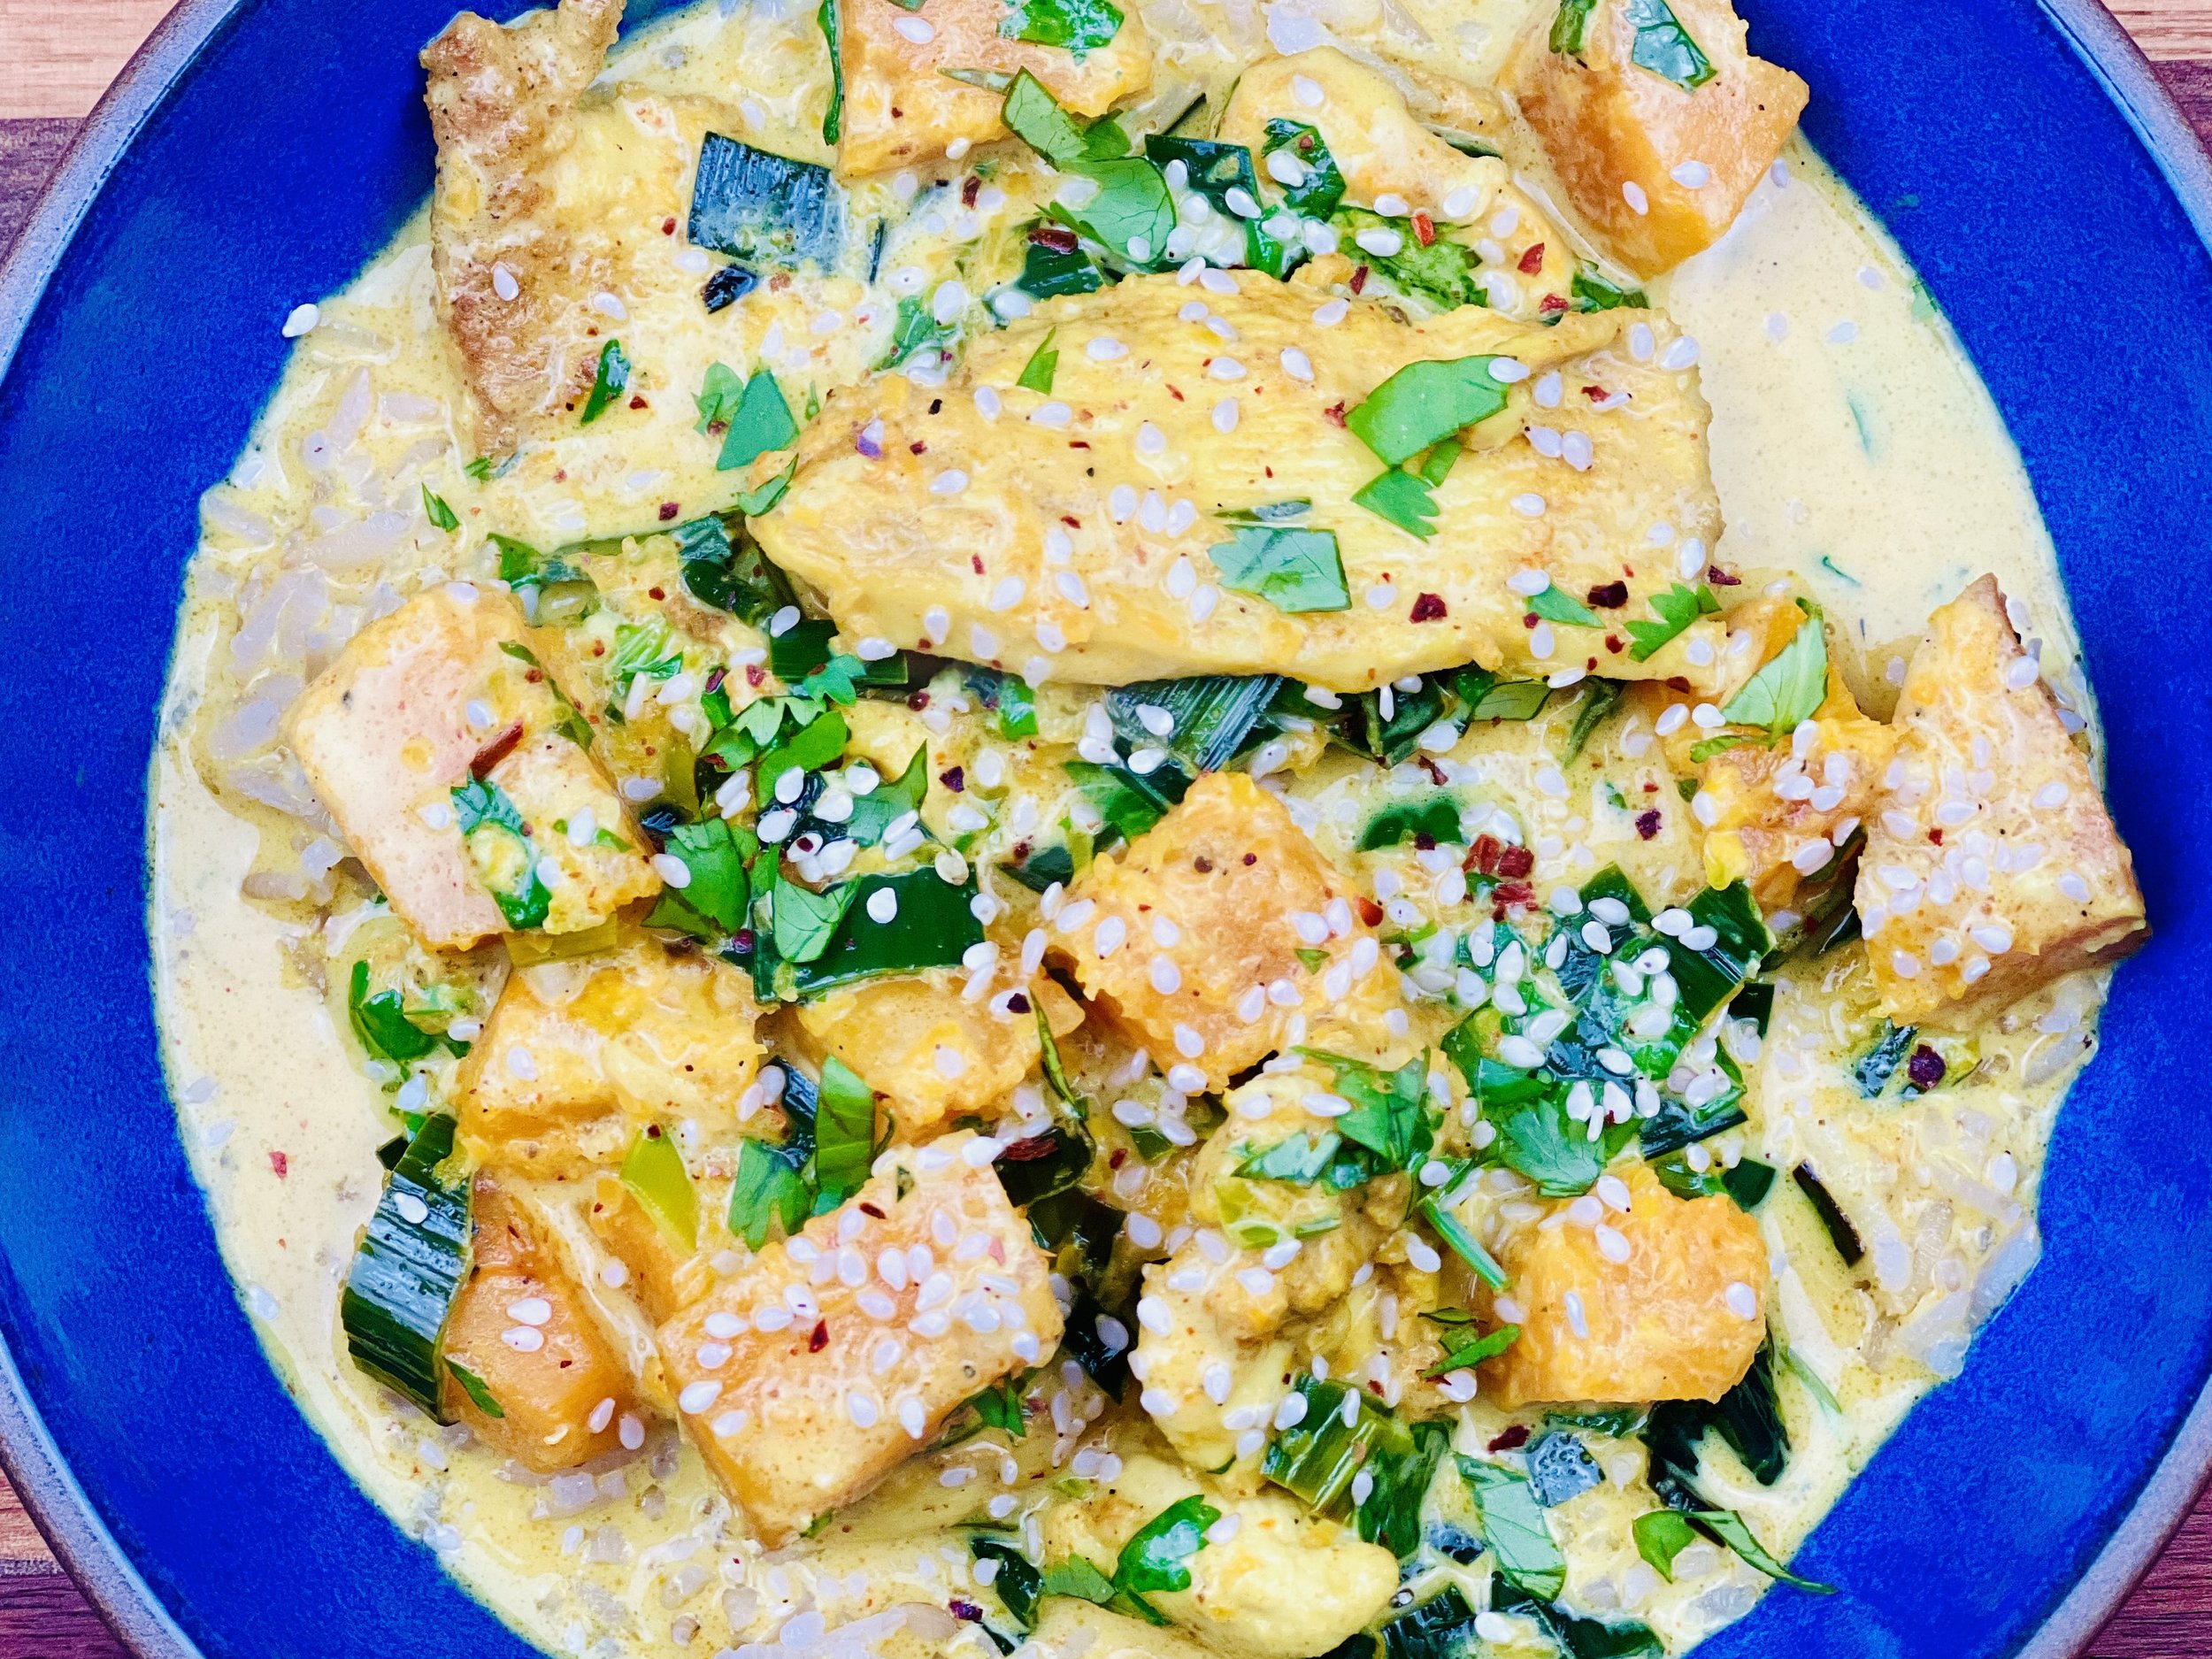
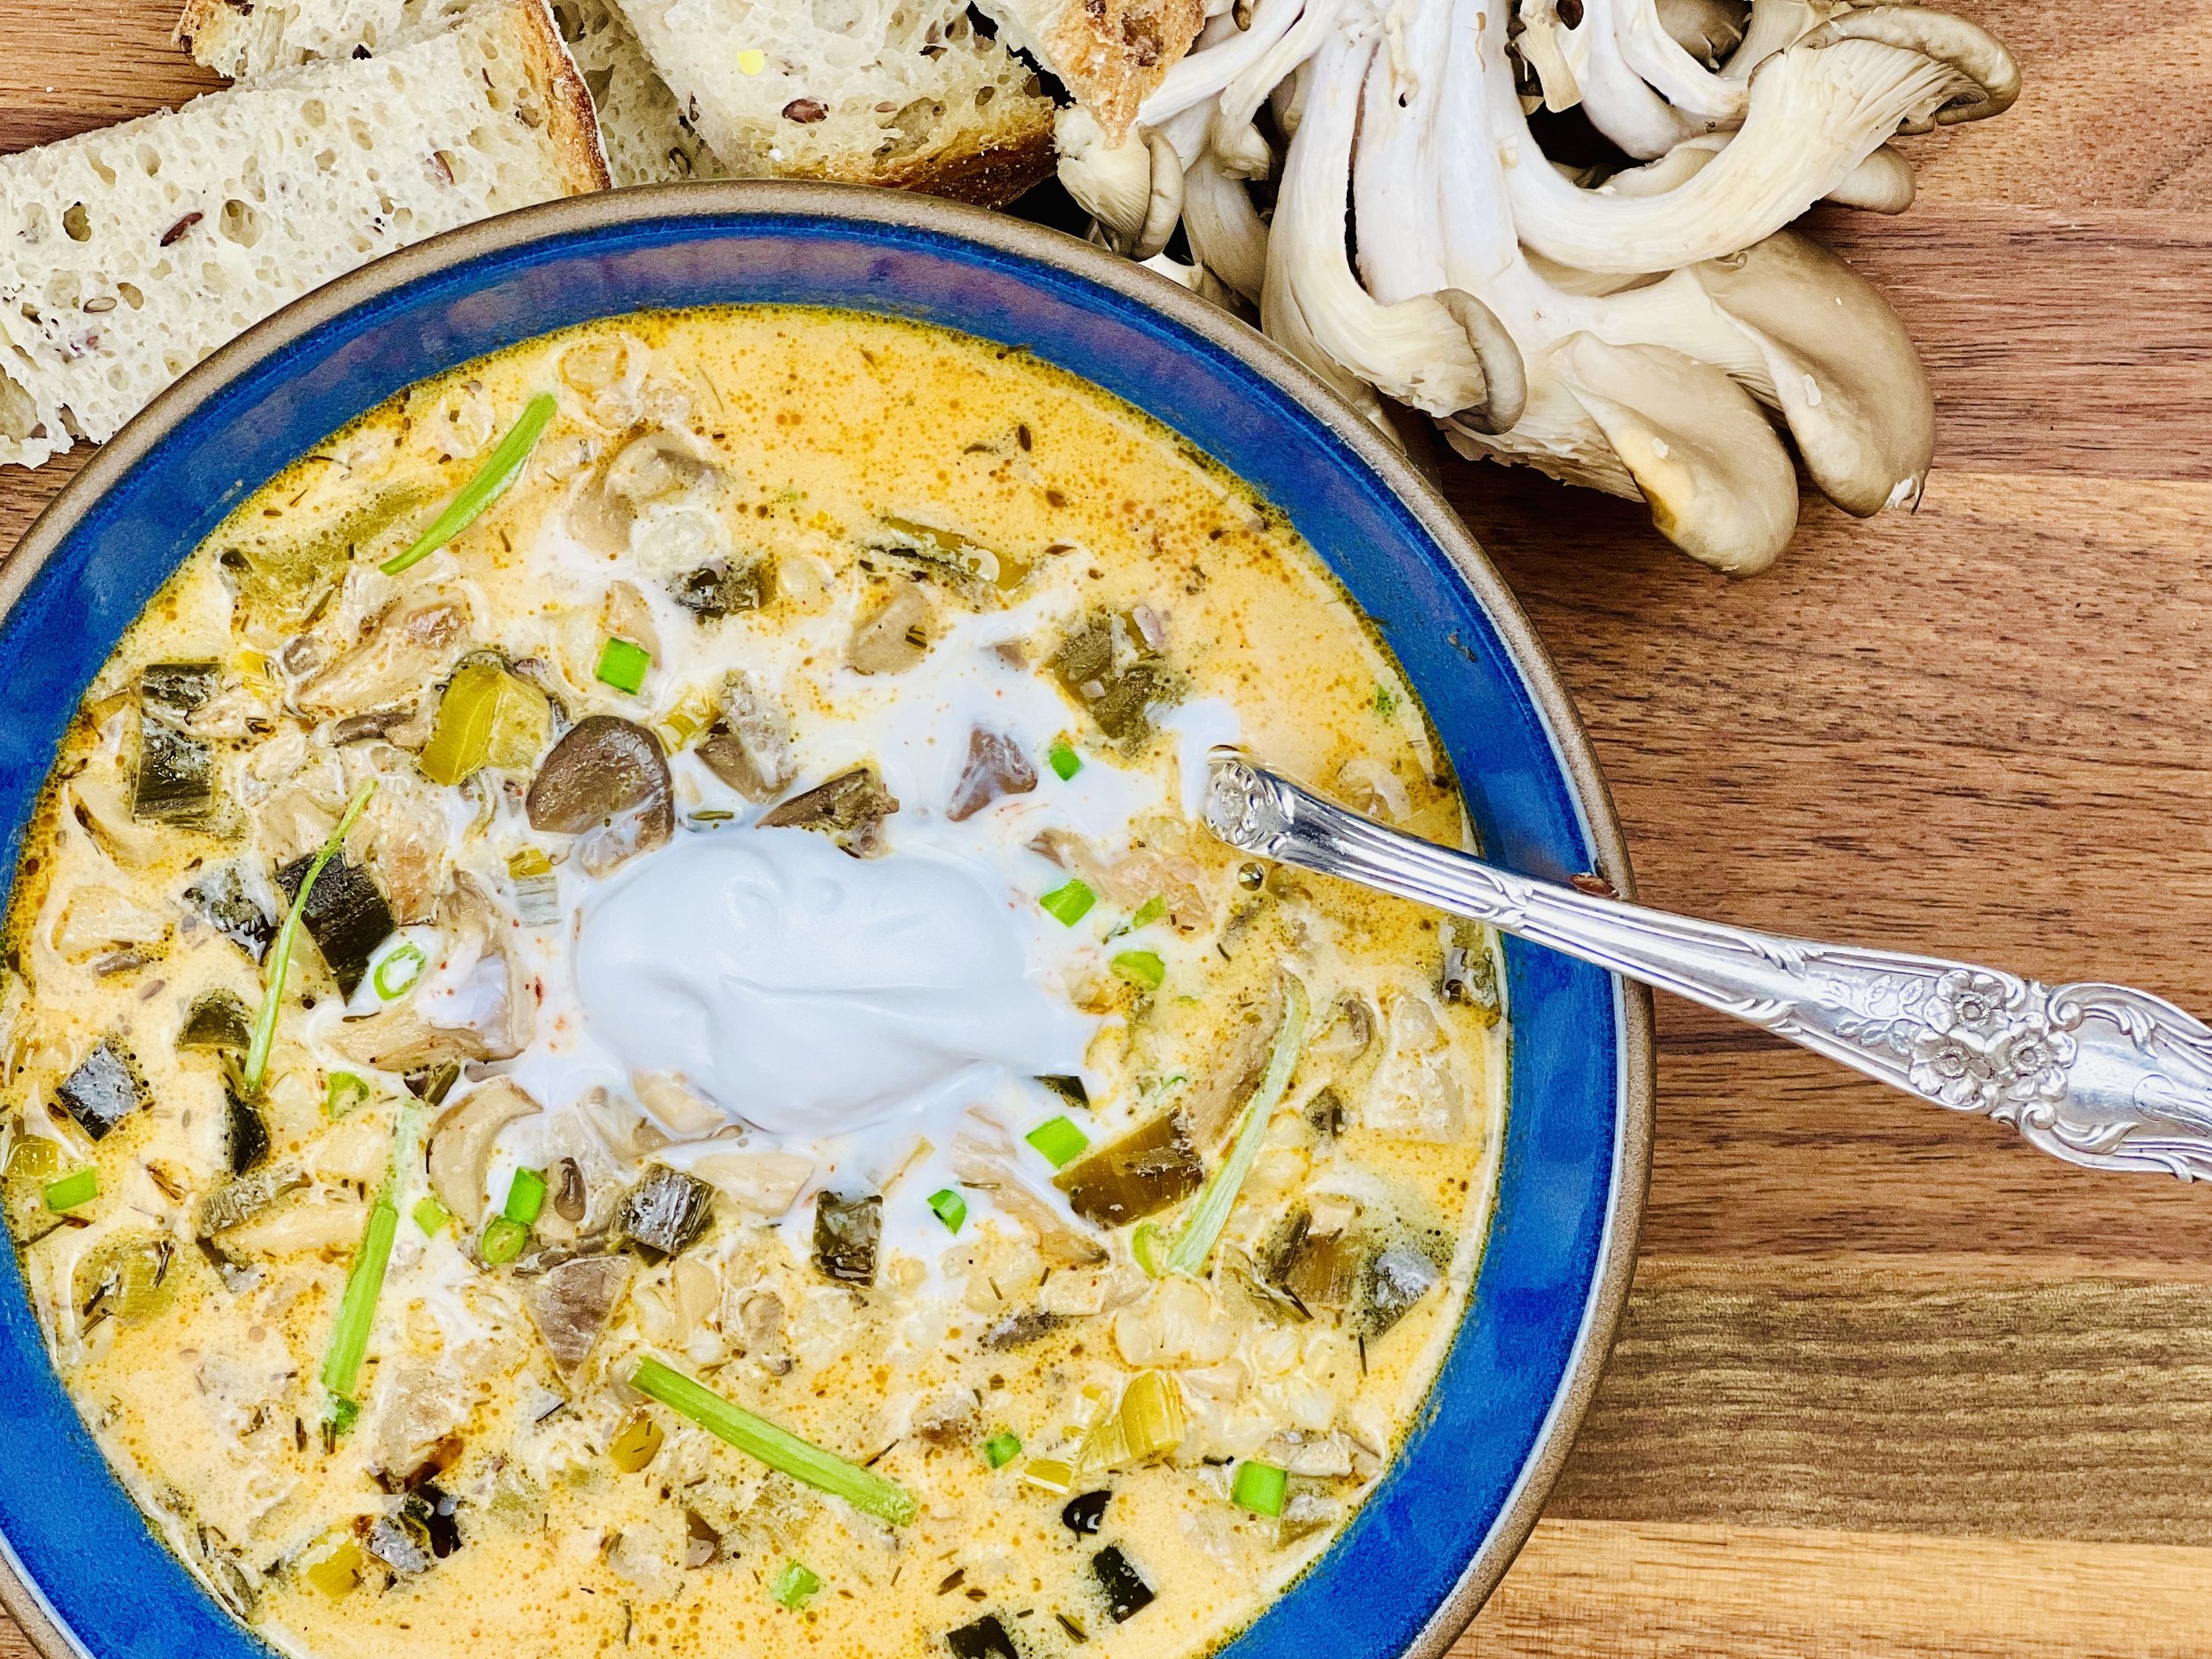
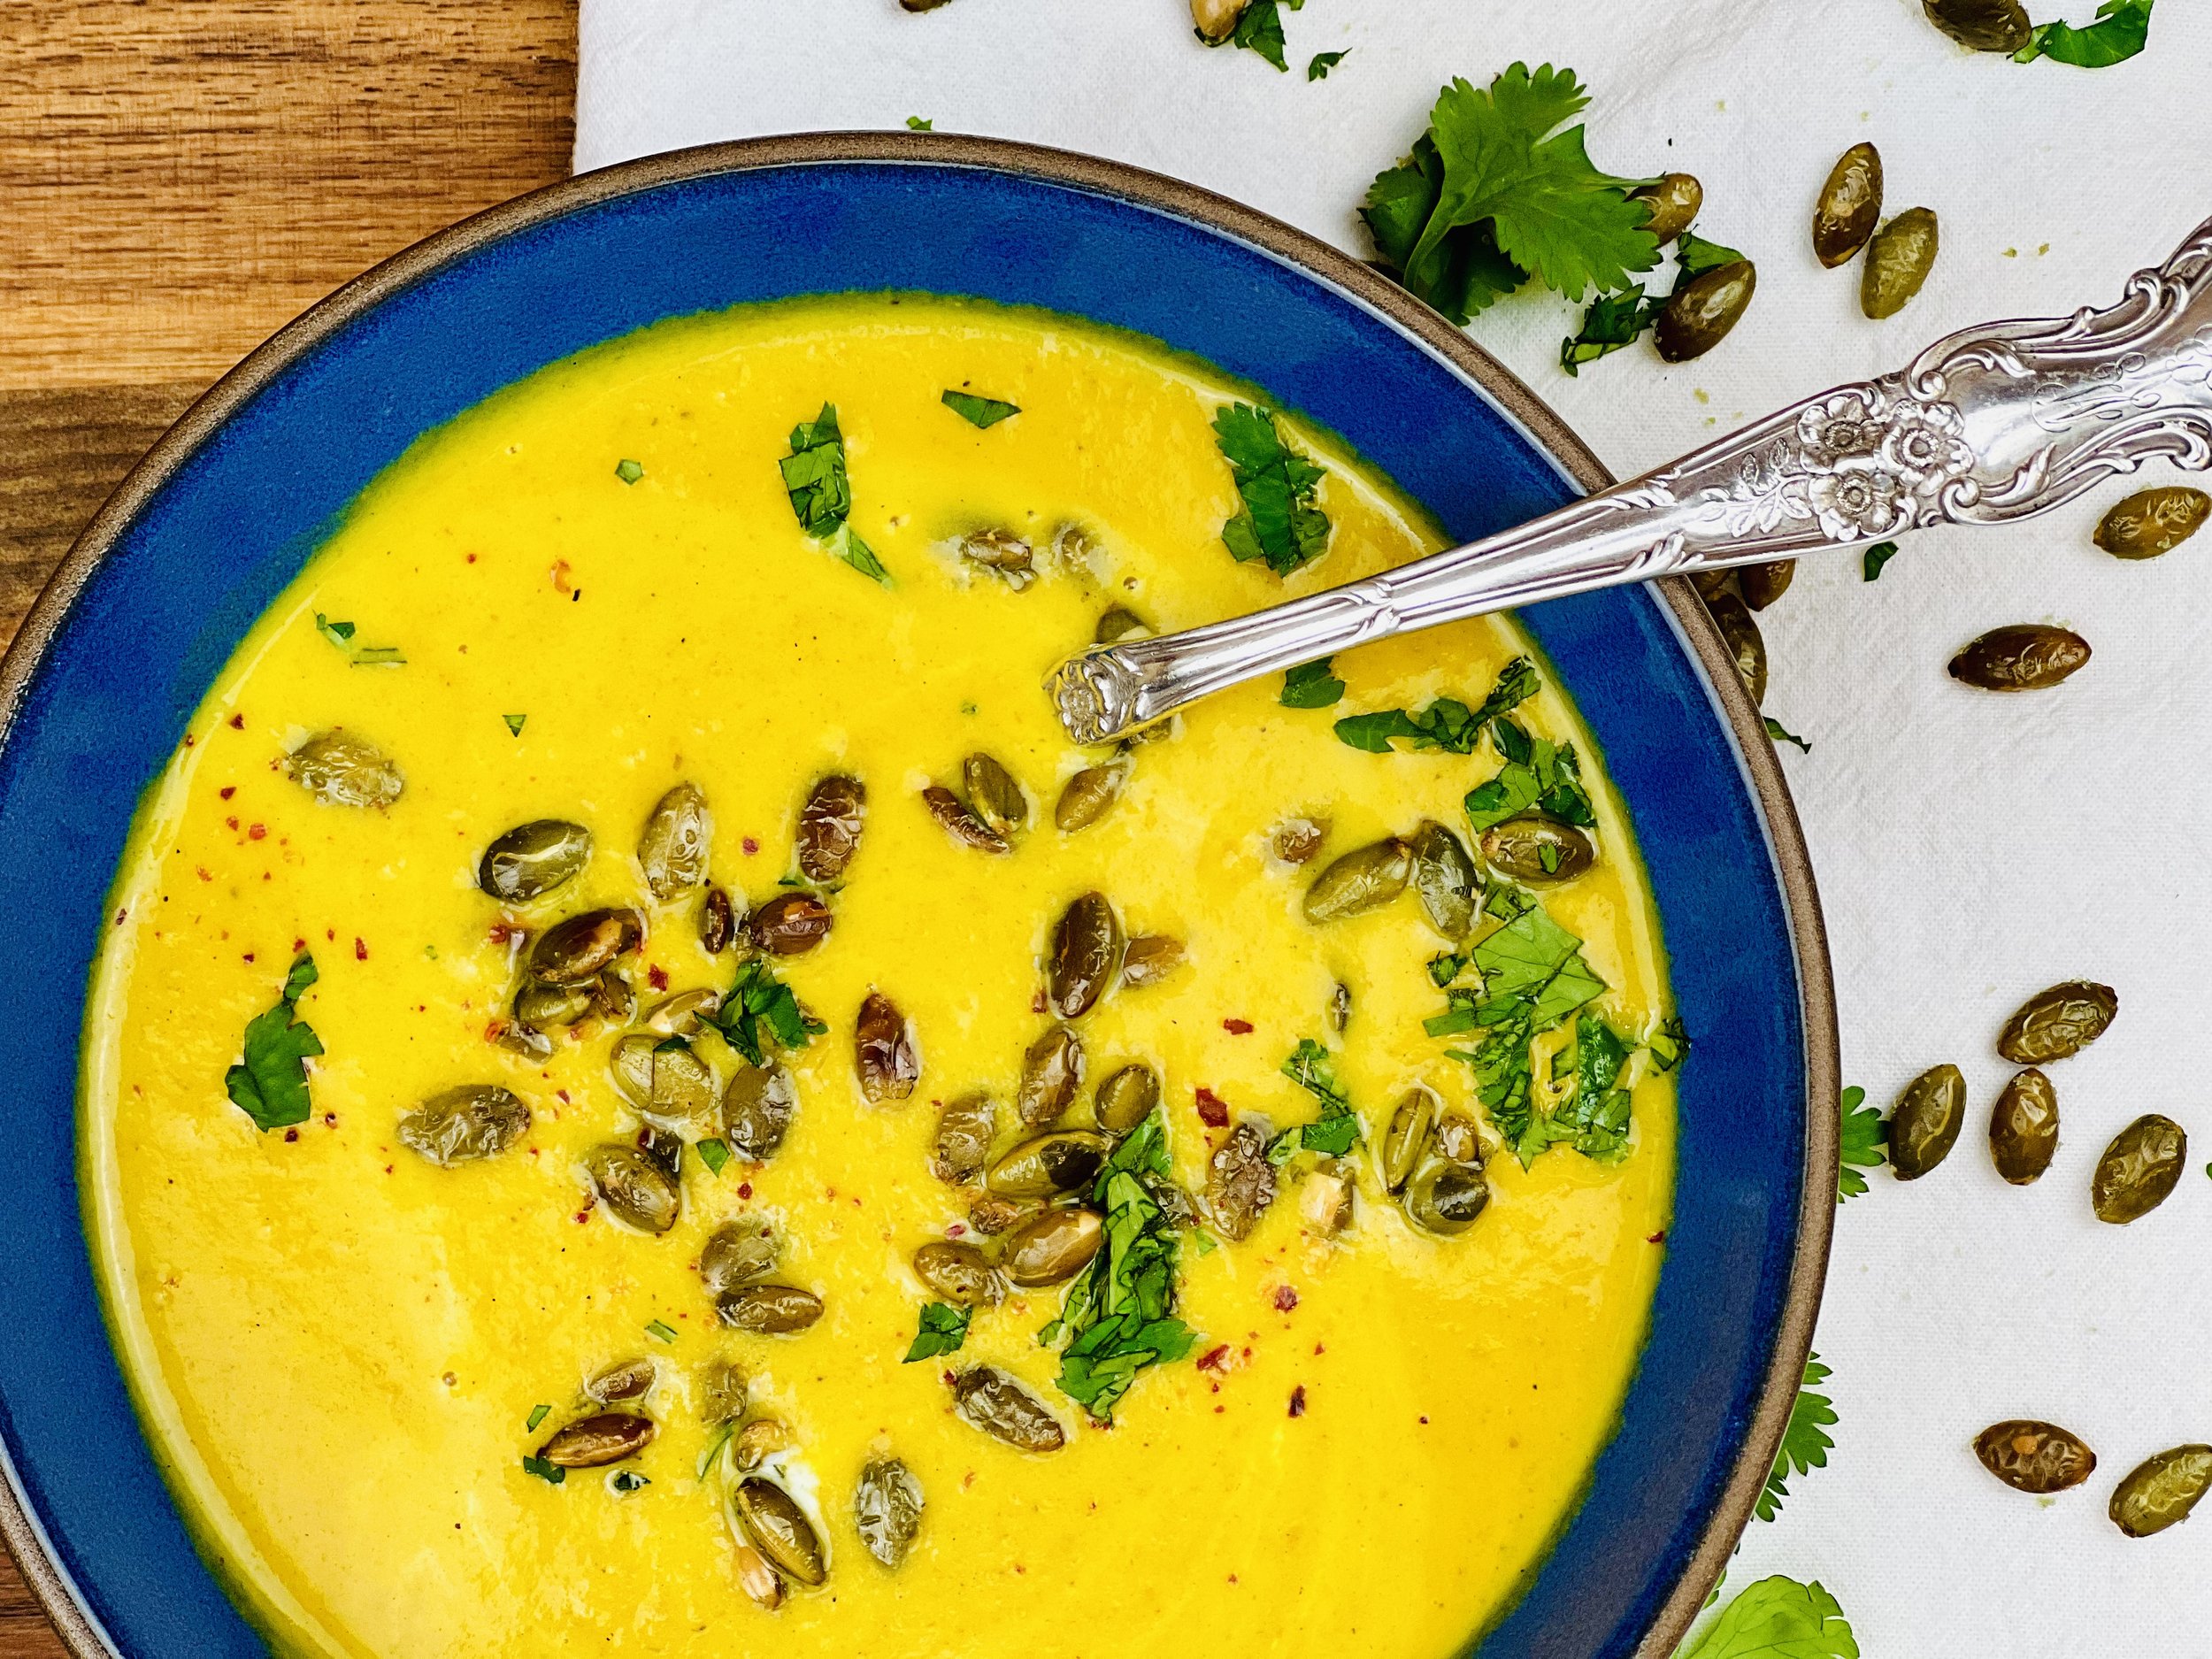
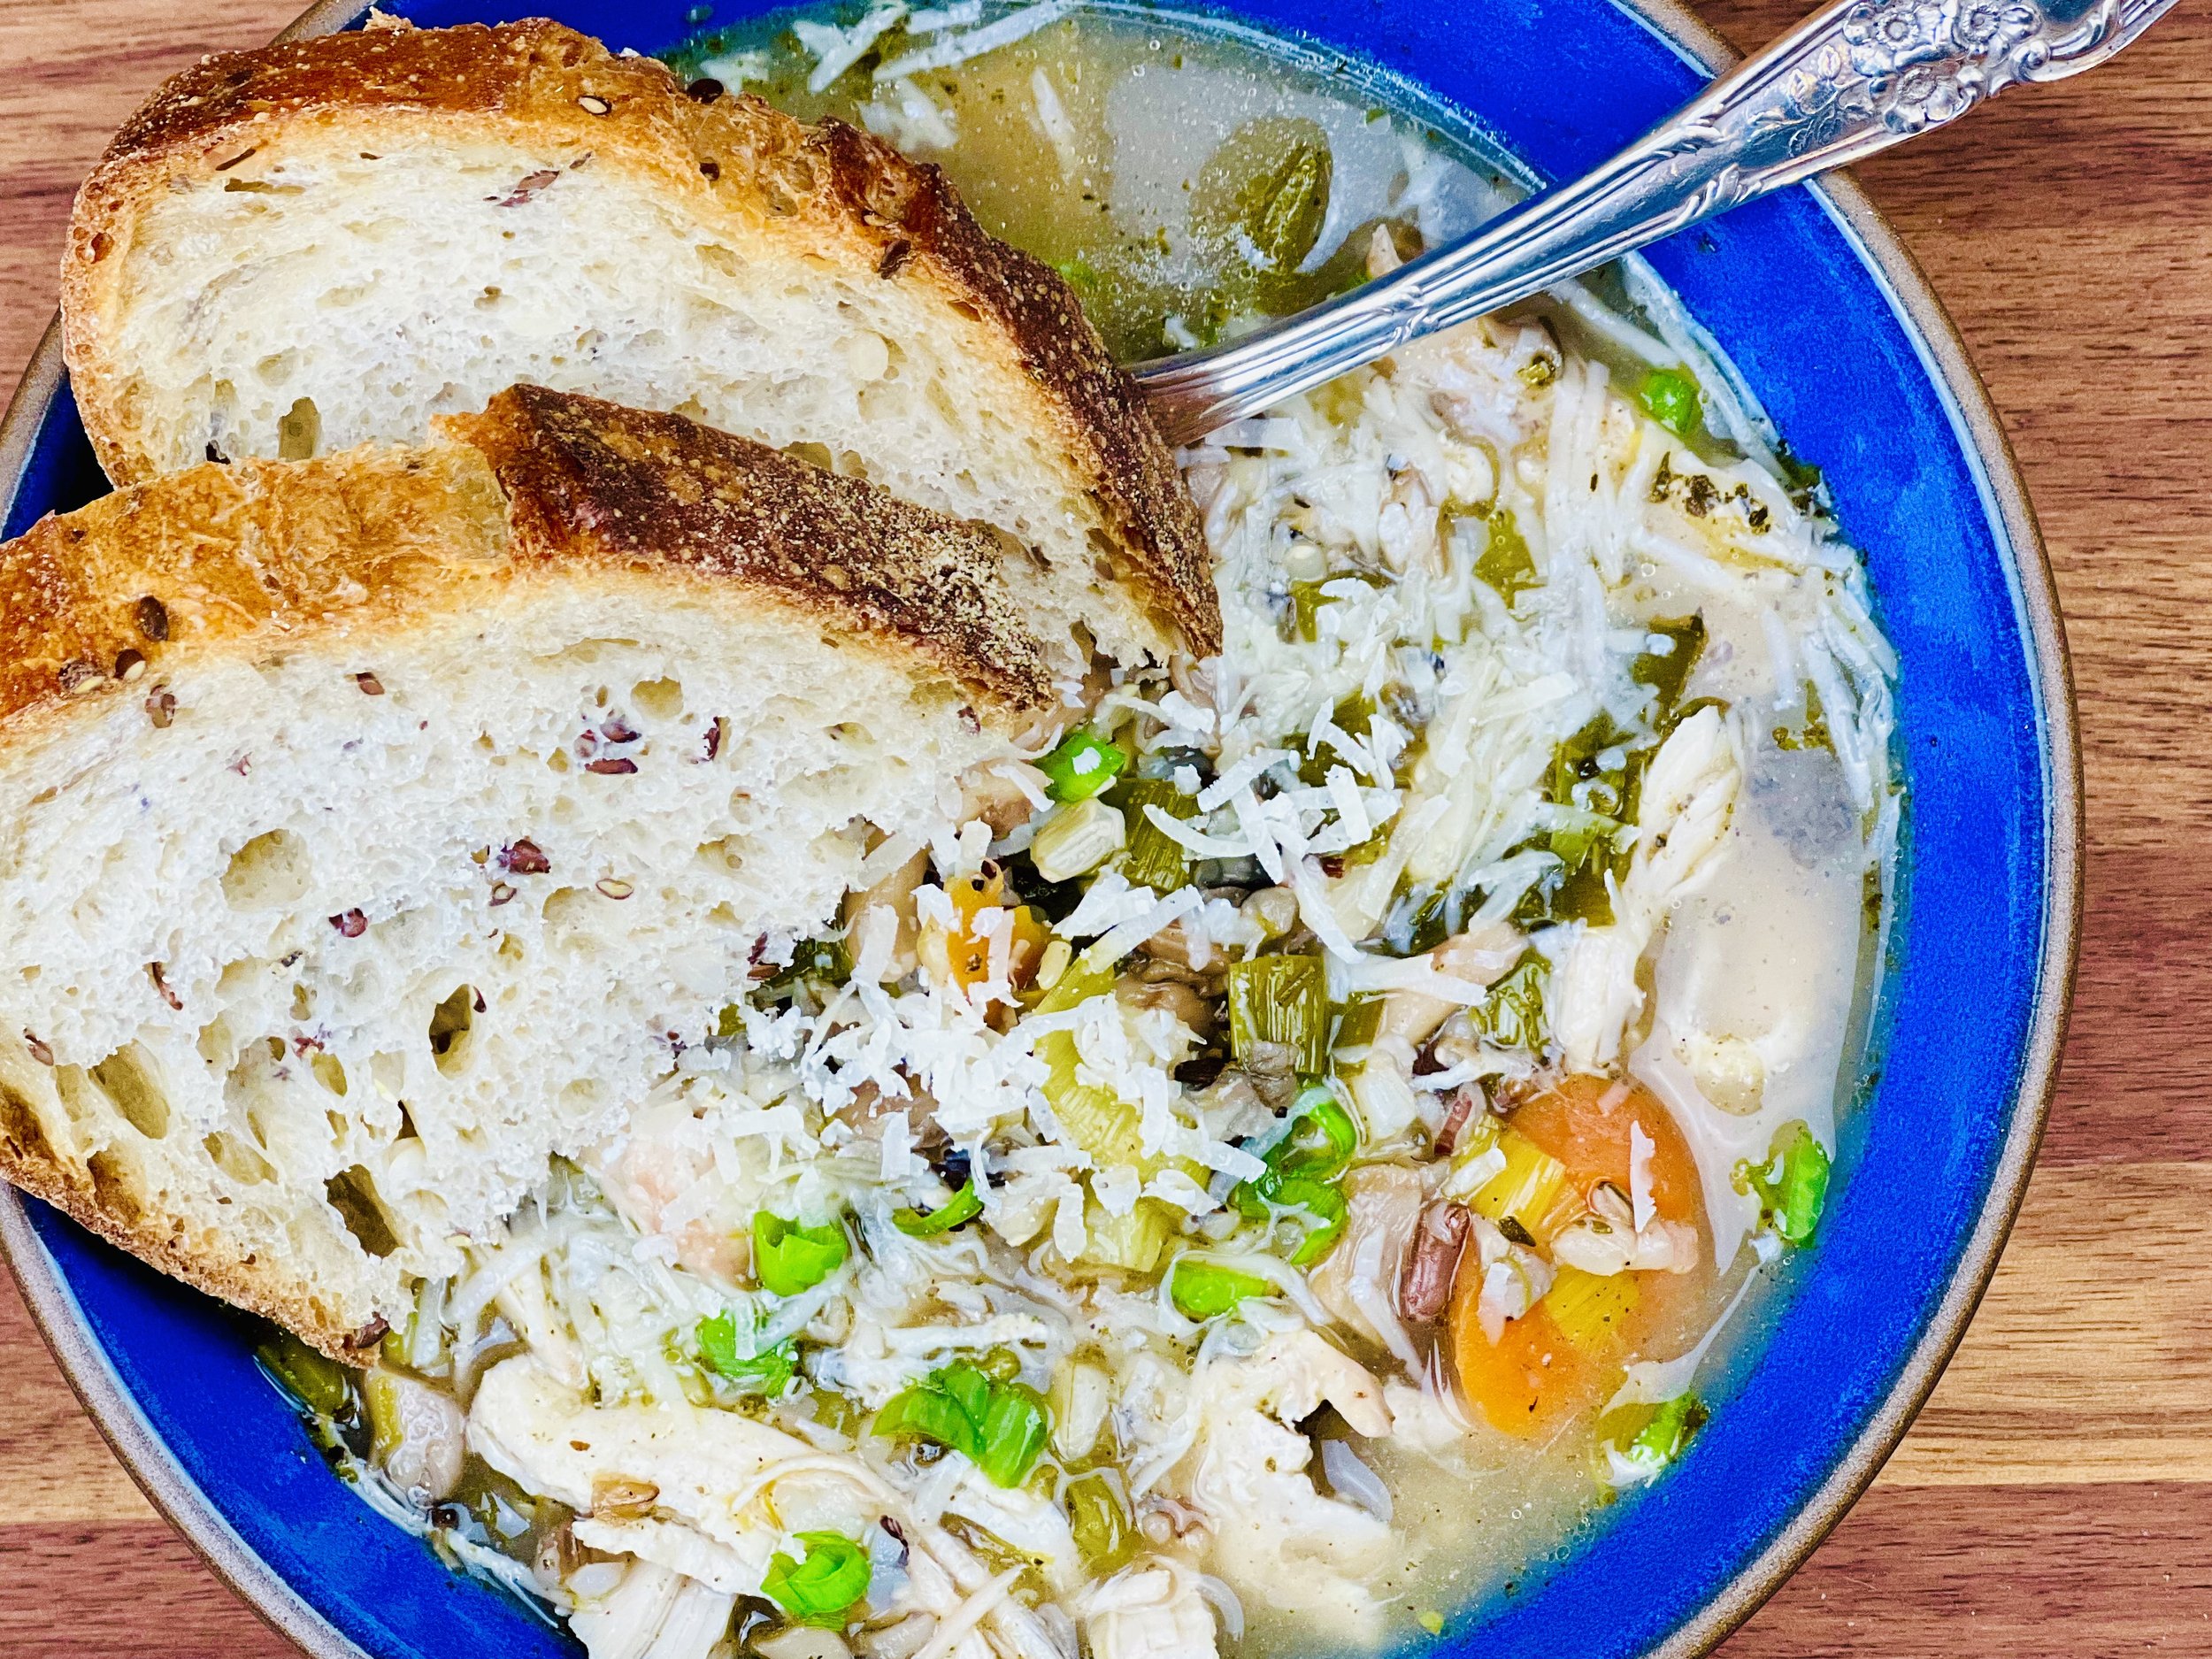
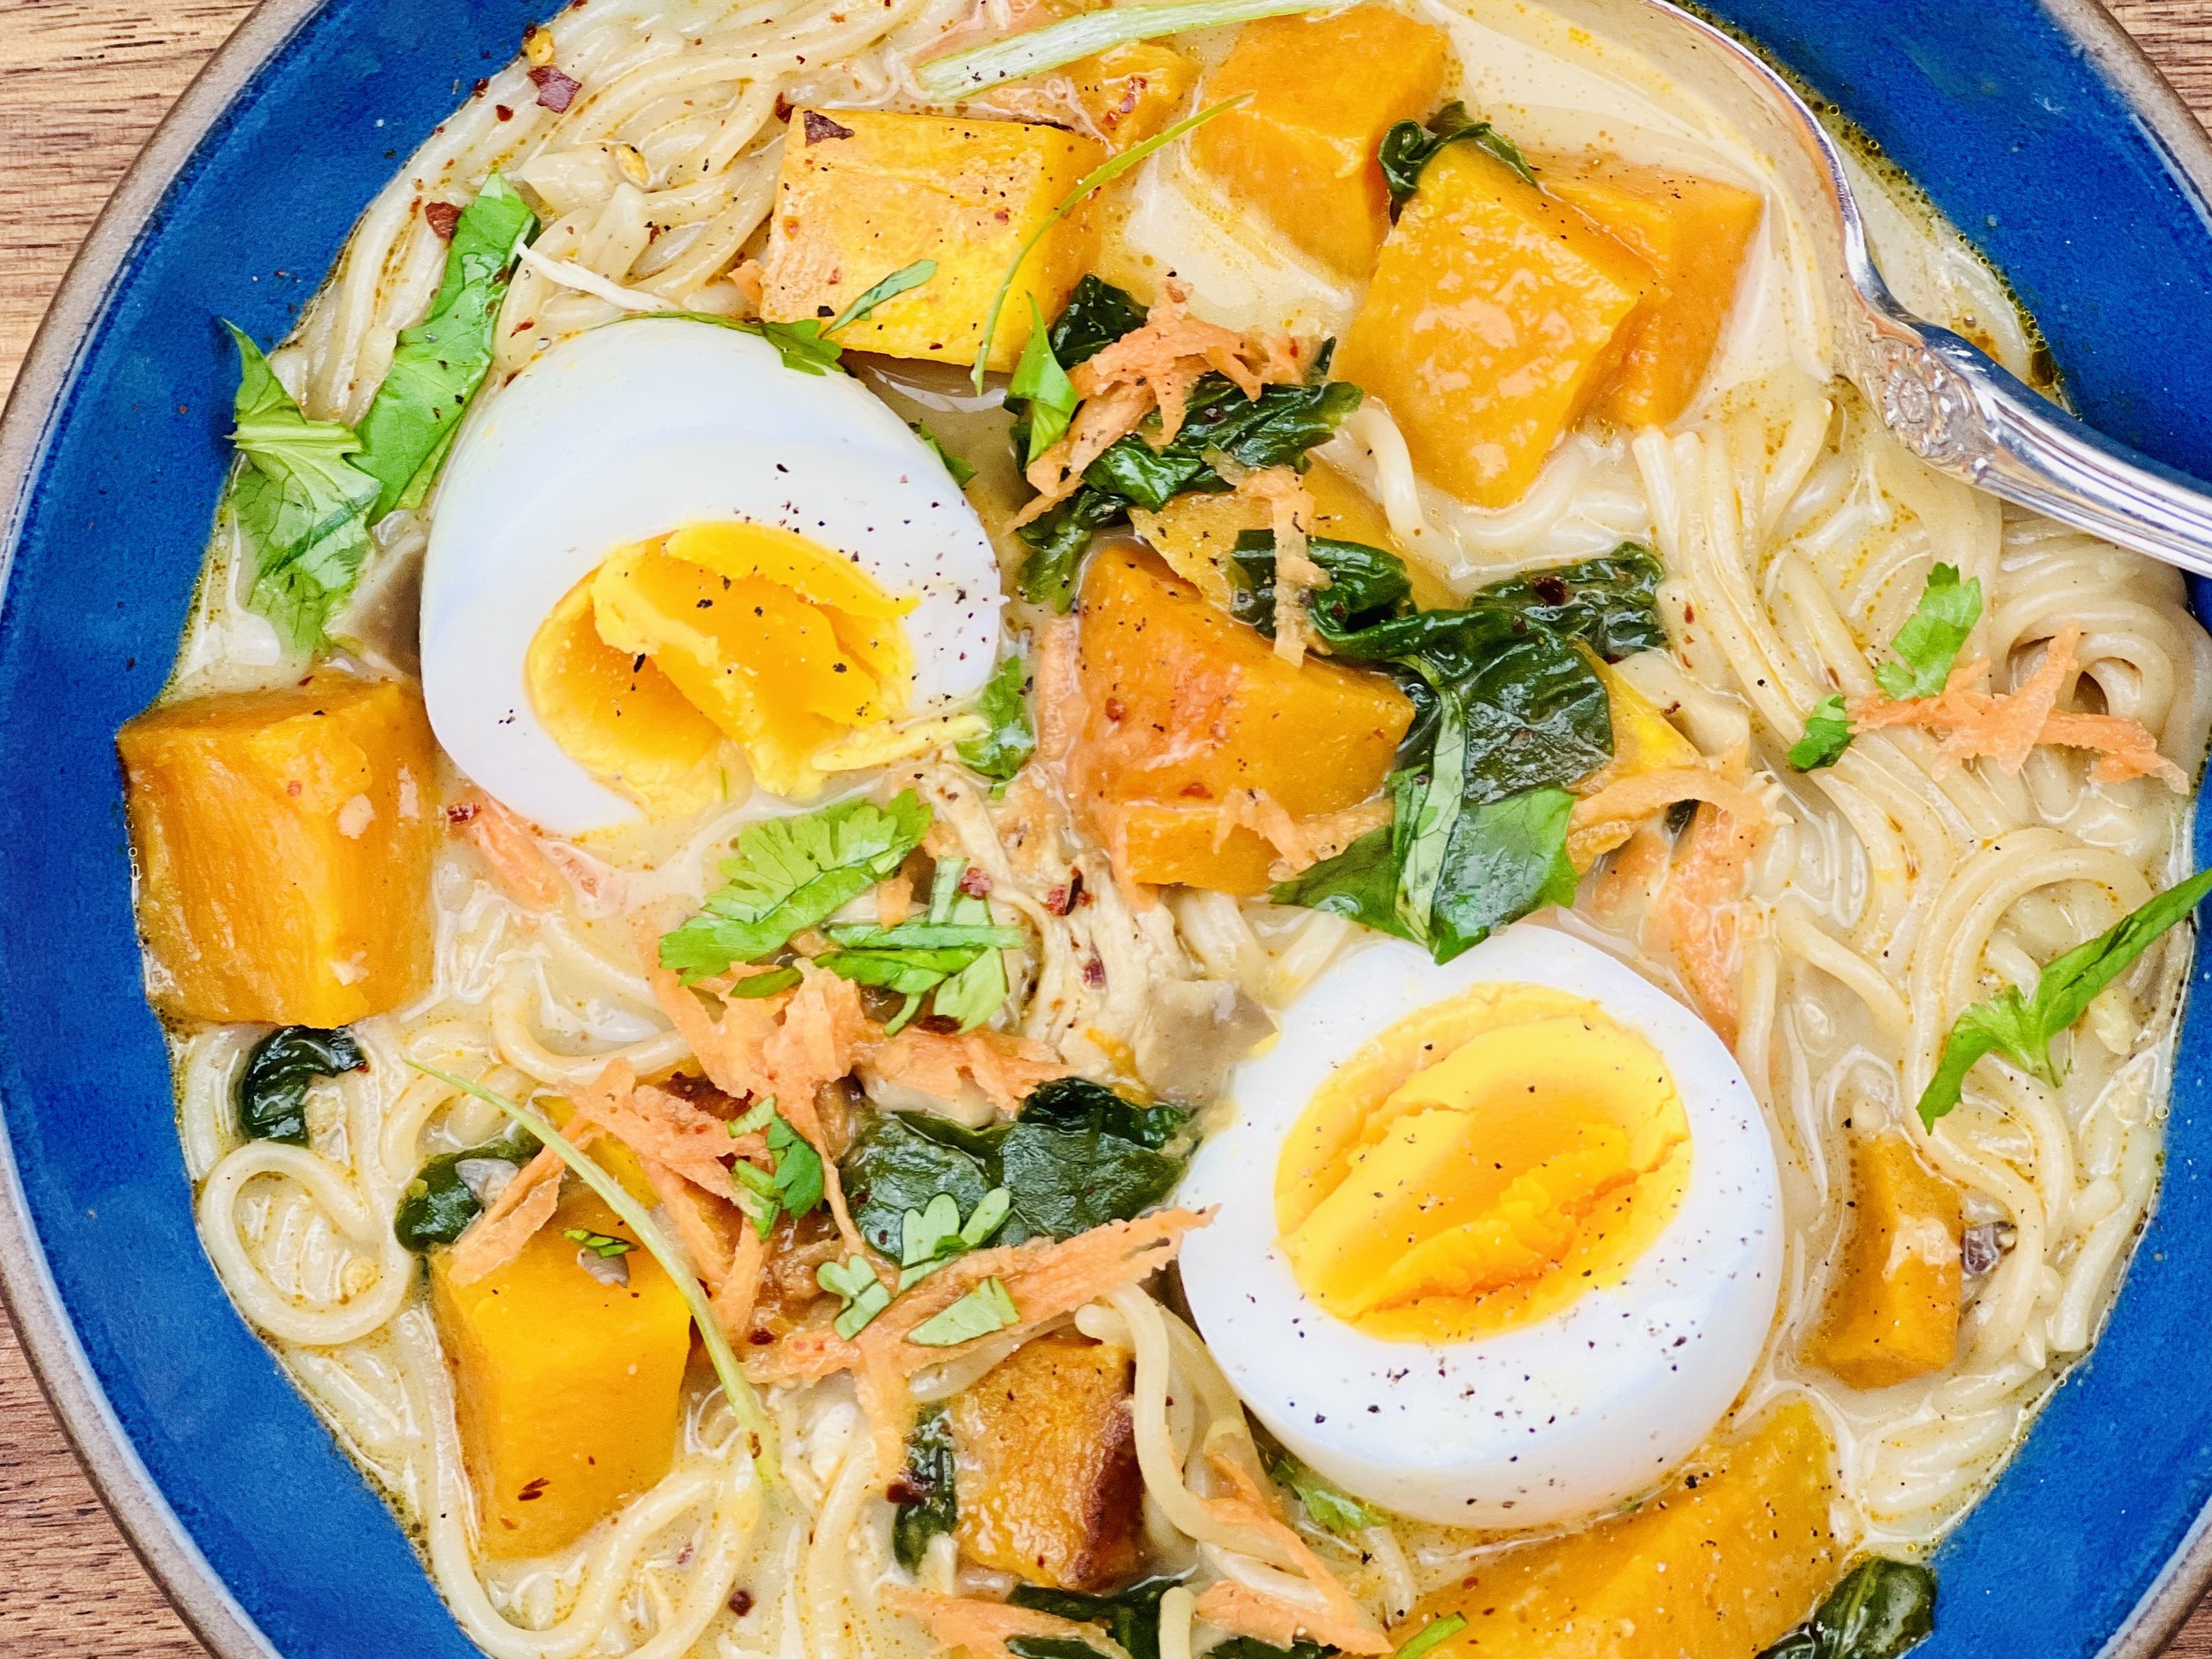
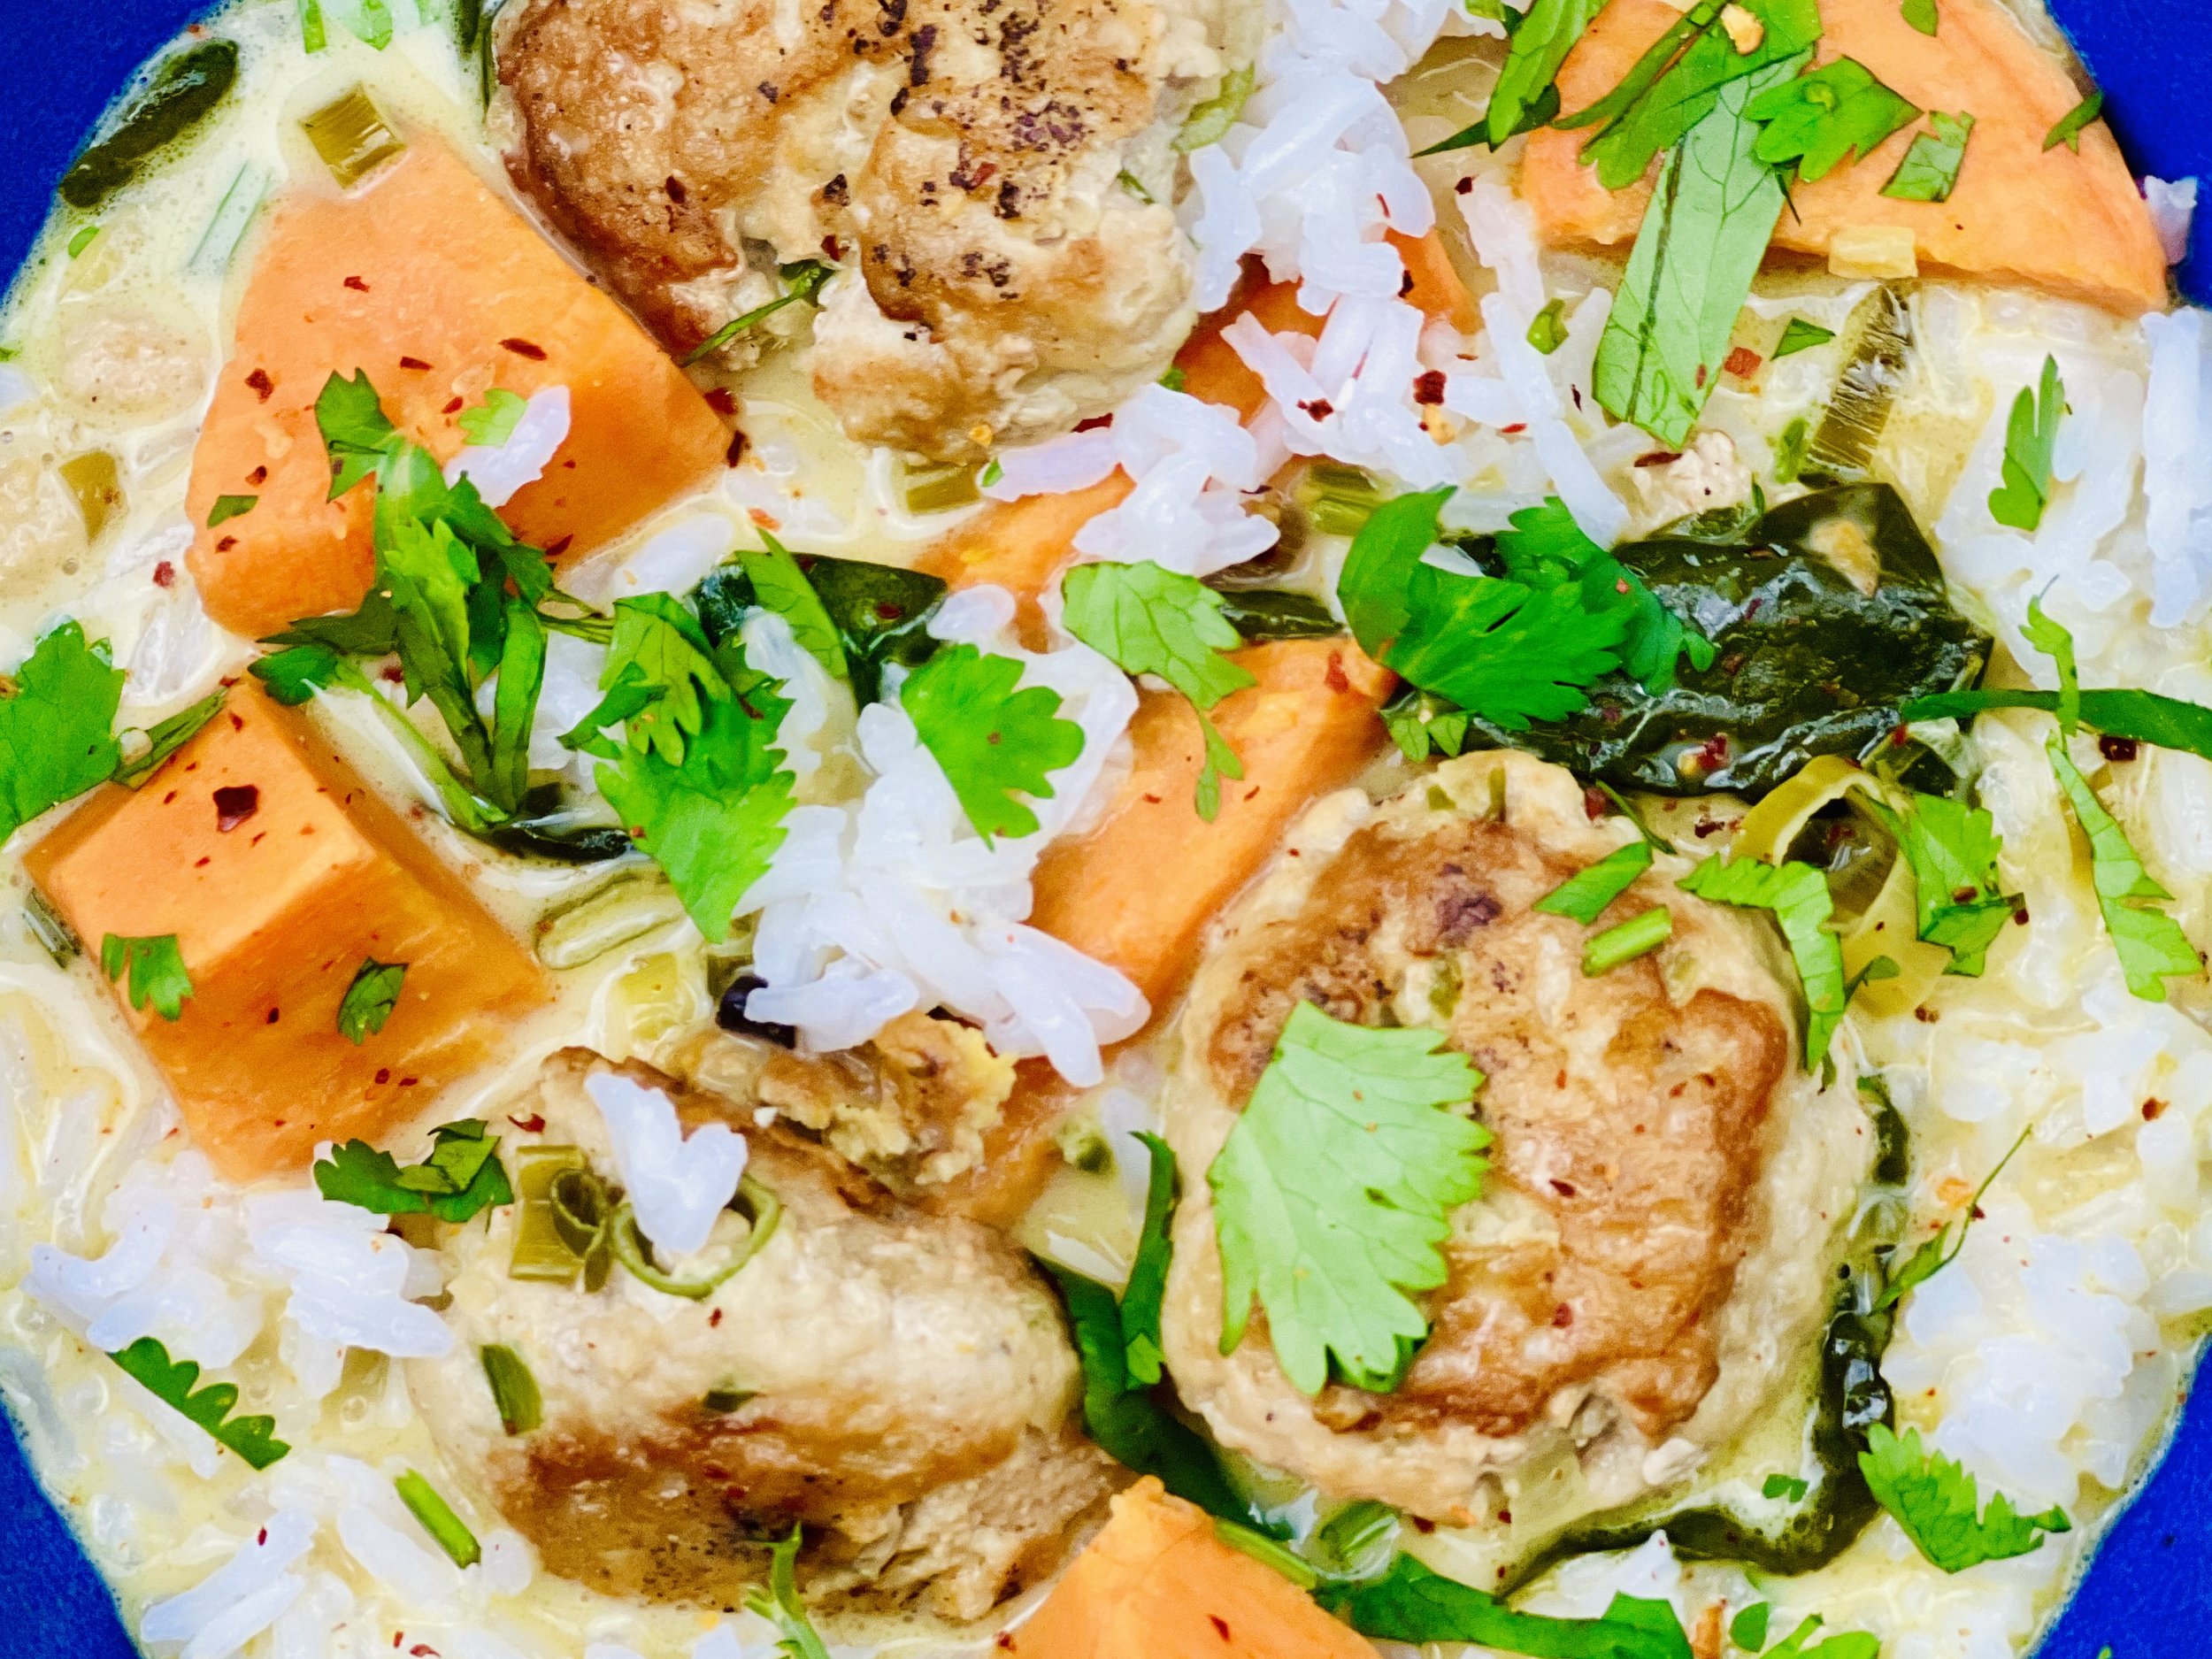
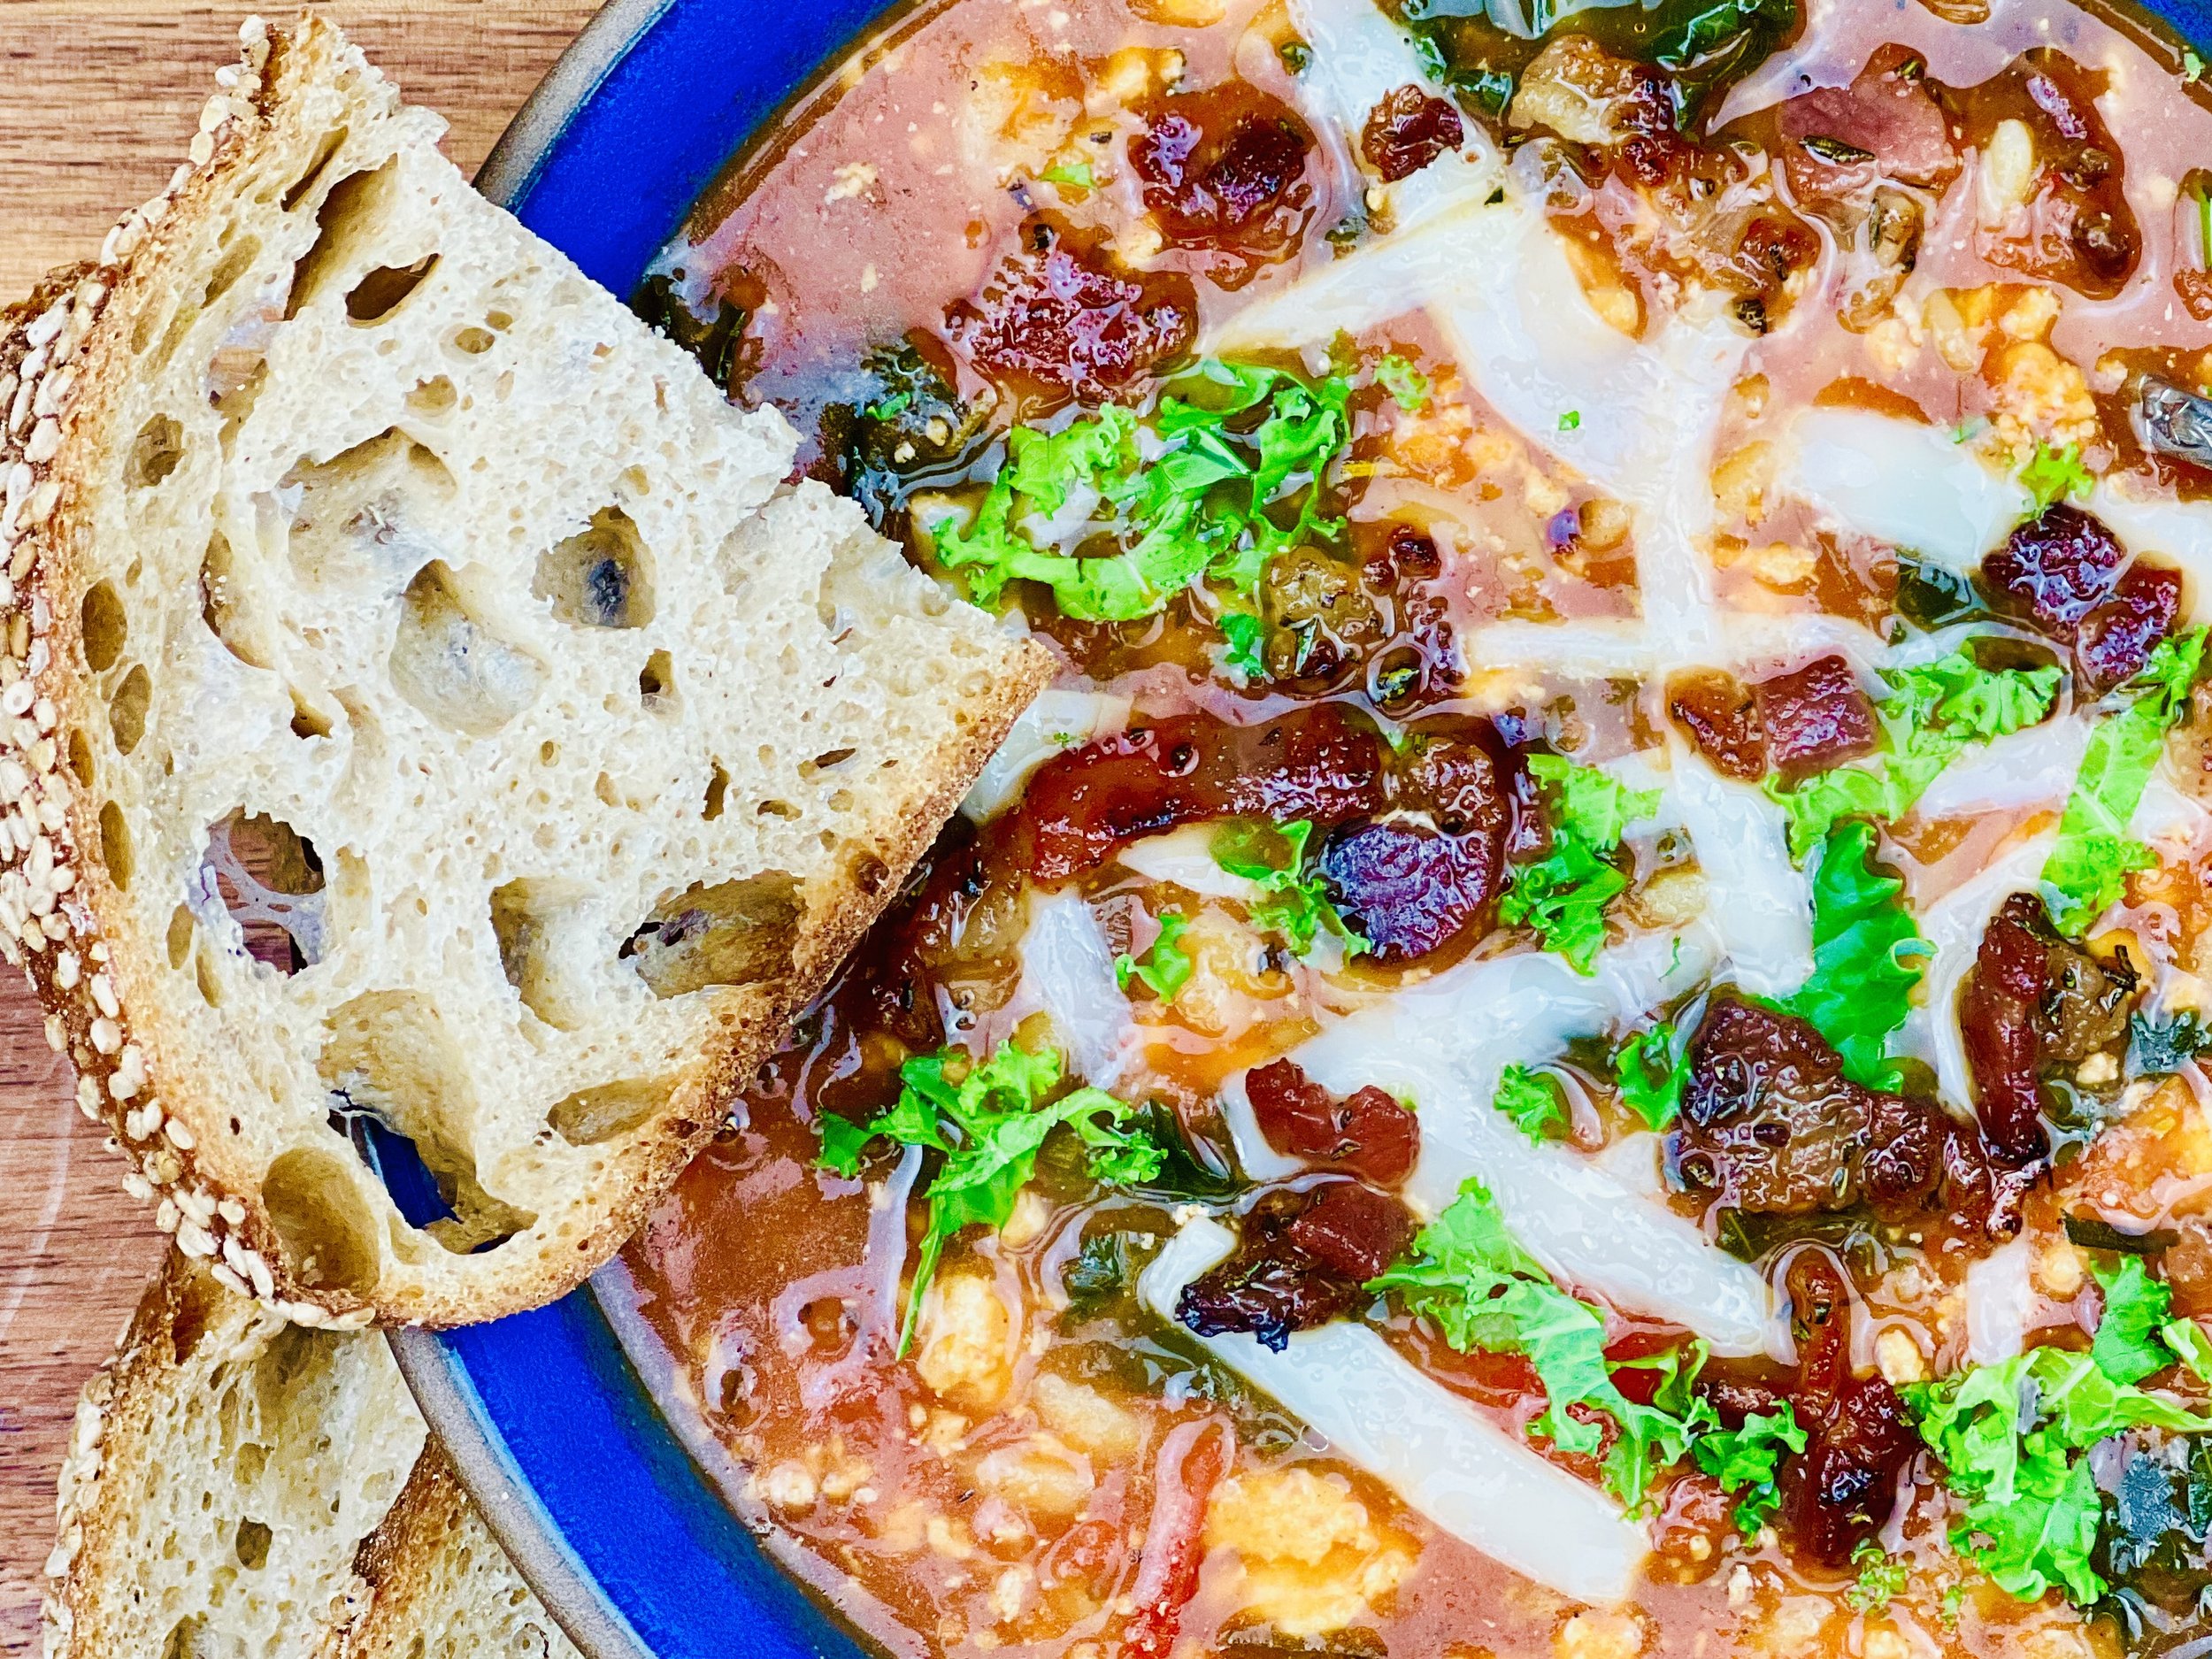
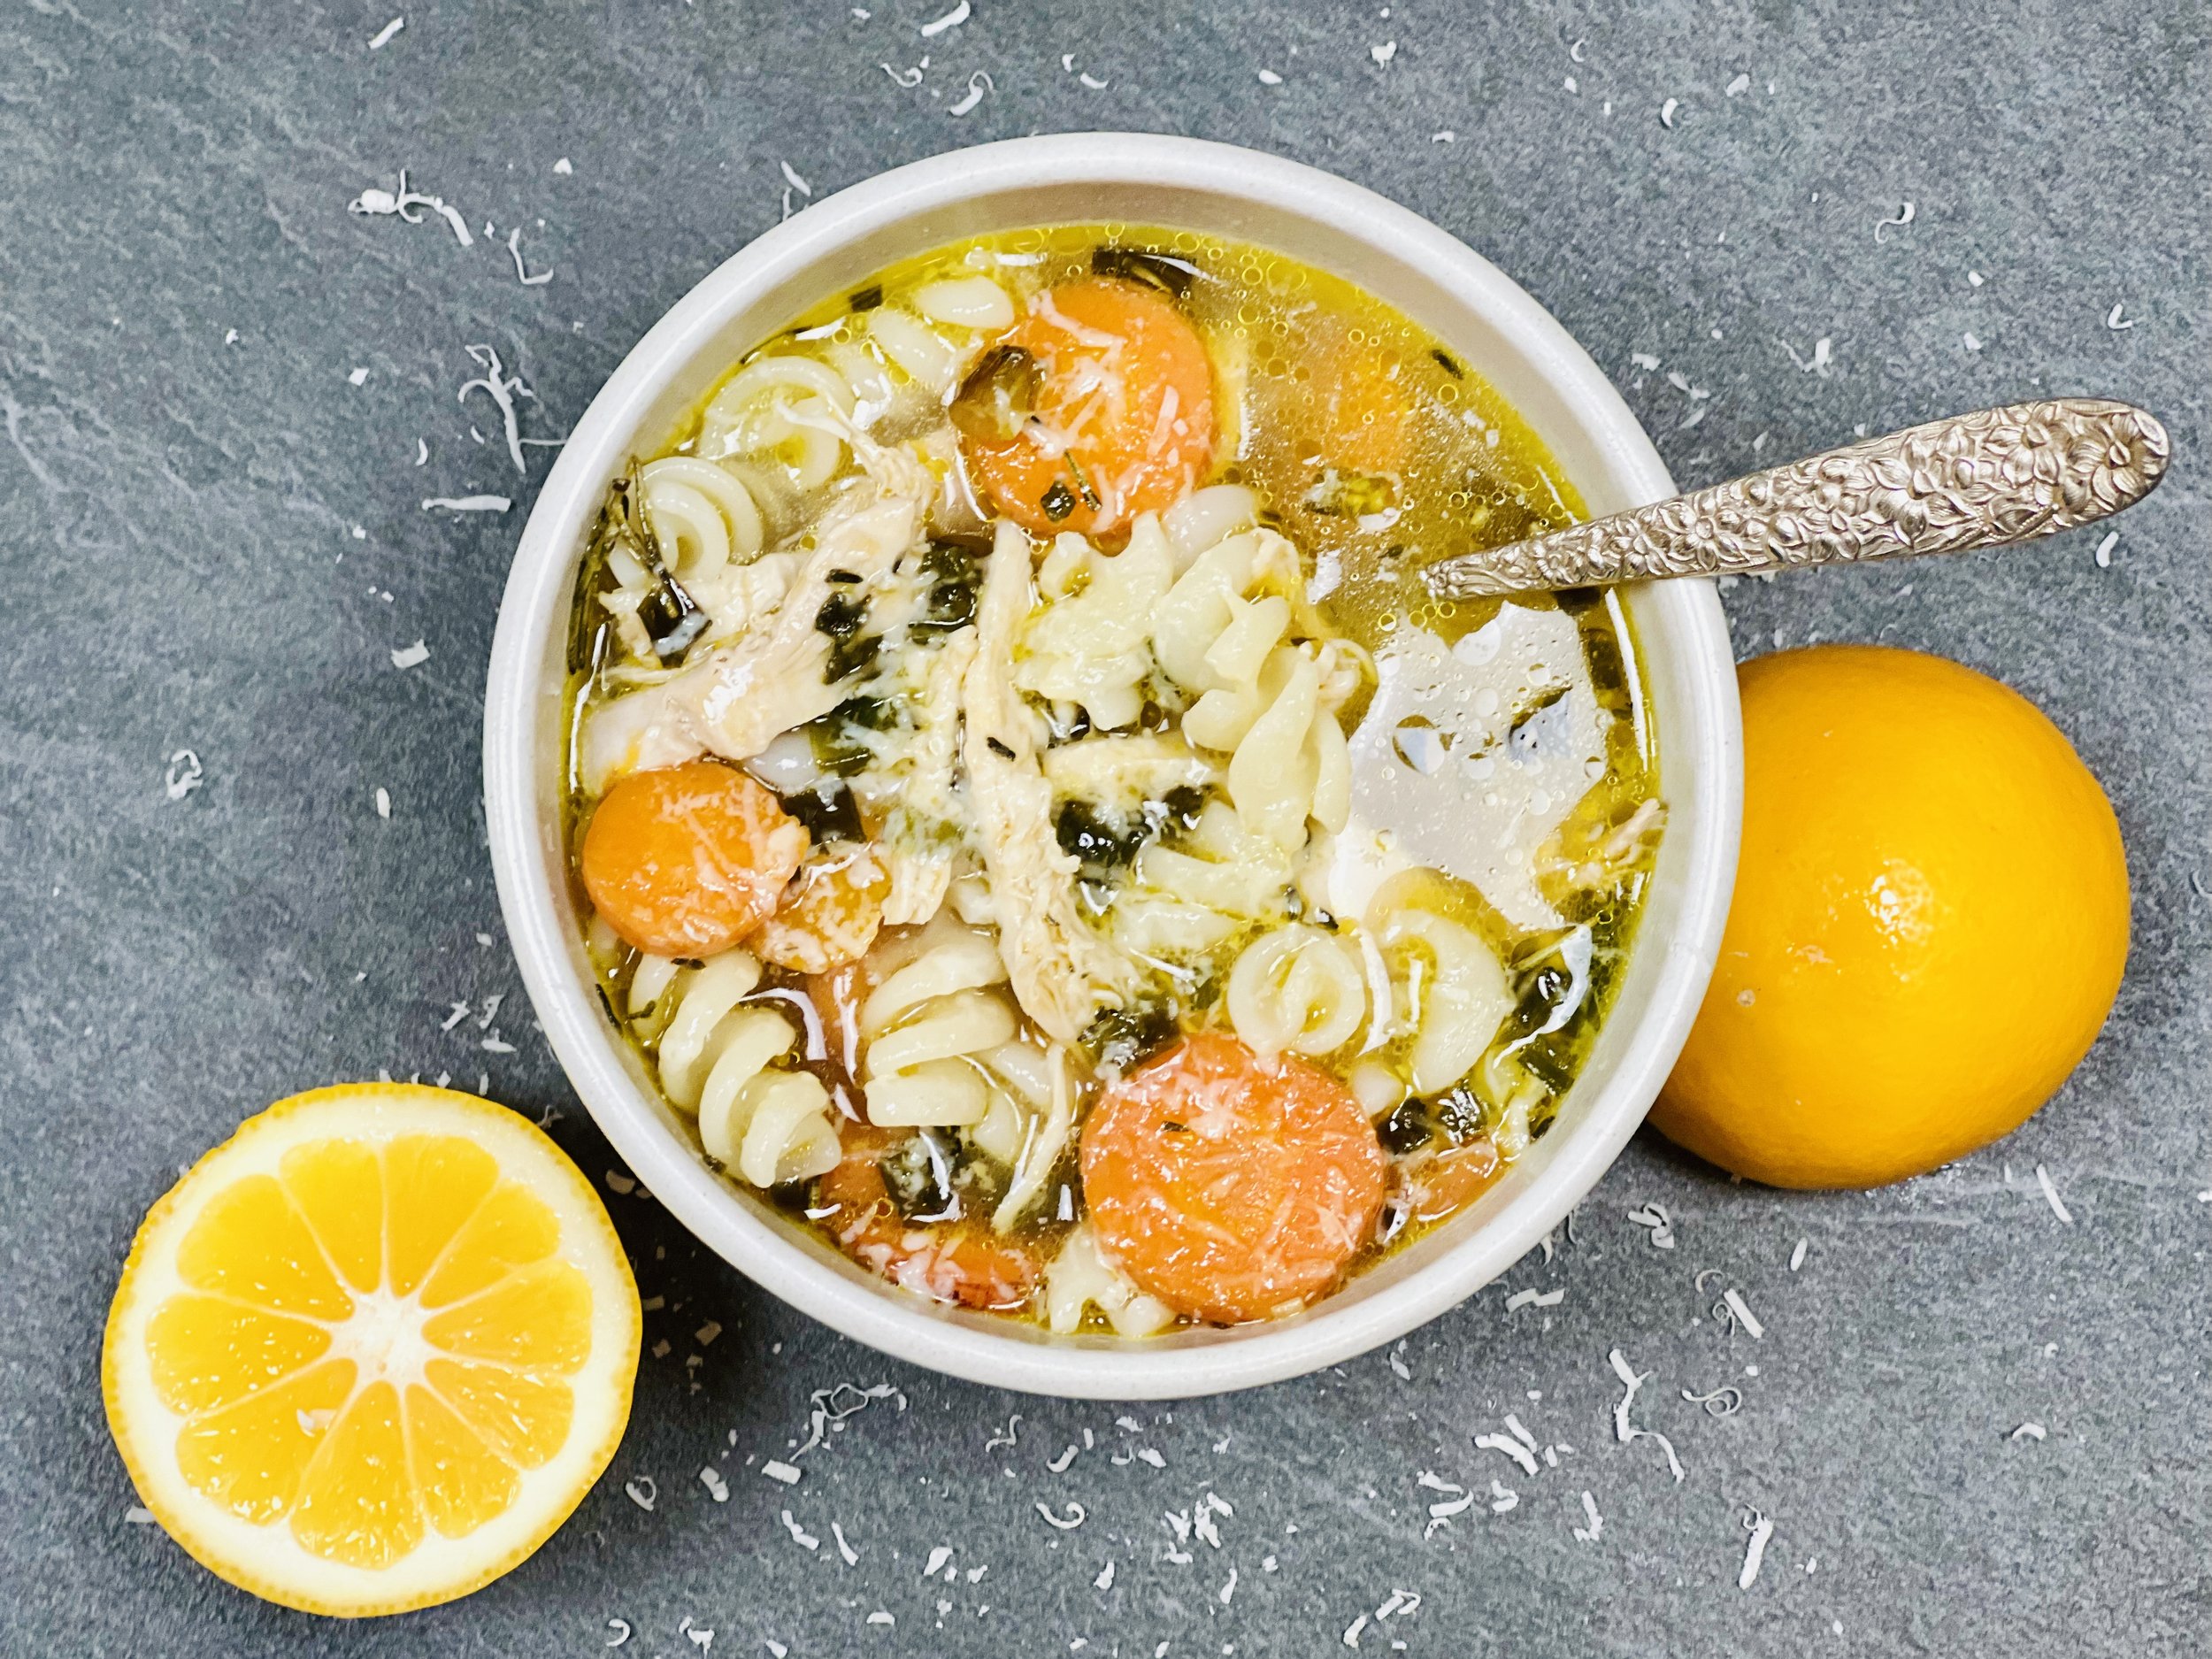
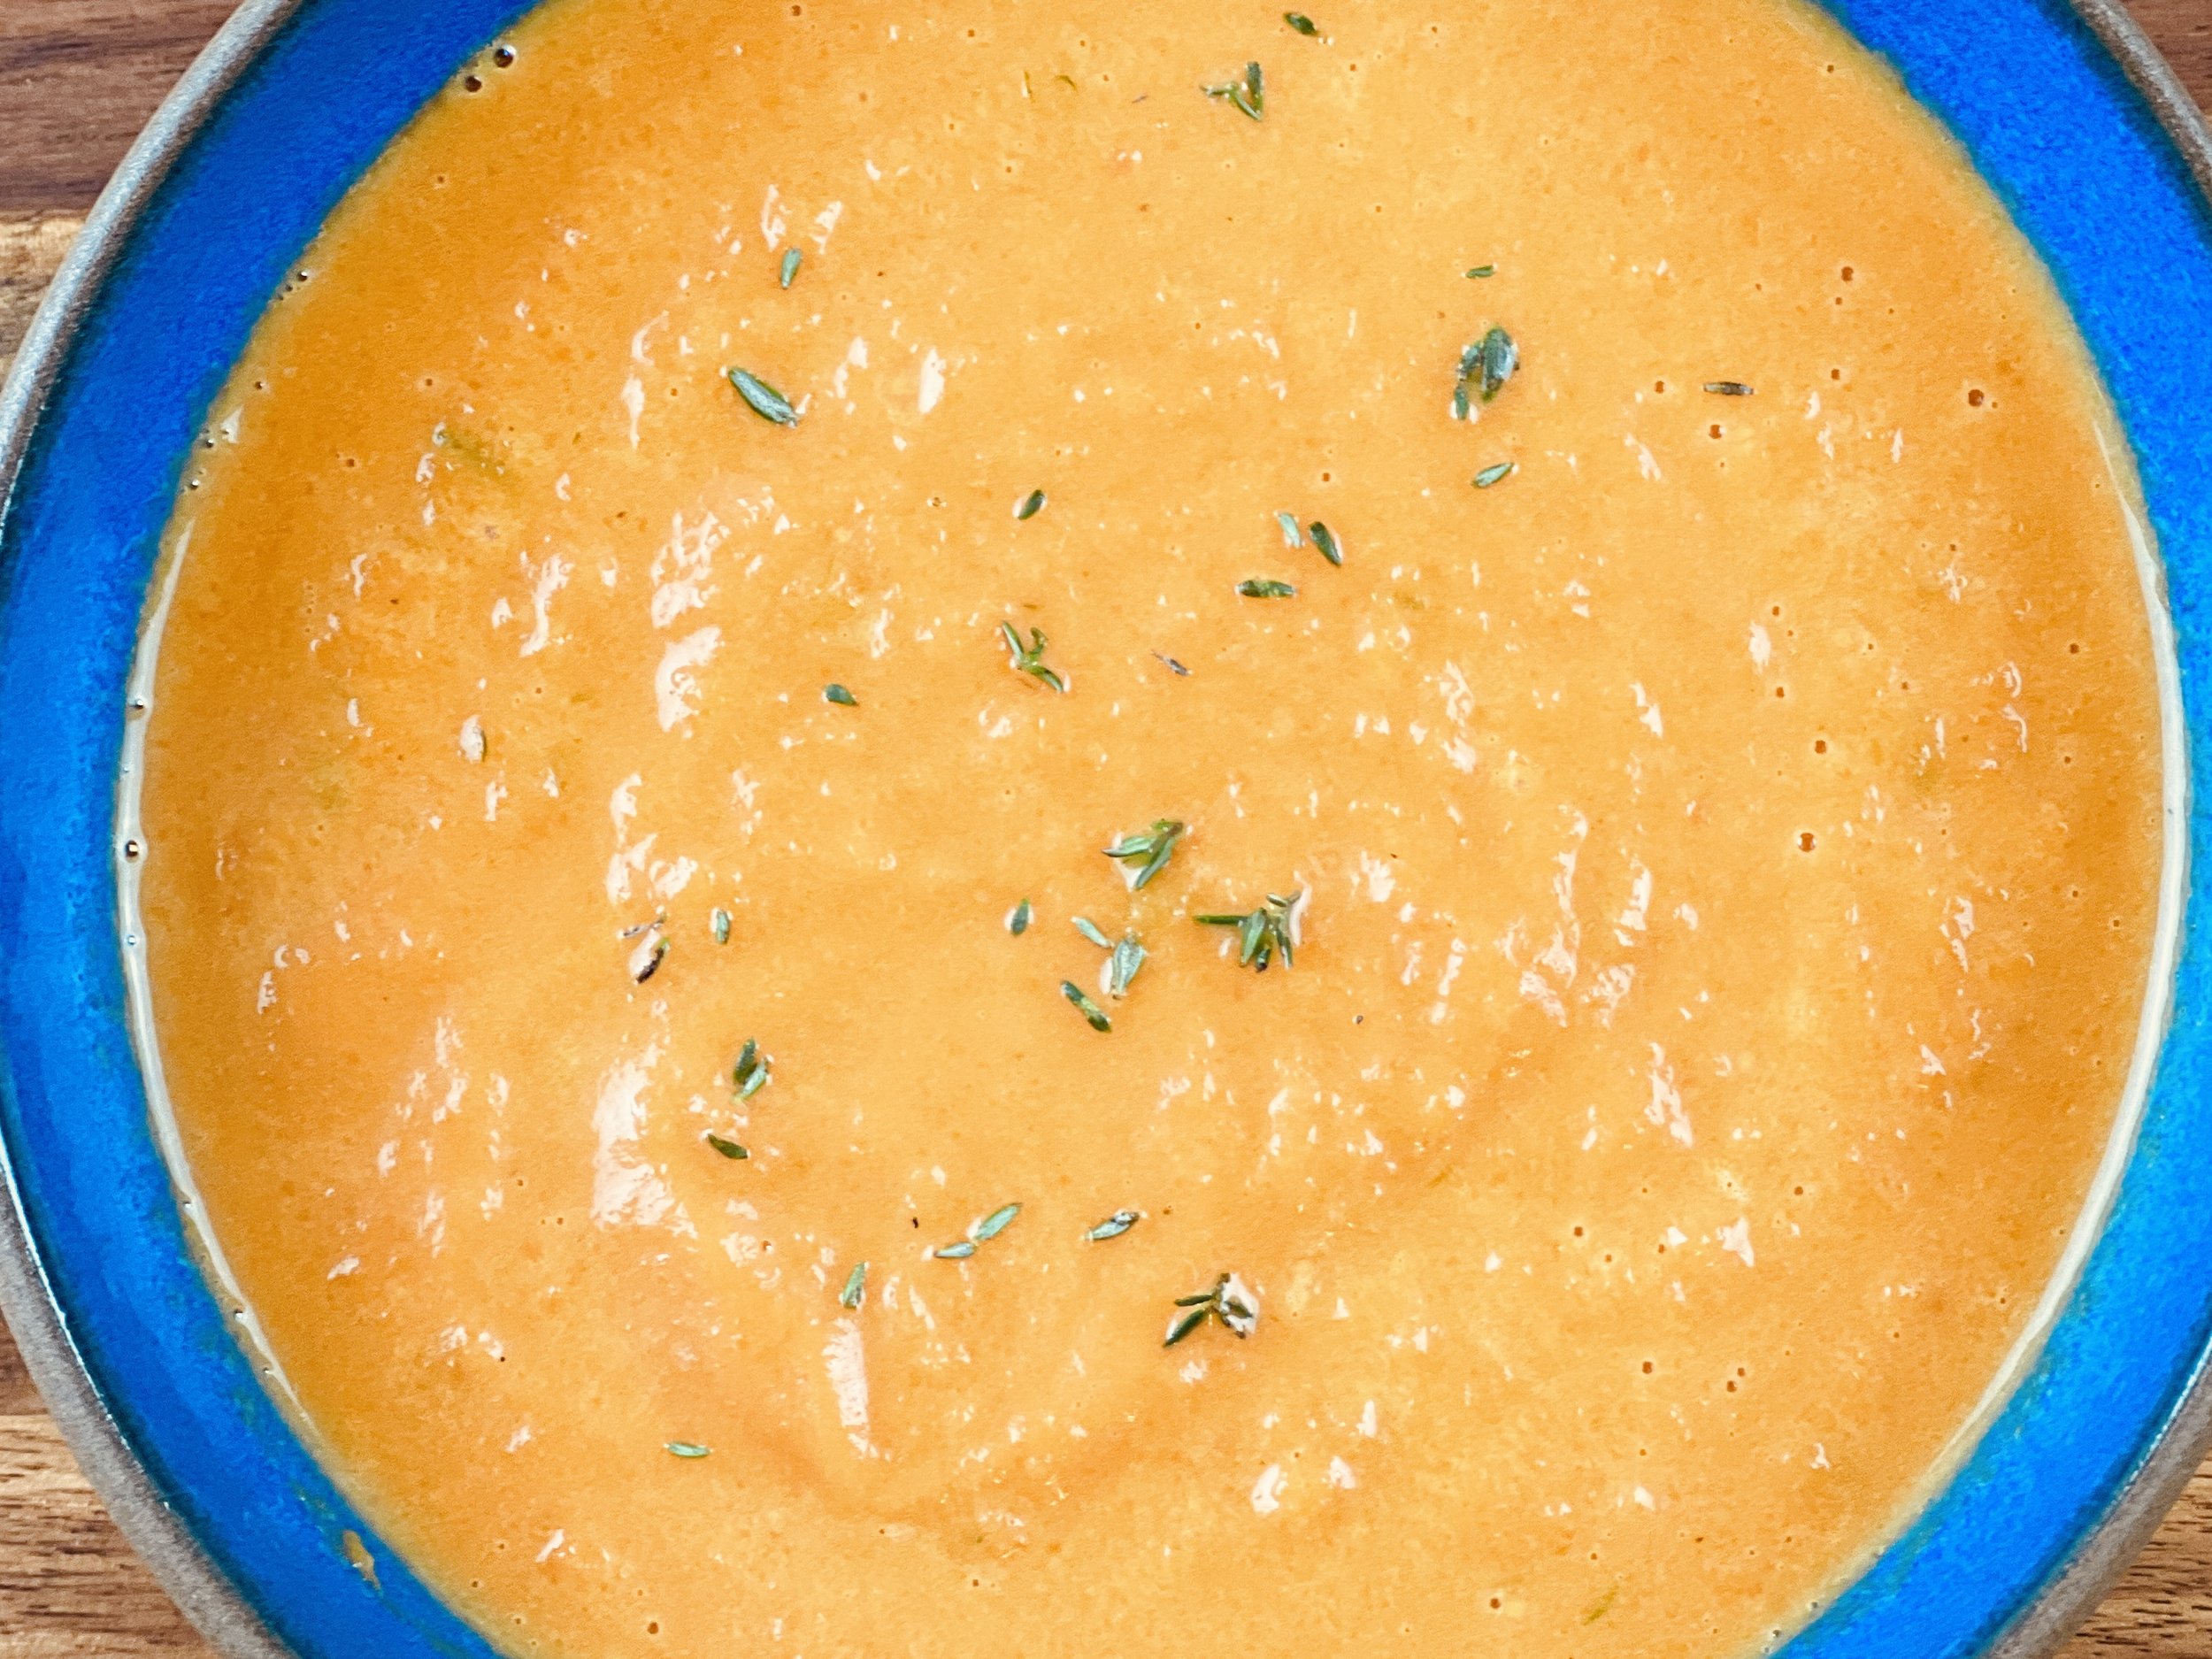
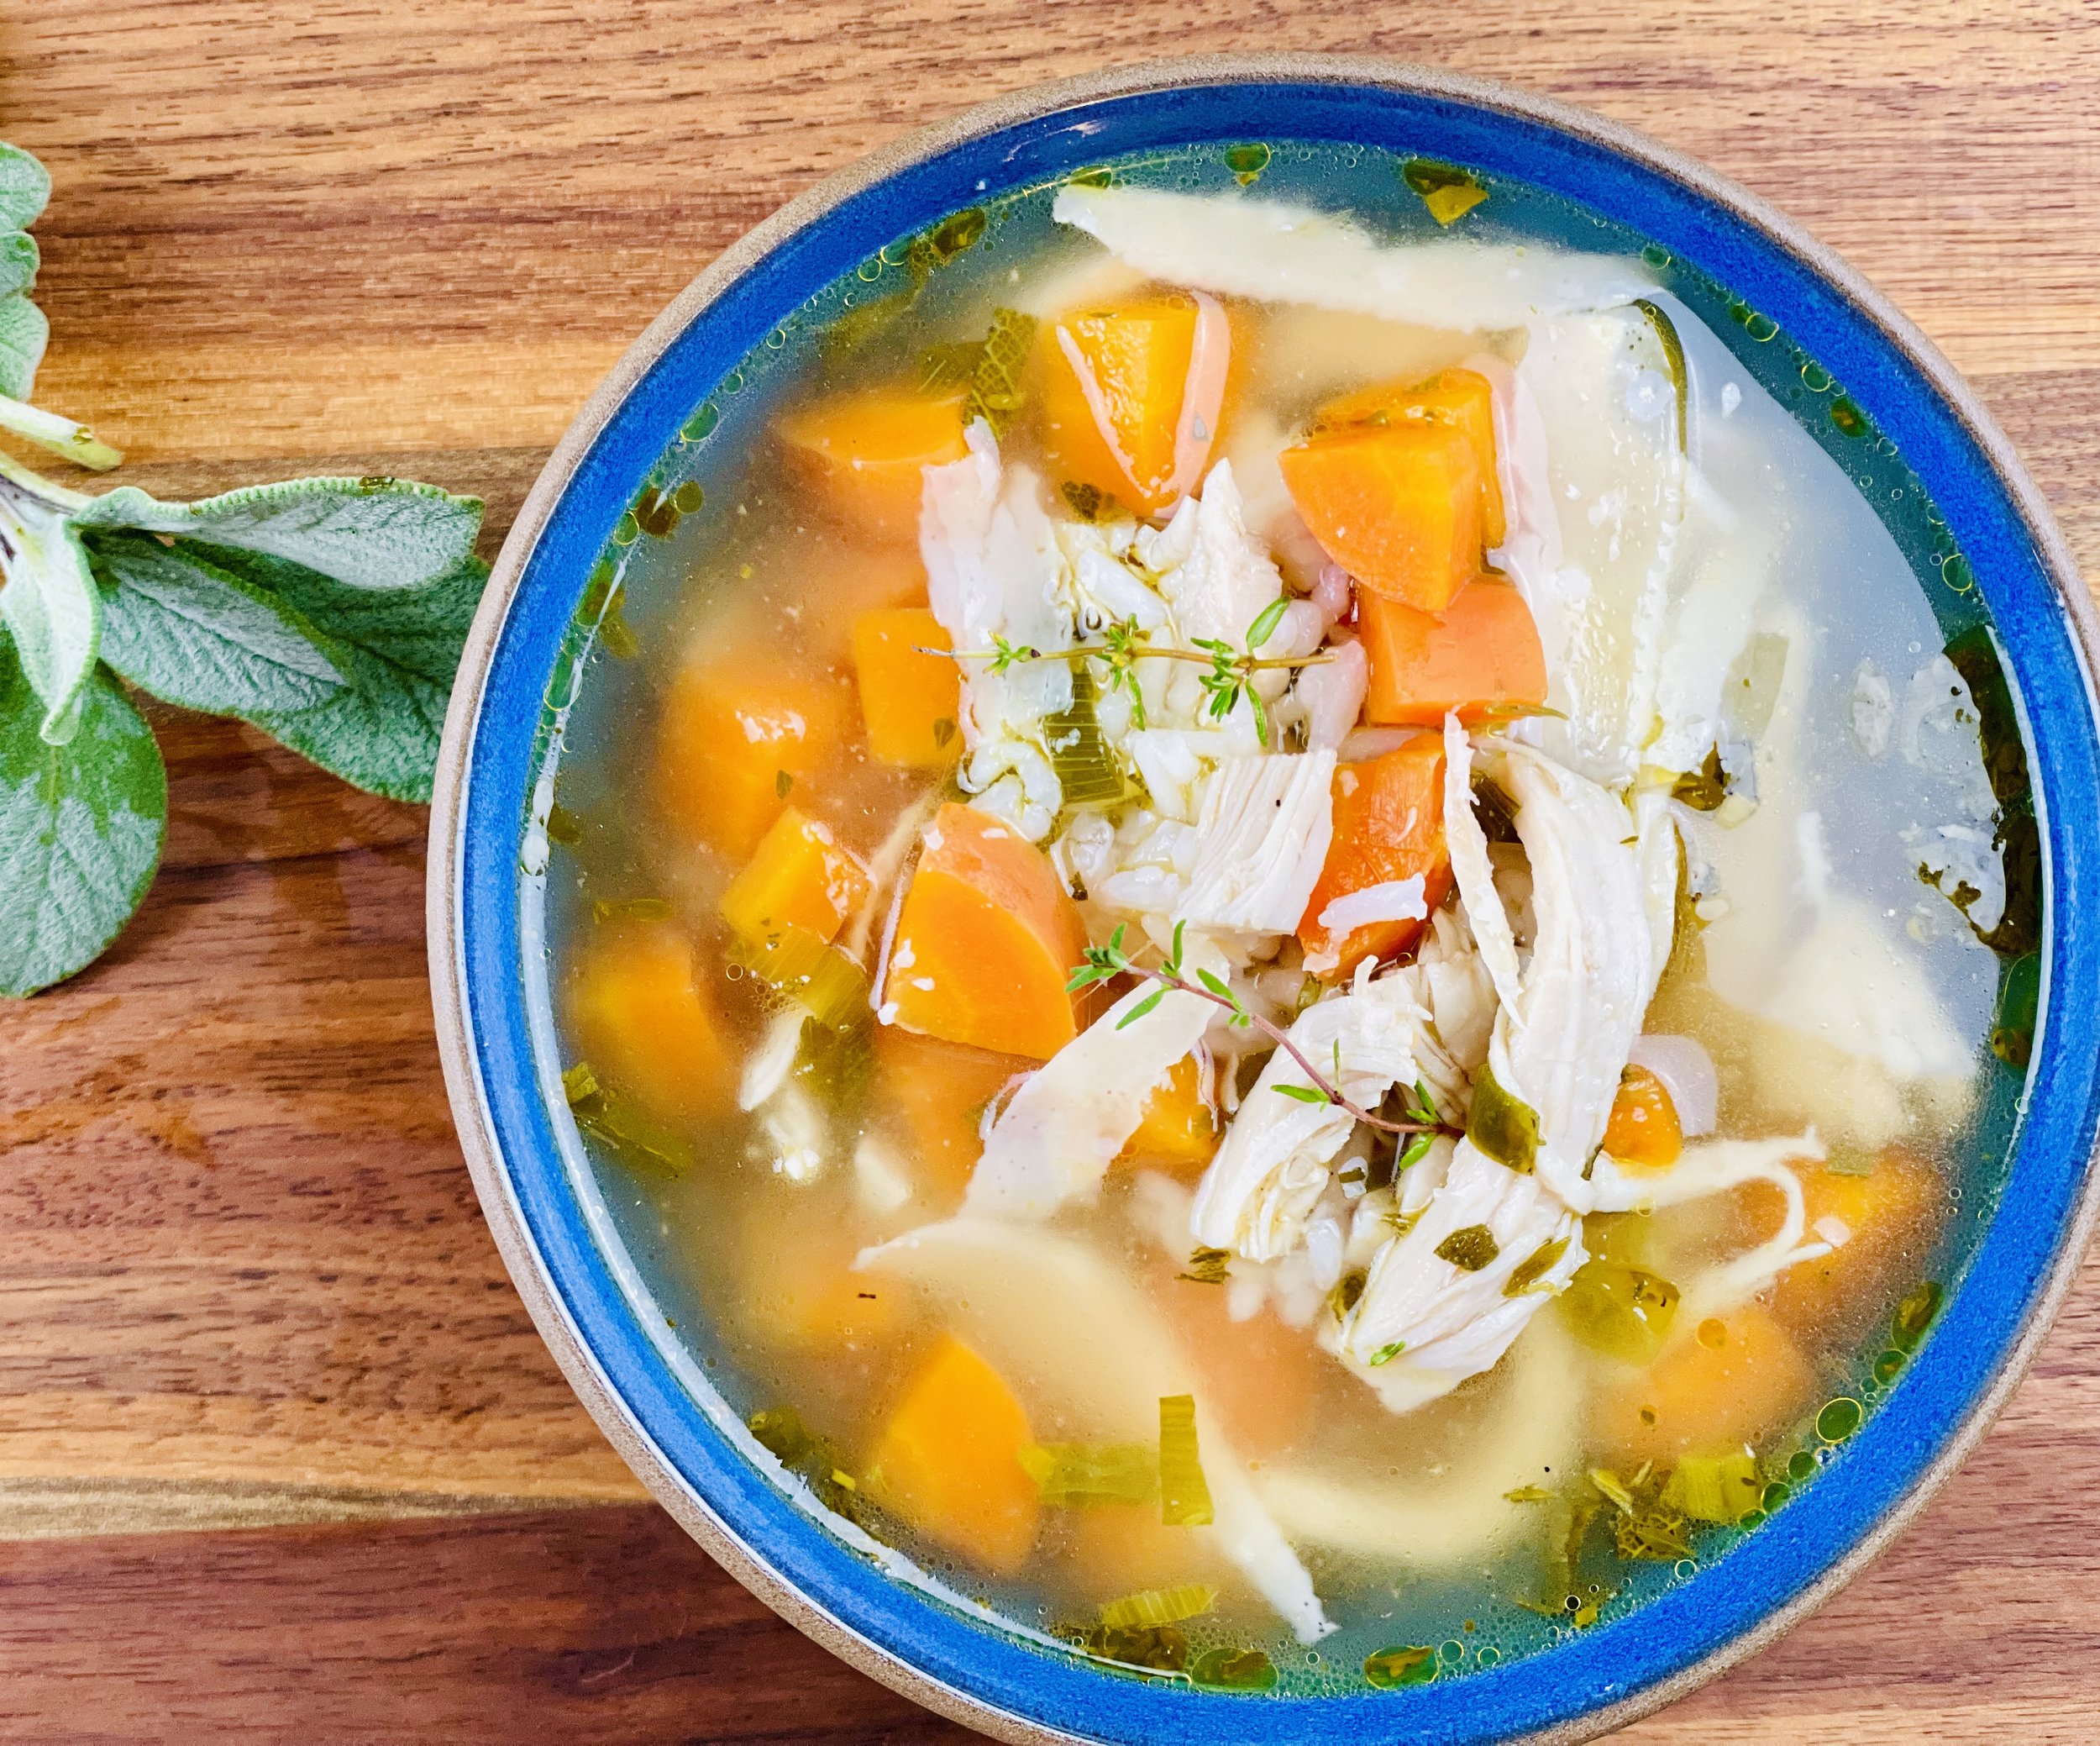
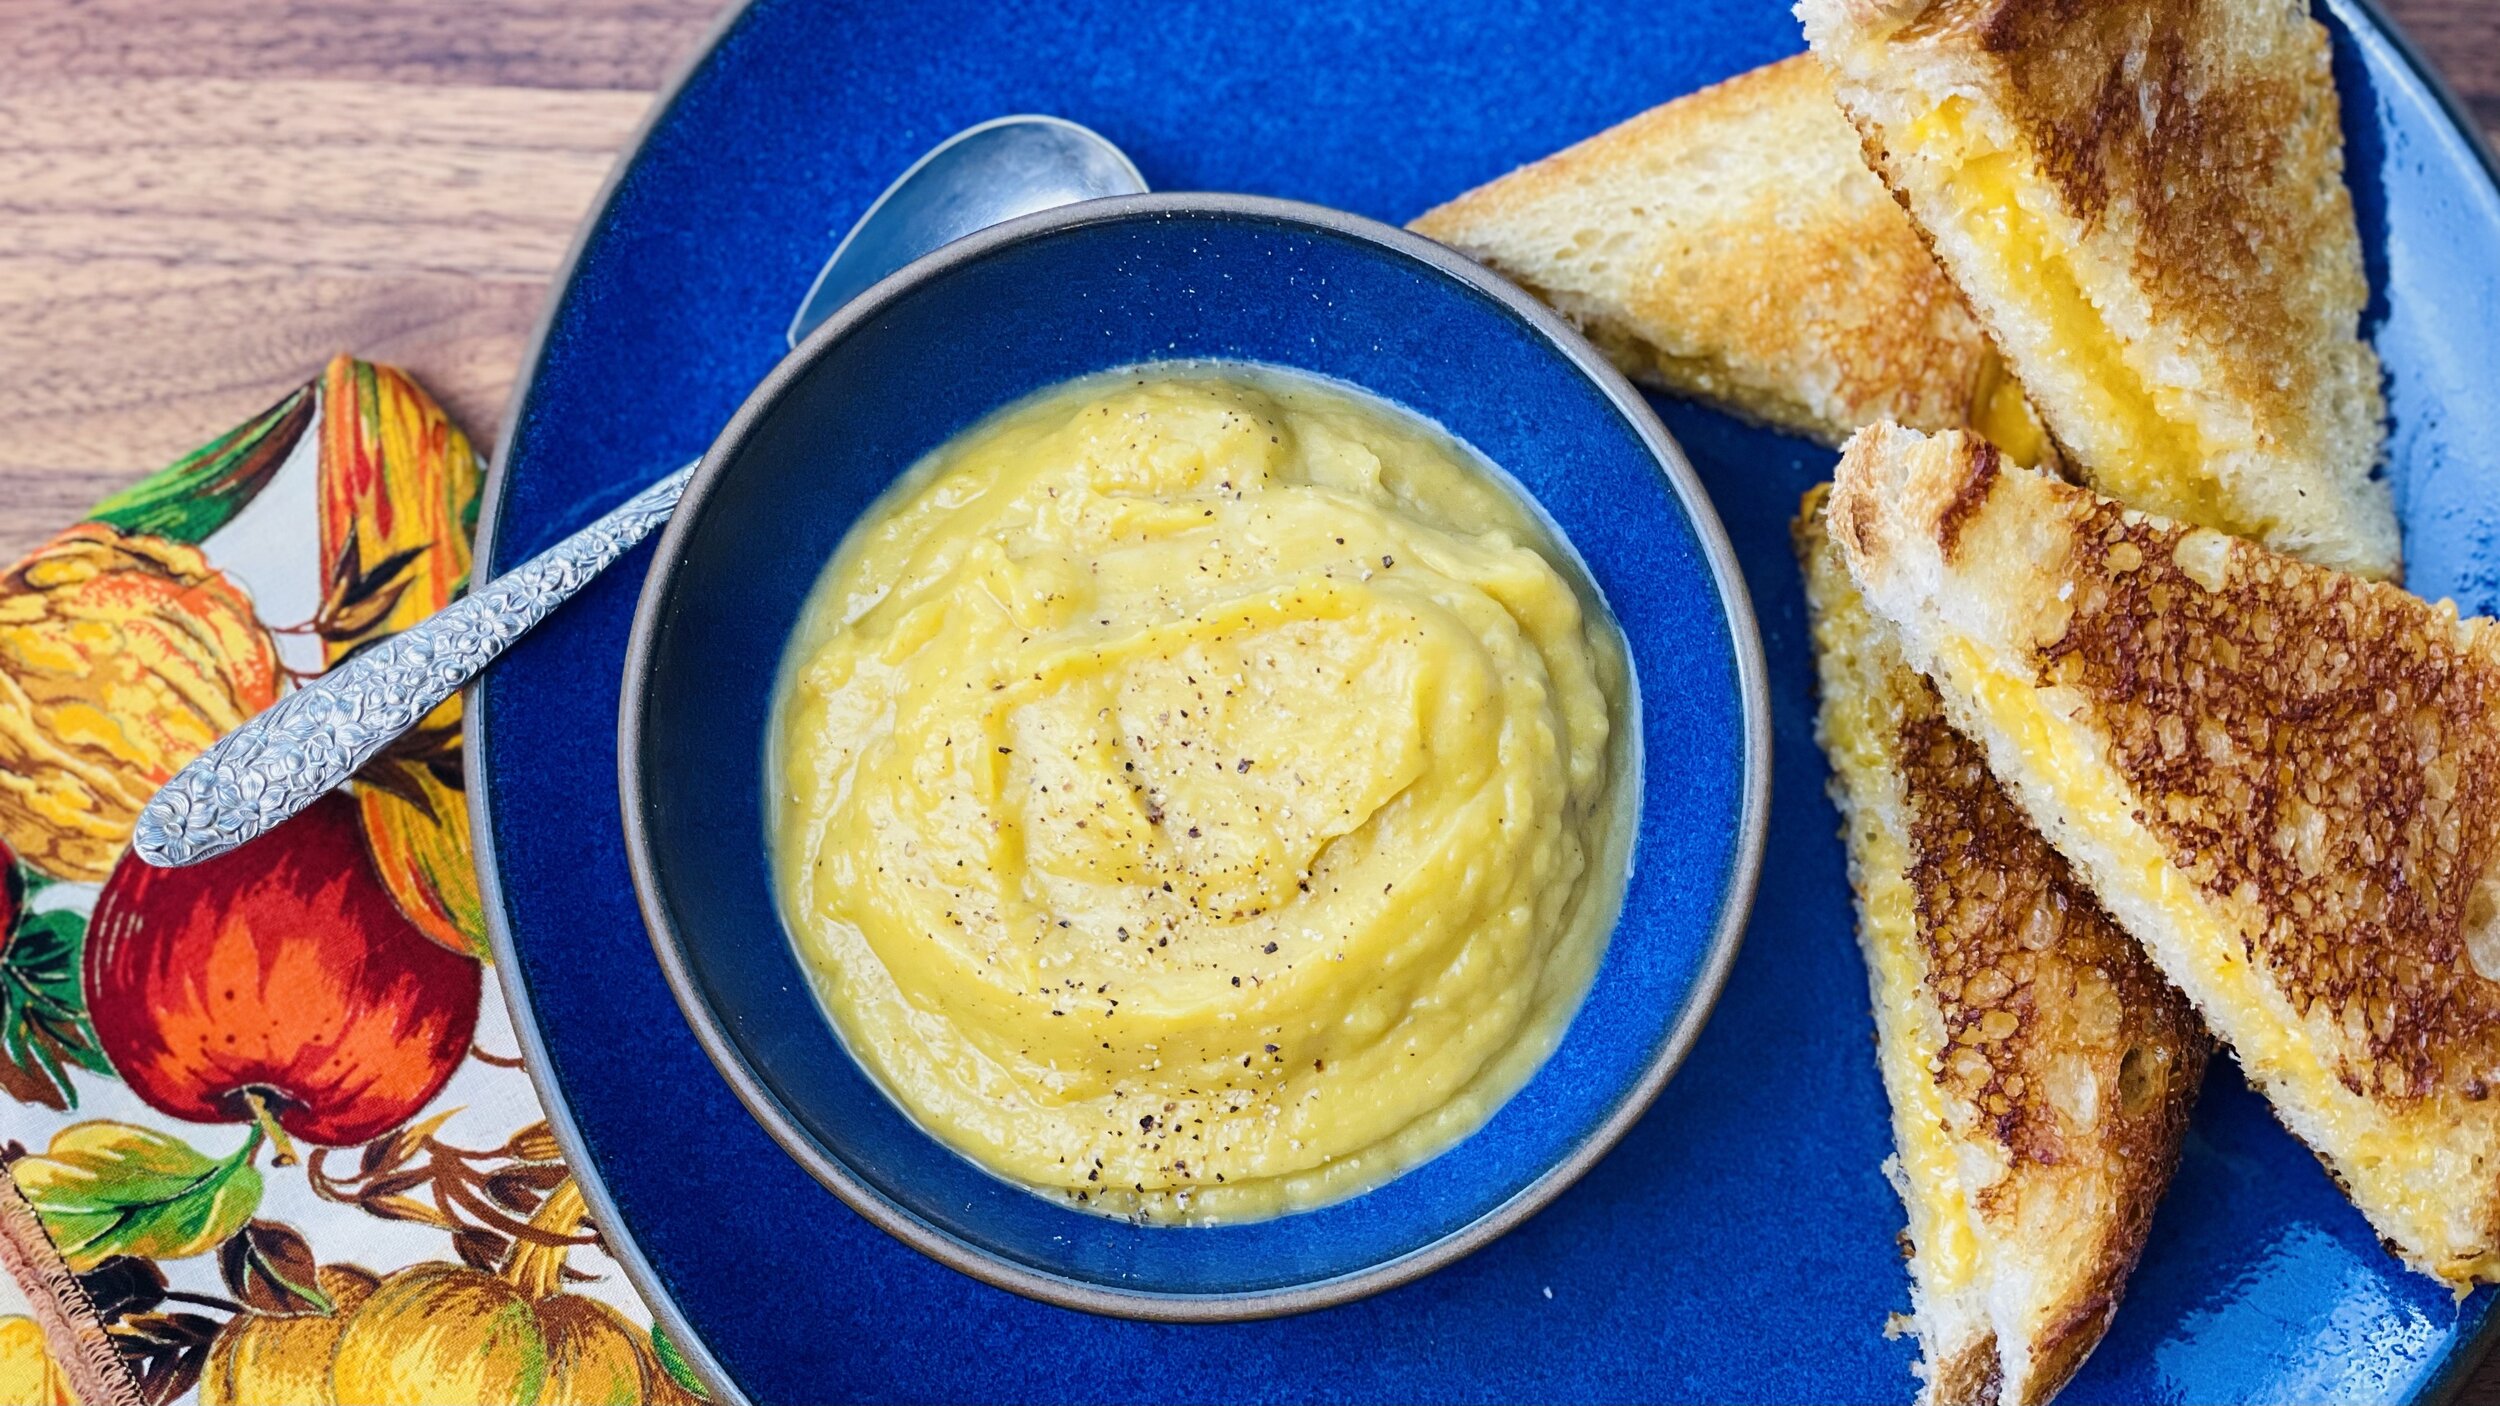
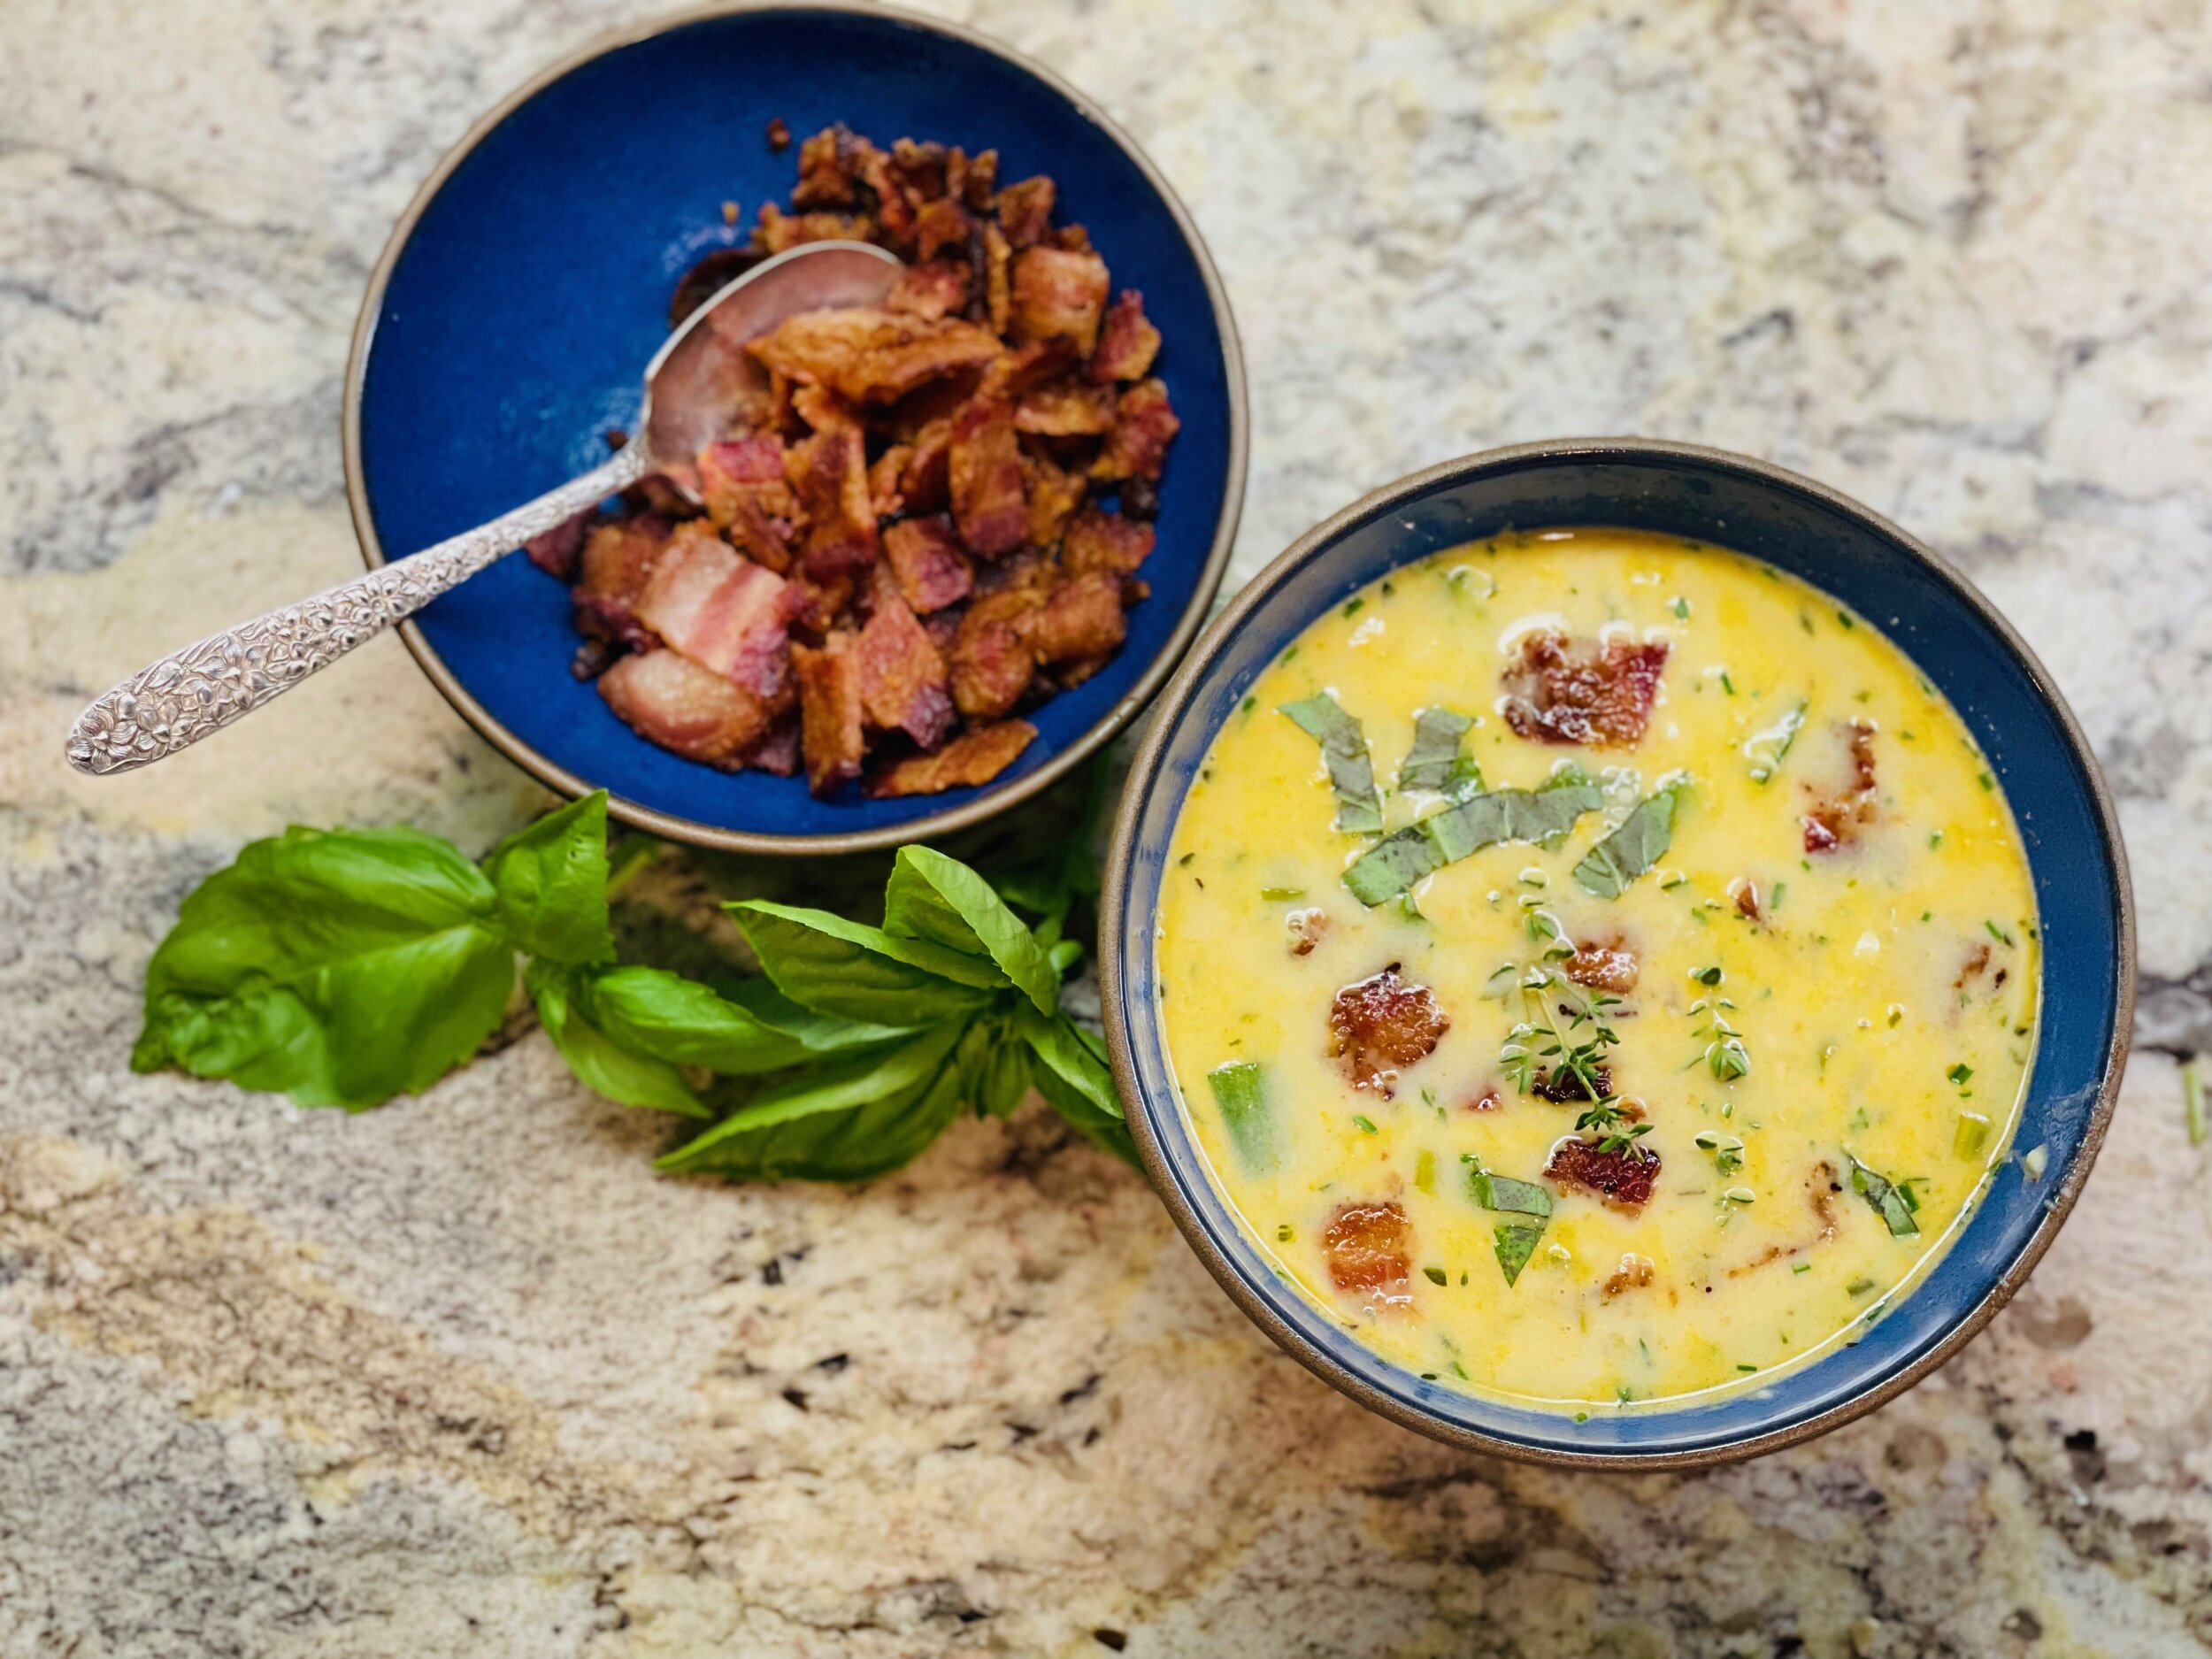

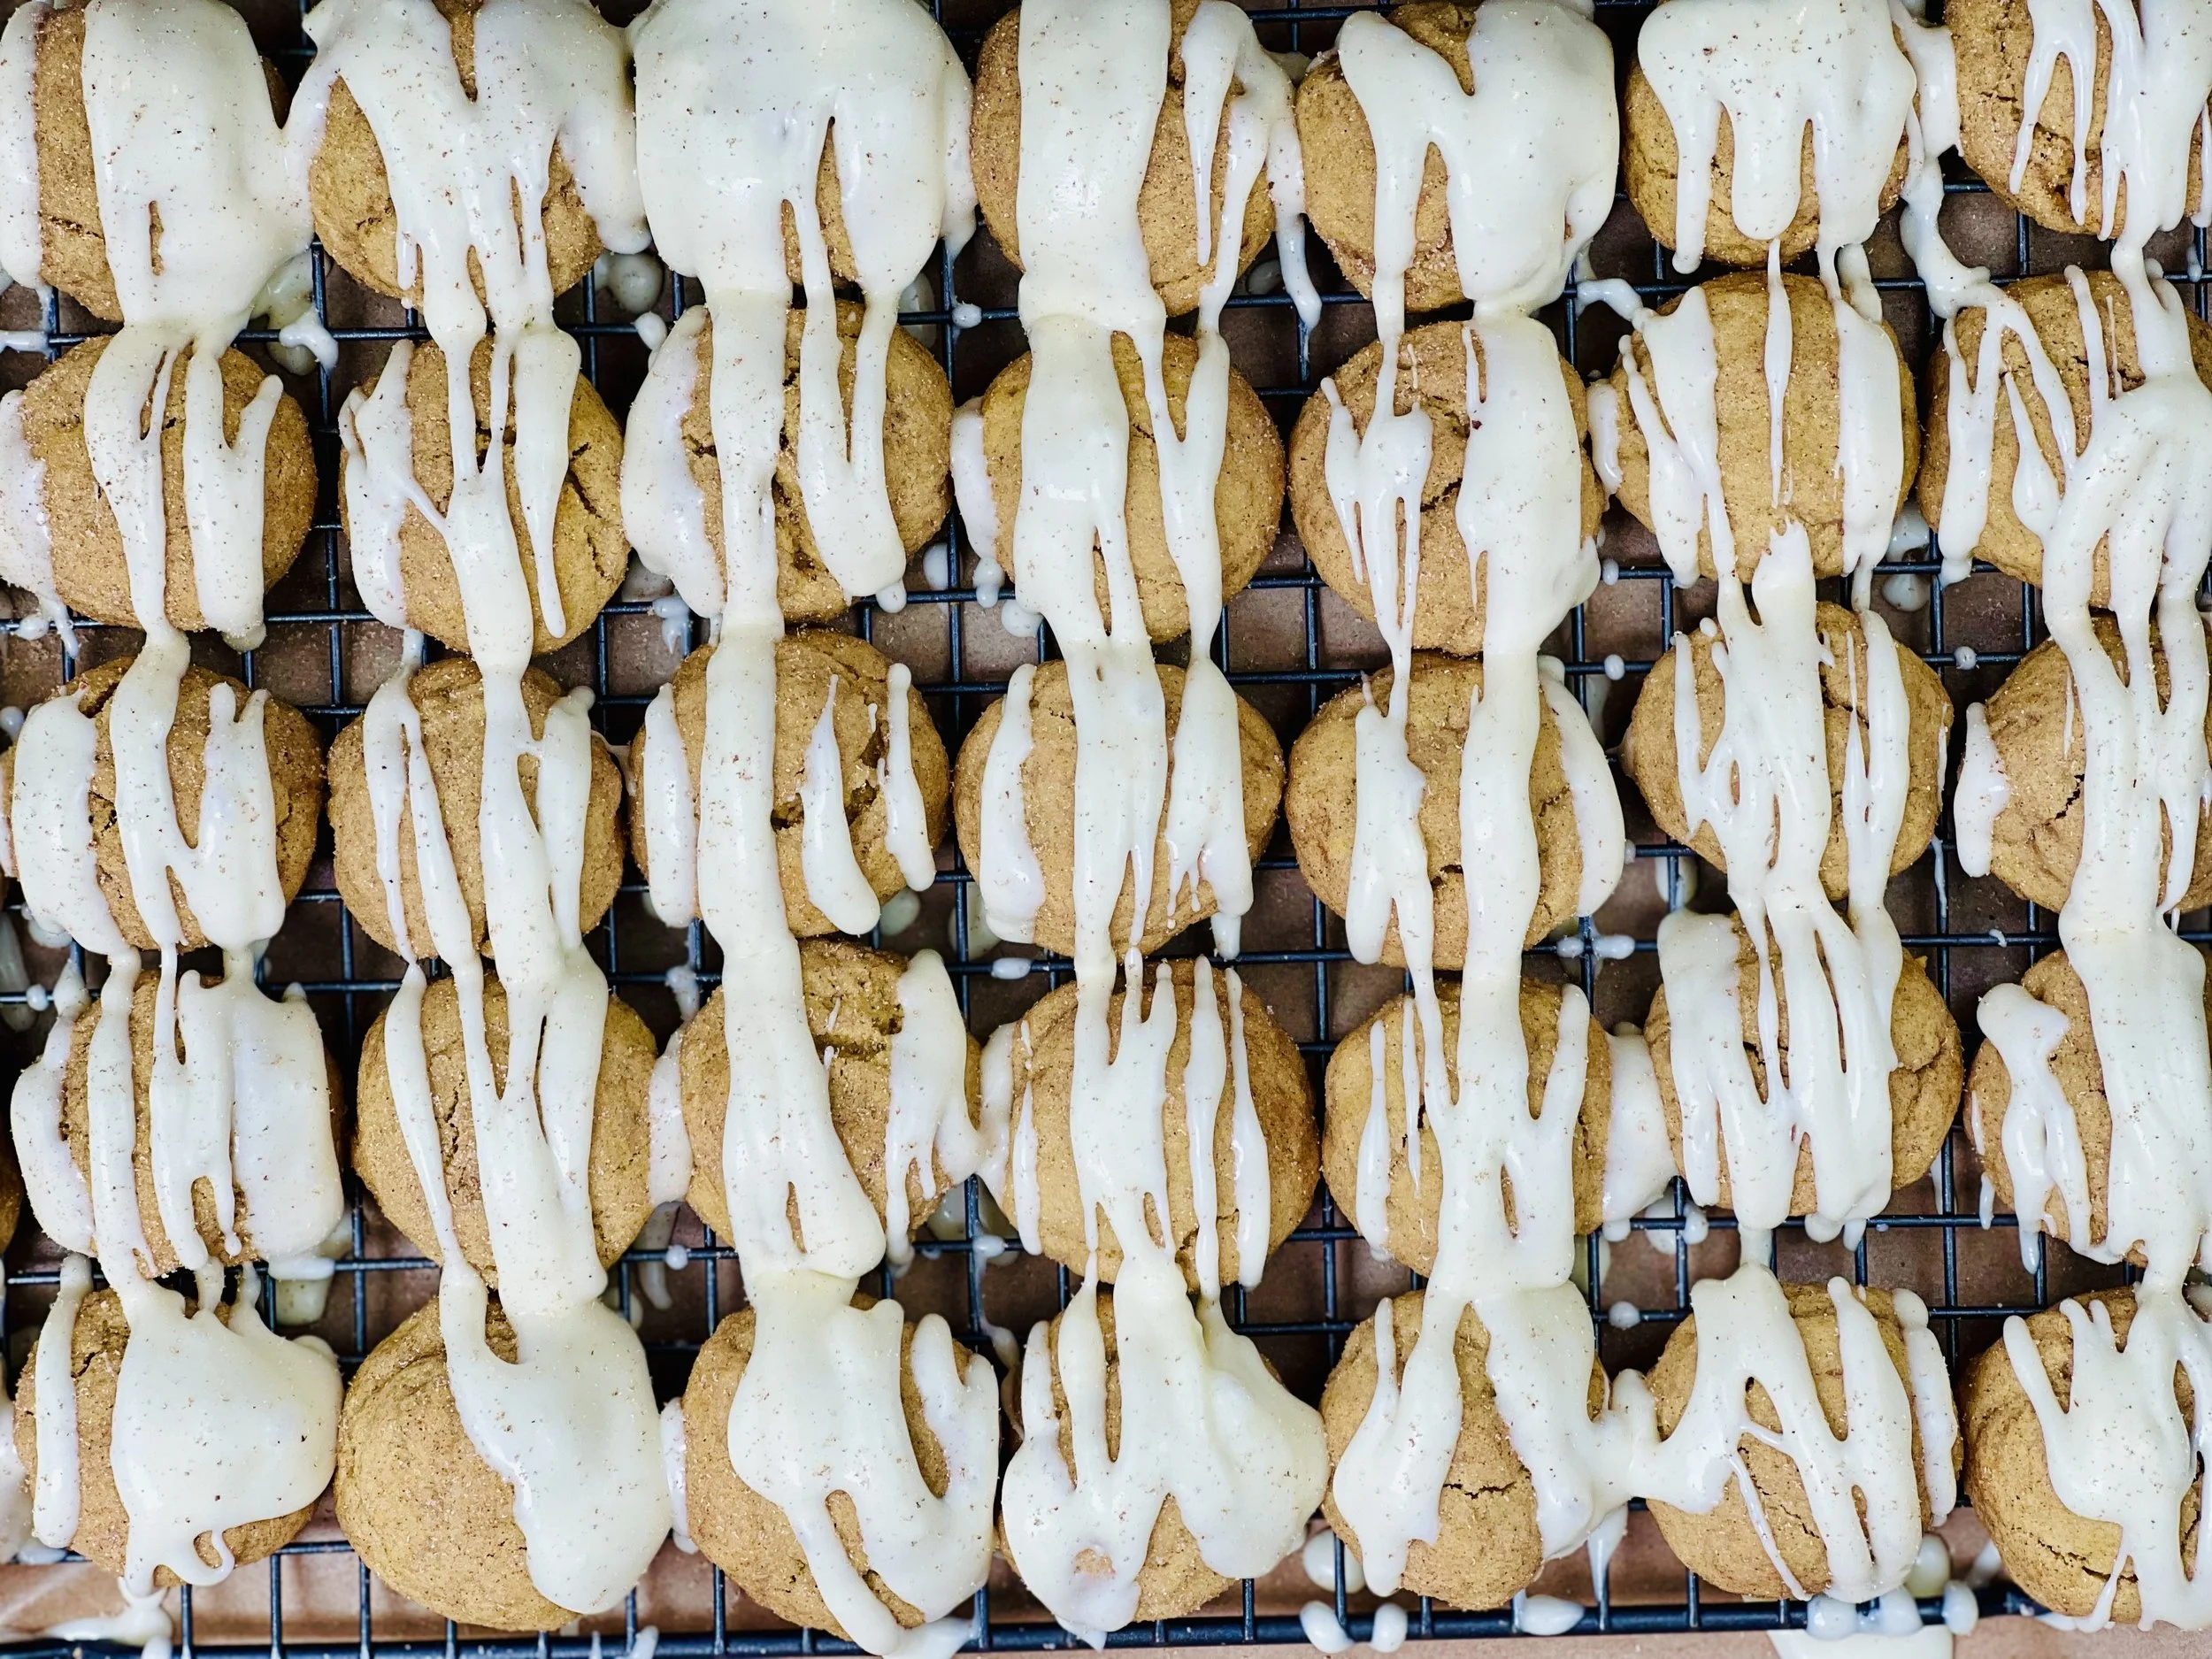
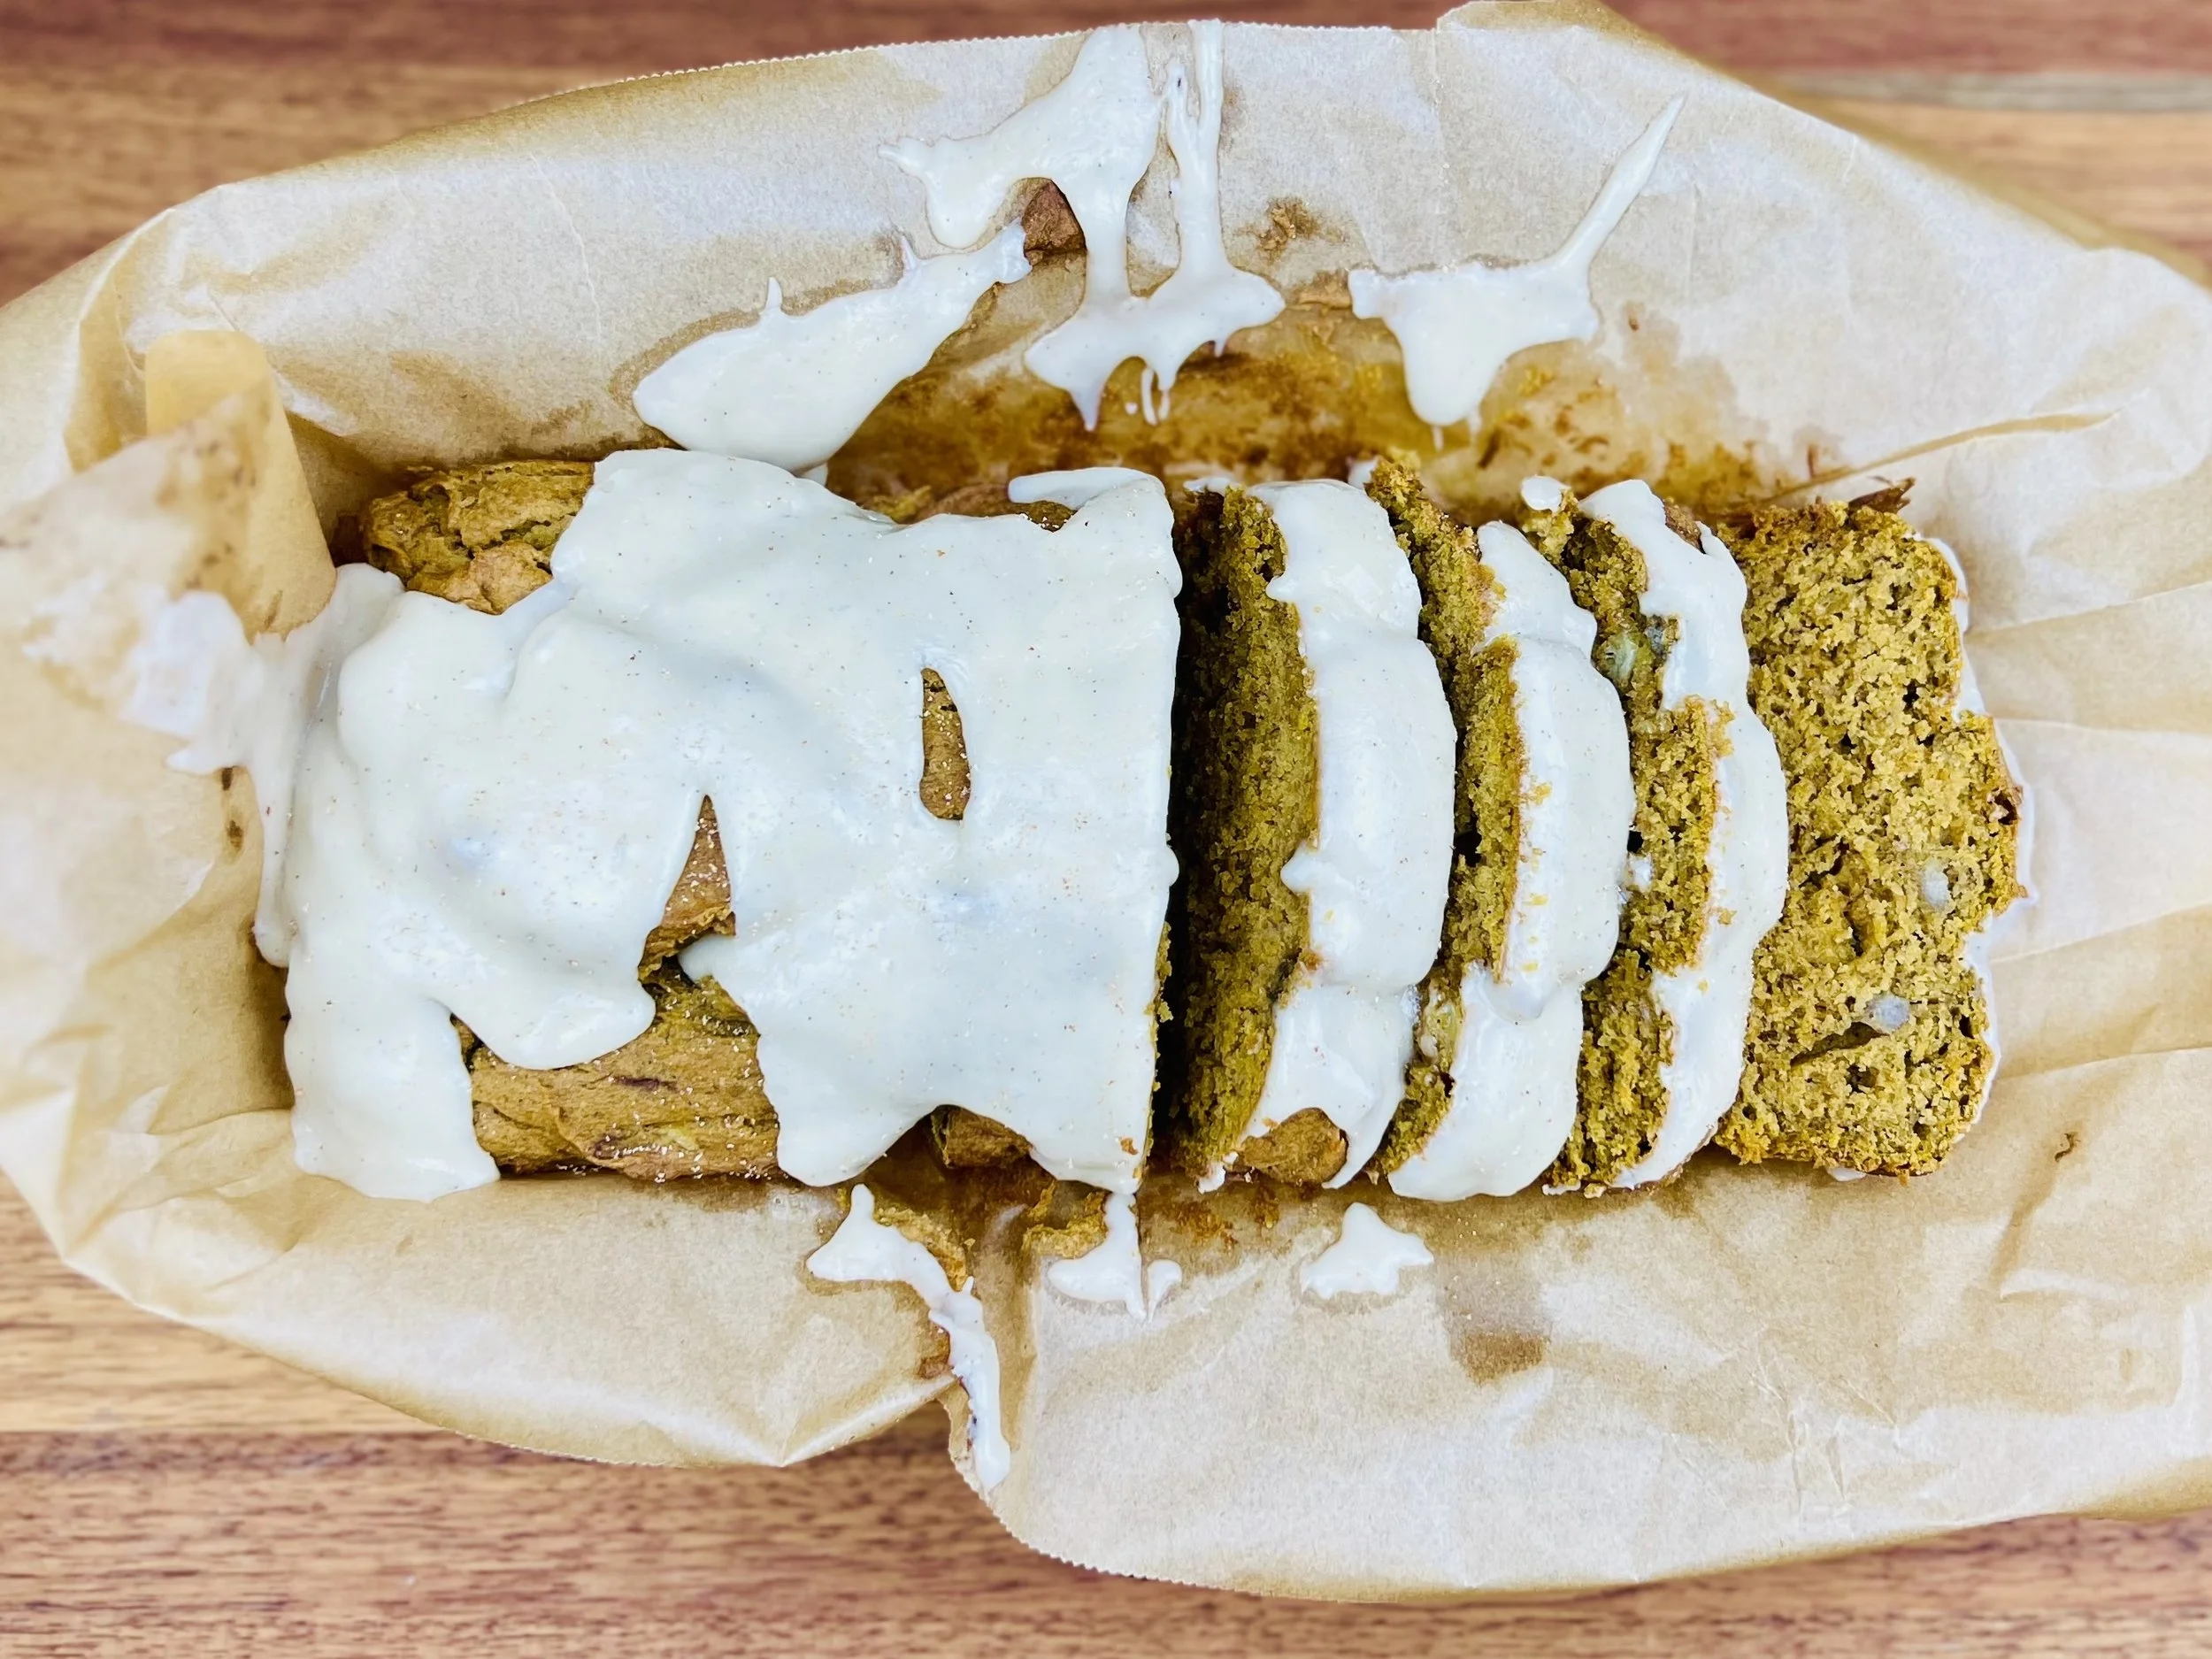
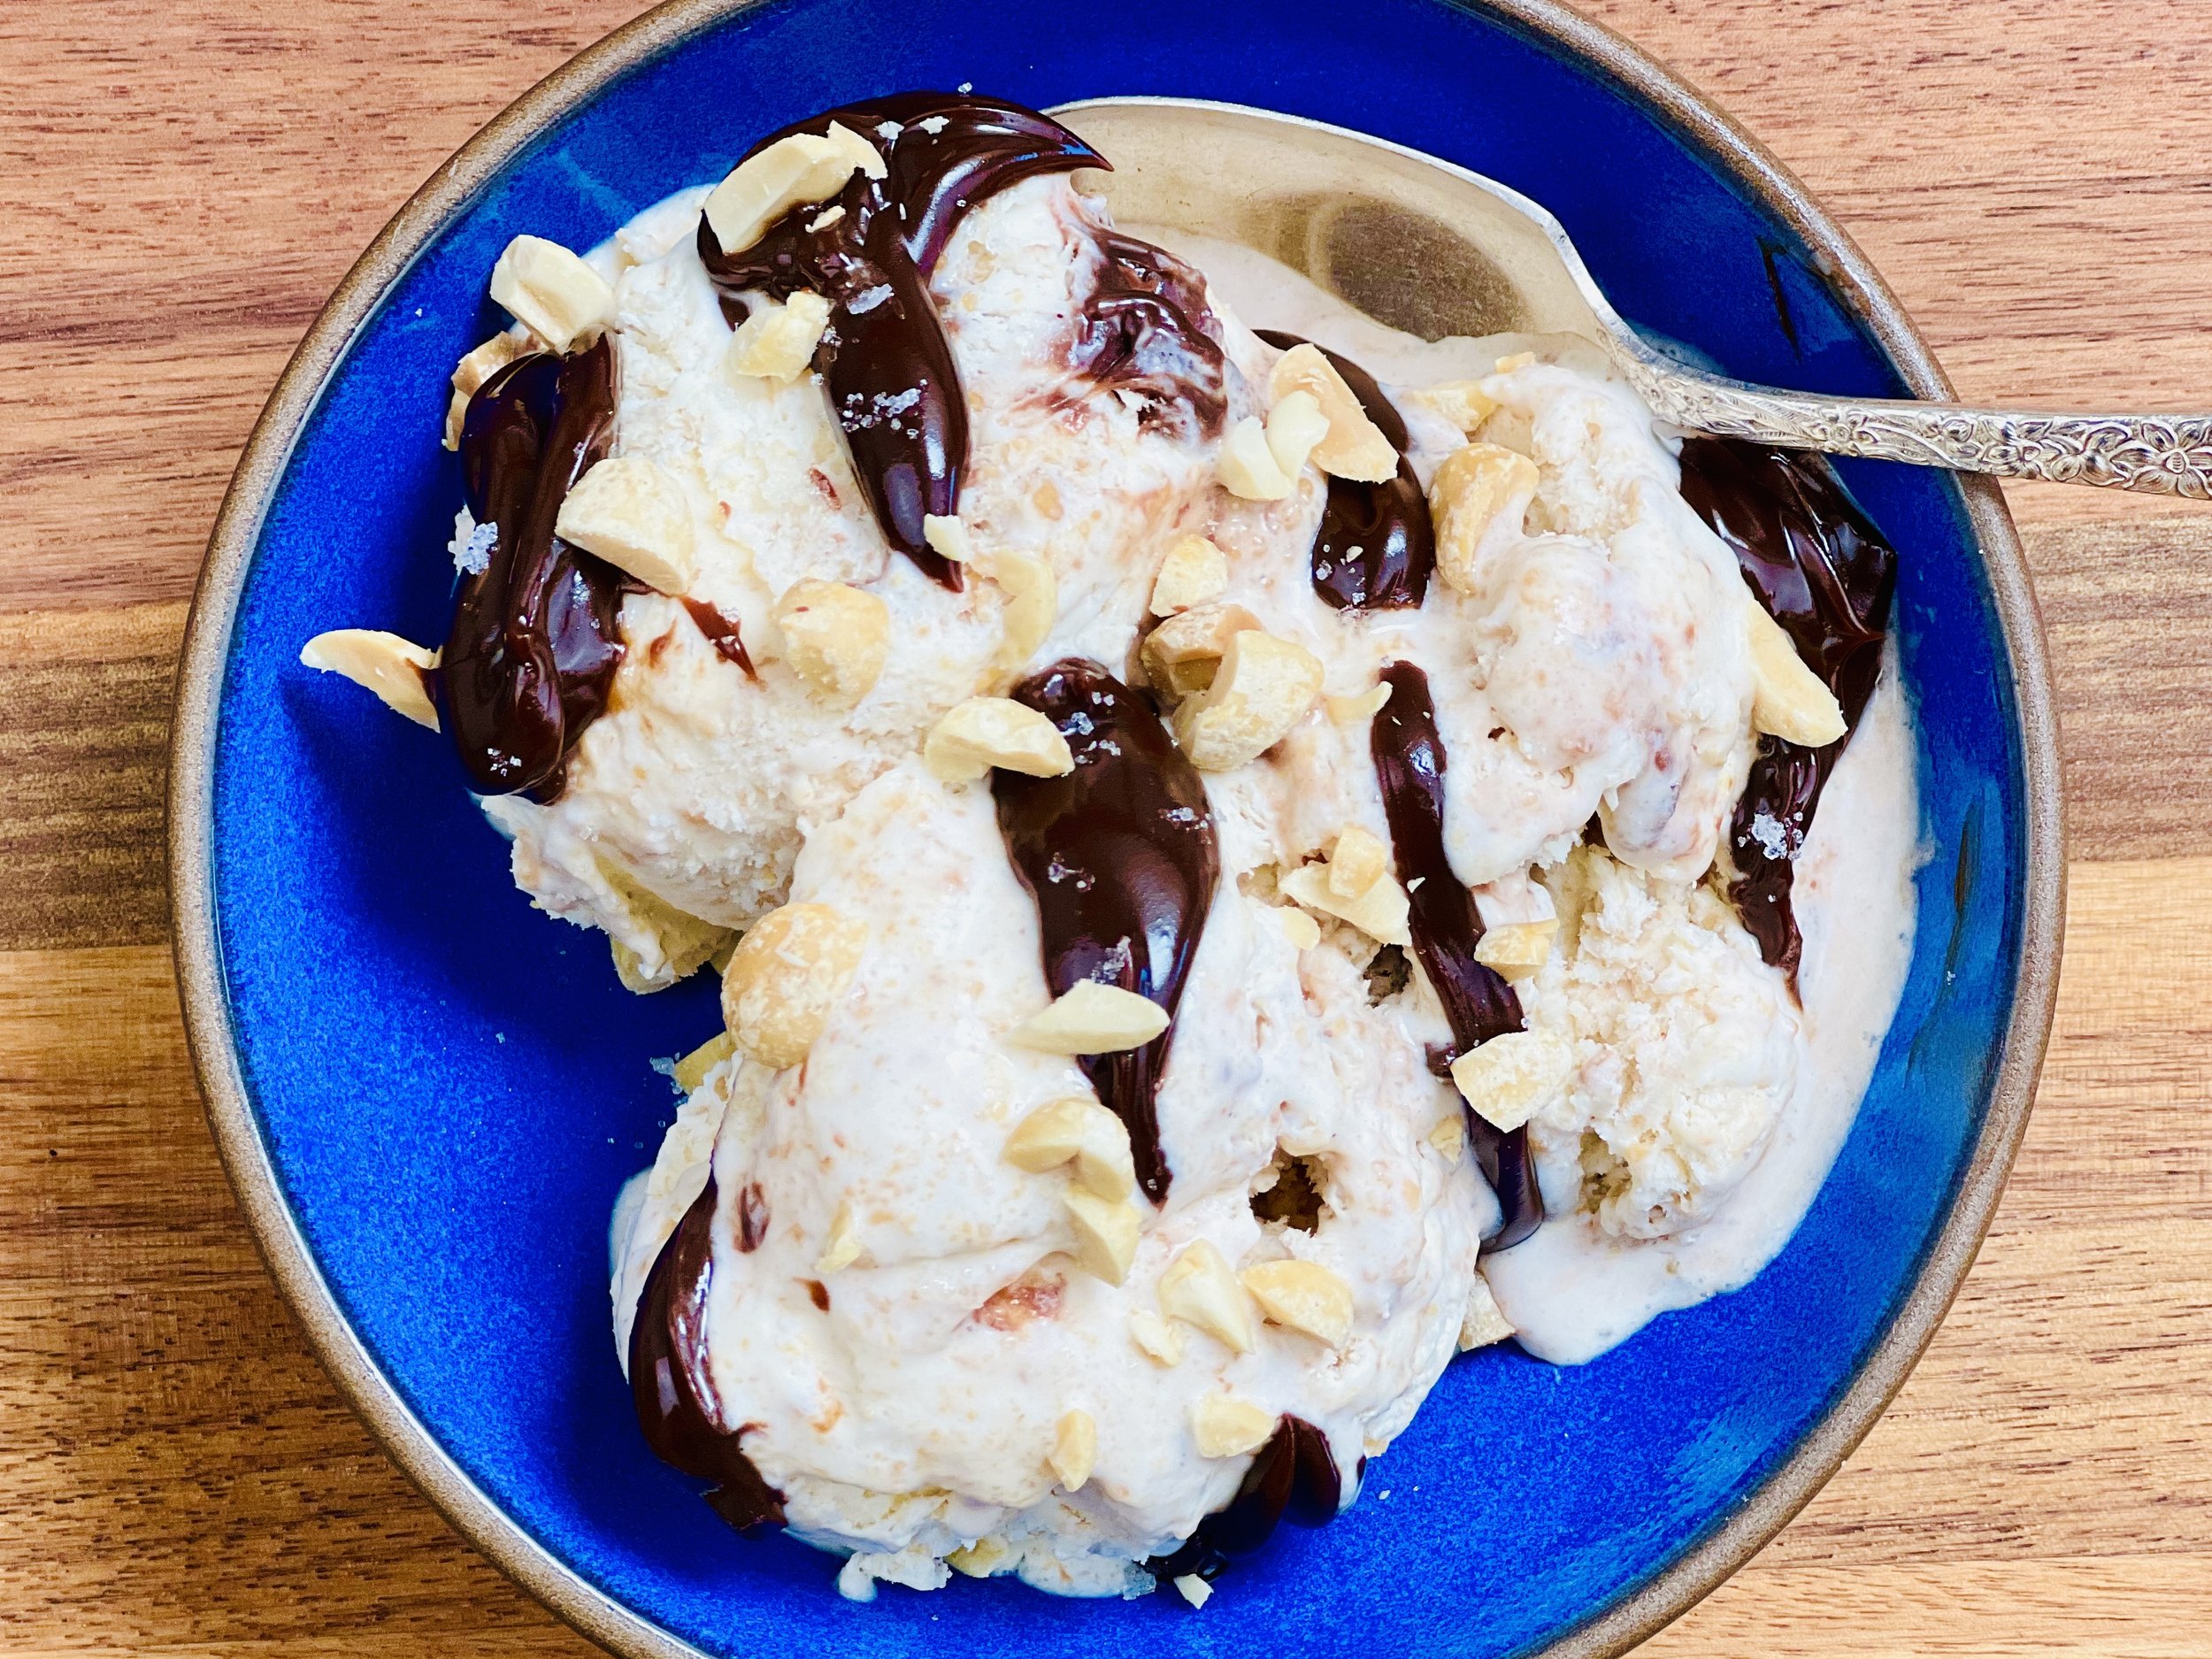
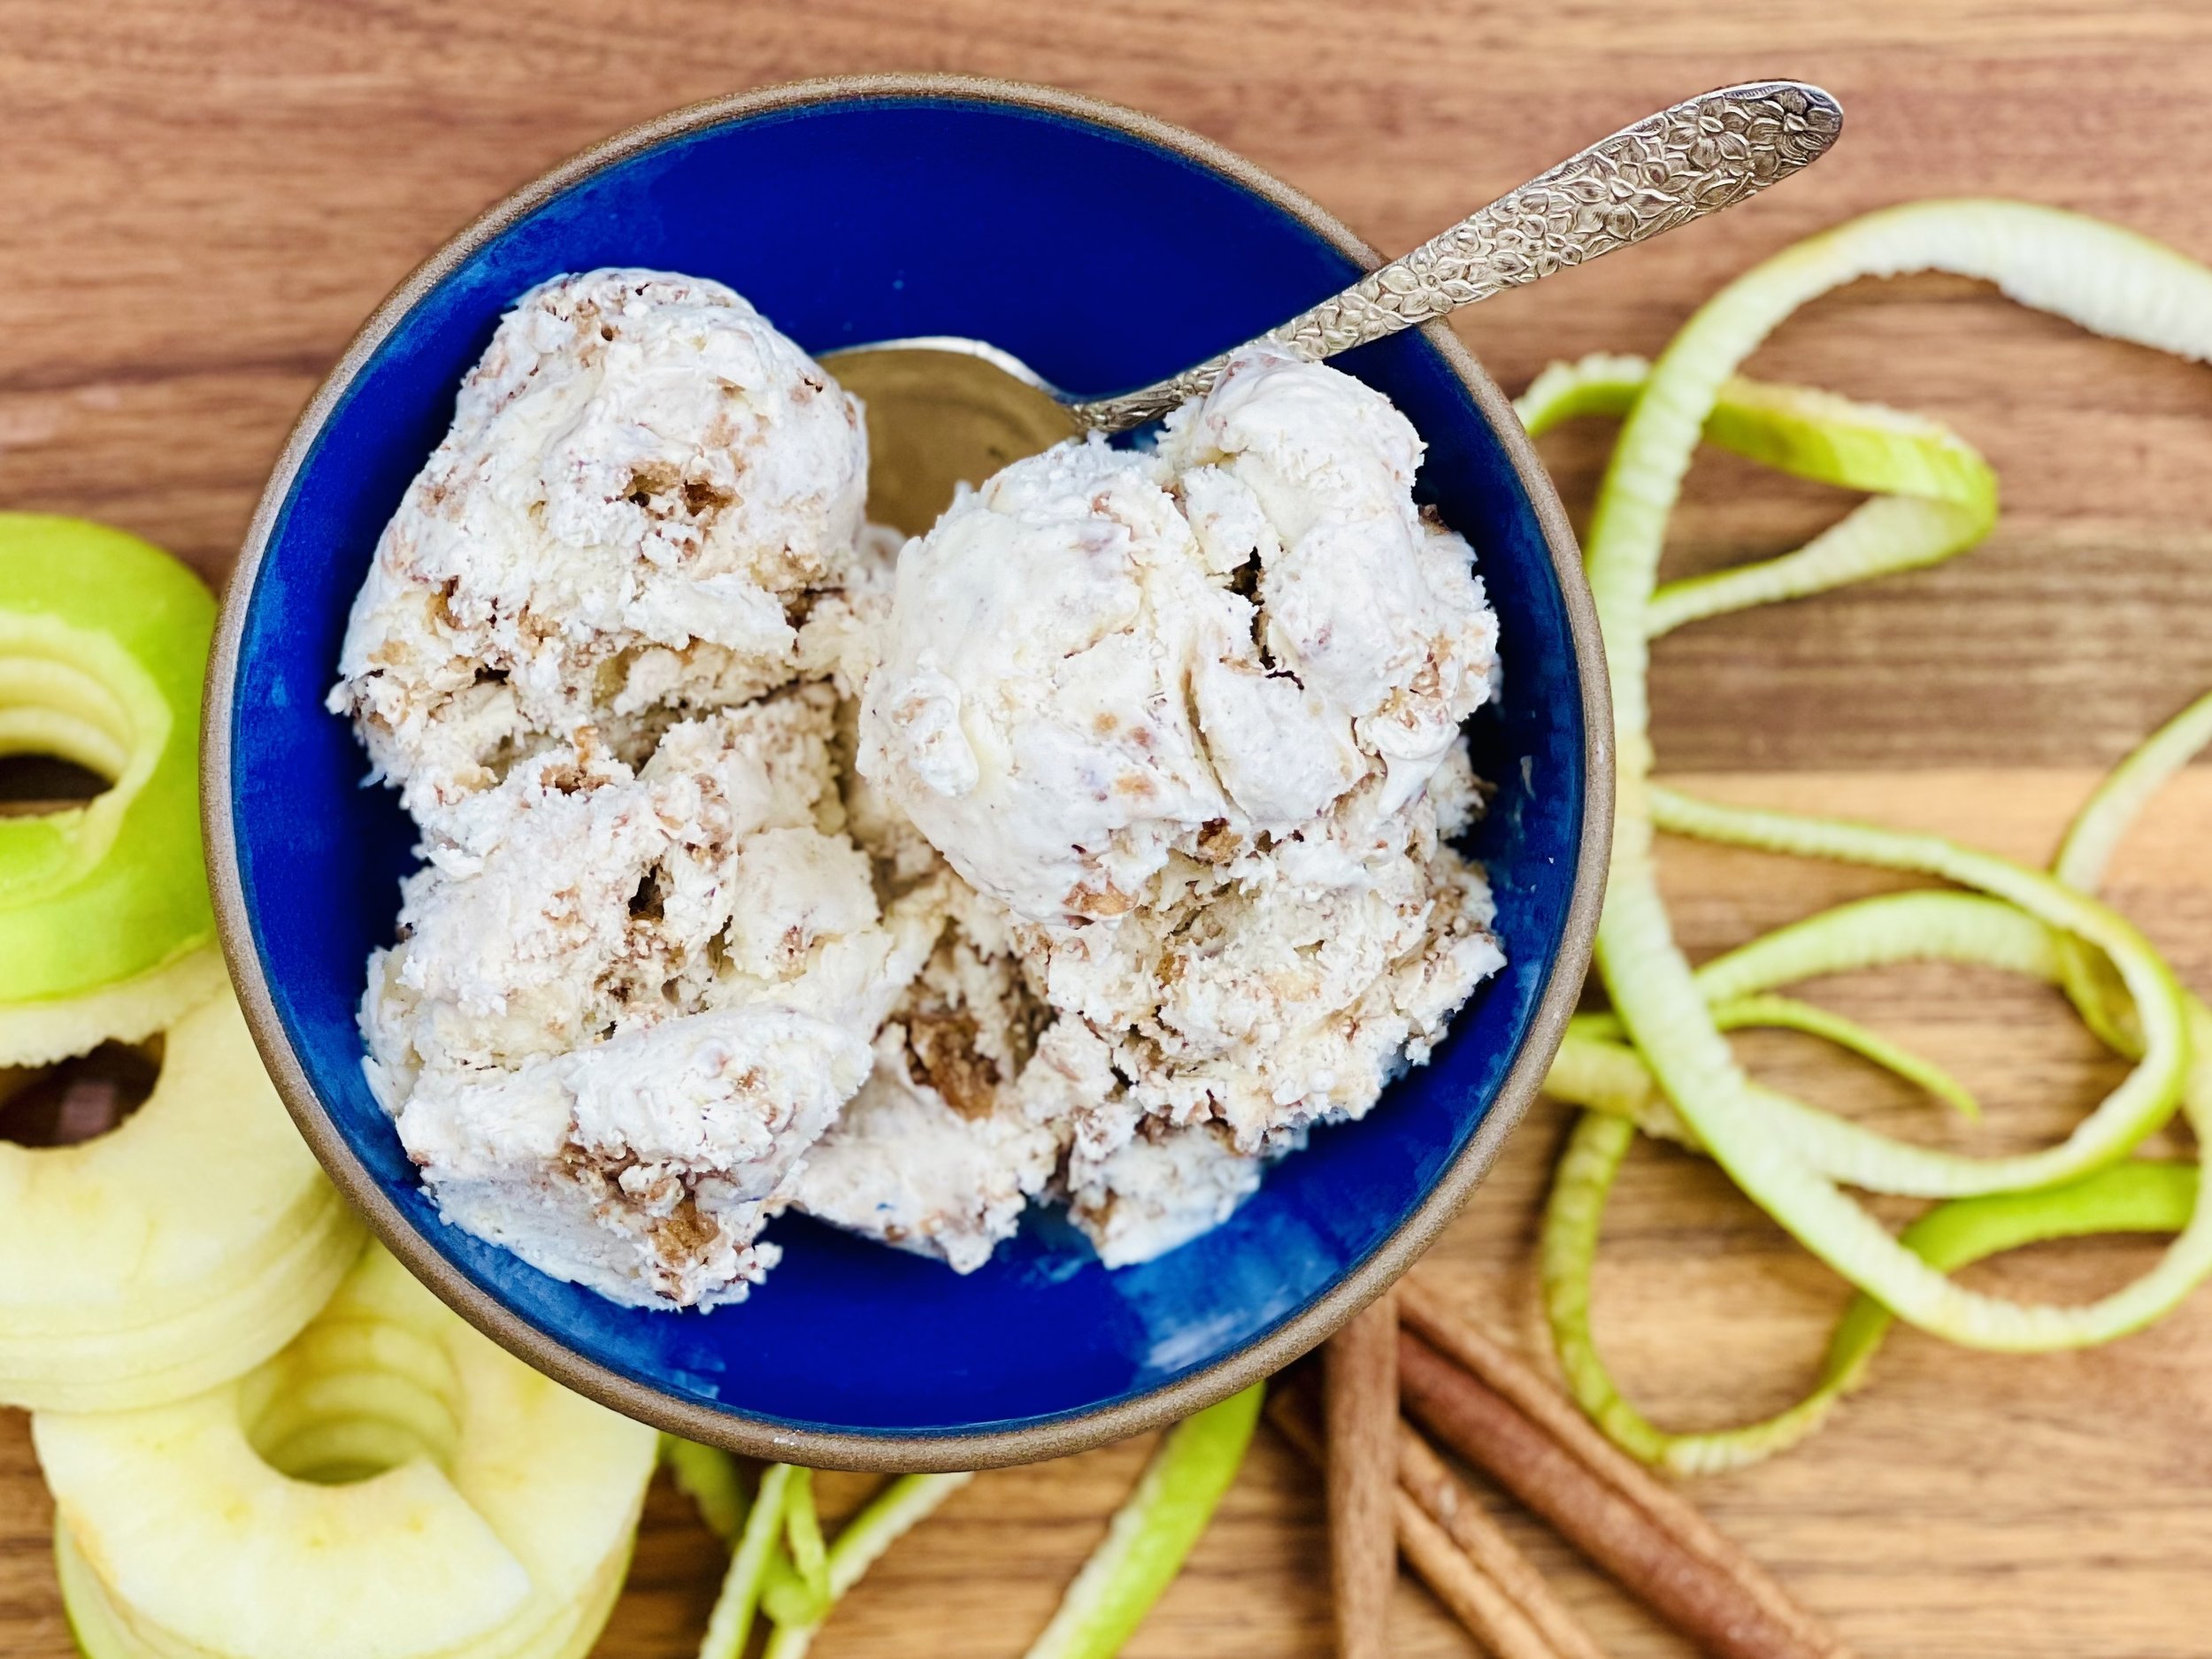
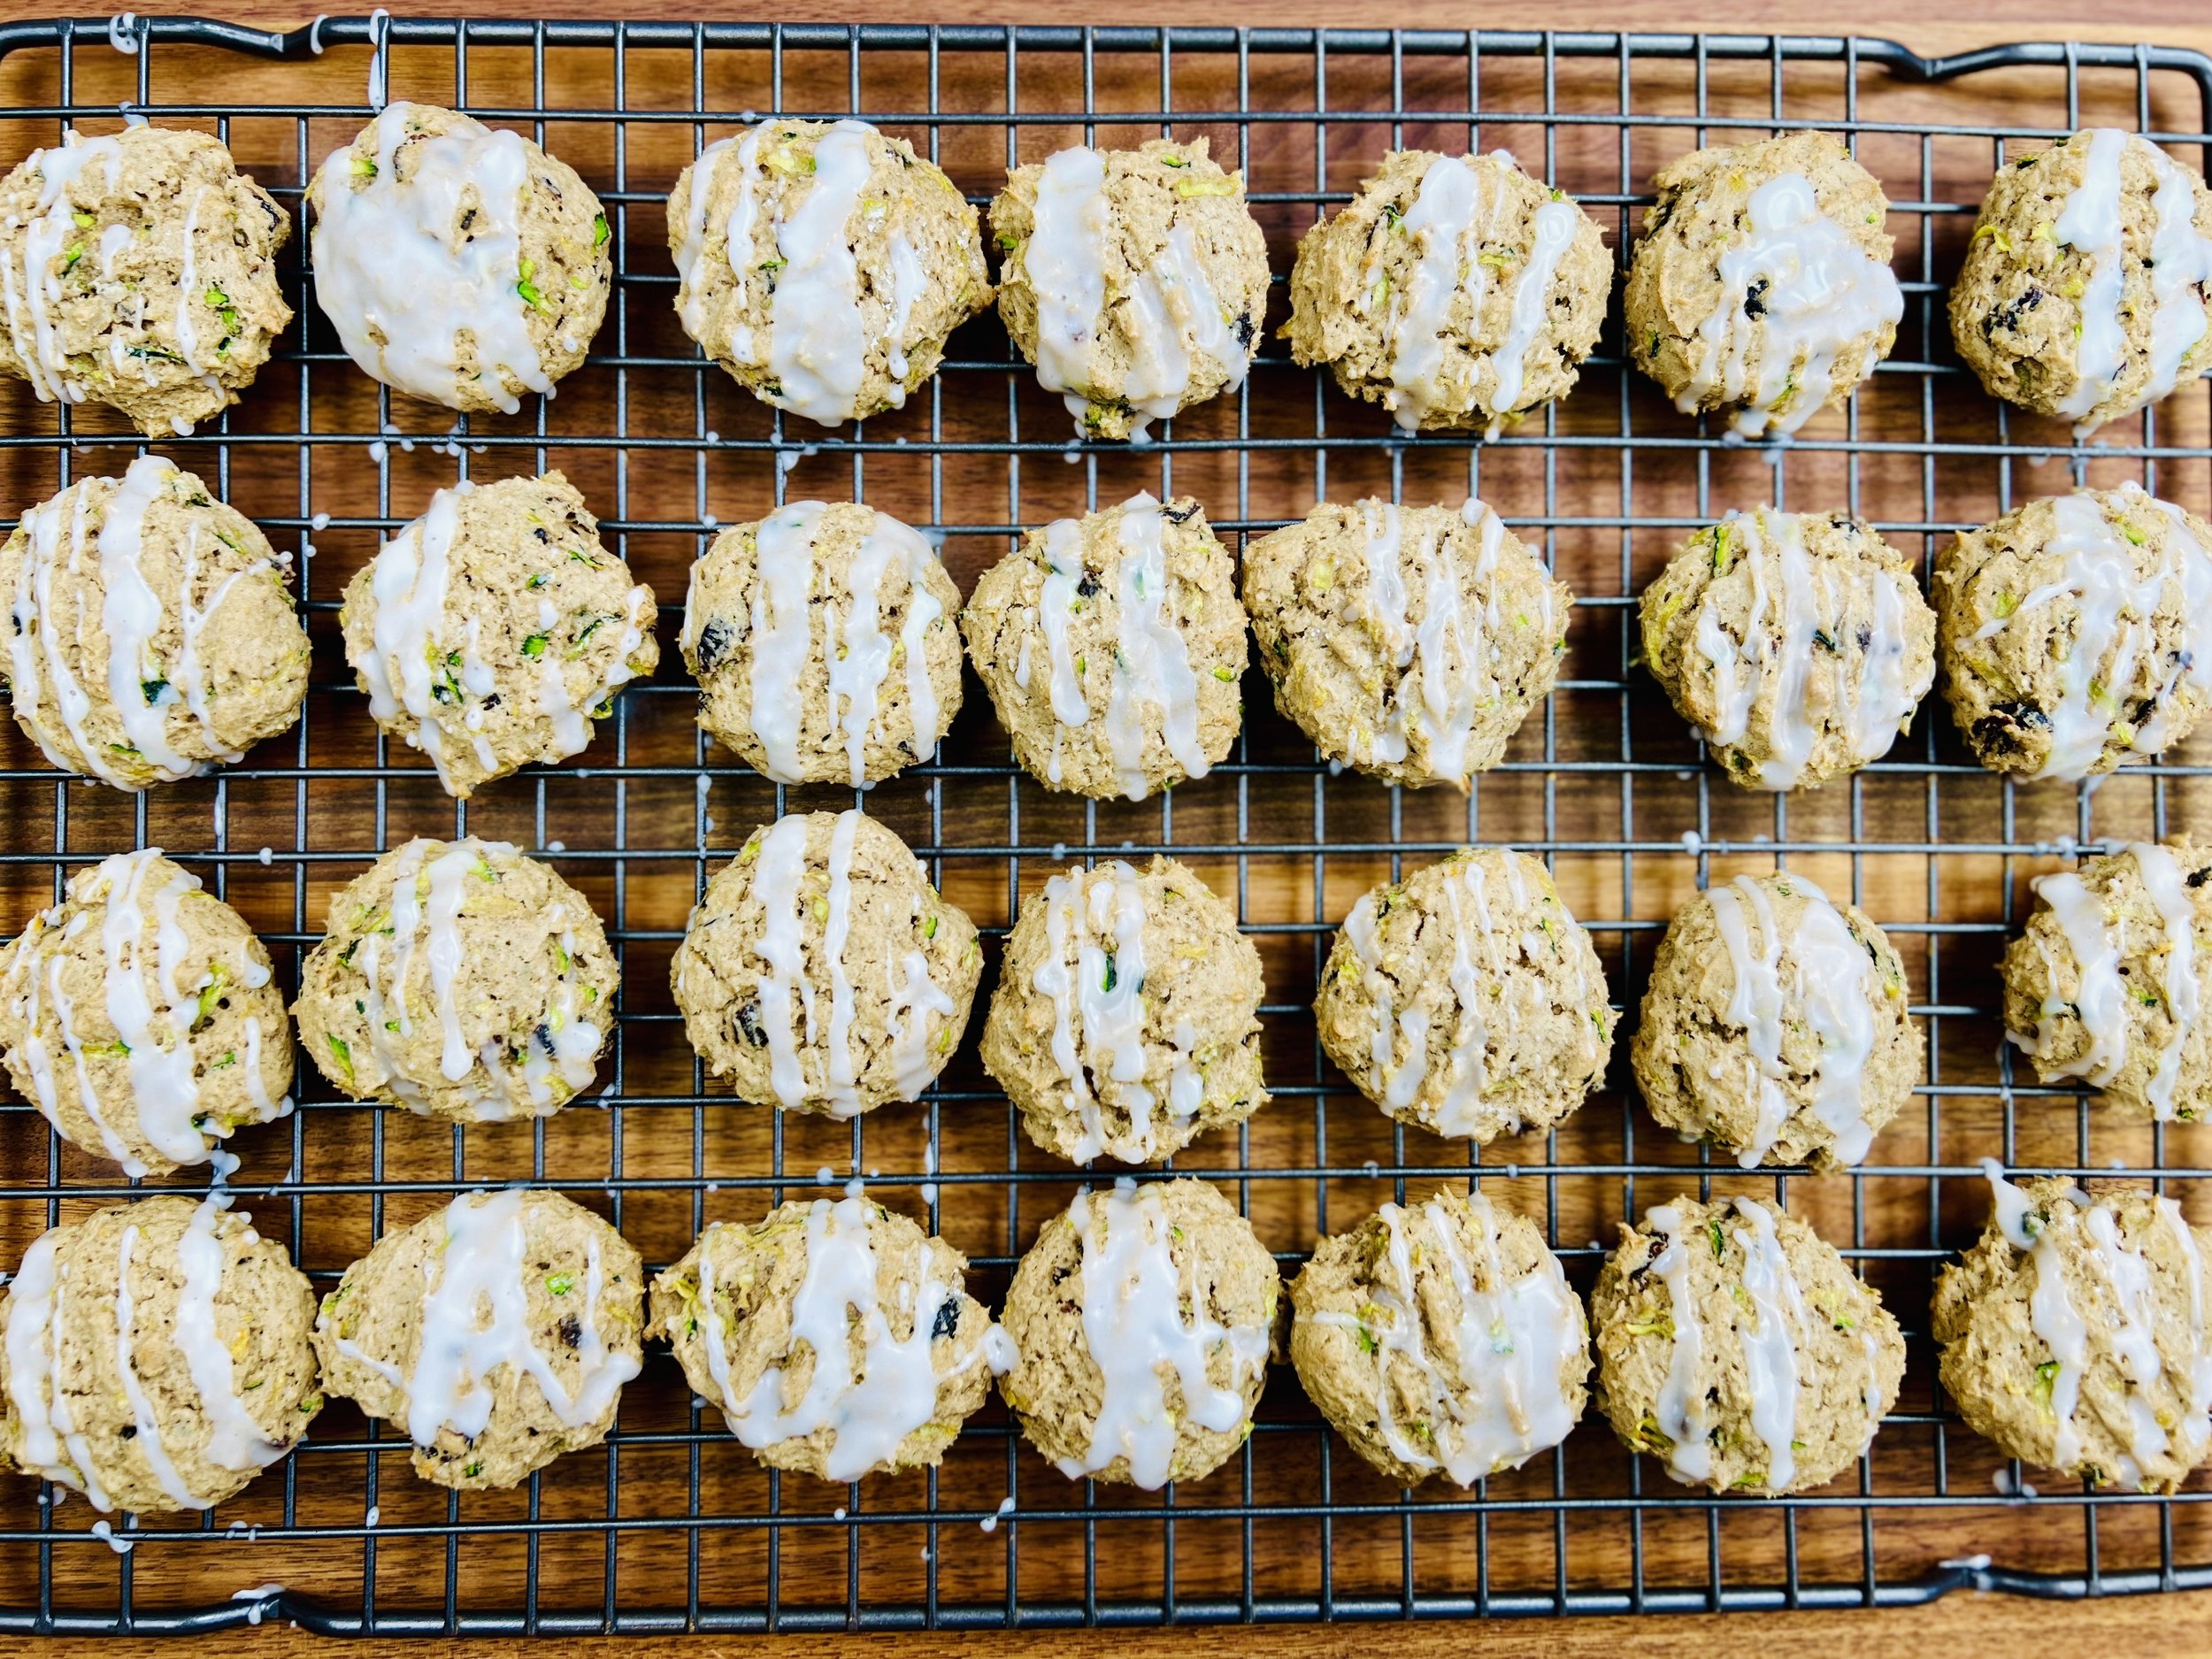
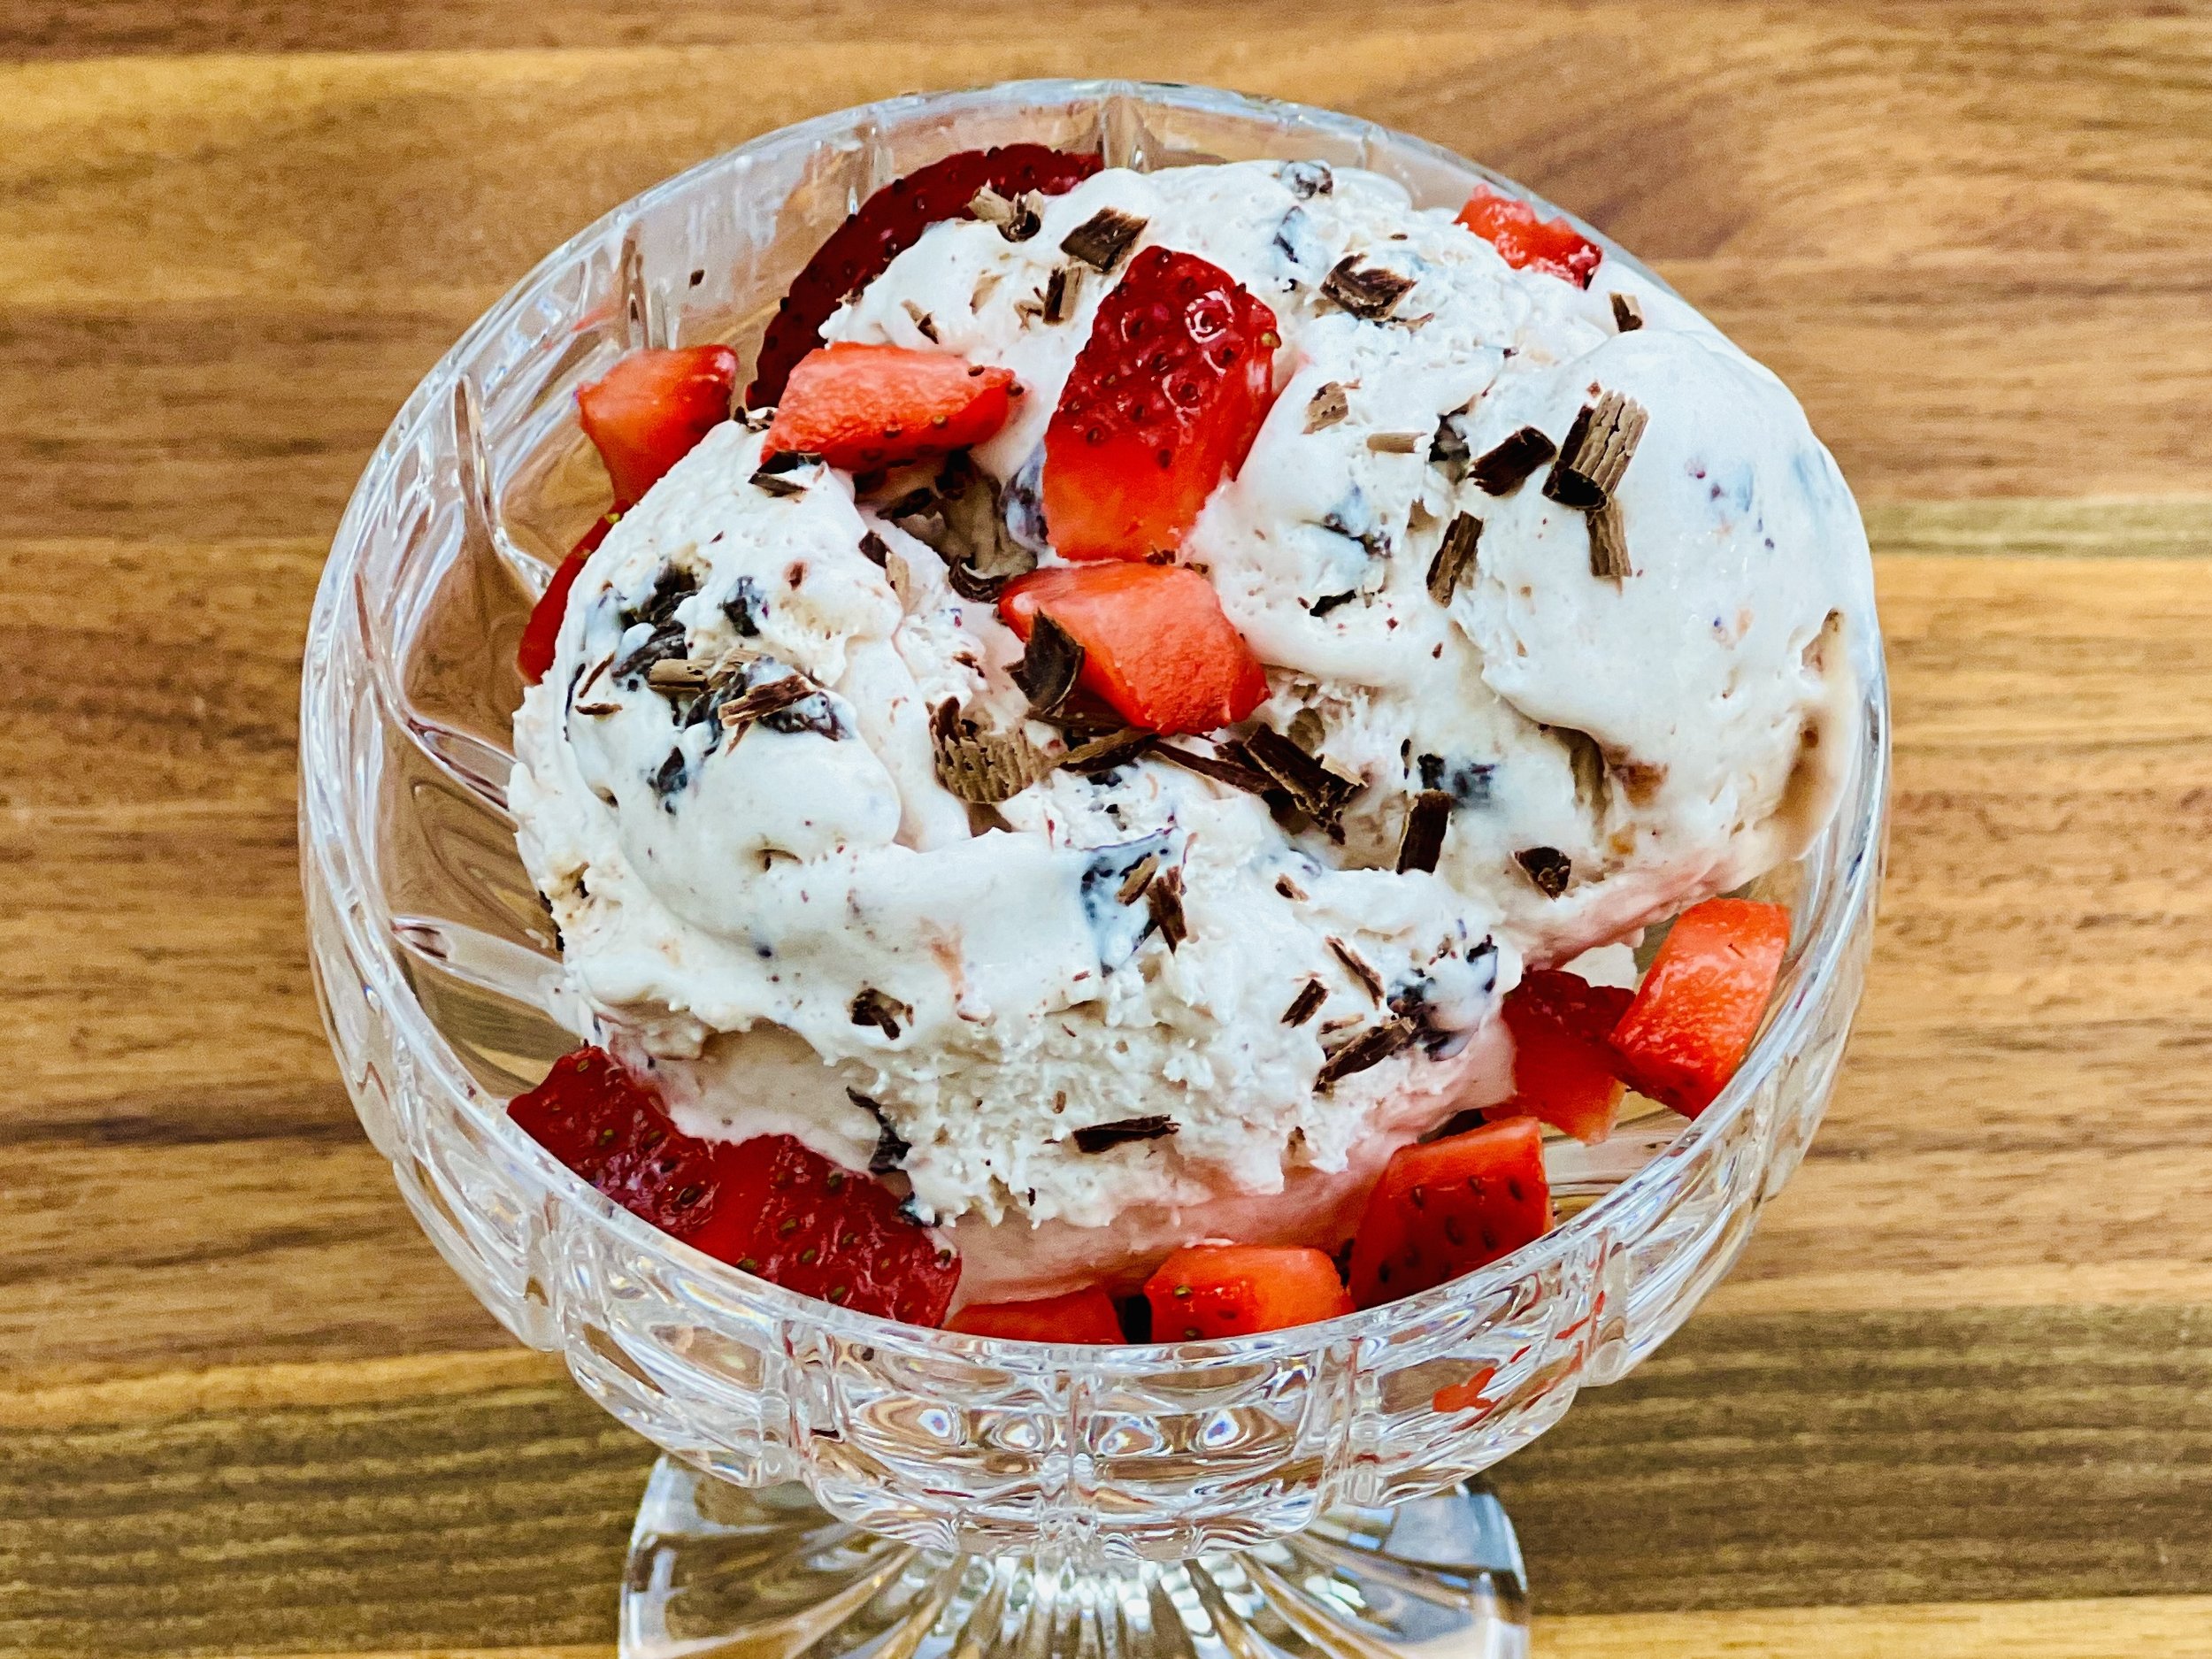
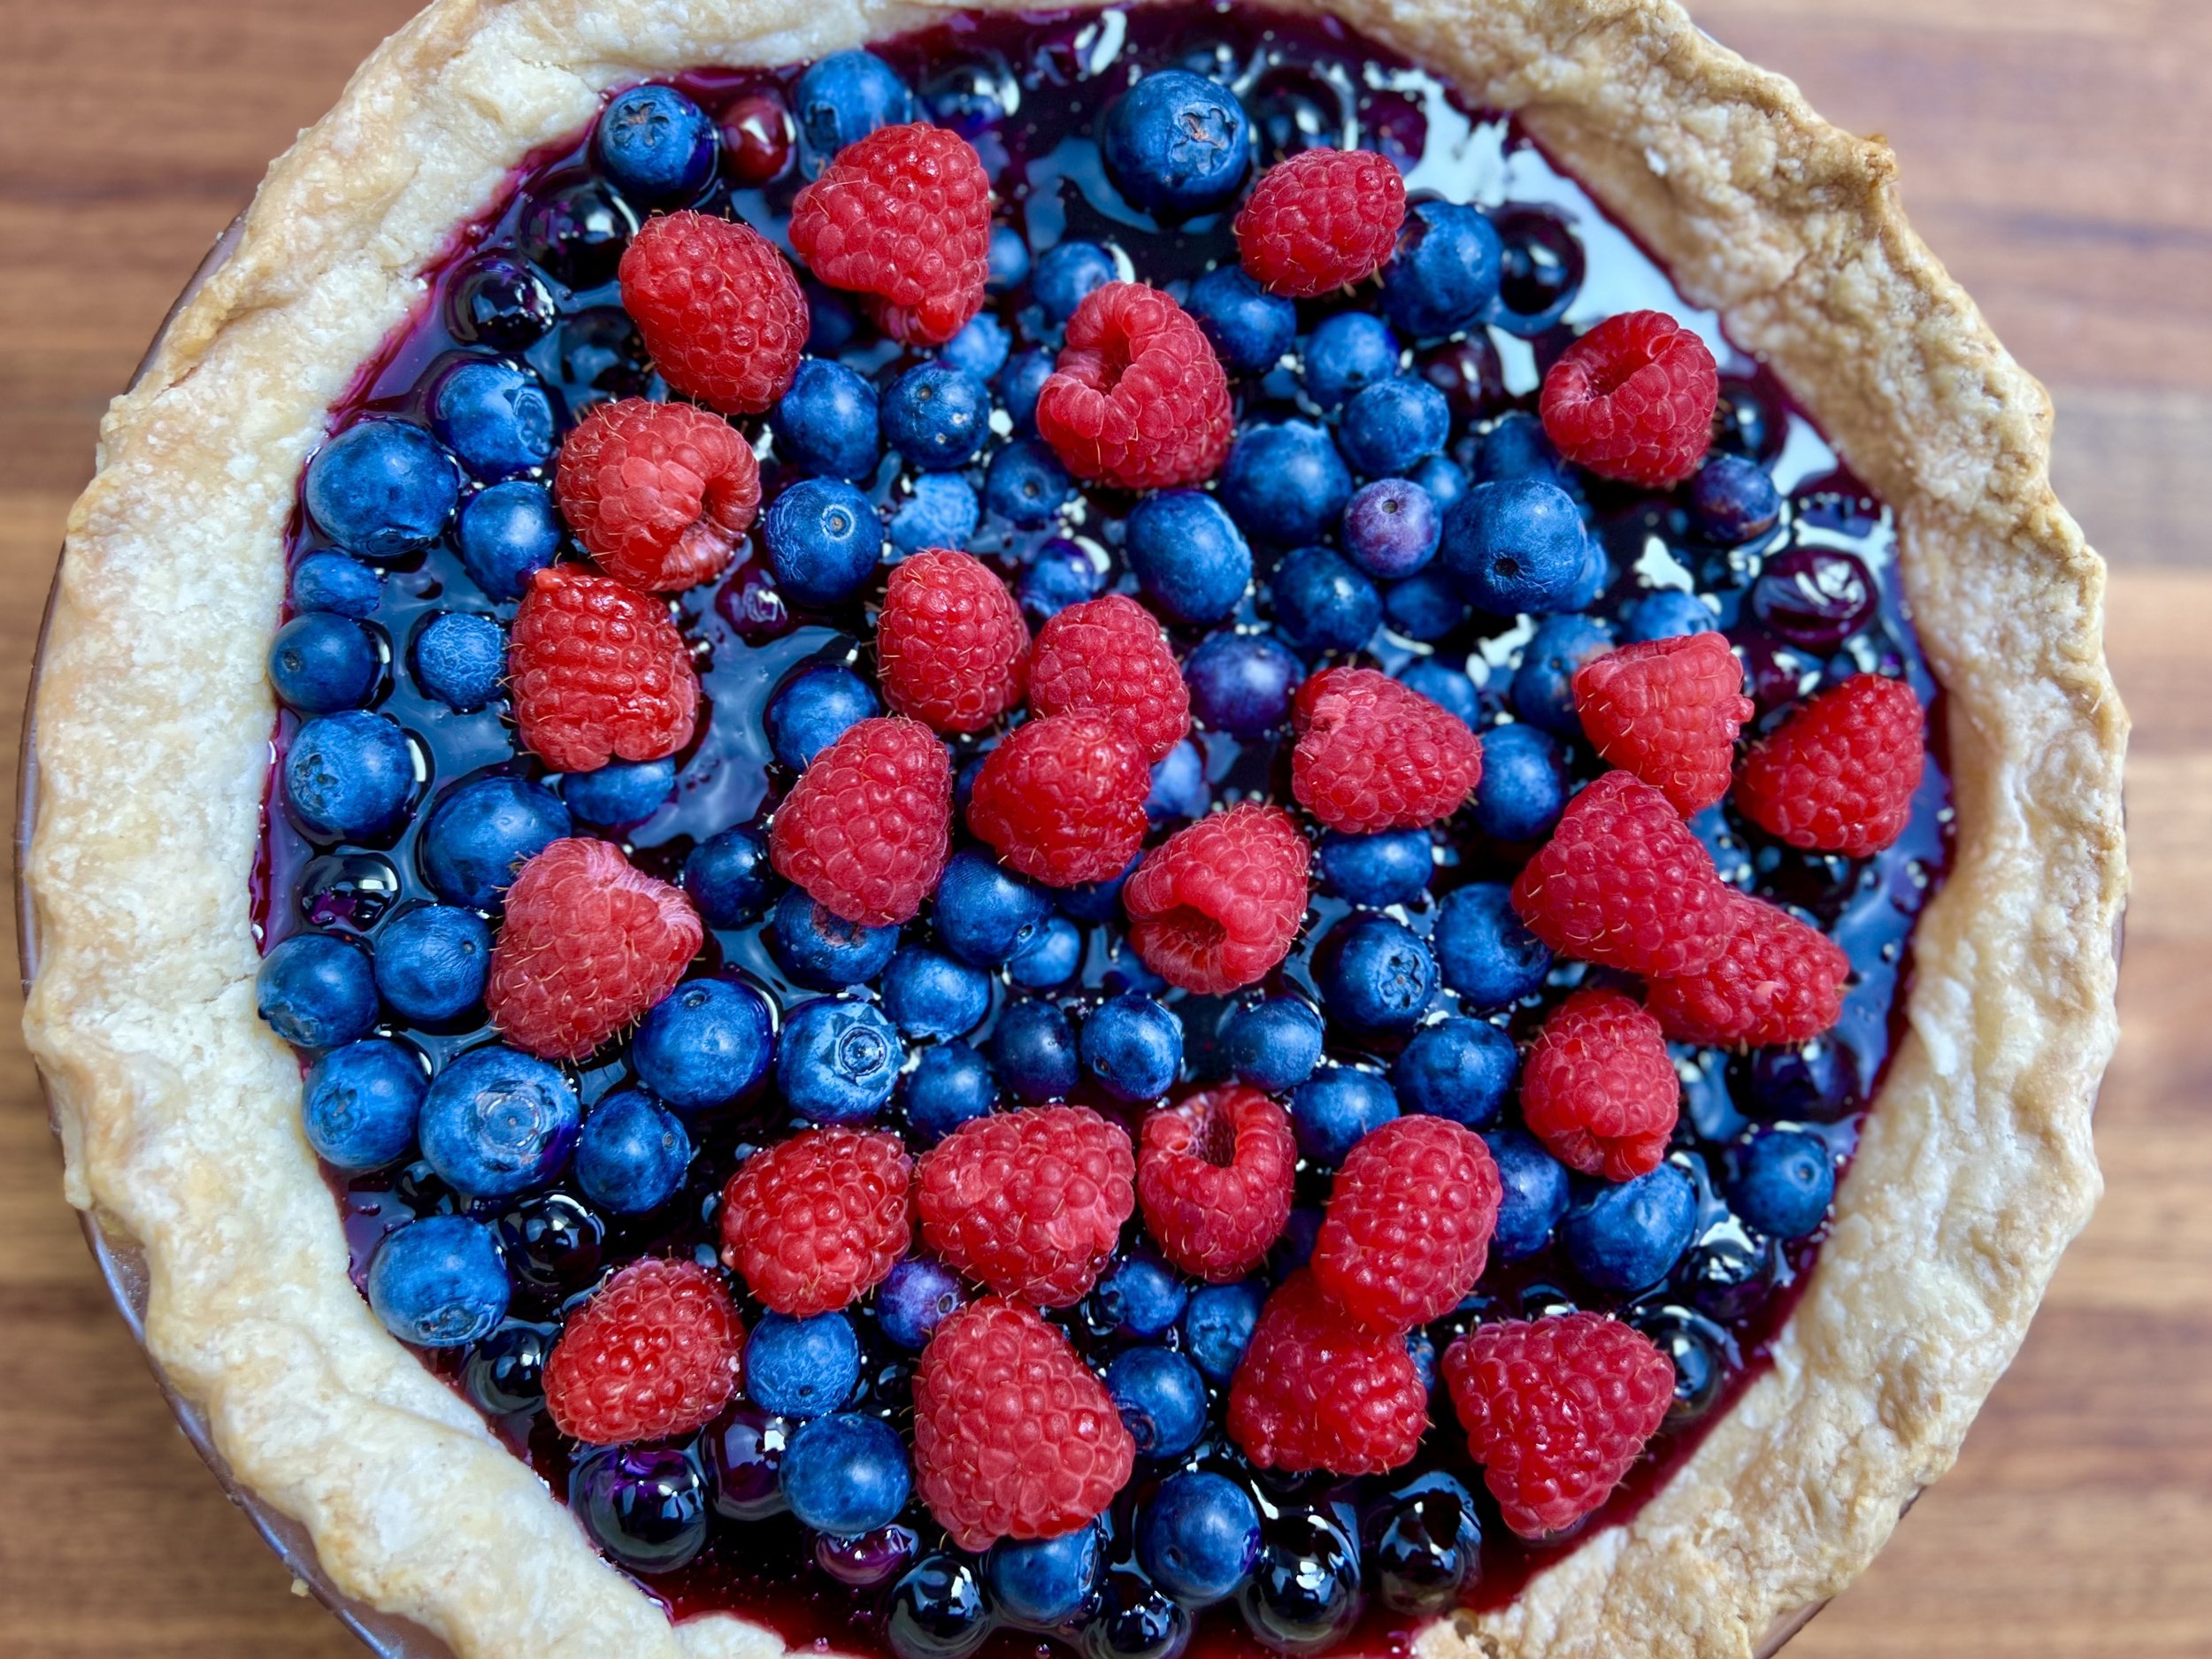
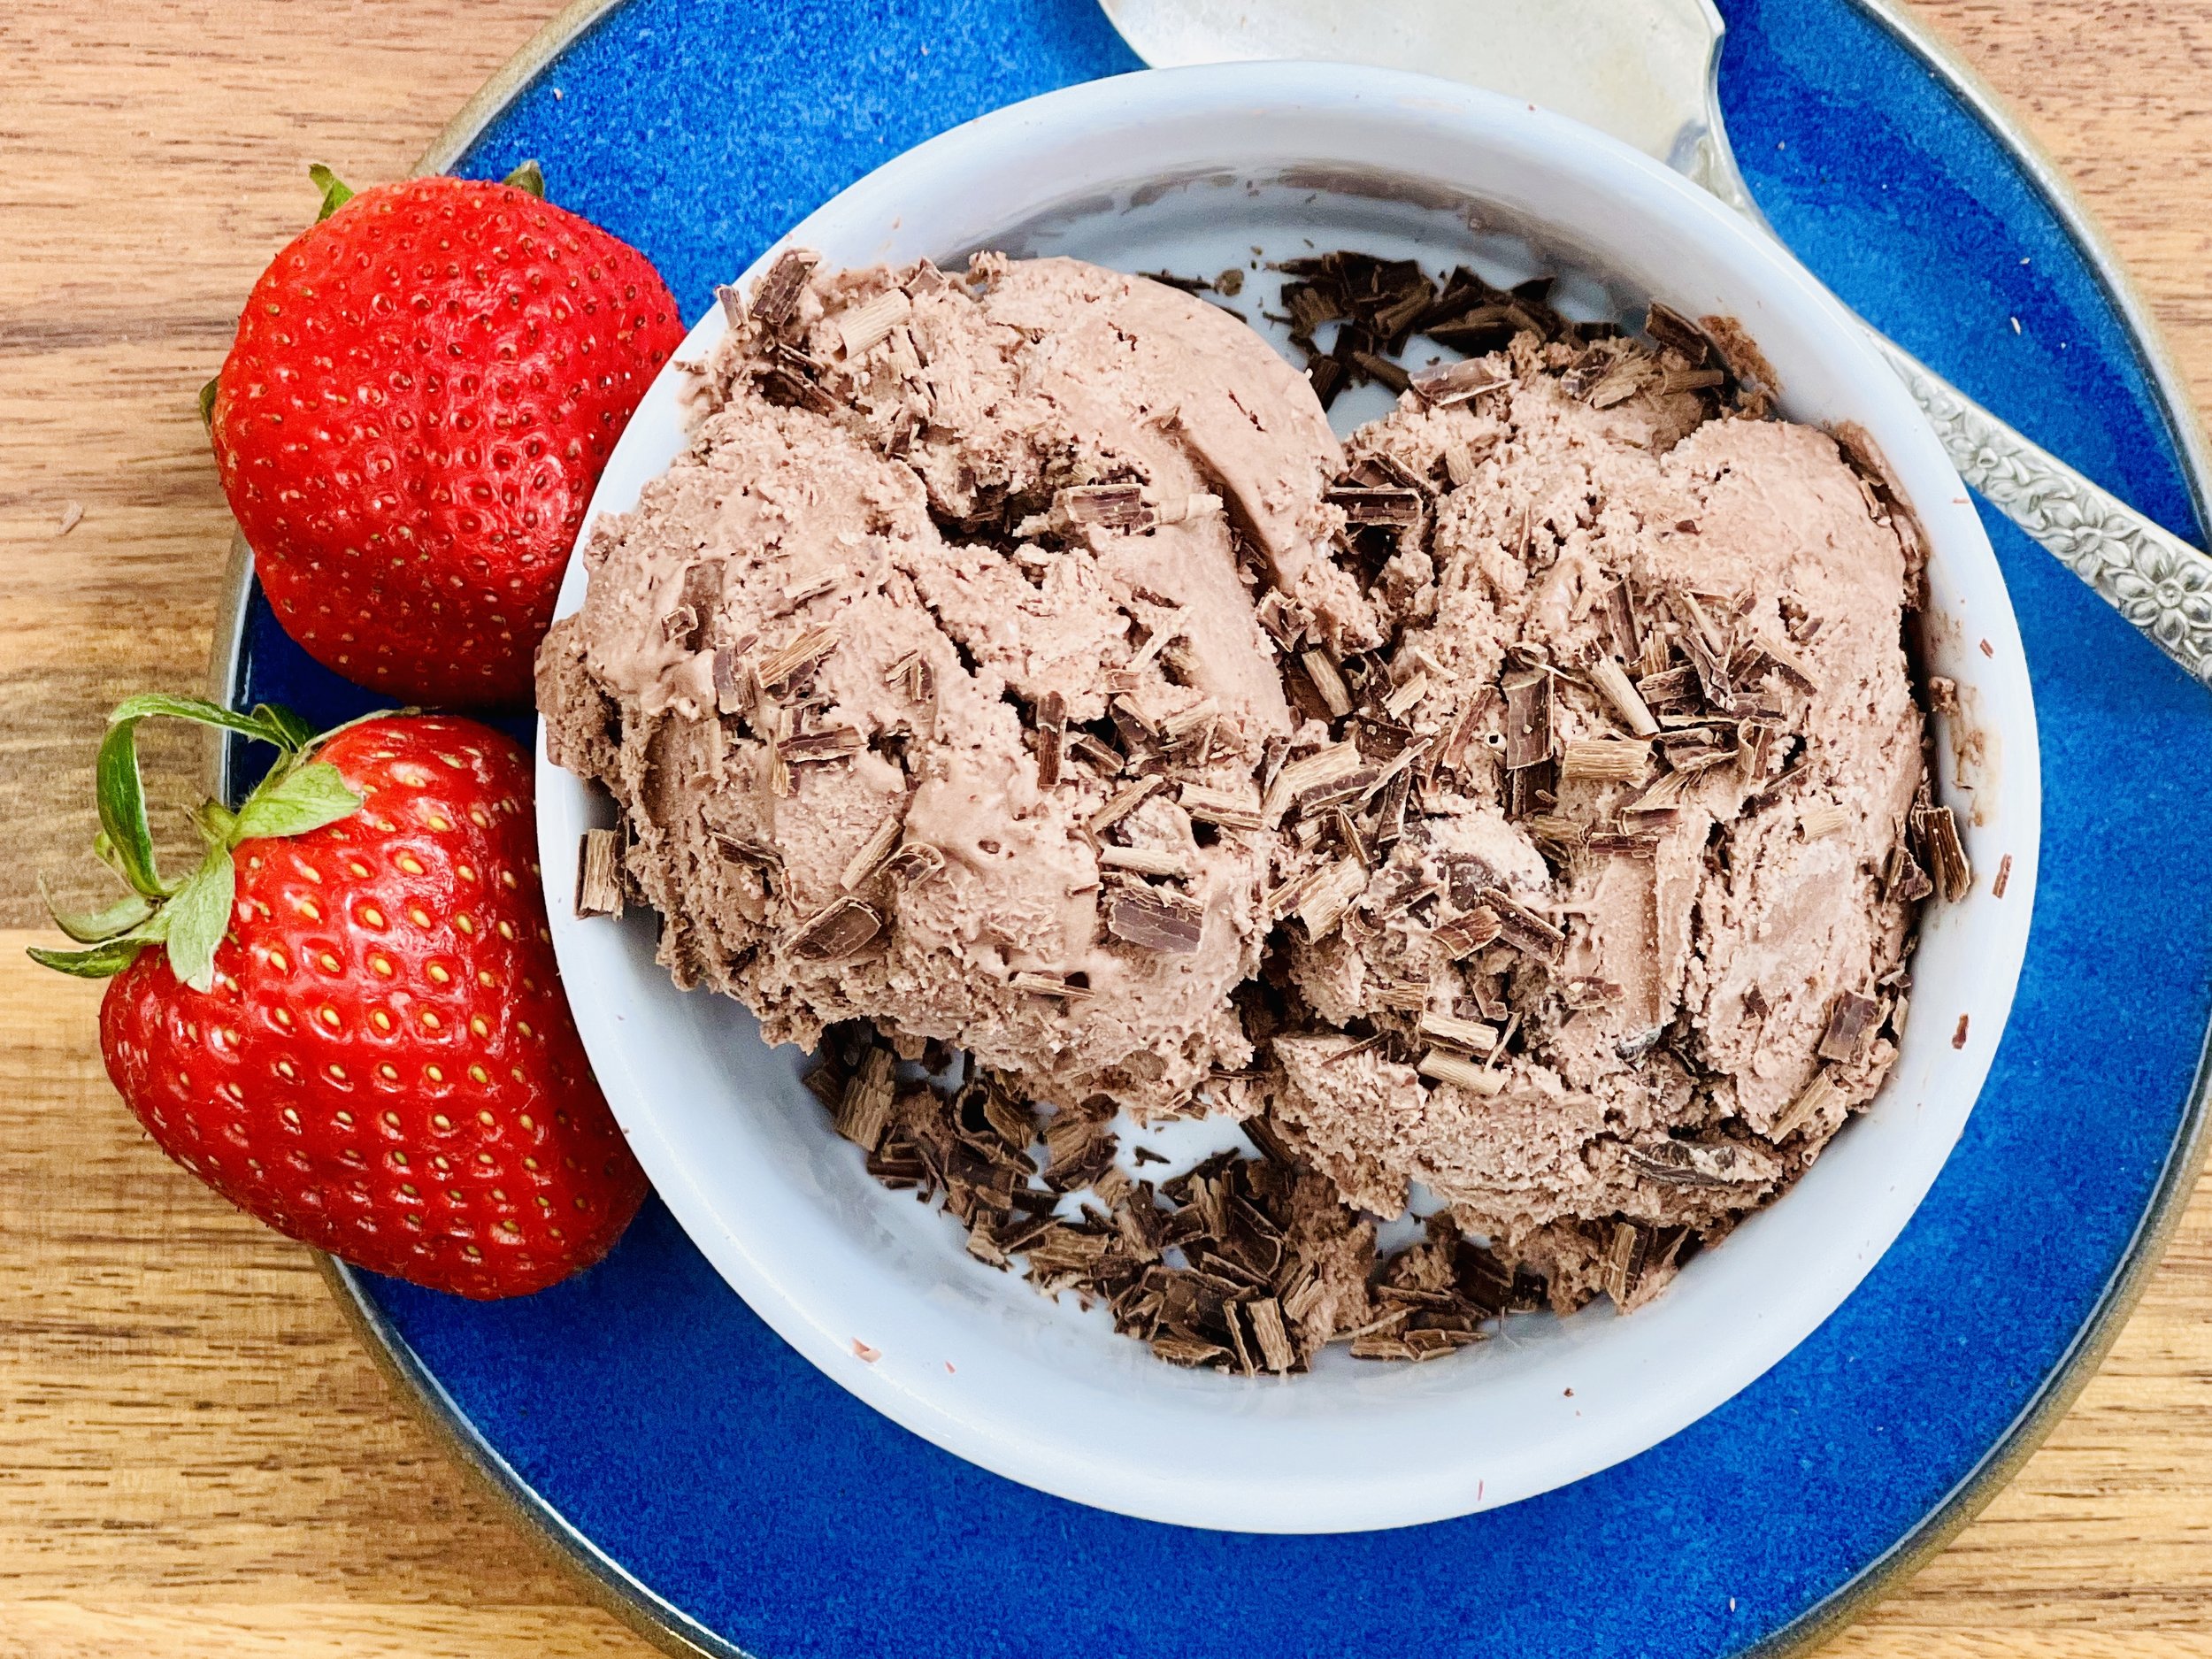
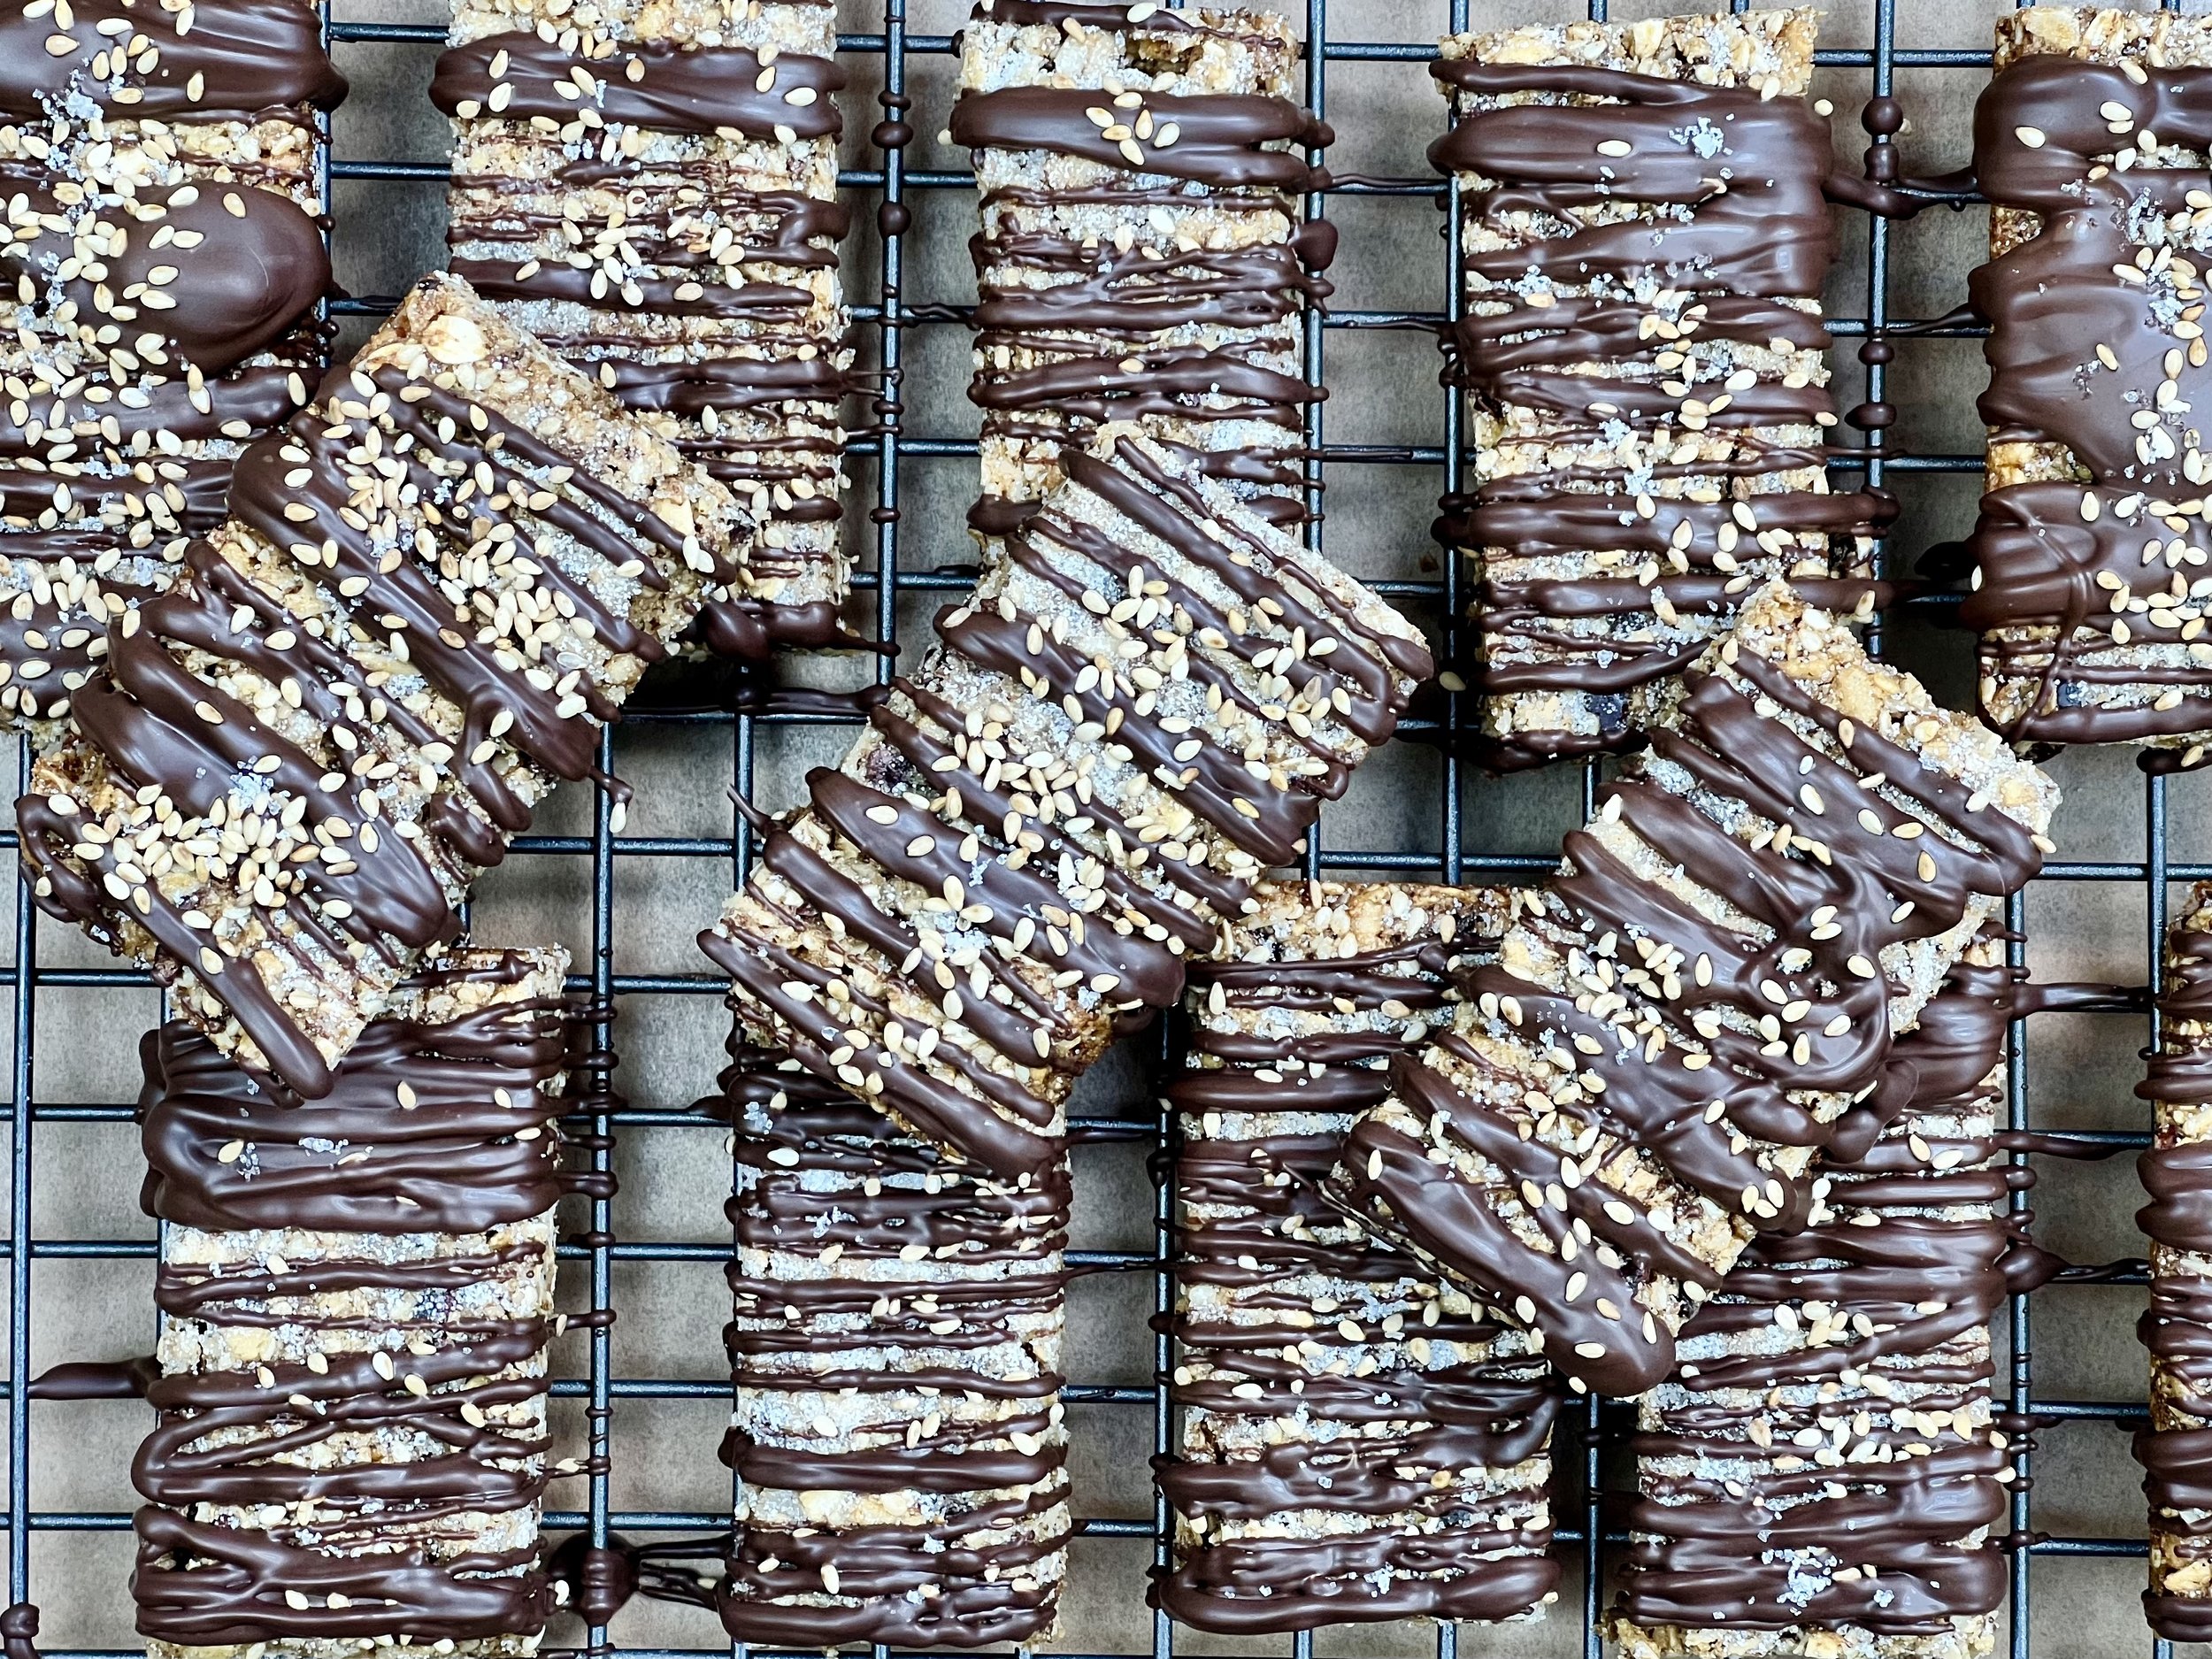
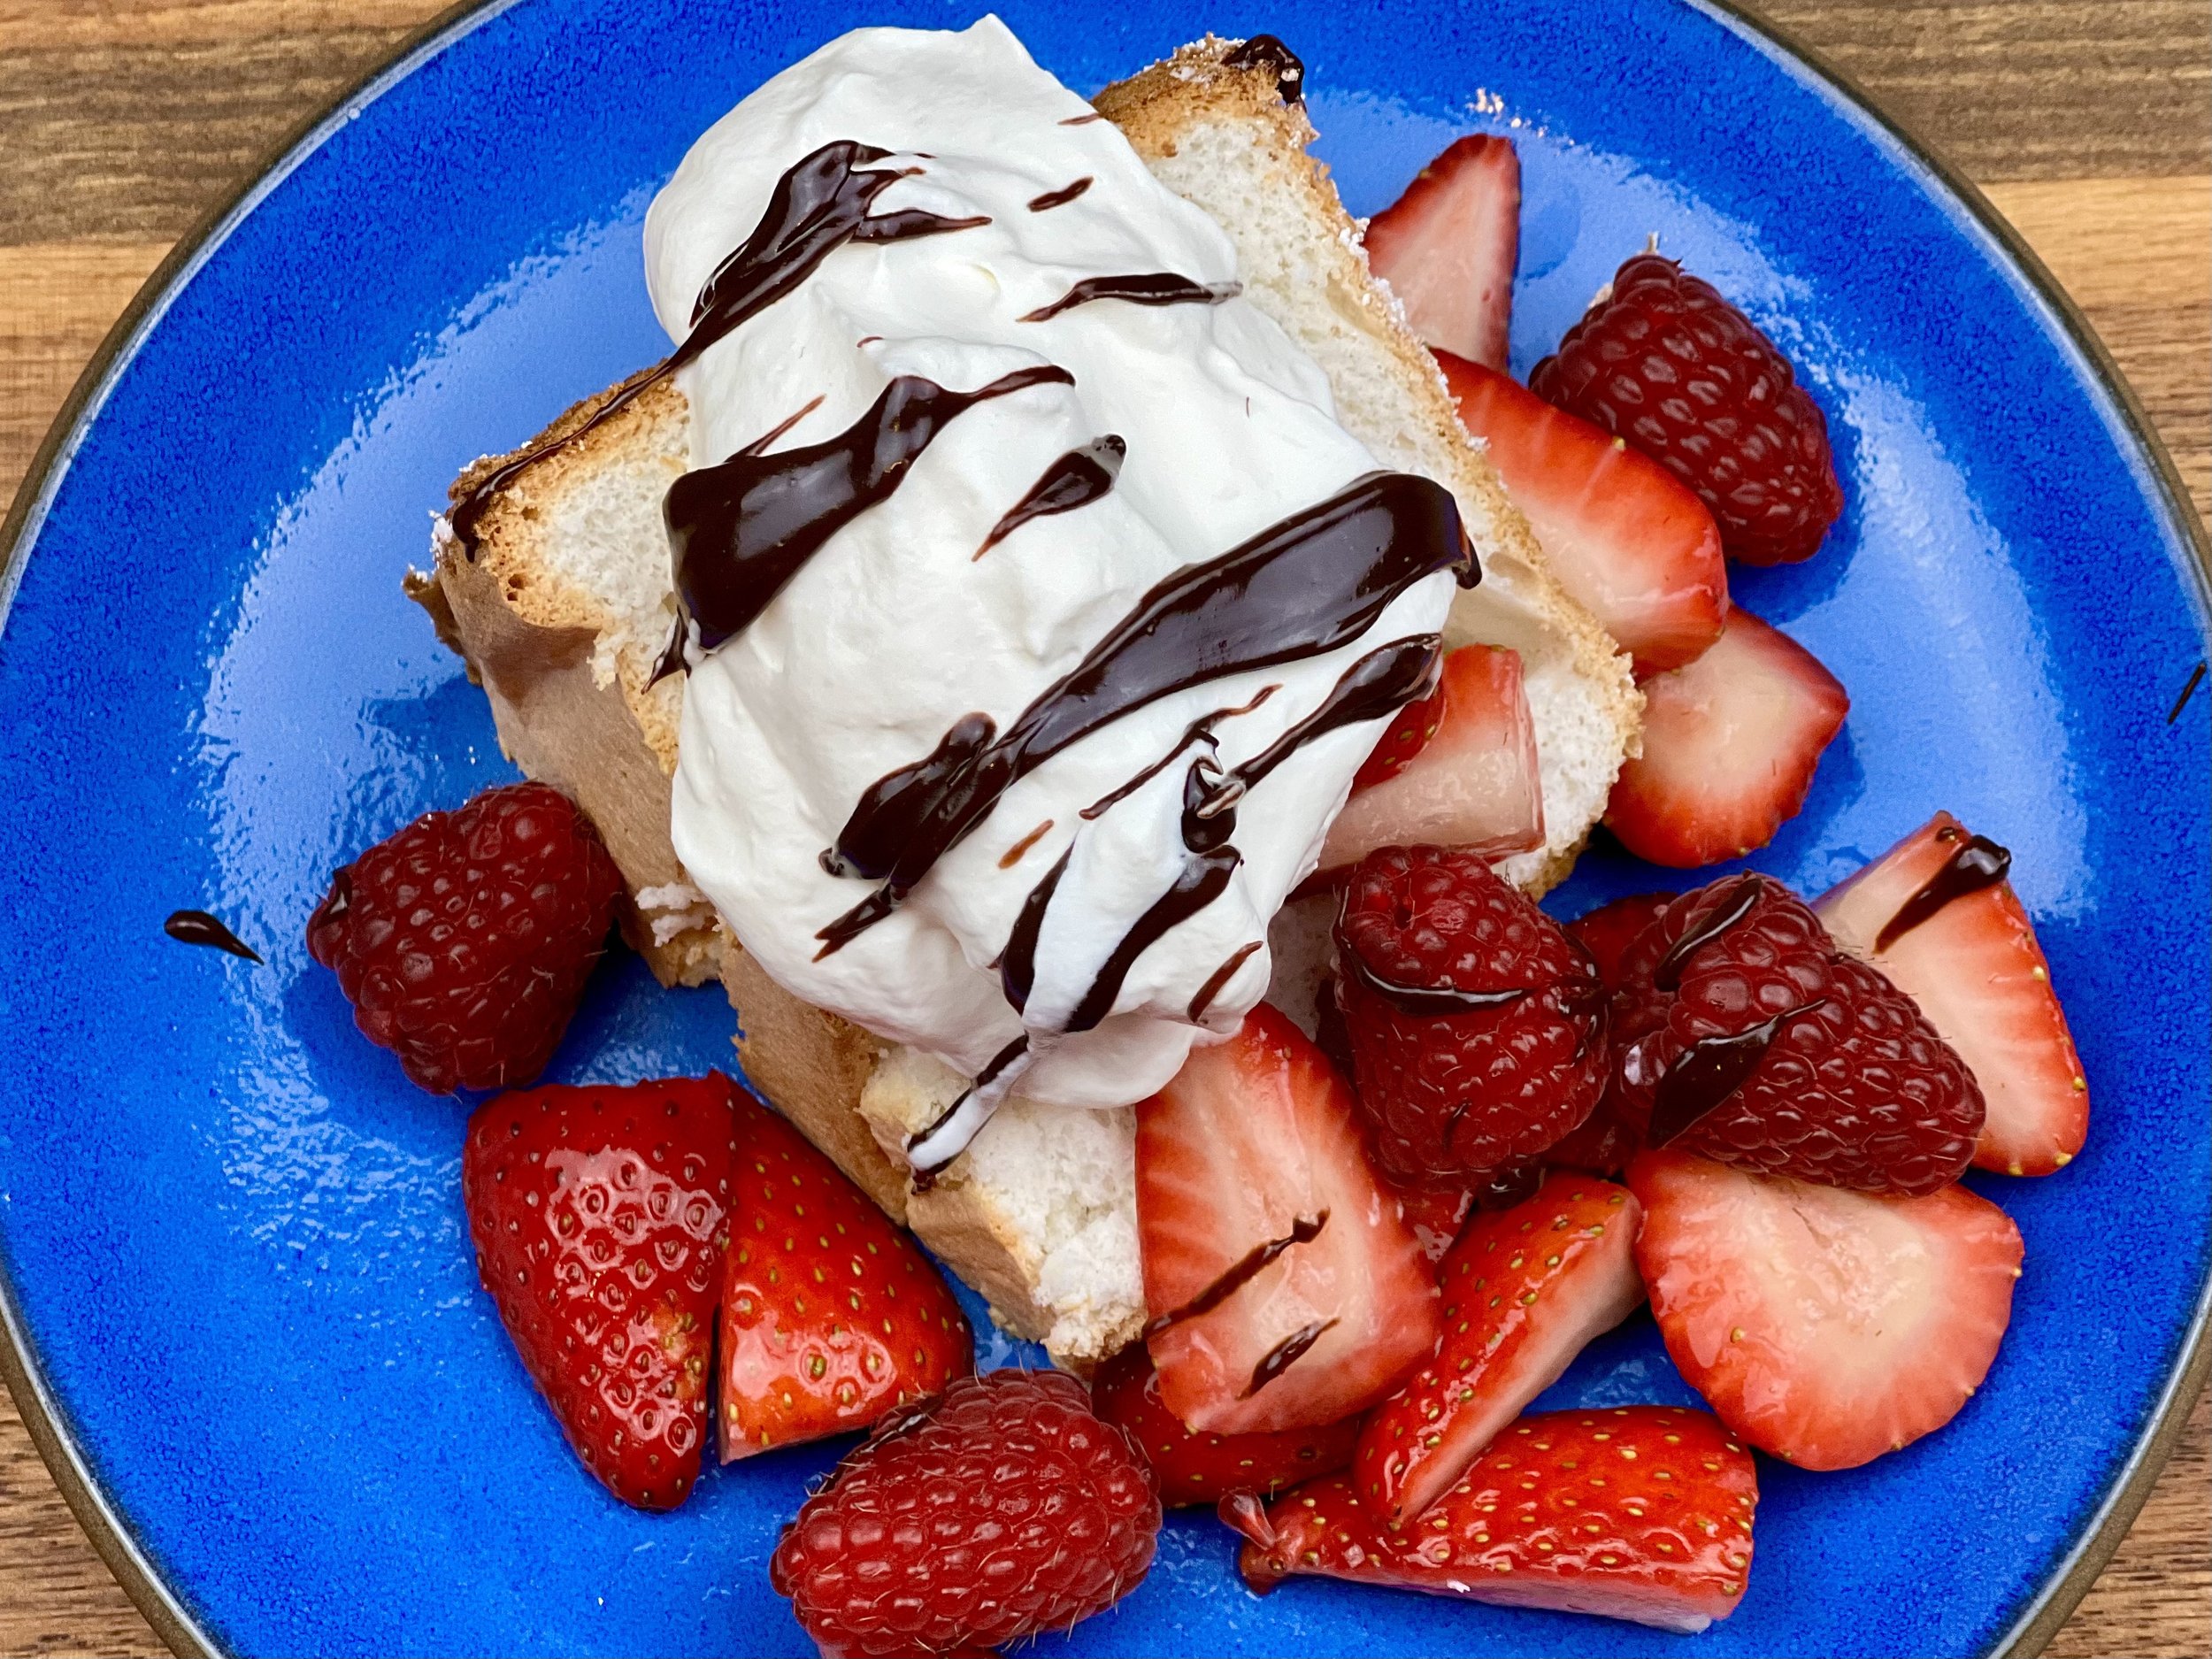

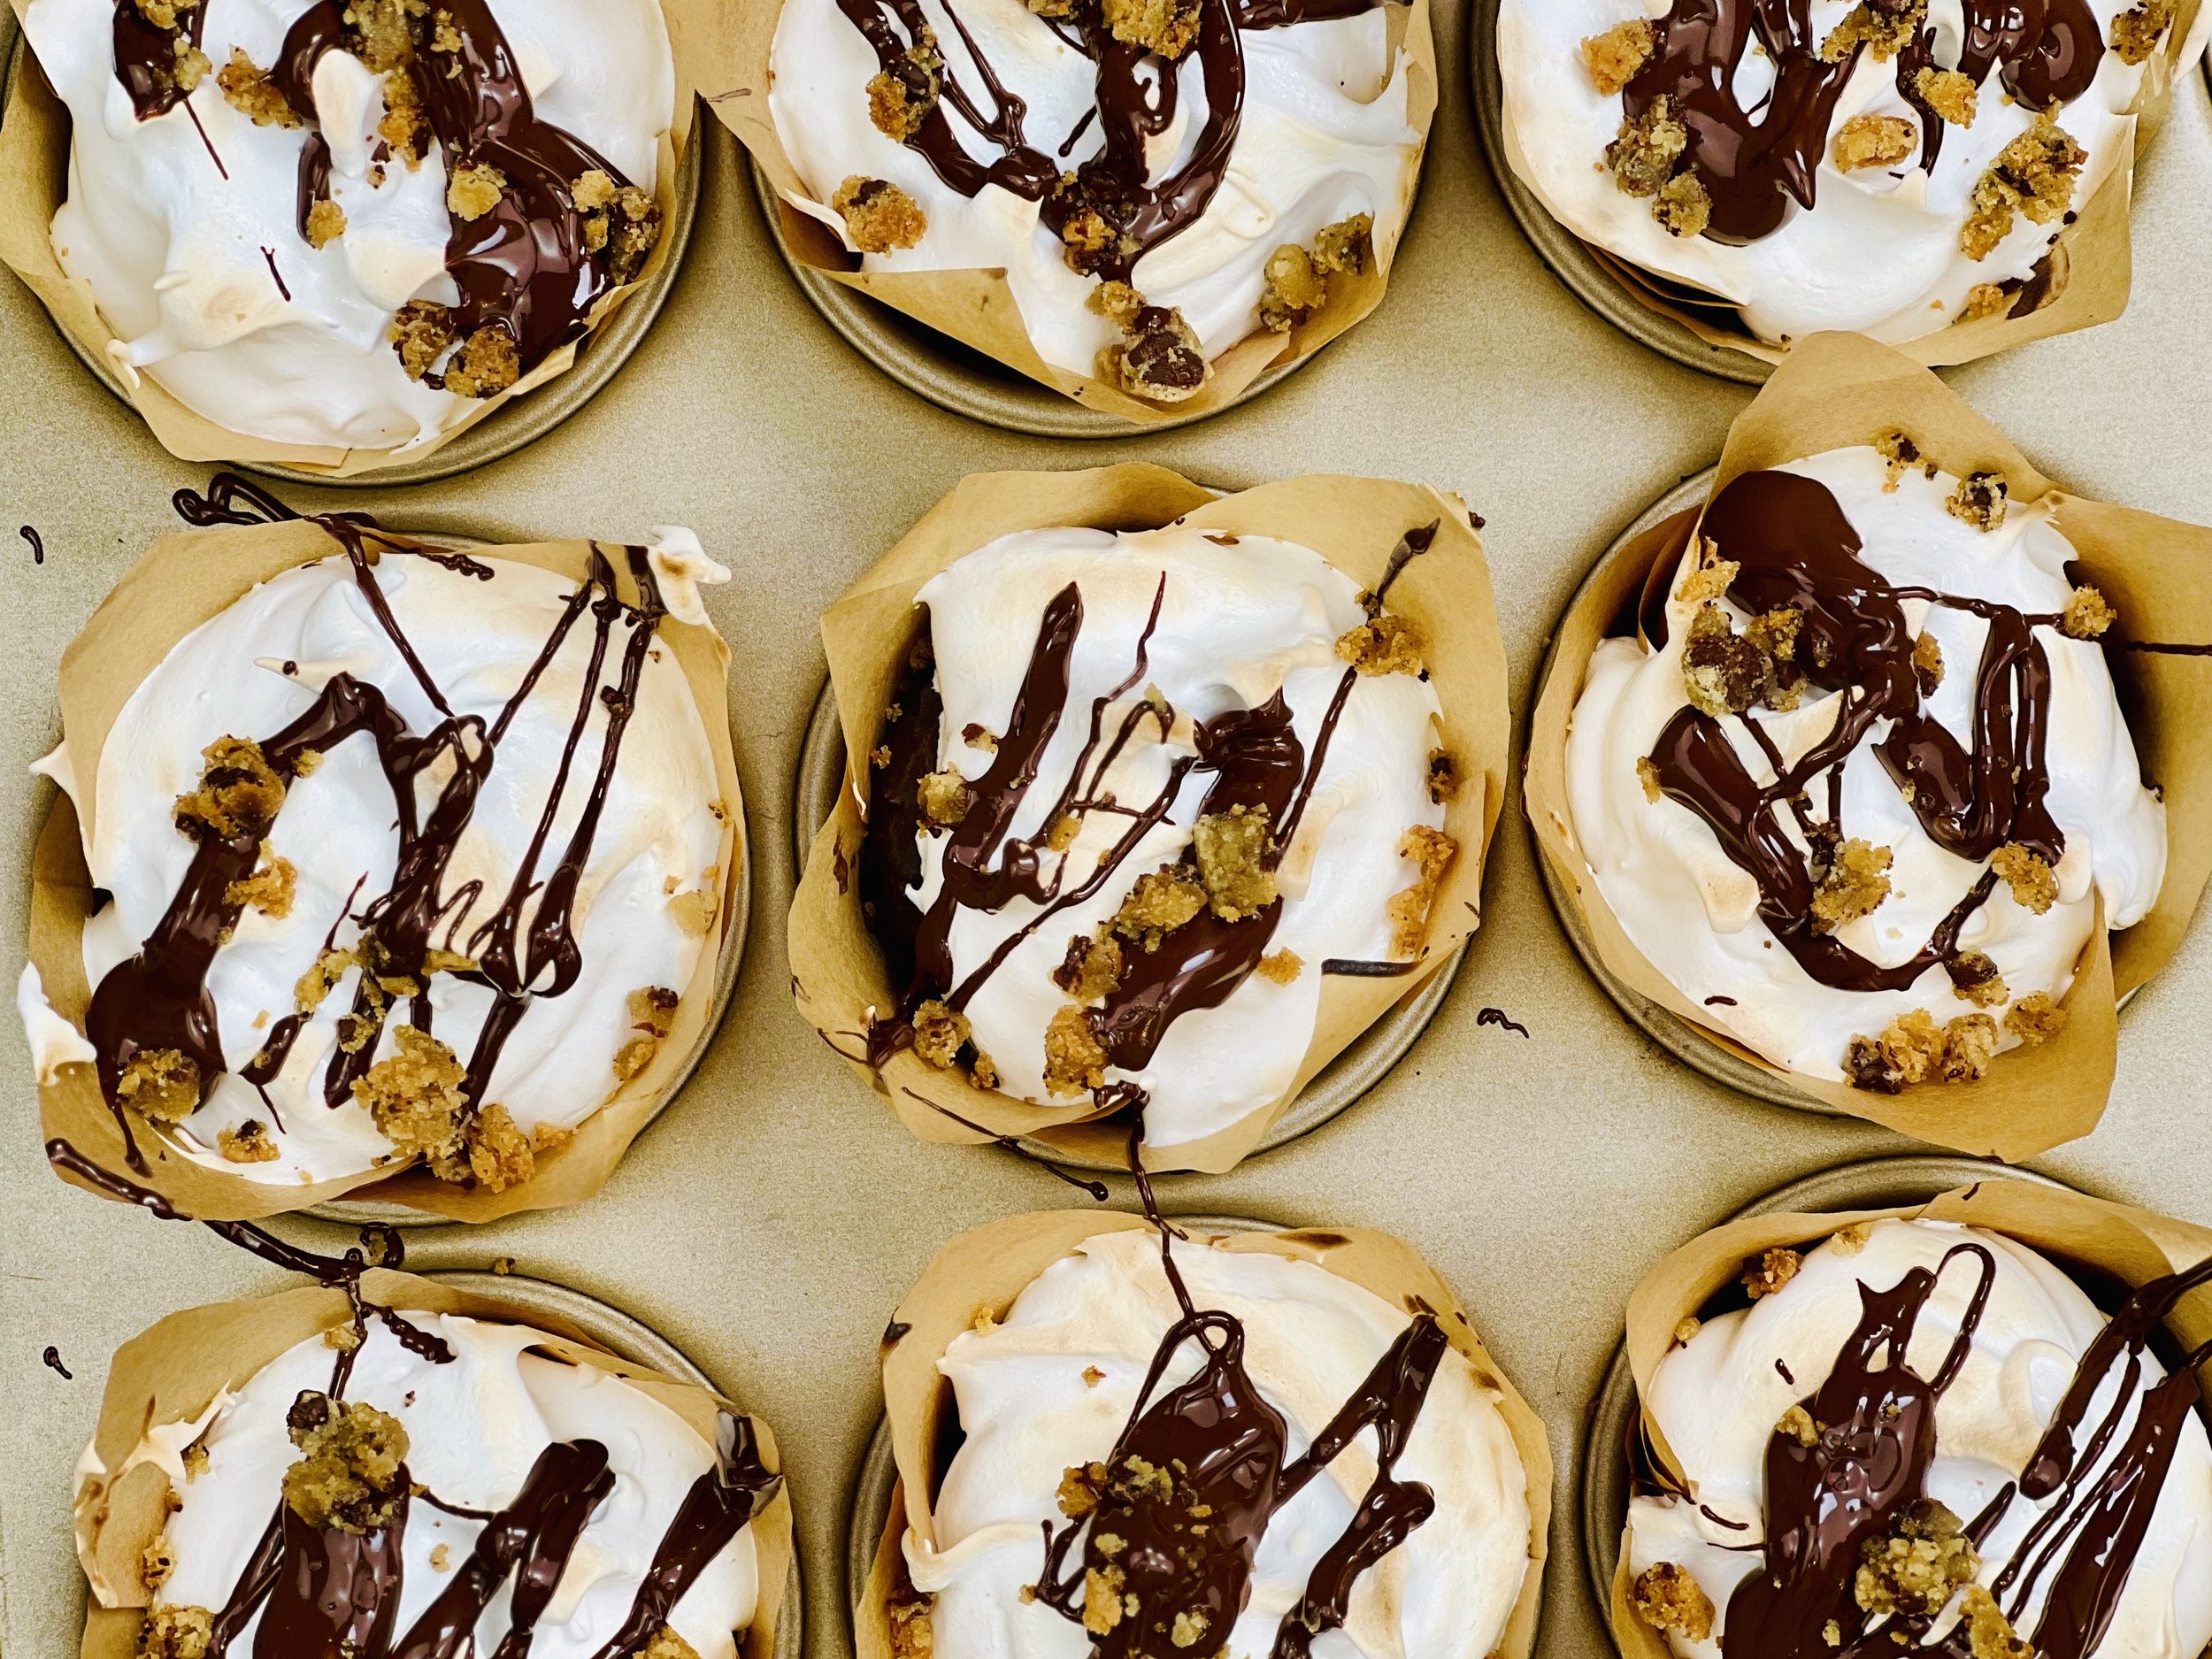
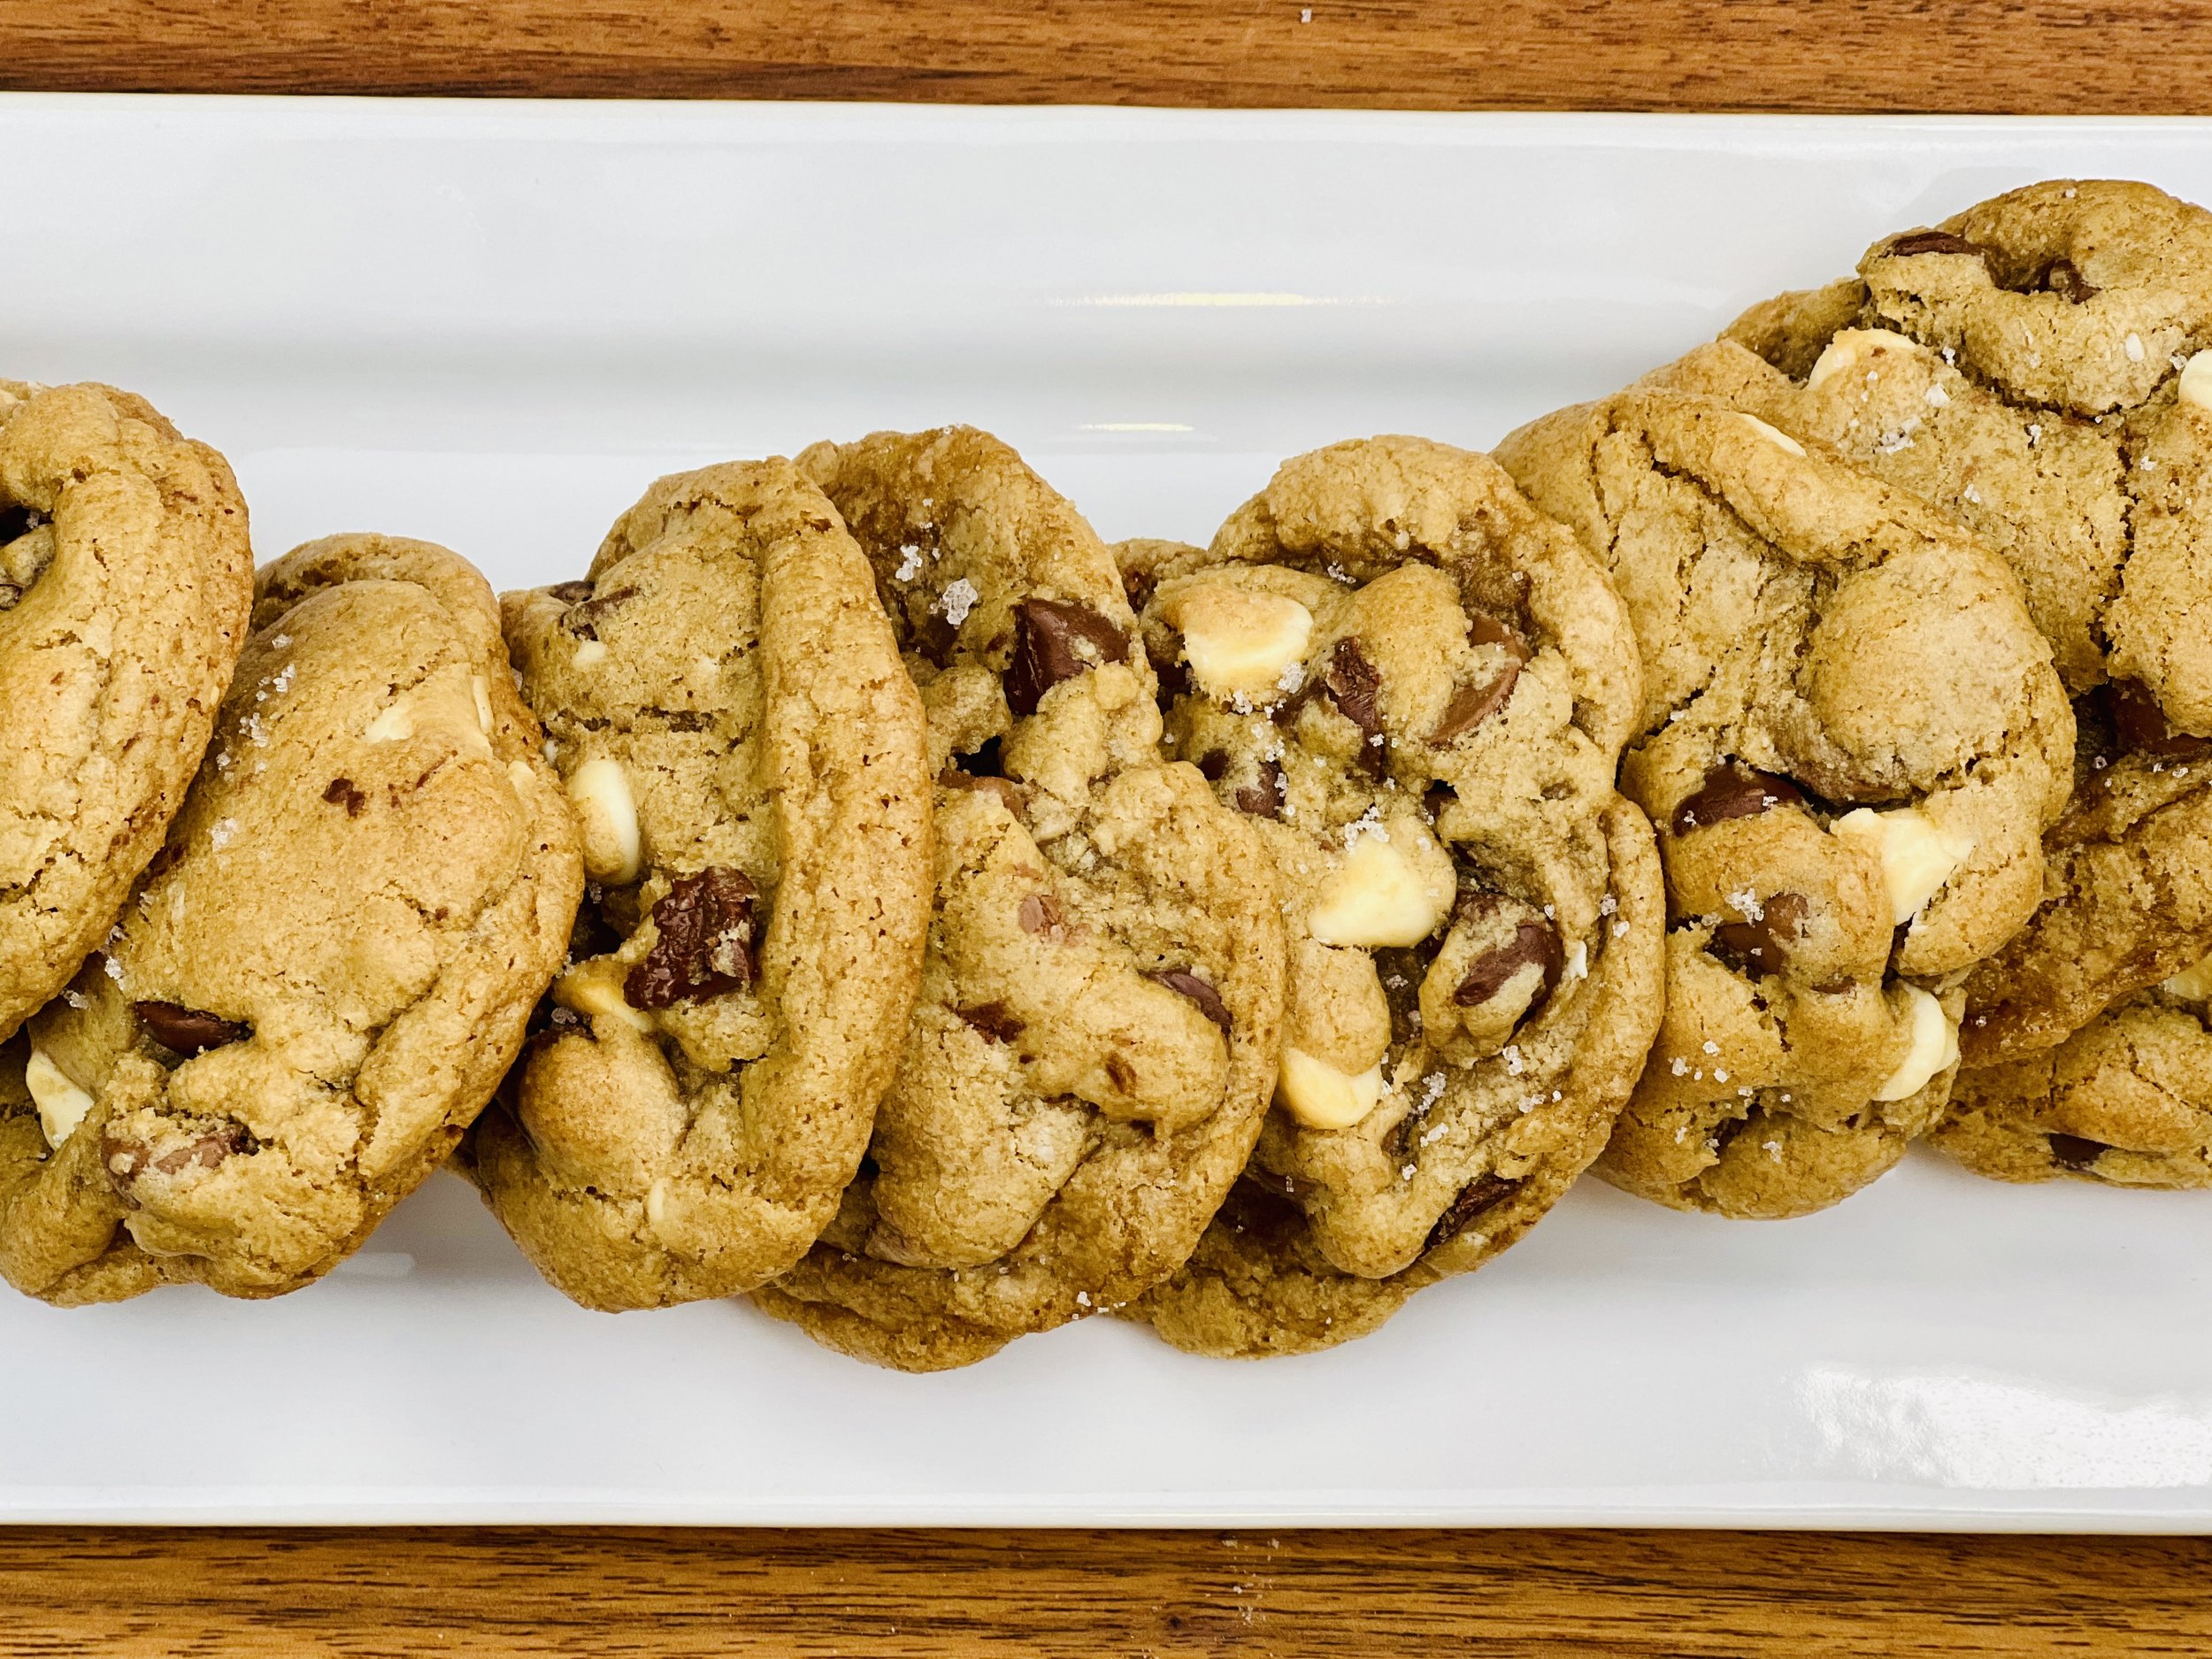
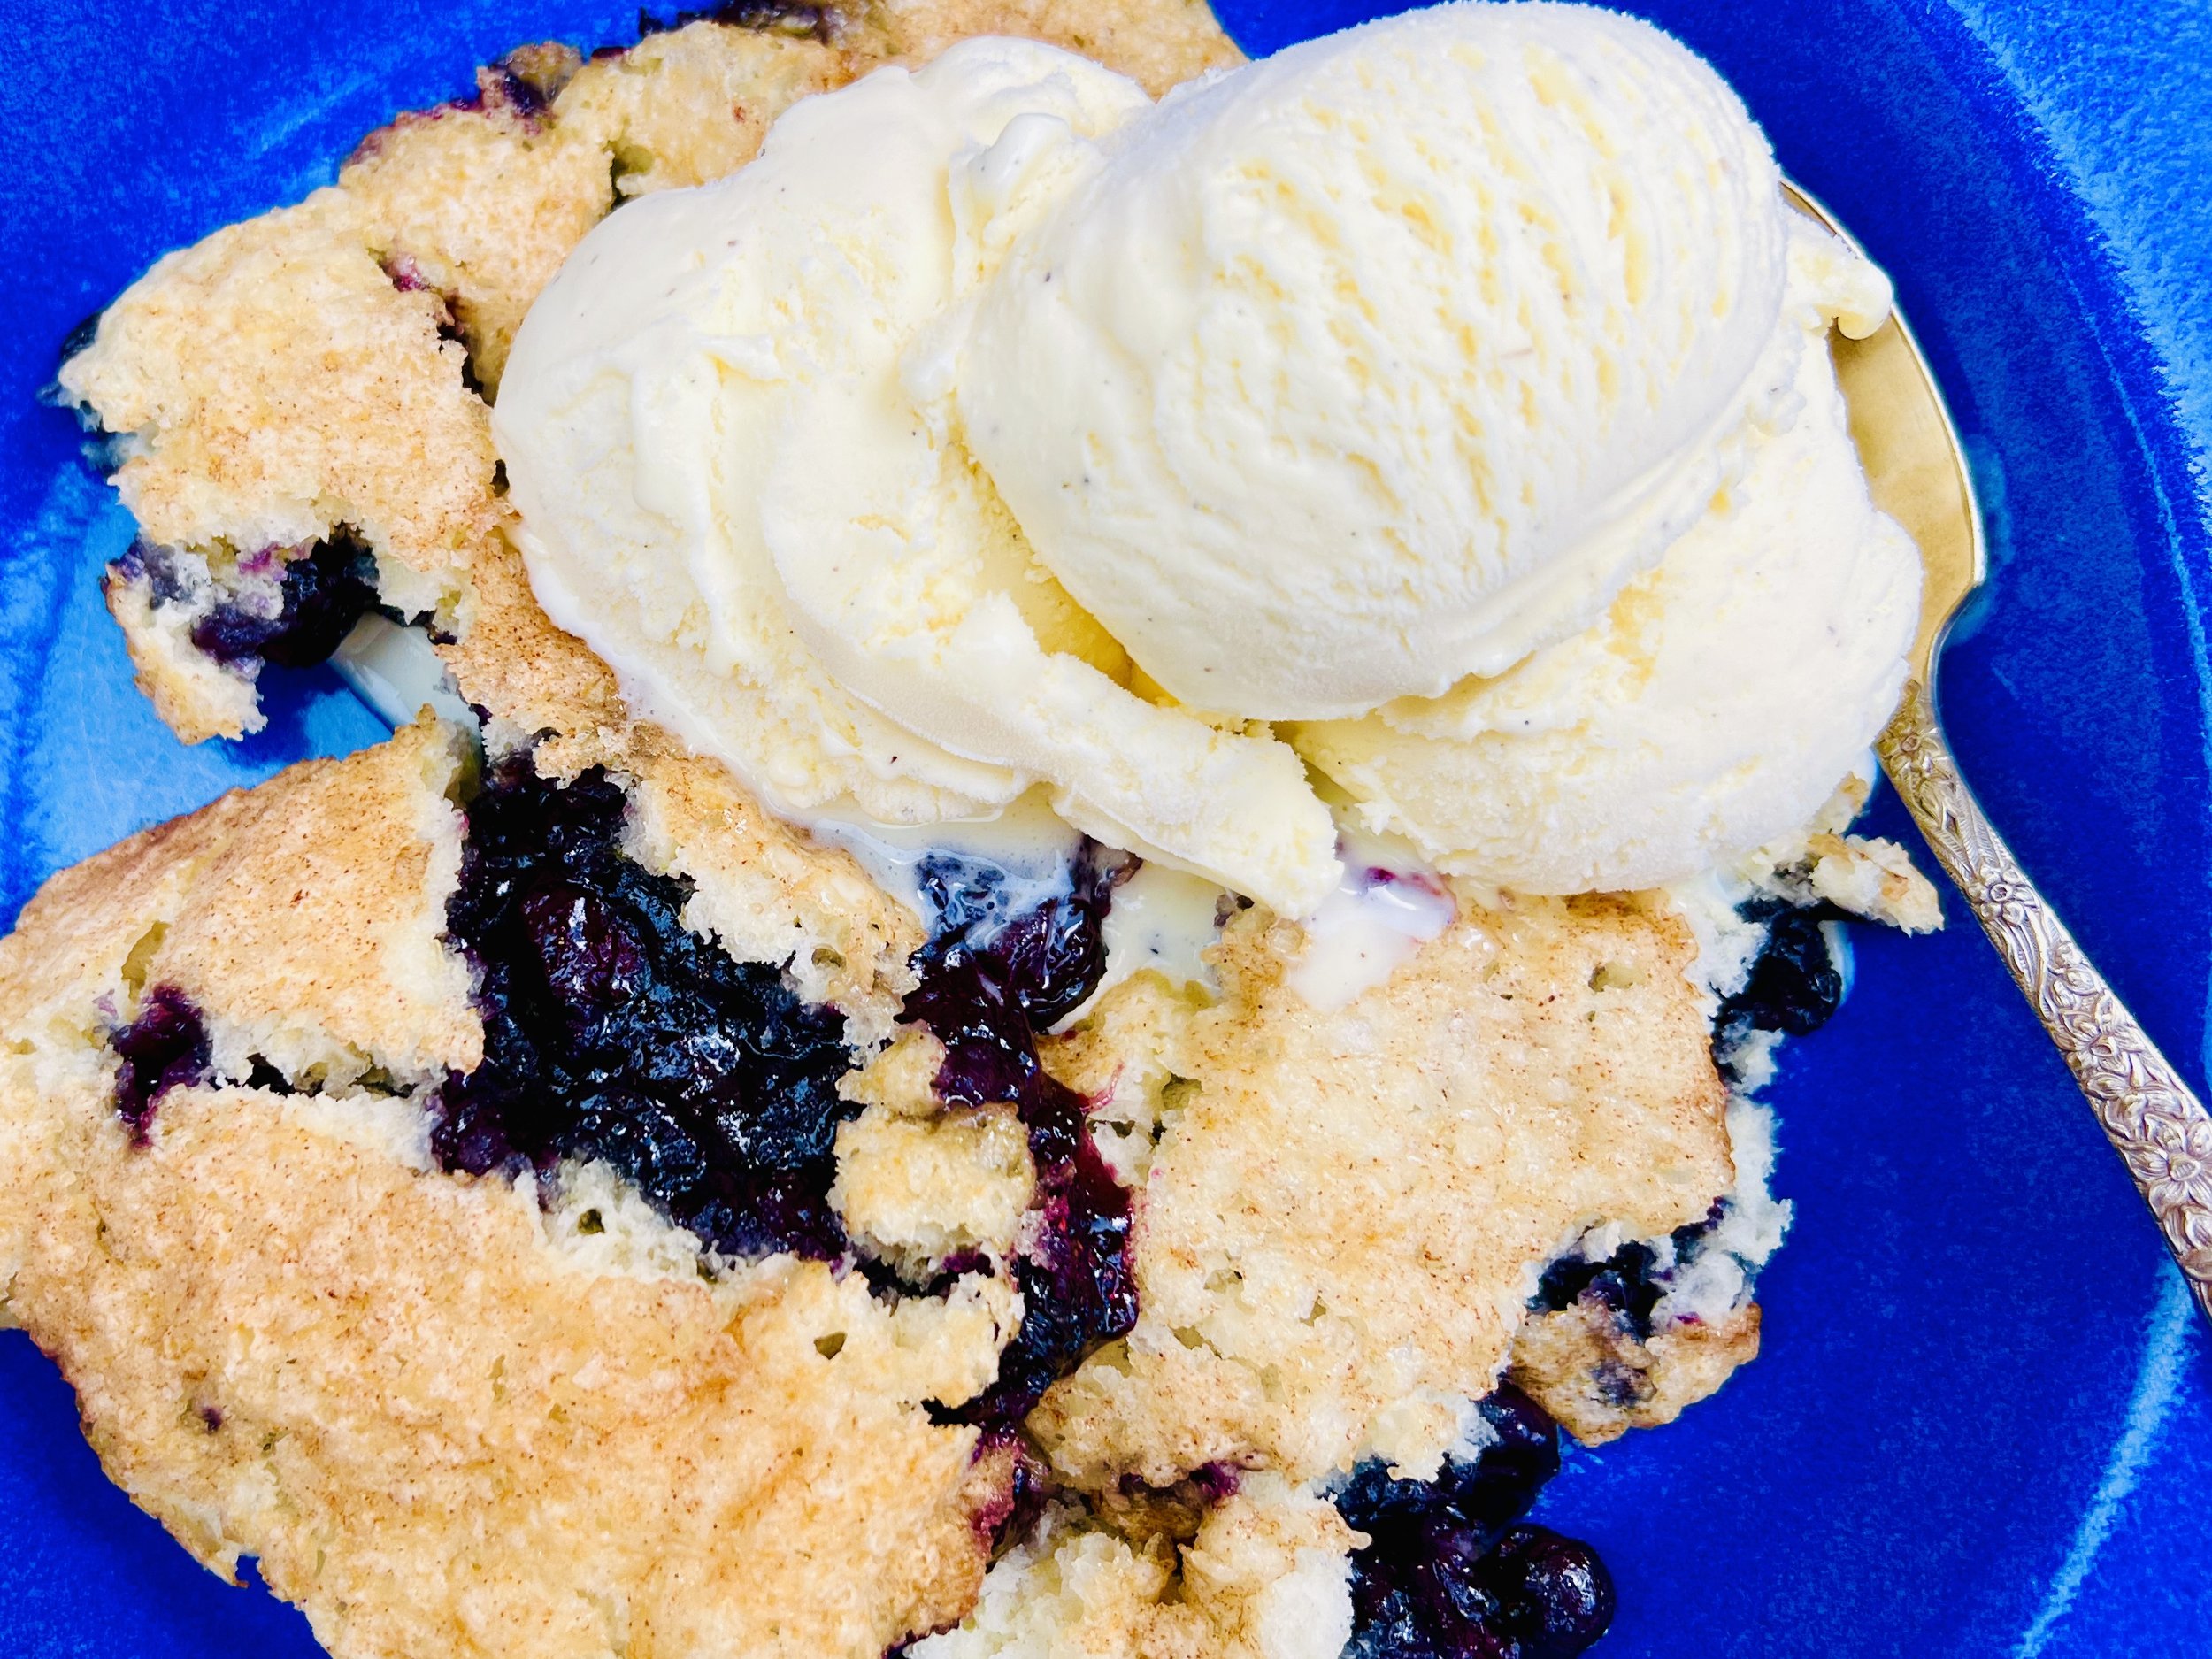
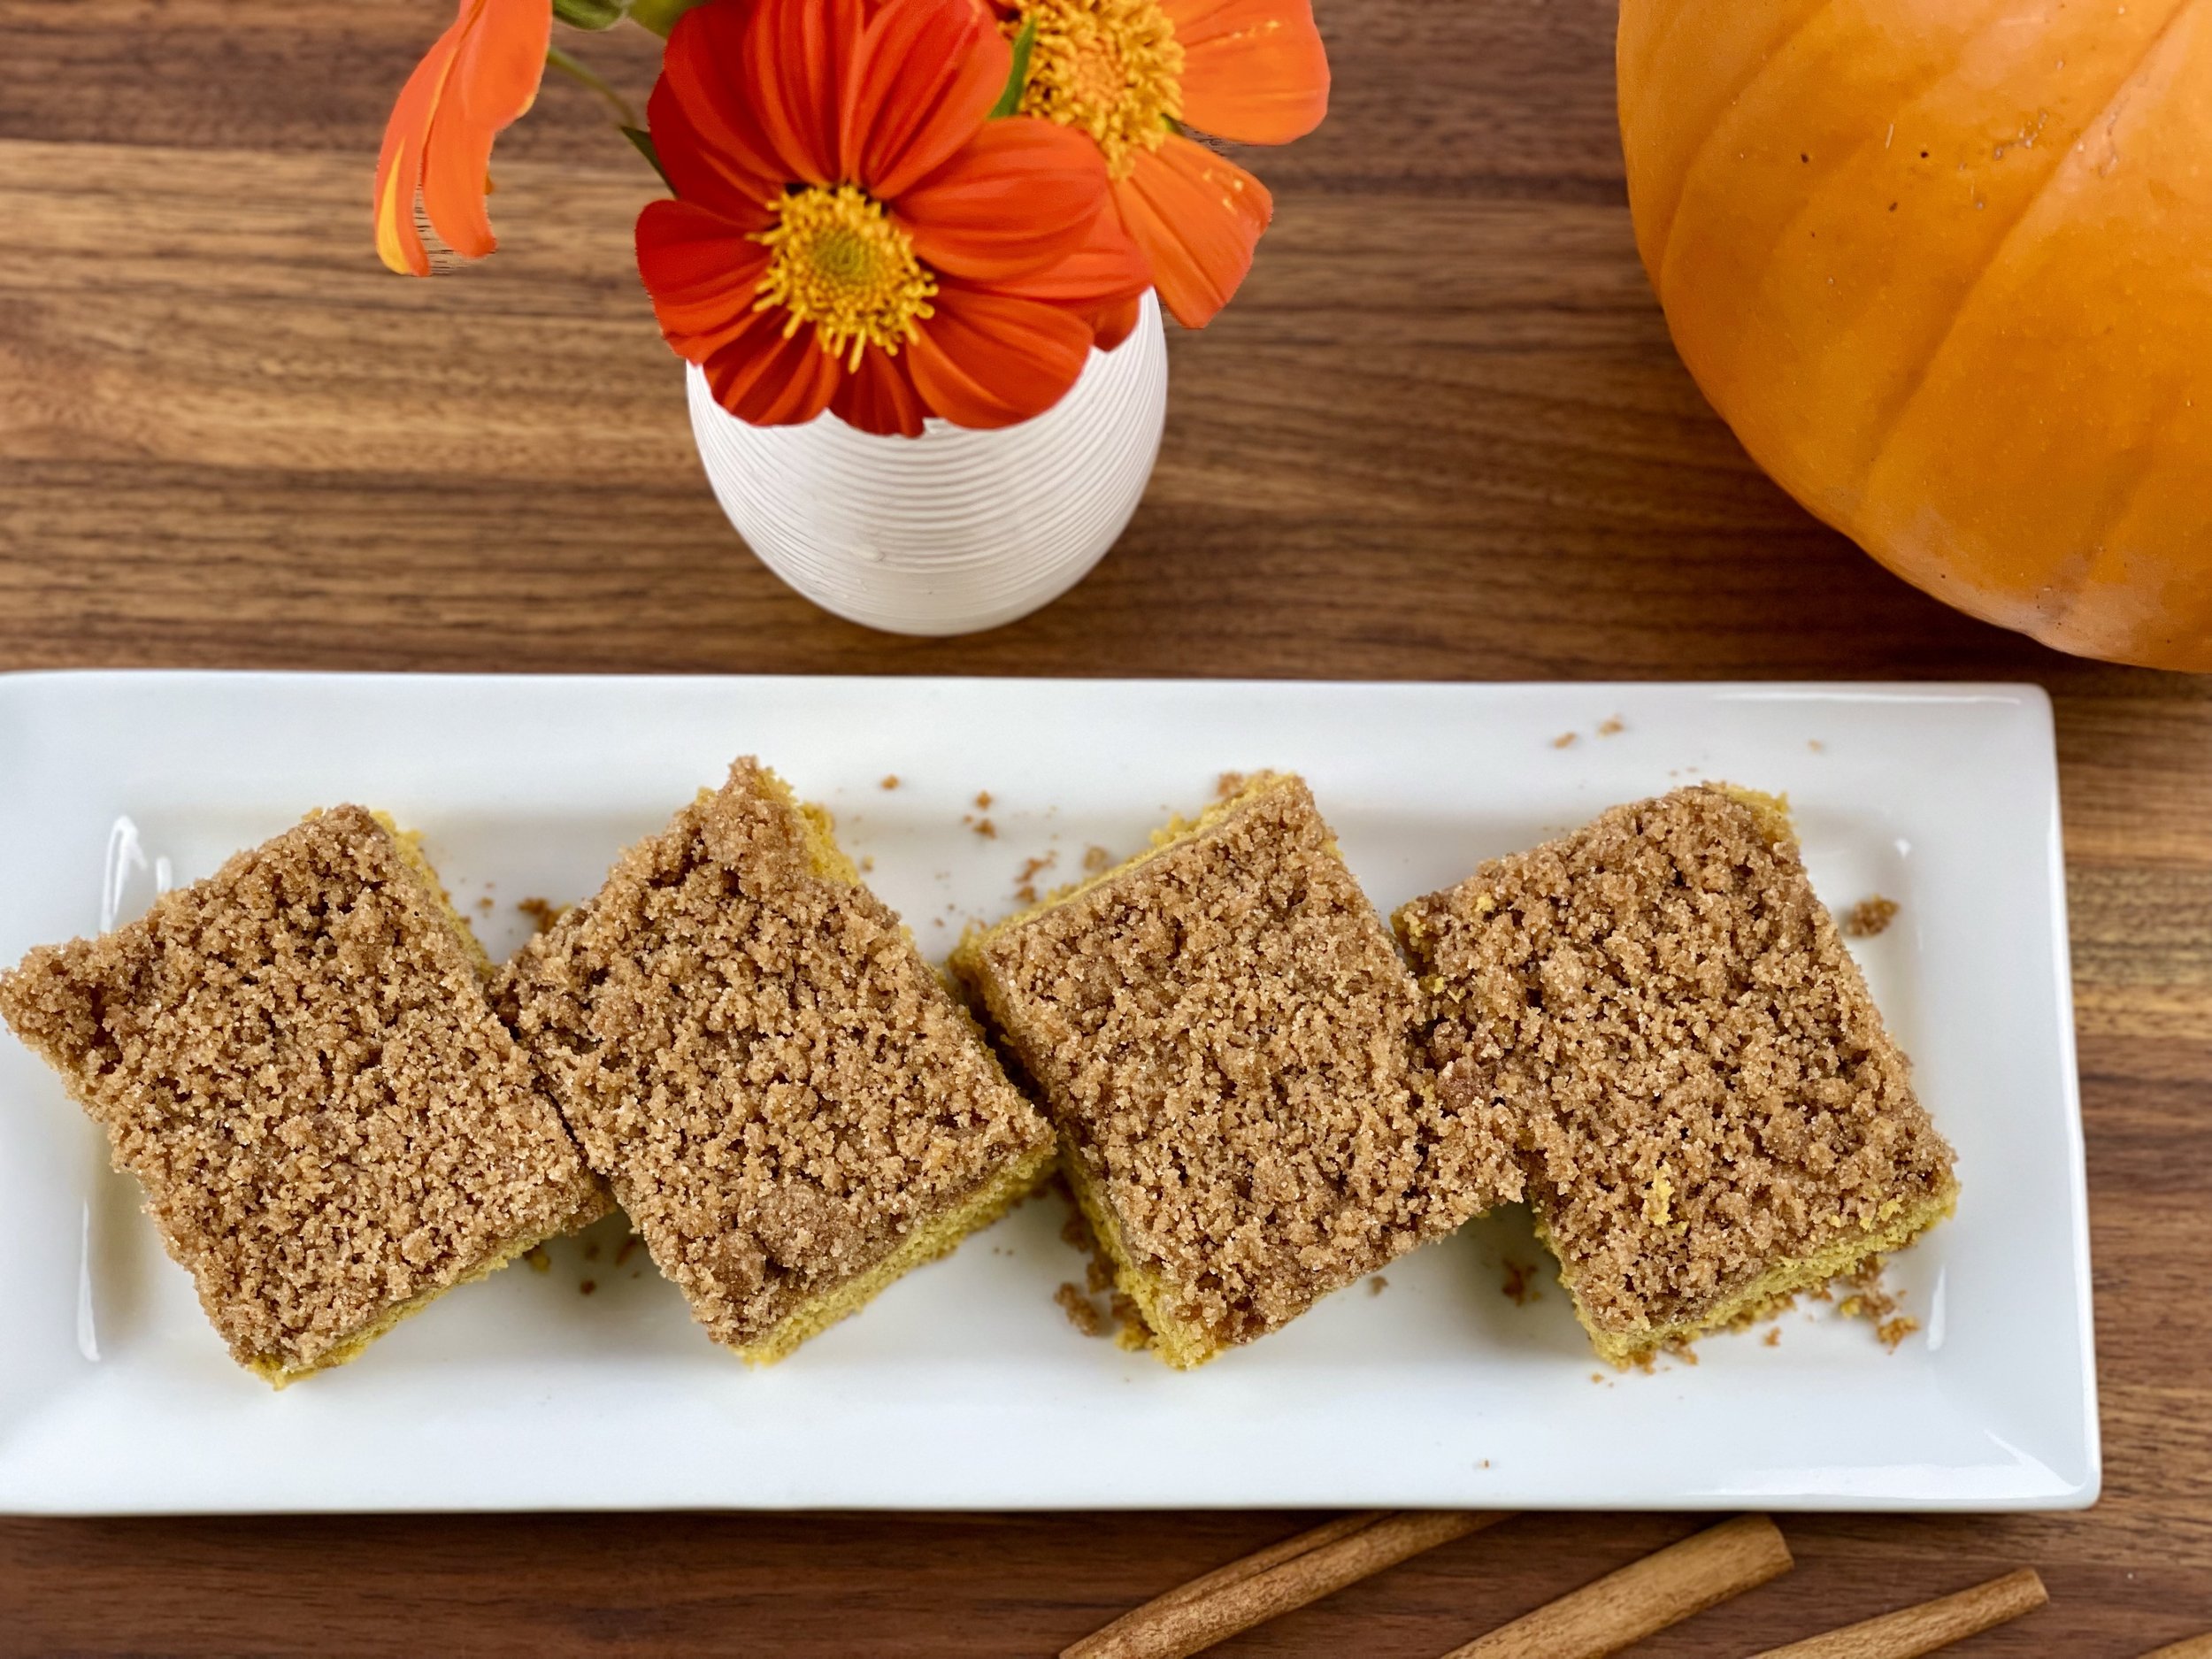
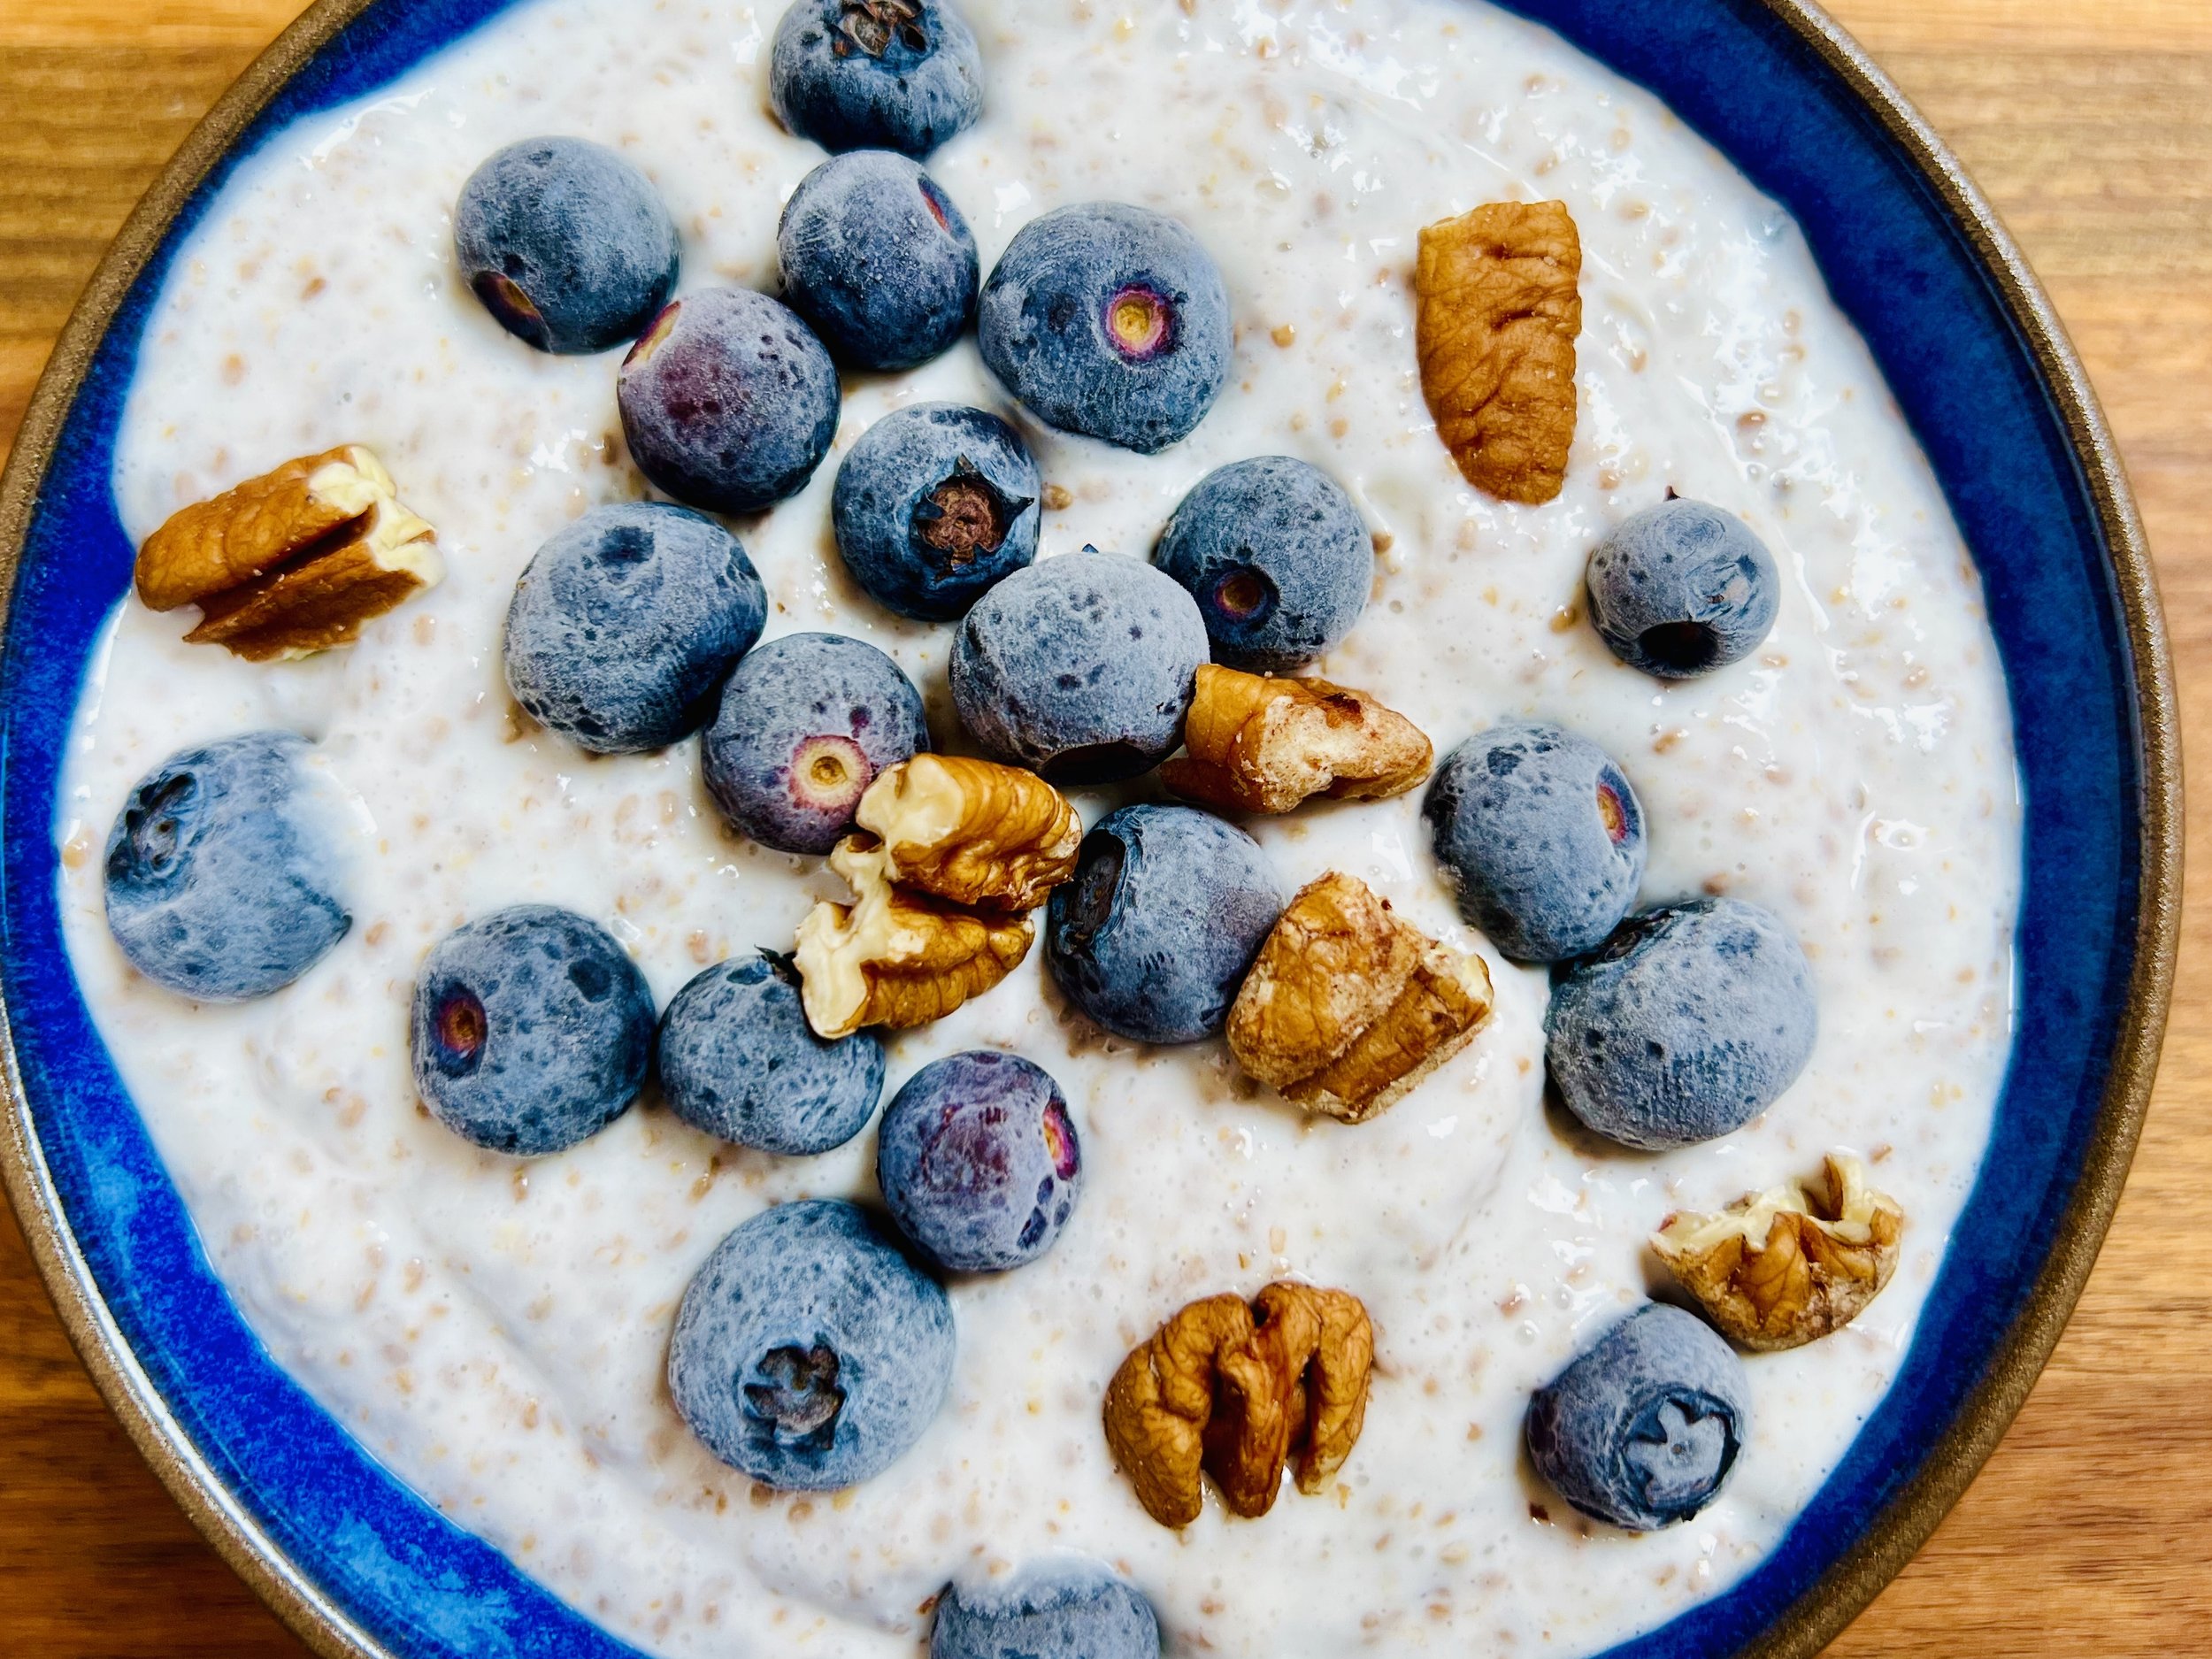
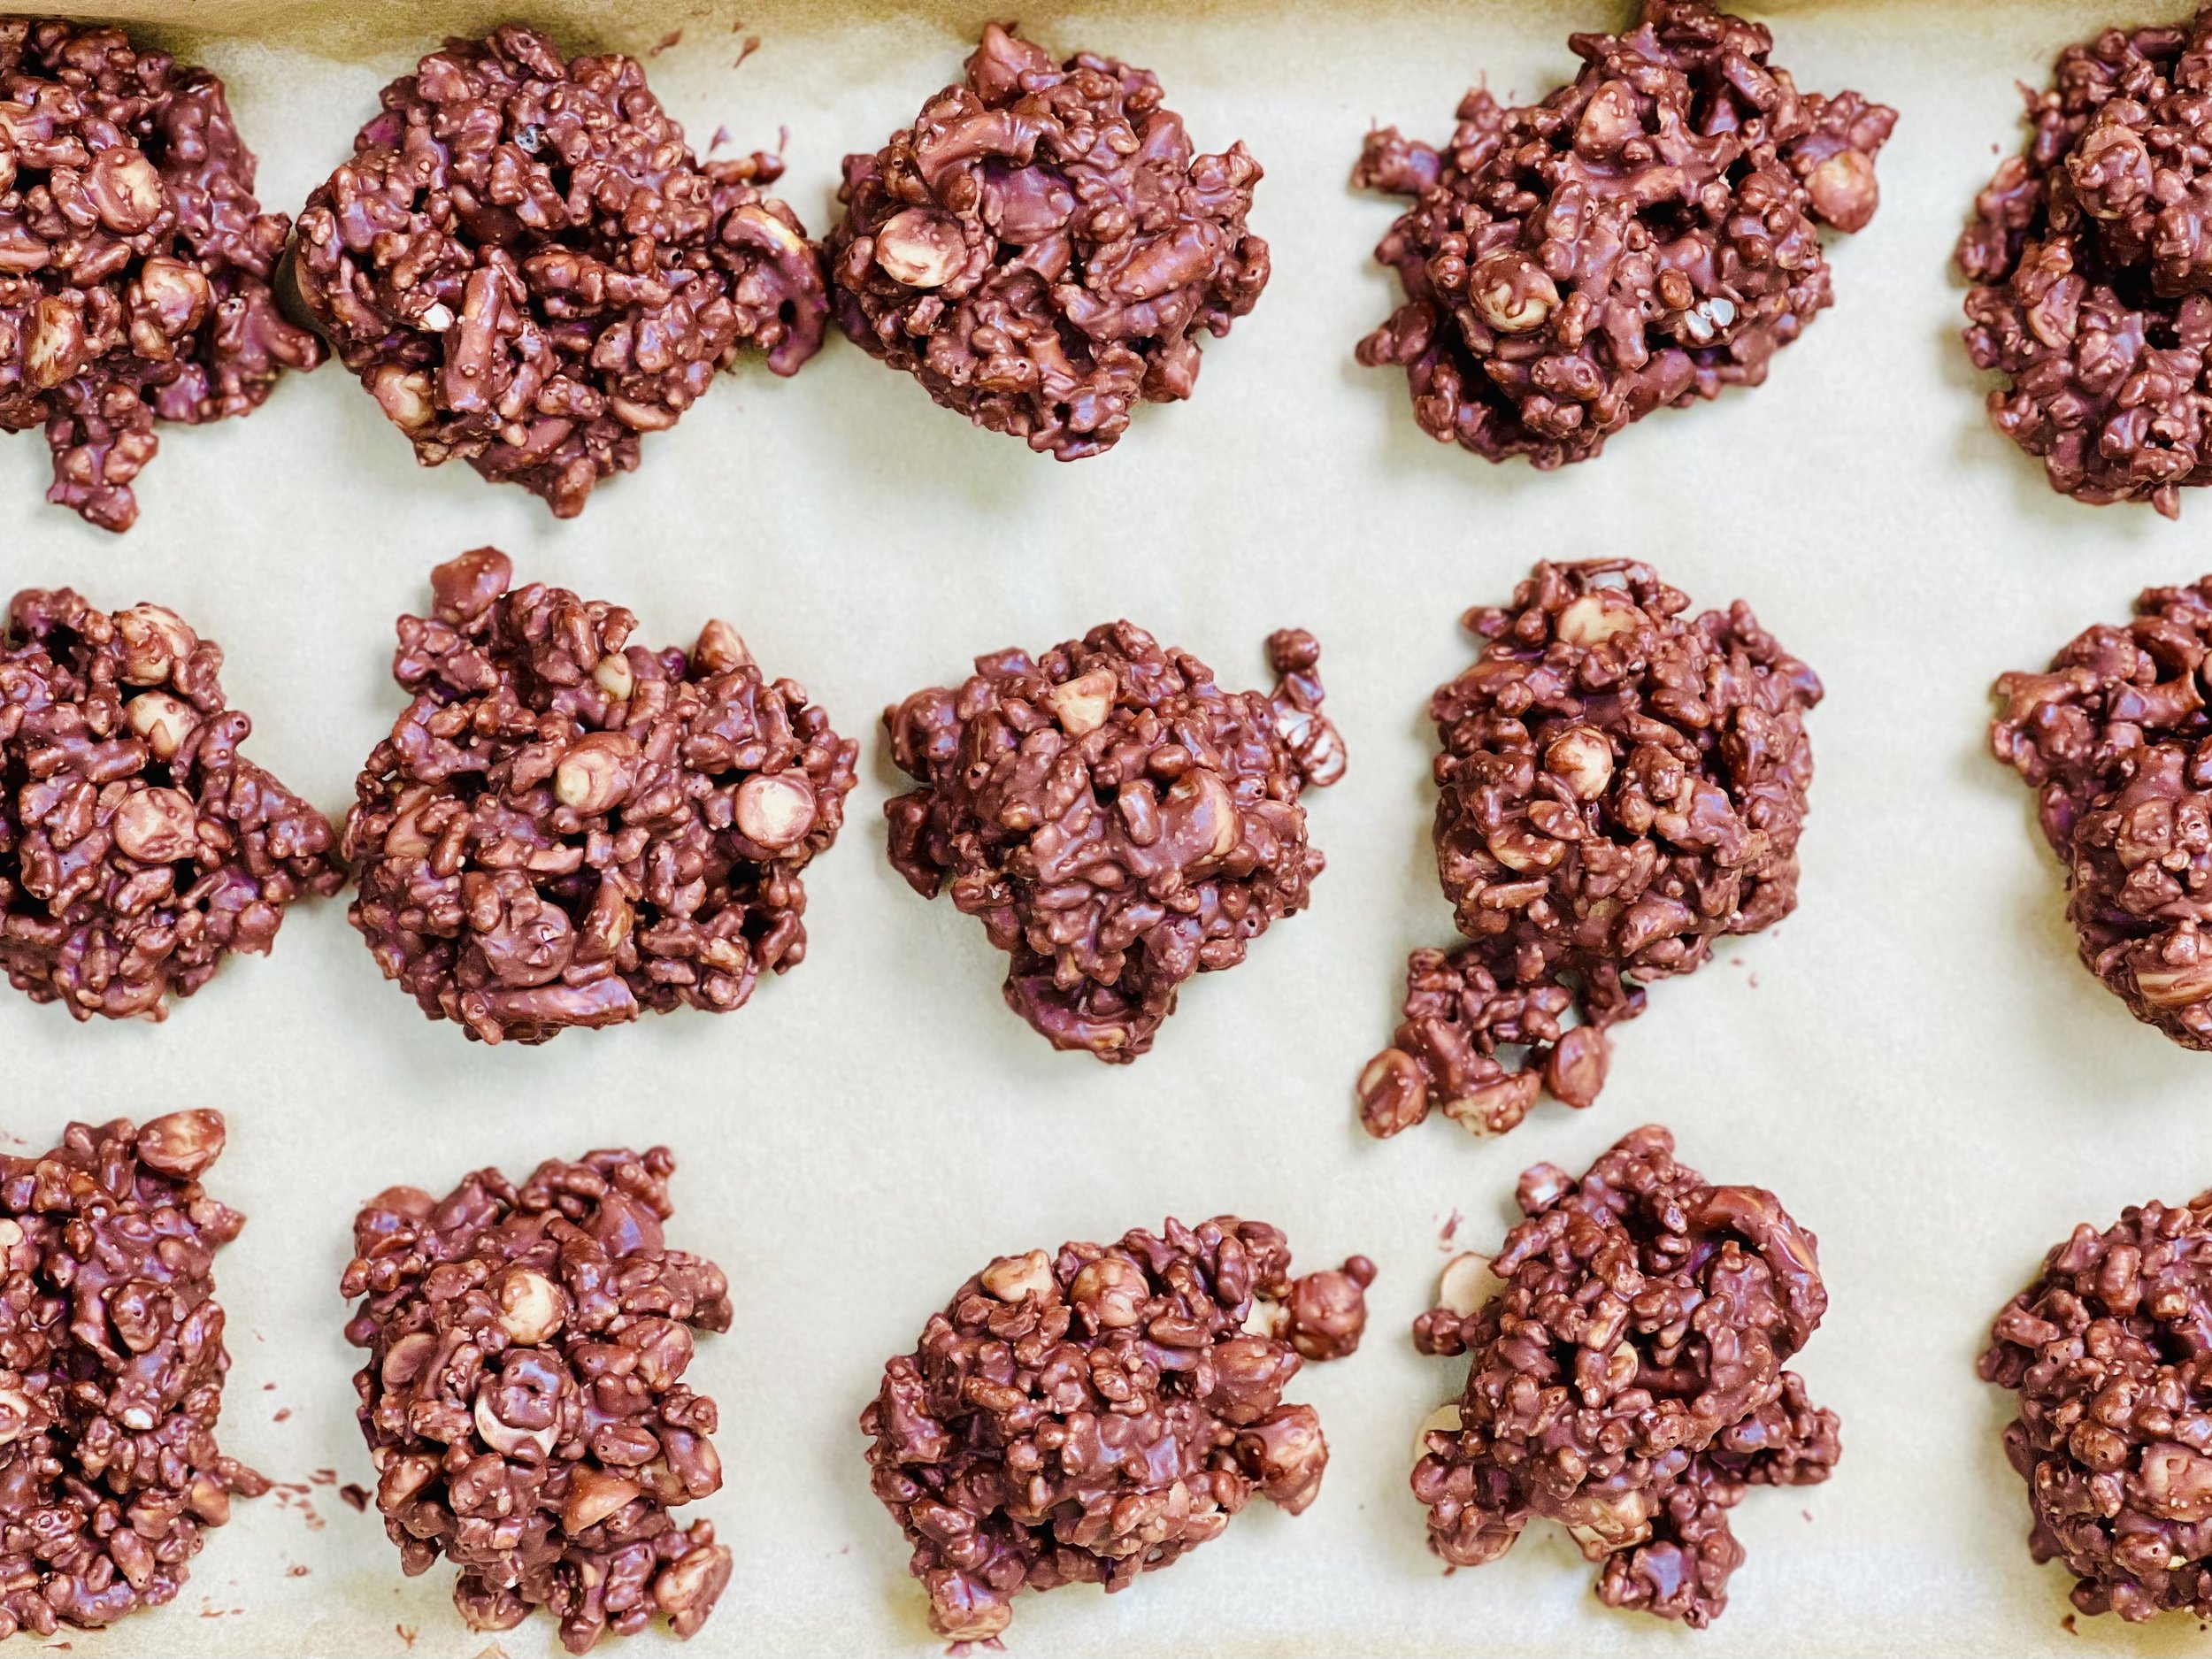
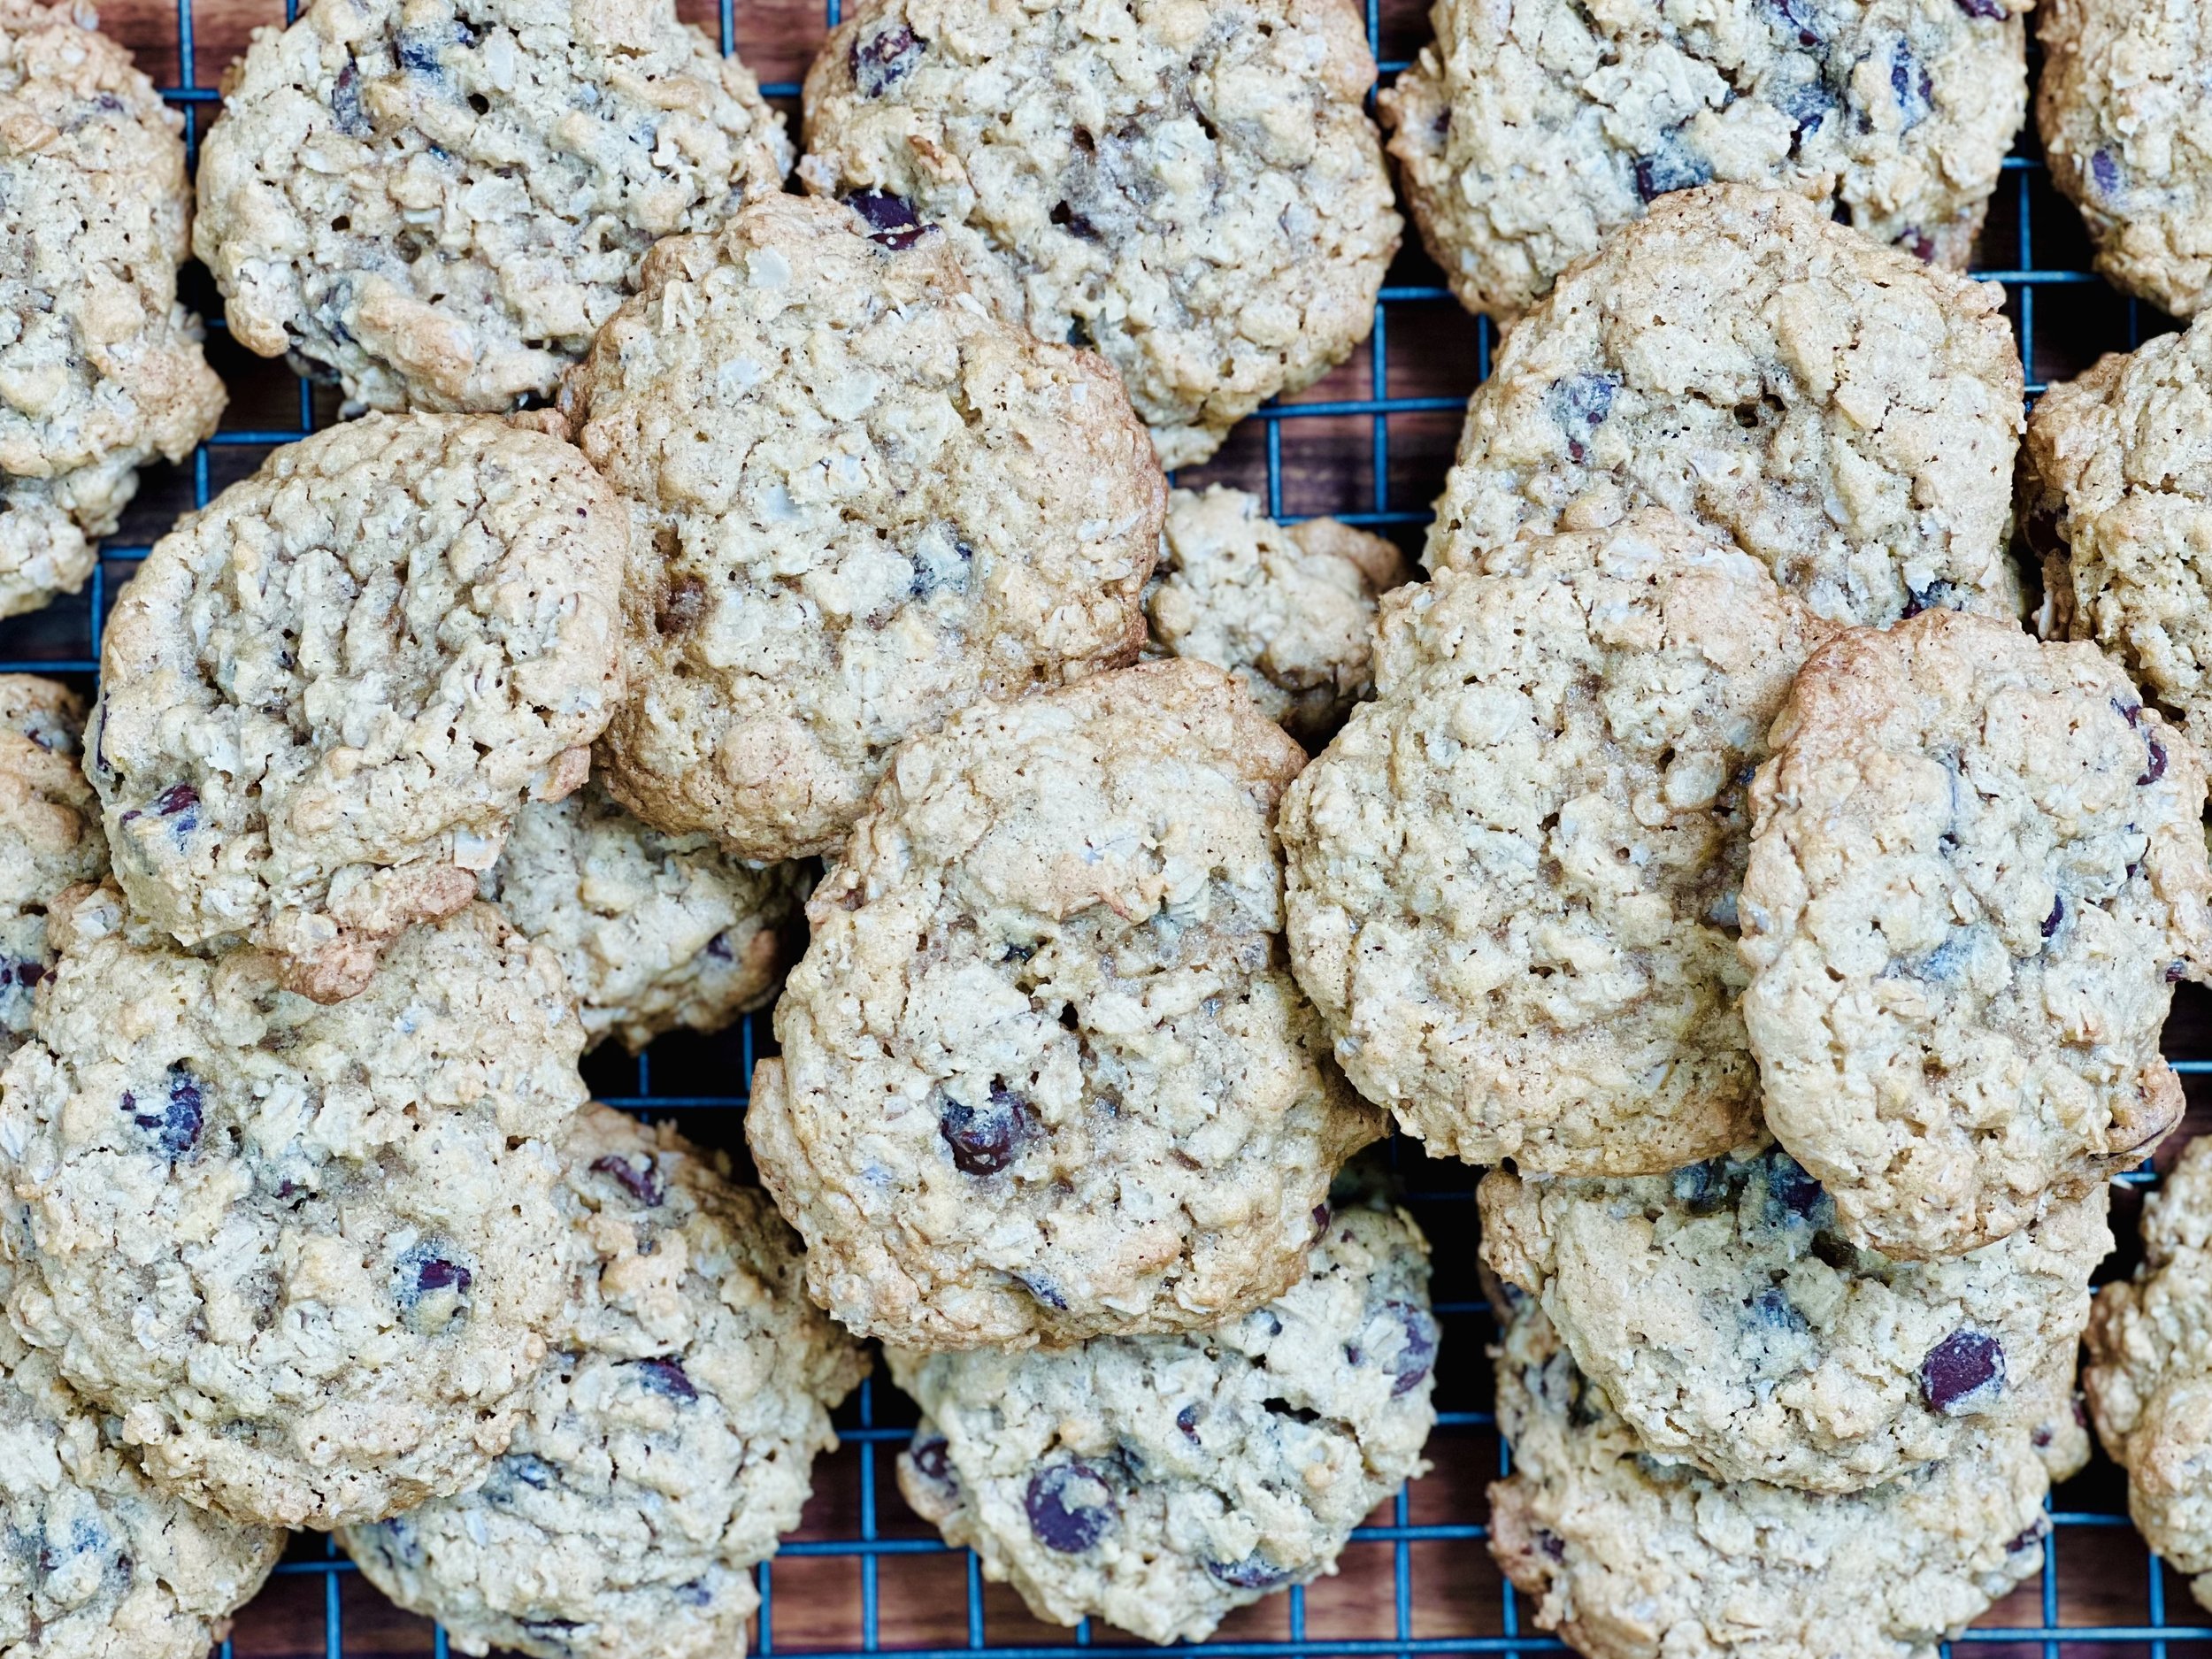
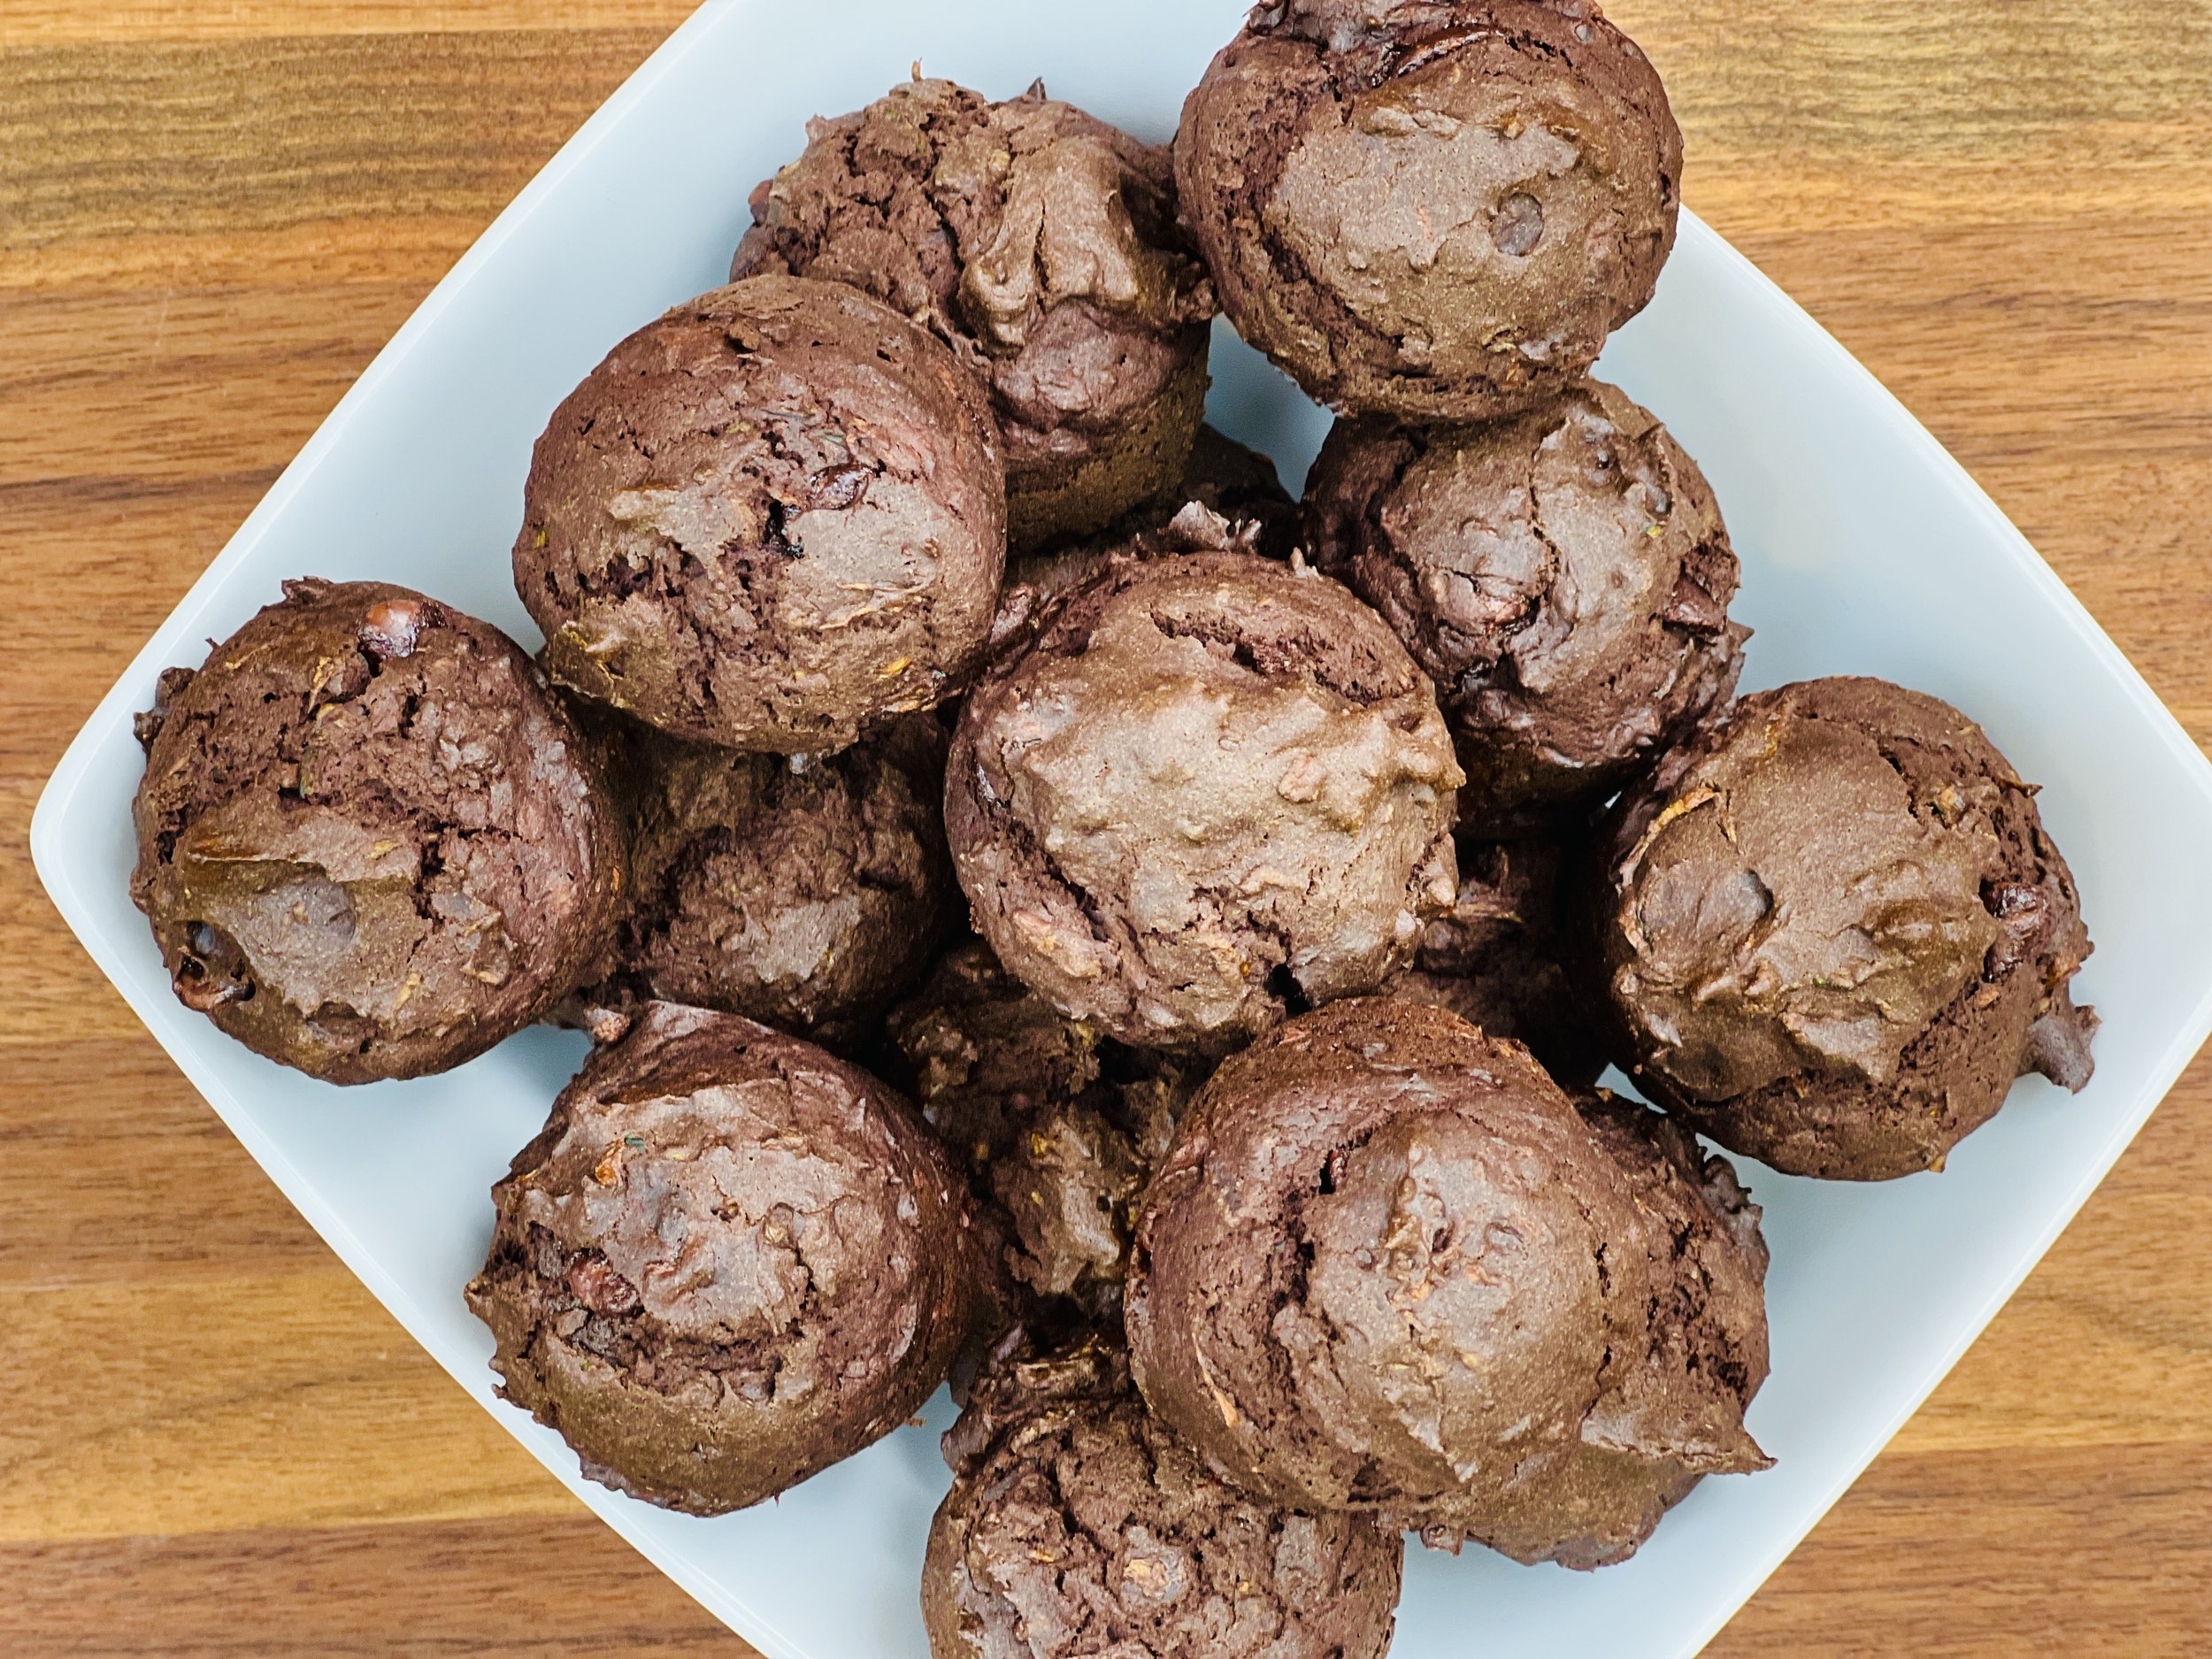
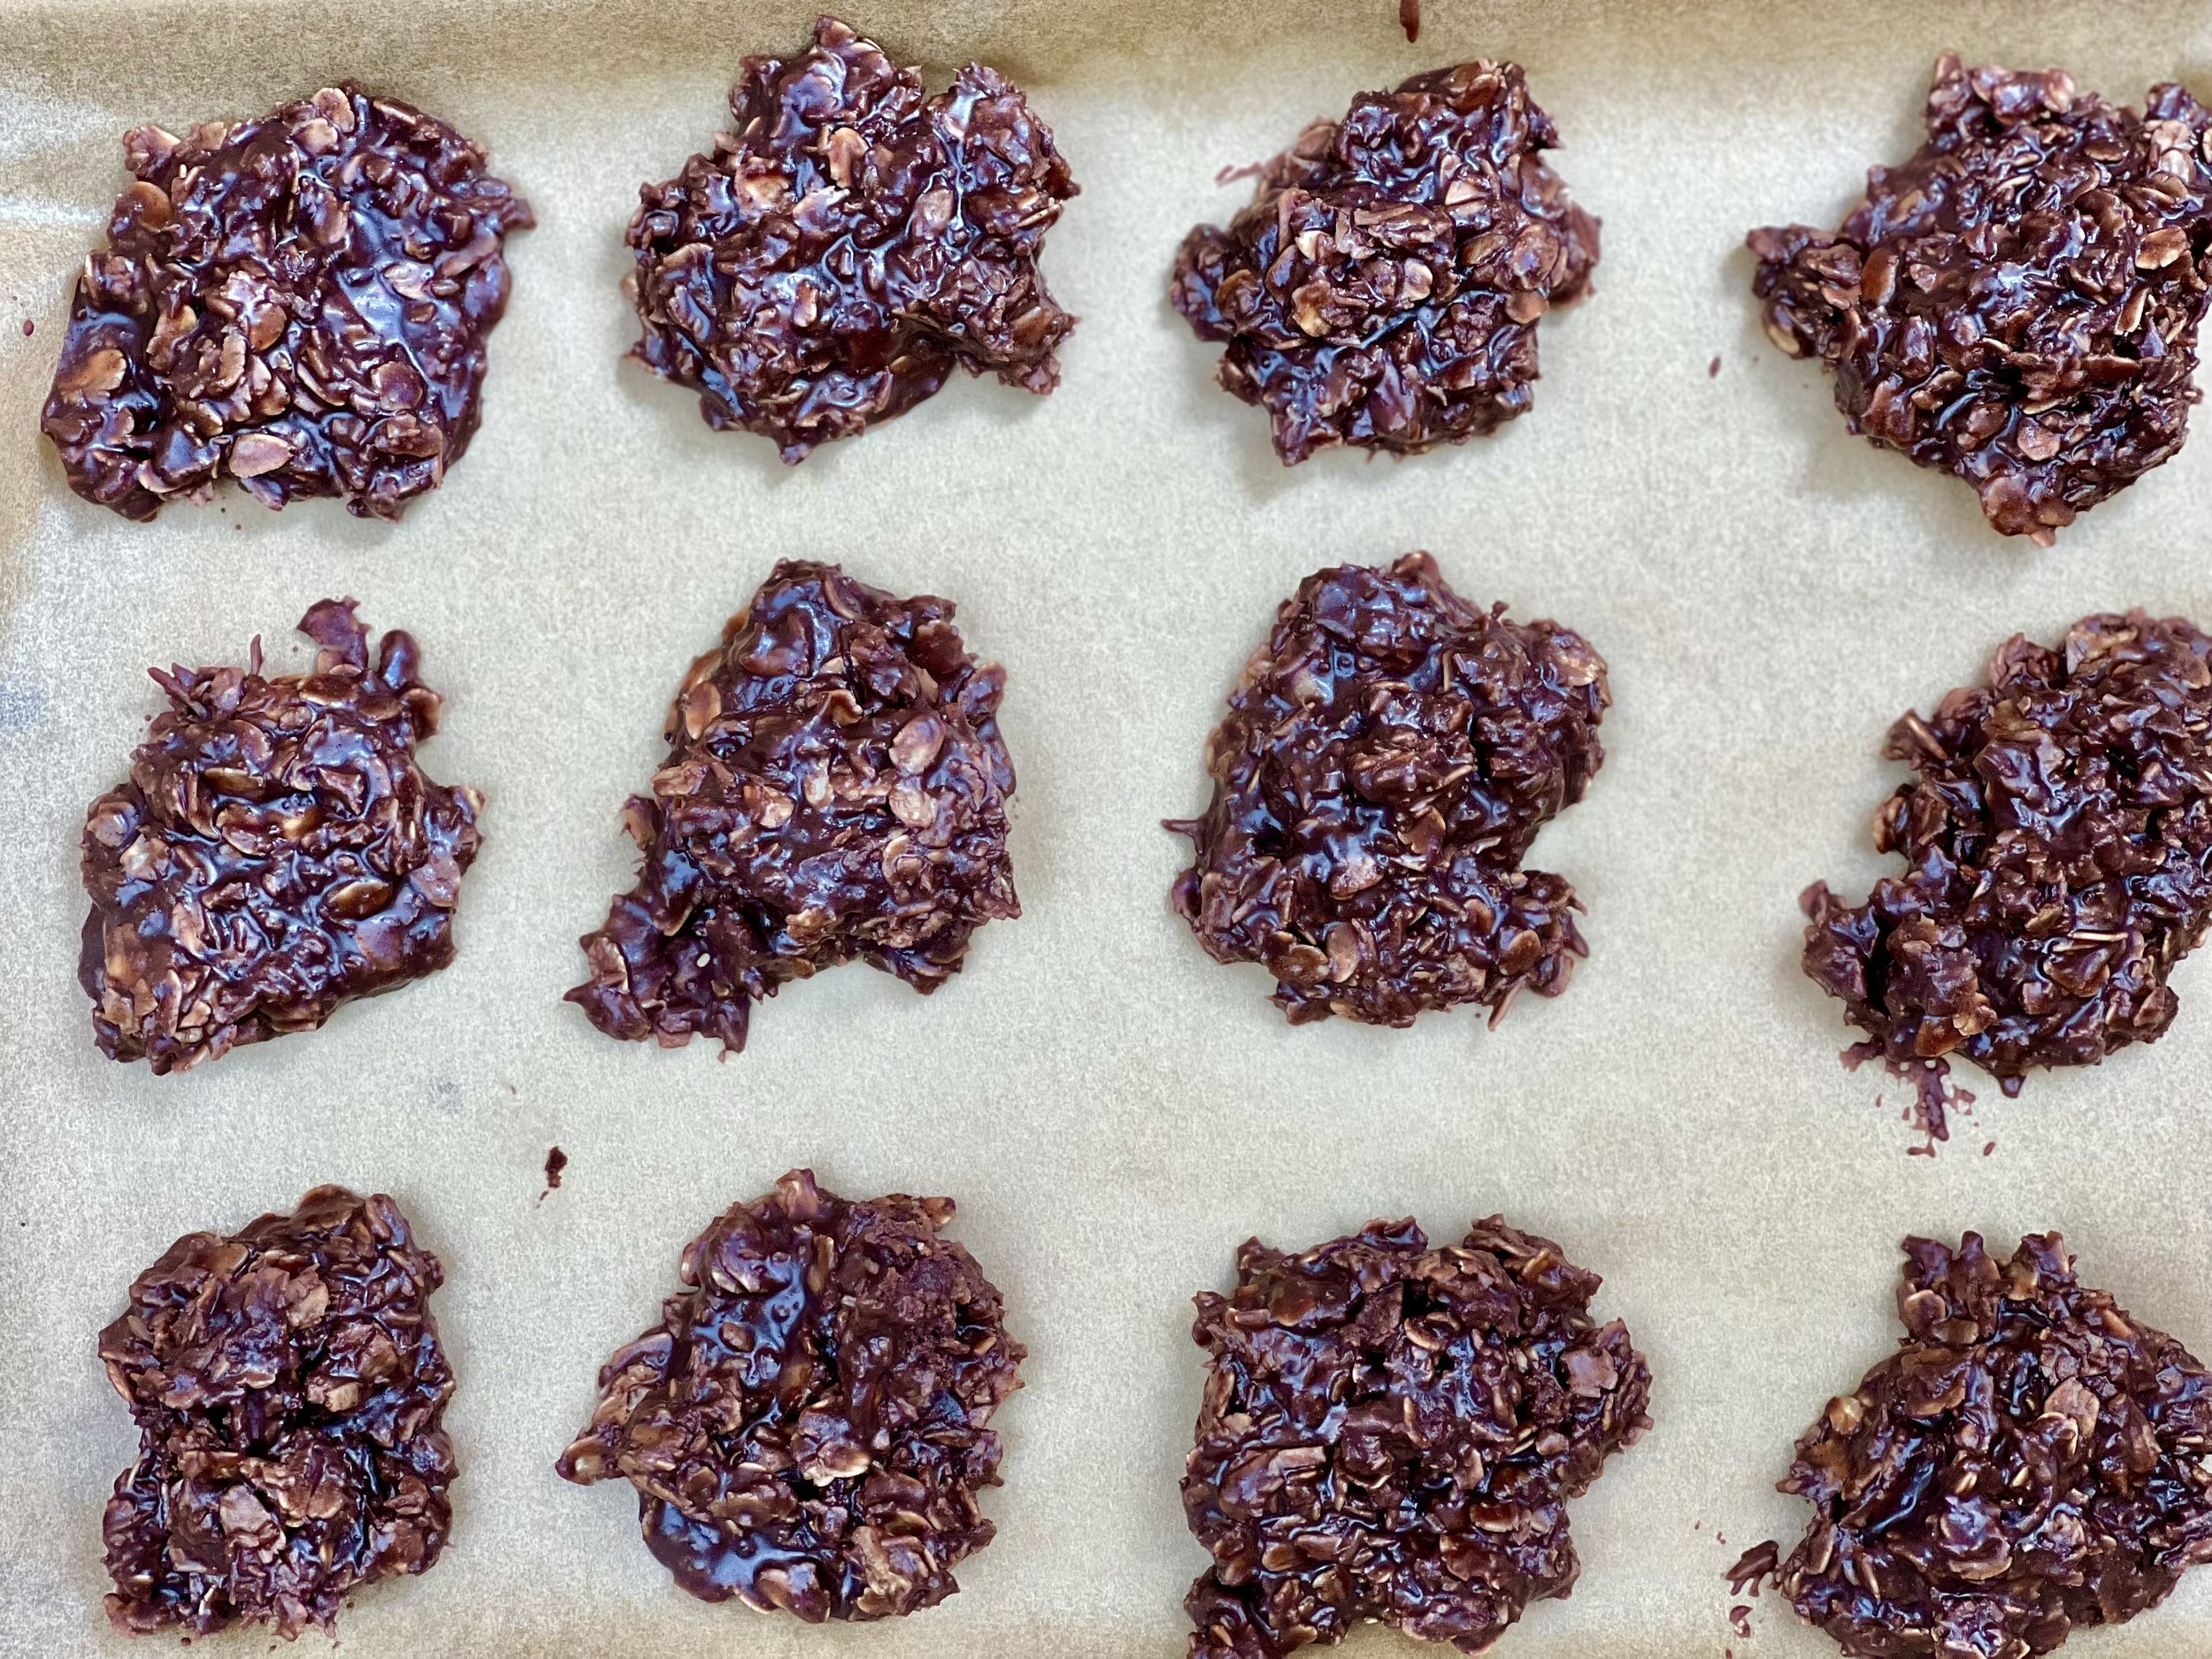
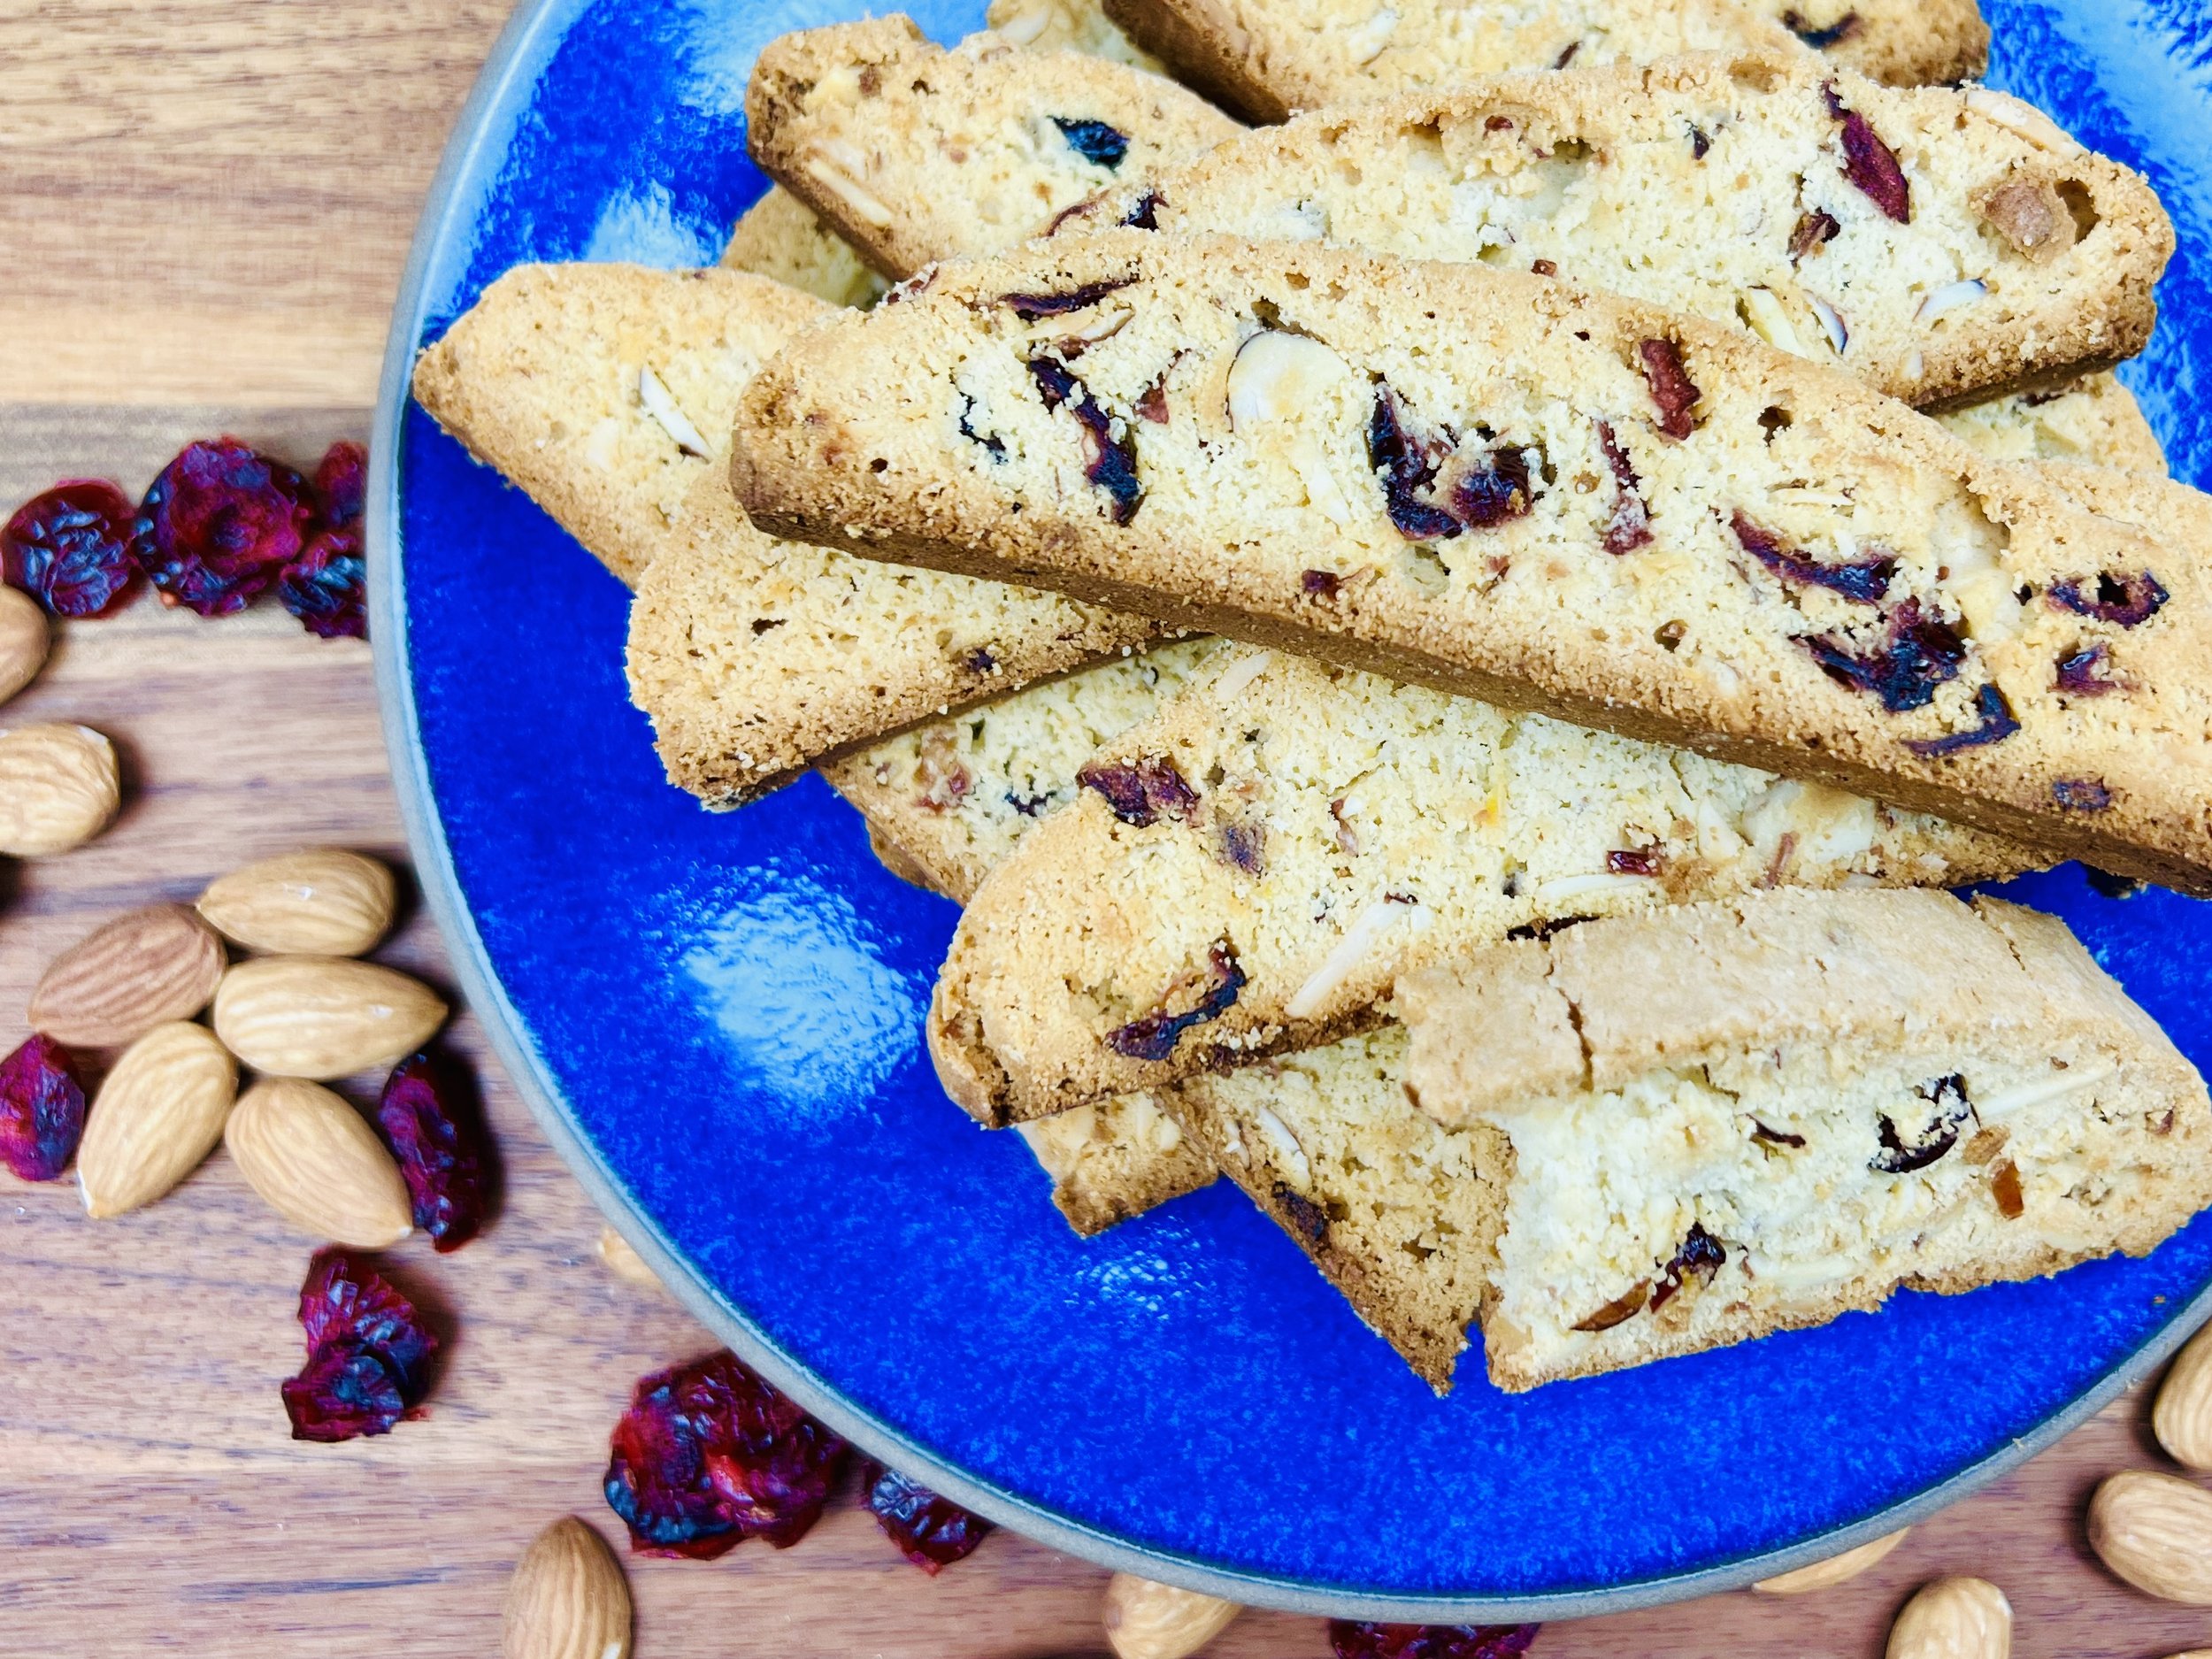
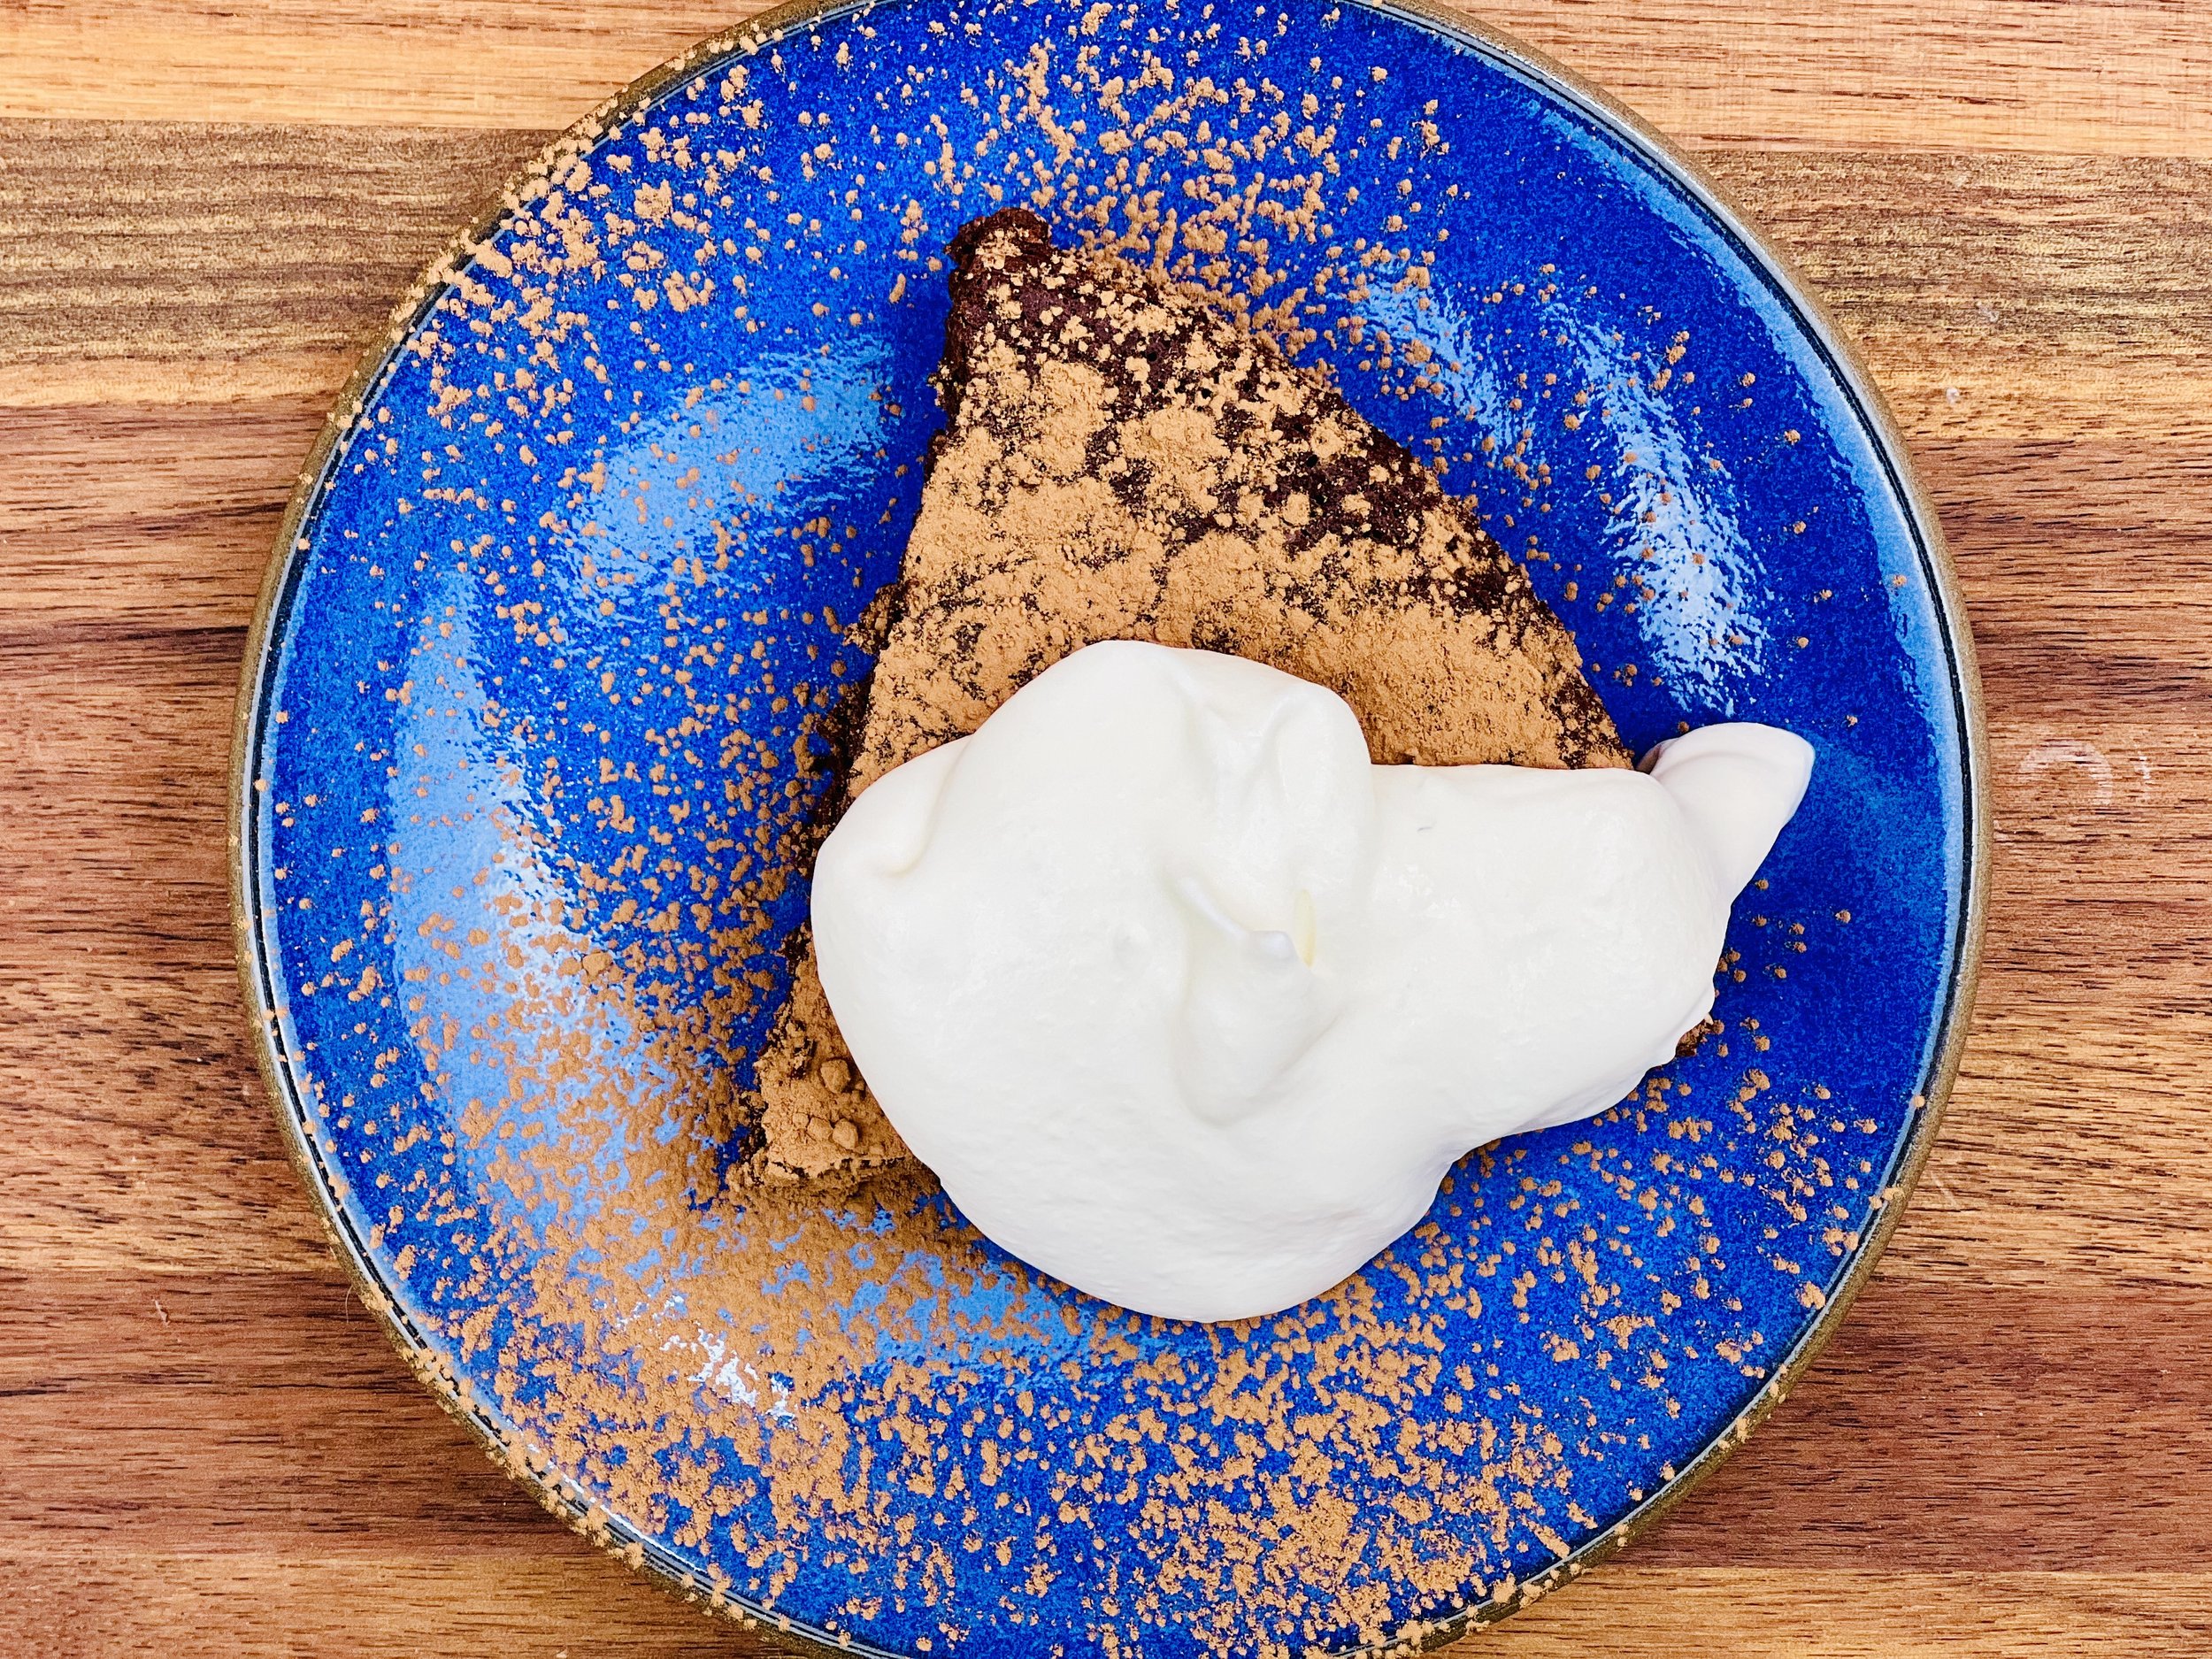
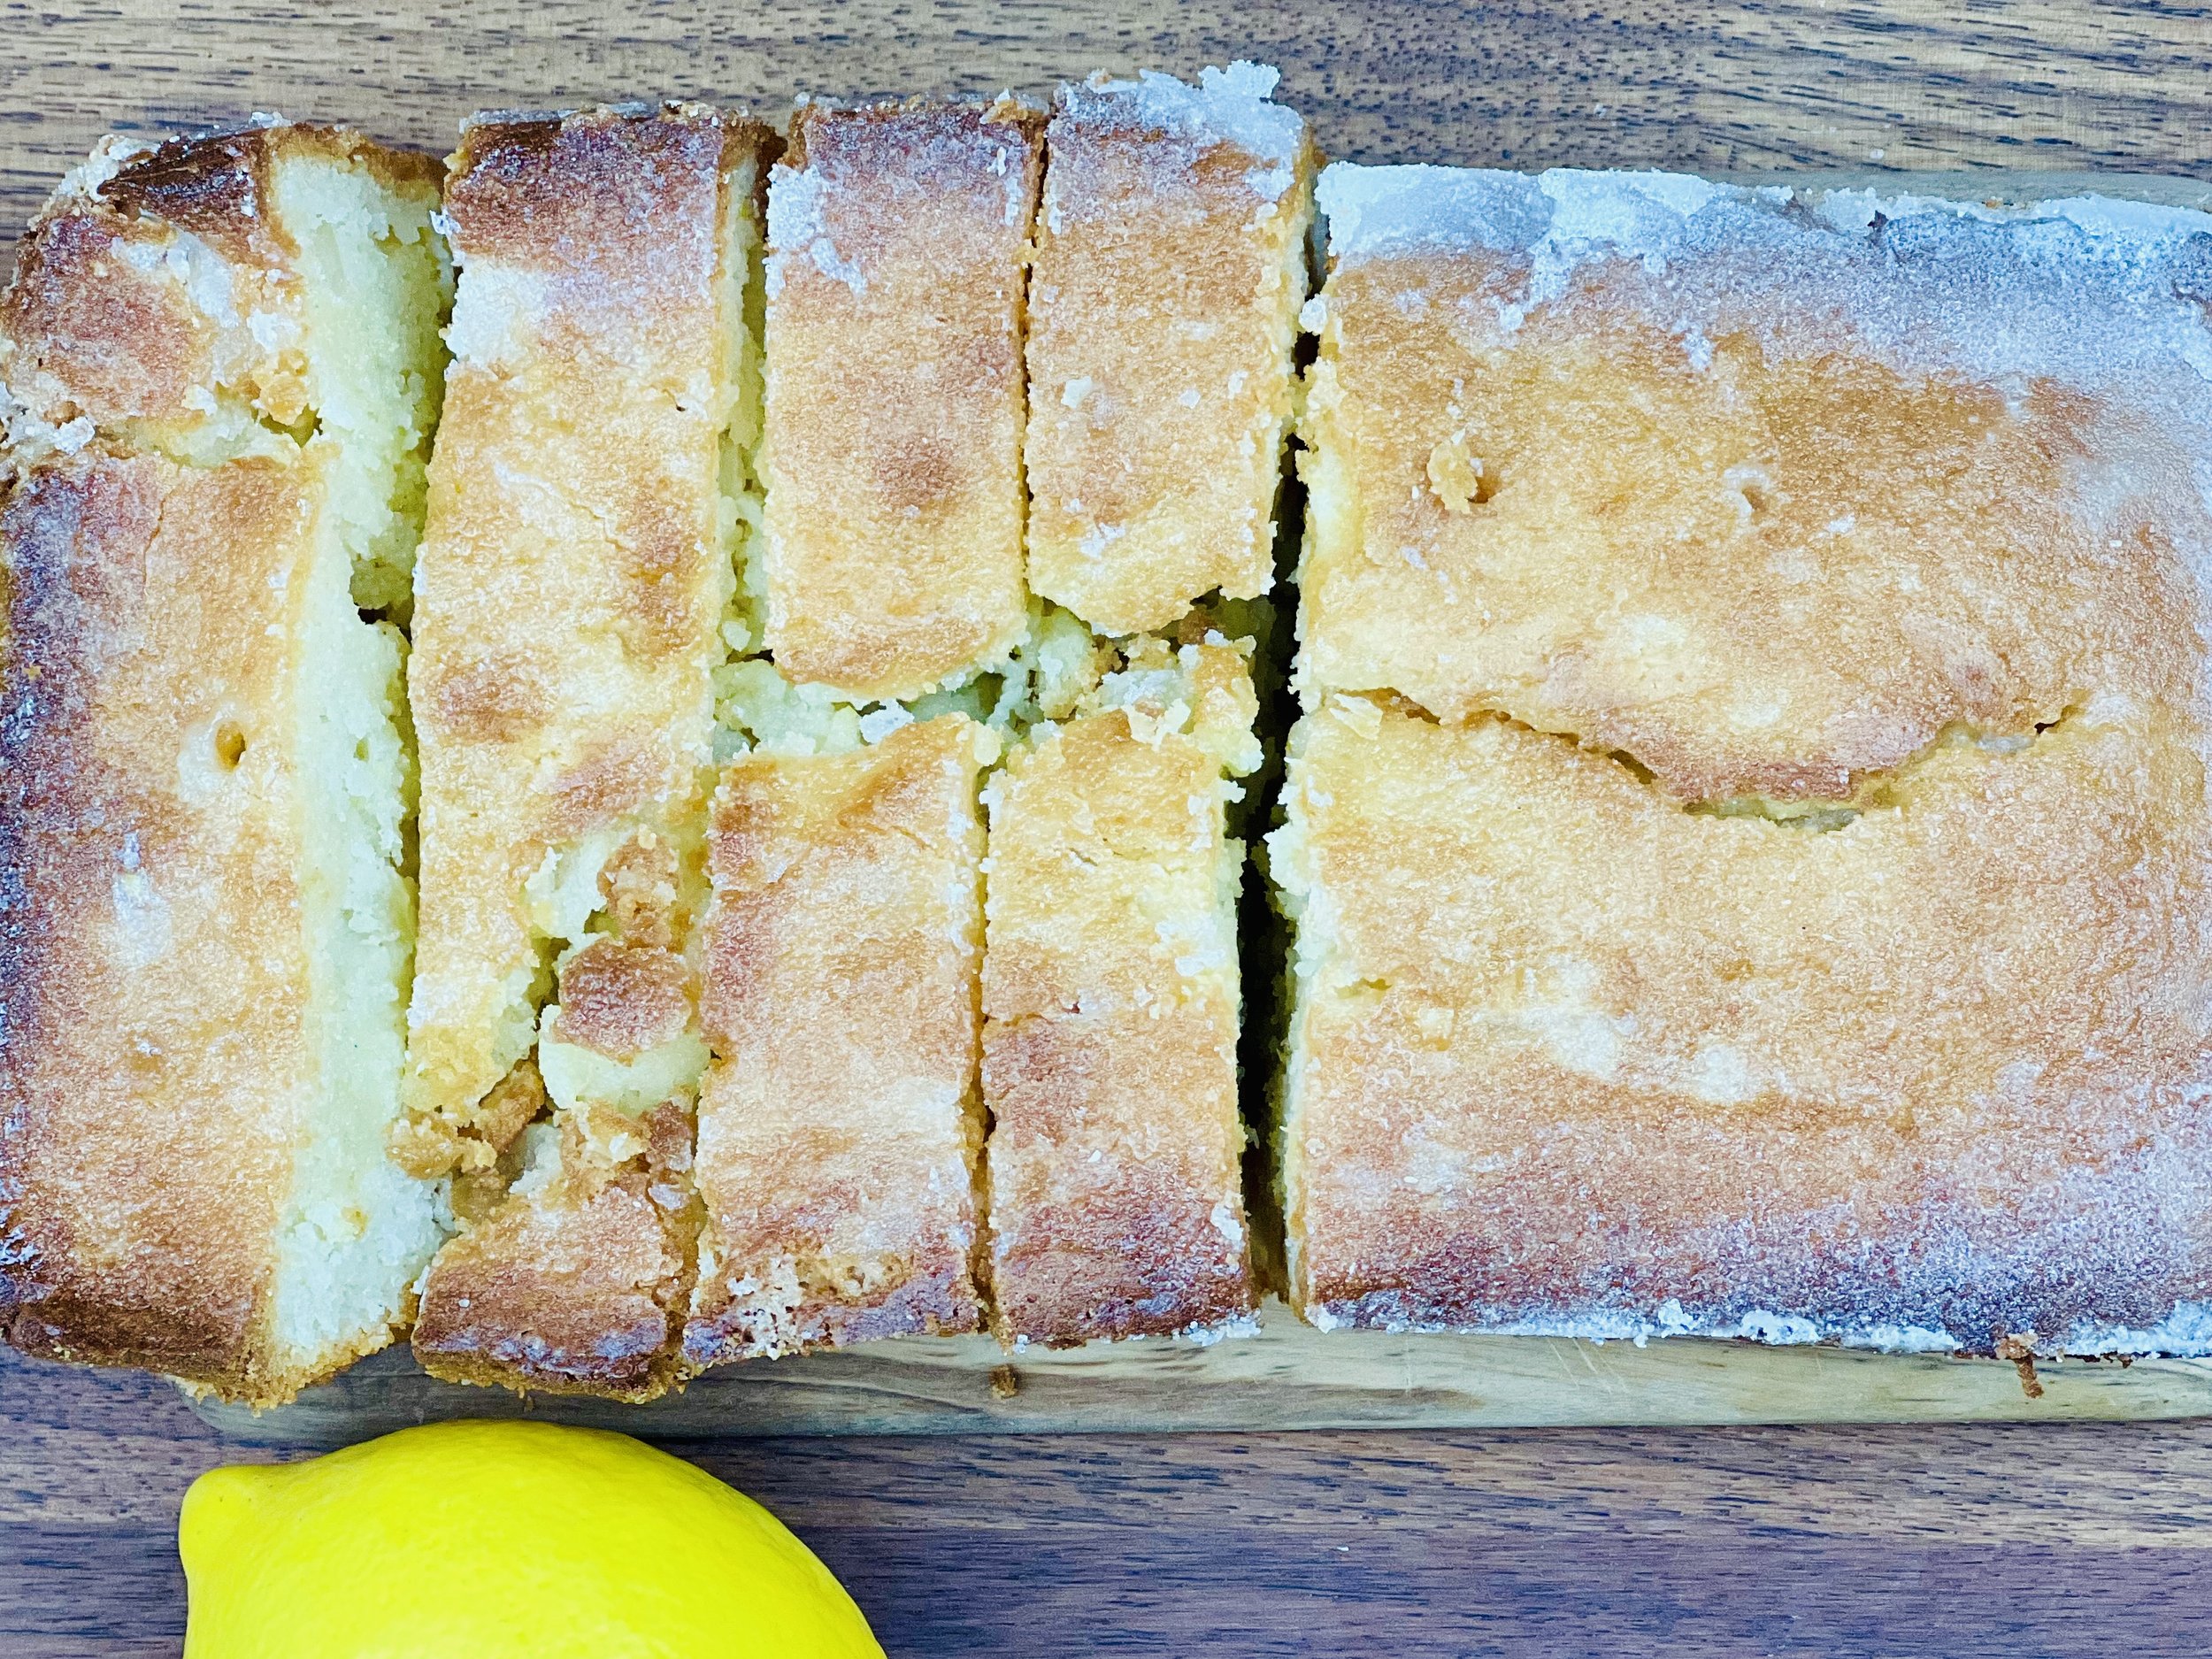



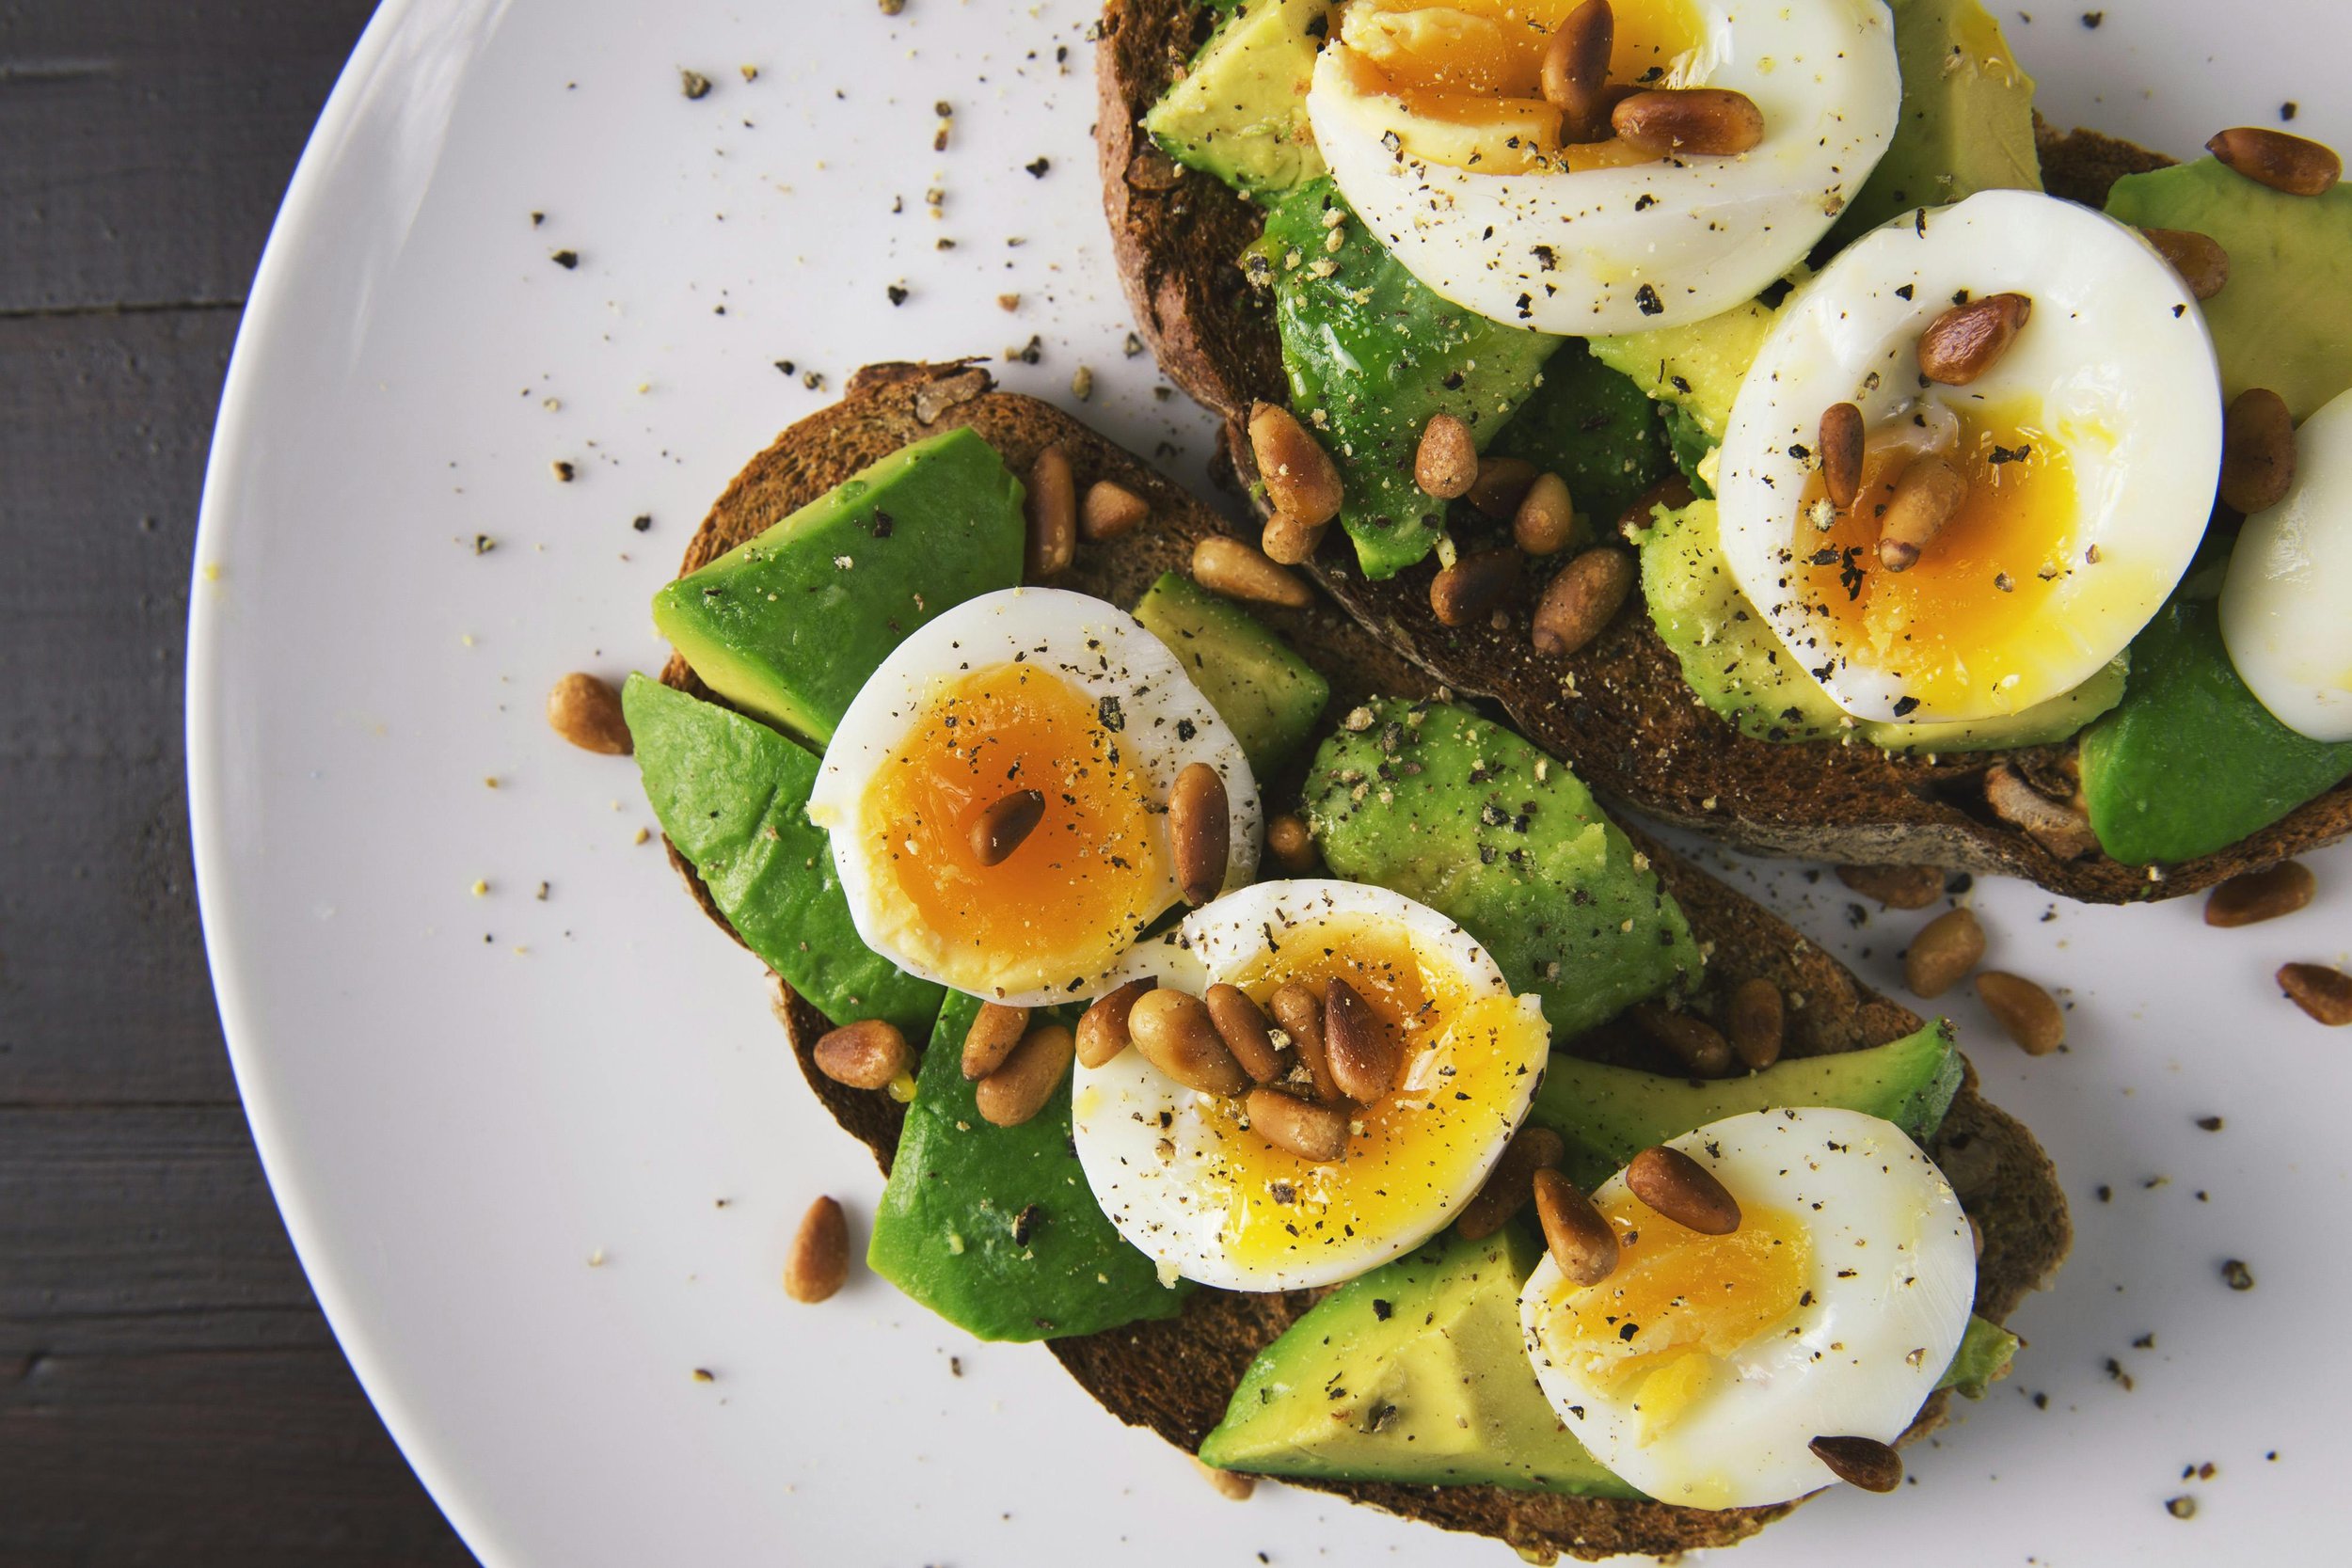

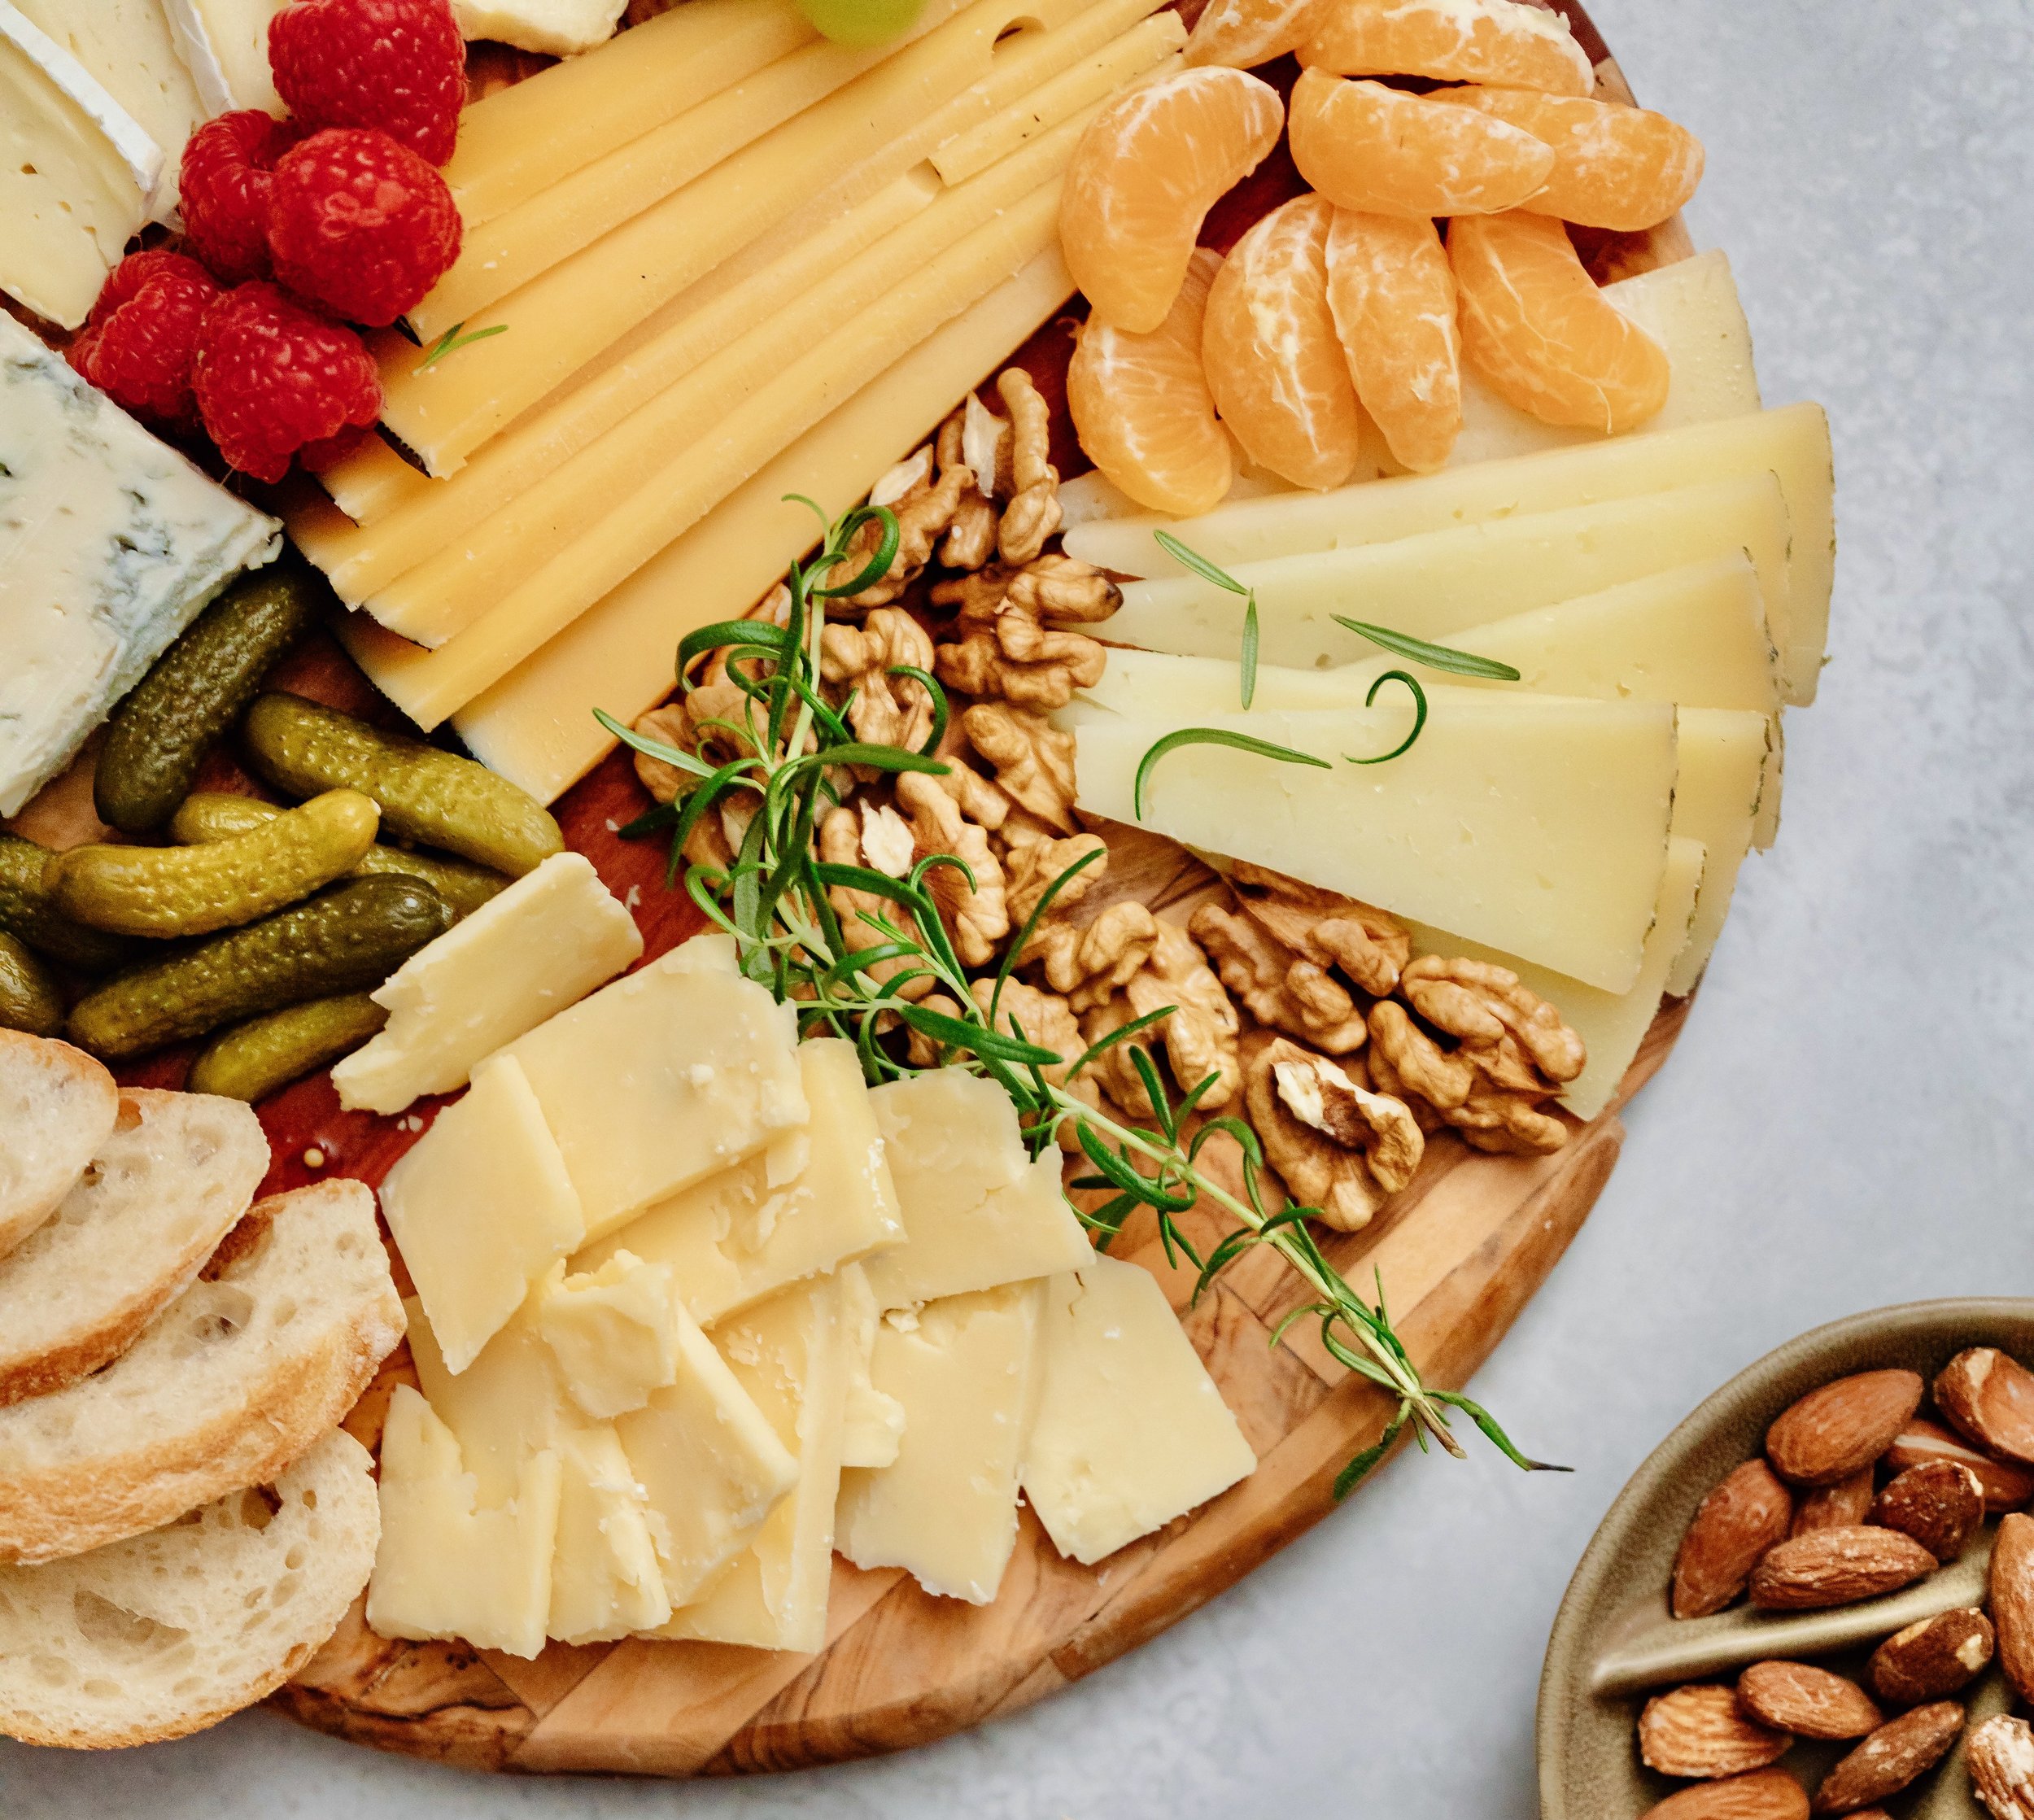
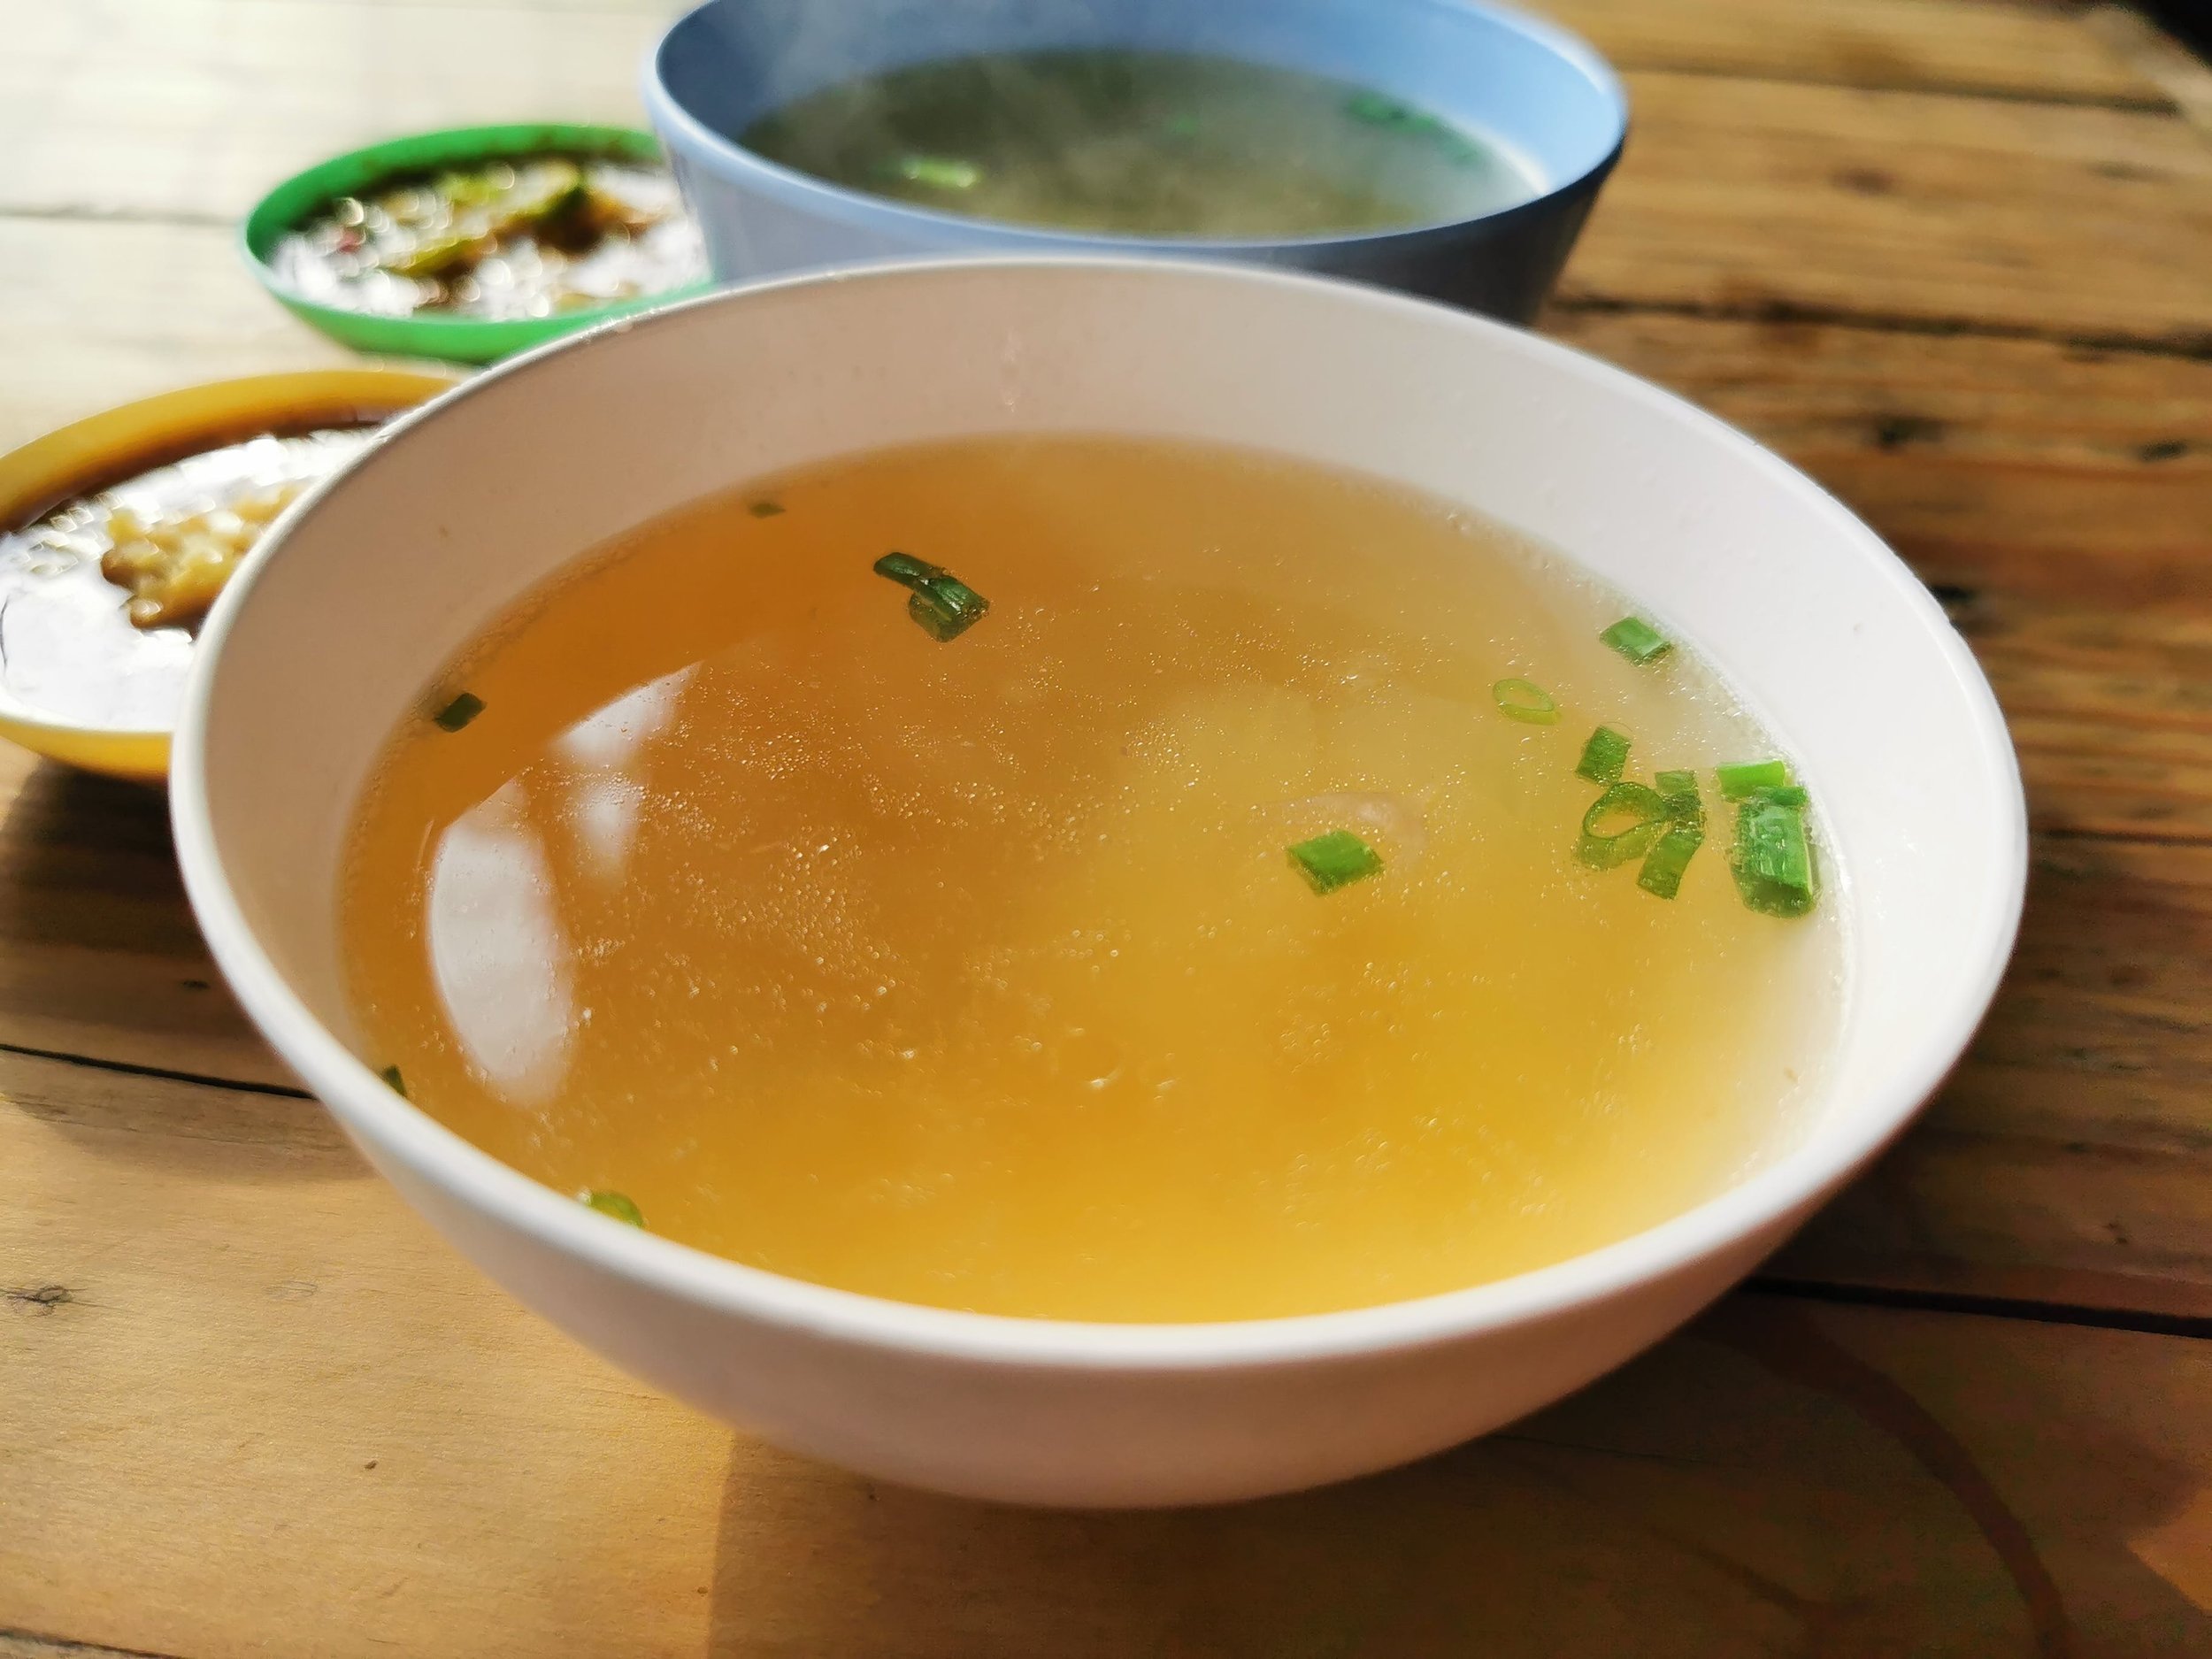


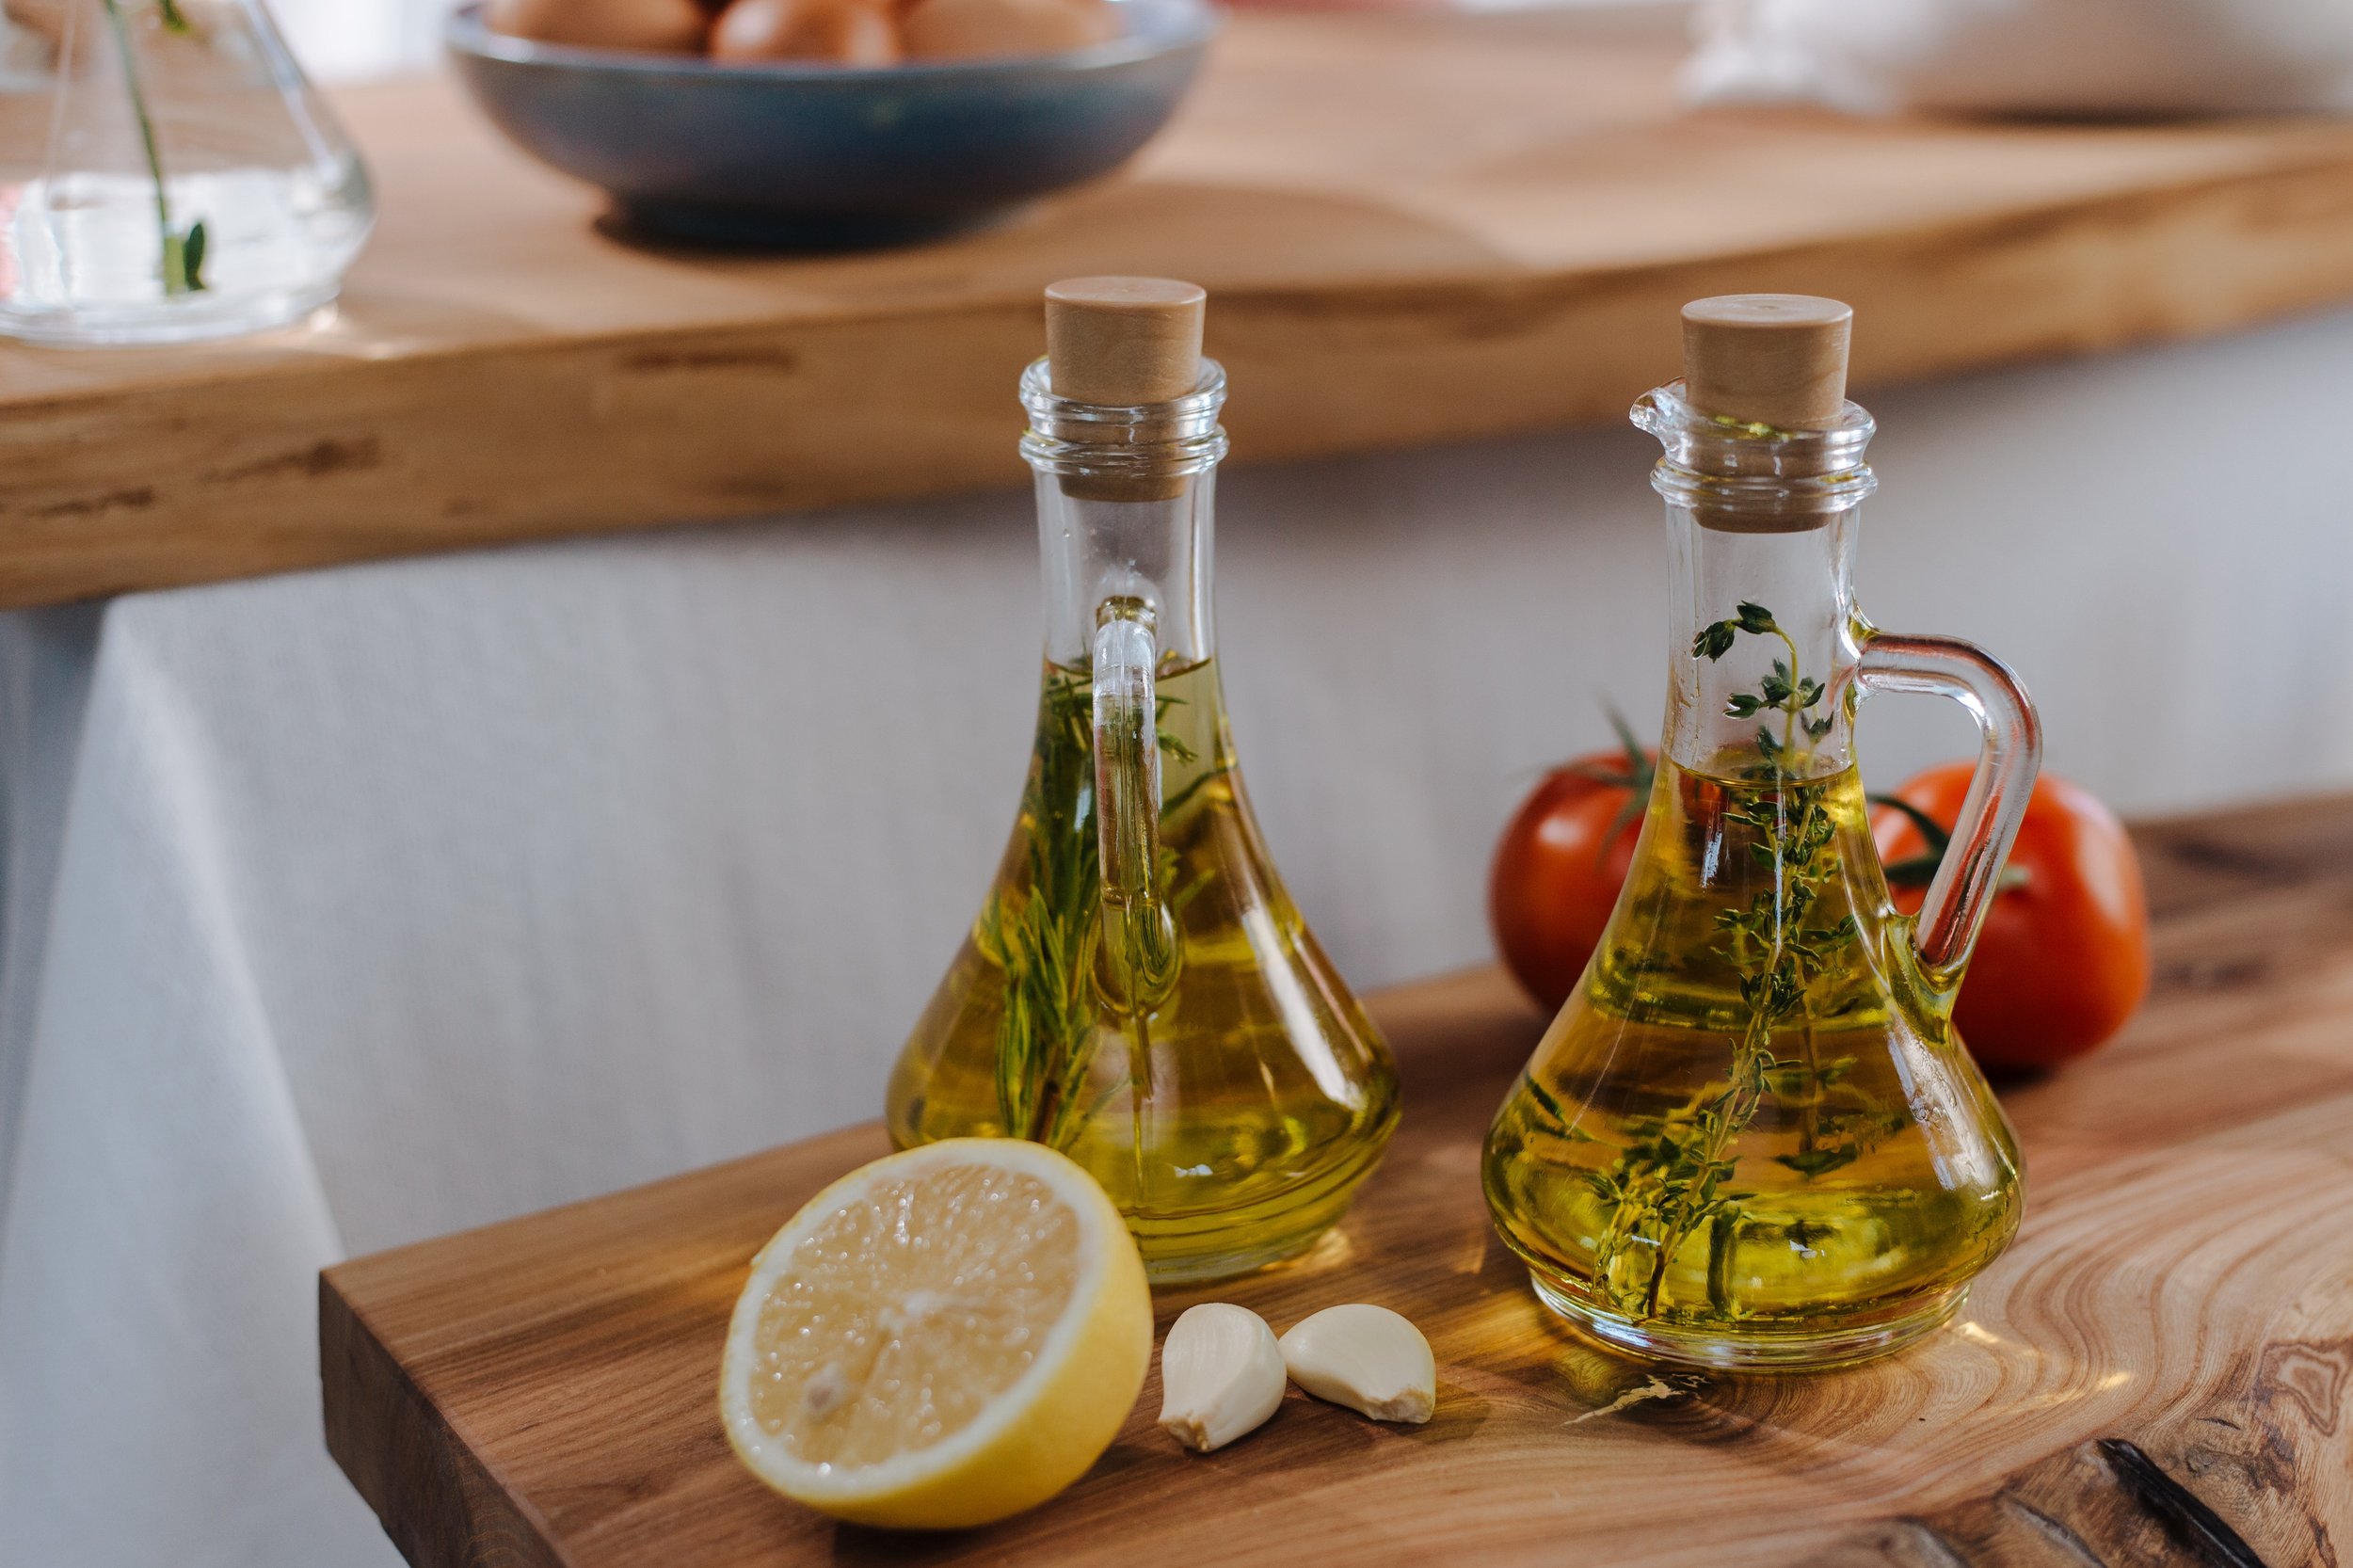

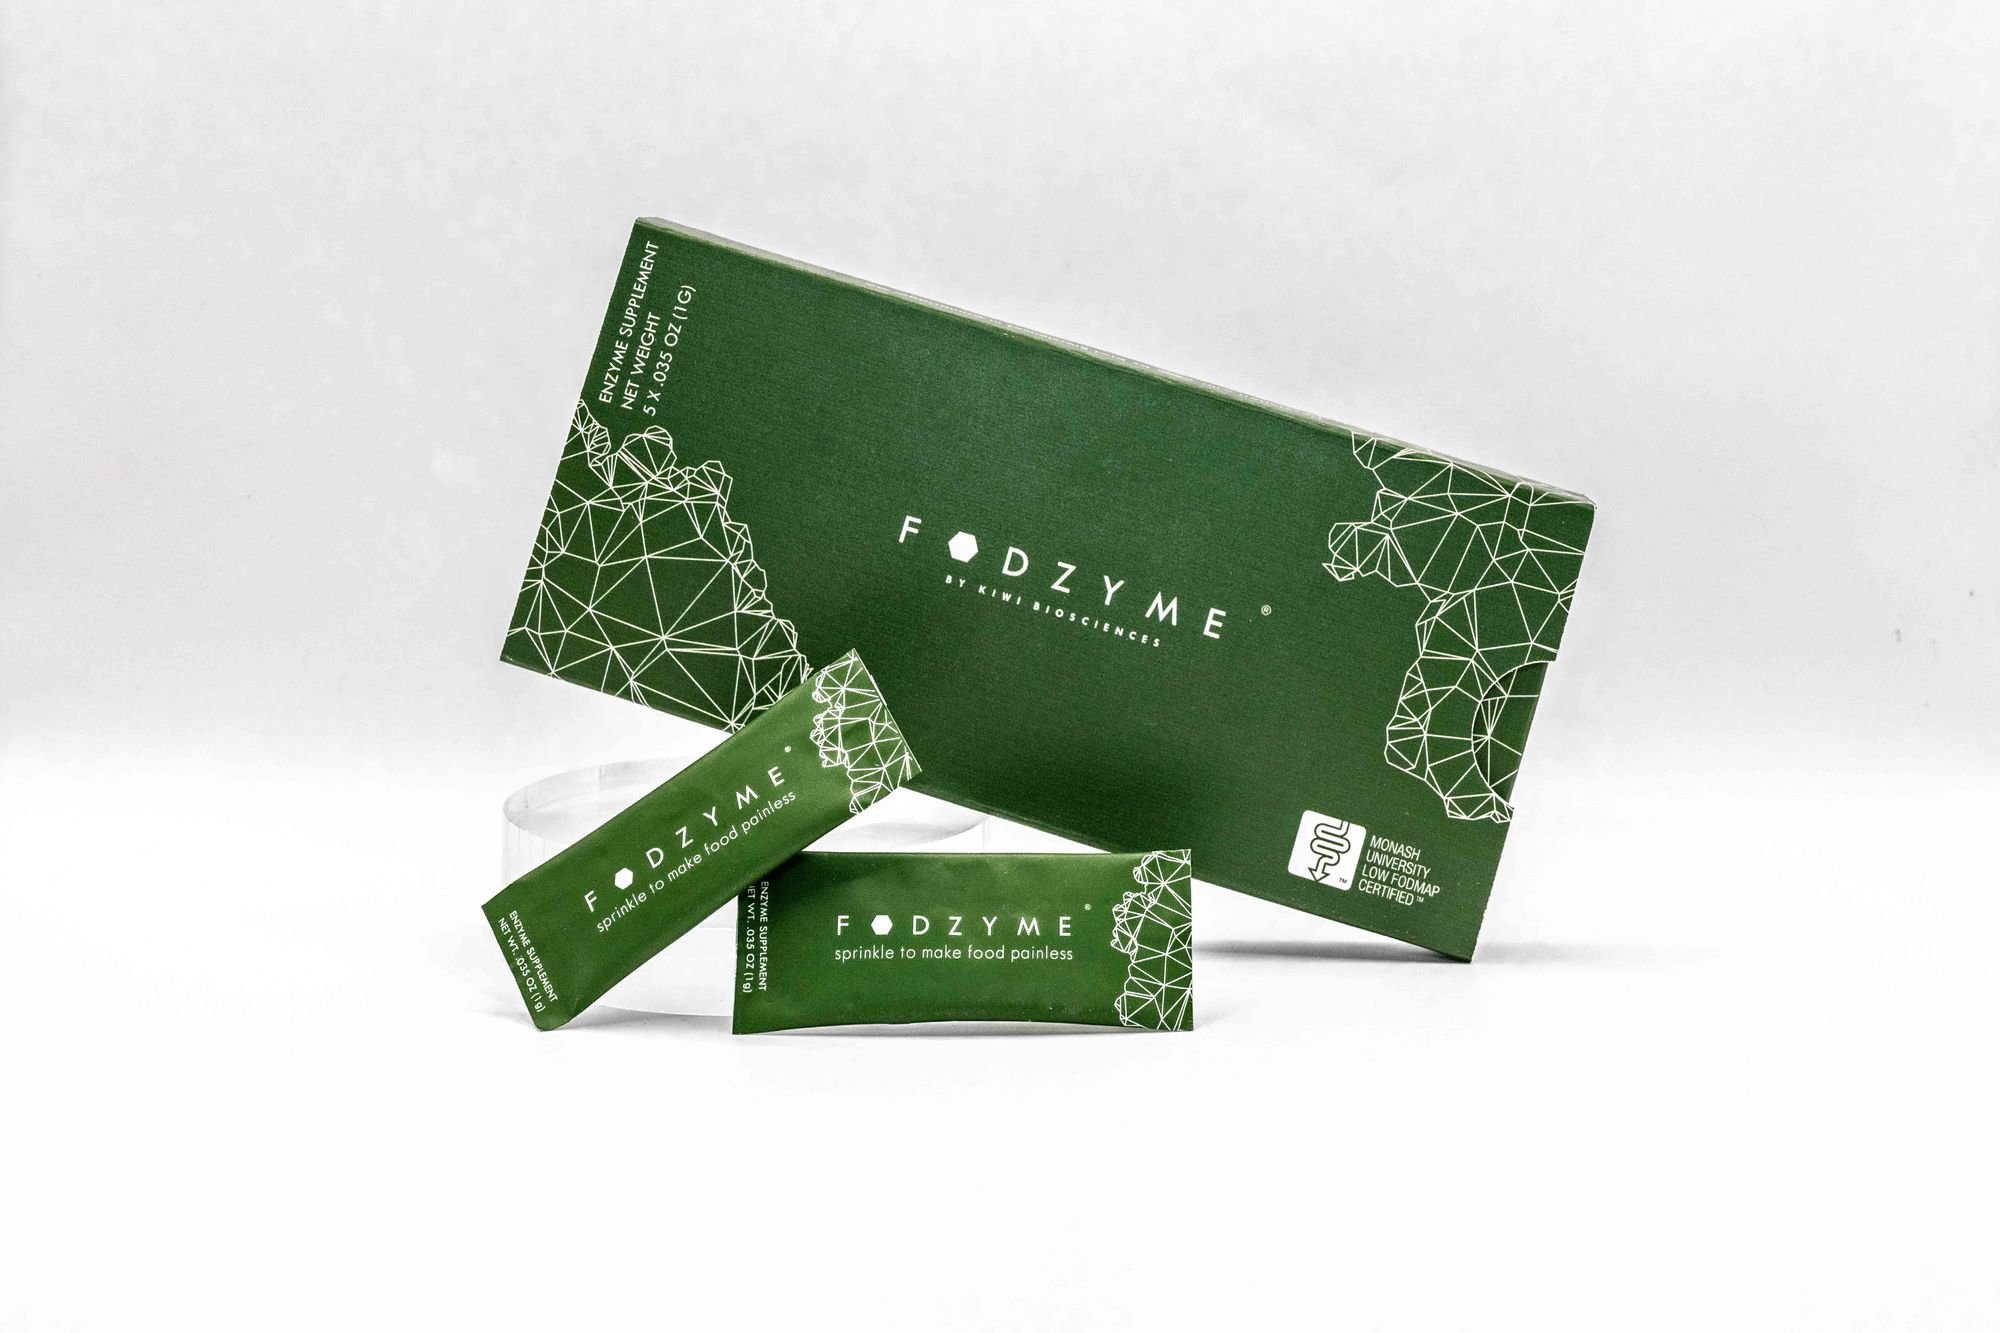

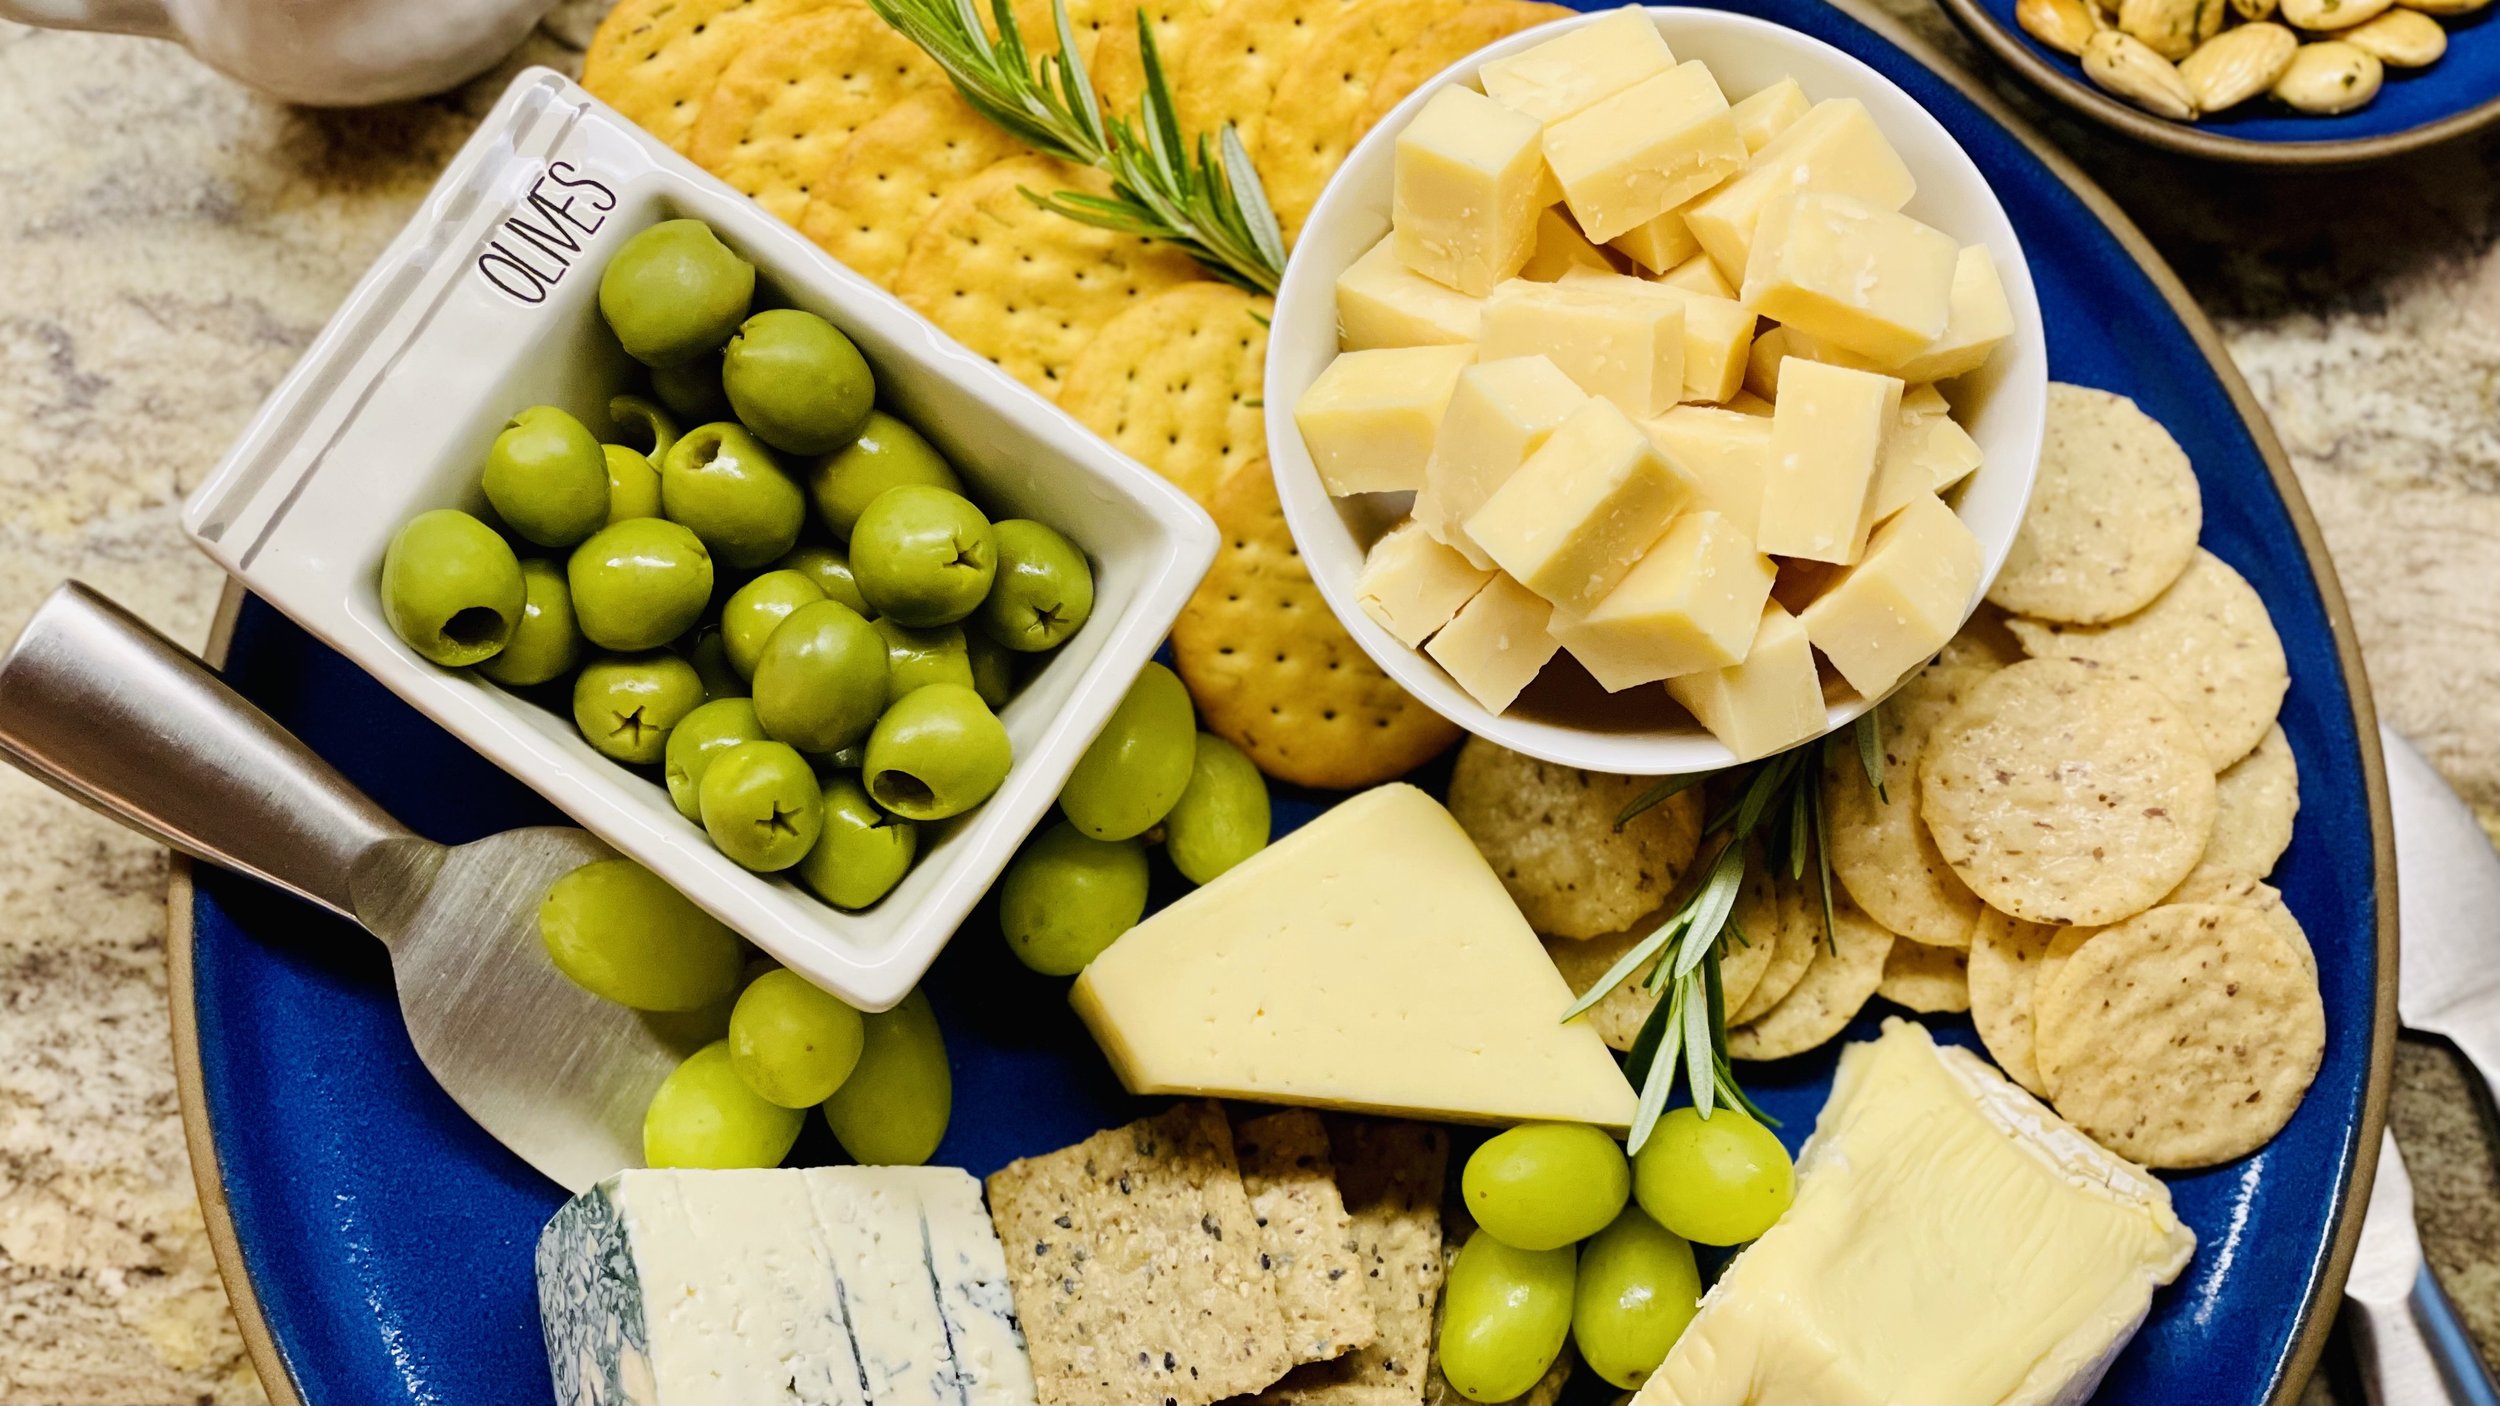


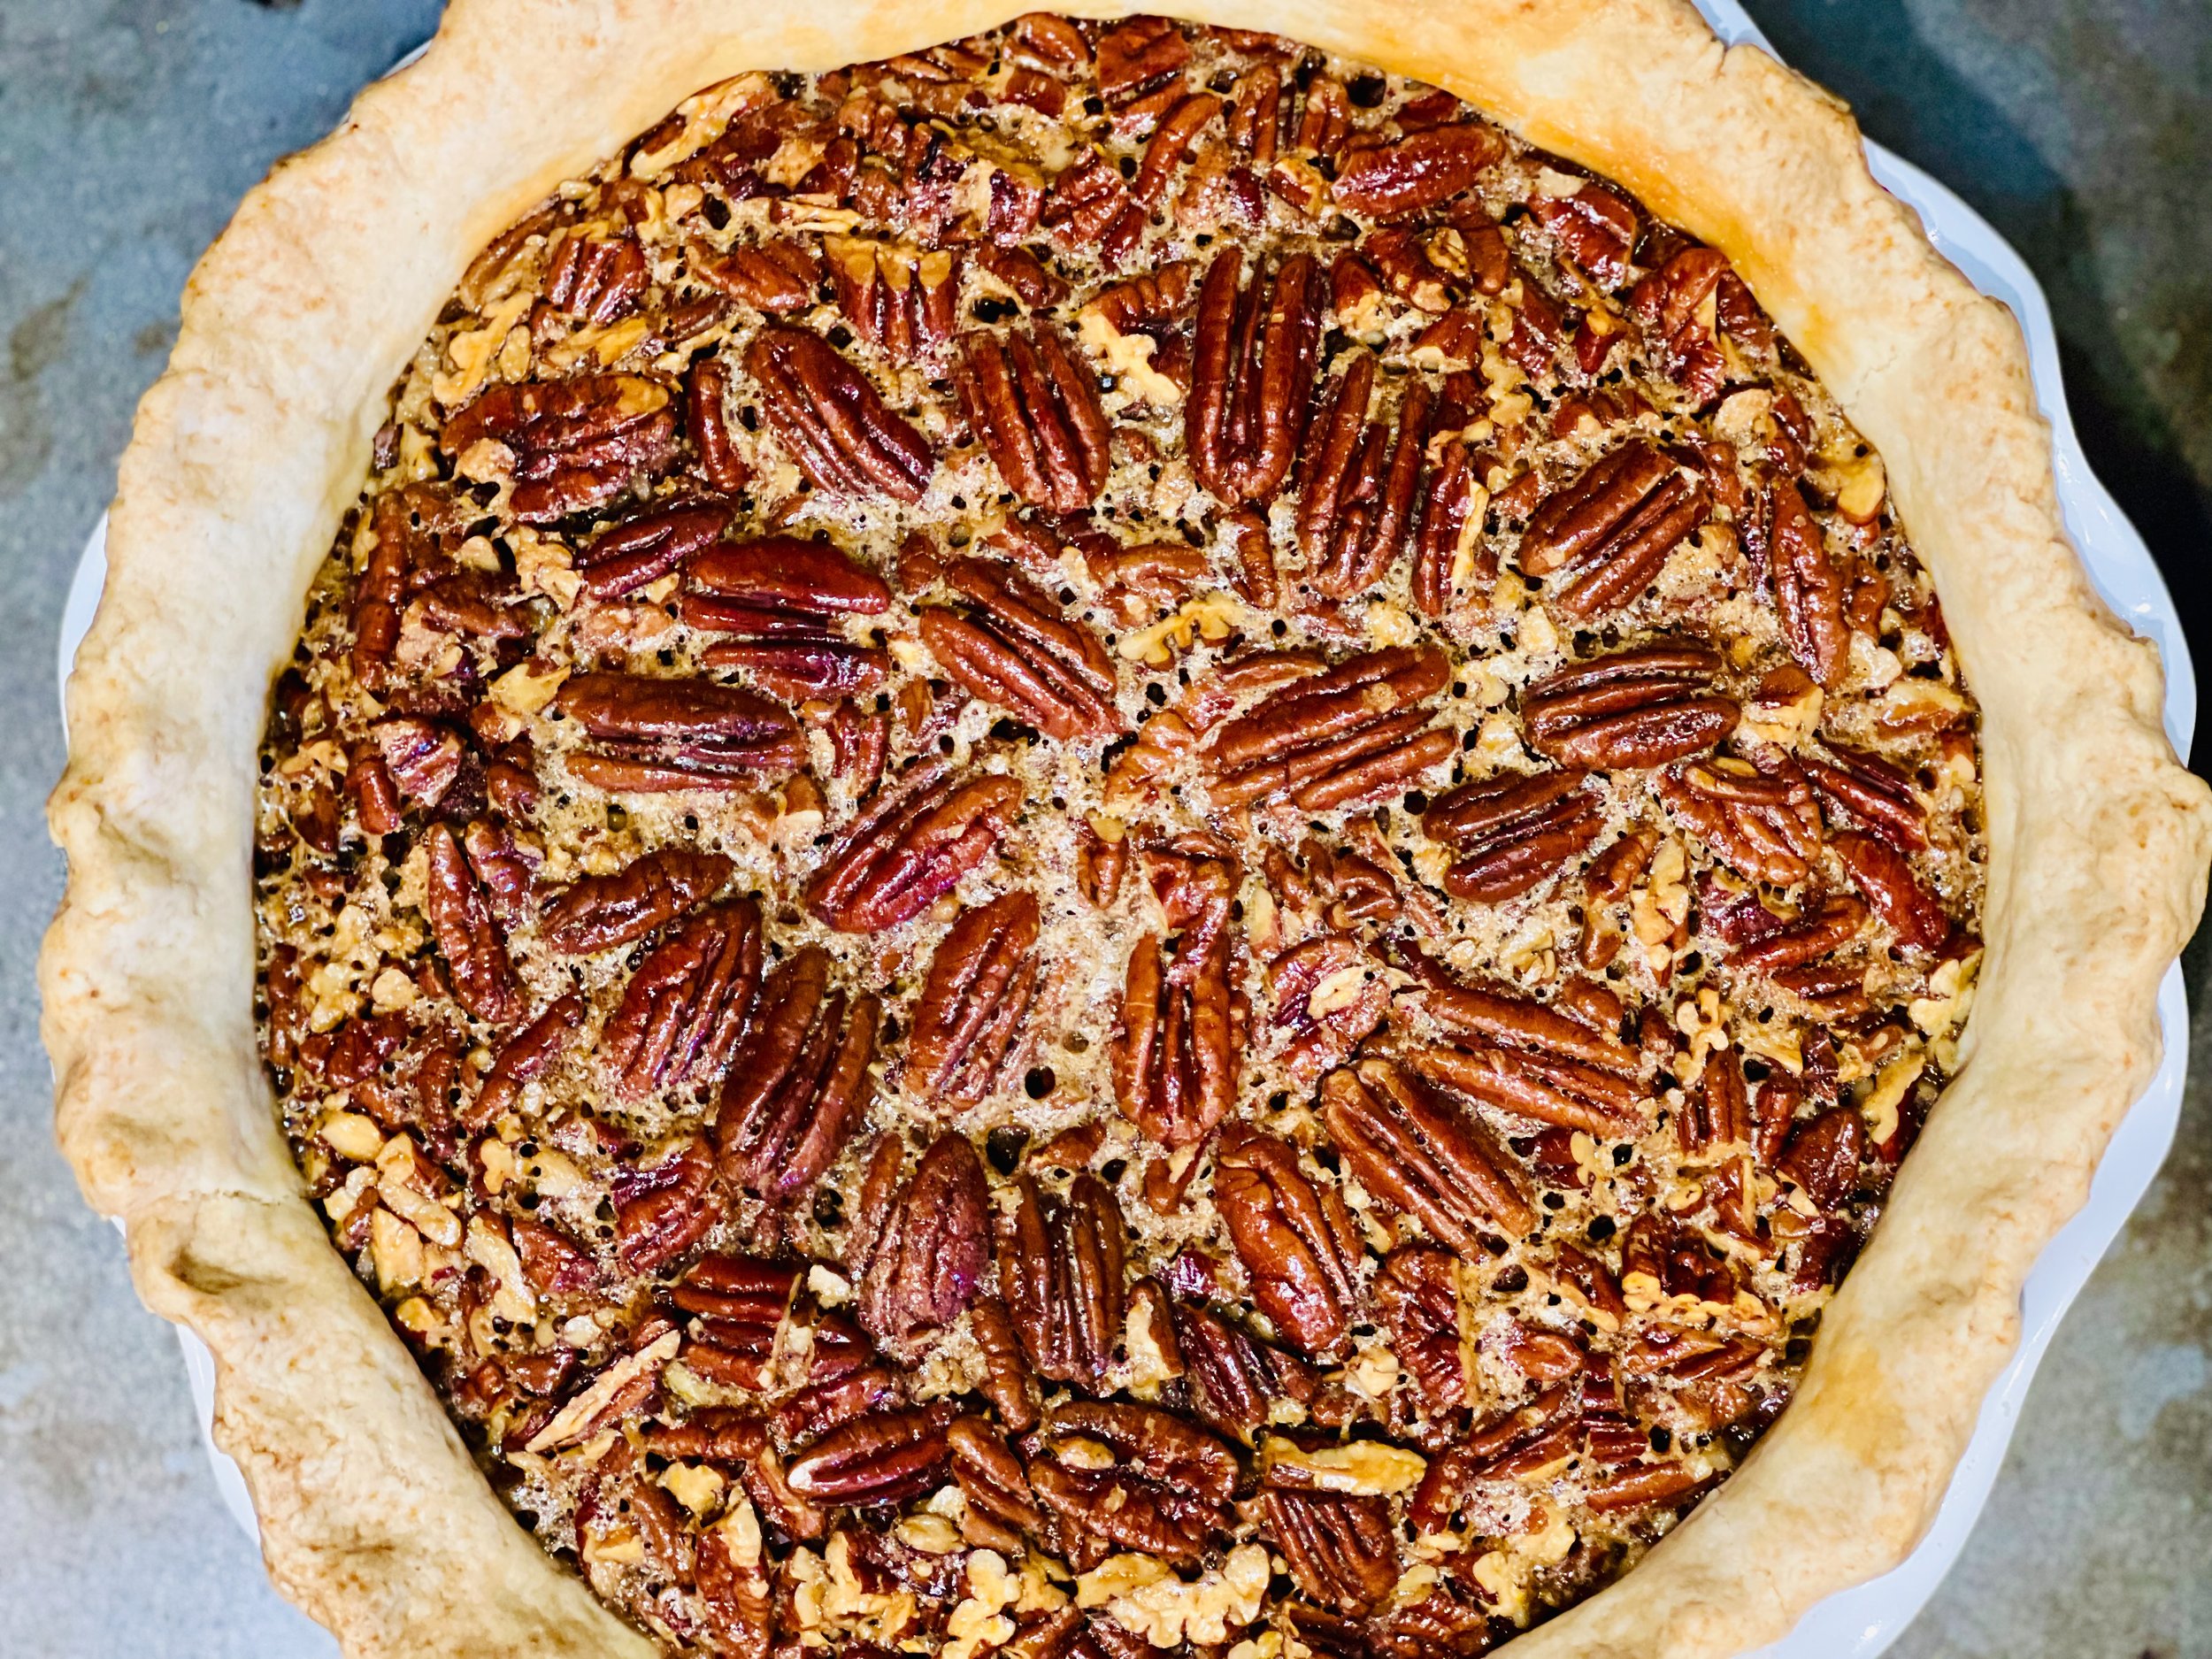

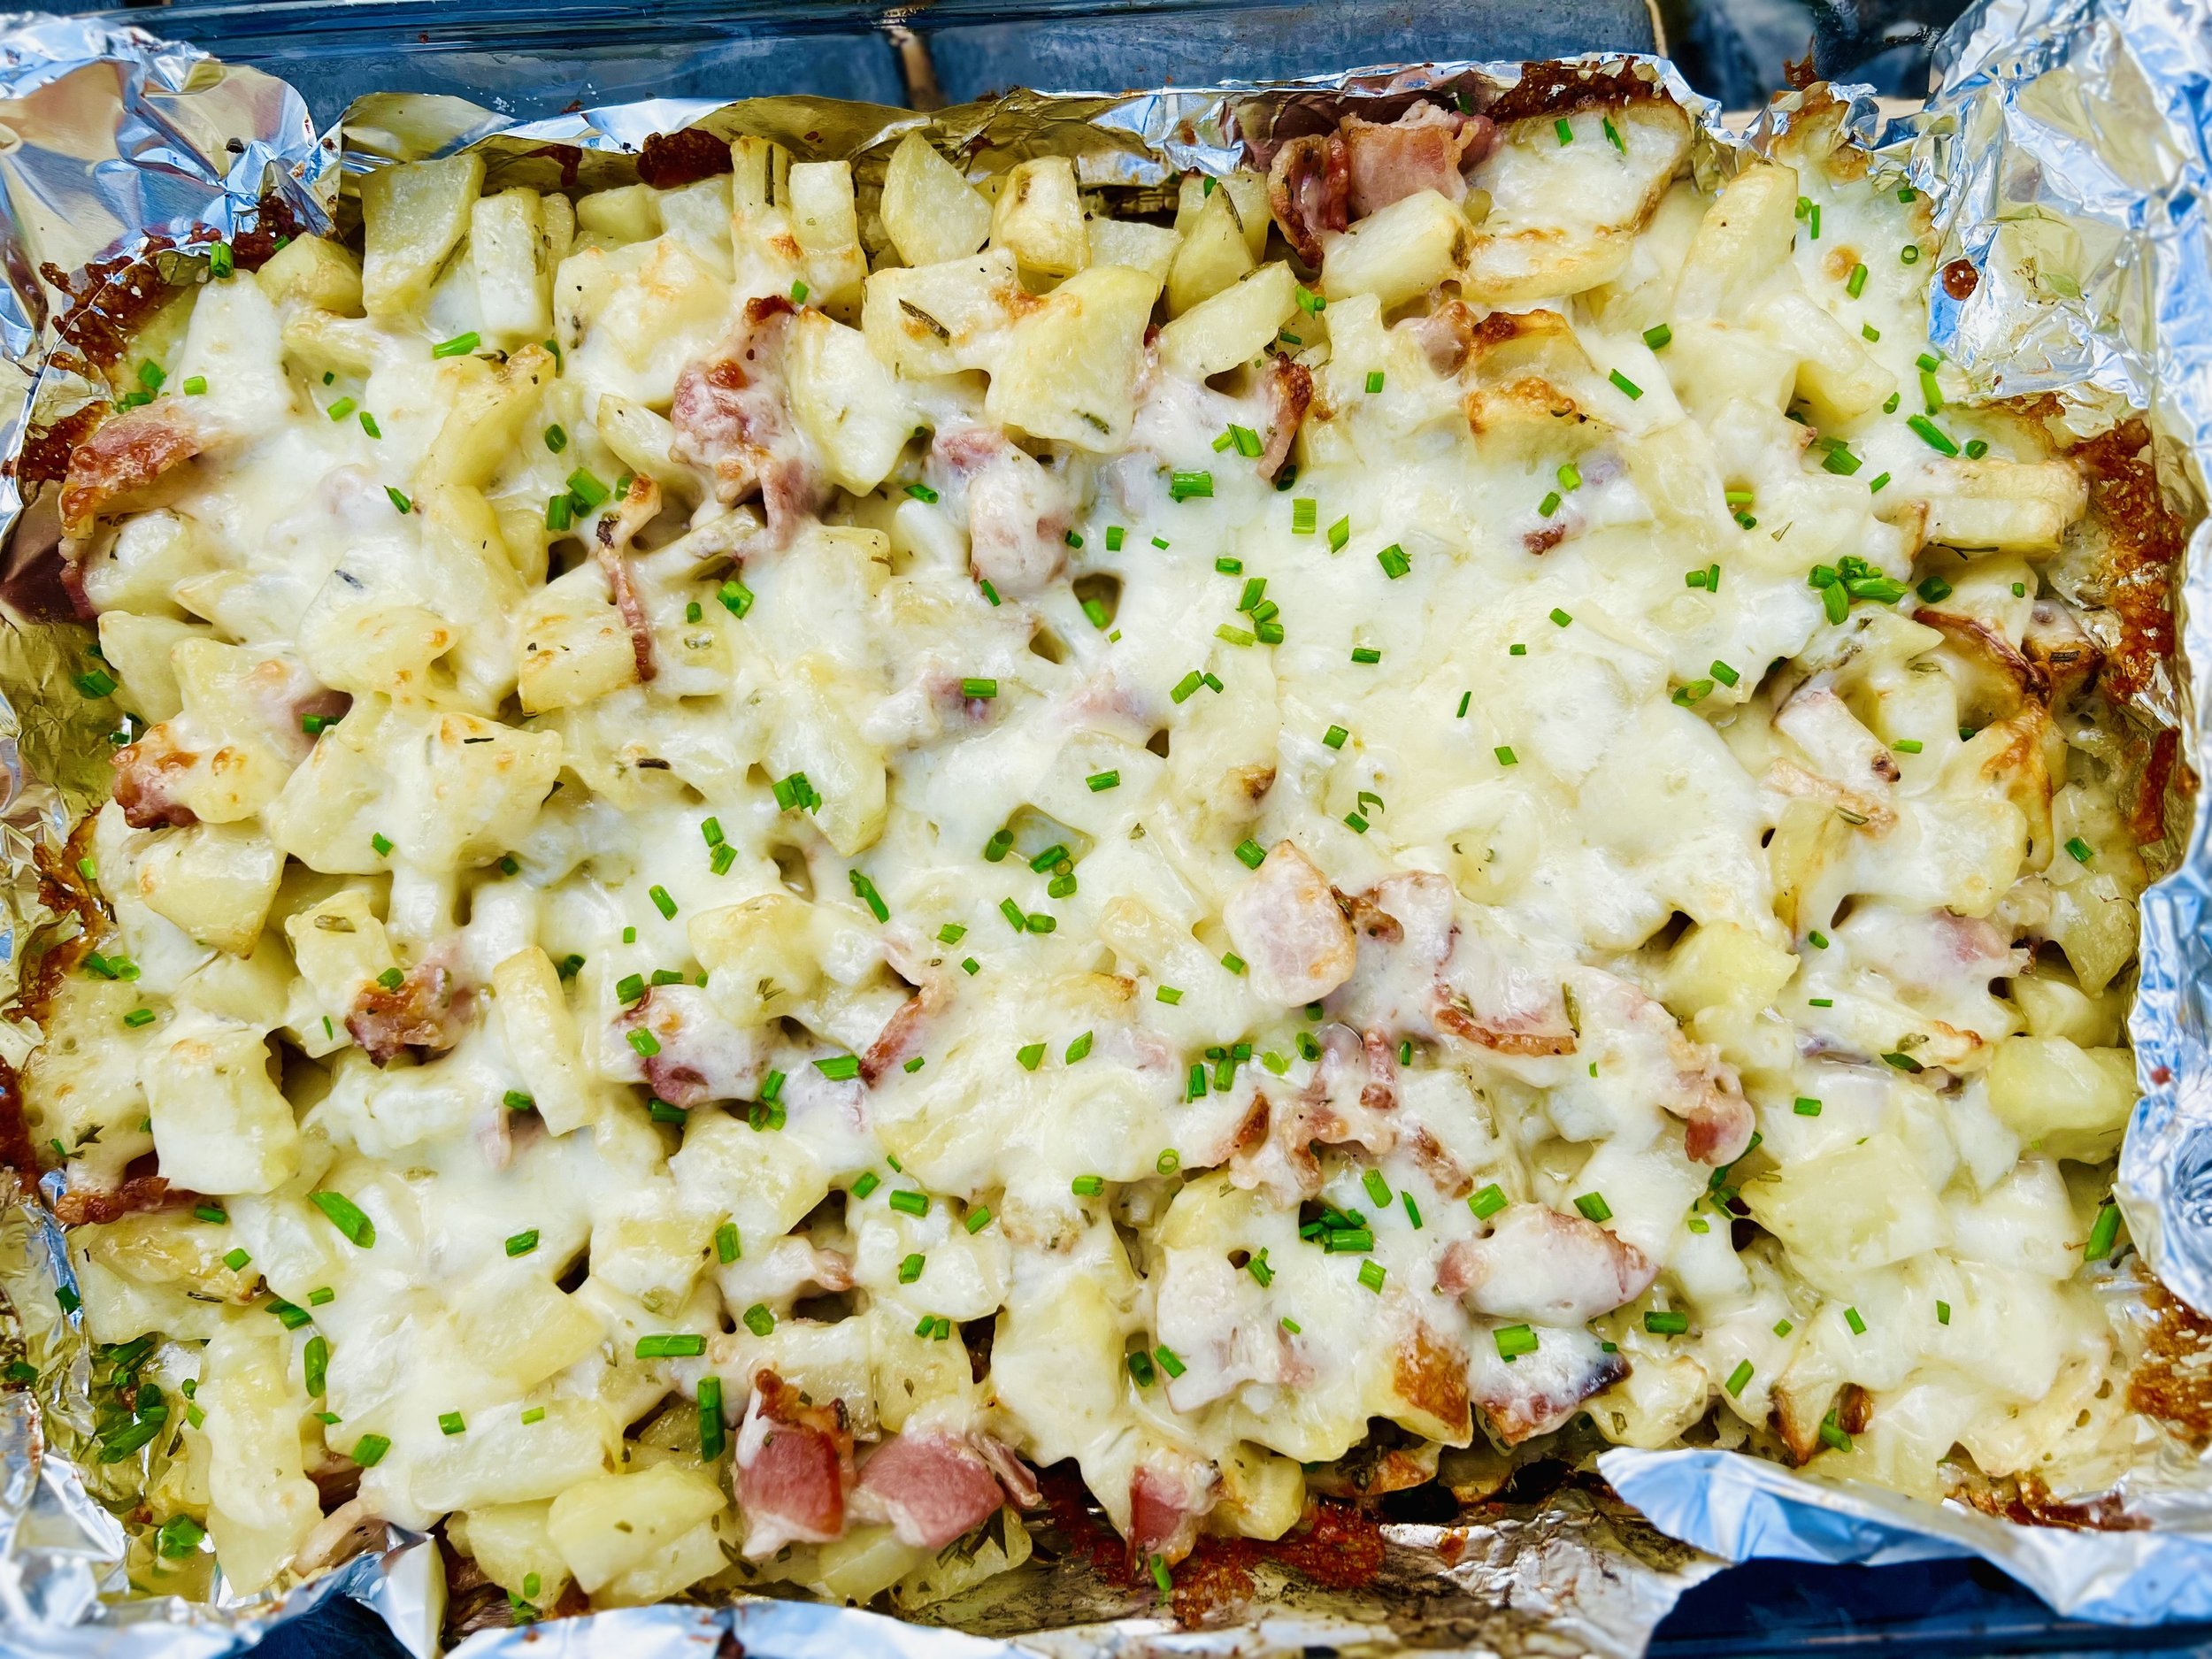
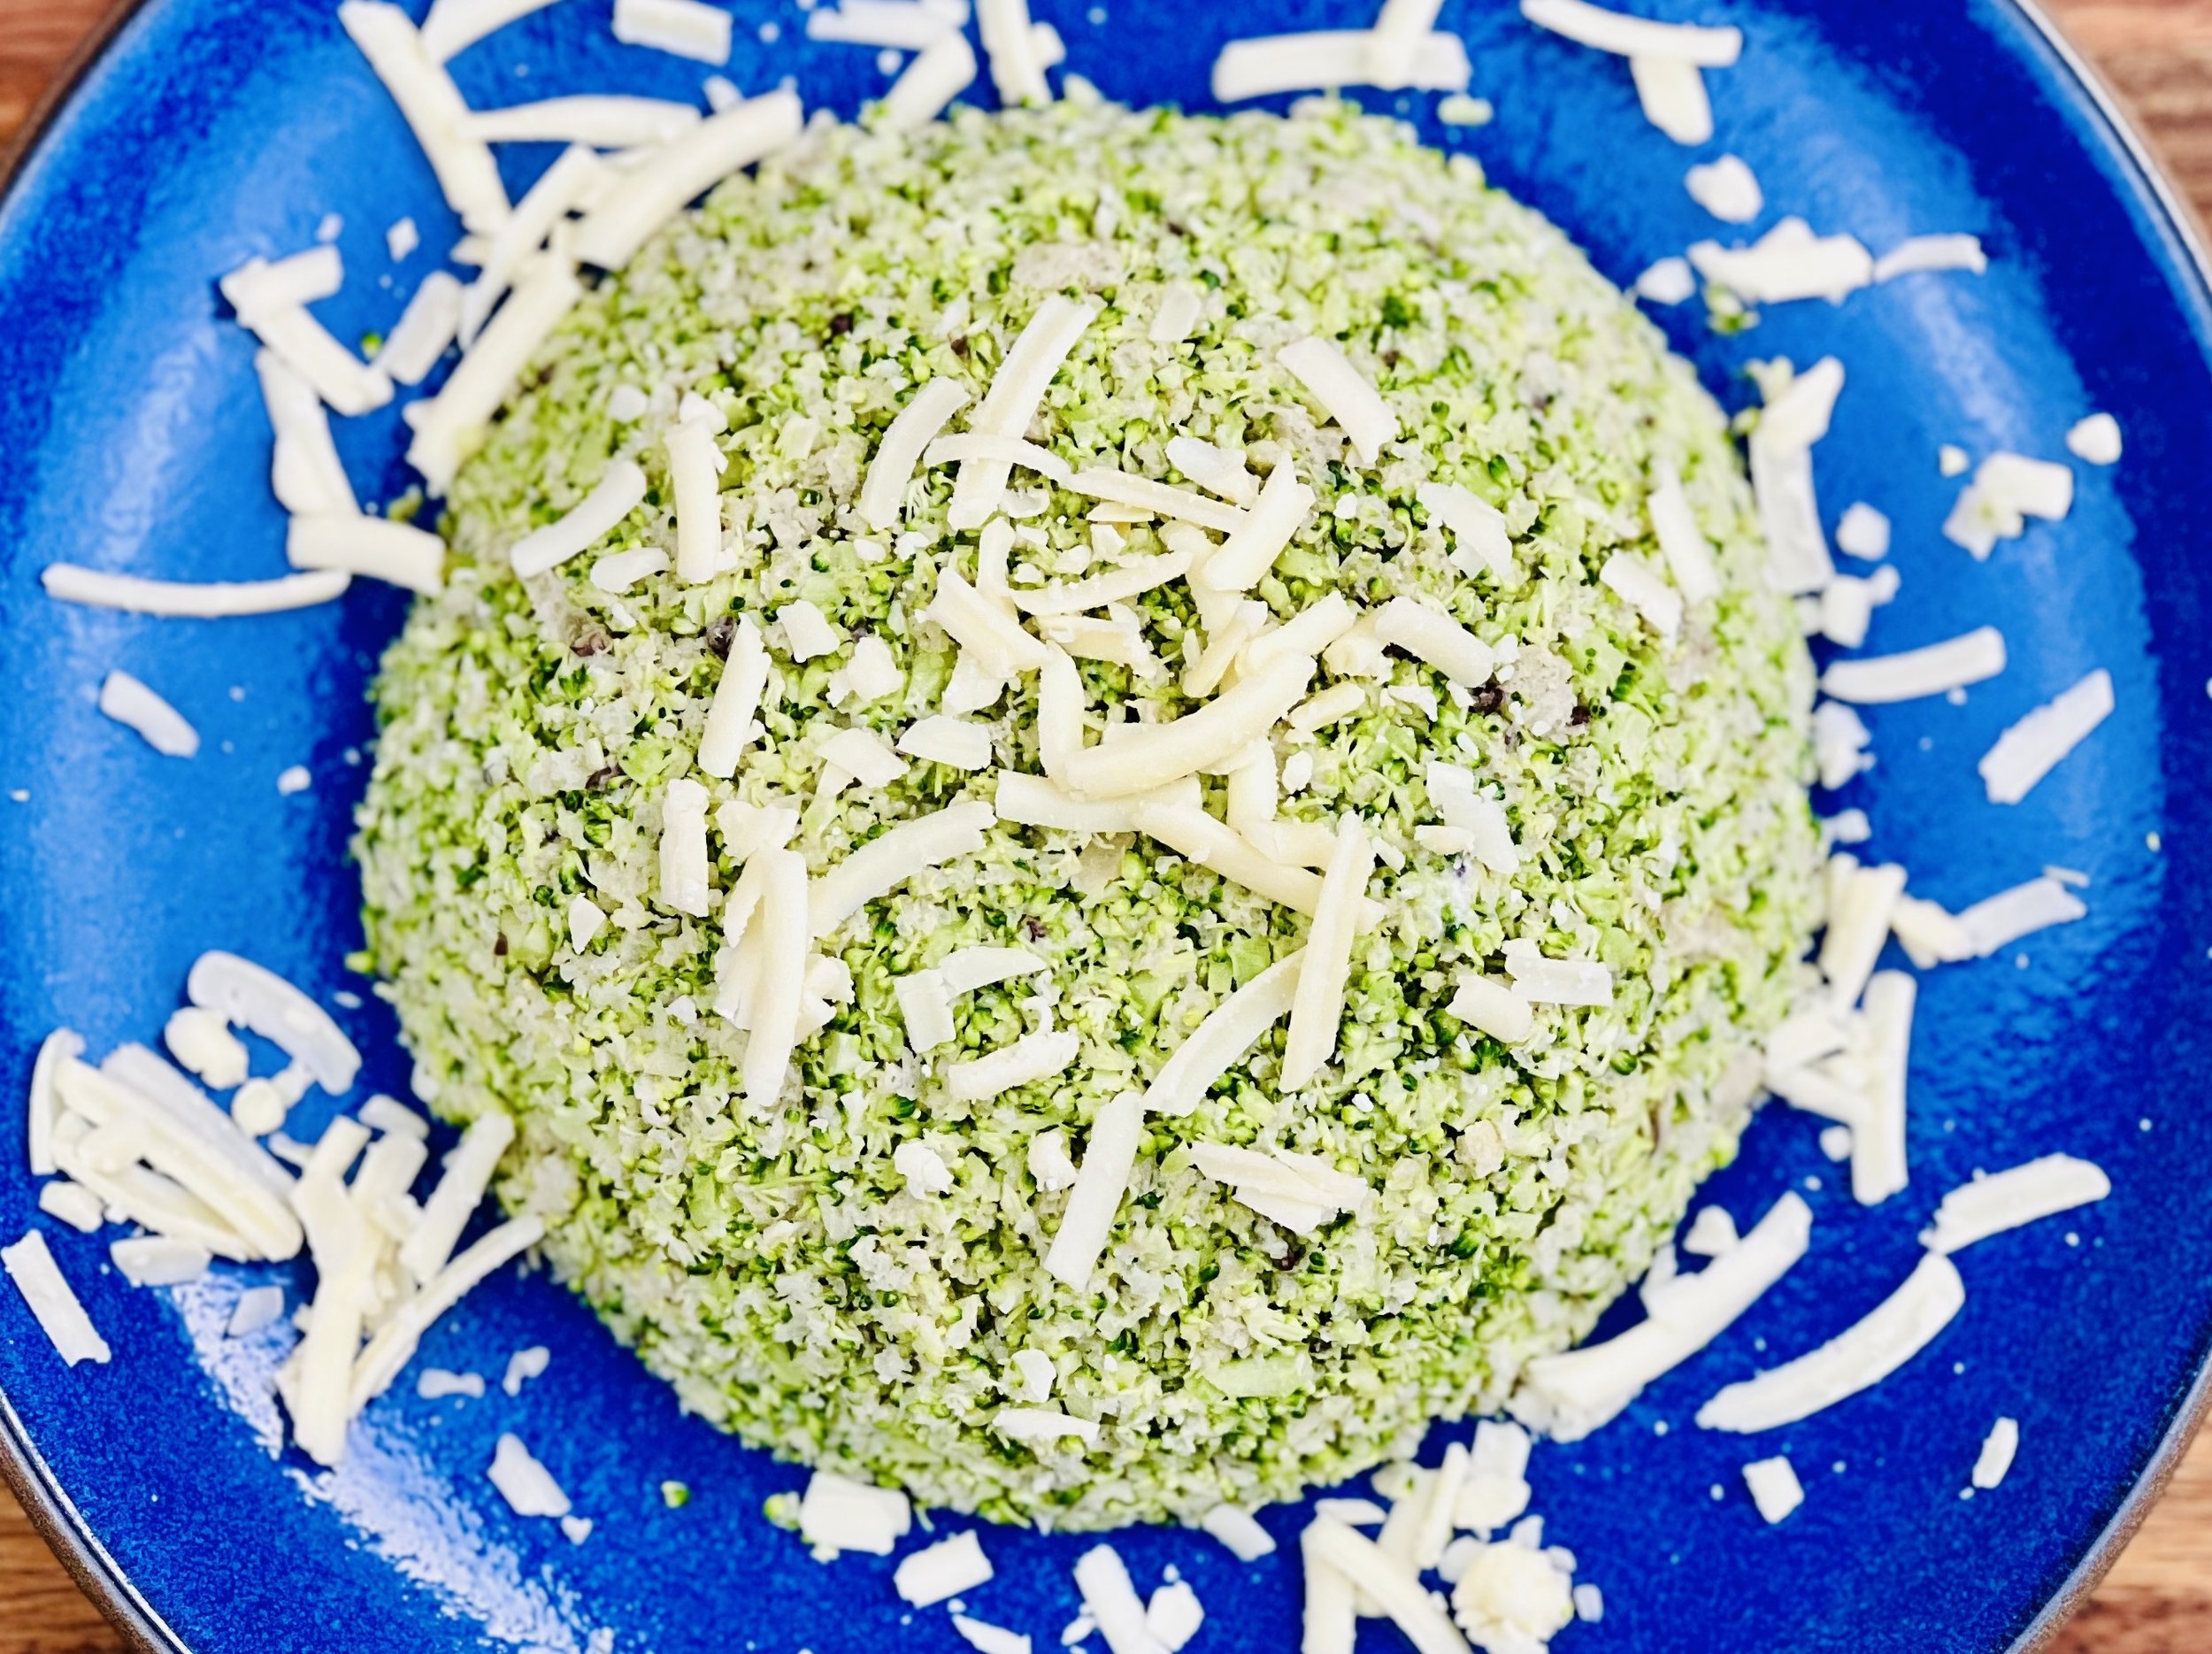
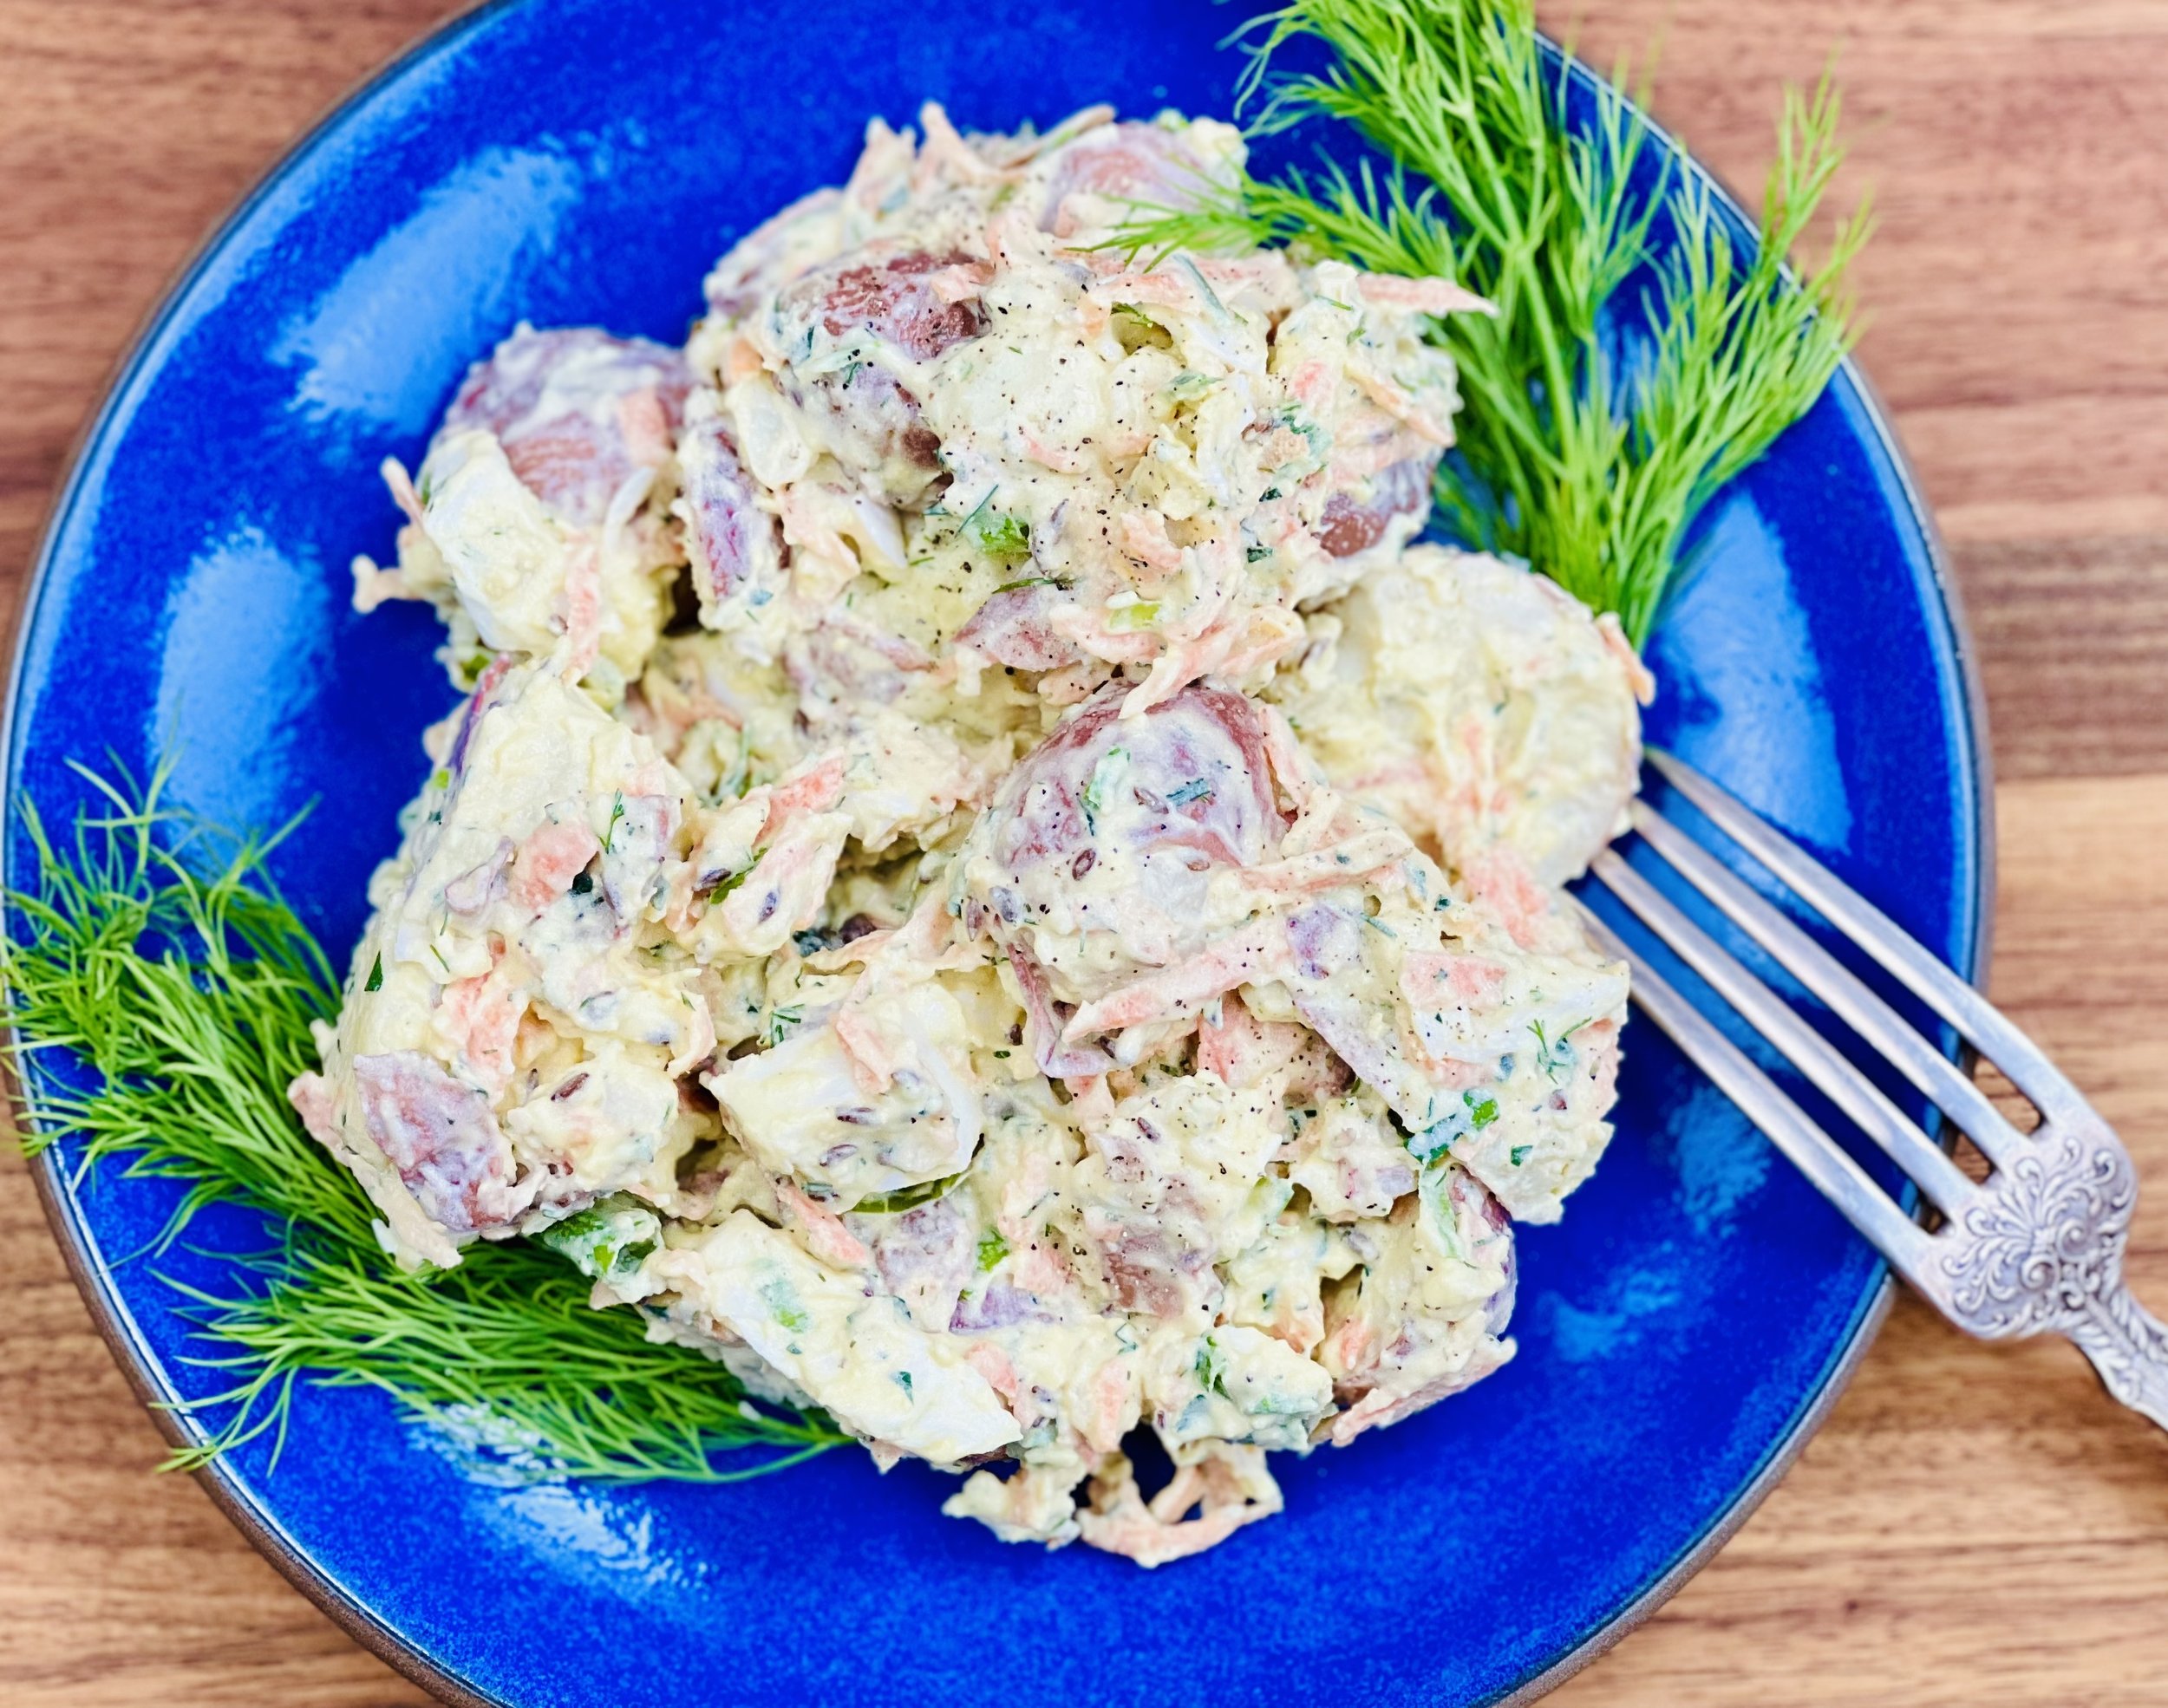
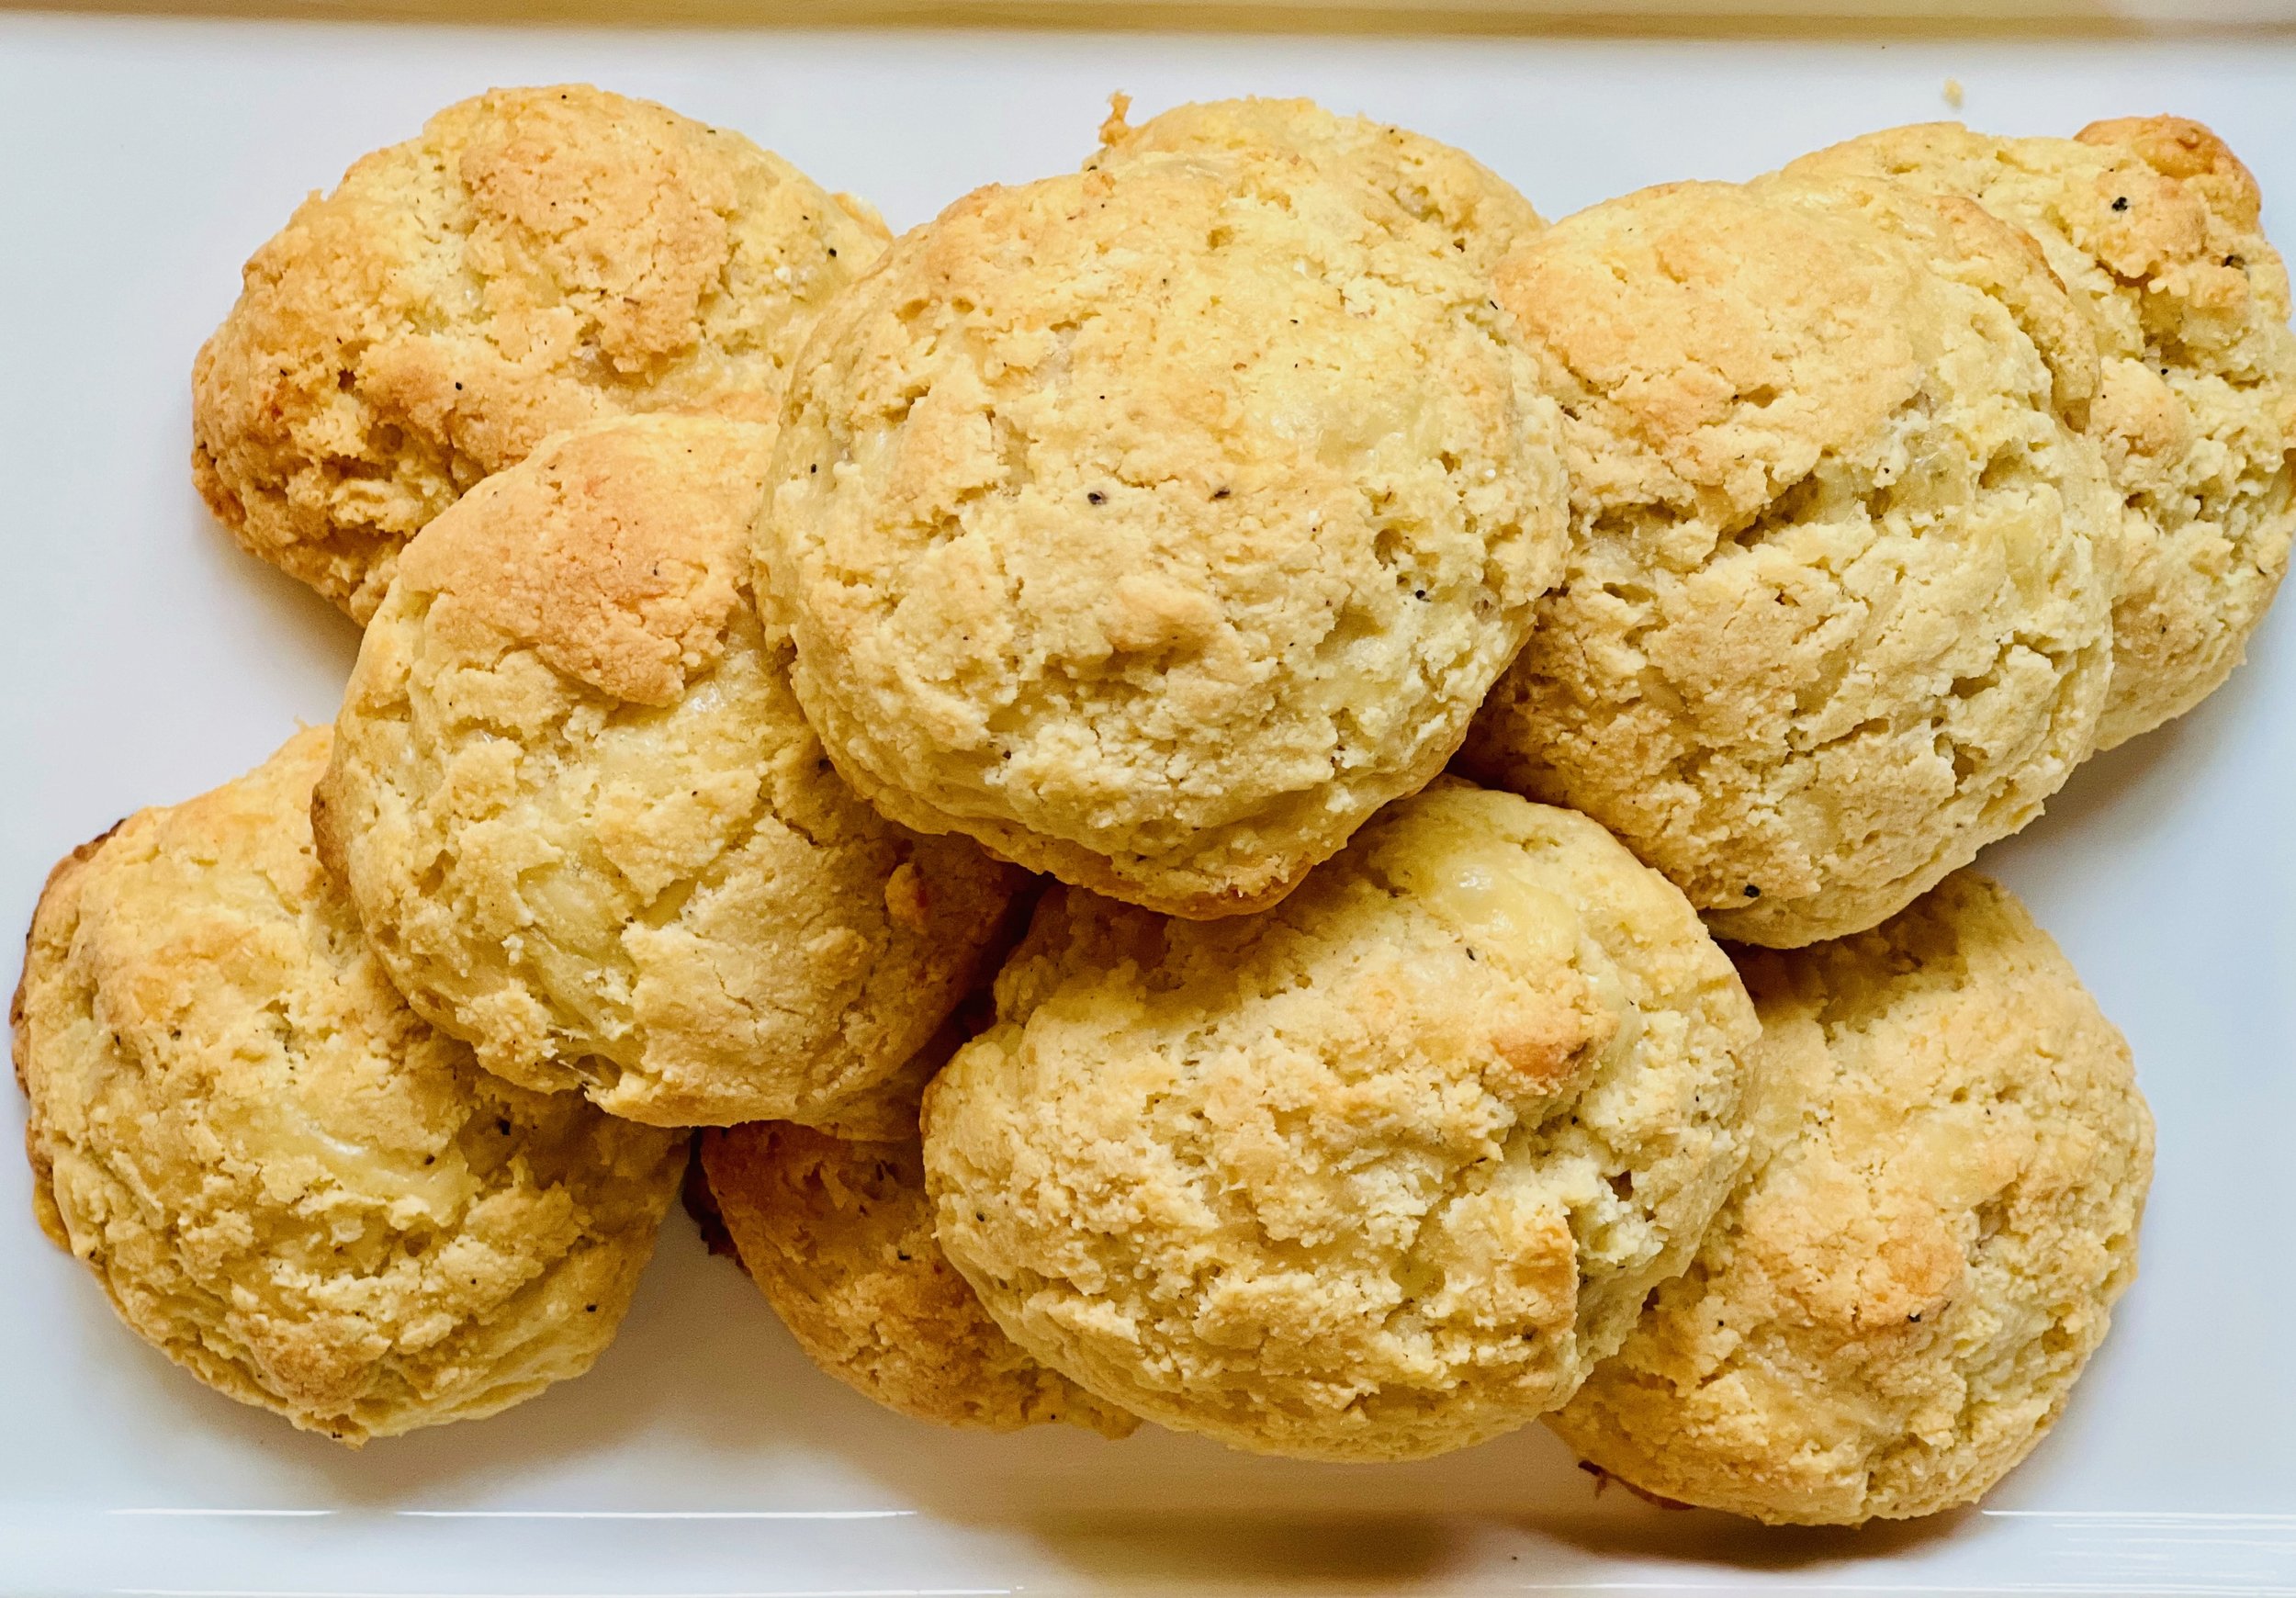
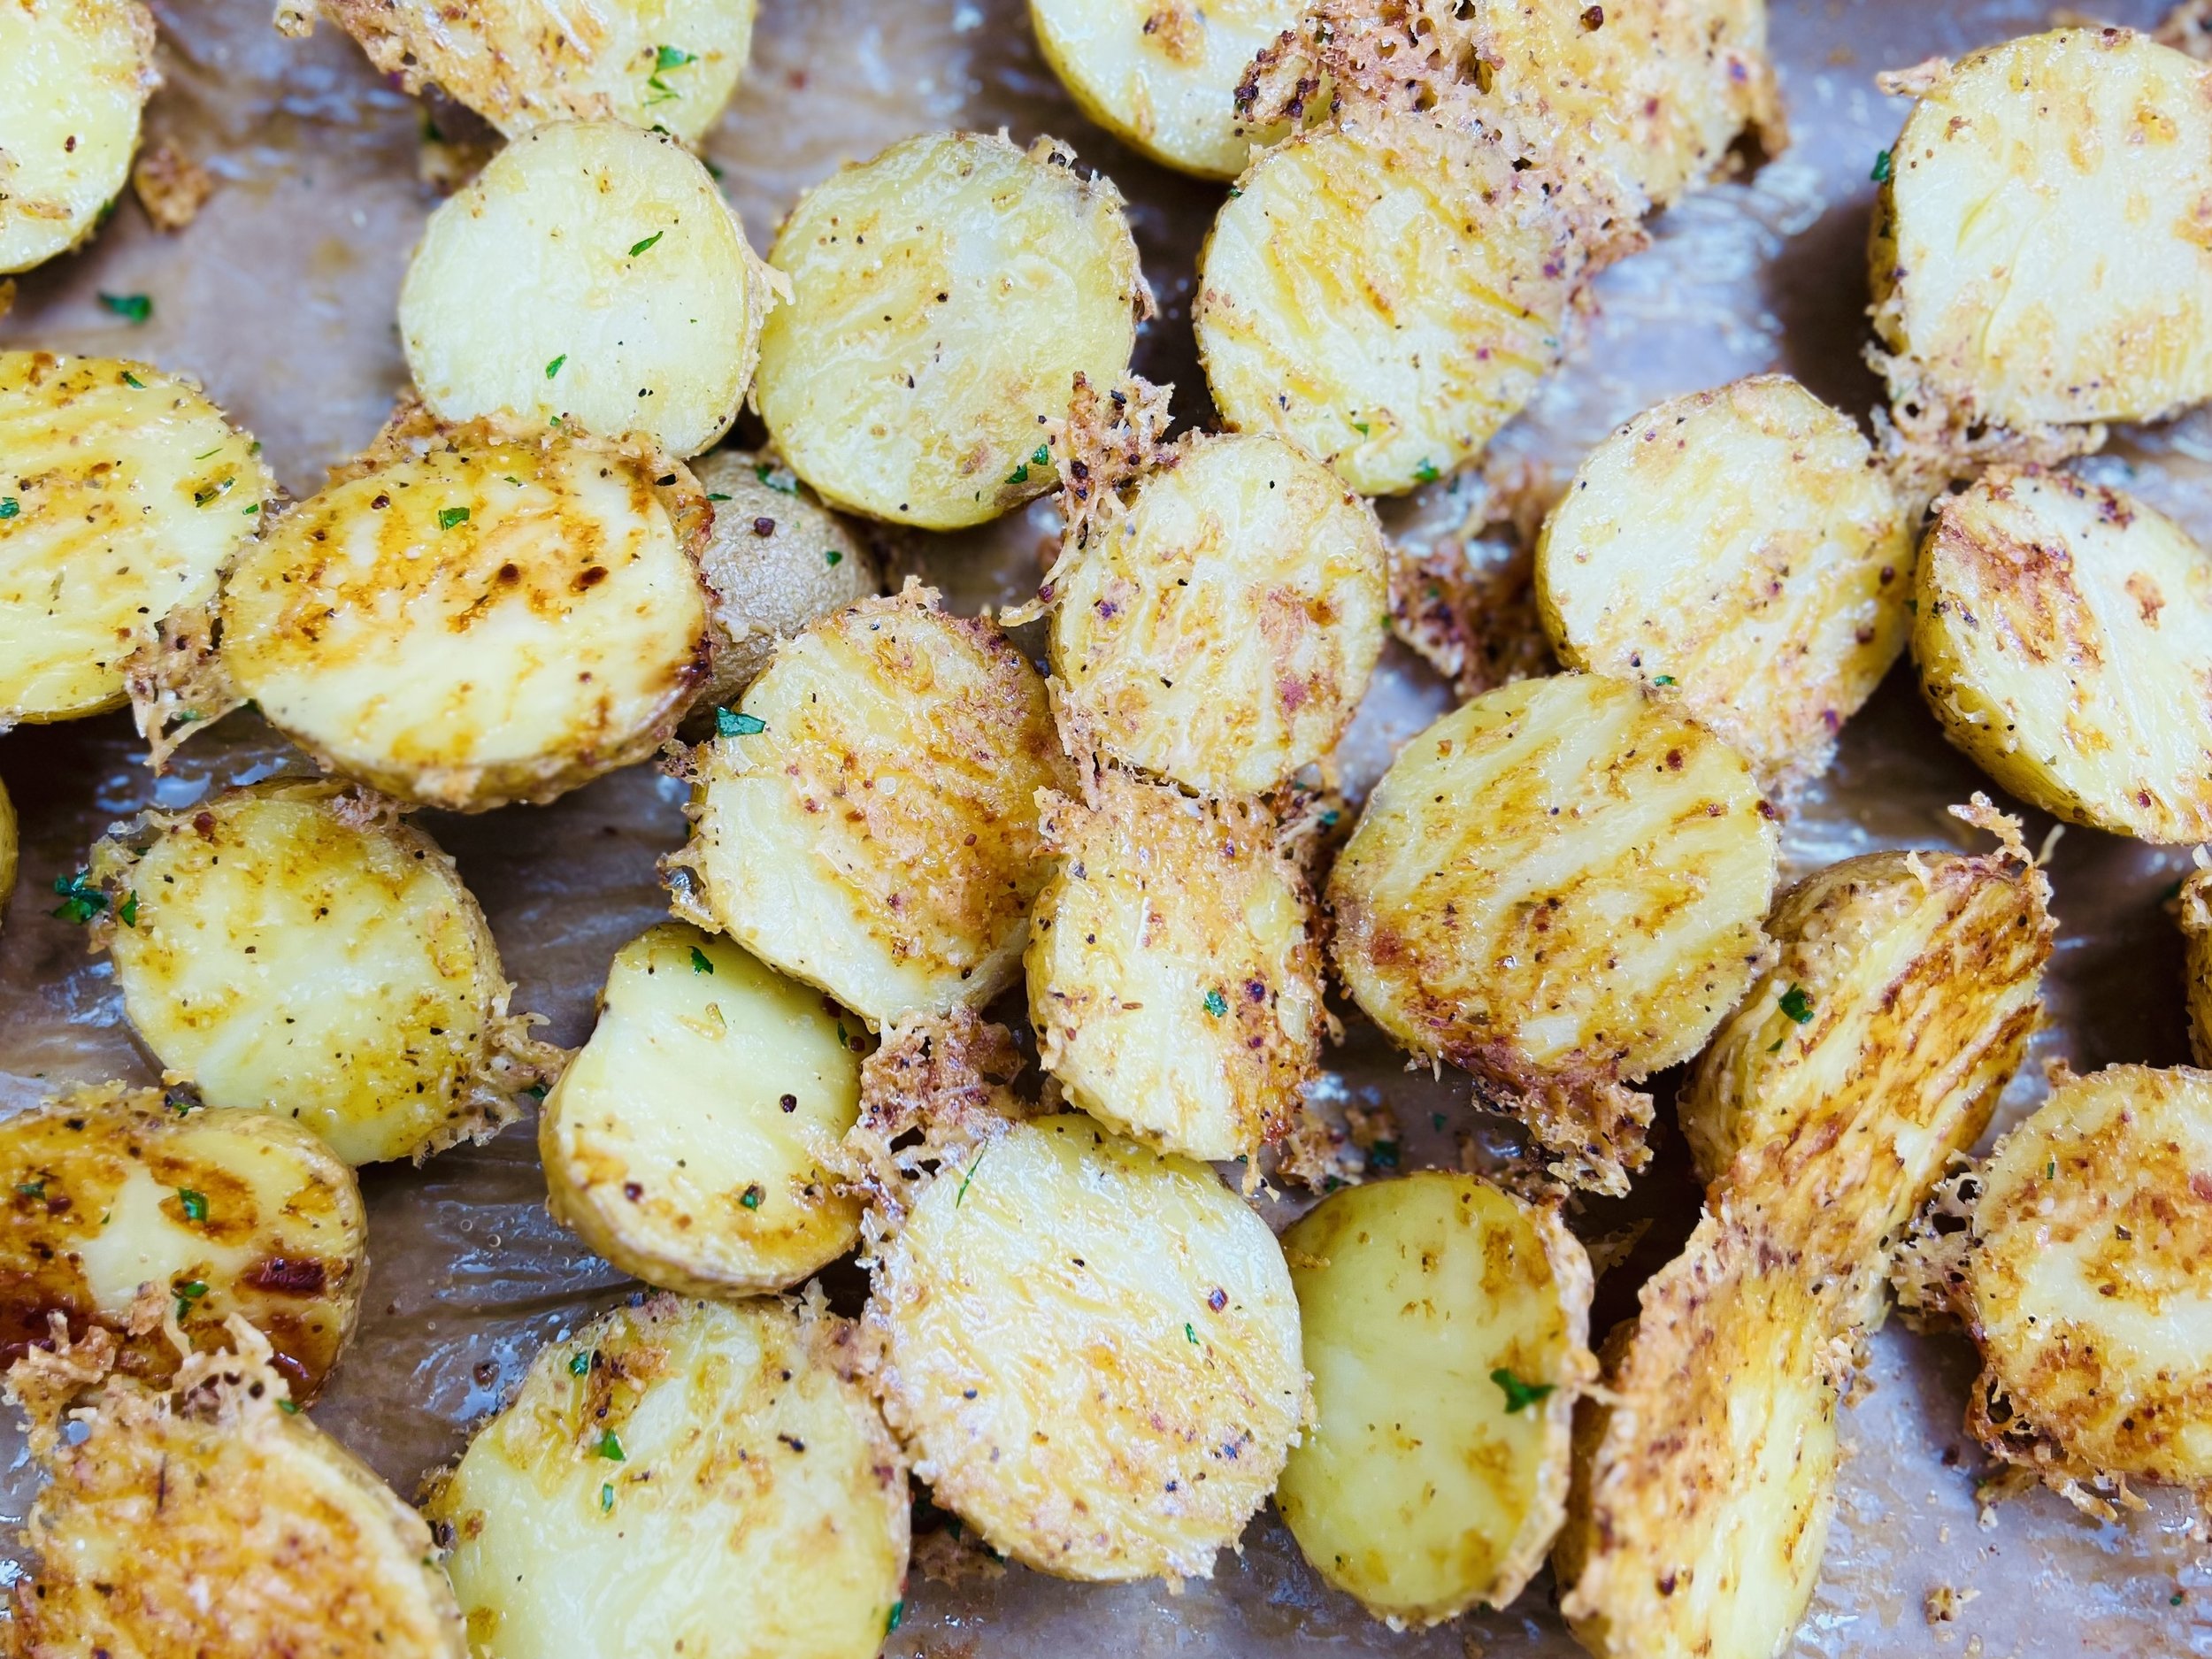
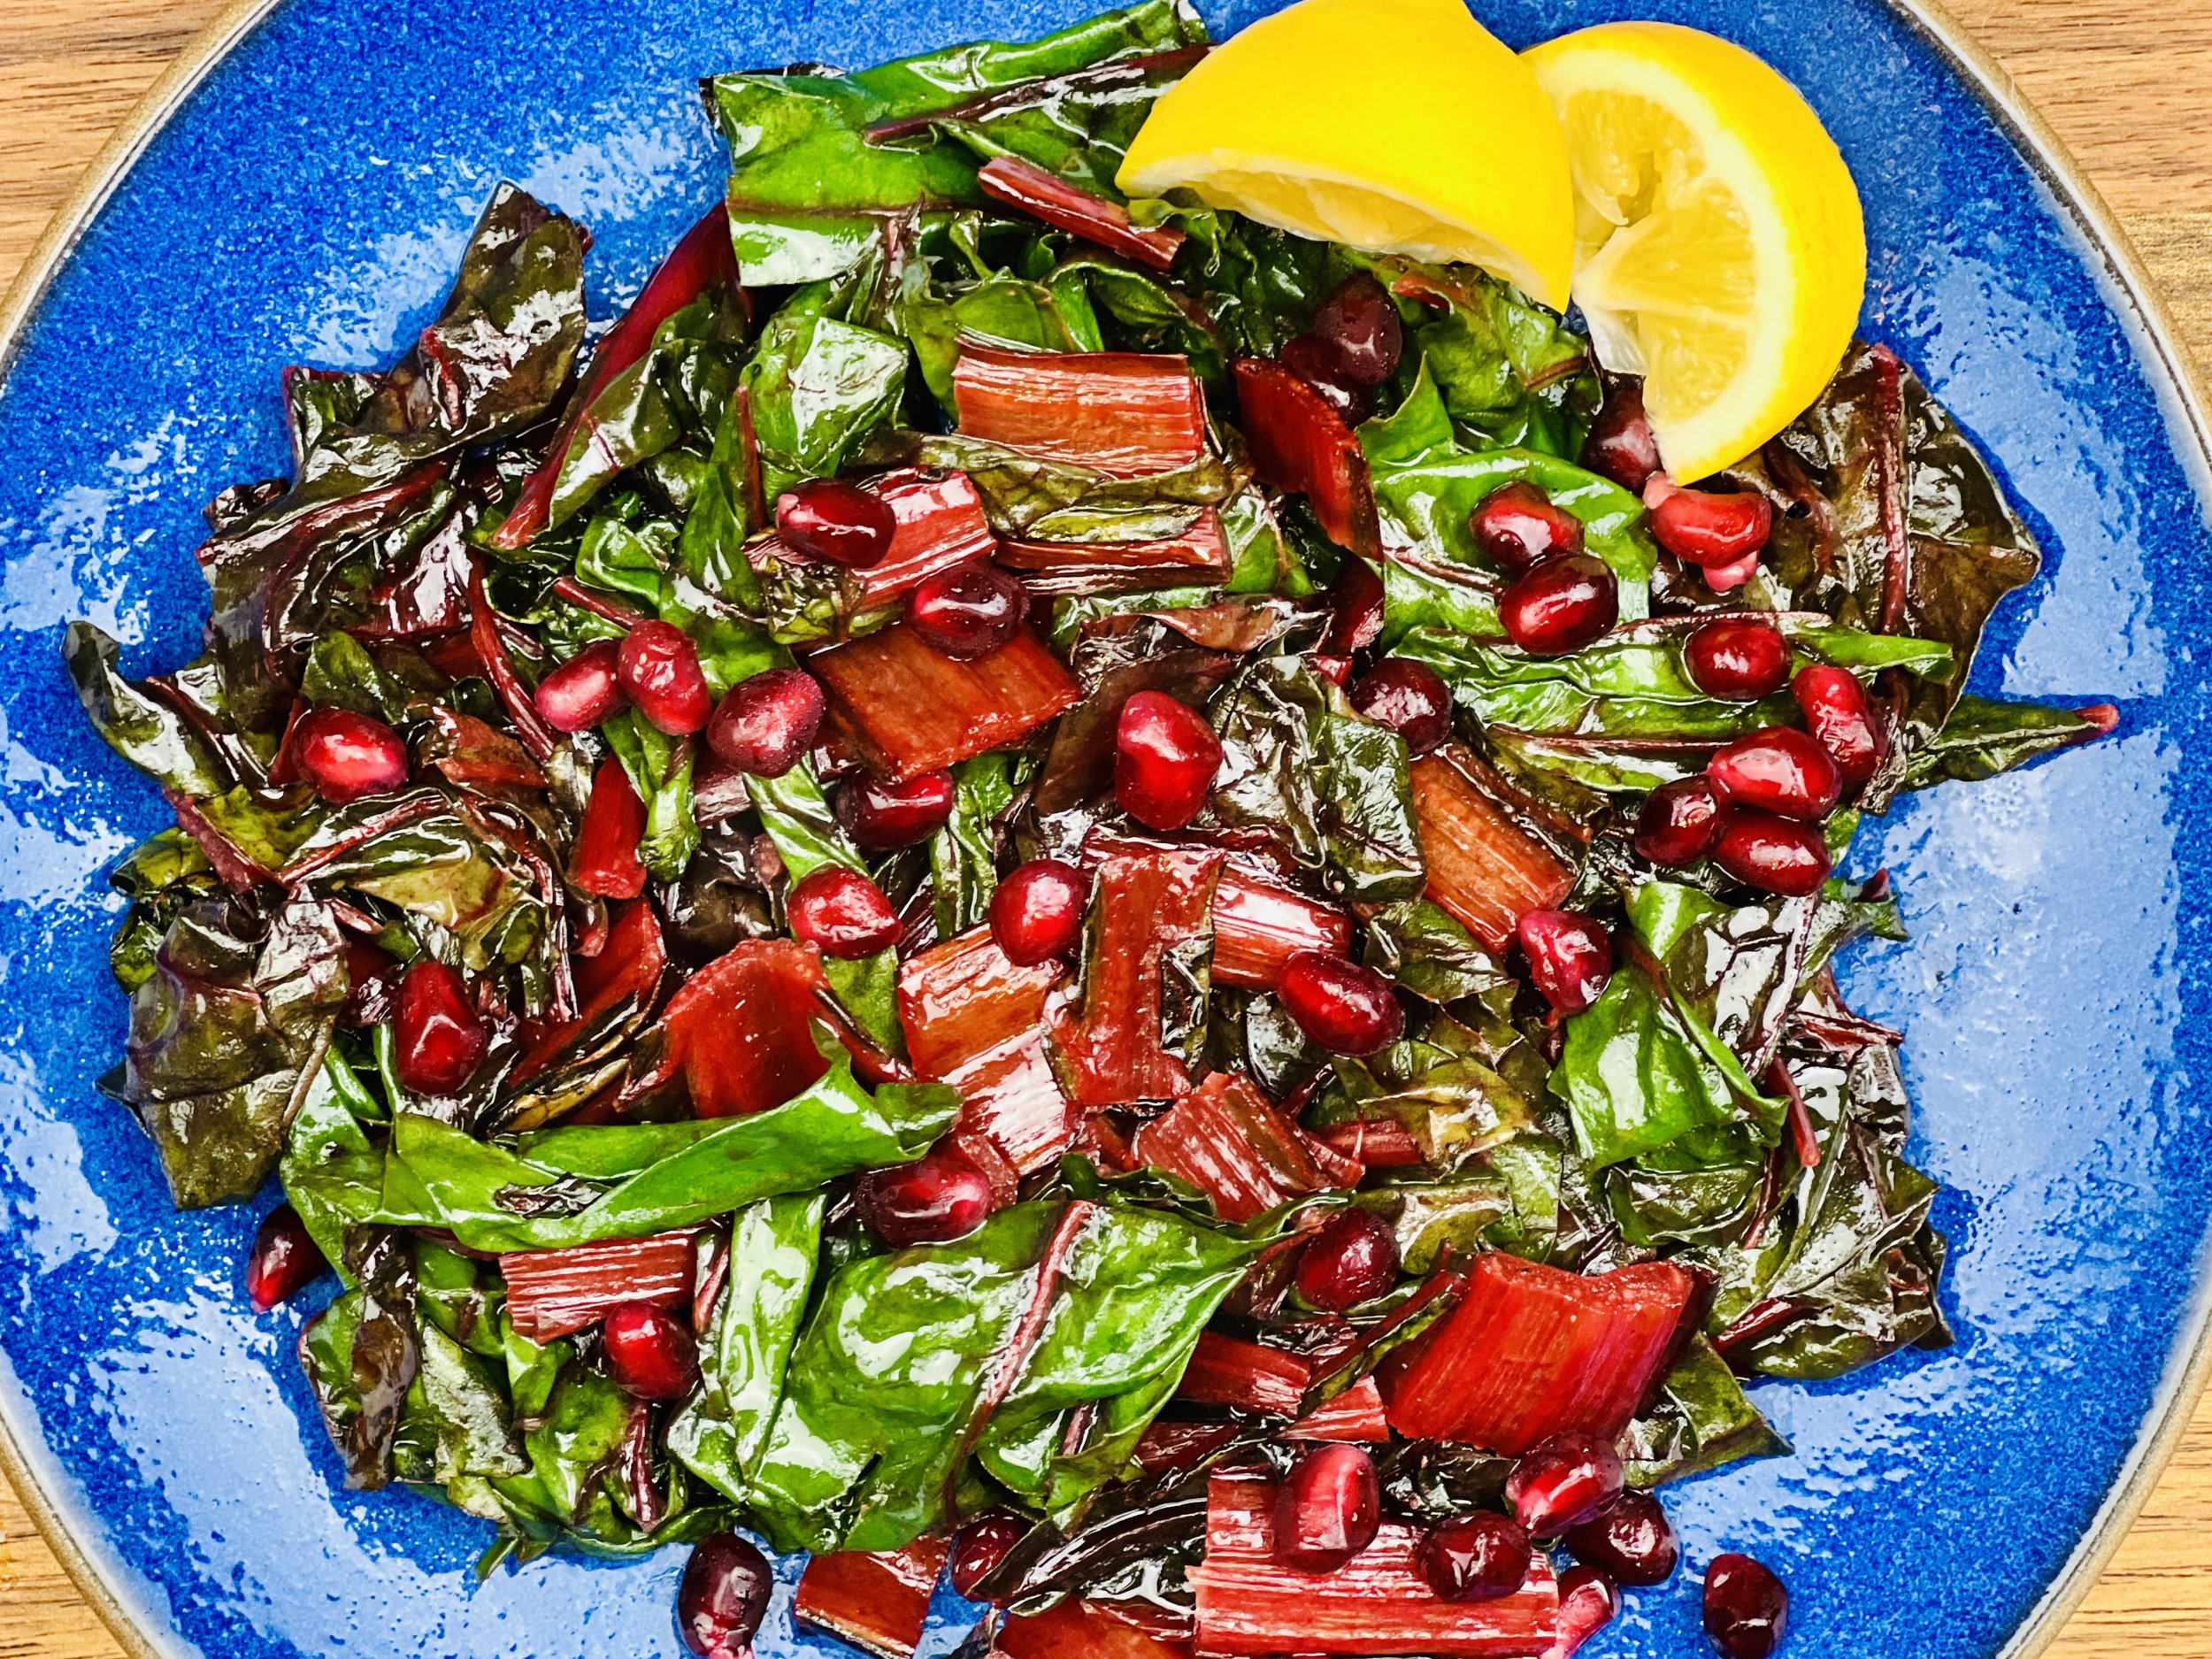
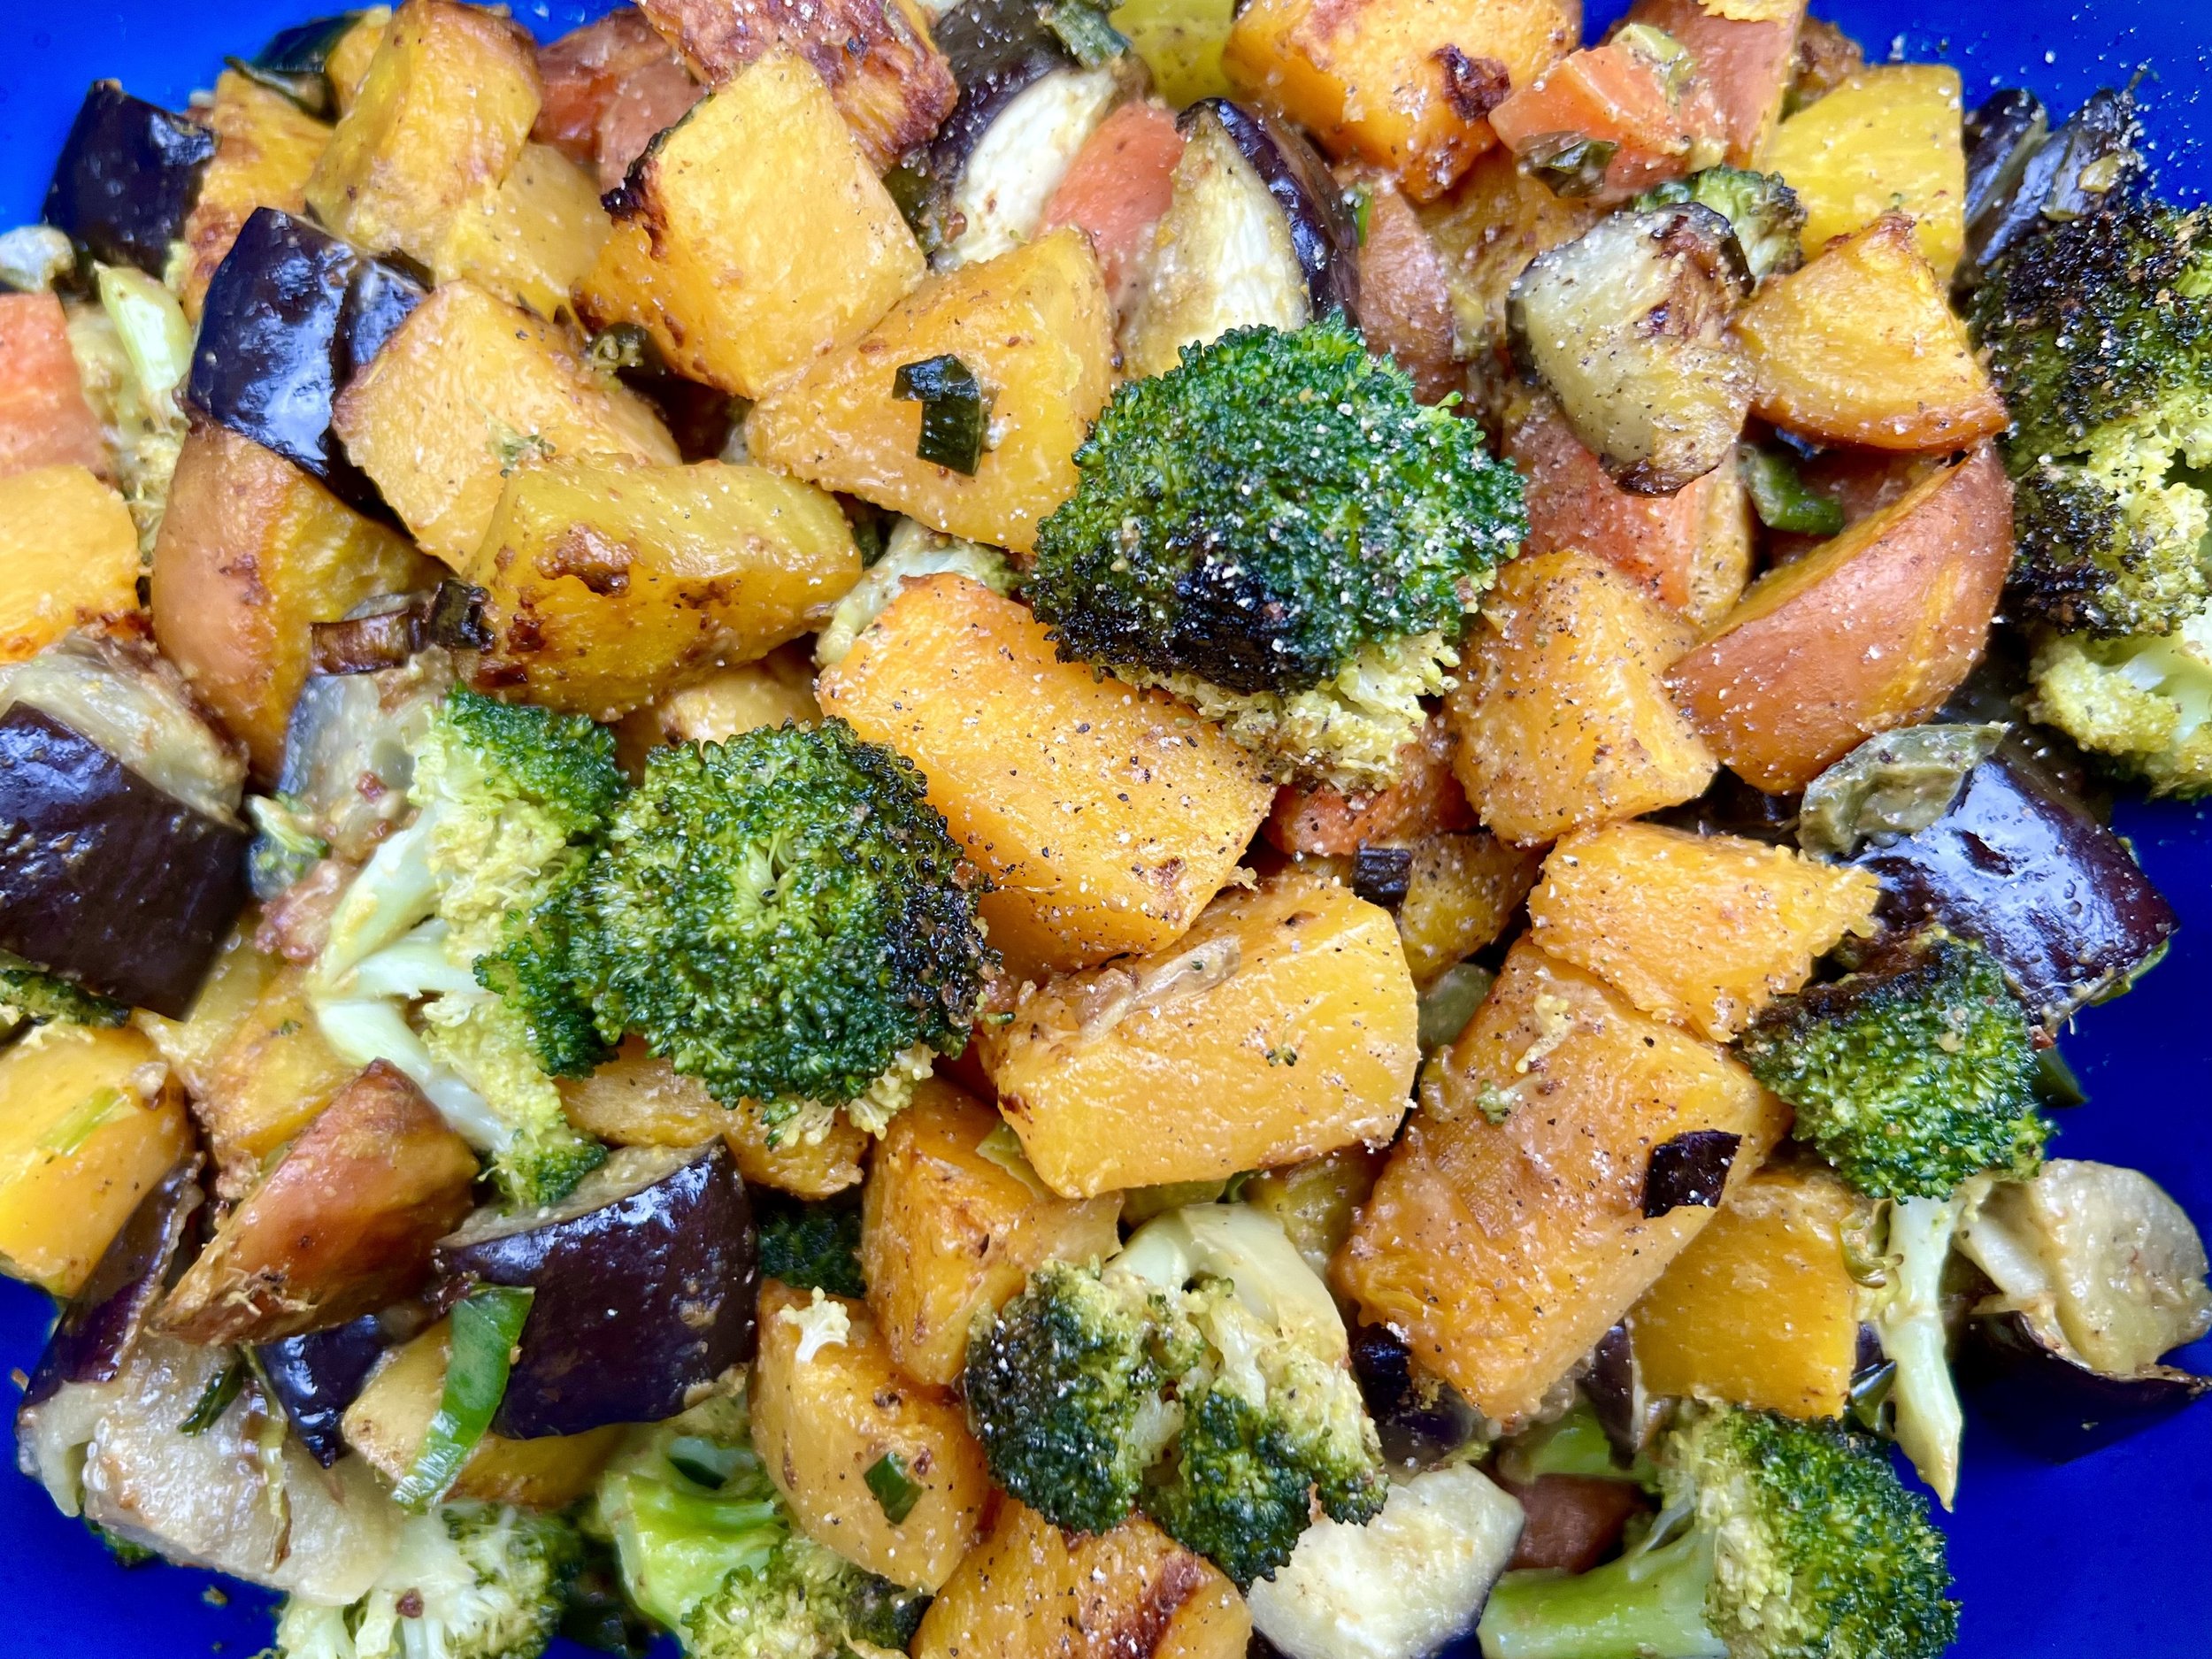
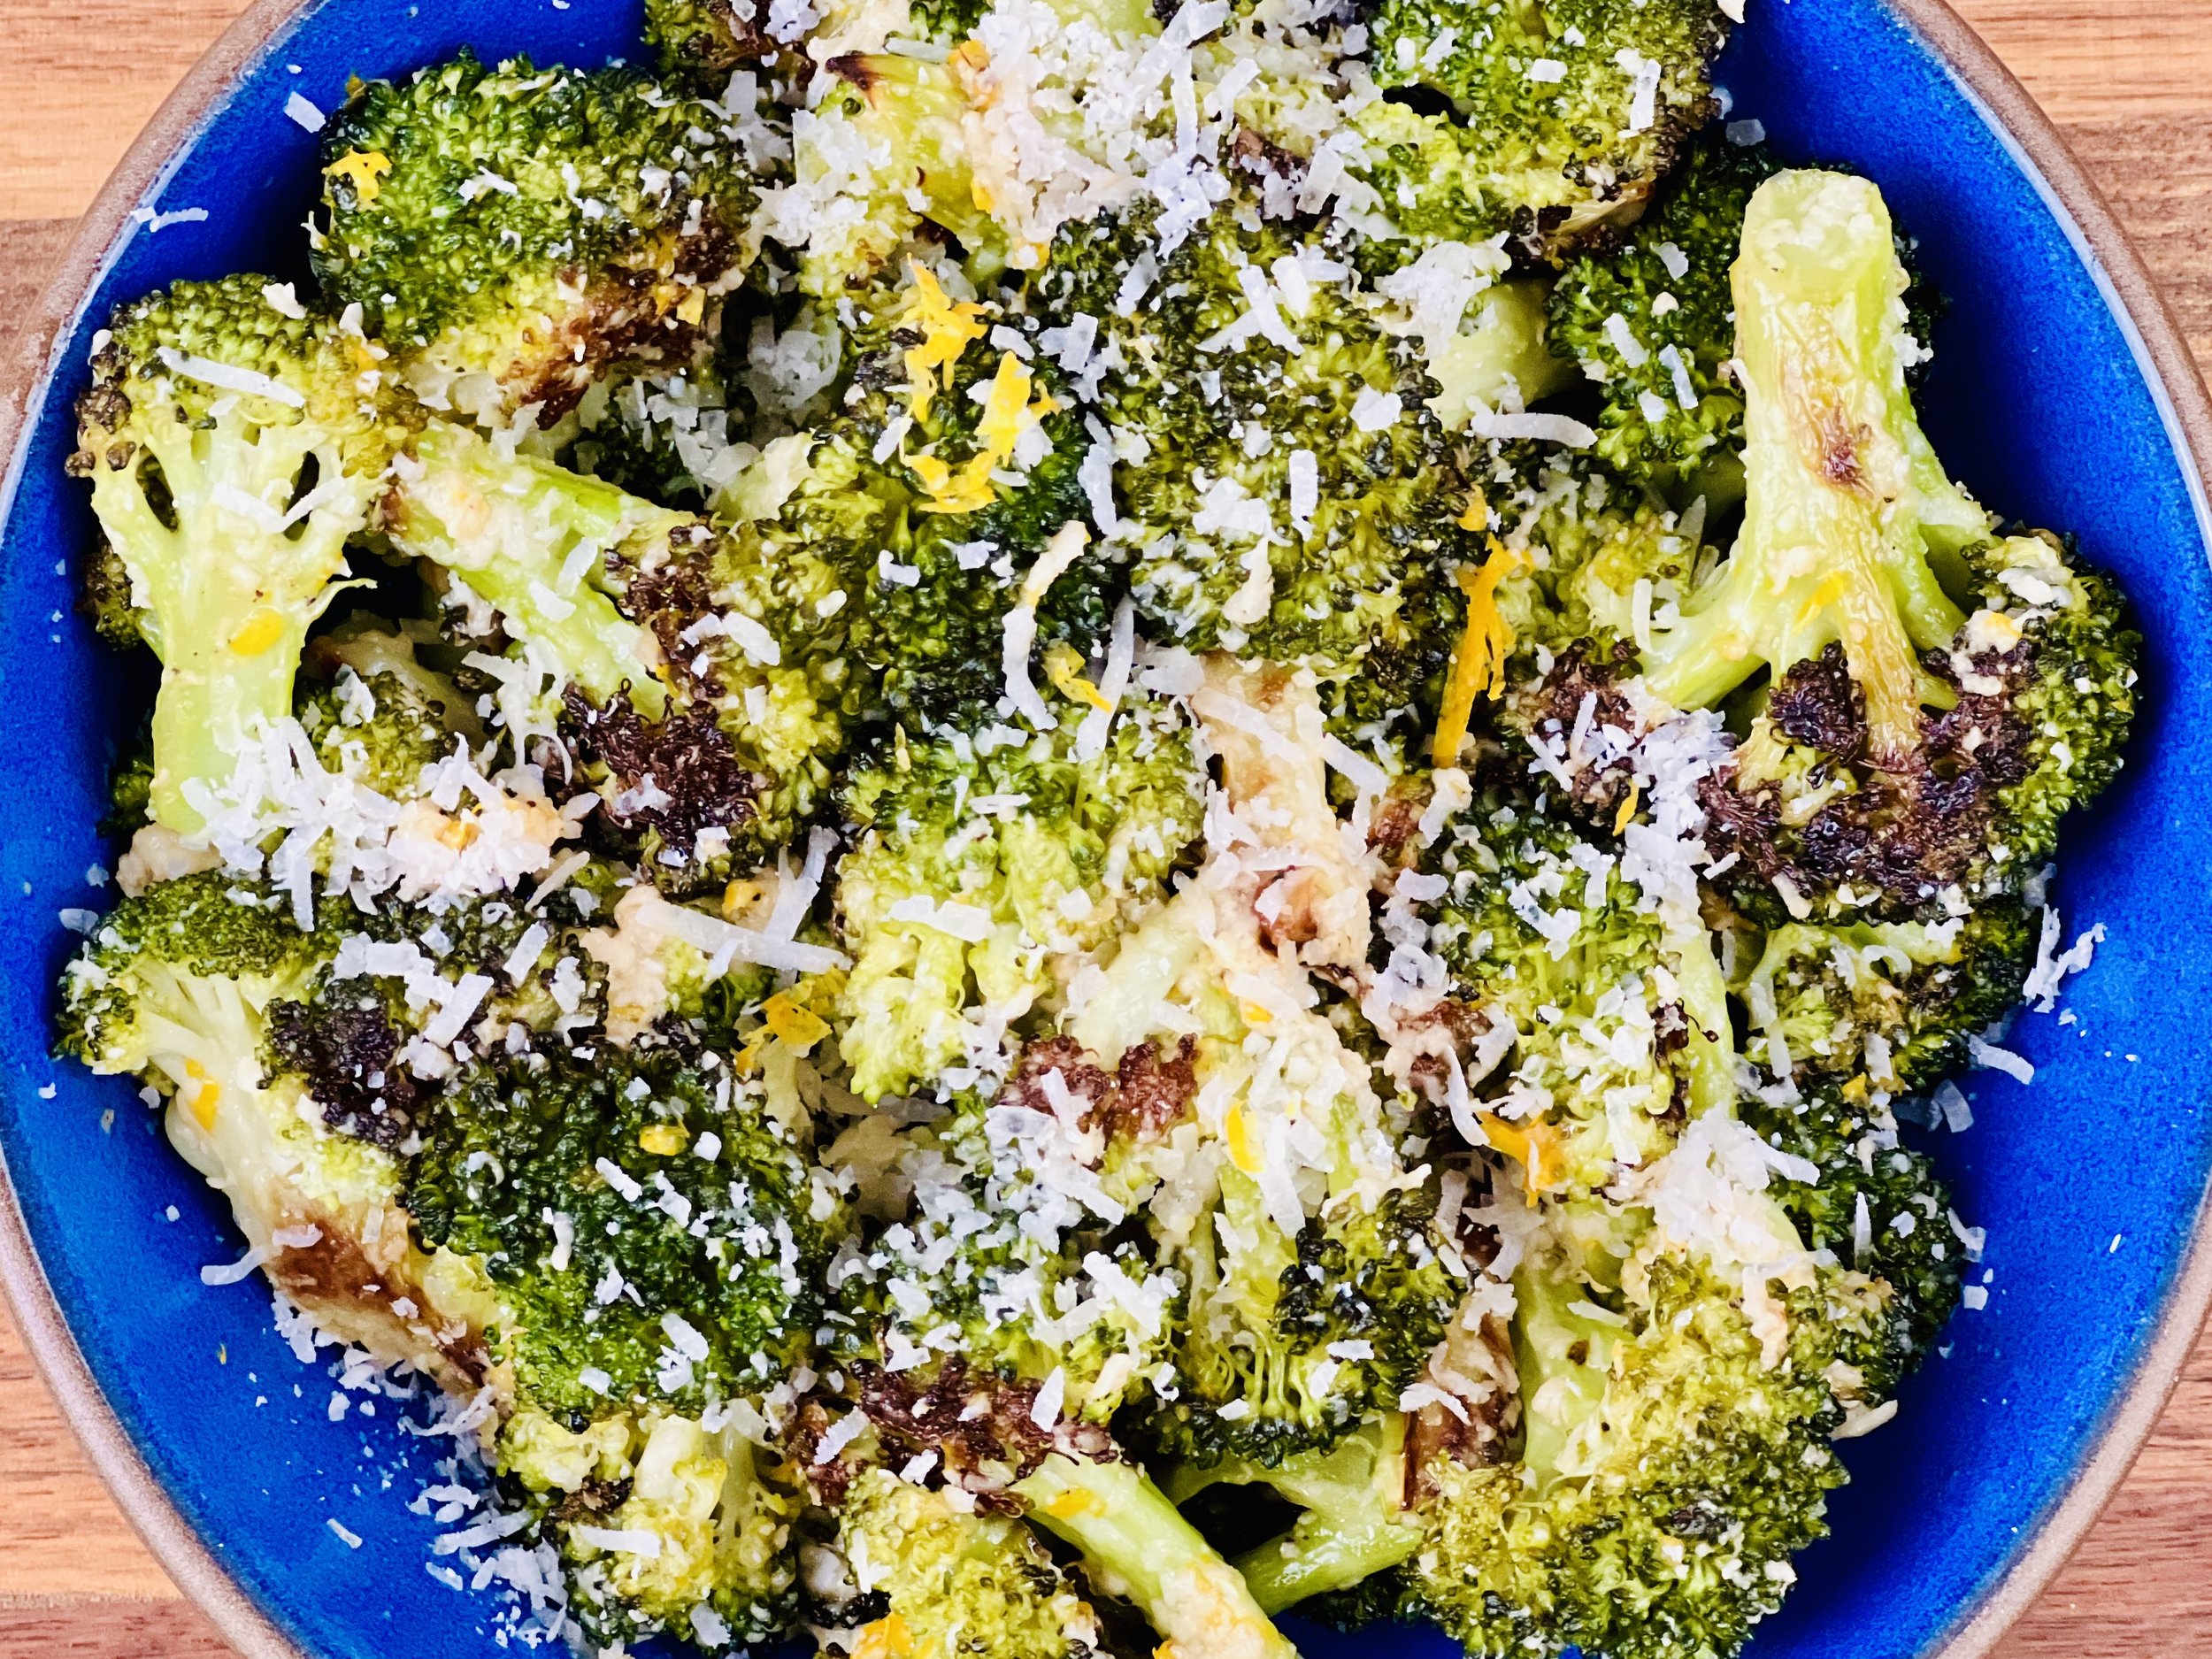
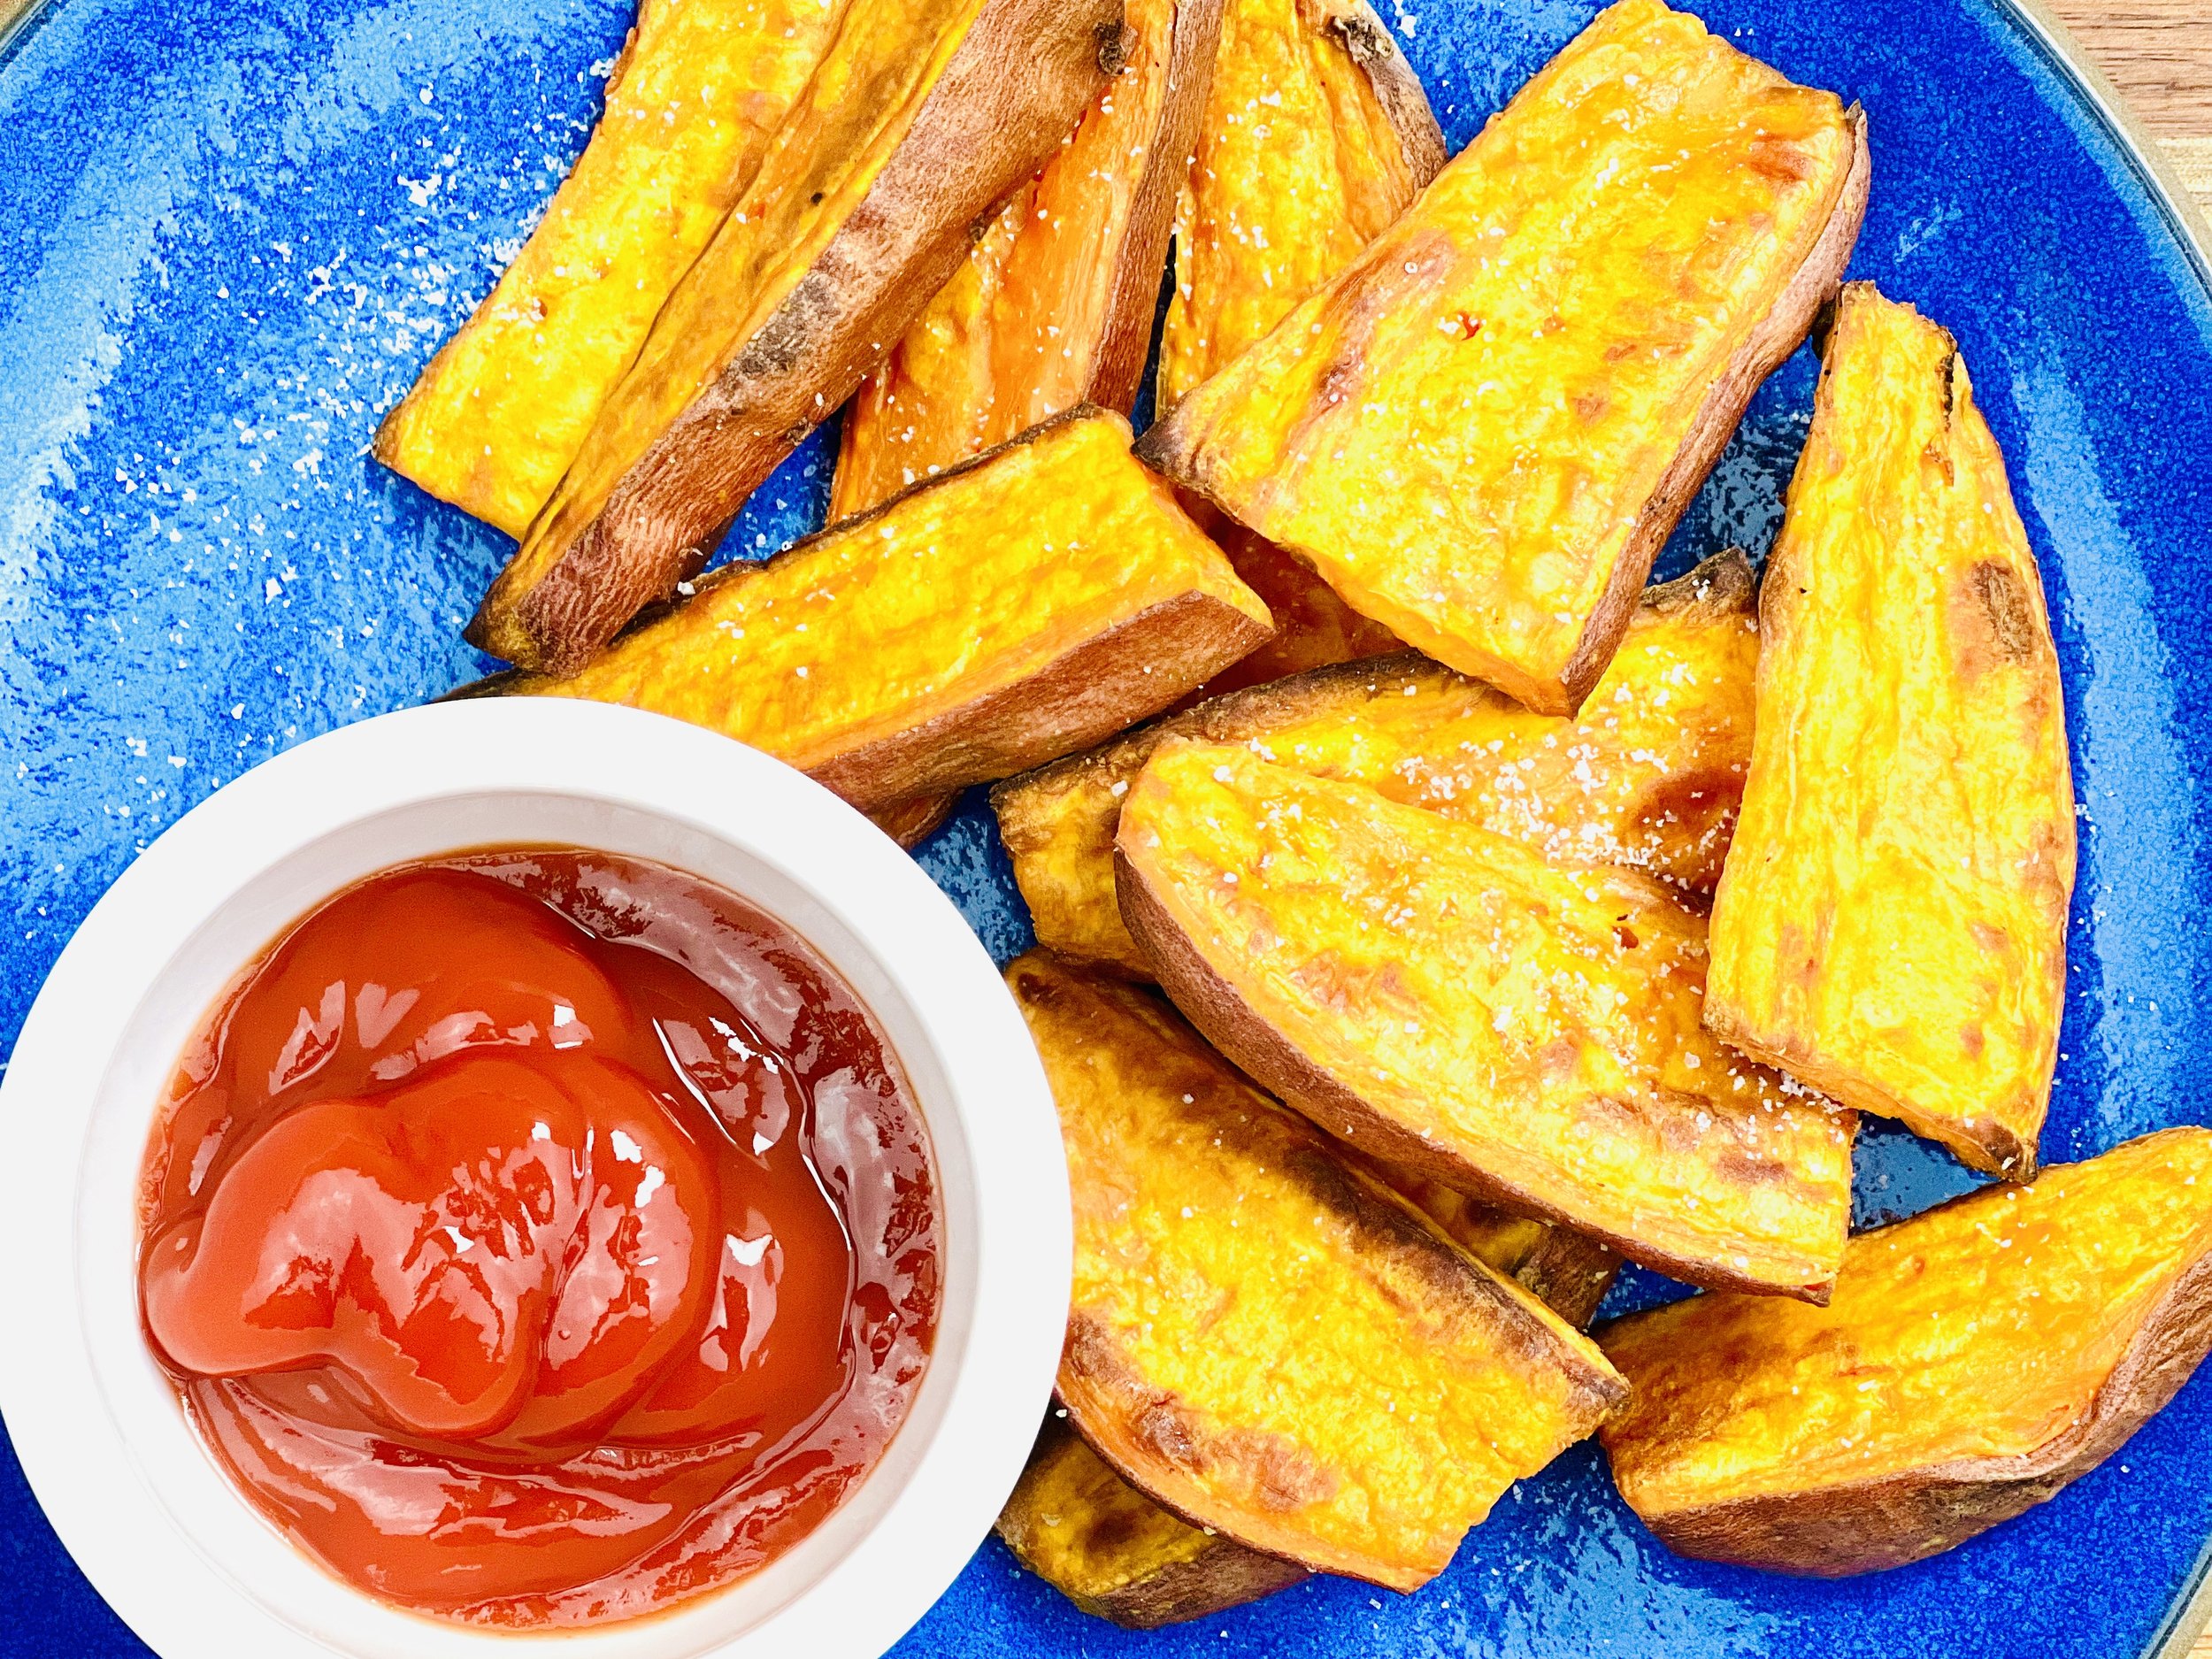
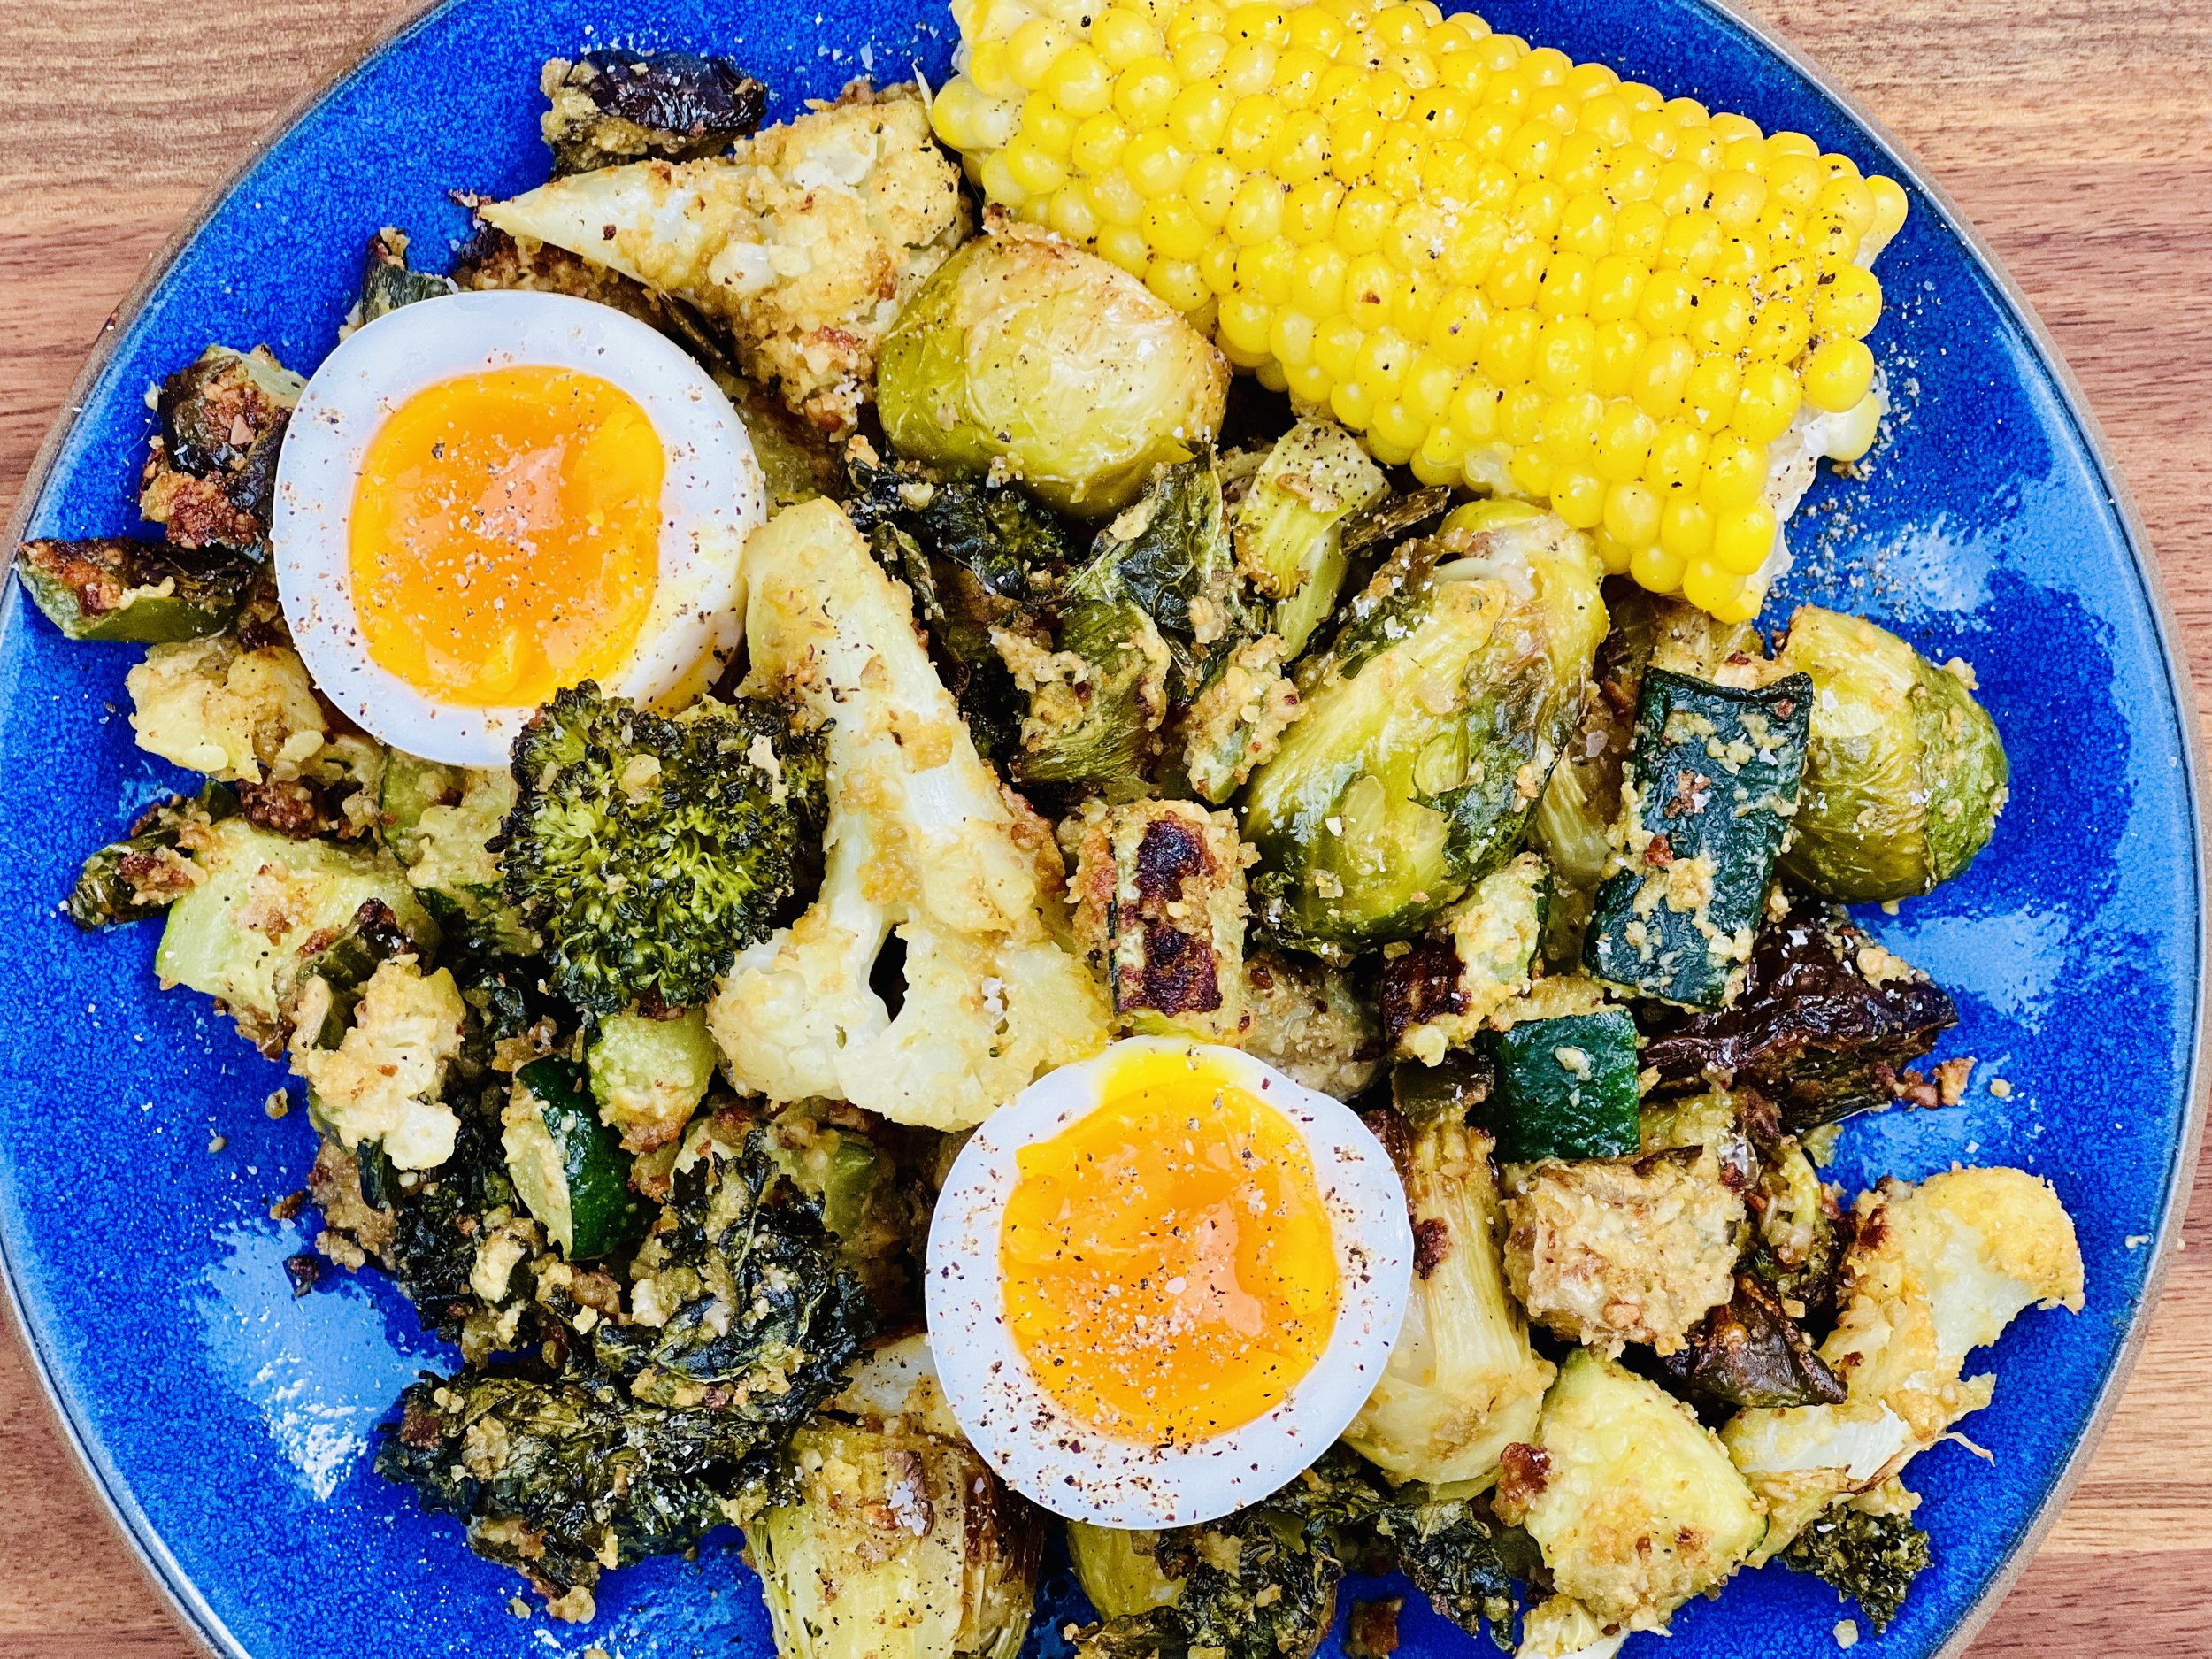
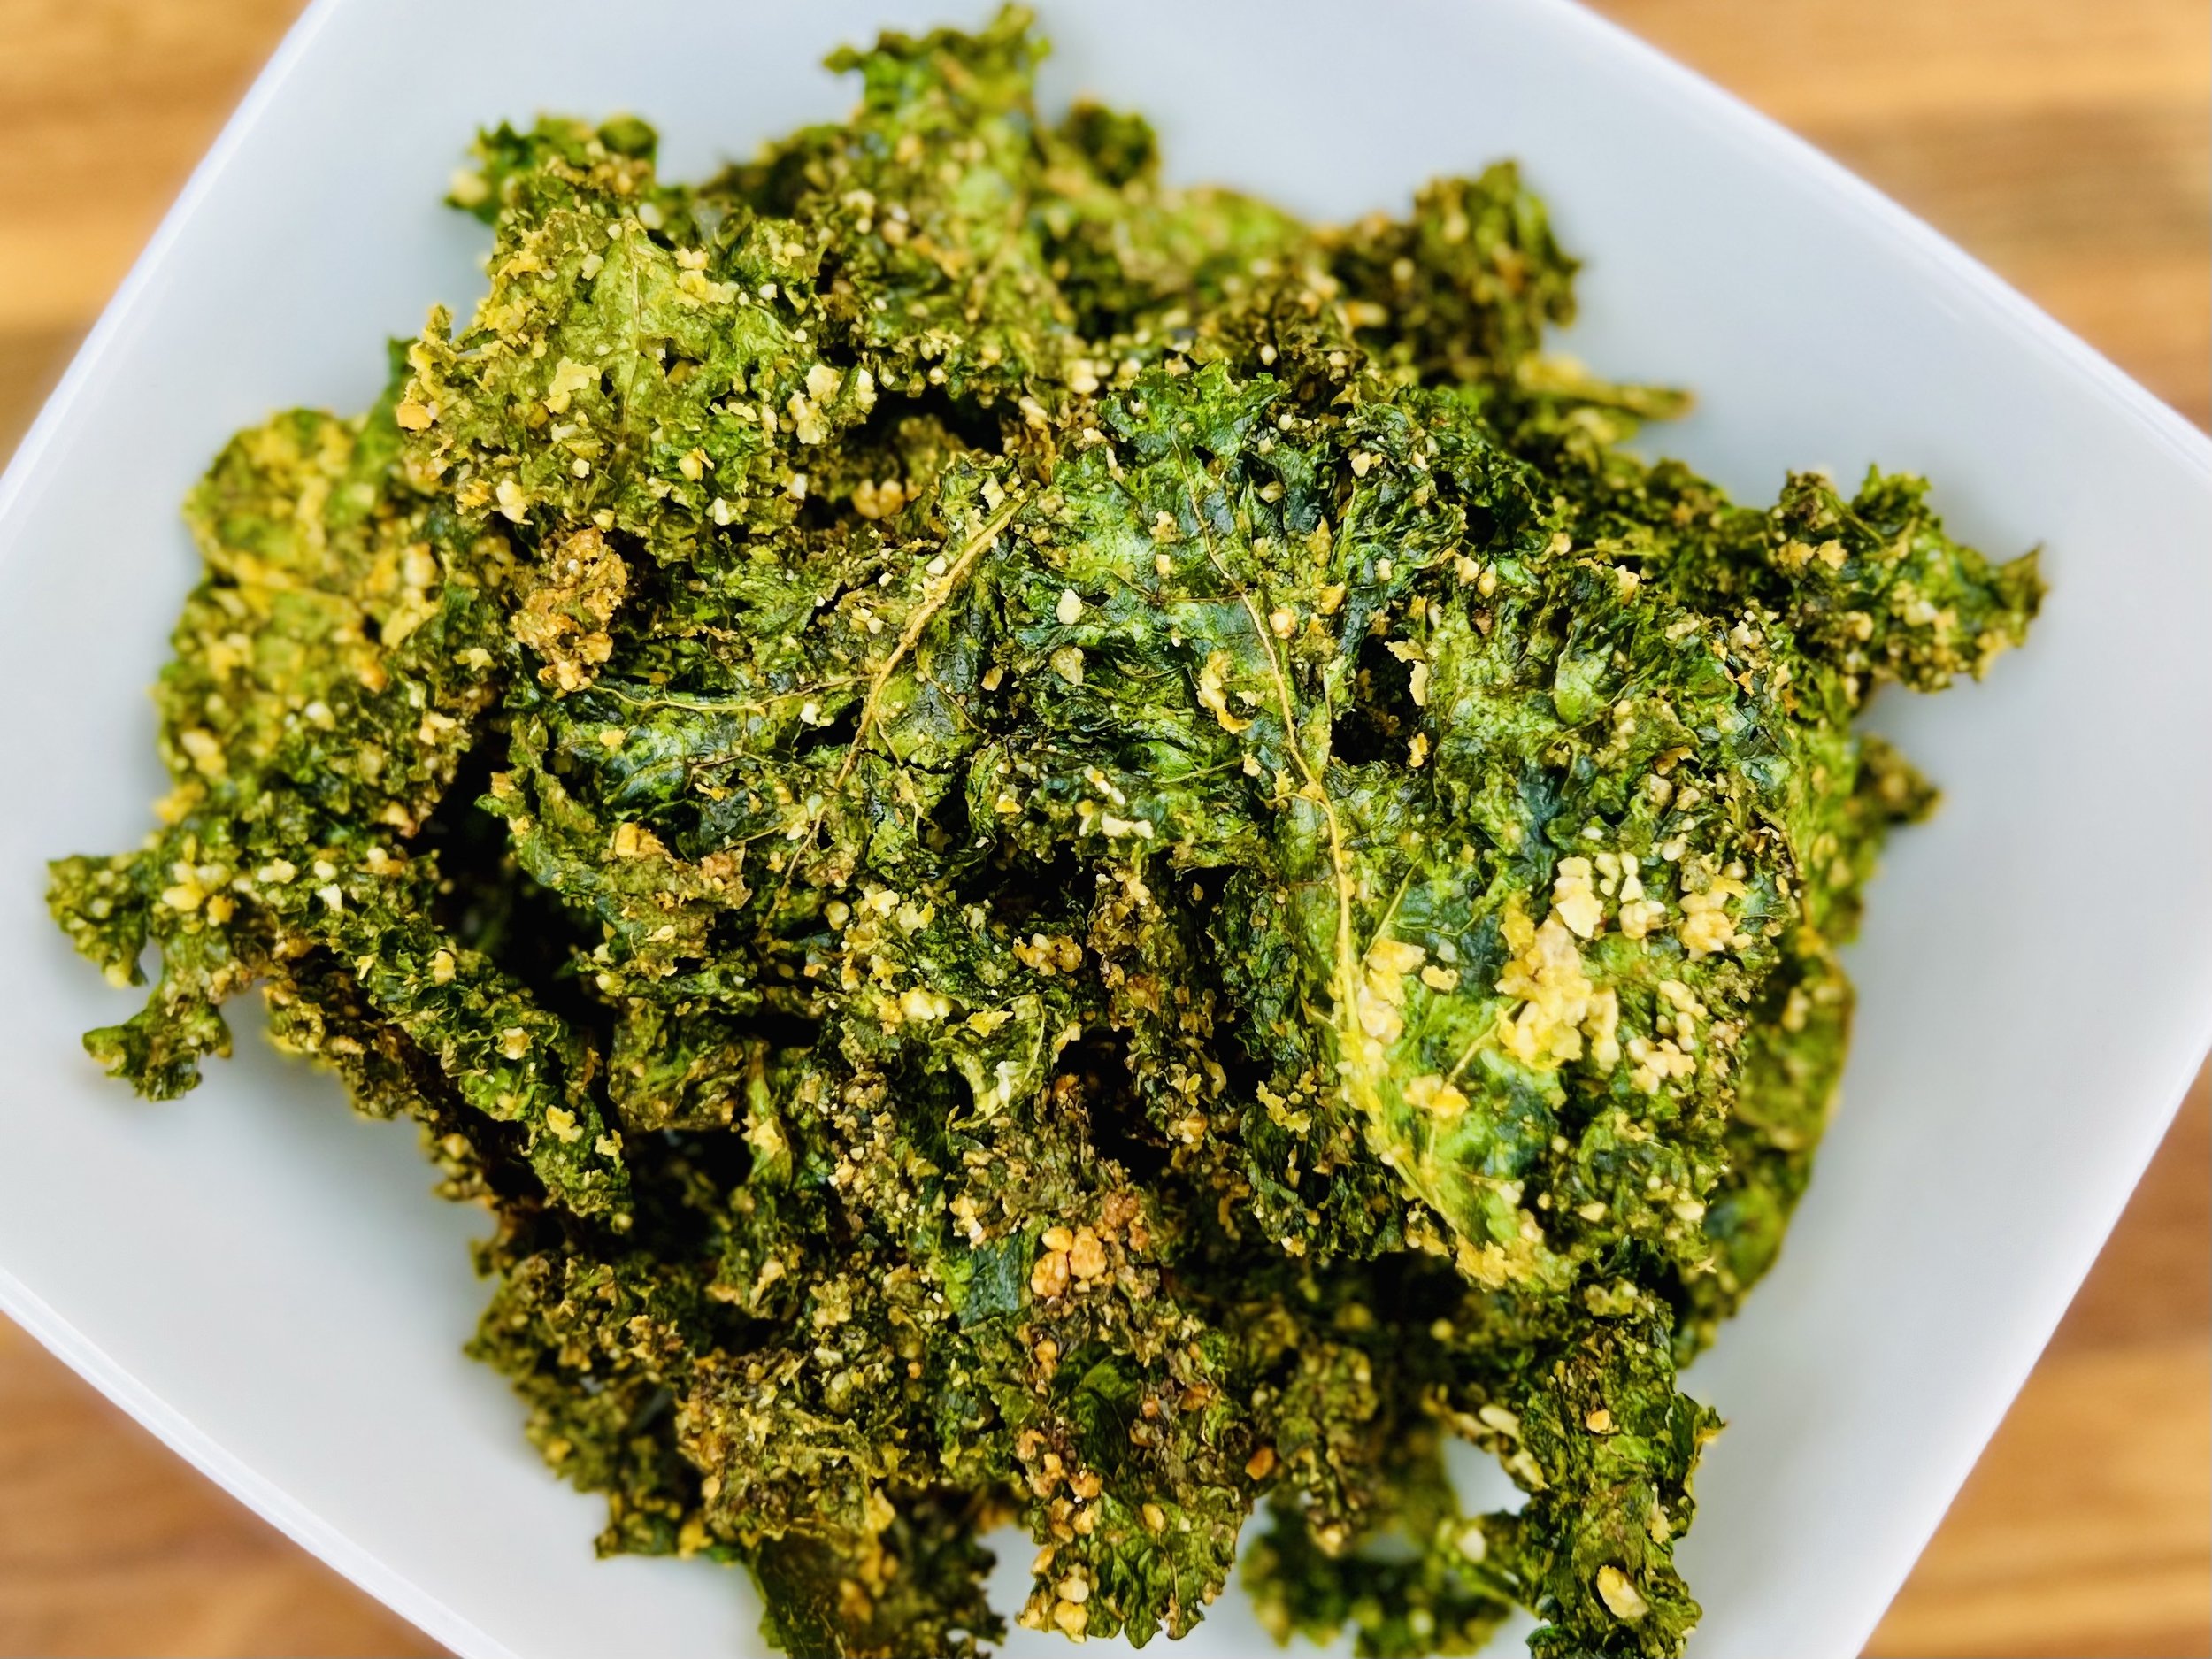
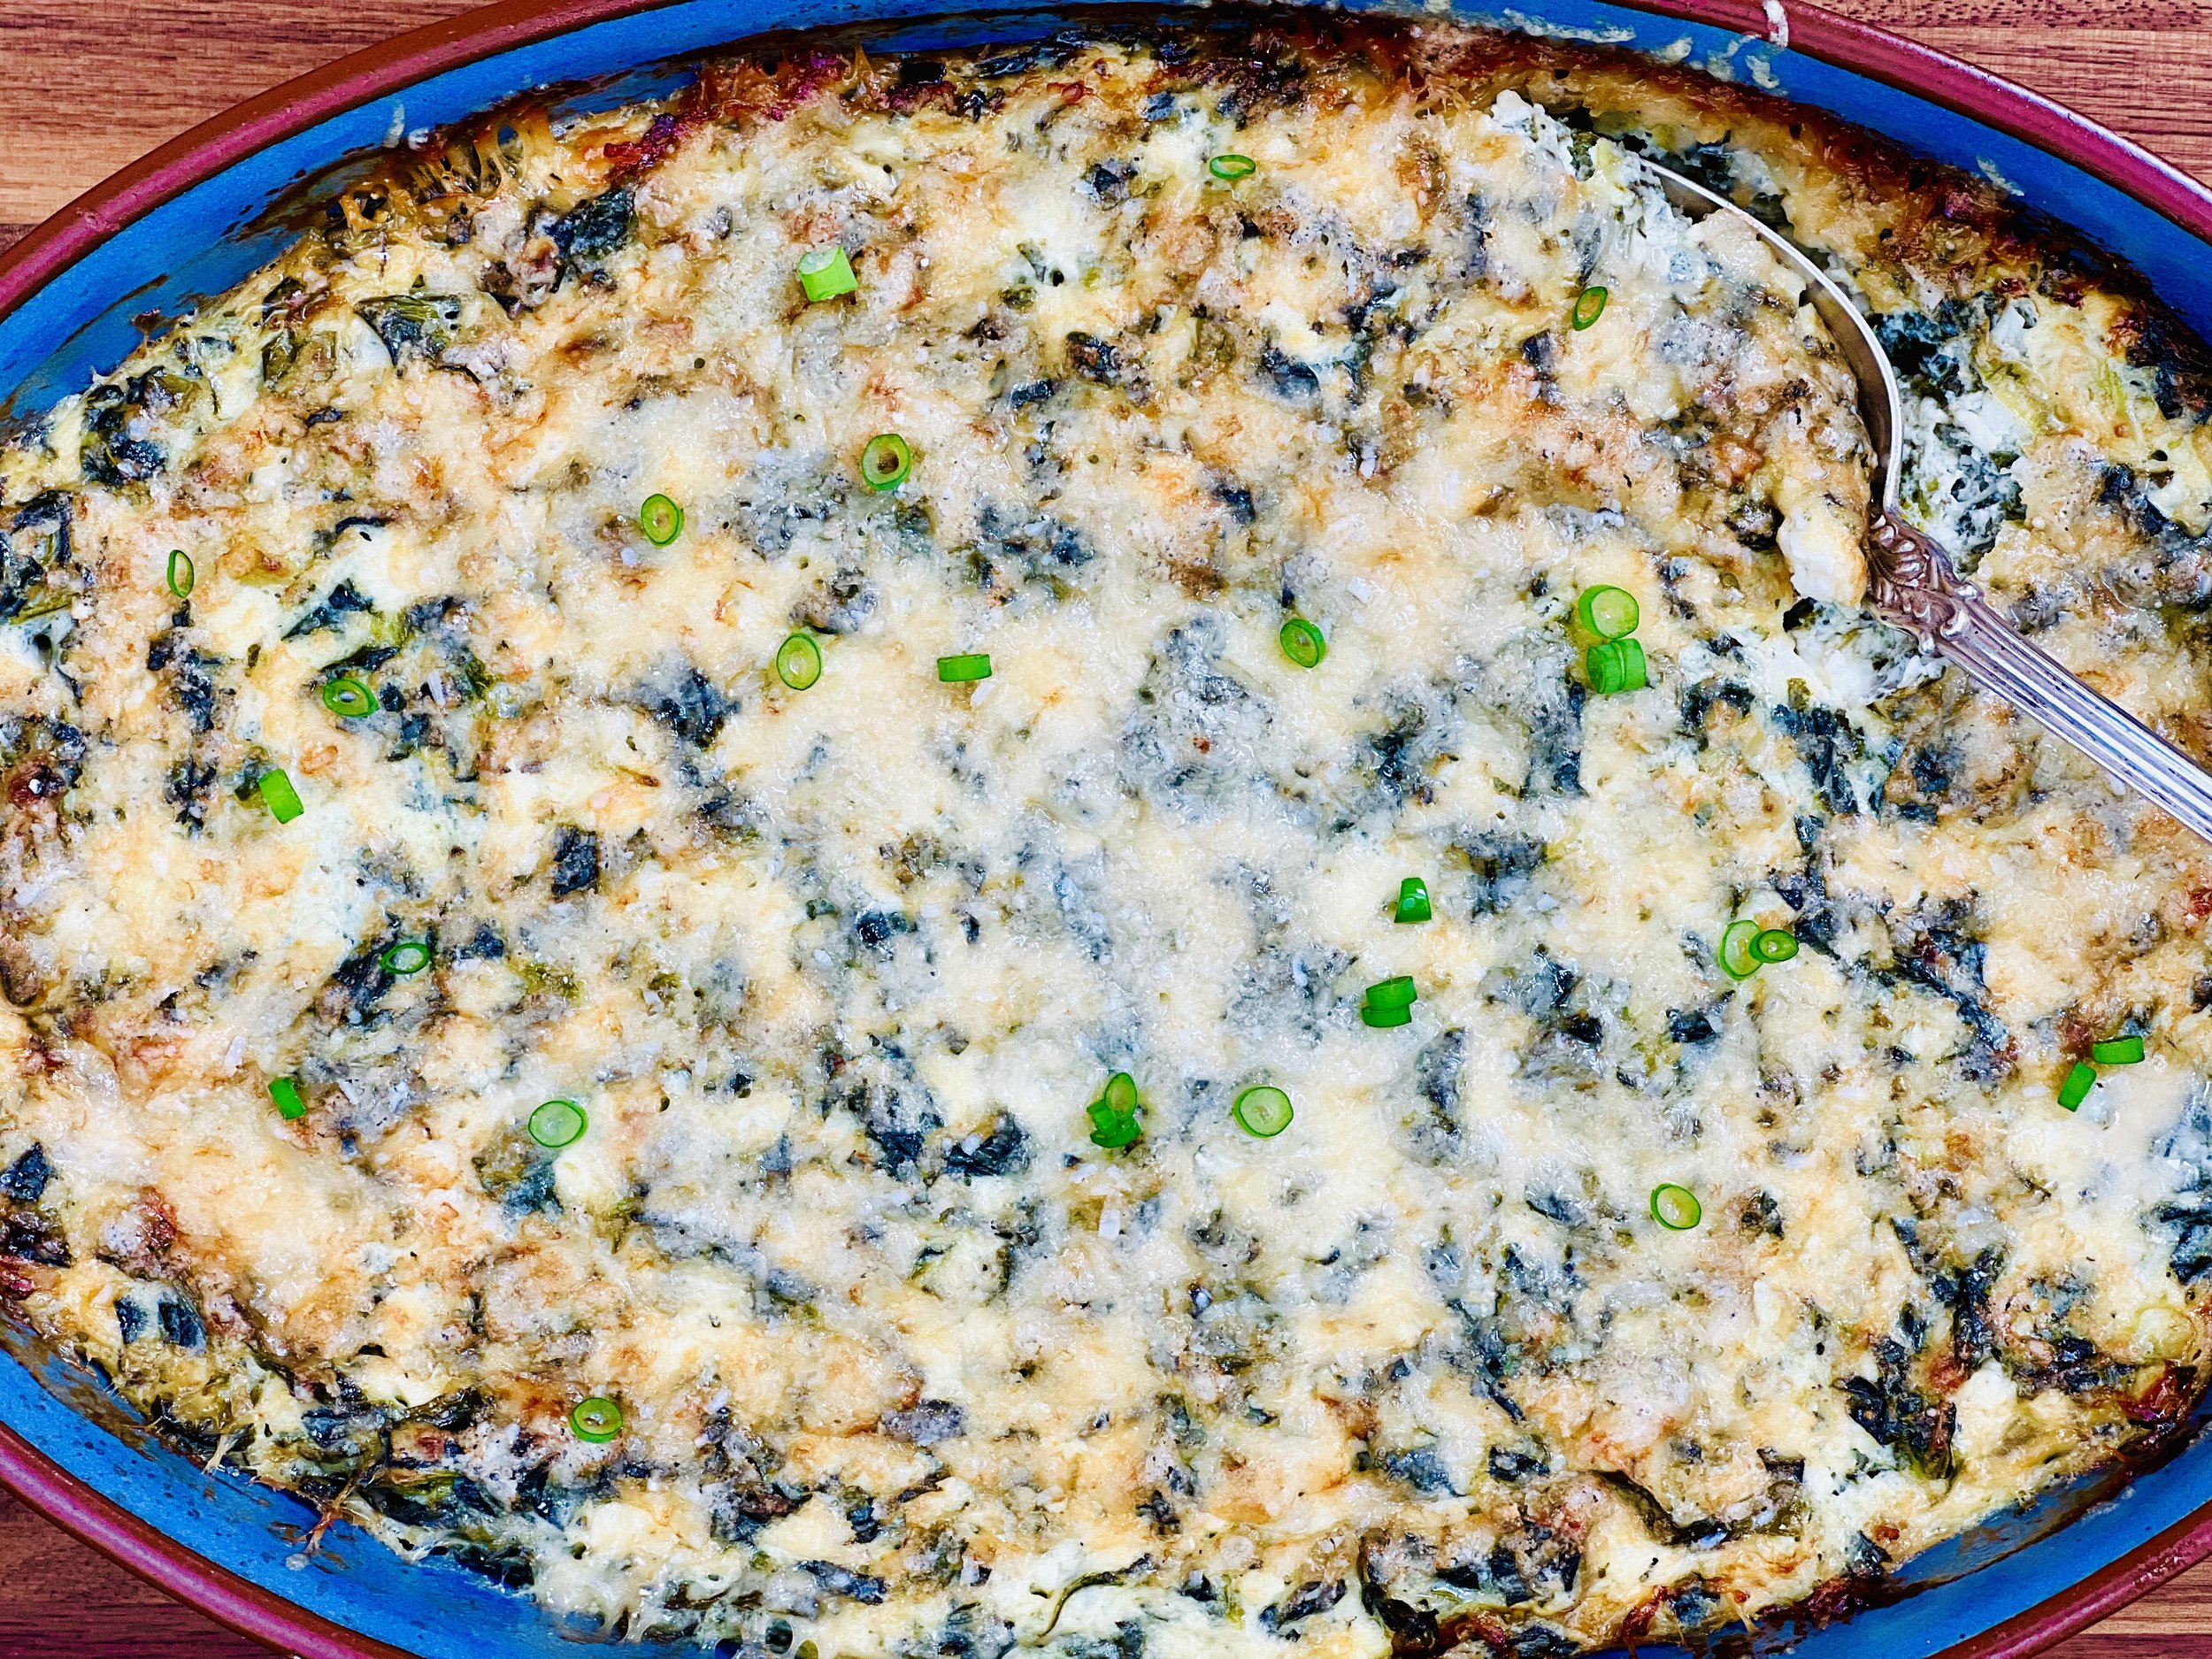
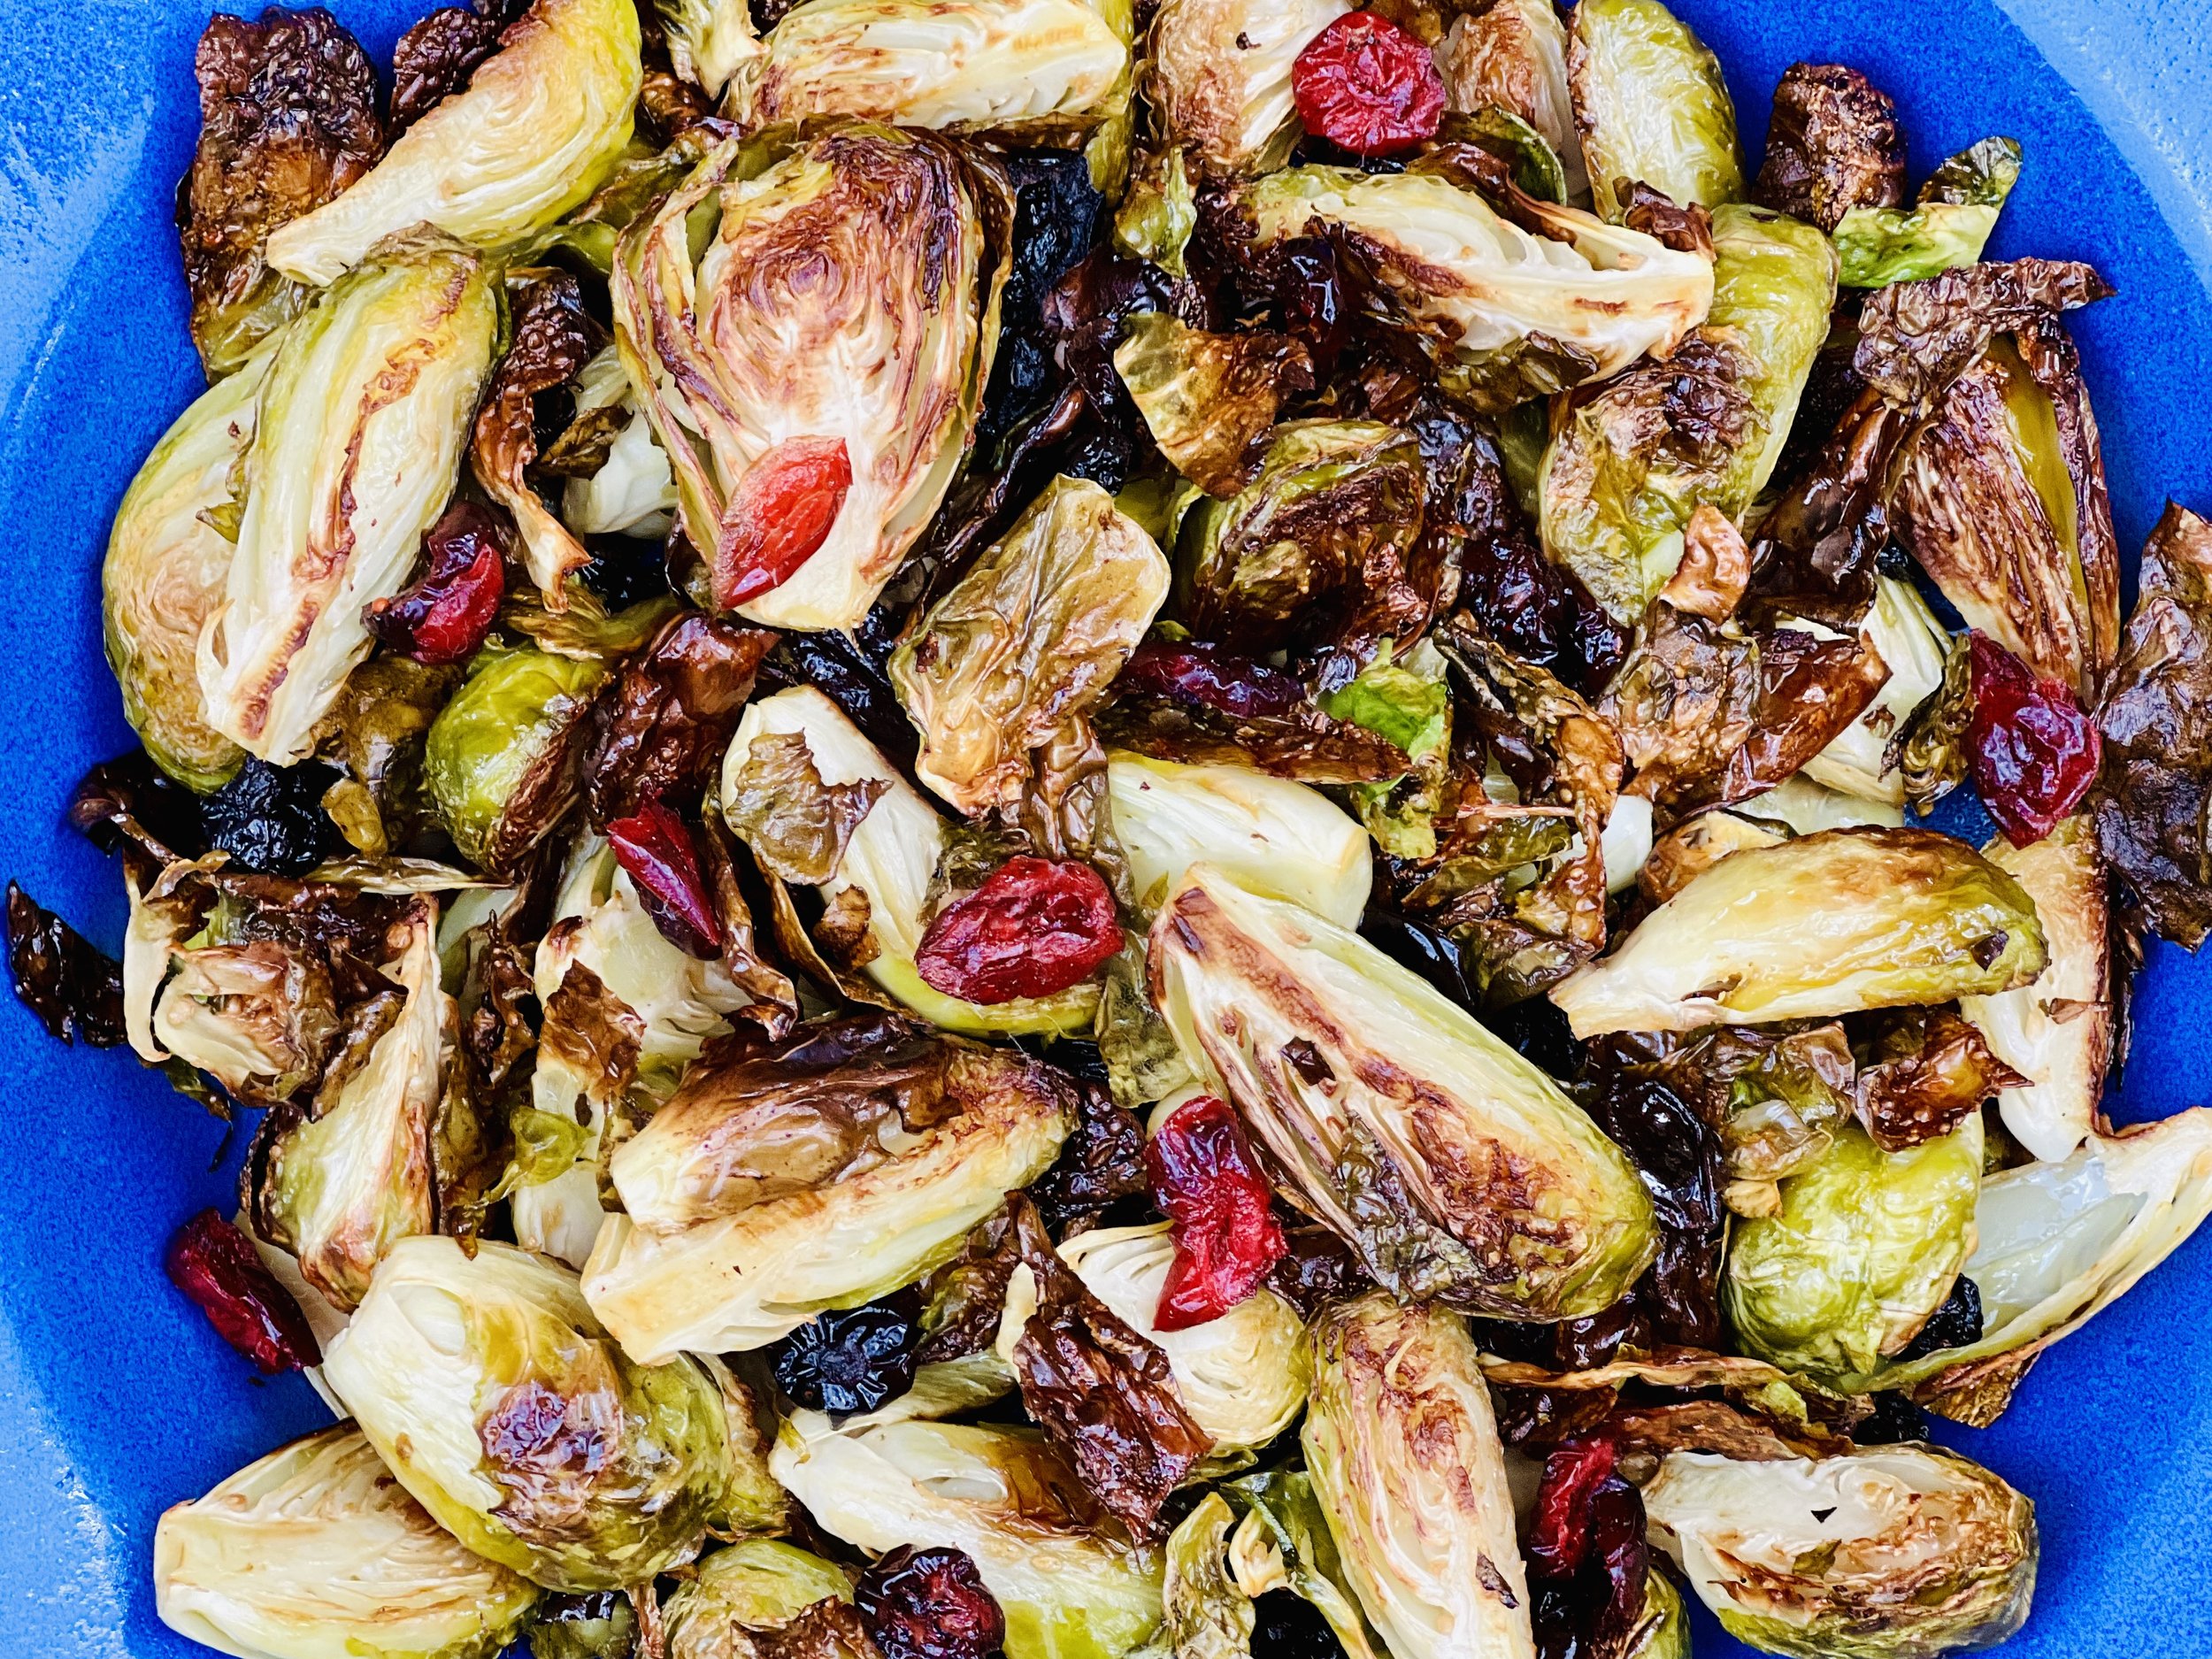
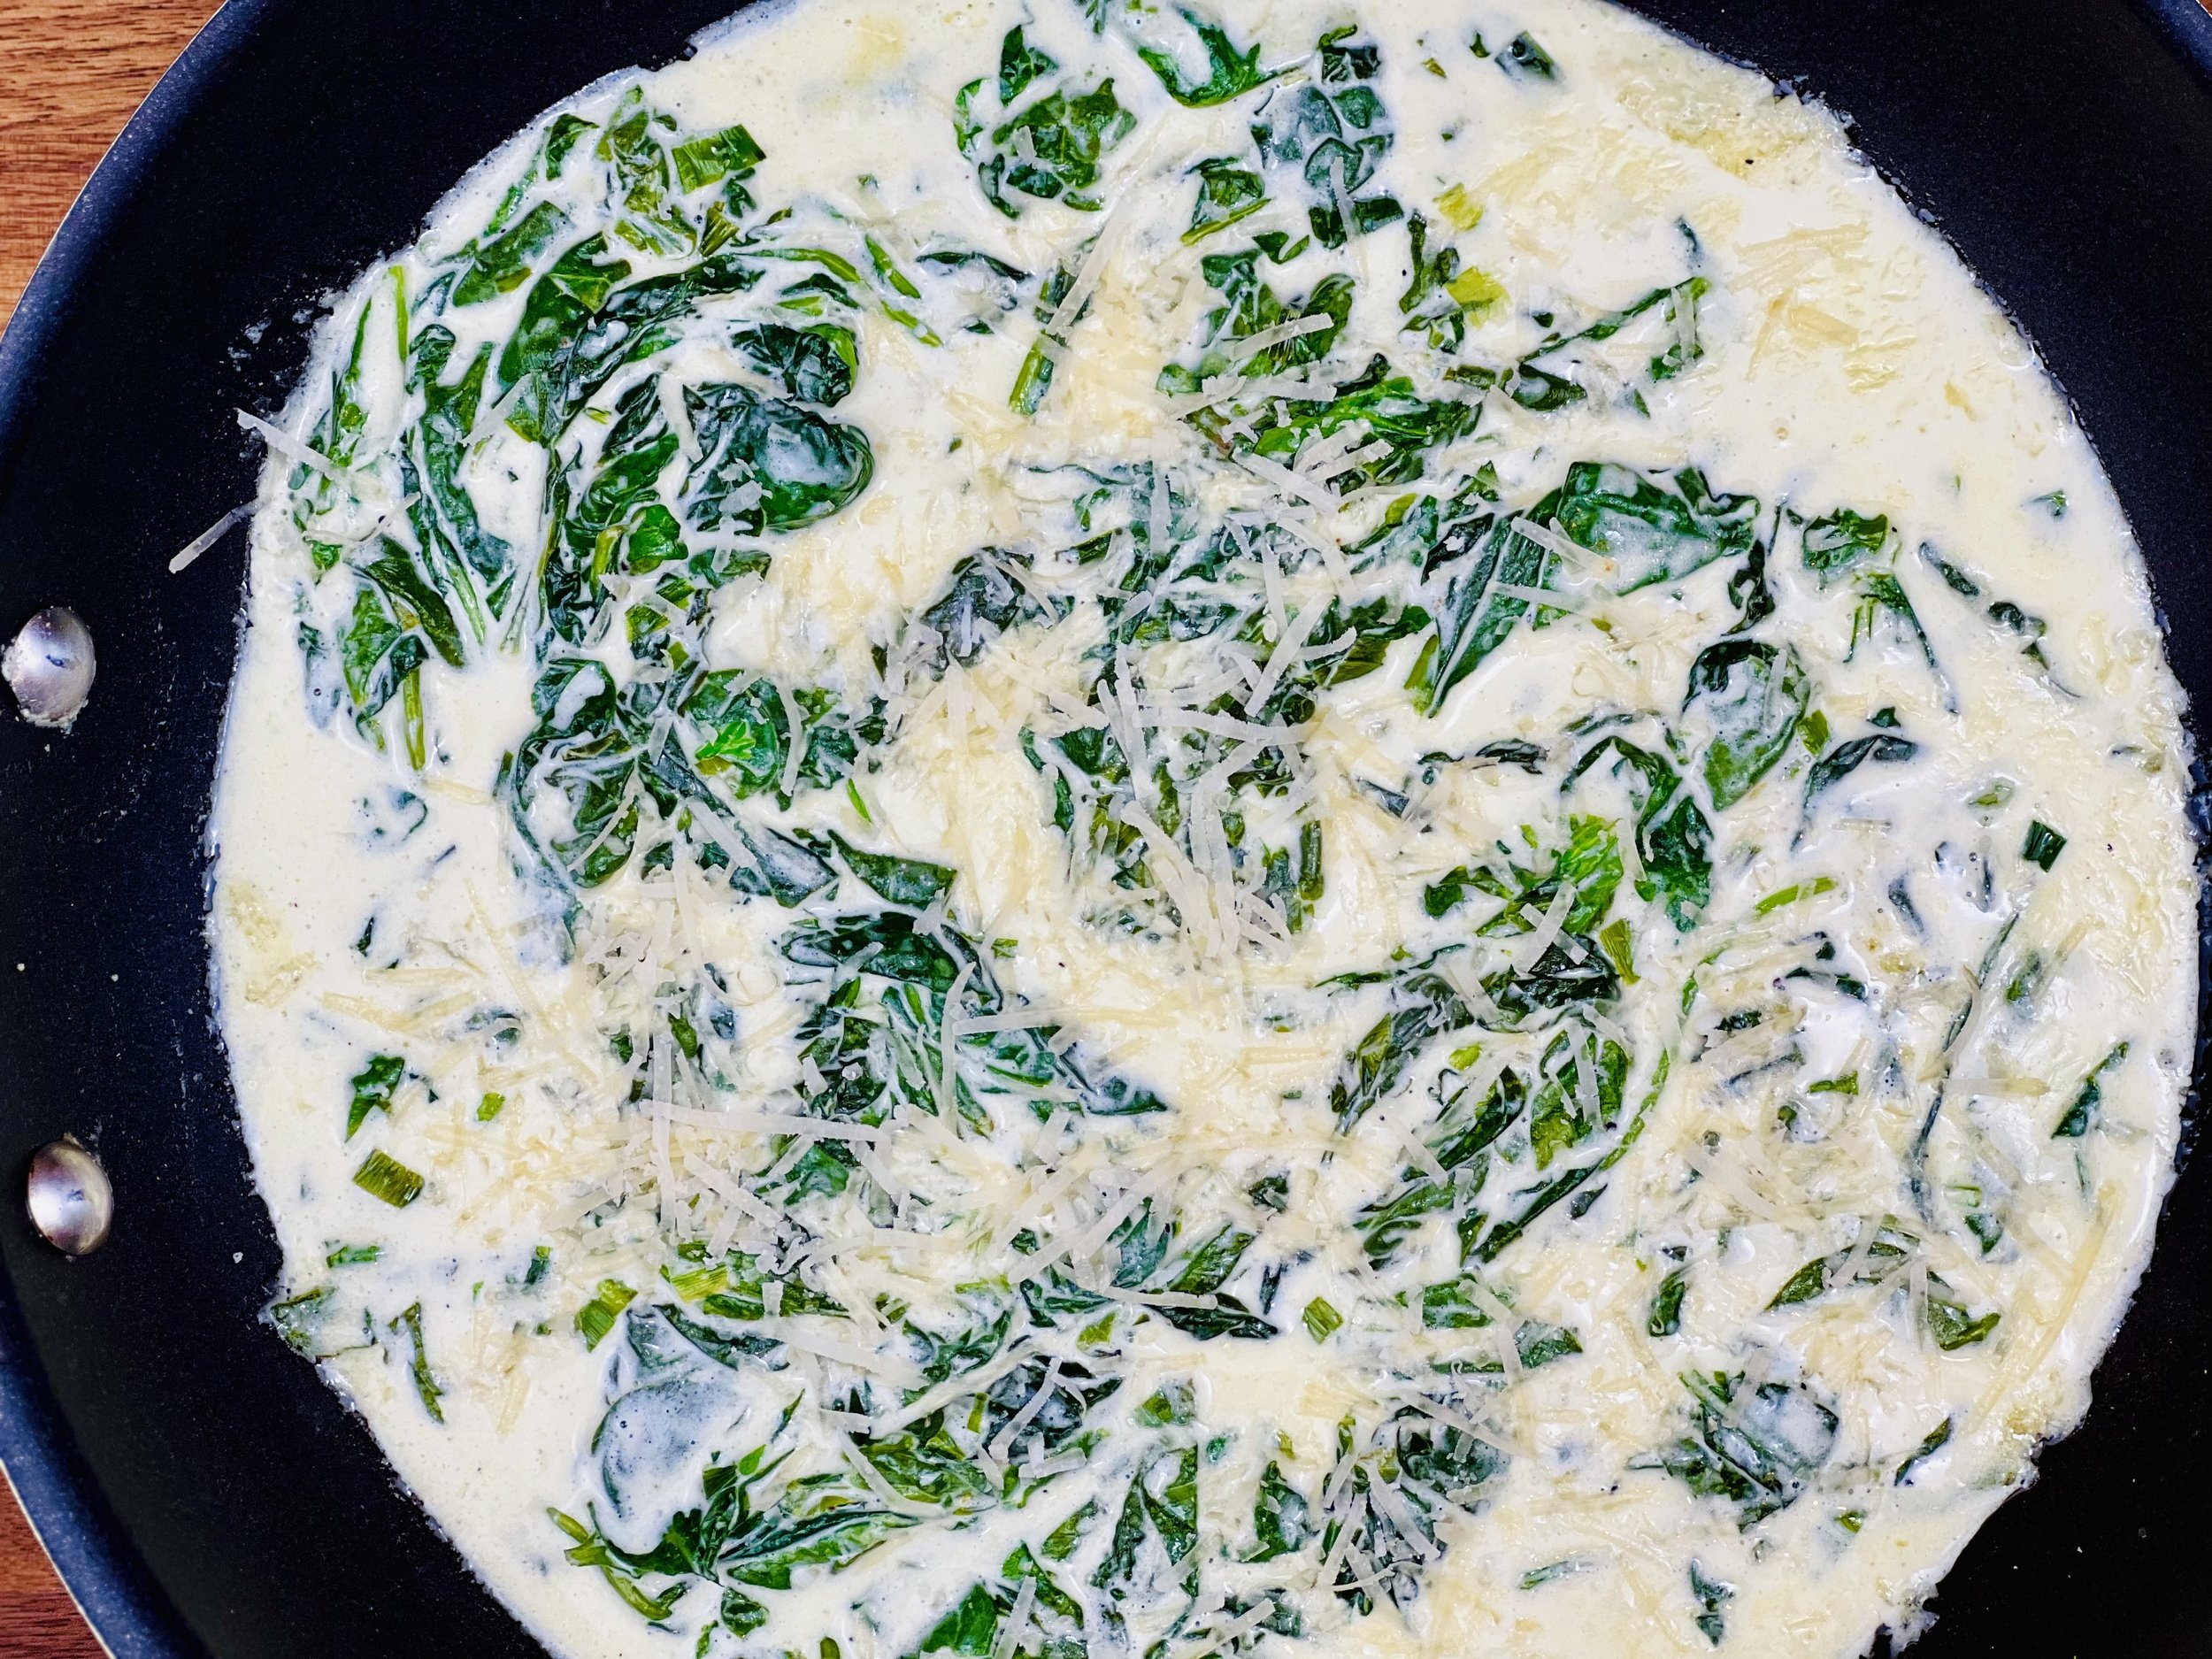
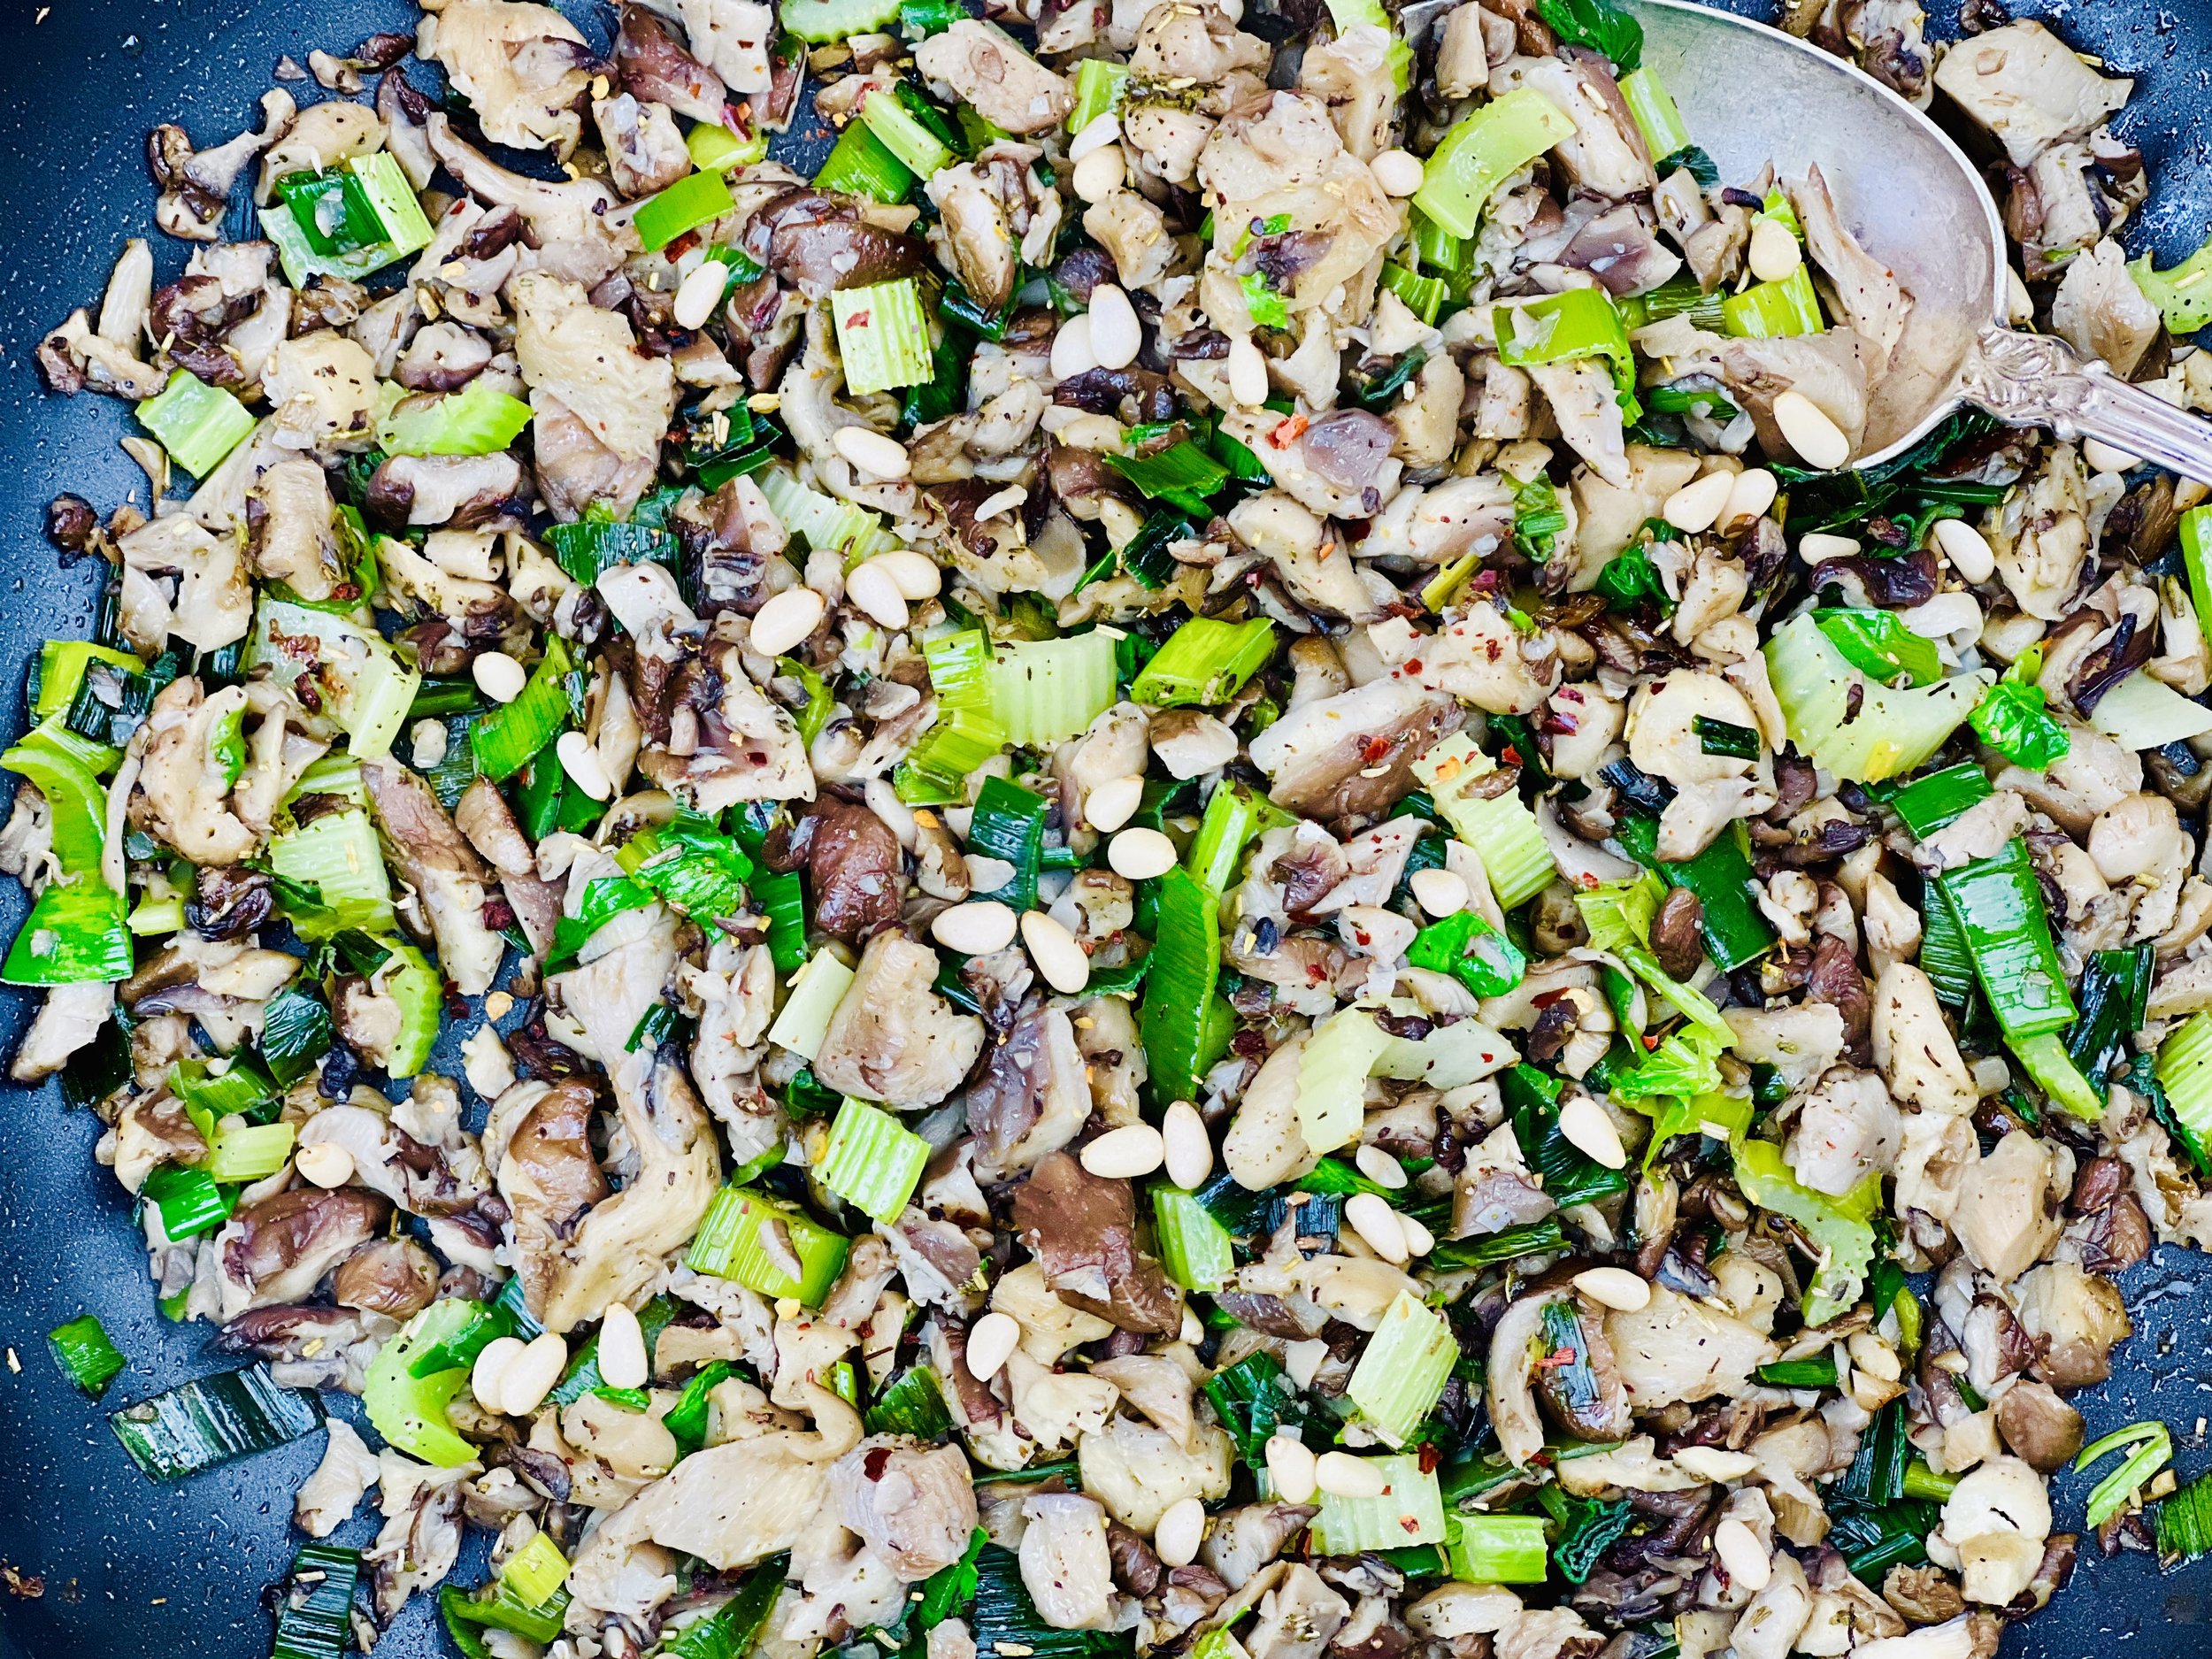


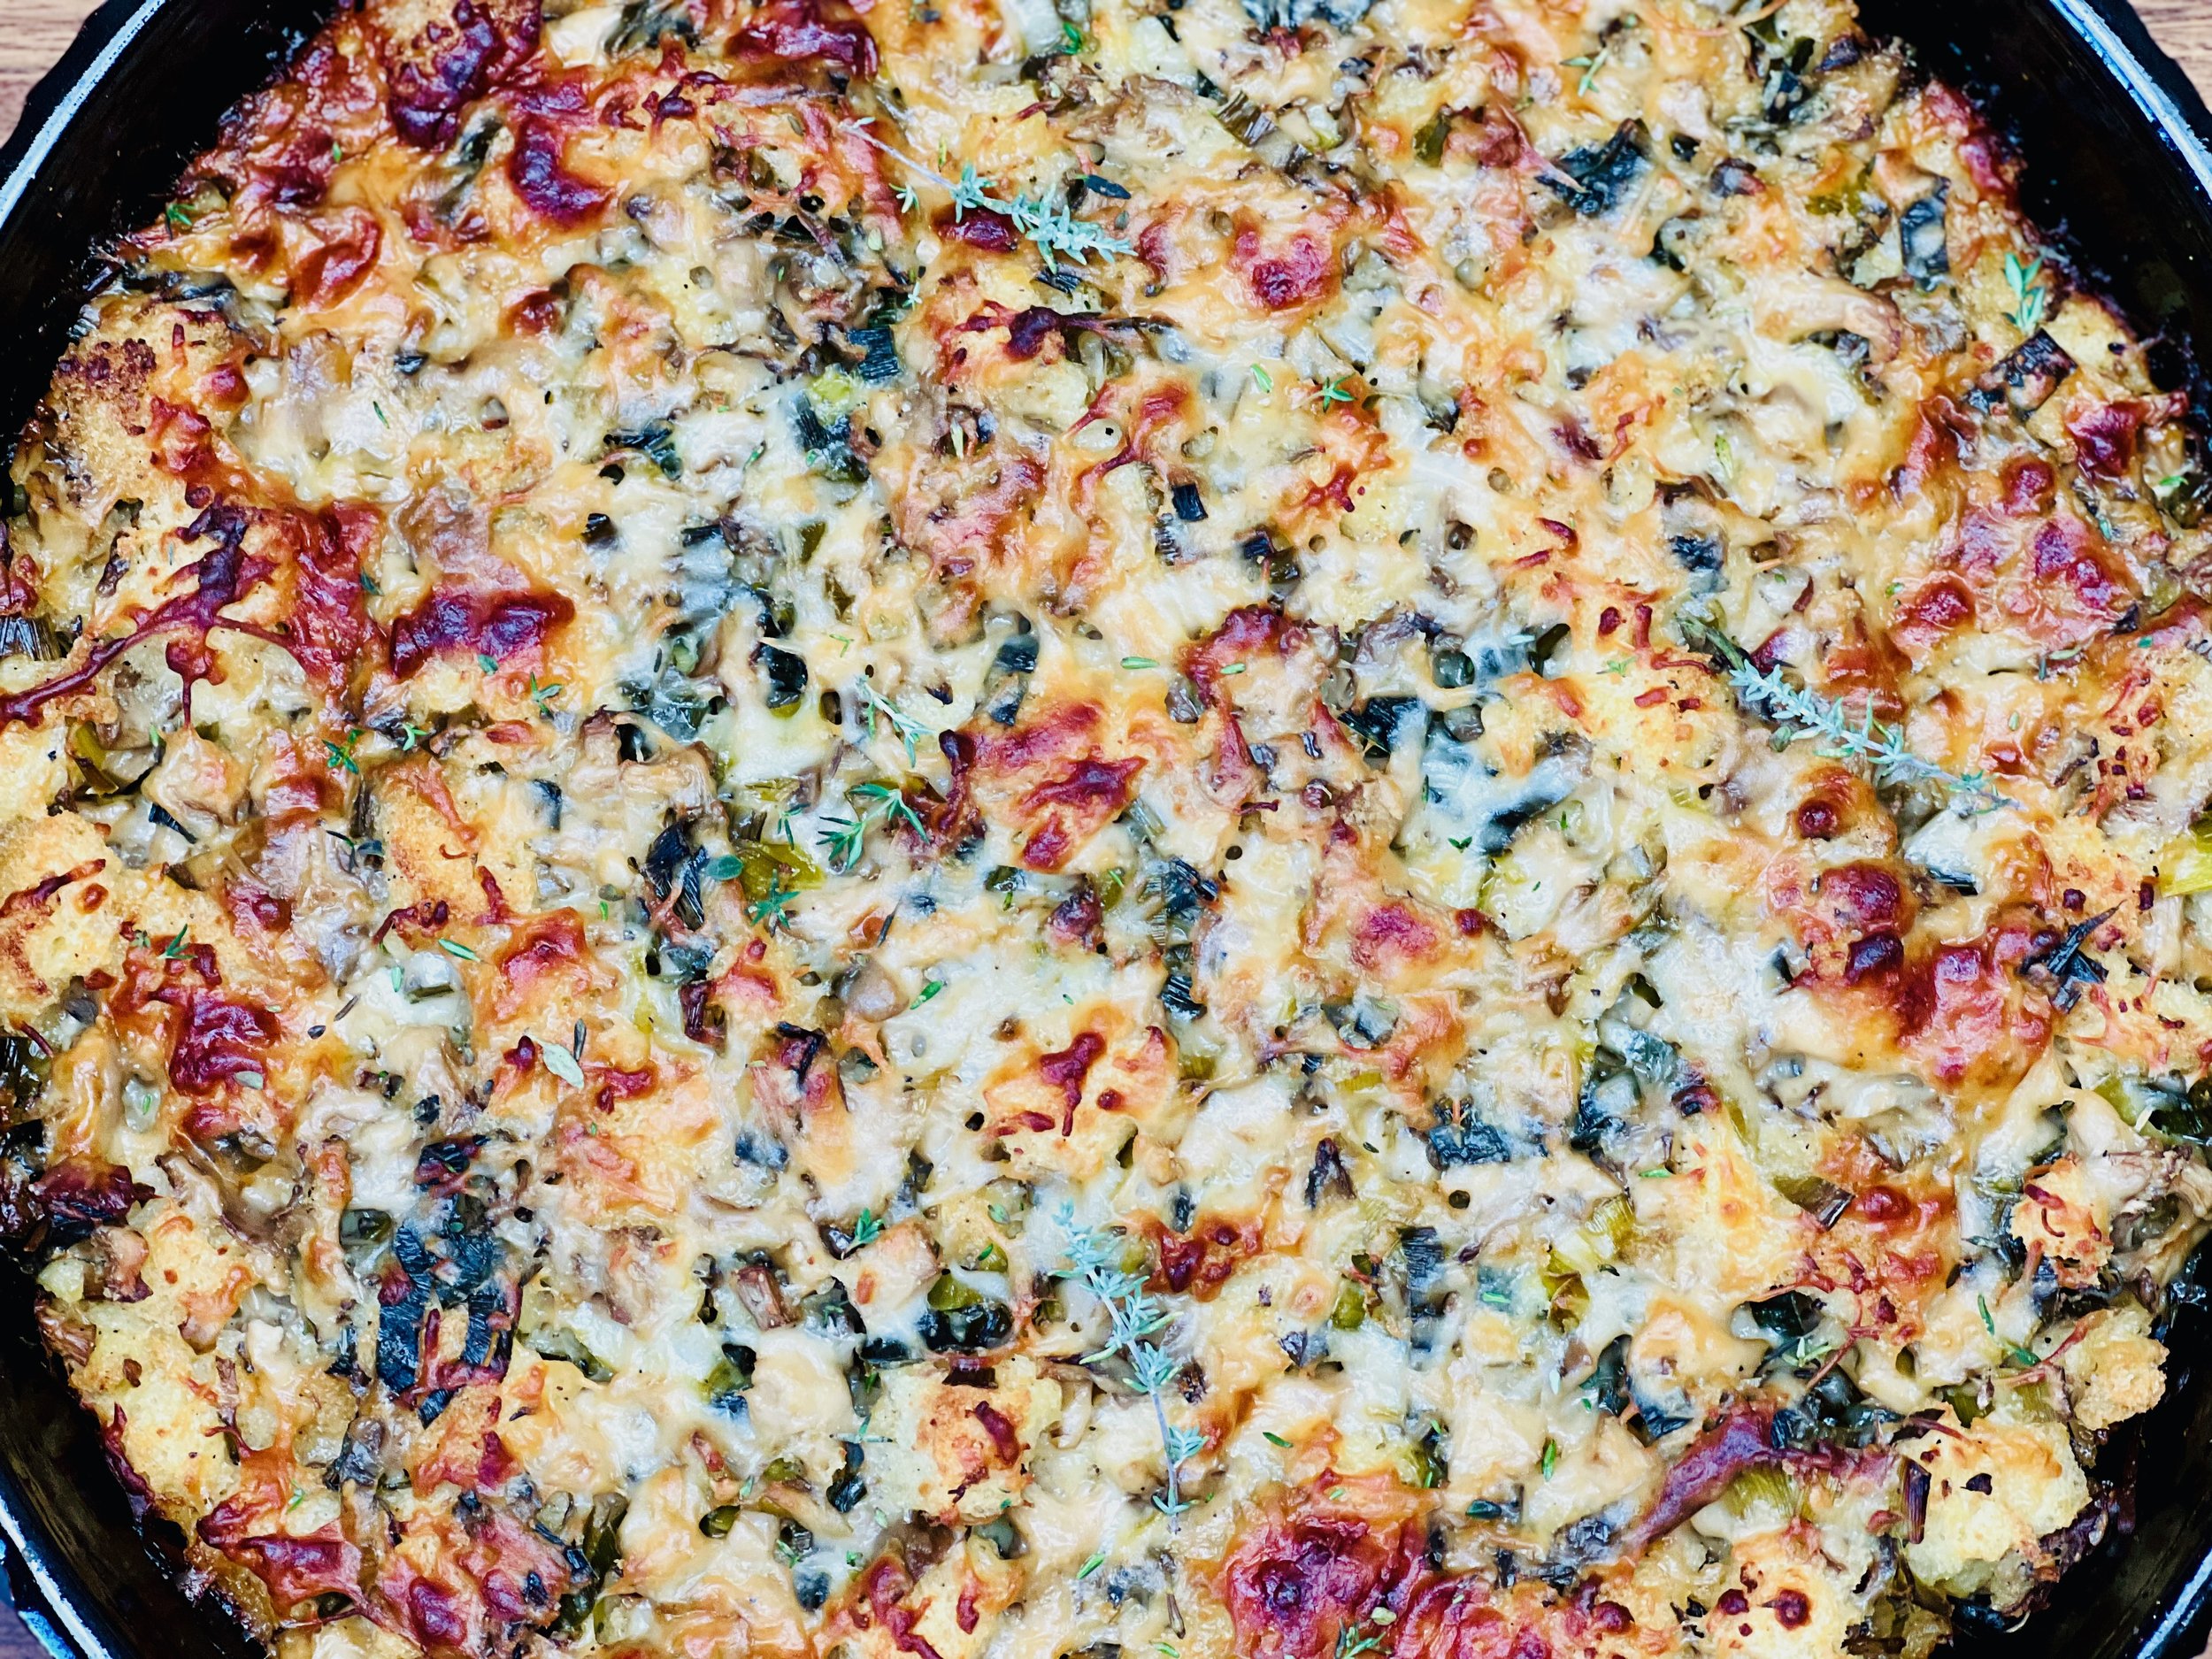
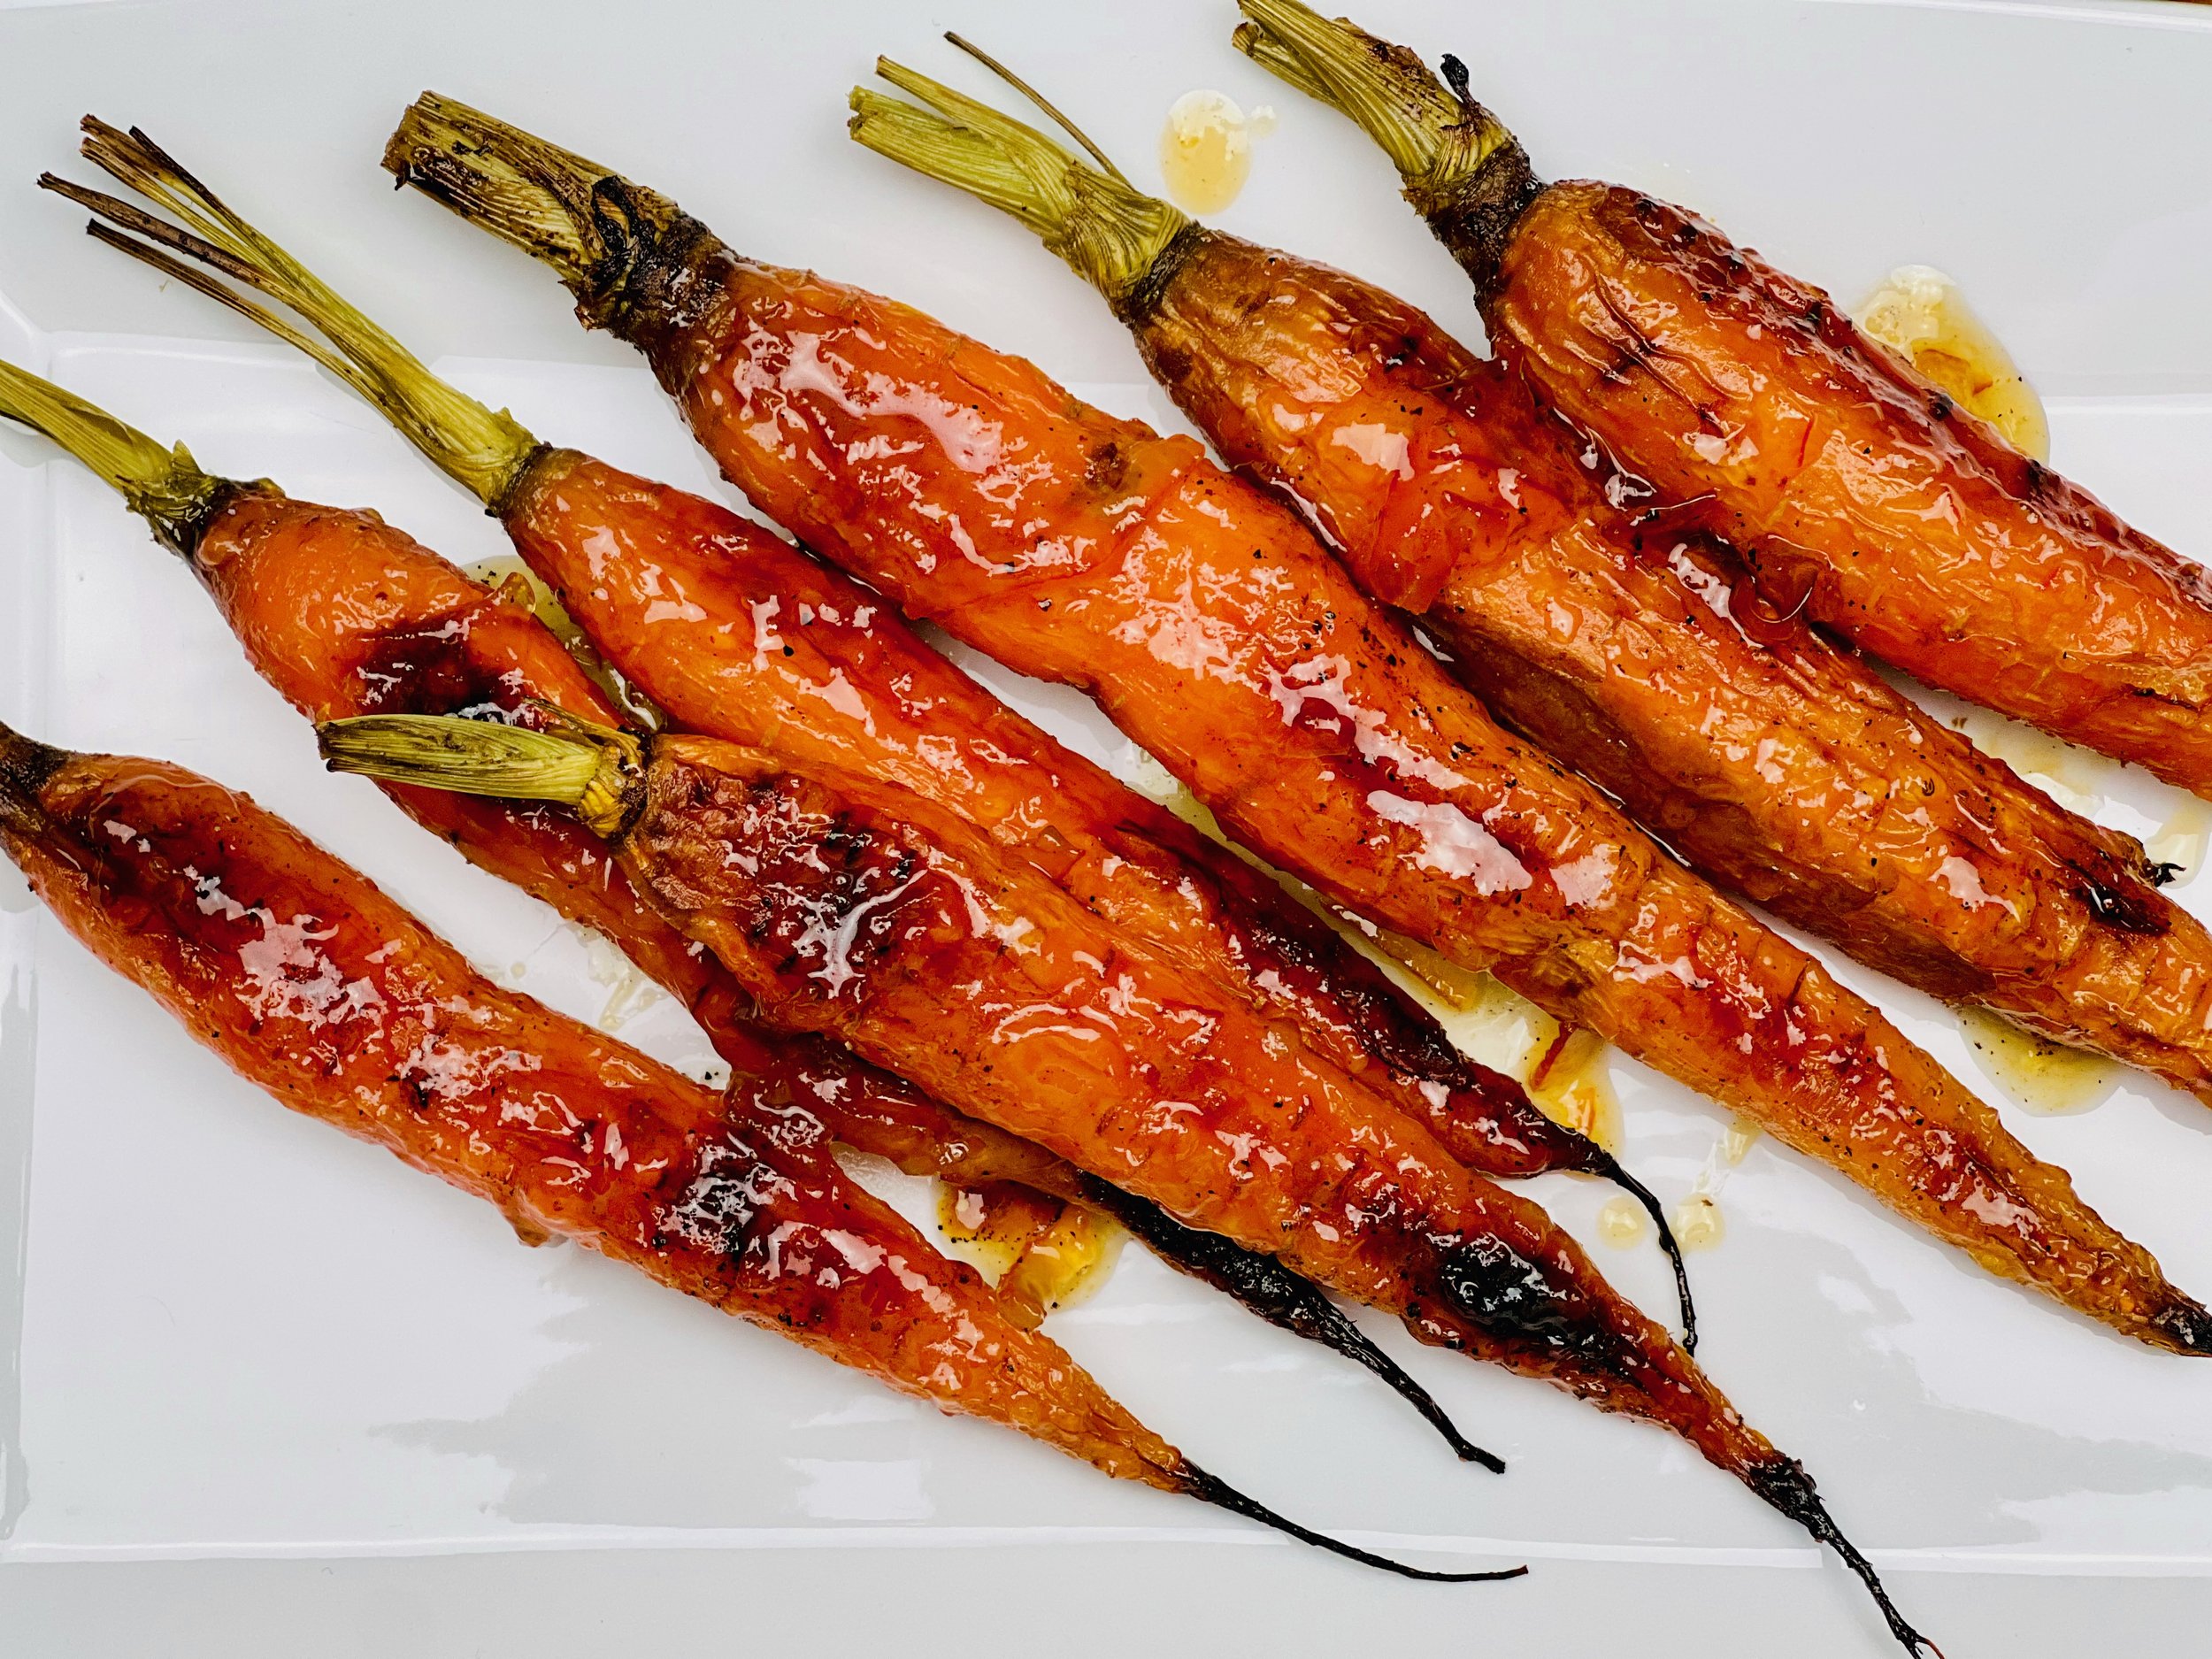
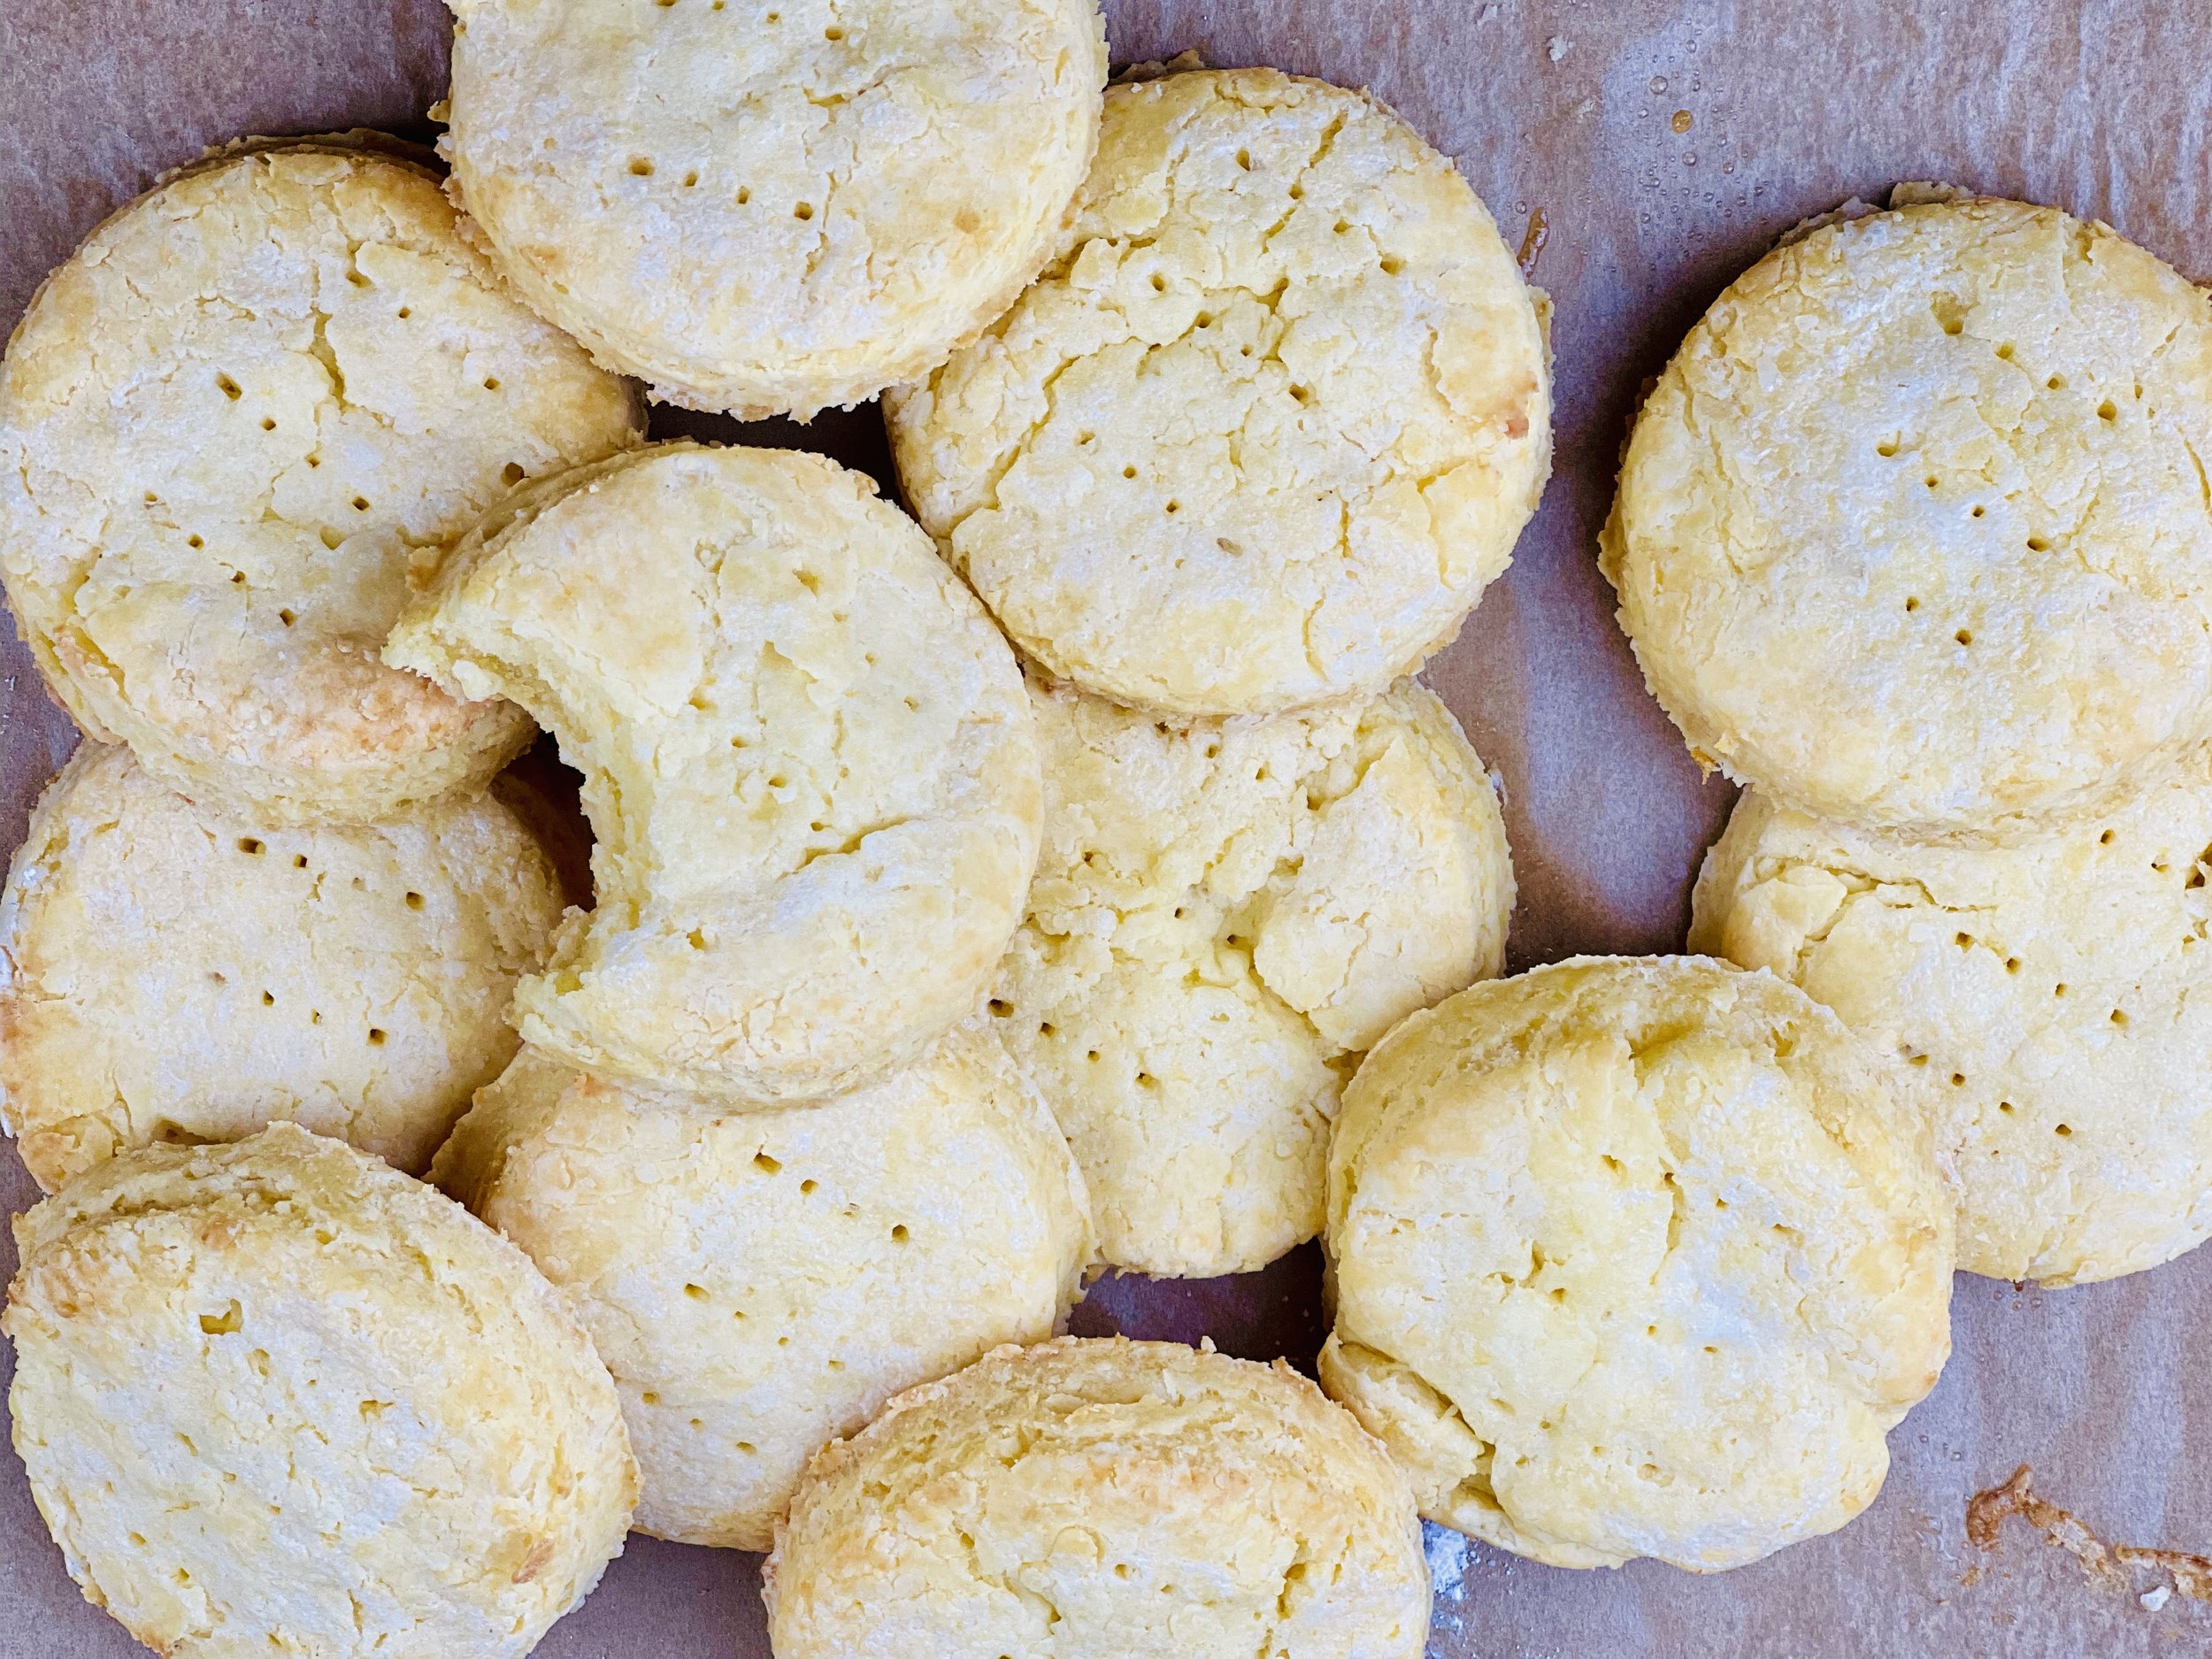
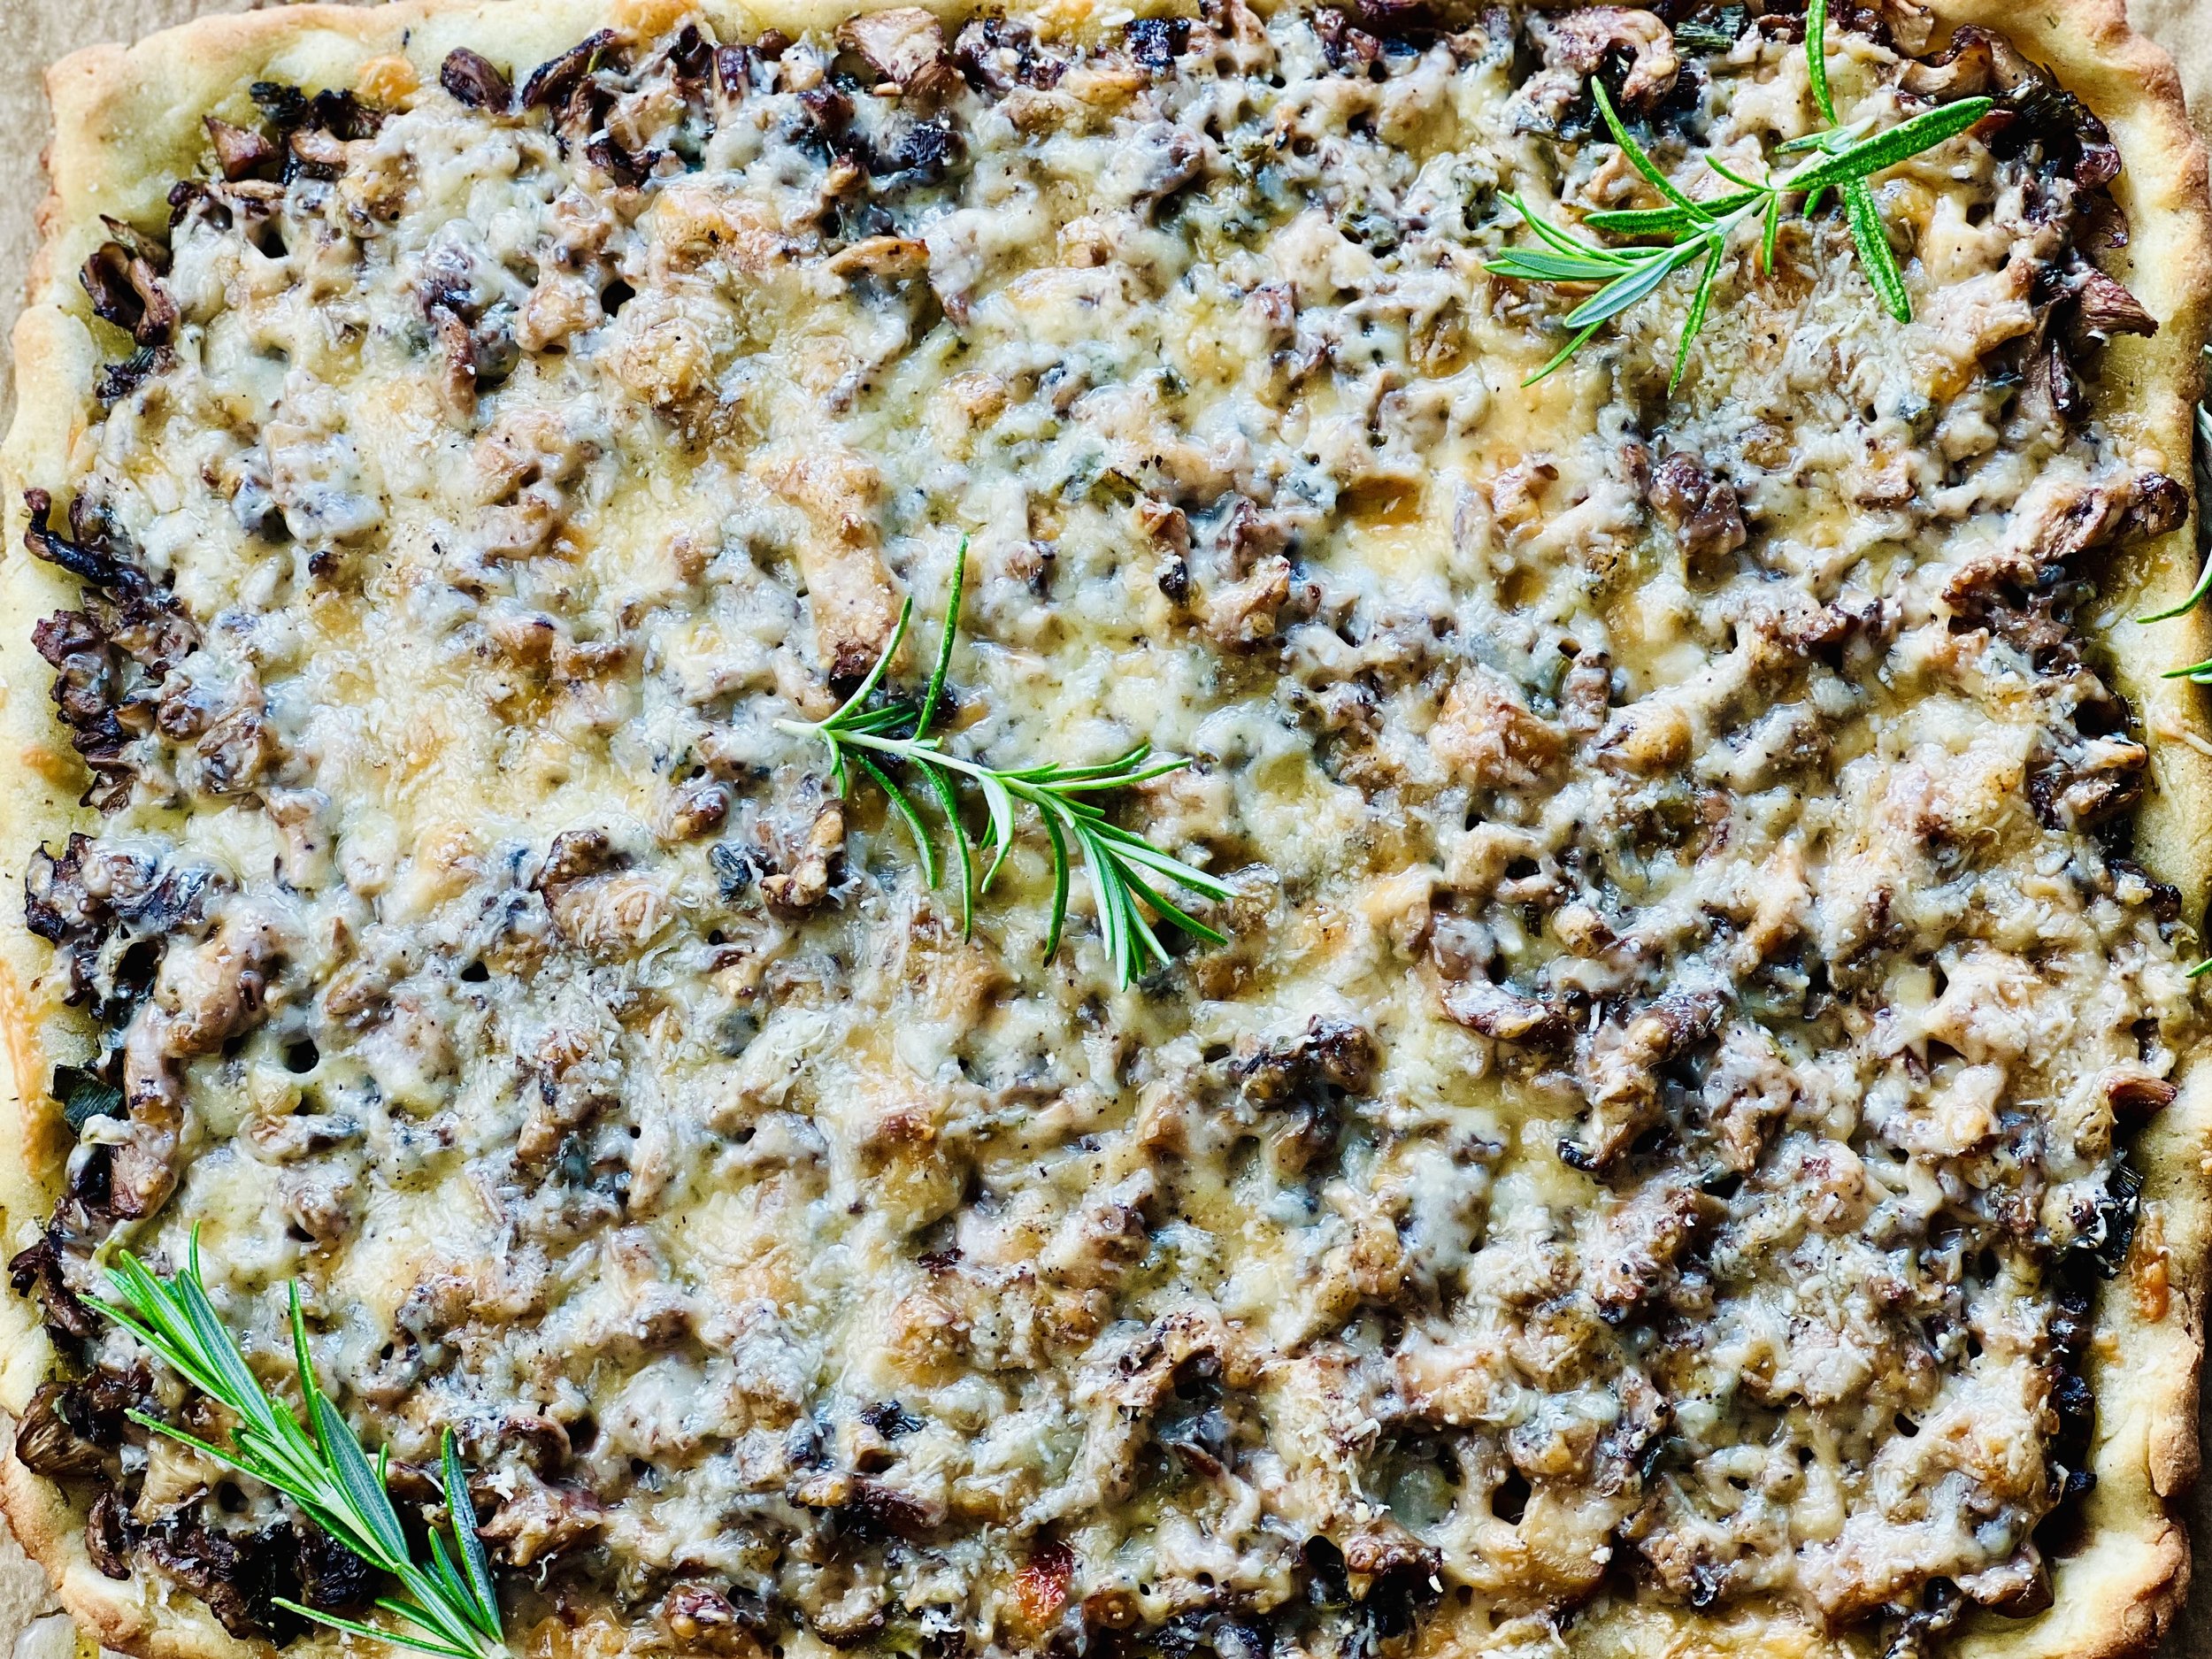
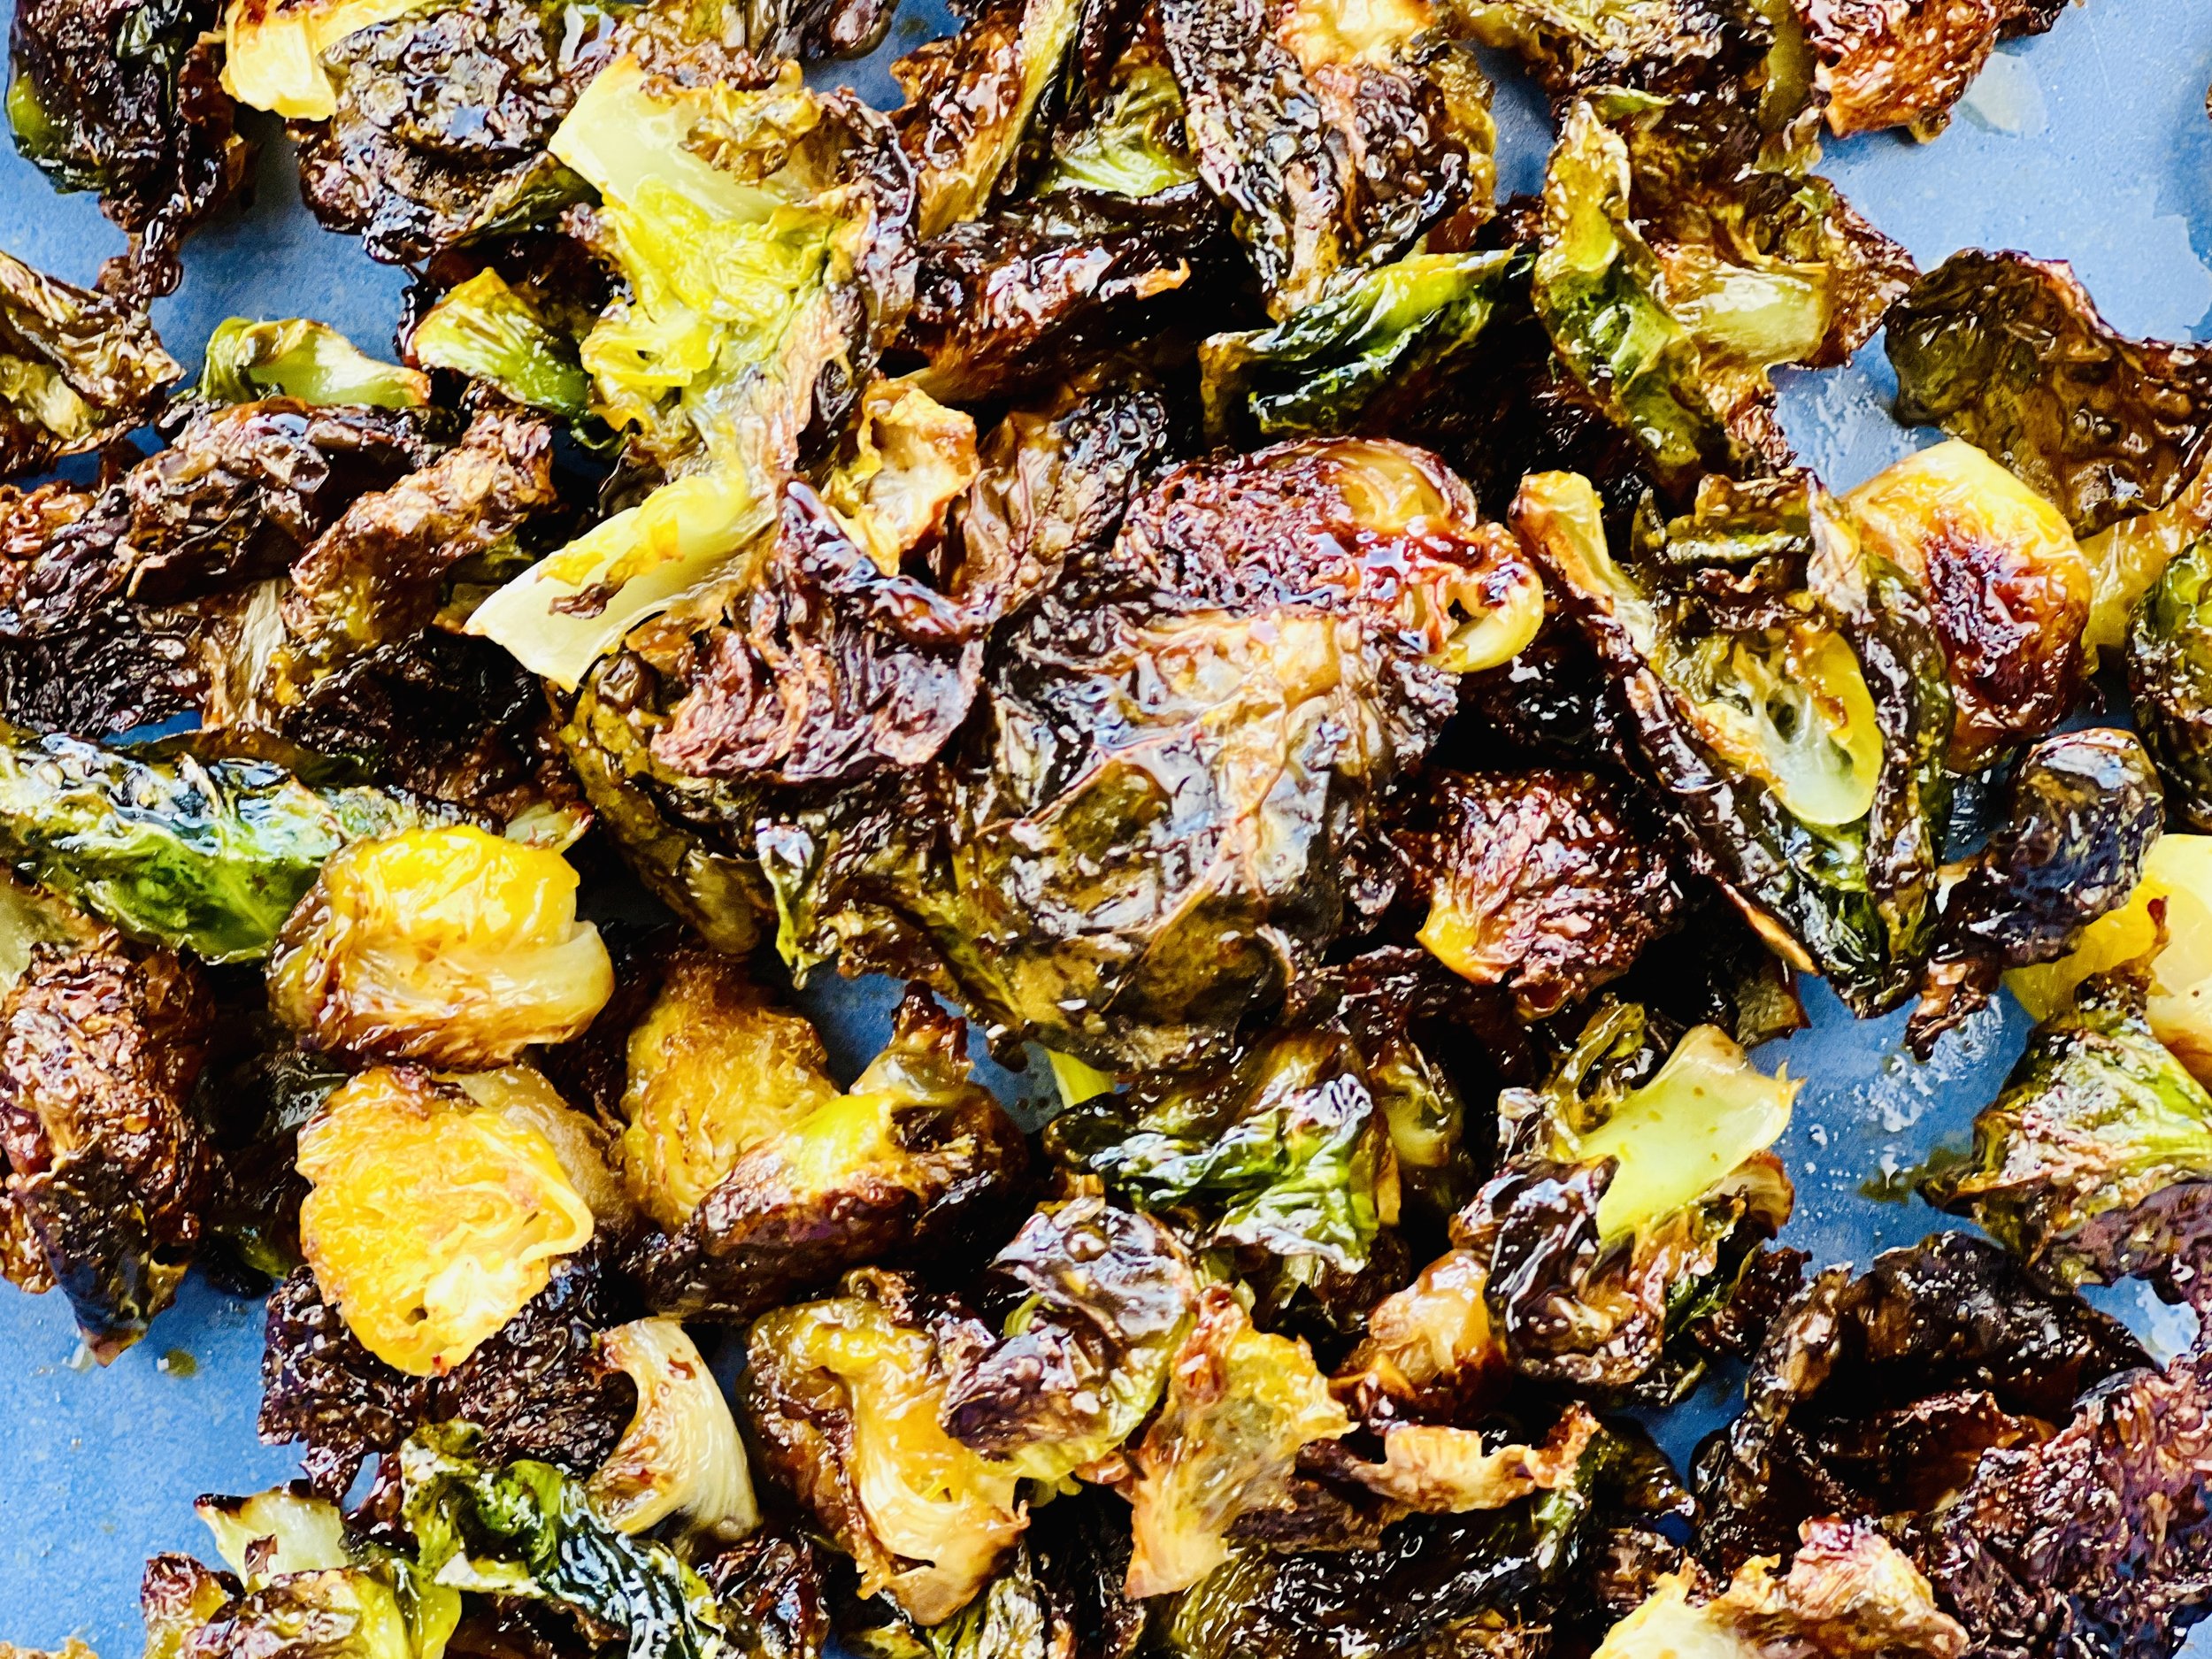

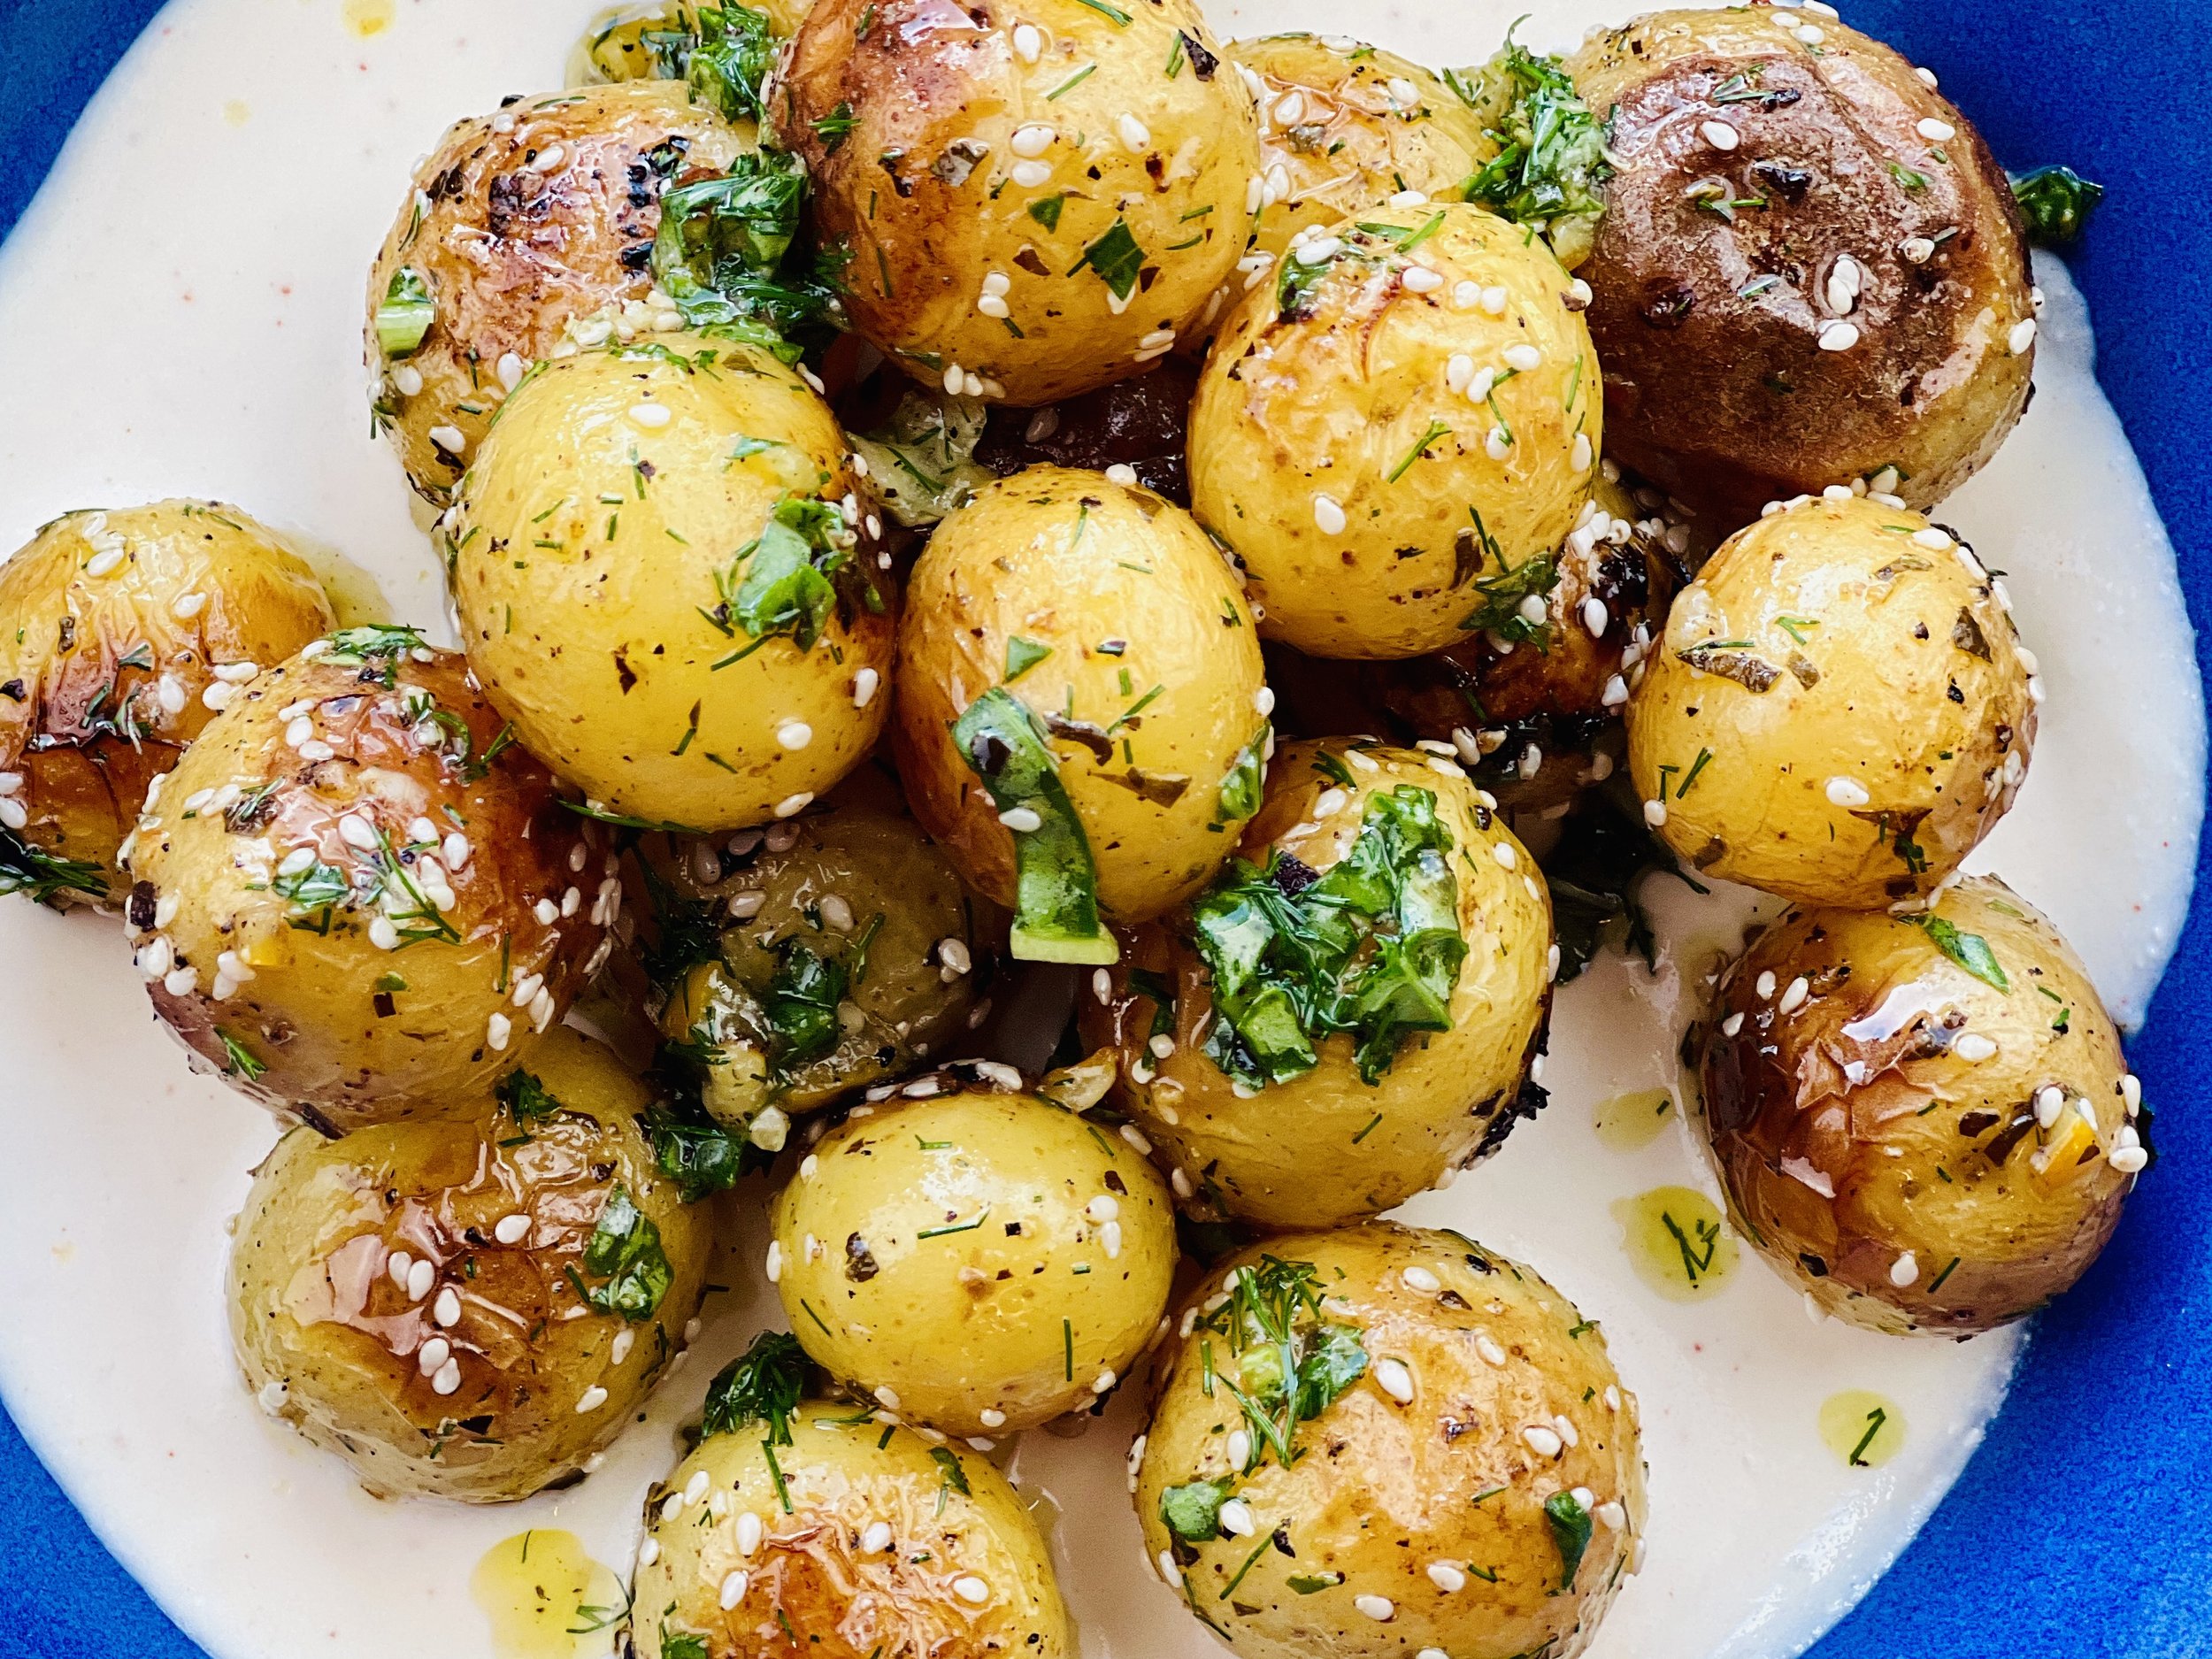
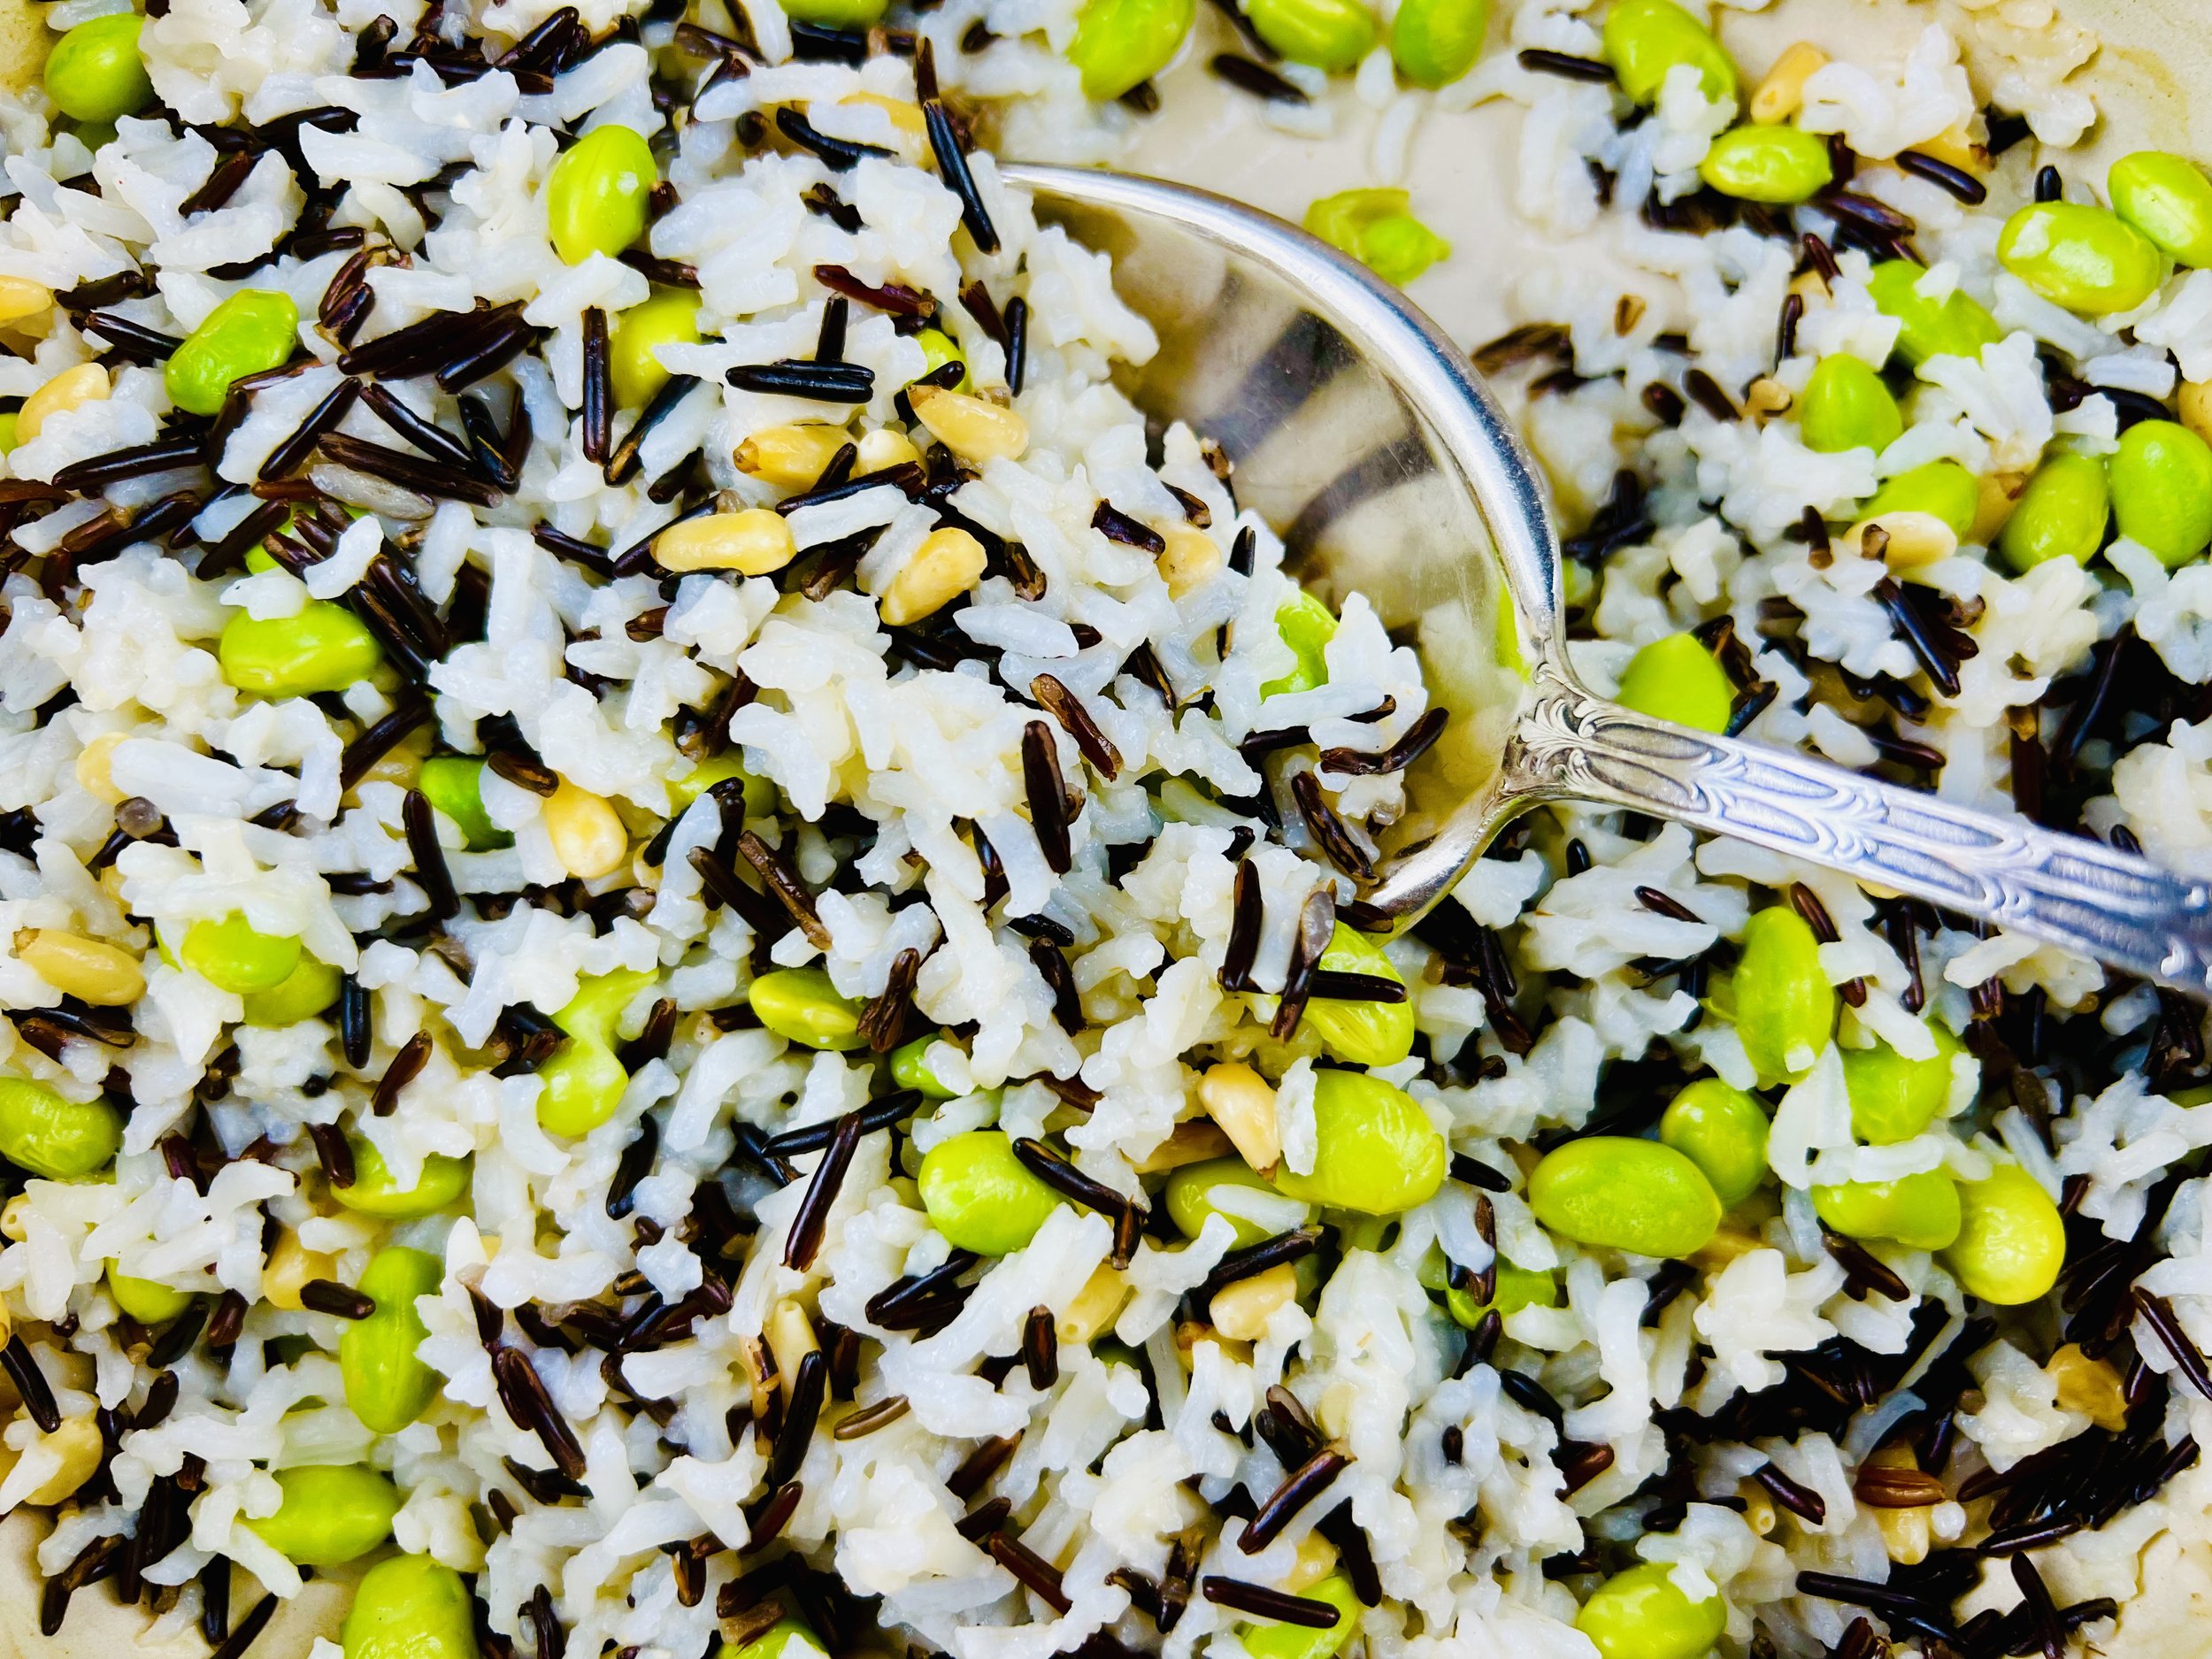
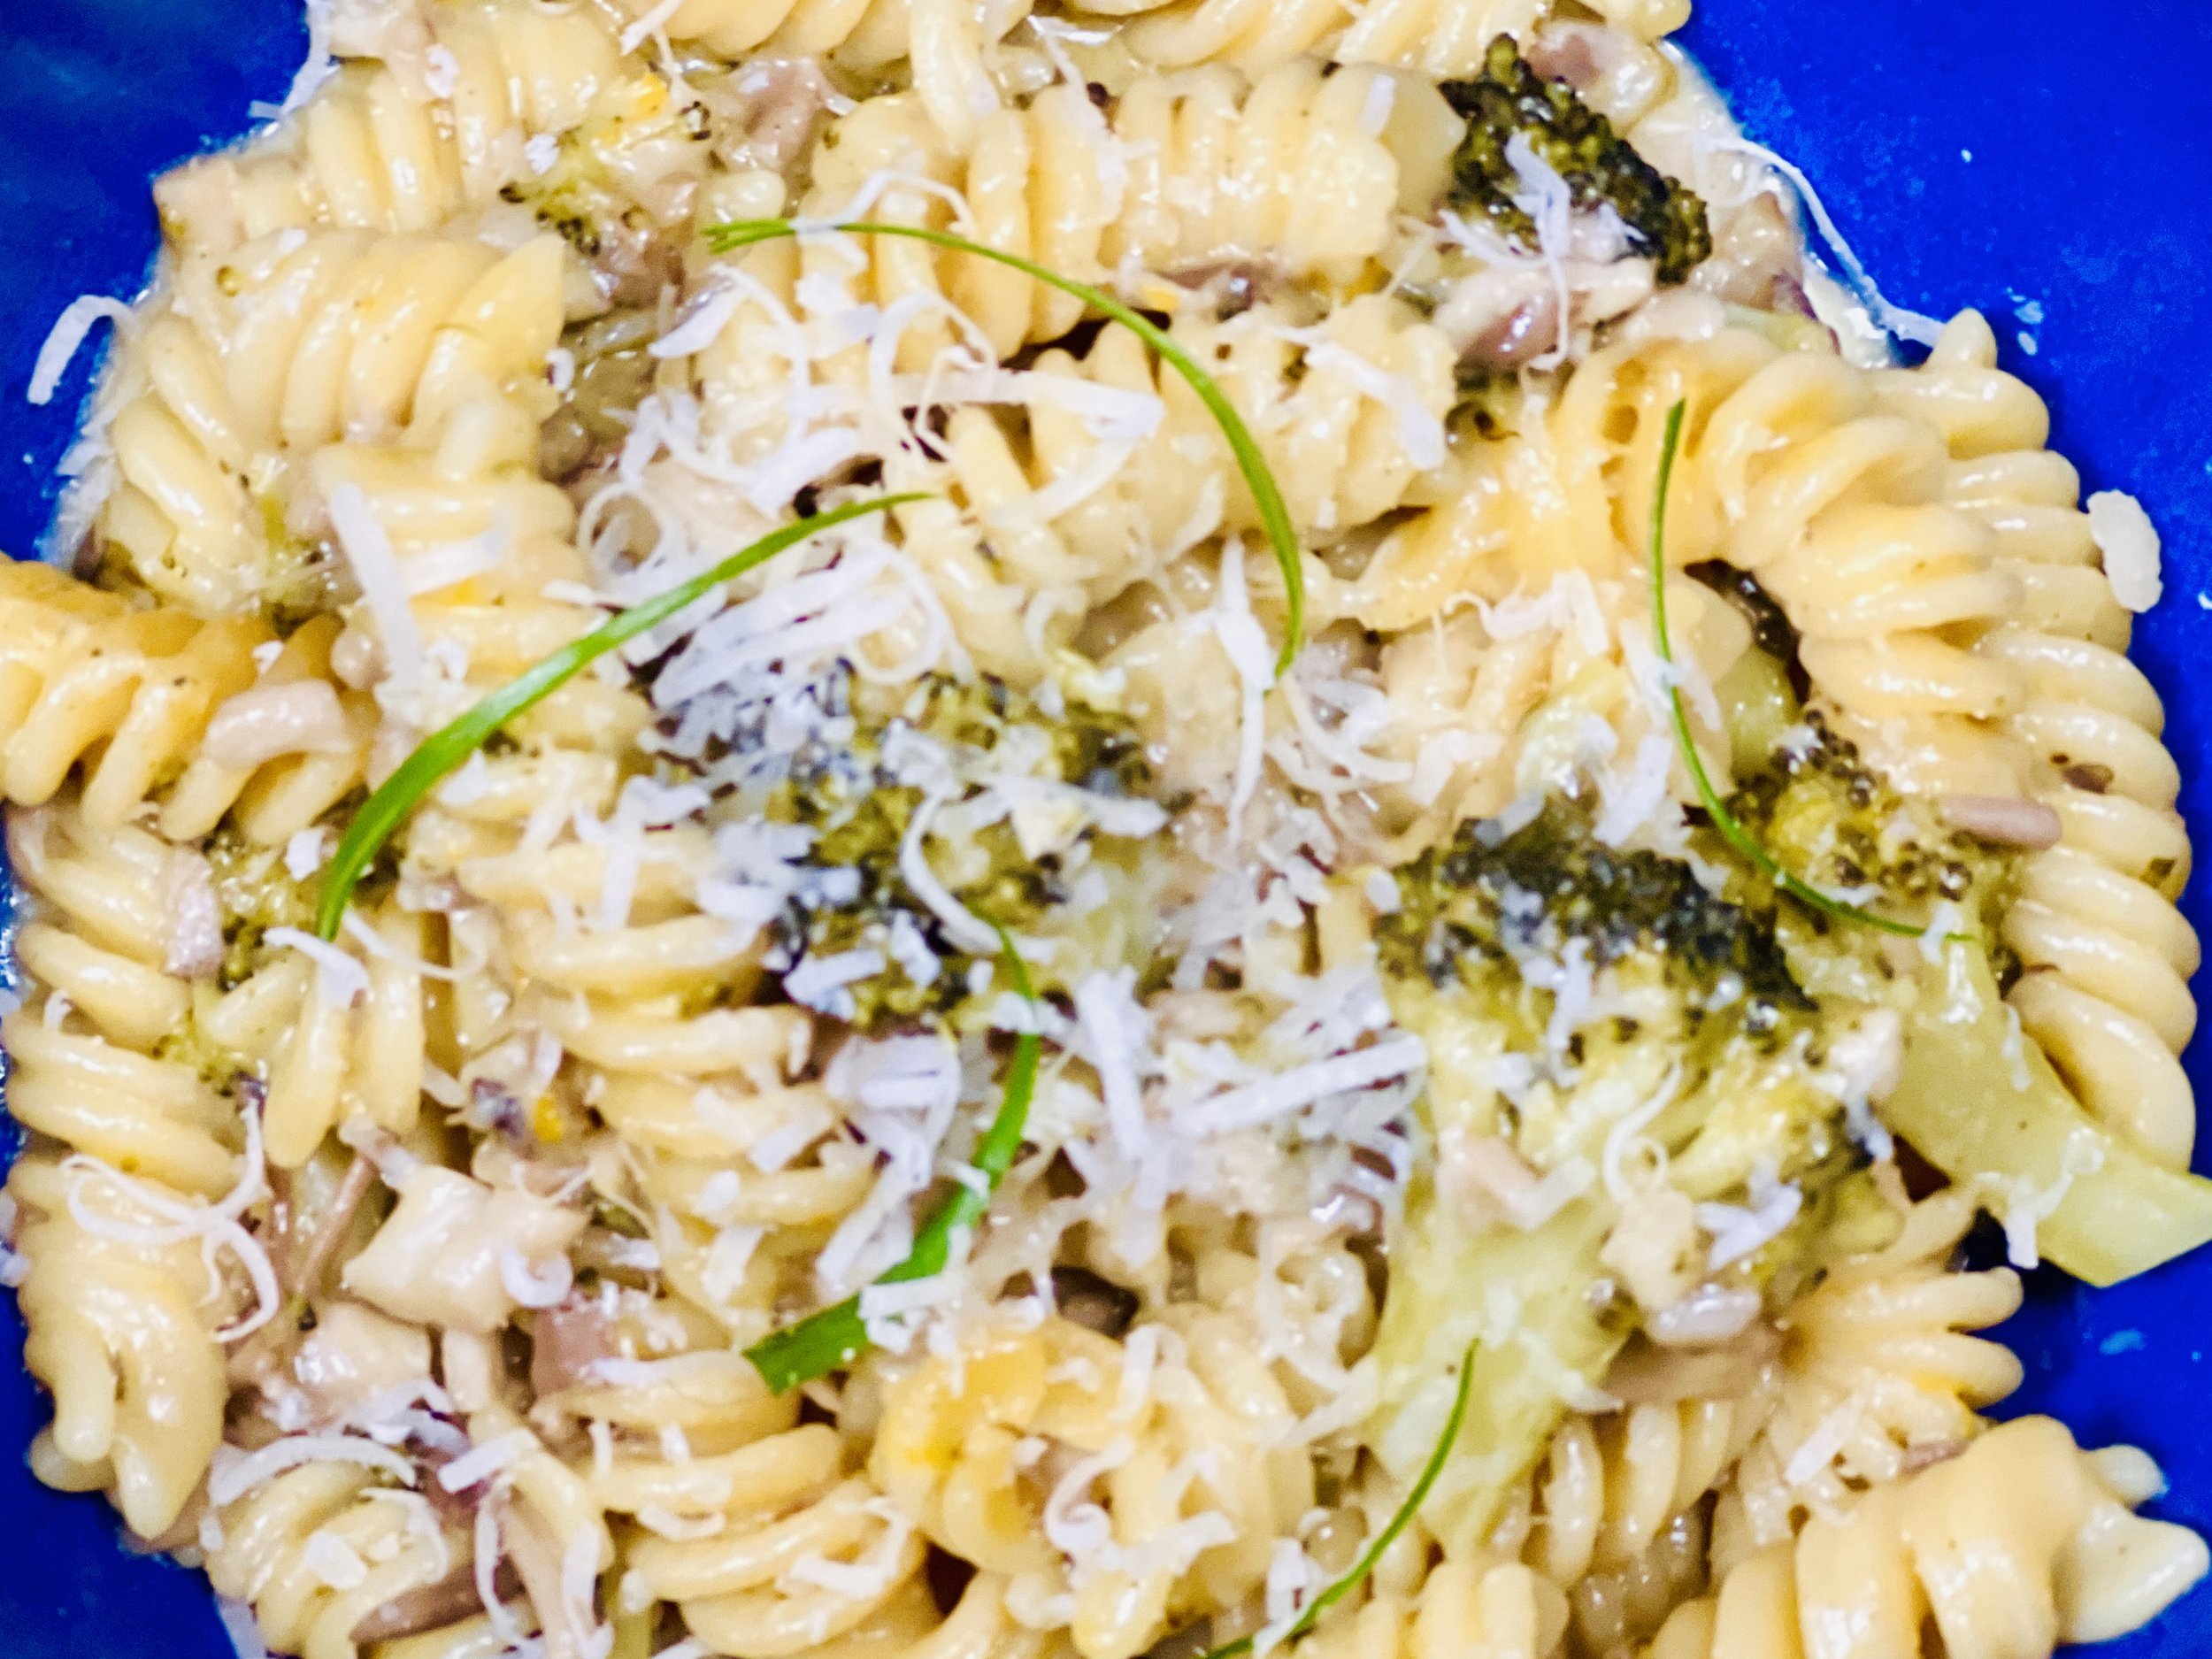
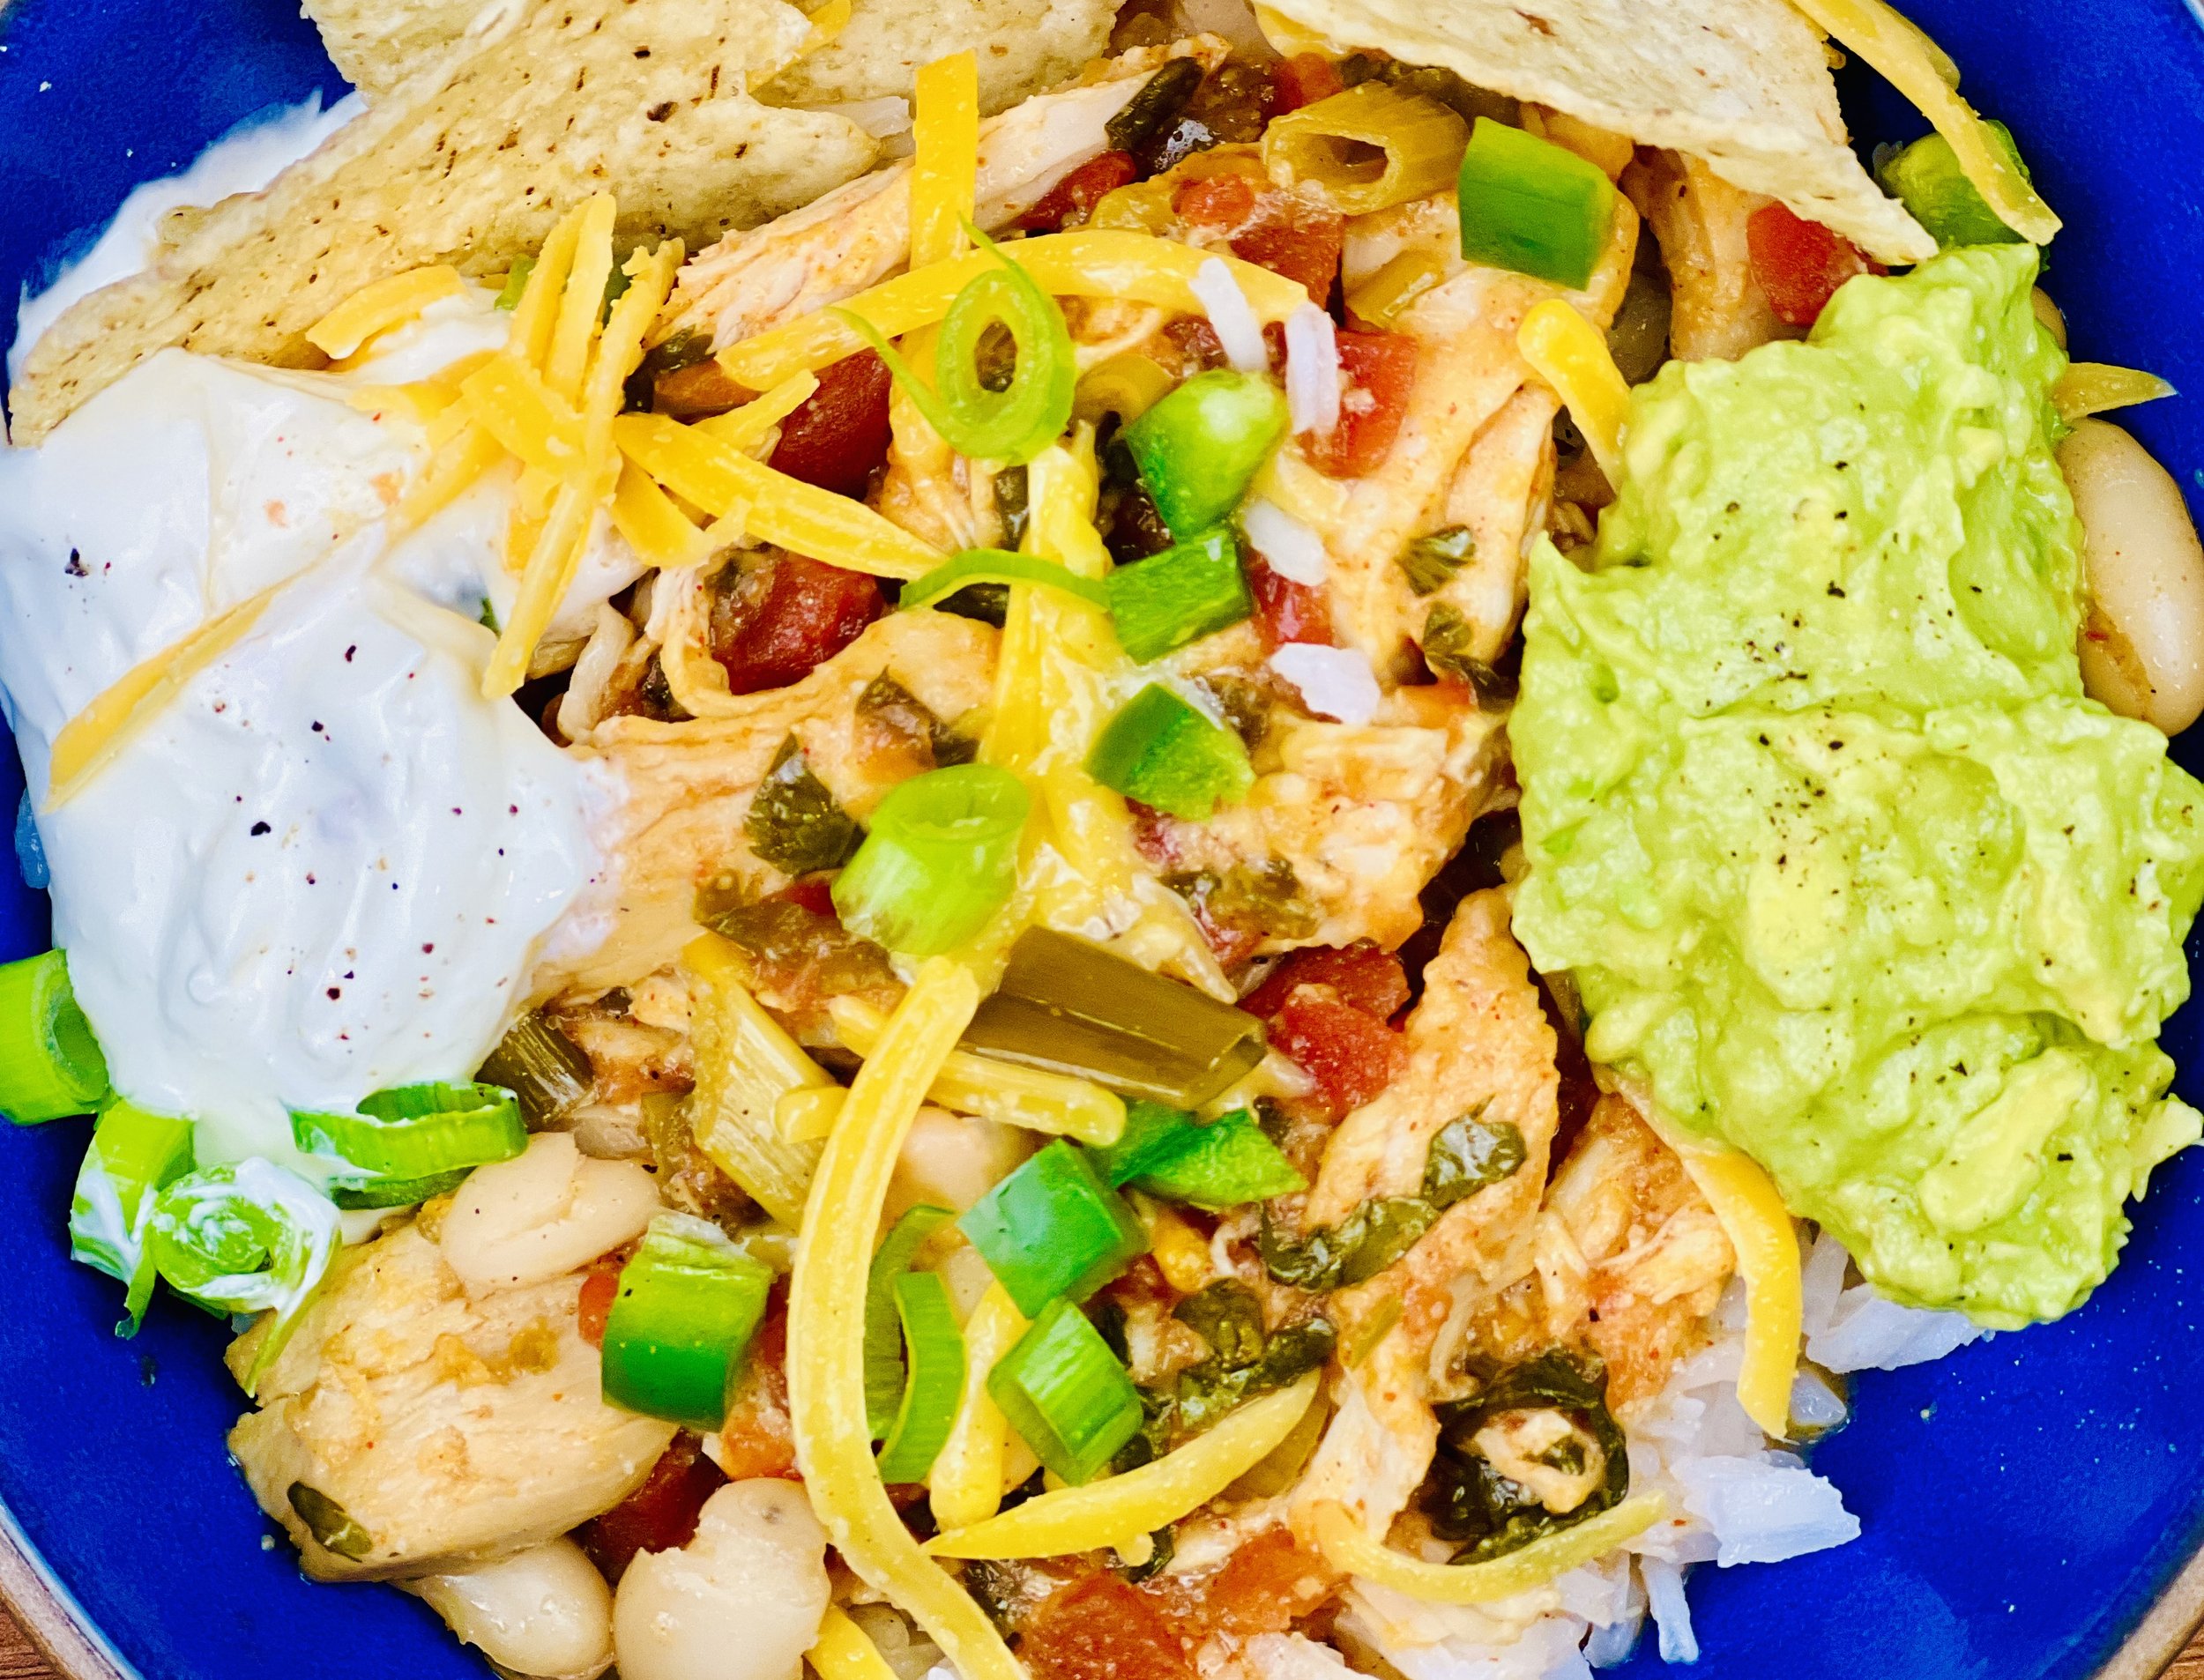
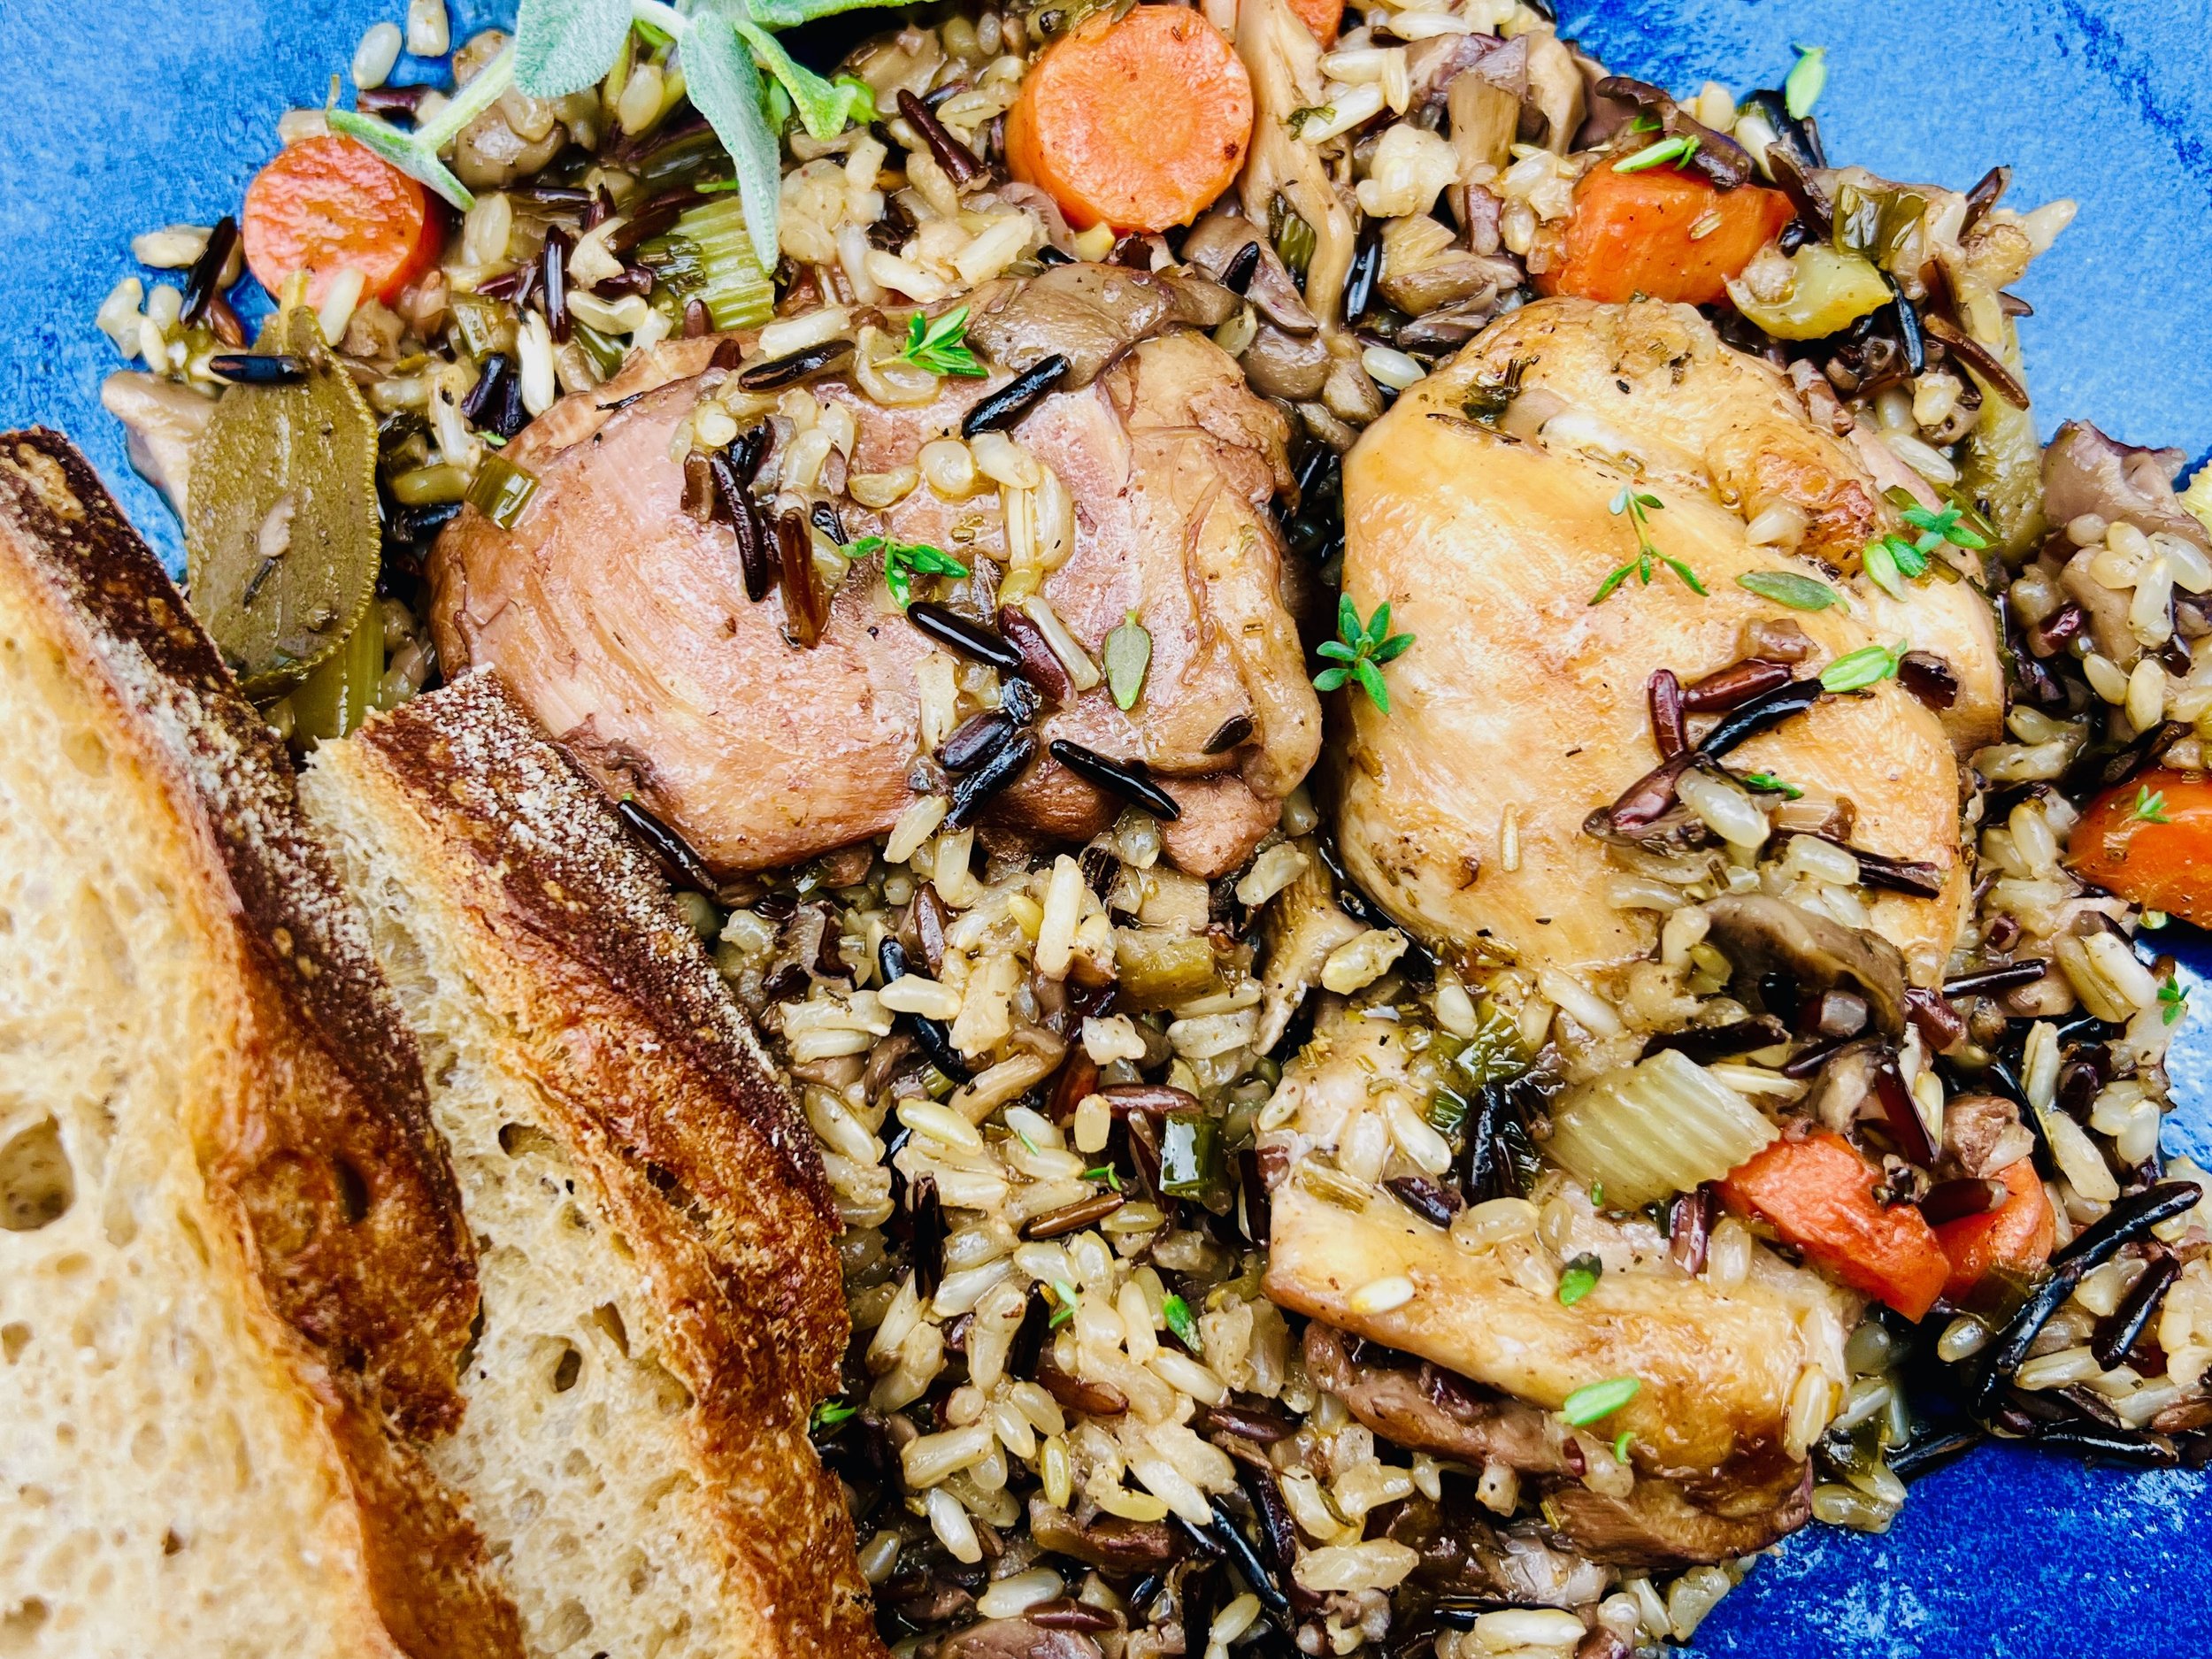
10 Minutes prep • 20 Minutes cook • Low FODMAP • Gluten-free • Serves 4 - 6 • Ok to make ahead: Steps 1-3