Deliciously Low FODMAP
Inspire yourself with hundreds of delicious low FODMAP recipes, tips, and tools, and enjoy the abundance that is yours even when you have IBS.
Use the buttons and filters to find something specific or browse the complete collection for inspiration.
Discover a treasure trove of recipes with my FREE recipe club! Get new ideas delivered straight to your inbox every week.
Deliciously Low FODMAP is a trademark of IBS Game Changer, LLC
Filter to find Recipes and Tools
More Filtering Options
- All 738
- Appetizer 50
- BBQ 46
- Bowl 32
- Breakfast 58
- Cocktails 13
- Collection 1 58
- Collection 10 27
- Collection 11 30
- Collection 12 27
- Collection 13 31
- Collection 14 29
- Collection 15 31
- Collection 16 34
- Collection 17 31
- Collection 18 33
- Collection 19 36
- Collection 2 32
- Collection 20 33
- Collection 21 33
- Collection 22 40
- Collection 23 20
- Collection 24 1
- Collection 3 28
- Collection 4 29
- Collection 5 30
- Collection 6 32
- Collection 7 31
- Collection 8 31
- Collection 9 32
- Condiments 6
- Crock Pot 4
- Dessert 109
- Diabetes Game Changer Exception Protocol Contains Alcohol 11
- Diabetes Game Changer Exception Protocol Contains Flour 109
- Diabetes Game Changer Exception Protocol Contains Flour AND Sugar 78
- Diabetes Game Changer Exception Protocol Contains Sugar 49
- Diabetes Game Changer First Four Weeks 370
- Dinner 337
- Drink 8
- Easter 1
- Free Guide 17
- Gluten-free 599
- Gut Microbiome 2
- Guthealth 3
- Holidays 69
- IBS Triggers 4
- Keto Friendly 128
- Lactose-Free 175
- Low FODMAP Diet 724
SnS Smokehouse Chicken (Low FODMAP)
5 Minutes prep • 25 Minutes cook • Low FODMAP • Gluten-free • Serves 2
5 Minutes prep • 25 Minutes cook • Low FODMAP • Gluten-free • Serves 2 • Ok to make ahead: Steps 1-3
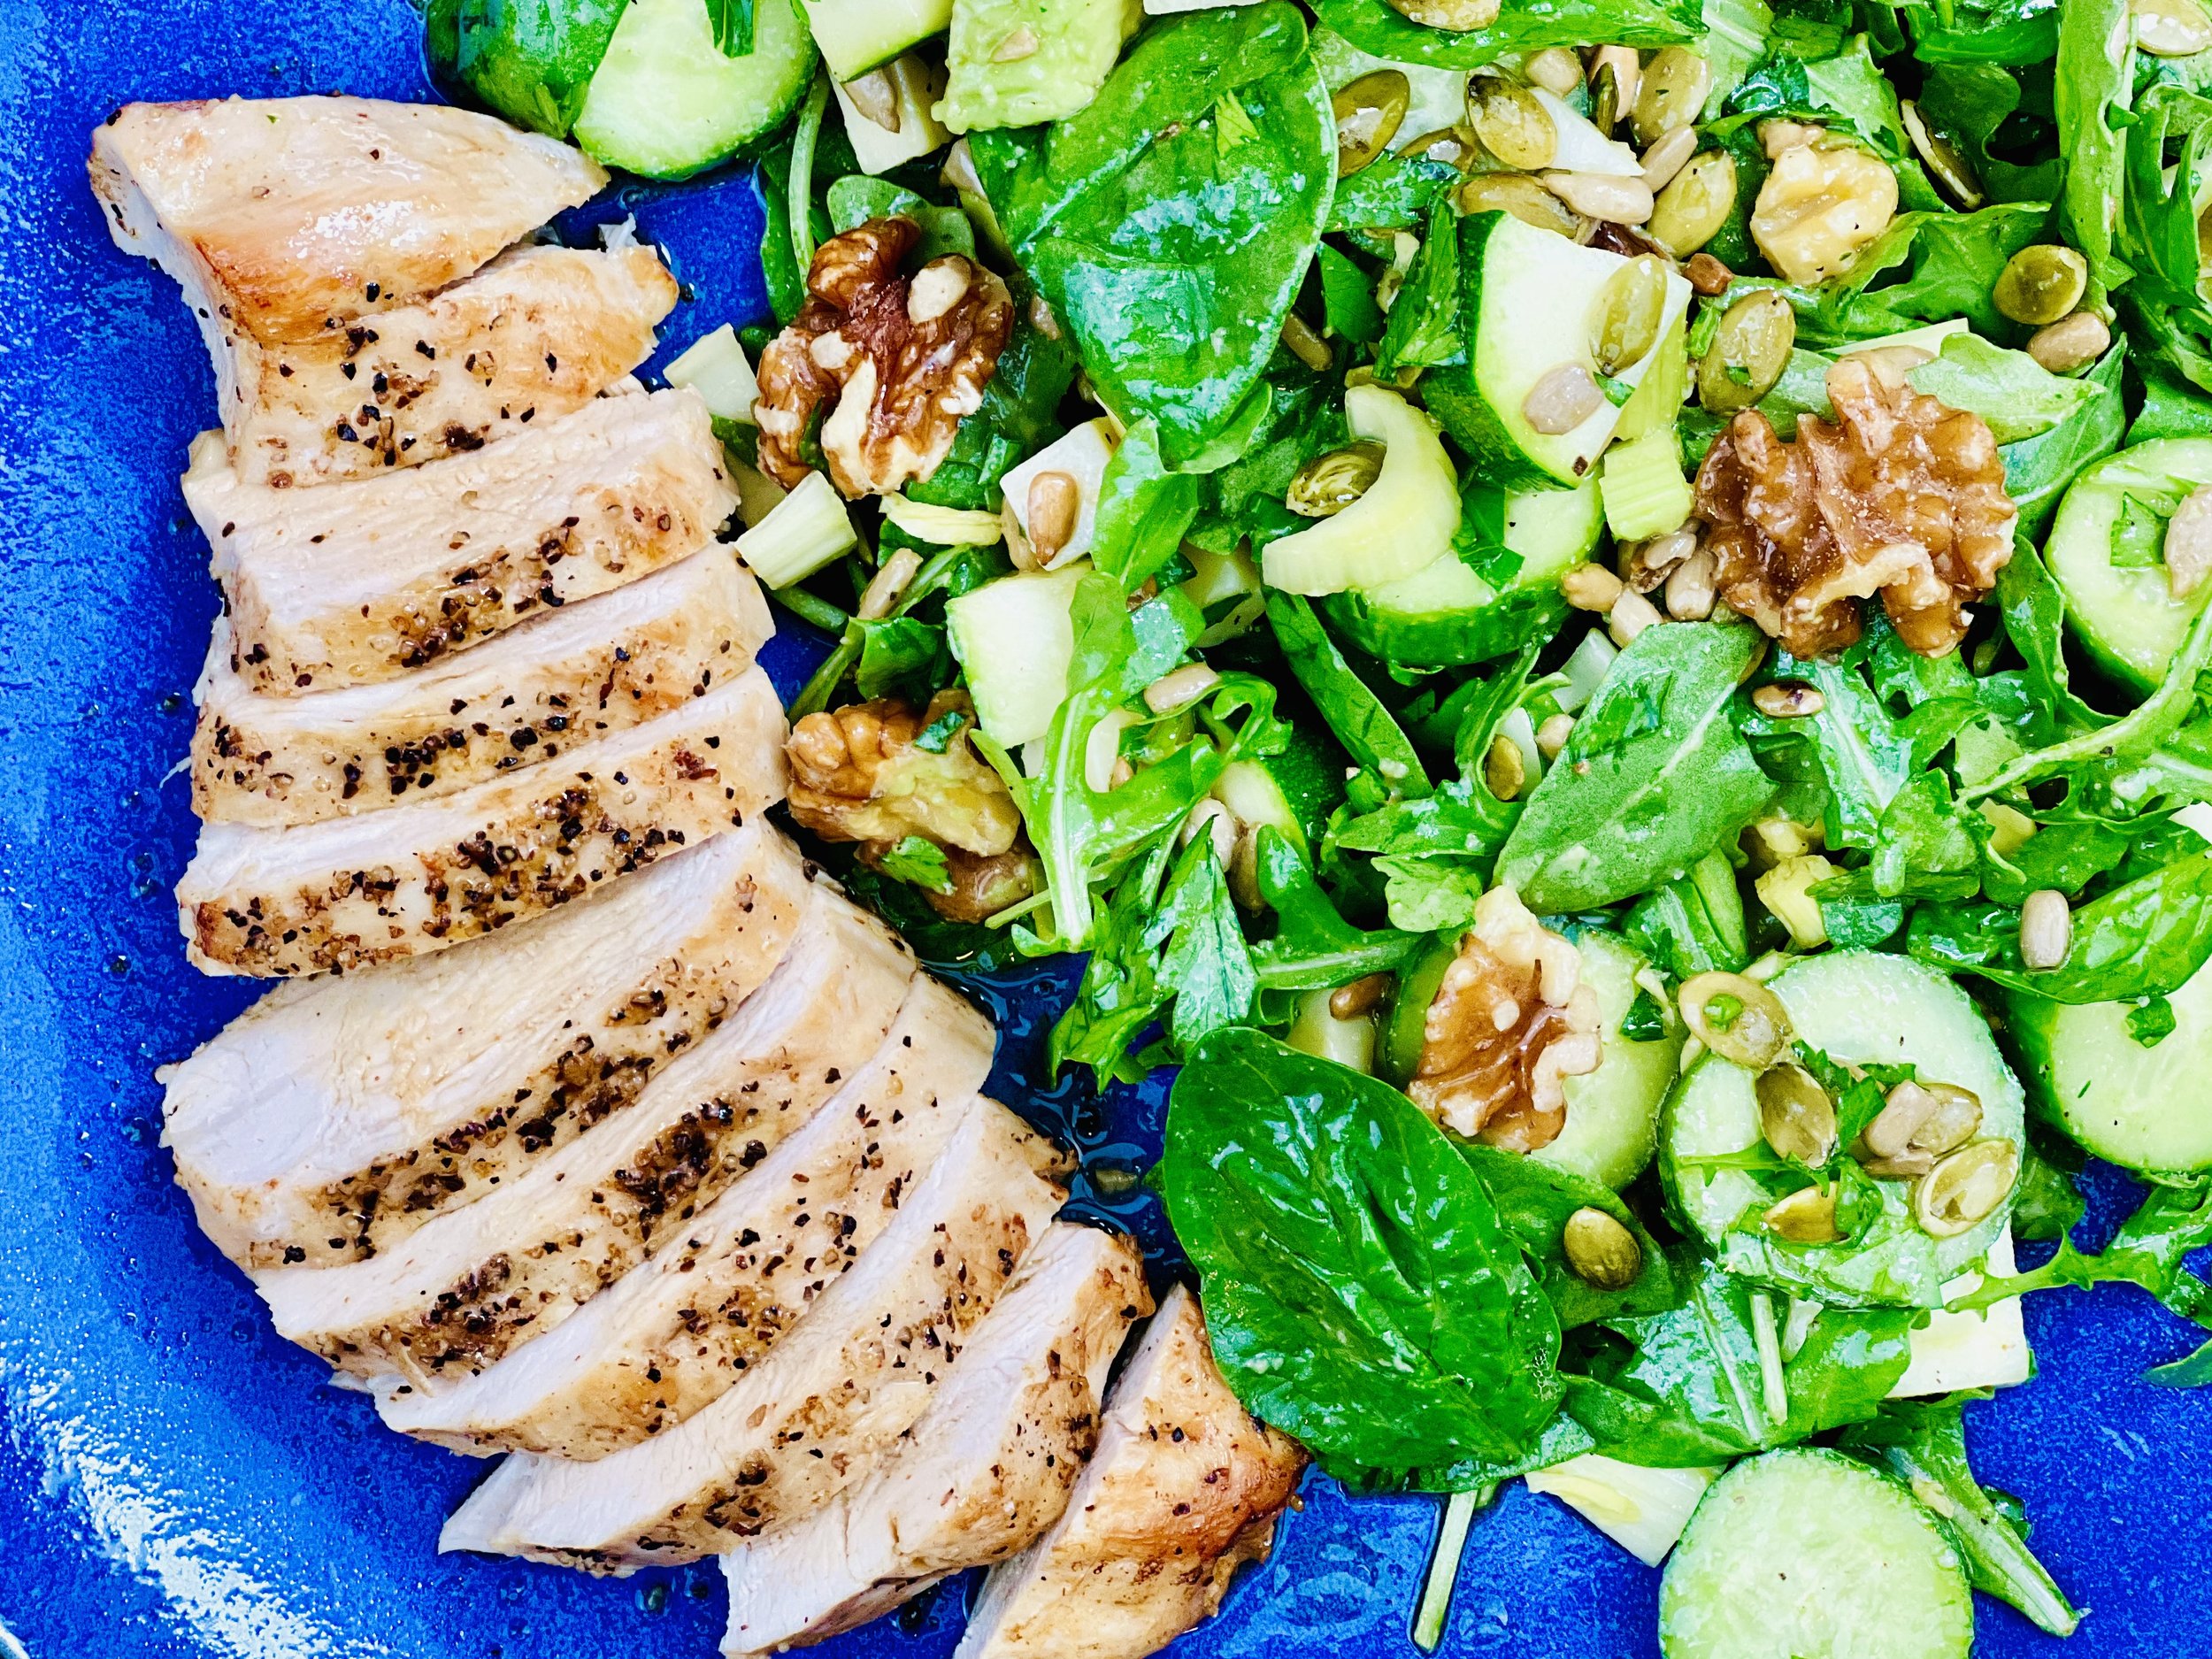
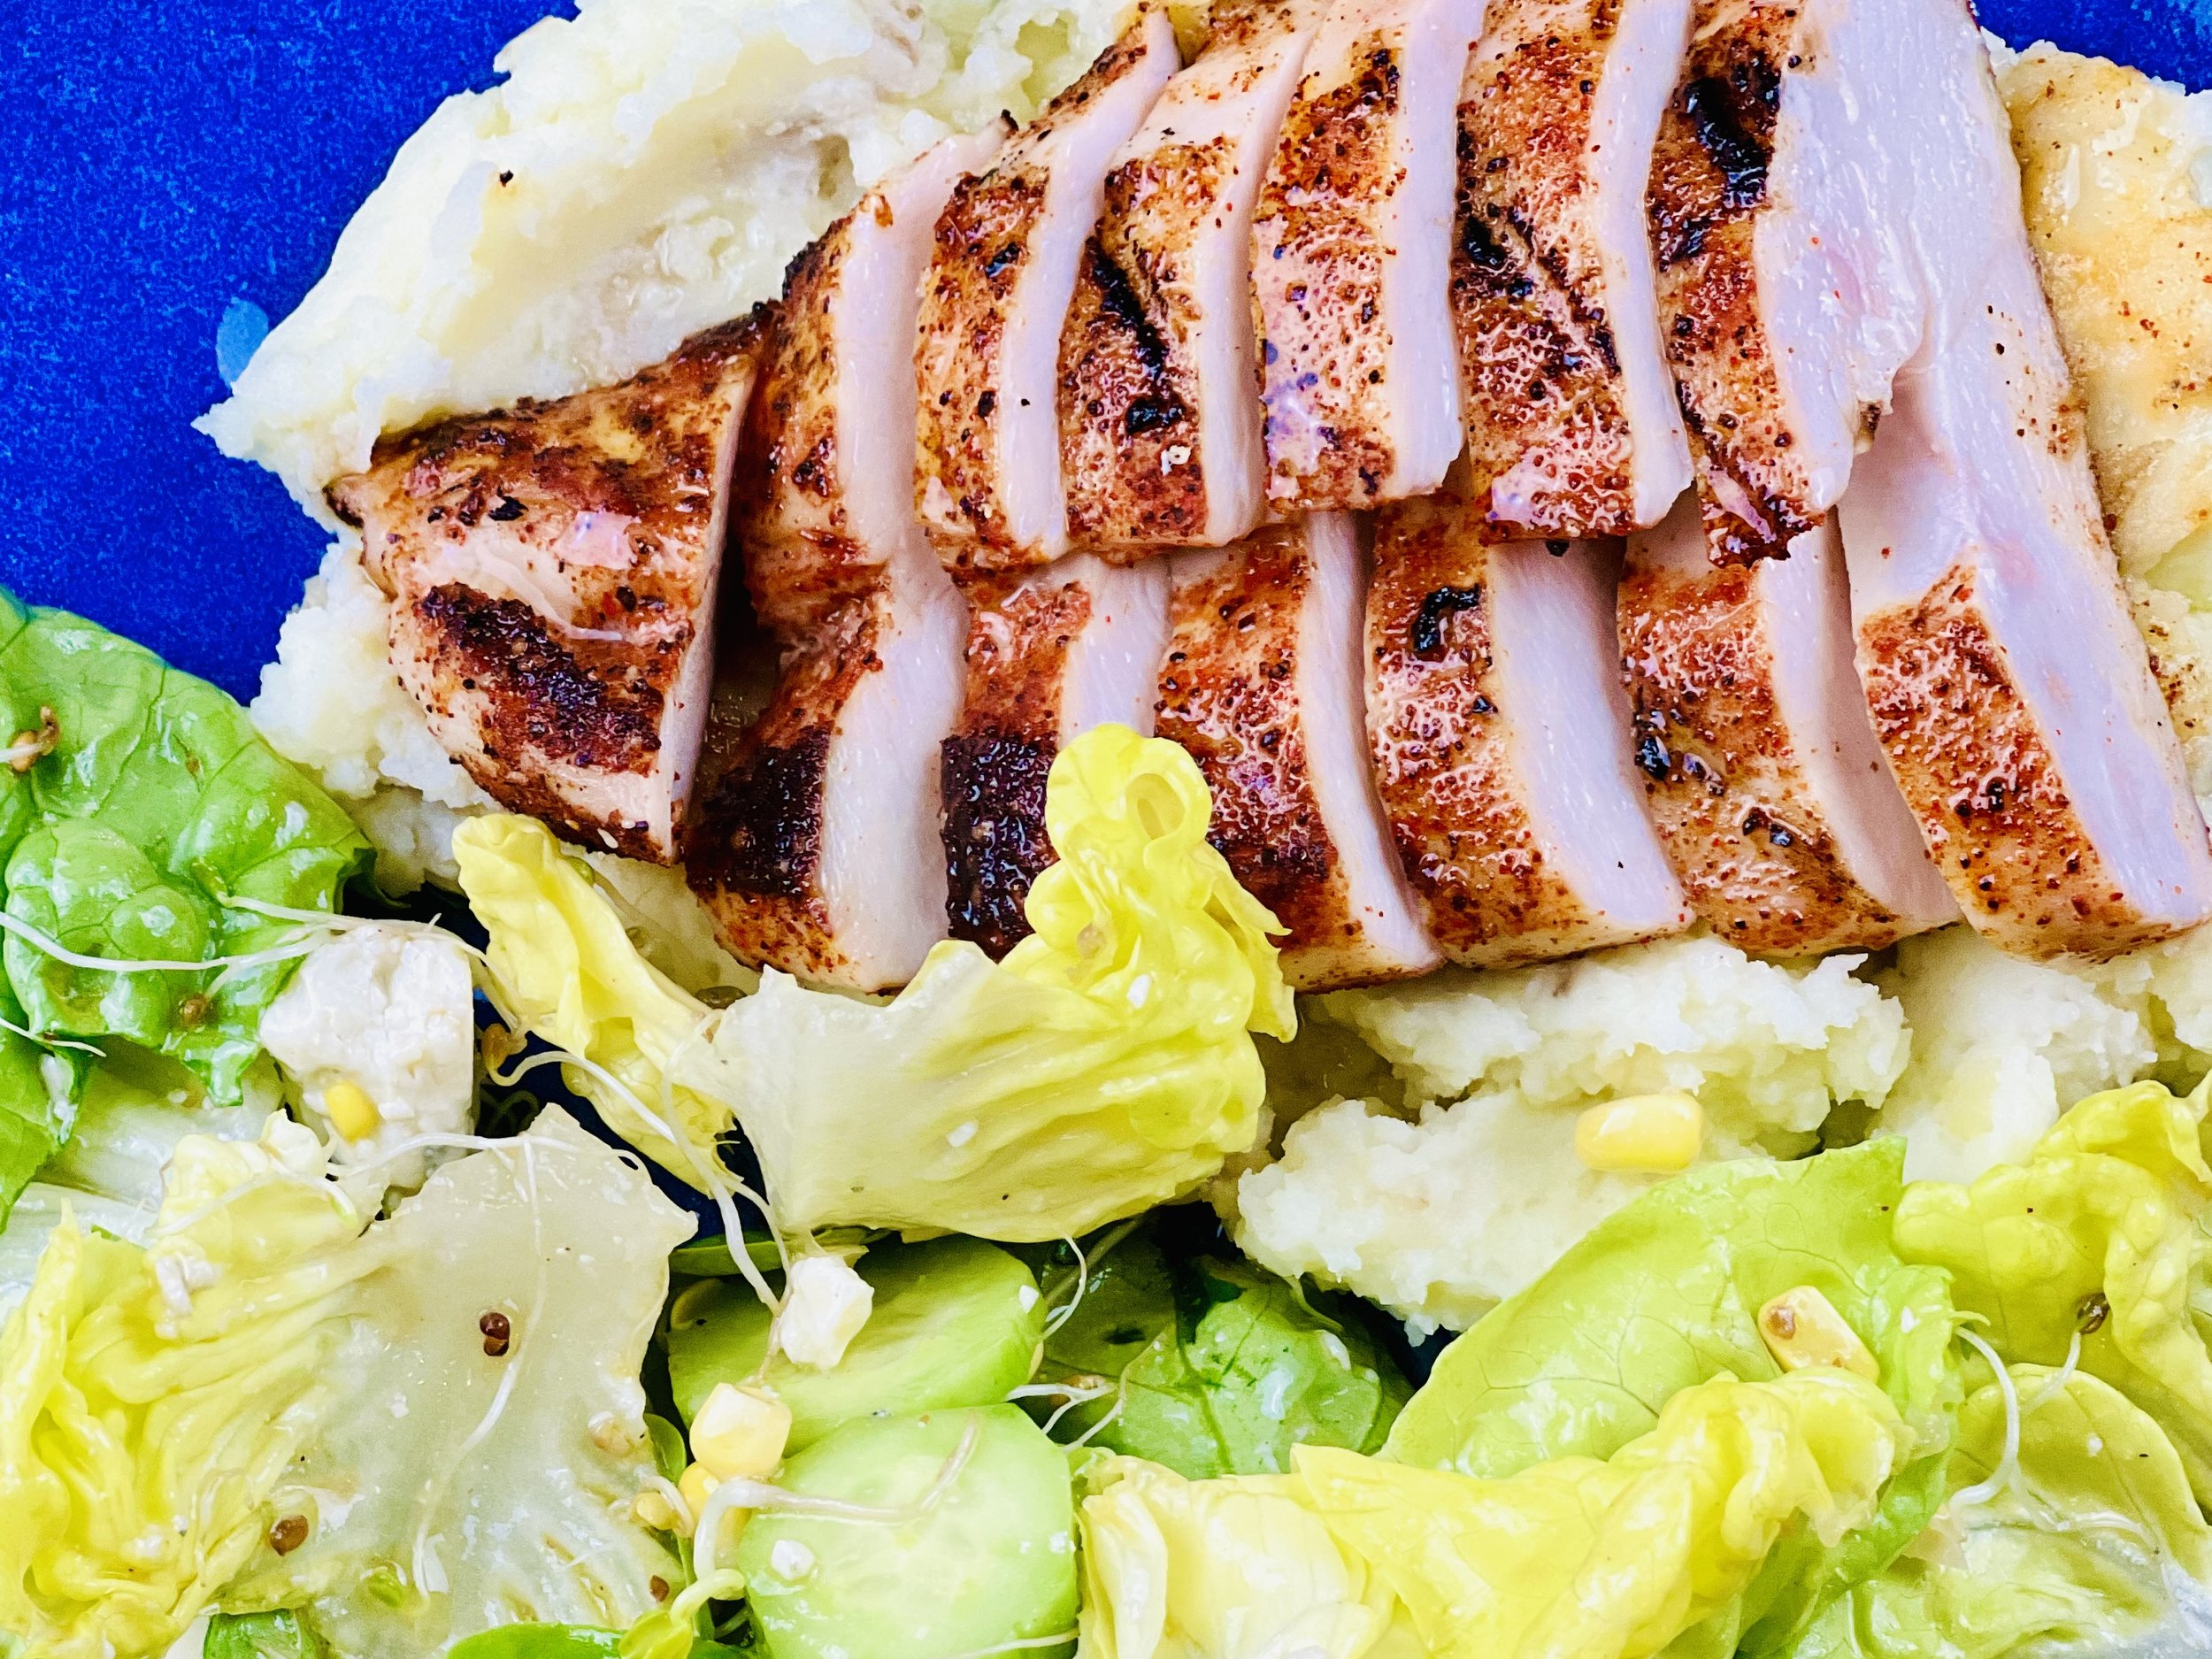
Want quick juicy smokey chicken without using the grill? Smoke n Sanity’s latest creation, Smokehouse Seasoning, makes it easy to do just that right on your stove! This chicken is ready in 30 minutes and, paired with one of my delicious salads, it makes a perfectly wonderful dinner. This chicken is also delicious cold so don’t hesitate to double the recipe and chill the extra for making some fantastic Crisp and Crunchy Chicken Salad the next day!
Ingredients
2 boneless, skinless chicken breasts
1 tablespoon olive oil
1 tablespoon salted butter
2 - 3 teaspoons Smoke N Sanity Smokehouse Seasoning
Directions
(1) Prepare: Sprinkle both sides of each chicken breast with Smoke N Sanity Smokehouse Seasoning. Set aside on a plate.
(2) Cook the chicken: Put a medium-size frying pan over medium-high heat. Put the oil and butter in the frying pan and warm over medium-high heat until the butter melts. The butter and oil should sizzle but not smoke before you put the chicken in. Lay the chicken breasts in one layer in the pan. Cook (sear) for about 2 minutes until it’s nicely browned on the bottom. Flip the chicken and cook for another 1 - 2 minutes until it’s nicely browned on the other side. Cover the pan and turn the heat down to low. Cook for 12 minutes. Leave the cover on the pan and turn the heat off. Let stand with the cover on for another 12 minutes.
(3) Finish: When the chicken is cooked, remove it to a cutting board. Cut into slices, then return the slices to the pan and toss in the pan juice.
(4) Plate and serve: Serve the chicken alongside one of my green salads.
Eat and enjoy every bite because you can!
Have a question you’d like to have answered? Email me at hello@ibsgamechanger.com
Link note: This post may contain affiliate links for you to easily purchase items that are linked. I may earn a small commission from qualifying purchases but none of this costs you a thing so feel free to use the links! In addition, for some items, I have provided a special discount code for IBS Game Changers so be sure to use the code when you purchase an item to get the discount that has been arranged just for you.
More Deliciously Low FODMAP™ main course recipes
15 Minutes prep • 30 Minutes cook • Low FODMAP • Serves 4 • Ok to make-ahead: Steps 1 - 2
10 Minutes prep • 25 Minutes cook • Low FODMAP • Gluten-Free • Serves 6 • Ok to make-ahead: Step 1
Chicken Cobb Salad with Creamy Avocado Dressing (Low FODMAP)
20 Minutes prep • 10 Minutes cook • Low FODMAP • Gluten-free • Serves 4
20 Minutes prep • 10 Minutes cook • Low FODMAP • Gluten-free • Serves 4 • Ok to make ahead: Steps 1-6
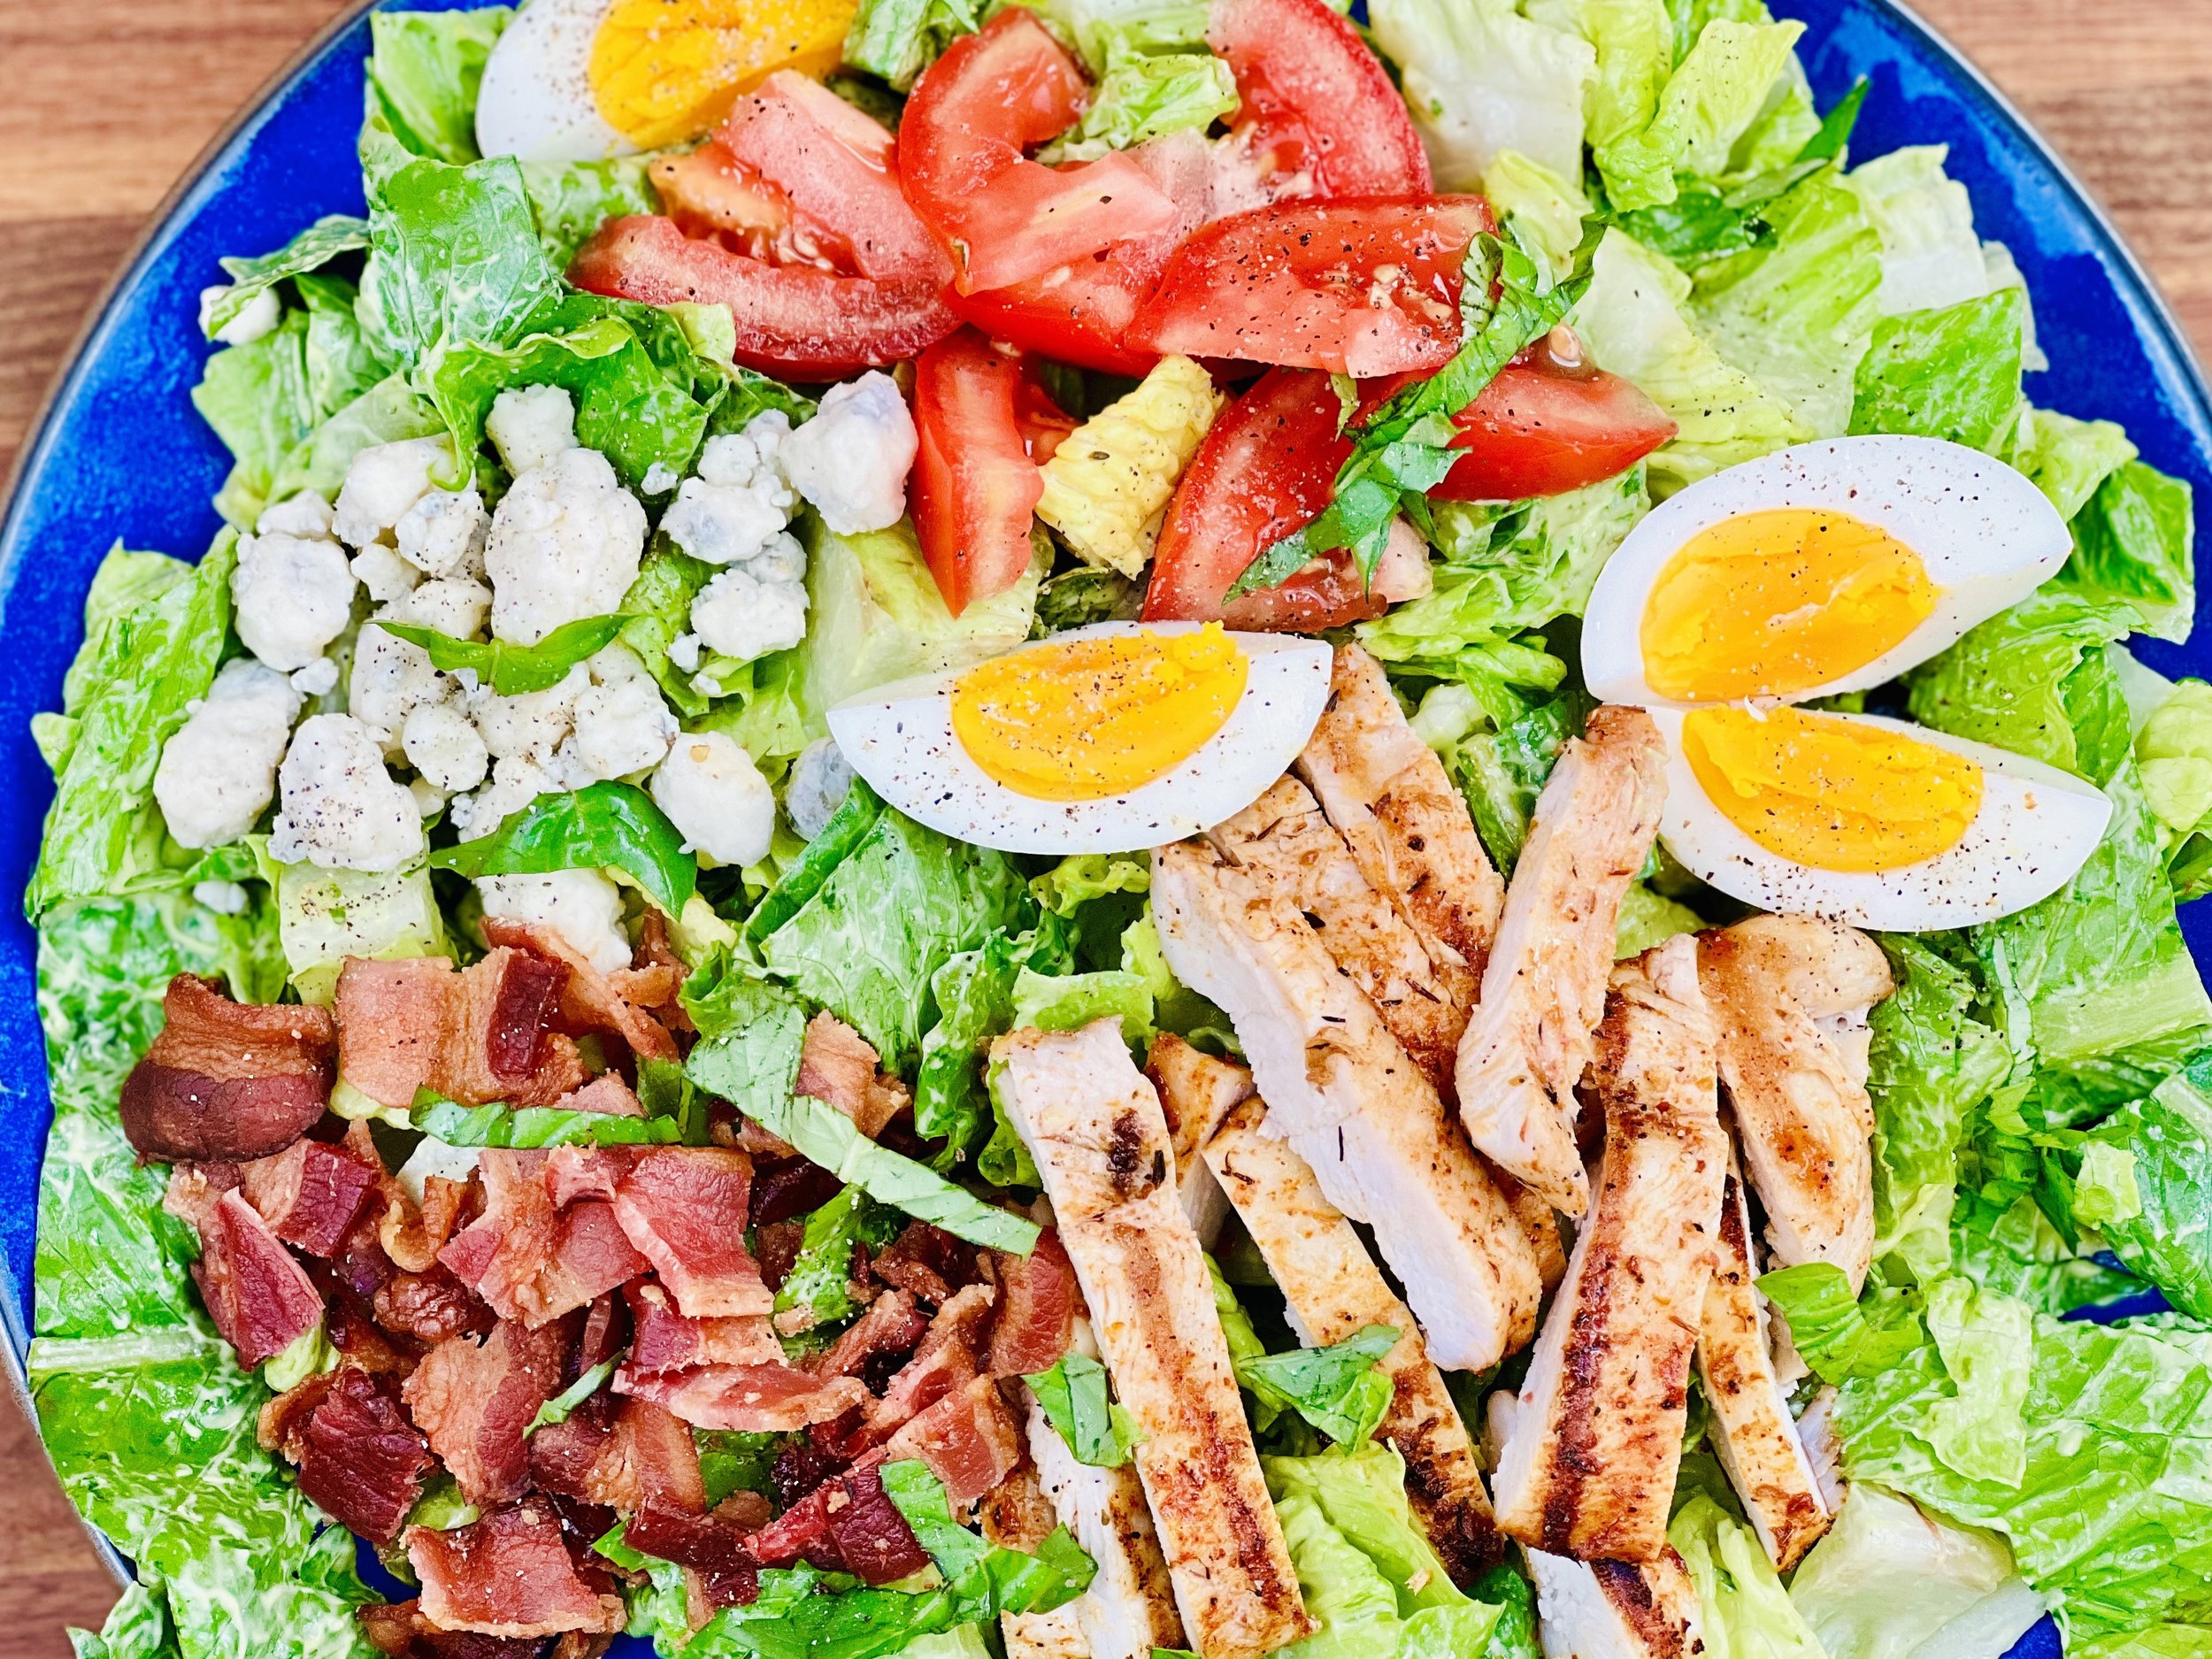
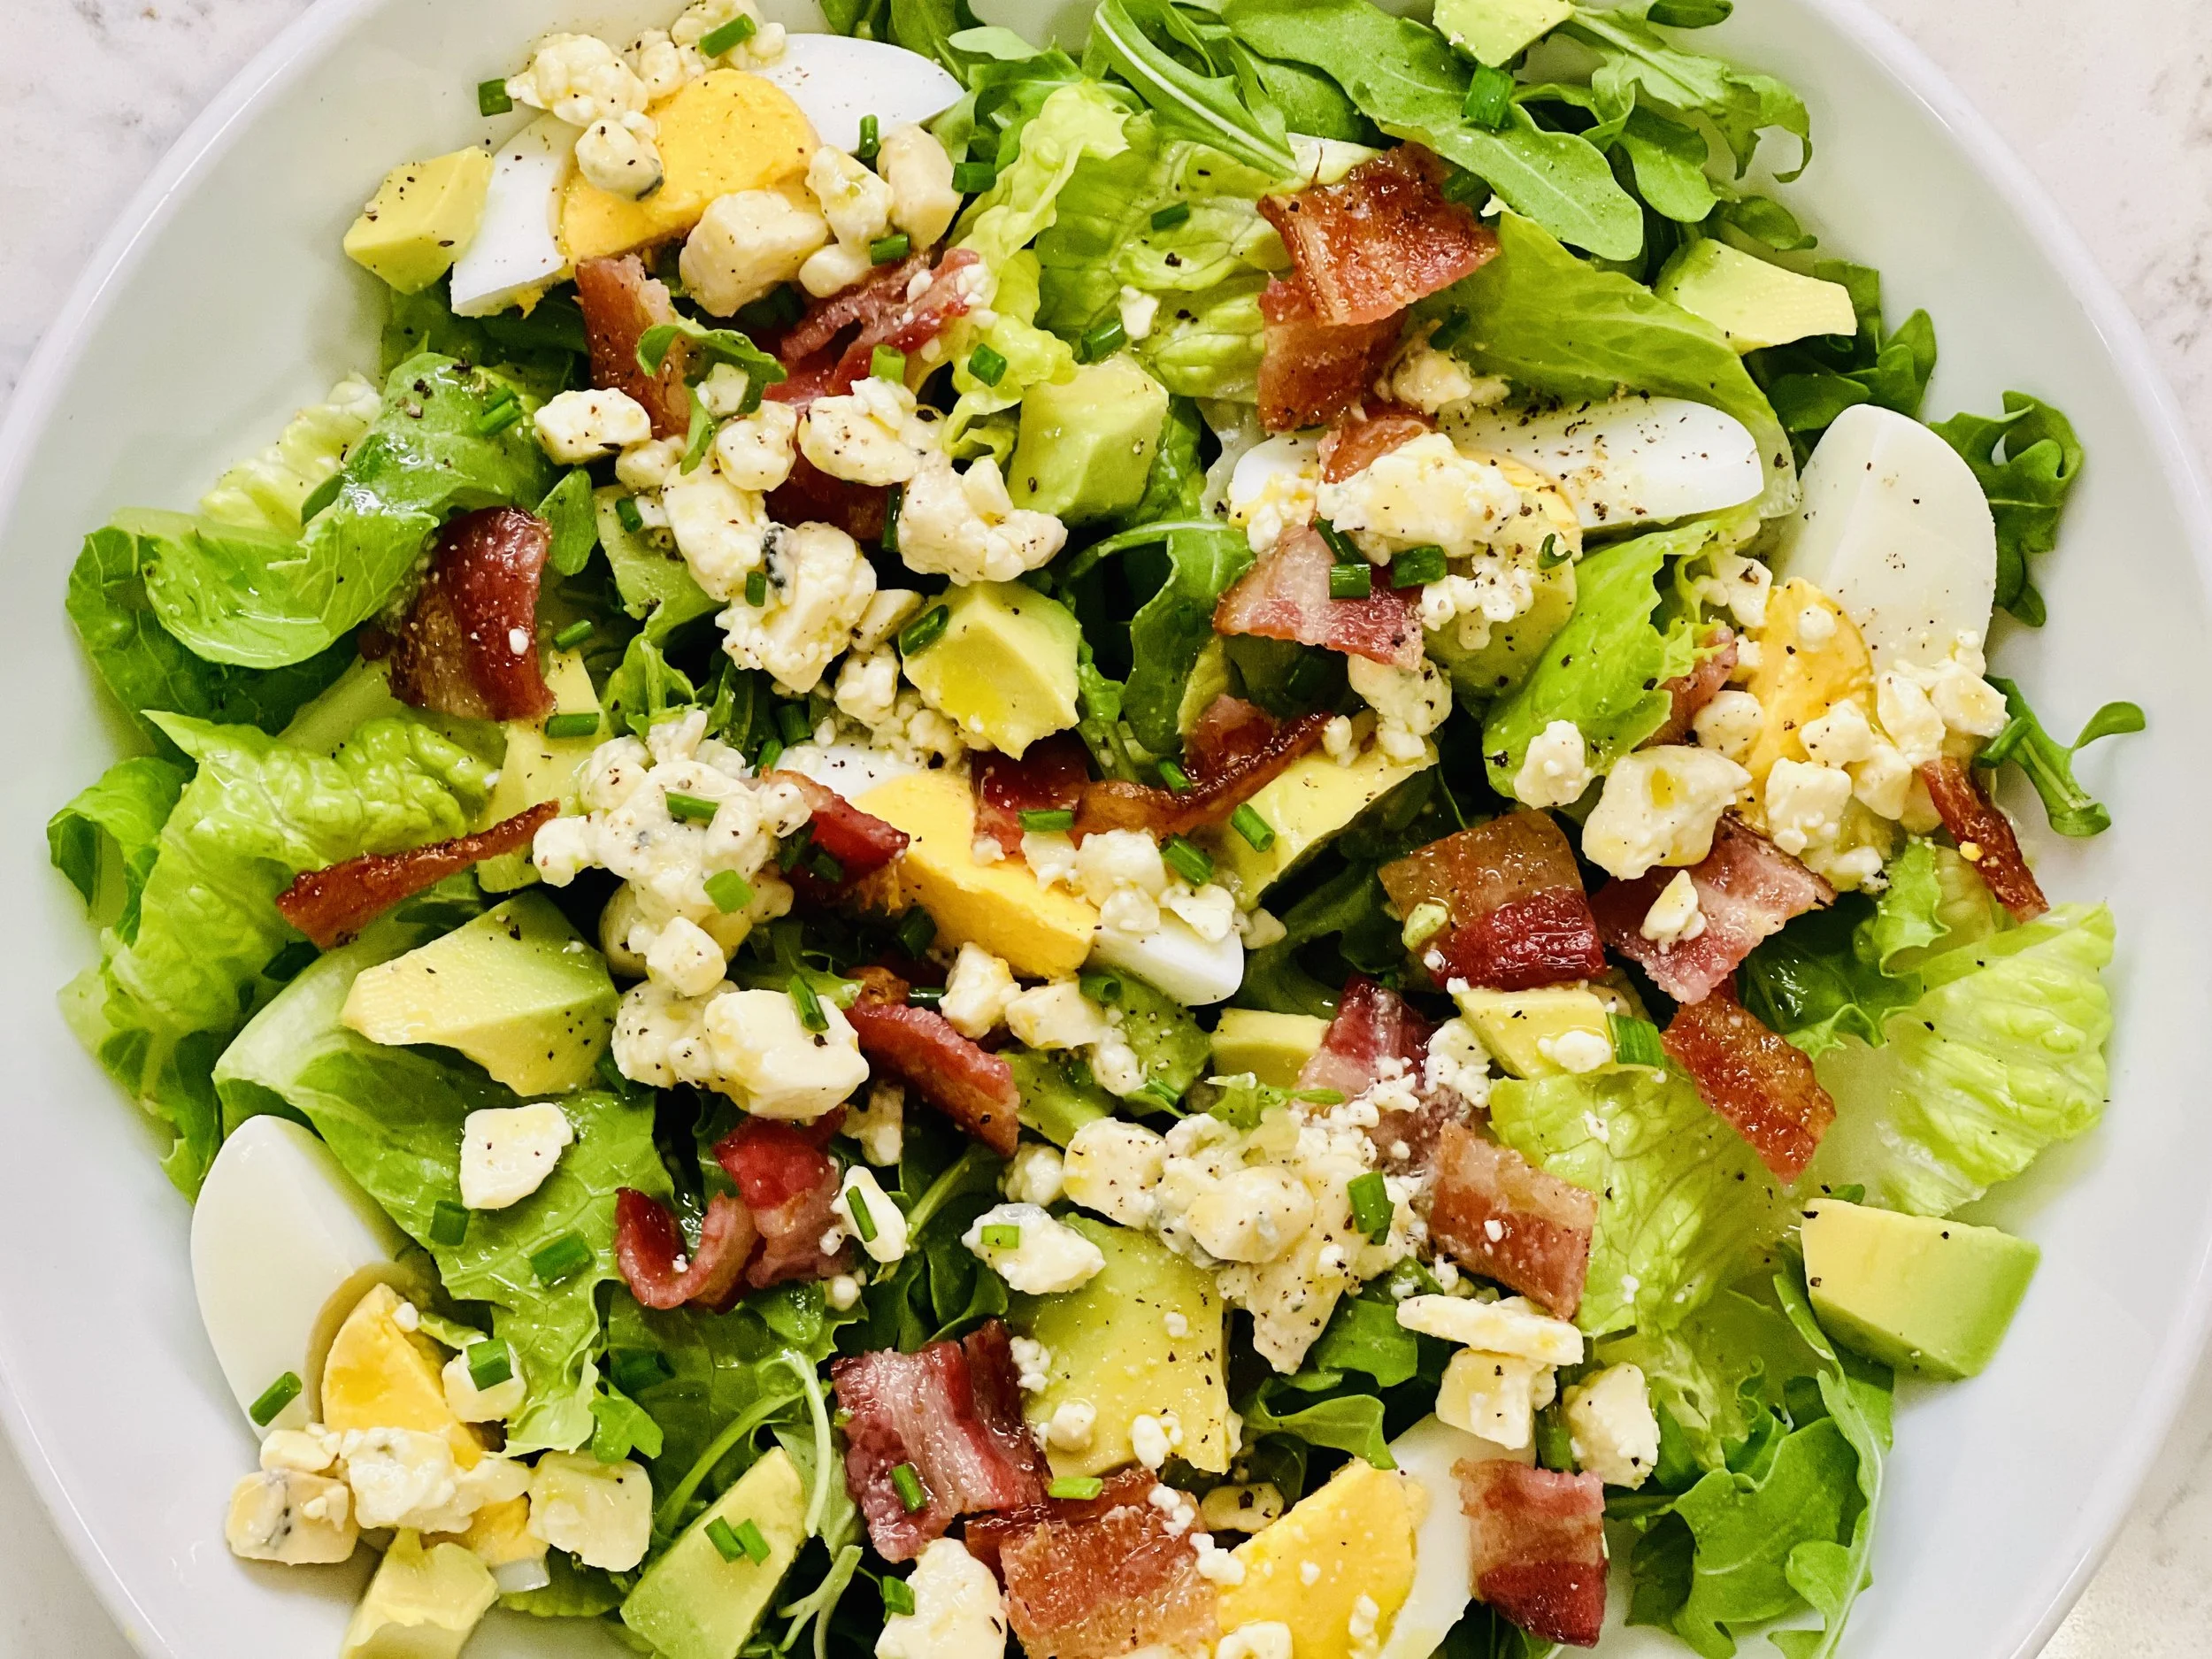
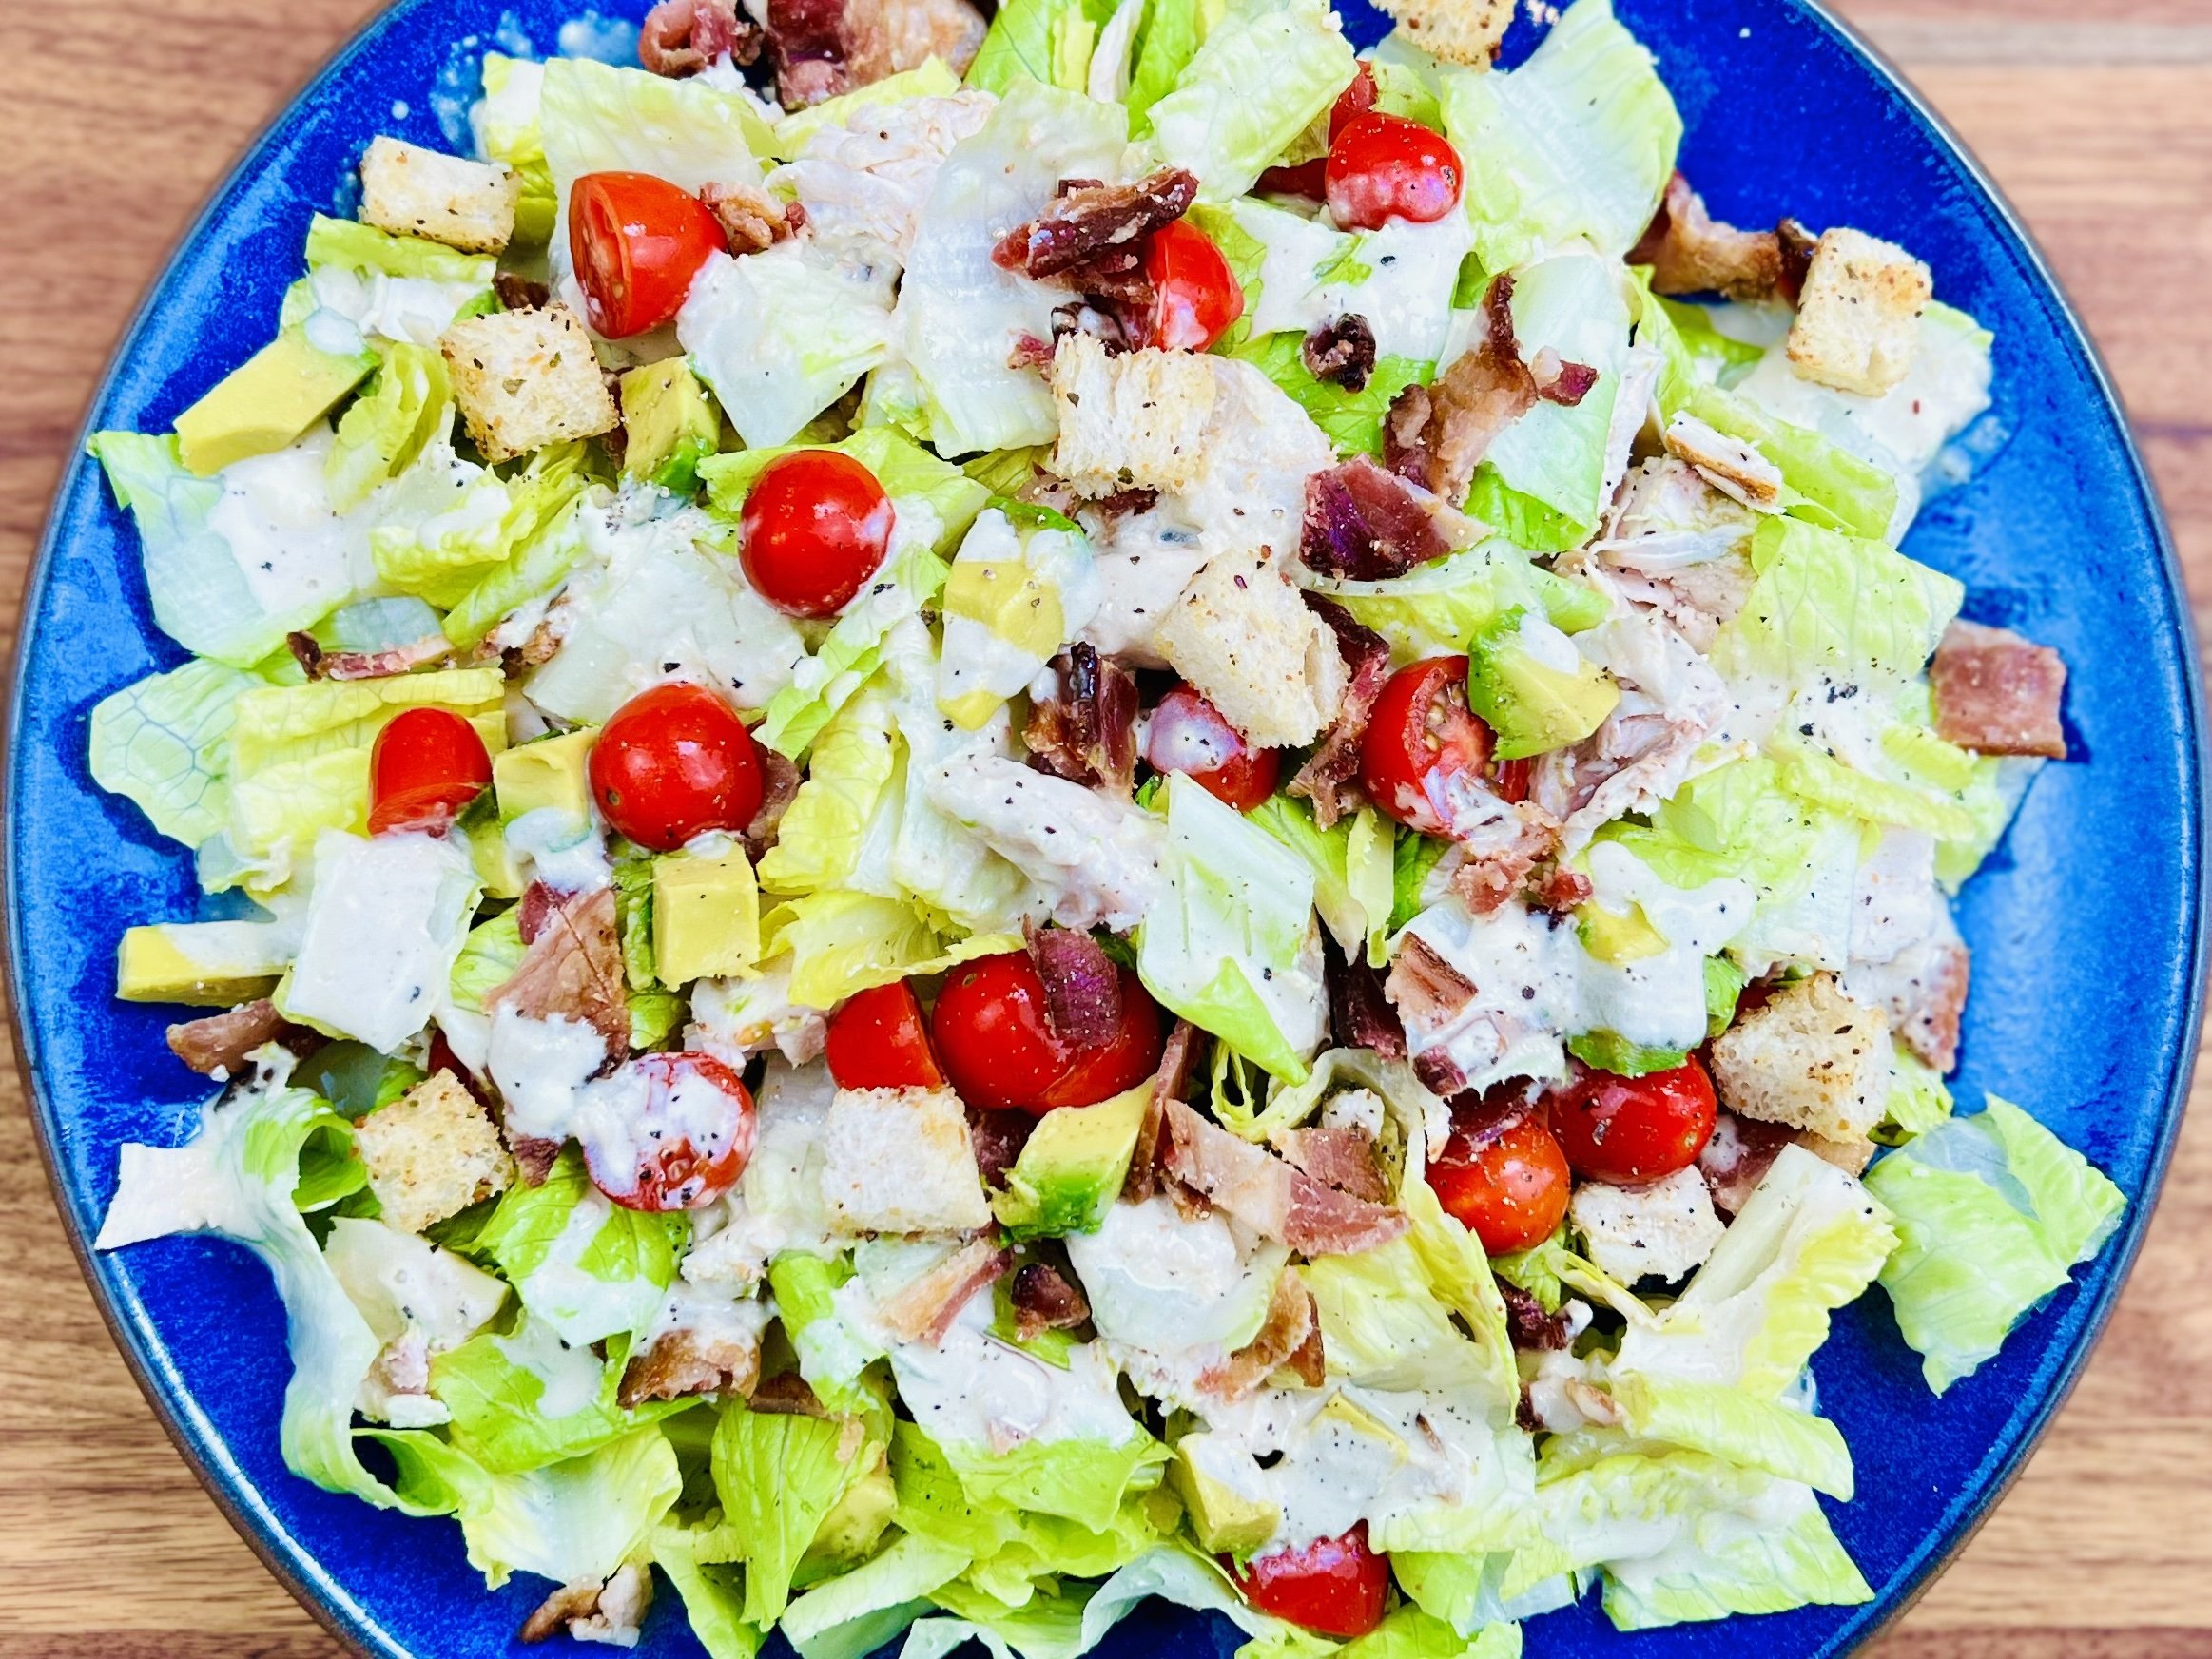
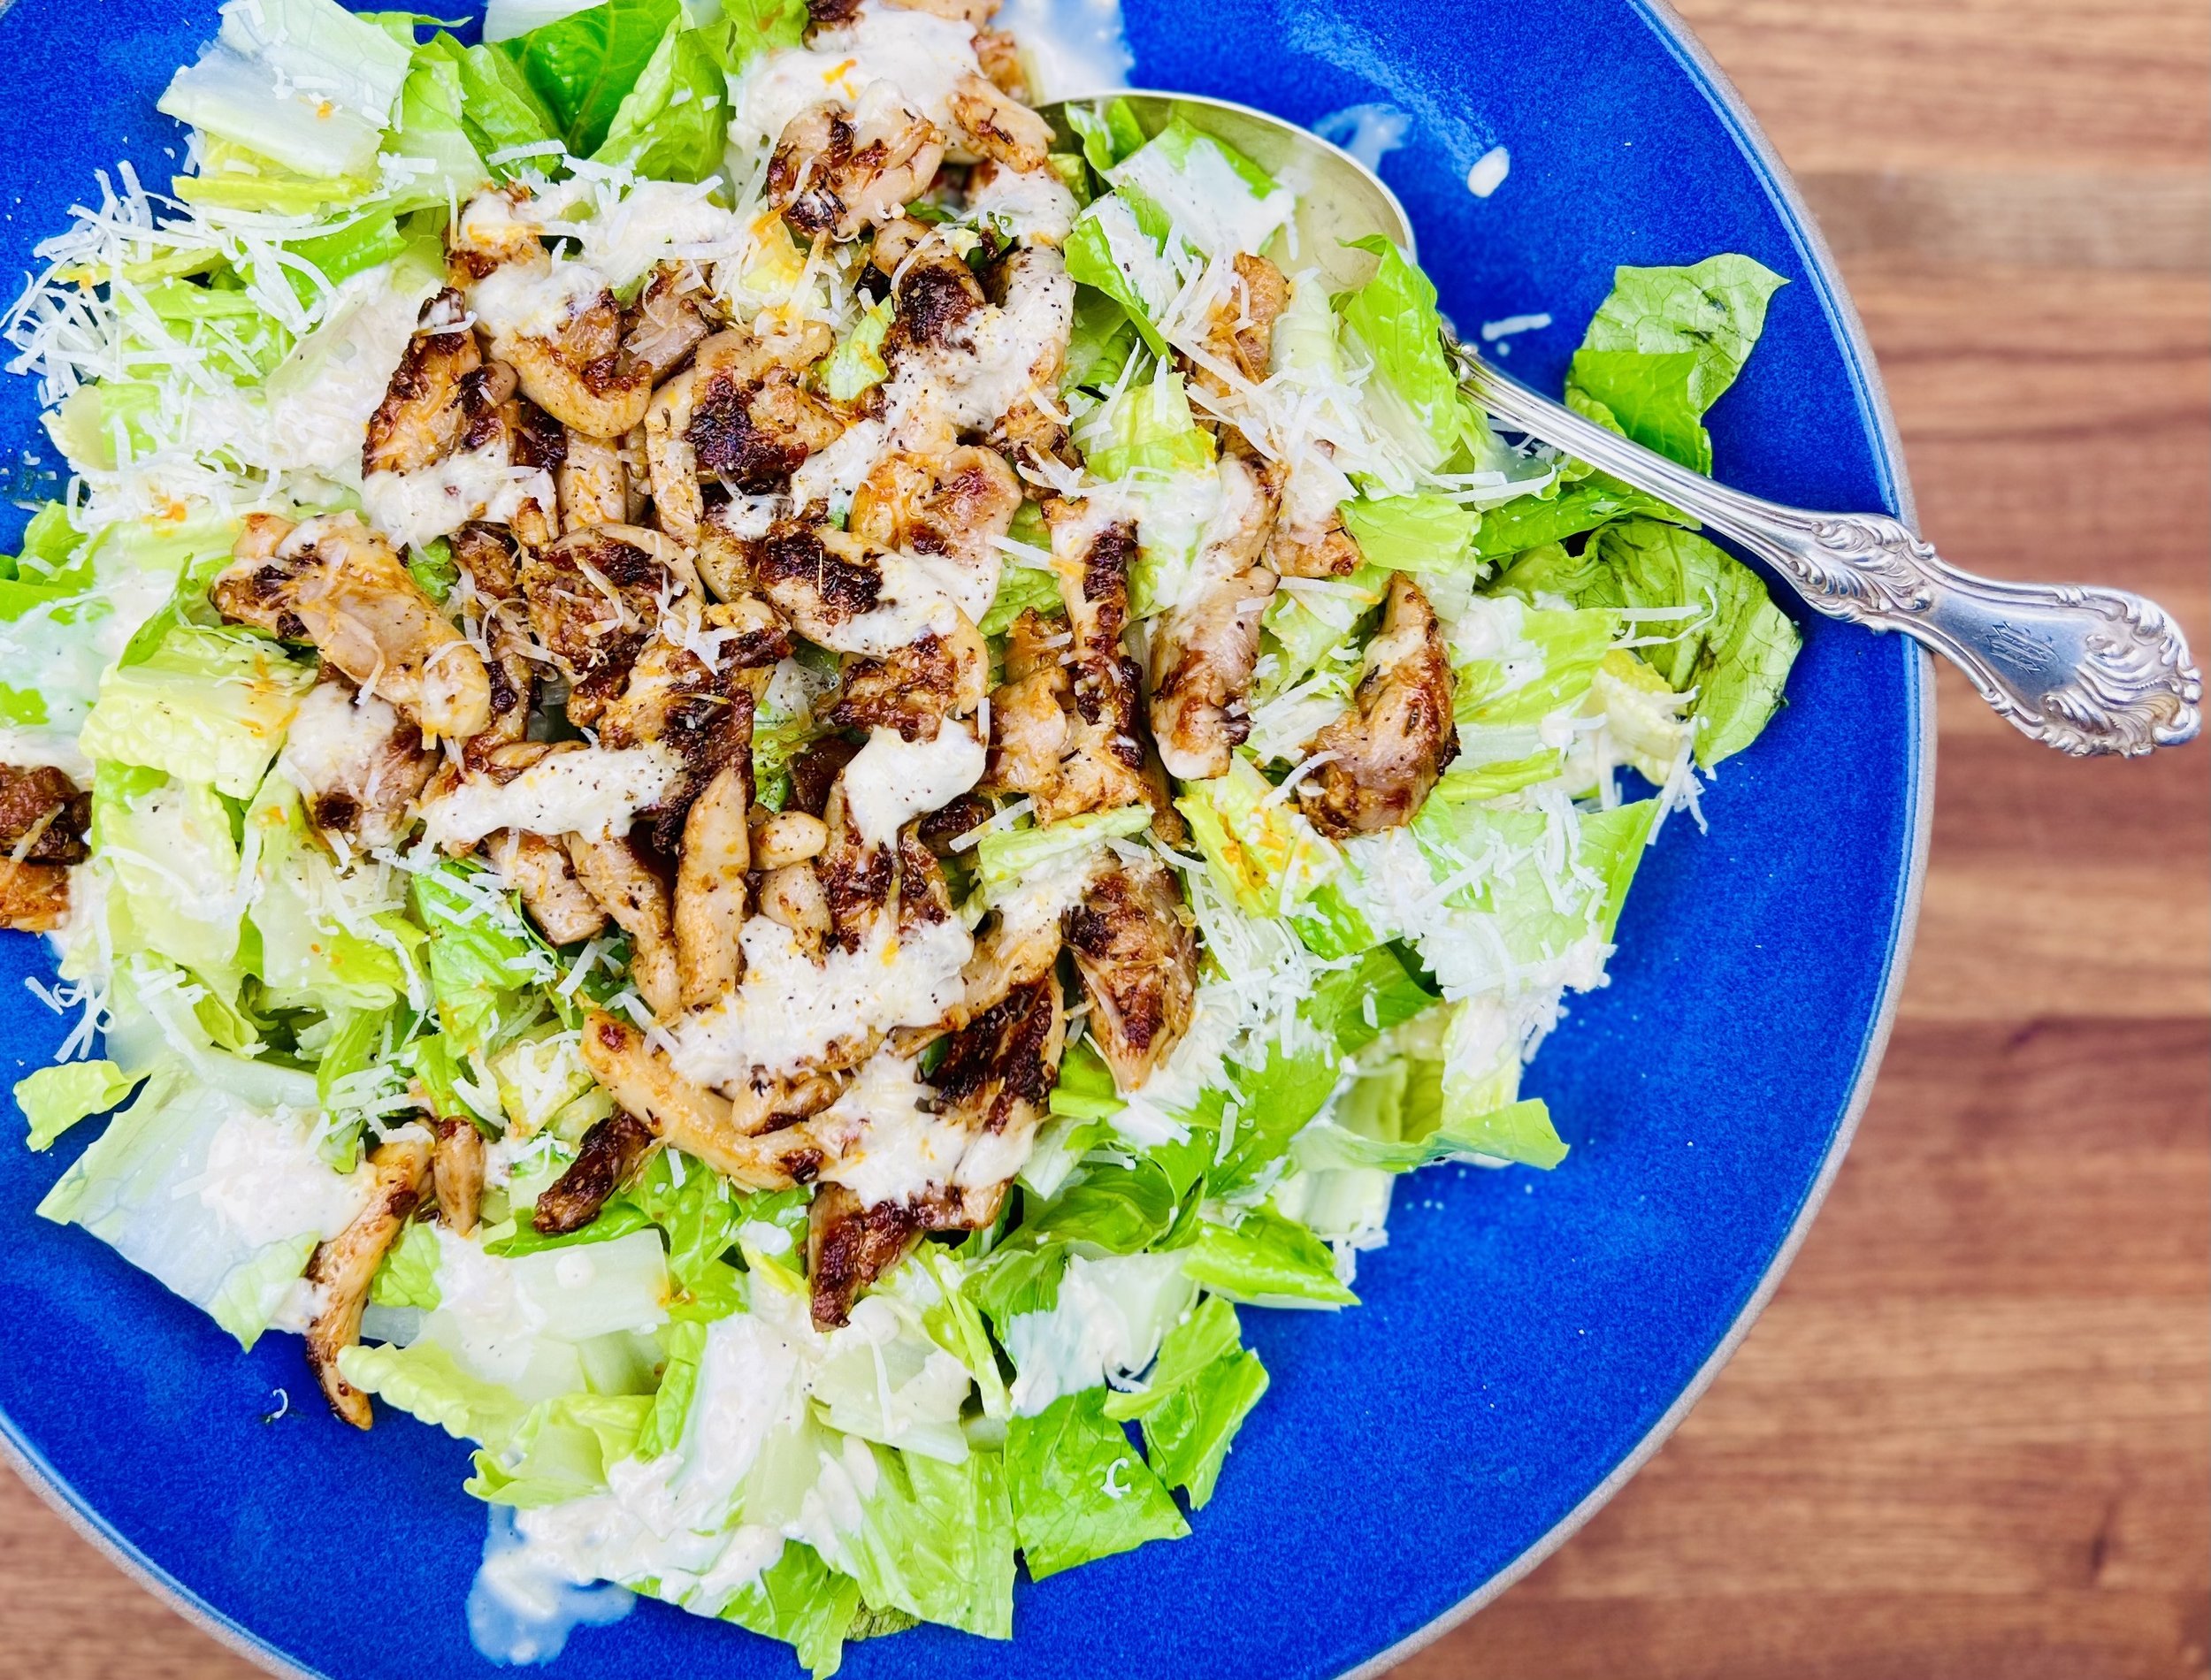
This salad is simple to make, beautiful to look at, and has the most delicious creamy avocado dressing! It’s a perfect main course dinner for a warm summer evening, or a wonderful hearty side for your next barbecue. Make extra Avocado Caesar dressing because it’s so creamy, flavorful, and thick, it makes a great dip for veggies and crackers as well.
Ingredients: Salad
1 pound boneless skinless chicken breasts
2 tablespoons Smoke N Sanity Cajun Creole or Lemon Pepper Seasoning
1 tablespoon extra virgin olive oil
6 cups shredded lettuce
1/2 cup fresh basil leaves
1 cup chopped fresh tomatoes or cherry tomatoes, sliced
1/2 cup crumbled blue cheese
6 strips of bacon, cooked and crumbled
4 hard-boiled eggs, quartered
Ingredients: Avocado Caesar Dressing
1/2 avocado, chopped
3 tablespoons heavy cream, plus more to thin the dressing if needed
3 tablespoons mayonnaise
2 teaspoons lemon juice
1/4 cup fresh basil, chopped, plus more for serving
1/2 teaspoon Smoke N Sanity Essence of Garlic Salt
1/4 teaspoon Kosher salt
1/4 teaspoon black pepper
Directions
(1) Cook the bacon: Preheat the oven to 400 degrees F. Line a rimmed baking sheet with foil and lay out the bacon slices so they aren’t crowded together. Bake 8-10 minutes, until the bacon is crisping, watch closely so it doesn’t burn. Remove from the oven and lay on paper towels to cool. Once cool, chop the bacon and set aside.
(2) Hard boil the eggs: Put the eggs in a saucepan and just cover with cold water. Bring the water to a boil on the stove. Turn the heat off and cover the pan. Let the eggs sit in the pan to cook in the hot water for about 10 minutes (longer if you like a very firm yolk). Pour off the hot water and run cold water over the eggs until they are cooled. The fresher the eggs, the harder they are to peel after boiling so use eggs that you have had for a little while if you can!
(3) Slice the chicken: You can buy “thin cut” chicken, or slice it horizontally yourself. This will help the seasoning reach more of the chicken and it will cook quite fast on the grill.
(4) Marinate and grill the chicken: In a bowl, toss the chicken with olive oil and cajun or lemon pepper seasoning. Set aside until you’re ready to cook. Set your grill, grill pan, or skillet to medium-high. Grill the chicken until lightly charred and cooked through, turning halfway through cooking, about 10 minutes. Remove from the heat and let rest on a cutting board while you make the rest of the salad.
(5) Make the dressing: While the chicken is cooking, combine all ingredients in a blender or in a compact food processor and blend until creamy, adding more cream or lactose-free whole milk to thin the dressing if needed. Taste and adjust the salt and pepper as needed.
(6) Slice the chicken: Cut the chicken into bite-size pieces and chop the bacon into crumbles.
Make-ahead note: At this point, you may set everything aside in the refrigerator until you’re ready to plate and serve.
(7) Finish: In a large bowl, toss the greens and basil with the dressing.
(8) Plate and serve: Put 1/4 of the dressed greens on each plate, then arrange the chicken, tomatoes, cheese, bacon, and eggs on top. Drizzle with additional dressing if you like. Sprinkle with chopped fresh basil and a few grinds of black pepper.
Eat and enjoy every bite because you can!
Recipe note: I use Diamond Crystal Kosher salt in all my recipes because it has a wonderful flat and crisp flake that tastes delicious. It is also the least salty salt available so you can use it more liberally as a seasoning than you can table salt or sea salt. If you use another type of salt, you may need to reduce the amount so it is not over-salted.
Have a question you’d like to have answered? Email me at hello@ibsgamechanger.com
Link note: This post may contain affiliate links for you to easily purchase items that are linked. I may earn a small commission from qualifying purchases but none of this costs you a thing so feel free to use the links! In addition, for some items, I have provided a special discount code for IBS Game Changers so be sure to use the code when you purchase an item to get the discount that has been arranged just for you.
More Deliciously Low FODMAP™ salad recipes
5 Minutes prep • 15 Minutes cook • Low FODMAP • Gluten-free • Lactose-free • Vegan • Serves 4
15 Minutes prep • Low FODMAP • Gluten-free • Lactose-free • Vegetarian • Vegan • Serves 4
30 Minutes prep • Low FODMAP • Gluten-free • Lactose-free • Vegetarian • Vegan • Serves 4+ • Serving Size 2 cups
15 Minutes prep • 30 Minutes cook • Low FODMAP • Gluten-free • Lactose-free • Serves 4-6
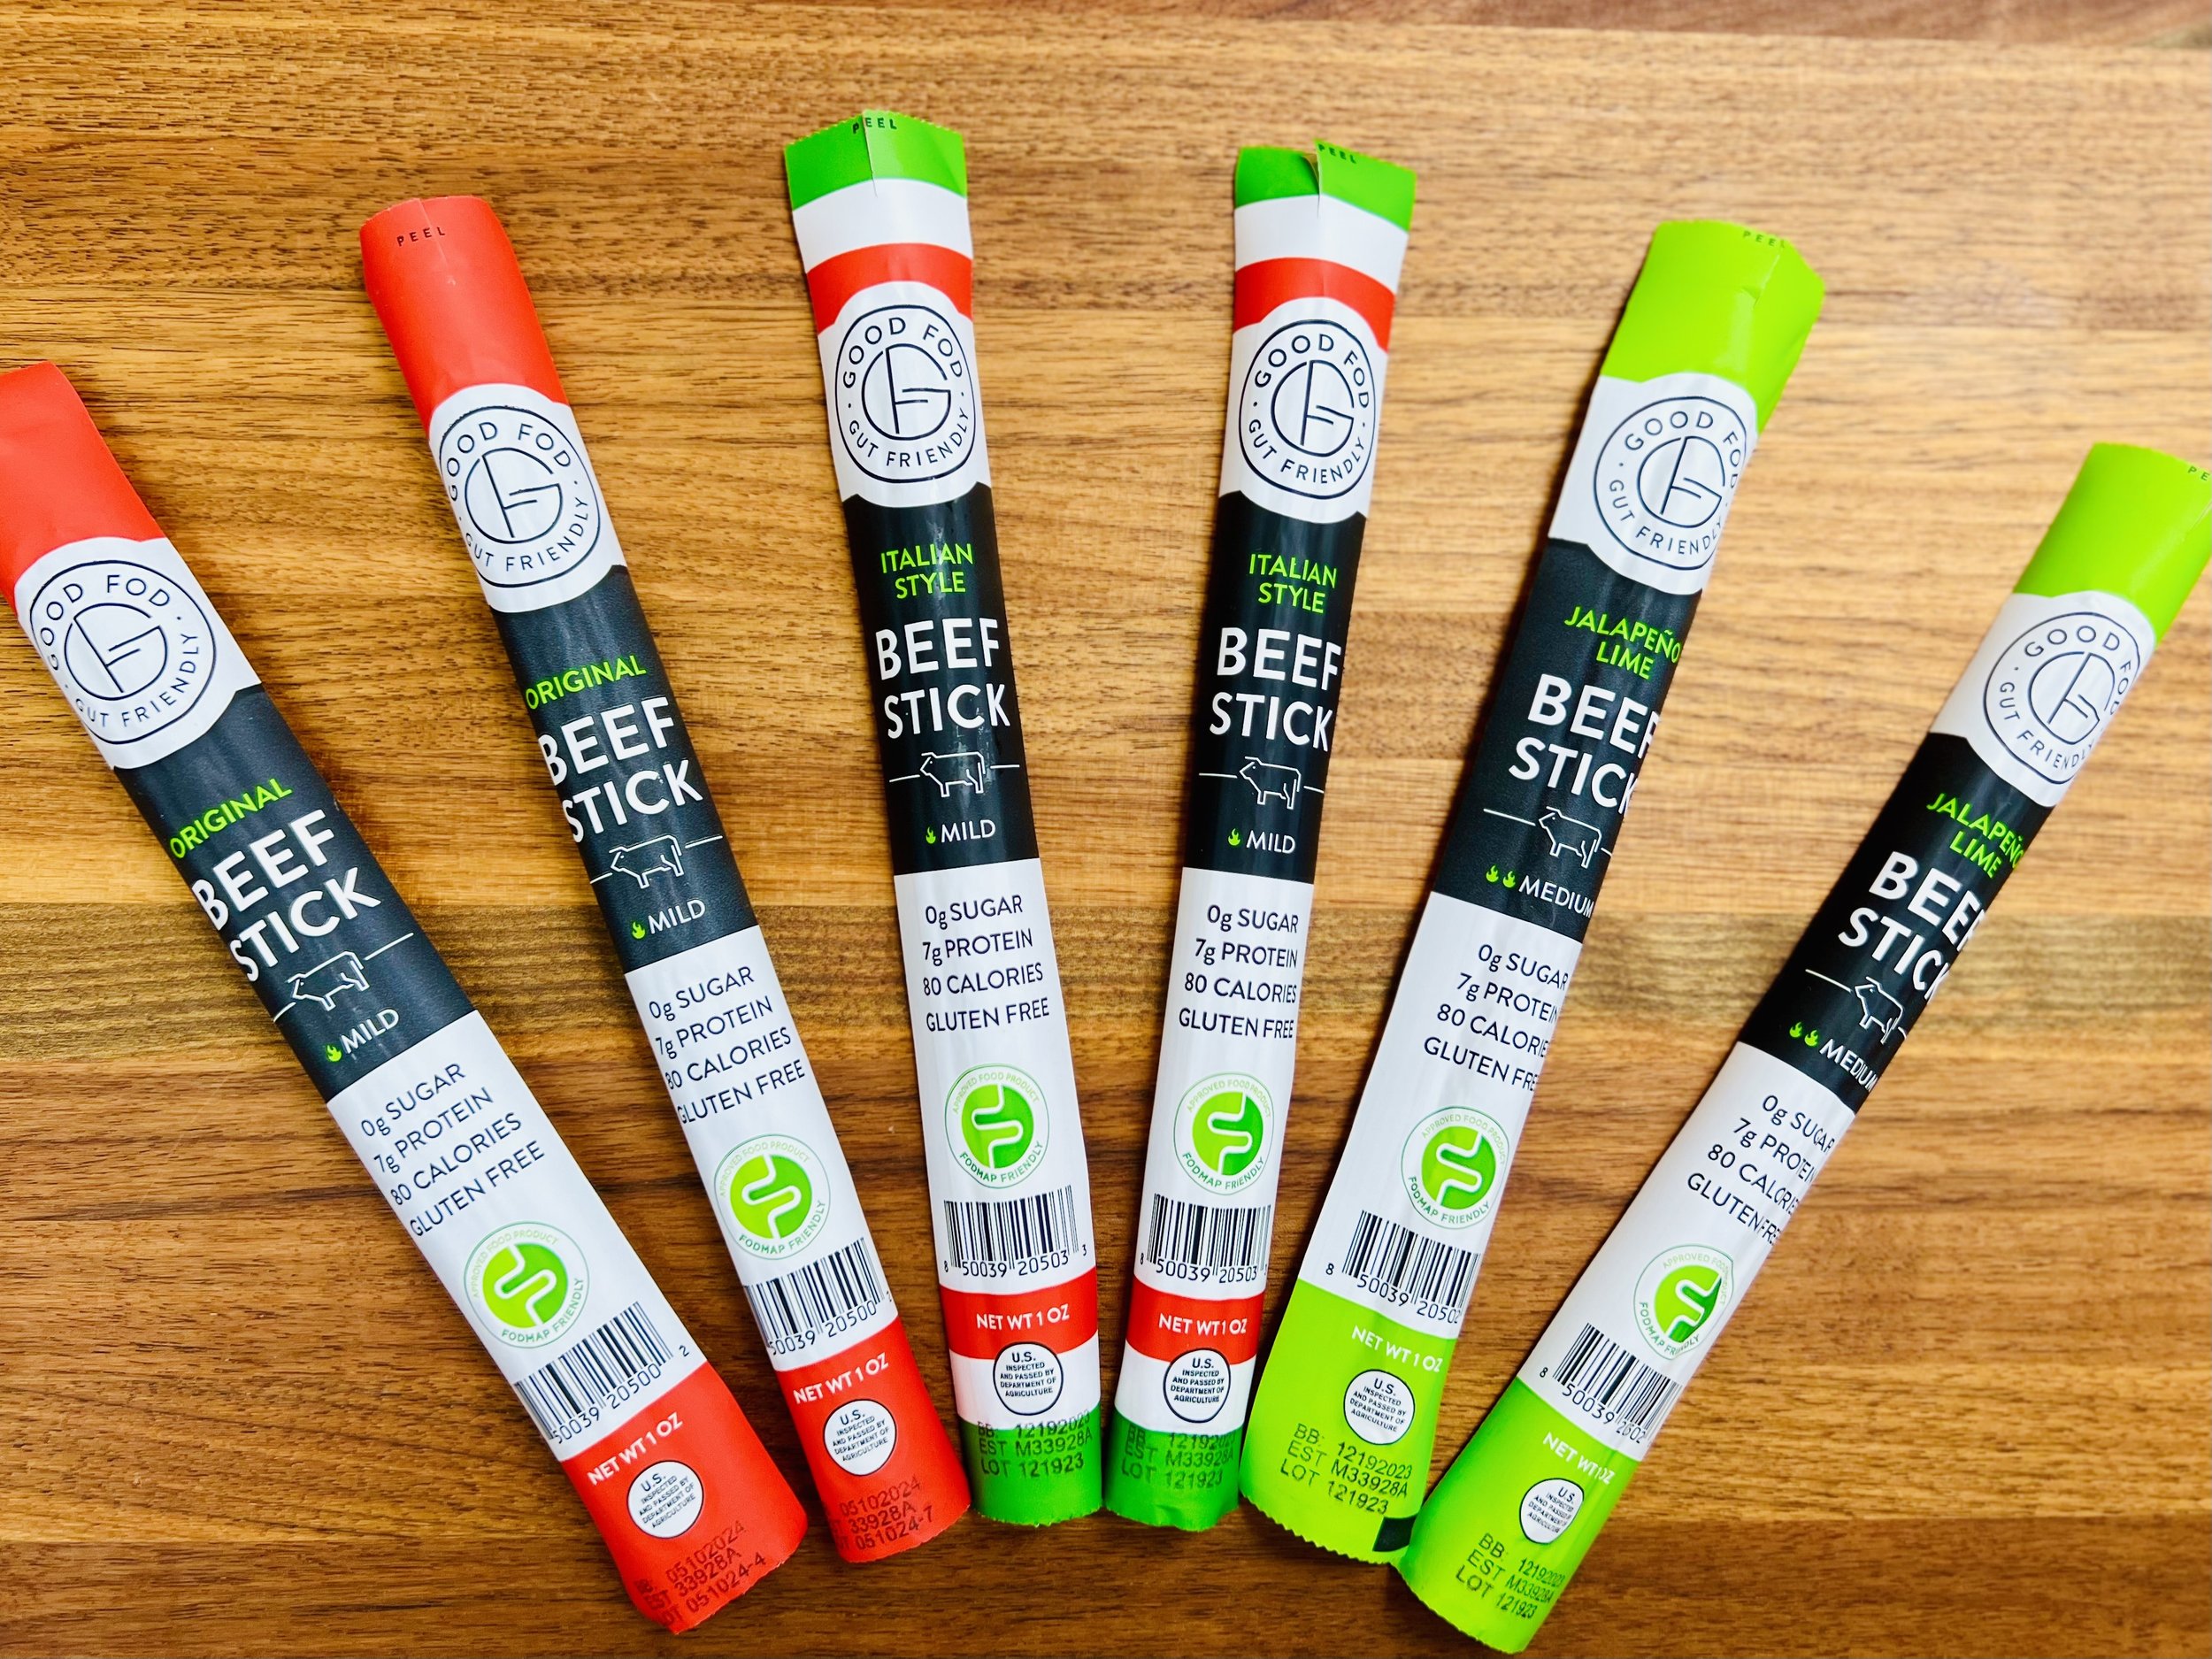
Delicious Low FODMAP Beef Sticks and Jerky from Good Fod Foods
Thanks to our friends at Good Fod Foods you can now have delicious Beef Sticks and Jerky in a variety of flavors that you can keep on hand for a quick snack or light lunch on the go.
When you have Irritable Bowel Syndrome (IBS) sometimes it’s hard to find a good “car snack” or on-the-go food for hiking or backpacking that you can count on for flavor, nutrition, and shelf stability. Or, you’re just trying to get more protein in your everyday low FODMAP diet without adding a bunch of calories. Thanks to our friends at Good Fod Foods you can now have delicious Beef Sticks and Jerky in a variety of flavors that you can keep on hand for a quick snack or light lunch on the go. The beef sticks are tender, flavorful, and easy to chew. The jerky is just that—jerky! Exactly the way you want it to be and all the flavors are delicious. As usual, I have arranged a 15% discount (IBSGC15) just for you. In fact, if you click the image or button below to start shopping, the discount will be automatically applied to your cart at checkout!
The Good Fod Foods family dealt with sensitive stomachs for a while before they tried a low-FODMAP diet. They felt better and they realized it was hard to find nutritious, shelf-stable low-FODMAP snacks. So, they made some to share! I tried them all and I can personally say they are delicious.
Give them a try with the IBS Game Changer 15% Discount.
More Deliciously Low FODMAP™ tips & tools
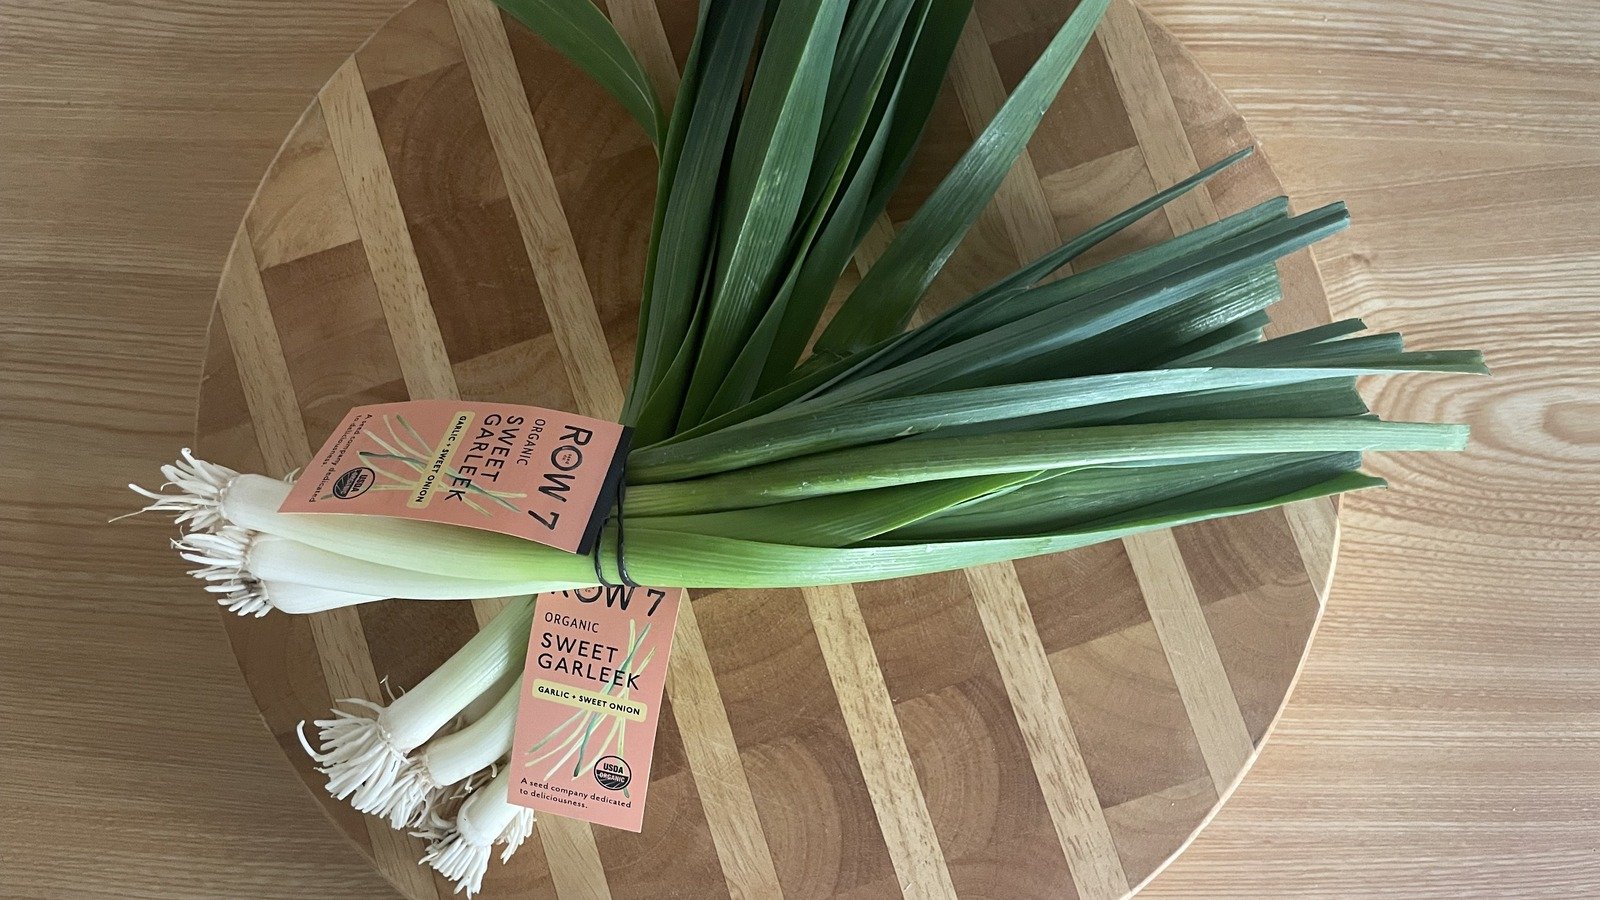
Garleek is a vegetable that's a cross between garlic and leeks, and the low-FODMAP greens add a wonderful flavor to your savory dishes
In this blog post I’m sharing 8 strategies to overcome the feelings of discouragement and fear that may be standing in the way of your success.
If you want to try a food that has not yet been tested and added to one of the low-FODMAP apps , one of the most important tools in your low-FODMAP arsenal is self-testing.
In this blog post, I explore some of the ways deep tissue massage can support IBS symptom management, giving you one more tool in your toolbox to find a holistic path to comfort and well-being.
One of the biggest challenges when struggling with gut issues is getting answers to your many questions about cause and treatment. With this in mind, we in the content creator space, work hard to bring you specific and actionable information to help answer your questions.
Since launching IBS Game Changer, I’ve been on a mission to support individuals living with Irritable Bowel Syndrome (IBS) by providing expert coaching, delicious recipes, and essential tips for symptom management.
In this post, I’m sharing many of the essential pantry staples I use in my recipes all the time.
One of the biggest challenges when struggling with gut issues is getting answers to your many questions about cause and treatment. With this in mind, we in the content creator space, work hard to bring you specific and actionable information to help answer your questions.
Monash University recently re-tested avocados for FODMAP content and they made an interesting discovery
In this blog post, I’m addressing the intricate relationship between anxiety and Irritable Bowel Syndrome, exploring how they impact each other, and giving you some specific things you can do to get them both under control.
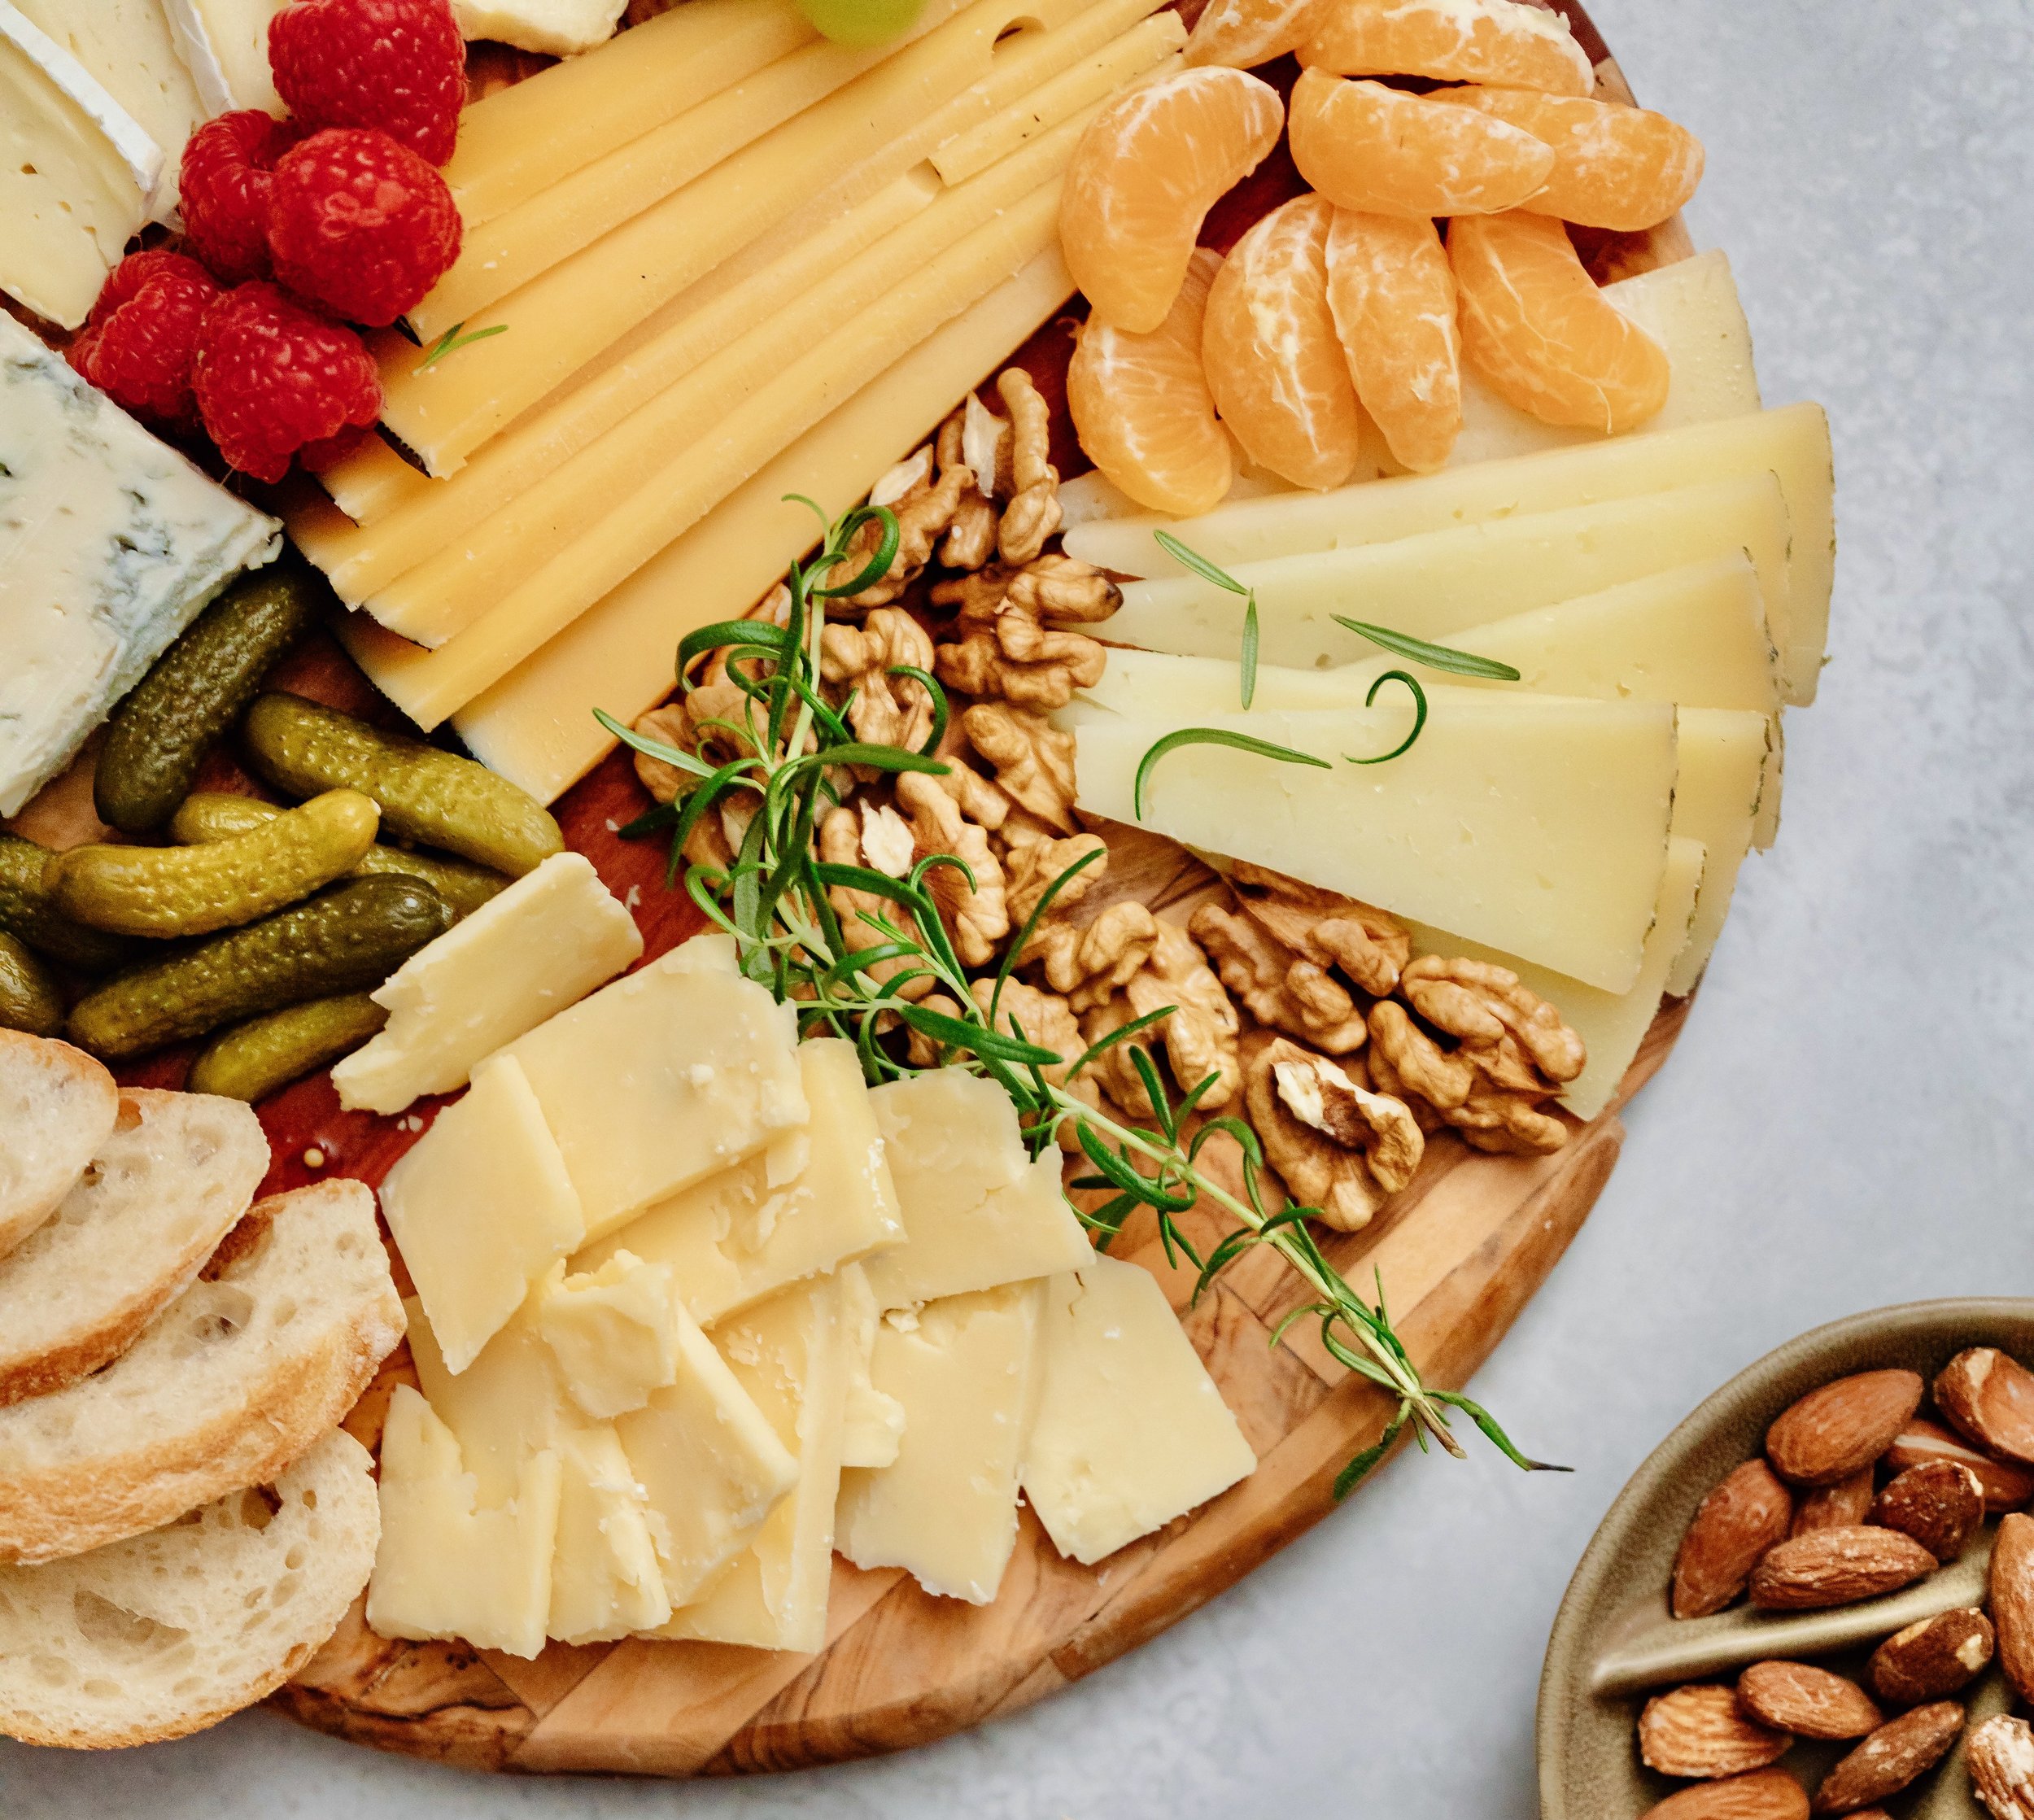
Not all cheeses are created equal in terms of their compatibility with the low FODMAP diet. This article will help you make informed choices that align with both your preferences and your gut health.
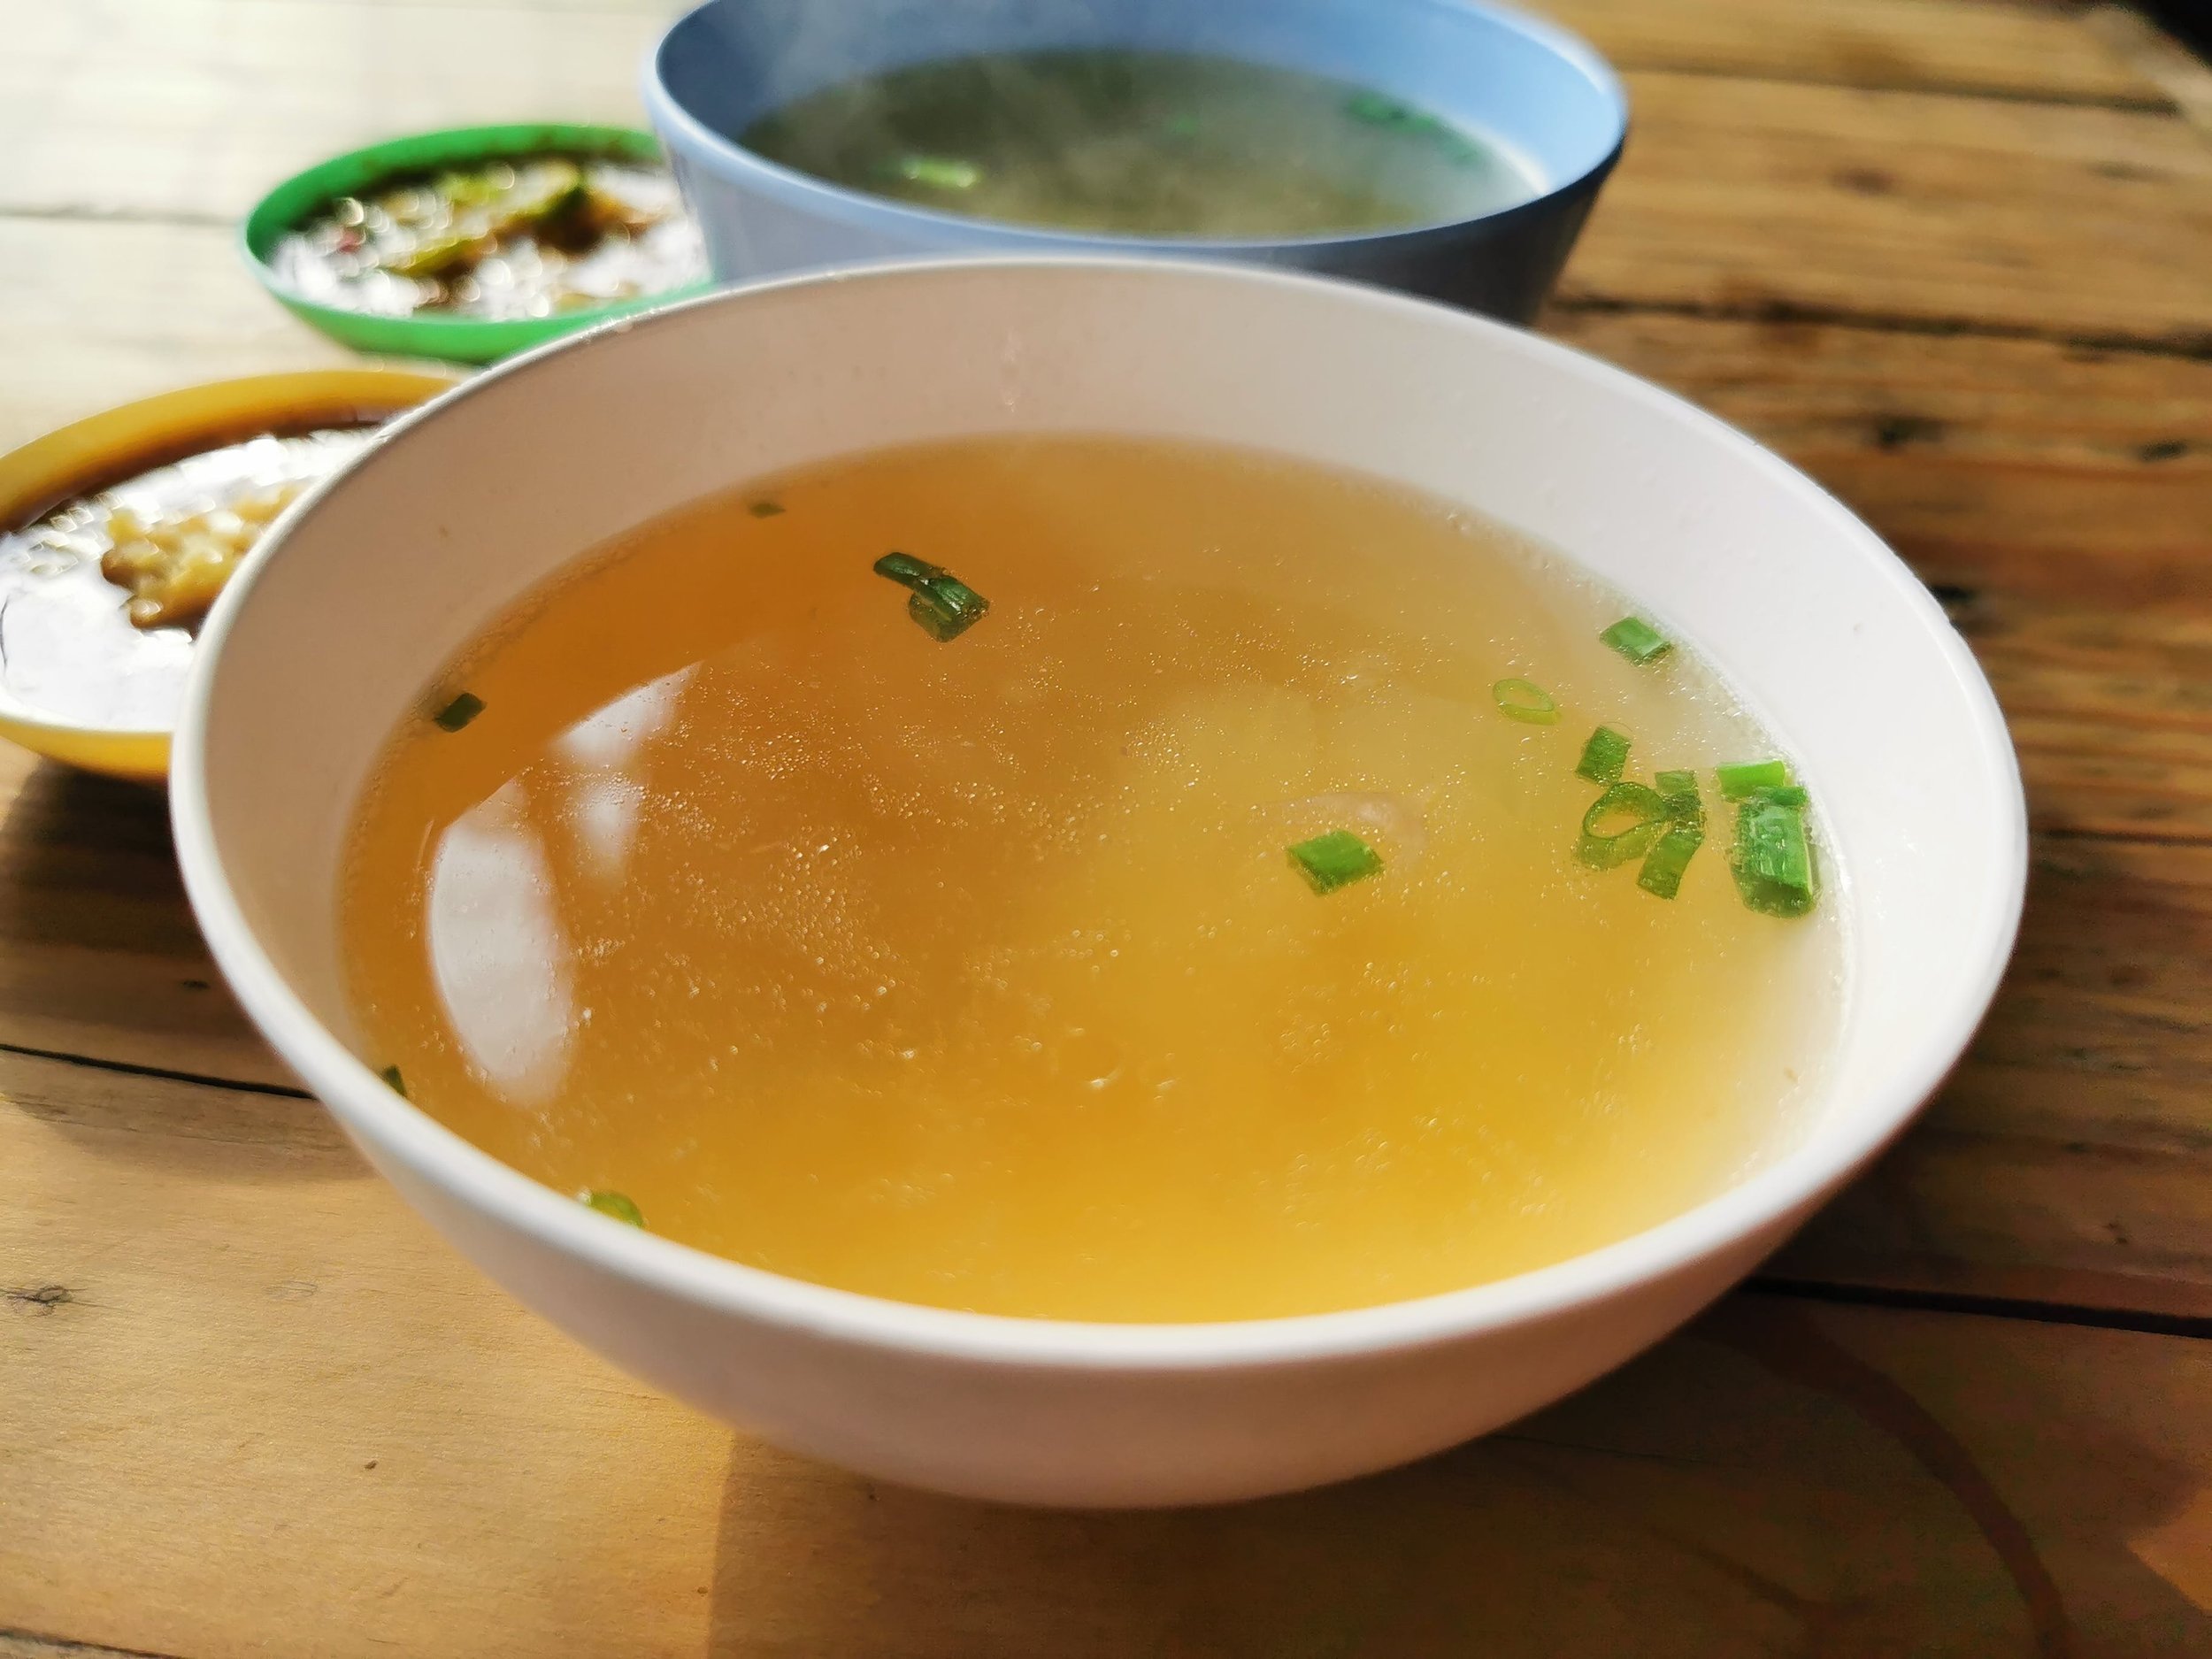
The warmth and soothing nature of bone broth can provide relief from digestive discomfort. Sipping on a warm cup of bone broth may help ease symptoms such as bloating and cramping.
After the holidays or any time you want to improve your relationship with food, use these techniques to master mindful eating and regain control of your health.
From Mindful Munching to making Social Connections — here are some tips for a happy holiday!
Research underscores the point that moderate-intensity exercise often outperforms vigorous exercise in relieving IBS symptoms. But individualization is key.
Taking a moment each day to acknowledge and appreciate the positive aspects of our lives can have a profound impact on our well-being.
How can you ensure your gut biome is in the best shape possible? I’ve put together the top 10 strategies to promote a healthy and diverse gut biome. Read on…
Constipation: What is it? What are some common myths about it? What can you do about it?
A step-by-step guide to assist you in getting through the grocery store and coming out with all the low-FODMAP foods and ingredients you need.
Smoked Country Style Boneless Pork Ribs (Low FODMAP)
15 Minutes prep • 7 hours cook • Low FODMAP • Gluten-free • Lactose-free • Serves 4 - 6
15 Minutes prep • 7 hours cook • Low FODMAP • Gluten-free • Lactose-free • Serves 4 - 6 • Ok to make ahead: Steps 1-6
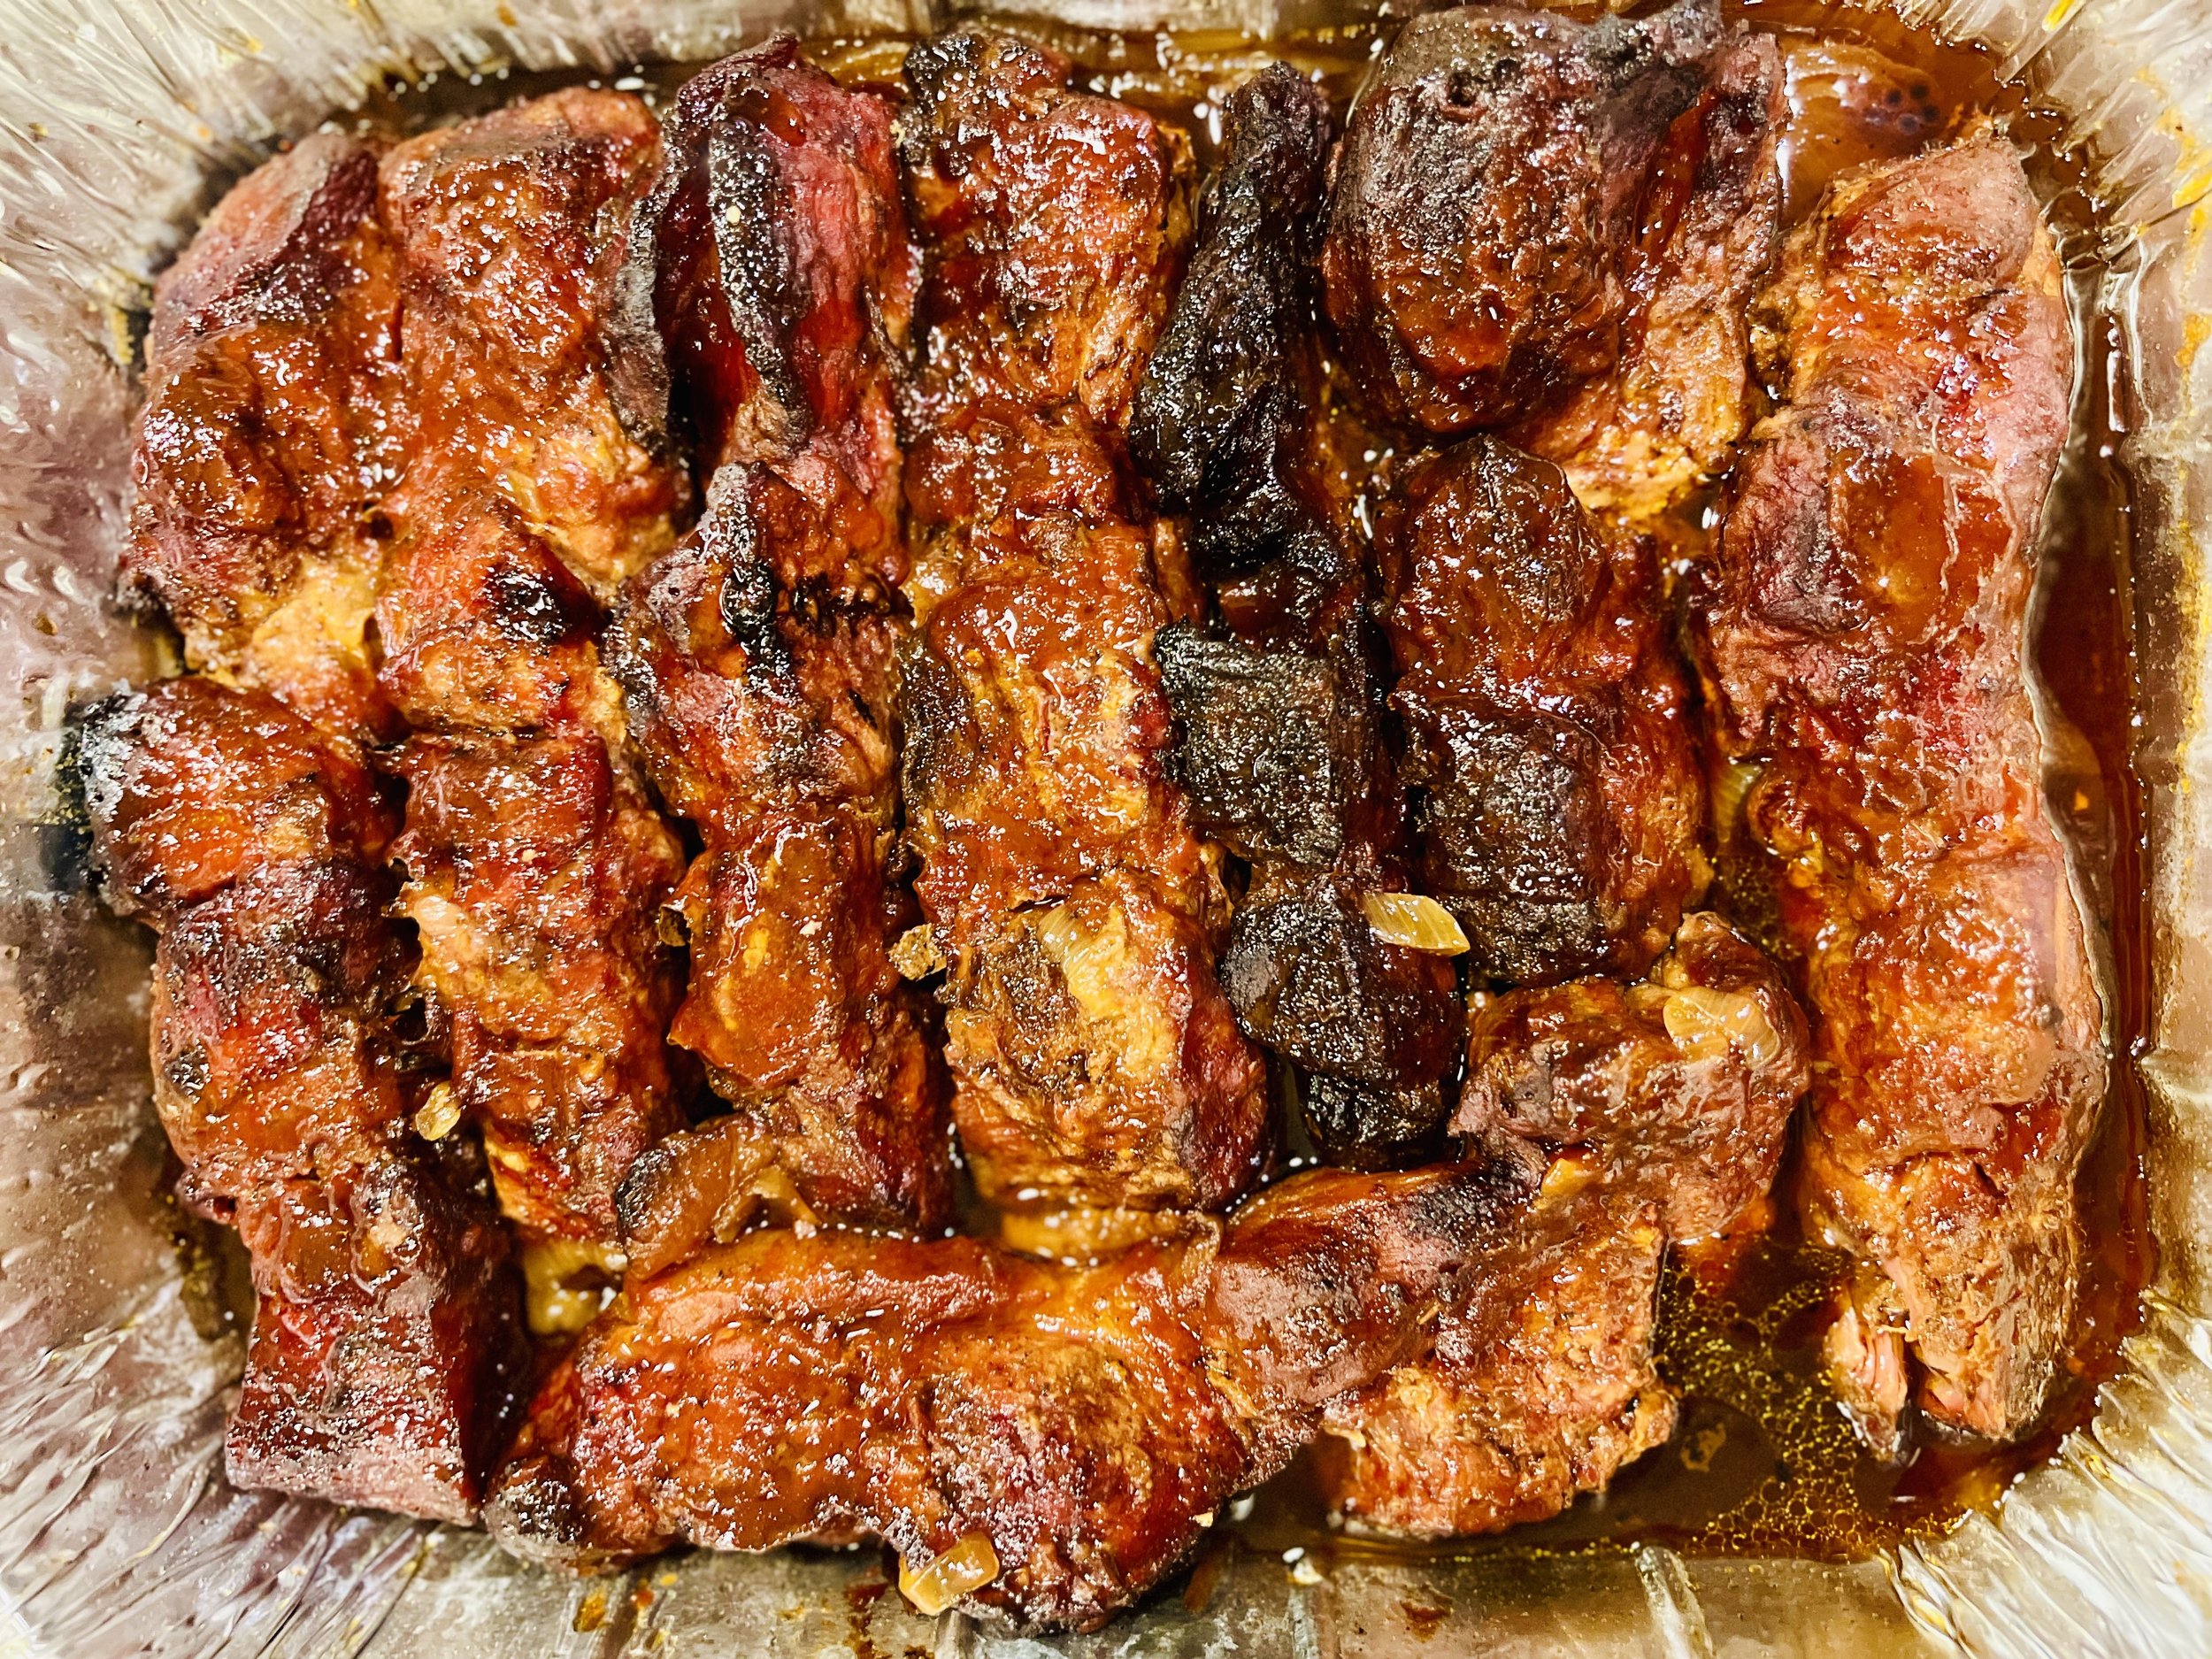
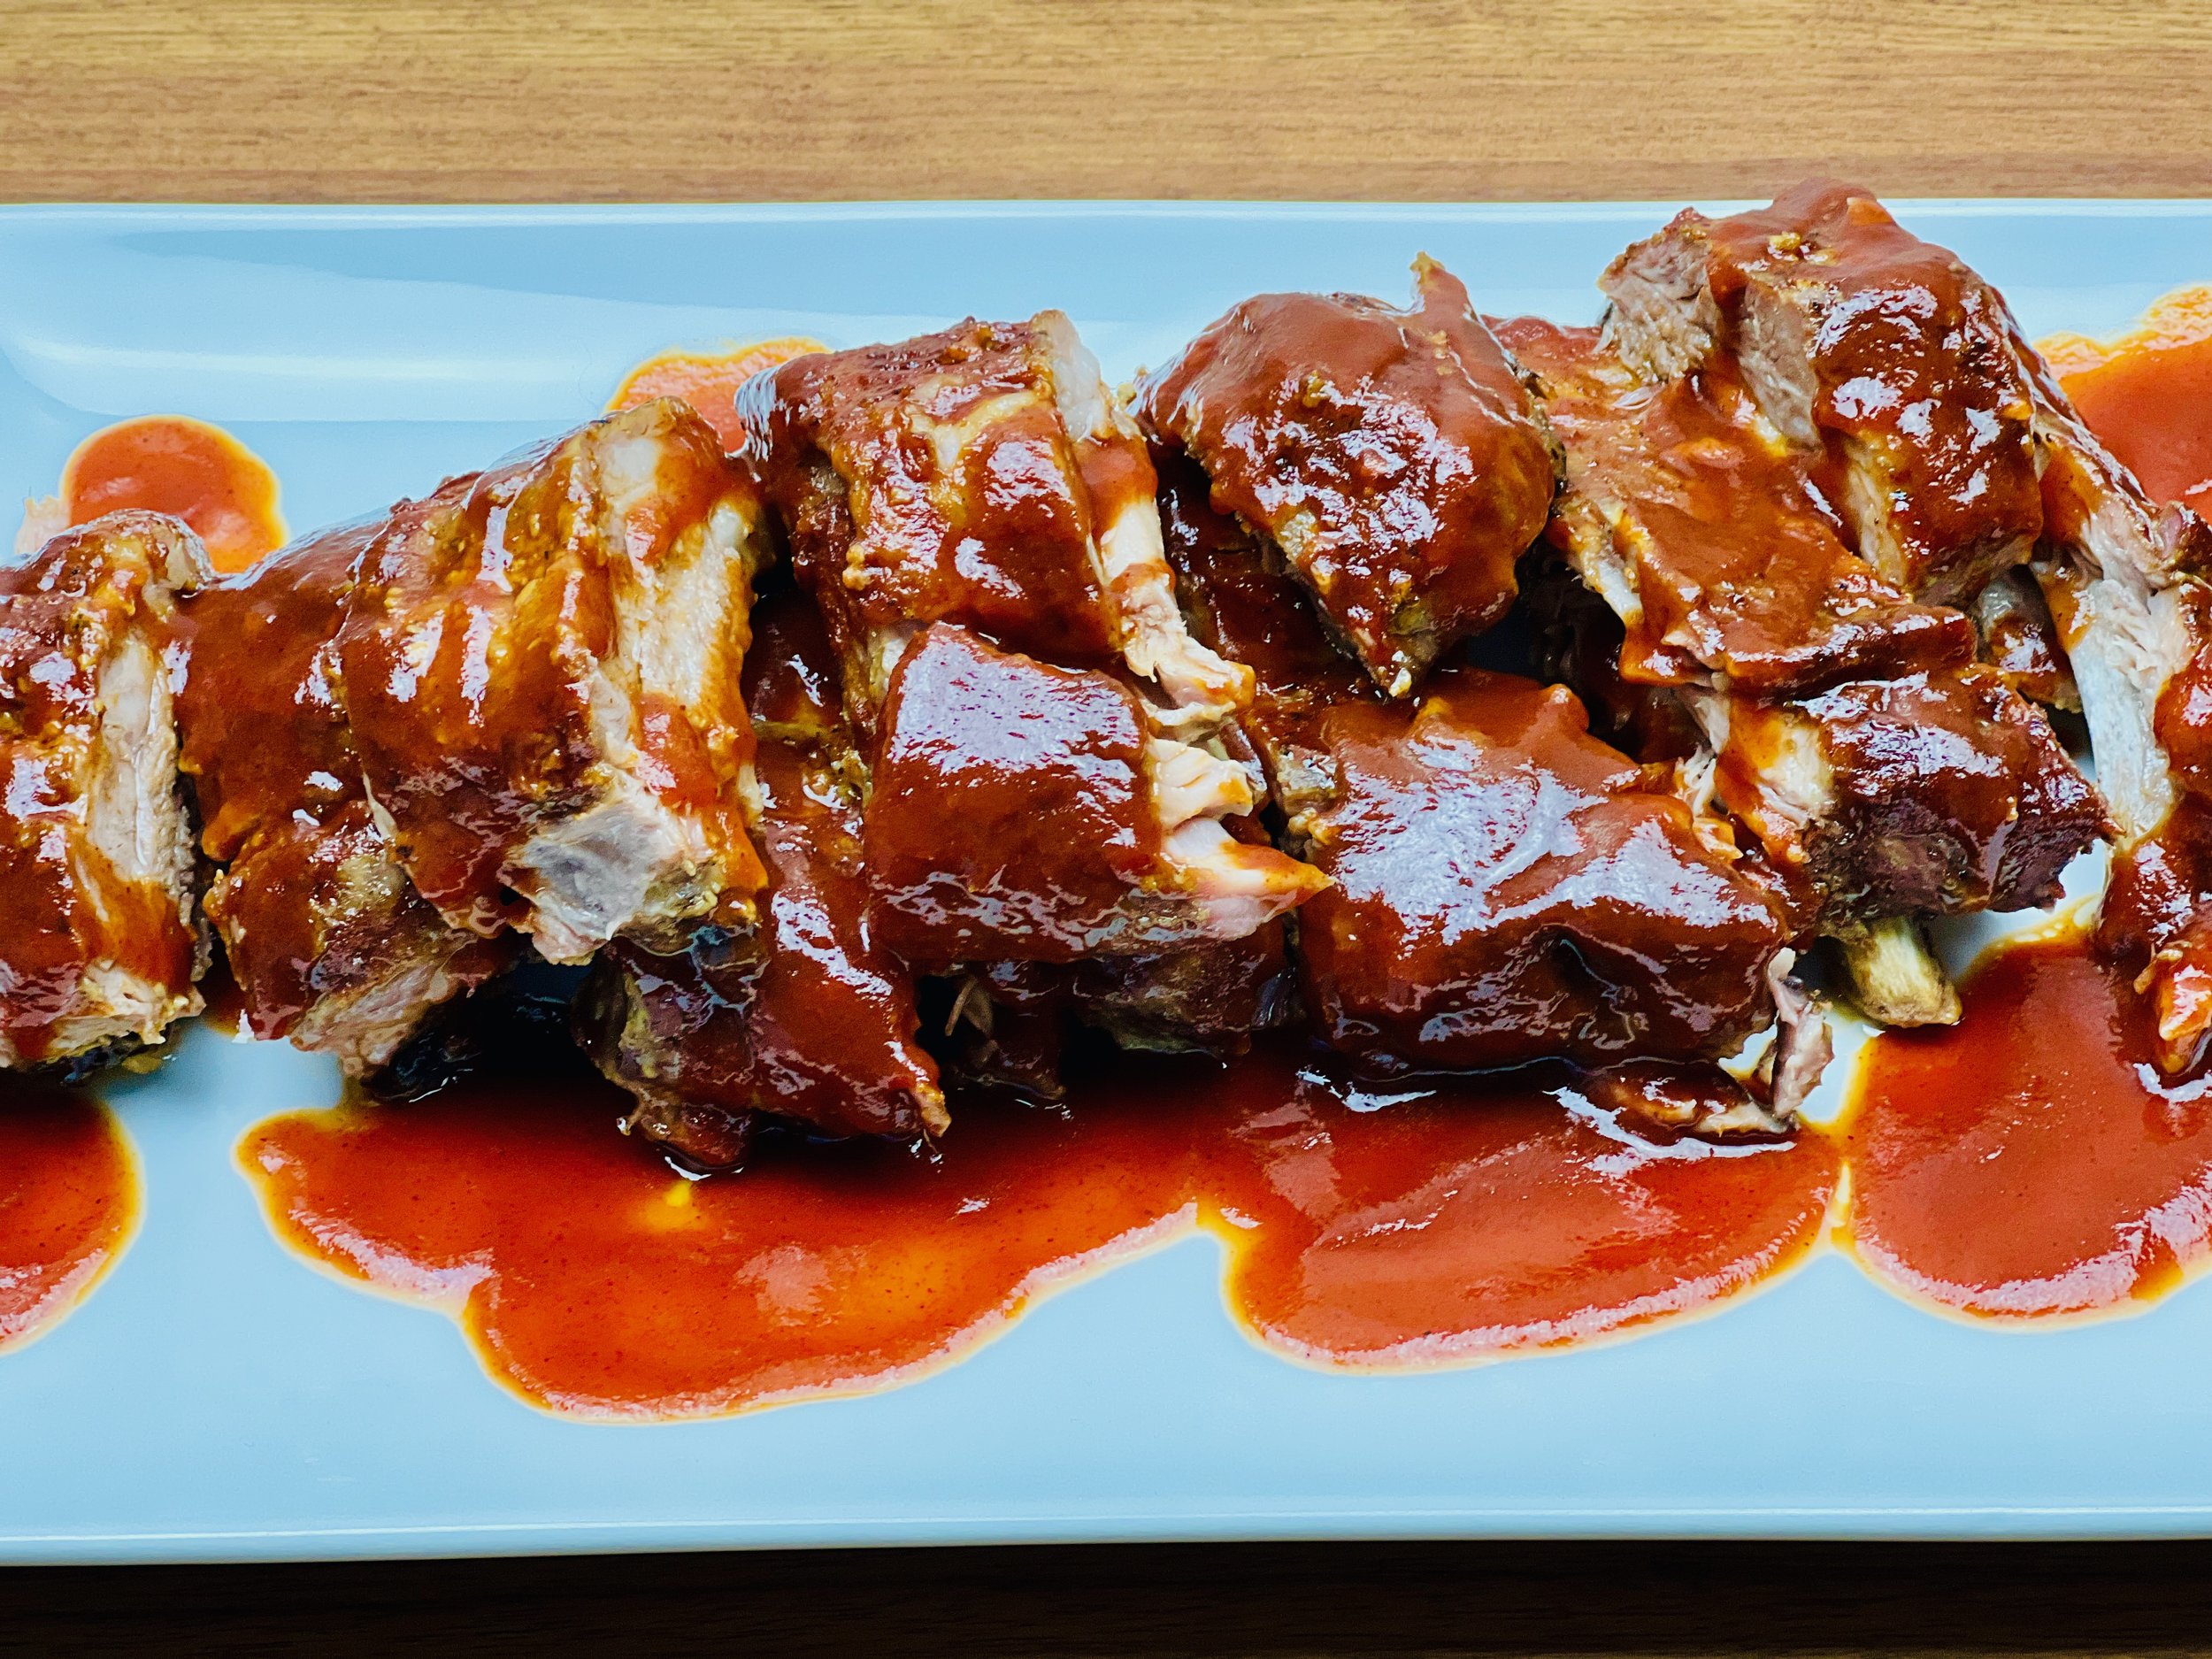
Country-style ribs can be the most tender and delicious cut of meat if you give them plenty of time to cook. And, because they’re boneless, they’re much easier (and less messy) to eat than traditional ribs. This recipe consists of two parts: The first is the slow cook on the Traeger pellet grill to bring the meat up to temperature and add the smoky flavor, and the second part is the braise to ensure the meat is tender and delicious. It’s worth the time to cook these ribs right! They do reheat beautifully in the oven so consider making these a day ahead and reheat to serve if you don’t have time to cook them on the day you plan to serve them. They pair wonderfully with my Buttery Mashed Yukon Gold Potatoes or Mushroom Pilaf (for a super low-carb option).
Ingredients
One package of country-style pork ribs (about 3 pounds)
2 - 3 tablespoons mustard (I used Dijon)
3 - 4 tablespoons of your favorite BBQ rub (I used Smoke N Sanity Triple S All Purpose Seasoning, use code IBSGC15 for 15% discount)
One cup of beef or chicken broth (I used Whole Foods Organic 365 chicken broth)
1 tablespoon apple cider vinegar
½ - 1 whole yellow onion, sliced (optional if tolerated)
1/2 cup of your favorite low FODMAP bbq sauce (I used: Smoke N Sanity Sweet and Sassy BBQ sauce, use code IBSGC15 for 15% discount)
Directions
(1) Prepare: Preheat your Traeger (or other pellet grill) to 250 degrees F. Remove the country-style pork ribs from the package and pat dry. Rub each of the ribs with mustard. Liberally sprinkle the bbq rub on all sides of each rib section
(2) Smoke the ribs: Place ribs directly on the preheated grill, fat side up if evident, and cook until the internal temp reaches 155 degrees. This takes 3- 4 hours. When the internal temperature is reached, remove the ribs to the braising pan and follow the braising directions (below).
Braising Directions
(3) Prepare the braise: Add the beef or chicken broth and the apple cider vinegar to the bottom of the braising pan. (I used an aluminum foil pan for easy cleanup. Use a pan small enough to be sure the braising liquid surrounds but doesn’t cover the meat completely. It’s ok for the ribs to be touching each other while braising). If you can tolerate a bit of onion, slice up ½ to 1 whole yellow onion and put the onion slices in the pan with the braising liquid (if you can’t tolerate any onion, leave it out, the ribs will still be delicious!)
(4) Braise the ribs: After the ribs reach 155 degrees F, remove them and place them in the braising pan. Pour the BBQ sauce over the ribs and cover the braising pan tightly with foil and place it back on the grill. Cook at 250 degrees for another 2 – 3 hours or until the internal temperature reaches 170 degrees F and the meat is tender and easily pulls apart with a fork.
(5) Finish: Remove from the smoker and allow the meat to rest for 10 - 15 minutes before serving.
(6) Plate and serve: To serve, spoon the pan juices over the ribs and serve the ribs over my Buttery Mashed Yukon Gold Potatoes or Mushroom Pilaf (for a super low-carb option). Add a salad or a cooked veggie side and you’ve got a perfect meal!
(7) Storage: Store leftovers (with the braising juices!) in an airtight container in the refrigerator. Reheat in a 300-degree oven for about 20 – 30 minutes. These reheat beautifully so consider making these a day ahead and reheat to serve.
Eat and enjoy every bite because you can!
Have a question you’d like to have answered? Email me at hello@ibsgamechanger.com
Link note: This post may contain affiliate links for you to easily purchase items that are linked. I may earn a small commission from qualifying purchases but none of this costs you a thing so feel free to use the links! In addition, for some items, I have provided a special discount code for IBS Game Changers so be sure to use the code when you purchase an item to get the discount that has been arranged just for you.
More Deliciously Low FODMAP™ BBQ recipes
10 Minutes prep • 20 Minutes cook • Low FODMAP • Gluten-free • Serves 4 n skewers for your family and friends. They are sure to be a hit.
20 Minutes prep • 3-5 hours cook/rest • Low FODMAP • Gluten-free • Lactose-free • Serves 6
15 Minutes prep • 30 minutes - 4 Hours marinate • 20 minutes Cook • Low FODMAP • Gluten-free • Lactose-free • Serves 4
Butter Lettuce Salad with Herby Lemon Feta (Low FODMAP)
15 Minutes prep • Low FODMAP • Gluten-free • Vegetarian • Serves 4
15 Minutes prep • Low FODMAP • Gluten-free • Vegetarian • Serves 4 • Ok to make ahead: Steps 1-3
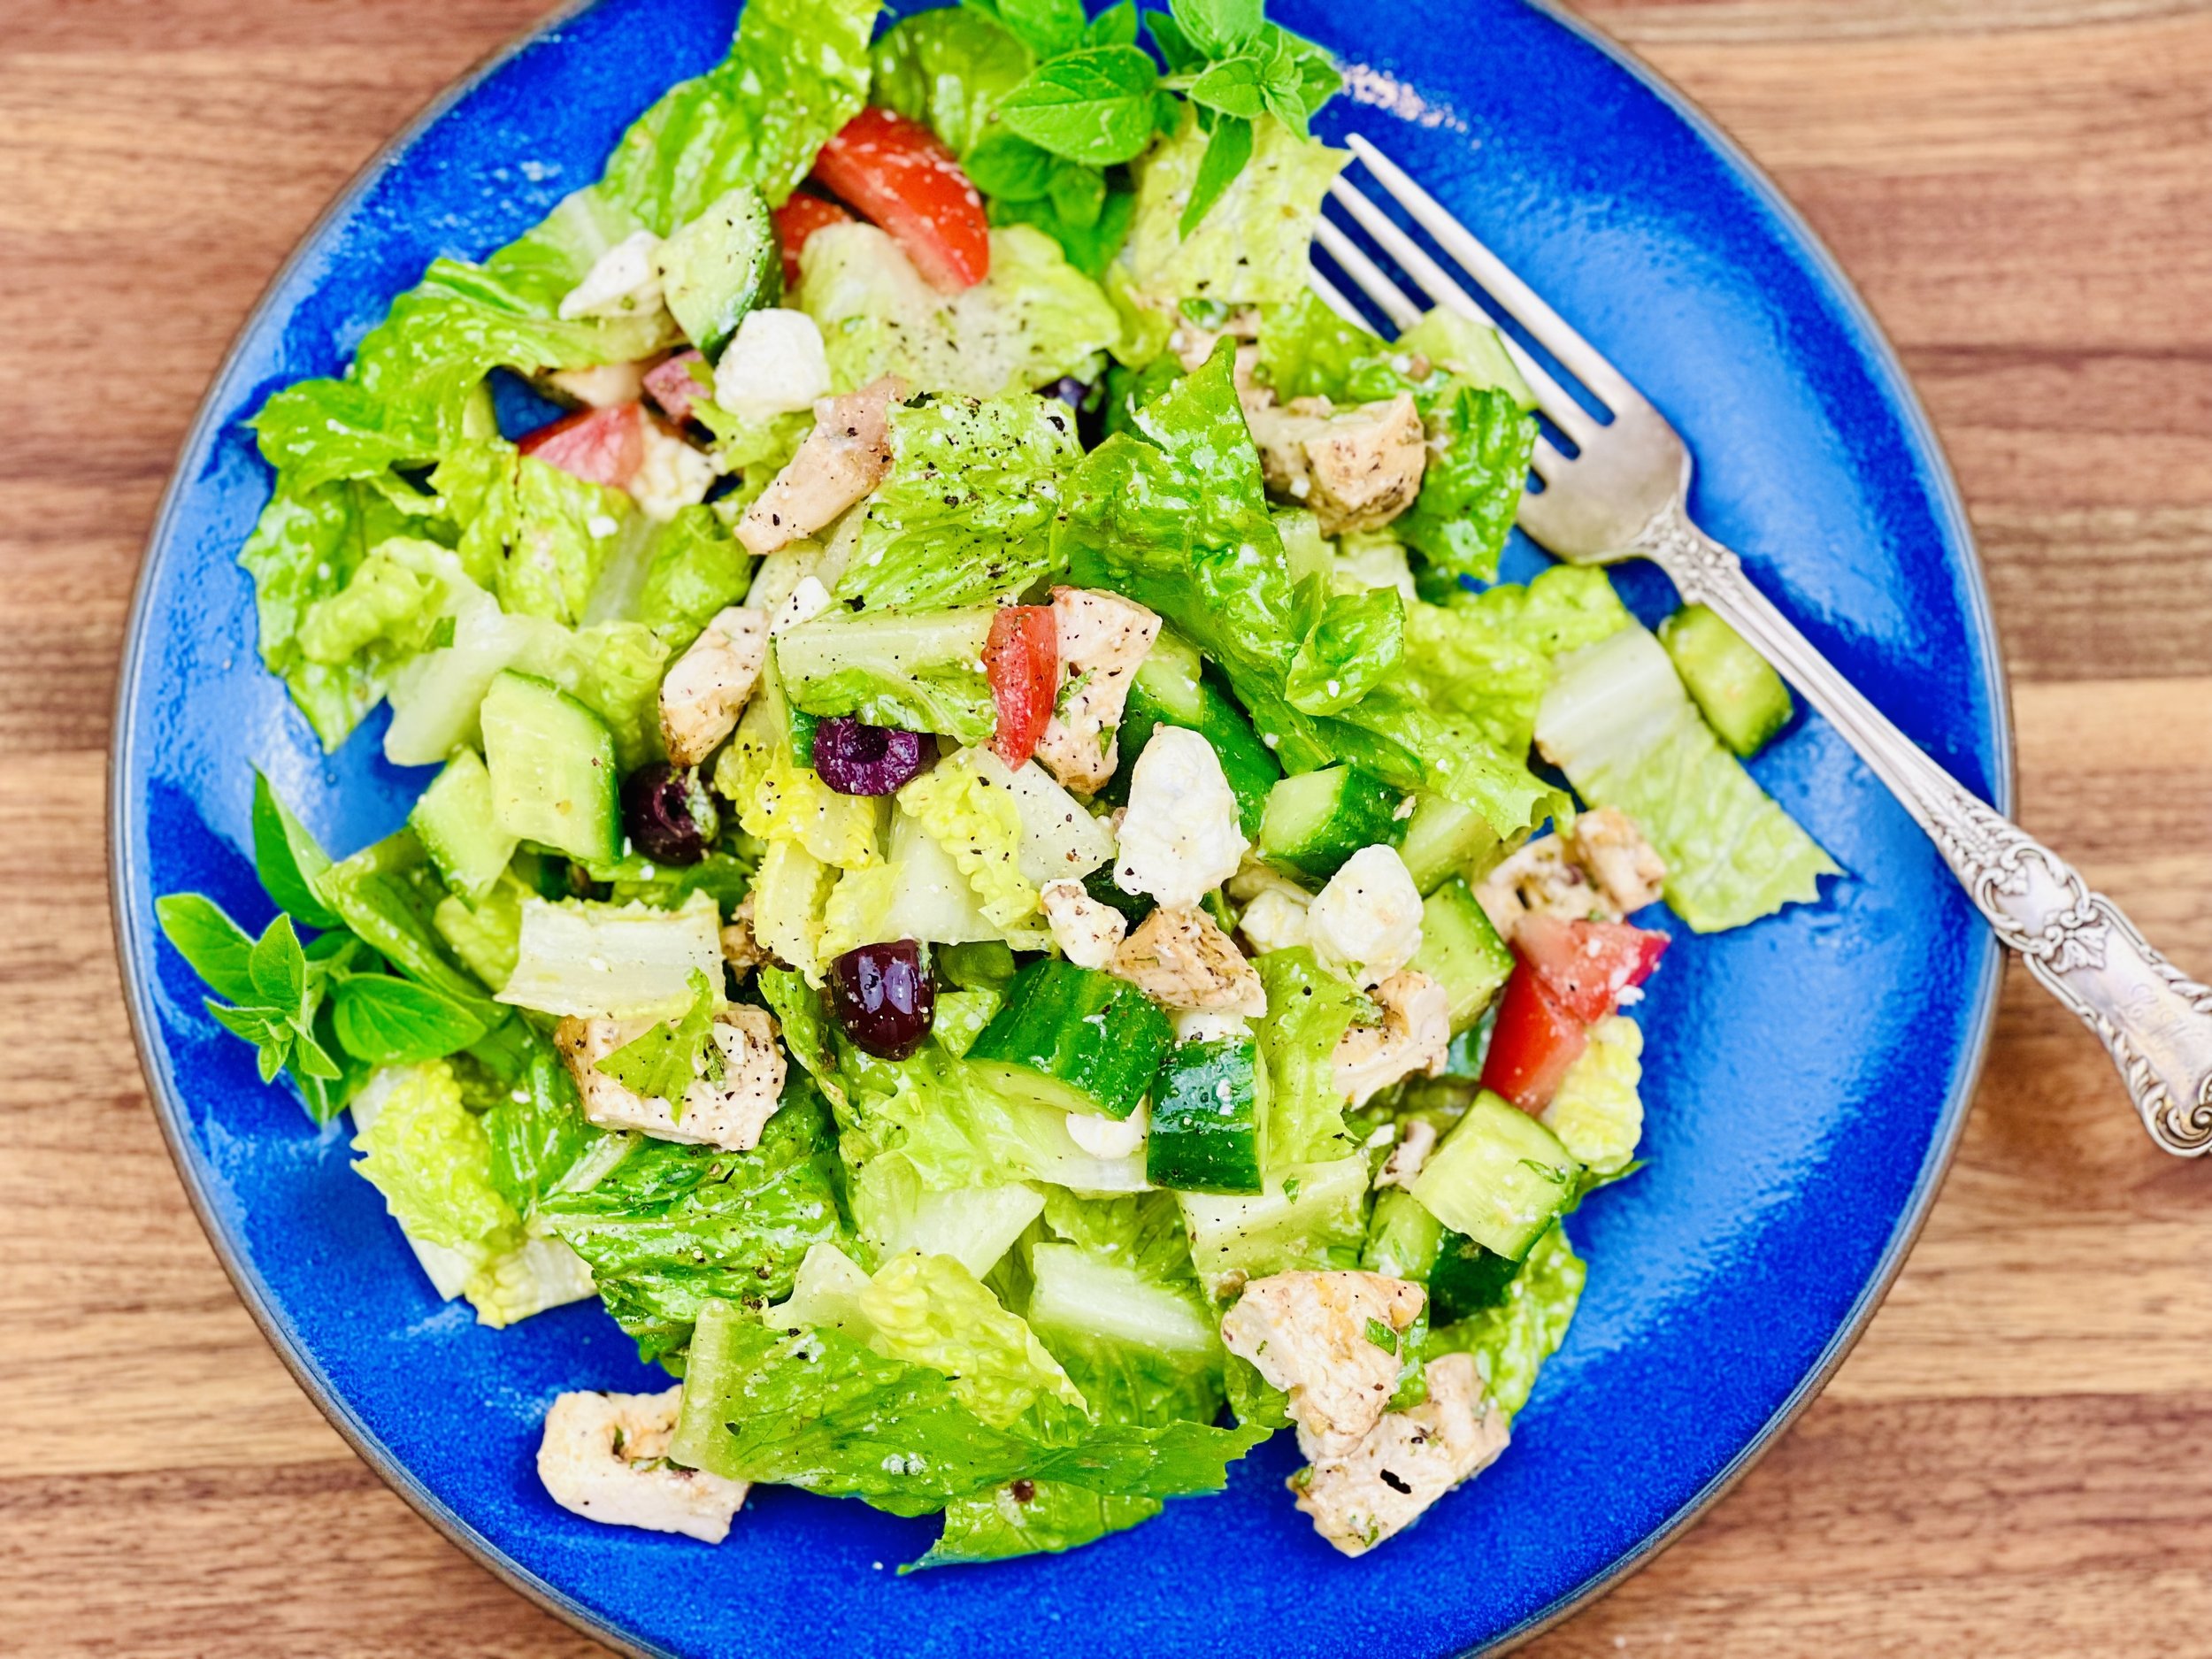
This crisp salad is just bursting with flavor thanks to the lemony herb dressing. It’s quick to make and can be assembled at the last minute so it’s perfect for the family or for a dinner party. You can change up the greens if you like and add more or less depending on what you have on hand. This salad is a great change of pace from the standard fare so if you looking for a new salad to try, this is it! I hope you enjoy it as much as I do.
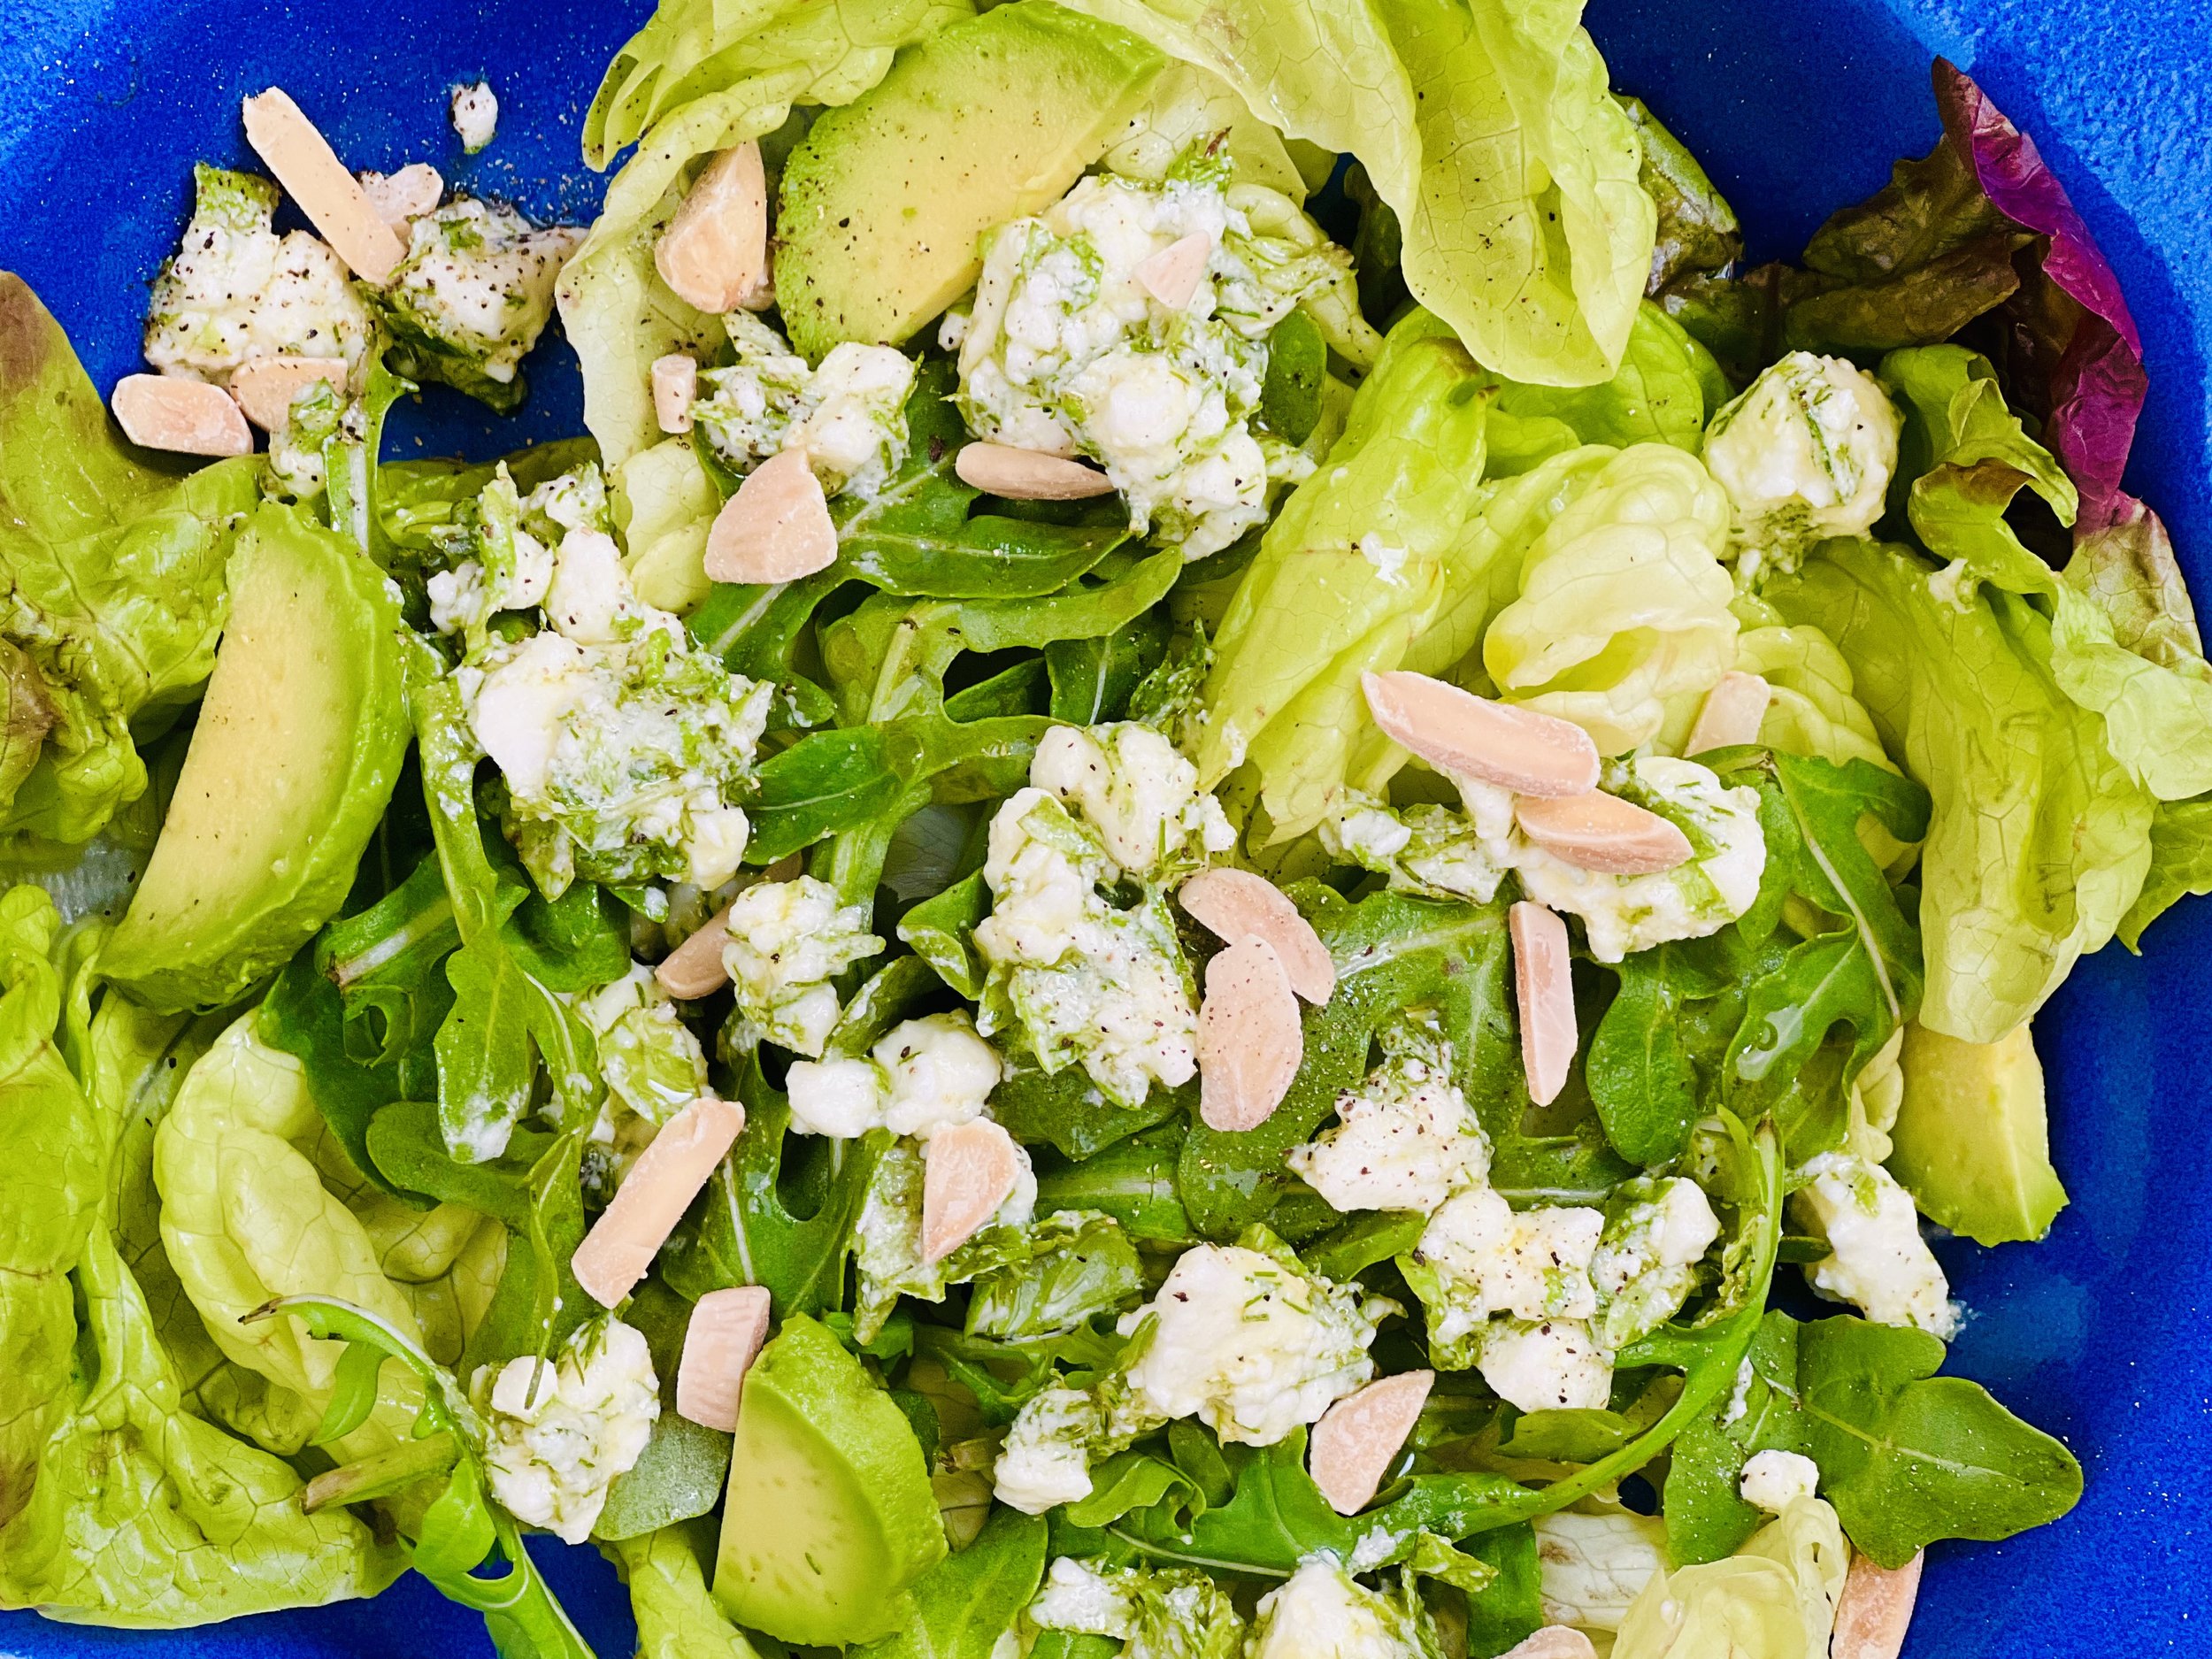
Ingredients: Salad
4 cups butter lettuce, washed and dried
1 cup arugula (optional)
4 Persian cucumbers (optional)
1/2 avocado, diced
1/3 cup slivered toasted almonds (or sliced or chopped raw almonds are ok too)
Ingredients: Dressing
5 ounces crumbled feta cheese
1/4 cup extra virgin olive oil
1 tablespoon lemon juice
1 tablespoon fresh dill, chopped
1/2 cup fresh basil, chopped
1/4 teaspoon black pepper
Pinch red pepper flakes (for serving, optional); and here’s a nifty red pepper flake grinder too
Directions
(1) Prepare: Wash and dry the lettuce. Slice the cucumbers (if using) and chop the almonds.
(2) Build the salad: Put the lettuce and arugula (if using) in a large salad bowl. Add the cucumbers and the avocado.
(3) Make the dressing: Put the crumbled feta cheese in a bowl. Add the olive oil, lemon juice, and dill. Toss gently. Season with pepper, and chili flakes (if using). Toss to combine. Add
(4) Finish: Pour the dressing over the lettuce and gently toss the salad with the dressing. Sprinkle with the slivered almonds.
(5) Plate and serve: This salad is great on its own or as a side to seafood (especially), chicken, or beef.
Eat and enjoy every bite because you can!
Have a question you’d like to have answered? Email me at hello@ibsgamechanger.com
Link note: This post may contain affiliate links for you to easily purchase items that are linked. I may earn a small commission from qualifying purchases but none of this costs you a thing so feel free to use the links! In addition, for some items, I have provided a special discount code for IBS Game Changers so be sure to use the code when you purchase an item to get the discount that has been arranged just for you.
More Deliciously Low FODMAP™ salad recipes
5 Minutes prep • 15 Minutes cook • Low FODMAP • Gluten-free • Lactose-free • Vegan • Serves 4
15 Minutes prep • Low FODMAP • Gluten-free • Lactose-free • Vegetarian • Vegan • Serves 4
30 Minutes prep • Low FODMAP • Gluten-free • Lactose-free • Vegetarian • Vegan • Serves 4+ • Serving Size 2 cups
15 Minutes prep • 30 Minutes cook • Low FODMAP • Gluten-free • Lactose-free • Serves 4-6
Simply Delicious Tuna Salad (Low FODMAP)
10 Minutes prep • Low FODMAP • Gluten-free • Lactose-free • Serves 2
10 Minutes prep • Low FODMAP • Gluten-free • Lactose-free • Serves 2 • Ok to make ahead: Steps 1-2
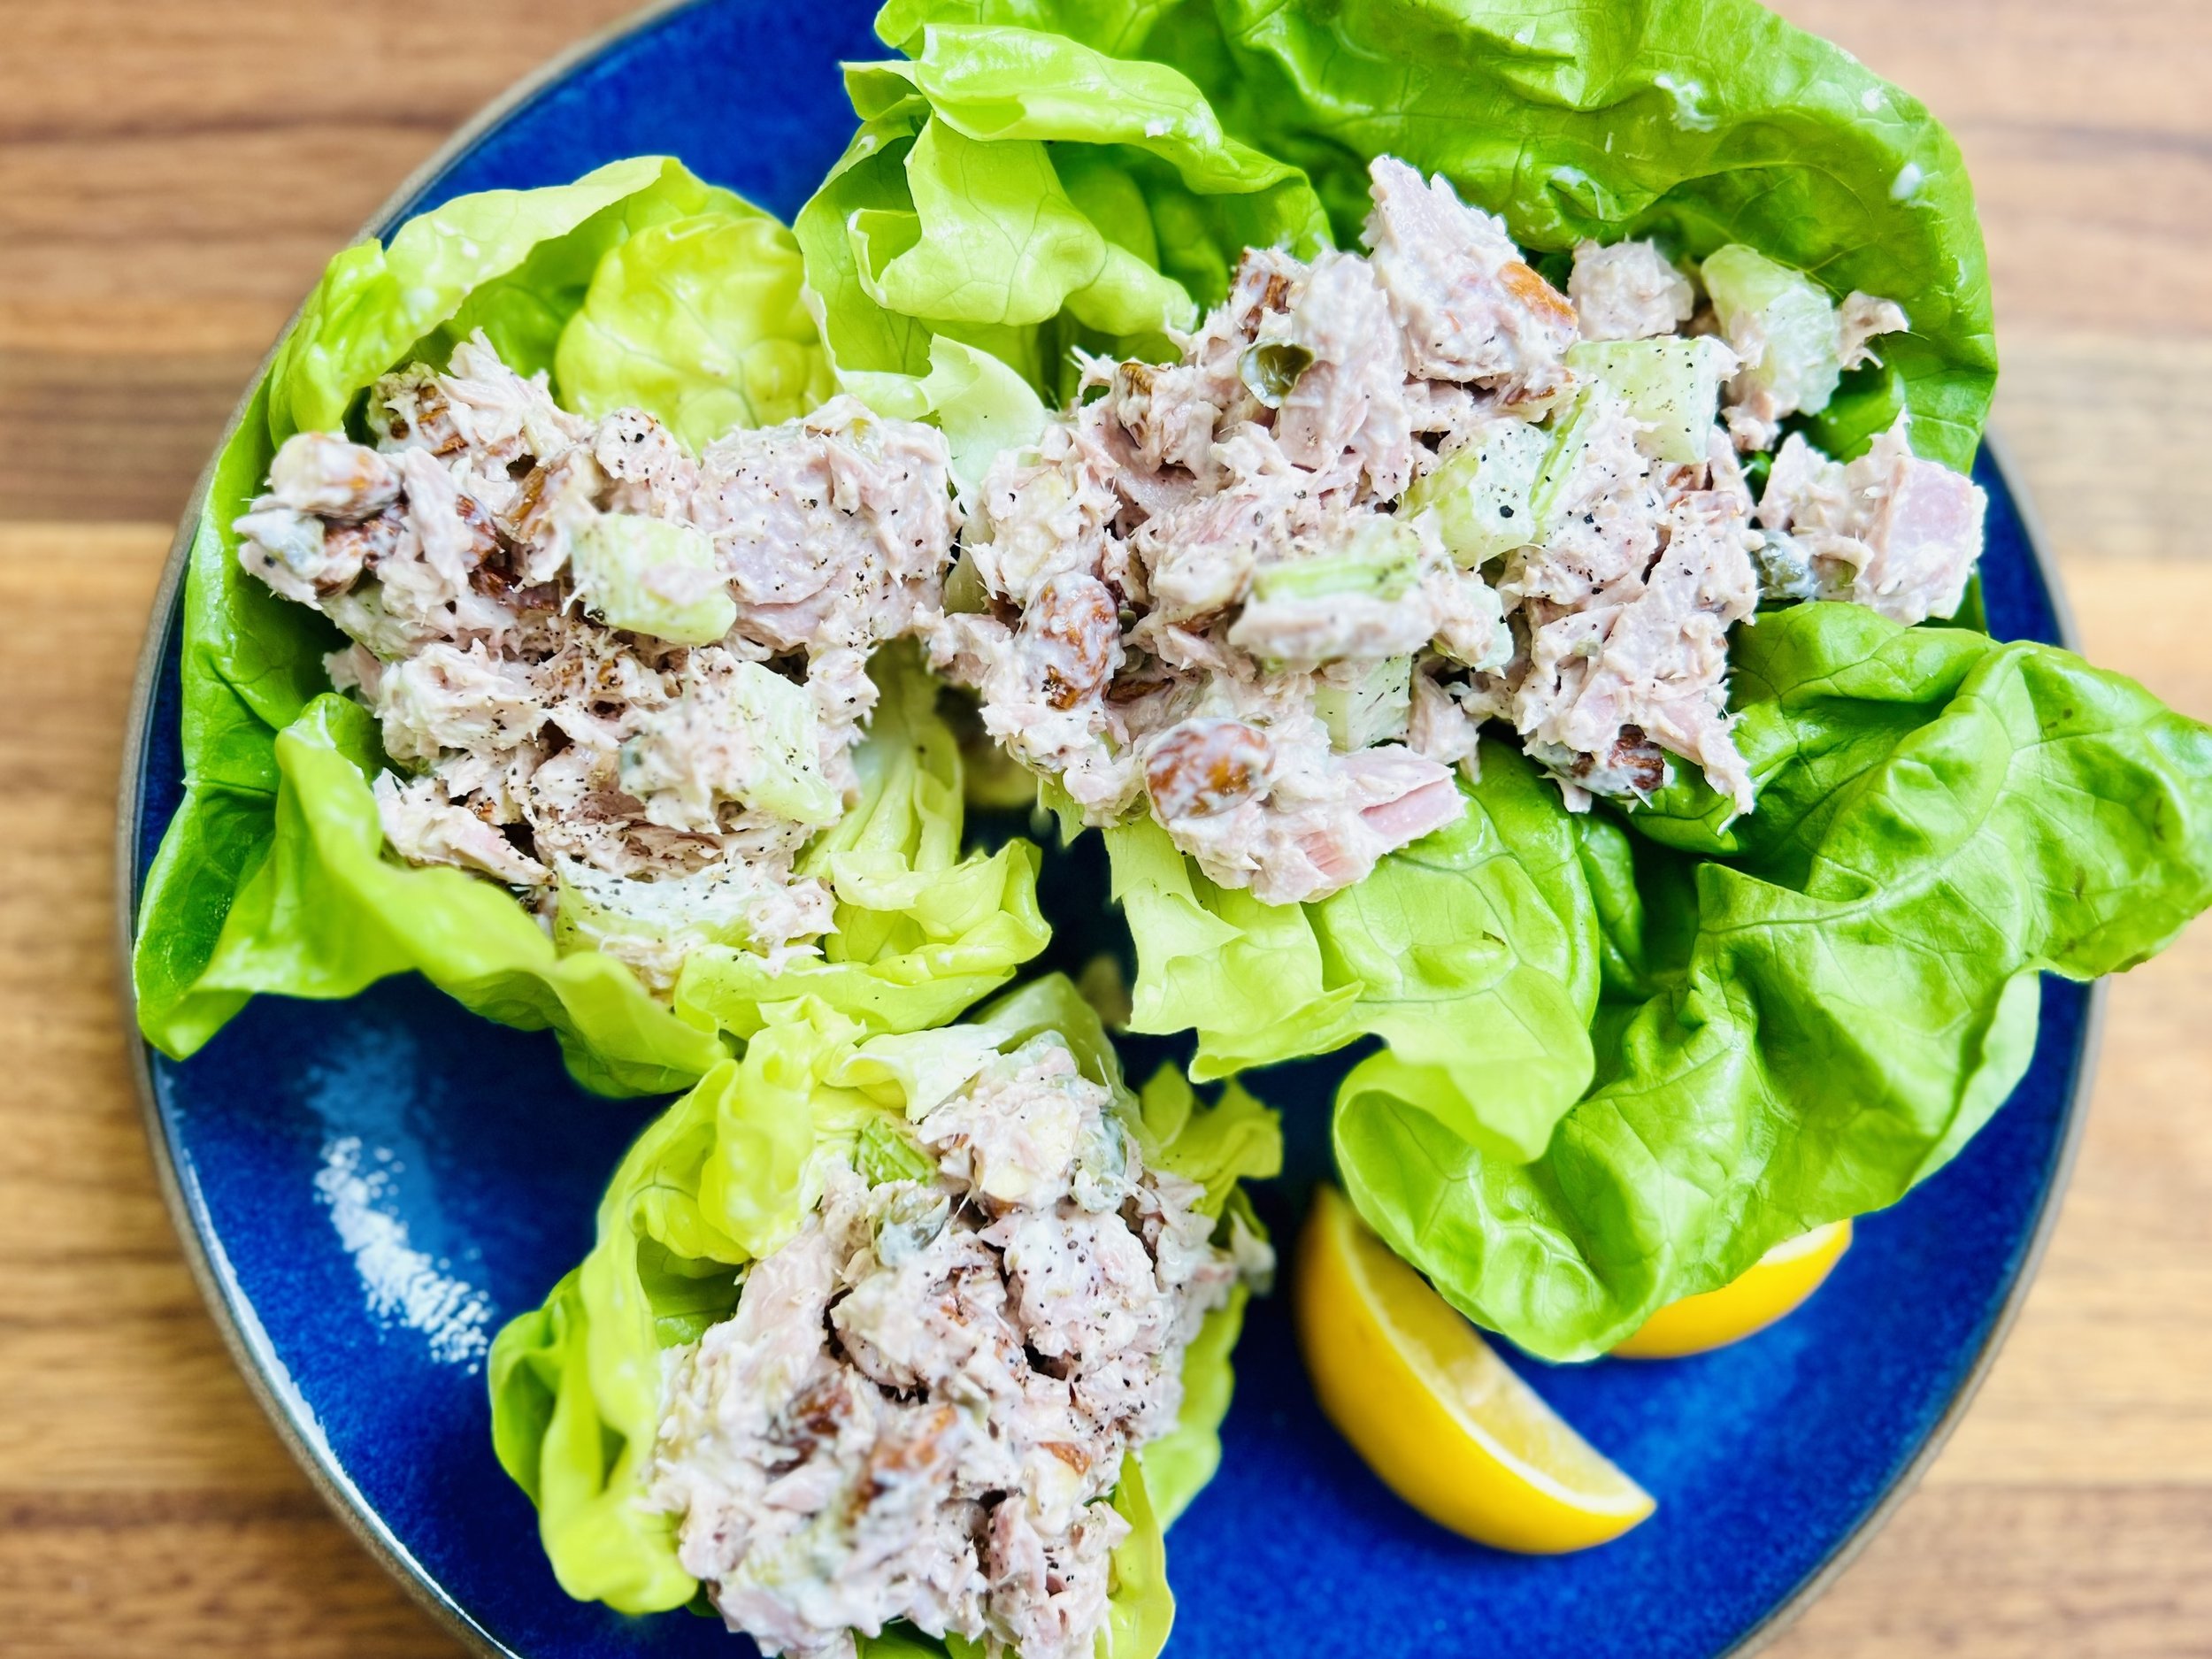
Tuna is a wonderful protein source full of important omega 3’s. And, it’s easy to keep on hand in your pantry. It’s also one of those foods we often forget about so this recipe should serve as a reminder to get that tuna out of the pantry and make something delicious! There are all kinds of tuna options available in the grocery store now that are quite delicious. I use Yellow Fin Tuna, or Skipjack Tuna to ensure a low mercury content. This recipe includes chopped celery and almonds for some crunch and green onions for some added flavor and color. I served it on a bed of mixed greens with some hard-cooked eggs alongside and it made a perfect summer supper.
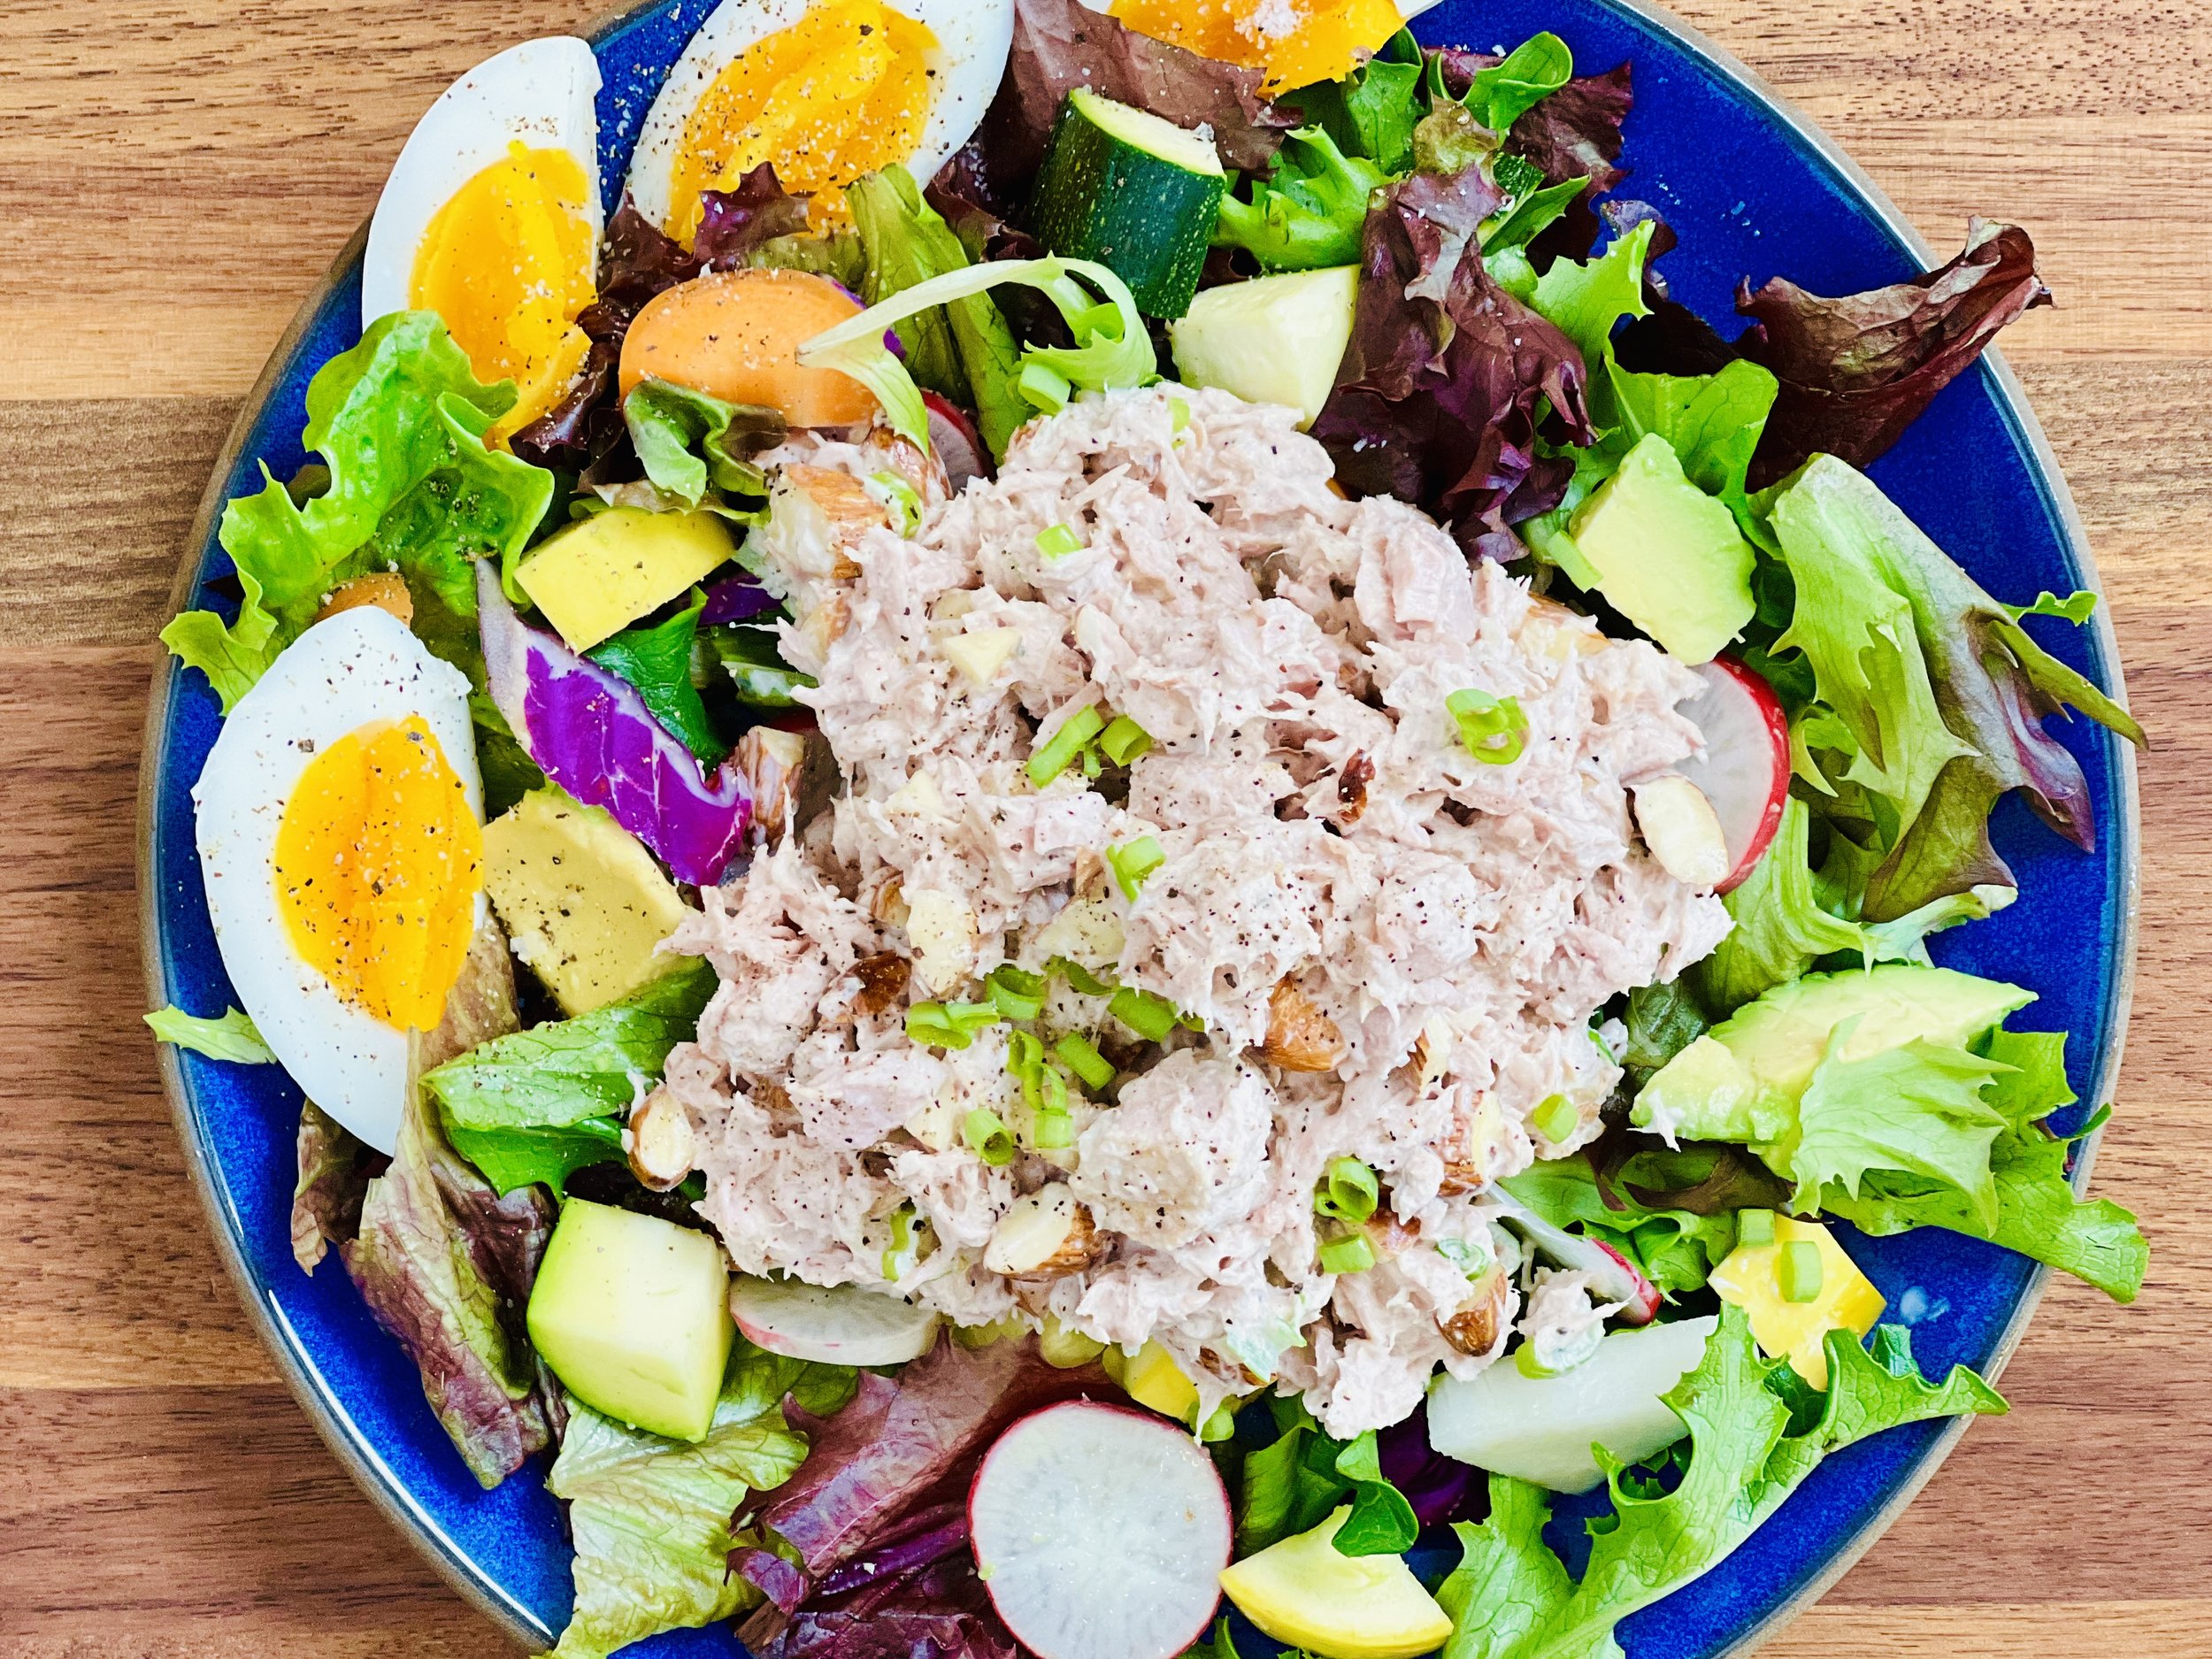
Ingredients
5-ounce can Yellow Fin Tuna, or Skipjack Tuna, drained
2 tablespoons mayonnaise
Juice of 1/2 lemon (about 1 tablespoon)
1 green onion, green part only, chopped
1/4 cup raw almonds, roughly chopped
1/2 stalk celery, chopped
1/2 teaspoon Kosher salt
1/4 teaspoon black pepper
Mixed salad greens and chopped veggies, for serving
Hard-cooked eggs, optional, for serving
Directions
(1) Prepare: Chop the green onion greens and the almonds. Drain the liquid off the can of tuna.
(2) Combine: Combine tuna, mayonnaise, lemon juice, green onion greens, almonds, celery, salt, and pepper in a small bowl and use a fork to blend. Don’t over mix so you keep some of the form of the tuna.
Make-ahead note: At this point, you may cover the bowl with plastic wrap and store the mixture in the refrigerator until you’re ready to serve.
(3) Prepare your greens and veggies: Wash and dry the lettuce and chop the veggies you want to include. Then make a bed of greens and veggies on each plate.
(4) Plate and serve: Put a scoop of tuna salad on top of the greens. Serve alongside a couple of hard-cooked eggs or a piece of toasted sourdough bread.
Eat and enjoy every bite because you can!
Recipe note: I use Diamond Crystal Kosher salt in all my recipes because it has a wonderful flat and crisp flake that tastes delicious. It is also the least salty salt available so you can use it more liberally as a seasoning than you can table salt or sea salt. If you use another type of salt, you may need to reduce the amount so it is not over-salted.
Have a question you’d like to have answered? Email me at hello@ibsgamechanger.com
Link note: This post may contain affiliate links for you to easily purchase items that are linked. I may earn a small commission from qualifying purchases but none of this costs you a thing so feel free to use the links! In addition, for some items, I have provided a special discount code for IBS Game Changers so be sure to use the code when you purchase an item to get the discount that has been arranged just for you.
More Deliciously Low FODMAP™ salad recipes
5 Minutes prep • 15 Minutes cook • Low FODMAP • Gluten-free • Lactose-free • Vegan • Serves 4
15 Minutes prep • Low FODMAP • Gluten-free • Lactose-free • Vegetarian • Vegan • Serves 4
30 Minutes prep • Low FODMAP • Gluten-free • Lactose-free • Vegetarian • Vegan • Serves 4+ • Serving Size 2 cups
15 Minutes prep • 30 Minutes cook • Low FODMAP • Gluten-free • Lactose-free • Serves 4-6
Crispy Keto-Friendly Chicken Tenders (Low FODMAP)
15 Minutes prep • 15 Minutes cook • Low FODMAP • Gluten-free • Serves 4
15 Minutes prep • 15 Minutes cook • Low FODMAP • Gluten-free • Serves 4 • Ok to make ahead: Step 6
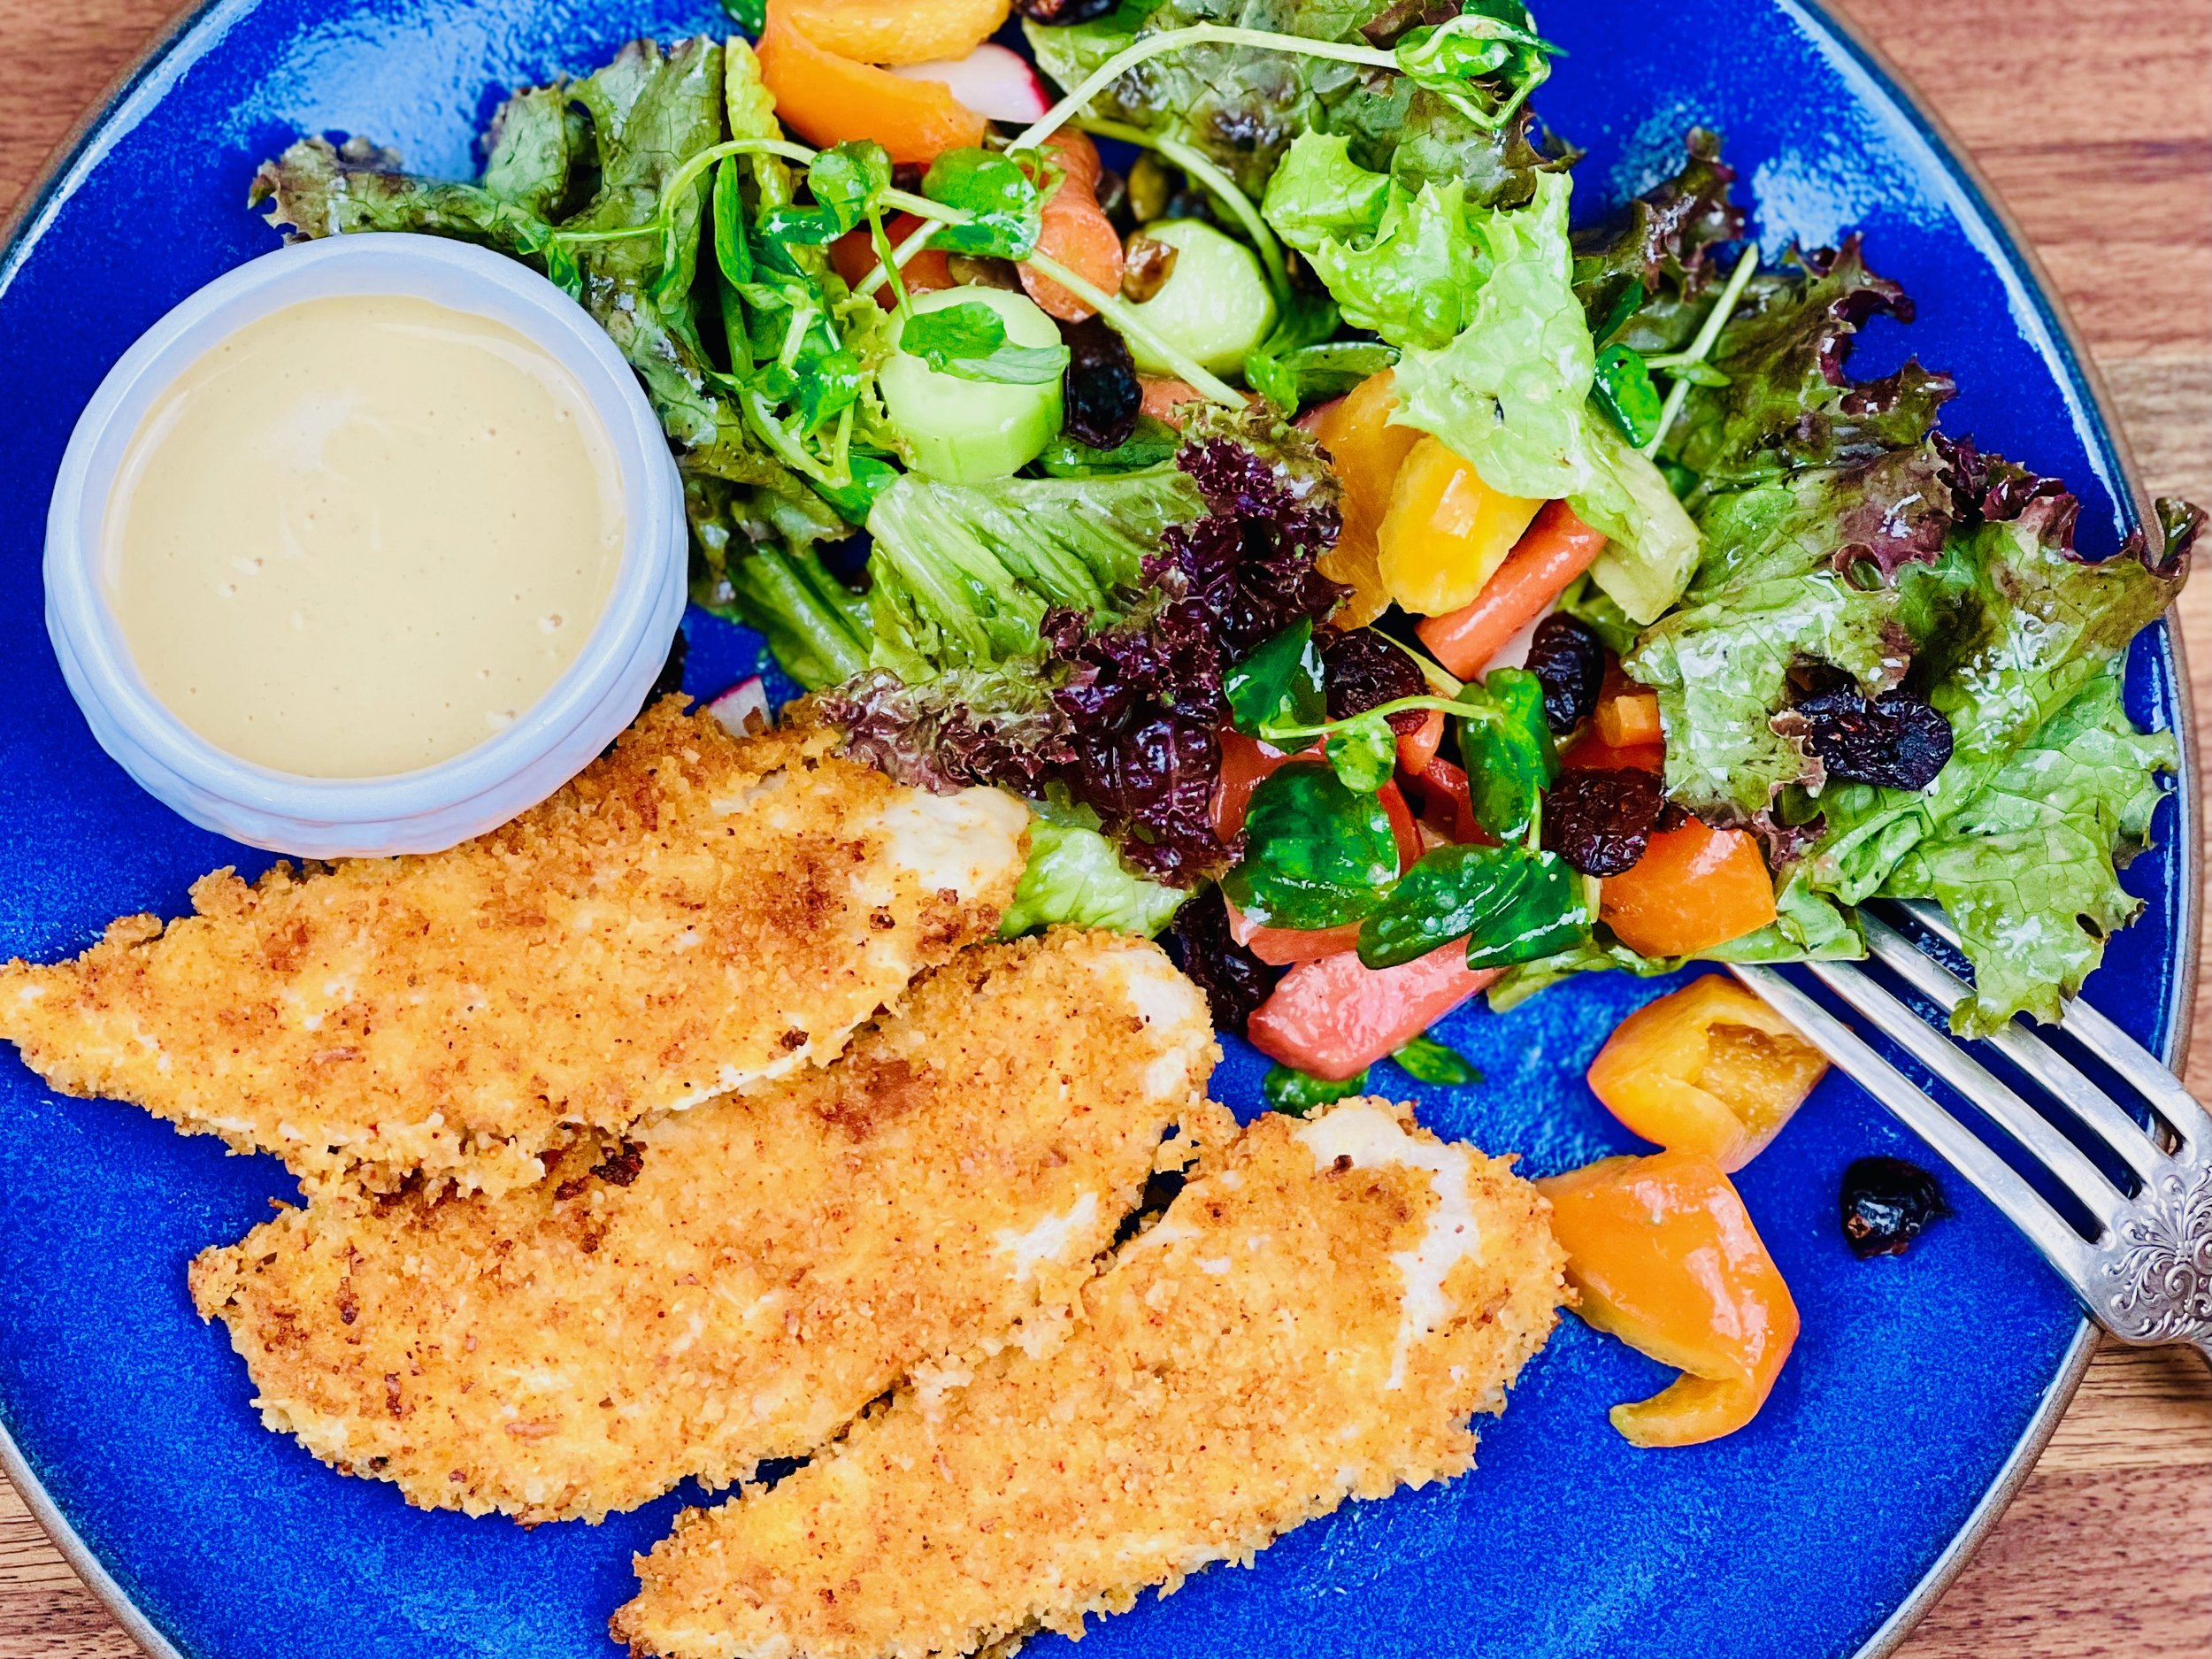
Keto-friendly chicken tenders? What? It’s all in the panko you use. This recipe achieves gluten-free crispy crunchiness with Pork Panko (no, it doesn’t taste like bacon). They are easy to make whether baked in the oven or fried on the stove, and you won’t miss the flour (or the carbs) one bit! I served them with a quick and creamy Dijon dipping sauce and my Crisp Veggie Slaw, but you could put them on your appetizer tray, or serve them to your kids with Smoke N Sanity Low FODMAP ketchup. No matter how you serve them, they’re too good to last long!
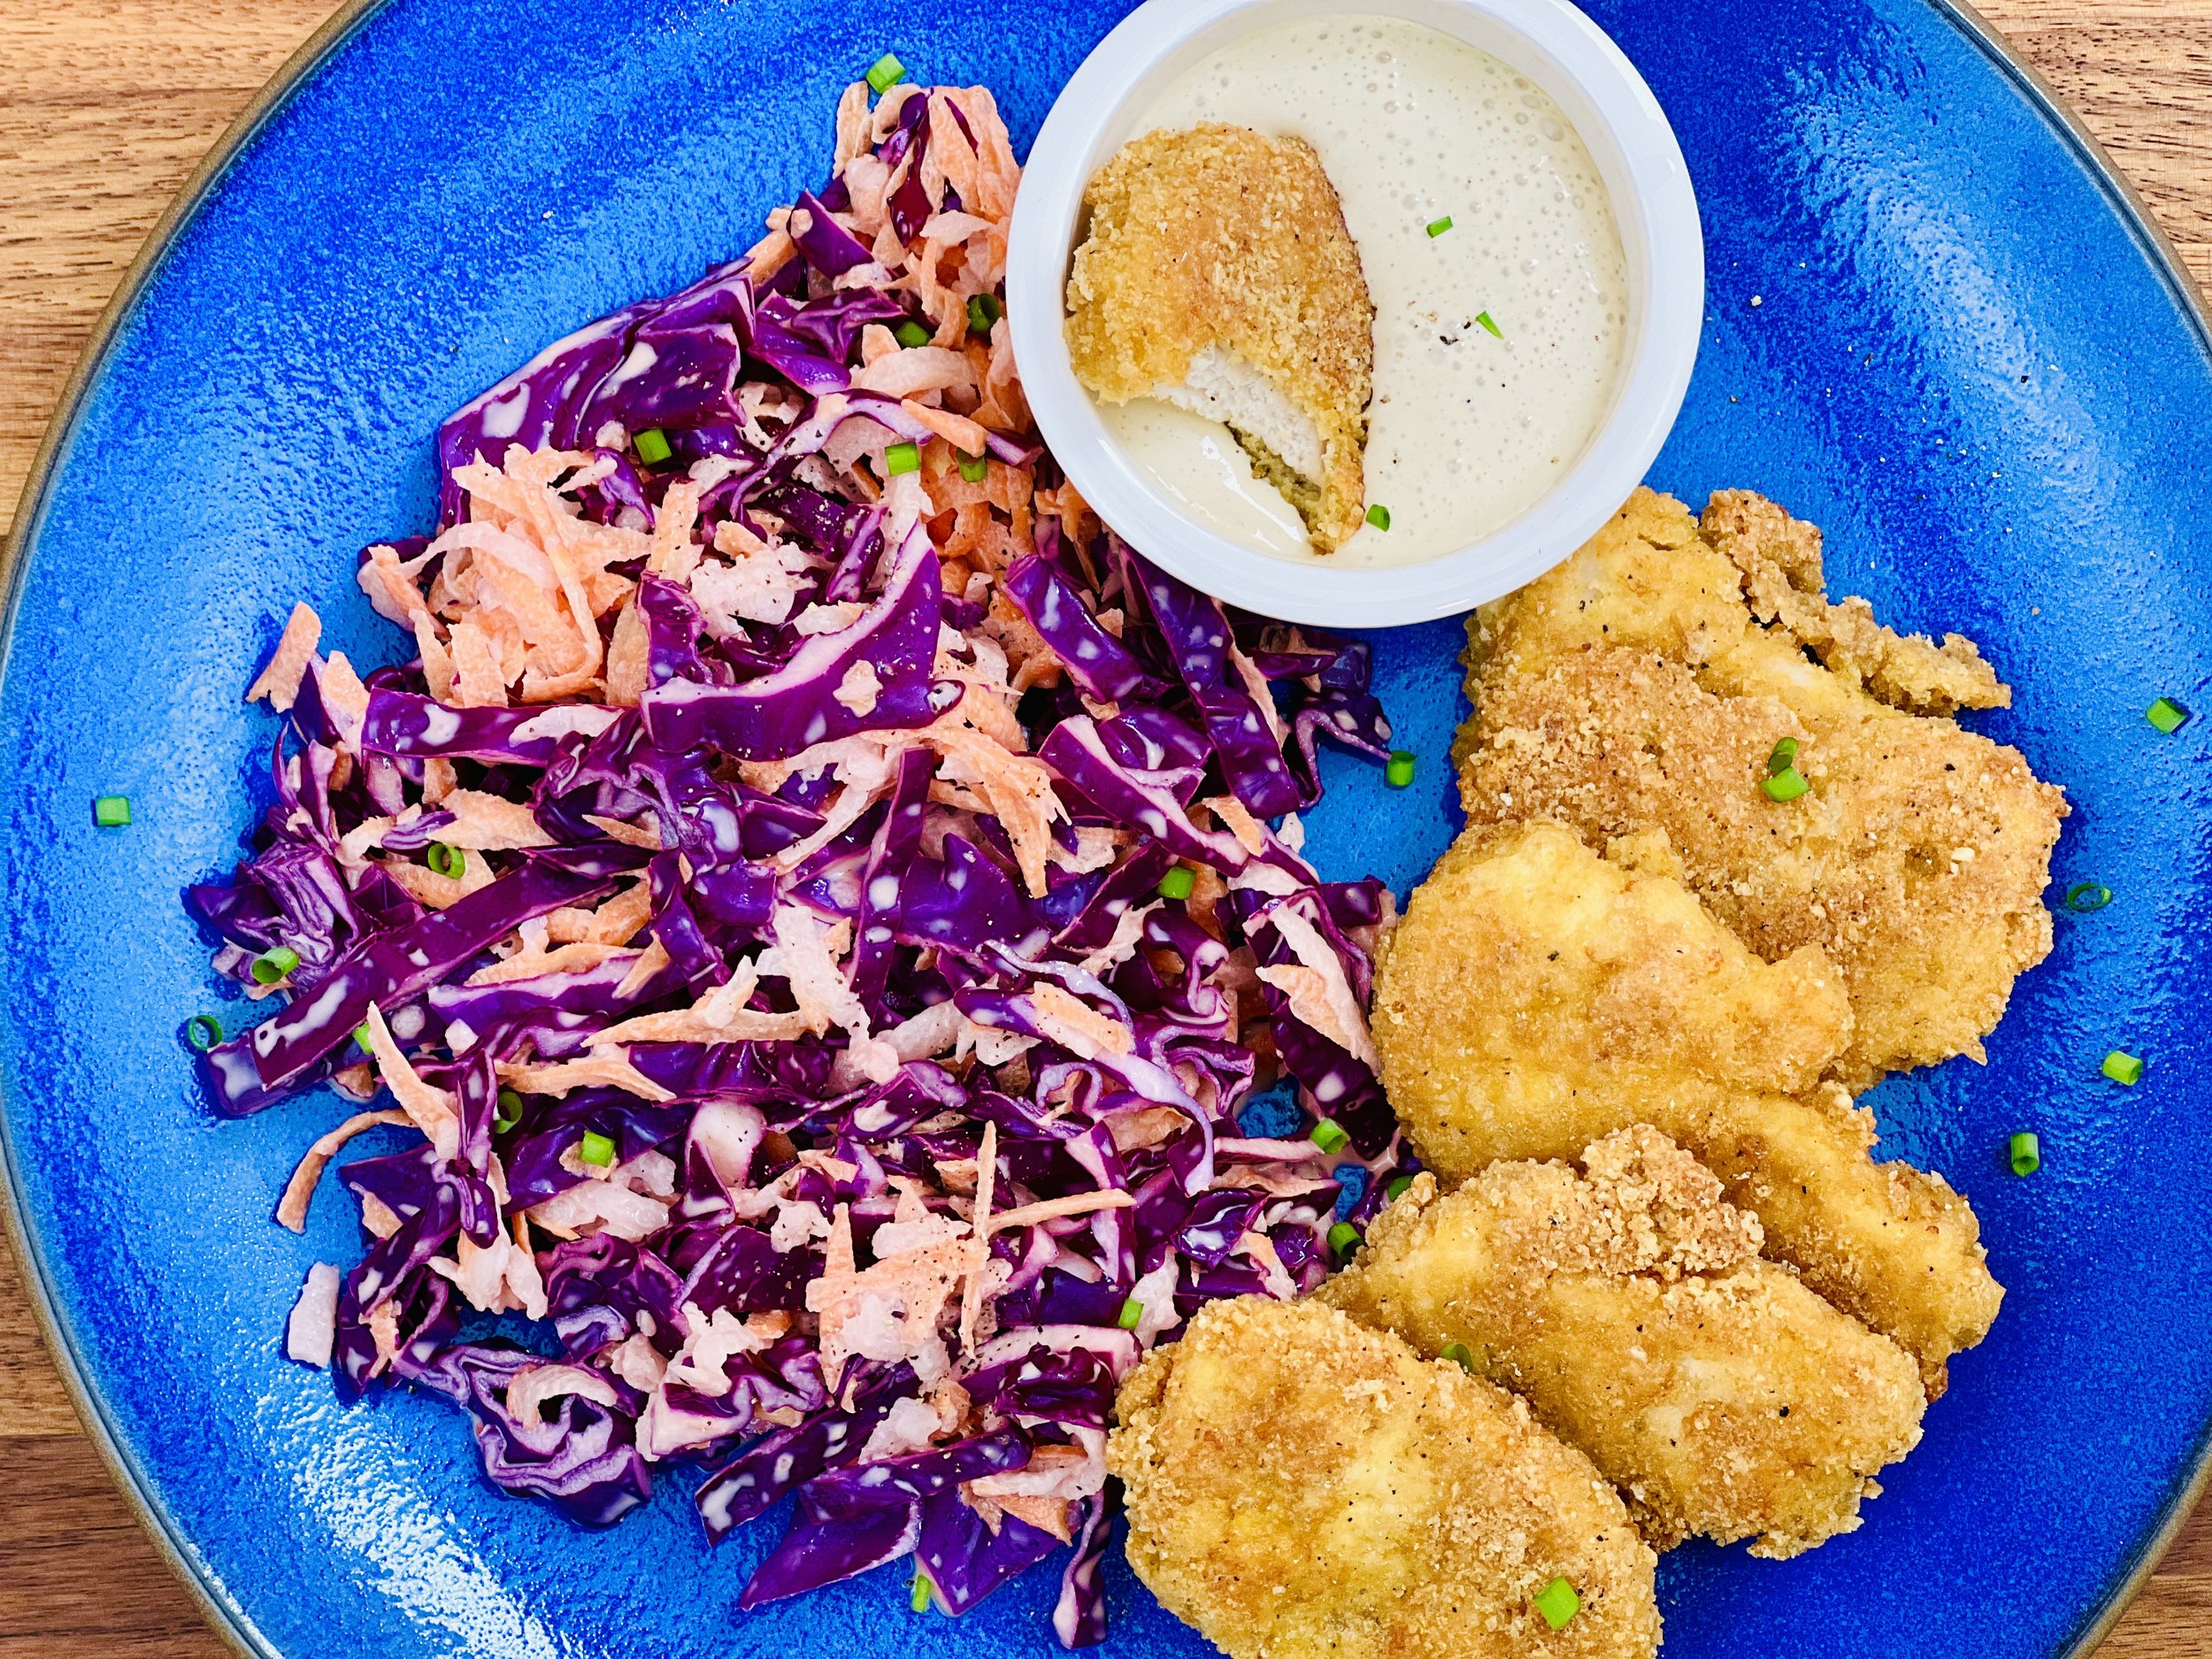
Ingredients: Chicken
1 pound chicken tenders or chicken breast meat, cut into strips
1 1/2 cups Pork Panko or ground pork rinds, divided
1/3 cup almond flour (or gluten-free flour)
1 teaspoon Smoke N Sanity Essence of Garlic Salt
1 teaspoon Smoke N Sanity Essence of Onion Salt
1/4 teaspoon black pepper
2 eggs
Ingredients: Sauce
1 tablespoon Dijon mustard
1/4 teaspoon gluten-free Worcestershire sauce
2 tablespoons heavy cream (or mayonnaise)
Directions
(1) Prepare: Preheat the oven to 400 degrees F (if you are baking in the oven). Line a rimmed baking sheet with parchment paper. If you didn’t get chicken tender meat, slice the chicken breast into 1/4 inch thick pieces and pat dry with a paper towel. Season with a light sprinkle of salt and pepper. Then set aside.
(2) Prepare the panko mixture: In a shallow bowl or rimmed plate, mix together 1 cup pork panko, almond flour, garlic salt, onion salt, and pepper. In a separate bowl or rimmed plate, add the remaining 1/2 cup of pork panko.
(3) Prepare the egg wash: Whisk together two eggs with 3 tablespoons of water.
(4) Coat the chicken: Add one chicken tender to the panko almond flour mixture and turn and toss until fully coated. Then, dip the chicken tender in the egg wash, then put it back into the bowl with the panko almond flour mixture for another layer. For extra crispy chicken tenders, do a final coating with the pork panko only. As each piece is coated, set it on the parchment-lined baking tray, leaving a bit of space between each piece.
(5a) Bake (Oven Directions):
You may spray the top of the chicken strips with an oil spray such as this extra virgin olive oil spray to help keep the strips moist as they bake. Bake at 400 degrees F for 8 - 10 minutes, then turn them over and cook for another 8 - 10 minutes.
(5b) Fry (Stovetop Directions):
Fill a skillet with about 1/4 inch of avocado oil and heat over medium heat. Once oil ripples as you turn the skillet, you are ready to add your chicken strips. Working in batches, add breaded chicken tenders to the hot oil and fry for 3-5 minutes on each side until the chicken is cooked through. Remove to a plate lined with paper towels to absorb the excess oil.
(6) Make the sauce: In a small bowl or jar combine sauce ingredients and whisk or shake to blend. If you like a thicker sauce, make it ahead and chill for a few hours or overnight.
(7) Plate and serve: Serve chicken tenders warm or at room temperature with the sauce alongside for dipping.
Eat and enjoy every bite because you can!
Have a question you’d like to have answered? Email me at hello@ibsgamechanger.com
Link note: This post may contain affiliate links for you to easily purchase items that are linked. I may earn a small commission from qualifying purchases but none of this costs you a thing so feel free to use the links! In addition, for some items, I have provided a special discount code for IBS Game Changers so be sure to use the code when you purchase an item to get the discount that has been arranged just for you.
More Deliciously Low FODMAP™ appetizer recipes
5 Minutes prep • 15 Minutes cook • Low FODMAP • Gluten-Free • Lactose-Free • Makes 2 cups
10 Minutes Prep • 50 Minutes Cook • Low FODMAP • Gluten-free • Dairy Free • Vegan • Serving size 3 - 4 crackers
10 Minutes prep • 15 Minutes rest • Low FODMAP • Gluten-free • Dairy-free • Serving size 3 tablespoons
10 Minutes prep • 20 Minutes cook • Low FODMAP • Gluten-free • Lactose-free • Vegan • Serves 5
15 Minutes prep • 1 hour chill • Low FODMAP • Gluten-free • Vegetarian • Serves 4 or more
10 Minutes prep • Low FODMAP • Gluten-Free • Lactose-free • Vegetarian • Vegan • Makes 1.5 cups
5 Minutes prep • 10 Minutes cook • Low FODMAP • Gluten-free • Lactose-free • Makes 1 cup
20 Minutes prep • 16 Minutes cook • Low FODMAP • Vegetarian • Serves 8 • Ok to make-ahead: Steps 1-5
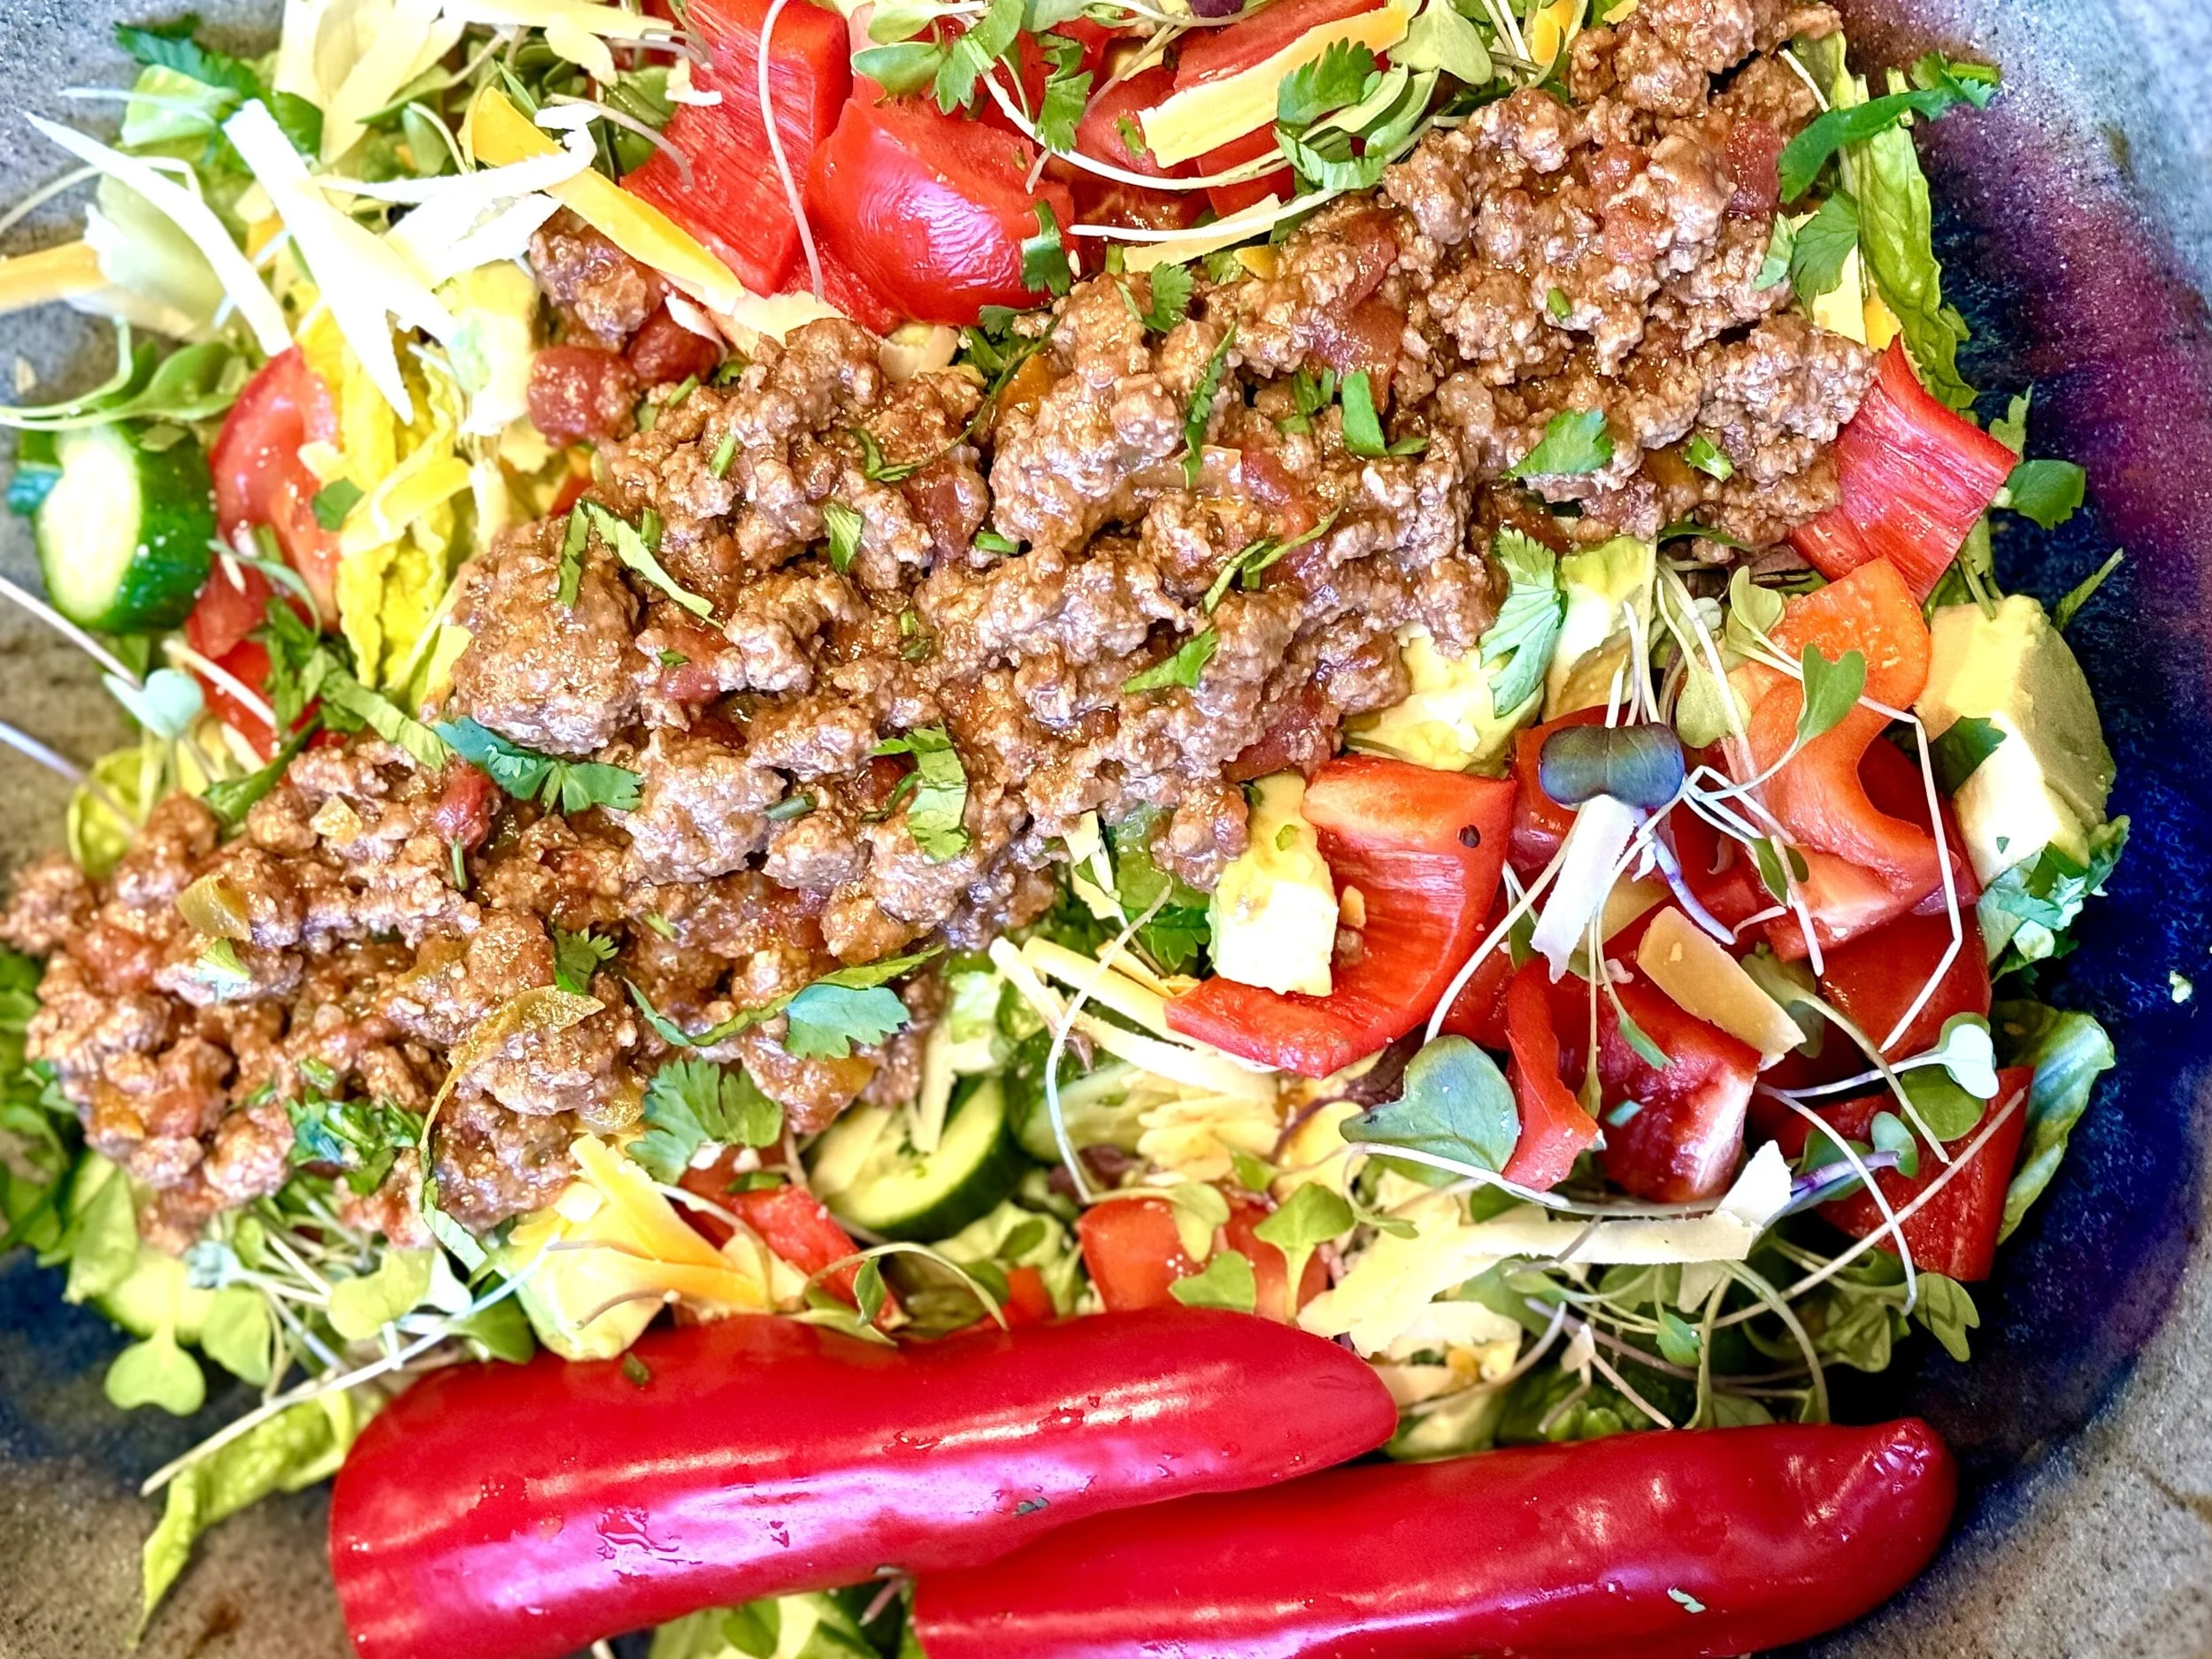
30-Minute Taco Veggie Bowl (Low FODMAP)
10 Minutes prep • 20 Minutes cook • Low FODMAP • Gluten-free • Serves 4
10 Minutes prep • 20 Minutes cook • Low FODMAP • Gluten-free • Serves 4 • Ok to make ahead: Steps 1-4
When you hear “taco” you might think of tortillas and a heavy meal. And don’t get me wrong, I love a good corn tortilla! This Taco bowl, however, is much lower in starch. The ground meat is combined with tons of veggies so it’s light and delicious—but with all the flavor of classic tacos. It’s quick to make (all in one pan) so it’s a perfect weeknight dinner, and leftovers are delicious so plan on having a great lunch item the next day.
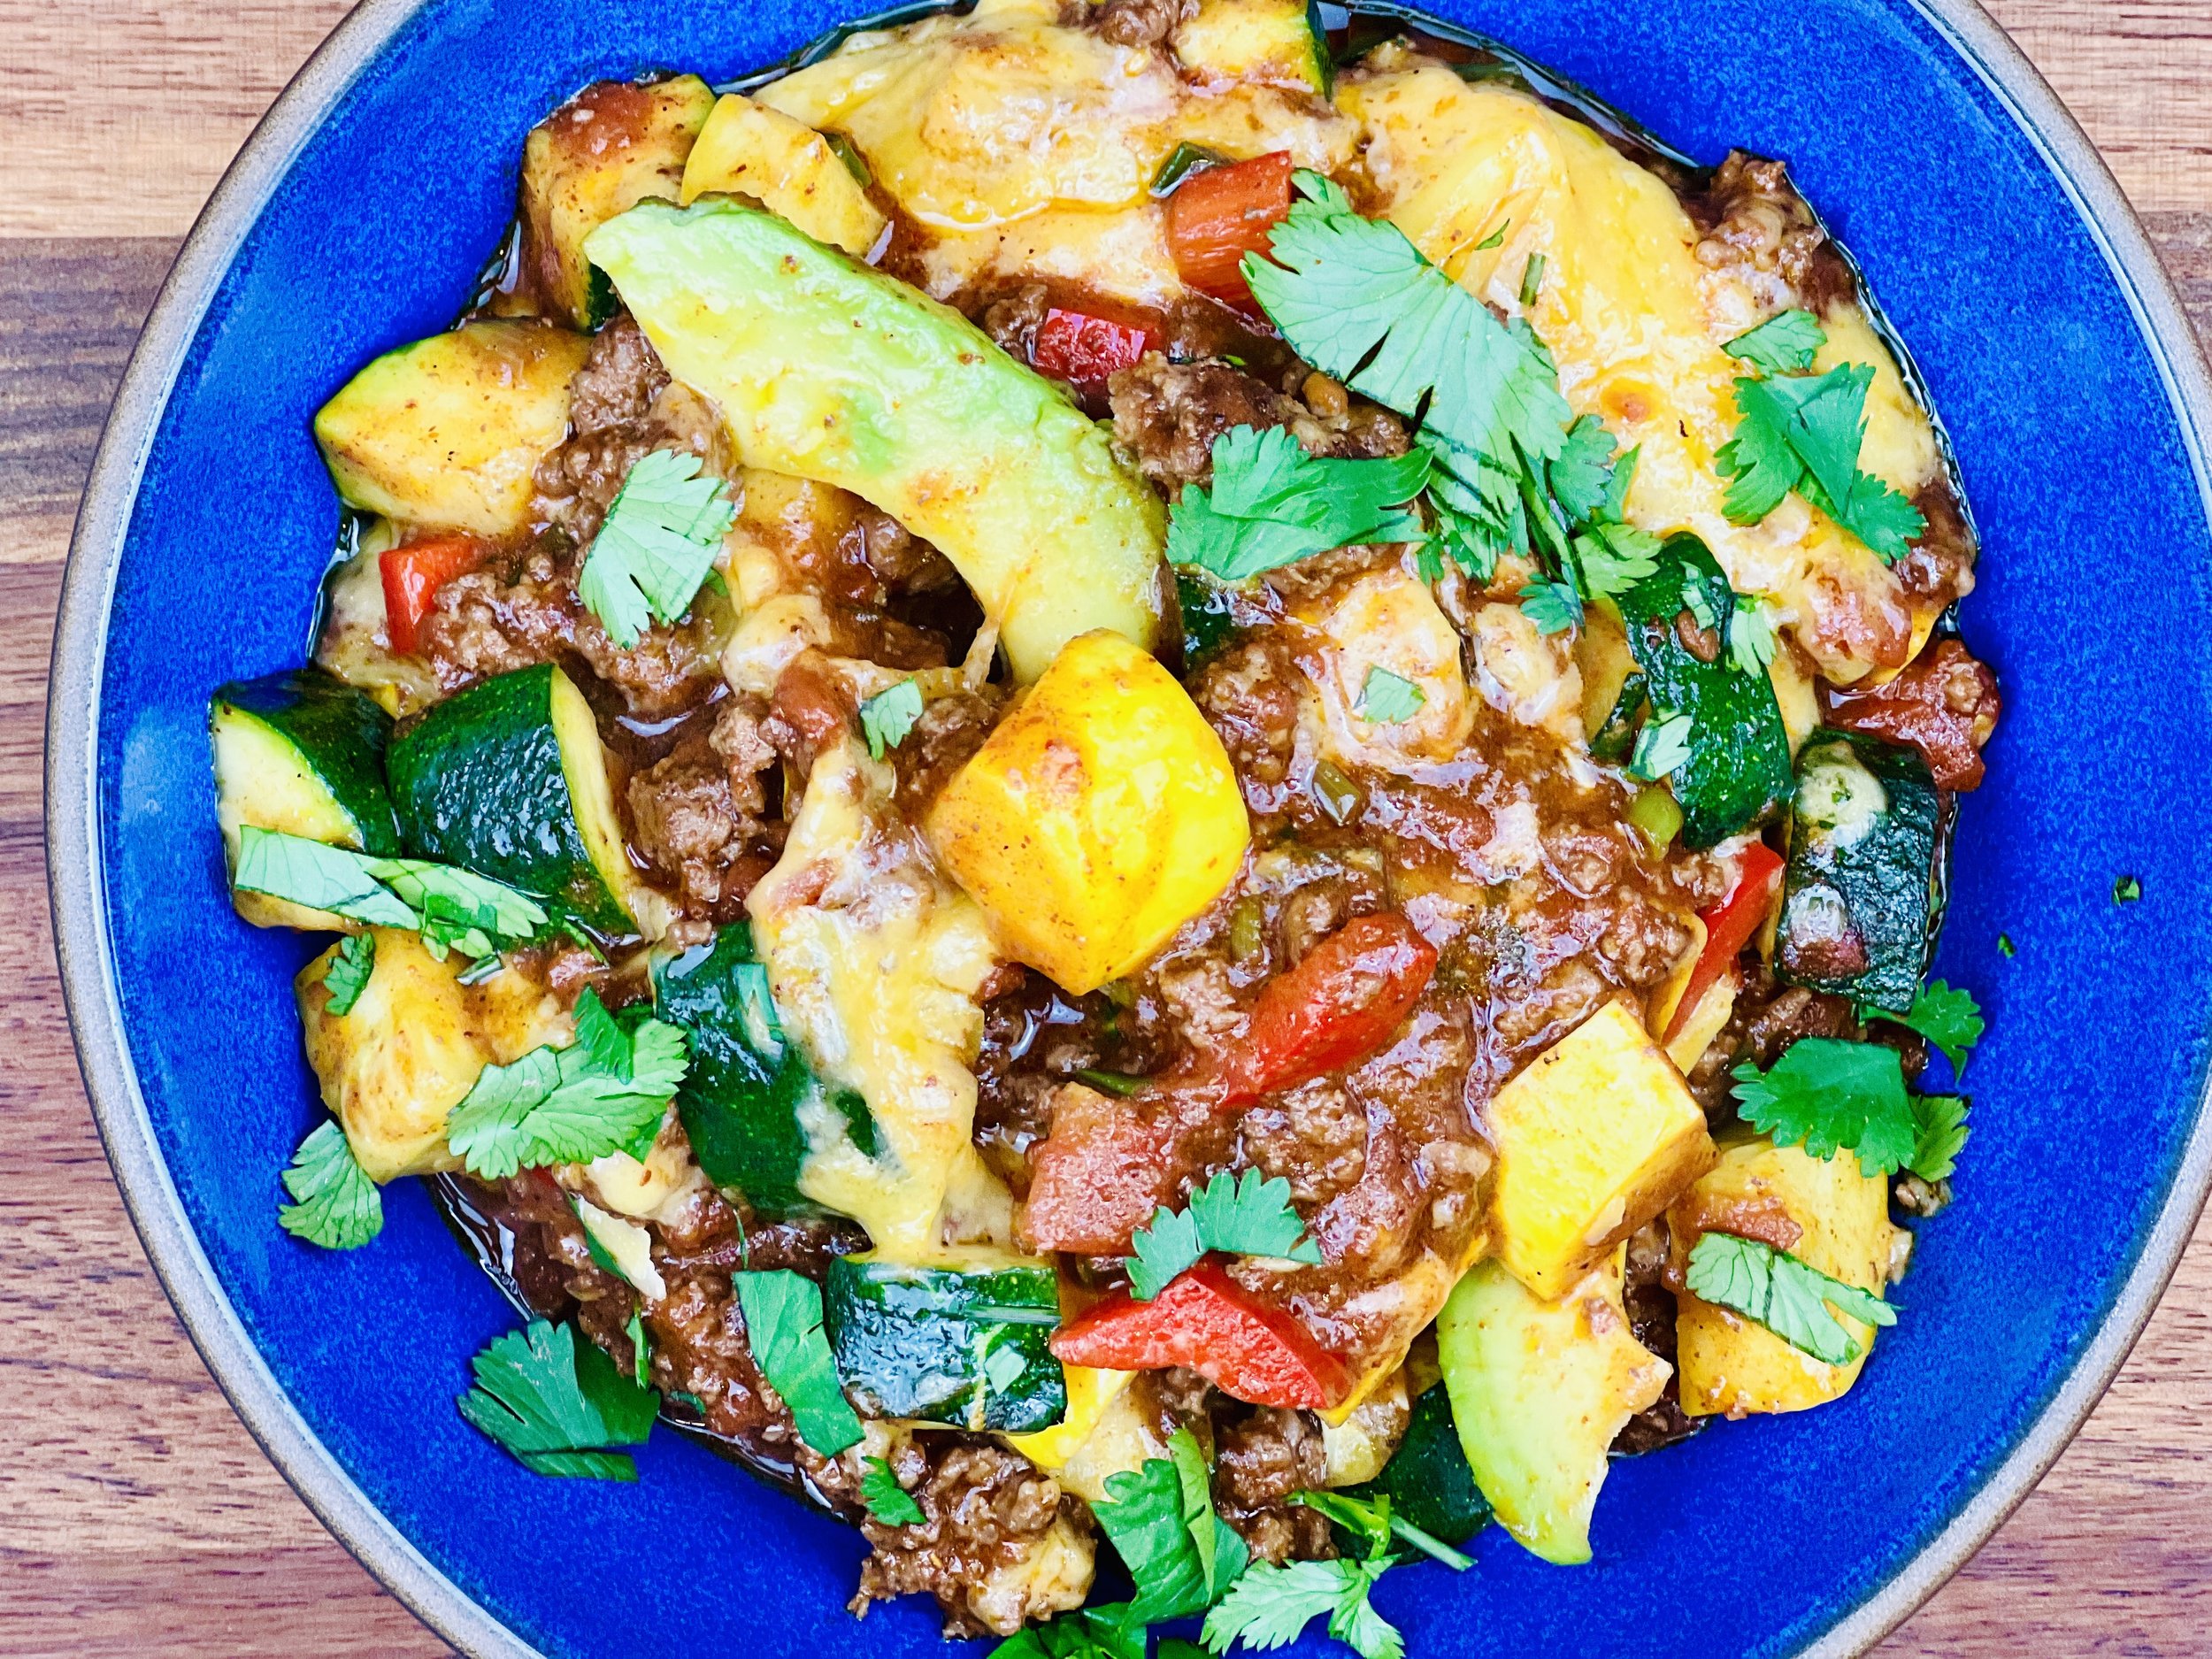
Ingredients
1 pound ground meat (beef, chicken, turkey, pork)
1 bunch green onions (green part only), chopped
1/2 cup red bell pepper, finely chopped
1 cup zucchini, chopped
1 cup summer squash (or pattypan squash), chopped
10 ounces chopped tomatoes with juice (can or carton)
4-ounce can mild green chilies (optional)
3 - 4 tablespoons Smoke N Sanity Taco Seasoning (used code IBSGC15 for 15% discount) see below for a homemade recipe if needed
1 cup extra sharp cheddar cheese, shredded
For Serving:
Cilantro or more green onion greens, chopped
Lactose-free sour cream
Avocado slices
Red pepper flakes
Directions
(1) Prepare: Chop green onion greens, zucchini, and summer squash. Grate the cheese.
(2) Cook the meat: Use a deep skillet (such as a cast-iron skillet) set over medium-high heat. When the pan is hot, add the meat and use a spatula to break it up. Cook until the meat is just cooked through (about 8 minutes).
(3) Season the meat: Add the green onion greens and cook for a minute until they are tender. Add the taco seasoning, tomatoes, and canned green chilies (if using), and stir well to blend in the seasoning evenly. Cook until the mixture is warmed through (about 2 minutes).
(4) Add the veggies: Add the zucchini and summer squash (or pattypan squash). Cook until the vegetables are just tender but still brightly colored (about 3 - 5 minutes). Taste and add more taco seasoning, salt, or pepper, if needed.
(5) Finish: Turn the broiler on and sprinkle the cheese over the mixture. Put the whole pan in the oven to broil until the cheese is well melted and just starting the brown at the edges.
(6) Plate and serve: Serve hot in bowls with any combination of avocado slices, chopped cilantro, green onion greens, lactose-free sour cream, and/or red pepper flakes.
Eat and enjoy every bite because you can!
Ingredients: Taco Seasoning
These quantities make 4 tablespoons
2 tablespoons chili powder
1/2 teaspoon crushed red pepper flakes
1/2 teaspoon dried oregano
1 teaspoon paprika
3 teaspoons ground cumin
1/2 teaspoon Kosher salt
1/2 teaspoon black pepper
Directions: Taco Seasoning
(1) Blend ingredients: Combine all ingredients in a small bowl and whisk to blend. Store any leftover seasoning in an airtight container. Make more than you need because you’re going to want more!
Recipe note: I use Diamond Crystal Kosher salt in all my recipes because it has a wonderful flat and crisp flake that tastes delicious. It is also the least salty salt available so you can use it more liberally as a seasoning than you can table salt or sea salt. If you use another type of salt, you may need to reduce the amount so it is not over-salted.
Have a question you’d like to have answered? Email me at hello@ibsgamechanger.com
Link note: This post may contain affiliate links for you to easily purchase items that are linked. I may earn a small commission from qualifying purchases but none of this costs you a thing so feel free to use the links! In addition, for some items, I have provided a special discount code for IBS Game Changers so be sure to use the code when you purchase an item to get the discount that has been arranged just for you.
More Deliciously Low FODMAP™ main course recipes
15 Minutes prep • 30 Minutes cook • Low FODMAP • Serves 4 • Ok to make-ahead: Steps 1 - 2
10 Minutes prep • 25 Minutes cook • Low FODMAP • Gluten-Free • Serves 6 • Ok to make-ahead: Step 1
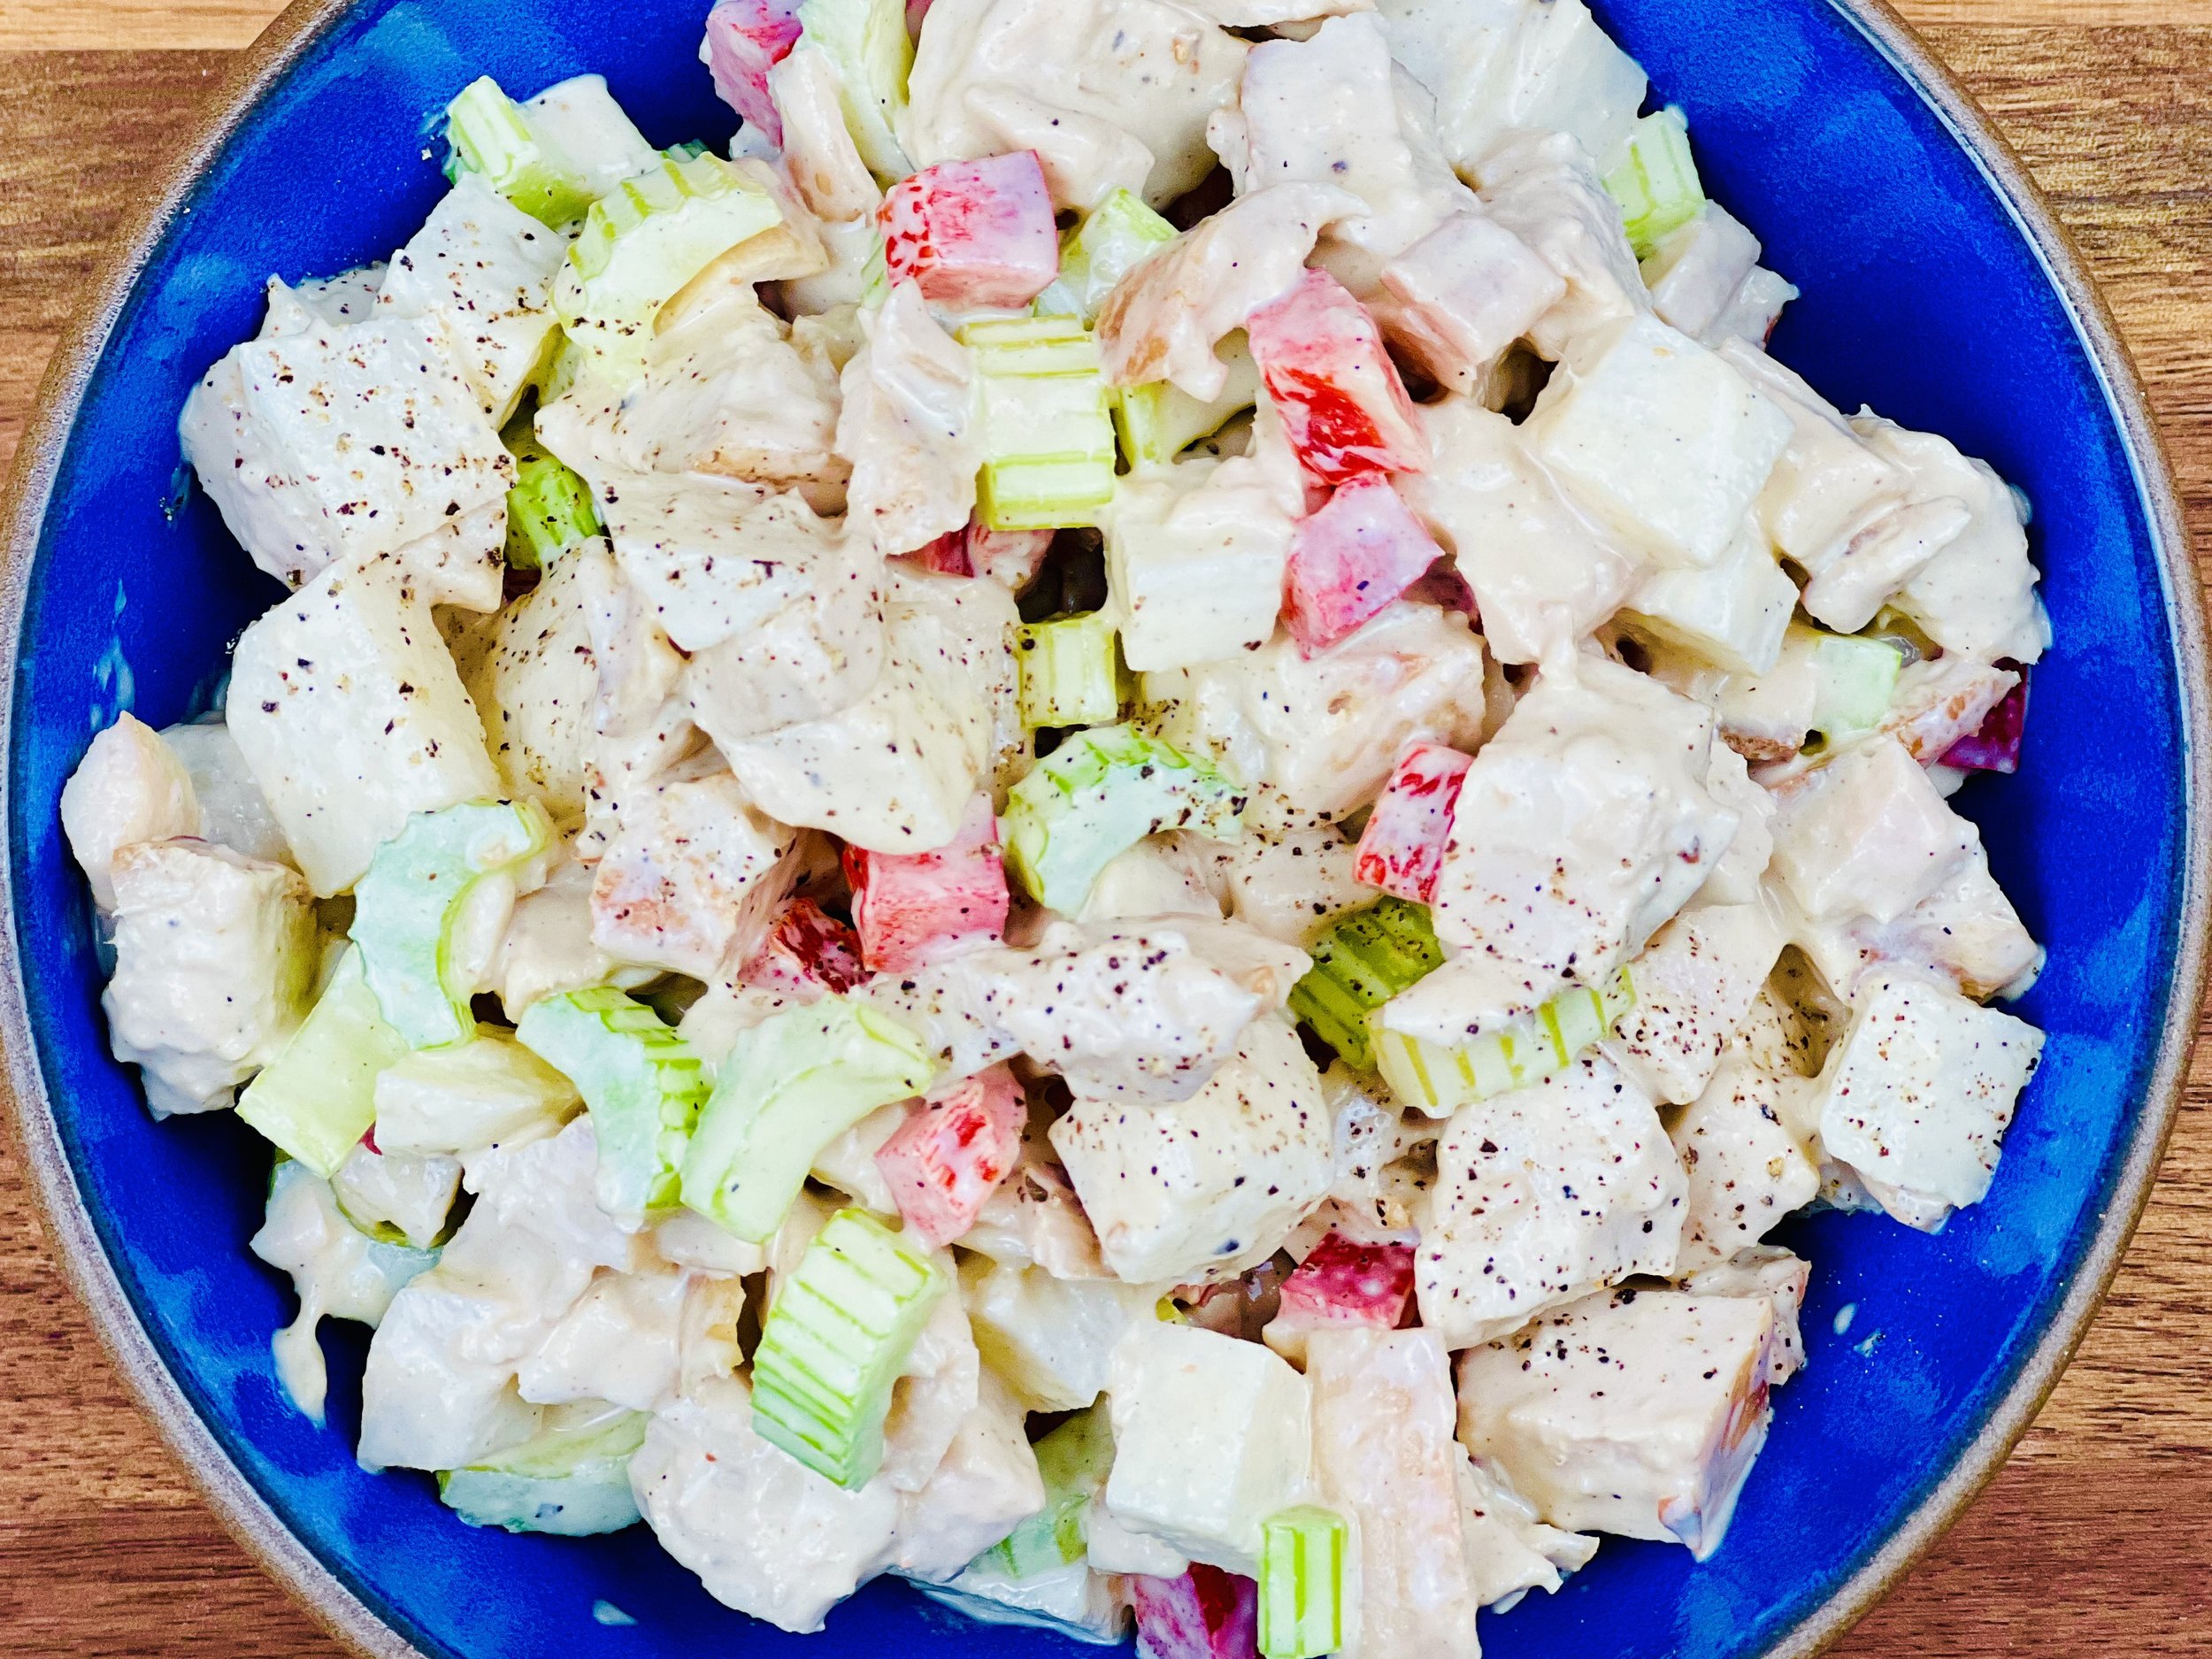
Crisp and Crunchy Chicken Salad (Low FODMAP)
20 Minutes prep • Low FODMAP • Gluten-free • Lactose-free • Serves 4
20 Minutes prep • Low FODMAP • Gluten-free • Lactose-free • Serves 4 • Ok to make ahead: Steps 1-3
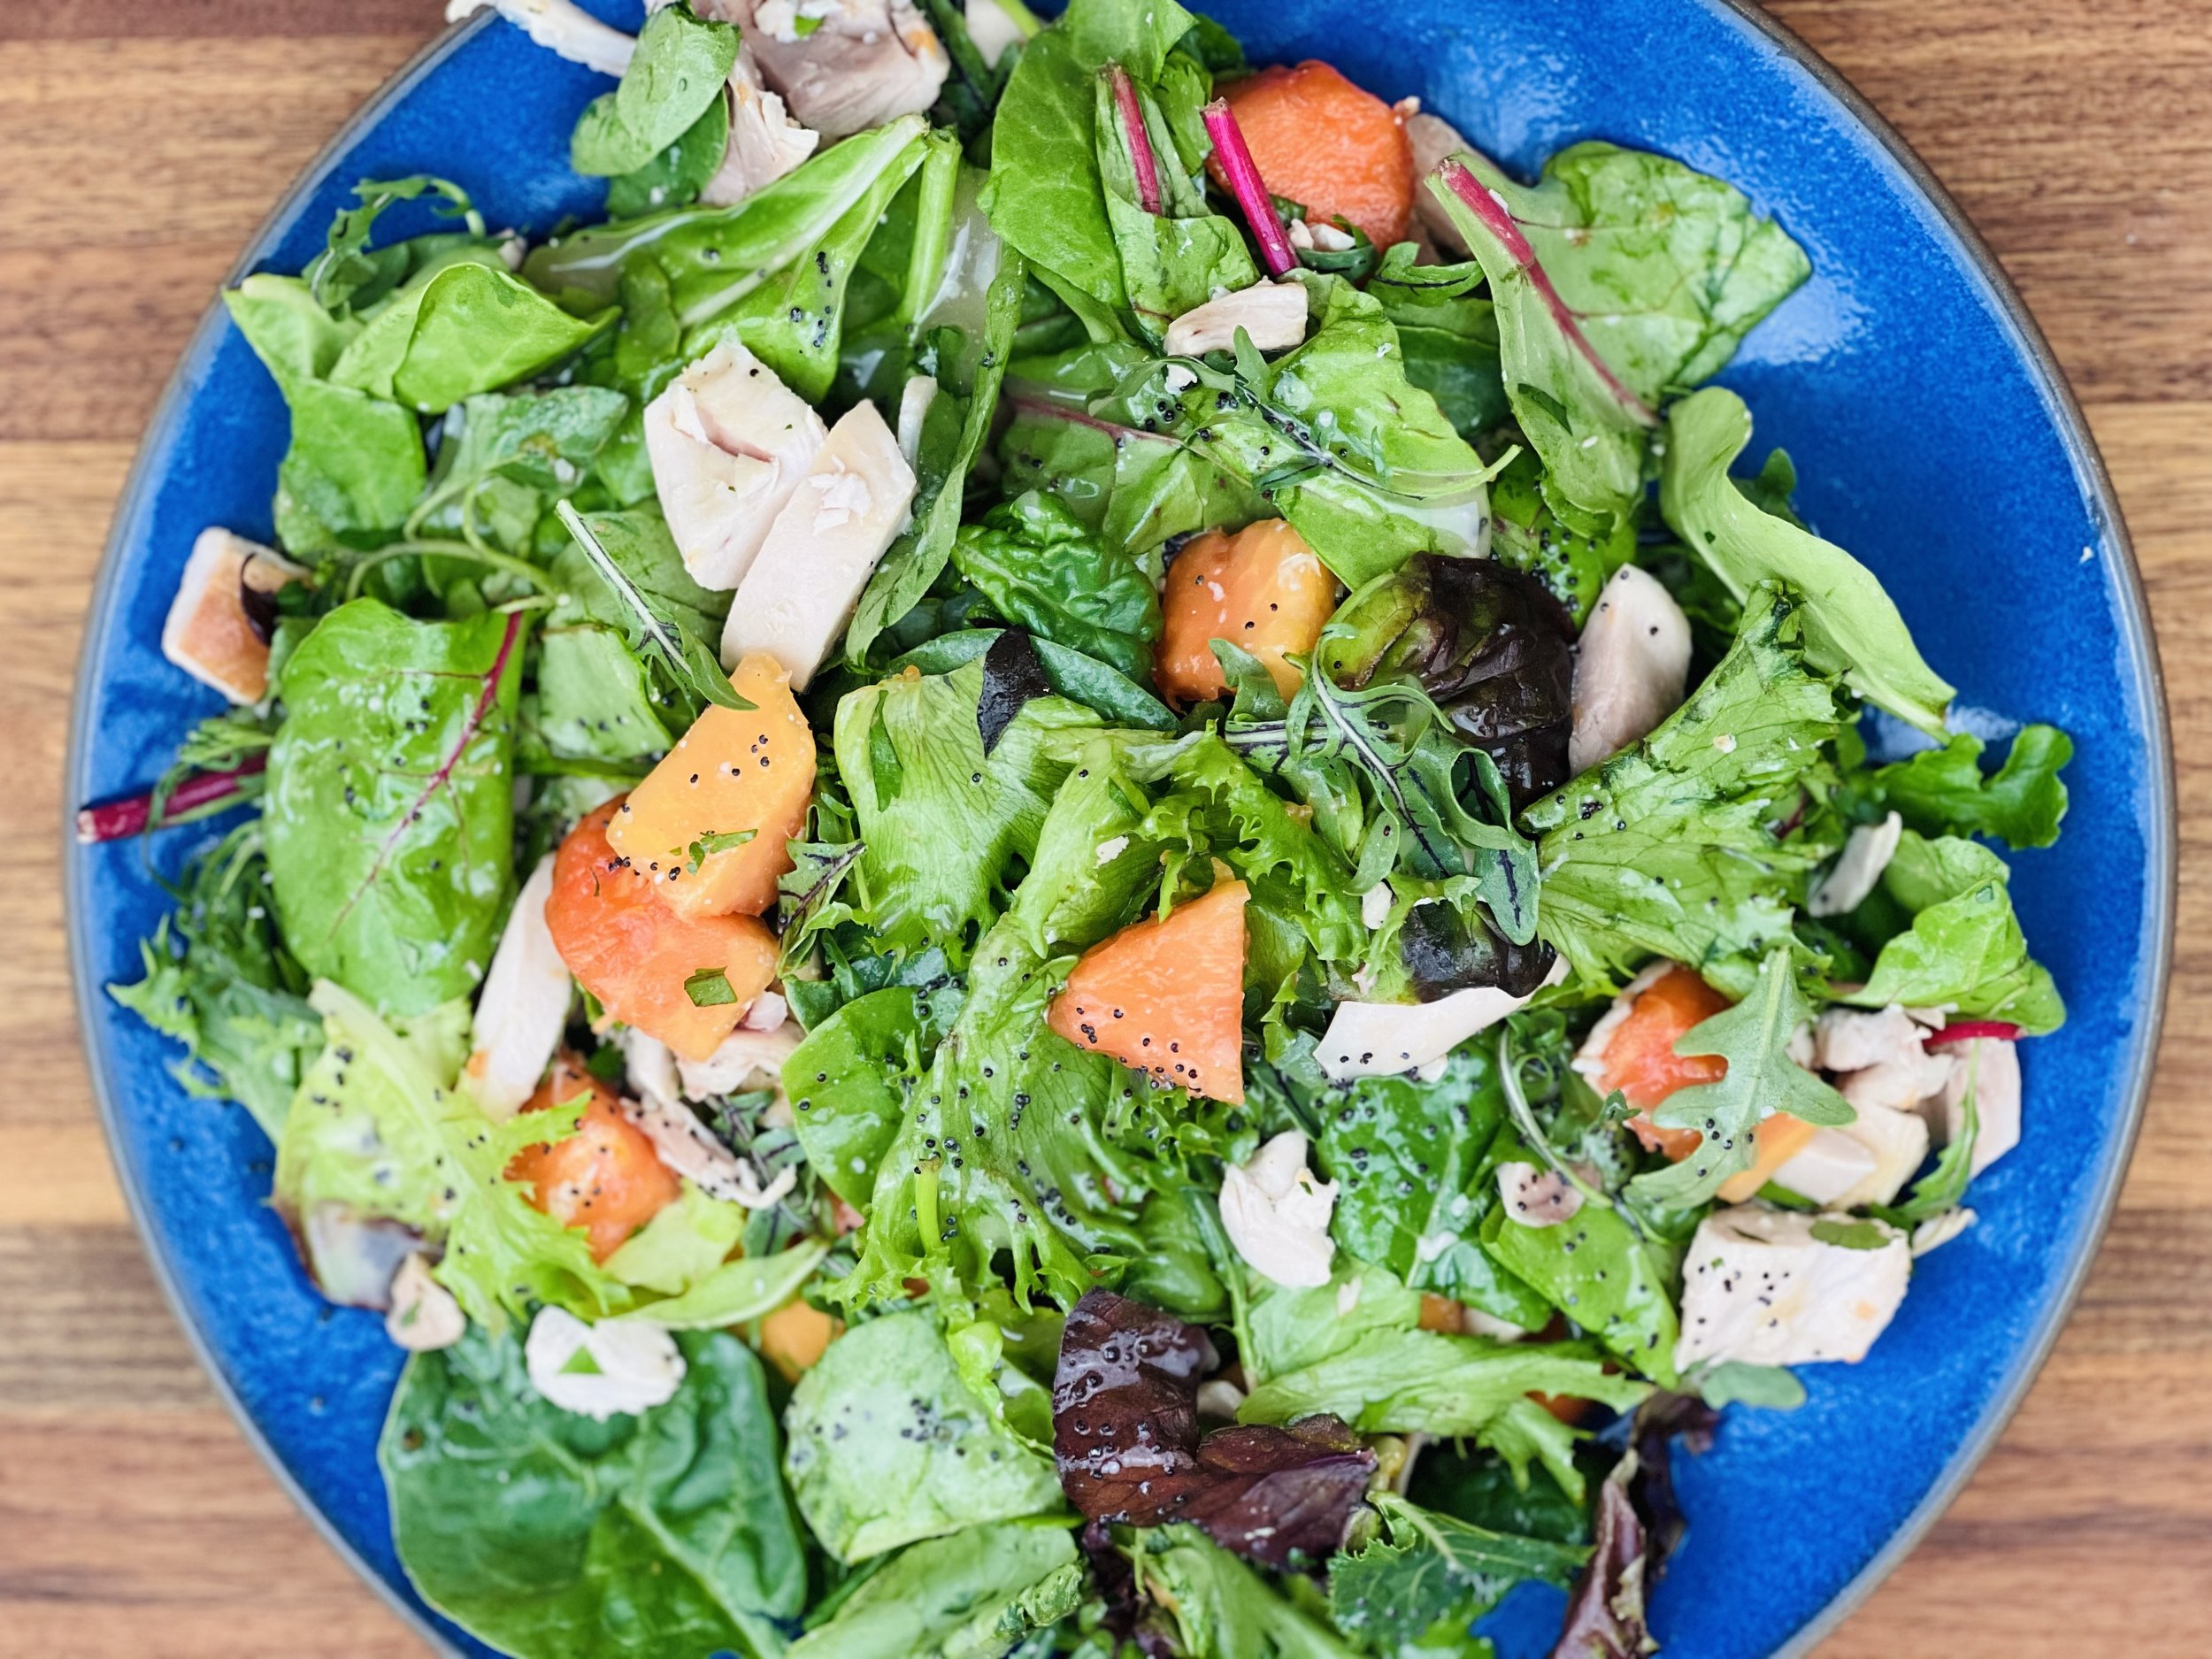
I love a good chicken salad and this version has become a favorite. A variety of vegetables make it crisp, crunchy, and delicious. It’s a great way to use up leftover chicken and add some protein and flavor to your favorite green salad. You can be creative with the crunchy vegetables you include depending on what you have on hand. It’s delicious on its own, as a side salad, or blended with gluten-free pasta to make a delightful chicken pasta salad.
Ingredients: Salad
1 cup (6 oz) cooked chicken, chopped
2 small stalks (0.7 oz) celery, chopped
1/2 red bell pepper (4 oz), chopped
1/2 cup (2.65 oz) jicama or cucumber, peeled and chopped (use cucumber for lower carb version)
1/4 cup almonds (0.85 oz/about 20 almonds), chopped
1/2 teaspoon (.07 oz) Kosher salt
1/4 teaspoon (.03 oz) black pepper
Ingredients: Dressing
2 tablespoons (1.41 oz) mayonnaise
1 tablespoon (0.55 oz) lemon juice
1 tablespoon (0.74 oz) Worcestershire sauce
1 tablespoon (0.81 oz) Dijon mustard
2 teaspoons (0.42 oz) olive oil
Directions
(1) Prepare: Chop the chicken, vegetables, and almonds (if using) and put it all in a medium-sized bowl.
(2) Make the dressing: Combine all dressing ingredients in a small bowl and whisk to combine.
(3) Finish: Add dressing to the chicken and vegetables and stir to combine. Taste and add salt and pepper
Make-ahead note: At this point, you may keep the salad in the refrigerator until it’s ready to serve.
(4) Plate and serve: Serve a scoop of this chicken salad on your favorite green salad or enjoy it on its own.
Eat and enjoy every bite because you can!
Have a question you’d like to have answered? Email me at hello@ibsgamechanger.com
Link note: This post may contain affiliate links for you to easily purchase items that are linked. I may earn a small commission from qualifying purchases but none of this costs you a thing so feel free to use the links! In addition, for some items, I have provided a special discount code for IBS Game Changers so be sure to use the code when you purchase an item to get the discount that has been arranged just for you.
More Deliciously Low FODMAP™ salad recipes
5 Minutes prep • 15 Minutes cook • Low FODMAP • Gluten-free • Lactose-free • Vegan • Serves 4
15 Minutes prep • Low FODMAP • Gluten-free • Lactose-free • Vegetarian • Vegan • Serves 4
30 Minutes prep • Low FODMAP • Gluten-free • Lactose-free • Vegetarian • Vegan • Serves 4+ • Serving Size 2 cups
15 Minutes prep • 30 Minutes cook • Low FODMAP • Gluten-free • Lactose-free • Serves 4-6
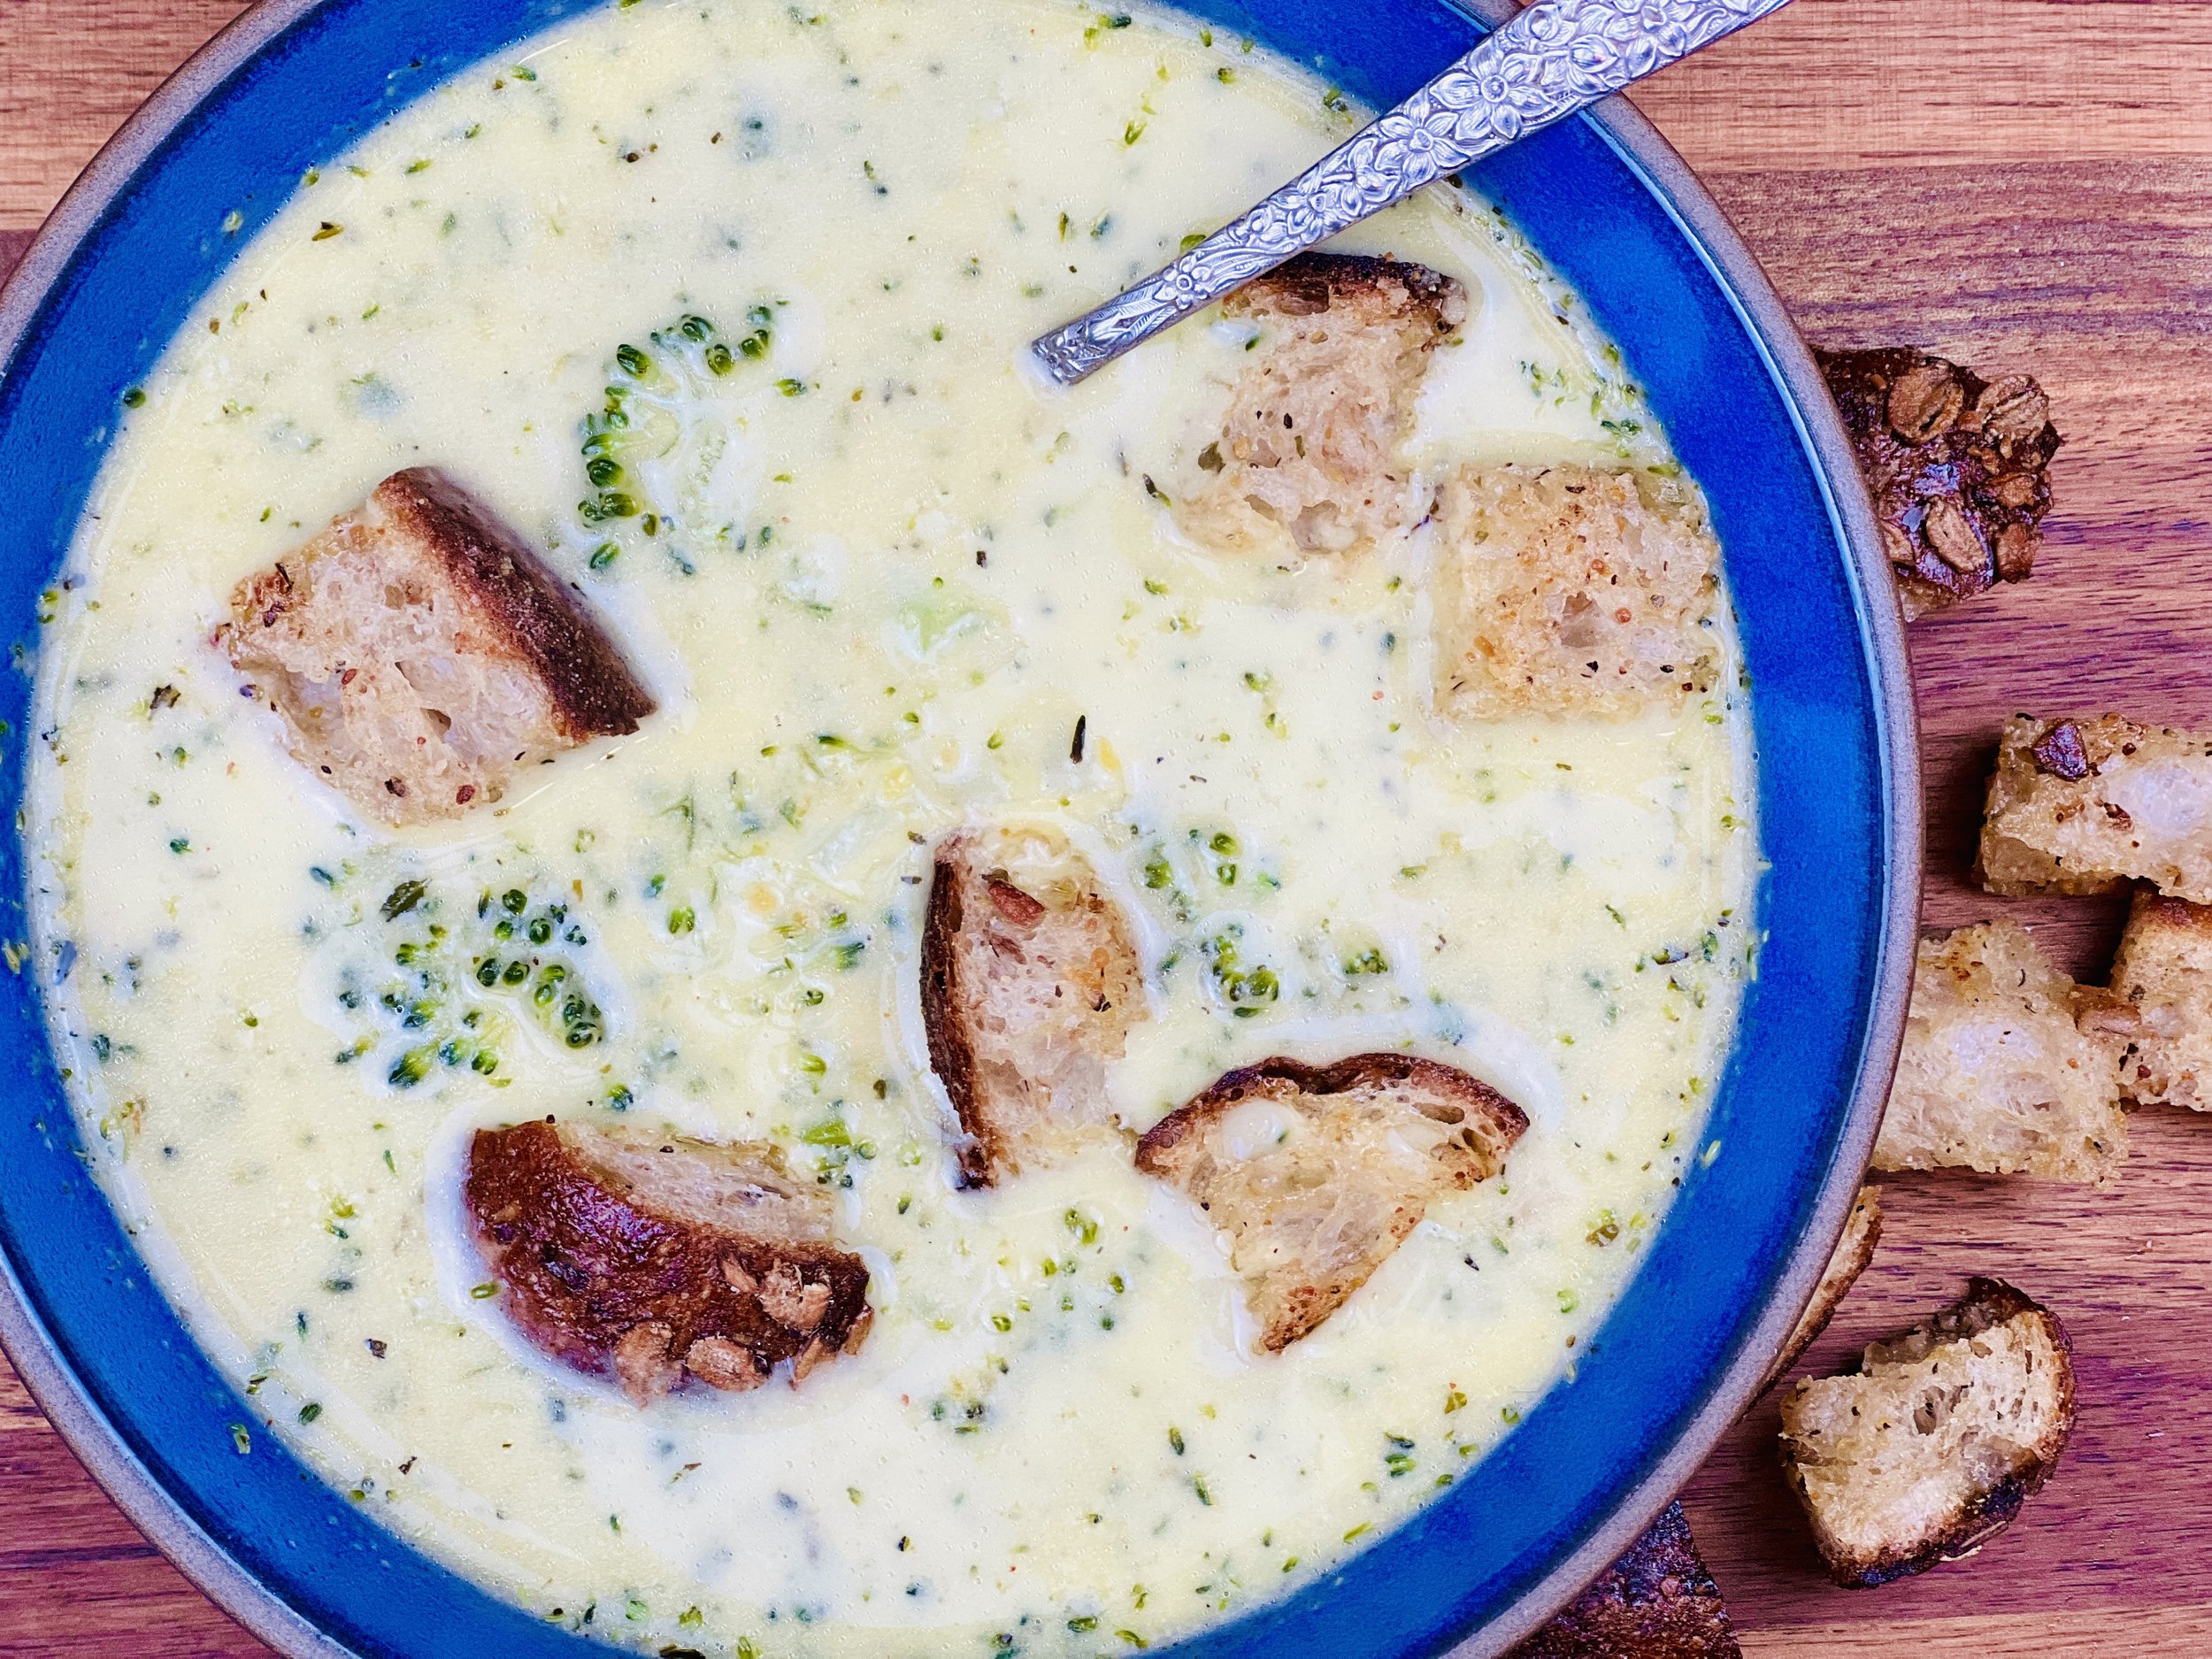
Broccoli Cheddar Soup with Rustic Sourdough Croutons (Low FODMAP)
10 Minutes prep • 25 Minutes cook • Low FODMAP • Serves 4-6
10 Minutes prep • 25 Minutes cook • Low FODMAP • Serves 4-6 • Ok to make ahead: Steps 1-5
This is a wonderful, creamy, yet light broccoli cheddar soup. Broccoli, carrots, leek greens, and green onions blend together with the cheese and the cream to satisfy and comfort you. Blended just enough so you keep some of the broccoli whole, and topped with crisp and flavorful rustic sourdough croutons, this soup has plenty in it to make it a delicious one-bowl meal. Enjoy it right away or make it a day ahead for even better flavor. Don’t skimp on the croutons. They’re the game changer here.
Ingredients: Soup
2 tablespoons (1.25 oz) extra virgin olive oil
2 tablespoons (1.34 oz) salted butter
1 bunch green onion greens (about 3/4 cup/1.3 oz), chopped
2 large leek leaves (green part only), (about 3/4 cup/2.65 oz) chopped
3 medium carrots (8 oz), chopped
2 teaspoons dried thyme (.2 oz)
3 tablespoons (.8 oz) all-purpose gluten-free flour
6 cups (48 oz) low FODMAP chicken broth (I use Whole Foods Organic 365 chicken broth or Gourmend low FODMAP Organic Chicken Broth - use code IBSGC15 for 15% discount)
4 cups (21 oz) broccoli florets only (3/4 C - fructose)
2 bay leaves (keep whole)
1/4 teaspoon smoked paprika
1/4 teaspoon cayenne pepper
1/2 teaspoon (.07 oz) Kosher salt and 1/4 teaspoon (.03 oz) black pepper
1/2 - 3/4 cup (4 - 6 oz) heavy cream or full-fat coconut milk
2 cups (8 oz) extra sharp cheddar cheese, shredded
Juice of one lemon (about 1/4 cup/2.2 oz)
Ingredients: Croutons
2 - 3 slices (1.84 - 2.76 oz) whole grain sourdough bread, cut into bite-size pieces
1 tablespoon olive oil (.63 oz)
2 tablespoons (.5 oz) Smoke N Sanity Garlic Parmesan seasoning (use code IBSGC15 for 15% discount)
1/2 teaspoon (.07 oz) Kosher salt
Directions: Soup
(1) Prepare: Chop the green onions, leeks, and broccoli.
(2) Cook the vegetables: In a Dutch oven or large soup pot, melt together the olive oil and butter in a large dutch oven over medium heat. Add the leek and green onion greens, carrots, and thyme, and cook until fragrant, about 10 minutes. Stir in the flour and cook until golden, about 2 minutes, then gradually whisk in the broth. Add the broccoli, bay leaves, paprika, cayenne, salt and pepper.
(3) Simmer the soup: Bring to a simmer over medium heat and cook, uncovered, until the broccoli is tender, about 10 minutes. (Meanwhile, make the croutons, directions below.)
(4) Blend the soup: Remove the bay leaves and use an immersion blender (or transfer to a standard blender in batches) to blend until the broccoli is finely chopped, but some good-sized chunks still remain.
(5) Finish: Return the soup to the stove and set it over low heat. Stir in the cream or coconut milk, lemon juice, and cheese until melted and creamy. Taste, and add salt and pepper as needed. If the soup is too thick, add broth to thin. If the soup is too thin, add a bit more cream or coconut milk to thicken it. Heat and re-taste for seasoning after you adjust for thickness.
Make-ahead note: At this point, you may let the soup cool and then refrigerate until ready to serve. Reheat over medium heat so you don’t scald the soup. Keep croutons in an air-tight container.
(6) Plate and serve: Ladle into bowls and top with plenty of croutons.
Directions: Croutons
(1) Prepare: Preheat oven to 300 degrees F. Cut bread into bite-size pieces.
(2) Combine ingredients: Put bread cubes in a bowl and drizzle with olive oil. Toss to coat. Sprinkle with the garlic parmesan seasoning and salt. Lay in one layer on a rimmed baking sheet.
(3) Bake: Bake for 10 - 12 minutes until crisp. Remove from oven and let cool.
Eat and enjoy every bite because you can!
Recipe note: I use Diamond Crystal Kosher salt in all my recipes because it has a wonderful flat and crisp flake that tastes delicious. It is also the least salty salt available so you can use it more liberally as a seasoning than you can table salt or sea salt. If you use another type of salt, you may need to reduce the amount so it is not over-salted.
Have a question you’d like to have answered? Email me at hello@ibsgamechanger.com
Link note: This post may contain affiliate links for you to easily purchase items that are linked. I may earn a small commission from qualifying purchases but none of this costs you a thing so feel free to use the links! In addition, for some items, I have provided a special discount code for IBS Game Changers so be sure to use the code when you purchase an item to get the discount that has been arranged just for you.
More Deliciously Low FODMAP™ soup recipes
15 Minutes prep • 30 Minutes cook • Low FODMAP • Gluten-free • Lactose-free • Serves 4-6
10 Minutes prep • 60 Minutes cook • Low FODMAP • Gltuen-free • Lactose-free • Serves 4 - 6
15 Minutes prep • 55 Minutes cook • Low FODMAP • Gluten-free • Lactose-free • Serves 4-6
15 Minutes prep • 55 Minutes cook • Low FODMAP • Gluten-free • Lactose-free • Serves 4-6
15 Minutes prep • 50 Minutes cook • Low FODMAP • Gluten-free • Lactose-free version • Serves 6
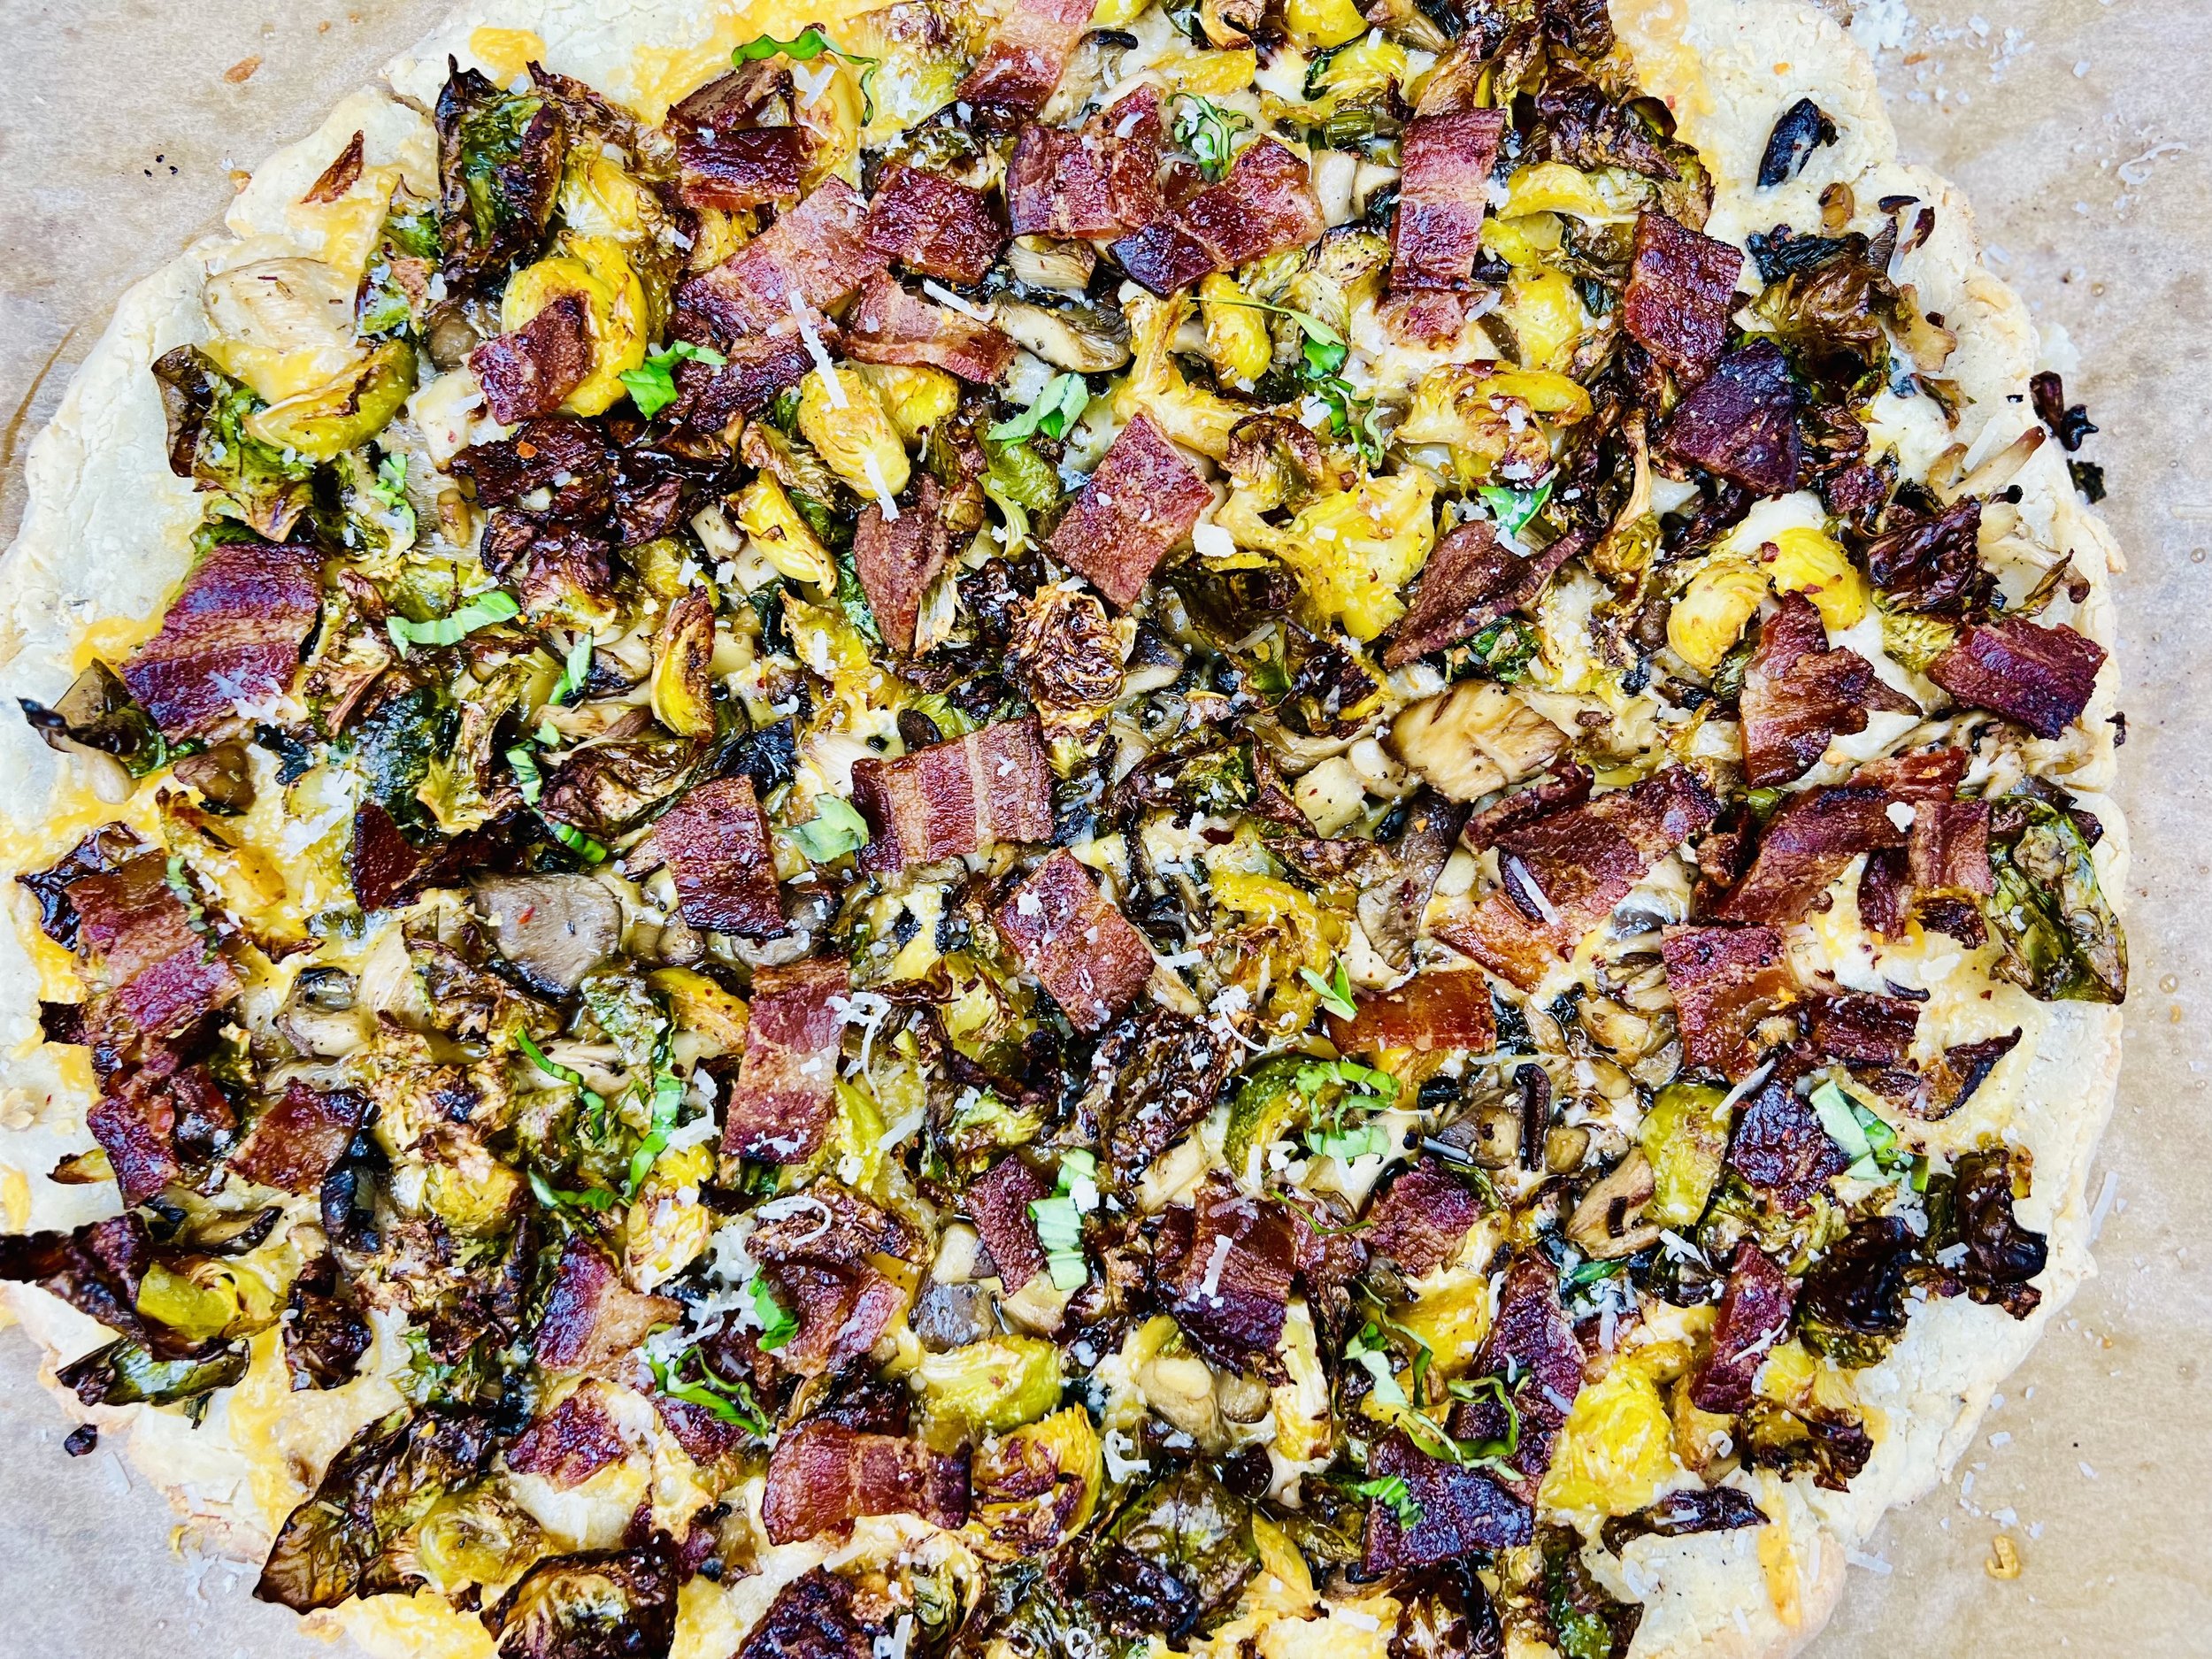
Crispy Brussels Sprouts and Bacon Pizza (Low FODMAP)
20 Minutes prep • 25 Minutes cook • Low FODMAP • Gluten-free • Serves 3
20 Minutes prep • 25 Minutes cook • Low FODMAP • Gluten-free • Serves 3
The wonderful flavor of crispy Brussels sprouts and bacon combined with delicious mushrooms and herbs makes a delicious pizza! Brussels sprouts are one of those vegetables that have a small (2-3 sprouts) low FODMAP serving size. So, taking the leaves apart and roasting them before putting them on your pizza means a few sprouts go a long way and give you all the delicious flavor without being high in FODMAPs. This pizza is a great change of pace and, if you love Brussels sprouts, you will love this recipe.
This is an exclusive recipe just for recipe club members.
In addition to the two free recipes I create each week I am creating and delivering one very special recipe just for my recipe club members. If you’re not yet a member, I encourage you to join! Membership in the club includes access to the complete archive of recipes with filters so it can become your virtual low FODMAP cookbook plus, I am creating and delivering one special NEW recipe every week ONLY for recipe club members. And, for my true fans, I’ll be sharing behind-the-scenes content, and updates on the progress of the new cookbook.
Your membership in the club helps me continue creating new, delicious, easy-to-make, low FODMAP recipes just for you.
As always, all recipes will emphasize simple ingredients, easy preparation, and delicious low FODMAP results. Recipes will be for everything from main courses, salads, soups, side dishes, appetizers, desserts, sauces, breakfast and lunch, and even mocktails and cocktails. Everything you need to prepare fantastic low FODMAP meals everyone will love.
Join the club. Become a Patron. Let’s keep making delicious Low FODMAP meals together.
More Deliciously Low FODMAP™ main course recipes
15 Minutes prep • 30 Minutes cook • Low FODMAP • Serves 4 • Ok to make-ahead: Steps 1 - 2
10 Minutes prep • 25 Minutes cook • Low FODMAP • Gluten-Free • Serves 6 • Ok to make-ahead: Step 1
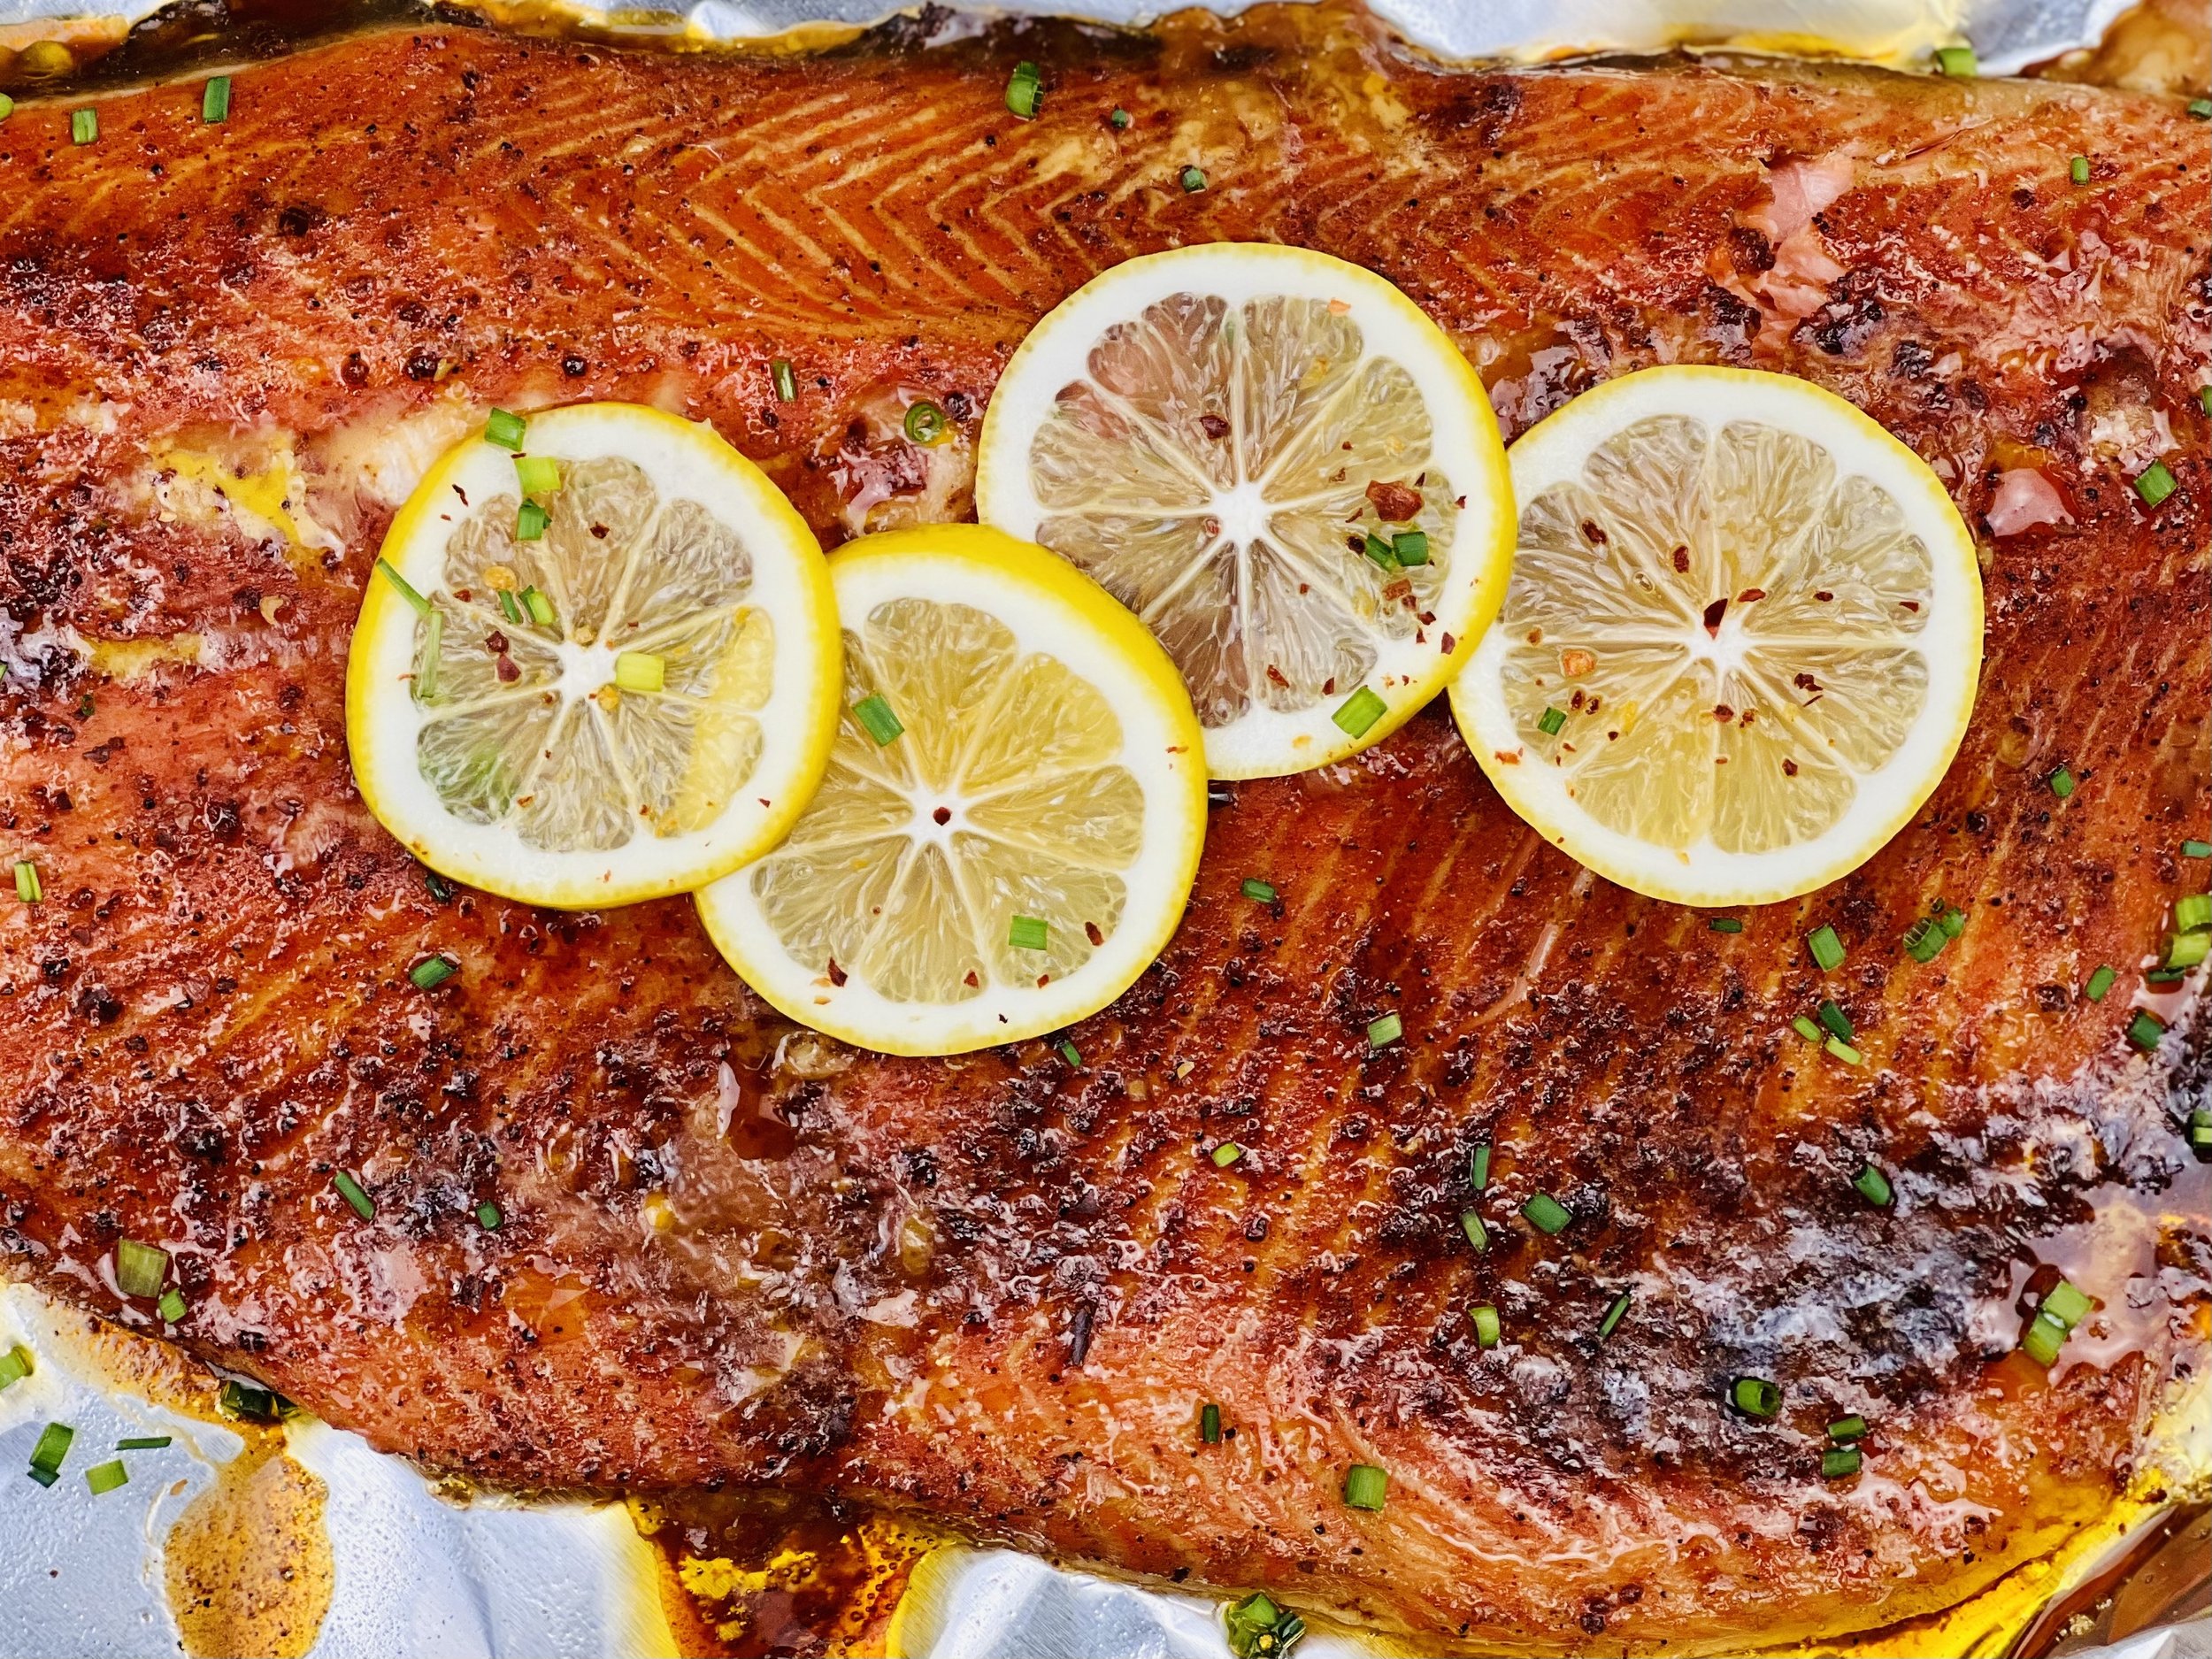
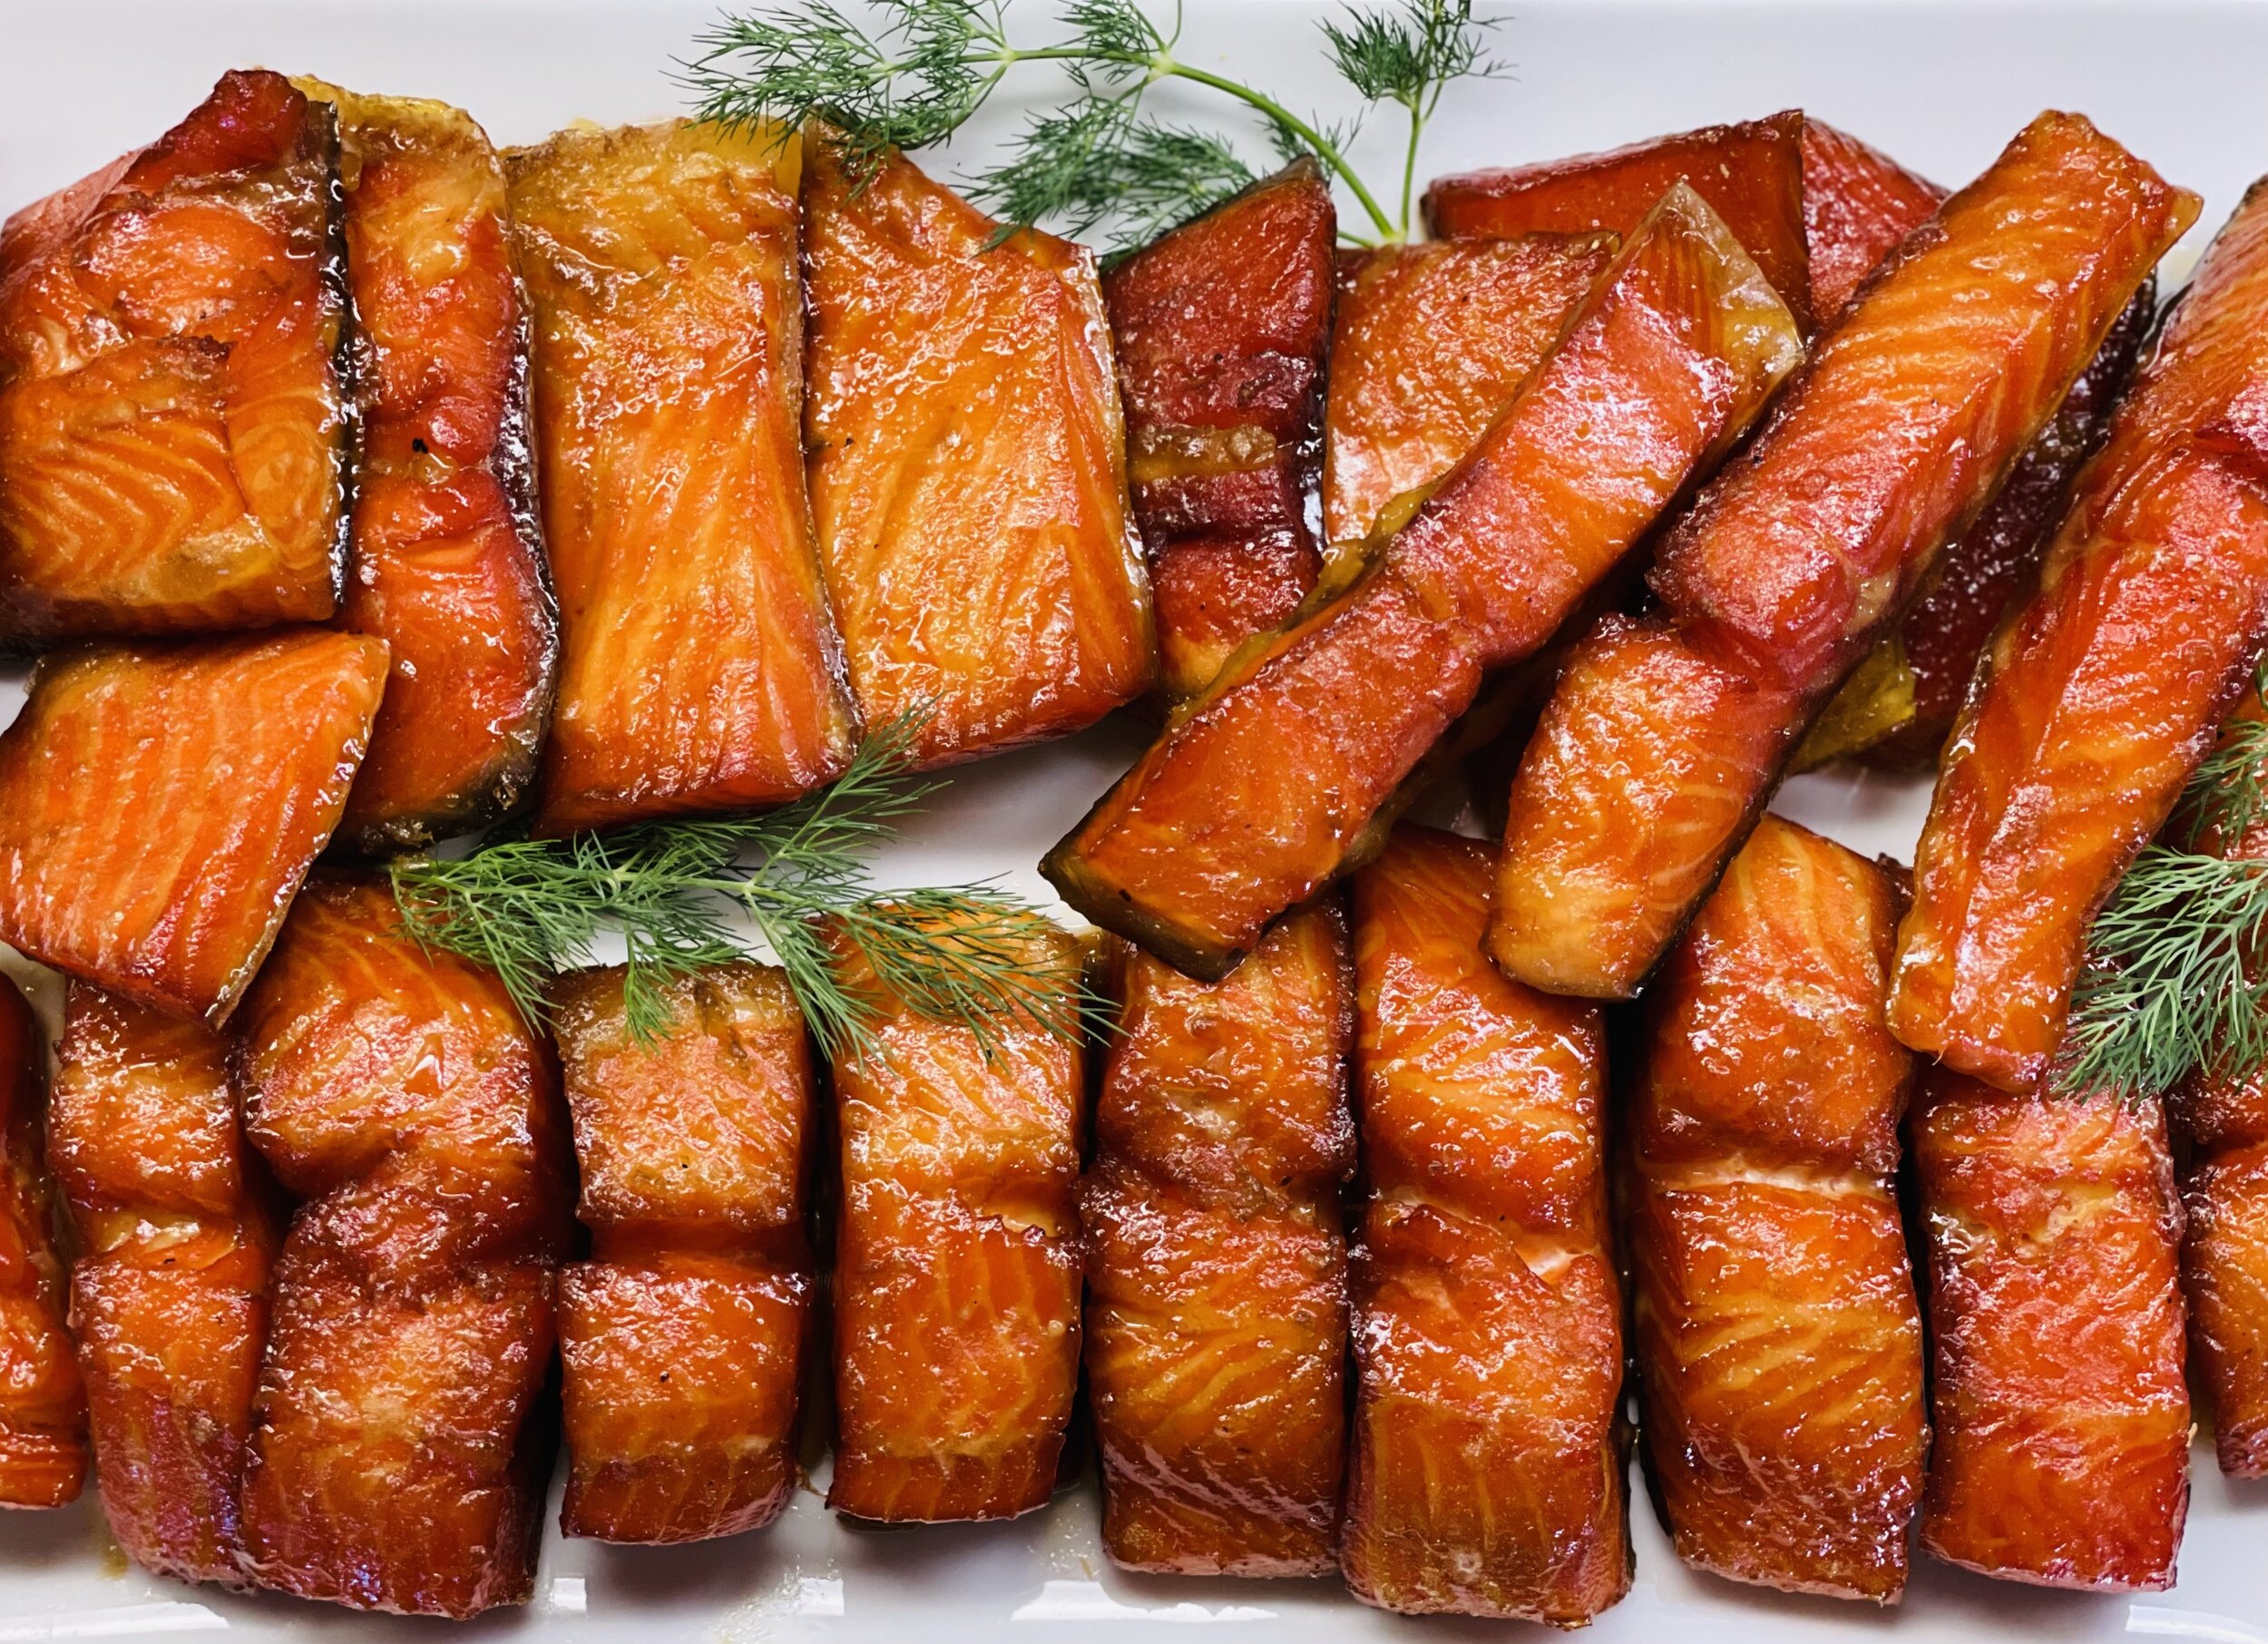
Super Simple Smoked Salmon (Low FODMAP)
5 Minutes prep • 4 Hours cook • Low FODMAP • Gluten-free • Lactose-free • Serves 6
5 Minutes prep • 3 - 4 Hours cook • Low FODMAP • Gluten-free • Lactose-free • Serves 6 • Ok to make ahead: Steps 1-3
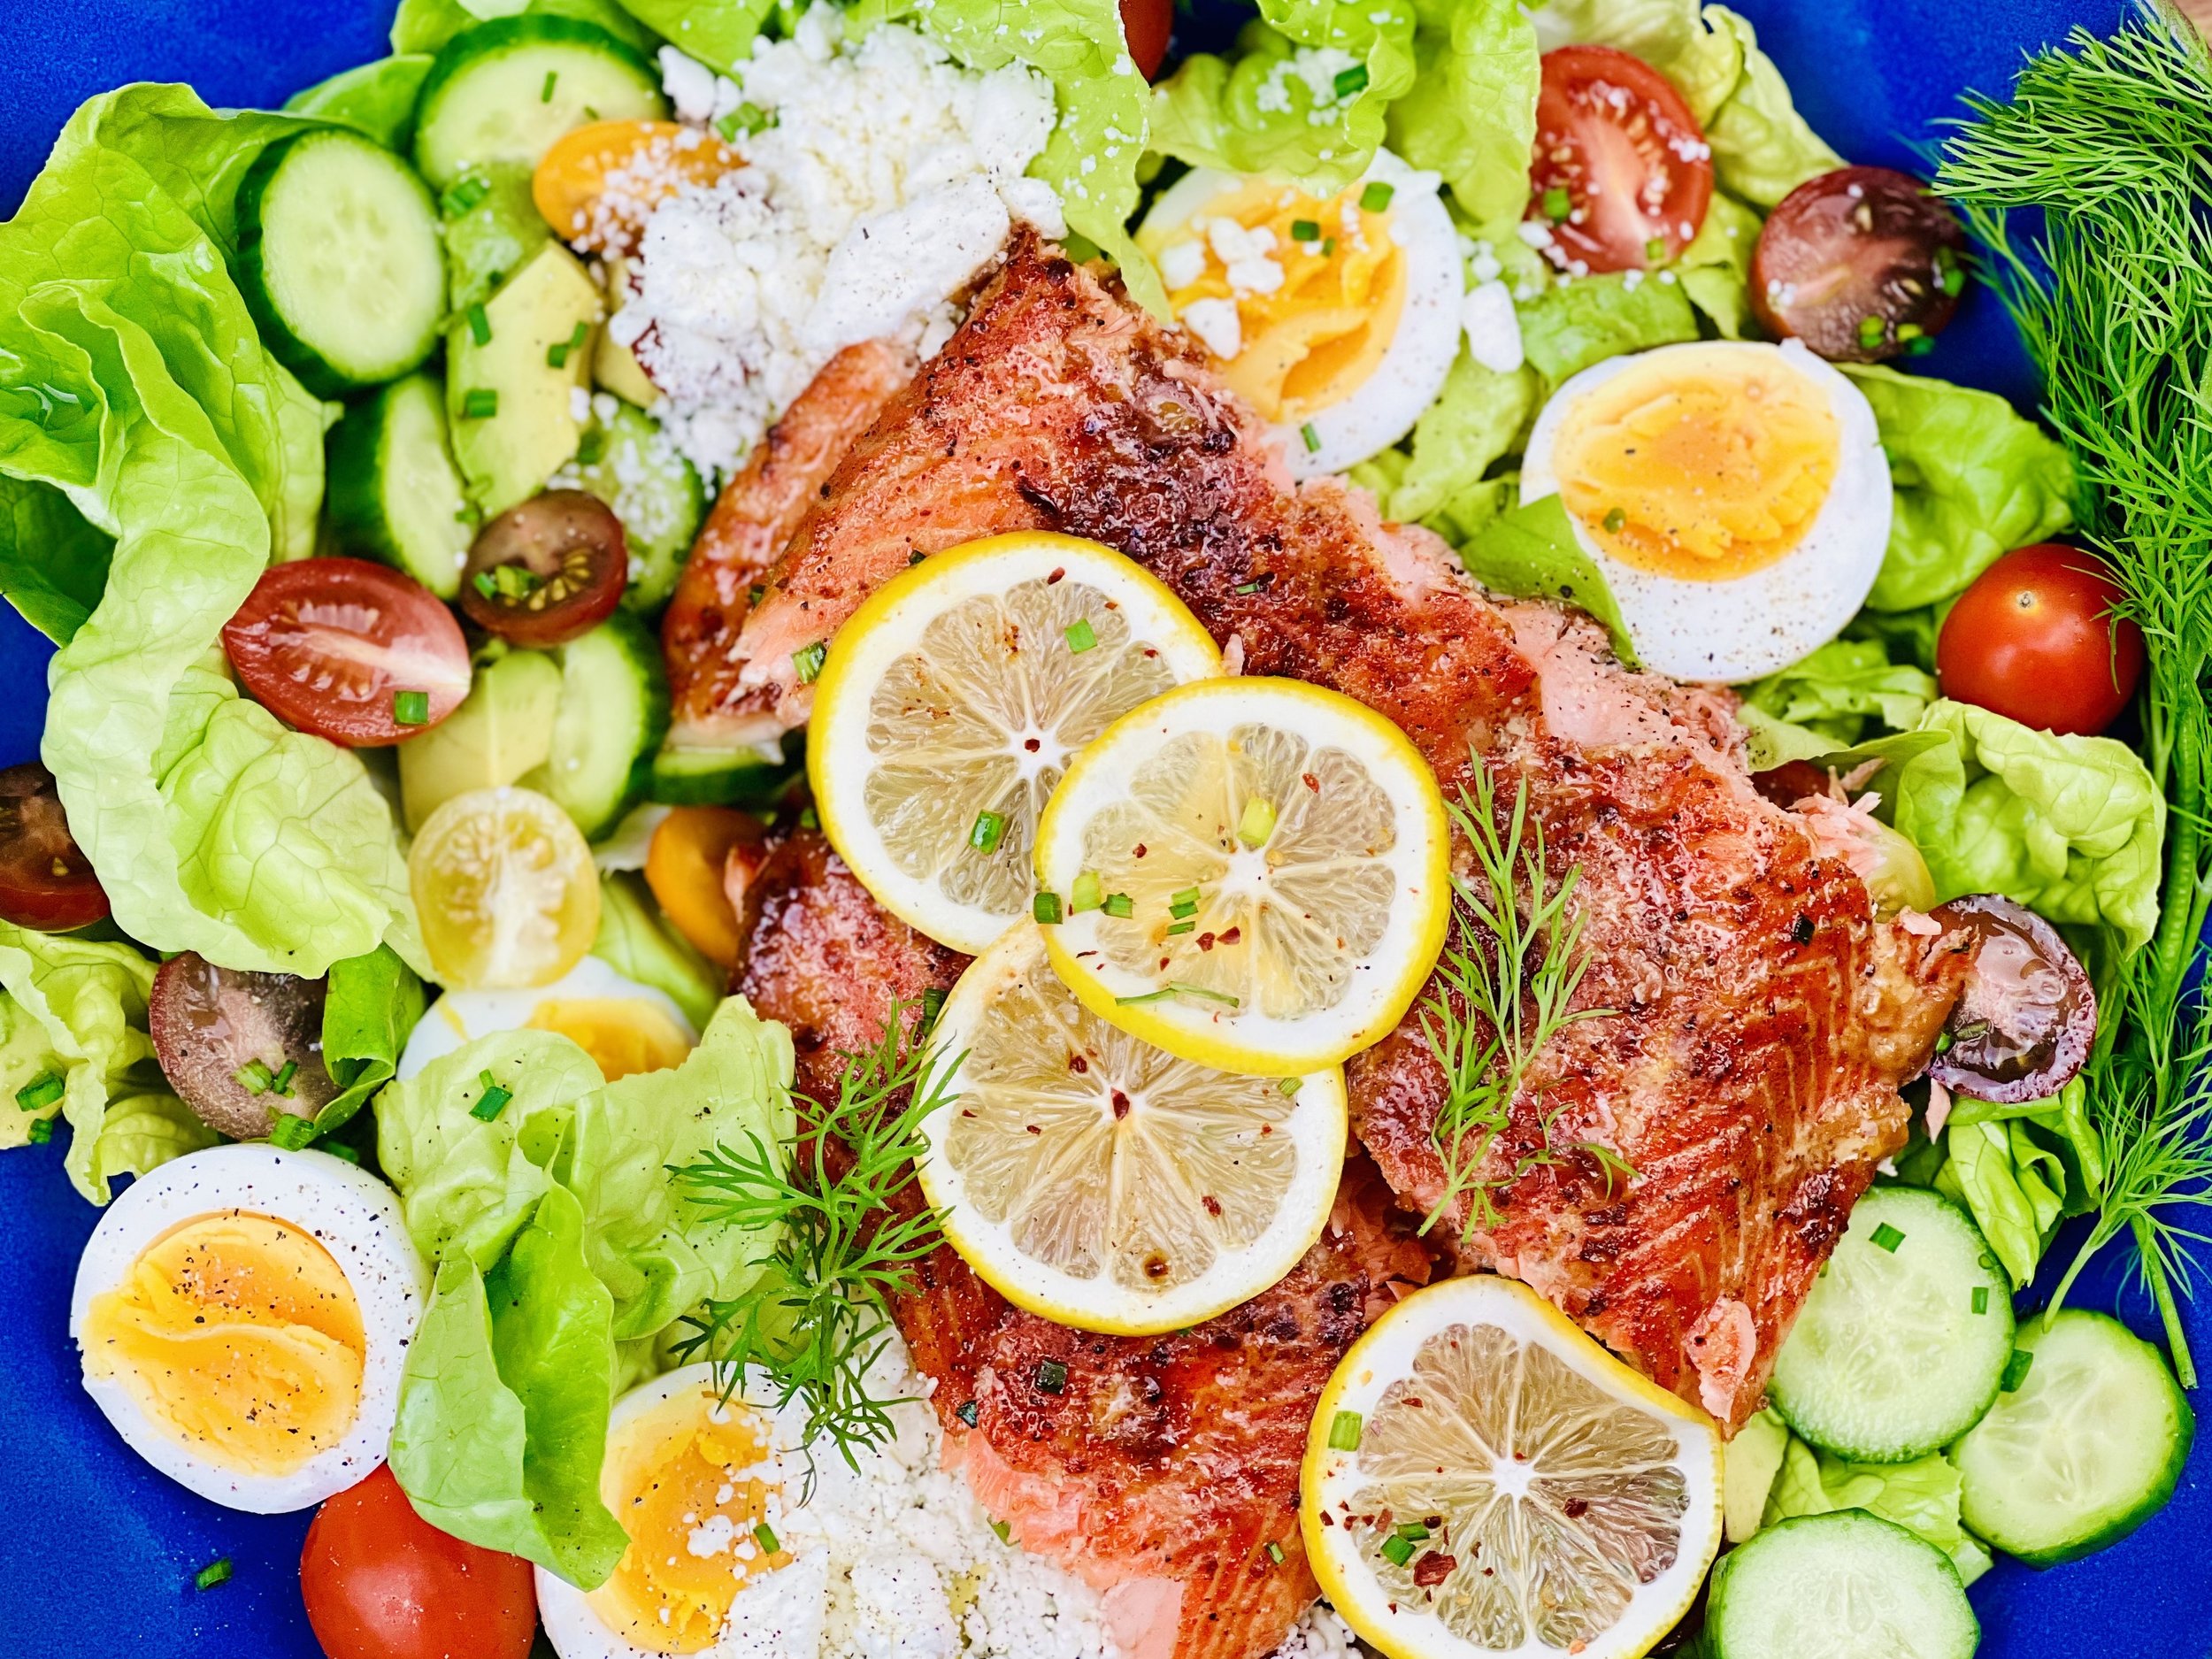
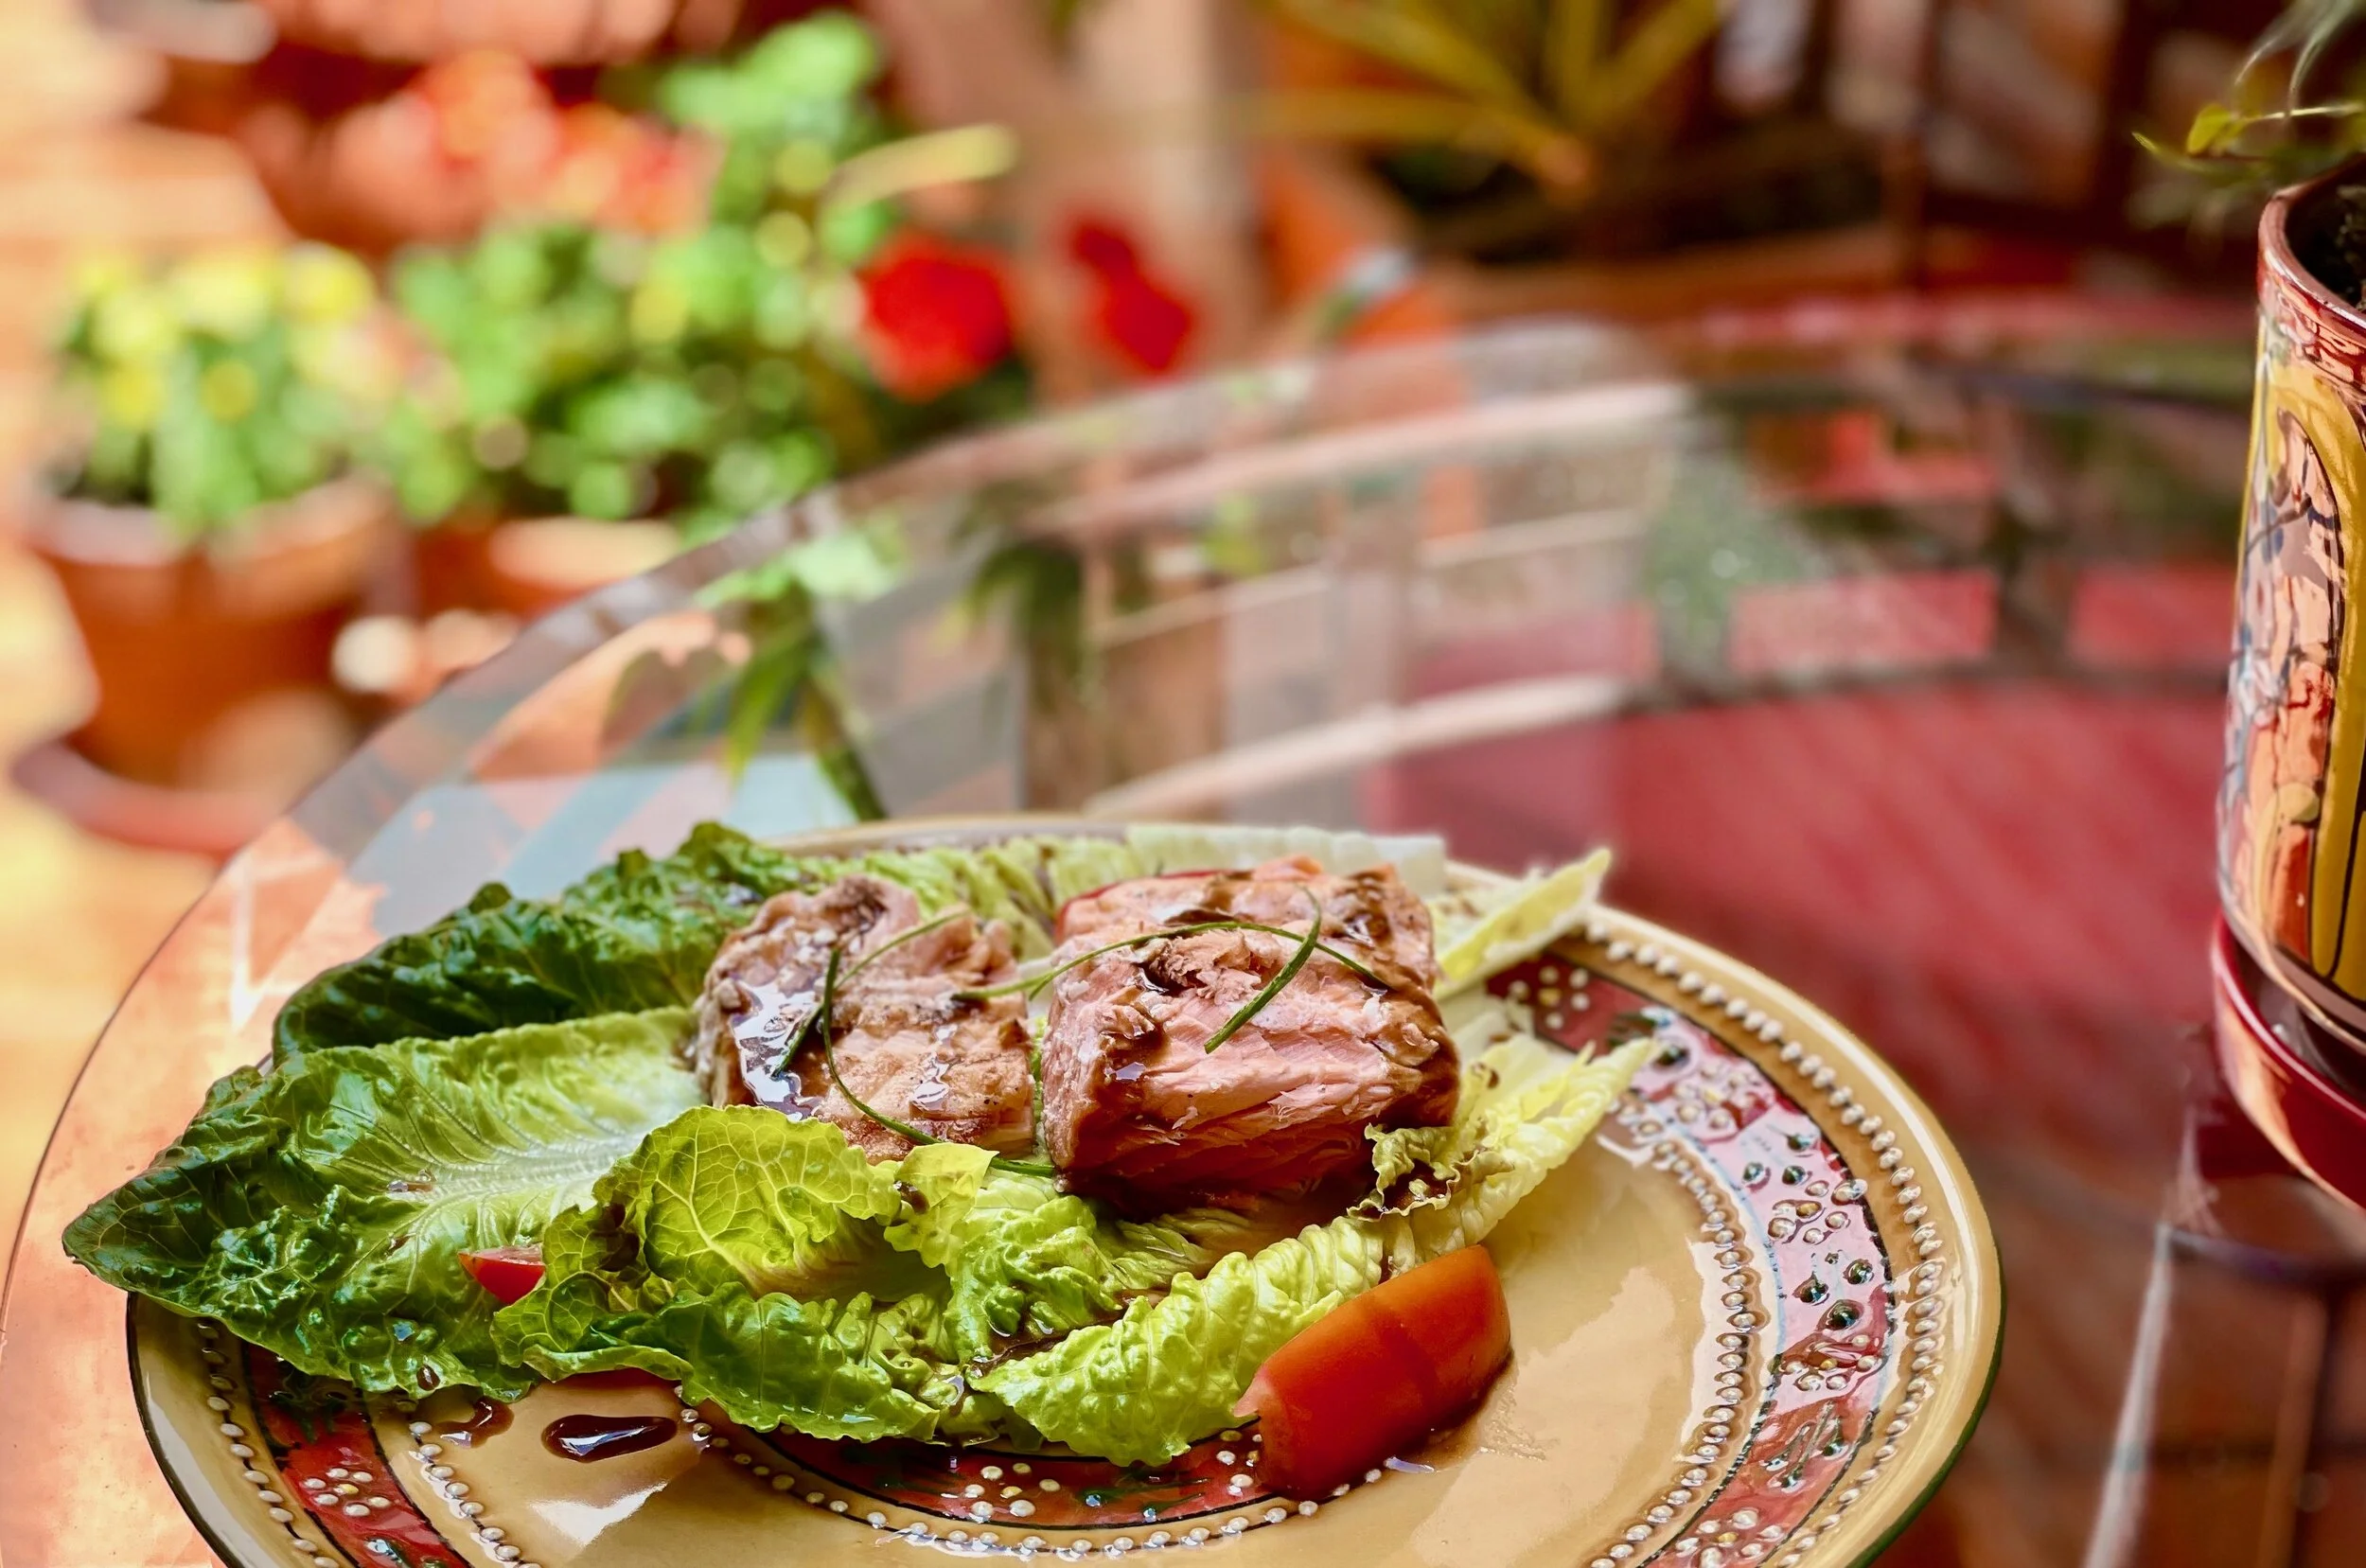
This is one of the simplest and most flavorful recipes for salmon I have created. The combination of the sweet maple seasoning and the slow cook in the smoker makes for a perfectly delicious and balanced salty/sweet fish. I used fresh steelhead salmon—but you could use any fresh salmon you have available. Serve it hot off the grill, at room temperature, or even chilled on a salad.
Ingredients: Salmon
1 1/2 pounds steelhead salmon filet (skin on)
1 - 2 tablespoons Smoke N Sanity Sweet Maple Dust (use code IBSGC15 for 15% discount)
1 teaspoon Kosher salt
1/2 teaspoon red pepper flakes
1 tablespoon olive oil
Lemon slices and chopped chives for serving
Directions
(1) Prepare: Preheat the smoker or grill to 180 degrees F. Lay fish out, skin side down, on a piece of heavy aluminum foil. Sprinkle the sweet maple dust, salt, and red pepper flakes evenly over the fish. Drizzle with olive oil.
(2) Cook the fish: Put the fish in the foil directly on the grill grates. Do not wrap the fish in the foil—leave it flat. Cook with the grill lid closed for about 3 - 4 hours until the fish is cooked through.
(3) Finish: Remove fish from the grill and add lemon slices and chopped chives.
Make-ahead note: At this point, you may keep the fish in the refrigerator for 2 - 3 days until you’re ready to serve it. This fish is delicious cold so don’t be afraid to make it ahead.
(4) Plate and serve: Serve immediately or allow to cool to room temperature or even refrigerate.
Eat and enjoy every bite because you can!
Recipe note: I use Diamond Crystal Kosher salt in all my recipes because it has a wonderful flat and crisp flake that tastes delicious. It is also the least salty salt available so you can use it more liberally as a seasoning than you can table salt or sea salt. If you use another type of salt, you may need to reduce the amount so it is not over-salted.
Have a question you’d like to have answered? Email me at hello@ibsgamechanger.com
Link note: This post contains links for you to easily purchase items listed on the page. In some cases, we have provided a special discount code for IBS Game Changers so be sure to use it when you purchase an item to get the discount that has been arranged just for you! As an Amazon Associate, I earn a commission from qualifying Amazon purchases.
More Deliciously Low FODMAP™ seafood recipes
15 Minutes prep • 10 Minutes cook • Low FODMAP • Serves 4 • Ok to make-ahead: Steps 1 - 4
10 Minutes + overnight prep • 3 - 4 hours cook • Low FODMAP • Gluten-Free • Lactose-free • Serves 6 • Ok to make-ahead: Steps 1 - 7
45 Minutes (+1 hour to soak cedar planks) • Gluten-free • Lactose-free • Low FODMAP • Serves 8
“Ski Cake” Cookies (Low FODMAP)
15 Minutes prep • 15 Minutes cook • Low FODMAP • Gluten-free • Makes 12 - 16 cookies
15 Minutes prep • 15 Minutes cook • Low FODMAP • Gluten-free • Makes 12 - 16 cookies • Ok to make ahead: Steps 1-5
Reminiscent of what we used to call “Ski Cake,” these cookies are not only deliciously Christmas-spiced, they are a bonanza of good stuff! Rolled oats, pumpkin seeds, dried cranberries, and currents make them the perfect cookie to tuck into your pockets for your next hike or ski day. Or, pack them in your bag for a quick breakfast or lunch on the go. They remind me of Christmas and skiing and they taste wonderfully good. (And you can pass them off as oatmeal cookies and get your kids to eat some good healthy grains and seeds.)
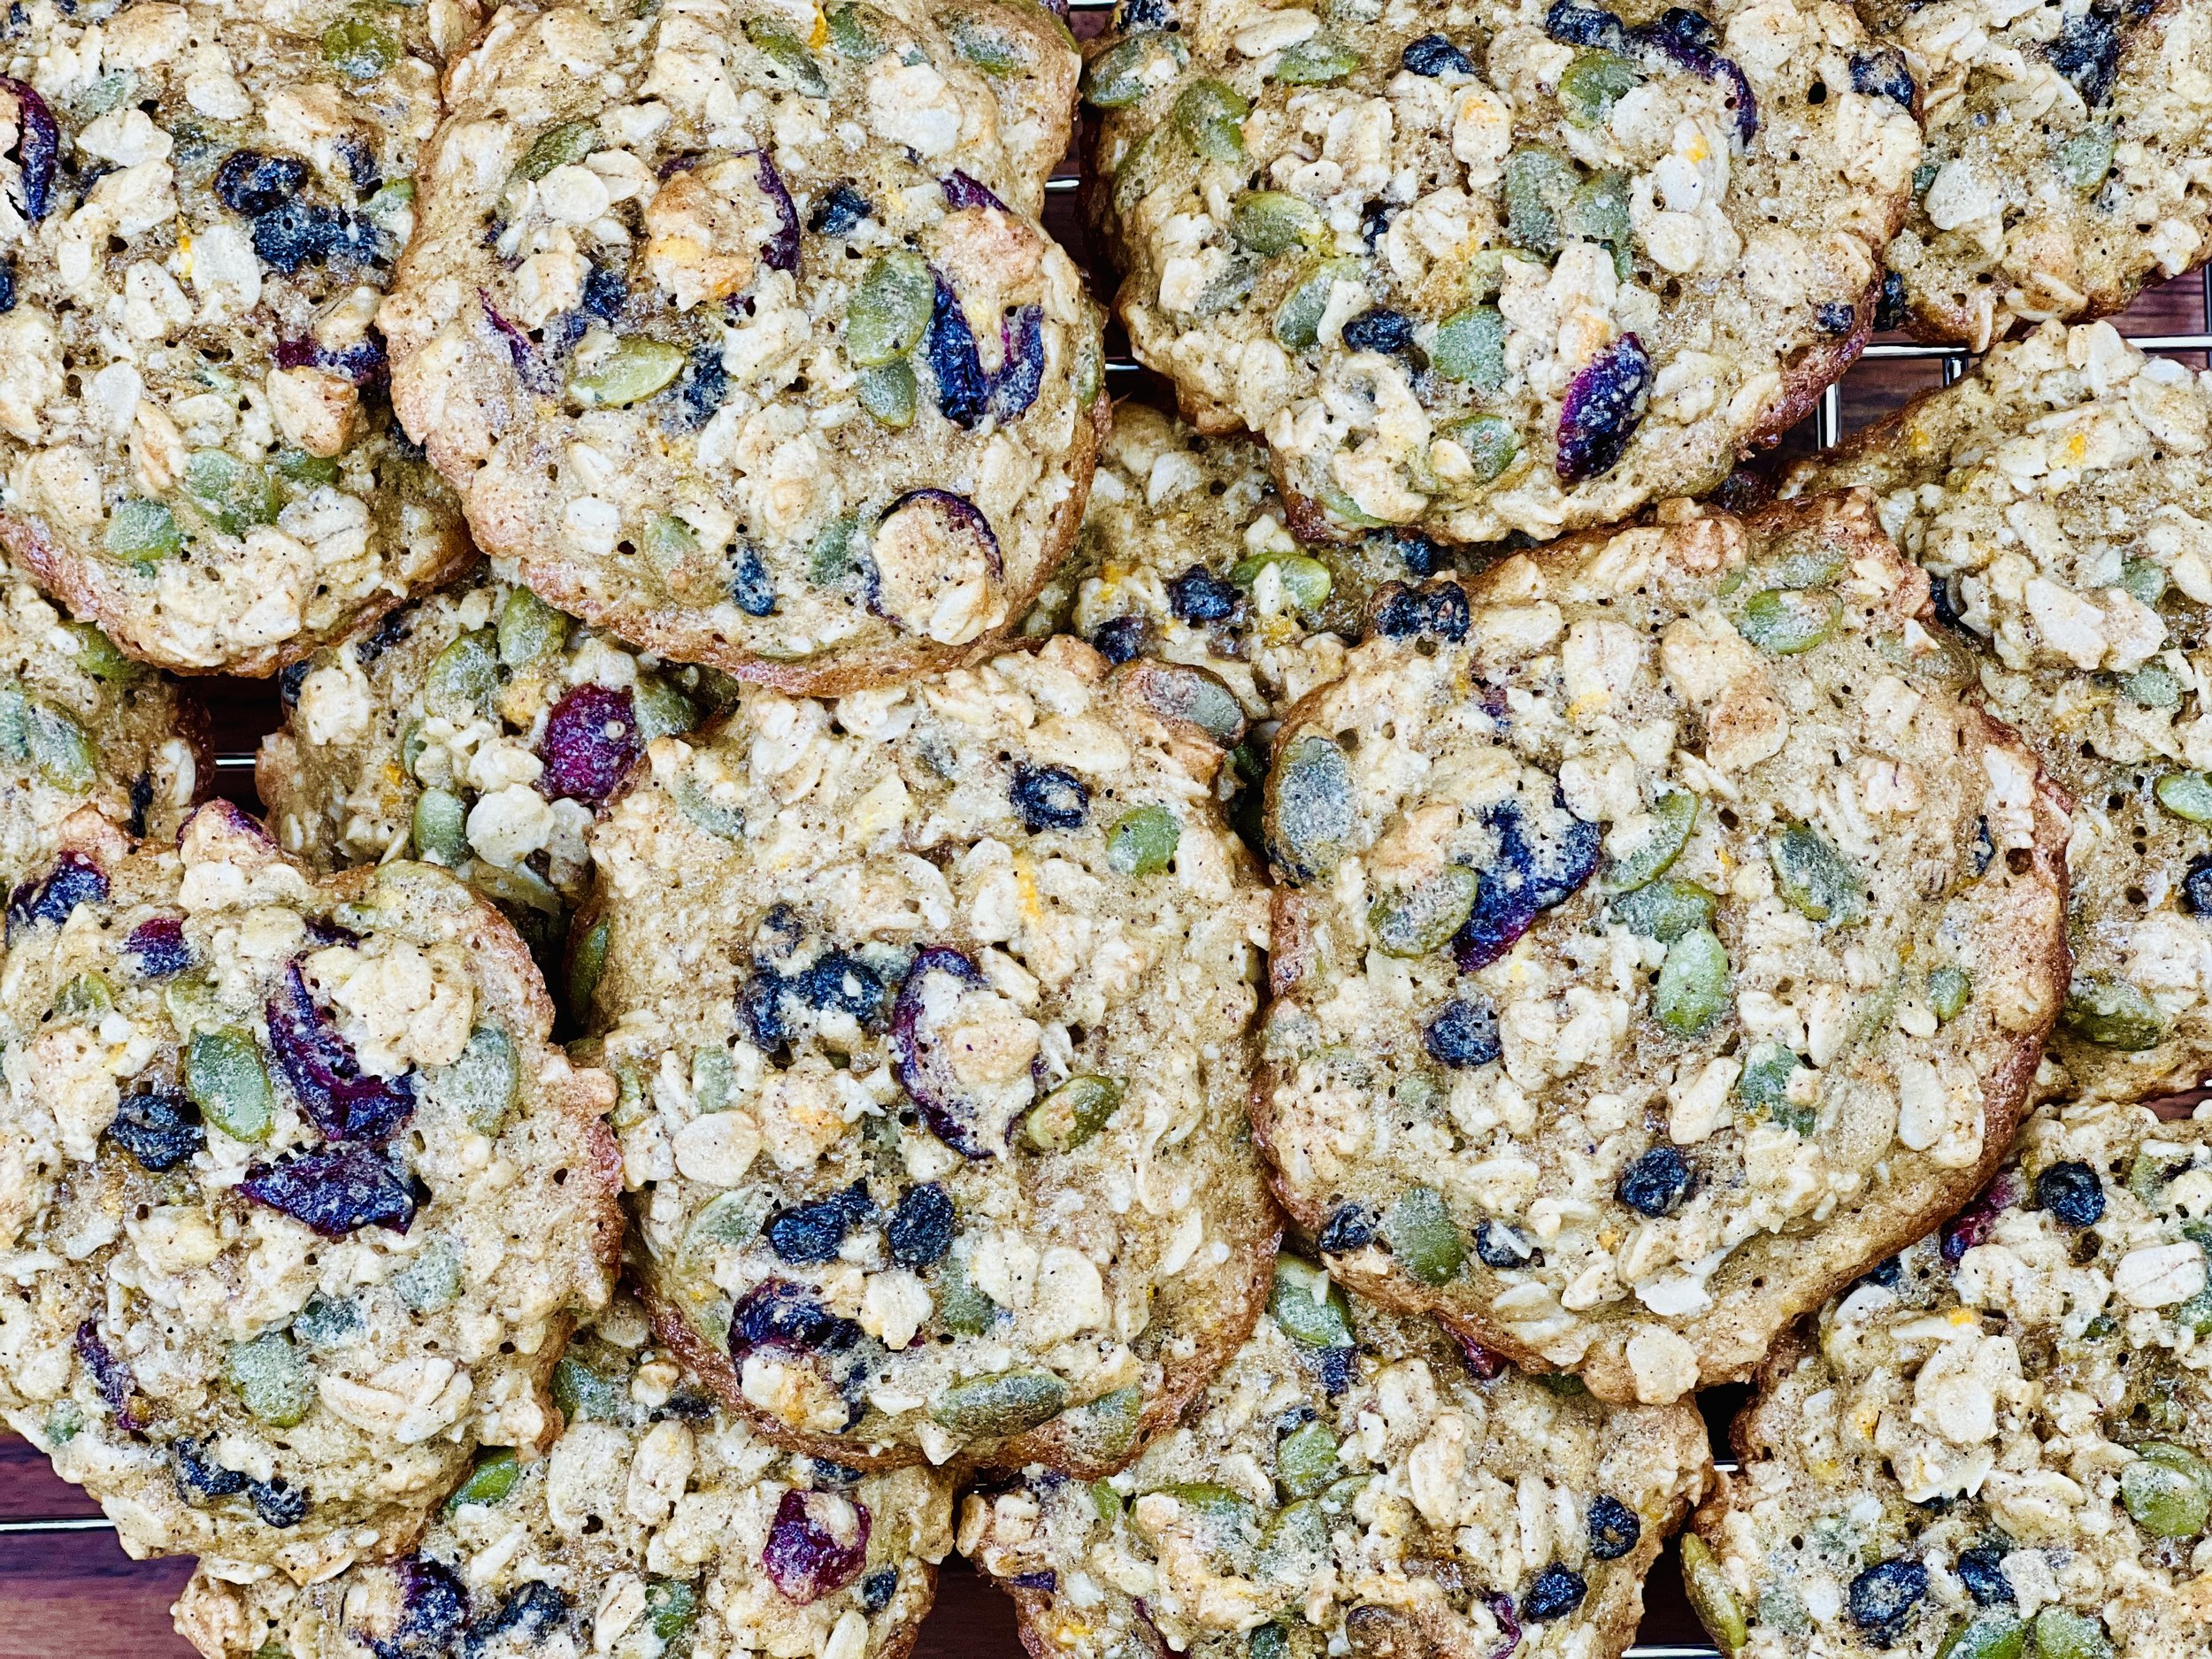
This is an exclusive recipe just for recipe club members.
In addition to the two free recipes I create each week I am creating and delivering one very special recipe just for my recipe club members. If you’re not yet a member, I encourage you to join! Membership in the club includes access to the complete archive of recipes with filters so it can become your virtual low FODMAP cookbook plus, I am creating and delivering one special NEW recipe every week ONLY for recipe club members. And, for my true fans, I’ll be sharing behind-the-scenes content, and updates on the progress of the new cookbook.
Your membership in the club helps me continue creating new, delicious, easy-to-make, low FODMAP recipes just for you.
As always, all recipes will emphasize simple ingredients, easy preparation, and delicious low FODMAP results. Recipes will be for everything from main courses, salads, soups, side dishes, appetizers, desserts, sauces, breakfast and lunch, and even mocktails and cocktails. Everything you need to prepare fantastic low FODMAP meals everyone will love.
Join the club. Become a Patron. Let’s keep making delicious Low FODMAP meals together.
More Deliciously Low FODMAP™ dessert recipes
10 Minutes prep • 15 Minutes cook • Low FODMAP • Gluten-Free • Keto Friendly • Makes 36 bars
5 Minutes prep • 10 Minutes cook • Low FODMAP • Gluten-Free • Lactose-Free • Makes 5 cups
15 Minutes prep • 20 Minutes cook • 30 Minutes cool • Low FODMAP • Gluten-free • Makes 18 bars
20 Minutes prep • 10 Minutes cook • Low FODMAP • Gluten-free • Makes 12 Sandwiched Cookies
20 Minutes prep • 20 Minutes cook • Low FODMAP • Gluten-free • Lactose-free • Makes 12 - 24
20 Minutes prep • 2 Hours chill • 10 Minutes cook • Low FODMAP • Gluten-free • Makes 24 - 36
I’m here to show you how to fully embrace the flavors of fall while keeping your digestive system happy.
10 Minutes prep • Overnight Chill • Low FODMAP • Gluten-free • Lactose-free • Serves 2 - 4
Classic Beef Tacos (Low FODMAP)
15 Minutes prep • 15 Minutes cook • Low FODMAP • Gluten-free • Serves 3-4
15 Minutes prep • 15 Minutes cook • Low FODMAP • Gluten-free • Serves 3-4 • Ok to make ahead: Step 1
This week, we’re celebrating National Taco Day! (Why celebrate for a day when you can celebrate all week?) Classic tacos are super simple to make and oh-so-good! Cooking the tortillas to make your own taco shells adds a lot of great flavor and it’s very easy to do so no need to buy pre-made taco shells. This is a perfect weeknight dinner and leftovers heat up nicely for lunch the next day. This recipe makes a little beef go a long way so you get all the delicious flavor without feeling like you’ve overdone it. Of course, you can also make this recipe using ground chicken or turkey if you prefer.
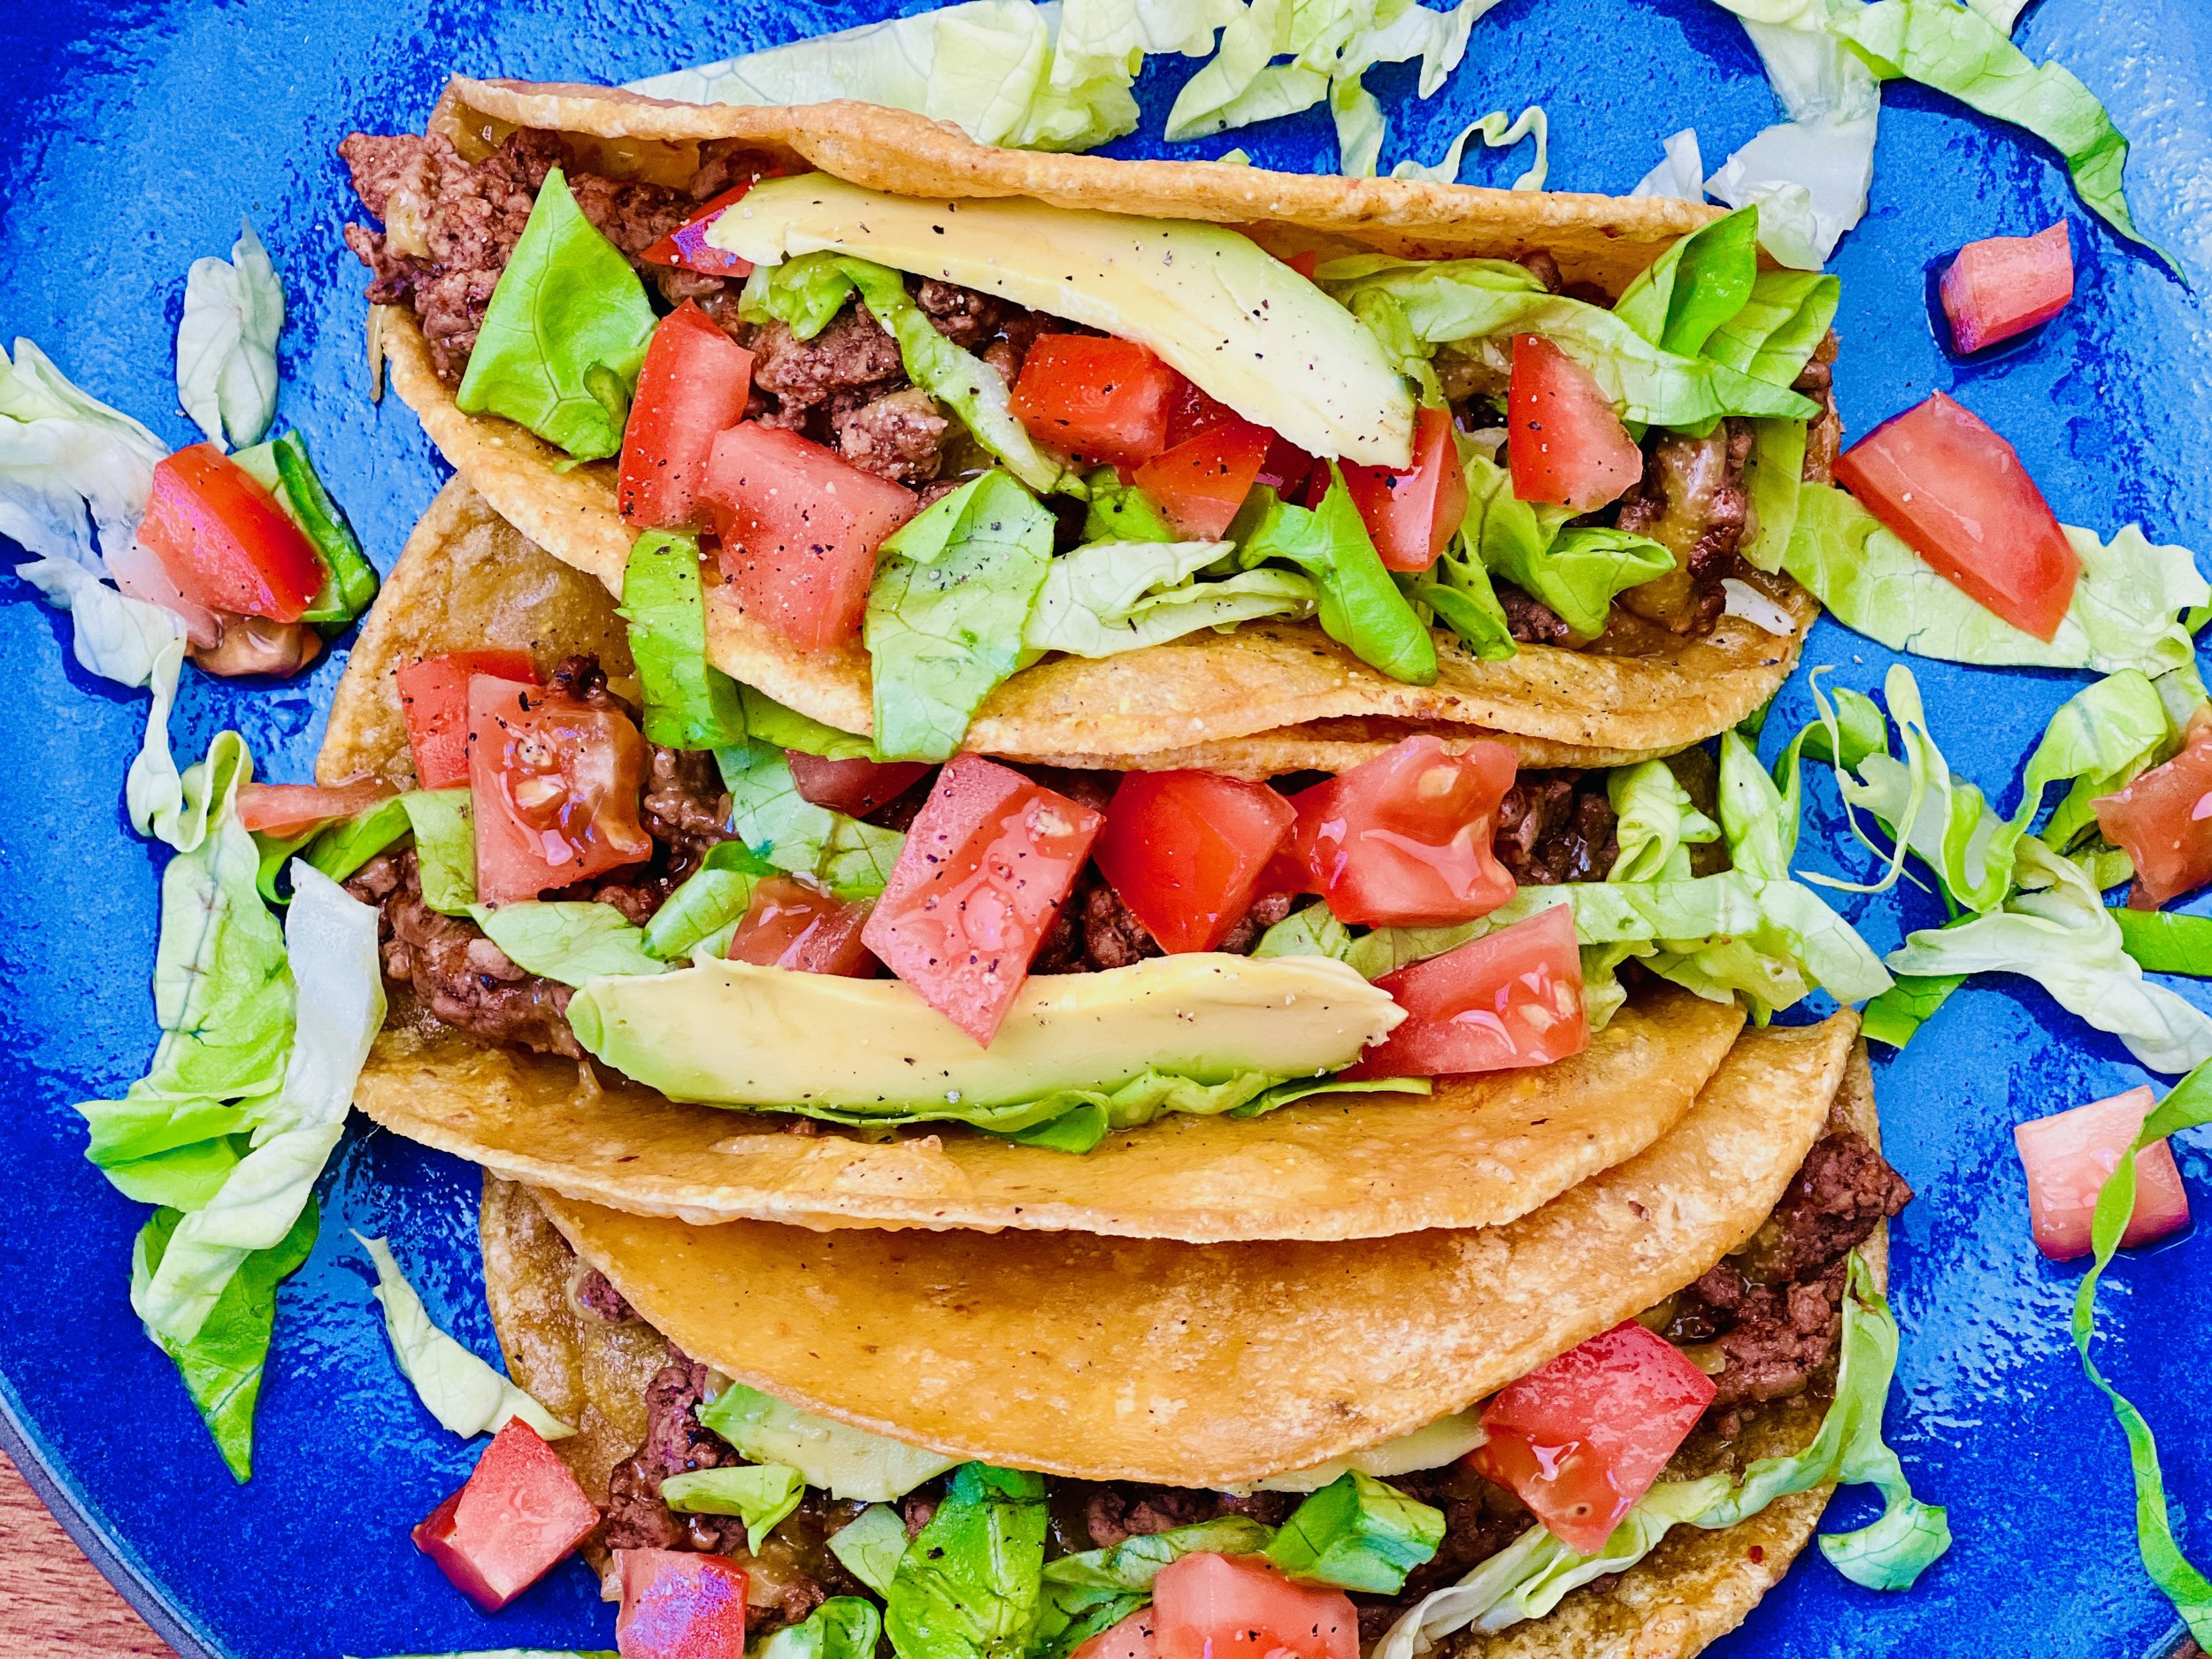
Ingredients
1 pound lean ground beef (preferably organic, grass-fed), or you can use chicken or turkey
1 tablespoon Smoke N Sanity Taco Seasoning (use code IBSGC15 for 15% discount)
1 cup extra-sharp cheddar cheese, grated
1/2 - 1 teaspoon Kosher salt
1/2 teaspoon black pepper
1 cup lettuce, washed, dried, and cut into strips
1 ripe tomato, cubed (preferably “on the vine” or Roma for best flavor)
1/2 avocado, sliced or cubed
6 gluten-free corn tortillas
1/4 cup extra-virgin olive oil or avocado oil for cooking the tortillas
Low FODMAP hot sauce (optional) for serving
Lactose-free sour cream (optional) for serving
Directions
(1) Prepare: Grate the cheese. Wash, dry, and cut the lettuce. Chop the tomatoes.
Make-ahead note: At this point, you may keep the cheese and vegetables in the refrigerator for an hour or two until you’re ready to cook and serve the tacos.
(2) Cook the meat: Heat a large skillet over medium-high heat. When hot, add the ground beef and break it up and stir it around until it is all browned. Add the taco seasoning and stir to coat the meat. Add 1/4 cup water, stir to combine, then simmer the meat for a few minutes until the sauce is thickened. Taste and add additional taco seasoning, salt, or pepper to your liking.
(3) Add the cheese: When the meat is cooked, add the grated cheese to the top. Cover the pan and turn the heat off and let the cheese melt into the meat while you make the tortillas.
(4) Cook the tortillas: Heat about half the vegetable oil in a small skillet over medium-high heat. When the oil is hot (it should sizzle when you put a drop of water in it), add one tortilla. Cook on one side for about 30 - 60 seconds, then flip it over and cook on the other side for about the same amount of time. You want the tortilla to be crisp but not impossible to fold in half.
(5) Shape the taco shells: Remove from the oil, fold it over the handle of a wooden spoon (to make it into a “shell” shape), then set it on a paper towel while you cook the next one. Continue this process until all 4-6 taco shells are cooked. Add more oil, if the pan gets dry, and be sure to let it get hot before adding the next tortilla.
(6) Plate and Serve: In each tortilla, put a generous scoop of the meat and cheese. Sprinkle in the lettuce, tomato, and a slice or two of avocado, and serve with the hot sauce or sour cream alongside.
Eat and enjoy every bite because you can!
Recipe note: I use Diamond Crystal Kosher salt in all my recipes because it has a wonderful flat and crisp flake that tastes delicious. It is also the least salty salt available so you can use it more liberally as a seasoning than you can table salt or sea salt. If you use another type of salt, you may need to reduce the amount so it is not over-salted.
Have a question you’d like to have answered? Email me at hello@ibsgamechanger.com
Link note: This post may contain affiliate links for you to easily purchase items that are linked. I may earn a small commission from qualifying purchases but none of this costs you a thing so feel free to use the links! In addition, for some items, I have provided a special discount code for IBS Game Changers so be sure to use the code when you purchase an item to get the discount that has been arranged just for you.
More Deliciously Low FODMAP™ main course recipes
15 Minutes prep • 30 Minutes cook • Low FODMAP • Serves 4 • Ok to make-ahead: Steps 1 - 2
10 Minutes prep • 25 Minutes cook • Low FODMAP • Gluten-Free • Serves 6 • Ok to make-ahead: Step 1
Cheesy Poached Egg and Biscuit Sandwich (low FODMAP)
5 Minutes prep • 10 Minutes cook • Low FODMAP • Gluten-free • Vegetarian • Serves 2
5 Minutes prep • 10 Minutes cook • Low FODMAP • Gluten-free • Vegetarian • Serves 2
My clients often say they can’t think of anything for breakfast (or lunch!) so sharing some of the things I make is my way of helping to inspire you to think creatively. Recently, I had some gluten-free sour cream biscuits leftover and I decided to turn them into a biscuit egg sandwich. The result was delicious! I toasted the biscuits and put a bit of butter on them before layering on a poached egg and some sharp cheddar cheese. A quick trip under the broiler and a few chives later. Voila! You’ve made a perfect breakfast or lunch.
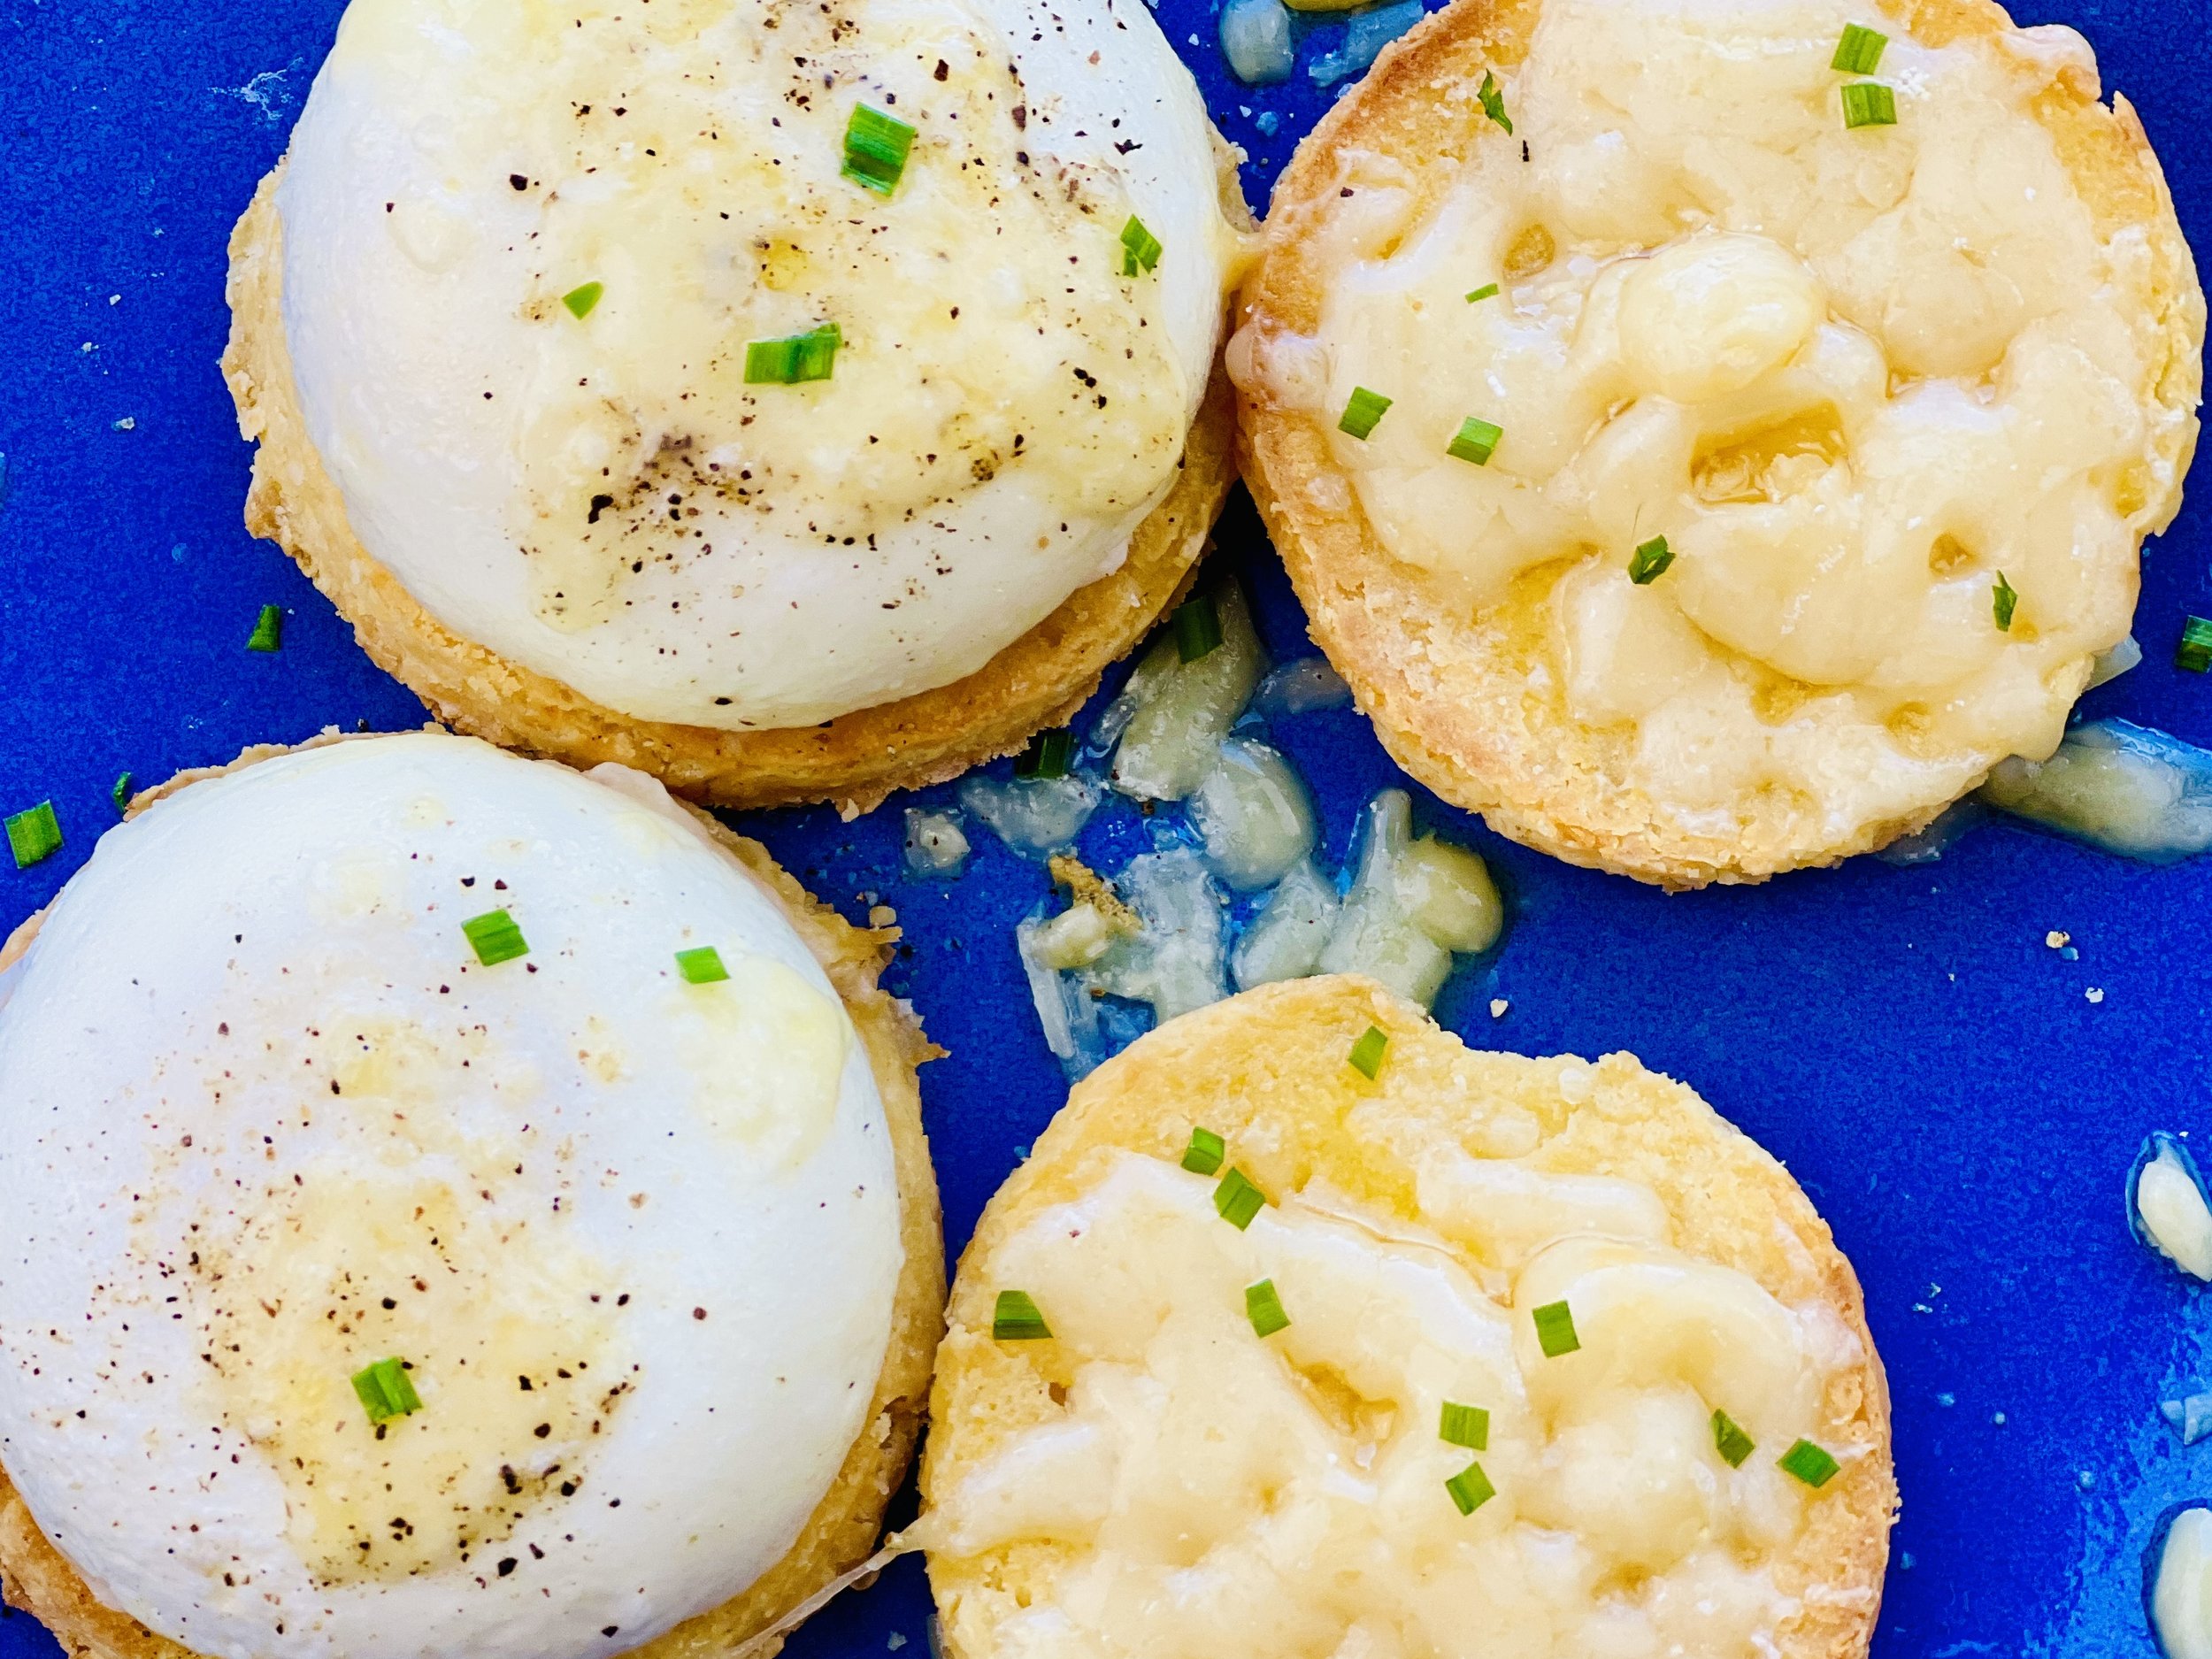
This is an exclusive recipe just for recipe club members.
In addition to the two free recipes I create each week I am creating and delivering one very special recipe just for my recipe club members. If you’re not yet a member, I encourage you to join! Membership in the club includes access to the complete archive of recipes with filters so it can become your virtual low FODMAP cookbook plus, I am creating and delivering one special NEW recipe every week ONLY for recipe club members. And, for my true fans, I’ll be sharing behind-the-scenes content, and updates on the progress of the new cookbook.
Your membership in the club helps me continue creating new, delicious, easy-to-make, low FODMAP recipes just for you.
As always, all recipes will emphasize simple ingredients, easy preparation, and delicious low FODMAP results. Recipes will be for everything from main courses, salads, soups, side dishes, appetizers, desserts, sauces, breakfast and lunch, and even mocktails and cocktails. Everything you need to prepare fantastic low FODMAP meals everyone will love.
Join the club. Become a Patron. Let’s keep making delicious Low FODMAP meals together.
More Deliciously Low FODMAP™ breakfast recipes
15 Minutes prep • 30 Minutes cook • Low FODMAP • Serves 4 • Ok to make-ahead: Steps 1 - 2
10 Minutes prep • 20 Minutes cook • Low FODMAP • Gluten-free • Lactose-free • Vegan • Makes 6 cups
I’m here to show you how to fully embrace the flavors of fall while keeping your digestive system happy.
10 Minutes prep • Overnight Chill • Low FODMAP • Gluten-free • Lactose-free • Serves 2 - 4
15 Minutes prep • 45 Minutes cook • Low FODMAP • Gluten-free • Vegetarian • Serves 4 - 6
15 Minutes prep • 15 Minutes cook • Low FODMAP • Gluten-free • Makes 8 Belgian waffle squares
30 Minutes prep • 20 Minutes cook • Low FODMAP • Gluten-free • Vegetarian • Makes 10 Squares
Perfect Egg Salad or Deviled Eggs (low FODMAP)
10 minutes • Gluten-free • Dairy-free • Low FODMAP • Serves 1
10 Minutes prep • Low FODMAP • Gluten-free • Lactose-free • Serves 2 - 4 • Ok to make ahead: Steps 1 - 3
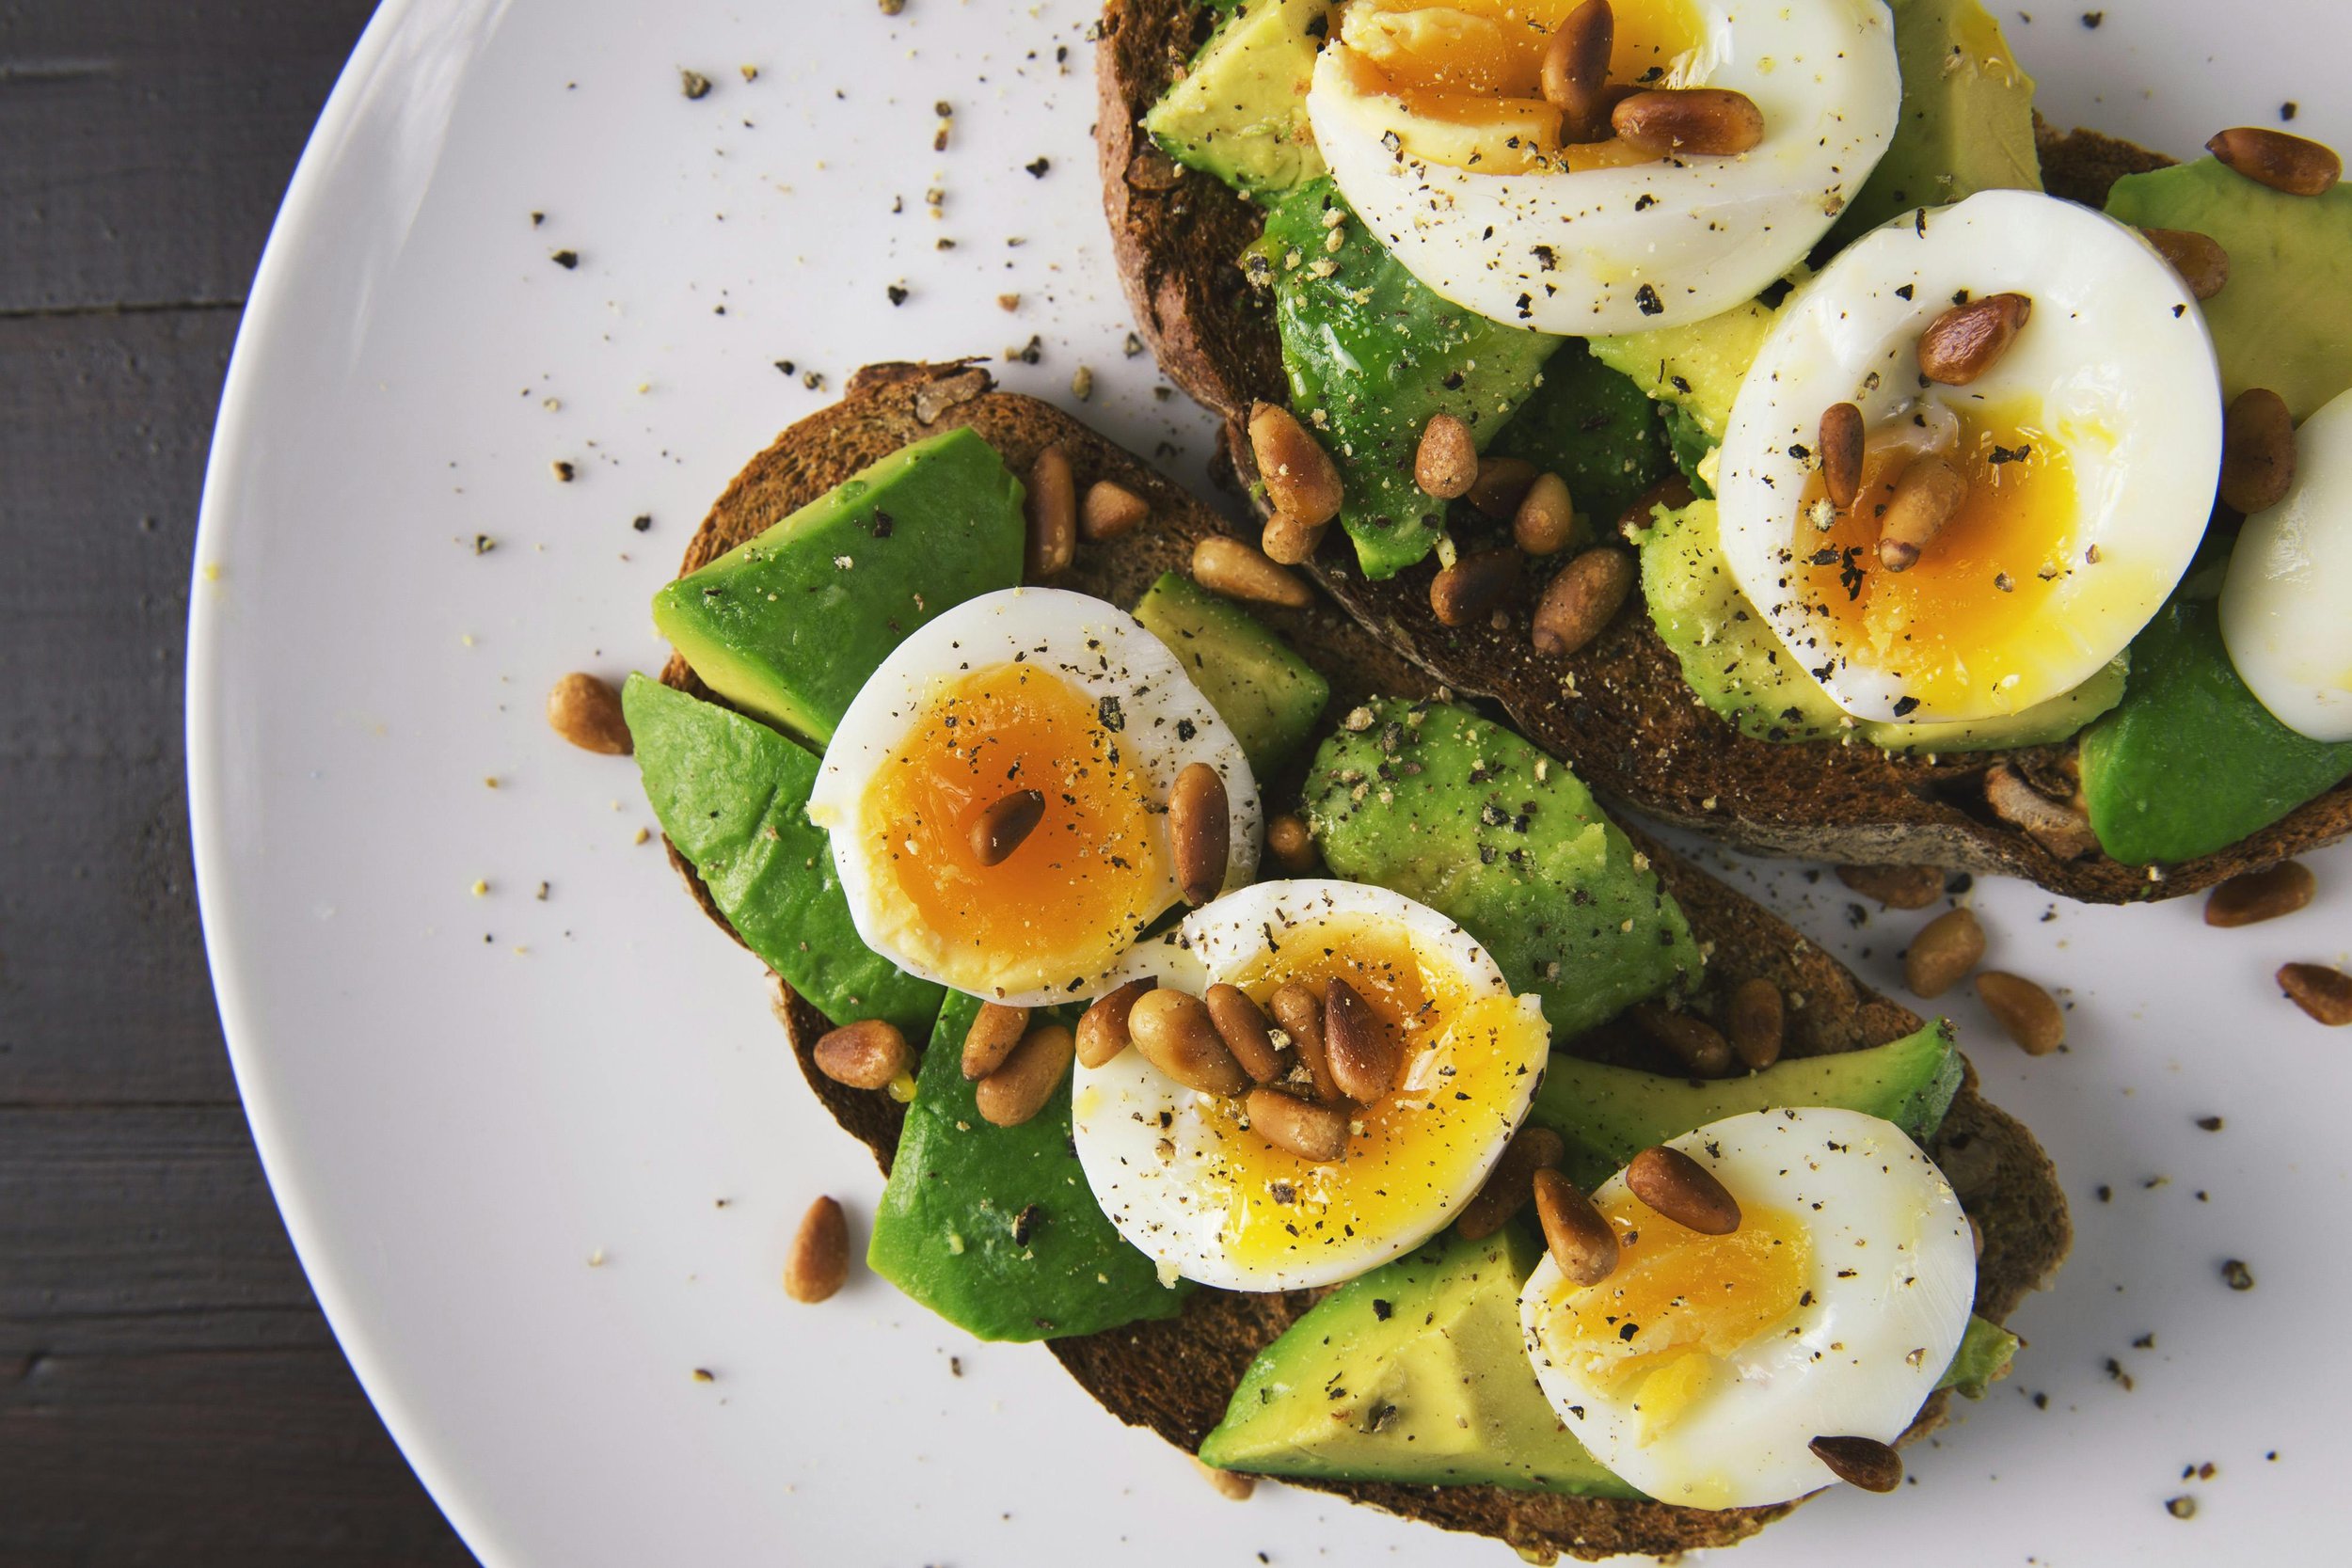
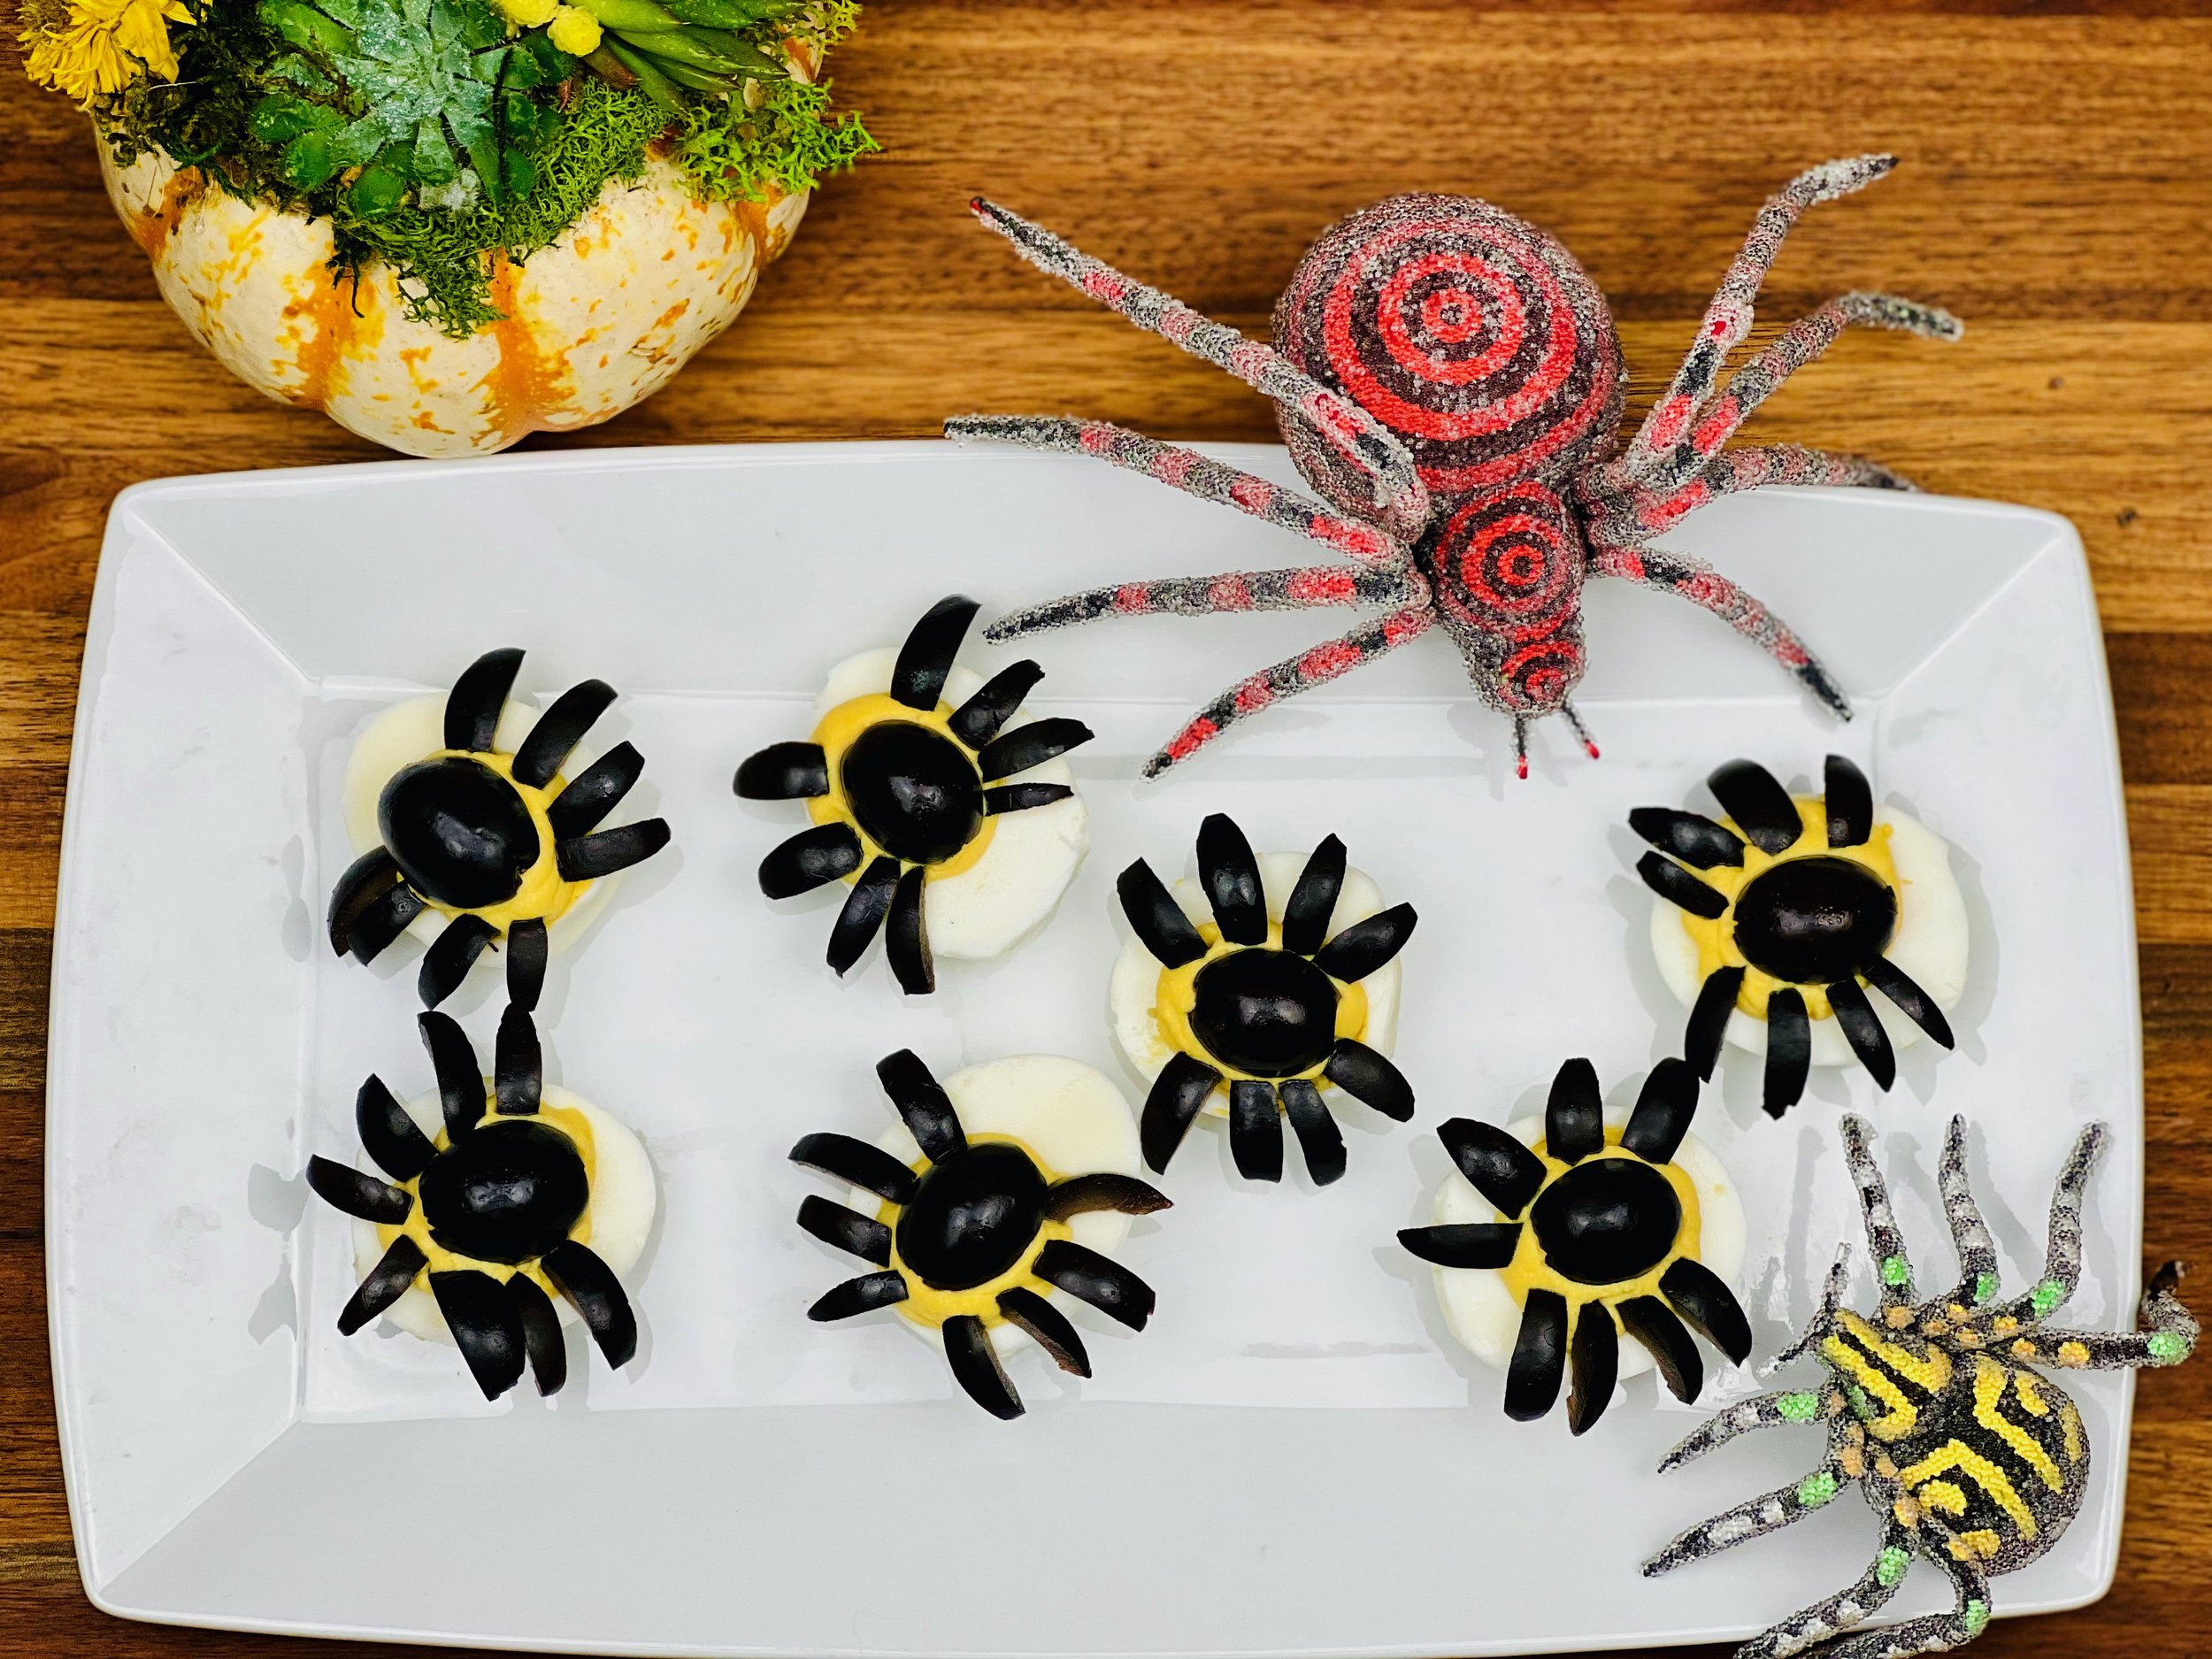
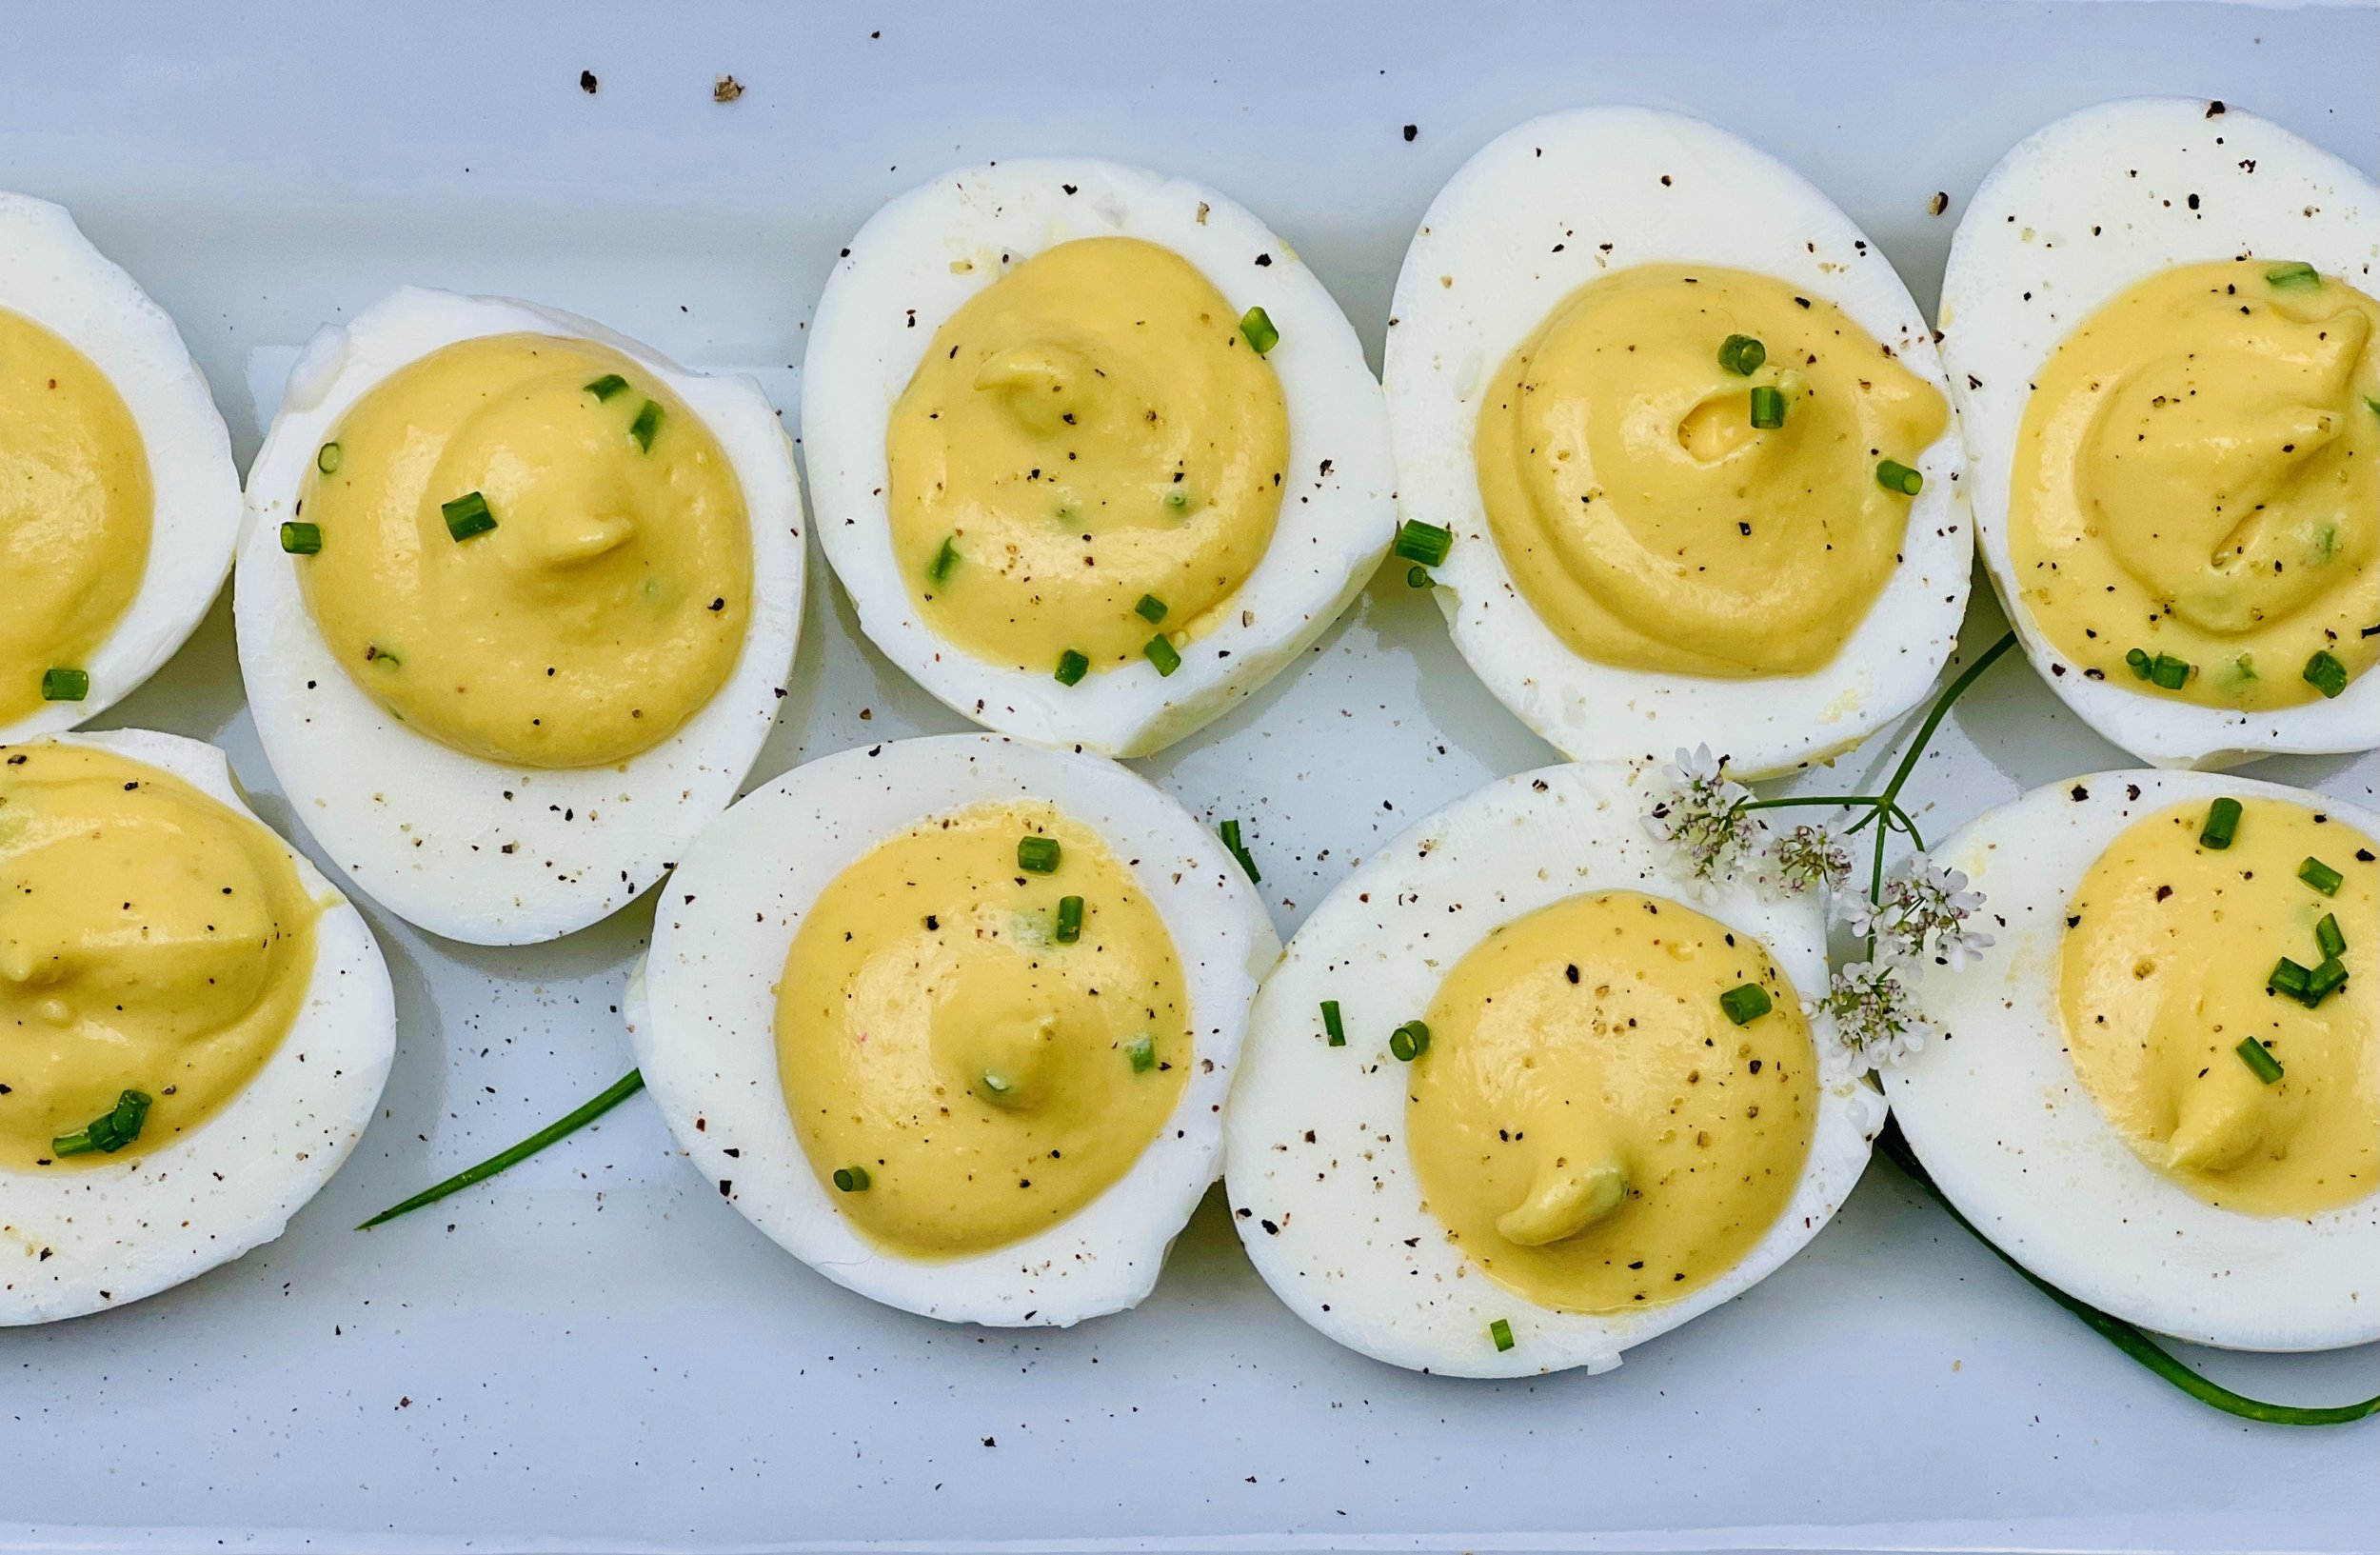
Many of us find ourselves with an overwhelming number of hard boiled eggs this time of year. What do you do with all those hard-boiled eggs? I make this perfect egg salad and serve it on crisp toasted sourdough bread. Or, I make delicious deviled eggs and serve them for lunch, as an appetizer, or just as a snack. Any way you make them, deviled eggs can be devilishly delicious!

Ingredients
4 hard-boiled eggs
1 tablespoon dijon mustard
2 - 3 tablespoons mayonnaise (depending on how large your eggs are)
½ stalk celery, finely chopped (optional)
Kosher salt and black pepper to taste
Fresh chives, dill, or parsley, chopped (optional)
Directions: Egg Salad
(1) Prepare: Peel and chop your hard-boiled eggs.
(2) Combine: Add all other ingredients except the chopped herbs, salt, and pepper.
Stir to combine.
(3) Finish: Taste and add salt and pepper to your liking.
(4) Plate and serve: Serve on toasted sourdough bread, rice cake, or on a bed of butter lettuce. Sprinkle with chopped herbs if using.
Directions: Deviled Eggs
(1) Prepare: Peel and cut your hard-boiled eggs in half.
(2) Combine: Scoop out the yolks and put in a small bowl with all other ingredients except the chopped herbs, salt, and pepper.
Stir to combine.
(3) Finish: Taste and add salt and pepper to your liking.
(4) Devil the eggs: Fill each half egg white with the egg yolk mixture. Sprinkle with chopped chives, parsley, or tiny sprigs of fresh dill. Want to get really fancy? Add a few brightly colored salmon roe caviar for garnish
Eat and enjoy every bite because you can!
This post may contain affiliate links so you can easily purchase items listed on the page. There is no increased cost to you for purchasing items through these links so feel free to use them!
More Deliciously Low FODMAP™ appetizer recipes
5 Minutes prep • 15 Minutes cook • Low FODMAP • Gluten-Free • Lactose-Free • Makes 2 cups
10 Minutes Prep • 50 Minutes Cook • Low FODMAP • Gluten-free • Dairy Free • Vegan • Serving size 3 - 4 crackers
10 Minutes prep • 15 Minutes rest • Low FODMAP • Gluten-free • Dairy-free • Serving size 3 tablespoons
10 Minutes prep • 20 Minutes cook • Low FODMAP • Gluten-free • Lactose-free • Vegan • Serves 5
15 Minutes prep • 1 hour chill • Low FODMAP • Gluten-free • Vegetarian • Serves 4 or more
10 Minutes prep • Low FODMAP • Gluten-Free • Lactose-free • Vegetarian • Vegan • Makes 1.5 cups
10 Minutes Prep • 50 Minutes Cook • Gluten-free • Dairy-free • Low FODMAP • Serving size 3-4 crackers
5 Minutes prep • 10 Minutes cook • Low FODMAP • Gluten-free • Lactose-free • Makes 1 cup
20 Minutes prep • 16 Minutes cook • Low FODMAP • Vegetarian • Serves 8 • Ok to make-ahead: Steps 1-5
Target 30 Green Salad (low FODMAP)
20 Minutes prep • Low FODMAP • Gluten-free • Lactose-free • Vegetarian • Serves 4
20 Minutes prep • Low FODMAP • Gluten-free • Lactose-free • Vegetarian • Serves 4 • Ok to make ahead: Steps 1 - 4
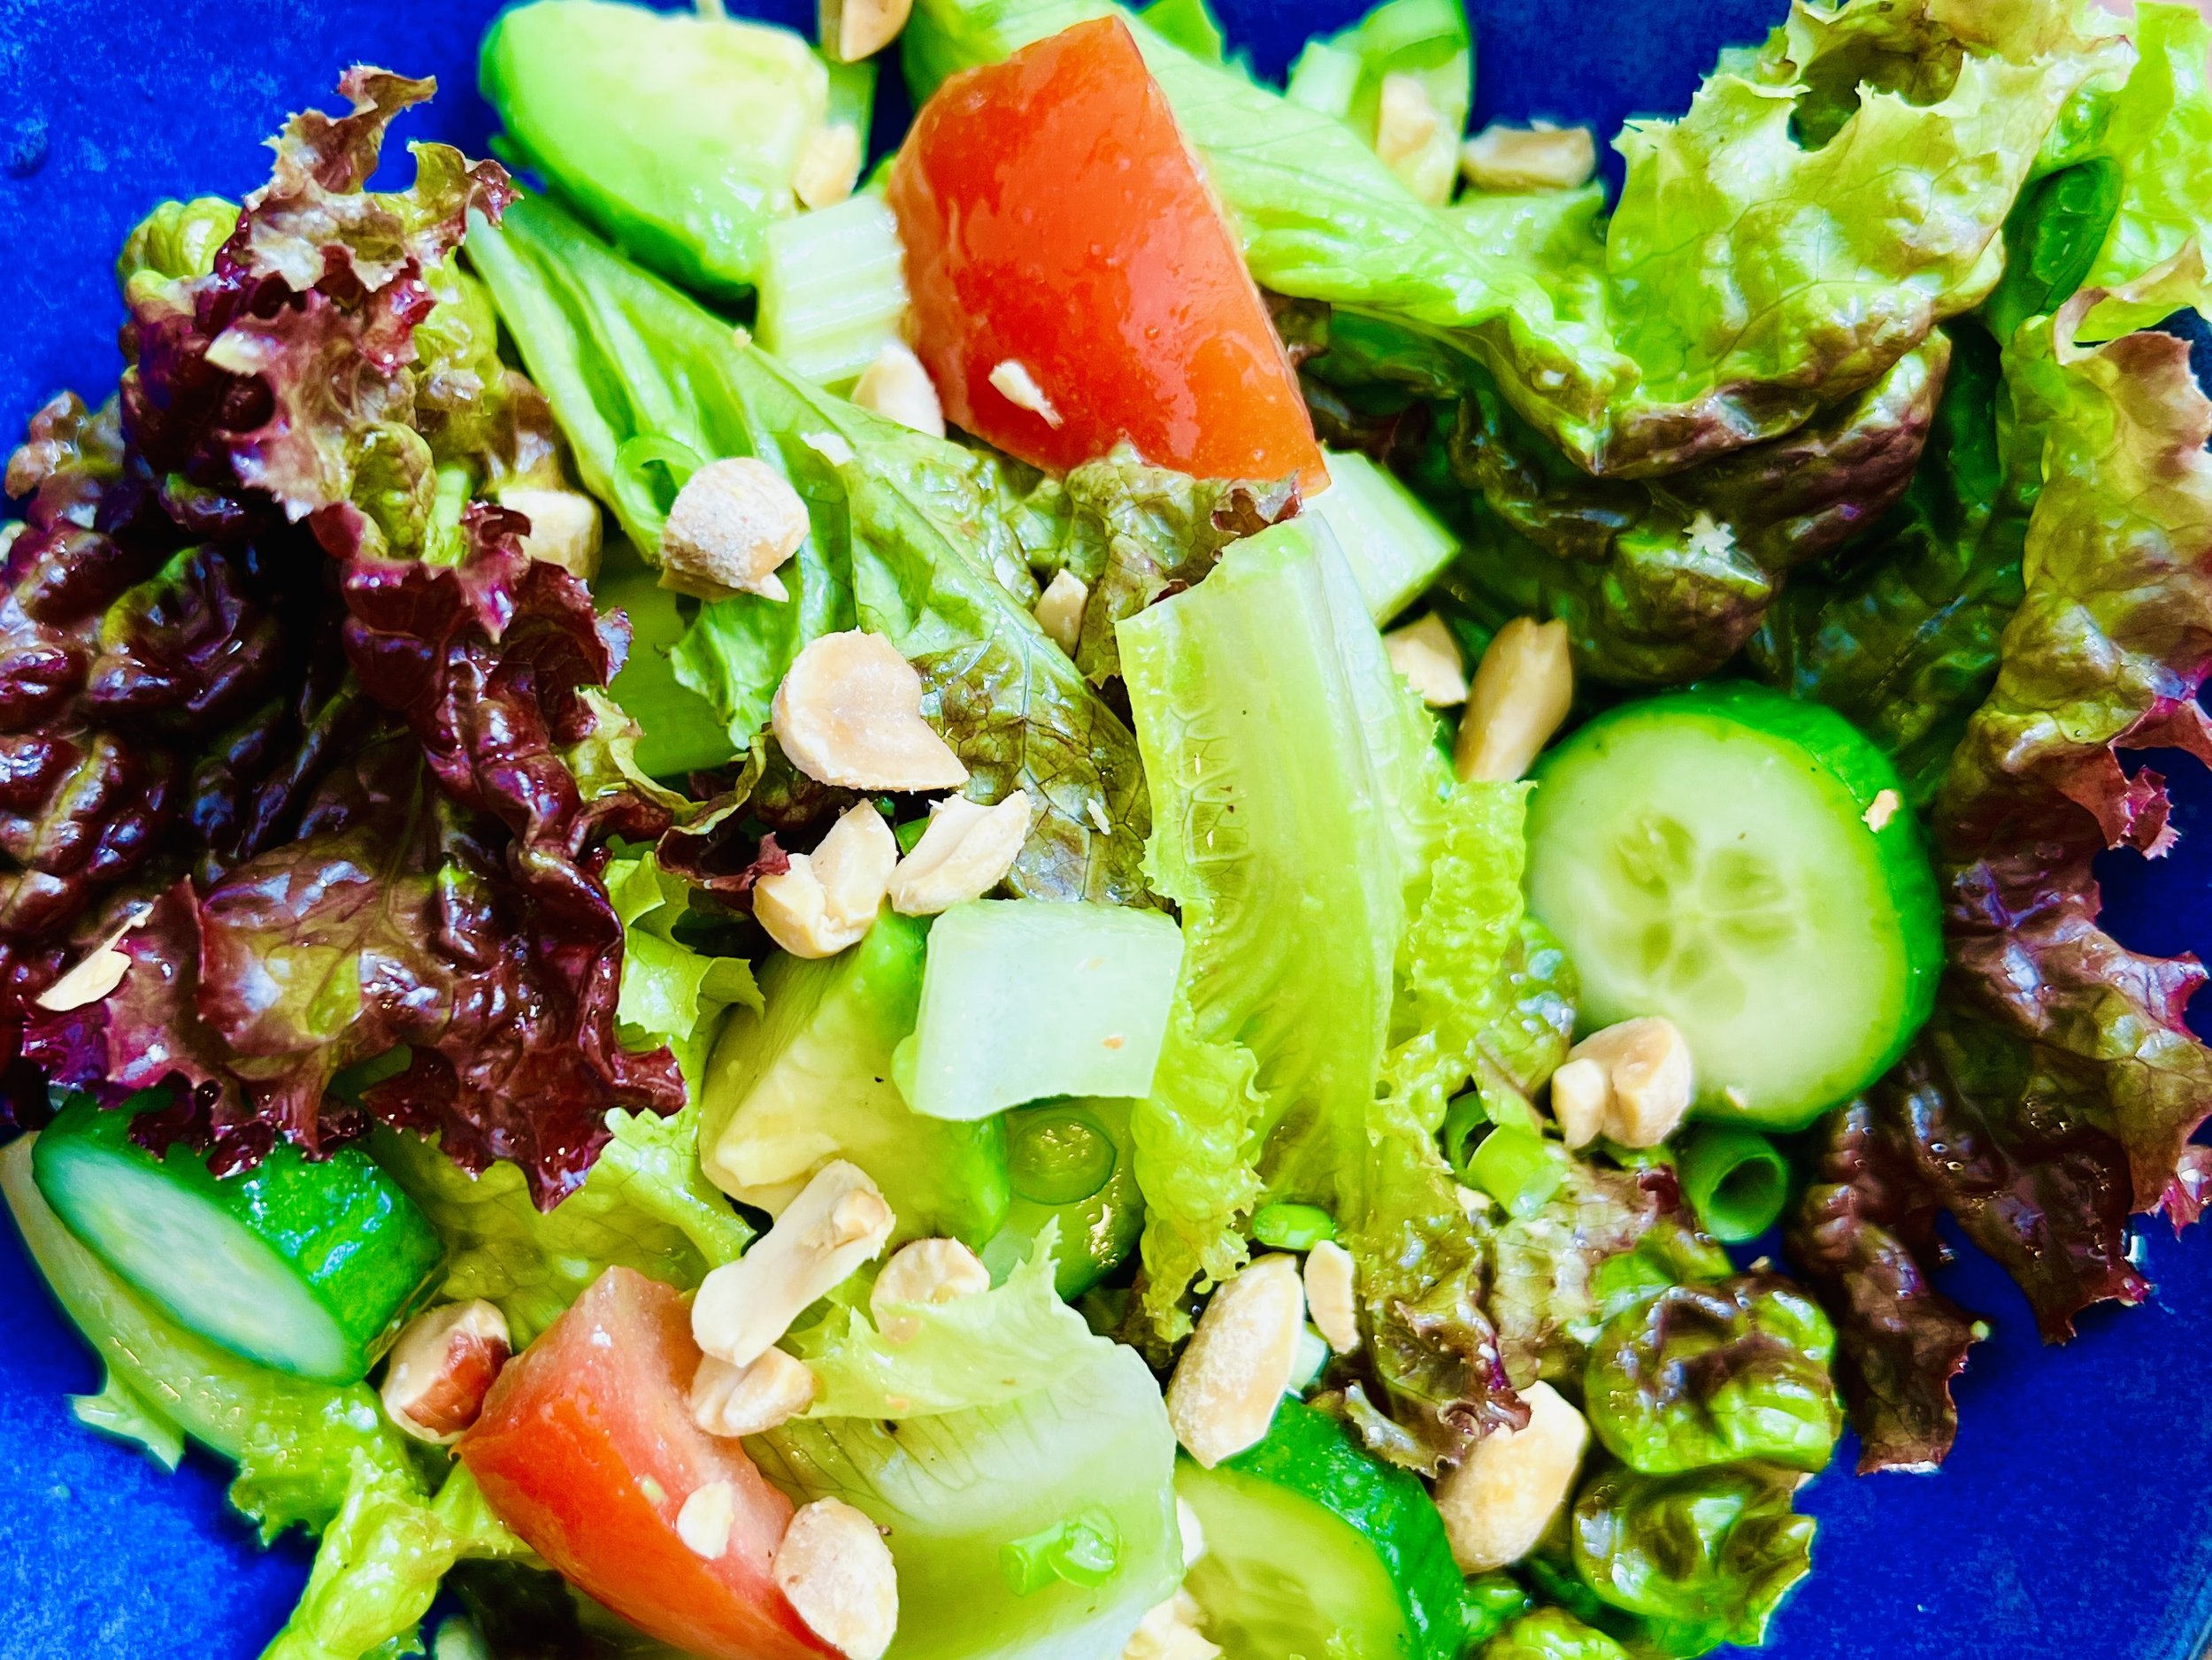
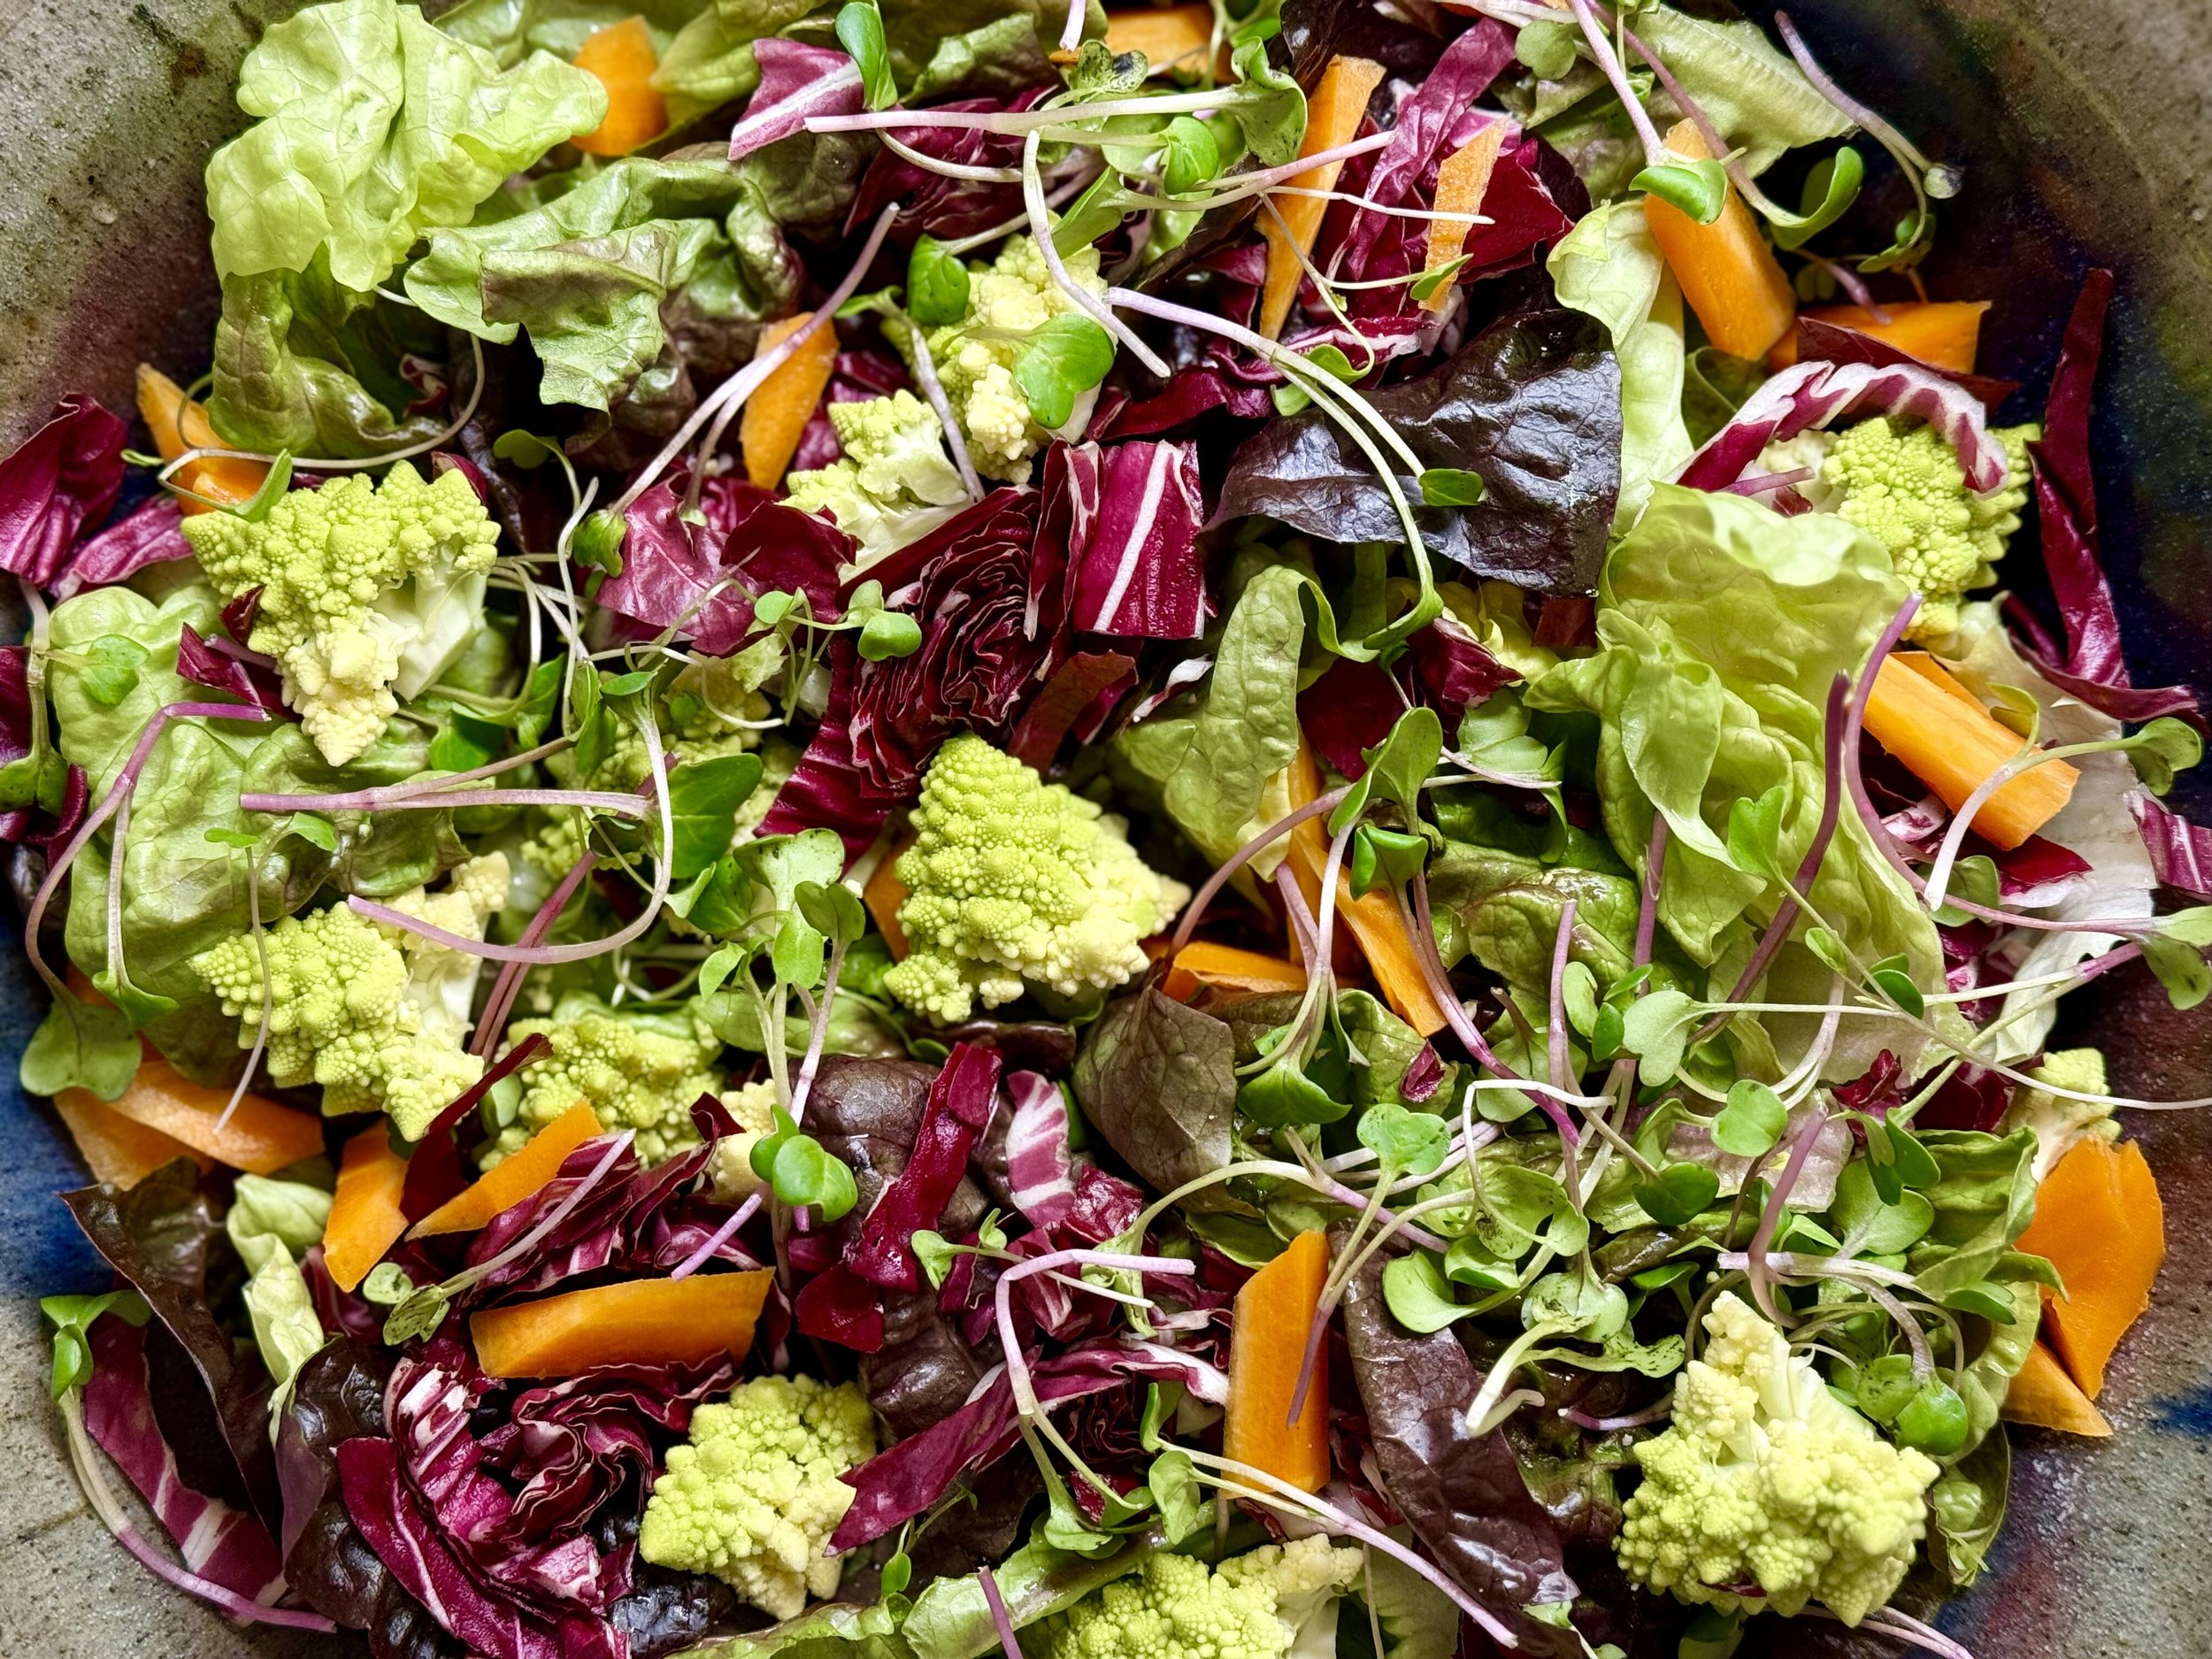
Want your gut biome to become your superpower? Feed it what it needs! For the optimal health of your gut biome, the latest recommendation is to eat 30 different plant-based foods every week. Learn more about that in this very interesting article here. That doesn’t mean you stuff yourself with salad all day every day. It’s not volume, it’s variety that makes your gut biome so happy. Plants include nuts, seeds, herbs, spices, fruits, vegetables, and even oils. If you’re like I am, you love salad, and this salad is a great way to pack some plants into your diet in a delicious way! Be creative. See what’s in season. See what looks good at the farmer’s market, produce stand, or grocery store. Add nuts or seeds to not only add plant variety but also protein, flavor, and crunch!
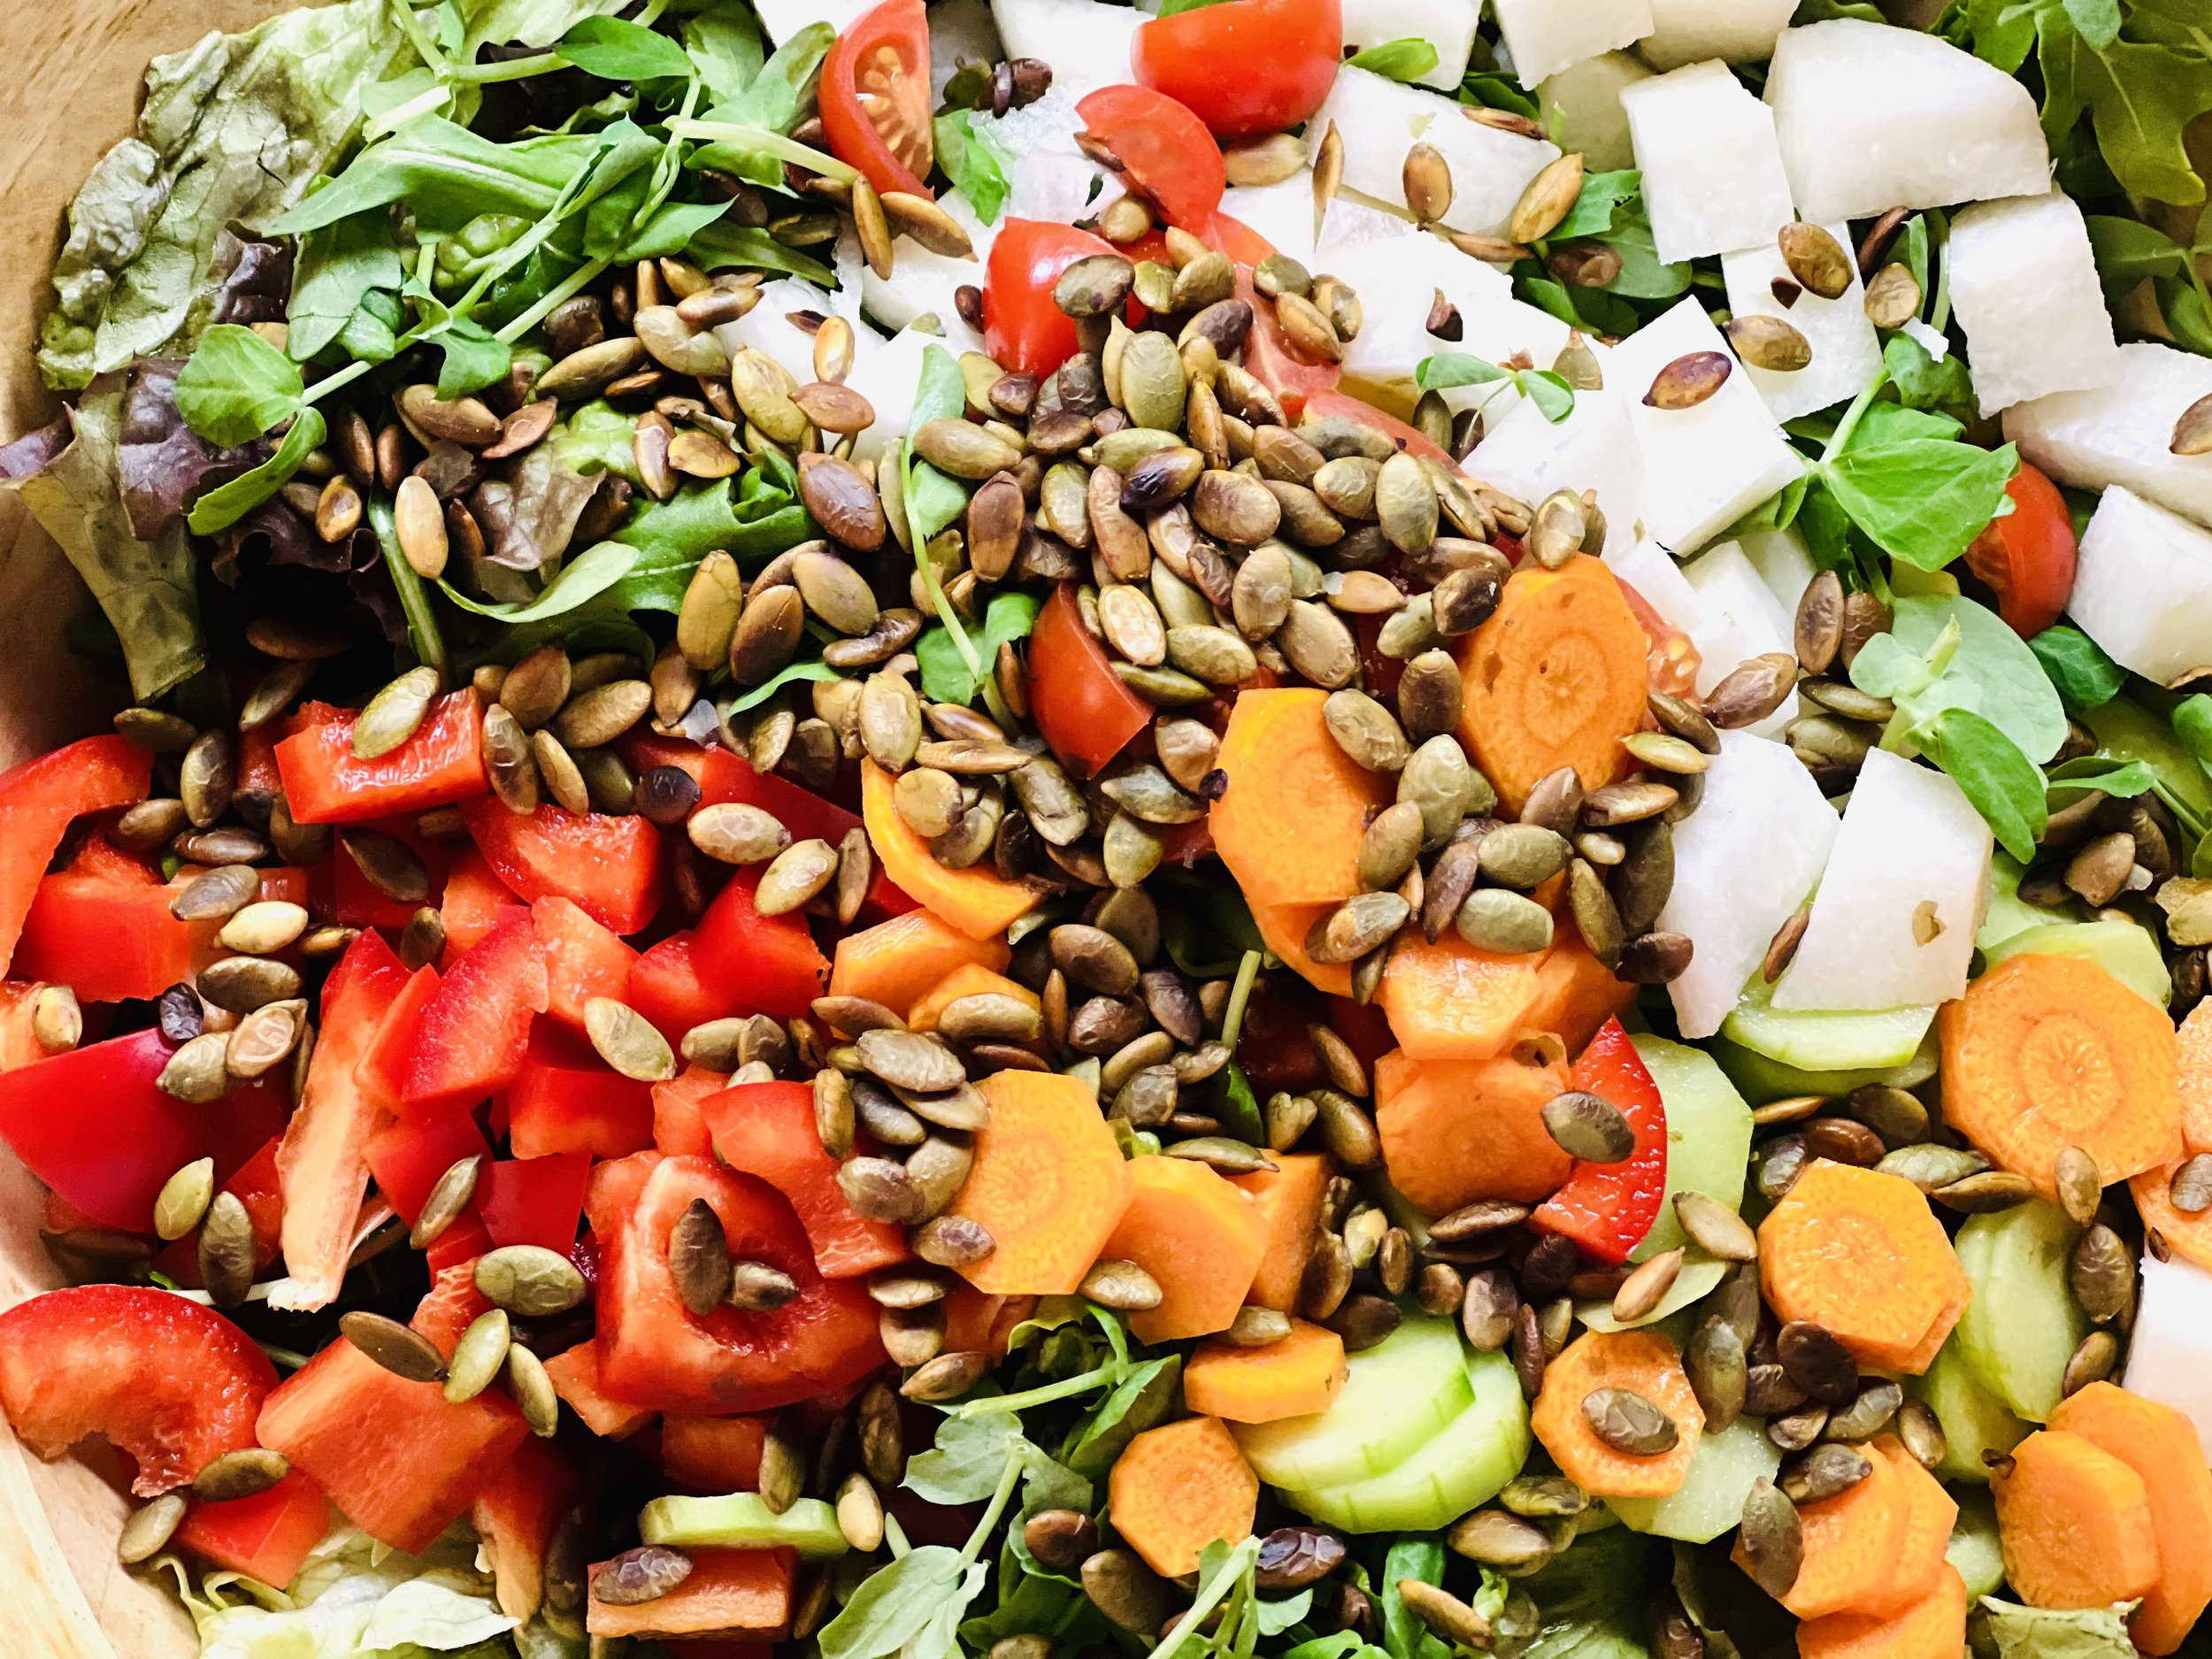
Ingredients: Salad
2 cups red leaf lettuce
1 cup baby arugula
2 Persian cucumbers, peeled and sliced
1 red bell pepper, chopped
3 carrots, peeled and sliced
1 cup Jicama, chopped
1 cup cherry tomatoes, cut in half
1/2 cup microgreens or pea shoots (optional)
1/2 cup pumpkin seeds, roasted and salted
1/2 avocado, chopped
Ingredients: Dressing
3 tablespoons garlic-infused olive oil
1 tablespoon red wine vinegar
1/2 teaspoon Colman’s dry mustard
1/2 teaspoon each Kosher salt and black pepper
Directions
(1) Prepare the lettuce: Wash and spin dry the lettuce. Tear into bite-sized pieces and put into a large salad bowl.
(2) Prepare the vegetables: Peel, slice, chop the other vegetables, then add to the salad bowl with the lettuce.
(3) Add the seeds: Sprinkle generously with roasted and salted pumpkin seeds.
(4) Make the dressing: Add all dressing ingredients to a small jar. Shake well to combine.
(5) Toss: Drizzle salad with dressing and toss well to combine. Sprinkle the whole bowl very lightly with Kosher salt (preferably Diamond Crystal Kosher salt that has a very flat crystal so it will “float” nicely on the lettuce and lend a very delicate taste and tiny crunch).
(6) Plate and serve right away.
Eat and enjoy every bite because you can!
This post contains links for you to easily purchase items listed on the page. In some cases, we have provided a special discount code for IBS Game Changers so be sure to use it when you purchase an item to get the discount that has been arranged just for you! As an Amazon Associate, I earn a commission from qualifying Amazon purchases.
More Deliciously Low FODMAP™ salad recipes
5 Minutes prep • 15 Minutes cook • Low FODMAP • Gluten-free • Lactose-free • Vegan • Serves 4
15 Minutes prep • Low FODMAP • Gluten-free • Lactose-free • Vegetarian • Vegan • Serves 4
30 Minutes prep • Low FODMAP • Gluten-free • Lactose-free • Vegetarian • Vegan • Serves 4+ • Serving Size 2 cups
15 Minutes prep • 30 Minutes cook • Low FODMAP • Gluten-free • Lactose-free • Serves 4-6
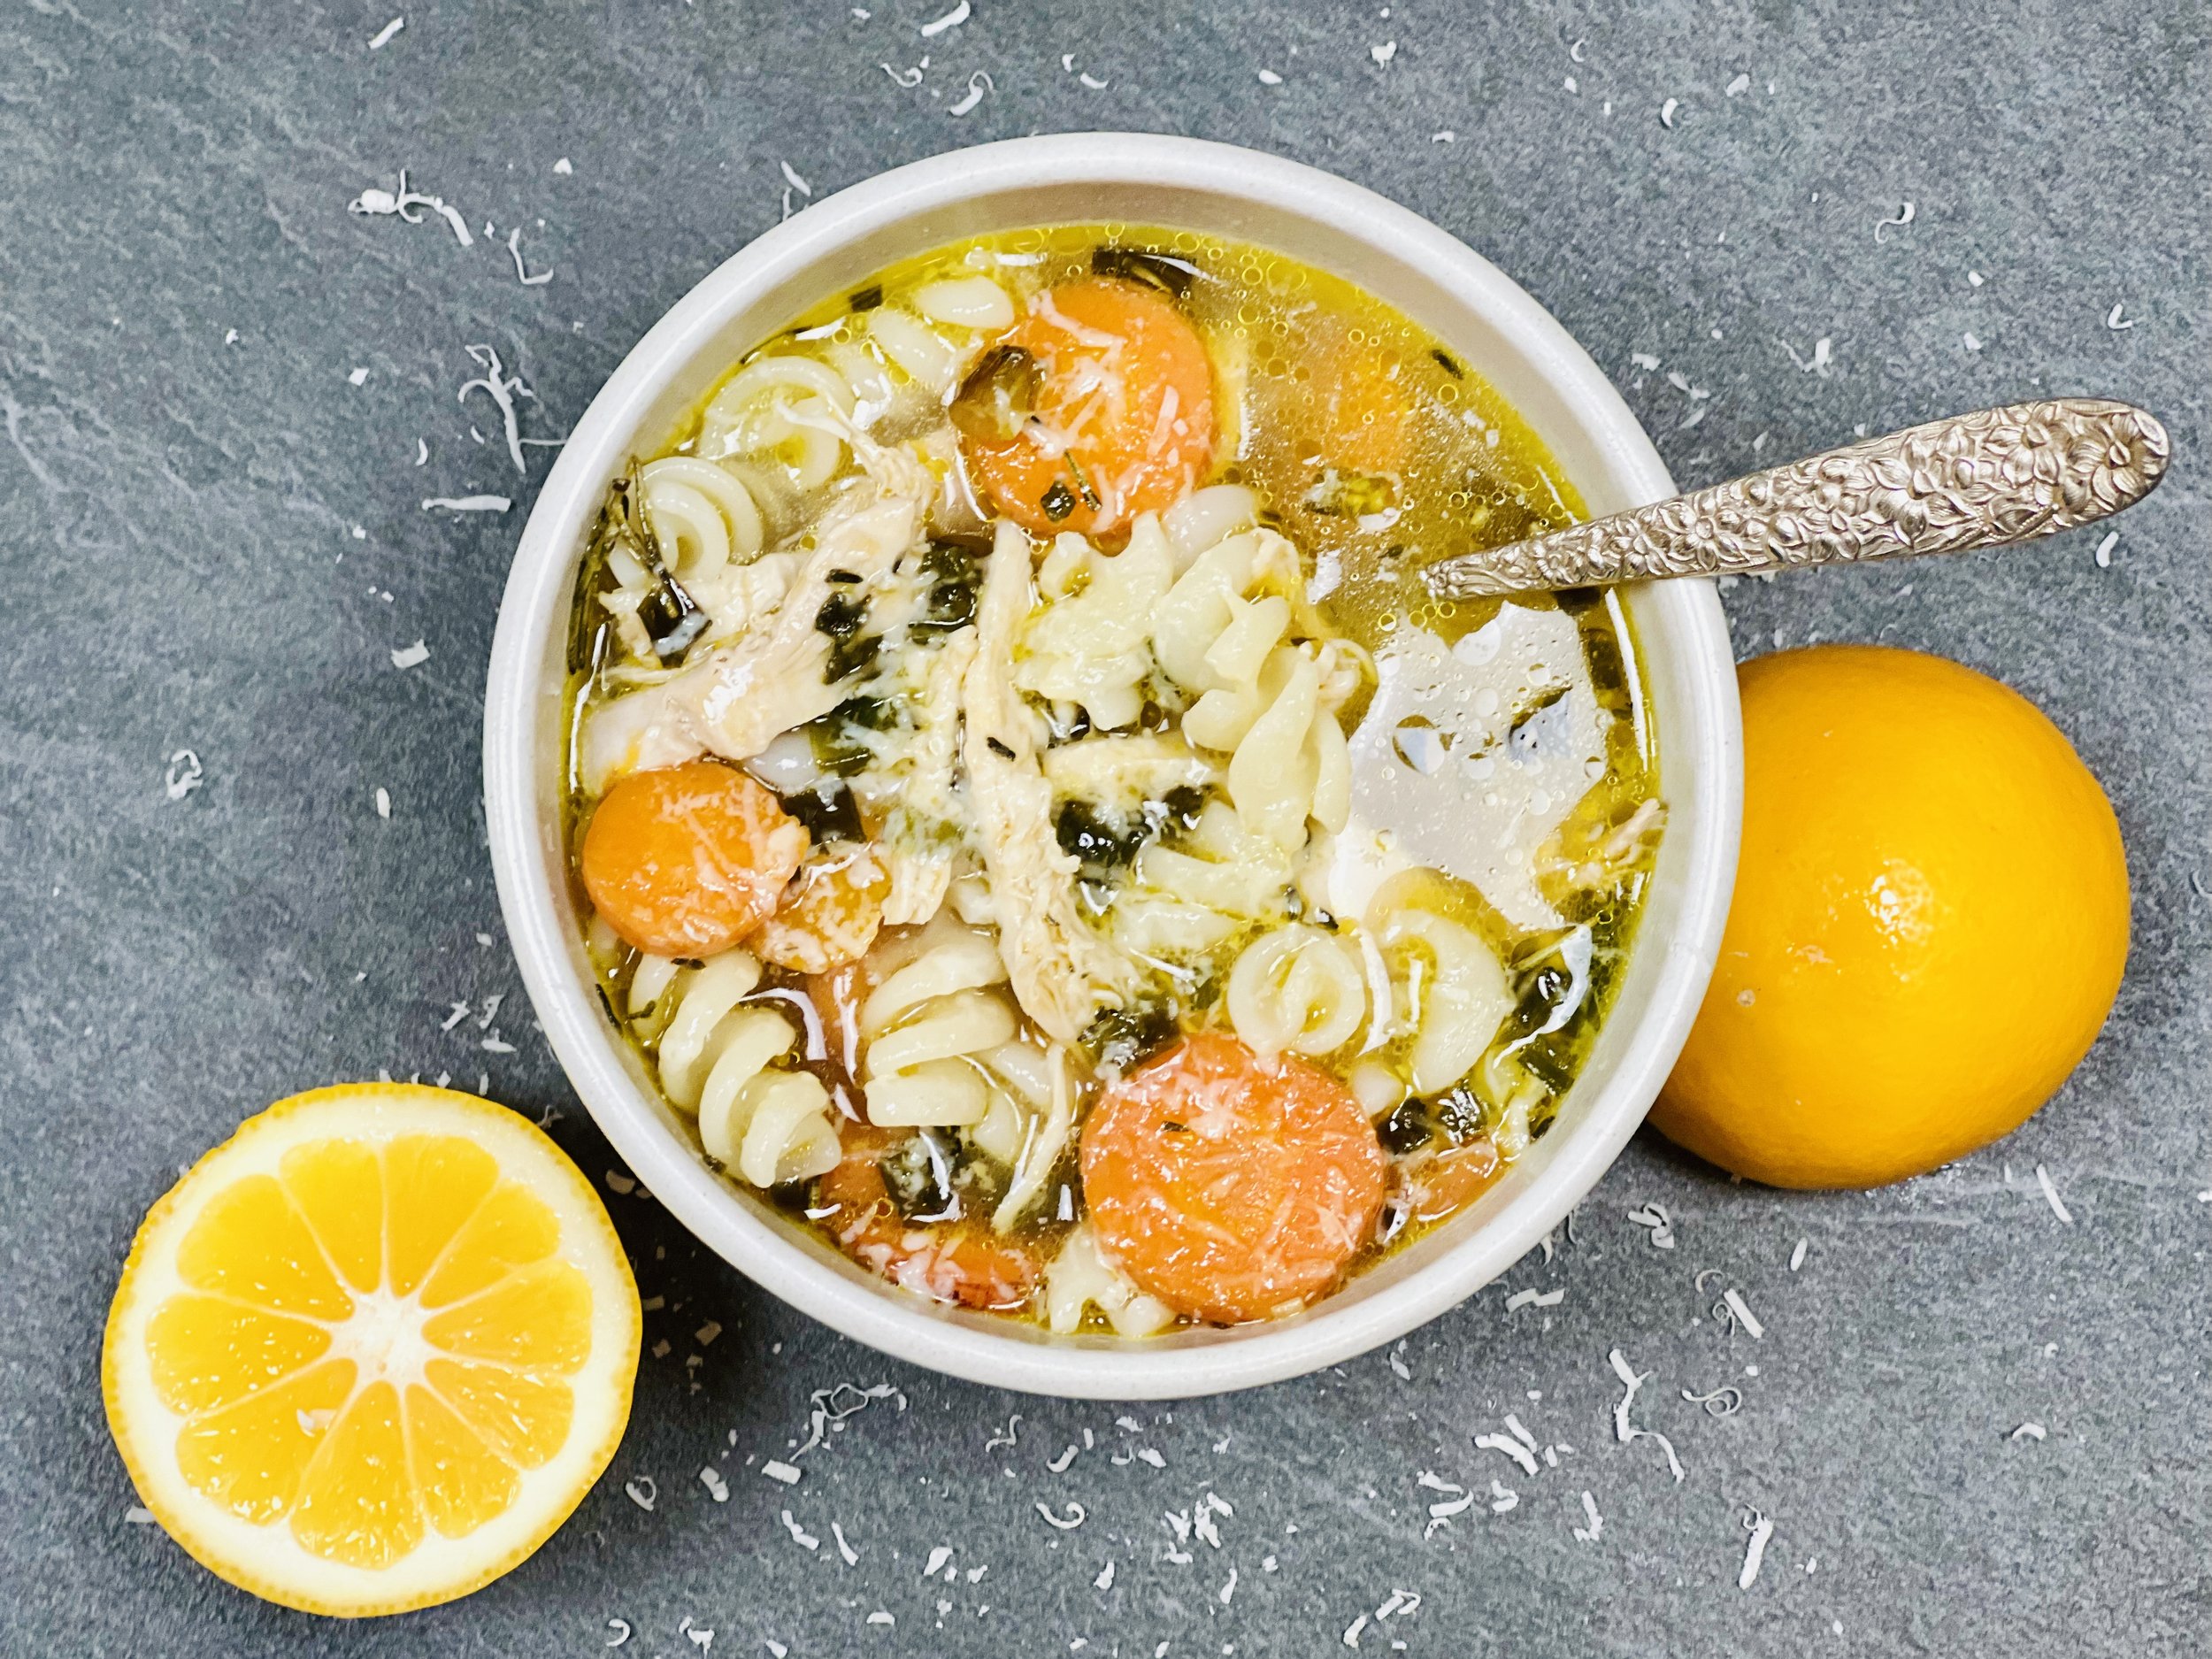
Chicken Noodle Soup (low FODMAP)
15 Minutes prep • 25 Minutes cook • Low FODMAP • Gluten-free • Serves 6
15 Minutes prep • 25 Minutes cook • Low FODMAP • Gluten-free • Serves 6 • Ok to make-ahead: Steps 1 - 7
There’s nothing quite so comforting as a classic chicken noodle soup. This recipe makes a wonderfully flavorful soup that I just love. The fresh herbs give your soup an excellent complex flavor that improves with time so don’t be afraid to make the soup a day ahead to save some time. (Just keep the pasta separate so it doesn’t absorb all the liquid.) Serve it with some crusty real sourdough bread and butter for a perfect weeknight dinner.
This is an exclusive recipe just for recipe club members.
Each week I am creating and delivering one very special recipe just for my recipe club members. If you’re not yet a member, I encourage you to join! Membership in the club includes access to the complete archive of recipes with filters so it can become your virtual low FODMAP cookbook plus, I am creating and delivering one special NEW recipe every week ONLY for recipe club members. And, for my true fans, I’ll be sharing behind-the-scenes content, and updates on the progress of the new cookbook.
Your membership in the club helps me continue creating new, delicious, easy-to-make, low FODMAP recipes just for you.
As always, all recipes will emphasize simple ingredients, easy preparation, and delicious low FODMAP results. Recipes will be for everything from main courses, salads, soups, side dishes, appetizers, desserts, sauces, breakfast and lunch, and even mocktails and cocktails. Everything you need to prepare fantastic low FODMAP meals everyone will love.
Join the club. Become a Patron. Let’s keep making delicious Low FODMAP meals together.
More Deliciously Low FODMAP™ soup recipes
15 Minutes prep • 30 Minutes cook • Low FODMAP • Gluten-free • Lactose-free • Serves 4-6
10 Minutes prep • 60 Minutes cook • Low FODMAP • Gltuen-free • Lactose-free • Serves 4 - 6
15 Minutes prep • 55 Minutes cook • Low FODMAP • Gluten-free • Lactose-free • Serves 4-6
15 Minutes prep • 55 Minutes cook • Low FODMAP • Gluten-free • Lactose-free • Serves 4-6
15 Minutes prep • 50 Minutes cook • Low FODMAP • Gluten-free • Lactose-free version • Serves 6
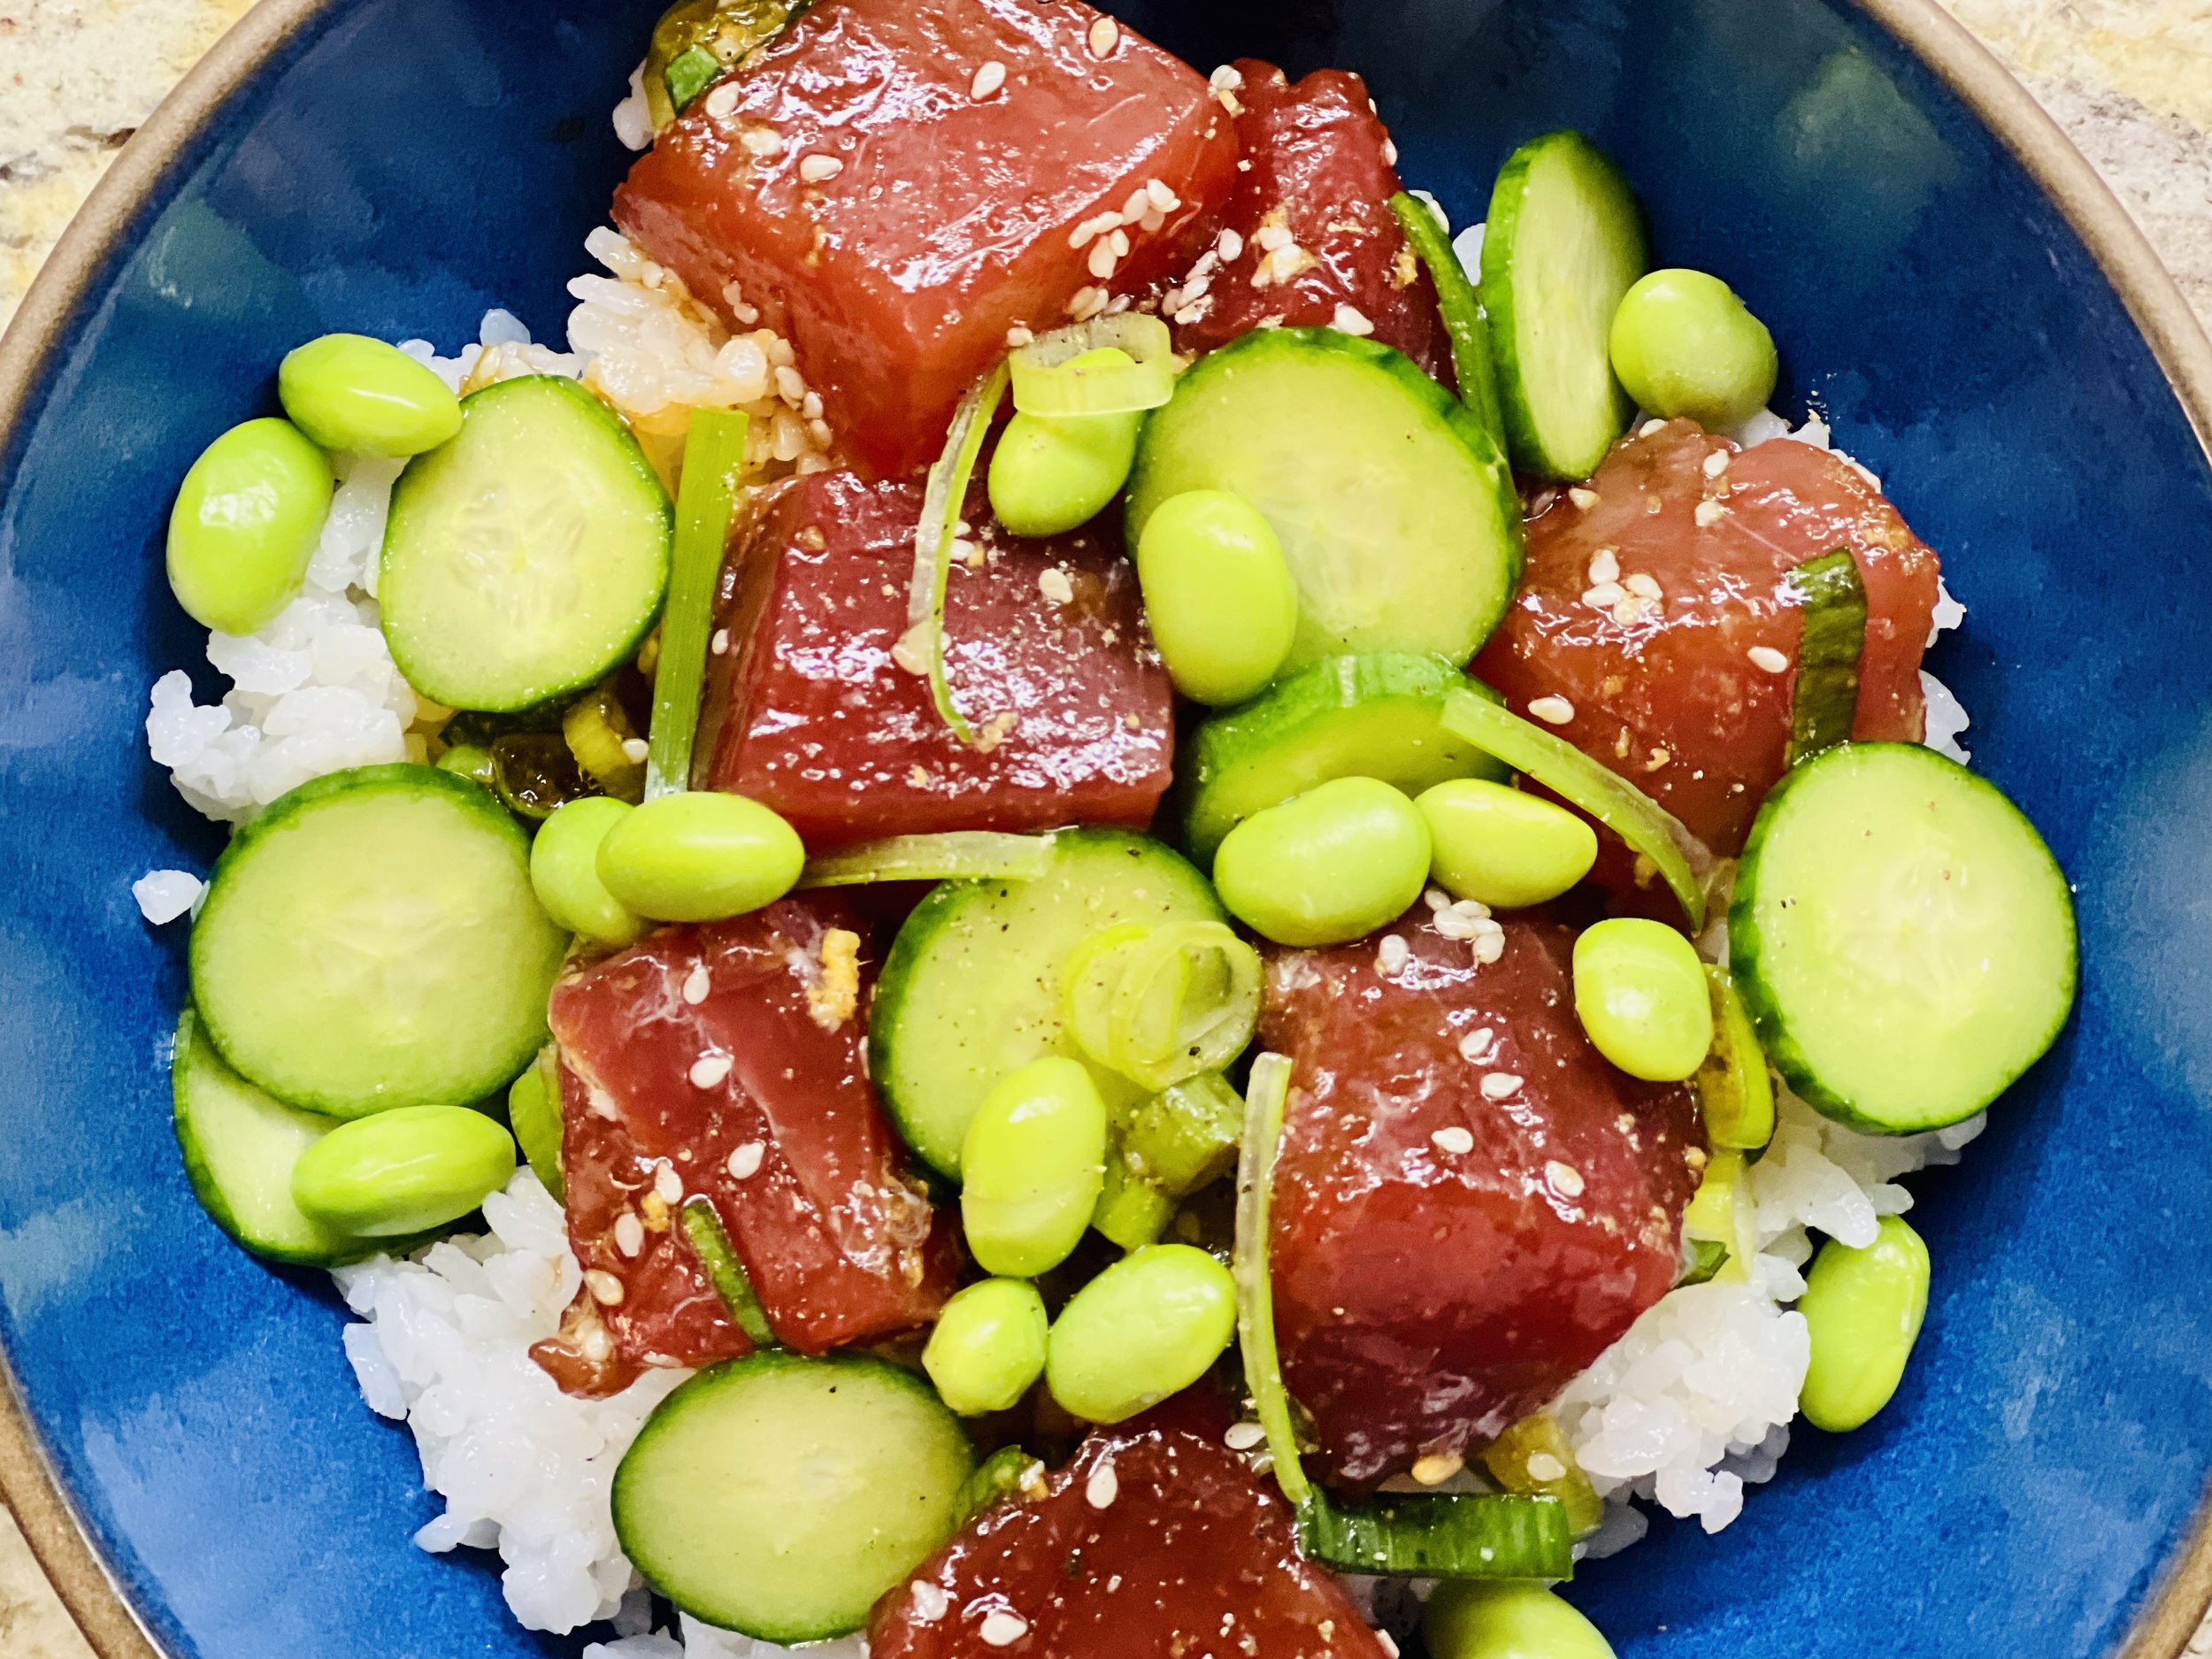
Ahi Tuna Poke Bowls (low FODMAP)
10 Minutes prep • 30 Minutes cook • Low FODMAP • Gluten-free • Lactose-free • Serves 4
10 Minutes prep • 30 Minutes cook • Low FODMAP • Gluten-free • Lactose-free • Serves 4 • Ok to make ahead: Steps 1 - 5
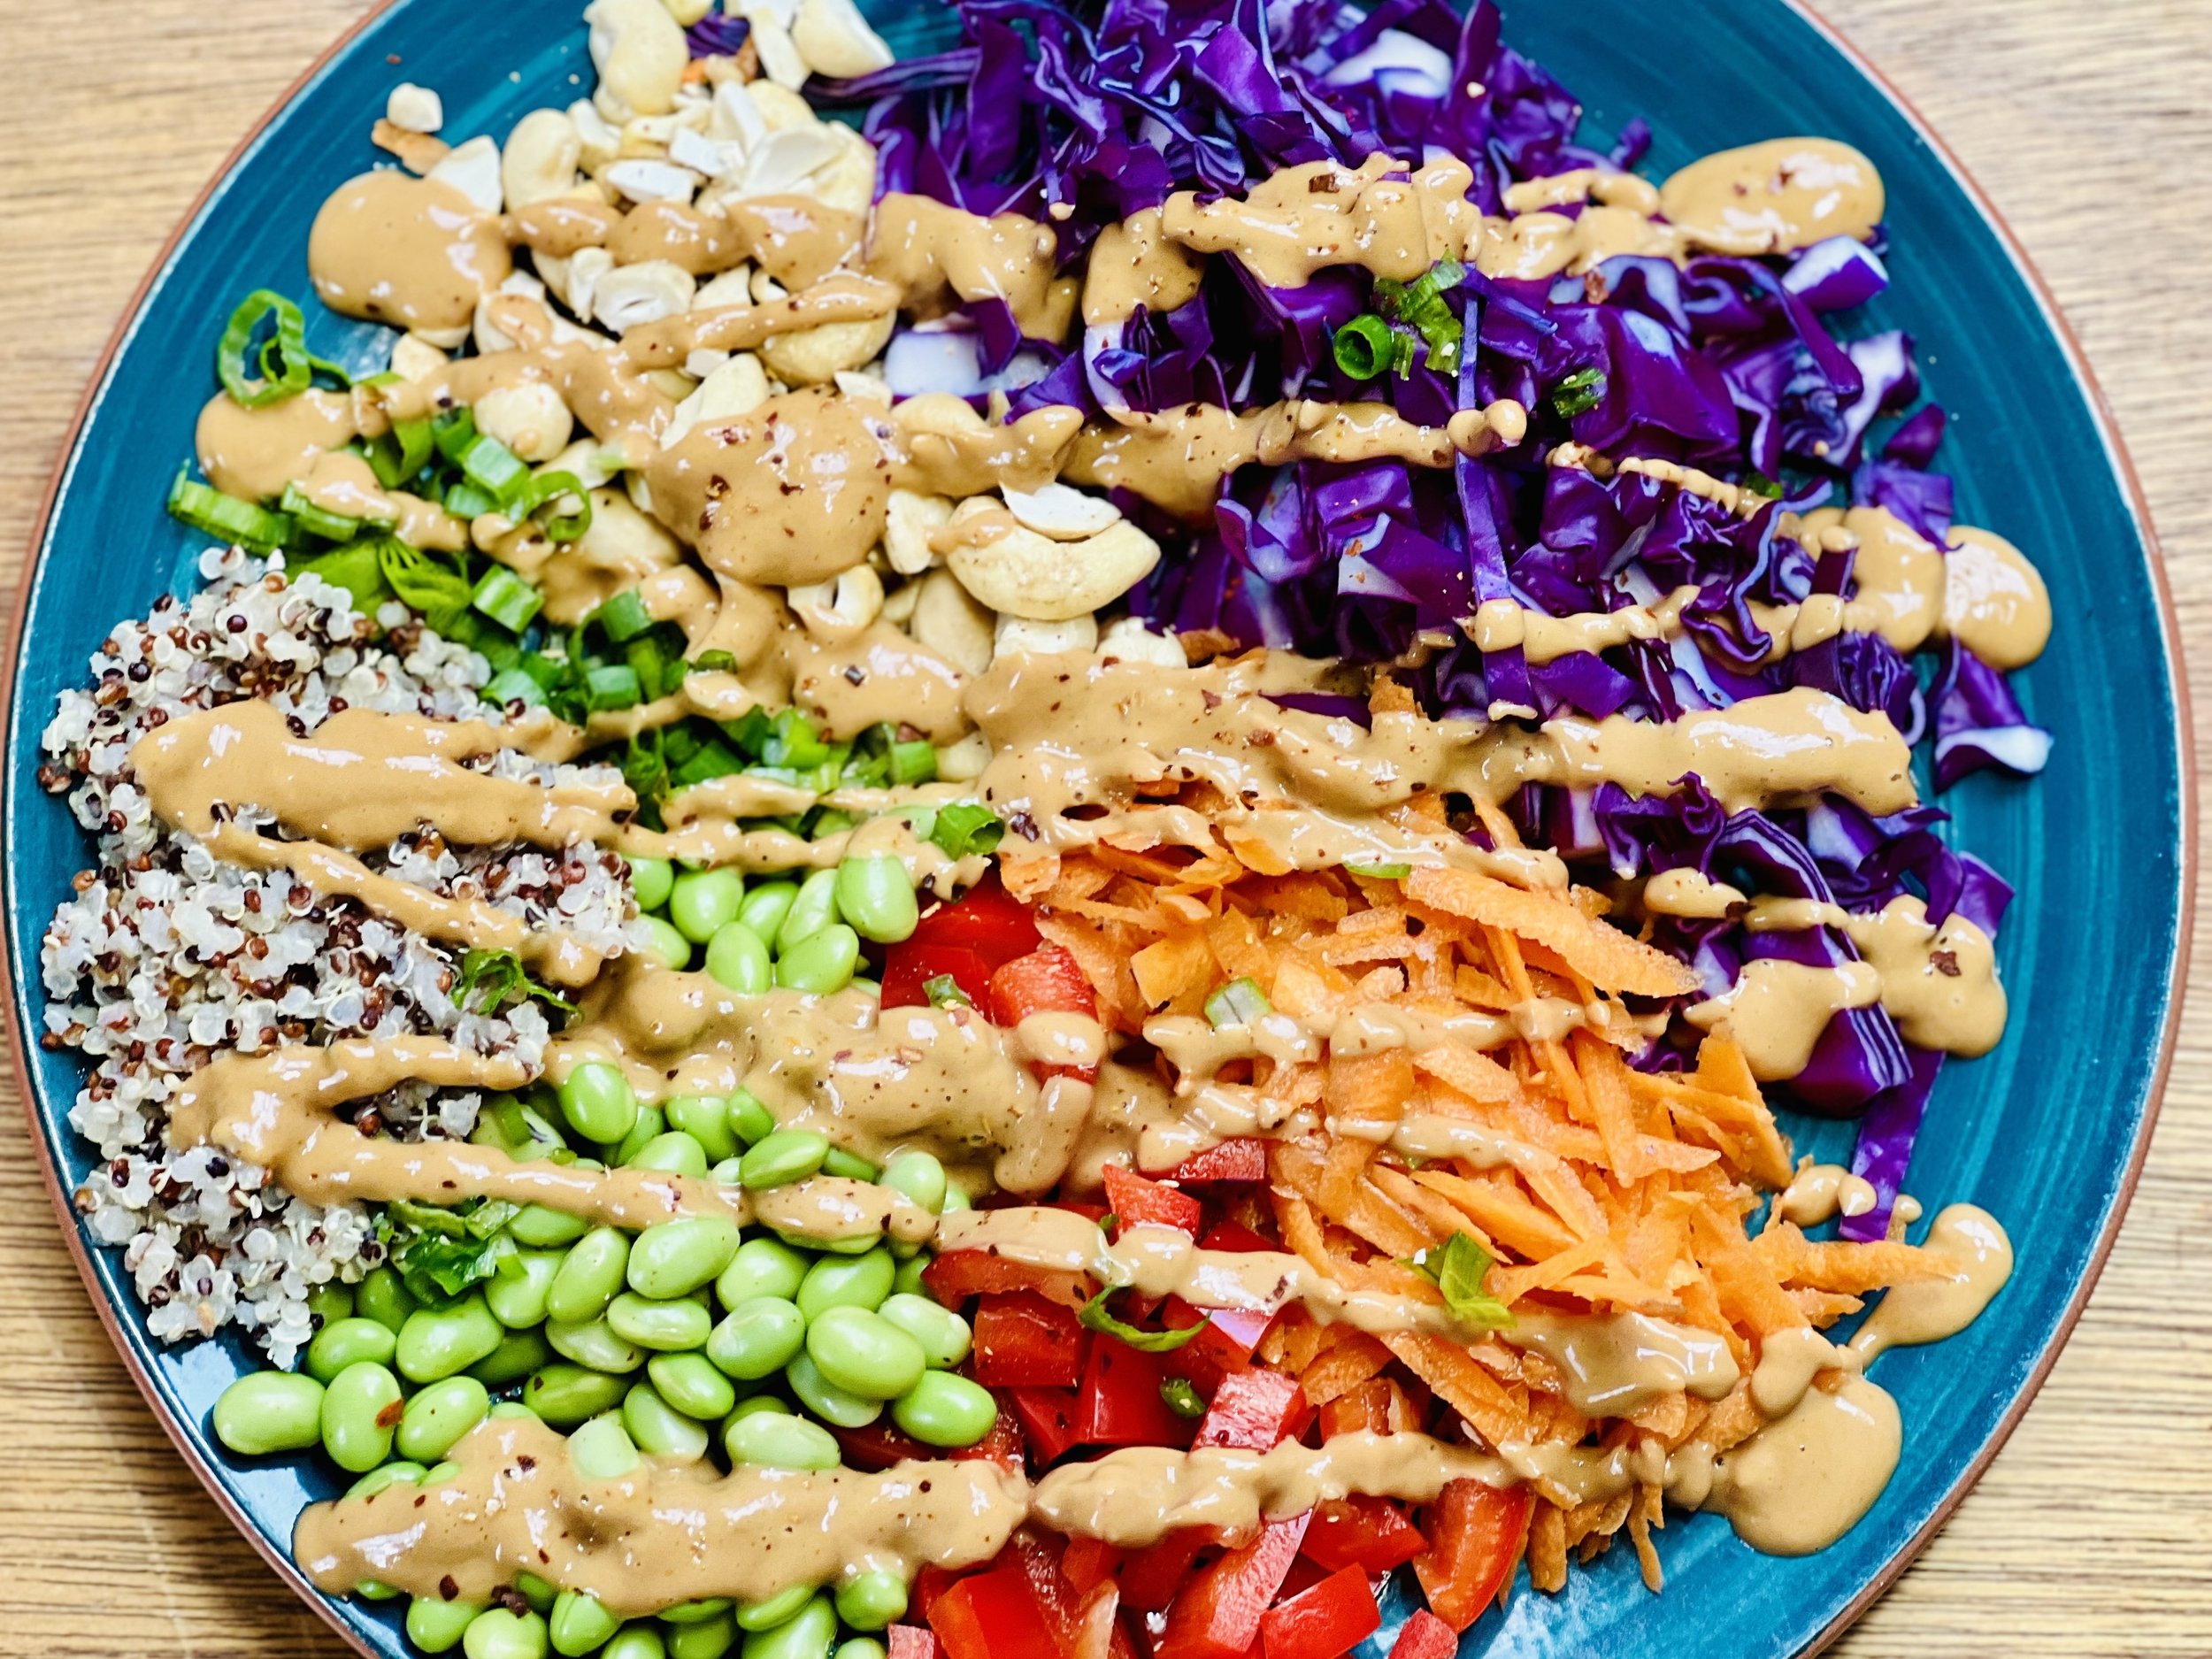
Making your own Poke bowl isn’t hard and you end up with a delicious meal you know you can eat and enjoy every bite of without consequences. If you haven’t ever tried a Poke bowl, don’t be afraid to try something new. The flavors, colors, and textures in this bowl are truly amazing together. Using the right tuna and making real sushi rice is the game-changer here. Please don’t make this if you can’t get high-quality fresh tuna—that will be called “sushi grade” or “sashimi grade.” It may be a bit pricey, but you don’t need much for each bowl.
Ingredients: Poke
2 (4 ounce) sashimi/sushi grade tuna steaks, cubed
1/4 cup gluten-free soy low sodium sauce
1 tablespoon toasted sesame oil
2 teaspoons grated ginger
1/4 cup green onions (green part only), chopped
1 tablespoon white sesame seeds
1 cup Persian cucumbers, finely sliced (about 3)
1 cup edamame, boiled or steamed per package instructions
1 tablespoon rice vinegar
1 teaspoon maple syrup
Avocado, chopped, grated carrot, pickled ginger (optional)
Ingredients: Sushi Rice
2 cups sushi rice, rinsed
2 1/2 cups water
Ingredients: Sushi Rice Seasoning
1/4 cup rice vinegar
2 teaspoons sugar
1/4 teaspoon Kosher salt
Ingredients: Sauce
4 tablespoons gluten-free low sodium soy sauce
4 tablespoons low FODMAP mayonnaise
4 teaspoons toasted sesame oil
Directions: Sushi Rice
(1) Prepare the rice: Place water and rice in a large saucepan over medium-high heat, without a lid, and bring to a boil. Immediately reduce heat to medium-low and put the lid on the pan. Simmer for 18 – 20 minutes or until water is completely absorbed. Do not stir or remove the lid during cooking. Remove from the stove with the lid still on and leave undisturbed for 15 minutes.
Directions: Sushi Rice Seasoning
(2) Prepare the rice seasoning: Combine the seasoning ingredients and stir until the sugar dissolves.
(3) Season the rice: Spread rice out in a shallow pan, drizzle half seasoning over the rice. Using a rice paddle or rubber spatula, cut through the rice and gently fold the rice over to mix the seasoning into the cooked rice. After 1 minute of mixing, drizzle the remaining seasoning then cut/fold for 1 minute. The rice will look damp but it will absorb the liquid in the next step.
(4) Let rice cool: Leave the rice to cool and absorb the liquid for about 20 minutes.
Directions: Poke Bowls
(5) Cook the edamame per package instructions and set it aside.
(6) Prepare the tuna: Cube the tuna into bite-size pieces. In a medium-sized bowl, combine the cubed tuna, gluten-free soy sauce, toasted sesame oil, ginger, green onion, and sesame seeds. Toss to mix.
(7) Prepare the sauce: In a small jar, combine all ingredients and shake well. If you aren’t using it right away, store in the refrigerator.
(8) Prepare the cucumbers: In a small bowl, toss together the cucumbers, rice vinegar, maple syrup, and a pinch of salt.
(9) Plate and serve: Add rice to each bowl, top with avocado, cucumber salad, marinated cubed tuna, and green onions. Drizzle with sauce. Serve with additional sauce.
Eat and enjoy every bite because you can!
This post contains links for you to easily purchase items listed on the page. In some cases, we have provided a special discount code for IBS Game Changers so be sure to use it when you purchase an item to get the discount that has been arranged just for you! As an Amazon Associate, I earn a commission from qualifying Amazon purchases.
More Deliciously Low FODMAP™ seafood recipes
15 Minutes prep • 10 Minutes cook • Low FODMAP • Serves 4 • Ok to make-ahead: Steps 1 - 4
10 Minutes + overnight prep • 3 - 4 hours cook • Low FODMAP • Gluten-Free • Lactose-free • Serves 6 • Ok to make-ahead: Steps 1 - 7
45 Minutes (+1 hour to soak cedar planks) • Gluten-free • Lactose-free • Low FODMAP • Serves 8
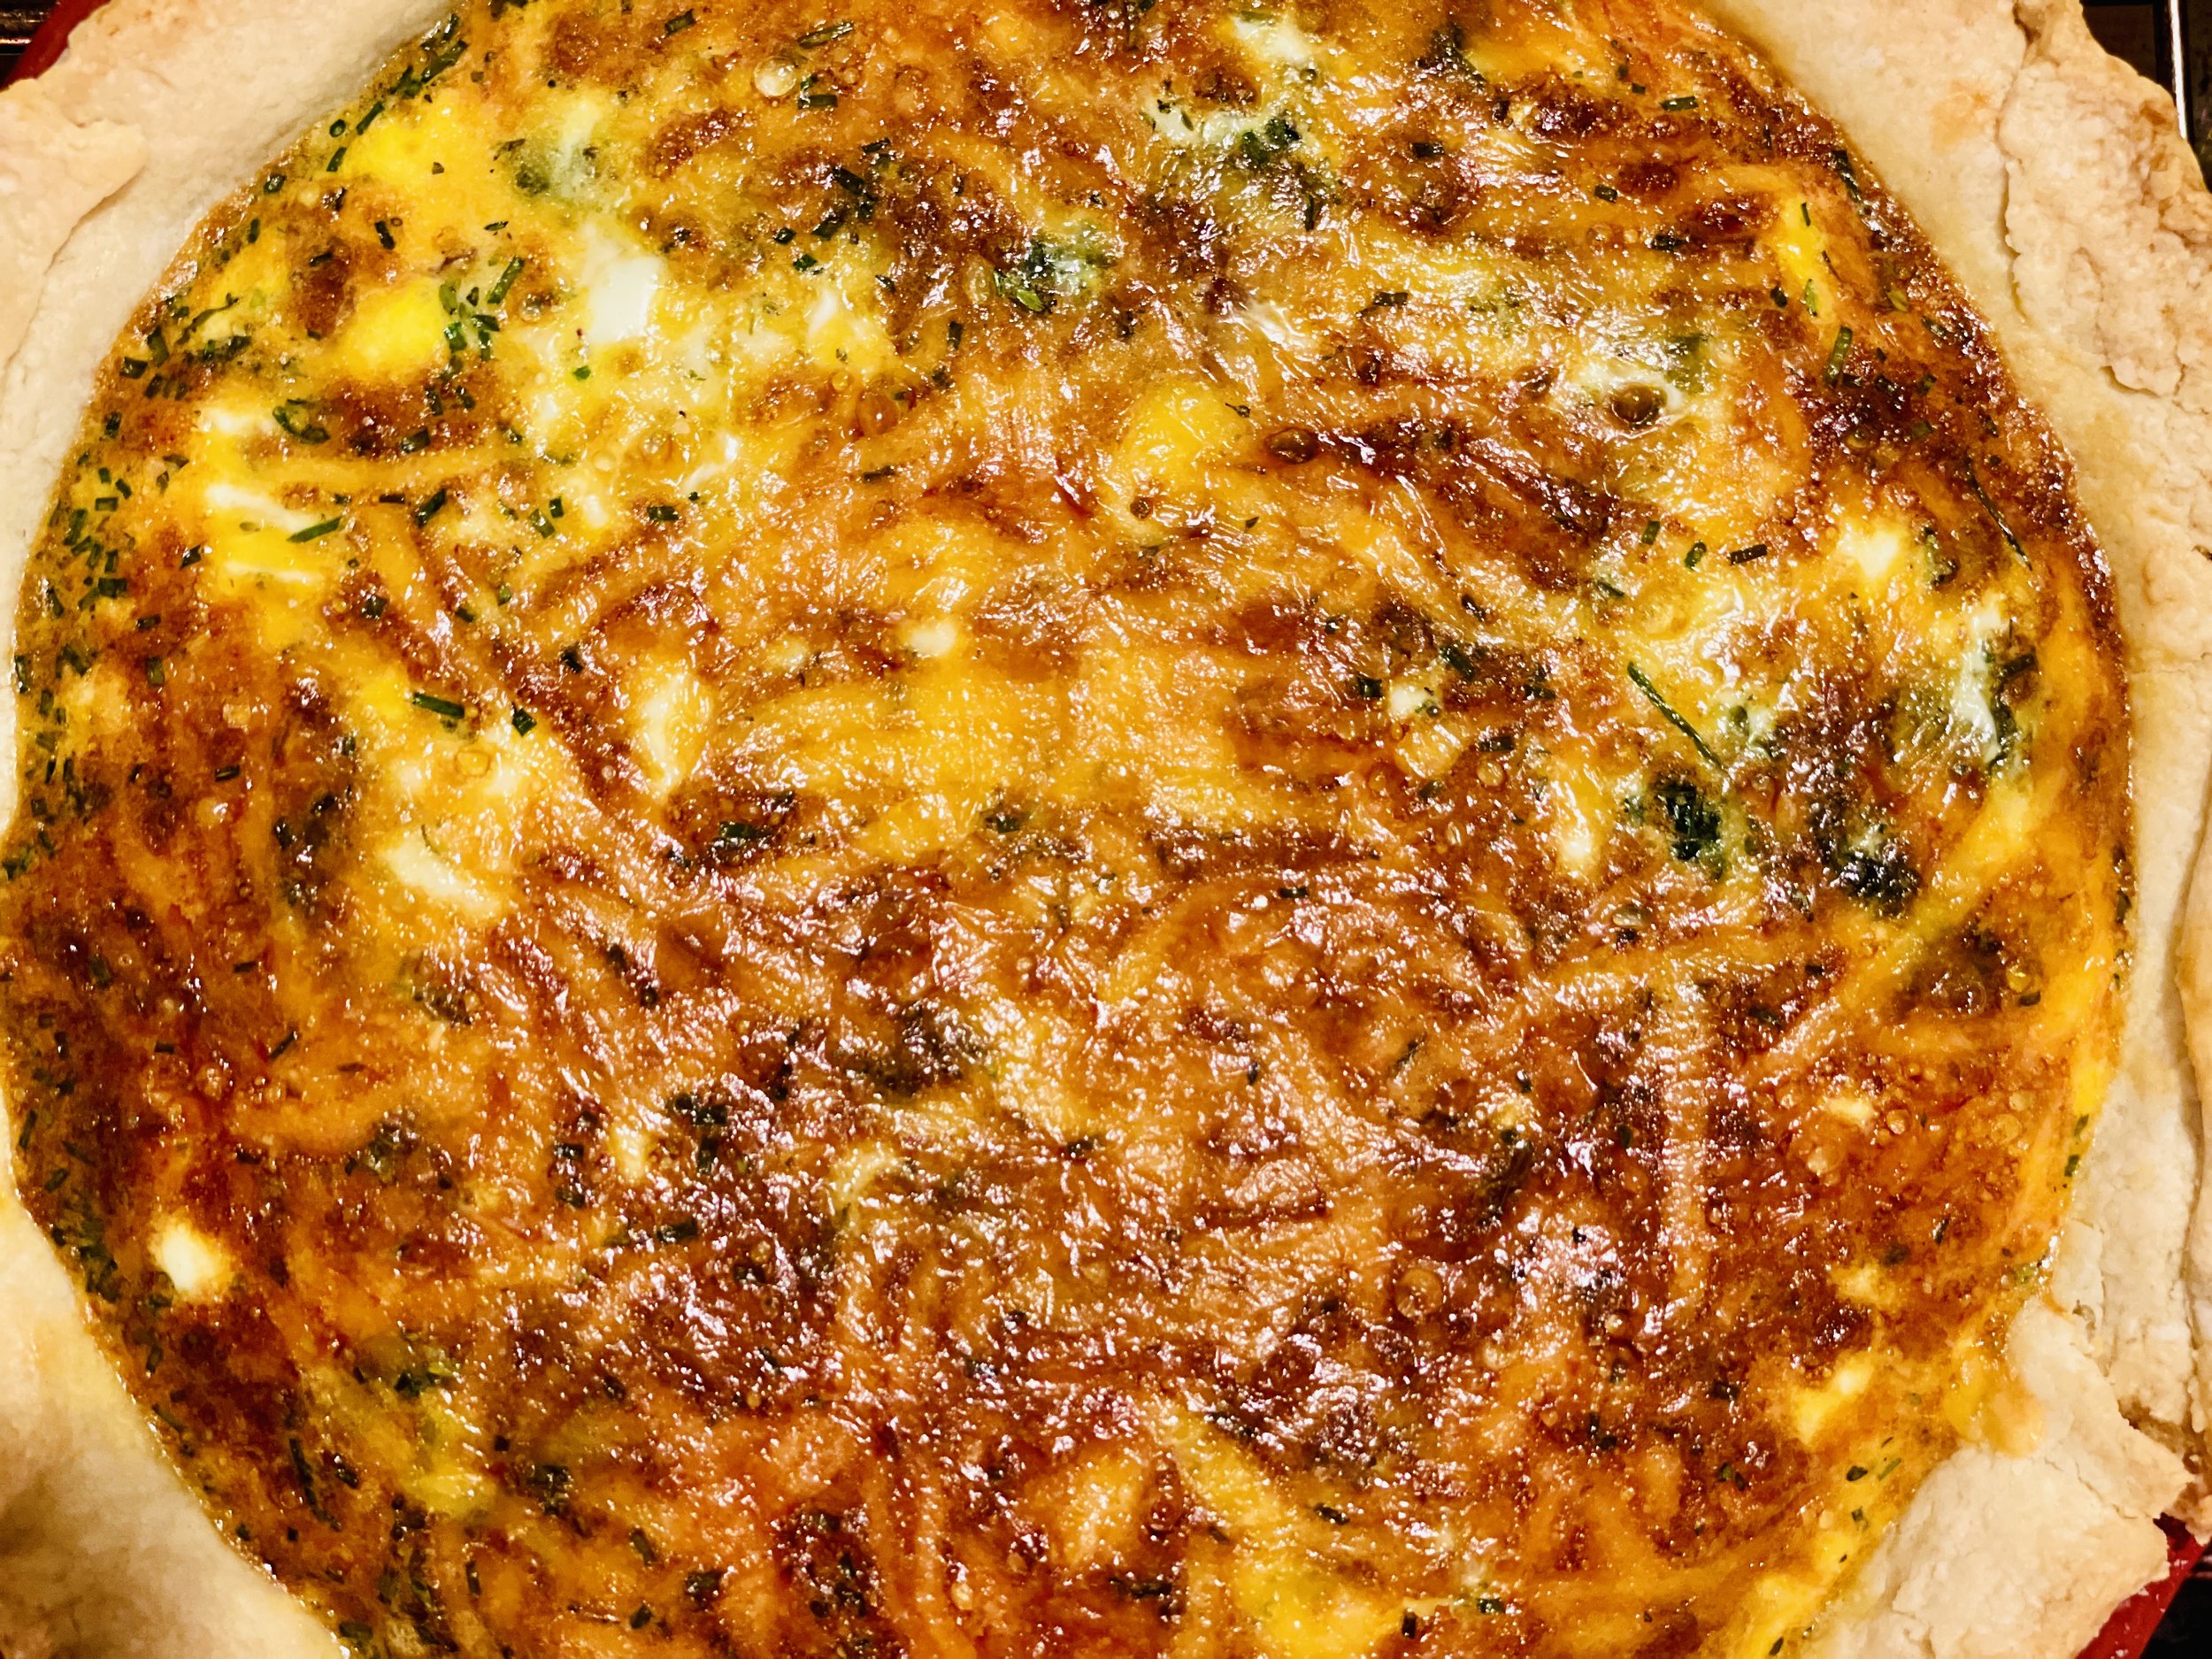
Cheddar, Spinach and Bacon Quiche (low FODMAP)
30 Minutes prep • 40 Minutes cook • Low FODMAP • Gluten-Free • Serves 8
30 Minutes prep • 40 Minutes cook • Low FODMAP • Gluten-Free • Serves 8 • Ok to make-ahead: Steps 1 - 2
Quiche that’s made with our perfect buttery pate brisee crust is simply delicious. And it’s so versatile, you can serve it for breakfast, lunch, dinner, or even an appetizer. You can make it ahead and serve it at room temperature, or you can serve it hot out of the oven or even cold out of the fridge. It’s a great way to use bits of cheese you may have left from a cheese board or appetizer tray, or leftover roasted or steamed vegetables. When I make my low FODMAP pate brisee pie crust, I always make an extra crust and keep it in the freezer. That way, I can whip up a quiche (or a pie!) at a moment’s notice.
Ingredients
1 deep dish gluten-free pie crust frozen (I recommend our perfect buttery pate brisee or you can buy a frozen gluten-free butter pie crust)
1 pound bacon, cooked and chopped
6 ounces (1 bag) baby spinach, washed and long stems removed
2 tablespoons garlic-infused olive oil
3 green onions (green part only) chopped
1 tablespoon chopped chives
1 tablespoon minced fresh thyme
Salt and freshly ground pepper
9 large eggs plus one egg white
1 cup lactose-free whole milk
2 cups extra-sharp cheddar cheese, grated (or other cheeses you may have on hand)
Directions
(1) Prepare the pie crust: Unless you have one already prepared and frozen, make the pie crust and put it in the freezer until you’re ready to use it. I recommend our perfect buttery pate brisee or you can use a purchased frozen gluten-free butter pie crust as long as it doesn’t have other FODMAP containing ingredients.
(2) Cook the bacon: Preheat oven to 400 degrees F and line a rimmed baking sheet with foil. Lay your bacon slices on the foil in one layer and put it in the oven. Bake for 10 minutes and check for doneness. If it’s not yet done, cook another 3-5 minutes. When bacon is cooked through, remove it from the oven and use a pair of tongs to remove the bacon slices and lay them in one layer on folded paper towels to drain and cool.
Make-ahead note: At this point you may keep the pie crust in the freezer and the bacon in the refrigerator until you’re ready to make the quiche.
(3) Prepare the other ingredients: Meanwhile, prepare the vegetables and herbs, grate the cheese and chop the cooled bacon.
(4) Cook the vegetables: Heat 2 tablespoons of garlic-infused olive oil in a medium frying pan. When the oil shimmers, add the green onions and sautee for about a minute. Add chopped chopped herbs and continue to sautee for about 5 minutes. While the vegetables are cooking, chop the cooked bacon and the spinach.
(5) Add bacon, spinach, and chives: Add the bacon, spinach, and chopped chives to the frying pan and season with salt and a good grinding of pepper. Continue cooking until bacon is heated through then set aside.
(6) Prepare the egg mixture: In a large mixing bowl combine 8 eggs (plus one egg yolk) and set the egg white aside in a small bowl. Add the milk and whisk together until light yellow and well blended.
(7) Prepare the crust: Remove pie crust from the freezer and brush with egg white.
(8) Fill the crust: Layer the grated cheese and the spinach and bacon mixture into the pie crust. Pour the egg mixture over the cheese and vegetables in the crust. Reduce oven temperature to 375 degrees F and put the quiche in the oven. If your pie pan is very full and the liquid is at risk of bubbling over, put a rimmed baking sheet on the shelf below to catch any drips so they don’t burn on the bottom of the oven.
(9) Bake: Bake for 30 minutes. If the edges of the pie crust are getting too brown, you can cover them with a strip of foil or silicon crust protector and cook for another 10 minutes until the center is set.
(10) Finish: Remove the quiche from the oven and let stand for 10 minutes before cutting and serving.
(11) Plate and serve: Quiche may be eaten warm or at room temperature so don’t hesitate to make this ahead.
Eat and enjoy every bite because you can!
This post contains links for you to easily purchase items listed on the page. In some cases, we have provided a special discount code for IBS Game Changers so be sure to use it when you purchase an item to get the discount that has been arranged just for you! As an Amazon Associate, I earn a commission from qualifying Amazon purchases.
More Deliciously Low FODMAP™ main course recipes you might enjoy
15 Minutes prep • 30 Minutes cook • Low FODMAP • Serves 4 • Ok to make-ahead: Steps 1 - 2
10 Minutes prep • 25 Minutes cook • Low FODMAP • Gluten-Free • Serves 6 • Ok to make-ahead: Step 1





















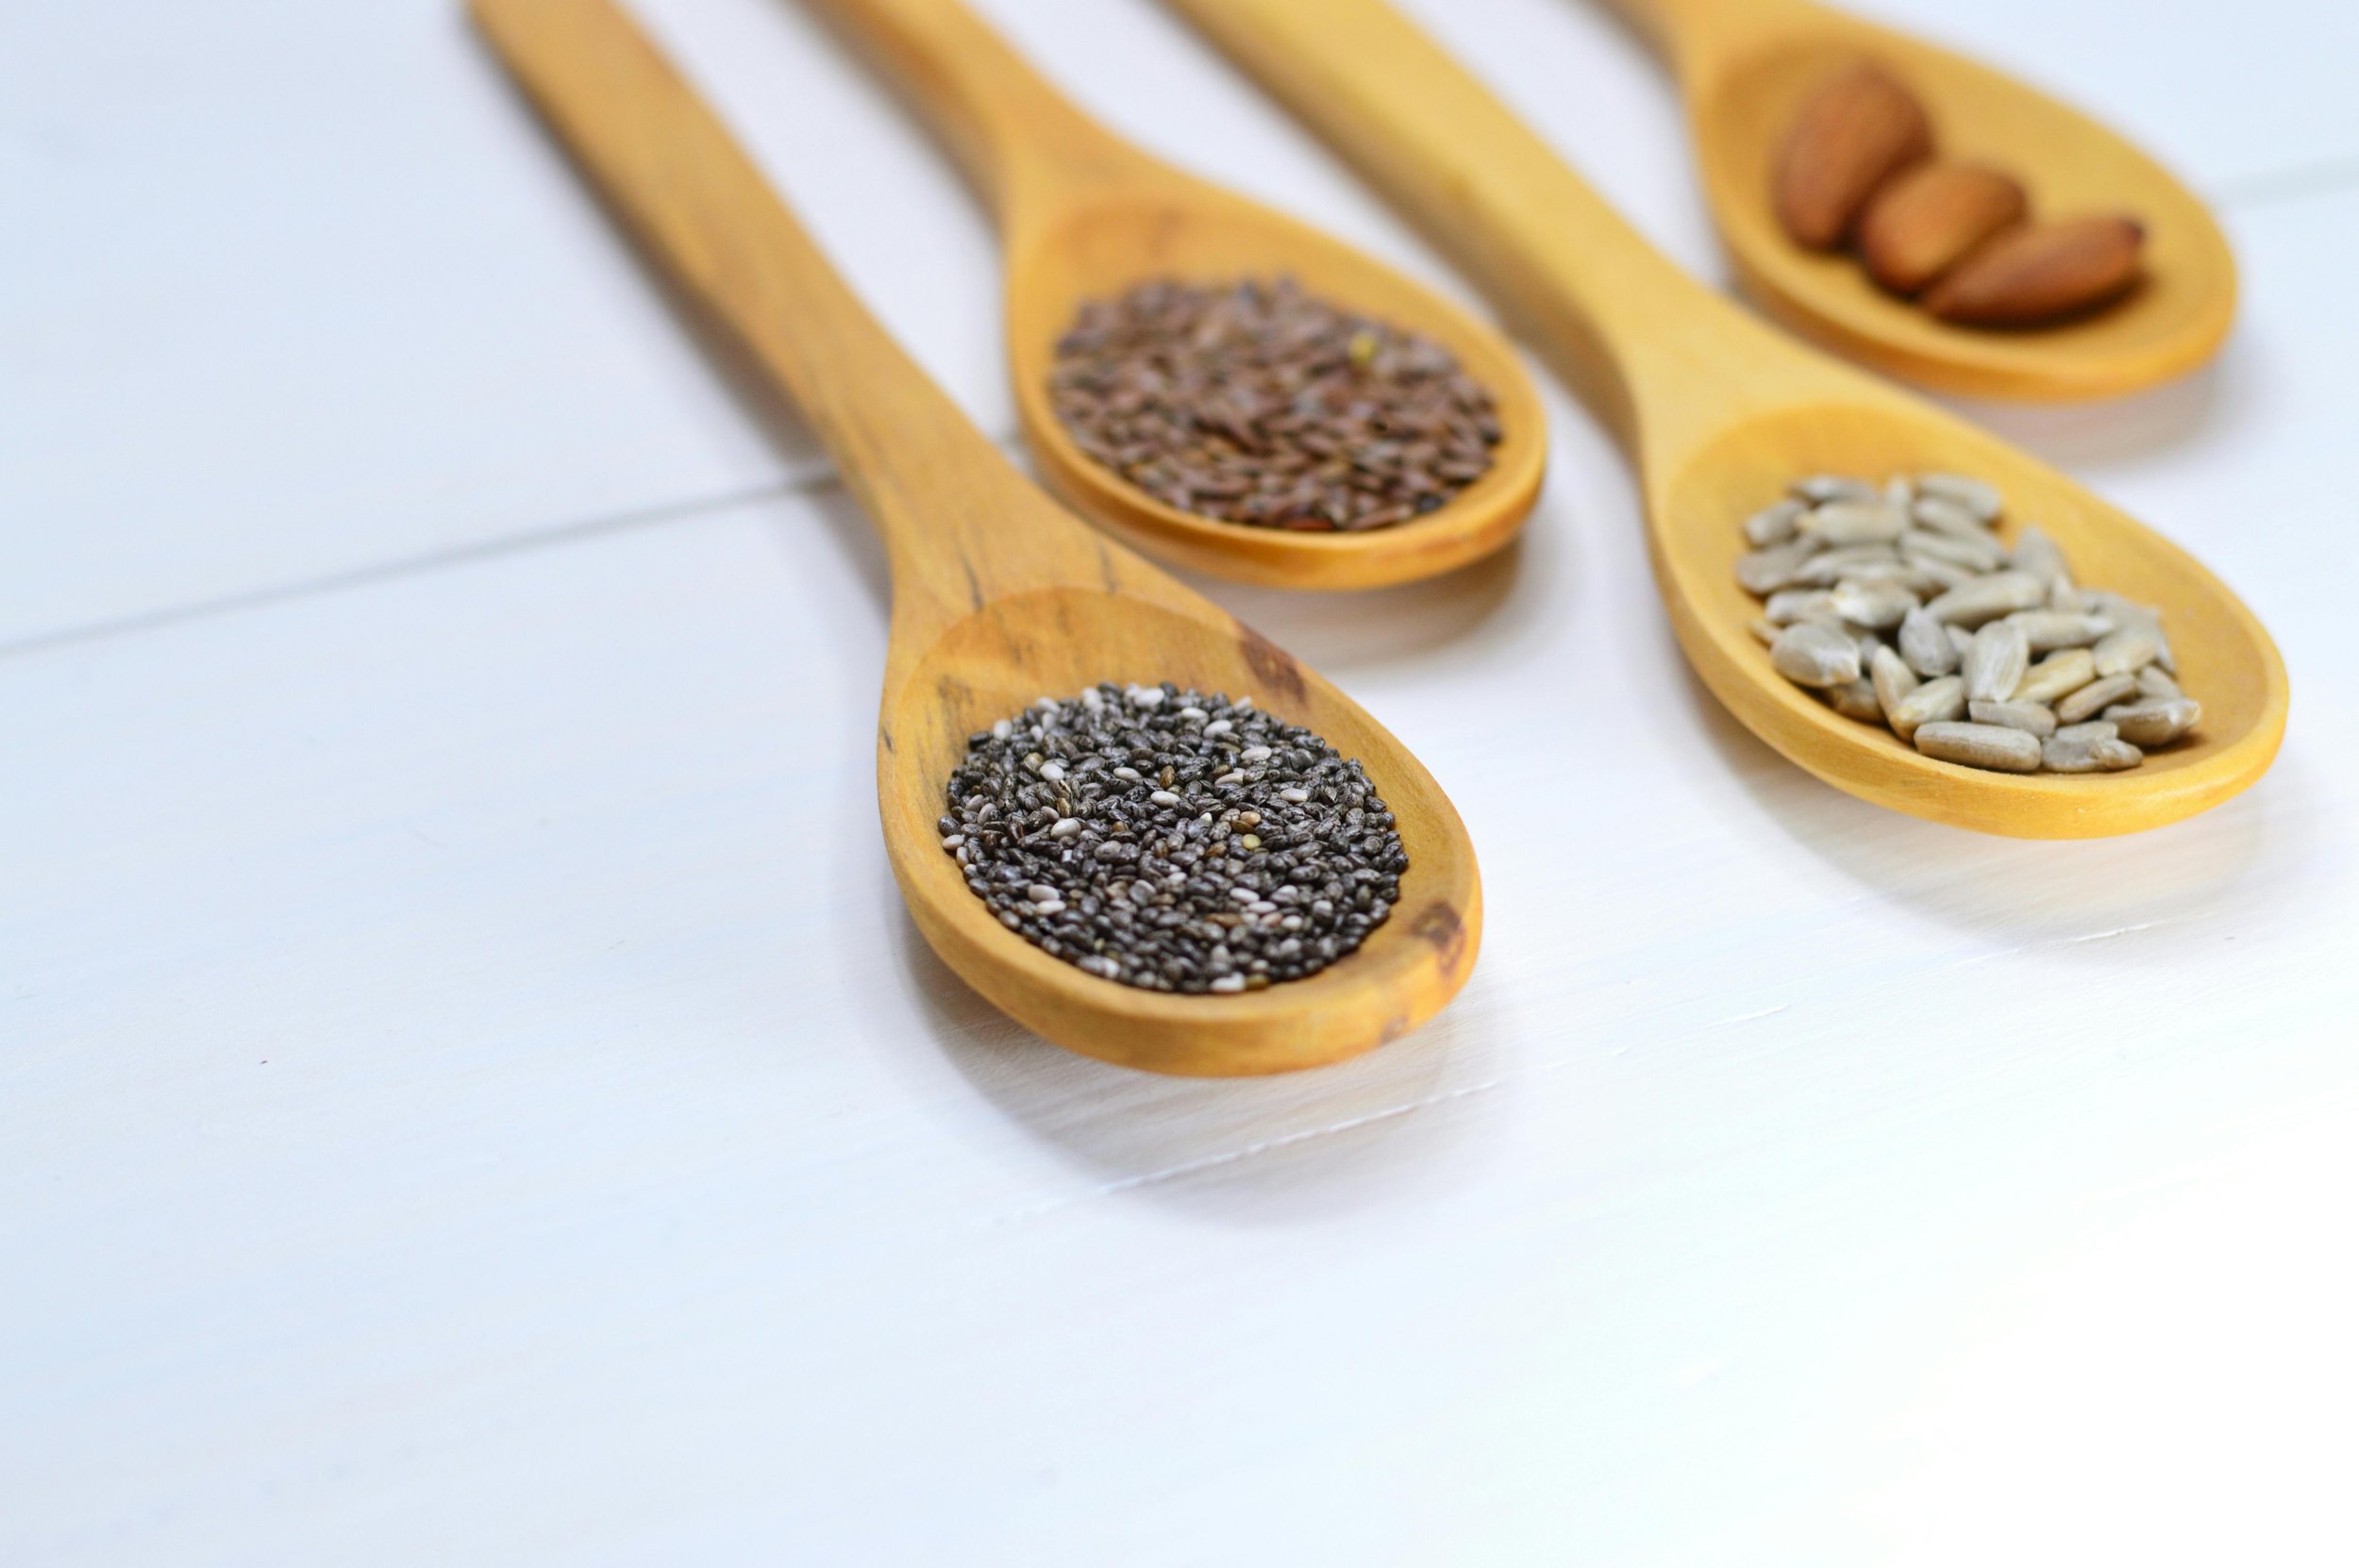









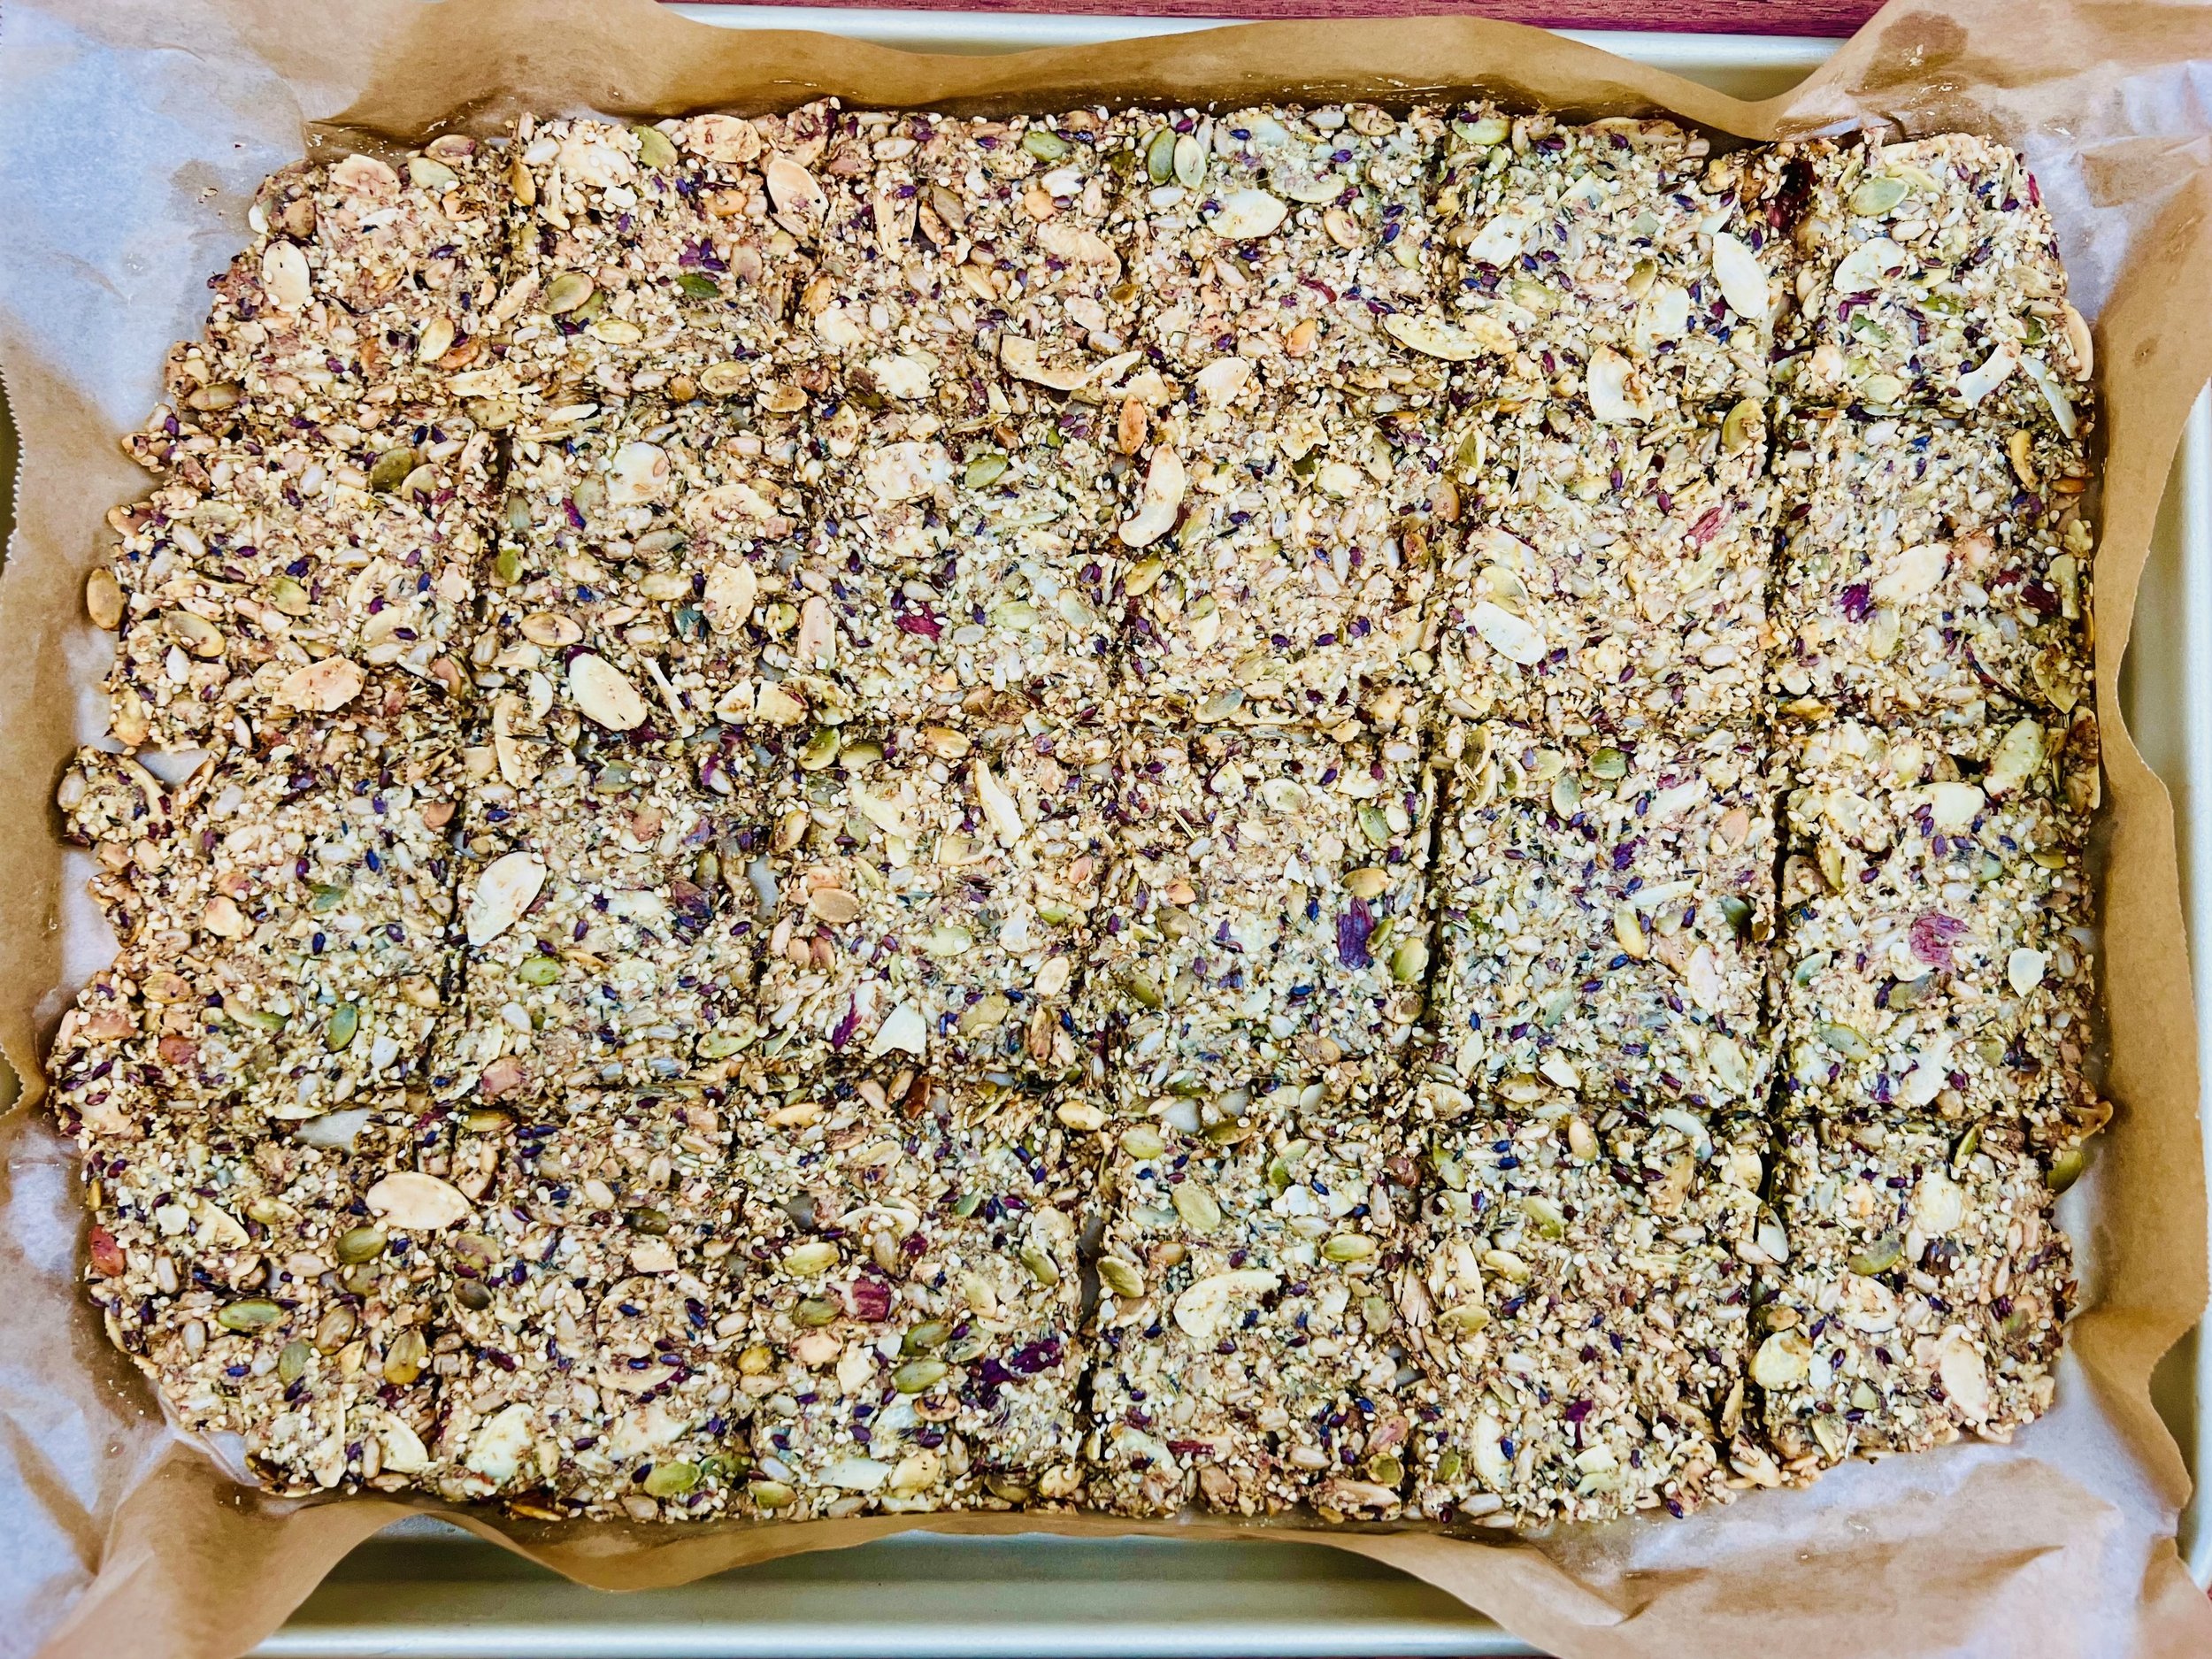


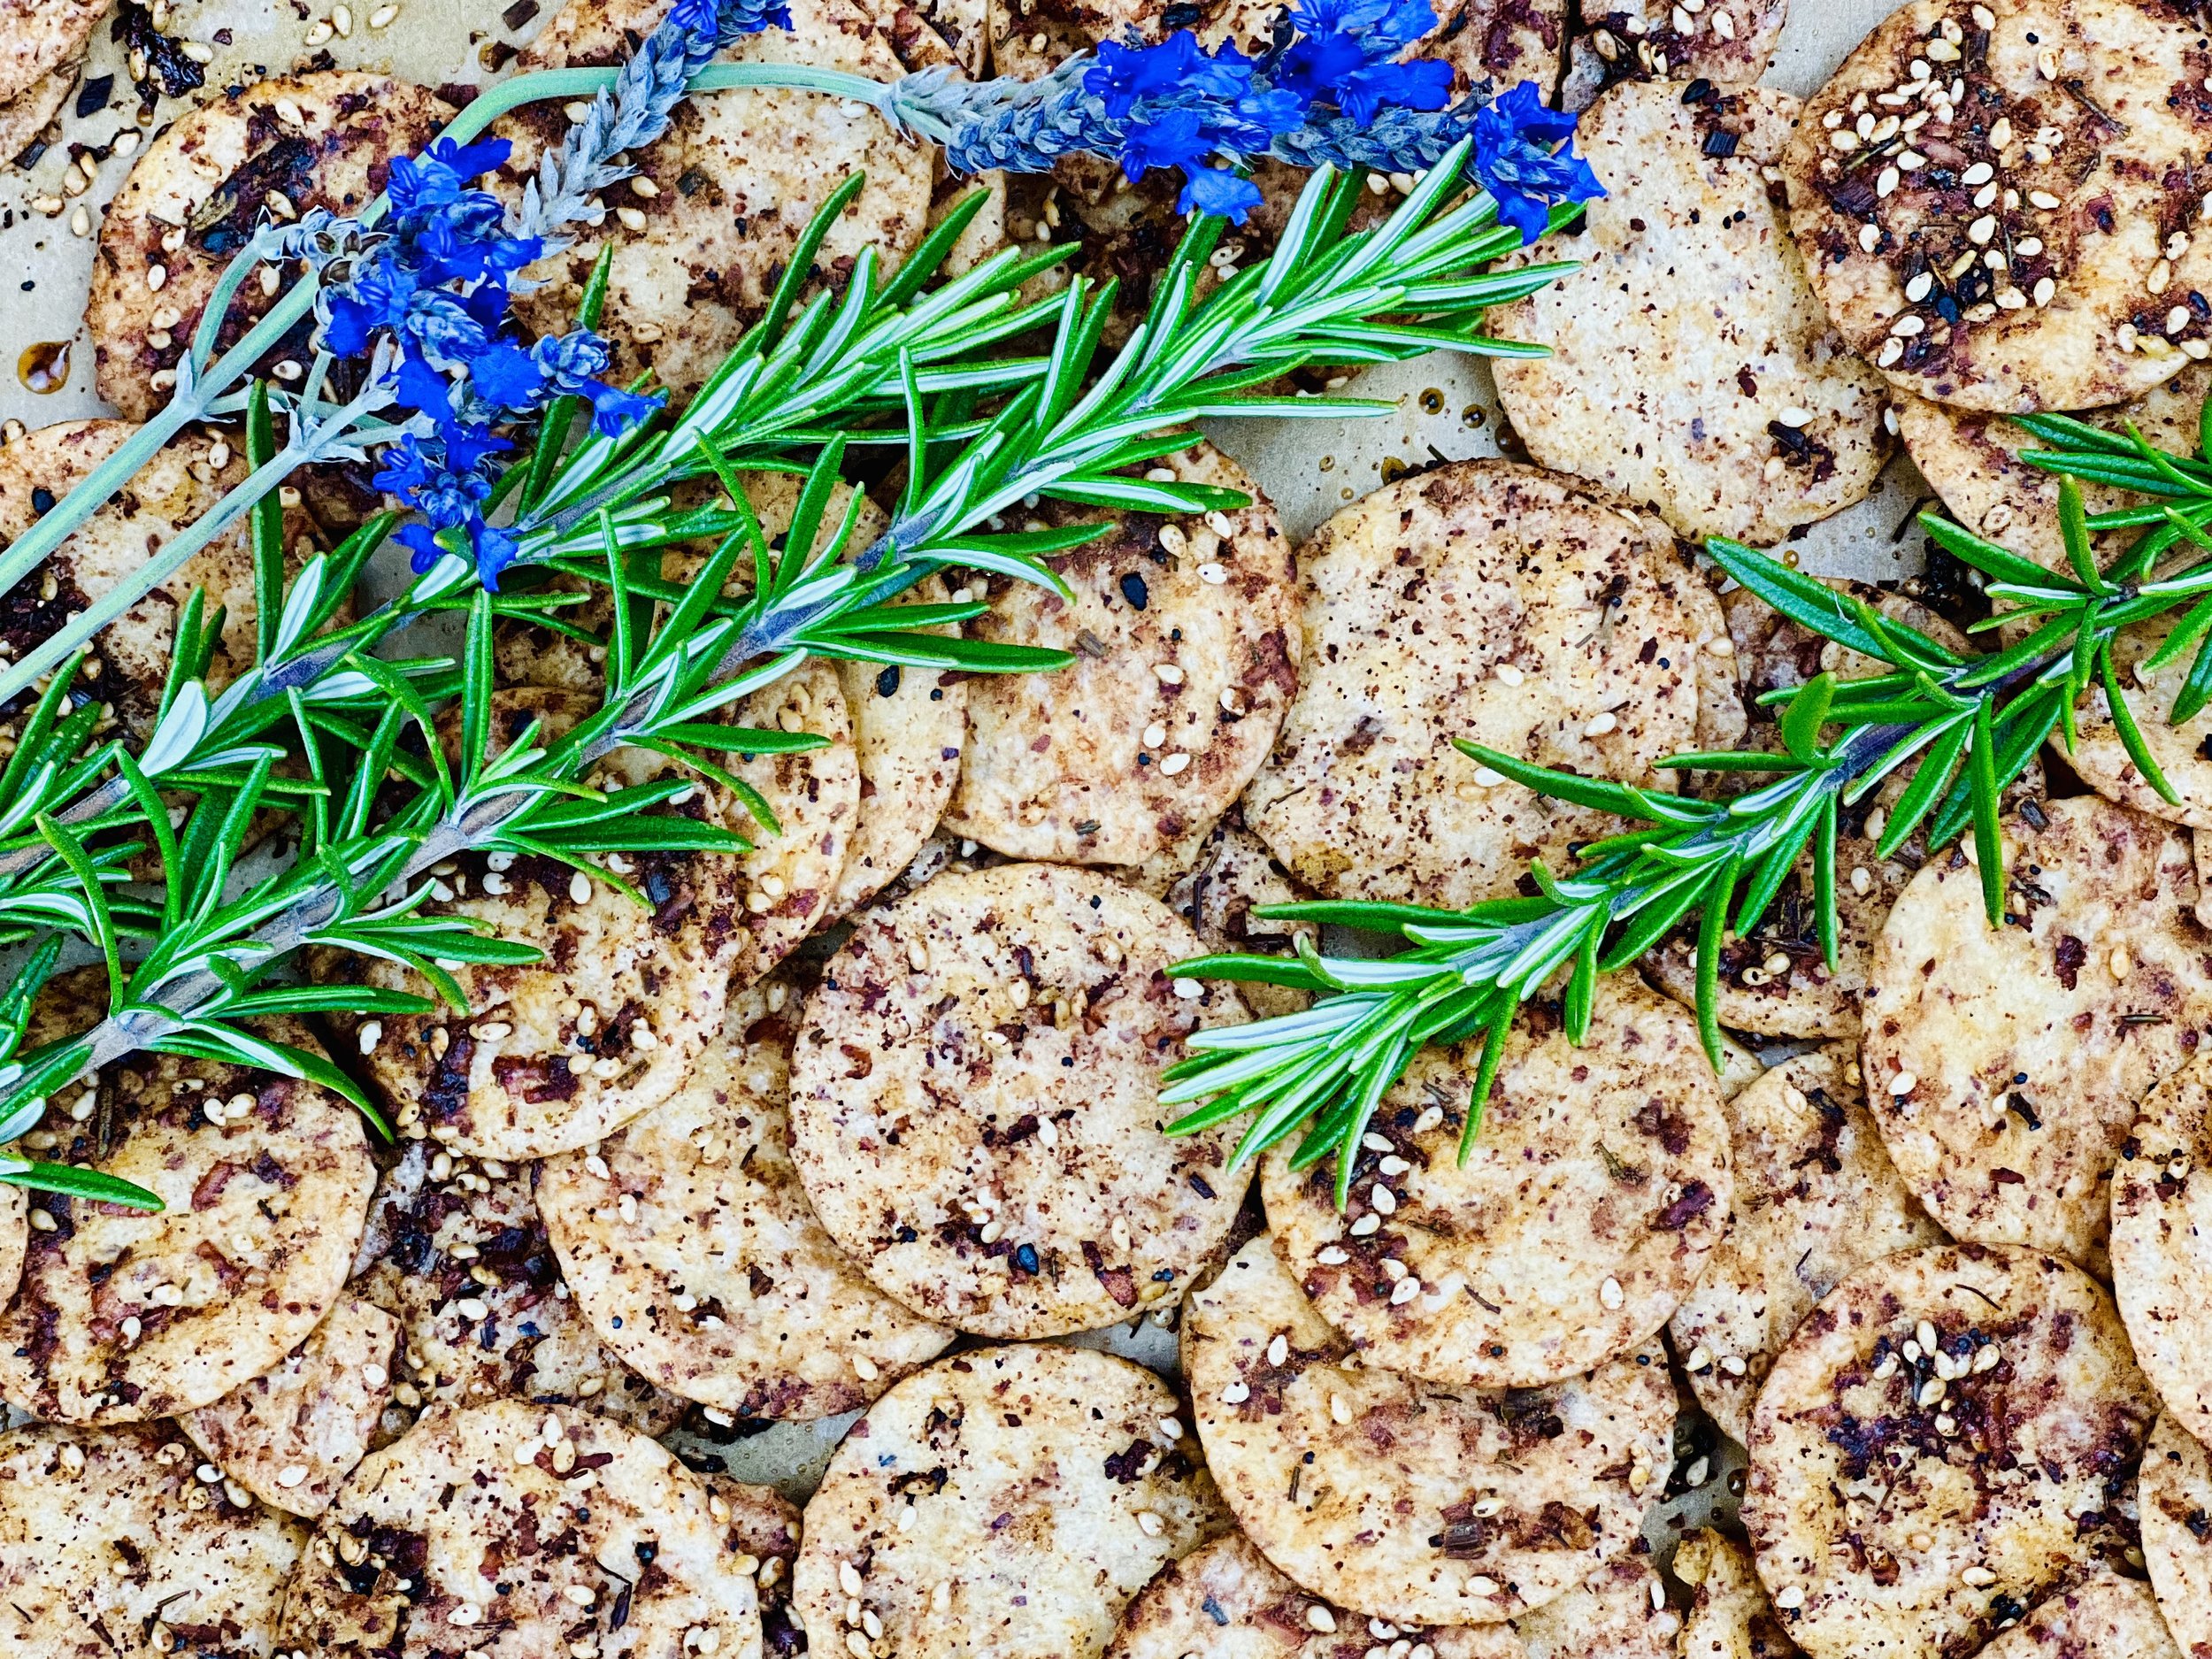
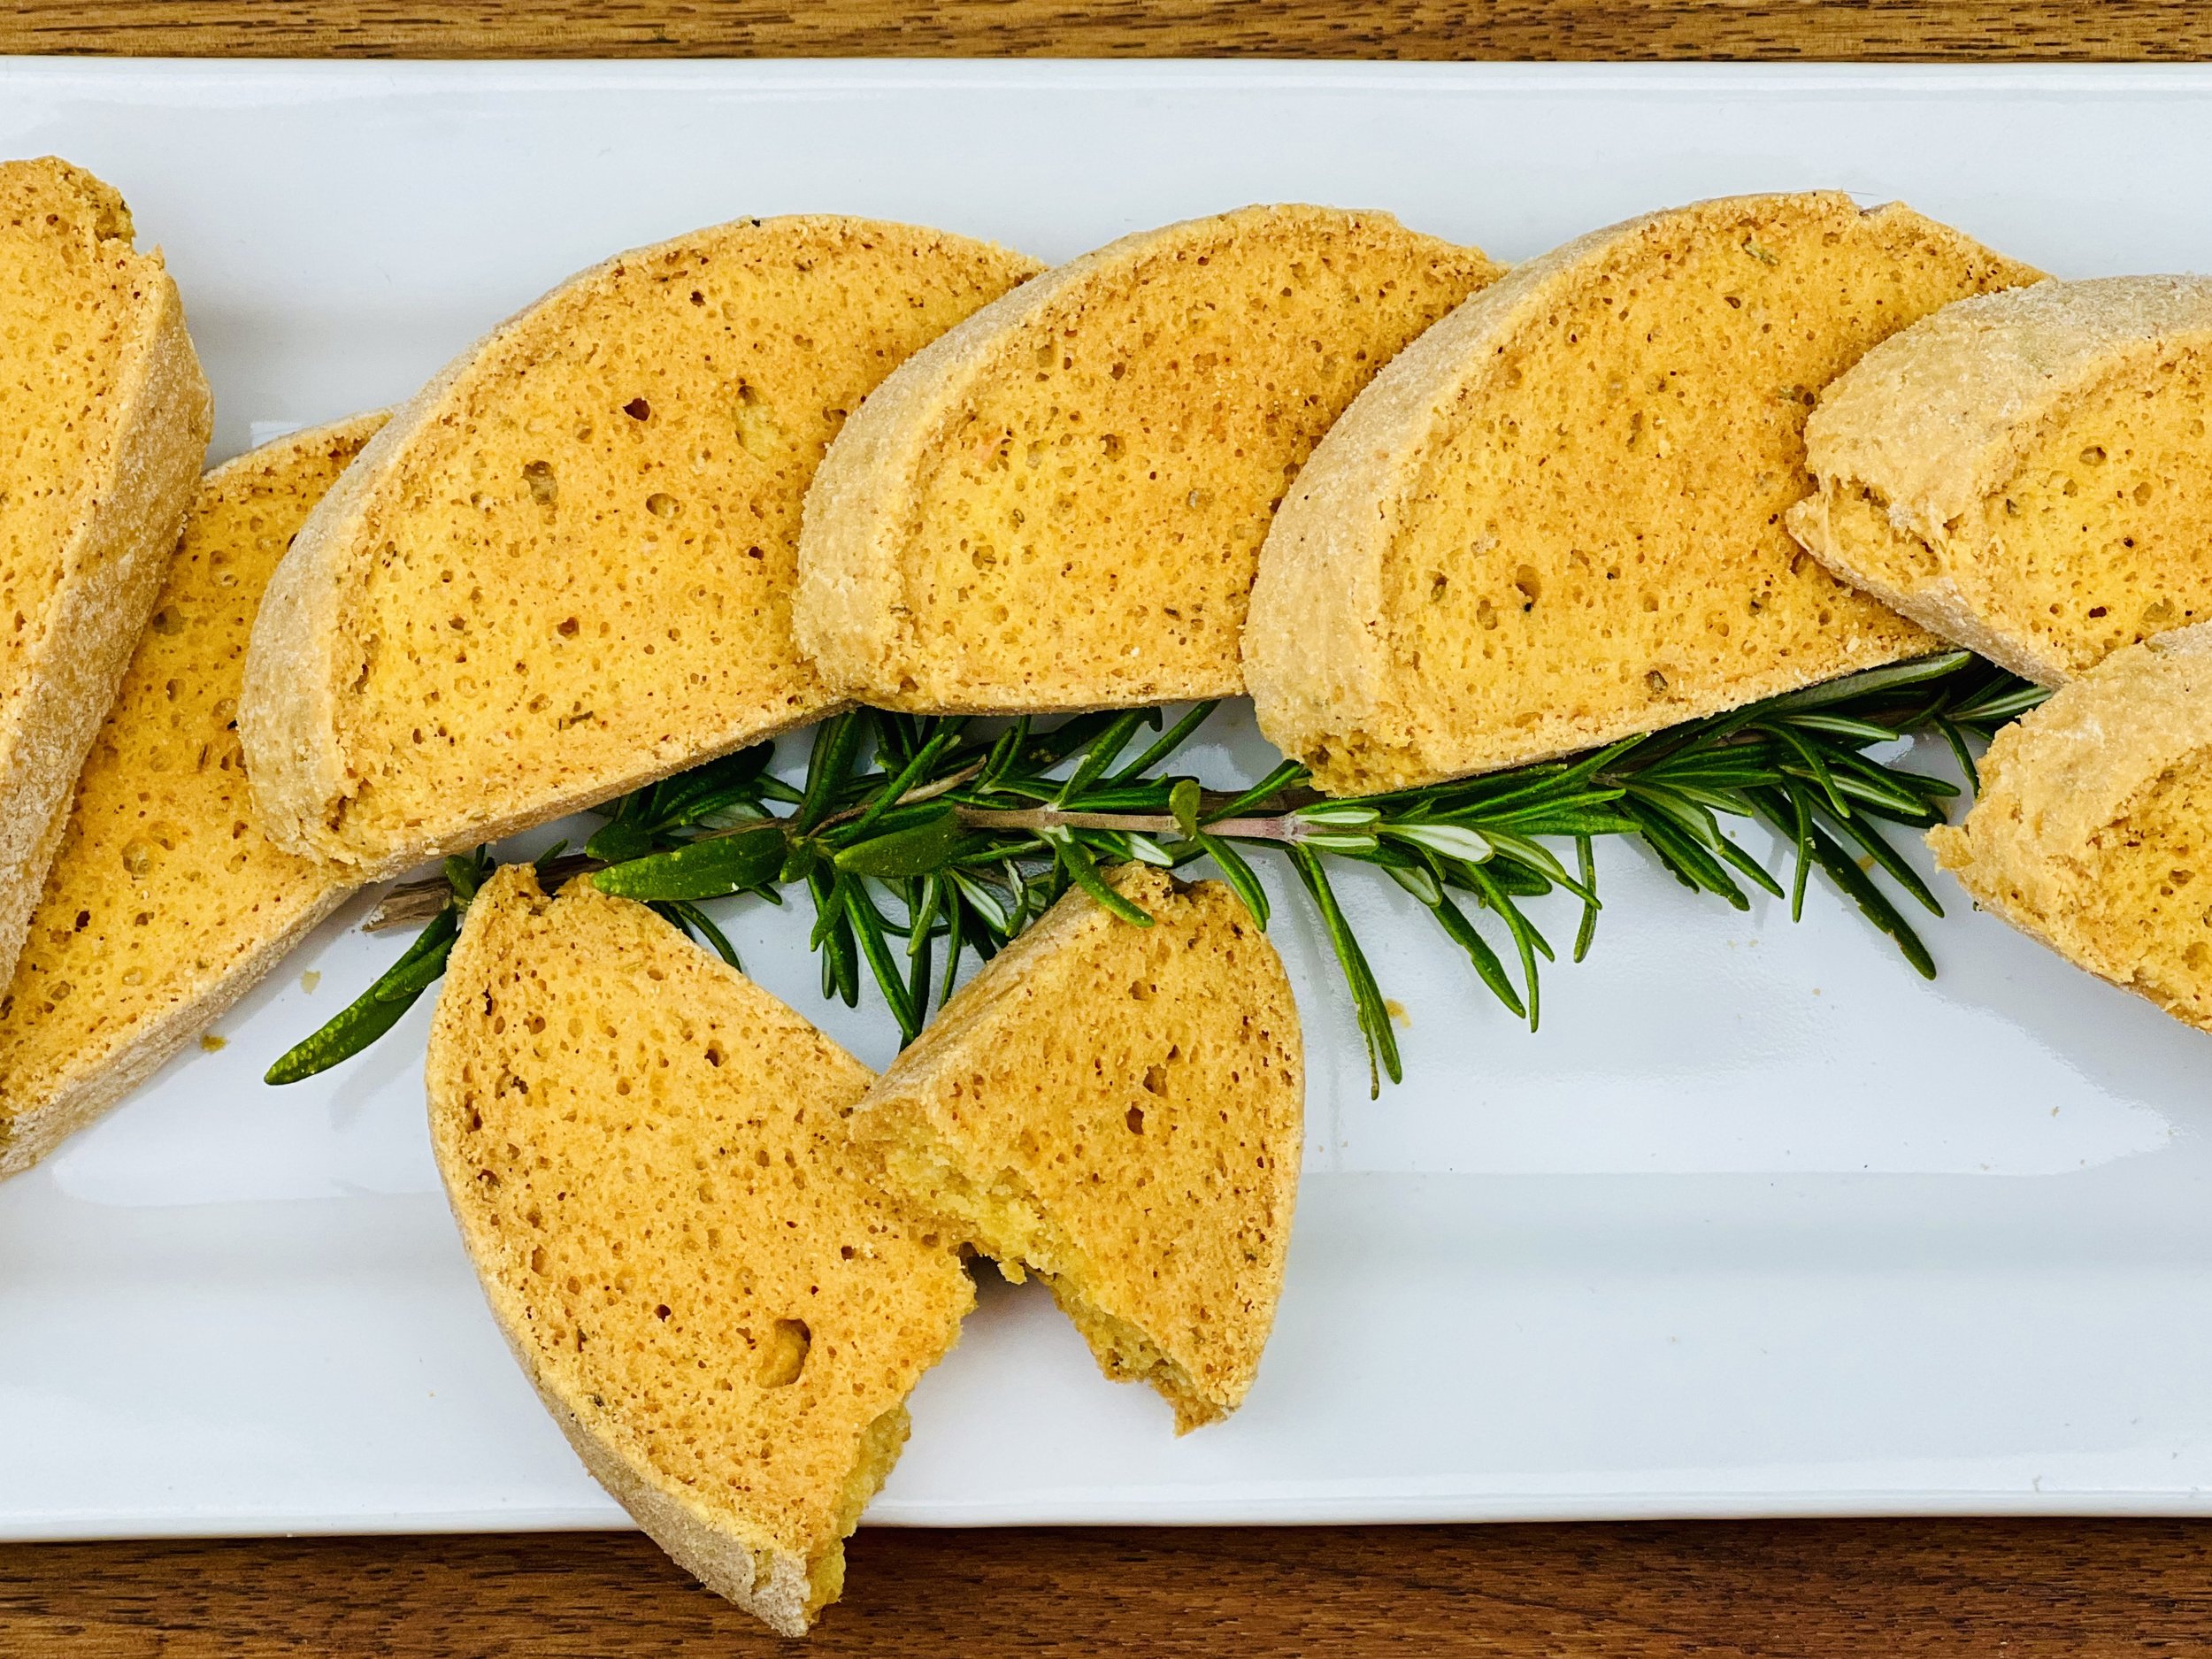
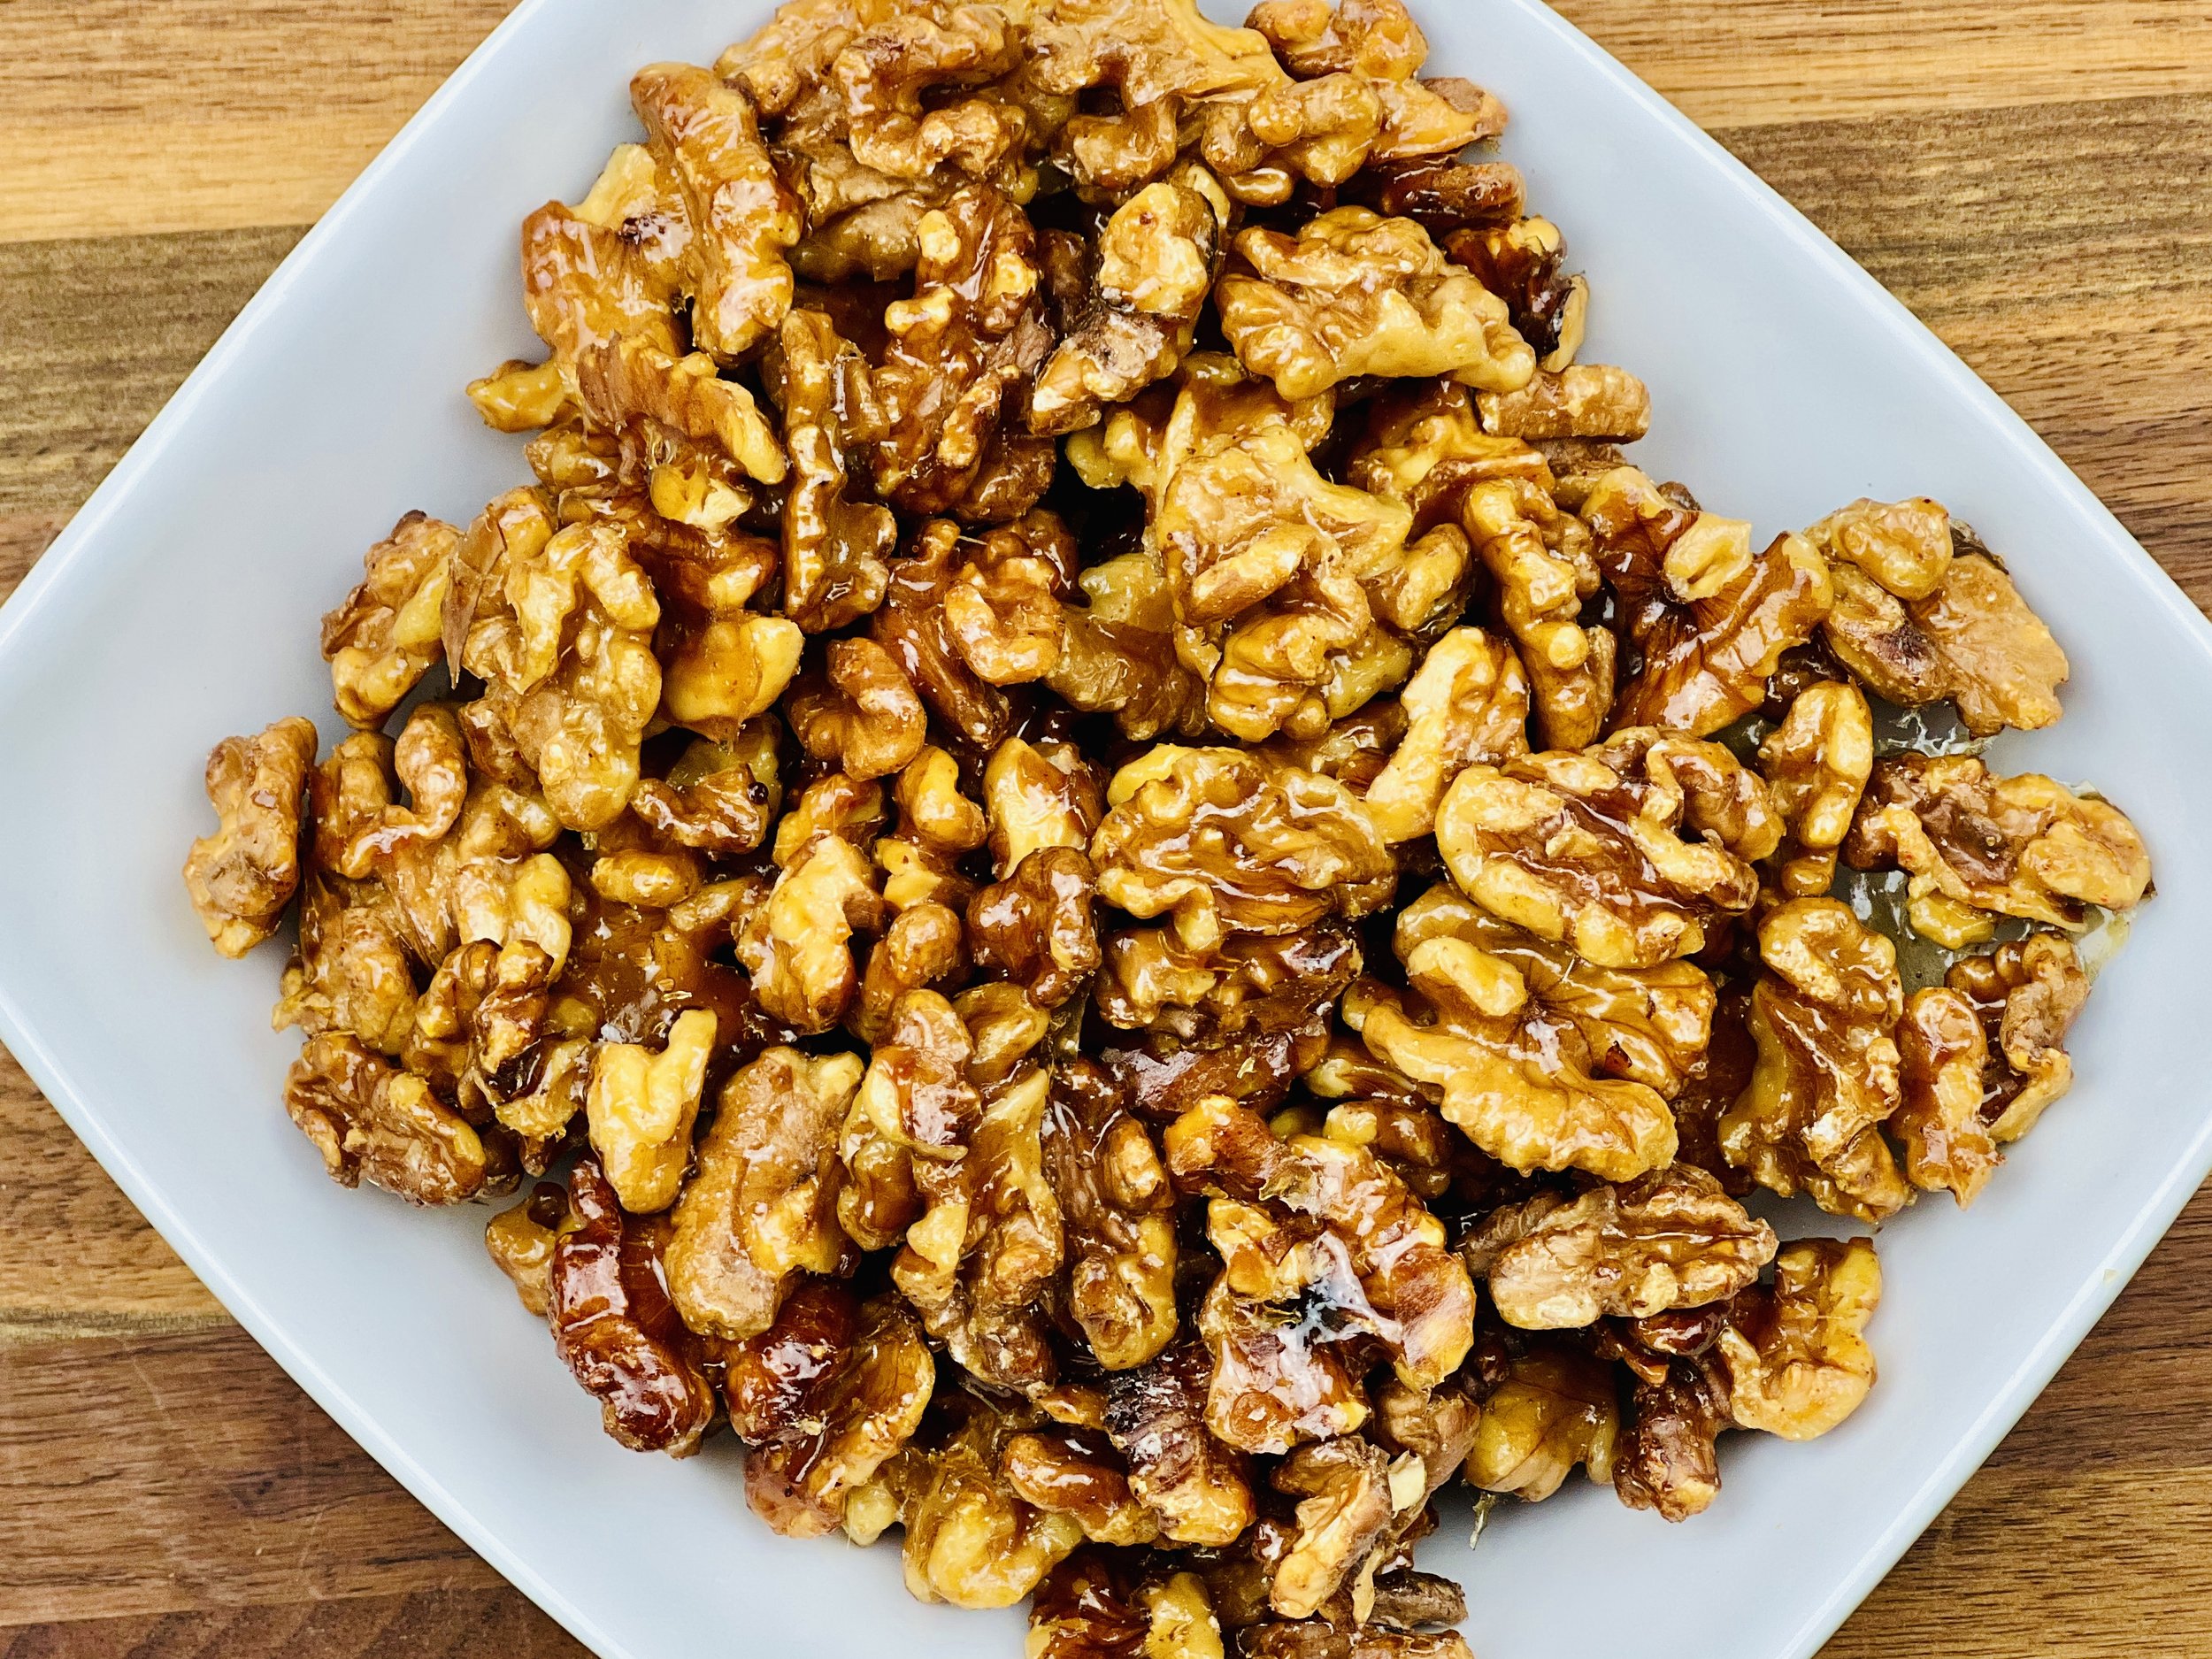
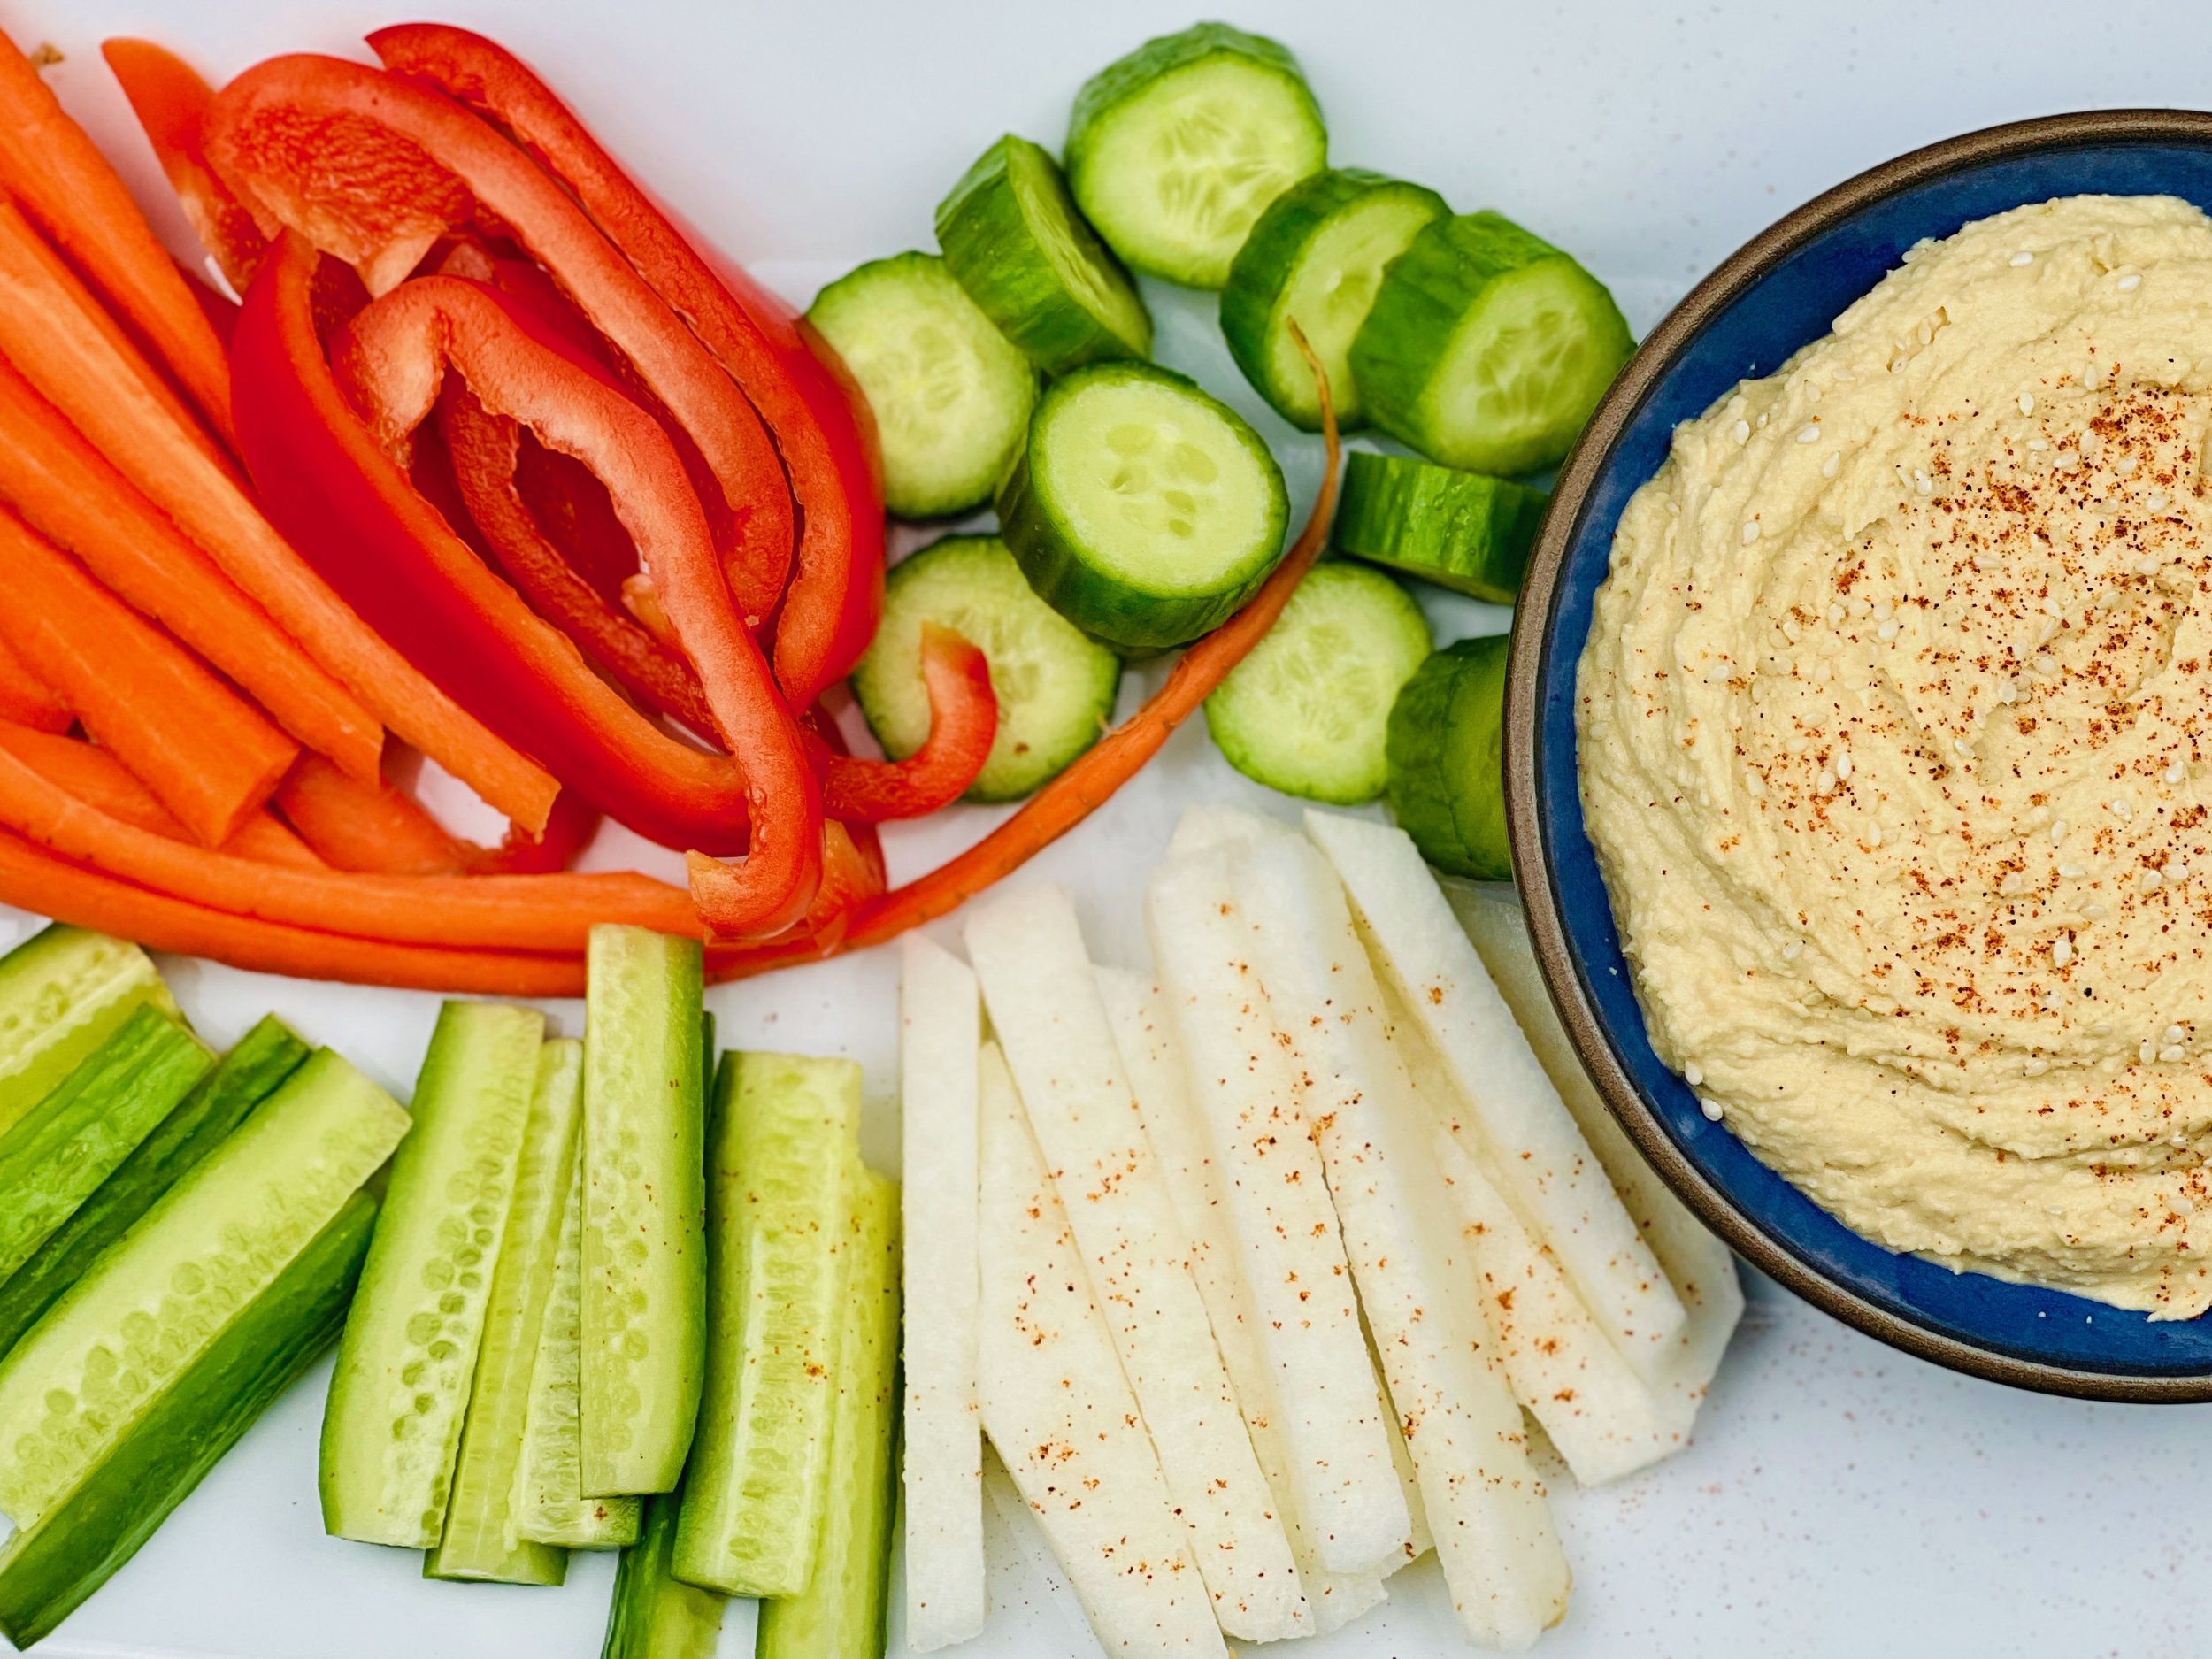








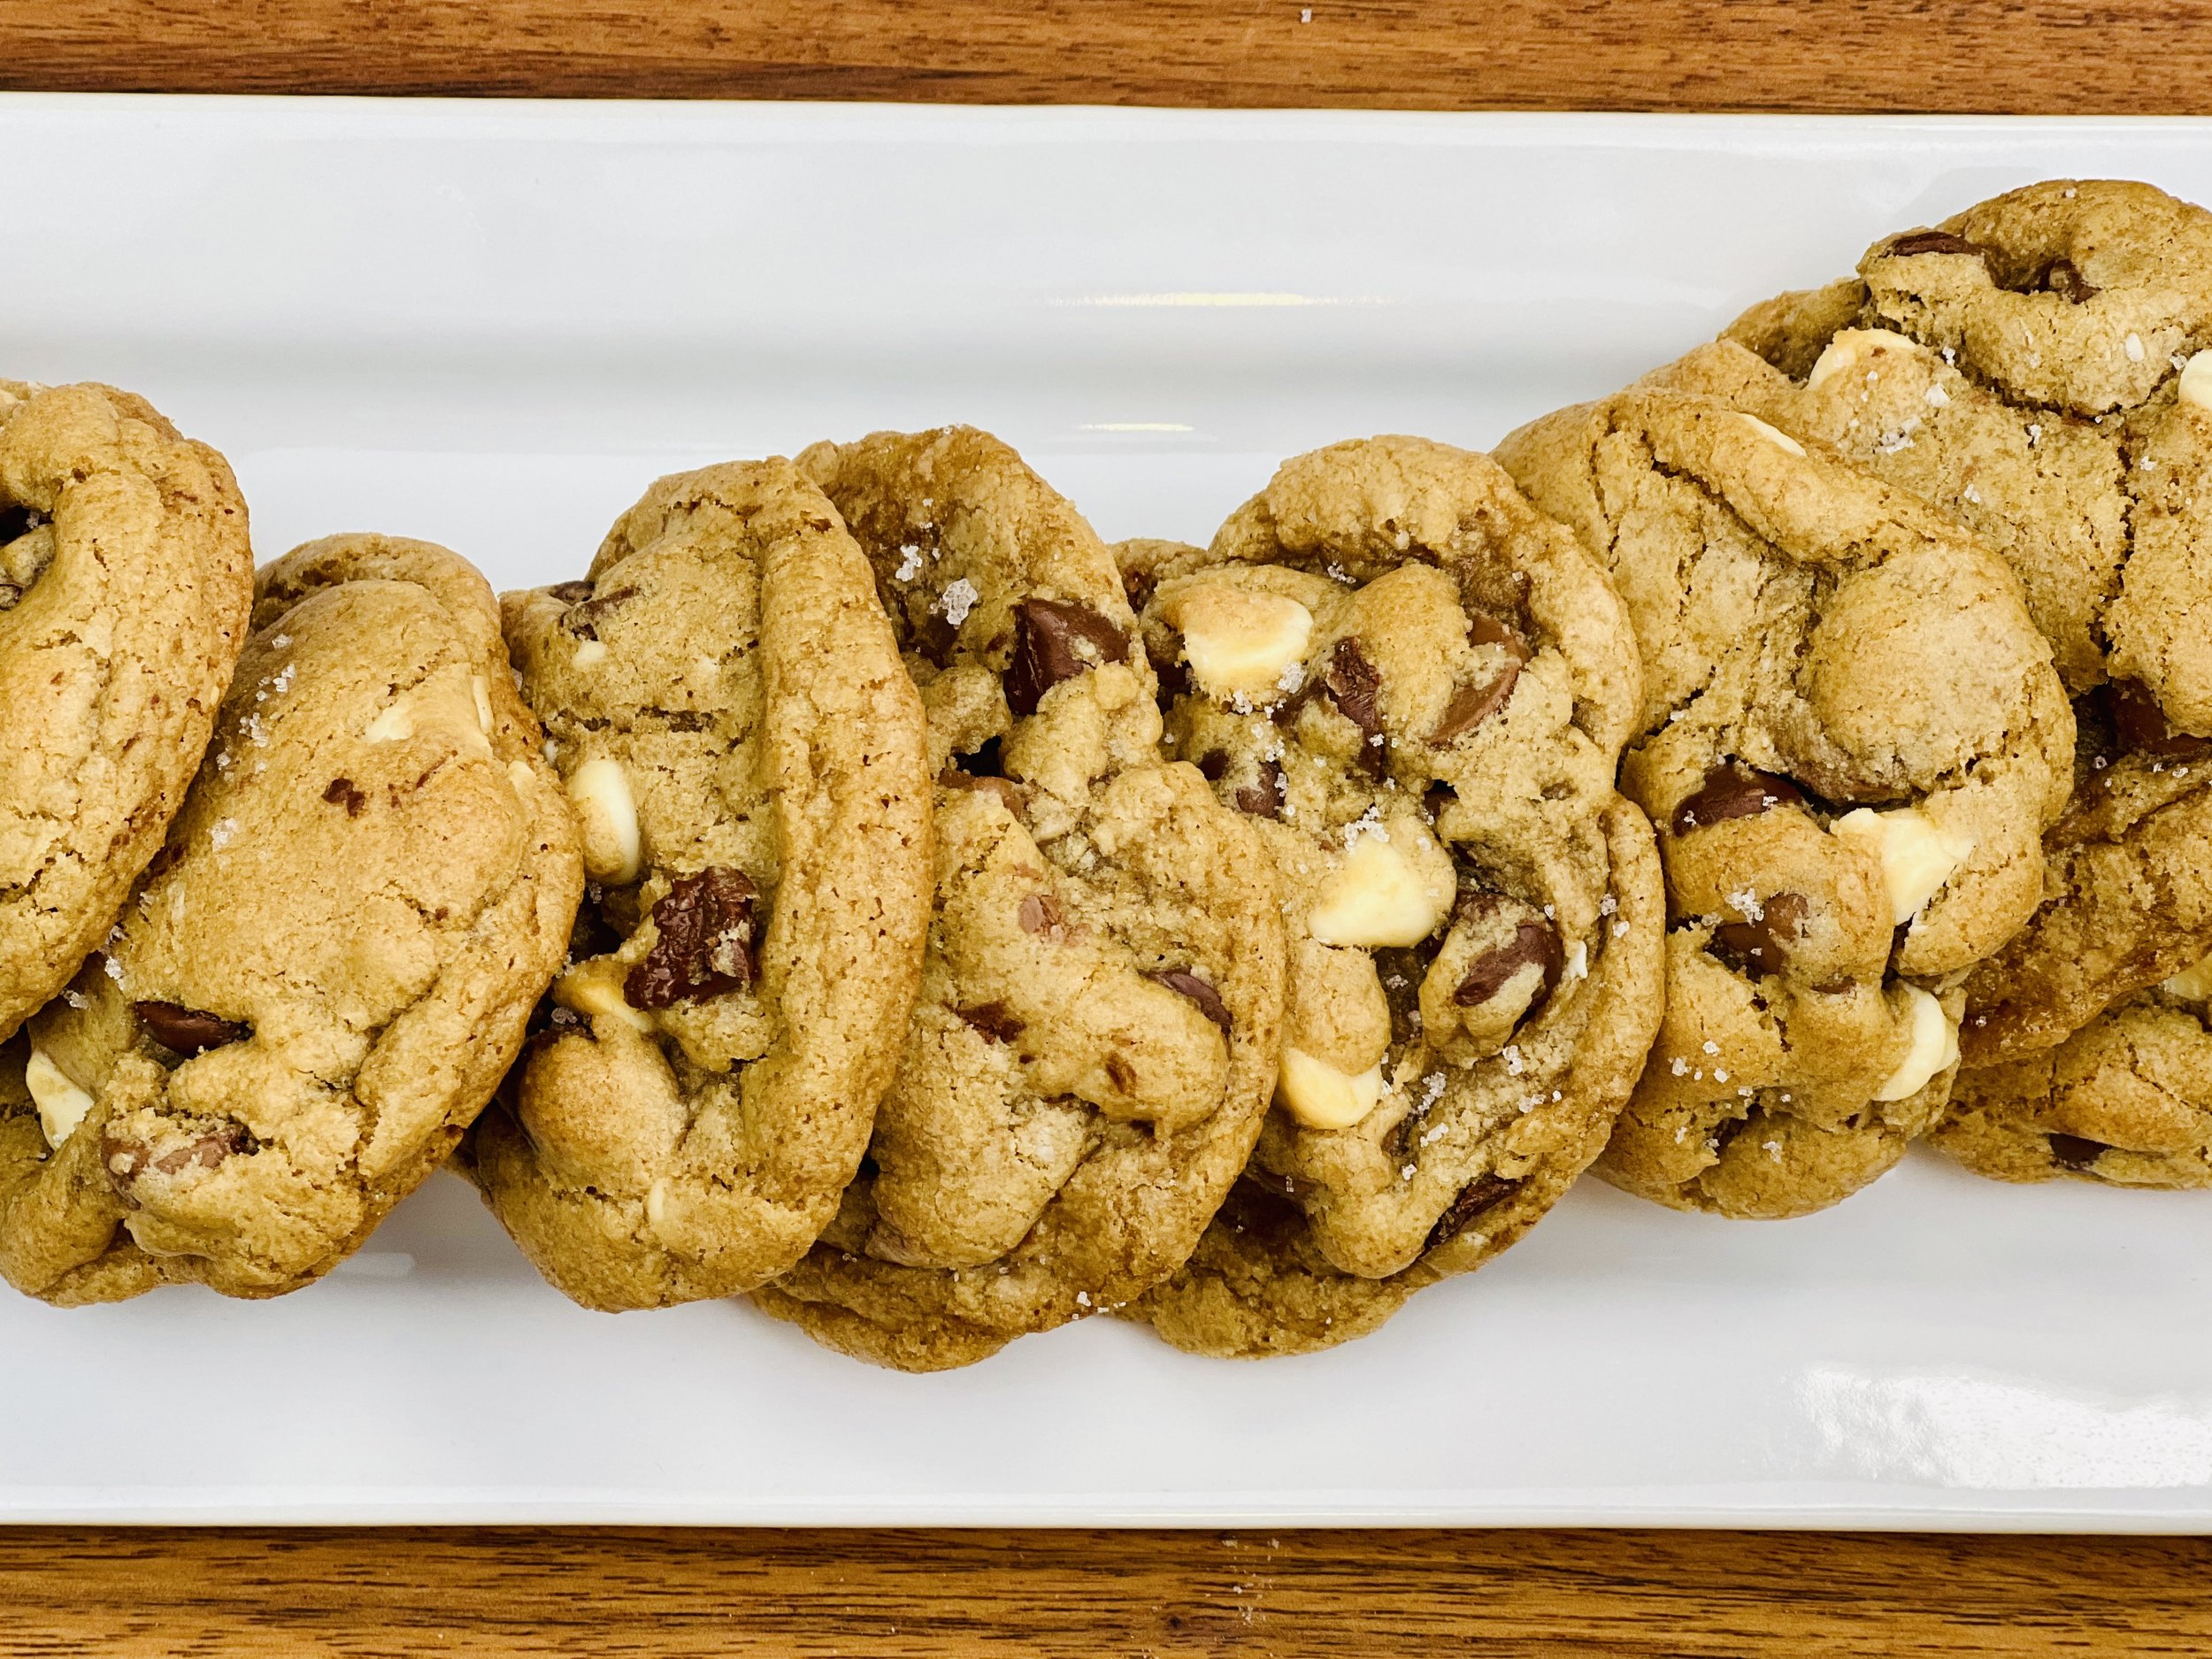
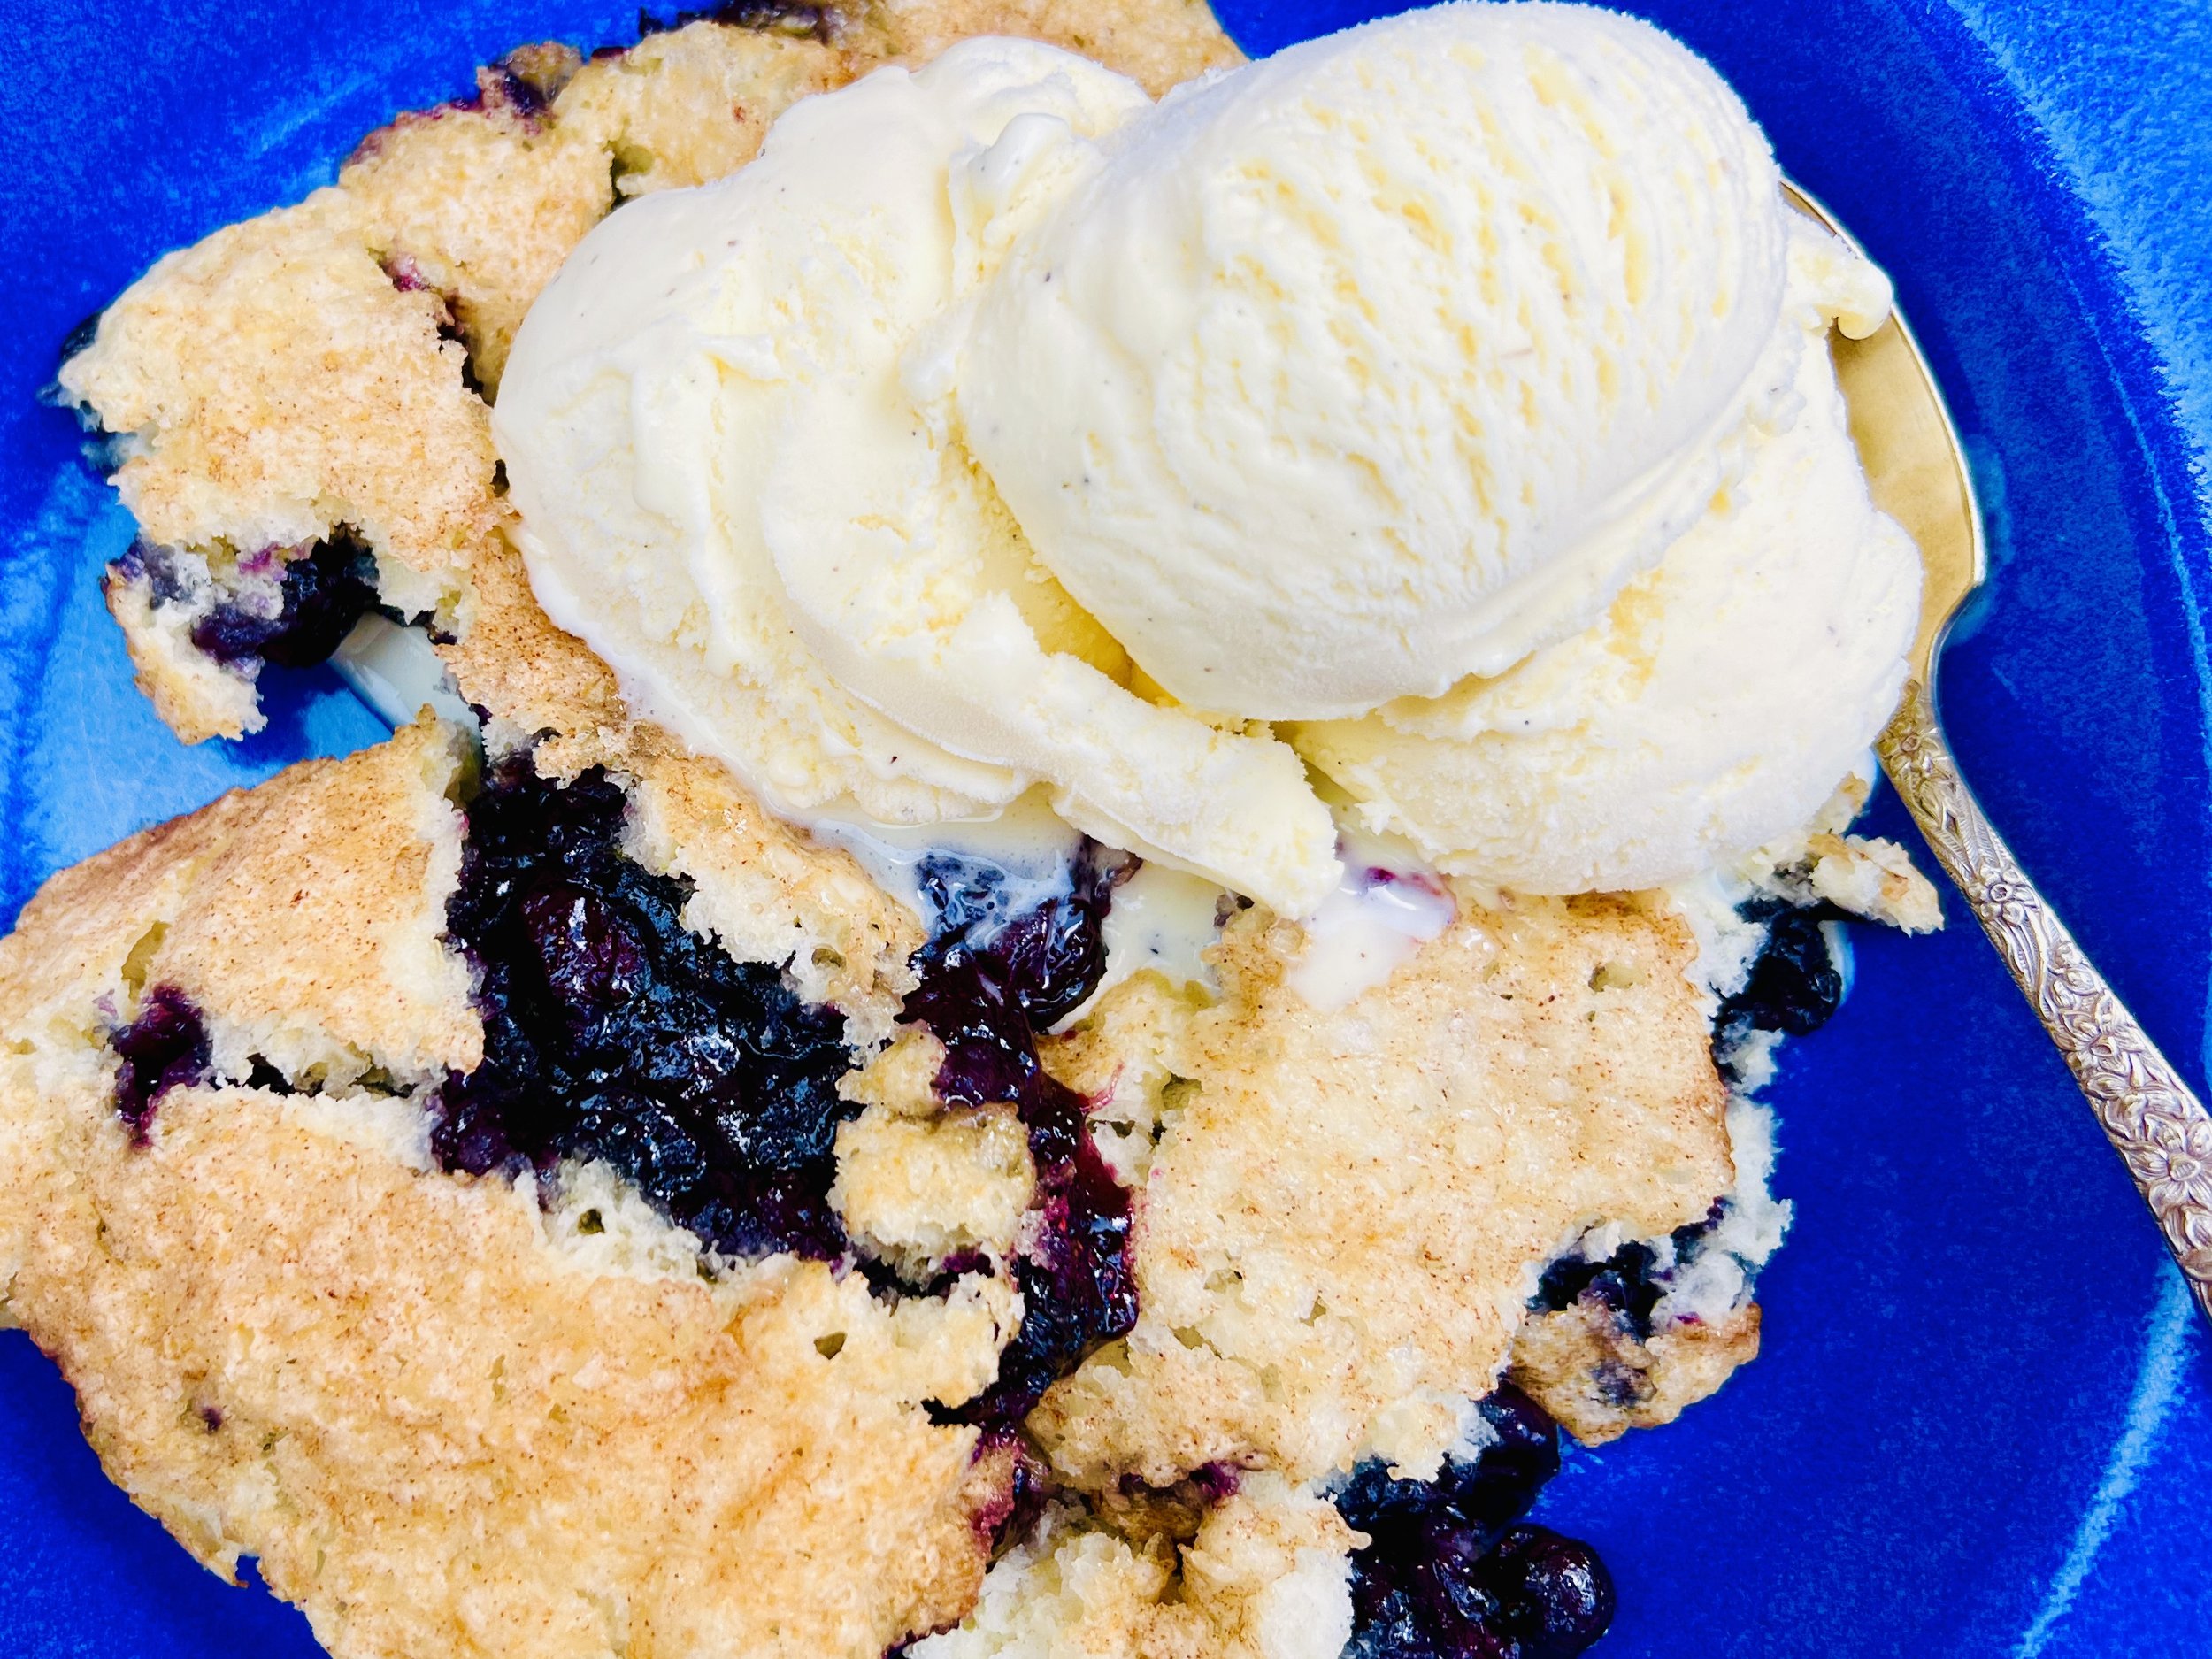
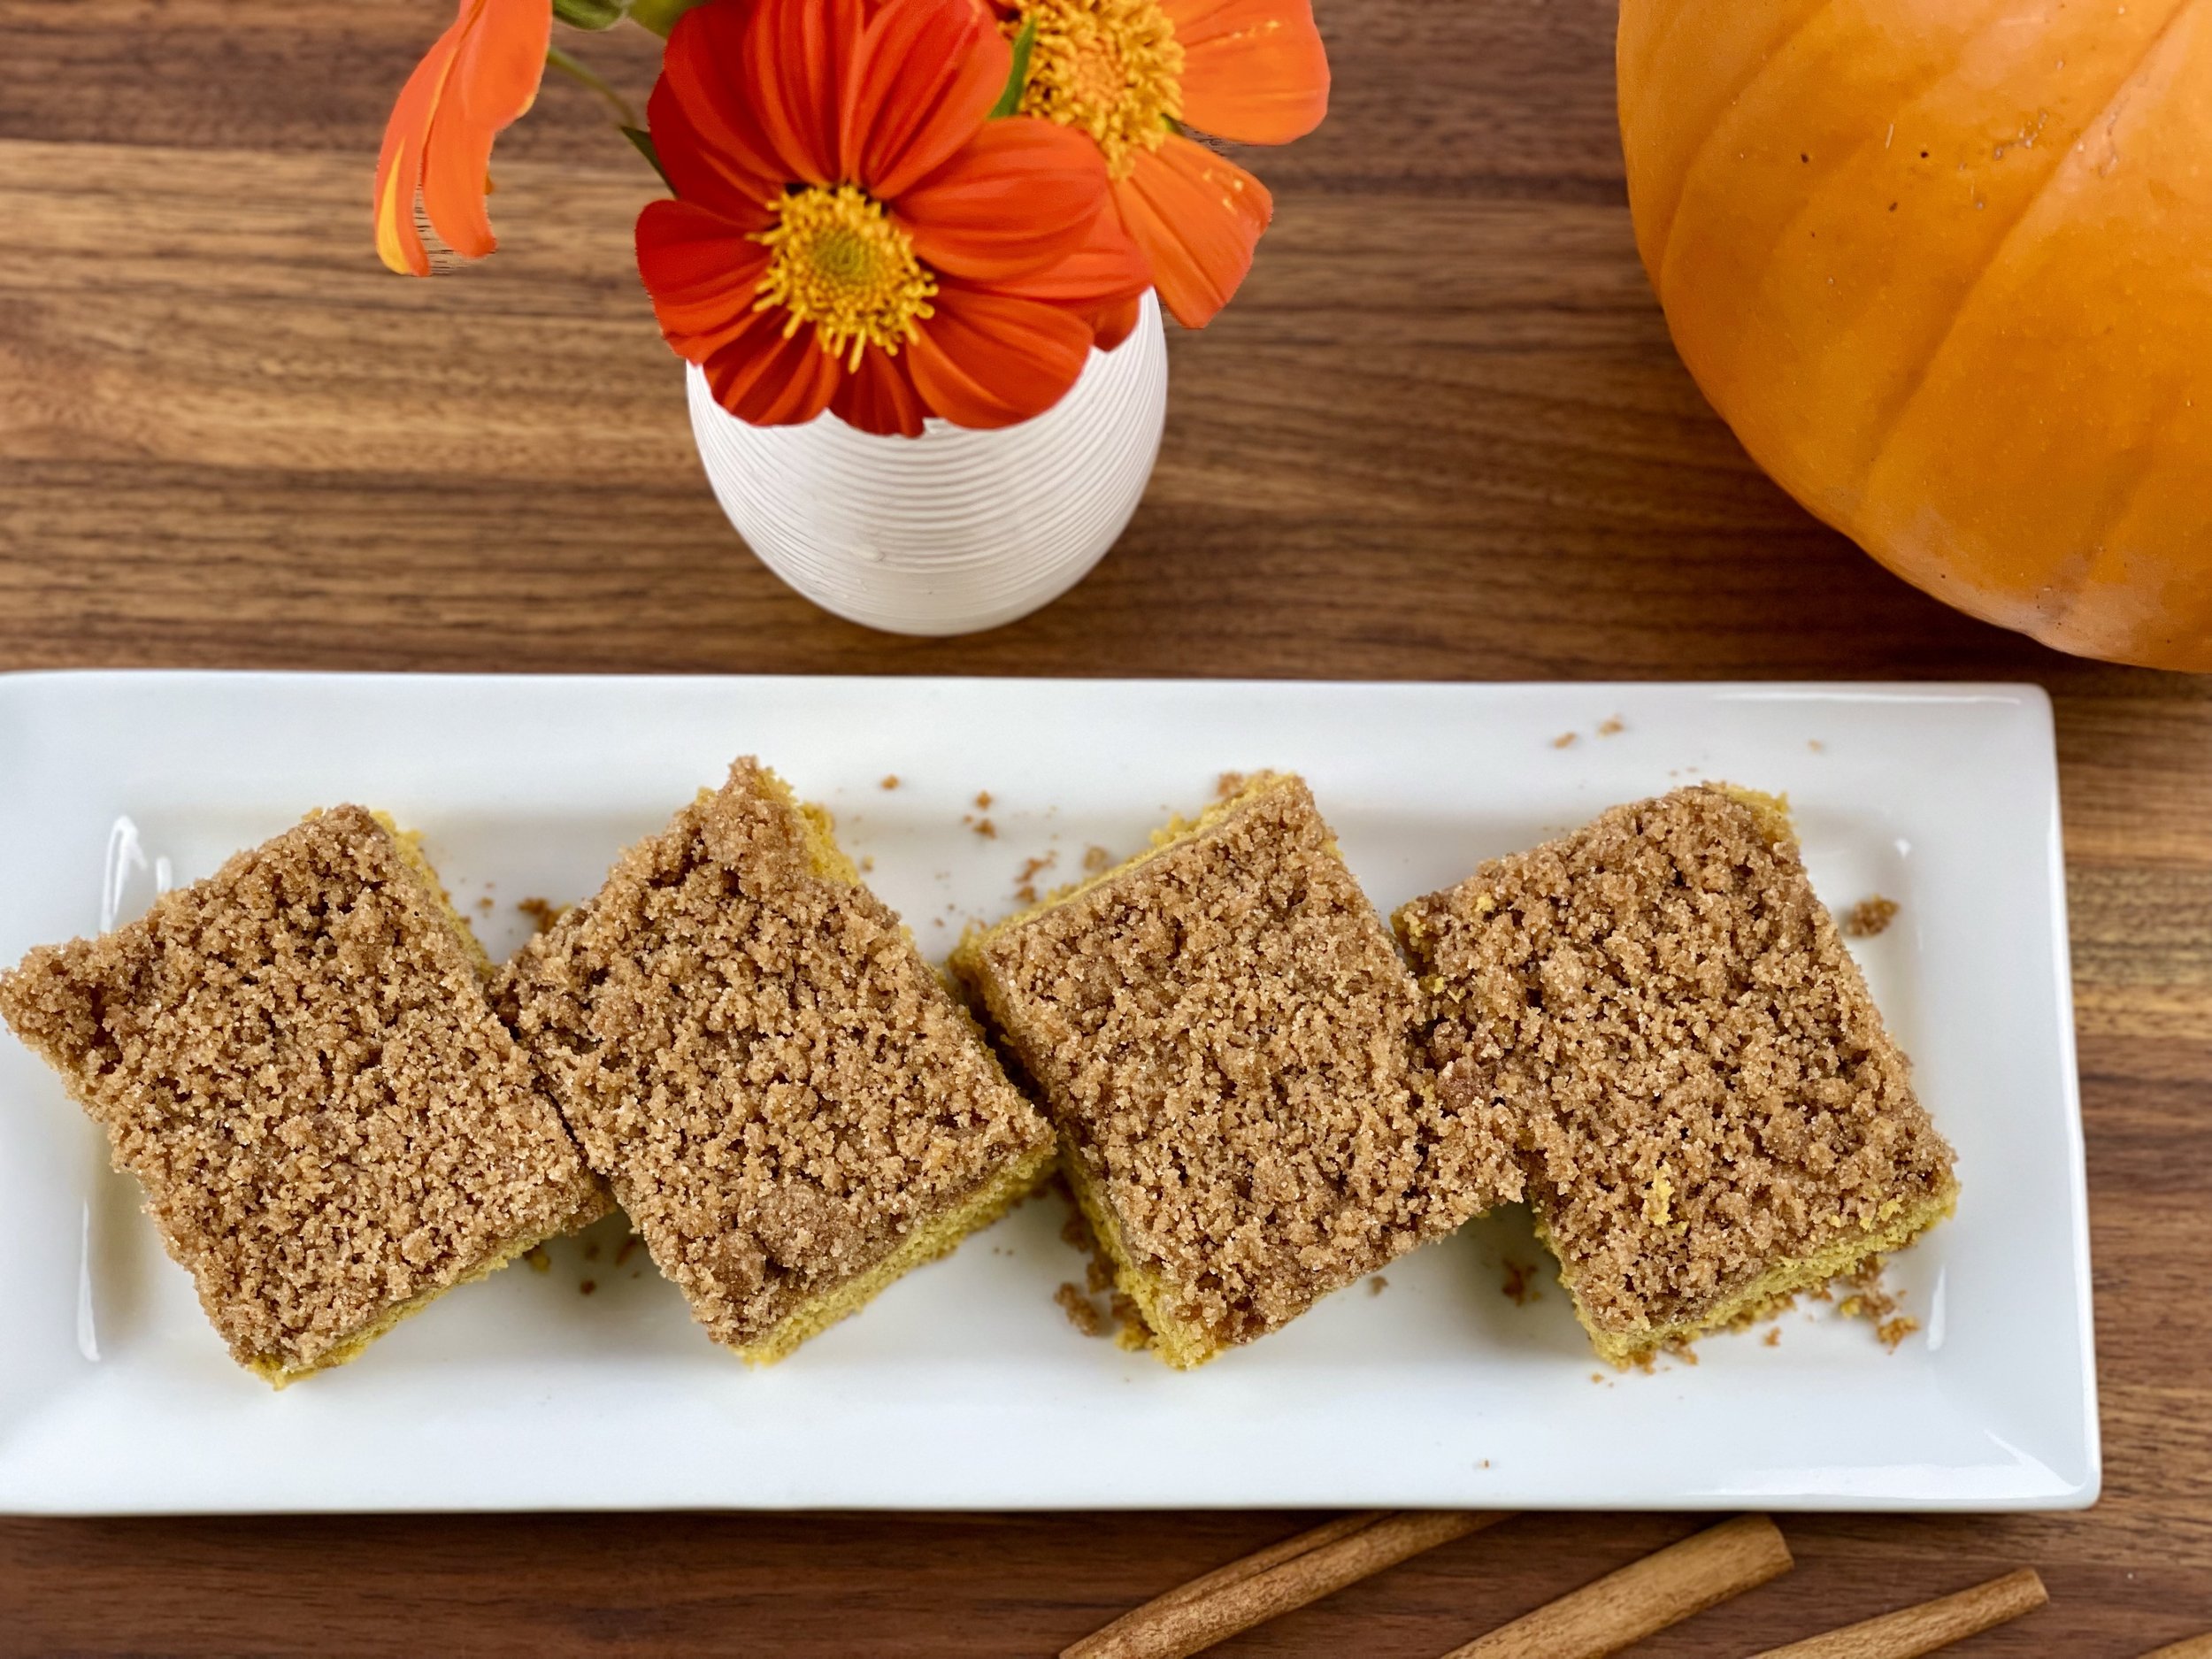
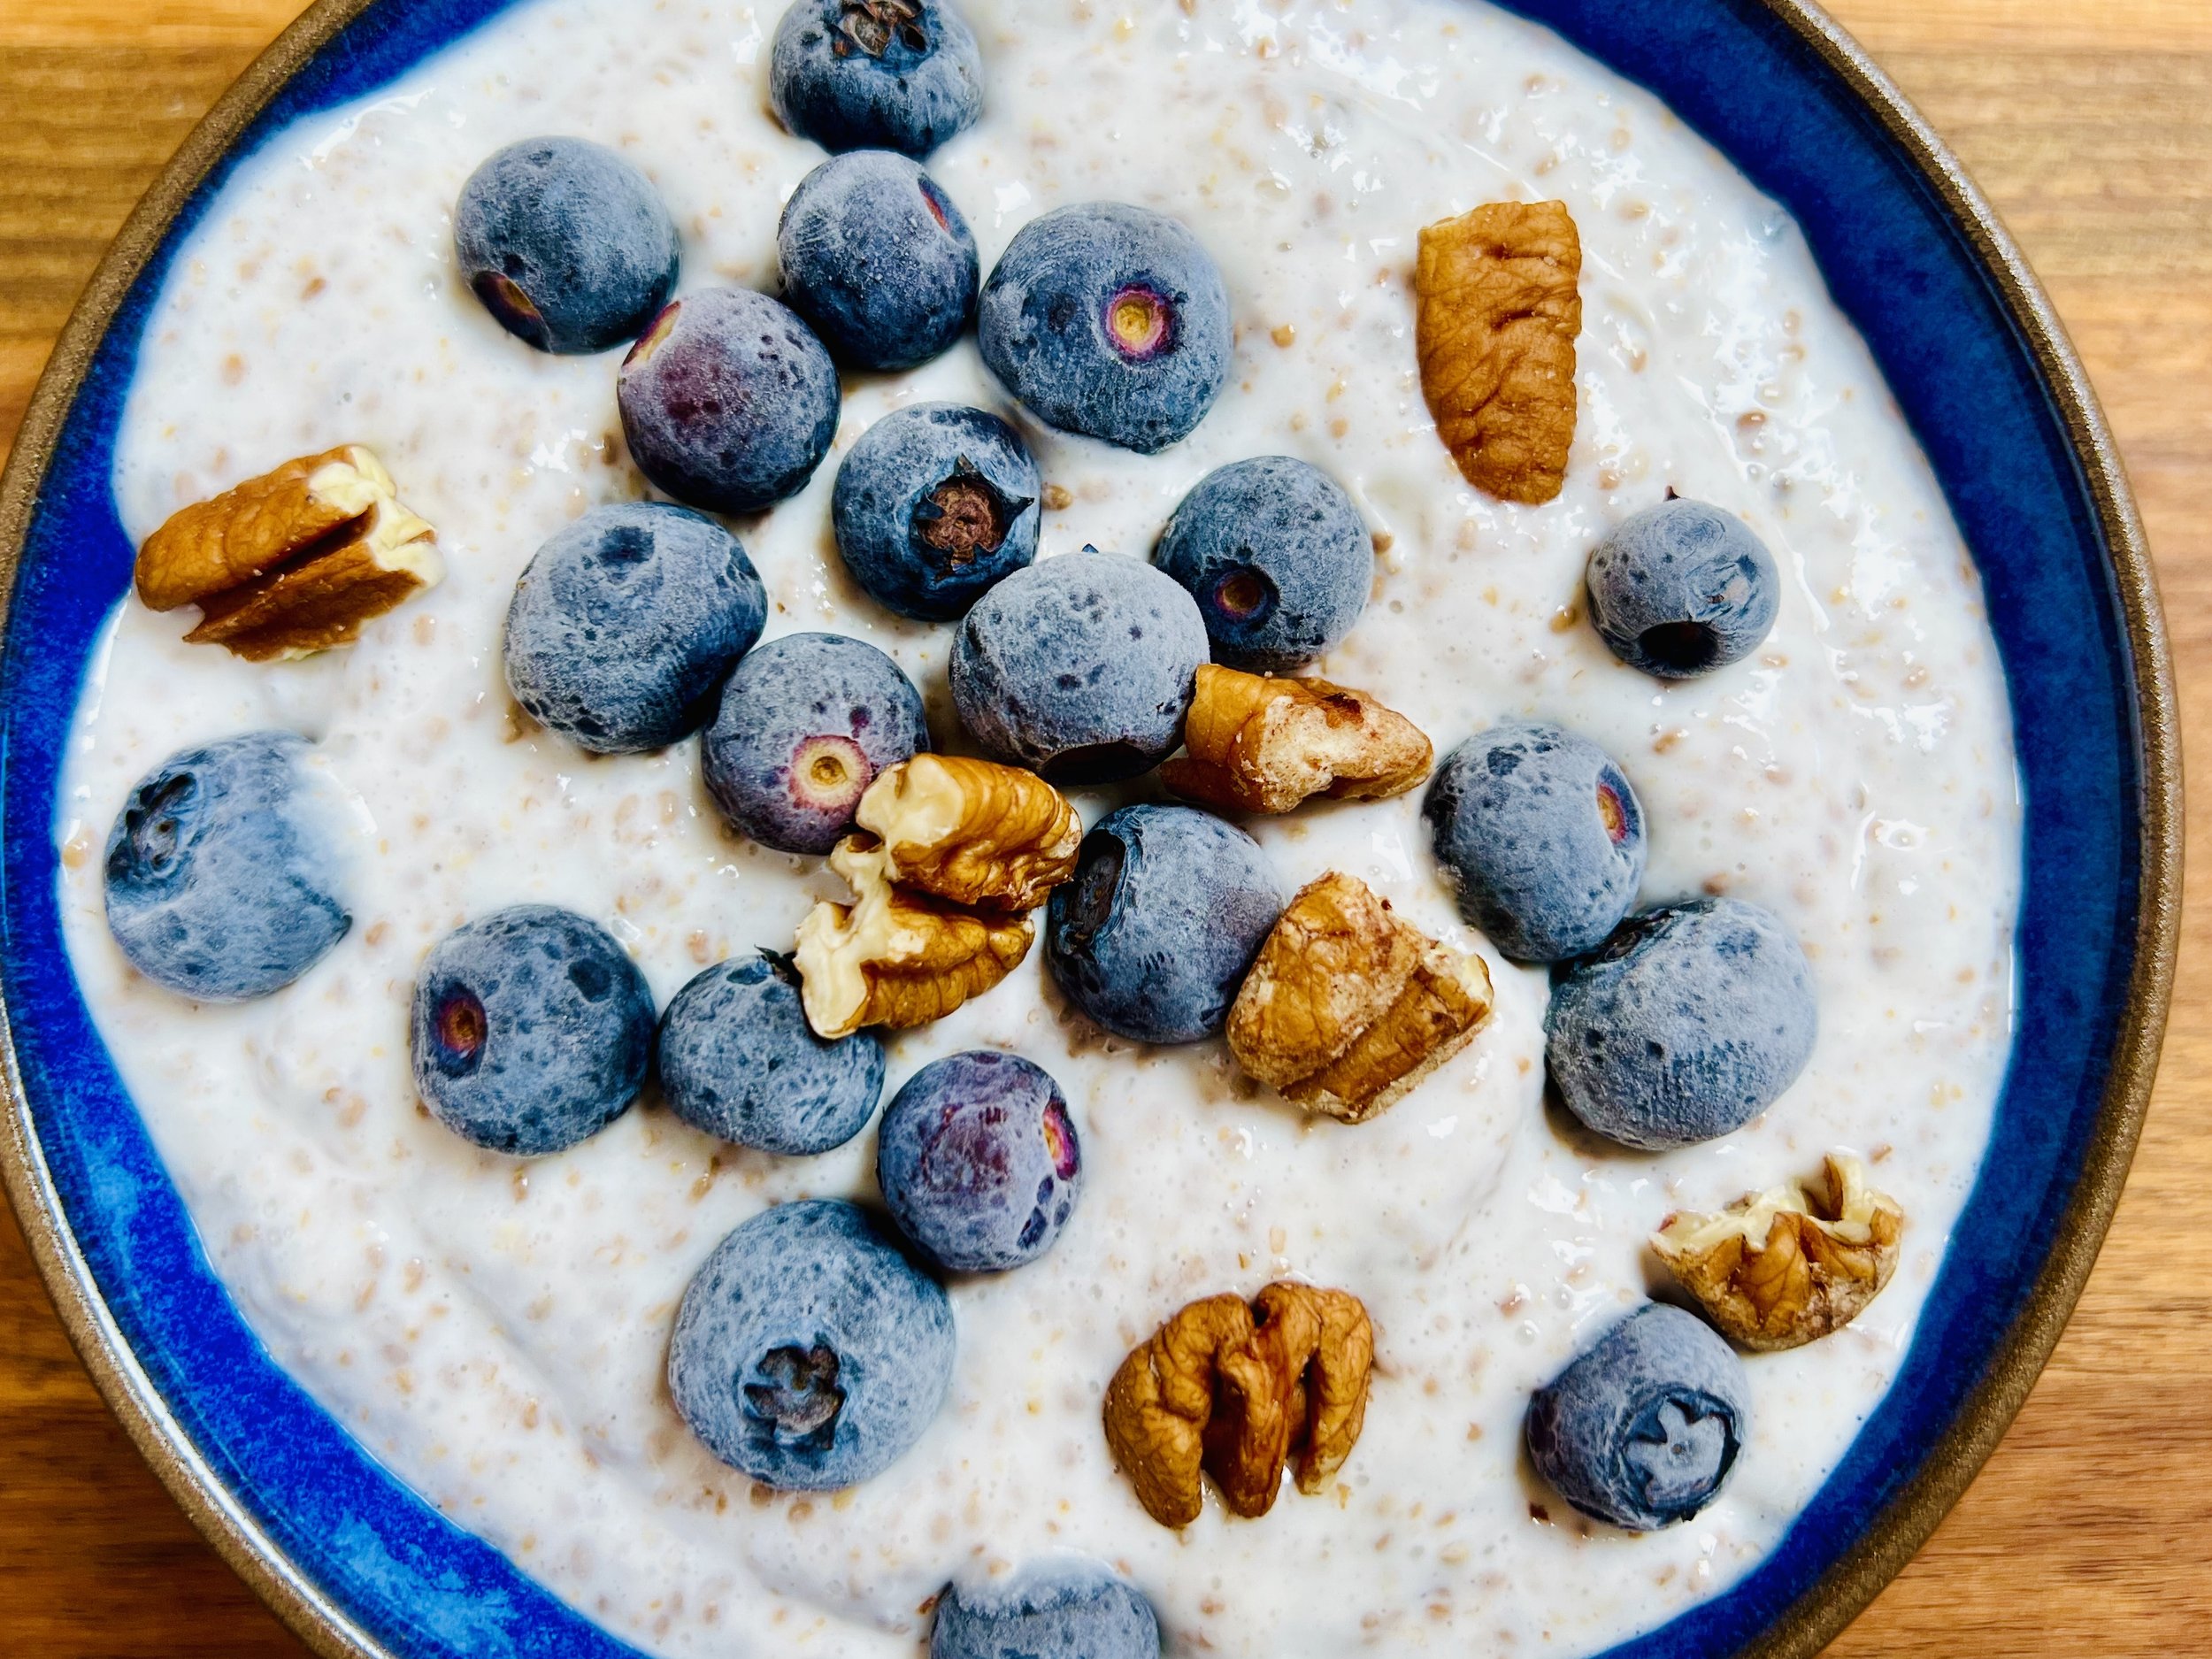

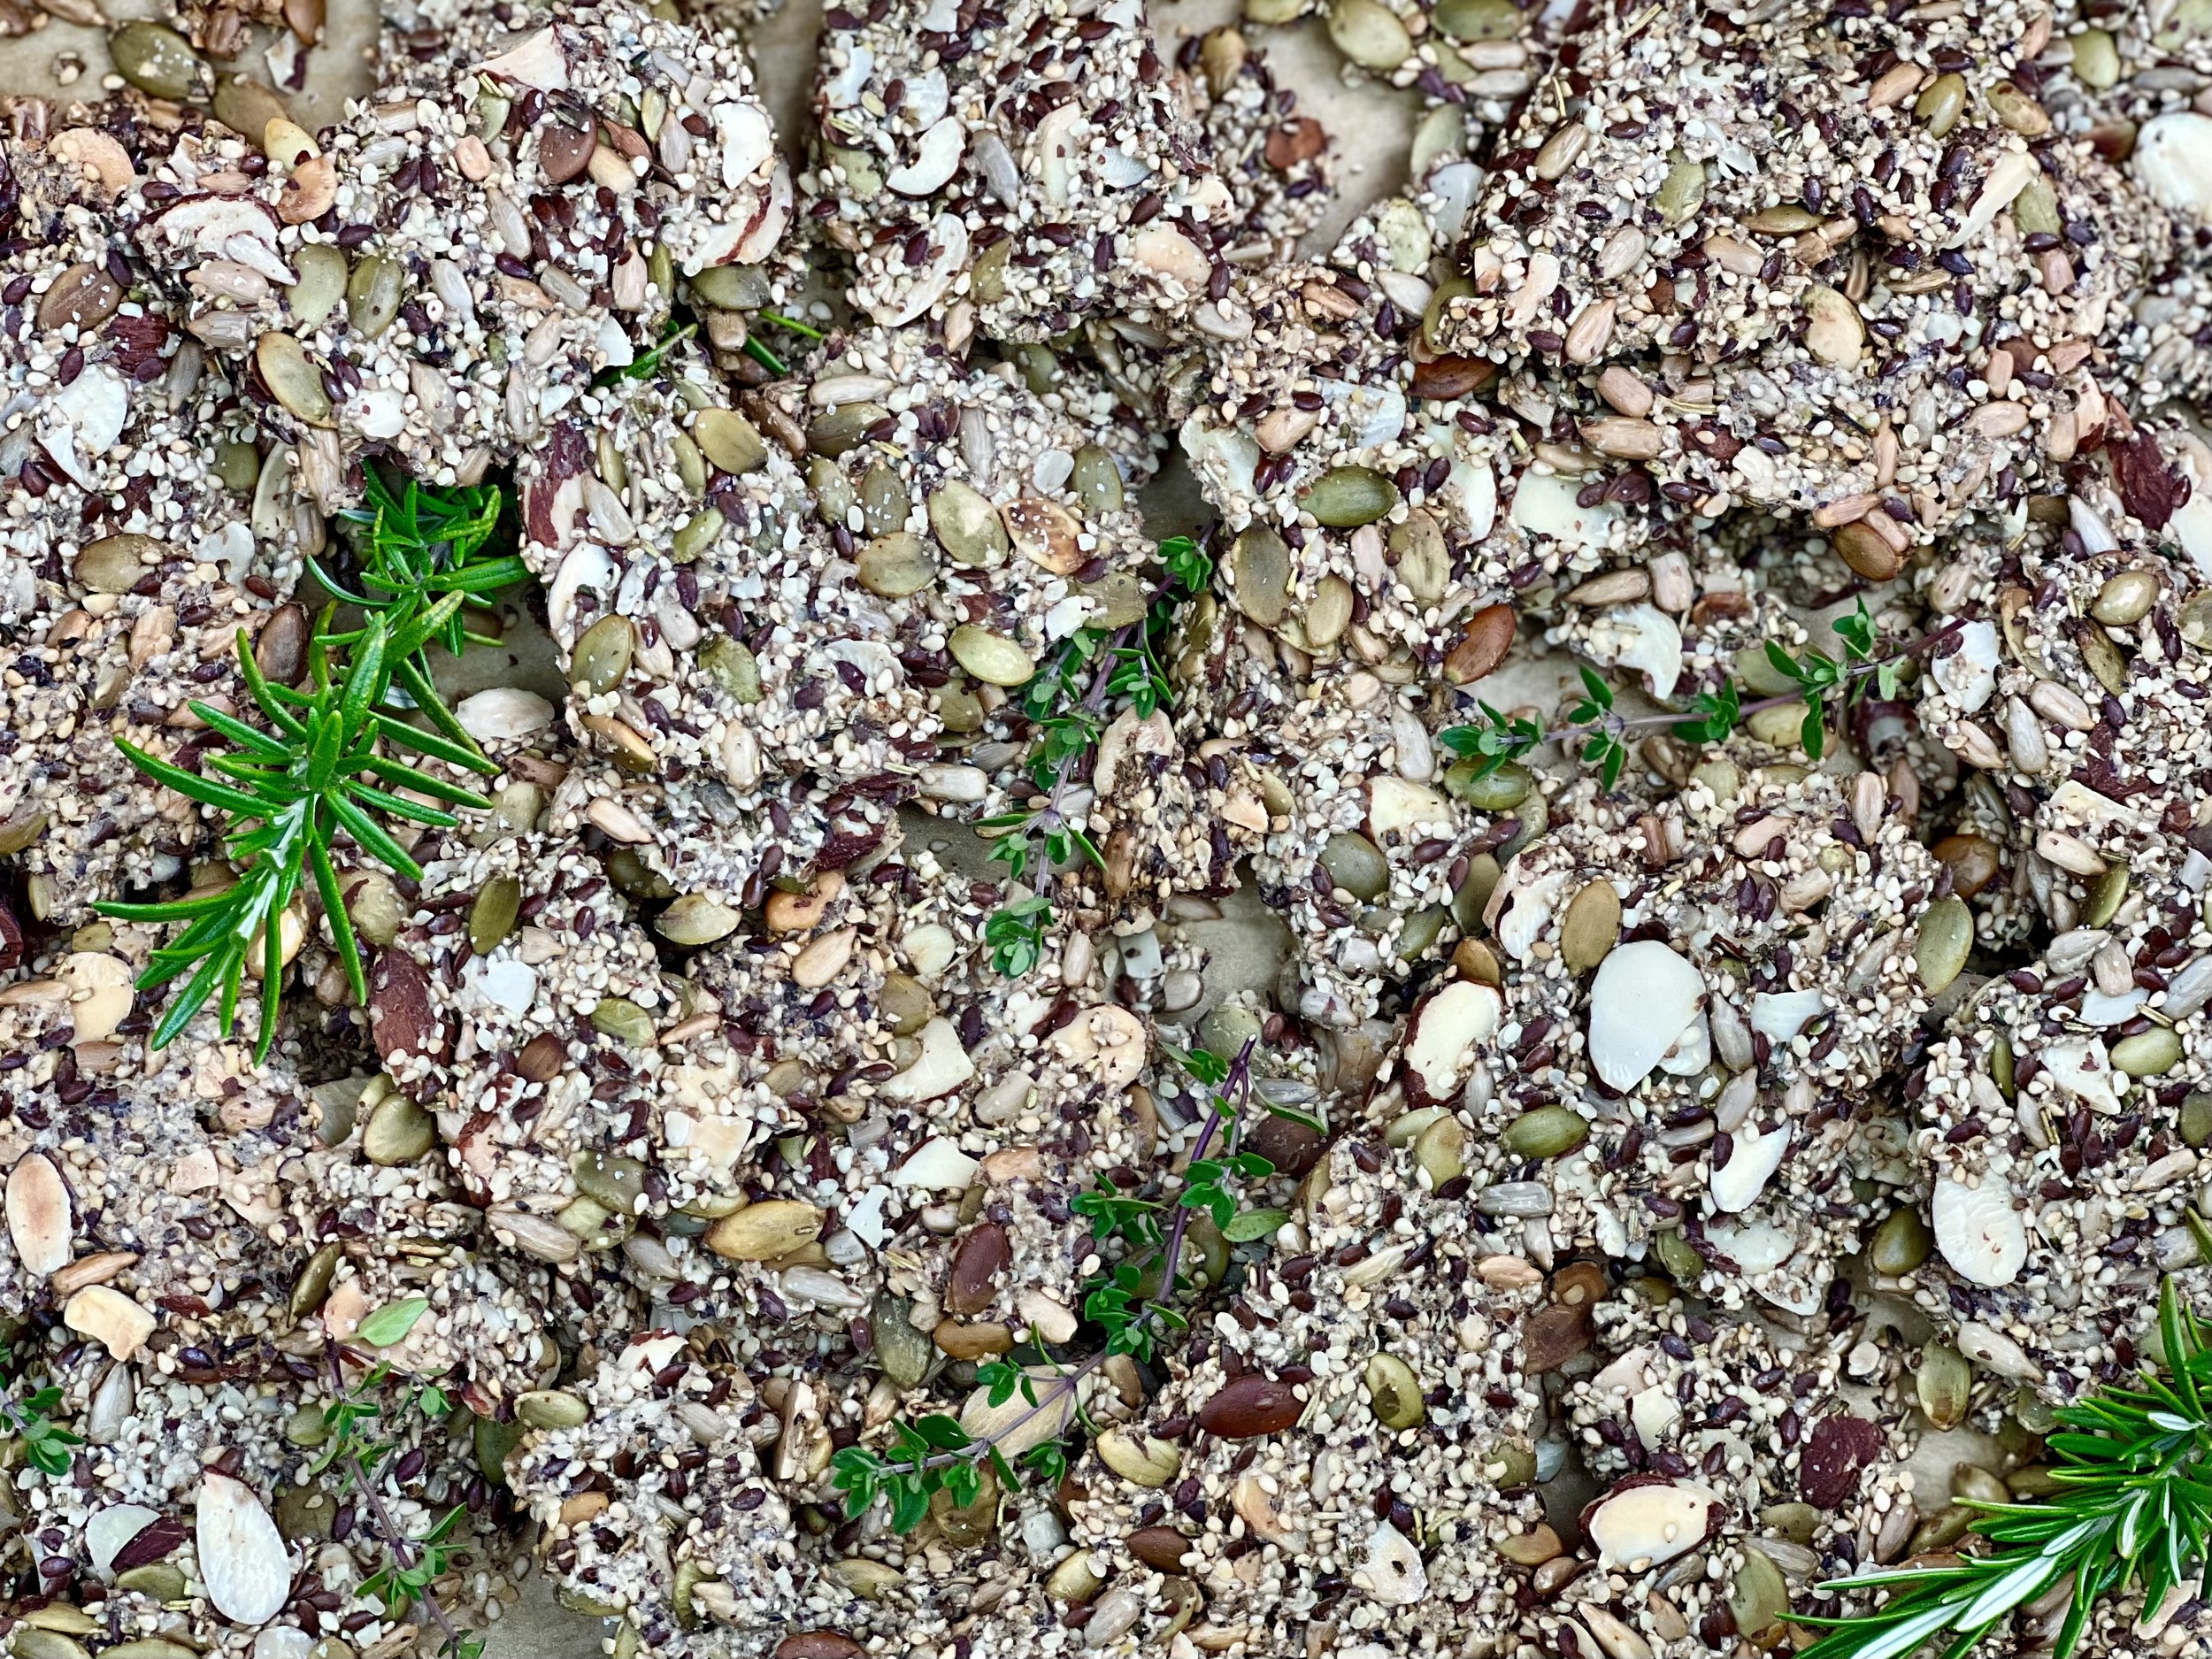
10 Minutes Prep • 50 Minutes Cook • Gluten-free • Dairy-free • Low FODMAP • Serving size 3-4 crackers