Deliciously Low FODMAP
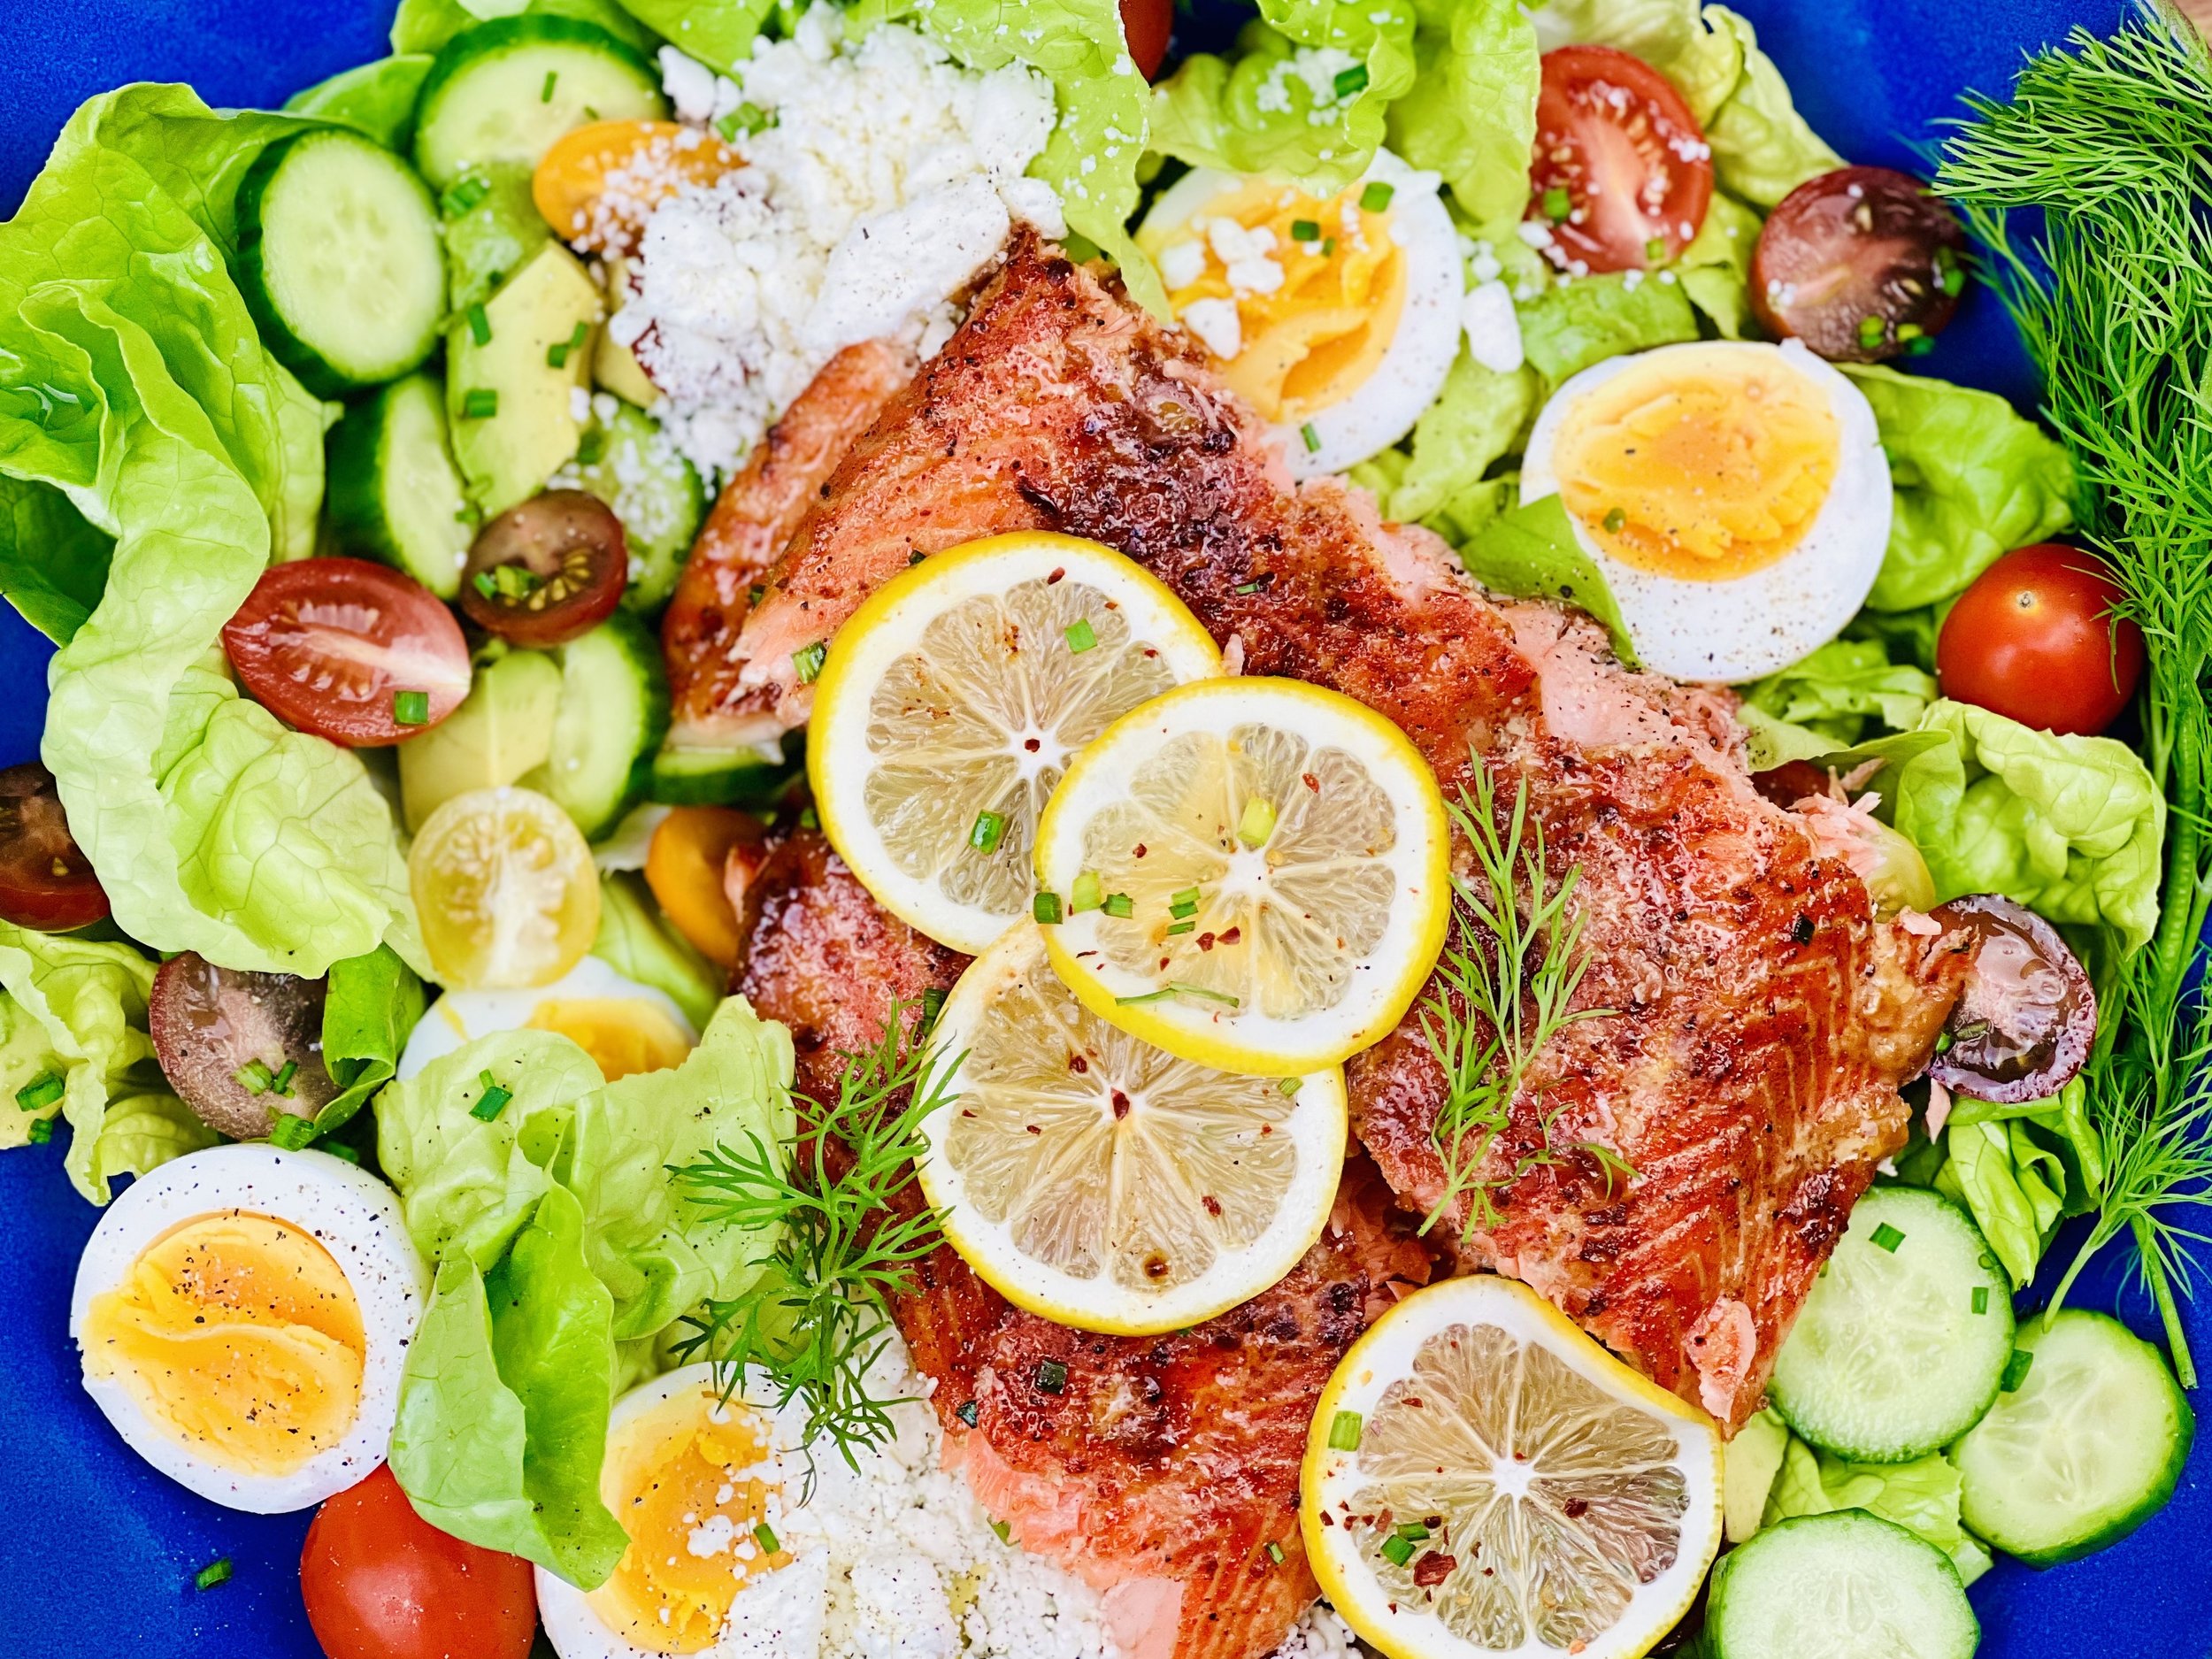
Inspire yourself with hundreds of delicious low FODMAP recipes, tips, and tools, and enjoy the abundance that is yours even when you have IBS.
Use the buttons and filters to find something specific or browse the complete collection for inspiration.
Discover a treasure trove of recipes with my FREE recipe club! Get new ideas delivered straight to your inbox every week.
Deliciously Low FODMAP is a trademark of IBS Game Changer, LLC
Filter to find Recipes and Tools
More Filtering Options
- All 704
- Appetizer 48
- BBQ 46
- Bowl 32
- Breakfast 58
- Cocktails 13
- Collection 1 58
- Collection 10 27
- Collection 11 30
- Collection 12 27
- Collection 13 31
- Collection 14 29
- Collection 15 31
- Collection 16 34
- Collection 17 31
- Collection 18 33
- Collection 19 36
- Collection 2 32
- Collection 20 33
- Collection 21 33
- Collection 22 27
- Collection 3 28
- Collection 4 29
- Collection 5 30
- Collection 6 32
- Collection 7 31
- Collection 8 31
- Collection 9 32
- Condiments 6
- Crock Pot 4
- Dessert 105
- Diabetes Game Changer Exception Protocol Contains Alcohol 11
- Diabetes Game Changer Exception Protocol Contains Flour 106
- Diabetes Game Changer Exception Protocol Contains Flour AND Sugar 76
- Diabetes Game Changer Exception Protocol Contains Sugar 46
- Diabetes Game Changer First Four Weeks 351
- Dinner 318
- Drink 7
- Free Guide 17
- Gluten-free 569
- Gut Microbiome 2
- Guthealth 3
- Holidays 63
- IBS Triggers 4
- Keto Friendly 112
- Lactose-Free 171
- Low FODMAP Diet 690
- Low Net Carb 126
- Low Net Starch 104
- Low Starch 107
Lemon-Glazed Zucchini Cinnamon Spice Cookies (Low FODMAP)
25 Minutes • 11 Minutes cook • Low FODMAP • Gluten-Free • Makes 3 dozen
25 Minutes • 11 Minutes cook • Low FODMAP • Gluten-Free • Makes 3 dozen • Ok to make-ahead: Steps 1 - 4
Craving a delightful twist on a classic cookie? Look no further! These Lemon-Glazed Zucchini Cinnamon Spice Cookies boast moist, tender zucchini dough bursting with warm cinnamon flavor. A bright, sweet lemon glaze finishes them off, creating a perfect balance of sweet and tangy in every bite.
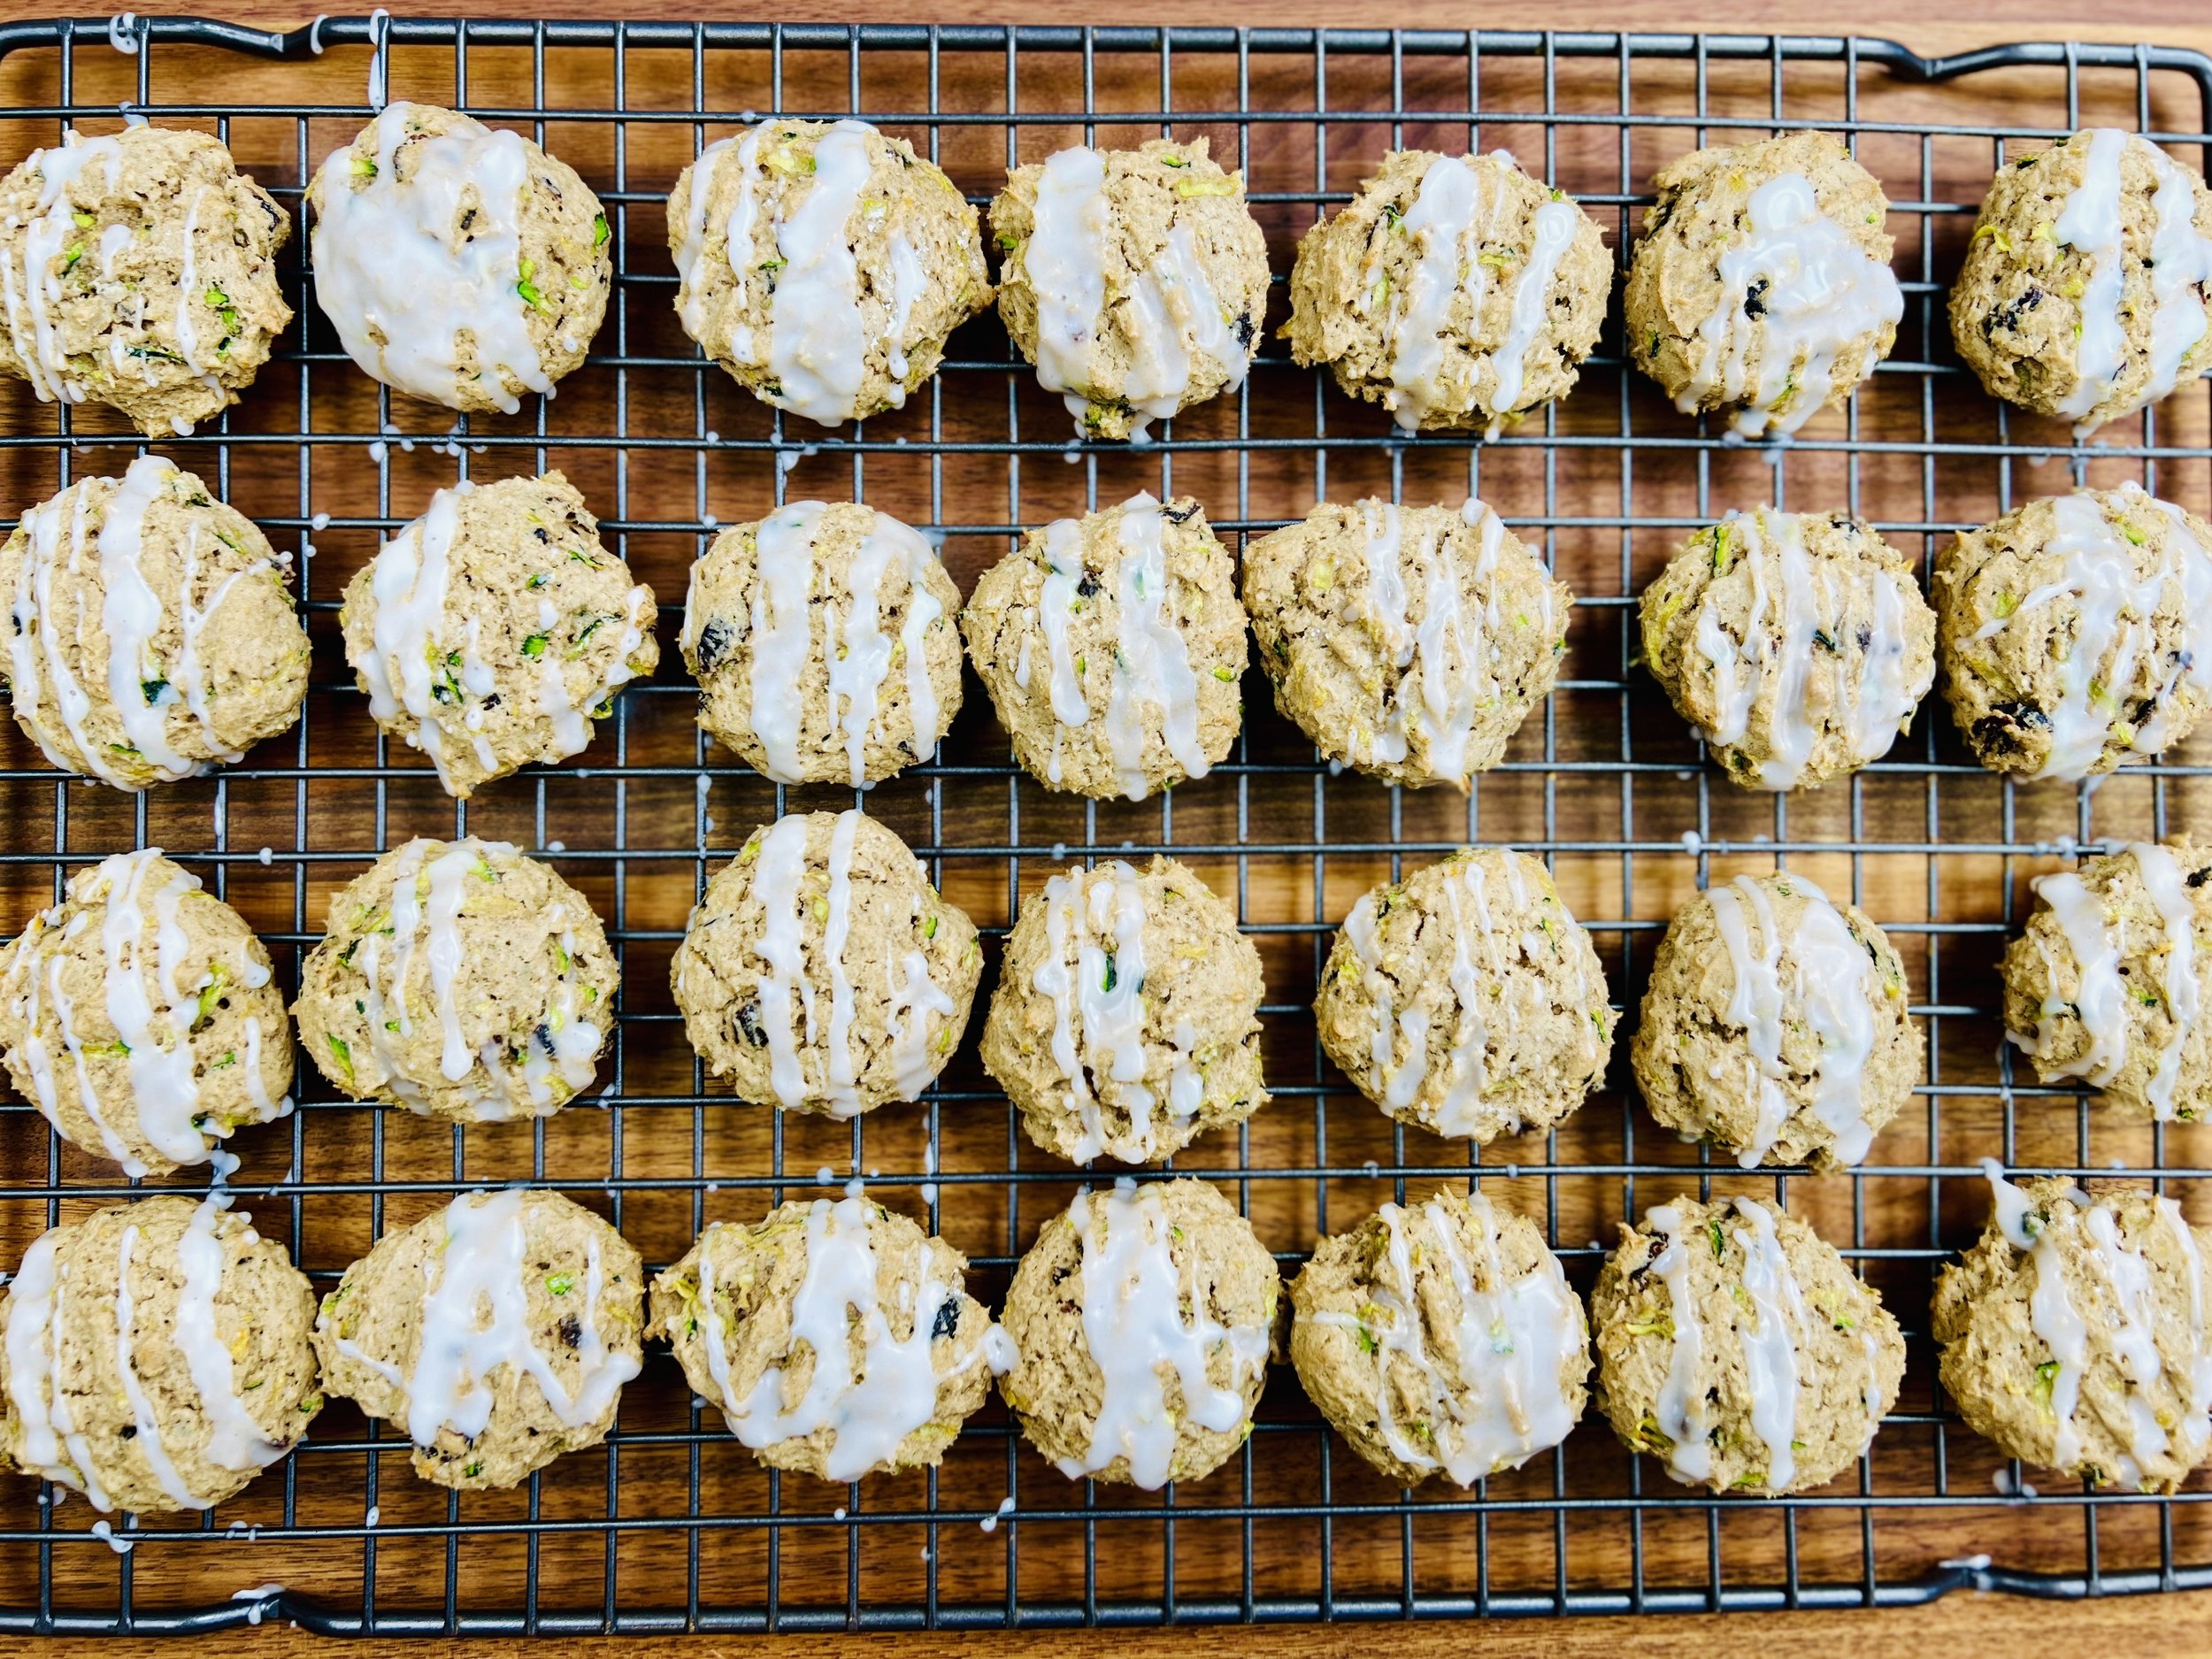
See this new recipe in my FREE recipe club.
To streamline your search through hundreds of existing recipes, I'm moving the release of my new weekly creations to the Recipe Club on Patreon. In the club, you’ll get access to a treasure trove of low-FODMAP goodness, complete with collections and filters to use as your virtual cookbook!
Here's what awaits you in the club:
Exclusive weekly recipes: Be the first to try my latest delicious low-FODMAP creations!
Simple & Easy: My recipes continue to focus on readily available ingredients and effortless preparation, perfect for family-friendly meals (no more separate low-FODMAP meal prep!).
Hundreds of existing recipes: Gain access to my entire library of low-FODMAP recipes, all conveniently organized.
You can join for free or sign up for only $5/month. Your support fuels my passion for creating new, delicious, and easy-to-make low-FODMAP recipes just for you.
Let's go on this delicious low-FODMAP journey together.
BLT Chicken Caesar Salad (Low FODMAP)
20 Minutes prep • 10 Minutes cook • Low FODMAP • Gluten-Free • Plant forward
20 Minutes prep • 10 Minutes cook • Low FODMAP • Gluten-Free • Plant forward • Serves 4 • Ok to make-ahead: Steps 1 - 4
BLTs and Caesar salads are wonderful classic flavors. Put them together with some cooked chicken and avocado in my BLT Chicken Caesar Salad and you have a delicious combination! It's perfect for a quick and easy lunch or dinner that will satisfy even the biggest appetites.
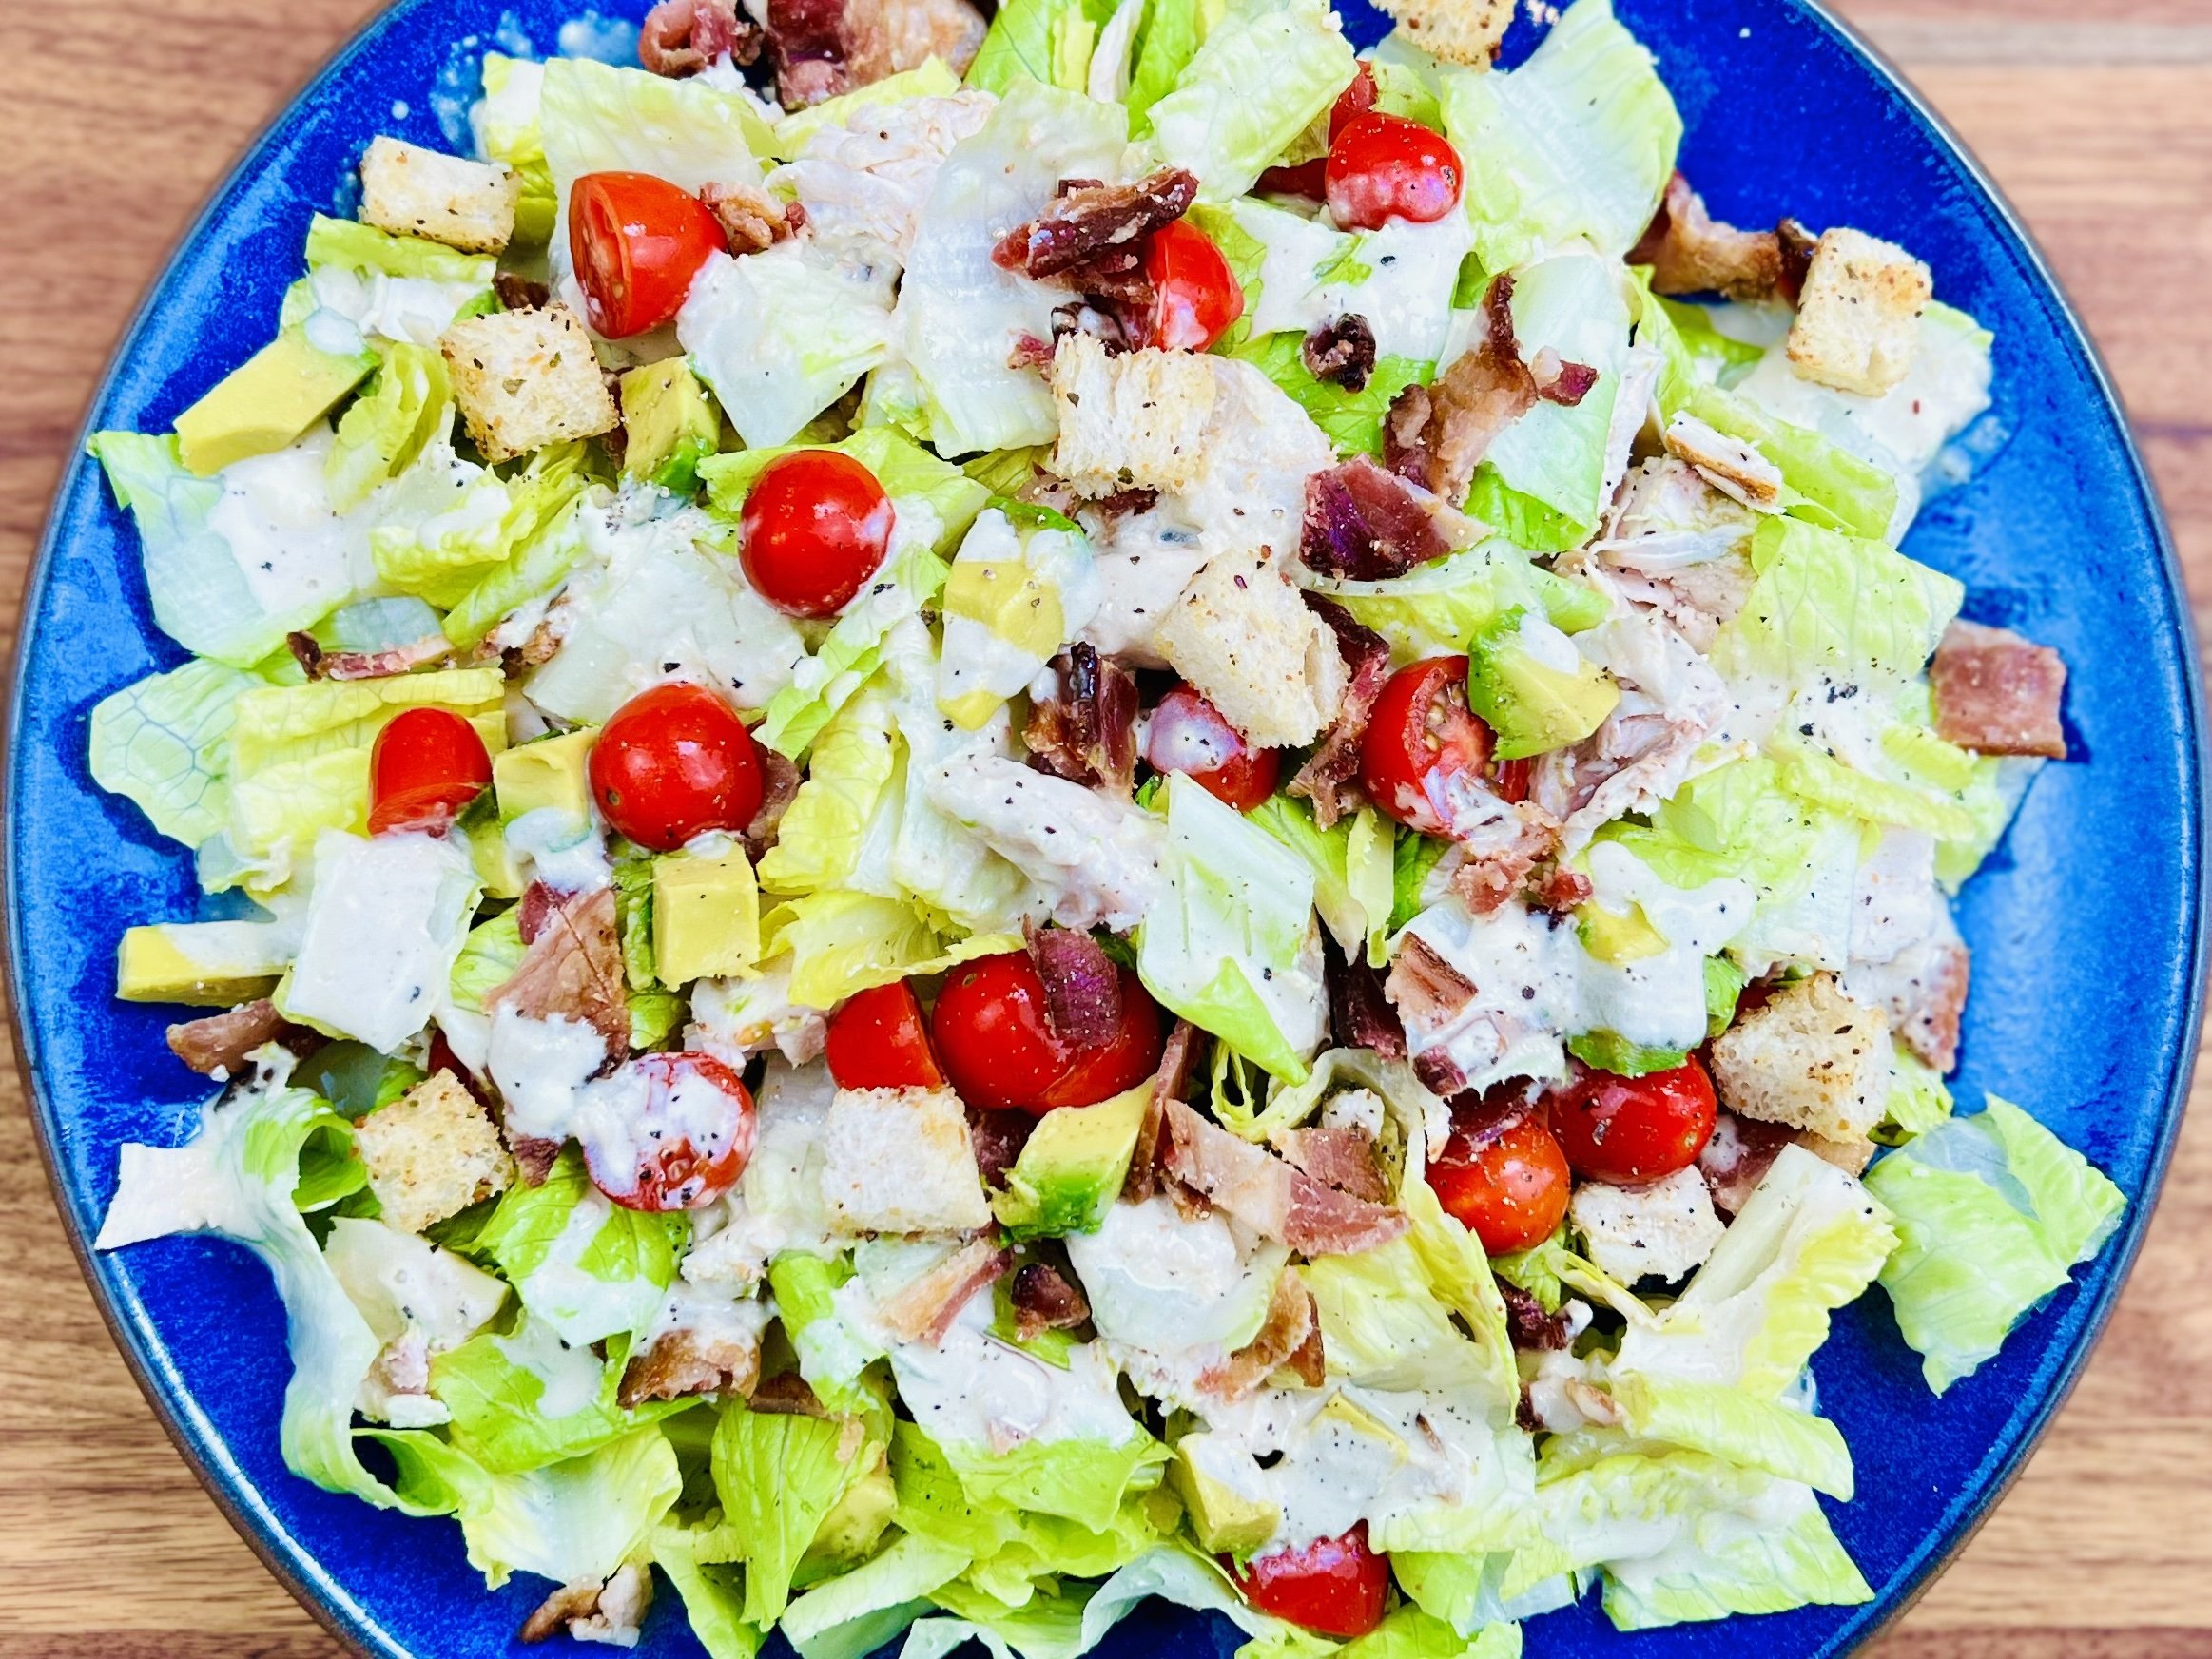
See this new recipe in my FREE recipe club.
To streamline your search through hundreds of existing recipes, I'm moving the release of my new weekly creations to the Recipe Club on Patreon. In the club, you’ll get access to a treasure trove of low-FODMAP goodness, complete with collections and filters to use as your virtual cookbook!
Here's what awaits you in the club:
Exclusive weekly recipes: Be the first to try my latest delicious low-FODMAP creations!
Simple & Easy: My recipes continue to focus on readily available ingredients and effortless preparation, perfect for family-friendly meals (no more separate low-FODMAP meal prep!).
Hundreds of existing recipes: Gain access to my entire library of low-FODMAP recipes, all conveniently organized.
You can join for free or sign up for only $5/month. Your support fuels my passion for creating new, delicious, and easy-to-make low-FODMAP recipes just for you.
Let's go on this delicious low-FODMAP journey together.
Chocolate Kissed Strawberry Ice Cream (Low FODMAP)
10 Minutes prep • 6 Hours Chill • Low FODMAP • Gluten-free • Serves 9
10 Minutes prep • 6 Hours Chill • Low FODMAP • Gluten-free • Serves 9 • Ok to make ahead: Steps 1-4
Are you looking for a simple yet amazing finish to your next BBQ or dinner? This no-churn homemade ice cream delivers! It’s the perfect combination of vivid strawberry flavor, blended with decadent dark chocolate chunks, all swirled into a luxuriously creamy base. With just five ingredients and minimal prep, you'll be savoring your new favorite ice cream in no time.
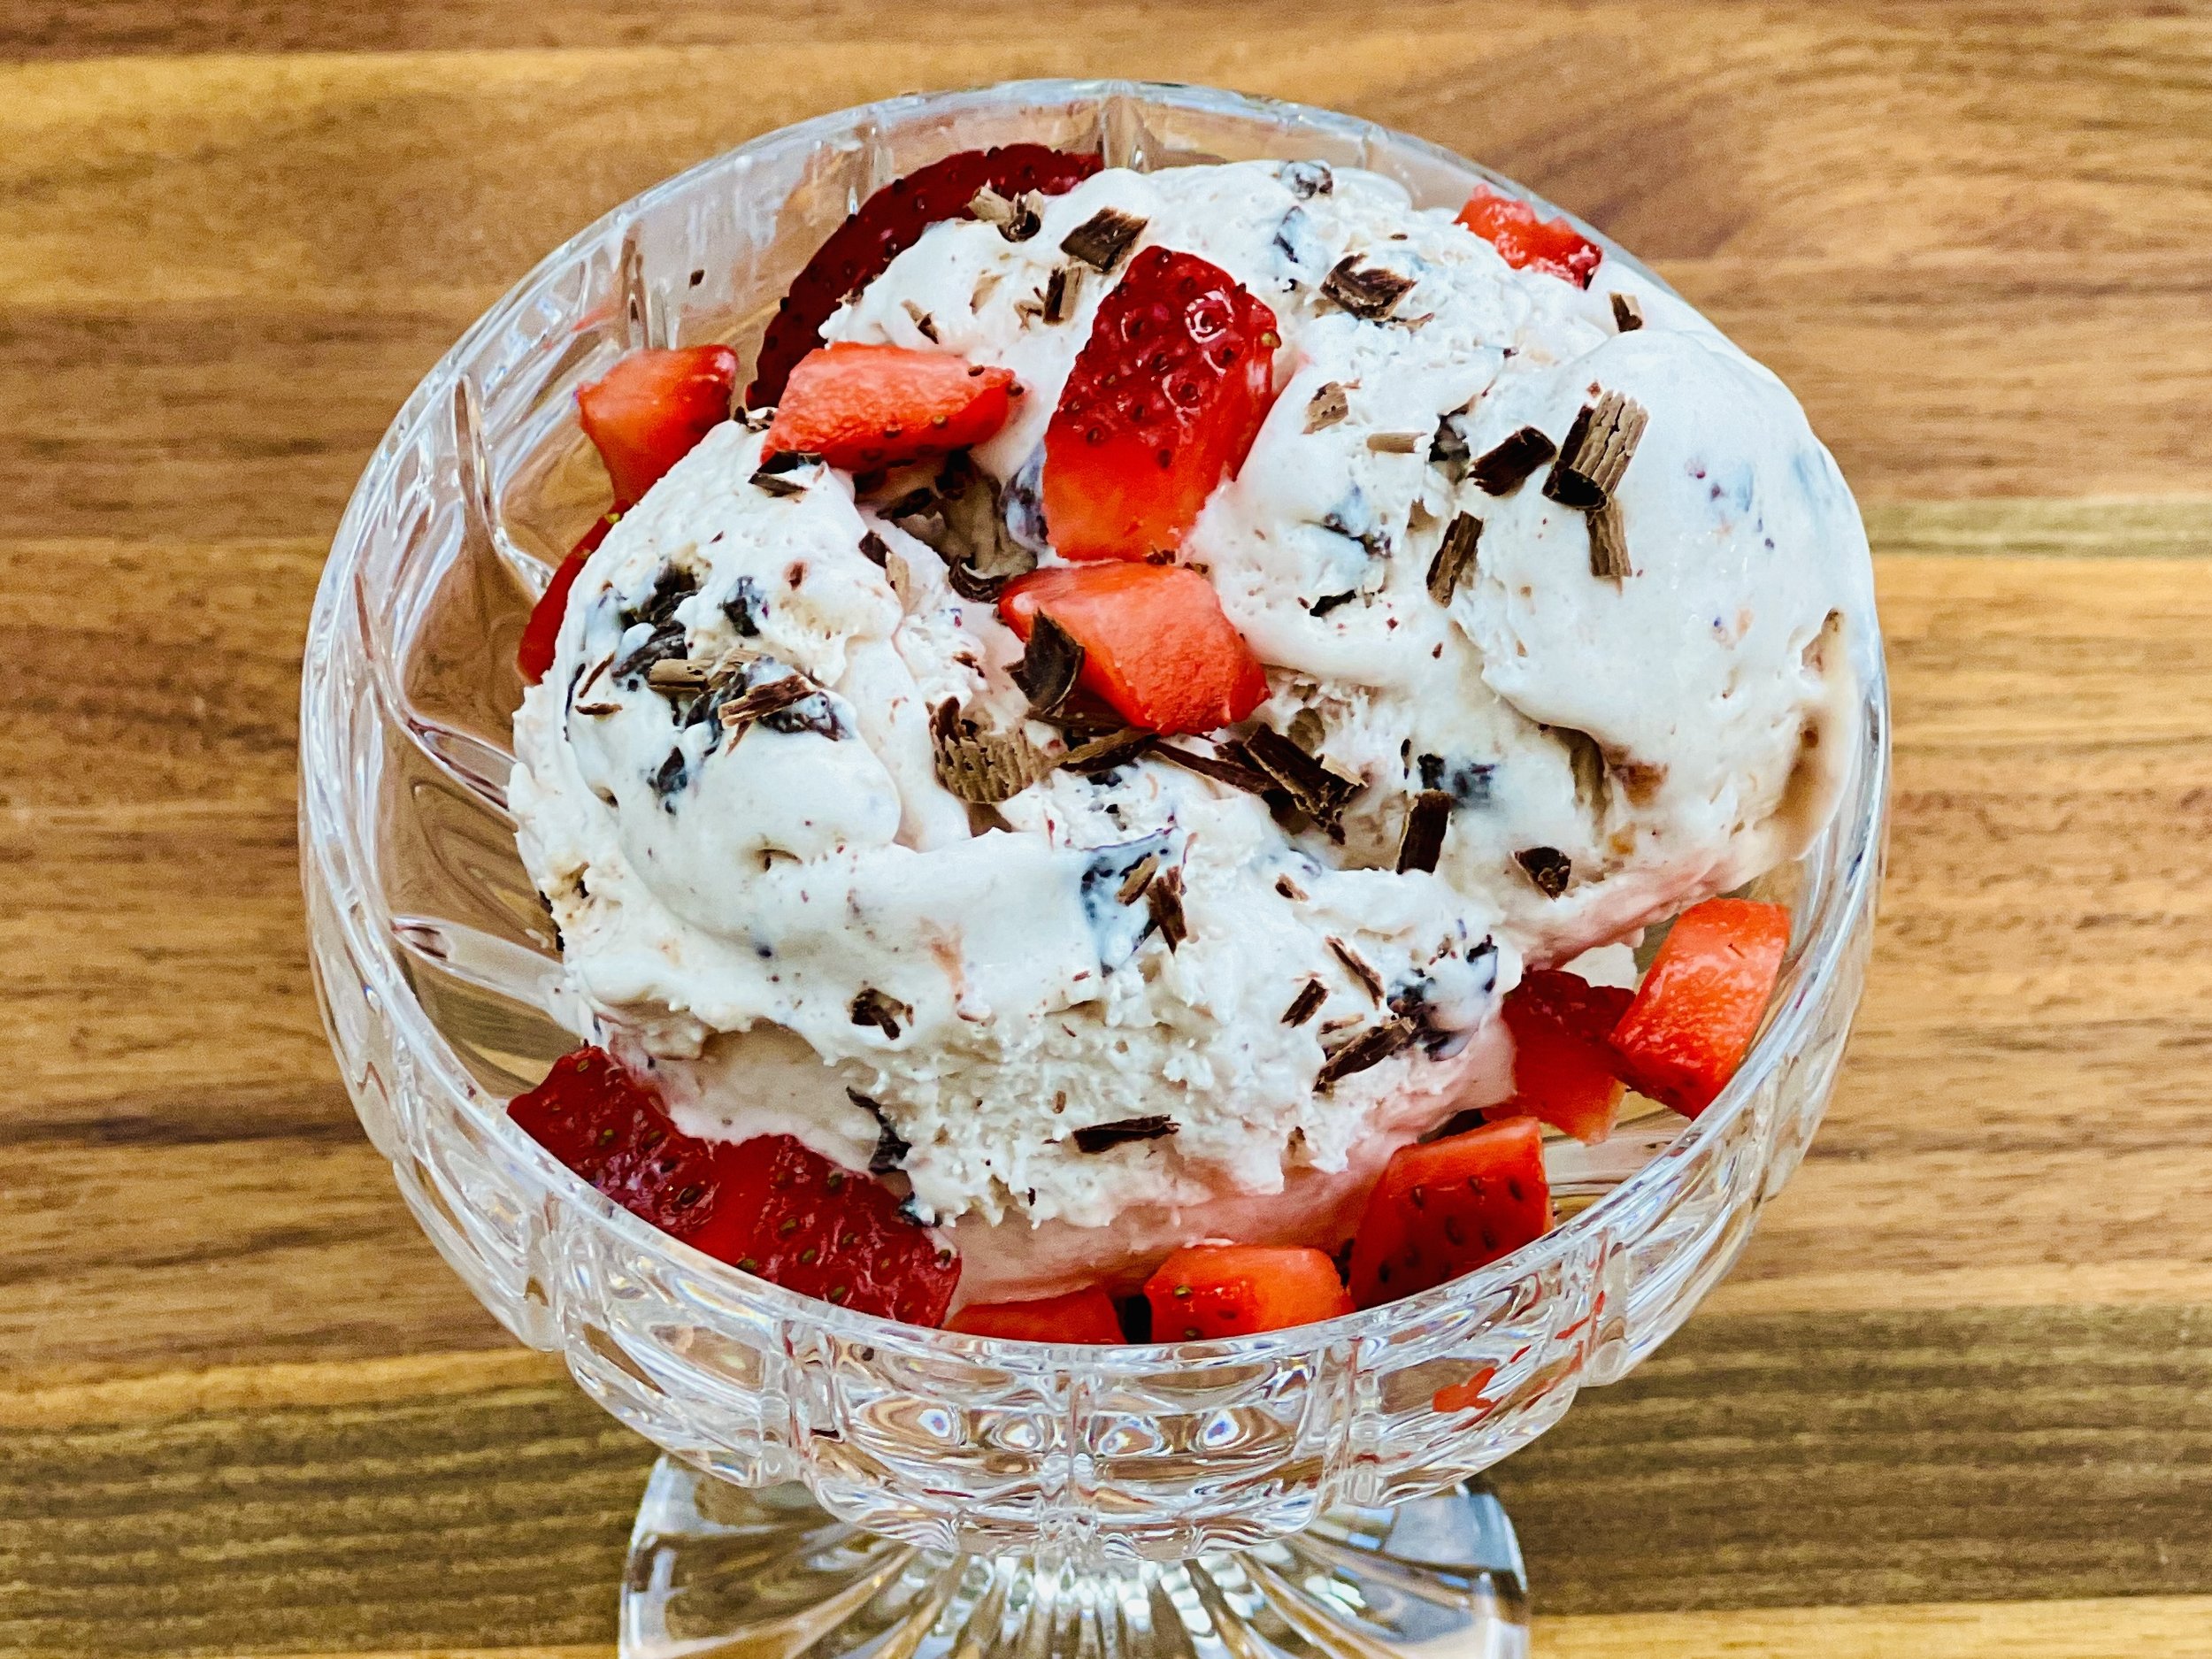
See this new recipe in my FREE recipe club.
To streamline your search through hundreds of existing recipes, I'm moving the release of my new weekly creations to the Recipe Club on Patreon. In the club, you’ll get access to a treasure trove of low-FODMAP goodness, complete with collections and filters to use as your virtual cookbook!
Here's what awaits you in the club:
Exclusive weekly recipes: Be the first to try my latest delicious low-FODMAP creations!
Simple & Easy: My recipes continue to focus on readily available ingredients and effortless preparation, perfect for family-friendly meals (no more separate low-FODMAP meal prep!).
Hundreds of existing recipes: Gain access to my entire library of low-FODMAP recipes, all conveniently organized.
You can join for free or sign up for only $5/month. Your support fuels my passion for creating new, delicious, and easy-to-make low-FODMAP recipes just for you.
Let's go on this delicious low-FODMAP journey together.
More Deliciously Low FODMAP™ dessert recipes
15 Minutes prep • 20 Minutes cook • 30 Minutes cool • Low FODMAP • Gluten-free • Makes 18 bars
20 Minutes prep • 10 Minutes cook • Low FODMAP • Gluten-free • Makes 12 Sandwiched Cookies
20 Minutes prep • 20 Minutes cook • Low FODMAP • Gluten-free • Lactose-free • Makes 12 - 24
20 Minutes prep • 2 Hours chill • 10 Minutes cook • Low FODMAP • Gluten-free • Makes 24 - 36
I’m here to show you how to fully embrace the flavors of fall while keeping your digestive system happy.
10 Minutes prep • Overnight Chill • Low FODMAP • Gluten-free • Lactose-free • Serves 2 - 4
15 Minutes prep • 30 Minutes cook/cool • Low FODMAP • Gluten-free • Serves 8 • Serving Size 1/8
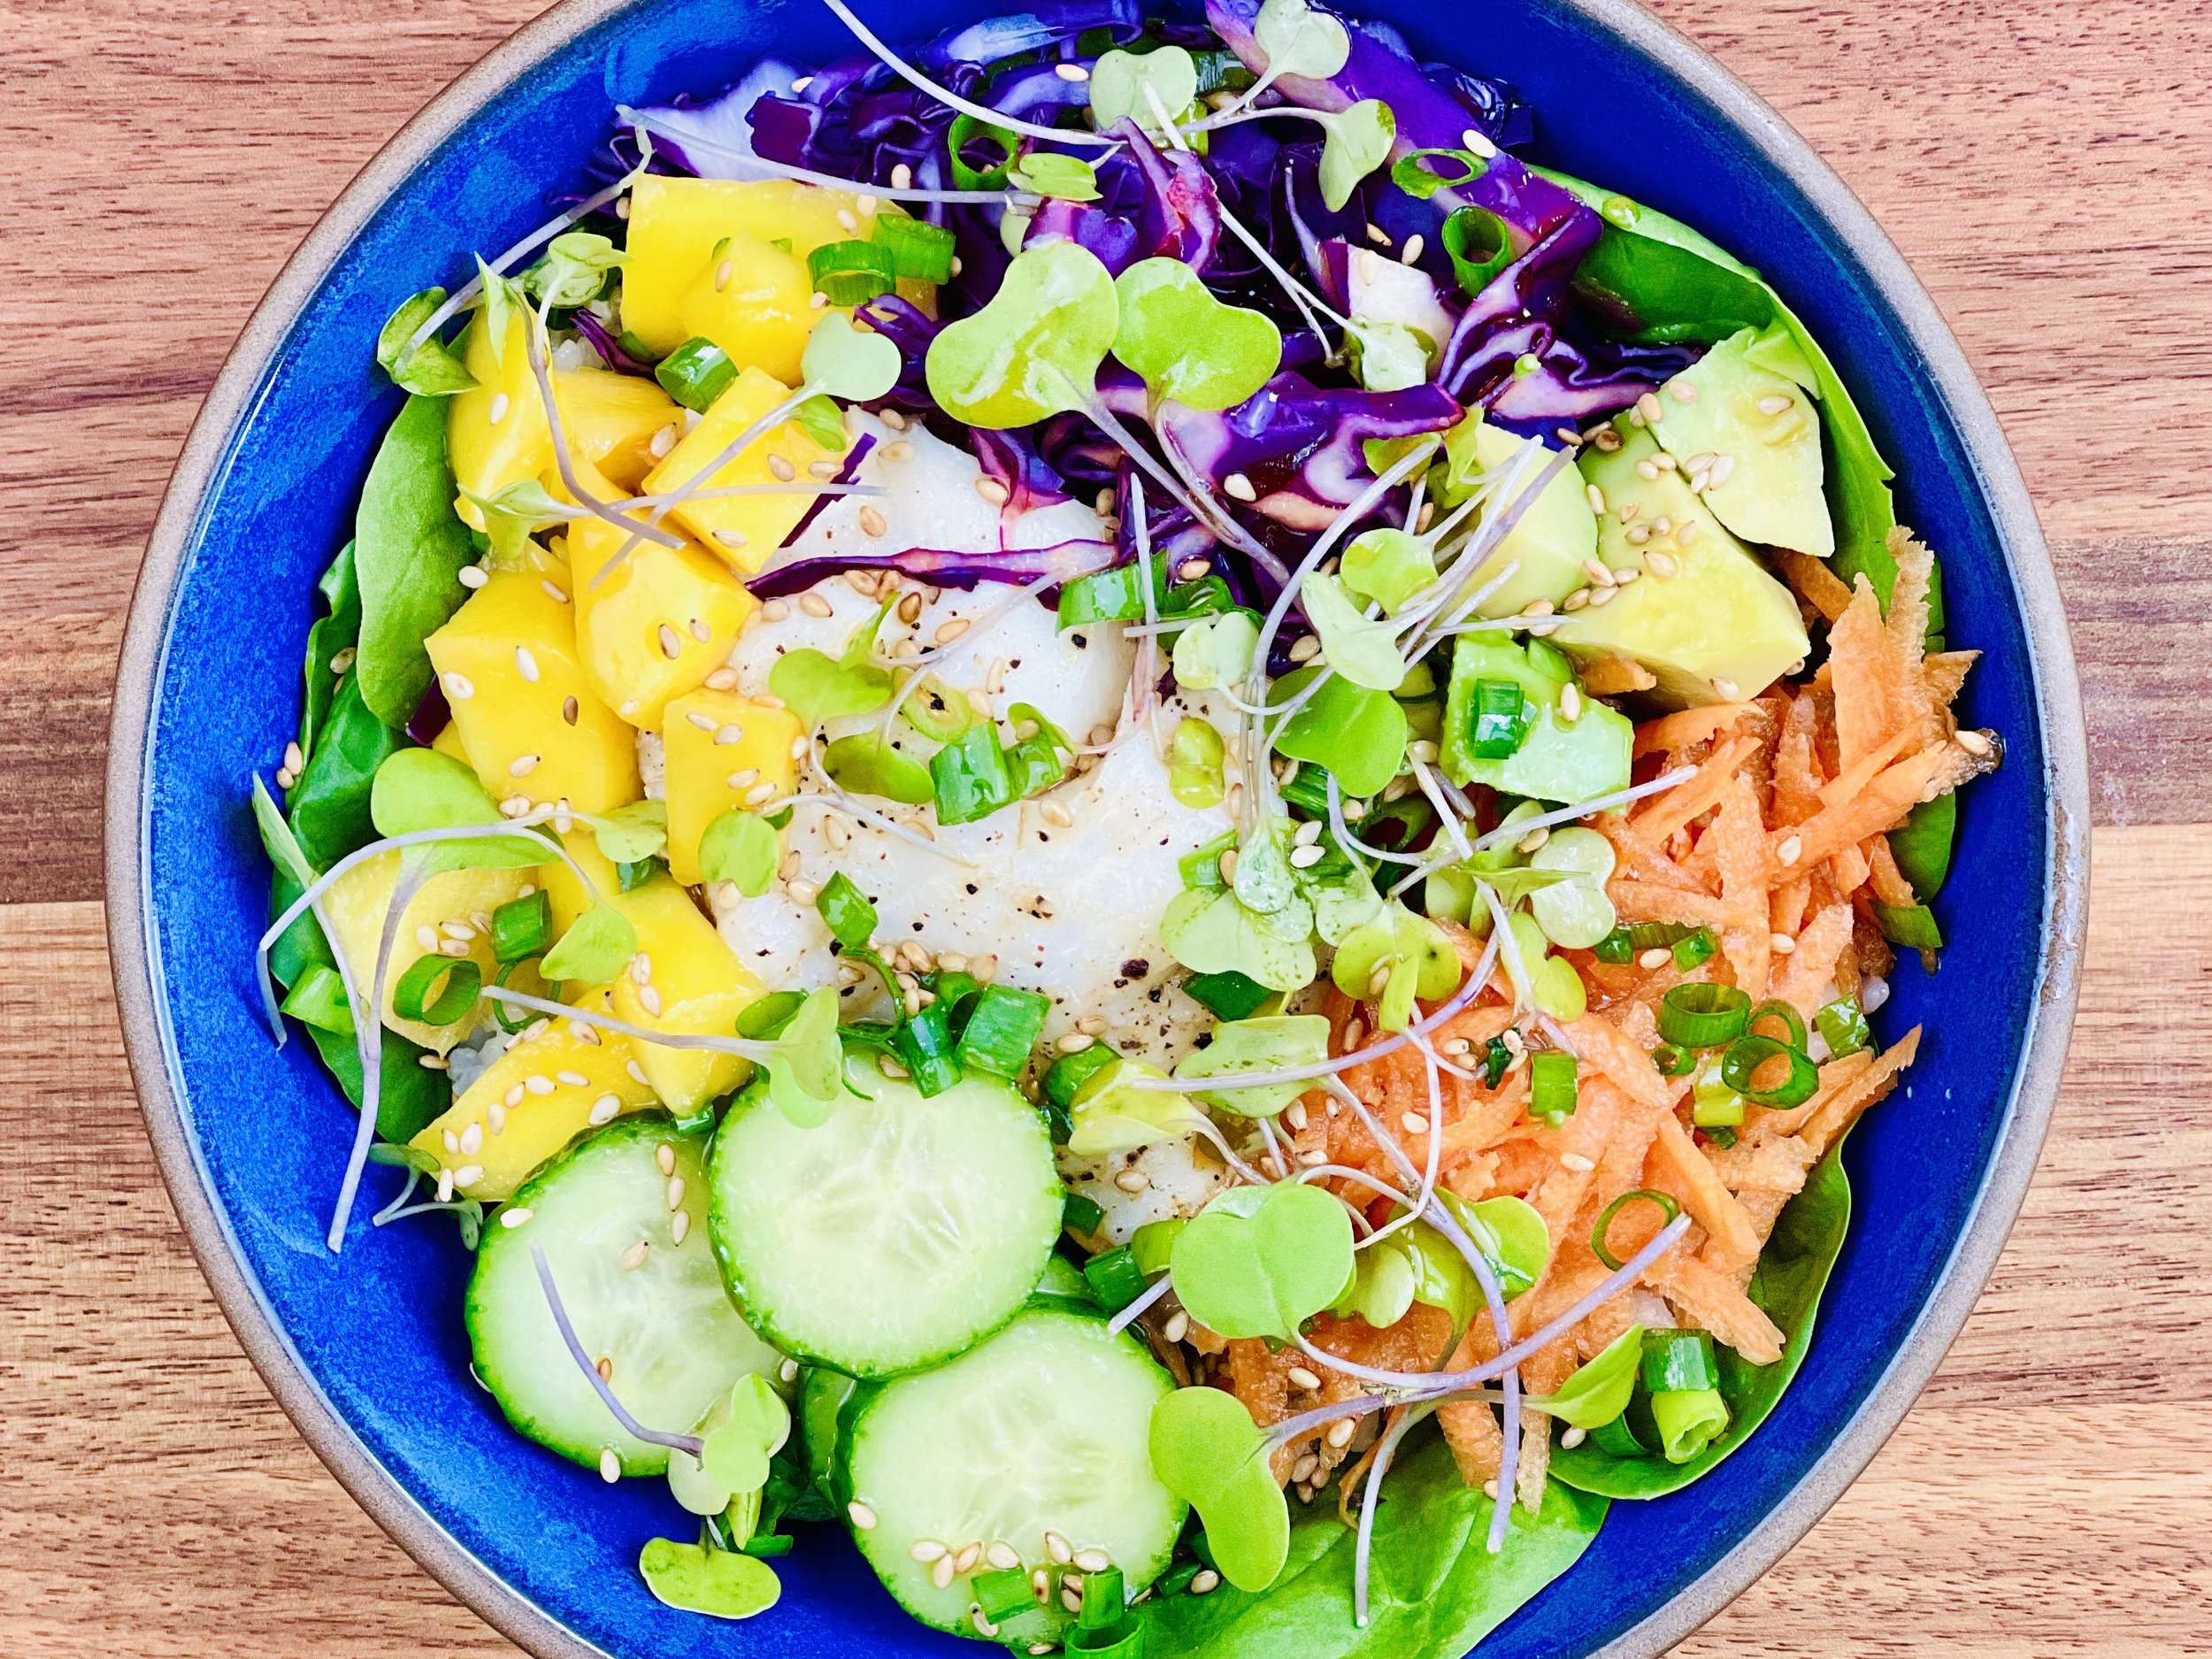
Coconut Mango Halibut Rice Bowl (Low FODMAP)
20 Minutes prep • 10 Minutes cook • Low FODMAP • Gluten-free • Serves 4
20 Minutes prep • 10 Minutes cook • Low FODMAP • Gluten-free • Serves 4 • Ok to make ahead: Steps 1-3
My daughter is AMAZING in the kitchen and she can whip recipes up out of thin air. This one was particularly delicious and also perfectly low FODMAP so I had to share! Halibut is firm, flaky, and mild and it pairs beautifully with the coconut rice, sweet mango, creamy avocado, and all the veggie toppings. Mango has a lot of fructose but one ounce is considered low FODMAP and a little goes a long way. It makes a beautiful addition and you don’t need much to add a delightful tropical flavor to this recipe. Make this tonight and transport yourself to the tropics.
Ingredients
12 ounces Halibut
1 tablespoon toasted toasted sesame oil
1 tablespoon salted butter, melted
1/2 teaspoon Kosher salt
1/2 teaspoon black pepper
Ingredients: Coconut rice
1 cup jasmine rice, or sushi rice
1 1/2 cups unsweetened coconut milk
1/2 teaspoon kosher salt
Ingredients: Toppings
4 ounces Mango, diced
1/2 cup purple cabbage, chopped
2 medium carrots, grated
2 green onions, green part only, chopped
8 ounces avocado, cubed
3 Persian cucumbers, sliced
1/2 cup microgreens
2 cups baby spinach, long stems removed
Pickled ginger (like you get with sushi)
Ingredients: Sauce
2 tablespoons gluten-free soy sauce or tamari
1 tablespoon fresh lime juice
1 tablespoon toasted sesame oil
2 teaspoons maple syrup
1 teaspoon rice vinegar
1 teaspoon toasted sesame seeds
Directions
(1) Prepare: Wash, chop, grate, and slice the veggies as indicated. Preheat the oven or grill to 425 degrees F.
(2) Make the coconut rice: Put the rice in a fine strainer and rinse under cold water until the water runs clear. Set aside and let drain. In a medium saucepan over medium heat add the coconut milk, rice, and salt and bring to a boil. Reduce heat to a simmer, cover, and cook 18-20 minutes, until the liquid has been absorbed. Remove from the heat. Stir and let sit for a few minutes before serving.
(3) Make the sauce: Combine all ingredients in a small jar or bowl and shake or whisk to combine.
(4) Cook the fish: Melt the butter and mix with the sesame oil. Put the fish in the middle of a square of foil large enough to make into a loose pouch around the fish. Add salt and pepper to the fish, then fold the foil across the top and sides to seal. Grill on medium-high or cook in a 425 degree F oven for 8 - 10 minutes—or until the fish is opaque and flakes when you cut into it.
(5) Plate and serve: Make a bed of spinach in the bottom of the bowl. Cover with warm coconut rice. Add the fish, then all of the other toppings around the fish. Drizzle with sauce and serve with a sprinkle of toasted sesame seeds and pickled ginger on the side.
Eat and enjoy every bite because you can!
Recipe note: I use Diamond Crystal Kosher salt in all my recipes because it has a wonderful flat and crisp flake that tastes delicious. It is also the least salty salt available so you can use it more liberally as a seasoning than you can table salt or sea salt. If you use another type of salt, you may need to reduce the amount so it is not over-salted.
Have a question you’d like to have answered? Email me at hello@ibsgamechanger.com
Link note: This post may contain affiliate links for you to easily purchase items that are linked. I may earn a small commission from qualifying purchases but none of this costs you a thing so feel free to use the links! In addition, for some items, I have provided a special discount code for IBS Game Changers so be sure to use the code when you purchase an item to get the discount that has been arranged just for you.
More Deliciously Low FODMAP™ seafood recipes
15 Minutes prep • 10 Minutes cook • Low FODMAP • Serves 4 • Ok to make-ahead: Steps 1 - 4
10 Minutes + overnight prep • 3 - 4 hours cook • Low FODMAP • Gluten-Free • Lactose-free • Serves 6 • Ok to make-ahead: Steps 1 - 7
45 Minutes (+1 hour to soak cedar planks) • Gluten-free • Lactose-free • Low FODMAP • Serves 8
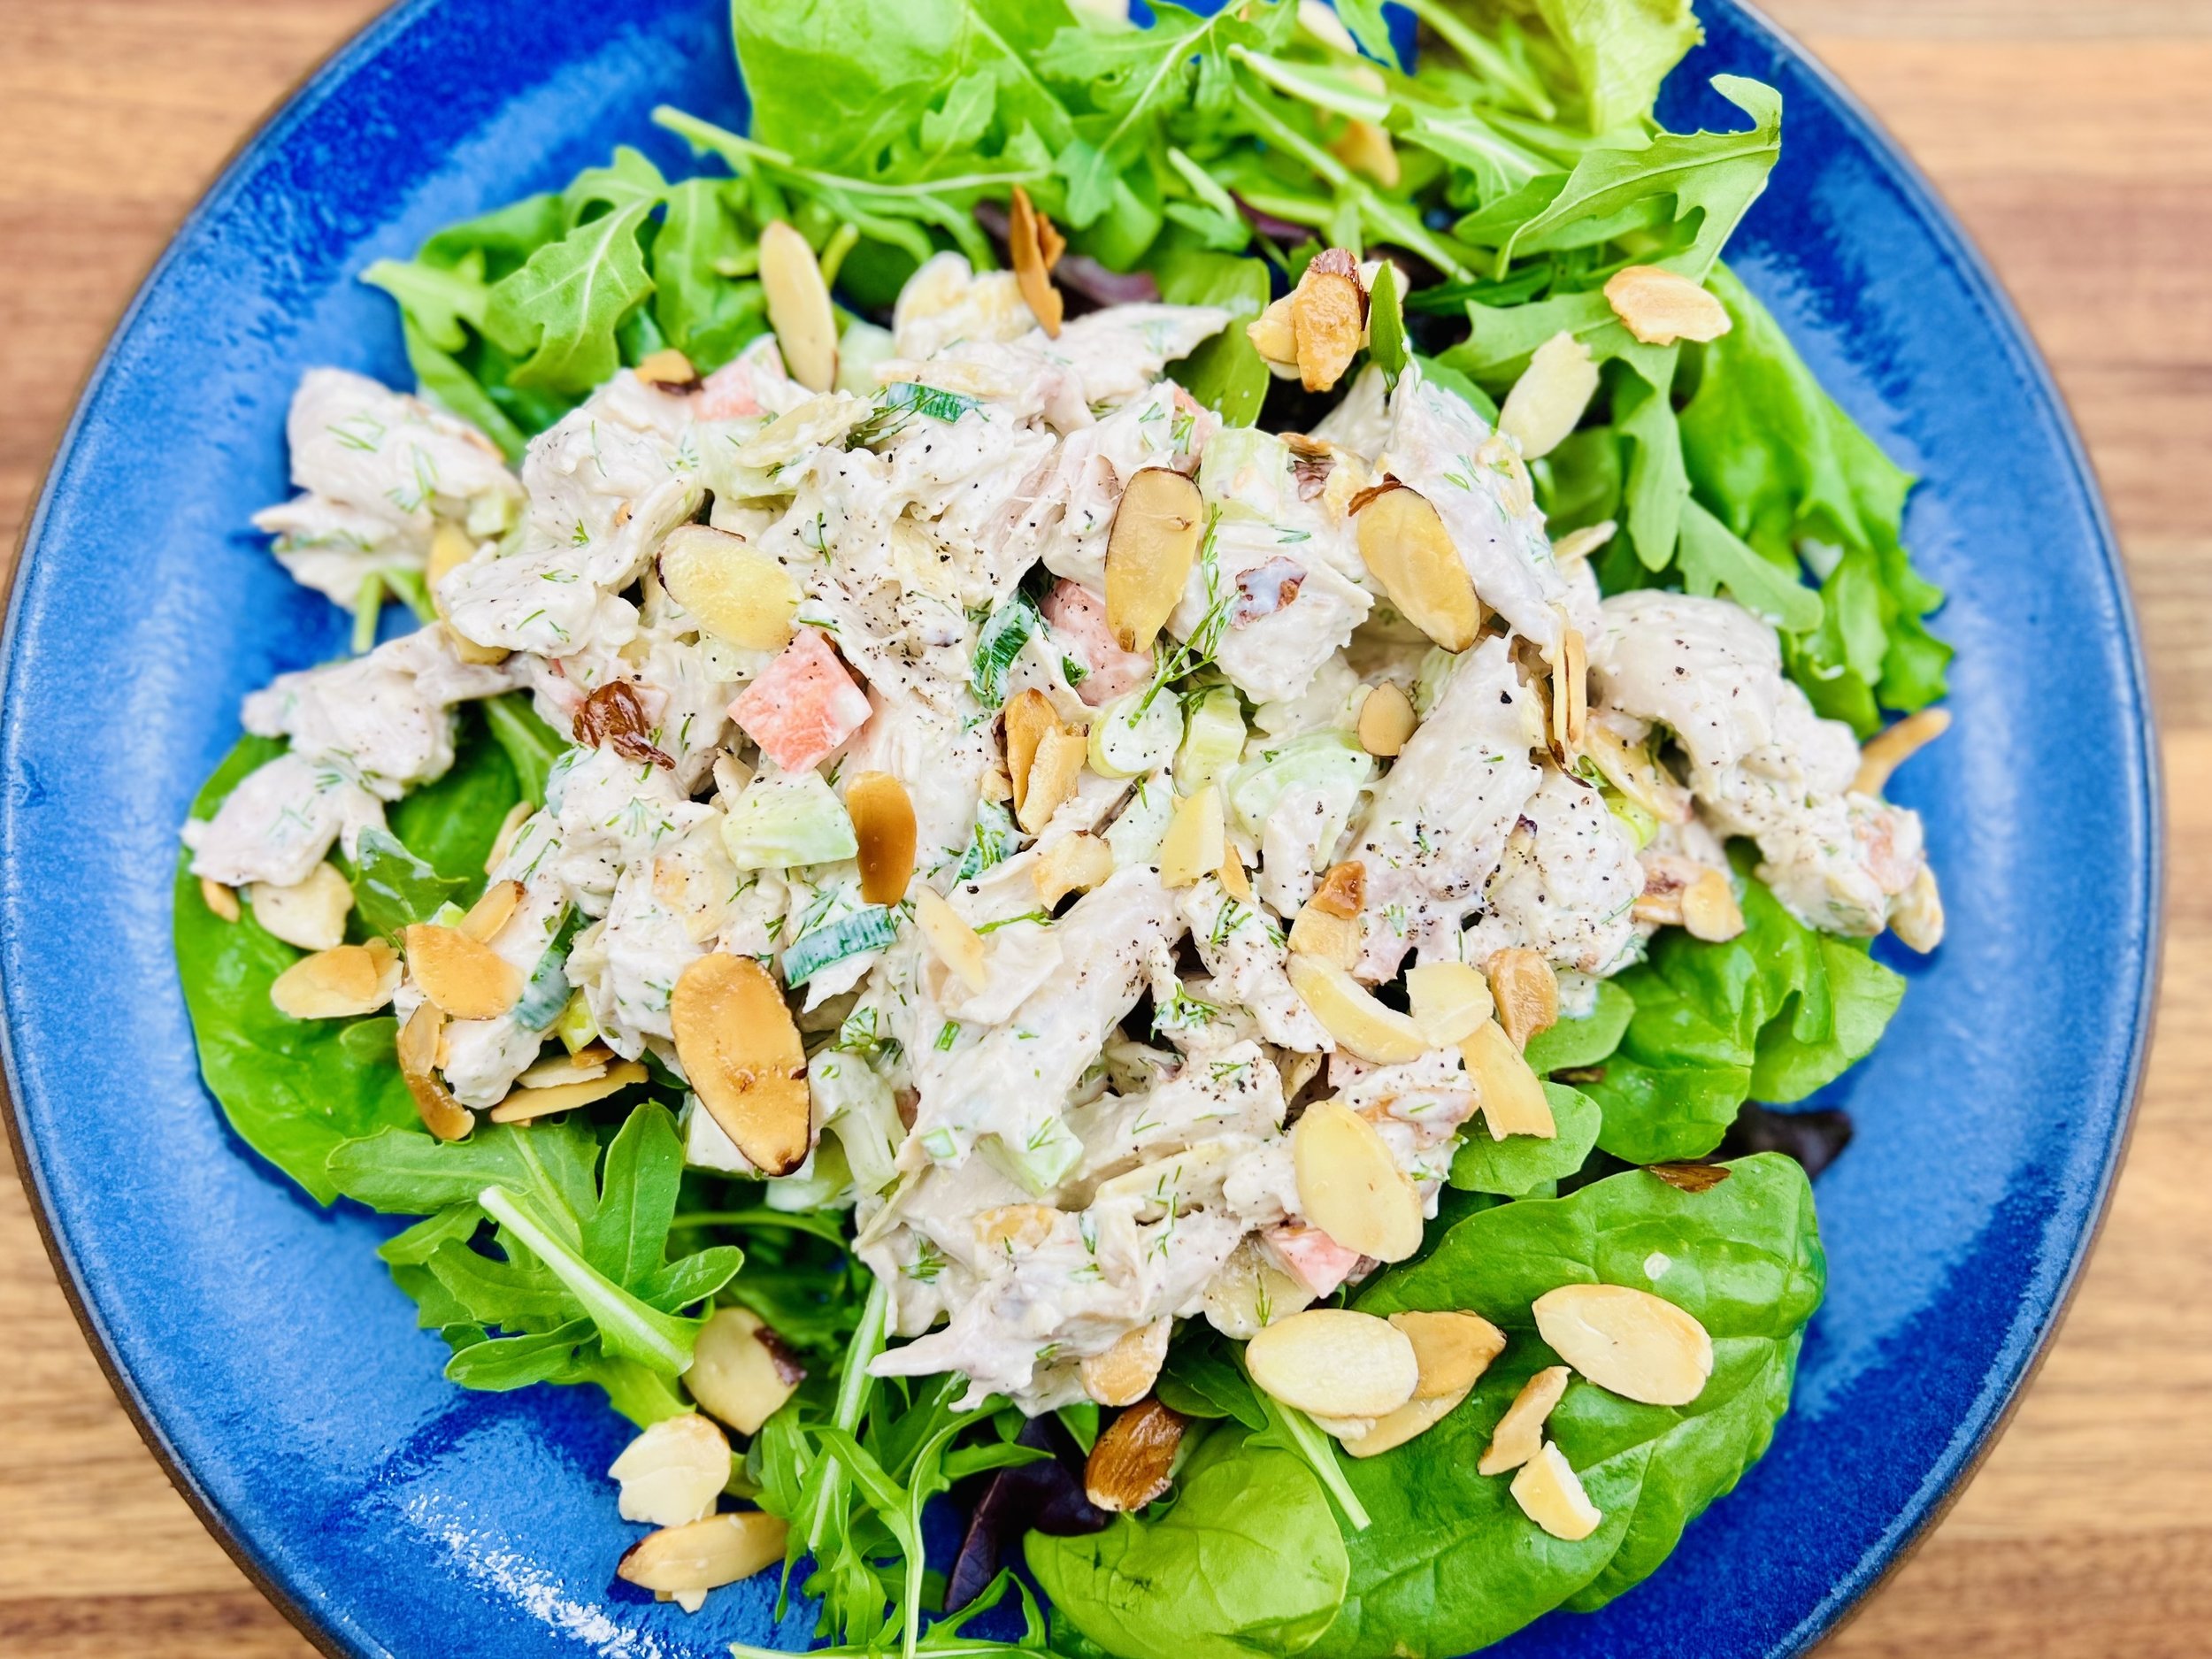
15-Minute Chicken Salad with Buttery Toasted Almonds (Low FODMAP)
15 Minutes prep • Low FODMAP • Gluten-free • Keto-friendly • Serves 6
15 Minutes prep • Low FODMAP • Gluten-free • Keto-friendly • Serves 6 • Ok to make ahead: Steps 1-2
Recipes that leverage cooked chicken are quick, delicious, and easy! This crisp and crunchy chicken salad is loaded with vegetables and topped with buttery toasted almonds. You can use leftover cooked chicken or pick up a rotisserie chicken and use that. Ready in minutes, this salad is perfect for a hot summer day when nobody wants to cook.
See this new recipe in my FREE recipe club.
To streamline your search through hundreds of existing recipes, I'm moving the release of my new weekly creations to the Recipe Club on Patreon. In the club, you’ll get access to a treasure trove of low-FODMAP goodness, complete with collections and filters to use as your virtual cookbook!
Here's what awaits you in the club:
Exclusive weekly recipes: Be the first to try my latest delicious low-FODMAP creations!
Simple & Easy: My recipes continue to focus on readily available ingredients and effortless preparation, perfect for family-friendly meals (no more separate low-FODMAP meal prep!).
Hundreds of existing recipes: Gain access to my entire library of low-FODMAP recipes, all conveniently organized.
You can join for free or sign up for only $5/month. Your support fuels my passion for creating new, delicious, and easy-to-make low-FODMAP recipes just for you.
Let's go on this delicious low-FODMAP journey together.
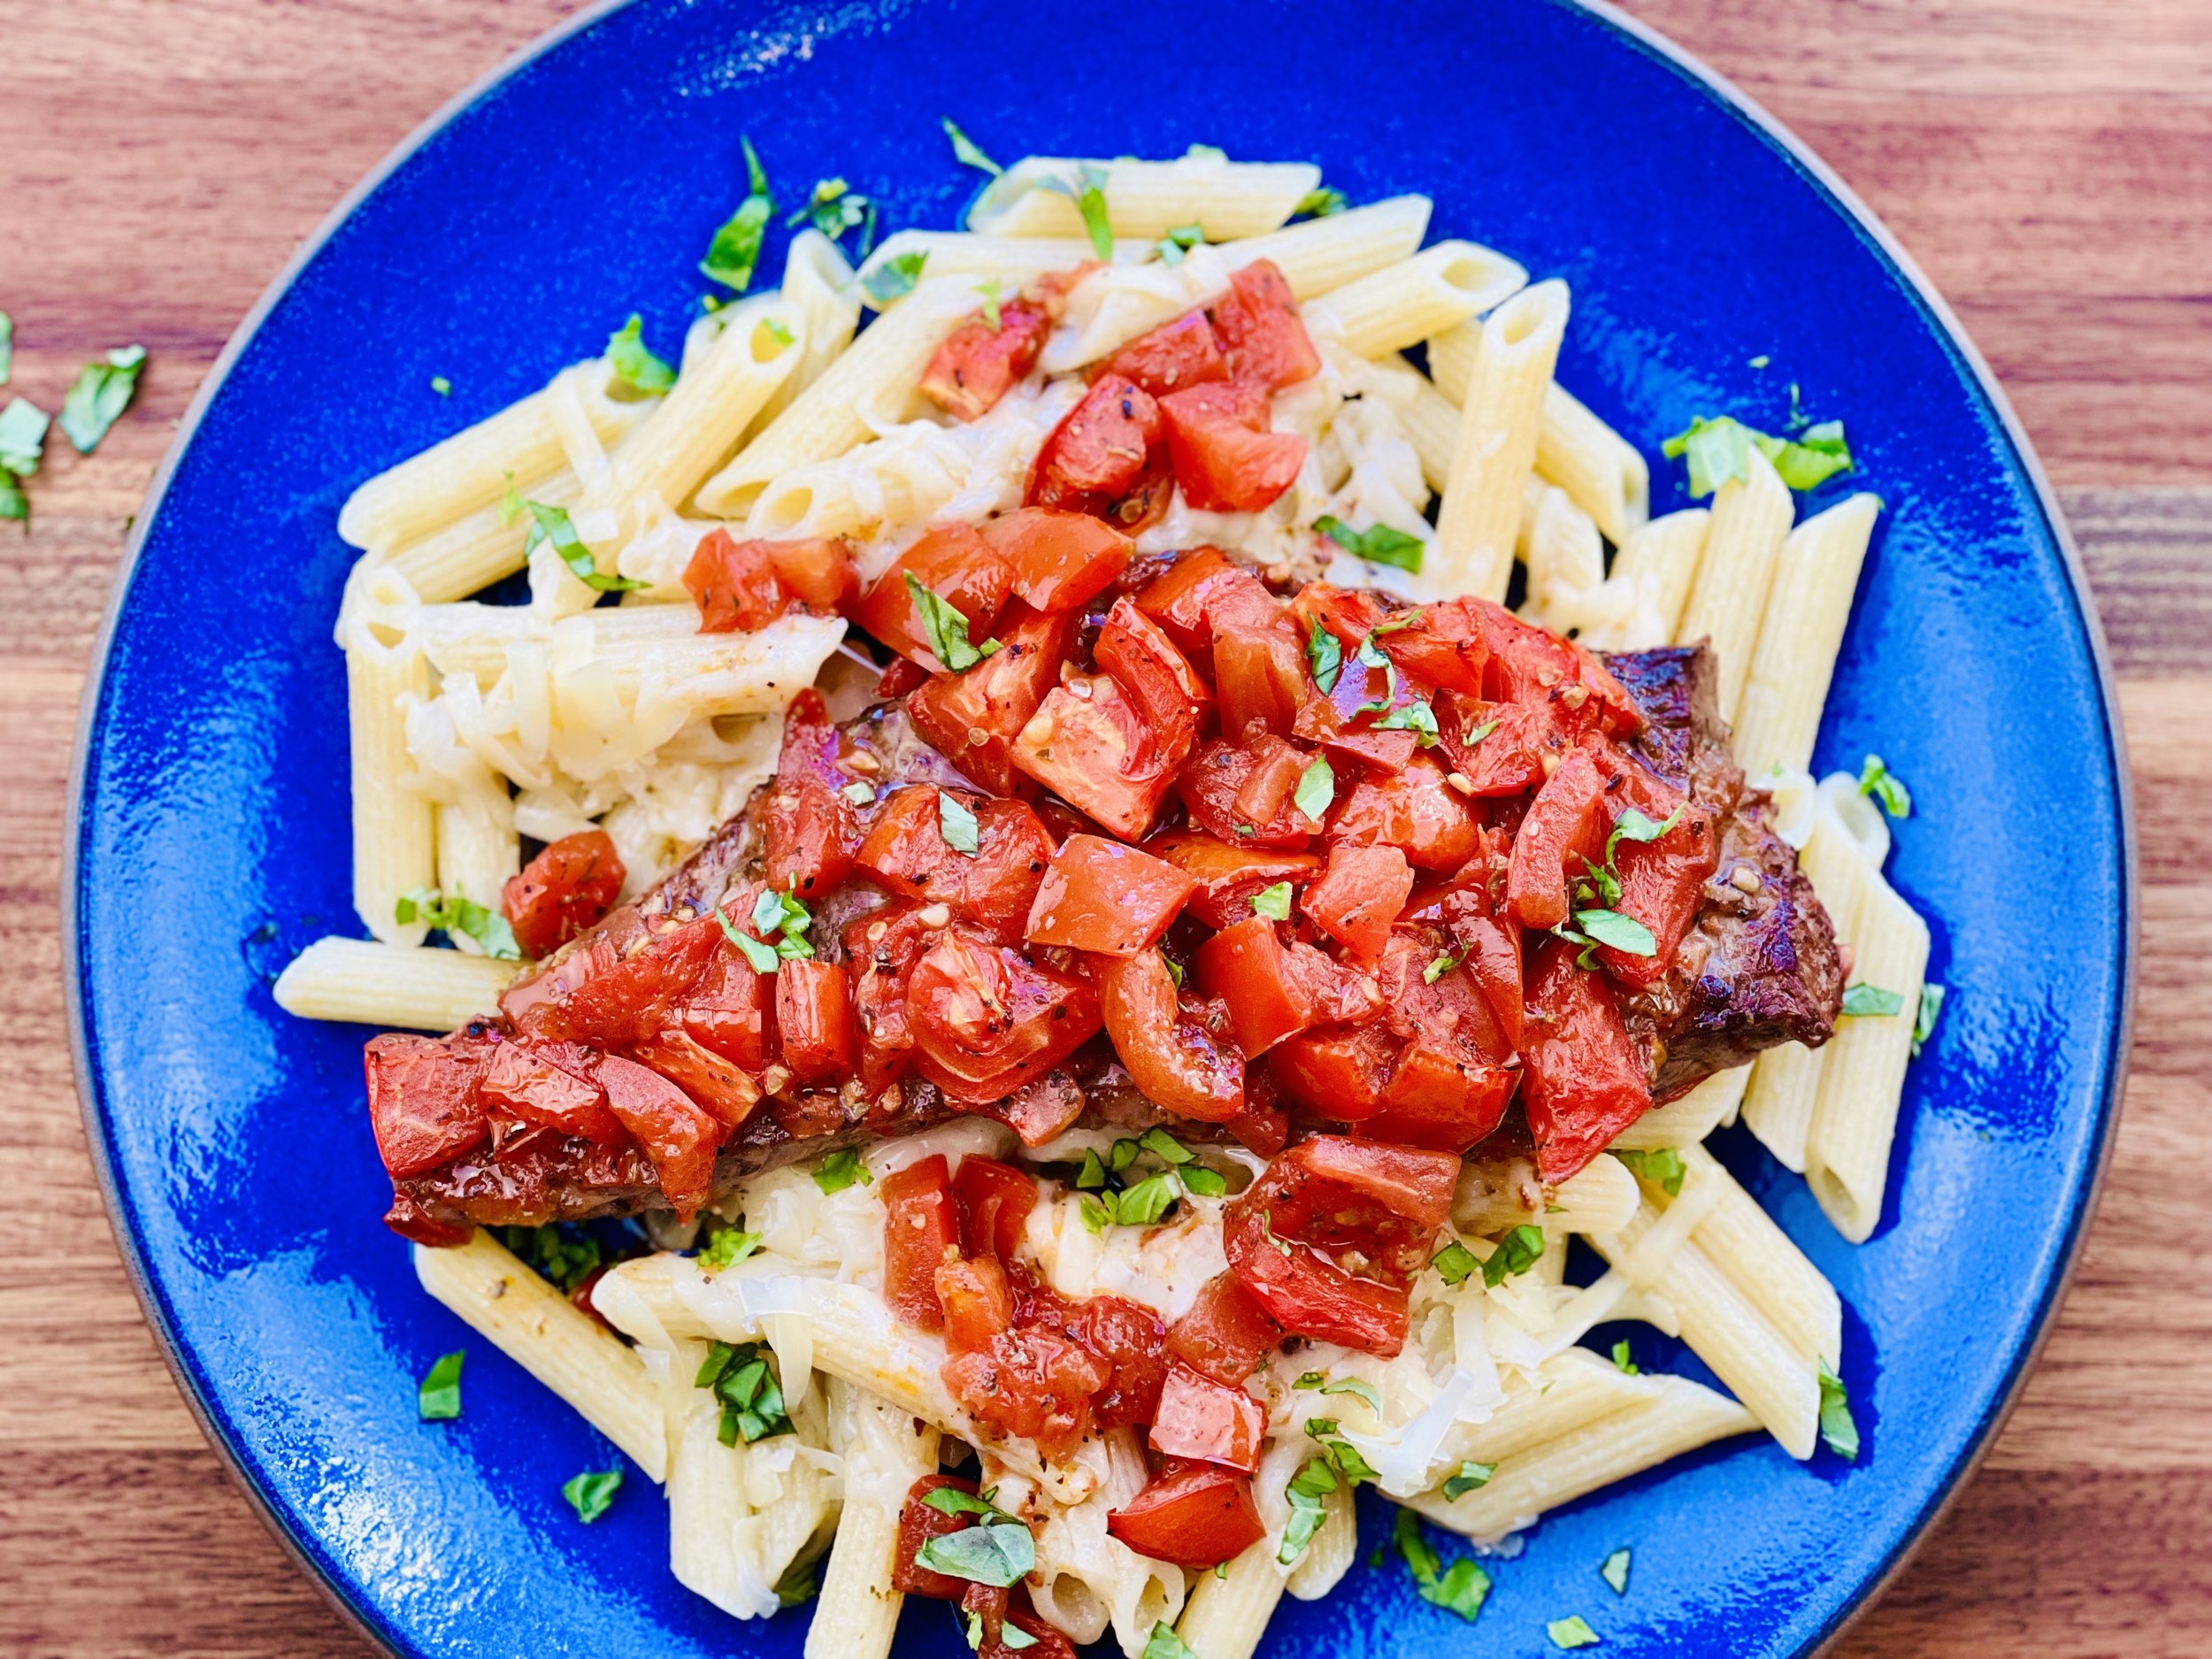
Carne alla Pizzaiola (Low FODMAP)
10 Minutes prep • 30 Minutes cook • Low FODMAP • Gluten-free • Serves 4
10 Minutes prep • 30 Minutes cook • Low FODMAP • Gluten-free • Keto-friendly • Serves 4 • Ok to make ahead: Step 1
My wonderful client Jan shared her recipe for Carna alla Pizzaiola with me and I couldn’t wait to try it. I was not disappointed. The steak was delicious and the tomato sauce, made with fresh Roma tomatoes, was rich and flavor-packed. On top of that, it was easy to make and ready in under 40 minutes. I served it over Rummo gluten-free Penne Rigate but you could serve it on its own bathed in the delicious rich sauce.
Ingredients
2 tablespoons garlic-infused olive oil
2 pounds steak of your choice: sirloin, flat iron, skirt steak, or rib-eye (use boneless chicken if you prefer)
4 small (up to 10 ounces) fresh Roma tomatoes, chopped
1/4 cup red wine, rose, or chicken broth if you prefer an alcohol-free version
1 teaspoon dry oregano
1 teaspoon dry basil
2 tablespoons Parmesan cheese, freshly grated
Olives (black or green) and/or capers, a salty and delicious optional addition if you like
12 ounces (dry) gluten-free pasta of your choice (optional-not for keto-friendly version)
1 cup white cheddar cheese, grated (optional)
Directions
(1) Prepare the meat: This step is optional but results in more flavorful and tender meat for your Pizzaiola. Remove the meat from the package. Season both sides of each piece lightly with Diamond Crystal Kosher salt and lay the meat on a rimmed plate or baking dish. Cover the dish with plastic wrap and refrigerate until ready to use or at least 4 hours before cooking.
Make-ahead note: At this point, you may leave the meat in the refrigerator overnight or until ready to cook (up to 2 days).
(2) Cook the pasta: If serving with pasta, cook the pasta per package instructions. Drain and toss with a bit of olive oil or butter.
(3) Braise the steak: Heat garlic olive oil in a large frying pan. When hot, add the steak and braise on each side just until the steak is done to your liking. (If using chicken, be sure to cook the chicken just through at this step.) Remove from the pan and put in a baking dish.
(4) Bloom the herbs: In the same skillet, add a bit more garlic olive oil. When hot, add the dry herbs and let cook in the oil for about 30 seconds to bring out the flavor.
(5) Cook the tomato sauce: Add the tomatoes and wine (or chicken broth). Cook for 5 minutes to soften the tomatoes and allow the sauce to start to reduce. Add the olives and capers, if using. Taste and add salt and pepper to taste. Simmer for another 15 minutes.
(6) Finish: Add the meat back to the pan with the sauce. Spoon the sauce over the meat and cook for 5 to 10 minutes until the meat is warmed through. If you prefer you can do this final step in a 350-degree oven for 5 to 10 minutes instead of on the stove.
(7) Plate and serve: Put the pasta on the plate, sprinkle with grated cheddar cheese, layer on the meat, and the tomato sauce. Sprinkle with parmesan and fresh basil.
Eat and enjoy every bite because you can!
Recipe note: I use Diamond Crystal Kosher salt in all my recipes because it has a wonderful flat and crisp flake that tastes delicious. It is also the least salty salt available so you can use it more liberally as a seasoning than you can table salt or sea salt. If you use another type of salt, you may need to reduce the amount so it is not over-salted.
Have a question you’d like to have answered? Email me at hello@ibsgamechanger.com
Link note: This post may contain affiliate links for you to easily purchase items that are linked. I may earn a small commission from qualifying purchases but none of this costs you a thing so feel free to use the links! In addition, for some items, I have provided a special discount code for IBS Game Changers so be sure to use the code when you purchase an item to get the discount that has been arranged just for you.
More Deliciously Low FODMAP™ main course recipes
15 Minutes prep • 30 Minutes cook • Low FODMAP • Serves 4 • Ok to make-ahead: Steps 1 - 2
10 Minutes prep • 25 Minutes cook • Low FODMAP • Gluten-Free • Serves 6 • Ok to make-ahead: Step 1
45 Minutes prep • 60 Minutes cook • Low FODMAP • Gluten-free • Vegetarian • Serves 6 - 8
5 Minutes prep • 15 Minutes cook • Low FODMAP • Gluten-free • Lactose-free • Vegan • Serves 4
10 Minutes prep • 20 Minutes cook • Low FODMAP • Gluten-free • Serves 4 n skewers for your family and friends. They are sure to be a hit.
15 Minutes prep • 55 Minutes cook (if using brown rice) • Low FODMAP • Gluten-free • Lactose-free • Vegan • Serves 4
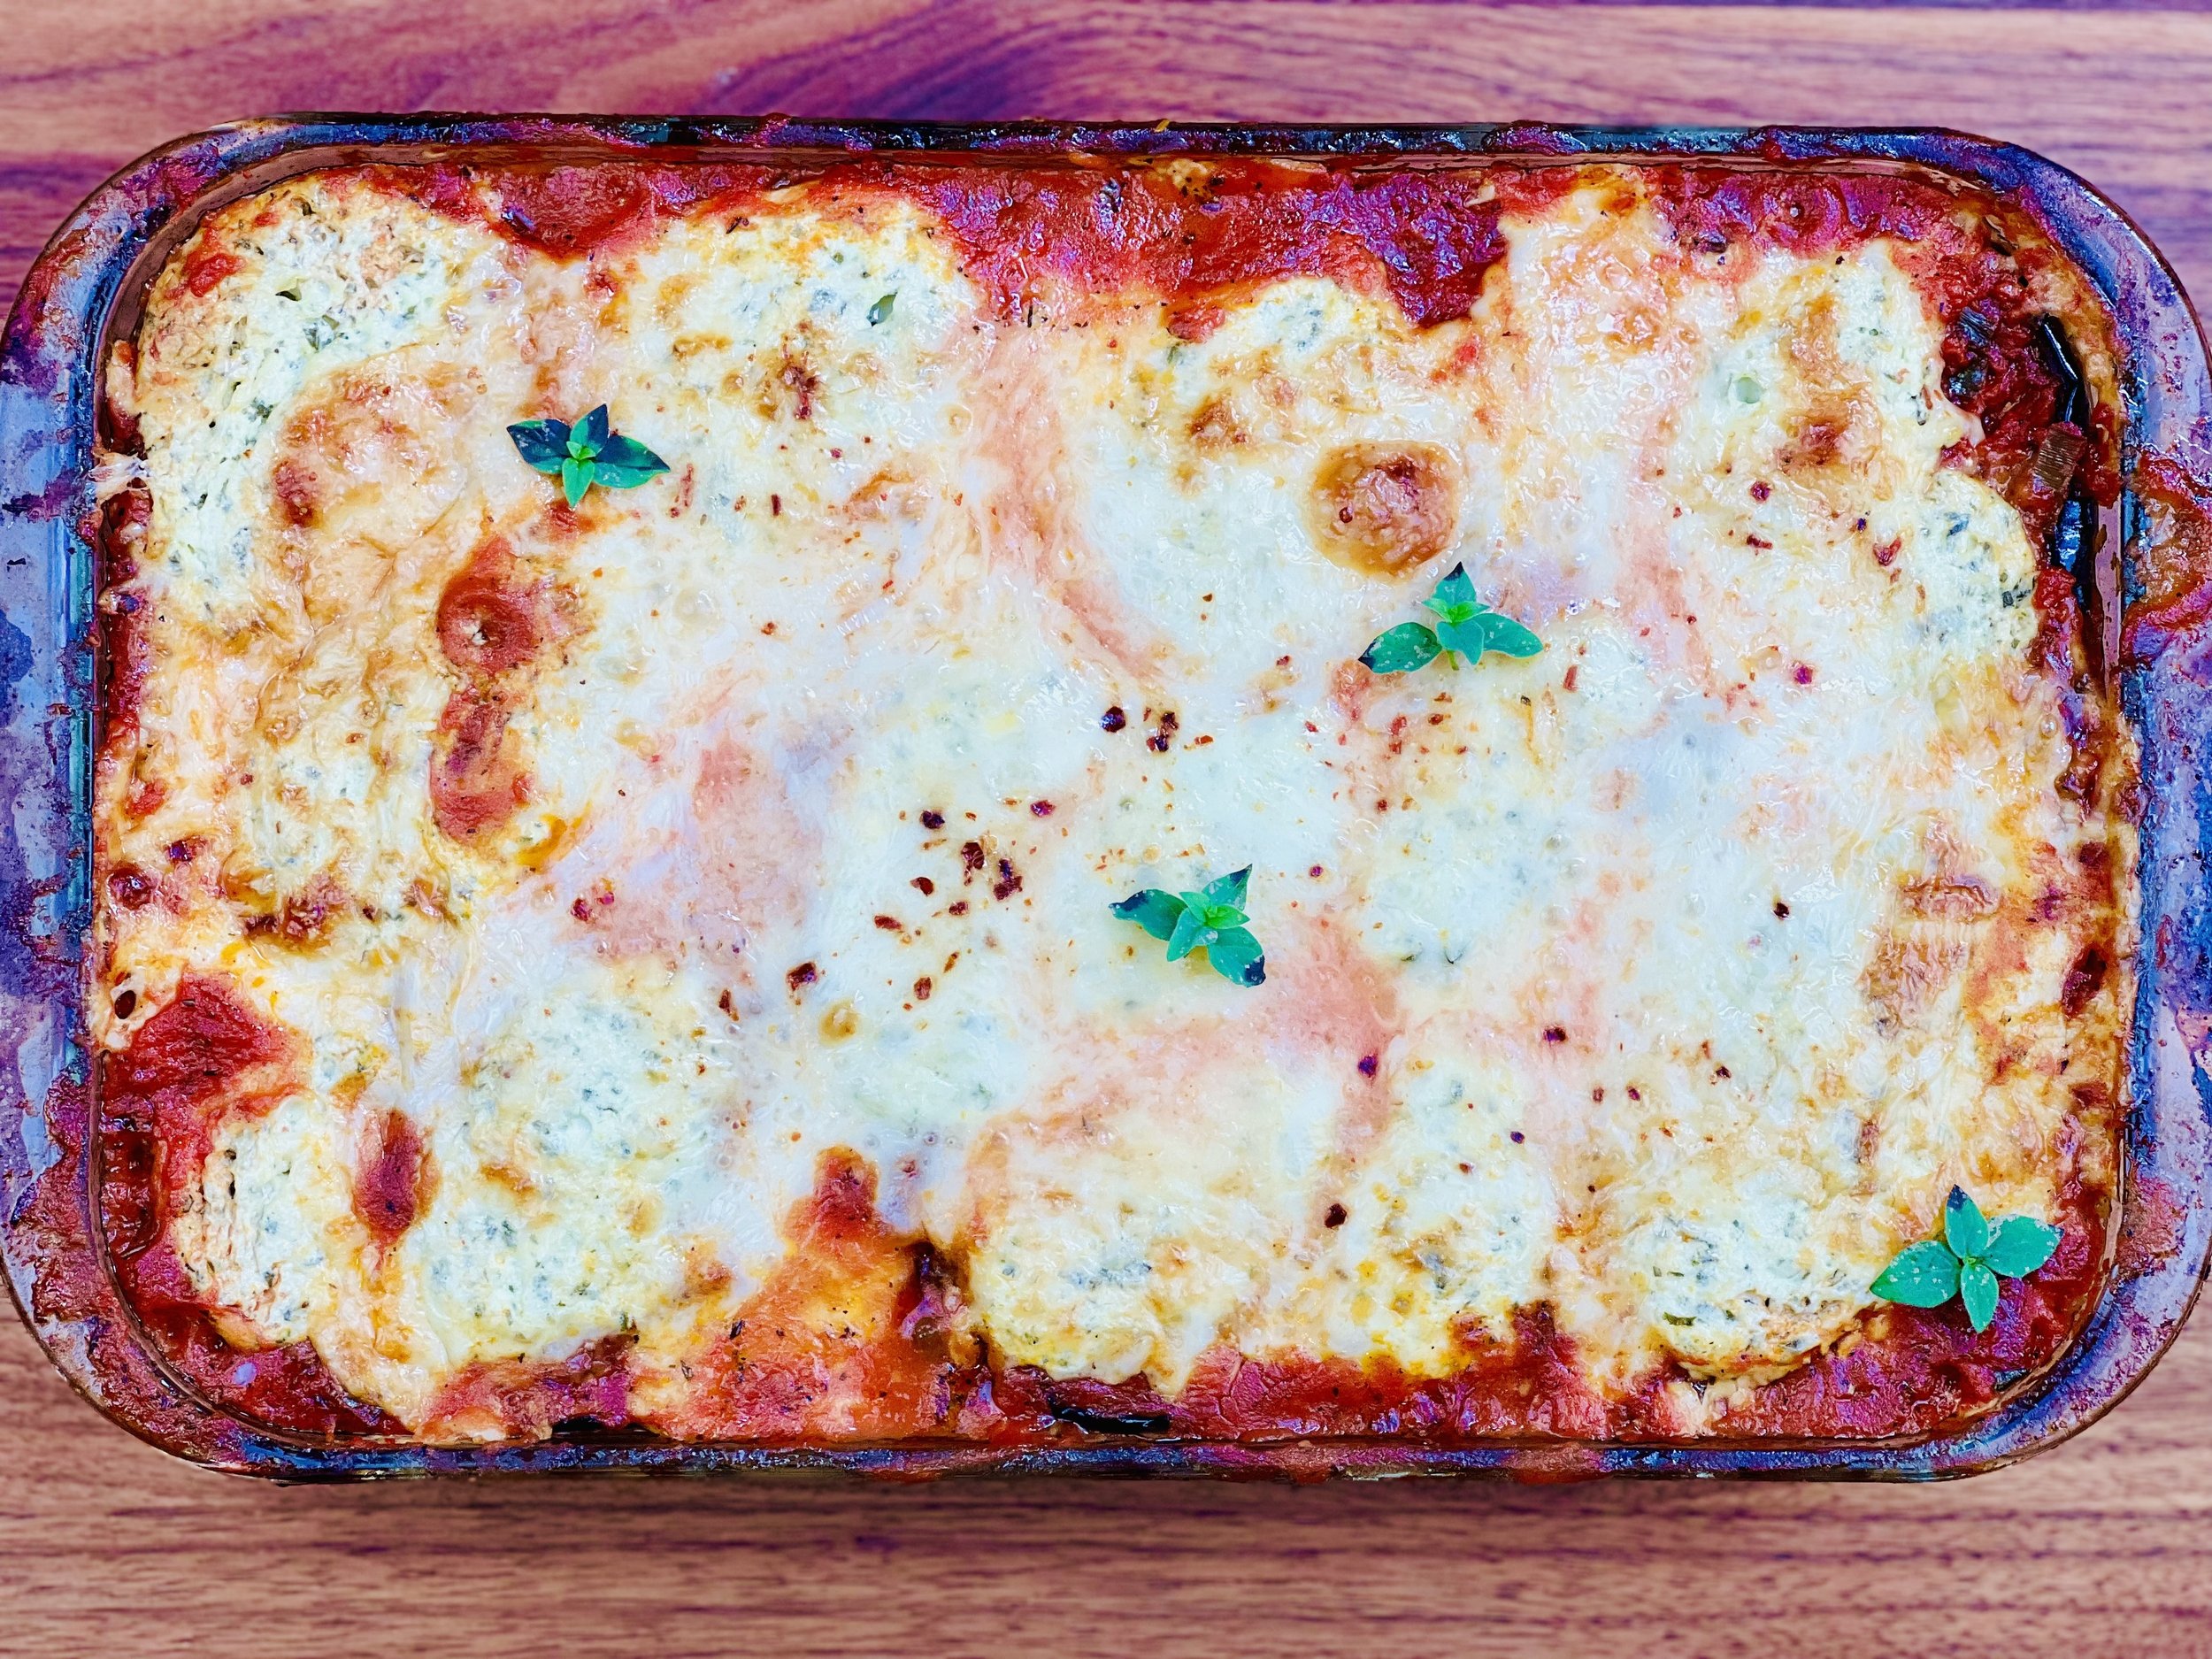
Veggie Supreme, Keto Friendly Lasagna (Low FODMAP)
45 Minutes prep • 60 Minutes cook • Low FODMAP • Gluten-free • Vegetarian • Serves 6 - 8
45 Minutes prep • 60 Minutes cook • Low FODMAP • Gluten-free • Vegetarian • Serves 6 - 8 • Ok to make ahead: Steps 1-6
This veggie lasagna is loaded with flavor and piled high with plants! From the rich marinara sauce to the spinach filling, to the eggplant “noodles” this dish will delight the whole family. It takes a little doing to get all the different layers prepared, but it will be worth the effort when you taste the result. Save time by putting it all together ahead of time and then bake it whenever you’re ready. This lasagna is made even better by serving it with my Arugula Pesto which comes together quickly while the lasagna is baking.
Ingredients: Eggplant “noodles”
3 large eggplants (about 3 lbs)
1 teaspoon Kosher salt
2 tablespoons olive oil
Ingredients: Spinach filling
1 tablespoon garlic-infused olive oil
1 cup leek greens, chopped
6 ounces baby spinach, (about 4 cups)
1/4 teaspoon each Kosher salt and black pepper
1/4 teaspoon red pepper flakes (optional)
Ingredients: Cheese filling
15 ounces lactose-free cottage cheese
1 large egg
1/4 cup chopped basil
1/2 teaspoon Kosher salt
1/4 teaspoon black pepper
Ingredients: Marinara
2 tablespoons garlic-infused olive oil
1 cup leek greens, chopped
2 teaspoons Italian seasoning
1 teaspoon Smoke n Sanity Essence of Garlic Salt (use code IBSGC15 for 15% discount)
15-ounce can or box of finely chopped tomatoes
1/2 cup water
1 bay leaf
Salt and pepper to taste
Ingredients: Lasagna
1 1/2 cups grated mozzarella
3/4 cup parmesan, grated
1/4–1/2 teaspoon chili flakes (optional)
Directions
(1) Prepare: Wash and remove long stems from spinach. Grate the cheeses. Preheat oven to 400 degrees F. Line two rimmed baking sheets with parchment paper.
(2) Make the Marinara: In a saucepan or frying pan with high sides, heat the garlic-infused olive oil over medium-high heat. Add the leek greens and saute until tender and bright green. Add the Italian seasoning to the bottom of the pan and let sizzle for 30 seconds. Add the tomatoes and water, then stir to combine. Add the bay leaf and Essence of Garlic Salt. Bring to a simmer, then reduce heat and let simmer until the rest of your lasagna ingredients are ready (30 minutes minimum—and longer brings out even more flavor). When finished, taste and add salt and pepper to your liking.
(3) Roast the eggplant: Slice eggplant longways into 1/2-inch thick slices and place on prepared baking pans. Sprinkle half the salt over the top as evenly as possible. Turn each piece over and sprinkle the remaining salt on the other side. Let the eggplant sit (and sweat) for about 15-20 minutes while the oven gets hot. When the eggplant looks damp, pat the top side down with paper towels. Brush or spray with olive oil. Flip them. Blot with paper towels, then spray with olive oil. Roast in the middle of the oven for 30-40 minutes, checking at 25 minutes and rotating the pans. Roast until the eggplant is golden and tender. Thinner slices cook faster so keep an eye on it and don’t let it burn. Remove from the oven and reduce oven temperature to 375 degrees F. Set aside.
(4) Make the spinach filling: While the eggplant roasts, make the spinach filling. In a large skillet, heat the oil, then add the leek greens and saute over medium heat until tender, about 3 - 4 minutes. Add the fresh spinach, lowering the heat and turning the mixture so the spinach wilts and softens. Season with salt, pepper, and chili flakes (if using), then remove from the heat and set aside.
(5) Make the cheese filling: In the bowl of your food processor add the cottage cheese. Pulse until smooth. Add the egg, basil, salt, and pepper. Pulse until smooth, scraping the sides and bottom of the bowl once or twice. Set aside.
(6) Assemble the lasagna: Spread 3/4 cup marina sauce on the bottom of a 9 x 13-inch baking dish. Add a layer of roasted eggplant (about half), overlapping a little if needed. Cover evenly with half of the cheese filling and all of the wilted spinach mixture. Sprinkle with 1/2- 3/4 cup mozzarella and 1/8 cup grated parmesan. Next add the remaining eggplant, overlapping again if needed. Pour over the remaining marinara sauce and spoon the remaining cheese filling in dollops over the top. Add the rest of the grated mozzarella and parmesan evenly over the top. Sprinkle with a few chili flakes (optional).
Make-ahead note: If you’re not going to cook the lasagna right away, put it in the refrigerator.
(7) Bake: Cover with parchment and then foil and bake at 375 degrees F for 45-50 minutes, uncover and bake 10-20 more minutes, until golden and bubbling and slightly puffed in the center.
(8) Plate and serve: Let the lasagna rest 5 minutes before serving, dot it with Arugula Pesto (optional but very delicious!)
Eat and enjoy every bite because you can!
Recipe note: I use Diamond Crystal Kosher salt in all my recipes because it has a wonderful flat and crisp flake that tastes delicious. It is also the least salty salt available so you can use it more liberally as a seasoning than you can table salt or sea salt. If you use another type of salt, you may need to reduce the amount so it is not over-salted.
Have a question you’d like to have answered? Email me at hello@ibsgamechanger.com
Link note: This post may contain affiliate links for you to easily purchase items that are linked. I may earn a small commission from qualifying purchases but none of this costs you a thing so feel free to use the links! In addition, for some items, I have provided a special discount code for IBS Game Changers so be sure to use the code when you purchase an item to get the discount that has been arranged just for you.
More Deliciously Low FODMAP™ vegetarian recipes
15 Minutes prep • 30 Minutes cook • Low FODMAP • Serves 4 • Ok to make-ahead: Steps 1 - 2
45 Minutes prep • 60 Minutes cook • Low FODMAP • Gluten-free • Vegetarian • Serves 6 - 8
5 Minutes prep • 15 Minutes cook • Low FODMAP • Gluten-free • Lactose-free • Vegan • Serves 4
10 Minutes Prep • 50 Minutes Cook • Low FODMAP • Gluten-free • Dairy Free • Vegan • Serving size 3 - 4 crackers
15 Minutes prep • 55 Minutes cook (if using brown rice) • Low FODMAP • Gluten-free • Lactose-free • Vegan • Serves 4
10 Minutes prep • 10 Minutes cook • Low FODMAP • Gluten-free • Lactose-free • Vegan • Serves 4
10 Minutes prep • 25 Minutes cook • Low FODMAP • Gluten-free • Vegetarian • Plant Forward • Serves 4
20 Minutes prep • 40 Minutes cook • Low FODMAP • Gluten-free • Vegetarian • Serves 4 - 6 • Ok to make ahead: Steps 1-4
15 Minutes prep • Low FODMAP • Gluten-free • Lactose-free • Vegetarian • Vegan • Serves 4
10 Minutes prep • 20 Minutes cook • Low FODMAP • Vegetarian Option • Gluten-free • Serves 4
20 Minutes prep • 20 Minutes cook • Low FODMAP • Serves 4 as main • Serves 6-8 as a side
10 Minutes prep • 20 Minutes cook • Low FODMAP • Gluten-free • Lactose-free • Vegan • Serves 5
15 Minutes prep • 1 hour chill • Low FODMAP • Gluten-free • Vegetarian • Serves 4 or more
15 Minutes prep • 45 Minutes cook • Low FODMAP • Gluten-free • Vegetarian • Serves 4 - 6
Amazing Arugula Pesto (Low FODMAP)
10 Minutes prep • Low FODMAP • Gluten-free • Lactose-free • Vegan • Makes 1 cup
10 Minutes prep • Low FODMAP • Gluten-free • Lactose-free • Vegan • Makes 1 cup • Ok to make ahead: Steps 1-2
If you know me, you know I love arugula! And this pesto is a delicious way to get more arugula in your diet. Use it in any recipe that calls for pesto. Or enjoy it as an appetizer. It’s perfect on my Seed Crackers or as a topping on gluten-free pasta or lasagna.
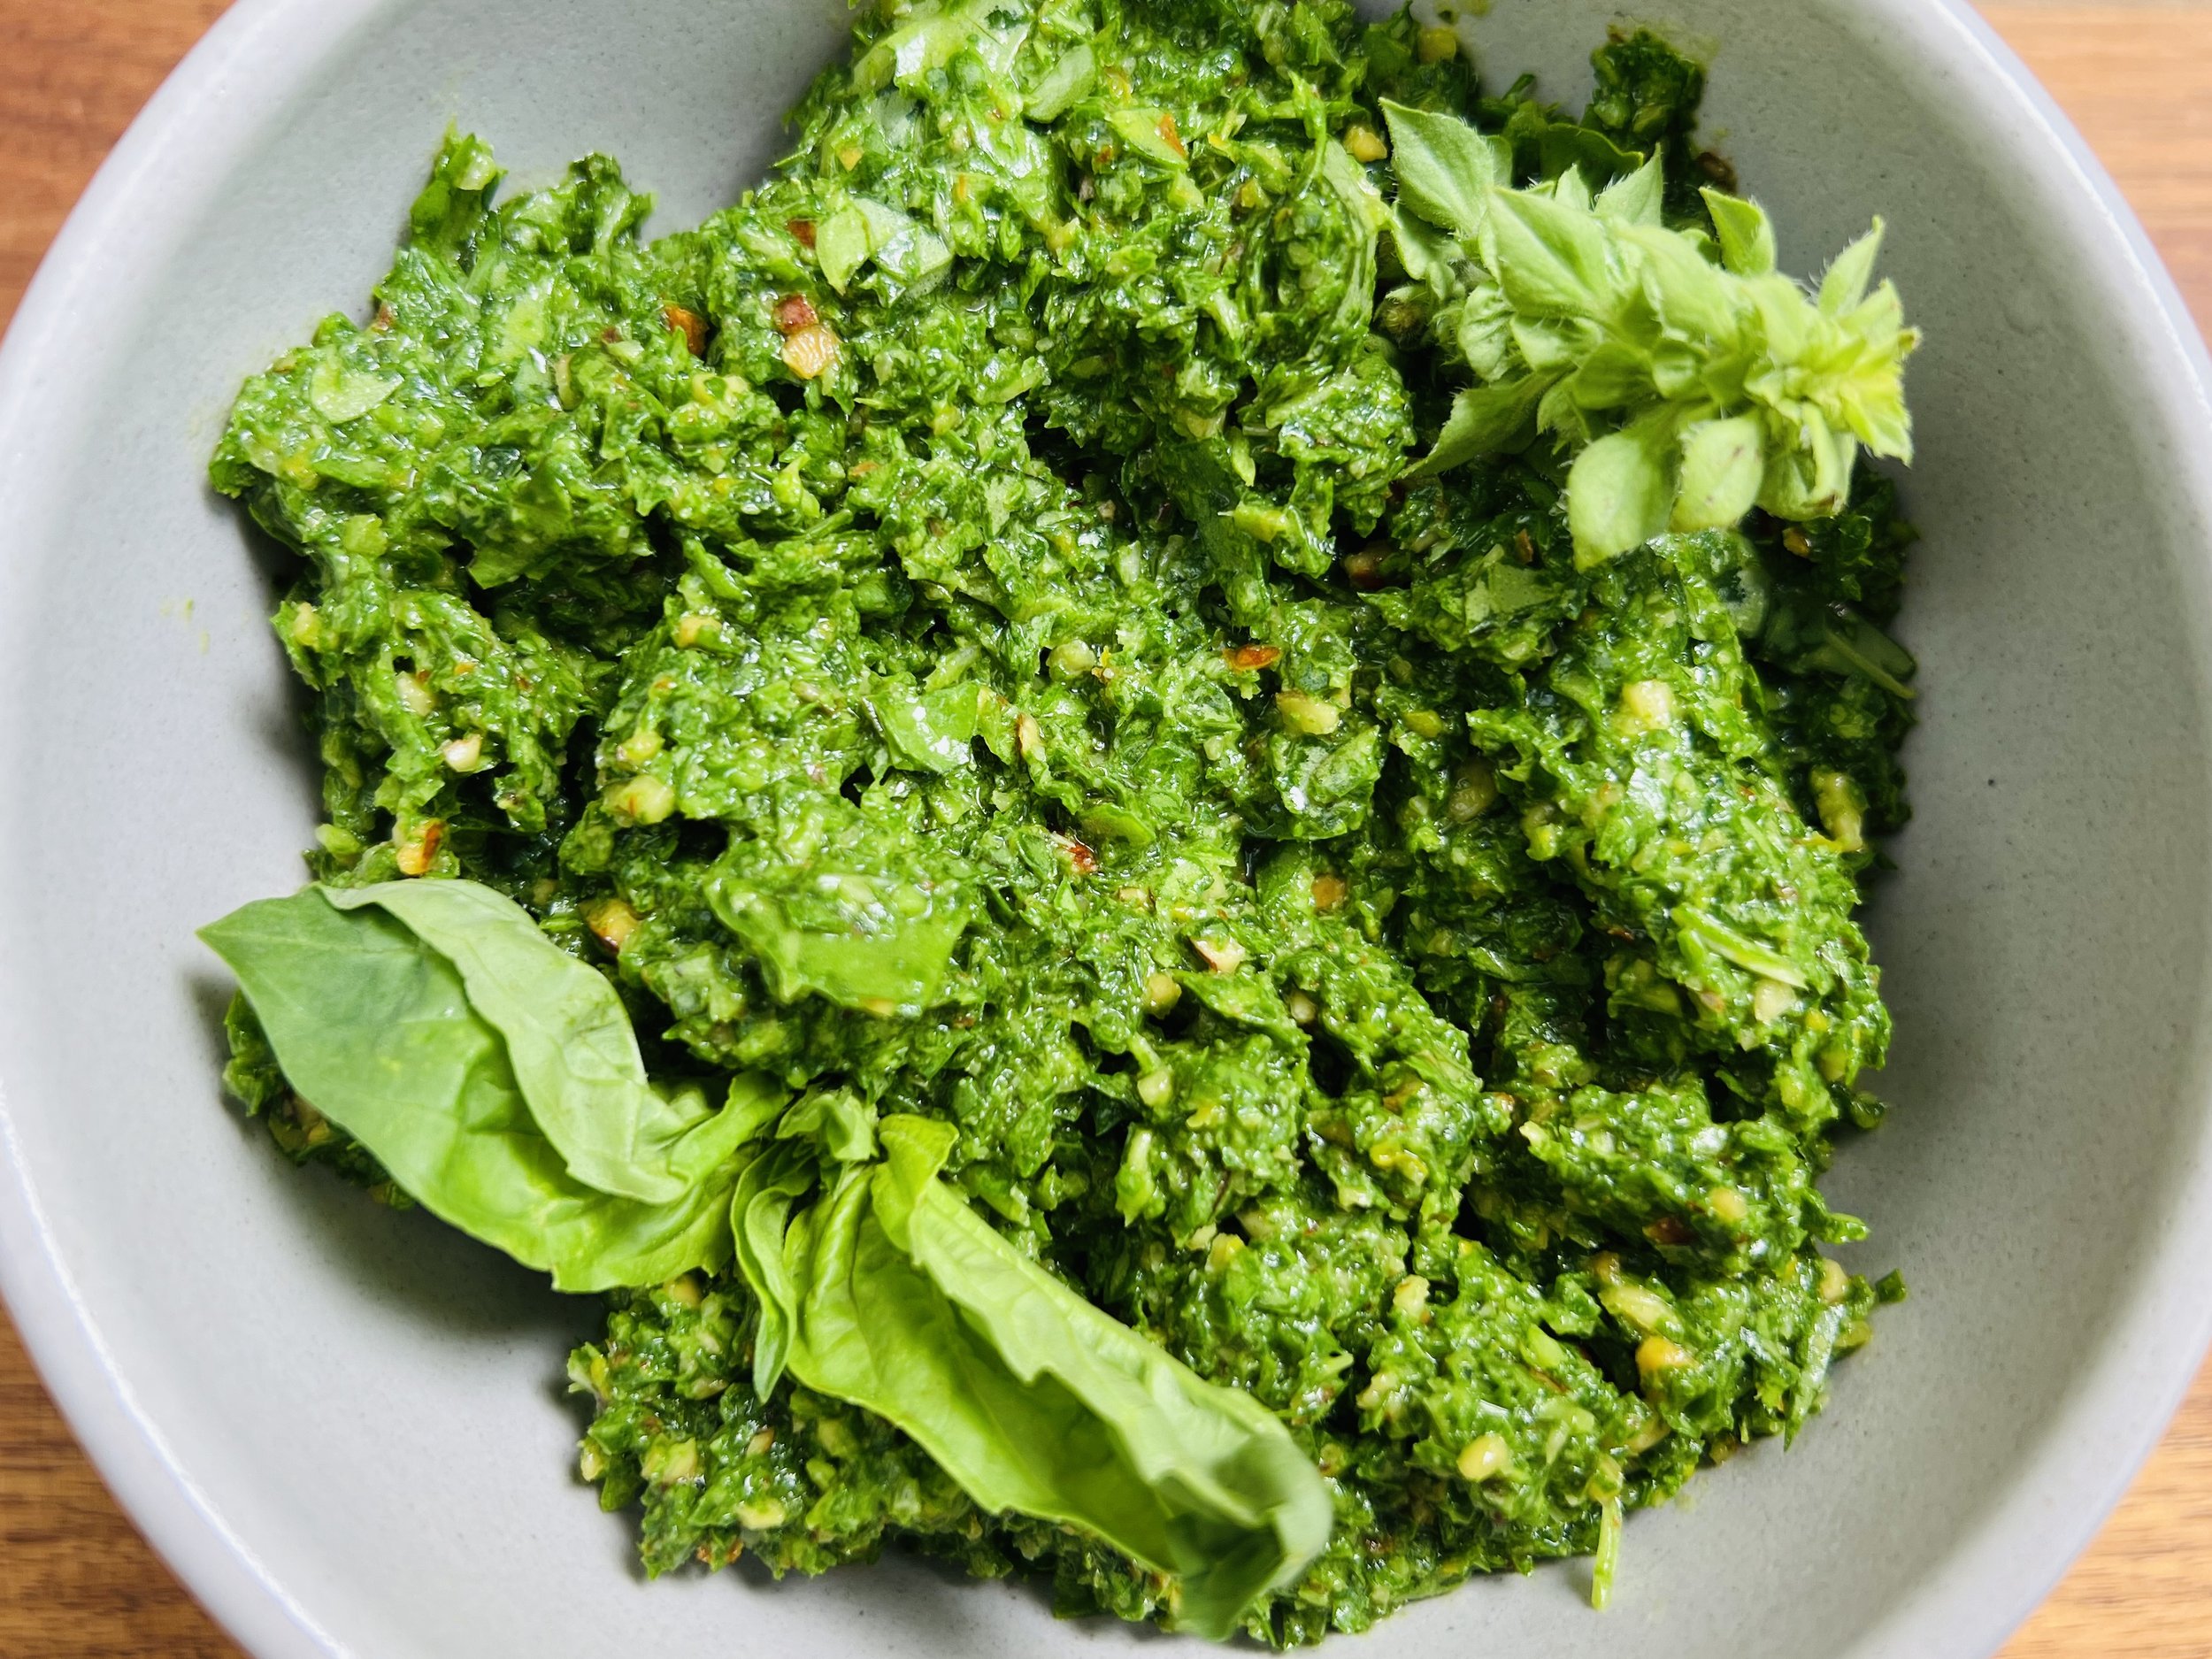
Ingredients
1/4 cup roasted almonds
1/2 cup fresh basil leaves, roughly chopped
1 cup arugula (packed into the cup)
1 teaspoon lemon zest
1 tablespoon fresh lemon juice
1/3–1/2 cup extra virgin olive oil (with a light taste)
1/4 teaspoon Kosher salt
1/4 teaspoon black pepper
Directions
(1) Prepare: Wash and roughly chop the basil leaves.
(2) Blend the pesto: Put all ingredients in the bowl of your food processor and pulse until just blended. Add additional oil if you want to make it looser if you like. Use less oil if you like it a bit thicker.
(3) Plate and serve: Serve as a topping for my Seed Crackers or with your favorite veggies for dipping.
Eat and enjoy every bite because you can!
Recipe note: I use Diamond Crystal Kosher salt in all my recipes because it has a wonderful flat and crisp flake that tastes delicious. It is also the least salty salt available so you can use it more liberally as a seasoning than you can table salt or sea salt. If you use another type of salt, you may need to reduce the amount so it is not over-salted.
Have a question you’d like to have answered? Email me at hello@ibsgamechanger.com
Link note: This post may contain affiliate links for you to easily purchase items that are linked. I may earn a small commission from qualifying purchases but none of this costs you a thing so feel free to use the links! In addition, for some items, I have provided a special discount code for IBS Game Changers so be sure to use the code when you purchase an item to get the discount that has been arranged just for you.
More Deliciously Low FODMAP™ sauce recipes
5 Minutes prep • 2 Hours simmer • Low FODMAP • Gluten-free • Lactose-free • Makes 2 cups
10 Minutes prep • Low FODMAP • Gluten-free • Lactose-free • Vegetarian • Makes 1 1/2 cups
5 Minutes prep • 15 Minutes cook • Low FODMAP • Gluten-Free • Dairy-free • Makes 1/2 cup
5 Minutes prep • 15 Minutes cook • Low FODMAP • Gluten-free • Lactose-free • Makes 2 Cups
5 Minutes prep • 30 Minutes cook • Low FODMAP • Makes 2 cups • Ok to make-ahead: Steps 1 - 4
Giving your body a break from the comfort food is easy and delicious and you might find it gives you comfort of a different kind!
10 minutes prep • 10 minutes cook • Gluten-free • Vegetarian • Low FODMAP • Makes about 2 cups
5 Minutes prep • 10 Minutes cook • Low FODMAP • Gluten-free • Lactose-free • Makes 3 cups
This low FODMAP recipe is an example of a delicious, alternative to packaged Hoisin sauce.
Fresh Cape Cod Style Berry Pie (Low FODMAP)
15 Minutes prep • 60 Minutes cook (pie crust) • Low FODMAP • Gluten-free • Serves 8
15 Minutes prep • 60 Minutes cook (pie crust) • Low FODMAP • Gluten-free • Serves 8 • Ok to make ahead: Steps 1-5
This is the perfect summer dessert as we are in the heart of the blueberry season. And this one-crust, no-bake pie is bursting with flavor in every bite. So easy to make and simply perfect with a dollop of my Real Whipped Cream or my Whipped Coconut Cream. Serve it to family, friends, or at the neighborhood potluck. You might even enter it in the next pie-baking competition you’re invited to. It’s a winner.
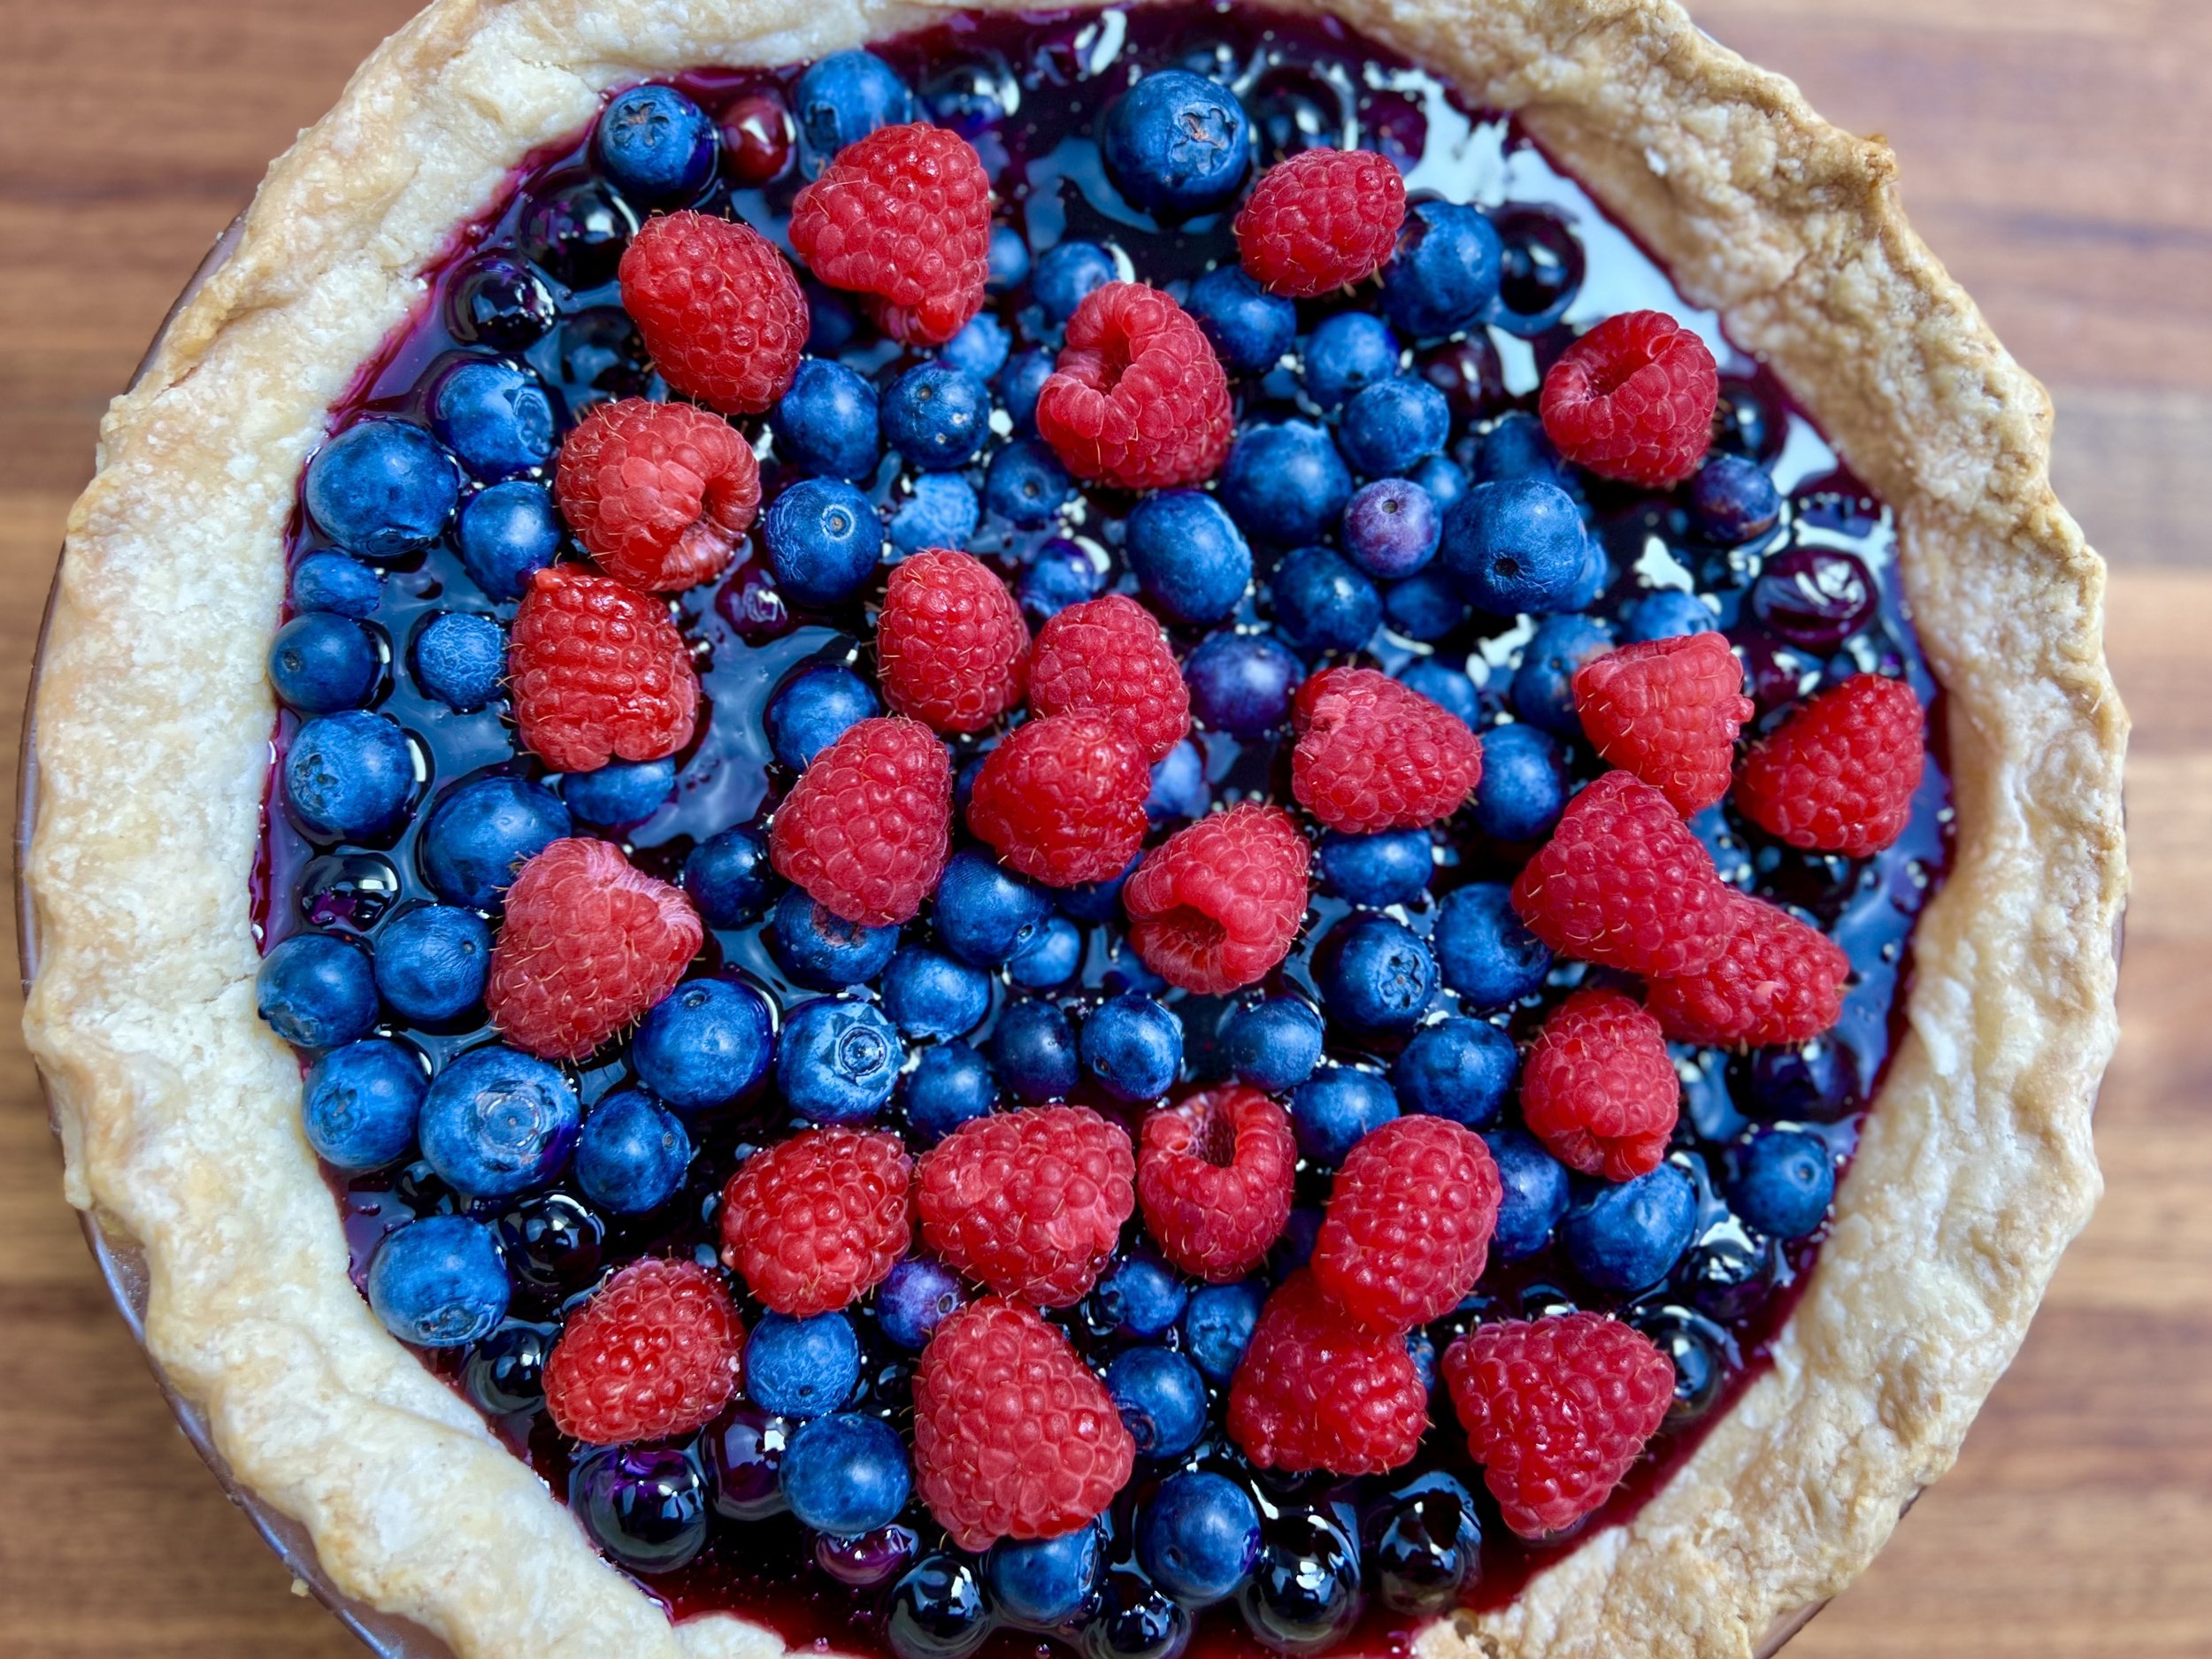
Ingredients
4 cups fresh blueberries, washed and dried (or combine with raspberries and/or strawberries)
1 cup water, divided
2 tablespoons cornstarch
3/4 cup superfine or granulated sugar (not powdered sugar)
1 pinch Kosher salt
1 tablespoon white vinegar (trust me, this balances the flavor)
1 blind-baked 9-inch pie crust (I use my Perfectly Buttery Pate Brise pie crust—but you can also use any pre-made gluten-free crust you like) - see directions below.
Directions
(1) Prepare: Prepare and blind bake your pie crust (see directions below). Wash and dry the berries.
(2) Make the syrup: In a medium saucepan, set over medium-high heat, combine 1 cup blueberries and 3/4 cup water. Bring to a boil and simmer for about 5 minutes until the berries are softened and they have released their juice and color into the water.
(3) Strain and KEEP the berries: Strain the syrup away from the berries and KEEP the syrup AND the berries (which will be added back into the pie filling).
(4) Return the syrup to the saucepan: Blend 2 tablespoons of cornstarch with the remaining 1/4 cup water and stir to blend. Add the cornstarch mixture, sugar, and salt to the syrup in the saucepan. Bring to a boil while whisking constantly and cook until VERY thick and reduced which takes about 2 minutes after bringing it to a boil.
(5) Finish: Once thickened, remove from the heat. Stir in the vinegar. Then mix in reserved cooked berries and 1 cup of the remaining fresh berries. Pour the mixture into the pre-baked pie crust. Top with the remaining fresh blueberries/raspberries/strawberries and chill for 3-4 hours.
(6) Plate and serve: Serve with a generous dollop of my Real Whipped Cream or my Whipped Coconut Cream. Store leftover pie in the refrigerator for up to 2 days.
Eat and enjoy every bite because you can!
Recipe note: I use Diamond Crystal Kosher salt in all my recipes because it has a wonderful flat and crisp flake that tastes delicious. It is also the least salty salt available so you can use it more liberally as a seasoning than you can table salt or sea salt. If you use another type of salt, you may need to reduce the amount so it is not over-salted.
Directions for blind baking your pie crust: Blind-bake just means you are baking your pie crust with nothing in it. This method is simple and works well every time. Roll out the crust and press it into a 9-inch pie plate. Then put the crust in the refrigerator or freezer and let rest for an hour or 2 (or more). Heat the oven to 350 degrees F. It’s easiest to use a pie crust weight but you can also use a piece of foil that has been sprayed with cooking oil. Press the foil onto the crust and fill with pie weights (or dried beans work well too—fill to the top of the crust.) Bake for 50-55 minutes with the weights. Then remove from the oven and check. If the crust isn't brown enough on the bottom - bake for 5-10 minutes more. You want the crust to be fully cooked because it’s not going back in the oven once you fill it. When cooked, remove from the oven and let cool. Then, proceed to fill the pie per the instructions above.
Have a question you’d like to have answered? Email me at hello@ibsgamechanger.com
Link note: This post may contain affiliate links for you to easily purchase items that are linked. I may earn a small commission from qualifying purchases but none of this costs you a thing so feel free to use the links! In addition, for some items, I have provided a special discount code for IBS Game Changers so be sure to use the code when you purchase an item to get the discount that has been arranged just for you.
More Deliciously Low FODMAP™ dessert recipes
15 Minutes prep • 20 Minutes cook • 30 Minutes cool • Low FODMAP • Gluten-free • Makes 18 bars
20 Minutes prep • 10 Minutes cook • Low FODMAP • Gluten-free • Makes 12 Sandwiched Cookies
20 Minutes prep • 20 Minutes cook • Low FODMAP • Gluten-free • Lactose-free • Makes 12 - 24
20 Minutes prep • 2 Hours chill • 10 Minutes cook • Low FODMAP • Gluten-free • Makes 24 - 36
I’m here to show you how to fully embrace the flavors of fall while keeping your digestive system happy.
10 Minutes prep • Overnight Chill • Low FODMAP • Gluten-free • Lactose-free • Serves 2 - 4
15 Minutes prep • 30 Minutes cook/cool • Low FODMAP • Gluten-free • Serves 8 • Serving Size 1/8
Buttery BBQ Snack Mix (Low FODMAP)
10 Minutes prep • 35 Minutes cook • Low FODMAP • Gluten-free • Serves 8
10 Minutes prep • 35 Minutes cook • Low FODMAP • Gluten-free • Serves 8 • Ok to make ahead: Steps 1-4
Get ready to roll out an especially delicious snack mix for your next barbecue or potluck. Featuring my “Squarefish” Cheesey Cracker Crisps, it’s loaded with flavor the whole family will love. Crisp, crunchy, buttery, with just the right amount of spice, this snack mix is like the classic Chex Mix, only better!
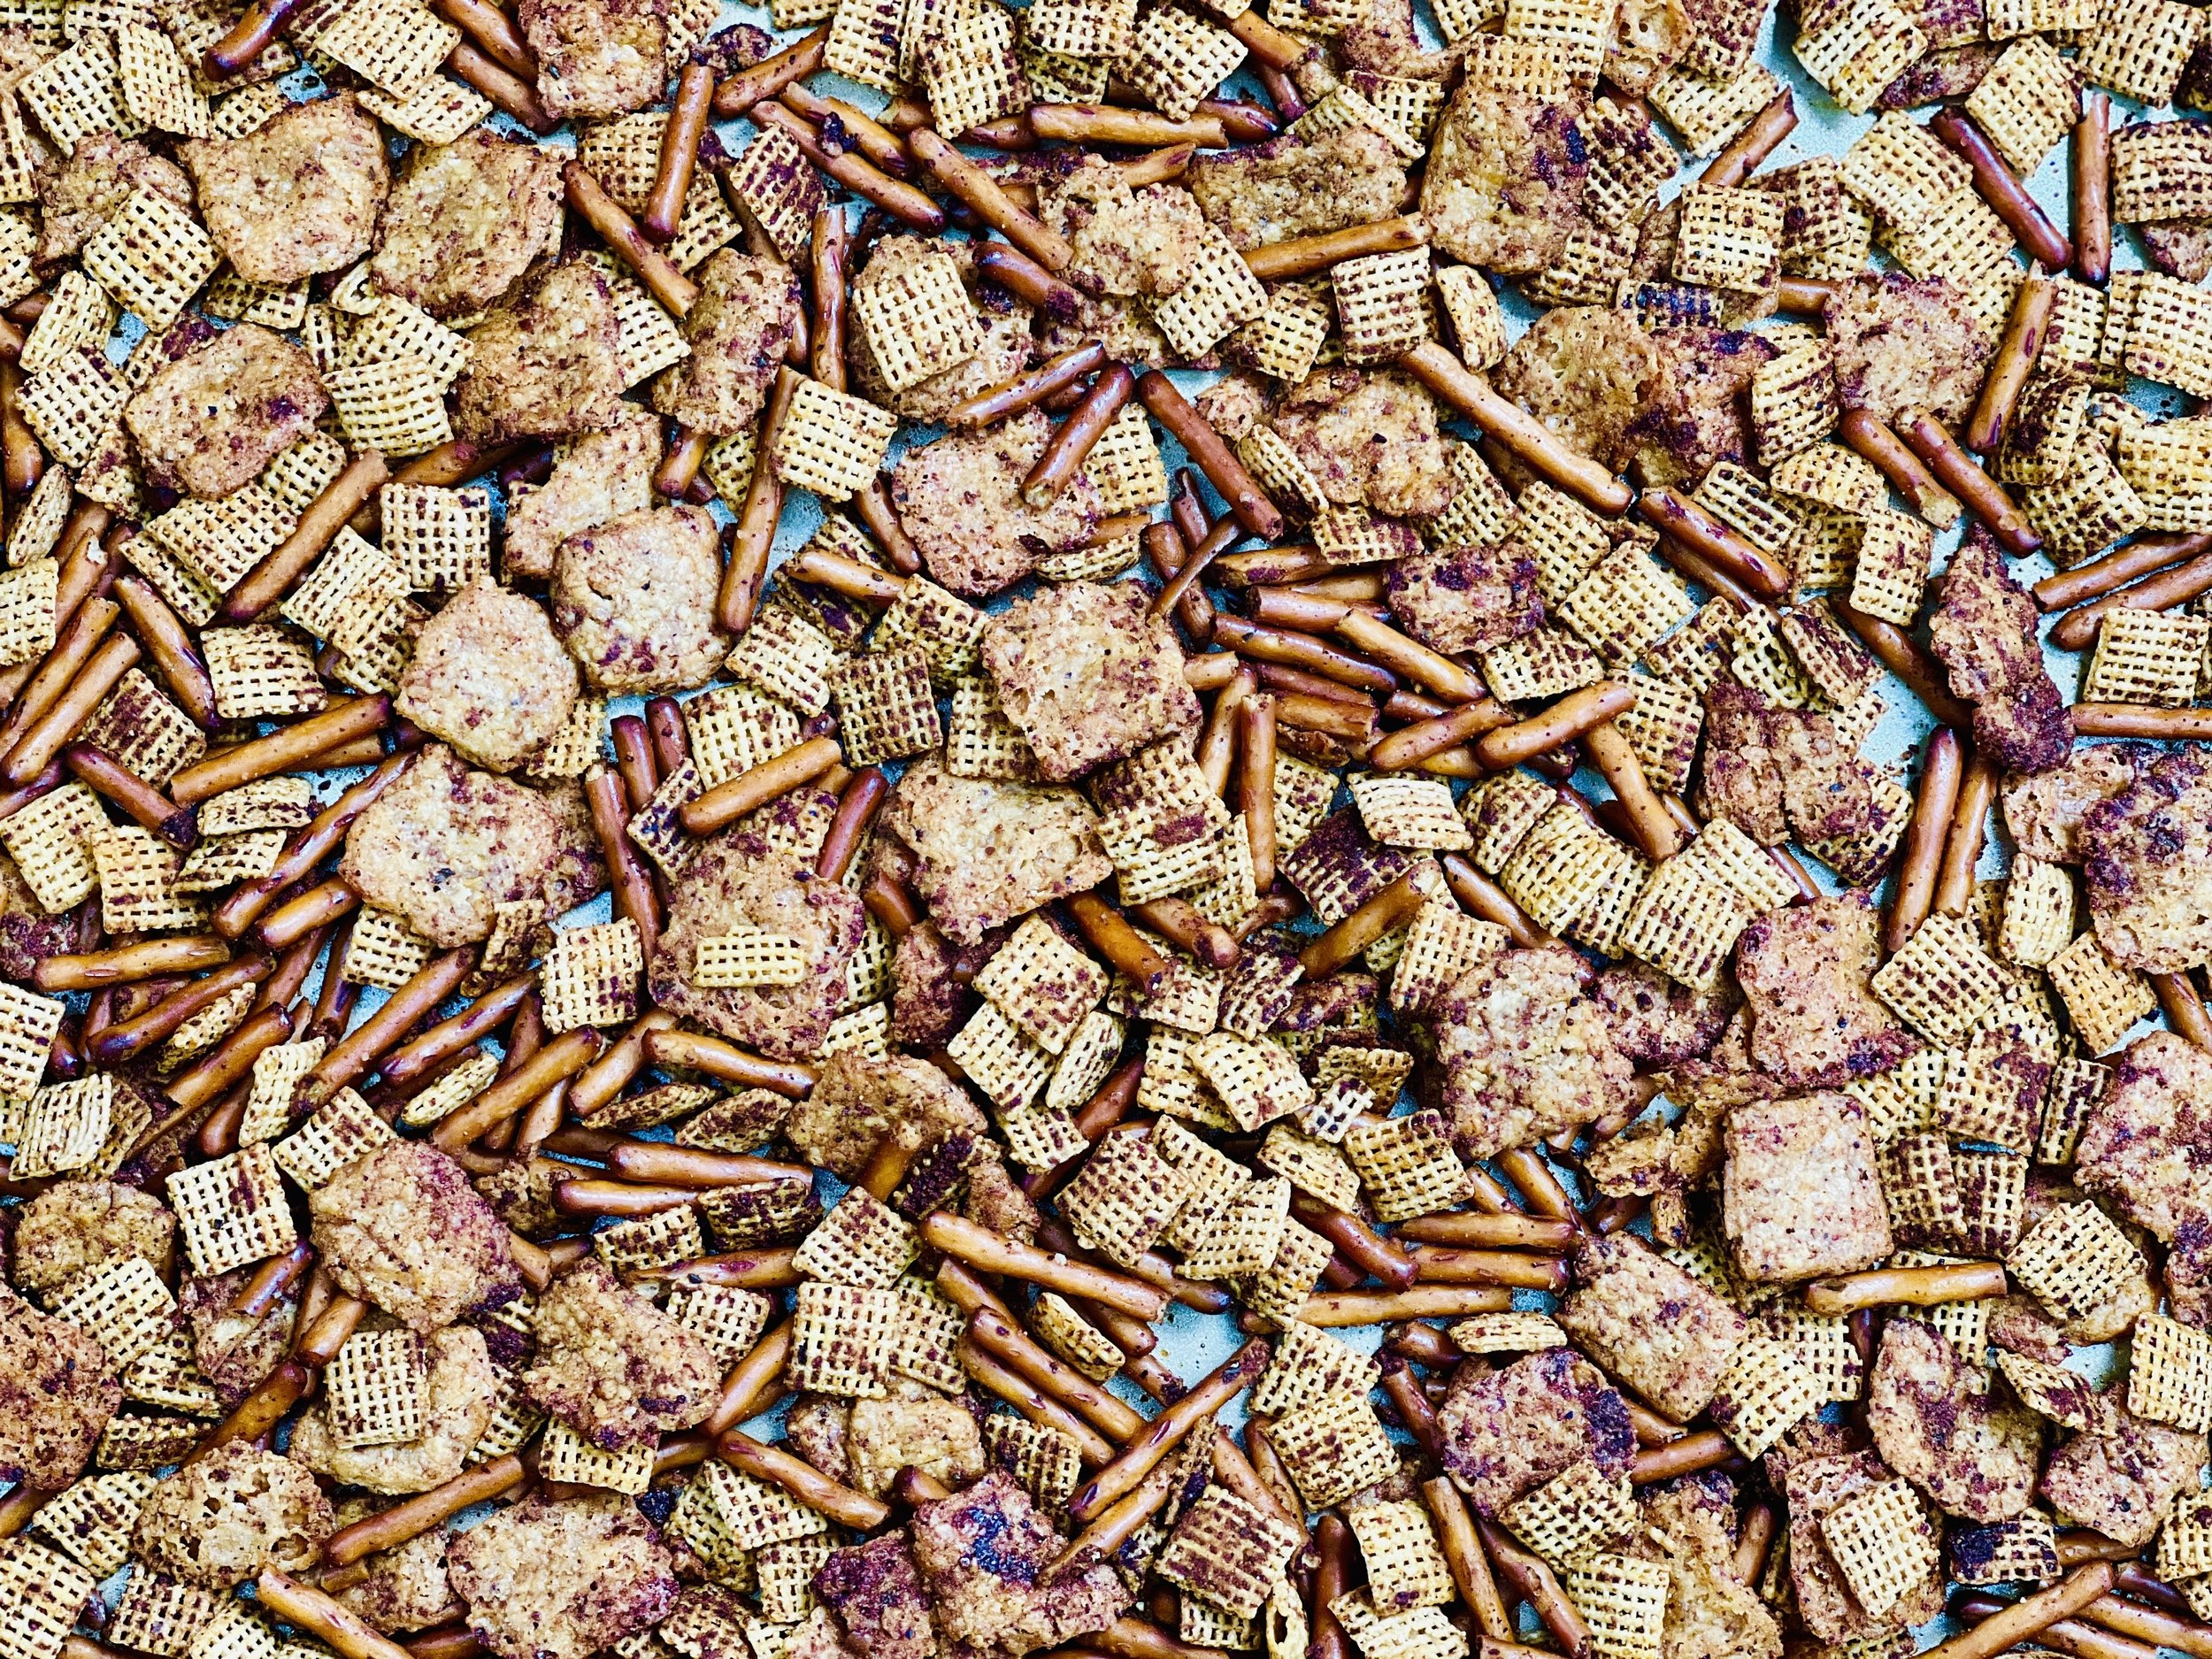
Ingredients
6 tablespoons salted butter, melted
2 tablespoons Smoke N Sanity Garlic Parmesan Seasoning (Use code IBSGC15 for 15% discount)
1 tablespoon smoked paprika
2 teaspoons chili powder
2 tablespoons Smoke N Sanity Essence of Garlic Salt (Use code IBSGC15 for 15% discount)
1/4 teaspoon cayenne
1/2 teaspoon light brown sugar
1 teaspoon each Kosher salt and black pepper
3 cups gluten-free salted mini pretzel twists or pretzel sticks cut in half
3 cups Squarefish Cheesy Crackers (or sub additional rice chex and pretzels)
2 cups Rice Chex Ceareal
1 cup roasted and salted peanuts (optional)
Directions
(1) Prepare: Make my “Squarefish” Cheesy Cracker Crisps (if using). Preheat the oven to 300 degrees F.
(2) Blend the seasonings: In a large bowl, combine the melted butter, SnS Garlic Parmesan Seasoning, smoked paprika, chili powder, dill, essence of garlic salt, cayenne, brown sugar, Kosher salt, and pepper. Stir well to blend.
(3) Add the crackers/cereal: Add the pretzels, cheese crackers, and Chex cereal, tossing well for about 3 minutes or until the mixture is evenly coated. Spread the mix evenly over a rimmed baking sheet.
(4) Bake: Transfer to the oven and bake for 30-35 minutes. Toss 1-2 times throughout cooking. Once cooked, remove from the oven and stir the peanuts in, if using.
(5) Plate and serve: Serve immediately, or store in an airtight container for up to 1 week.
Eat and enjoy every bite because you can!
Recipe note: I use Diamond Crystal Kosher salt in all my recipes because it has a wonderful flat and crisp flake that tastes delicious. It is also the least salty salt available so you can use it more liberally as a seasoning than you can table salt or sea salt. If you use another type of salt, you may need to reduce the amount so it is not over-salted.
Have a question you’d like to have answered? Email me at hello@ibsgamechanger.com
Link note: This post may contain affiliate links for you to easily purchase items that are linked. I may earn a small commission from qualifying purchases but none of this costs you a thing so feel free to use the links! In addition, for some items, I have provided a special discount code for IBS Game Changers so be sure to use the code when you purchase an item to get the discount that has been arranged just for you.
More Deliciously Low FODMAP™ snack recipes
15 Minutes prep • 20 Minutes cook • 30 Minutes cool • Low FODMAP • Gluten-free • Makes 18 bars
Thanks to our friends at Good Fod Foods you can now have delicious Beef Sticks and Jerky in a variety of flavors that you can keep on hand for a quick snack or light lunch on the go.
10 Minutes prep • 15 Minutes rest • Low FODMAP • Gluten-free • Dairy-free • Serving size 3 tablespoons
10 Minutes Prep • 30 Minutes cook • Low FODMAP • Gluten-free • Lactose-free • Makes 3 cups
Delicious, easy to use, and easy to love! As you know, easy and delicious are two of our favorite words.
45 minutes • Gluten-free • Lactose-free • Vegetarian • Low FODMAP • Makes 16 spring rolls
These low FODMAP nuts are so good you’ll want to eat them as soon as you take them out of the oven.
Coconut Cacao Granola (Low FODMAP)
10 Minutes prep • 20 Minutes cook • Low FODMAP • Gluten-free • Lactose-free • Vegan • Makes 6 cups
10 Minutes prep • 20 Minutes cook • Low FODMAP • Gluten-free • Lactose-free • Vegan • Makes 6 cups • Ok to make ahead: Steps 1-3
Your gut biome loves cacao (the “real deal” when it comes to chocolate) and coconut and so many nuts and seeds. So why not put them all together and make them delicious? This chocolatey granola might just make you a convert and you may never go back to “plain old” granola again! It’s very easy to make, oh so delicious, and it stores well for up to 6 weeks (if you don’t eat it all before then.)
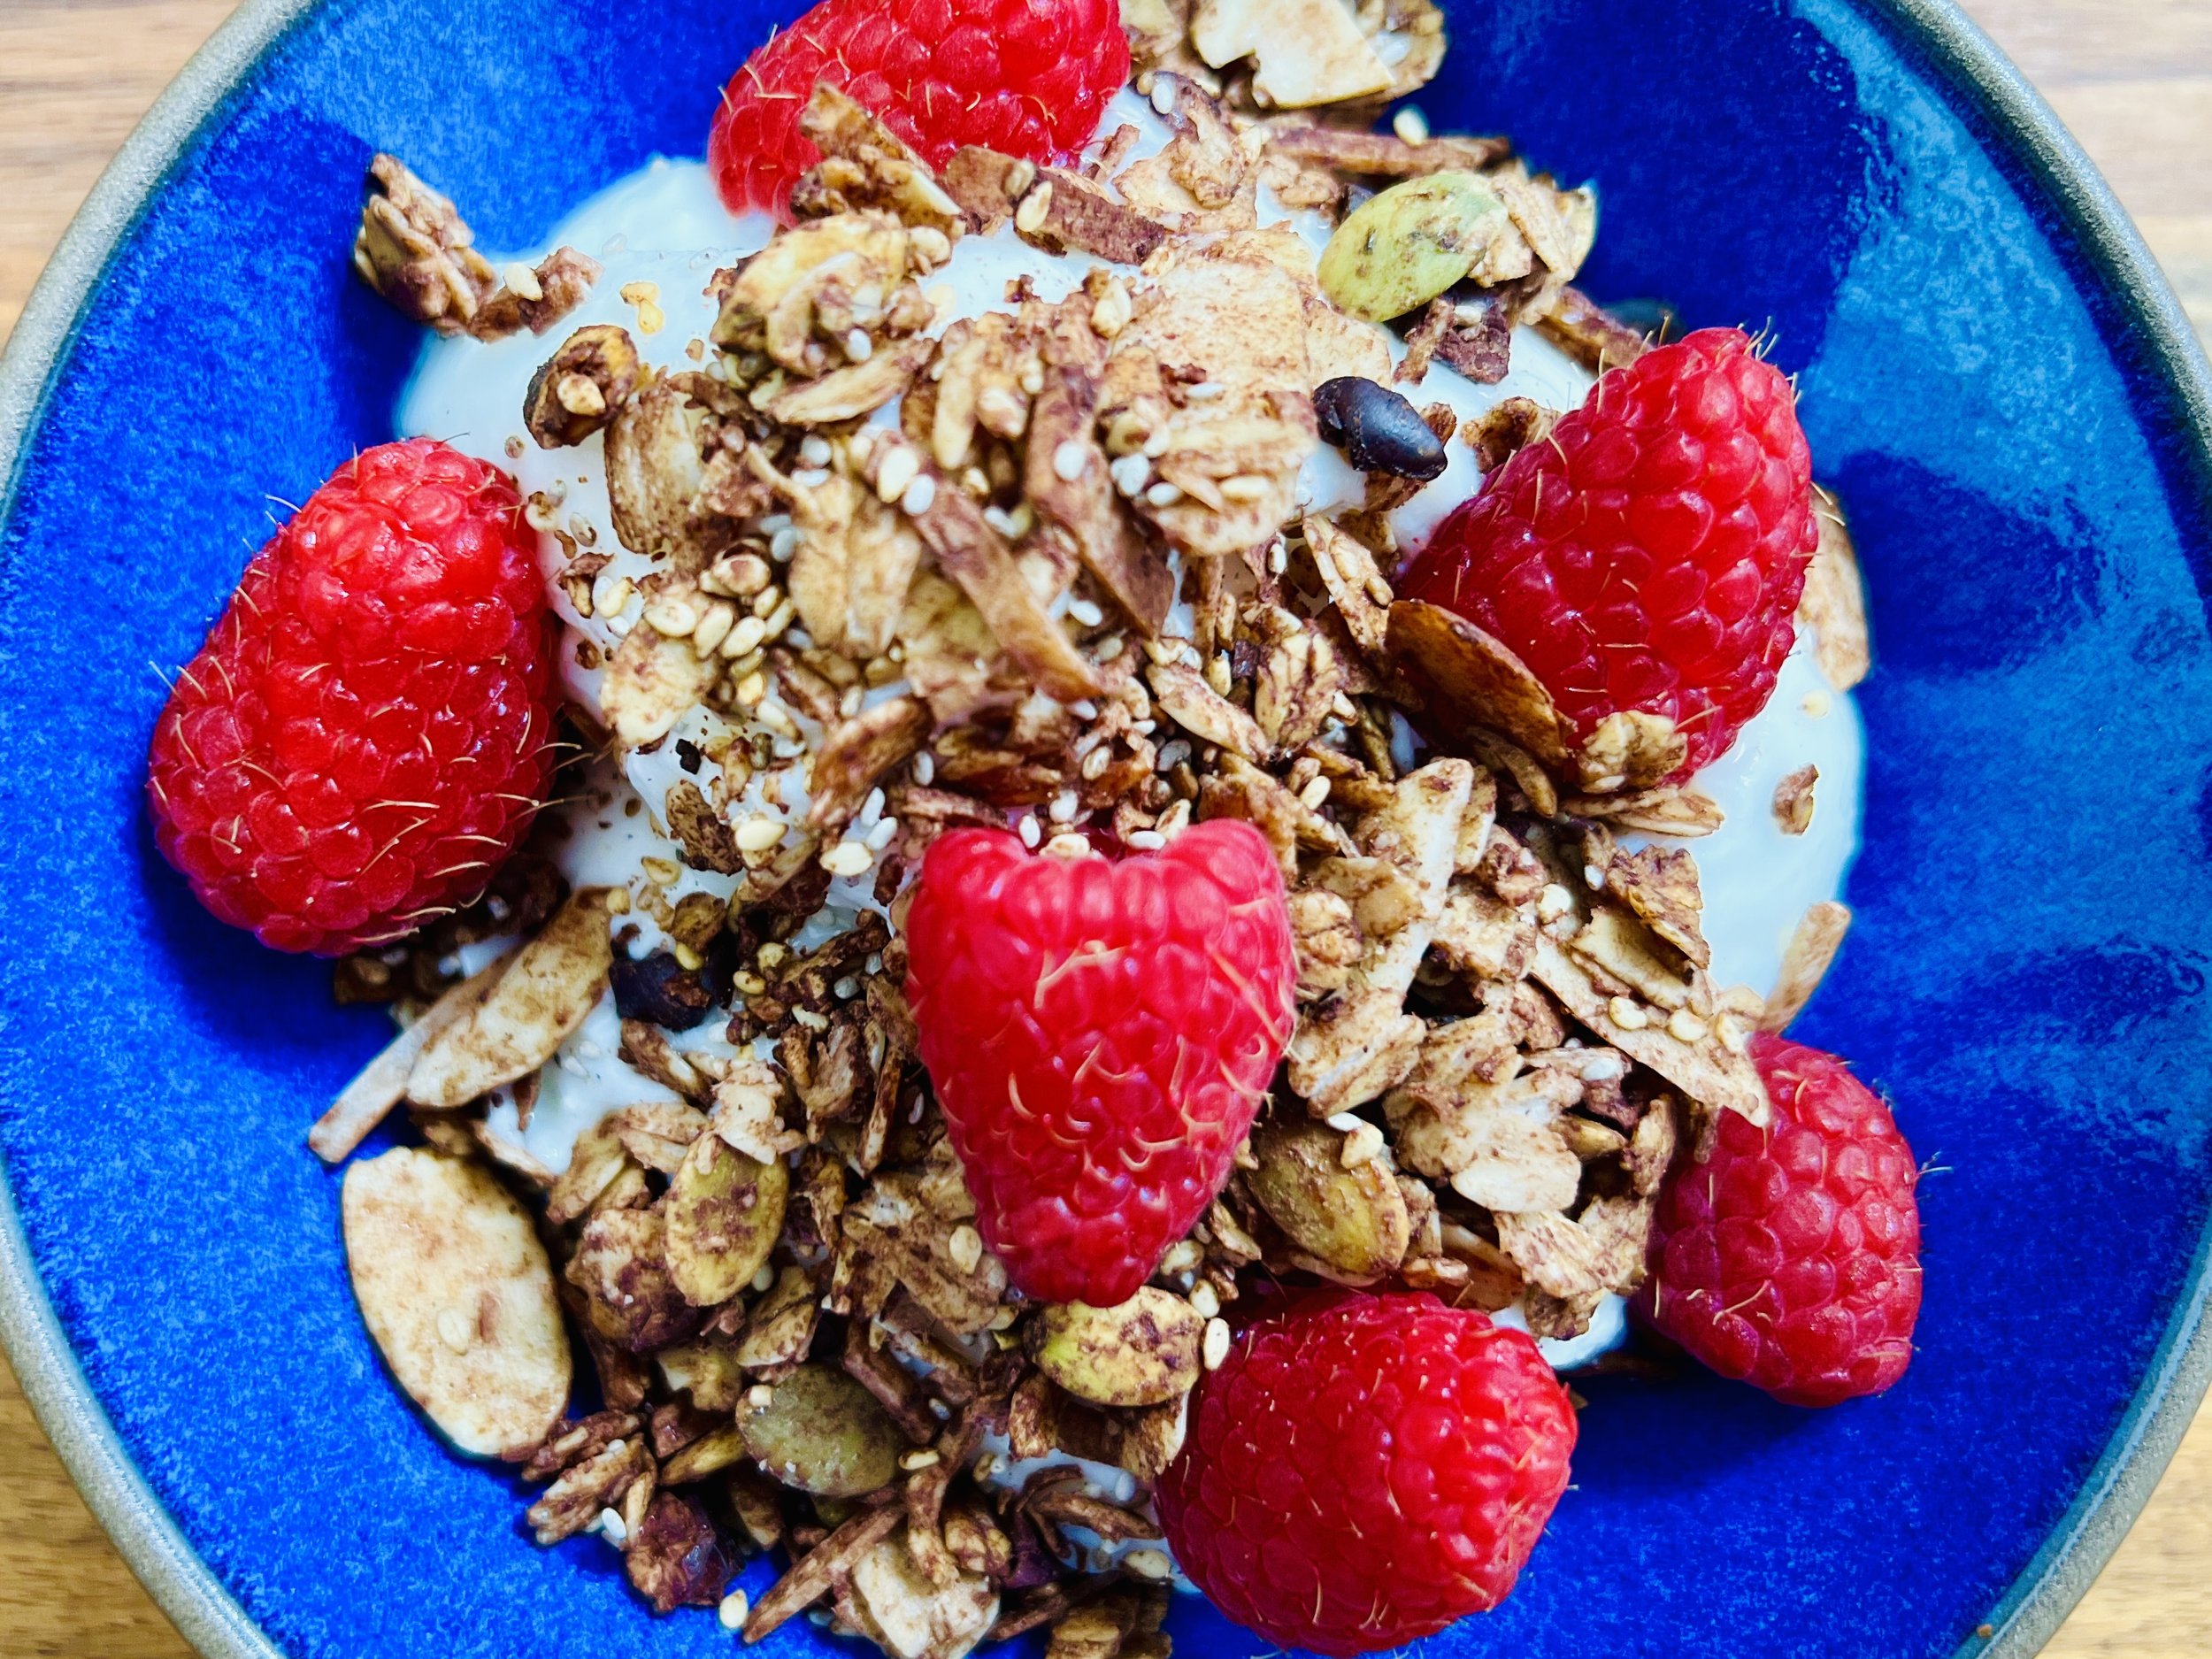
Ingredients
3 cups gluten-free rolled oats
2 cups nuts and/or seeds, I used sliced almonds, pumpkin seeds, sesame seeds, and flax seeds (pecans or walnuts would be good too)
1 cup unsweetened shredded coconut
1/4 cup chopped dried cranberries (optional)
2 tablespoons chia seeds (white or black)
1/4 cup cacao powder
1/3 cup cacao nibs
1 teaspoon cinnamon
1 1/2 teaspoons Kosher salt
1/3 cup maple syrup
1/3 cup coconut oil (melted)
2 teaspoons vanilla extract
Directions
(1) Prepare: Preheat oven to 325 degrees F.
(2) Mix dry ingredients: In a large bowl, combine oats, nuts, seeds, coconut, cranberries, chia seeds, flax seeds, sesame seeds, cacao powder, cacao nibs, cinnamon, and salt together. Stir to mix evenly.
(3) Mix liquid ingredients: In a small bowl or measuring cup, combine the maple syrup, coconut oil, and vanilla. Heat on the stove or in the microwave just to melt the coconut oil. Stir to blend, then pour over the dry ingredients and stir well to coat.
(4) Bake: Spread out in one even layer in a roasting pan or on a rimmed baking sheet. (I like using the roasting pan because it’s easier to stir halfway through when you have a pan with higher sides.) Bake for 10 minutes, then use a spatula to stir and rotate the mixture (so nothing gets too brown). Bake for another 10 minutes. Remove from the oven and let cool completely.
(5) Plate and serve: This granola is delicious on its own but if you like, you may serve it with yogurt or milk and fresh berries.
Eat and enjoy every bite because you can!
Recipe note: I use Diamond Crystal Kosher salt in all my recipes because it has a wonderful flat and crisp flake that tastes delicious. It is also the least salty salt available so you can use it more liberally as a seasoning than you can table salt or sea salt. If you use another type of salt, you may need to reduce the amount so it is not over-salted.
Have a question you’d like to have answered? Email me at hello@ibsgamechanger.com
Link note: This post may contain affiliate links for you to easily purchase items that are linked. I may earn a small commission from qualifying purchases but none of this costs you a thing so feel free to use the links! In addition, for some items, I have provided a special discount code for IBS Game Changers so be sure to use the code when you purchase an item to get the discount that has been arranged just for you.
More Deliciously Low FODMAP™ breakfast recipes
15 Minutes prep • 30 Minutes cook • Low FODMAP • Serves 4 • Ok to make-ahead: Steps 1 - 2
10 Minutes prep • 20 Minutes cook • Low FODMAP • Gluten-free • Lactose-free • Vegan • Makes 6 cups
I’m here to show you how to fully embrace the flavors of fall while keeping your digestive system happy.
10 Minutes prep • Overnight Chill • Low FODMAP • Gluten-free • Lactose-free • Serves 2 - 4
15 Minutes prep • 45 Minutes cook • Low FODMAP • Gluten-free • Vegetarian • Serves 4 - 6
15 Minutes prep • 15 Minutes cook • Low FODMAP • Gluten-free • Makes 8 Belgian waffle squares
30 Minutes prep • 20 Minutes cook • Low FODMAP • Gluten-free • Vegetarian • Makes 10 Squares
Easy No-Churn Chocolate Ice Cream (Low FODMAP)
15 Minutes prep • 4 Hours chill • Low FODMAP • Gluten-free • Serves 4 - 6
15 Minutes prep • 4 Hours chill • Low FODMAP • Gluten-free • Serves 4 - 6 • Ok to make ahead: Steps 1-2
Chocolate ice cream this creamy and rich is hard to find. Unless you make it yourself! This recipe comes together quickly and simply with two kinds of chocolate and real cream. These simple ingredients are the key to making it the best and easiest chocolate ice cream around. It needs a bit of chill time so it’s ideal to make it the night before you want to serve it. Eat it as is, or serve it with any of your favorite low FODMAP toppings.
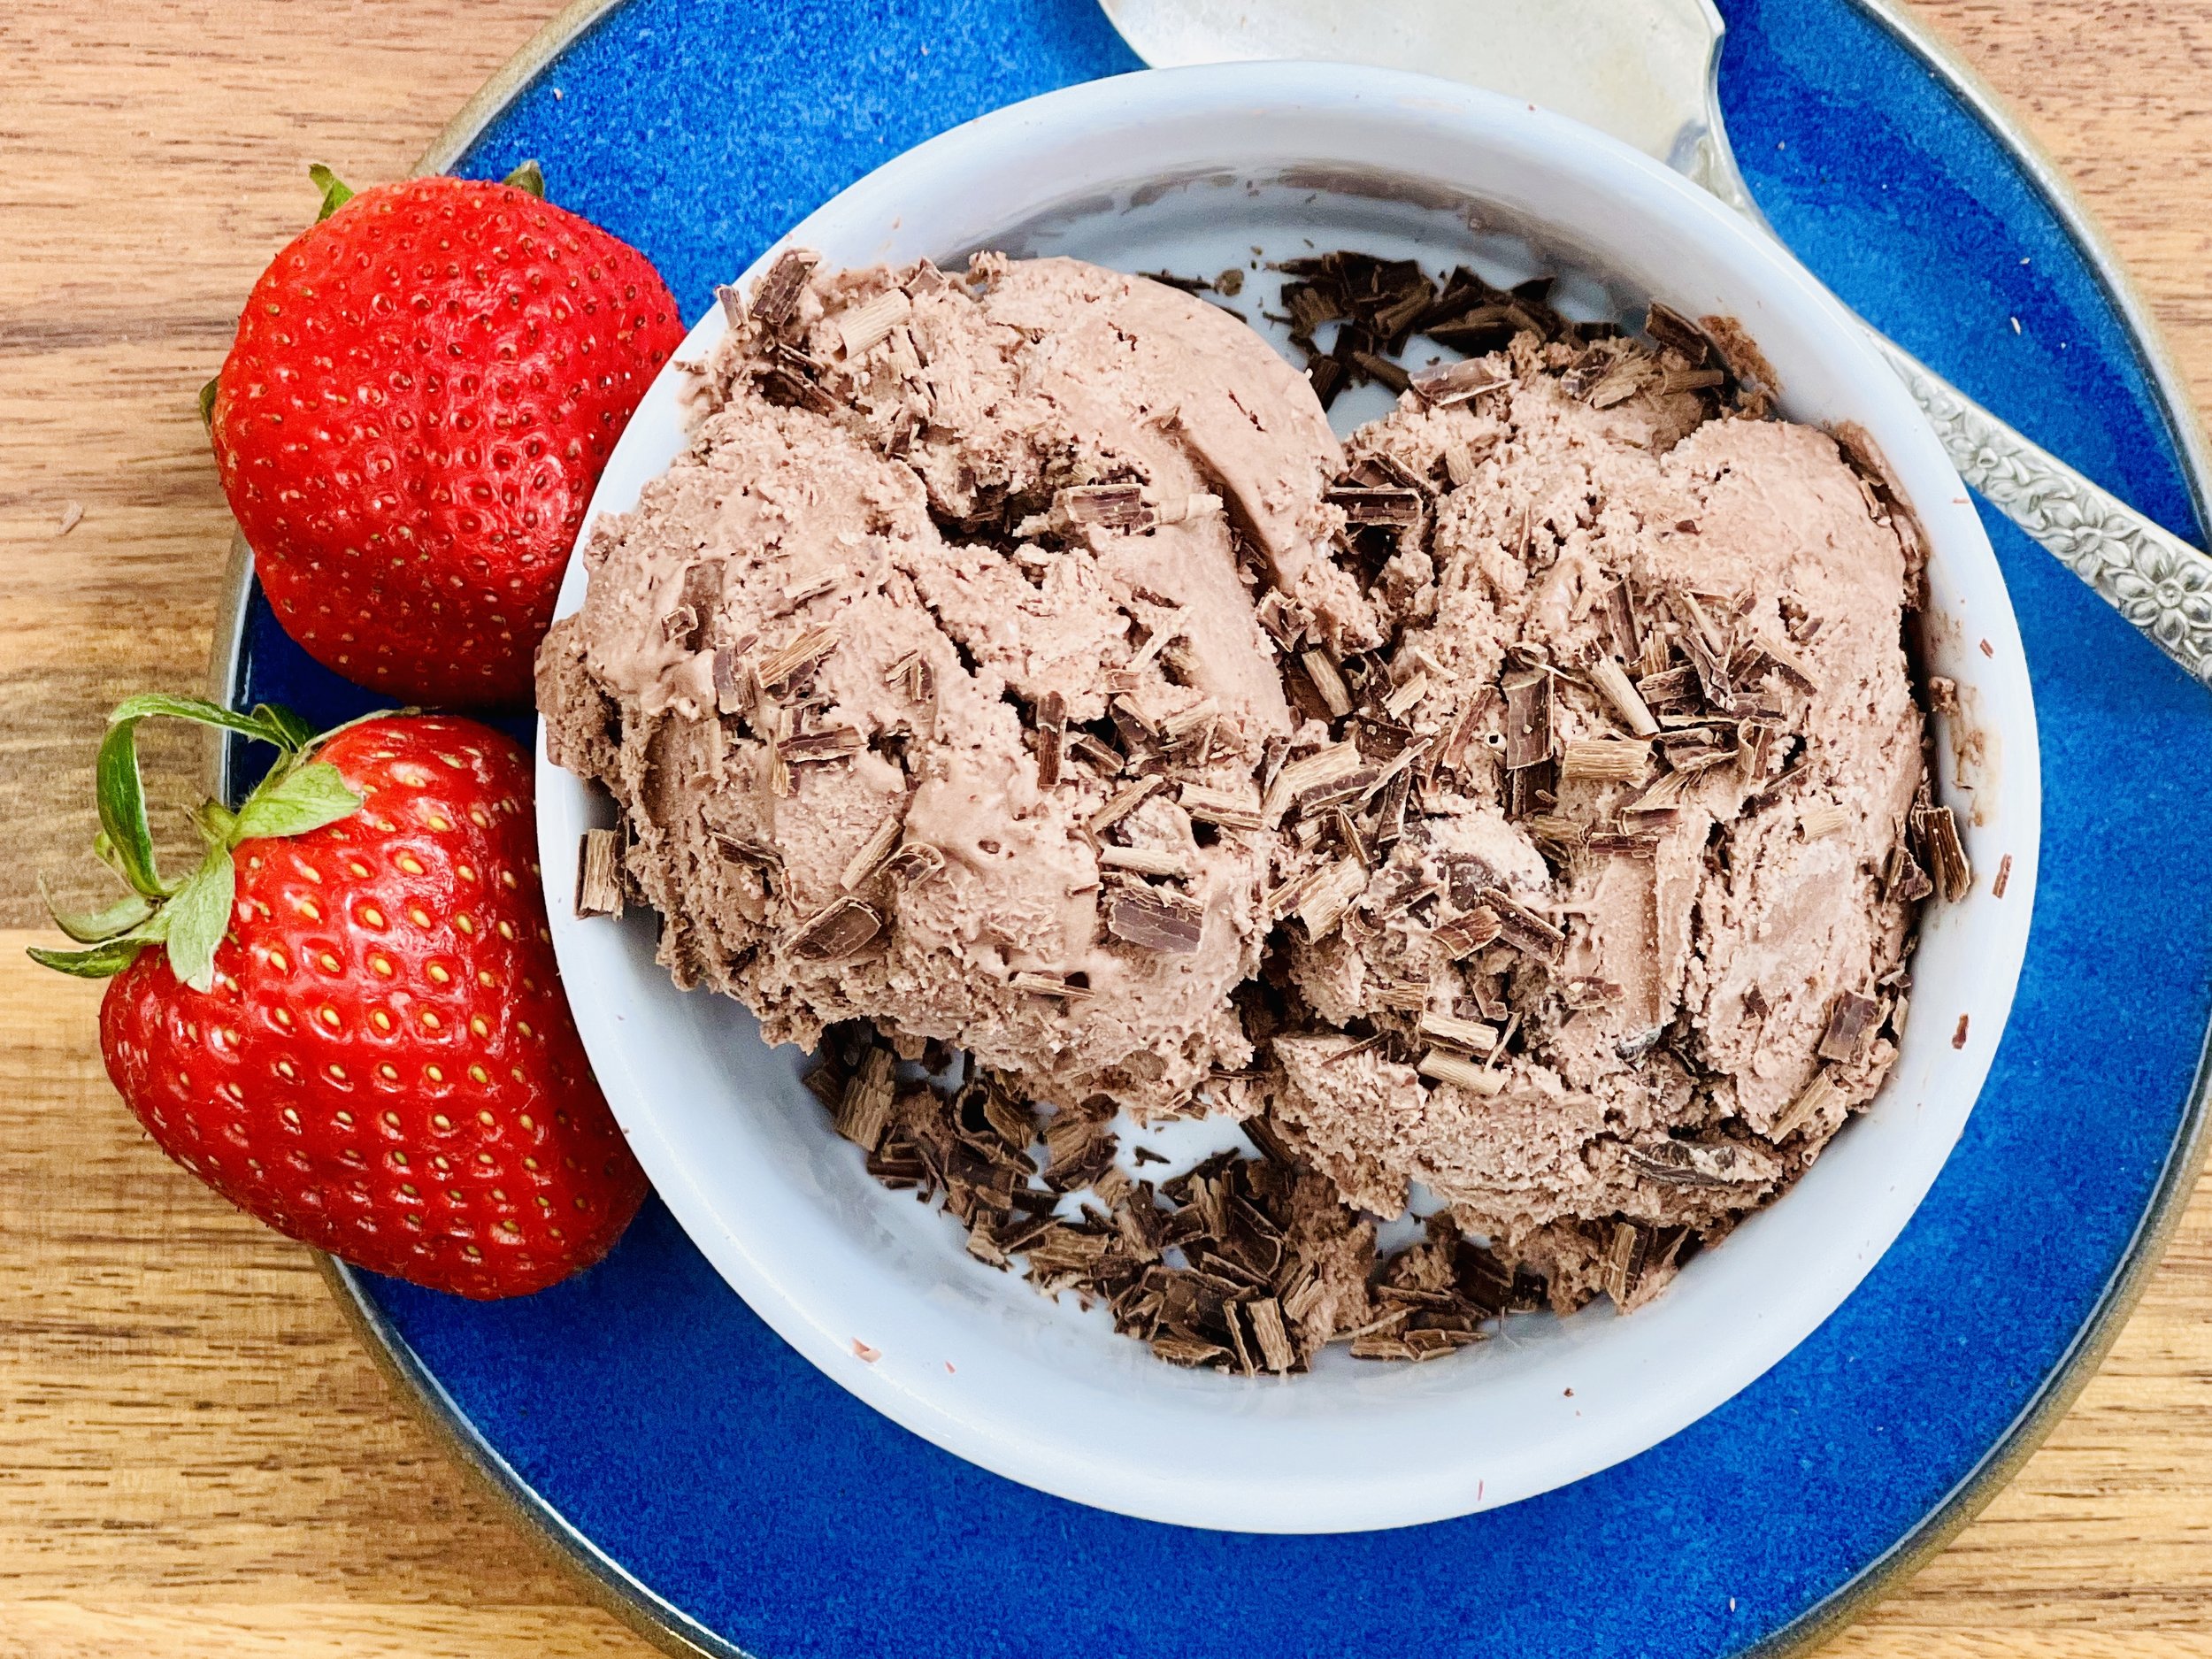
Ingredients
2 cups heavy cream
1/2 cup superfine sugar (this is baking sugar, not confectioners sugar; you can substitute white sugar but it doesn’t dissolve as fast)
1/3 cup Dutch process cacao (I used Ghirardelli)
2 ounces bittersweet or semi-sweet chocolate, chopped (I used Ghirardelli 70% Extra Bittersweet)
1 teaspoon vanilla extract
1 pinch Kosher salt
Directions
(1) Prepare the ice cream: Put all ingredients, except the chopped chocolate, together in the bowl of your stand mixer fitted with the whisk attachment. Whisk until soft peaks form. Don’t keep whipping past the soft peaks stage. You’re not making whipped cream. Fold the chopped chocolate into the blended cream mixture.
(2) Freeze the ice cream: Put the whipped mixture into a container with some depth to it, cover tightly, and freeze until firm (about 3 - 4 hours or overnight).
Make-ahead note: At this point, the ice cream can be stored in an airtight container in the freezer for up to 4 weeks.
(3) Plate and serve: Remove and thaw for 2 - 3 minutes before scooping so the ice cream is nice and creamy.
Eat and enjoy every bite because you can!
Recipe note: I use Diamond Crystal Kosher salt in all my recipes because it has a wonderful flat and crisp flake that tastes delicious. It is also the least salty salt available so you can use it more liberally as a seasoning than you can table salt or sea salt. If you use another type of salt, you may need to reduce the amount so it is not over-salted.
Have a question you’d like to have answered? Email me at hello@ibsgamechanger.com
Link note: This post may contain affiliate links for you to easily purchase items that are linked. I may earn a small commission from qualifying purchases but none of this costs you a thing so feel free to use the links! In addition, for some items, I have provided a special discount code for IBS Game Changers so be sure to use the code when you purchase an item to get the discount that has been arranged just for you.
More Deliciously Low FODMAP™ dessert recipes
15 Minutes prep • 20 Minutes cook • 30 Minutes cool • Low FODMAP • Gluten-free • Makes 18 bars
20 Minutes prep • 10 Minutes cook • Low FODMAP • Gluten-free • Makes 12 Sandwiched Cookies
20 Minutes prep • 20 Minutes cook • Low FODMAP • Gluten-free • Lactose-free • Makes 12 - 24
20 Minutes prep • 2 Hours chill • 10 Minutes cook • Low FODMAP • Gluten-free • Makes 24 - 36
I’m here to show you how to fully embrace the flavors of fall while keeping your digestive system happy.
10 Minutes prep • Overnight Chill • Low FODMAP • Gluten-free • Lactose-free • Serves 2 - 4
15 Minutes prep • 30 Minutes cook/cool • Low FODMAP • Gluten-free • Serves 8 • Serving Size 1/8
Sheet Pan Asian Meatballs with Roasted Gnocchi (Low FODMAP)
15 Minutes prep • 25 Minutes cook • Low FODMAP • Gluten-free • Lactos-free • Serves 4
15 Minutes prep • 25 Minutes cook • Low FODMAP • Gluten-free • Lactose-free • Serves 4 • Ok to make ahead: Step 1
Roasted gnocchi turns out crispy and chewy all at the same time. Delicious! It’s a great foundation for these Asian meatballs as the gnocchi cooks in the seasoned drippings from the meat and the flavors blend and build on each other. The addition of chopped mushrooms in the roasting pan with the gnocchi adds a wonderful depth of flavor. Adding spinach in the last few minutes of roasting means you’ve got a perfect one-pan meal. Simple enough for a weeknight dinner but fancy enough to make for company.
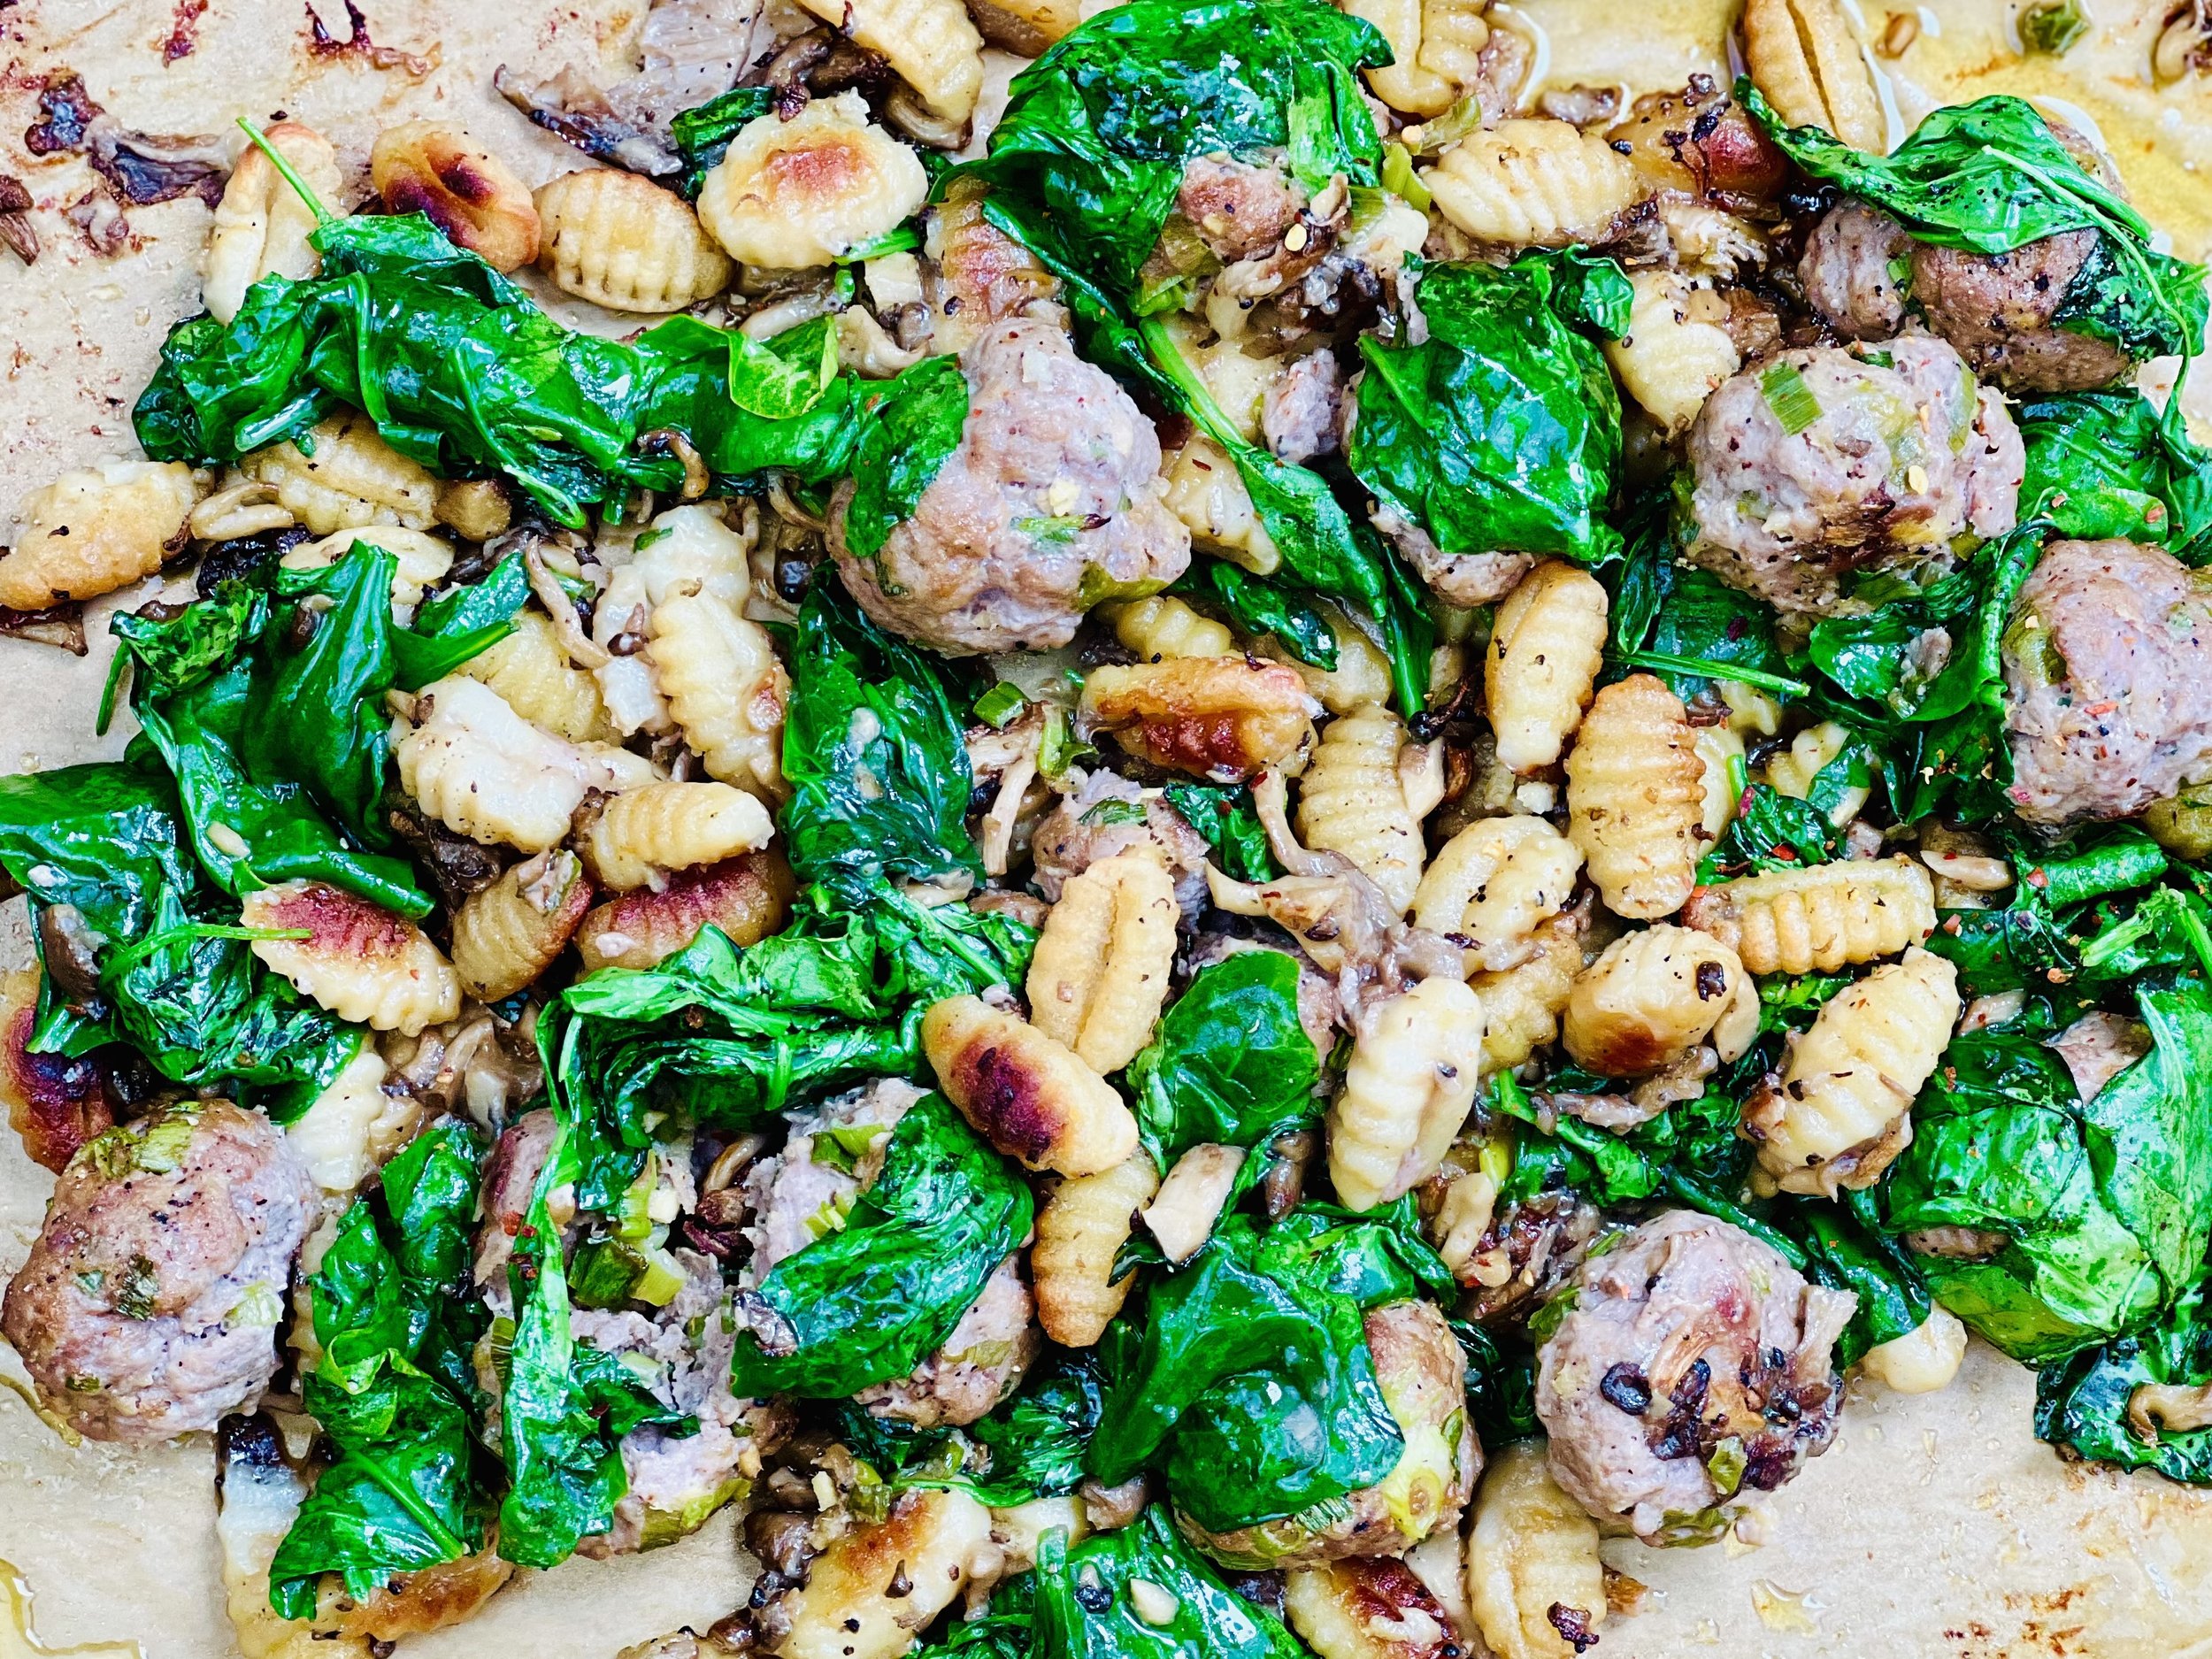
Ingredients: Roasted Gnocchi
1 pound oyster mushrooms, chopped
1 package (12 - 18 ounces) potato gnocchi
6 tablespoons extra virgin olive oil
5 ounces (about 5 packed cups) baby spinach, washed and long stems removed
Ingredients: Meatballs
2 tablespoons peeled and minced ginger
1 tablespoon gluten-free low sodium soy sauce sauce
1 bunch green onions, green part only, chopped
1 teaspoon freshly ground black pepper
1/2 teaspoon Smoke N Sanity Essence of Garlic Salt (use code IBSGC15 for 15% discount)
1/2 cup pork panko (or other gluten-free panko)
1 pound grass-fed ground pork
Directions
(1) Prepare: Preheat the oven to 425 degrees F. Line a large rimmed baking sheet with parchment paper. Chop the mushrooms, ginger, and green onion greens. Wash and remove the stems from the spinach.
(2) Prepare the gnocchi: In a bowl, toss the mushrooms, gnocchi, and 5 tablespoons of the olive oil. Spread evenly on the prepared backing sheet.
(3) Prepare the meatballs: In a large bowl, combine all the meatball ingredients and use your hands to mix it together evenly.
(4) Shape the meatballs: Roll the meat mixture into 12 balls (about 2 inches in diameter) and arrange with some space between them on top of the gnocchi and mushrooms.
(5) Roast: Put the pan in the oven and roast for 20 minutes.
(6) Prepare the spinach: Meanwhile, toss the spinach with the remaining 1 tablespoon of olive oil. When the meatballs and gnocchi have roasted for 20 minutes, remove the pan from the oven. Spread the spinach evenly over the top of the meatballs and gnocchi. Return to the oven and roast for another 5 minutes until the spinach is tender and wilted.
(7) Plate and serve: Serve on plates or in bowls making sure every plate gets a little of everything.
Eat and enjoy every bite because you can!
Have a question you’d like to have answered? Email me at hello@ibsgamechanger.com
Link note: This post may contain affiliate links for you to easily purchase items that are linked. I may earn a small commission from qualifying purchases but none of this costs you a thing so feel free to use the links! In addition, for some items, I have provided a special discount code for IBS Game Changers so be sure to use the code when you purchase an item to get the discount that has been arranged just for you.
More Deliciously Low FODMAP™ main course recipes
15 Minutes prep • 30 Minutes cook • Low FODMAP • Serves 4 • Ok to make-ahead: Steps 1 - 2
10 Minutes prep • 25 Minutes cook • Low FODMAP • Gluten-Free • Serves 6 • Ok to make-ahead: Step 1
45 Minutes prep • 60 Minutes cook • Low FODMAP • Gluten-free • Vegetarian • Serves 6 - 8
5 Minutes prep • 15 Minutes cook • Low FODMAP • Gluten-free • Lactose-free • Vegan • Serves 4
10 Minutes prep • 20 Minutes cook • Low FODMAP • Gluten-free • Serves 4 n skewers for your family and friends. They are sure to be a hit.
15 Minutes prep • 55 Minutes cook (if using brown rice) • Low FODMAP • Gluten-free • Lactose-free • Vegan • Serves 4
Quinoa Crunch Salad with Peanut Sauce (Low FODMAP)
5 Minutes prep • 15 Minutes cook • Low FODMAP • Gluten-free • Lactose-free • Vegan • Serves 4
15 Minutes prep • 15 Minutes cook • Low FODMAP • Gluten-free • Lactose-free • Vegan • Serves 4 • Ok to make ahead: Steps 1-3
This salad is as delicious as it is beautiful! It delivers a great combination of texture, color, and flavor. It’s hearty, healthy, delicious, and very easy to make. The mix of fresh vegetables and vibrant ingredients ensures every bite is a crunchy burst of goodness. If you're watching your carb intake, you can easily omit the quinoa and still enjoy a delicious, flavor-packed salad. Whether you’re preparing it for a family dinner, a potluck, or meal prepping for the week, this salad is sure to be a hit!
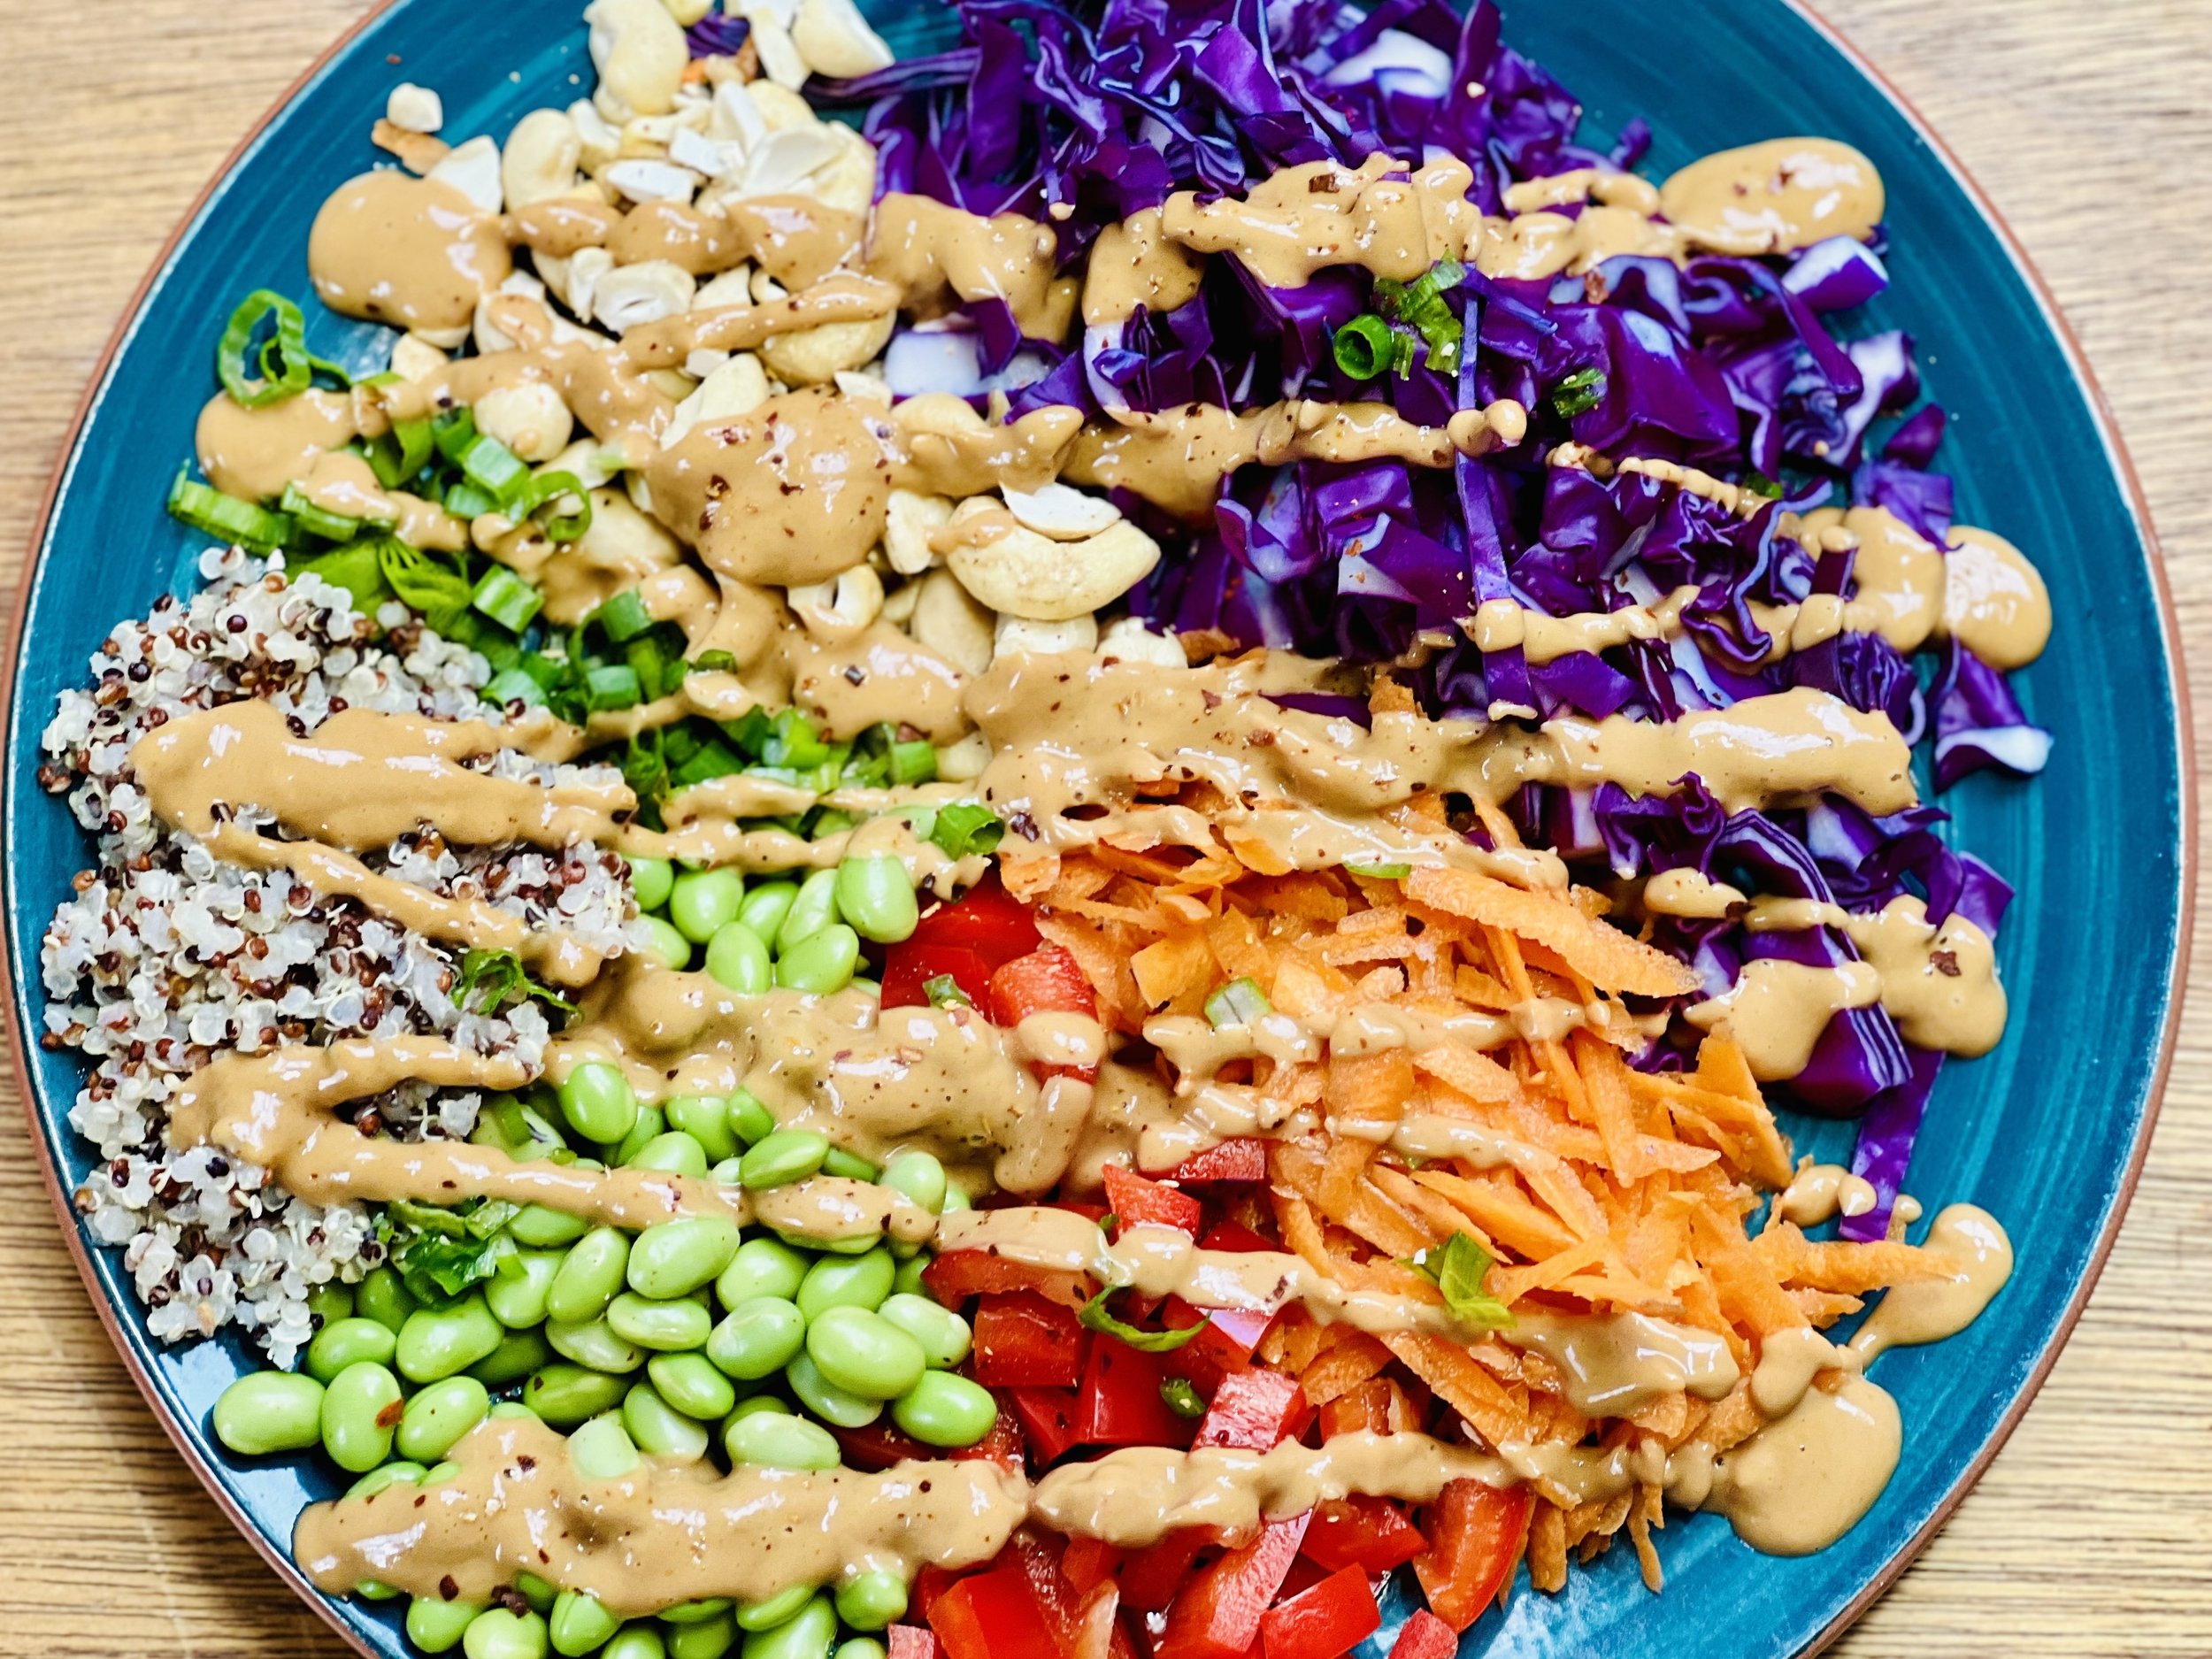
Ingredients: Salad
3 cups cooked quinoa (1 cup cooked per package instructions)
3 cups shredded red cabbage
2 cups edamame, cooked per package instructions
1 red bell pepper, diced
1 cup shredded carrots
3/4 cup raw, unsalted sprouted cashews, roughly chopped (AKA activated cashews)
1/2 cup green onion greens, chopped
1/4 cup cilantro, chopped (optional)
Ingredients: Peanut Sauce
1/2 cup smooth peanut butter
1/4 cup gluten-free soy sauce
Juice of 1 lime
3 tablespoons seasoned rice vinegar
2 tablespoons water
1 tablespoon maple syrup
1/4 teaspoon red pepper flakes (or to taste)
Directions
(1) Prepare: Cook the quinoa and the frozen edamame according to package instructions. Once the edamame is cooked, rinse in cold water to stop the cooking. It’s nice to have the quinoa be warm when you are serving—but it’s also good cold. You can prep both of these ingredients ahead of time if you like.
(2) Chop the veggies: Chop the cabbage, bell pepper, green onion greens, cilantro, and cashews. Grate the carrots.
(3) Make the dressing: Put all dressing ingredients in a jar or small bowl. Shake or whisk to blend.
(4) Plate and serve: While you can put all the ingredients in a salad bowl and toss it with the dressing, it makes a beautiful presentation to arrange the ingredients in a colorful wheel on each plate and drizzle the dressing over the top. Either way, it will be delicious.
Eat and enjoy every bite because you can!
Have a question you’d like to have answered? Email me at hello@ibsgamechanger.com
Link note: This post may contain affiliate links for you to easily purchase items that are linked. I may earn a small commission from qualifying purchases but none of this costs you a thing so feel free to use the links! In addition, for some items, I have provided a special discount code for IBS Game Changers so be sure to use the code when you purchase an item to get the discount that has been arranged just for you.
More Deliciously Low FODMAP™ vegetarian recipes
10 Minutes prep • 20 Minutes cook • Low FODMAP • Gluten-free • Lactose-free • Vegan • Makes 6 cups
5 Minutes prep • 15 Minutes cook • Low FODMAP • Gluten-free • Lactose-free • Vegan • Serves 4
10 Minutes Prep • 50 Minutes Cook • Low FODMAP • Gluten-free • Dairy Free • Vegan • Serving size 3 - 4 crackers
15 Minutes prep • 55 Minutes cook (if using brown rice) • Low FODMAP • Gluten-free • Lactose-free • Vegan • Serves 4
10 Minutes prep • 10 Minutes cook • Low FODMAP • Gluten-free • Lactose-free • Vegan • Serves 4
10 Minutes prep • 25 Minutes cook • Low FODMAP • Gluten-free • Vegetarian • Plant Forward • Serves 4
20 Minutes prep • 40 Minutes cook • Low FODMAP • Gluten-free • Vegetarian • Serves 4 - 6 • Ok to make ahead: Steps 1-4
15 Minutes prep • Low FODMAP • Gluten-free • Lactose-free • Vegetarian • Vegan • Serves 4
20 Minutes prep • 25 Minutes cook • Low FODMAP • Gluten-free • Lactose-free • Vegetarian • Serves 4
10 Minutes prep • 20 Minutes cook • Low FODMAP • Gluten-free • Lactose-free • Vegan • Serves 5
10 Minutes prep • Low FODMAP • Gluten-Free • Lactose-free • Vegetarian • Vegan • Makes 1.5 cups
10 Minutes Prep • 50 Minutes Cook • Gluten-free • Dairy-free • Low FODMAP • Serving size 3-4 crackers
30 Minutes prep • Low FODMAP • Gluten-free • Lactose-free • Vegetarian • Vegan • Serves 4+ • Serving Size 2 cups
20 Minutes prep • 20 Minutes cook • Low FODMAP • Gluten-free • Lactose-free • Vegetarian • Serves 4
20 Minutes prep • 25 Minutes cook • Low FODMAP • Gluten-free • Lactose-free • Vegetarian • Serves 4
5 Minutes prep • 45 Minutes cook • Low FODMAP • Gluten-Free • Lactose-Free • Vegetarian • Vegan • Serves 2 - 4
20 Minutes prep • Low FODMAP • Gluten-free • Lactose-free • Vegetarian • Vegan • Serves 4
Greek Chicken Salad (Low FODMAP)
15 Minutes prep • Low FODMAP • Gluten-free • Keto-friendly • Serves 4
15 Minutes prep • Low FODMAP • Gluten-free • Keto-friendly • Serves 4 • Ok to make ahead: Steps 1-2
This is the perfect follow-up to the Mediterranean chicken skewers I published last week. I had some of the skewers left over and the chicken made the perfect complement to this classic Greek salad. It’s quick to make, and the flavors are fresh and vibrant. If you can get fresh Oregano for the dressing, it’s a delicious addition.
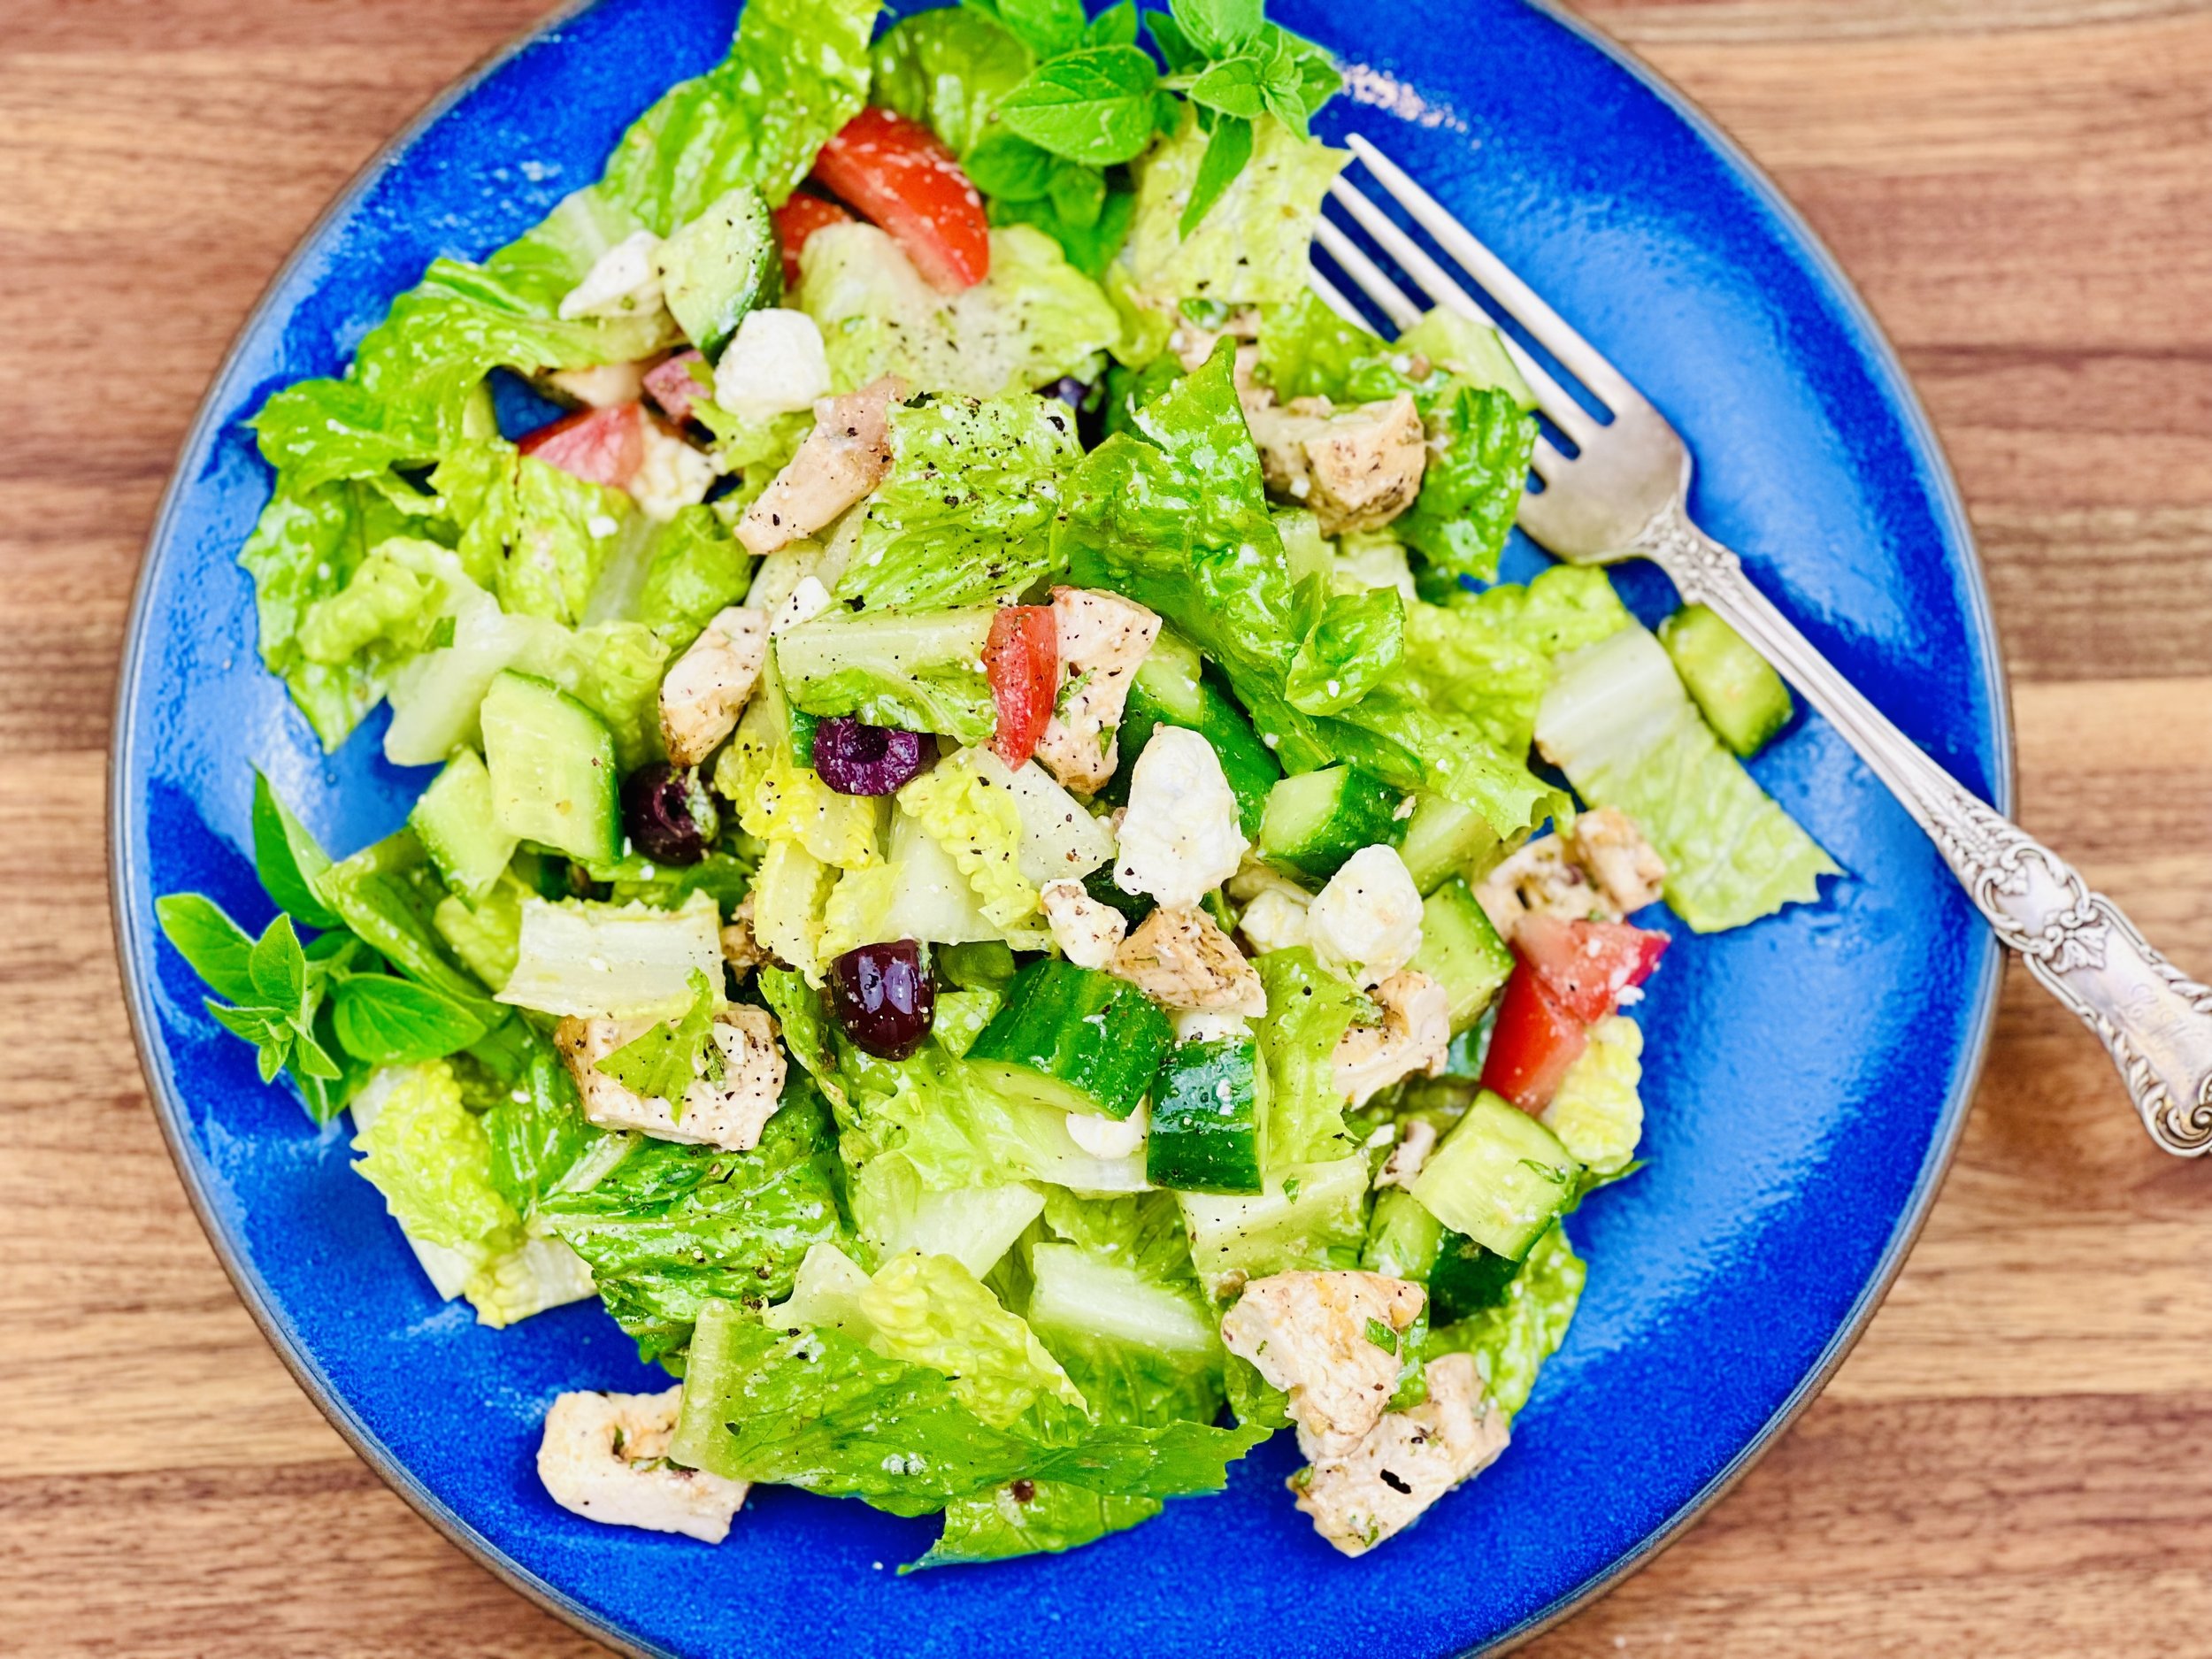
Ingredients: Salad
1 head Romaine lettuce, washed, spun dry, and chopped
4 Persian cucumbers, chopped
1 Roma tomato, chopped
1/2 cup crumbled Feta
1/2 cup Kalamata olives, halved
2 cups of cooked chicken (my Mediterranean Chicken Skewers are a great choice here)
Ingredients: Dressing
1/4 cup extra-virgin olive oil
1/4 cup lemon juice
1 tablespoon fresh oregano, chopped (or 1 teaspoon dry oregano)
1/2 teaspoon Kosher salt
1/4 teaspoon black pepper
Directions
(1) Prepare: Wash and chop the lettuce, cucumbers, and tomato. Chop the cooked chicken.
(2) Make the dressing: Combine all ingredients in a jar or small bowl. Shake or whisk to combine.
(3) Make the salad: Combine all ingredients in a large salad bowl. Drizzle the dressing over the salad and toss to combine.
(4) Plate and serve: Serve generous portions. No need to add anything else!
Eat and enjoy every bite because you can!
Recipe note: I use Diamond Crystal Kosher salt in all my recipes because it has a wonderful flat and crisp flake that tastes delicious. It is also the least salty salt available so you can use it more liberally as a seasoning than you can table salt or sea salt. If you use another type of salt, you may need to reduce the amount so it is not over-salted.
Have a question you’d like to have answered? Email me at hello@ibsgamechanger.com
Link note: This post may contain affiliate links for you to easily purchase items that are linked. I may earn a small commission from qualifying purchases but none of this costs you a thing so feel free to use the links! In addition, for some items, I have provided a special discount code for IBS Game Changers so be sure to use the code when you purchase an item to get the discount that has been arranged just for you.
More Deliciously Low FODMAP™ main course recipes
15 Minutes prep • 30 Minutes cook • Low FODMAP • Serves 4 • Ok to make-ahead: Steps 1 - 2
10 Minutes prep • 25 Minutes cook • Low FODMAP • Gluten-Free • Serves 6 • Ok to make-ahead: Step 1
45 Minutes prep • 60 Minutes cook • Low FODMAP • Gluten-free • Vegetarian • Serves 6 - 8
5 Minutes prep • 15 Minutes cook • Low FODMAP • Gluten-free • Lactose-free • Vegan • Serves 4
10 Minutes prep • 20 Minutes cook • Low FODMAP • Gluten-free • Serves 4 n skewers for your family and friends. They are sure to be a hit.
15 Minutes prep • 55 Minutes cook (if using brown rice) • Low FODMAP • Gluten-free • Lactose-free • Vegan • Serves 4
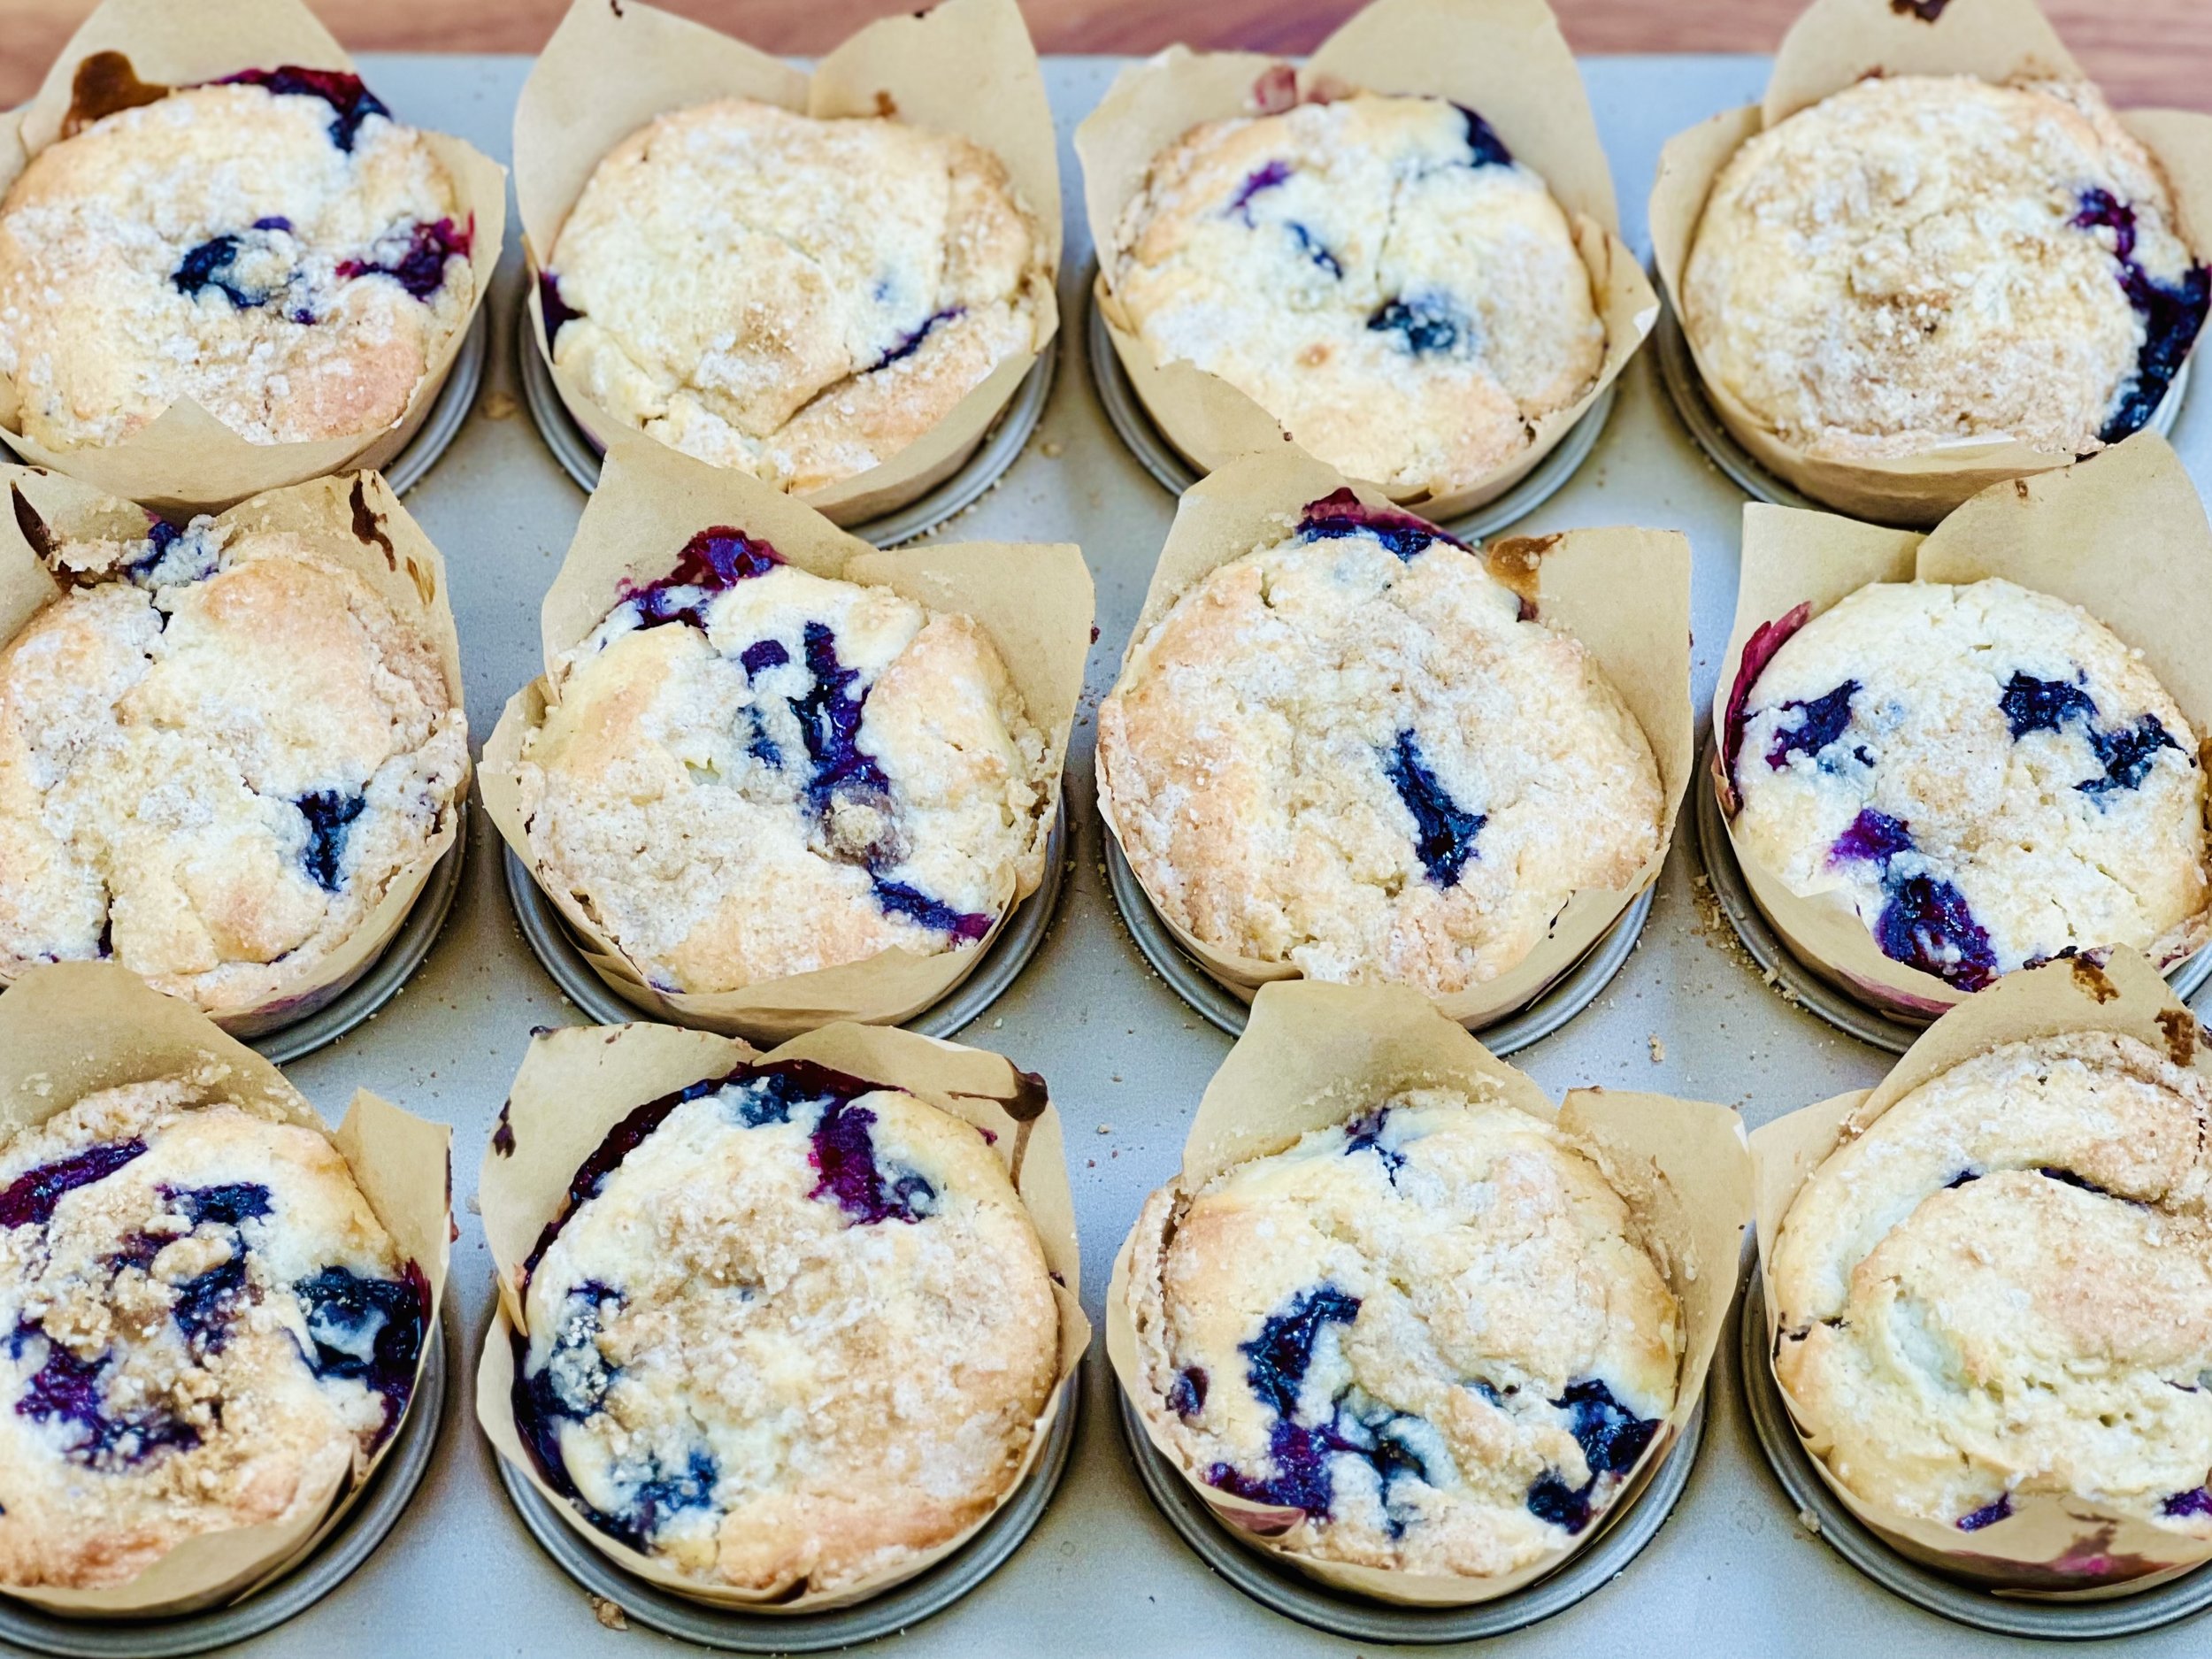
Blueberry Cheesecake Muffins (Low FODMAP)
20 Minutes prep • 25 Minutes cook • Low FODMAP • Gluten-free • Makes 12
20 Minutes prep • 25 Minutes cook • Low FODMAP • Gluten-free • Makes 12 • Ok to make ahead: Steps 1 - 3
Mother’s Day always calls for something special. So this year for Mother’s Day I decided Blueberry Cheesecake Muffins would be just the thing! The rich cheesecake center surrounded by tender blueberries and a sprinkle of streusel topping makes these muffins something extra special. They are a bit fussy to make (not hard, just a few extra steps and extra pans) but they are worth the effort.
Ingredients: Muffins
1 stick salted butter, at room temperature
1 cup superfine granulated sugar (this is not powdered sugar)
2 large eggs at room temperature
1/2 teaspoon salt
1 teaspoon vanilla extract
2 teaspoons baking powder
1/2 cup lactose-free sour cream or yogurt
1/4 cup heavy cream or lactose-free whole milk
1 1/2 cups gluten-free flour
1/2 cup gf jules baking flour
1 1/2 cups blueberries (fresh or frozen)
Grated rind of two lemons (Meyer preferred)
Ingredients: Cheesecake filling
4 ounces lactose-free cream cheese, at room temperature
1/3 cup superfine granulated sugar
2 tablespoons beaten egg (this is less than one egg)
1 teaspoon vanilla extract
Ingredients: Streusel
1/4 cup gluten-free flour
1/4 cup light brown sugar
3 tablespoons salted butter, chilled
Directions
(1) Prepare: Preheat oven to 375 degrees F and line a standard (1 dozen) muffin tin with baking cups.
(2) Make the cheesecake layer: In the smallest bowl of your stand mixer, beat the cream cheese, egg, sugar, and vanilla until smooth. Set aside (and refrigerate if it will be more than a few minutes).
(3) Make the streusel topping: In the bowl of your food processor, combine the flour, sugar, and butter. Pulse until the butter is evenly distributed in the dry ingredients.
(4) Make muffin batter: Beat butter and sugar on high for 5 minutes, scraping down the bowl at least twice during the beating. Add eggs one at a time, beating for about 1 minute after each addition and scraping down the bowl a few times during beating. Add vanilla and baking powder and beat for 2 minutes, scraping down the sides and bottom of the bowl as needed. Add the sour cream or yogurt, the milk or cream, and the flour, and beat until there are no lumps, scraping down the sides and bottom of the bowl as necessary.
(3) Add the fruit: Fold in the lemon zest along with the blueberries.
(4) Layer the batter and streusel: Use a cookie scoop or spoon to scoop a generous heaping tablespoon of the muffin banner into each muffin cup. Use the back of the spoon to spread the batter to cover the bottom of the muffin cup. Next, add about half that amount of the cheesecake filling as the next layer. Spread it out to cover the better. Using about half the streusel mixture, sprinkle the cheesecake layer lightly with streusel. Add one more scoop of muffin batter to the top, spread it out, and top with the remaining streusel.
(8) Bake: Bake for 25 minutes, or until a toothpick inserted into a blueberry-free spot on the muffin comes out clean.
(9) Finish: Remove from the oven when done and let cool in the pan for 5 minutes before transferring to a wire rack to cool completely.
(10) Serve: Enjoy them warm, or if you’re not going to eat them right away, cool completely and store them in an airtight container in the freezer. Thaw at room temperature for about 30 minutes.
Eat and enjoy every bite because you can!
Recipe note: I use Diamond Crystal Kosher salt in all my recipes because it has a wonderful flat and crisp flake that tastes delicious. It is also the least salty salt available so you can use it more liberally as a seasoning than you can table salt or sea salt. If you use another type of salt, you may need to reduce the amount so it is not over-salted.
Have a question you’d like to have answered? Email me at hello@ibsgamechanger.com
Link note: This post may contain affiliate links for you to easily purchase items that are linked. I may earn a small commission from qualifying purchases but none of this costs you a thing so feel free to use the links! In addition, for some items, I have provided a special discount code for IBS Game Changers so be sure to use the code when you purchase an item to get the discount that has been arranged just for you.
More Deliciously Low FODMAP™ breakfast recipes
15 Minutes prep • 30 Minutes cook • Low FODMAP • Serves 4 • Ok to make-ahead: Steps 1 - 2
10 Minutes prep • 20 Minutes cook • Low FODMAP • Gluten-free • Lactose-free • Vegan • Makes 6 cups
I’m here to show you how to fully embrace the flavors of fall while keeping your digestive system happy.
10 Minutes prep • Overnight Chill • Low FODMAP • Gluten-free • Lactose-free • Serves 2 - 4
15 Minutes prep • 45 Minutes cook • Low FODMAP • Gluten-free • Vegetarian • Serves 4 - 6
15 Minutes prep • 15 Minutes cook • Low FODMAP • Gluten-free • Makes 8 Belgian waffle squares
30 Minutes prep • 20 Minutes cook • Low FODMAP • Gluten-free • Vegetarian • Makes 10 Squares
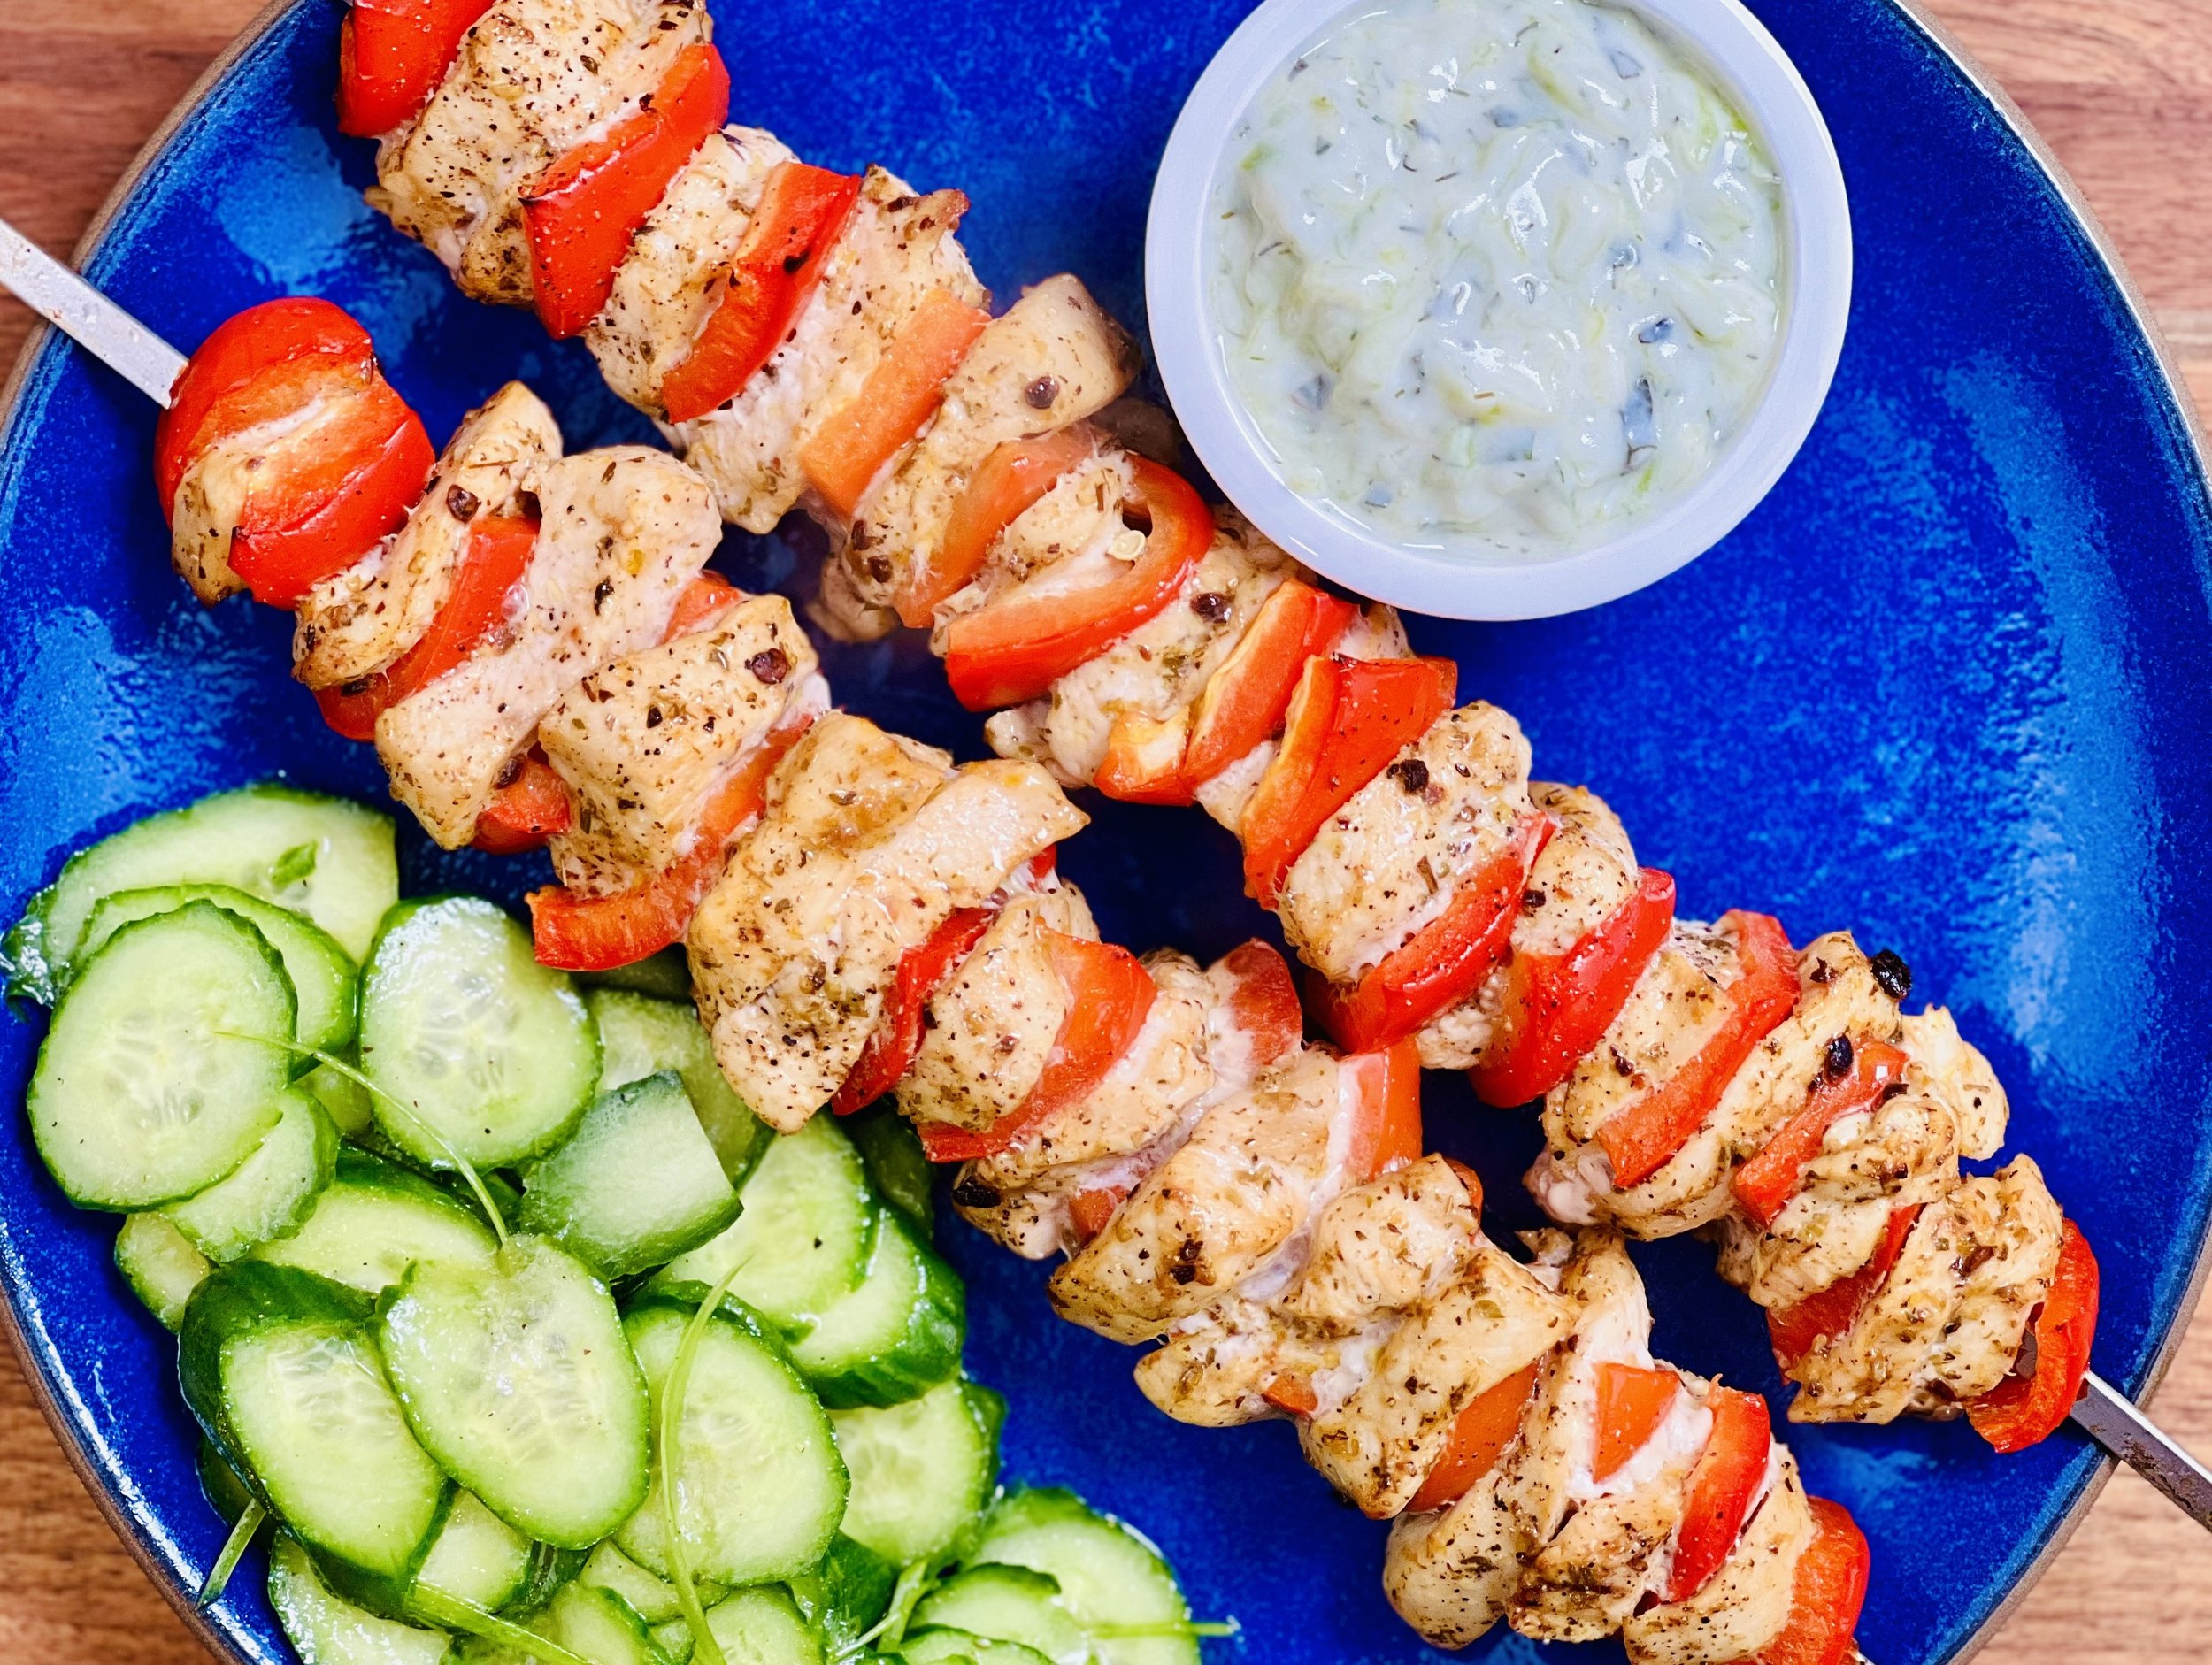
Mediterranean Chicken Skewers (Low FODMAP)
10 Minutes prep • 20 Minutes cook • Low FODMAP • Gluten-free • Serves 4 n skewers for your family and friends. They are sure to be a hit.
10 Minutes prep • 20 Minutes cook • Low FODMAP • Gluten-free • Serves 4 • Ok to make ahead: Steps 1-3
Delicious and tender, Greek seasoned chicken skewers you can grill in the oven. Top with my Tzatziki sauce and a side salad and you’ve got a delicious and healthy meal. Change up the vegetables you put on the skewers according to what you have on hand (zucchini and summer squash would work great). If you marinate the chicken ahead of time you’ll get the best flavor, but 10 minutes of marination is enough if you’re pressed for time. Make these quick and easy chicken skewers for your family and friends. They are sure to be a hit.
Ingredients
1/2 cup garlic-infused olive oil
2 teaspoons dried oregano
1/2 teaspoon crushed chipotle chilis or chipotle chile powder
1 teaspoon maple syrup
1 tablespoon low-FODMAP hot sauce
1 tablespoon lemon zest
1/2 teaspoon Kosher salt
1/4 teaspoon black pepper
1 1/2 - 2 pounds boneless, skinless chicken breasts, cut into bite-size pieces
My Delicious Low FODMAP Tzatziki sauce for serving
Directions
(1) Prepare the chicken: This step is optional but results in a more flavorful and tender chicken. Remove chicken from the package, and put it in one layer on a rimmed plate or baking dish. Season both sides of each piece lightly with Kosher salt (about 1/4 - 1/2 teaspoon per side). Cover the dish with plastic wrap and refrigerate until ready to use, ideally about 4 hours before cooking or overnight.
(2) Prepare: Make the Tzatziki sauce a day ahead if you have time, if not just make it before you start prepping the meal. Make the marinade. Cut the chicken and toss in a bowl with the marinade, stirring to combine. Let sit for 10 minutes or several hours if you have time. Preheat the oven to 425 degrees F. Line a rimmed baking sheet with parchment paper (for easy clean-up)
(3) Prepare the skewers: Load the skewers, alternating chicken and vegetables so they come out approximately even. Arrange the skewers on the prepared baking sheet.
(4) Bake: Bake for 20 minutes, until lightly charred and cooked through (165 degrees F on an instant-read thermometer)
(5) Plate and serve: Serve with plenty of my Tzatziki sauce and a side salad.
Eat and enjoy every bite because you can!
Recipe note: I use Diamond Crystal Kosher salt in all my recipes because it has a wonderful flat and crisp flake that tastes delicious. It is also the least salty salt available so you can use it more liberally as a seasoning than you can table salt or sea salt. If you use another type of salt, you may need to reduce the amount so it is not over-salted.
Have a question you’d like to have answered? Email me at hello@ibsgamechanger.com
Link note: This post may contain affiliate links for you to easily purchase items that are linked. I may earn a small commission from qualifying purchases but none of this costs you a thing so feel free to use the links! In addition, for some items, I have provided a special discount code for IBS Game Changers so be sure to use the code when you purchase an item to get the discount that has been arranged just for you.
More Deliciously Low FODMAP™ main course recipes
15 Minutes prep • 30 Minutes cook • Low FODMAP • Serves 4 • Ok to make-ahead: Steps 1 - 2
10 Minutes prep • 25 Minutes cook • Low FODMAP • Gluten-Free • Serves 6 • Ok to make-ahead: Step 1
45 Minutes prep • 60 Minutes cook • Low FODMAP • Gluten-free • Vegetarian • Serves 6 - 8
5 Minutes prep • 15 Minutes cook • Low FODMAP • Gluten-free • Lactose-free • Vegan • Serves 4
10 Minutes prep • 20 Minutes cook • Low FODMAP • Gluten-free • Serves 4 n skewers for your family and friends. They are sure to be a hit.
15 Minutes prep • 55 Minutes cook (if using brown rice) • Low FODMAP • Gluten-free • Lactose-free • Vegan • Serves 4
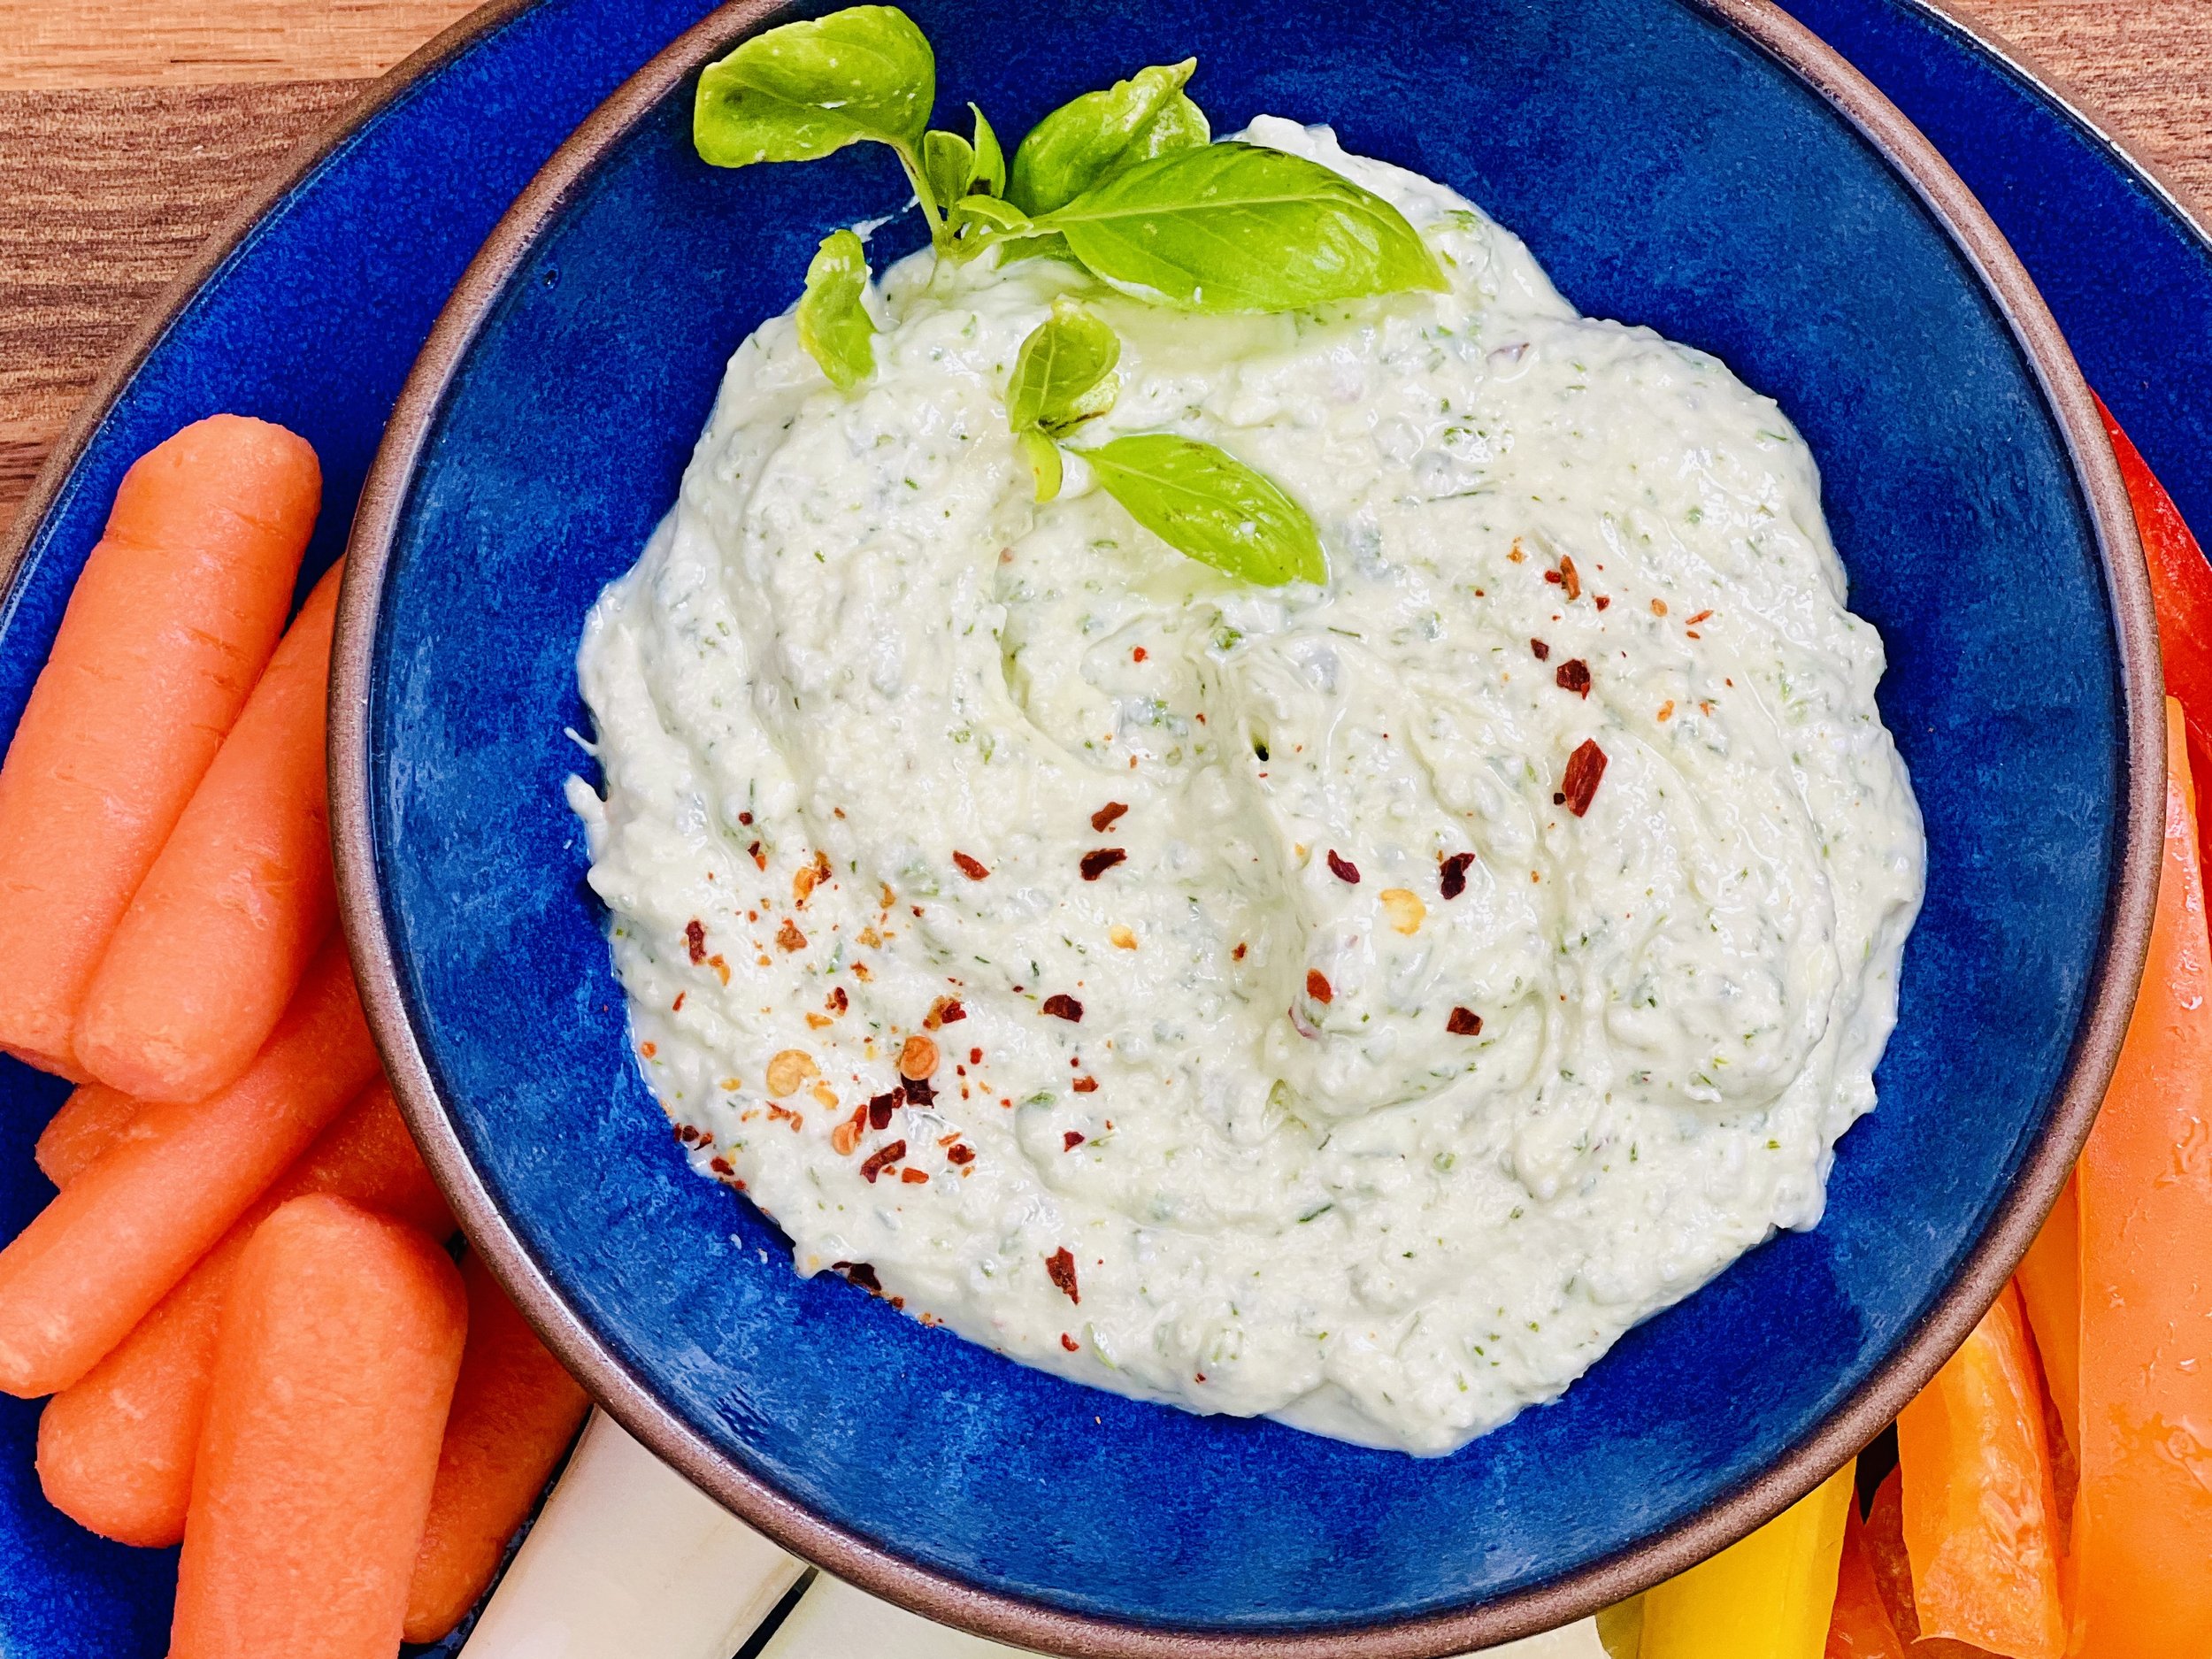
Delicious Low FODMAP Tzatziki
15 Minutes prep • Low FODMAP • Low Carb • Keto friendly • Serves 10
15 Minutes prep • Low FODMAP • Low Carb • Keto friendly • Serves 10 • Ok to make ahead: Steps 1-3
Tzatziki is a wonderfully refreshing and flavorful Greek cucumber and yogurt sauce that makes a delicious dip, spread, or sauce to complement all kinds of meat and vegetables. Because it’s so good, I had to come up with a version that was Low FODMAP. Dare I say this recipe is even better than the original? And, it’s not only easy to make, it’s low FODMAP, low starch/low carb, and Keto-friendly. It takes only minutes to prepare and it’s best made ahead of time — making it the perfect addition to any party or gathering.
Ingredients
1 cup peeled and grated cucumber
1 cup lactose-free yogurt
1 tablespoon lemon juice
1 tablespoon garlic-infused olive oil
1 tablespoon chopped fresh dill (or 1 teaspoon dry dill)
1 tablespoon chopped fresh mint
1 teaspoon Smoke n Sanity Essence of Garlic Salt (use code IBSGC15 for 15% discount)
Directions
(1) Prepare: Peel and grate the cucumber. Put the grated cucumber fine-mesh strainer. Sprinkle lightly with salt and let stand for about 10 minutes. Then, gently squeeze out the excess water with your hands. (You can also do this with a tea towel or paper towels if you prefer.)
(2) Blend: In a medium bowl, combine the cucumber, yogurt, lemon juice, garlic-infused olive oil, garlic salt, dill, and mint.
(3) Chill: Cover and chill until ready to use. Overnight is best for the best flavor. Stir well before serving.
(4) Serve: Serve as a sauce for any of my veggie bowls or salads, grilled meats, burgers, or a dip for veggies and crackers.
(5) Storage: Store in an air-tight container in the refrigerator for up to 4 days. Stir well before serving.
Eat and enjoy every bite because you can!
Recipe note: I use Diamond Crystal Kosher salt in all my recipes because it has a wonderful flat and crisp flake that tastes delicious. It is also the least salty salt available so you can use it more liberally as a seasoning than you can table salt or sea salt. If you use another type of salt, you may need to reduce the amount so it is not over-salted.
Have a question you’d like to have answered? Email me at hello@ibsgamechanger.com
Link note: This post may contain affiliate links for you to easily purchase items that are linked. I may earn a small commission from qualifying purchases but none of this costs you a thing so feel free to use the links! In addition, for some items, I have provided a special discount code for IBS Game Changers so be sure to use the code when you purchase an item to get the discount that has been arranged just for you.
More Deliciously Low FODMAP™ appetizer recipes
10 Minutes Prep • 50 Minutes Cook • Low FODMAP • Gluten-free • Dairy Free • Vegan • Serving size 3 - 4 crackers
10 Minutes prep • 15 Minutes rest • Low FODMAP • Gluten-free • Dairy-free • Serving size 3 tablespoons
10 Minutes prep • 20 Minutes cook • Low FODMAP • Gluten-free • Lactose-free • Vegan • Serves 5
15 Minutes prep • 1 hour chill • Low FODMAP • Gluten-free • Vegetarian • Serves 4 or more
10 Minutes prep • Low FODMAP • Gluten-Free • Lactose-free • Vegetarian • Vegan • Makes 1.5 cups
10 Minutes Prep • 50 Minutes Cook • Gluten-free • Dairy-free • Low FODMAP • Serving size 3-4 crackers
5 Minutes prep • 10 Minutes cook • Low FODMAP • Gluten-free • Lactose-free • Makes 1 cup
20 Minutes prep • 16 Minutes cook • Low FODMAP • Vegetarian • Serves 8 • Ok to make-ahead: Steps 1-5
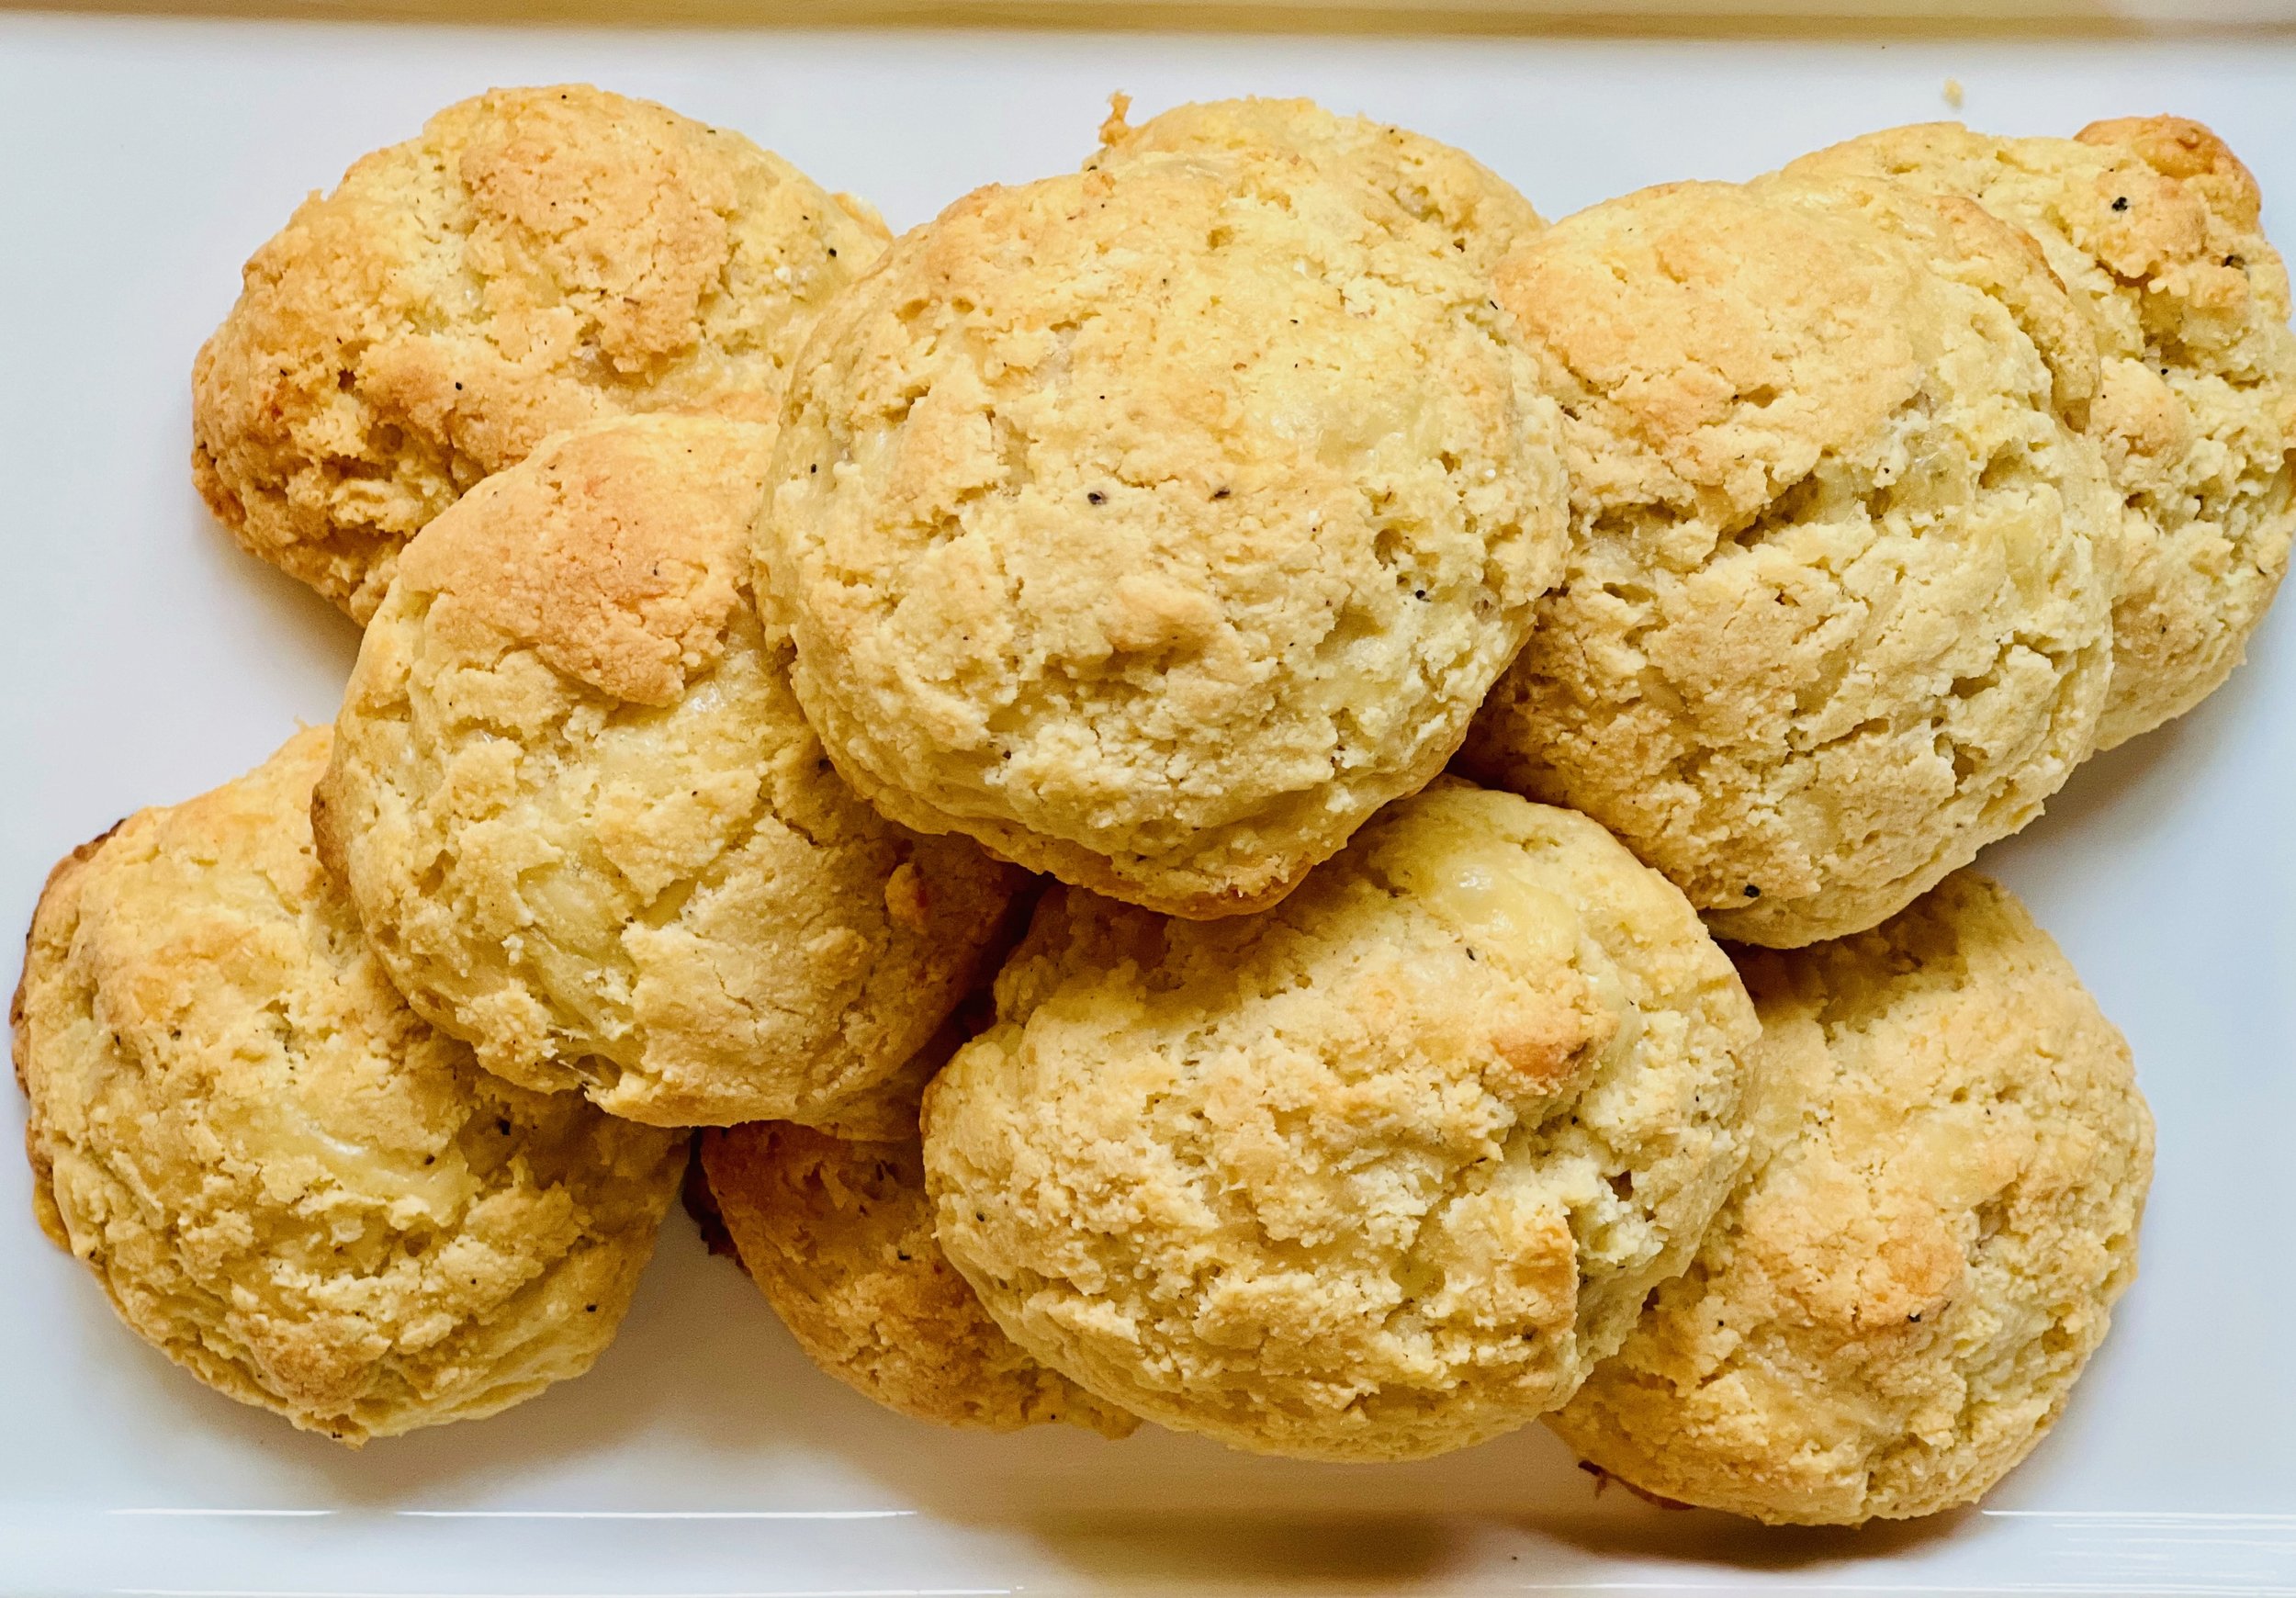
Sarah’s Cheddar Biscuits (Low FODMAP)
15 Minutes prep • 18 Minutes cook • Low FODMAP • Gluten-free • Makes 15 • Serving size 2
15 Minutes prep • 18 Minutes cook • Low FODMAP • Gluten-free • Makes 15 • Serving size 2 • Ok to make ahead: Steps 1-2
My sister served these light and delicious biscuits and I was immediately hooked! Make them yourself and they will be a crowd-pleaser for any occasion. Best of all they are completely grain-free! Whether served as a side to a hearty meal or enjoyed as a delightful snack on their own, each golden-brown bite delivers melt-in-your-mouth buttery goodness. Get ready to discover your new favorite biscuits.
Ingredients
2 cups almond flour
2 teaspoons baking powder
1 teaspoon dry rosemary
1/2 teaspoon Kosher salt
1/2 teaspoon black pepper
4 tablespoons unsalted butter
4 tablespoons heavy whipping cream
2 large eggs, beaten
6 ounces extra sharp good quality cheddar cheese, grated
Directions
(1) Prepare: Preheat oven to 350 degrees F. Grate the cheese and beat the eggs. Line a baking sheet with parchment paper.
(2) Combine dry ingredients: In the bowl of your food processor, combine the almond flour, baking powder, rosemary, salt, and pepper. Pulse a few times to combine.
(3) Add the butter and cream: Cut the butter into cubes and drop them into the food processor bowl with the almond flour mixture. Mix for about 15 seconds, then pulse until the butter is blended into the flour evenly. Add 4 tablespoons heavy cream, and pulse a few times until combined. Add the beaten eggs and pulse just until combined.
(4) Add the cheese: Add the cheese and pulse a few times until combined.
(5) Finish: Using a spoon or ice cream scoop, make 15 biscuits. Avoid handling the dough with your hands as the warmth will make it tough.
(6) Bake: Bake for 18 minutes. Remove to a cooling rack.
Eat and enjoy every bite because you can!
Recipe note: I use Diamond Crystal Kosher salt in all my recipes because it has a wonderful flat and crisp flake that tastes delicious. It is also the least salty salt available so you can use it more liberally as a seasoning than you can table salt or sea salt. If you use another type of salt, you may need to reduce the amount so it is not over-salted.
Have a question you’d like to have answered? Email me at hello@ibsgamechanger.com
Link note: This post may contain affiliate links for you to easily purchase items that are linked. I may earn a small commission from qualifying purchases but none of this costs you a thing so feel free to use the links! In addition, for some items, I have provided a special discount code for IBS Game Changers so be sure to use the code when you purchase an item to get the discount that has been arranged just for you.
More Deliciously Low FODMAP™ side dish recipes
15 Minutes prep • 30 Minutes cook • Low FODMAP • Serves 4 • Ok to make-ahead: Steps 1 - 2
15 Minutes prep • 18 Minutes cook • Low FODMAP • Gluten-free • Makes 15 • Serving size 2
10 Minutes prep • 10 Minutes cook • Low FODMAP • Gluten-free • Lactose-free • Vegan • Serves 4
10 Minutes prep • 25 Minutes cook • Low FODMAP • Gluten-free • Vegetarian • Plant Forward • Serves 4
20 Minutes prep • 25 Minutes cook • Low FODMAP • Gluten-free • Lactose-free • Vegetarian • Serves 4
10 Minutes prep • 20 Minutes cook • Low FODMAP • Gluten-free • Lactose-free • Vegan • Serves 5
15 Minutes prep • 45 Minutes cook • Low FODMAP • Gluten-free • Vegetarian • Serves 4 - 6
30 Minutes prep • 20 Minutes cook • Low FODMAP • Gluten-free • Vegetarian • Makes 10 Squares
25 Minutes prep • 40 Minutes cook • Low FODMAP • Gluten-free • Vegetarian • Serves 4 - 6
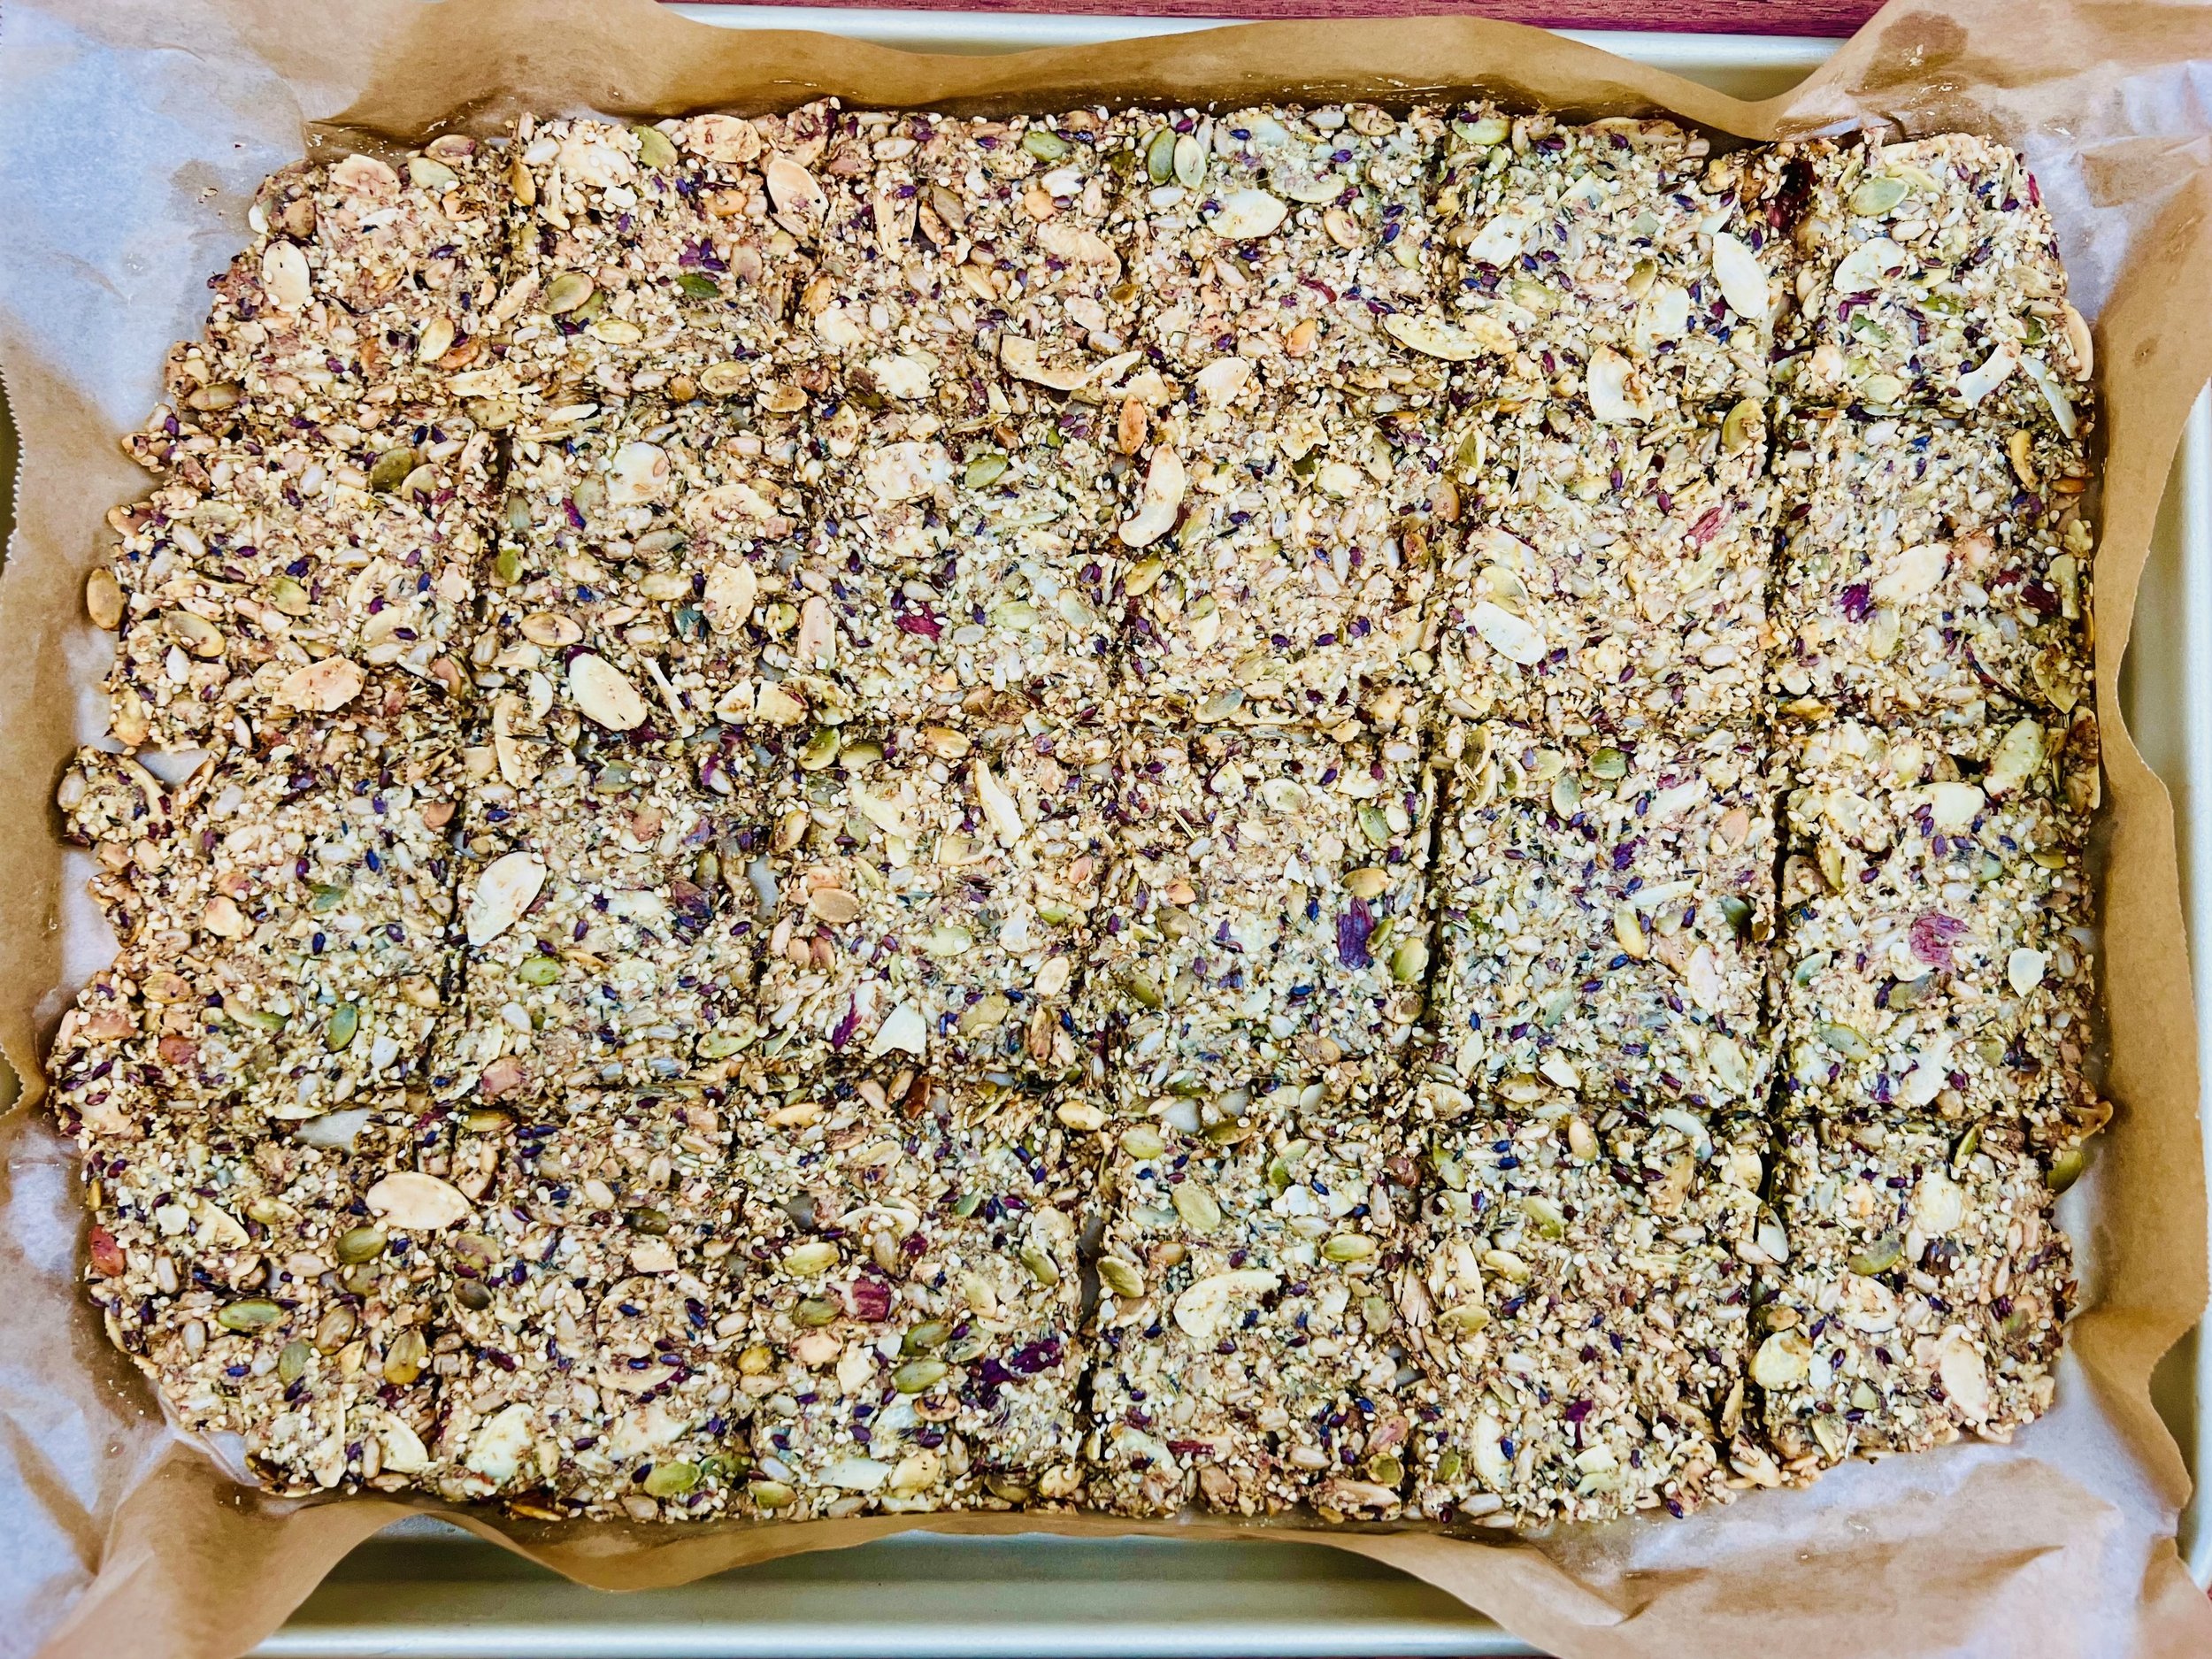
Umami Nut and Seed Crackers (Low FODMAP)
10 Minutes Prep • 50 Minutes Cook • Low FODMAP • Gluten-free • Dairy Free • Vegan • Serving size 3 - 4 crackers
10 Minutes Prep • 50 Minutes Cook • Low FODMAP • Gluten-free • Dairy Free • Vegan • Serving size 3 - 4 crackers • Ok to make ahead: Steps 1-4
If you know me, you know I always have seed crackers on hand. And if I’m running low, you’ll find me in the kitchen whipping up another batch! They are the perfect substitute for flour-based crackers and they add a ton of healthy ingredients and plants to your diet. In fact, this recipe includes 15 different plant-based ingredients! I have published a couple of versions of this recipe before, but because I make them so often, the recipe evolves and improves each time. So, I have to share this latest version with you!
Ingredients
3/4 cup raw sunflower seeds
3/4 cup raw pumpkin seeds
1 cup ground macadamia nuts
1/4 cup chia seeds (I use white but you can use any color. These are important - they hold everything together.)
1/2 cup whole flax seeds (any color is fine)
1 cup sliced almonds (or finely chopped)
1/4 cup flax seed meal
1/4 cup hulled hemp seeds (also called hemp hearts)
1/4 cup sesame seeds
1/4 cup psyllium husk powder (adds fiber and helps the crackers hold together better)
1/3 cup nutritional yeast (adds protein, fiber, B vitamins, and that good umami flavor)
1 1/2 cups hot water
2 tablespoons olive oil (I use Tuscan Herb olive oil for even more flavor)
1 heaping tablespoon dried thyme
1 heaping tablespoon dried rosemary
1 heaping teaspoon cumin powder
1/8 - 1/4 teaspoon cayenne pepper
2 teaspoons Kosher salt
Directions
(1) Prepare: Preheat oven to 325 degrees F. Lay parchment on two large, rimmed baking sheets. Grind the macadamia nuts in your food processor until they are a fine meal, but not quite turning to nut butter. Chop the almonds if you aren’t using pre-sliced almonds.
(2) Mix ingredients: Combine all dry ingredients (including ground macadamia nuts) in a mixing bowl and stir well. Add the water and the olive oil and stir again. Let sit (and stir a couple of times) for a minute or two until most of the liquid is absorbed.
(3) Prepare to bake: Lay a sheet of parchment paper out on a cutting board. Put half the mixture on the parchment sheet then lay another sheet of parchment on top of the mixture. Use your hands to smooth it out as EVENLY and thinly as you can. You want the entire amount to be as close to the same thickness as possible so you don’t overcook/undercook parts of your tray. Transfer the whole thing to your baking sheet and remove the top sheet of parchment.
(4) Score the crackers: Before baking, use a dull knife to score the entire sheet into a grid of about 3-inch square pieces by cutting 3 lines down the length of the pan and 4 or 5 lines across the narrow part of the pan. This helps the crackers cook more evenly and makes it easier to break them into pieces once cooked and cooled.
(5) Bake: Bake for 35 – 50 minutes (depending on how thick they are) until crispy but not burned. Swap your pans from top to bottom in your oven halfway through baking. To check for doneness, lift the parchment up and see if the cracker cracks or bends. If it bends instead of cracking, then cook it a few minutes longer. When done, remove from the oven and let cool. When cool, break into crackers.
(6) Troubleshooting: If your crackers are not all the same thickness some sections may be a bit chewy while others are crisp. Remove from the oven, let cool, and break all the crisp parts off leaving the thicker parts on the pan. Then, simply put them back in the oven and cook for another 5 minutes or so.
(7) Plate and serve: Eat your seed crackers plain as a crisp and flavorful snack or serve them with your favorite cheese, hummus, tapenade, nut butter, or whatever you like.
(8) Storage: Crackers will stay crisp and fresh if stored in an airtight container for up to two weeks (but they are unlikely to last that long because they’re so good!)
Eat and enjoy every bite because you can!
Recipe note: I use Diamond Crystal Kosher salt in all my recipes because it has a wonderful flat and crisp flake that tastes delicious. It is also the least salty salt available so you can use it more liberally as a seasoning than you can table salt or sea salt. If you use another type of salt, you may need to reduce the amount so it is not over-salted.
Have a question you’d like to have answered? Email me at hello@ibsgamechanger.com
Link note: This post may contain affiliate links for you to easily purchase items that are linked. I may earn a small commission from qualifying purchases but none of this costs you a thing so feel free to use the links! In addition, for some items, I have provided a special discount code for IBS Game Changers so be sure to use the code when you purchase an item to get the discount that has been arranged just for you.
More Deliciously Low FODMAP™ appetizer recipes
10 Minutes Prep • 50 Minutes Cook • Low FODMAP • Gluten-free • Dairy Free • Vegan • Serving size 3 - 4 crackers
10 Minutes prep • 15 Minutes rest • Low FODMAP • Gluten-free • Dairy-free • Serving size 3 tablespoons
10 Minutes prep • 20 Minutes cook • Low FODMAP • Gluten-free • Lactose-free • Vegan • Serves 5
15 Minutes prep • 1 hour chill • Low FODMAP • Gluten-free • Vegetarian • Serves 4 or more
10 Minutes prep • Low FODMAP • Gluten-Free • Lactose-free • Vegetarian • Vegan • Makes 1.5 cups
10 Minutes Prep • 50 Minutes Cook • Gluten-free • Dairy-free • Low FODMAP • Serving size 3-4 crackers
5 Minutes prep • 10 Minutes cook • Low FODMAP • Gluten-free • Lactose-free • Makes 1 cup
20 Minutes prep • 16 Minutes cook • Low FODMAP • Vegetarian • Serves 8 • Ok to make-ahead: Steps 1-5

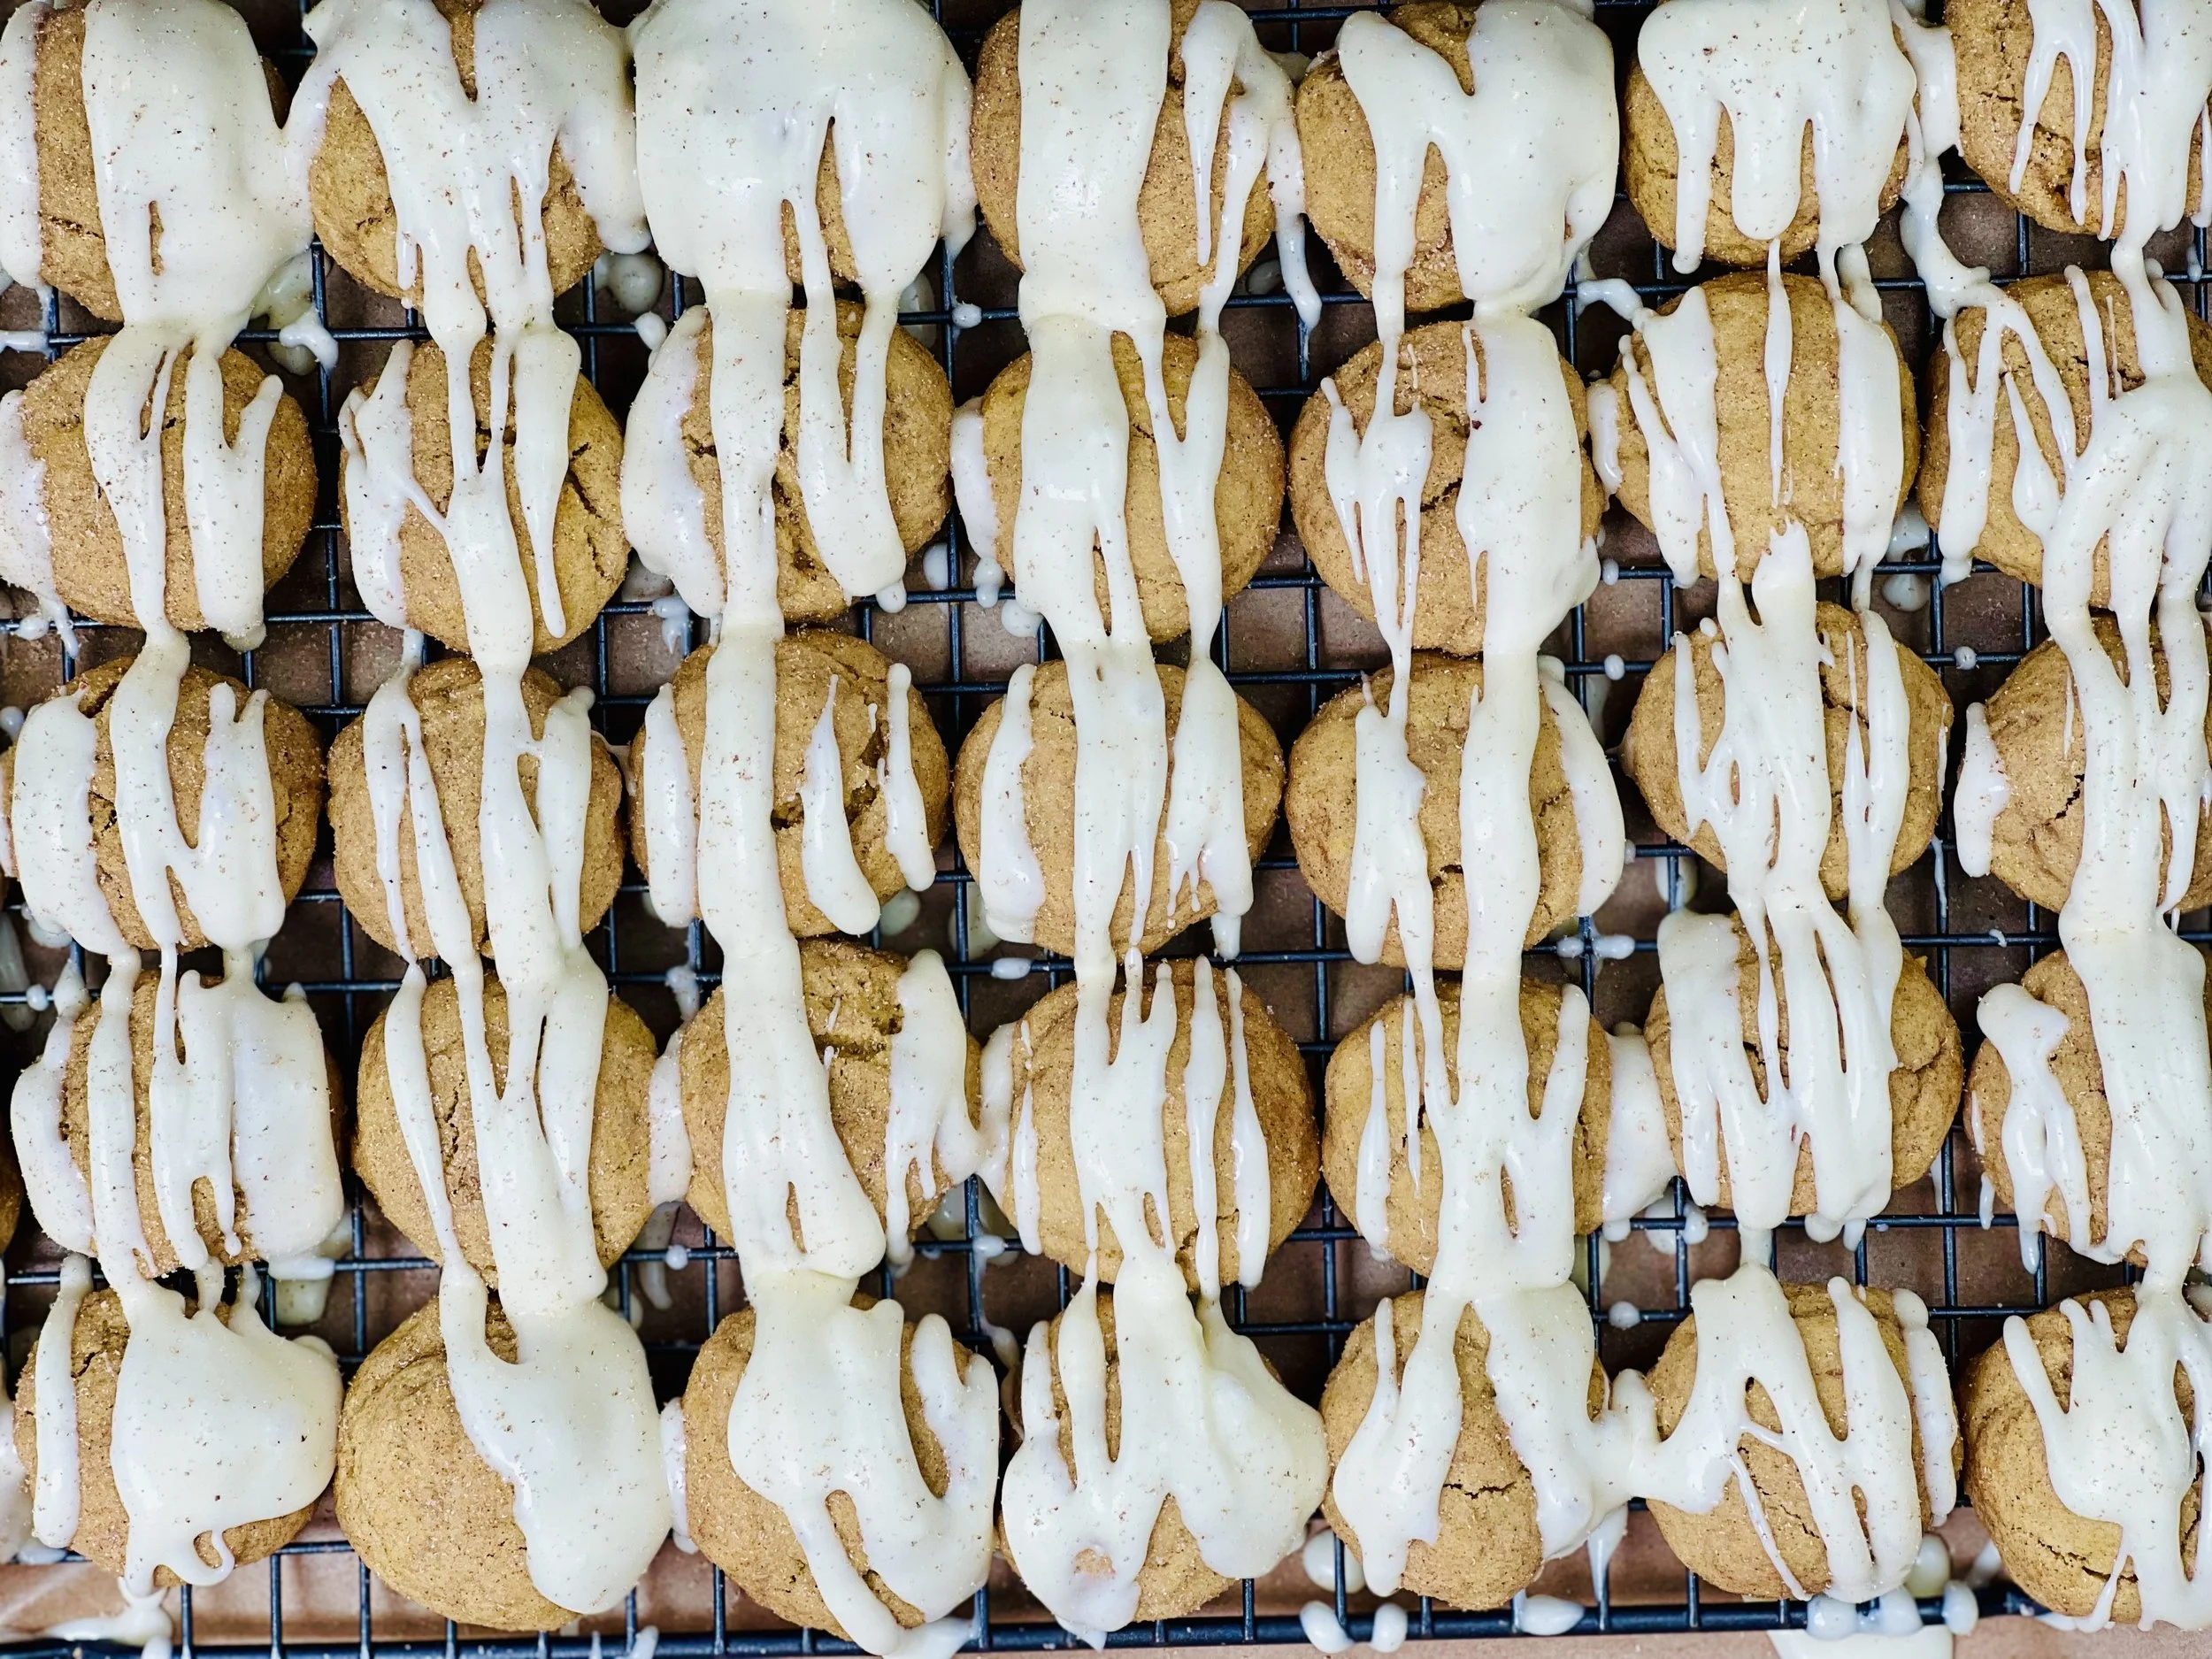
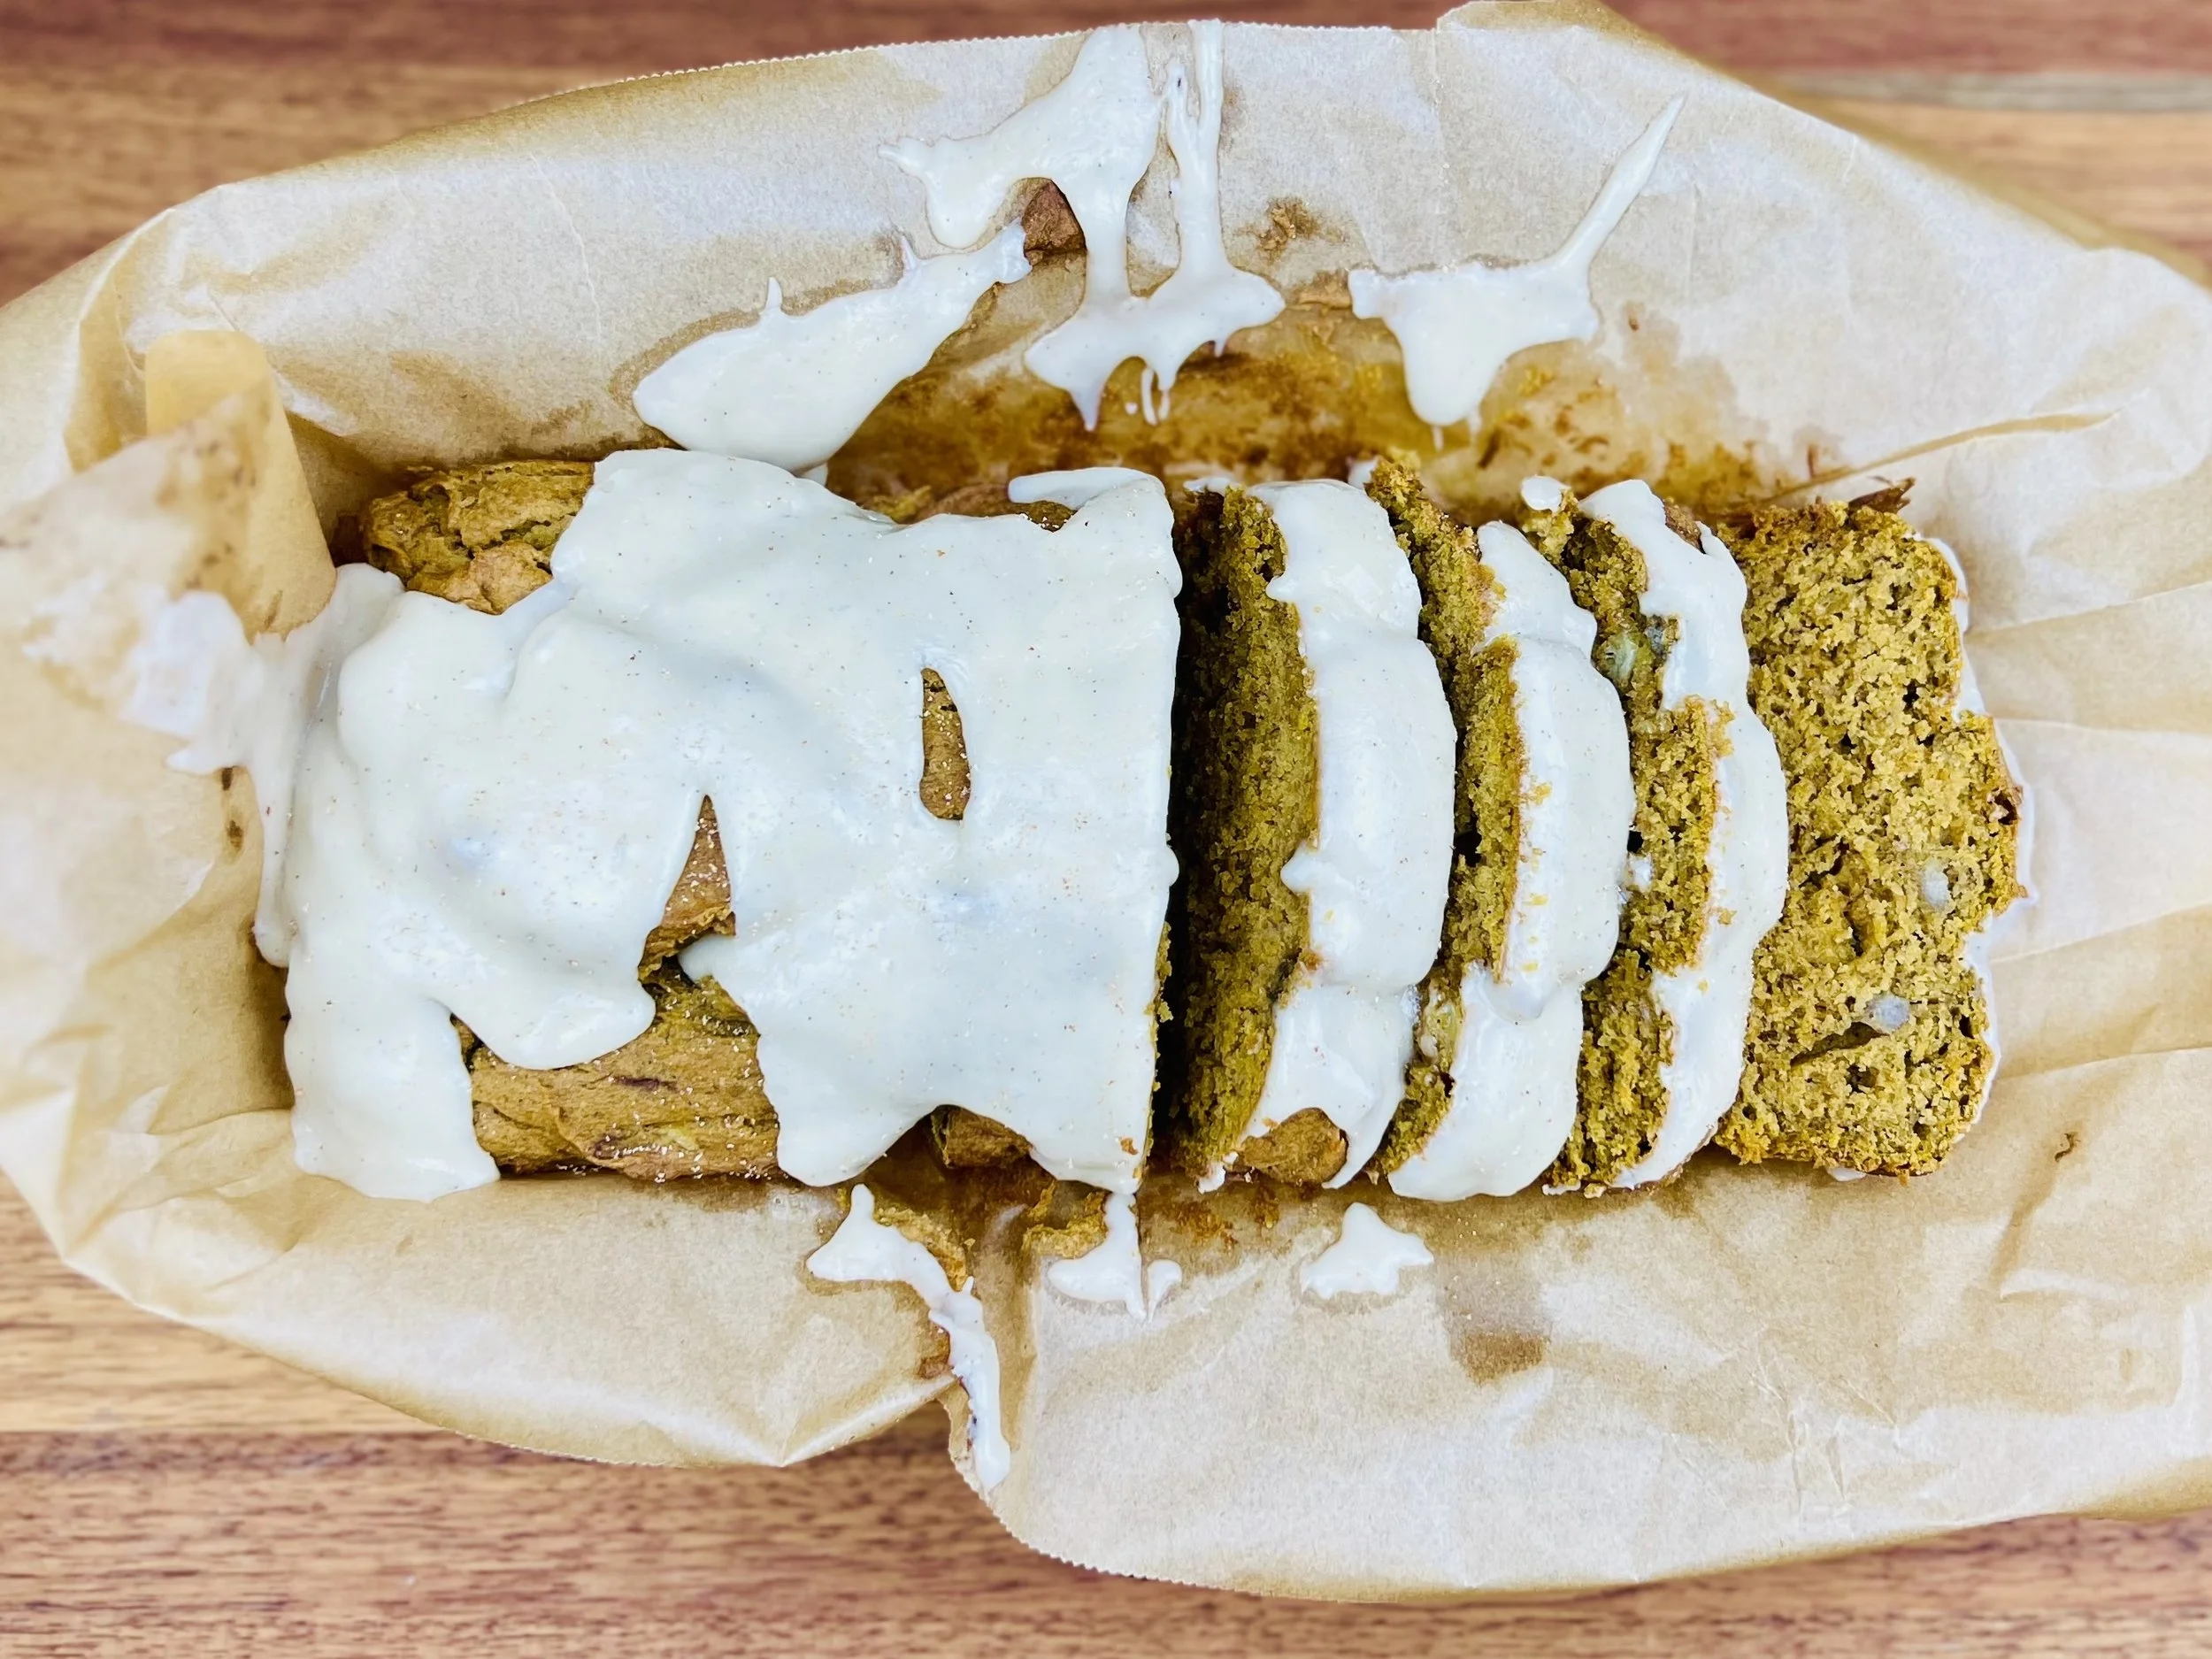
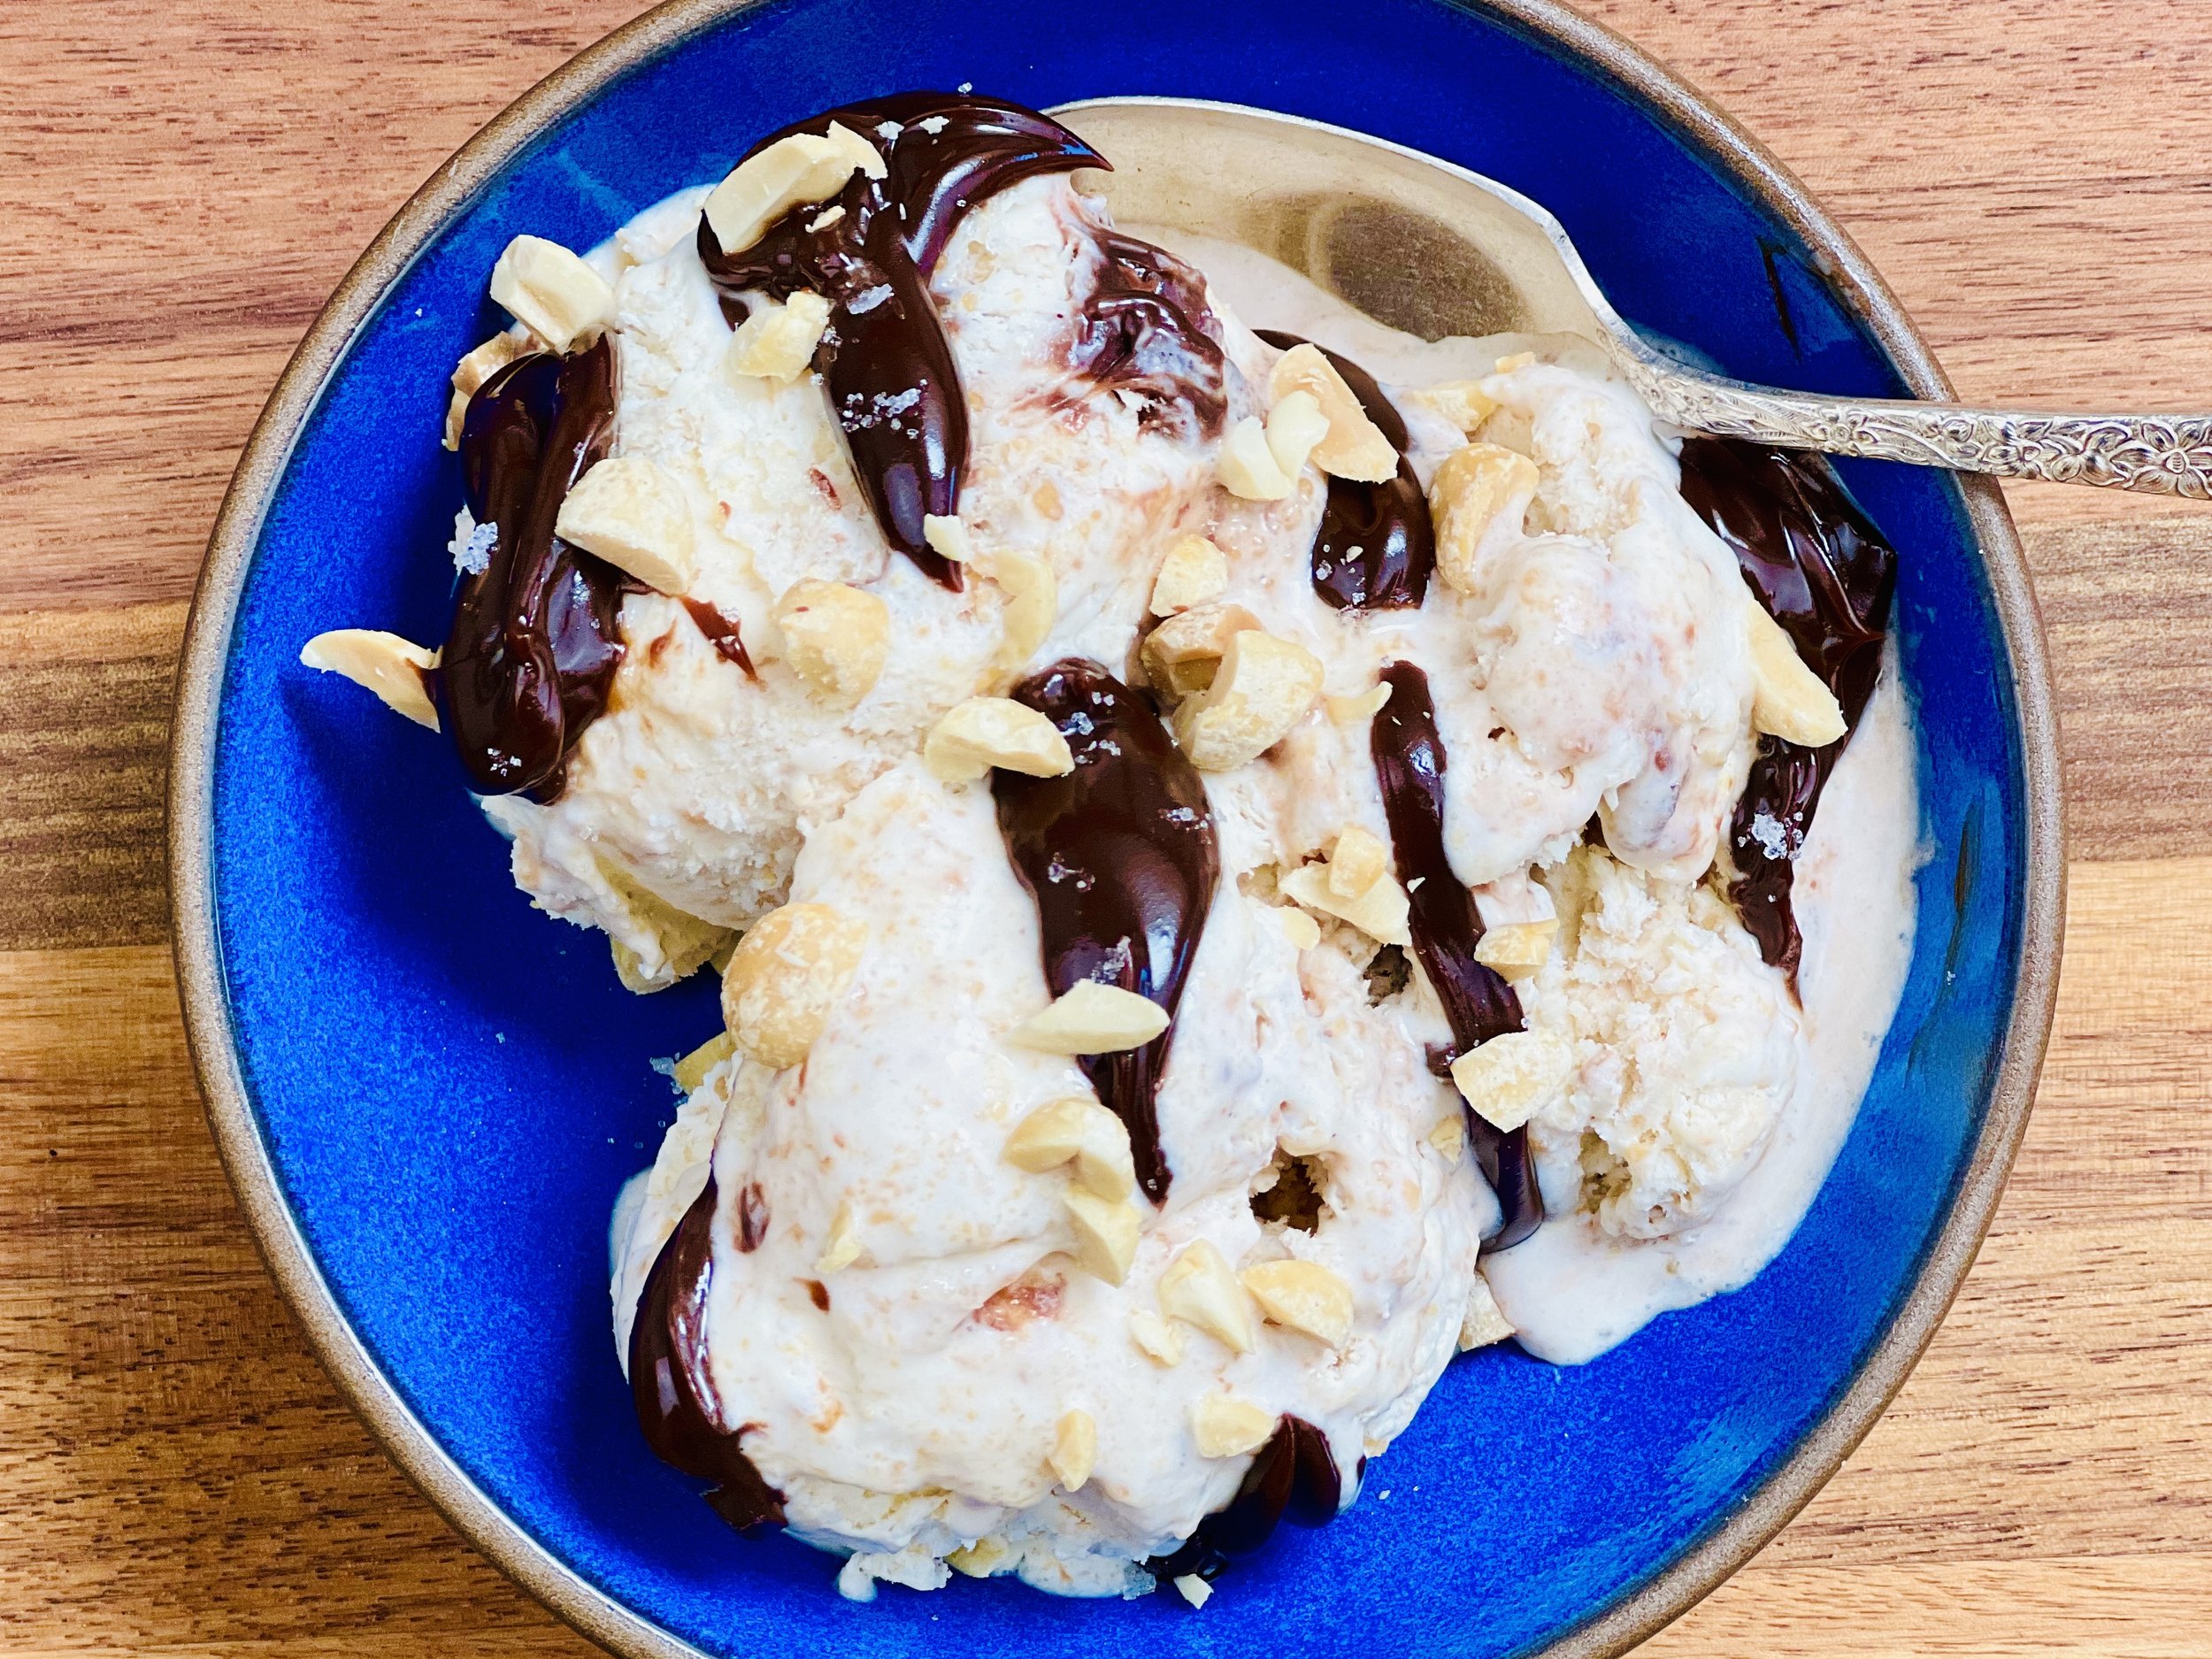
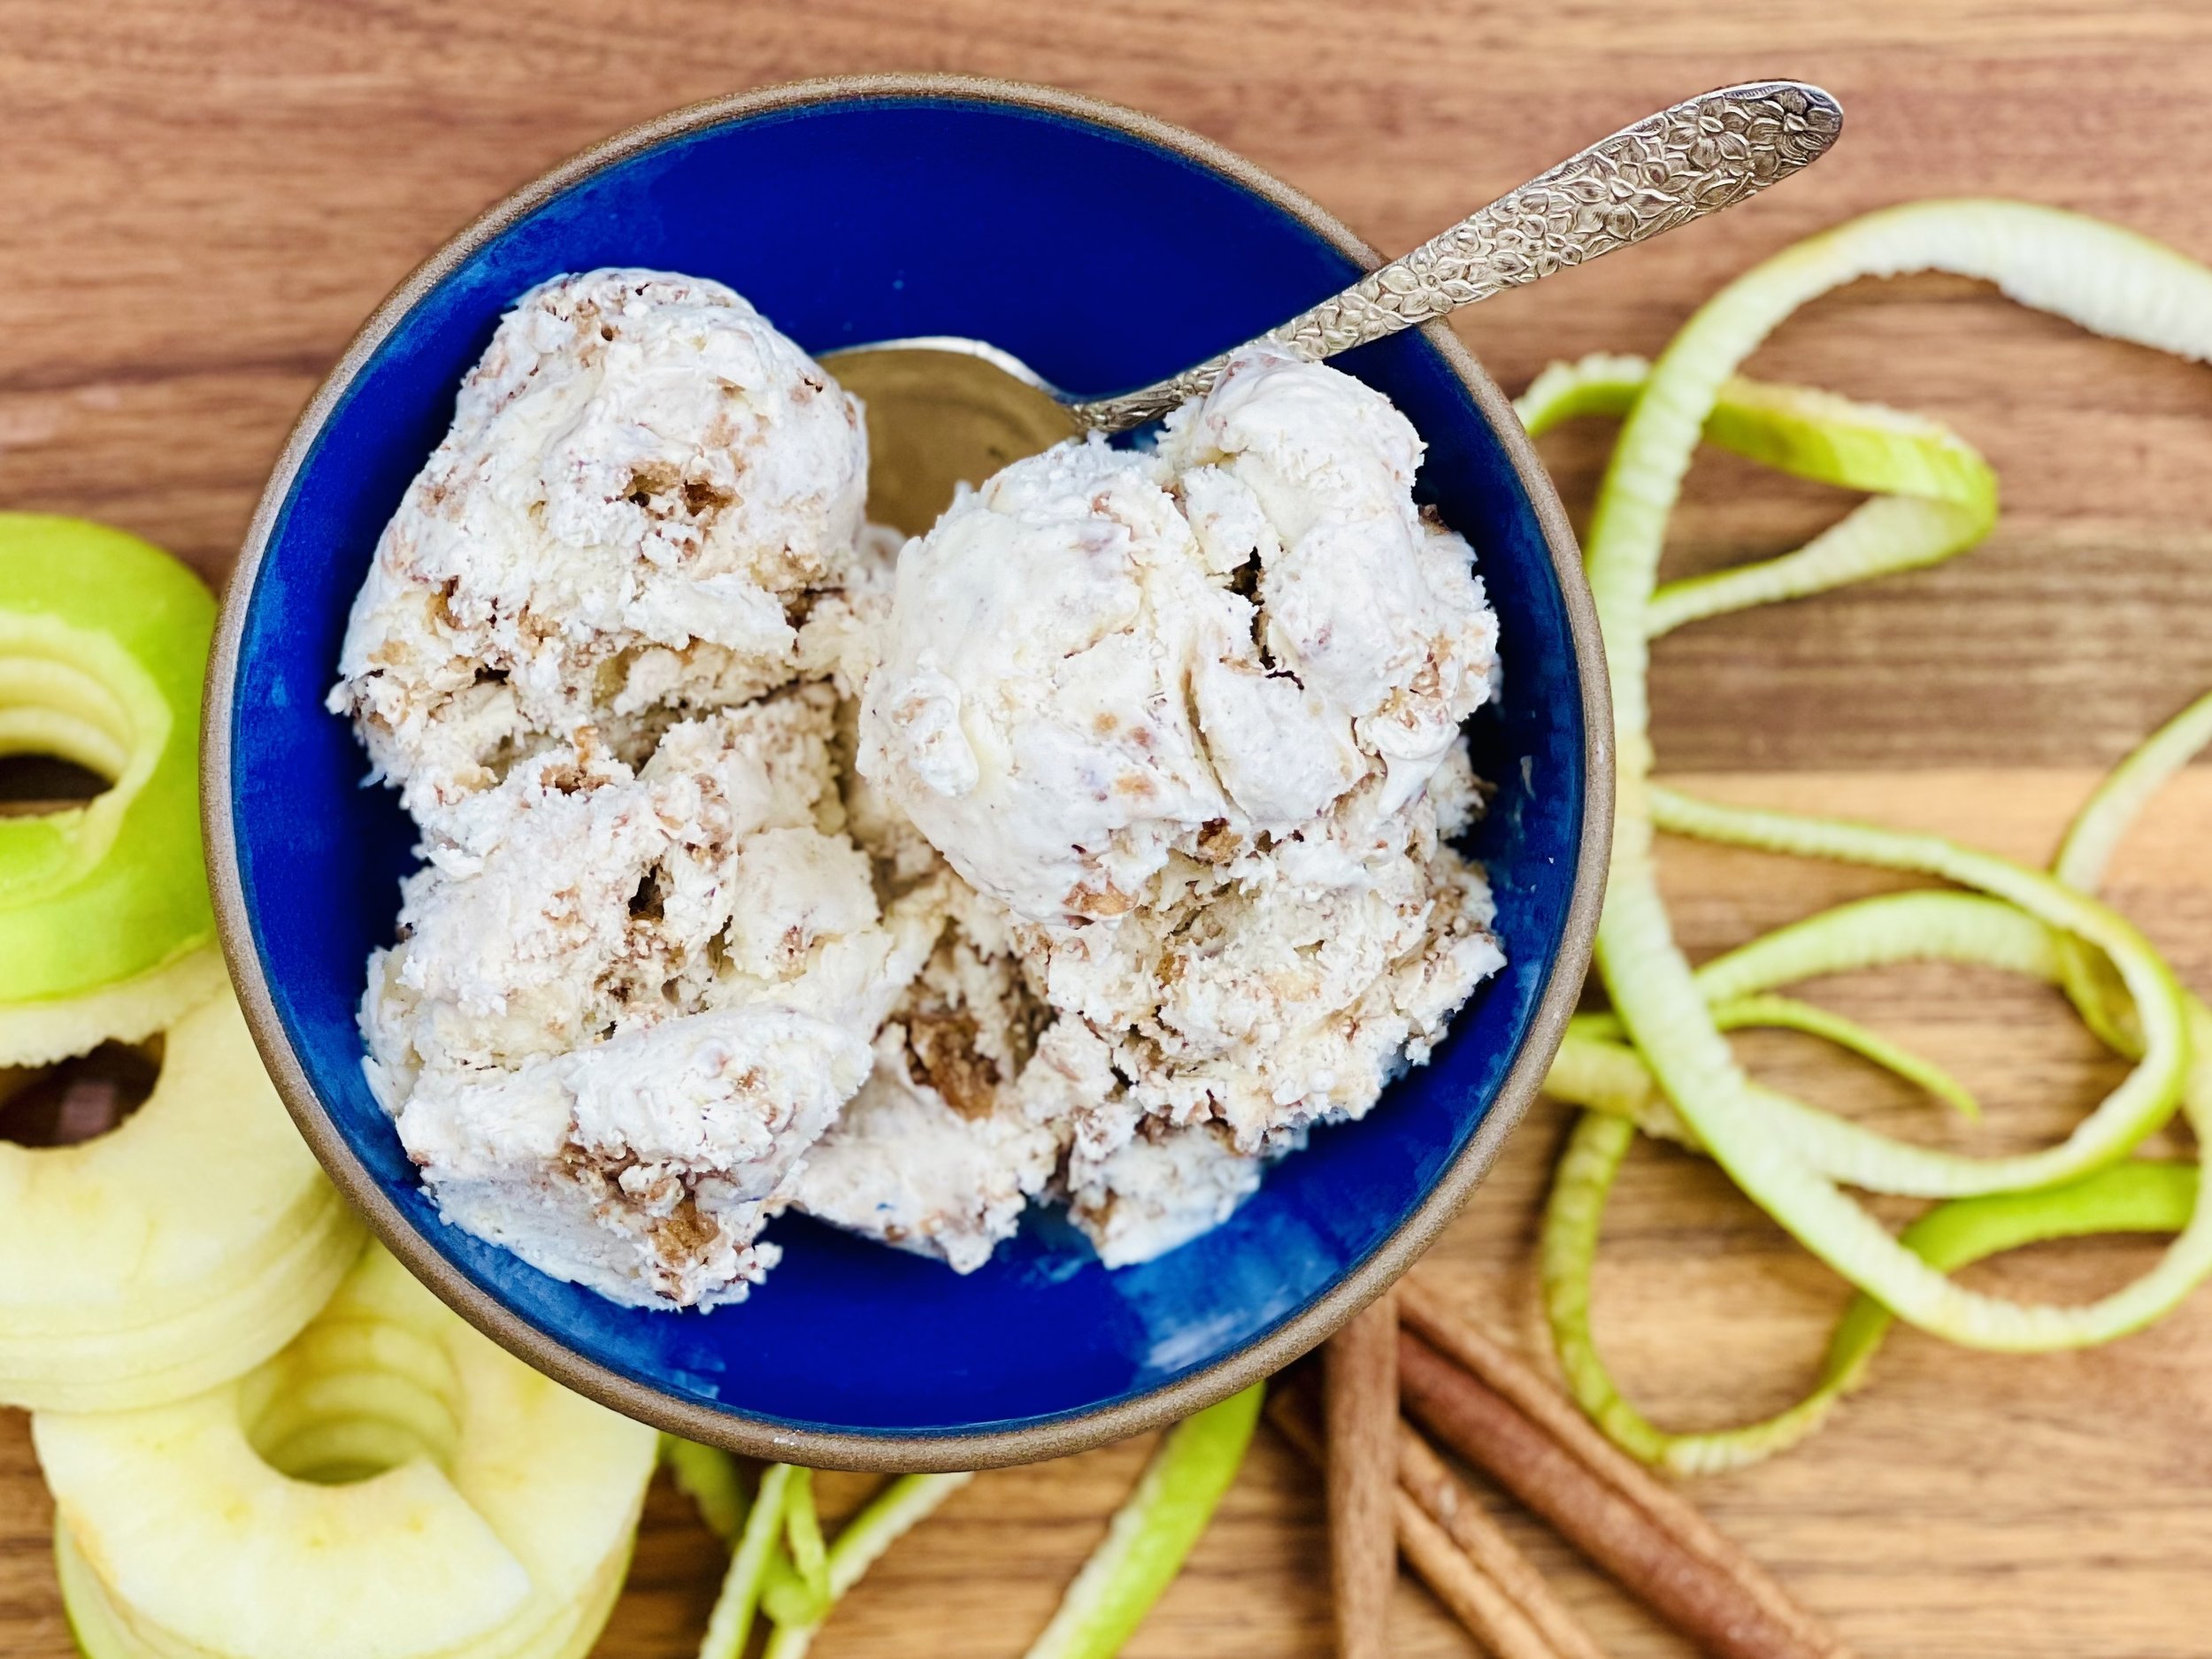
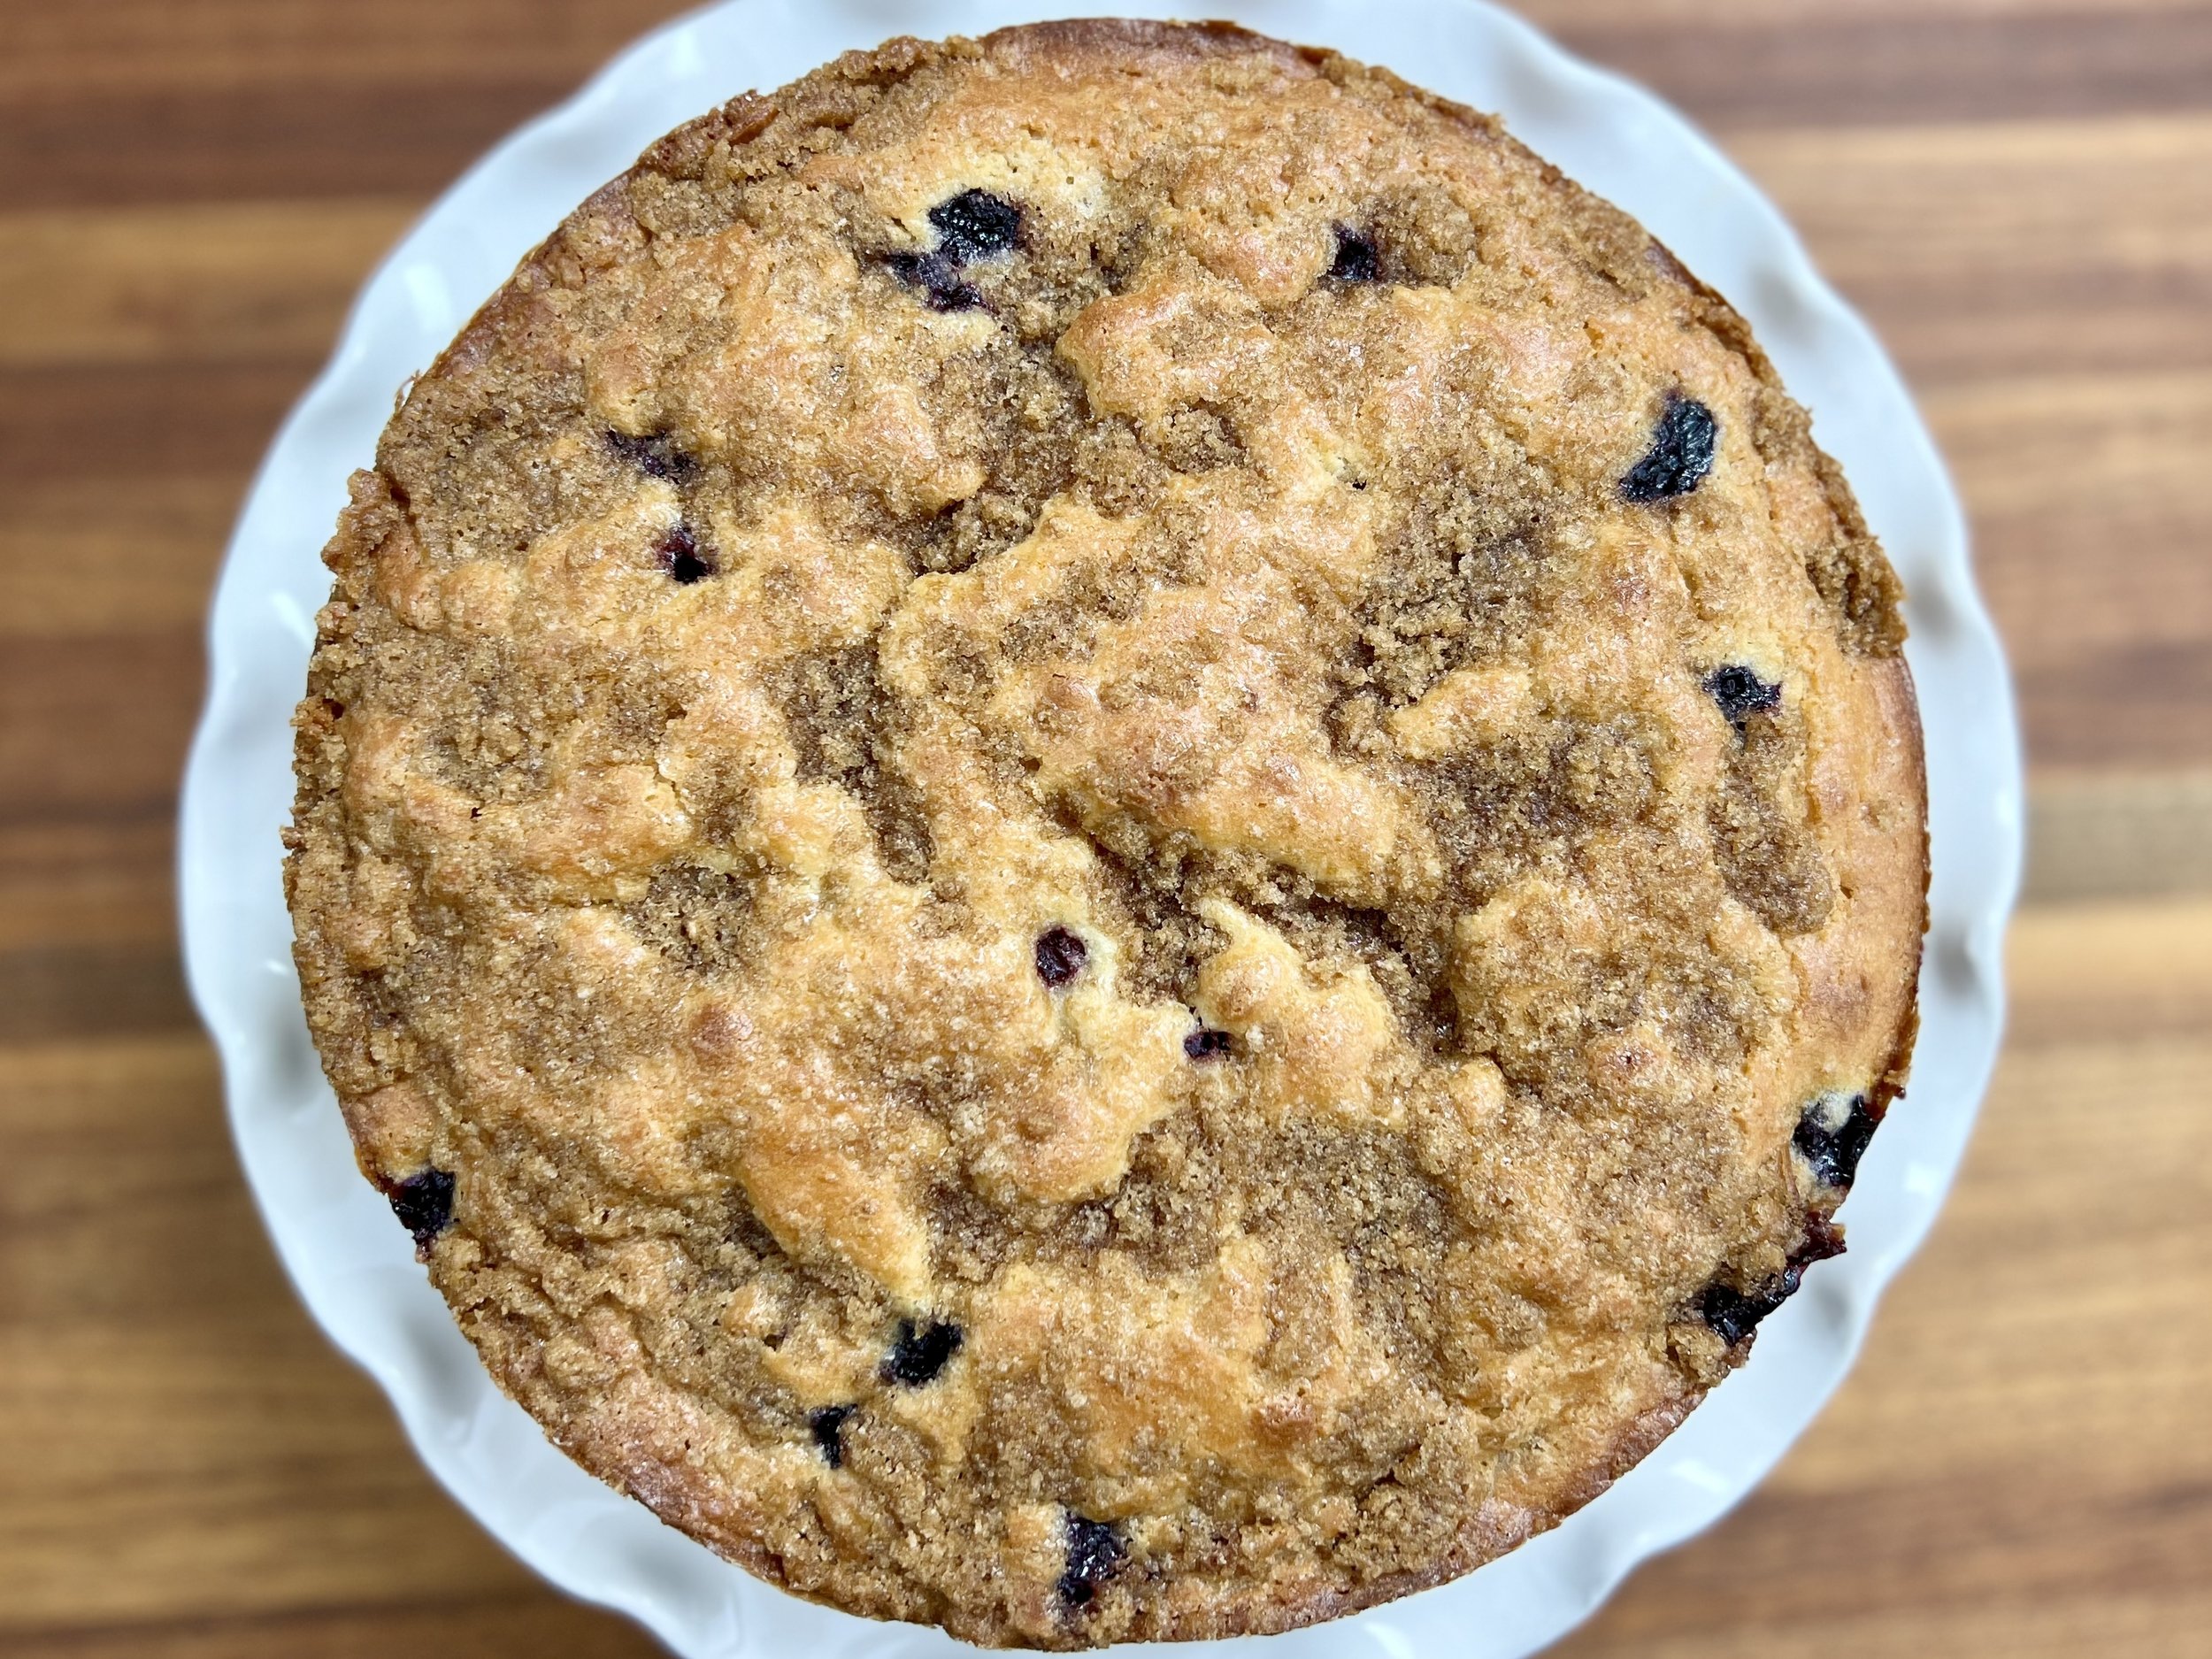
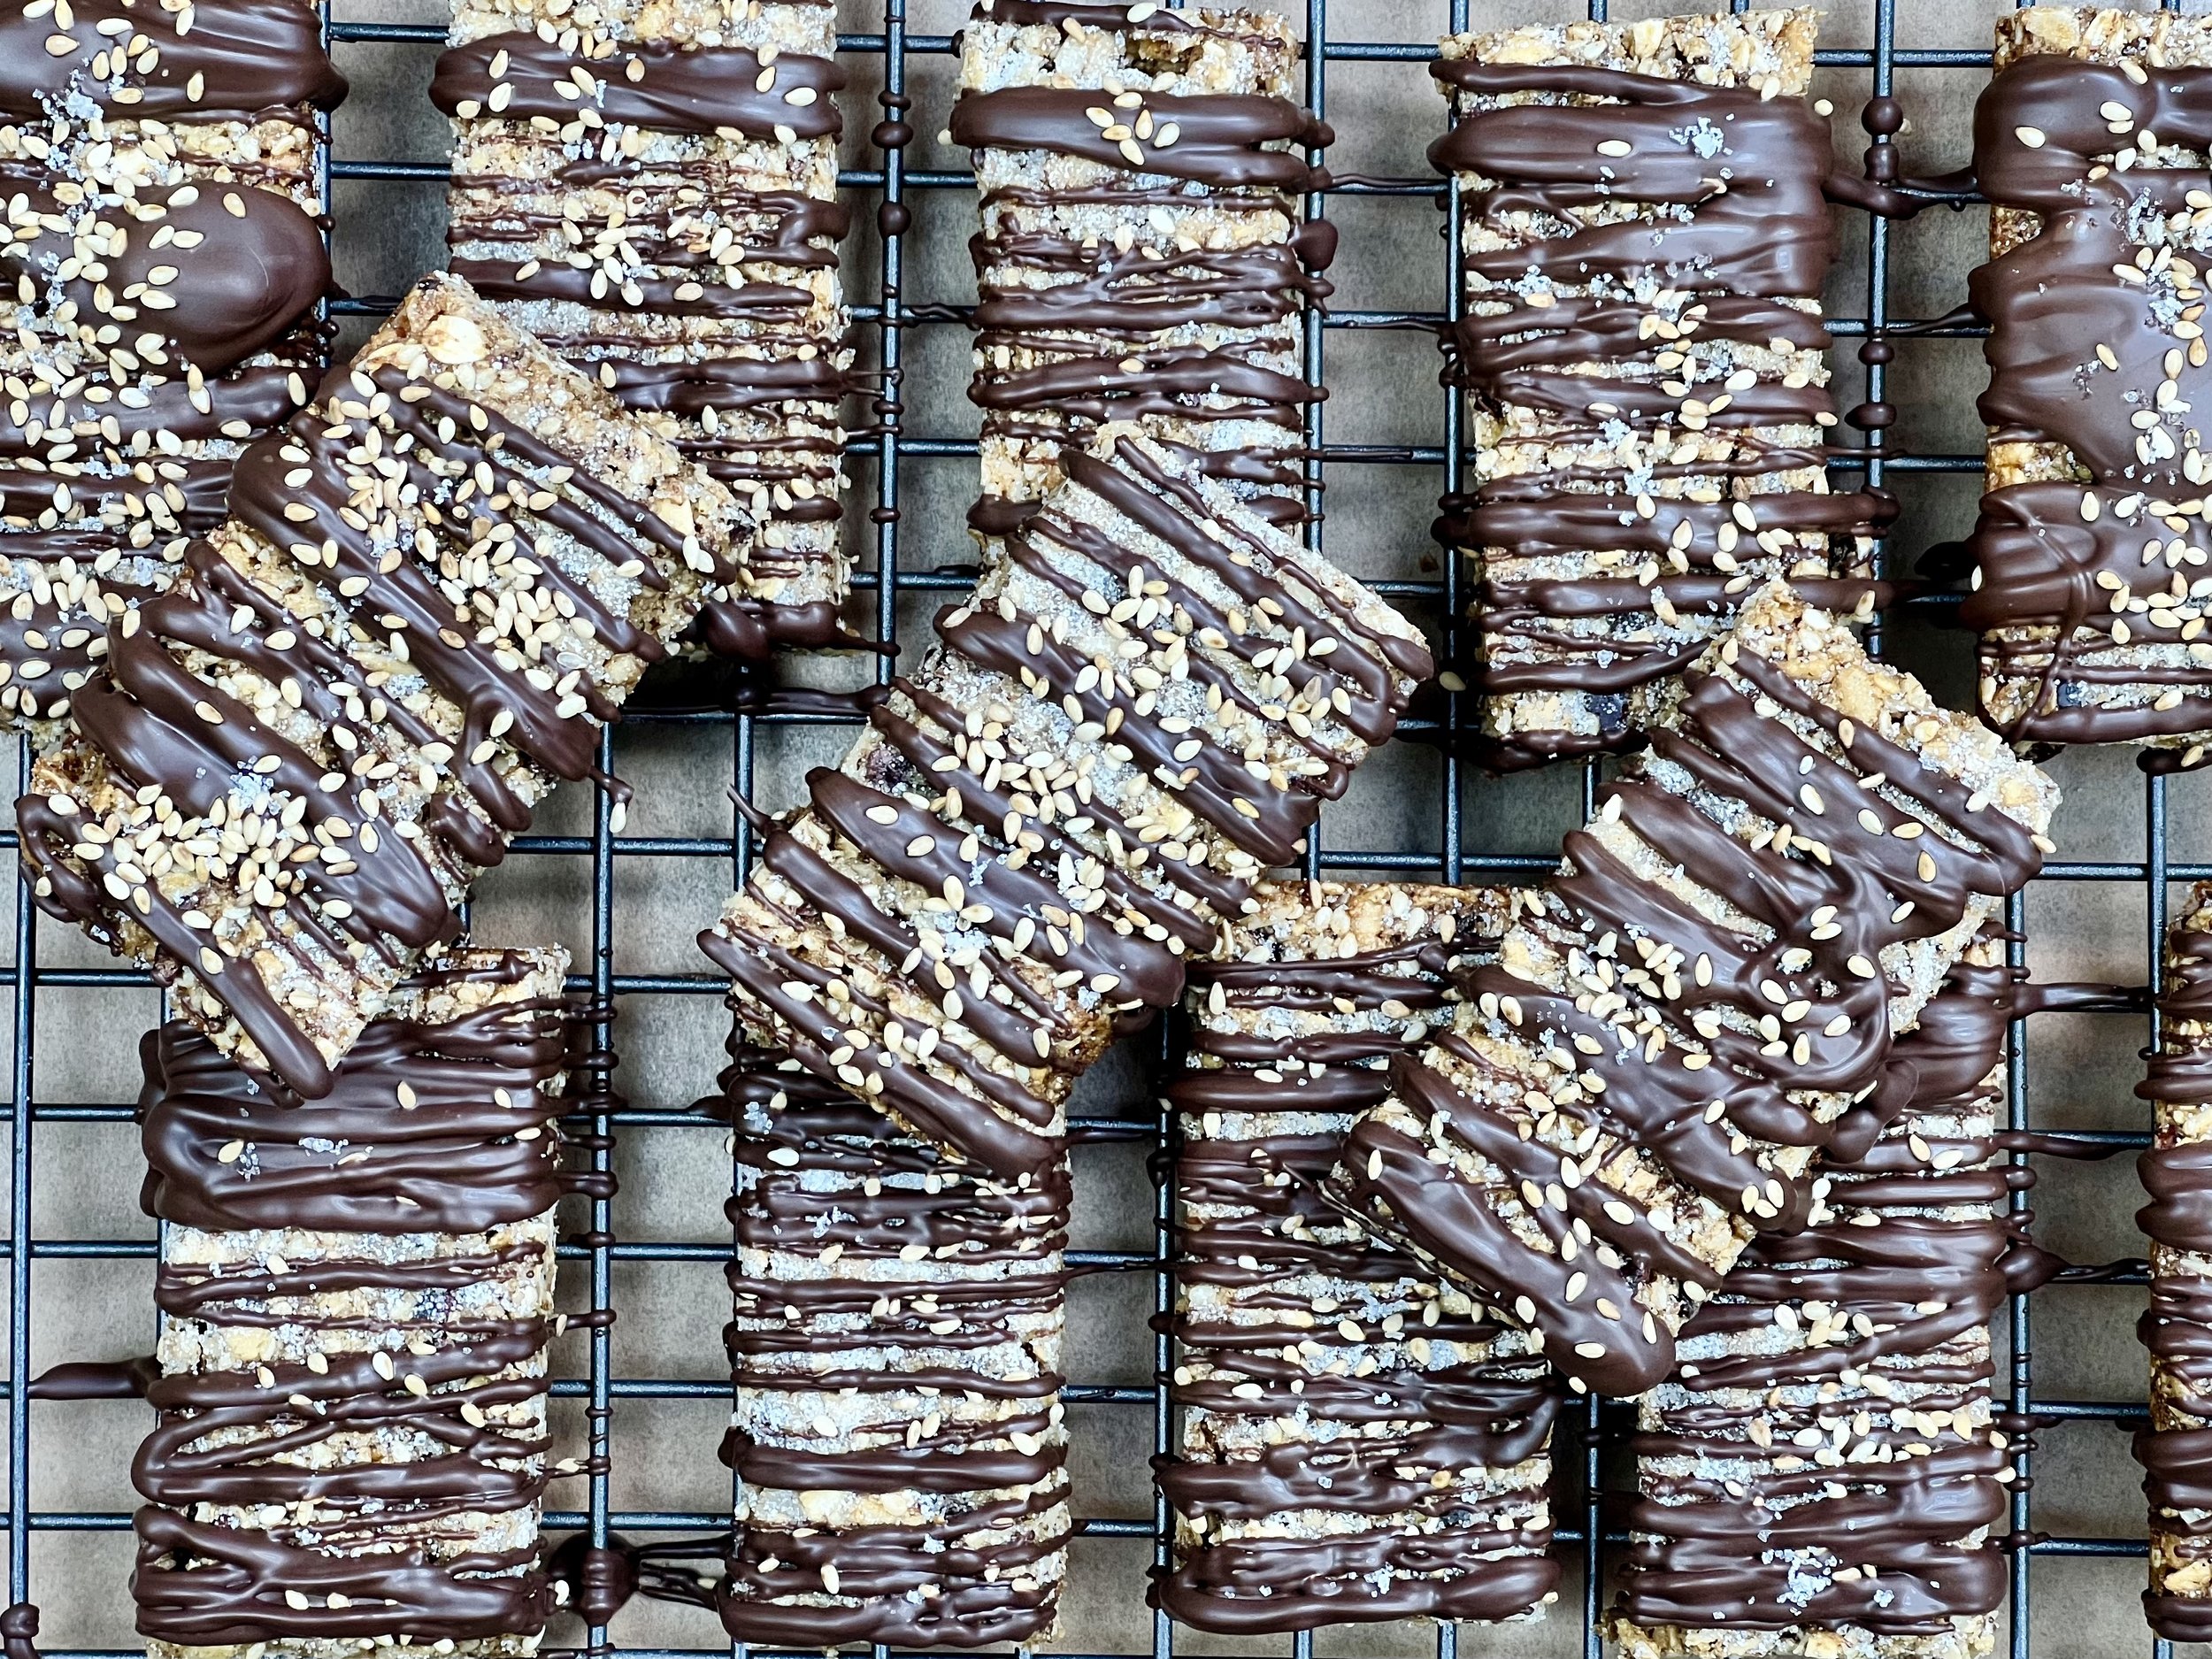
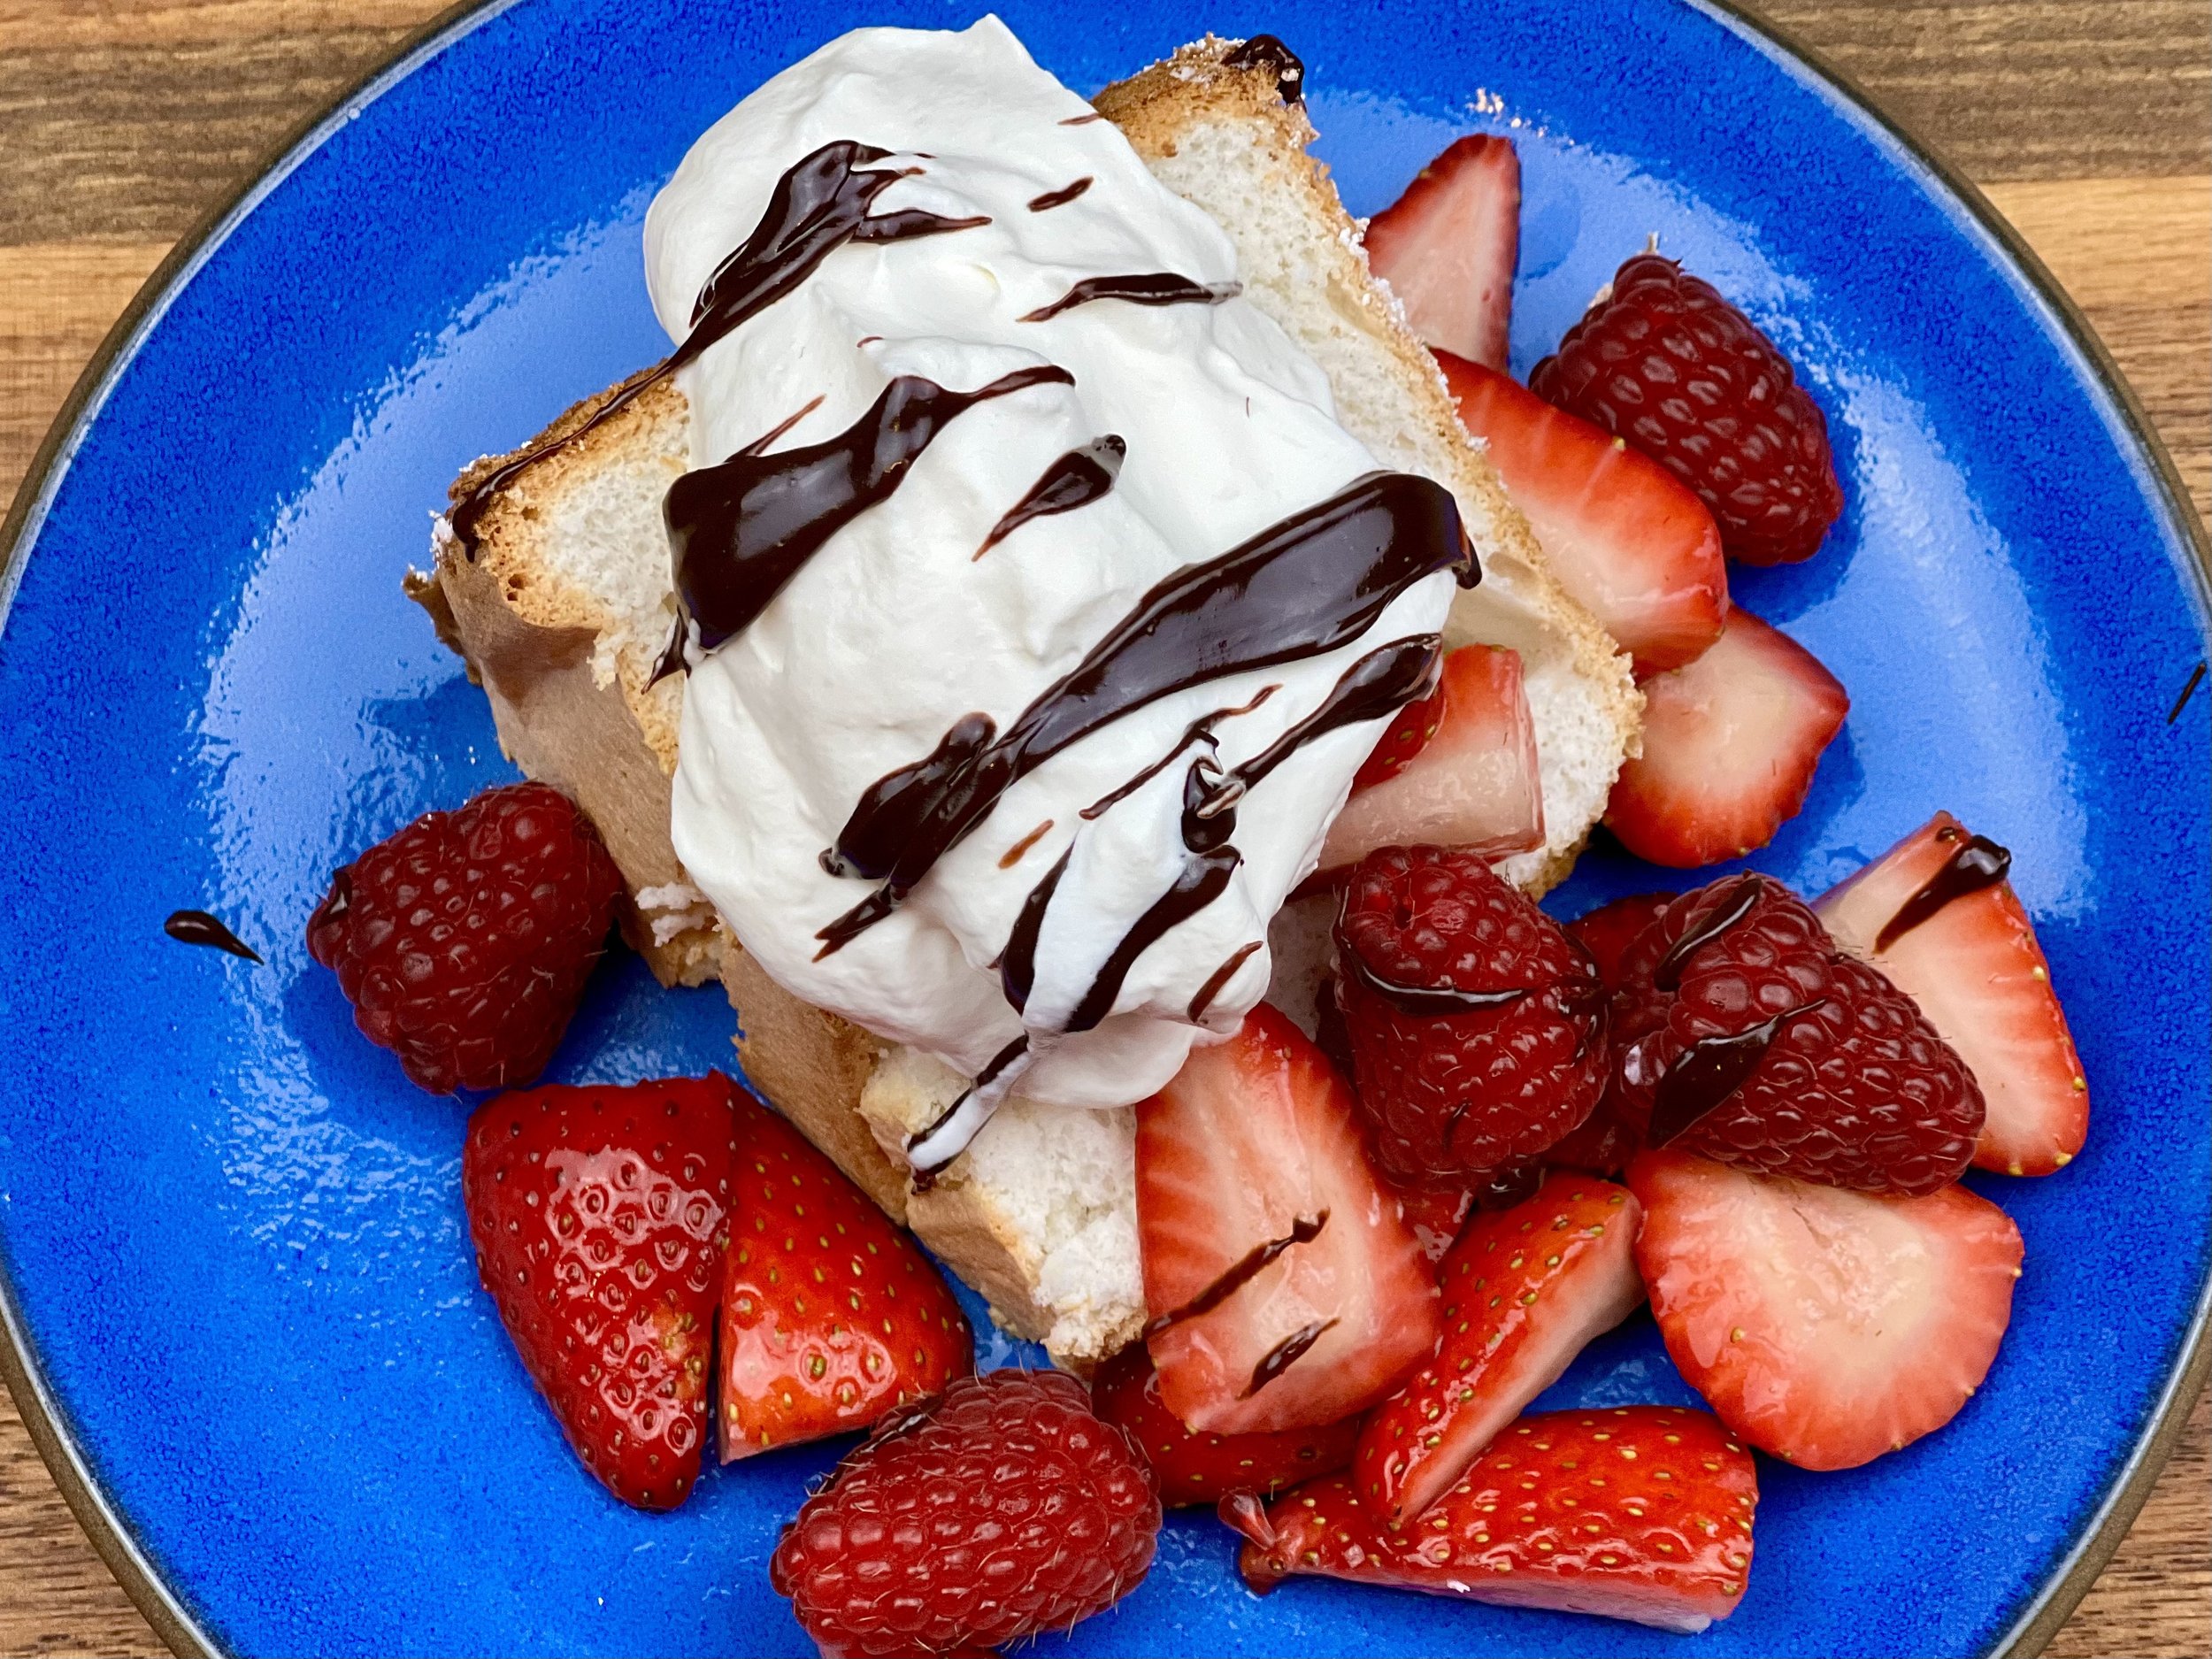
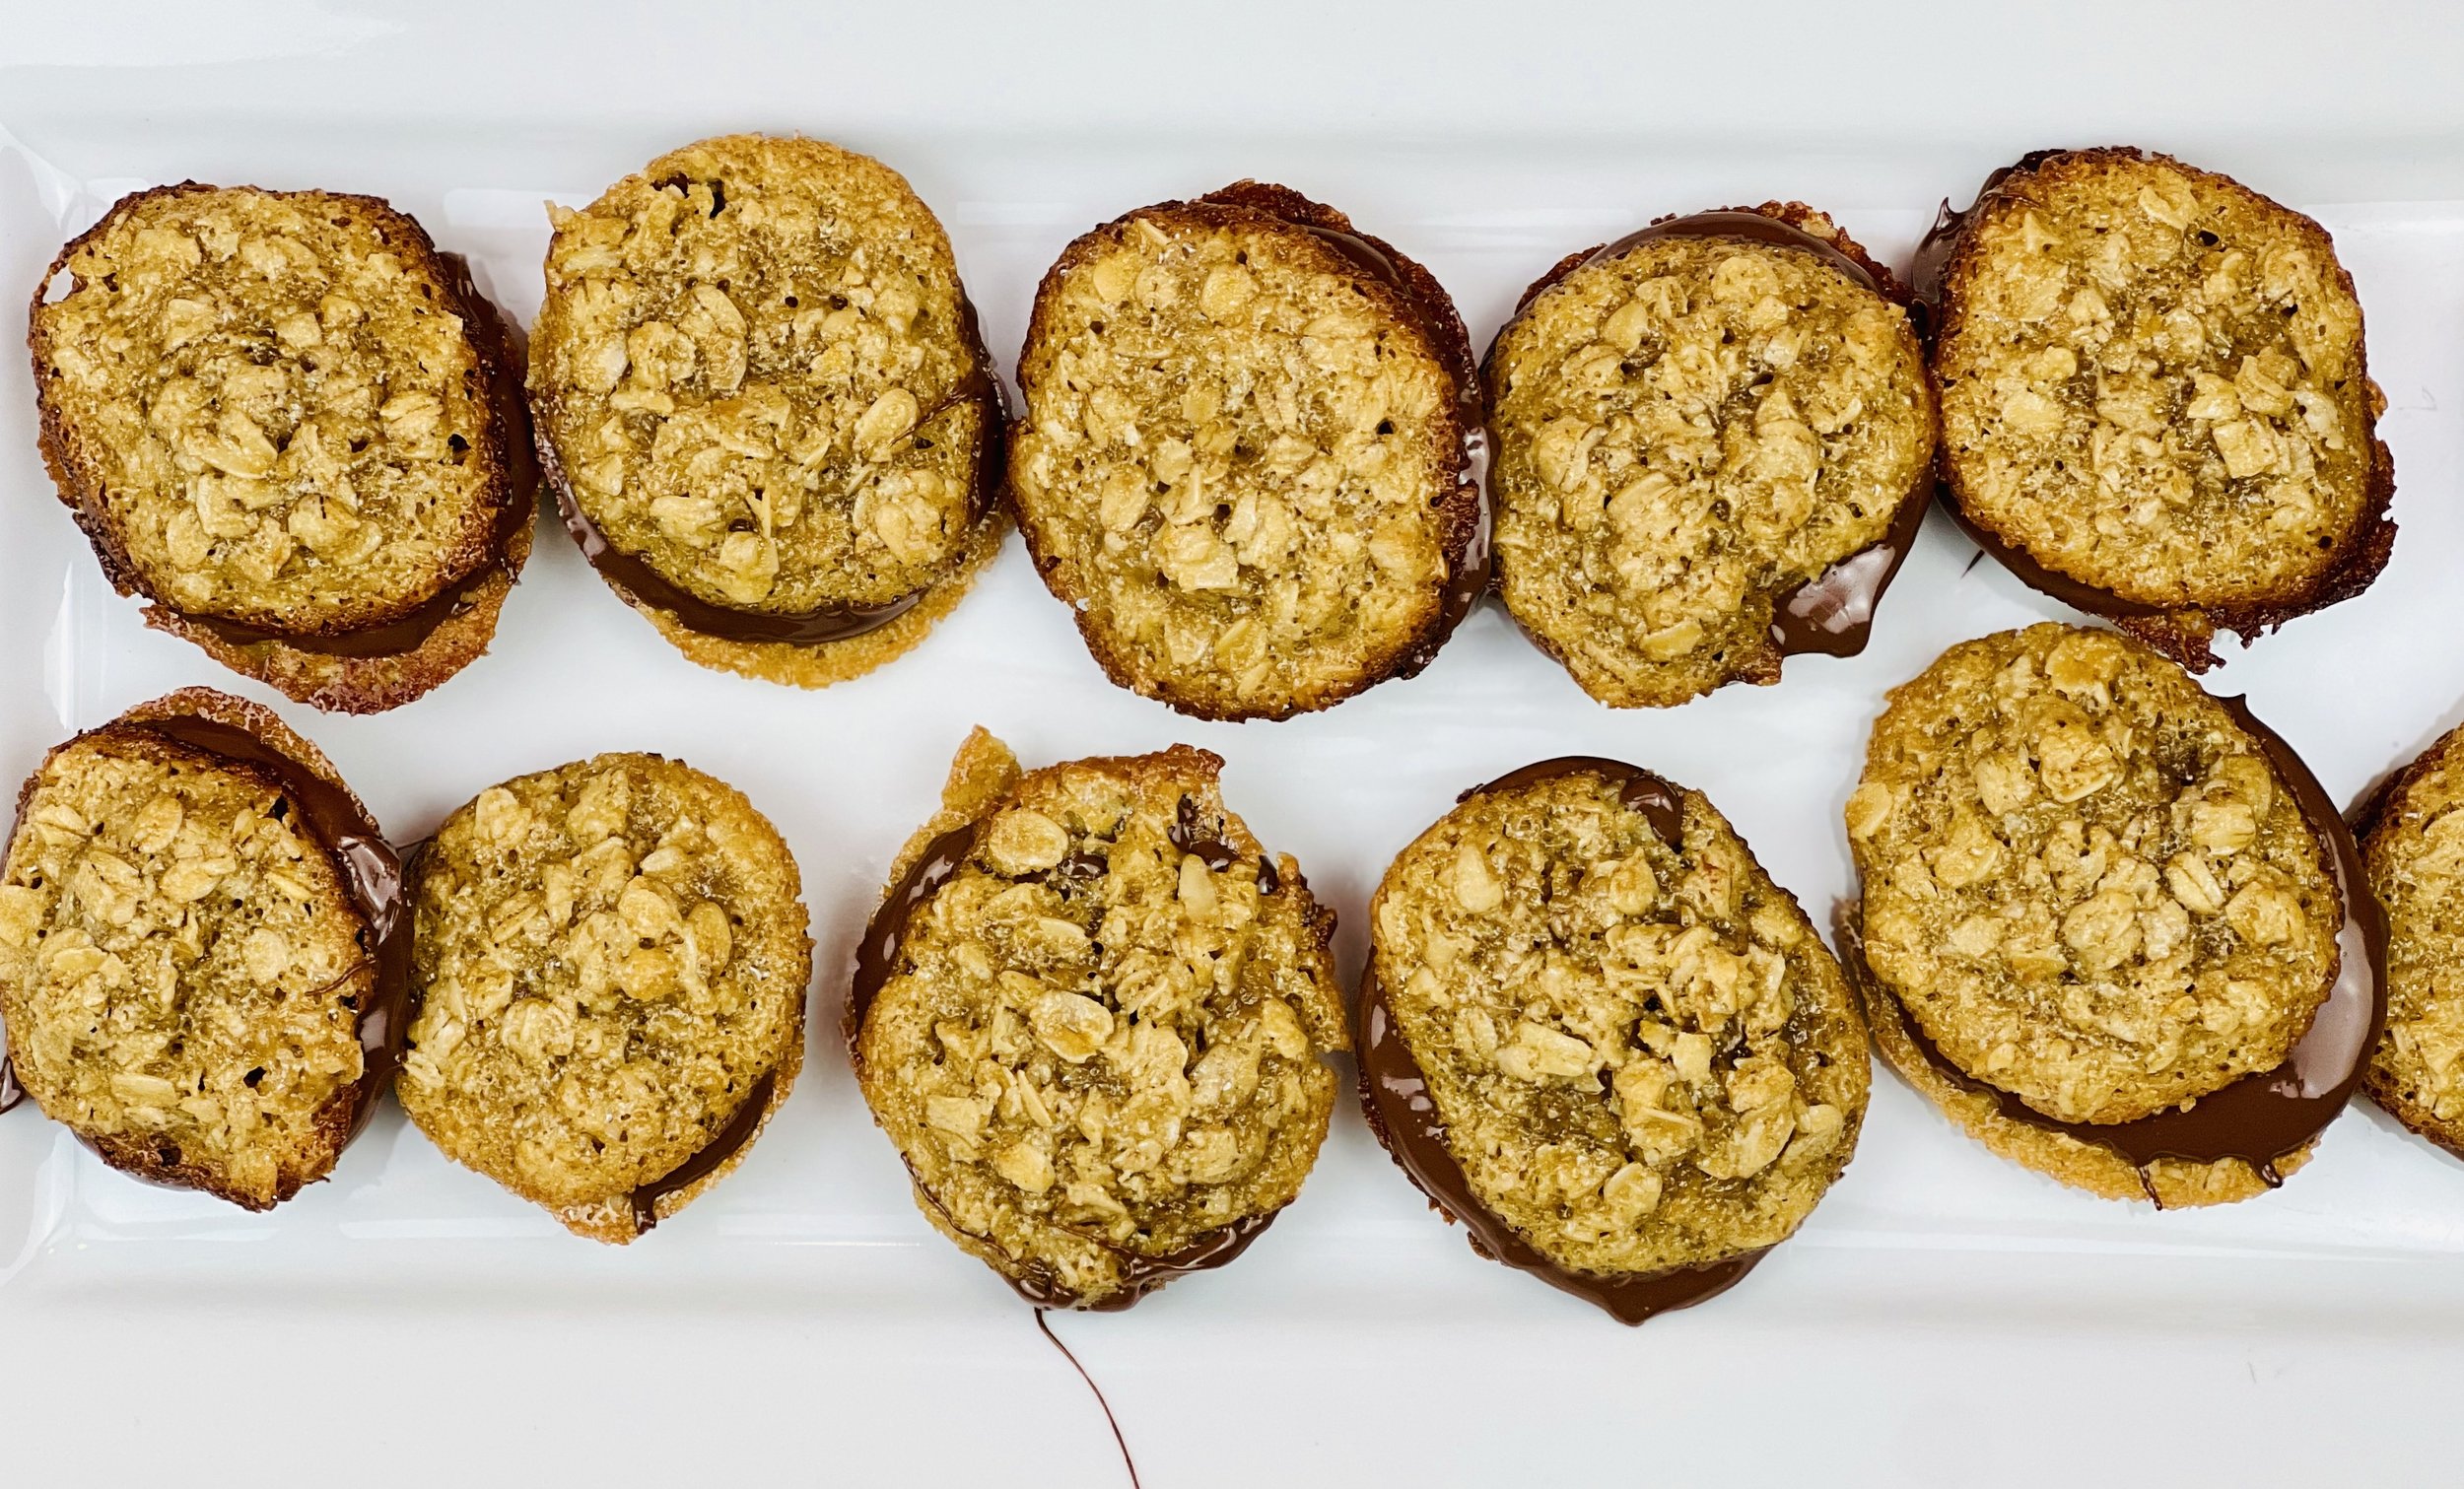
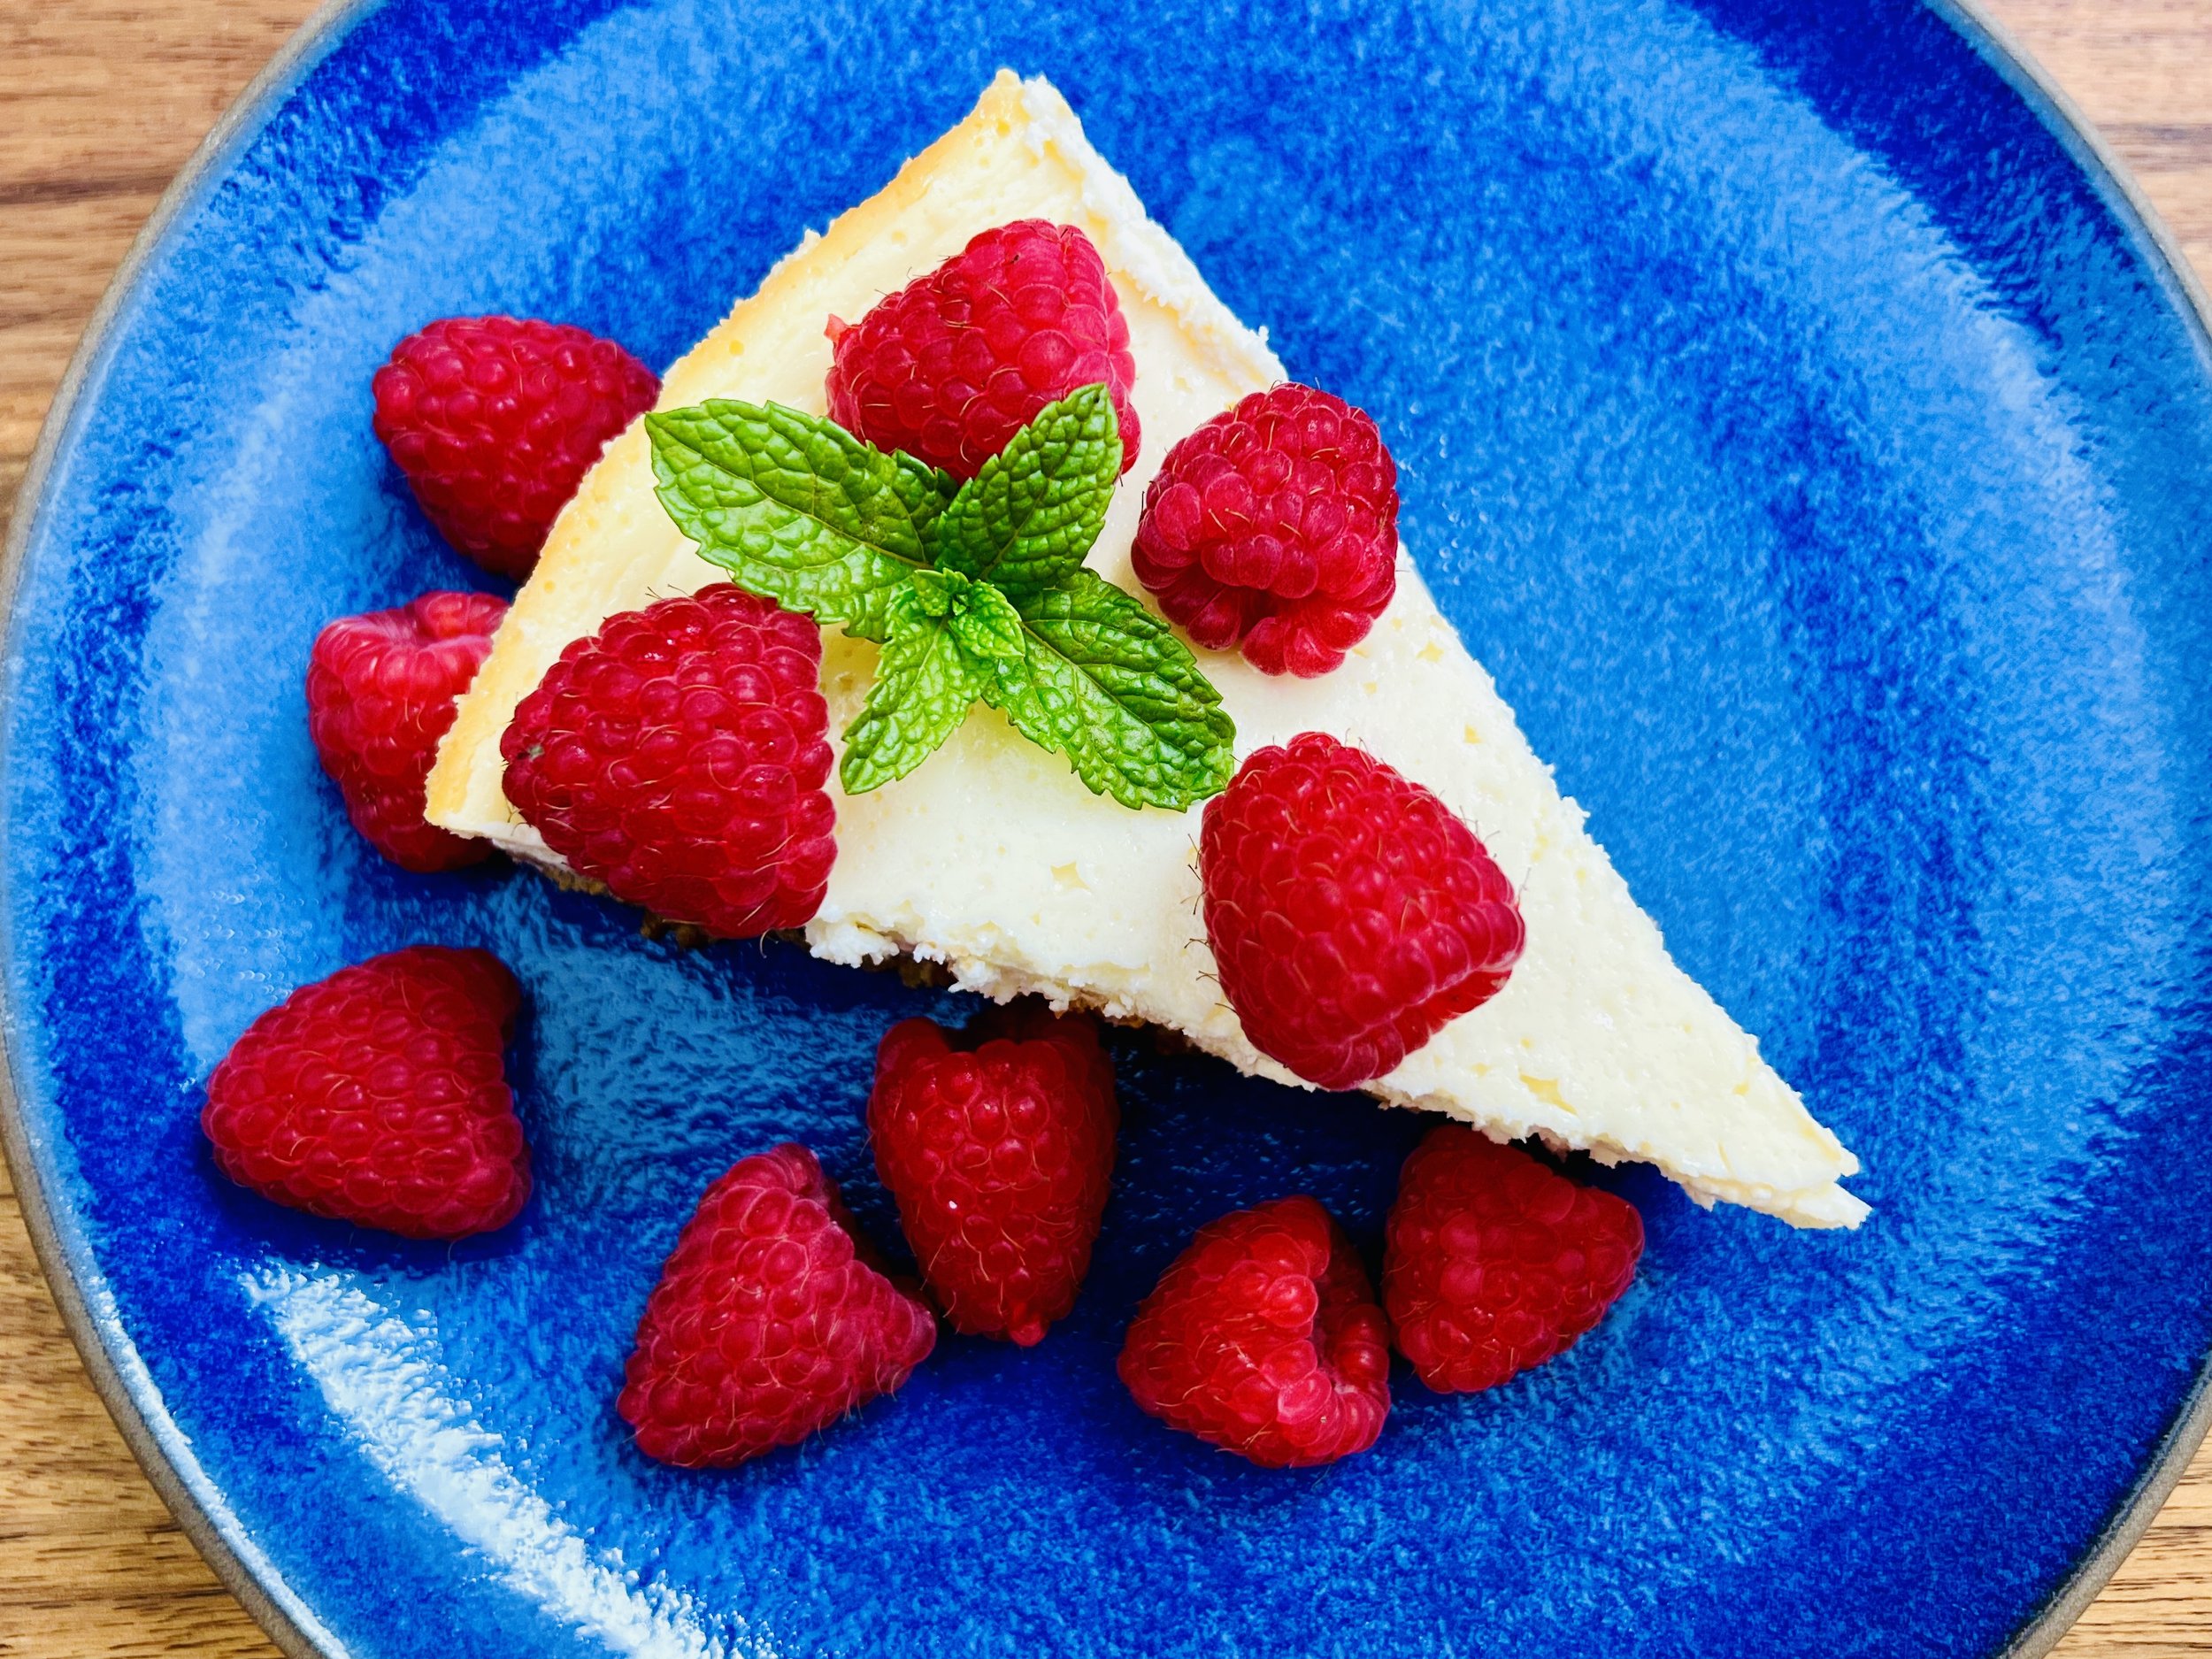
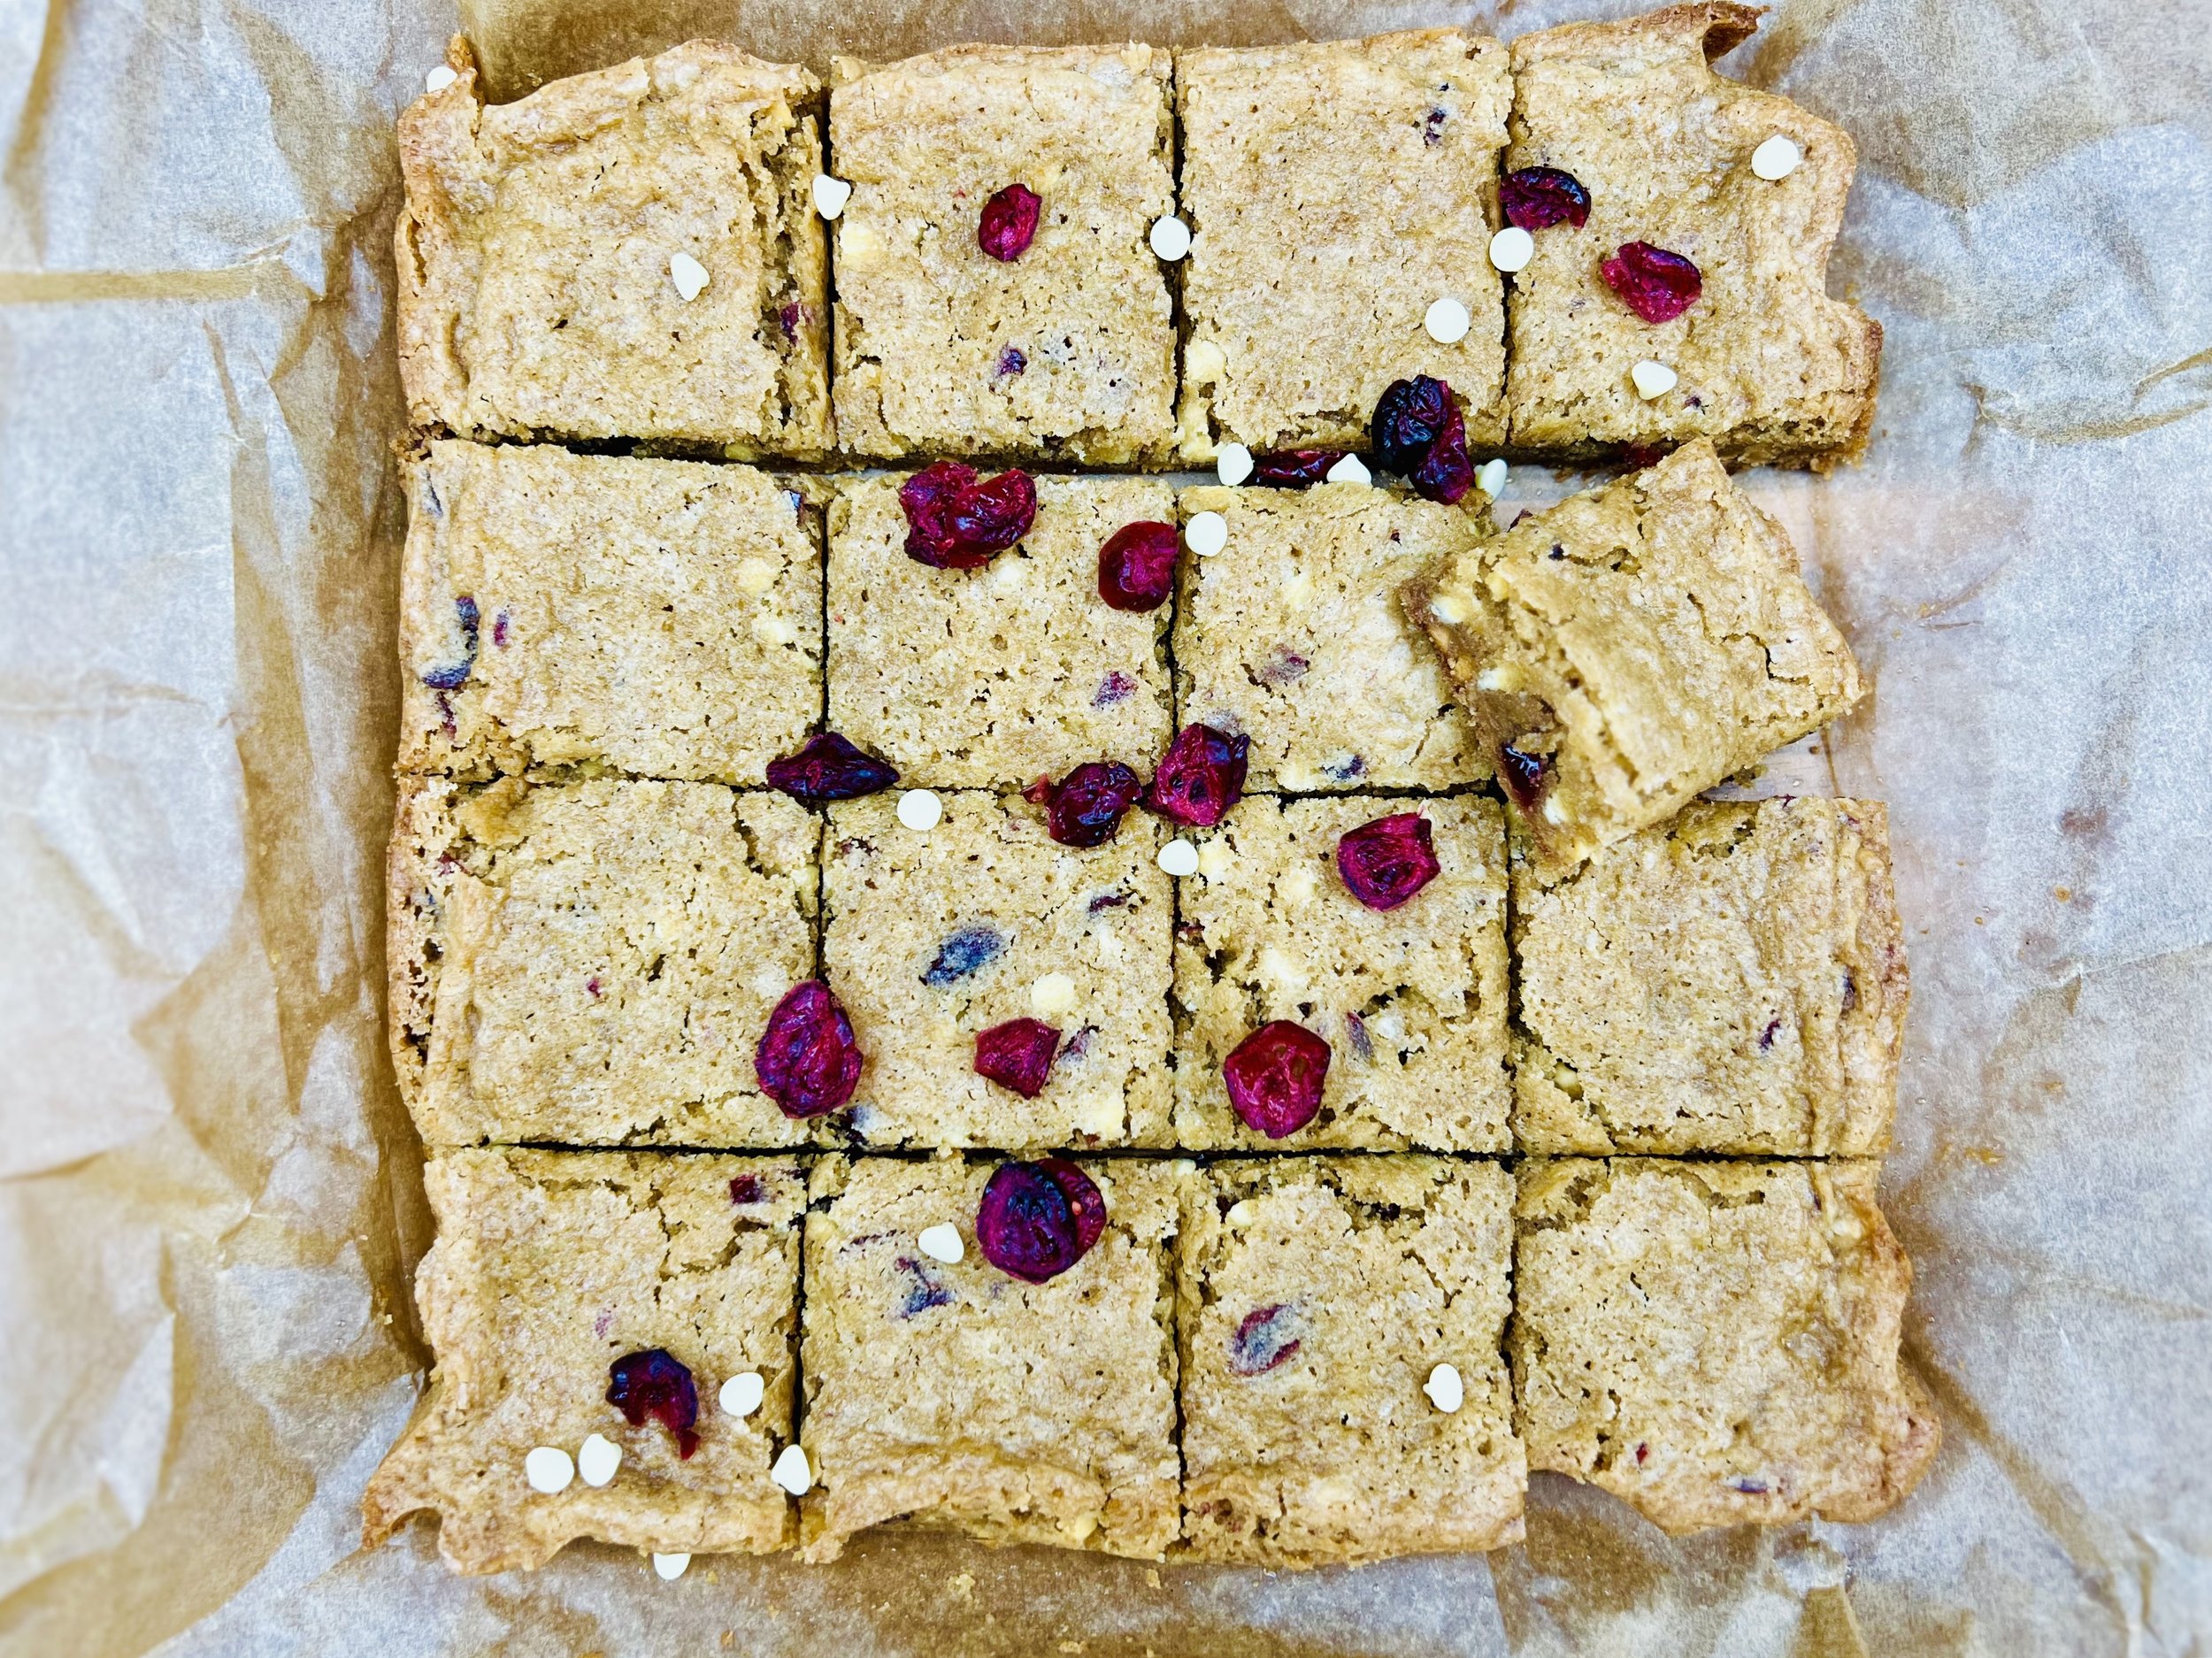
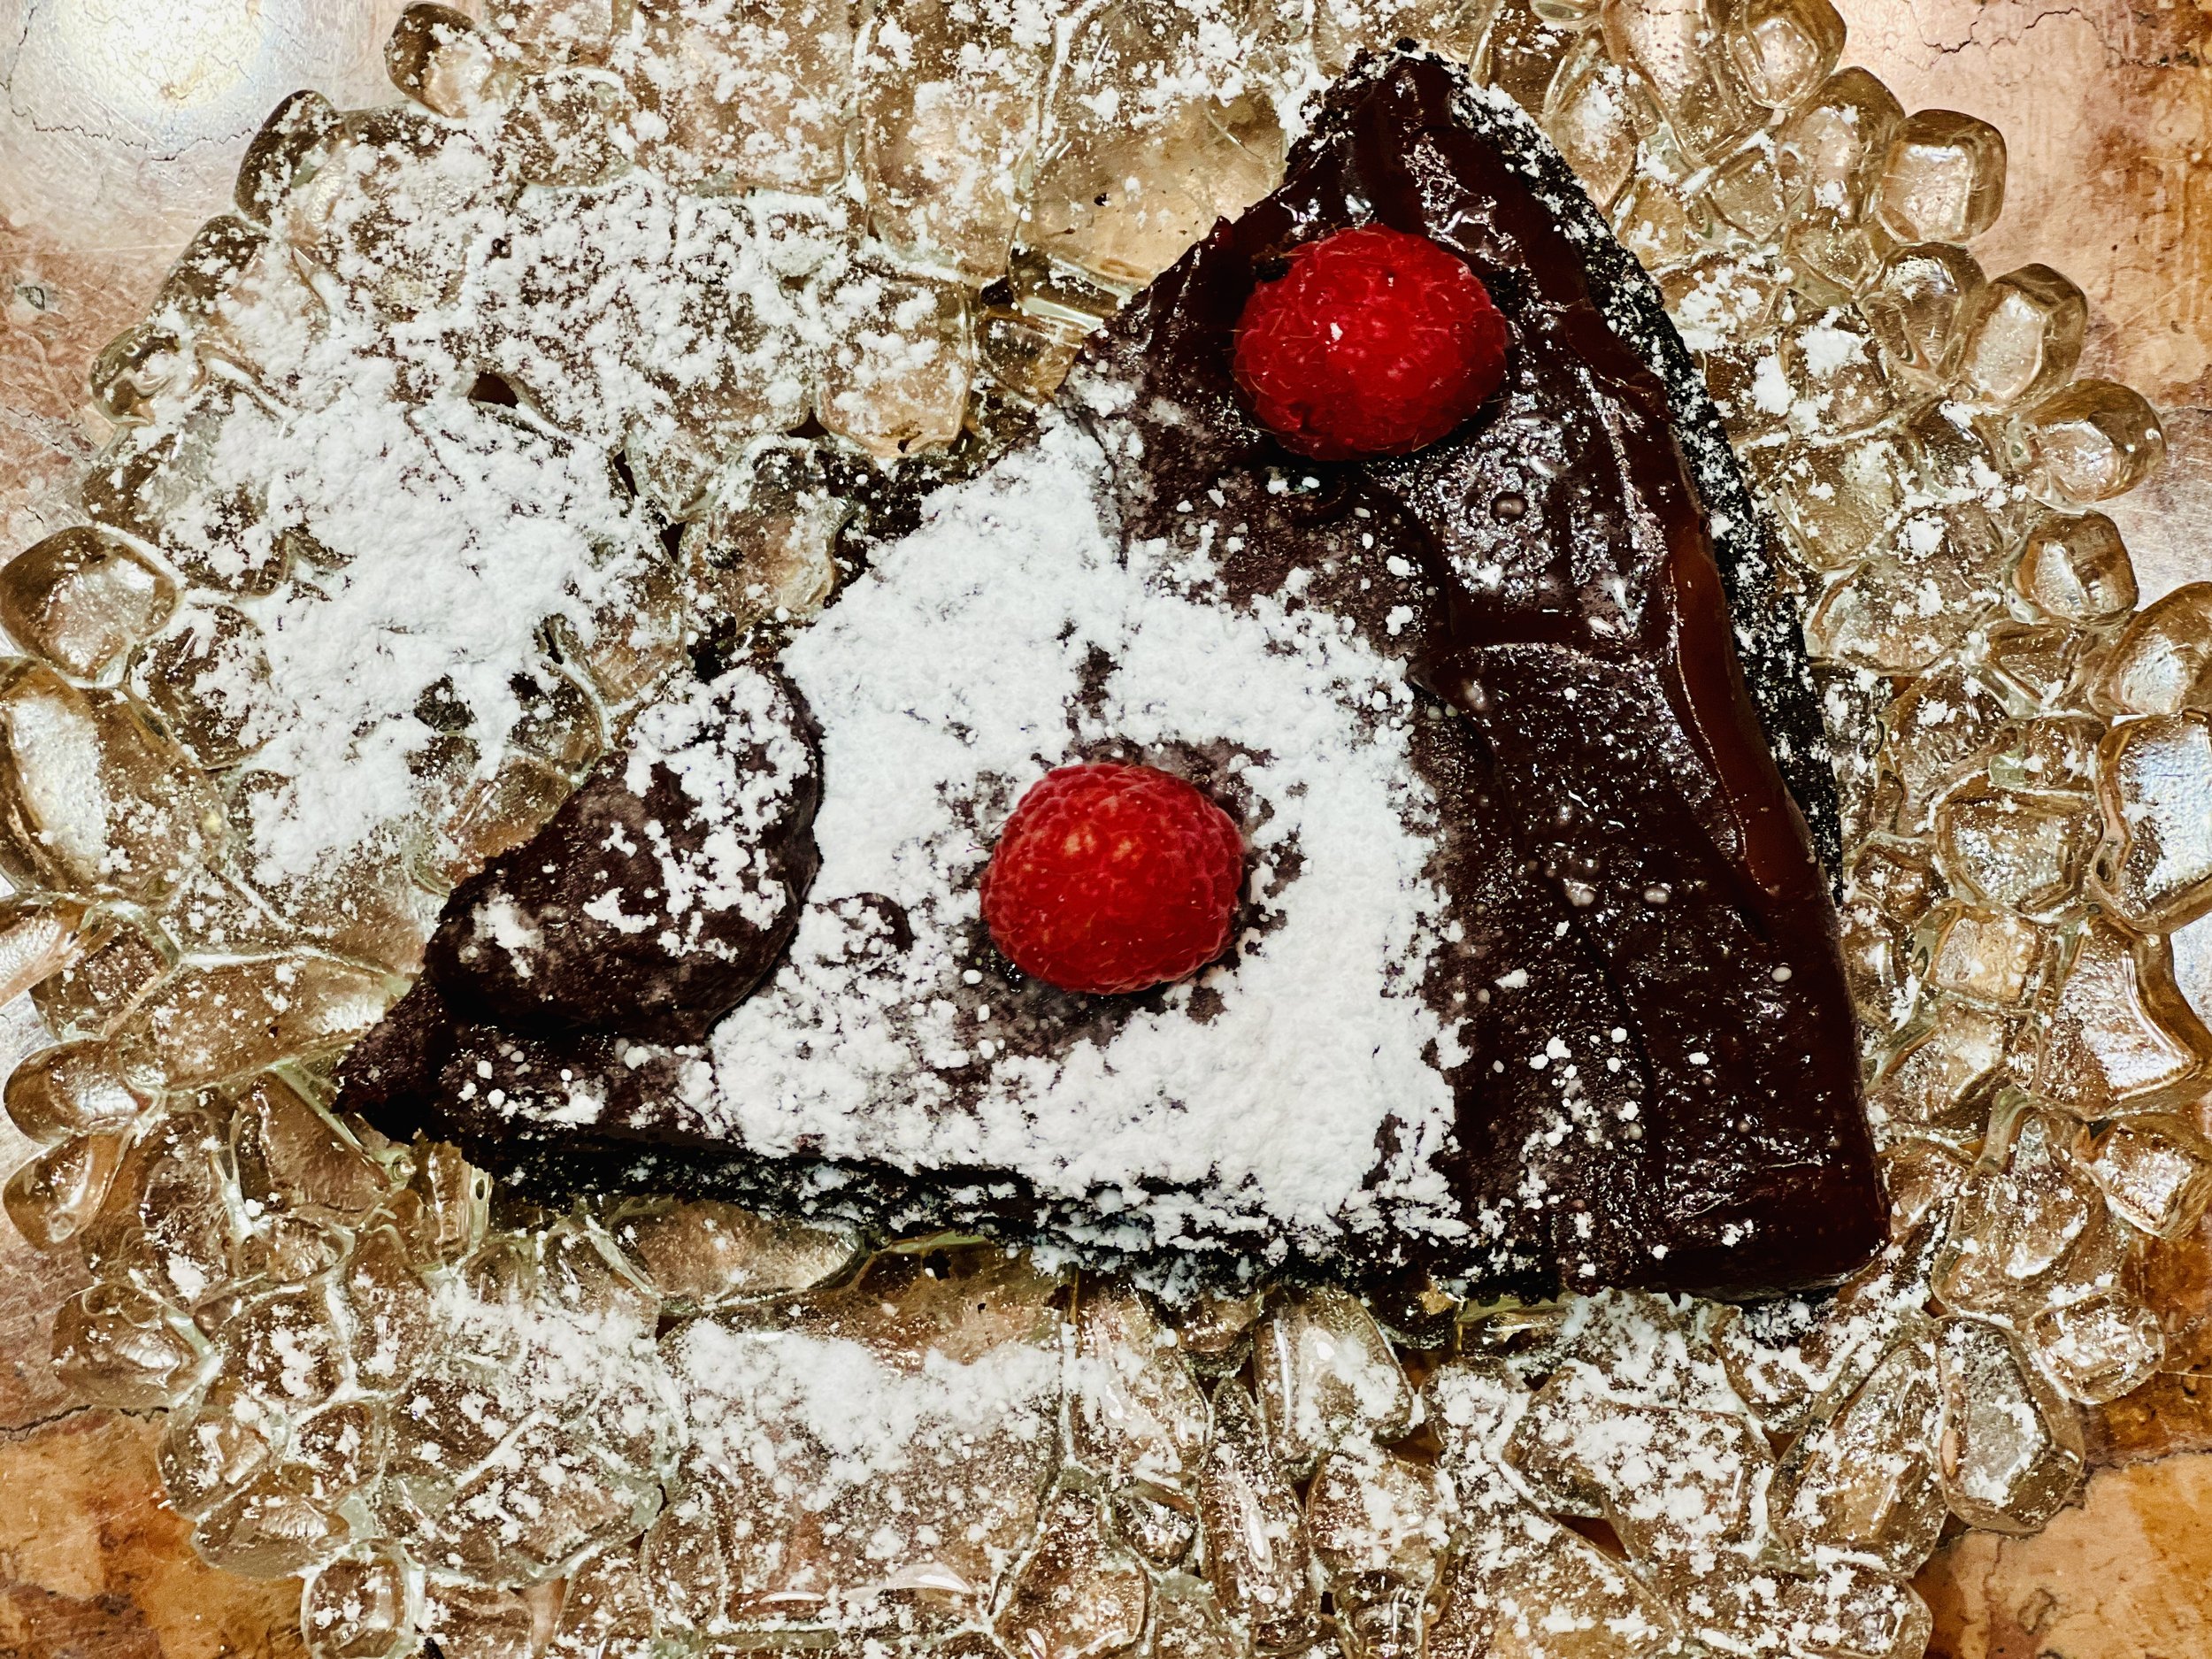
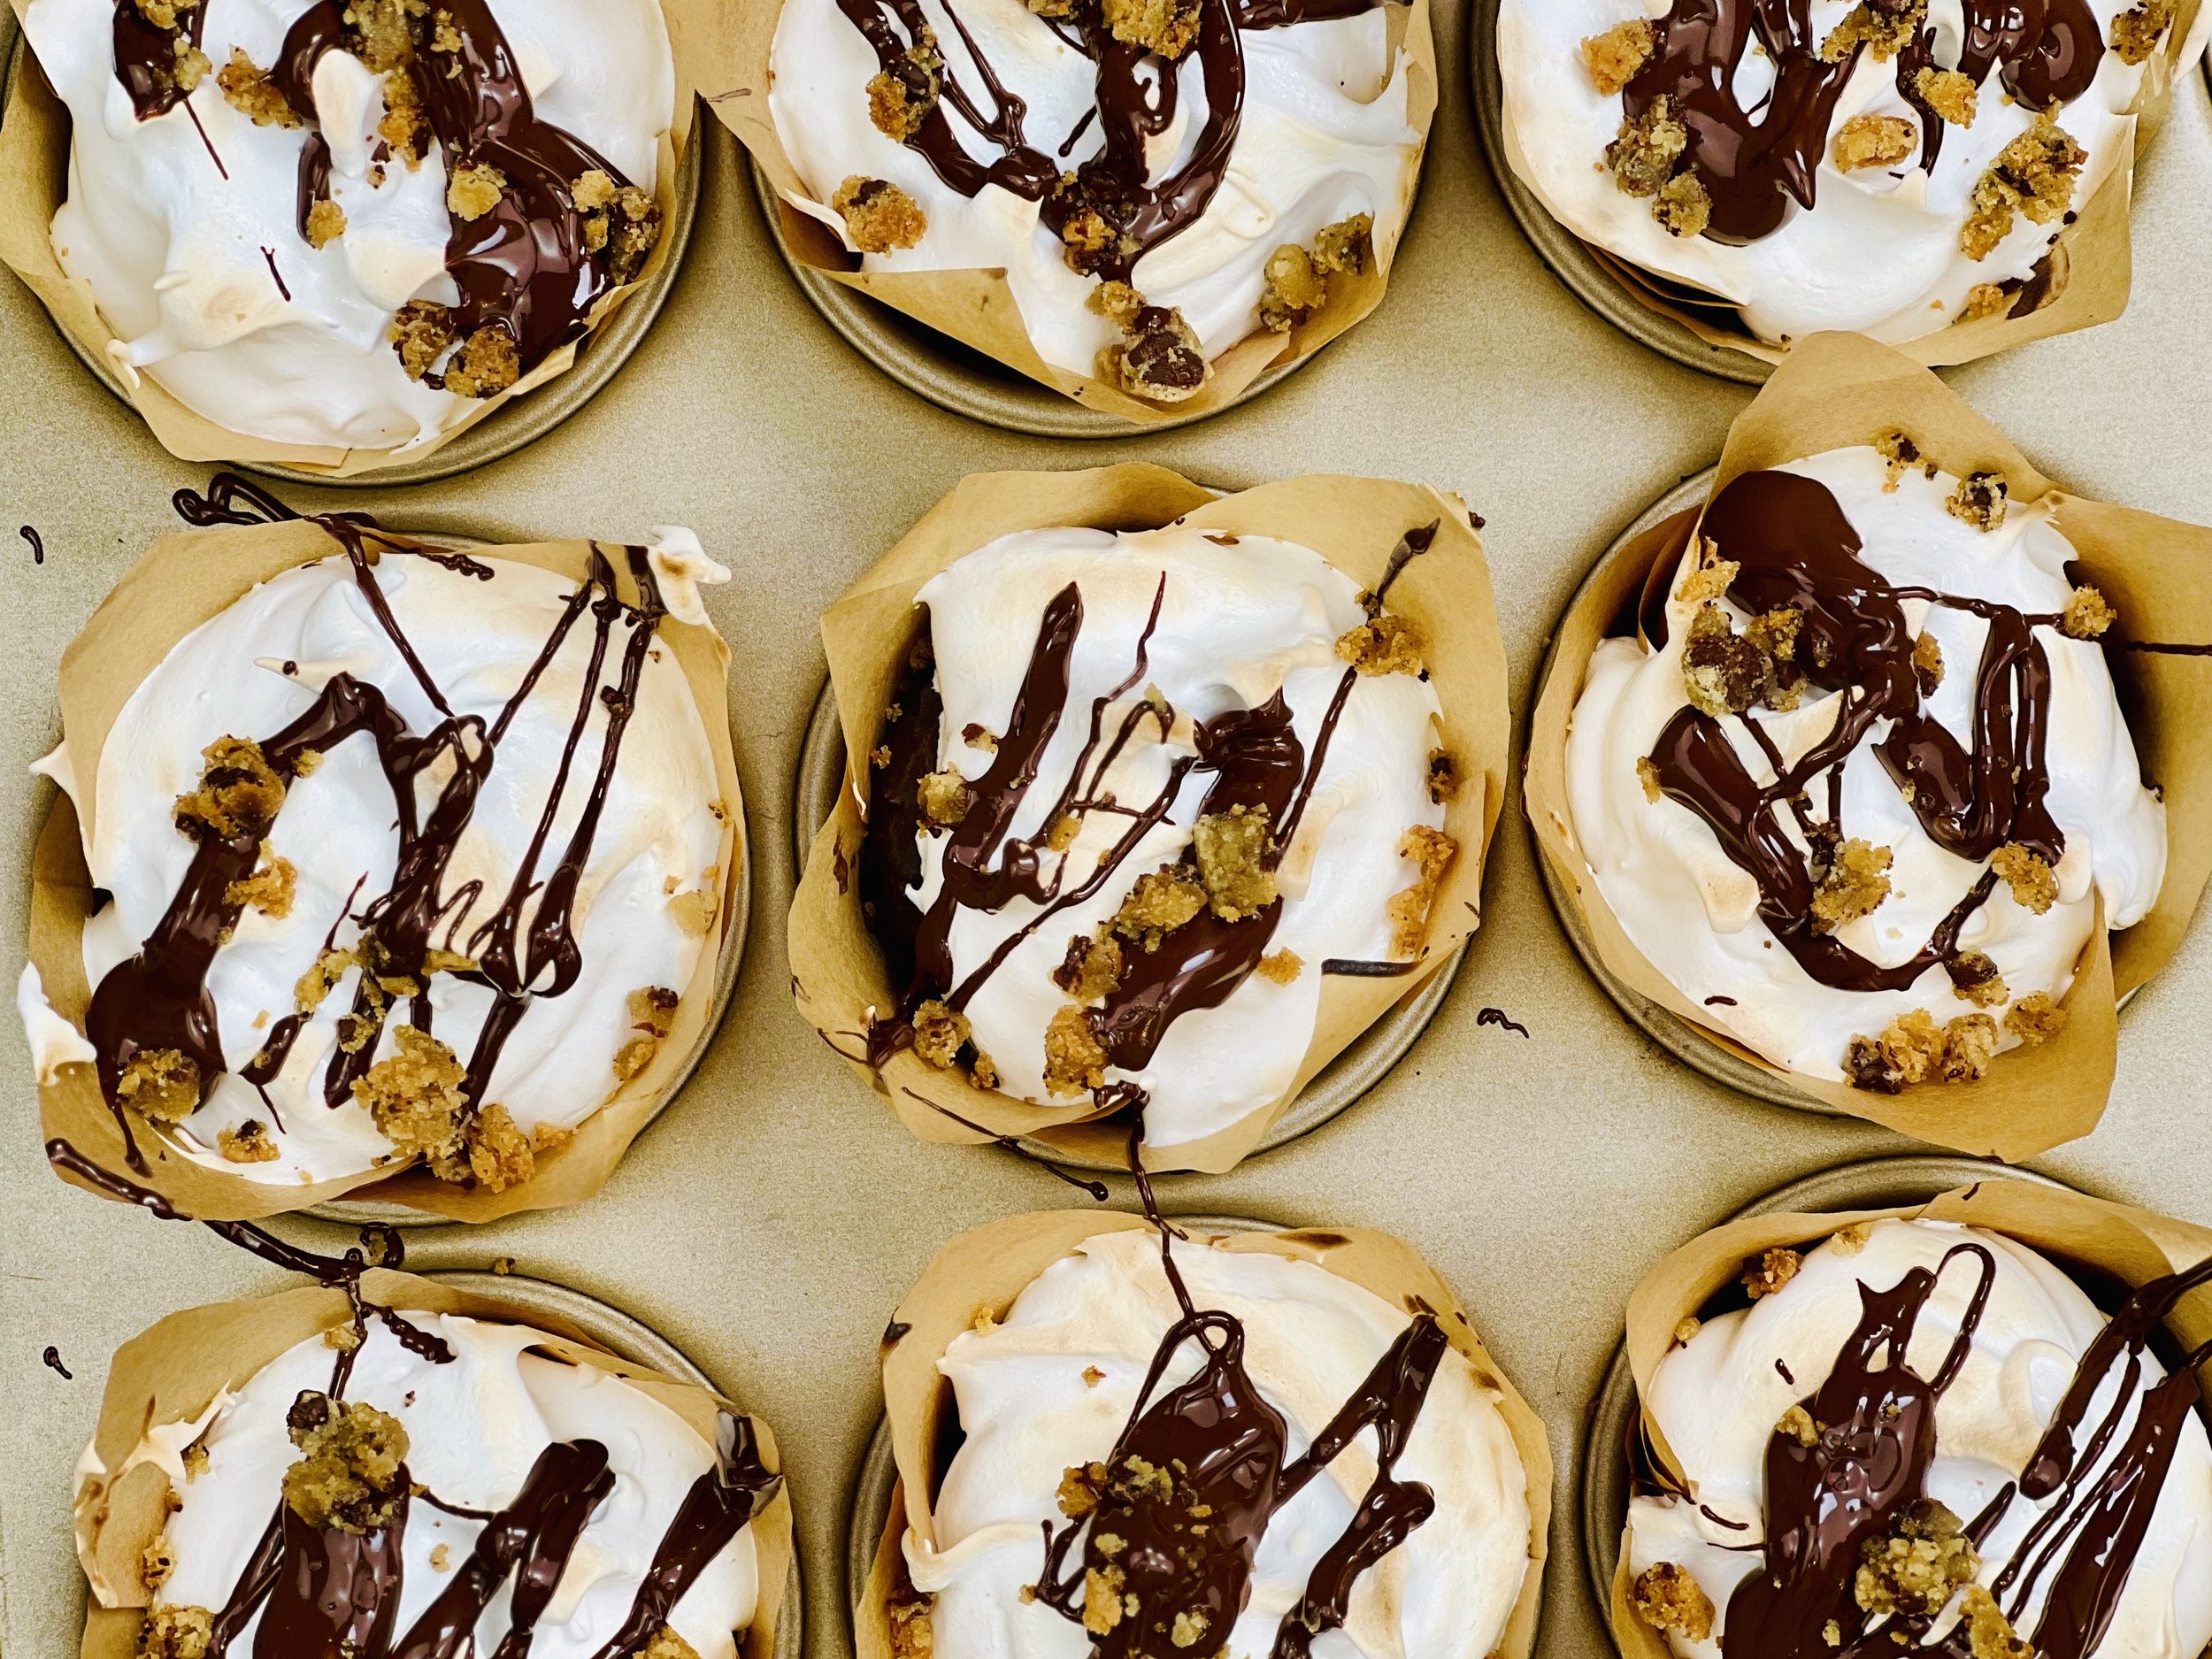
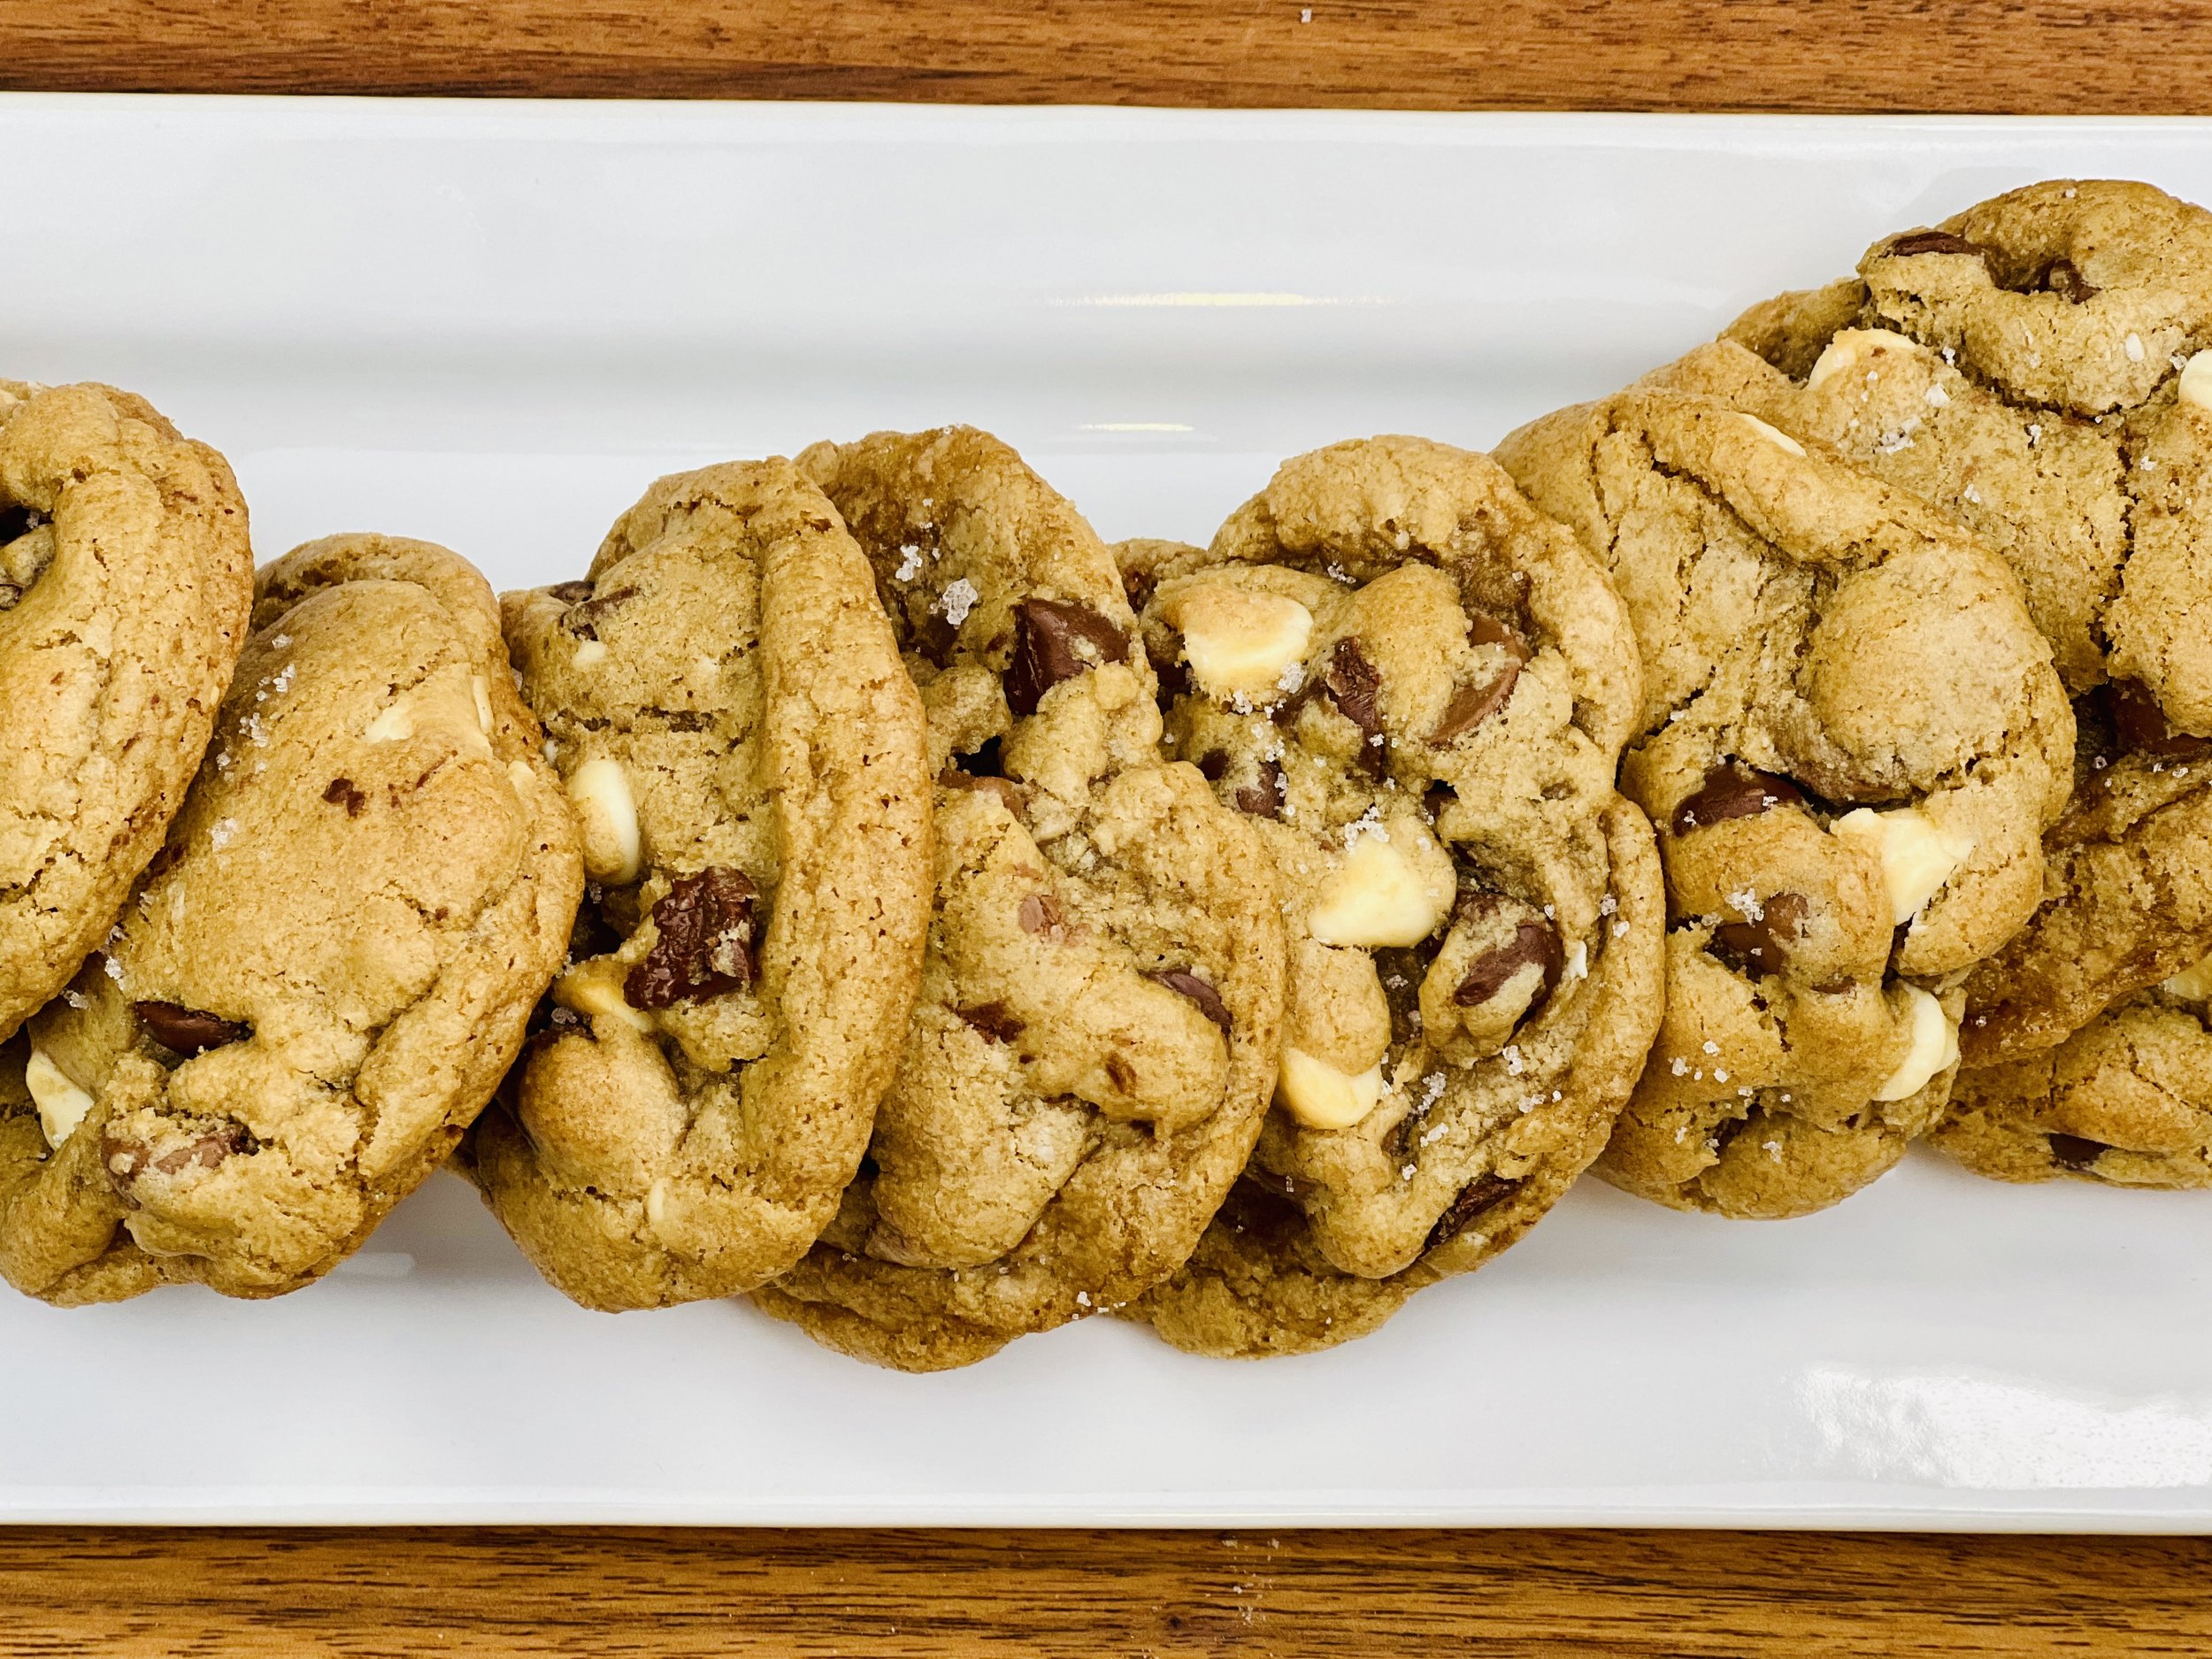

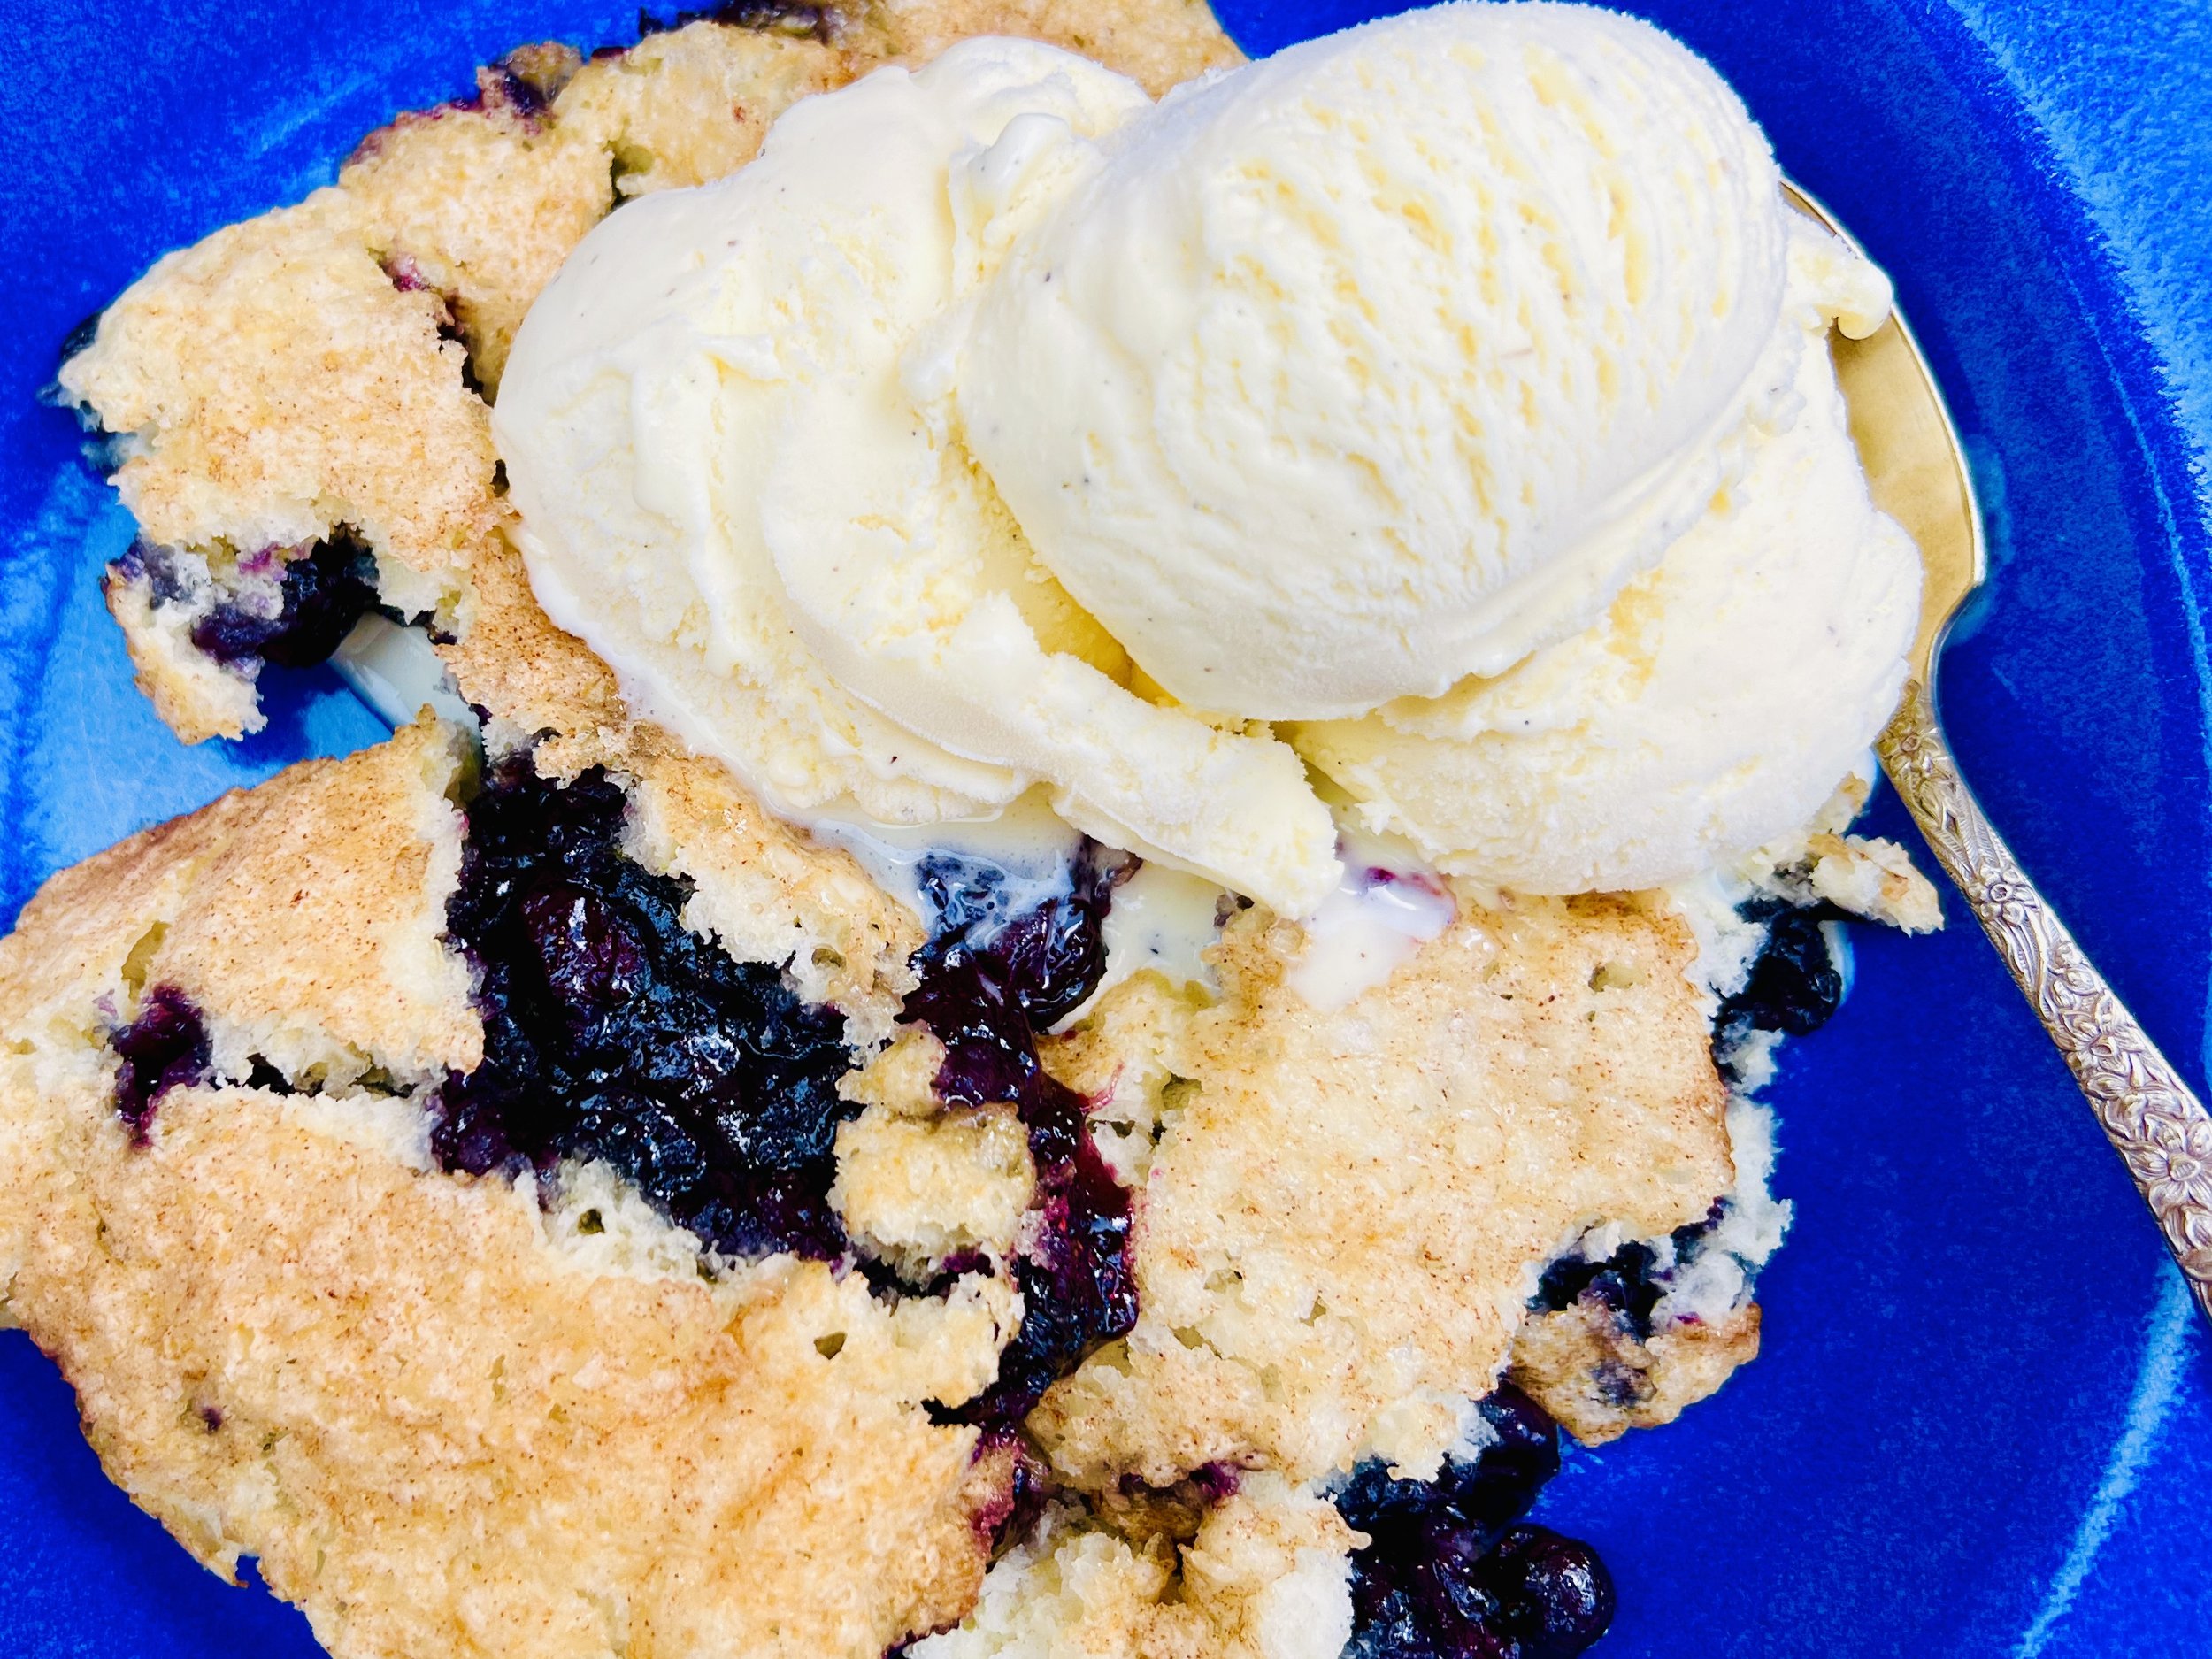
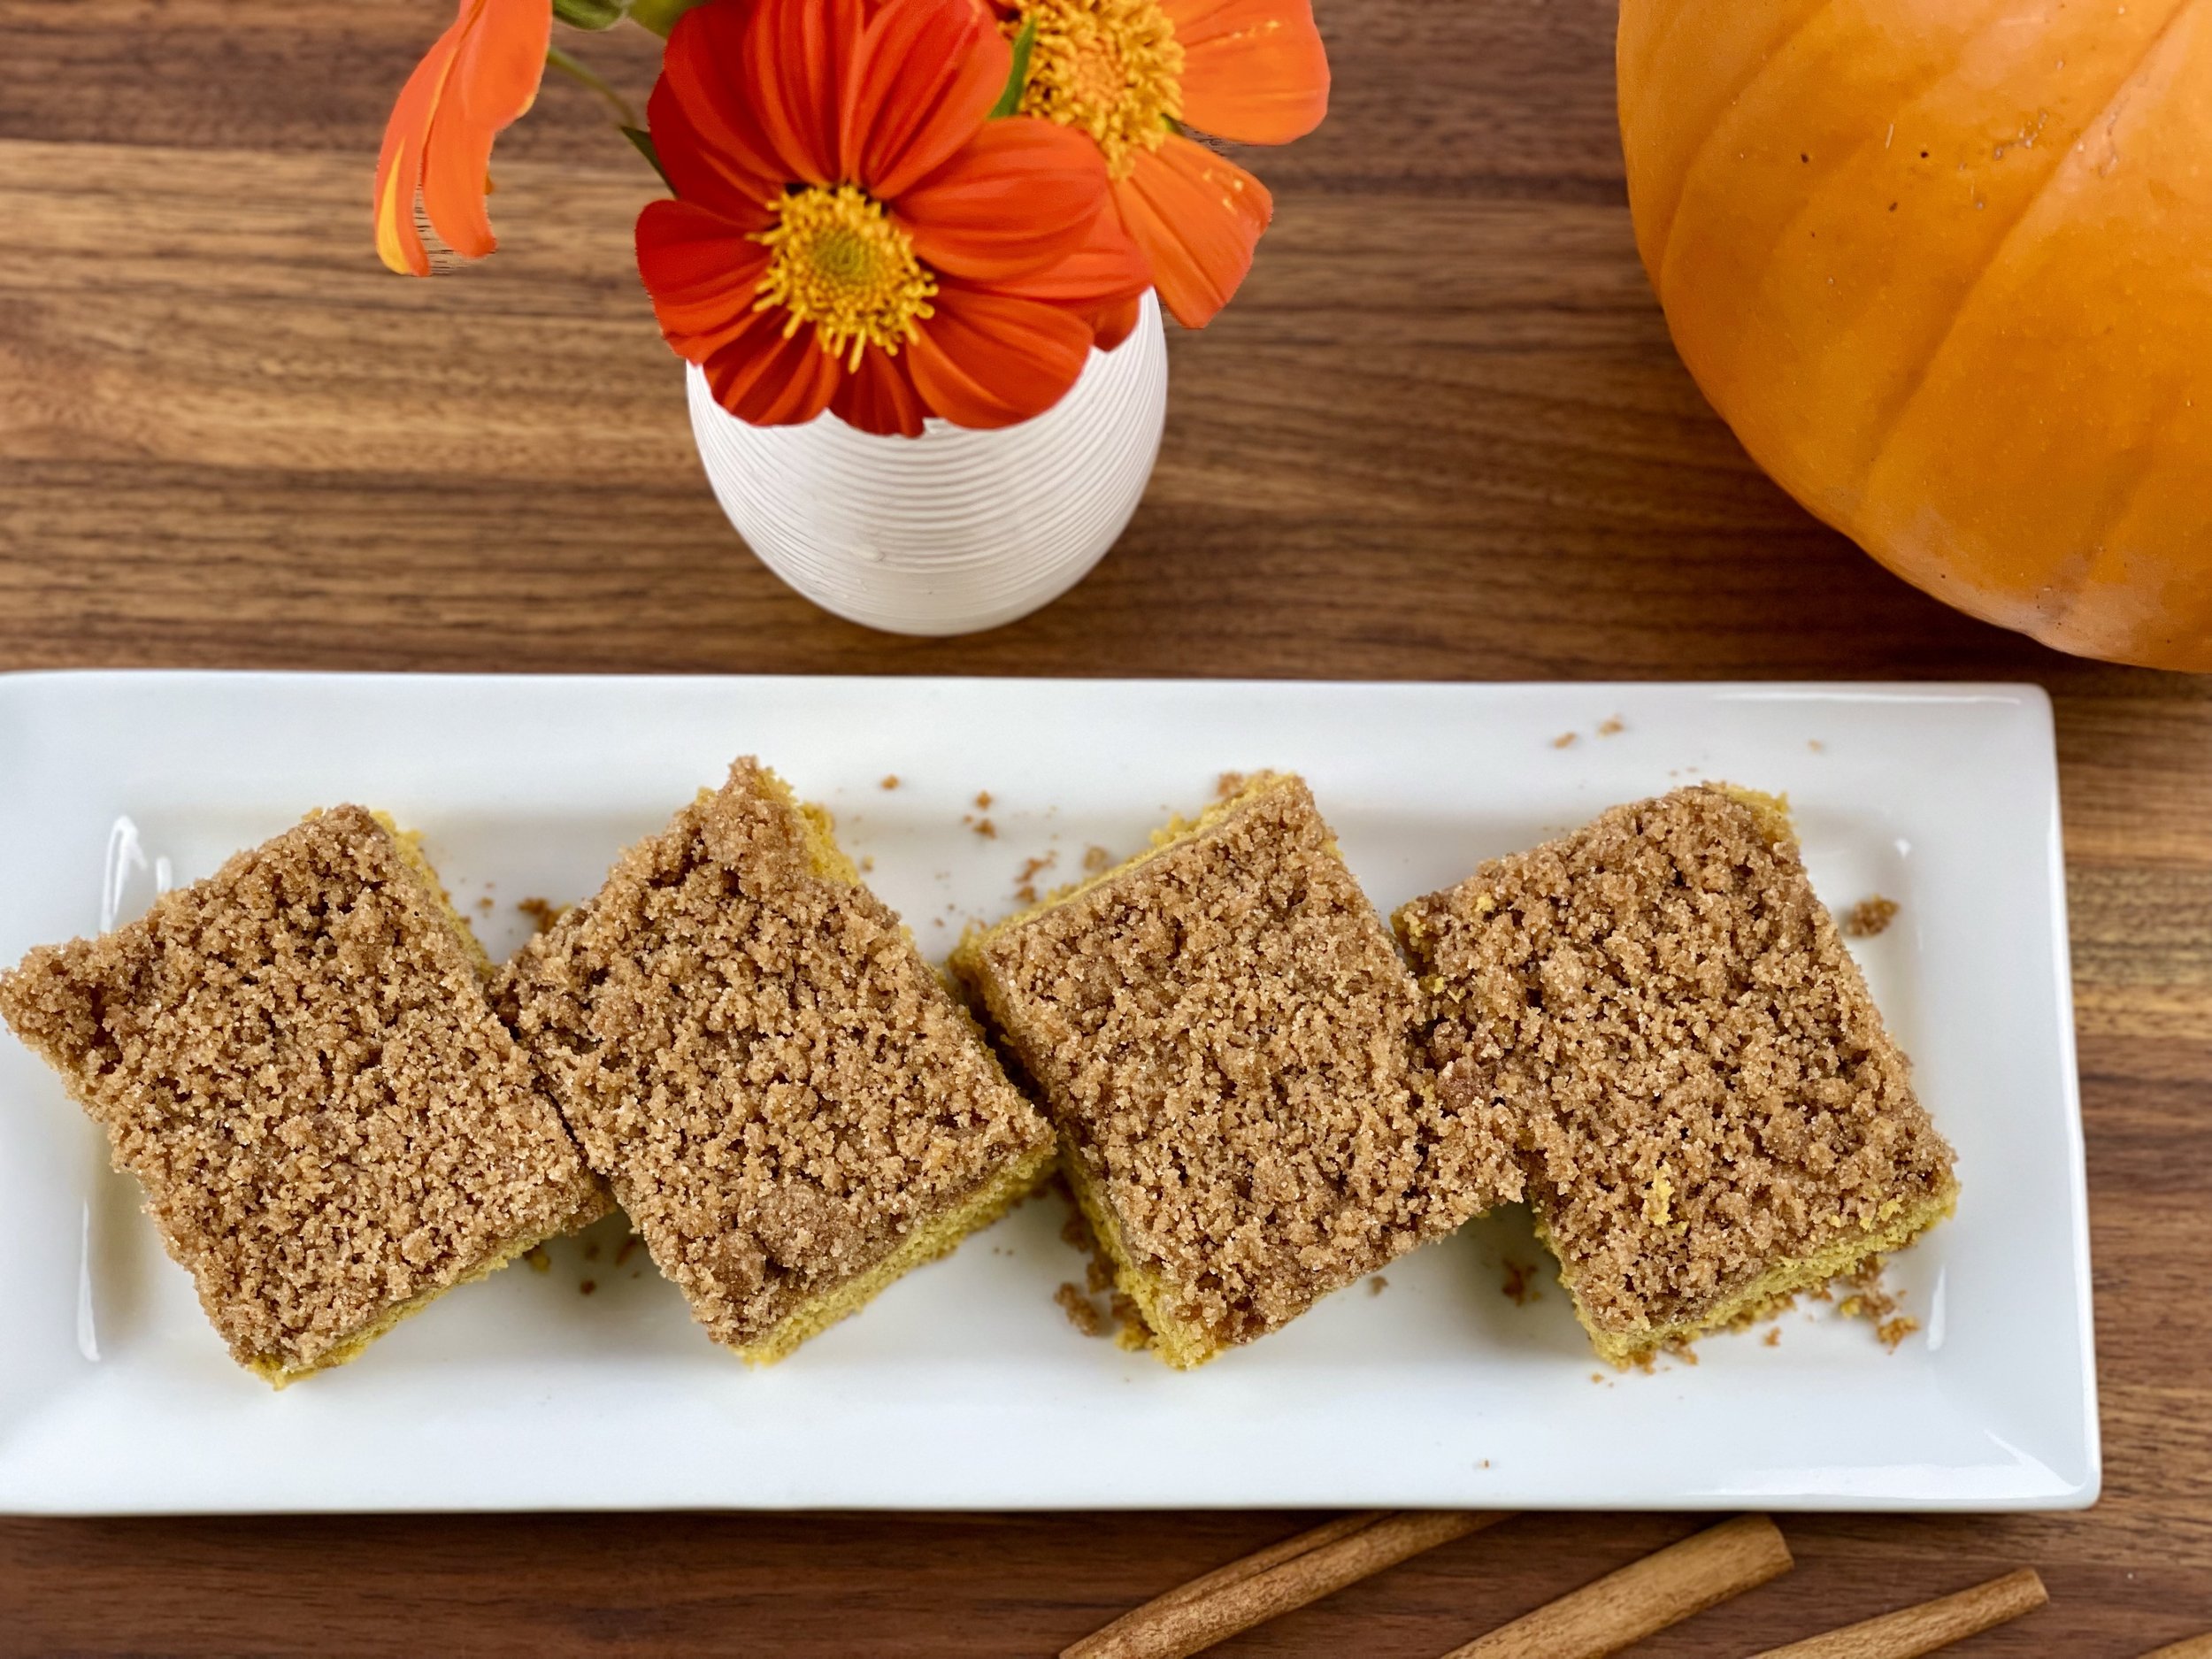
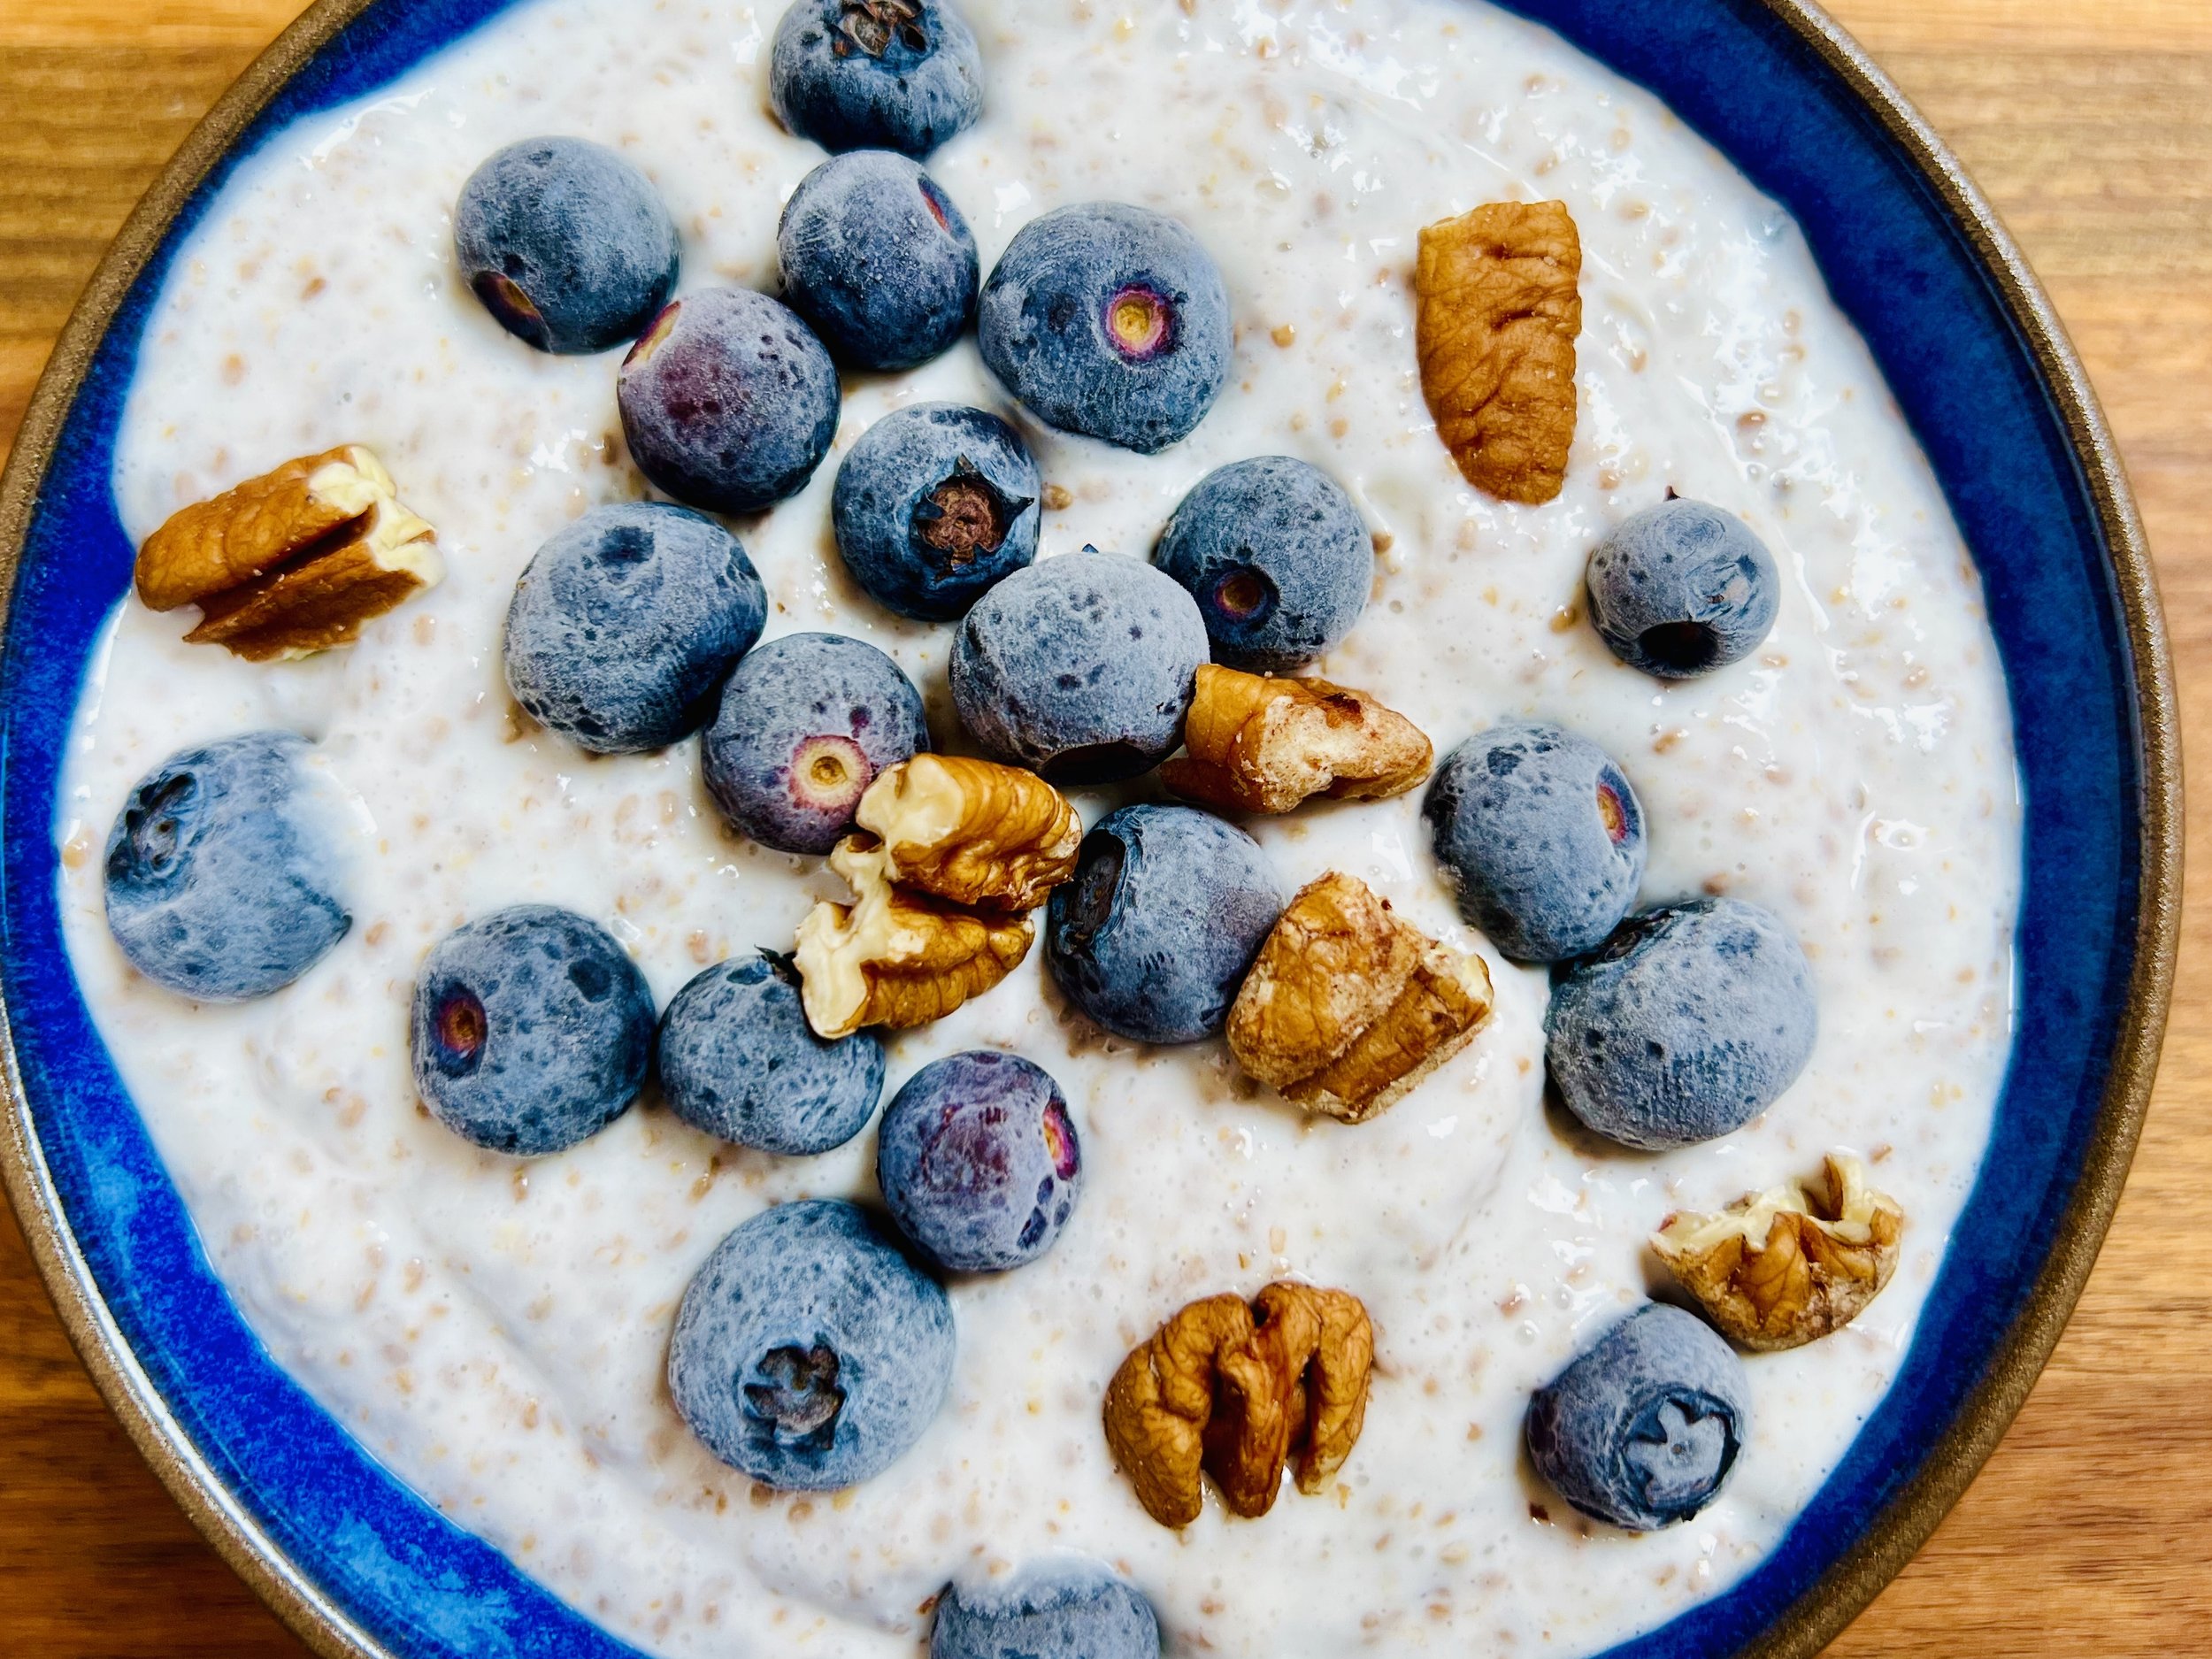
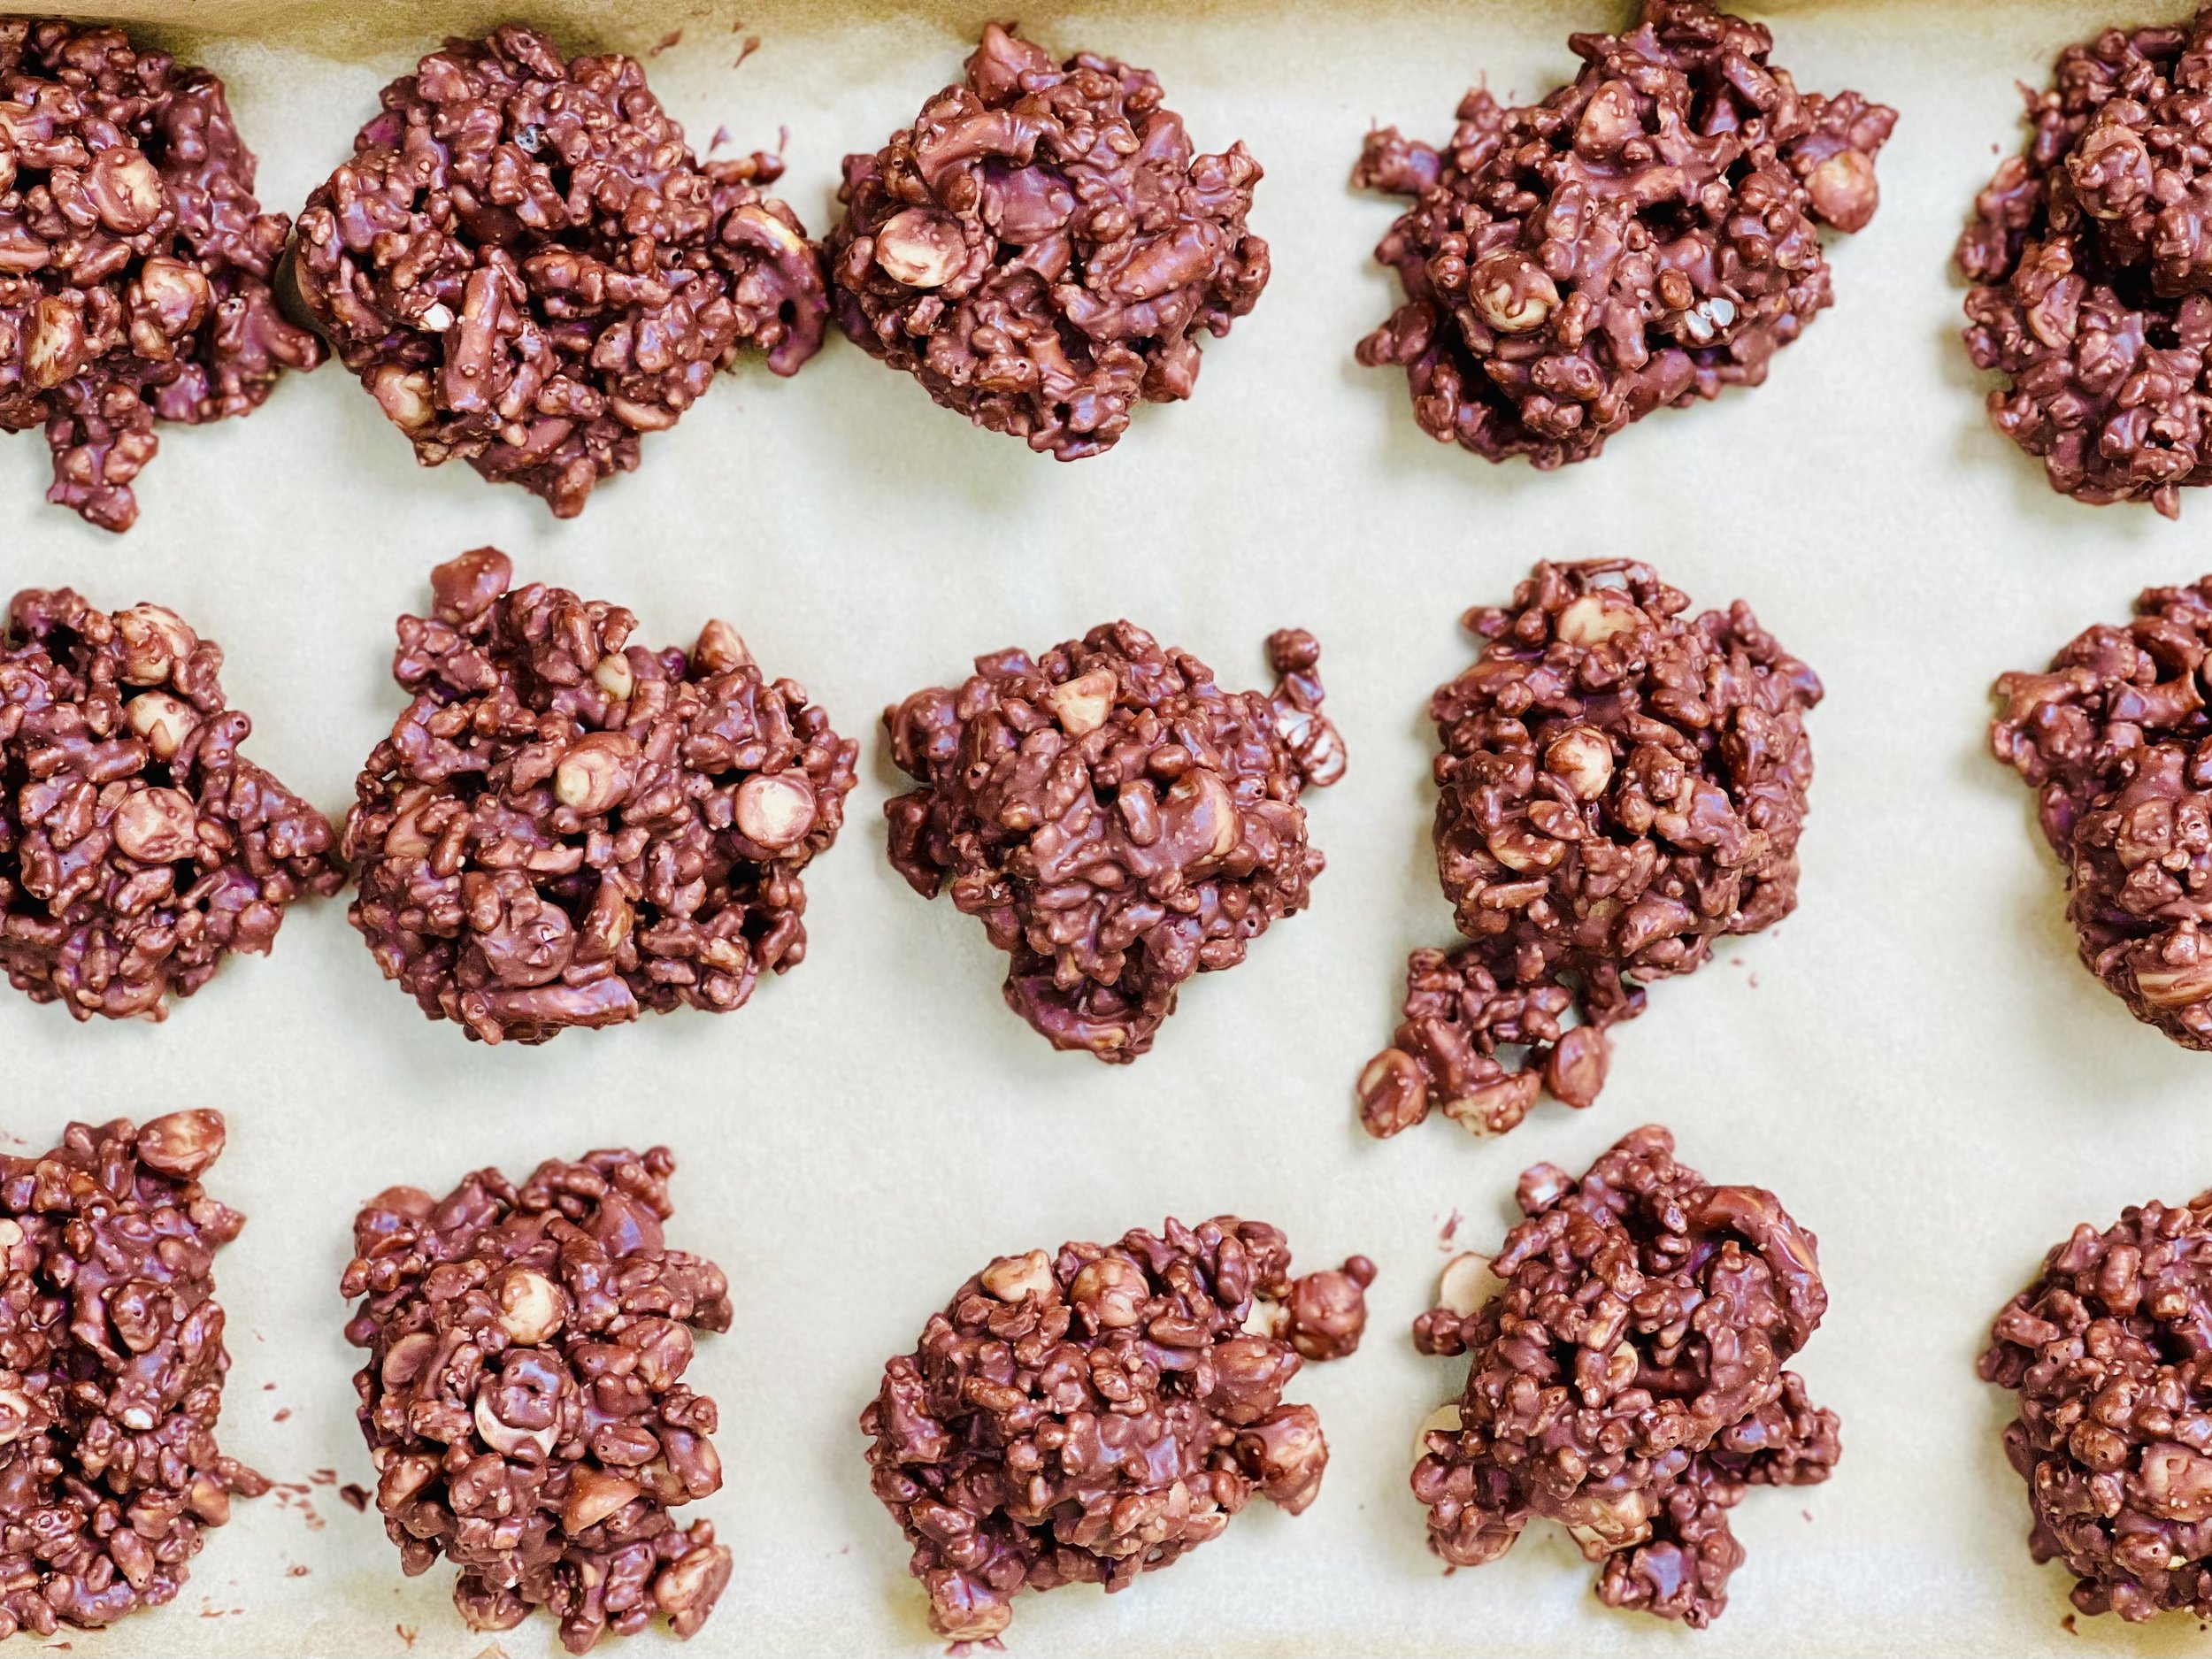
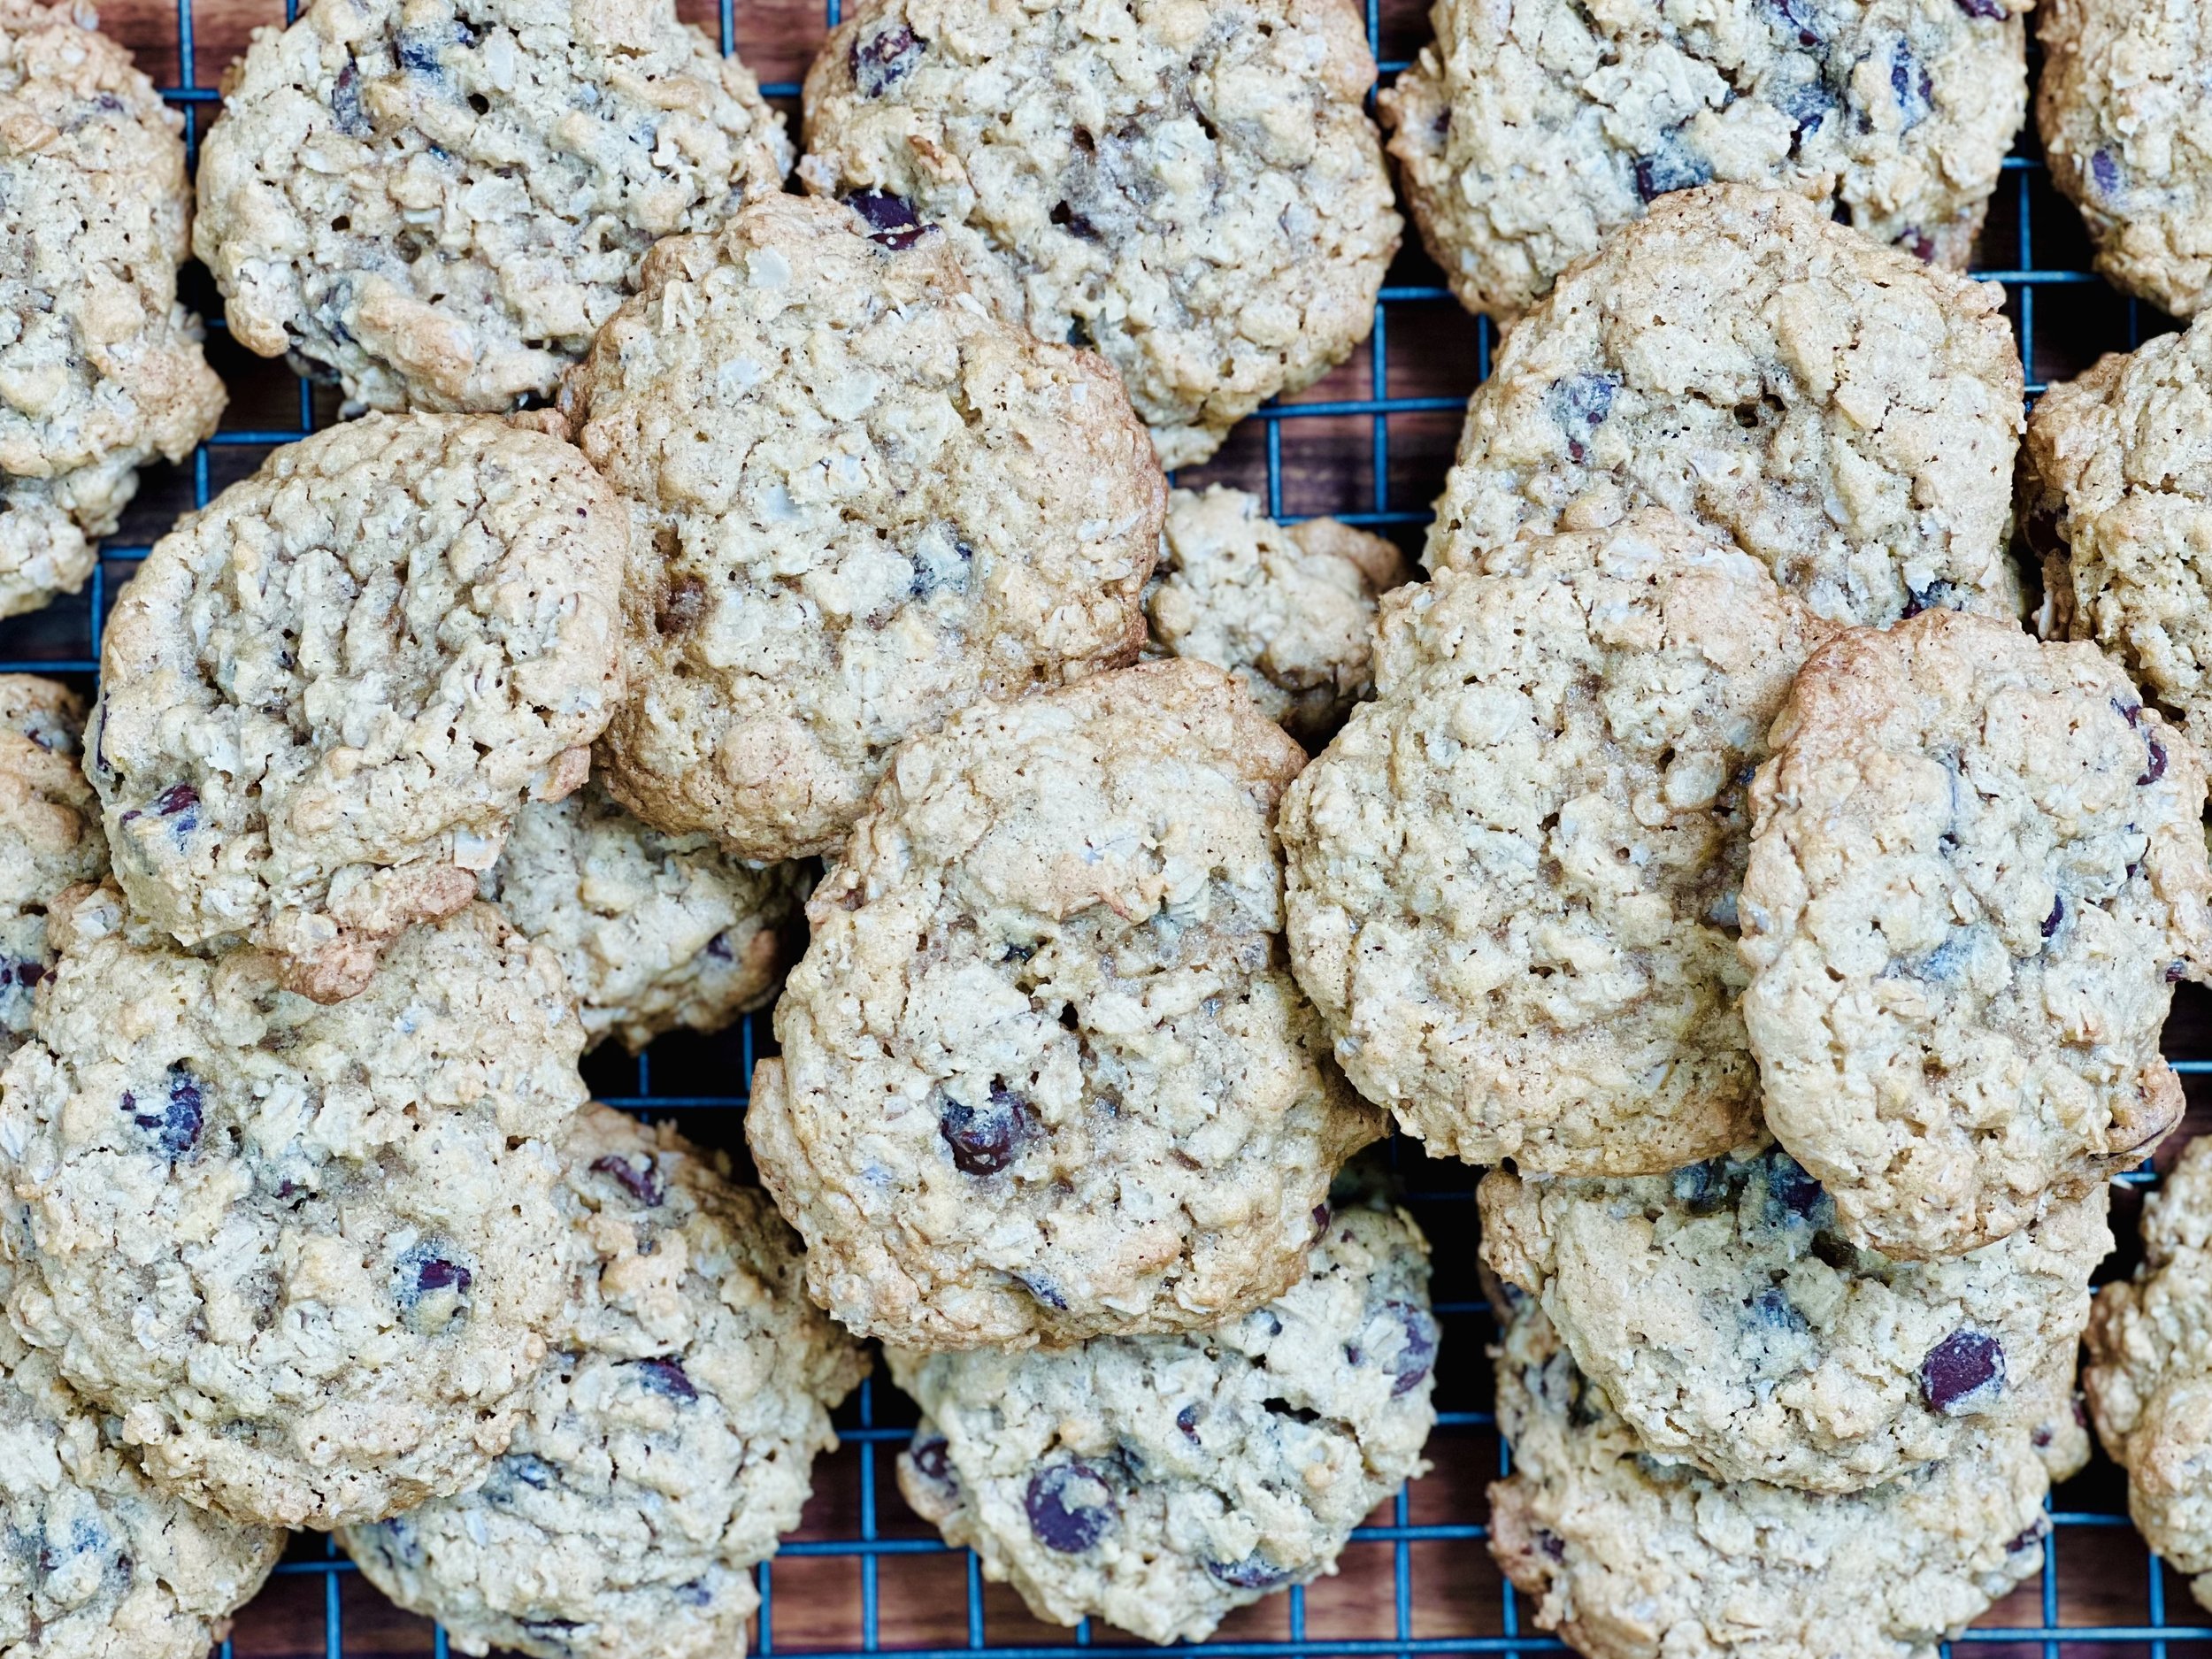
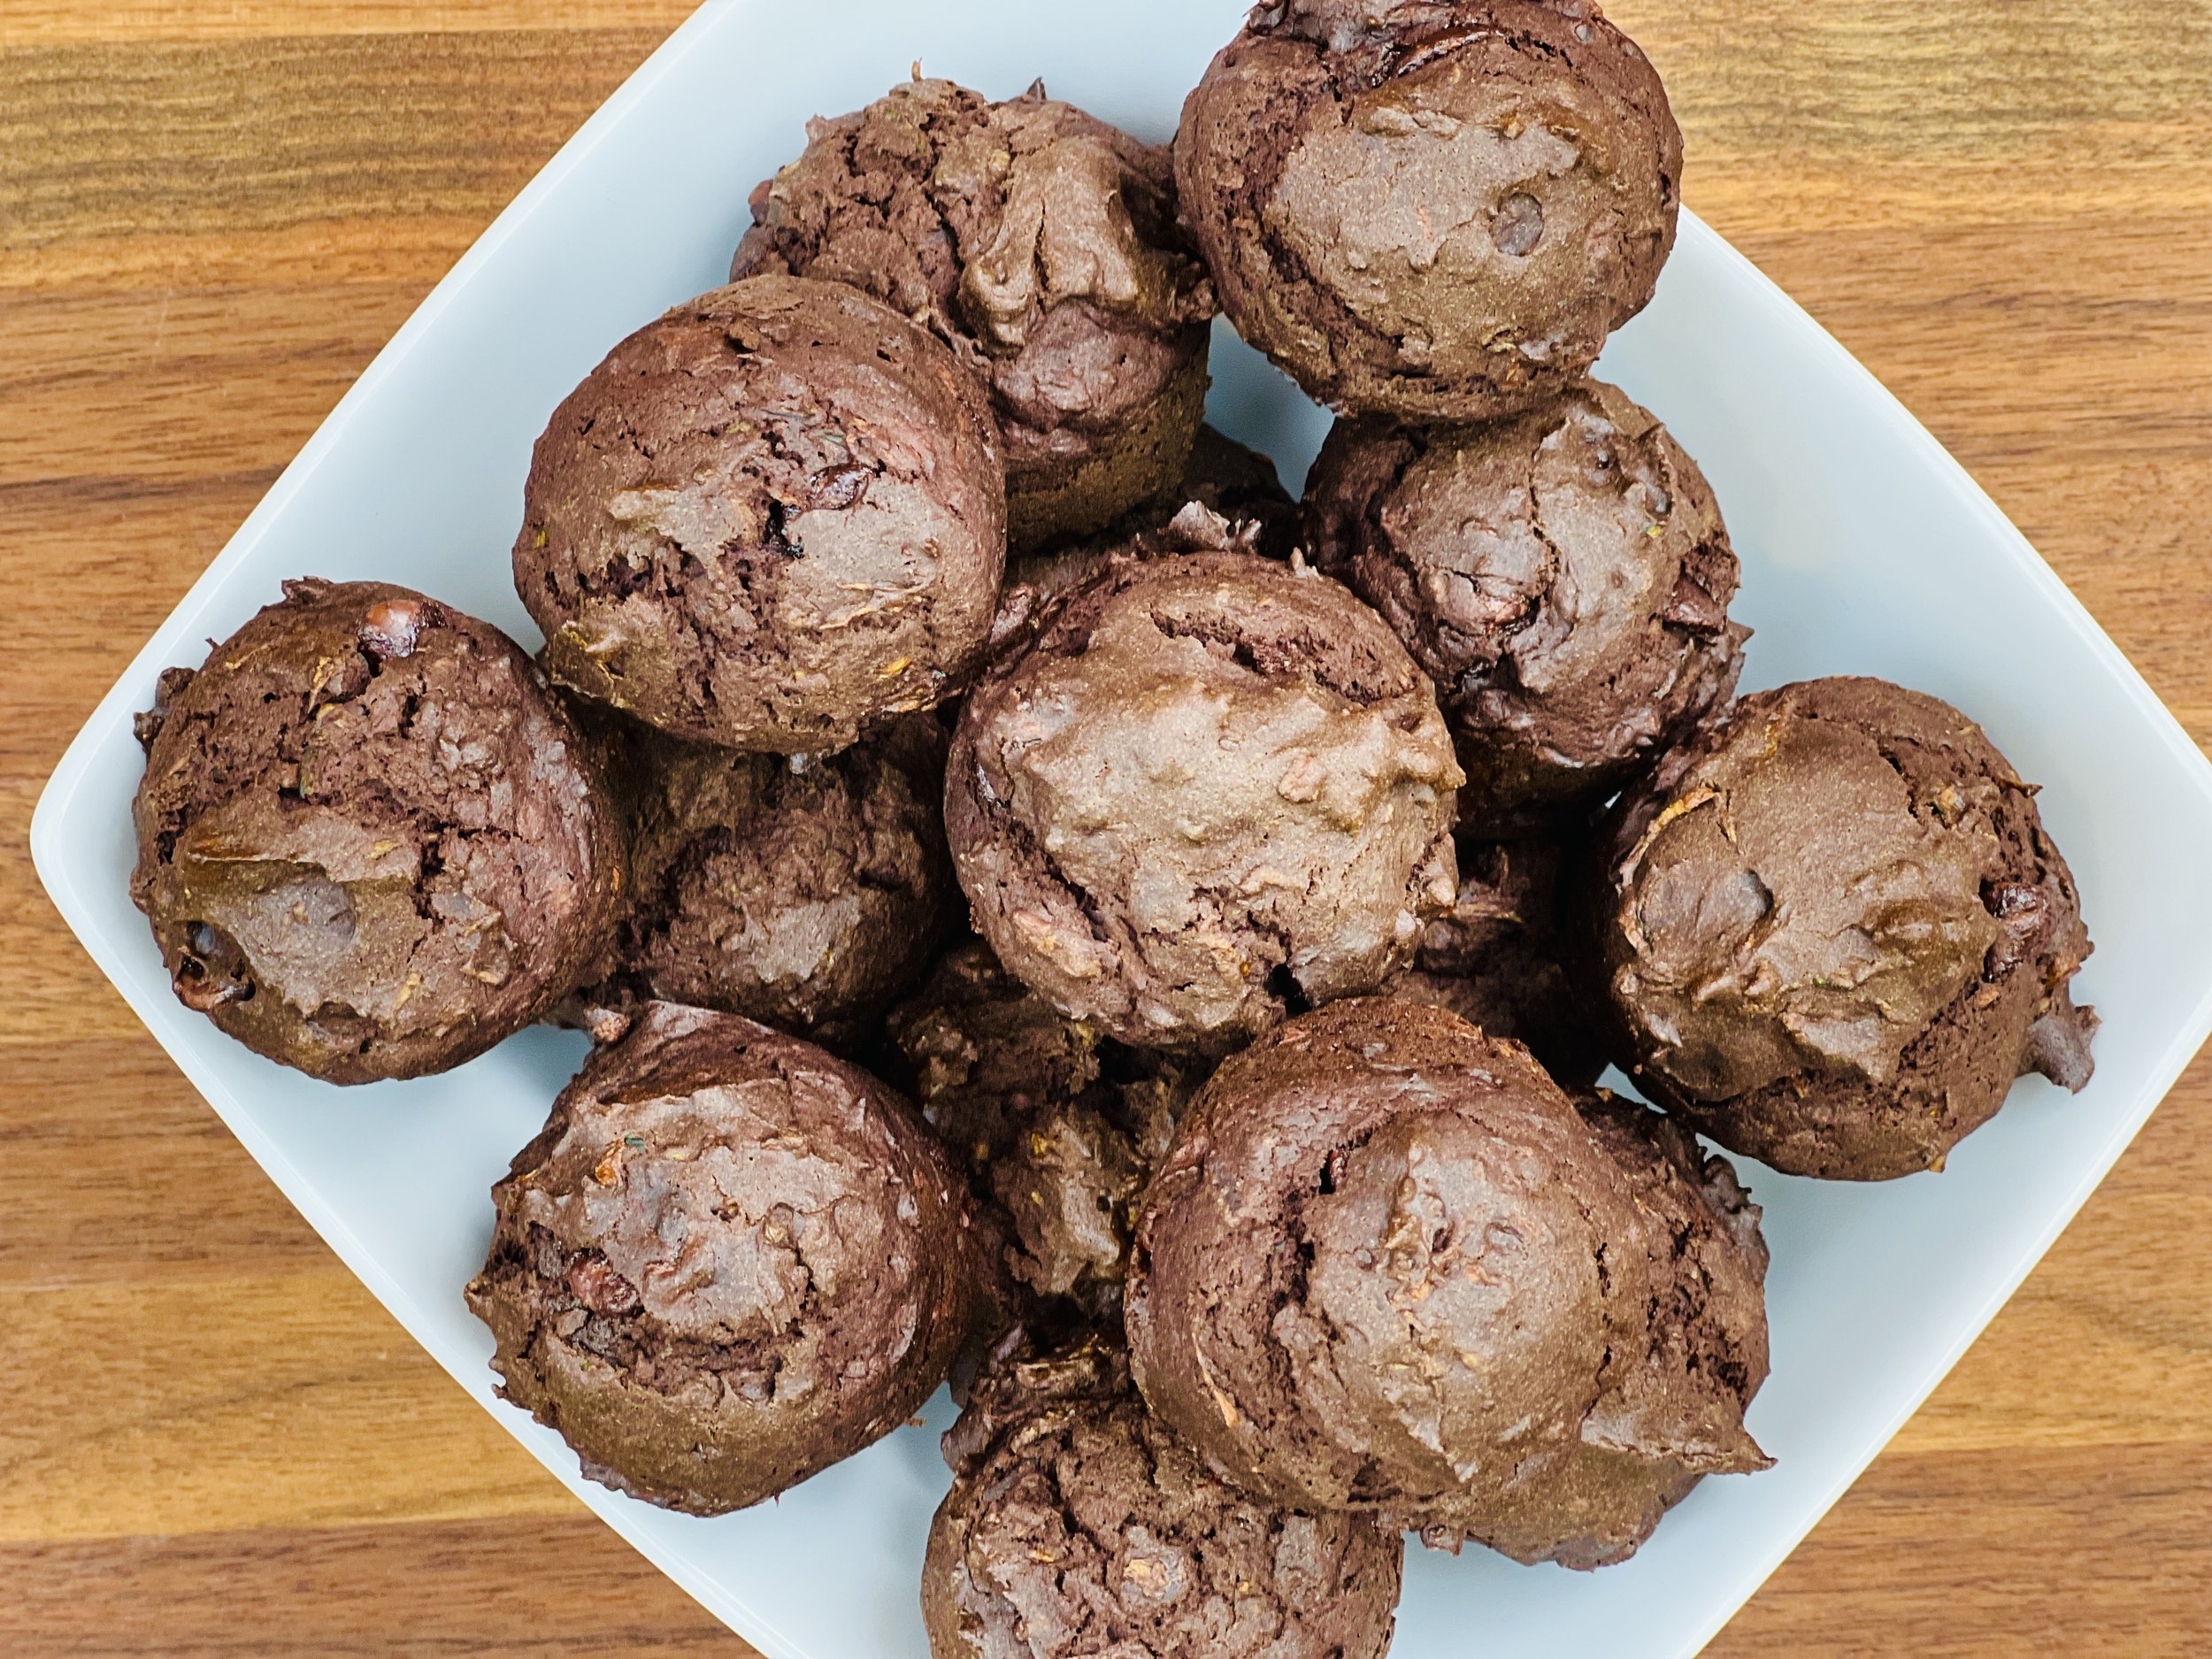
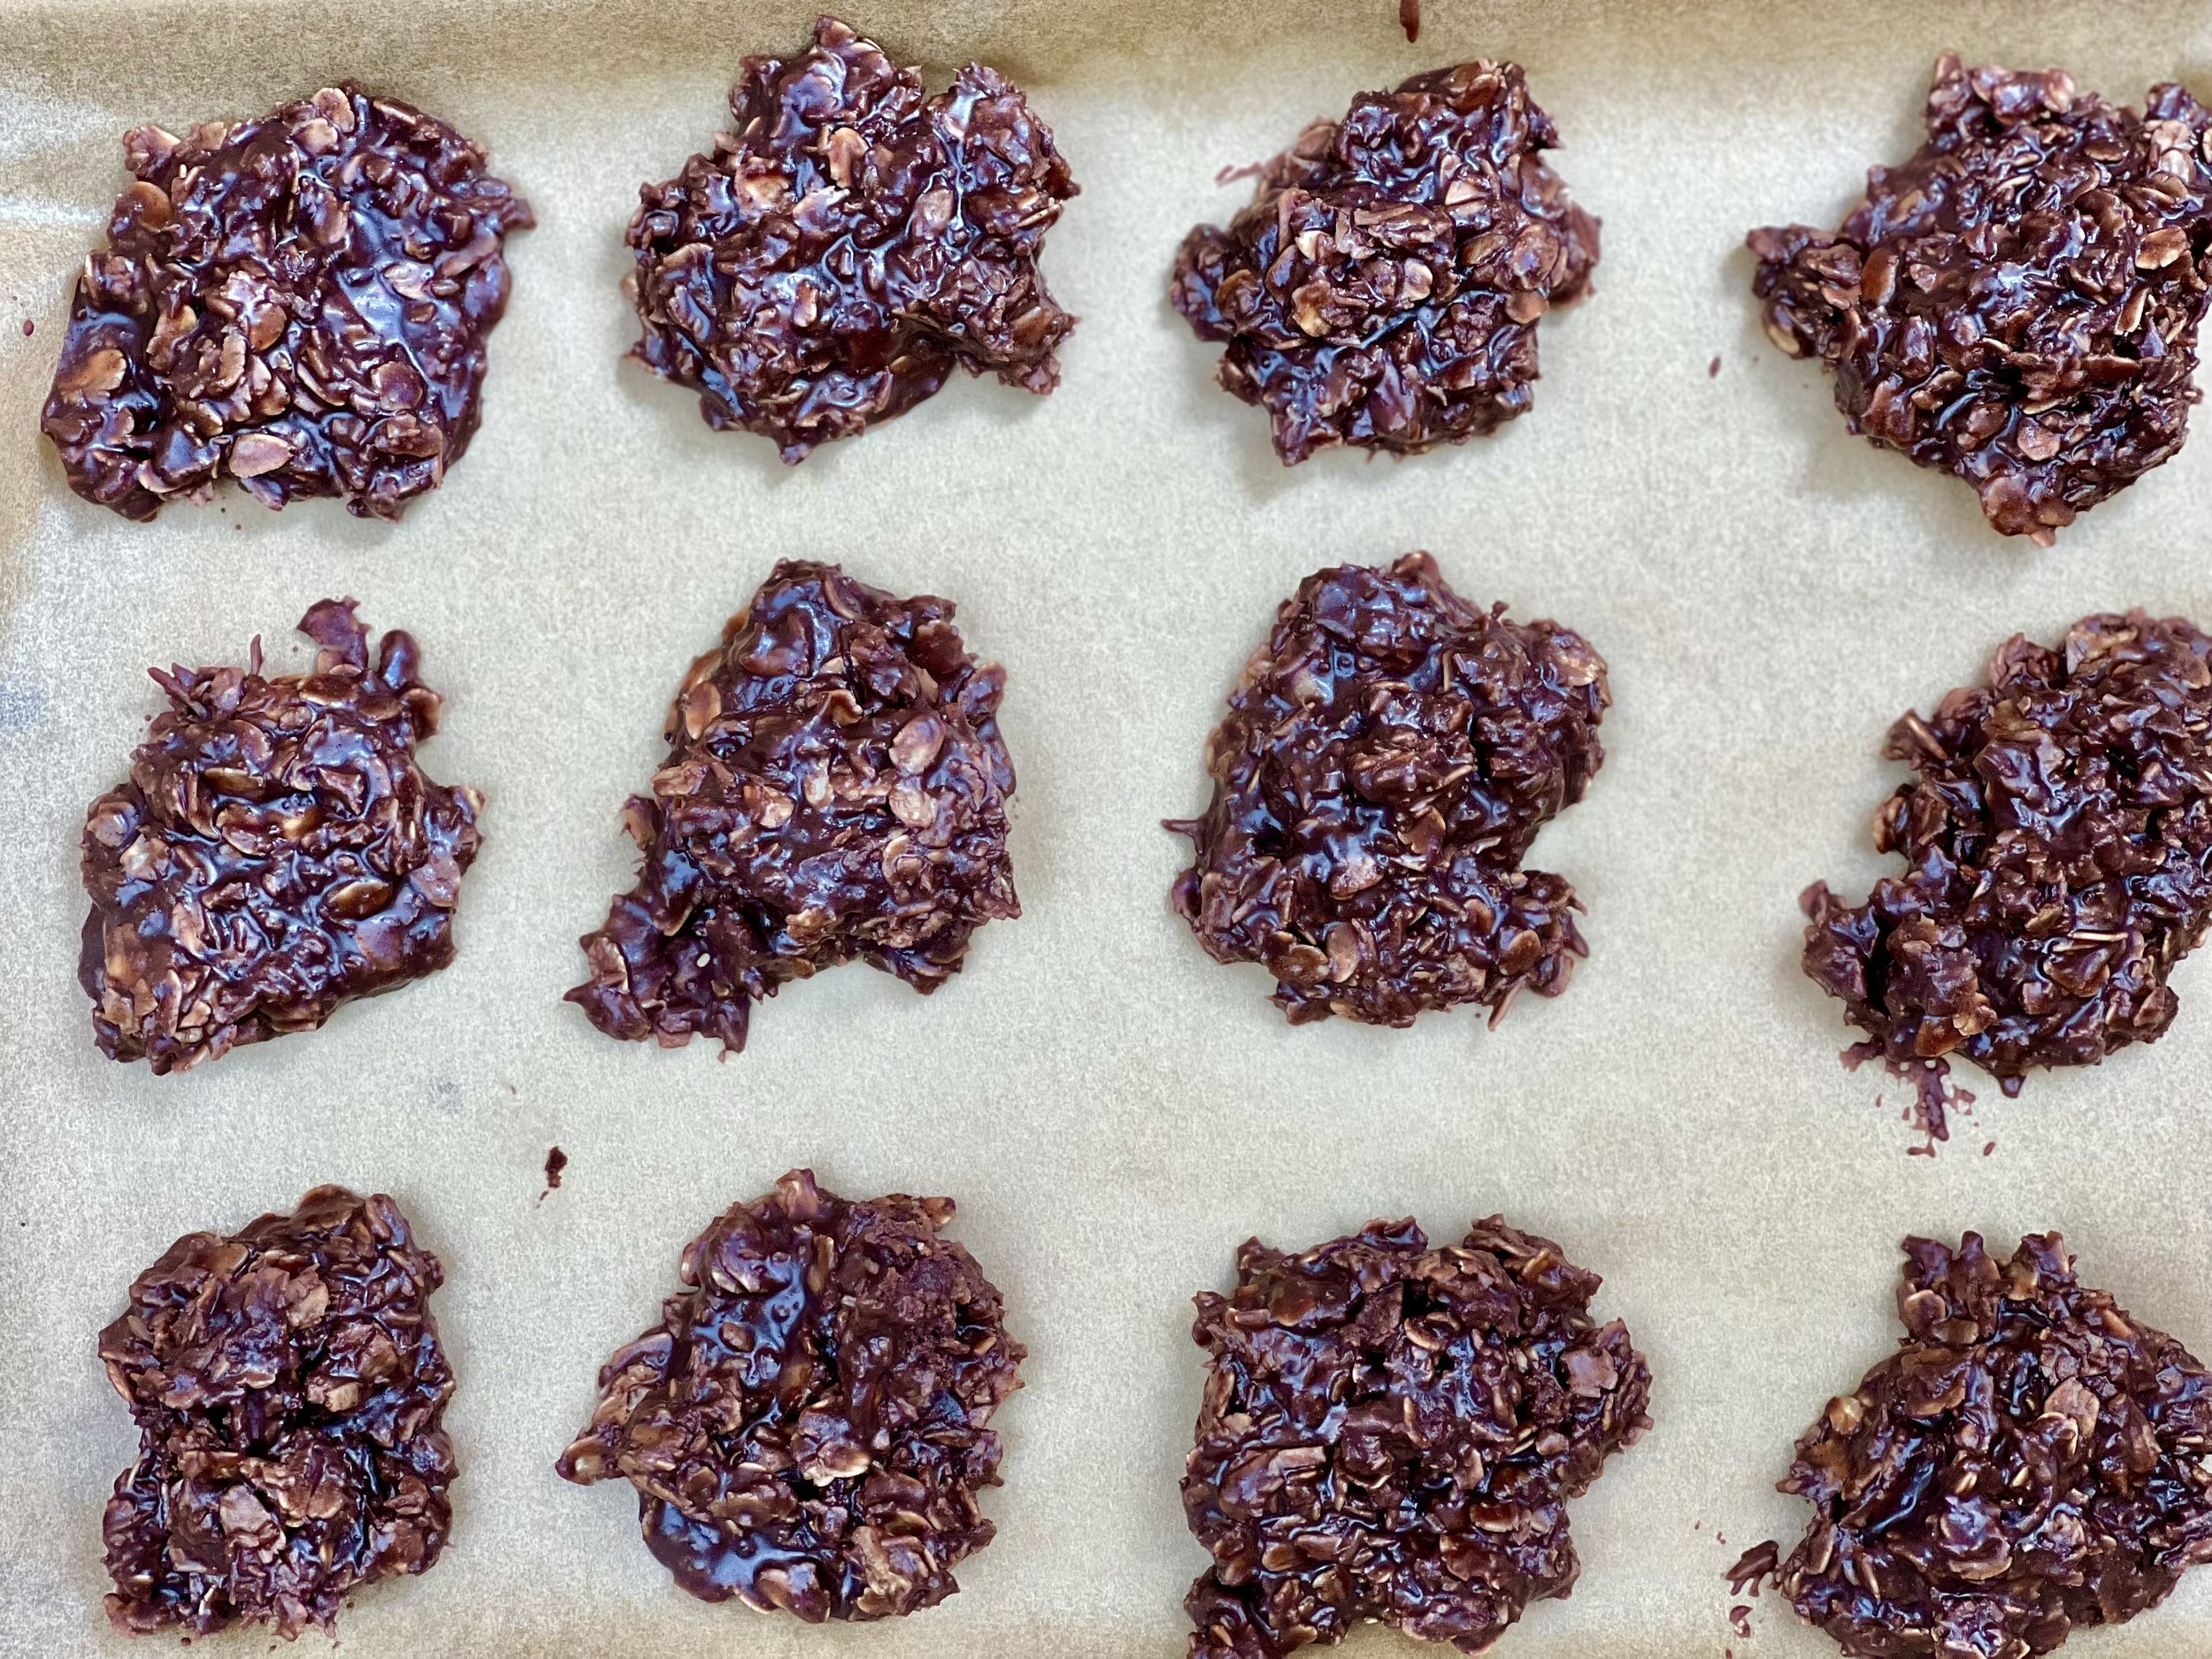
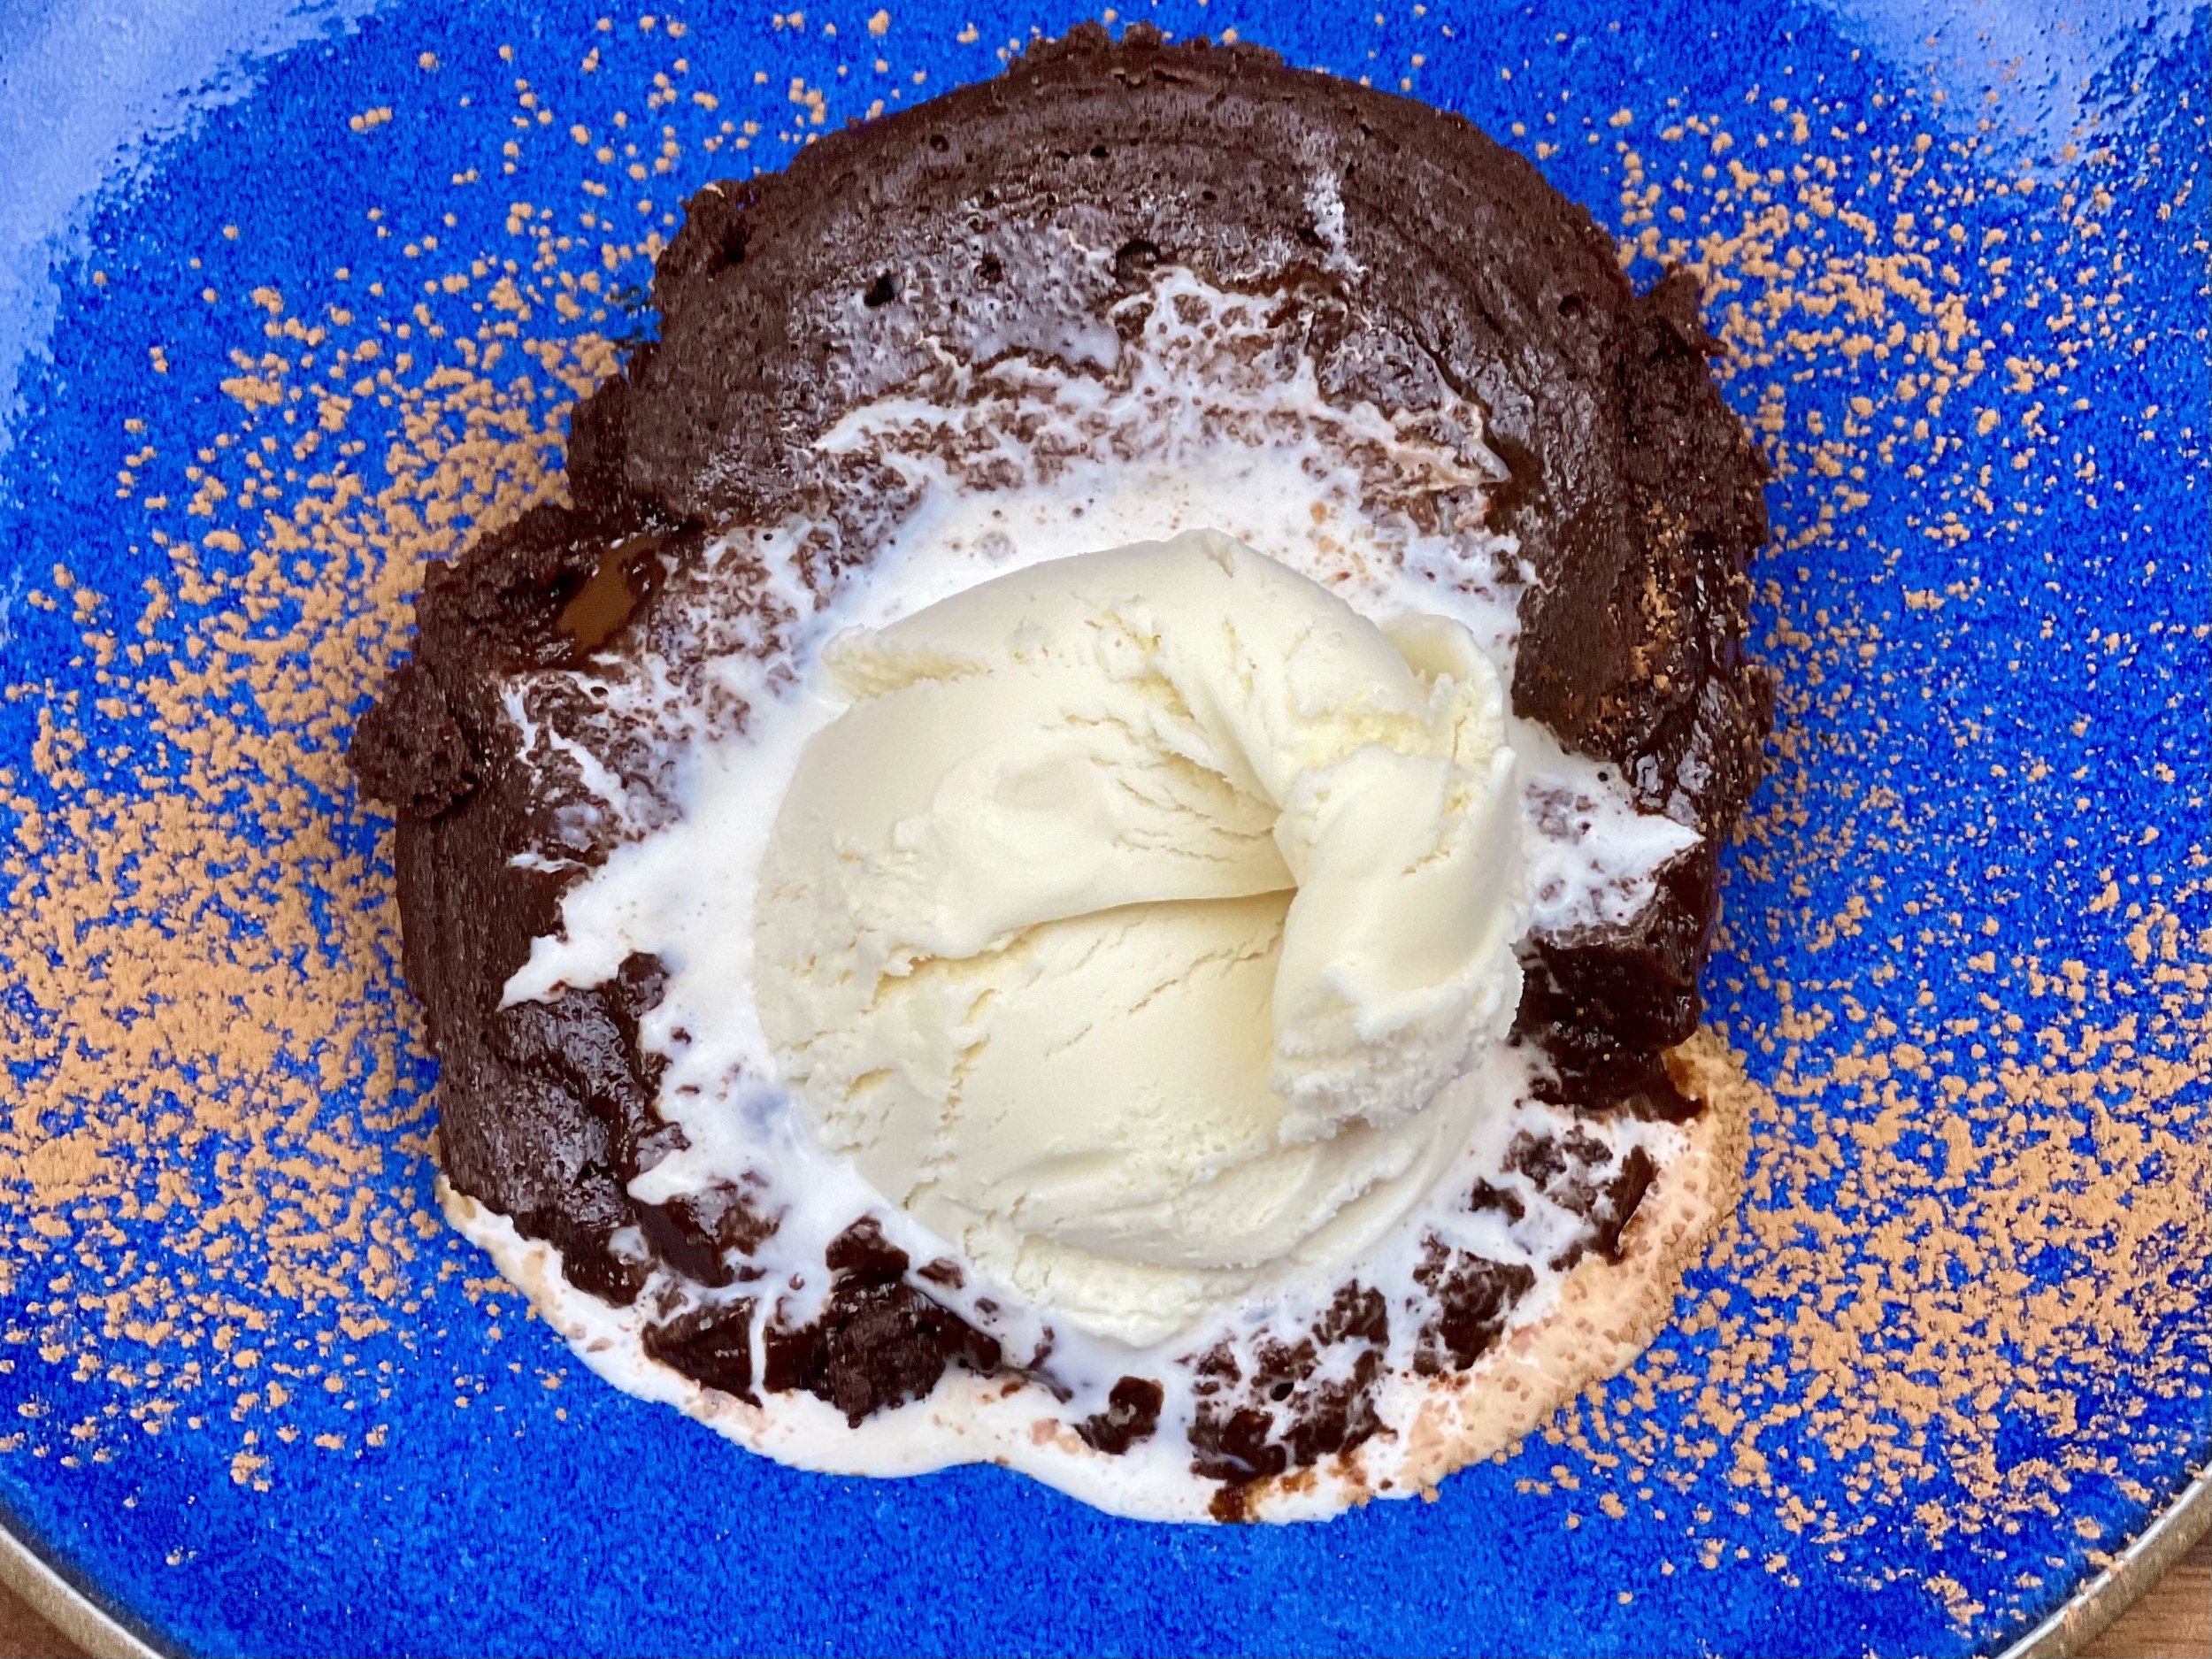
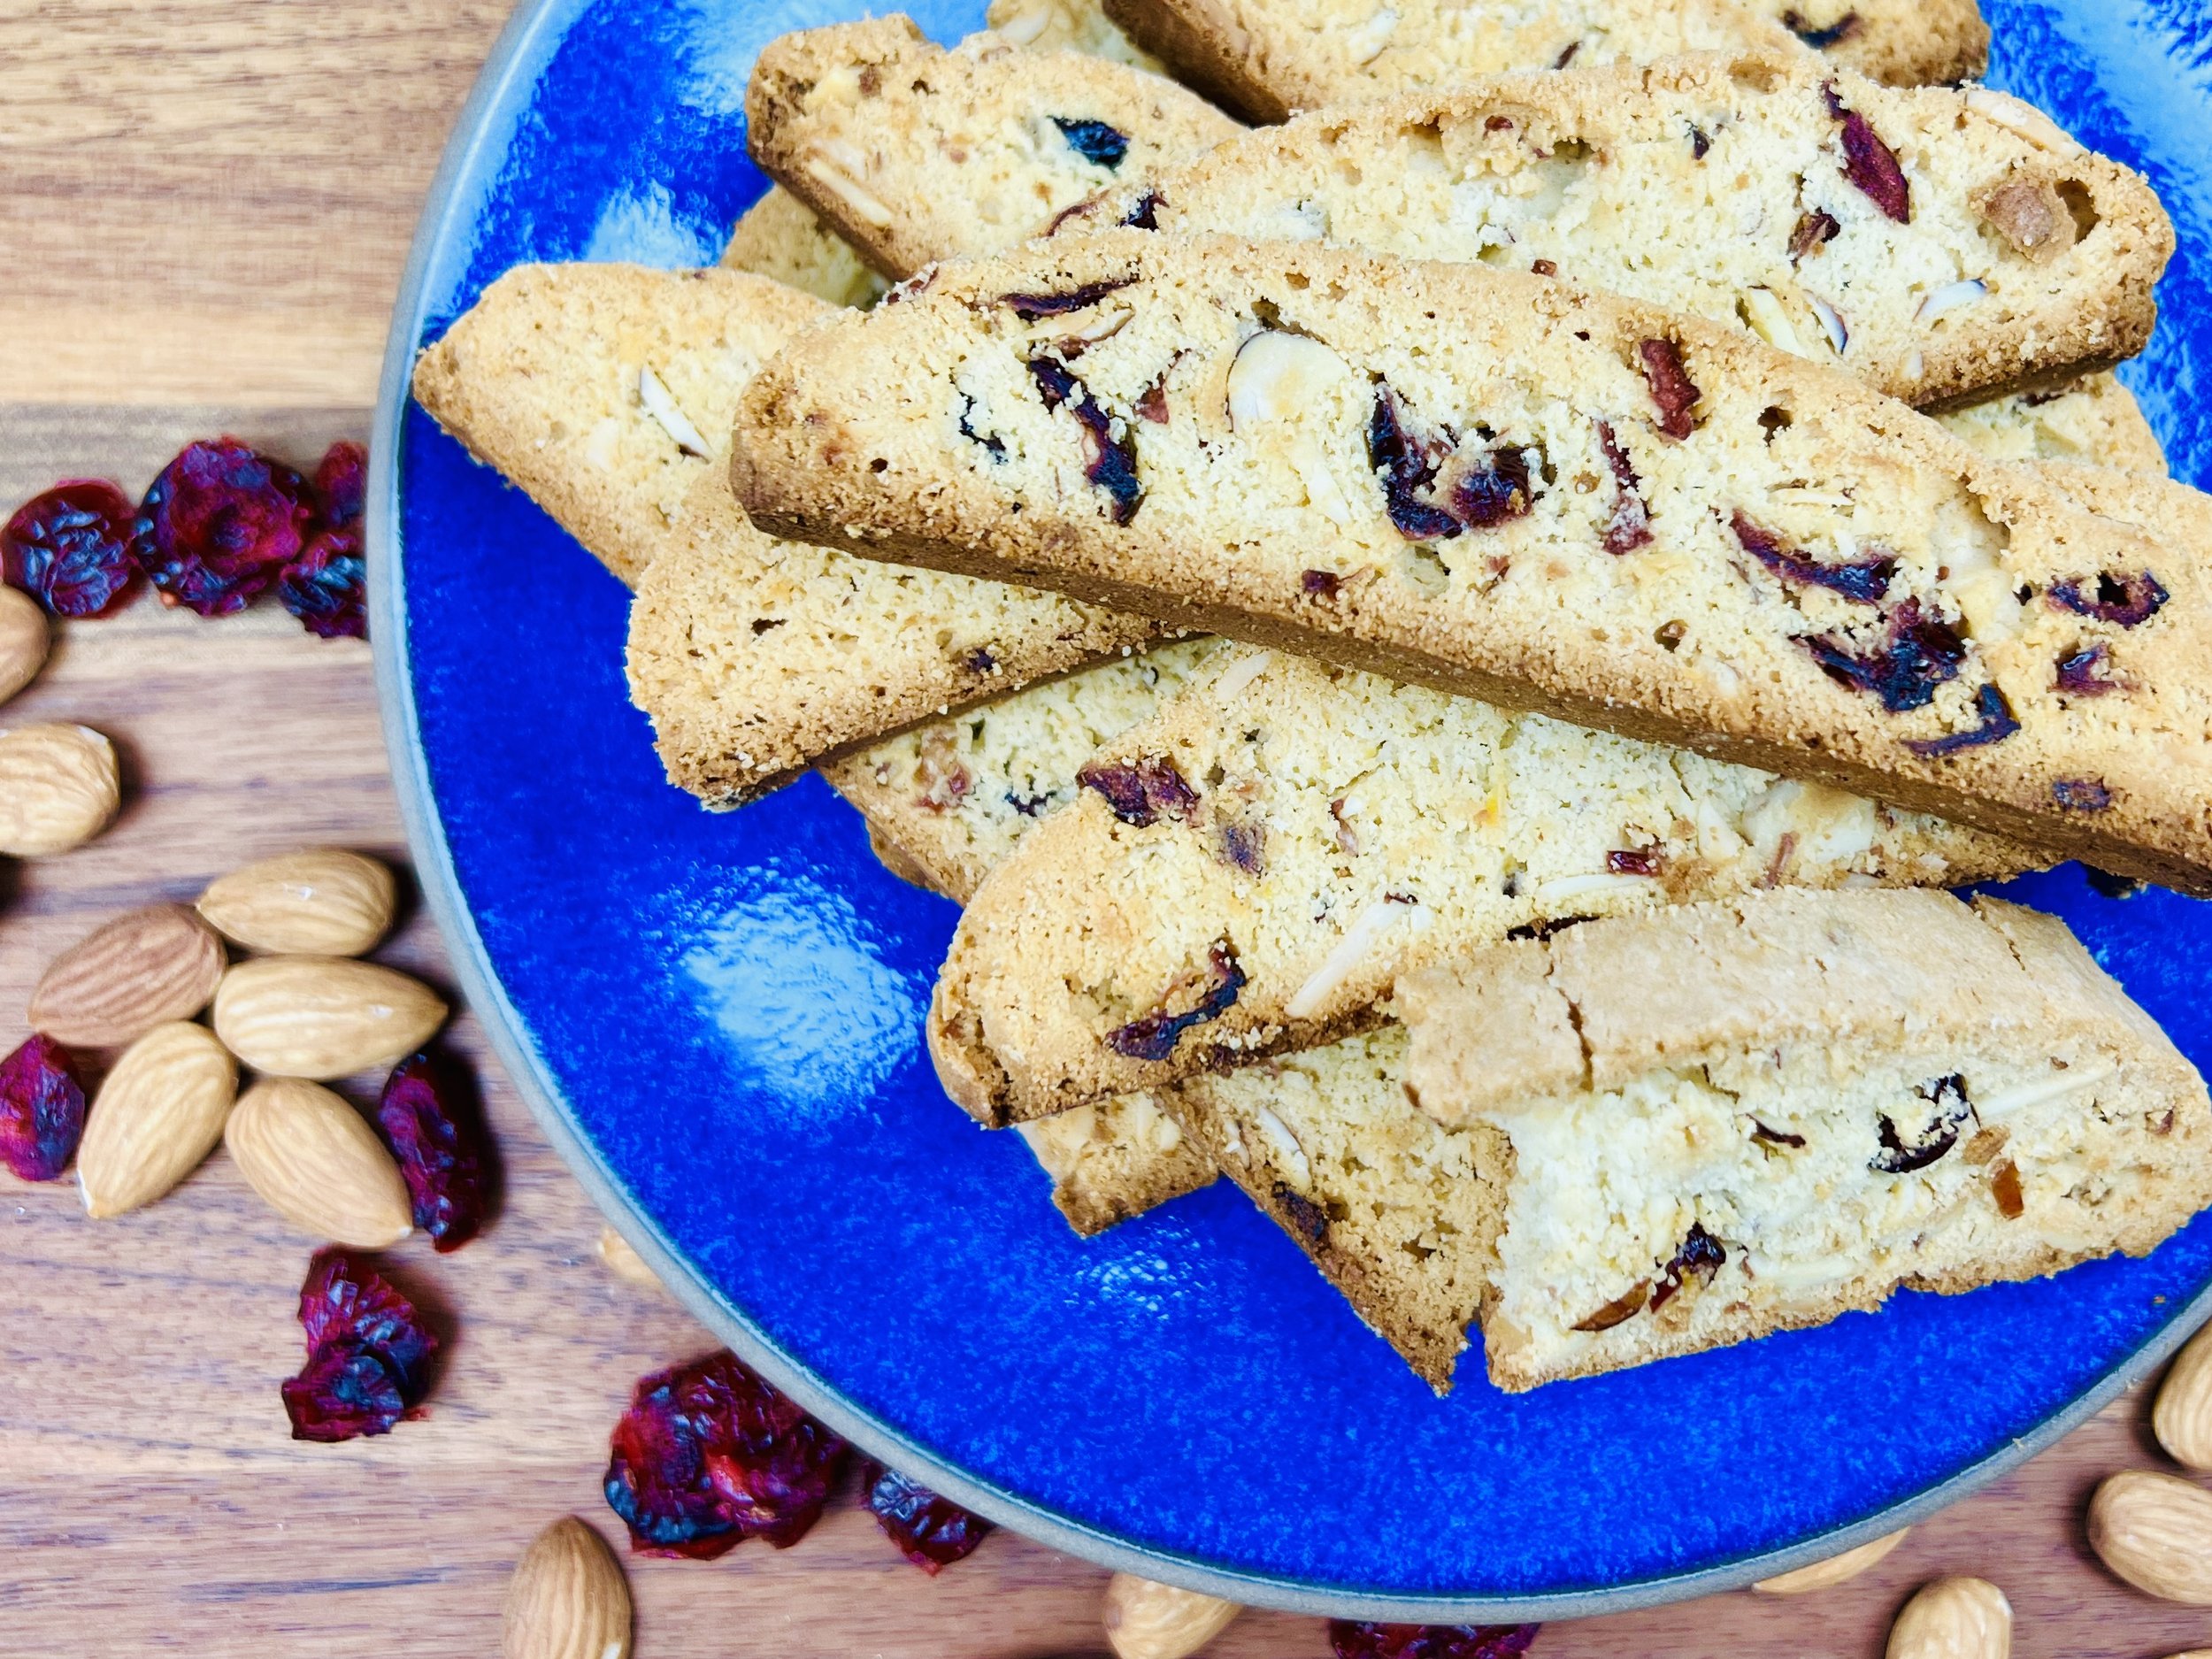
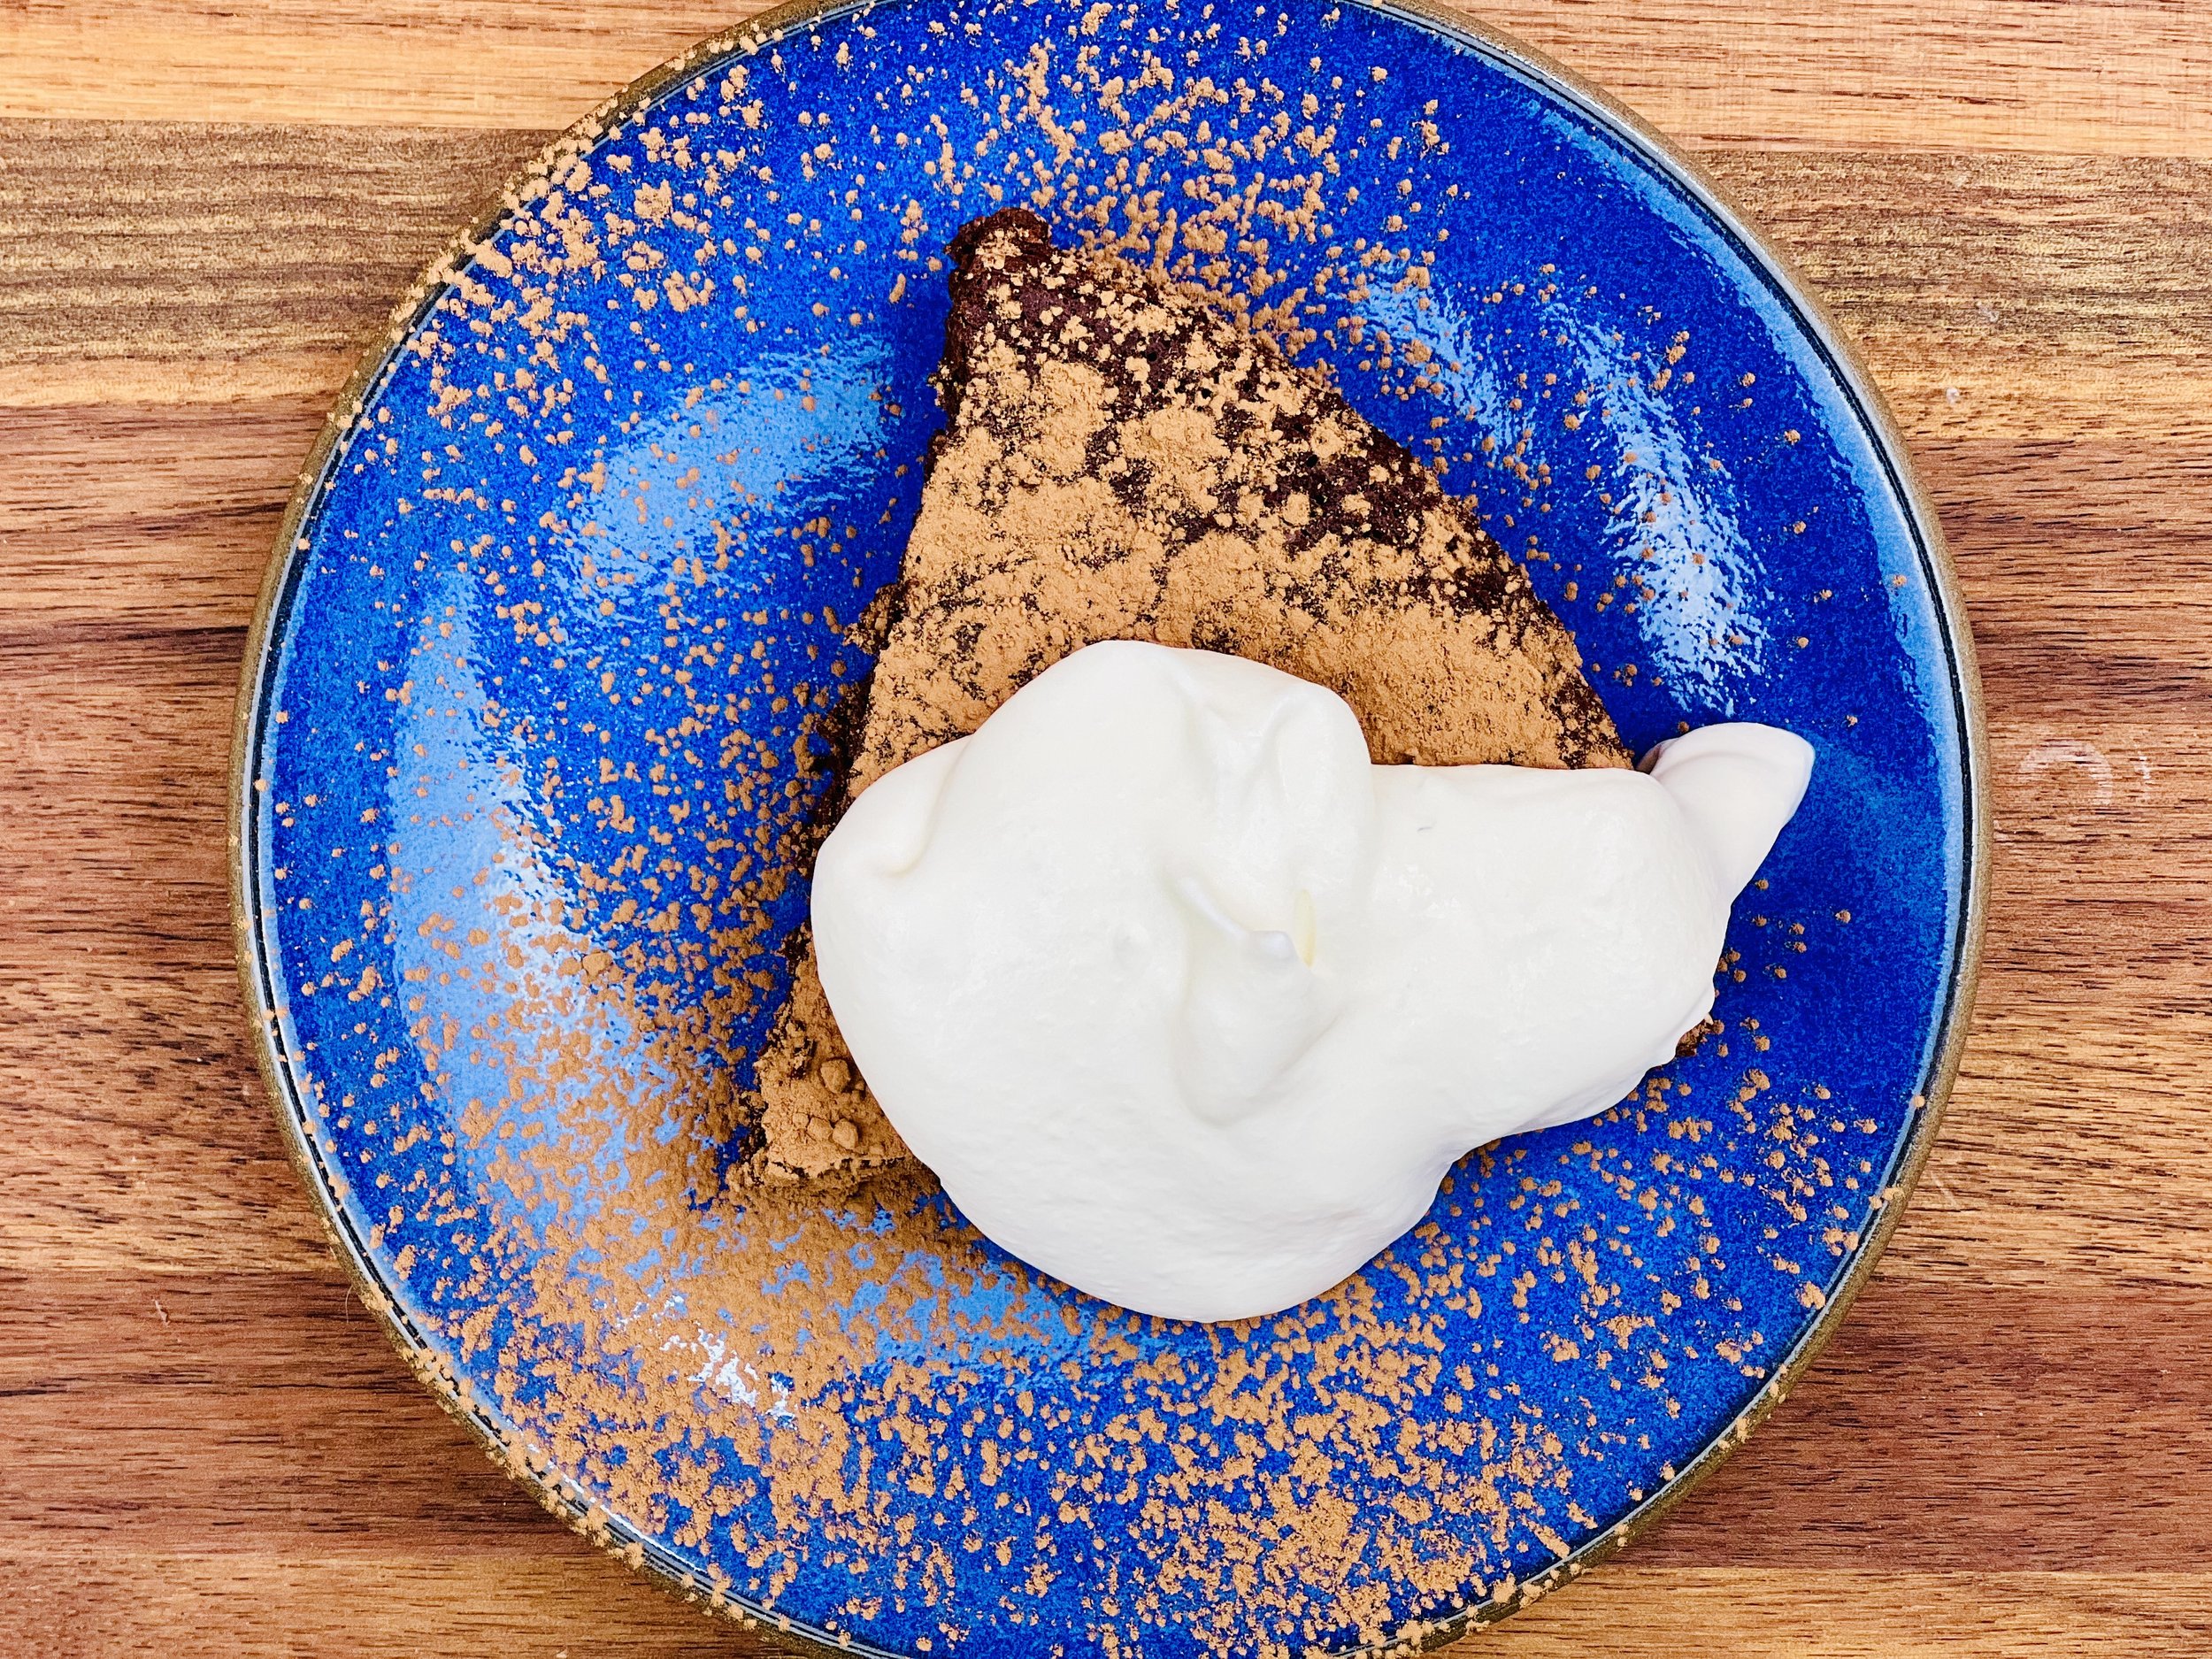
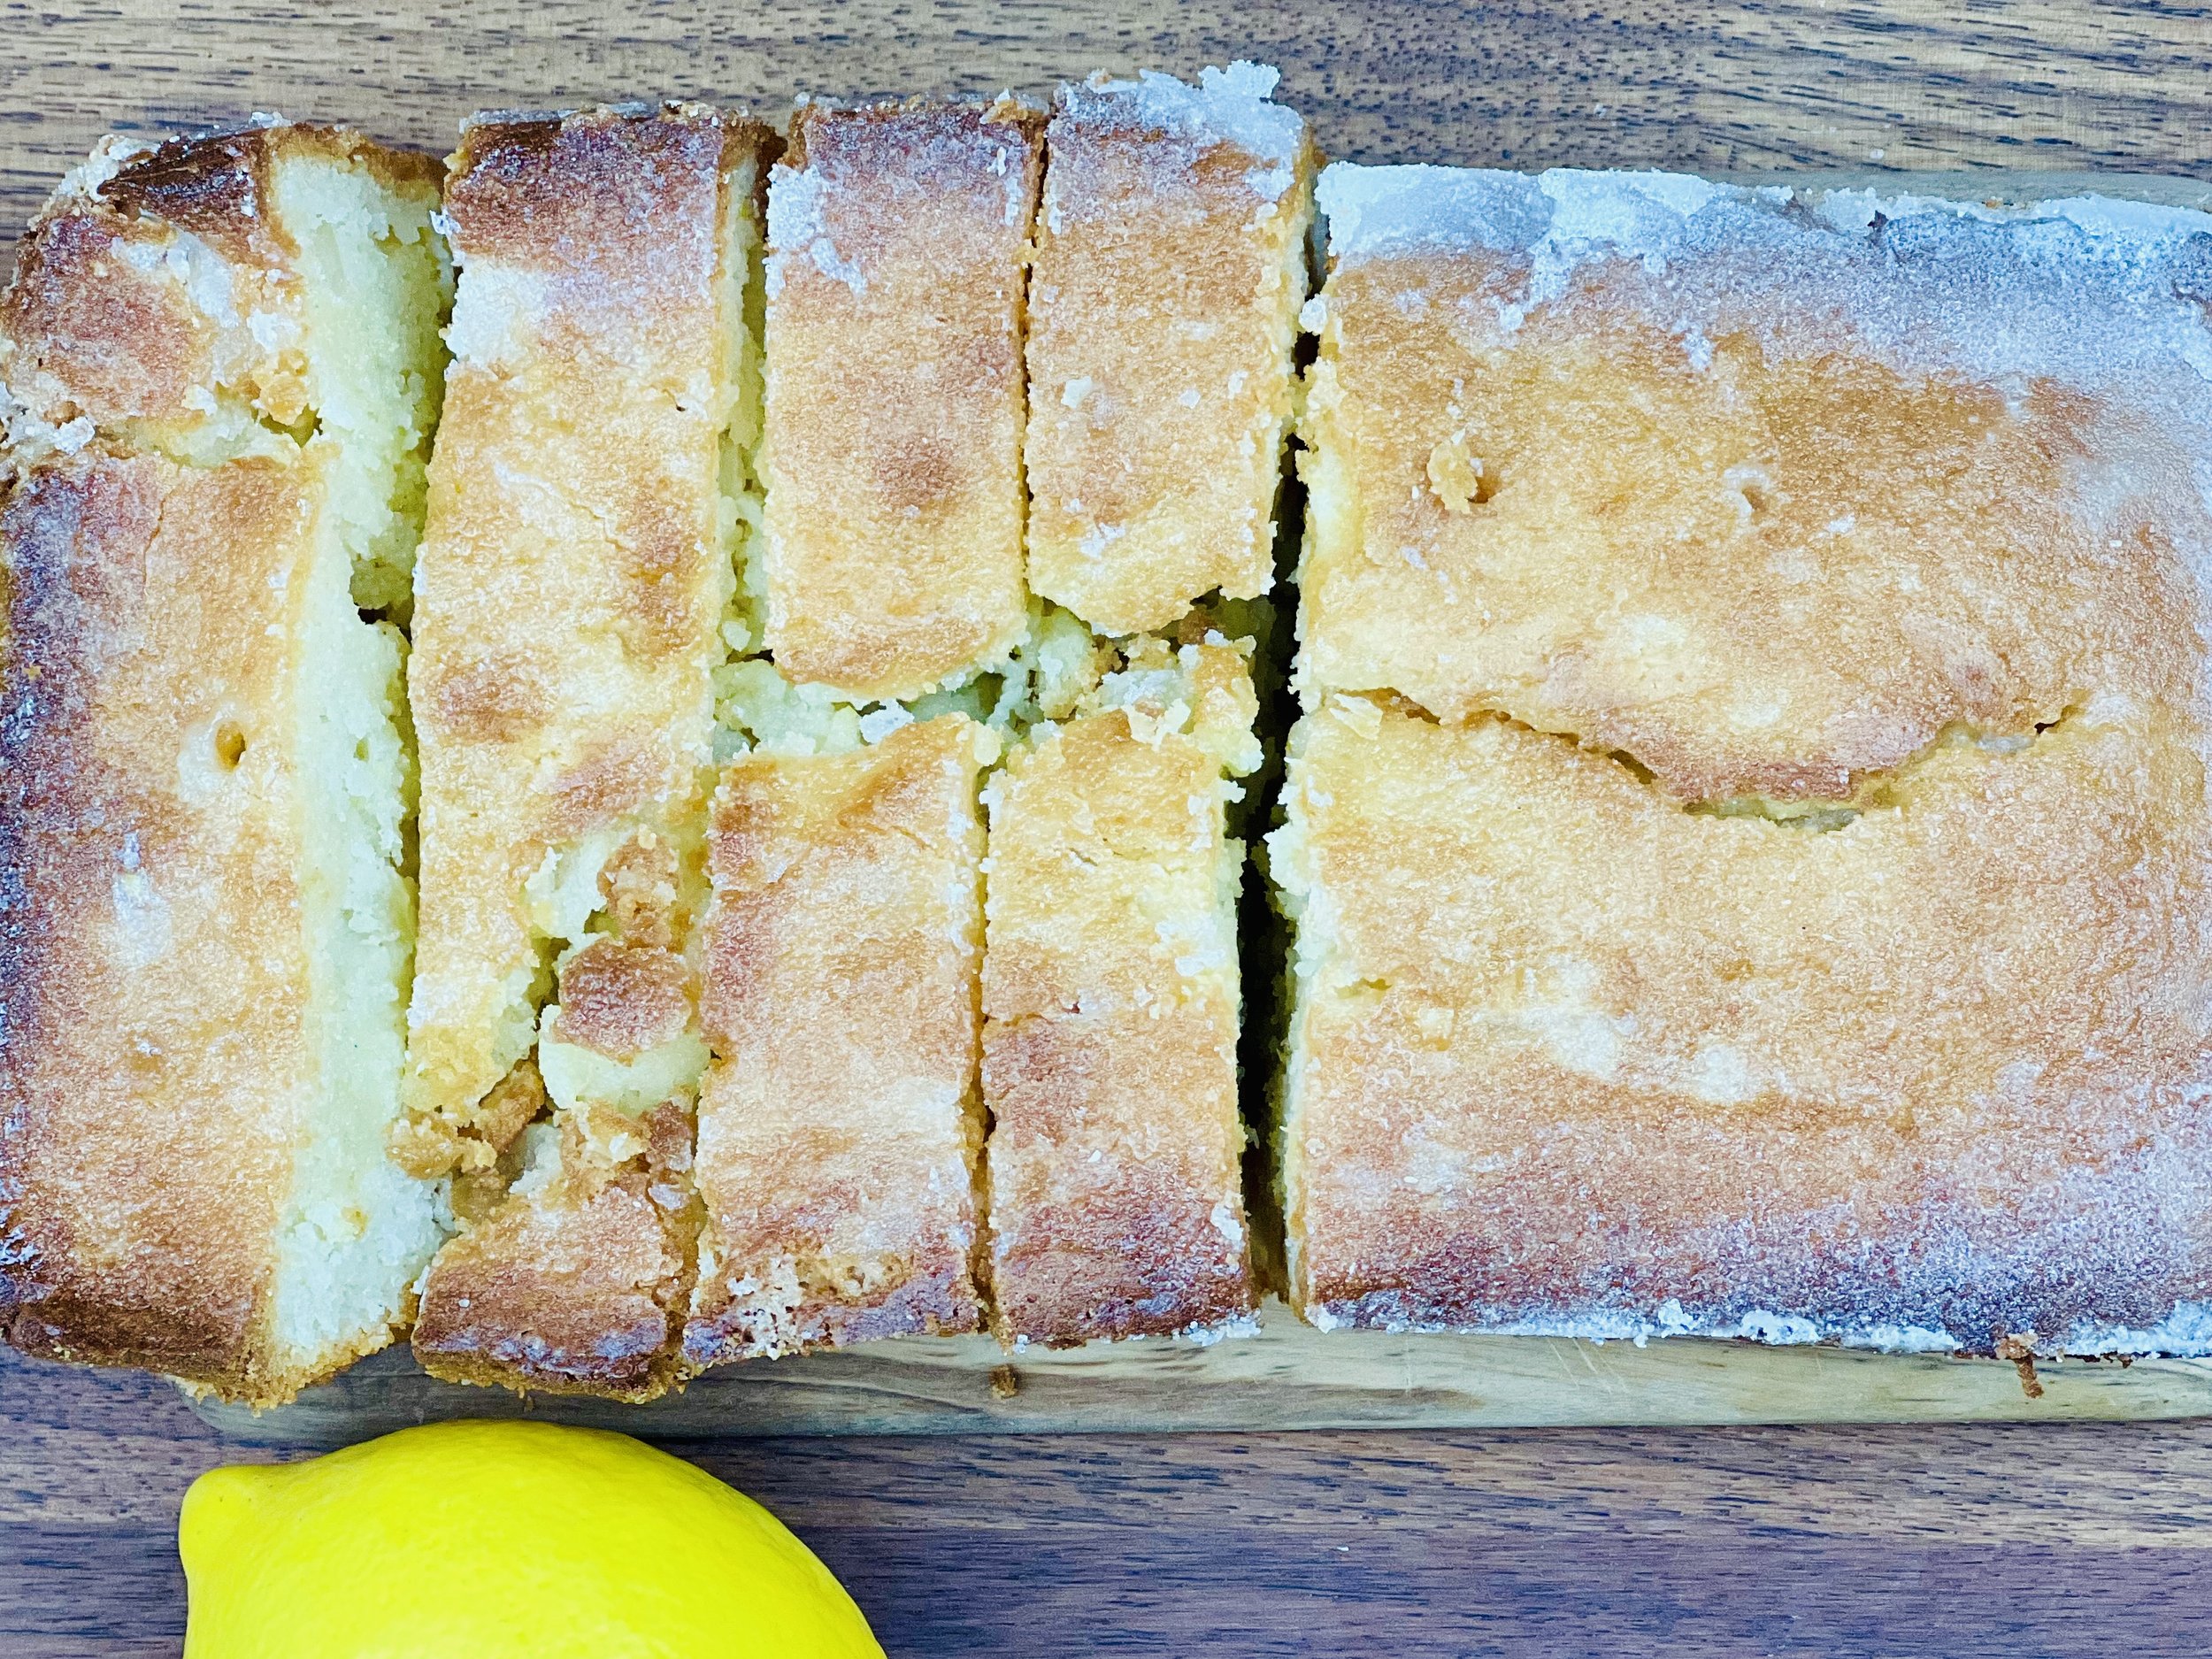
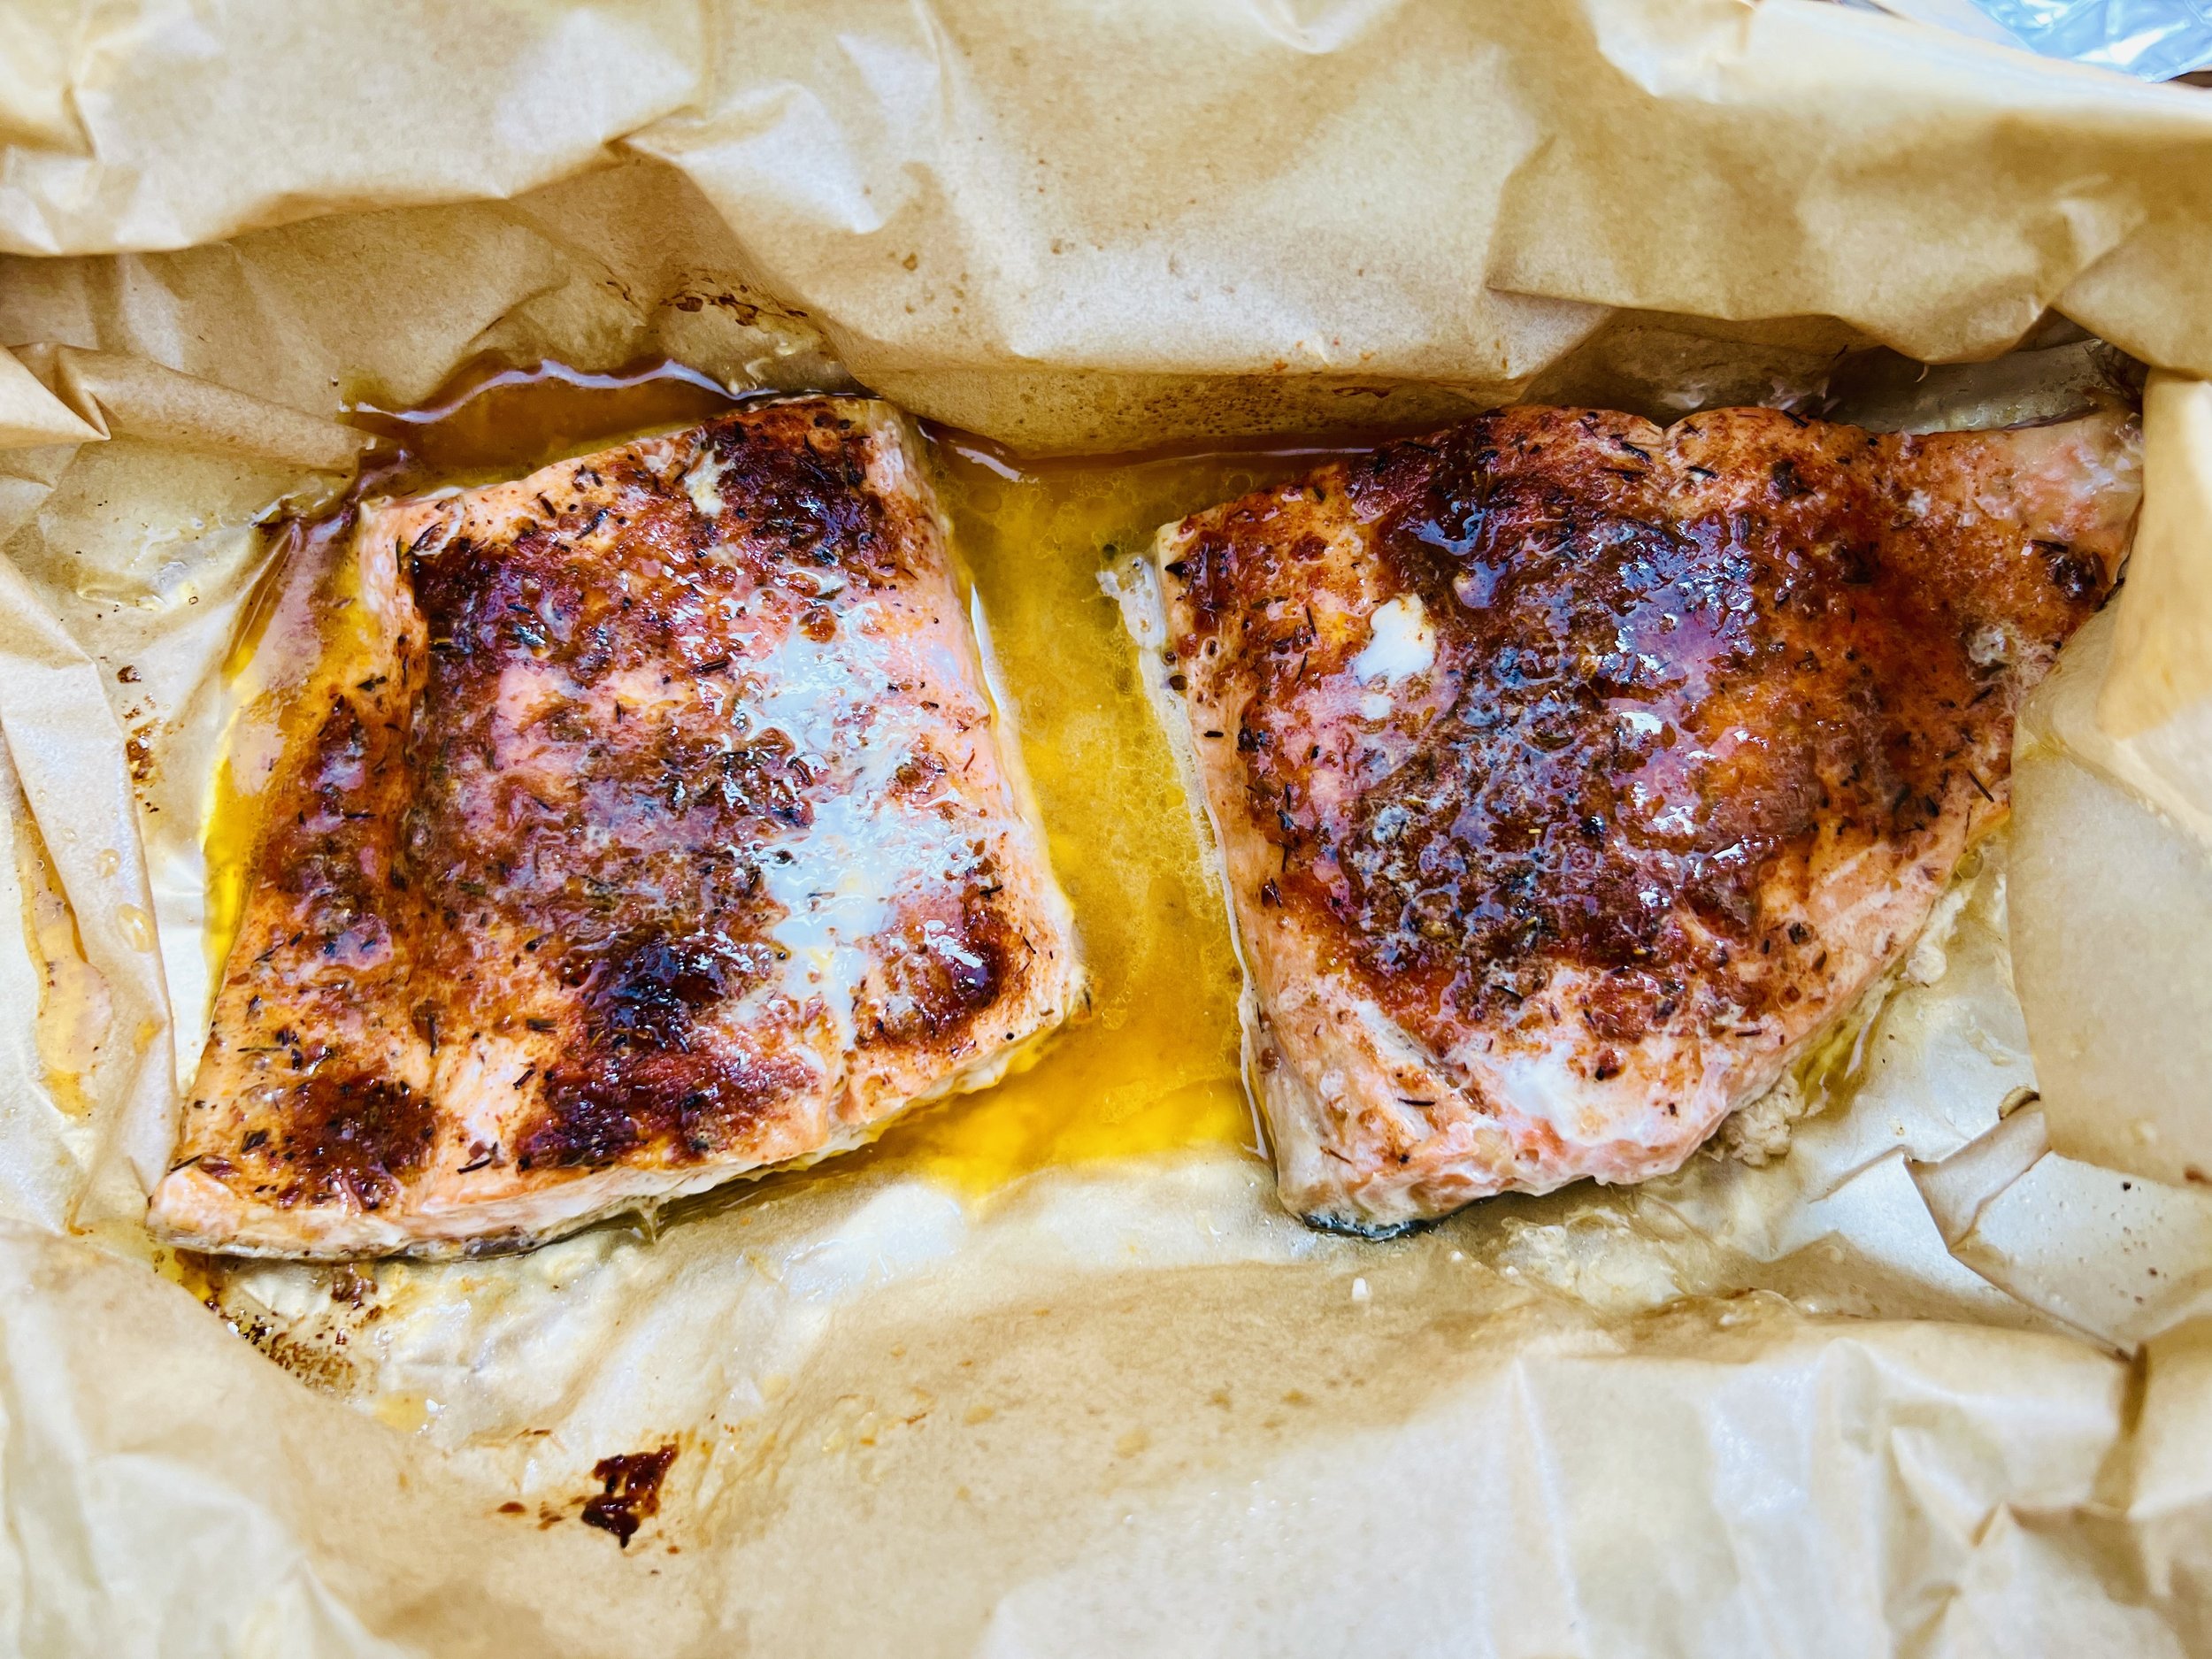
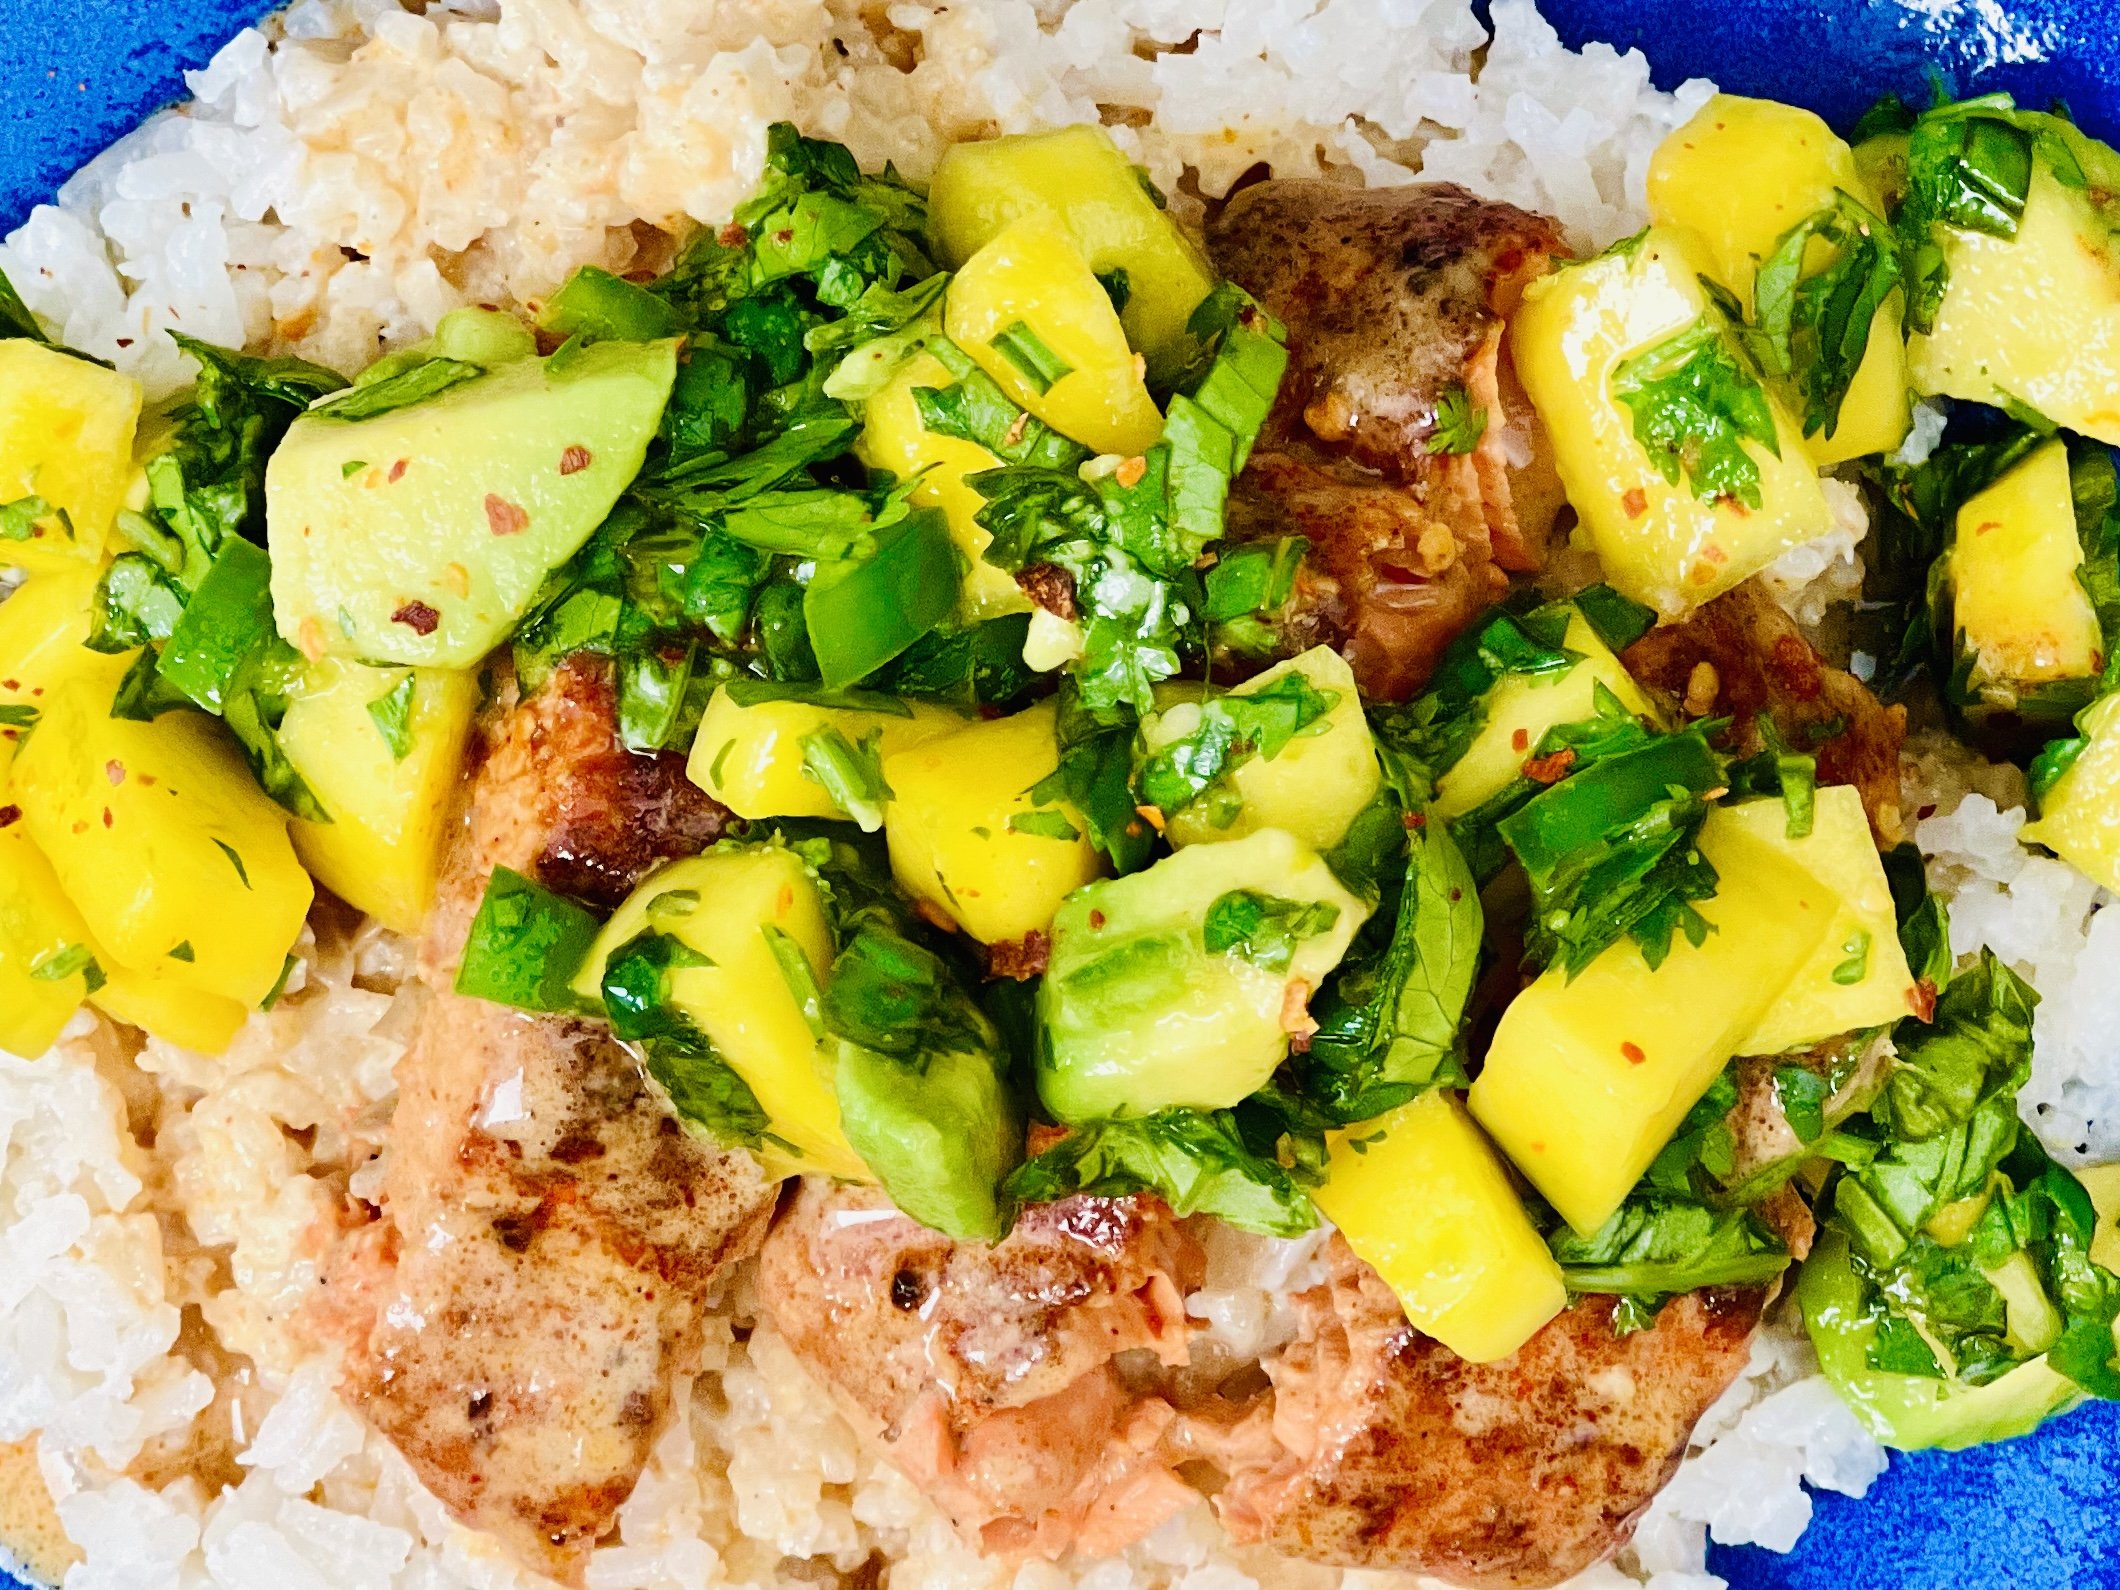
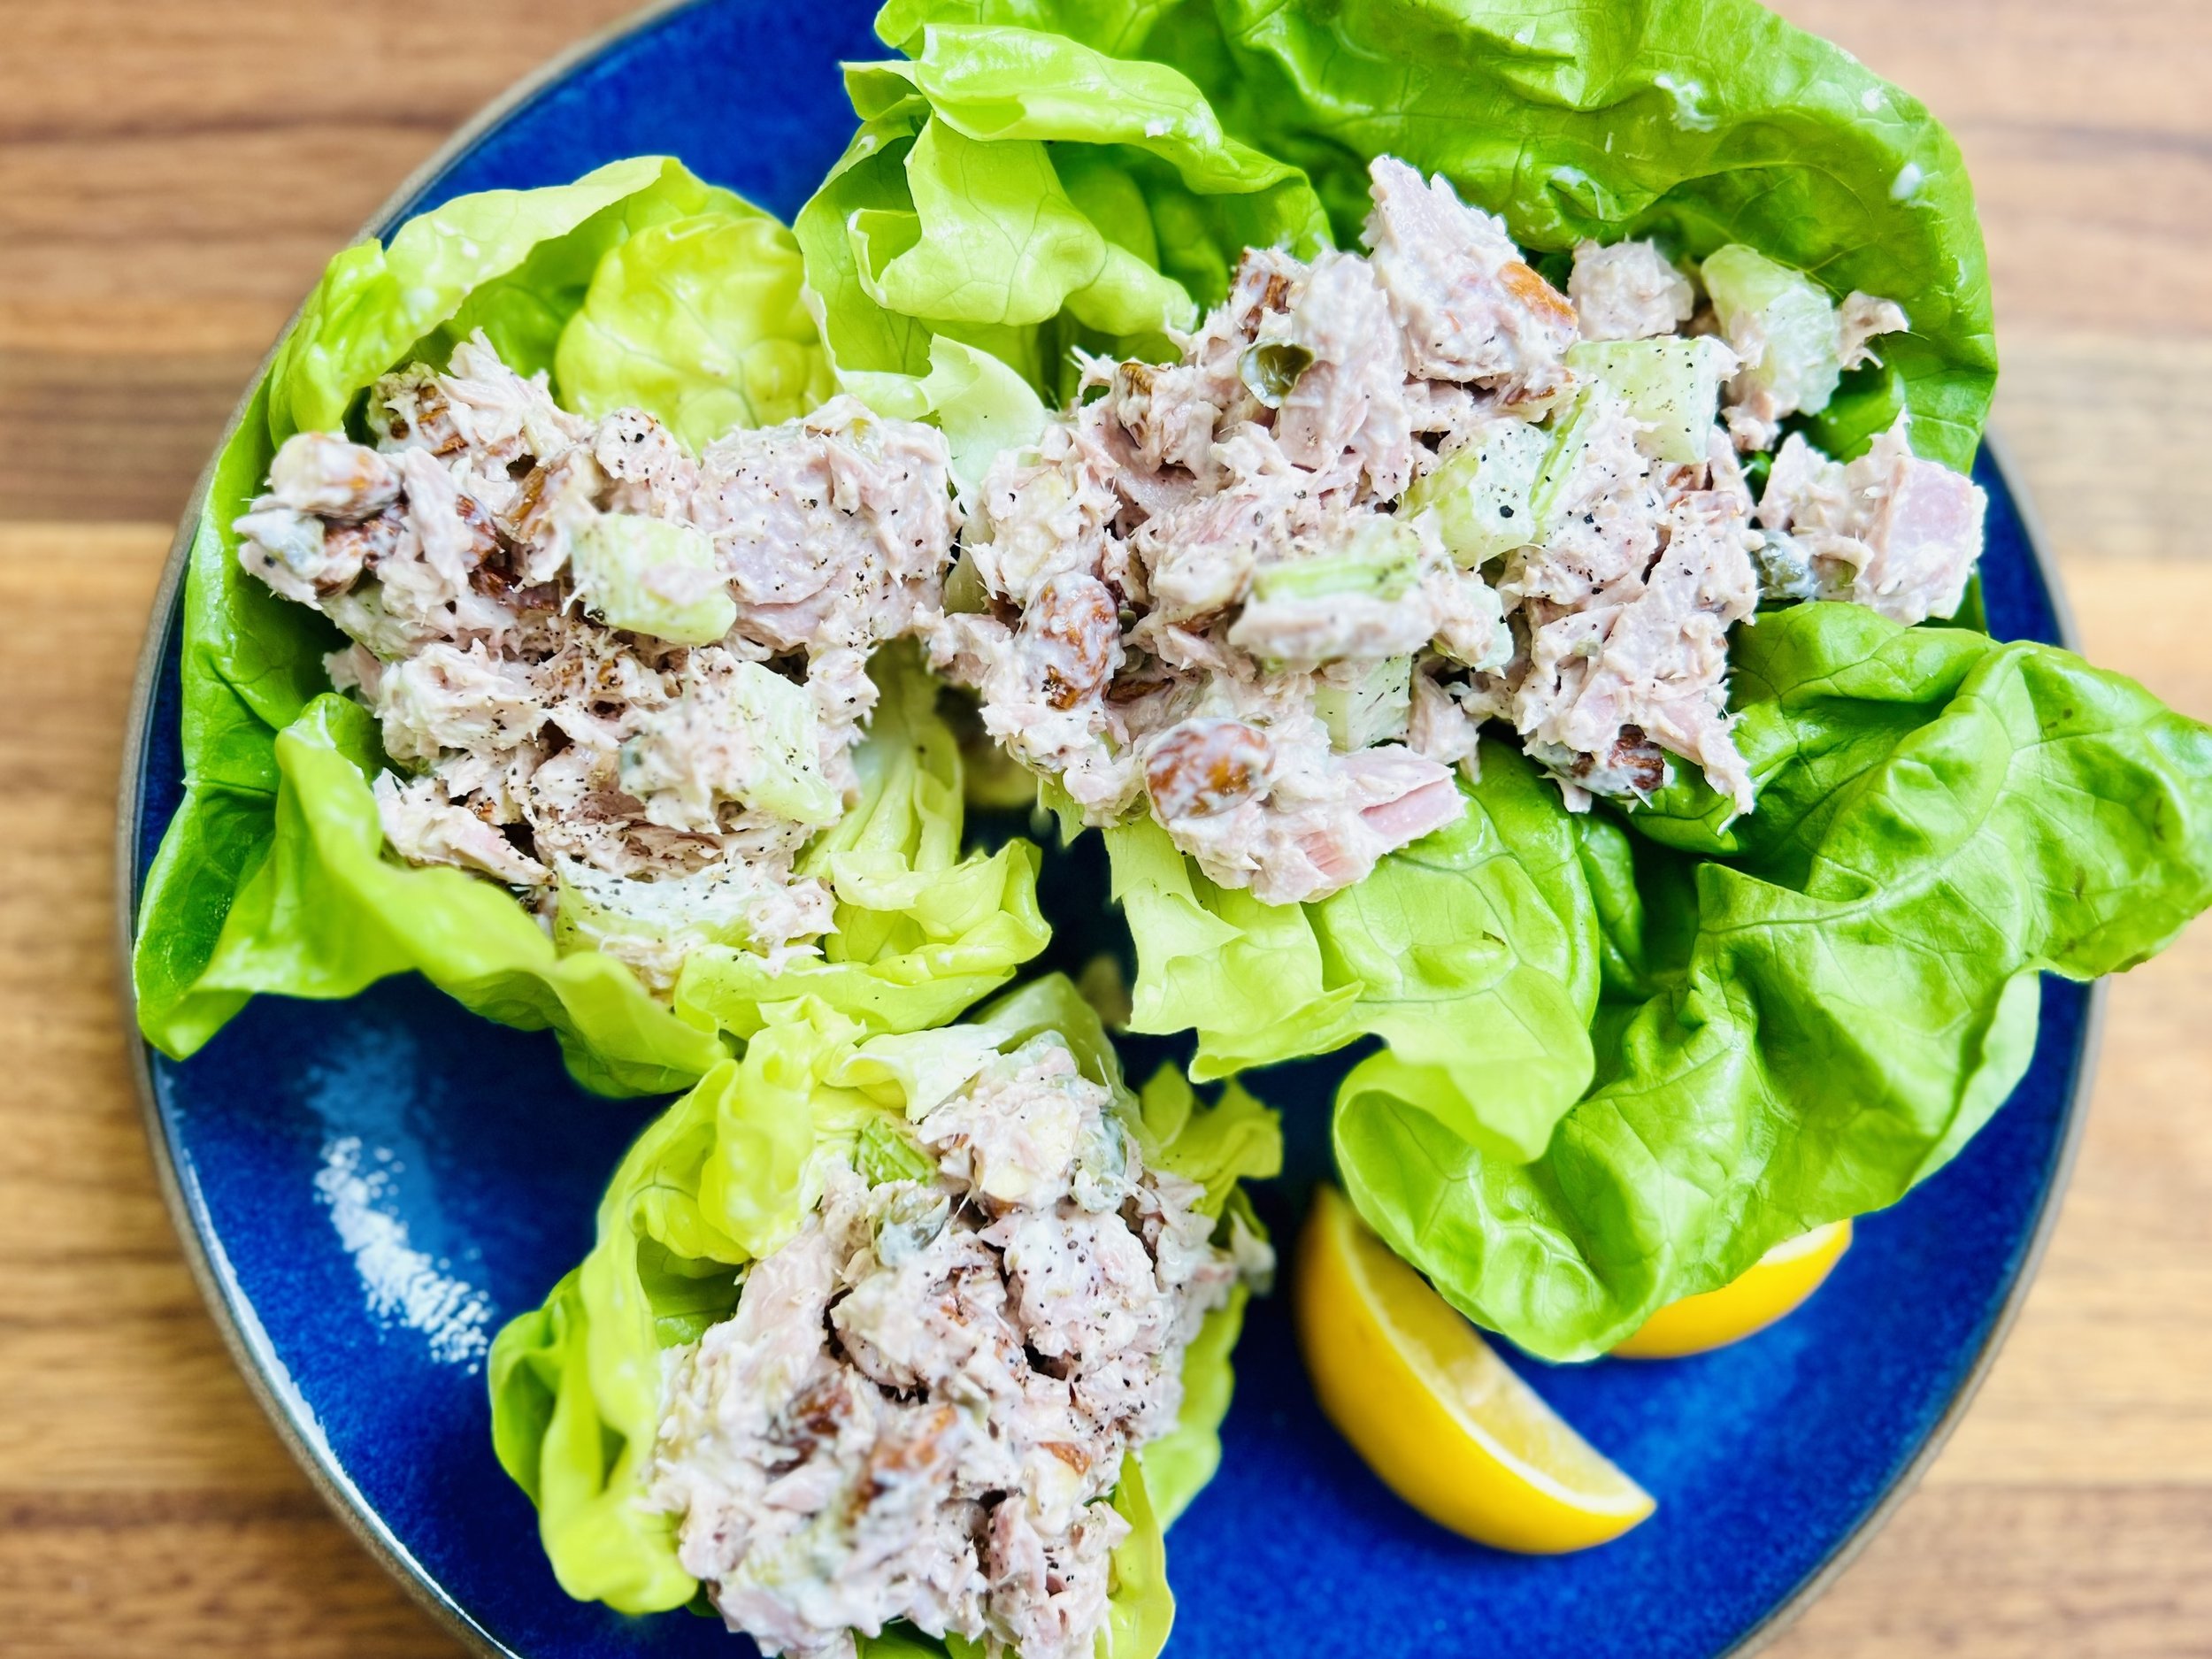
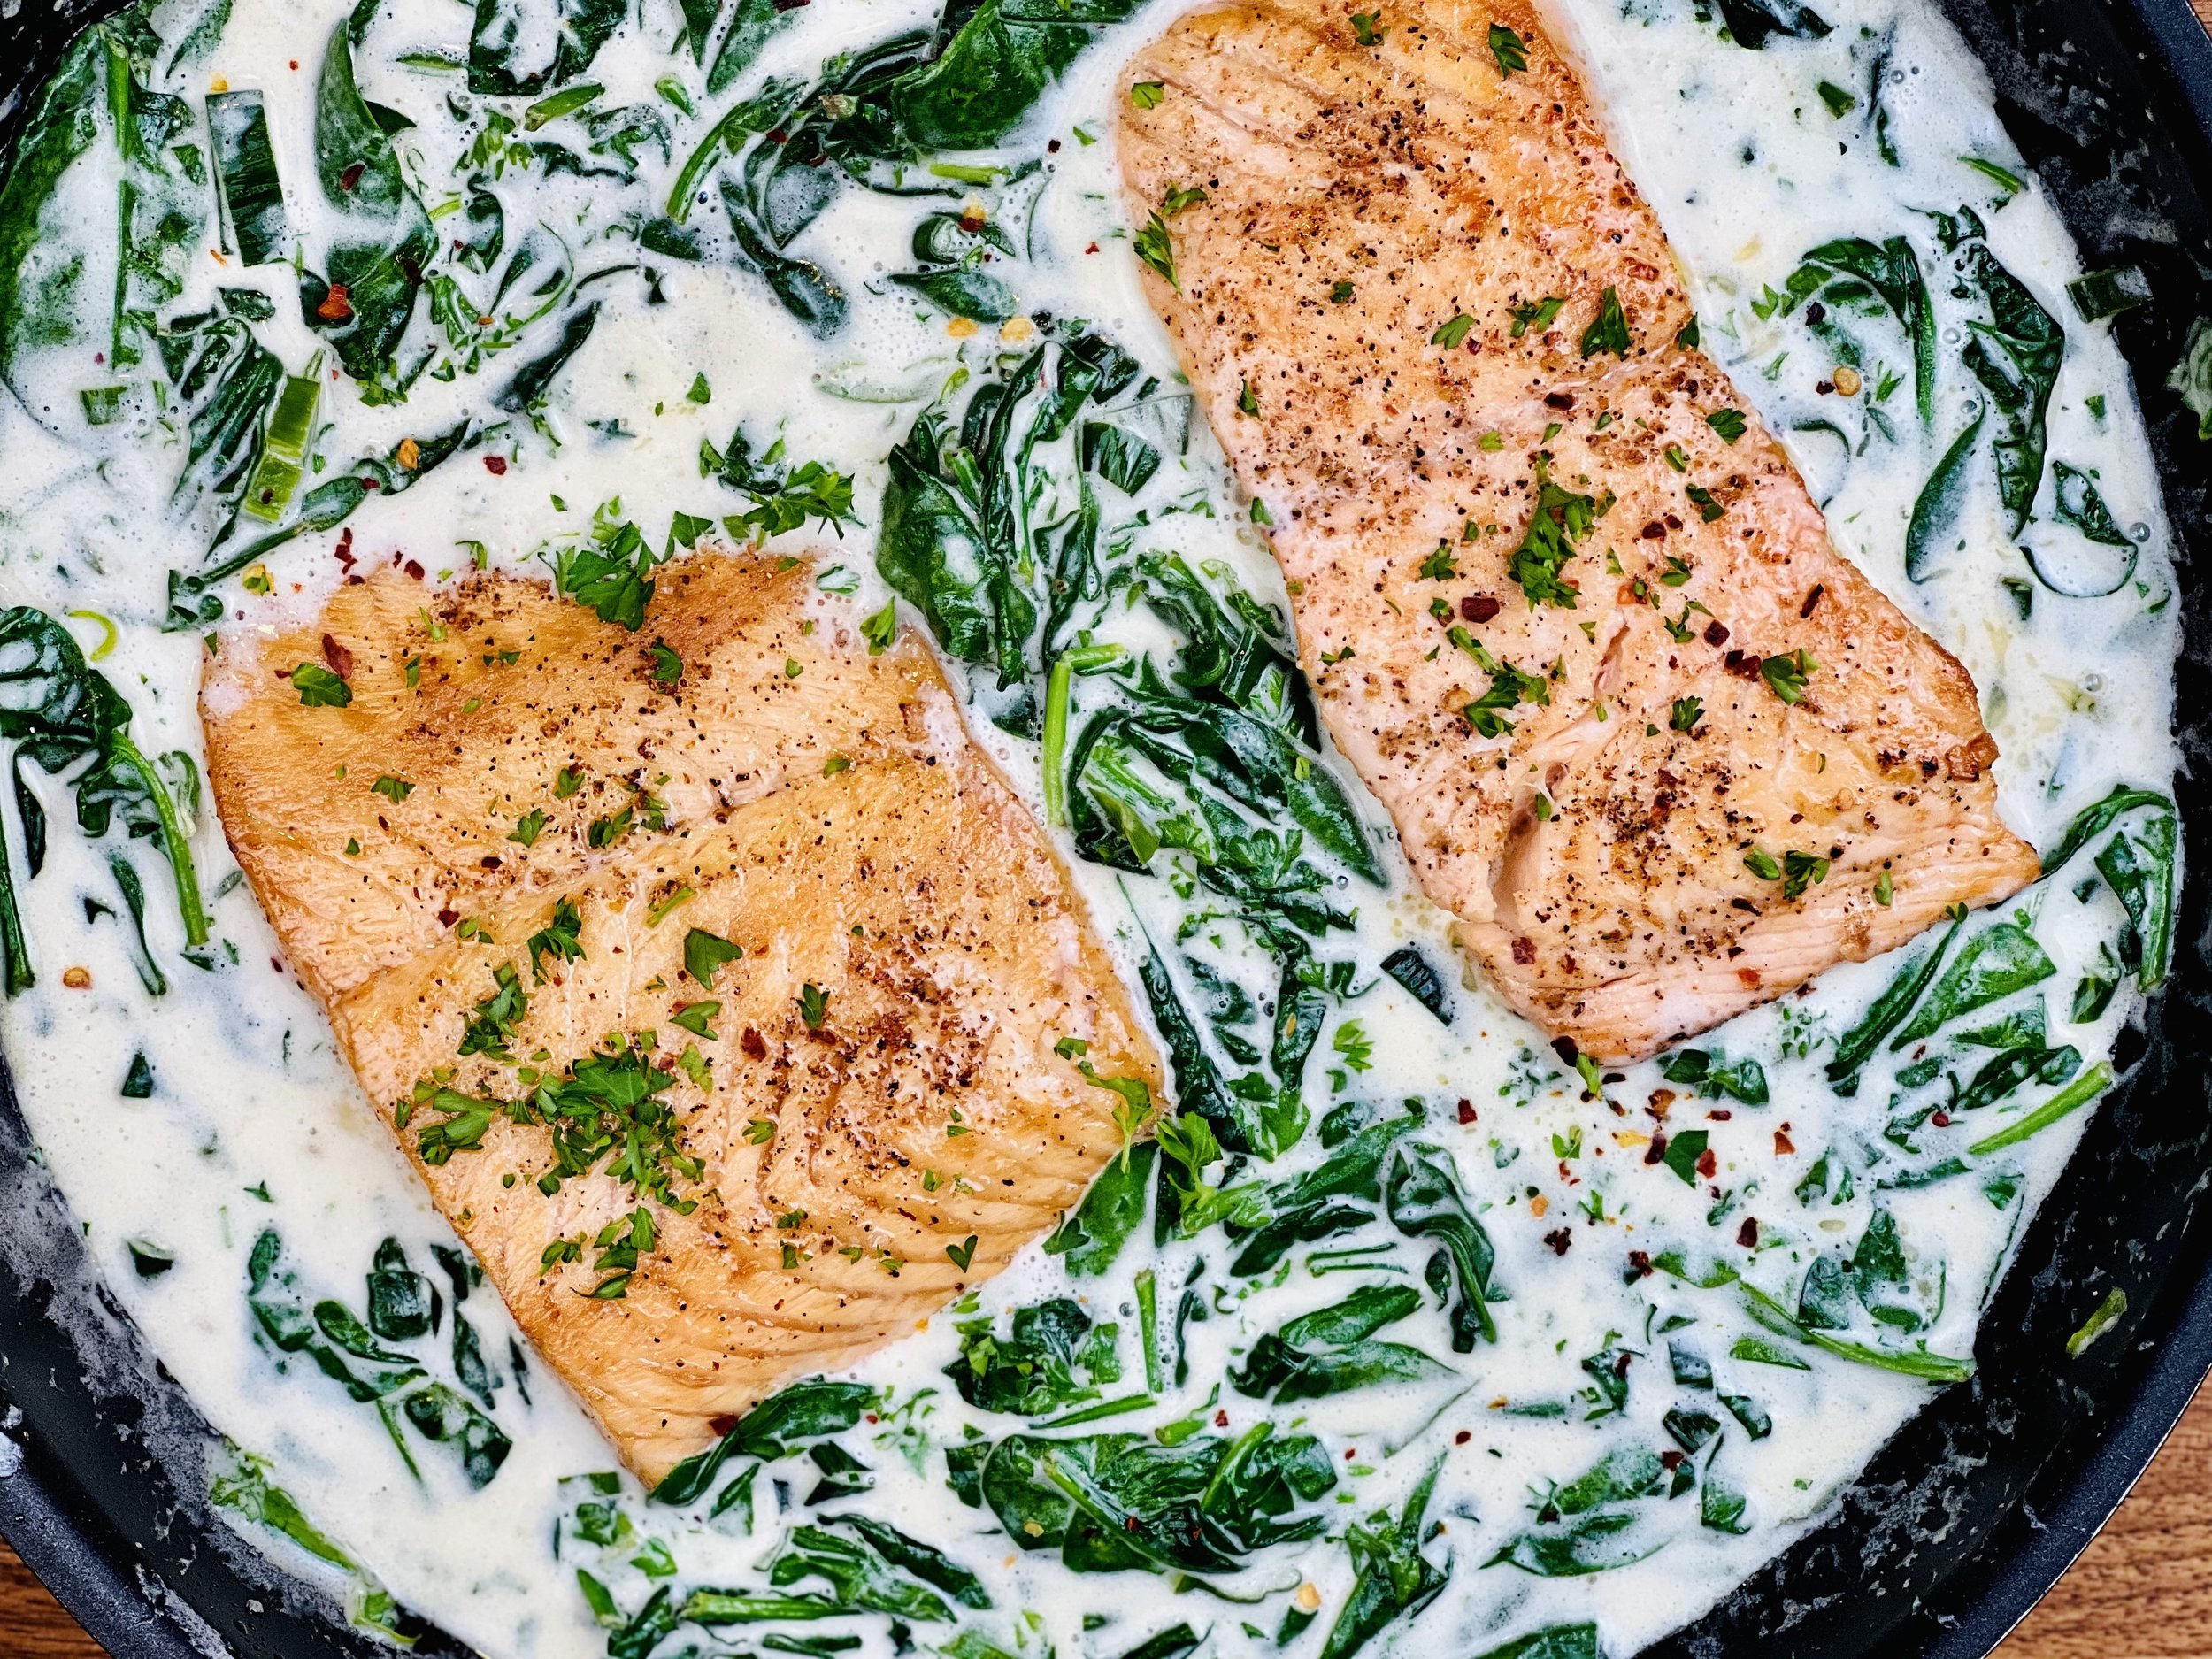
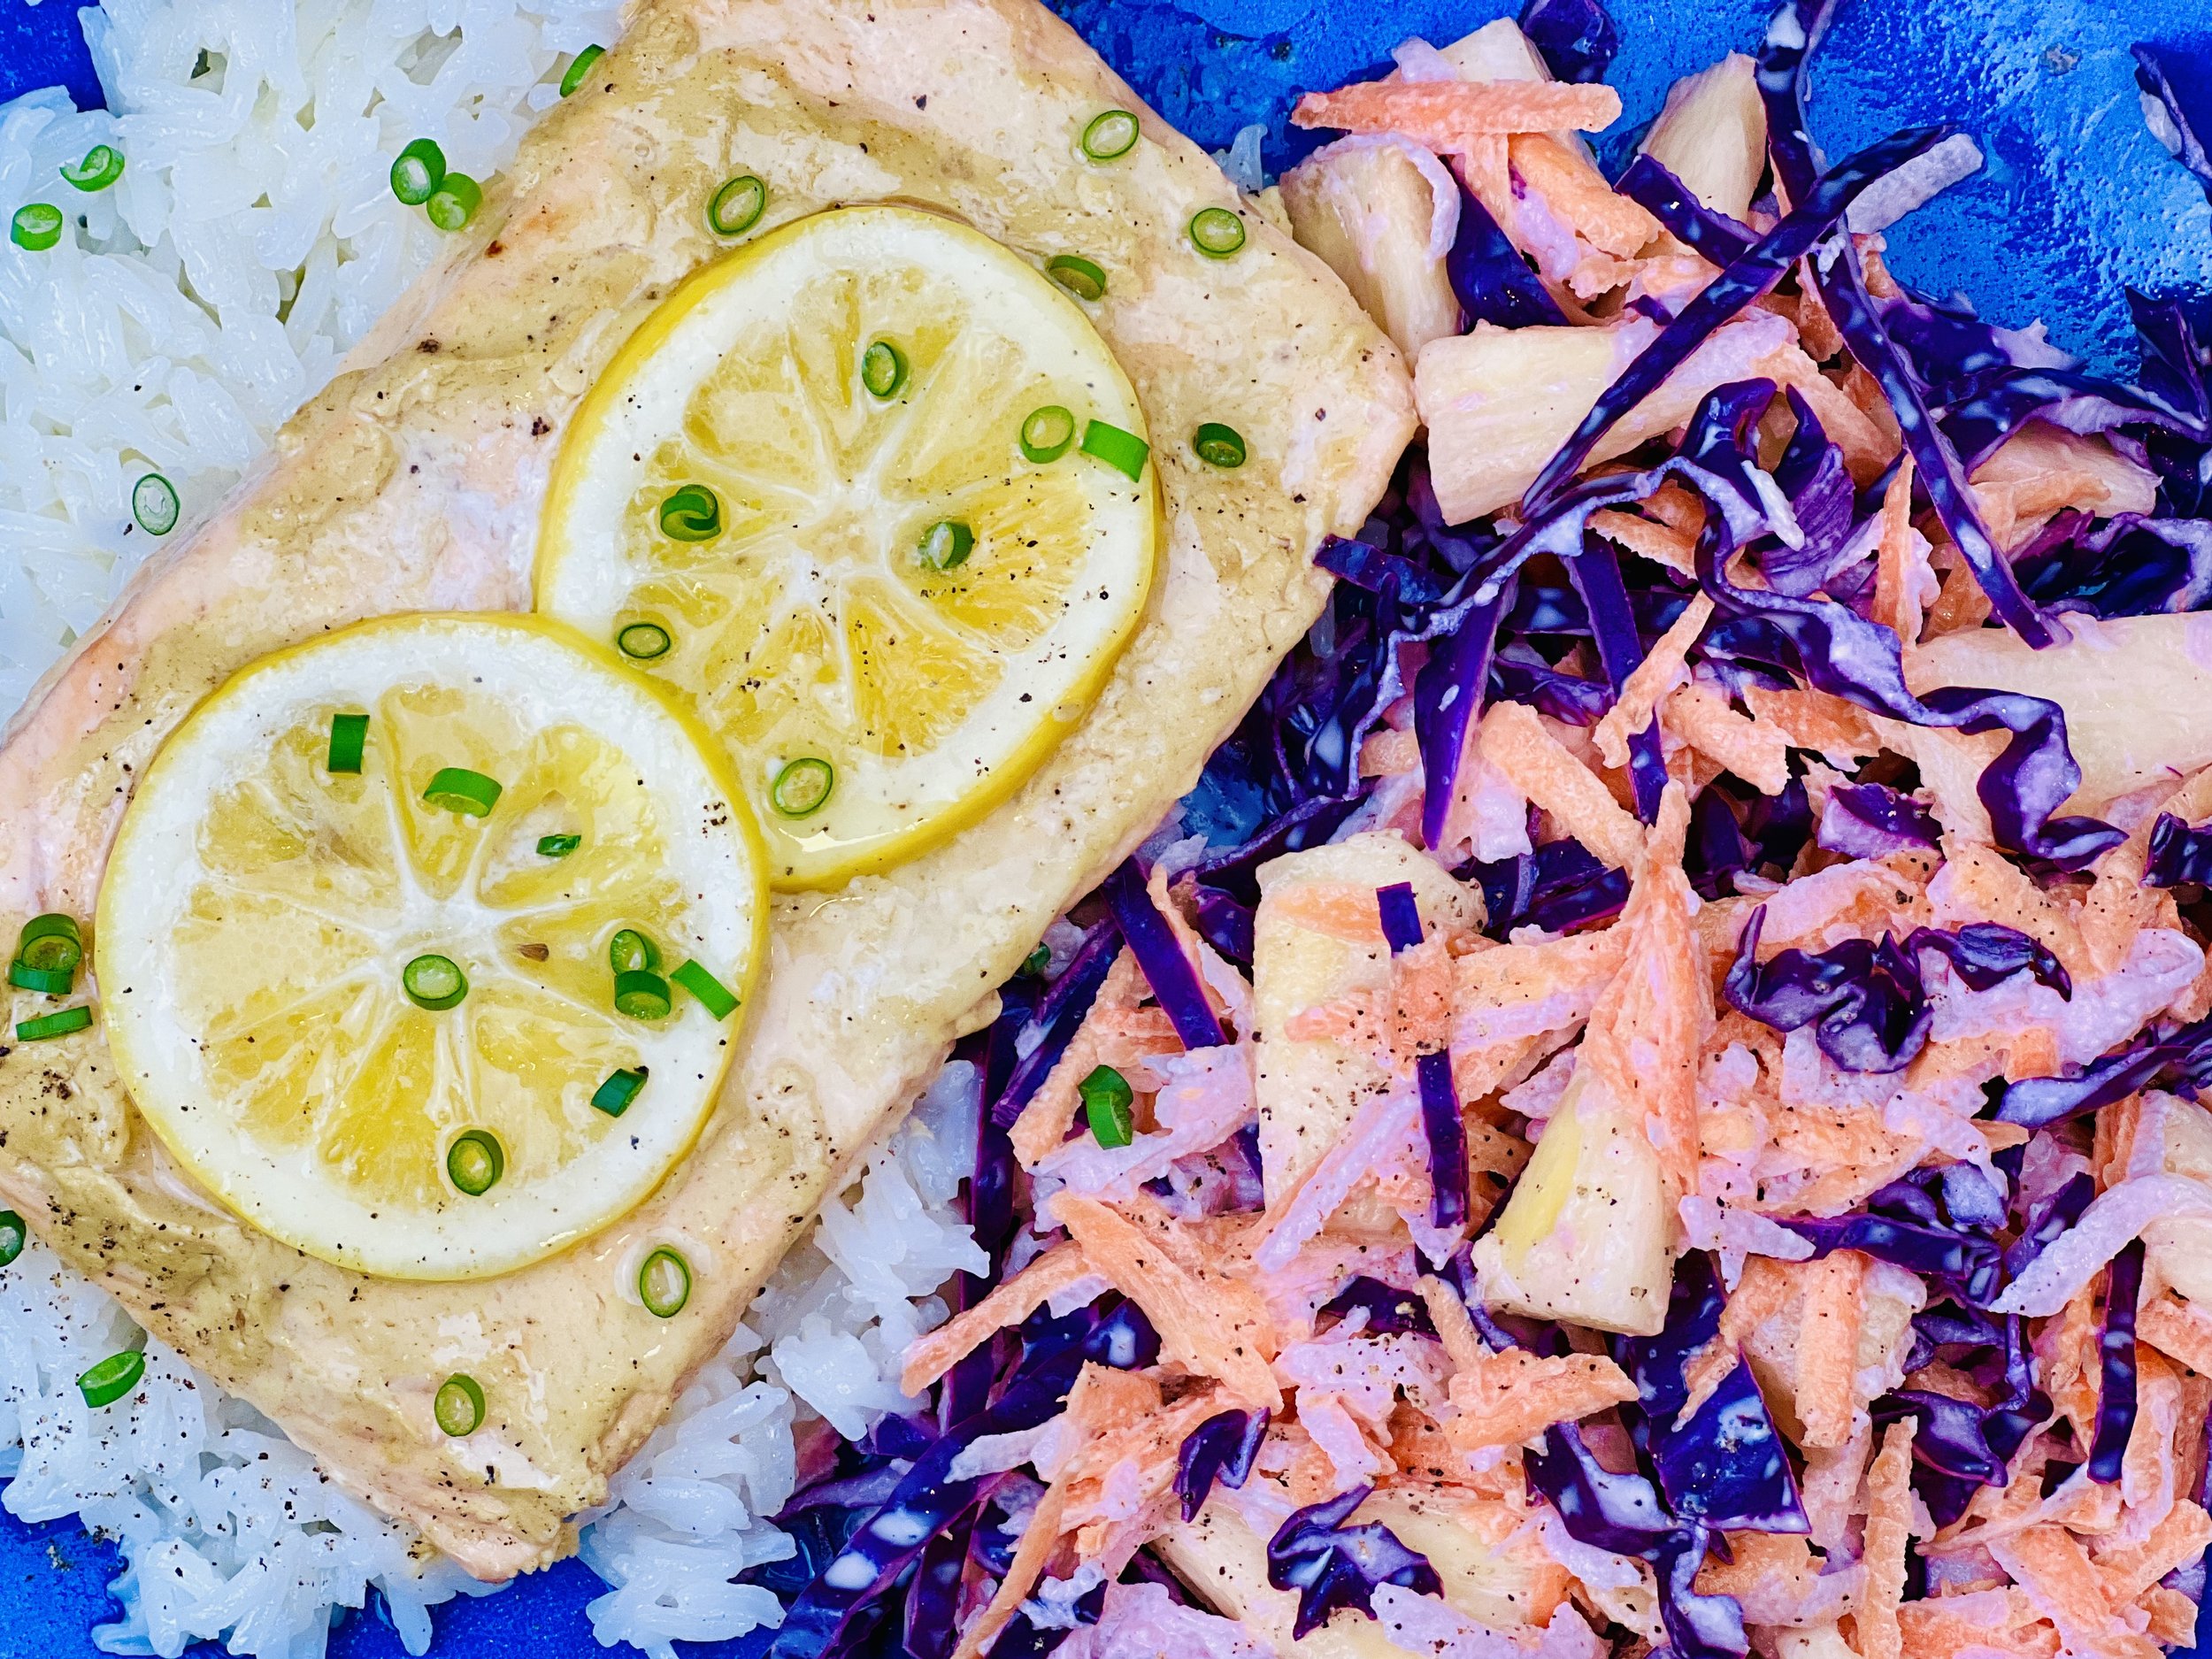

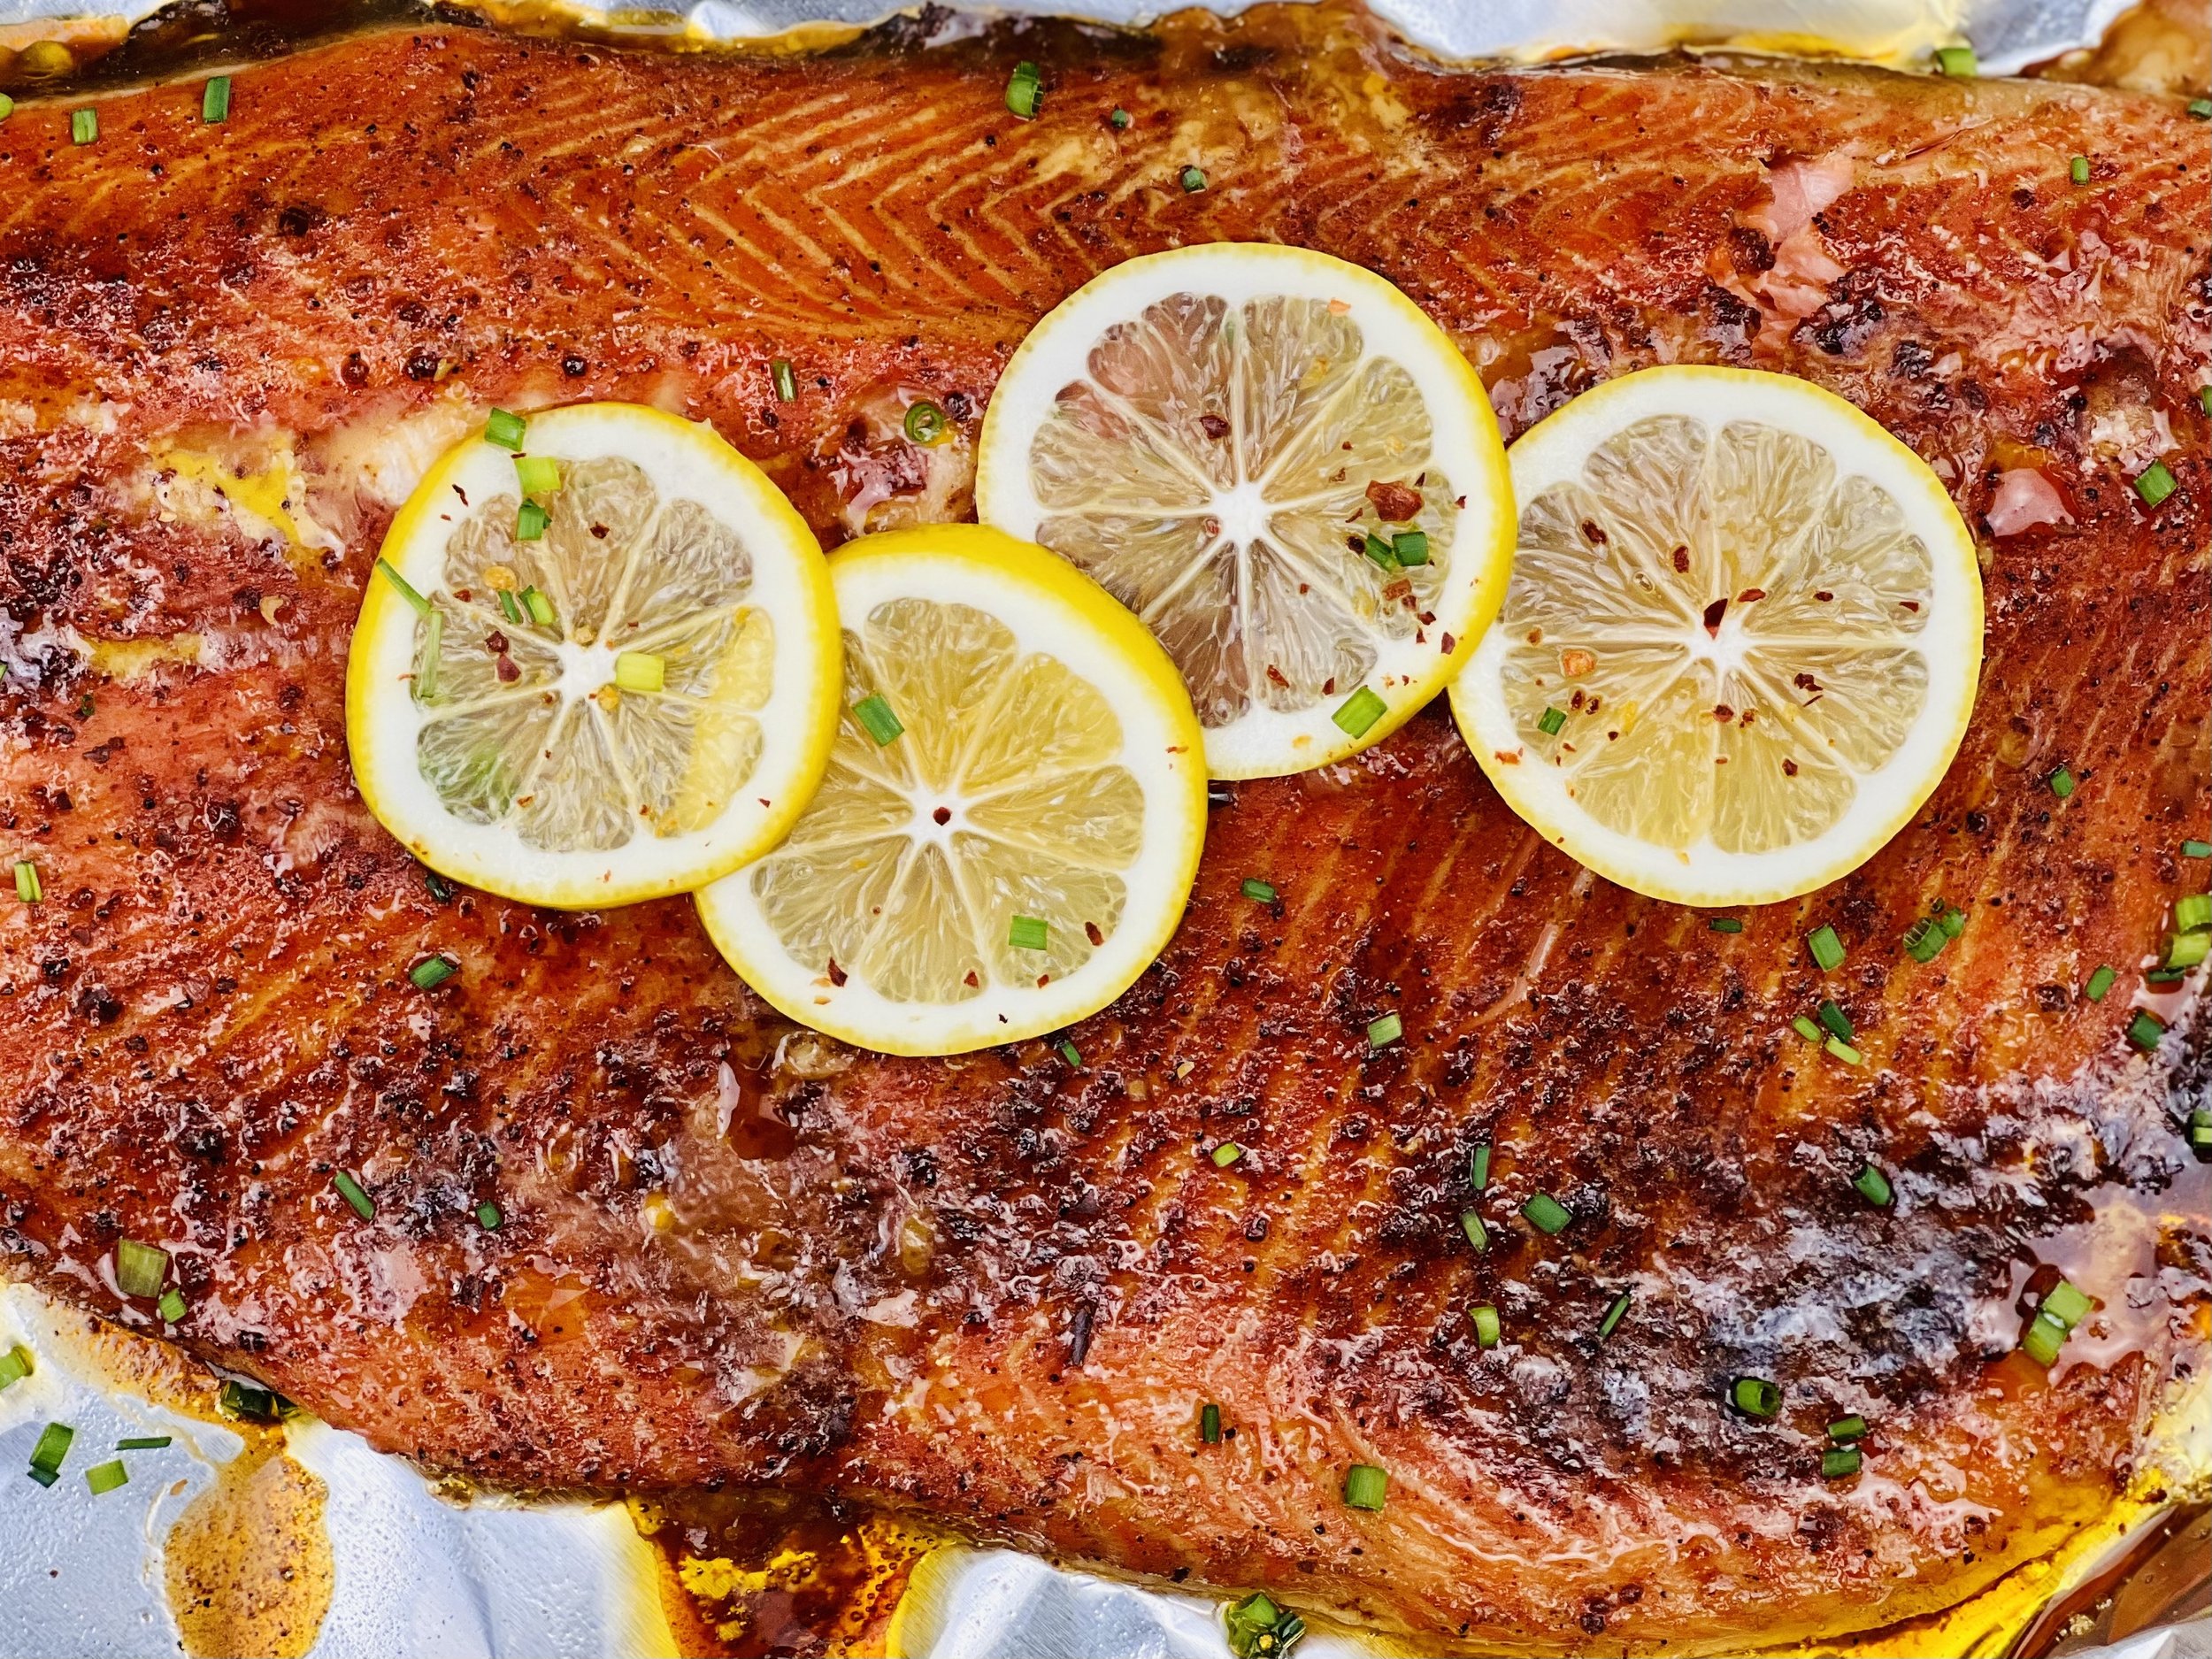
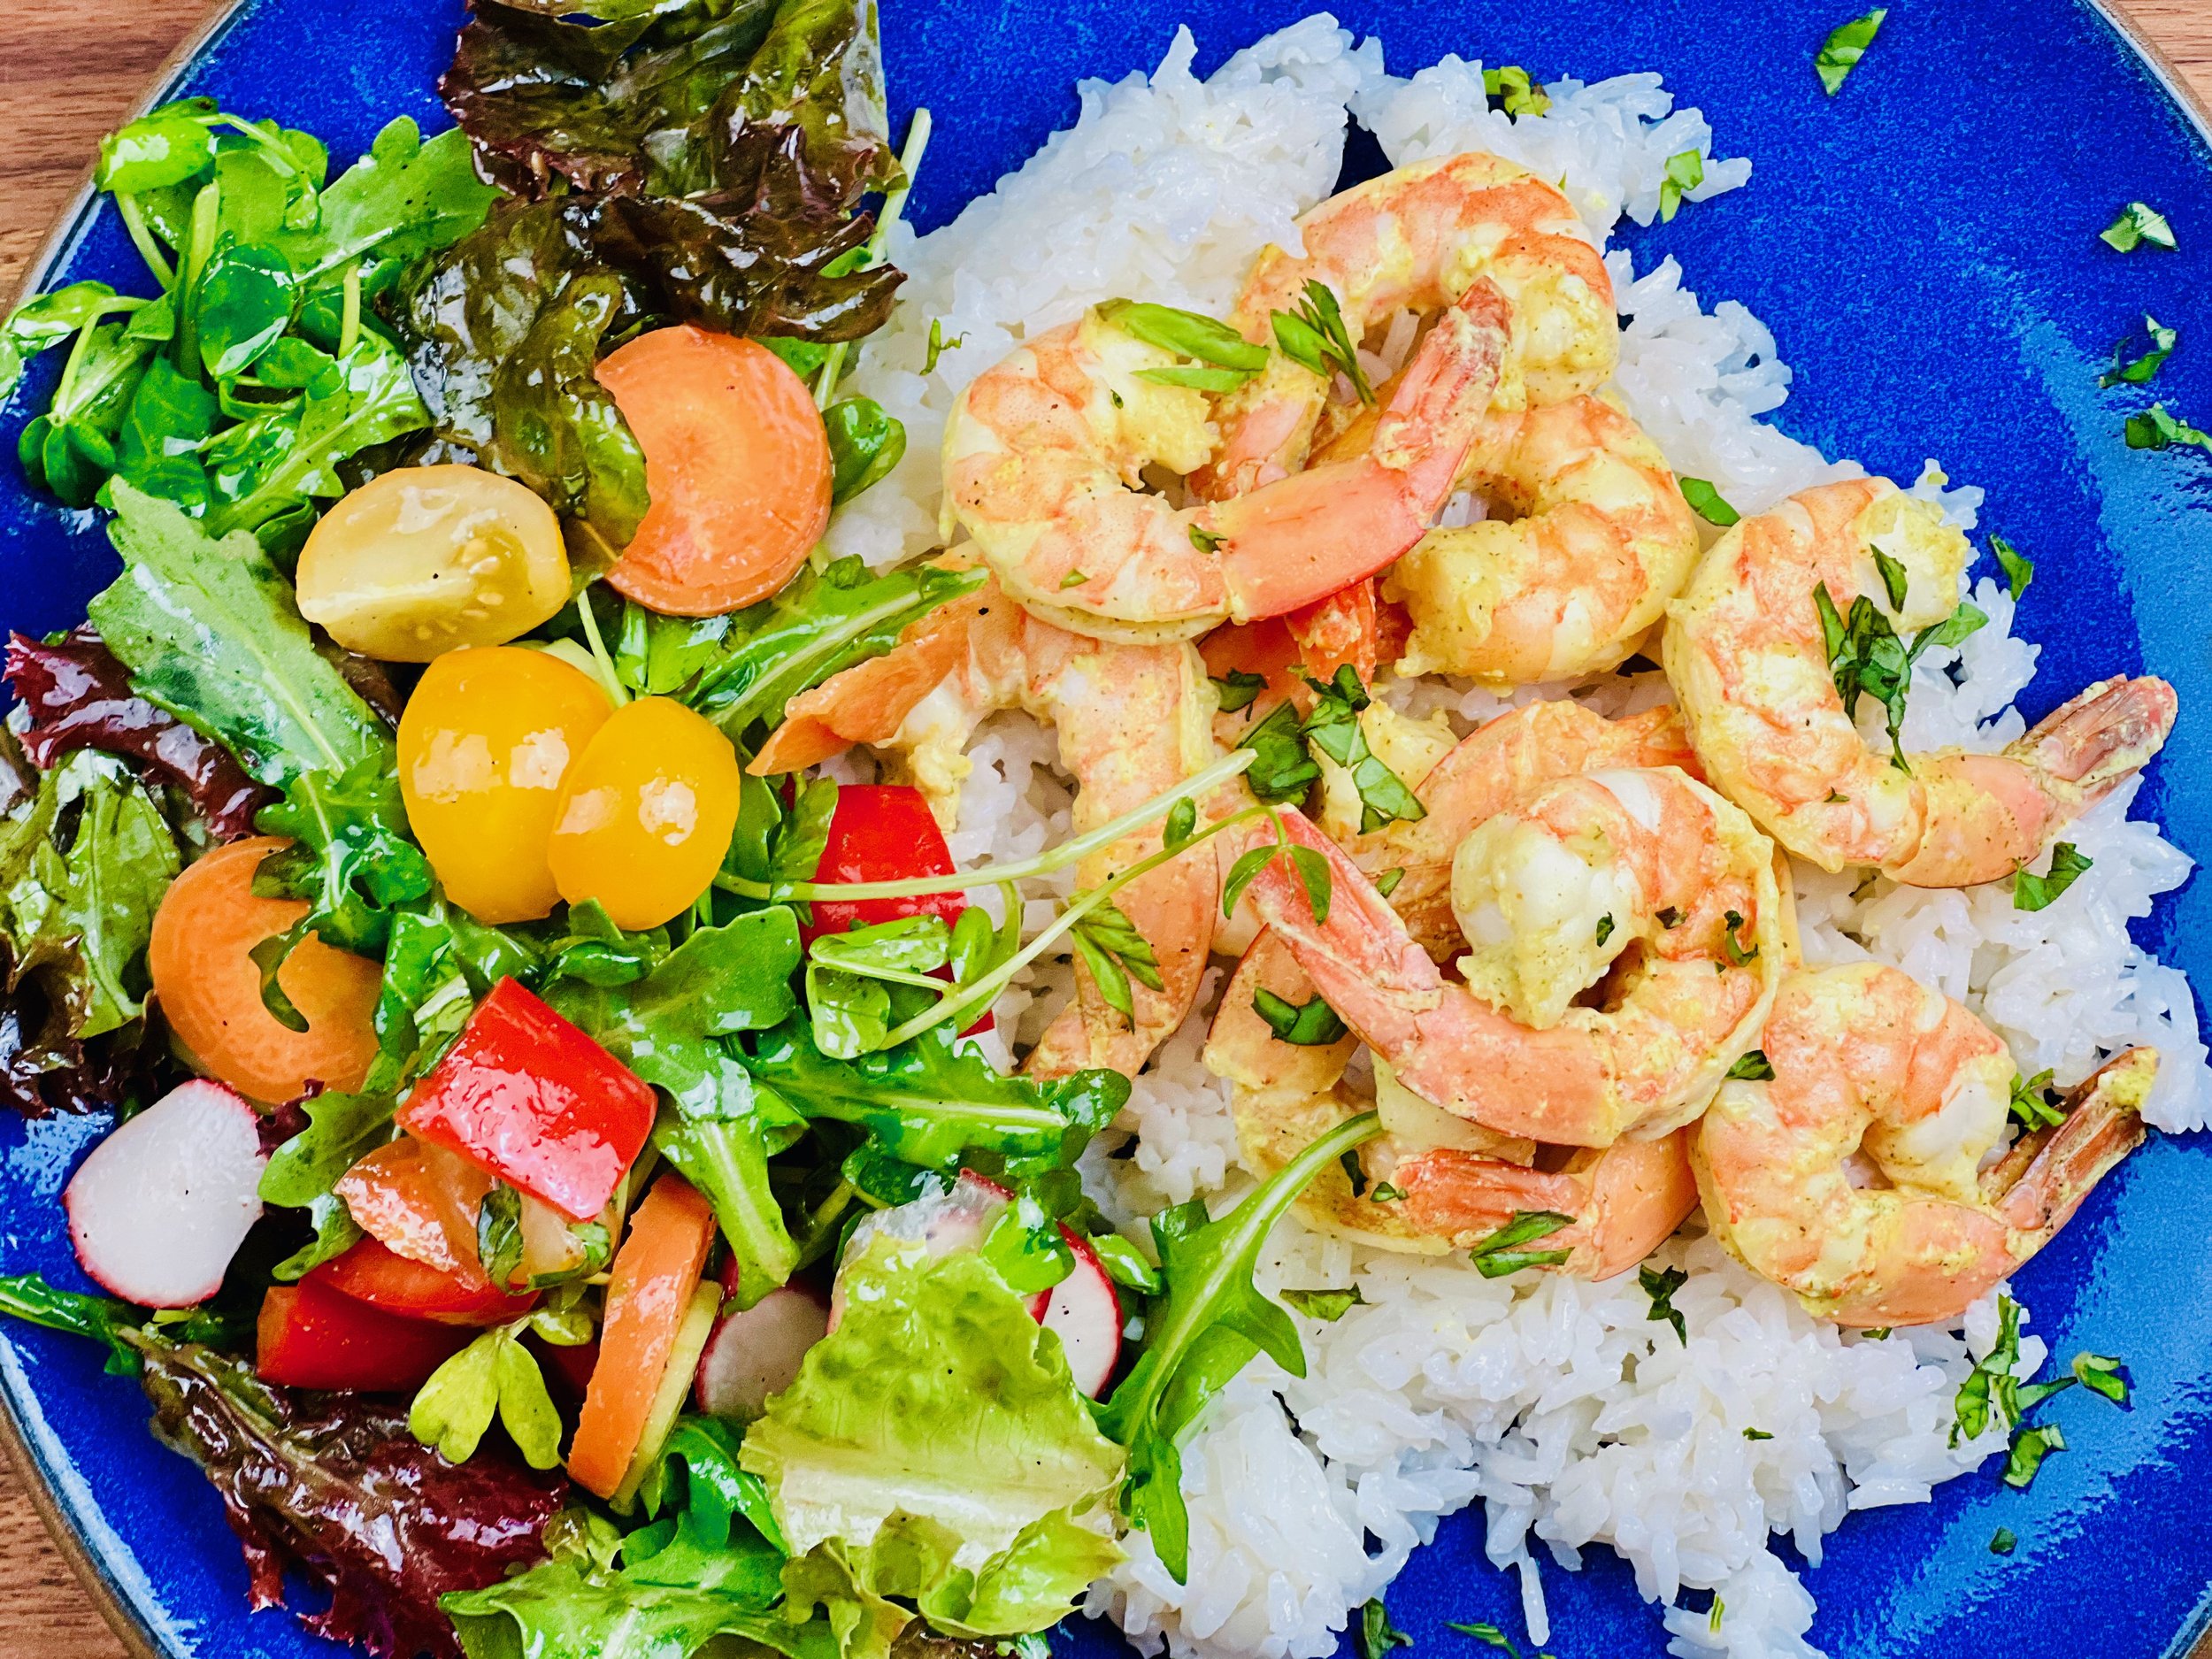
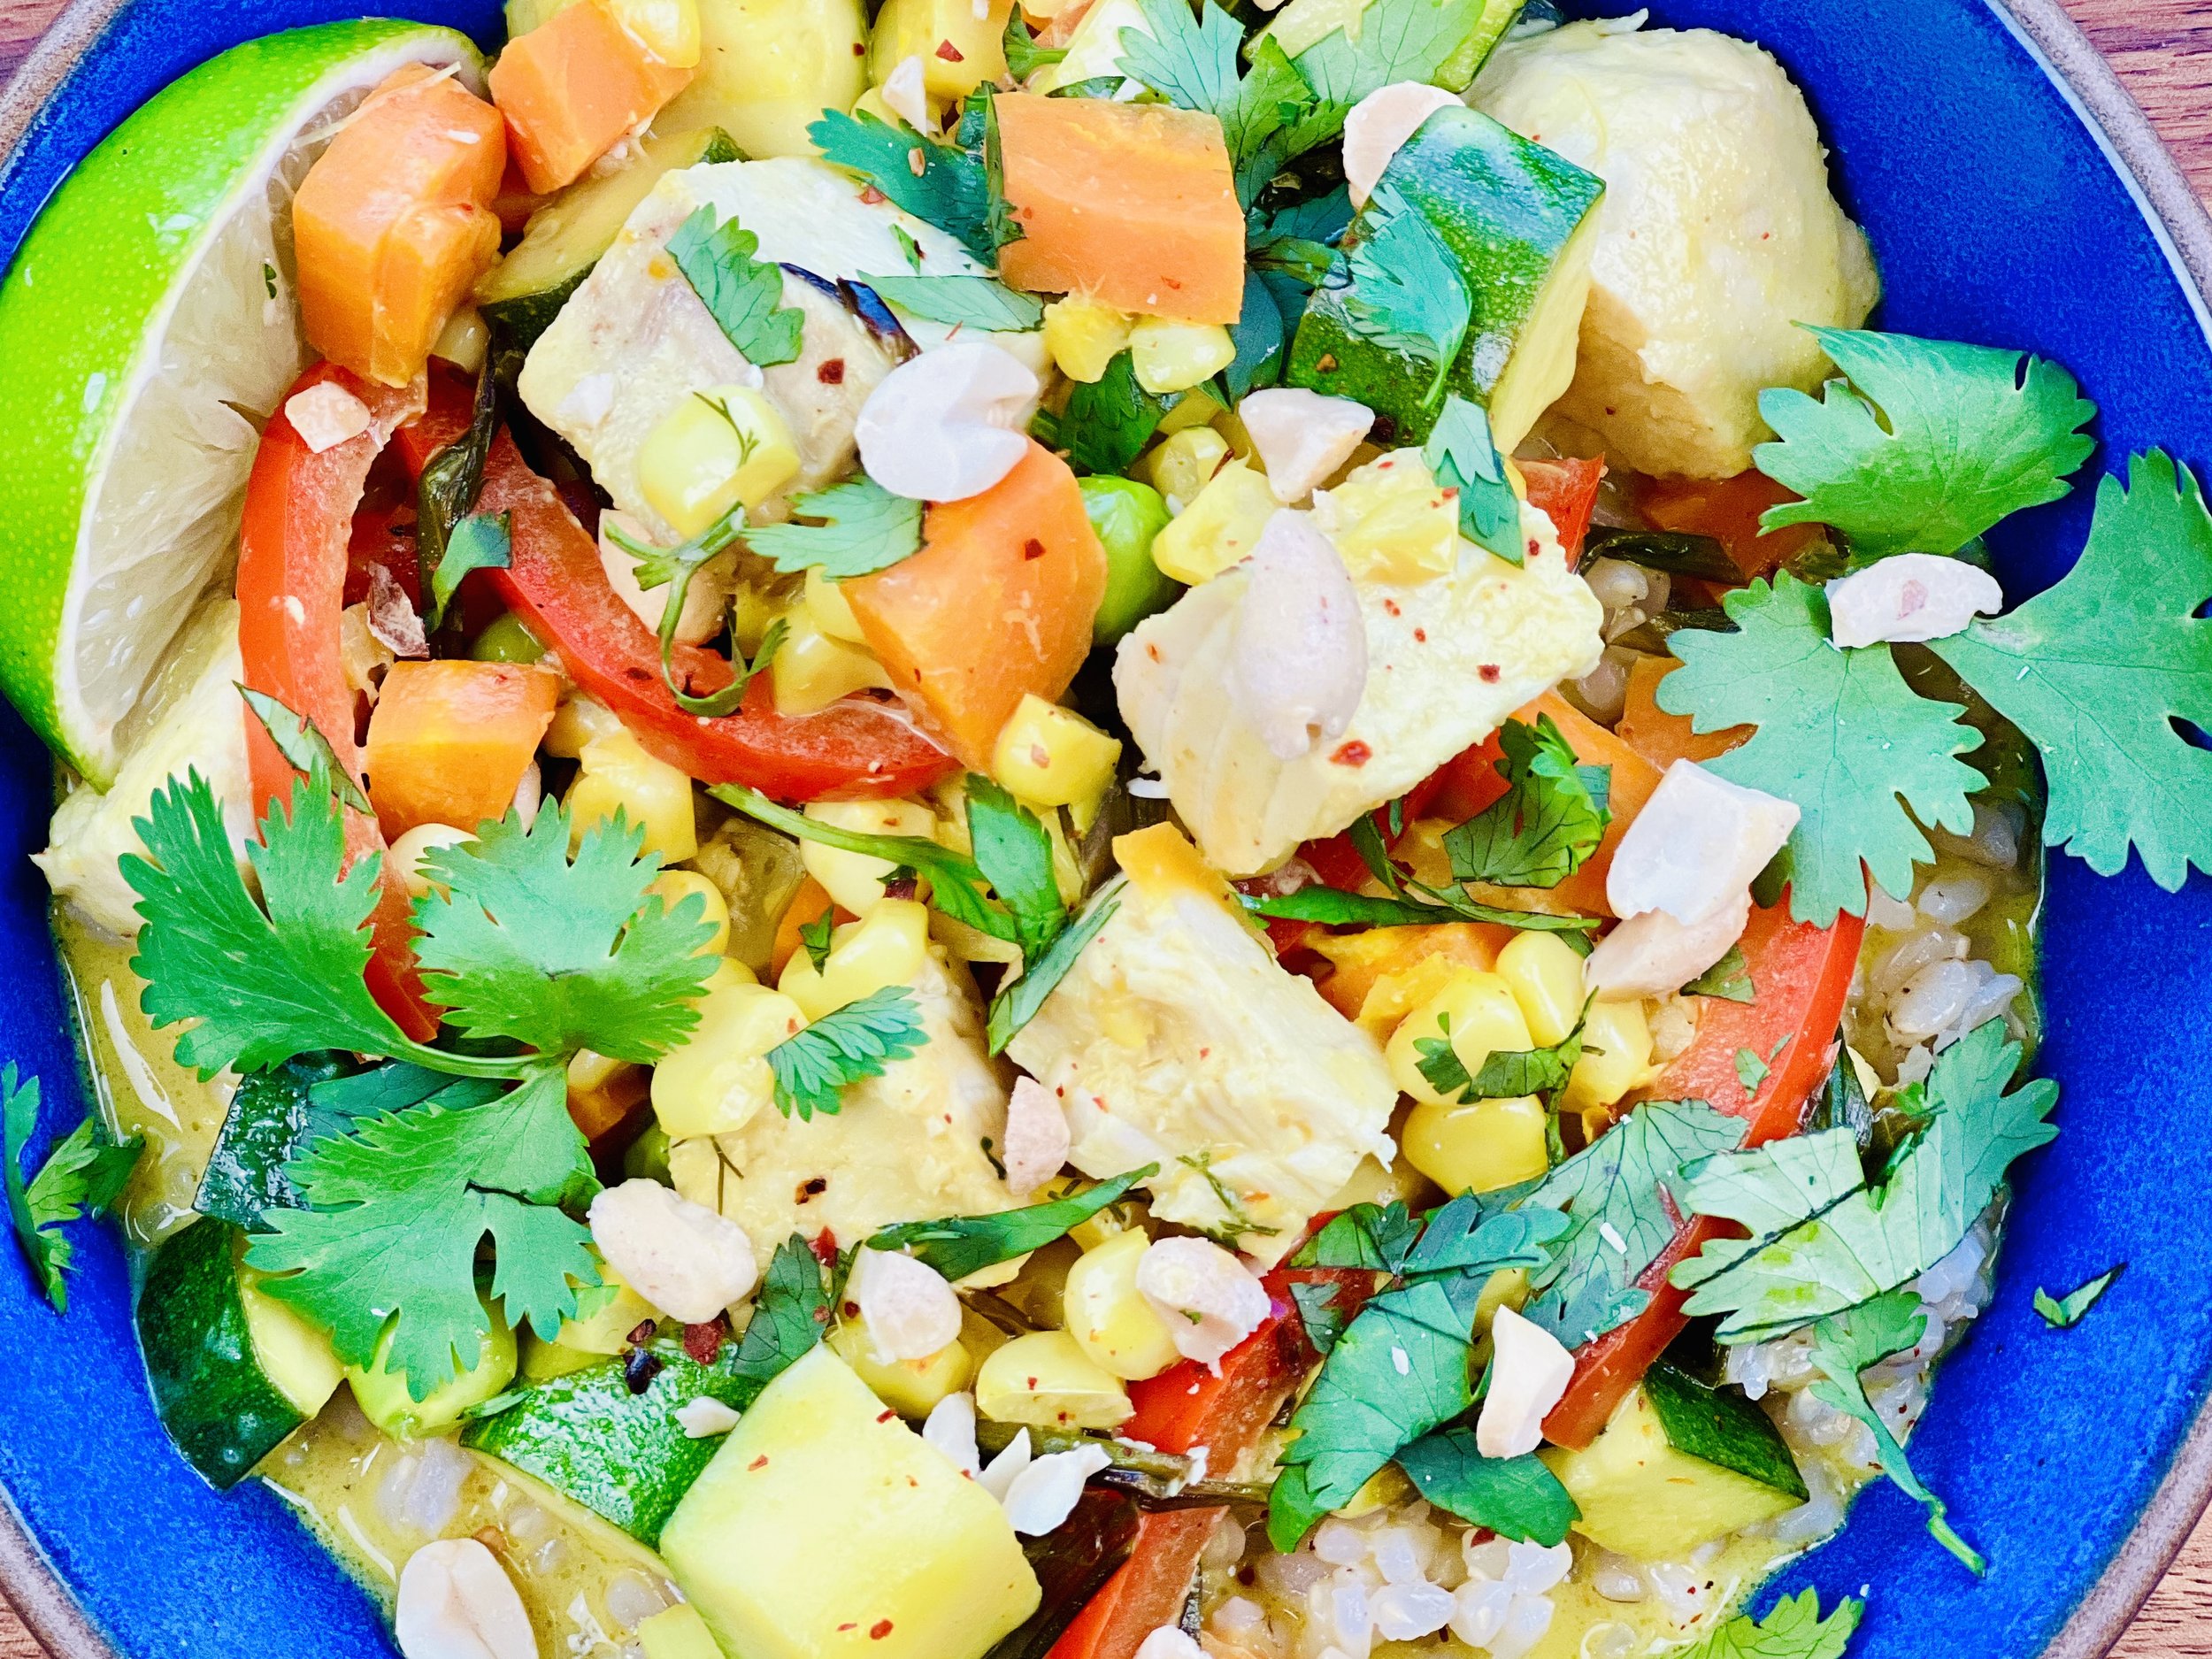
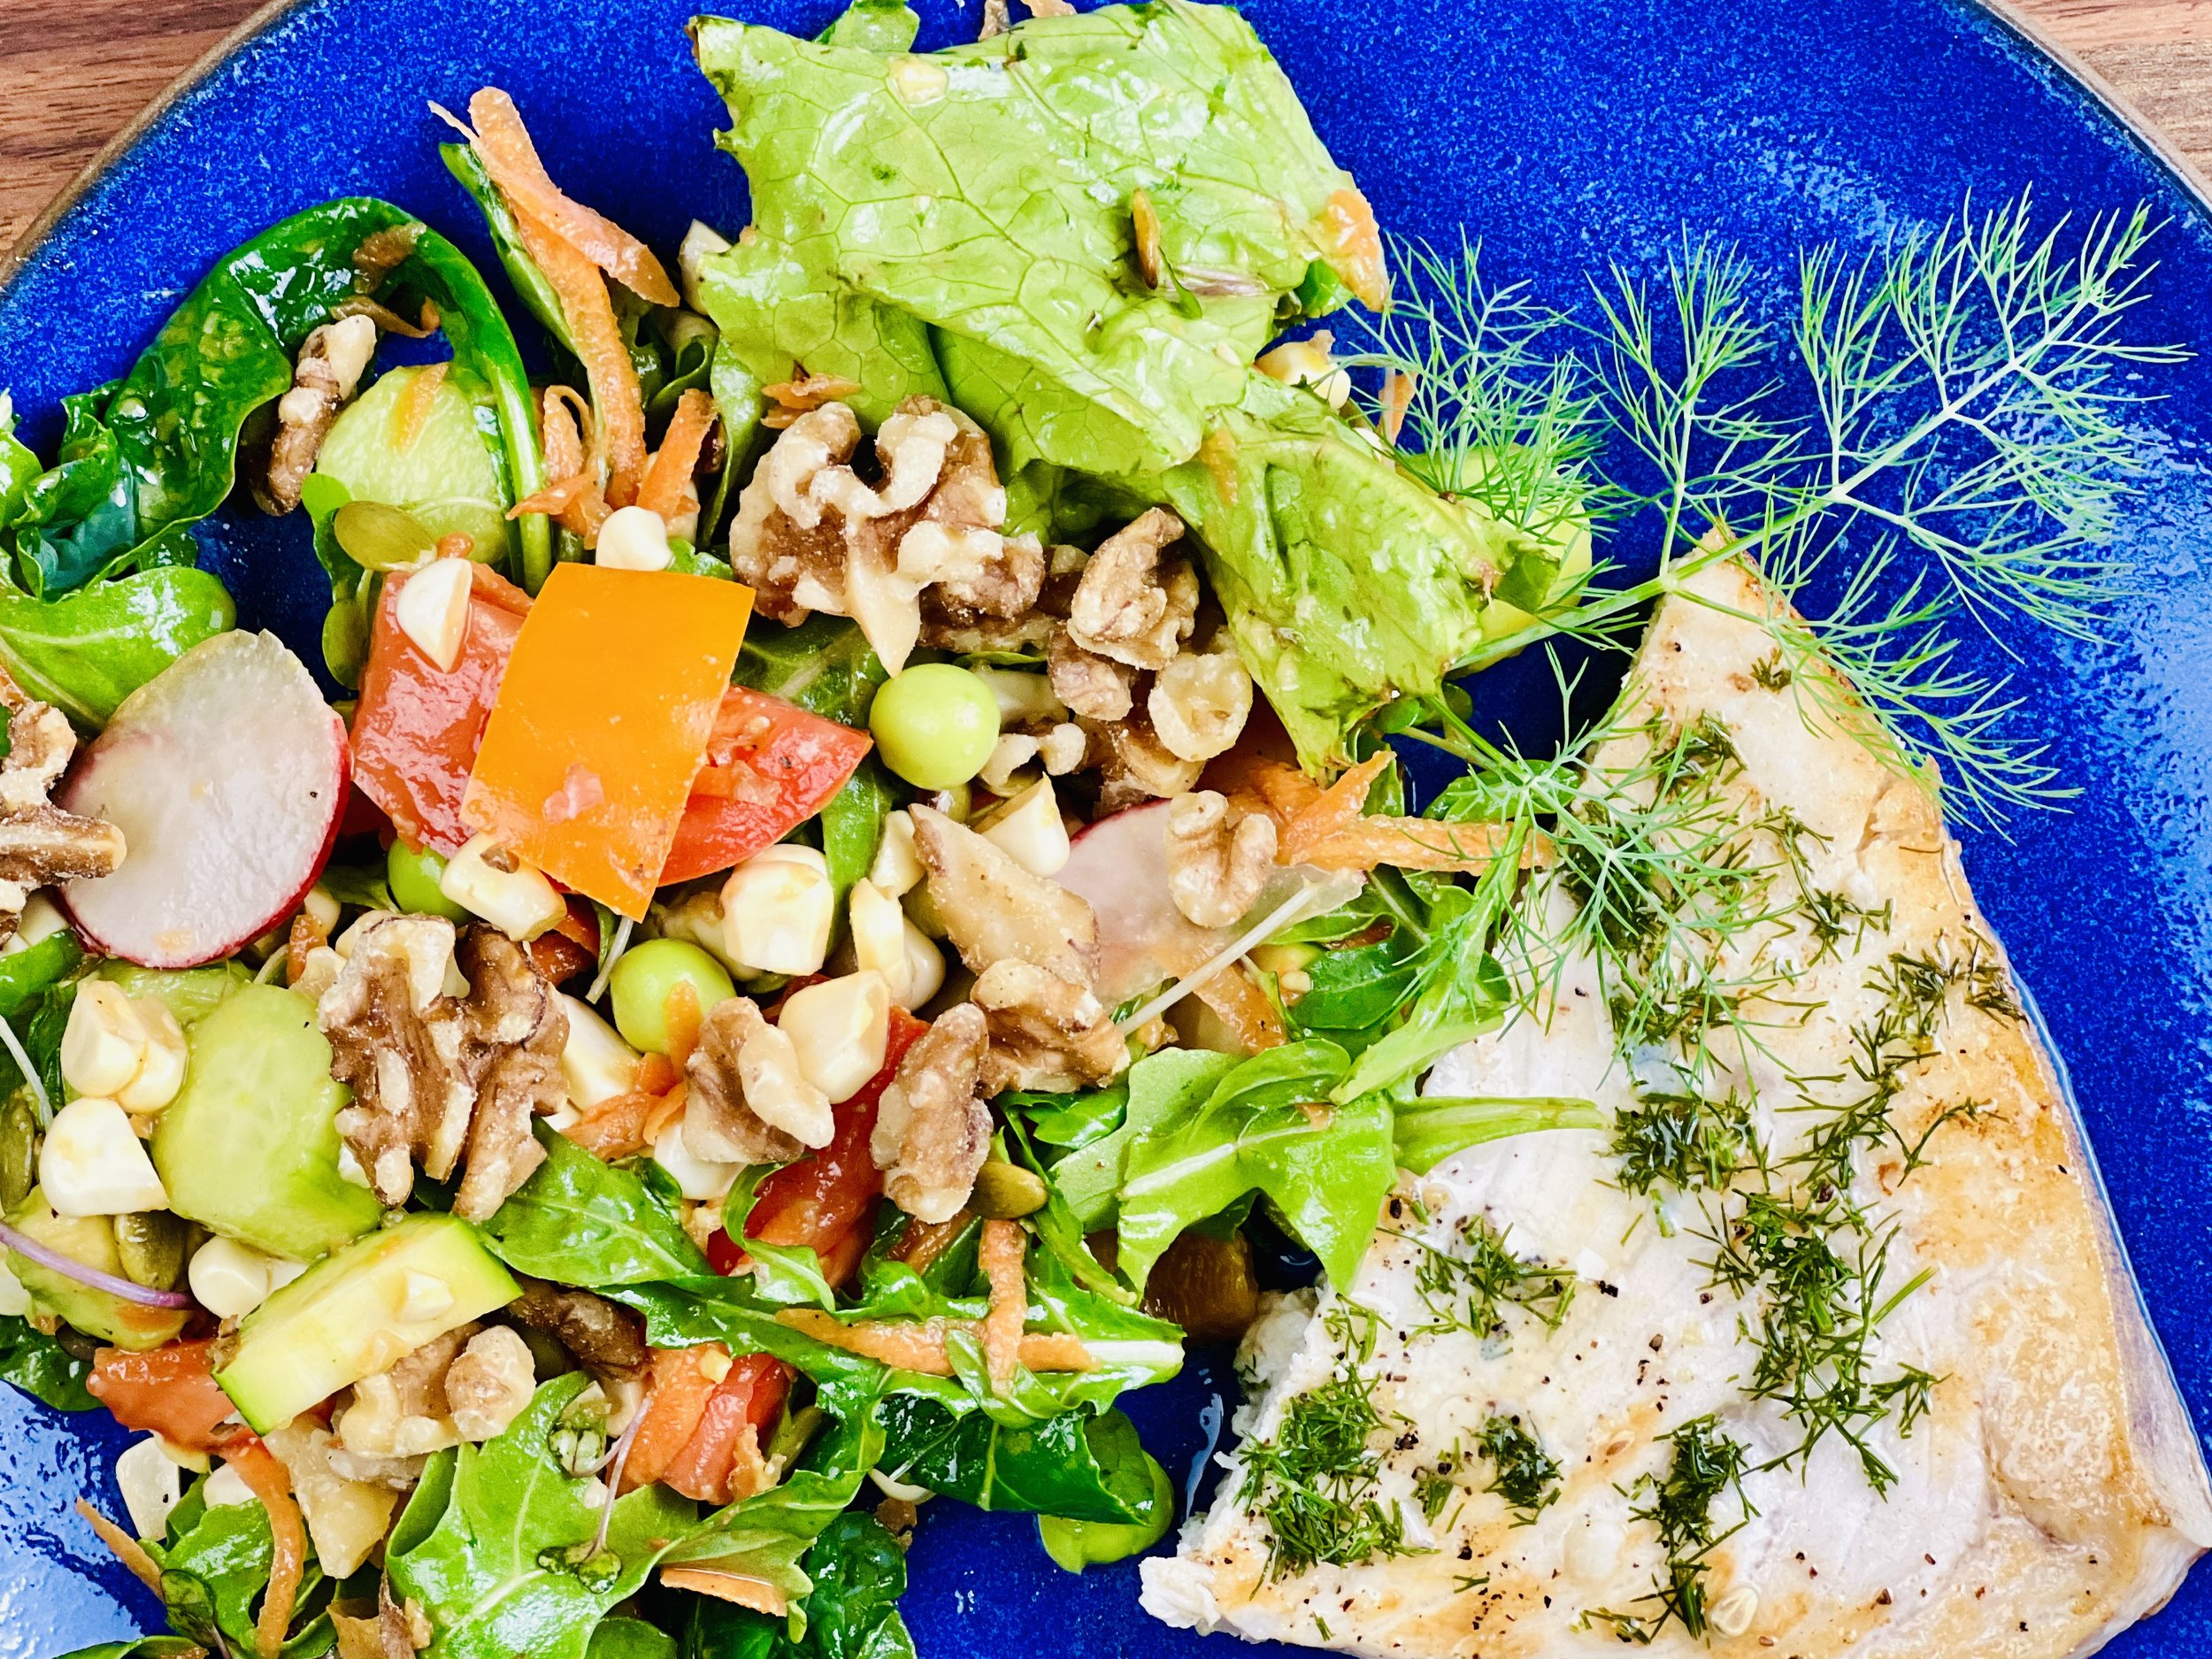
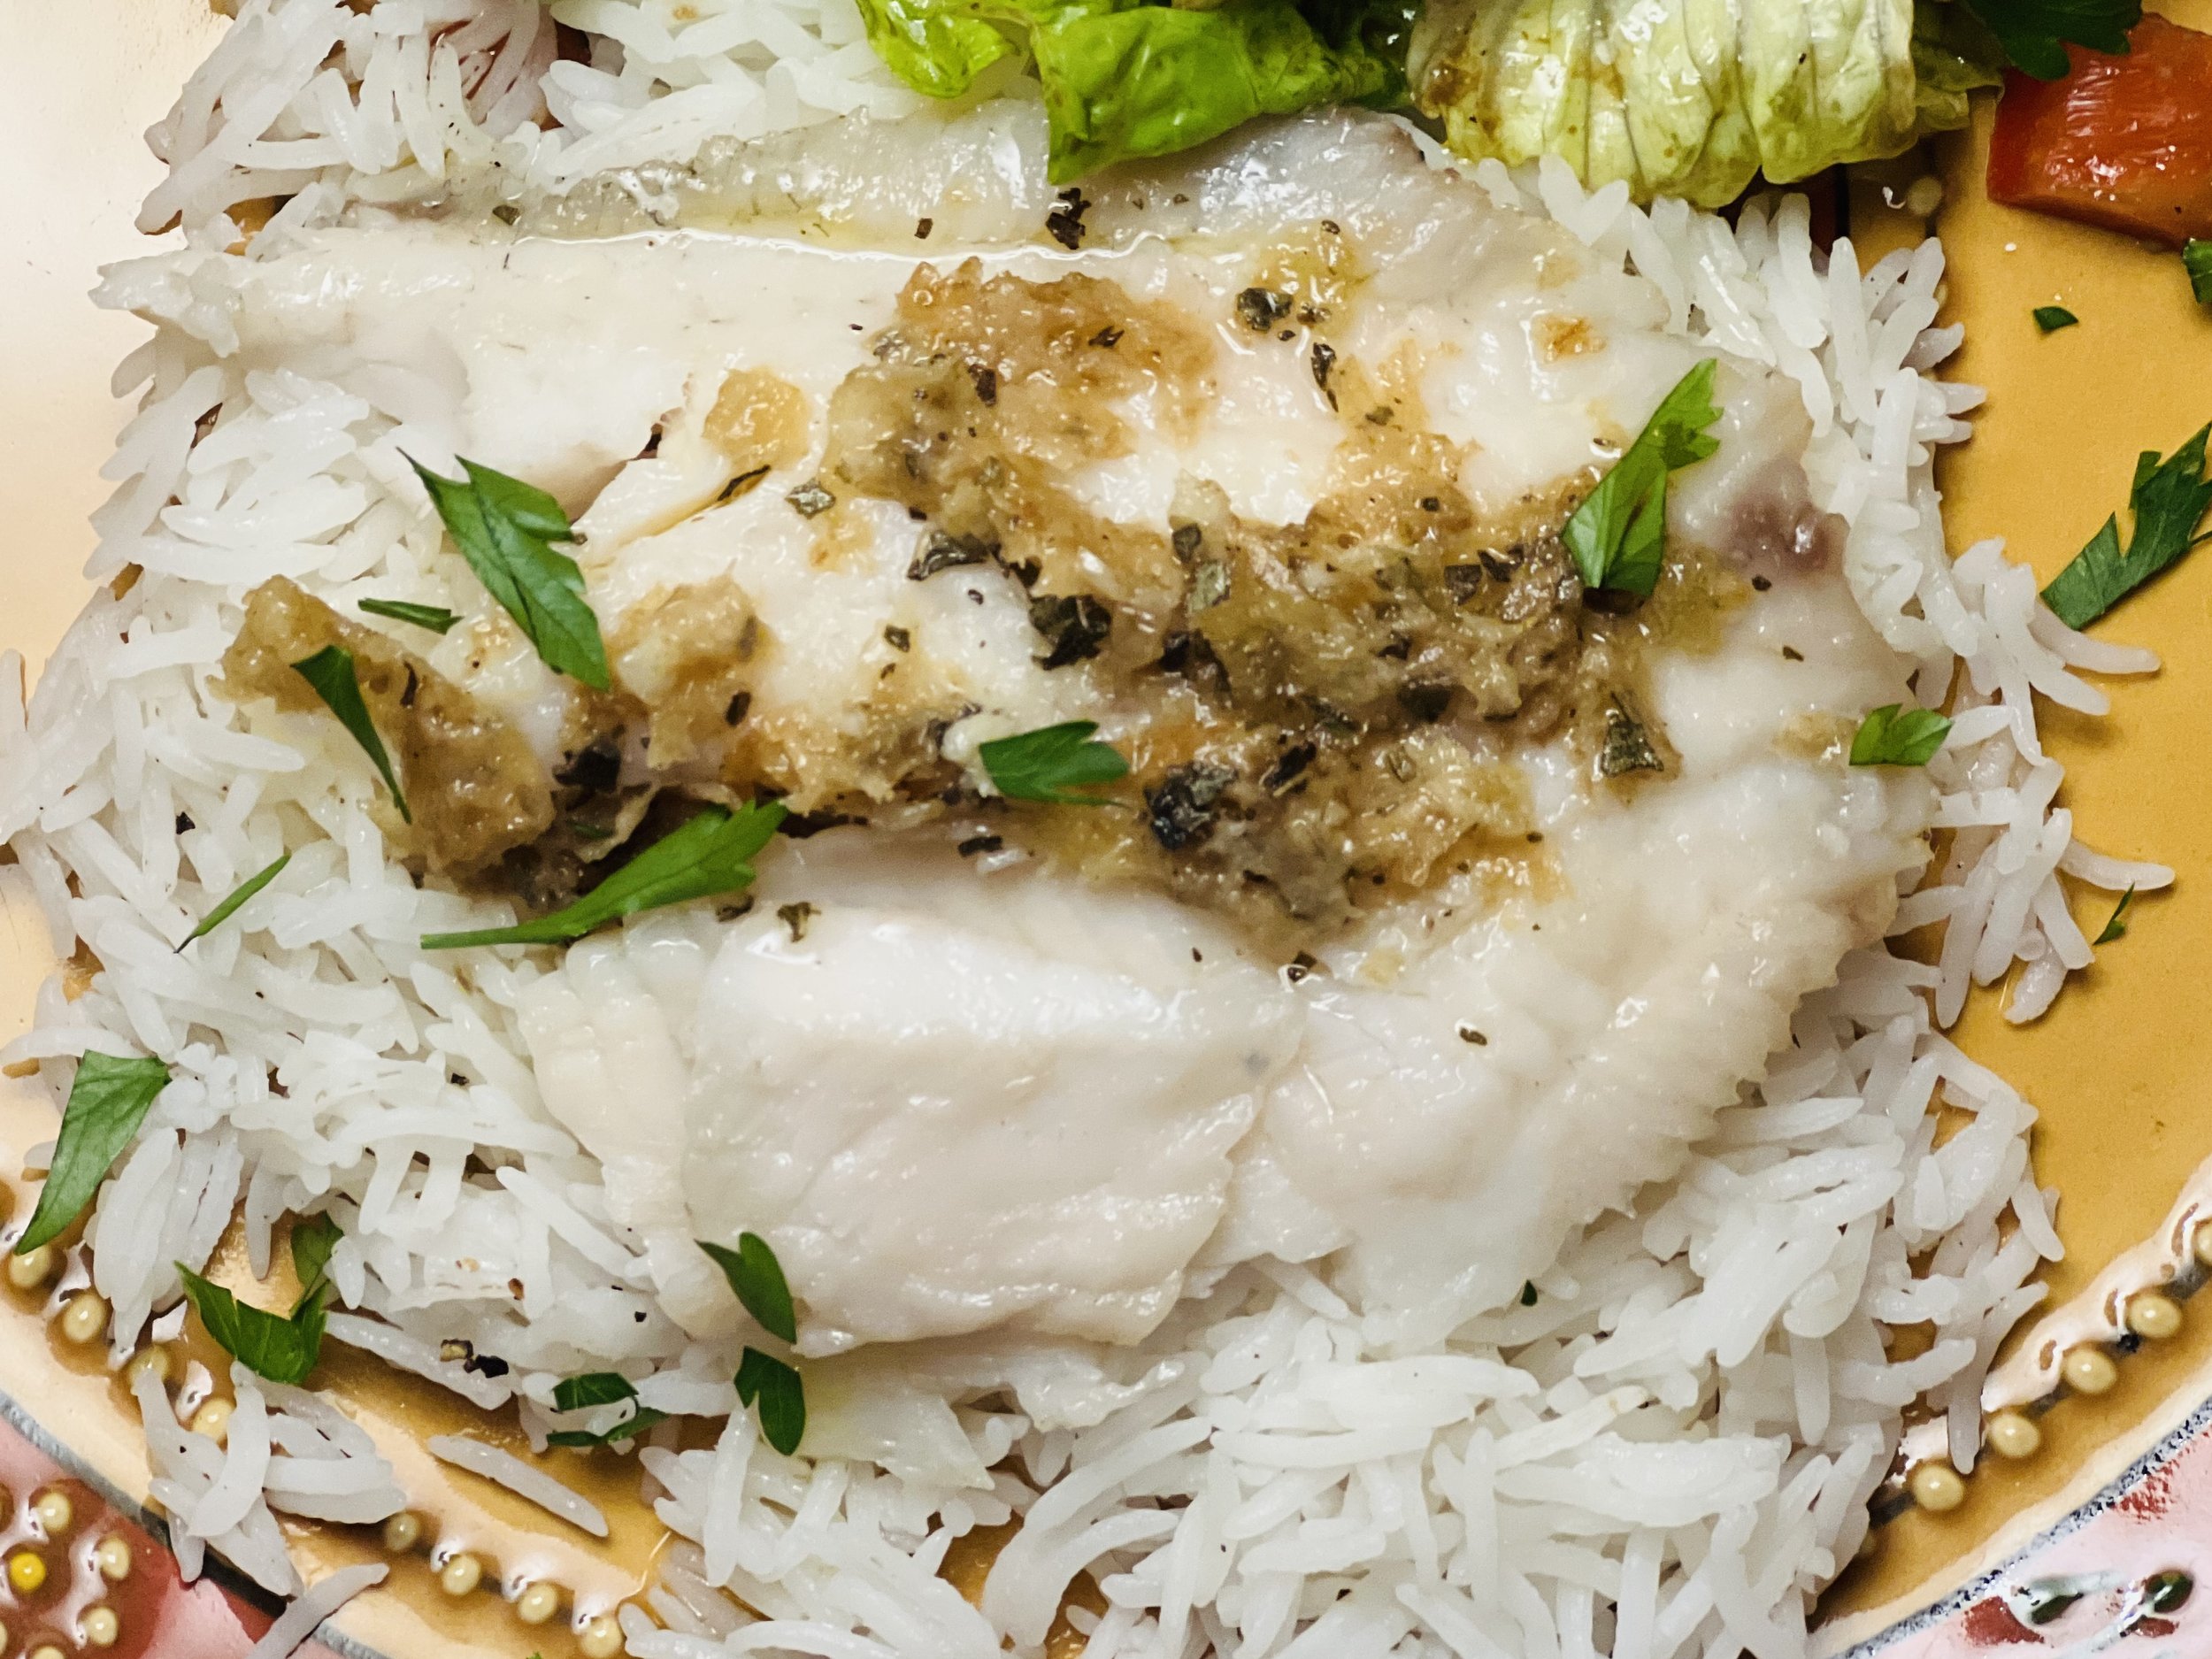
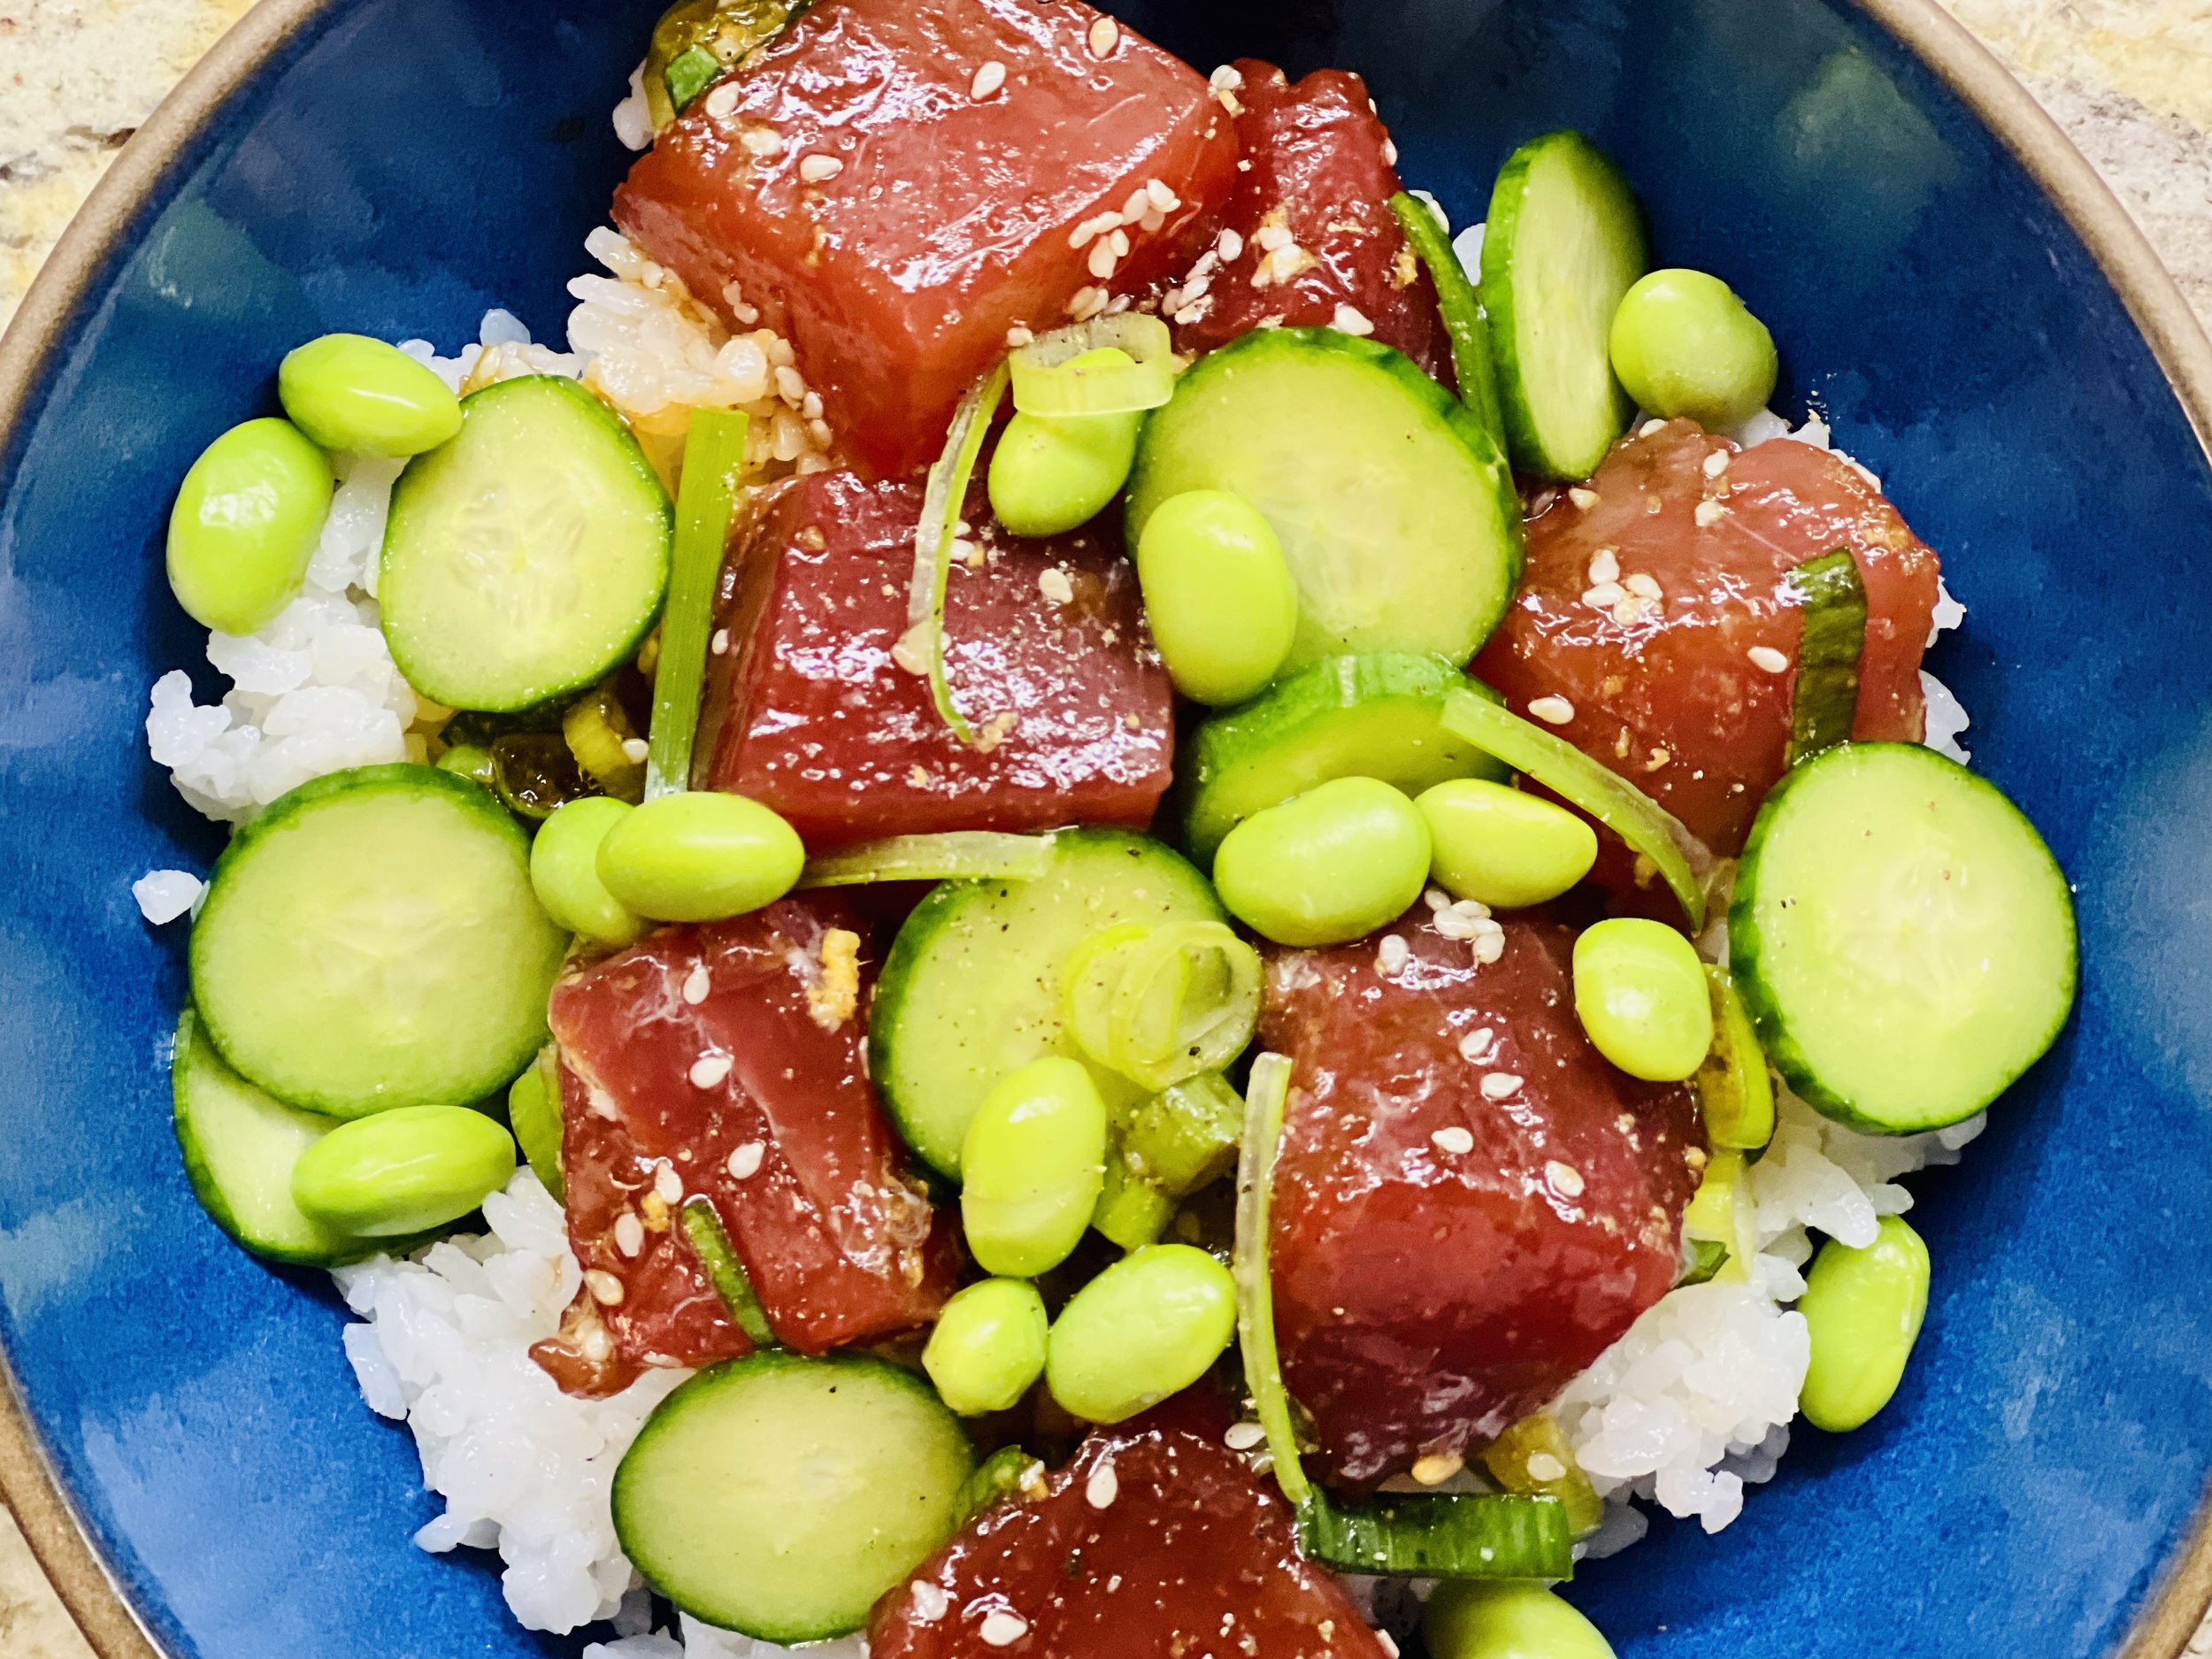
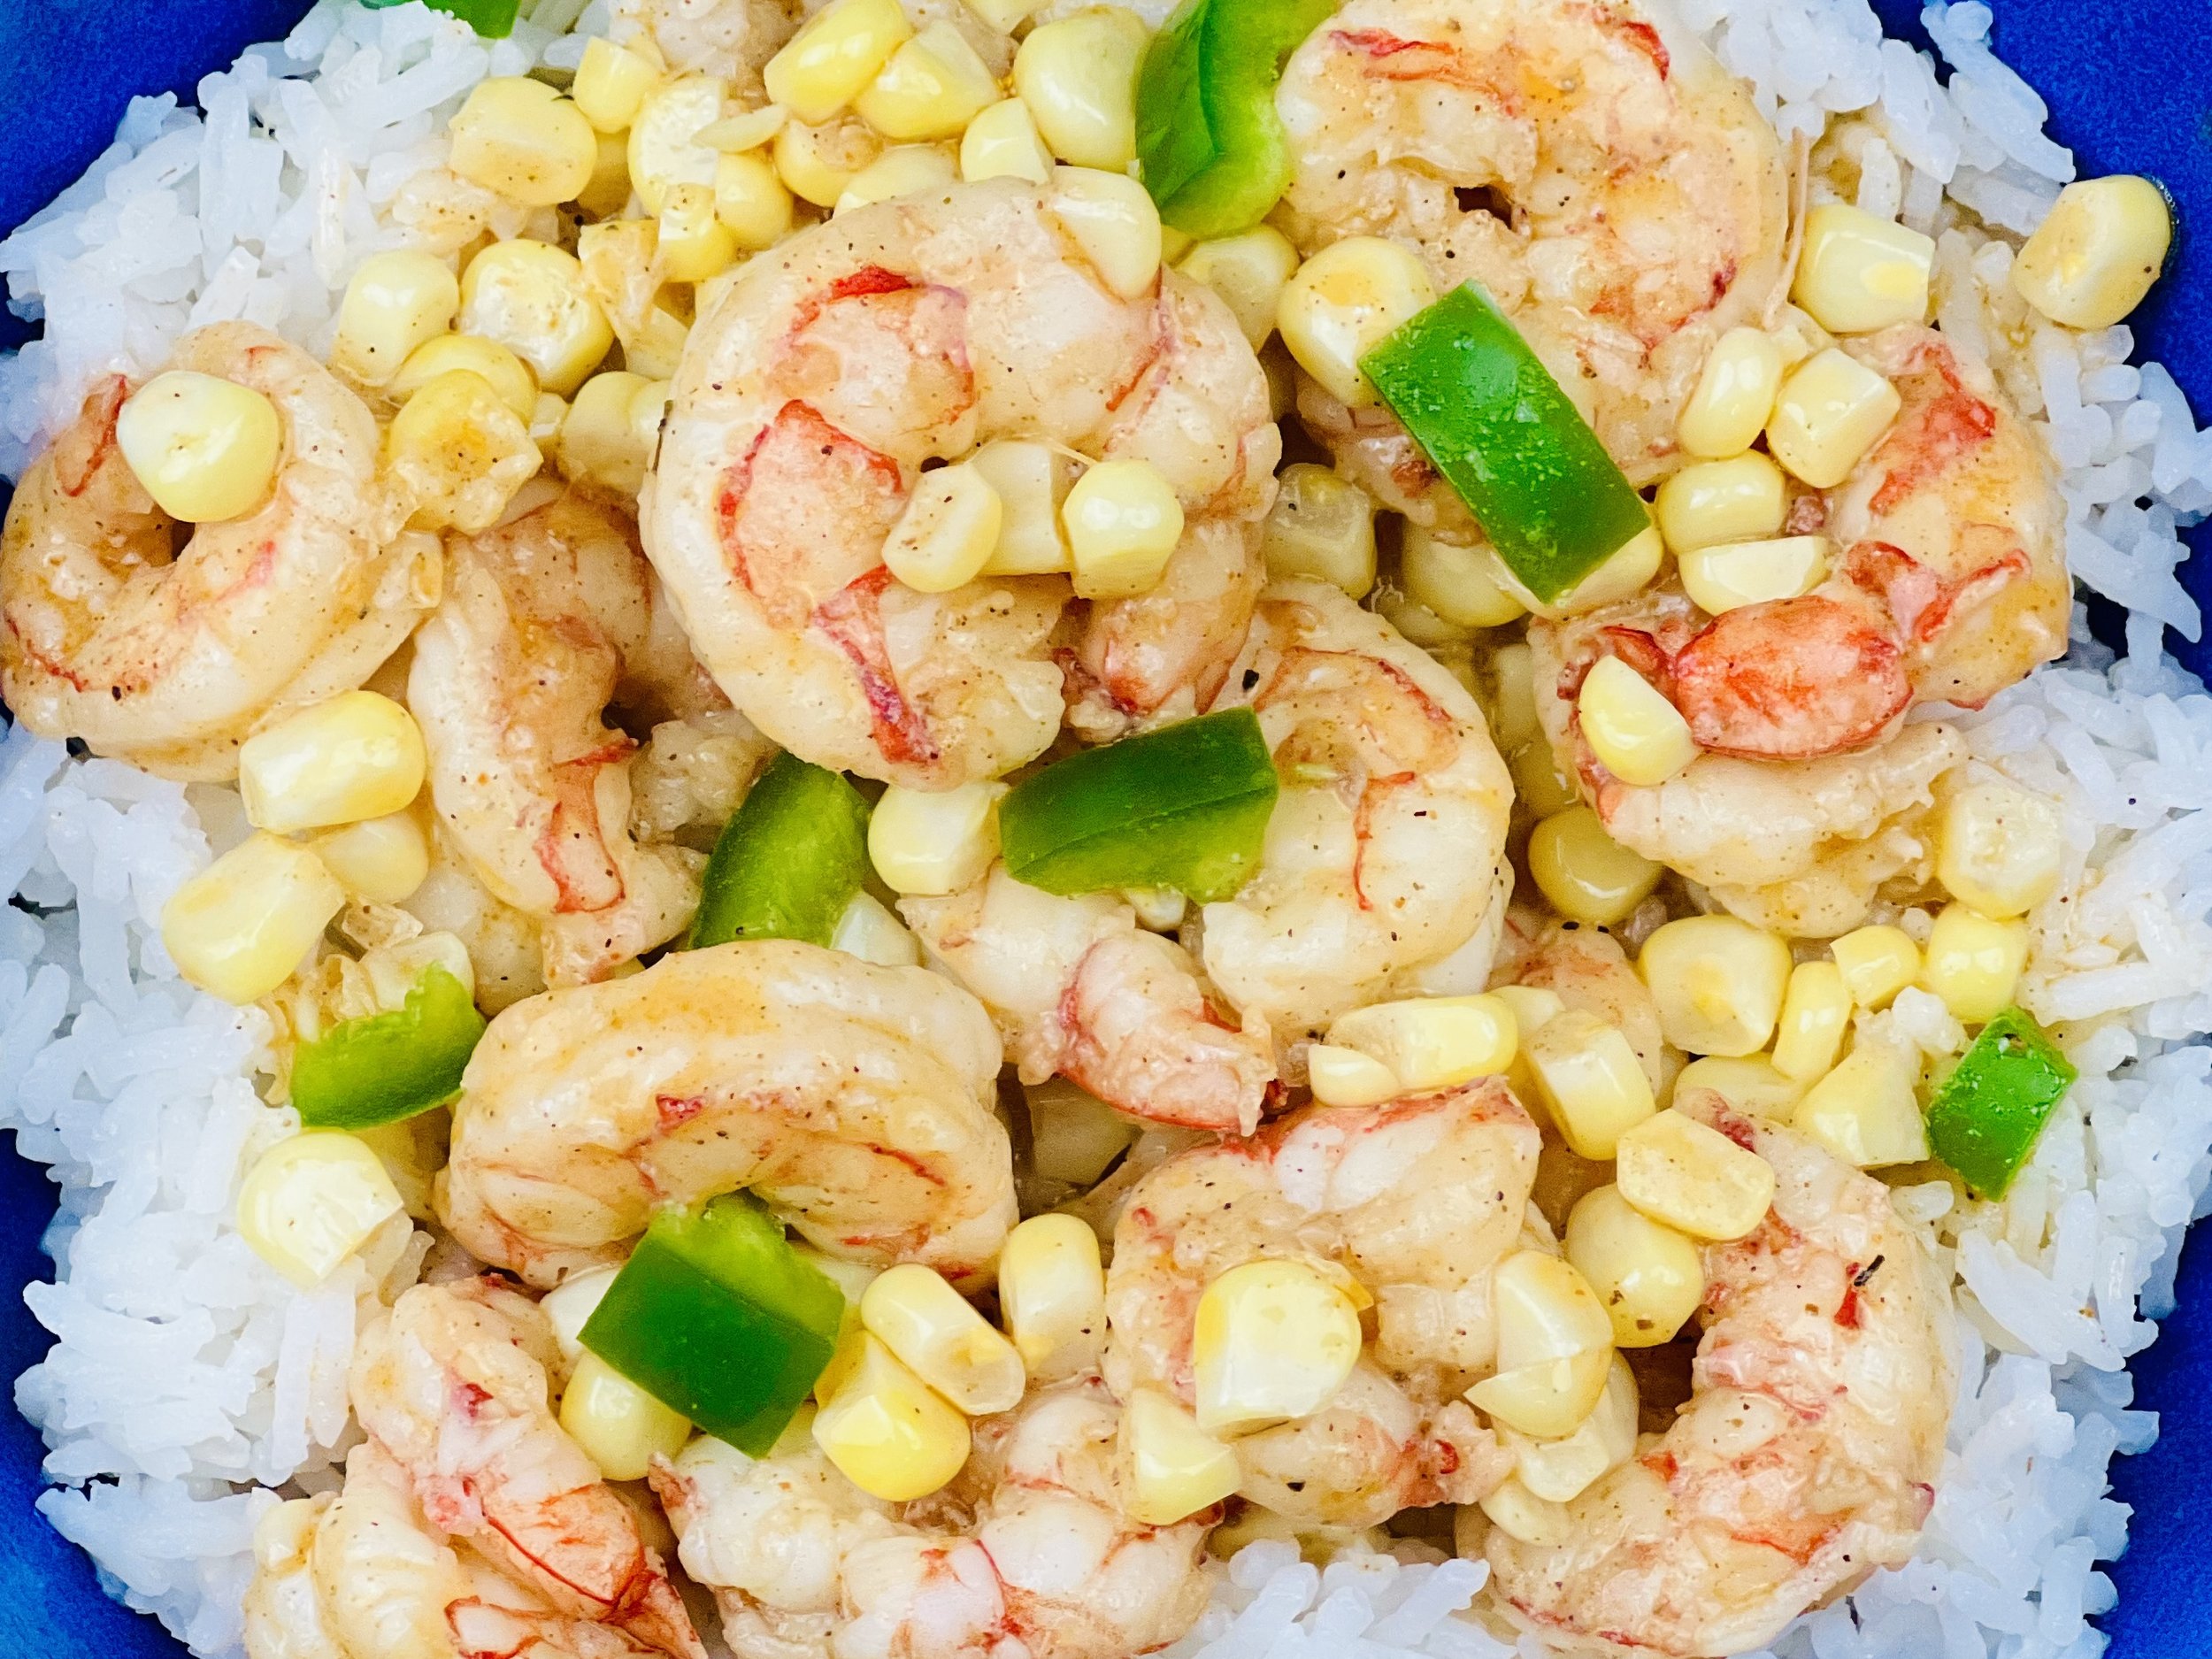
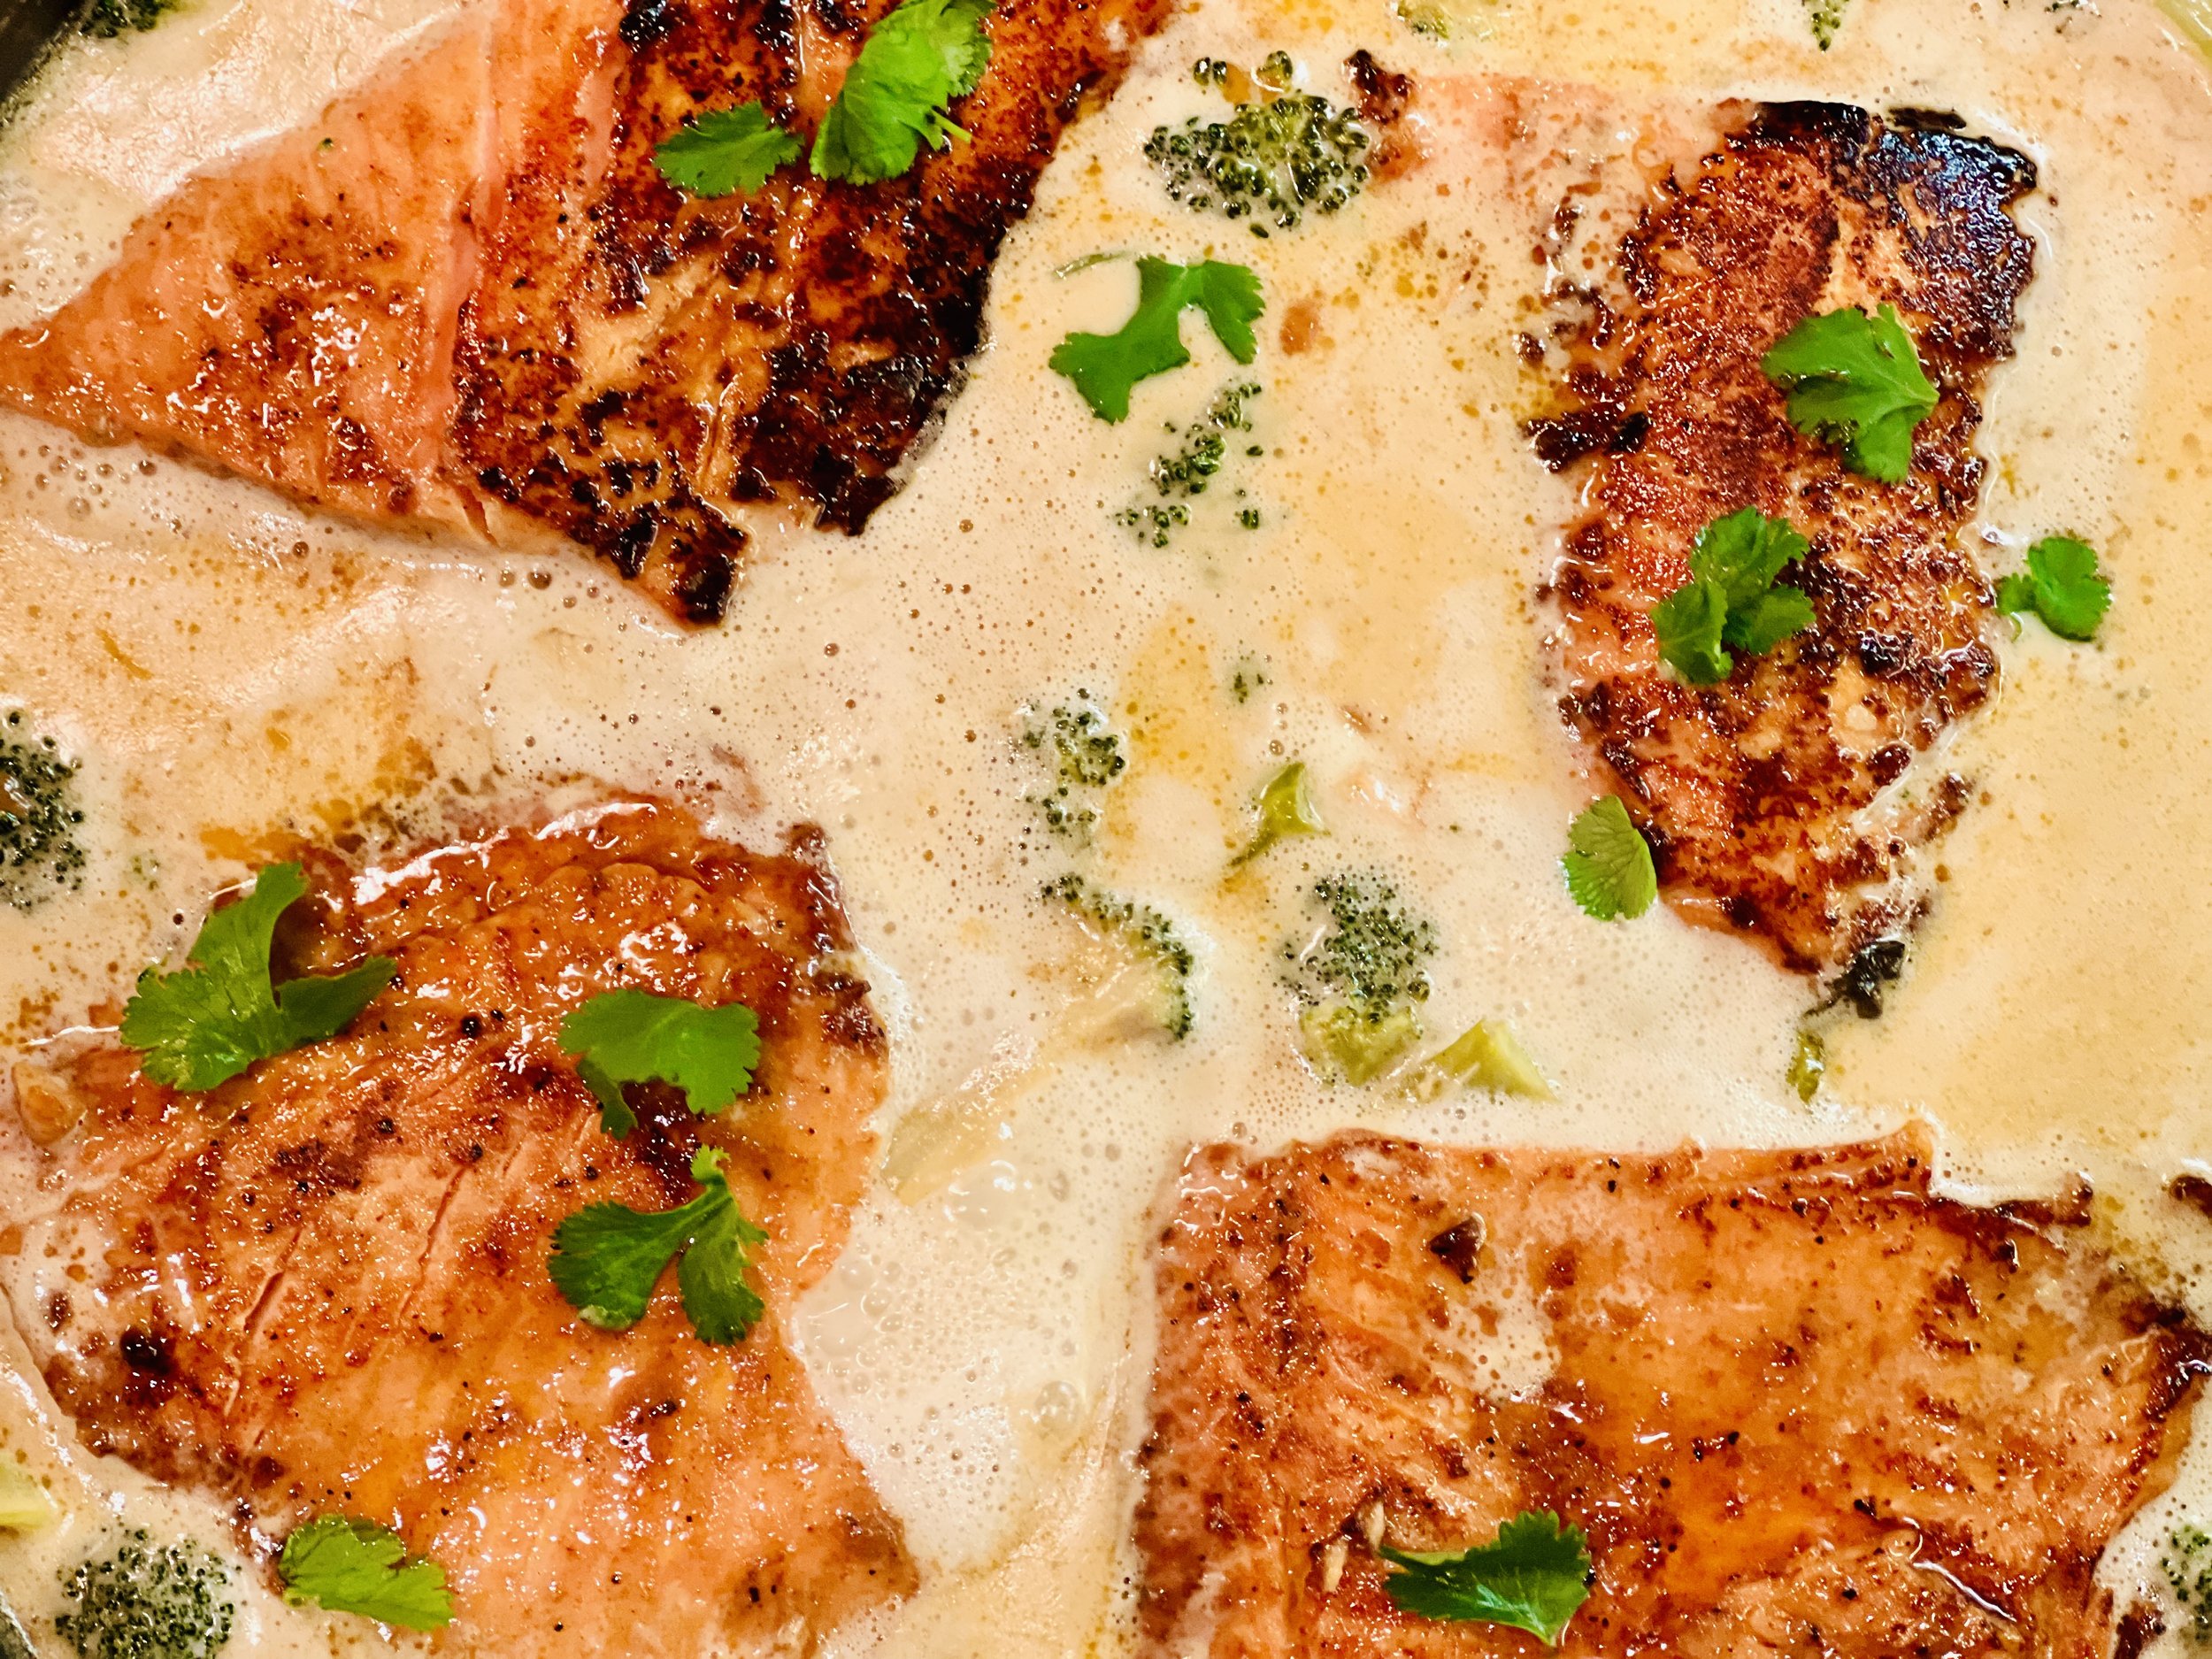
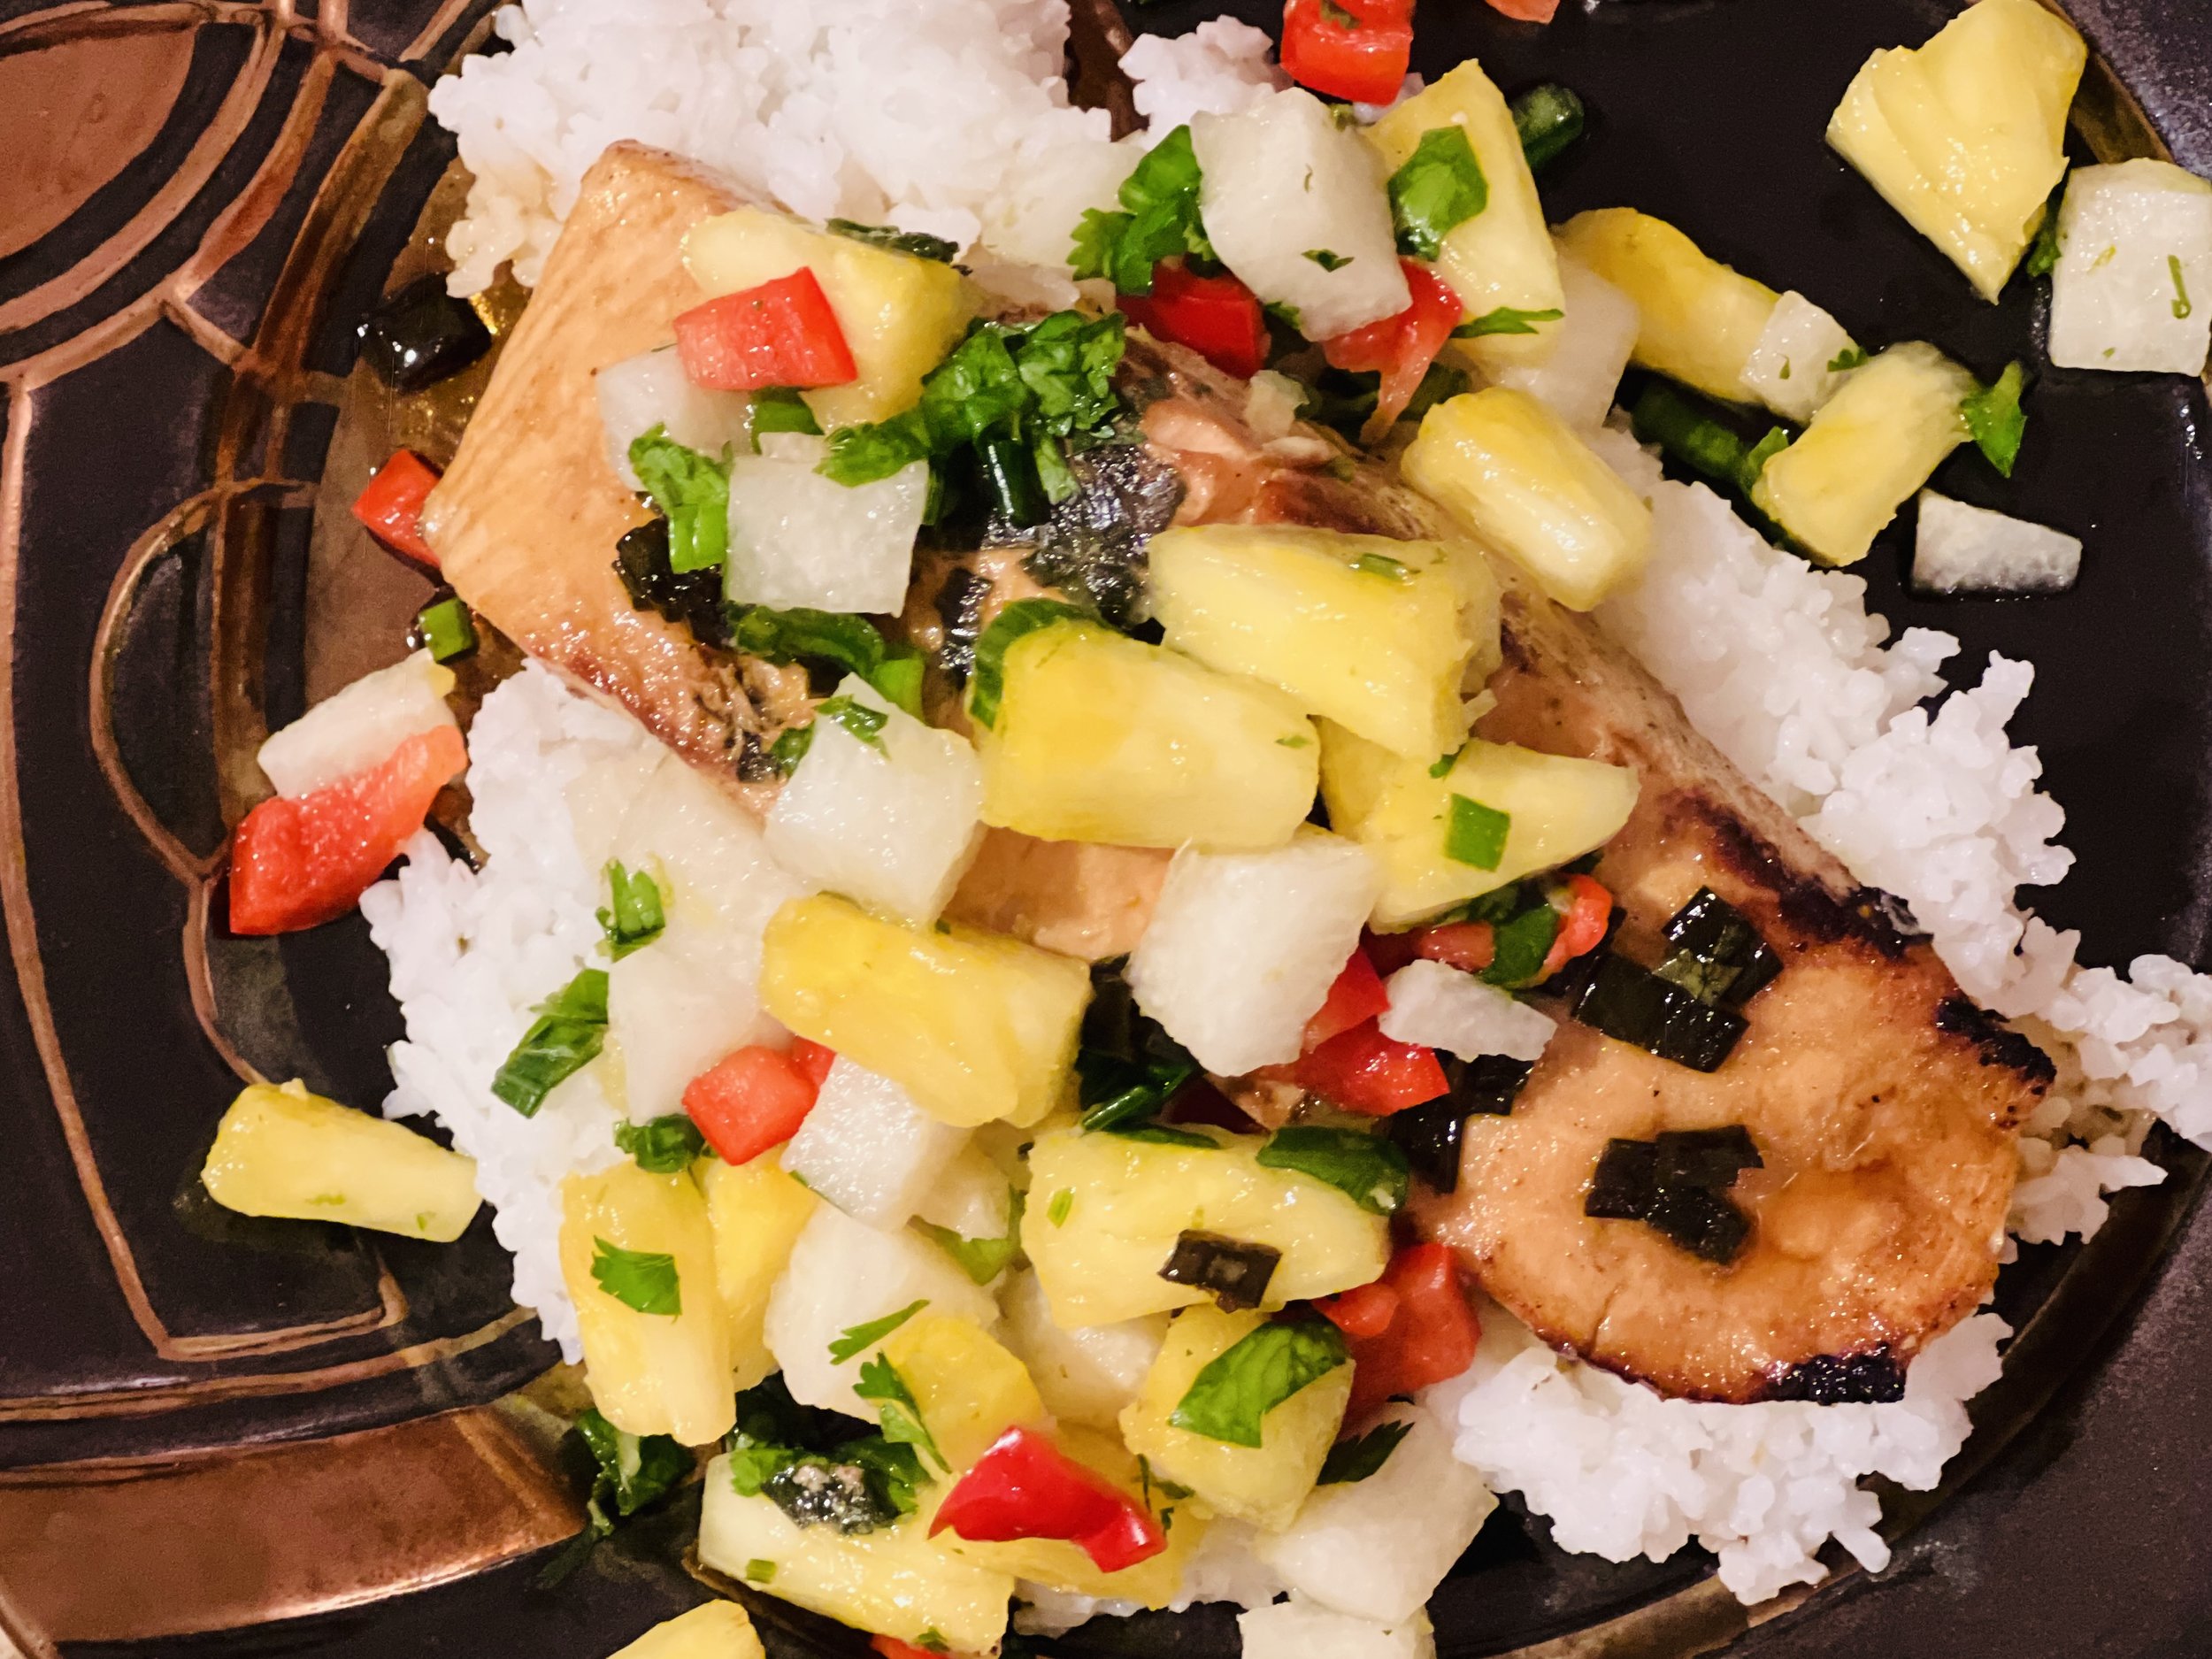
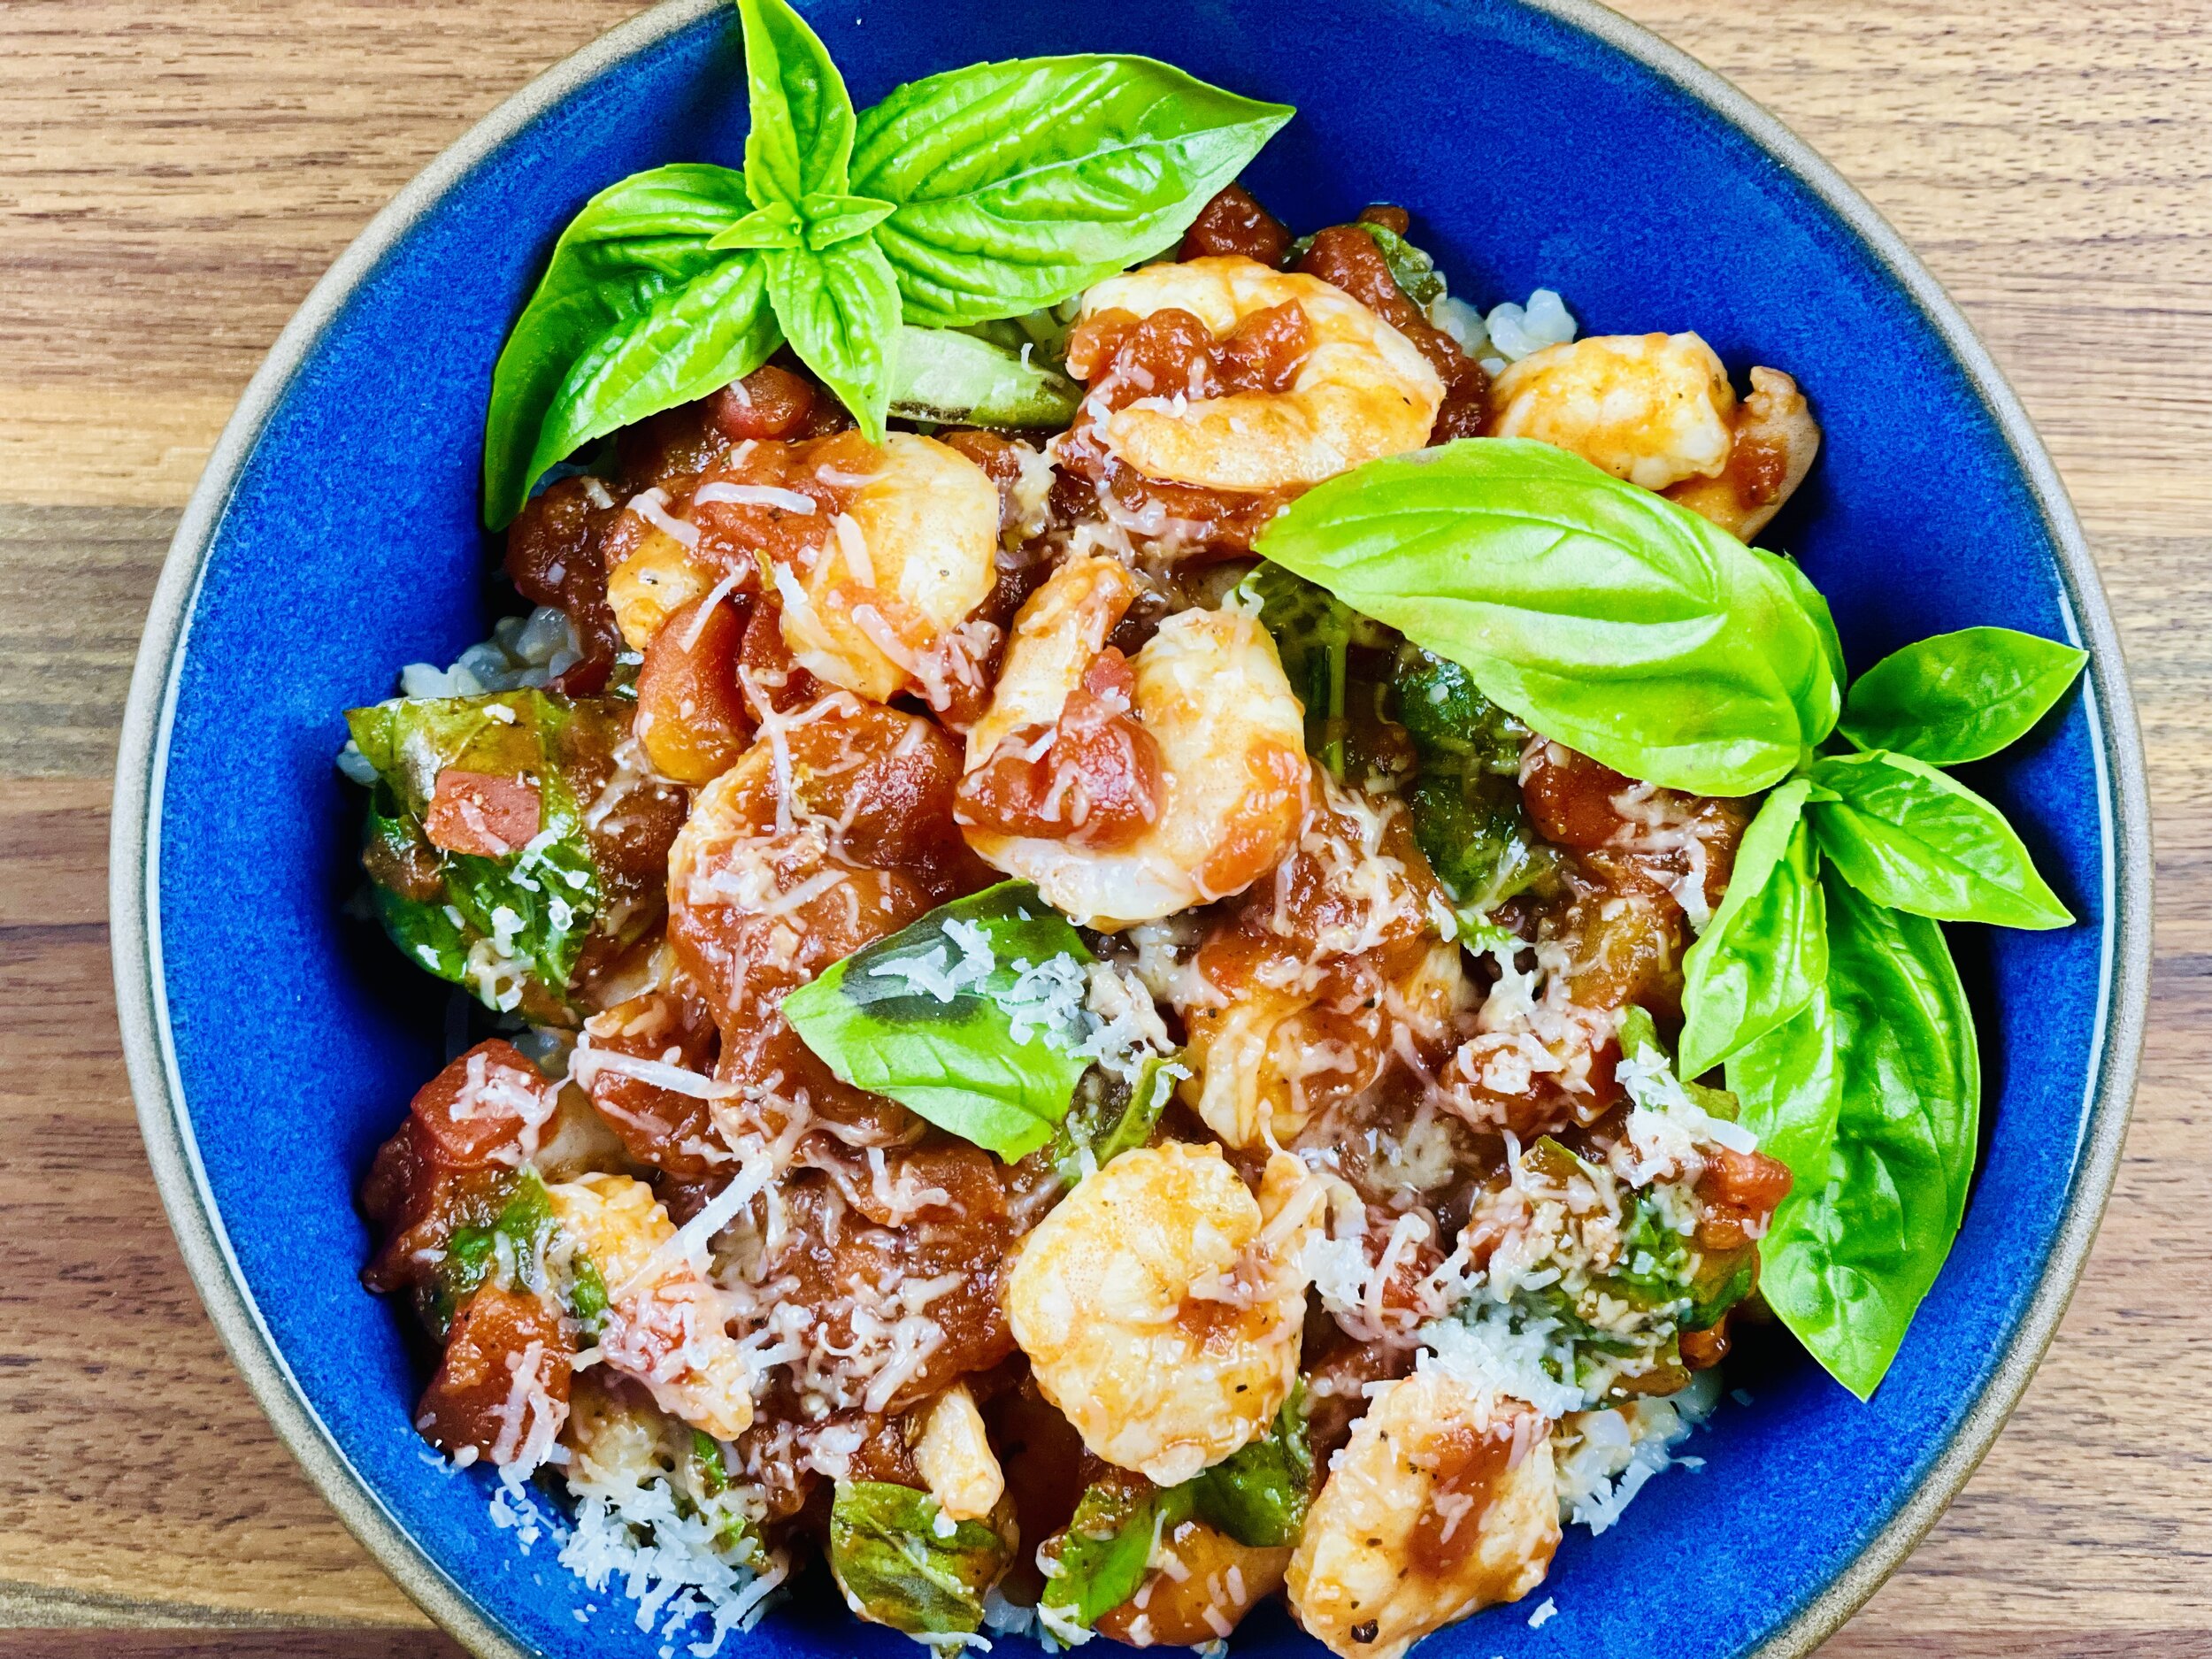
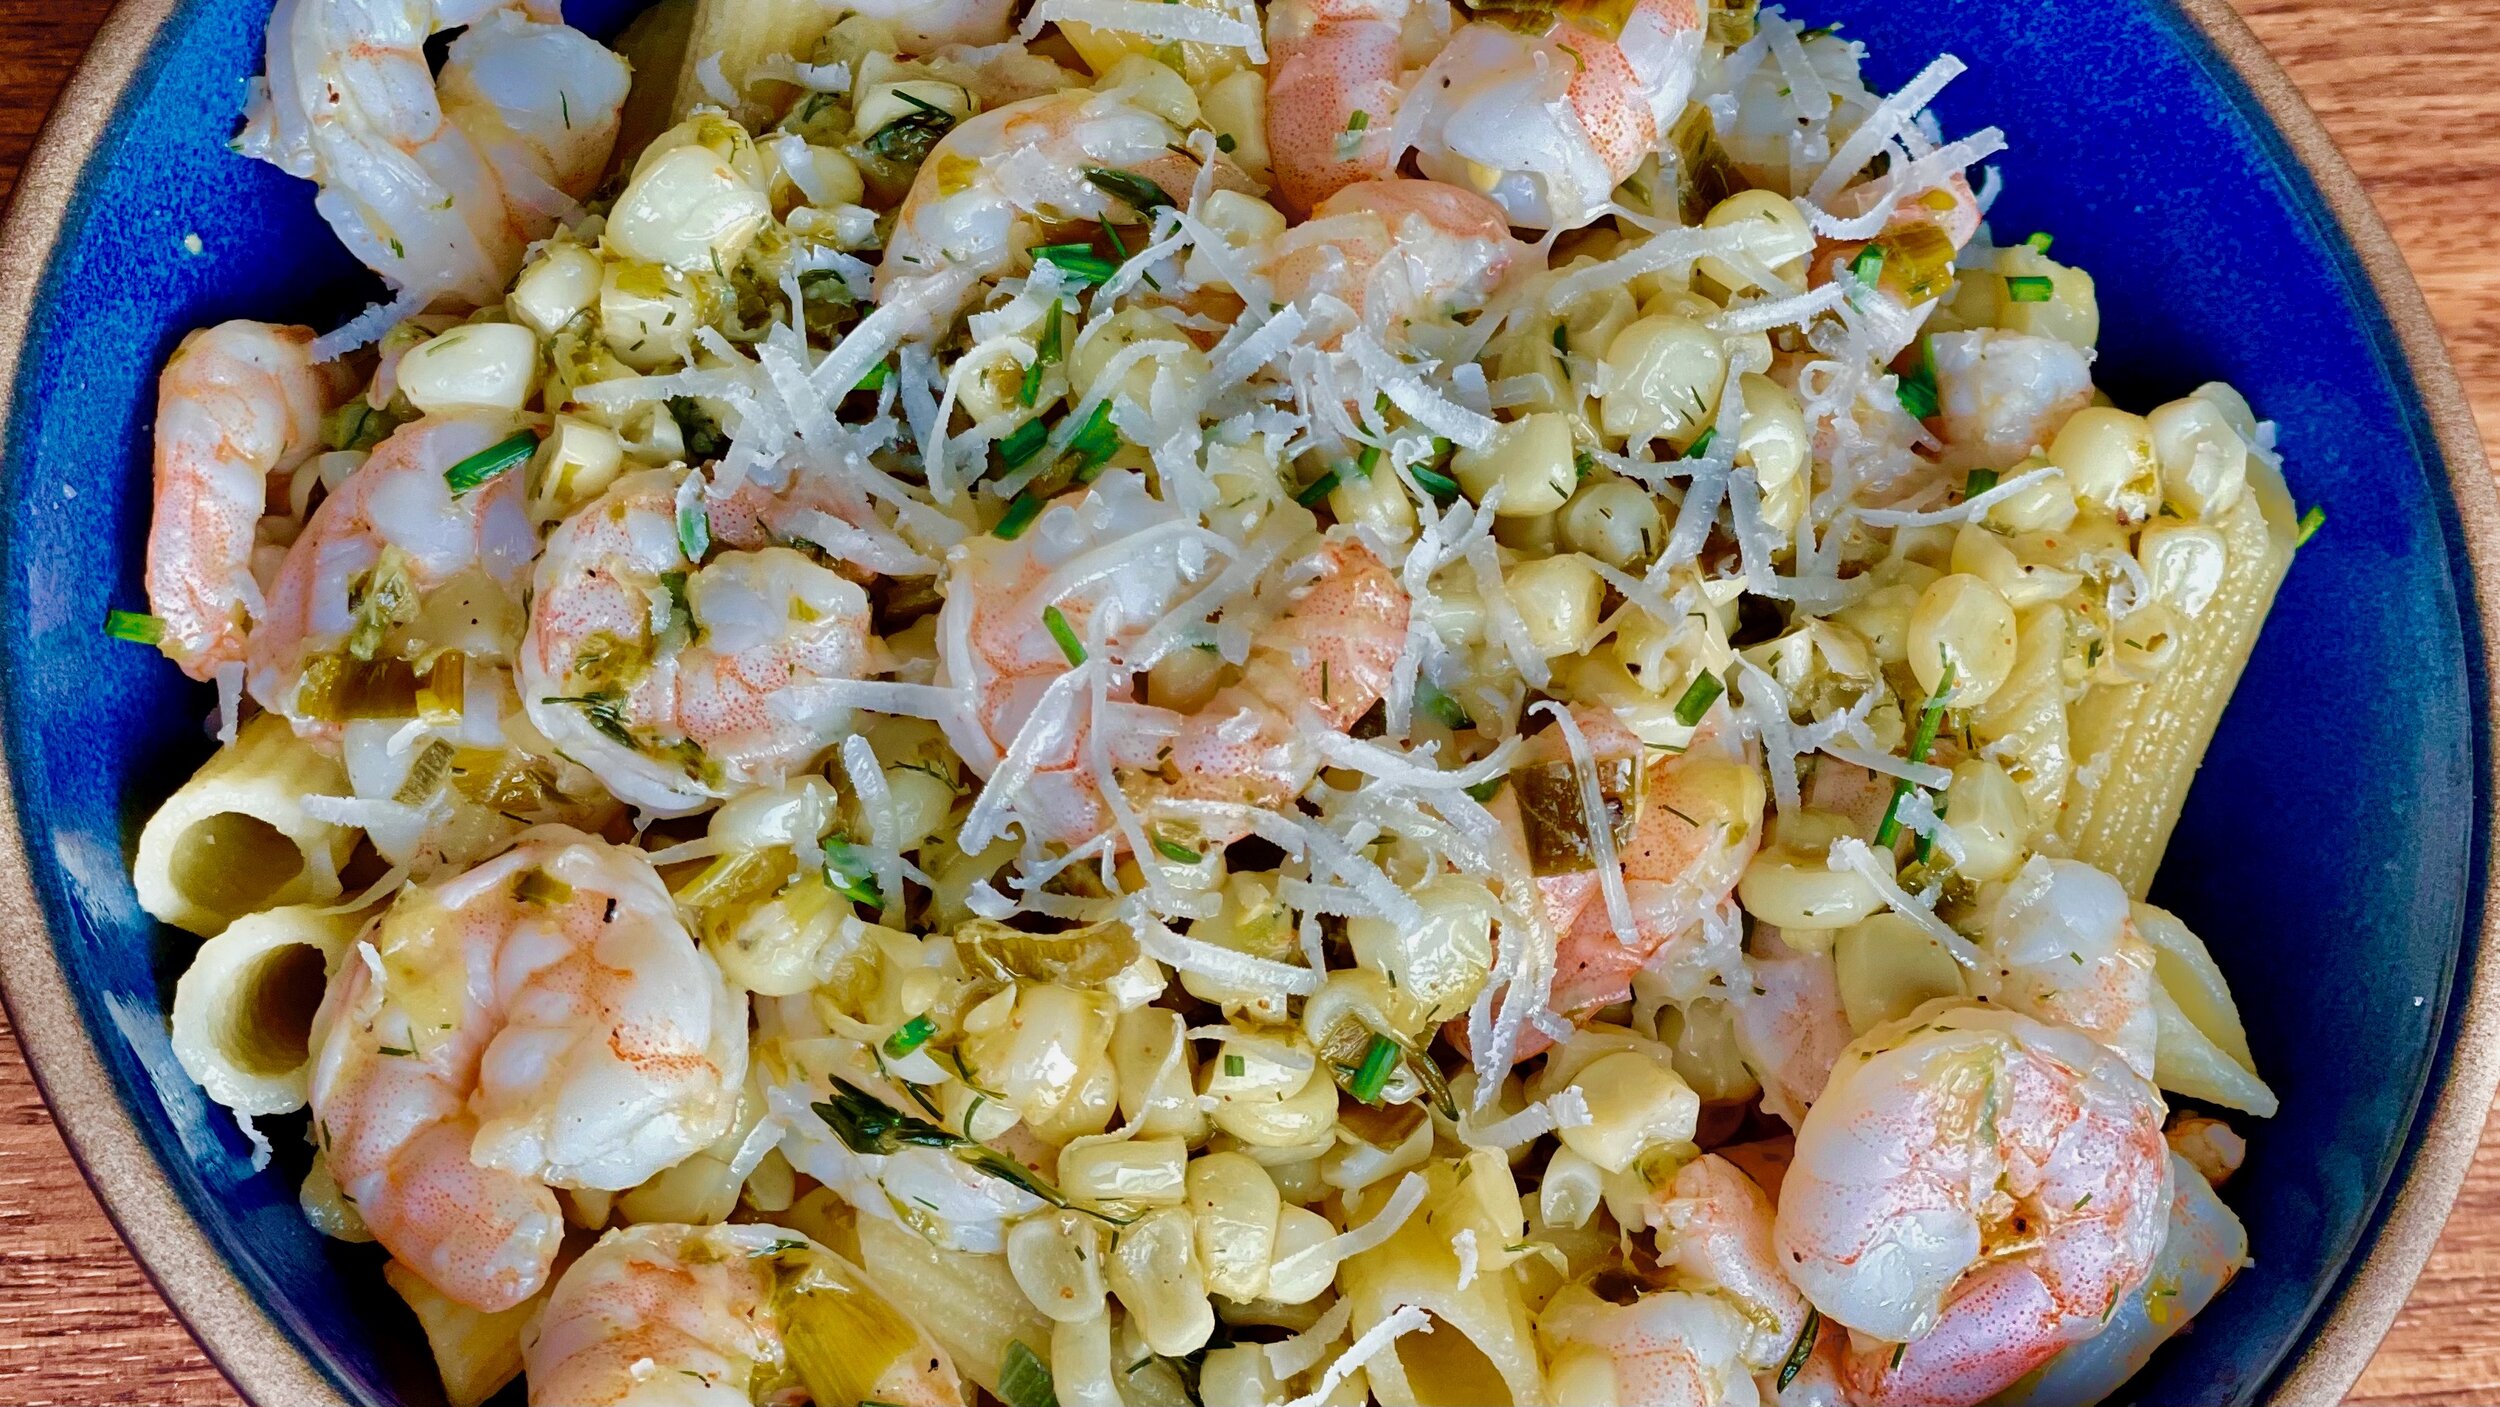
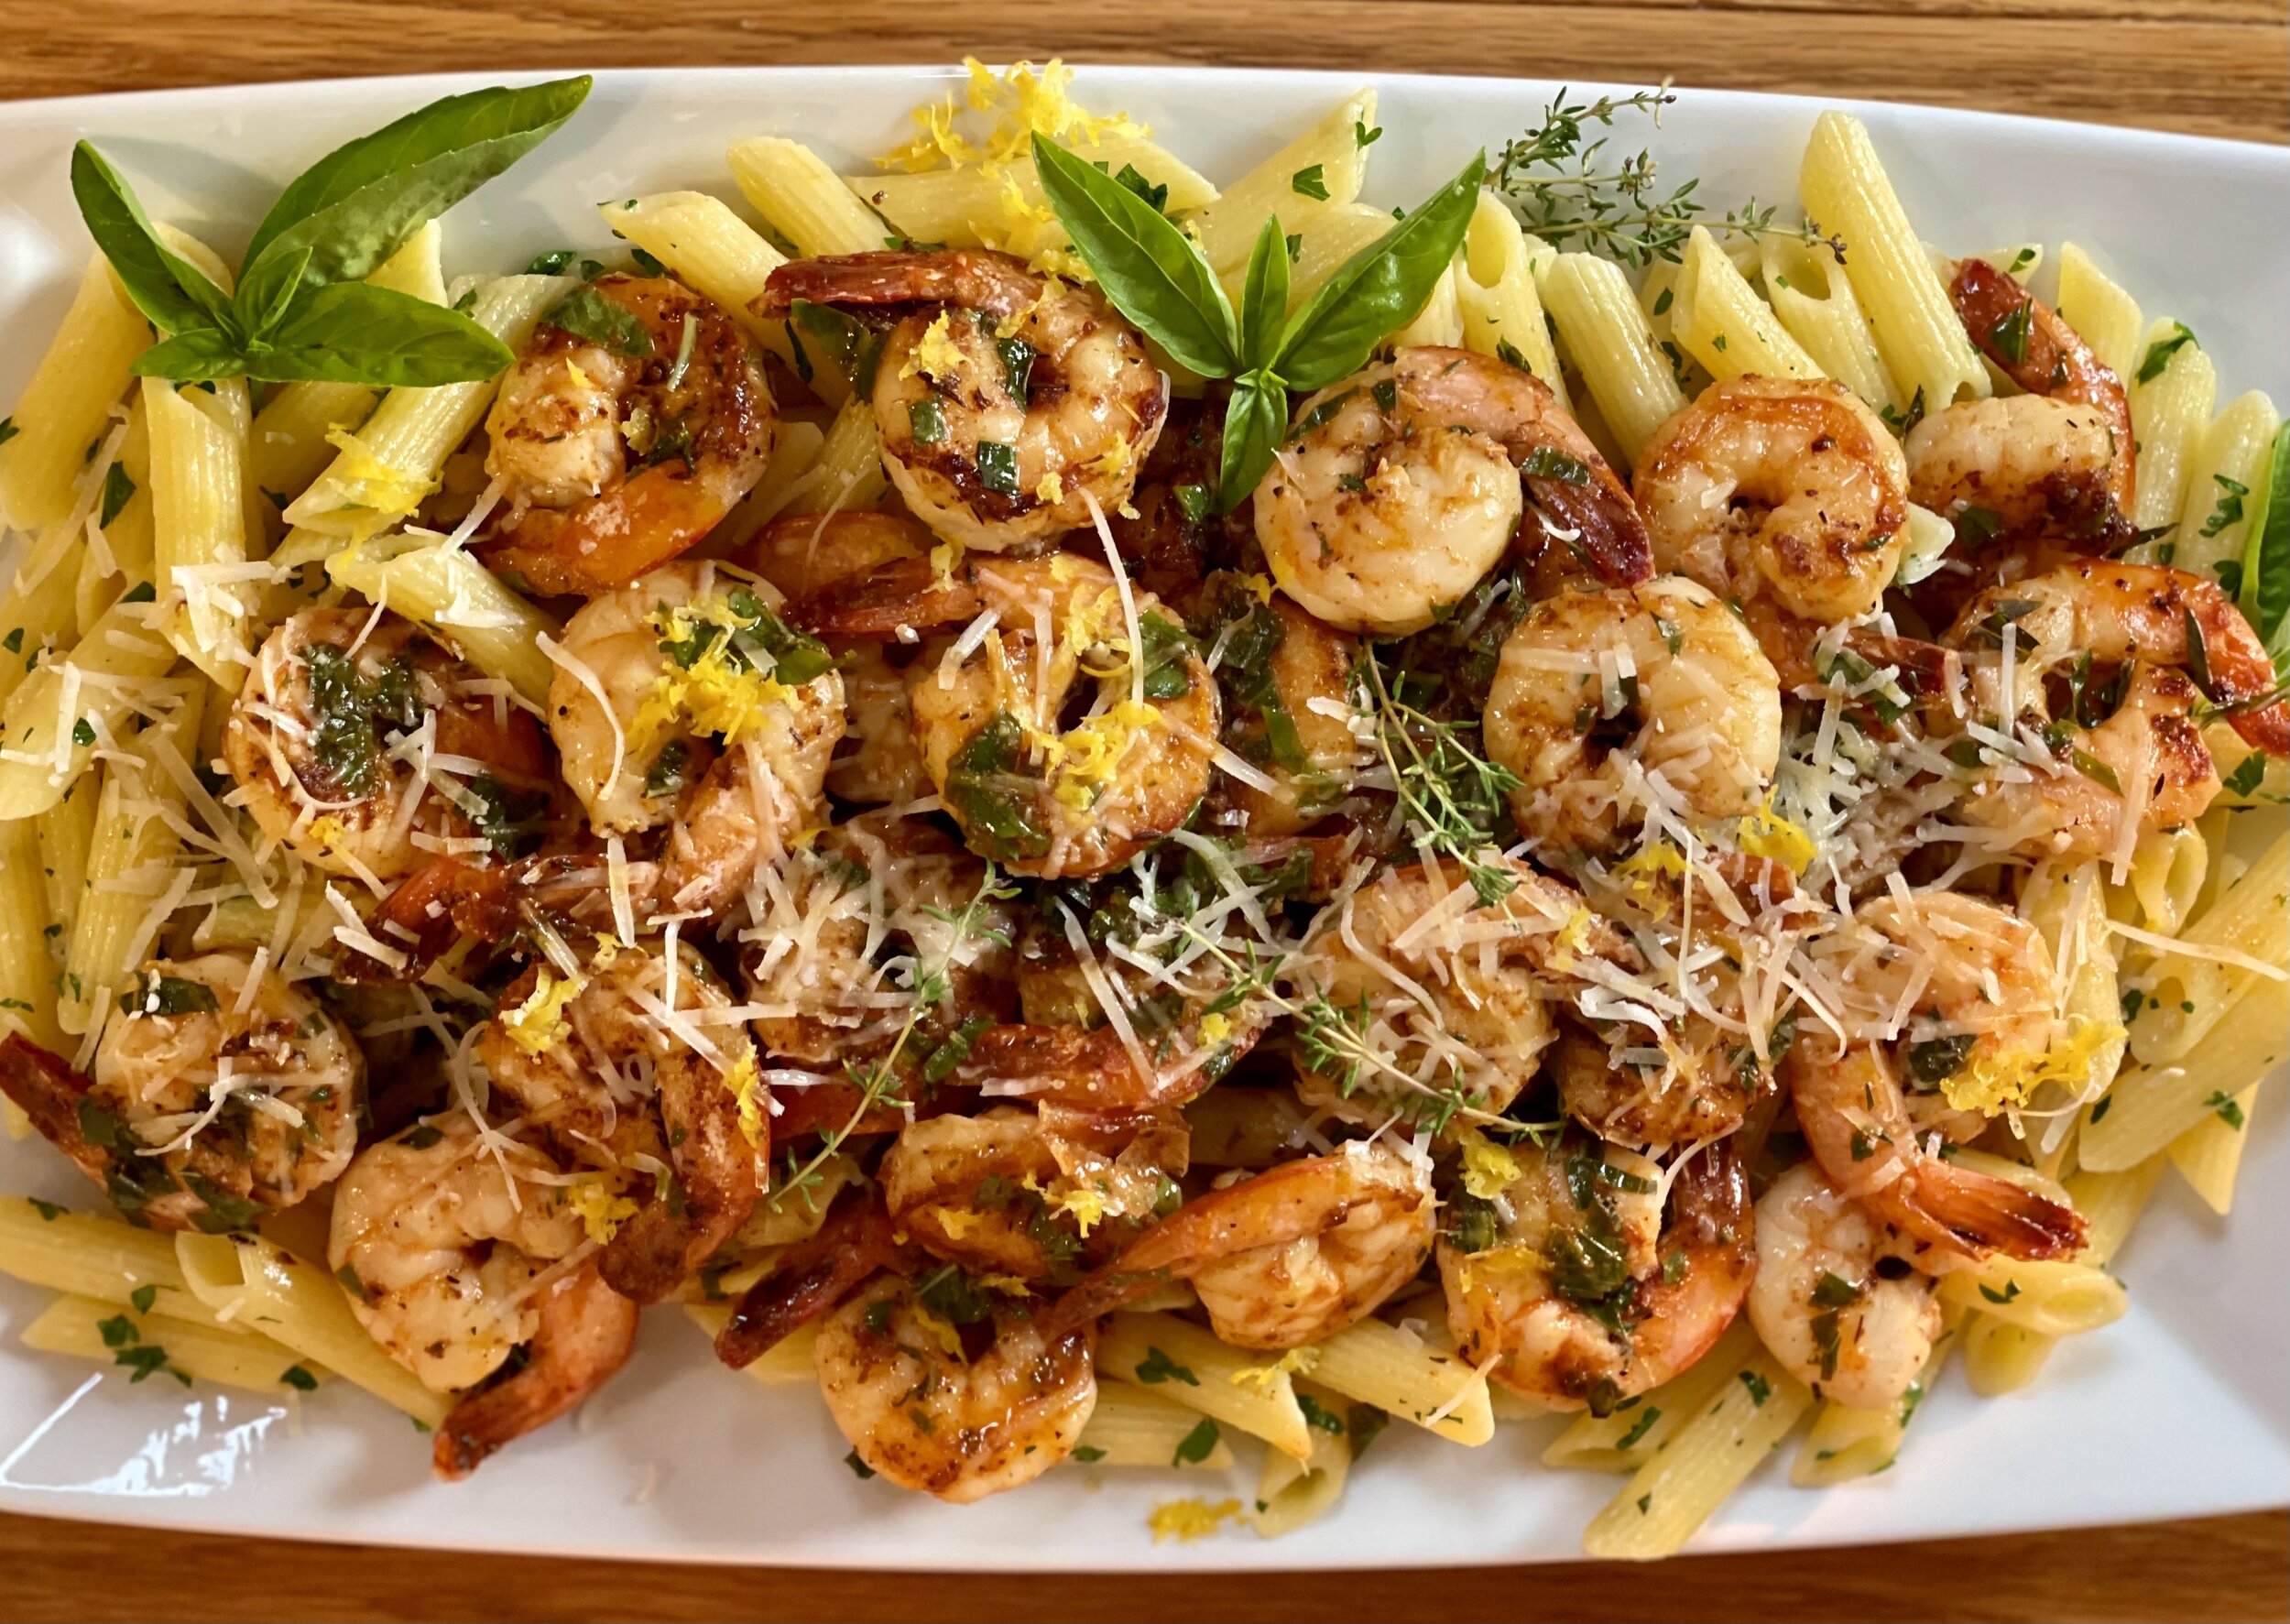
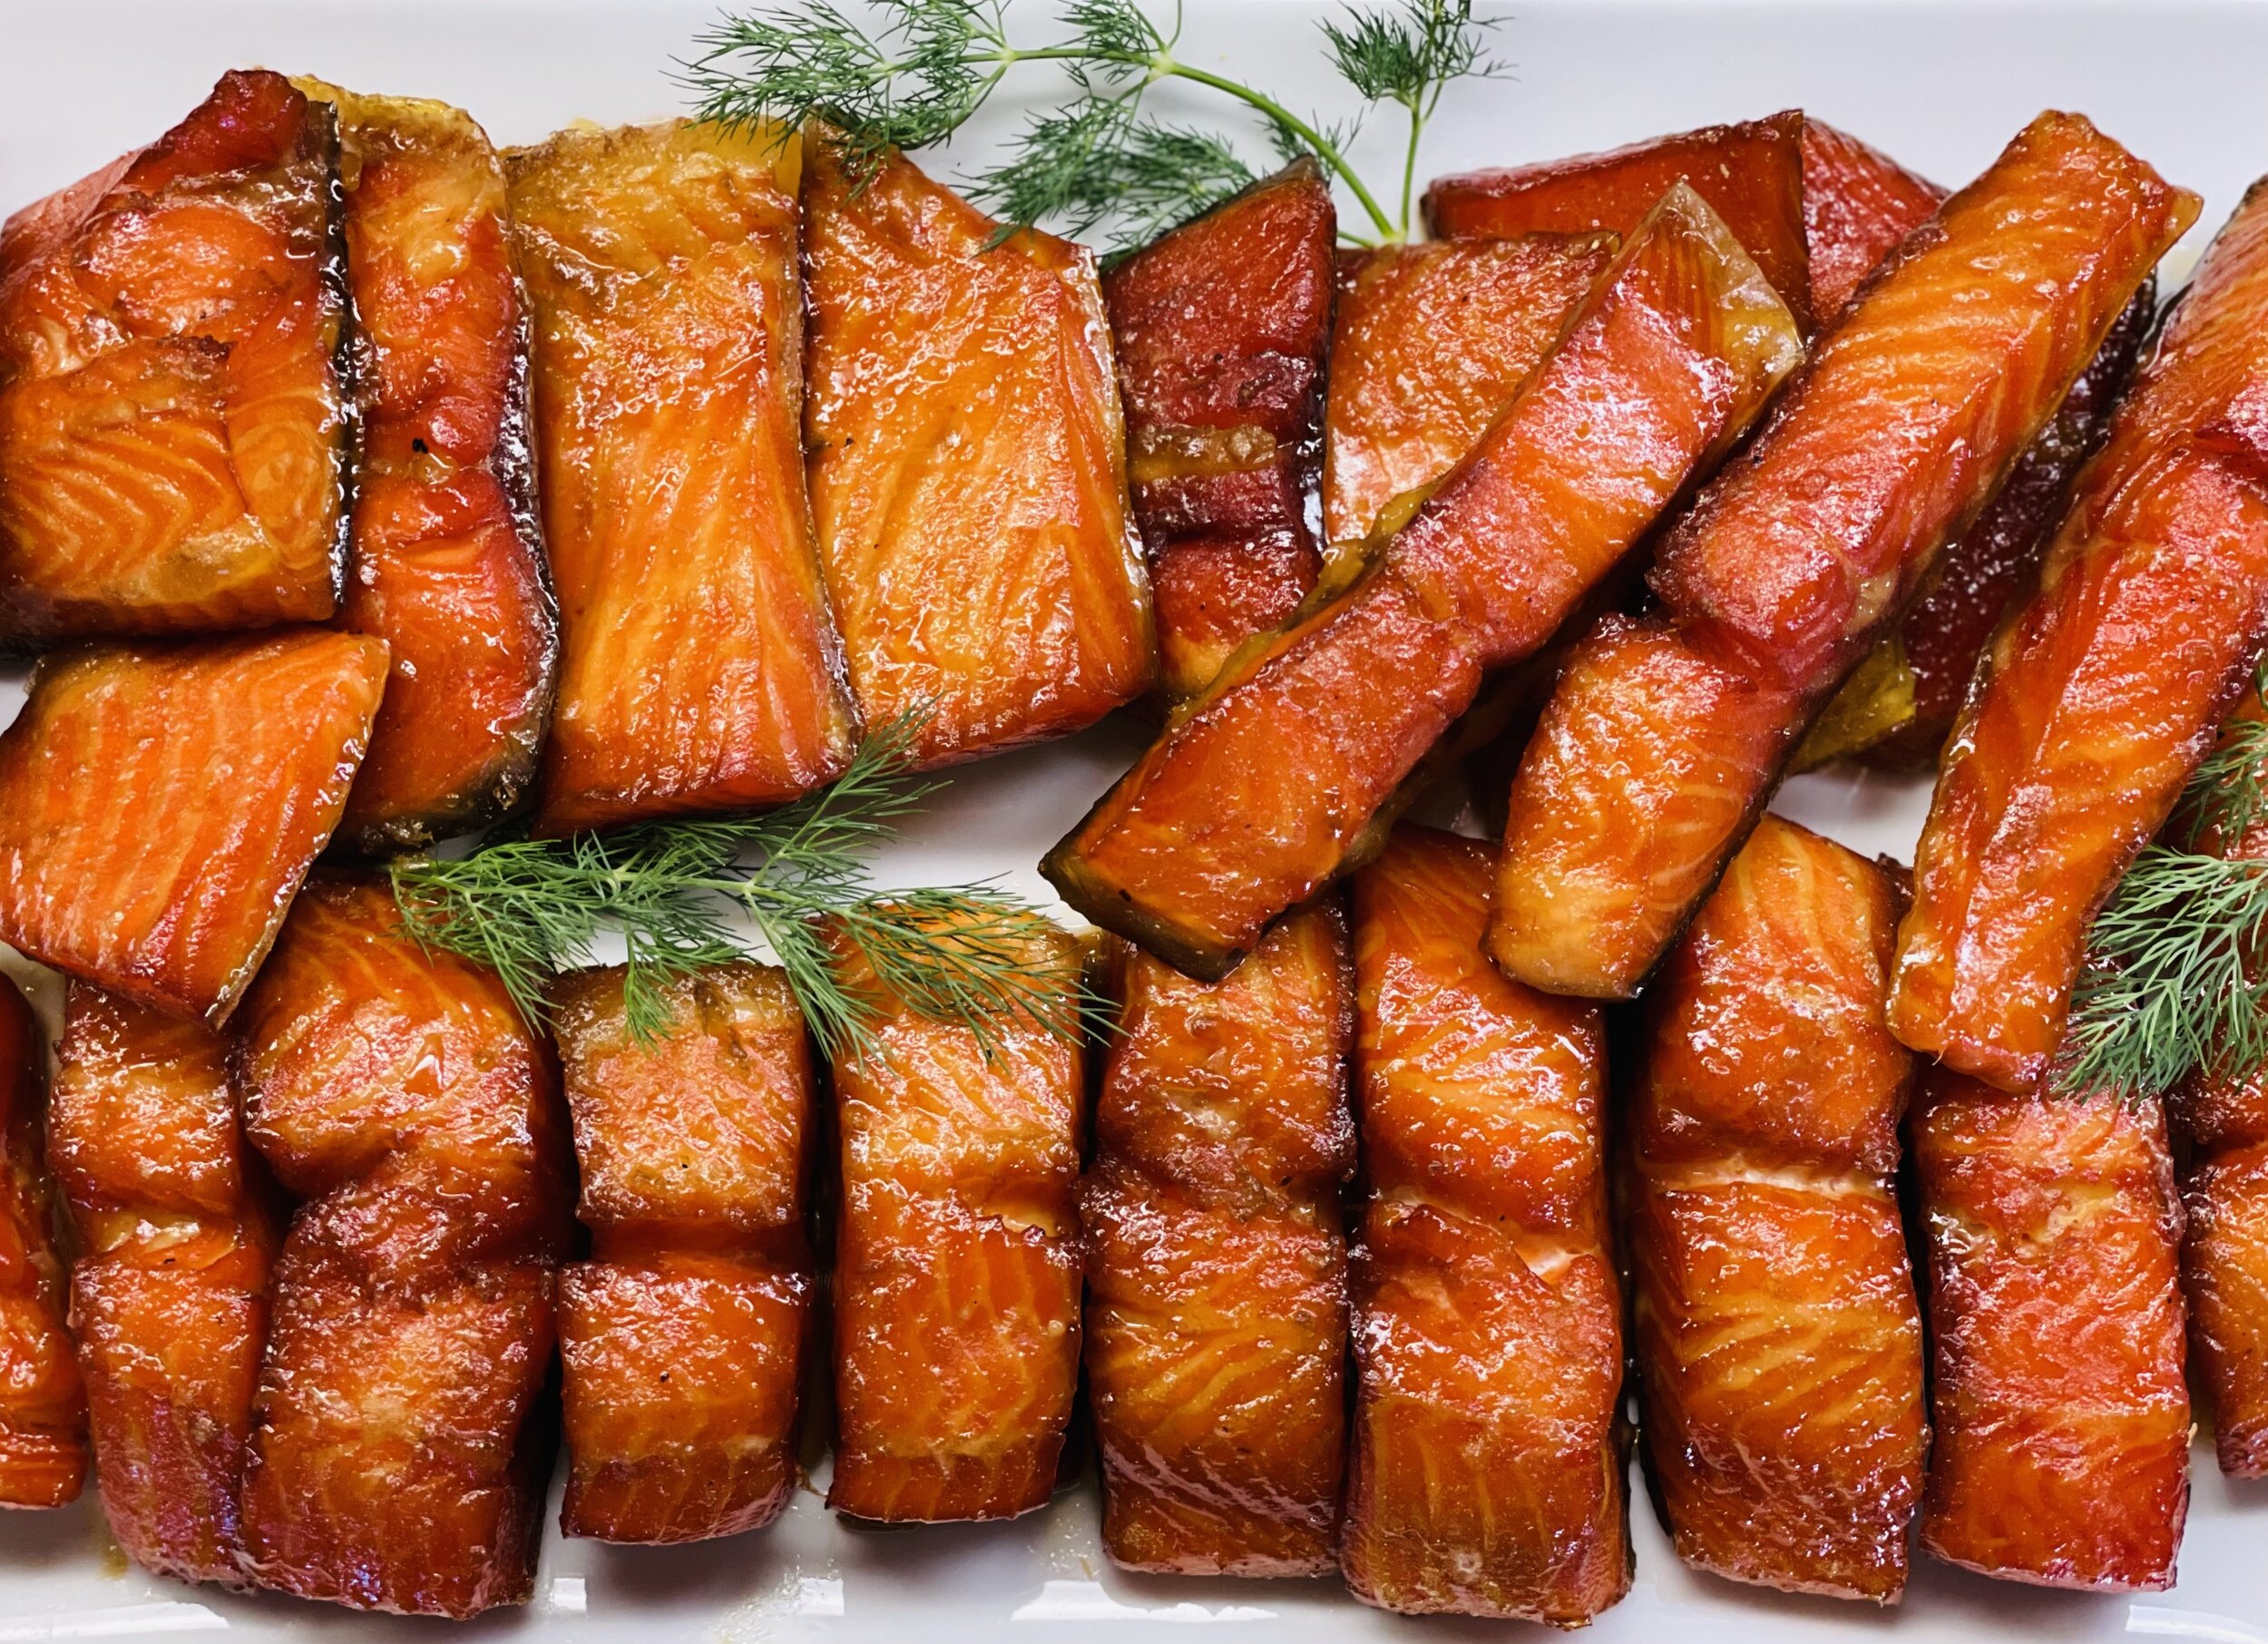
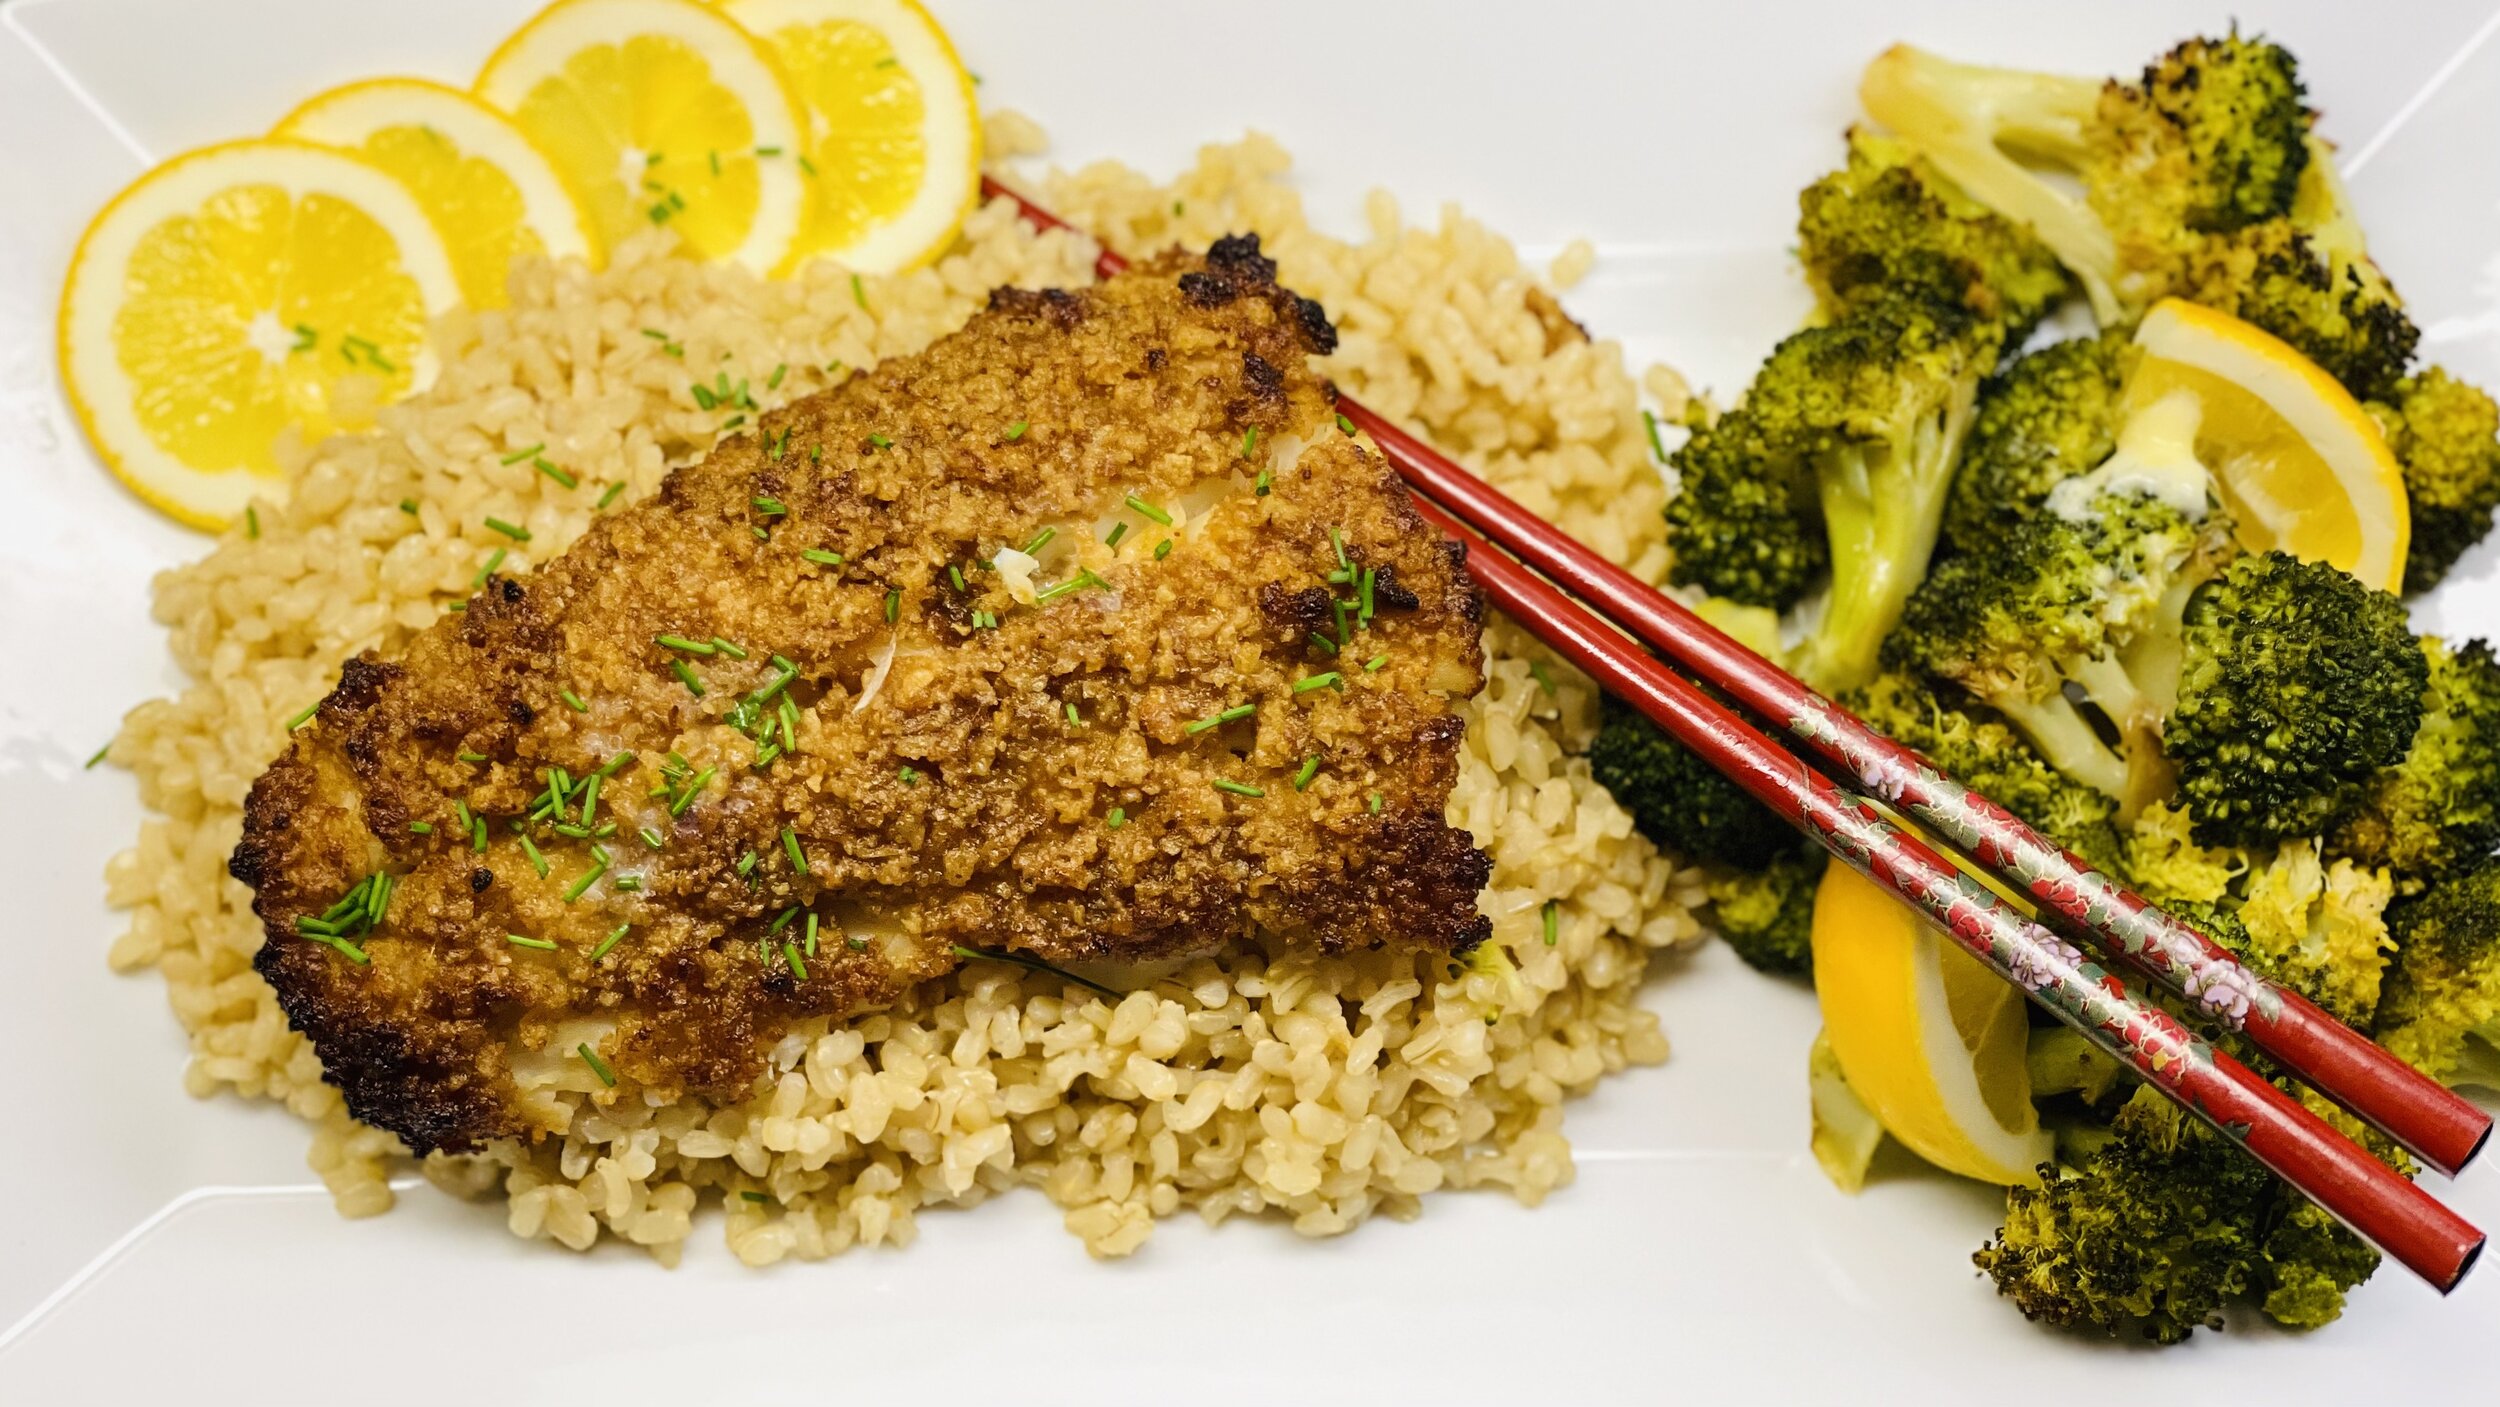
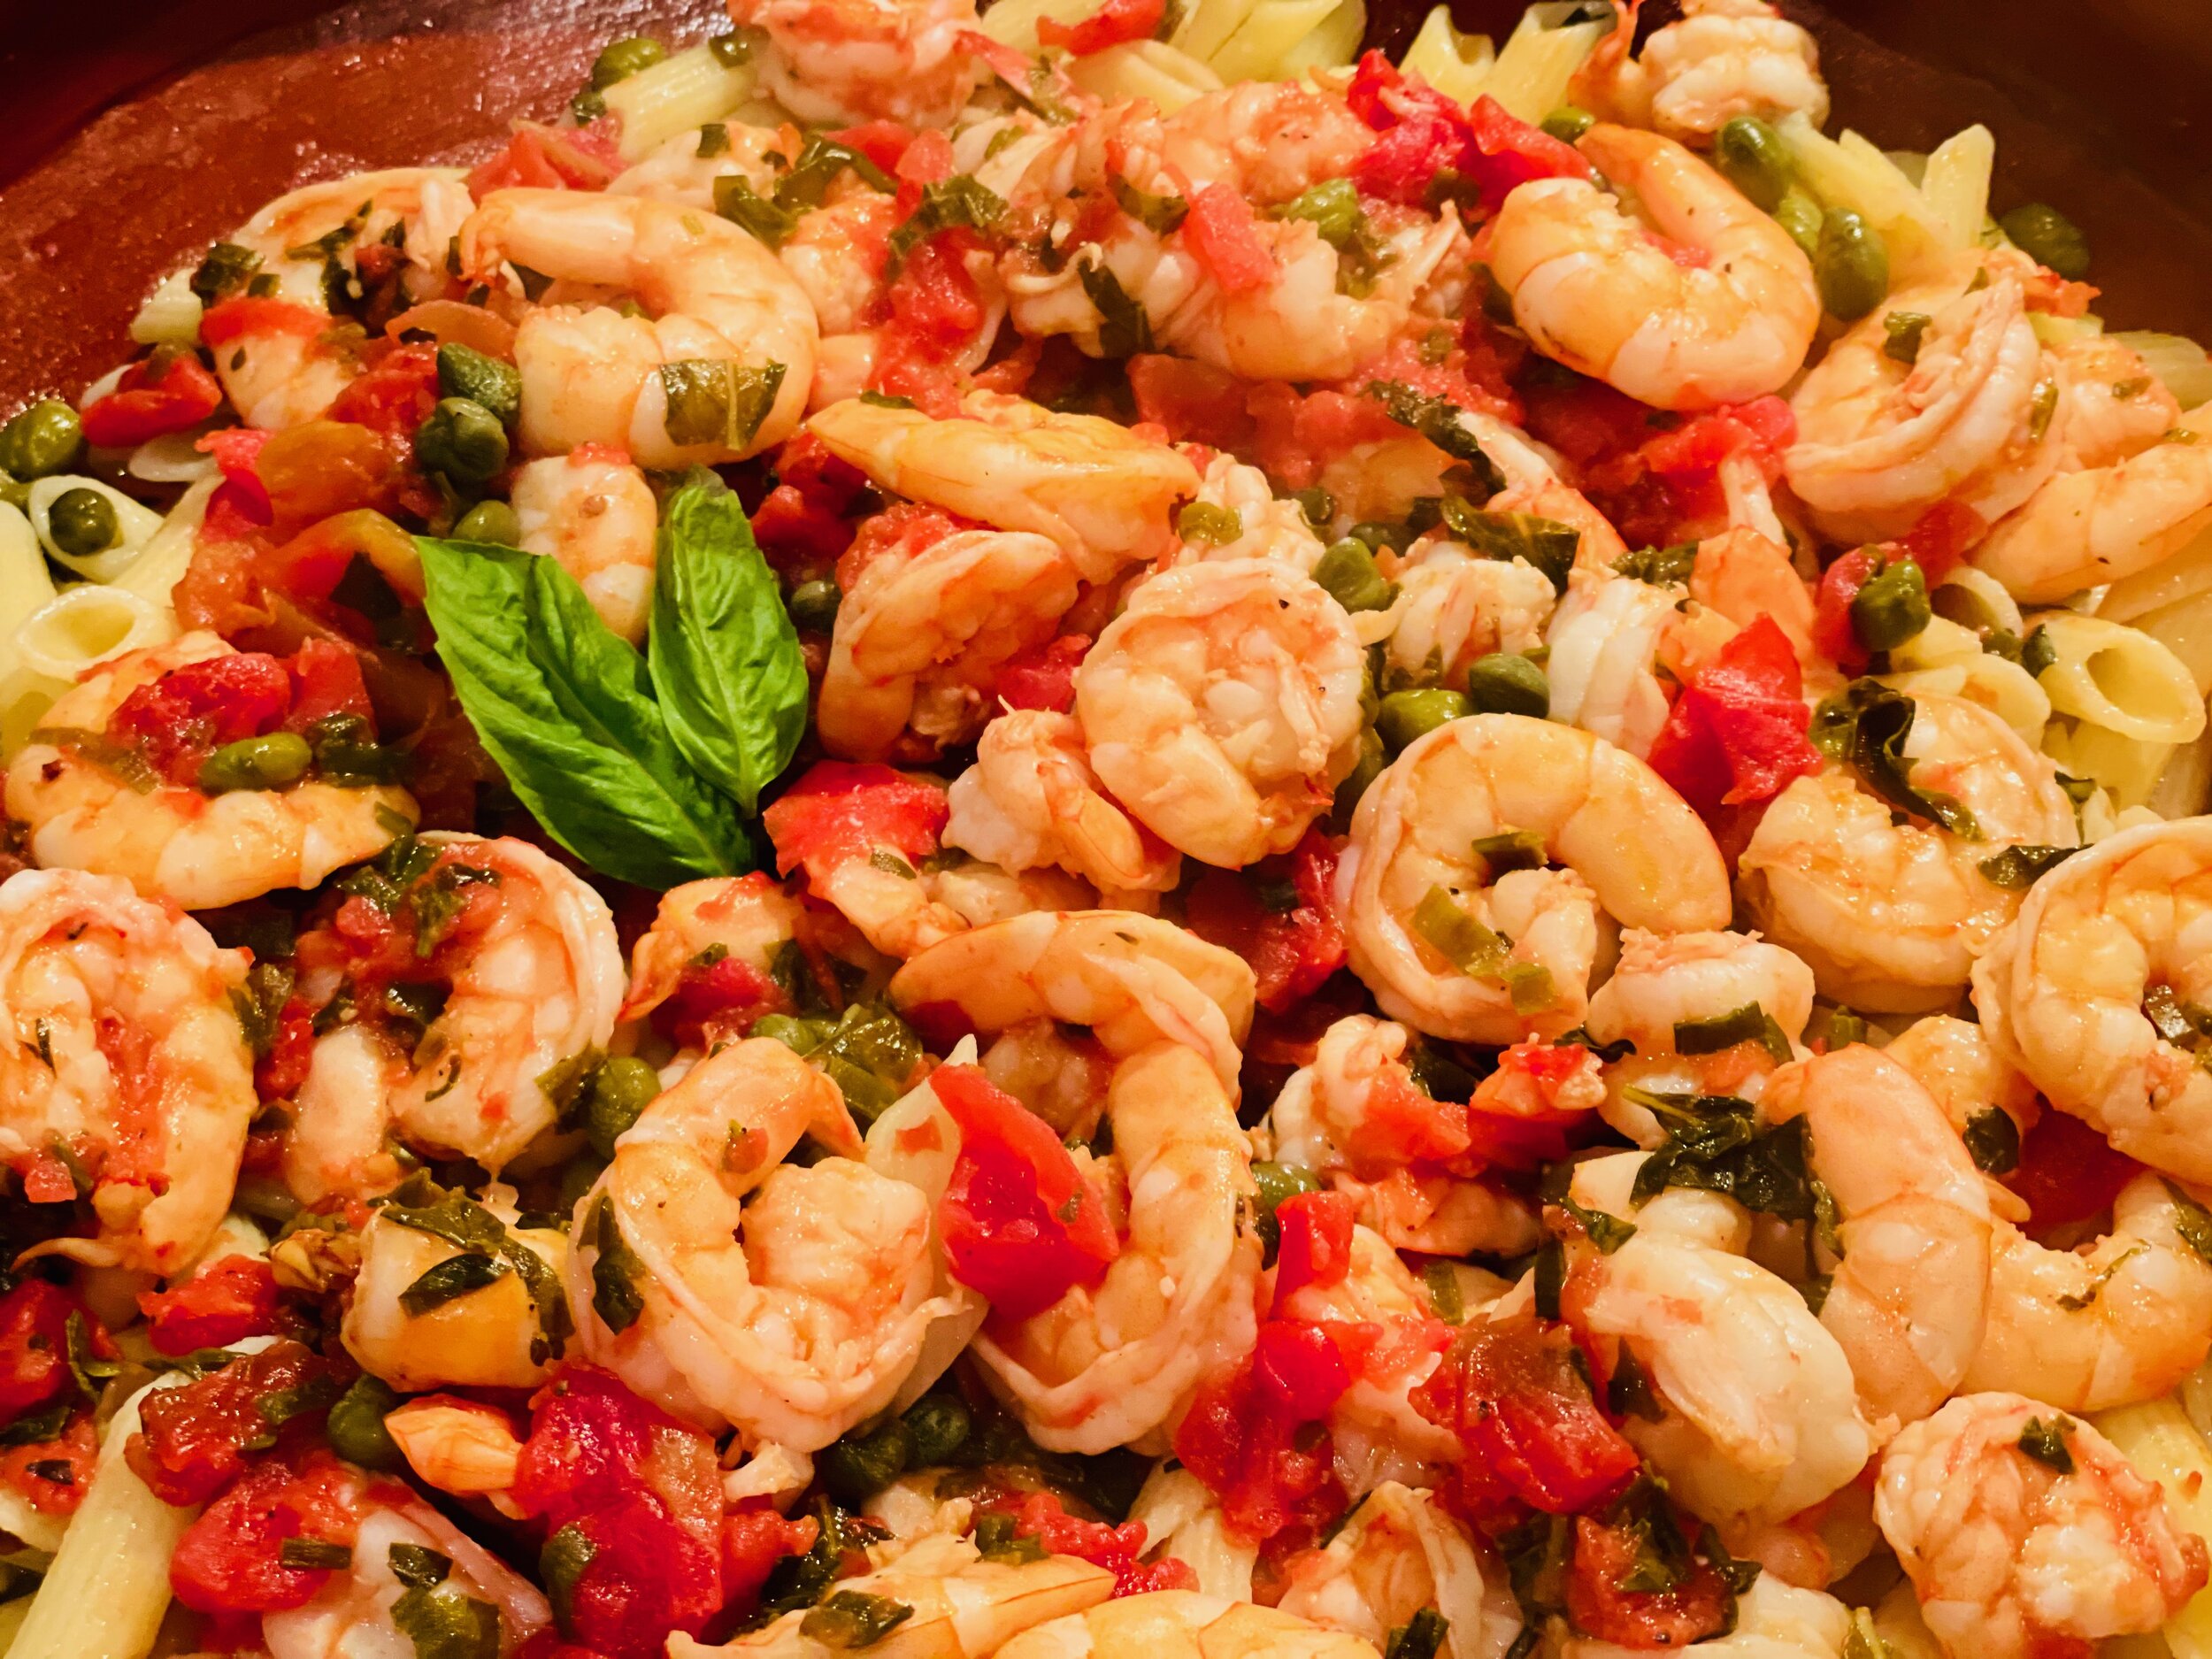
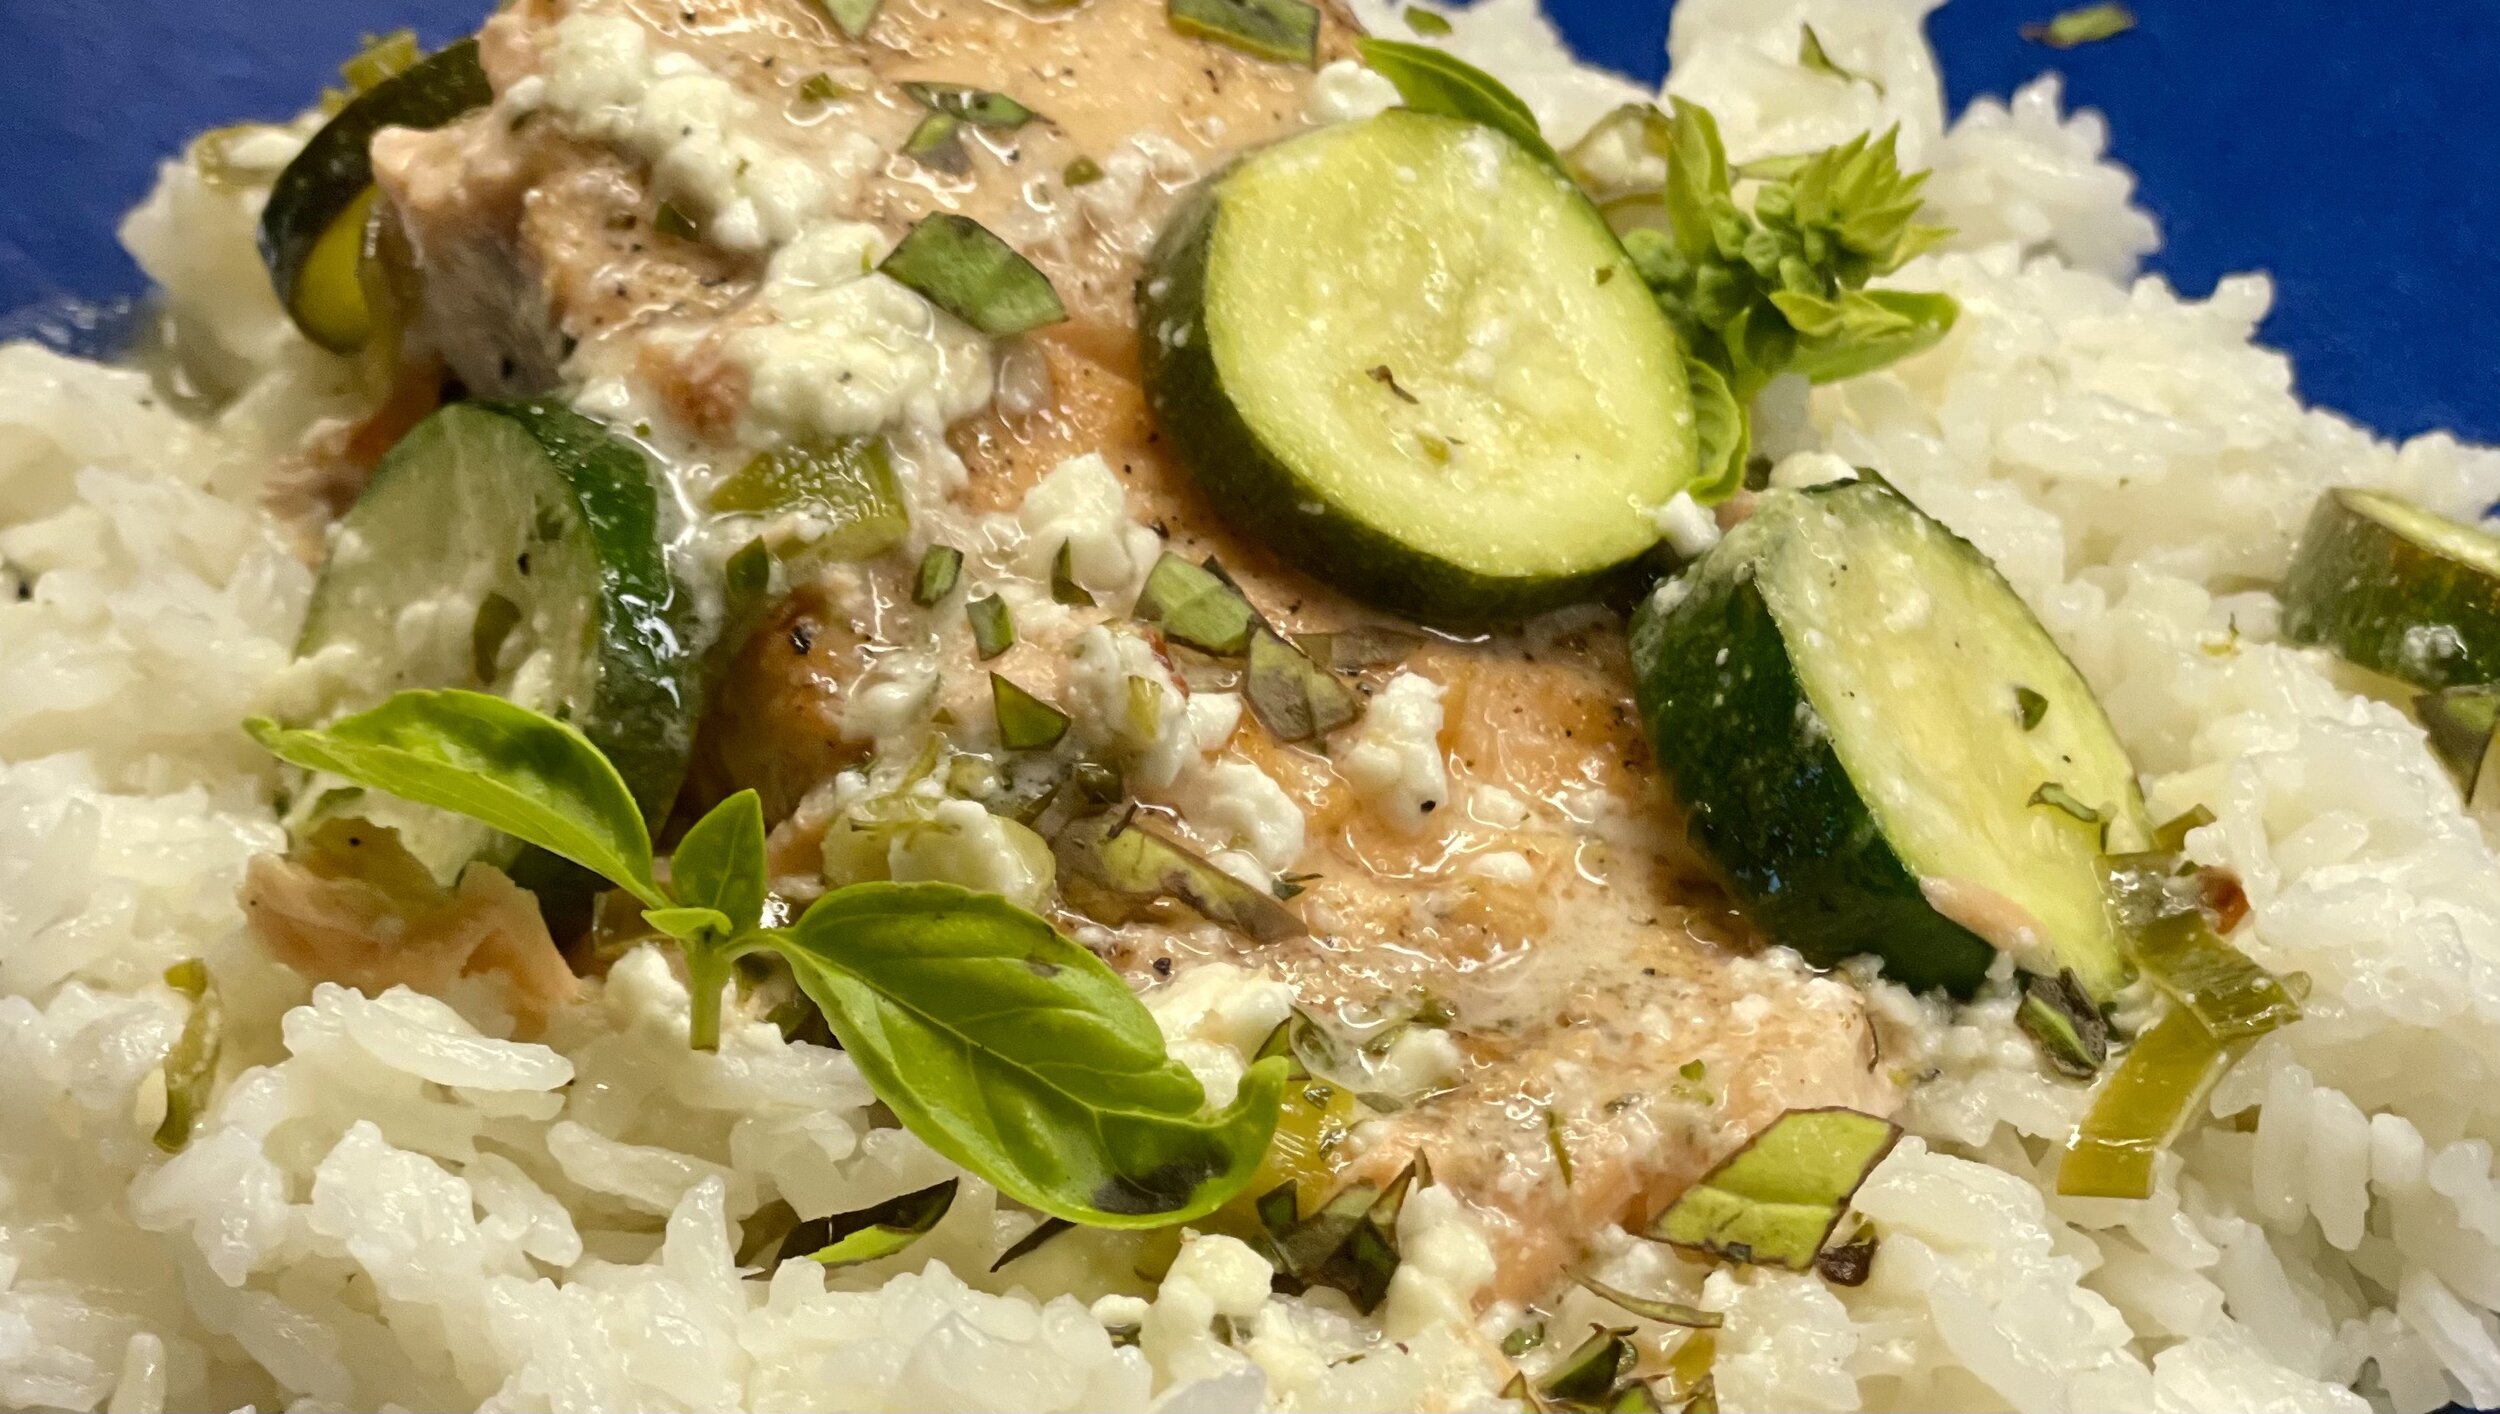

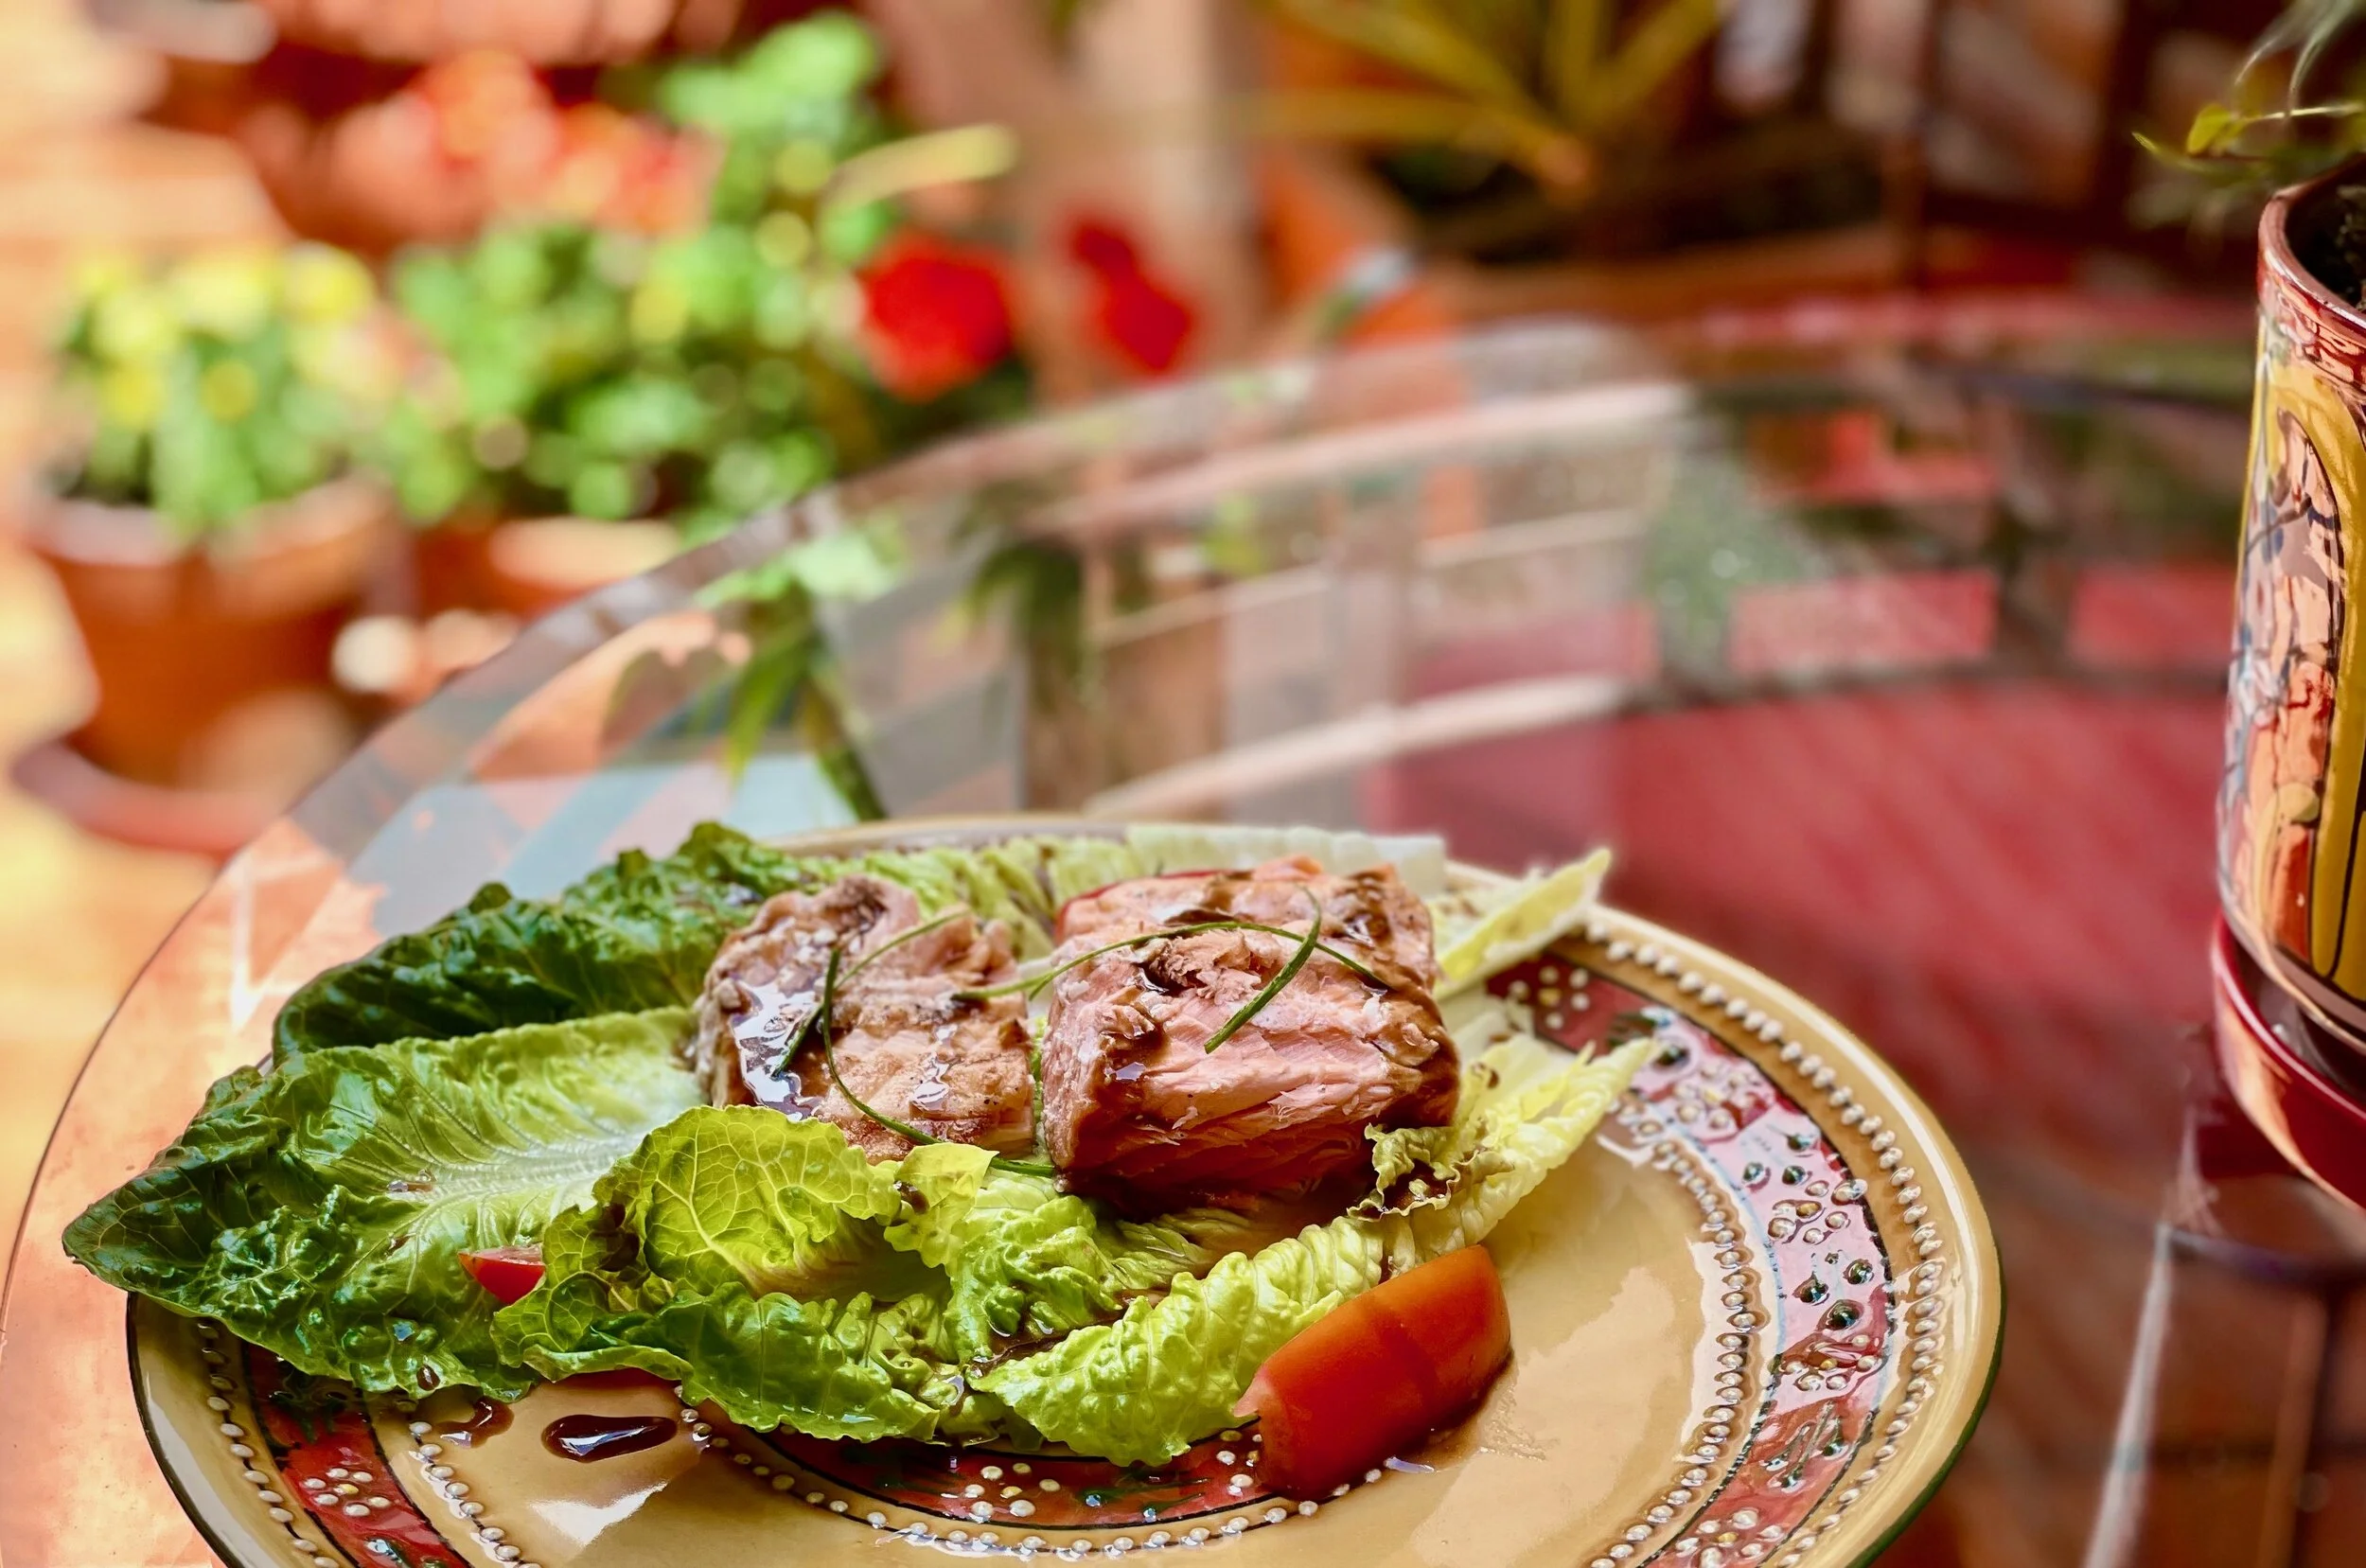
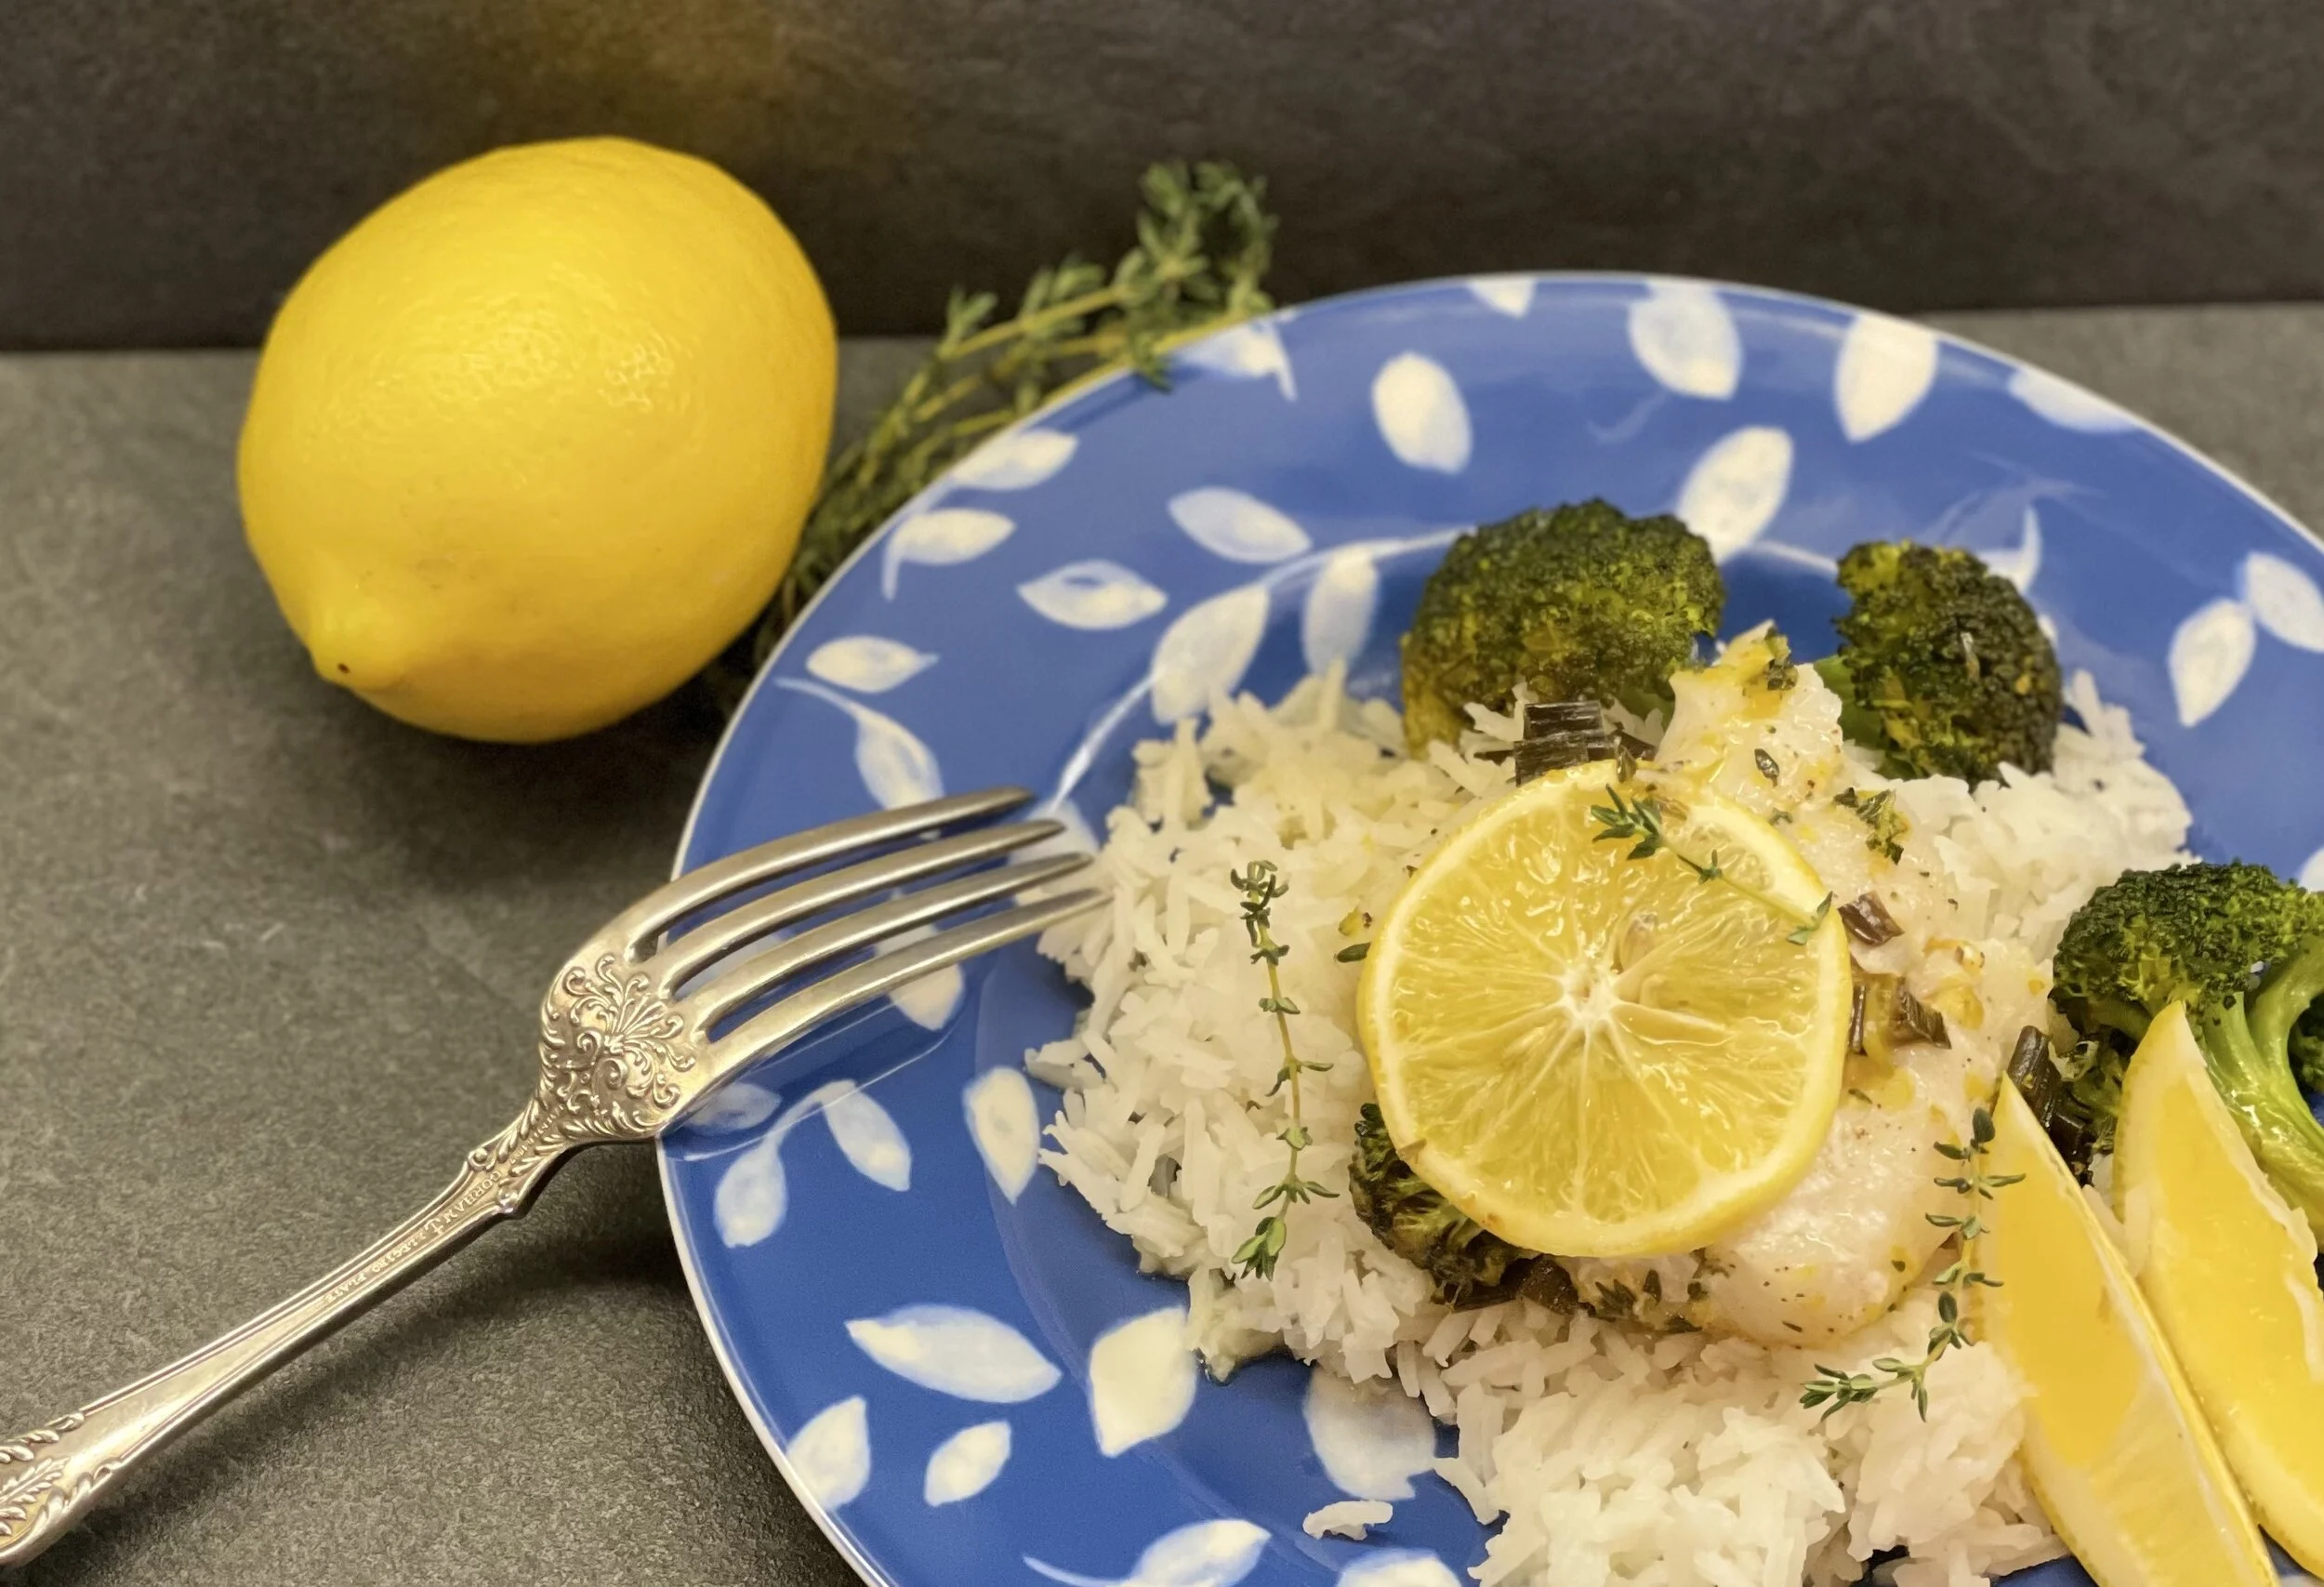
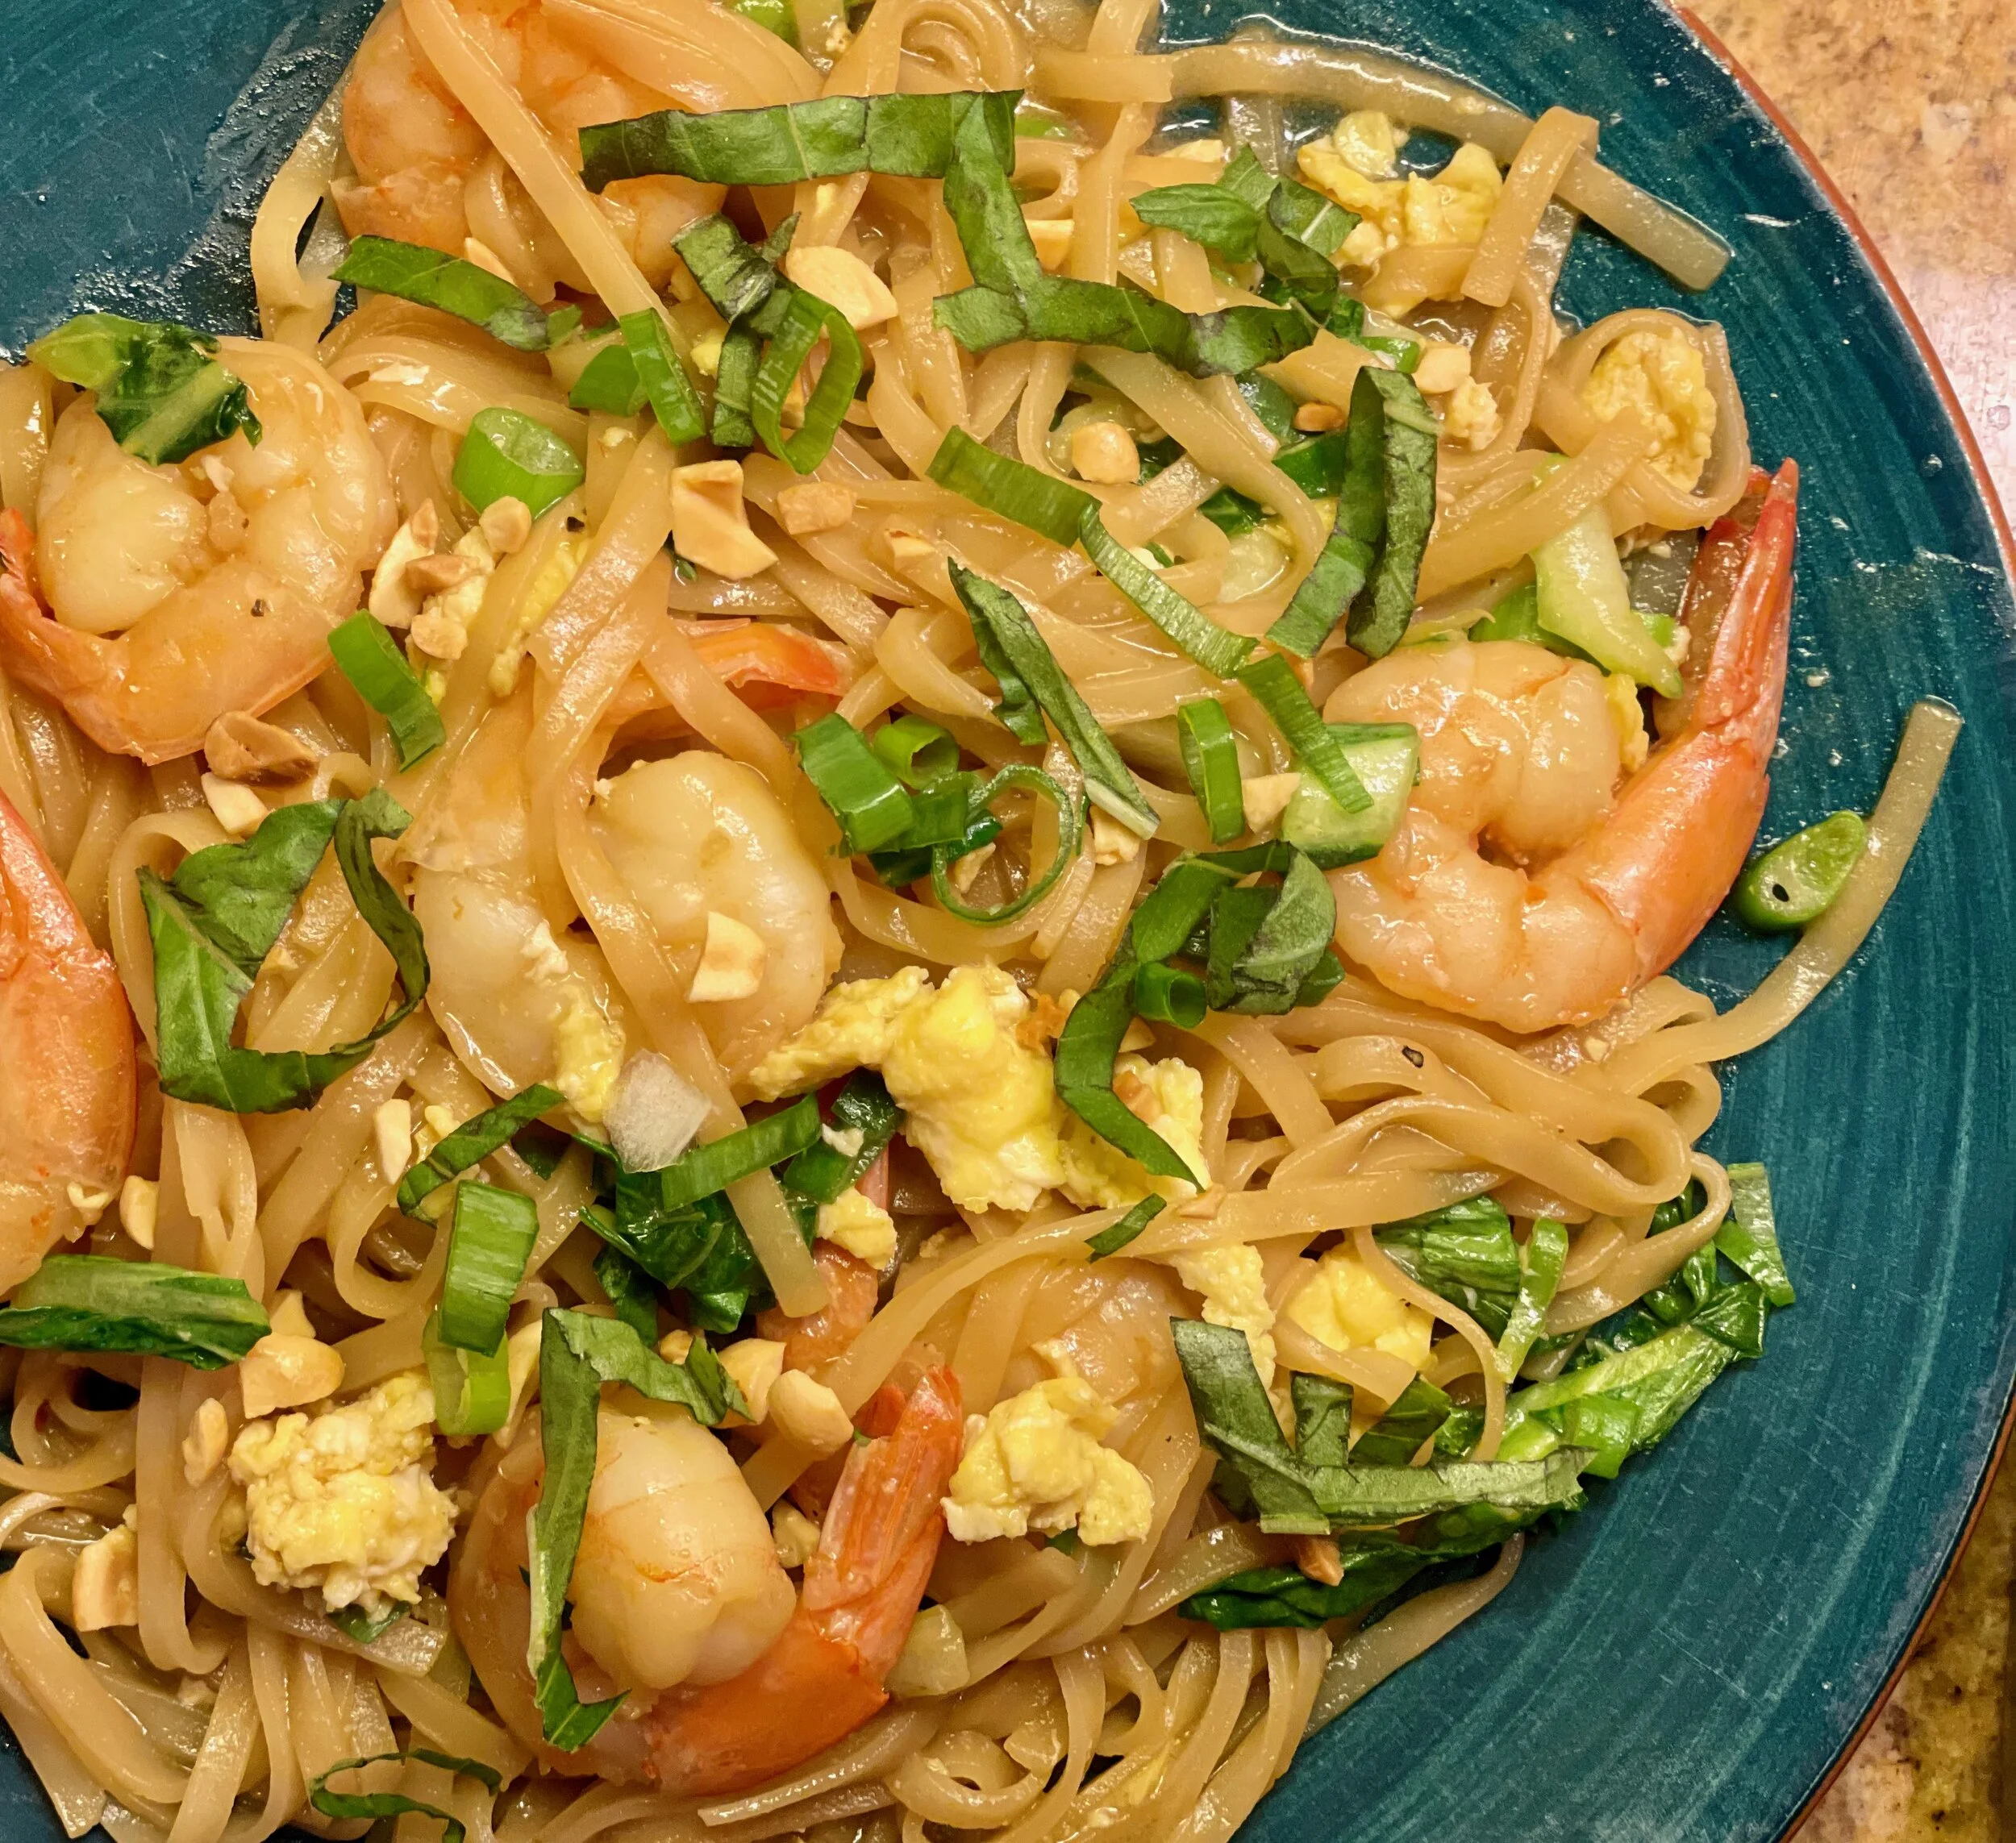
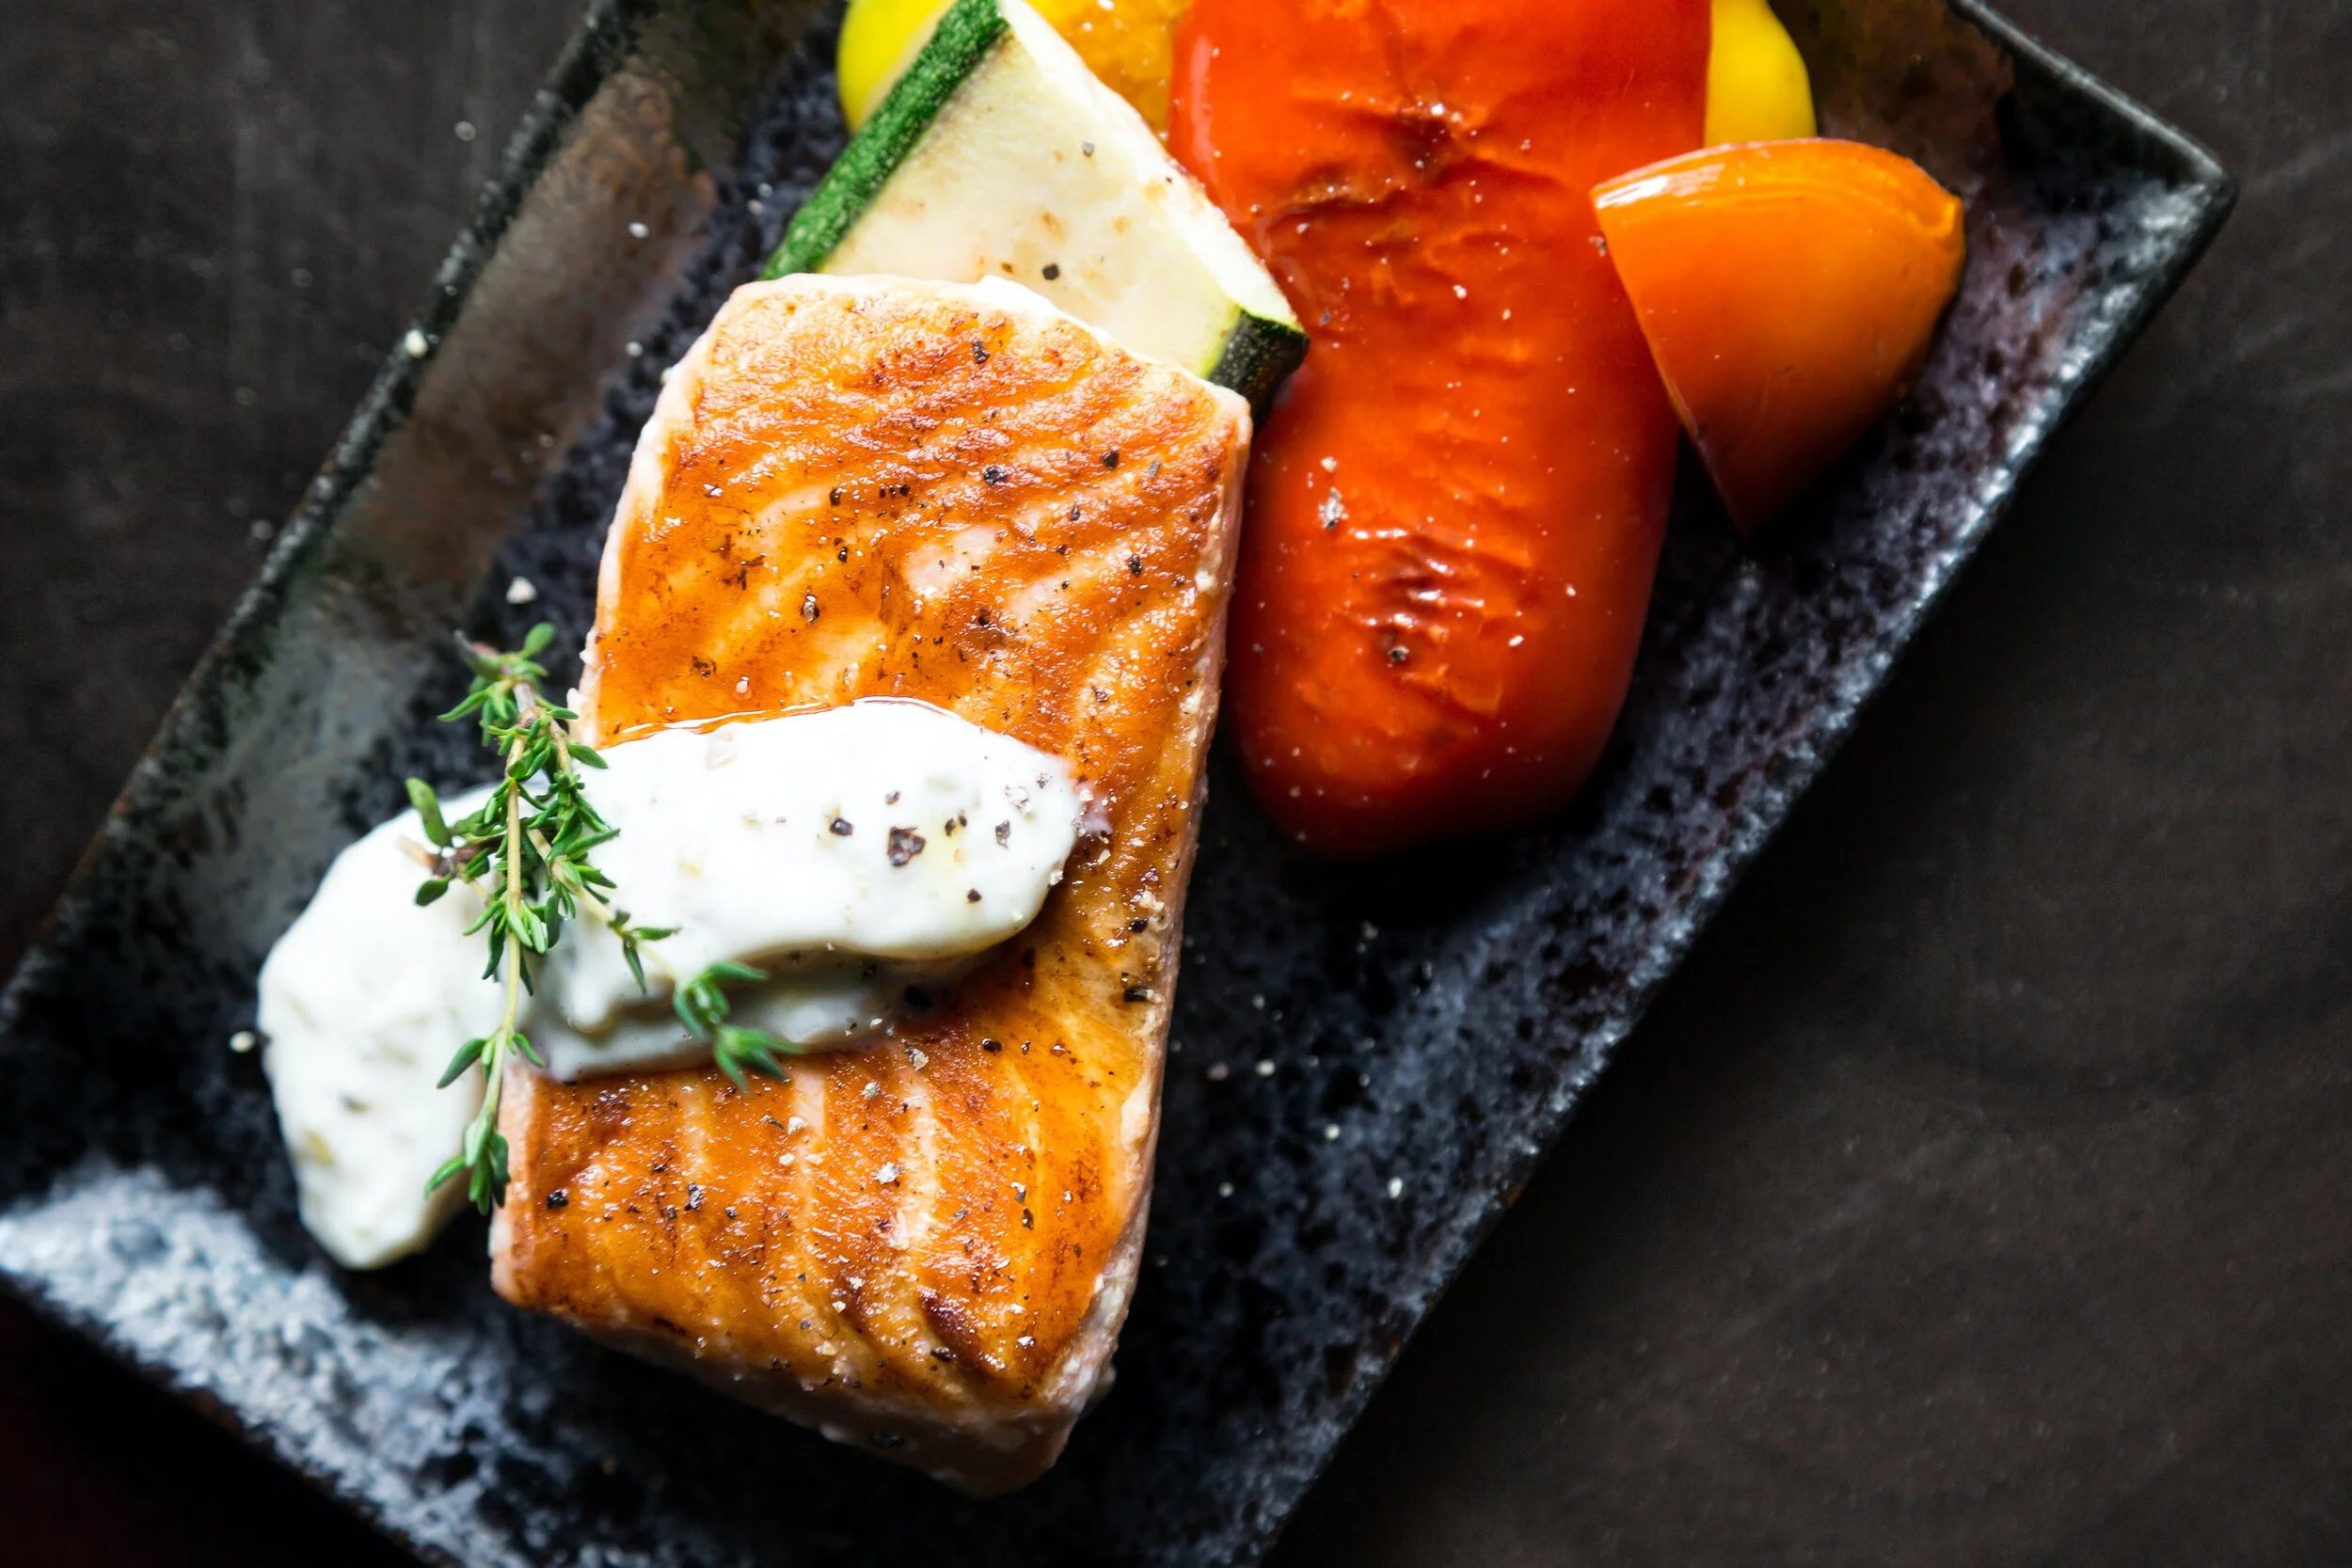
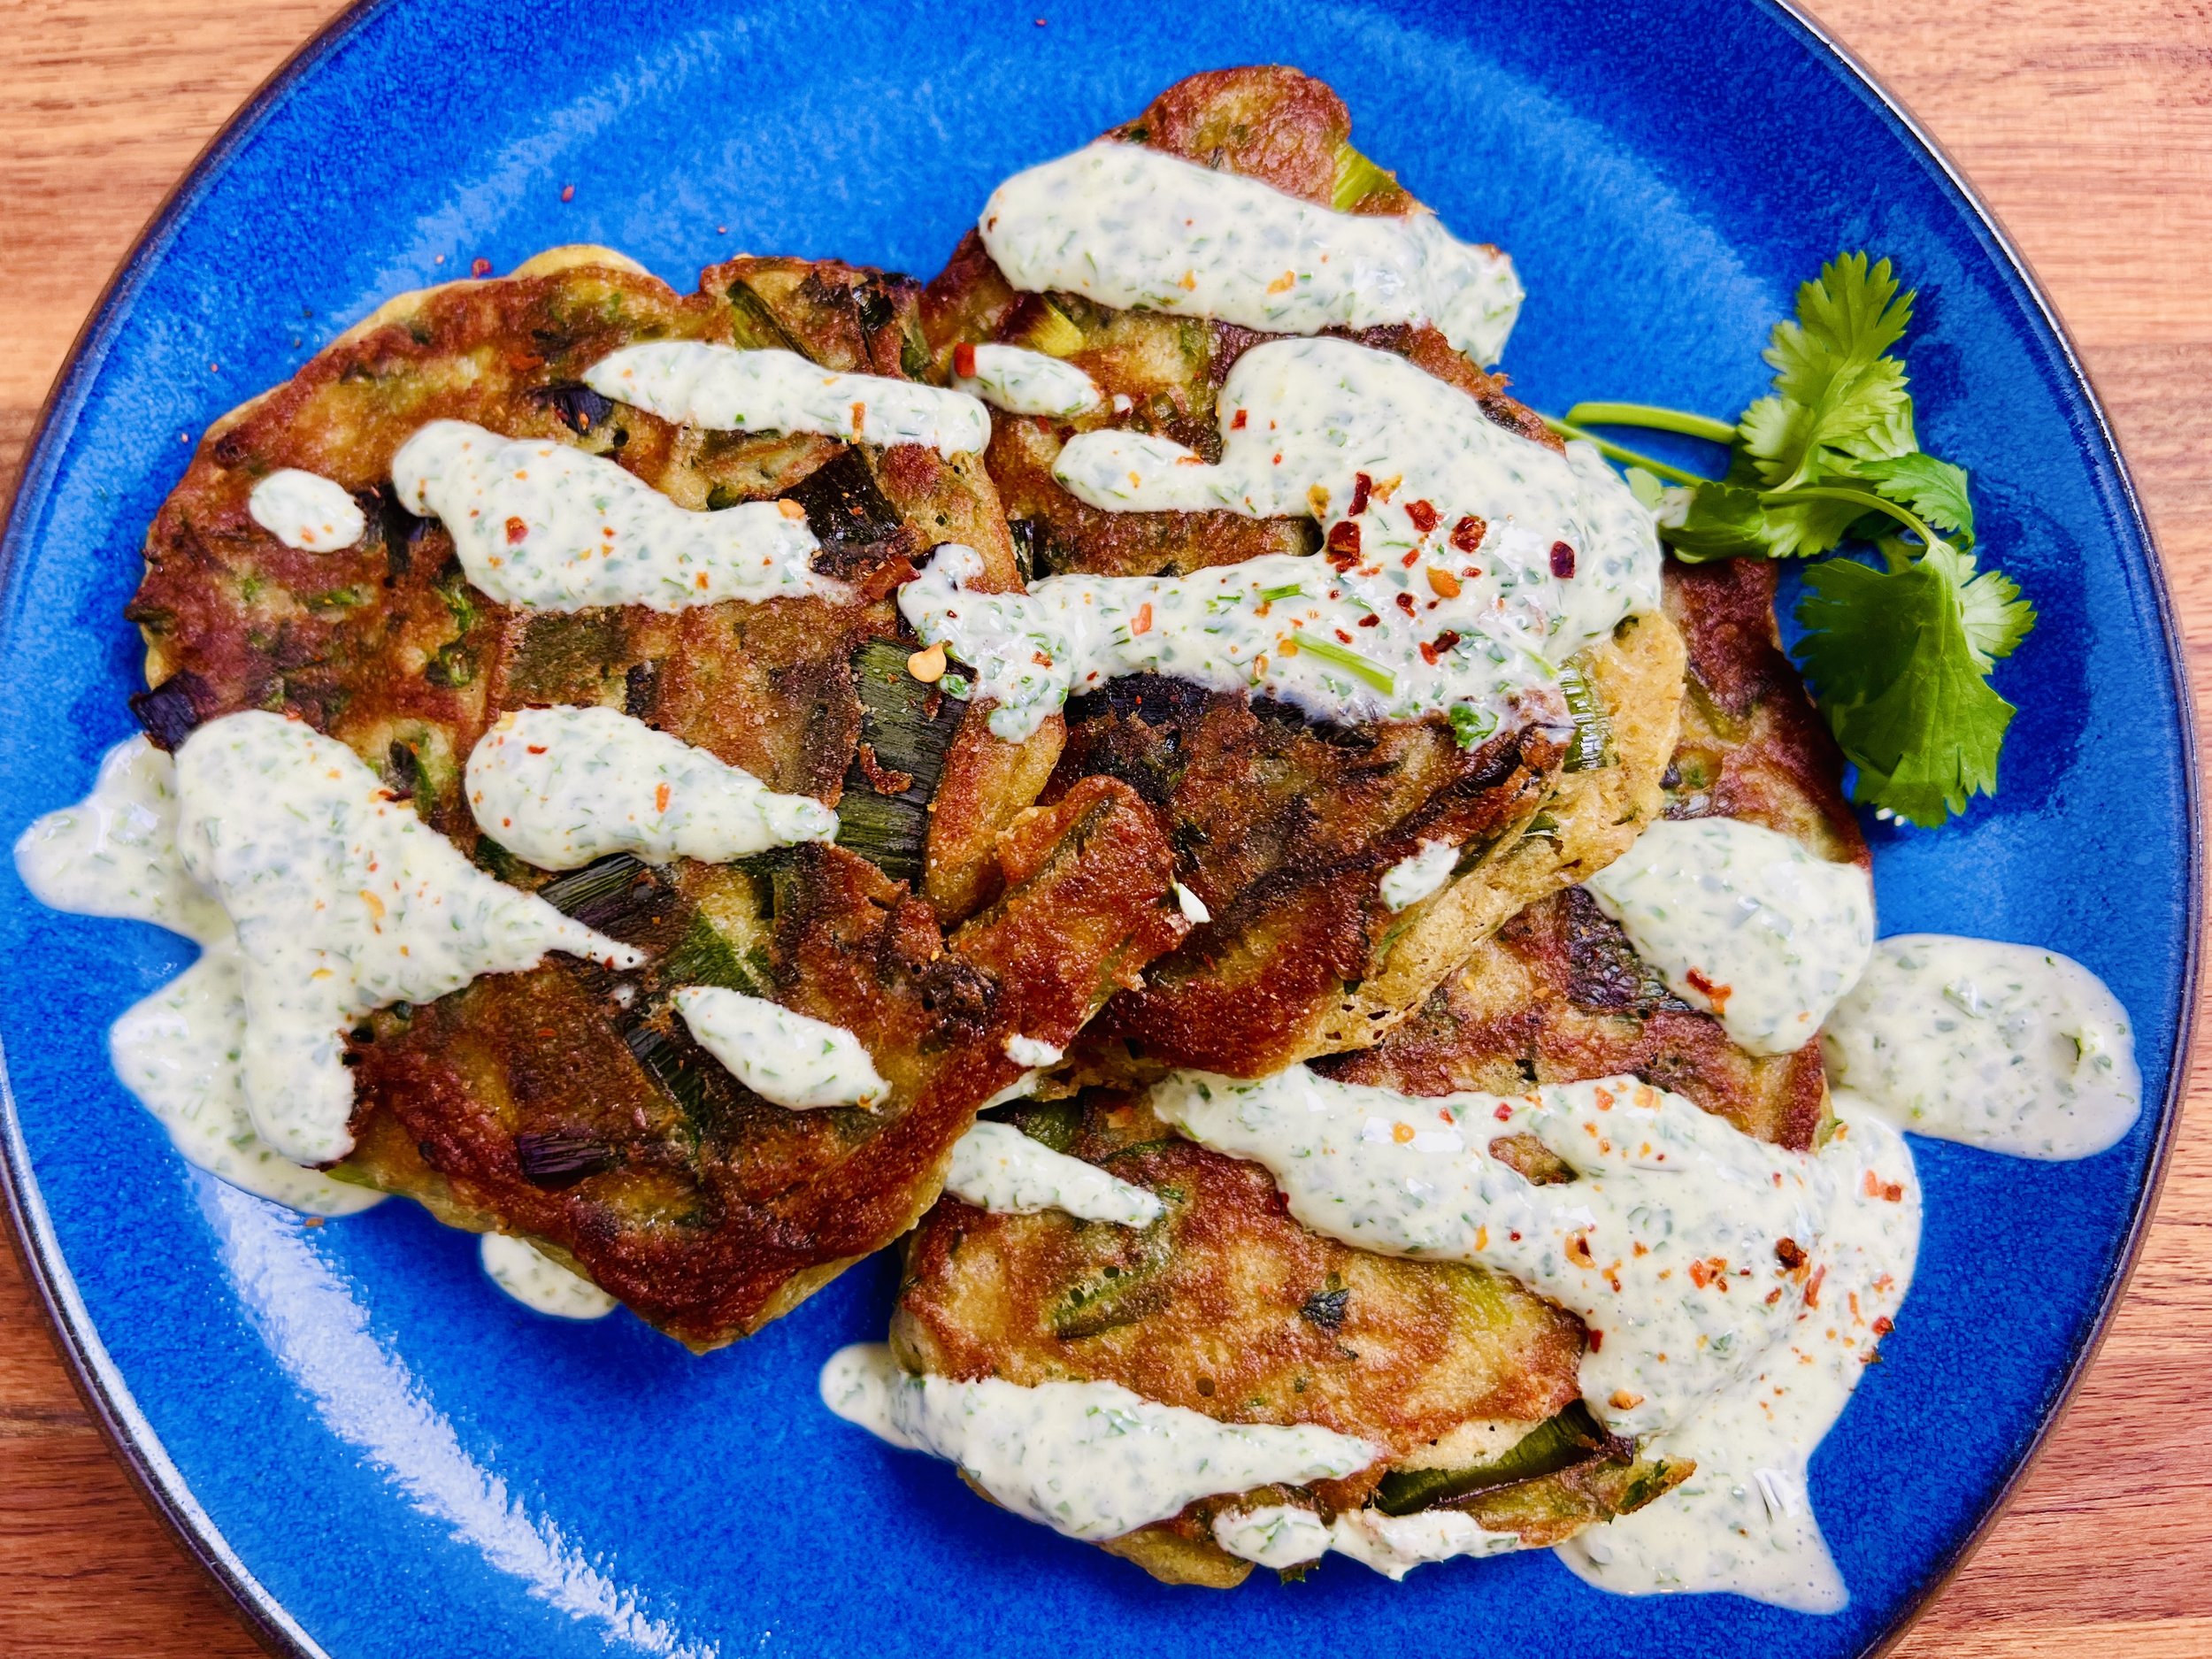
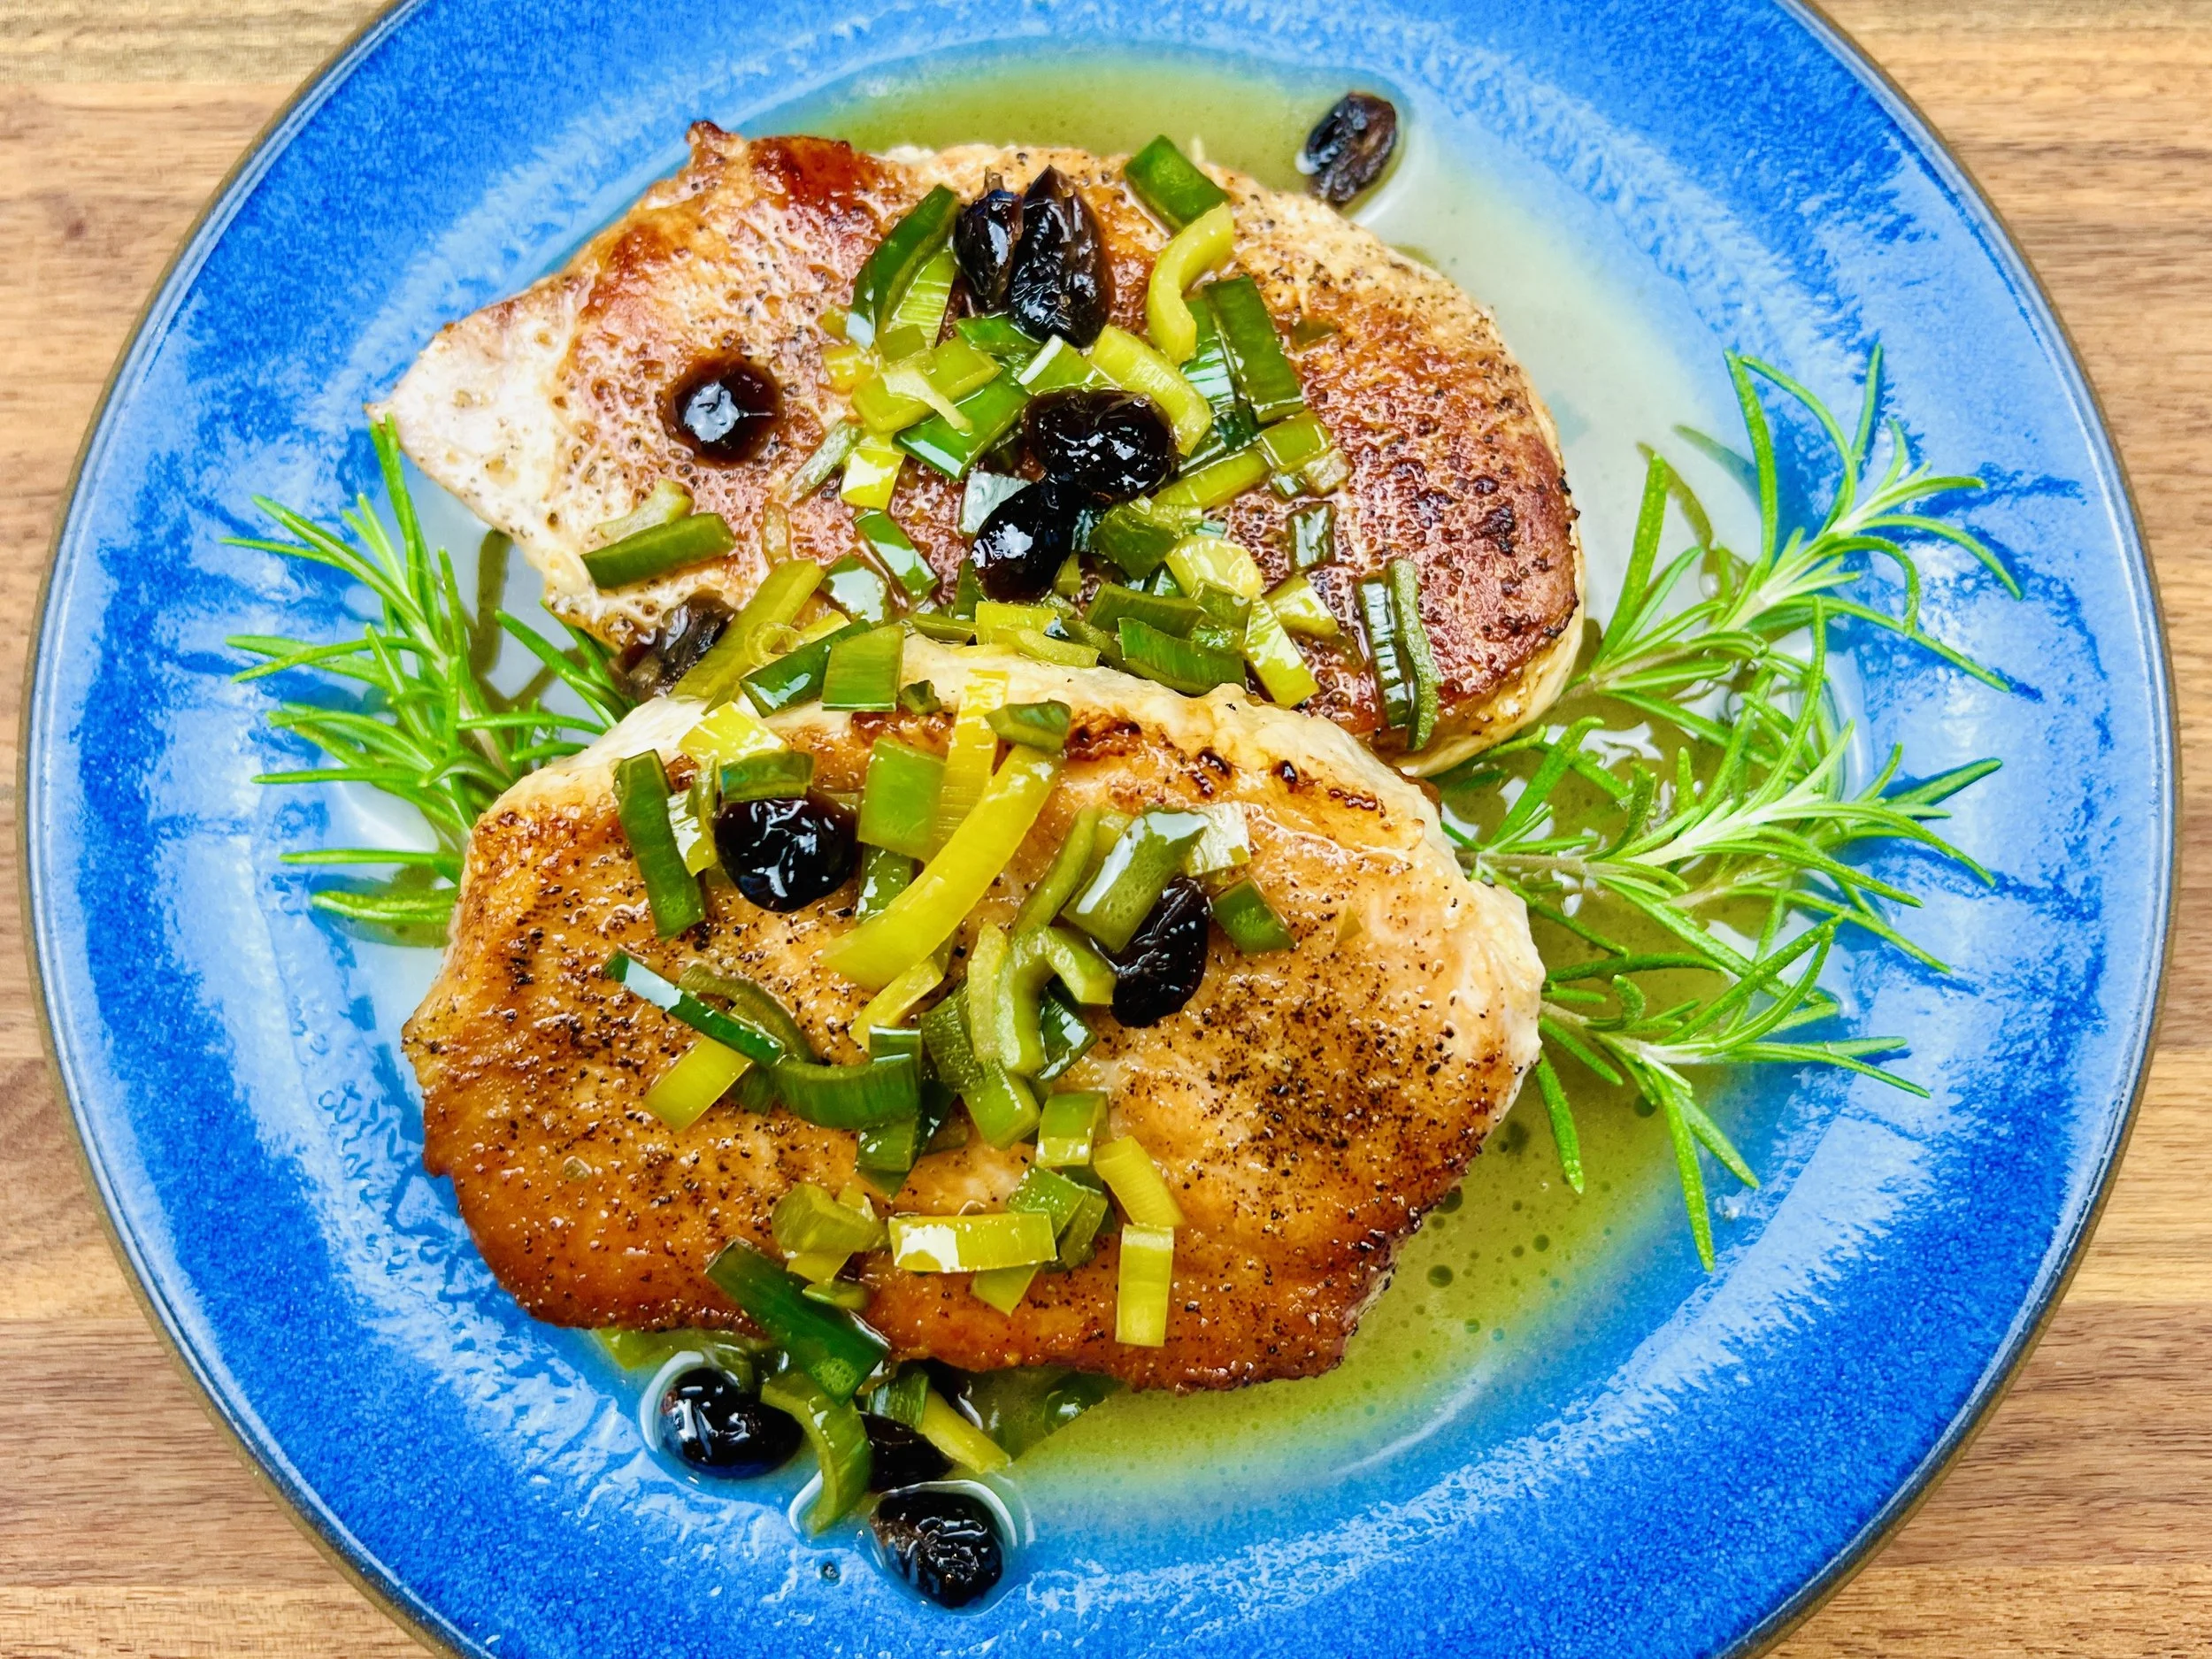


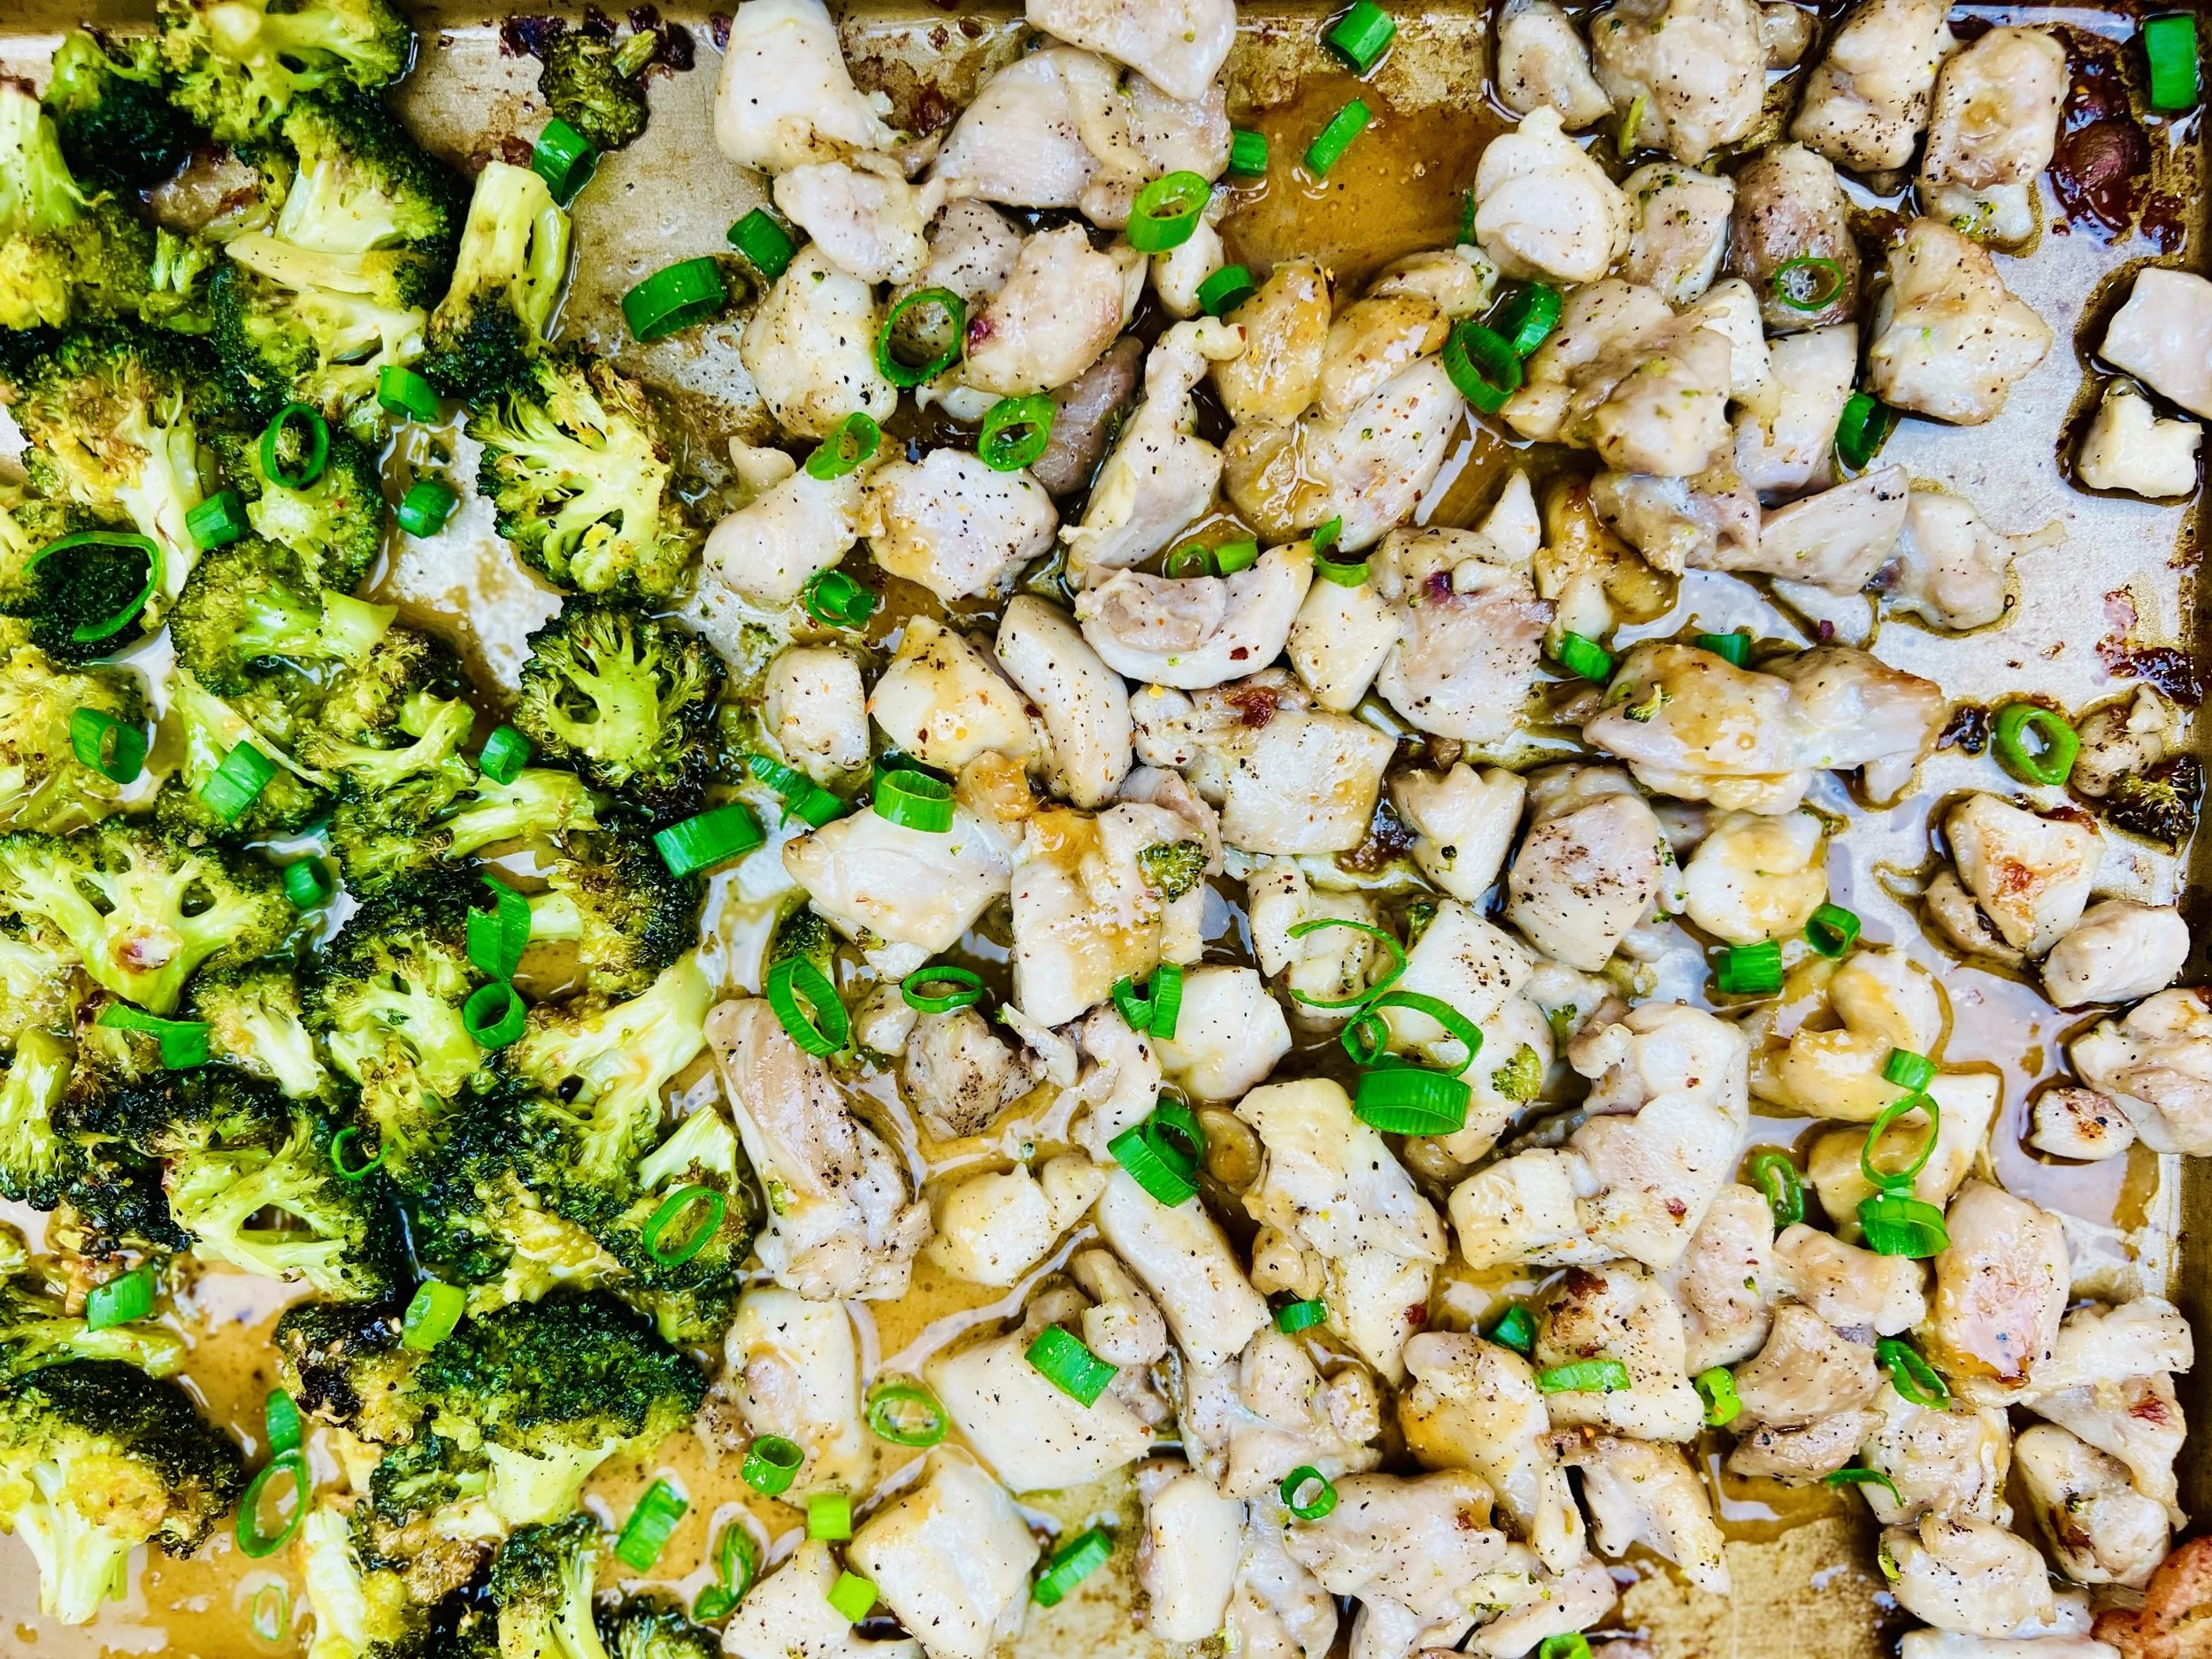
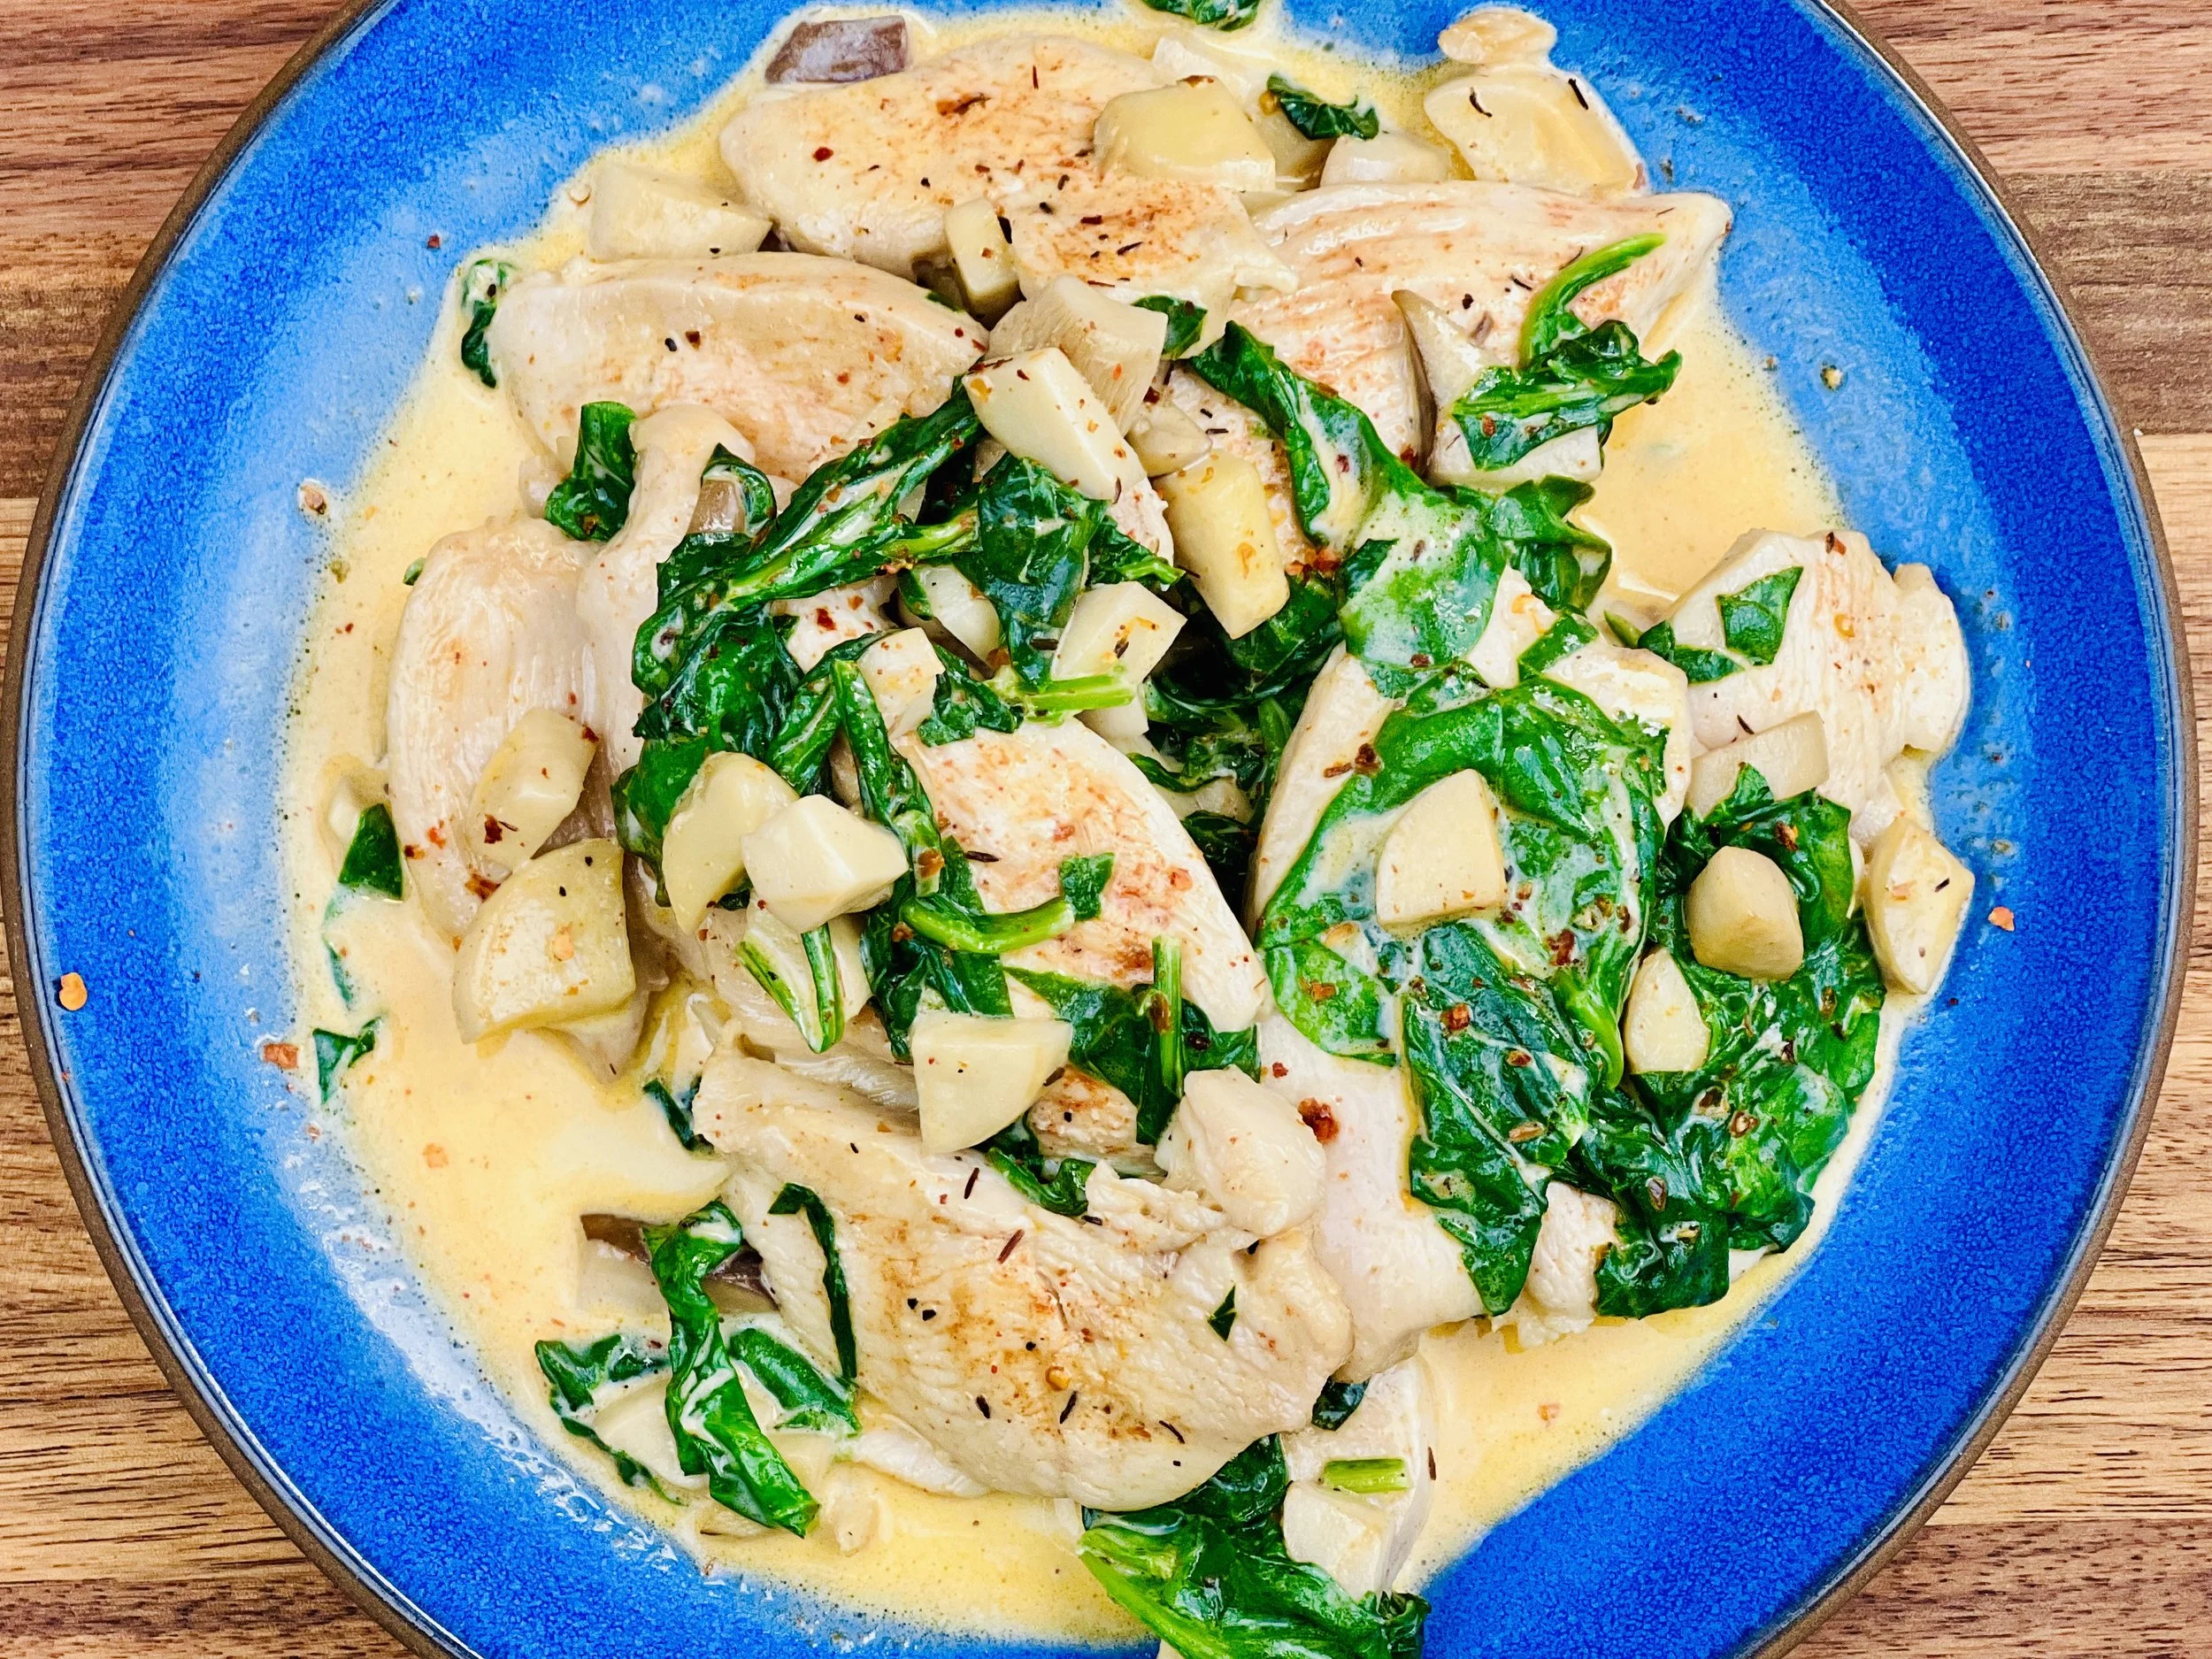
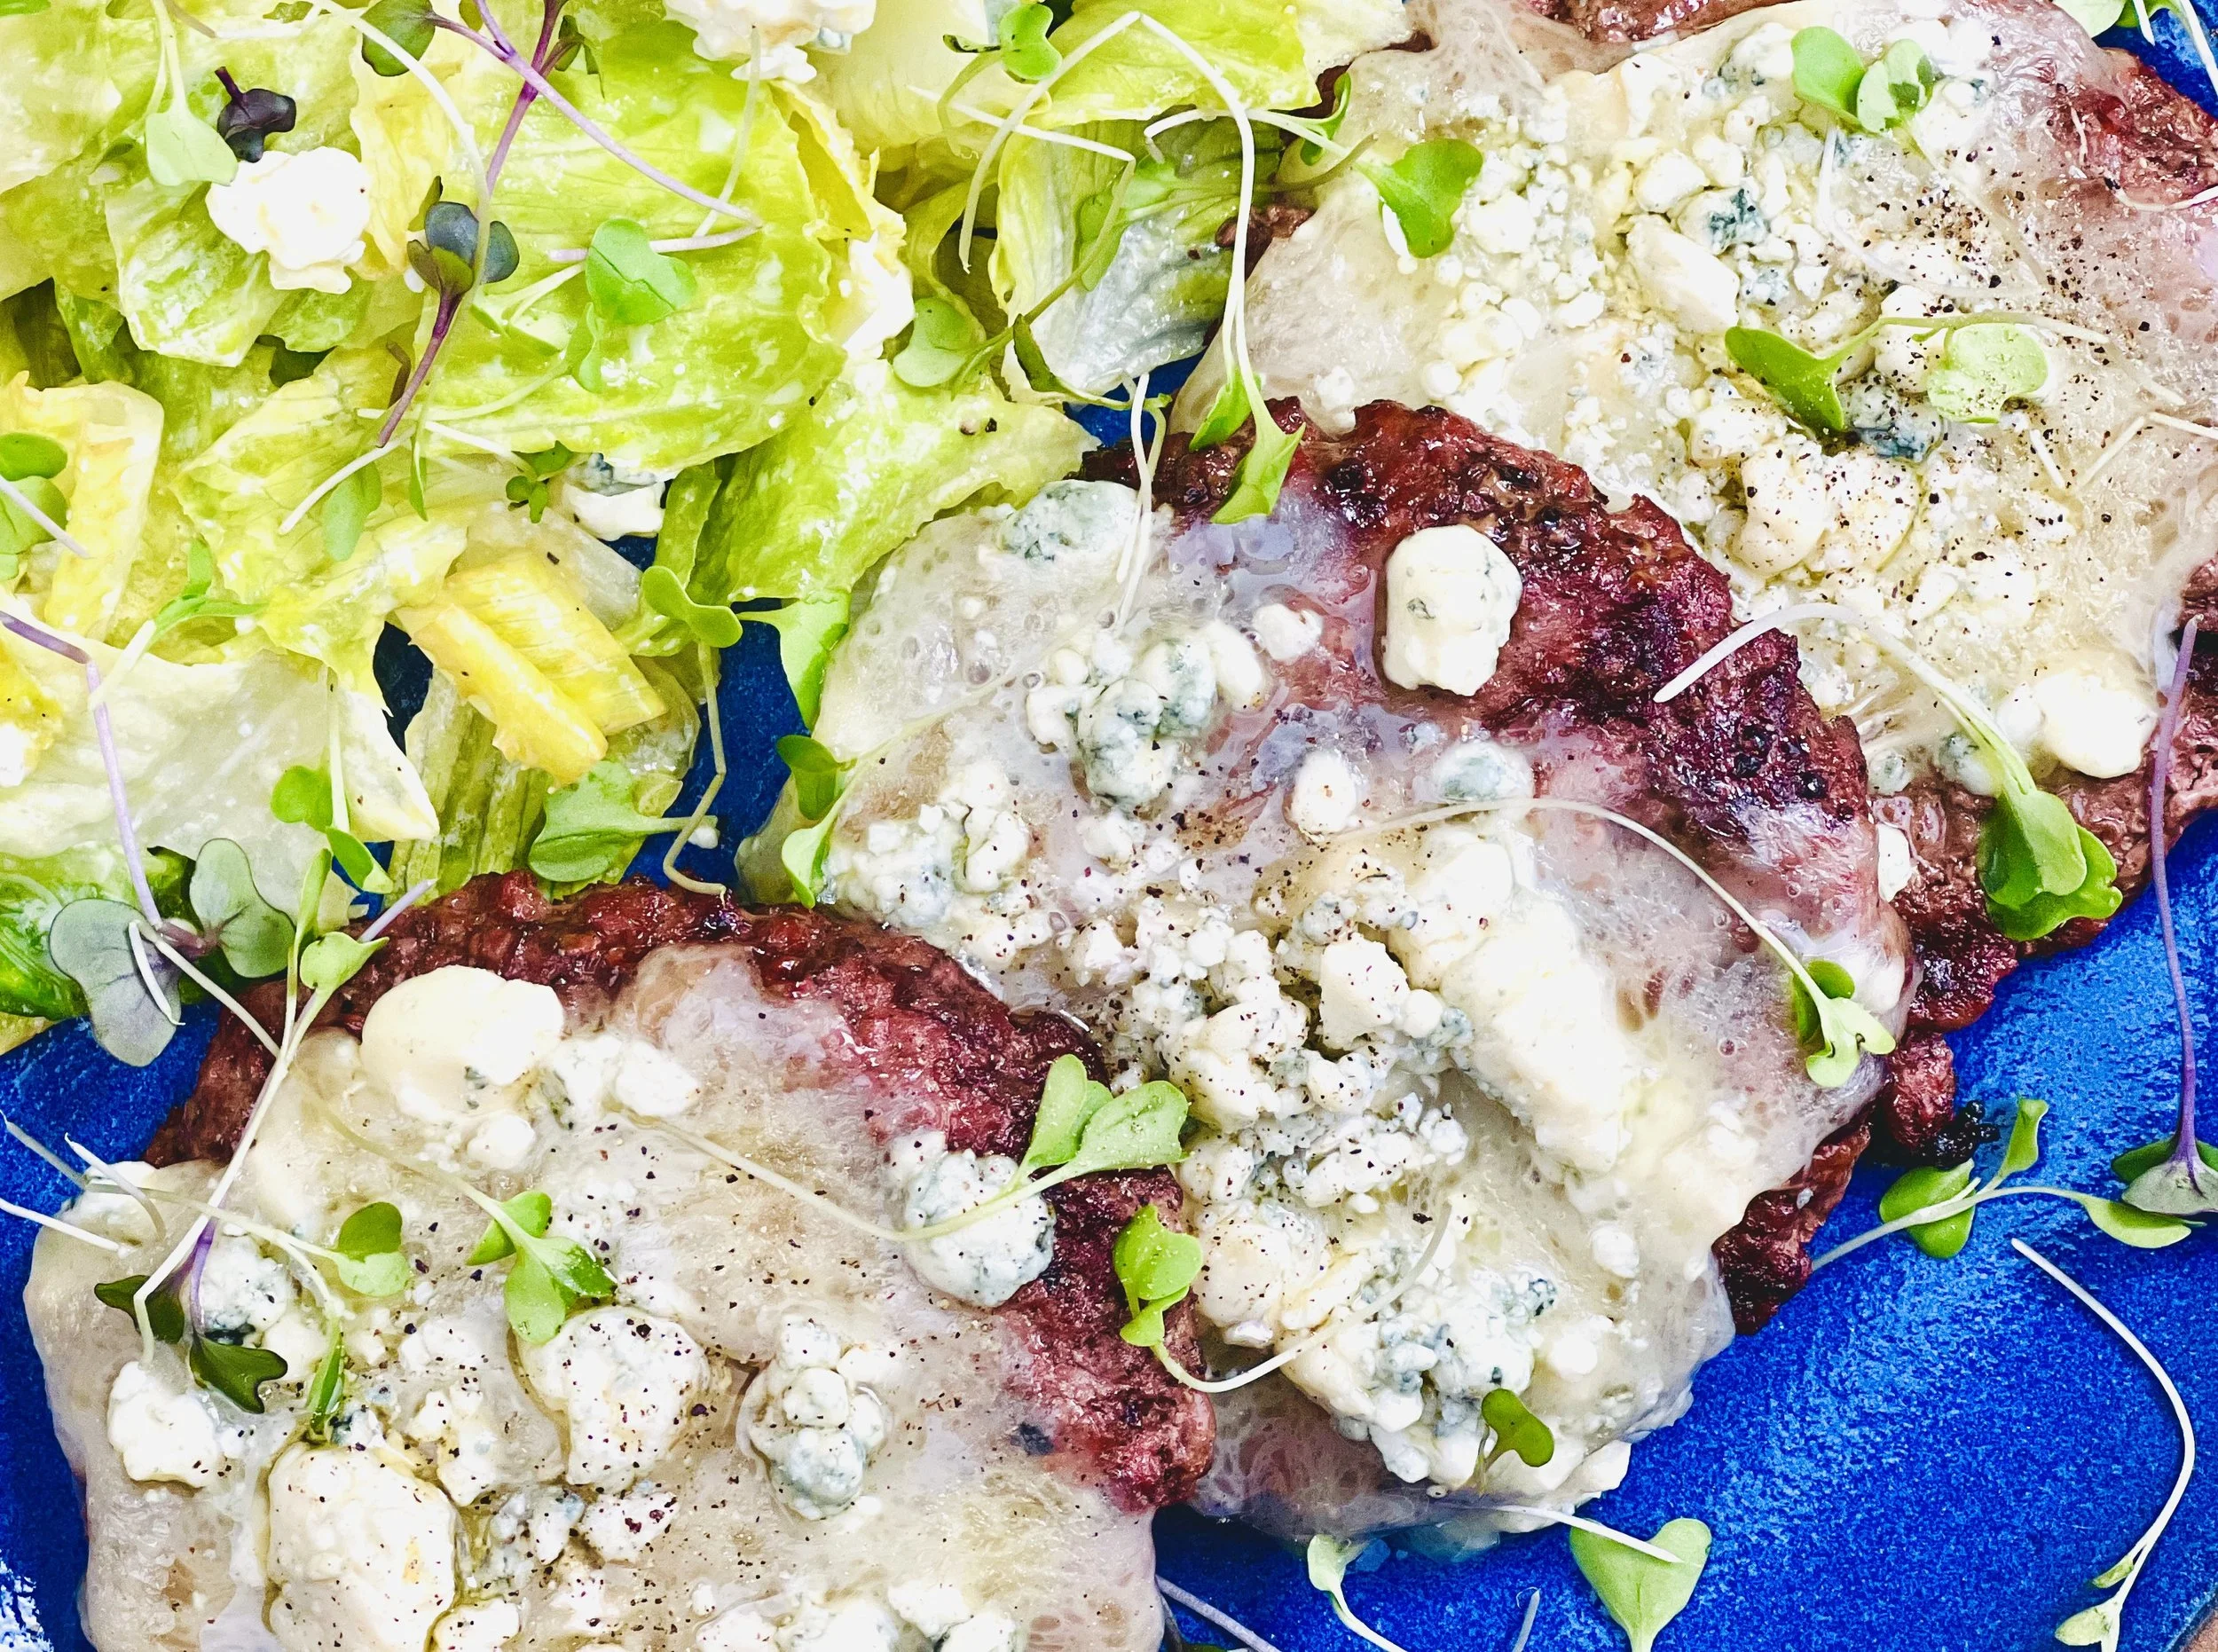
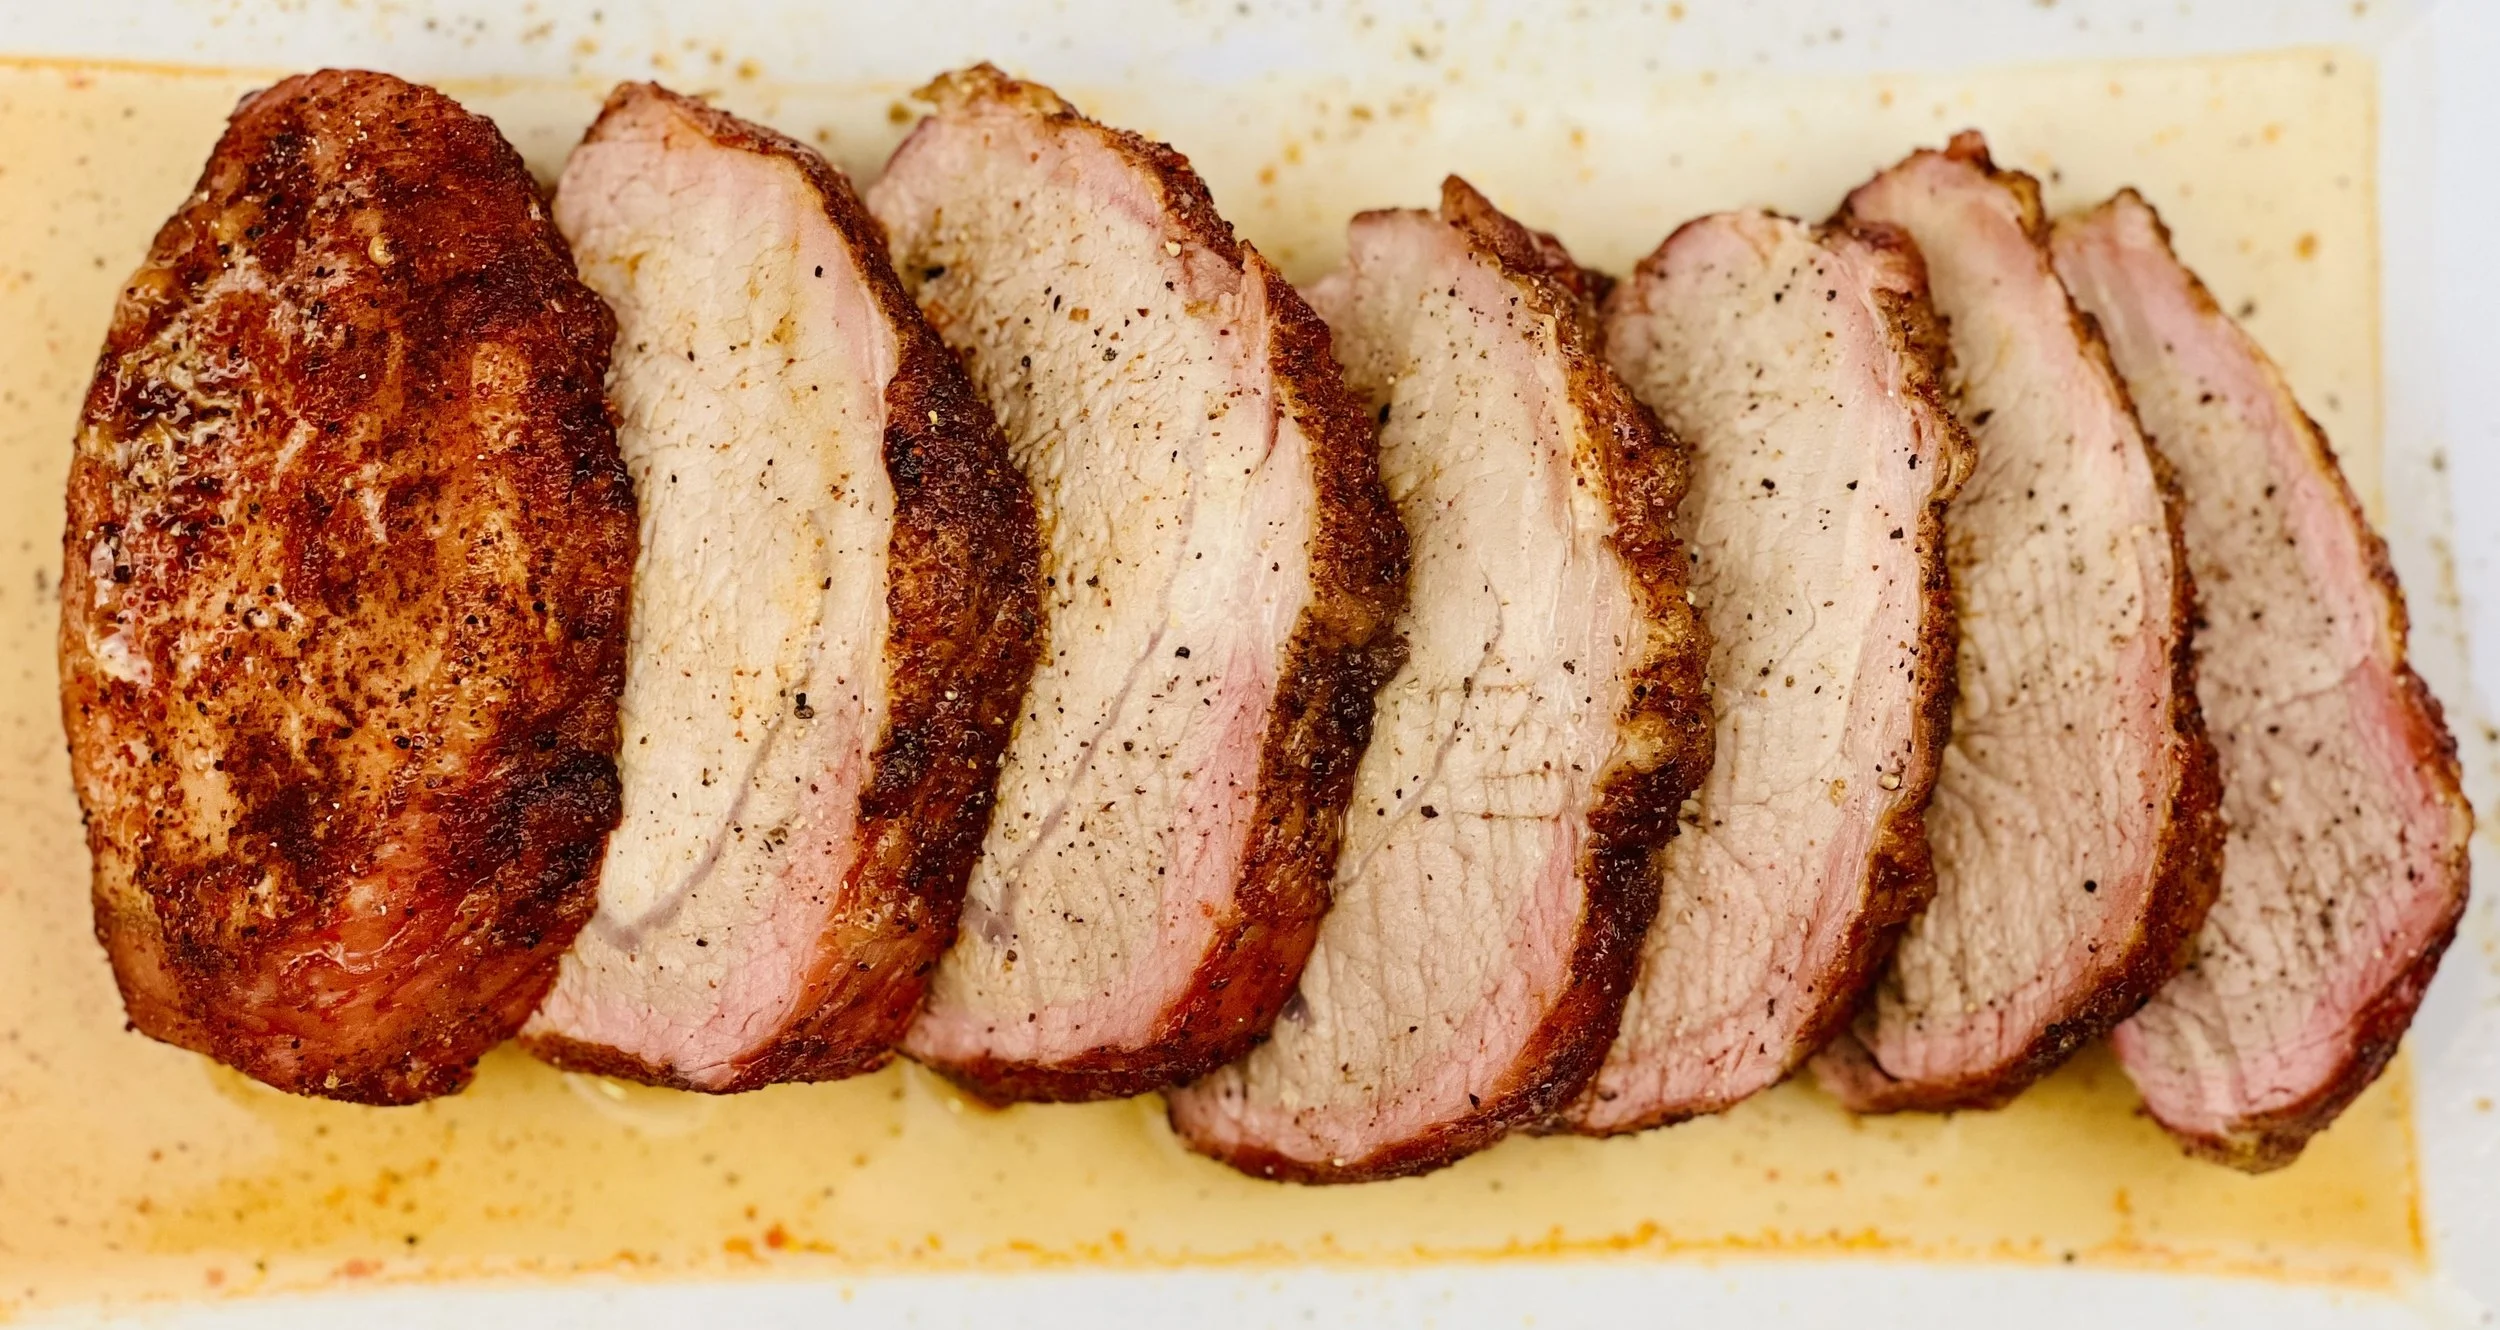
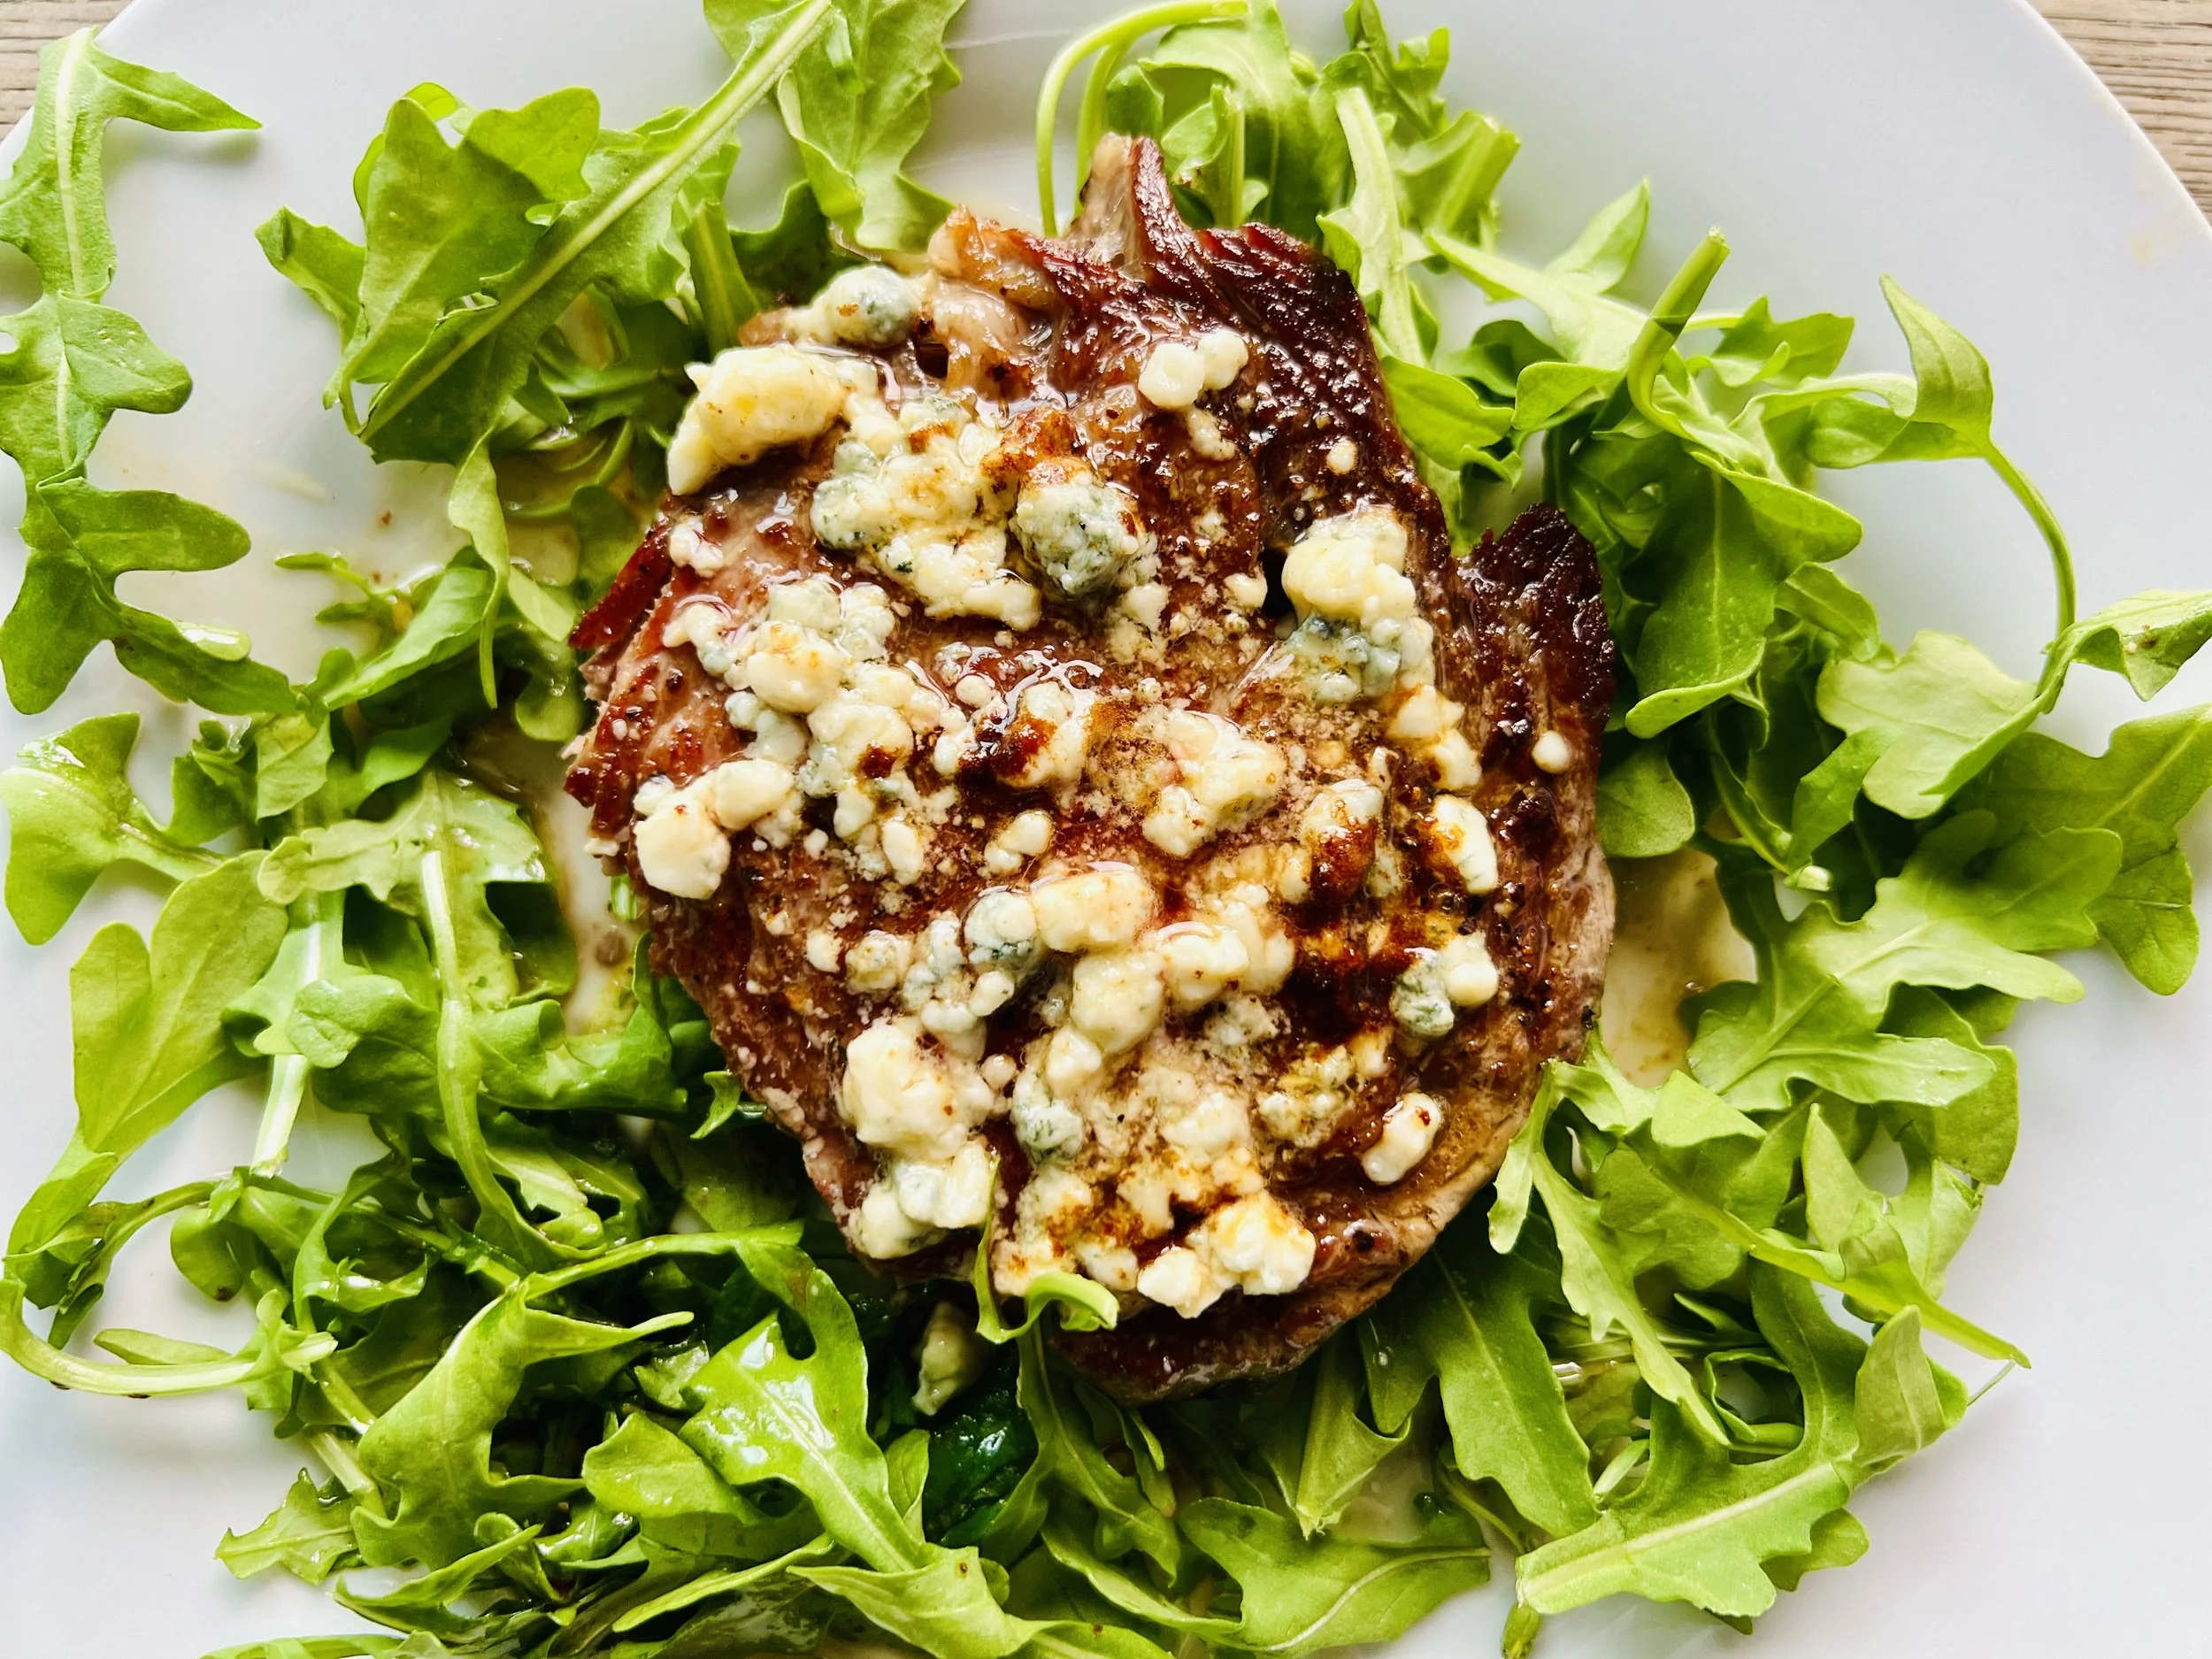


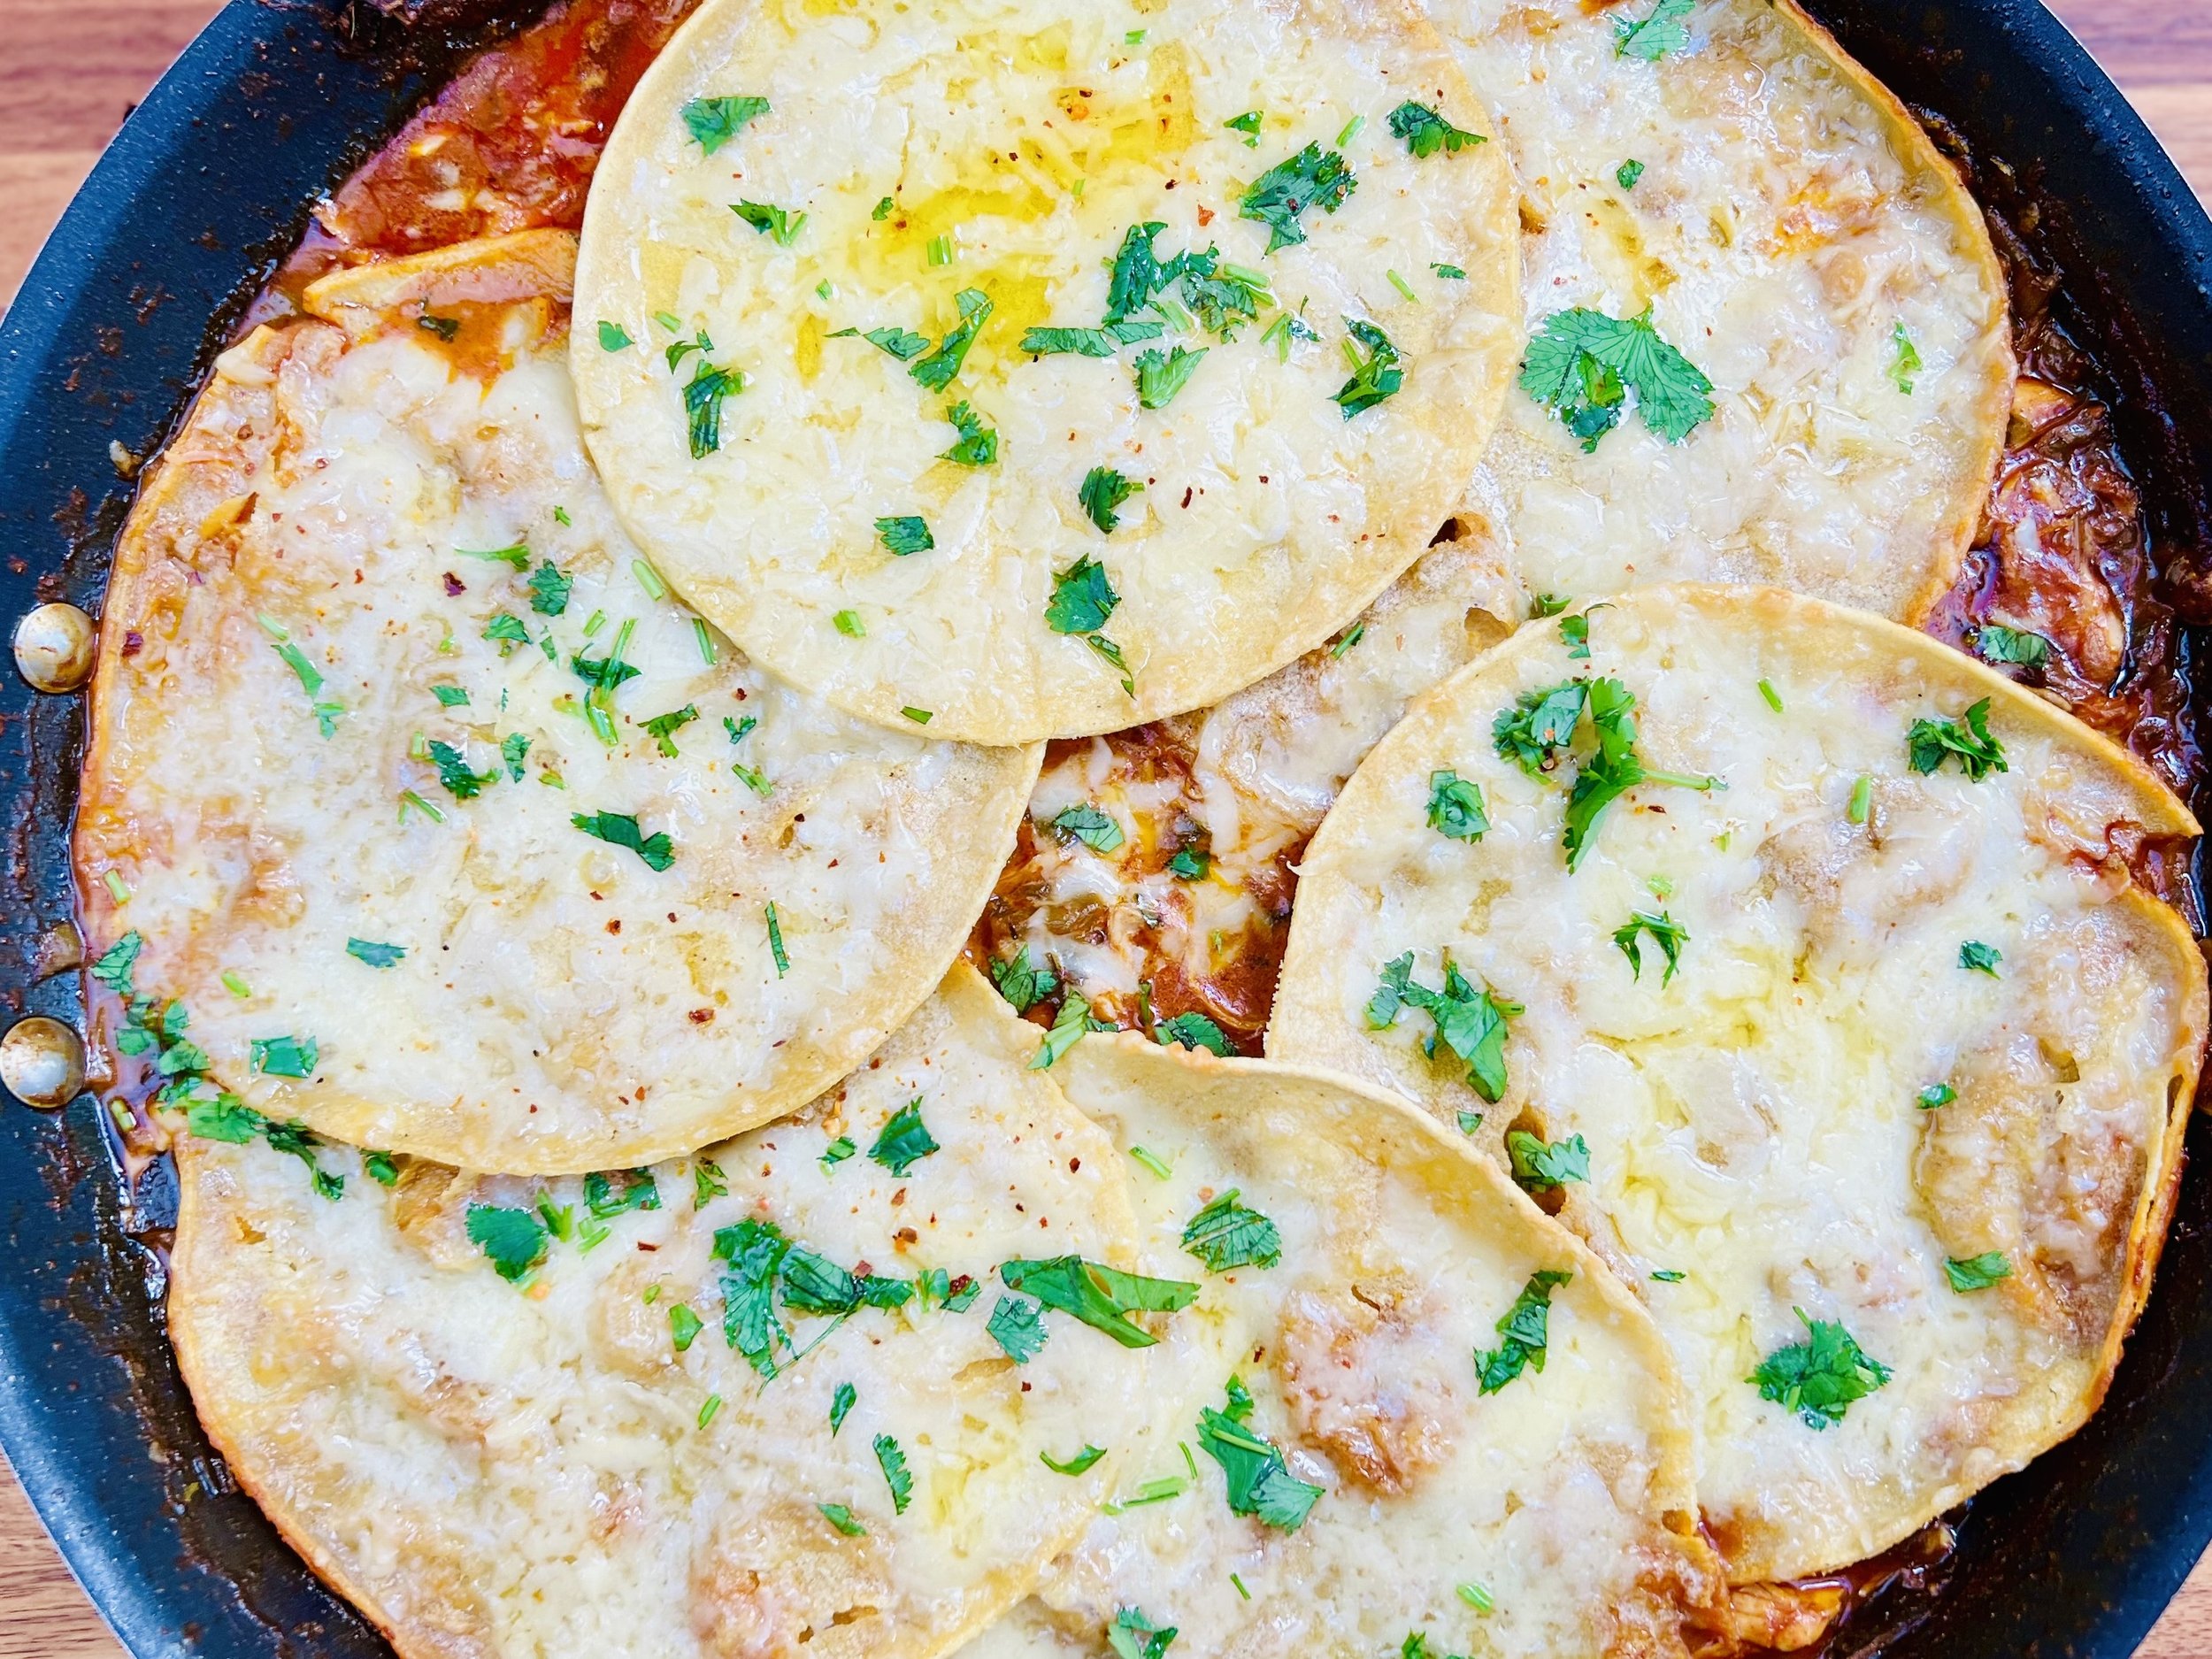
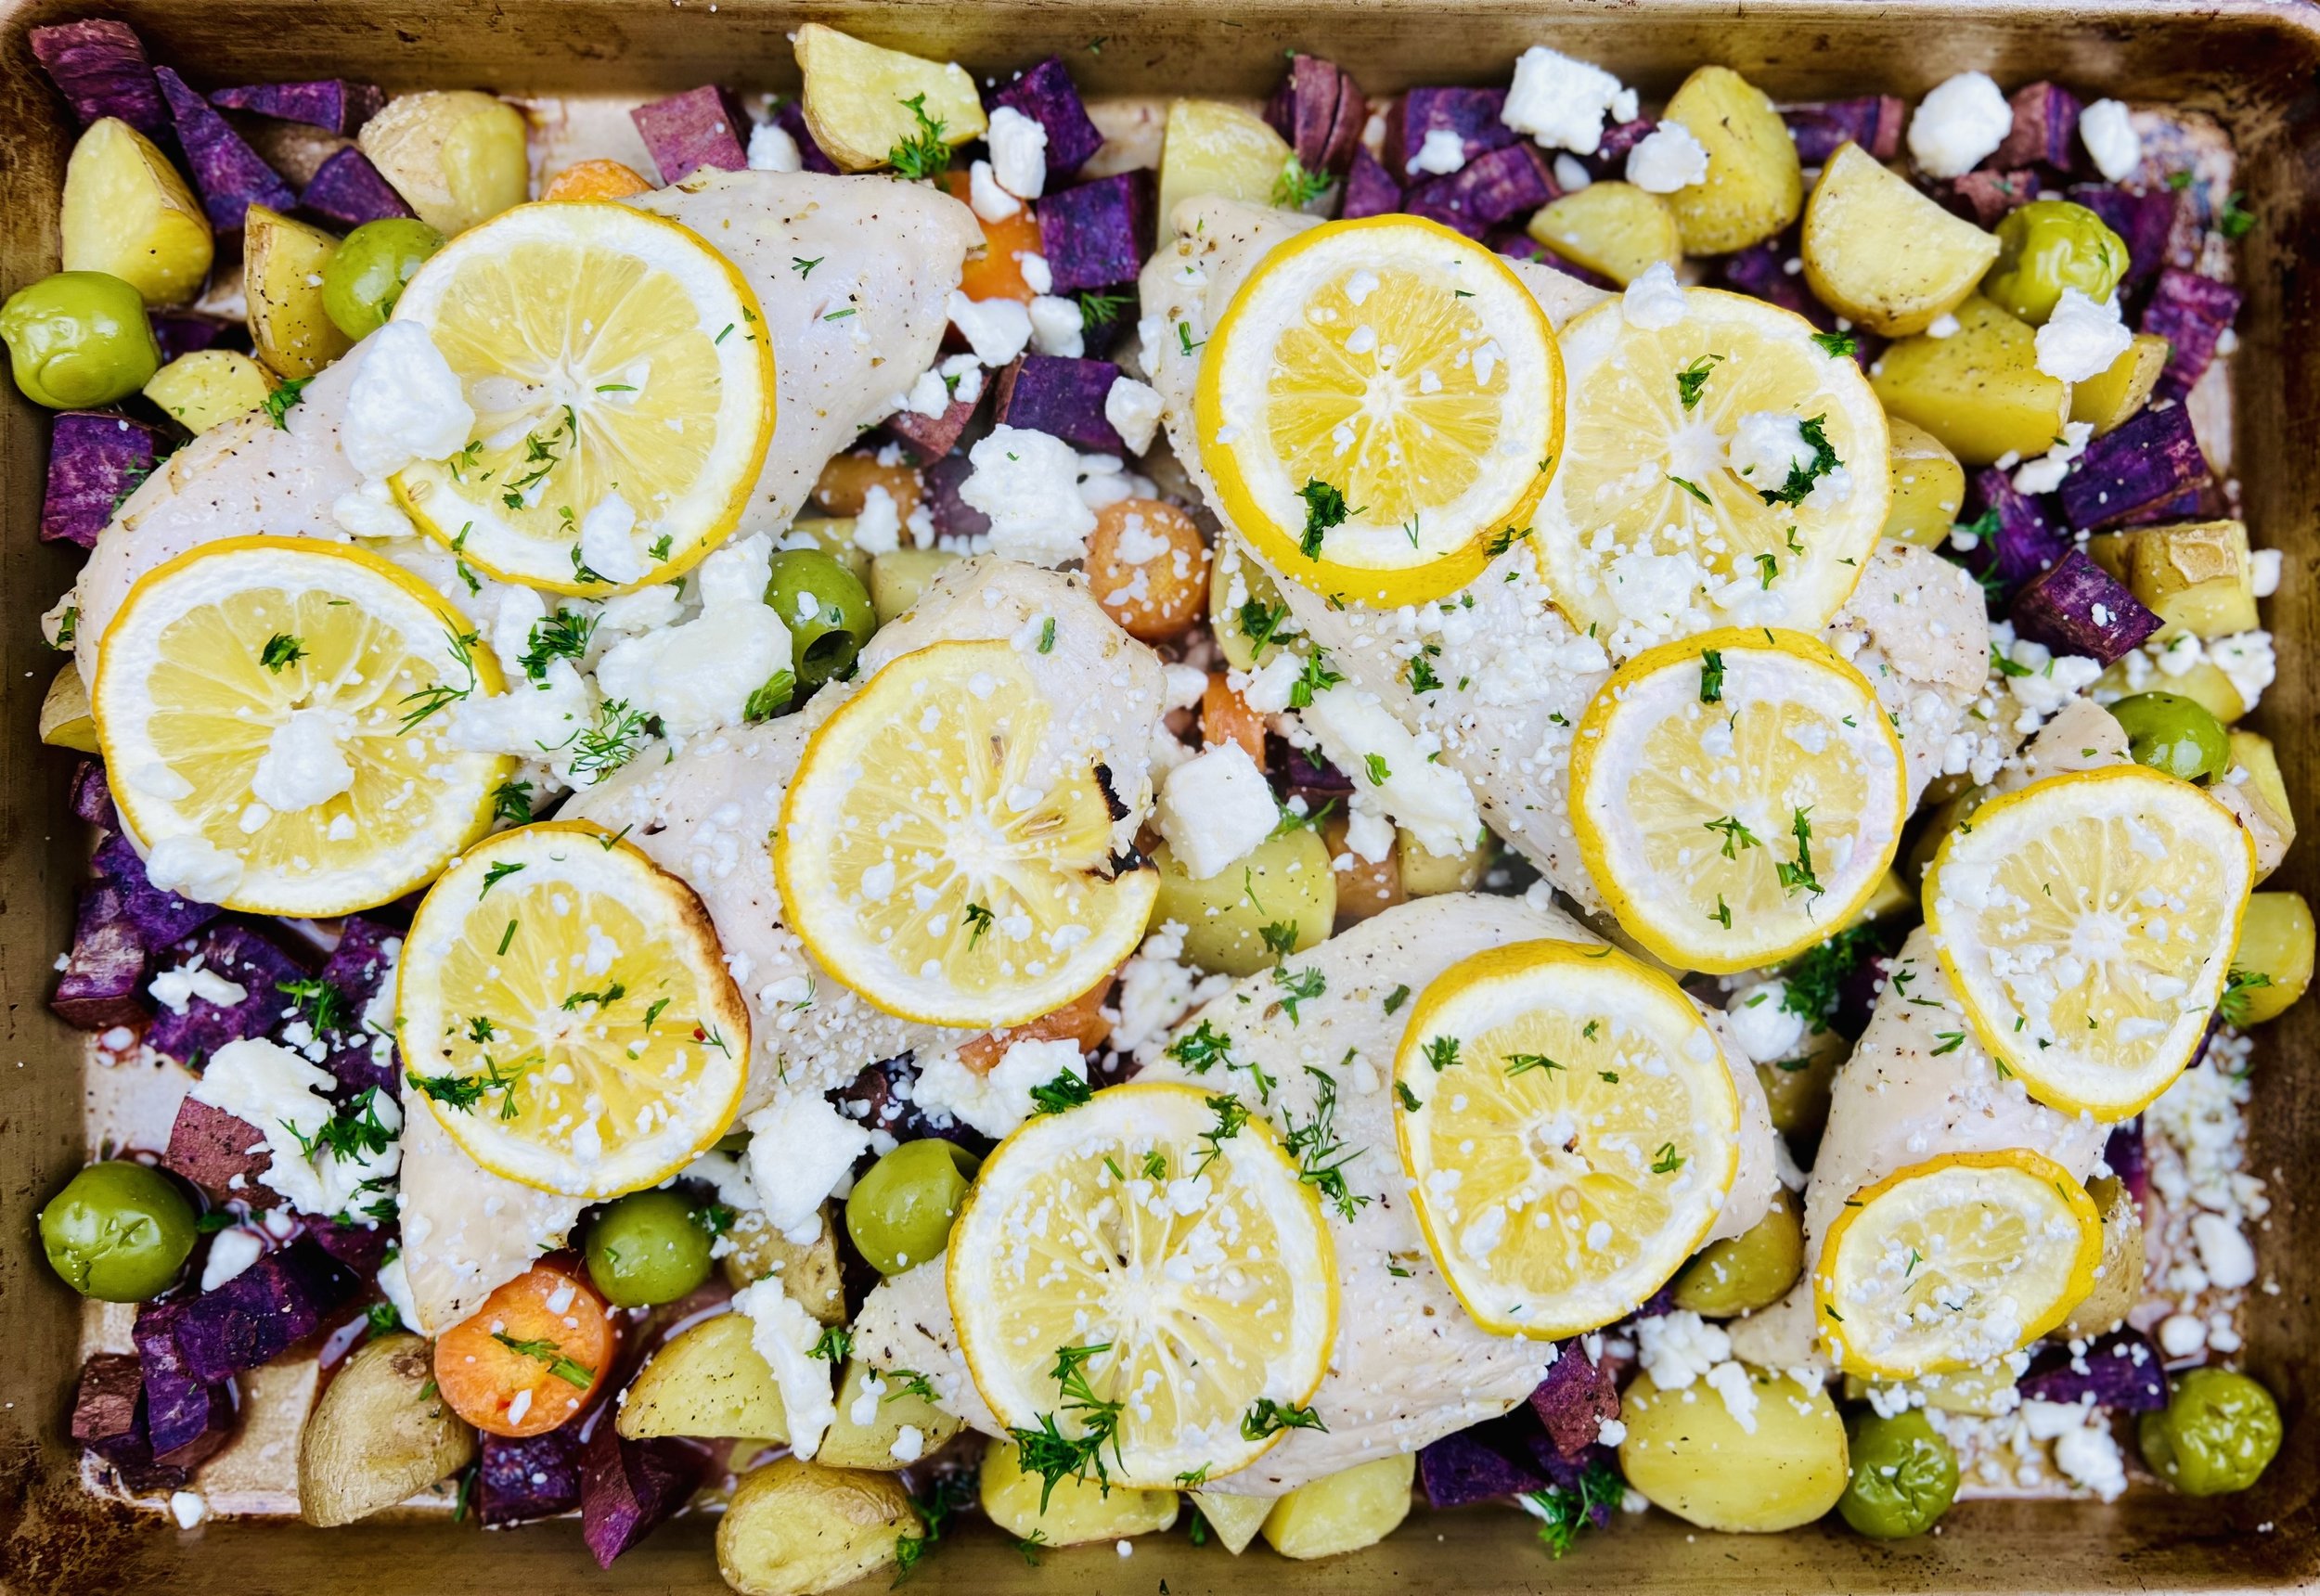
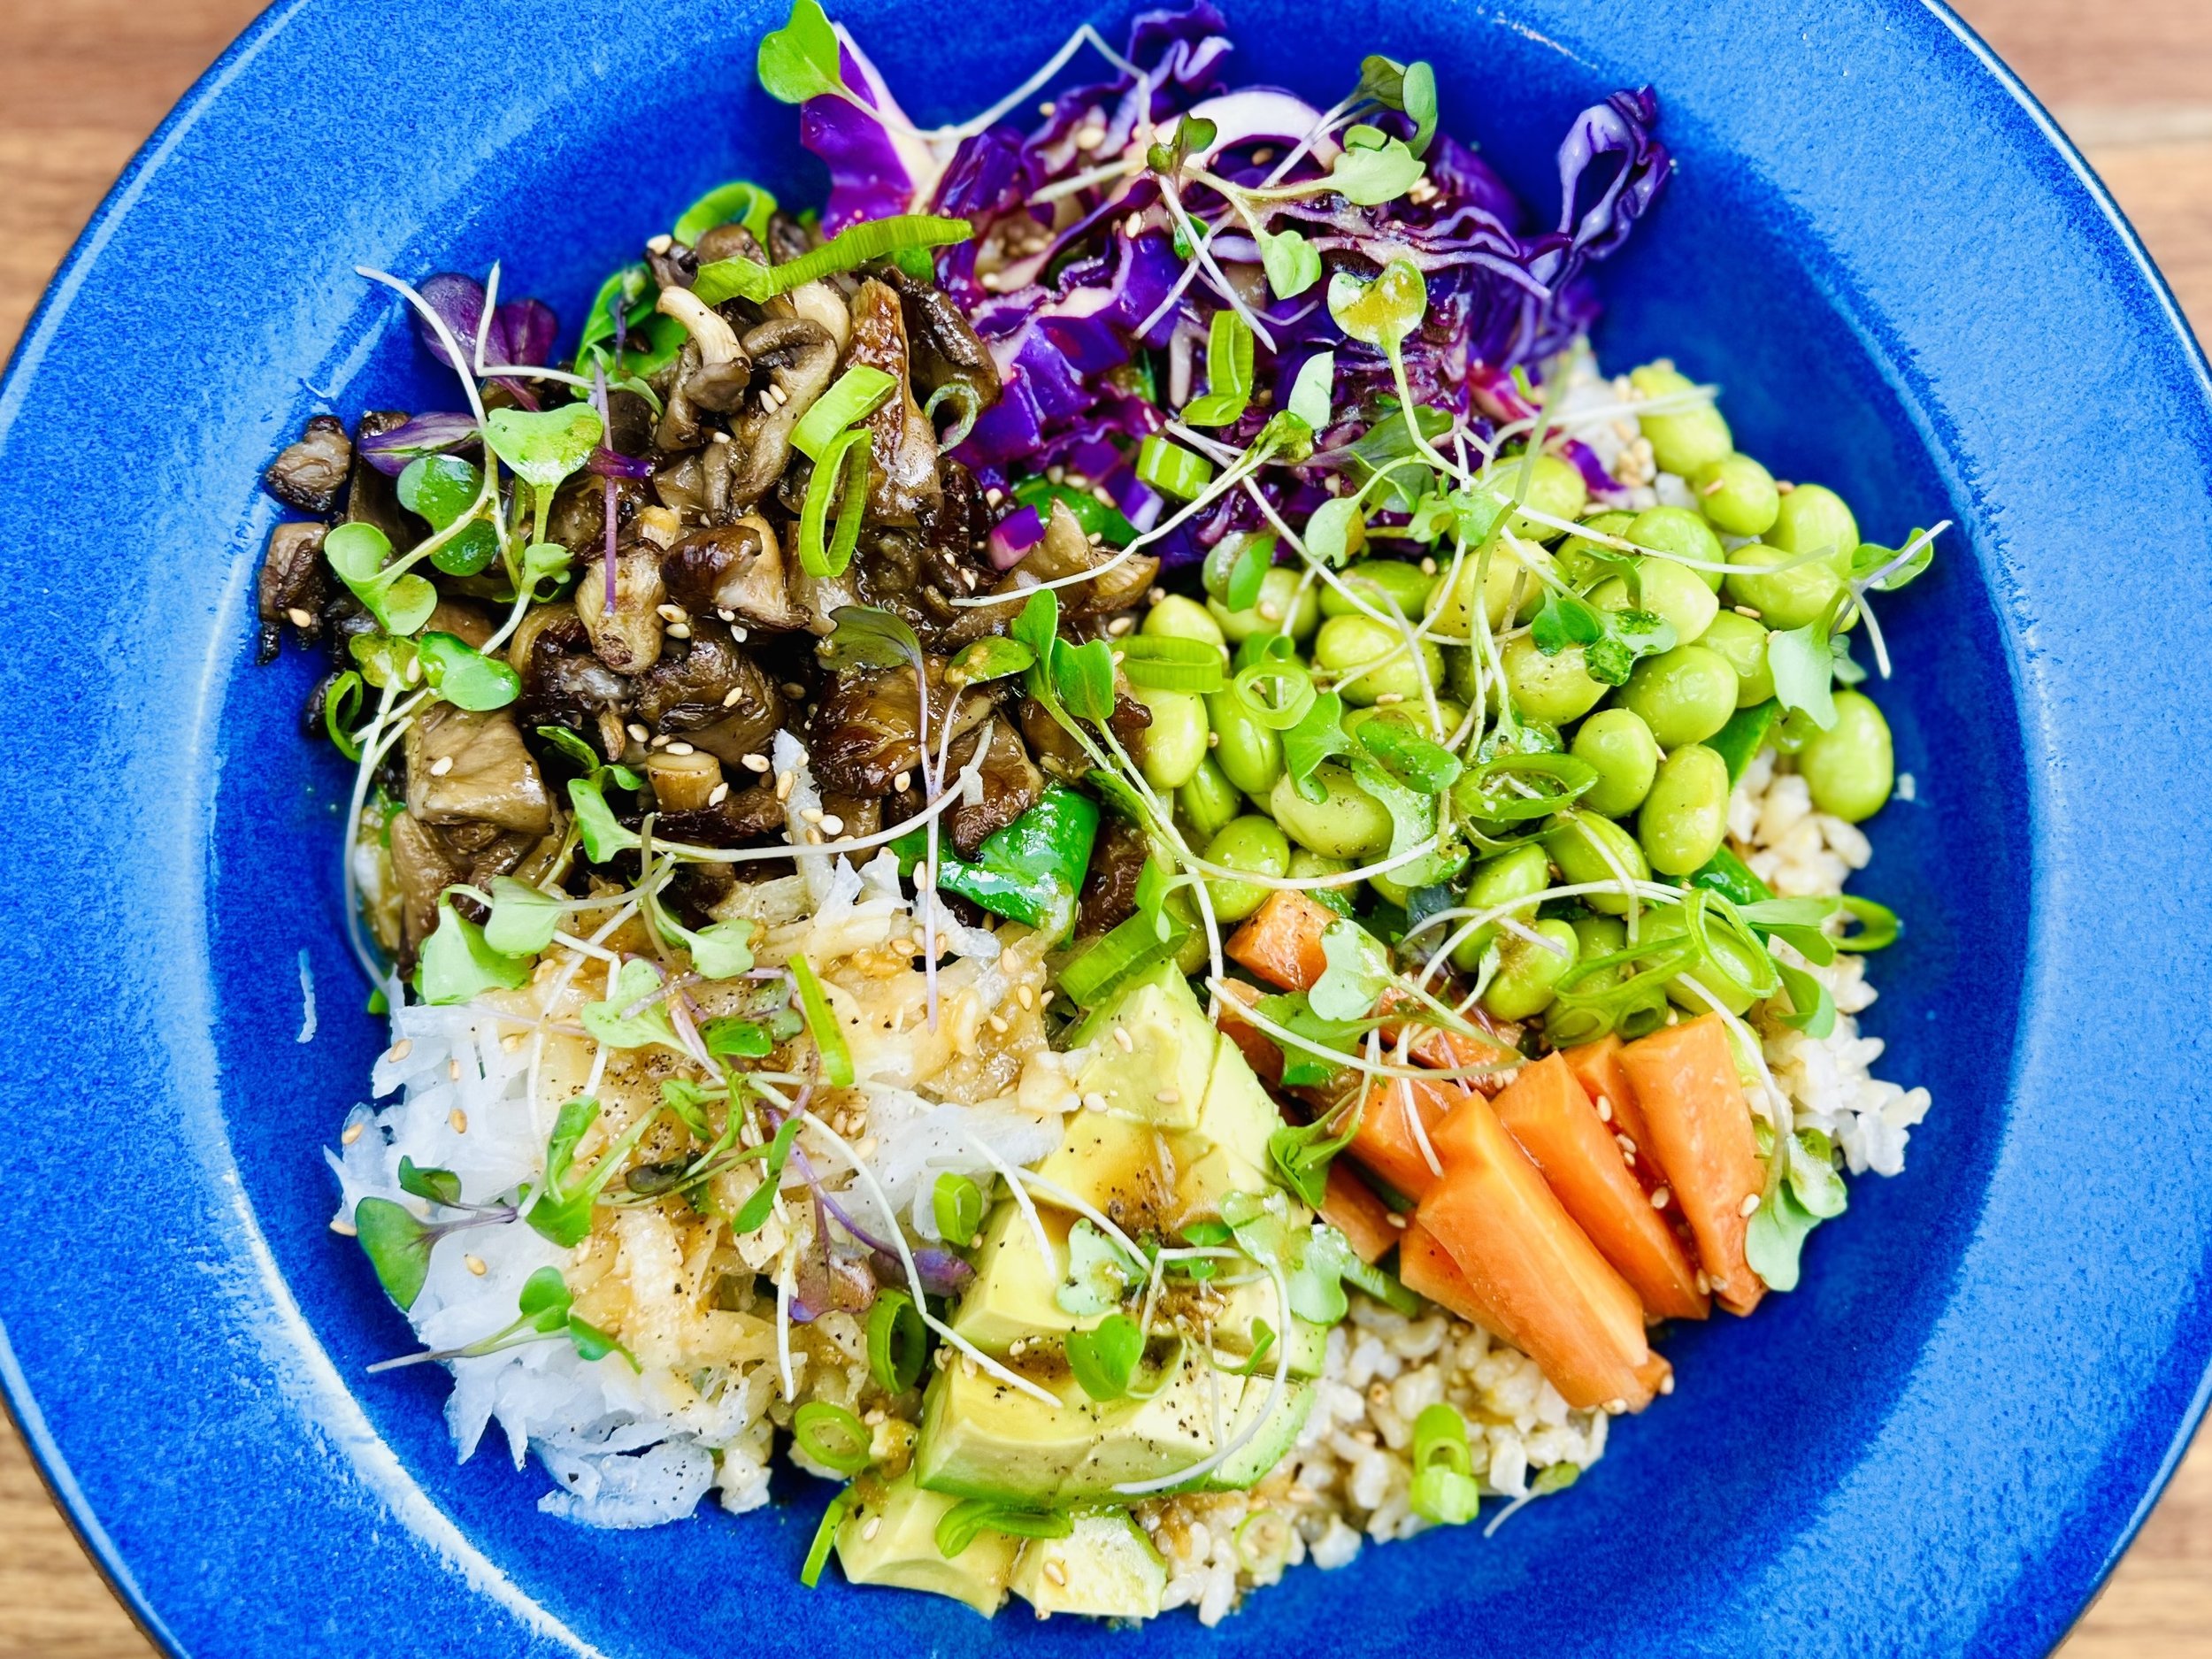
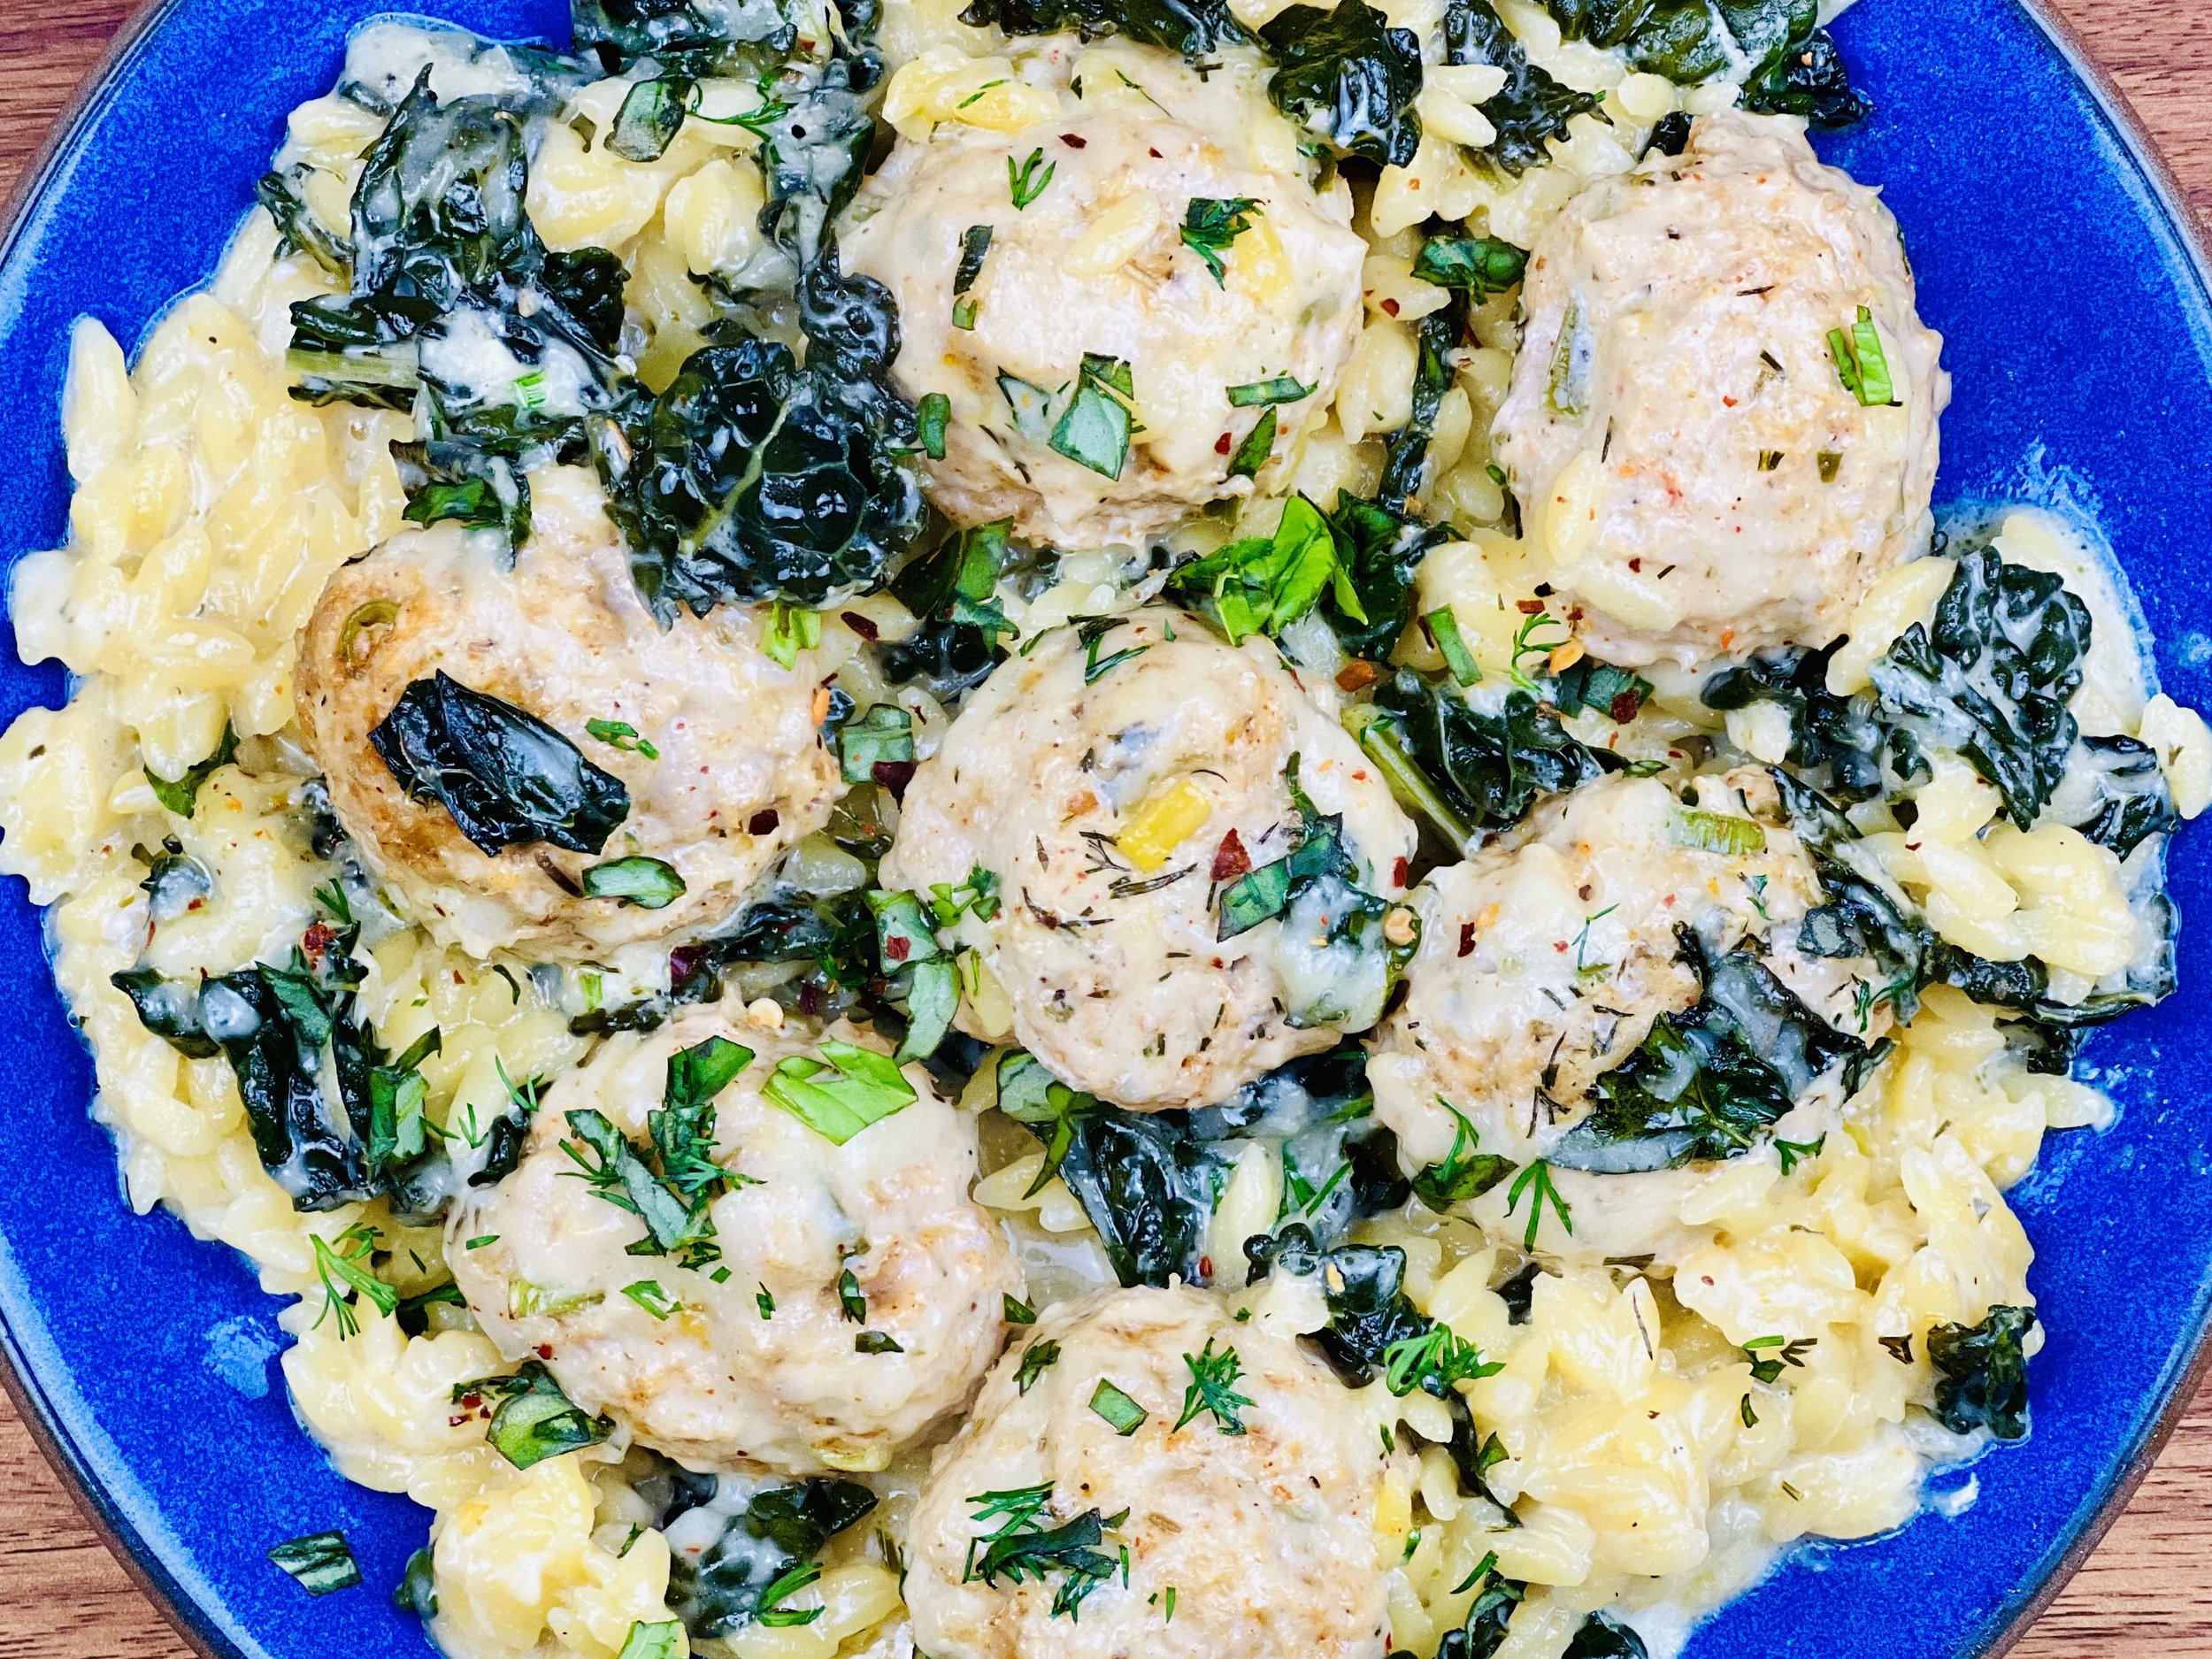
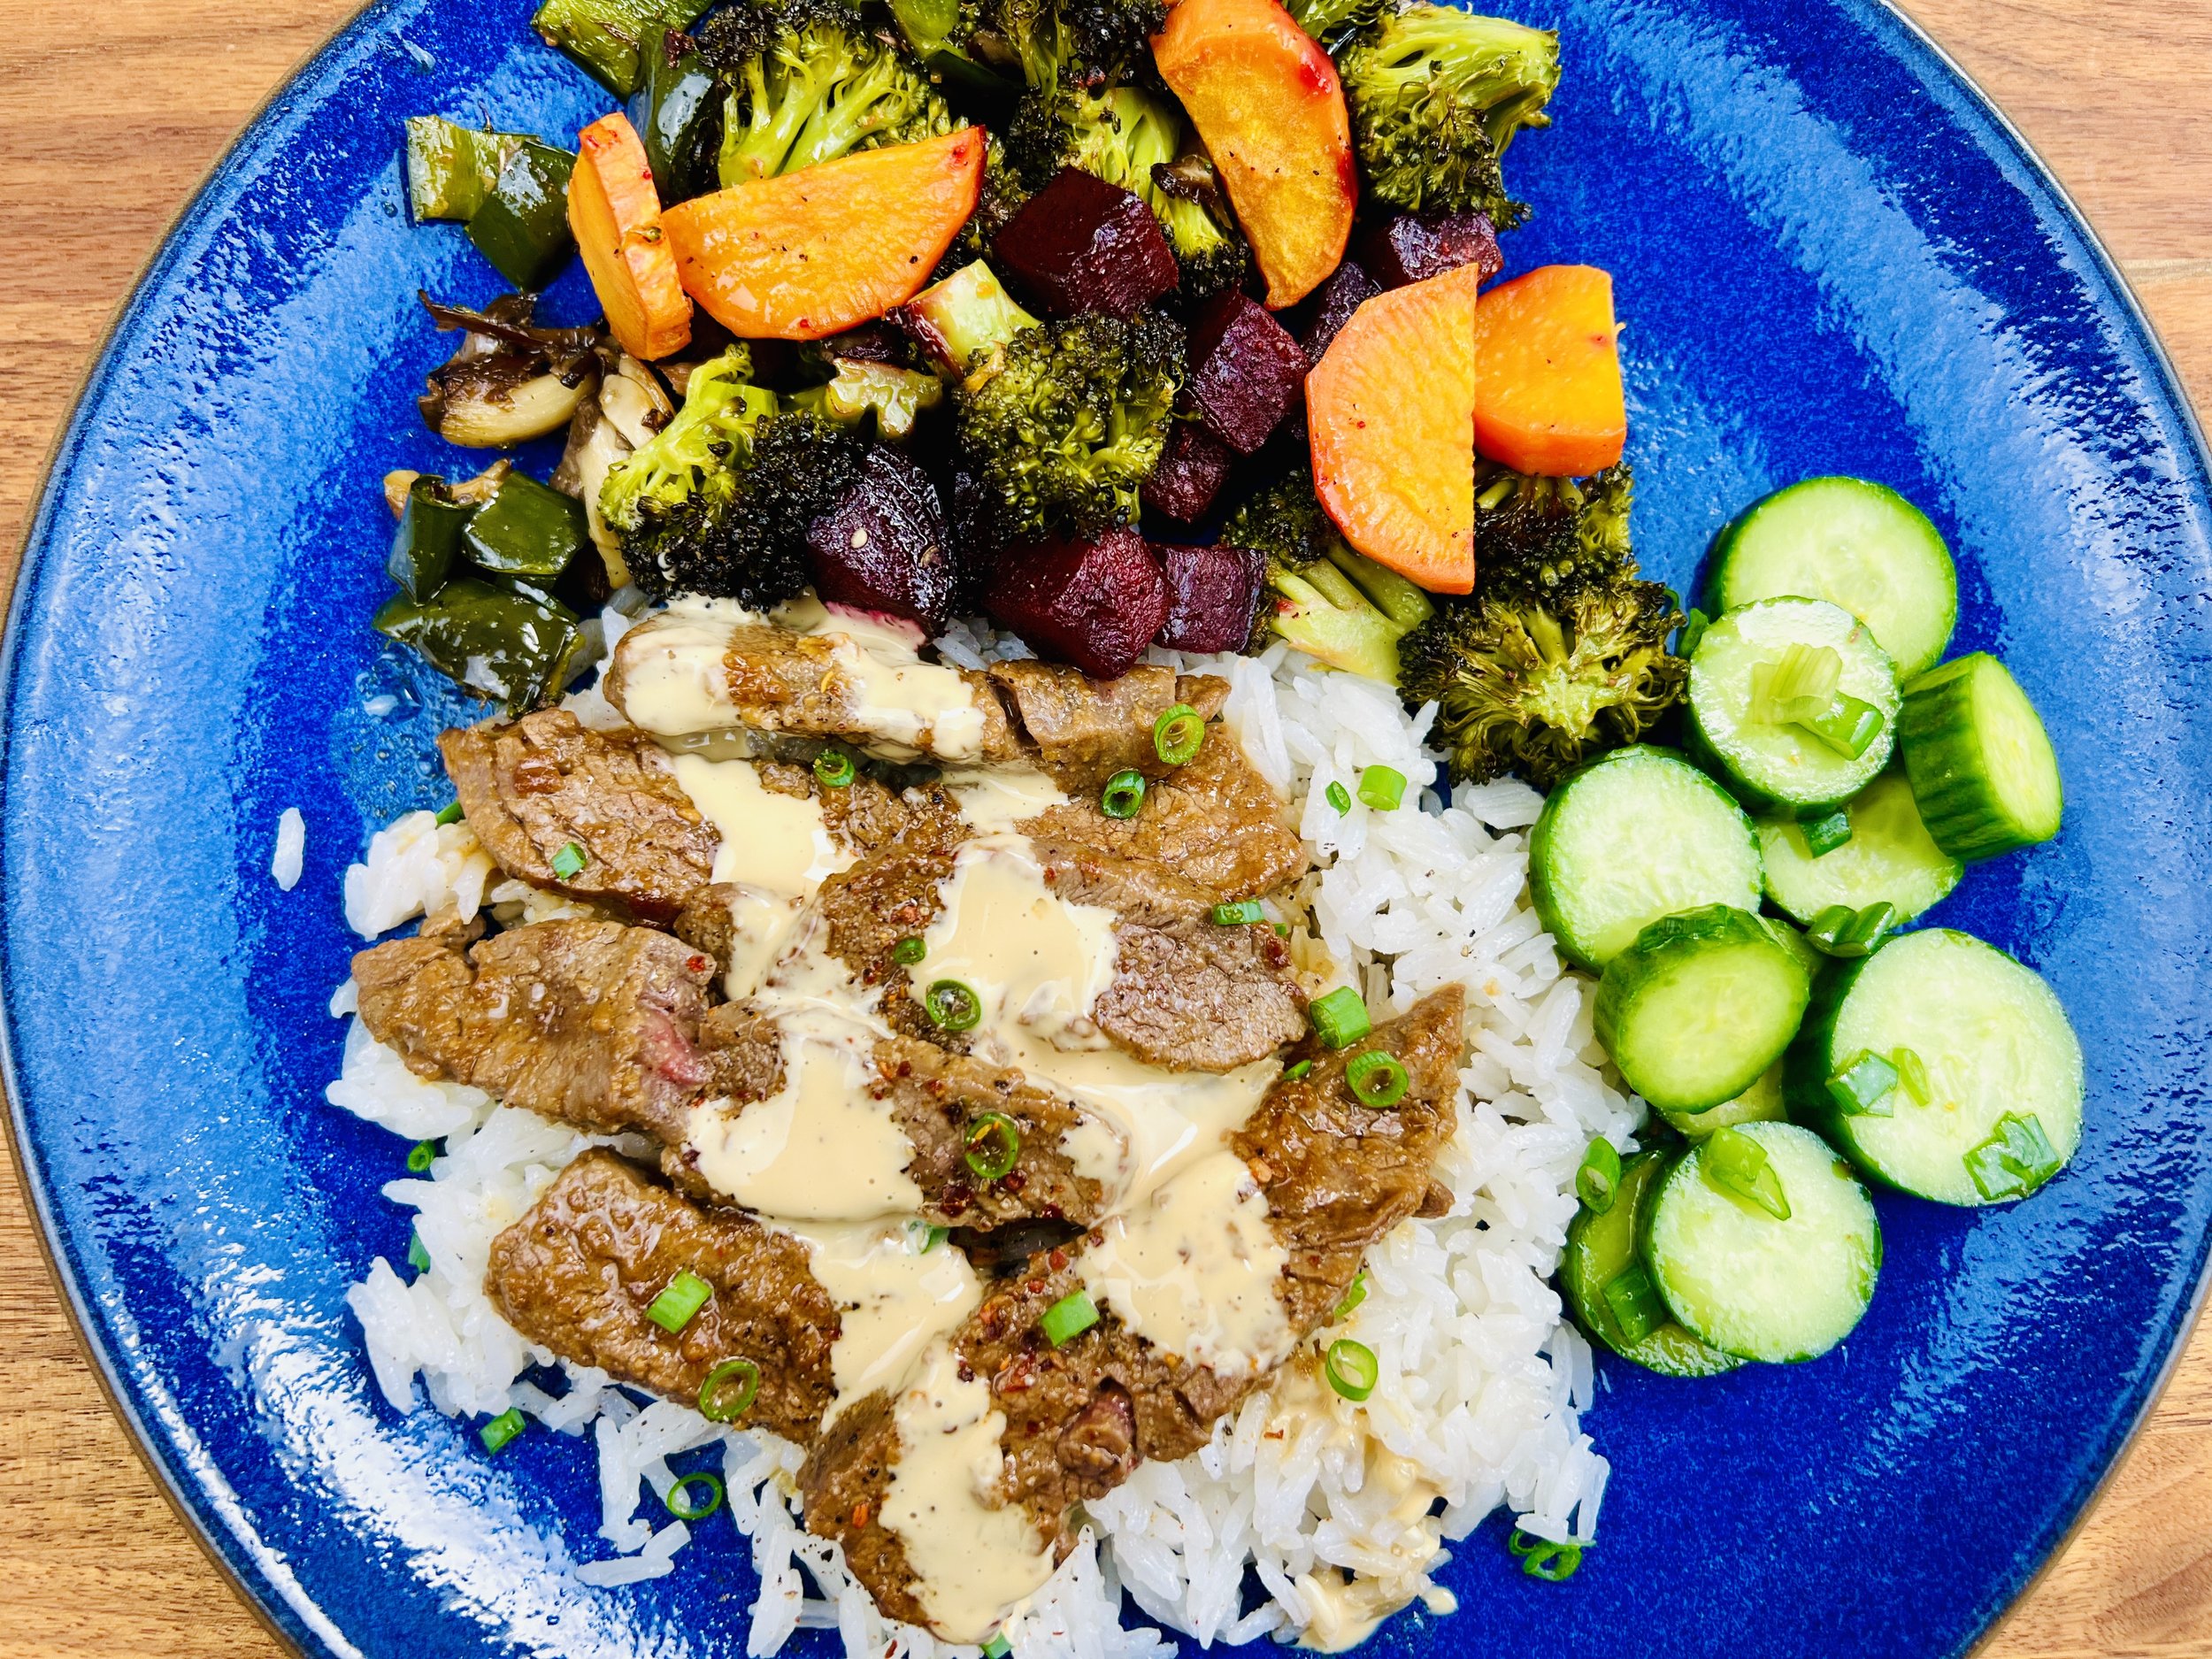
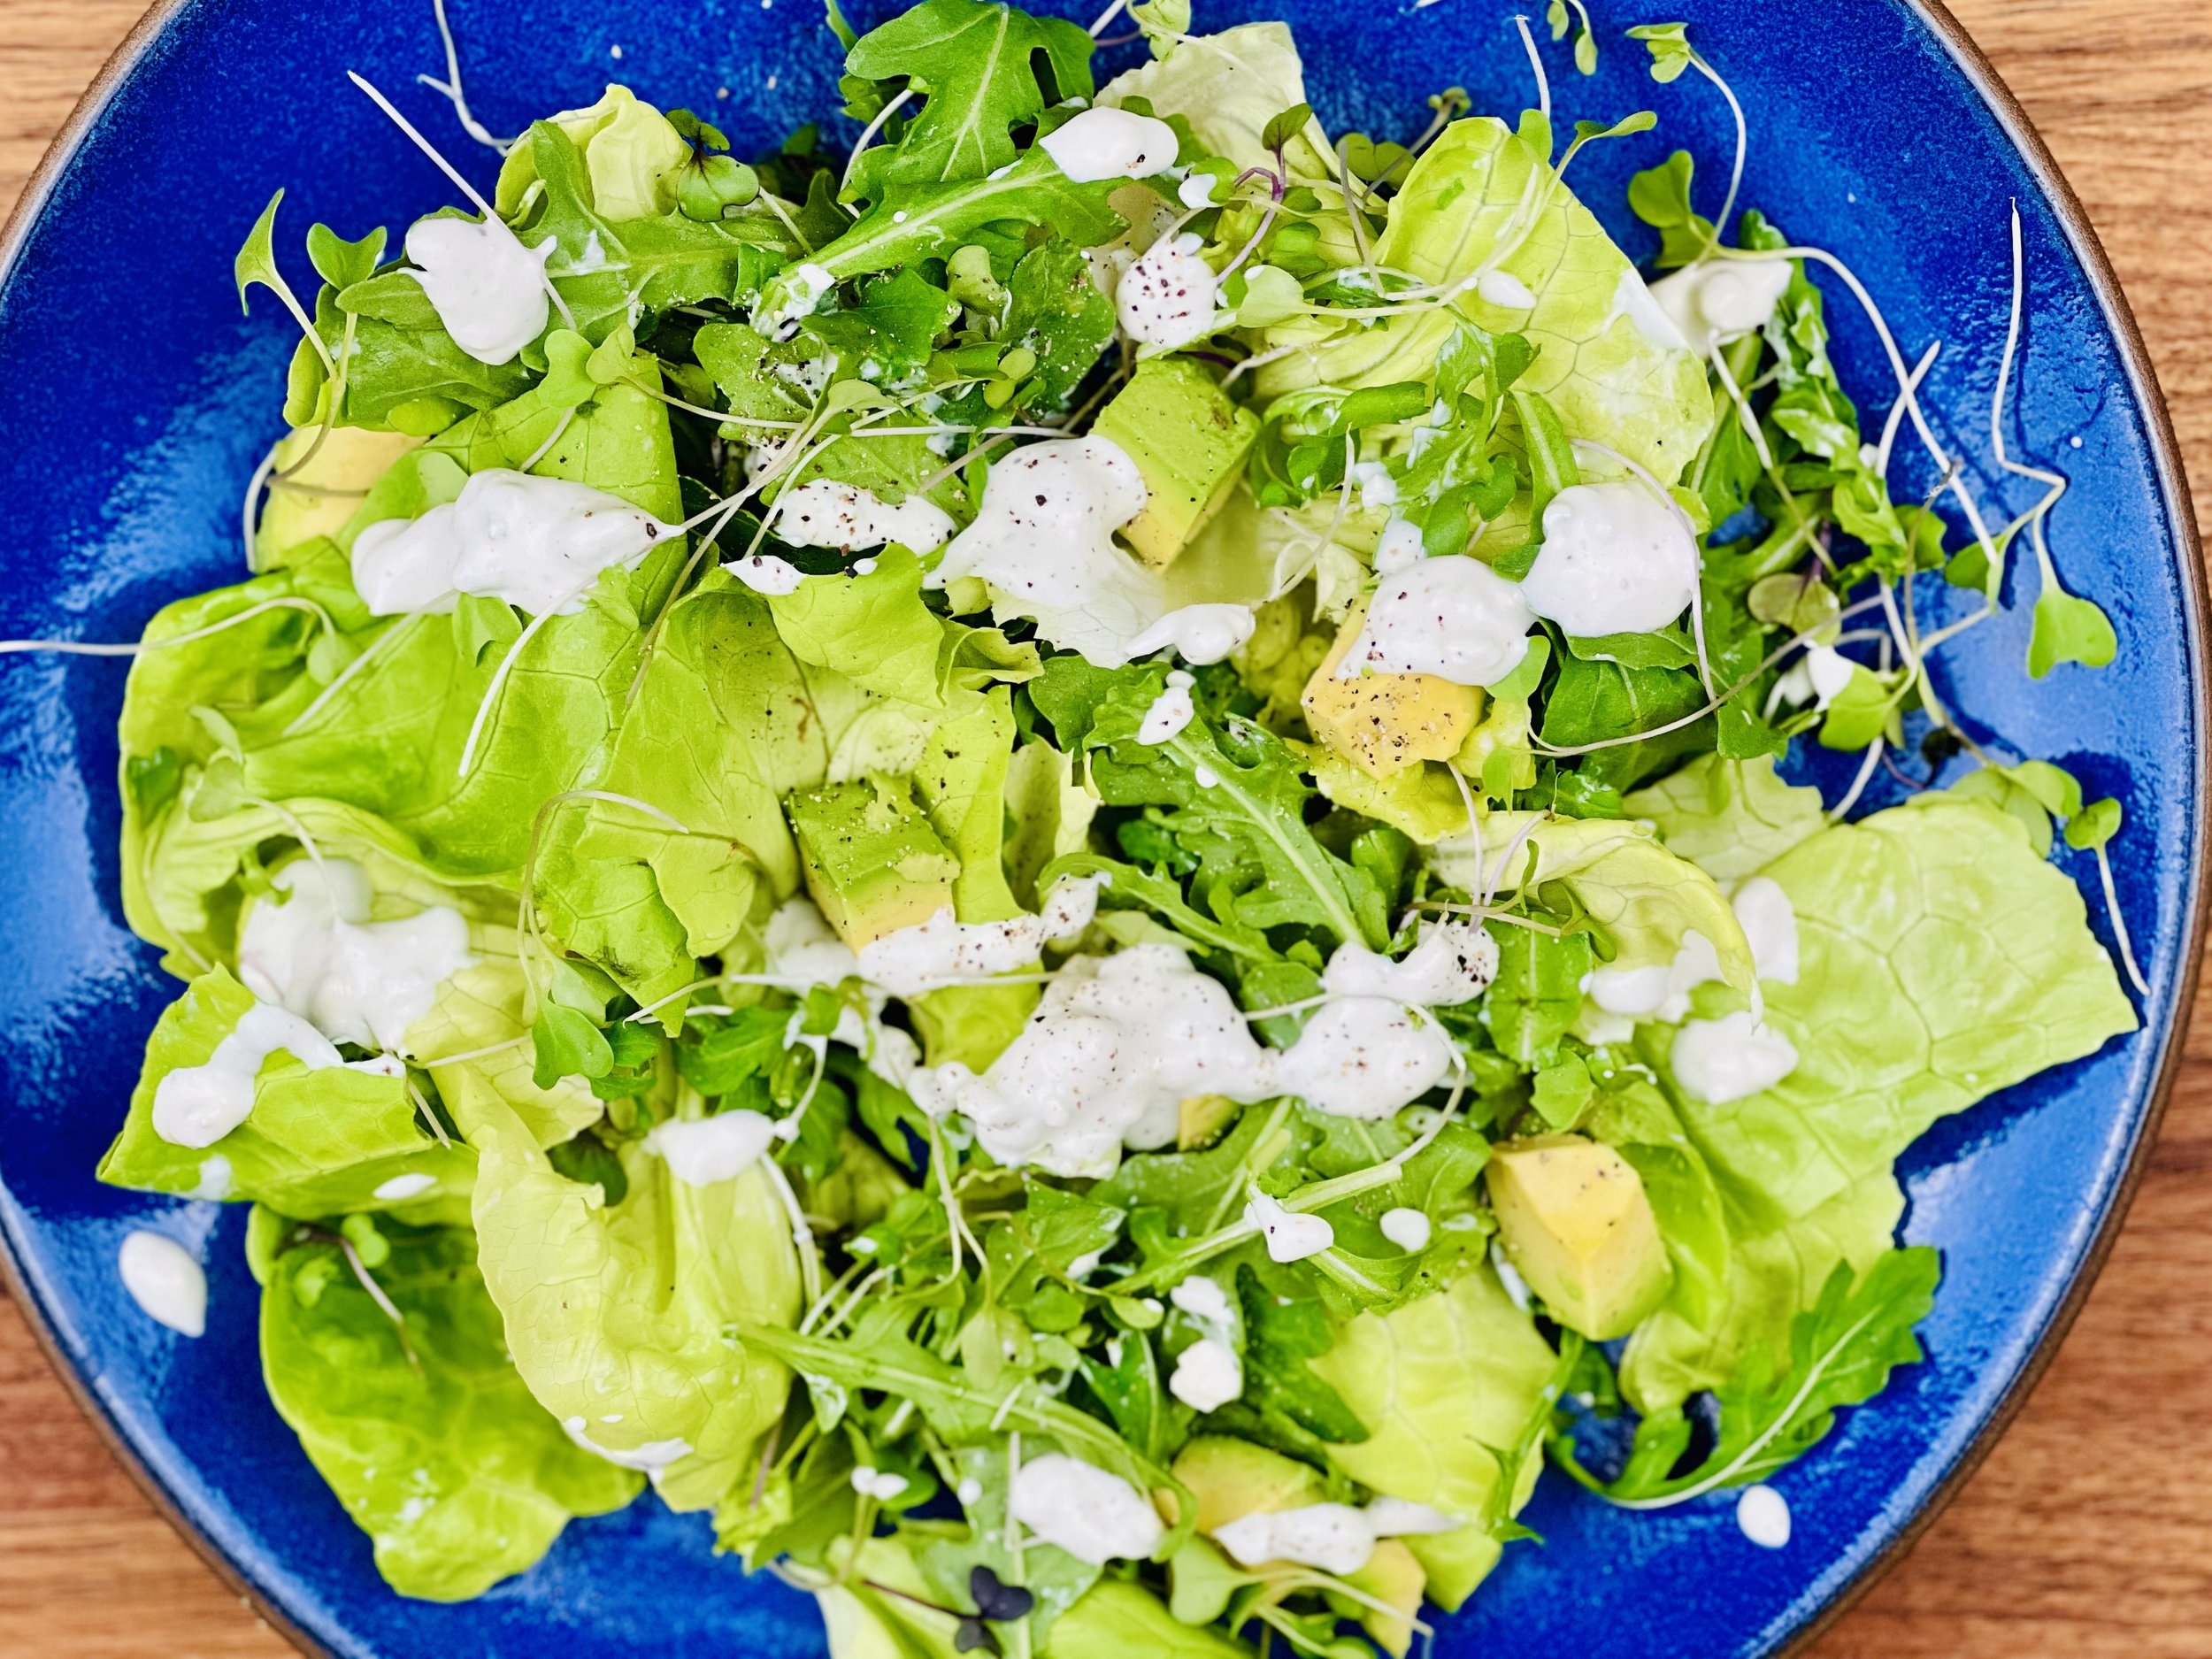
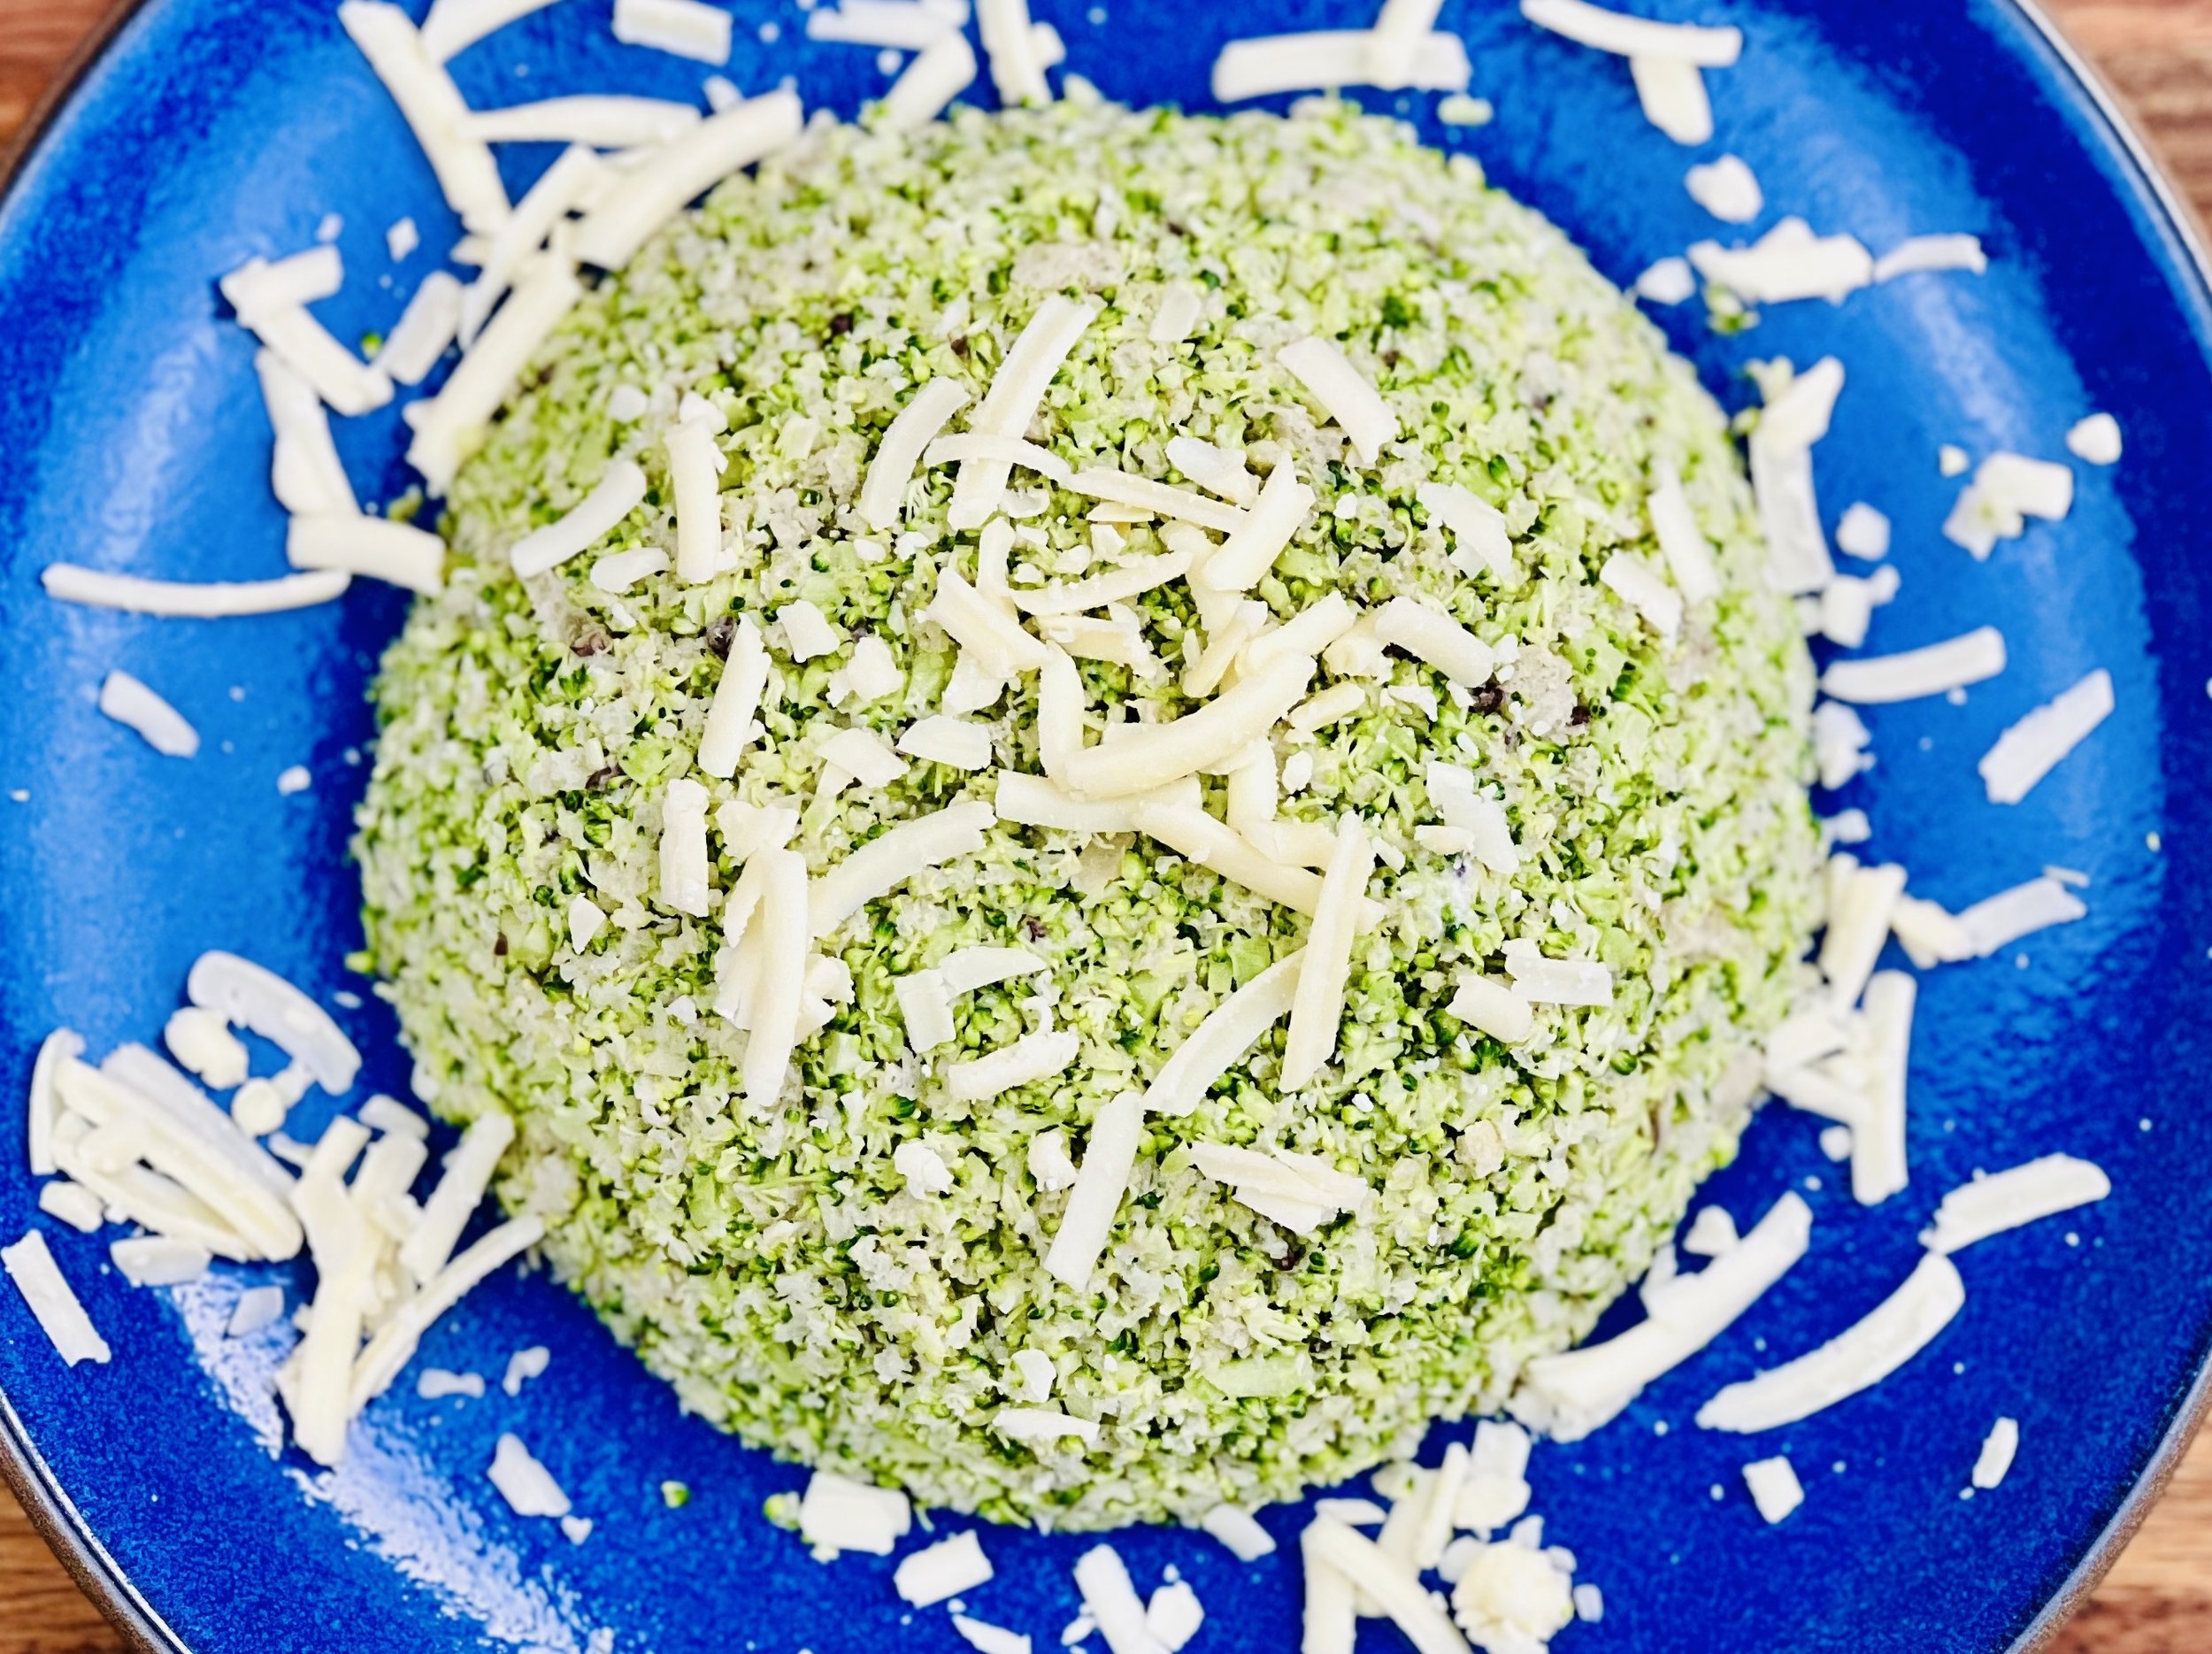
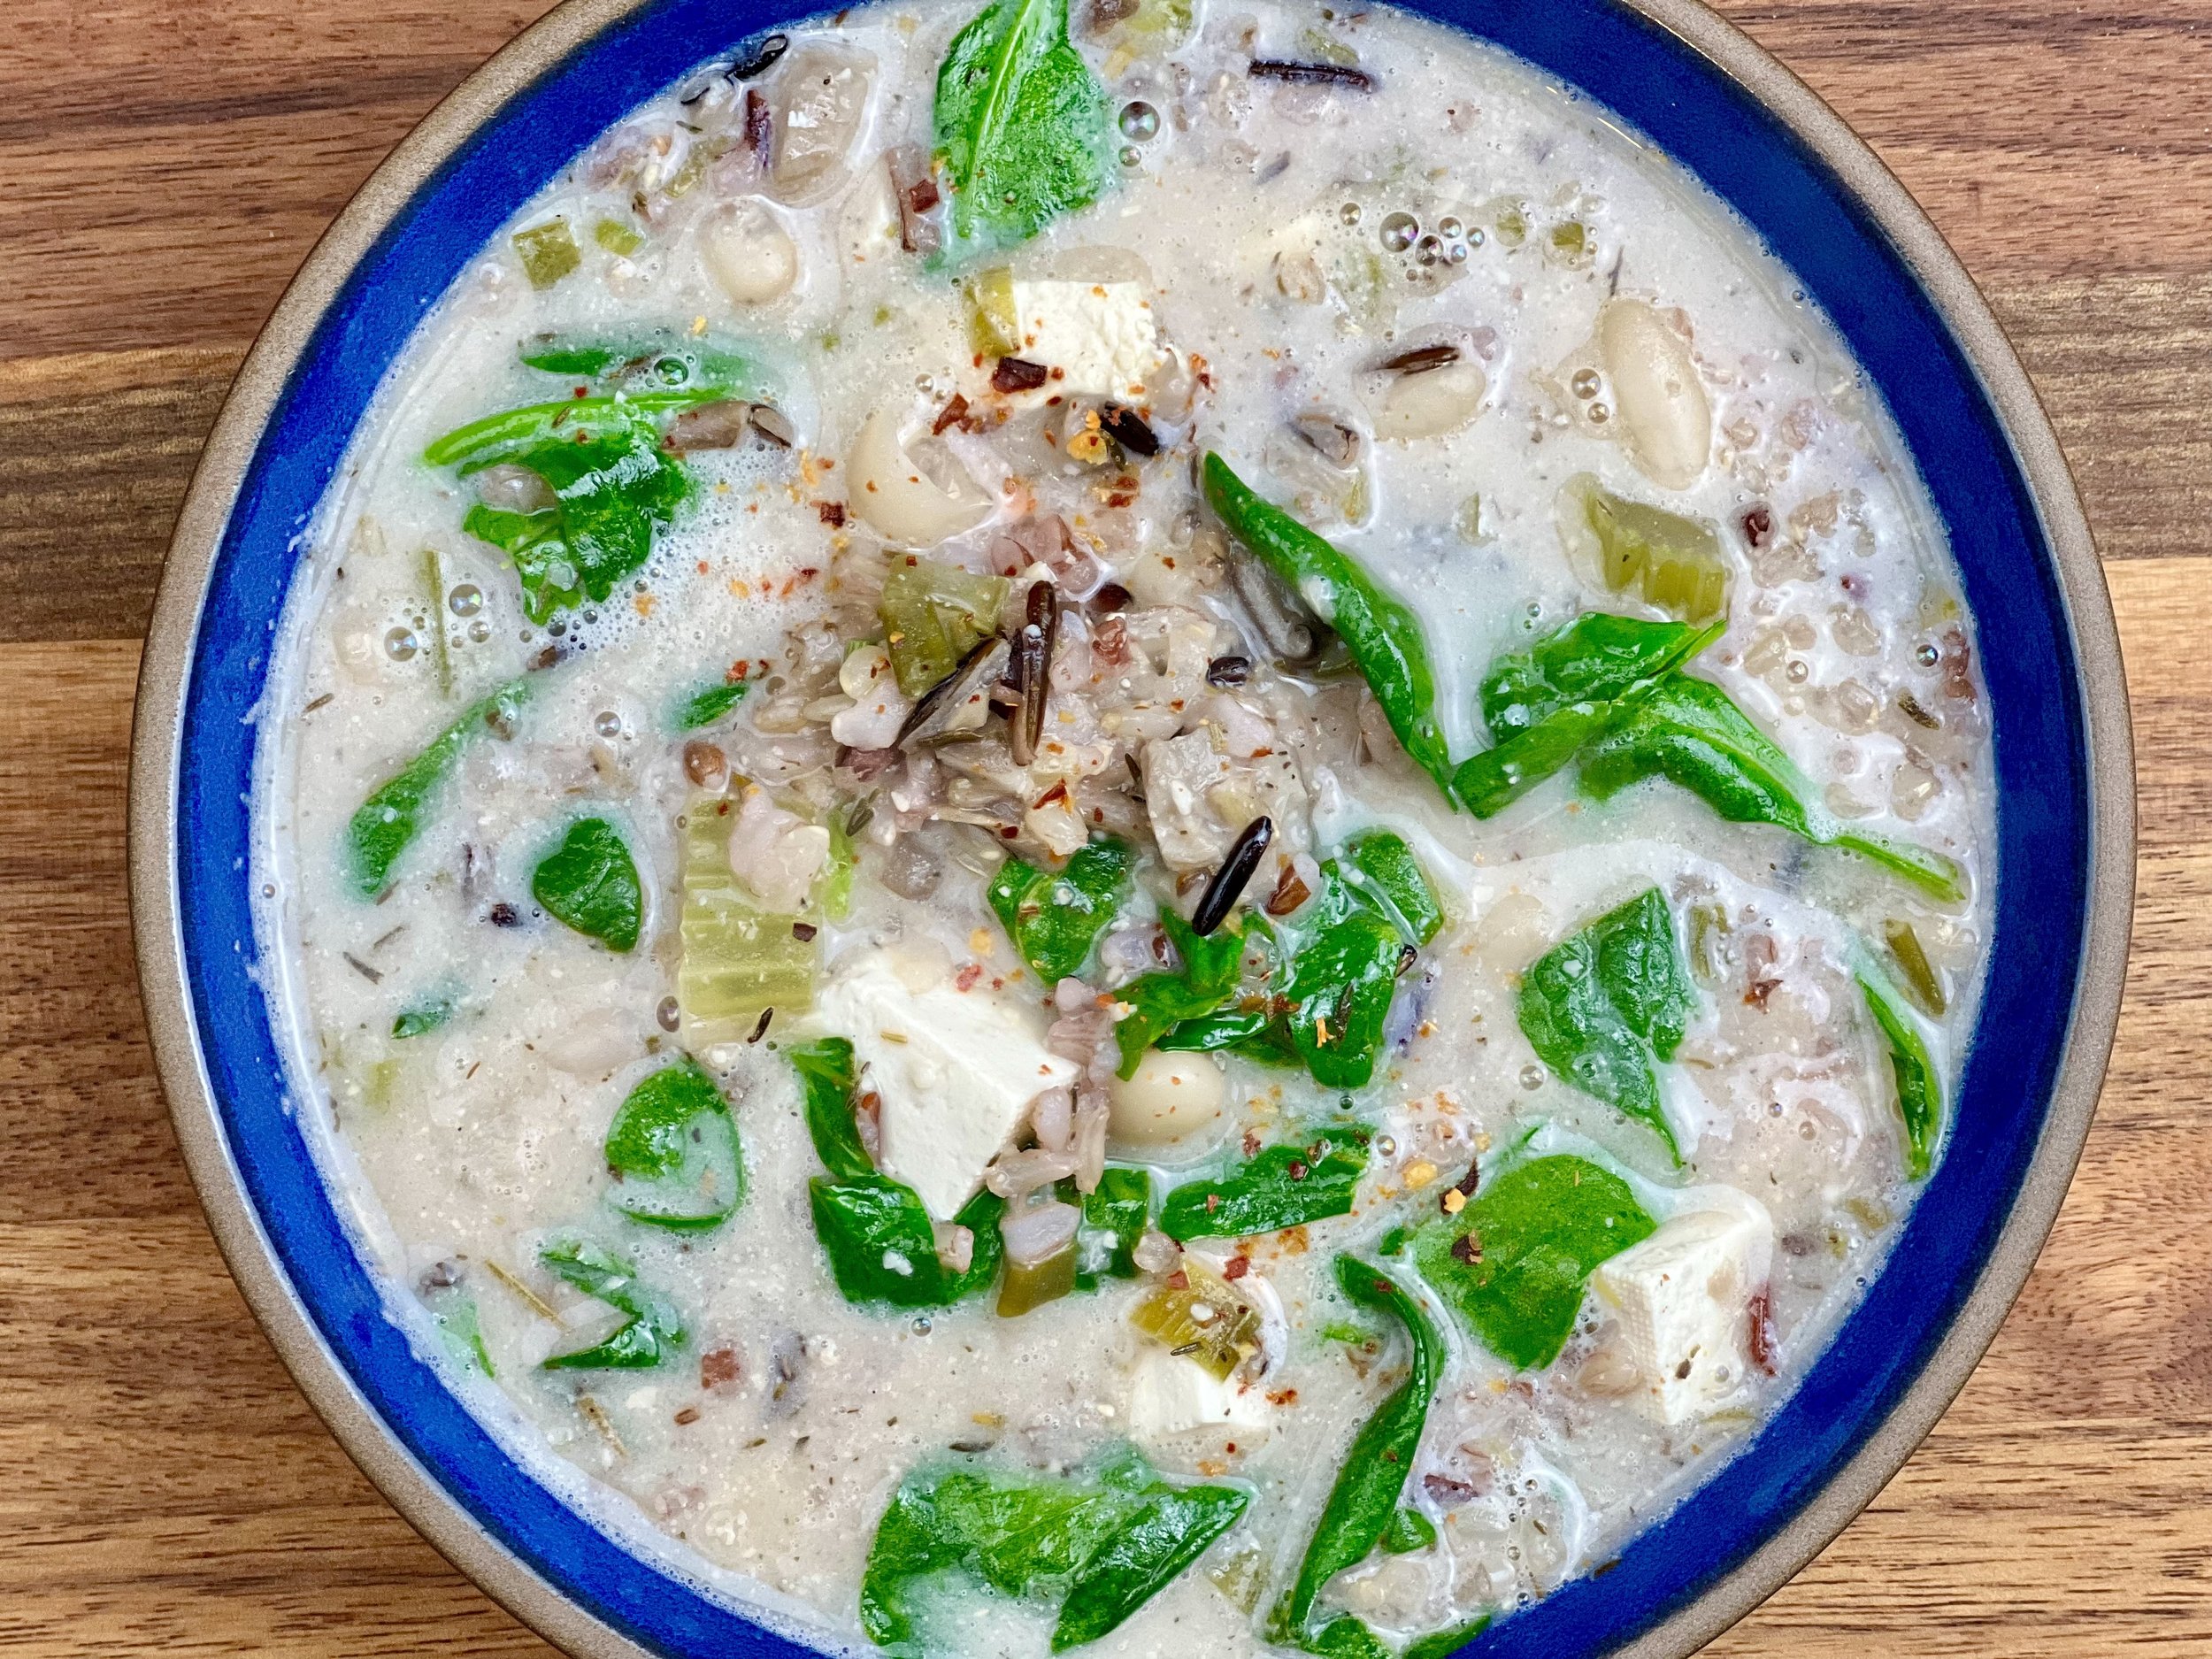
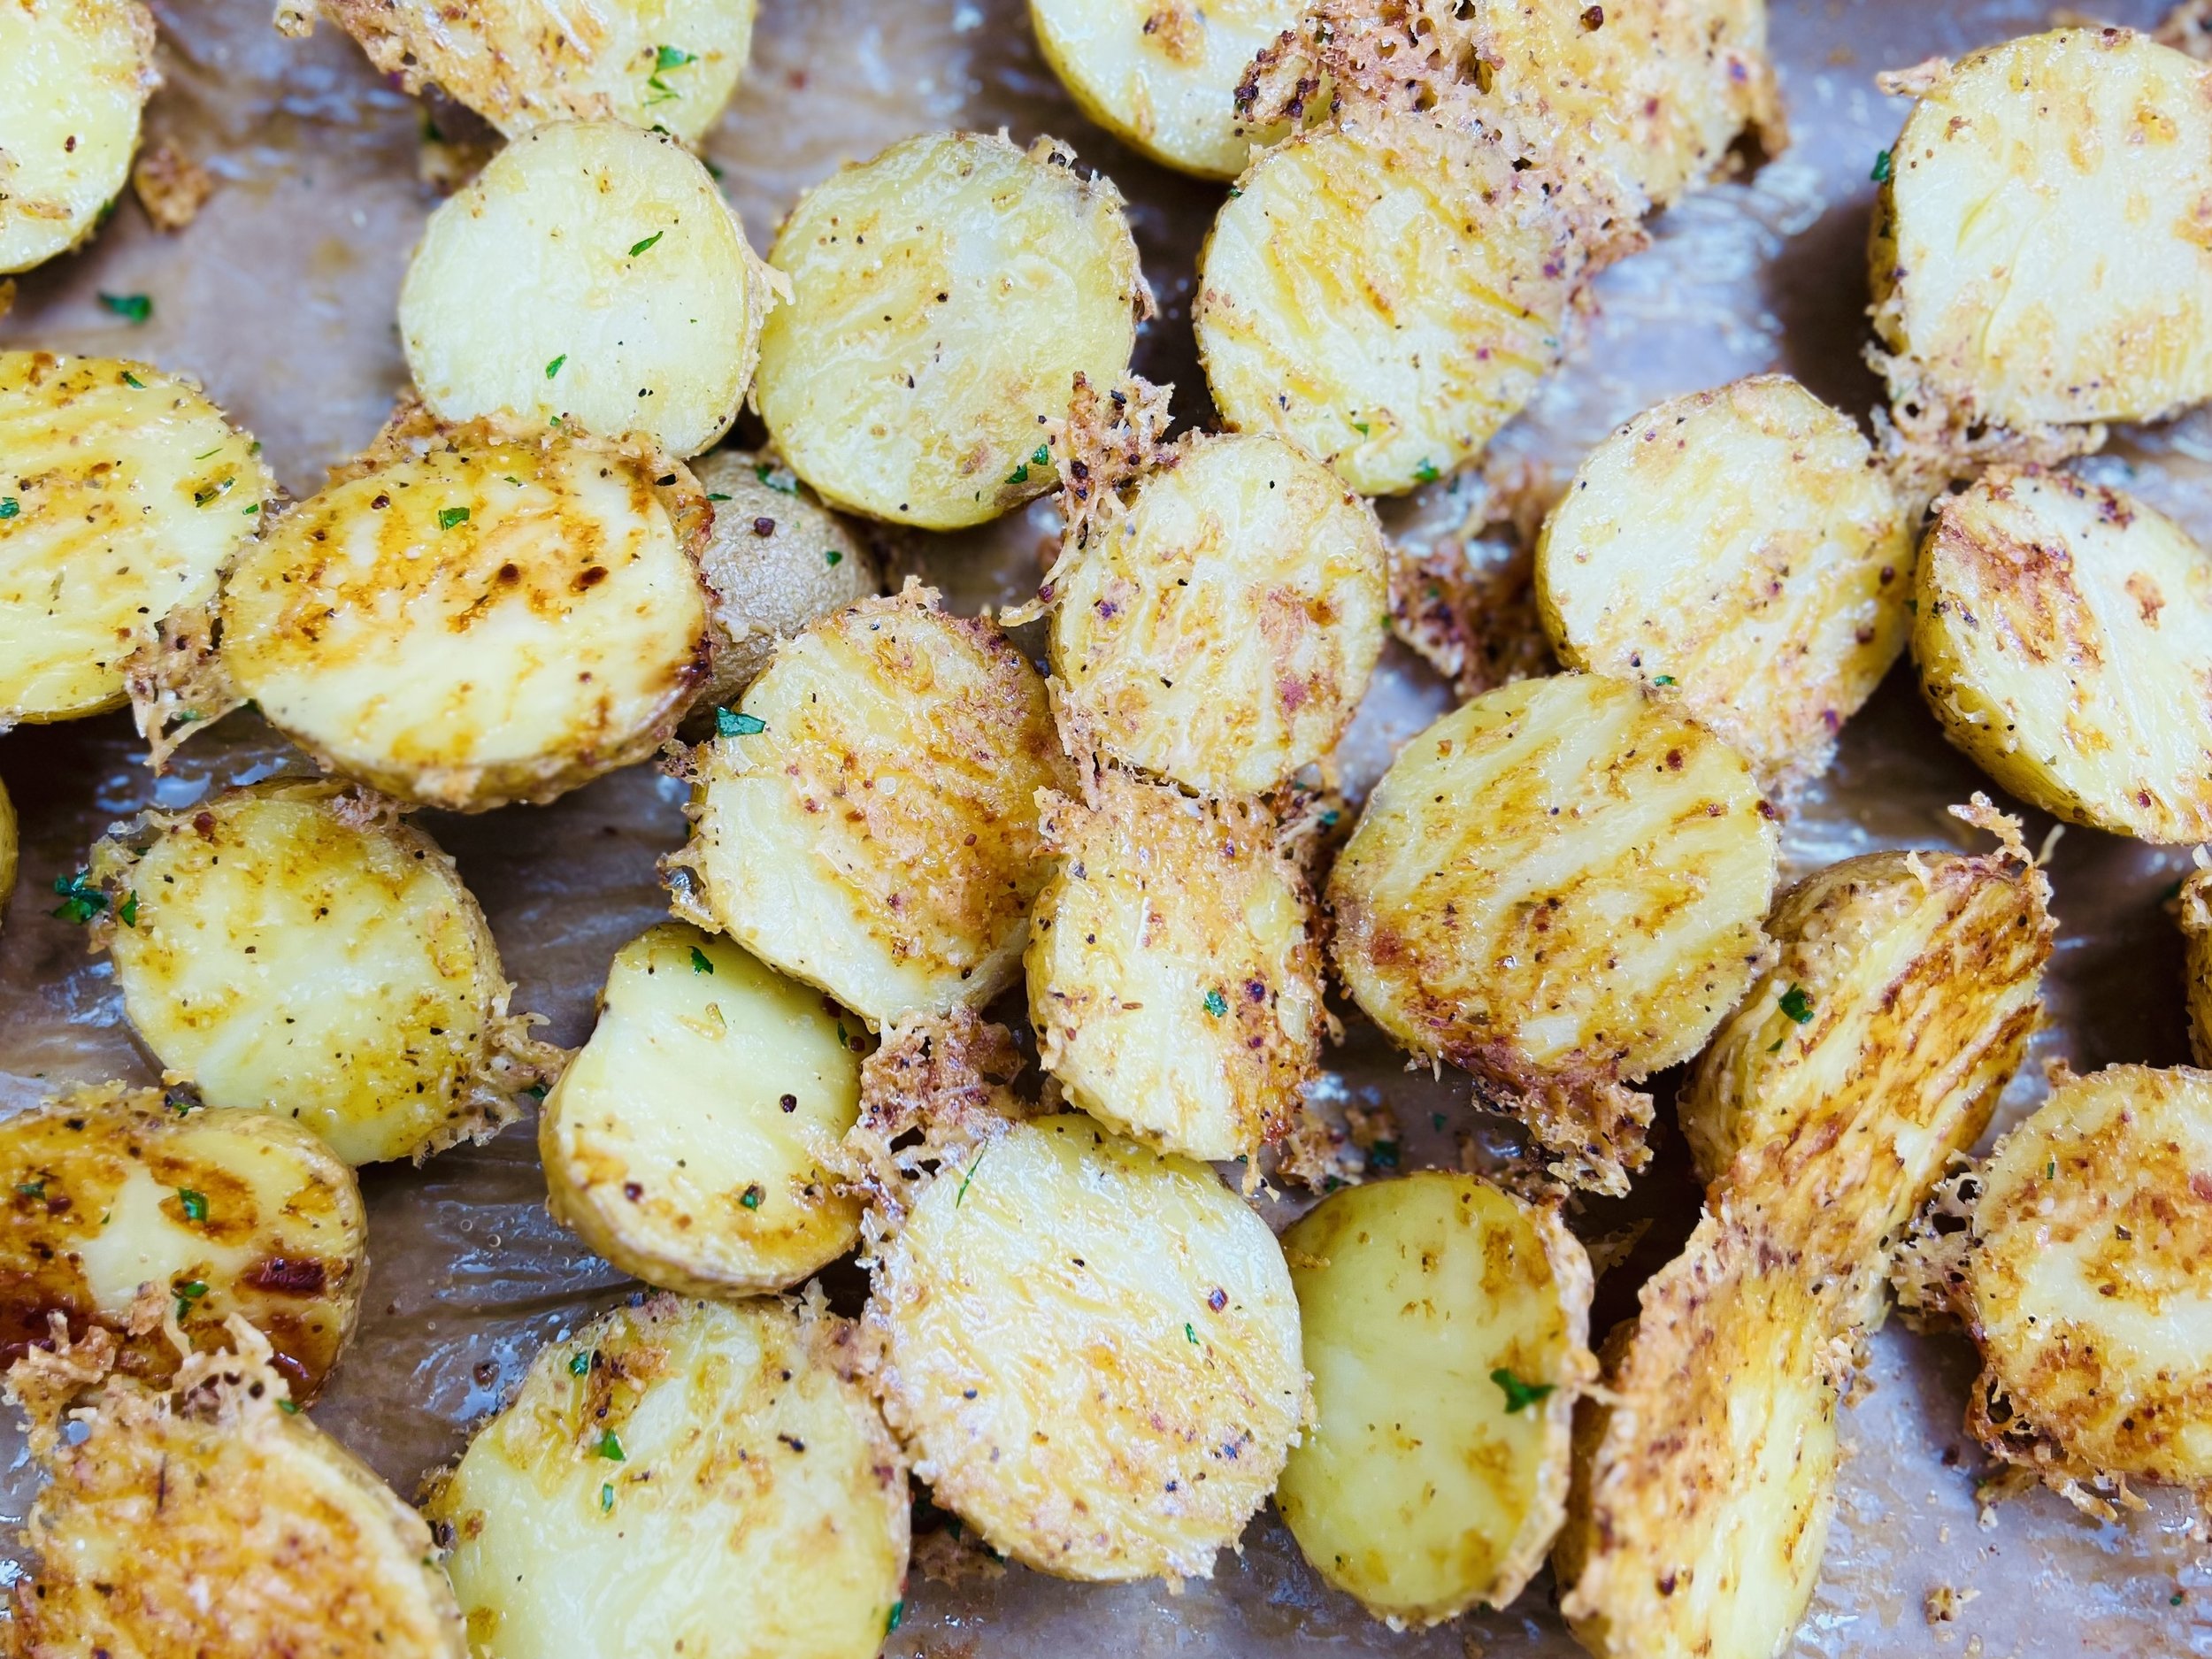
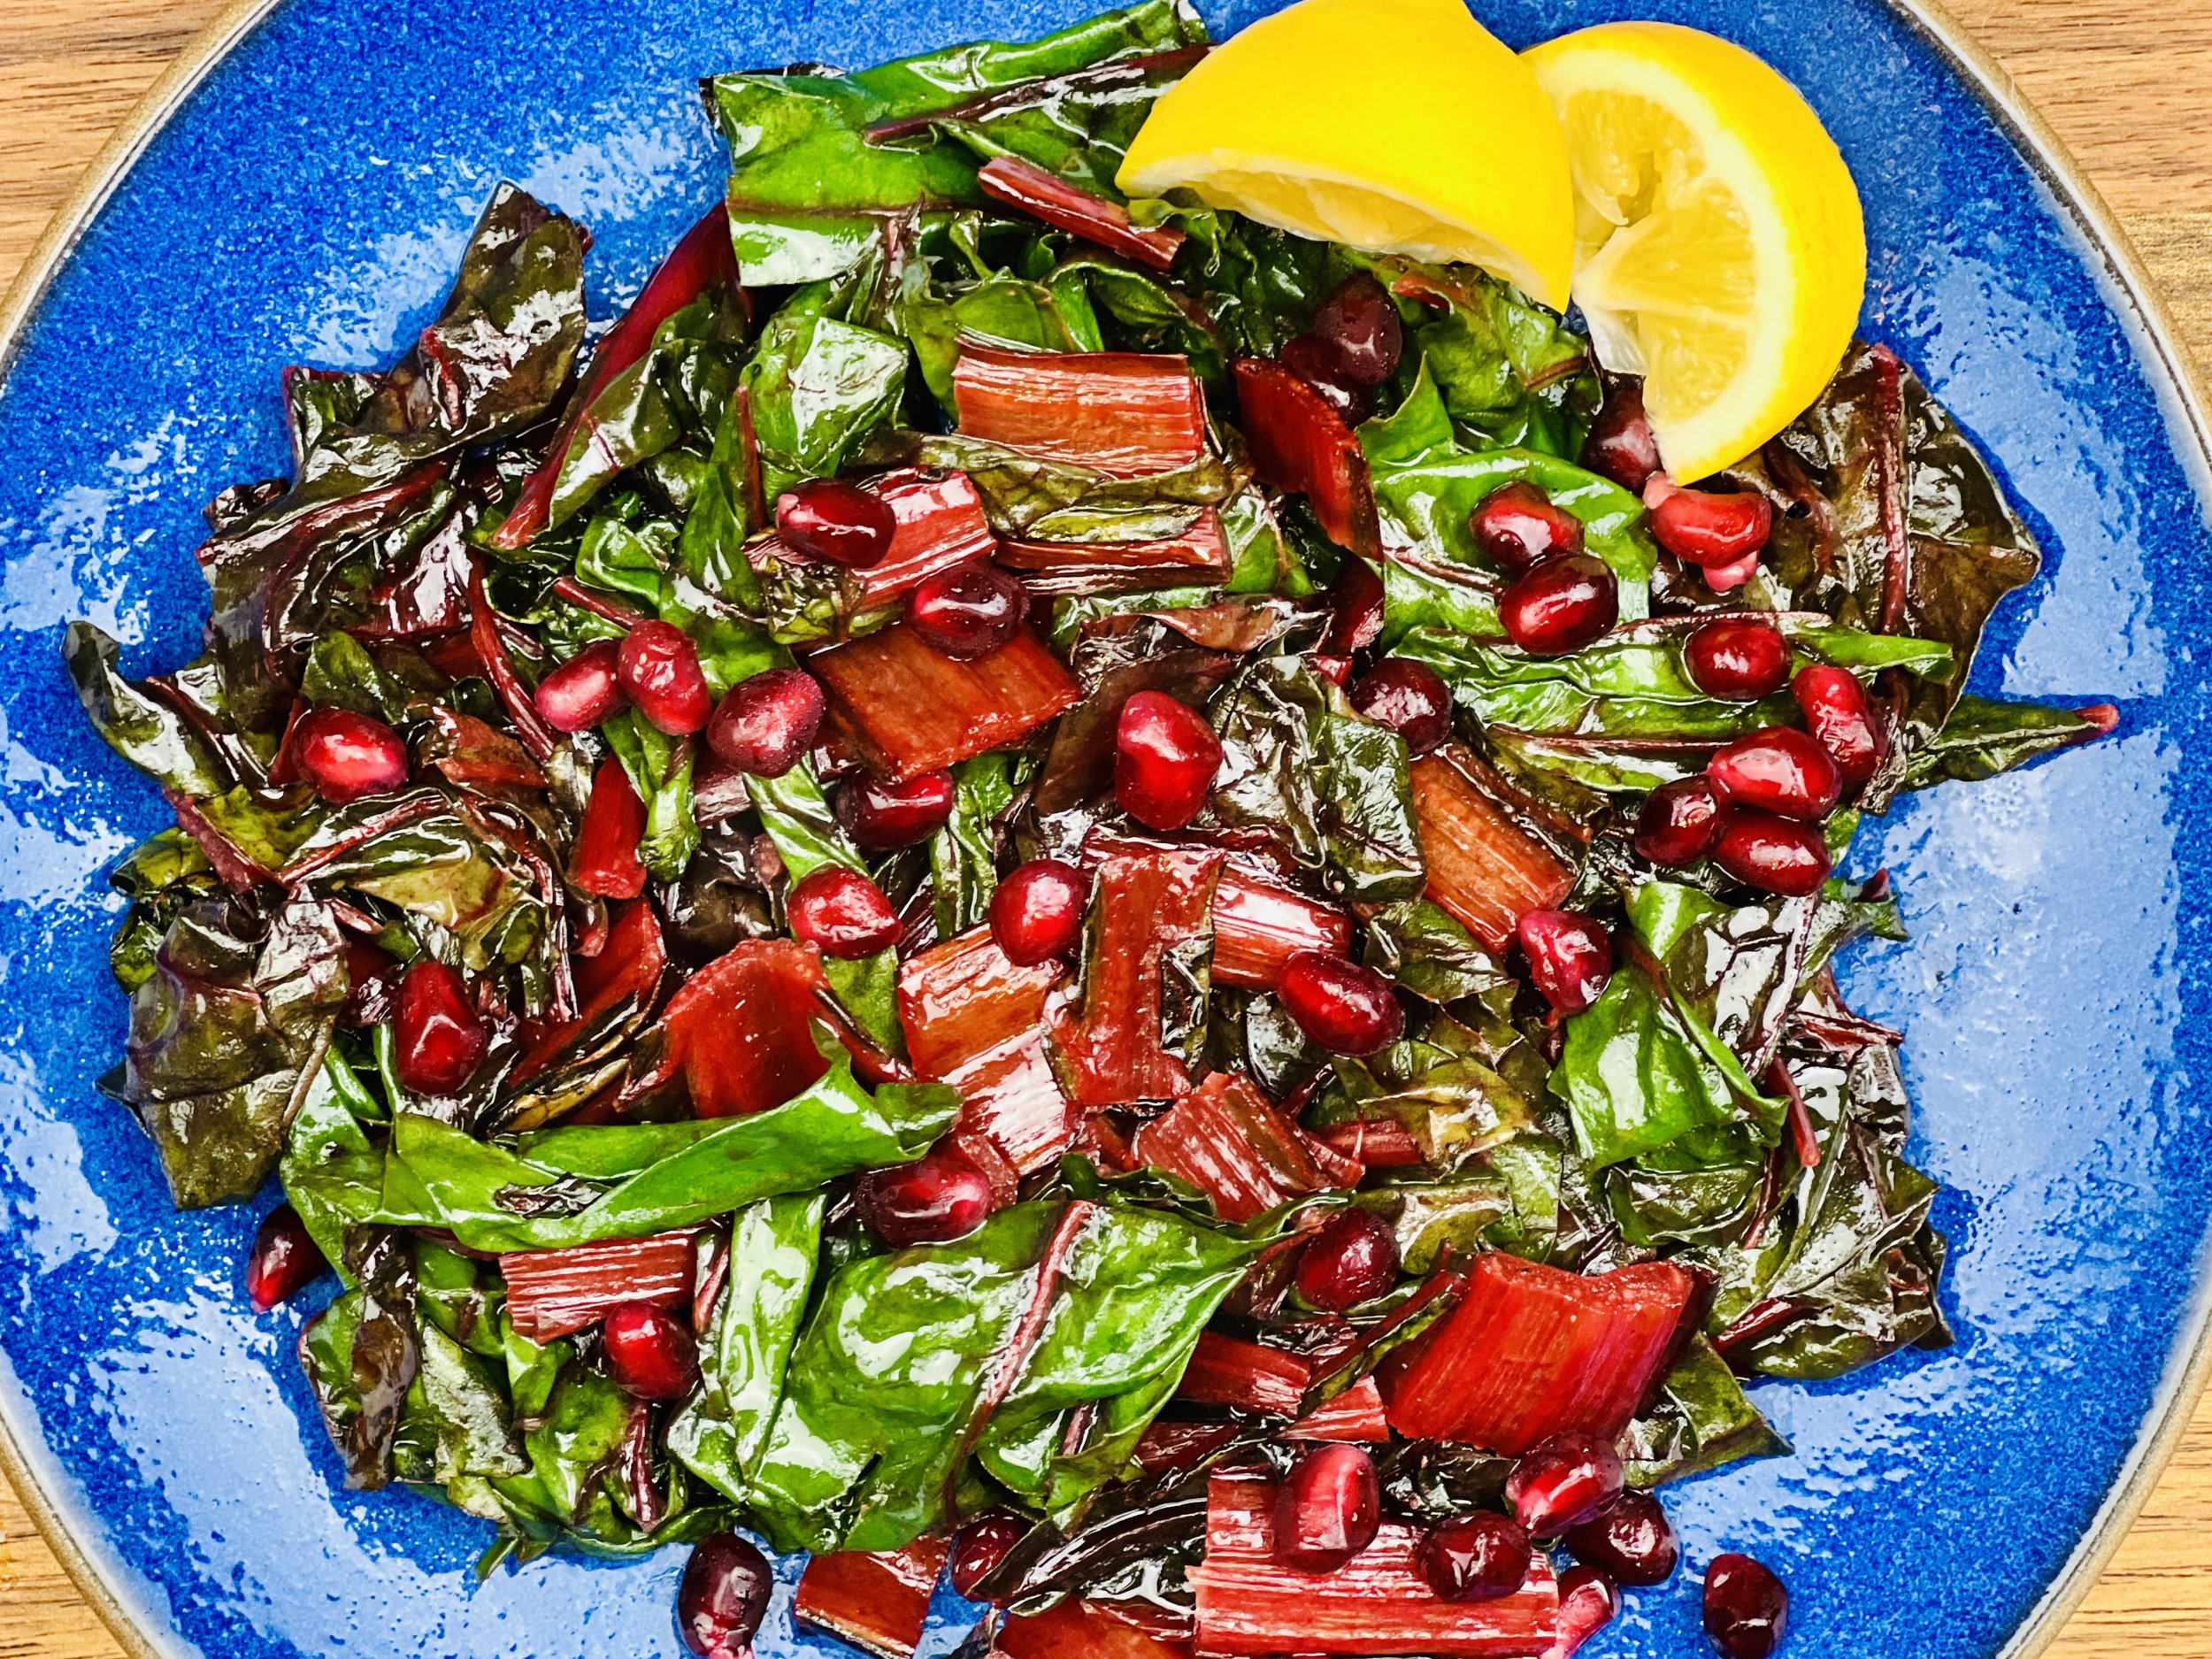
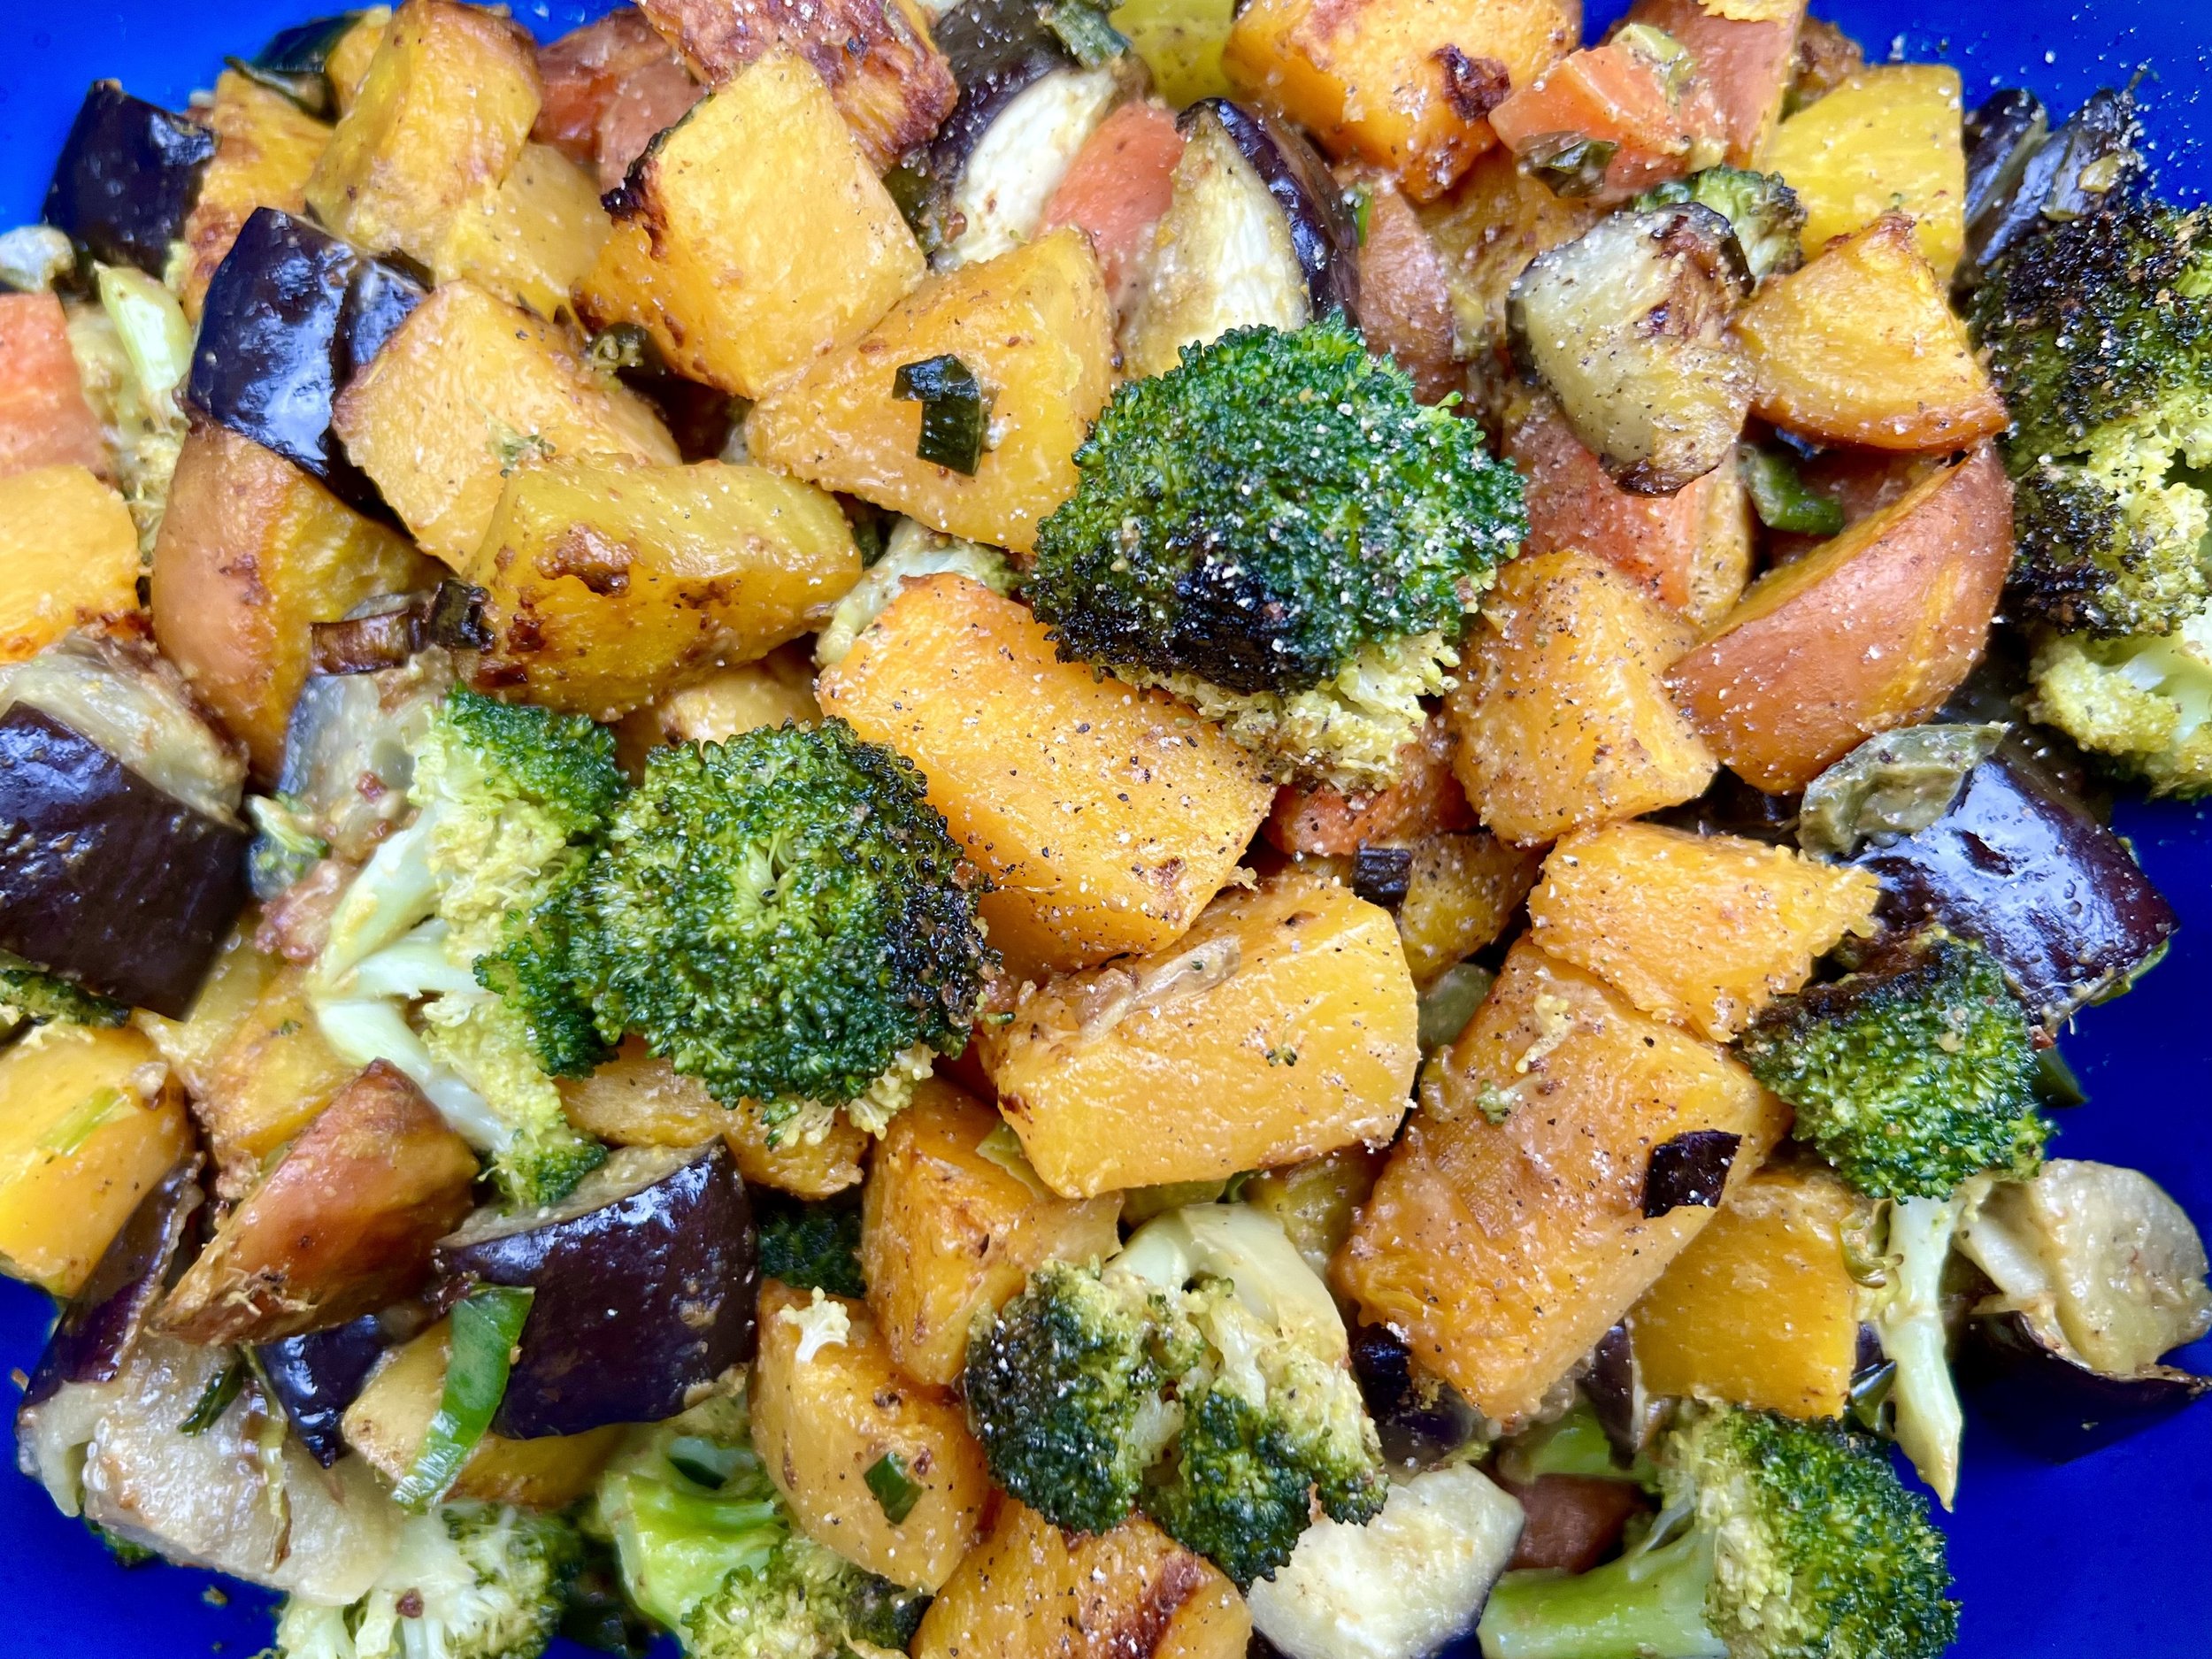
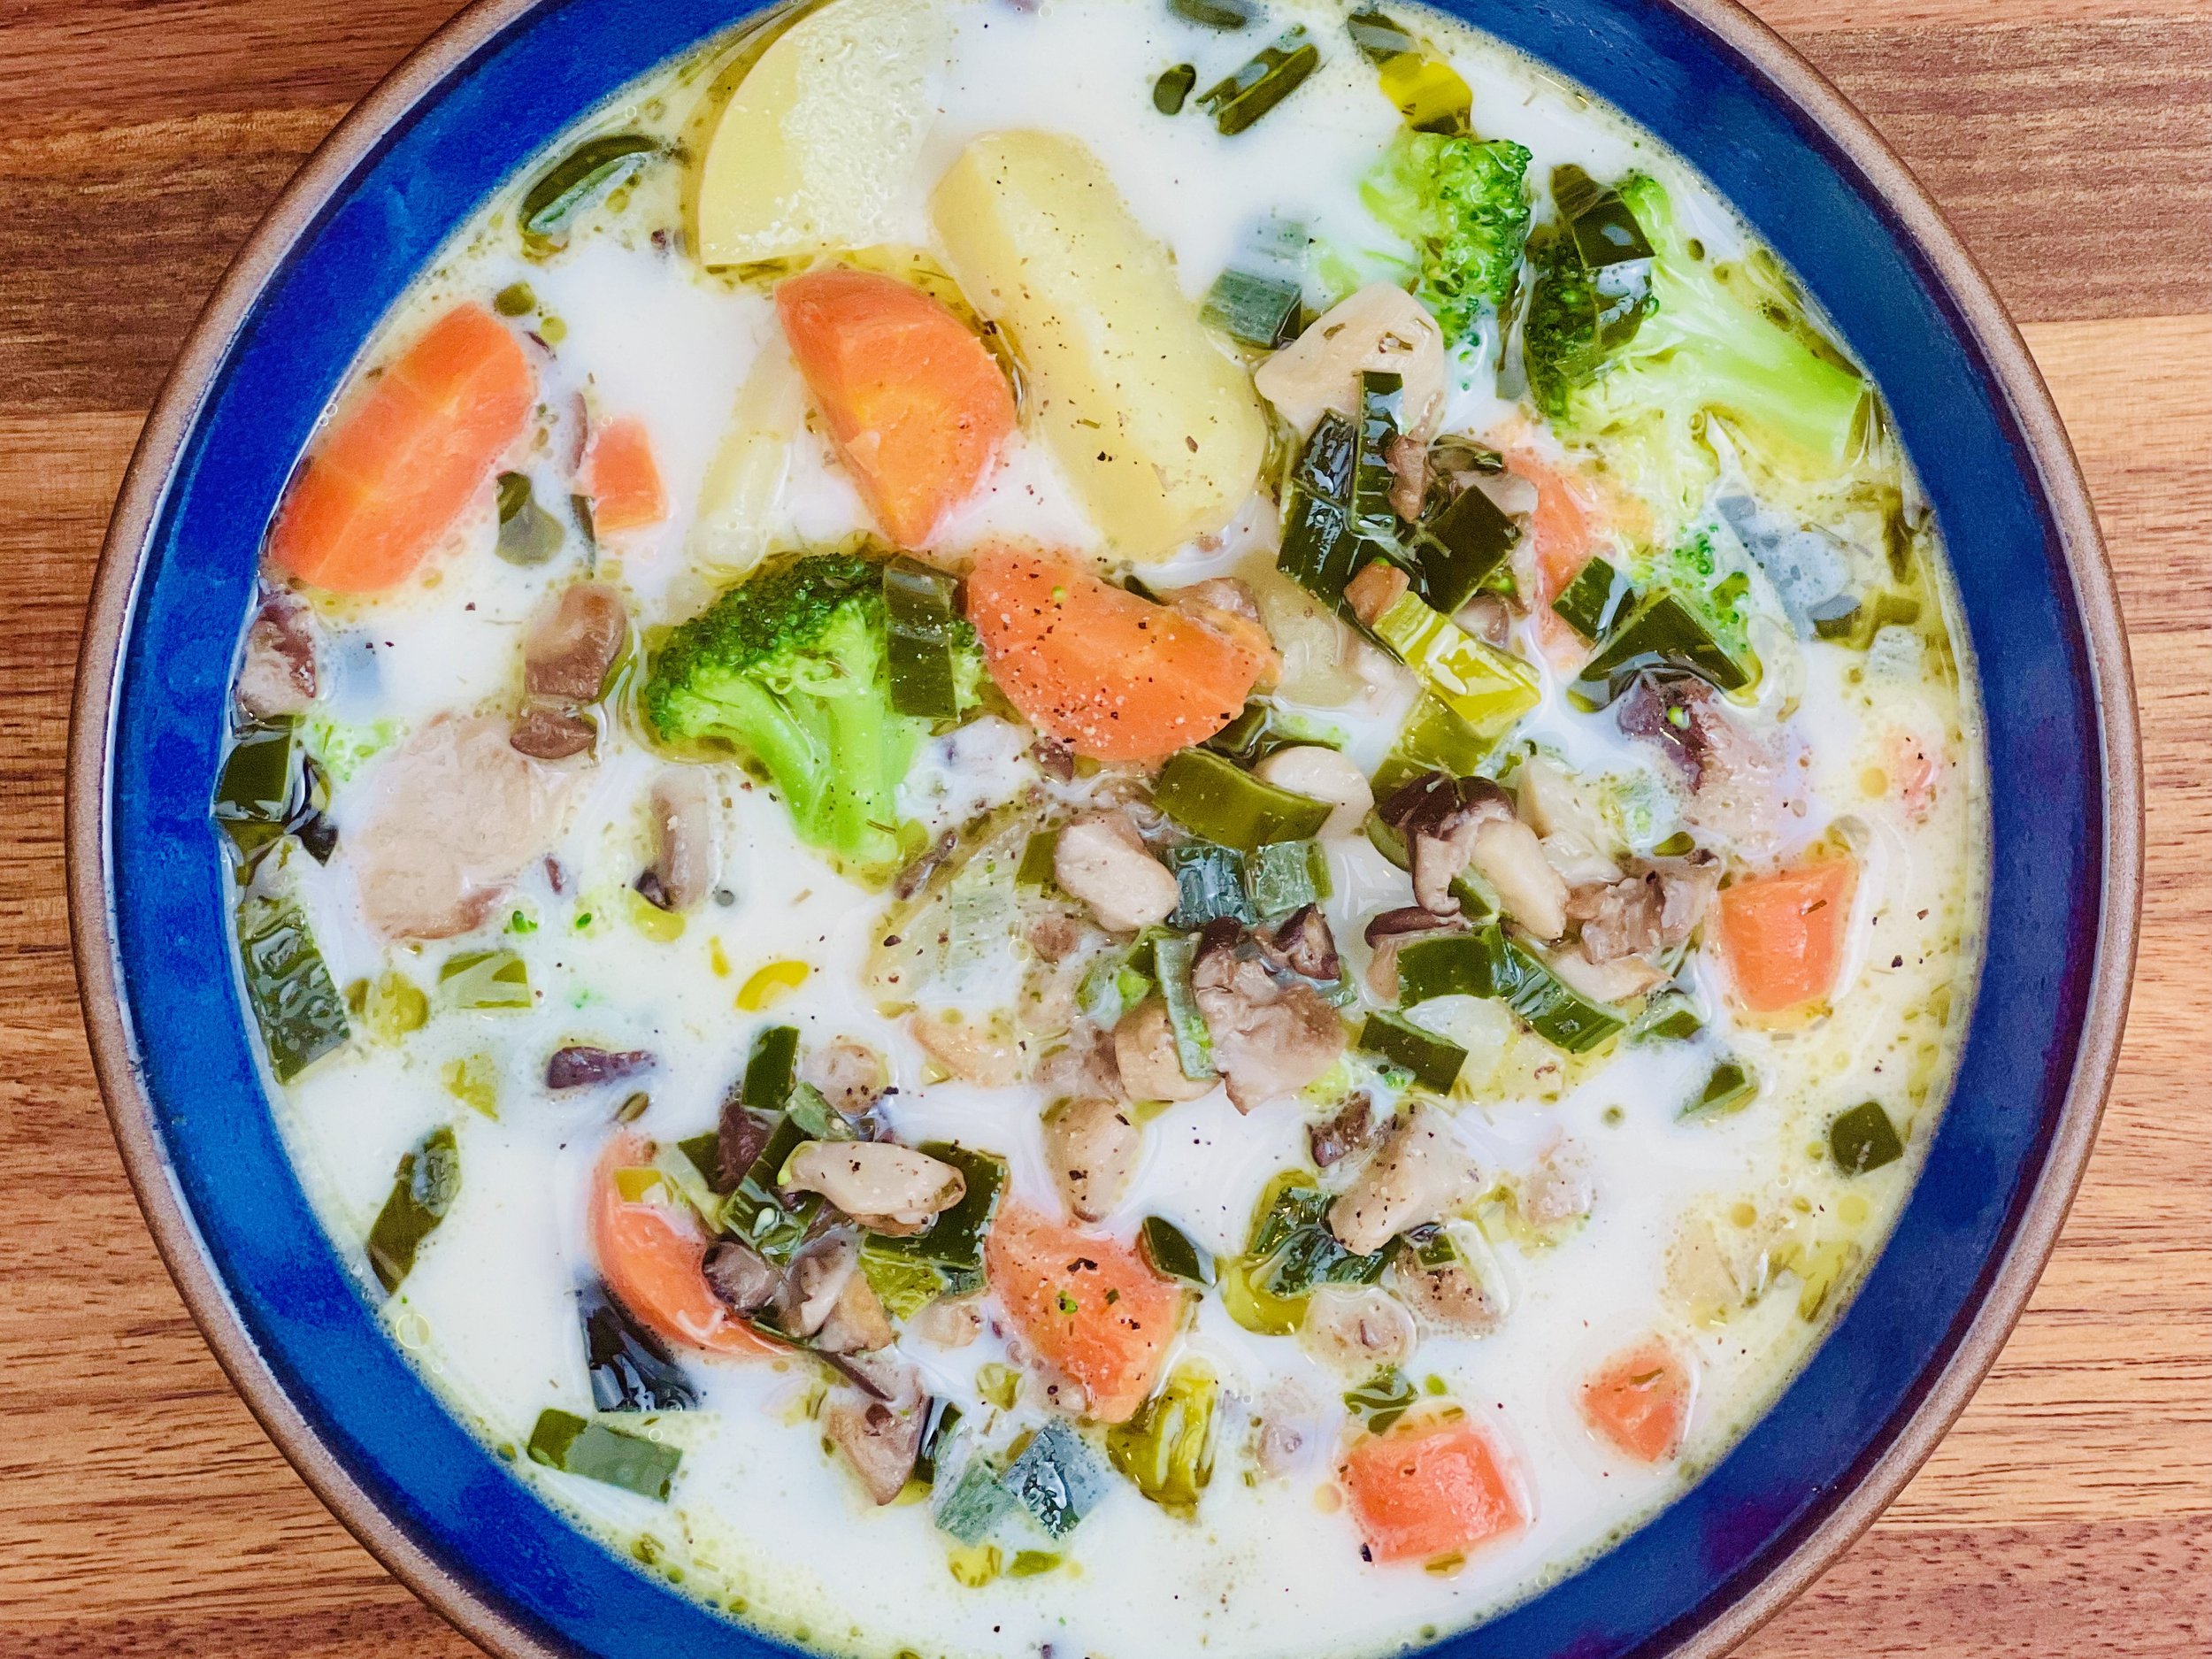
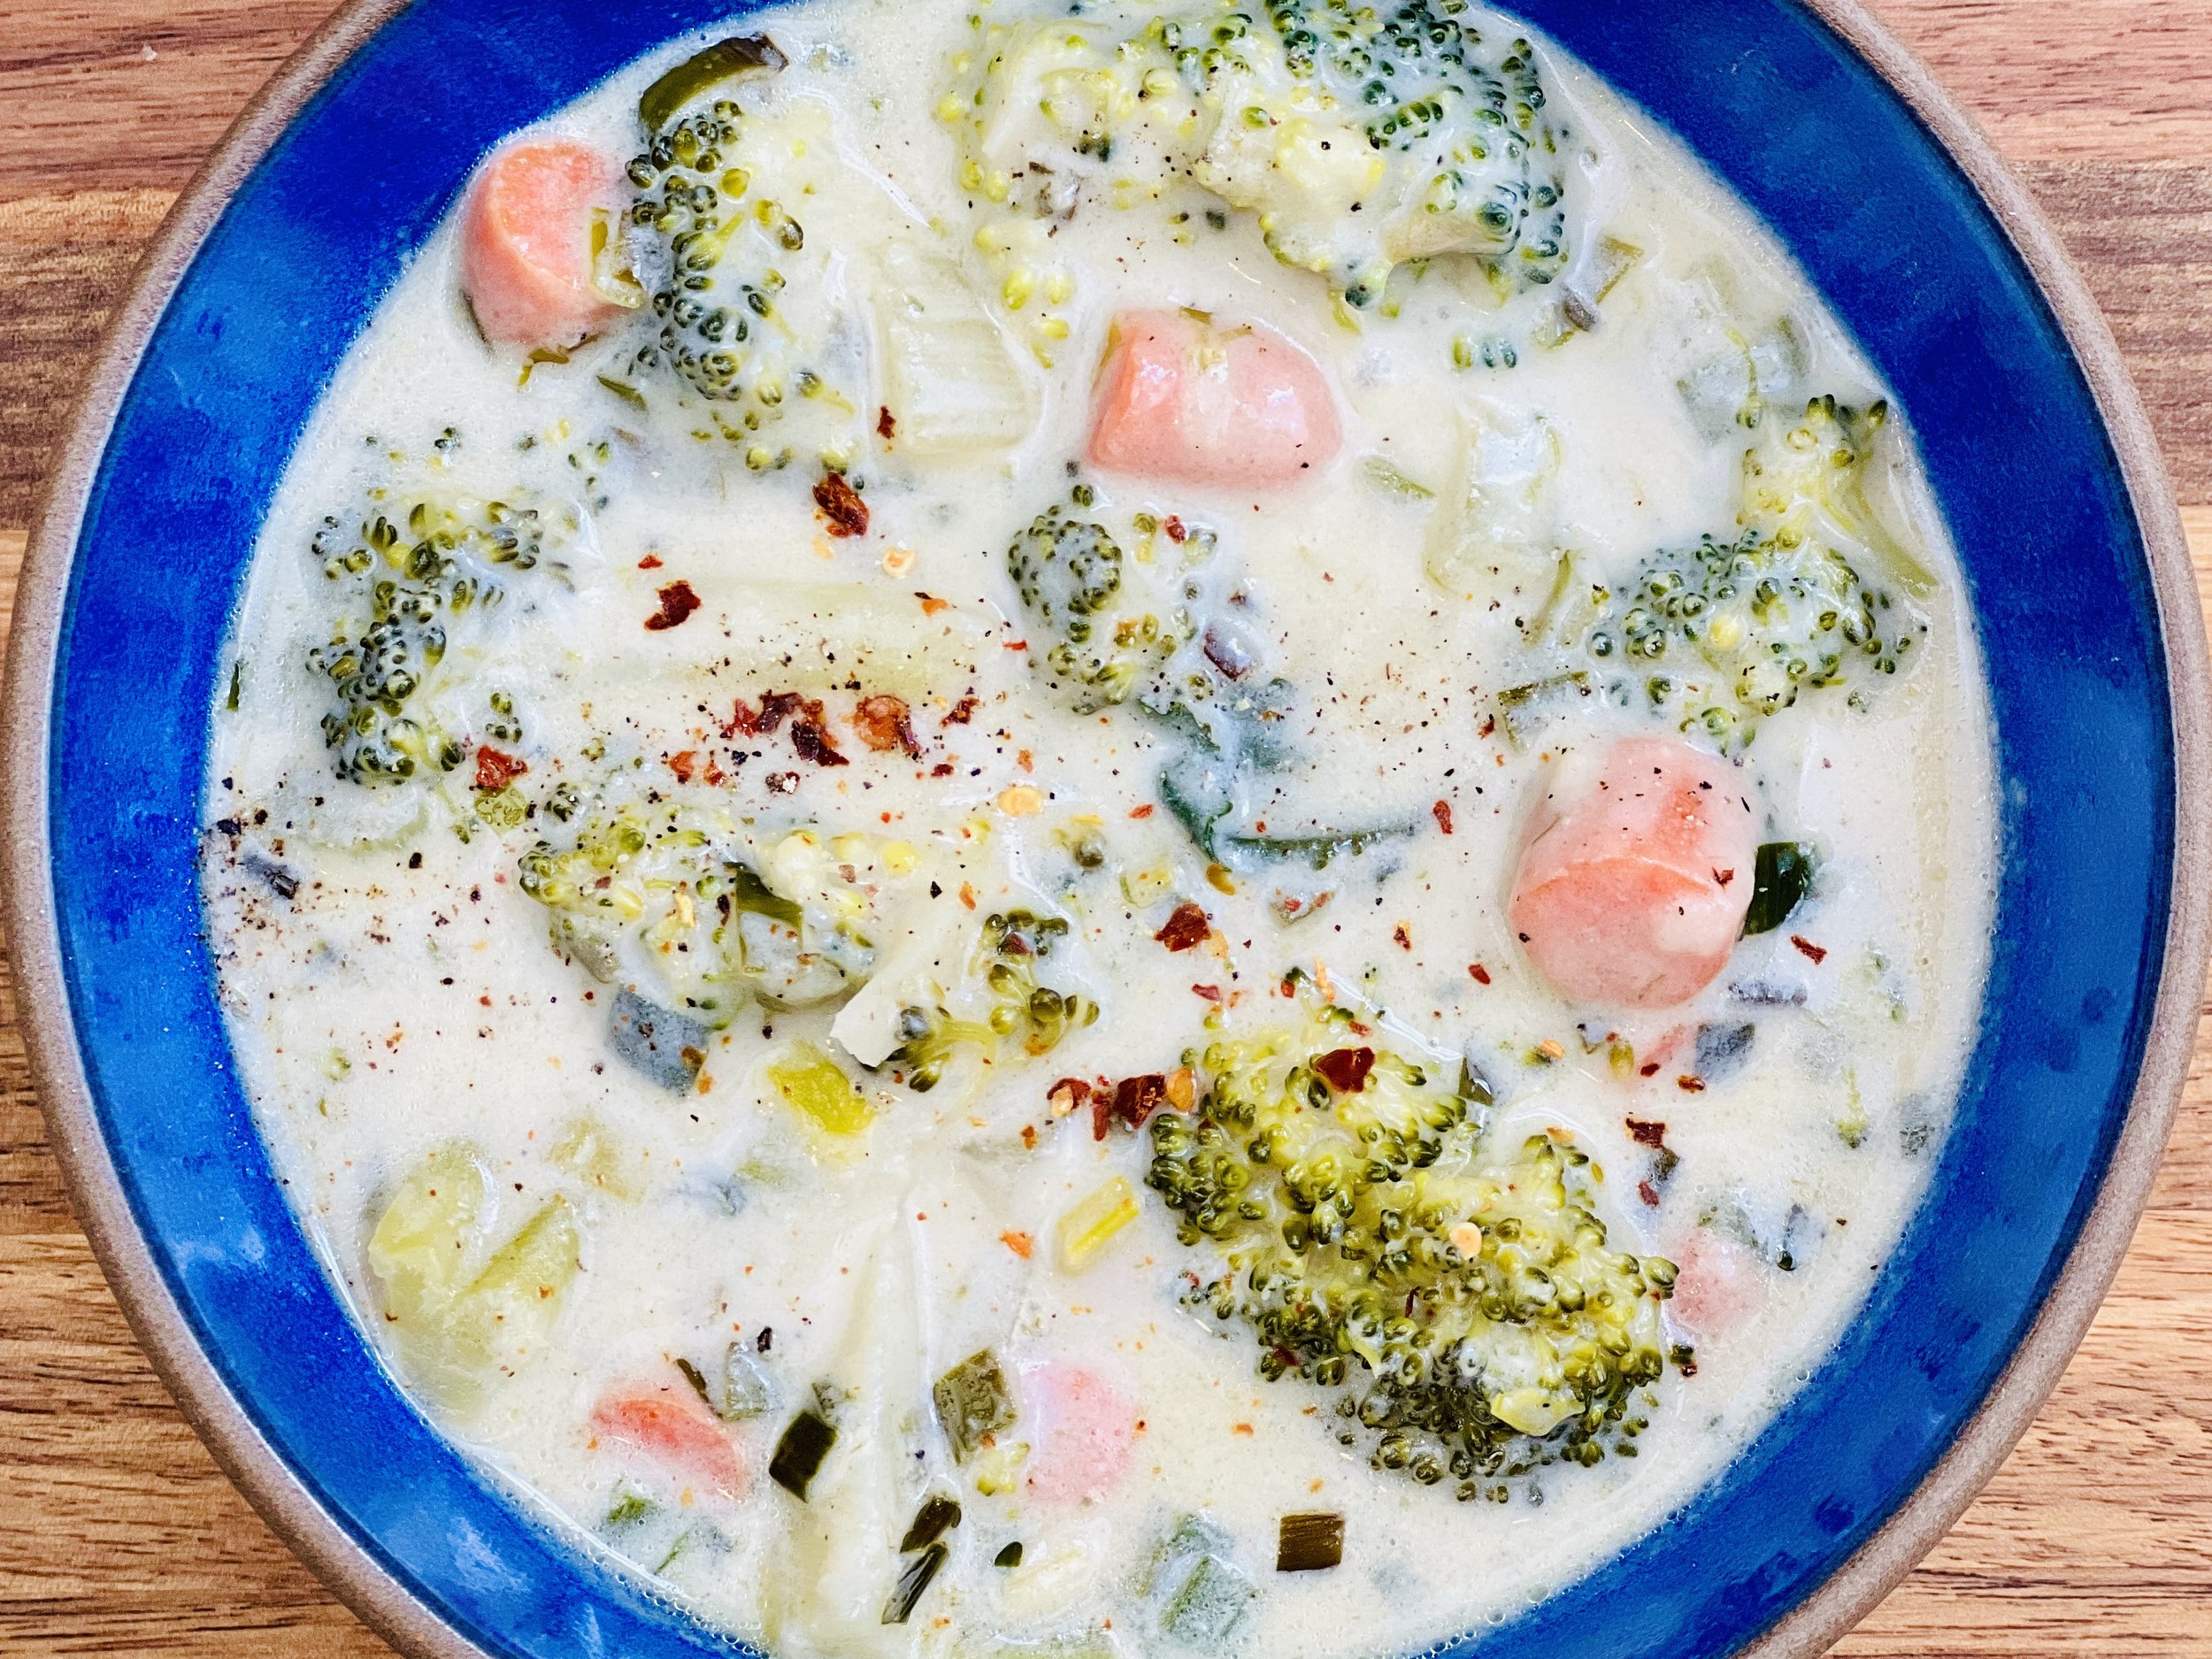
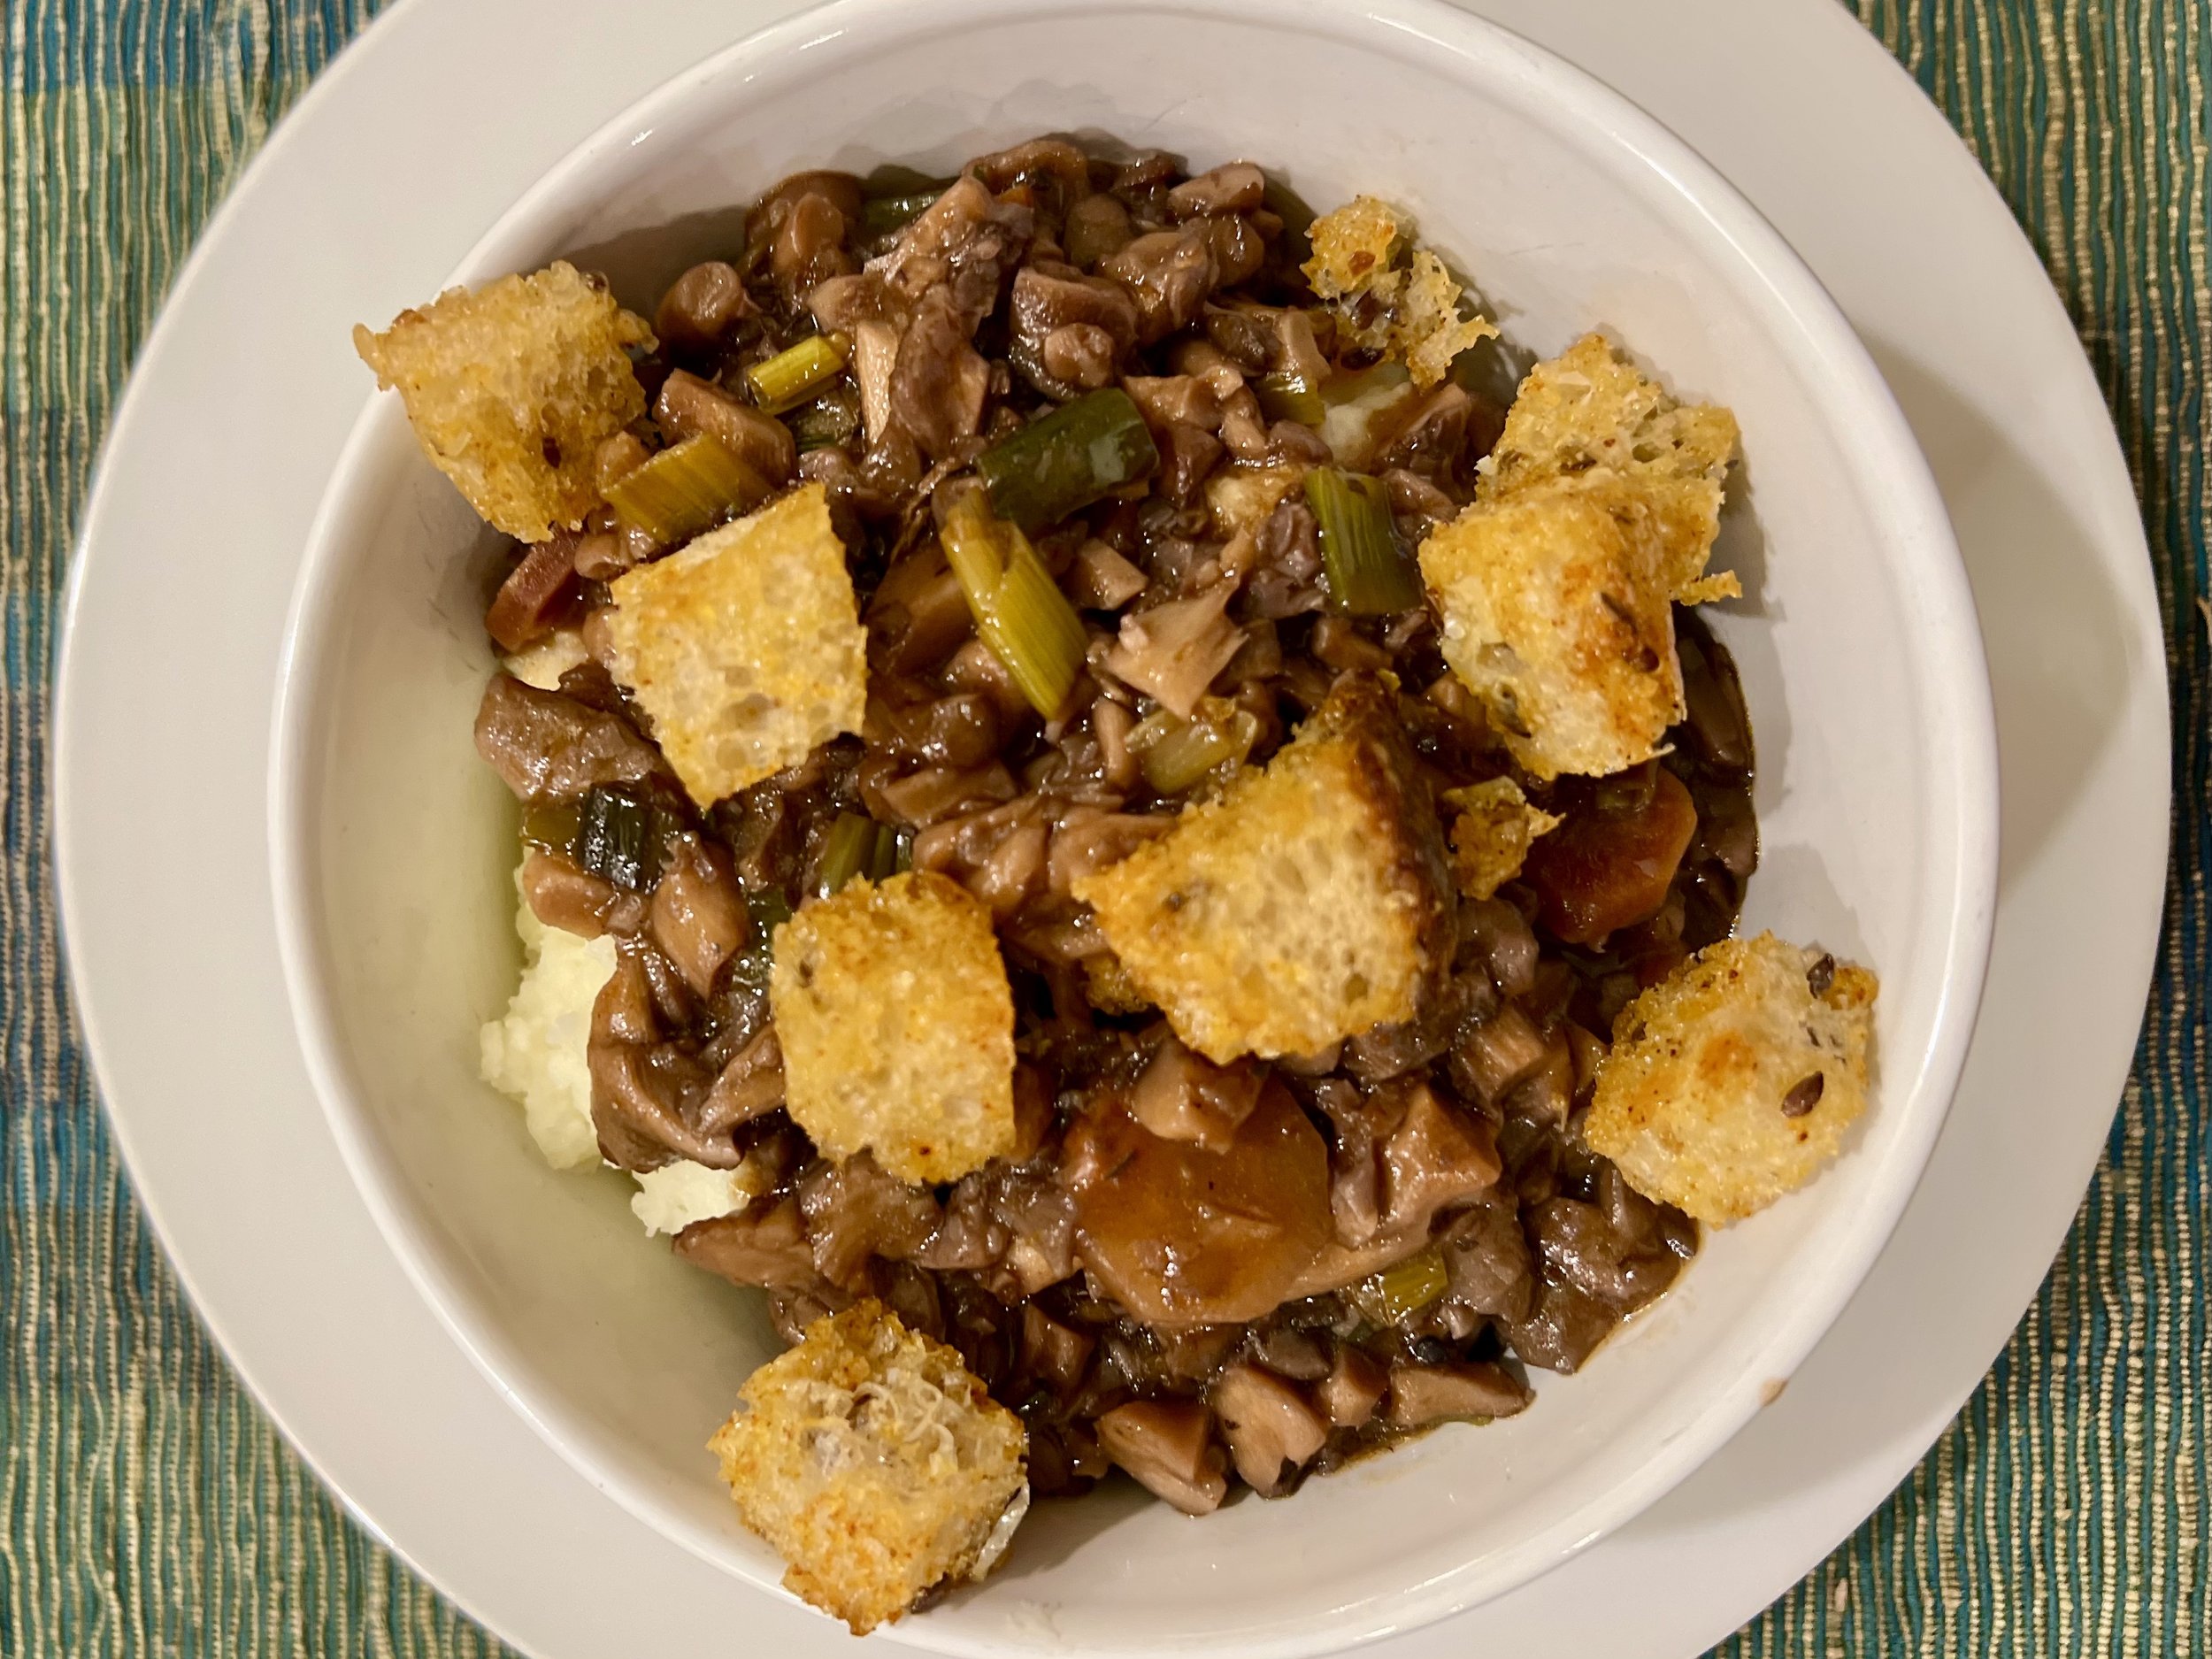
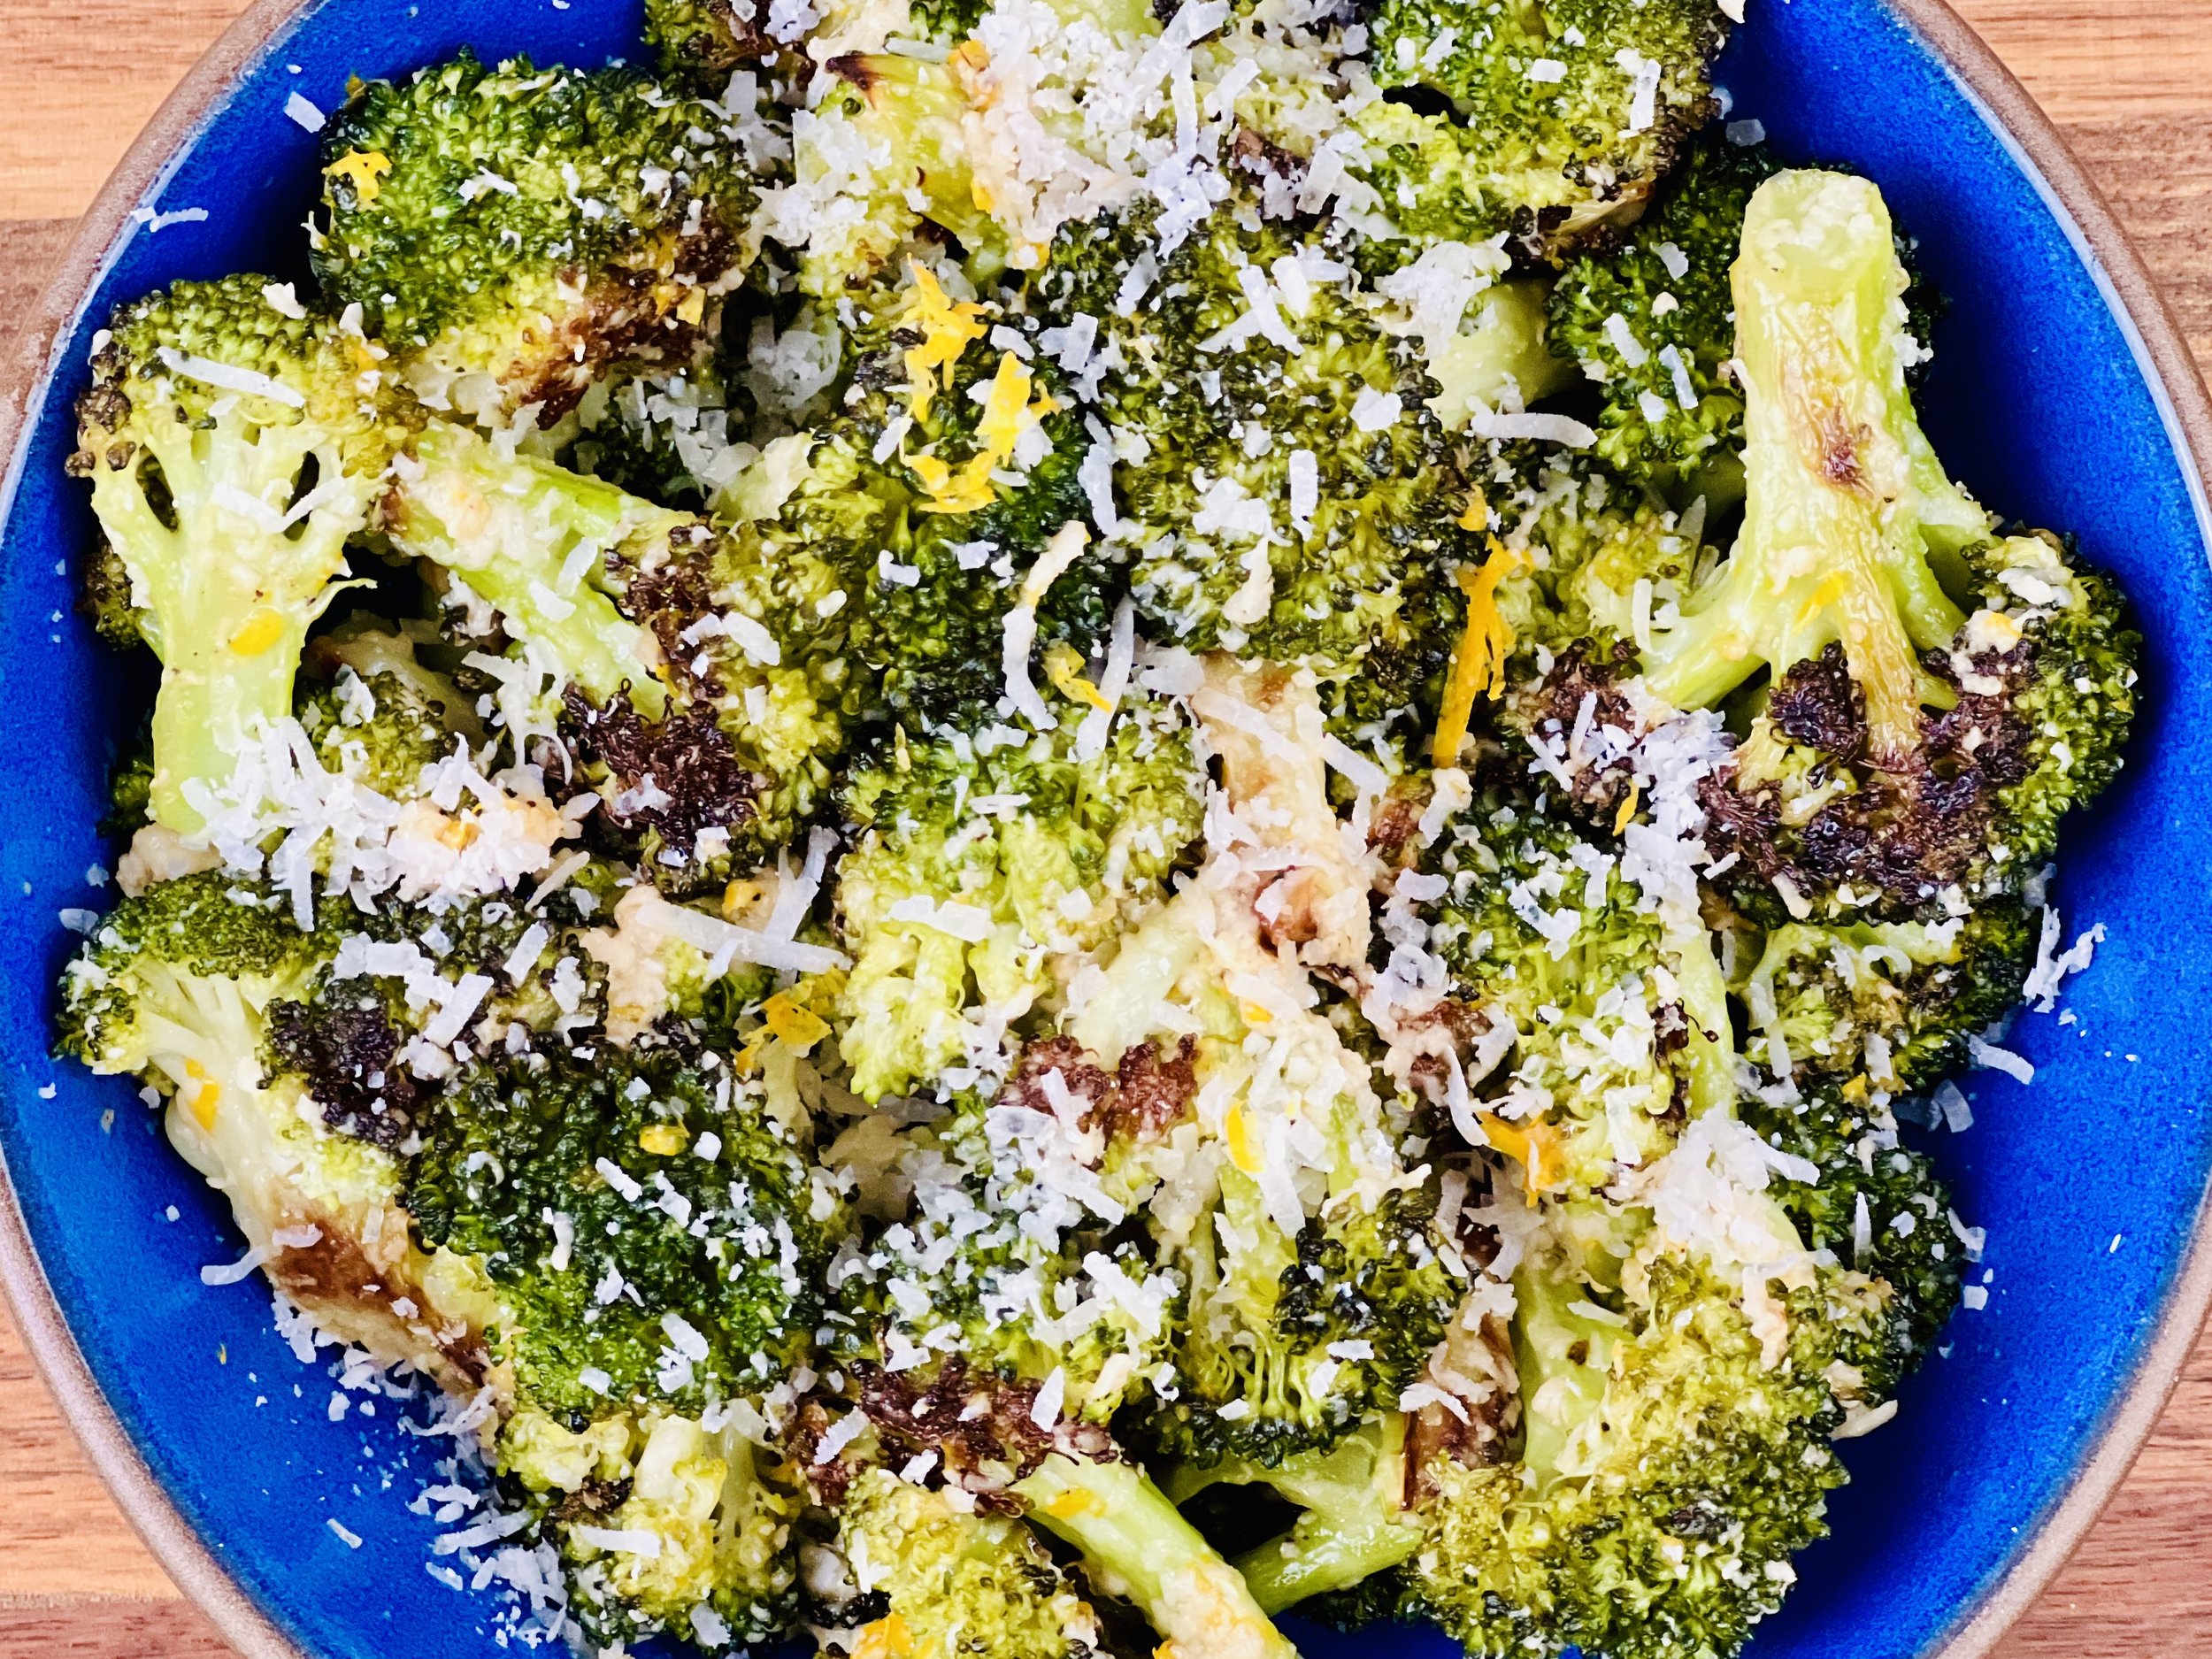
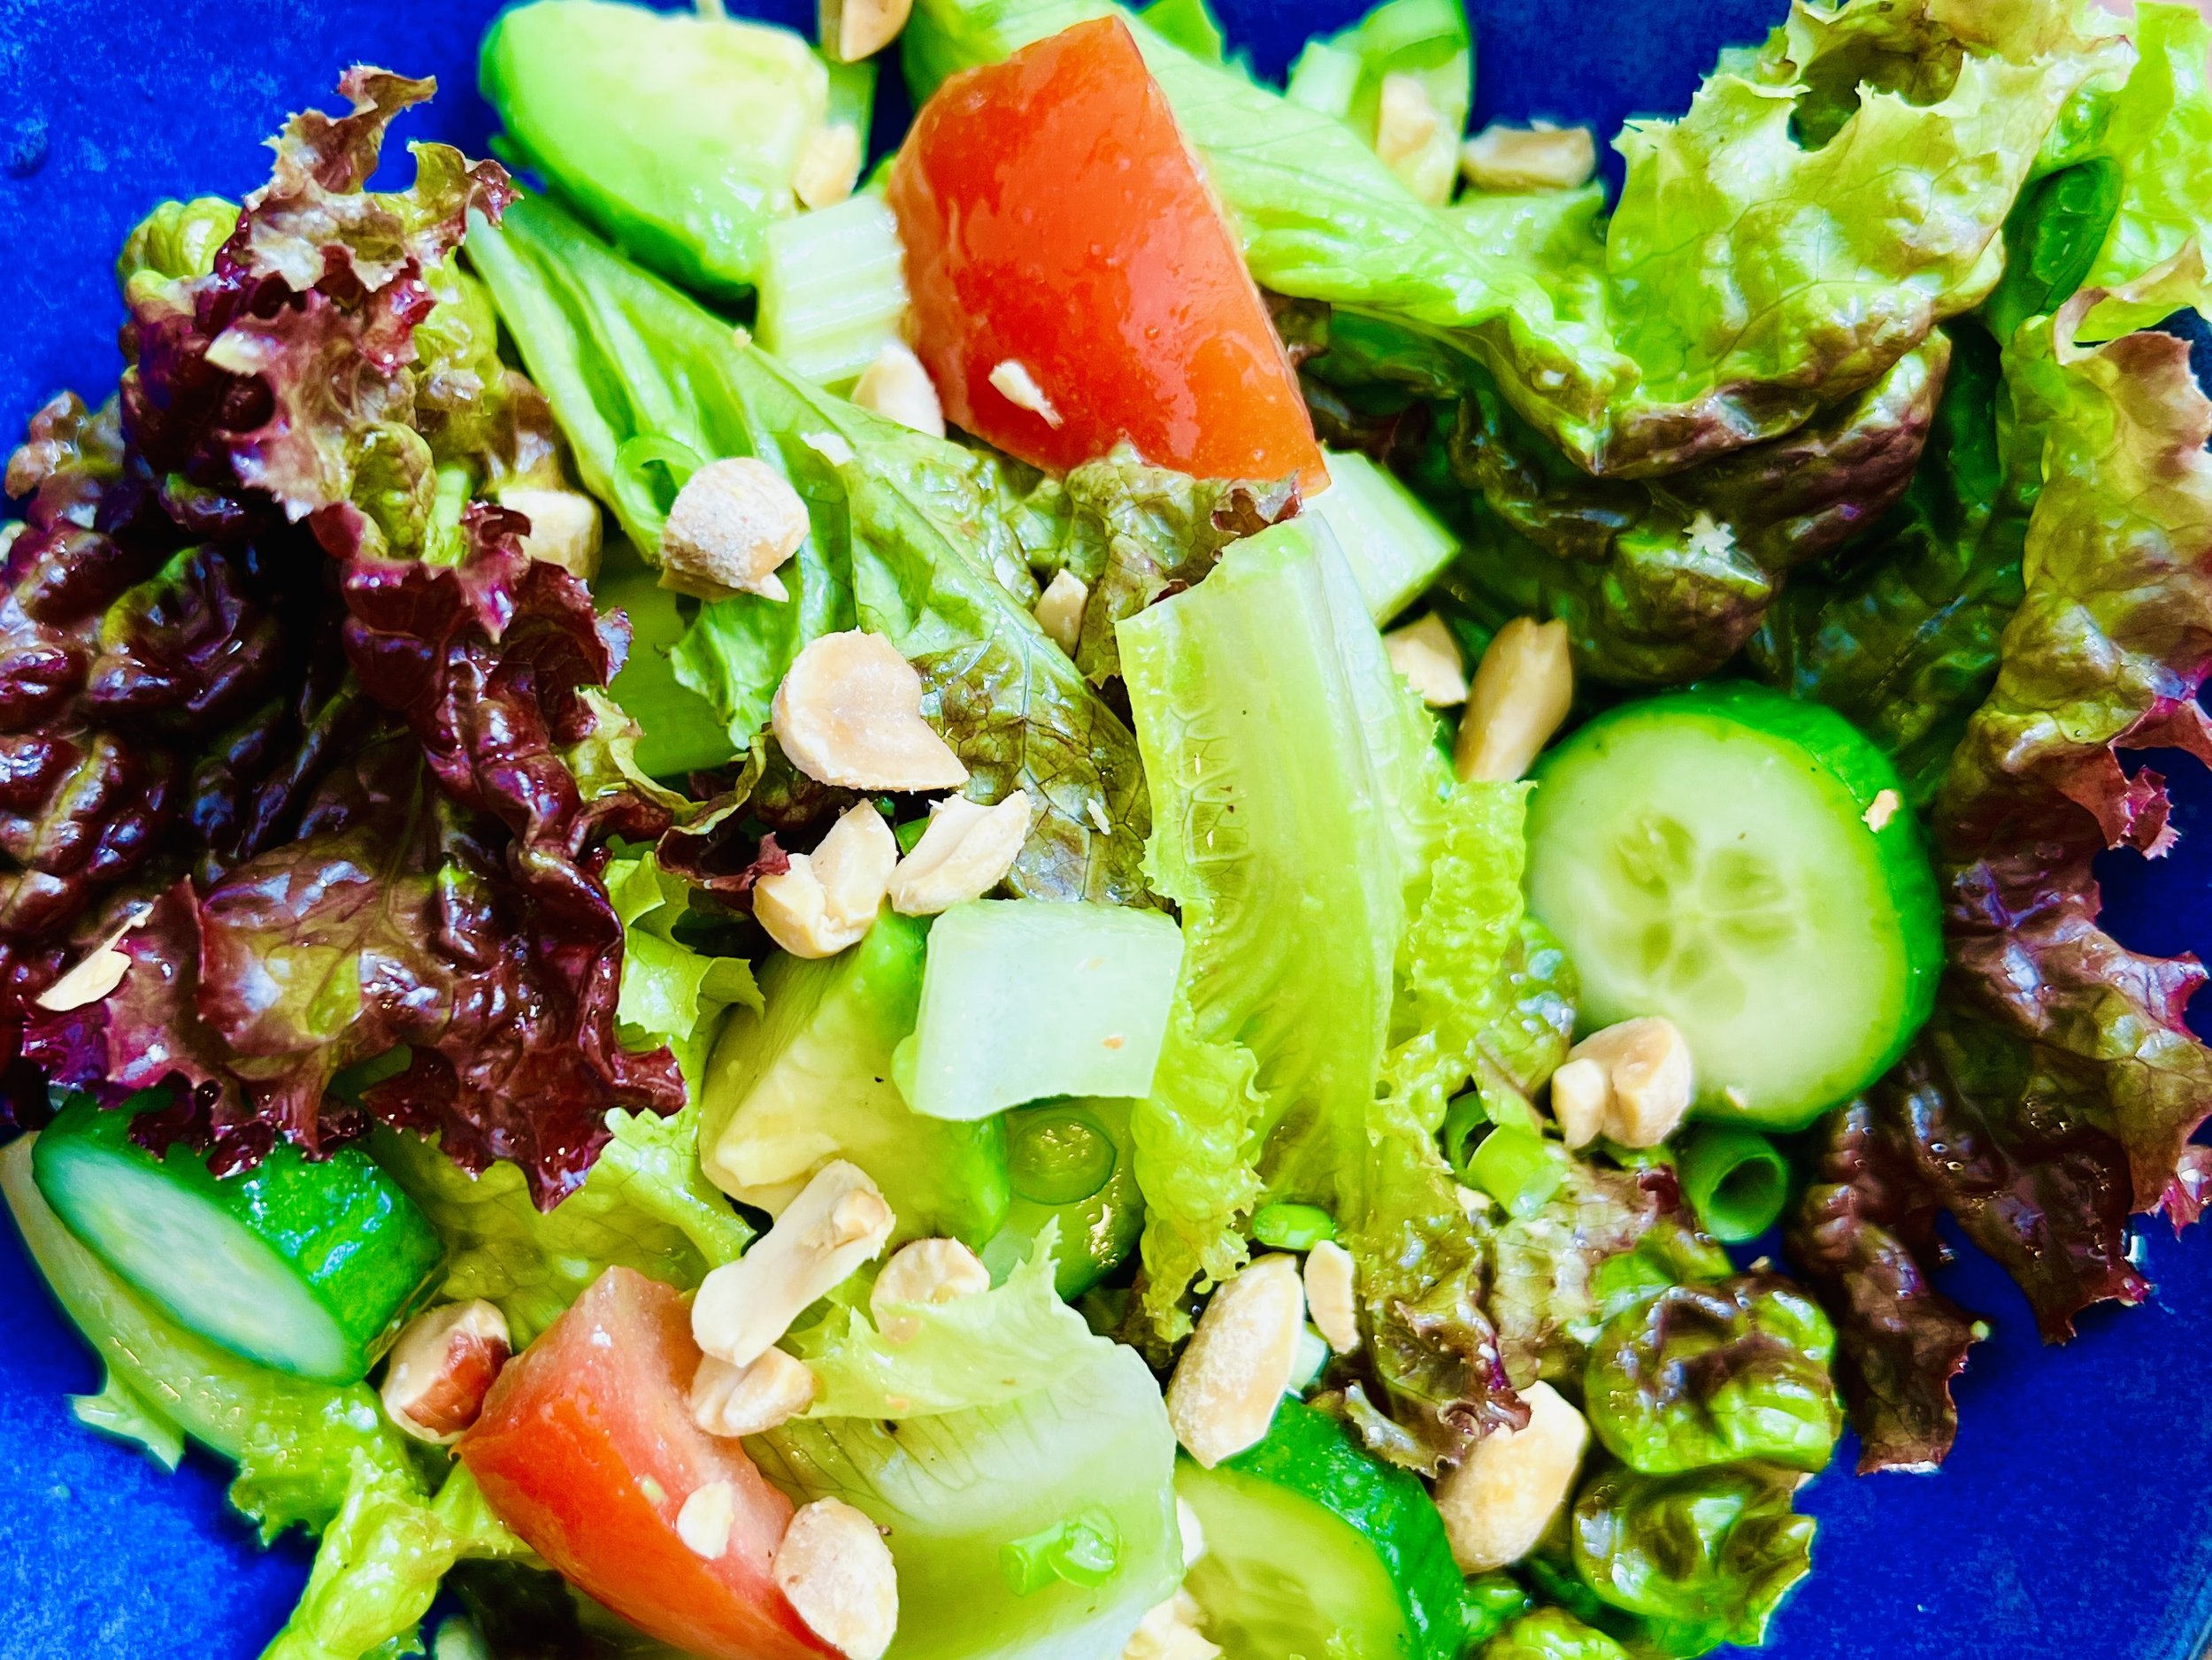
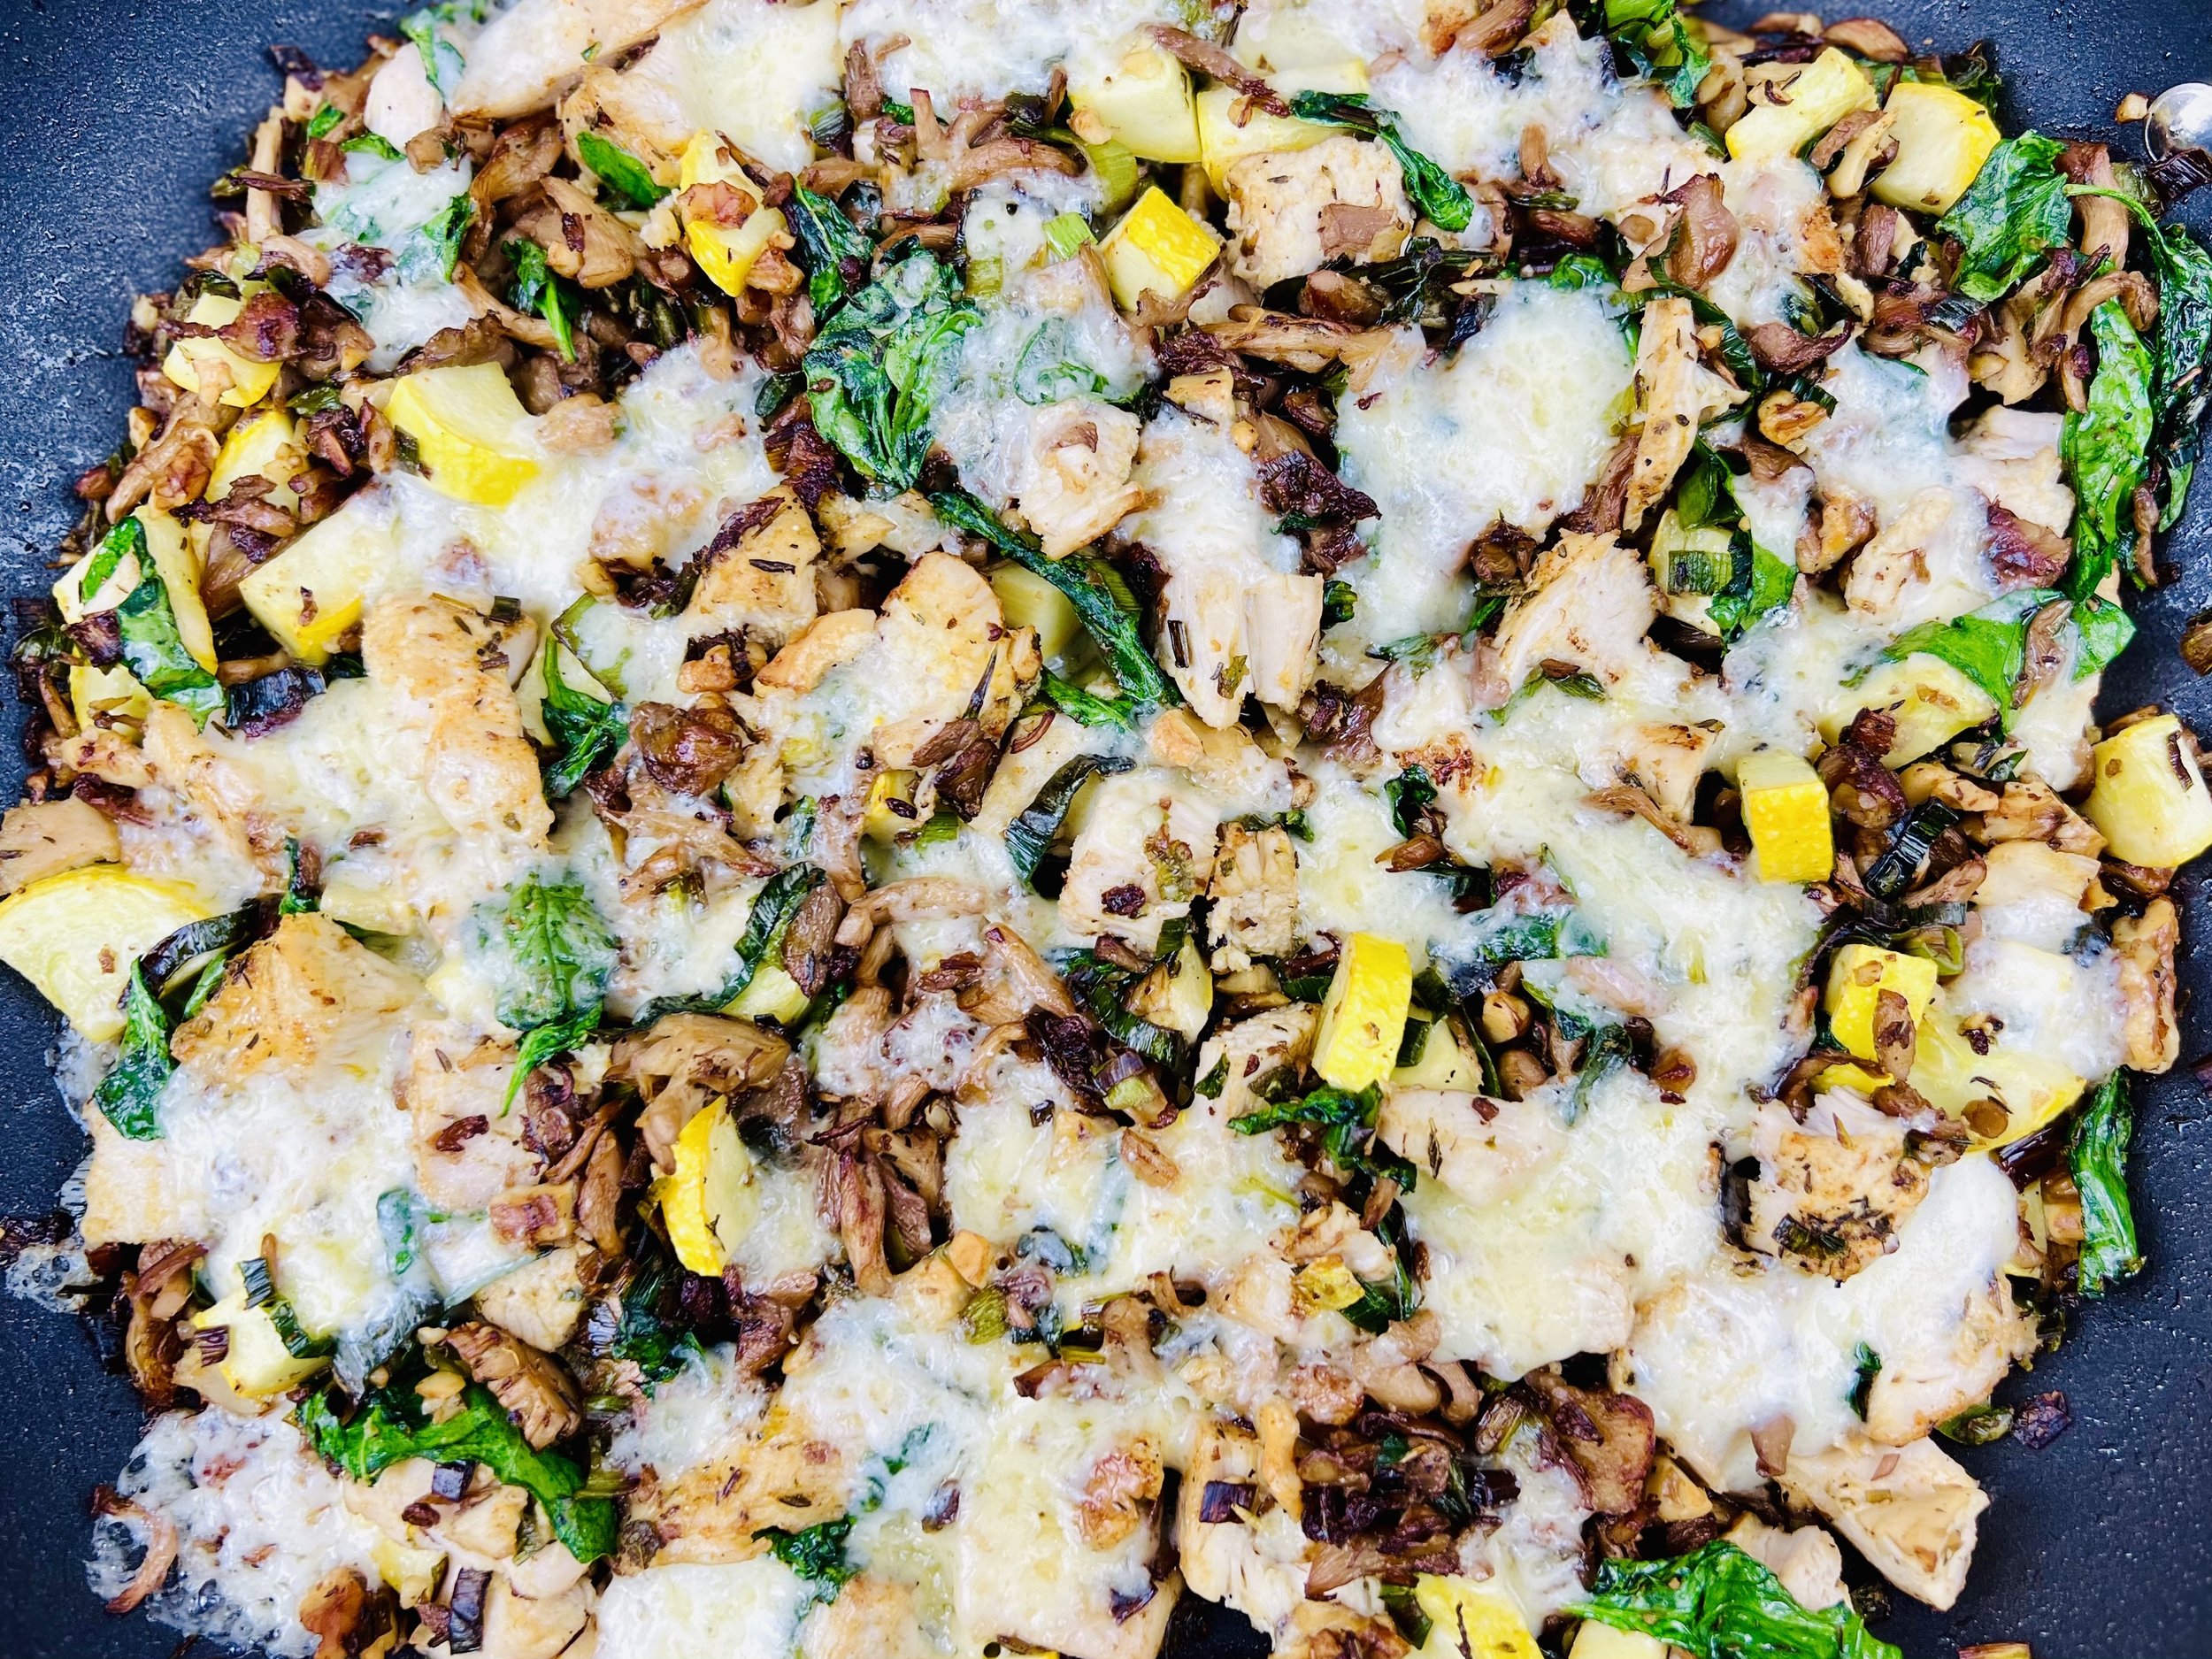
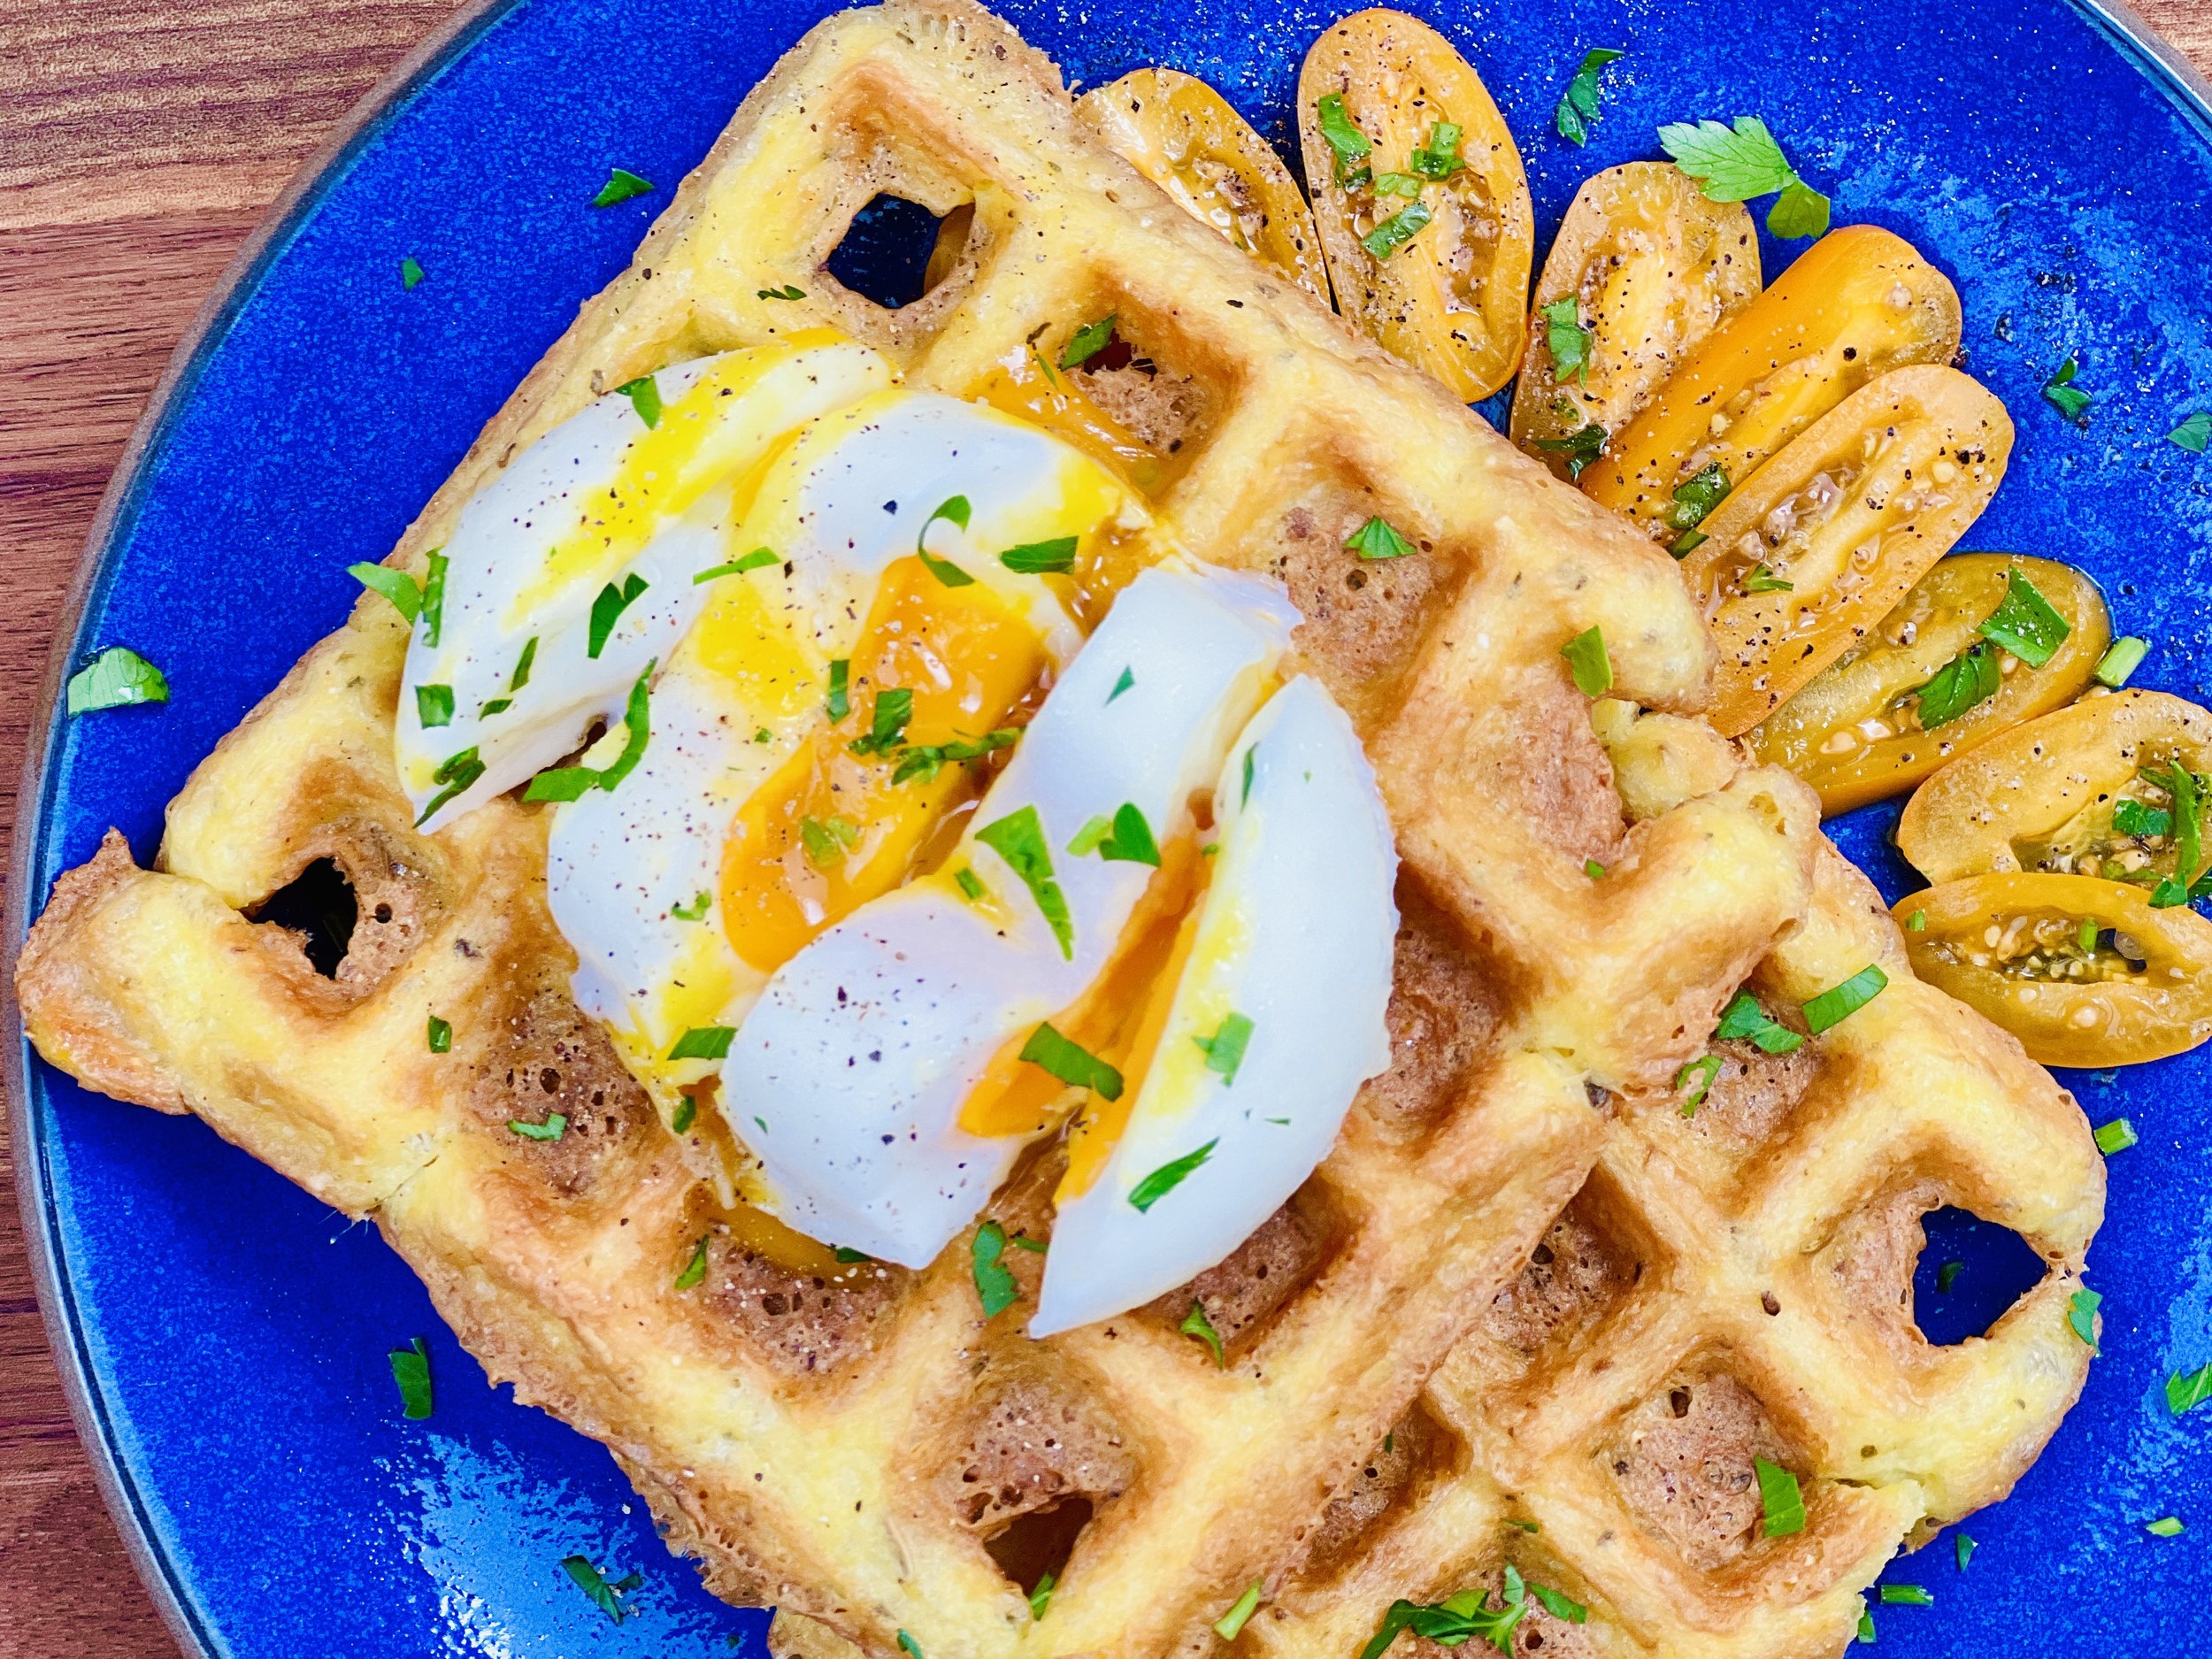
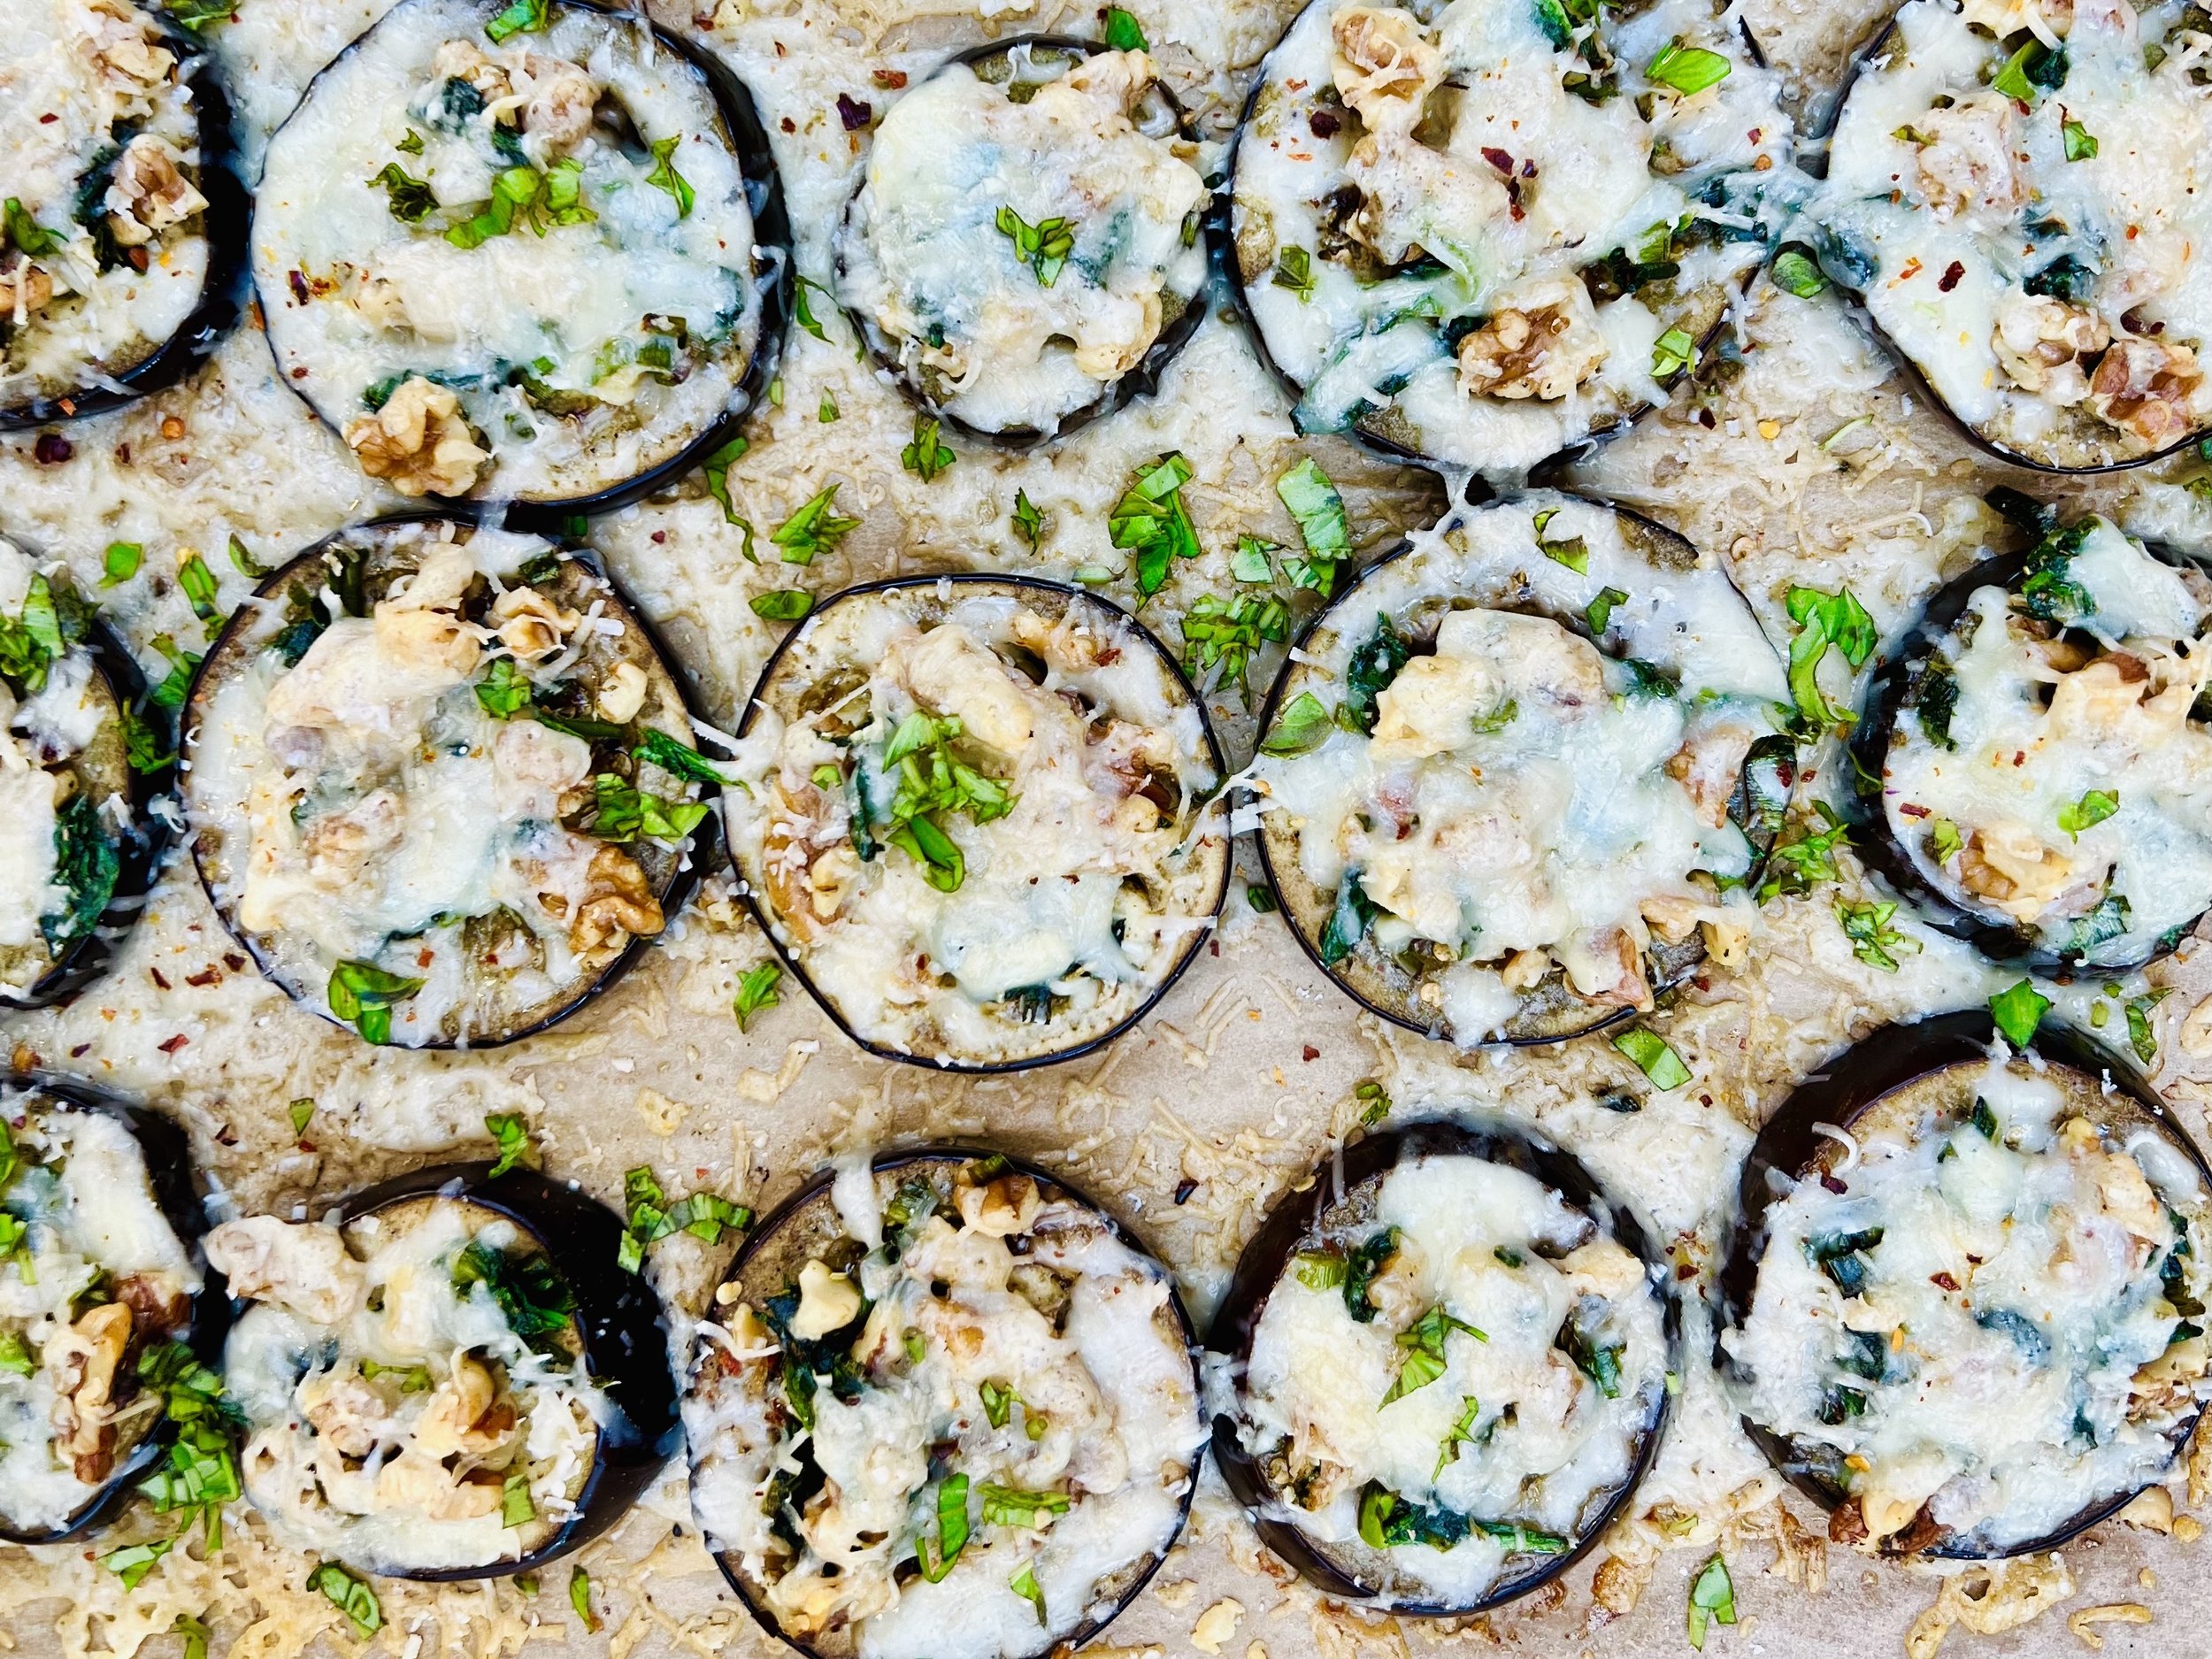
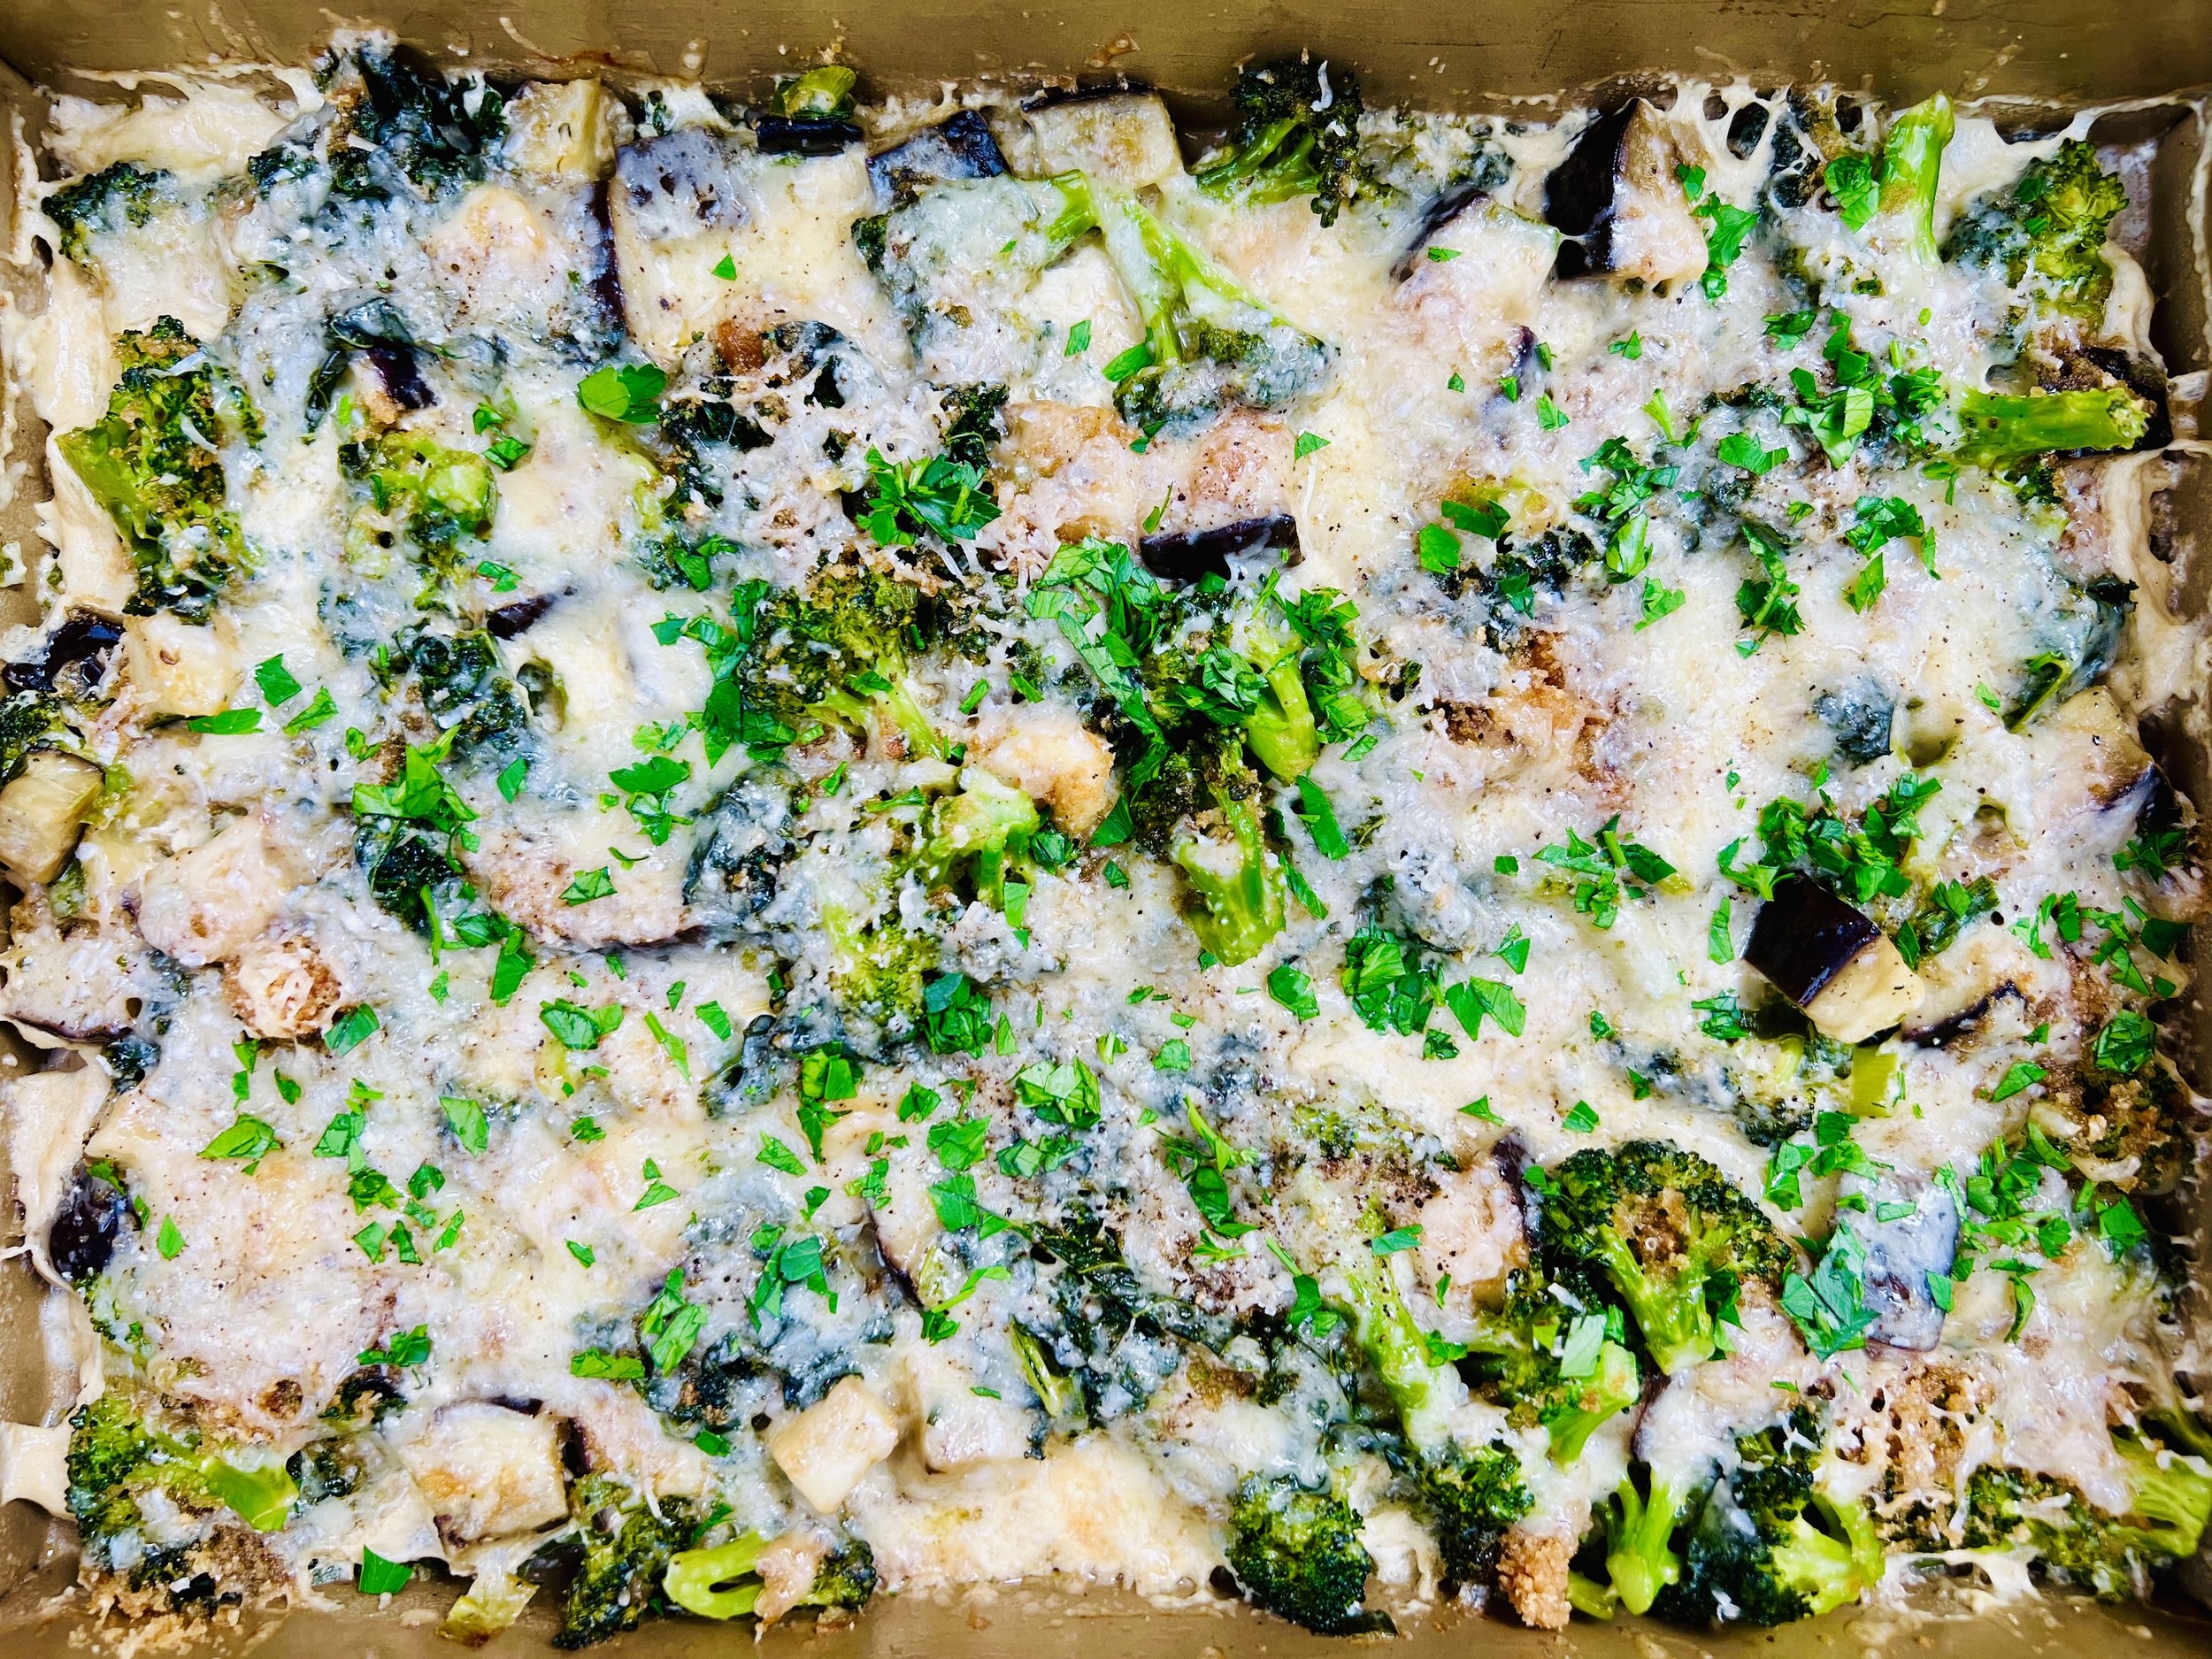
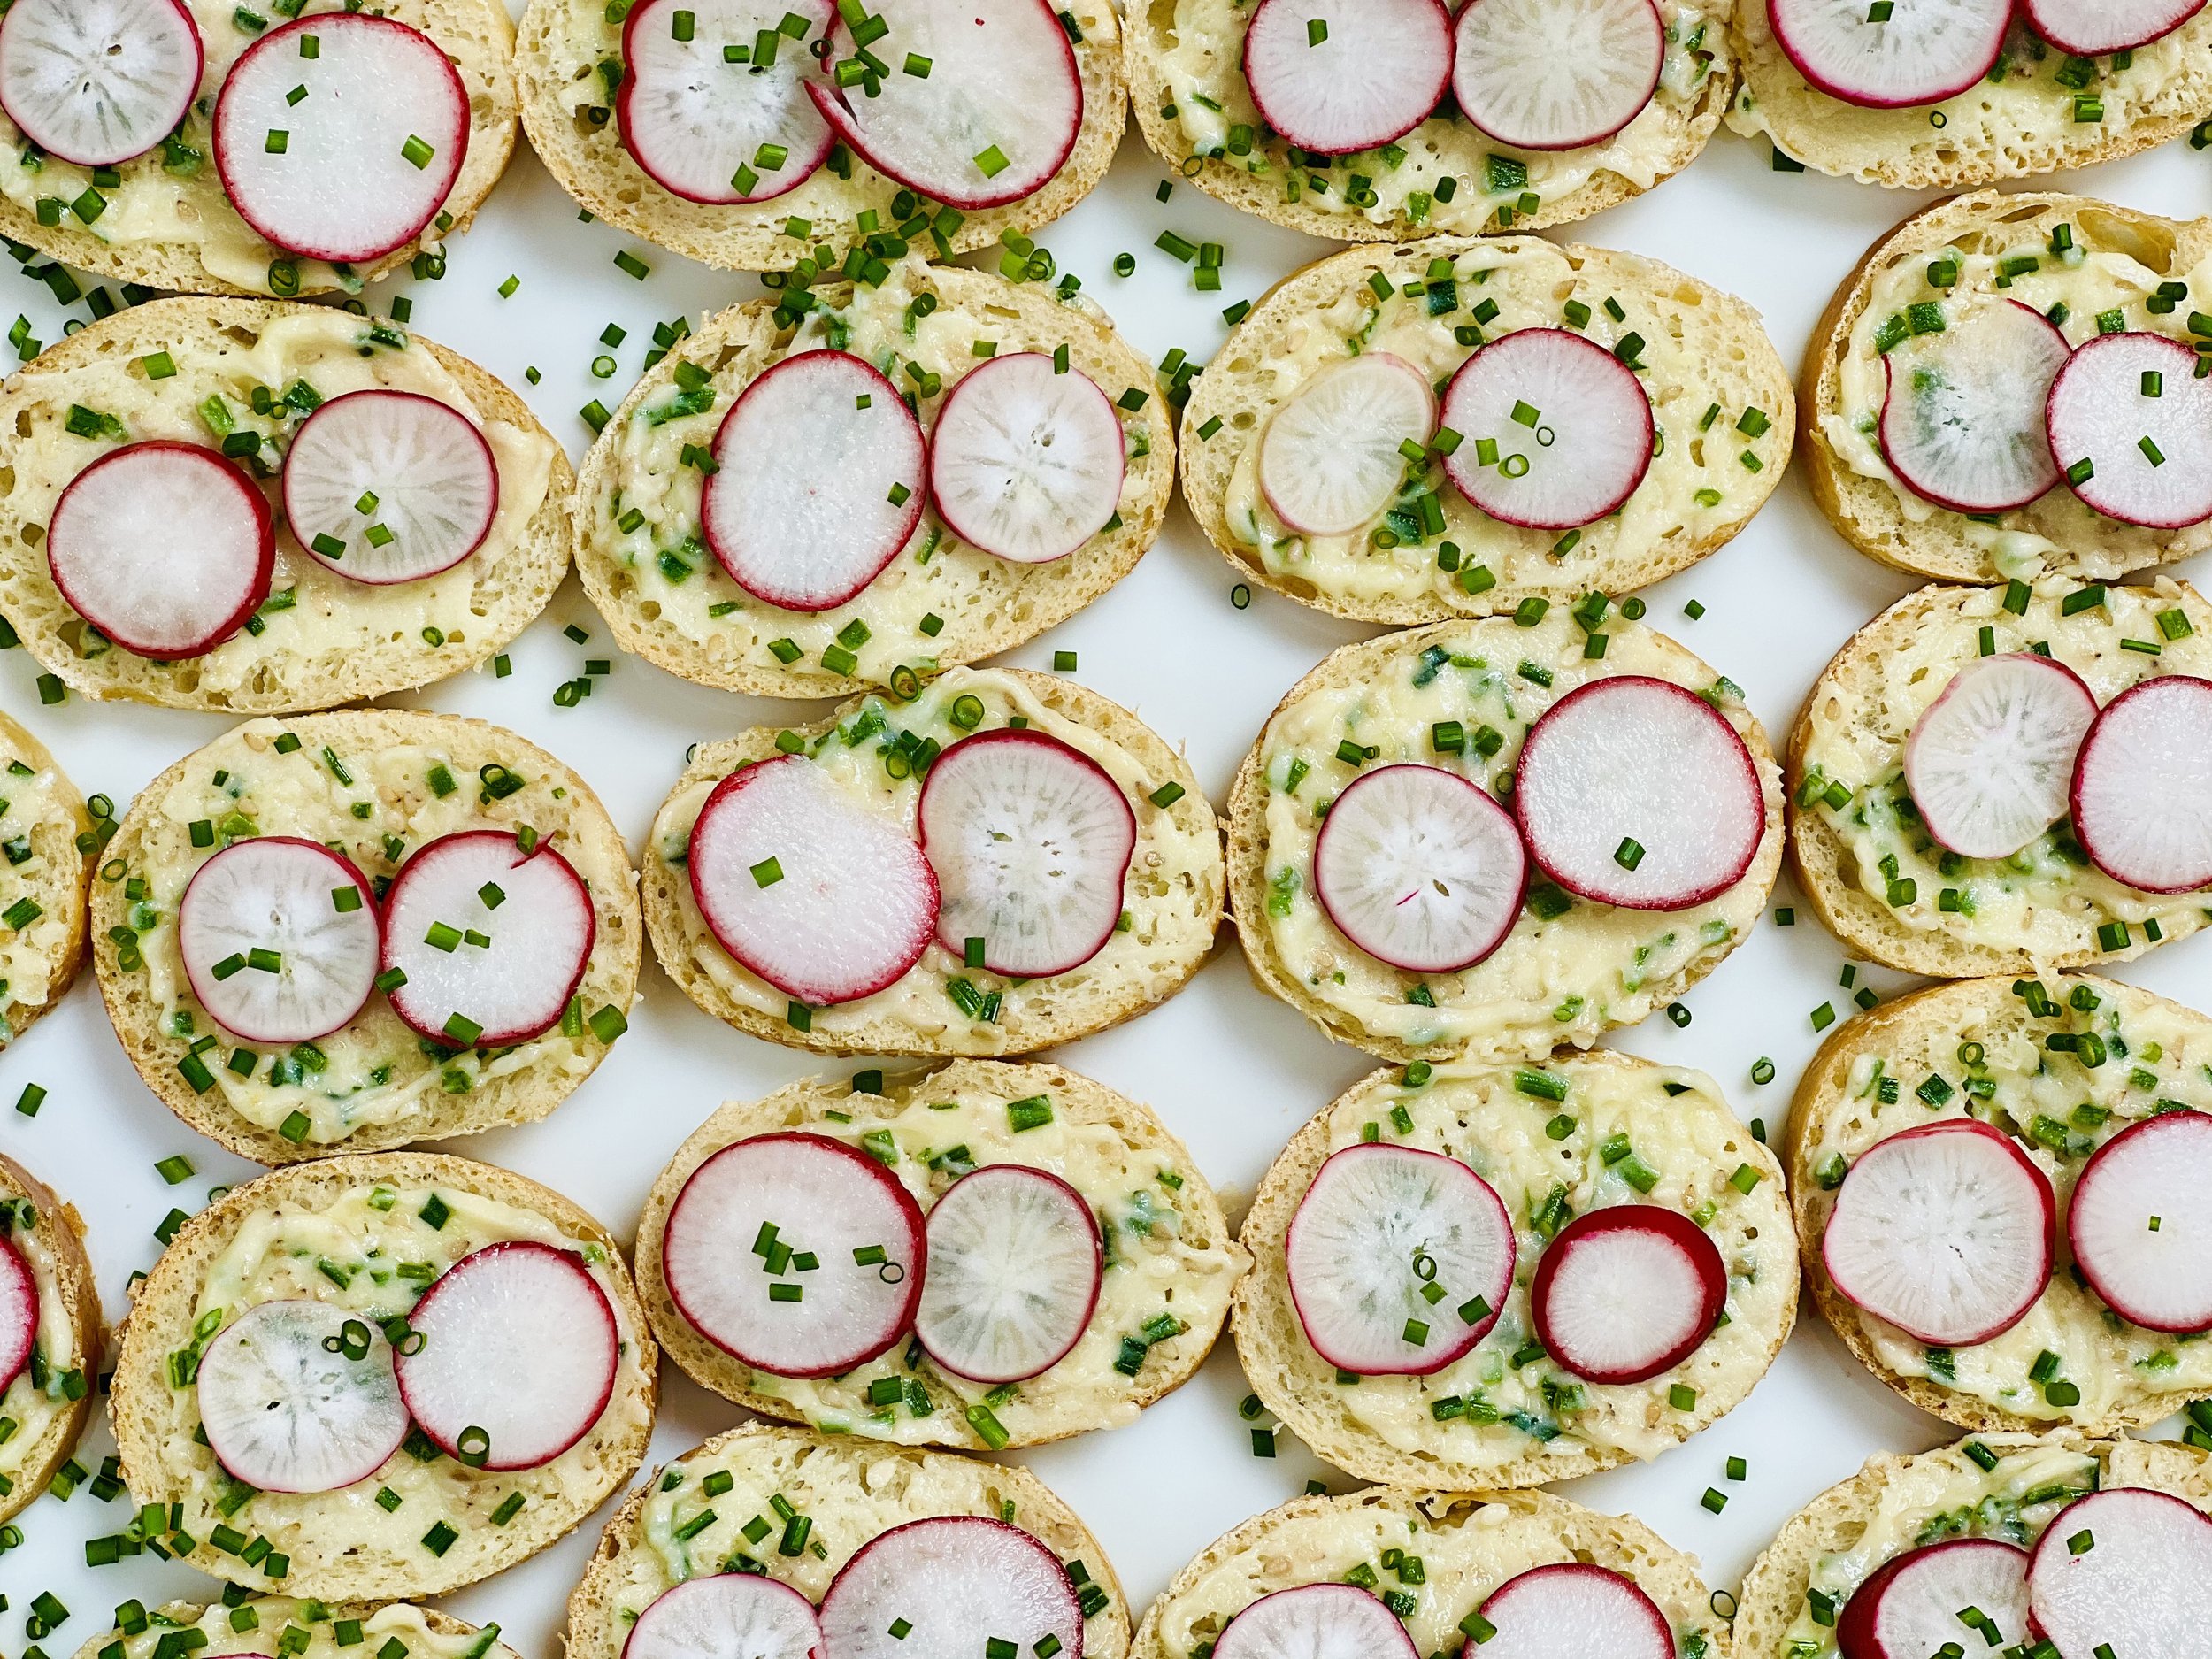
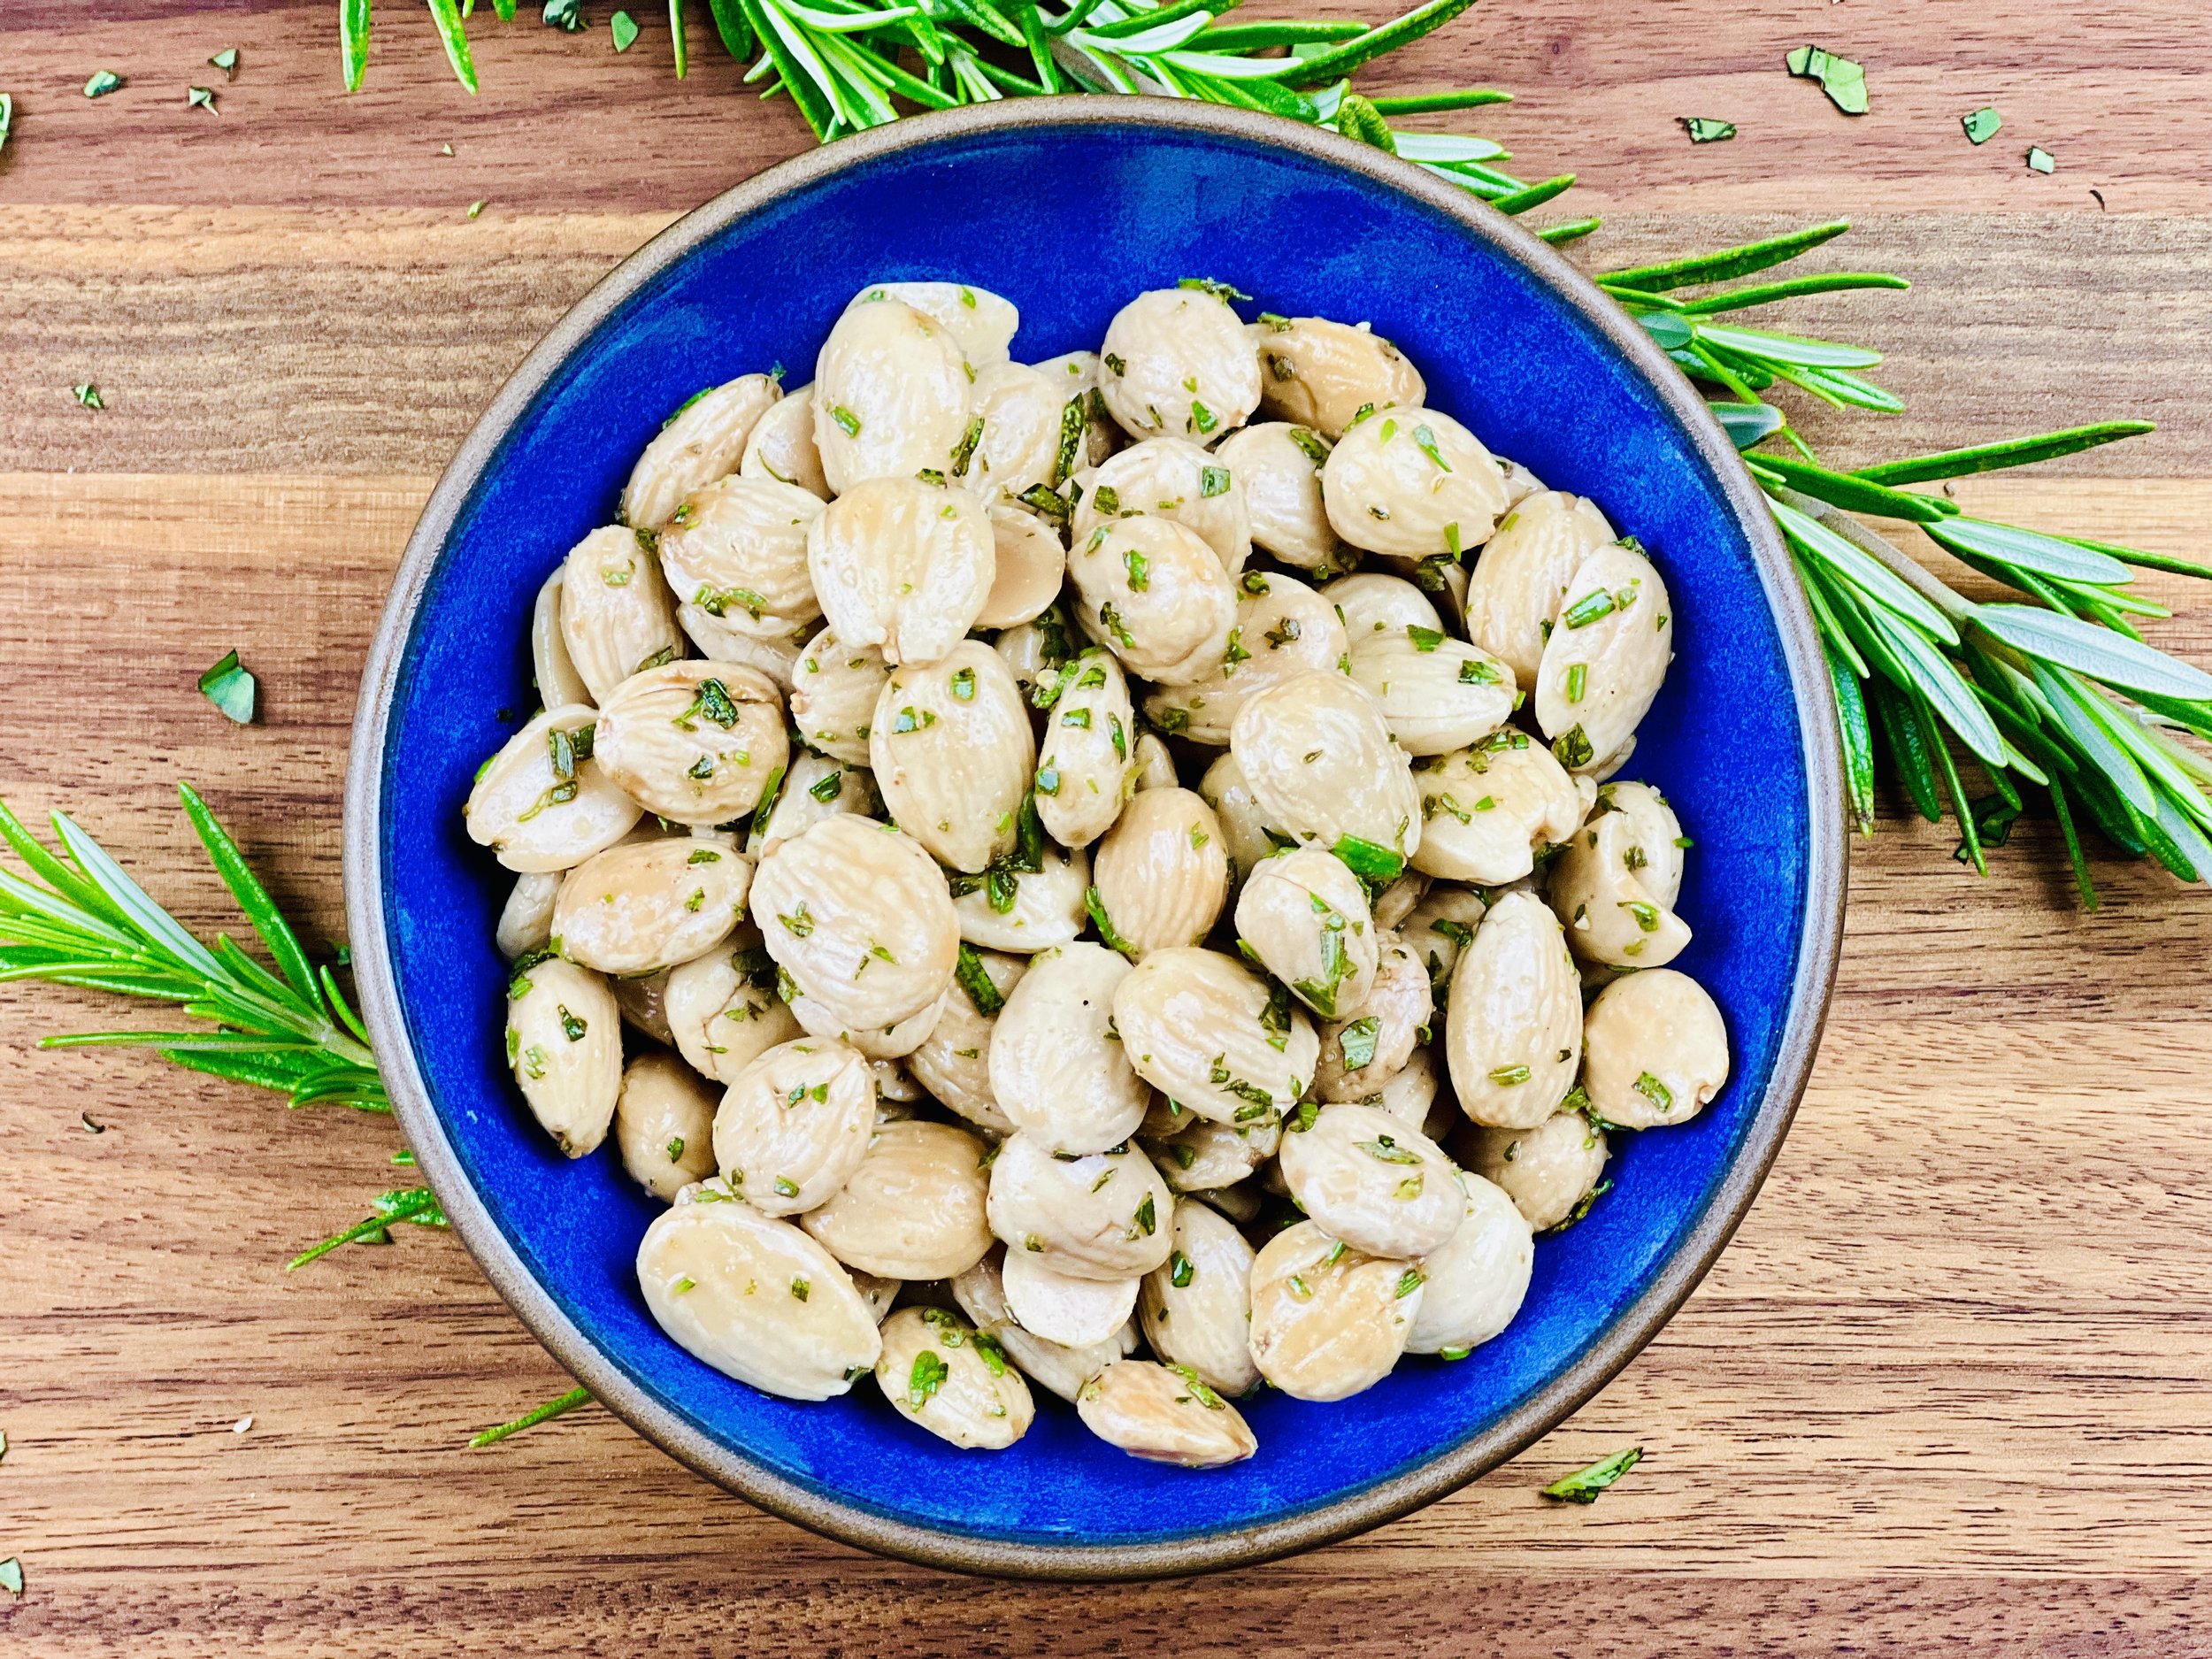
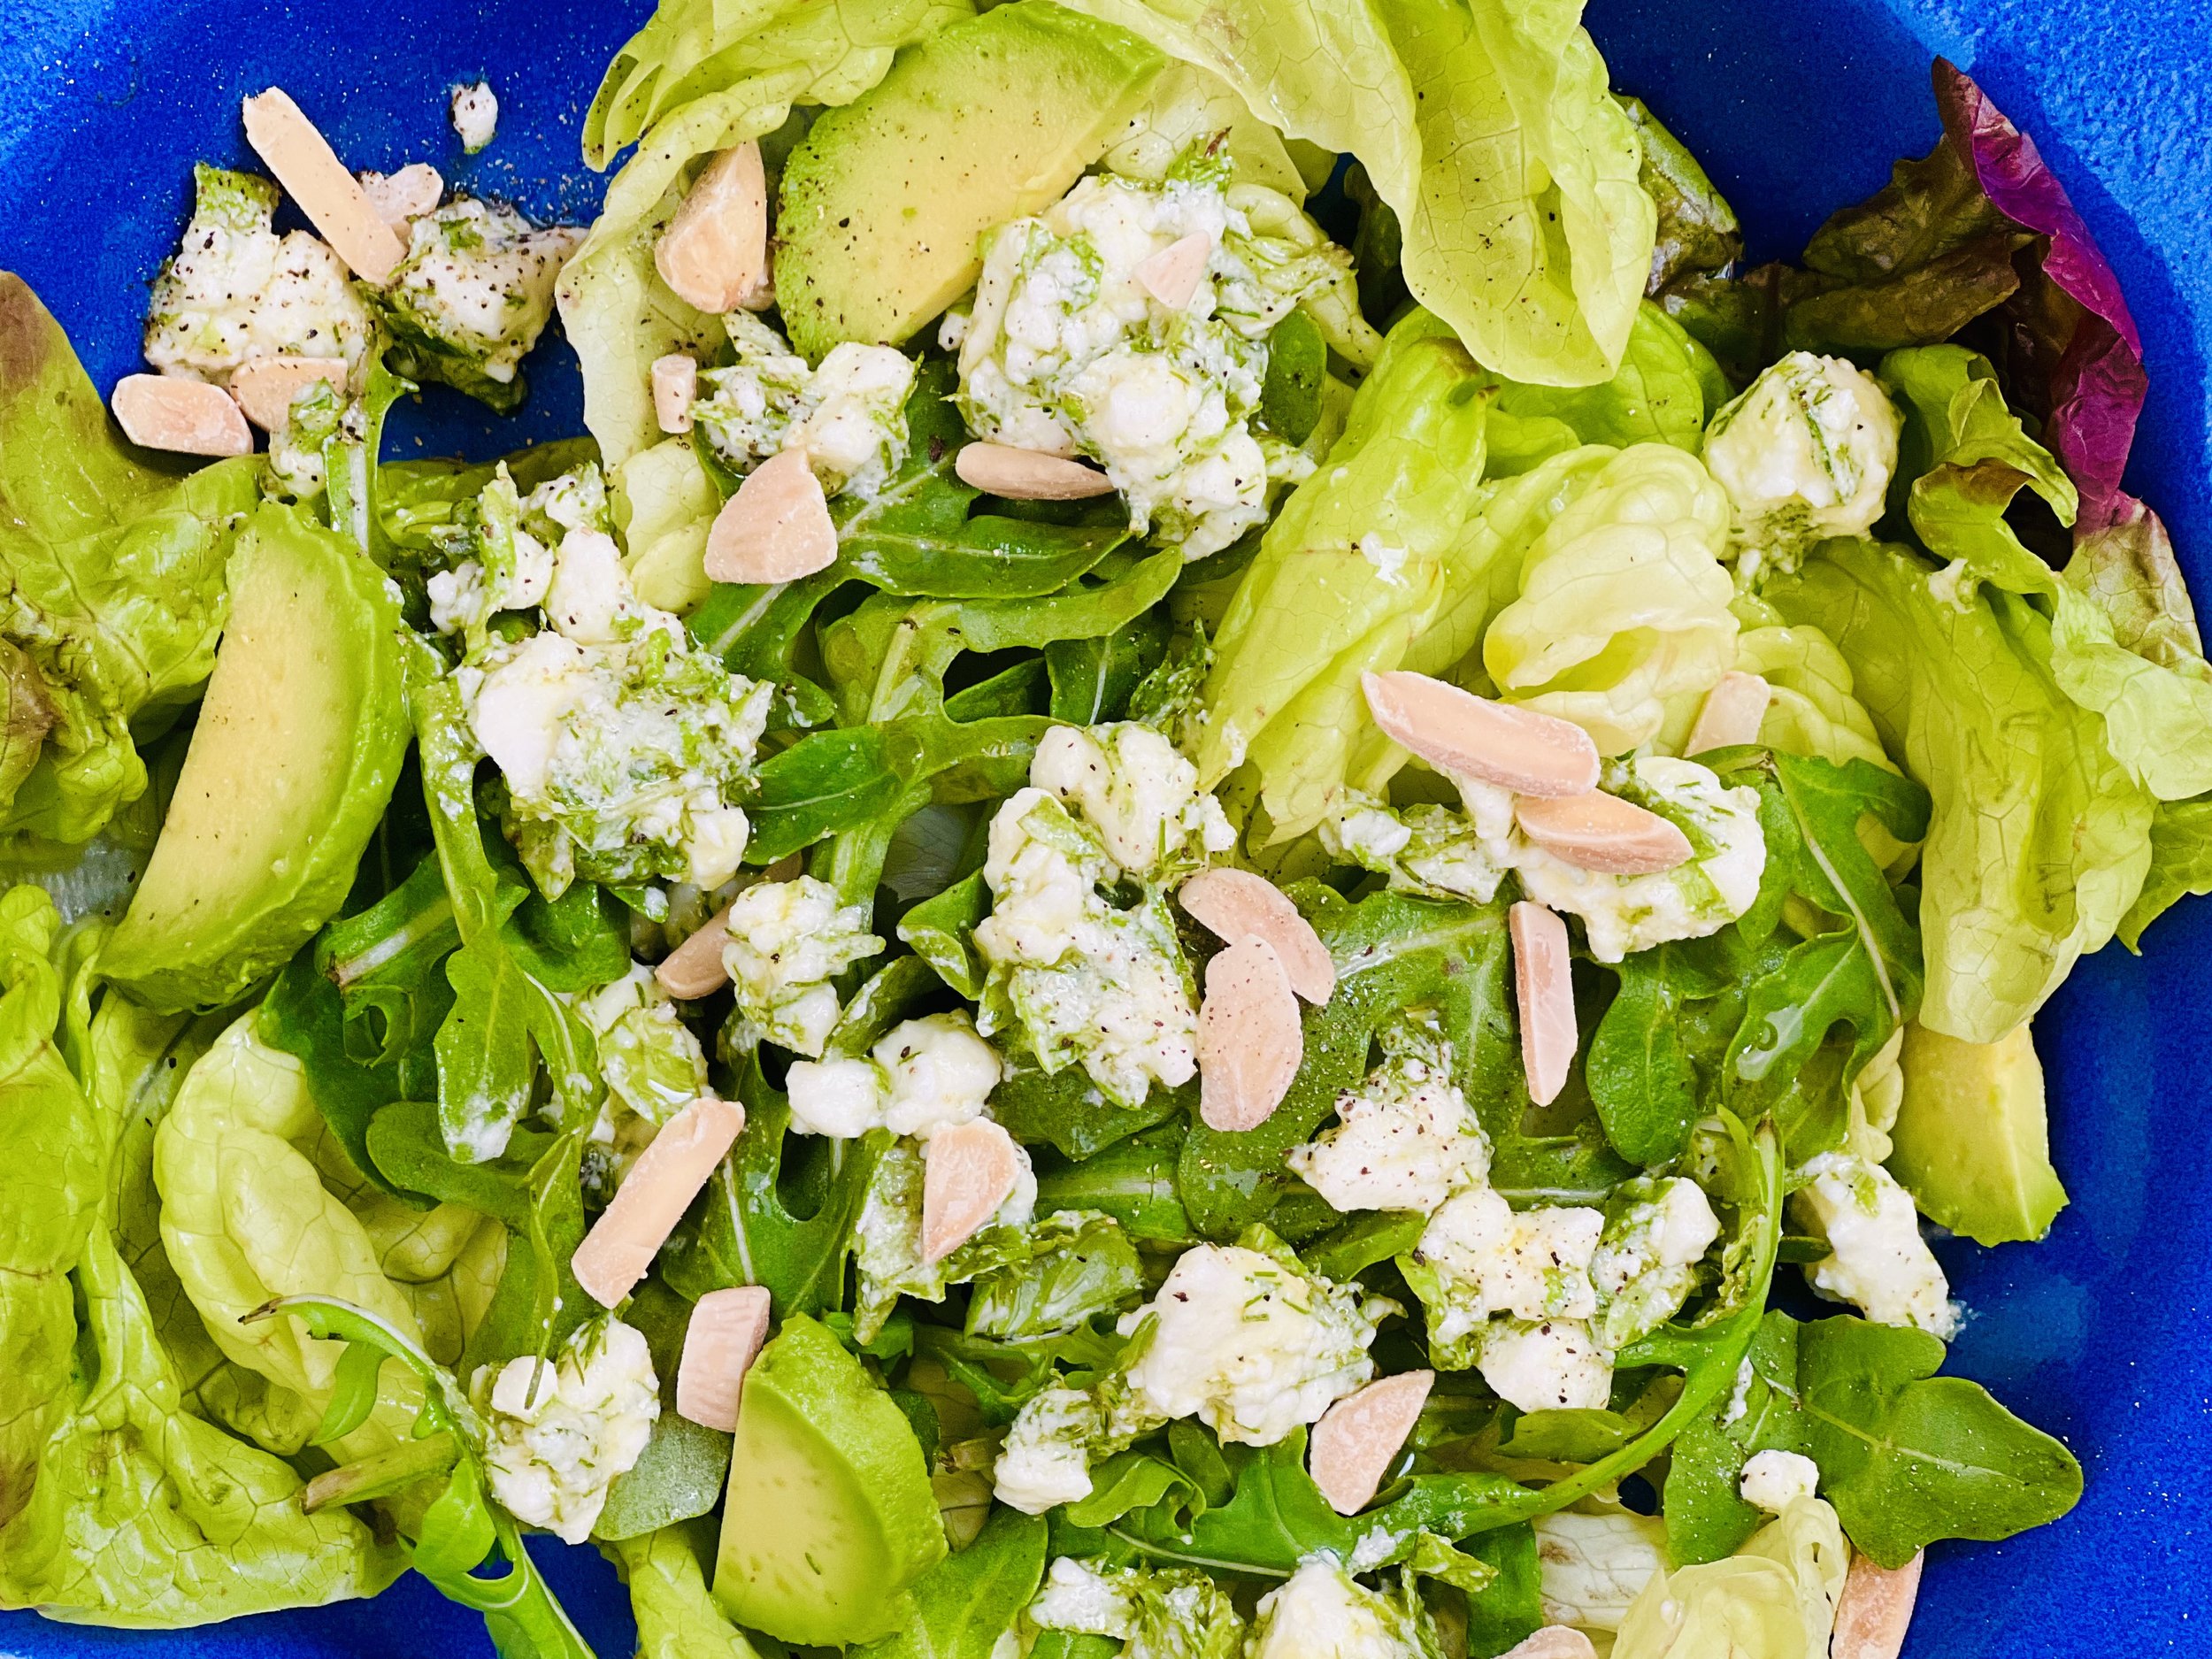
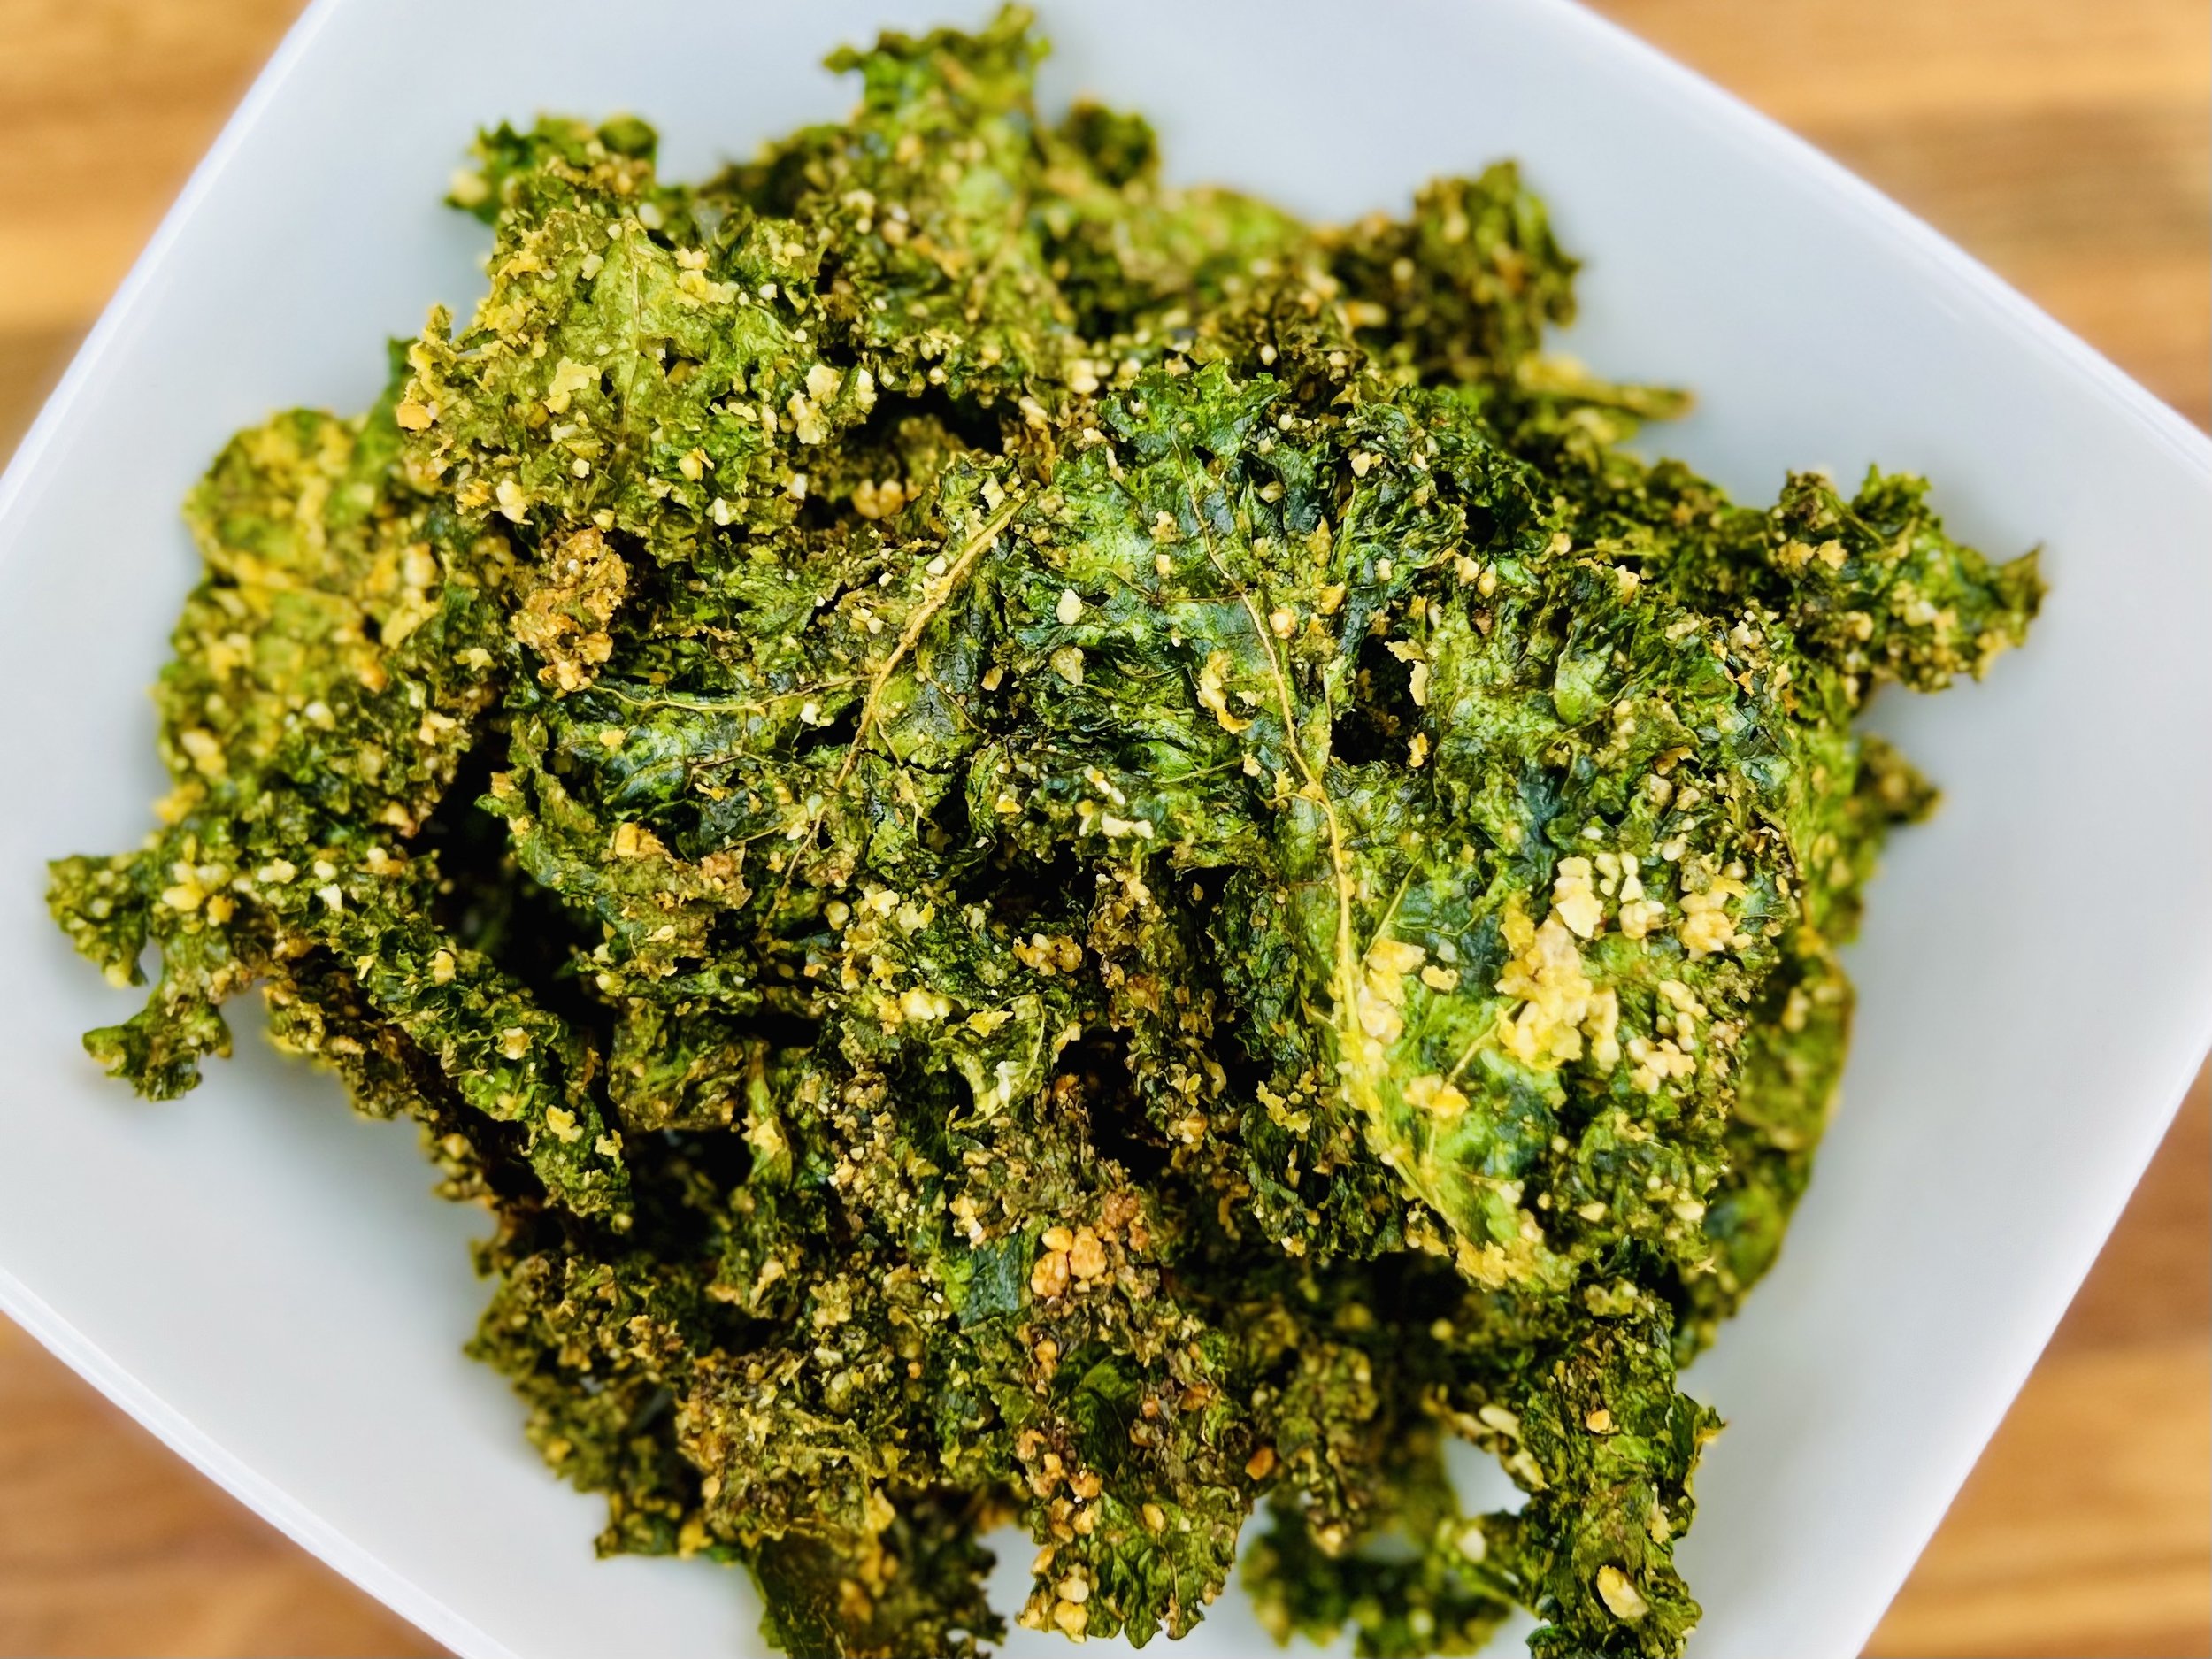

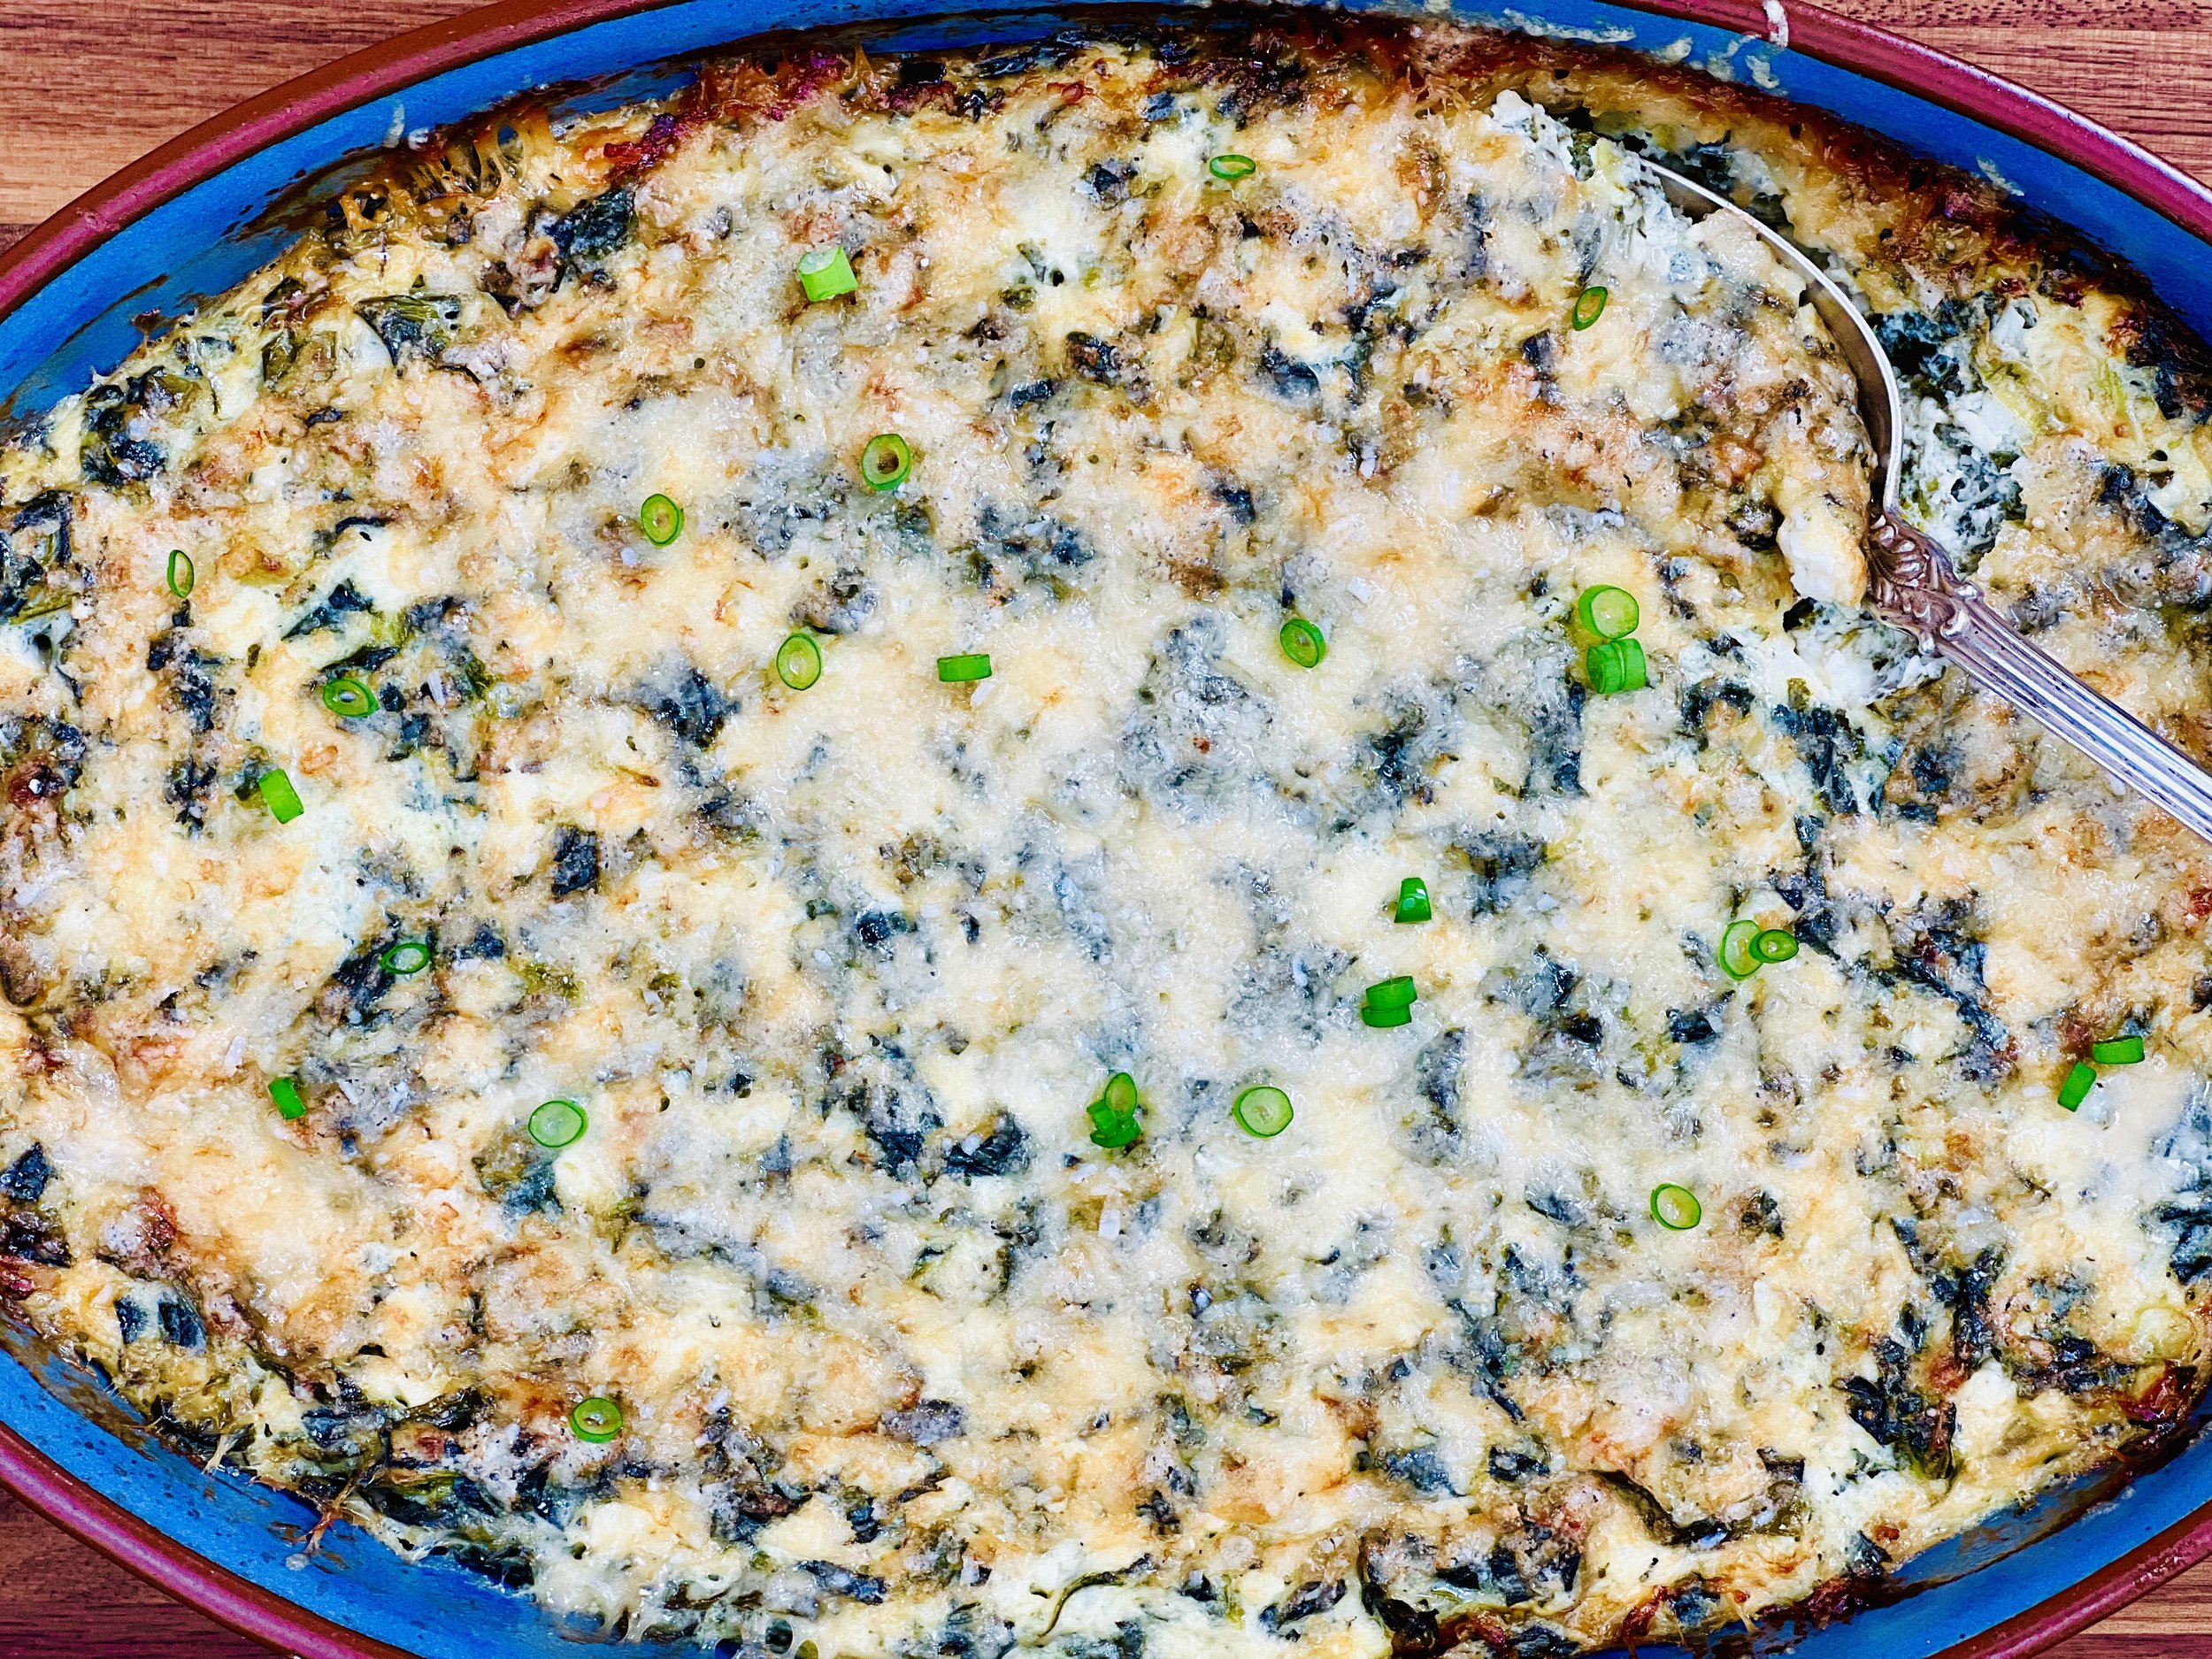
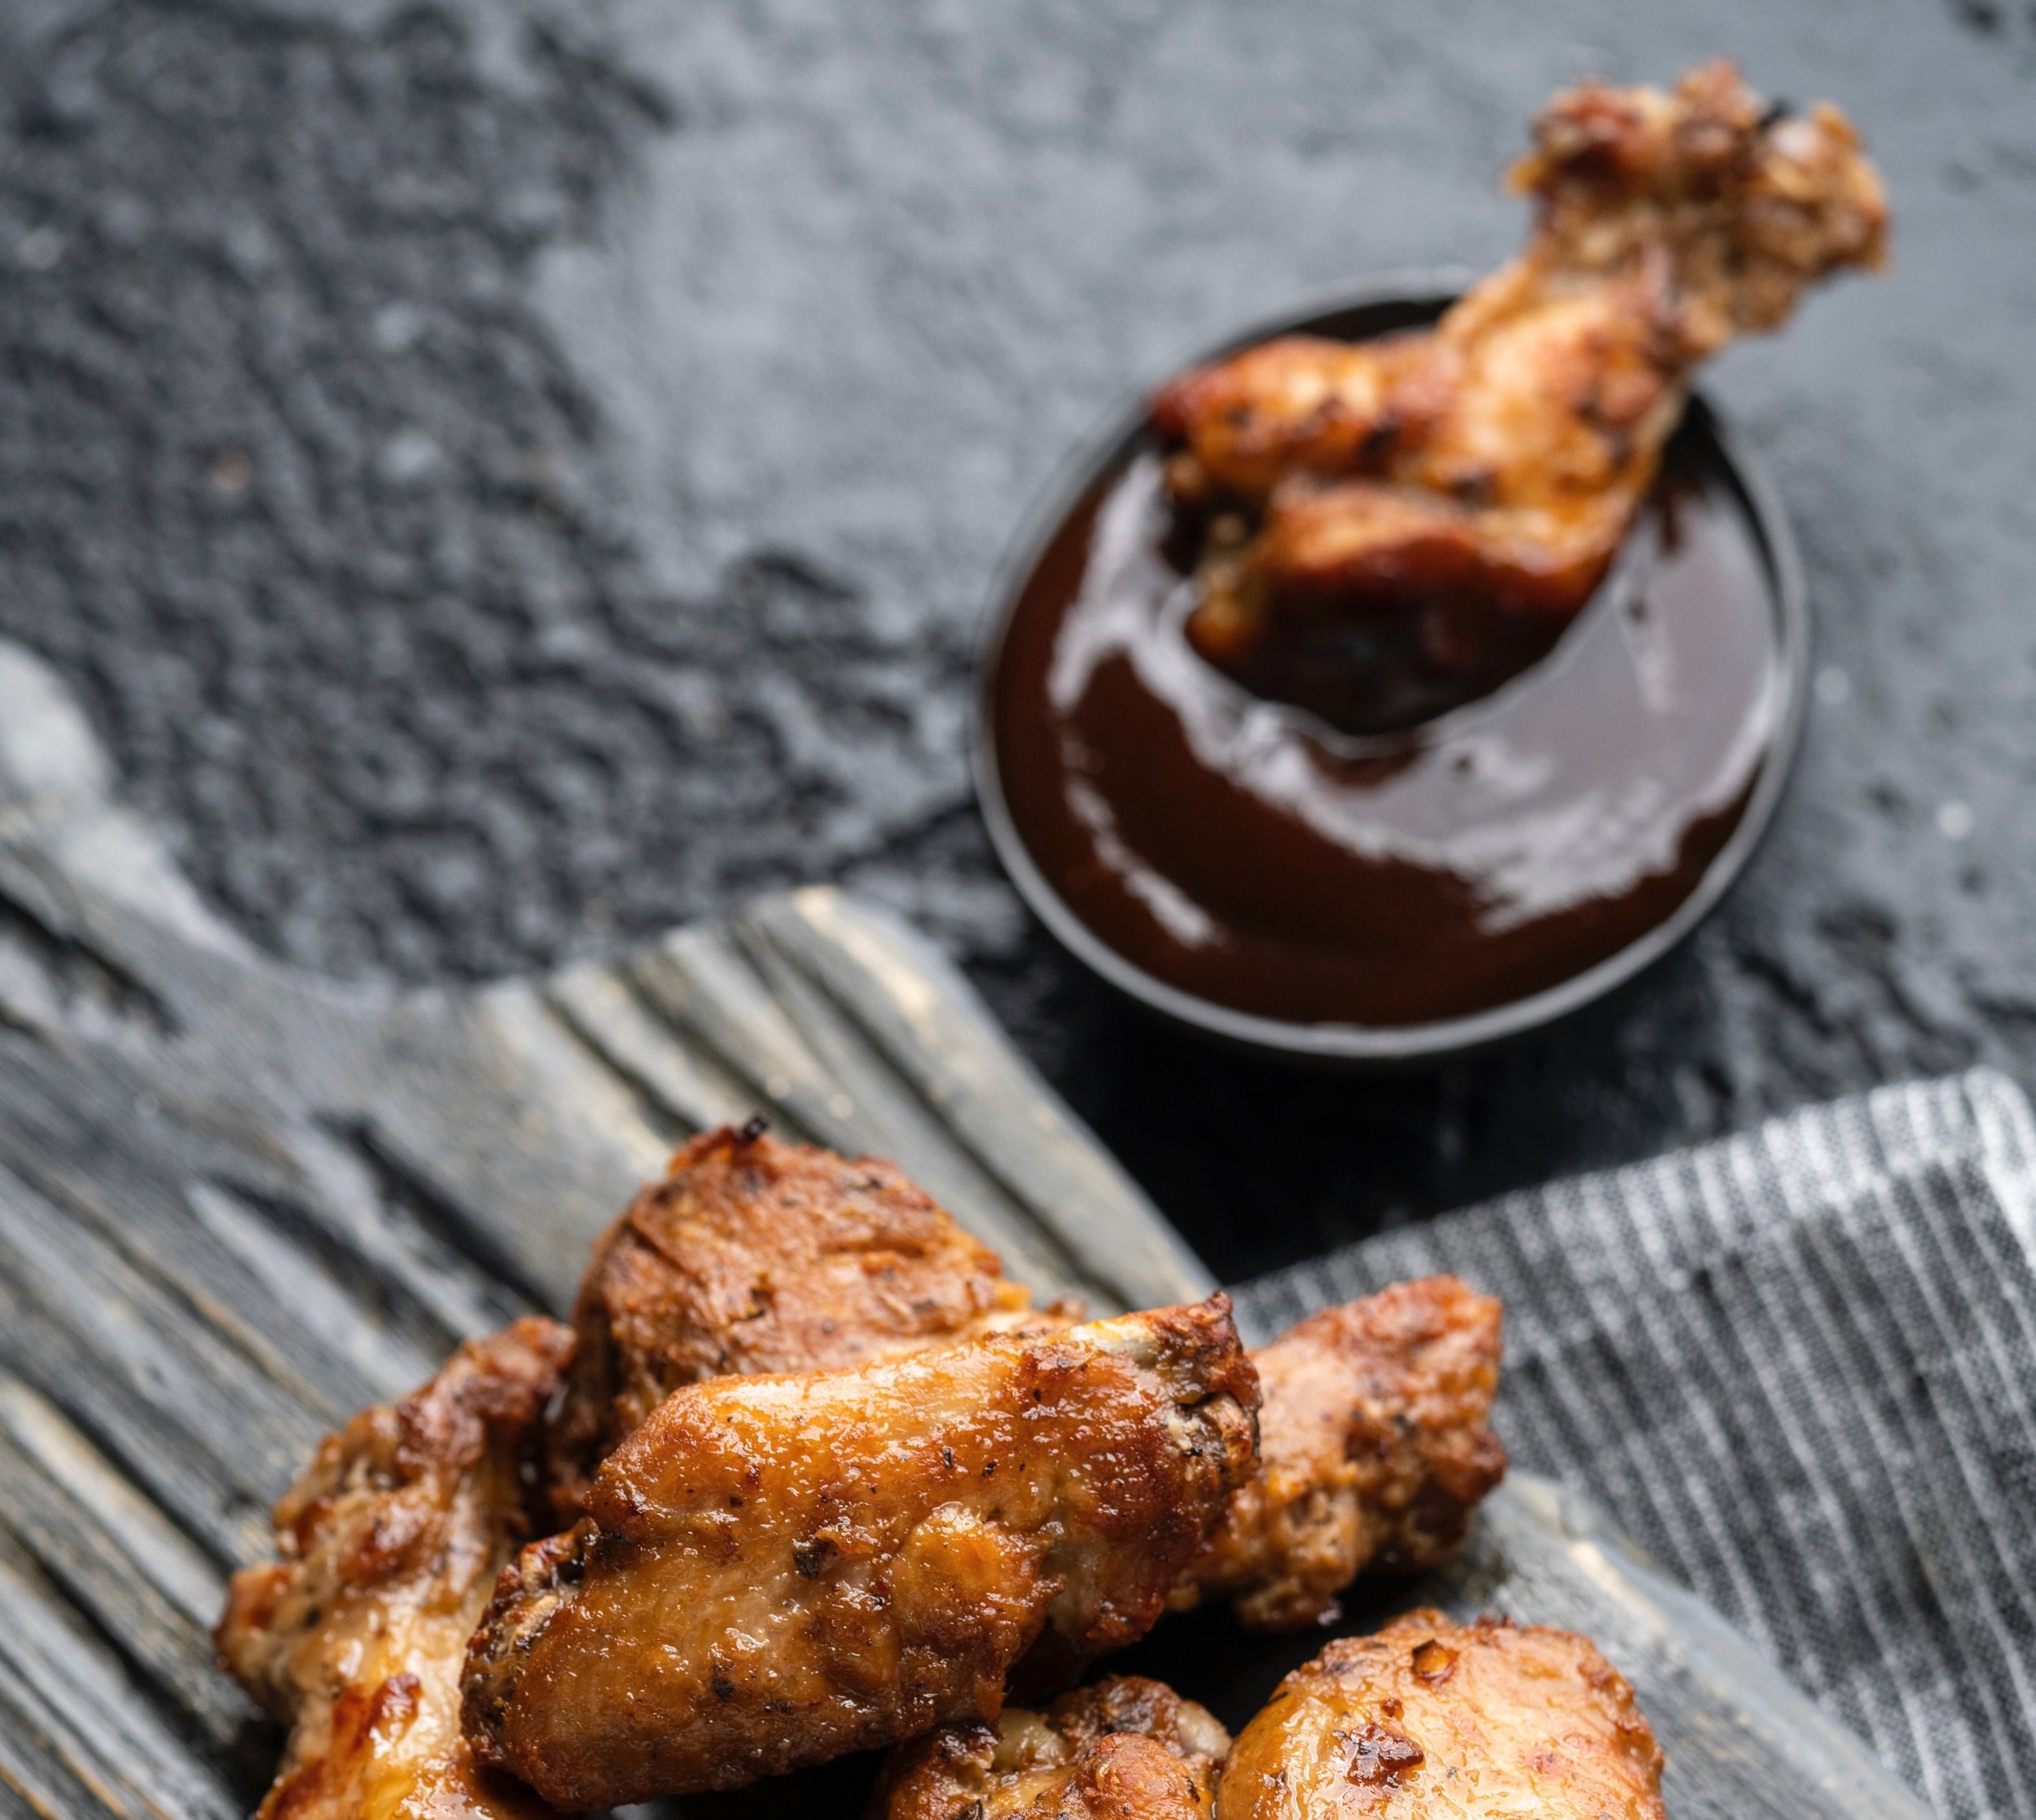
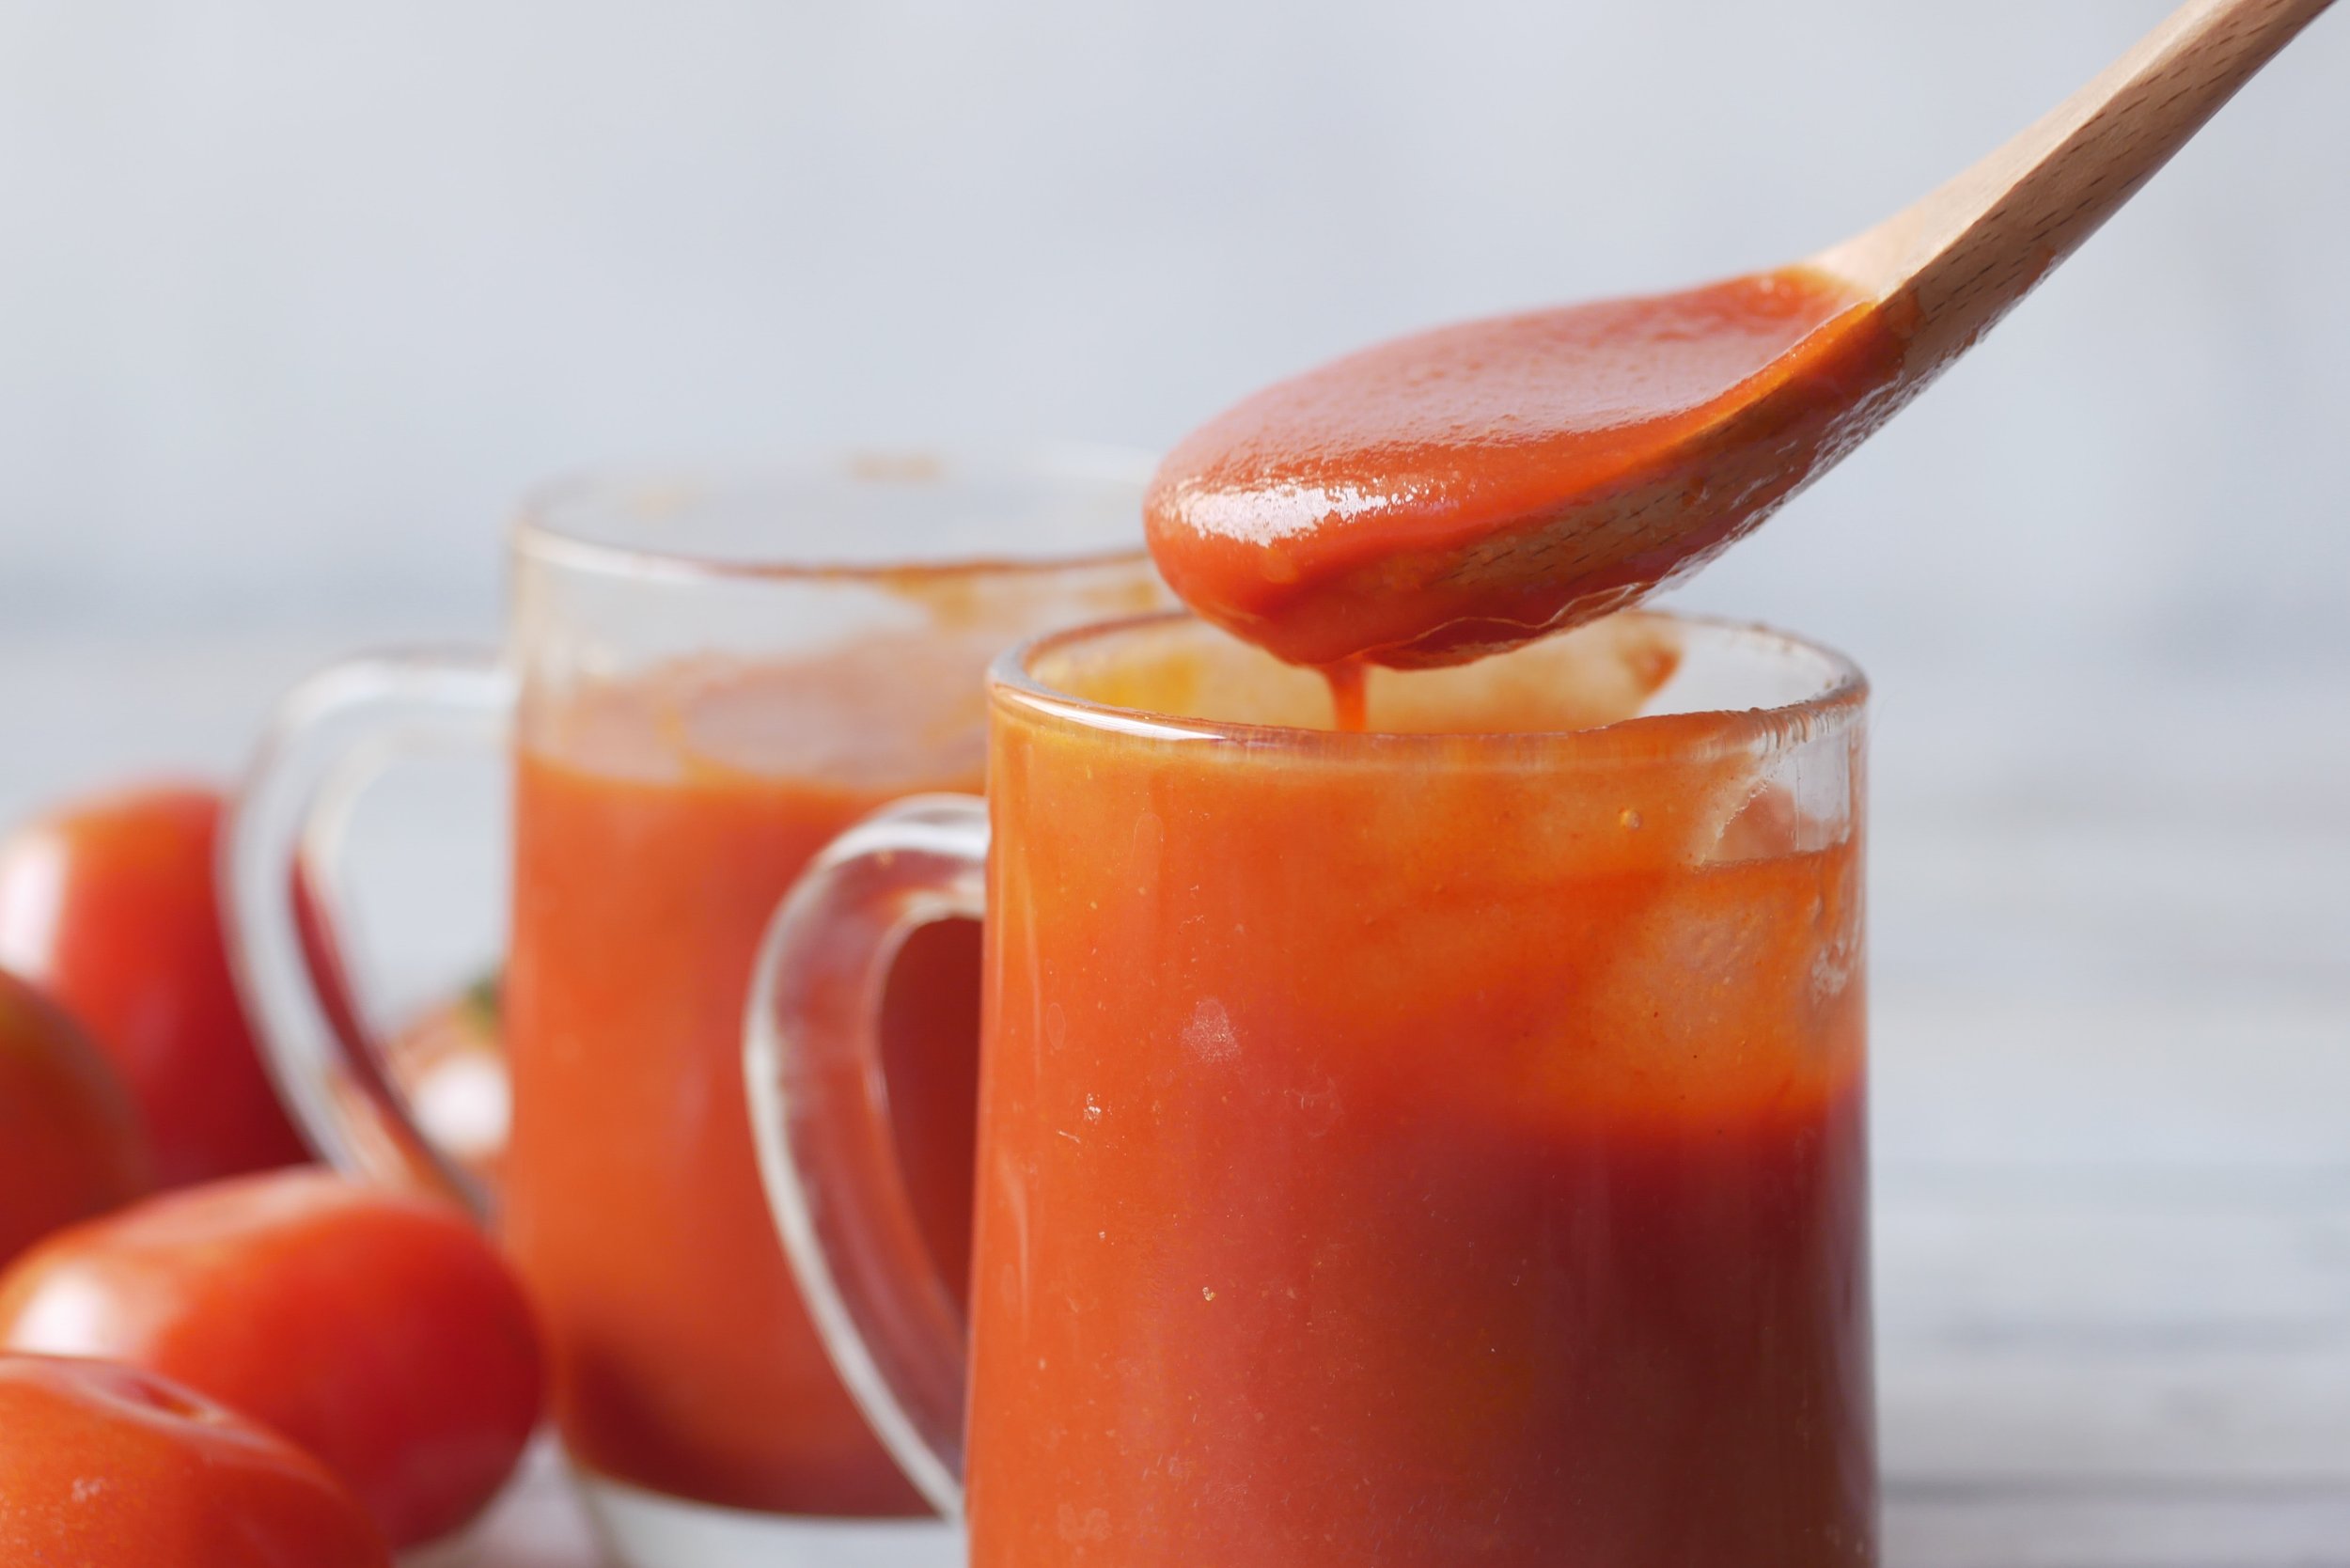
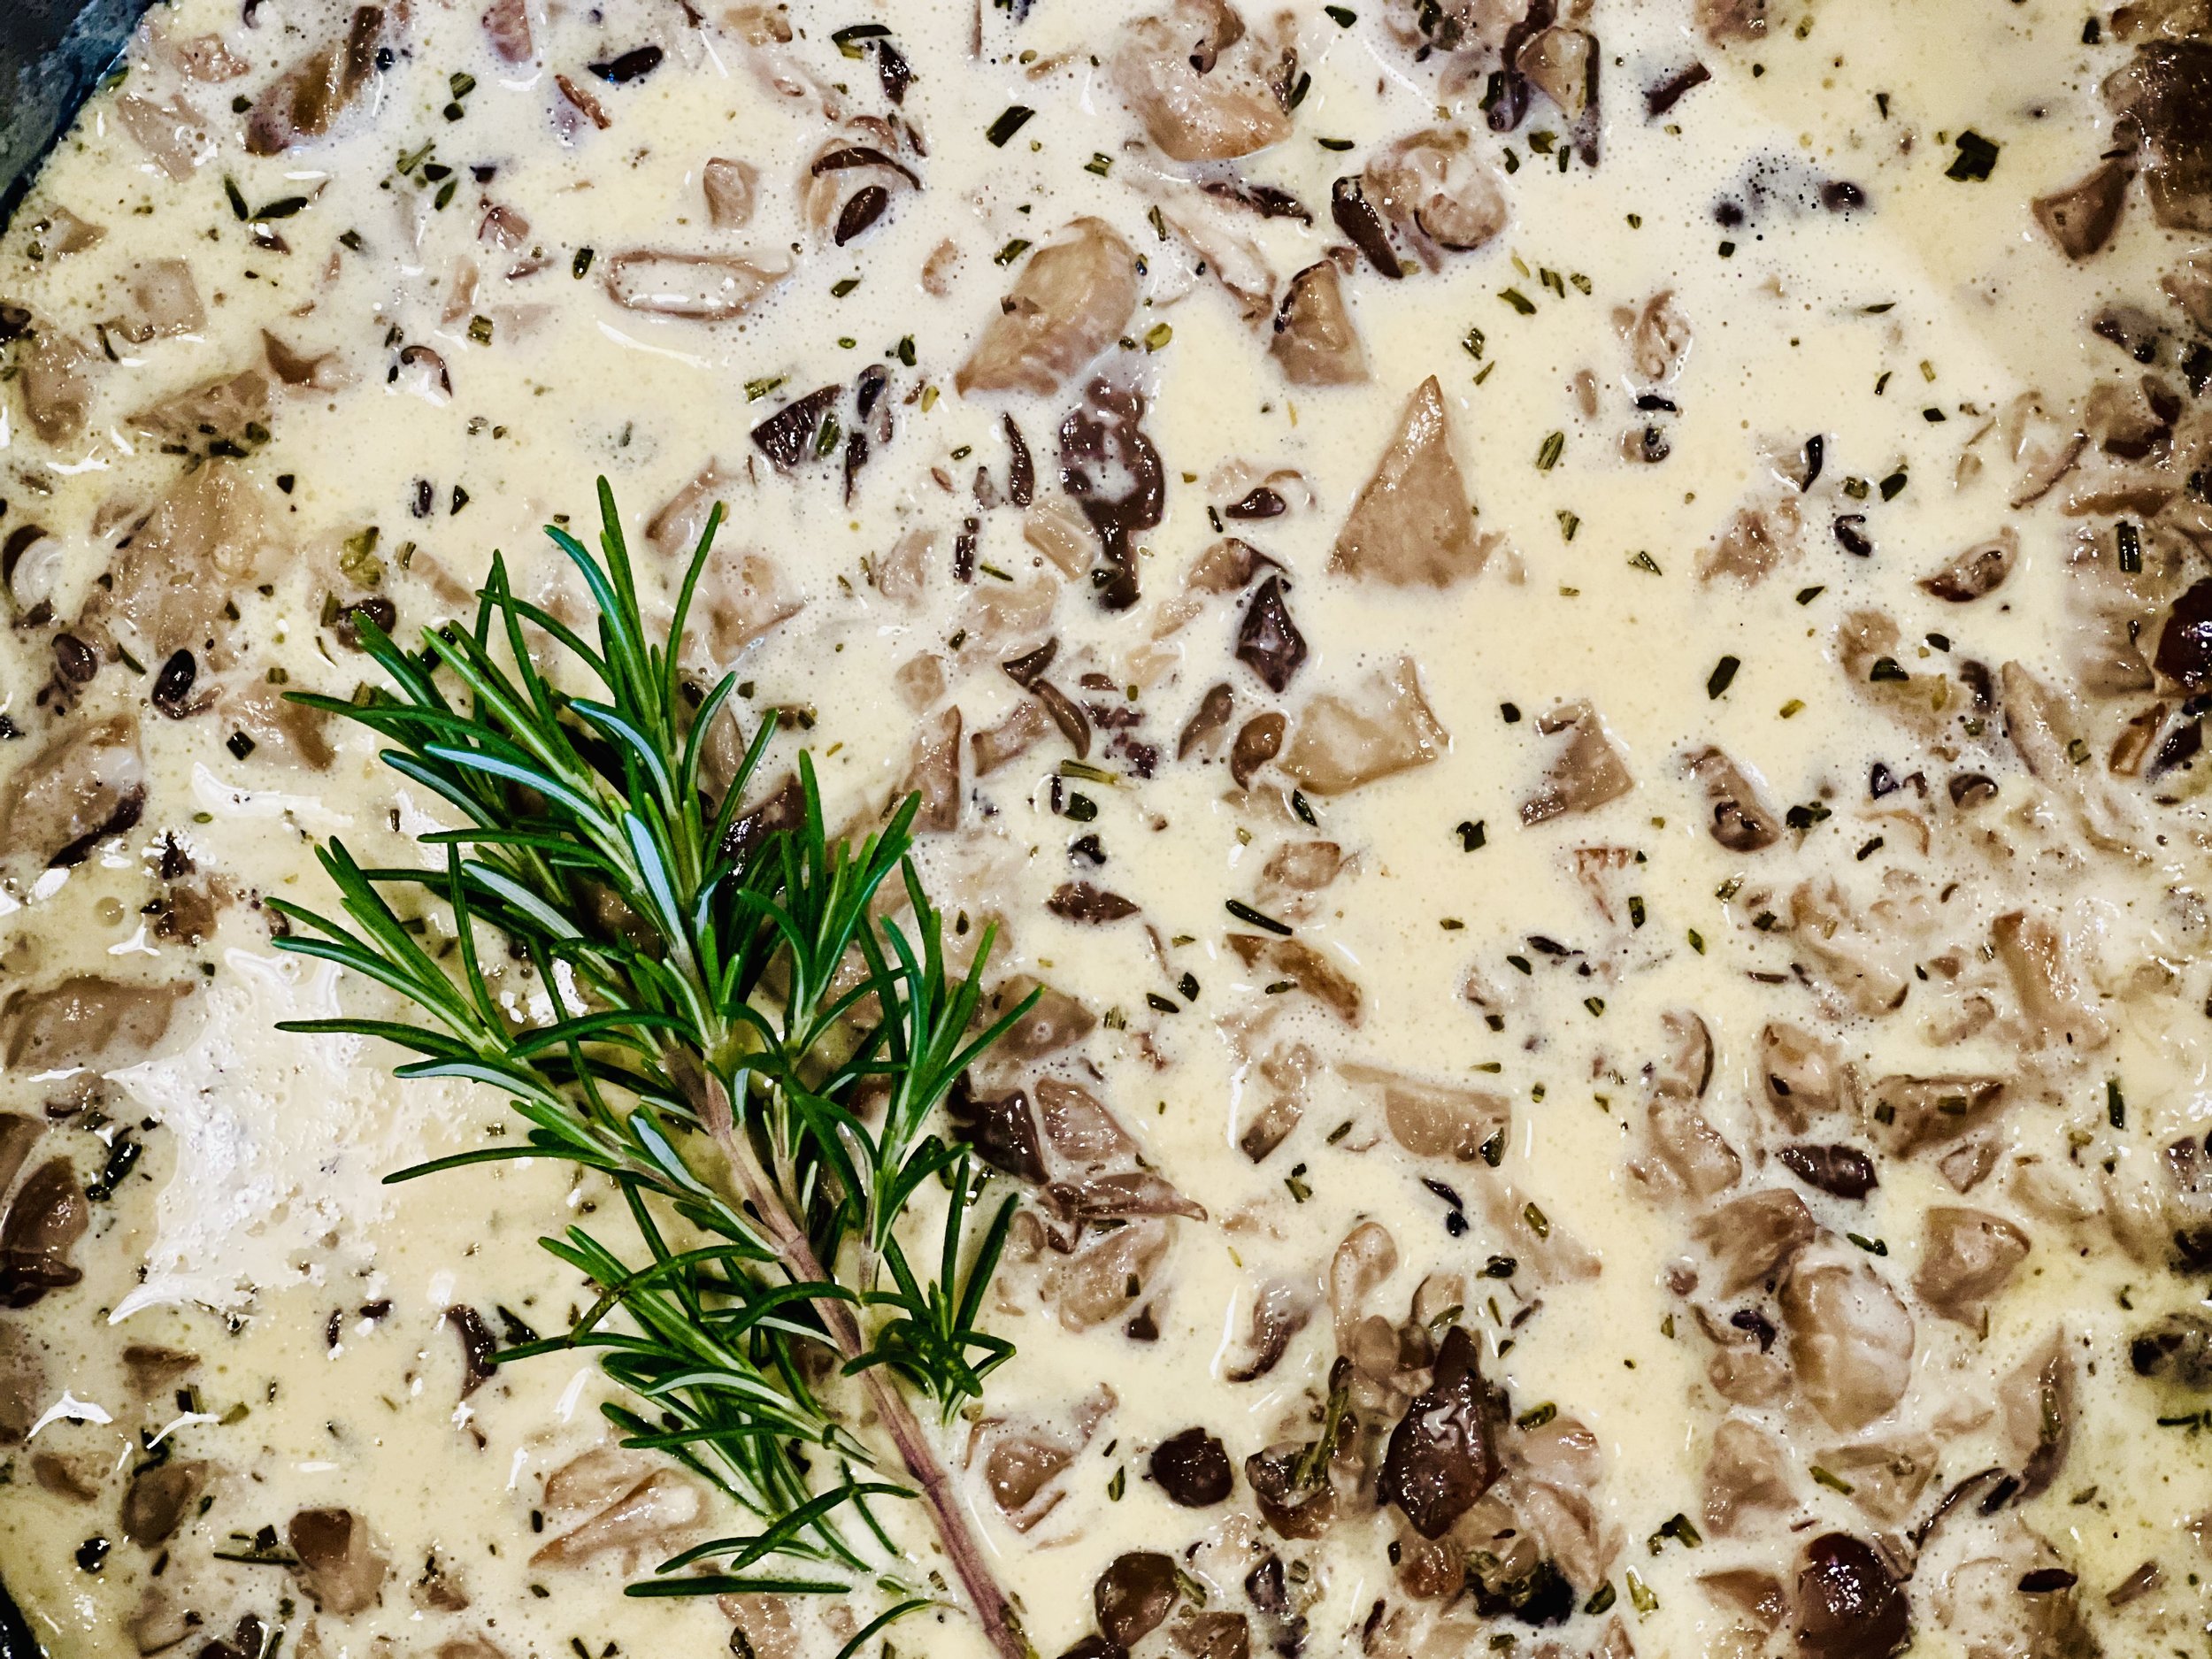
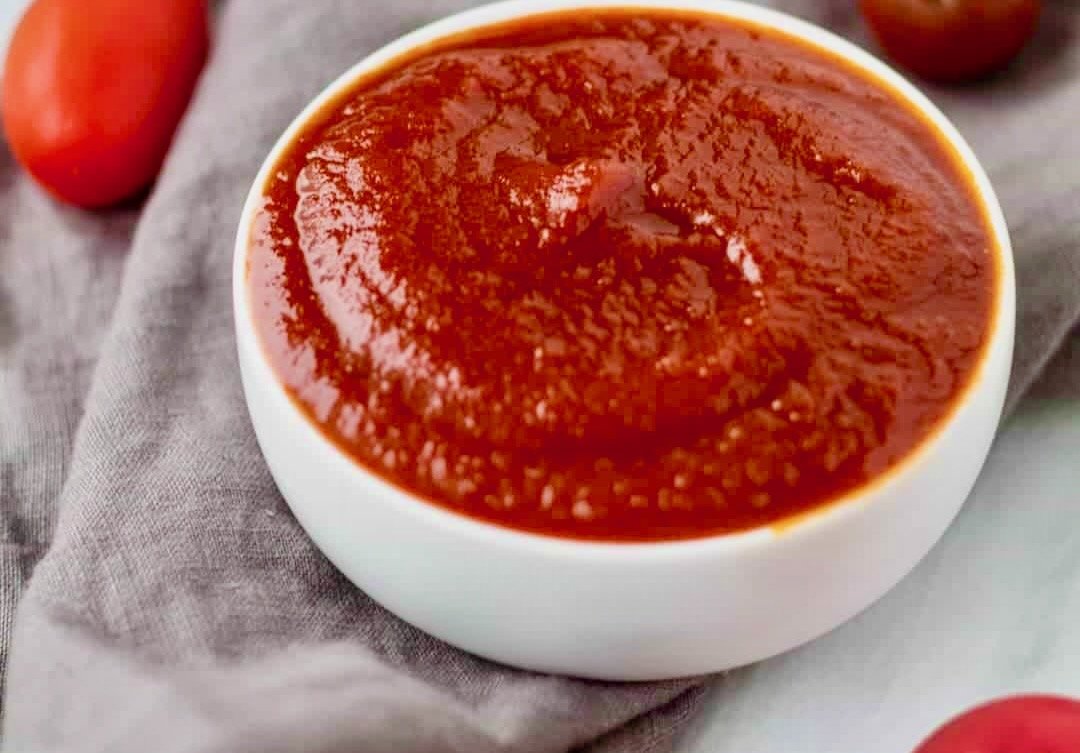
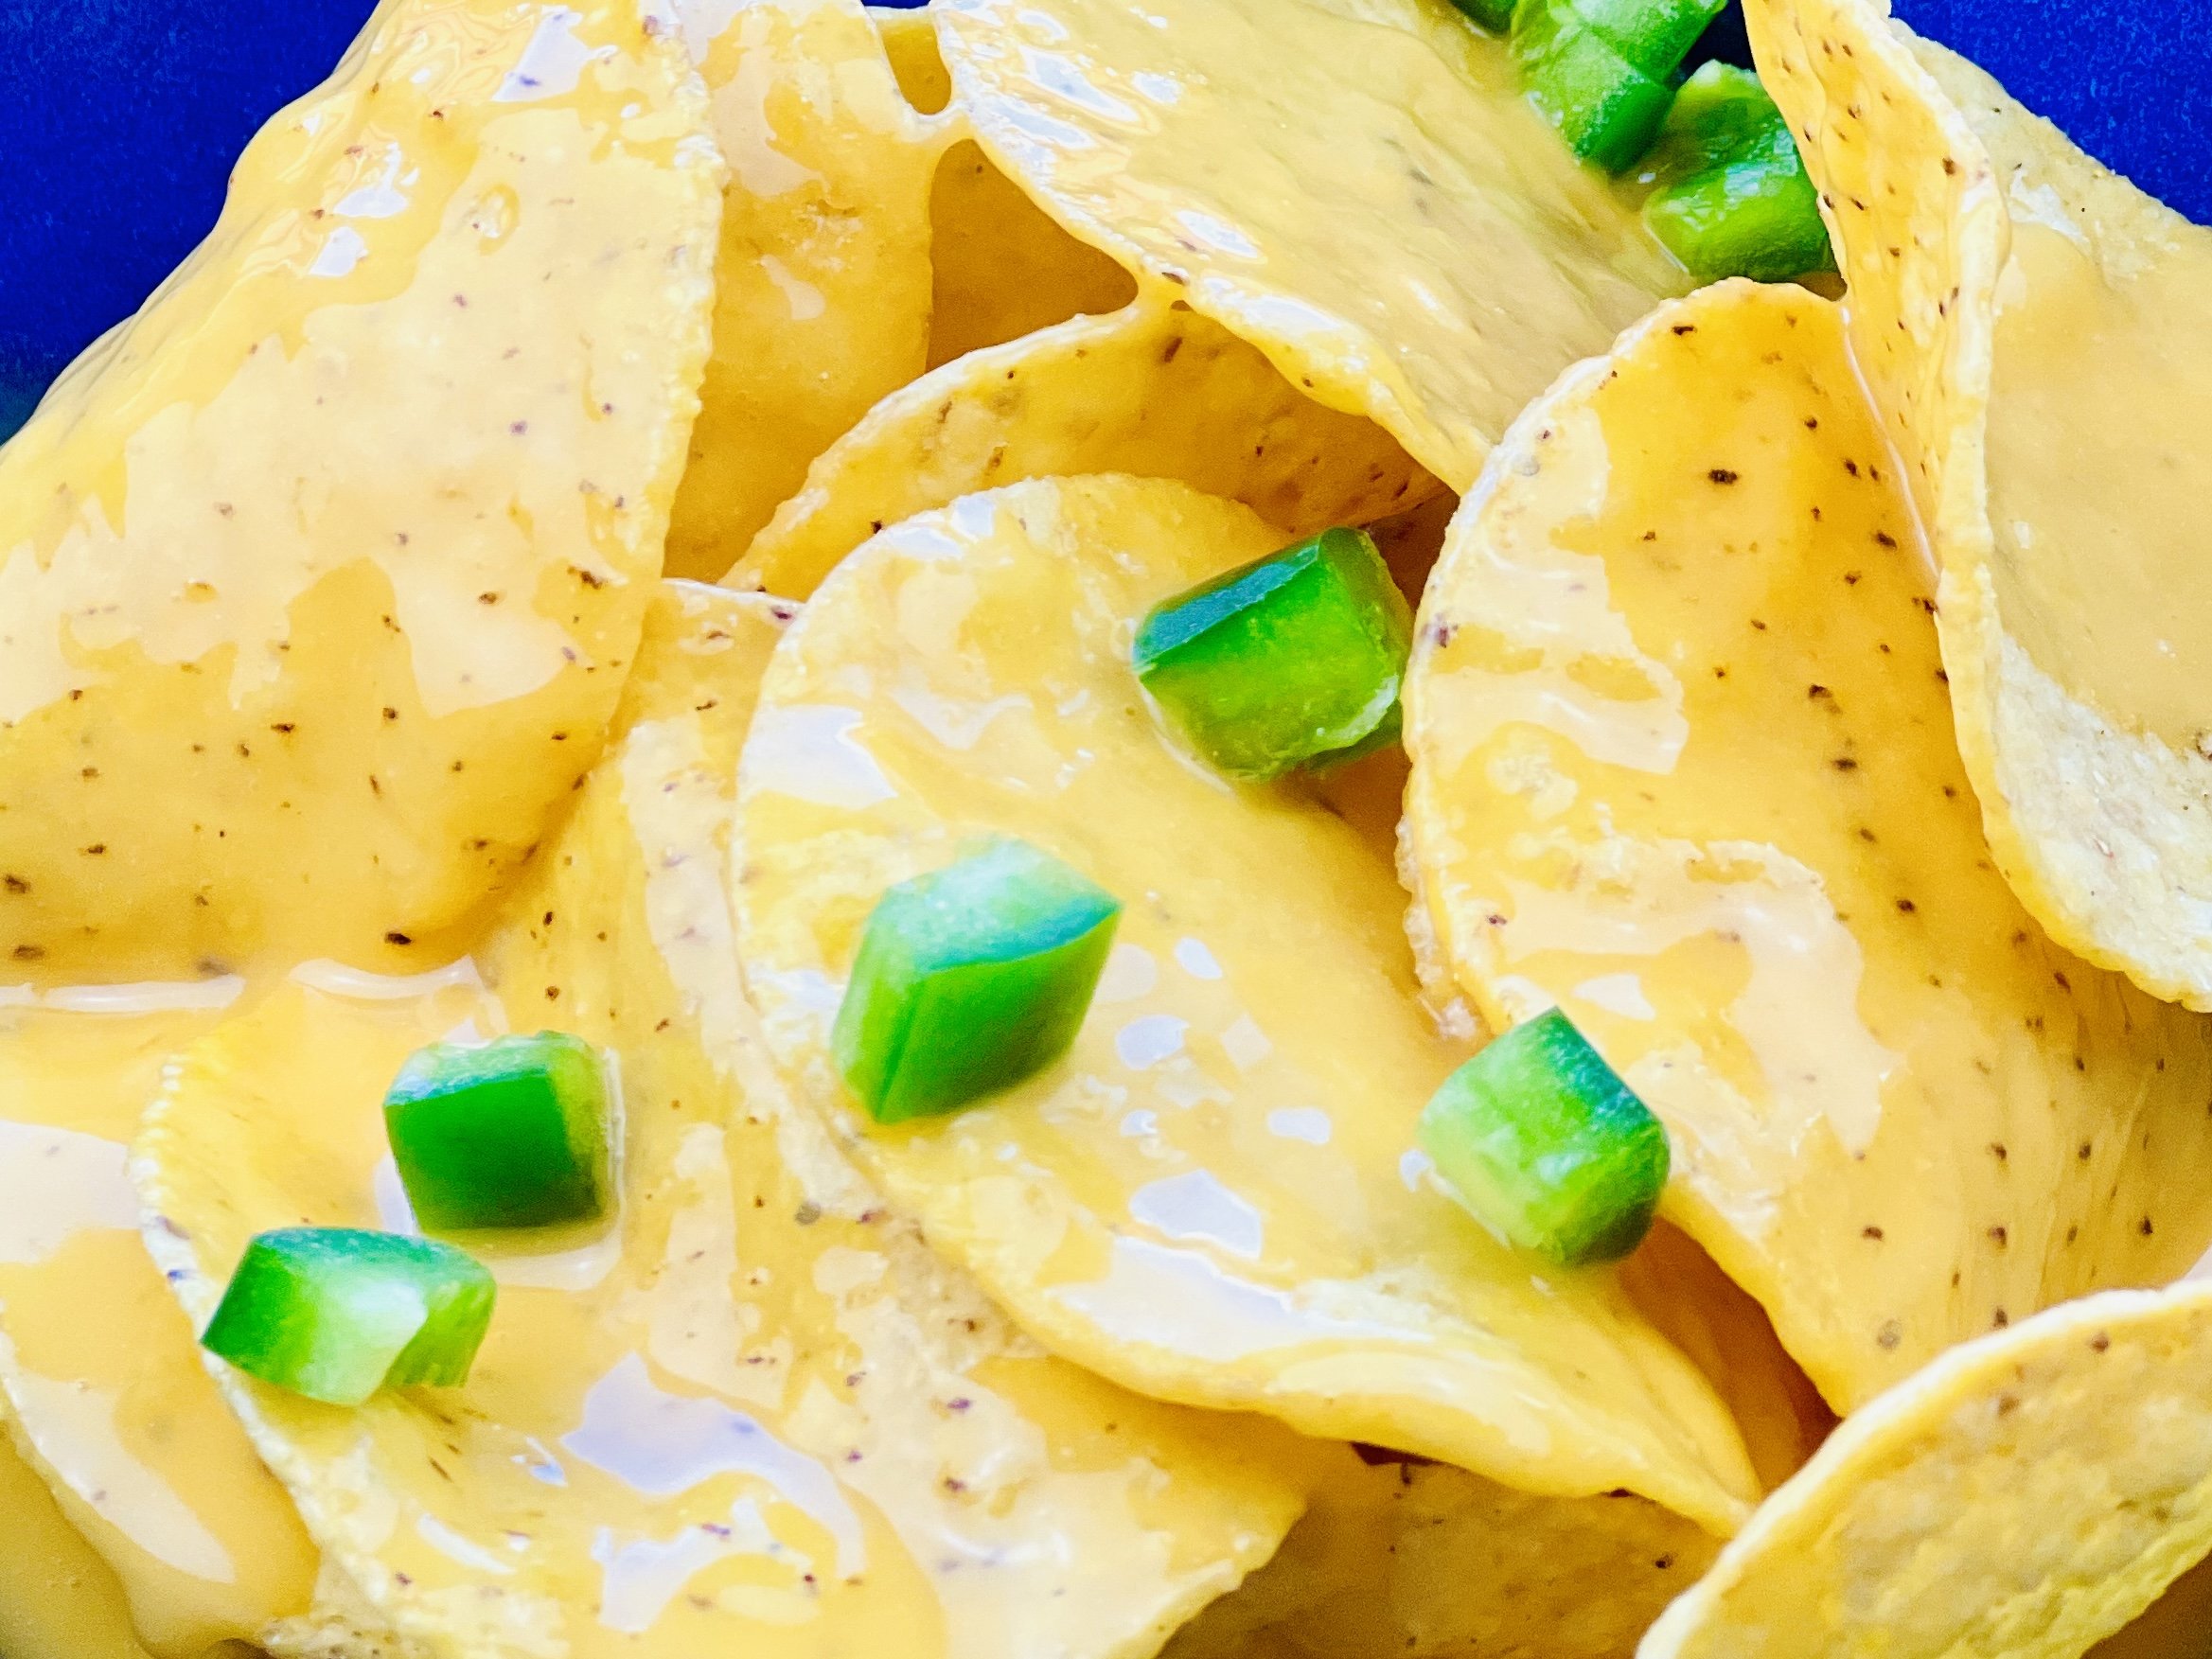
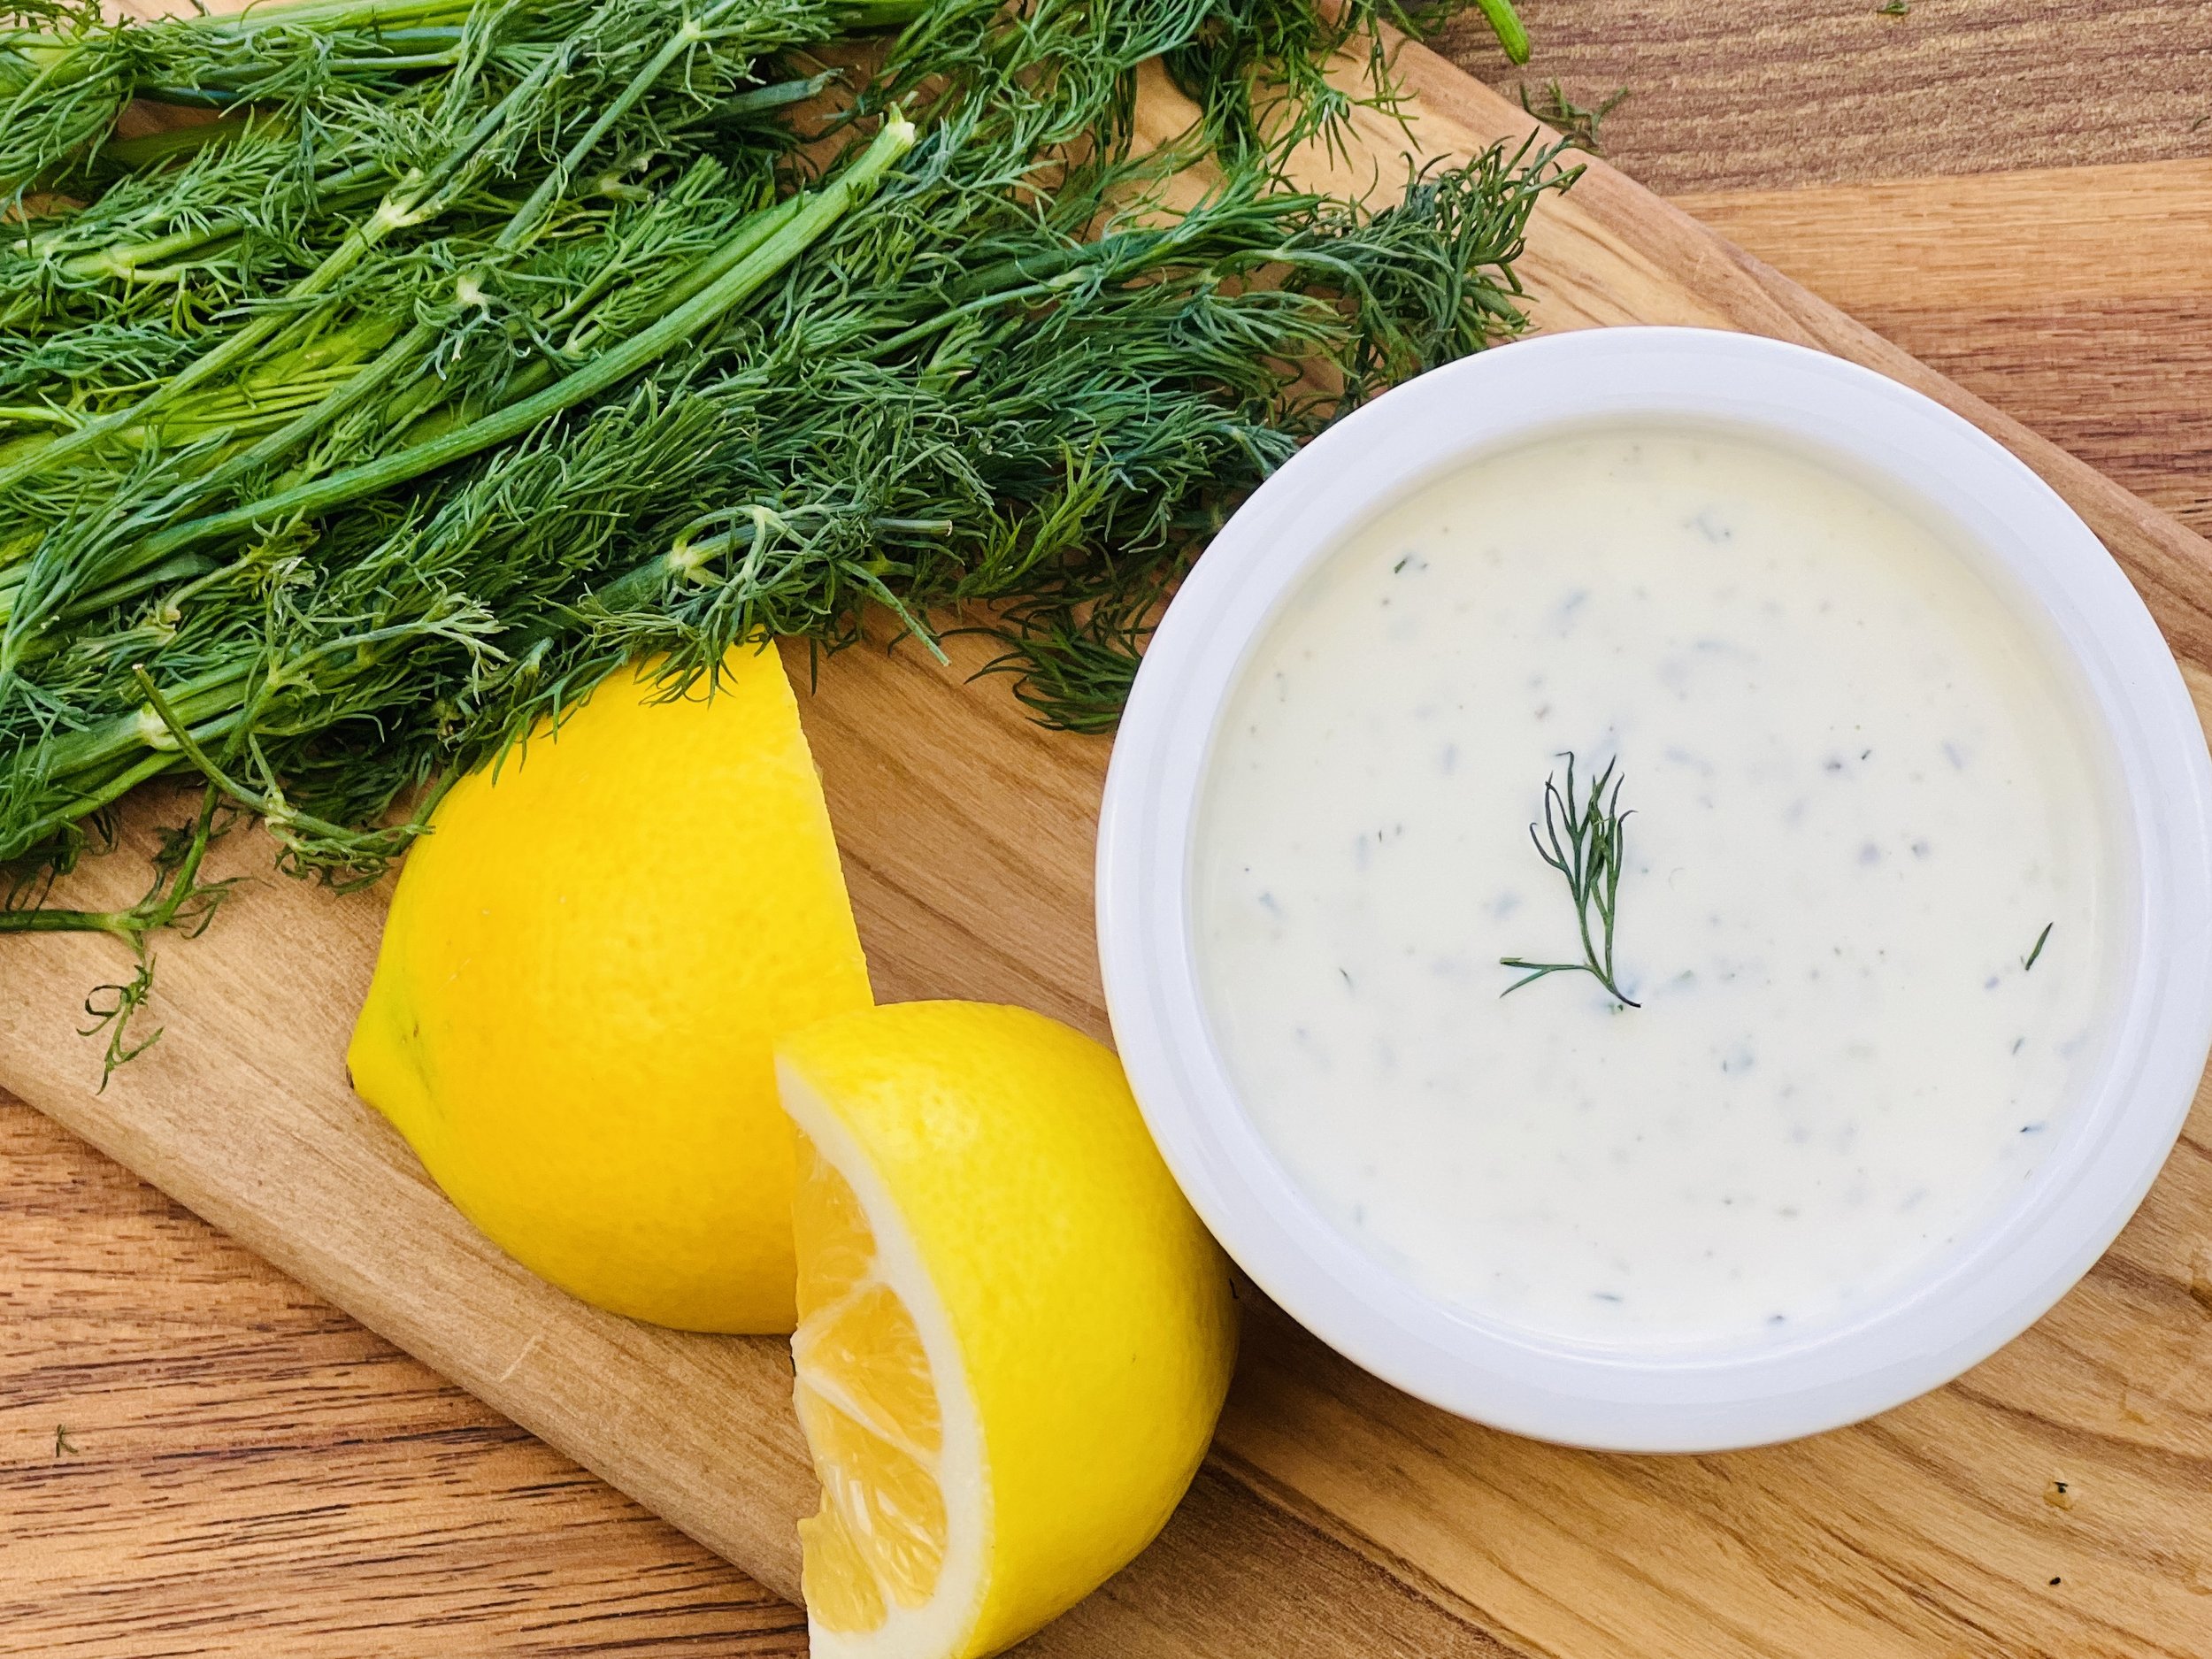
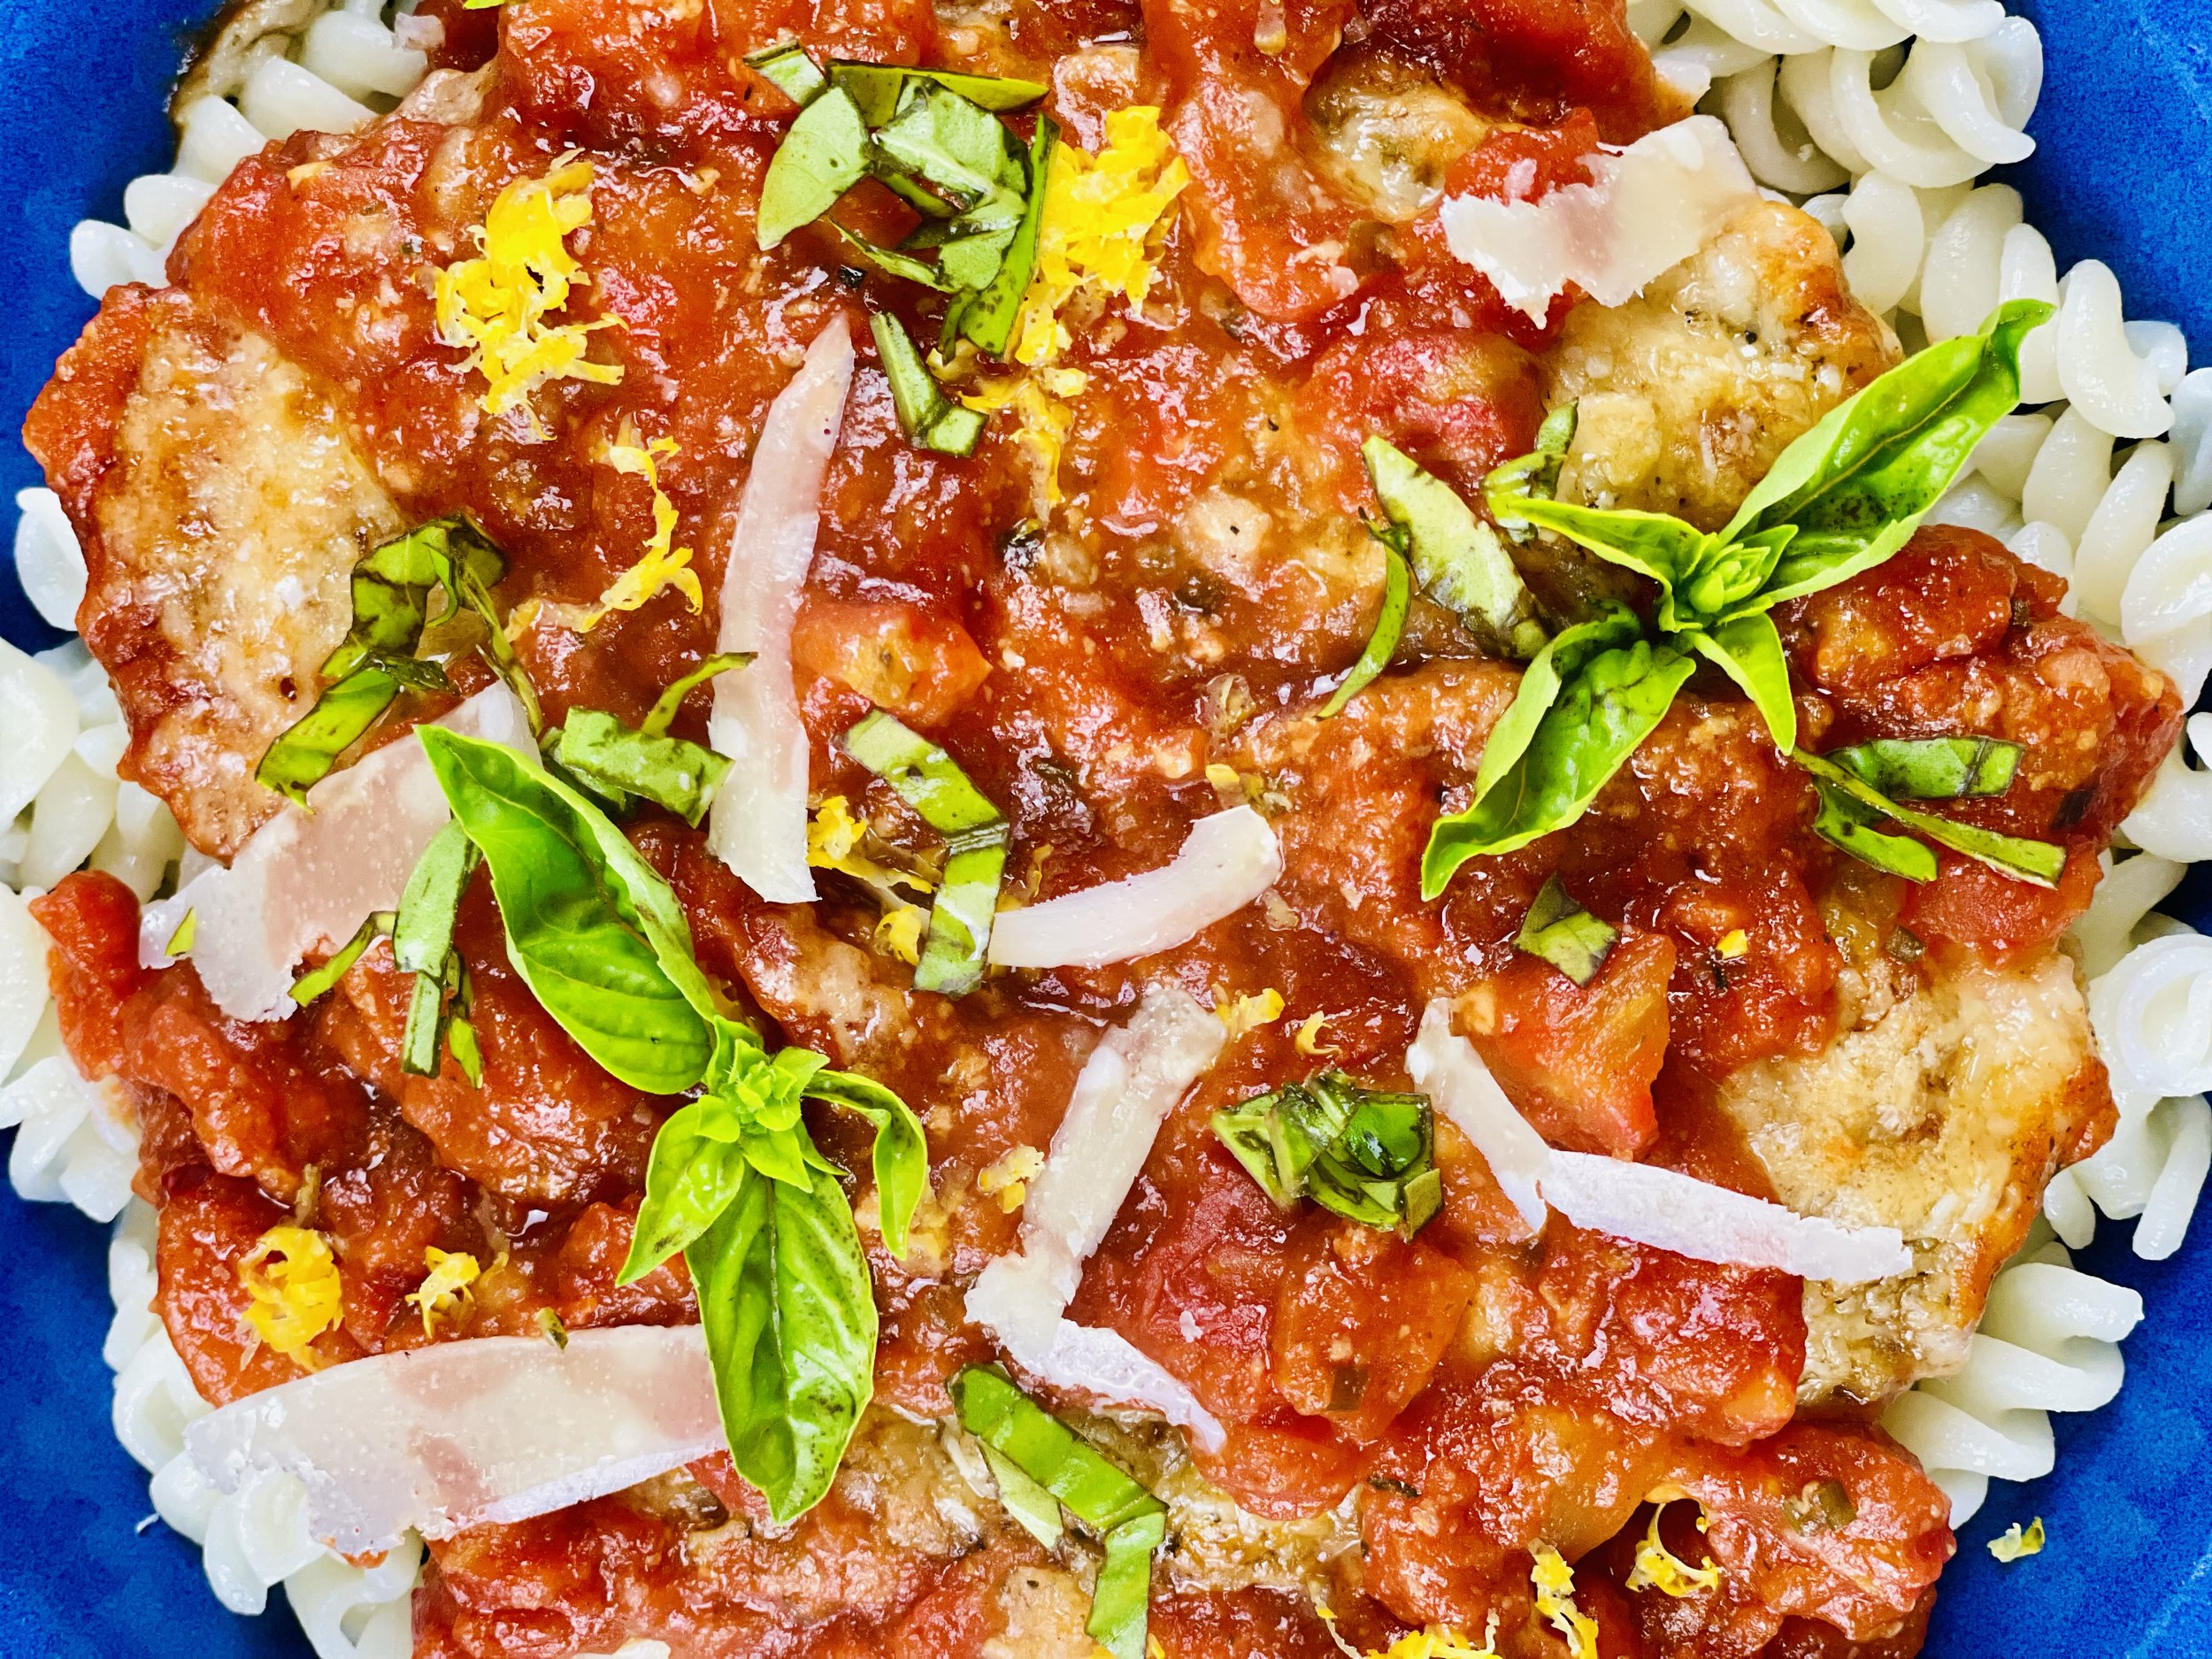
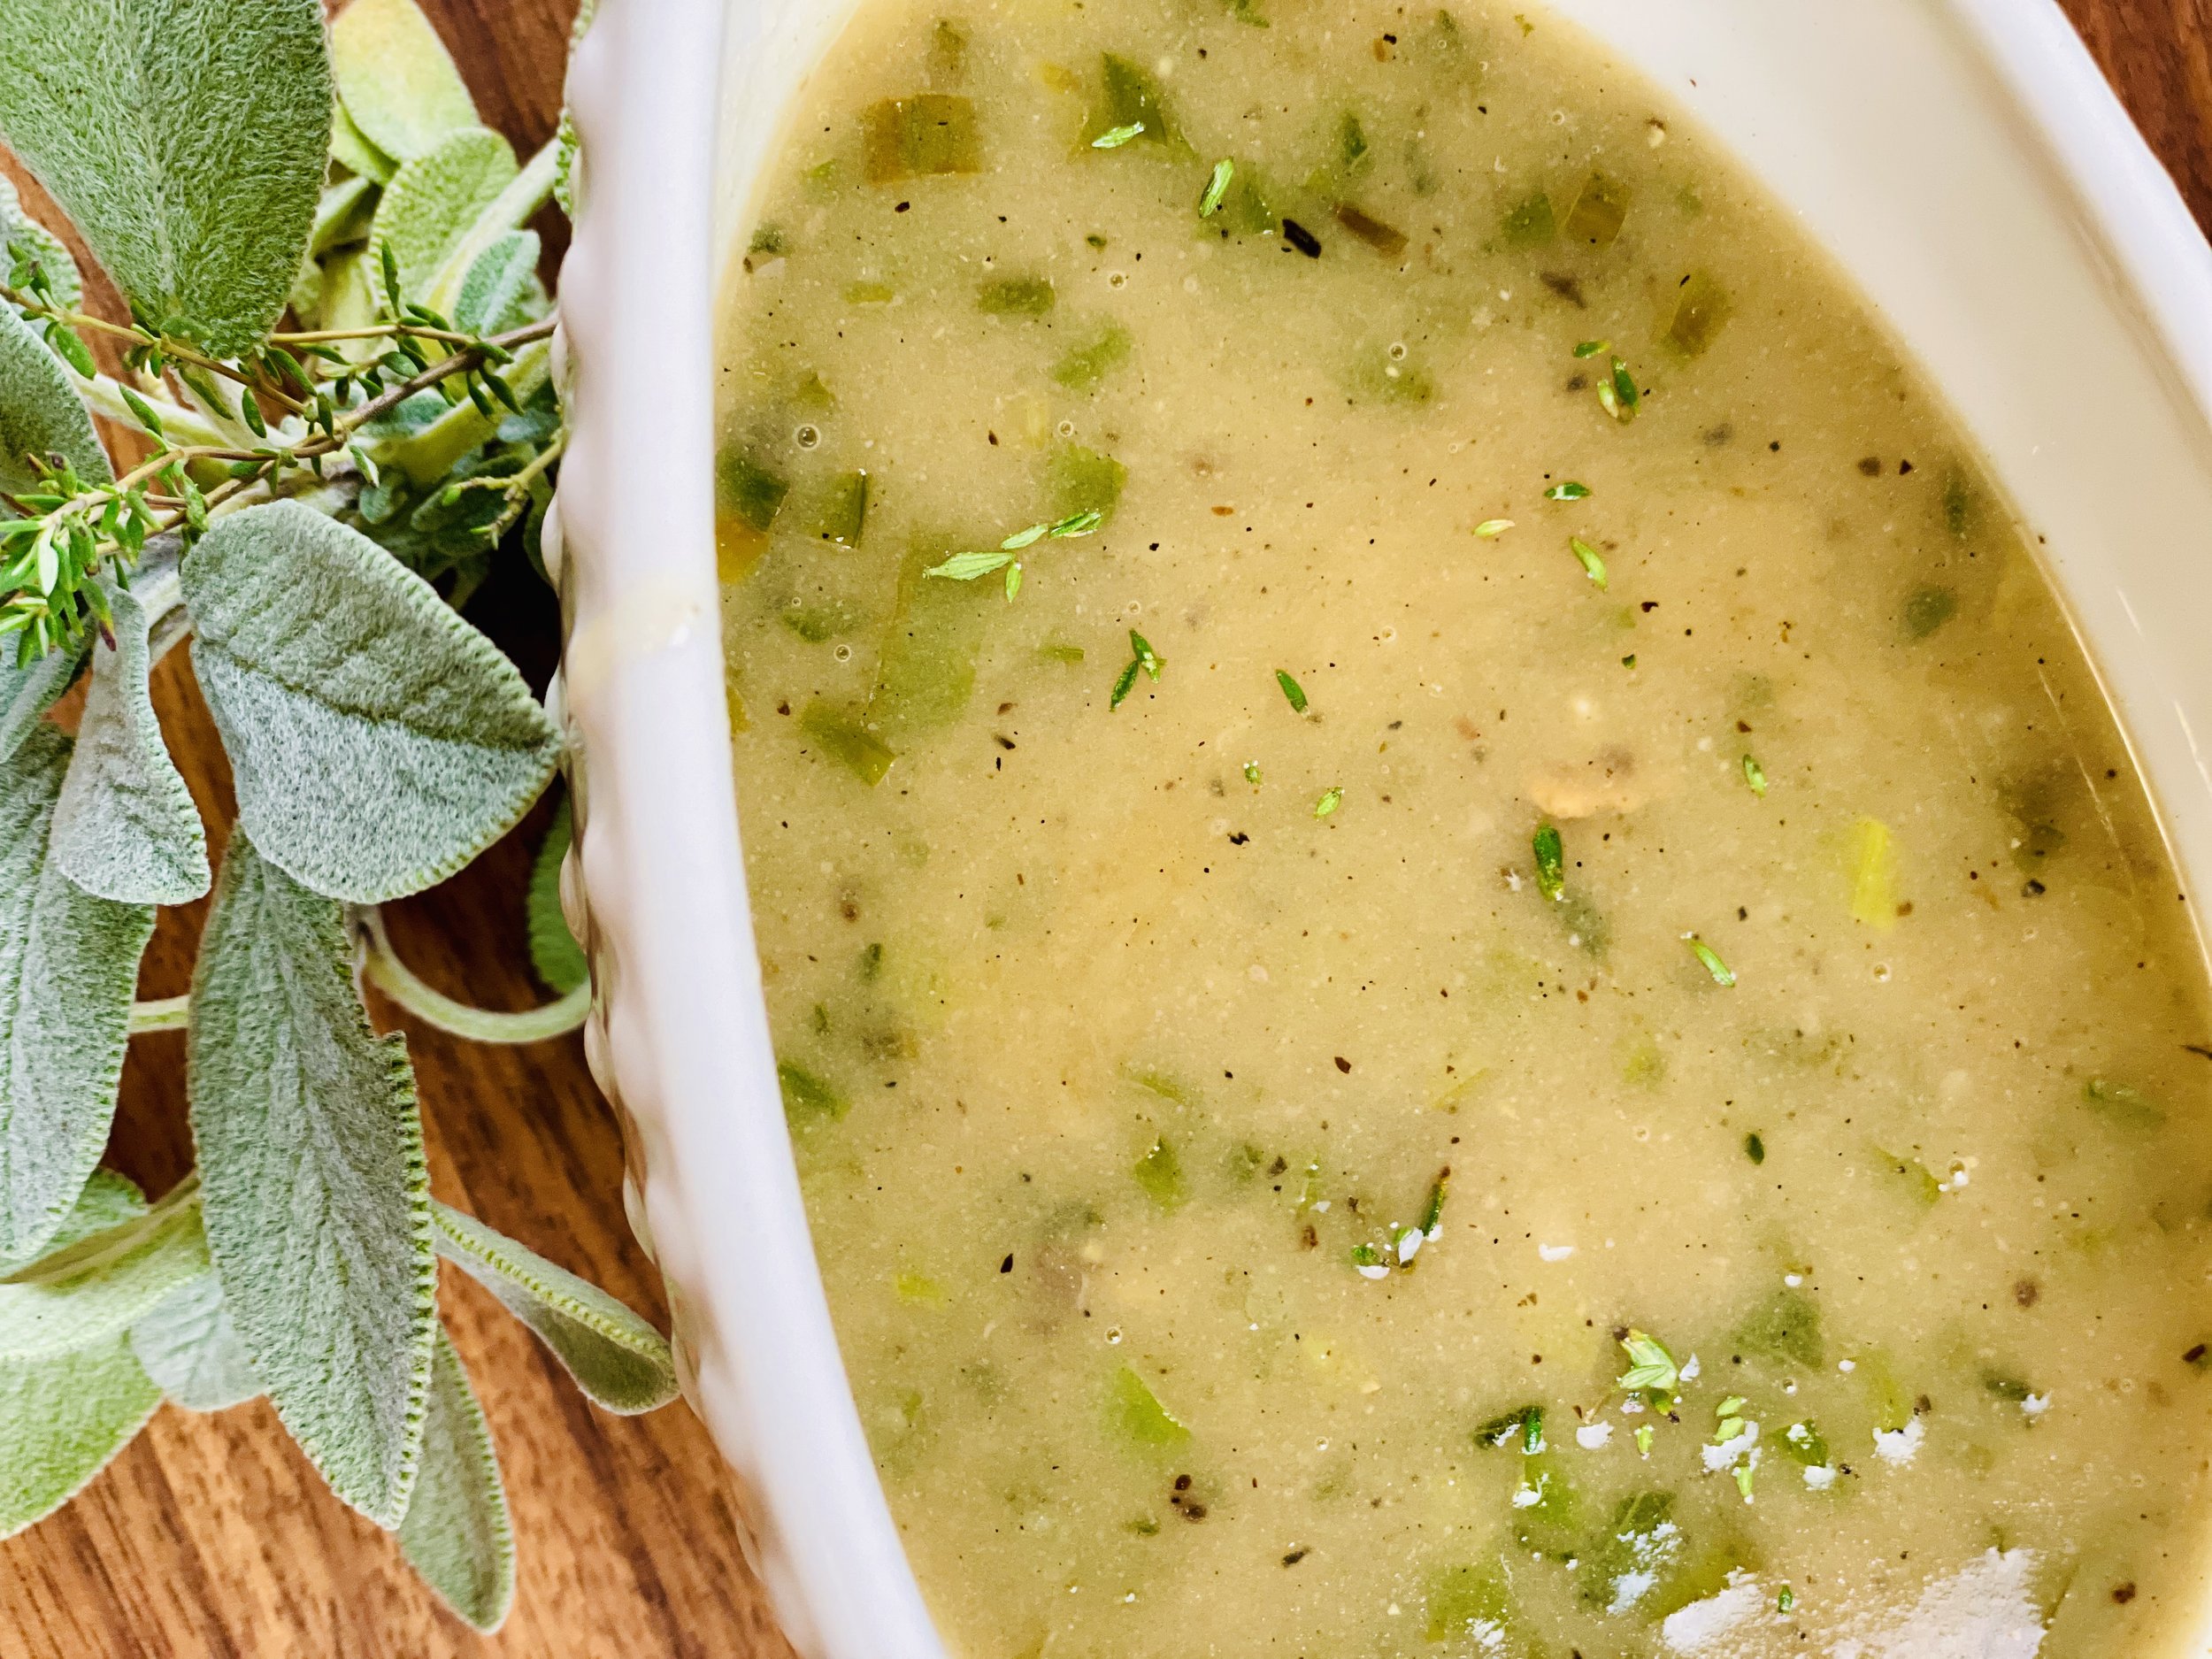
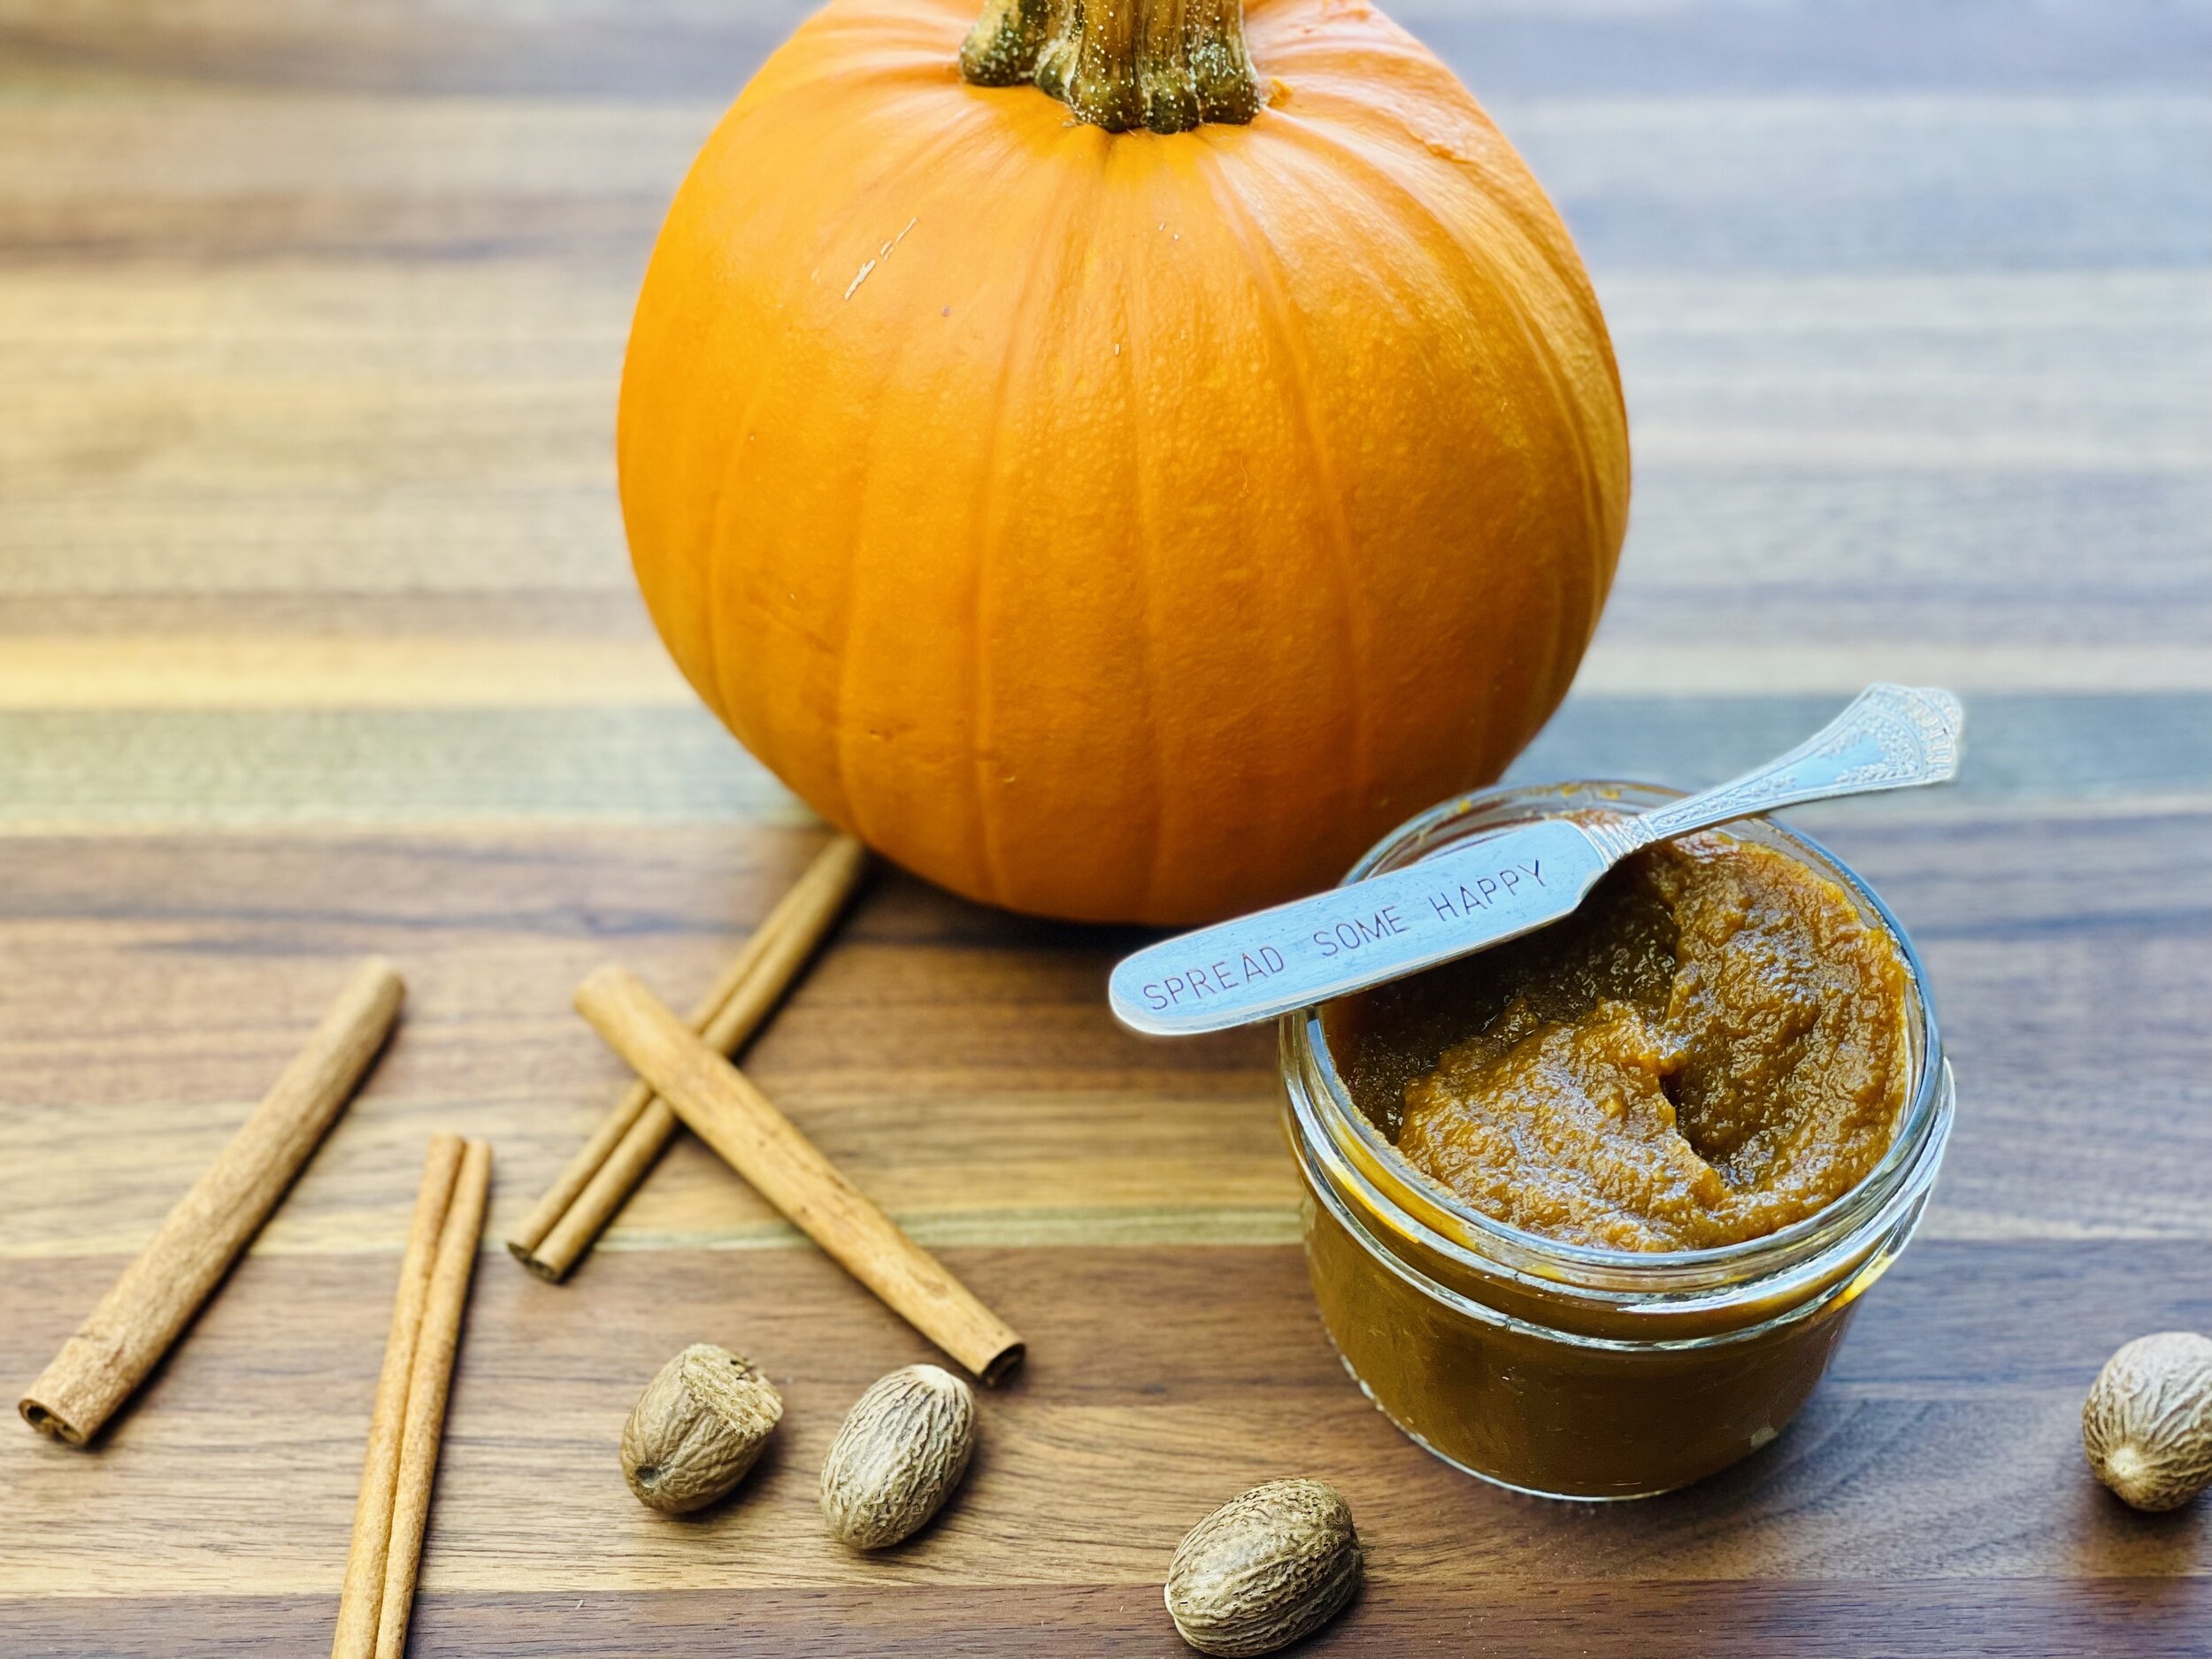
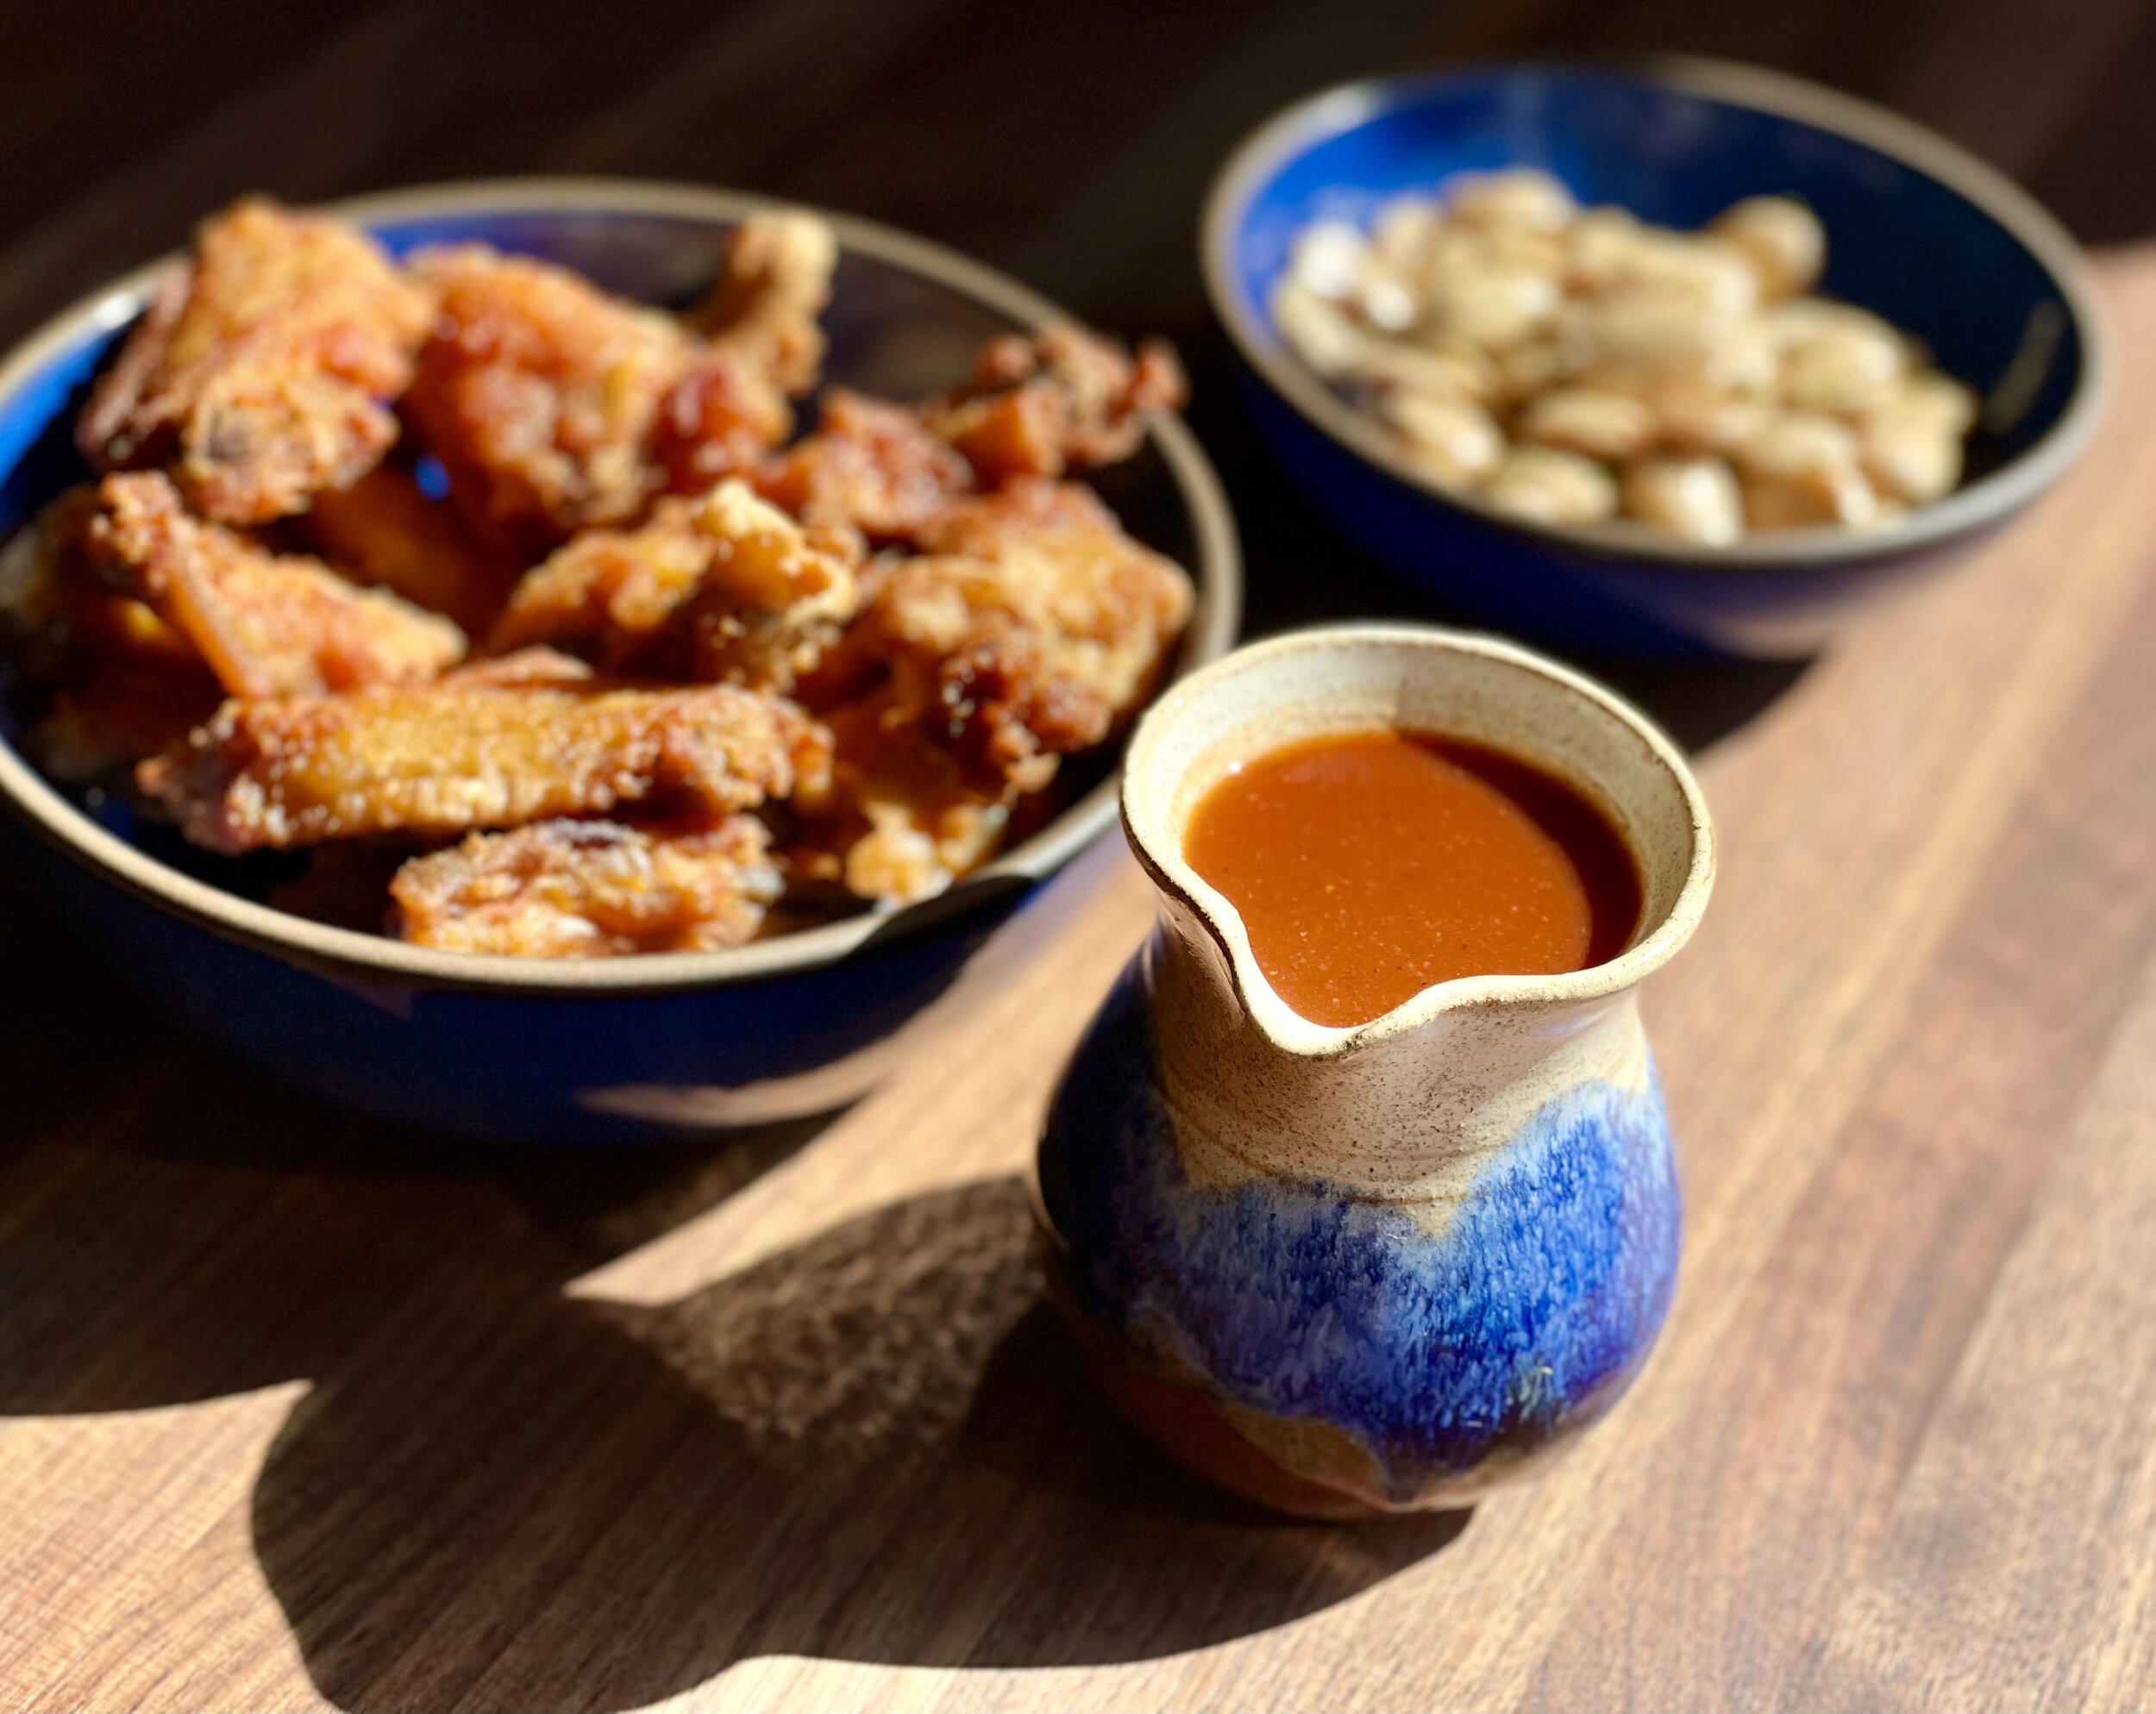
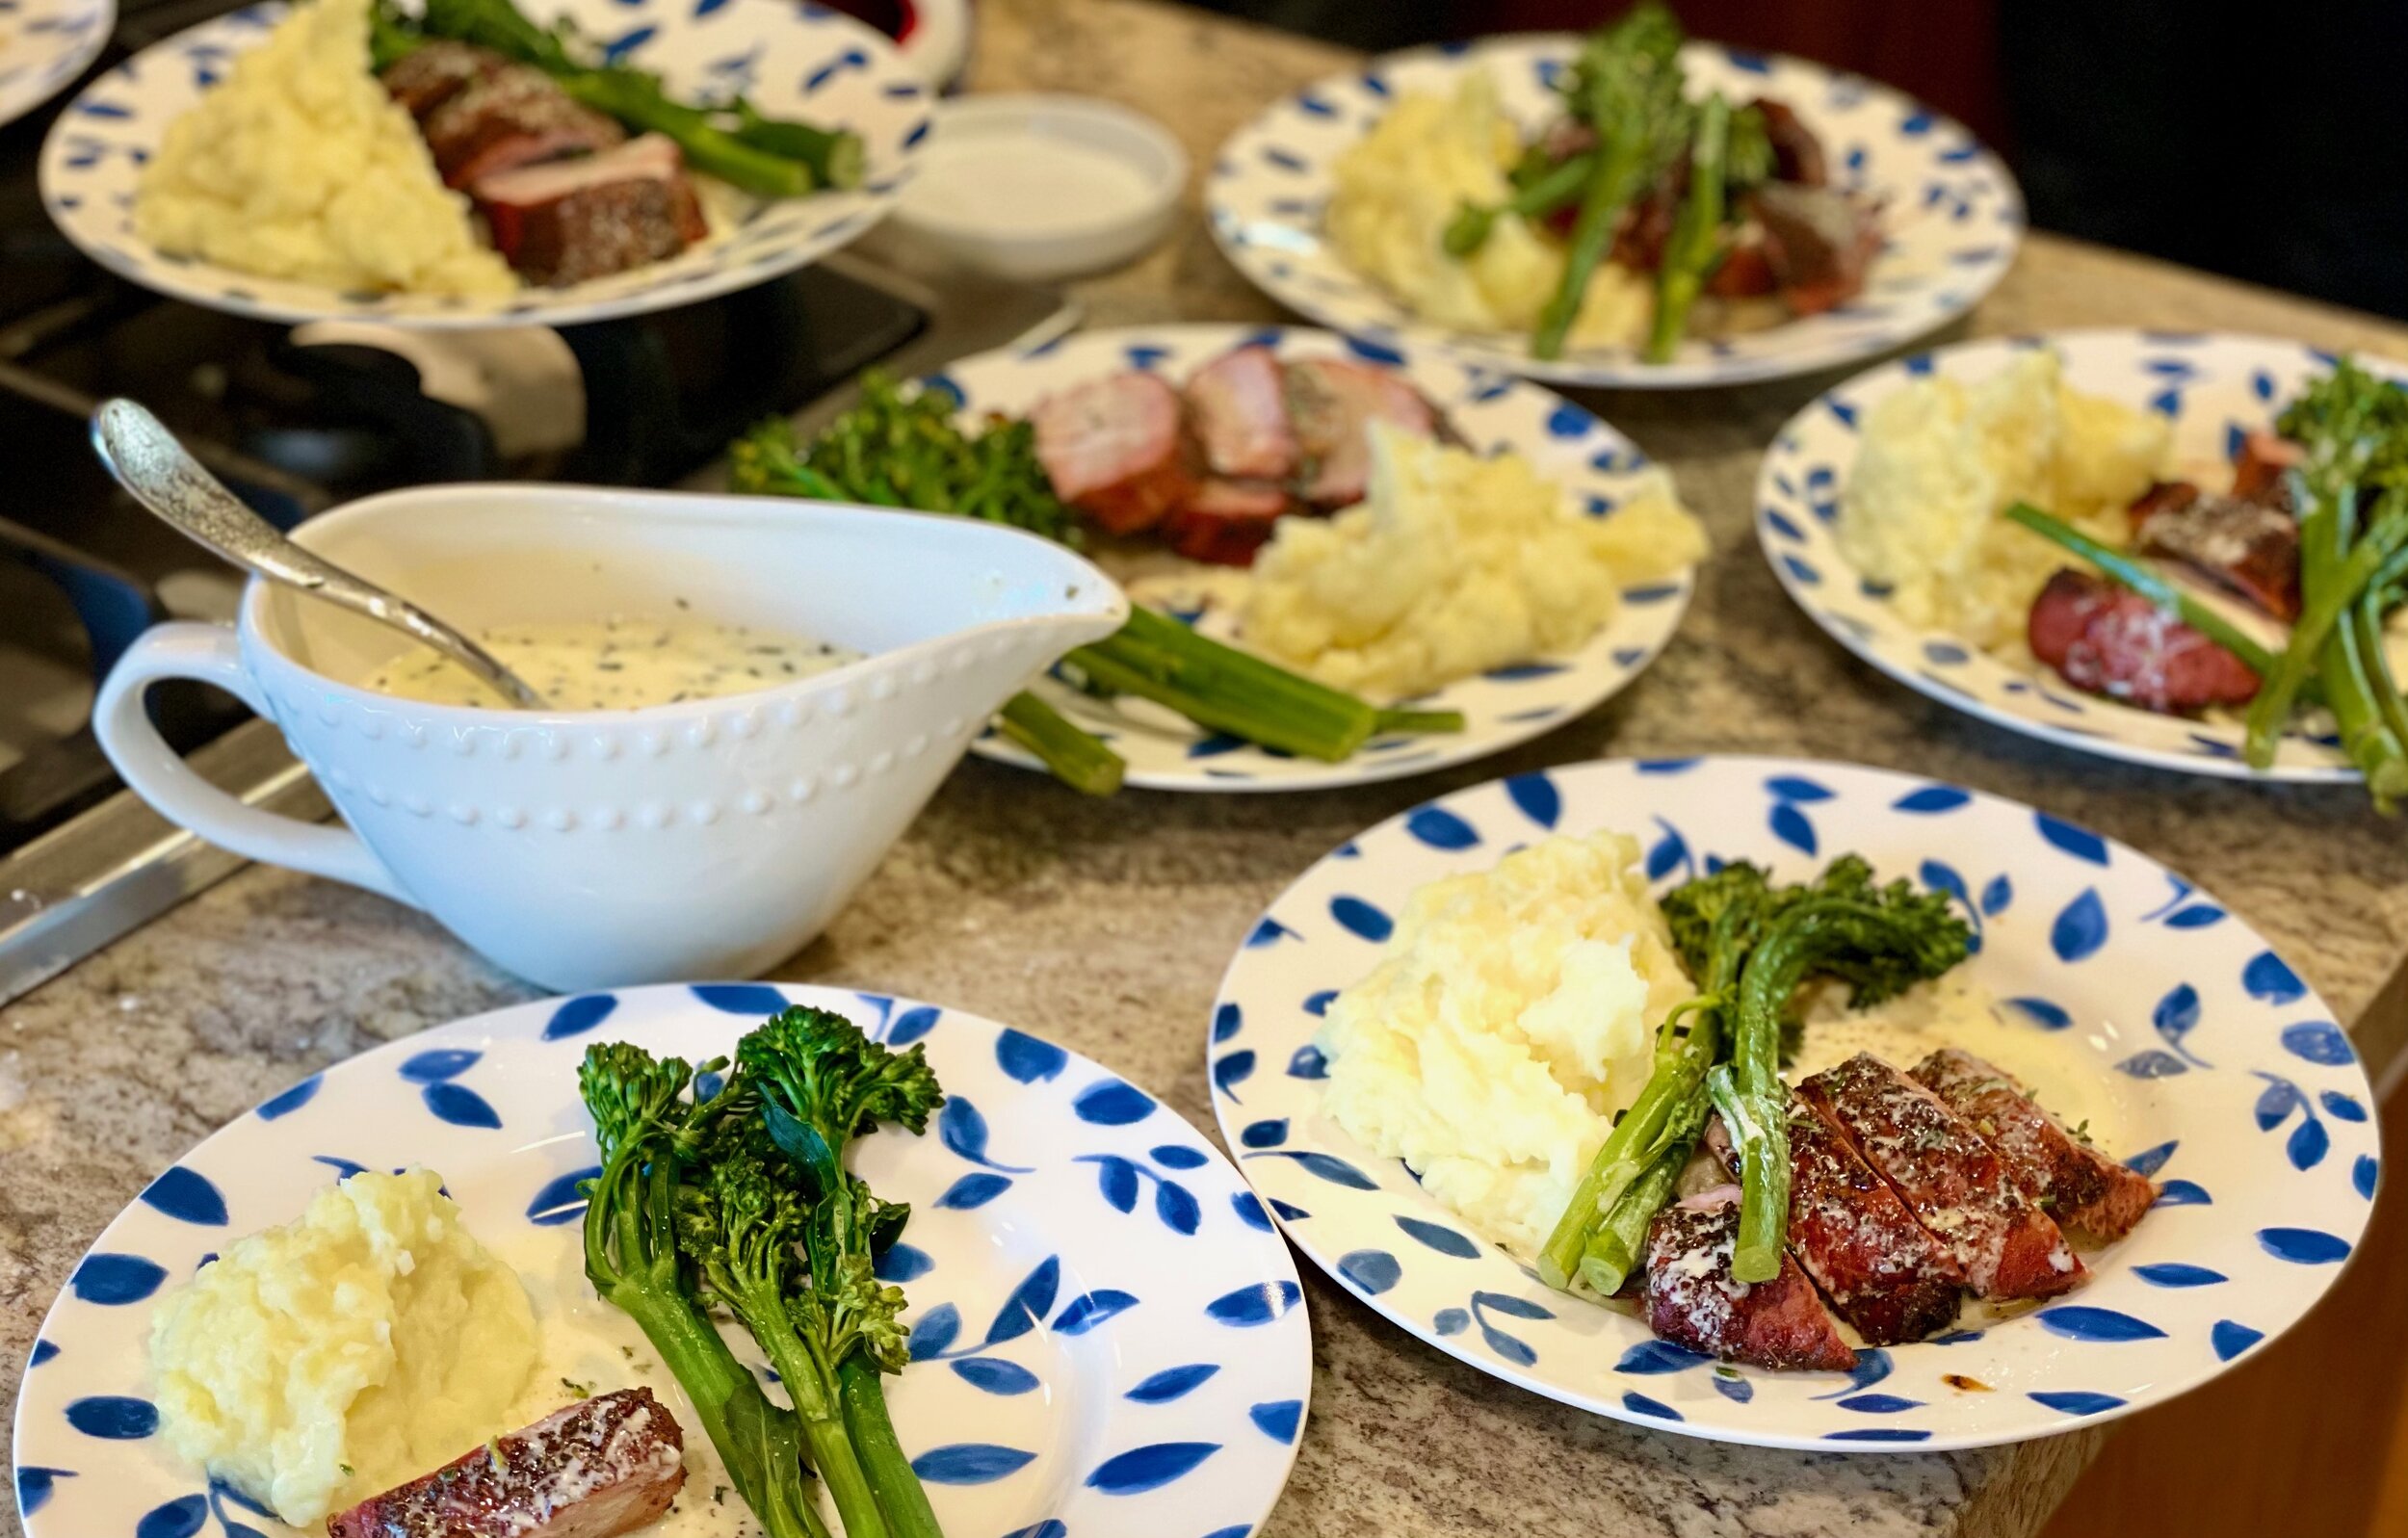
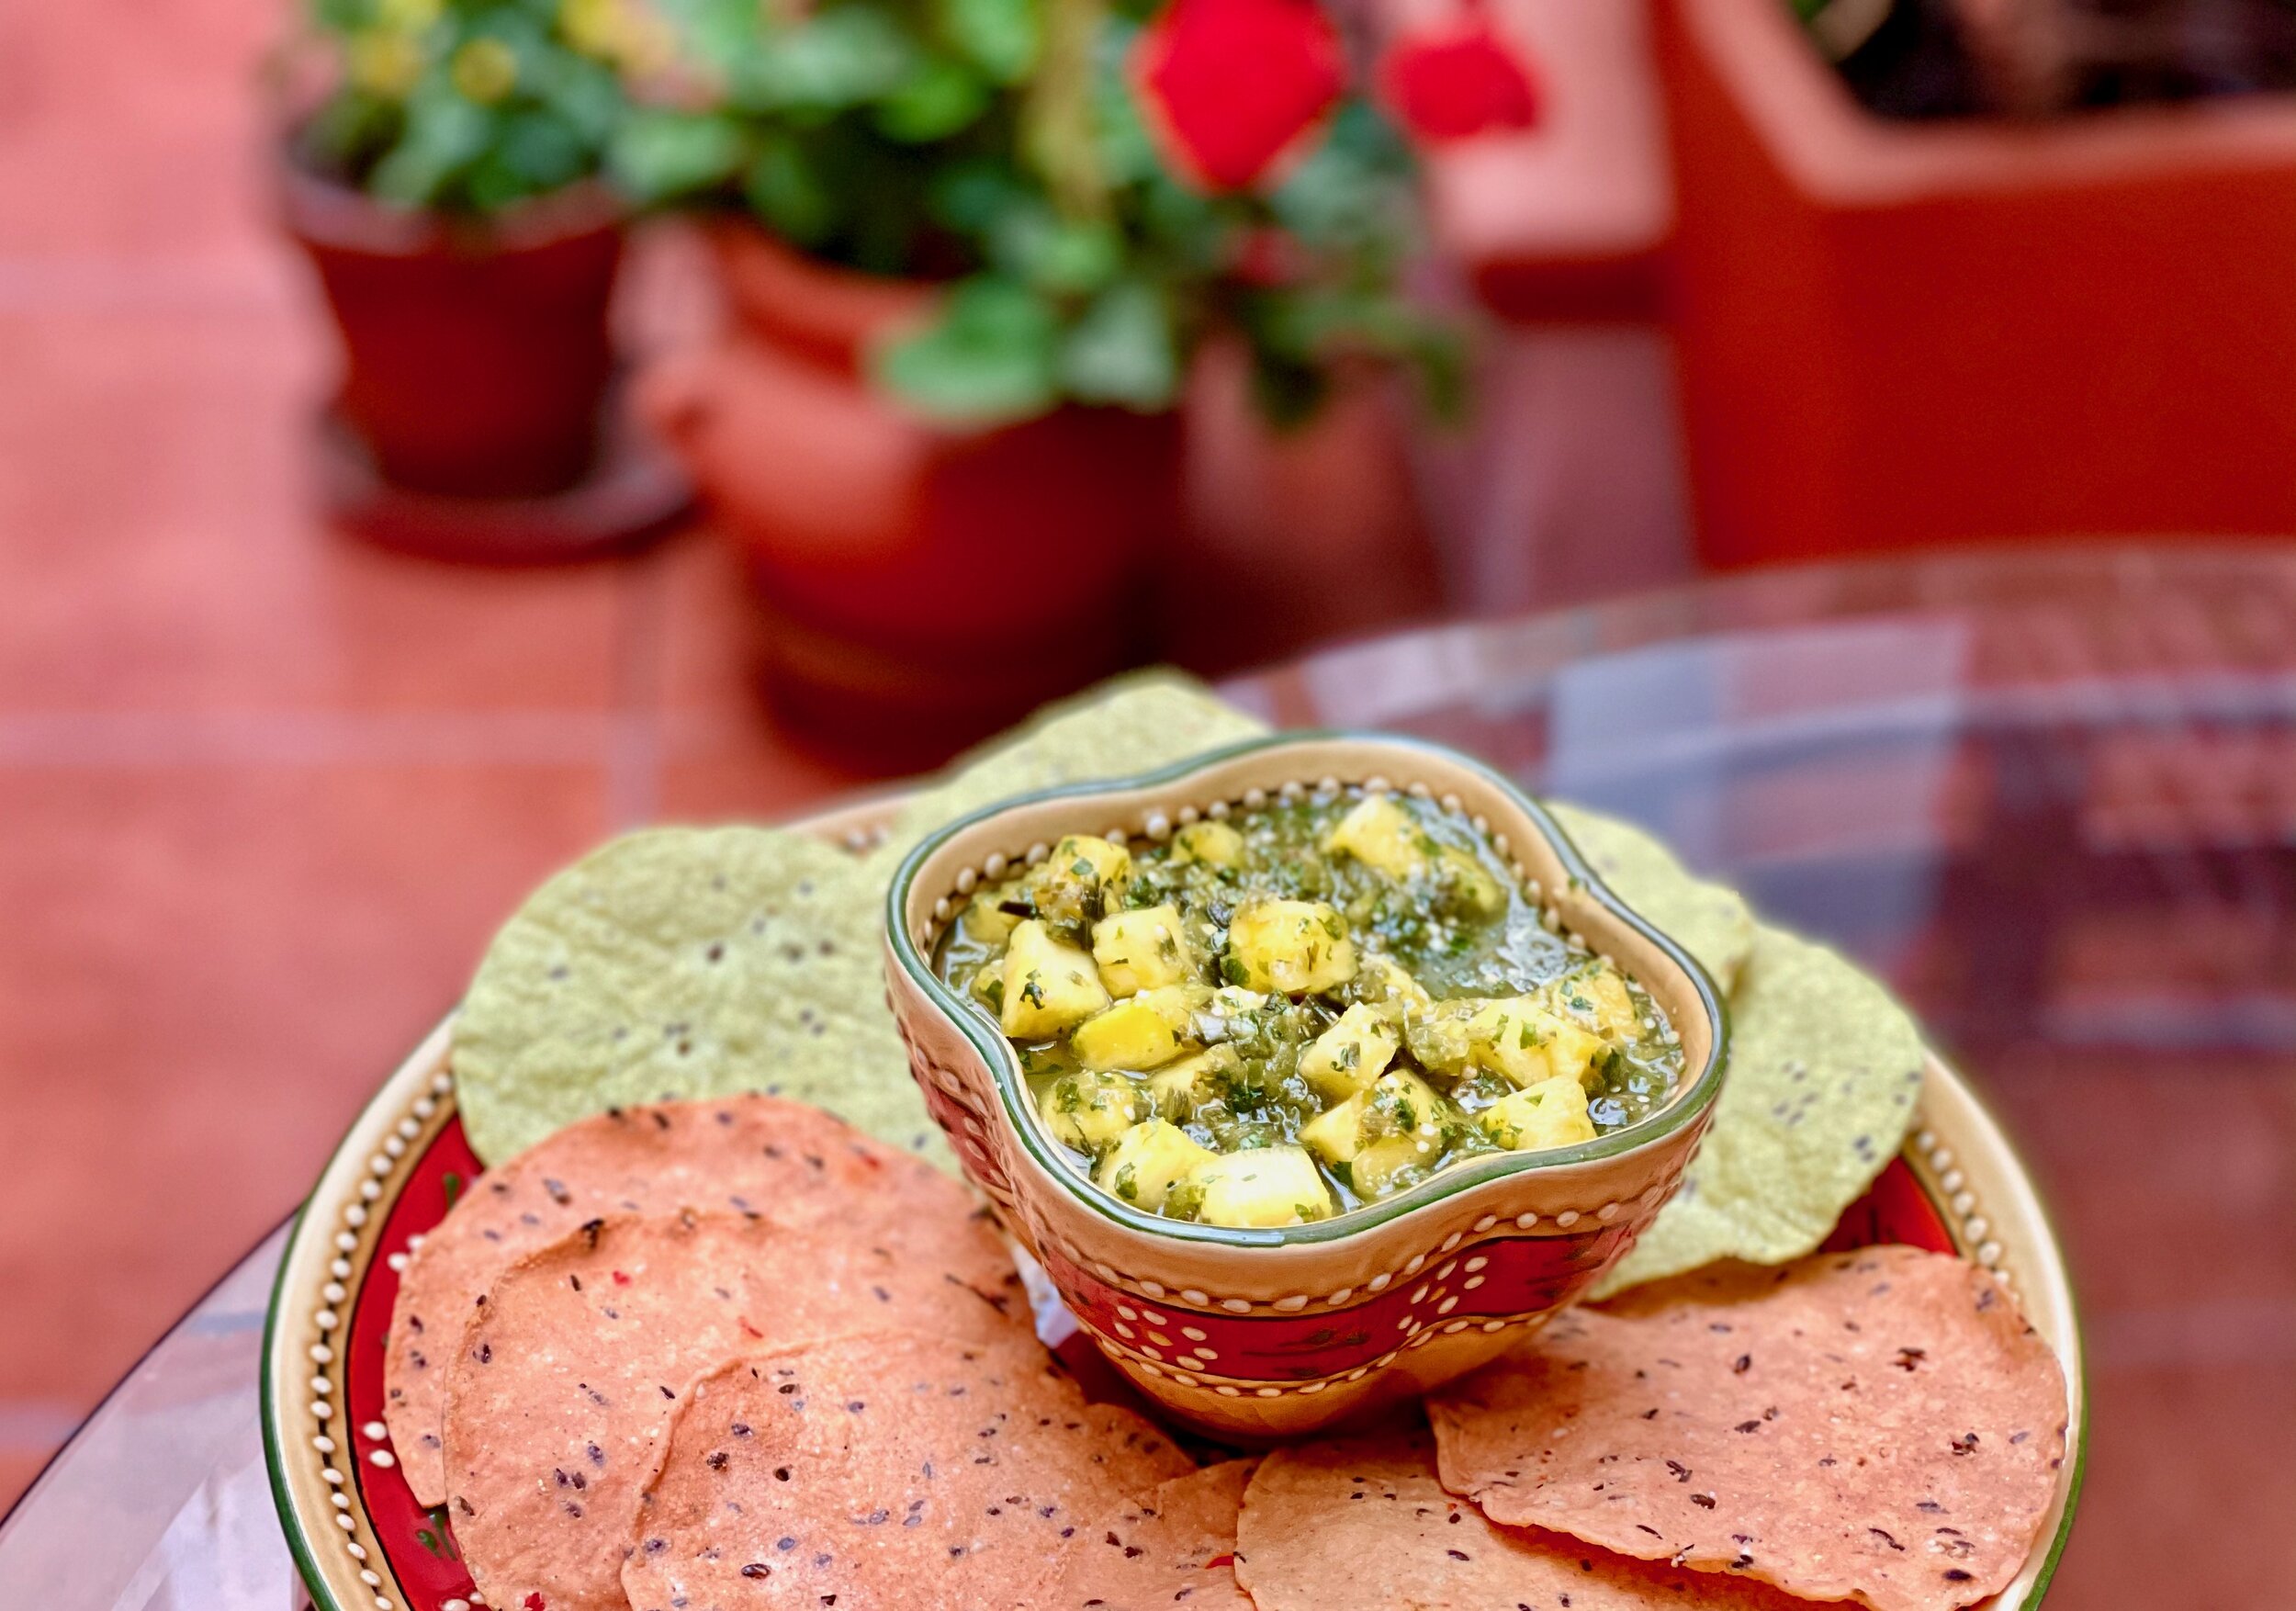
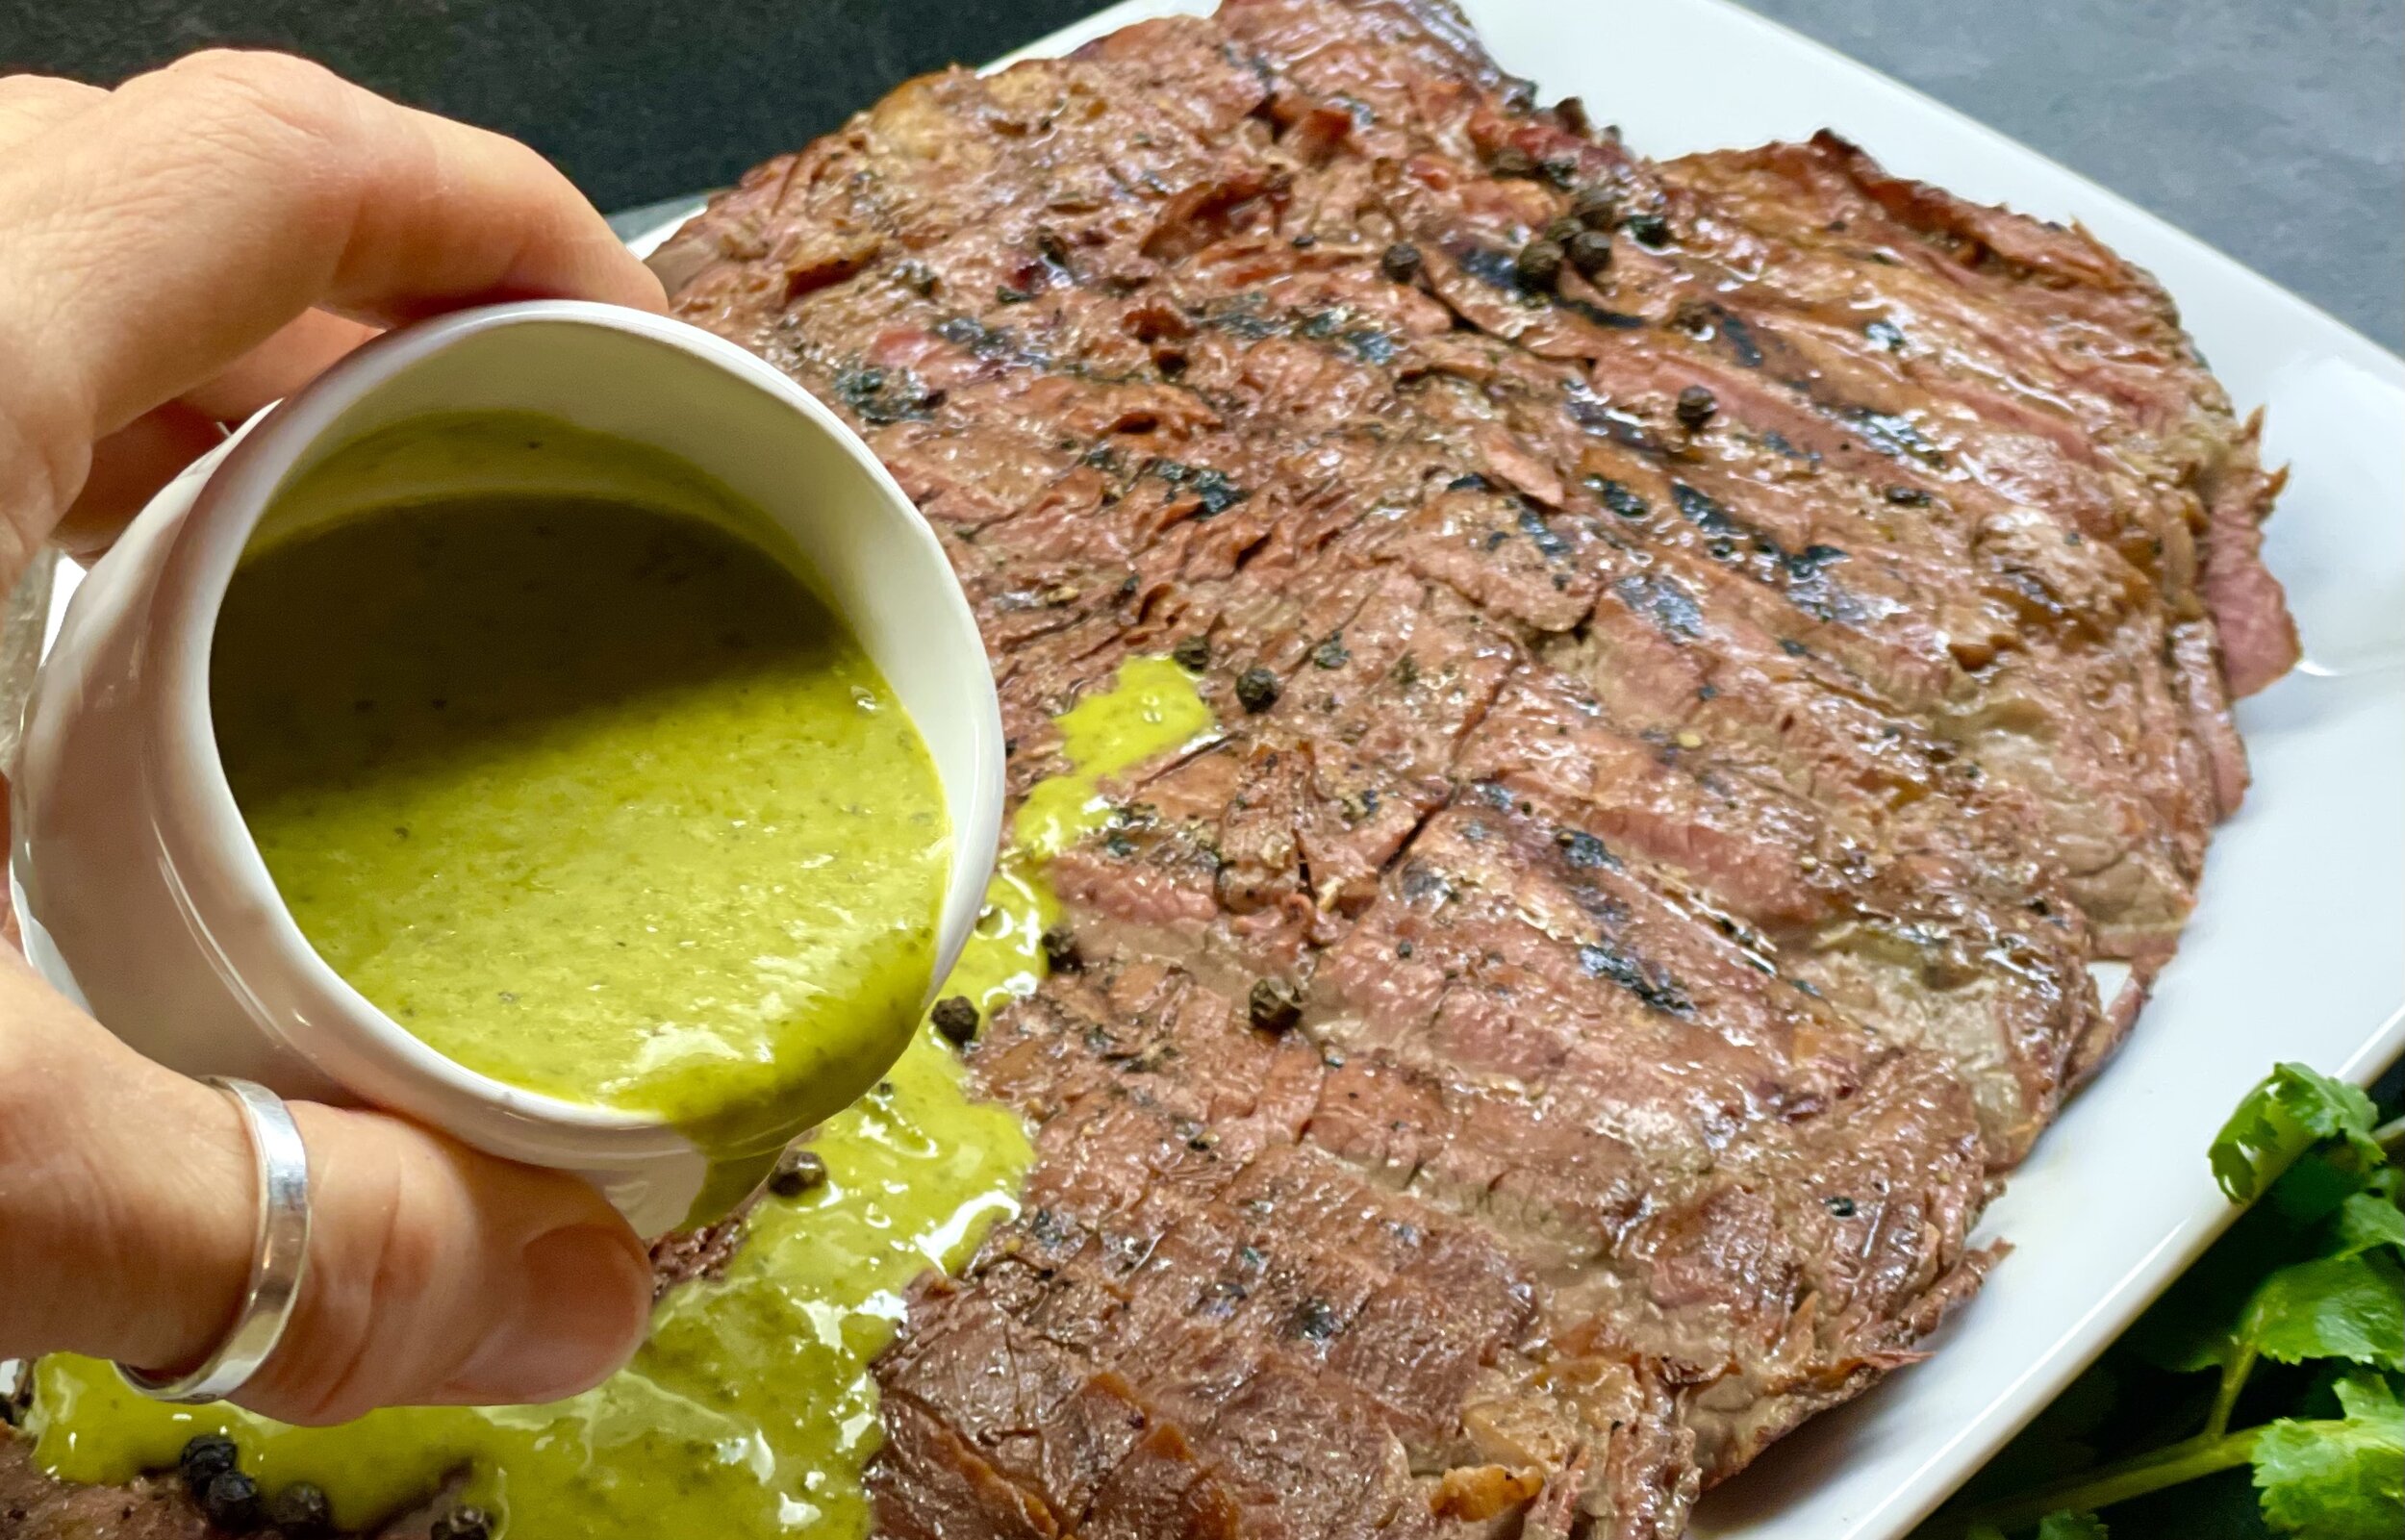
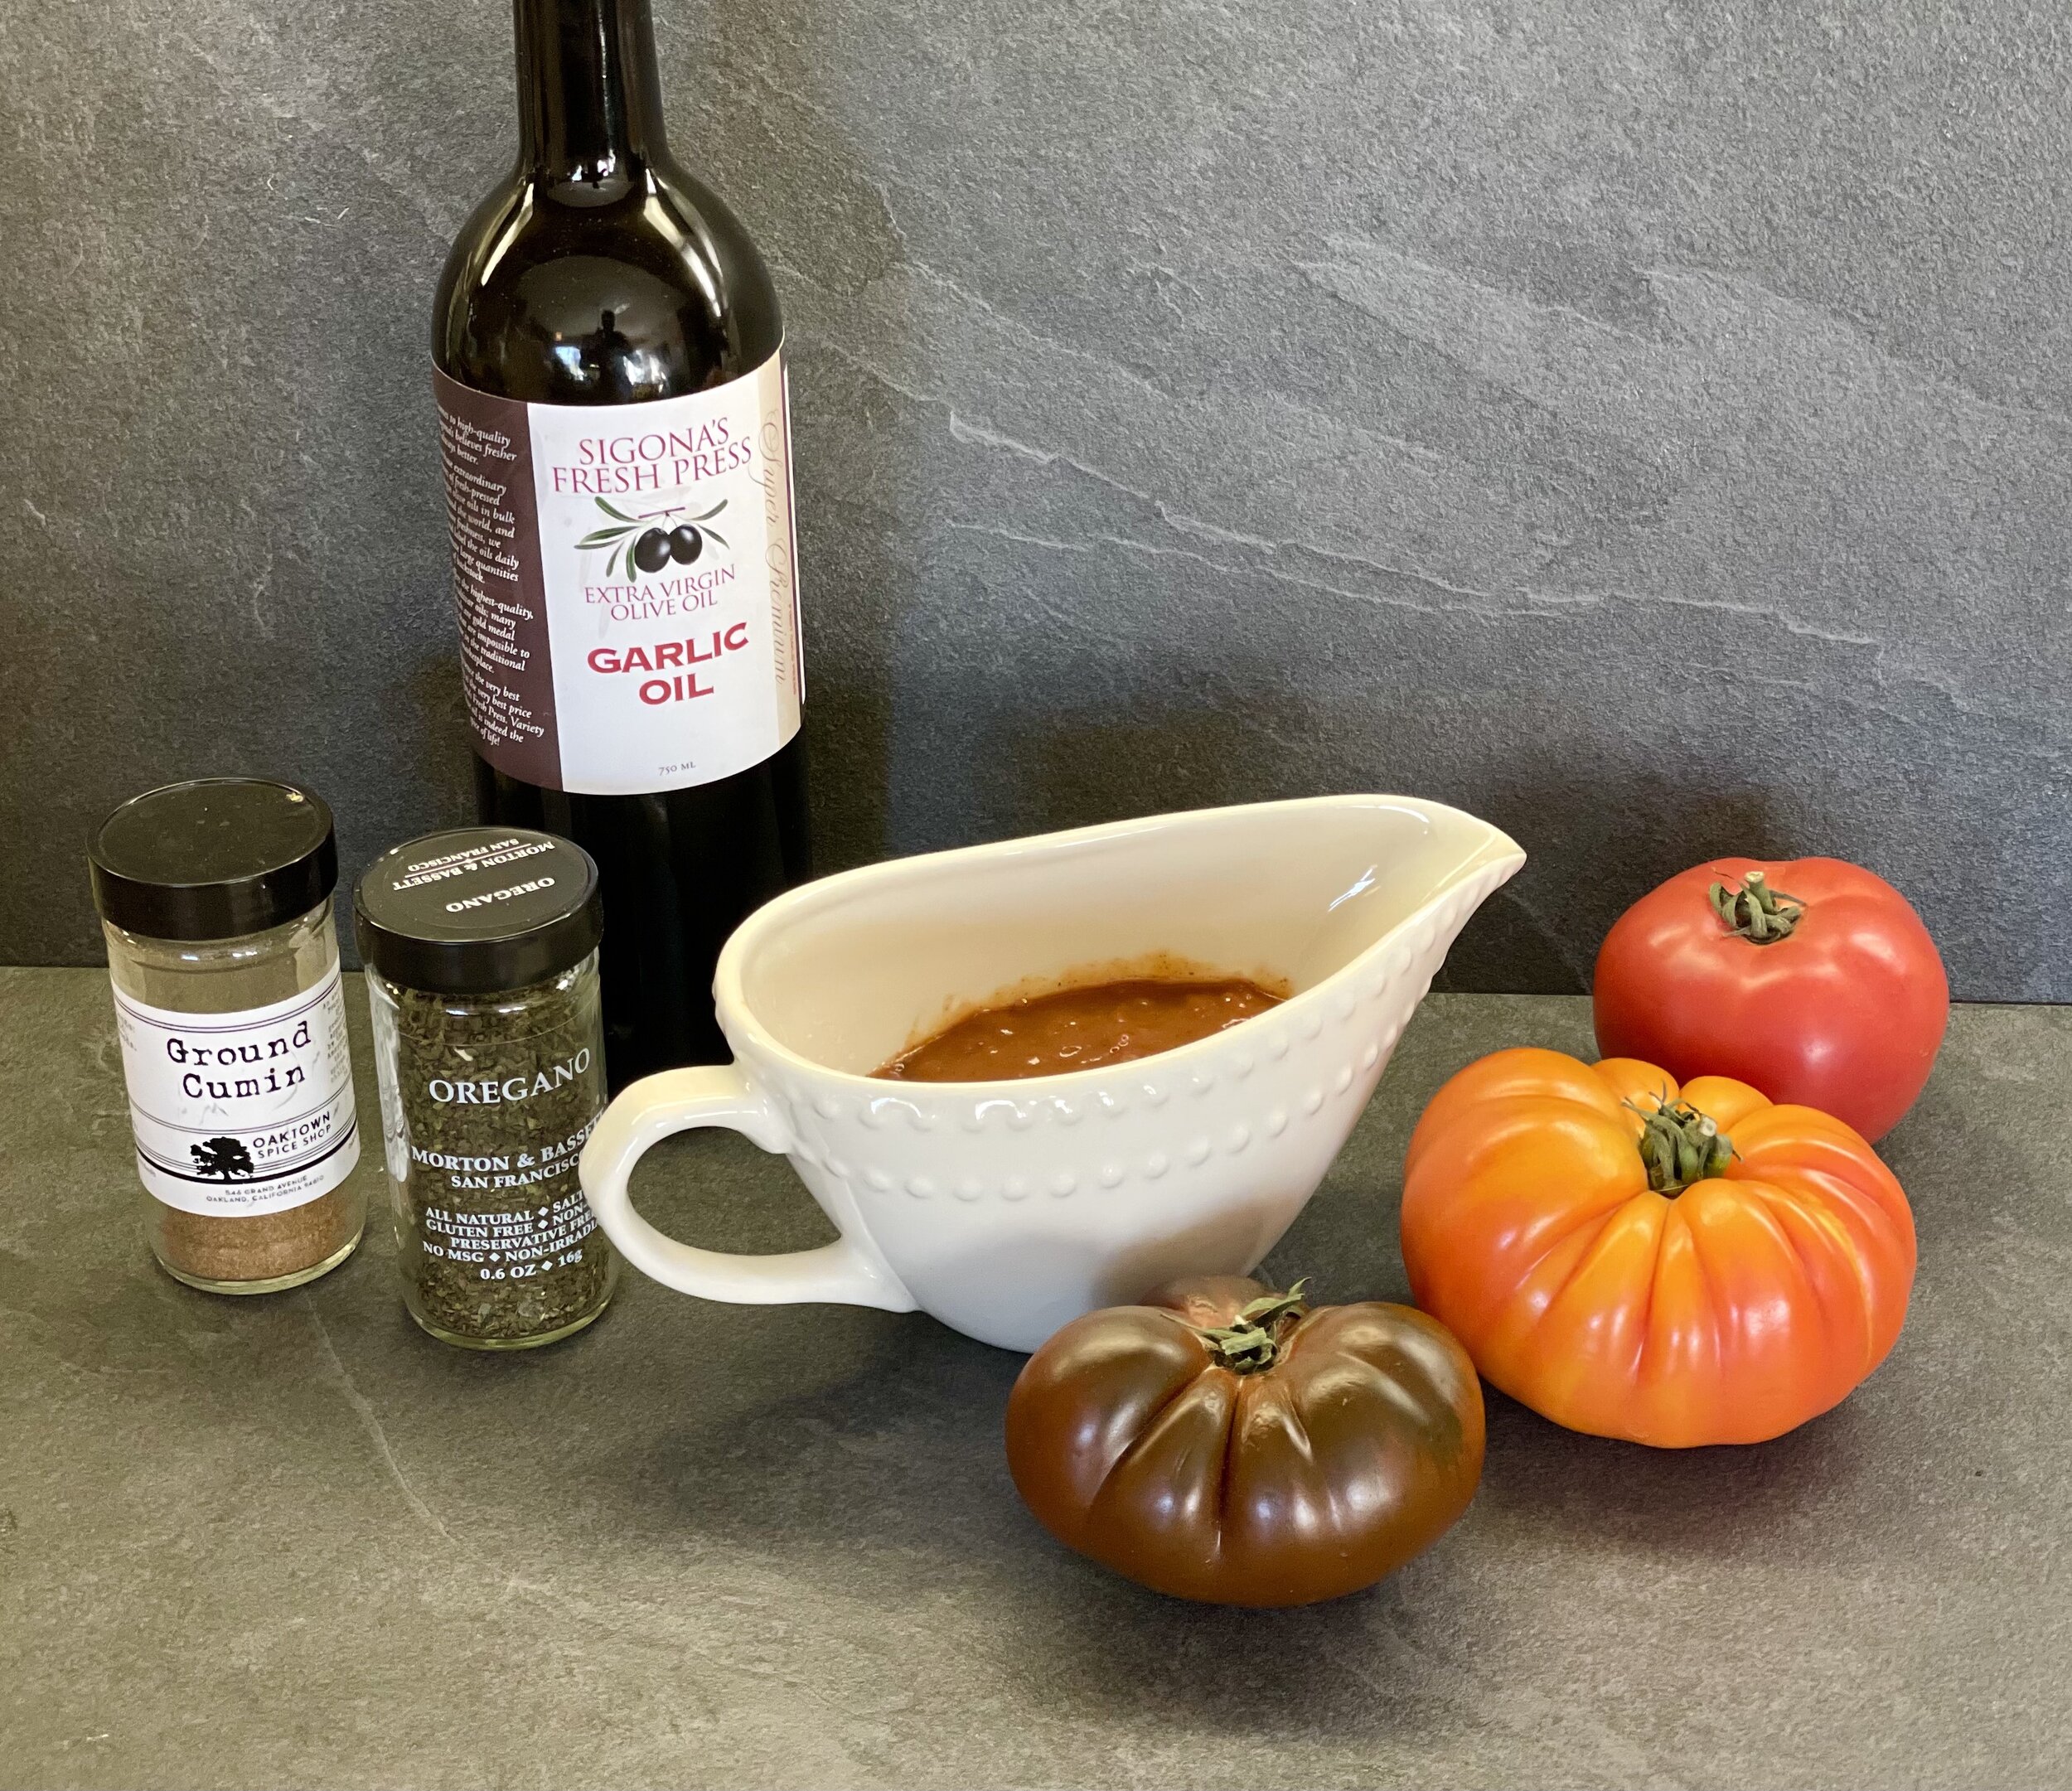


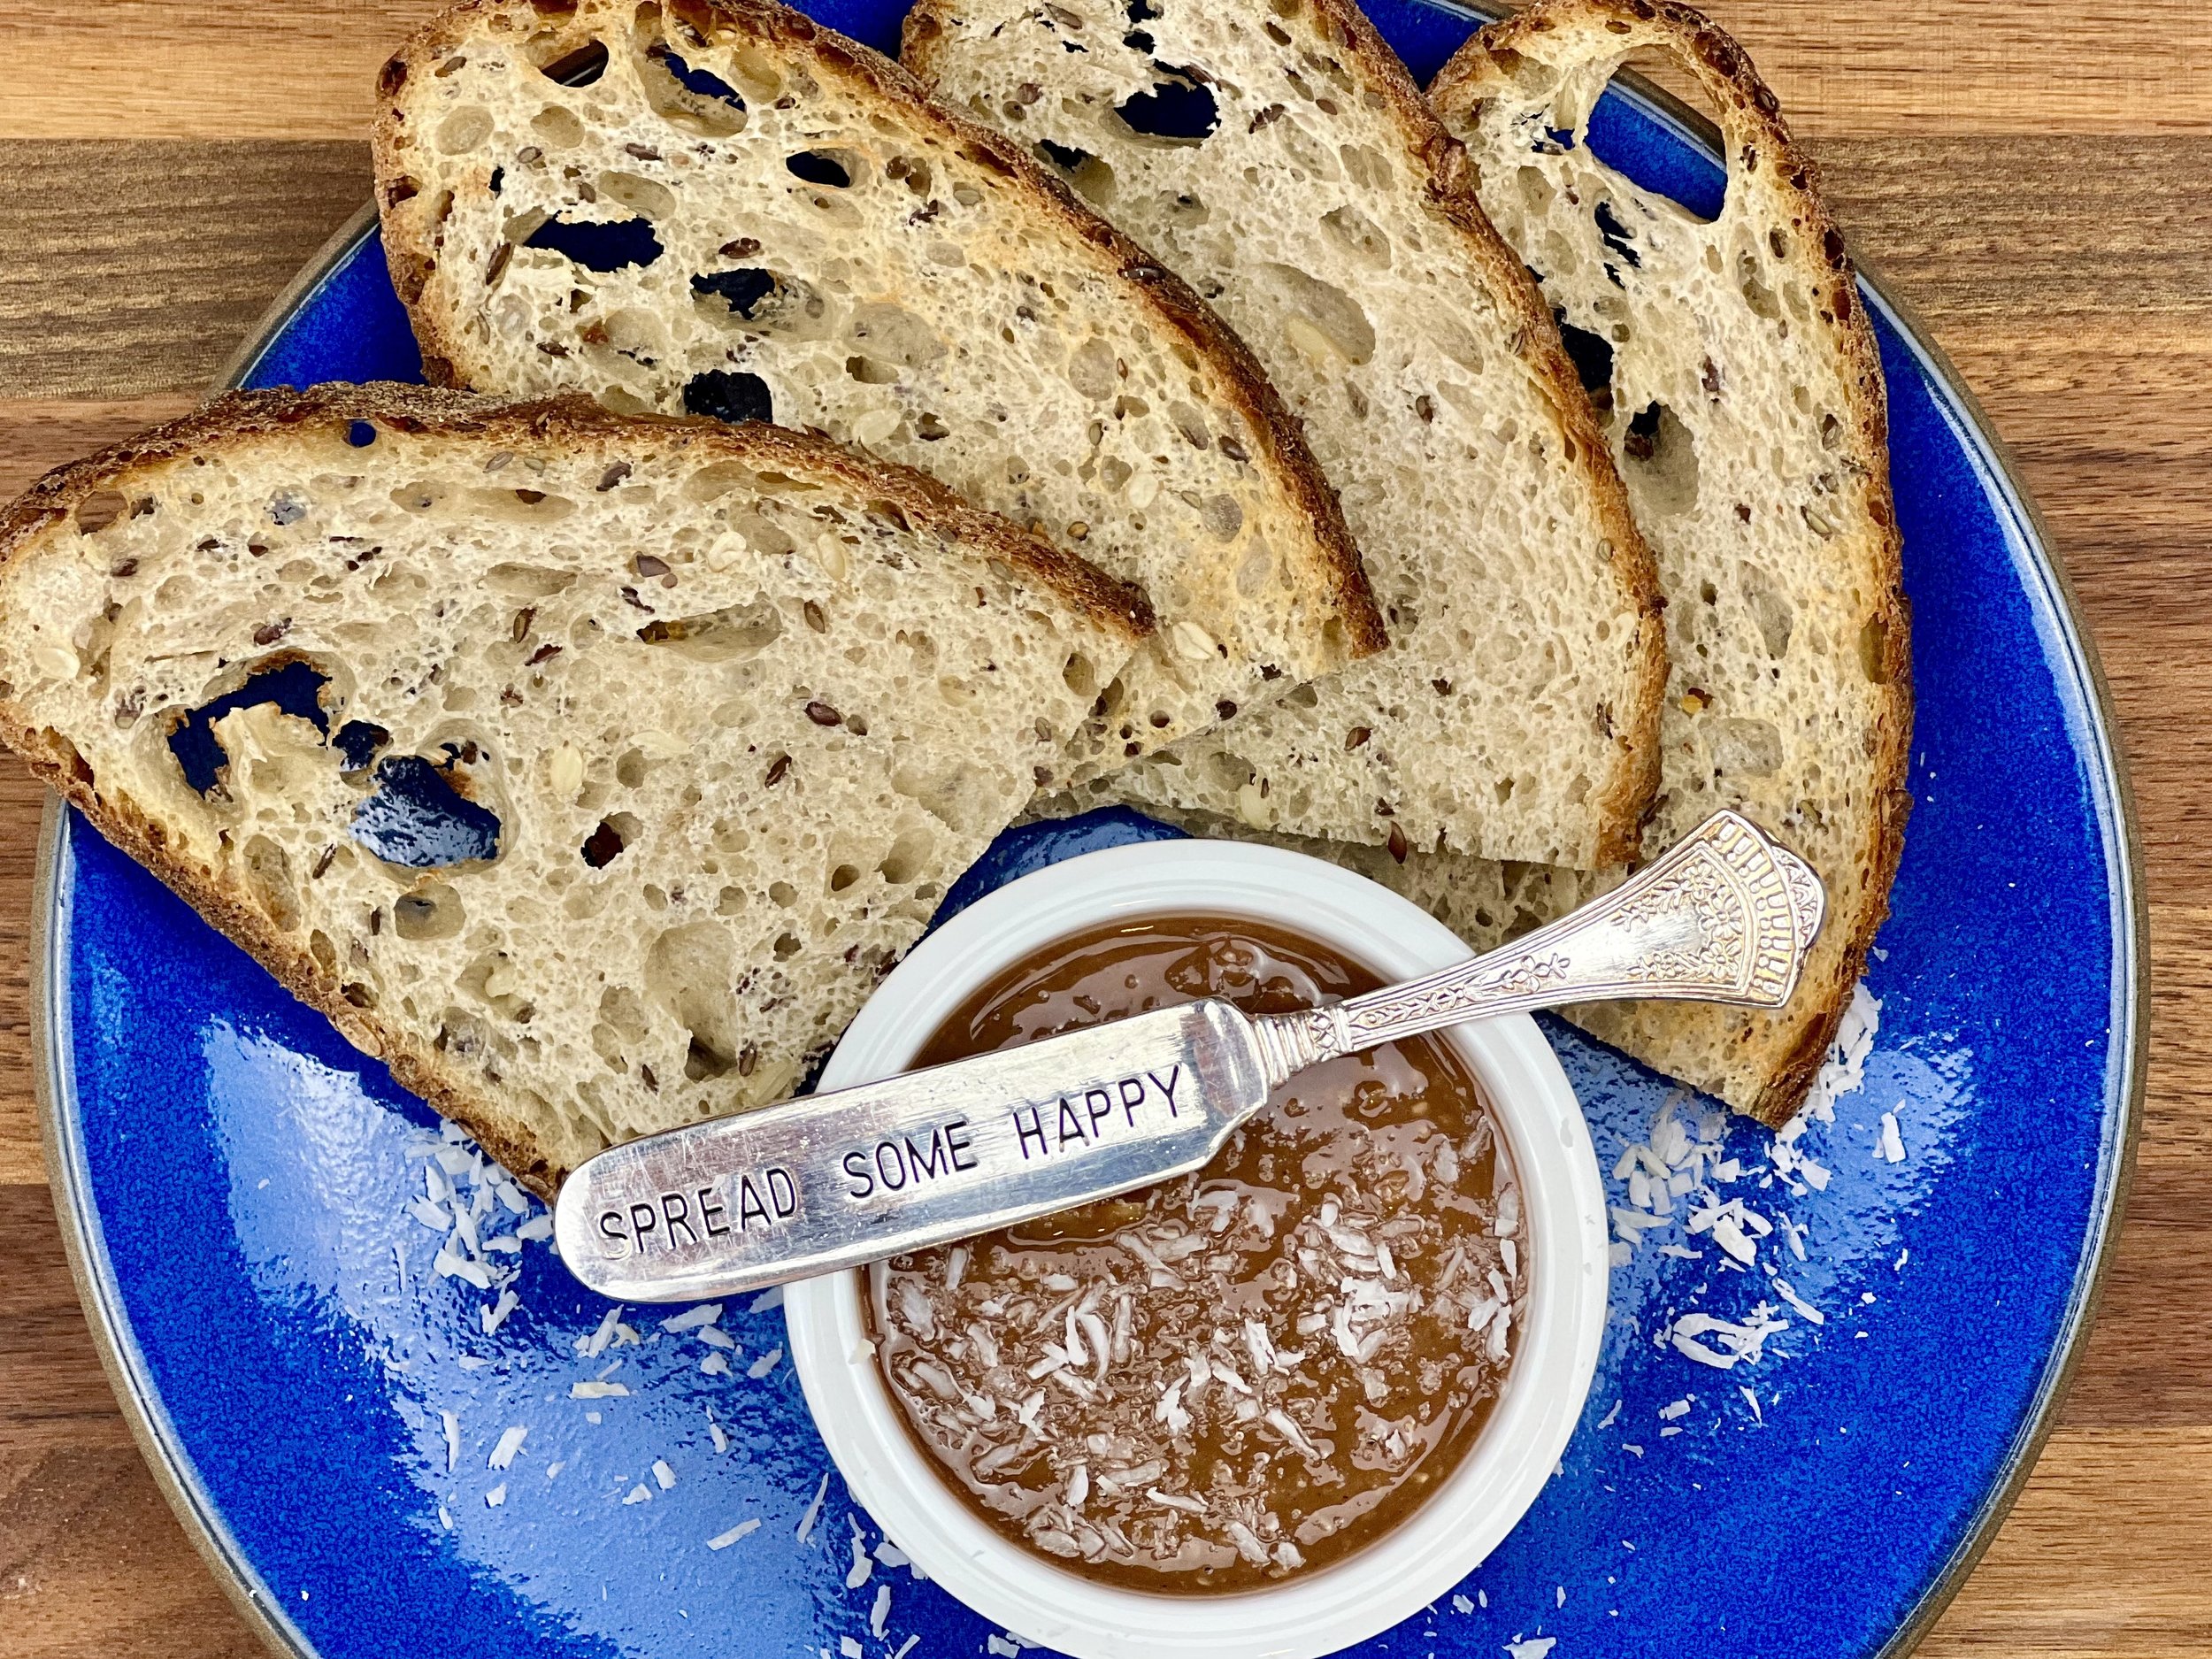
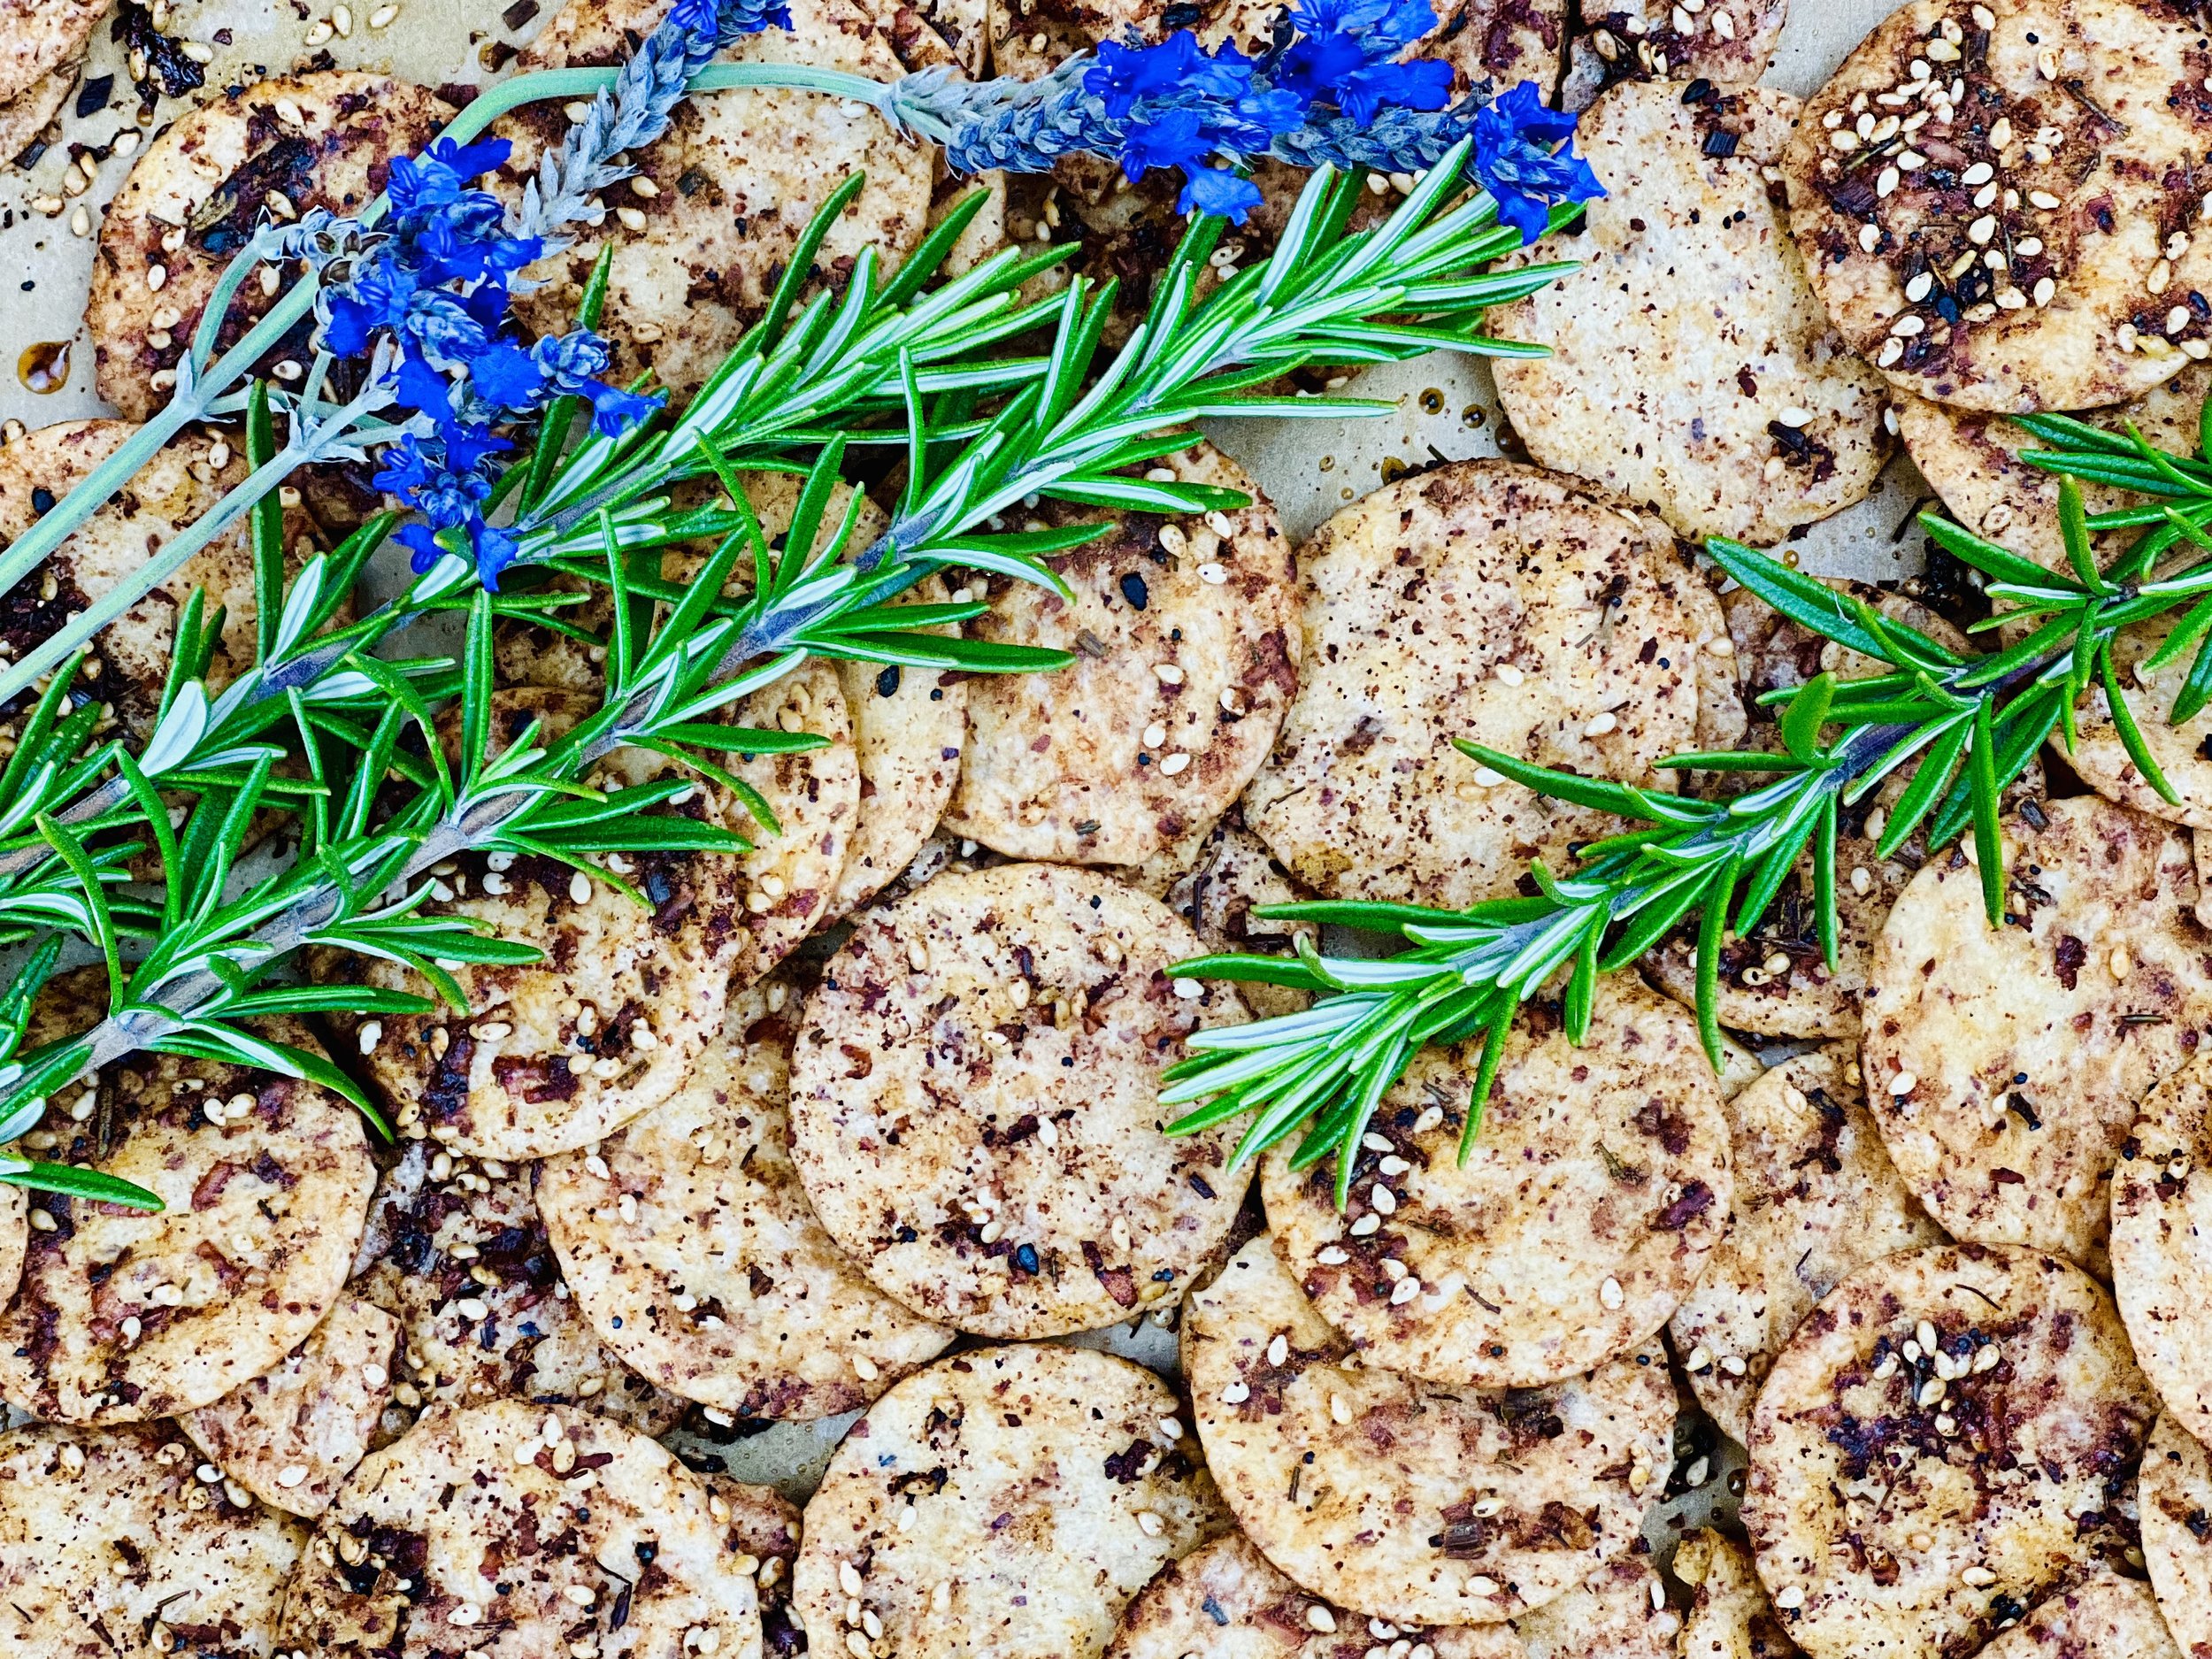
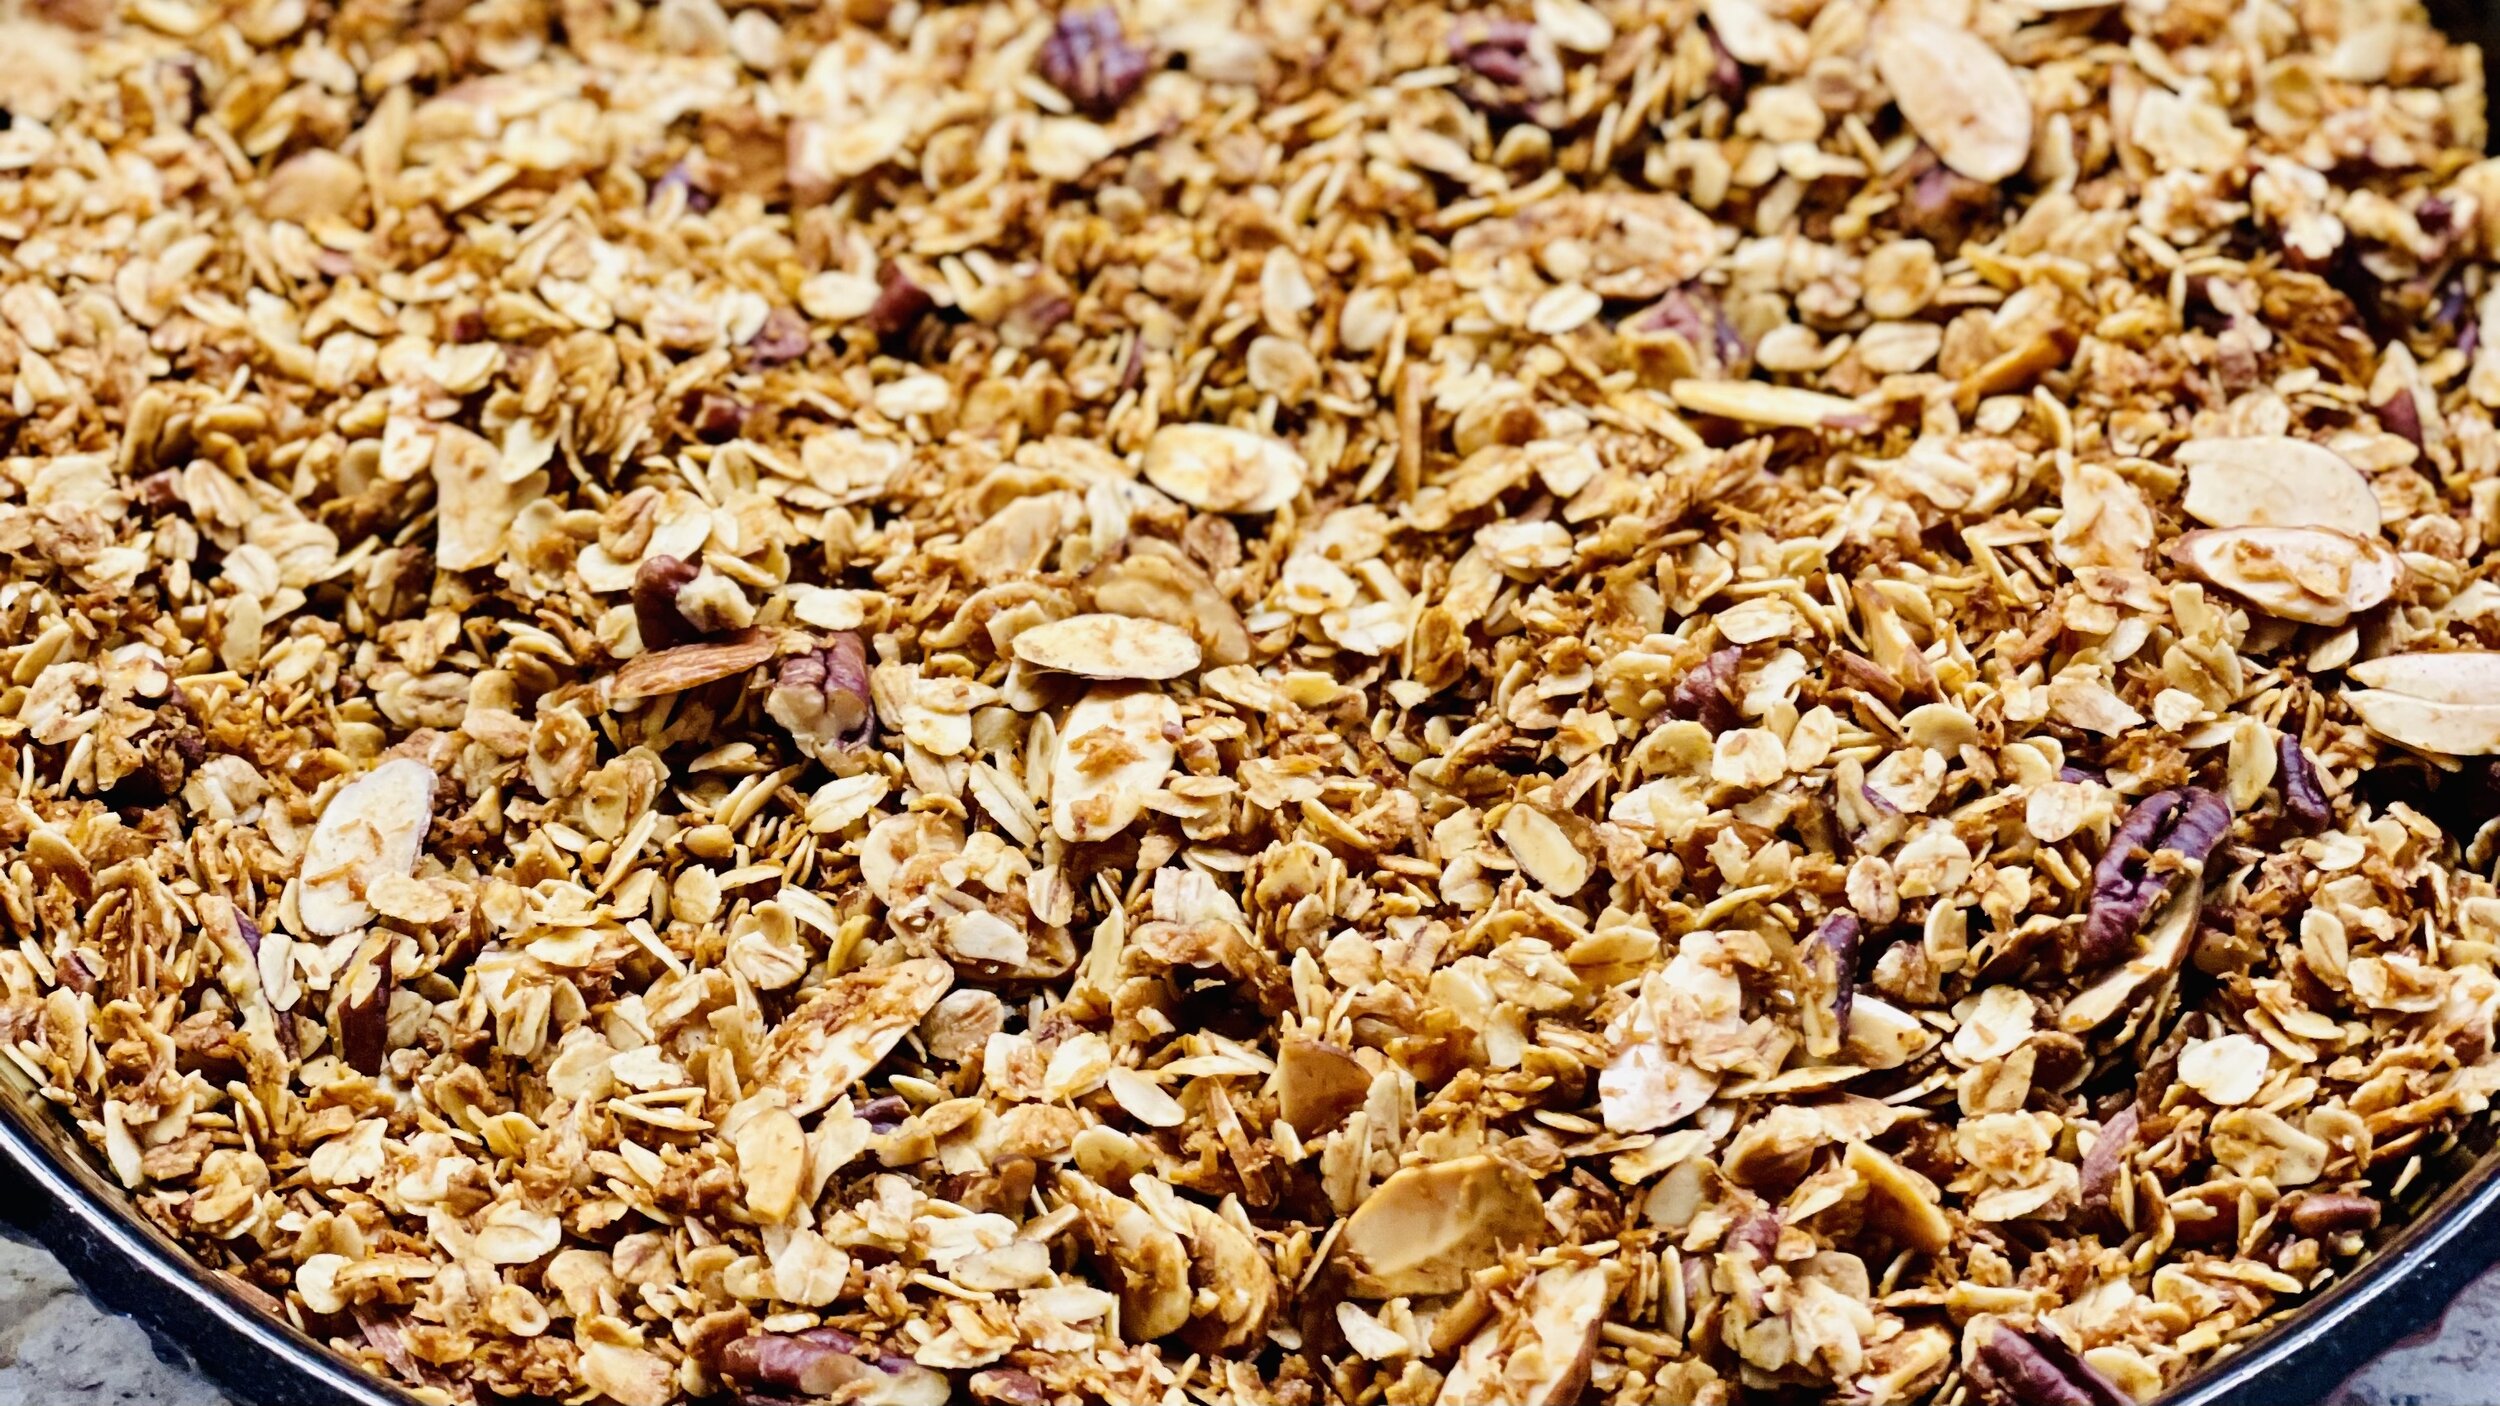
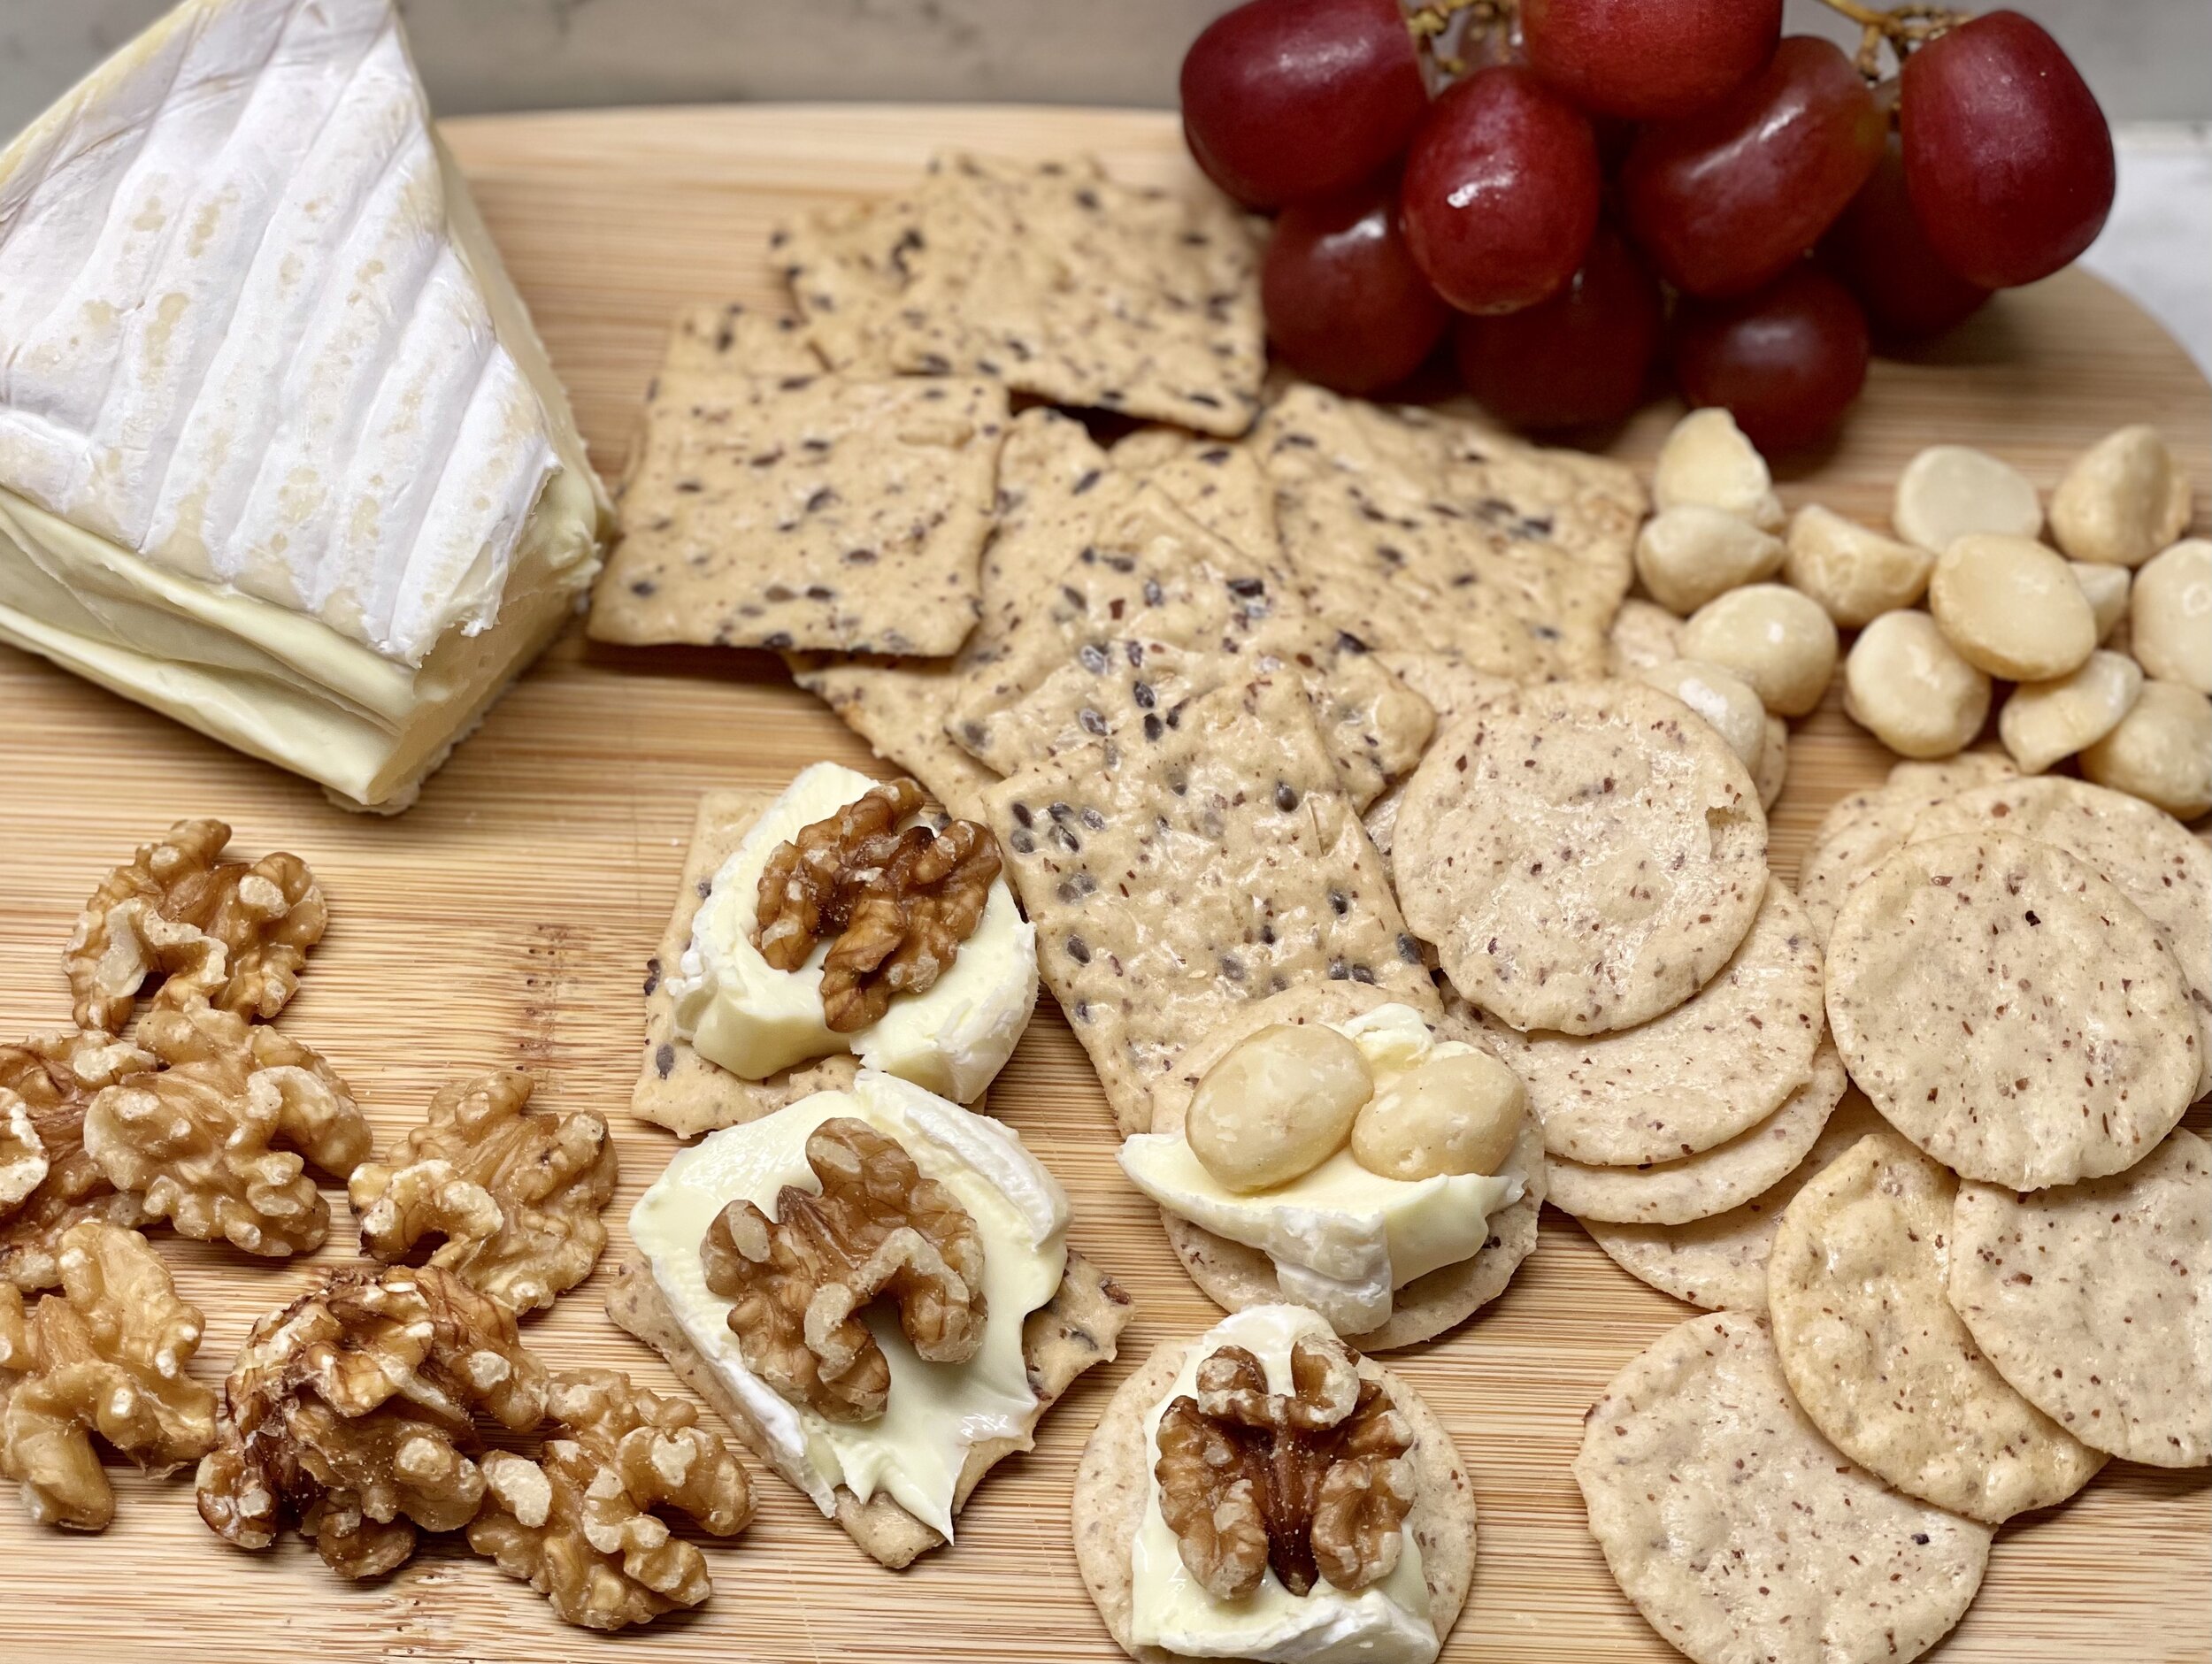
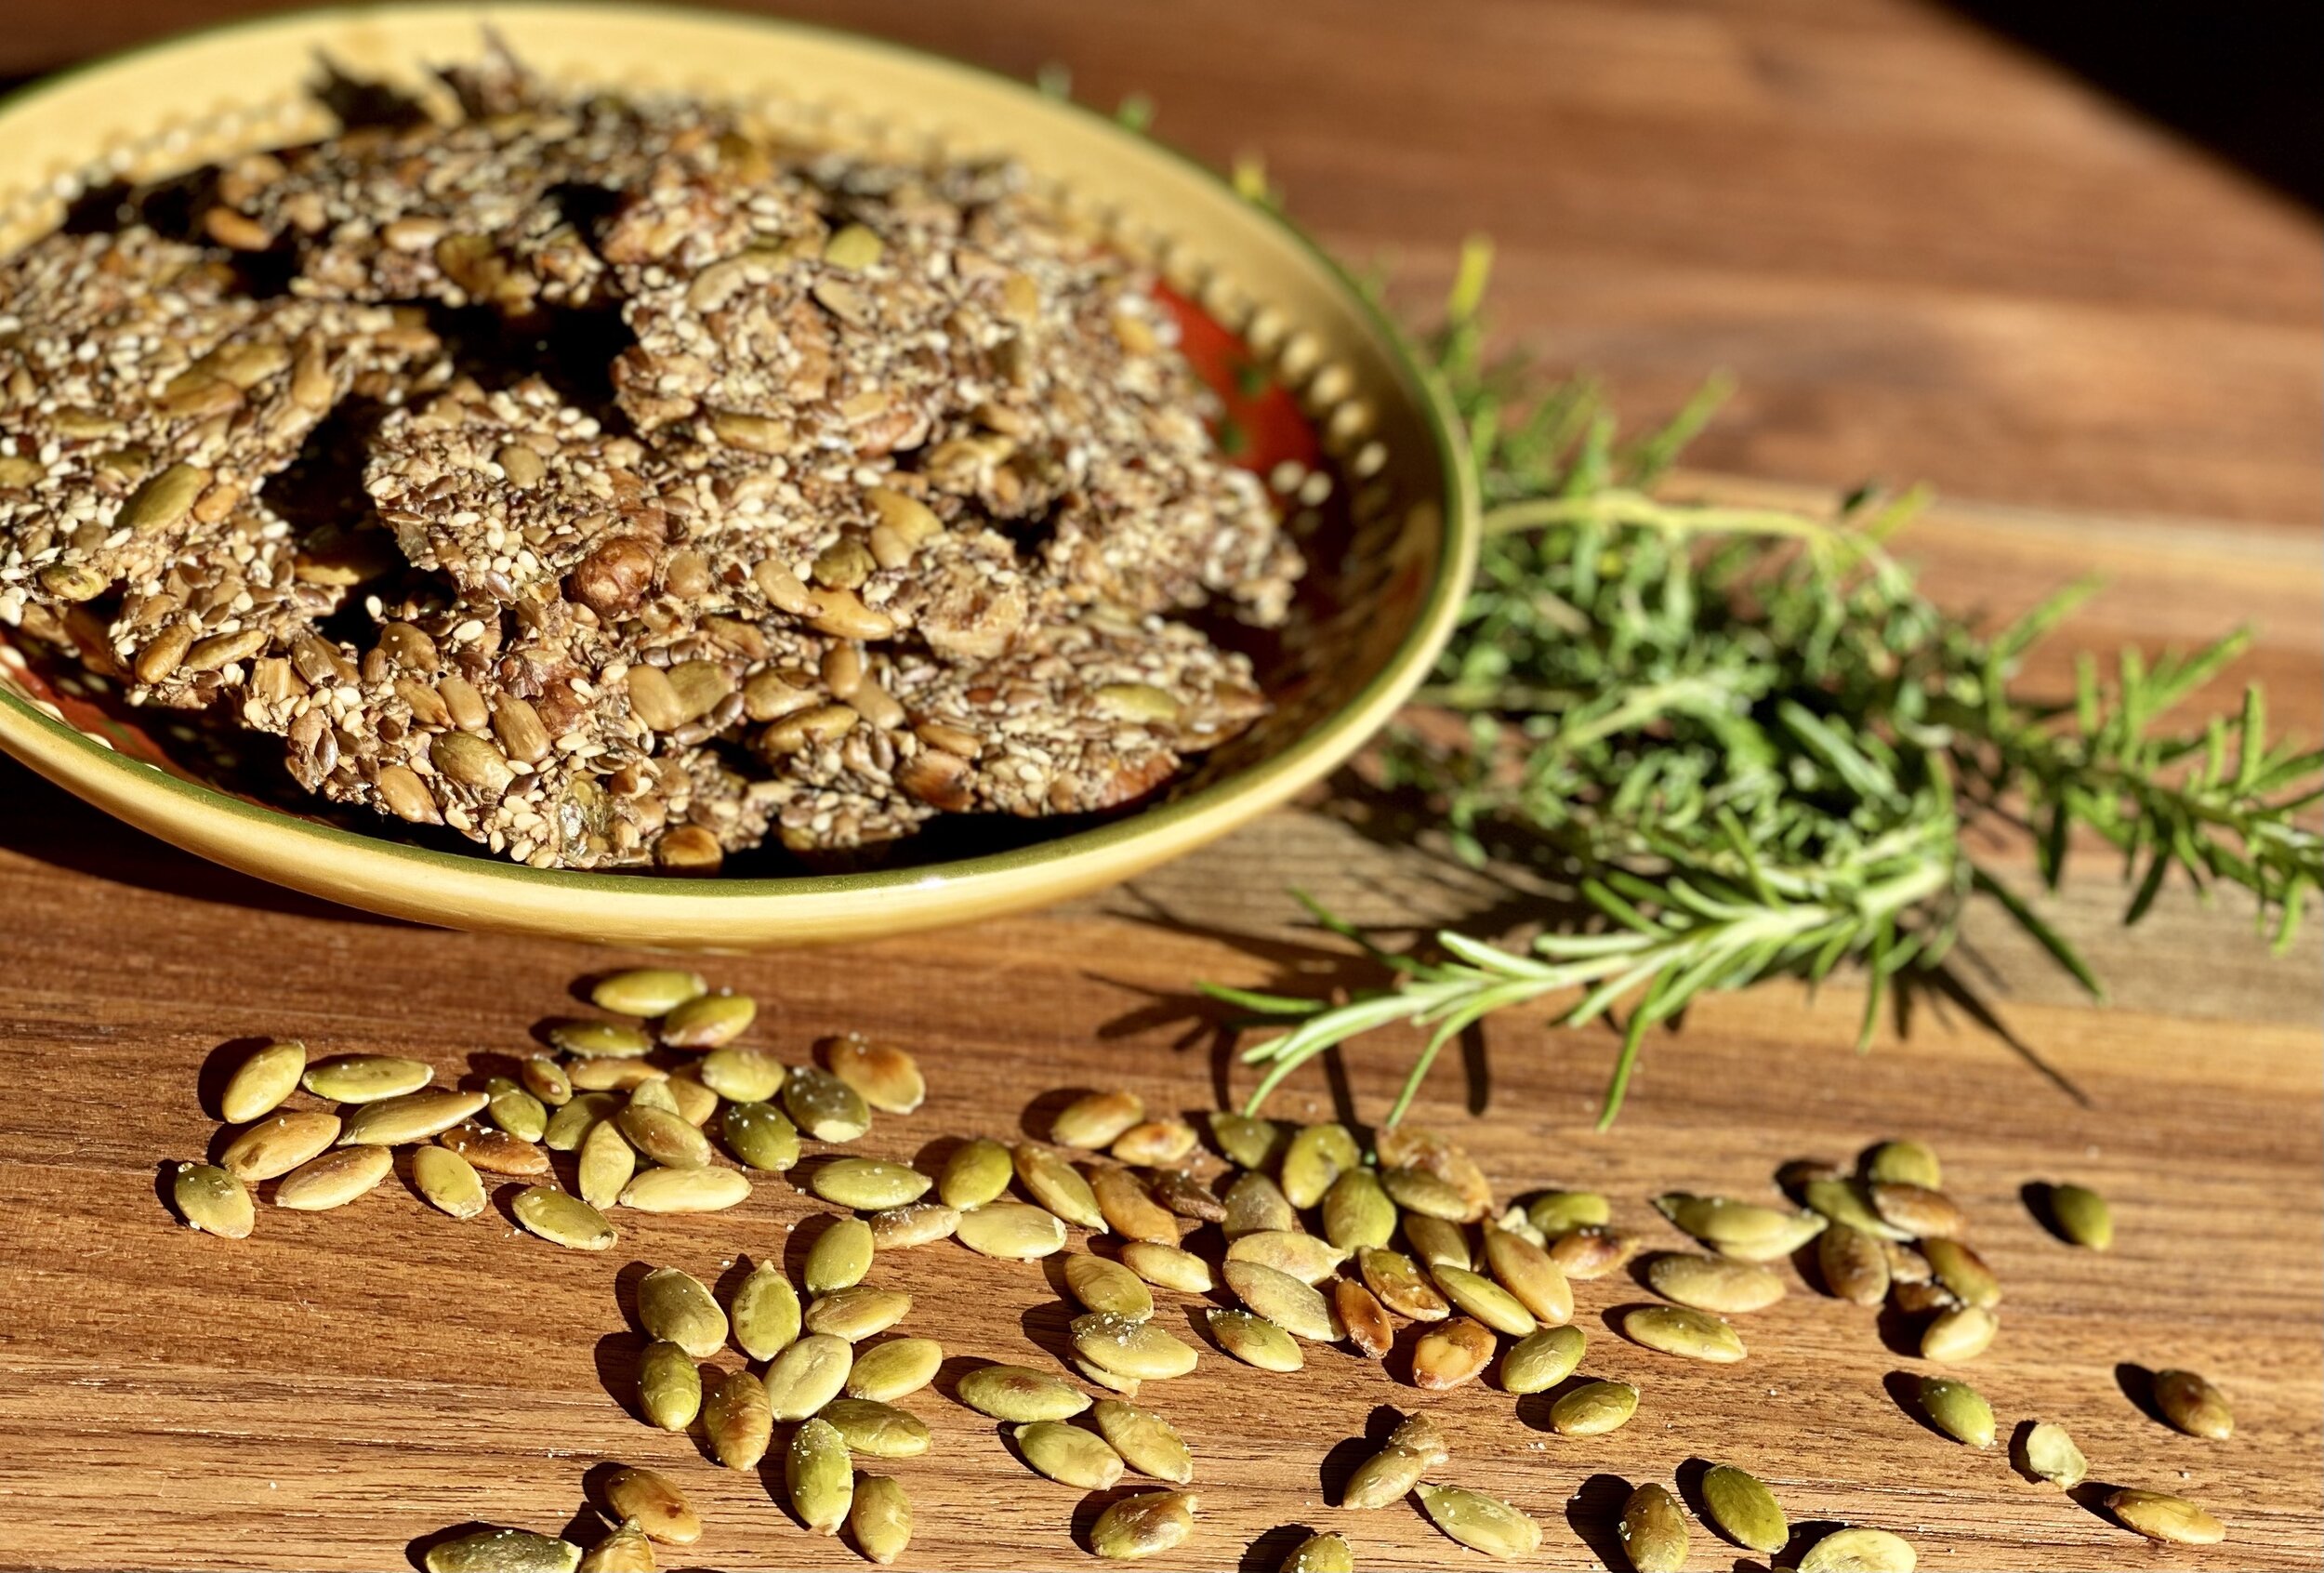

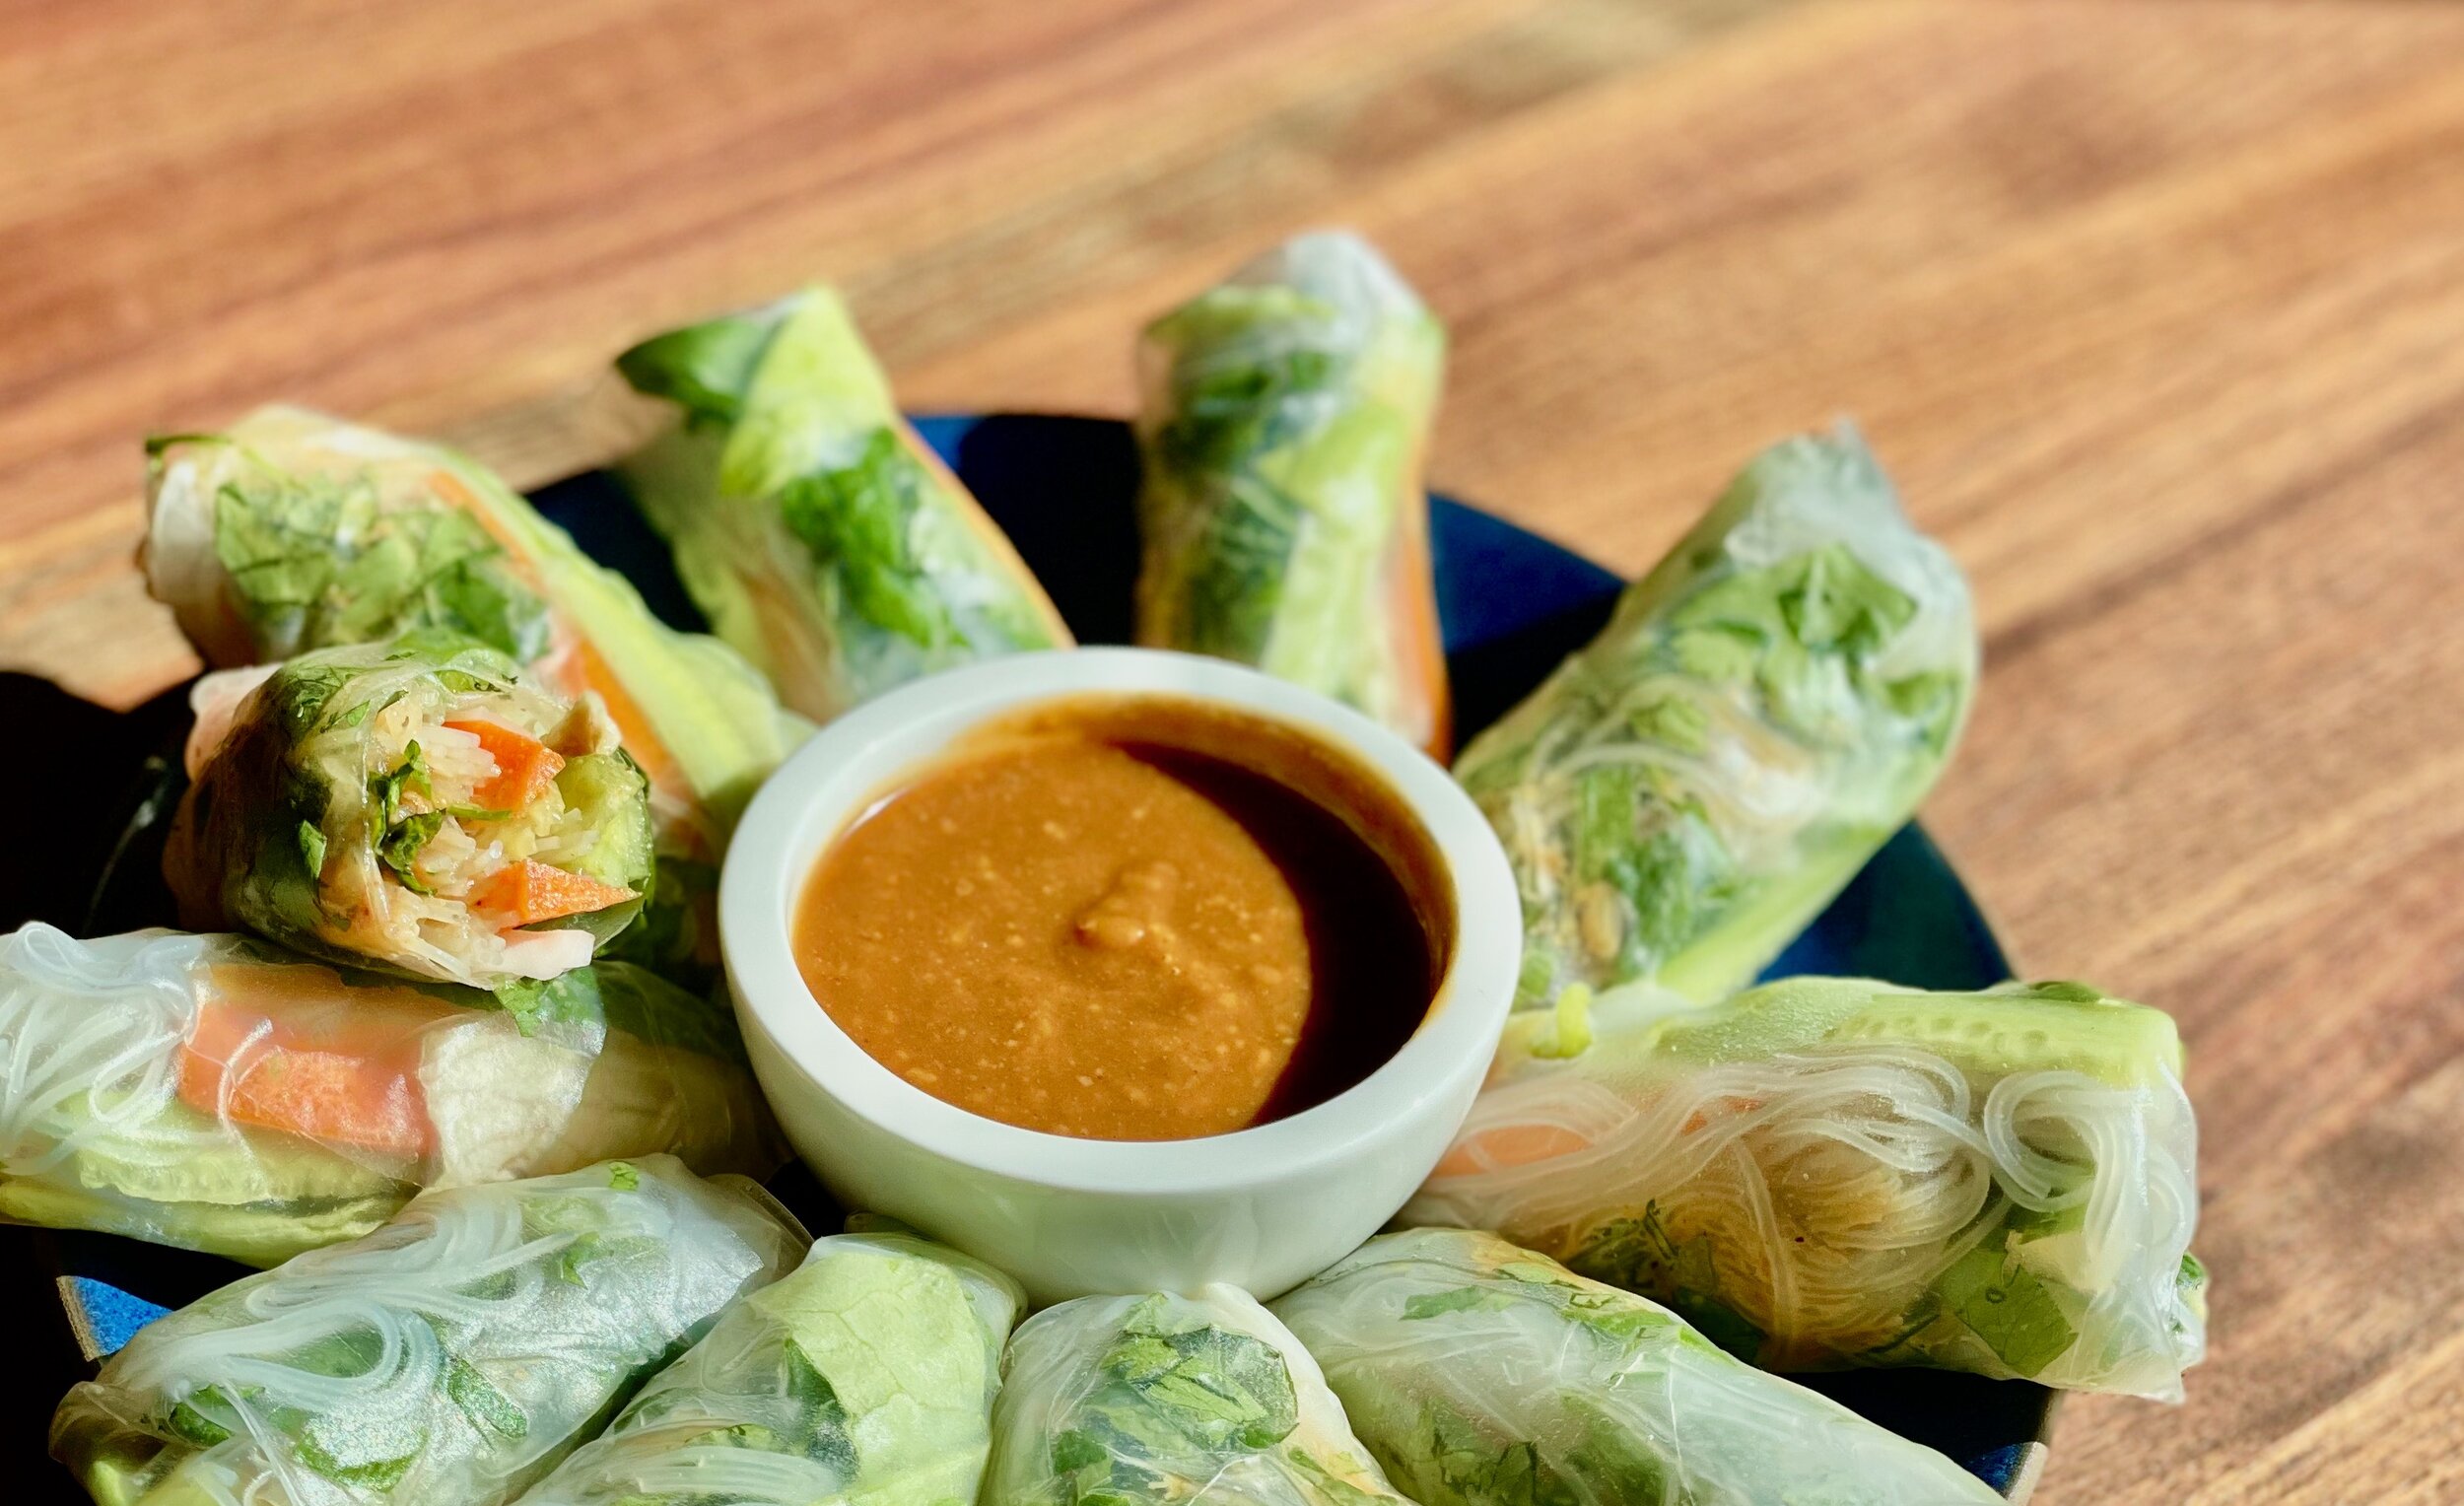
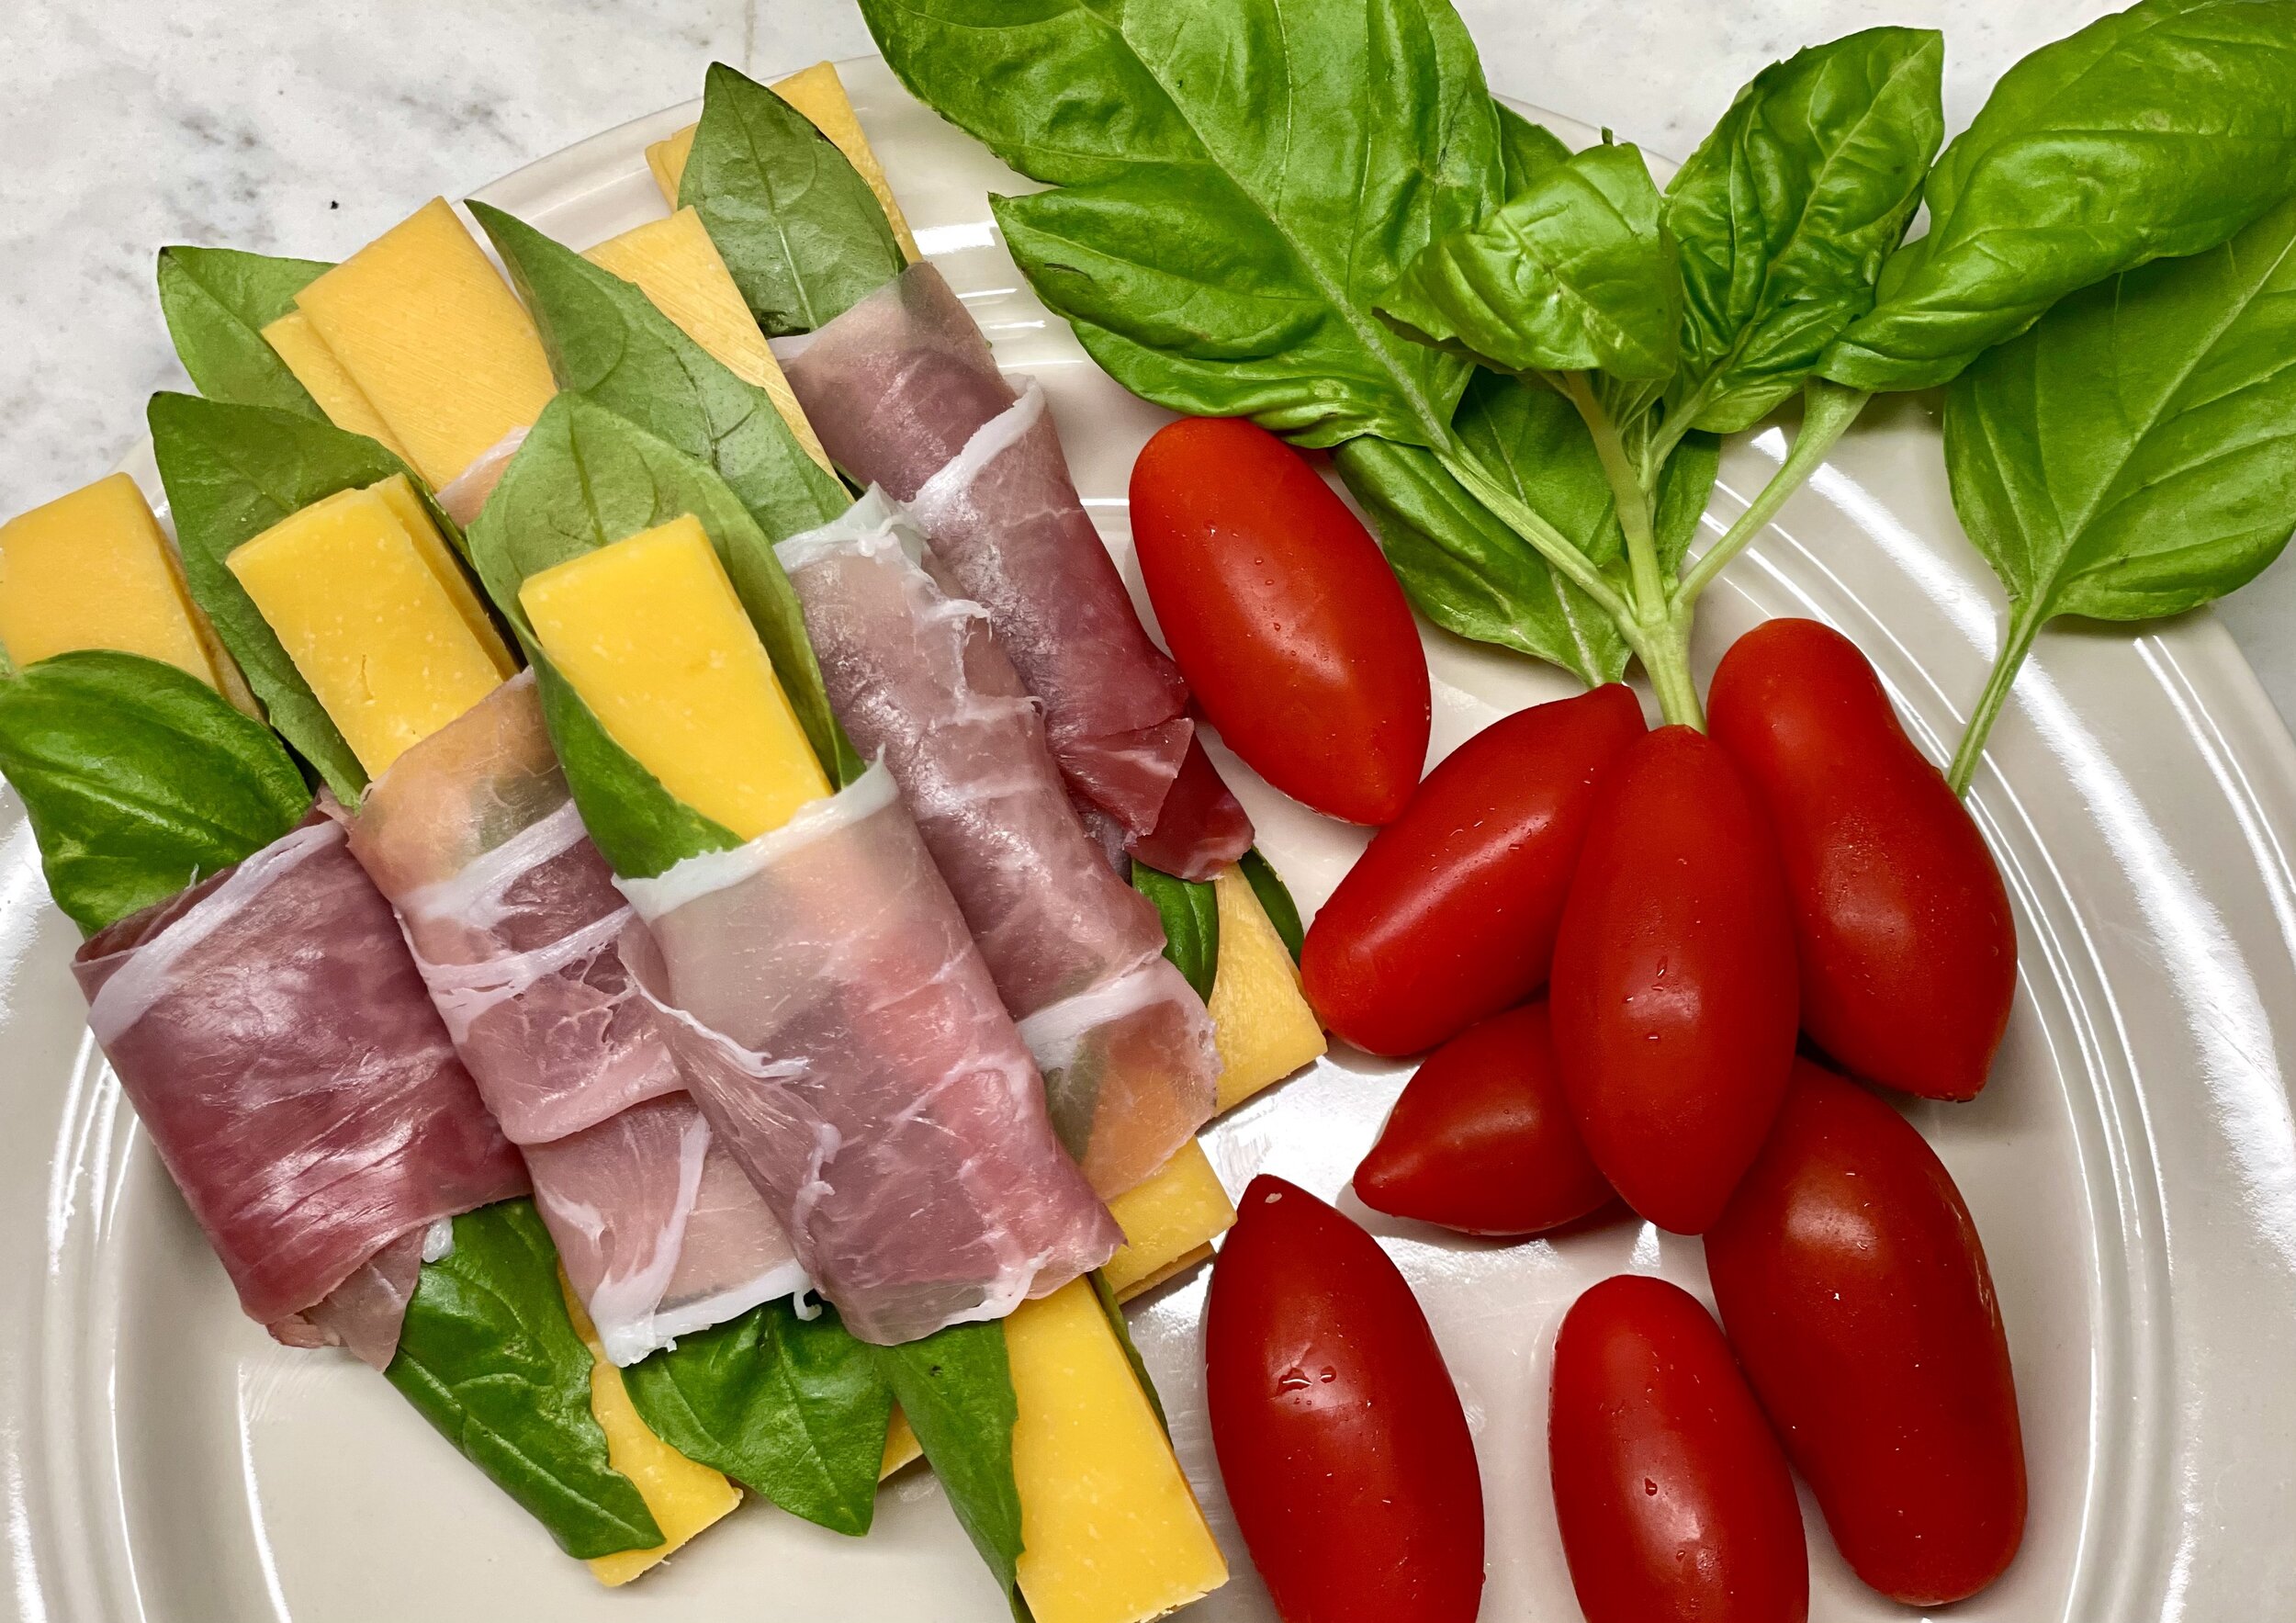
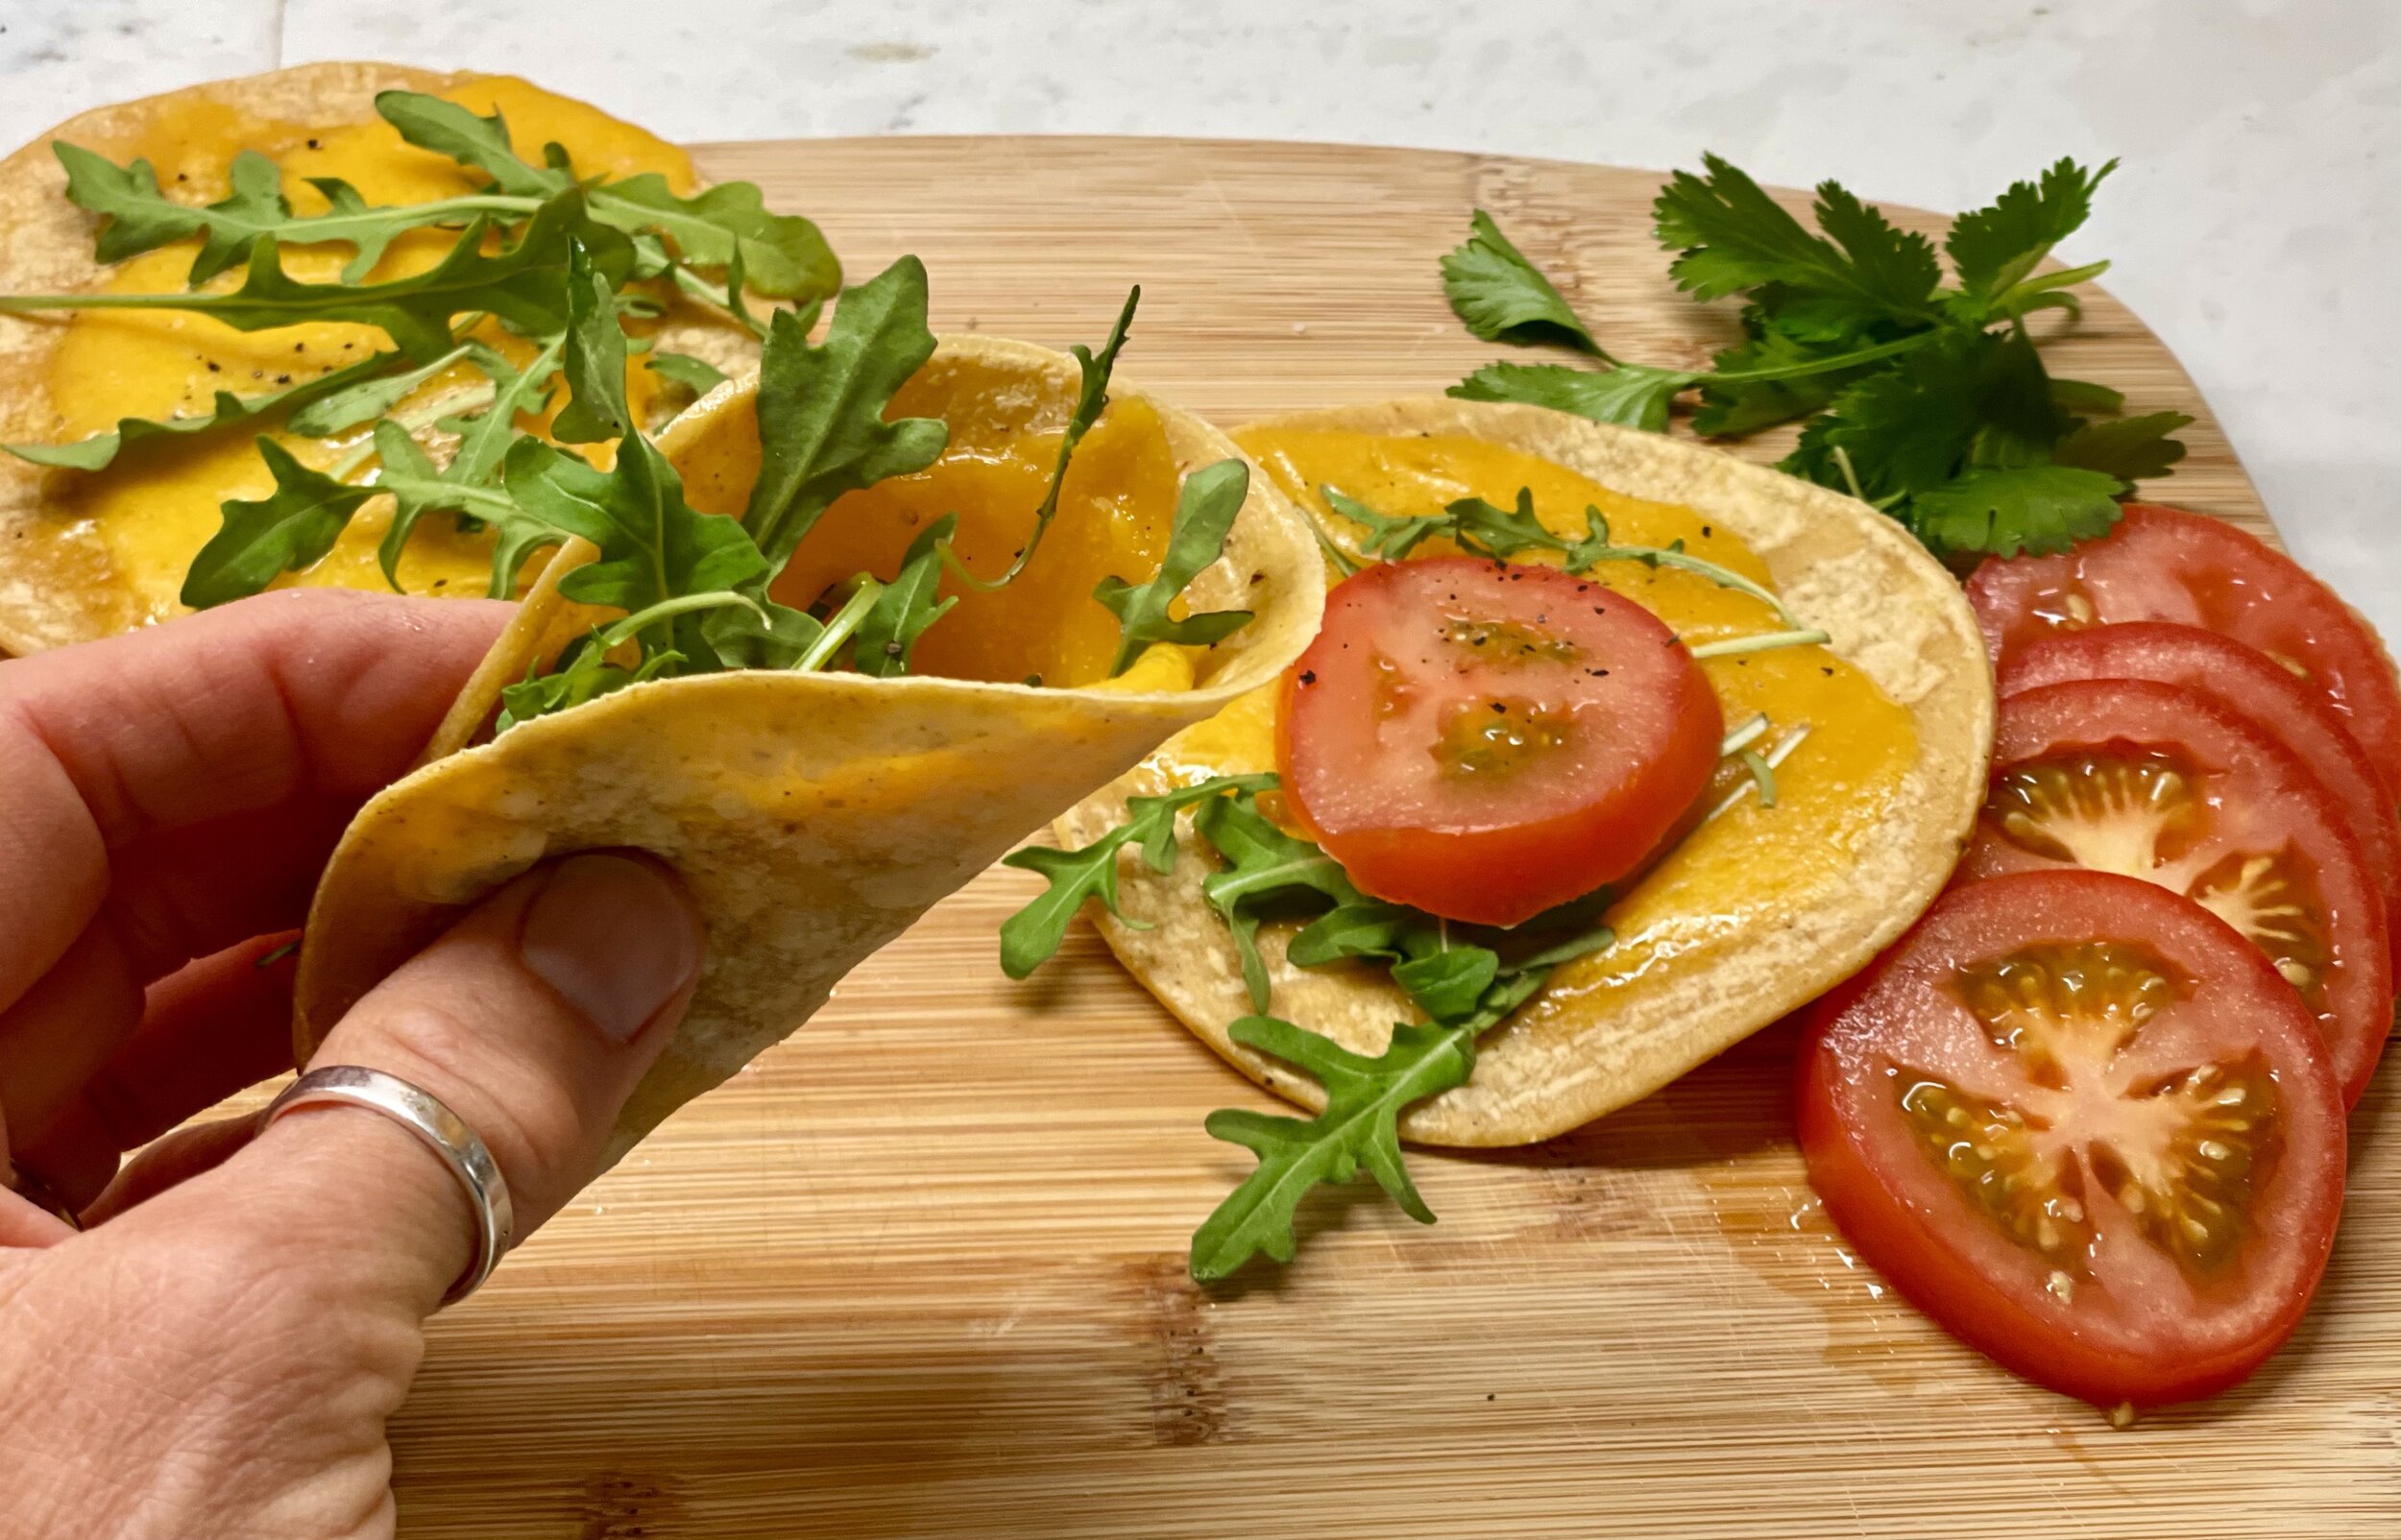
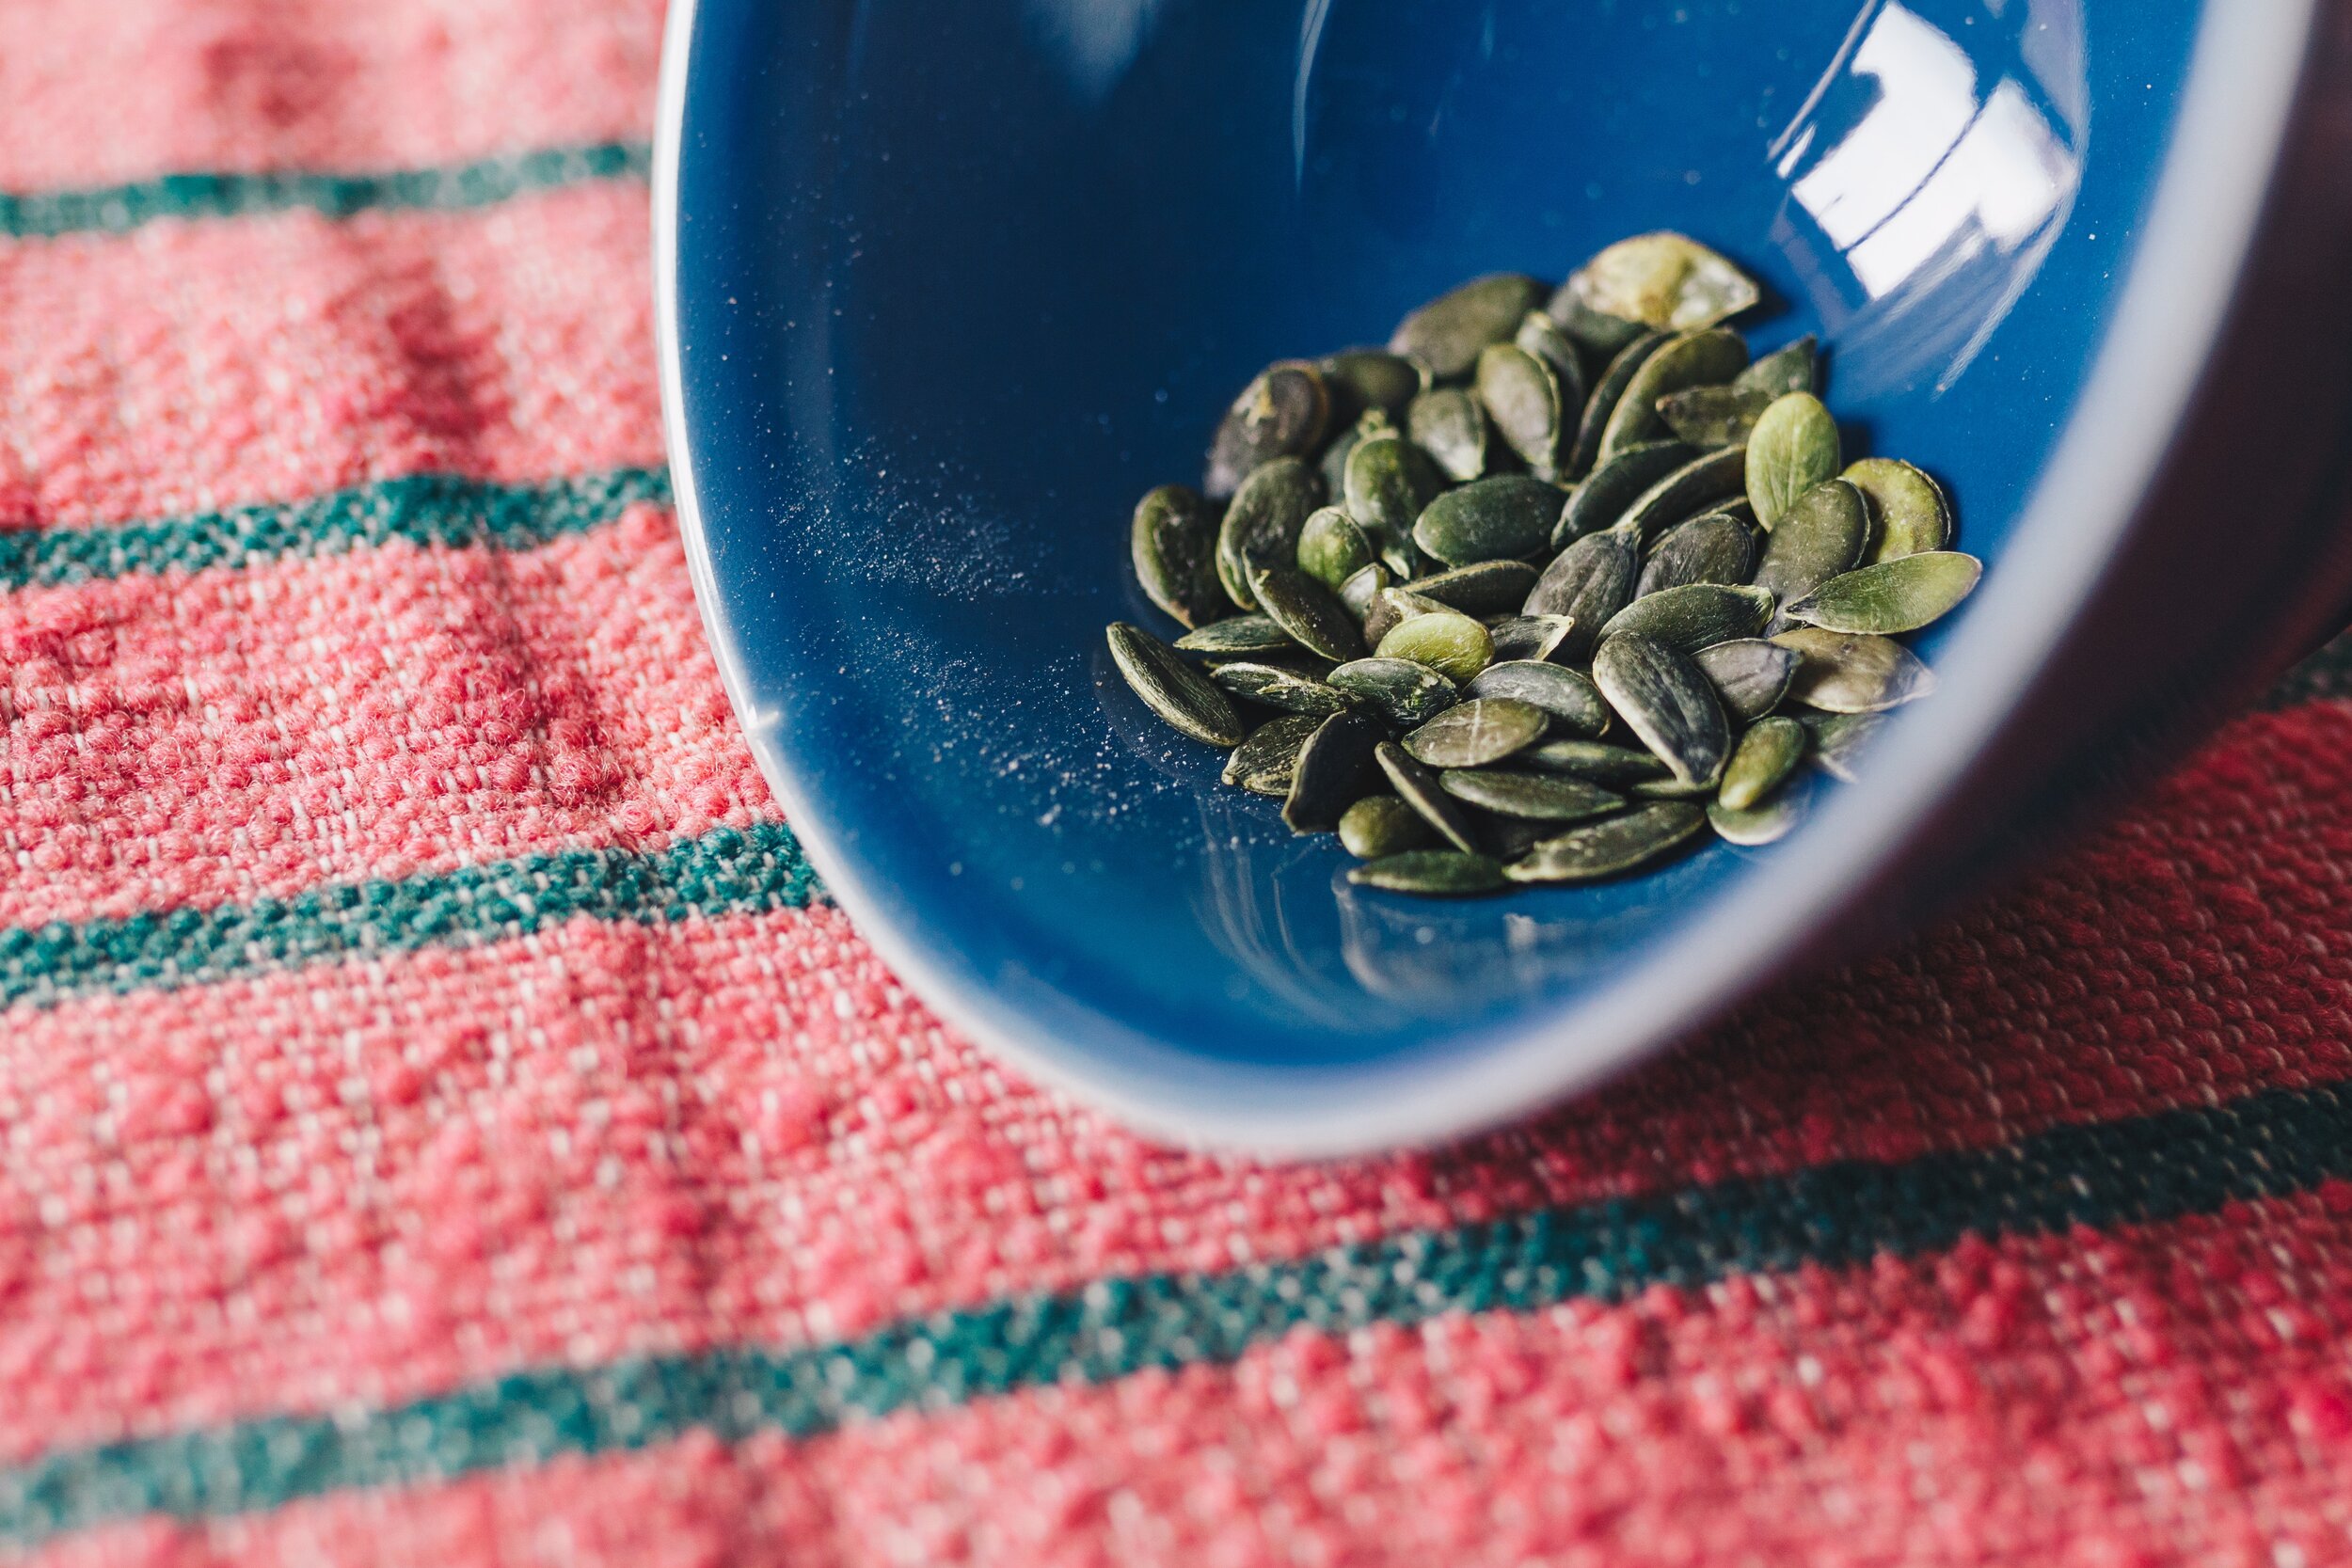

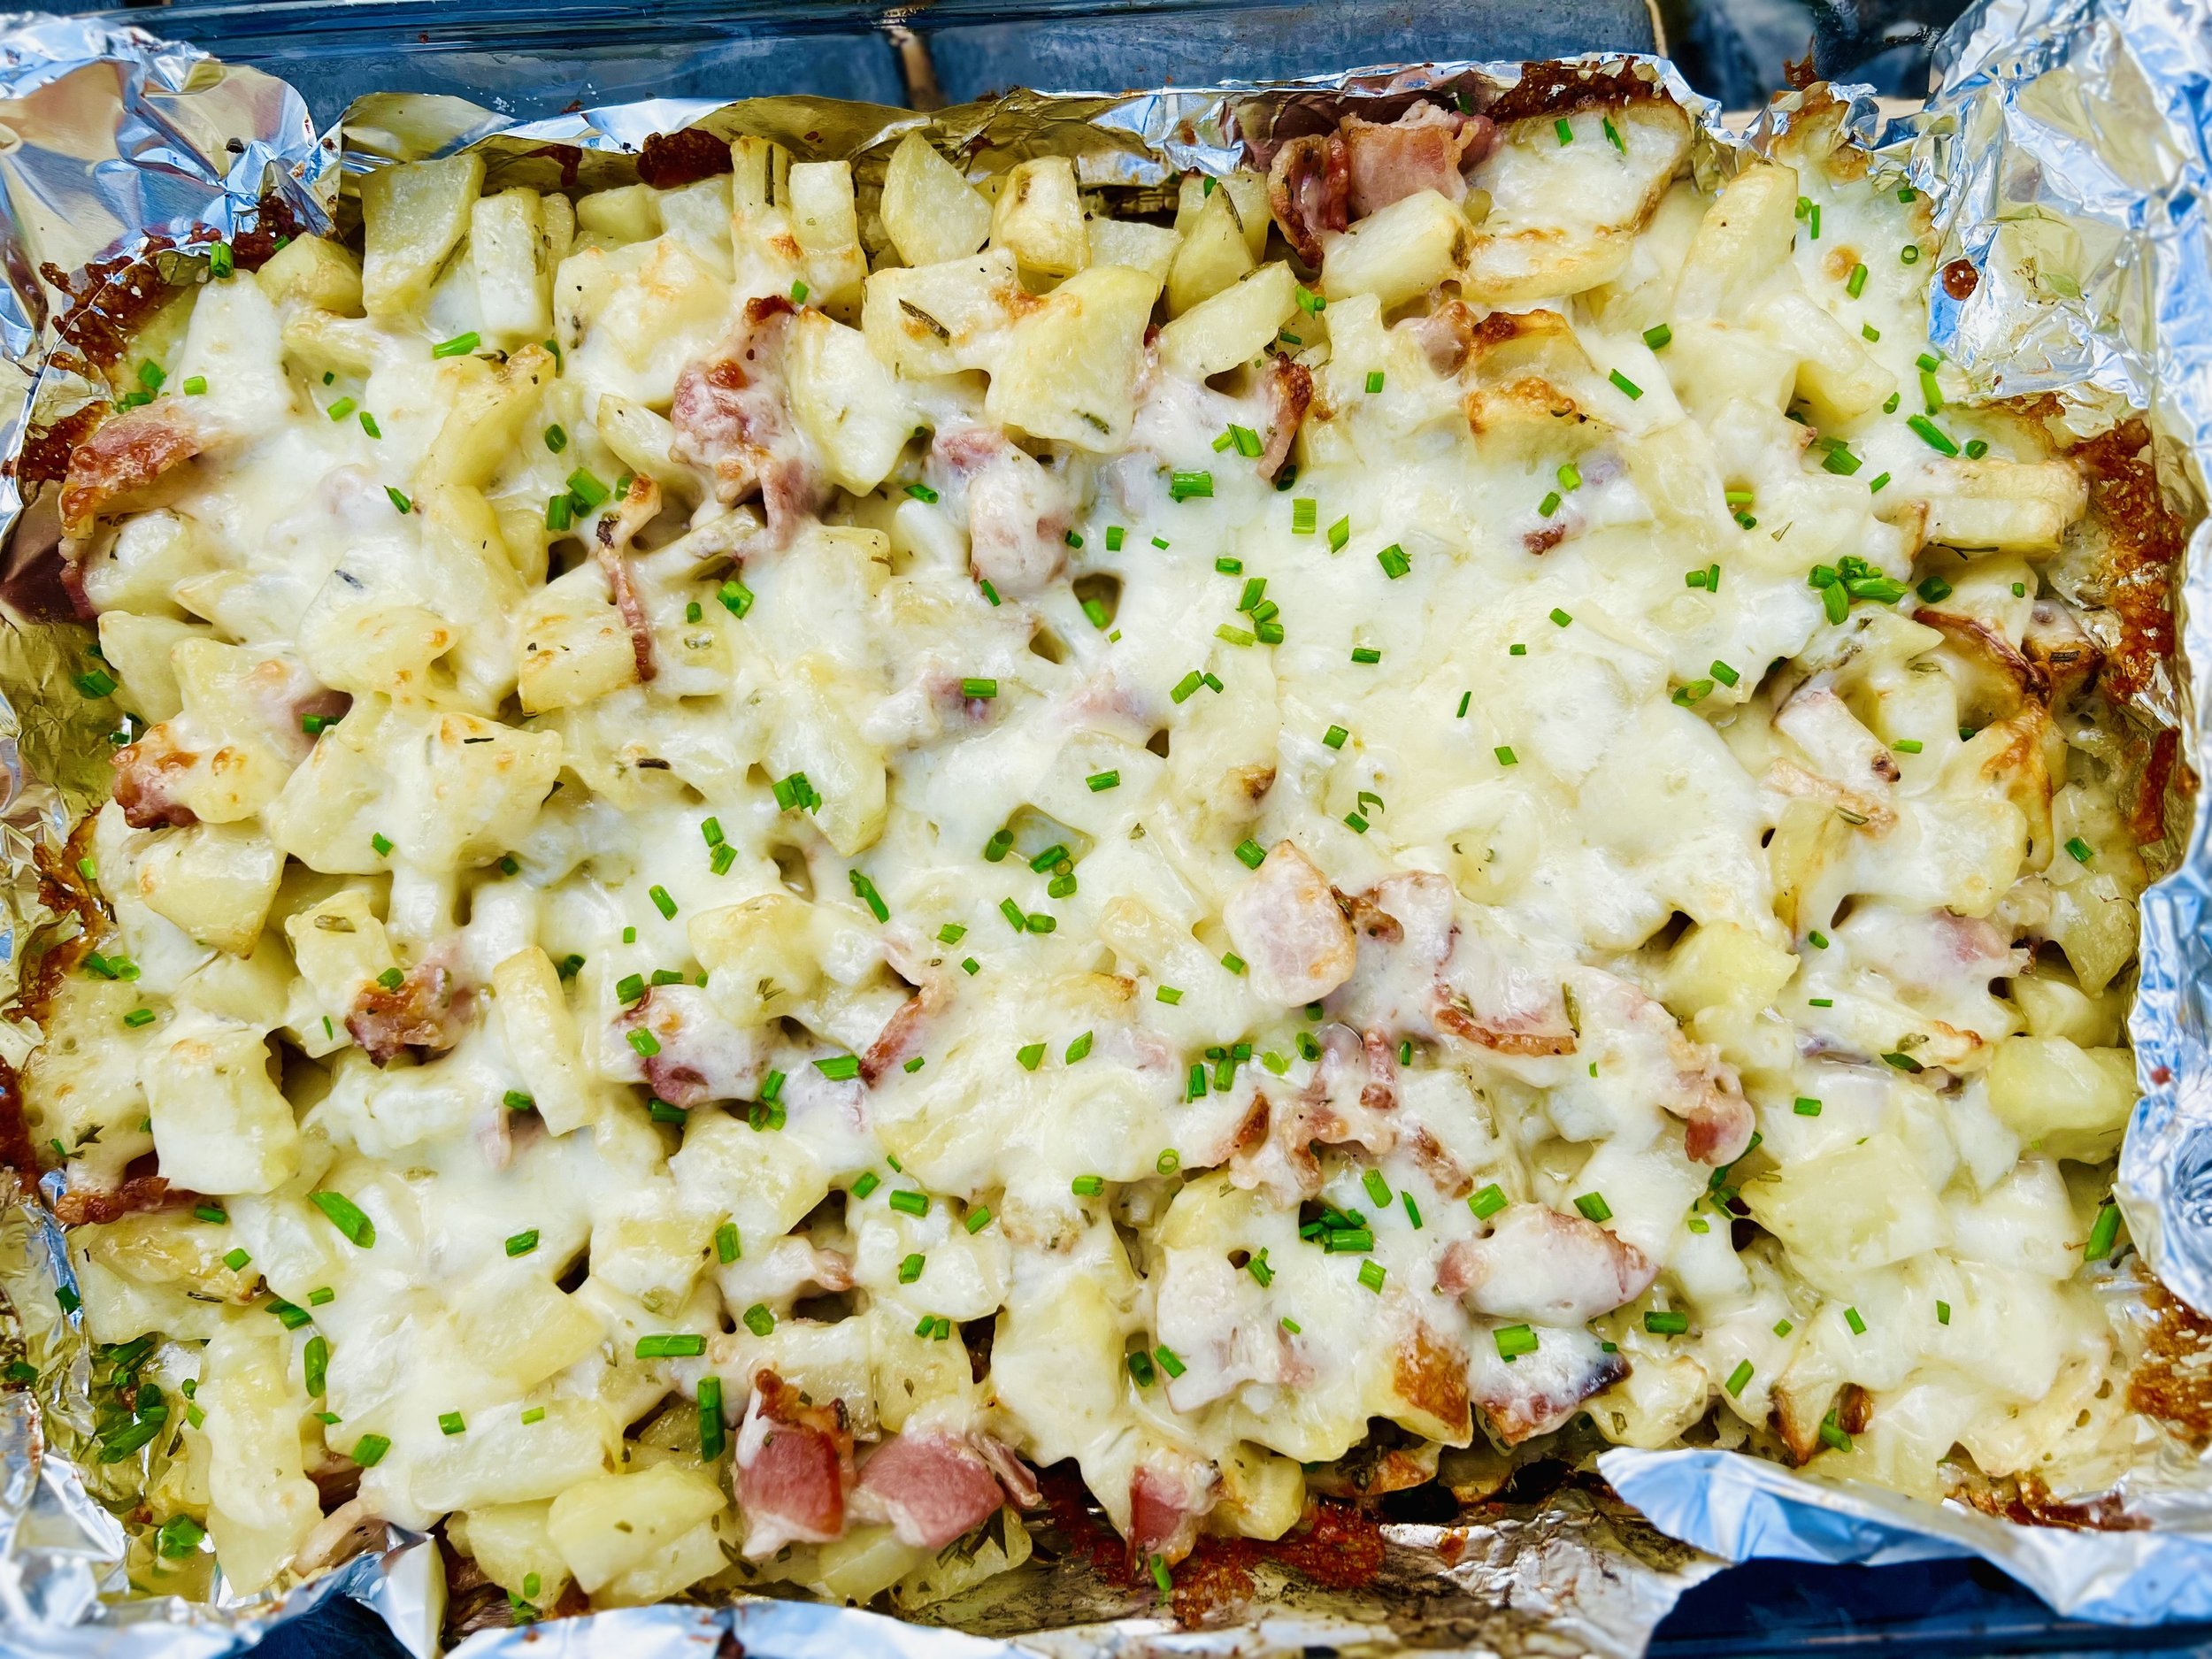
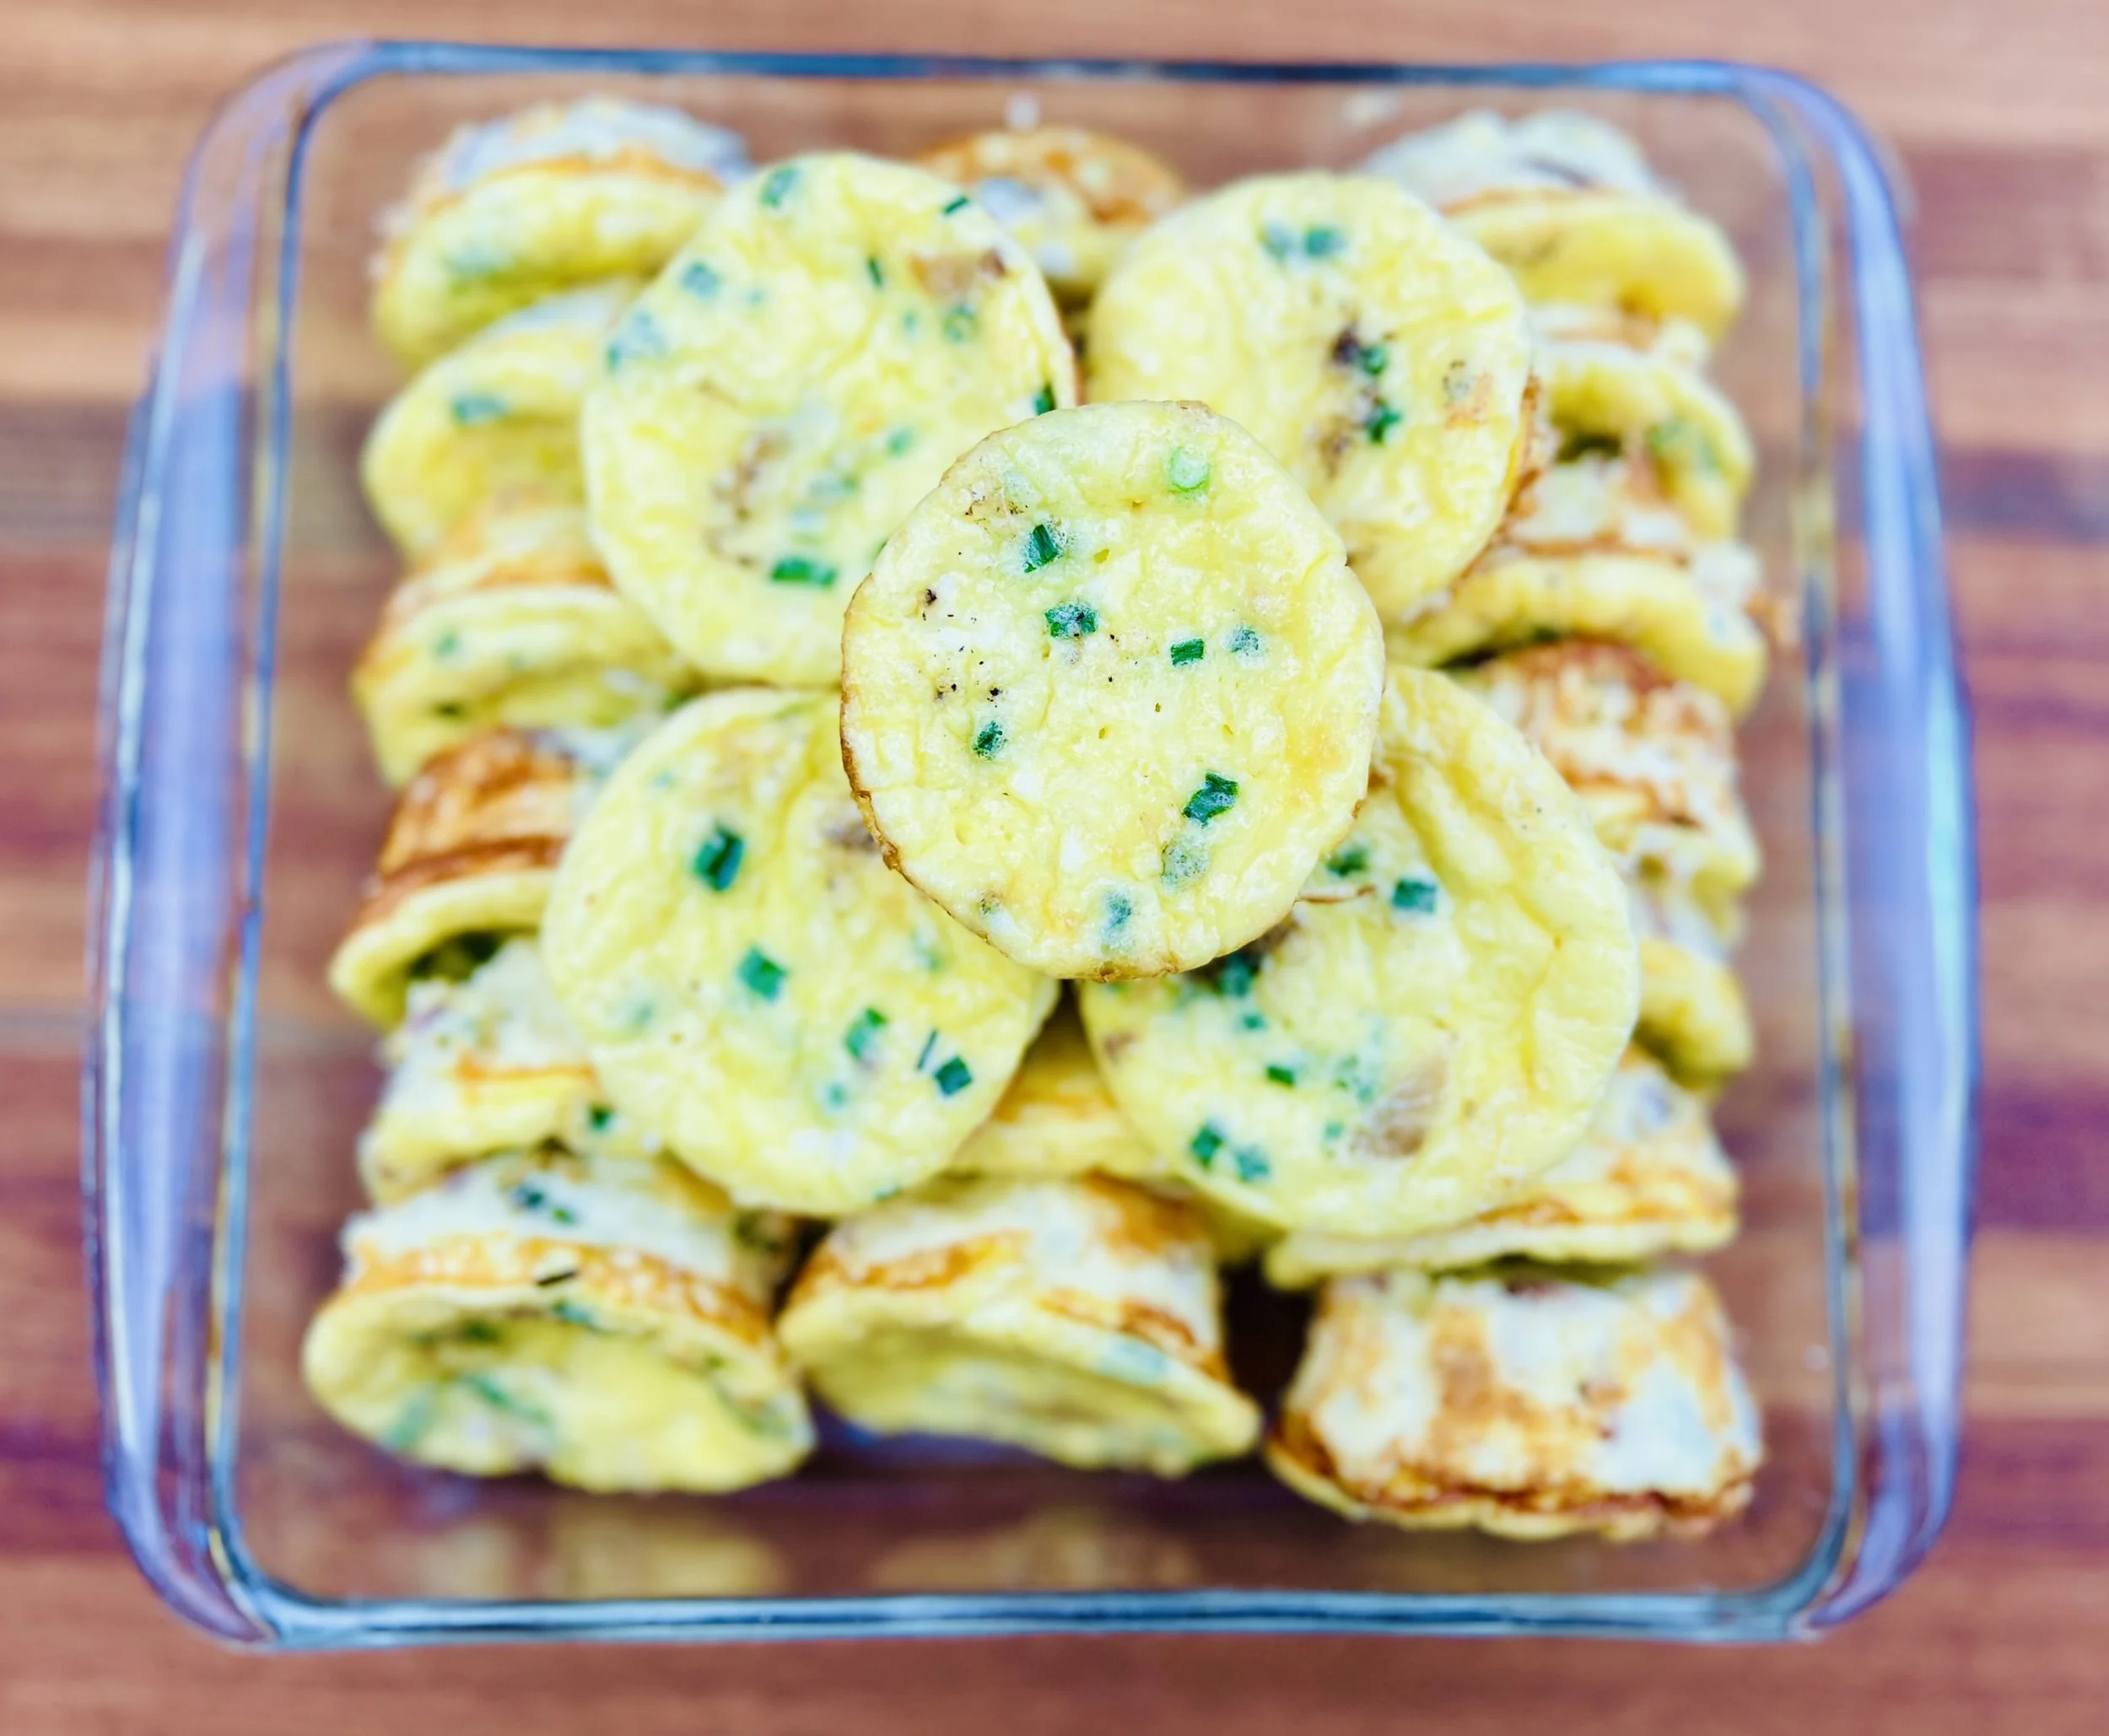
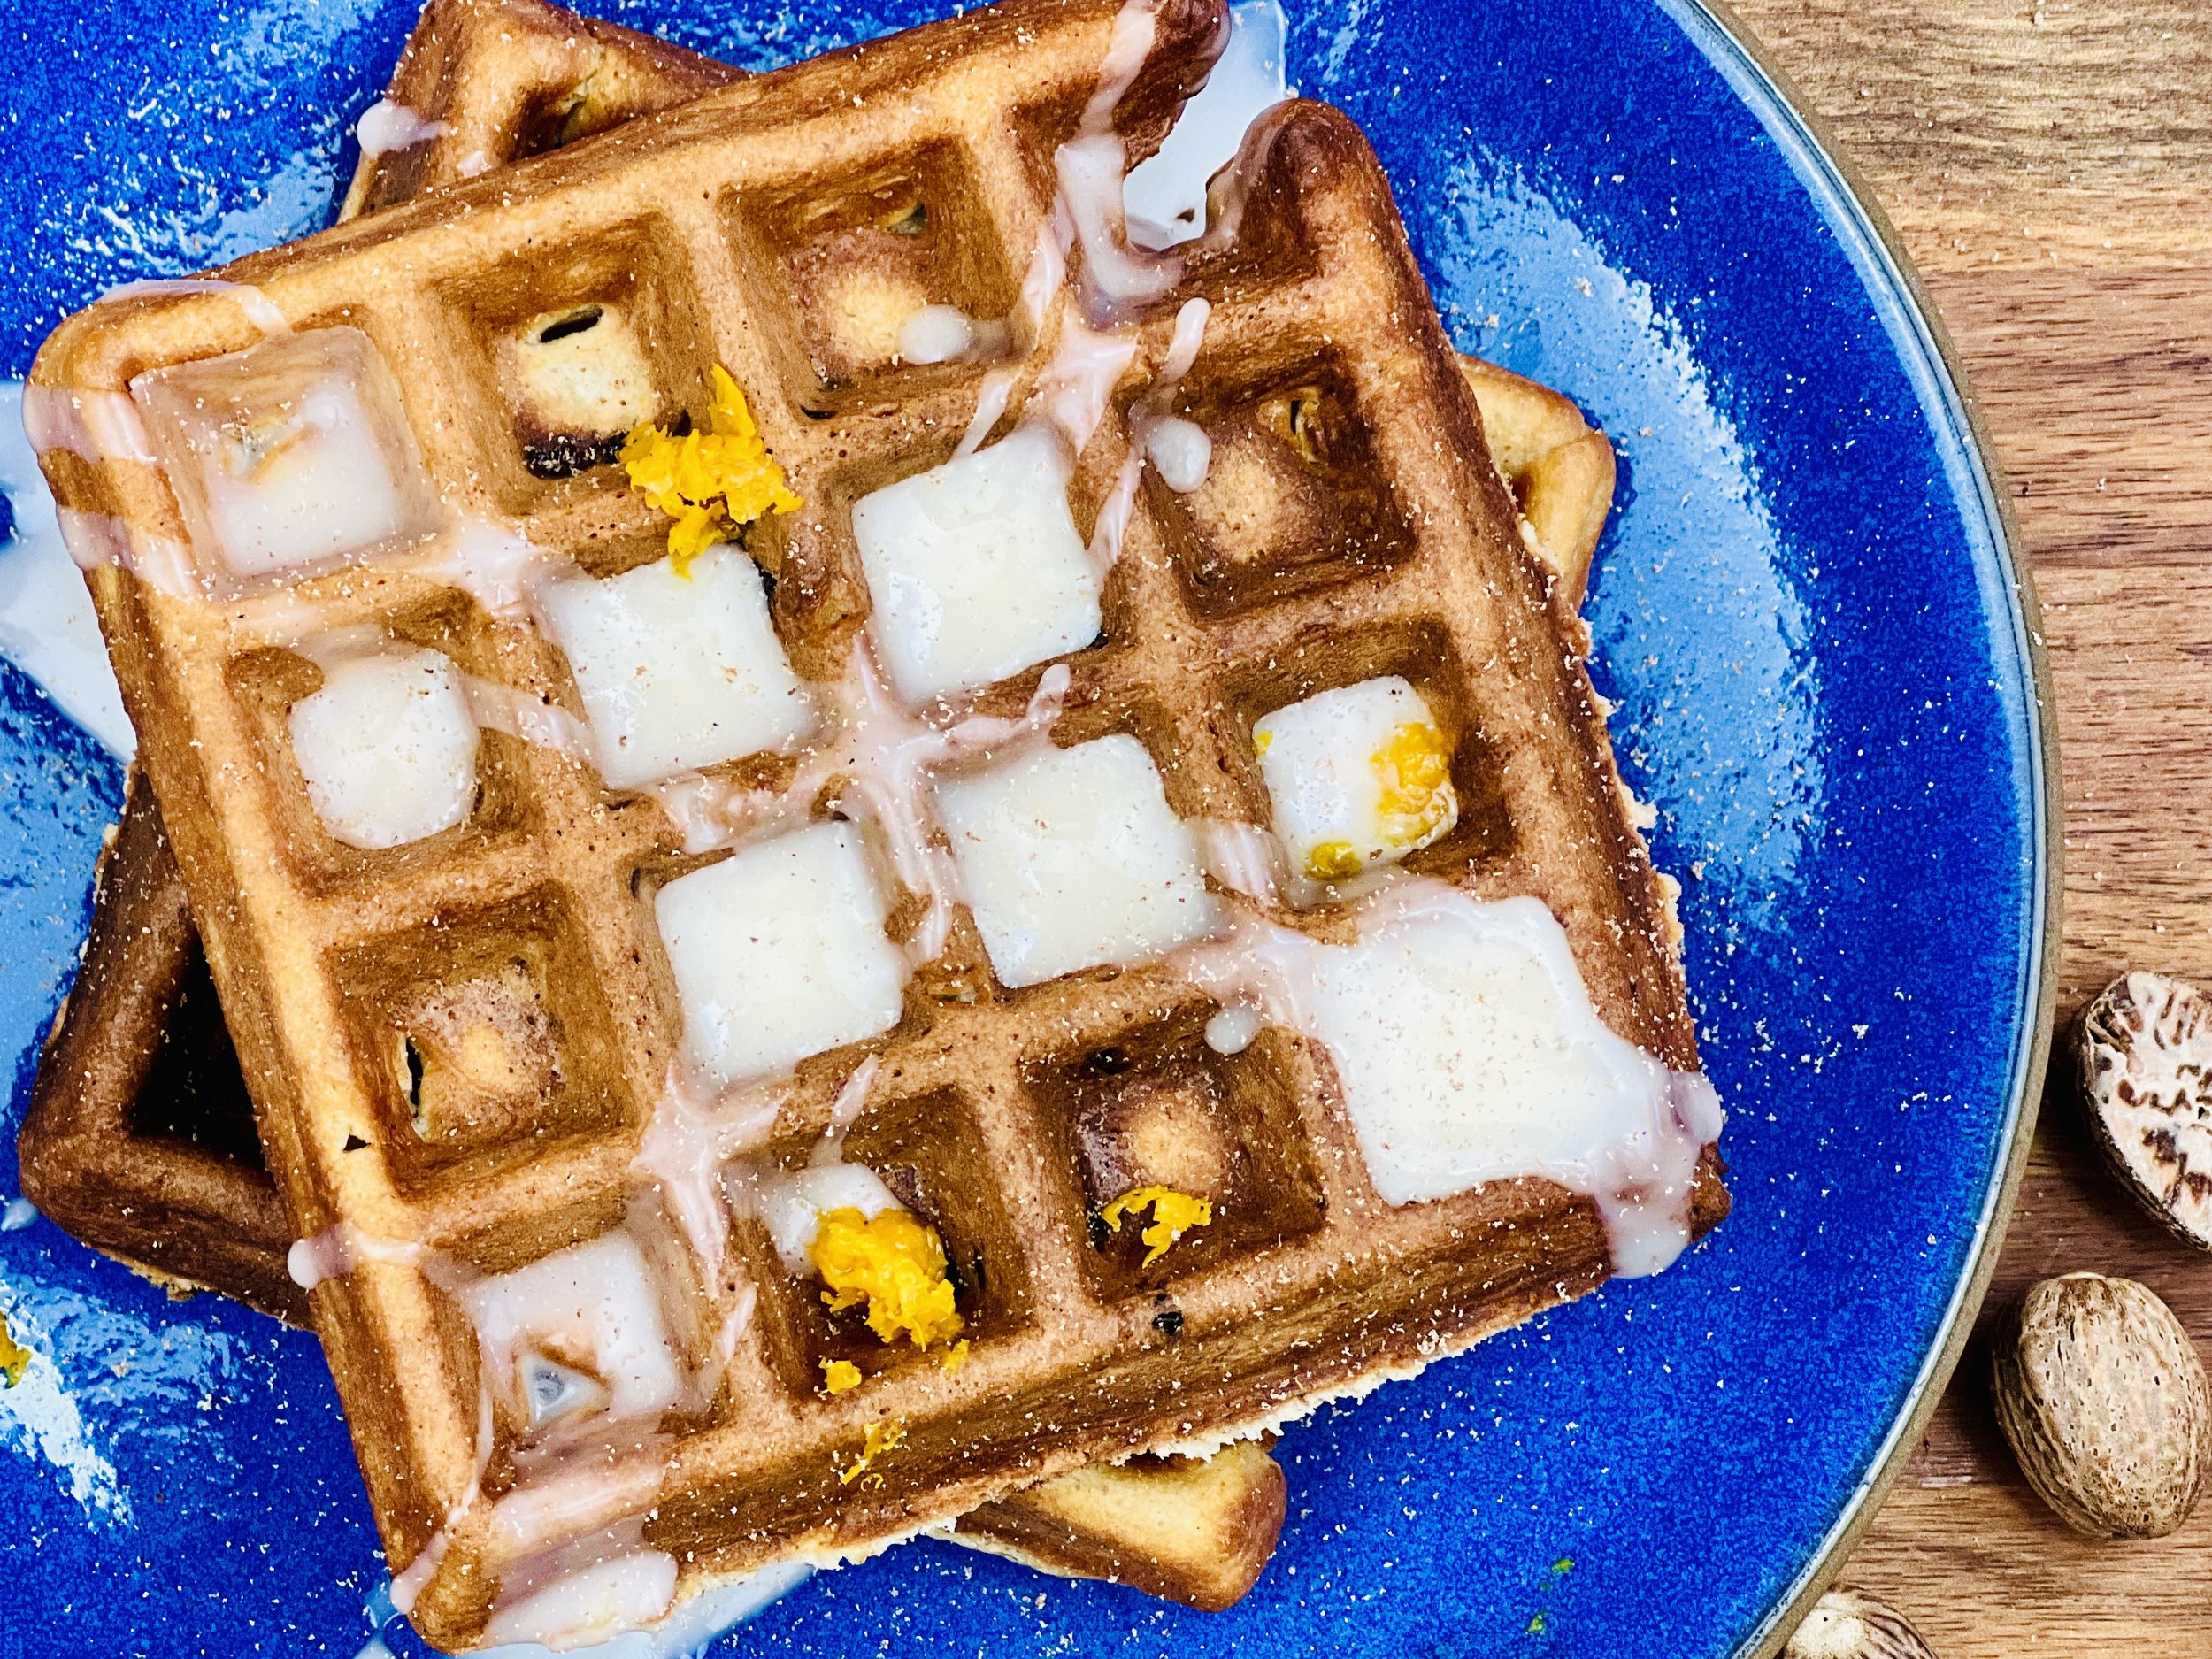
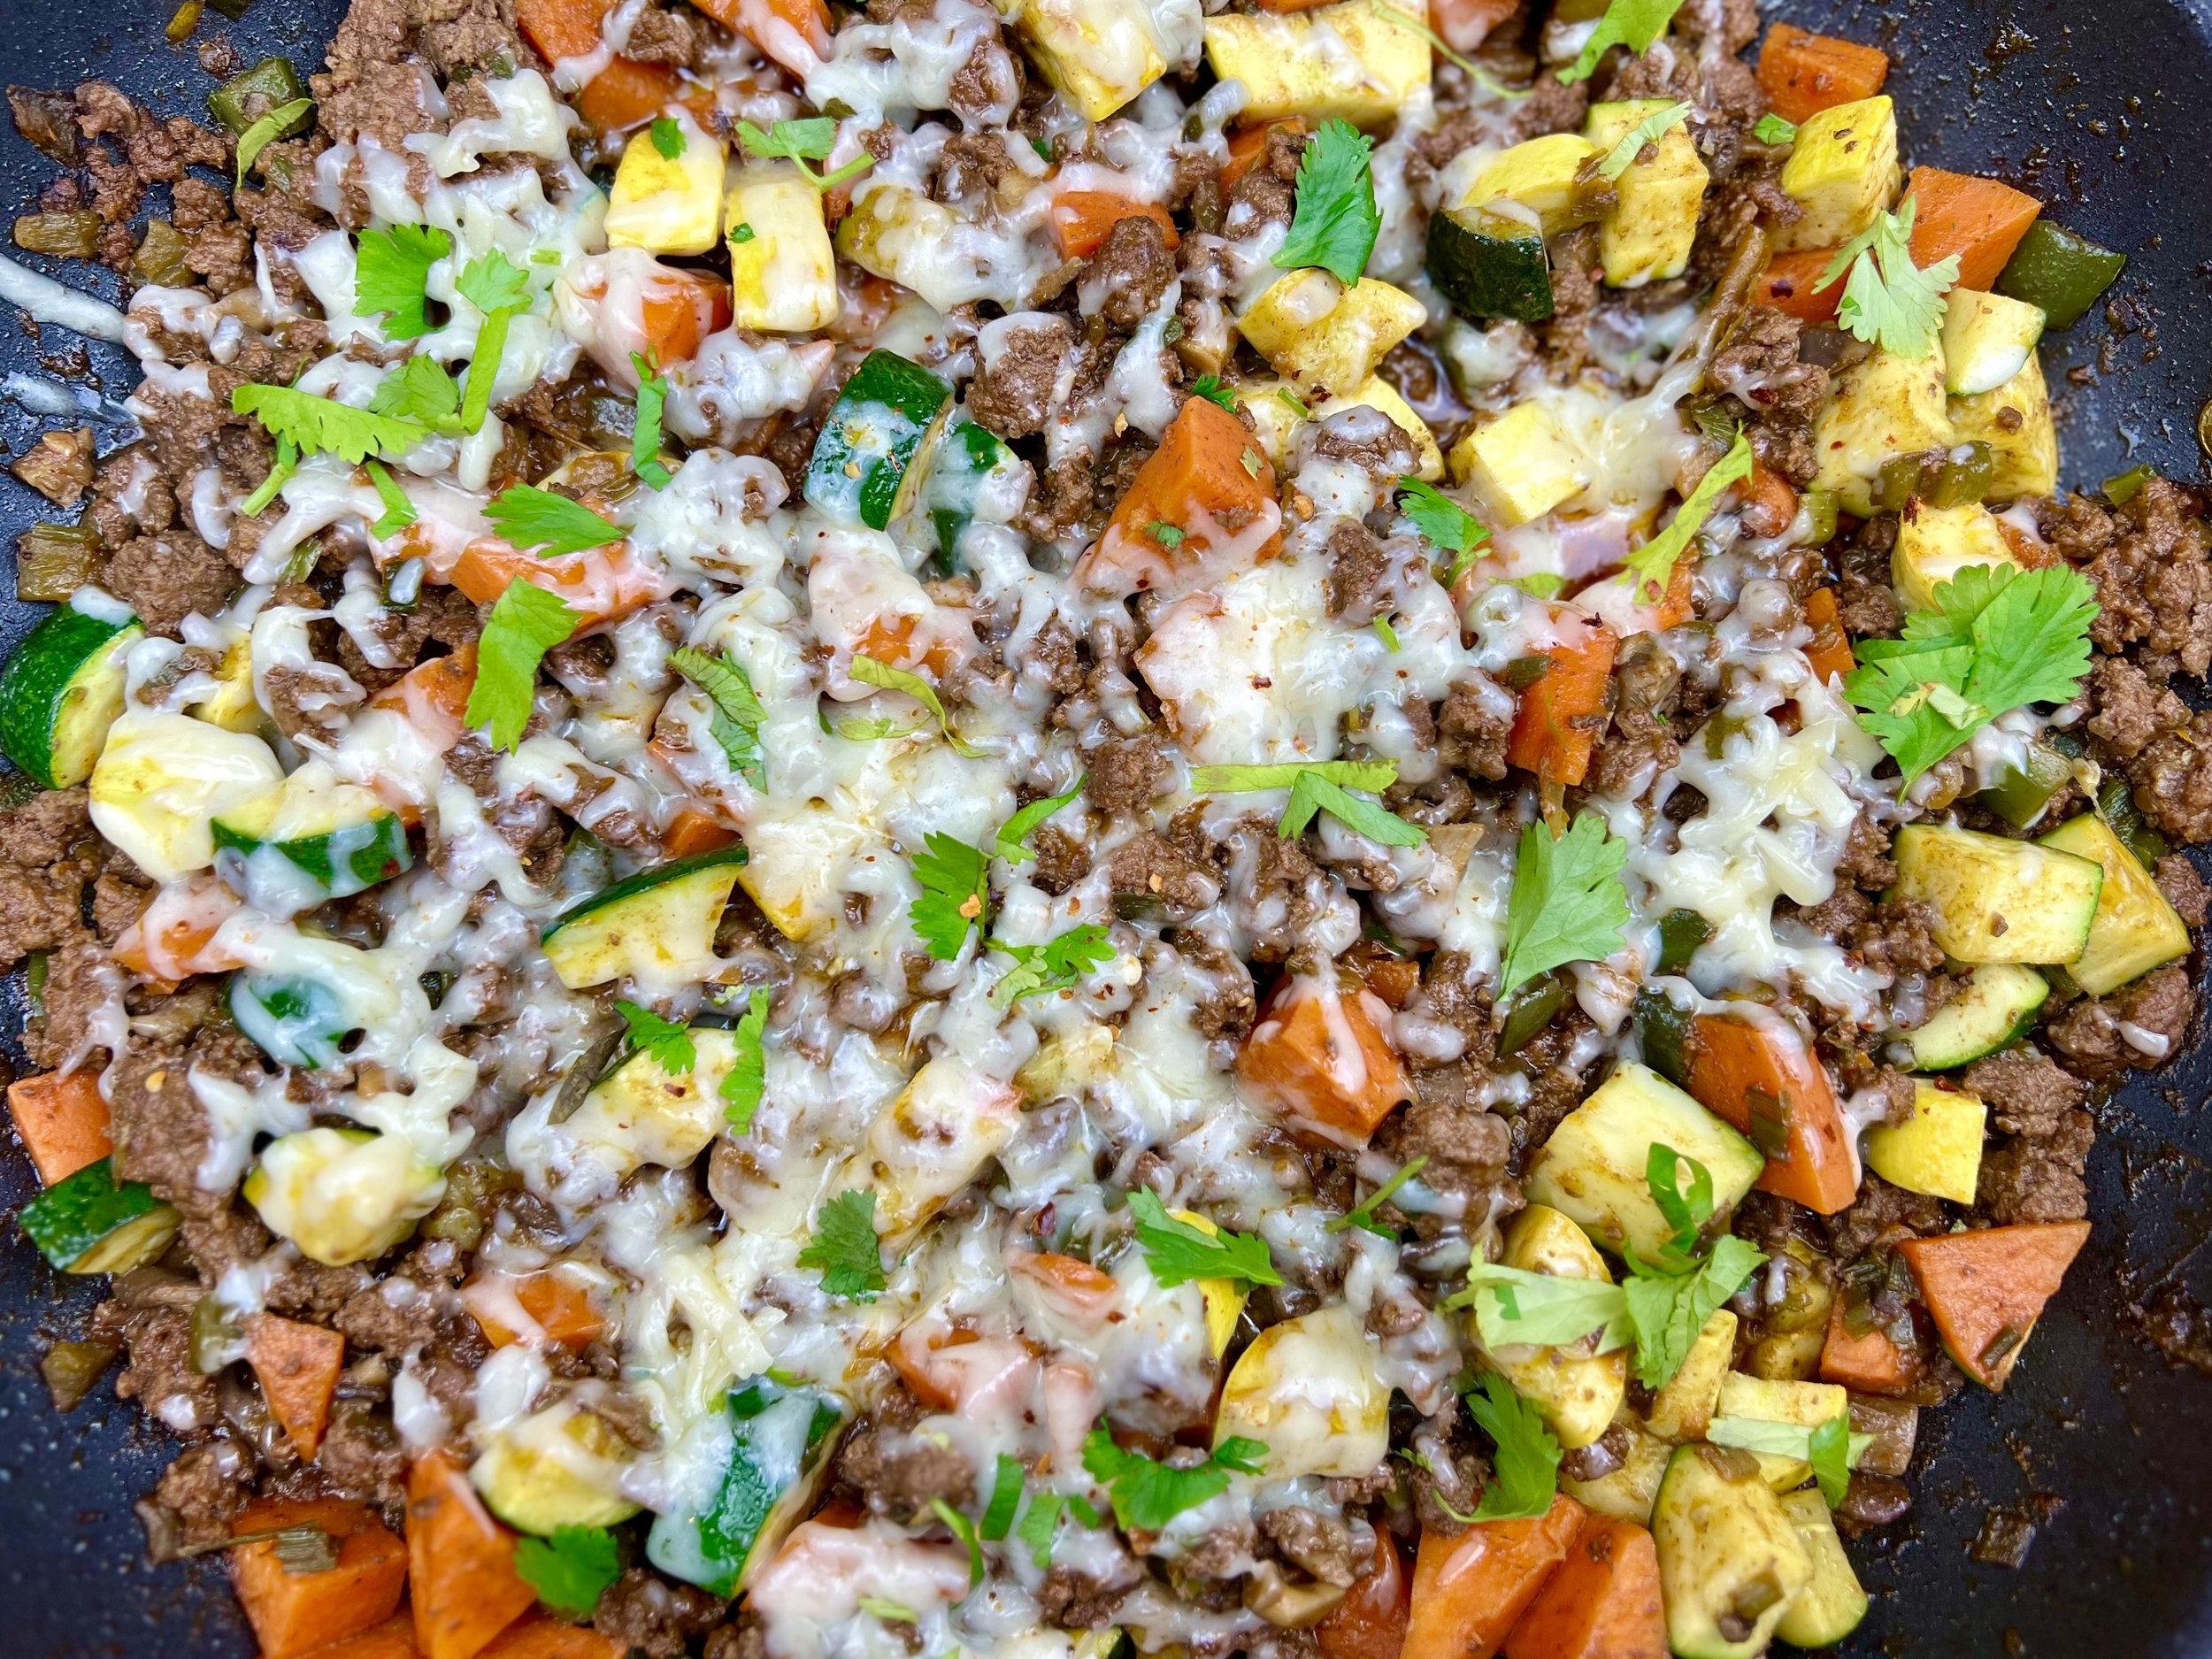
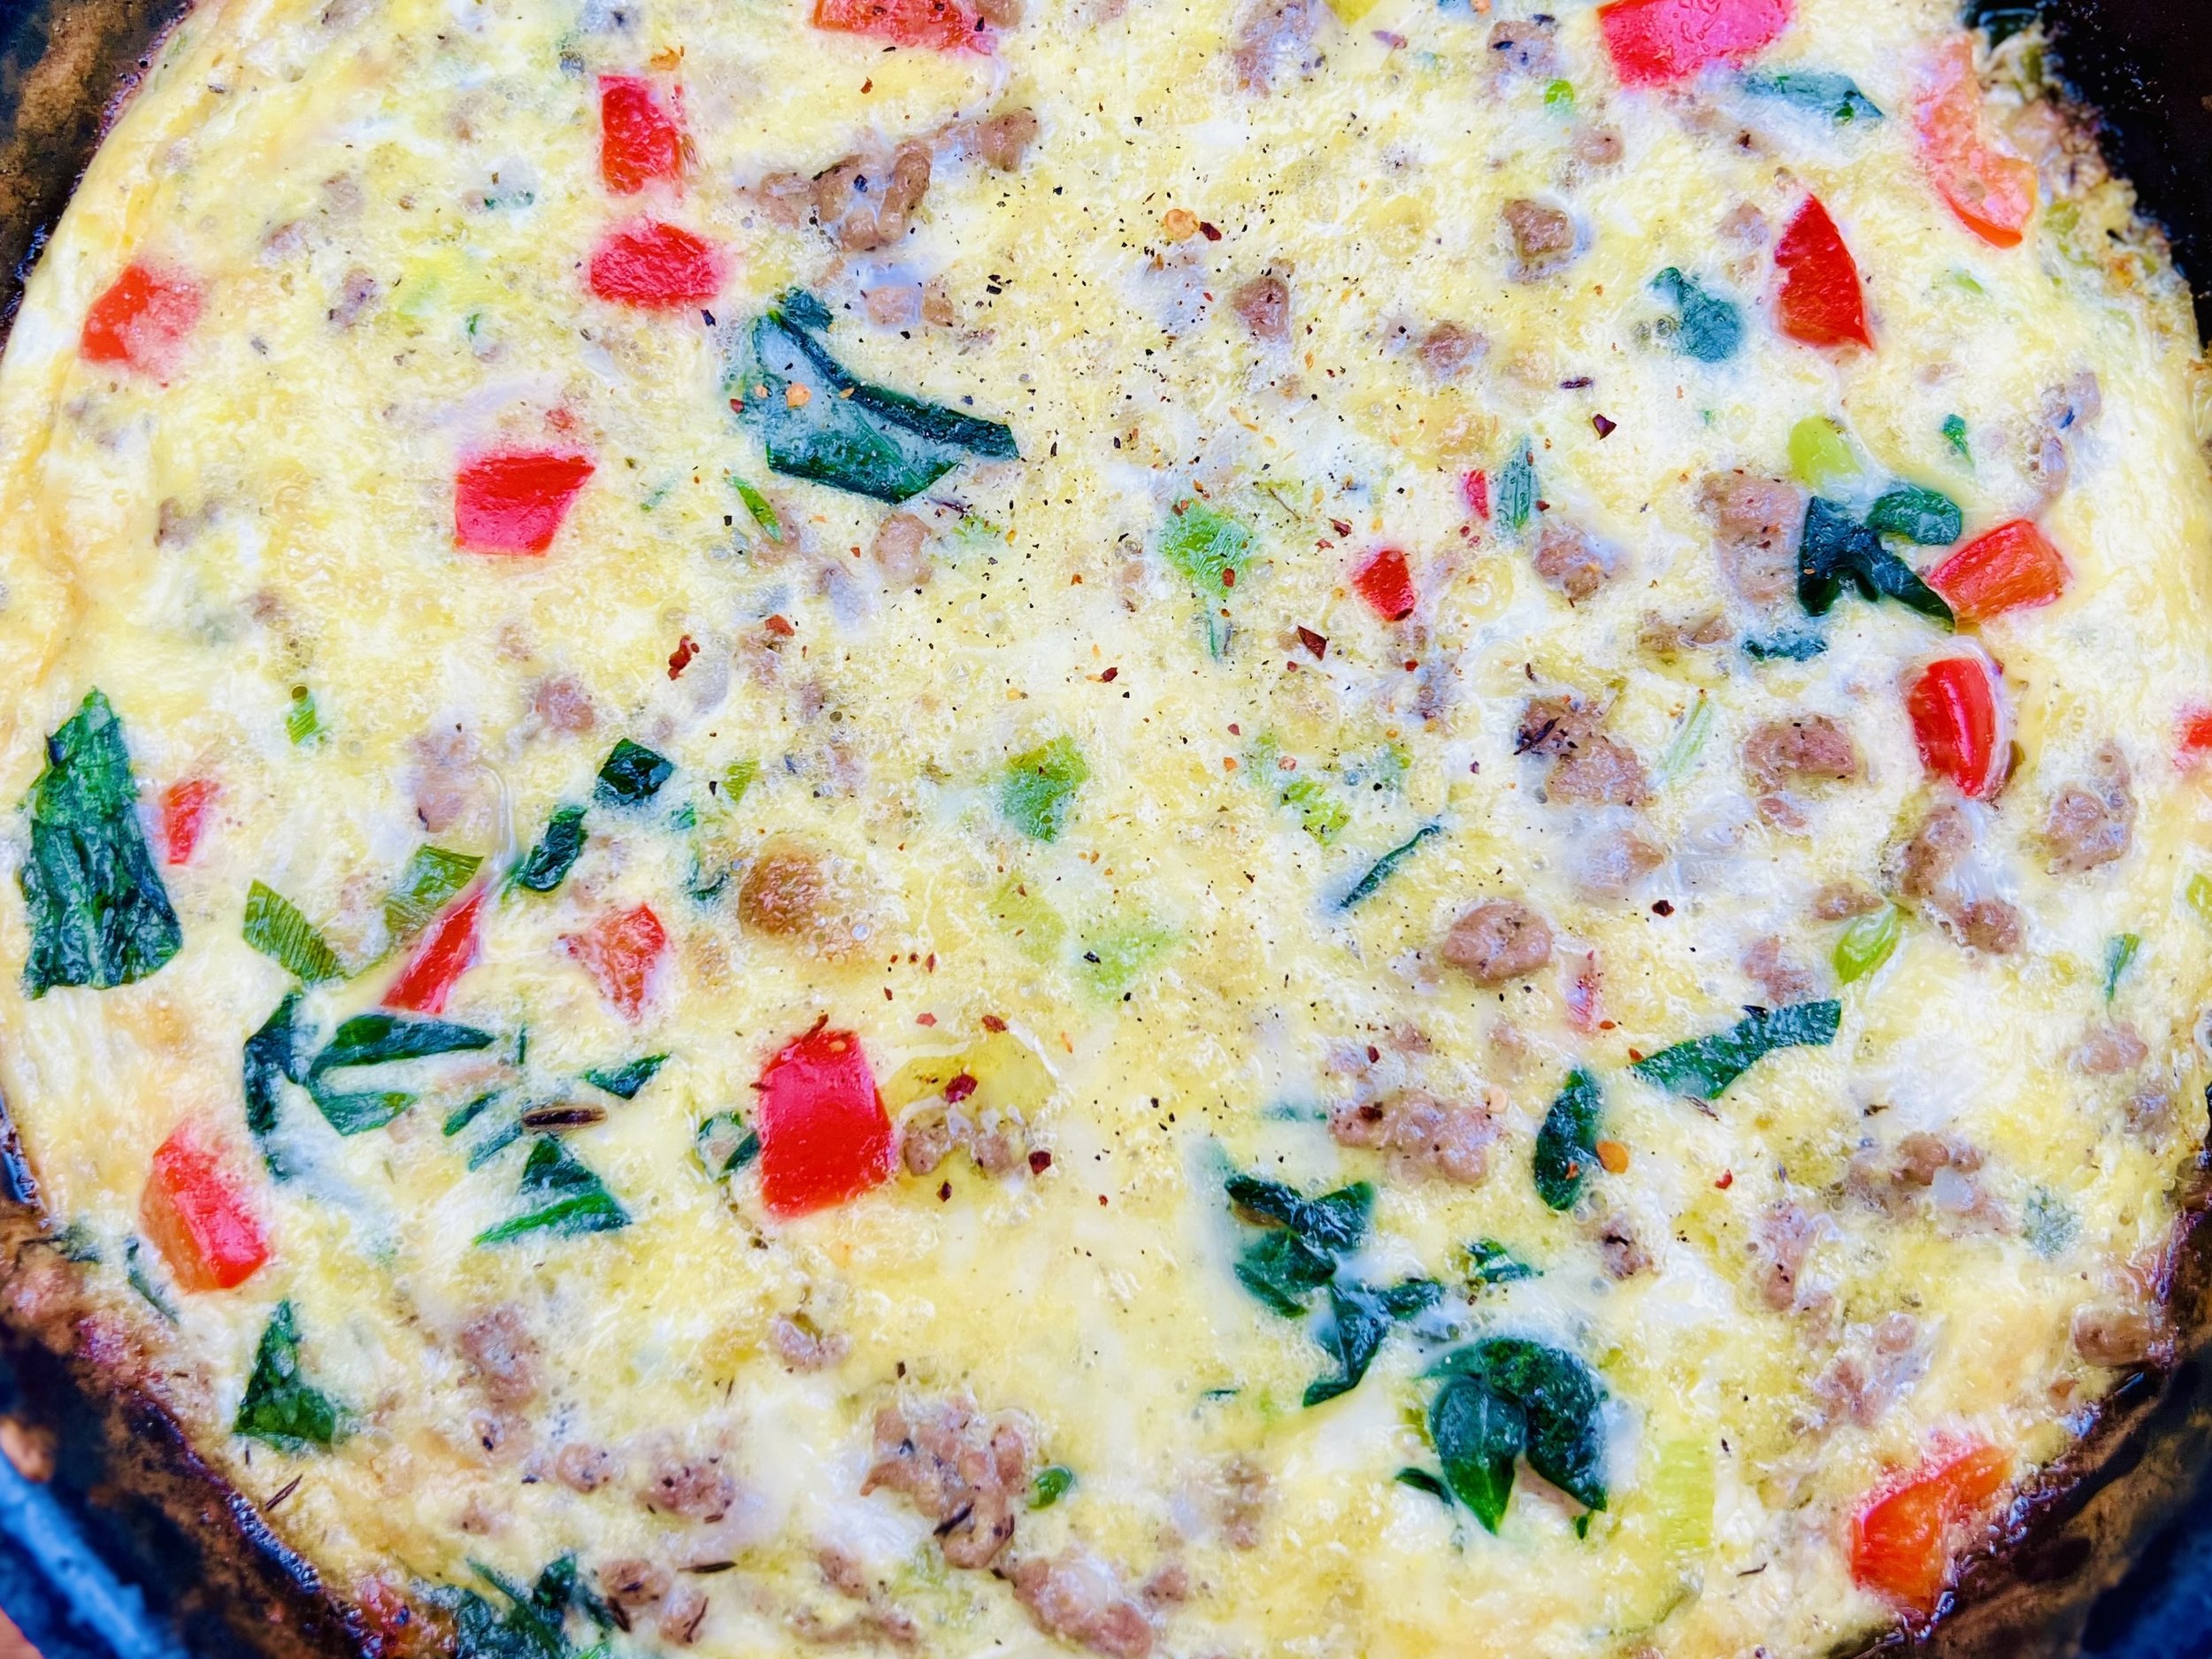
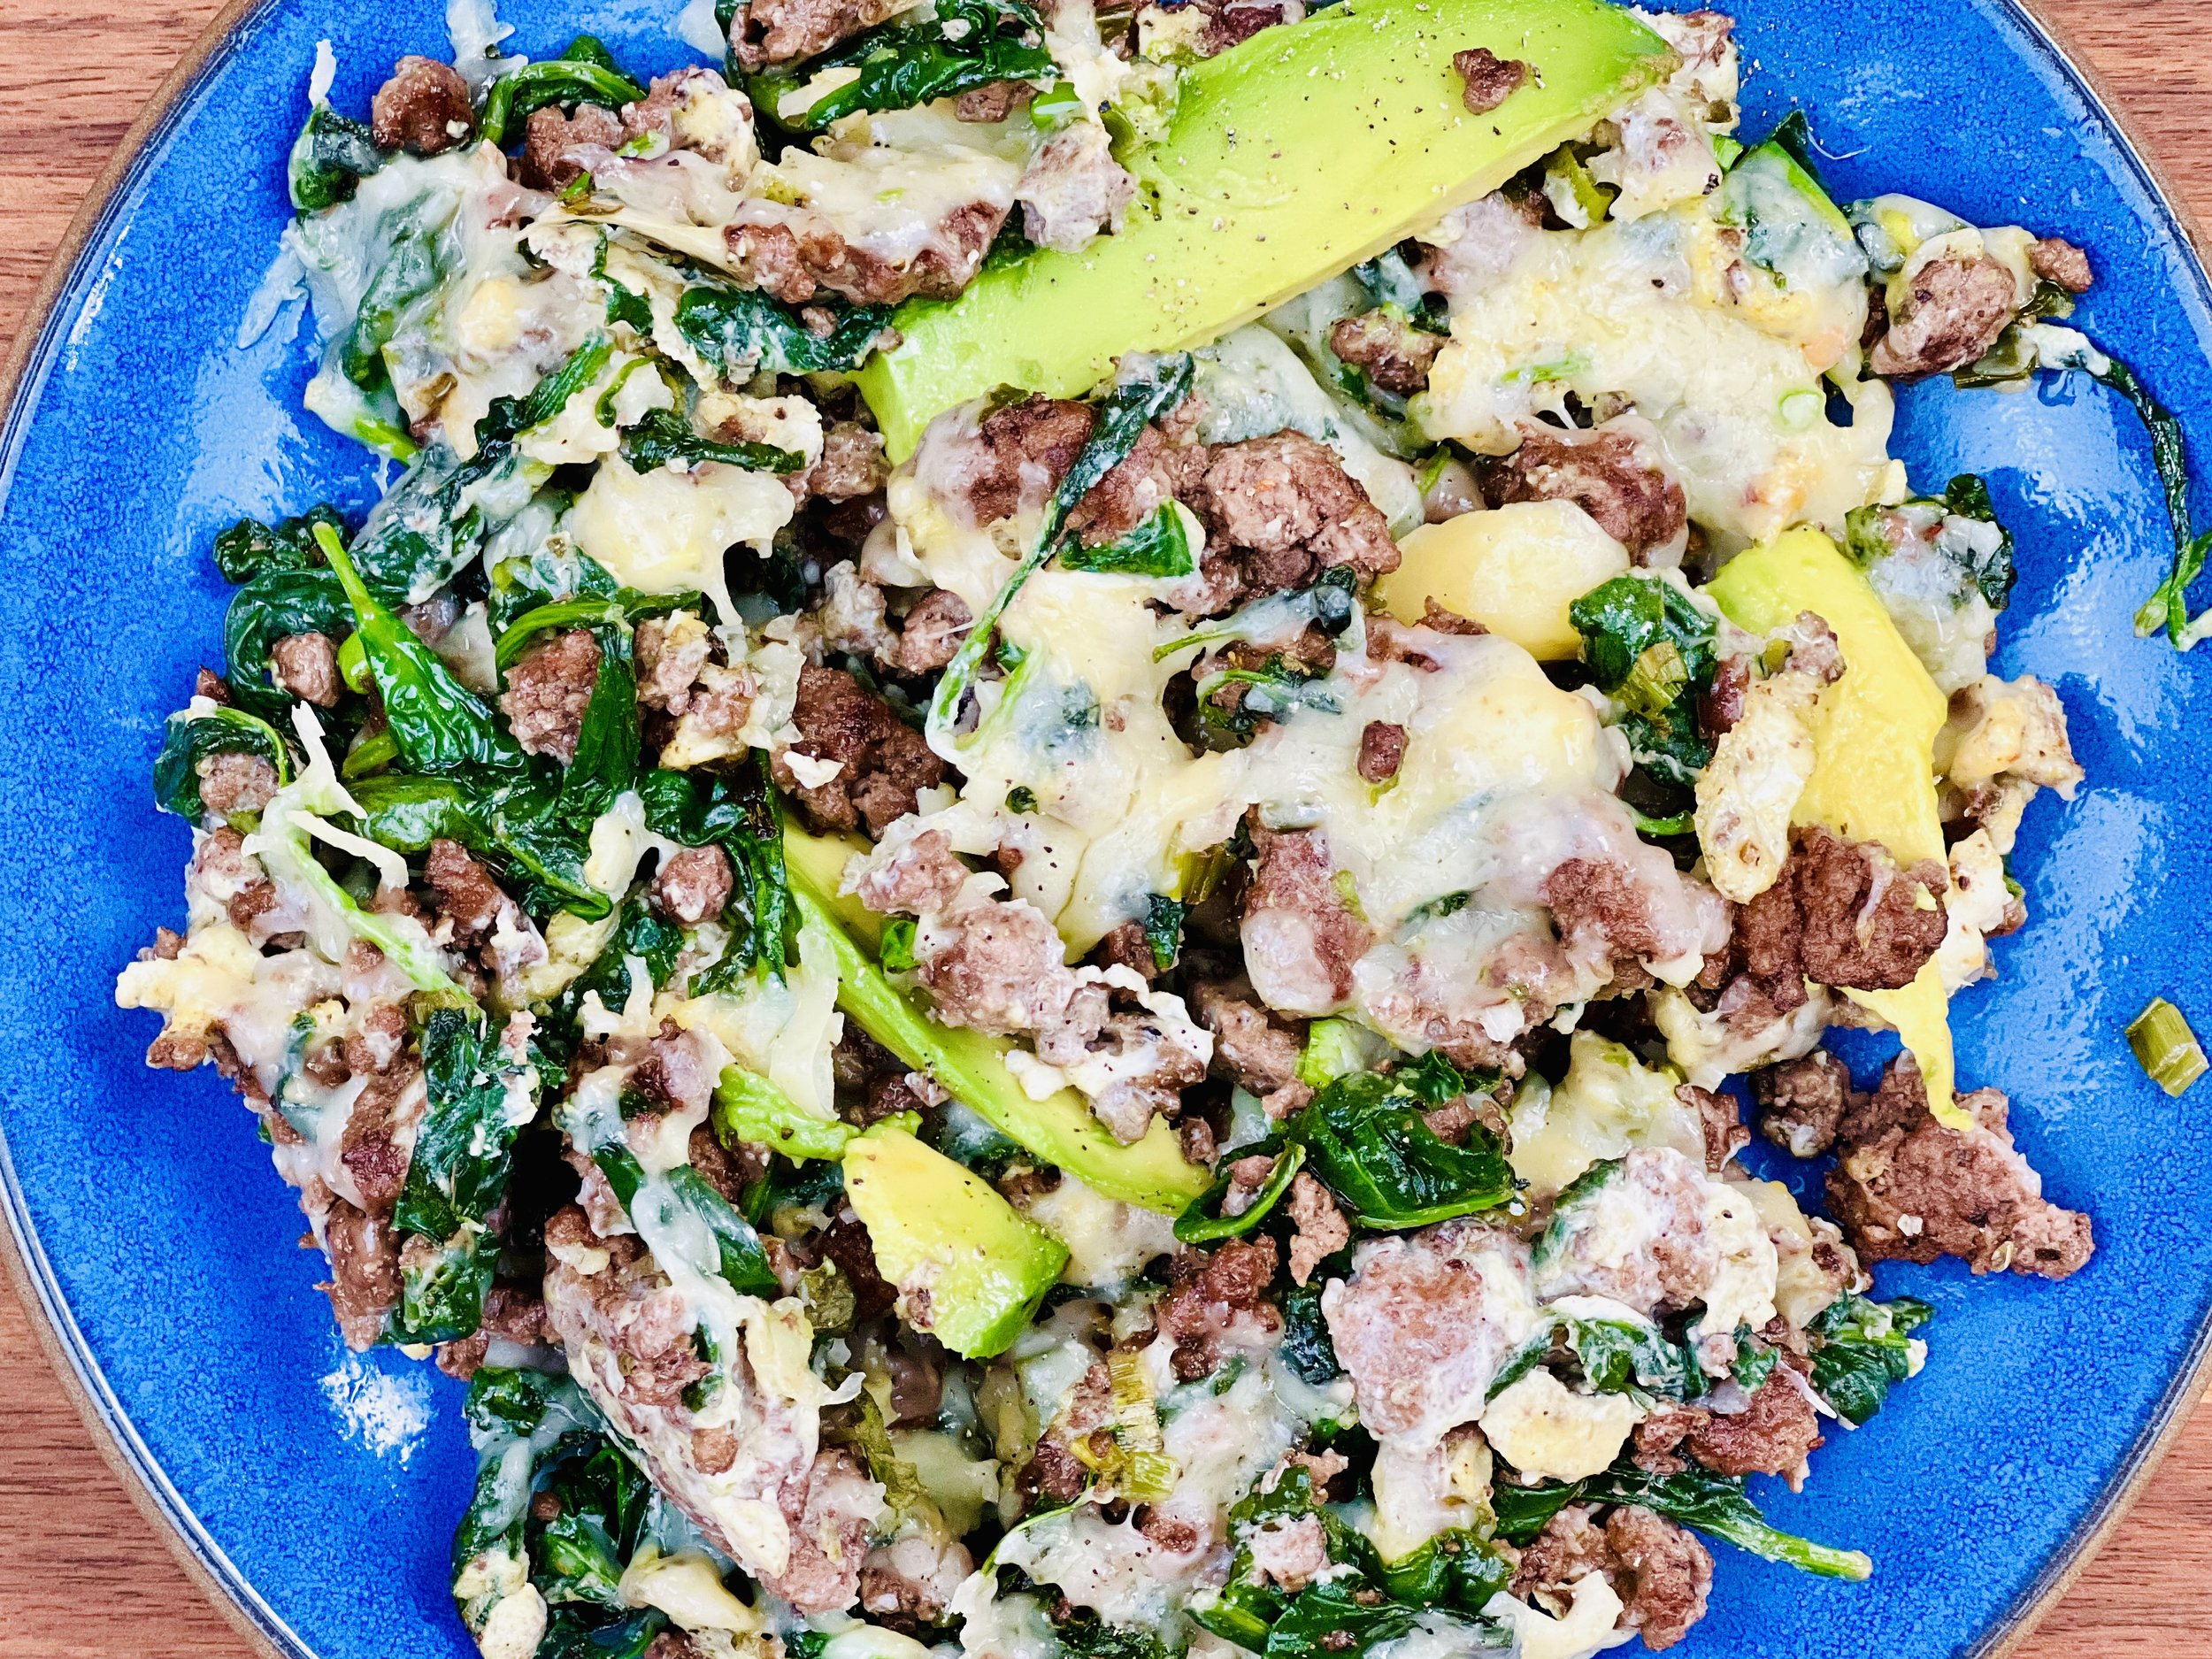
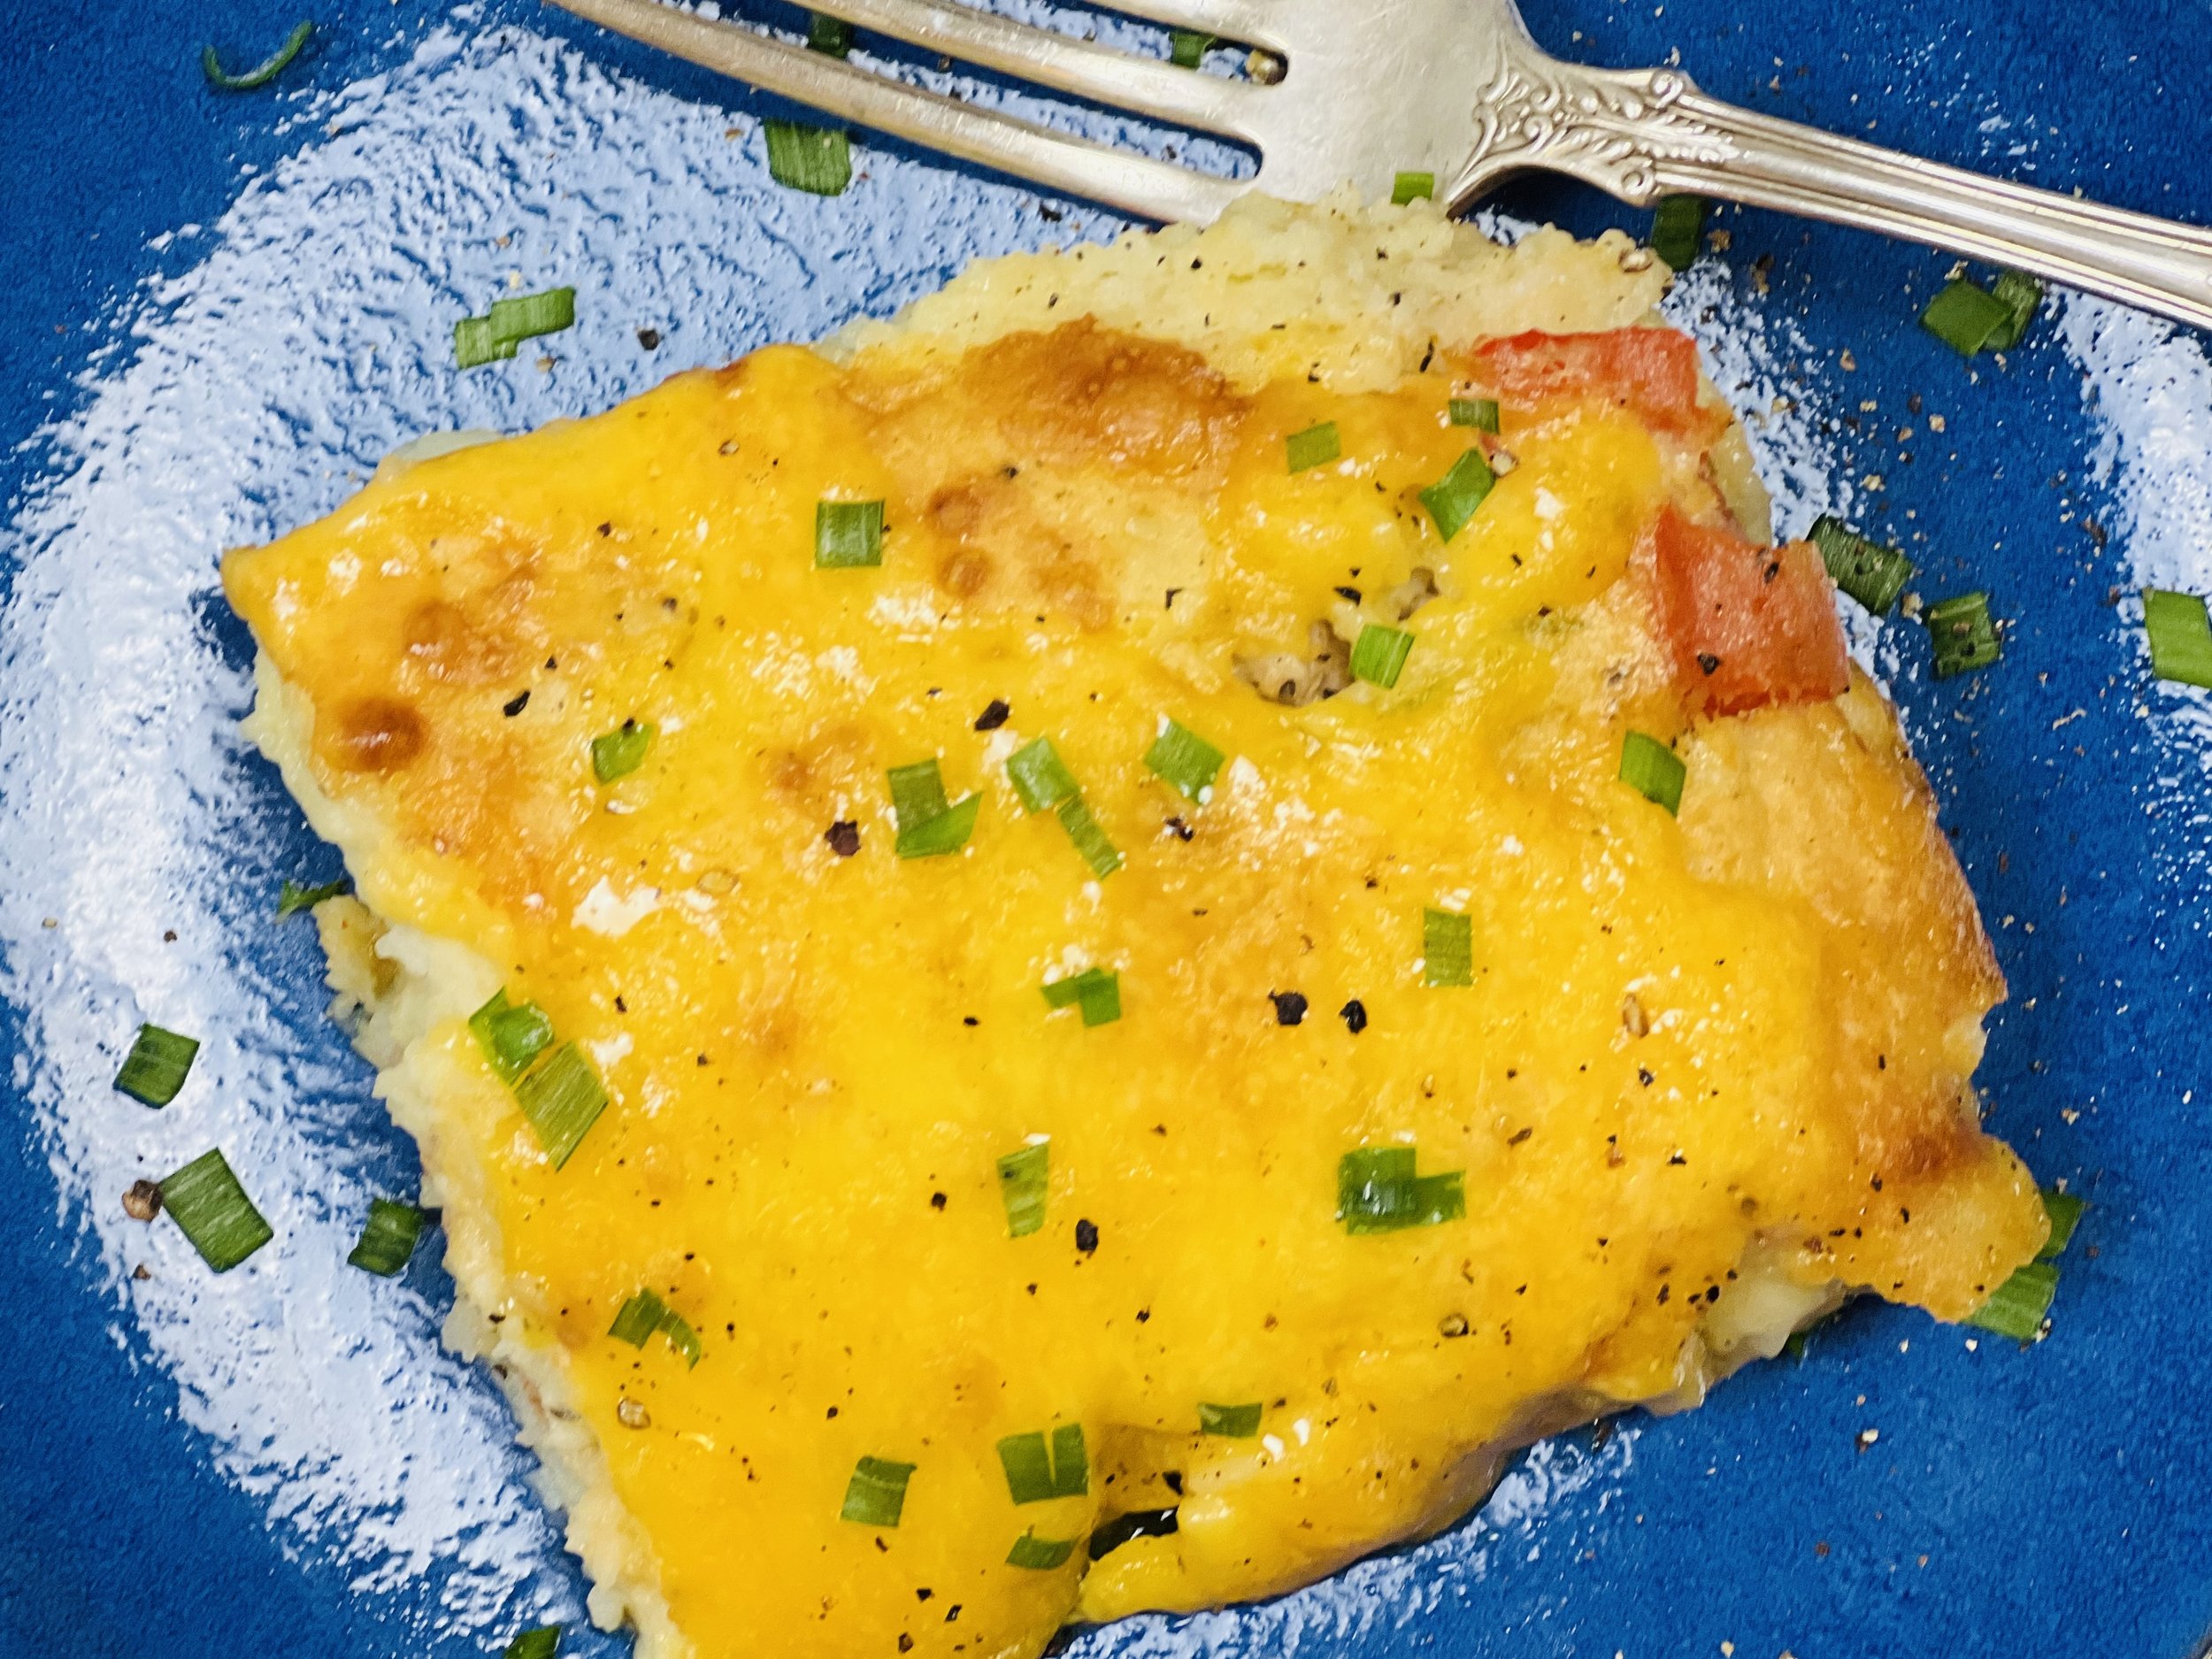
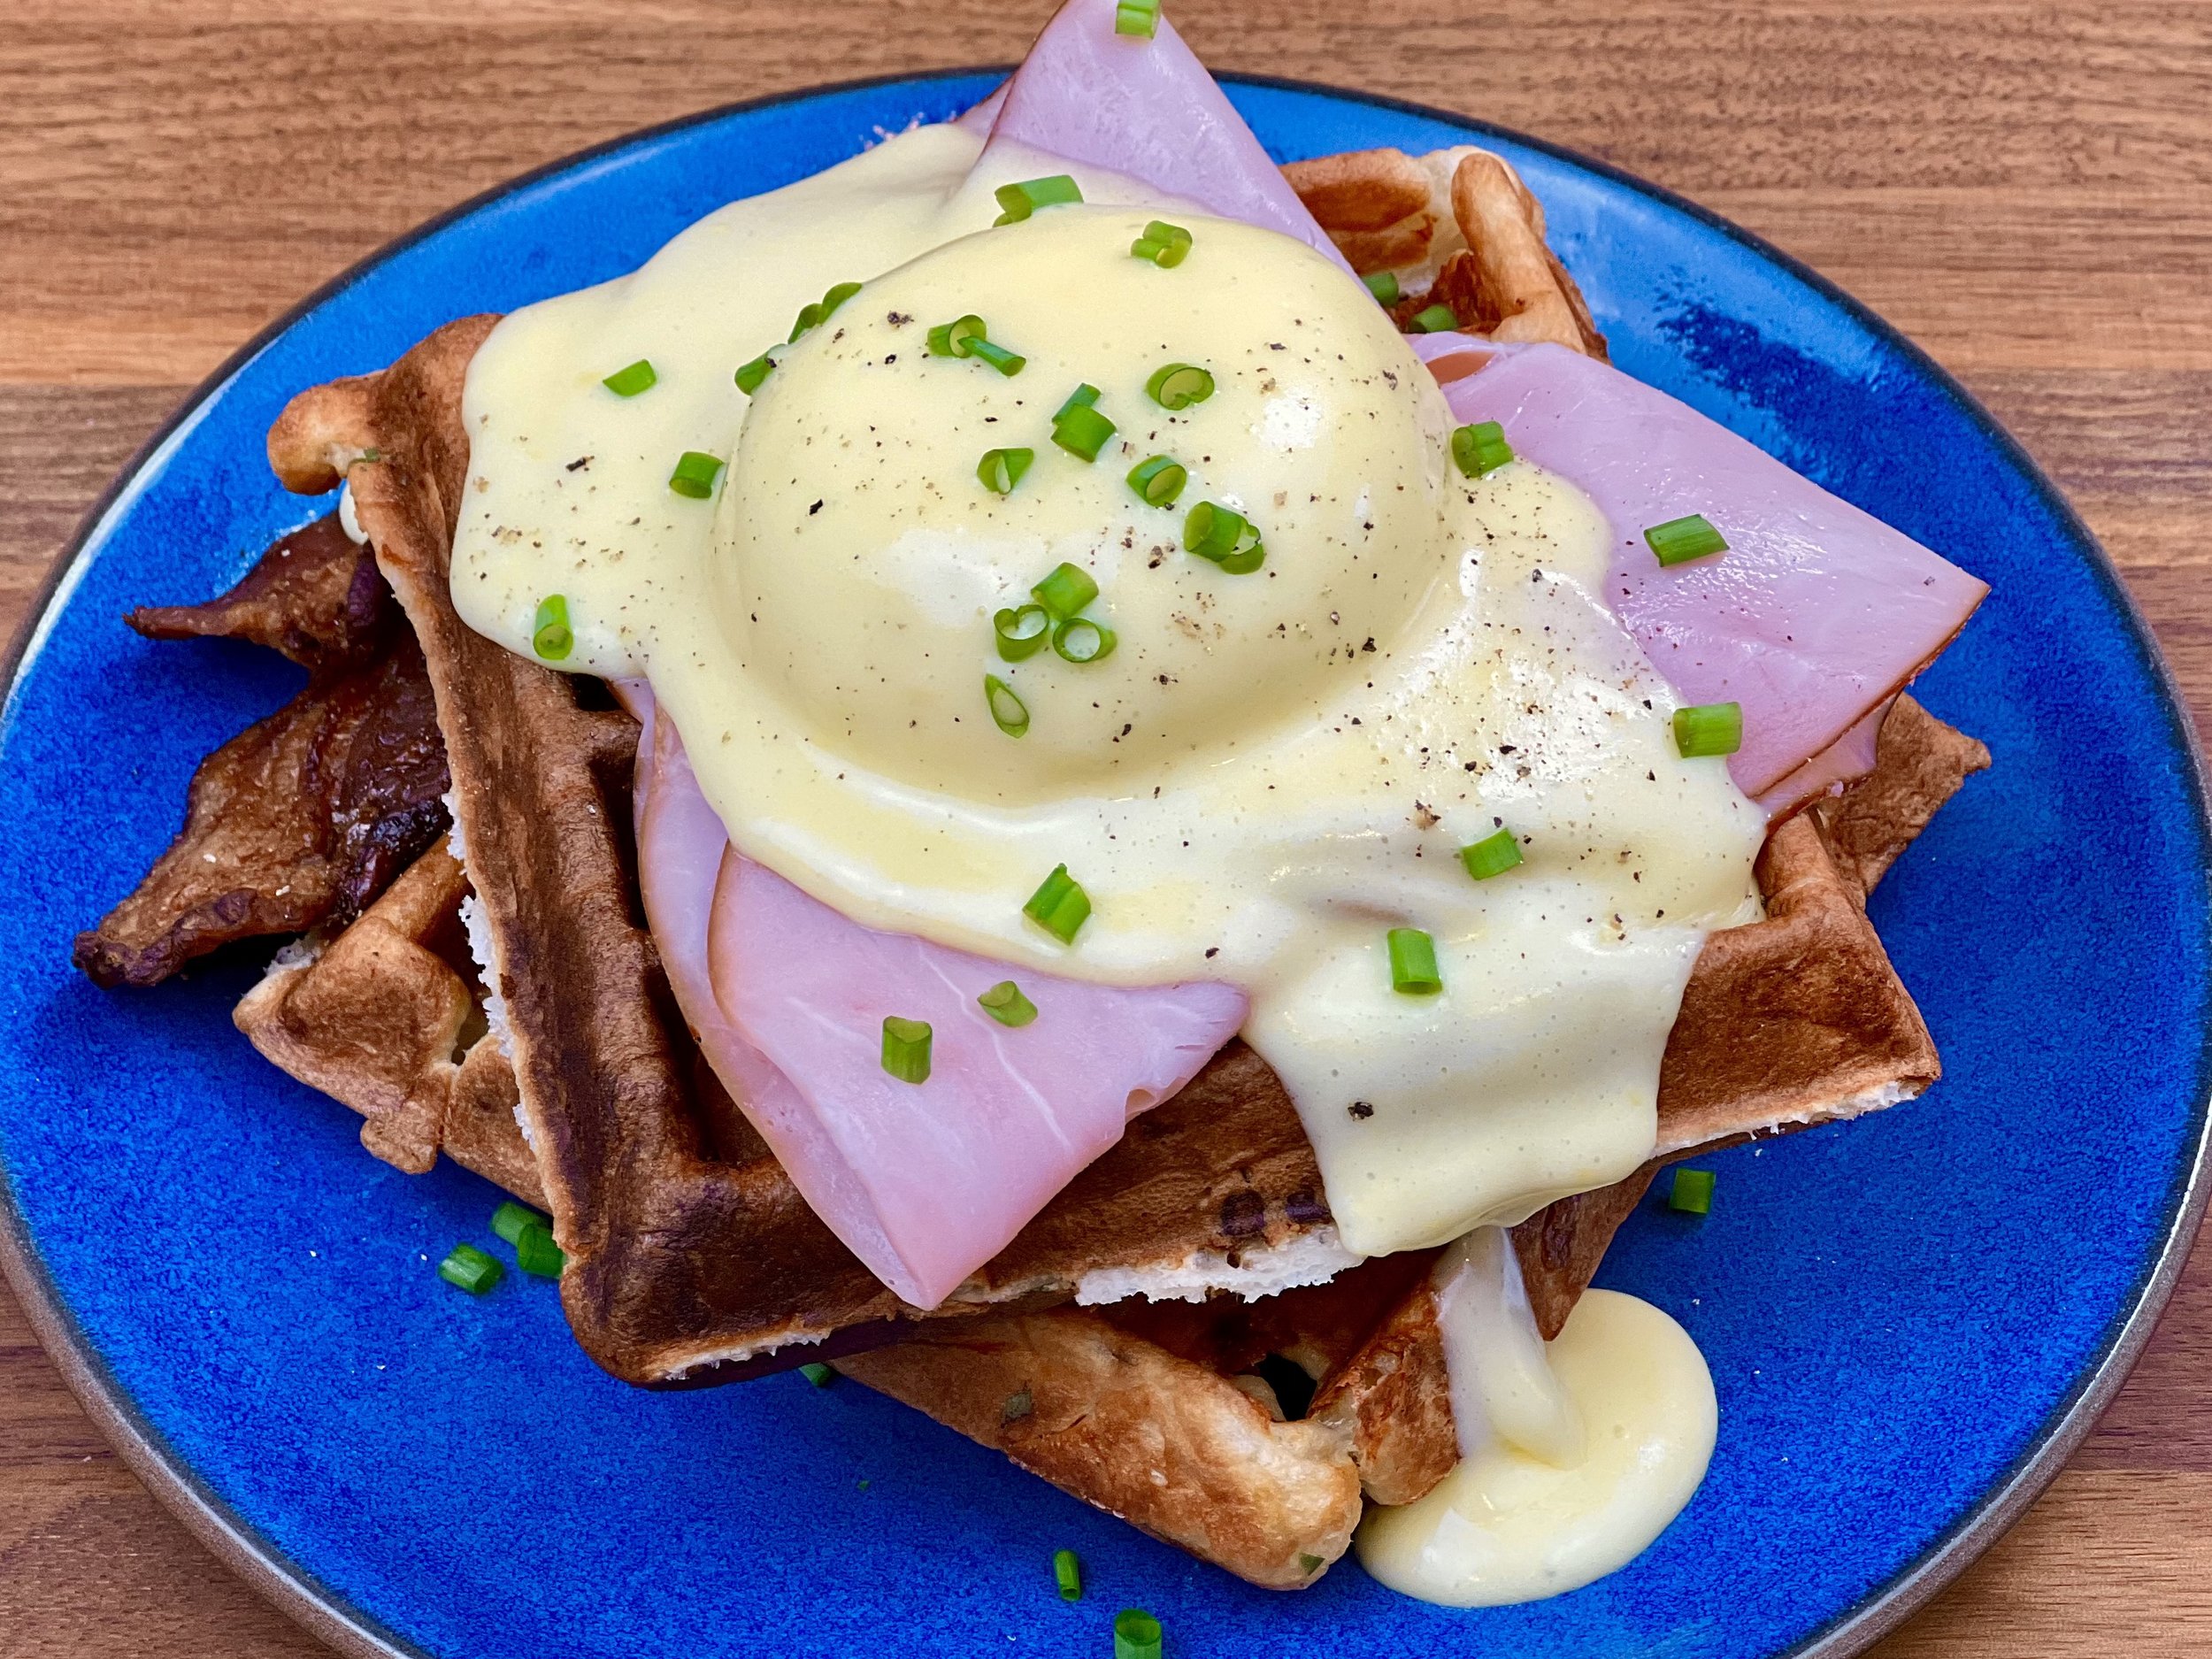
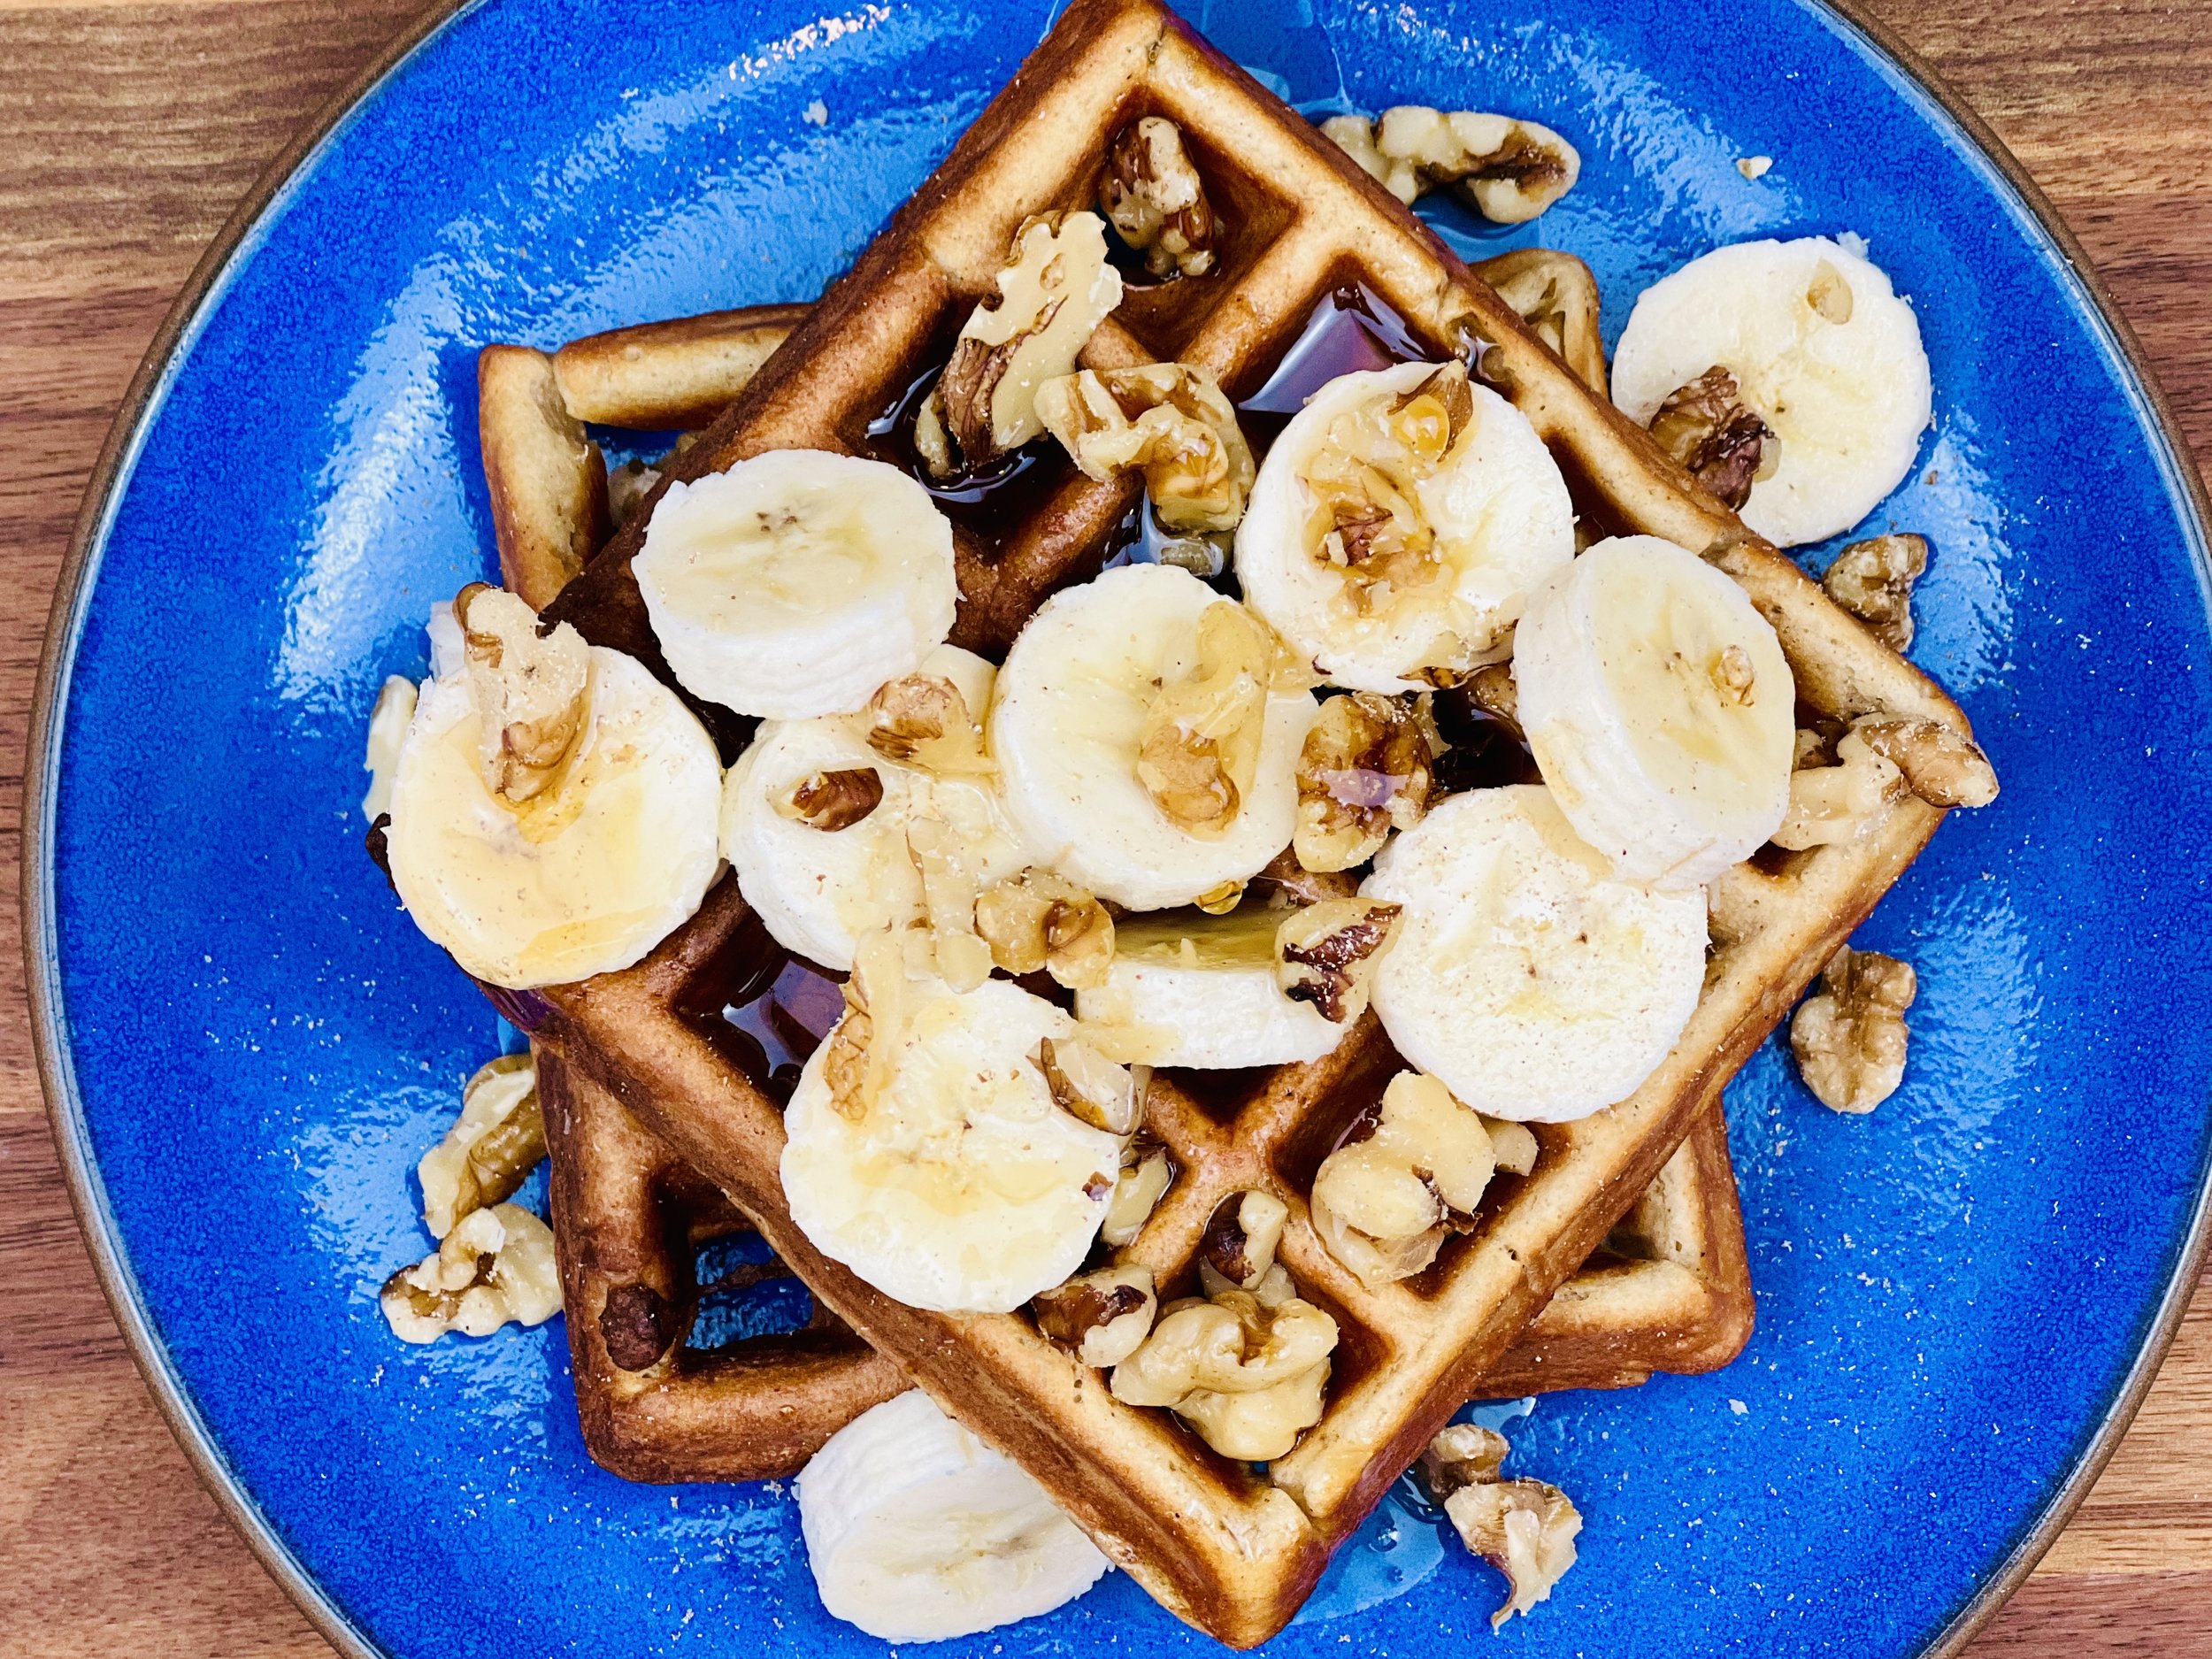
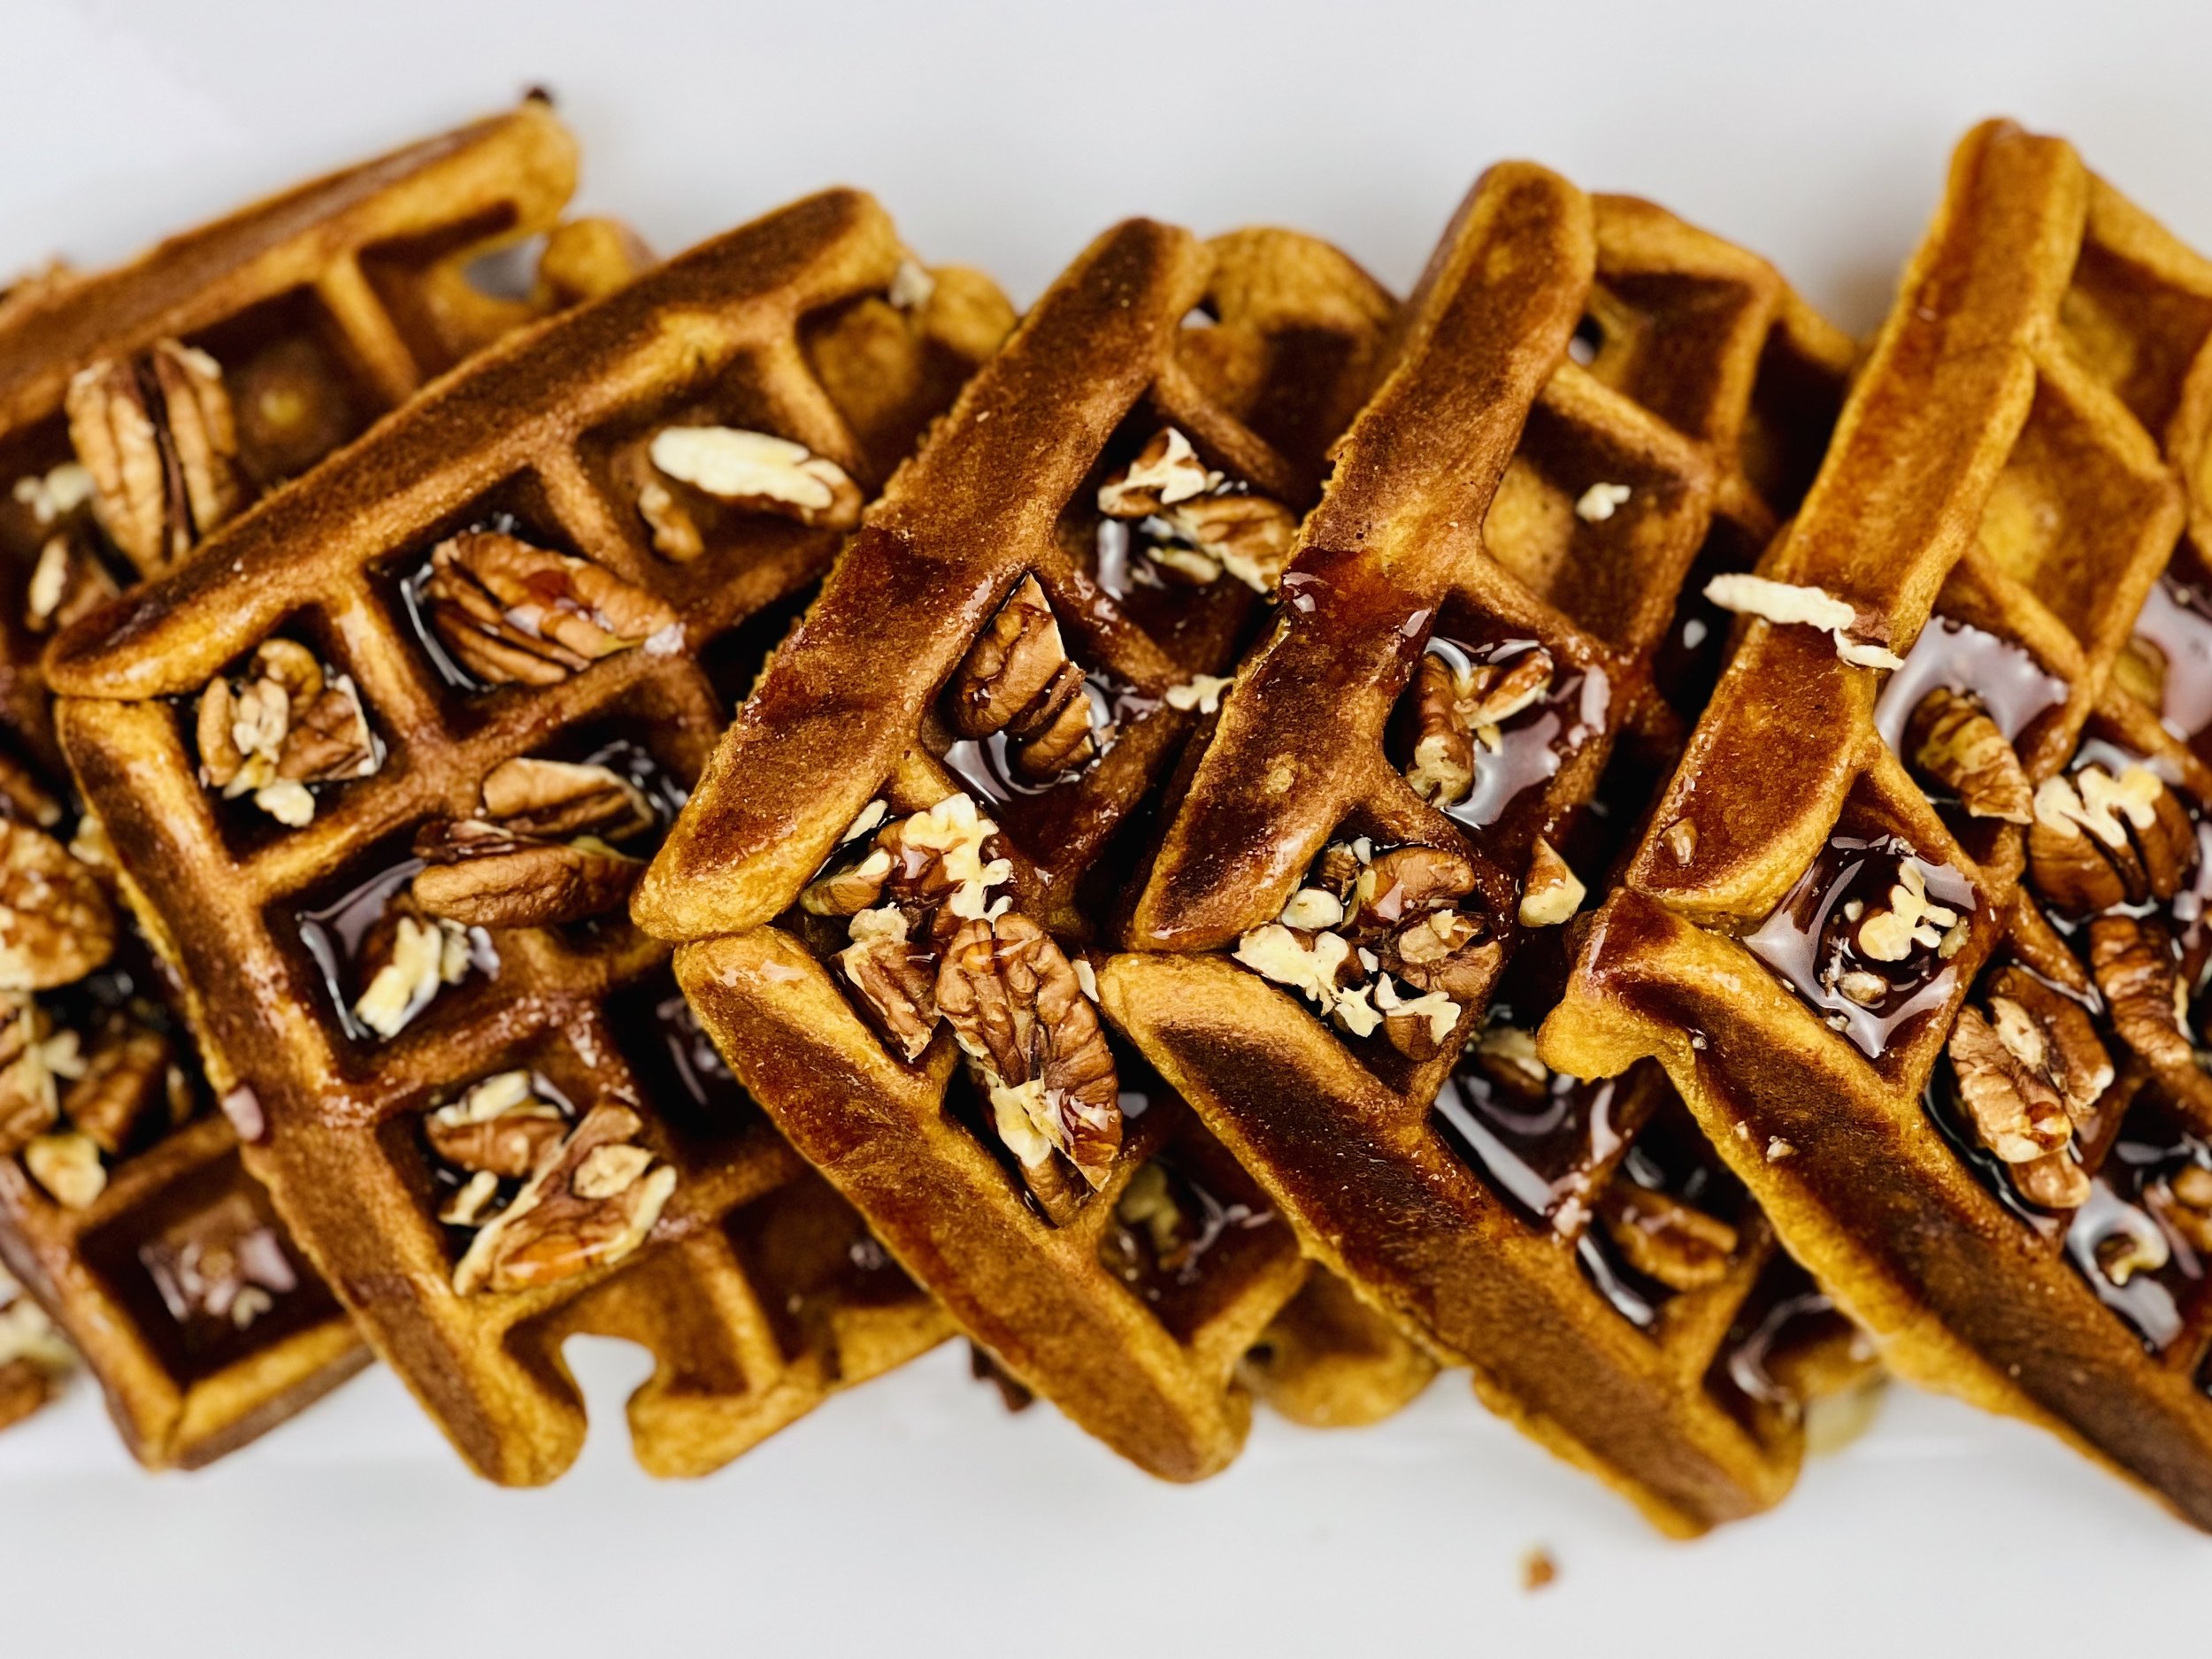
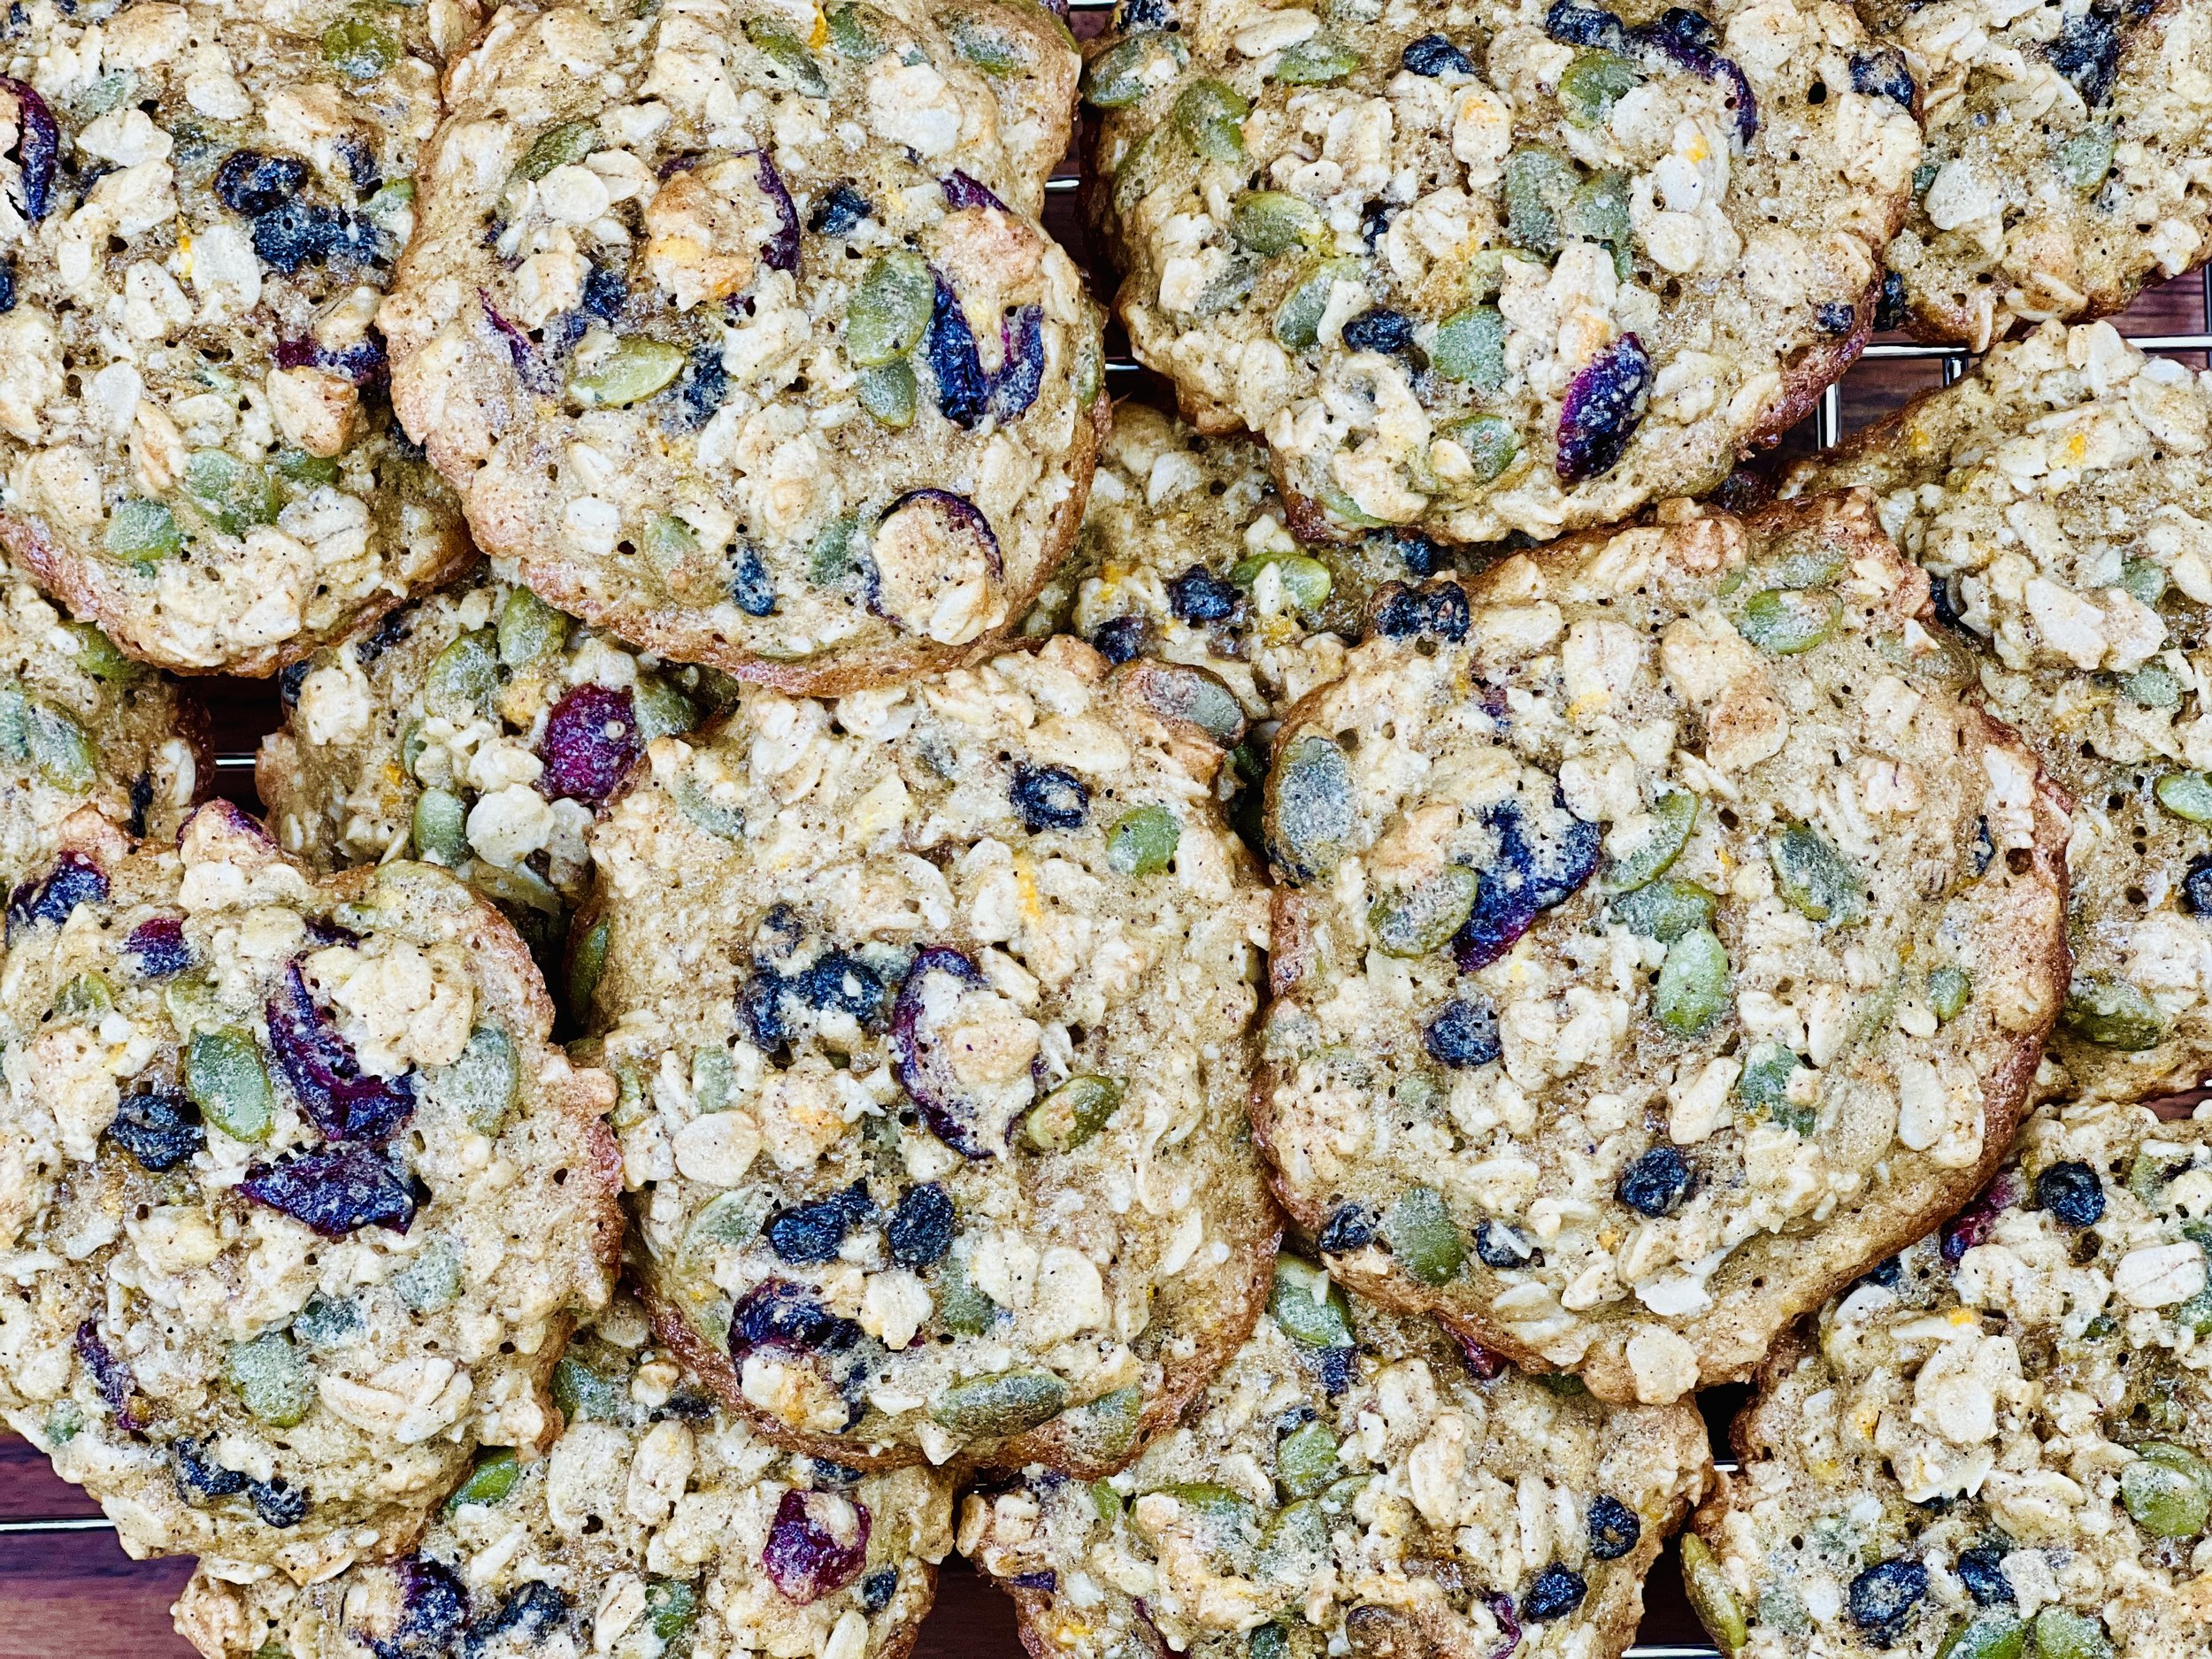
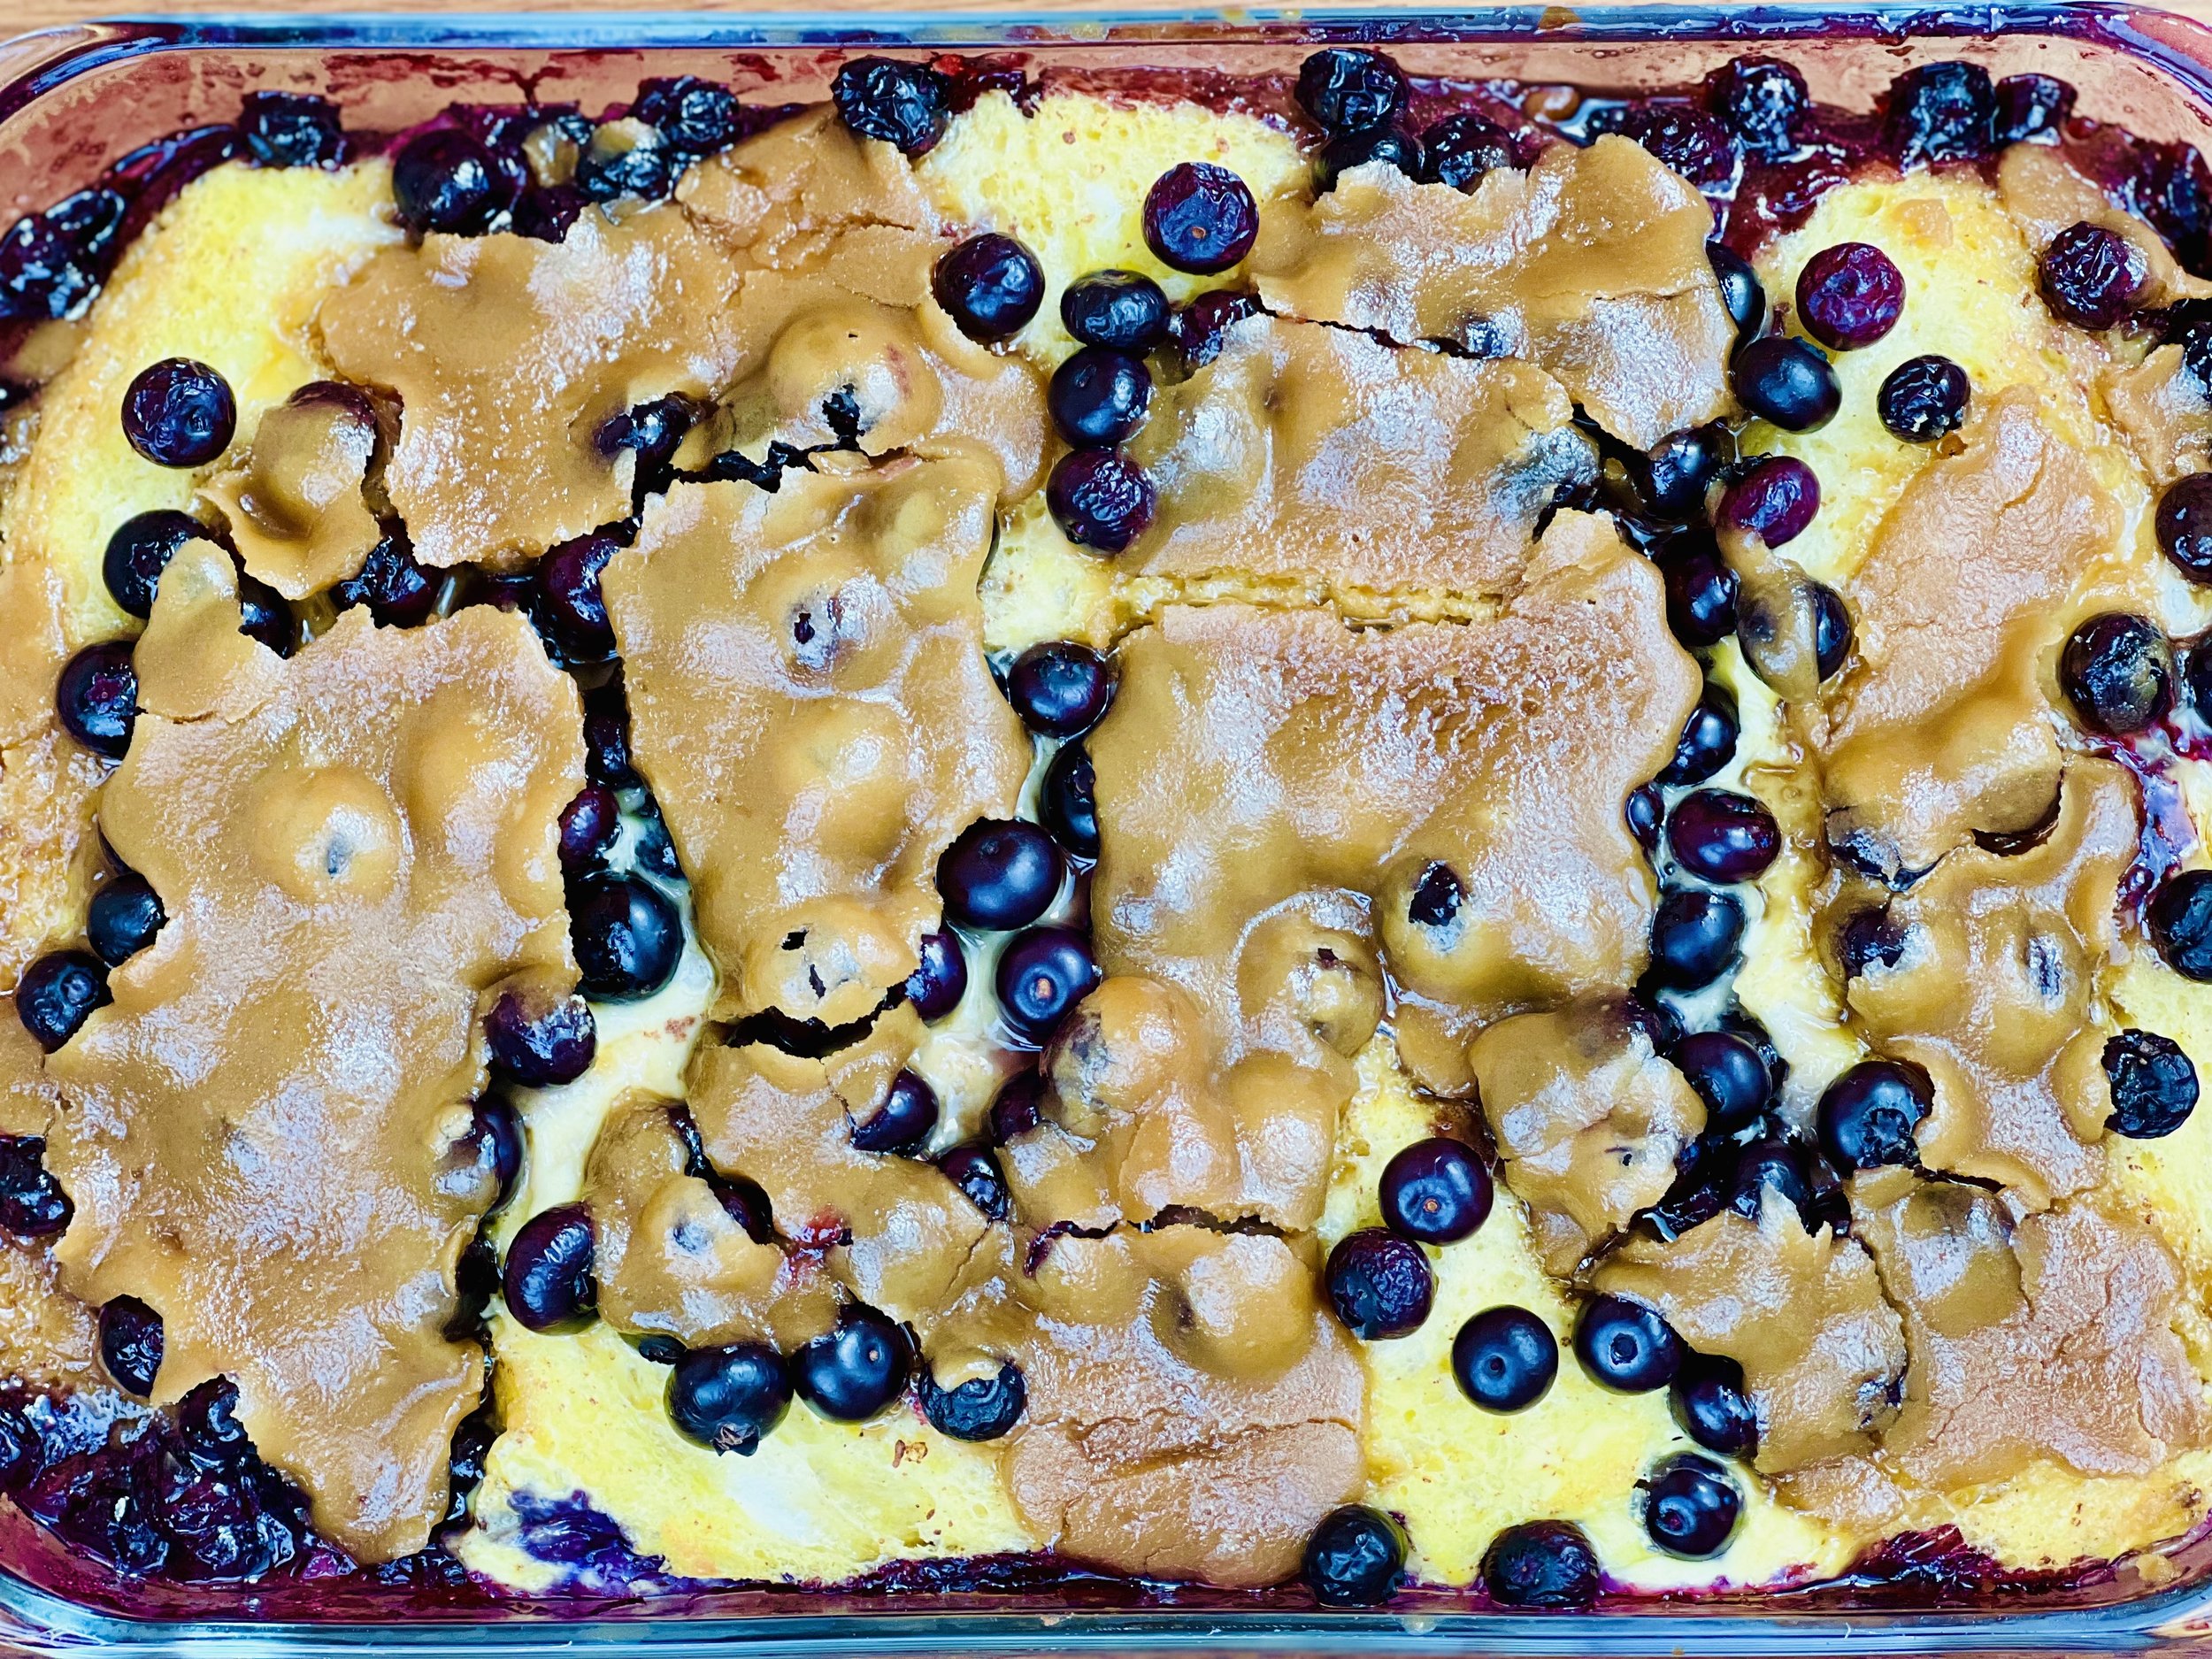
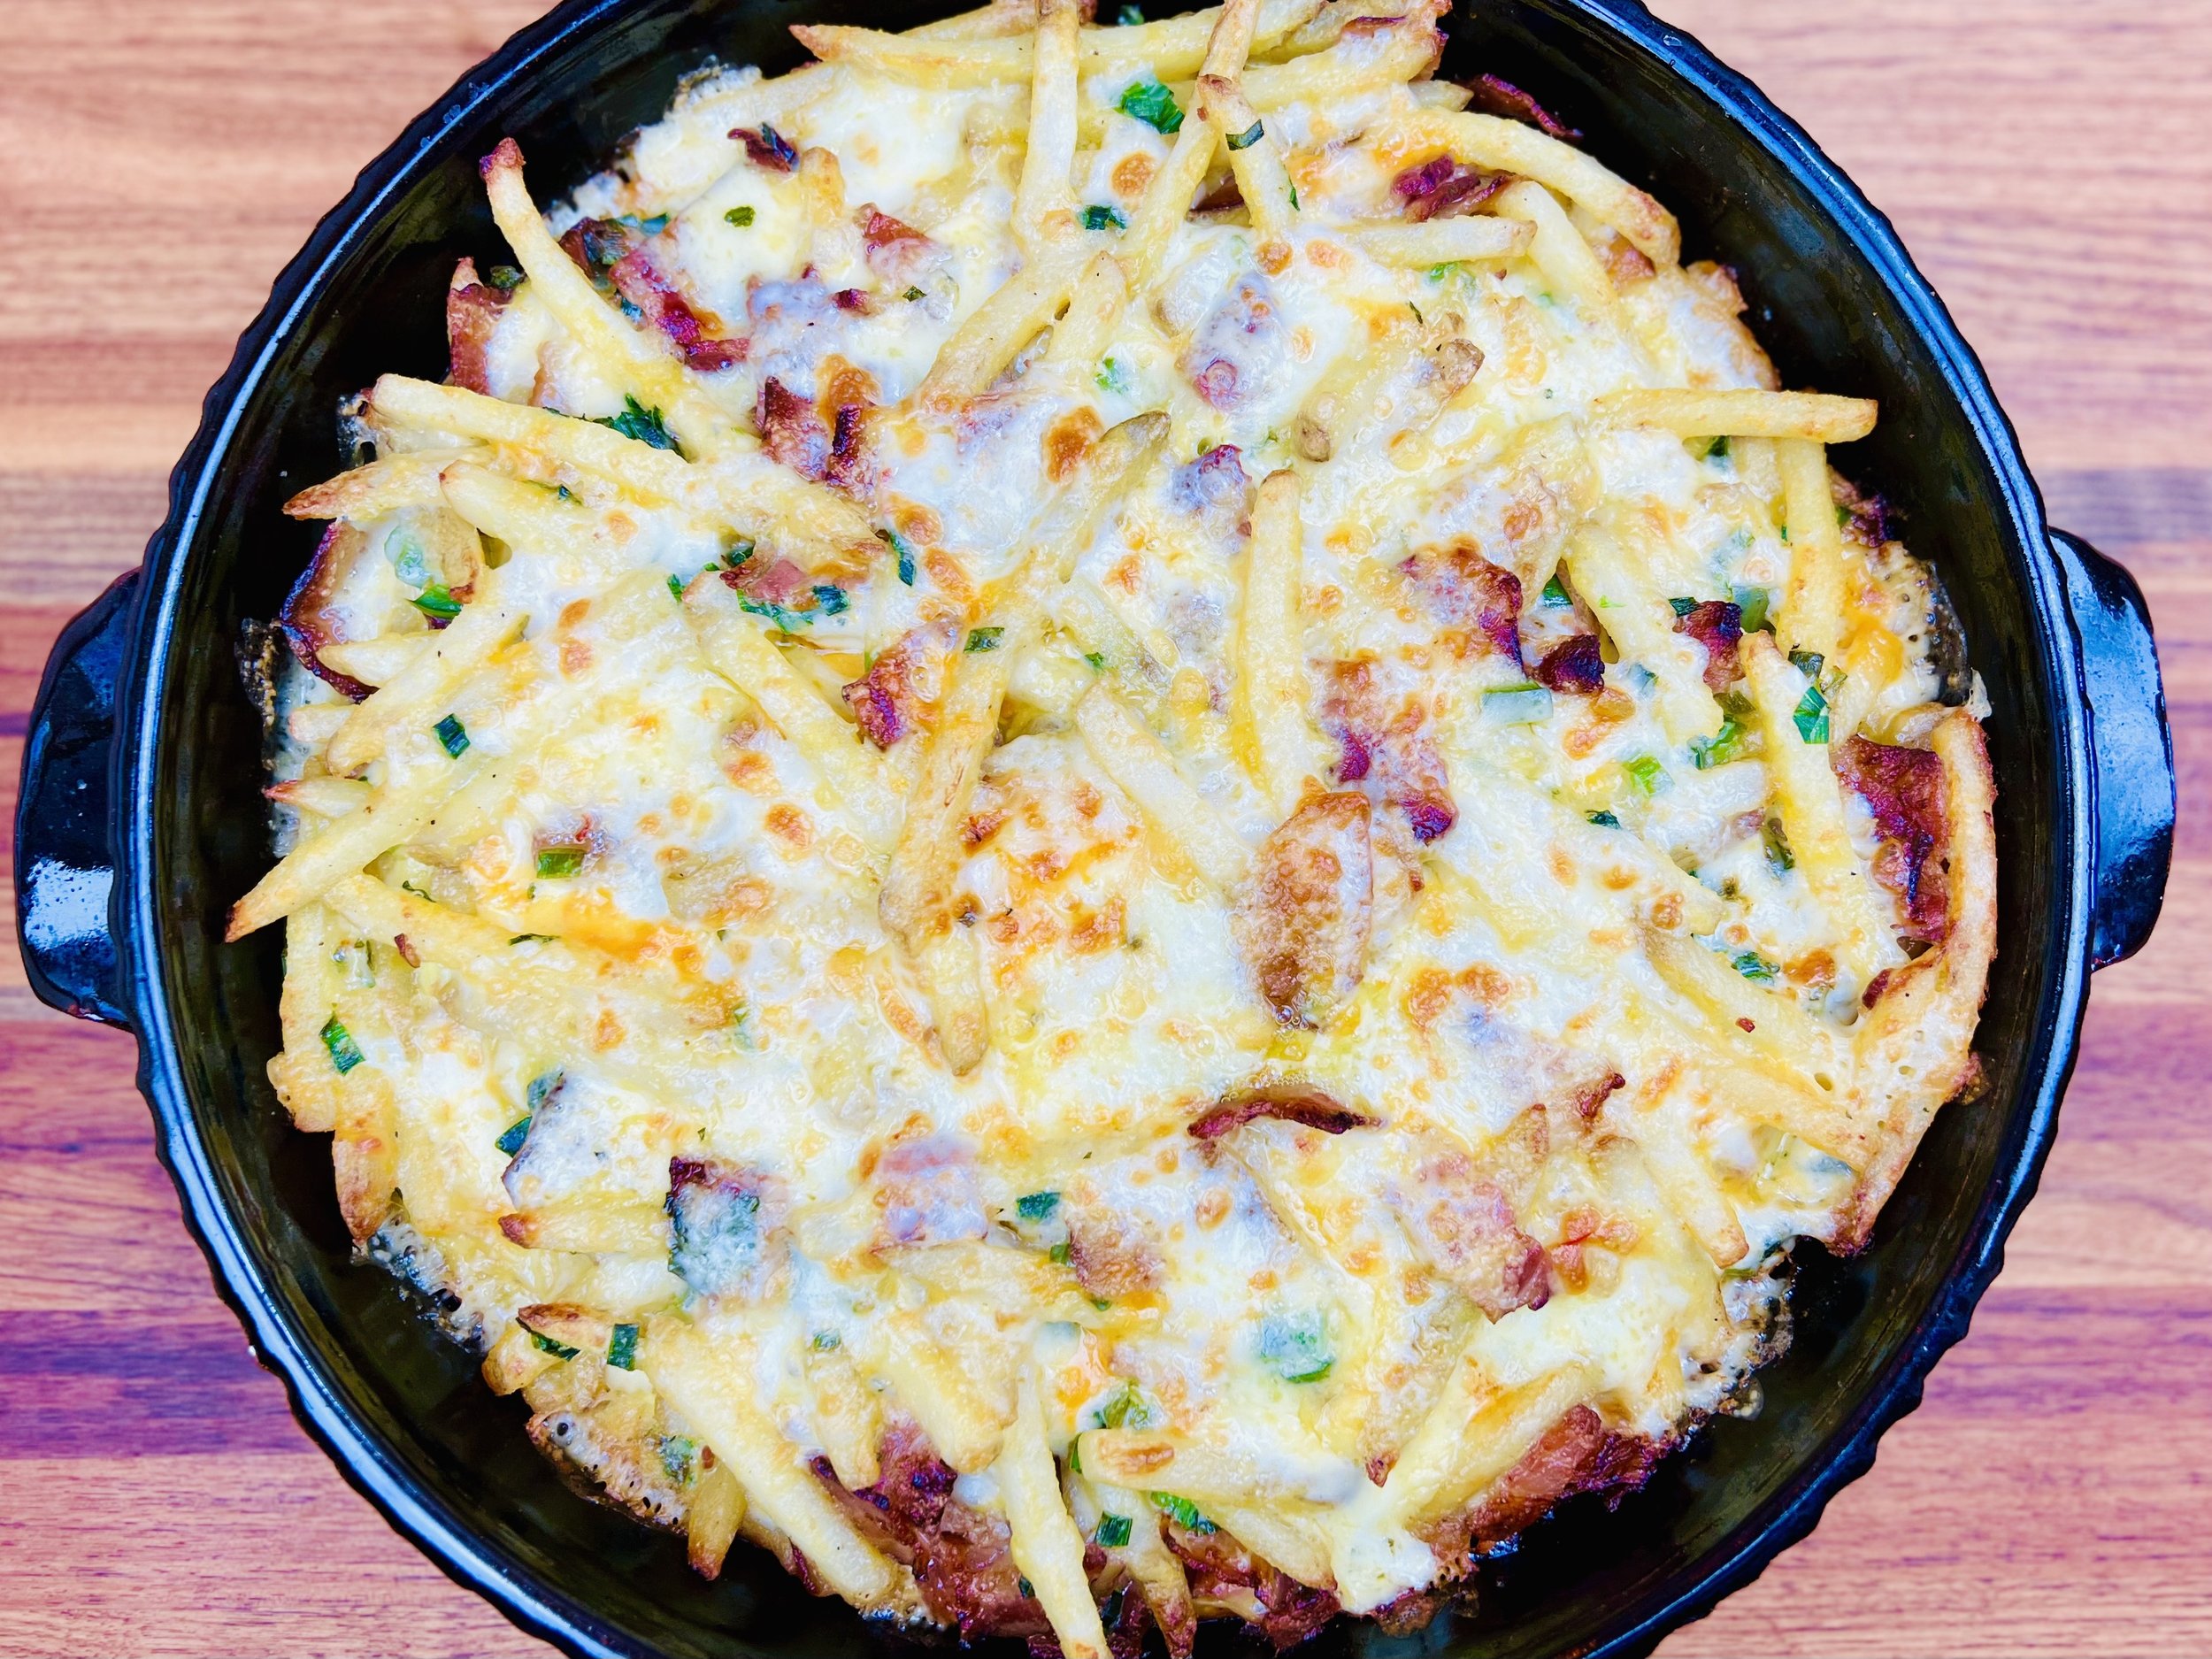
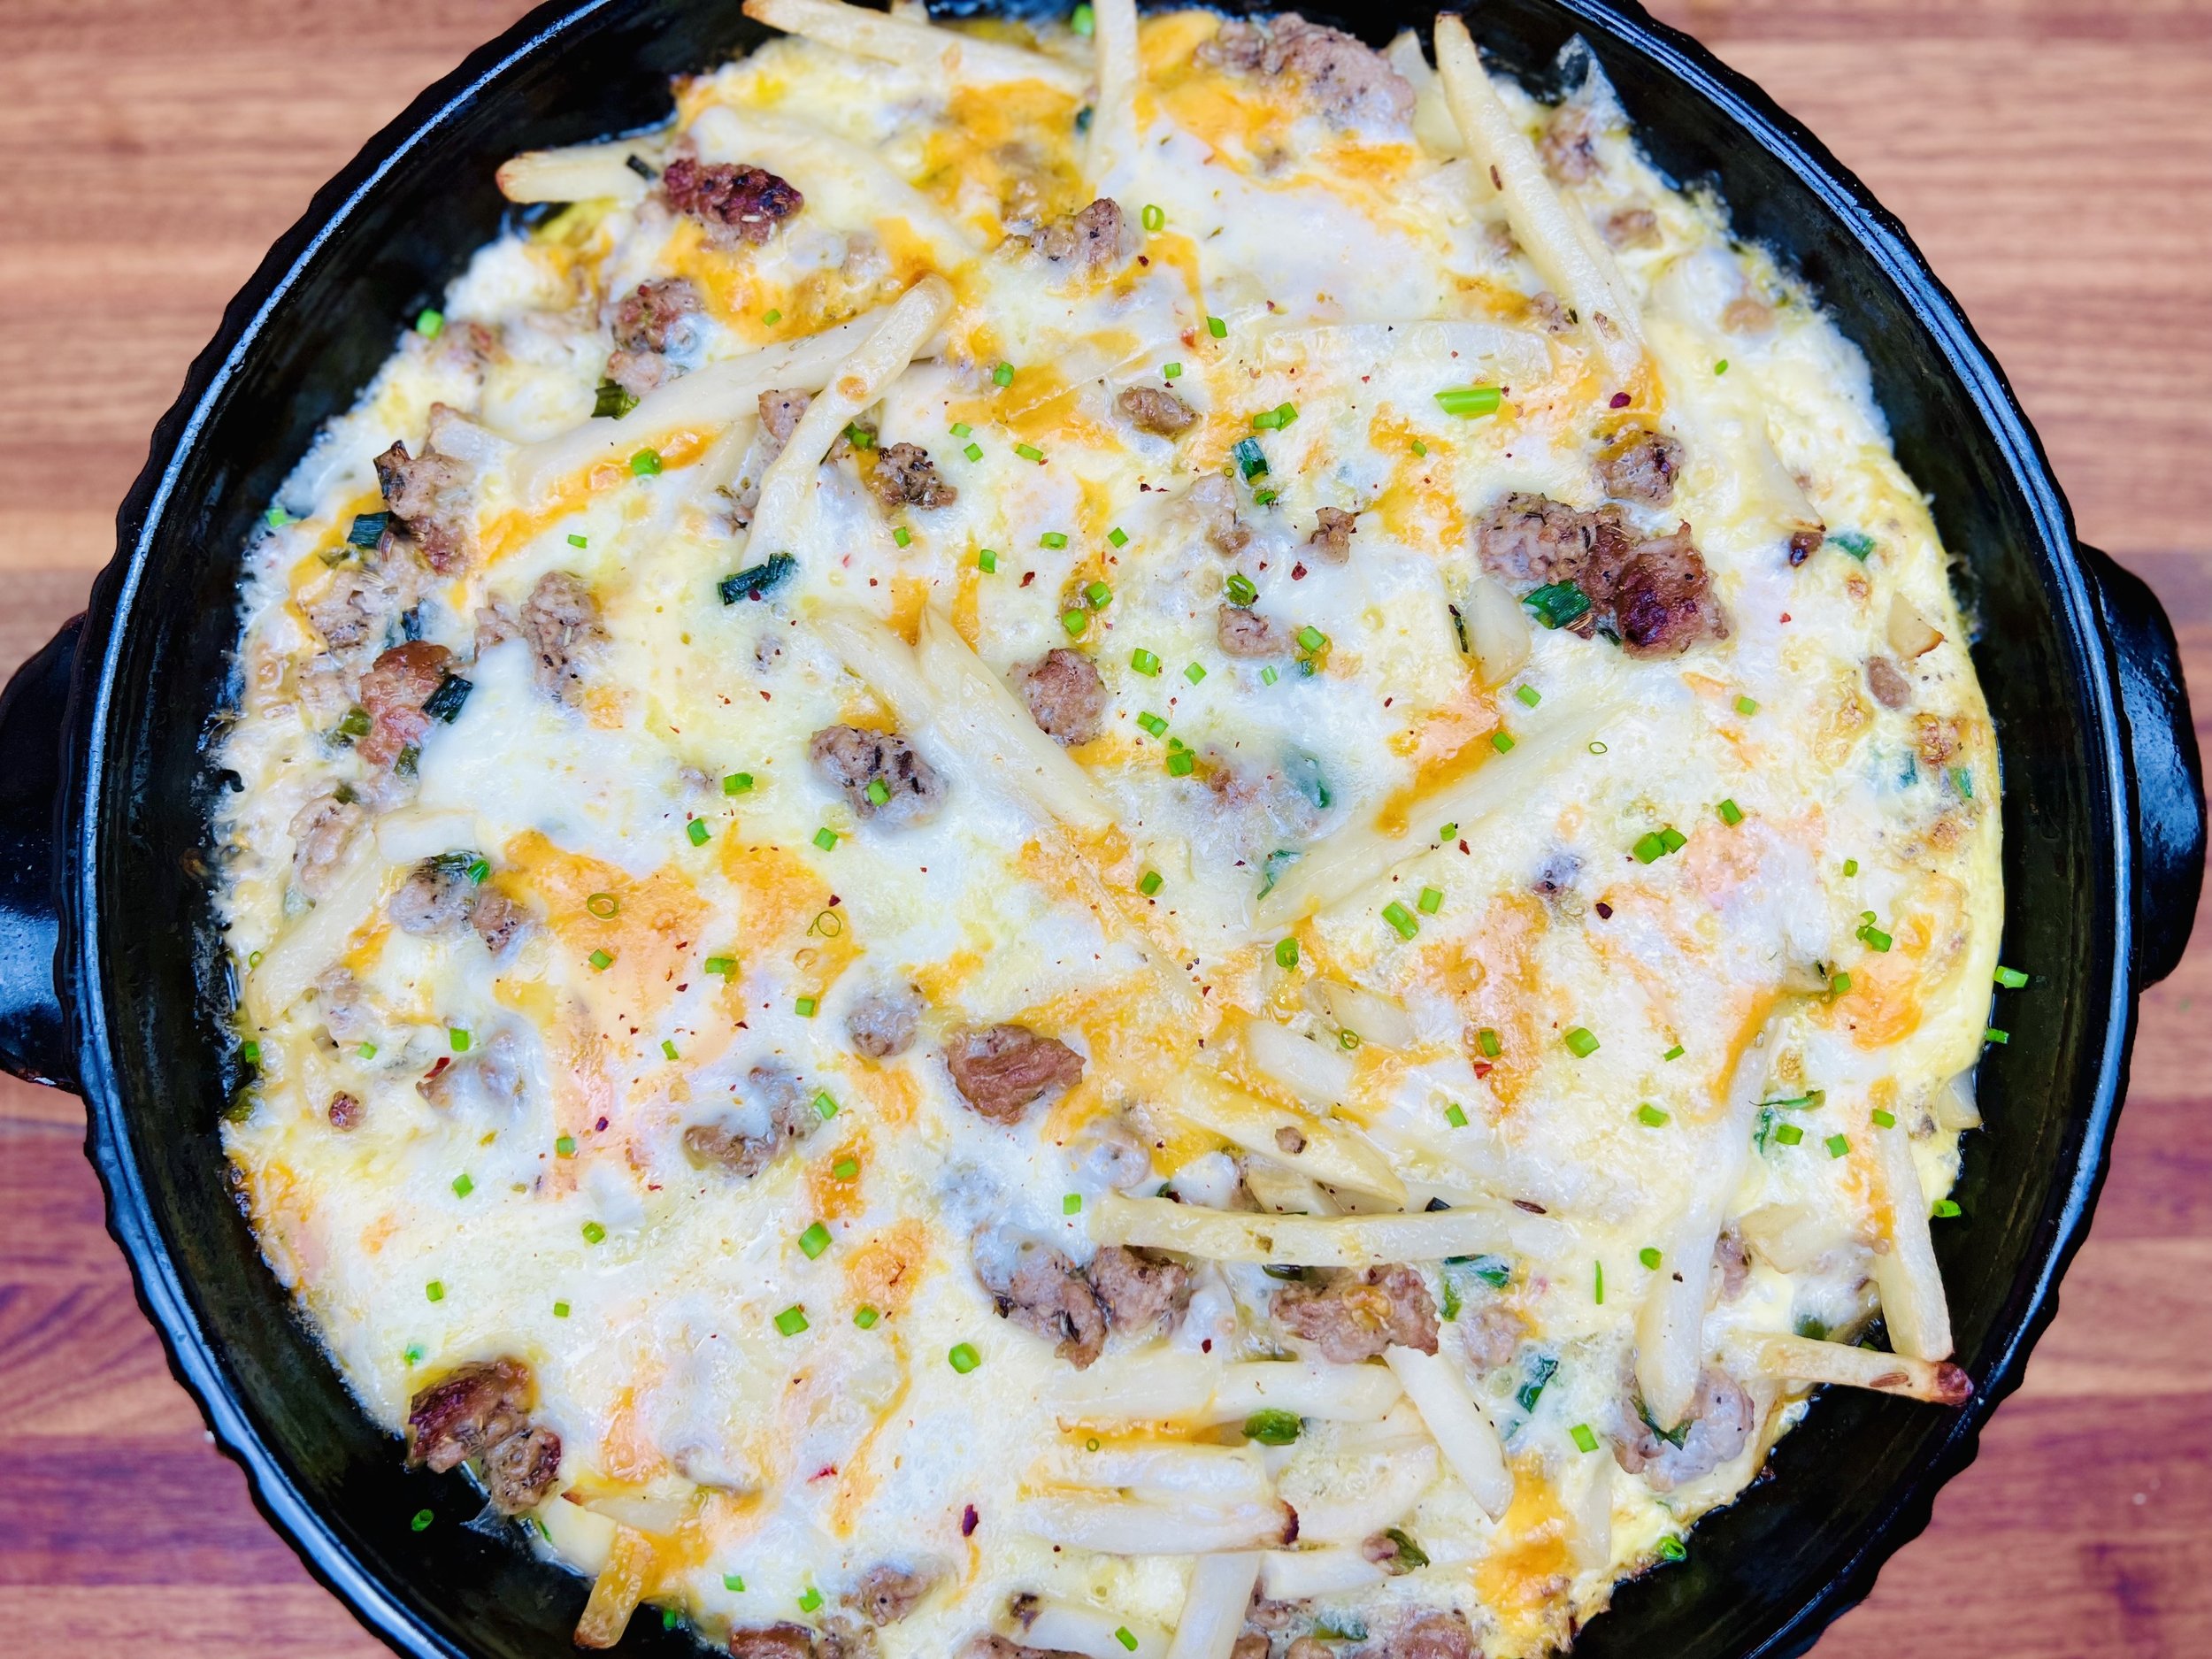
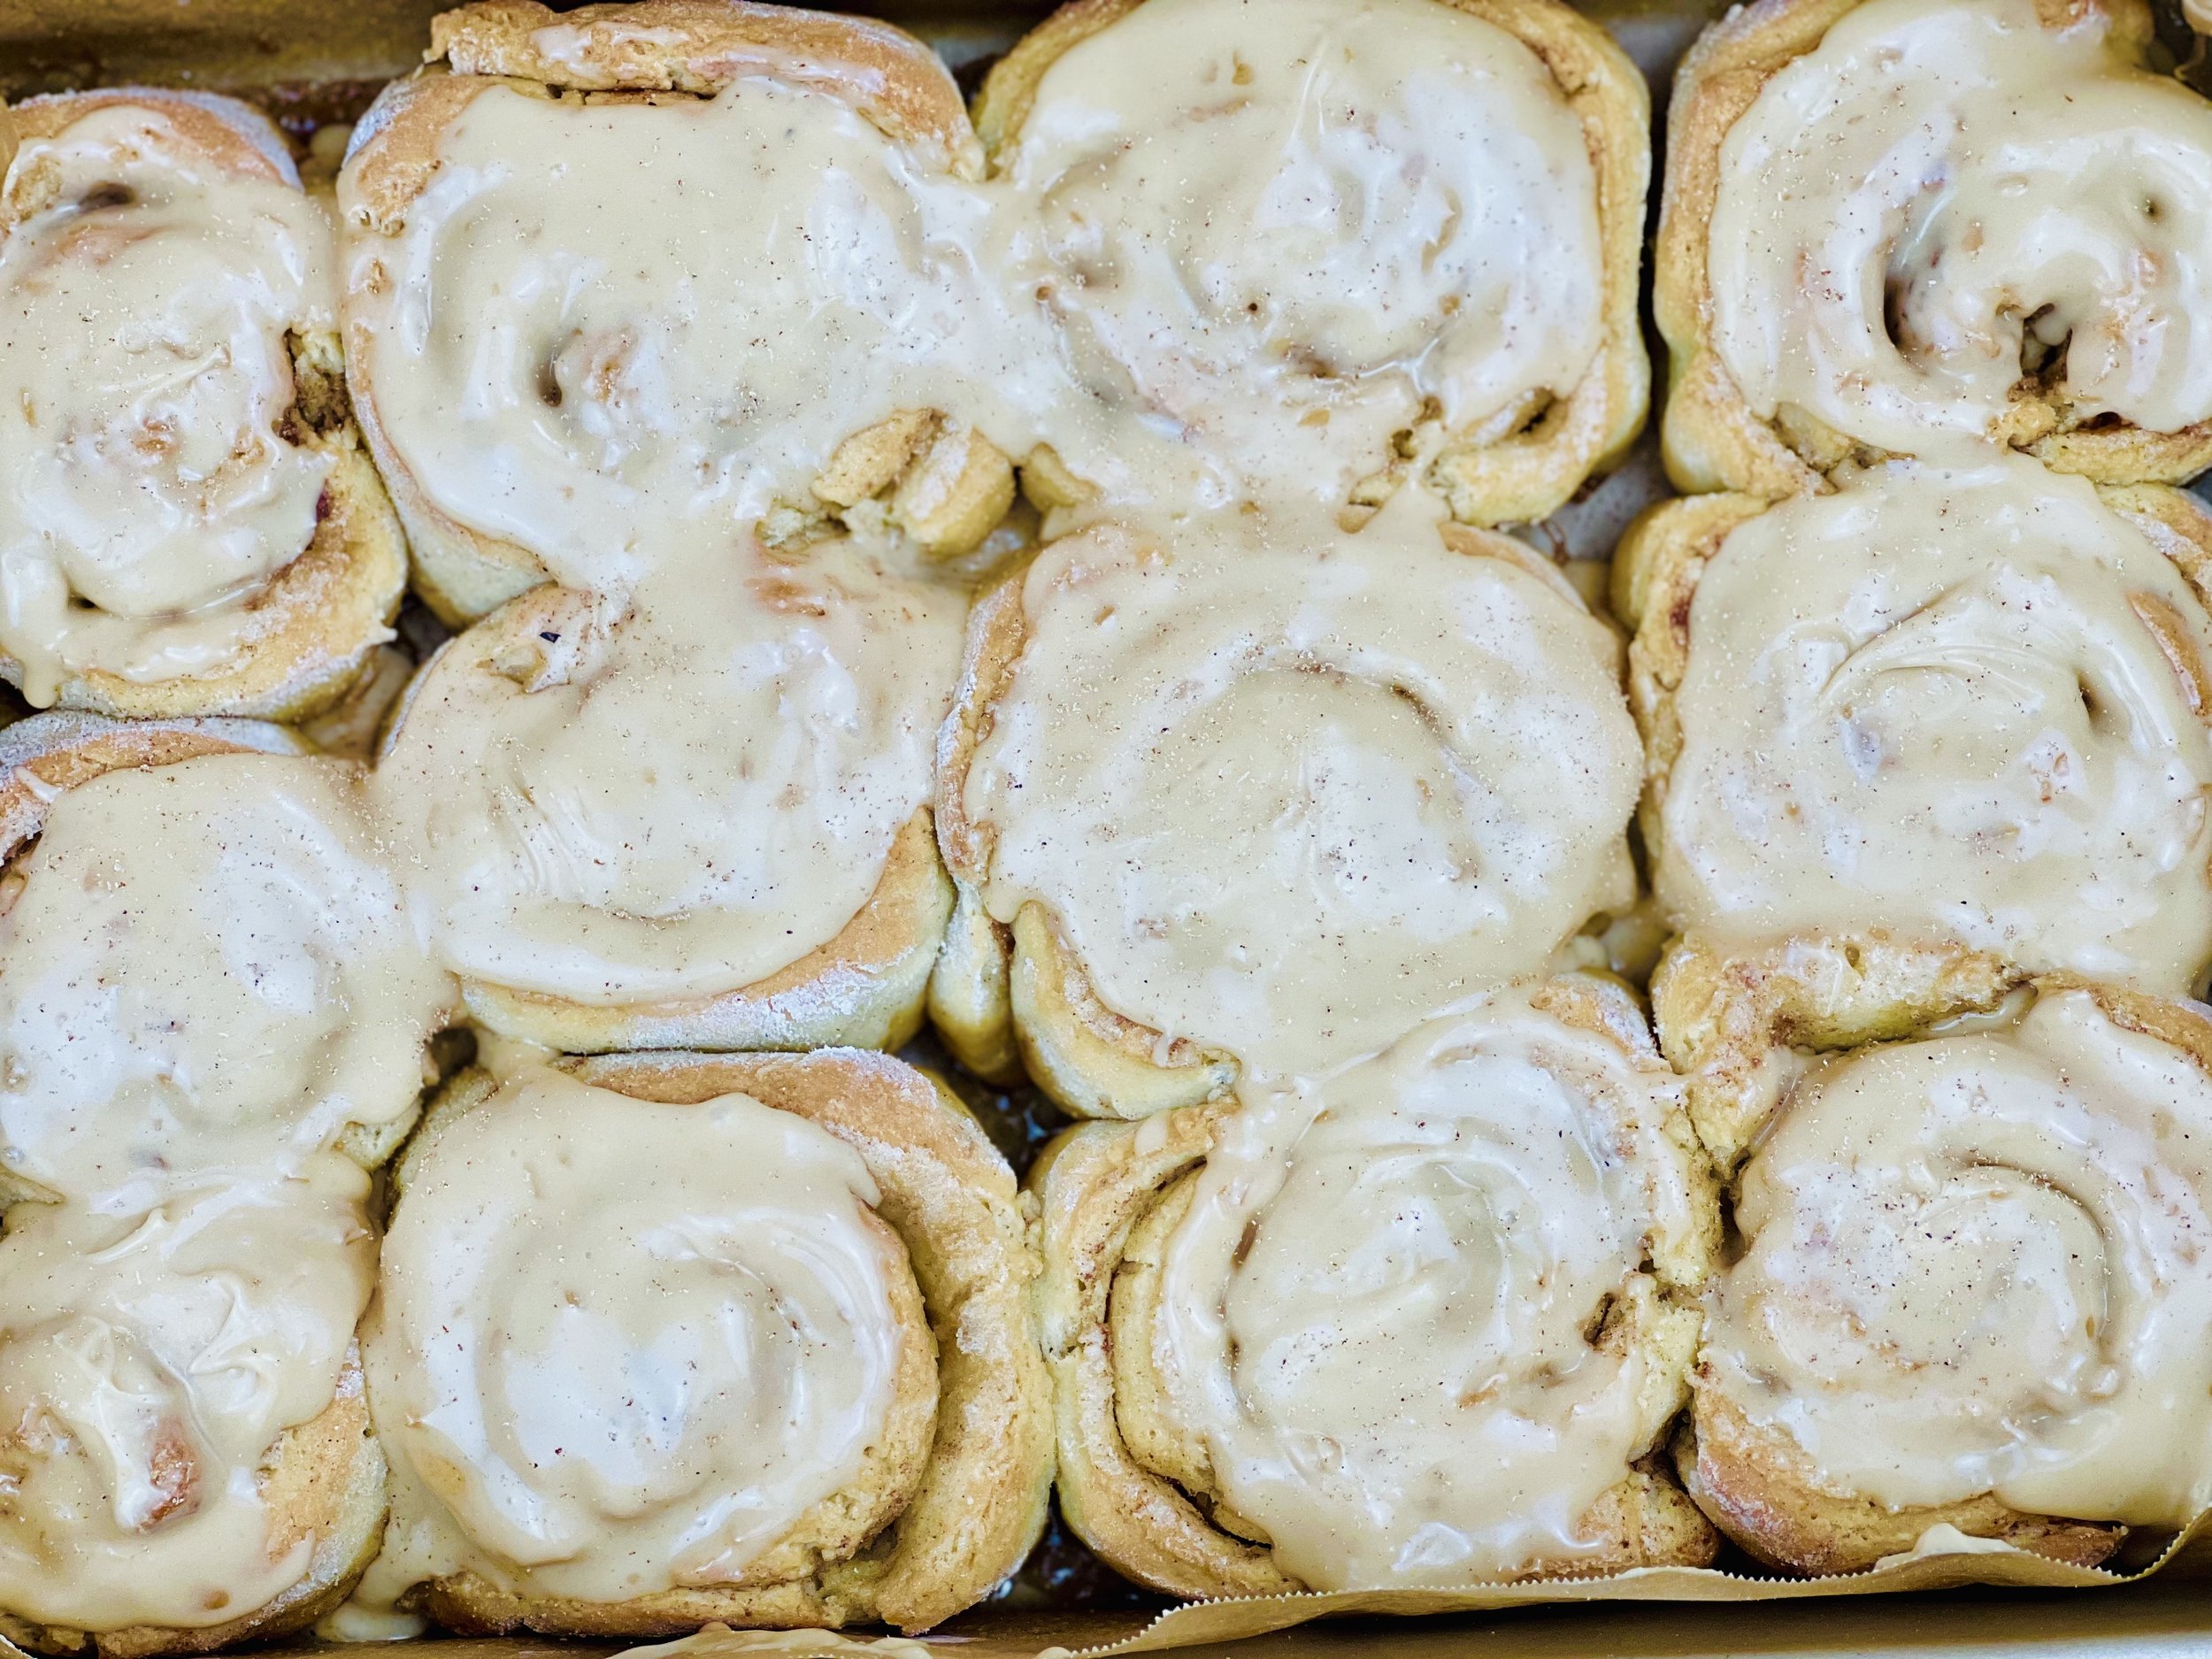

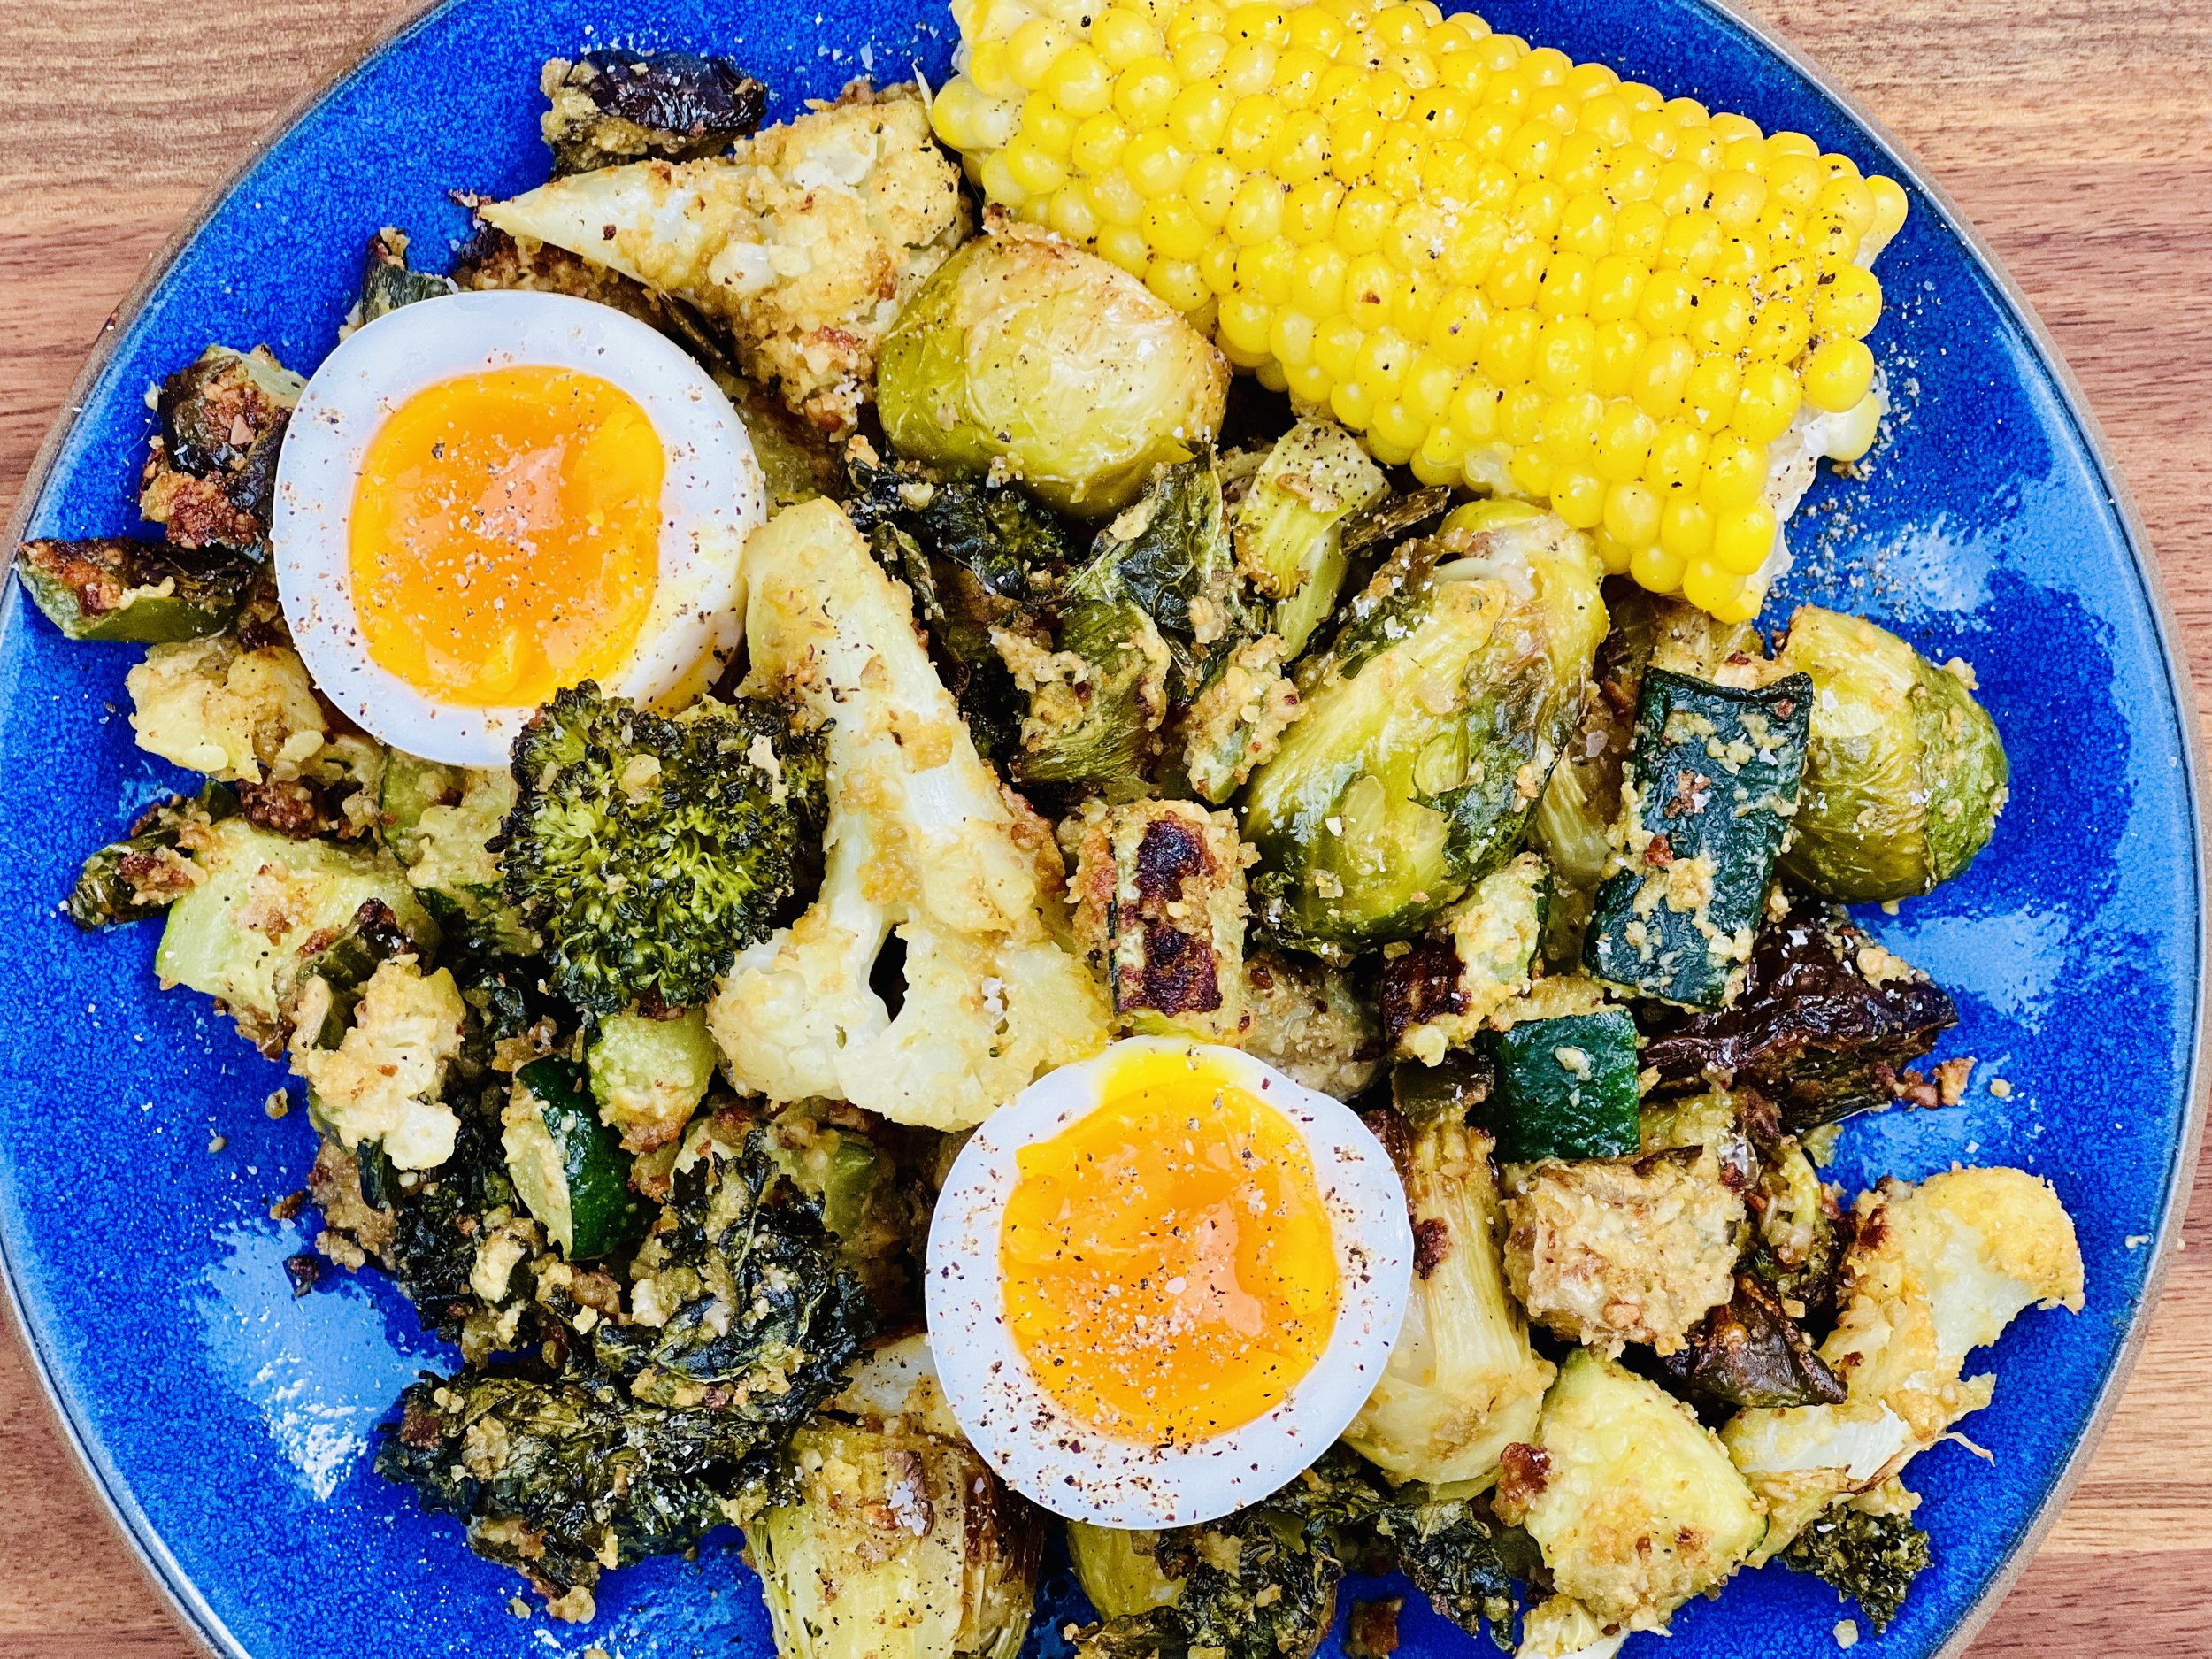
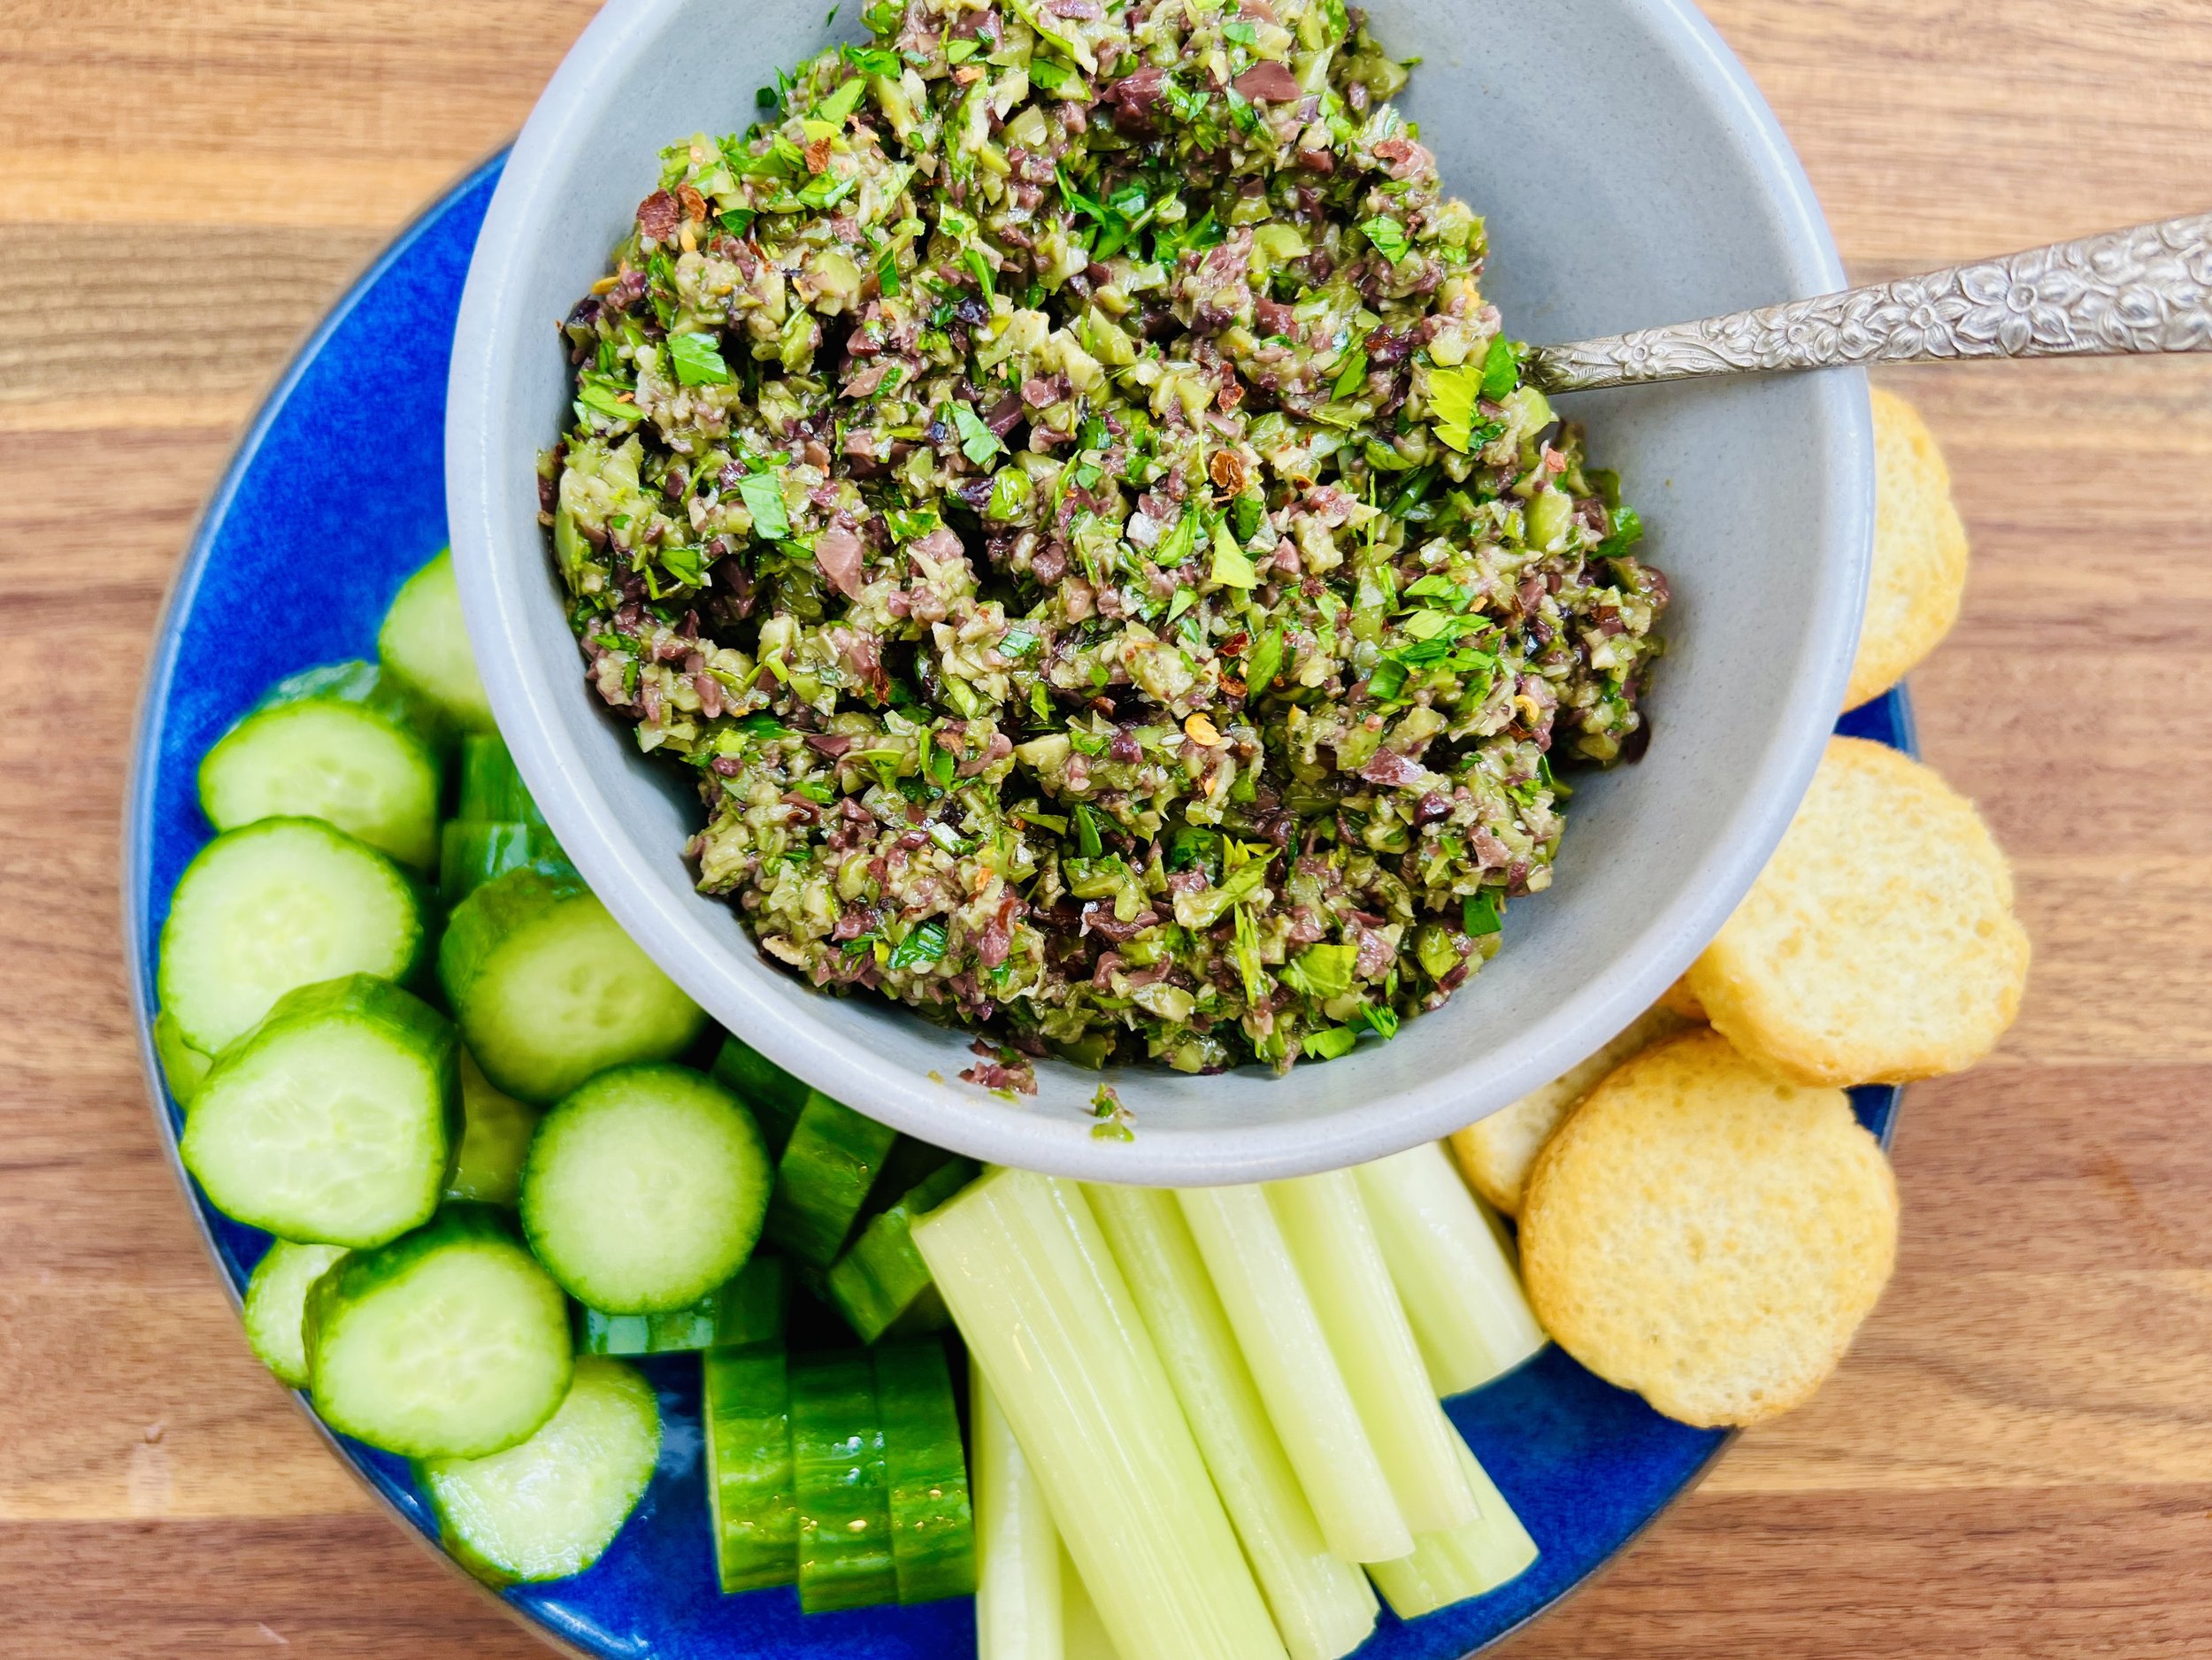
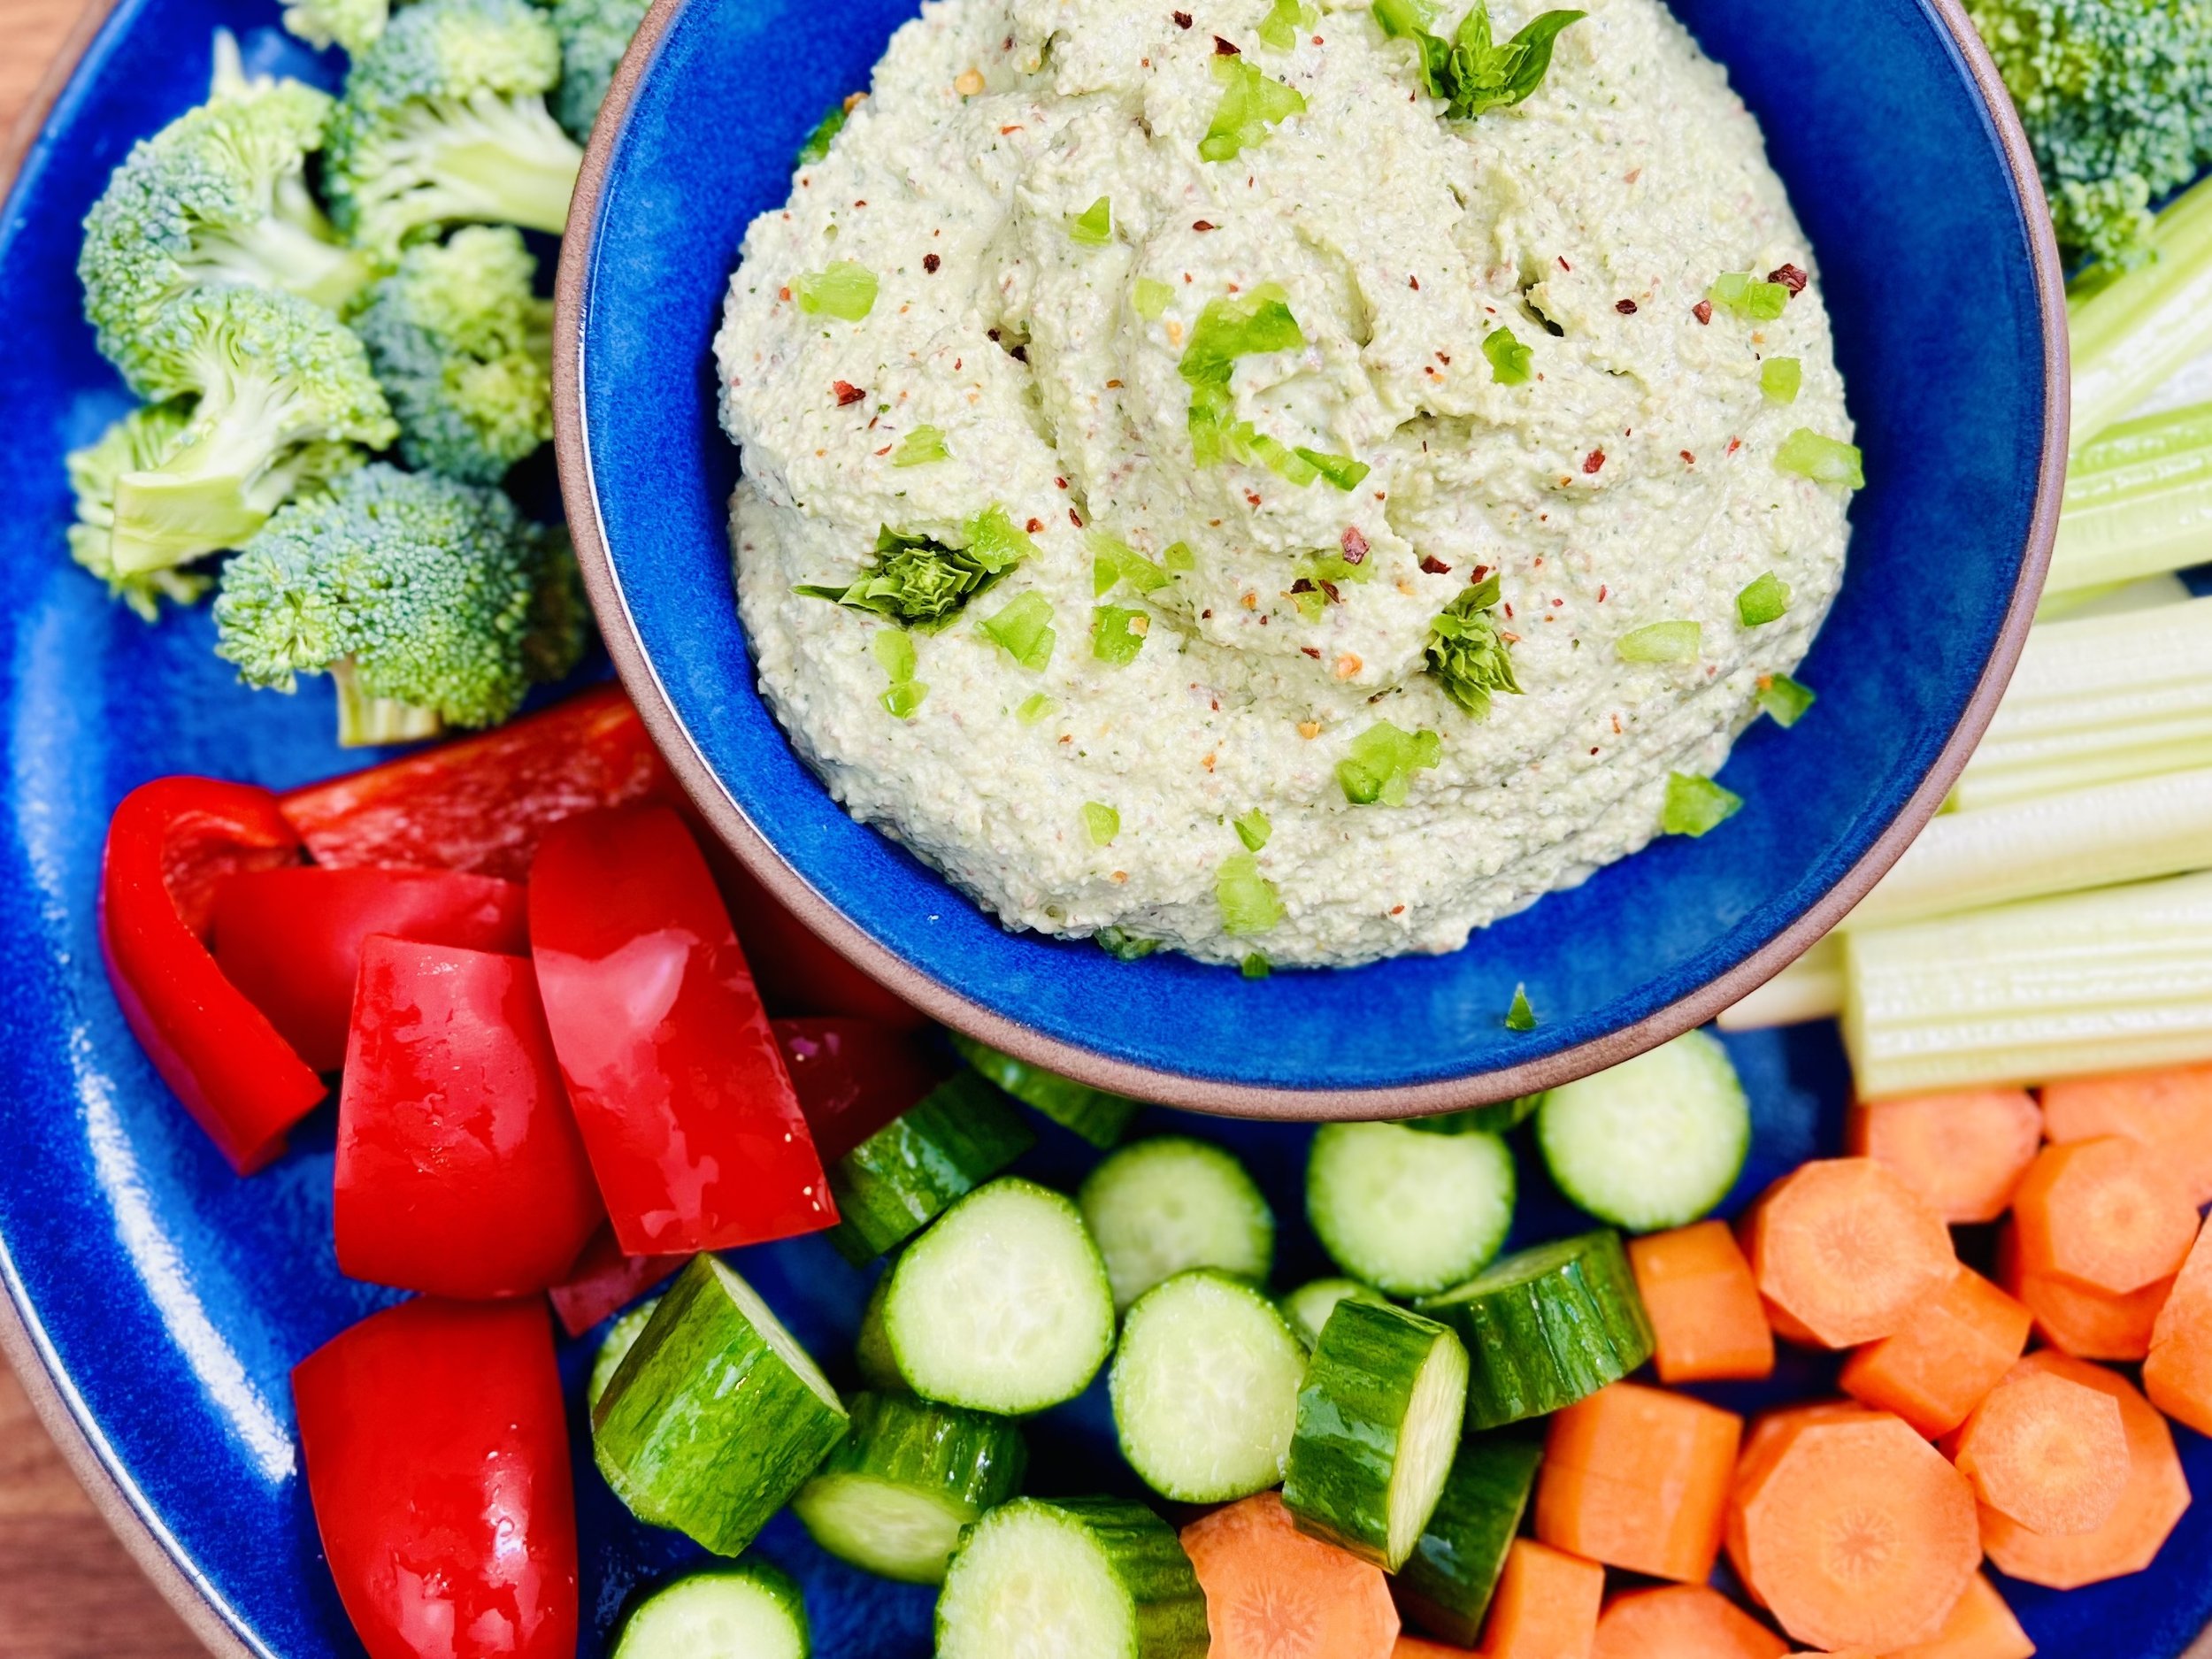
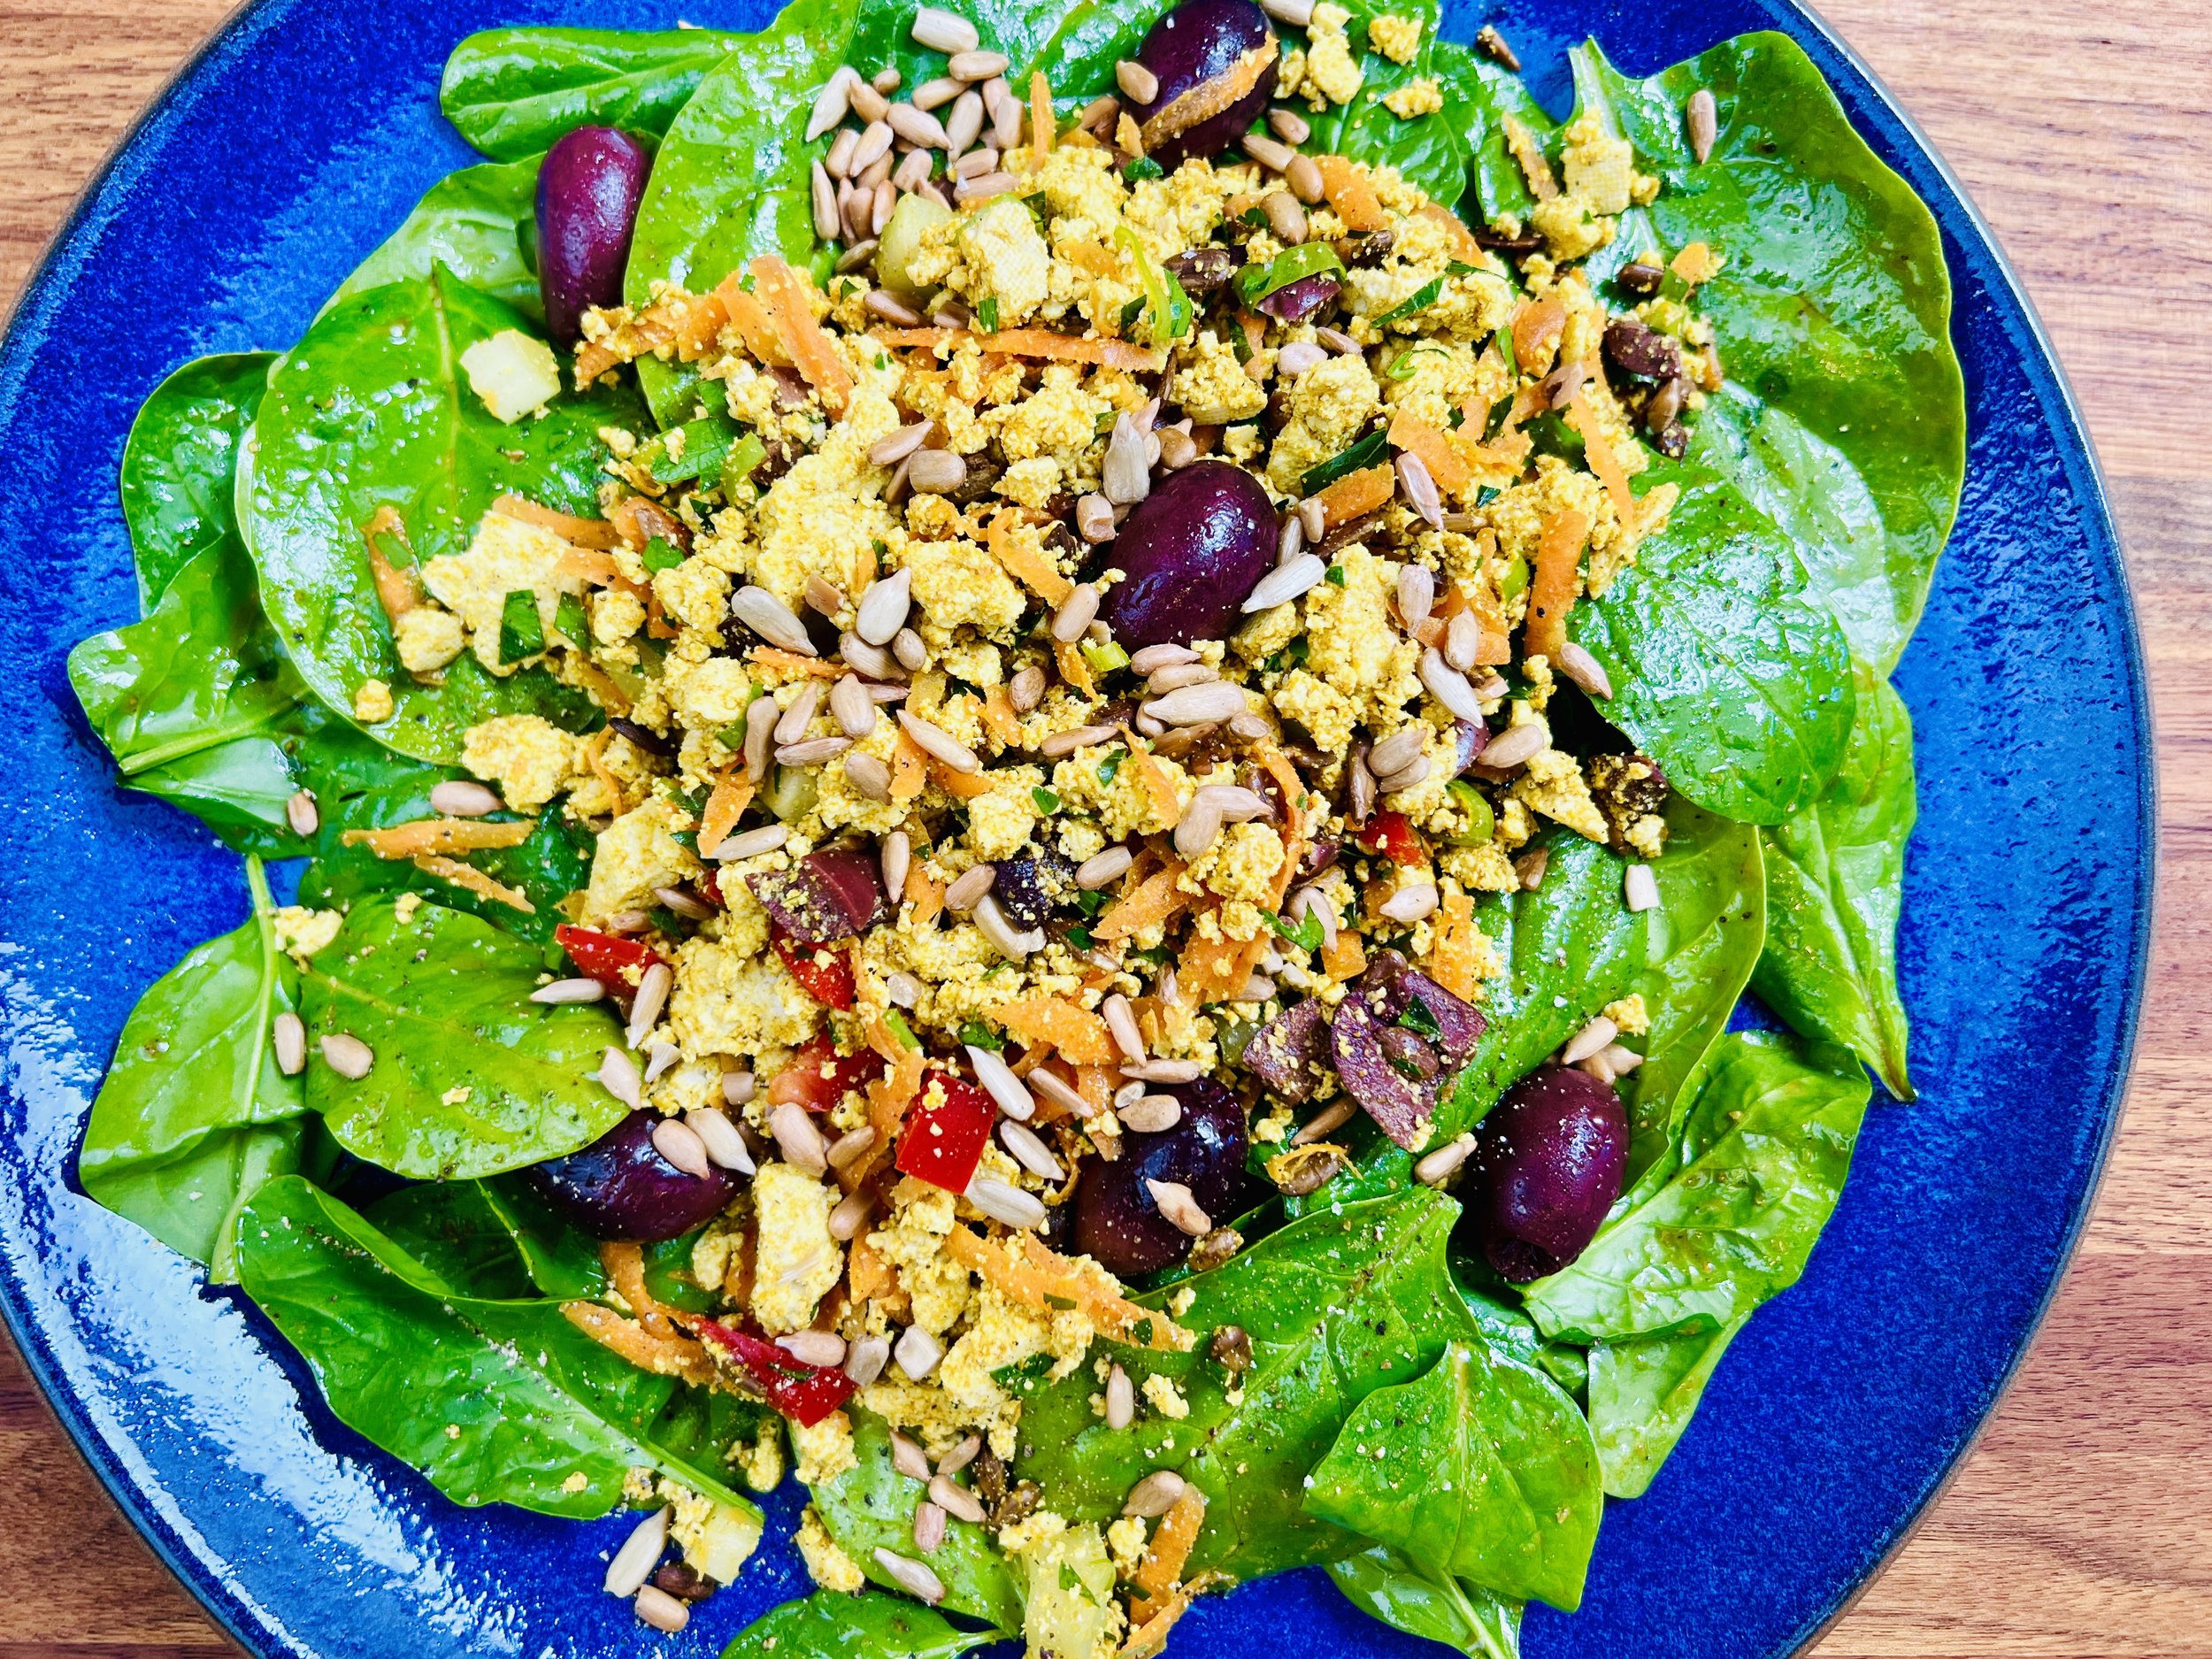
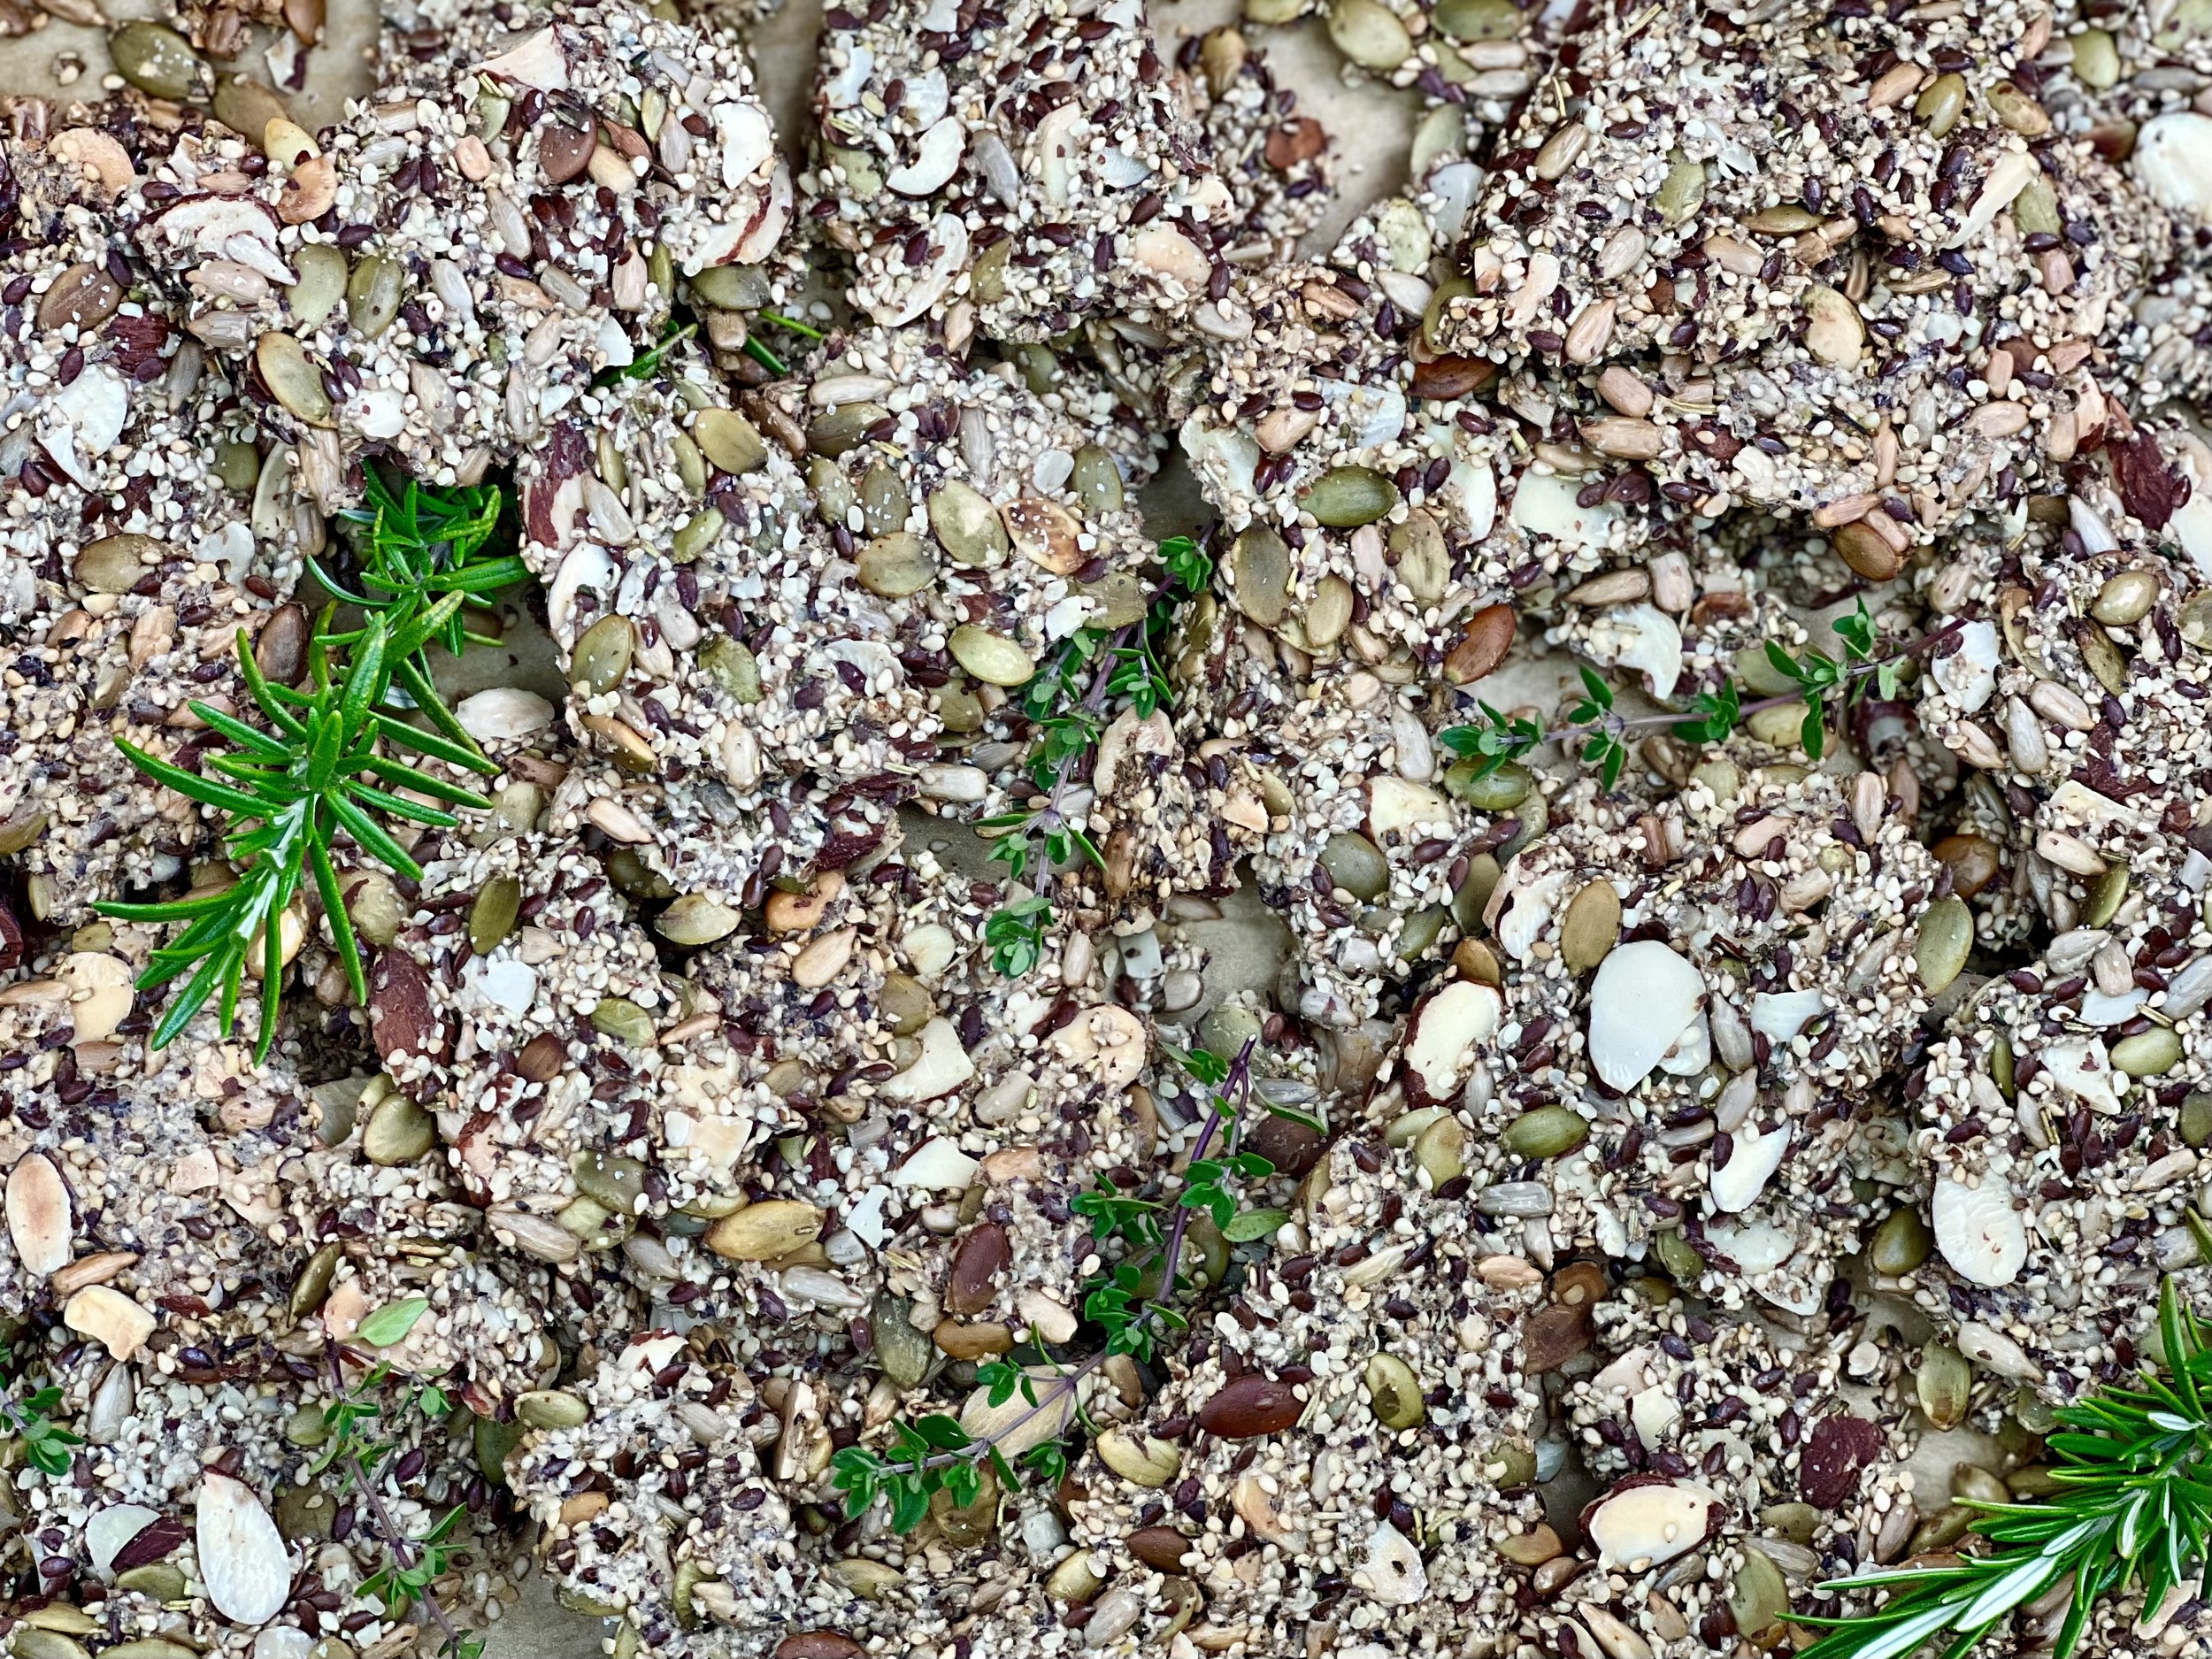
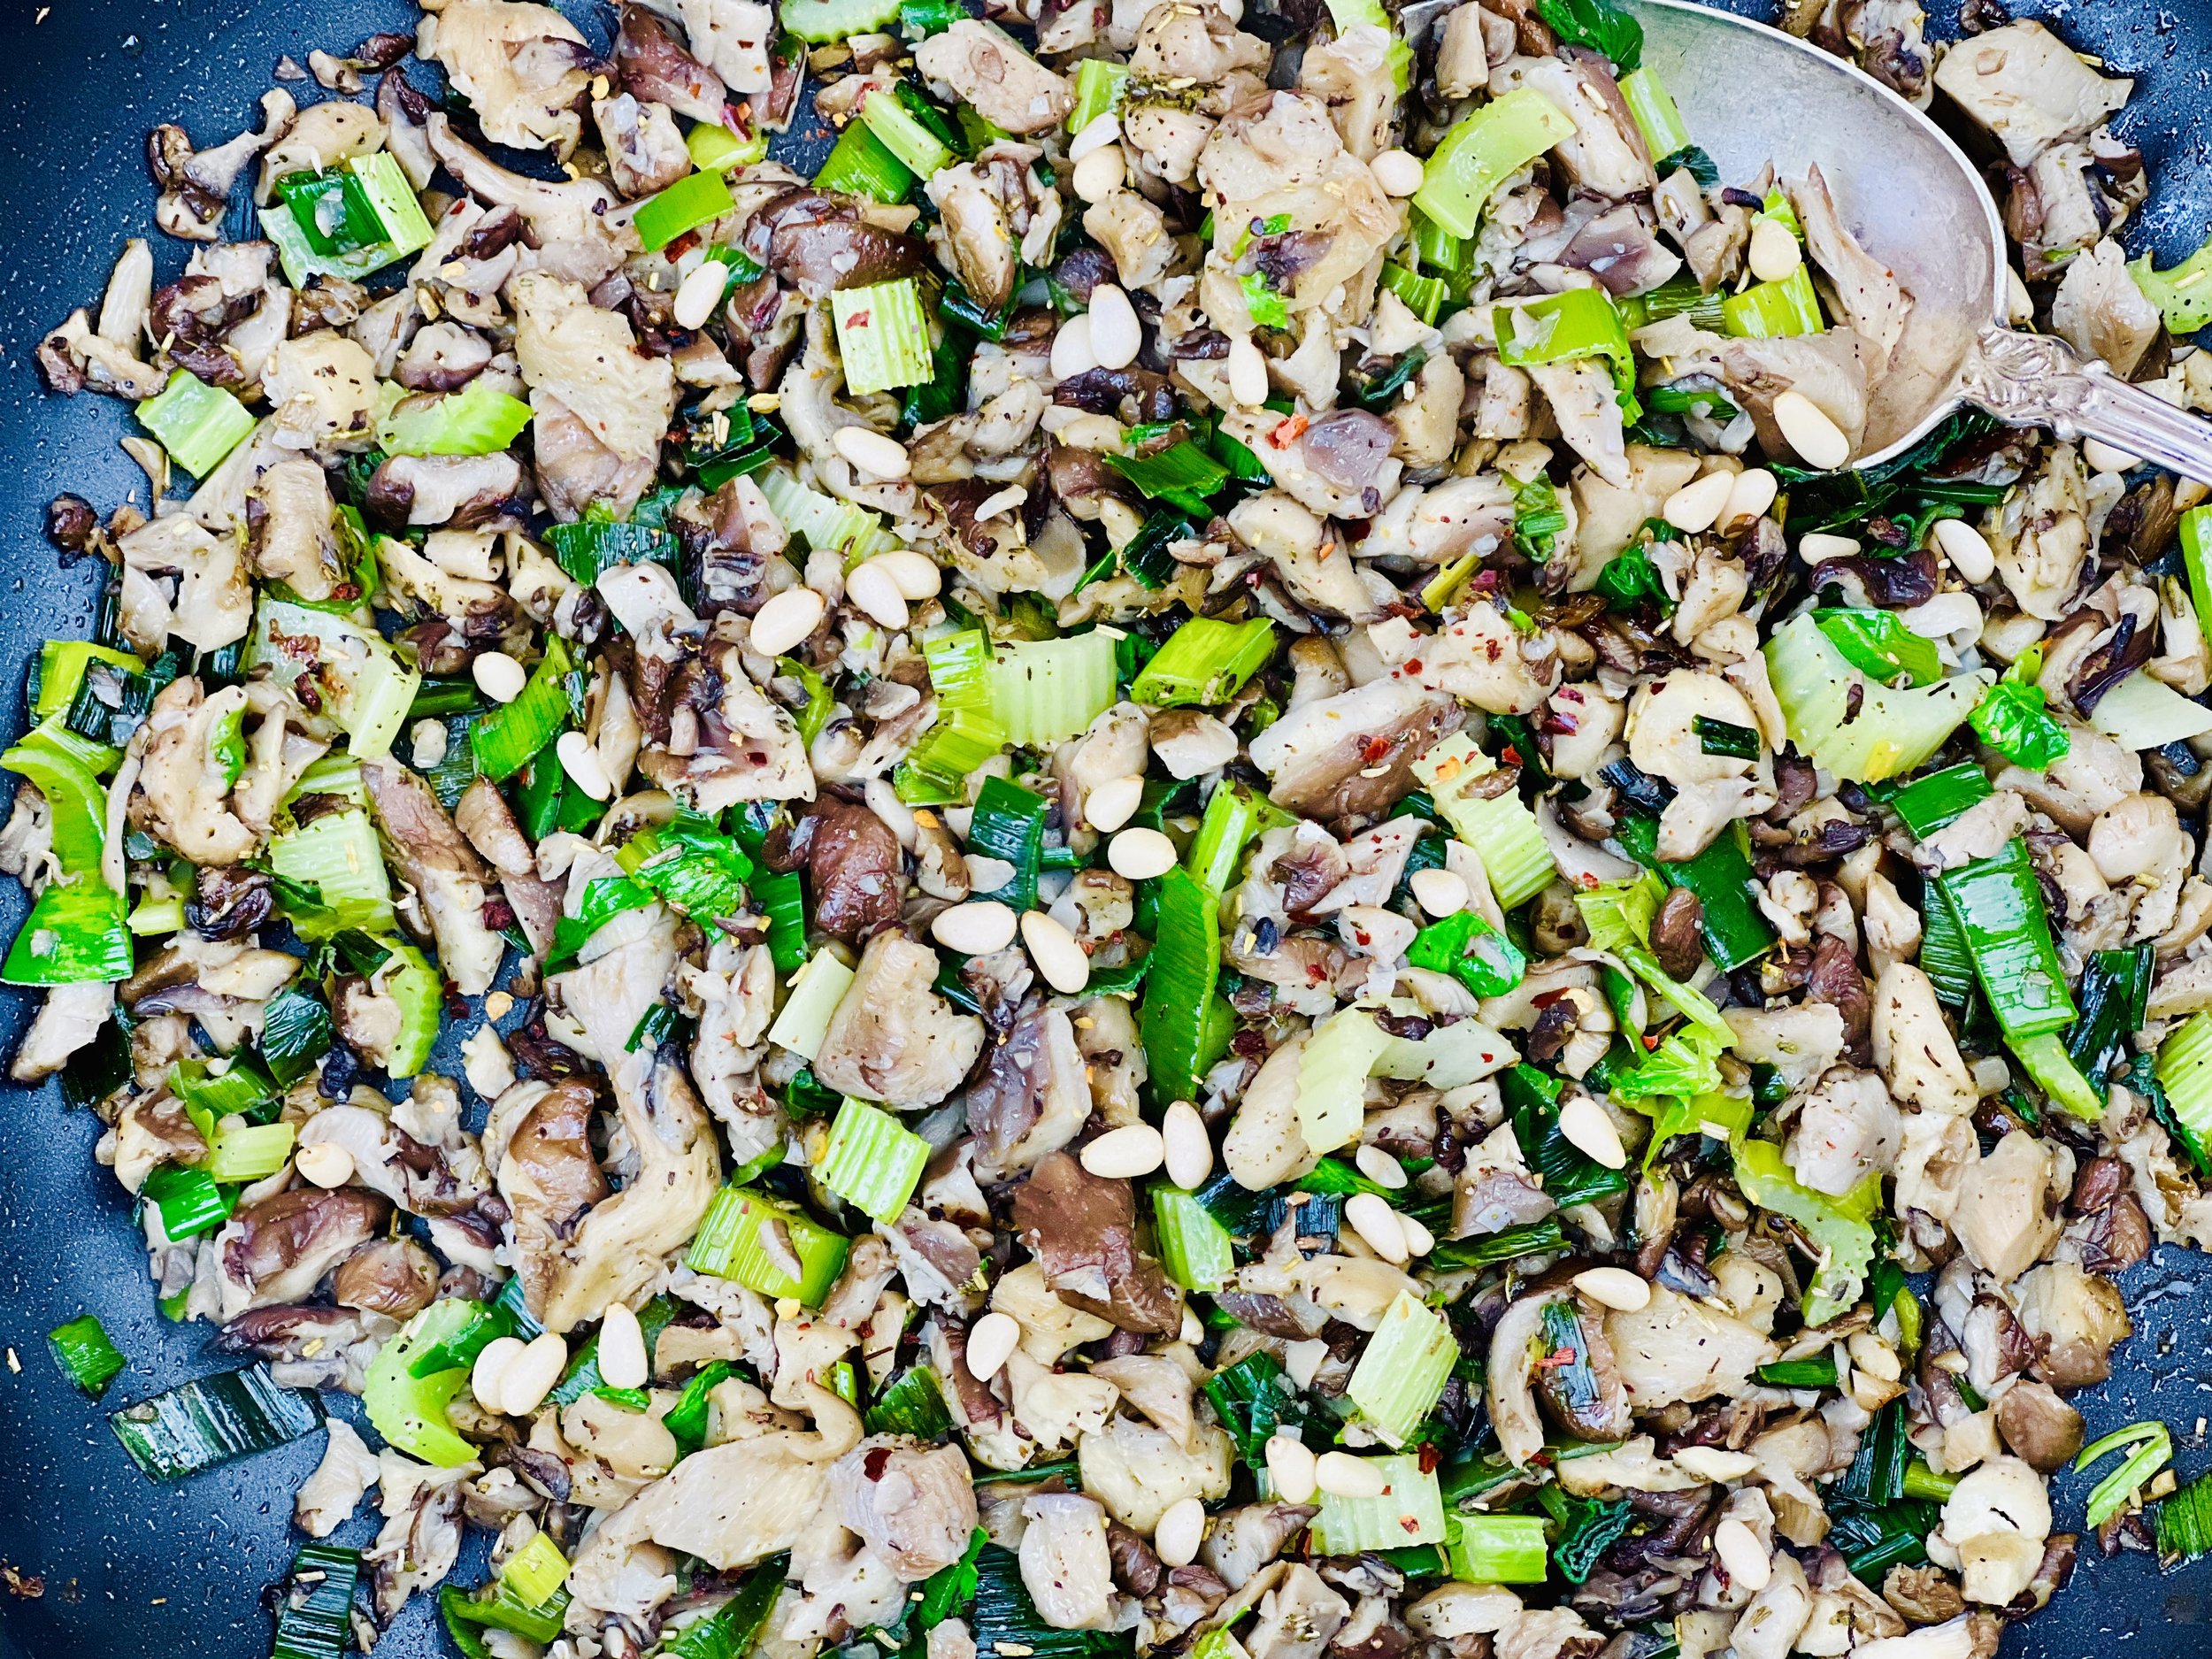
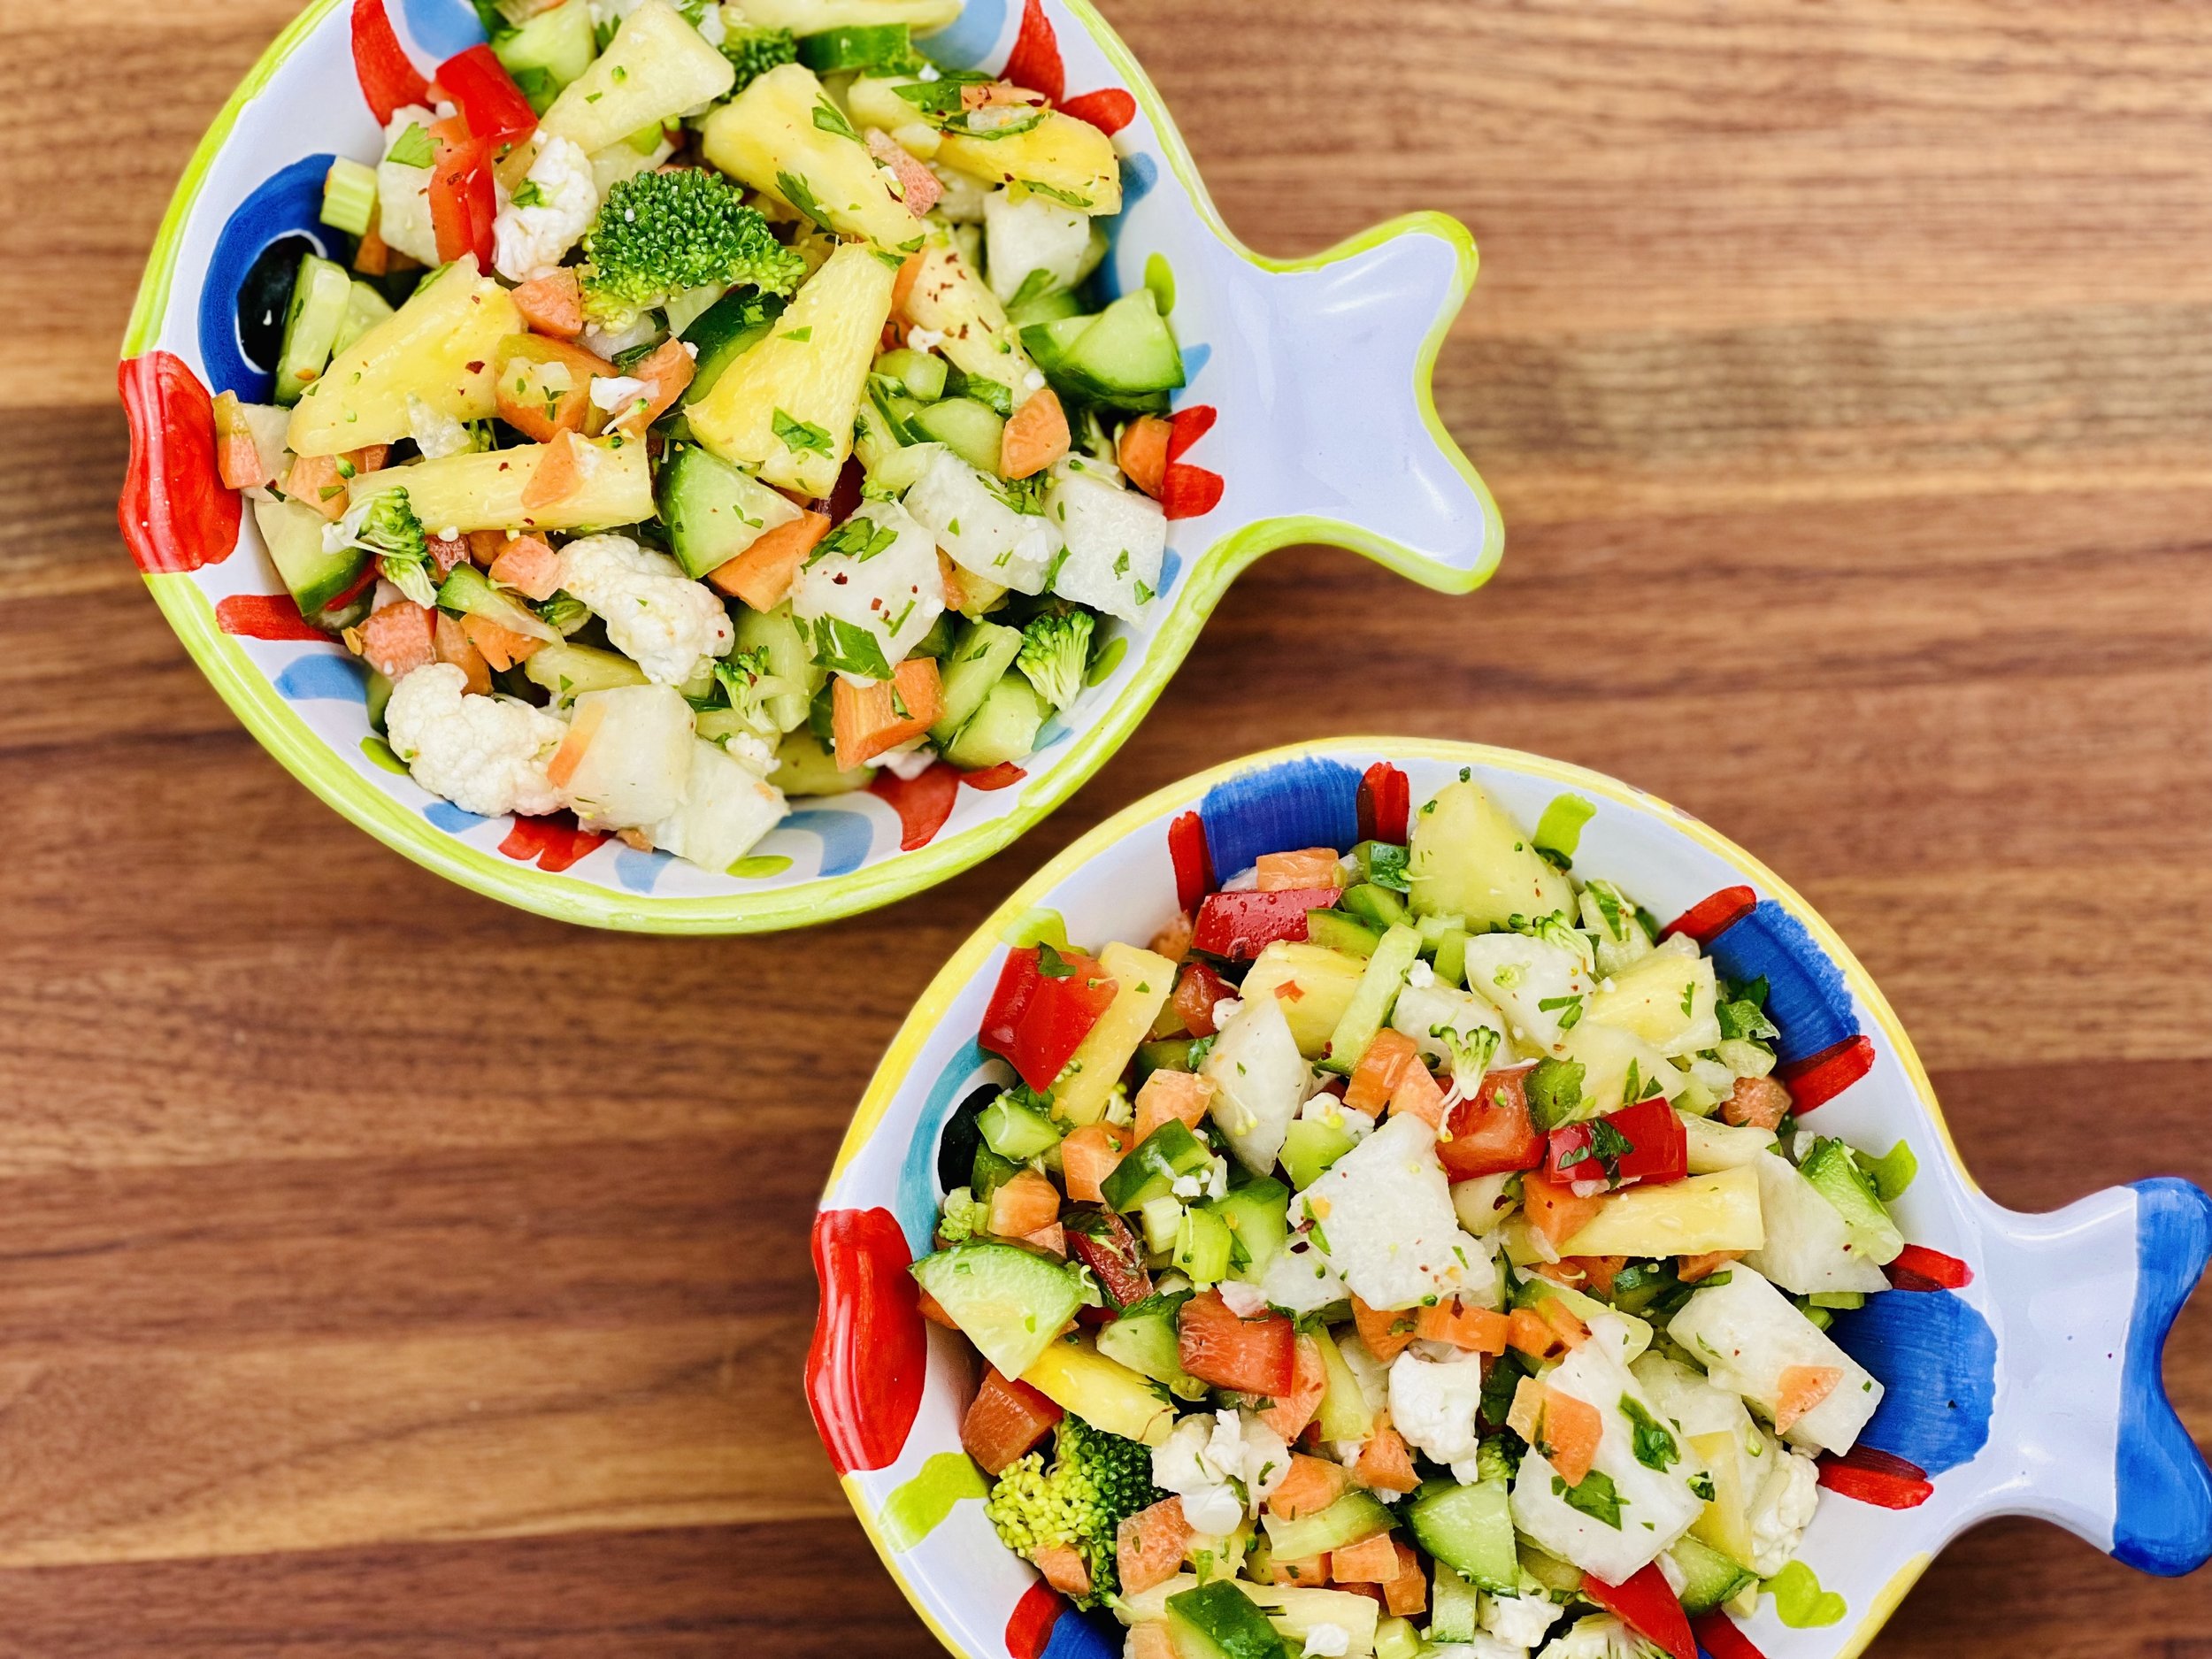
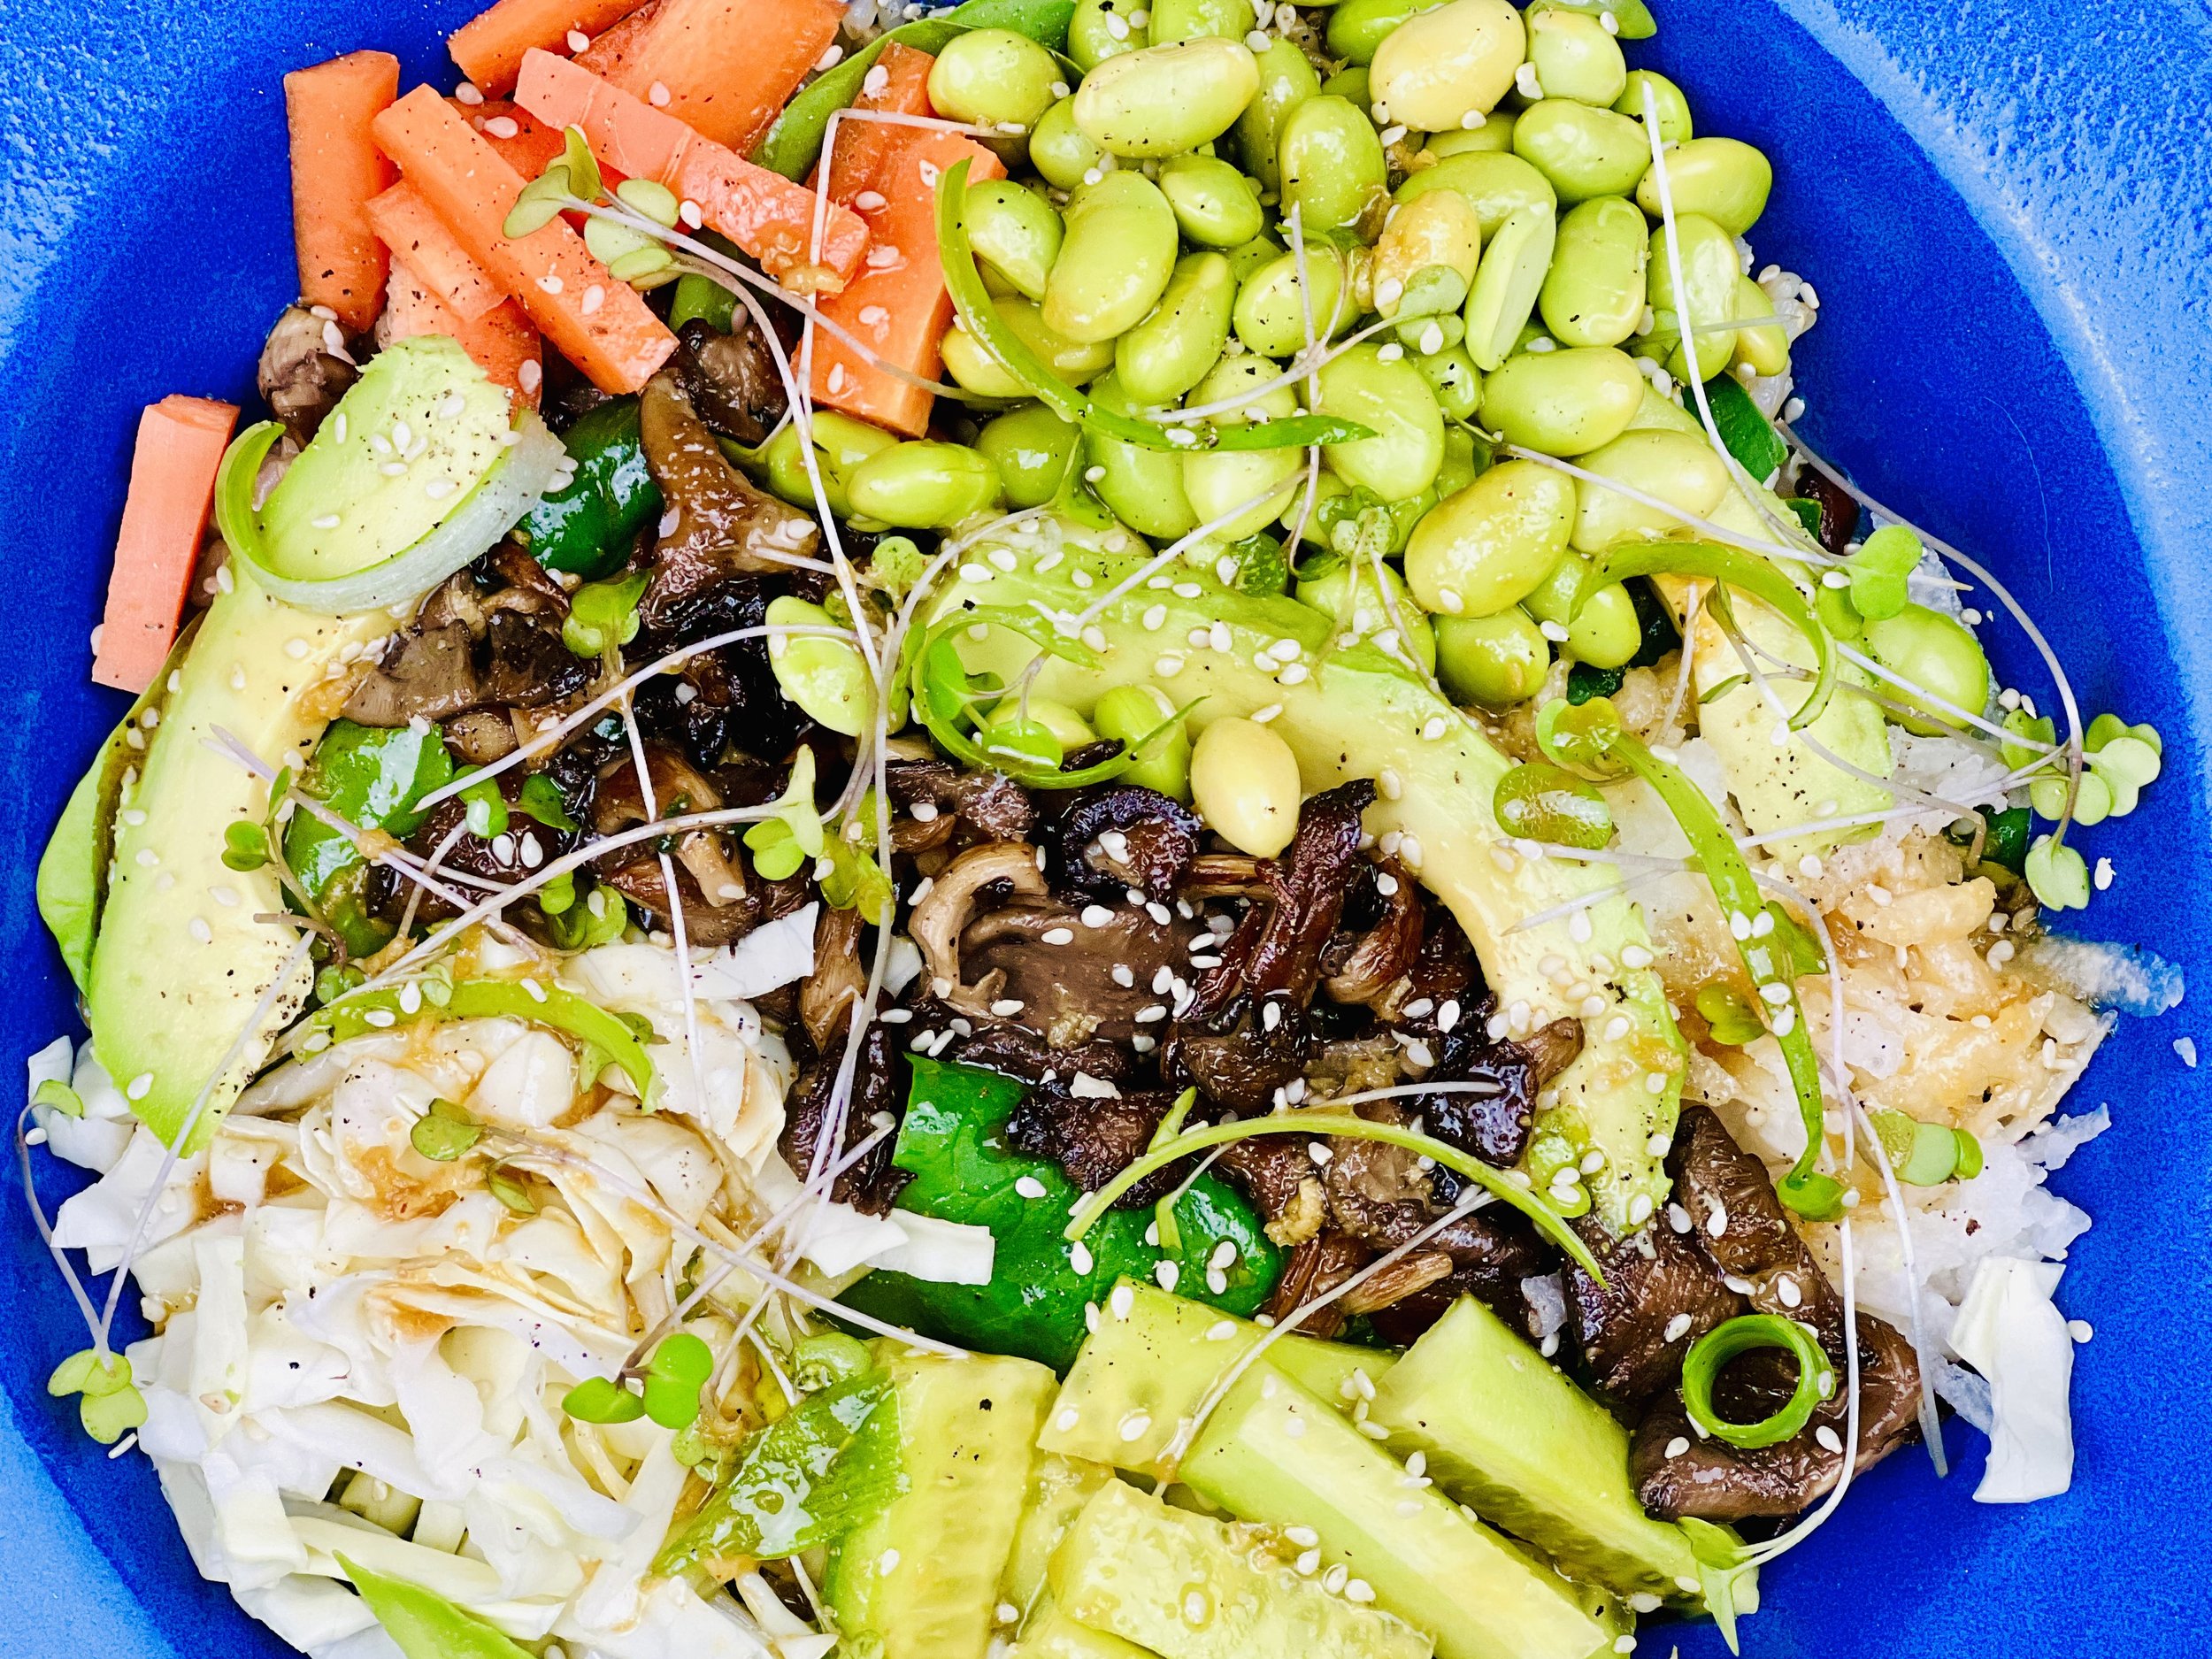
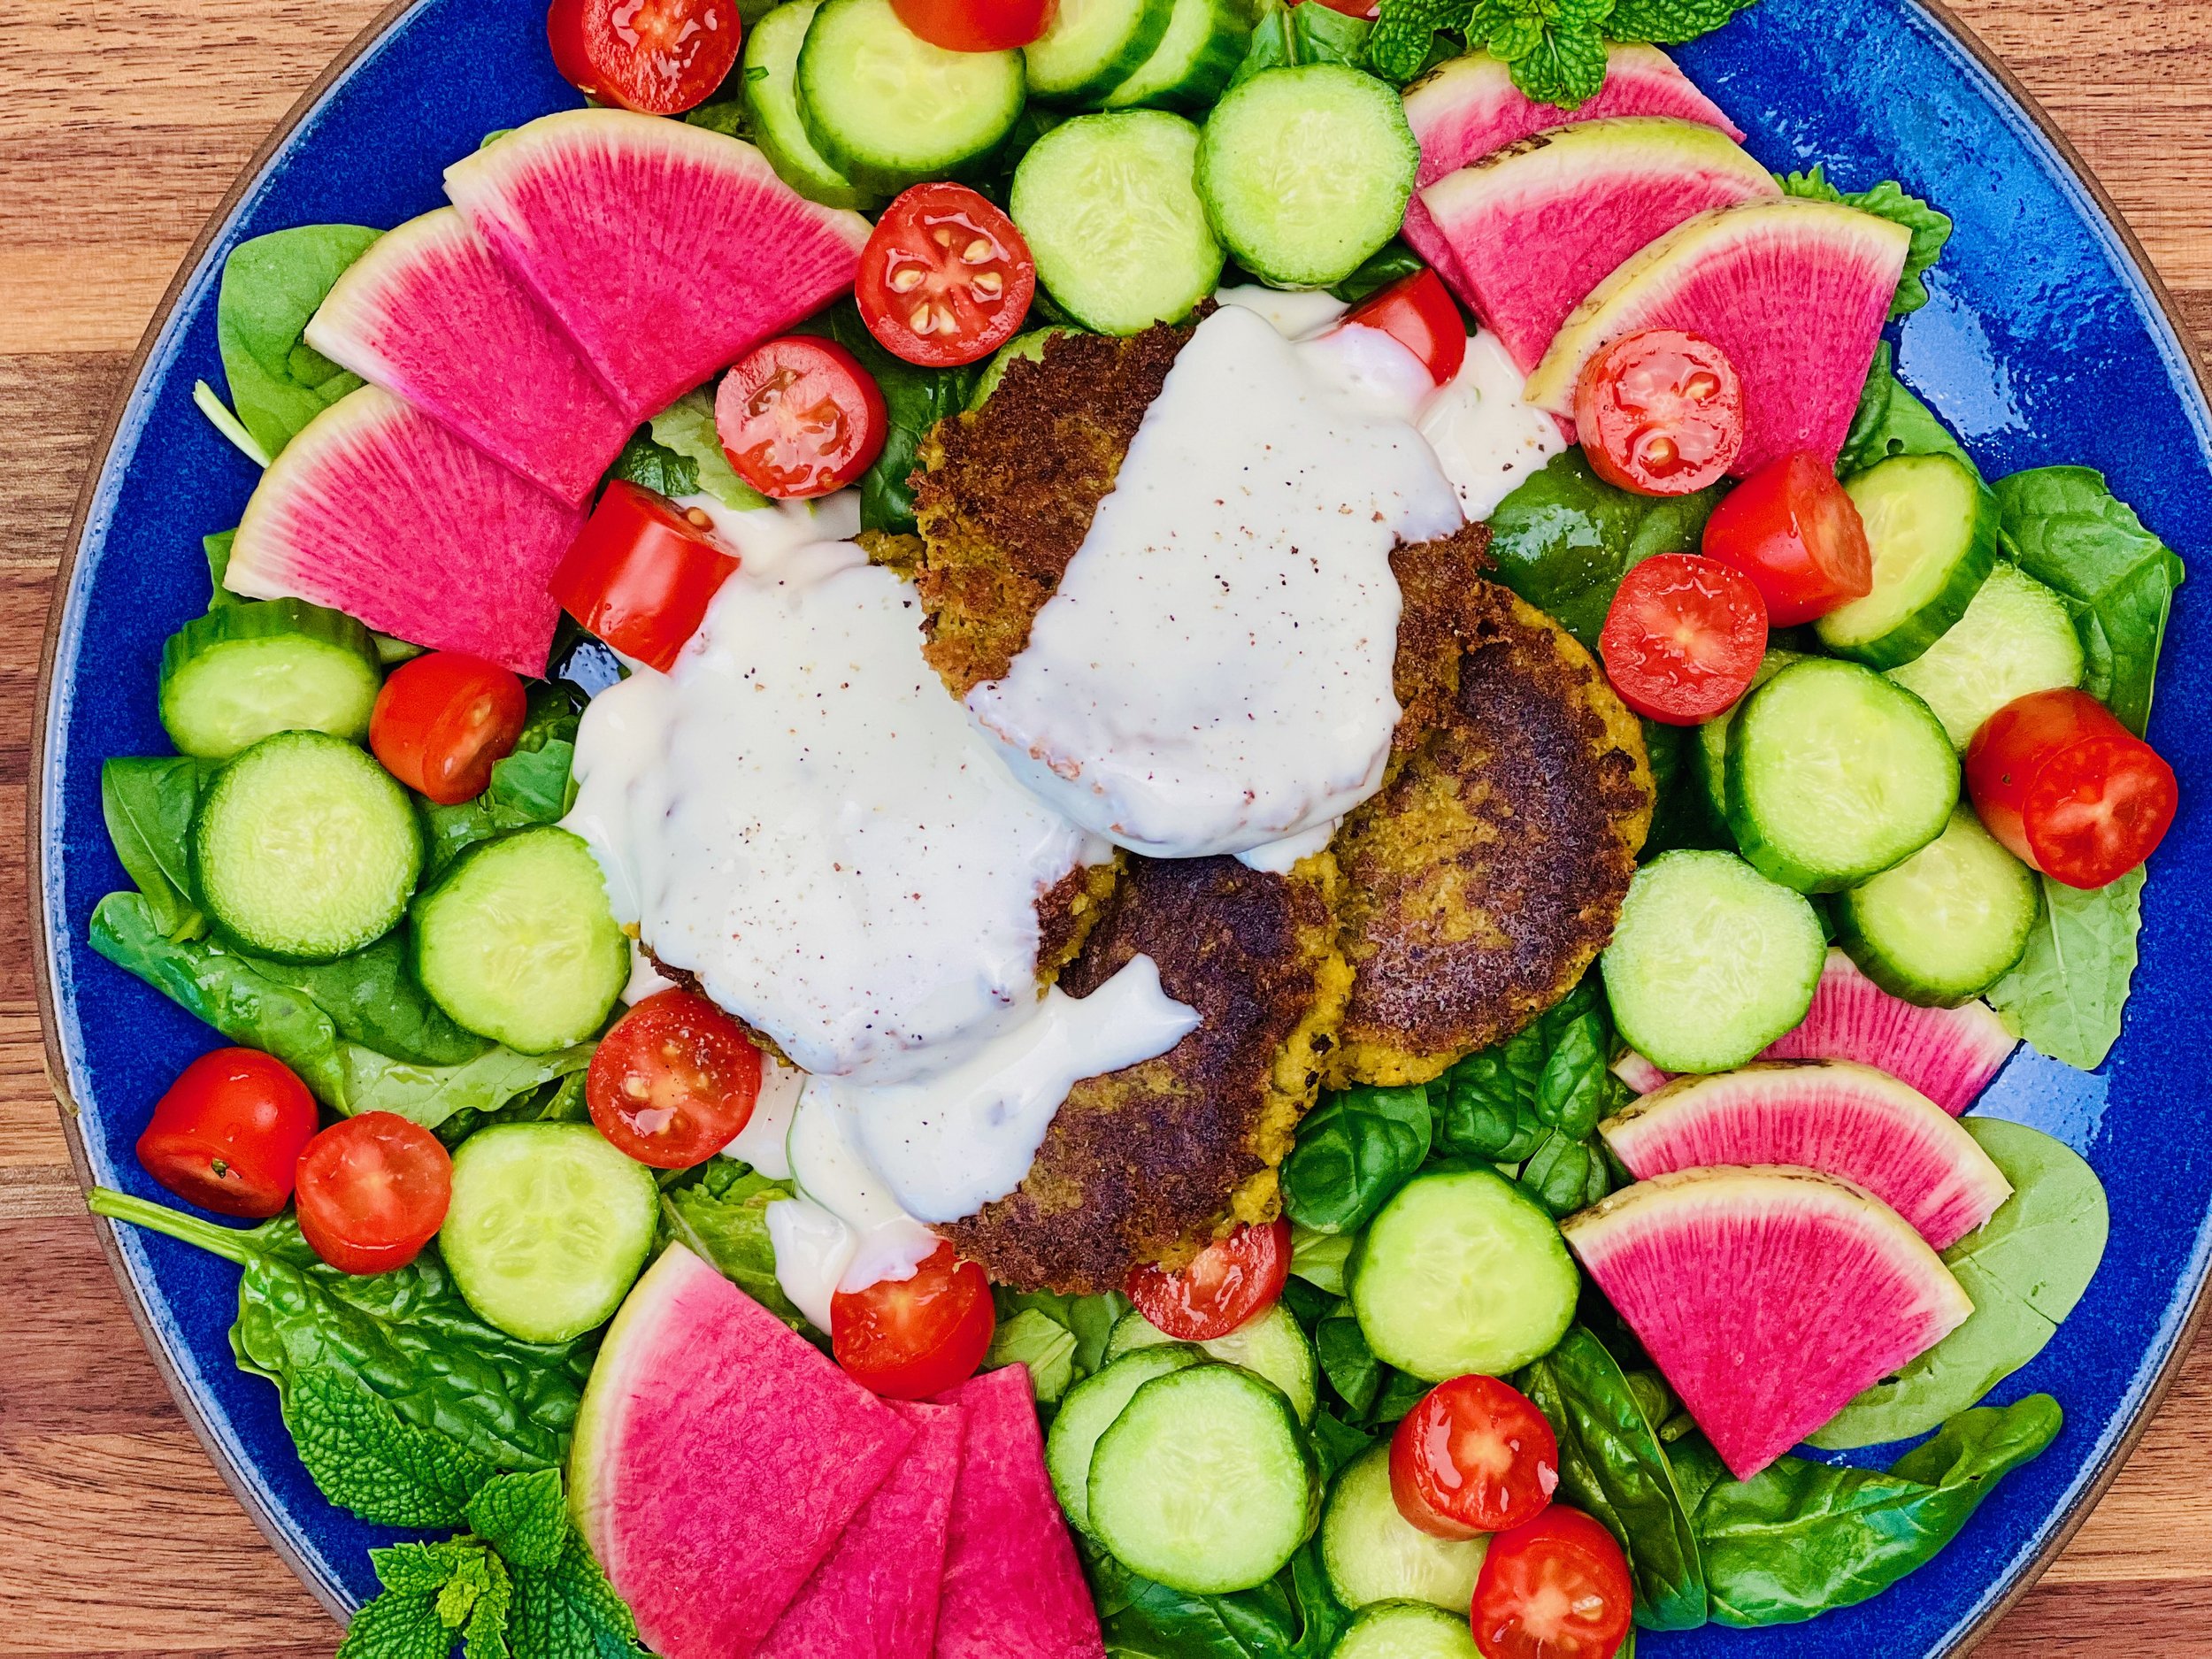
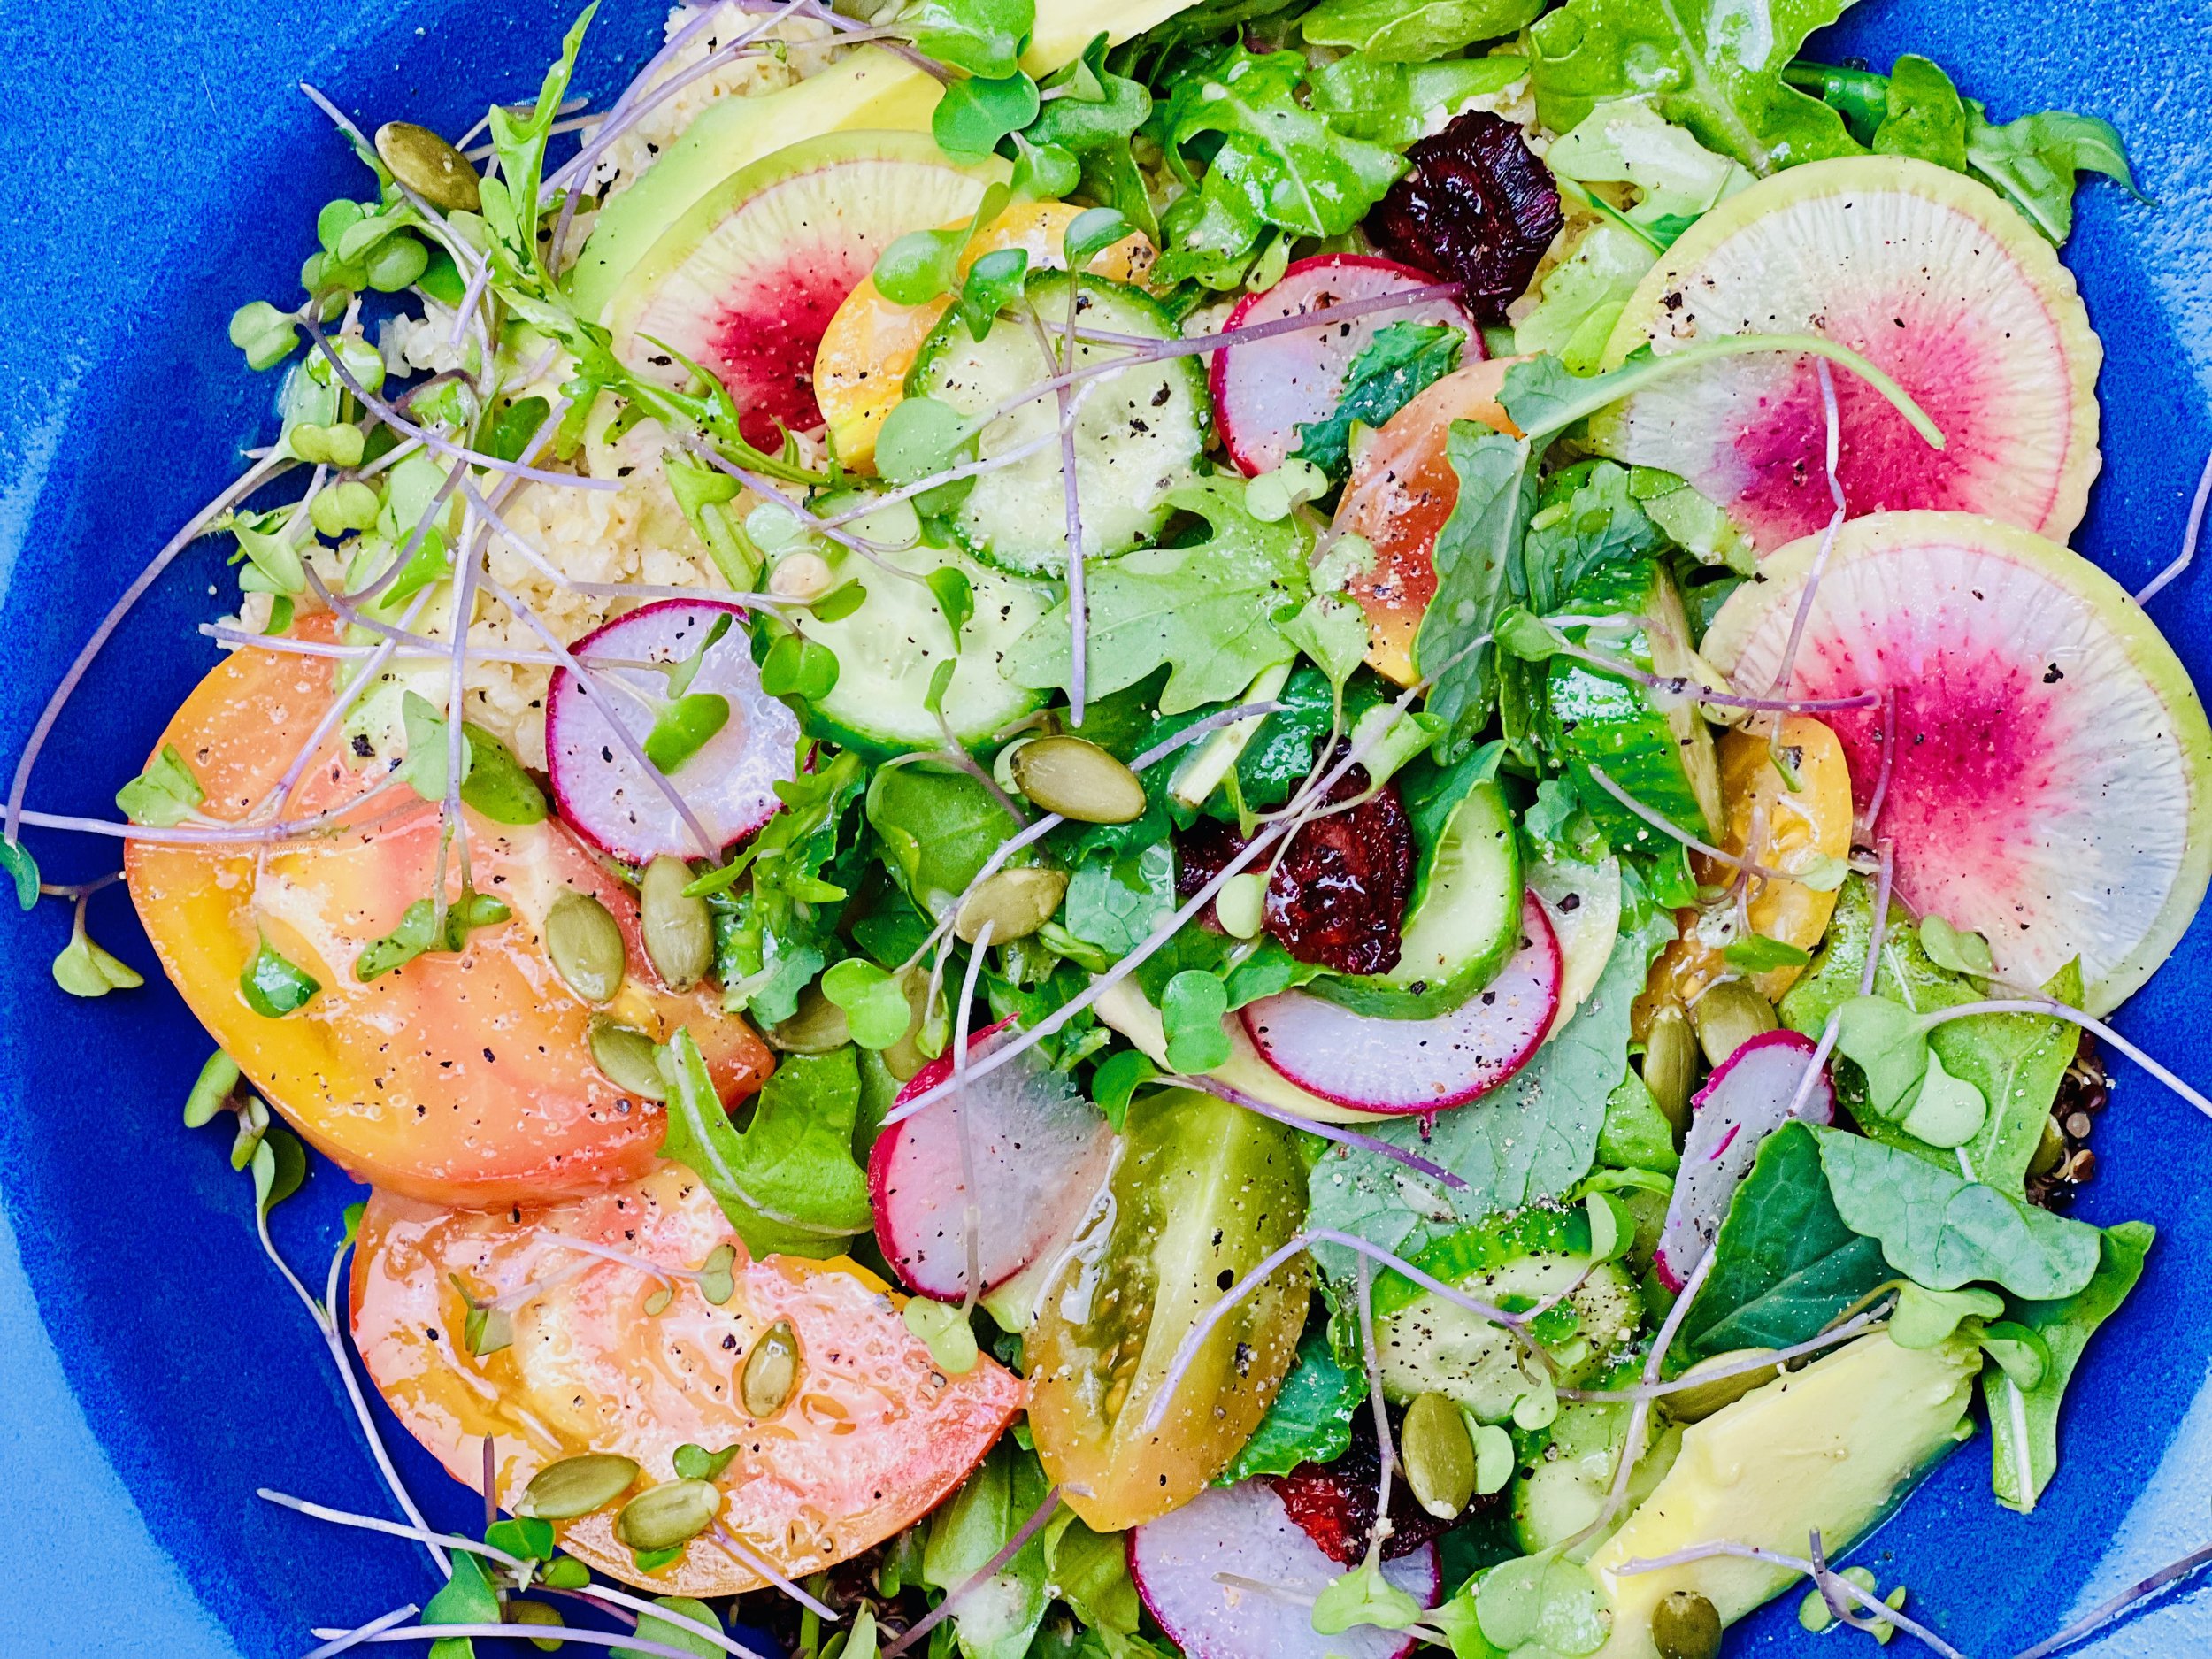
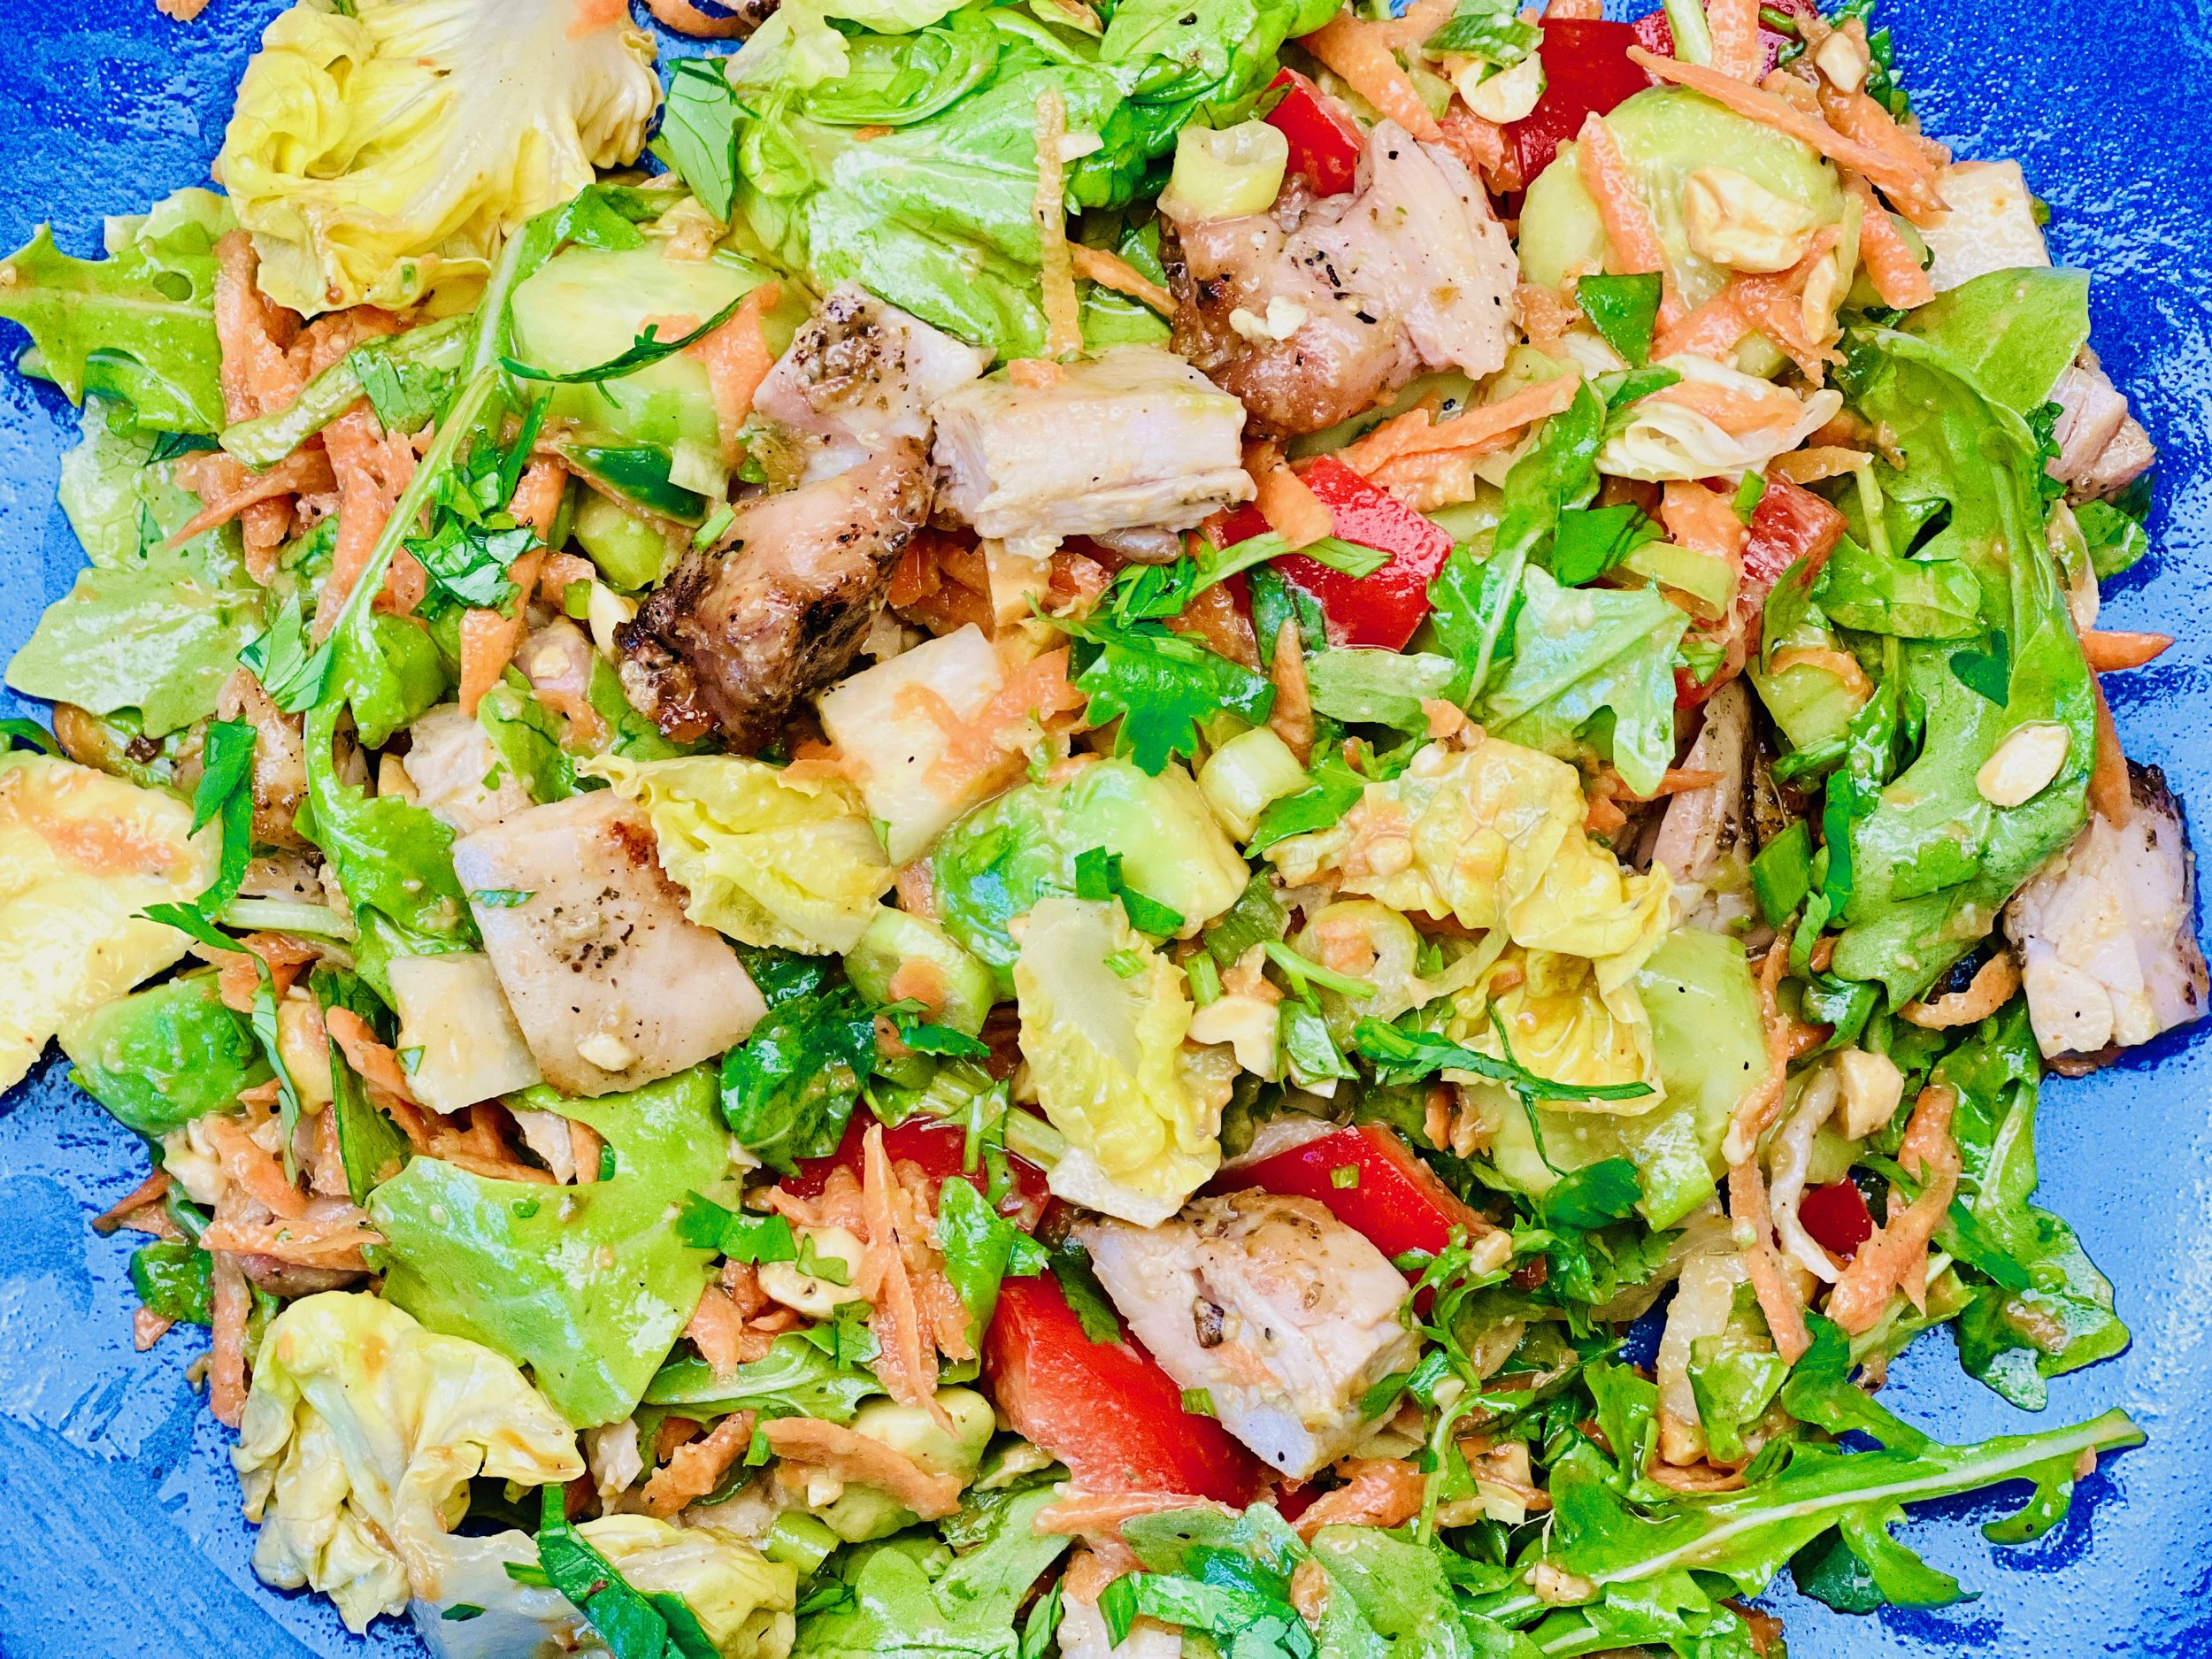
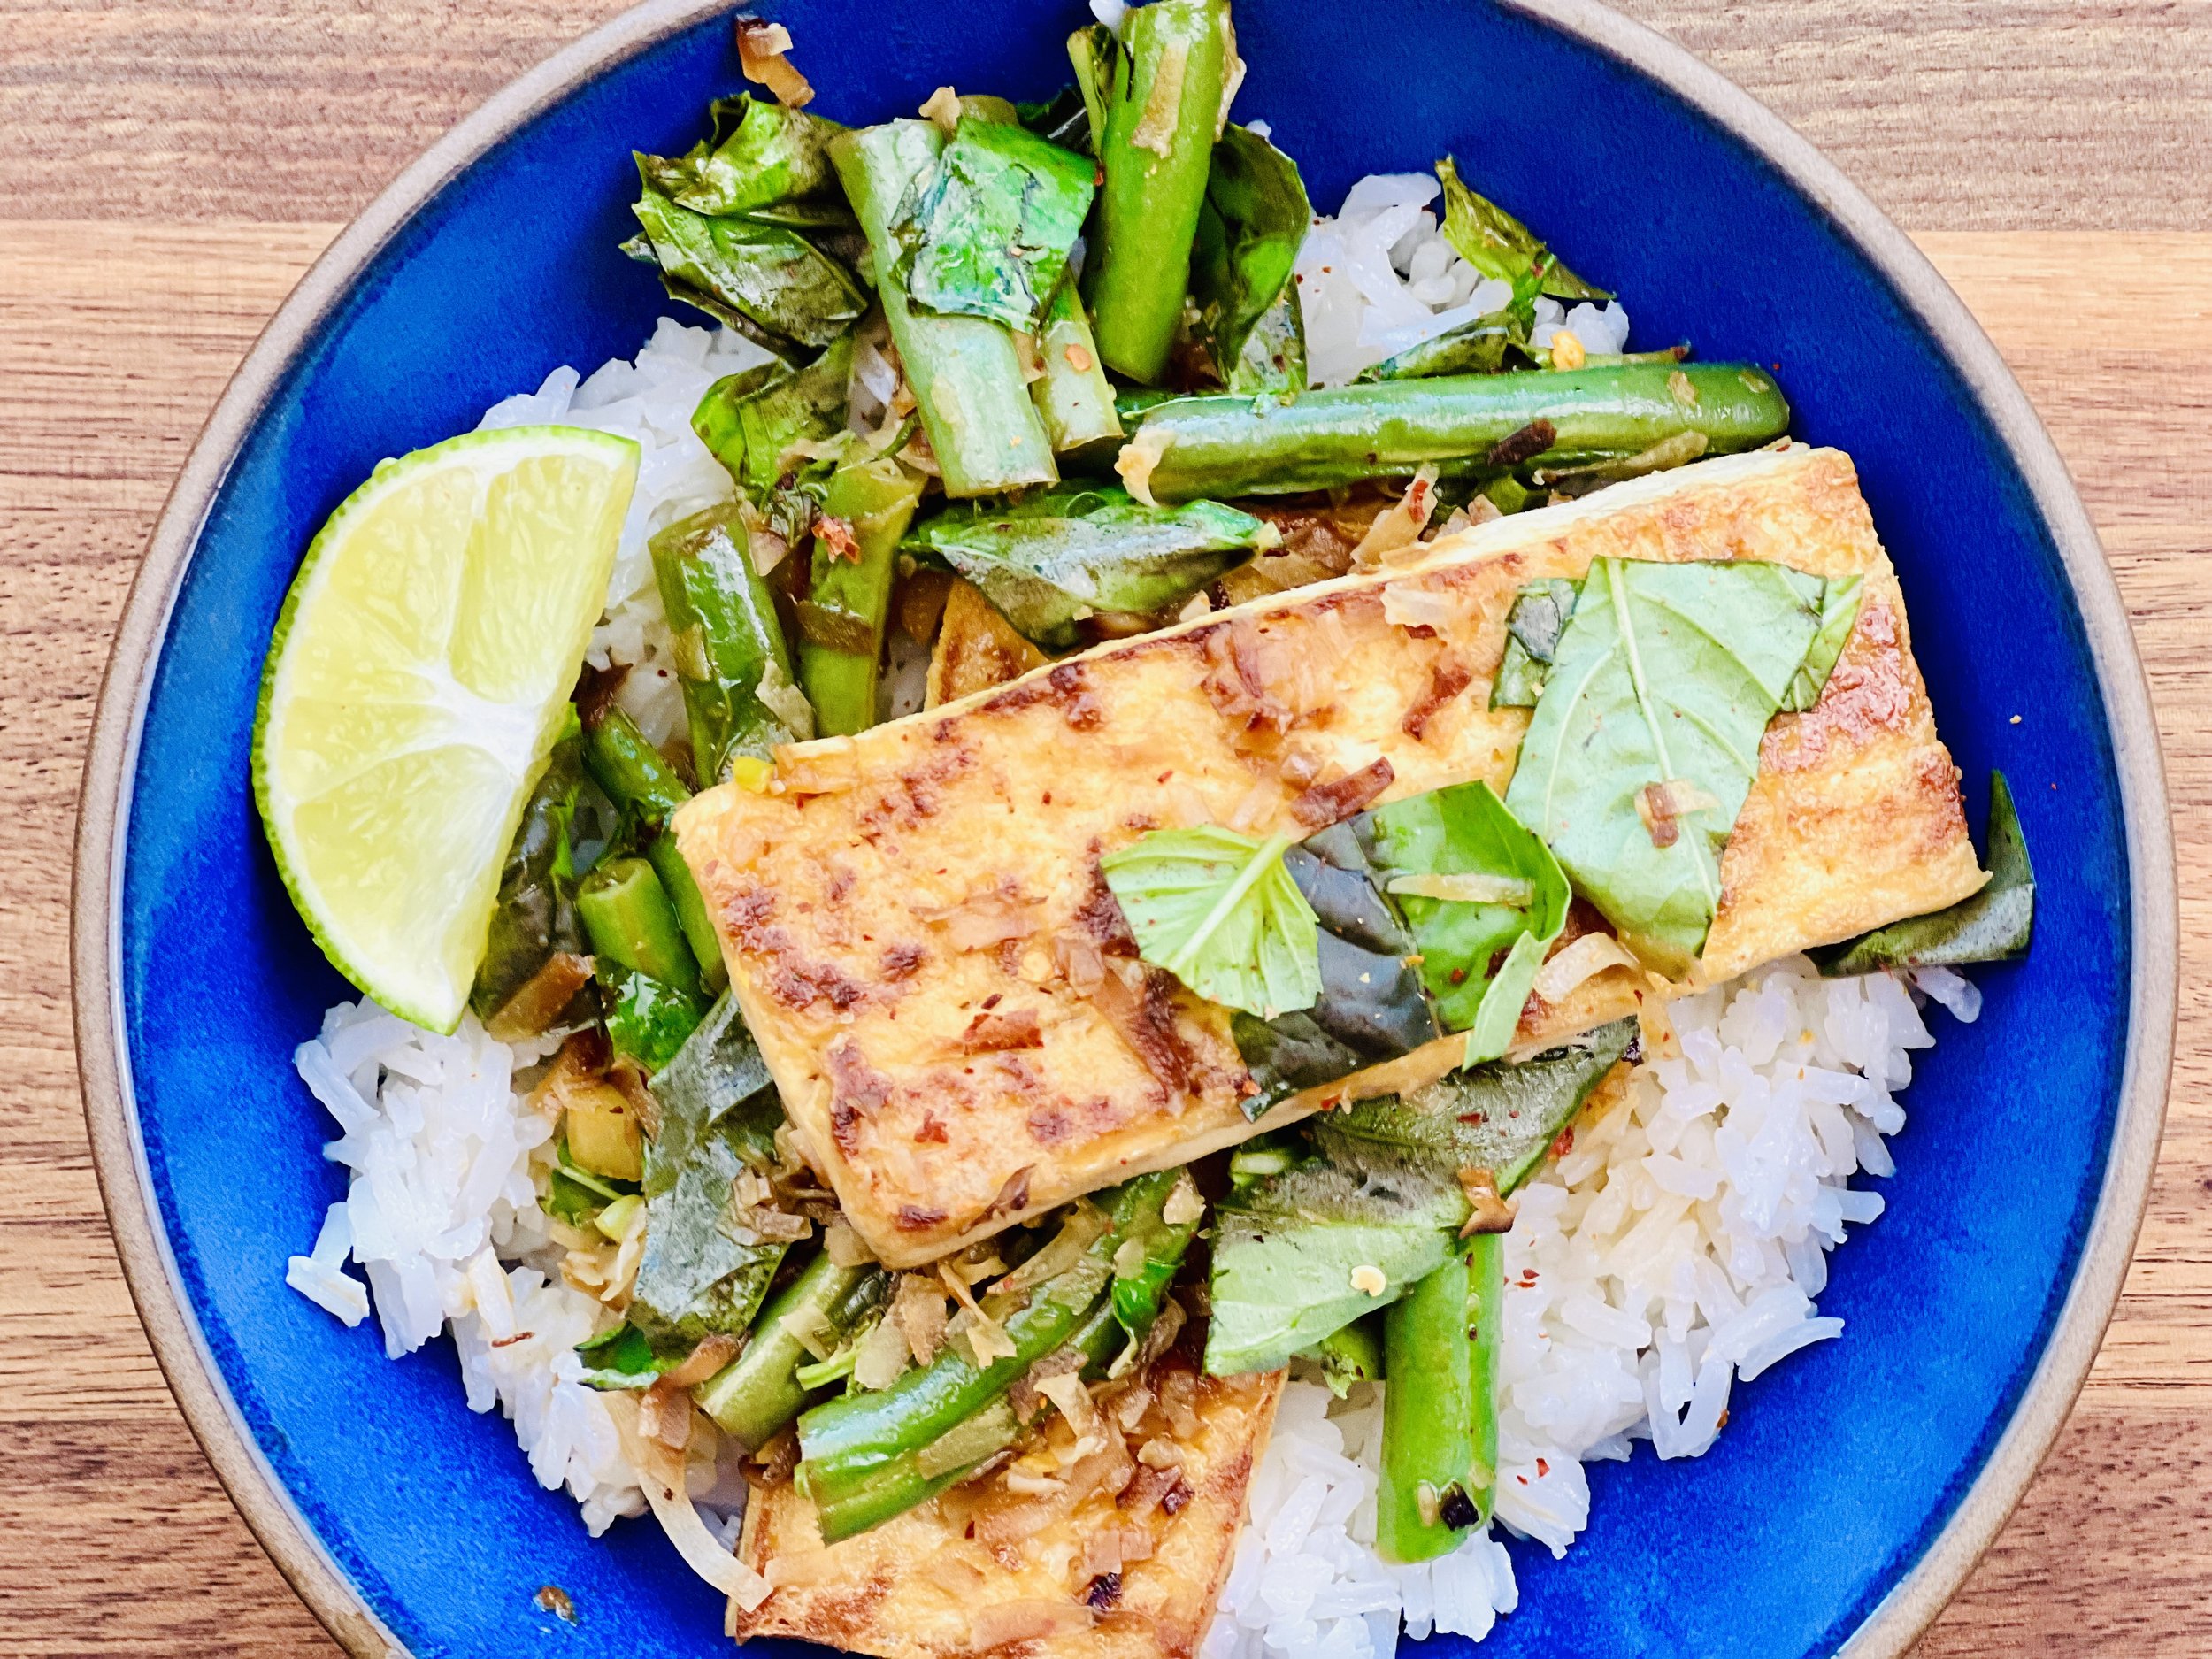
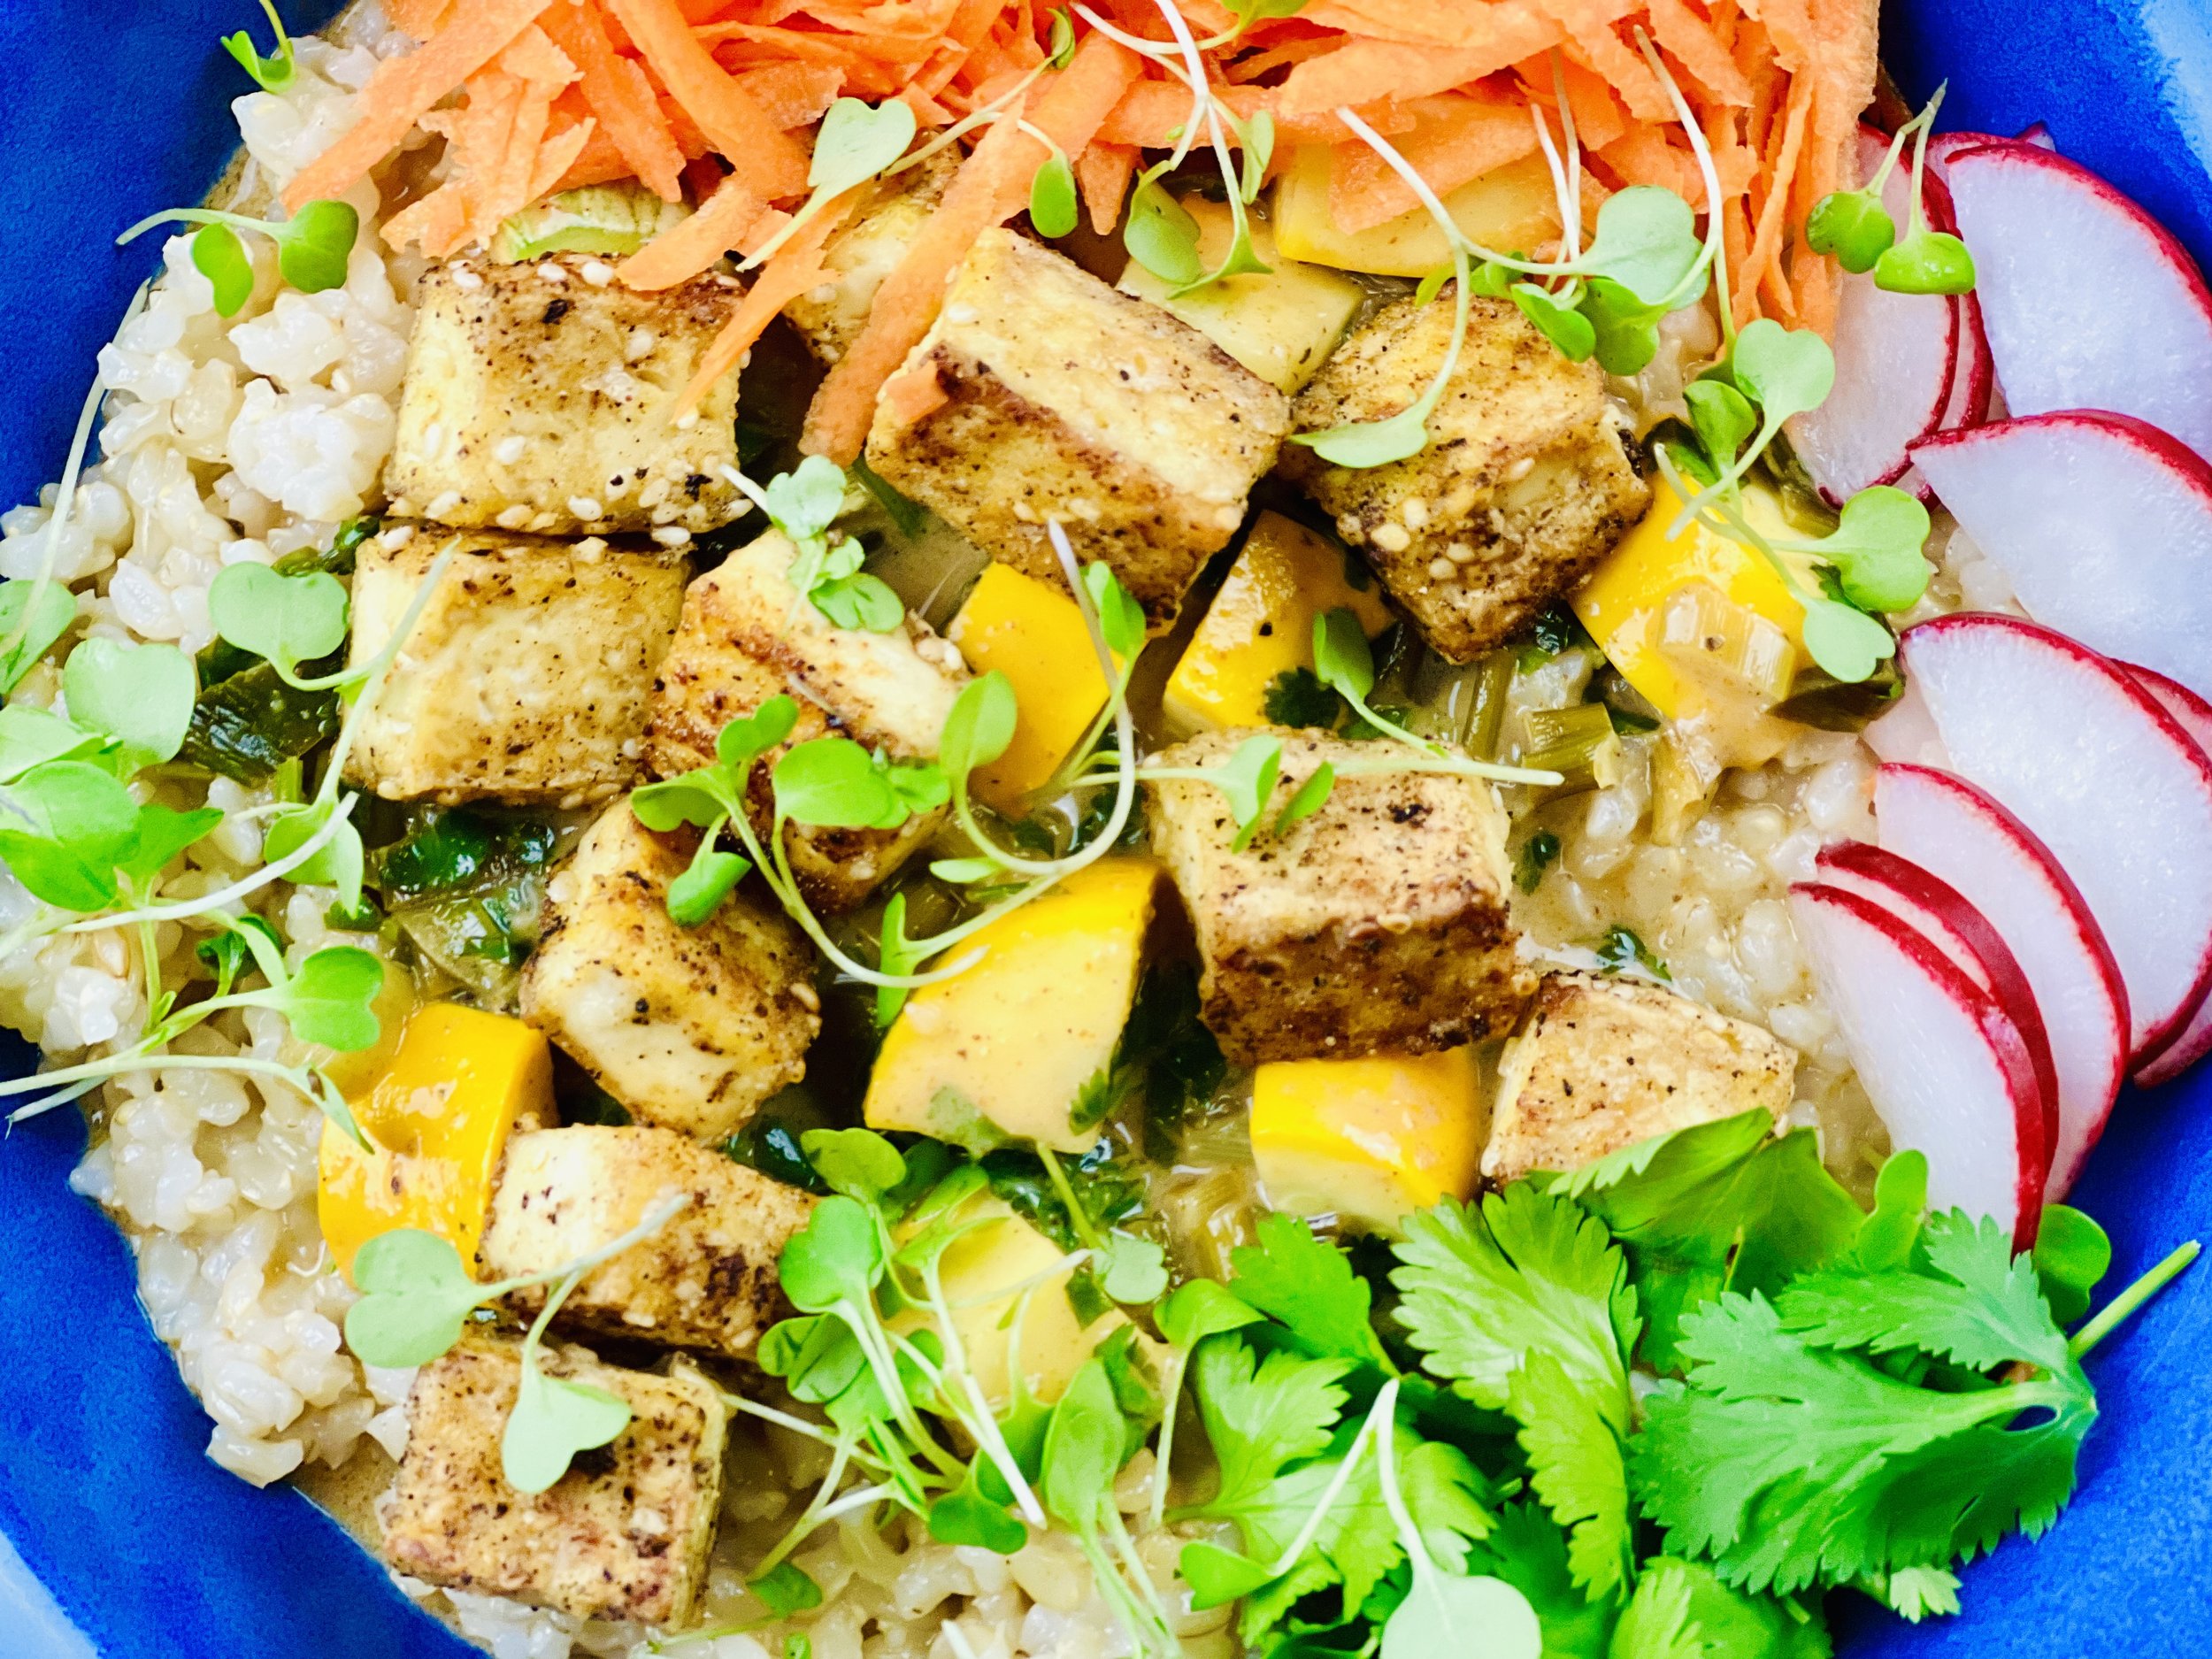
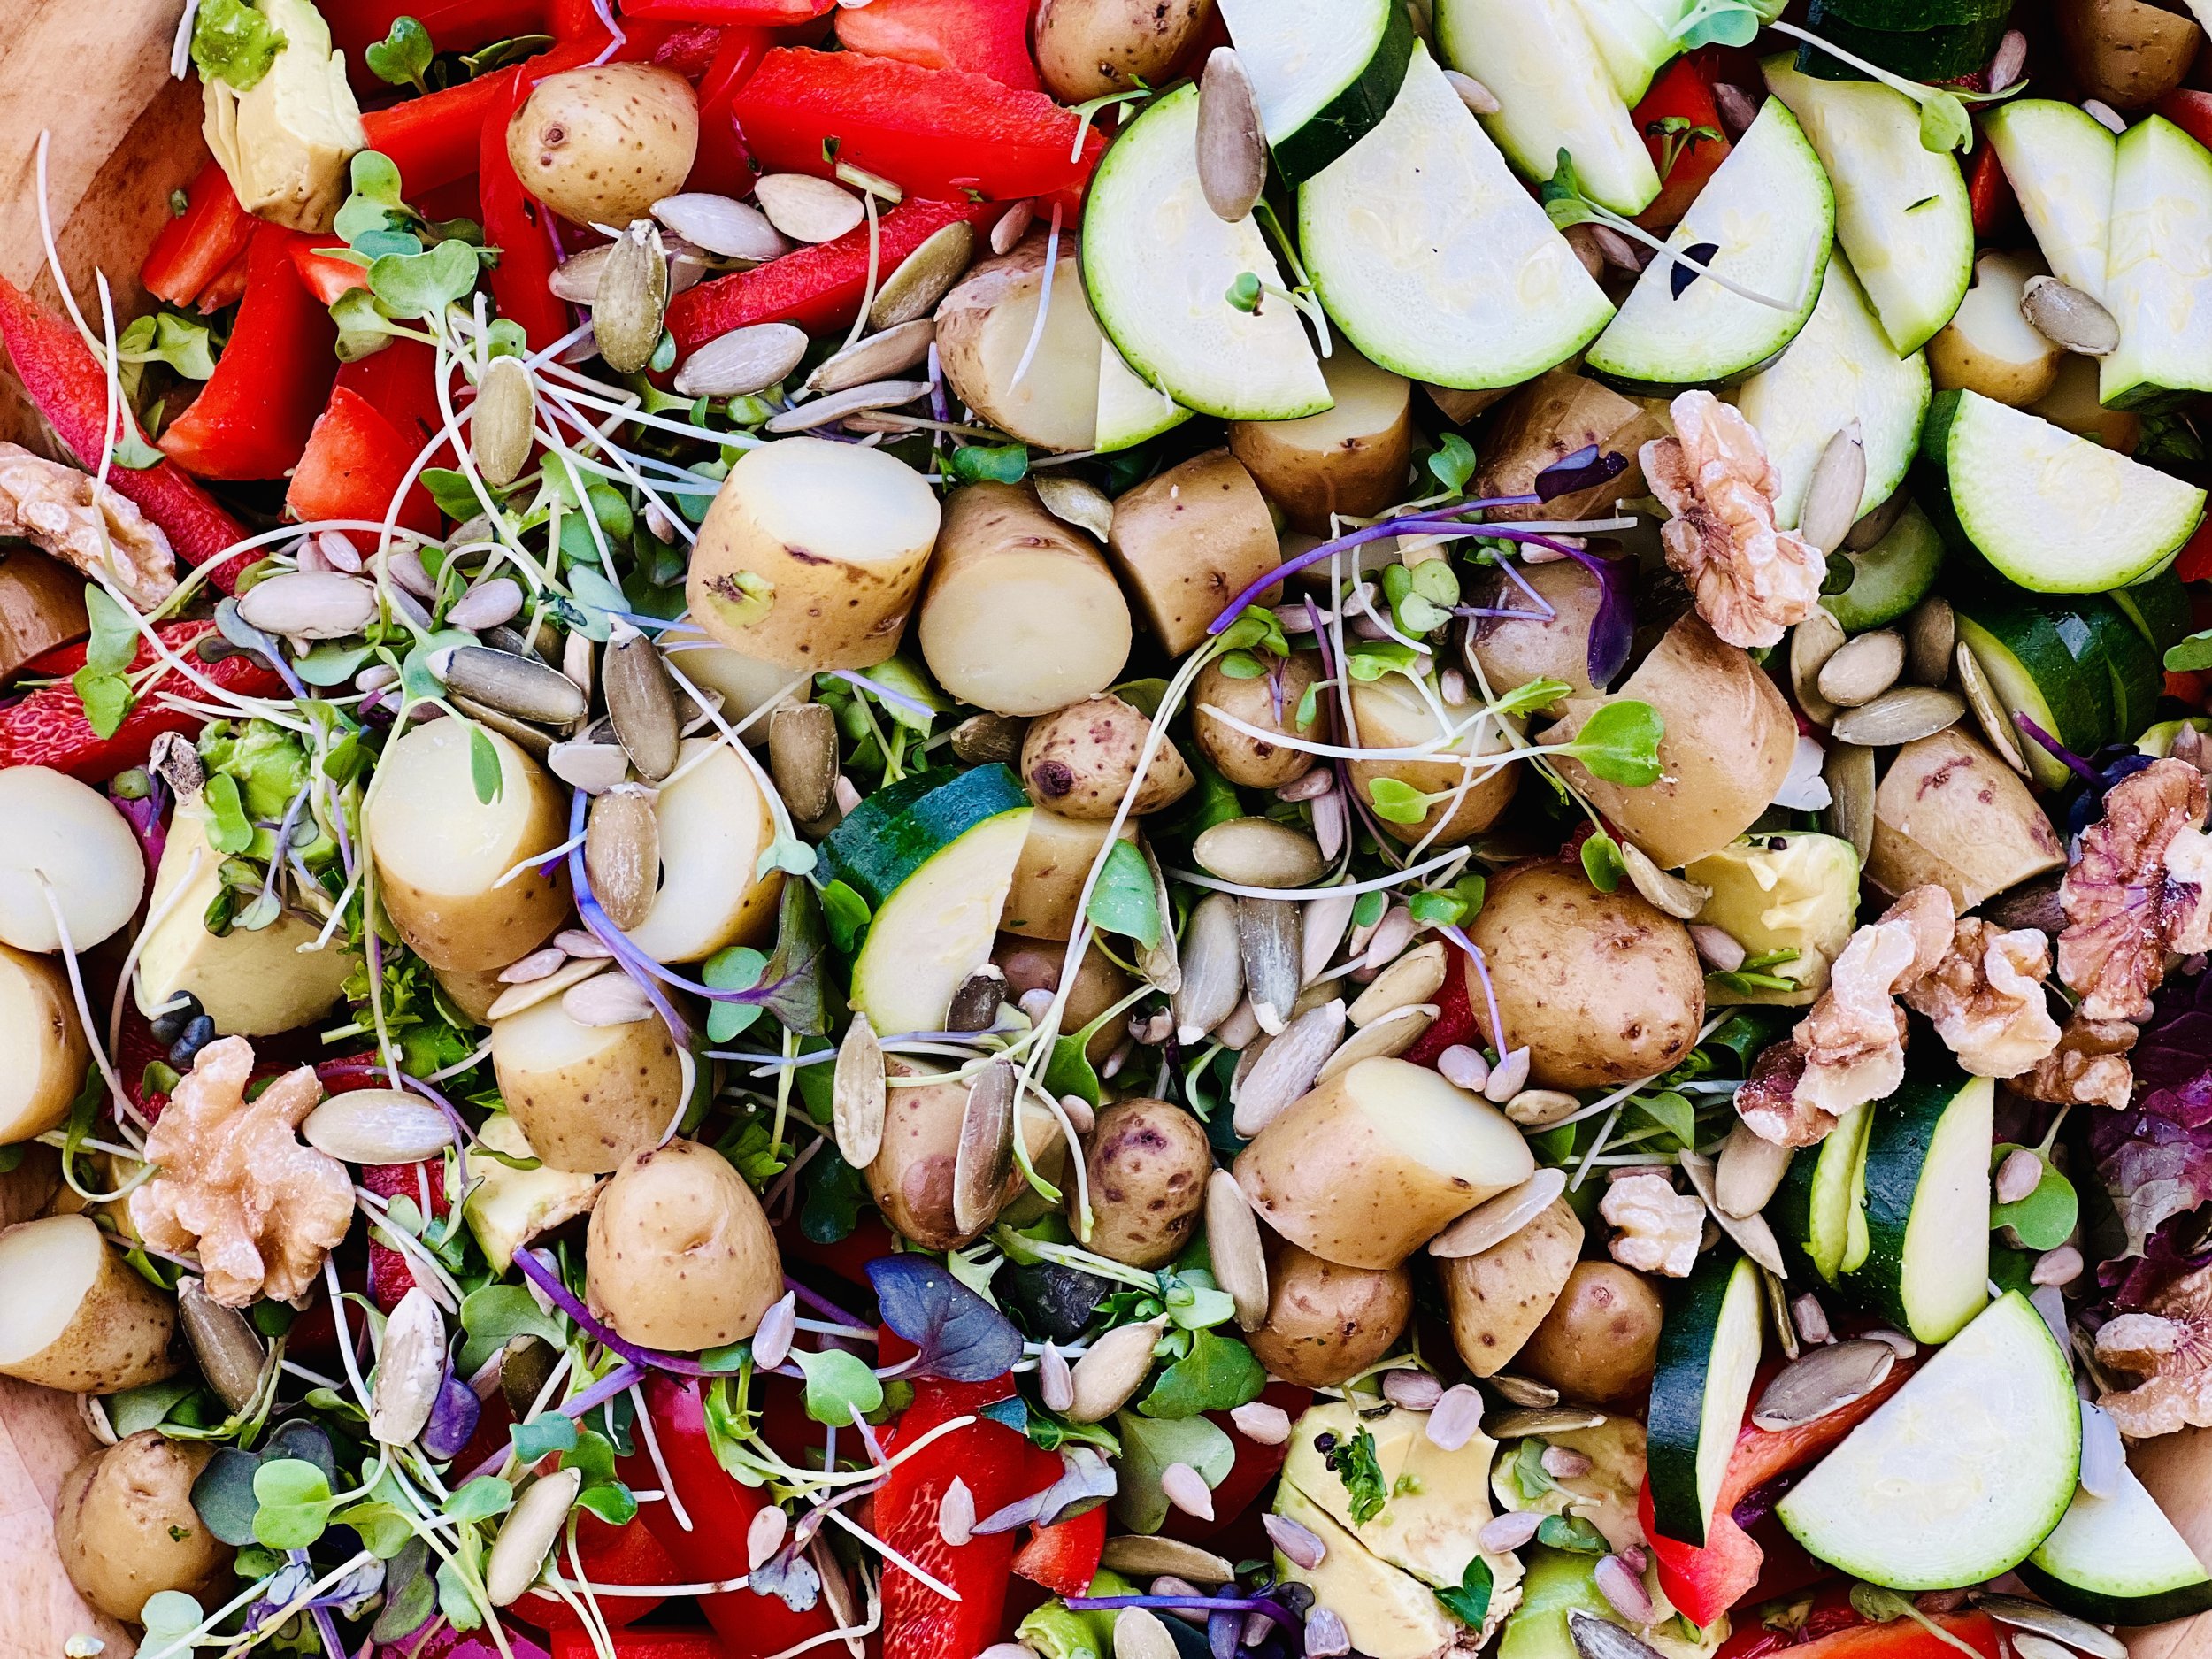
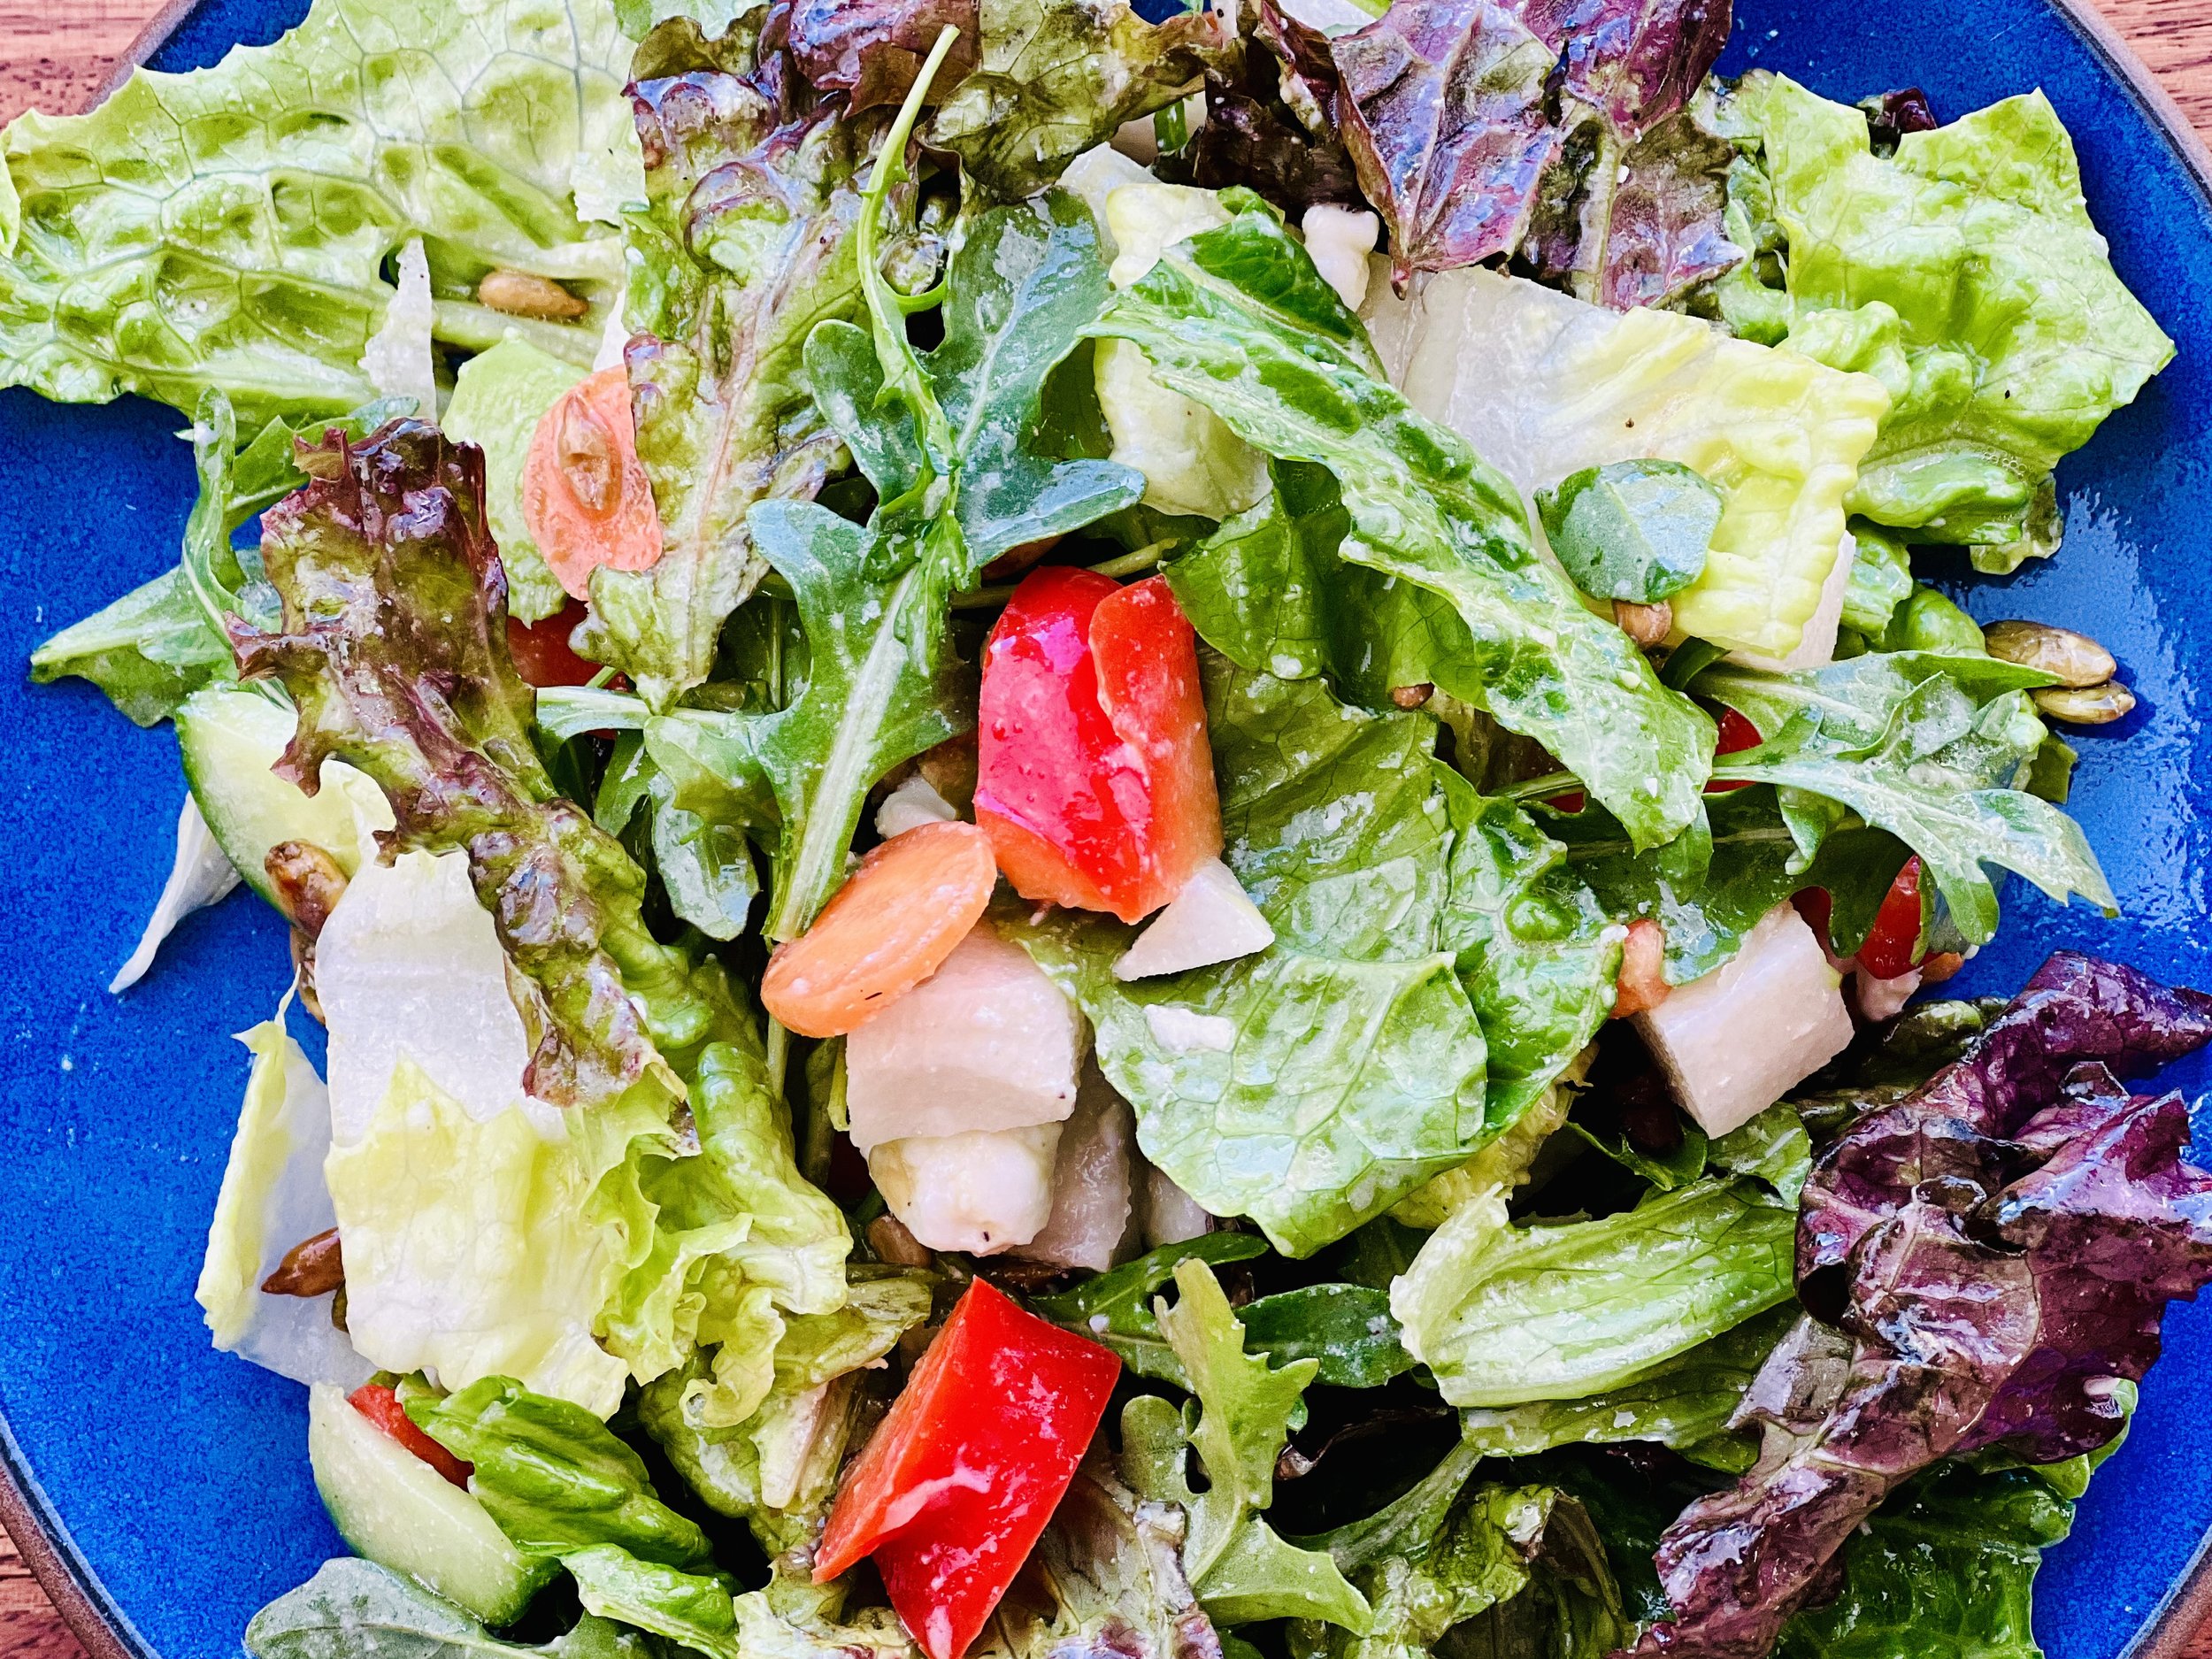
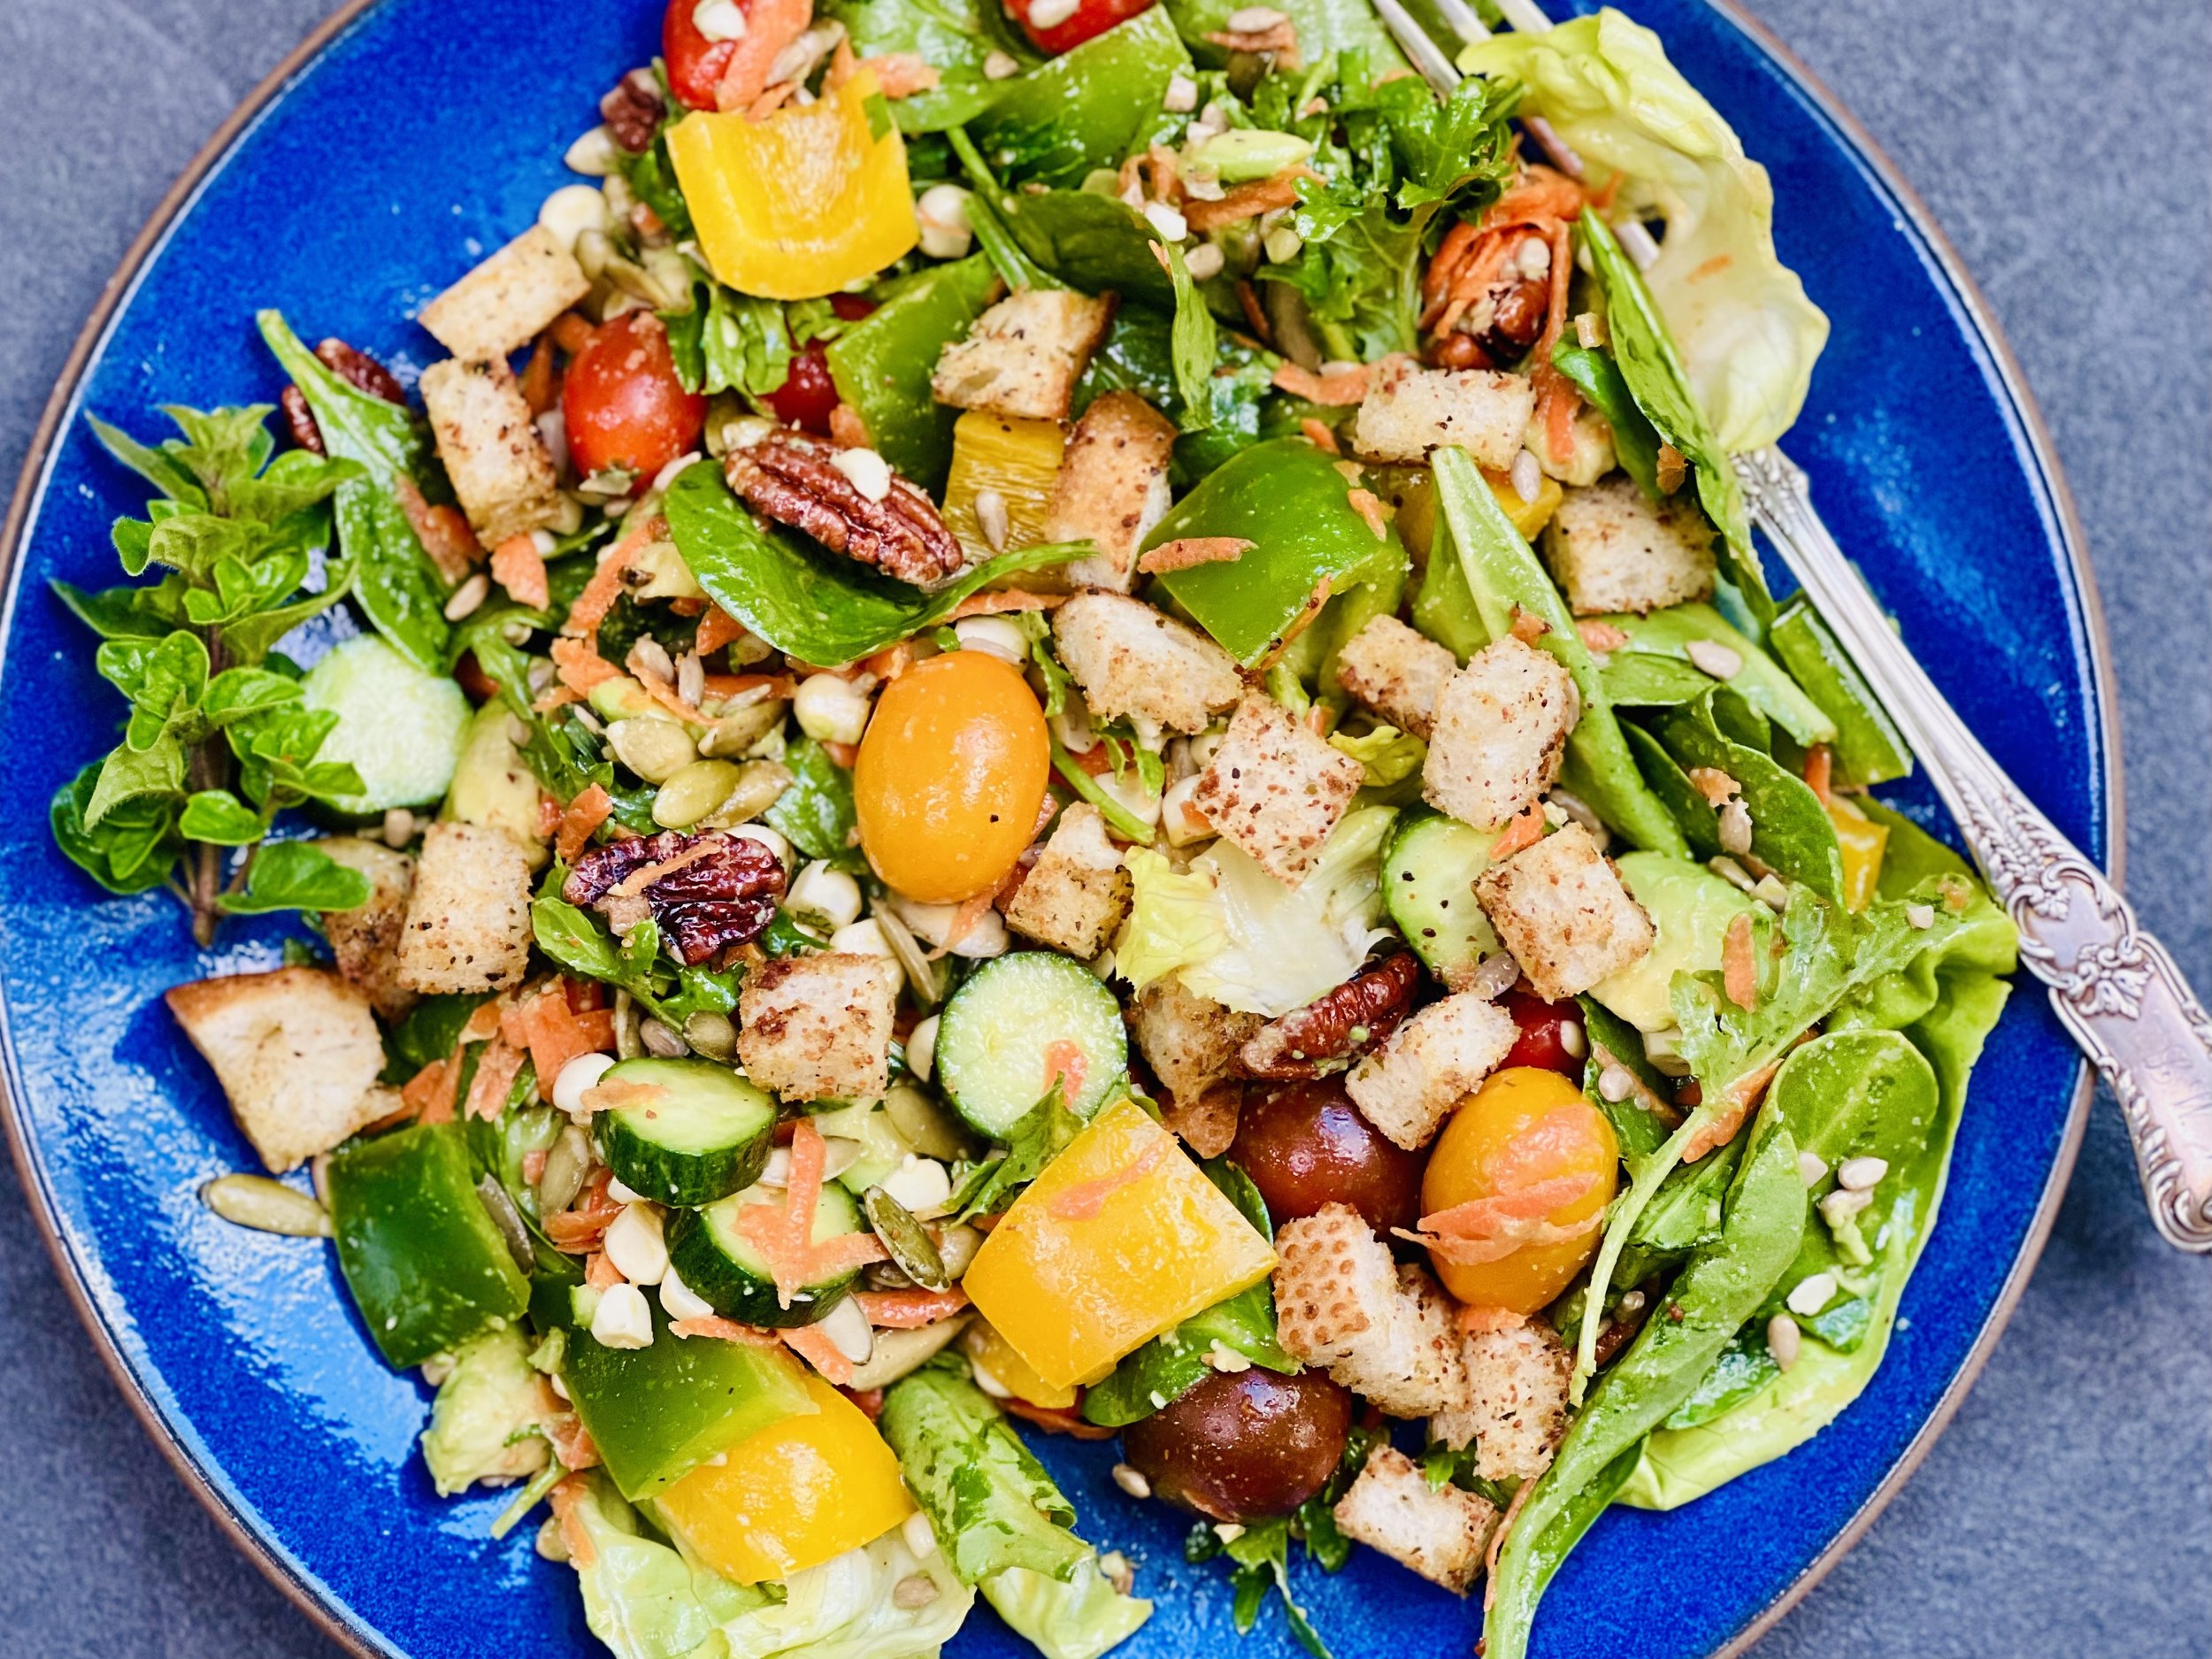
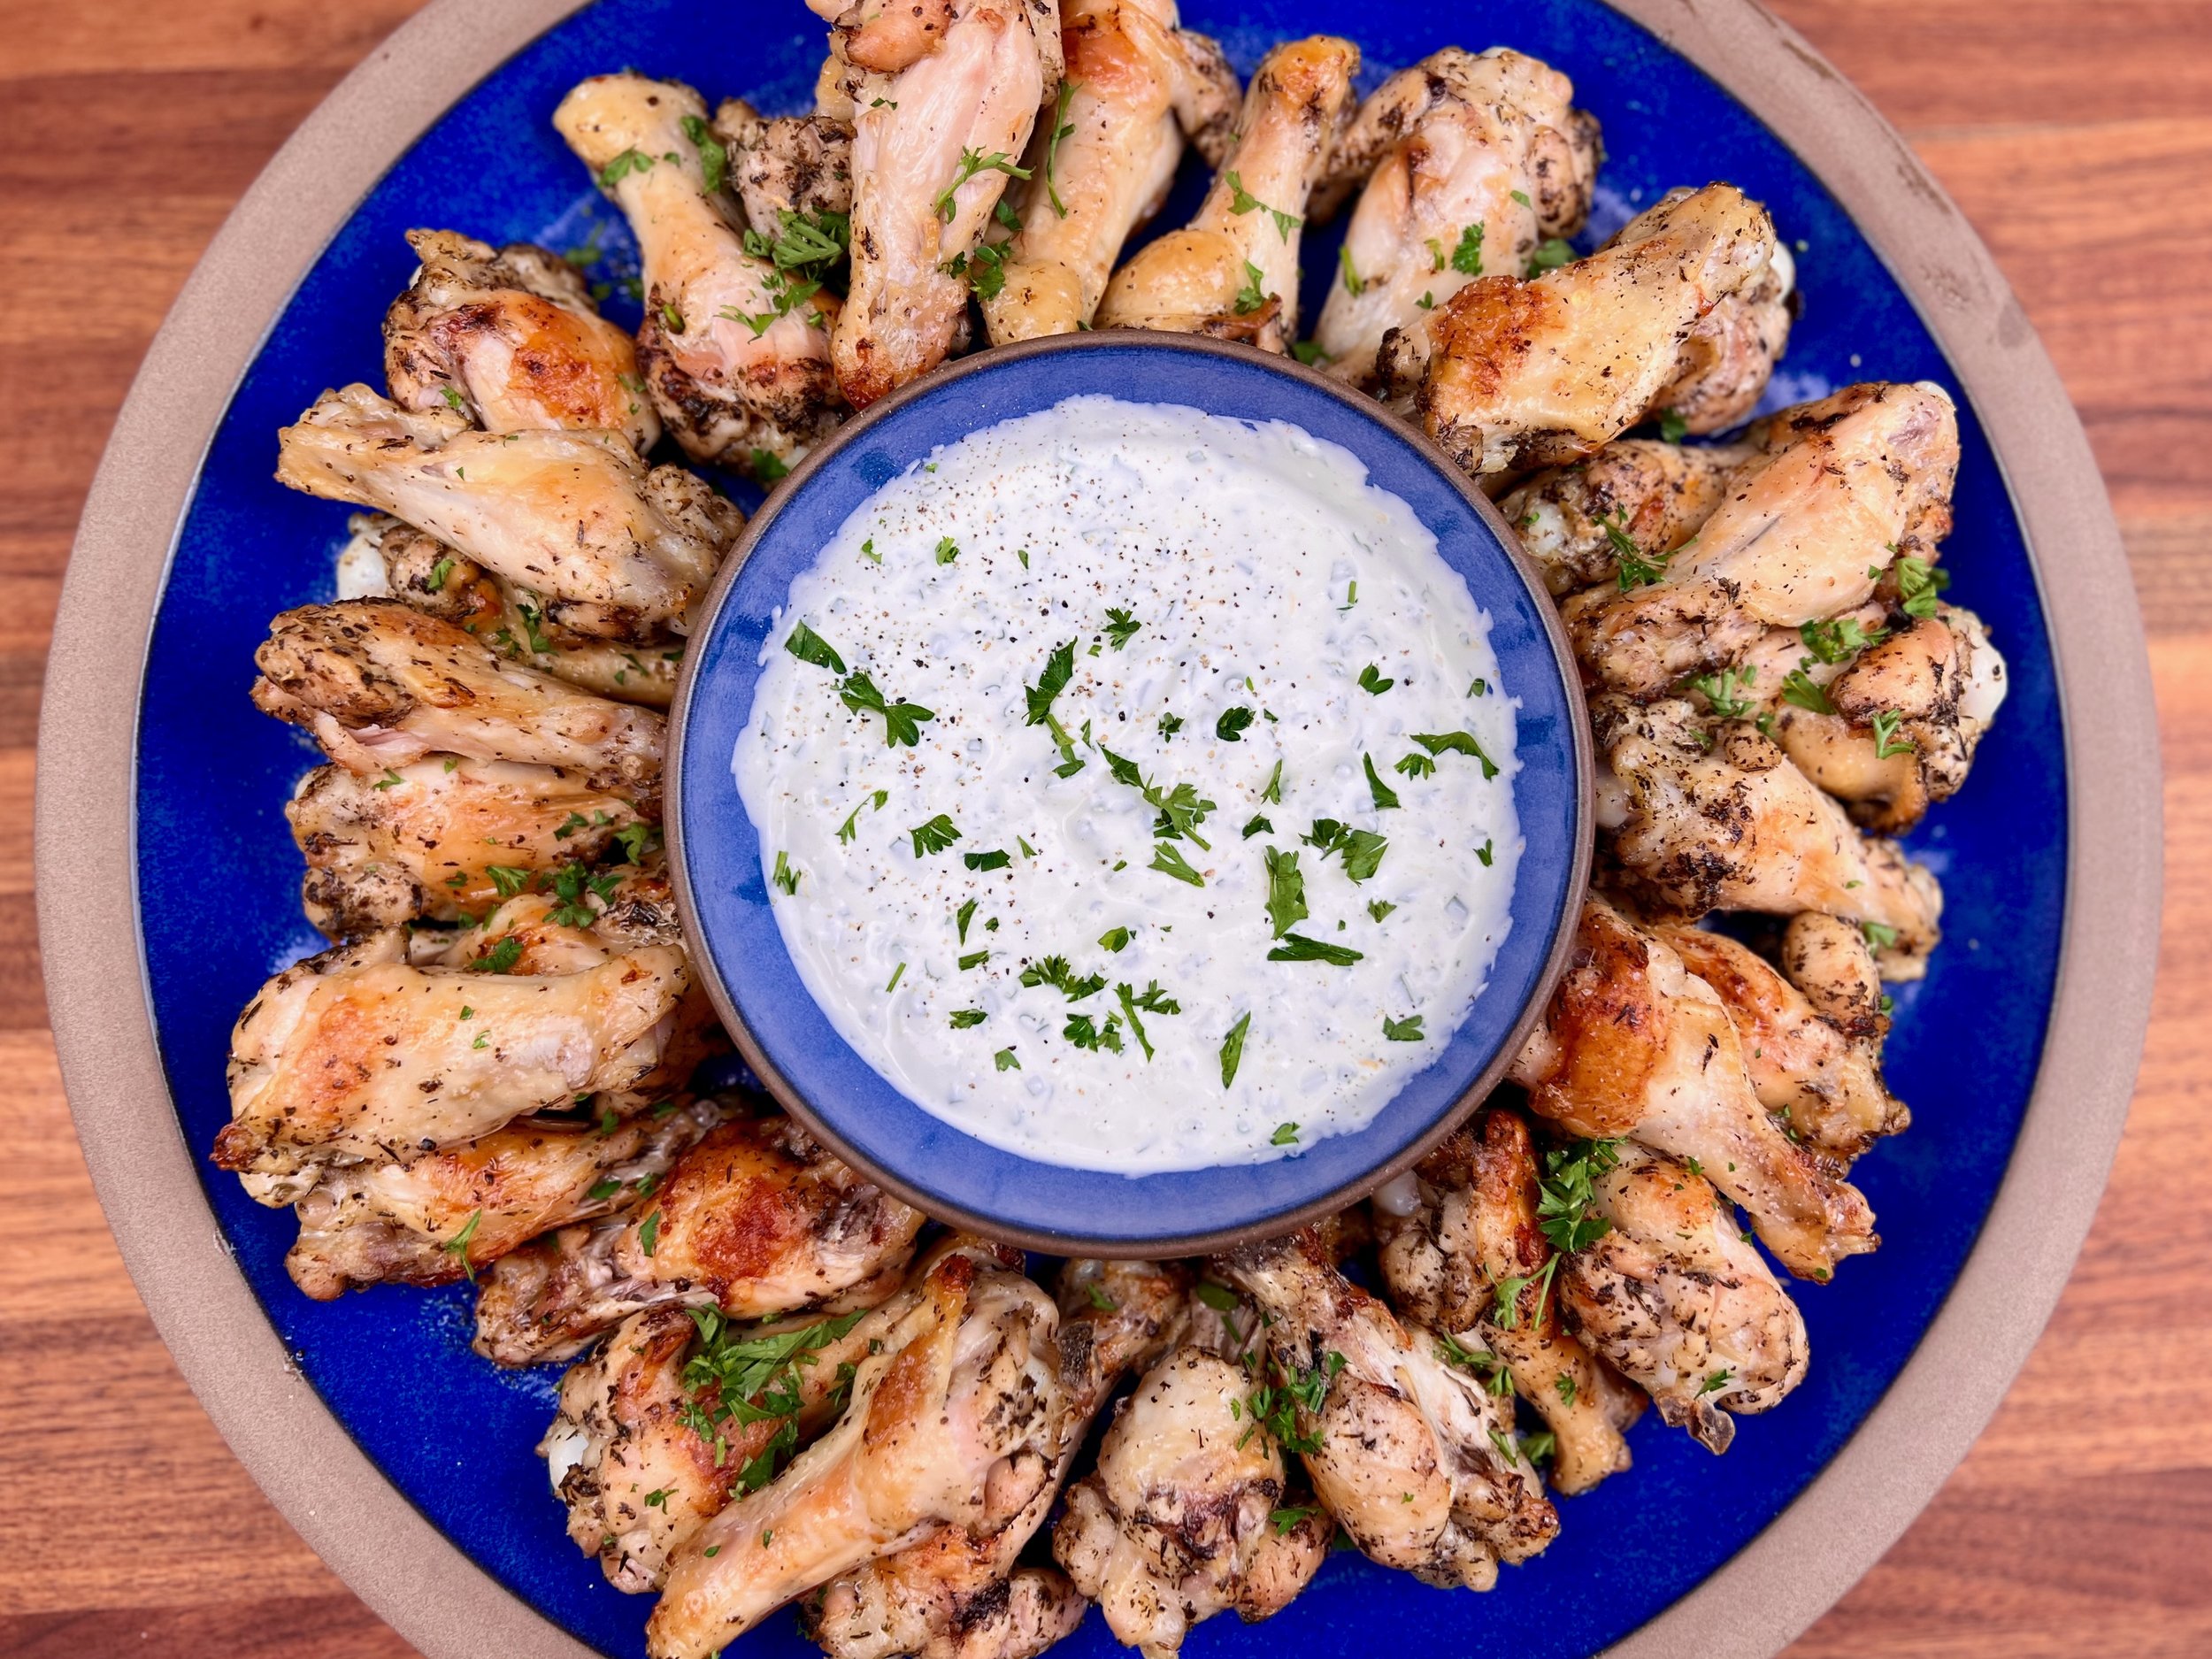
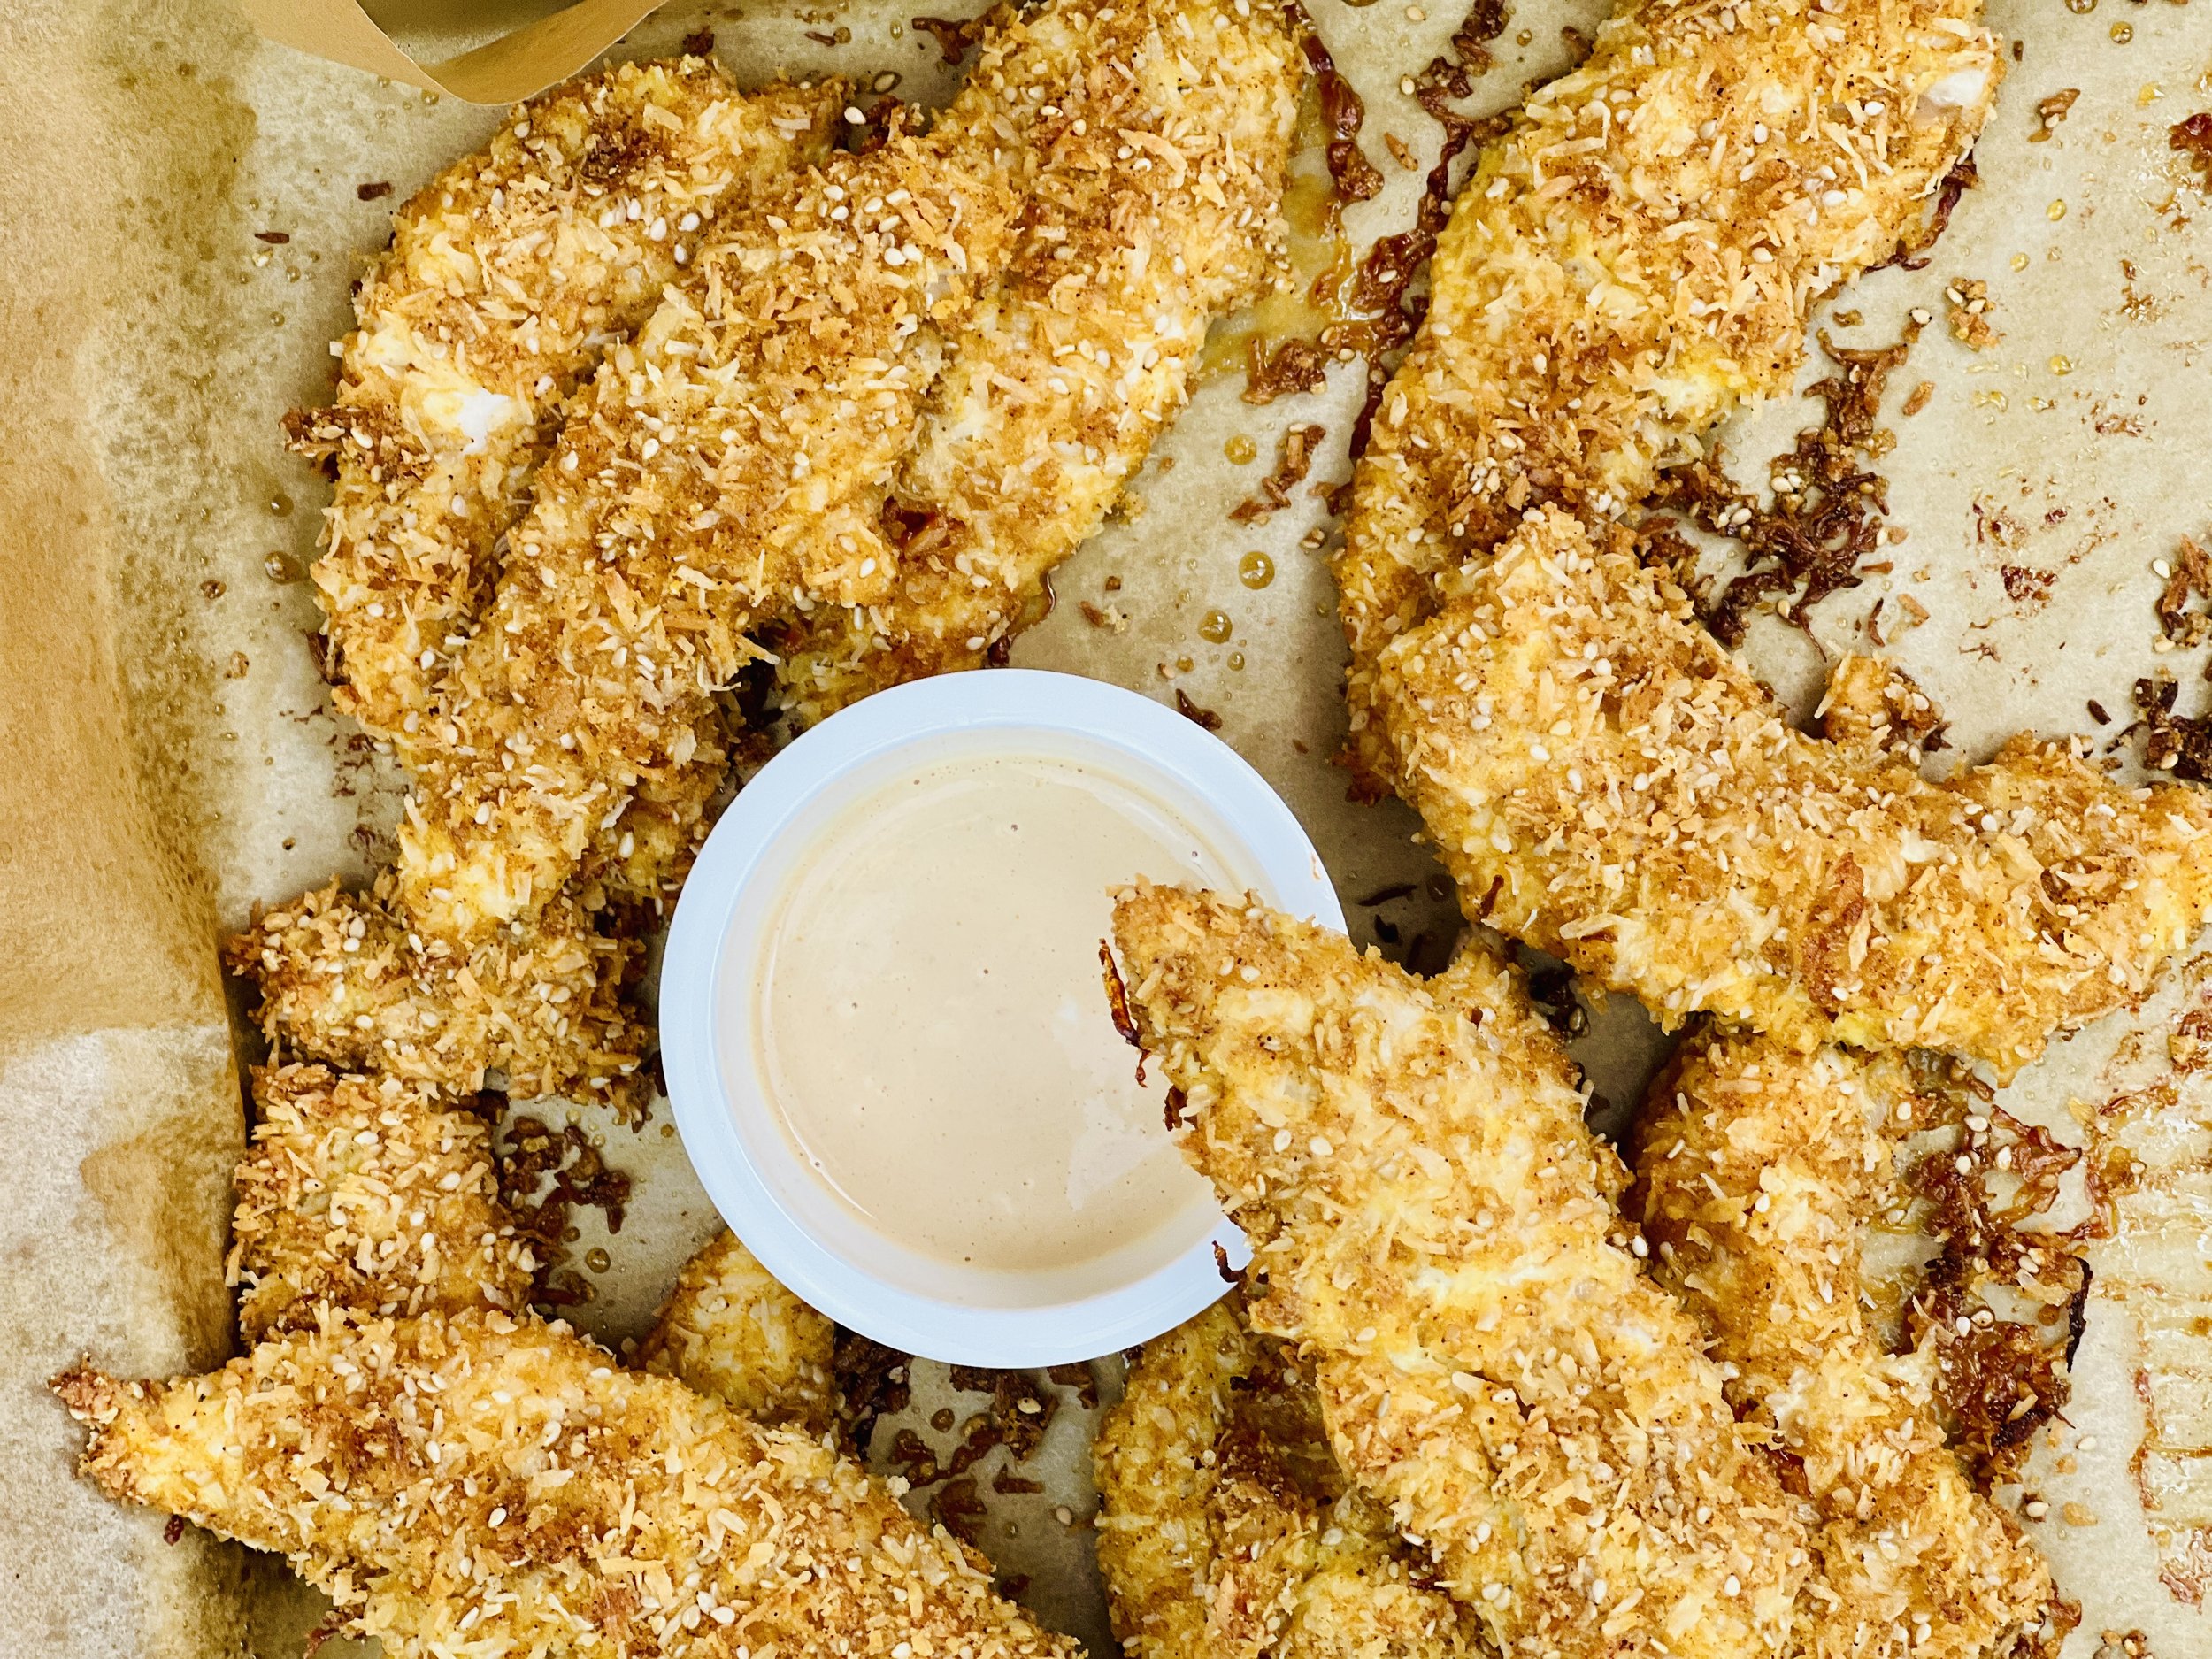
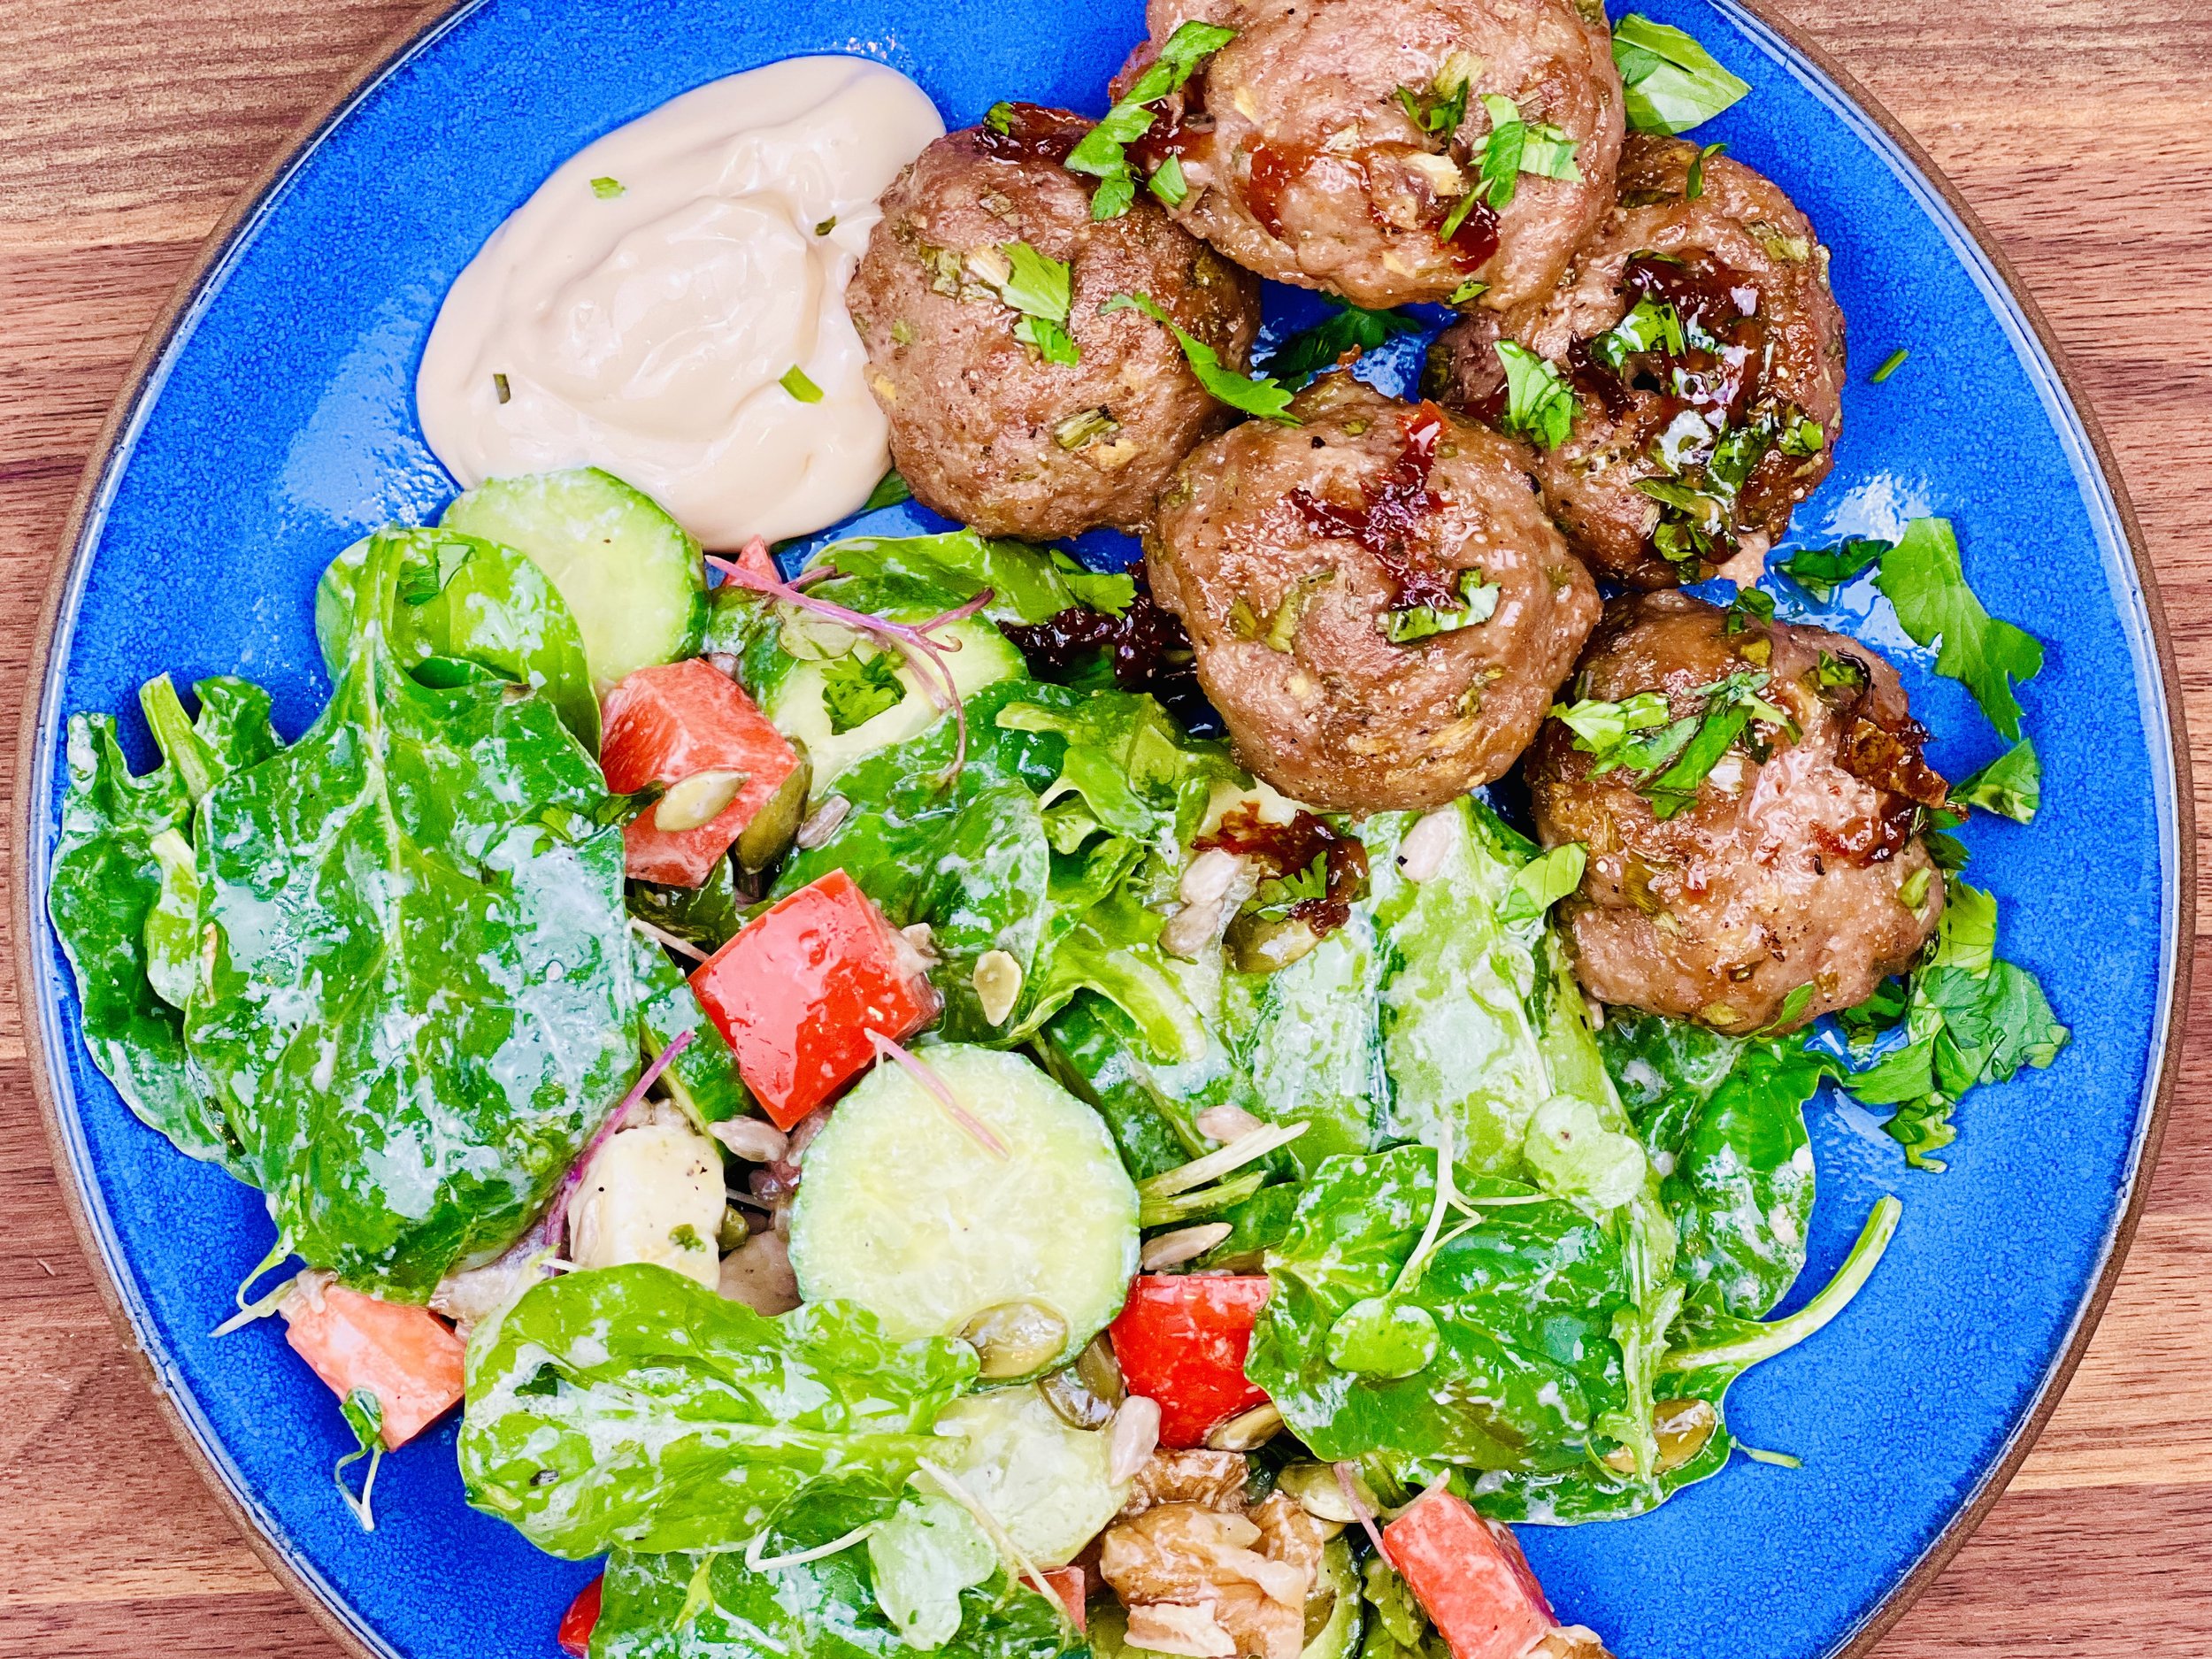
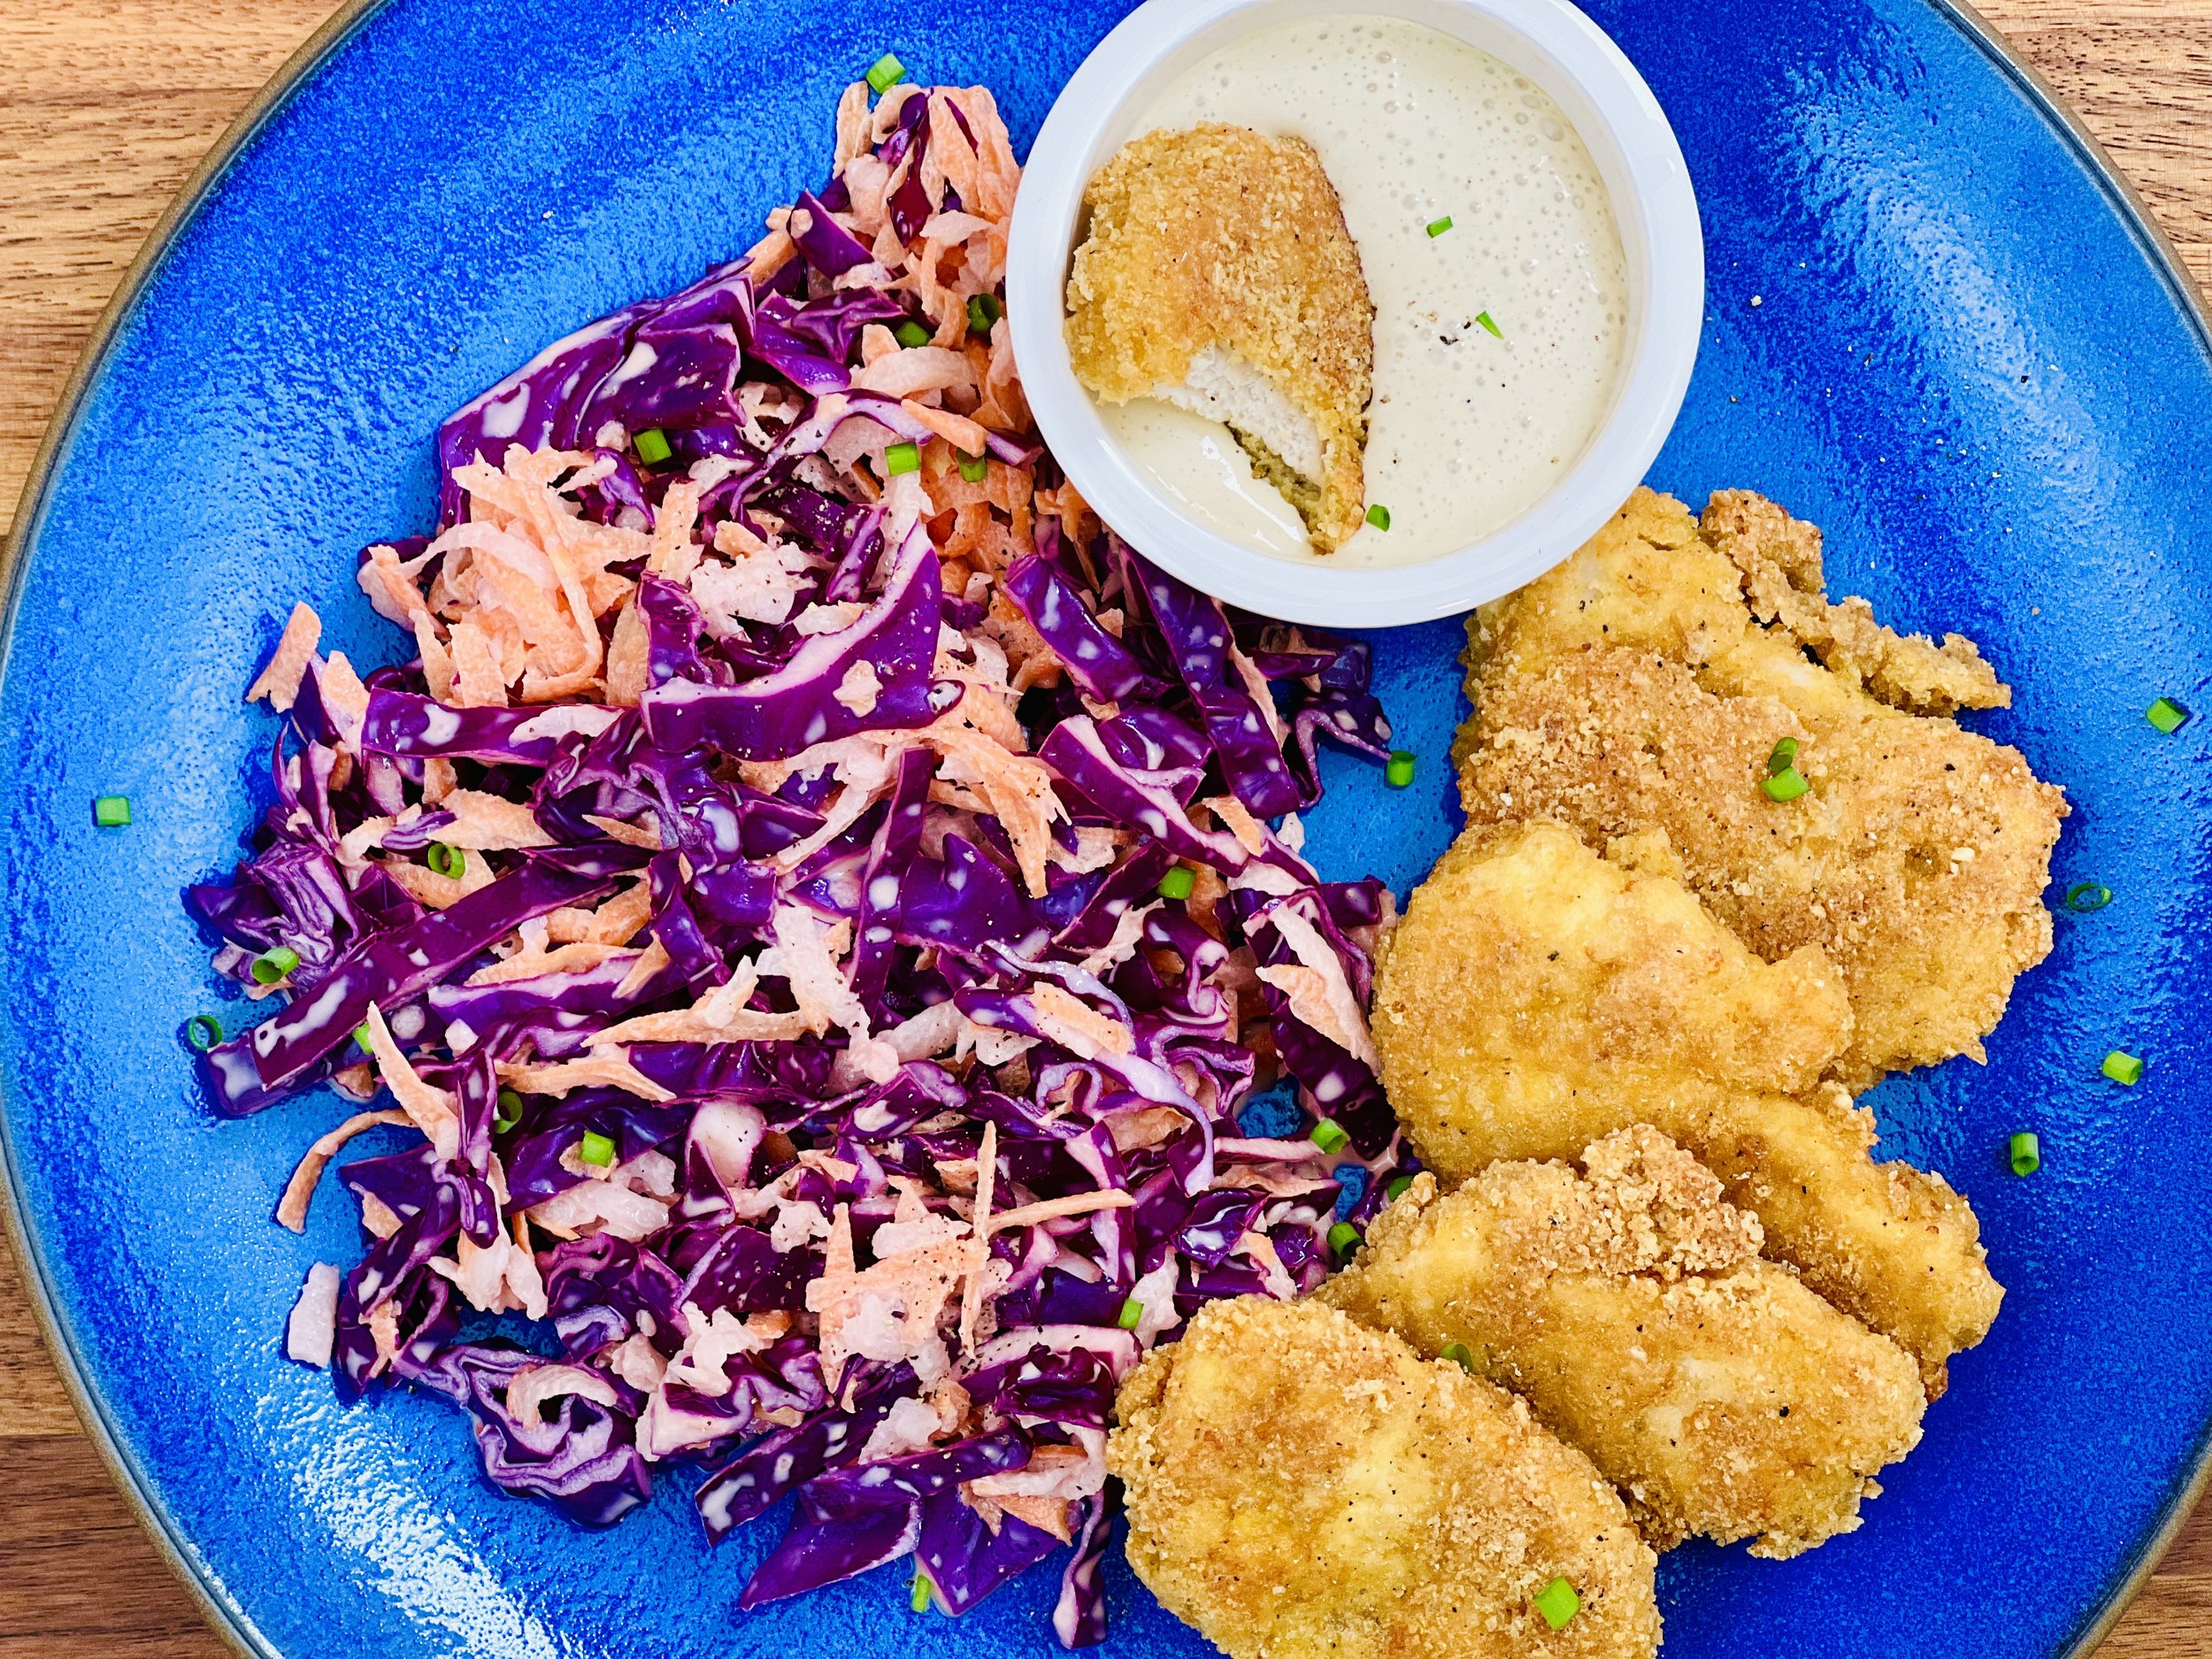

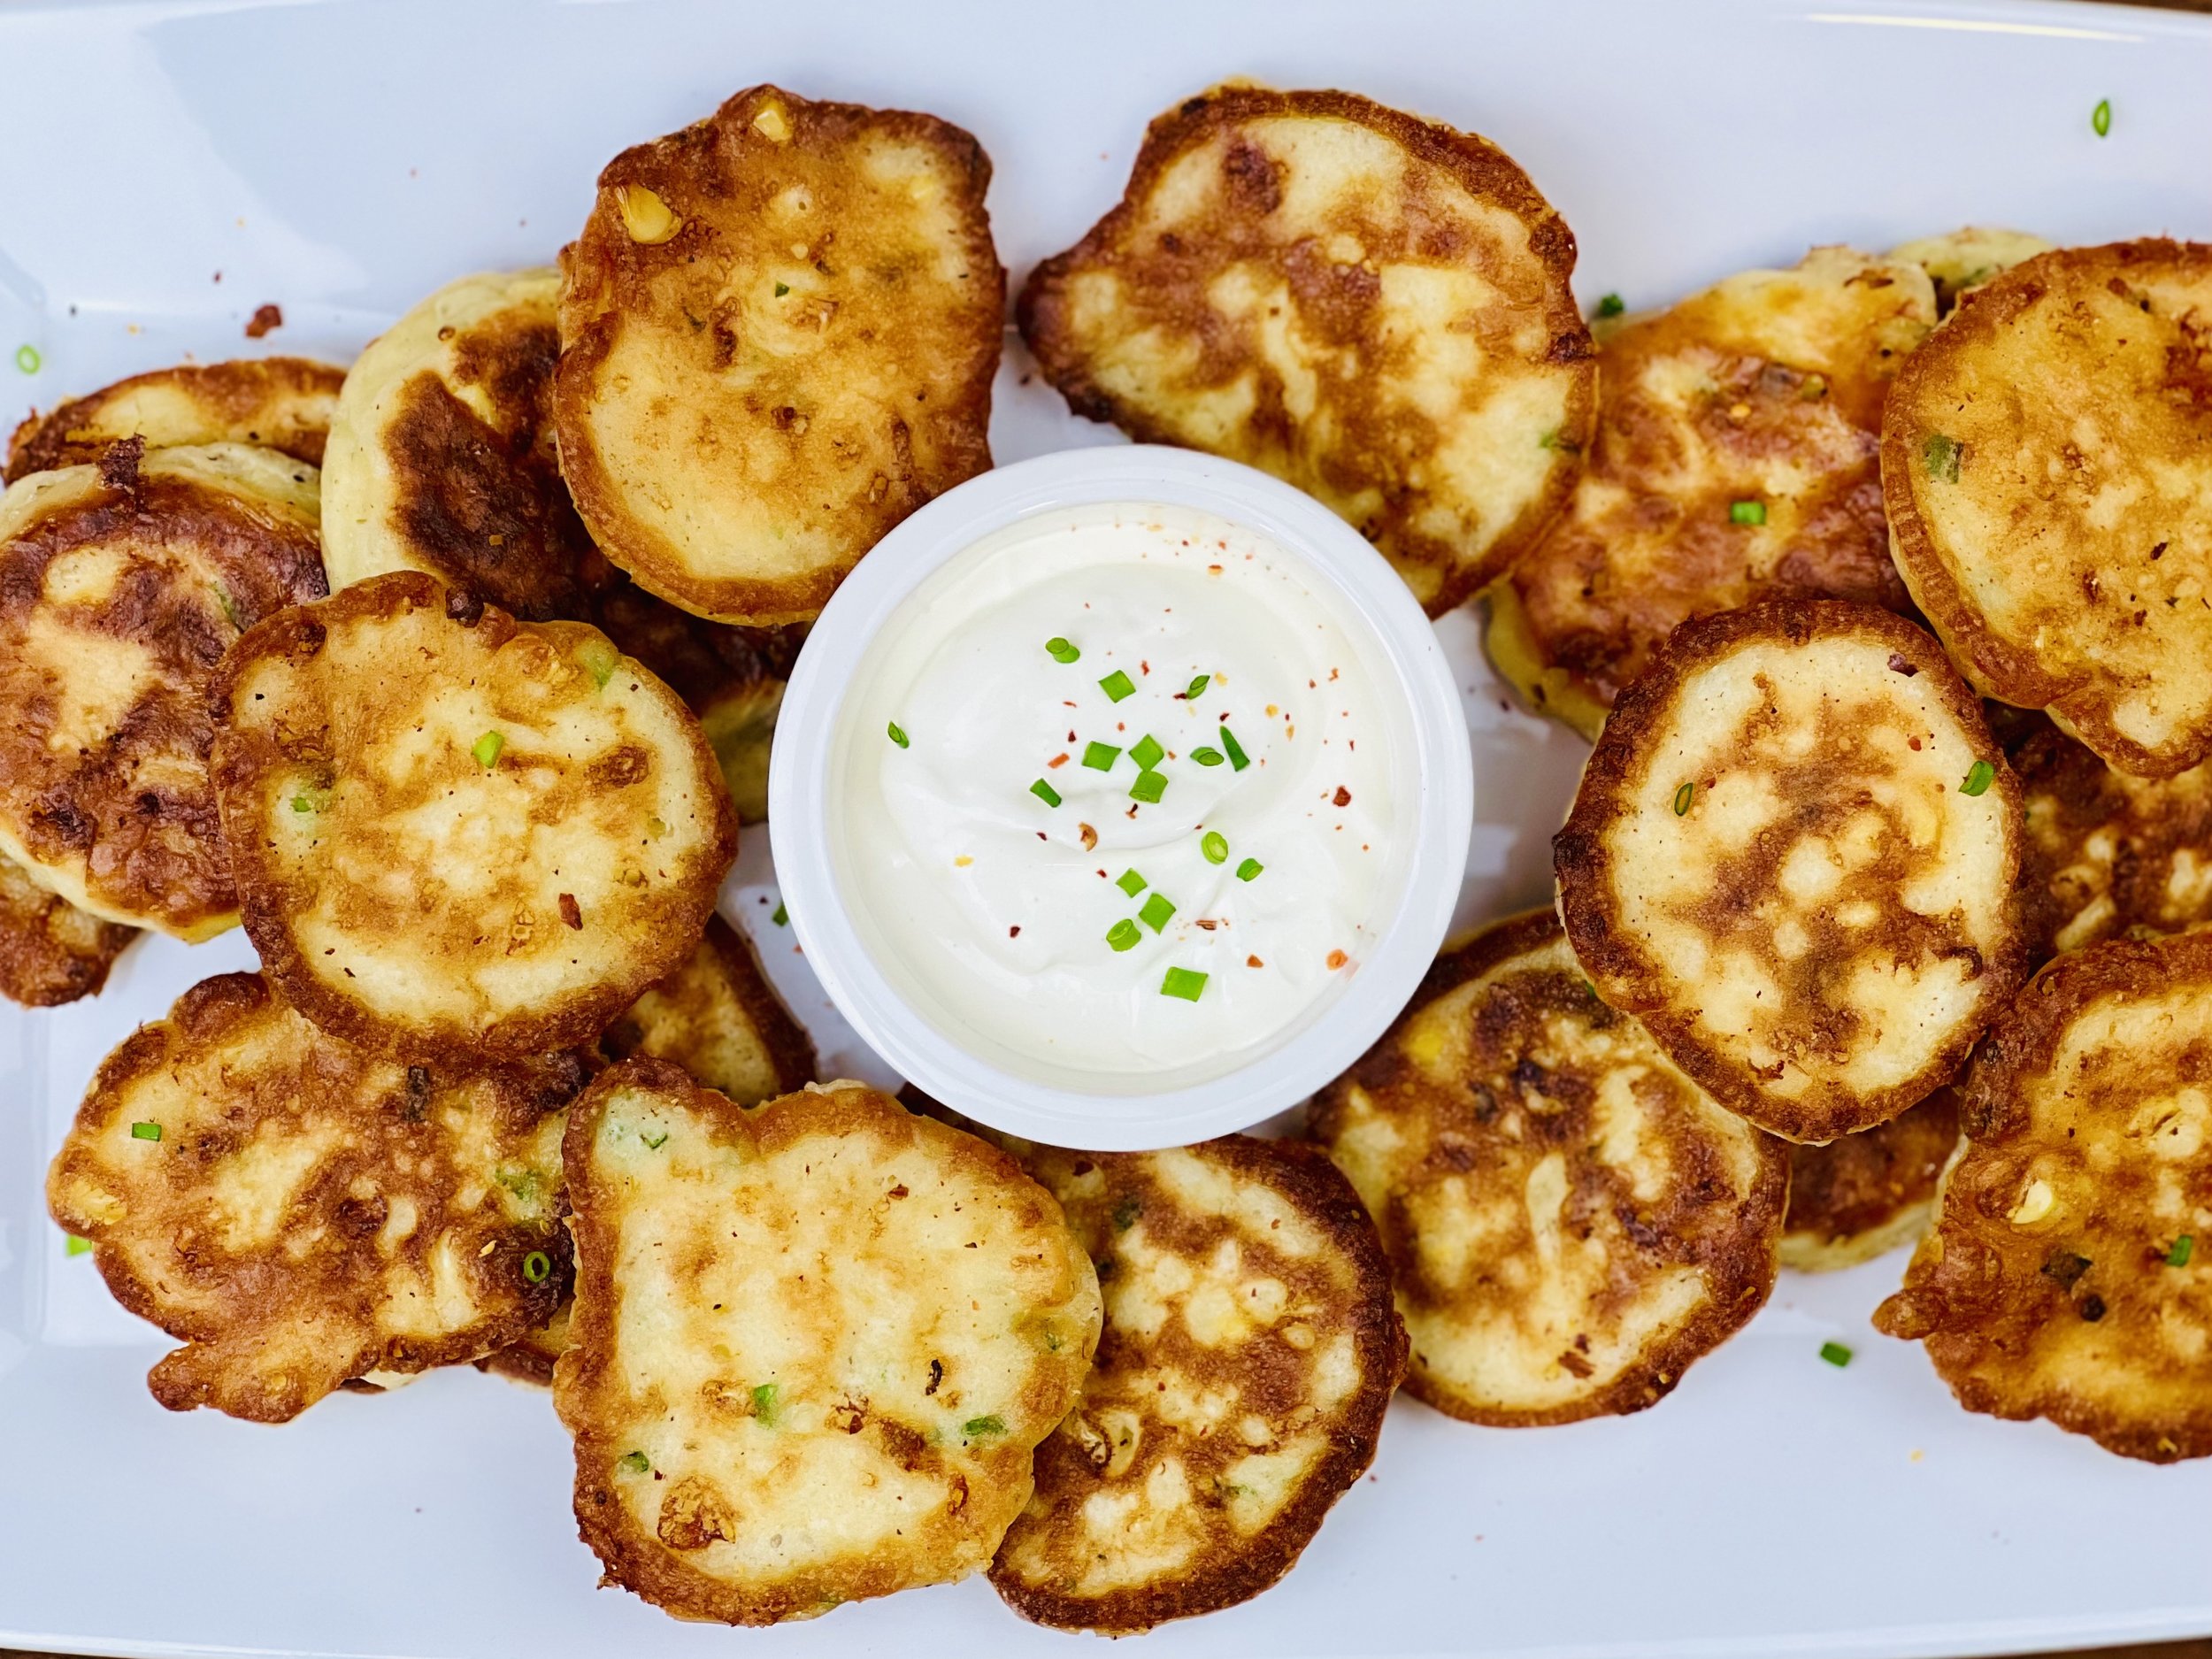
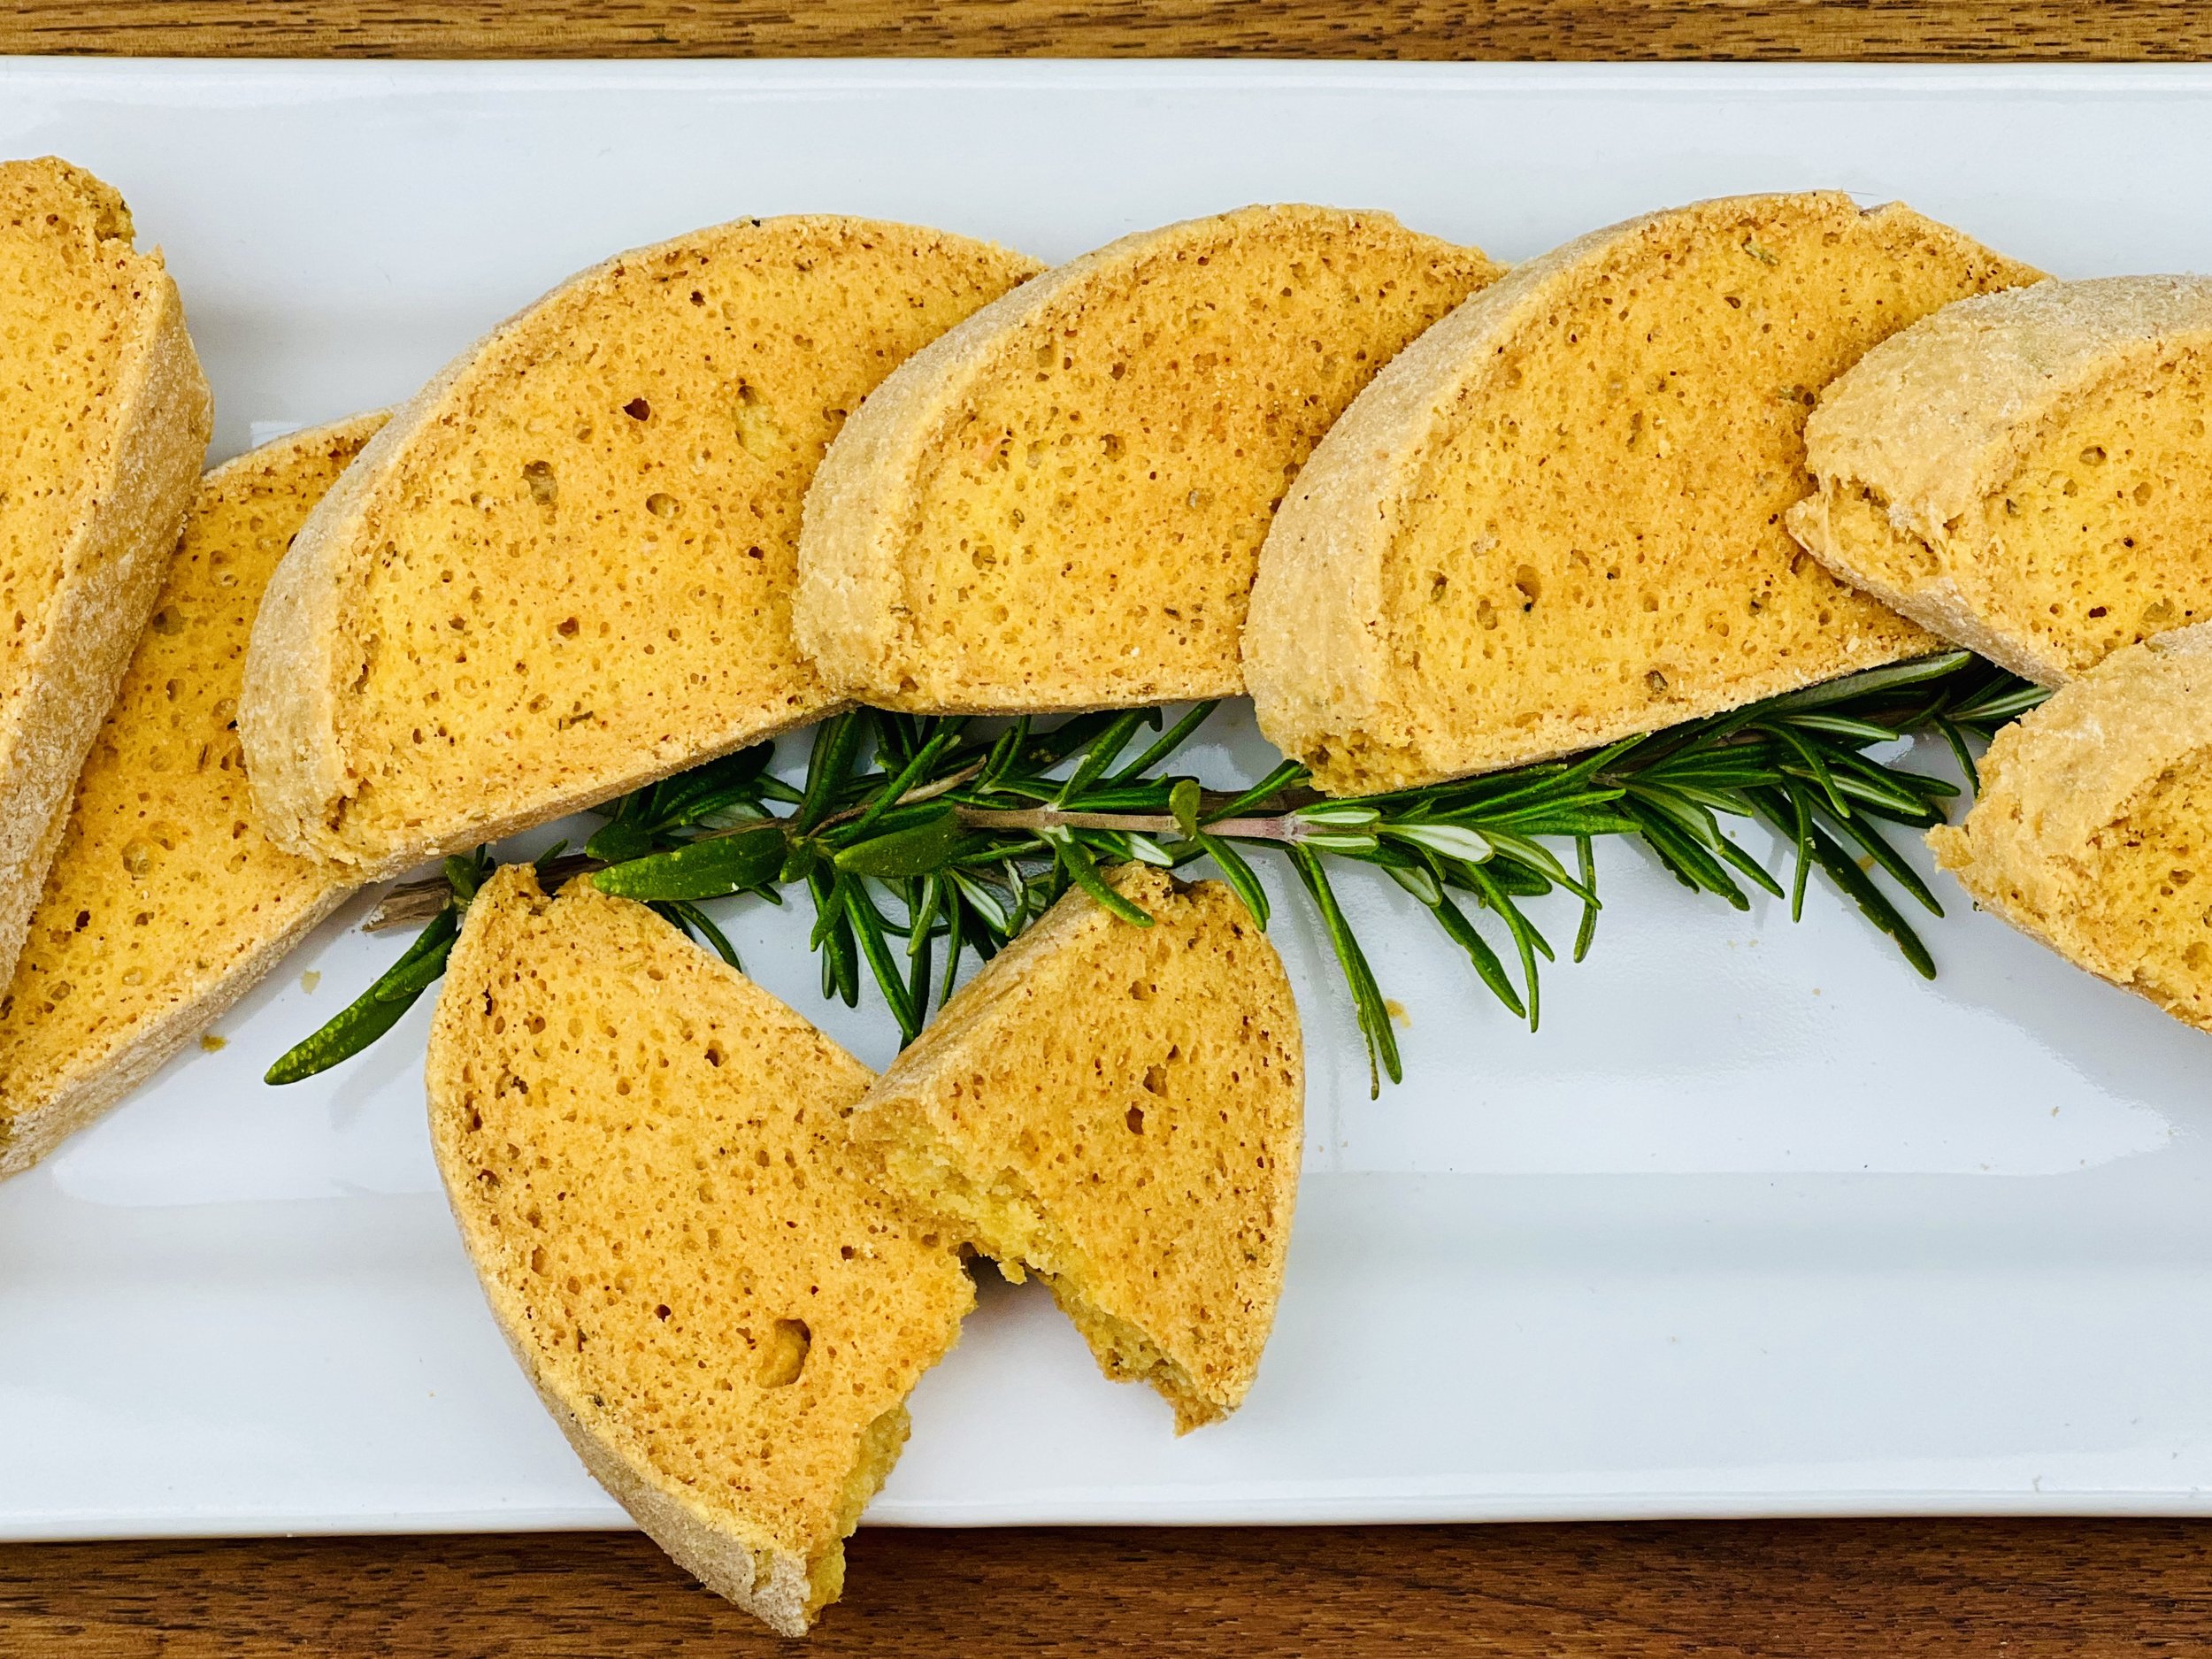
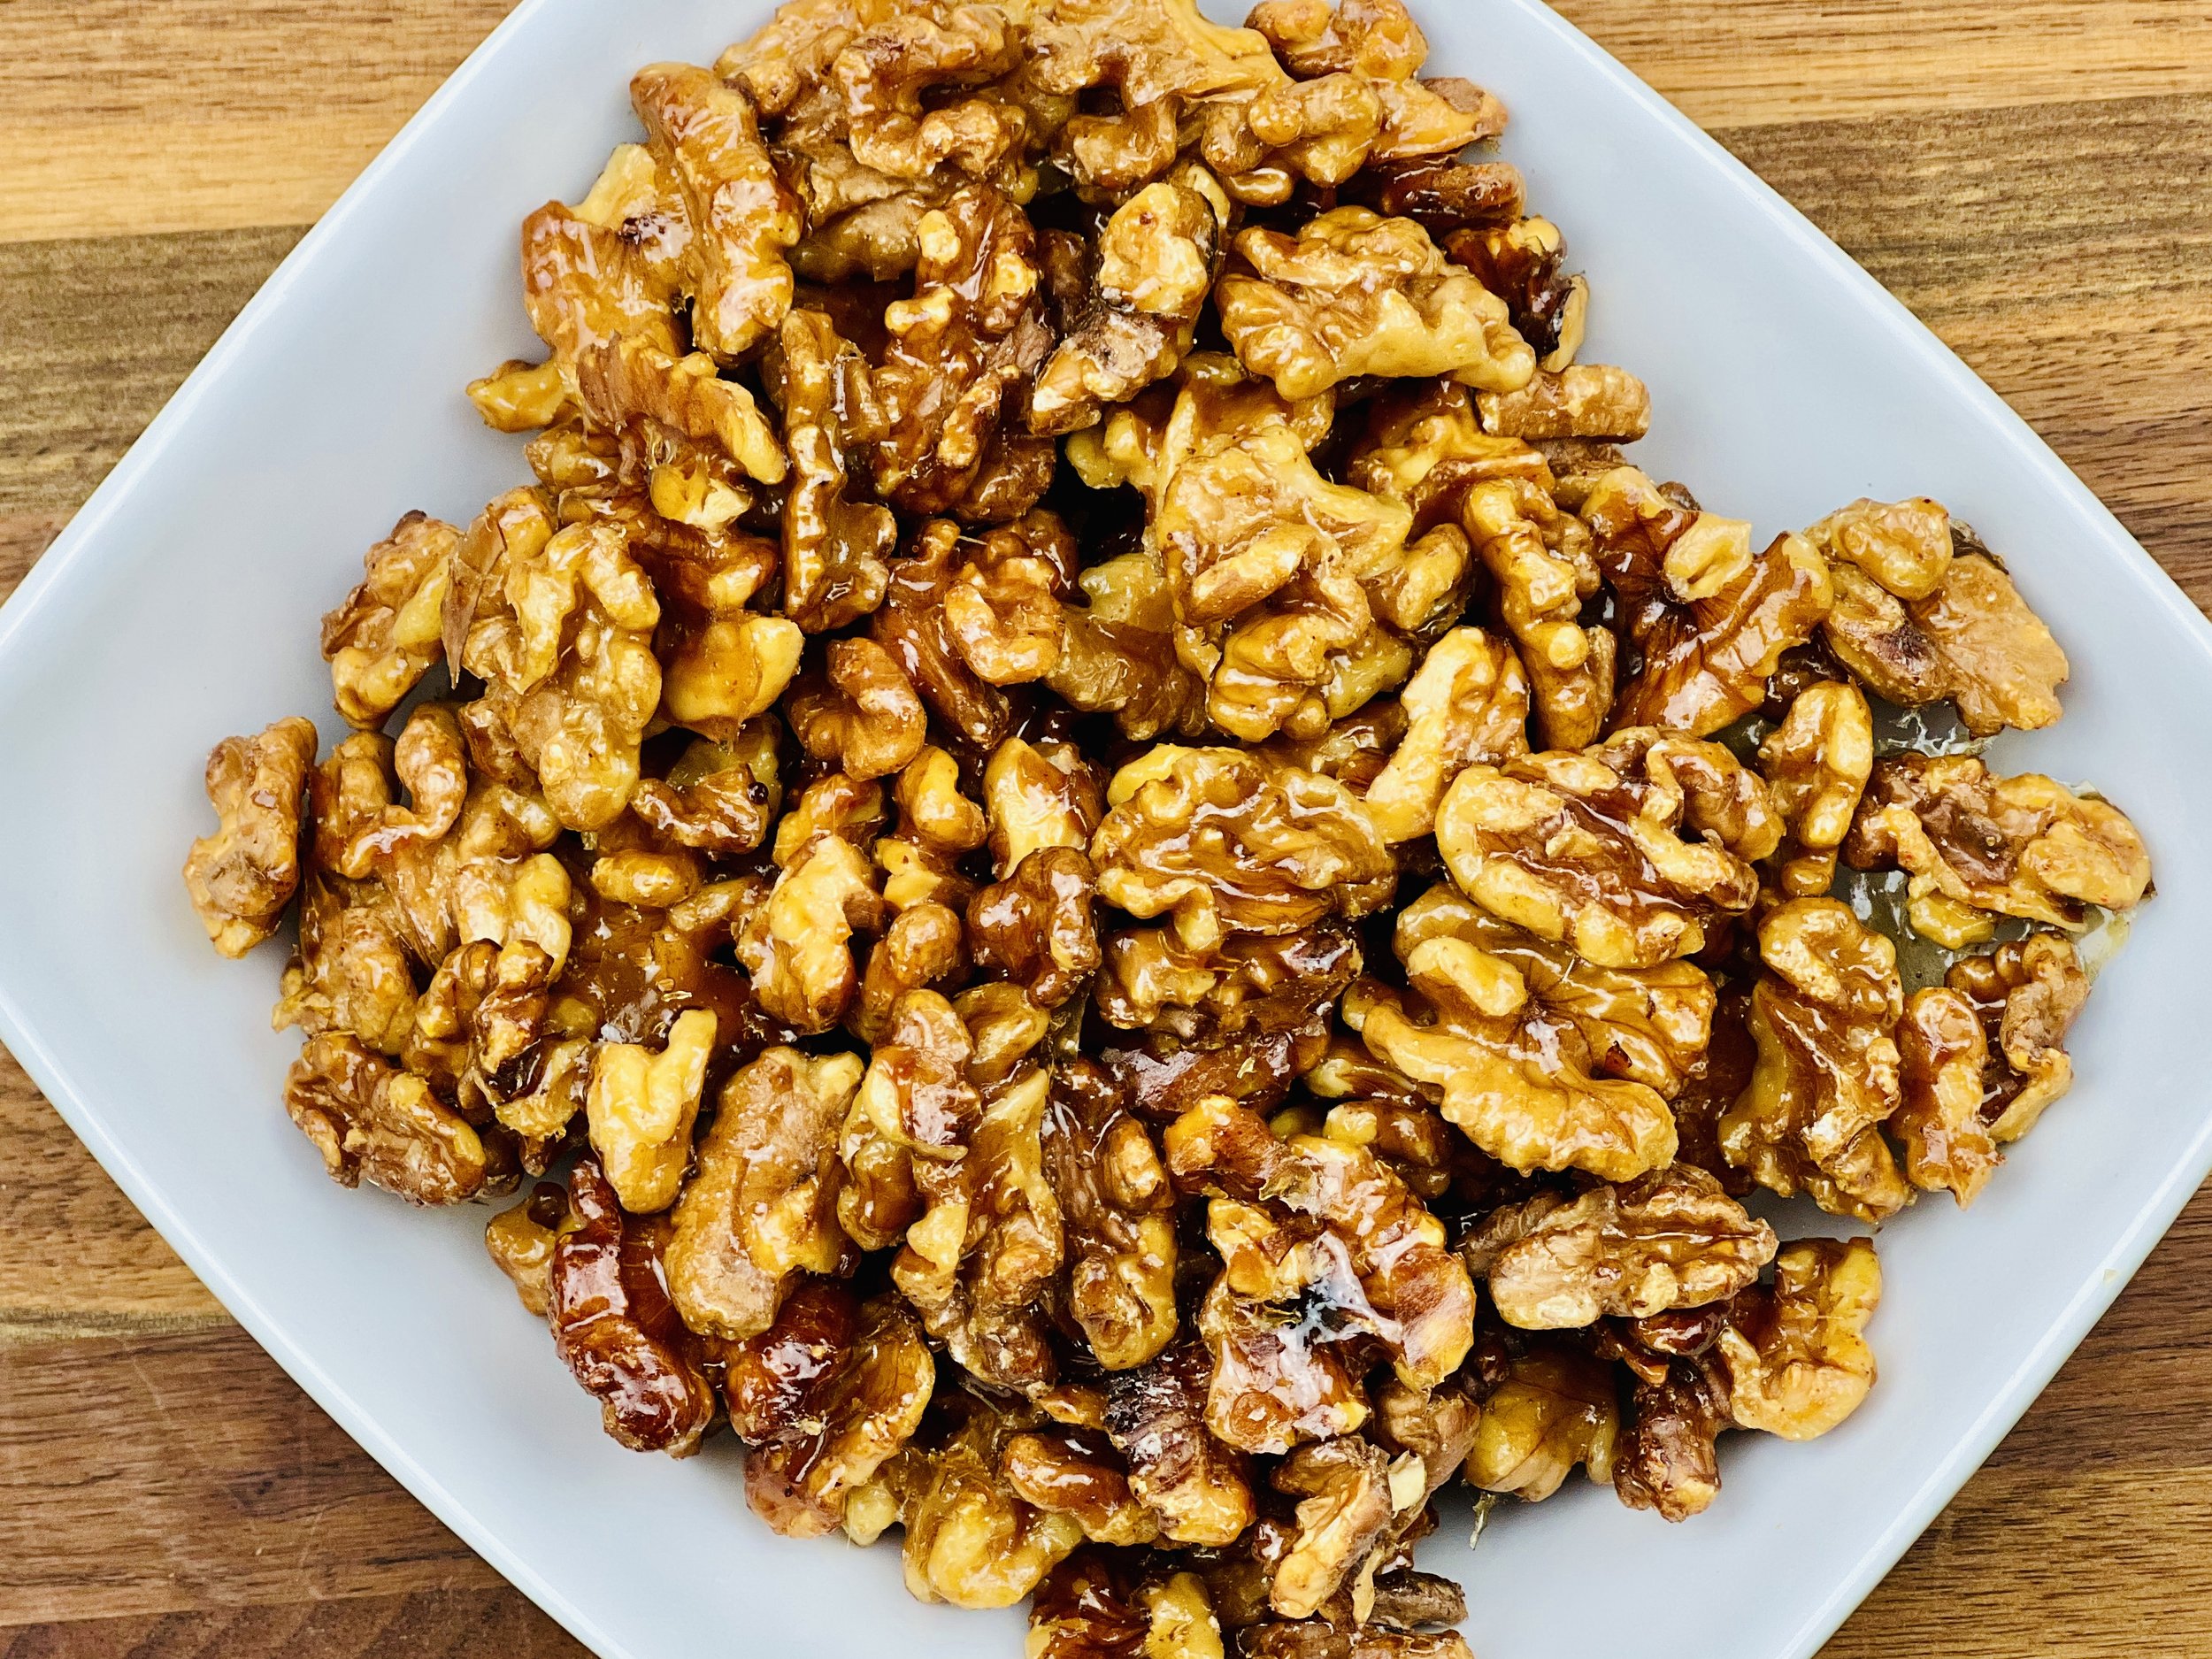
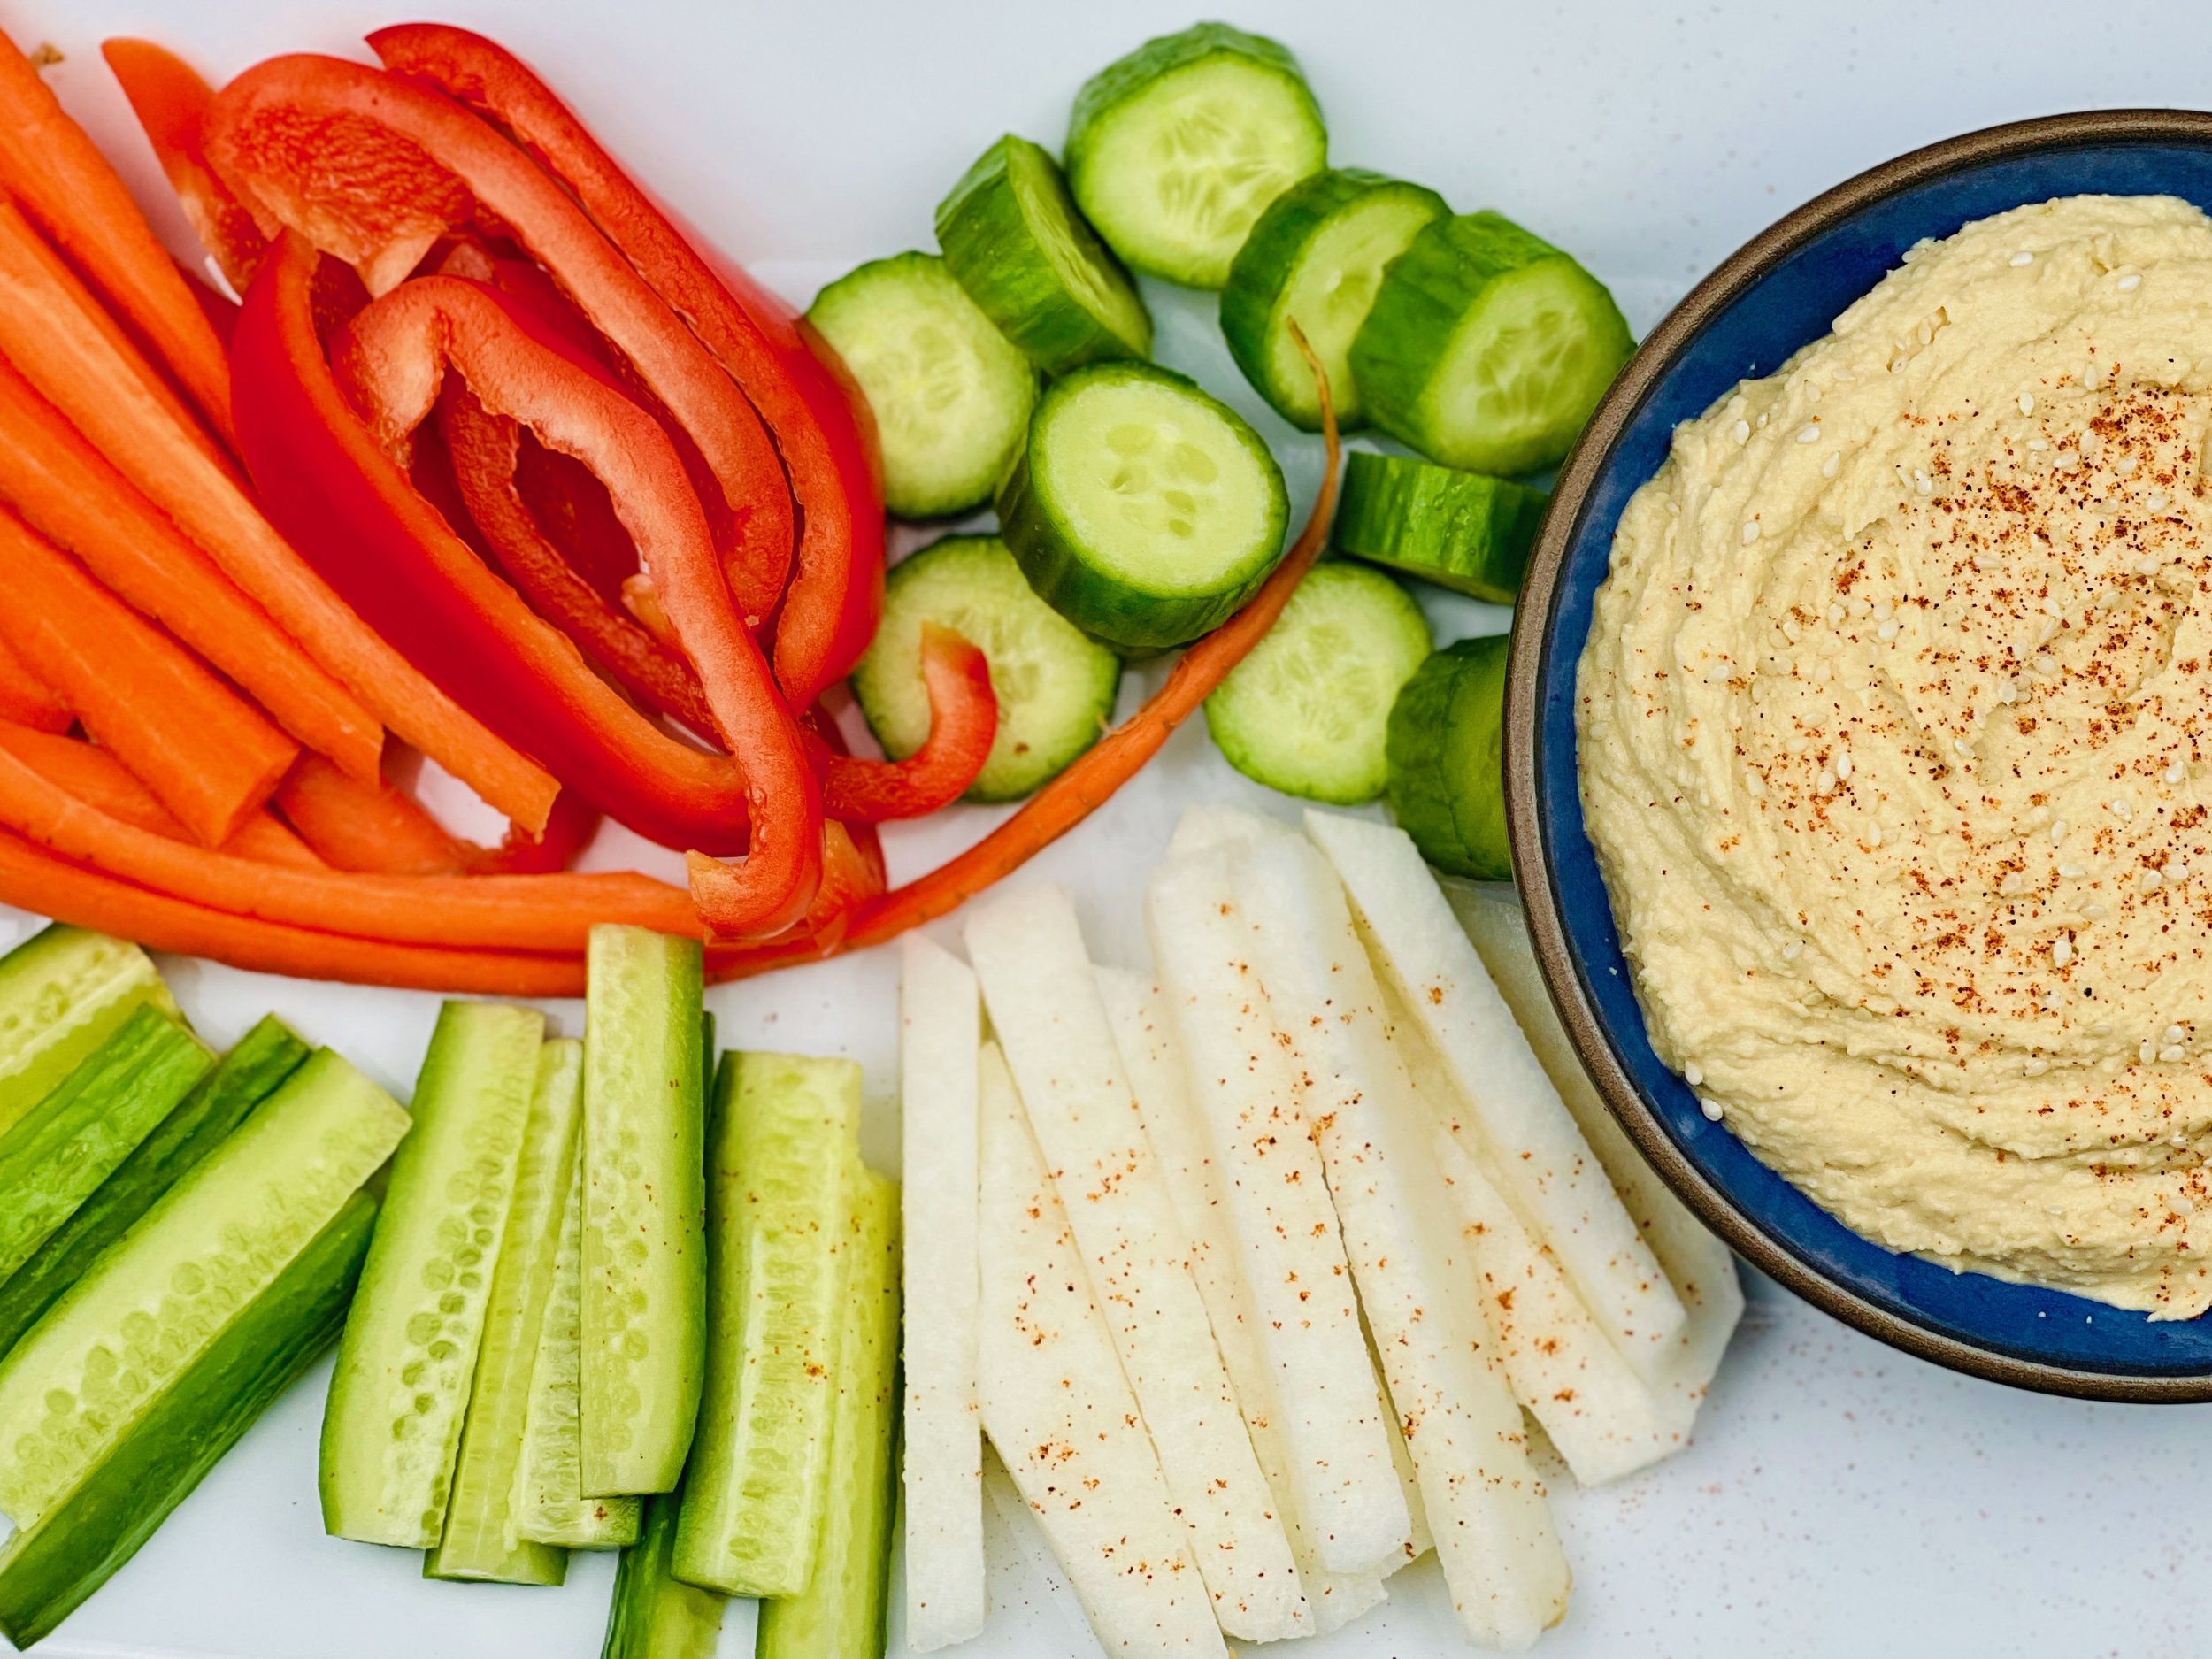
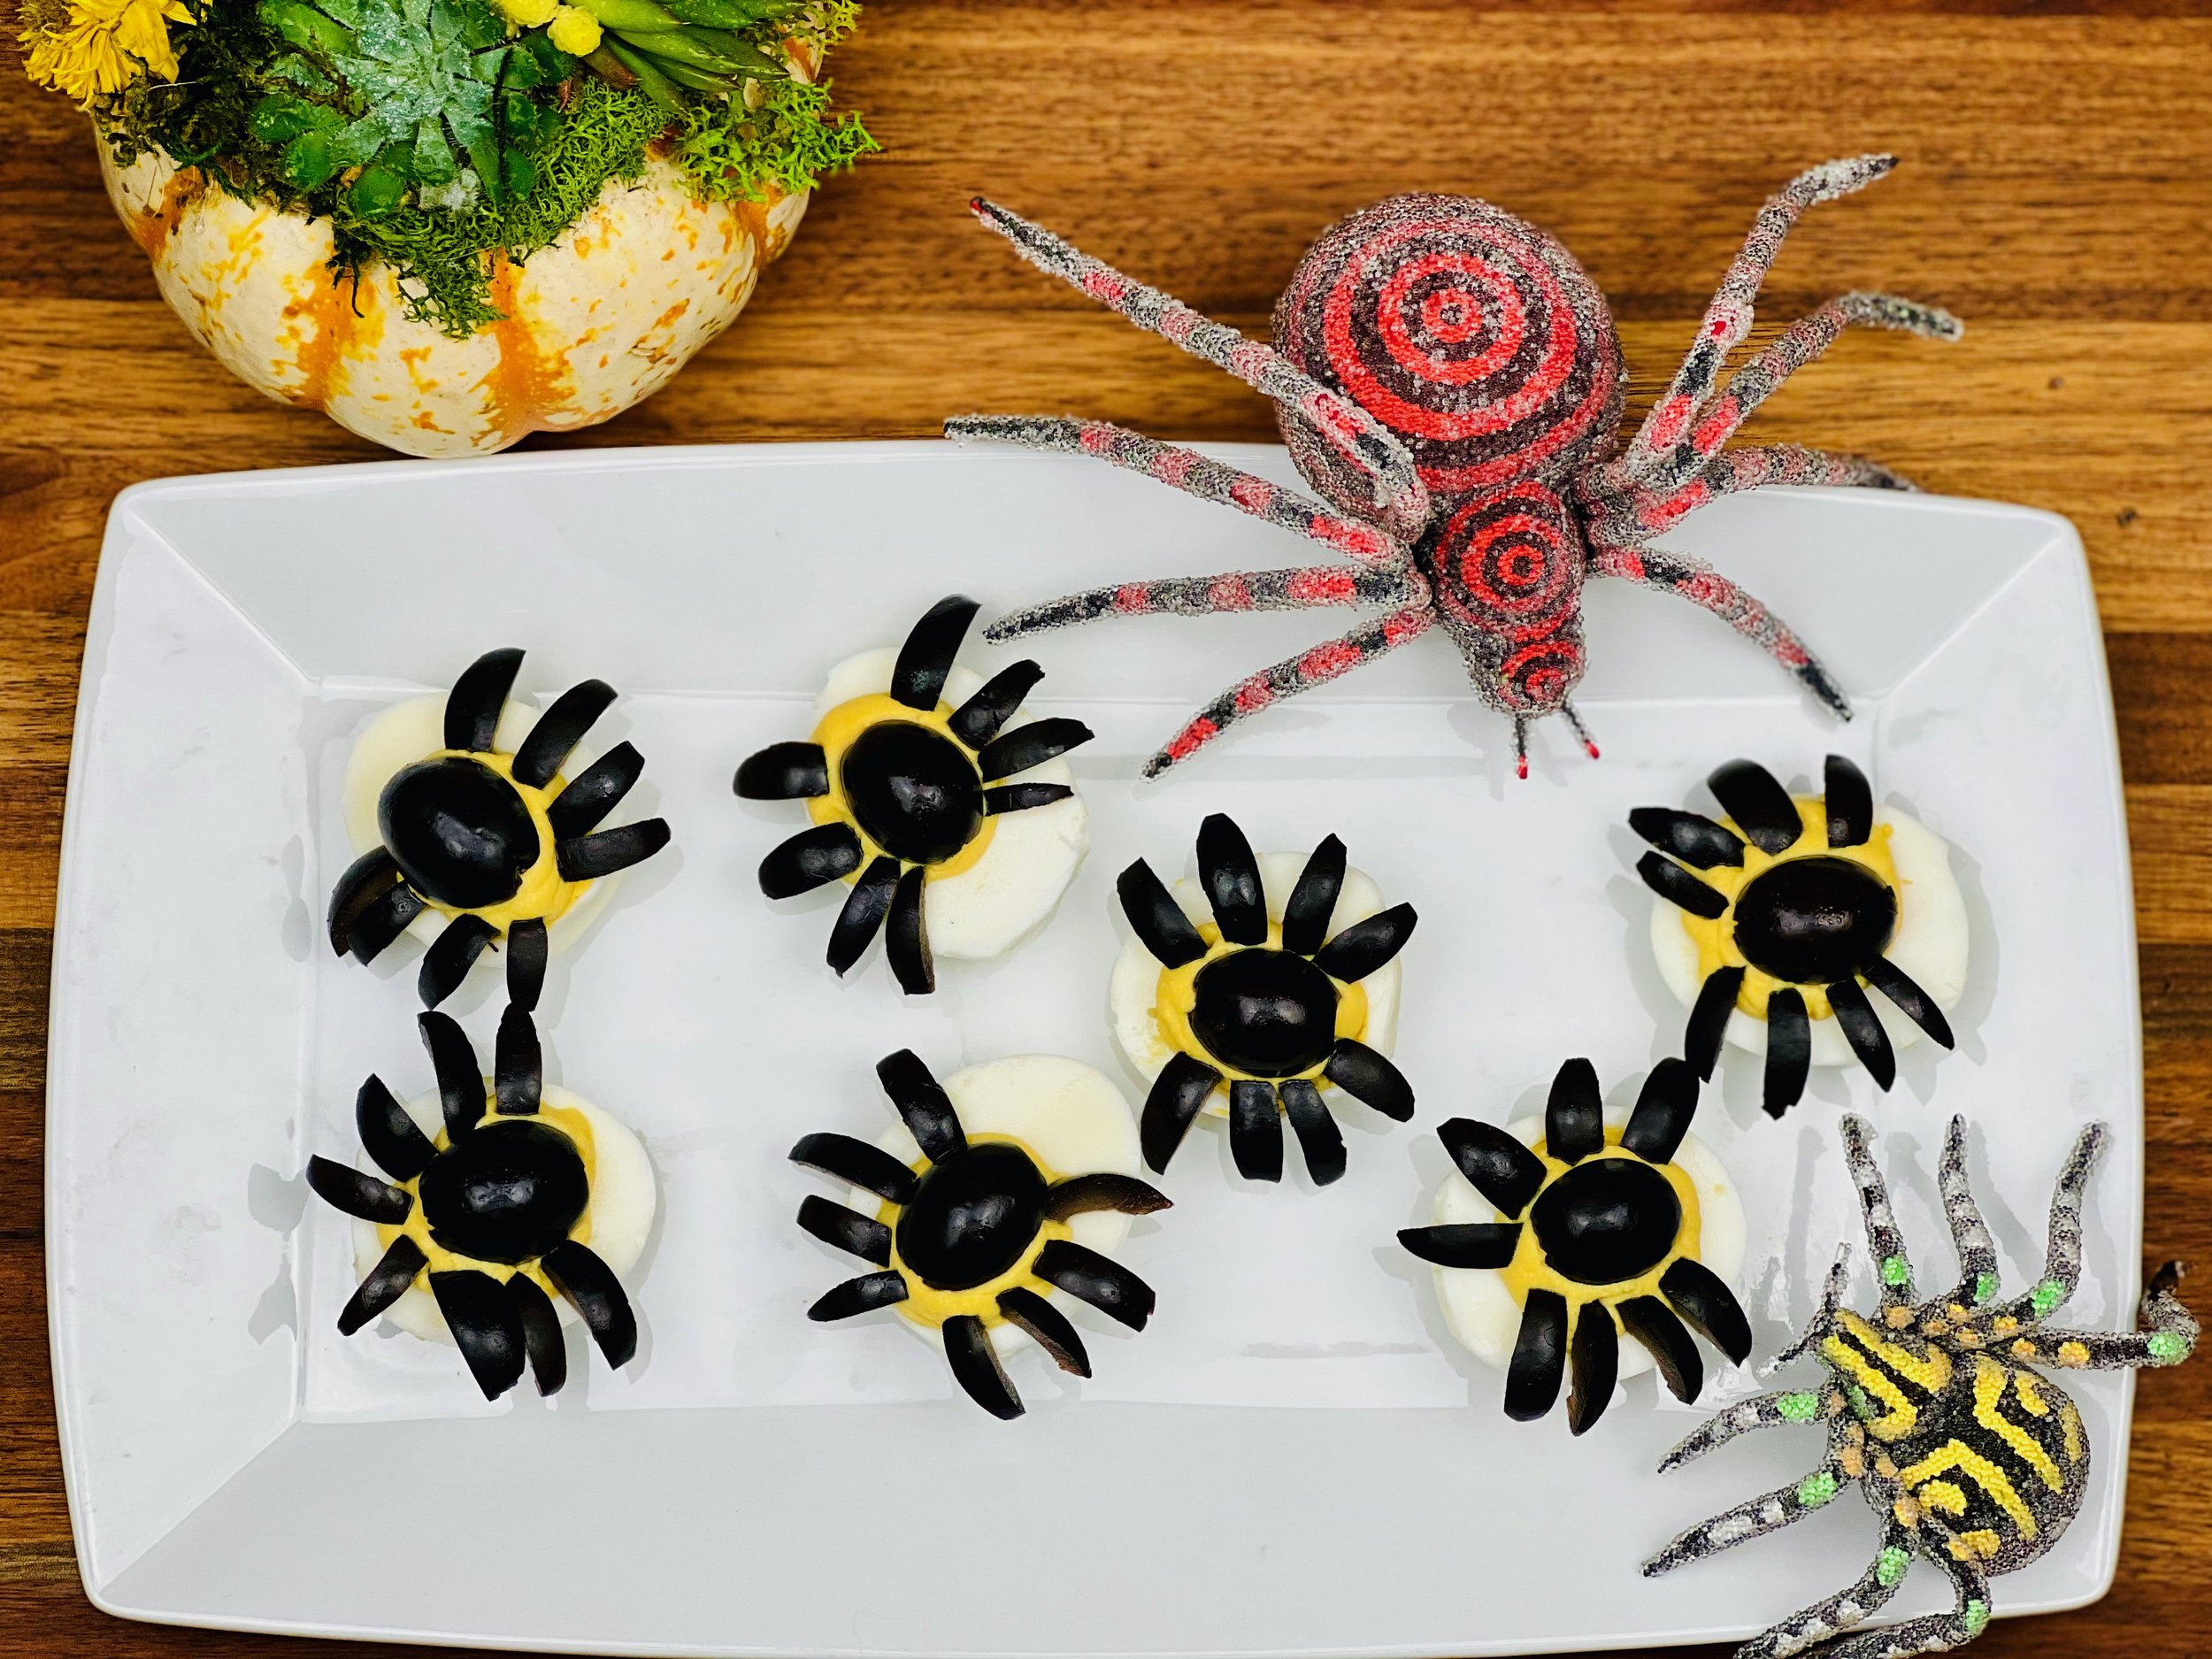
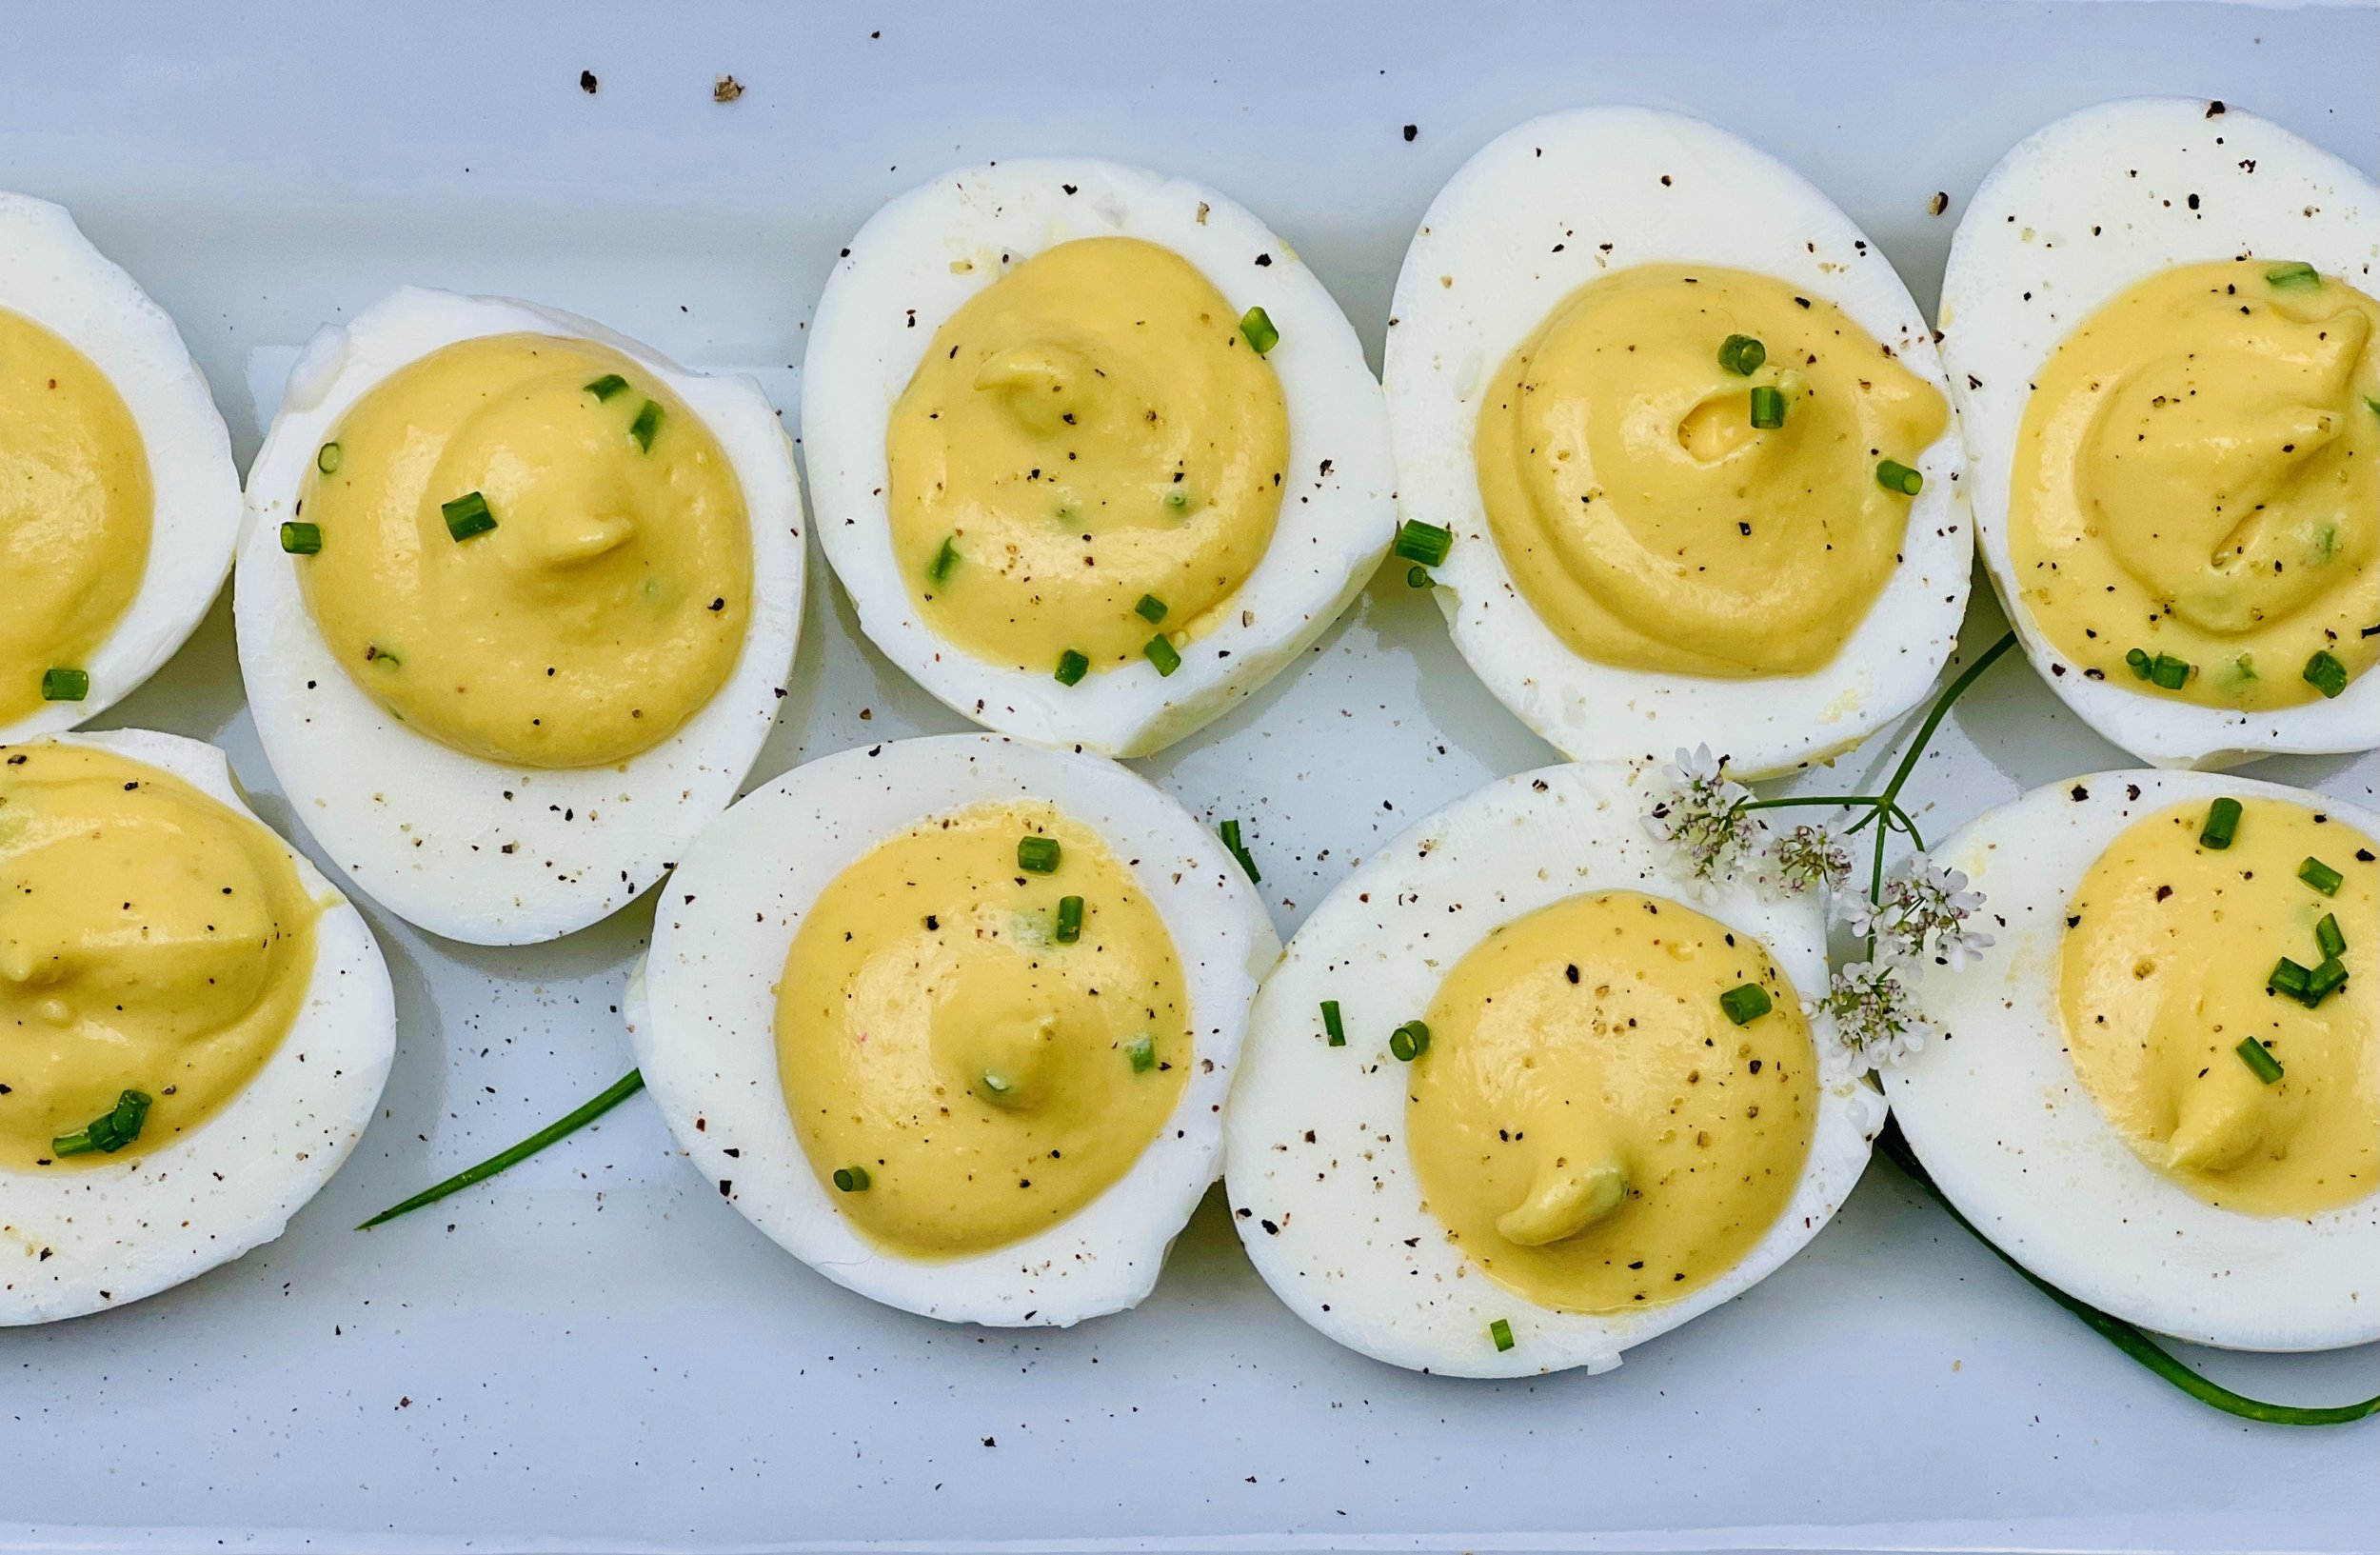
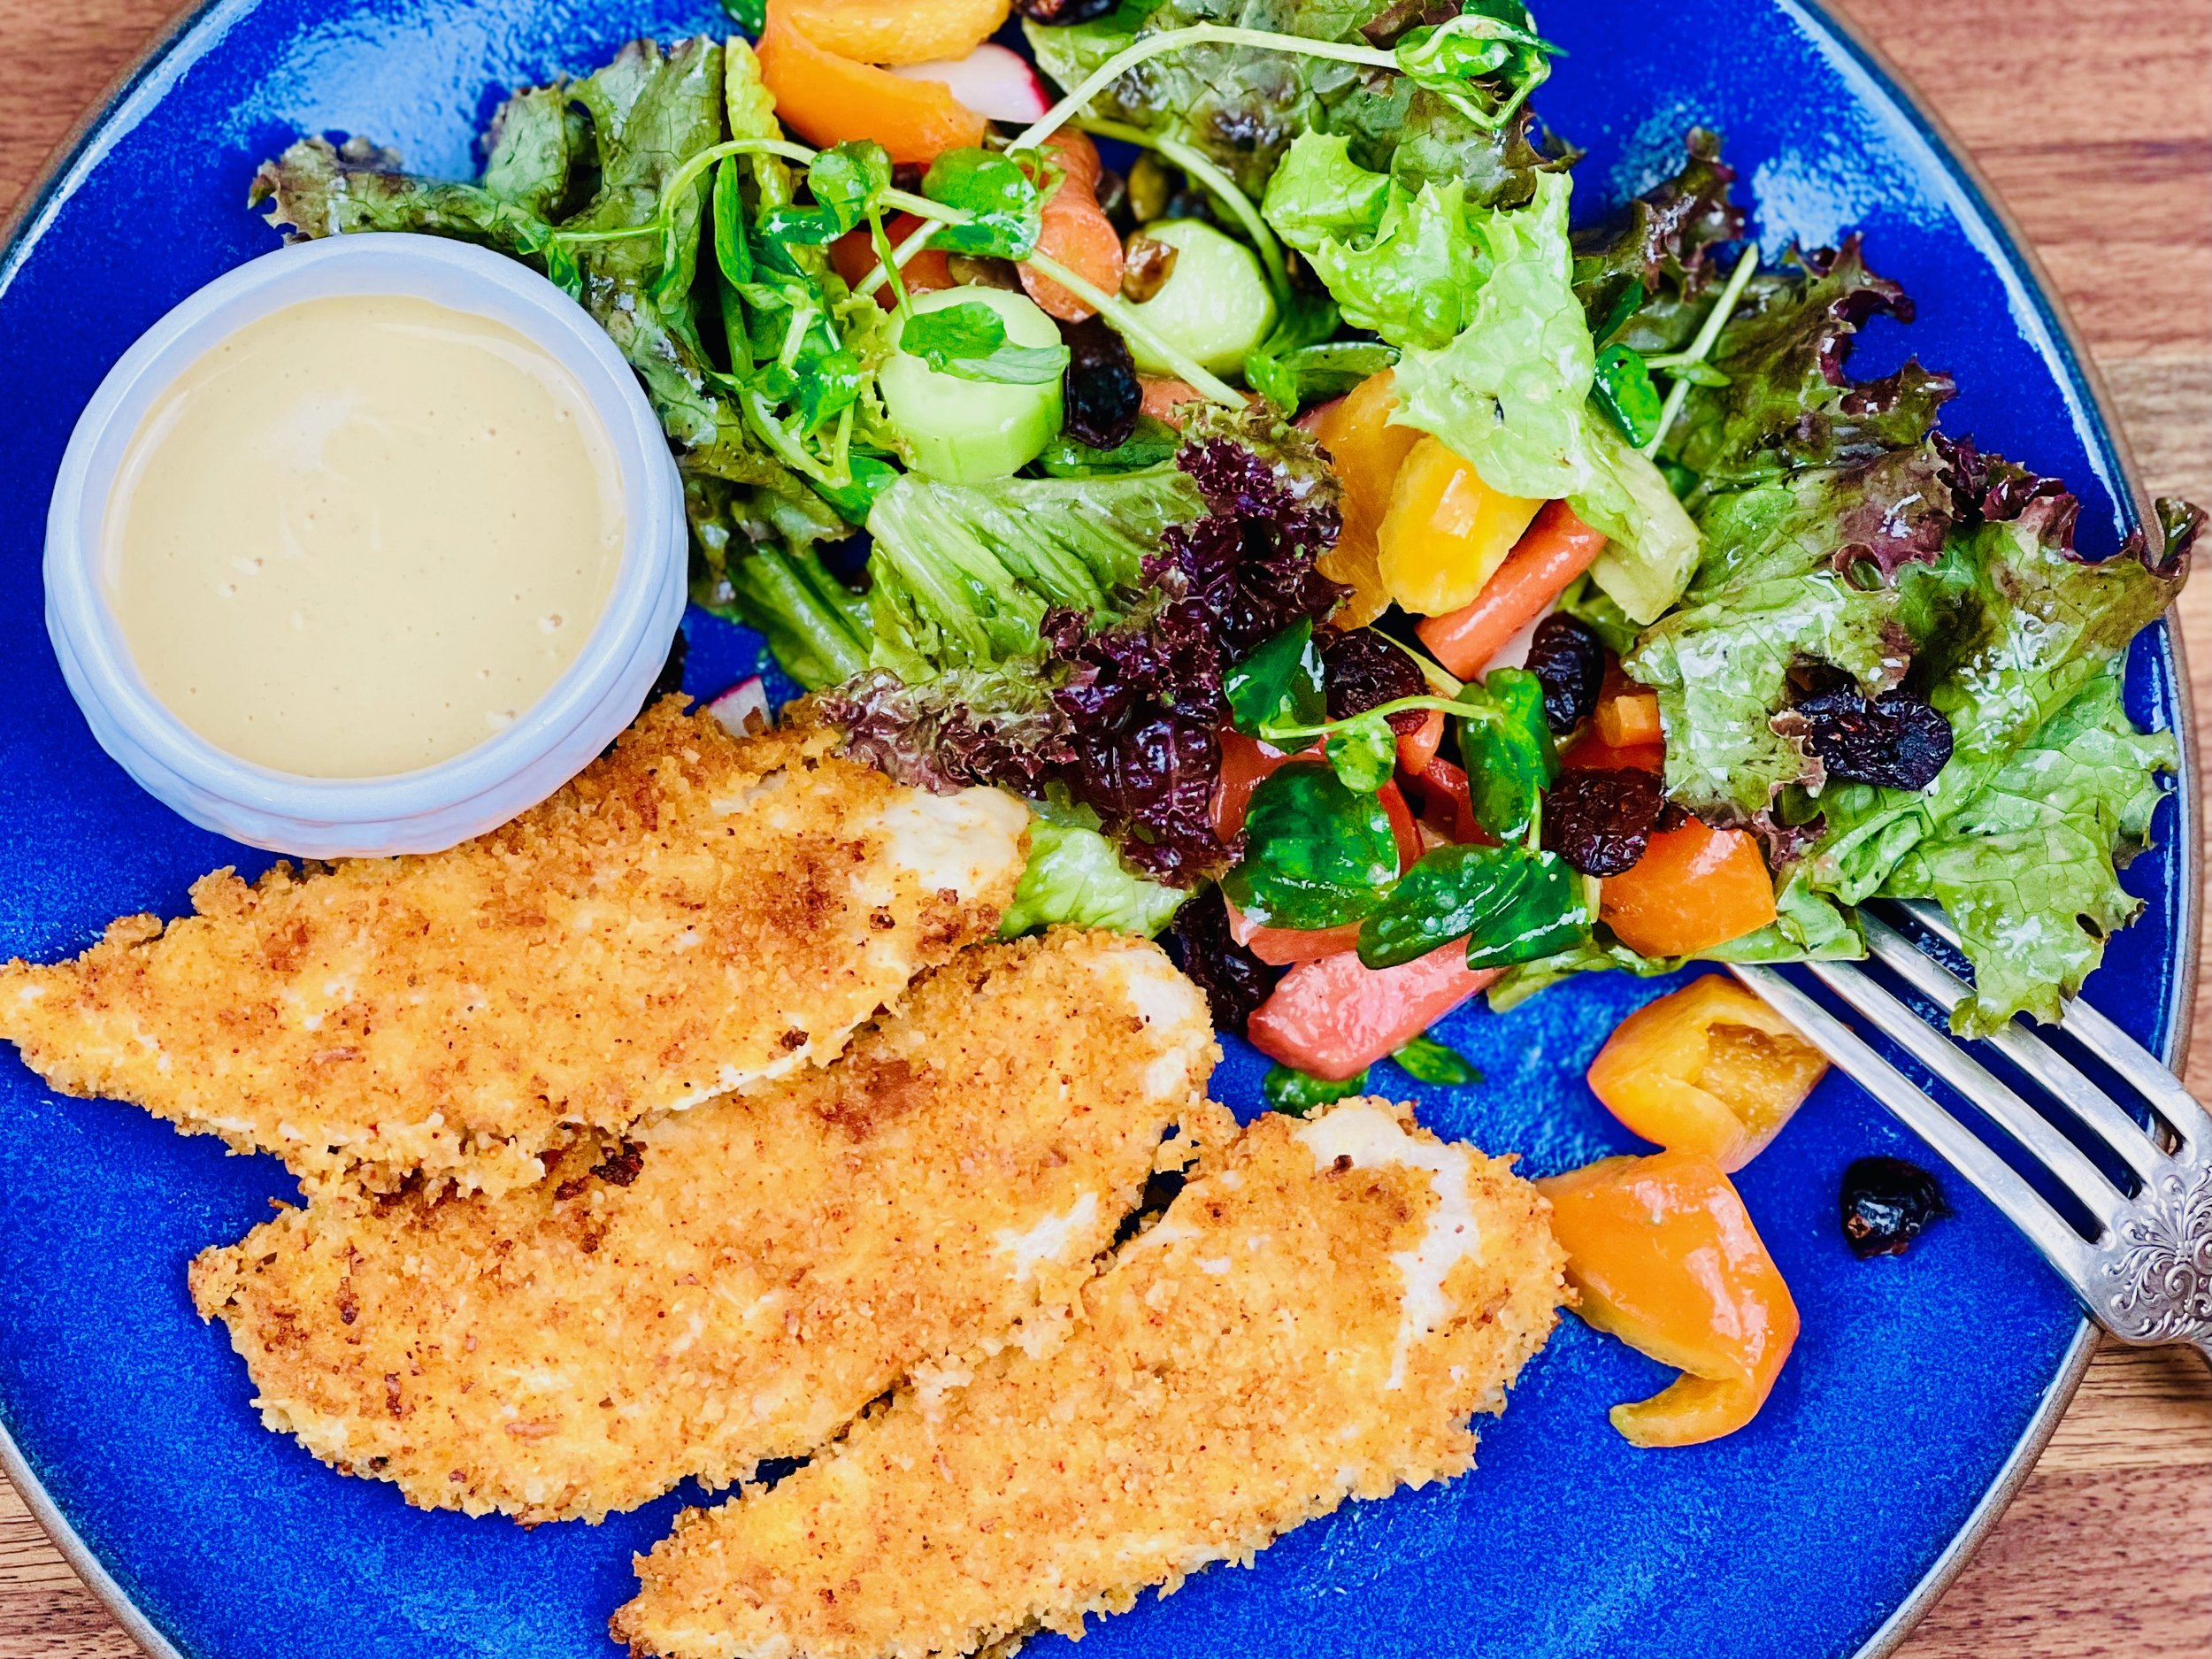
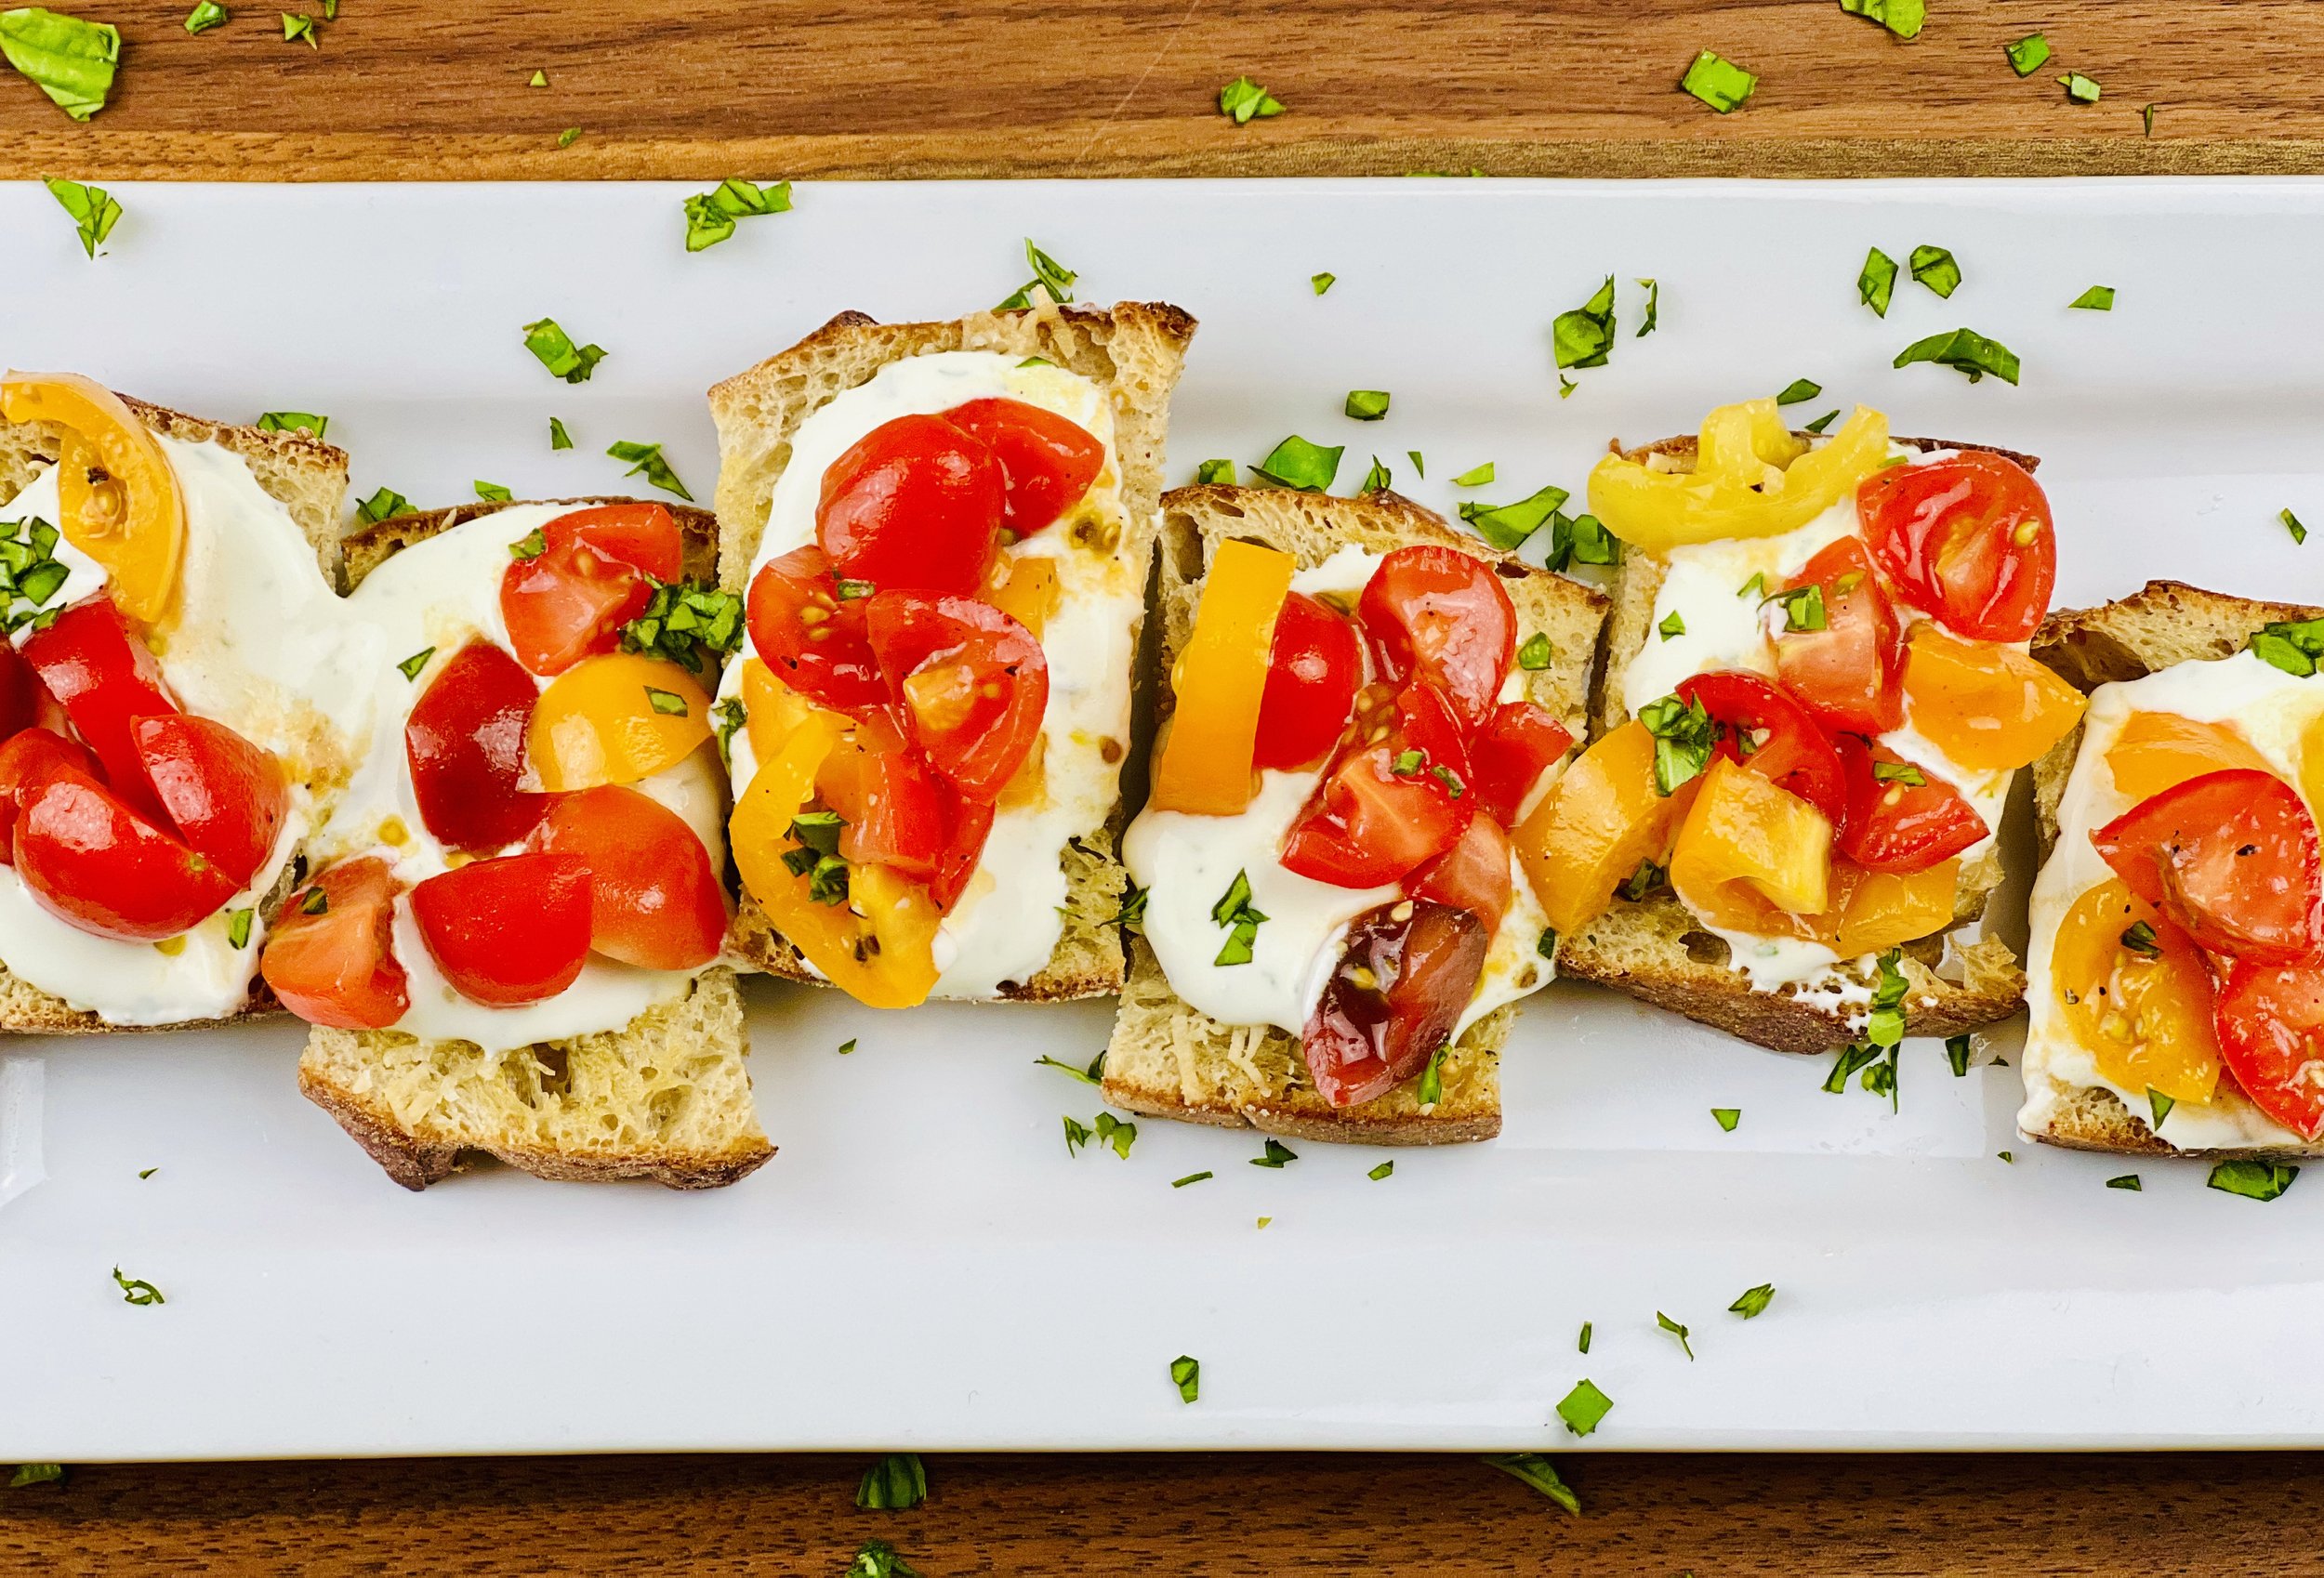
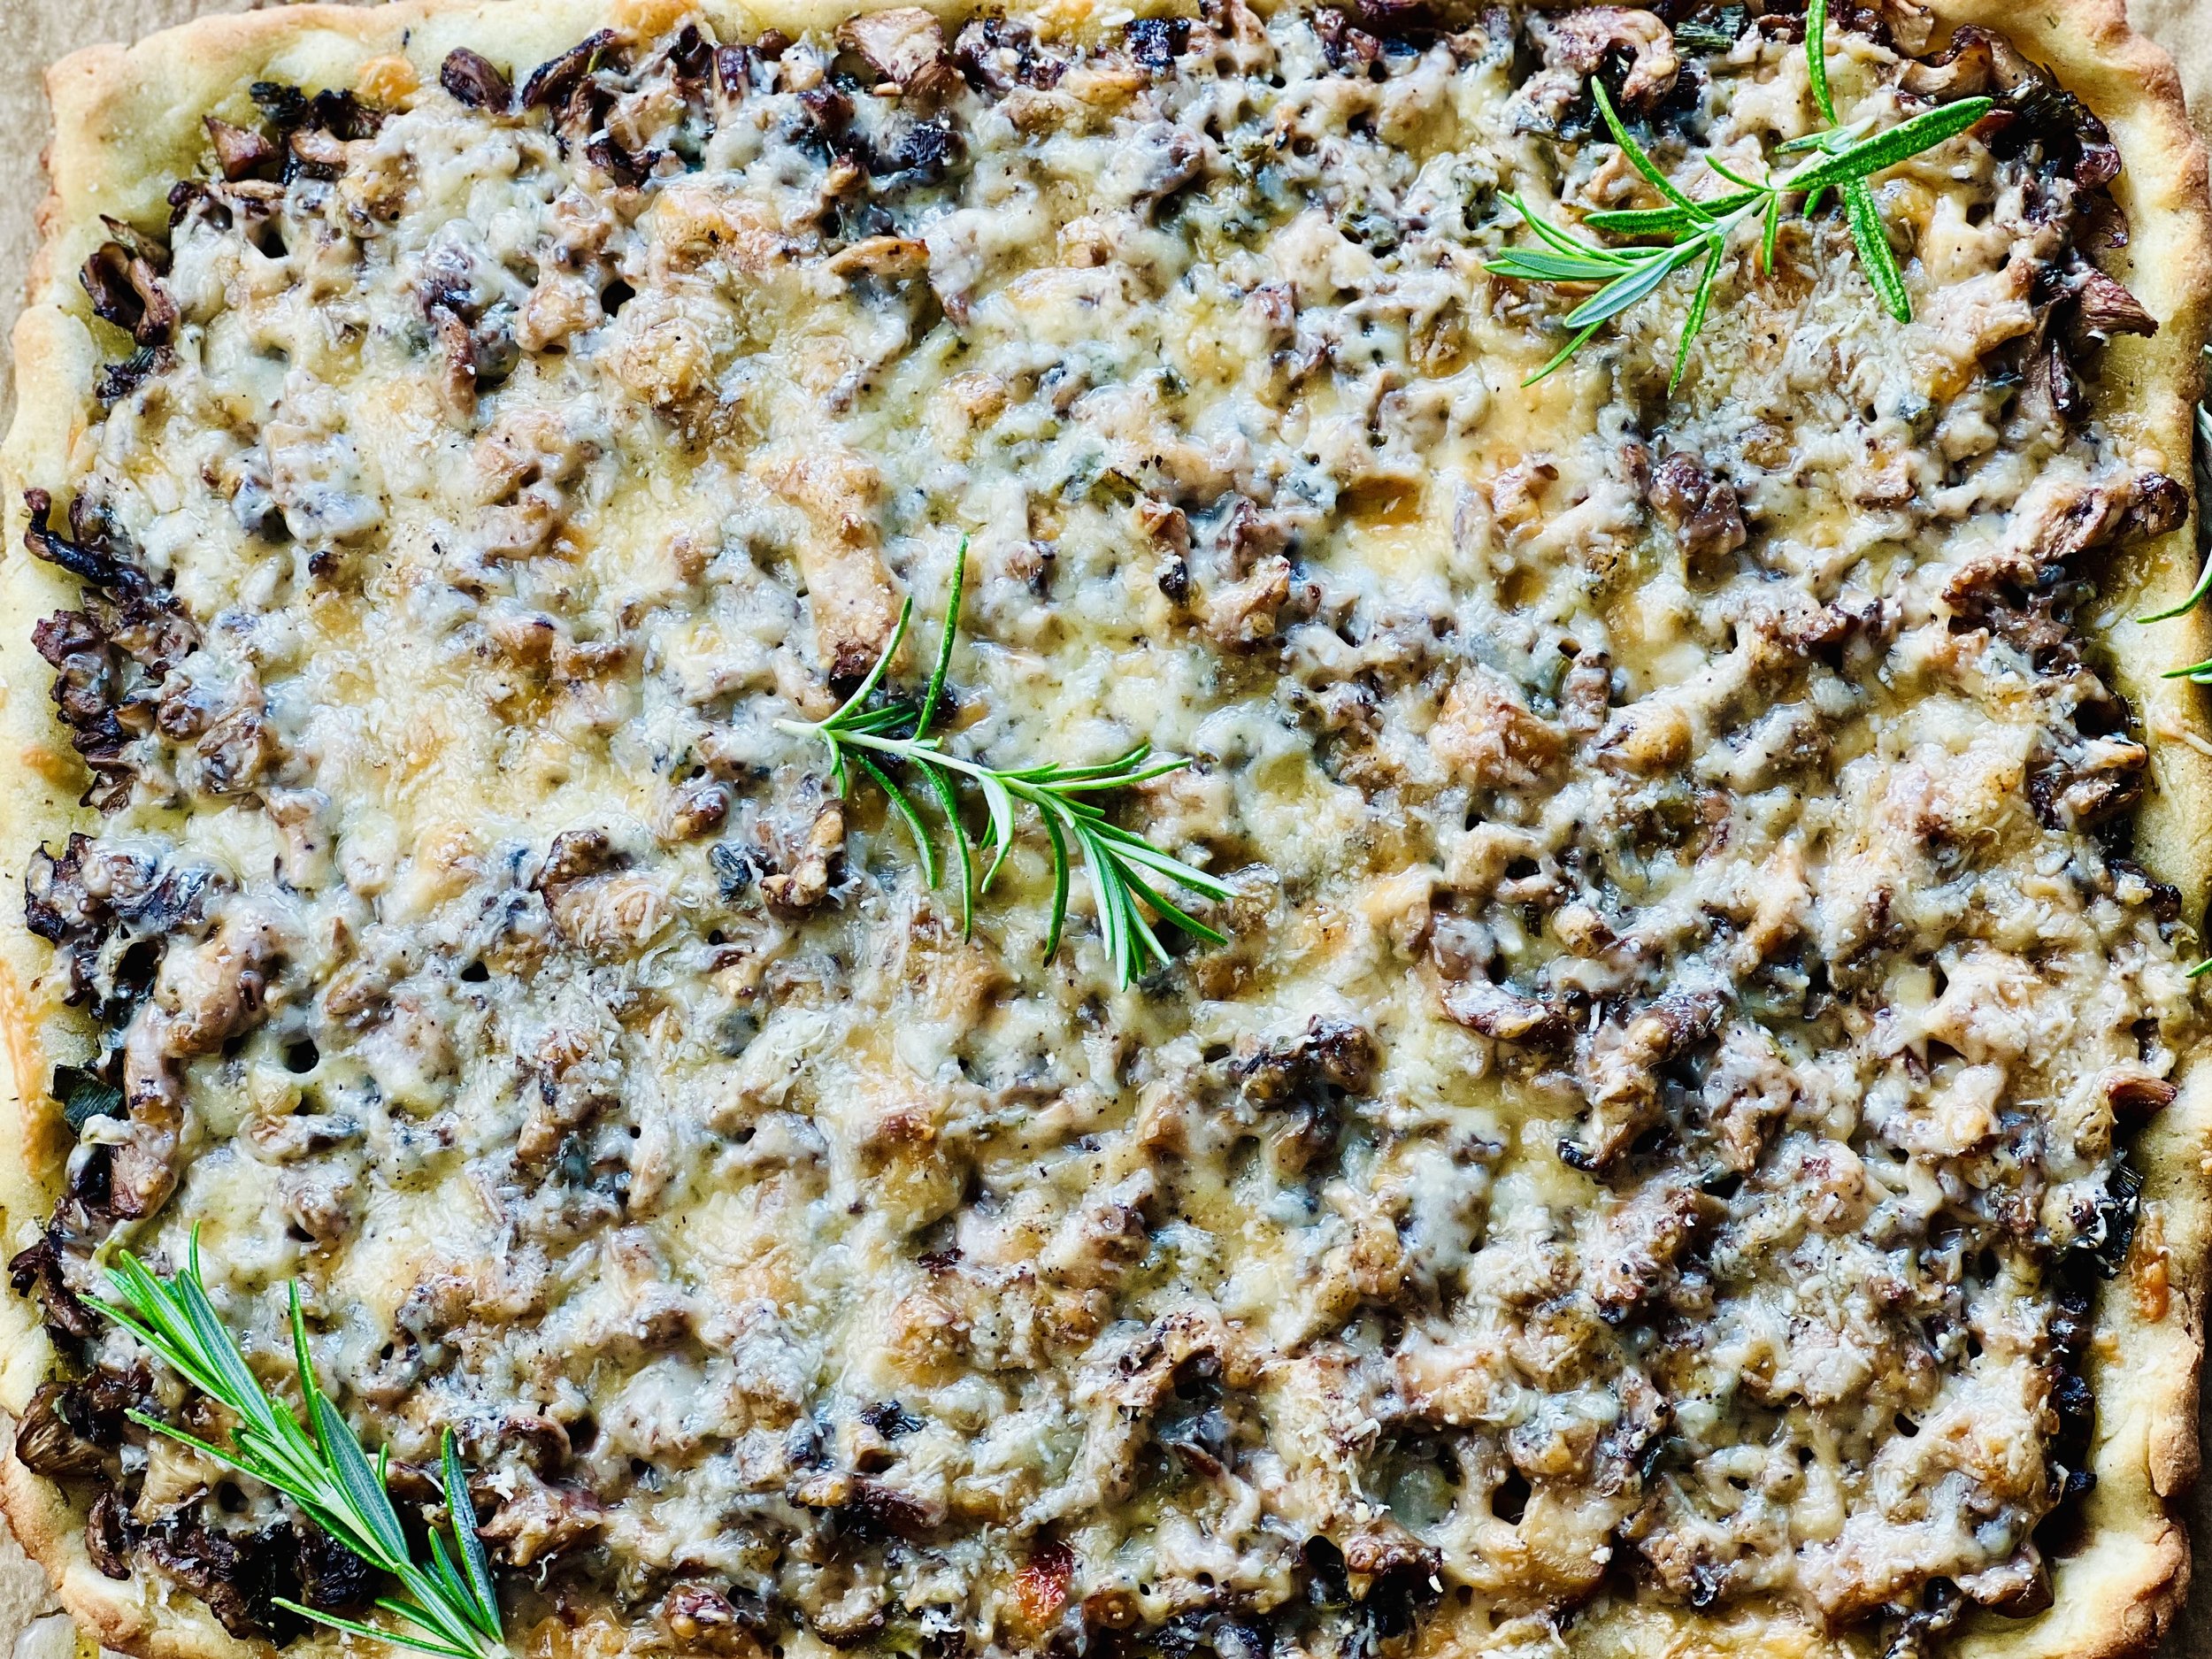
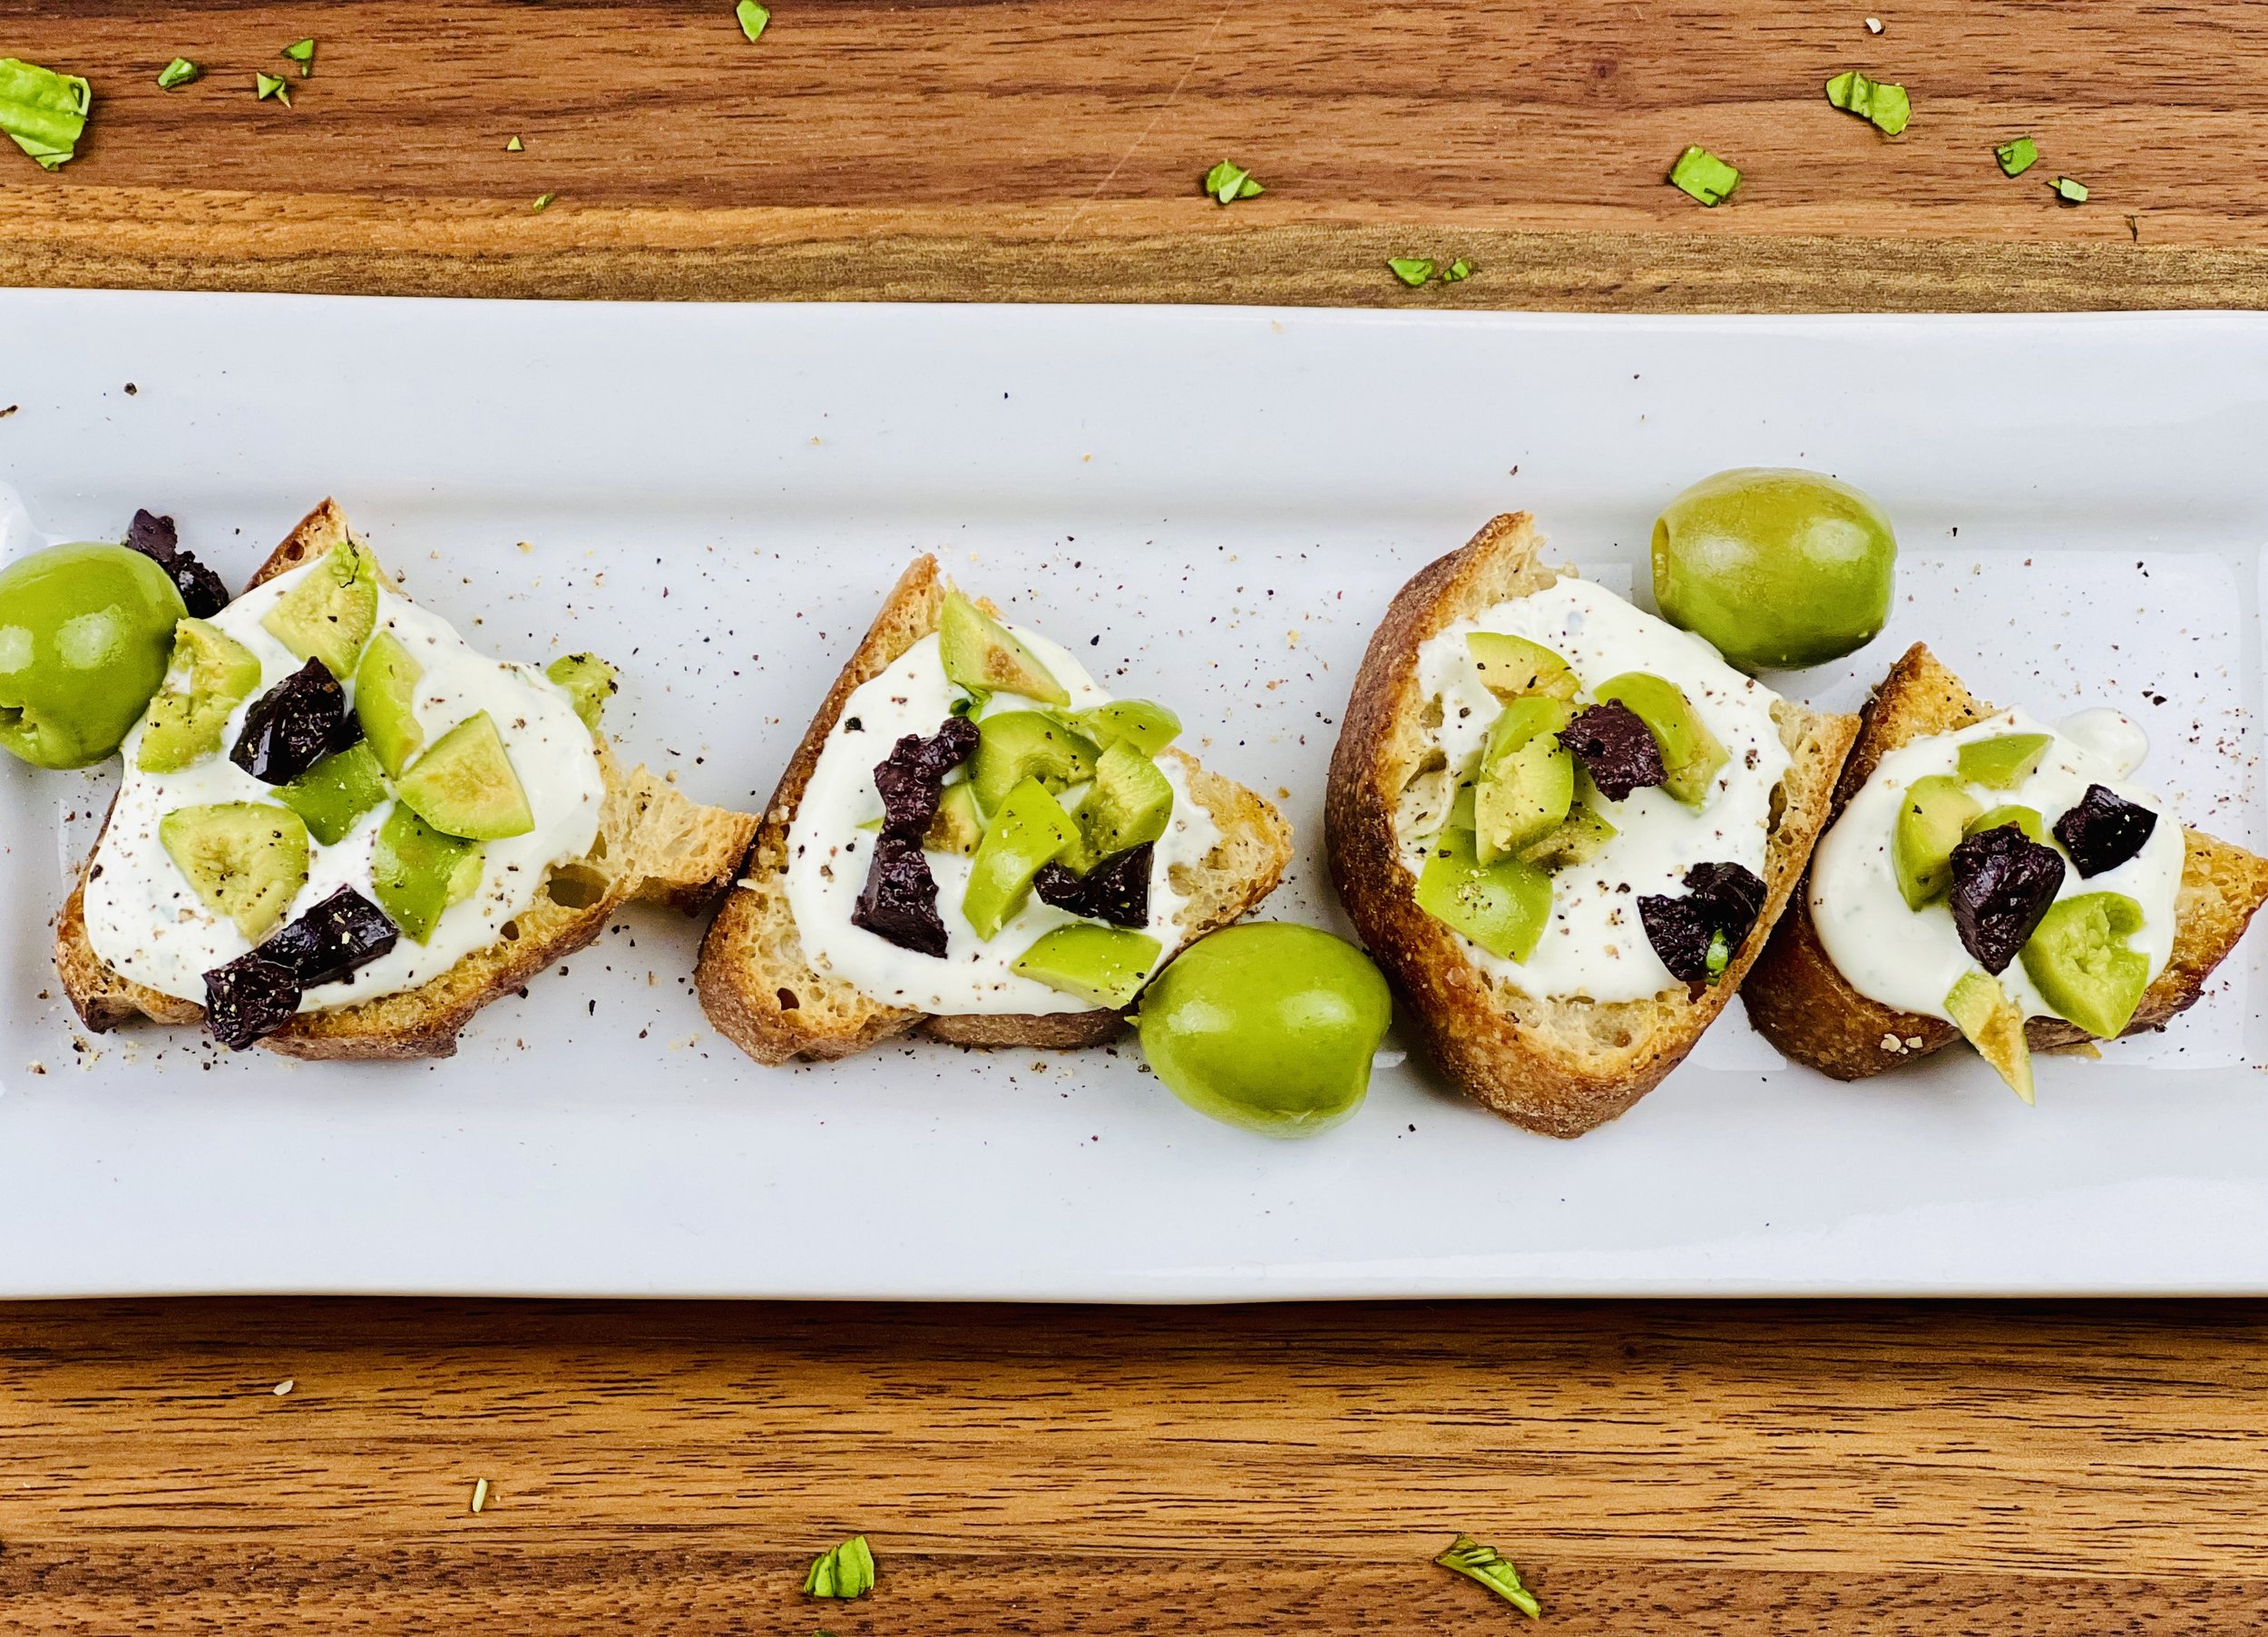
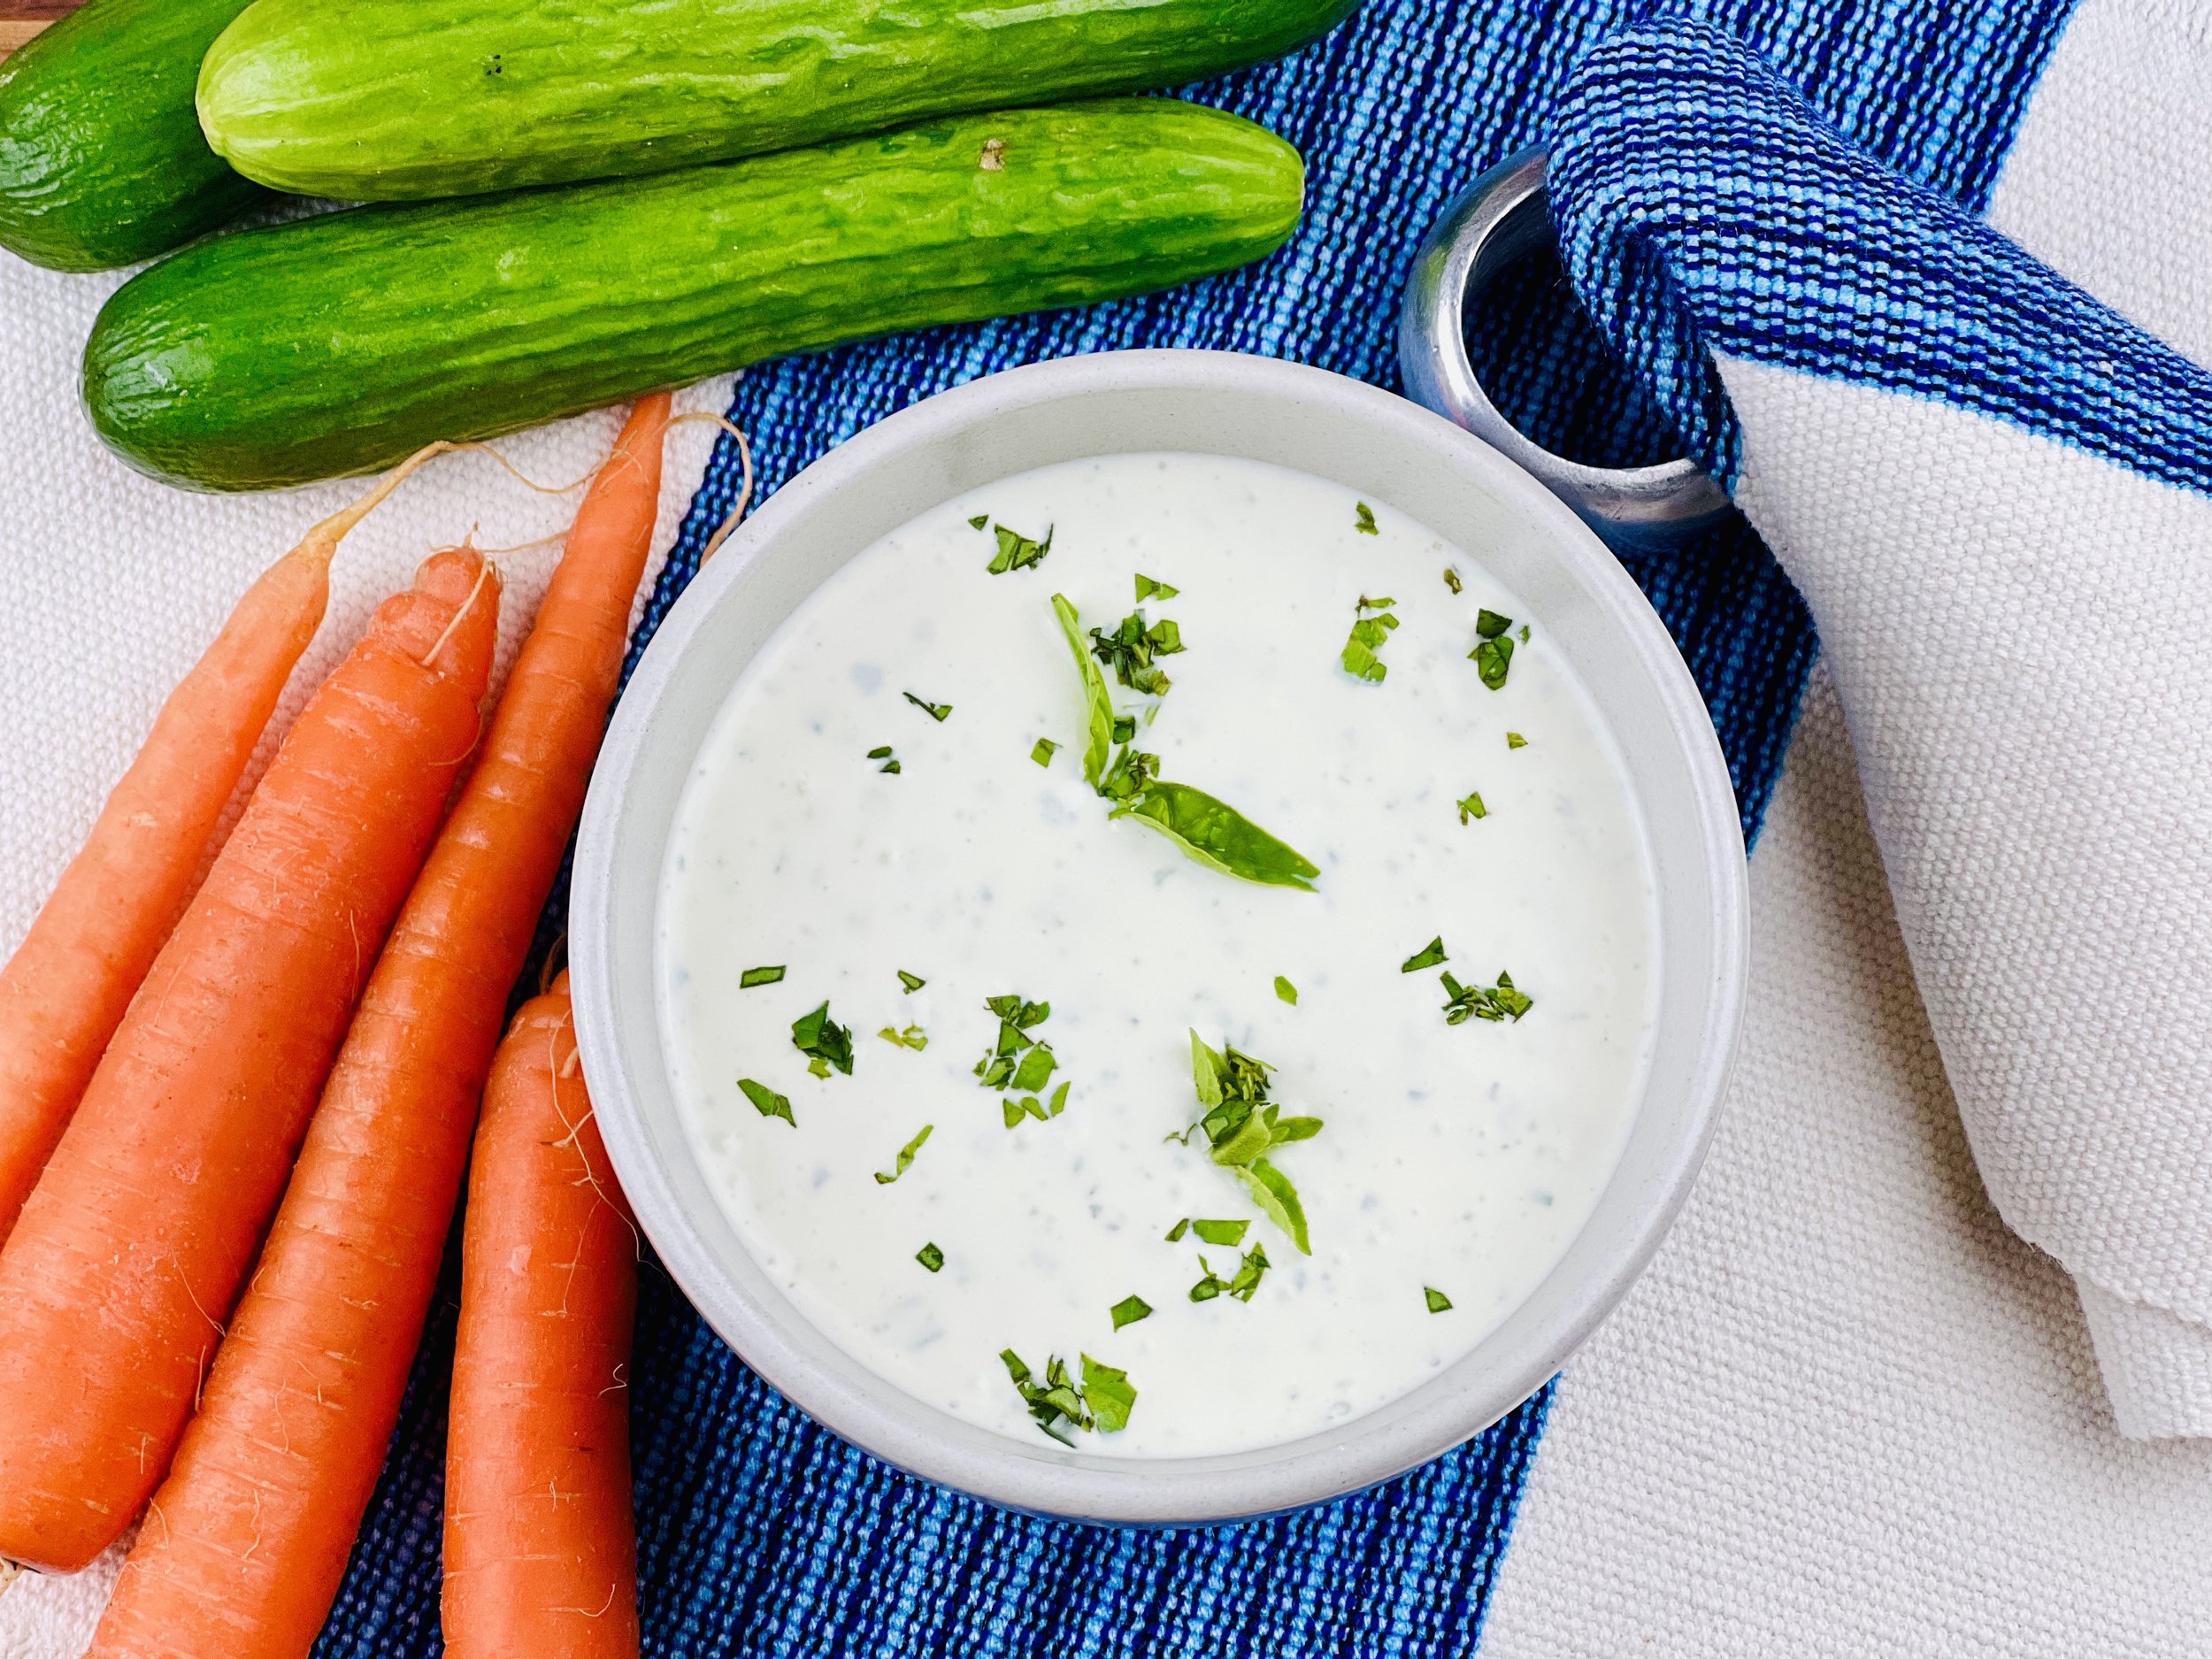
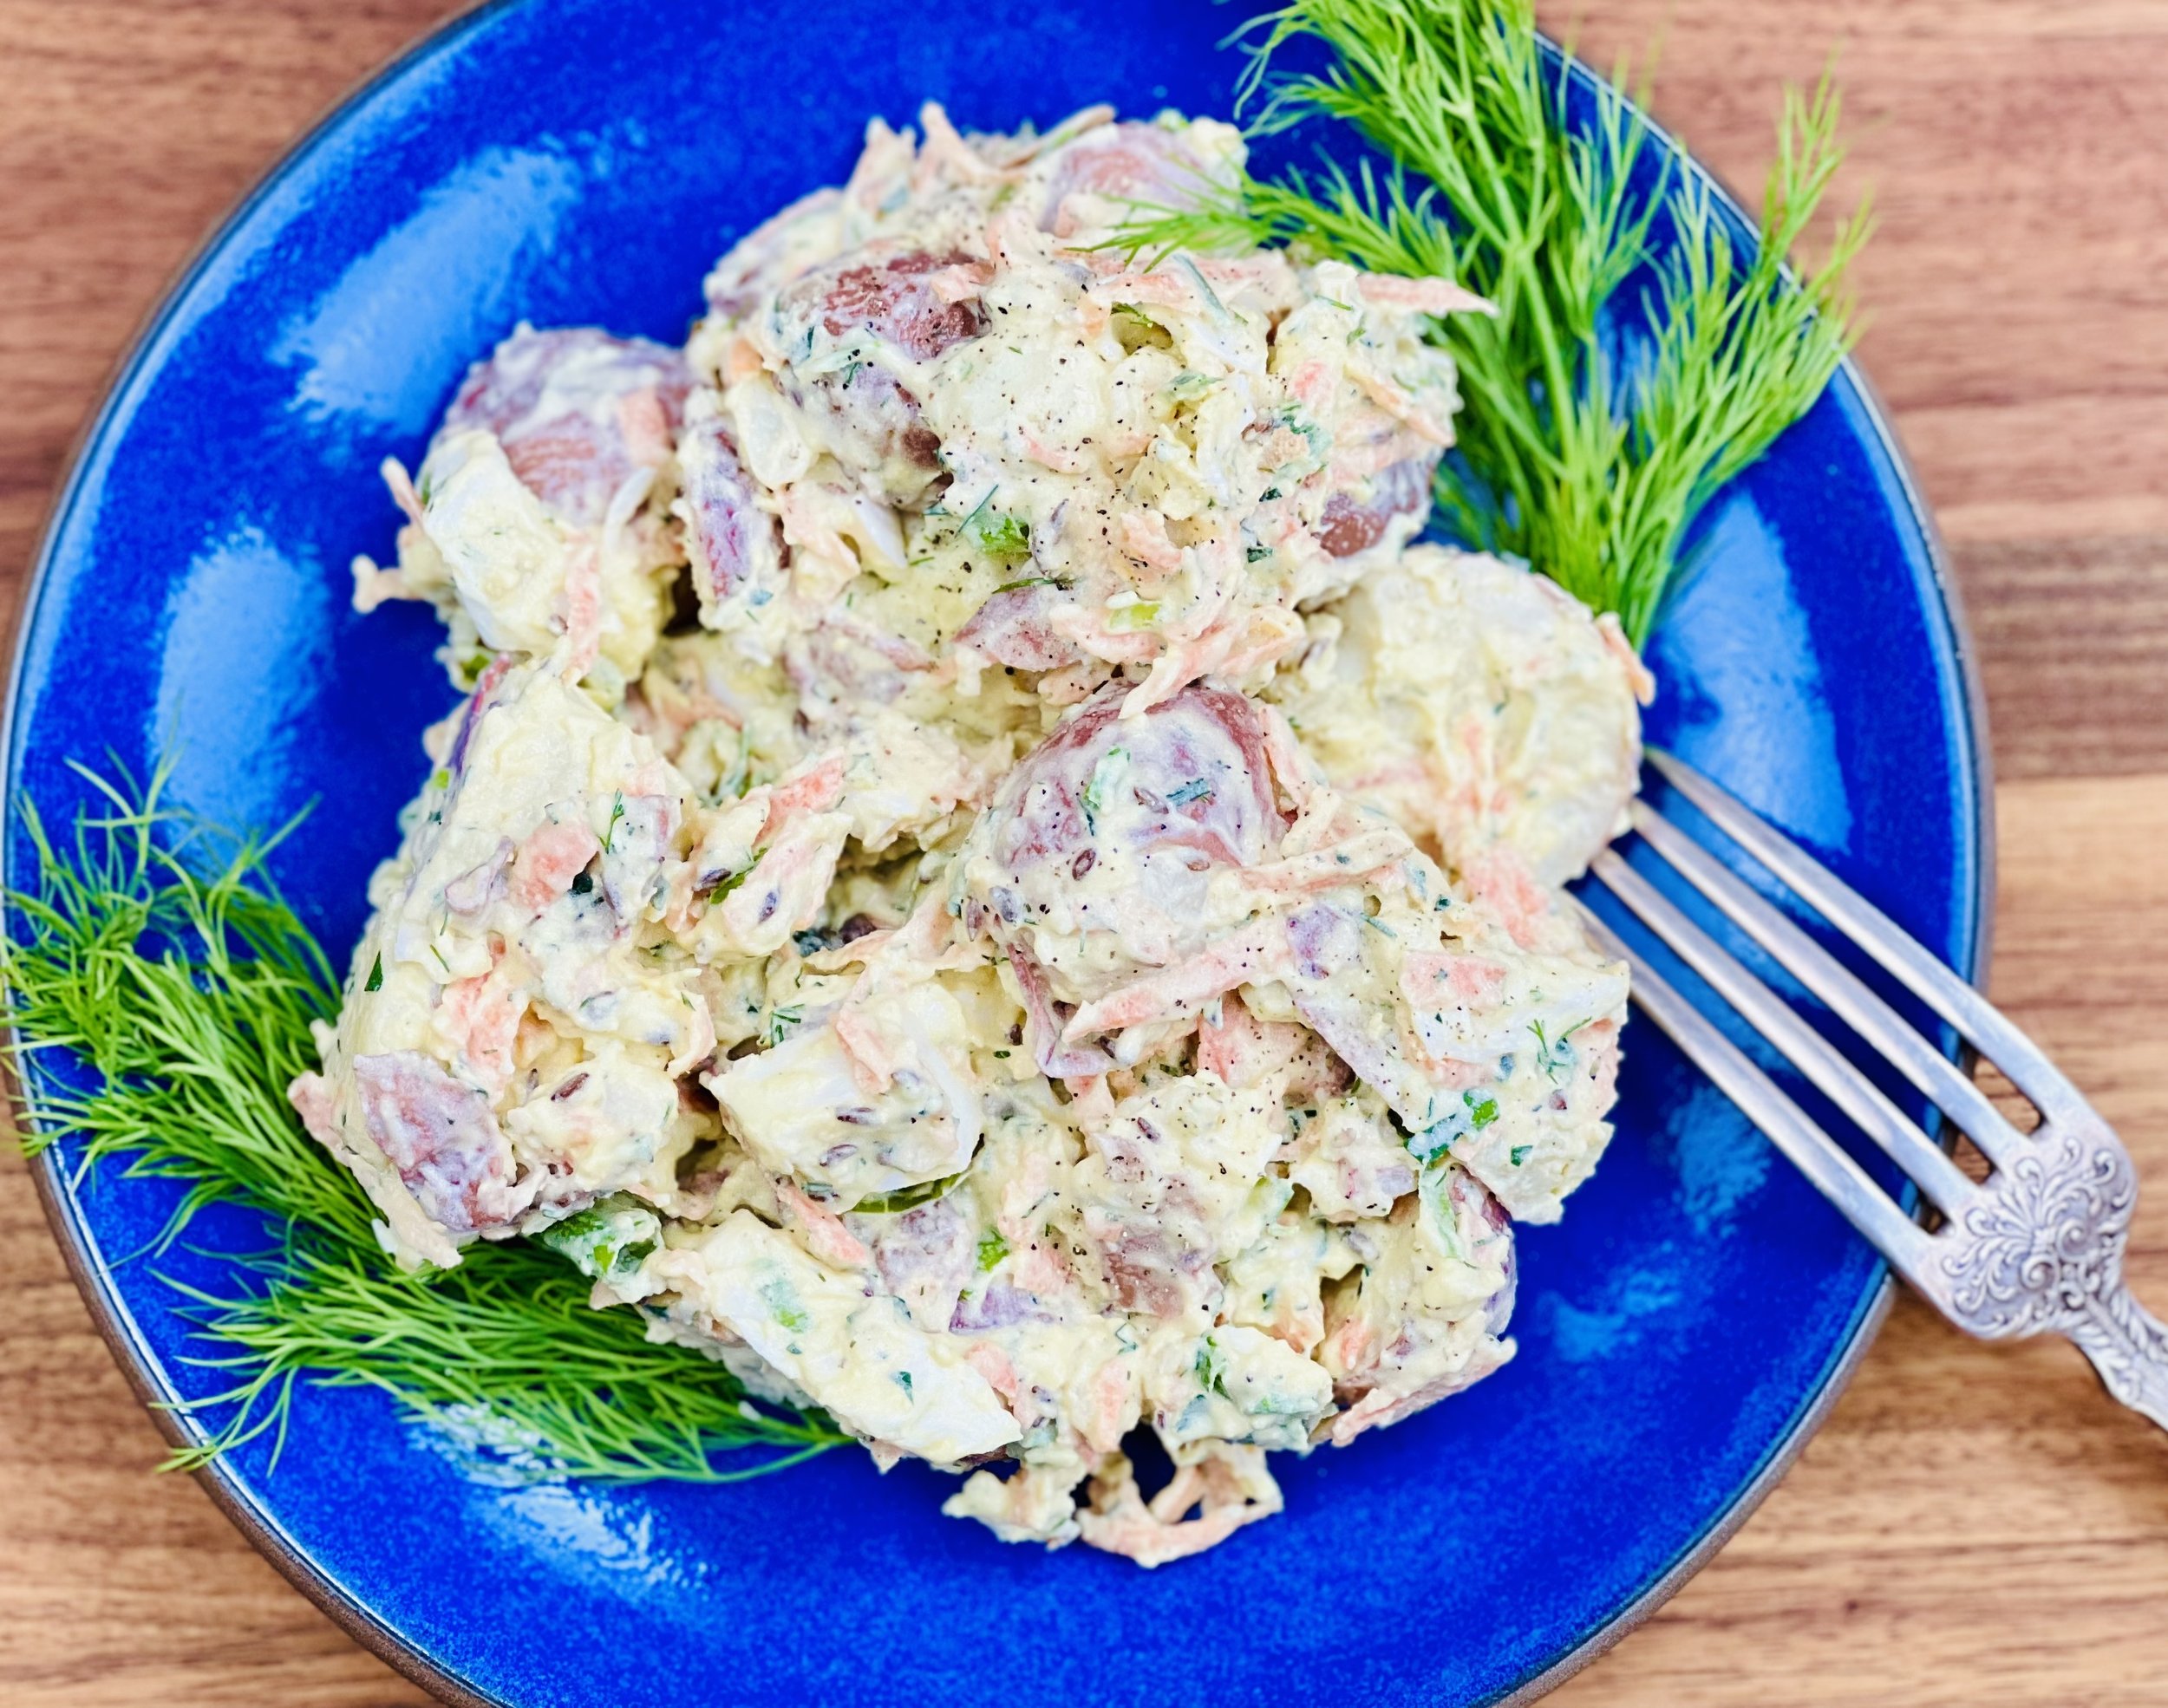
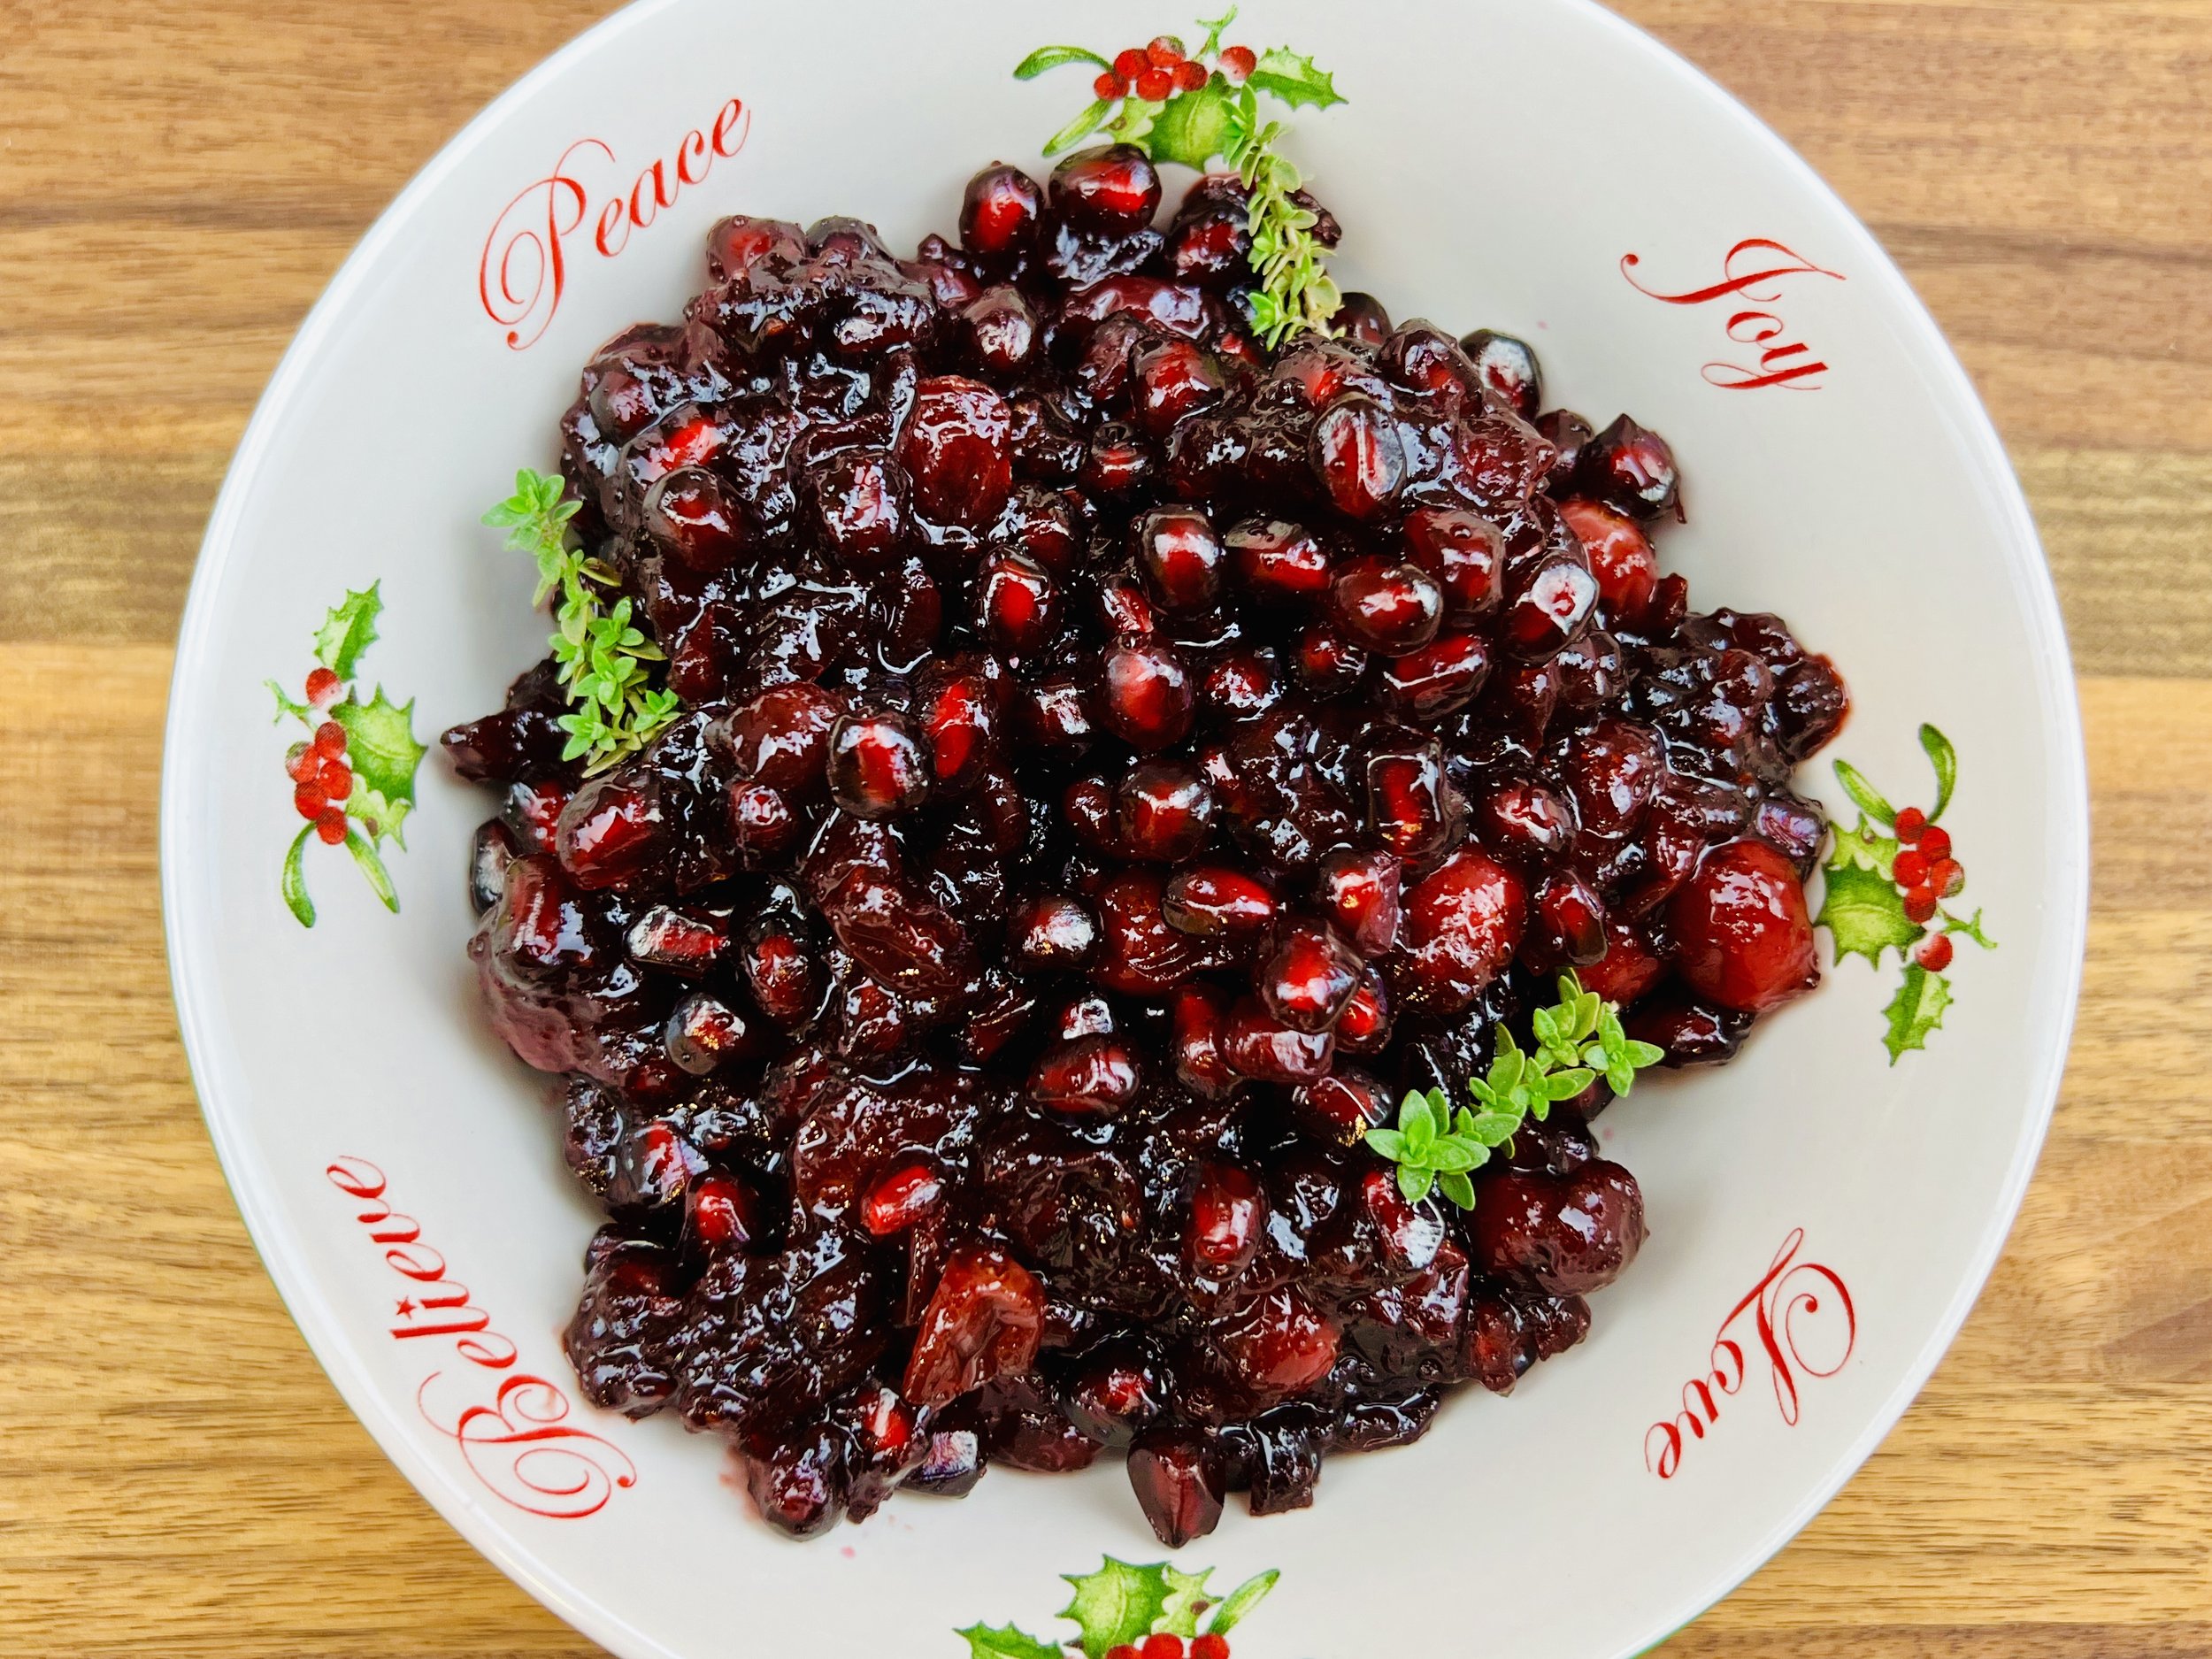
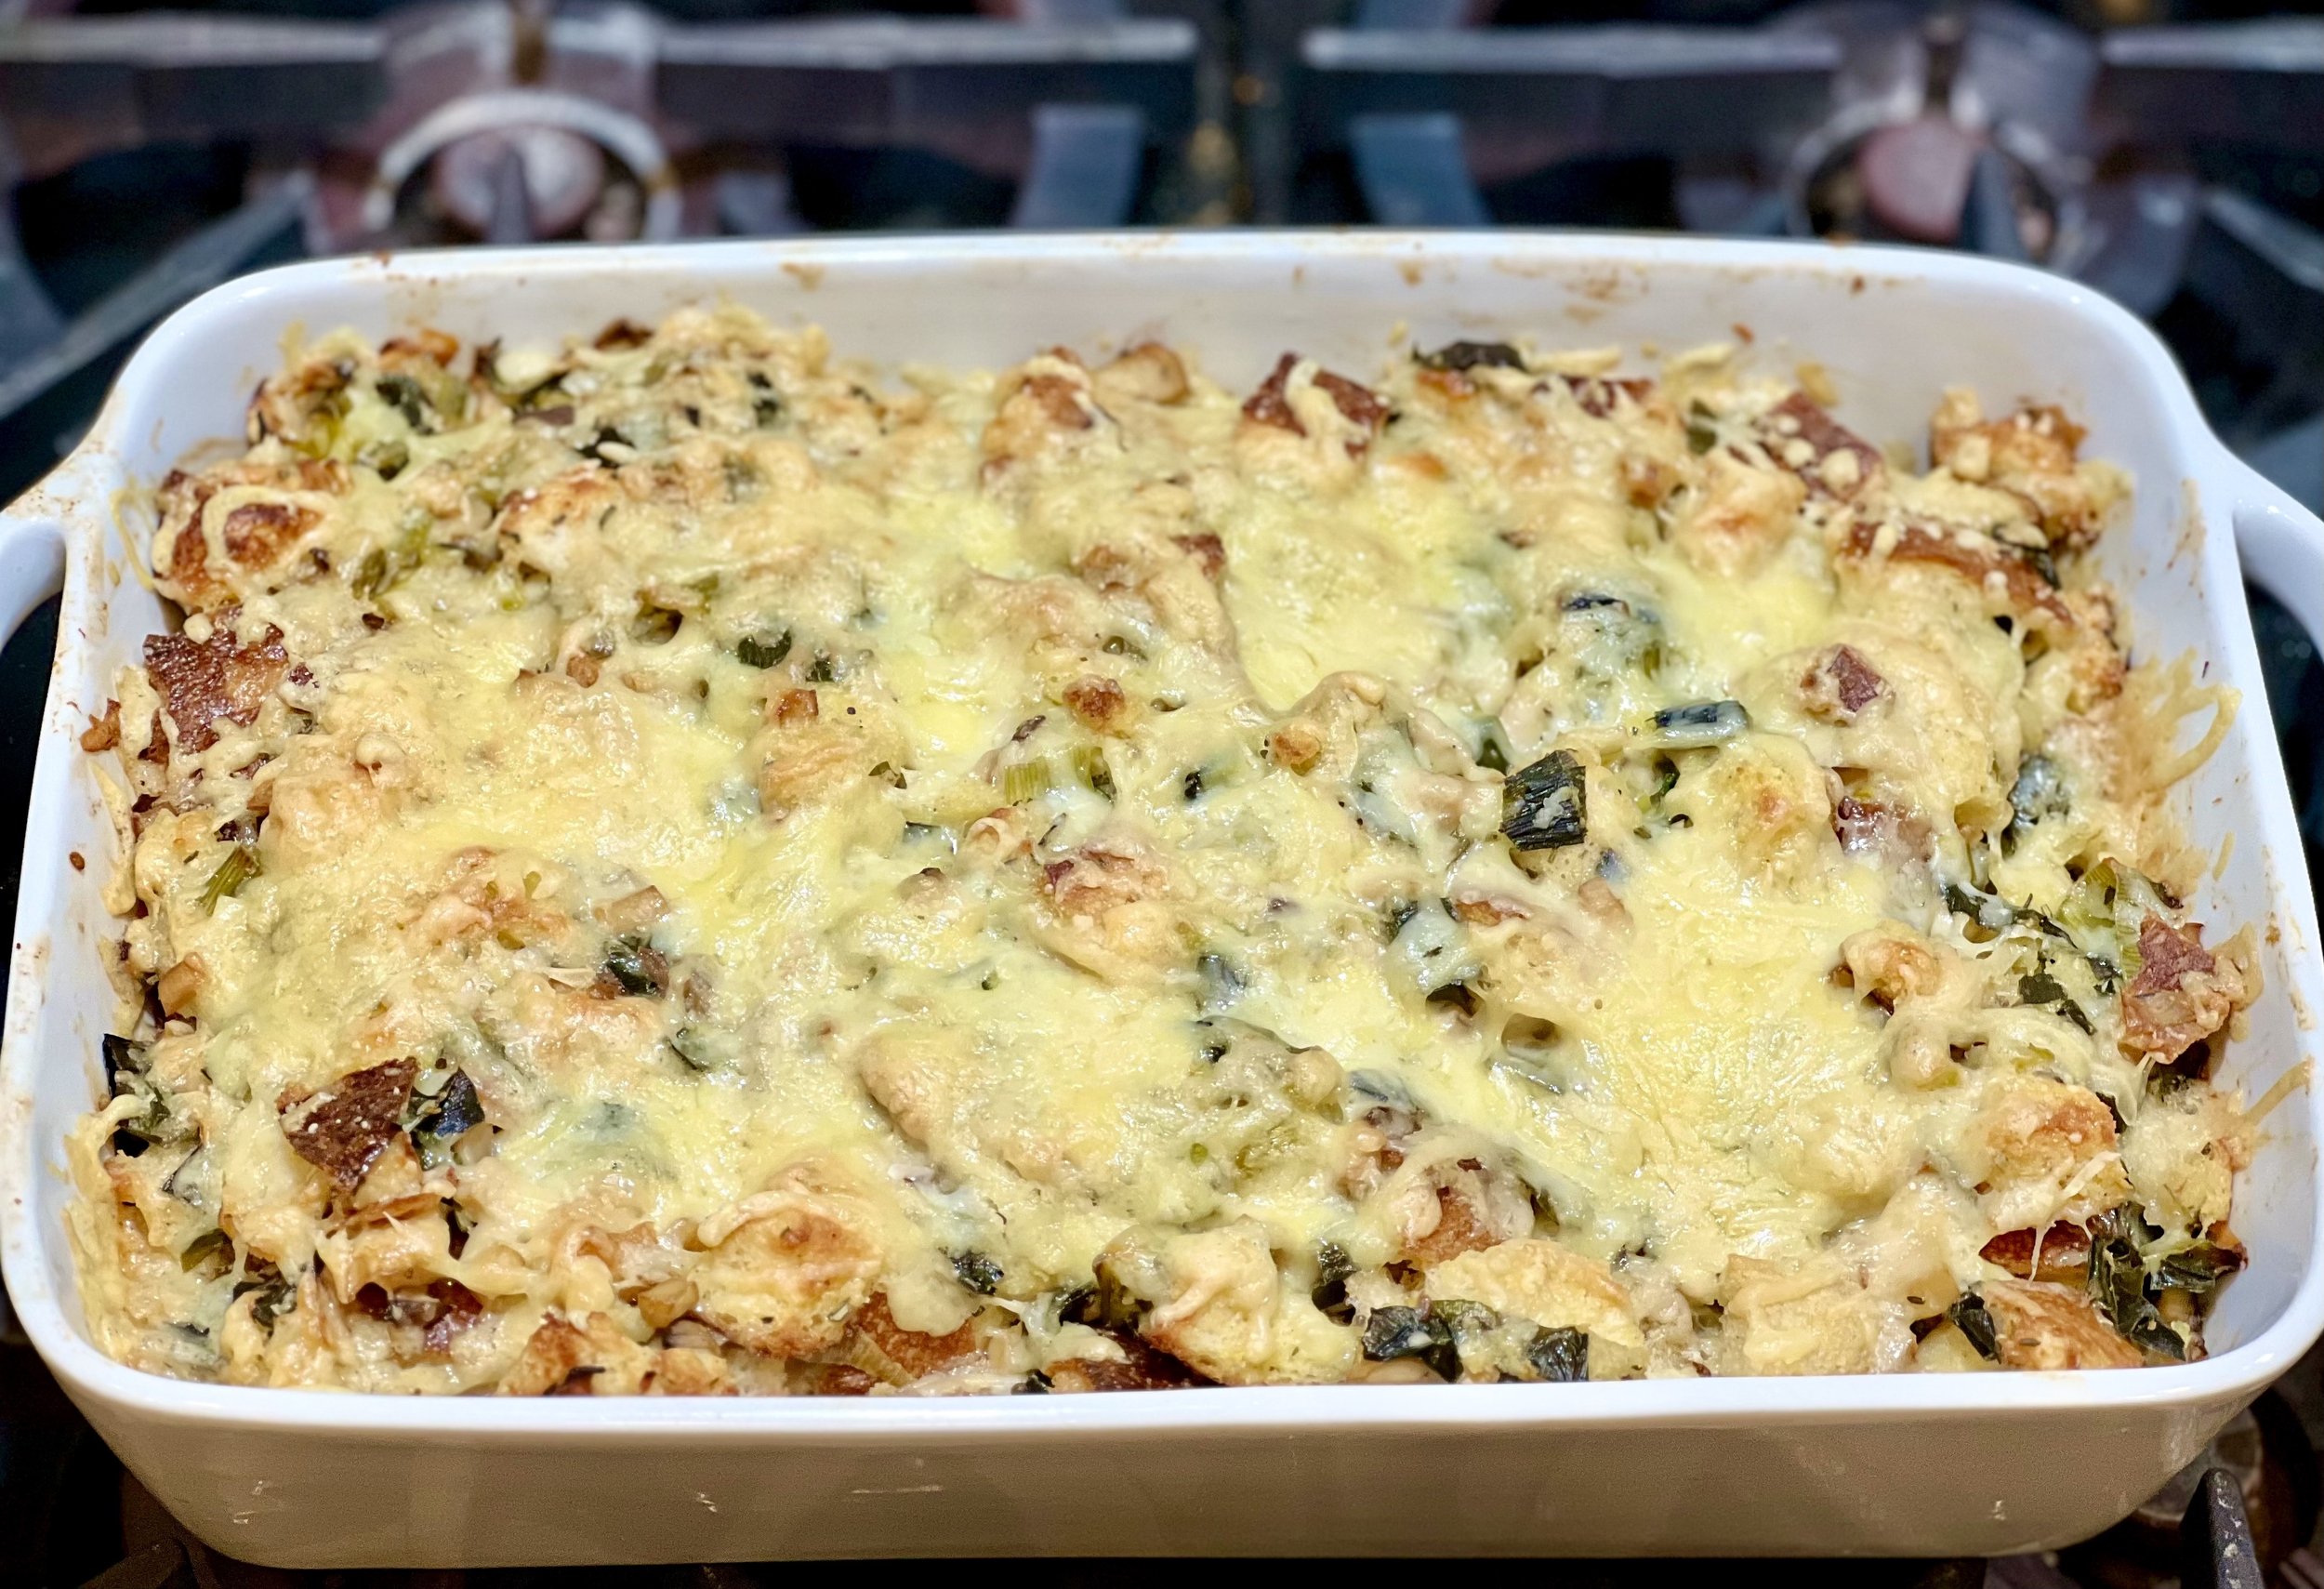
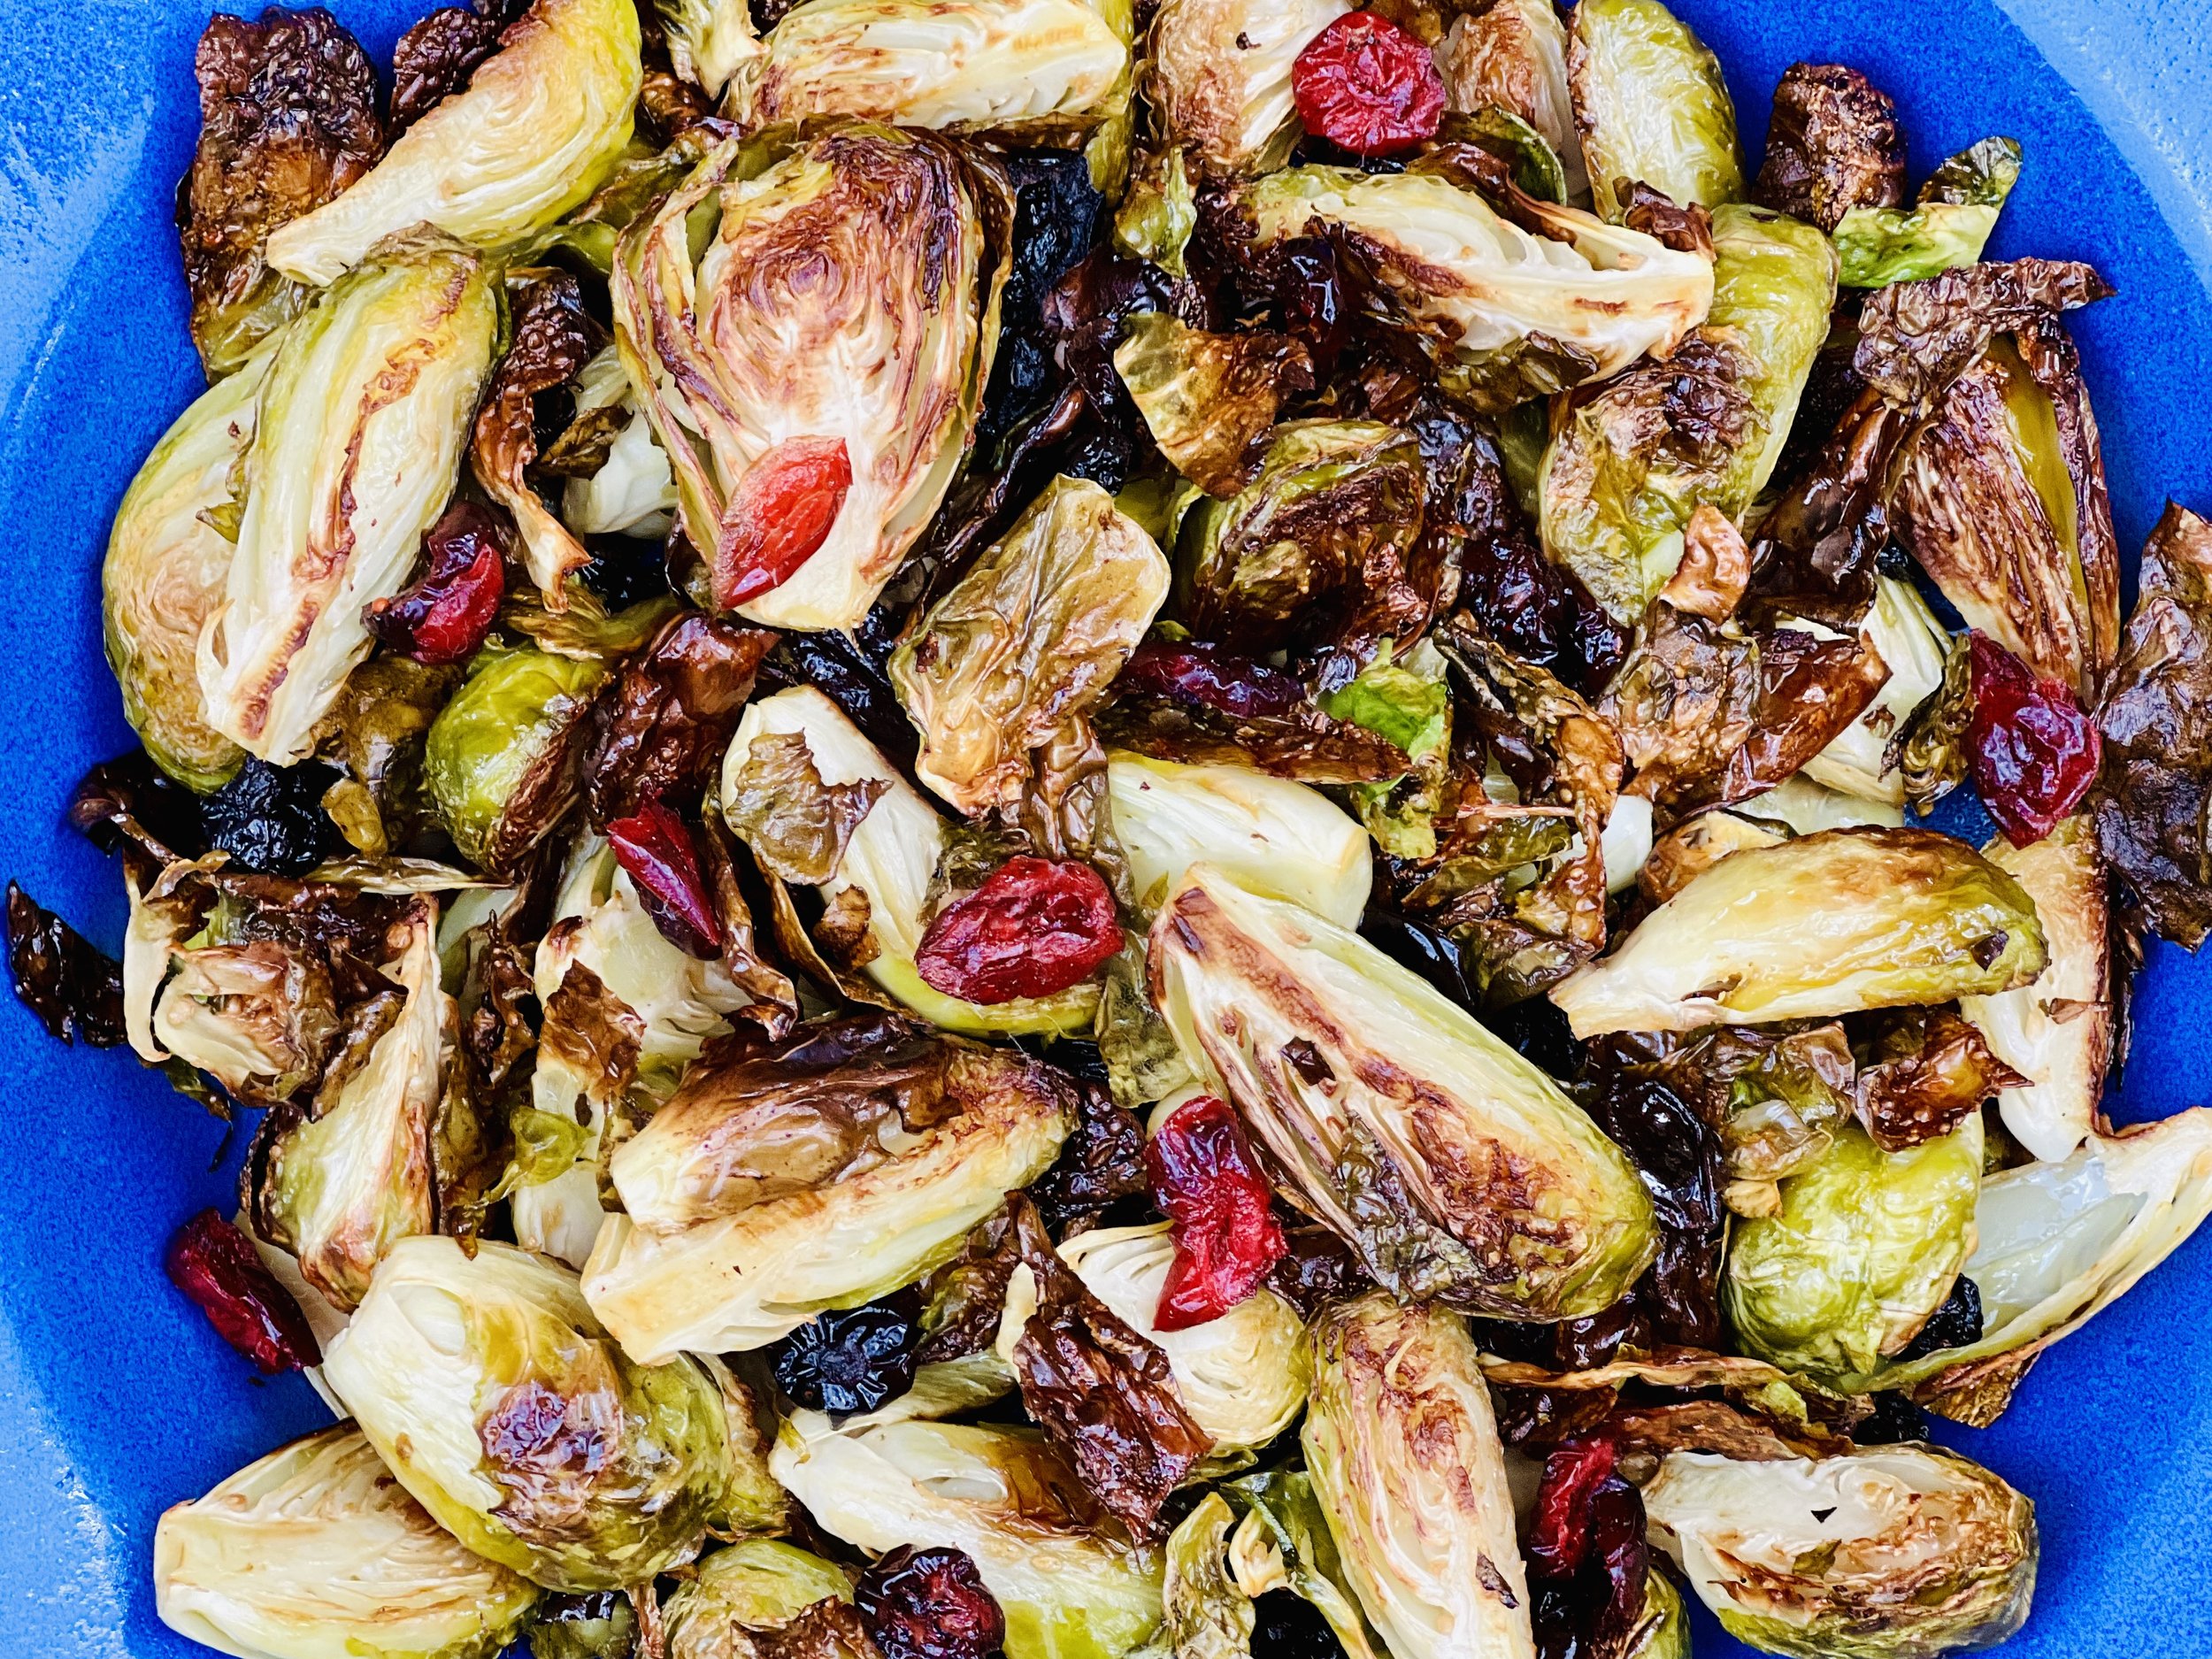
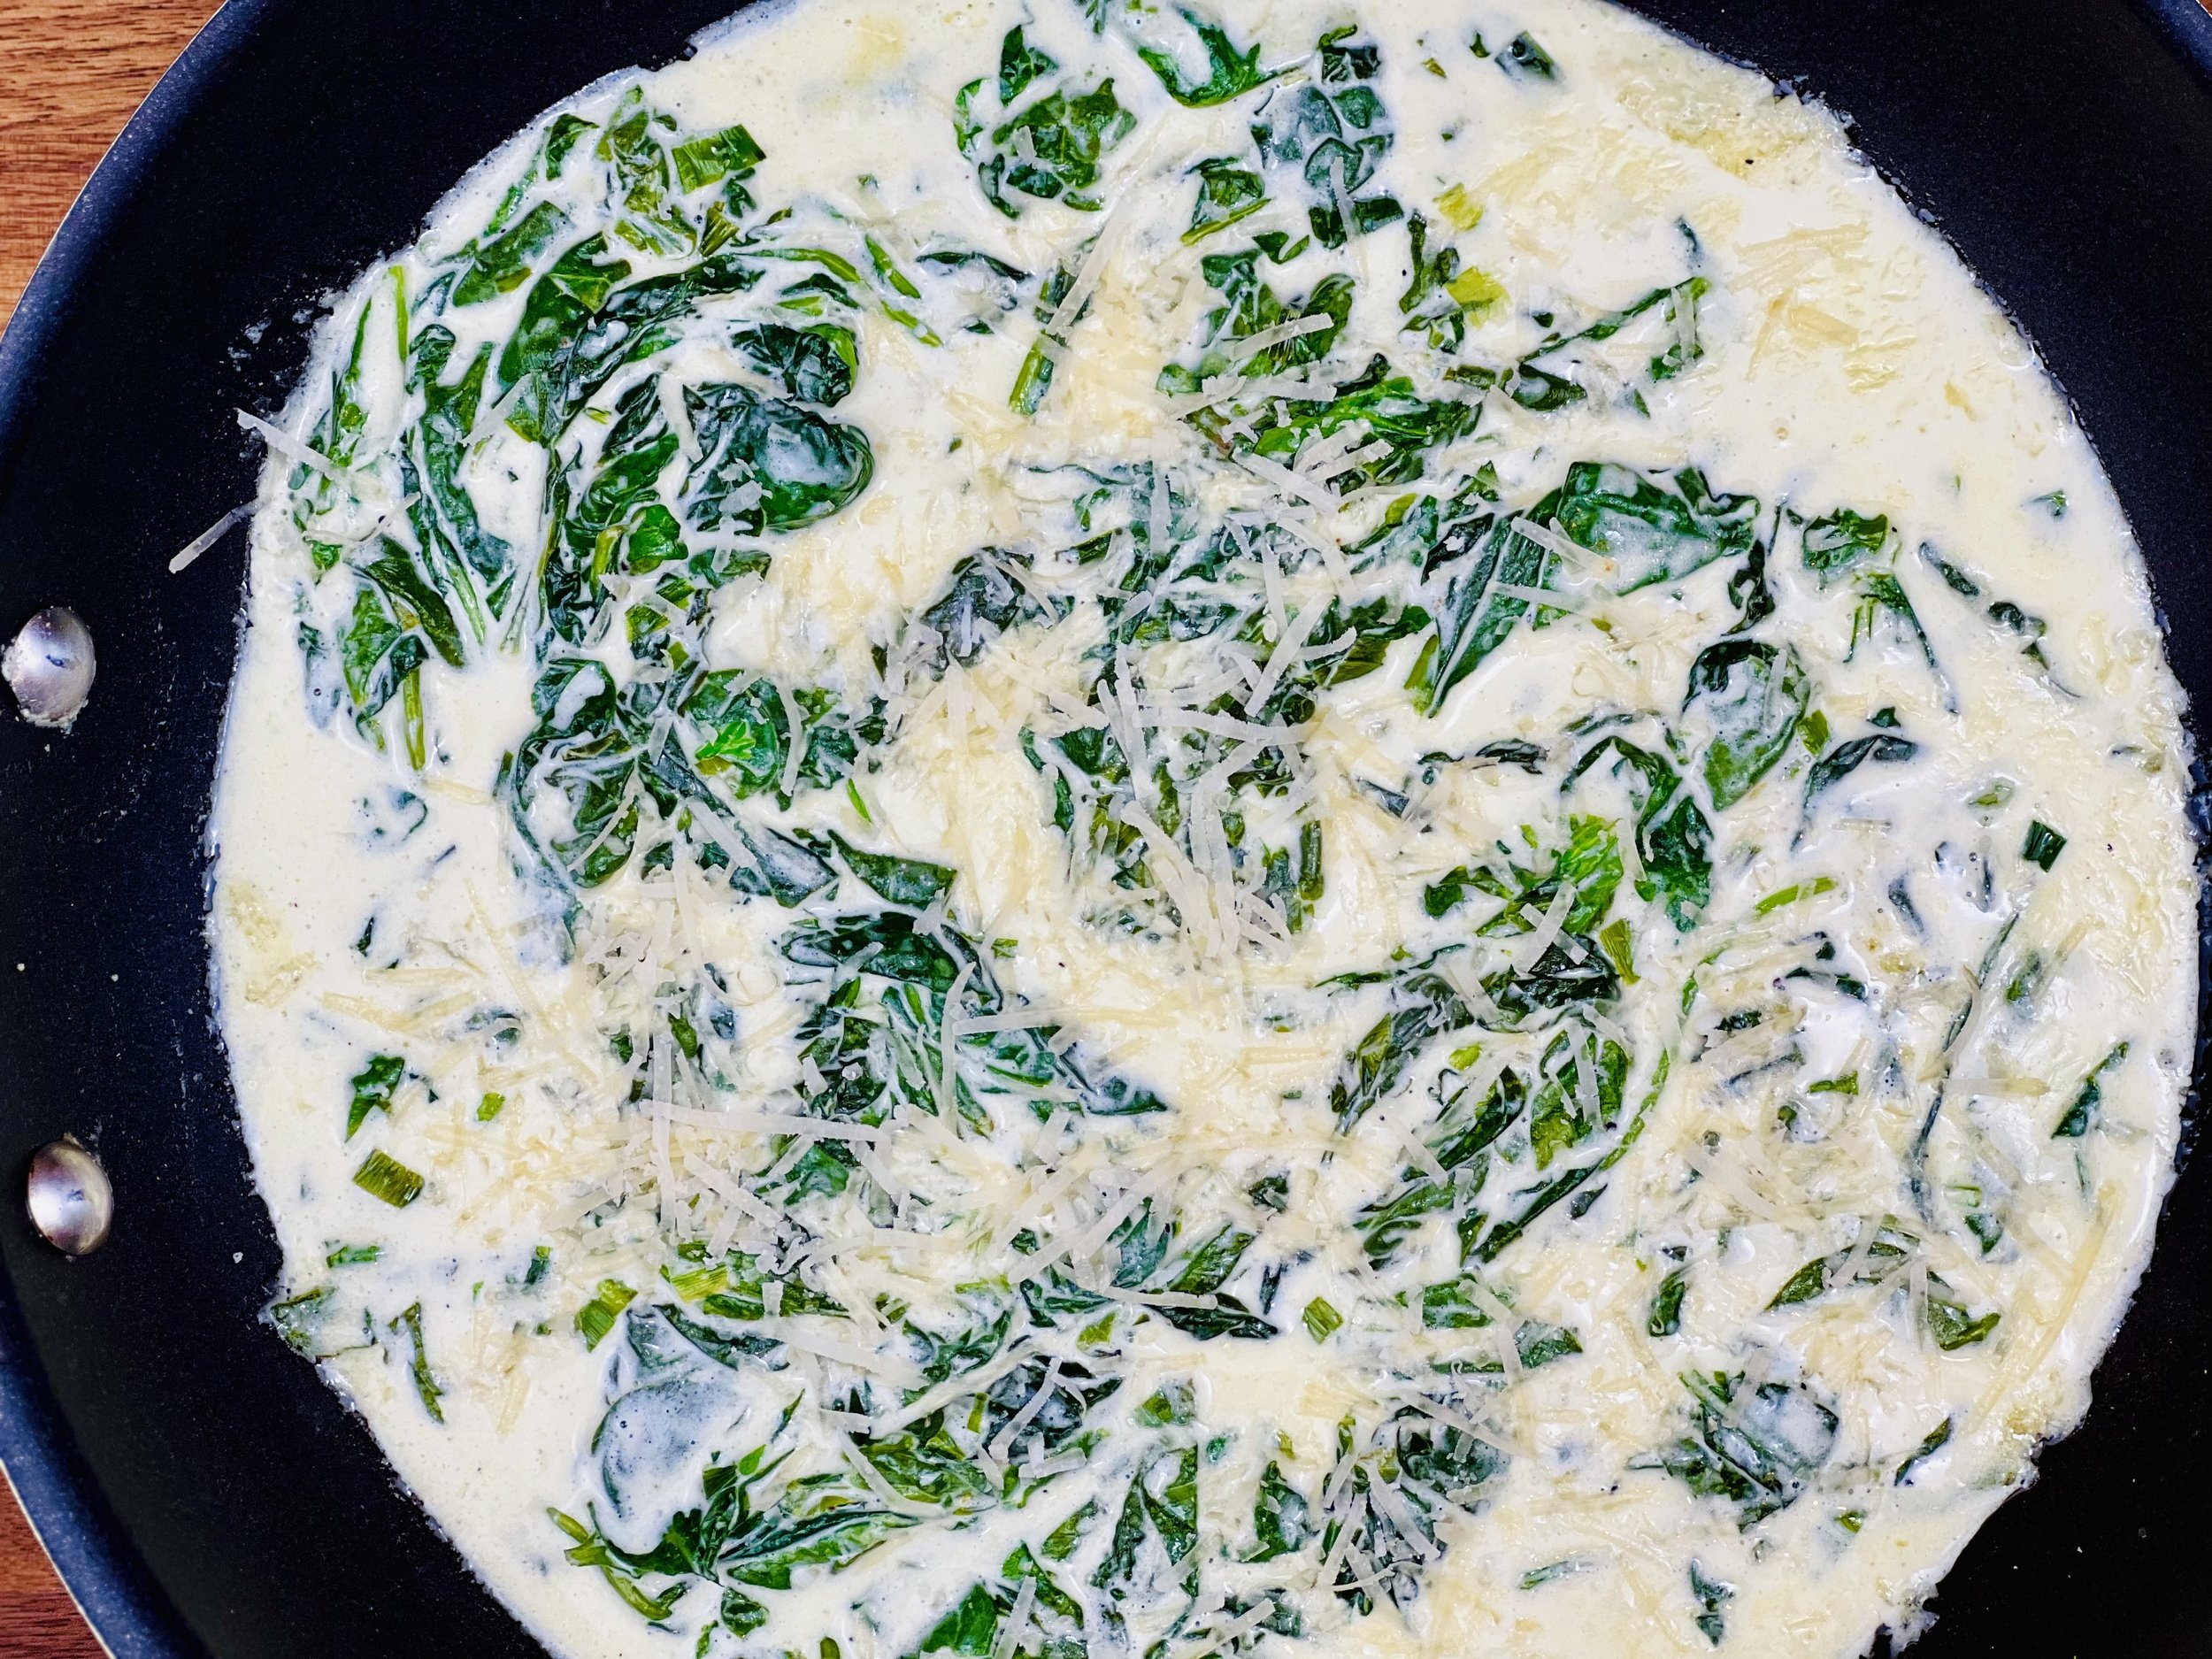
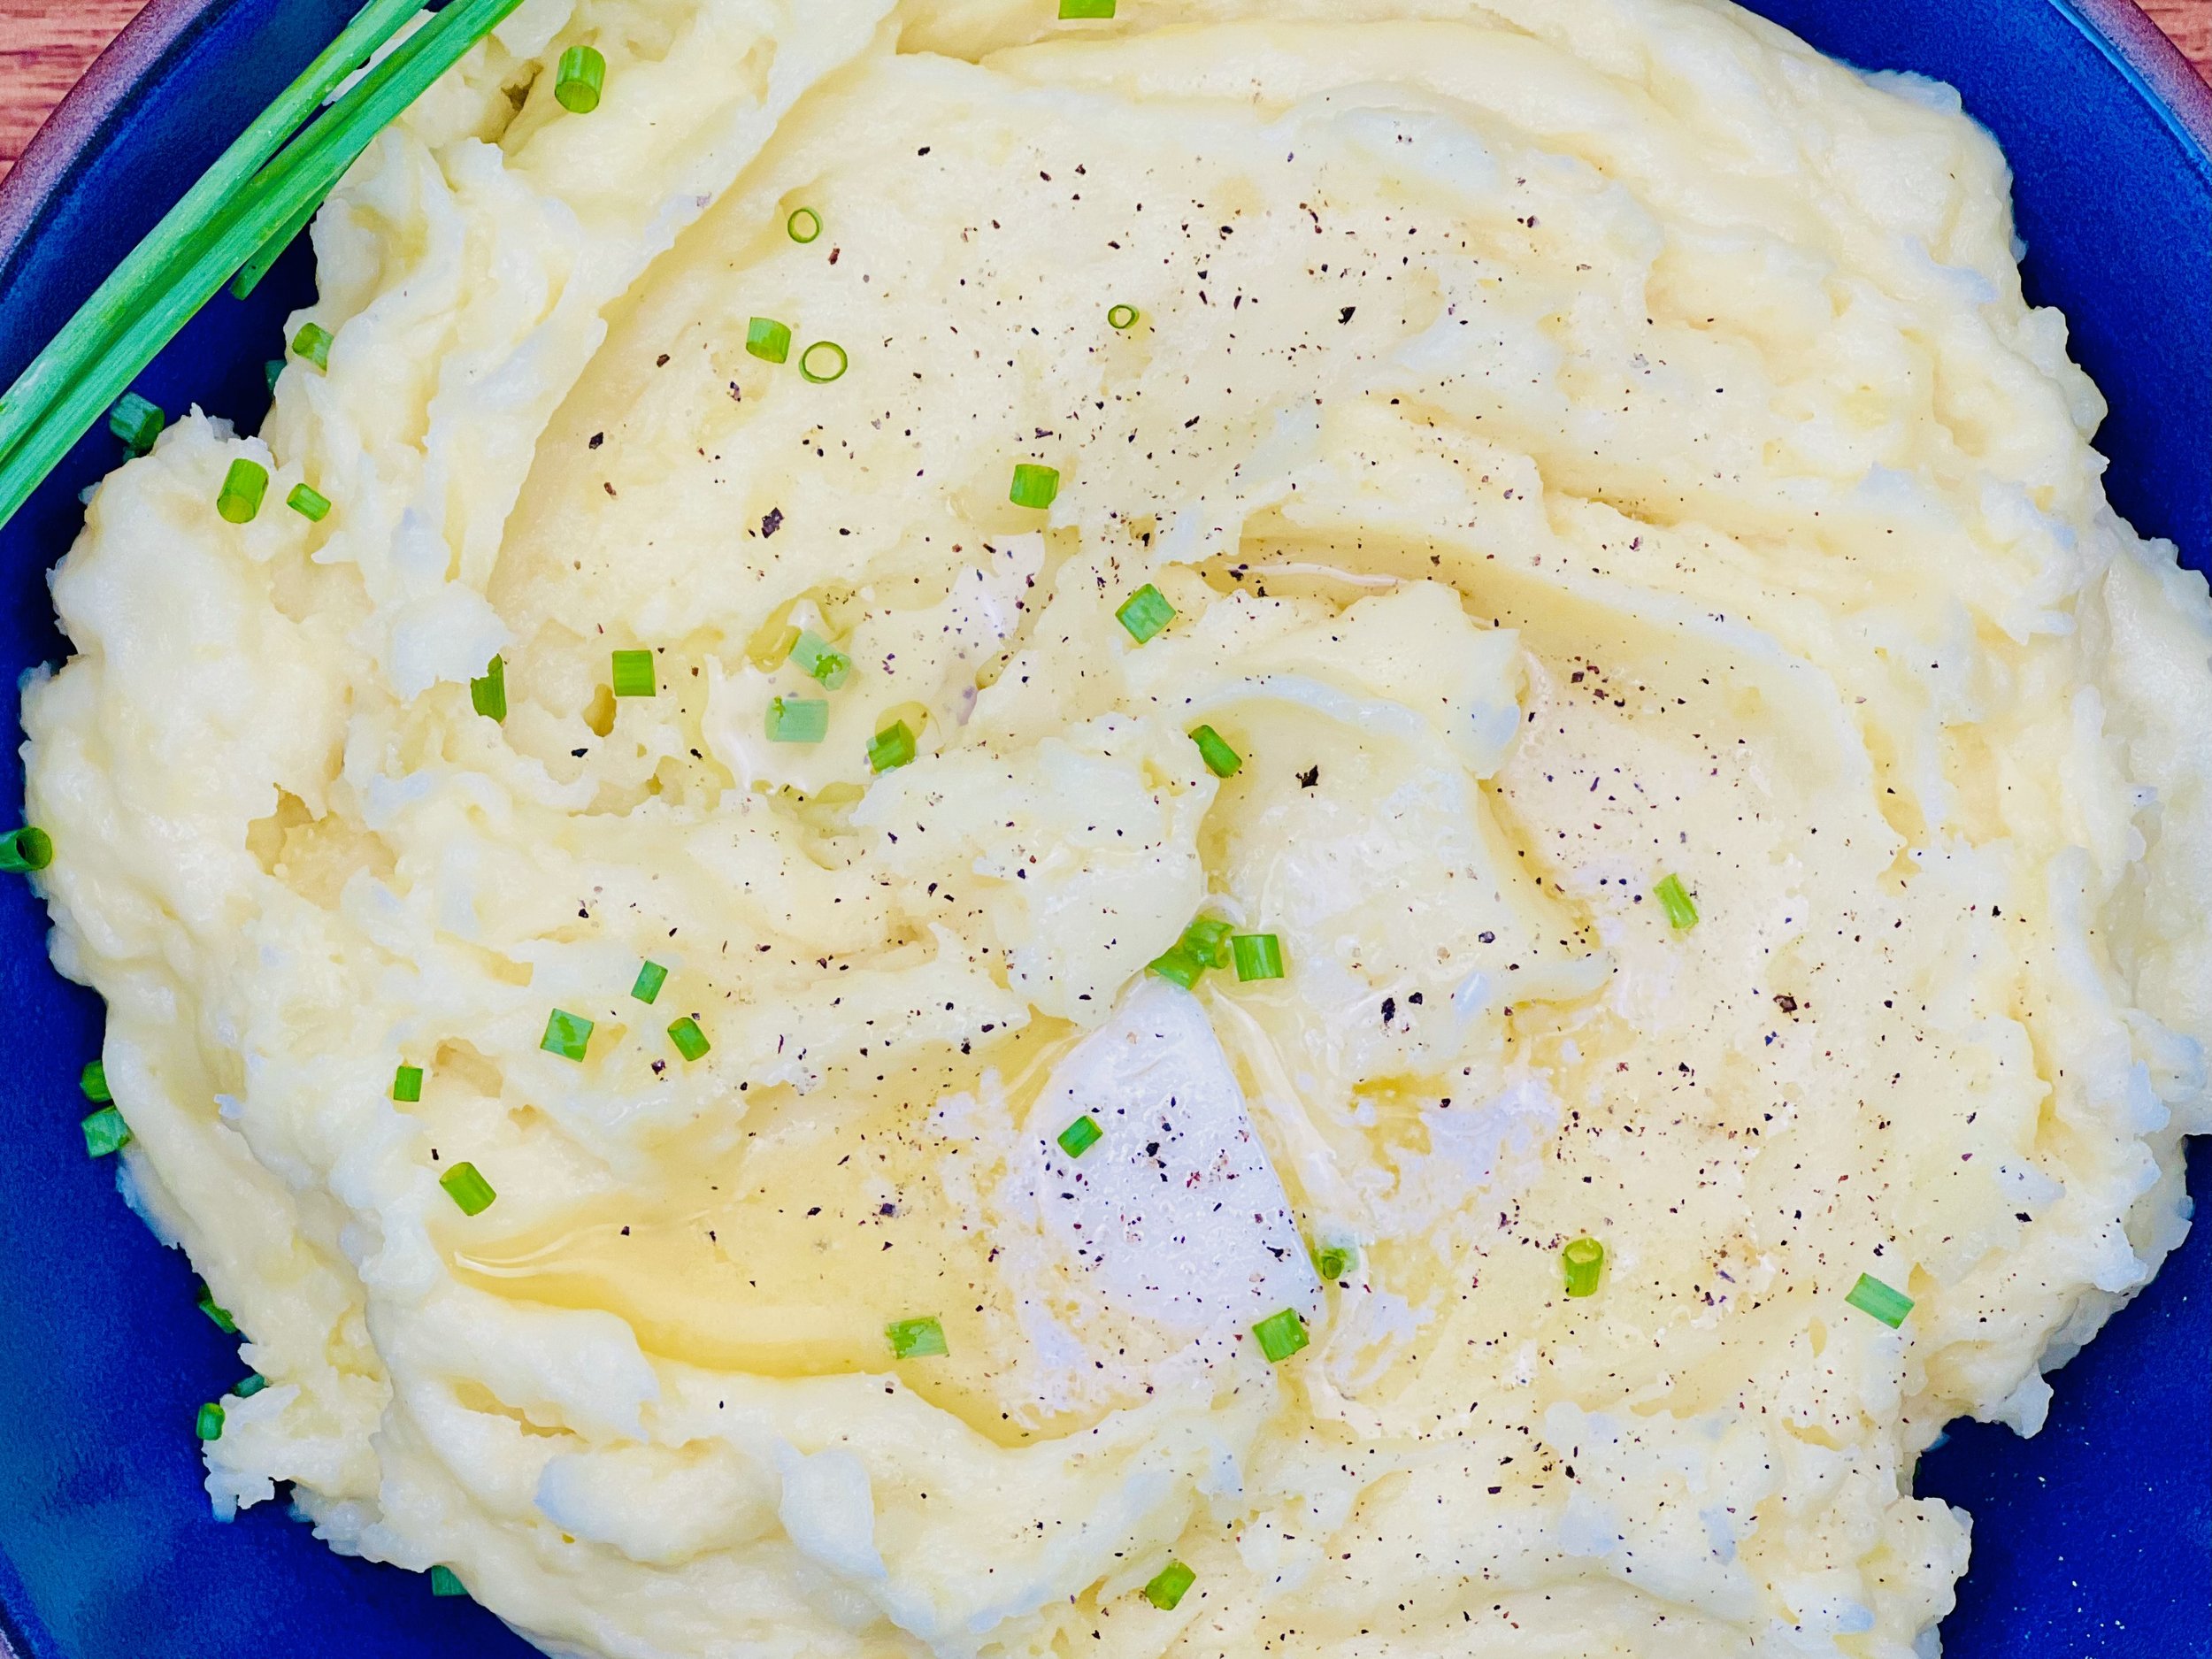
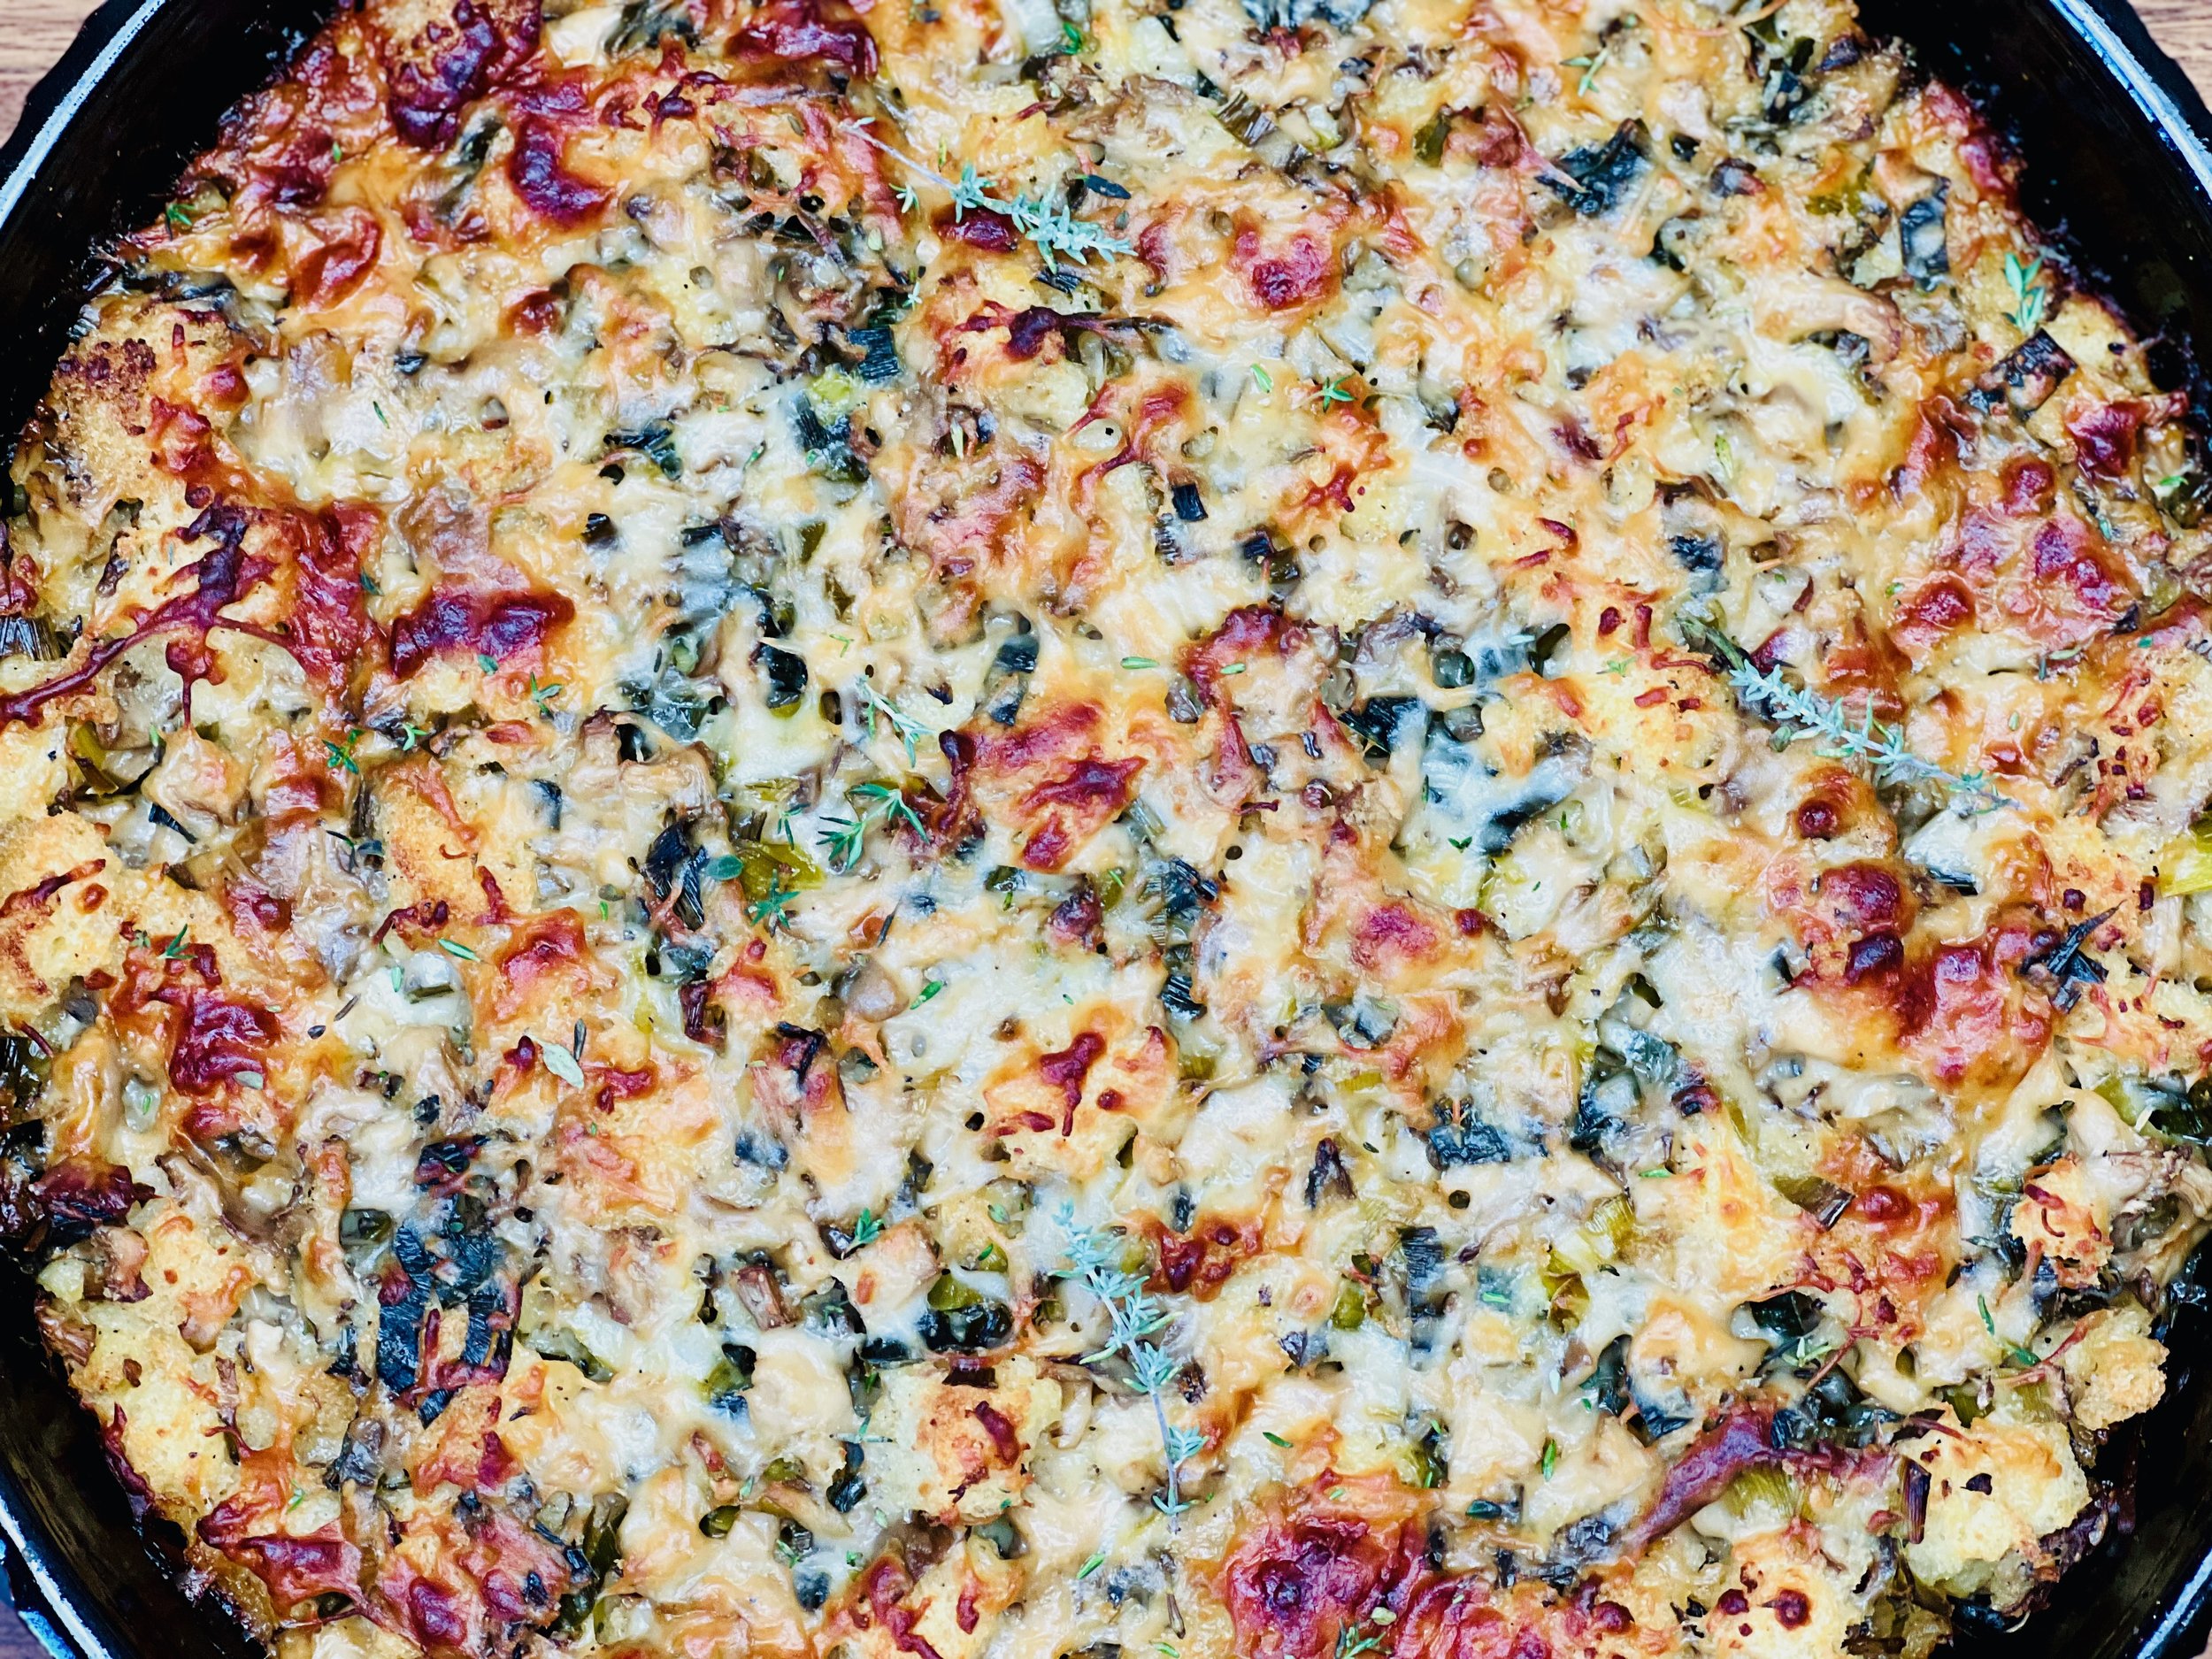
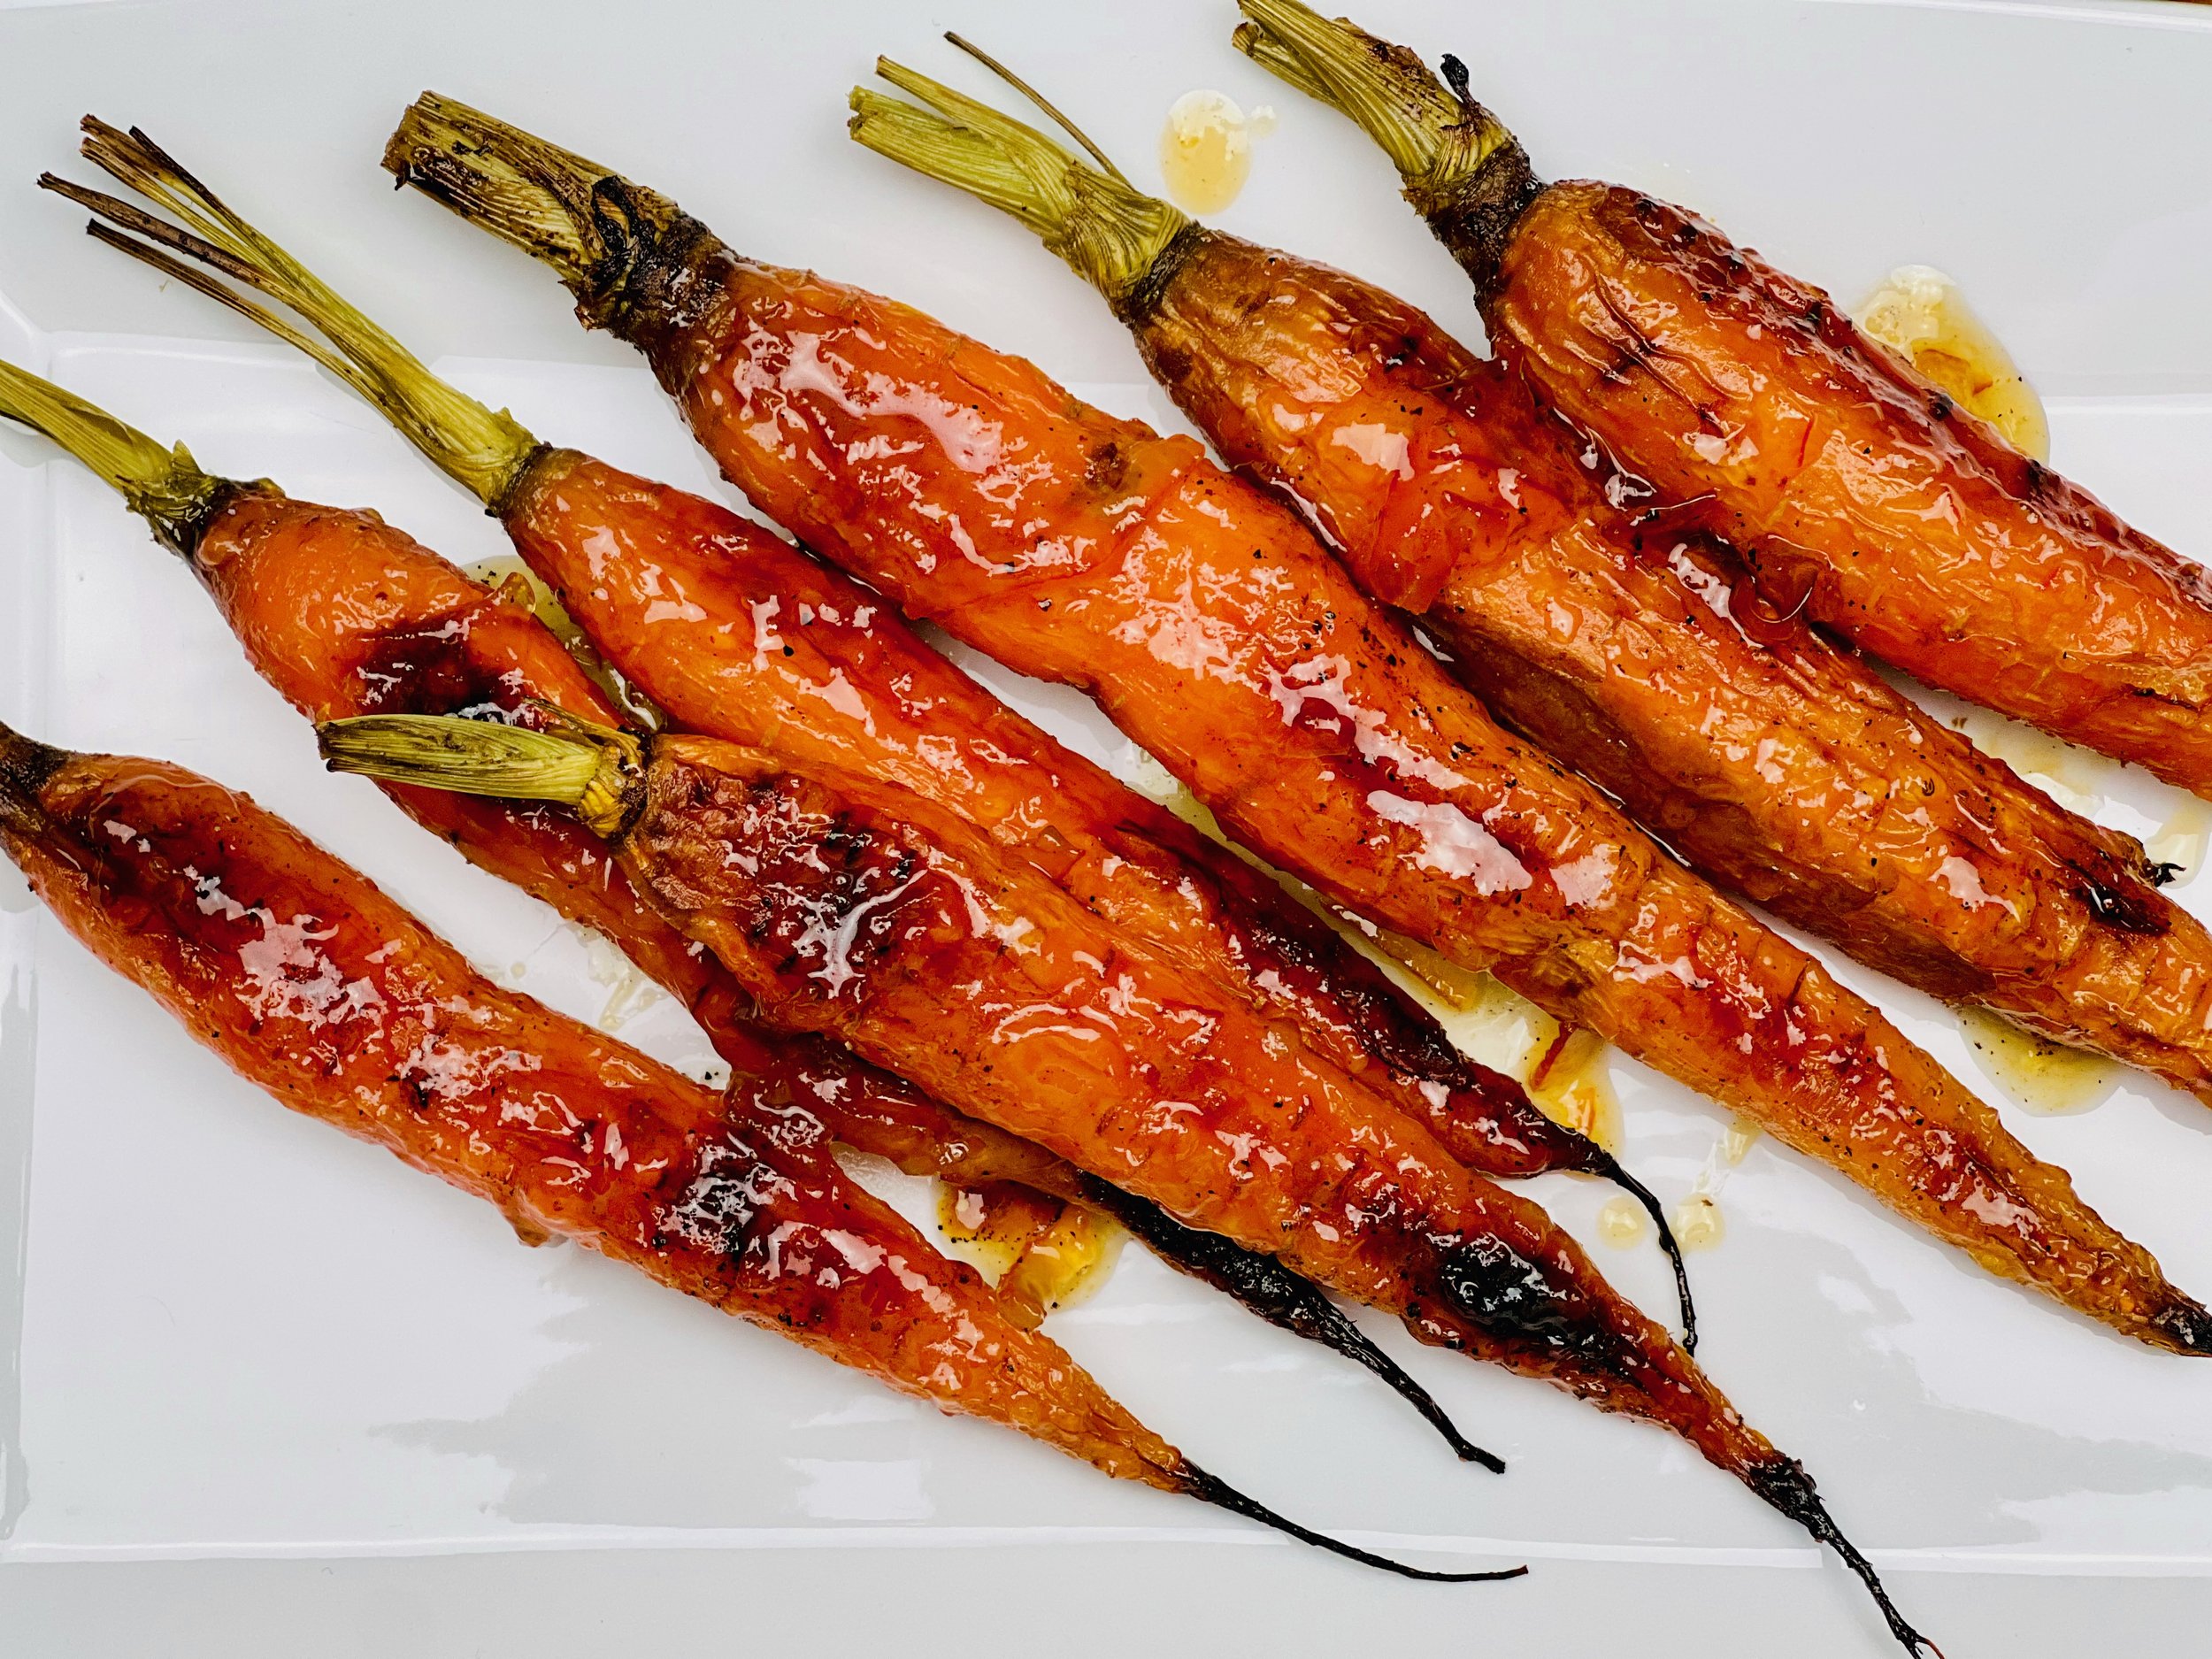
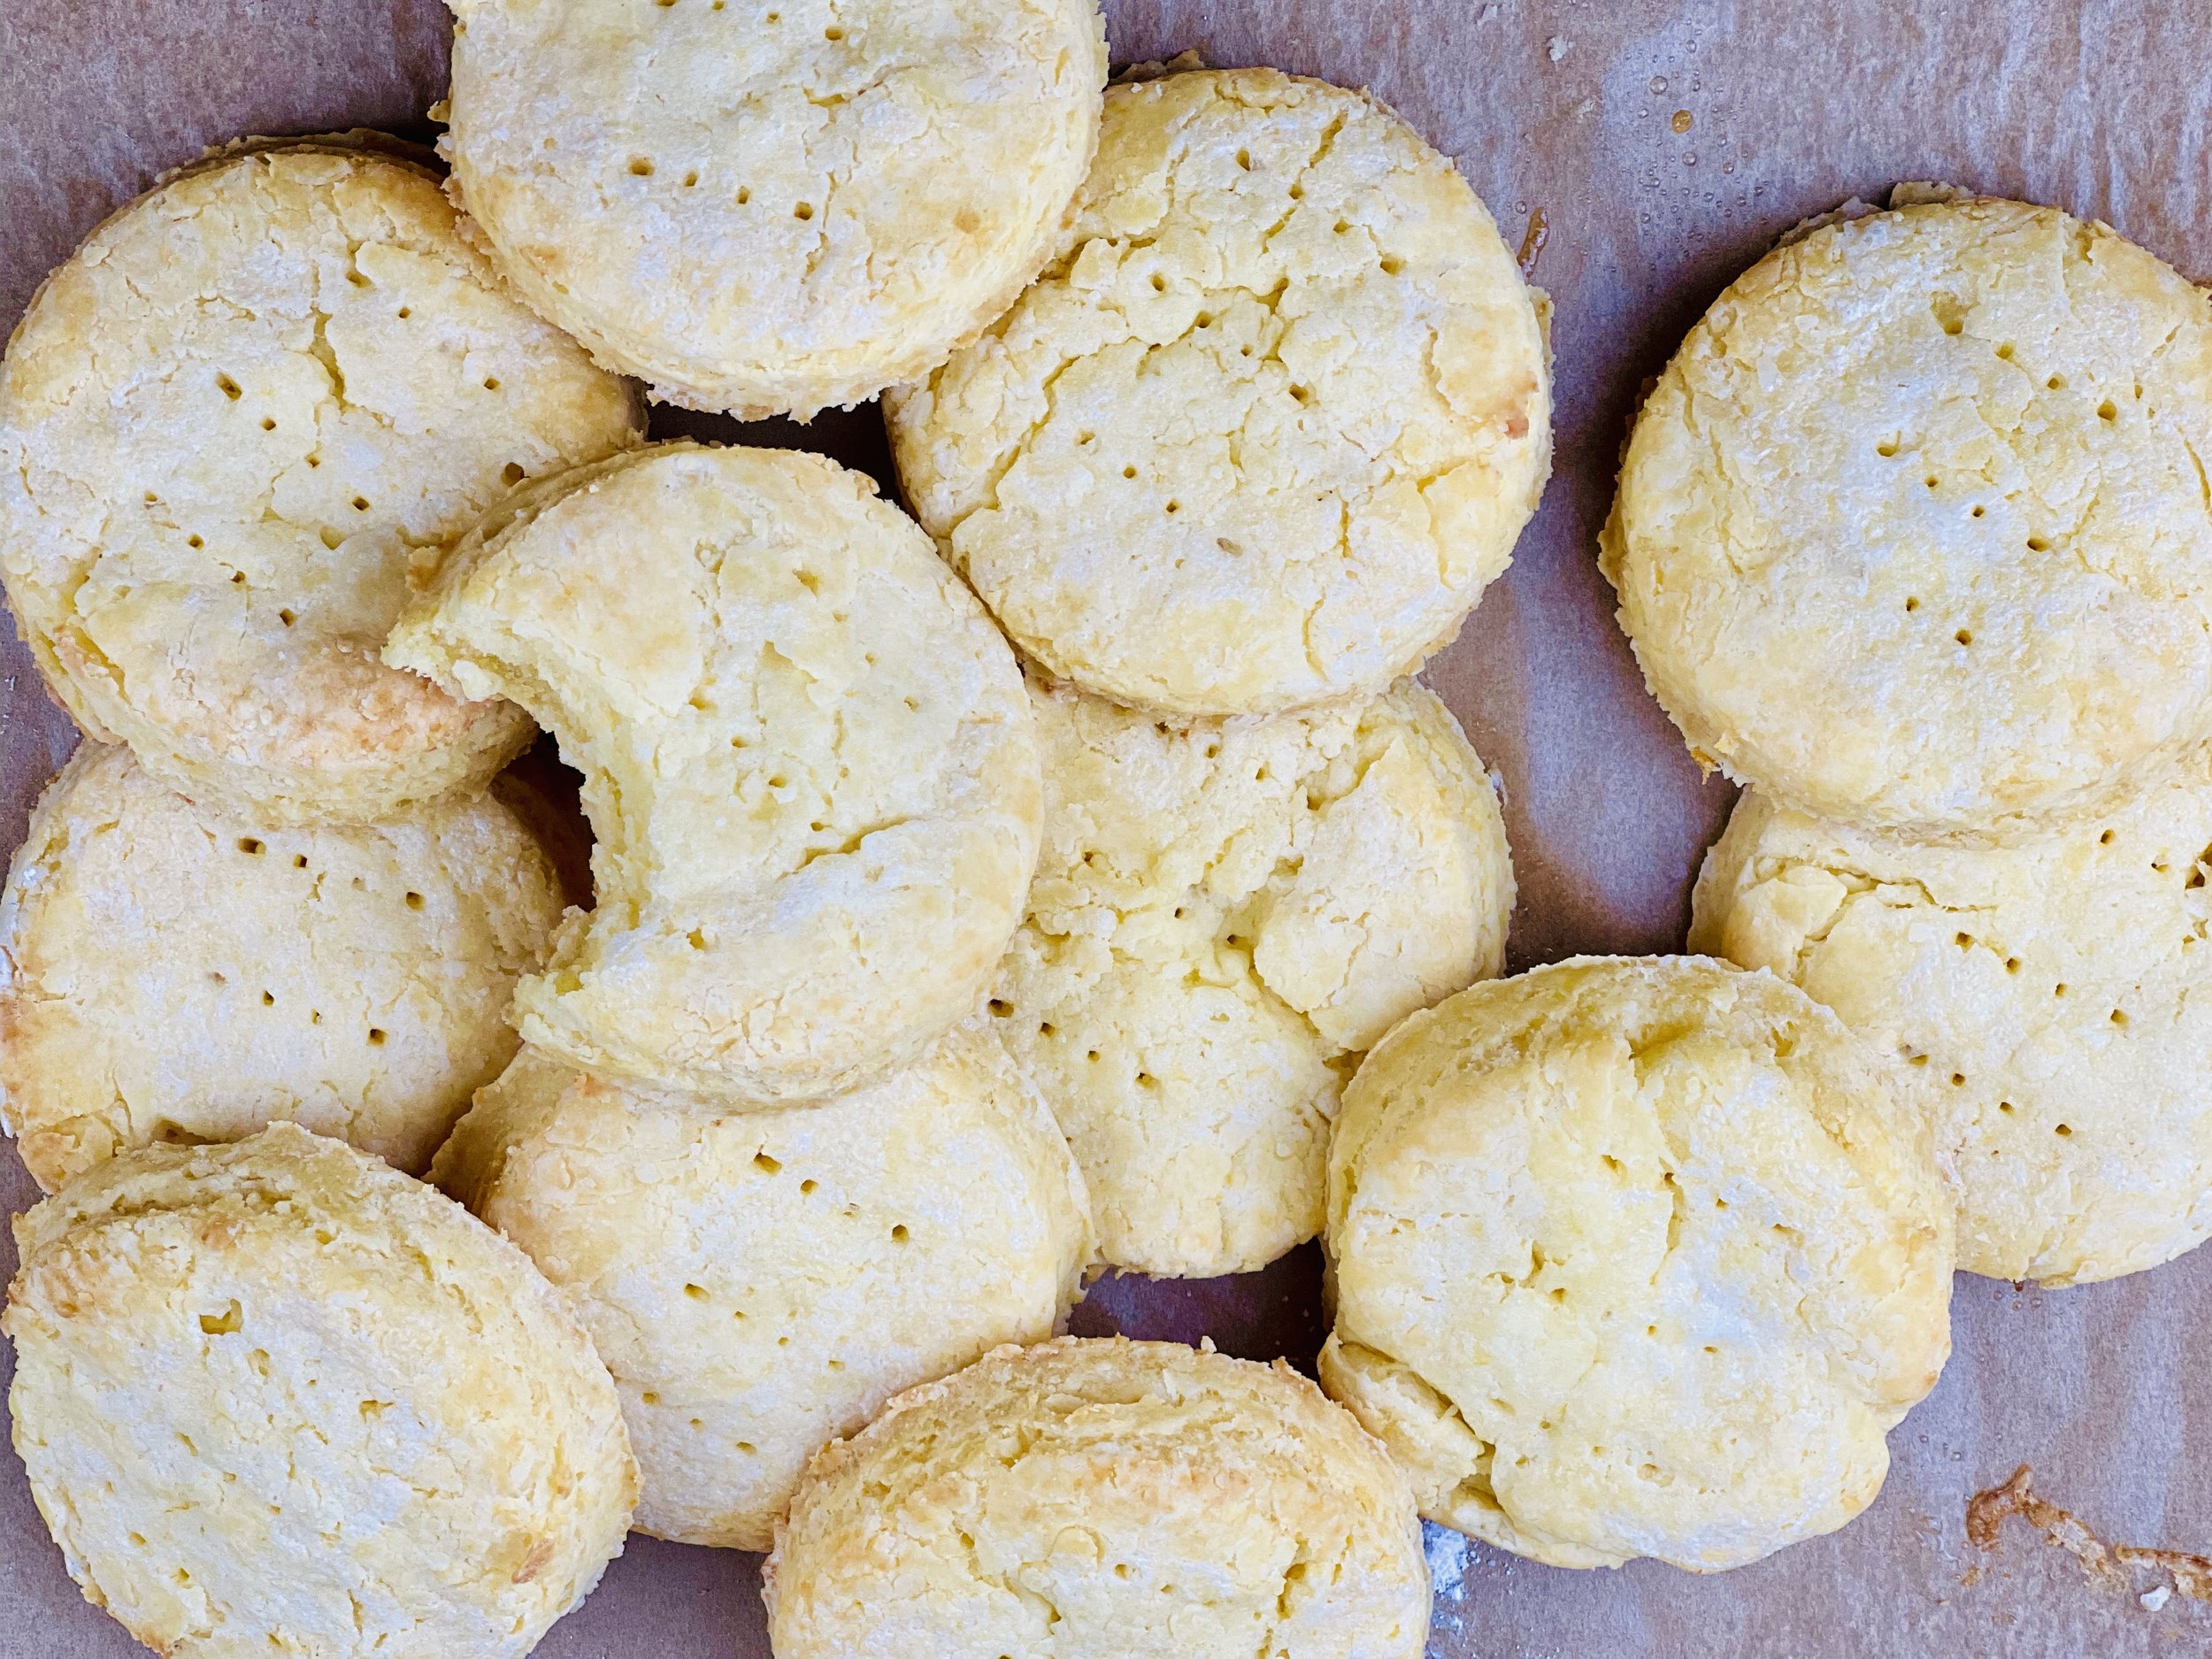

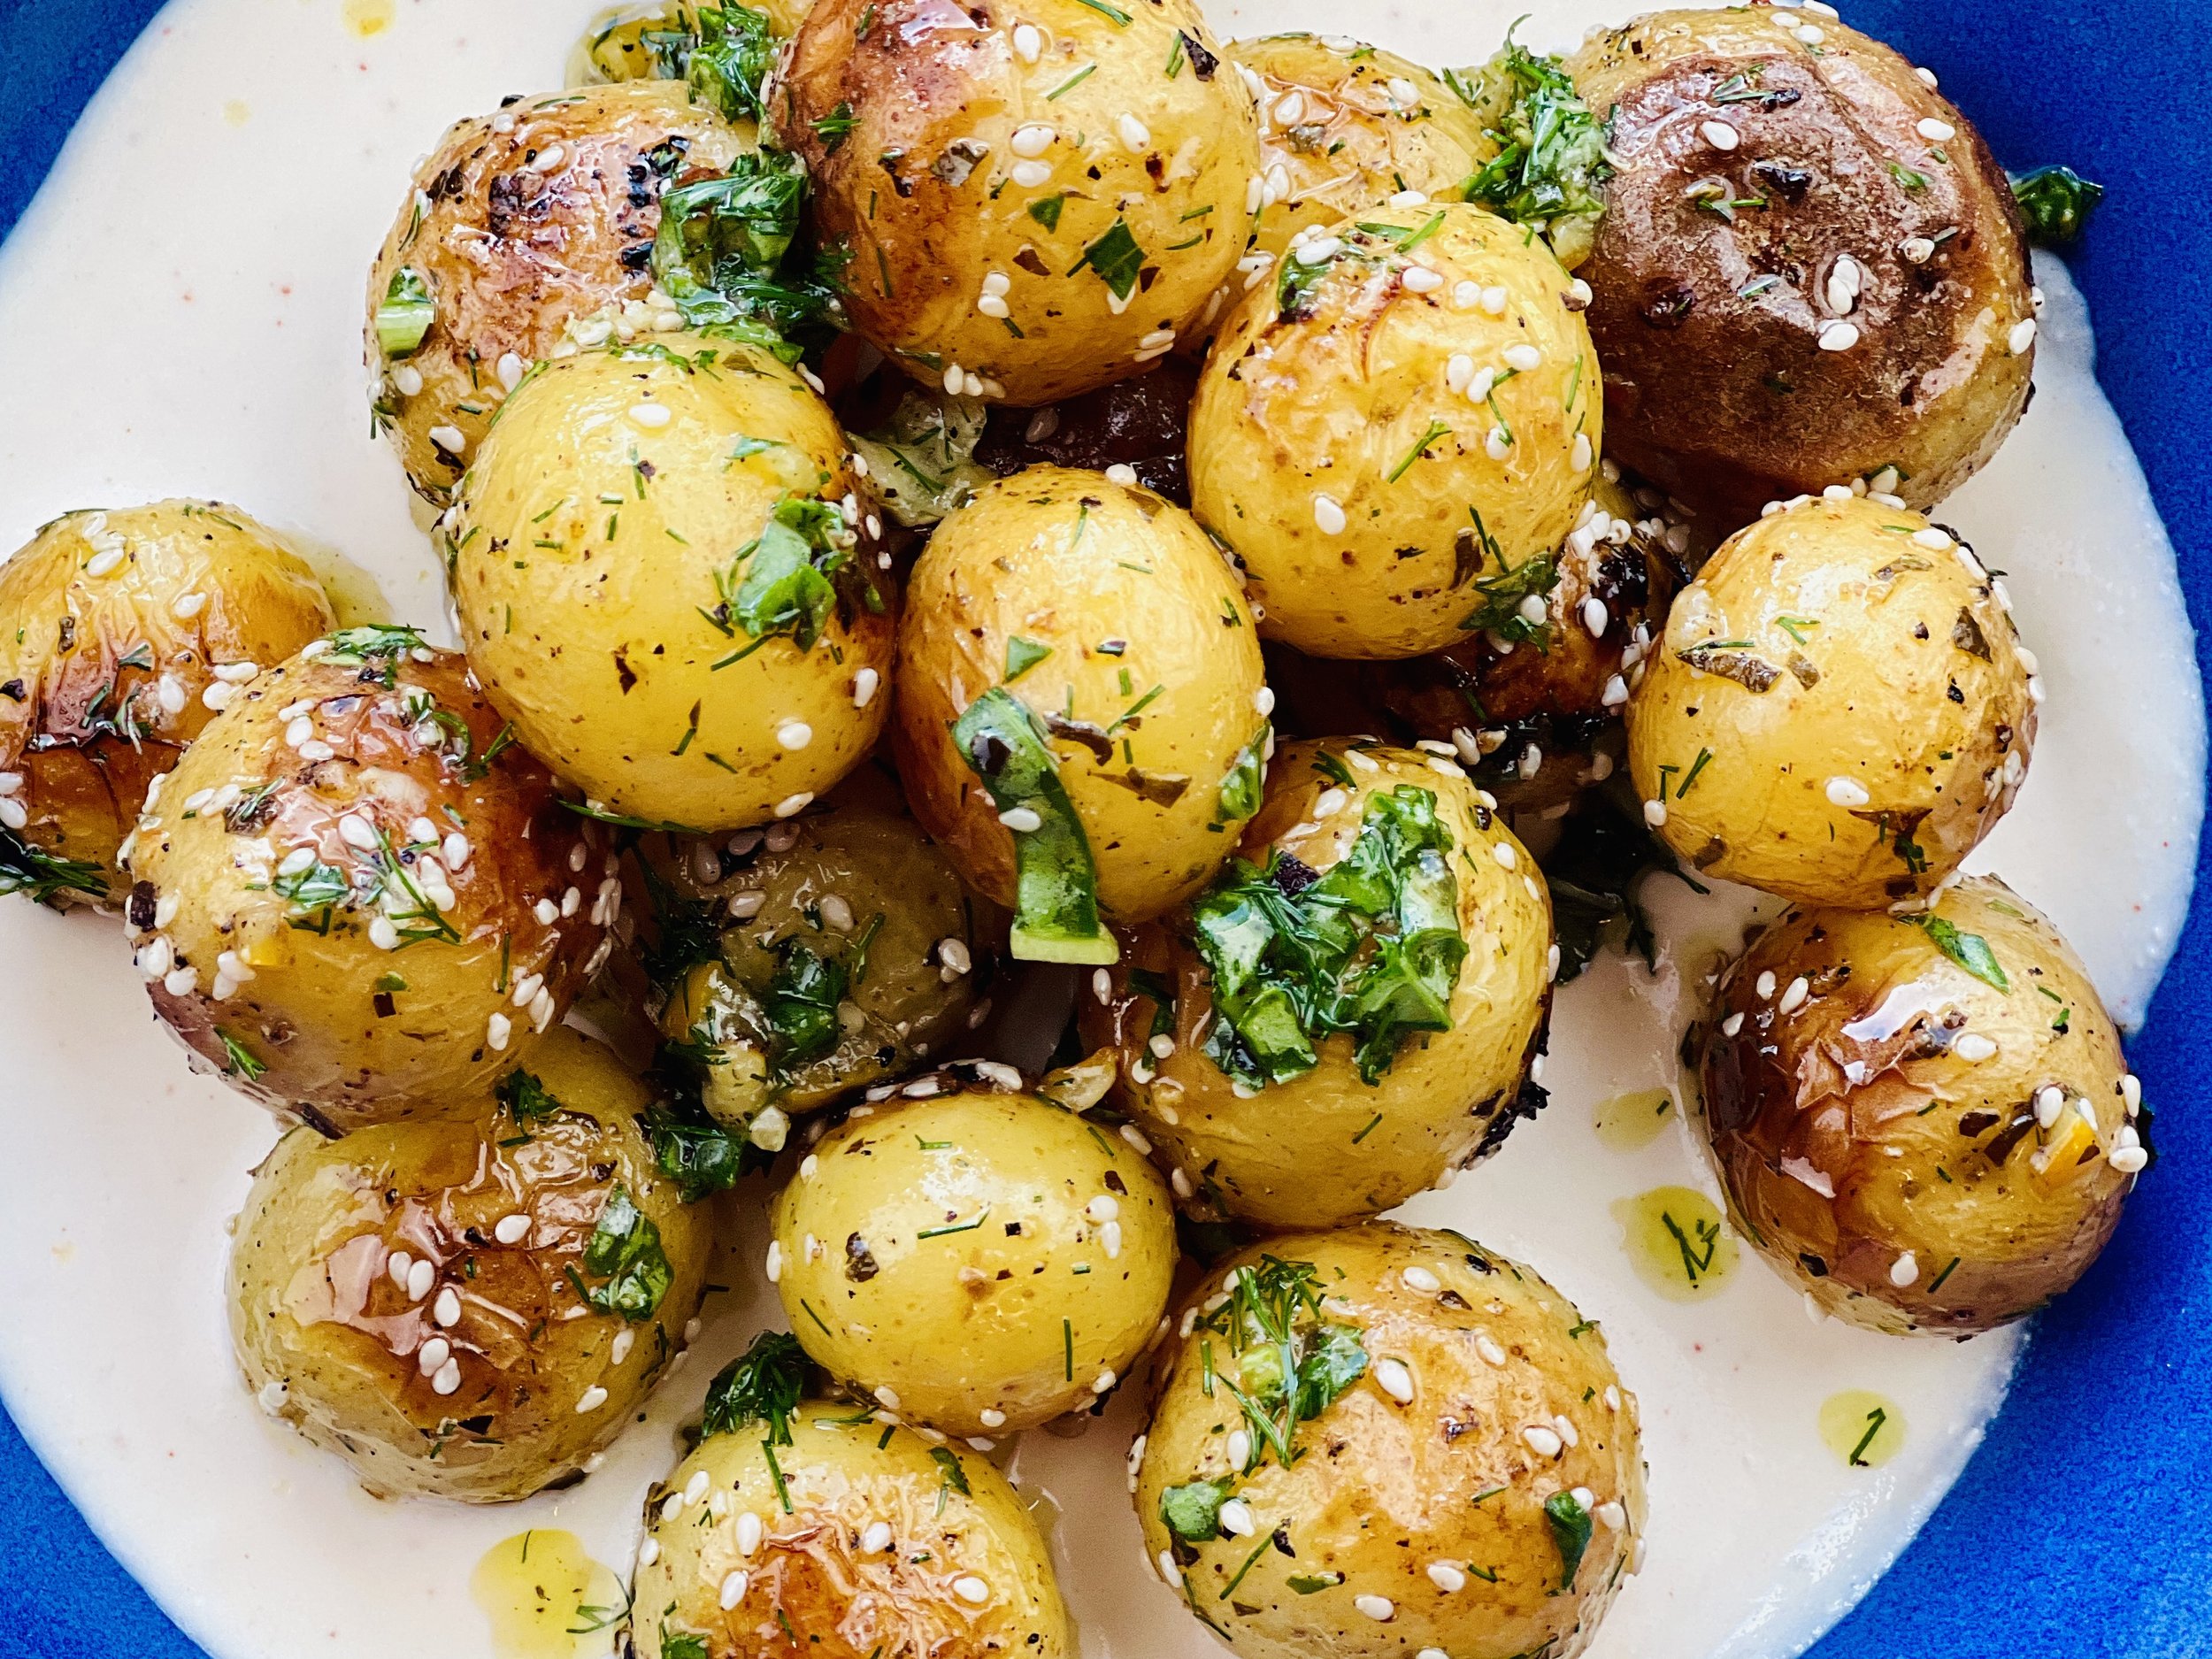
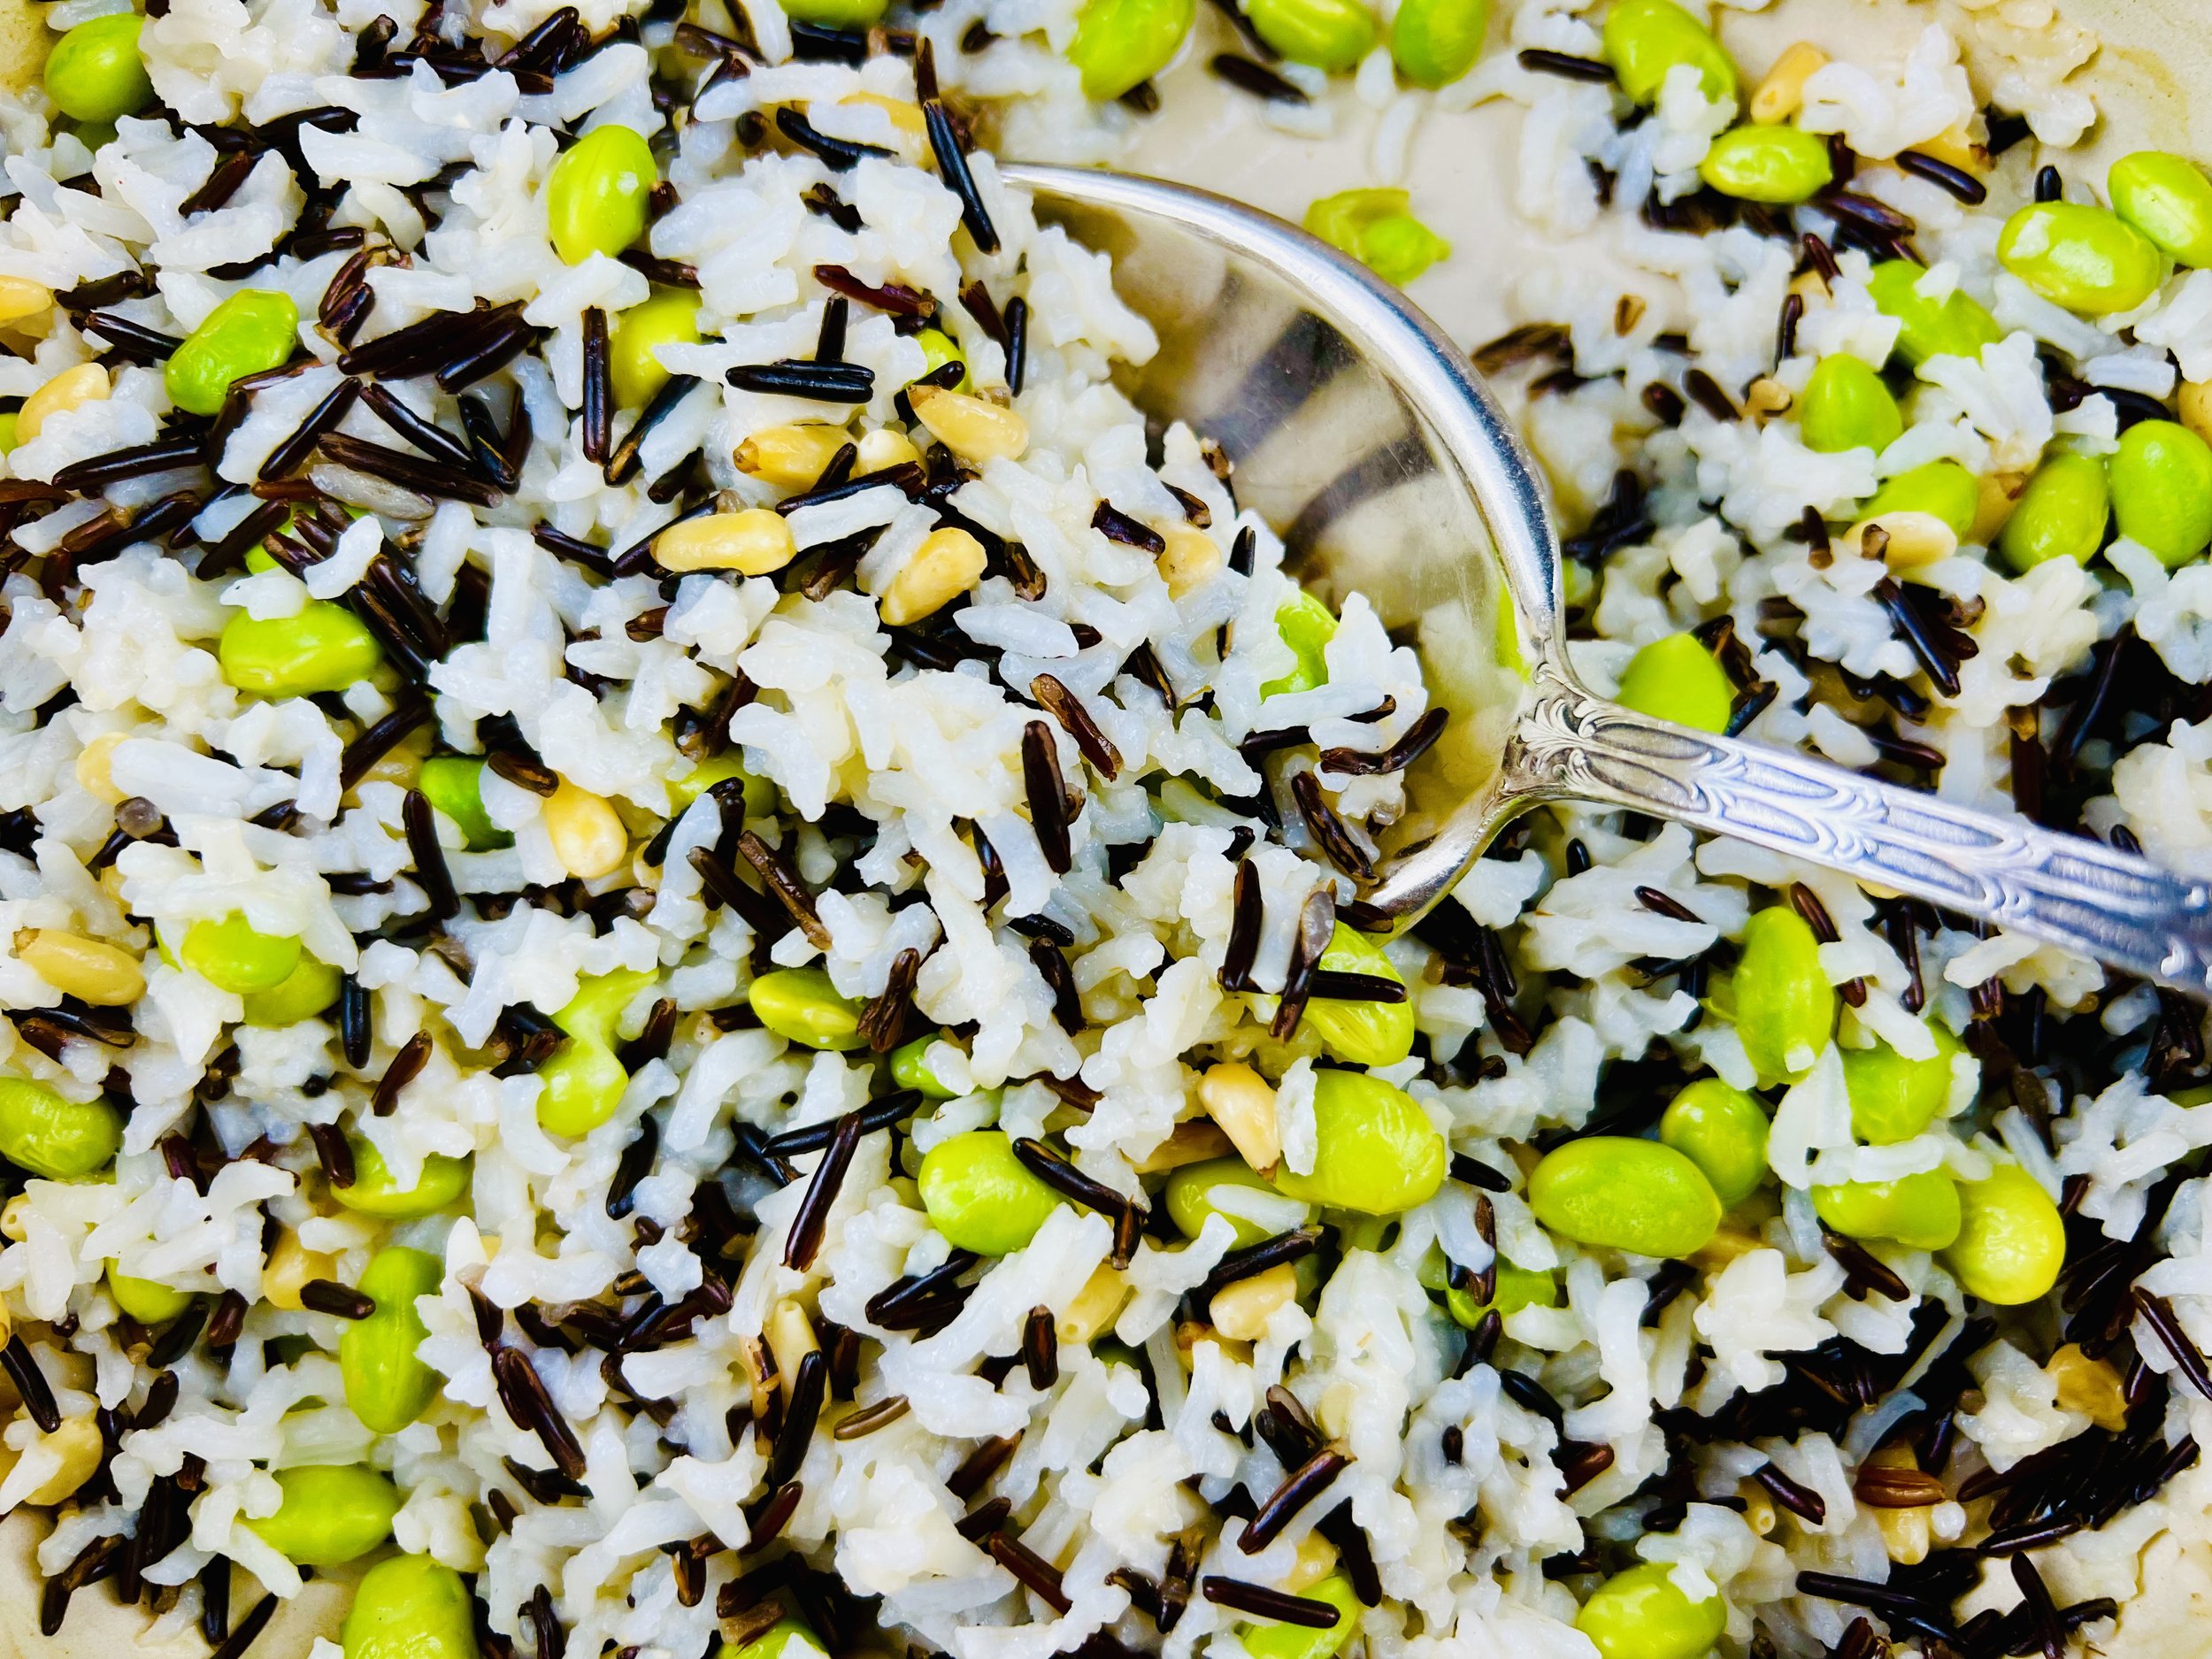
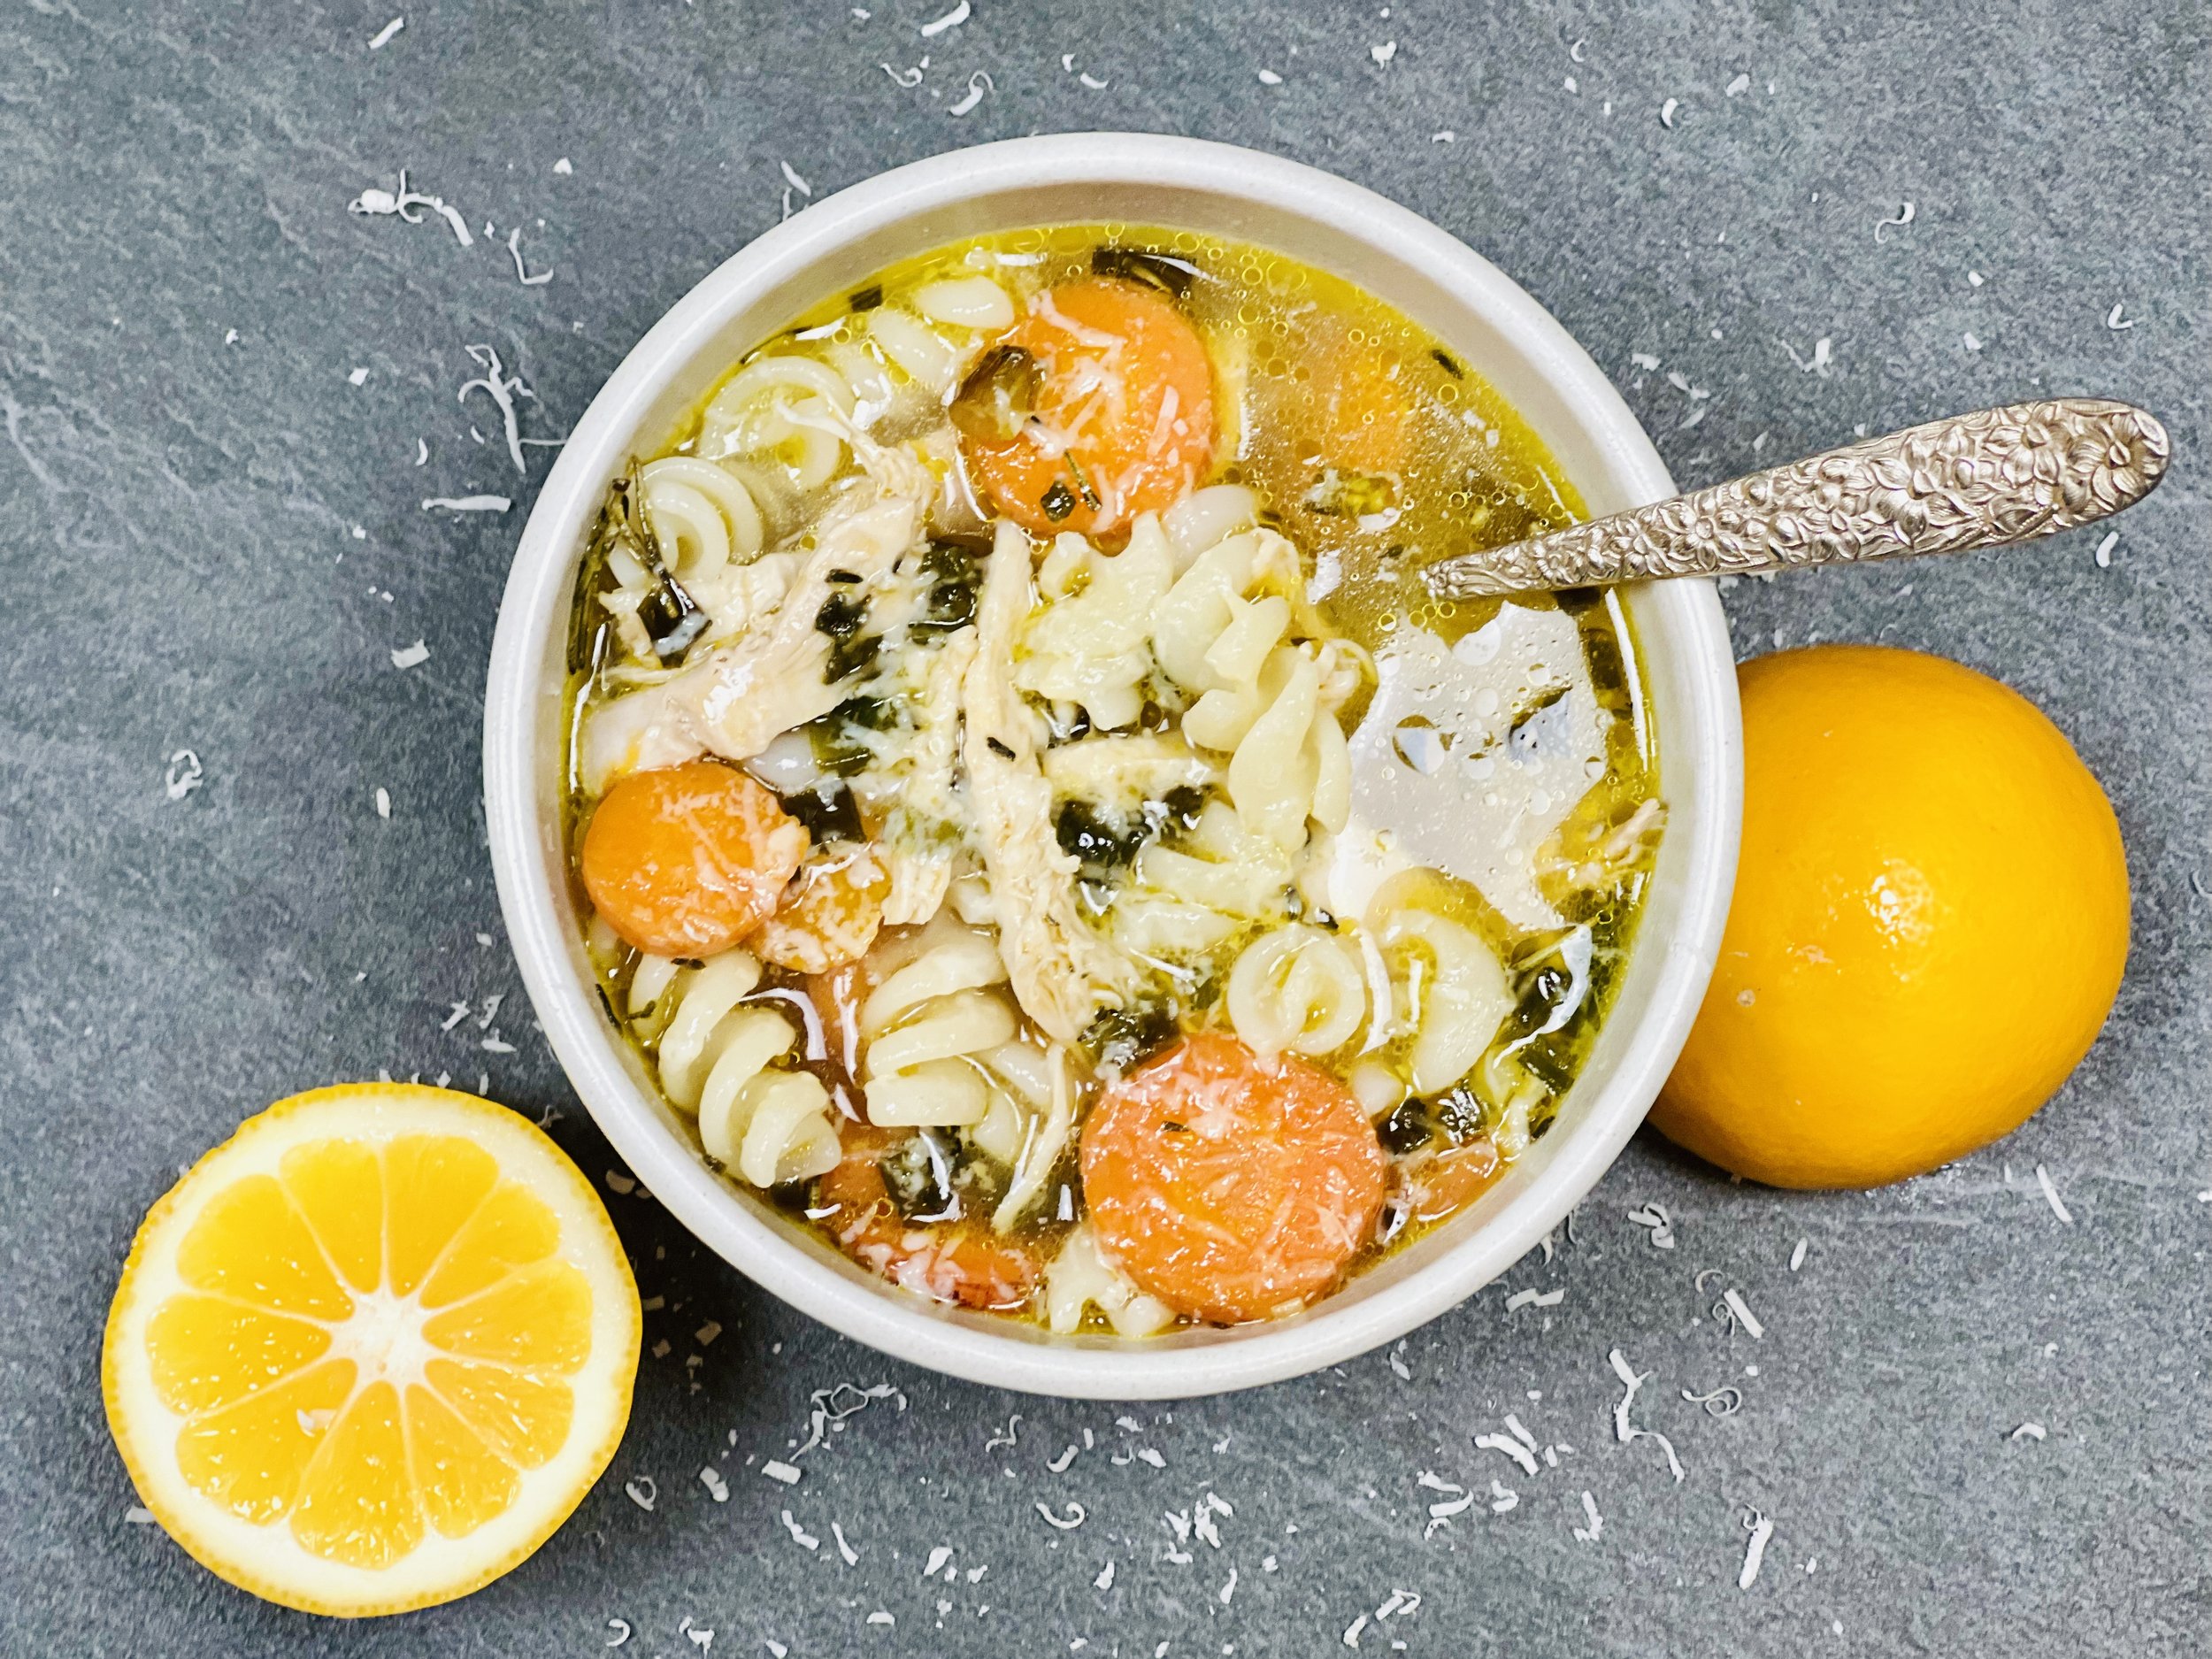
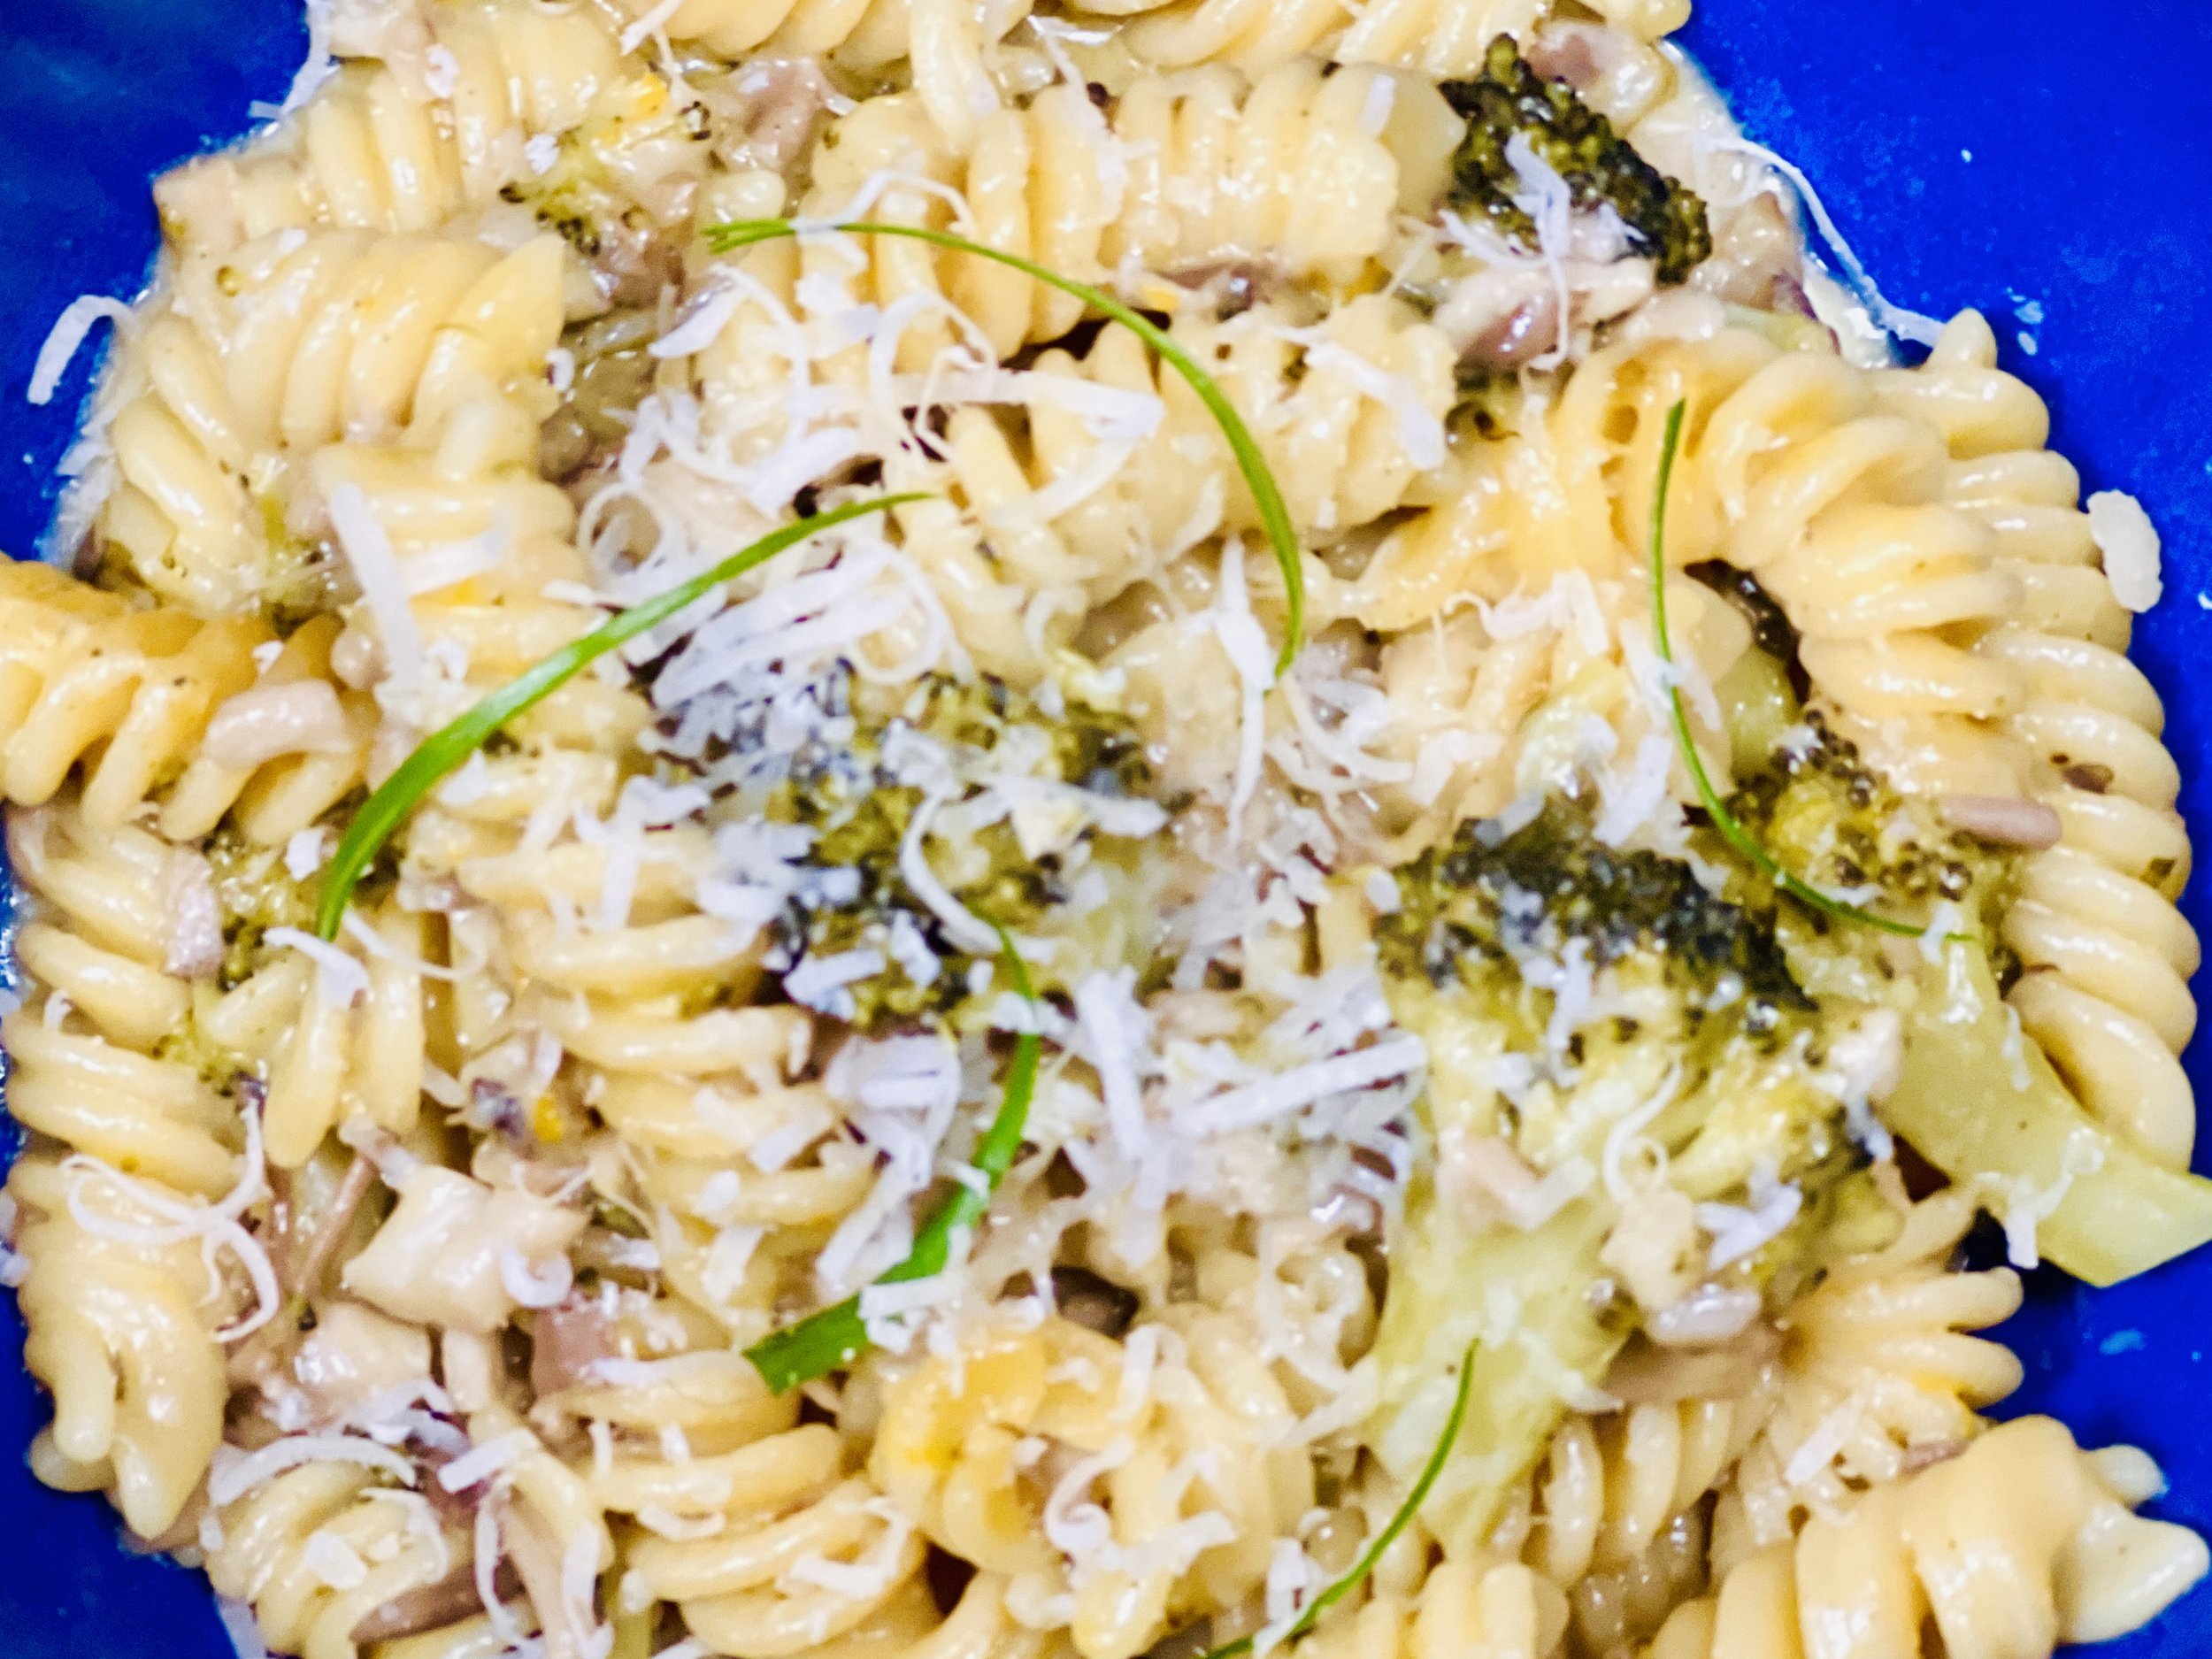
45 Minutes • Low FODMAP • Gluten-Free • Serves 4 • Ok to make-ahead: Steps 1 - 4