Deliciously Low FODMAP
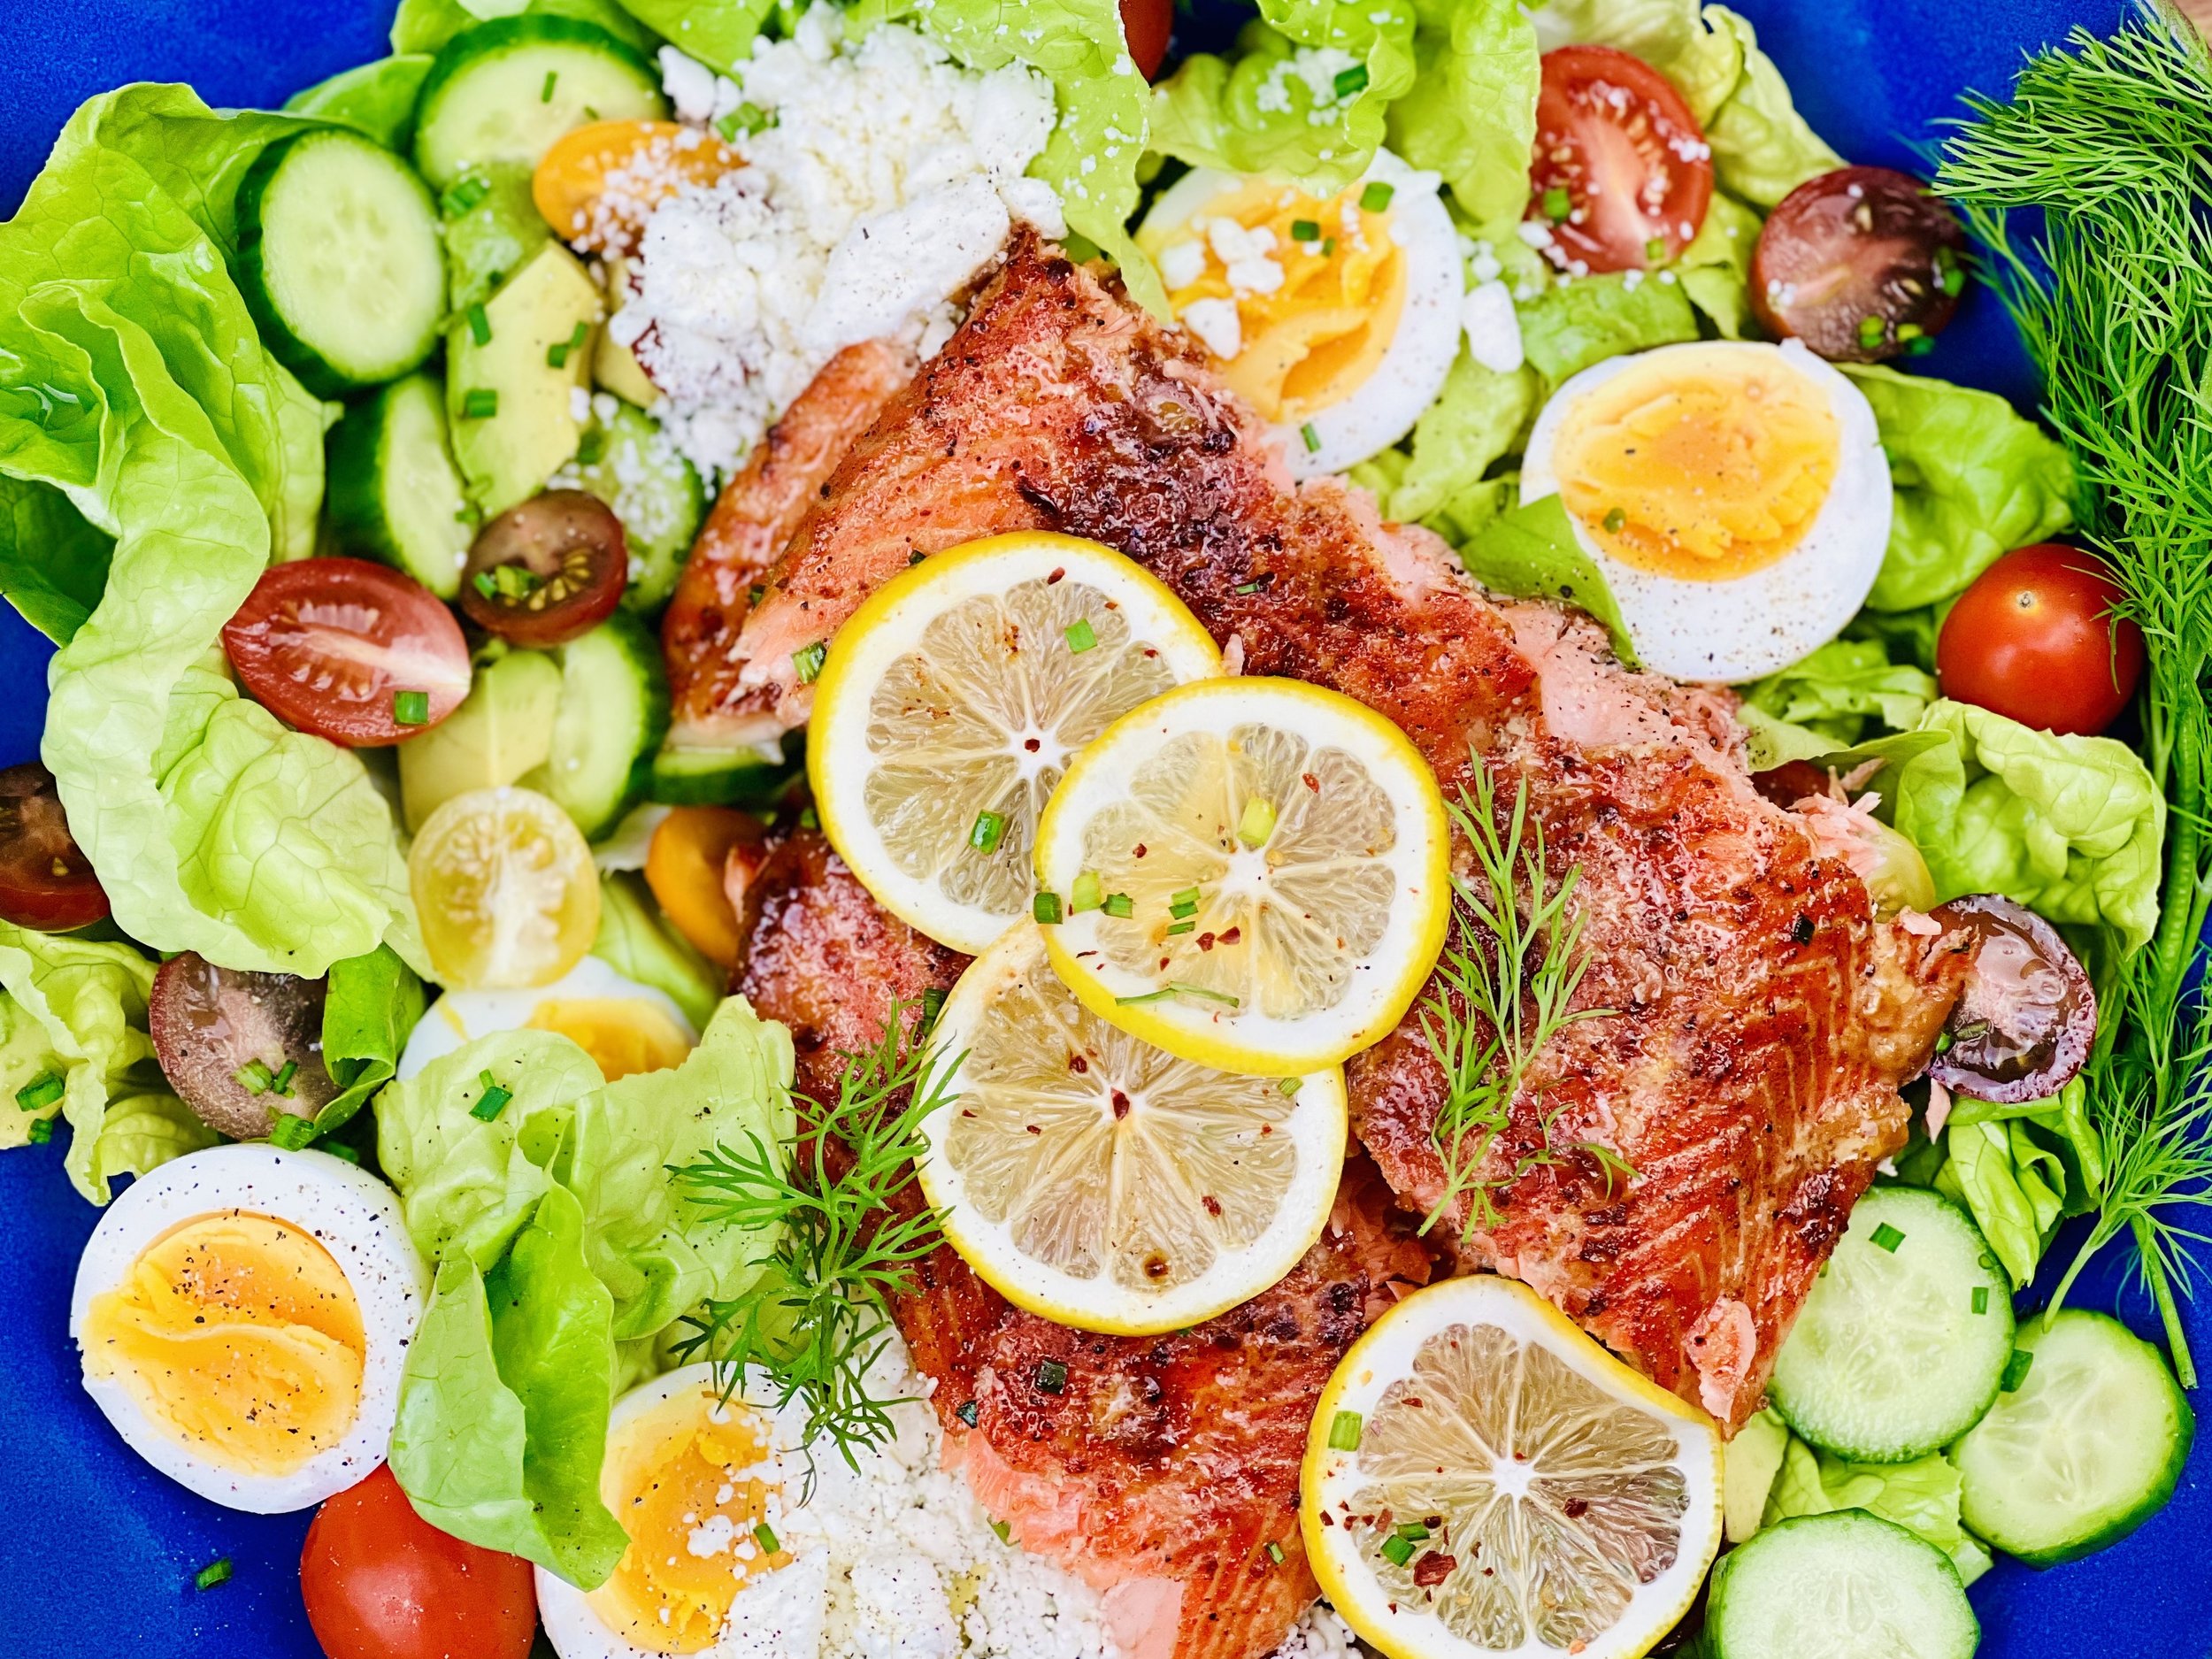
Inspire yourself with hundreds of delicious low FODMAP recipes, tips, and tools, and enjoy the abundance that is yours even when you have IBS.
Use the buttons and filters to find something specific or browse the complete collection for inspiration.
Discover a treasure trove of recipes with my FREE recipe club! Get new ideas delivered straight to your inbox every week.
Deliciously Low FODMAP is a trademark of IBS Game Changer, LLC
Filter to find Recipes and Tools
More Filtering Options
- All 730
- Appetizer 50
- BBQ 46
- Bowl 32
- Breakfast 58
- Cocktails 13
- Collection 1 58
- Collection 10 27
- Collection 11 30
- Collection 12 27
- Collection 13 31
- Collection 14 29
- Collection 15 31
- Collection 16 34
- Collection 17 31
- Collection 18 33
- Collection 19 36
- Collection 2 32
- Collection 20 33
- Collection 21 33
- Collection 22 40
- Collection 23 12
- Collection 24 1
- Collection 3 28
- Collection 4 29
- Collection 5 30
- Collection 6 32
- Collection 7 31
- Collection 8 31
- Collection 9 32
- Condiments 6
- Crock Pot 4
- Dessert 107
- Diabetes Game Changer Exception Protocol Contains Alcohol 11
- Diabetes Game Changer Exception Protocol Contains Flour 109
- Diabetes Game Changer Exception Protocol Contains Flour AND Sugar 77
- Diabetes Game Changer Exception Protocol Contains Sugar 49
- Diabetes Game Changer First Four Weeks 363
- Dinner 331
- Drink 8
- Easter 1
- Free Guide 17
- Gluten-free 591
- Gut Microbiome 2
- Guthealth 3
- Holidays 69
- IBS Triggers 4
- Keto Friendly 124
- Lactose-Free 175
- Low FODMAP Diet 716
Blueberry Cheesecake Muffins (Low FODMAP)
20 Minutes prep • 25 Minutes cook • Low FODMAP • Gluten-free • Makes 12
20 Minutes prep • 25 Minutes cook • Low FODMAP • Gluten-free • Makes 12 • Ok to make ahead: Steps 1 - 3
Mother’s Day always calls for something special. So this year for Mother’s Day I decided Blueberry Cheesecake Muffins would be just the thing! The rich cheesecake center surrounded by tender blueberries and a sprinkle of streusel topping makes these muffins something extra special. They are a bit fussy to make (not hard, just a few extra steps and extra pans) but they are worth the effort.
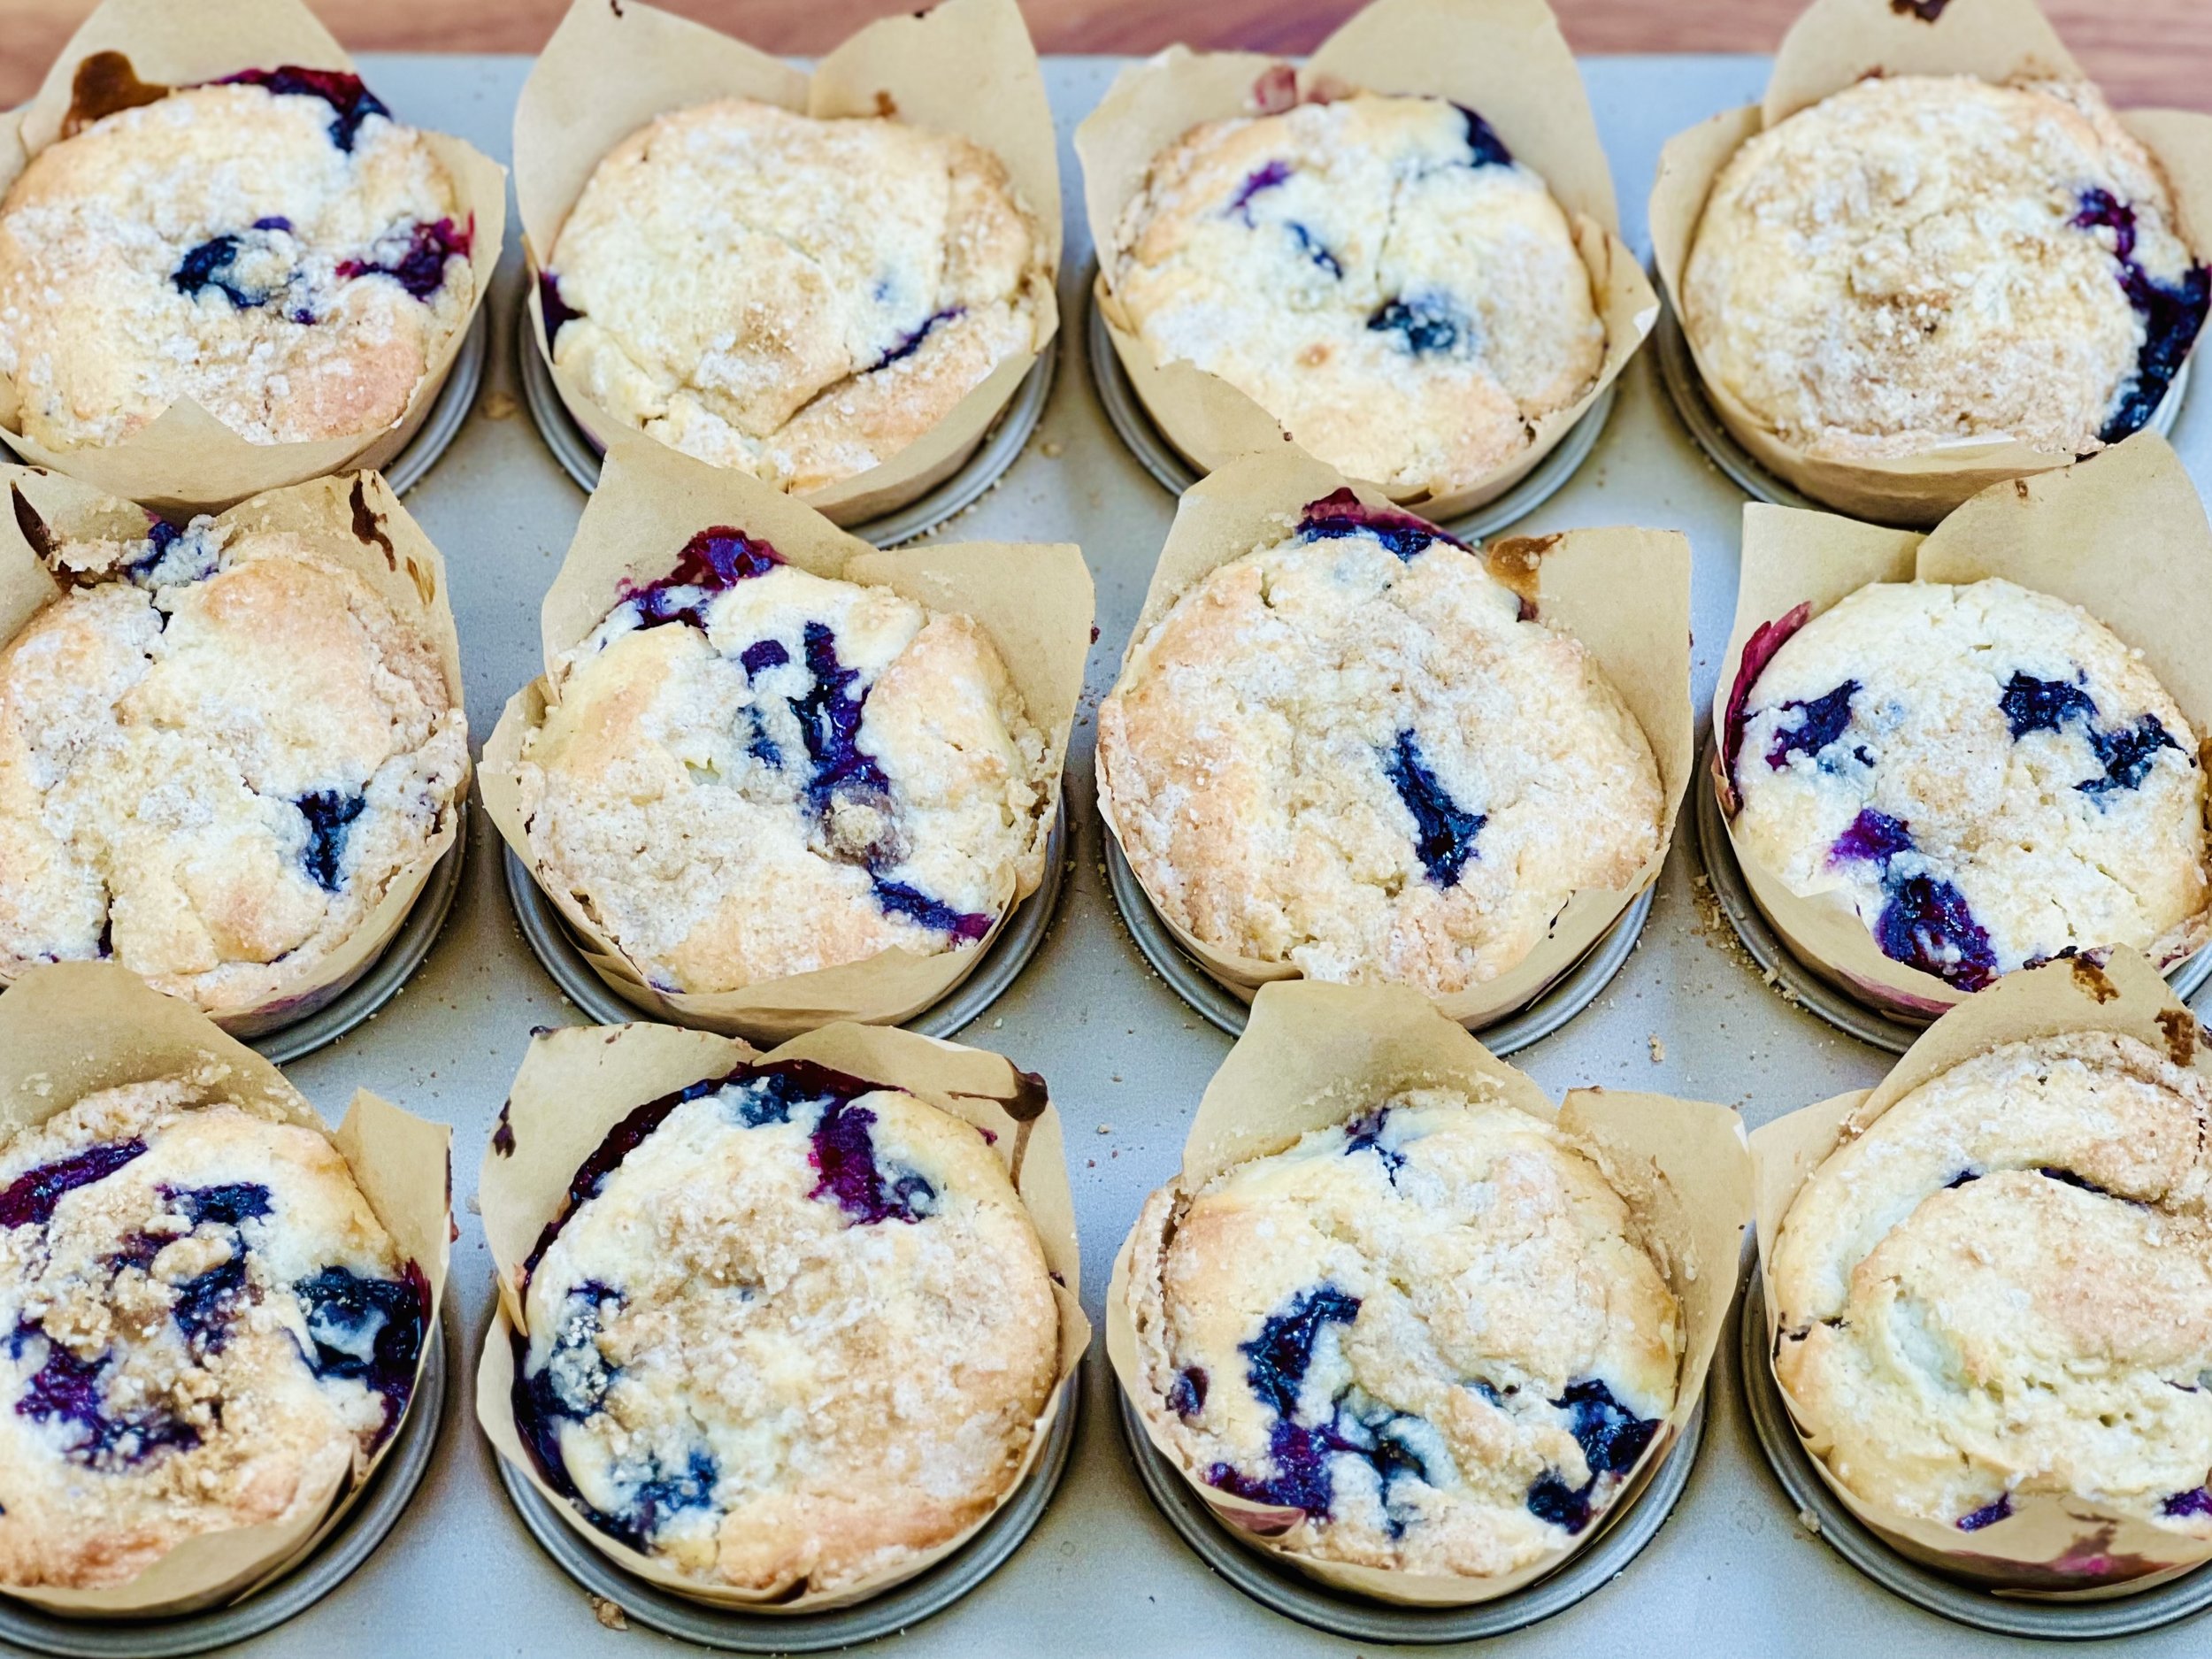
Ingredients: Muffins
1 stick salted butter, at room temperature
1 cup superfine granulated sugar (this is not powdered sugar)
2 large eggs at room temperature
1/2 teaspoon salt
1 teaspoon vanilla extract
2 teaspoons baking powder
1/2 cup lactose-free sour cream or yogurt
1/4 cup heavy cream or lactose-free whole milk
1 1/2 cups gluten-free flour
1/2 cup gf jules baking flour
1 1/2 cups blueberries (fresh or frozen)
Grated rind of two lemons (Meyer preferred)
Ingredients: Cheesecake filling
4 ounces lactose-free cream cheese, at room temperature
1/3 cup superfine granulated sugar
2 tablespoons beaten egg (this is less than one egg)
1 teaspoon vanilla extract
Ingredients: Streusel
1/4 cup gluten-free flour
1/4 cup light brown sugar
3 tablespoons salted butter, chilled
Directions
(1) Prepare: Preheat oven to 375 degrees F and line a standard (1 dozen) muffin tin with baking cups.
(2) Make the cheesecake layer: In the smallest bowl of your stand mixer, beat the cream cheese, egg, sugar, and vanilla until smooth. Set aside (and refrigerate if it will be more than a few minutes).
(3) Make the streusel topping: In the bowl of your food processor, combine the flour, sugar, and butter. Pulse until the butter is evenly distributed in the dry ingredients.
(4) Make muffin batter: Beat butter and sugar on high for 5 minutes, scraping down the bowl at least twice during the beating. Add eggs one at a time, beating for about 1 minute after each addition and scraping down the bowl a few times during beating. Add vanilla and baking powder and beat for 2 minutes, scraping down the sides and bottom of the bowl as needed. Add the sour cream or yogurt, the milk or cream, and the flour, and beat until there are no lumps, scraping down the sides and bottom of the bowl as necessary.
(3) Add the fruit: Fold in the lemon zest along with the blueberries.
(4) Layer the batter and streusel: Use a cookie scoop or spoon to scoop a generous heaping tablespoon of the muffin banner into each muffin cup. Use the back of the spoon to spread the batter to cover the bottom of the muffin cup. Next, add about half that amount of the cheesecake filling as the next layer. Spread it out to cover the better. Using about half the streusel mixture, sprinkle the cheesecake layer lightly with streusel. Add one more scoop of muffin batter to the top, spread it out, and top with the remaining streusel.
(8) Bake: Bake for 25 minutes, or until a toothpick inserted into a blueberry-free spot on the muffin comes out clean.
(9) Finish: Remove from the oven when done and let cool in the pan for 5 minutes before transferring to a wire rack to cool completely.
(10) Serve: Enjoy them warm, or if you’re not going to eat them right away, cool completely and store them in an airtight container in the freezer. Thaw at room temperature for about 30 minutes.
Eat and enjoy every bite because you can!
Recipe note: I use Diamond Crystal Kosher salt in all my recipes because it has a wonderful flat and crisp flake that tastes delicious. It is also the least salty salt available so you can use it more liberally as a seasoning than you can table salt or sea salt. If you use another type of salt, you may need to reduce the amount so it is not over-salted.
Have a question you’d like to have answered? Email me at hello@ibsgamechanger.com
Link note: This post may contain affiliate links for you to easily purchase items that are linked. I may earn a small commission from qualifying purchases but none of this costs you a thing so feel free to use the links! In addition, for some items, I have provided a special discount code for IBS Game Changers so be sure to use the code when you purchase an item to get the discount that has been arranged just for you.
More Deliciously Low FODMAP™ breakfast recipes
15 Minutes prep • 30 Minutes cook • Low FODMAP • Serves 4 • Ok to make-ahead: Steps 1 - 2
10 Minutes prep • 20 Minutes cook • Low FODMAP • Gluten-free • Lactose-free • Vegan • Makes 6 cups
I’m here to show you how to fully embrace the flavors of fall while keeping your digestive system happy.
10 Minutes prep • Overnight Chill • Low FODMAP • Gluten-free • Lactose-free • Serves 2 - 4
15 Minutes prep • 45 Minutes cook • Low FODMAP • Gluten-free • Vegetarian • Serves 4 - 6
15 Minutes prep • 15 Minutes cook • Low FODMAP • Gluten-free • Makes 8 Belgian waffle squares
30 Minutes prep • 20 Minutes cook • Low FODMAP • Gluten-free • Vegetarian • Makes 10 Squares
Mediterranean Chicken Skewers (Low FODMAP)
10 Minutes prep • 20 Minutes cook • Low FODMAP • Gluten-free • Serves 4 n skewers for your family and friends. They are sure to be a hit.
10 Minutes prep • 20 Minutes cook • Low FODMAP • Gluten-free • Serves 4 • Ok to make ahead: Steps 1-3
Delicious and tender, Greek seasoned chicken skewers you can grill in the oven. Top with my Tzatziki sauce and a side salad and you’ve got a delicious and healthy meal. Change up the vegetables you put on the skewers according to what you have on hand (zucchini and summer squash would work great). If you marinate the chicken ahead of time you’ll get the best flavor, but 10 minutes of marination is enough if you’re pressed for time. Make these quick and easy chicken skewers for your family and friends. They are sure to be a hit.
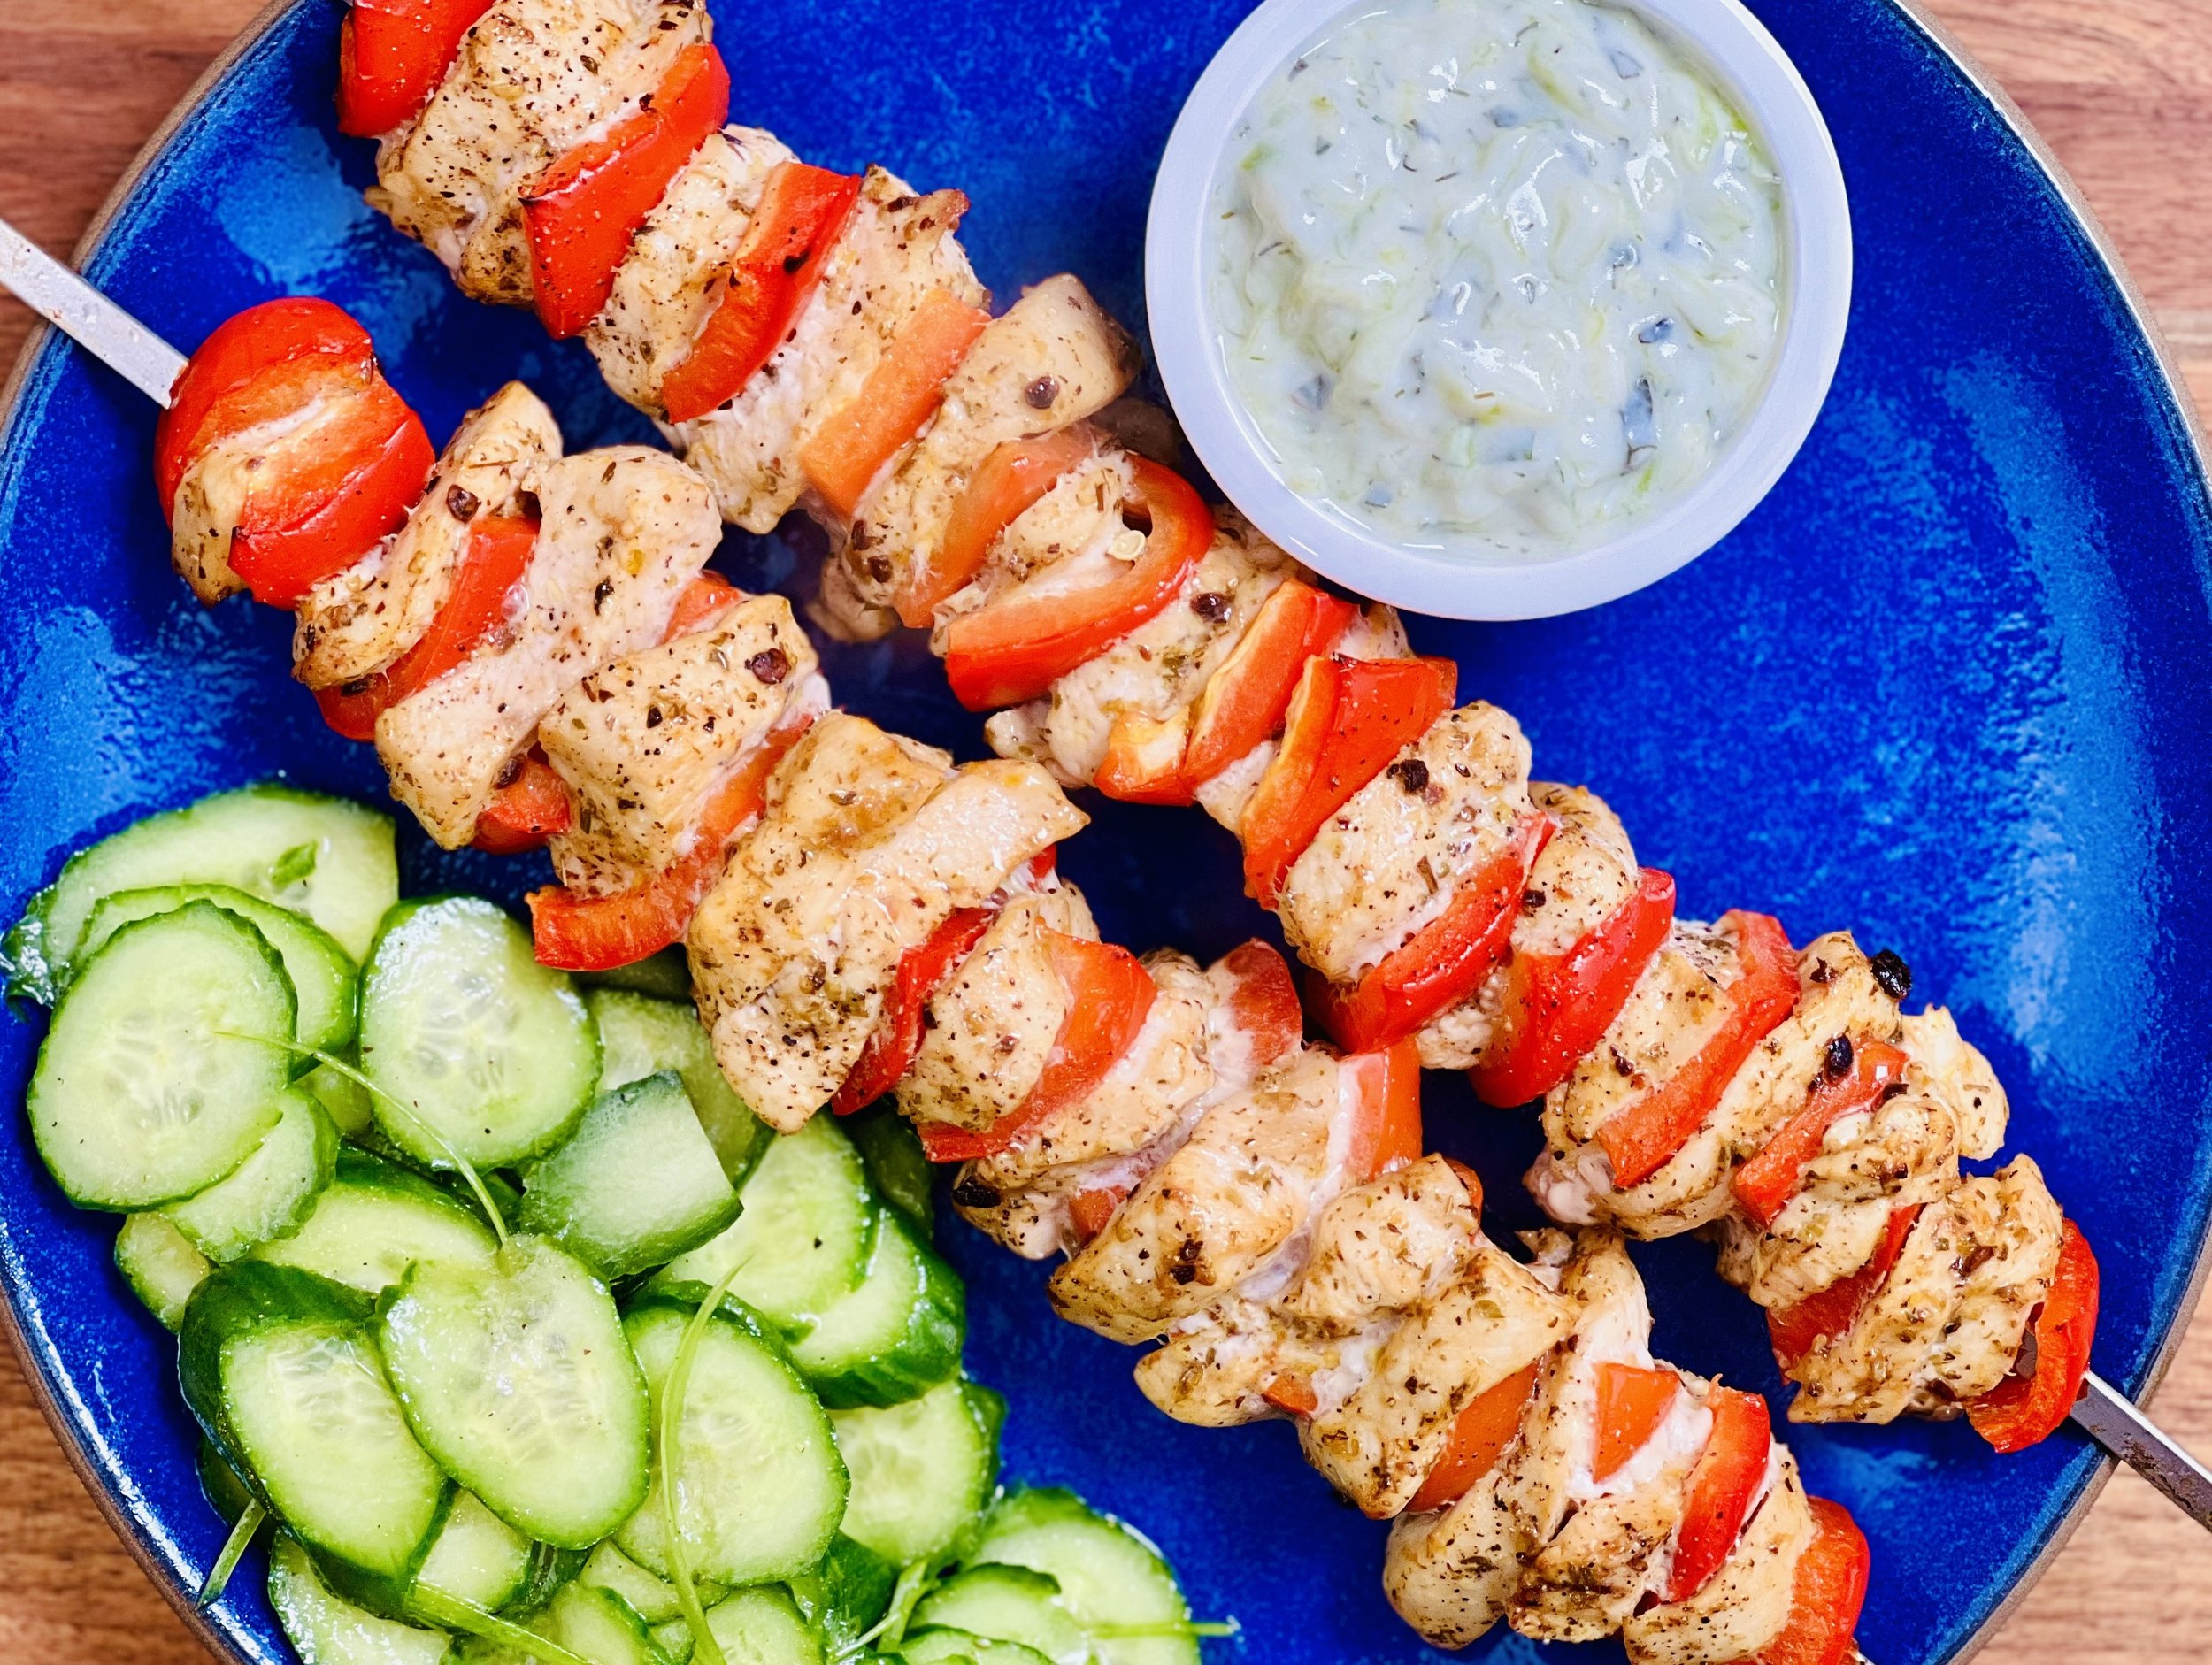
Ingredients
1/2 cup garlic-infused olive oil
2 teaspoons dried oregano
1/2 teaspoon crushed chipotle chilis or chipotle chile powder
1 teaspoon maple syrup
1 tablespoon low-FODMAP hot sauce
1 tablespoon lemon zest
1/2 teaspoon Kosher salt
1/4 teaspoon black pepper
1 1/2 - 2 pounds boneless, skinless chicken breasts, cut into bite-size pieces
My Delicious Low FODMAP Tzatziki sauce for serving
Directions
(1) Prepare the chicken: This step is optional but results in a more flavorful and tender chicken. Remove chicken from the package, and put it in one layer on a rimmed plate or baking dish. Season both sides of each piece lightly with Kosher salt (about 1/4 - 1/2 teaspoon per side). Cover the dish with plastic wrap and refrigerate until ready to use, ideally about 4 hours before cooking or overnight.
(2) Prepare: Make the Tzatziki sauce a day ahead if you have time, if not just make it before you start prepping the meal. Make the marinade. Cut the chicken and toss in a bowl with the marinade, stirring to combine. Let sit for 10 minutes or several hours if you have time. Preheat the oven to 425 degrees F. Line a rimmed baking sheet with parchment paper (for easy clean-up)
(3) Prepare the skewers: Load the skewers, alternating chicken and vegetables so they come out approximately even. Arrange the skewers on the prepared baking sheet.
(4) Bake: Bake for 20 minutes, until lightly charred and cooked through (165 degrees F on an instant-read thermometer)
(5) Plate and serve: Serve with plenty of my Tzatziki sauce and a side salad.
Eat and enjoy every bite because you can!
Recipe note: I use Diamond Crystal Kosher salt in all my recipes because it has a wonderful flat and crisp flake that tastes delicious. It is also the least salty salt available so you can use it more liberally as a seasoning than you can table salt or sea salt. If you use another type of salt, you may need to reduce the amount so it is not over-salted.
Have a question you’d like to have answered? Email me at hello@ibsgamechanger.com
Link note: This post may contain affiliate links for you to easily purchase items that are linked. I may earn a small commission from qualifying purchases but none of this costs you a thing so feel free to use the links! In addition, for some items, I have provided a special discount code for IBS Game Changers so be sure to use the code when you purchase an item to get the discount that has been arranged just for you.
More Deliciously Low FODMAP™ main course recipes
15 Minutes prep • 30 Minutes cook • Low FODMAP • Serves 4 • Ok to make-ahead: Steps 1 - 2
10 Minutes prep • 25 Minutes cook • Low FODMAP • Gluten-Free • Serves 6 • Ok to make-ahead: Step 1
Delicious Low FODMAP Tzatziki
15 Minutes prep • Low FODMAP • Low Carb • Keto friendly • Serves 10
15 Minutes prep • Low FODMAP • Low Carb • Keto friendly • Serves 10 • Ok to make ahead: Steps 1-3
Tzatziki is a wonderfully refreshing and flavorful Greek cucumber and yogurt sauce that makes a delicious dip, spread, or sauce to complement all kinds of meat and vegetables. Because it’s so good, I had to come up with a version that was Low FODMAP. Dare I say this recipe is even better than the original? And, it’s not only easy to make, it’s low FODMAP, low starch/low carb, and Keto-friendly. It takes only minutes to prepare and it’s best made ahead of time — making it the perfect addition to any party or gathering.
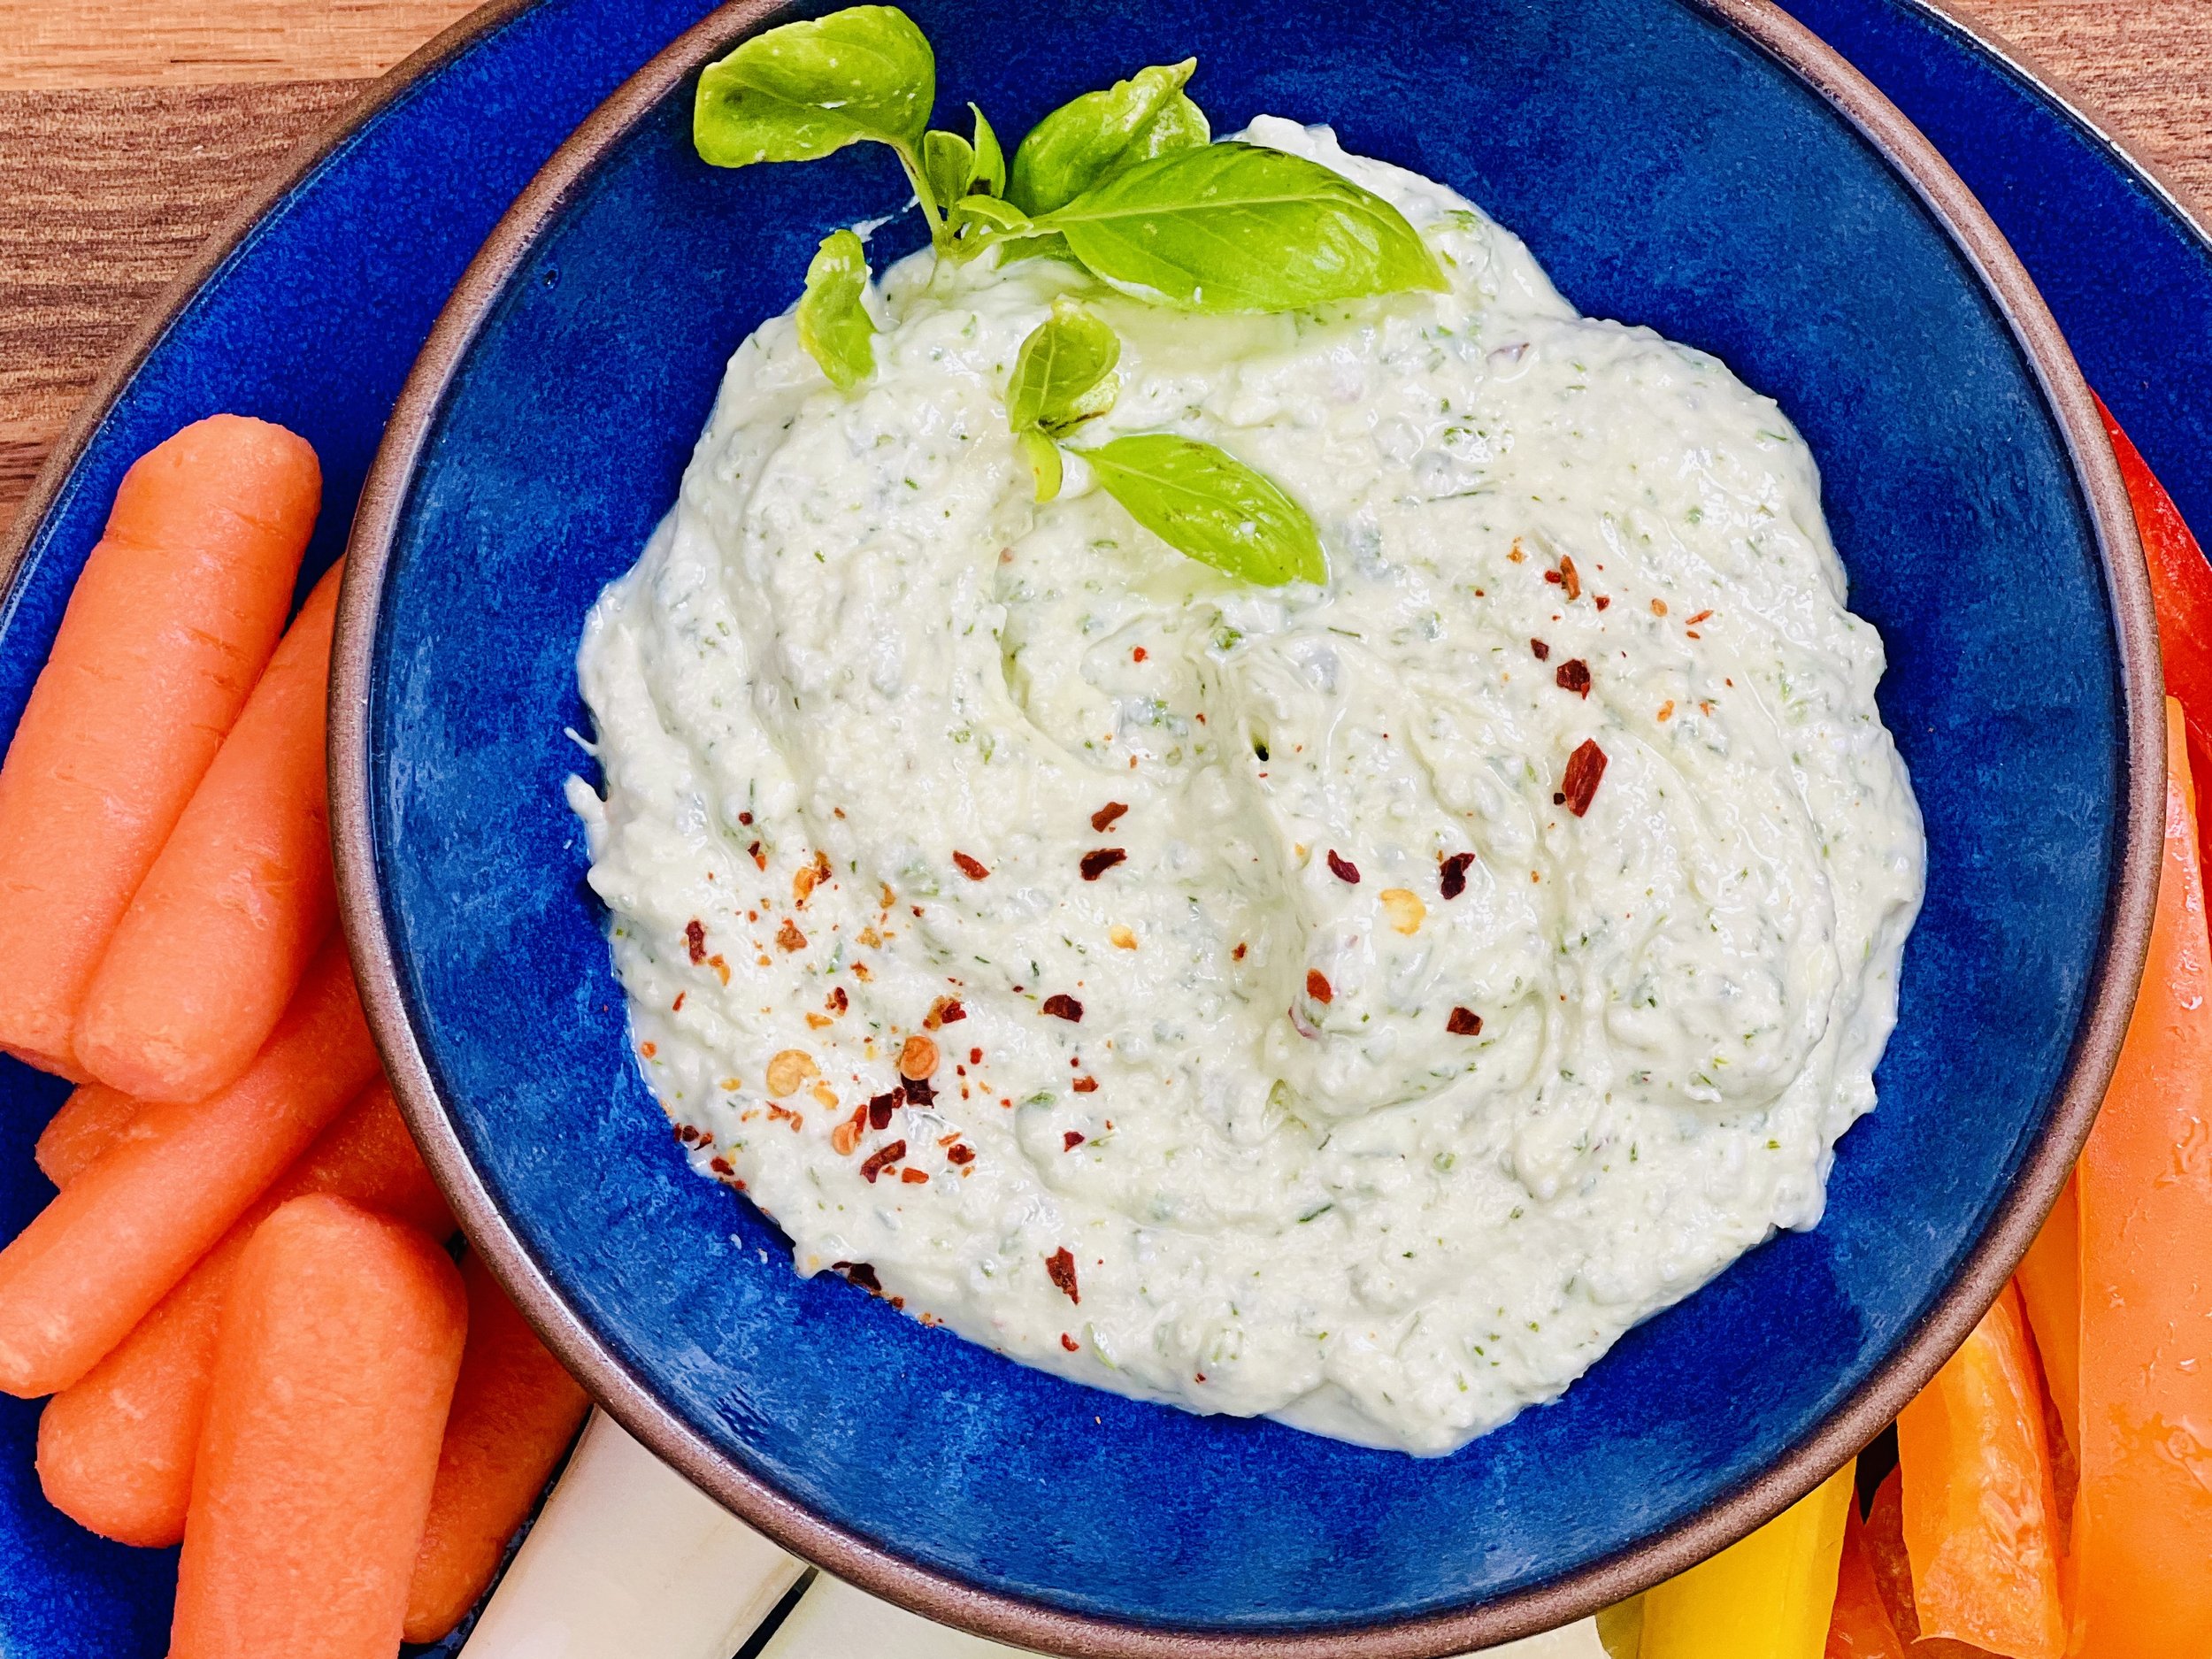
Ingredients
1 cup peeled and grated cucumber
1 cup lactose-free yogurt
1 tablespoon lemon juice
1 tablespoon garlic-infused olive oil
1 tablespoon chopped fresh dill (or 1 teaspoon dry dill)
1 tablespoon chopped fresh mint
1 teaspoon Smoke n Sanity Essence of Garlic Salt (use code IBSGC15 for 15% discount)
Directions
(1) Prepare: Peel and grate the cucumber. Put the grated cucumber fine-mesh strainer. Sprinkle lightly with salt and let stand for about 10 minutes. Then, gently squeeze out the excess water with your hands. (You can also do this with a tea towel or paper towels if you prefer.)
(2) Blend: In a medium bowl, combine the cucumber, yogurt, lemon juice, garlic-infused olive oil, garlic salt, dill, and mint.
(3) Chill: Cover and chill until ready to use. Overnight is best for the best flavor. Stir well before serving.
(4) Serve: Serve as a sauce for any of my veggie bowls or salads, grilled meats, burgers, or a dip for veggies and crackers.
(5) Storage: Store in an air-tight container in the refrigerator for up to 4 days. Stir well before serving.
Eat and enjoy every bite because you can!
Recipe note: I use Diamond Crystal Kosher salt in all my recipes because it has a wonderful flat and crisp flake that tastes delicious. It is also the least salty salt available so you can use it more liberally as a seasoning than you can table salt or sea salt. If you use another type of salt, you may need to reduce the amount so it is not over-salted.
Have a question you’d like to have answered? Email me at hello@ibsgamechanger.com
Link note: This post may contain affiliate links for you to easily purchase items that are linked. I may earn a small commission from qualifying purchases but none of this costs you a thing so feel free to use the links! In addition, for some items, I have provided a special discount code for IBS Game Changers so be sure to use the code when you purchase an item to get the discount that has been arranged just for you.
More Deliciously Low FODMAP™ appetizer recipes
5 Minutes prep • 15 Minutes cook • Low FODMAP • Gluten-Free • Lactose-Free • Makes 2 cups
10 Minutes Prep • 50 Minutes Cook • Low FODMAP • Gluten-free • Dairy Free • Vegan • Serving size 3 - 4 crackers
10 Minutes prep • 15 Minutes rest • Low FODMAP • Gluten-free • Dairy-free • Serving size 3 tablespoons
10 Minutes prep • 20 Minutes cook • Low FODMAP • Gluten-free • Lactose-free • Vegan • Serves 5
15 Minutes prep • 1 hour chill • Low FODMAP • Gluten-free • Vegetarian • Serves 4 or more
10 Minutes prep • Low FODMAP • Gluten-Free • Lactose-free • Vegetarian • Vegan • Makes 1.5 cups
5 Minutes prep • 10 Minutes cook • Low FODMAP • Gluten-free • Lactose-free • Makes 1 cup
20 Minutes prep • 16 Minutes cook • Low FODMAP • Vegetarian • Serves 8 • Ok to make-ahead: Steps 1-5
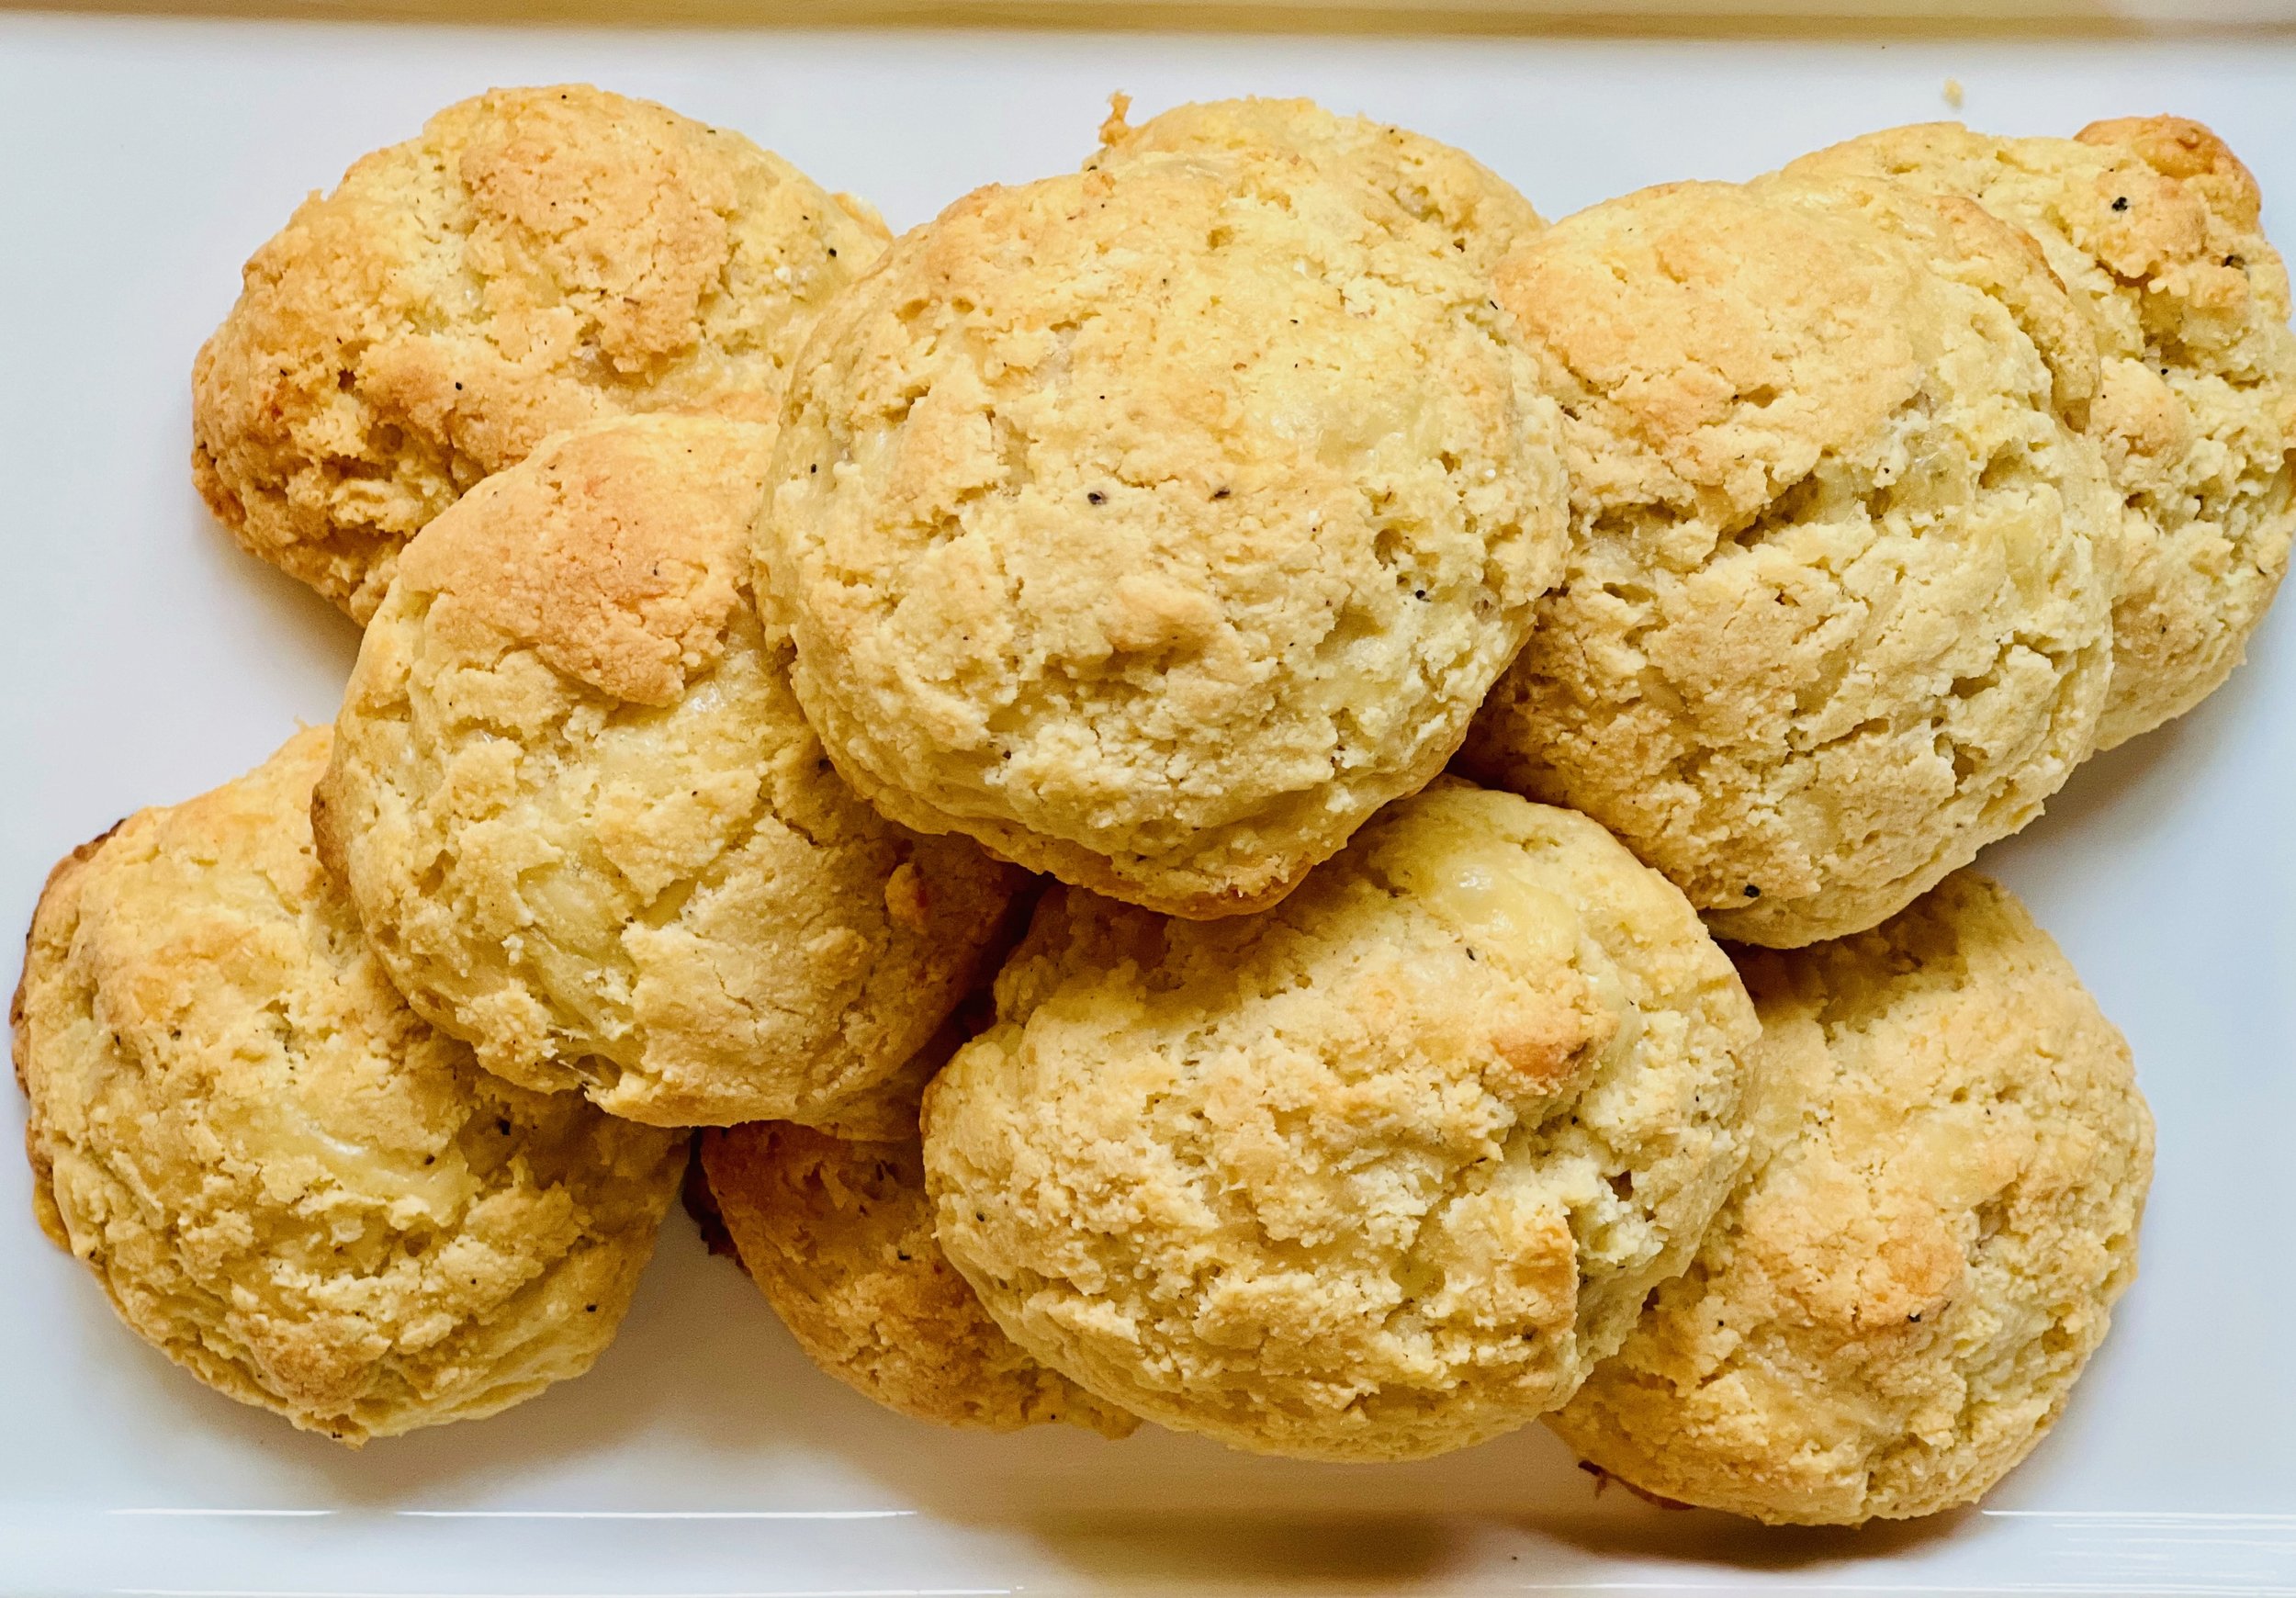
Sarah’s Cheddar Biscuits (Low FODMAP)
15 Minutes prep • 18 Minutes cook • Low FODMAP • Gluten-free • Makes 15 • Serving size 2
15 Minutes prep • 18 Minutes cook • Low FODMAP • Gluten-free • Makes 15 • Serving size 2 • Ok to make ahead: Steps 1-2
My sister served these light and delicious biscuits and I was immediately hooked! Make them yourself and they will be a crowd-pleaser for any occasion. Best of all they are completely grain-free! Whether served as a side to a hearty meal or enjoyed as a delightful snack on their own, each golden-brown bite delivers melt-in-your-mouth buttery goodness. Get ready to discover your new favorite biscuits.
Ingredients
2 cups almond flour
2 teaspoons baking powder
1 teaspoon dry rosemary
1/2 teaspoon Kosher salt
1/2 teaspoon black pepper
4 tablespoons unsalted butter
4 tablespoons heavy whipping cream
2 large eggs, beaten
6 ounces extra sharp good quality cheddar cheese, grated
Directions
(1) Prepare: Preheat oven to 350 degrees F. Grate the cheese and beat the eggs. Line a baking sheet with parchment paper.
(2) Combine dry ingredients: In the bowl of your food processor, combine the almond flour, baking powder, rosemary, salt, and pepper. Pulse a few times to combine.
(3) Add the butter and cream: Cut the butter into cubes and drop them into the food processor bowl with the almond flour mixture. Mix for about 15 seconds, then pulse until the butter is blended into the flour evenly. Add 4 tablespoons heavy cream, and pulse a few times until combined. Add the beaten eggs and pulse just until combined.
(4) Add the cheese: Add the cheese and pulse a few times until combined.
(5) Finish: Using a spoon or ice cream scoop, make 15 biscuits. Avoid handling the dough with your hands as the warmth will make it tough.
(6) Bake: Bake for 18 minutes. Remove to a cooling rack.
Eat and enjoy every bite because you can!
Recipe note: I use Diamond Crystal Kosher salt in all my recipes because it has a wonderful flat and crisp flake that tastes delicious. It is also the least salty salt available so you can use it more liberally as a seasoning than you can table salt or sea salt. If you use another type of salt, you may need to reduce the amount so it is not over-salted.
Have a question you’d like to have answered? Email me at hello@ibsgamechanger.com
Link note: This post may contain affiliate links for you to easily purchase items that are linked. I may earn a small commission from qualifying purchases but none of this costs you a thing so feel free to use the links! In addition, for some items, I have provided a special discount code for IBS Game Changers so be sure to use the code when you purchase an item to get the discount that has been arranged just for you.
More Deliciously Low FODMAP™ side dish recipes
5 Minutes prep • 15 Minutes cook • Low FODMAP • Gluten-Free • Lactose-Free • Makes 2 cups
15 Minutes prep • 30 Minutes cook • Low FODMAP • Serves 4 • Ok to make-ahead: Steps 1 - 2
15 Minutes prep • 18 Minutes cook • Low FODMAP • Gluten-free • Makes 15 • Serving size 2
10 Minutes prep • 10 Minutes cook • Low FODMAP • Gluten-free • Lactose-free • Vegan • Serves 4
10 Minutes prep • 25 Minutes cook • Low FODMAP • Gluten-free • Vegetarian • Plant Forward • Serves 4
20 Minutes prep • 25 Minutes cook • Low FODMAP • Gluten-free • Lactose-free • Vegetarian • Serves 4
10 Minutes prep • 20 Minutes cook • Low FODMAP • Gluten-free • Lactose-free • Vegan • Serves 5
15 Minutes prep • 45 Minutes cook • Low FODMAP • Gluten-free • Vegetarian • Serves 4 - 6
30 Minutes prep • 20 Minutes cook • Low FODMAP • Gluten-free • Vegetarian • Makes 10 Squares
25 Minutes prep • 40 Minutes cook • Low FODMAP • Gluten-free • Vegetarian • Serves 4 - 6
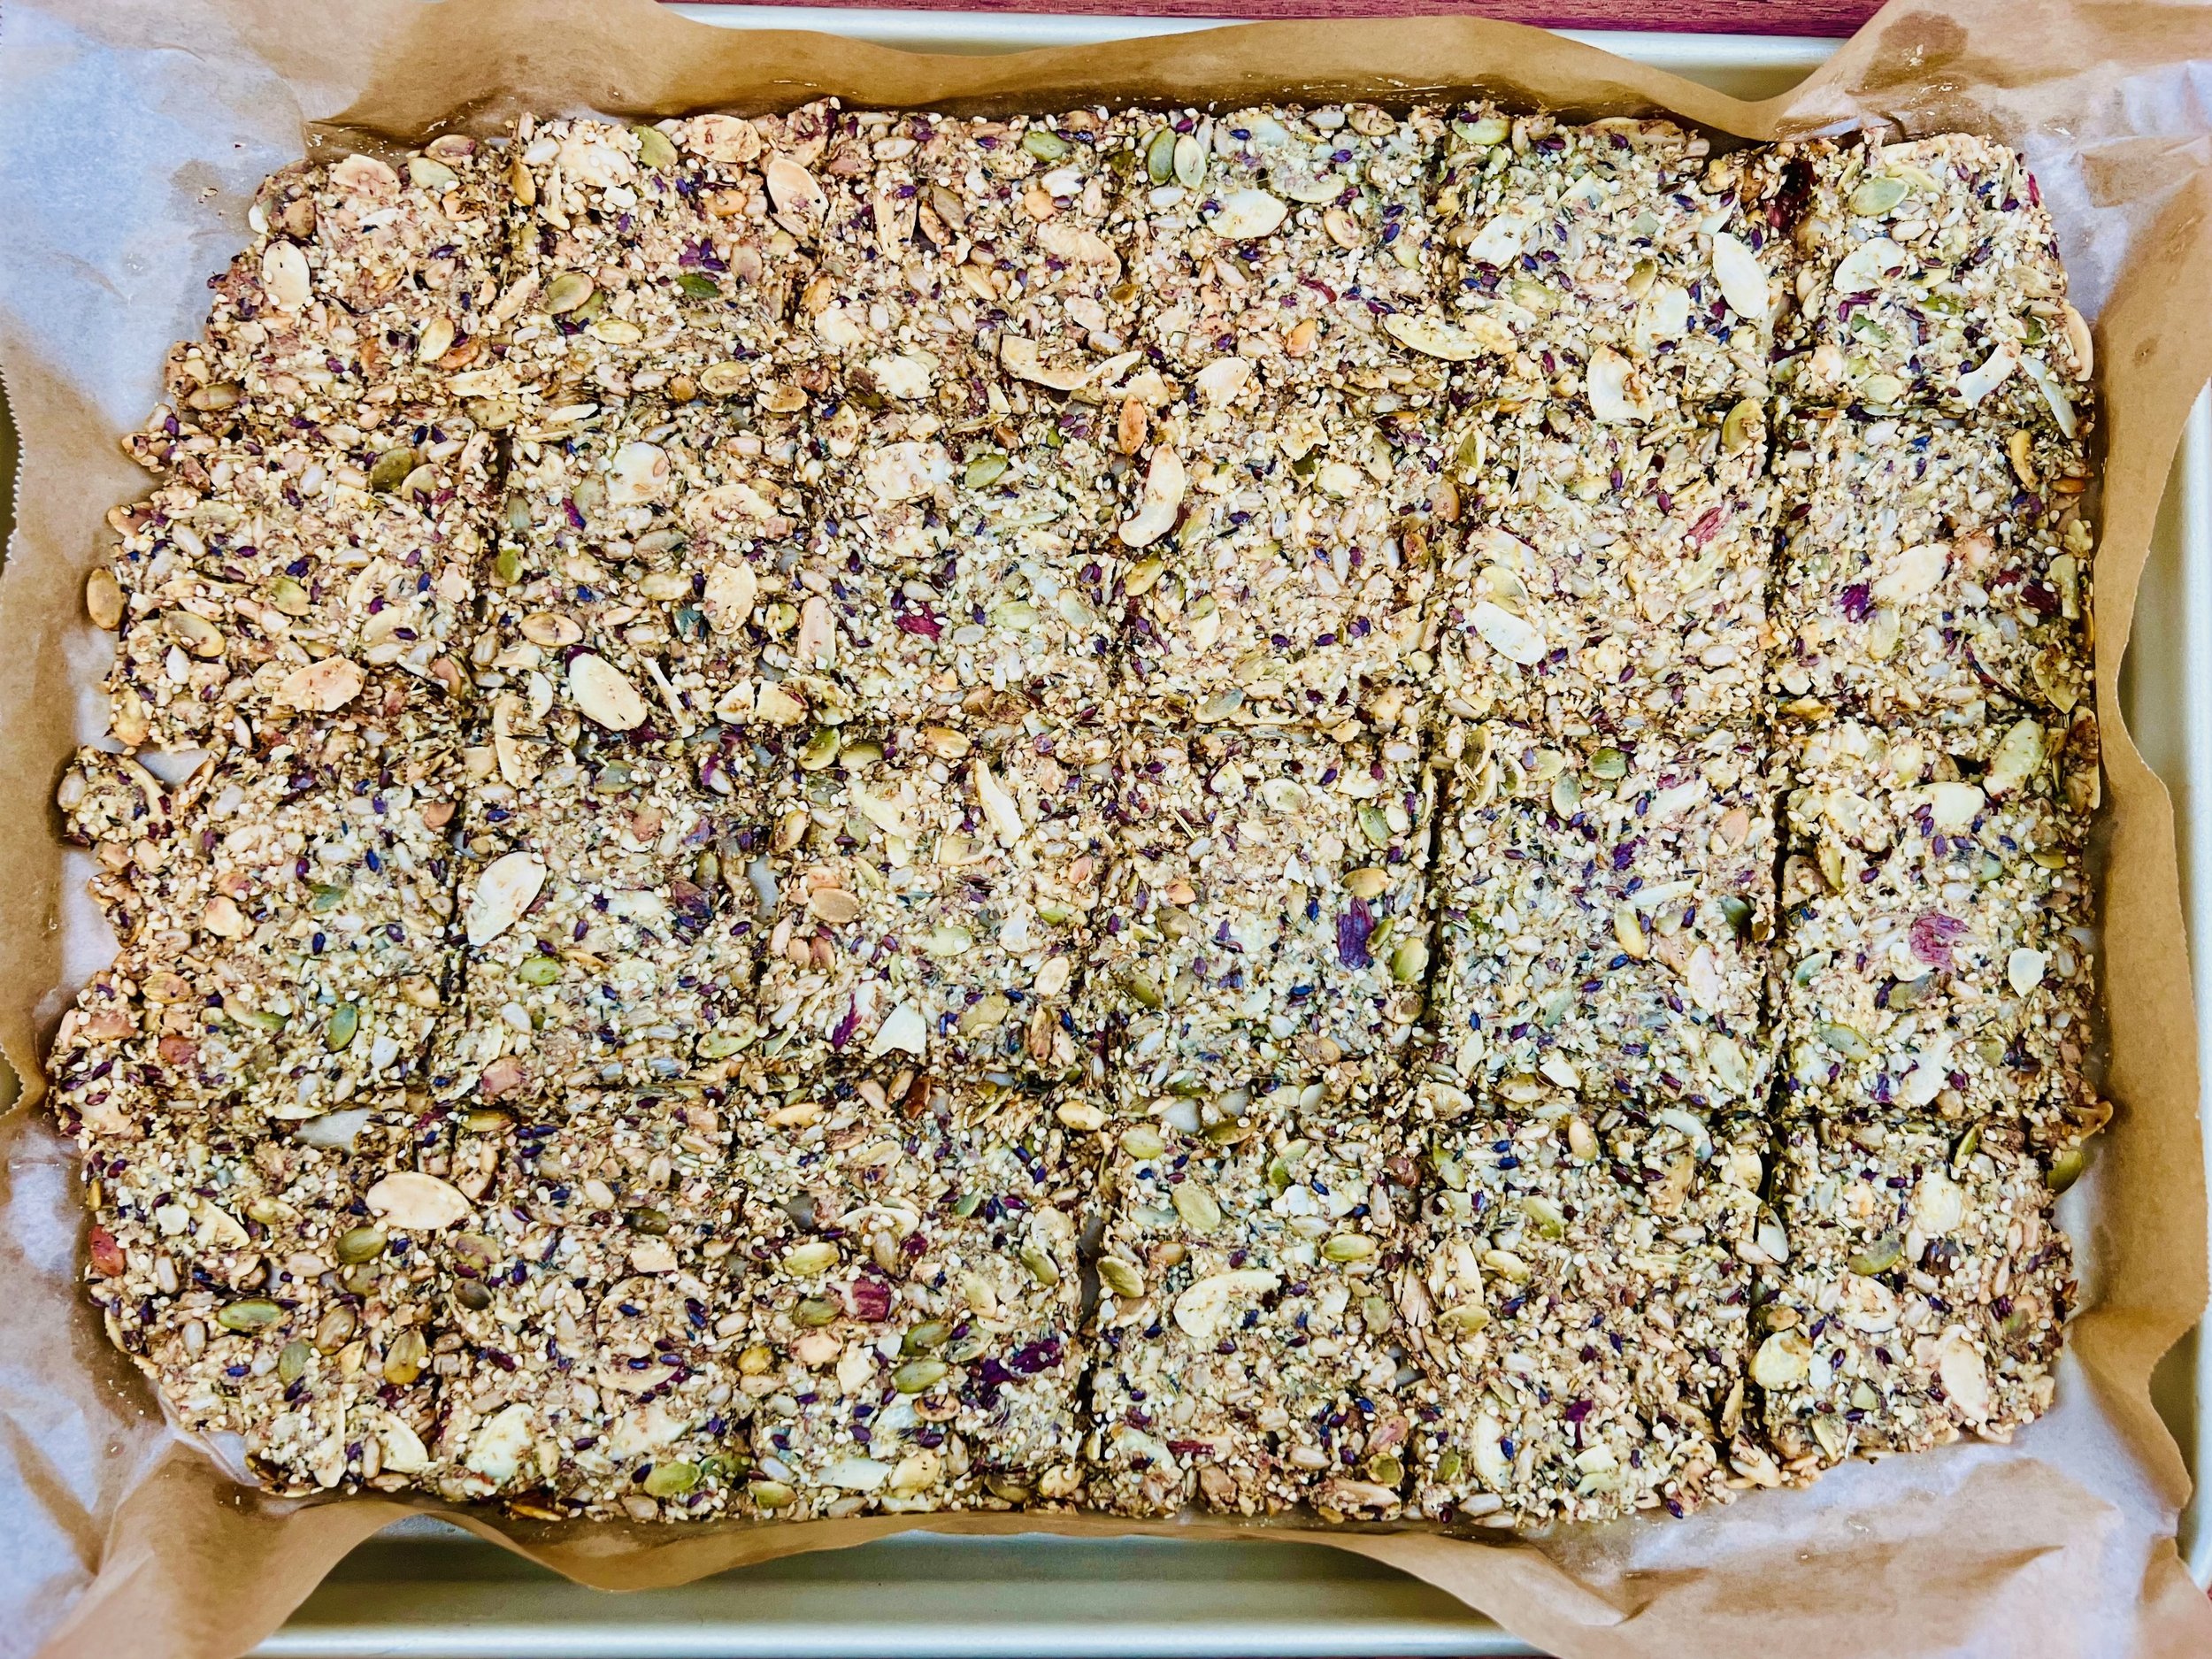
Umami Nut and Seed Crackers (Low FODMAP)
10 Minutes Prep • 50 Minutes Cook • Low FODMAP • Gluten-free • Dairy Free • Vegan • Serving size 3 - 4 crackers
10 Minutes Prep • 50 Minutes Cook • Low FODMAP • Gluten-free • Dairy Free • Vegan • Serving size 3 - 4 crackers • Ok to make ahead: Steps 1-4
If you know me, you know I always have seed crackers on hand. And if I’m running low, you’ll find me in the kitchen whipping up another batch! They are the perfect substitute for flour-based crackers and they add a ton of healthy ingredients and plants to your diet. In fact, this recipe includes 15 different plant-based ingredients! I have published a couple of versions of this recipe before, but because I make them so often, the recipe evolves and improves each time. So, I have to share this latest version with you!
Ingredients
3/4 cup raw sunflower seeds
3/4 cup raw pumpkin seeds
1 cup ground macadamia nuts
1/4 cup chia seeds (I use white but you can use any color. These are important - they hold everything together.)
1/2 cup whole flax seeds (any color is fine)
1 cup sliced almonds (or finely chopped)
1/4 cup flax seed meal
1/4 cup hulled hemp seeds (also called hemp hearts)
1/4 cup sesame seeds
1/4 cup psyllium husk powder (adds fiber and helps the crackers hold together better)
1/3 cup nutritional yeast (adds protein, fiber, B vitamins, and that good umami flavor)
1 1/2 cups hot water
2 tablespoons olive oil (I use Tuscan Herb olive oil for even more flavor)
1 heaping tablespoon dried thyme
1 heaping tablespoon dried rosemary
1 heaping teaspoon cumin powder
1/8 - 1/4 teaspoon cayenne pepper
2 teaspoons Kosher salt
Directions
(1) Prepare: Preheat oven to 325 degrees F. Lay parchment on two large, rimmed baking sheets. Grind the macadamia nuts in your food processor until they are a fine meal, but not quite turning to nut butter. Chop the almonds if you aren’t using pre-sliced almonds.
(2) Mix ingredients: Combine all dry ingredients (including ground macadamia nuts) in a mixing bowl and stir well. Add the water and the olive oil and stir again. Let sit (and stir a couple of times) for a minute or two until most of the liquid is absorbed.
(3) Prepare to bake: Lay a sheet of parchment paper out on a cutting board. Put half the mixture on the parchment sheet then lay another sheet of parchment on top of the mixture. Use your hands to smooth it out as EVENLY and thinly as you can. You want the entire amount to be as close to the same thickness as possible so you don’t overcook/undercook parts of your tray. Transfer the whole thing to your baking sheet and remove the top sheet of parchment.
(4) Score the crackers: Before baking, use a dull knife to score the entire sheet into a grid of about 3-inch square pieces by cutting 3 lines down the length of the pan and 4 or 5 lines across the narrow part of the pan. This helps the crackers cook more evenly and makes it easier to break them into pieces once cooked and cooled.
(5) Bake: Bake for 35 – 50 minutes (depending on how thick they are) until crispy but not burned. Swap your pans from top to bottom in your oven halfway through baking. To check for doneness, lift the parchment up and see if the cracker cracks or bends. If it bends instead of cracking, then cook it a few minutes longer. When done, remove from the oven and let cool. When cool, break into crackers.
(6) Troubleshooting: If your crackers are not all the same thickness some sections may be a bit chewy while others are crisp. Remove from the oven, let cool, and break all the crisp parts off leaving the thicker parts on the pan. Then, simply put them back in the oven and cook for another 5 minutes or so.
(7) Plate and serve: Eat your seed crackers plain as a crisp and flavorful snack or serve them with your favorite cheese, hummus, tapenade, nut butter, or whatever you like.
(8) Storage: Crackers will stay crisp and fresh if stored in an airtight container for up to two weeks (but they are unlikely to last that long because they’re so good!)
Eat and enjoy every bite because you can!
Recipe note: I use Diamond Crystal Kosher salt in all my recipes because it has a wonderful flat and crisp flake that tastes delicious. It is also the least salty salt available so you can use it more liberally as a seasoning than you can table salt or sea salt. If you use another type of salt, you may need to reduce the amount so it is not over-salted.
Have a question you’d like to have answered? Email me at hello@ibsgamechanger.com
Link note: This post may contain affiliate links for you to easily purchase items that are linked. I may earn a small commission from qualifying purchases but none of this costs you a thing so feel free to use the links! In addition, for some items, I have provided a special discount code for IBS Game Changers so be sure to use the code when you purchase an item to get the discount that has been arranged just for you.
More Deliciously Low FODMAP™ appetizer recipes
5 Minutes prep • 15 Minutes cook • Low FODMAP • Gluten-Free • Lactose-Free • Makes 2 cups
10 Minutes Prep • 50 Minutes Cook • Low FODMAP • Gluten-free • Dairy Free • Vegan • Serving size 3 - 4 crackers
10 Minutes prep • 15 Minutes rest • Low FODMAP • Gluten-free • Dairy-free • Serving size 3 tablespoons
10 Minutes prep • 20 Minutes cook • Low FODMAP • Gluten-free • Lactose-free • Vegan • Serves 5
15 Minutes prep • 1 hour chill • Low FODMAP • Gluten-free • Vegetarian • Serves 4 or more
10 Minutes prep • Low FODMAP • Gluten-Free • Lactose-free • Vegetarian • Vegan • Makes 1.5 cups
10 Minutes Prep • 50 Minutes Cook • Gluten-free • Dairy-free • Low FODMAP • Serving size 3-4 crackers
5 Minutes prep • 10 Minutes cook • Low FODMAP • Gluten-free • Lactose-free • Makes 1 cup
20 Minutes prep • 16 Minutes cook • Low FODMAP • Vegetarian • Serves 8 • Ok to make-ahead: Steps 1-5
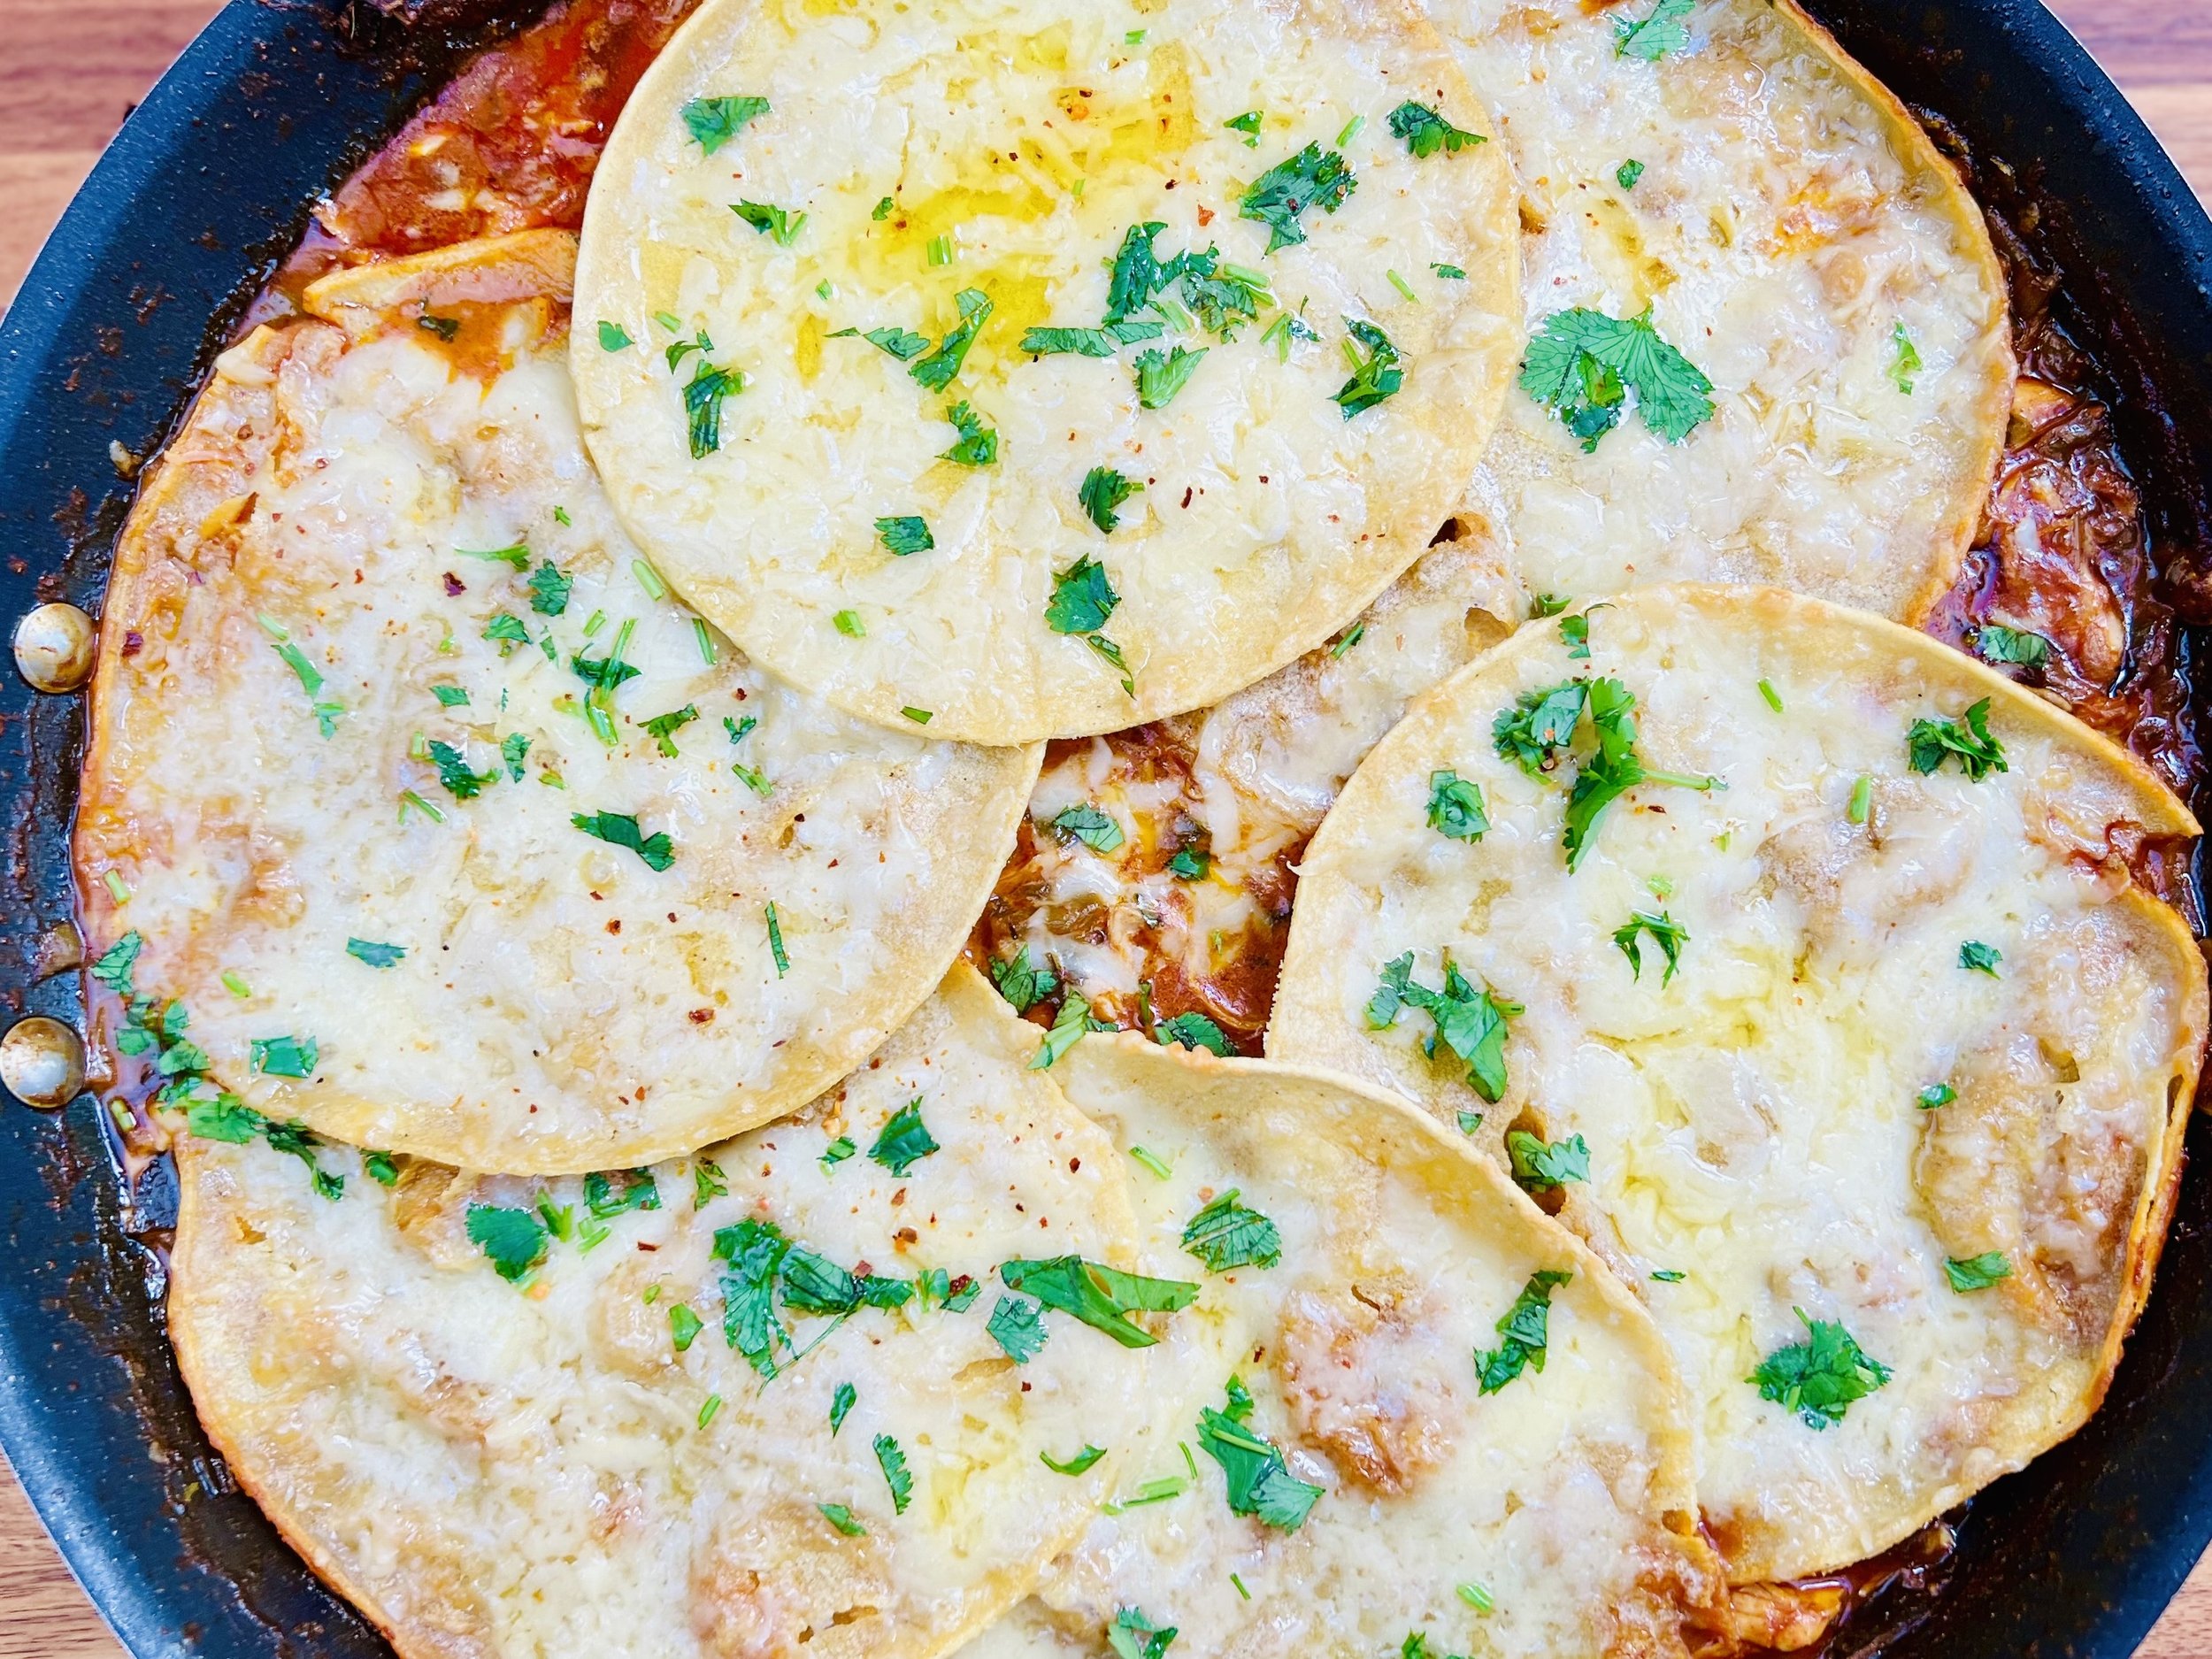
Easy One Pan Creamy Skillet Enchiladas (Low FODMAP)
15 Minutes prep • 30 Minutes cook • Low FODMAP • Gluten-free • Serves 6
15 Minutes prep • 30 Minutes cook • Low FODMAP • Gluten-free • Serves 6 • Ok to make ahead: Steps 1-2
This is an easy and delicious one-pan weeknight meal that makes great leftovers for lunch the next day! You can also double the recipe and serve it for a crowd. Made all in one pan, these skillet enchiladas are a wonderful blend of smoky flavor and creamy sauce. Using a super-flavorful cheese such as extra-sharp cheddar or gruyere (or you can use the Trader Joe’s blend of both) adds to the depth of flavor making this dish a little more special.
Ingredients
1 cup leek greens, chopped
1 pound boneless, skinless chicken breasts
1 tablespoon smoked paprika
2 teaspoons Smoke n Sanity Essence of Garlic Salt (use code IBSGC15 for 15% discount)
12 ounces of my Red Enchilada Sauce (or use canned if you can tolerate a bit of onion/garlic)
8 ounces canned diced green chilies
1 cup heavy cream
1/2 cup cilantro, chopped
6 gluten-free corn tortillas
1 1/2 cups extra sharp cheddar or gruyere cheese, grated
Lime wedges, avocado, and/or lactose-free sour cream for serving
Directions
(1) Prepare the chicken: This step is optional but results in a more flavorful and tender chicken. Remove chicken from the package, and put it in one layer on a rimmed plate or baking dish. Season both sides of each piece lightly with Kosher salt (about 1/4 - 1/2 teaspoon per side). Cover the dish with plastic wrap and refrigerate until ready to use, ideally about 4 hours before cooking or overnight.
(2) Prepare: Make my Red Enchilada Sauce if not using canned. Preheat the oven to 400 degrees F. Chop the leek greens and cilantro. If the chicken breasts are large, cut them through horizontally to make two thinner pieces out of each large piece.
(3) Cook the chicken: In a large oven-safe skillet, combine the leek greens, smoked paprika, essence of garlic salt, diced green chilies, enchilada sauce, and 1/2 cup water. Stir to blend a bit, then add the chicken. Bring to a boil over medium-high heat then cover and reduce the heat to medium-low. Cook for 10 - 15 minutes until the chicken is just cooked and shreds easily.
(4) Shred the chicken: Remove the chicken to a cutting board and shred it with two forks. Return the chicken to the pan and add the cream. Simmer for about 5 minutes until the sauce starts to thicken. Stir in the cilantro.
(5) Finish: Arrange the tortillas on top of the chicken. Top with the cheese. Bake in preheated oven for 10 - 15 minutes until the cheese is melted and bubbling.
(6) Plate and serve: Serve with lime wedges, avocado slices, and lactose-free sour cream.
Eat and enjoy every bite because you can!
Recipe note: I use Diamond Crystal Kosher salt in all my recipes because it has a wonderful flat and crisp flake that tastes delicious. It is also the least salty salt available so you can use it more liberally as a seasoning than you can table salt or sea salt. If you use another type of salt, you may need to reduce the amount so it is not over-salted.
Have a question you’d like to have answered? Email me at hello@ibsgamechanger.com
Link note: This post may contain affiliate links for you to easily purchase items that are linked. I may earn a small commission from qualifying purchases but none of this costs you a thing so feel free to use the links! In addition, for some items, I have provided a special discount code for IBS Game Changers so be sure to use the code when you purchase an item to get the discount that has been arranged just for you.
More Deliciously Low FODMAP™ main course recipes
15 Minutes prep • 30 Minutes cook • Low FODMAP • Serves 4 • Ok to make-ahead: Steps 1 - 2
10 Minutes prep • 25 Minutes cook • Low FODMAP • Gluten-Free • Serves 6 • Ok to make-ahead: Step 1
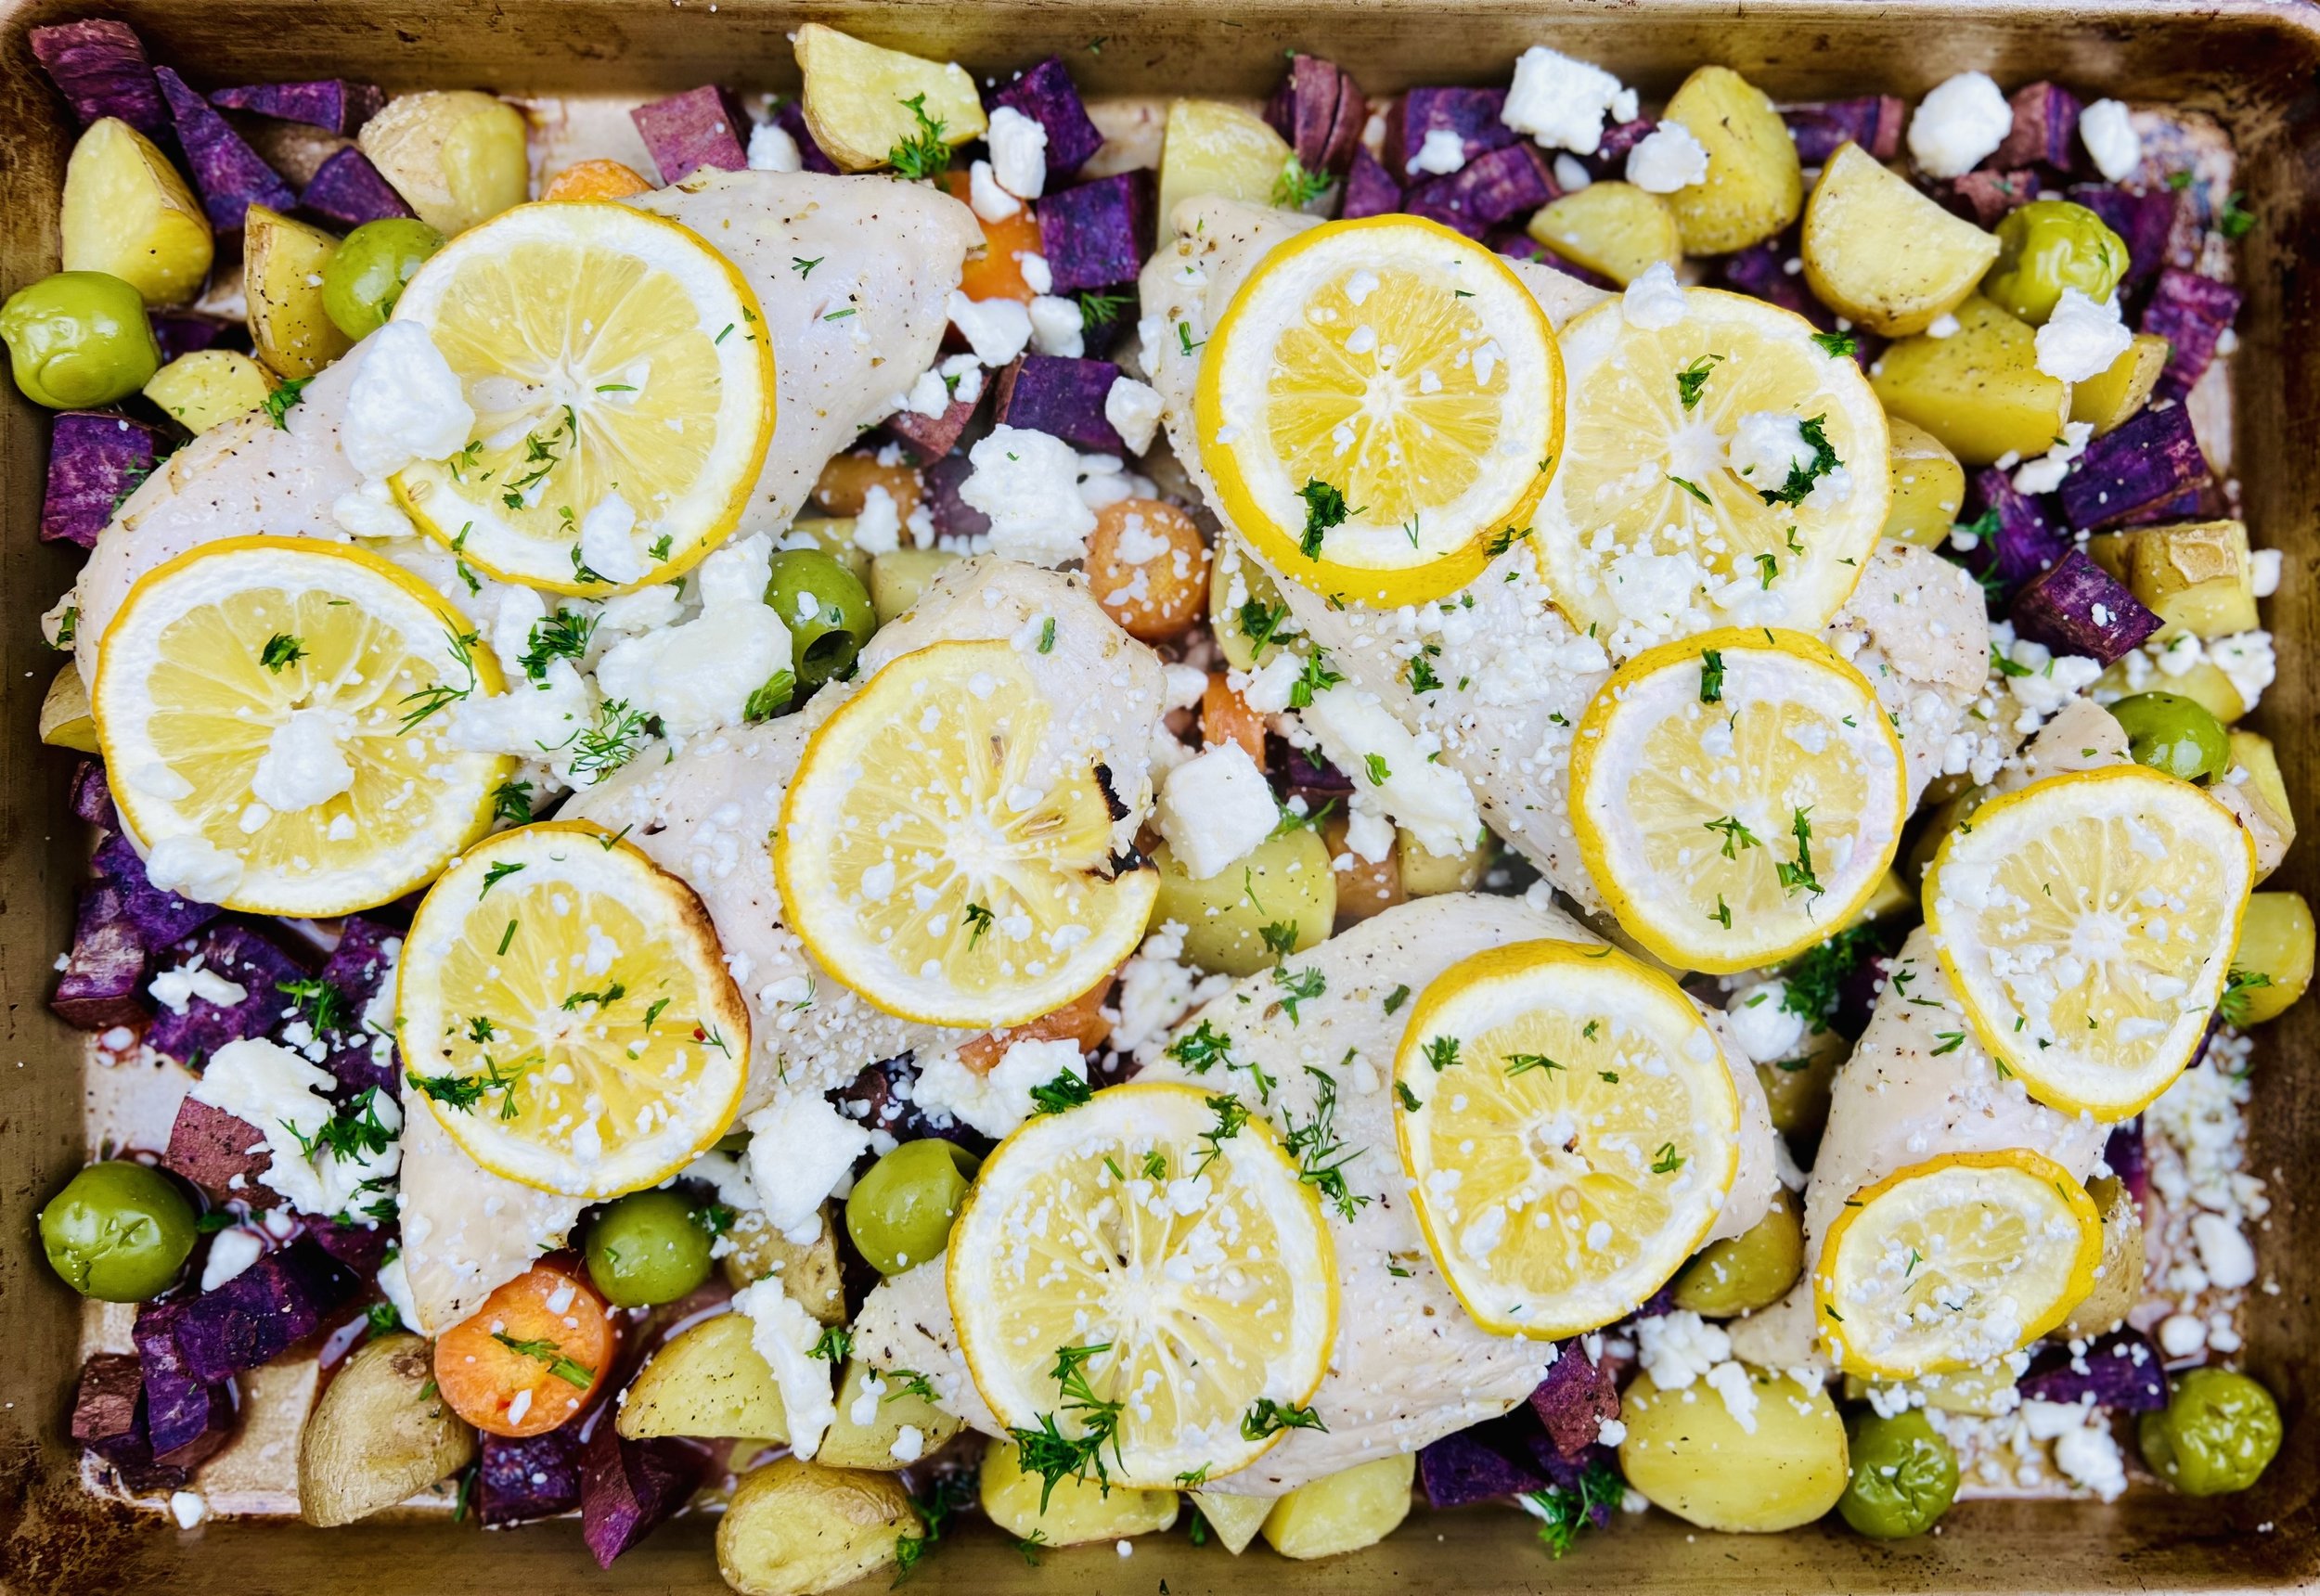
Sheet Pan Lemon Dill Chicken with Root Veggies (Low FODMAP)
20 Minutes prep • 30 Minutes cook • Low FODMAP • Gluten-free • Serves 4
20 Minutes prep • 30 Minutes cook • Low FODMAP • Gluten-free • Serves 4 • Ok to make ahead: Steps 1-3
Vibrant color and delicious Mediterranean flavor make this dish a perfect one-pan meal for the family or a dinner party alike. You can prep the veggies and marinate the chicken ahead of time to make your meal prep fast so you can relax. Swap the root veggies around, depending on what you have on hand. No need to worry if you don’t have exactly what the recipe calls for.
Ingredients: Marinade
2 tablespoons garlic-infused olive oil
1 tablespoon lemon juice
1/2 teaspoon dried oregano
1 teaspoon Kosher salt
1/2 teaspoon black pepper
Ingredients: Chicken & Veggies
1 1/2 - 2 pounds boneless, skinless chicken breasts, sliced horizontally if large
10 small new potatoes, quartered
1 medium sweet potato, cubed (I used a Hawaiian purple variety)
2 carrots, sliced
3 tablespoons garlic-infused olive oil, divided
3 tablespoons lemon juice, divided
1/2 teaspoon Kosher salt
1/4 teaspoon black pepper
1/2 cup Castelvetrano or Kalamata olives
1/2 cup feta cheese, crumbled
One lemon, sliced and seeded
Fresh dill, chopped, for serving
Directions
(1) Prepare the chicken: This step is optional but results in a more flavorful and tender chicken. Remove chicken from the package, and put it in one layer on a rimmed plate or baking dish. Season both sides of each piece lightly with Kosher salt (about 1/4 - 1/2 teaspoon per side). Cover the dish with plastic wrap and refrigerate until ready to use, ideally about 4 hours before cooking or overnight. If the breasts are very large, slice them horizontally before salting.
(2) Make the marinade: Combine all marinade ingredients in a bowl and whisk to combine. Add the chicken and turn to be sure all pieces are coated. Cover with plastic wrap and refrigerate for at least 30 minutes — or up to overnight.
(3) Prepare: Preheat the oven to 425 degrees F. Slice and see the lemon. Chop the root vegetables into fairly small pieces so they will cook through quickly. Toss with 1 tablespoon olive oil and 1 tablespoon lemon juice. Spread in one even layer on a large, rimmed baking sheet or roasting pan. Sprinkle with 1/2 teaspoon salt and 1/4 teaspoon pepper.
Make-ahead note: At this point, you may keep the chicken marinating, and set the veggies aside in the refrigerator until you’re ready to bake.
(4) Bake: Lay the chicken on top of the vegetables and put two slices of lemon on each chicken breast. Sprinkle over the olives, and feta cheese. Roast for about 15 minutes then check the chicken for doneness with an instant-read thermometer. The thickest part of the chicken will be 165 degrees F when it is done. If not yet done, roast for another 5 - 10 minutes until the chicken is just done. If the vegetables are not yet tender, remove the chicken from the pan to a warm plate and cover. Toss the vegetables in the pan and roast until done.
(5) Plate and serve: Serve the veggies with the chicken on top. Sprinkle with chopped fresh dill.
Eat and enjoy every bite because you can!
Recipe note: I use Diamond Crystal Kosher salt in all my recipes because it has a wonderful flat and crisp flake that tastes delicious. It is also the least salty salt available so you can use it more liberally as a seasoning than you can table salt or sea salt. If you use another type of salt, you may need to reduce the amount so it is not over-salted.
Have a question you’d like to have answered? Email me at hello@ibsgamechanger.com
Link note: This post may contain affiliate links for you to easily purchase items that are linked. I may earn a small commission from qualifying purchases but none of this costs you a thing so feel free to use the links! In addition, for some items, I have provided a special discount code for IBS Game Changers so be sure to use the code when you purchase an item to get the discount that has been arranged just for you.
More Deliciously Low FODMAP™ main course recipes
15 Minutes prep • 30 Minutes cook • Low FODMAP • Serves 4 • Ok to make-ahead: Steps 1 - 2
10 Minutes prep • 25 Minutes cook • Low FODMAP • Gluten-Free • Serves 6 • Ok to make-ahead: Step 1
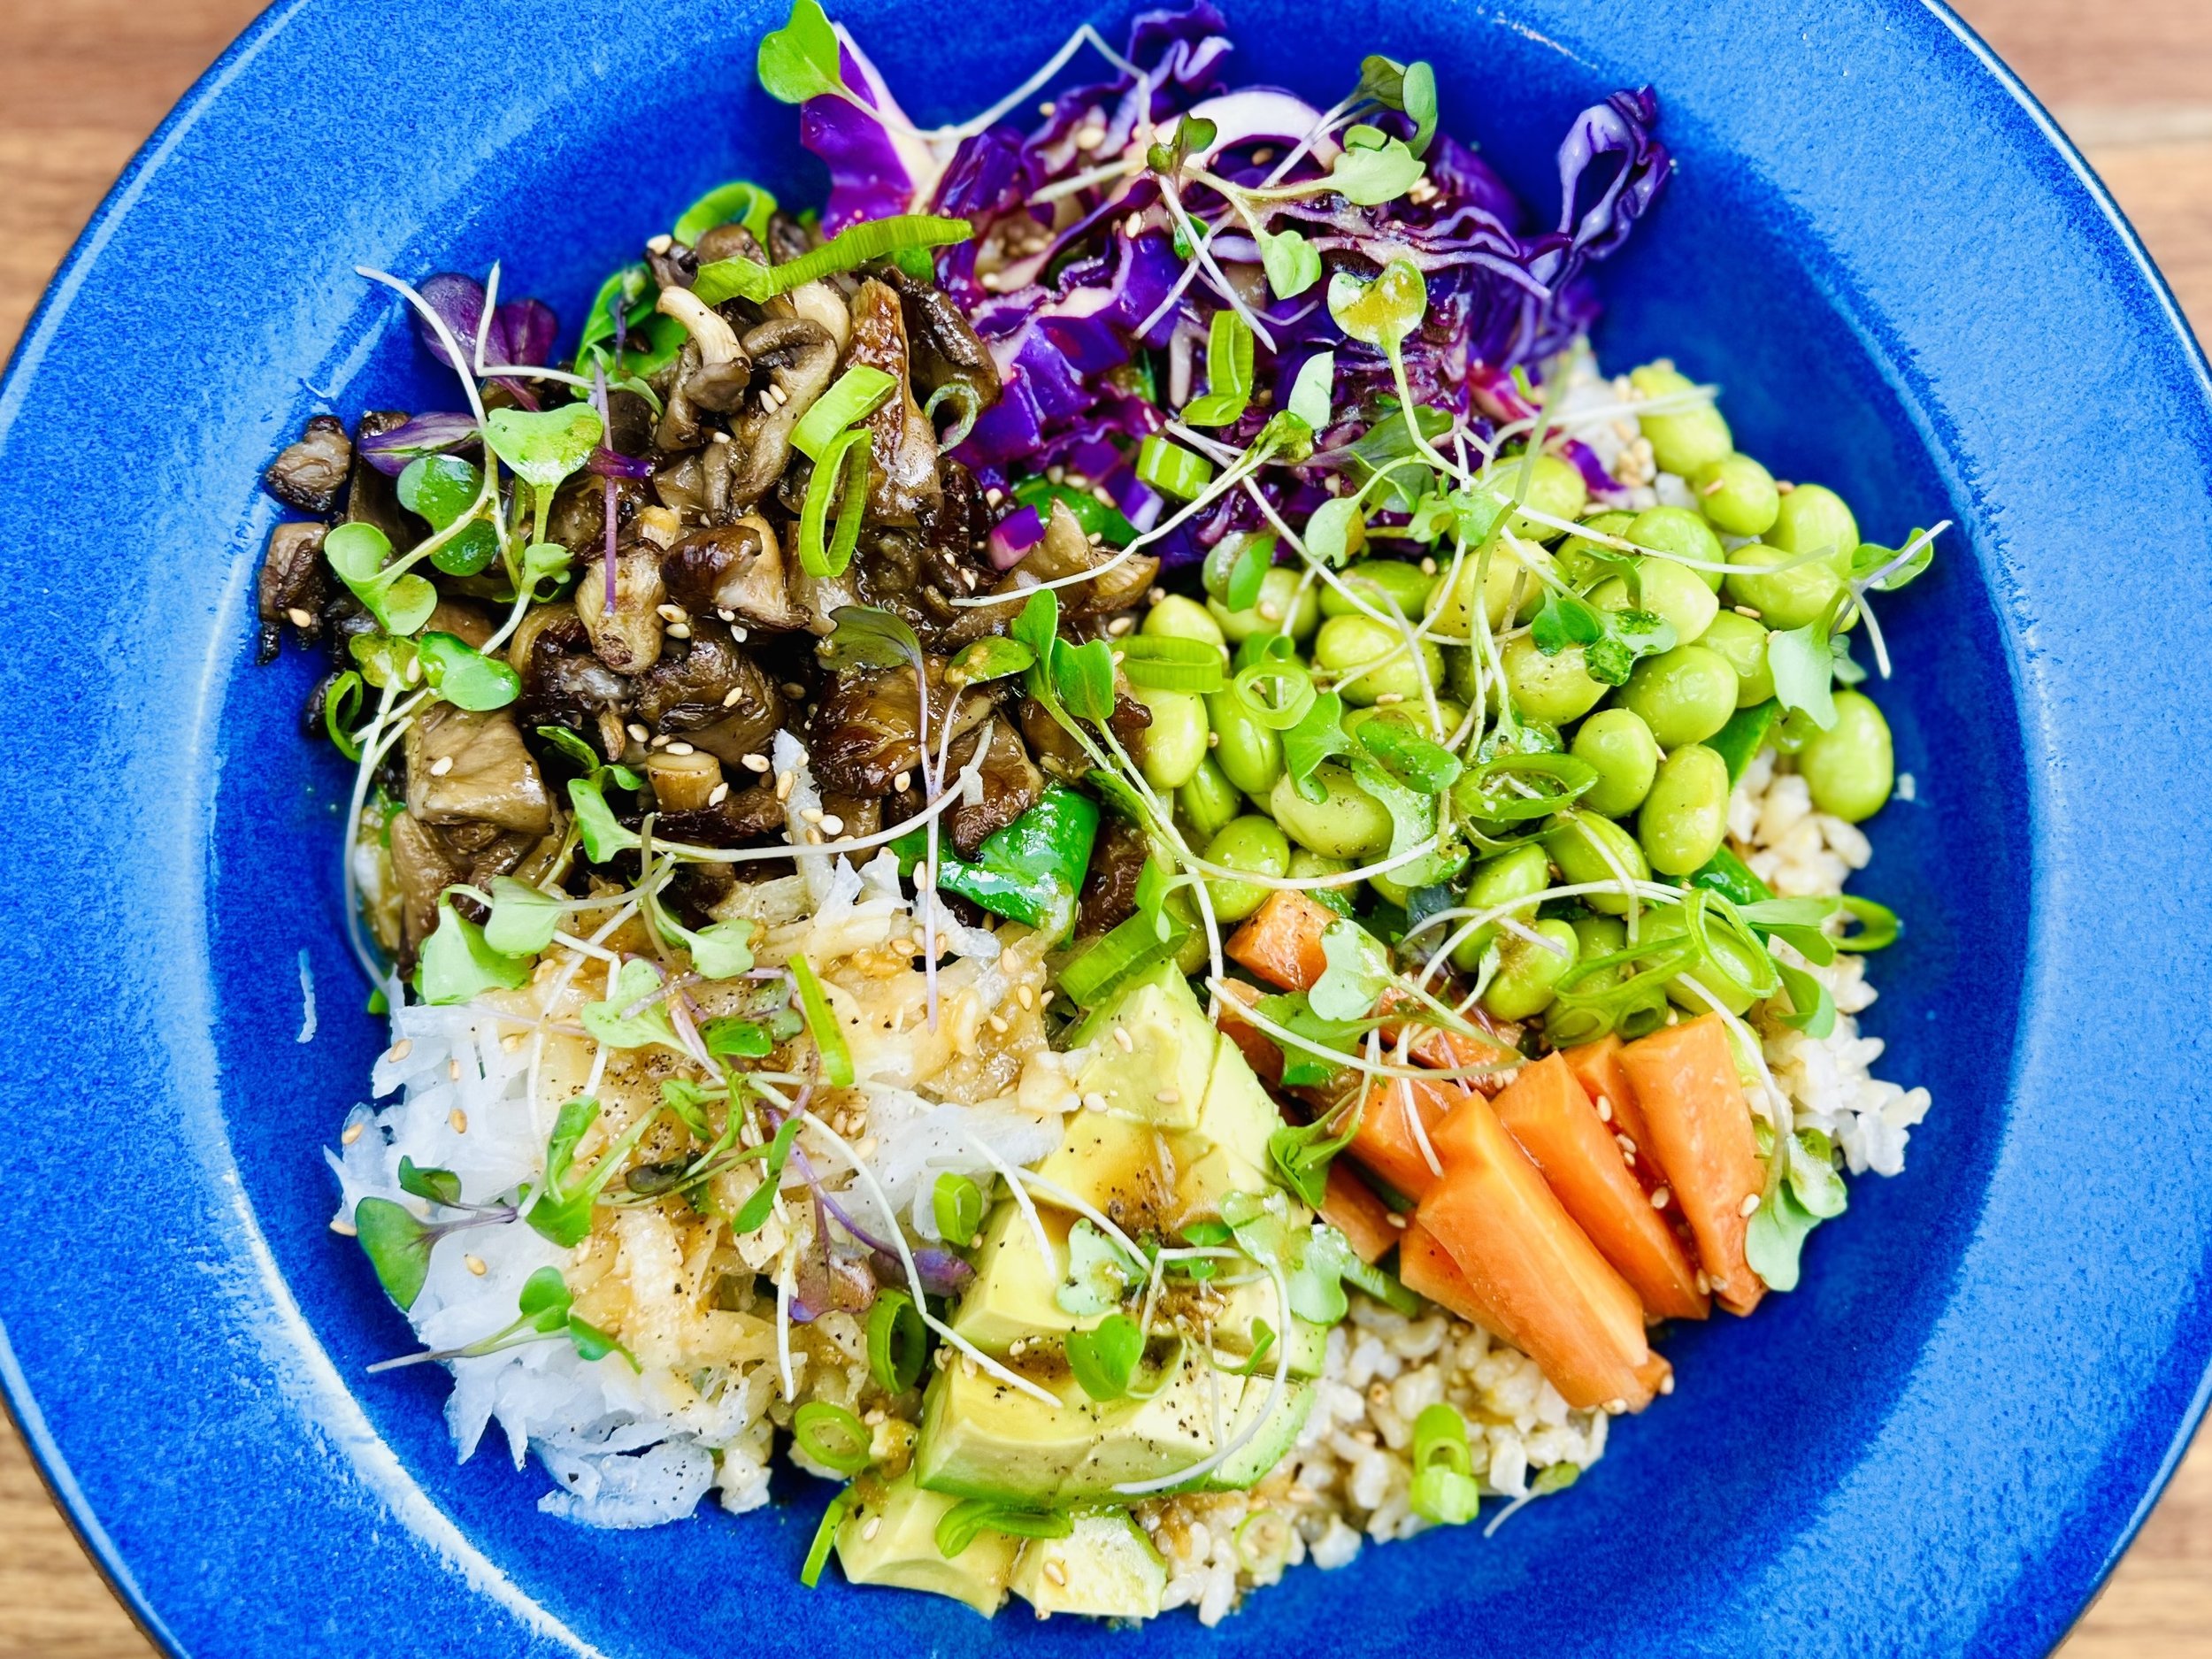
Vegan Miso Veggie Bowl (Low FODMAP)
15 Minutes prep • 55 Minutes cook (if using brown rice) • Low FODMAP • Gluten-free • Lactose-free • Vegan • Serves 4
15 Minutes prep • 55 Minutes cook (if using brown rice) • Low FODMAP • Gluten-free • Lactose-free • Vegan • Serves 4 • Ok to make ahead: Steps 1-3
I dare you to try not to love this delicious combination of vegetables, rice, and amazing miso sauce. Even if you’re a devout hater of all things vegan—this one is going to win you over. The combination of crunchy, creamy, and dreamy is simply impossible not to love. So, whip this up for your next dinner with family or friends. You can make the rice ahead of time and keep it warm to save most of the cooking time. Want to make a low-carb version? Skip the rice and add more plants!
Ingredients: Veggie Bowl
1 cup short-grain brown rice, cooked per package instructions
1 cup edamame, cooked per package instructions
1 tablespoon toasted sesame oil
1 tablespoon extra-virgin olive oil
1 pound oyster mushrooms, chopped
1/2 teaspoon each Kosher salt and black pepper, or to taste
1 tablespoon butter (leave out for vegan version)
1 cup red cabbage, sliced thinly
1/2 cup carrots, cut into matchsticks or shredded
1 cup shredded daikon, cucumber, or jicama
1 avocado, cubed
2 cups baby spinach, long stems removed and roughly chopped
Green onion greens, toasted sesame seeds, and sprouts for serving (all optional)
Ingredients: Dressing
1/4 cup garlic-infused olive oil
3 tablespoons toasted sesame oil
3 tablespoons rice vinegar
2 tablespoons gluten-free low-sodium soy sauce
1-2 tablespoons maple syrup (to your taste)
2 tablespoons white miso
2 tablespoons water
2 teaspoons fresh ginger, grated
Directions
(1) Prepare: Get the brown rice cooking. Cook the edamame per package instructions. Chop or shred the veggies as indicated.
(2) Make the dressing: put all ingredients in a blender or glass jar and blend or shake well until smooth.
(3) Cook the mushrooms: In a large skillet over medium heat, add the oil. When the oil is hot, add the chopped mushrooms, salt, and pepper. Sear the mushrooms in one layer (you may have to do 2 batches if your pan is small), browning each side. At the end of the cooking time, add the butter (if using) and let it melt. Toss the mushrooms in the butter. Set the cooked mushrooms aside on a plate.
(4) Plate and serve: Divide warm rice among bowls. (Shallow wide bowls work best for this presentation.) Top with a handful of baby spinach. On top of the spinach, arrange the edamame, cabbage, carrots, daikon, avocado, and mushrooms. Top with scallions, sprouts, and toasted sesame seeds. Drizzle generously with the dressing.
Eat and enjoy every bite because you can!
Recipe note: I use Diamond Crystal Kosher salt in all my recipes because it has a wonderful flat and crisp flake that tastes delicious. It is also the least salty salt available so you can use it more liberally as a seasoning than you can table salt or sea salt. If you use another type of salt, you may need to reduce the amount so it is not over-salted.
Have a question you’d like to have answered? Email me at hello@ibsgamechanger.com
Link note: This post may contain affiliate links for you to easily purchase items that are linked. I may earn a small commission from qualifying purchases but none of this costs you a thing so feel free to use the links! In addition, for some items, I have provided a special discount code for IBS Game Changers so be sure to use the code when you purchase an item to get the discount that has been arranged just for you.
More Deliciously Low FODMAP™ vegan recipes
10 Minutes prep • 20 Minutes cook • Low FODMAP • Gluten-free • Lactose-free • Vegan • Makes 6 cups
5 Minutes prep • 15 Minutes cook • Low FODMAP • Gluten-free • Lactose-free • Vegan • Serves 4
10 Minutes Prep • 50 Minutes Cook • Low FODMAP • Gluten-free • Dairy Free • Vegan • Serving size 3 - 4 crackers
15 Minutes prep • 55 Minutes cook (if using brown rice) • Low FODMAP • Gluten-free • Lactose-free • Vegan • Serves 4
10 Minutes prep • 10 Minutes cook • Low FODMAP • Gluten-free • Lactose-free • Vegan • Serves 4
10 Minutes prep • 25 Minutes cook • Low FODMAP • Gluten-free • Vegetarian • Plant Forward • Serves 4
15 Minutes prep • Low FODMAP • Gluten-free • Lactose-free • Vegetarian • Vegan • Serves 4
20 Minutes prep • 25 Minutes cook • Low FODMAP • Gluten-free • Lactose-free • Vegetarian • Serves 4
10 Minutes prep • 20 Minutes cook • Low FODMAP • Gluten-free • Lactose-free • Vegan • Serves 5
10 Minutes prep • Low FODMAP • Gluten-Free • Lactose-free • Vegetarian • Vegan • Makes 1.5 cups
10 Minutes Prep • 50 Minutes Cook • Gluten-free • Dairy-free • Low FODMAP • Serving size 3-4 crackers
30 Minutes prep • Low FODMAP • Gluten-free • Lactose-free • Vegetarian • Vegan • Serves 4+ • Serving Size 2 cups
20 Minutes prep • 25 Minutes cook • Low FODMAP • Gluten-free • Lactose-free • Vegetarian • Serves 4
5 Minutes prep • 45 Minutes cook • Low FODMAP • Gluten-Free • Lactose-Free • Vegetarian • Vegan • Serves 2 - 4
20 Minutes prep • Low FODMAP • Gluten-free • Lactose-free • Vegetarian • Vegan • Serves 4
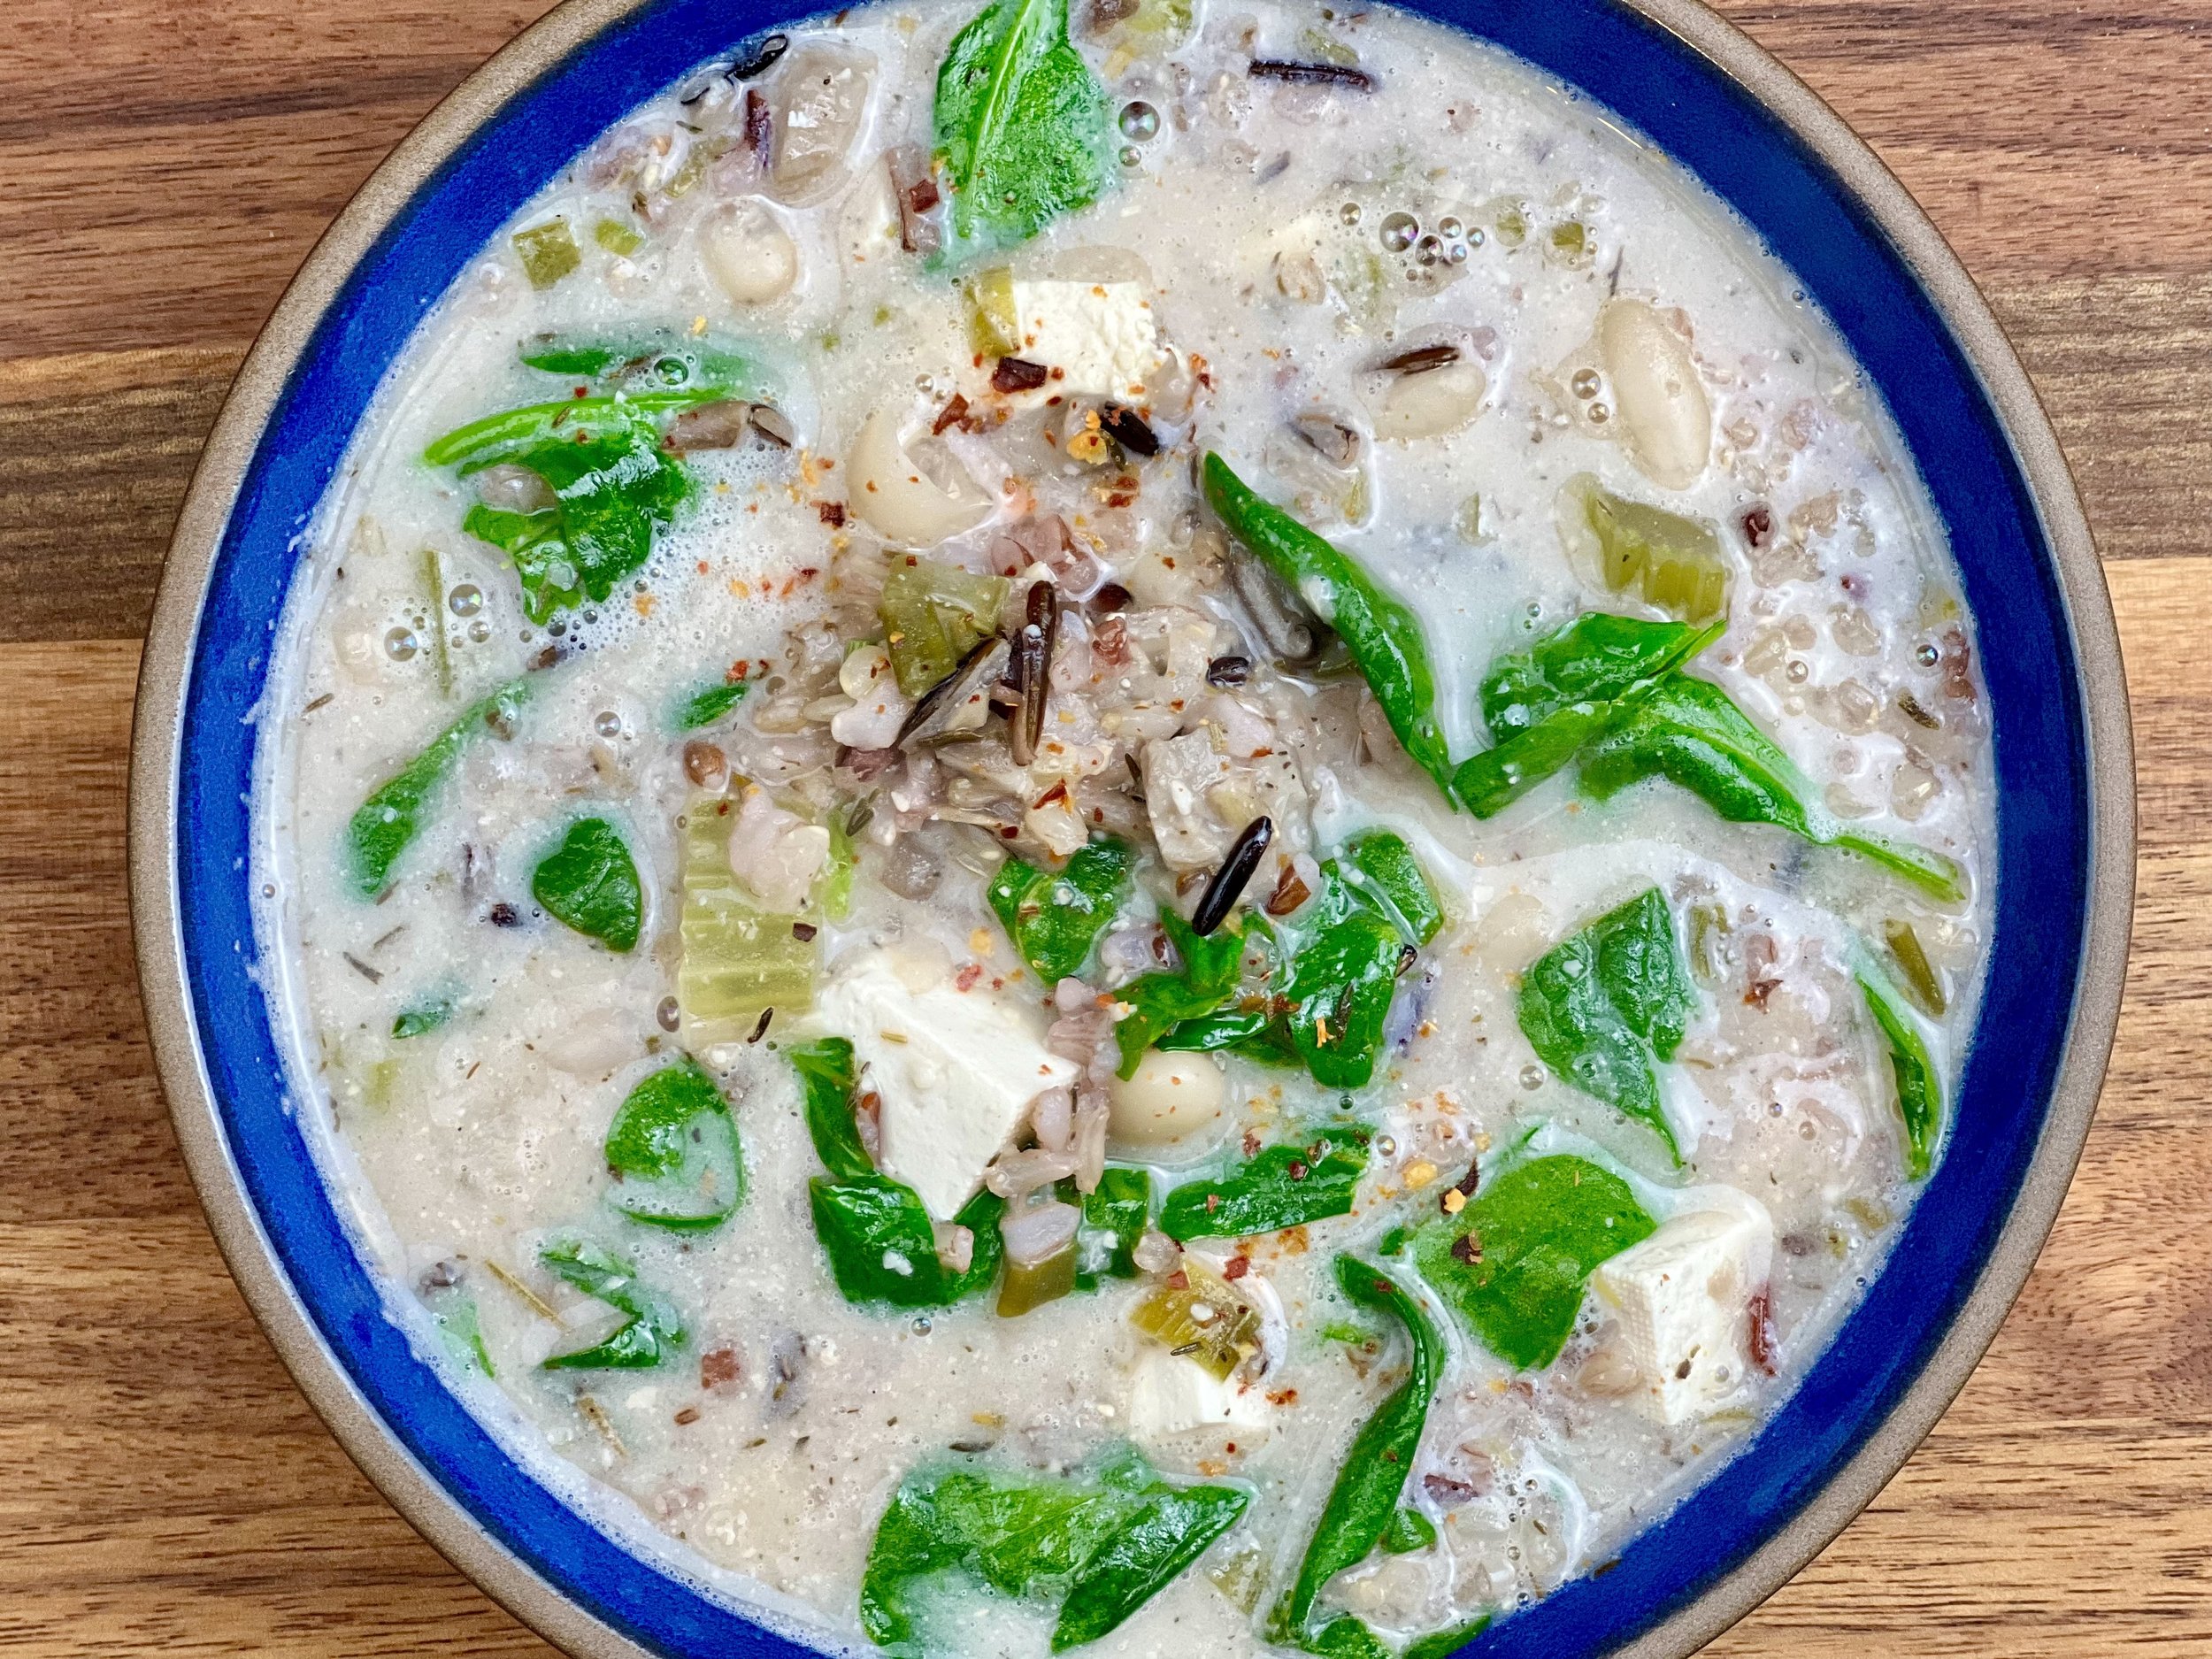
Creamy Vegan Wild Rice and Veggie Soup (Low FODMAP)
20 Minutes prep • 25 Minutes cook • Low FODMAP • Serves 4
10 Minutes prep • 35 Minutes cook • Low FODMAP • Lactose-free • Gluten-free • Vegan • Serves 4 • Ok to make ahead: Steps 1-5
I used to be one of those people who saw “vegan” and thought “No way, that’s going to be terrible.” Well, that is no longer the case and now that I have embraced a plant-forward approach to much of my cooking, I have started developing vegetarian and vegan recipes worthy of the IBS Game Changer name! This soup is no exception. Super flavorful, creamy, and hearty without any animal products at all! And this soup has 15 different plants in it as written, and you could even throw a few more in there for good measure if you like. I hope you try it and you love it as much as I do.
Ingredients: Creamy Base
1 cup full-fat (unsweetened) coconut milk
1/3 cup activated (aka sprouted) cashews (no more than 40 nuts)
2 tablespoons white miso paste
2 teaspoons Dijon mustard
Ingredients: Soup
2 tablespoons garlic-infused olive oil
1 bunch green onions, green part only, chopped
1 celery stalk, chopped
1 large carrot, chopped
8 ounces oyster mushrooms, chopped
7 ounces (about 1/2 block) Firm Tofu, cubed (optional)
1 teaspoon Kosher salt
1 tablespoon dry rosemary
1 tablespoon dry thyme
1 cup canned cannellini beans, drained and rinsed
1/4 teaspoon black pepper
4 cups water
1 cup raw wild rice blend (about 2 cups cooked)
3 tablespoons fresh lemon juice
1 tablespoon gluten-free soy sauce
4 cups chopped baby spinach, long stems removed (or you can use kale if you prefer)
Red pepper flakes for serving, optional
Directions
(1) Prepare: Cook the rice per package instructions. Chop the green onion greens, celery, carrot, and mushrooms. Drain the tofu (if using).
(2) Make the creamy base: Place the coconut milk, cashews, miso paste, and Dijon mustard in a blender or mini food processor and process until smooth. Set aside.
(3) Saute the vegetables: Heat the garlic-infused olive oil in a medium-large Dutch oven or soup pot over medium heat. Add the green onion greens, celery, carrot, mushrooms, and salt. Stir to combine. Cook, stirring occasionally, until the mushrooms are tender, about 8 to 10 minutes.
(4) Make the soup: Add the rosemary and thyme to the pan and let sizzle for about 30 seconds. Then add the cannellini beans, black pepper, and water. Stir again. Cover and simmer for 20 minutes.
(5) Finish: Stir in the creamy base, cooked rice, 3 tablespoons lemon juice, and spinach. Add the cubed tofu (if using). Simmer over low heat until the spinach (or kale) is wilted, about 2 - 5 minutes. Add additional seasoning to taste.
(6) Plate and Serve: Serve with more lemon juice, parsley, and a sprinkle of red pepper flakes, if you like.
Eat and enjoy every bite because you can!
Recipe note: I use Diamond Crystal Kosher salt in all my recipes because it has a wonderful flat and crisp flake that tastes delicious. It is also the least salty salt available so you can use it more liberally as a seasoning than you can table salt or sea salt. If you use another type of salt, you may need to reduce the amount so it is not over-salted.
Have a question you’d like to have answered? Email me at hello@ibsgamechanger.com
Link note: This post may contain affiliate links for you to easily purchase items that are linked. I may earn a small commission from qualifying purchases but none of this costs you a thing so feel free to use the links! In addition, for some items, I have provided a special discount code for IBS Game Changers so be sure to use the code when you purchase an item to get the discount that has been arranged just for you.
More Deliciously Low FODMAP™ vegan recipes
10 Minutes prep • 20 Minutes cook • Low FODMAP • Gluten-free • Lactose-free • Vegan • Makes 6 cups
5 Minutes prep • 15 Minutes cook • Low FODMAP • Gluten-free • Lactose-free • Vegan • Serves 4
10 Minutes Prep • 50 Minutes Cook • Low FODMAP • Gluten-free • Dairy Free • Vegan • Serving size 3 - 4 crackers
15 Minutes prep • 55 Minutes cook (if using brown rice) • Low FODMAP • Gluten-free • Lactose-free • Vegan • Serves 4
10 Minutes prep • 10 Minutes cook • Low FODMAP • Gluten-free • Lactose-free • Vegan • Serves 4
10 Minutes prep • 25 Minutes cook • Low FODMAP • Gluten-free • Vegetarian • Plant Forward • Serves 4
20 Minutes prep • 40 Minutes cook • Low FODMAP • Gluten-free • Vegetarian • Serves 4 - 6 • Ok to make ahead: Steps 1-4
15 Minutes prep • Low FODMAP • Gluten-free • Lactose-free • Vegetarian • Vegan • Serves 4
20 Minutes prep • 25 Minutes cook • Low FODMAP • Gluten-free • Lactose-free • Vegetarian • Serves 4
10 Minutes prep • 20 Minutes cook • Low FODMAP • Gluten-free • Lactose-free • Vegan • Serves 5
10 Minutes prep • Low FODMAP • Gluten-Free • Lactose-free • Vegetarian • Vegan • Makes 1.5 cups
10 Minutes Prep • 50 Minutes Cook • Gluten-free • Dairy-free • Low FODMAP • Serving size 3-4 crackers
30 Minutes prep • Low FODMAP • Gluten-free • Lactose-free • Vegetarian • Vegan • Serves 4+ • Serving Size 2 cups
20 Minutes prep • 20 Minutes cook • Low FODMAP • Gluten-free • Lactose-free • Vegetarian • Serves 4
20 Minutes prep • 25 Minutes cook • Low FODMAP • Gluten-free • Lactose-free • Vegetarian • Serves 4
5 Minutes prep • 45 Minutes cook • Low FODMAP • Gluten-Free • Lactose-Free • Vegetarian • Vegan • Serves 2 - 4
20 Minutes prep • Low FODMAP • Gluten-free • Lactose-free • Vegetarian • Vegan • Serves 4
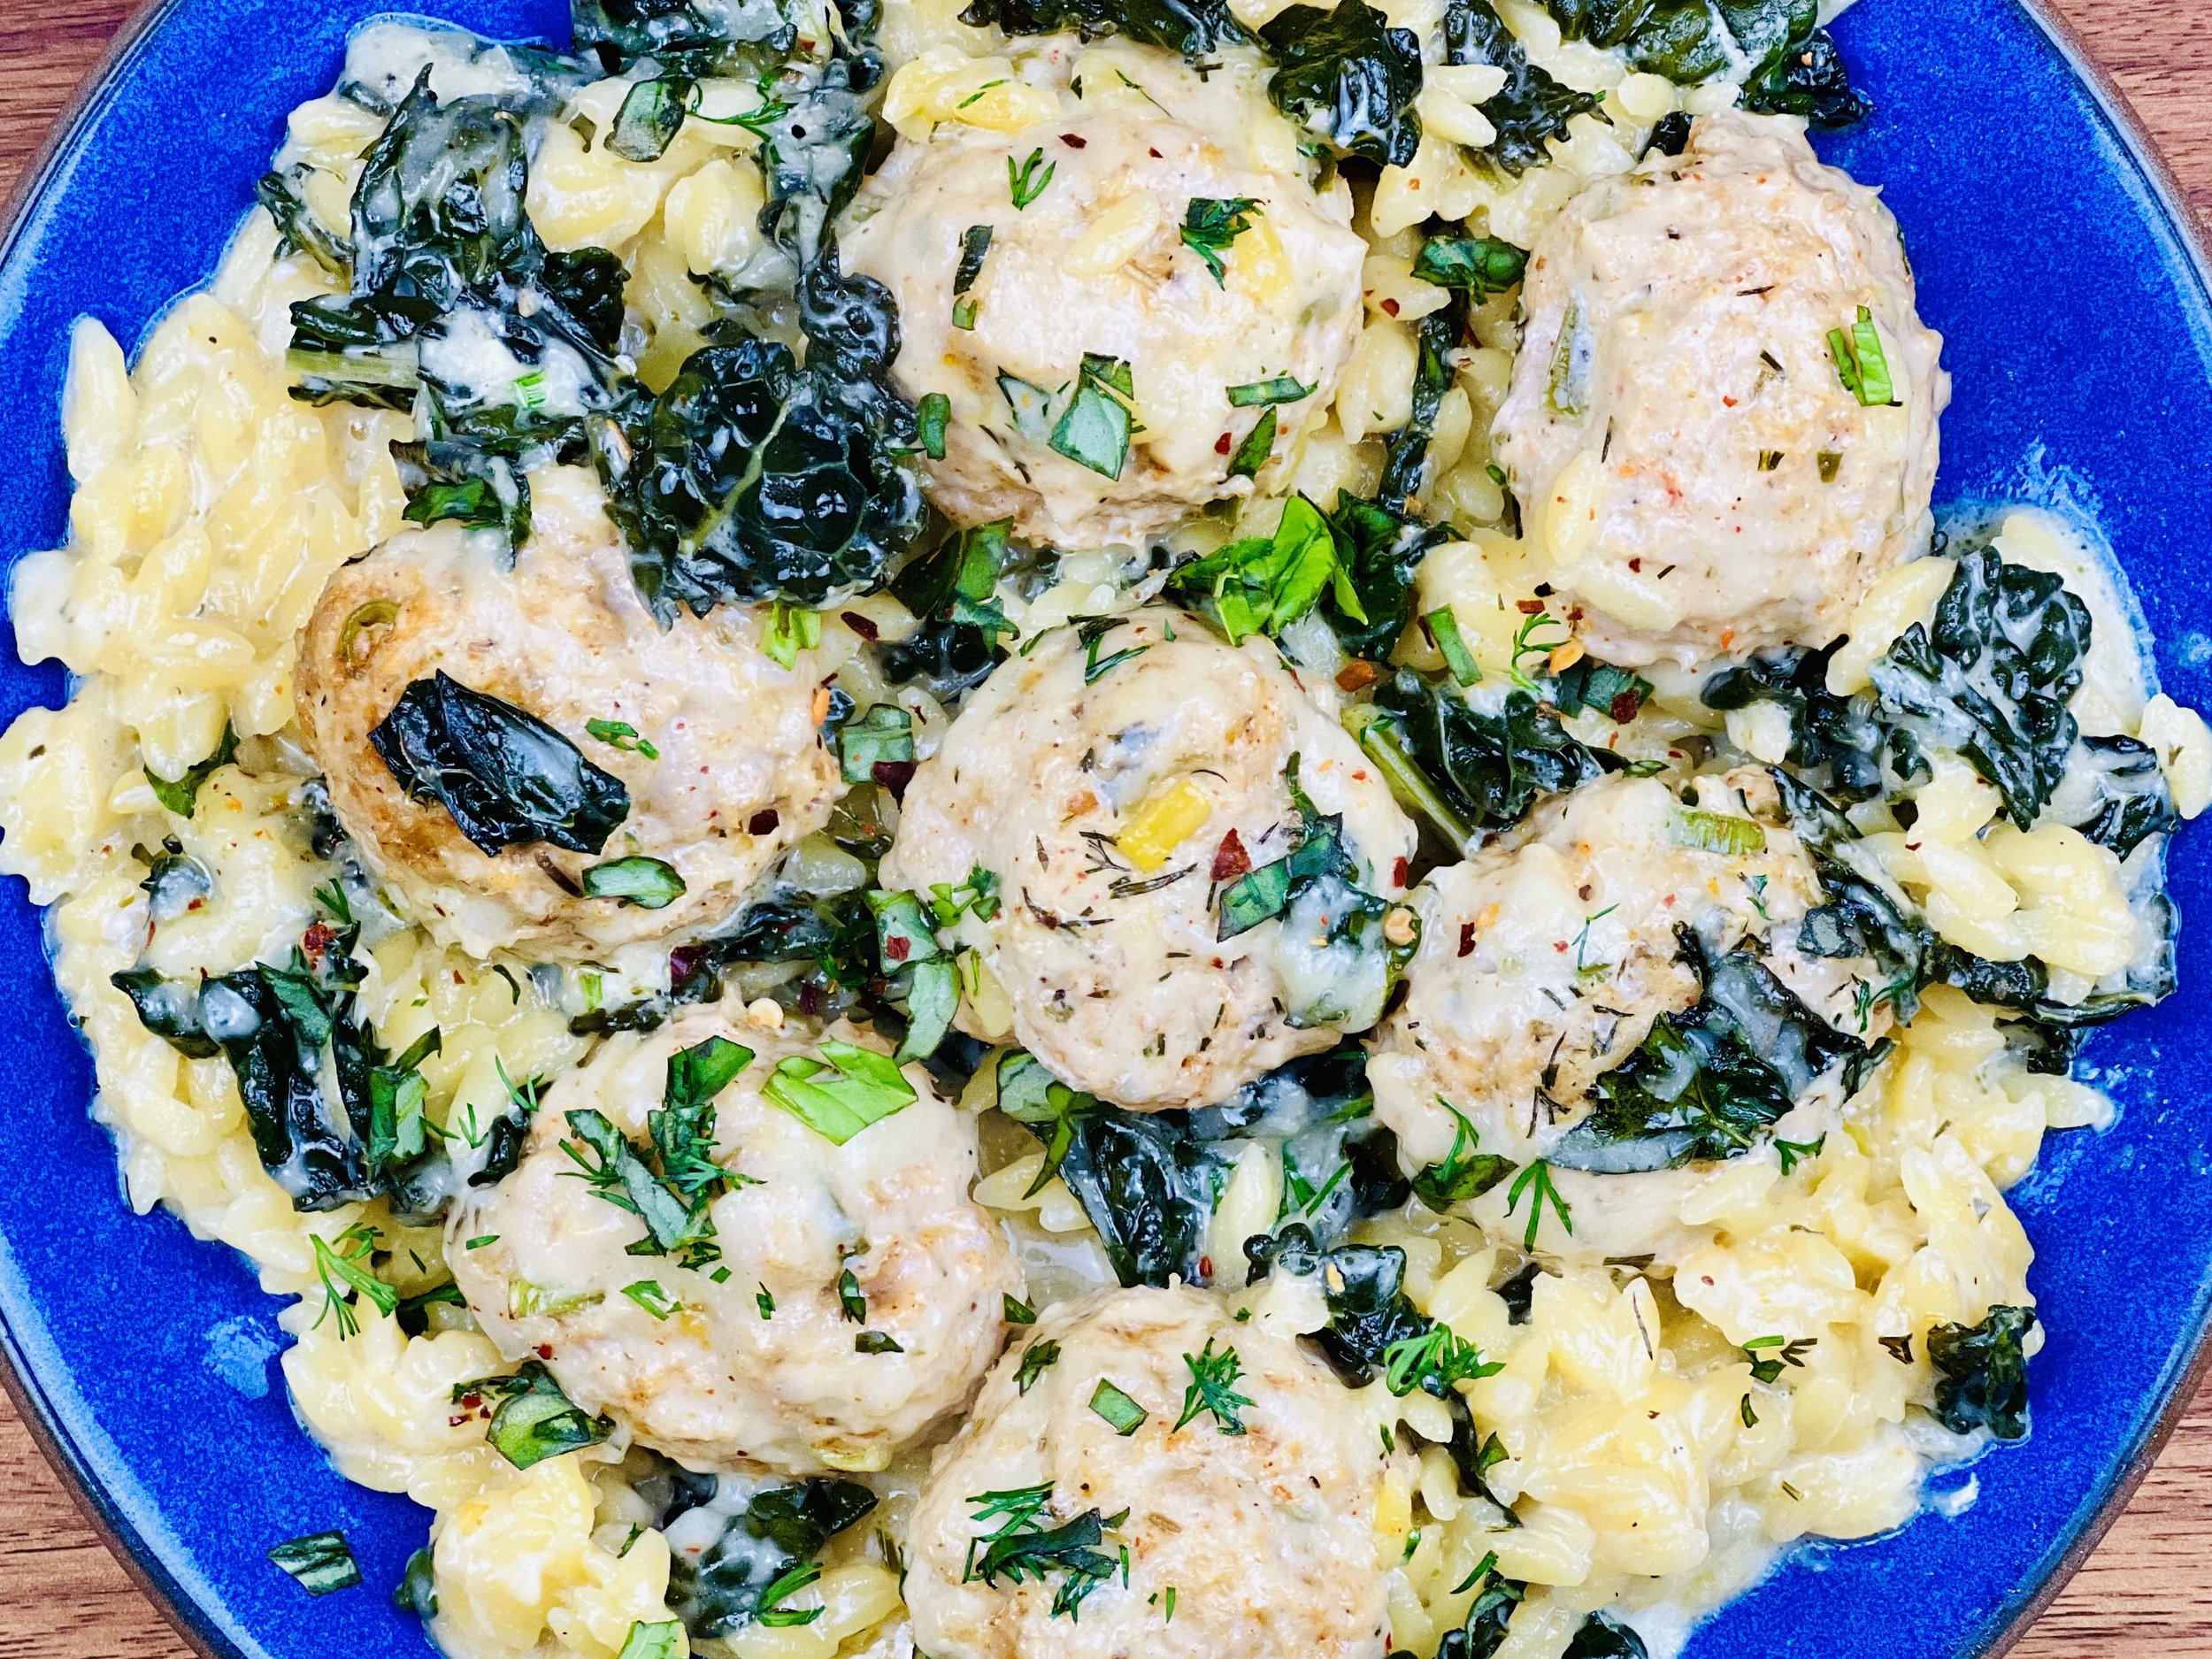
Creamy Baked Chicken Meatballs and Pasta (Low FODMAP)
20 Minutes prep • 35 Minutes cook • Low FODMAP • Gluten-free • Serves 4
20 Minutes prep • 35 Minutes cook • Low FODMAP • Gluten-free • Serves 4 • Ok to make ahead: Steps 1-2
These chicken meatballs aren't just delicious, they're the perfect combination of tender chicken, aromatic herbs, and savory spices. Baked in one pan alongside vibrant greens and atop creamy pasta, this dish is no ordinary meal. Prepare to indulge in a satisfying one-pan/one-bowl meal that will delight you and your family and nourish your body.
Ingredients
2 pounds ground chicken, pork, or turkey
1 tablespoon Dijon mustard
1 cup leek greens, chopped
1/2 cup grated Parmesan
2 teaspoons Smoke N Sanity Essence of Garlic salt (use code IBSGC 15 for 15% discount)
2 teaspoons dried rosemary
1 teaspoon smoked paprika
1/2 - 1 teaspoon Kosher salt
1/2 teaspoon black pepper
3 tablespoons extra virgin olive oil
1 1/2 tablespoons finely chopped lemon peel
1 1/2 tablespoons fresh dill, chopped
Pinch (or more) Red pepper flakes
12 ounces dry gluten-free pasta such as Delallo Orzo or Quinoa Fusilli
2 cups water or chicken broth (I use Gourmend Low FODMAP Chicken Broth - use code IBSGC15 for 15% discount)
1/4 cup Miren (rice wine) or dry white wine
1/2 cup heavy cream or canned full-fat coconut milk
3 cups kale, stems removed and leaves chopped, or spinach
1 cup gruyere or cheddar, grated
Directions
(1) Prepare: Preheat the oven to 450 degrees F. Clean and chop the leek greens and kale (or remove stems from spinach and chop if using that instead).
(2) Season the meat: Combine dijon, leek greens, garlic salt, rosemary, smoked paprika, salt, pepper, and parmesan in a bowl. Once blended, add the chicken and blend well with your hands to combine the seasonings with the meat thoroughly. Roll the meat in tablespoon size balls (will make about 24 meatballs).
Make ahead note: If you aren’t going to cook them right away, put the meatballs in the refrigerator until ready to bake.
(3) Prepare to bake: Combine the olive oil, lemon peel, dill, and red pepper flakes. Spread across the bottom of a 9 x 13-inch baking dish. Lay the meatballs on top of the lemon oil mixture. Bake for about 10 minutes until just starting to get crisp.
(4) Add the pasta: Remove the meatballs from the oven. Reduce the oven temperature to 400 degrees F. Flip each meatball over. Add the dry pasta. Pour over 2 cups of water or chicken broth and the miren or wine. Stir to combine without breaking up the meatballs. Put the chopped kale or spinach on top of the meatballs.
(5) Bake: Bake for 12 - 15 minutes until most, but not all, of the liquid has cooked into the pasta. Remove from the oven and stir the pasta around to prevent it from sticking together. Add the cream, and stir again. then sprinkle the grated cheese over the top. Bake for another 10 minutes until the cheese has melted and the sauce is bubbling around the meatballs.
(6) Plate and serve: Serve topped with fresh dill, basil, and red pepper flakes (optional).
Eat and enjoy every bite because you can!
Recipe note: I use Diamond Crystal Kosher salt in all my recipes because it has a wonderful flat and crisp flake that tastes delicious. It is also the least salty salt available so you can use it more liberally as a seasoning than you can table salt or sea salt. If you use another type of salt, you may need to reduce the amount so it is not over-salted.
Have a question you’d like to have answered? Email me at hello@ibsgamechanger.com
Link note: This post may contain affiliate links for you to easily purchase items that are linked. I may earn a small commission from qualifying purchases but none of this costs you a thing so feel free to use the links! In addition, for some items, I have provided a special discount code for IBS Game Changers so be sure to use the code when you purchase an item to get the discount that has been arranged just for you.
More Deliciously Low FODMAP™ main course recipes
15 Minutes prep • 30 Minutes cook • Low FODMAP • Serves 4 • Ok to make-ahead: Steps 1 - 2
10 Minutes prep • 25 Minutes cook • Low FODMAP • Gluten-Free • Serves 6 • Ok to make-ahead: Step 1
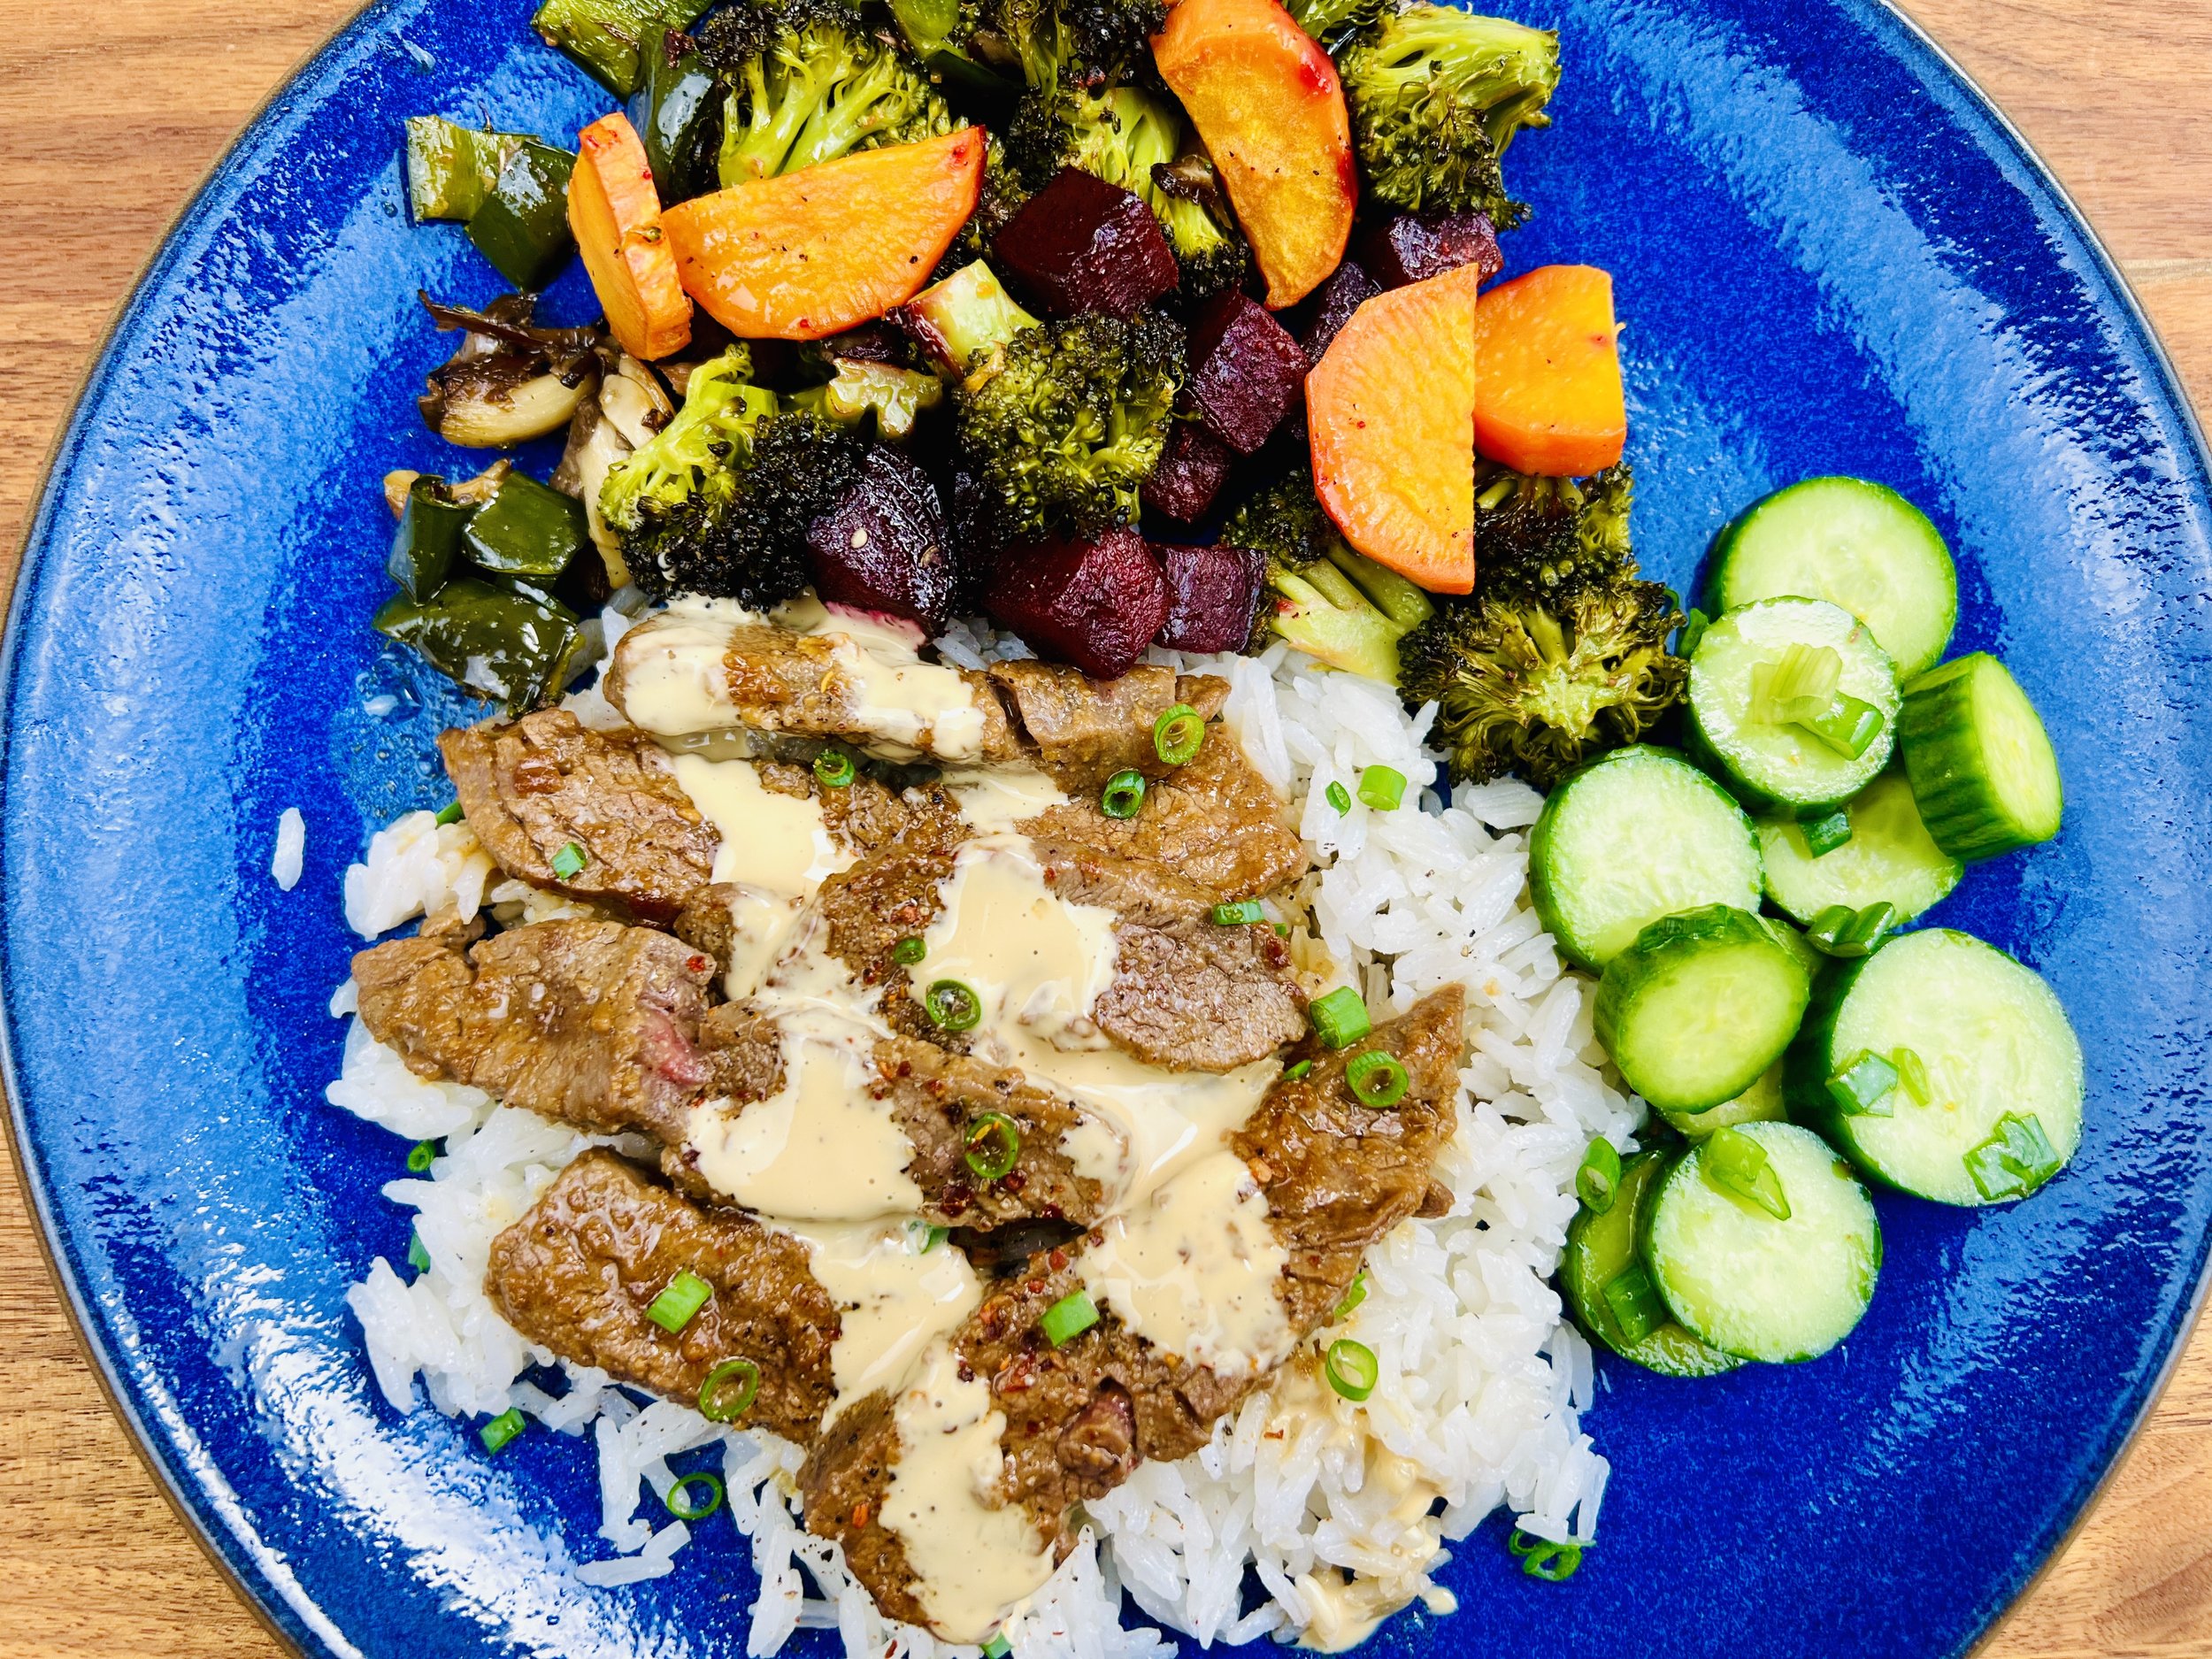
Ginger Sesame Beef (Low FODMAP)
20 Minutes prep • 20 Minutes cook • Low FODMAP • Gluten-free • Lactose-free • Serves 4
20 Minutes prep • 20 Minutes cook • Low FODMAP • Gluten-free • Lactose-free • Serves 4 • Ok to make ahead: Steps 1-3
This recipe works magic on simple flank steak, rendering it as tender as filet mignon. With a miso-based ginger sesame marinade and a savory sauce that bursts with flavor, every bite is simply delicious. Serve it up with steamed rice, some roasted vegetables, and a simple cucumber salad and you’ll have a meal fit for company that’s easy enough to make for the family on a weeknight.
Ingredients: Marinade
2 tablespoons toasted sesame oil
2 tablespoons red or white miso paste
1/4 cup gluten-free, low-sodium soy sauce
1 heaping tablespoon fresh ginger, peeled and grated
2 teaspoons maple syrup
1/2 teaspoon red pepper flakes
1 teaspoon Smoke N Sanity Essence of Garlic Salt (use code IBSGC15 for 15% discount)
2 tablespoons chopped green onion greens
Ingredients: Steak
1 pound flank steak, sliced into 1/4 inch slices
2 tablespoons toasted sesame oil
Ingredients: Veggies
1 cup leek greens, chopped
2 - 3 cups broccoli florets
1 medium sweet potato, peeled and chopped
2 medium zucchini, chopped
1 - 2 tablespoons olive oil or garlic-infused olive oil
1/2 teaspoon Kosher salt
1/2 teaspoon black pepper
Ingredients: Spicy Mayo
1/2 cup mayonnaise (I use avocado Mayonnaise)
1 teaspoon toasted sesame oil
1 teaspoon lime juice
1-2 tablespoons gluten-free, low-sodium soy sauce
Directions
(1) Prepare the beef: This step is optional but results in a more flavorful and tender steak. Remove the steak from the package, and put it on a rimmed plate or baking dish. Season both sides lightly with Kosher salt (about 1/2 teaspoon per side). Cover the dish with plastic wrap and refrigerate until ready to use, ideally about 4 hours before cooking or overnight.
(2) Marinate the beef: Combine all marinade ingredients in a medium-sized bowl. Whisk to combine. Slice the beef and add it to the bowl with the marinade and stir to combine. Set aside for at least 15 minutes. If it’s going to be longer than that, put it in the refrigerator.
(3) Prepare: Preheat the oven to 425 degrees F. Line a baking sheet with parchment or oil on the surface of the pan. Chop the veggies. Slice the beef in about 1/4-inch thick slices. Steam the rice, if using. Make the spicy mayonnaise.
(4) Roast the vegetables: Toss the chopped vegetables with the olive oil, salt, and pepper on the prepared sheet pan, or in a bowl. Spread the vegetables in one layer on the prepared pan. Put the pan in the oven and roast for about 20 minutes until all vegetables are tender. Toss halfway through to prevent burning.
(5) Cook the beef: In a large frying pan, set over medium-high heat, add 2 tablespoons toasted sesame oil. When hot, add about half the sliced and marinated beef to the pan in one layer. As it cooks, use two forks to lay each slice of beef flat in the pan. After about 1 minute of cooking begin flipping the beef slices over. Let brown briefly on the other side, then remove from the pan. Repeat with the remainder of the beef until it is all nicely browned. This should be a quick process to keep the meat tender.
(6) Plate and serve: Serve the roasted veggies and steak with a generous drizzle of spicy mayo overall. If you like, you may serve the steak over rice and the veggies alongside.
Eat and enjoy every bite because you can
Recipe note: I use Diamond Crystal Kosher salt in all my recipes because it has a wonderful flat and crisp flake that tastes delicious. It is also the least salty salt available so you can use it more liberally as a seasoning than you can table salt or sea salt. If you use another type of salt, you may need to reduce the amount so it is not over-salted.
Have a question you’d like to have answered? Email me at hello@ibsgamechanger.com
Link note: This post may contain affiliate links for you to easily purchase items that are linked. I may earn a small commission from qualifying purchases but none of this costs you a thing so feel free to use the links! In addition, for some items, I have provided a special discount code for IBS Game Changers so be sure to use the code when you purchase an item to get the discount that has been arranged just for you.
More Deliciously Low FODMAP™ main course recipes
15 Minutes prep • 30 Minutes cook • Low FODMAP • Serves 4 • Ok to make-ahead: Steps 1 - 2
10 Minutes prep • 25 Minutes cook • Low FODMAP • Gluten-Free • Serves 6 • Ok to make-ahead: Step 1
Sheet Pan Miso Glazed Chicken and Veggies (Low FODMAP)
15 Minutes prep • 20 Minutes cook • Low FODMAP • Gluten-free • Lactose-free • Serves 4-6
15 Minutes prep • 20 Minutes cook • Low FODMAP • Gluten-free • Lactose-free • Serves 4-6 • Ok to make ahead: Steps 1 - 4
I love a good sheet pan dinner that cooks all together and comes out smelling and tasting delicious! This recipe is easy and pretty quick to make. You can modify or add to the list of vegetables according to what you have on hand which makes it a great recipe to clean out the refrigerator. Perfect for a weeknight dinner or any night dinner.
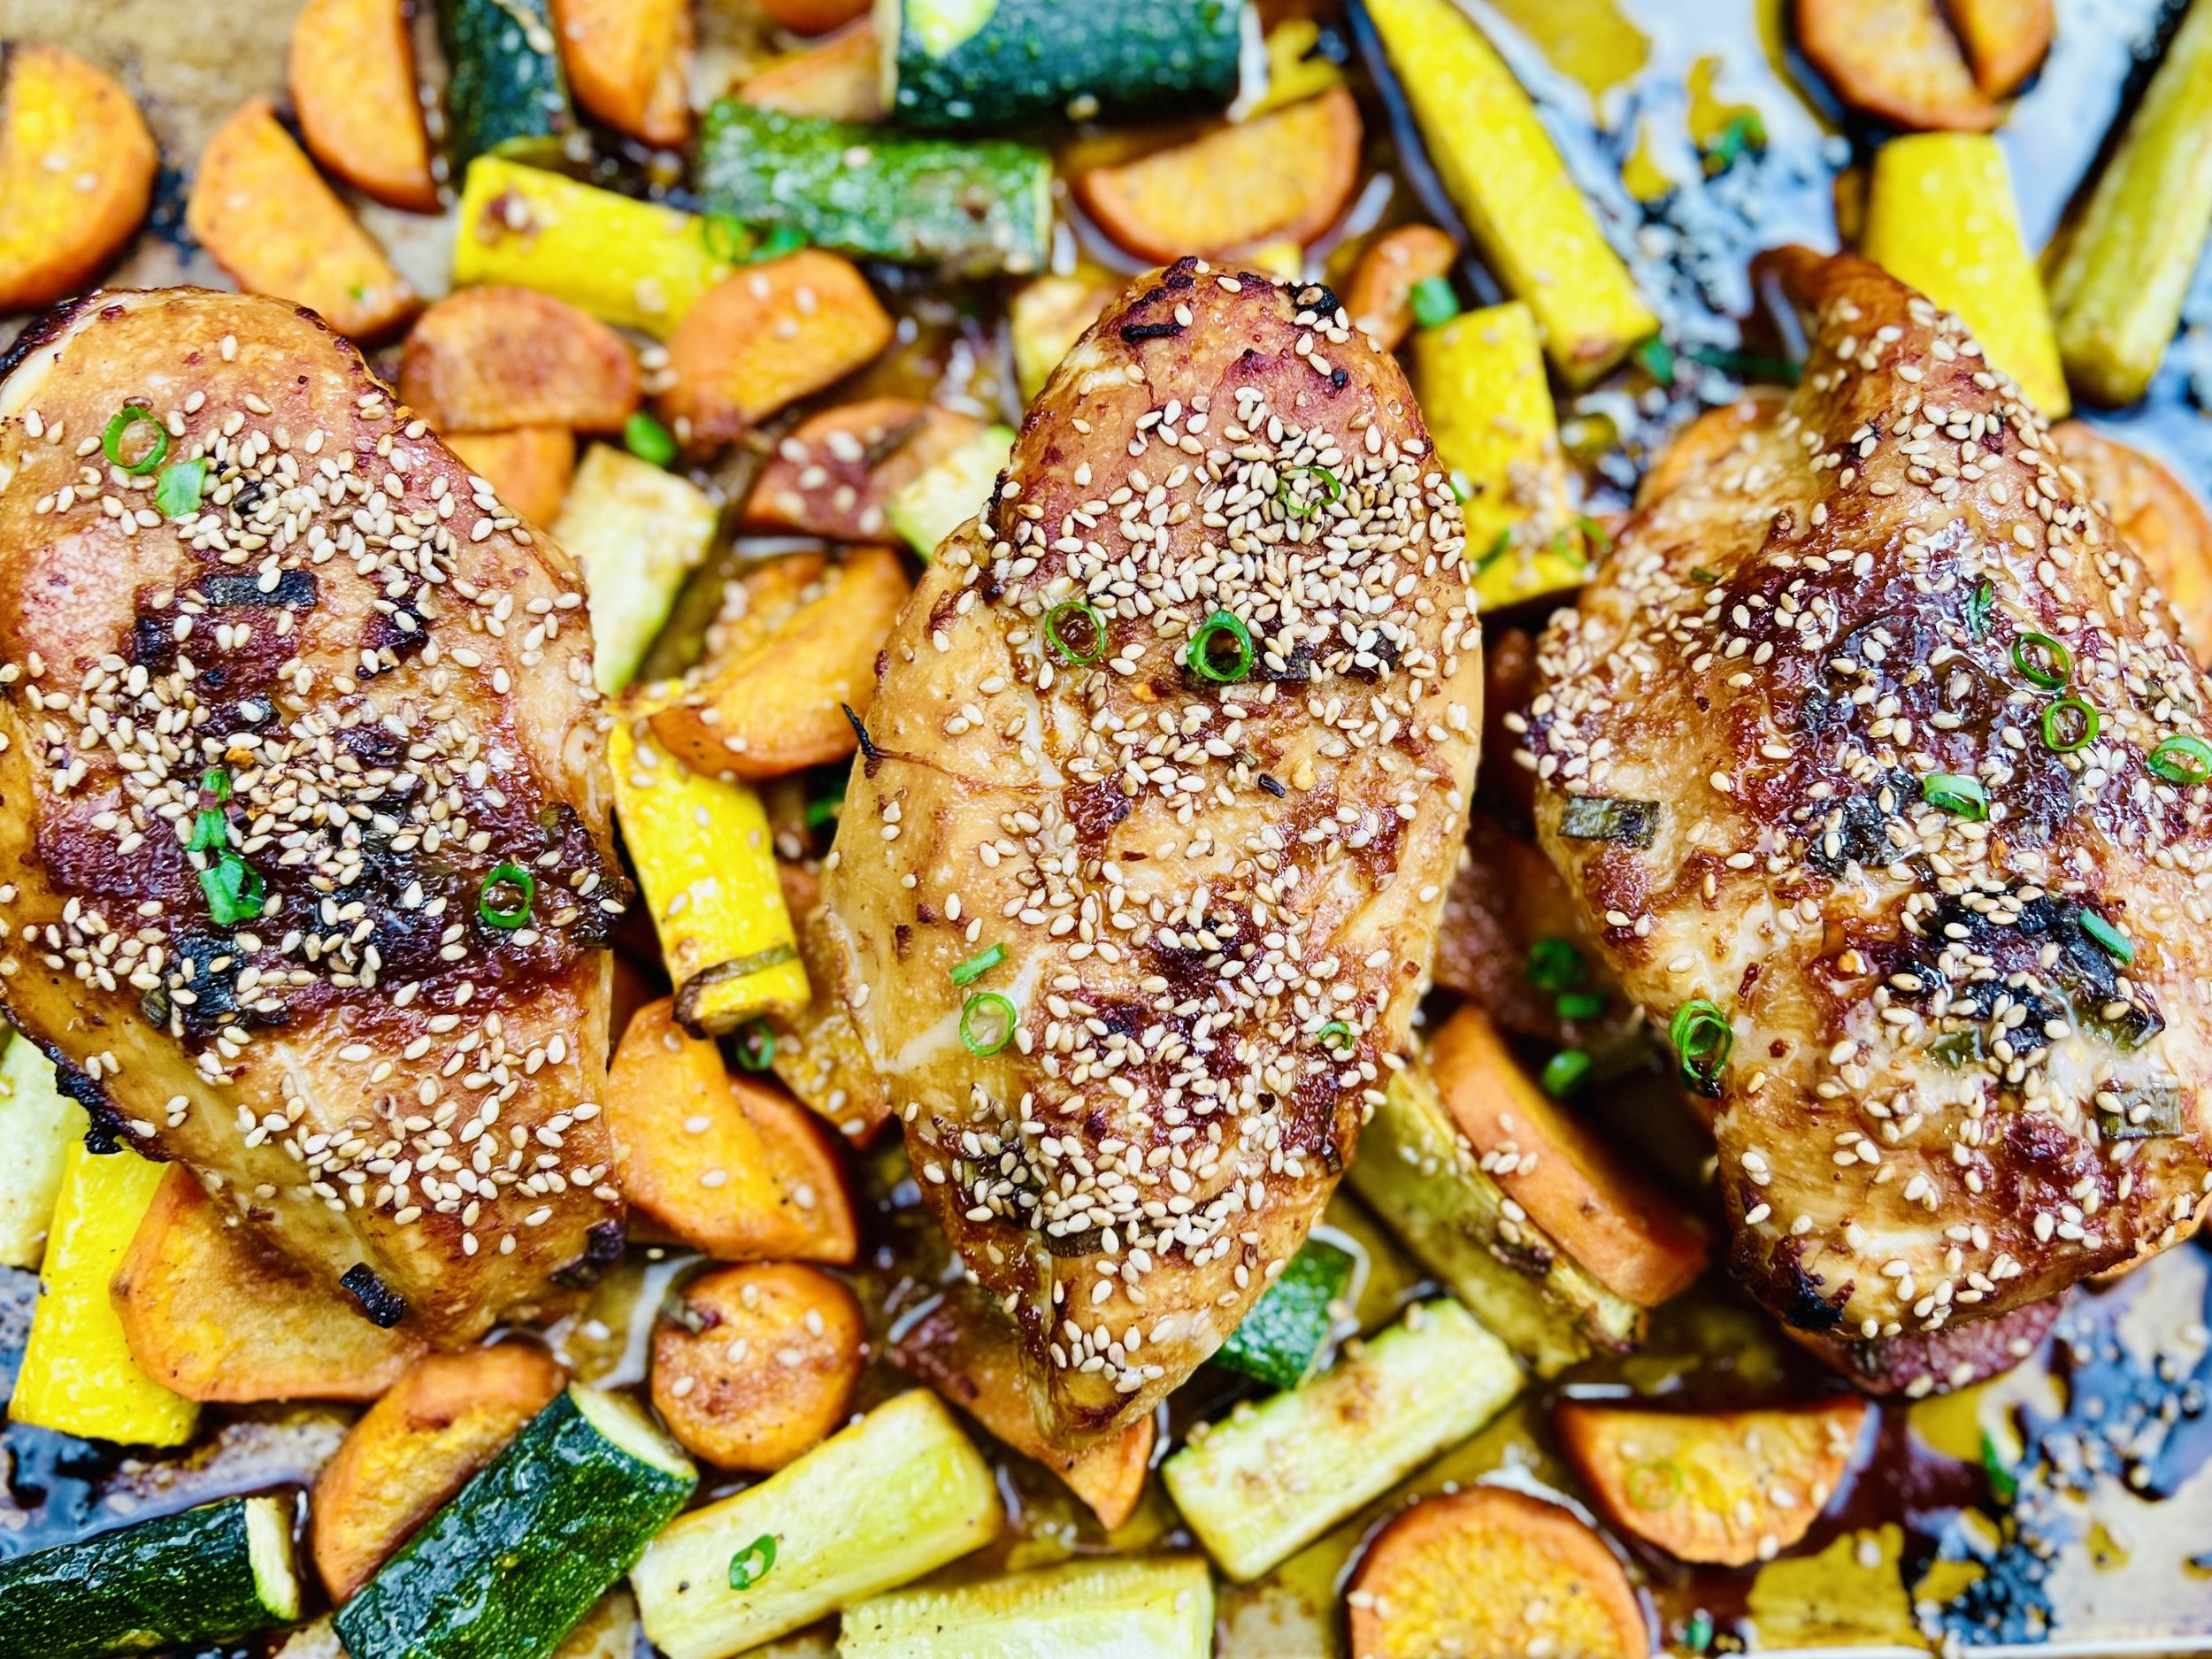
Ingredients: Marinade
2 tablespoons toasted sesame oil
2 tablespoons white or red miso paste
1/4 cup gluten-free low-sodium soy sauce
1 tablespoon freshly grated ginger
1 teaspoon Gourmend Garlic Scape Powder or Smoke N Sanity Essence of Garlic Salt (use code IBSGC15 for 15% off for both products)
2 teaspoons maple syrup
1/2 teaspoon red pepper flakes
2 tablespoons chopped green onion greens
Ingredients: Chicken & Veggies
2 pounds boneless skinless chicken breasts
2 tablespoons garlic-infused olive oil
2-3 small sweet potatoes, peeled and sliced into 1/4-inch slices
2 medium zucchini, quartered
2 medium summer squash, quartered
1 cup oyster mushrooms, chopped
1/2 teaspoon Kosher salt
1/2 teaspoon black pepper
2 tablespoons sesame seeds
Directions
(1) Prepare the chicken: This step is optional but results in a more flavorful and tender chicken. Remove chicken from the package, and put it in one layer on a rimmed plate or baking dish. Season both sides of each piece lightly with Kosher salt (about 1/4 - 1/2 teaspoon per side). Cover the dish with plastic wrap and refrigerate until ready to use, ideally about 4 hours before cooking or overnight.
(2) Prepare: Preheat the oven to 450 degrees F. Chop green onion greens, peel, and grate the ginger. Peel and slice the sweet potatoes. Quarter the squash and chop the mushrooms. Prepare a rimmed baking sheet by drizzling it with a couple of teaspoons of olive or avocado oil and spreading it evenly over the bottom of the pan.
(3) Make the marinade: In a small mixing bowl, combine the sesame oil, miso paste, soy sauce, ginger, garlic scape powder or Essence of Garlic Salt, maple syrup, chili flakes, and green onion greens. Add the chicken and flip several times to coat and immerse. Let sit in the marinade for about 15 minutes (it’s ok to skip this step if you are pressed for time).
(4) Prepare the veggies: In a mixing bowl, combine the sweet sliced potatoes, quartered squash, and chopped mushrooms. Toss with 2 tablespoons garlic-infused olive oil, 1/2 teaspoon Kosher salt, and 1/2 teaspoon black pepper. Spread in one layer on the prepared baking sheet.
(5) Bake: Lay the chicken over the veggies and drizzle the chicken with a bit of the marinade. Sprinkle the chicken with sesame seeds. Bake for 20 minutes, until the chicken is just cooked through (165 degrees F on an instant-read thermometer inserted in the thickest part) or when the juices run clear when you cut through the cooked chicken breast.
(6) Plate and serve: Serve the chicken, sweet potatoes, and veggies as is, or over bowls of my Best Coconut Rice.
Eat and enjoy every bite because you can!
Recipe note: I use Diamond Crystal Kosher salt in all my recipes because it has a wonderful flat and crisp flake that tastes delicious. It is also the least salty salt available so you can use it more liberally as a seasoning than you can table salt or sea salt. If you use another type of salt, you may need to reduce the amount so it is not over-salted.
Have a question you’d like to have answered? Email me at hello@ibsgamechanger.com
Link note: This post may contain affiliate links for you to easily purchase items that are linked. I may earn a small commission from qualifying purchases but none of this costs you a thing so feel free to use the links! In addition, for some items, I have provided a special discount code for IBS Game Changers so be sure to use the code when you purchase an item to get the discount that has been arranged just for you.
More Deliciously Low FODMAP™ main course recipes
15 Minutes prep • 30 Minutes cook • Low FODMAP • Serves 4 • Ok to make-ahead: Steps 1 - 2
10 Minutes prep • 25 Minutes cook • Low FODMAP • Gluten-Free • Serves 6 • Ok to make-ahead: Step 1
Good News About Avocado and FODMAPs
Monash University recently re-tested avocados for FODMAP content and they made an interesting discovery
I don’t know about you, but I love avocados and I push the limits on how much I eat. I have noticed I can definitely tolerate more than the 1/8 avocado serving size recommended (previously) in the Monash app. Now I know the reason for that. The Monash FODMAP team (always dedicated to keeping the low FODMAP diet science current and accurate) recently re-tested avocados for FODMAP content and they made an interesting discovery. Avocados, a food analyzed over 15 years ago when the diet was initially developed, surprisingly are not high in sorbitol as previously thought. They are high in a unique sugar polyol called perseitol.
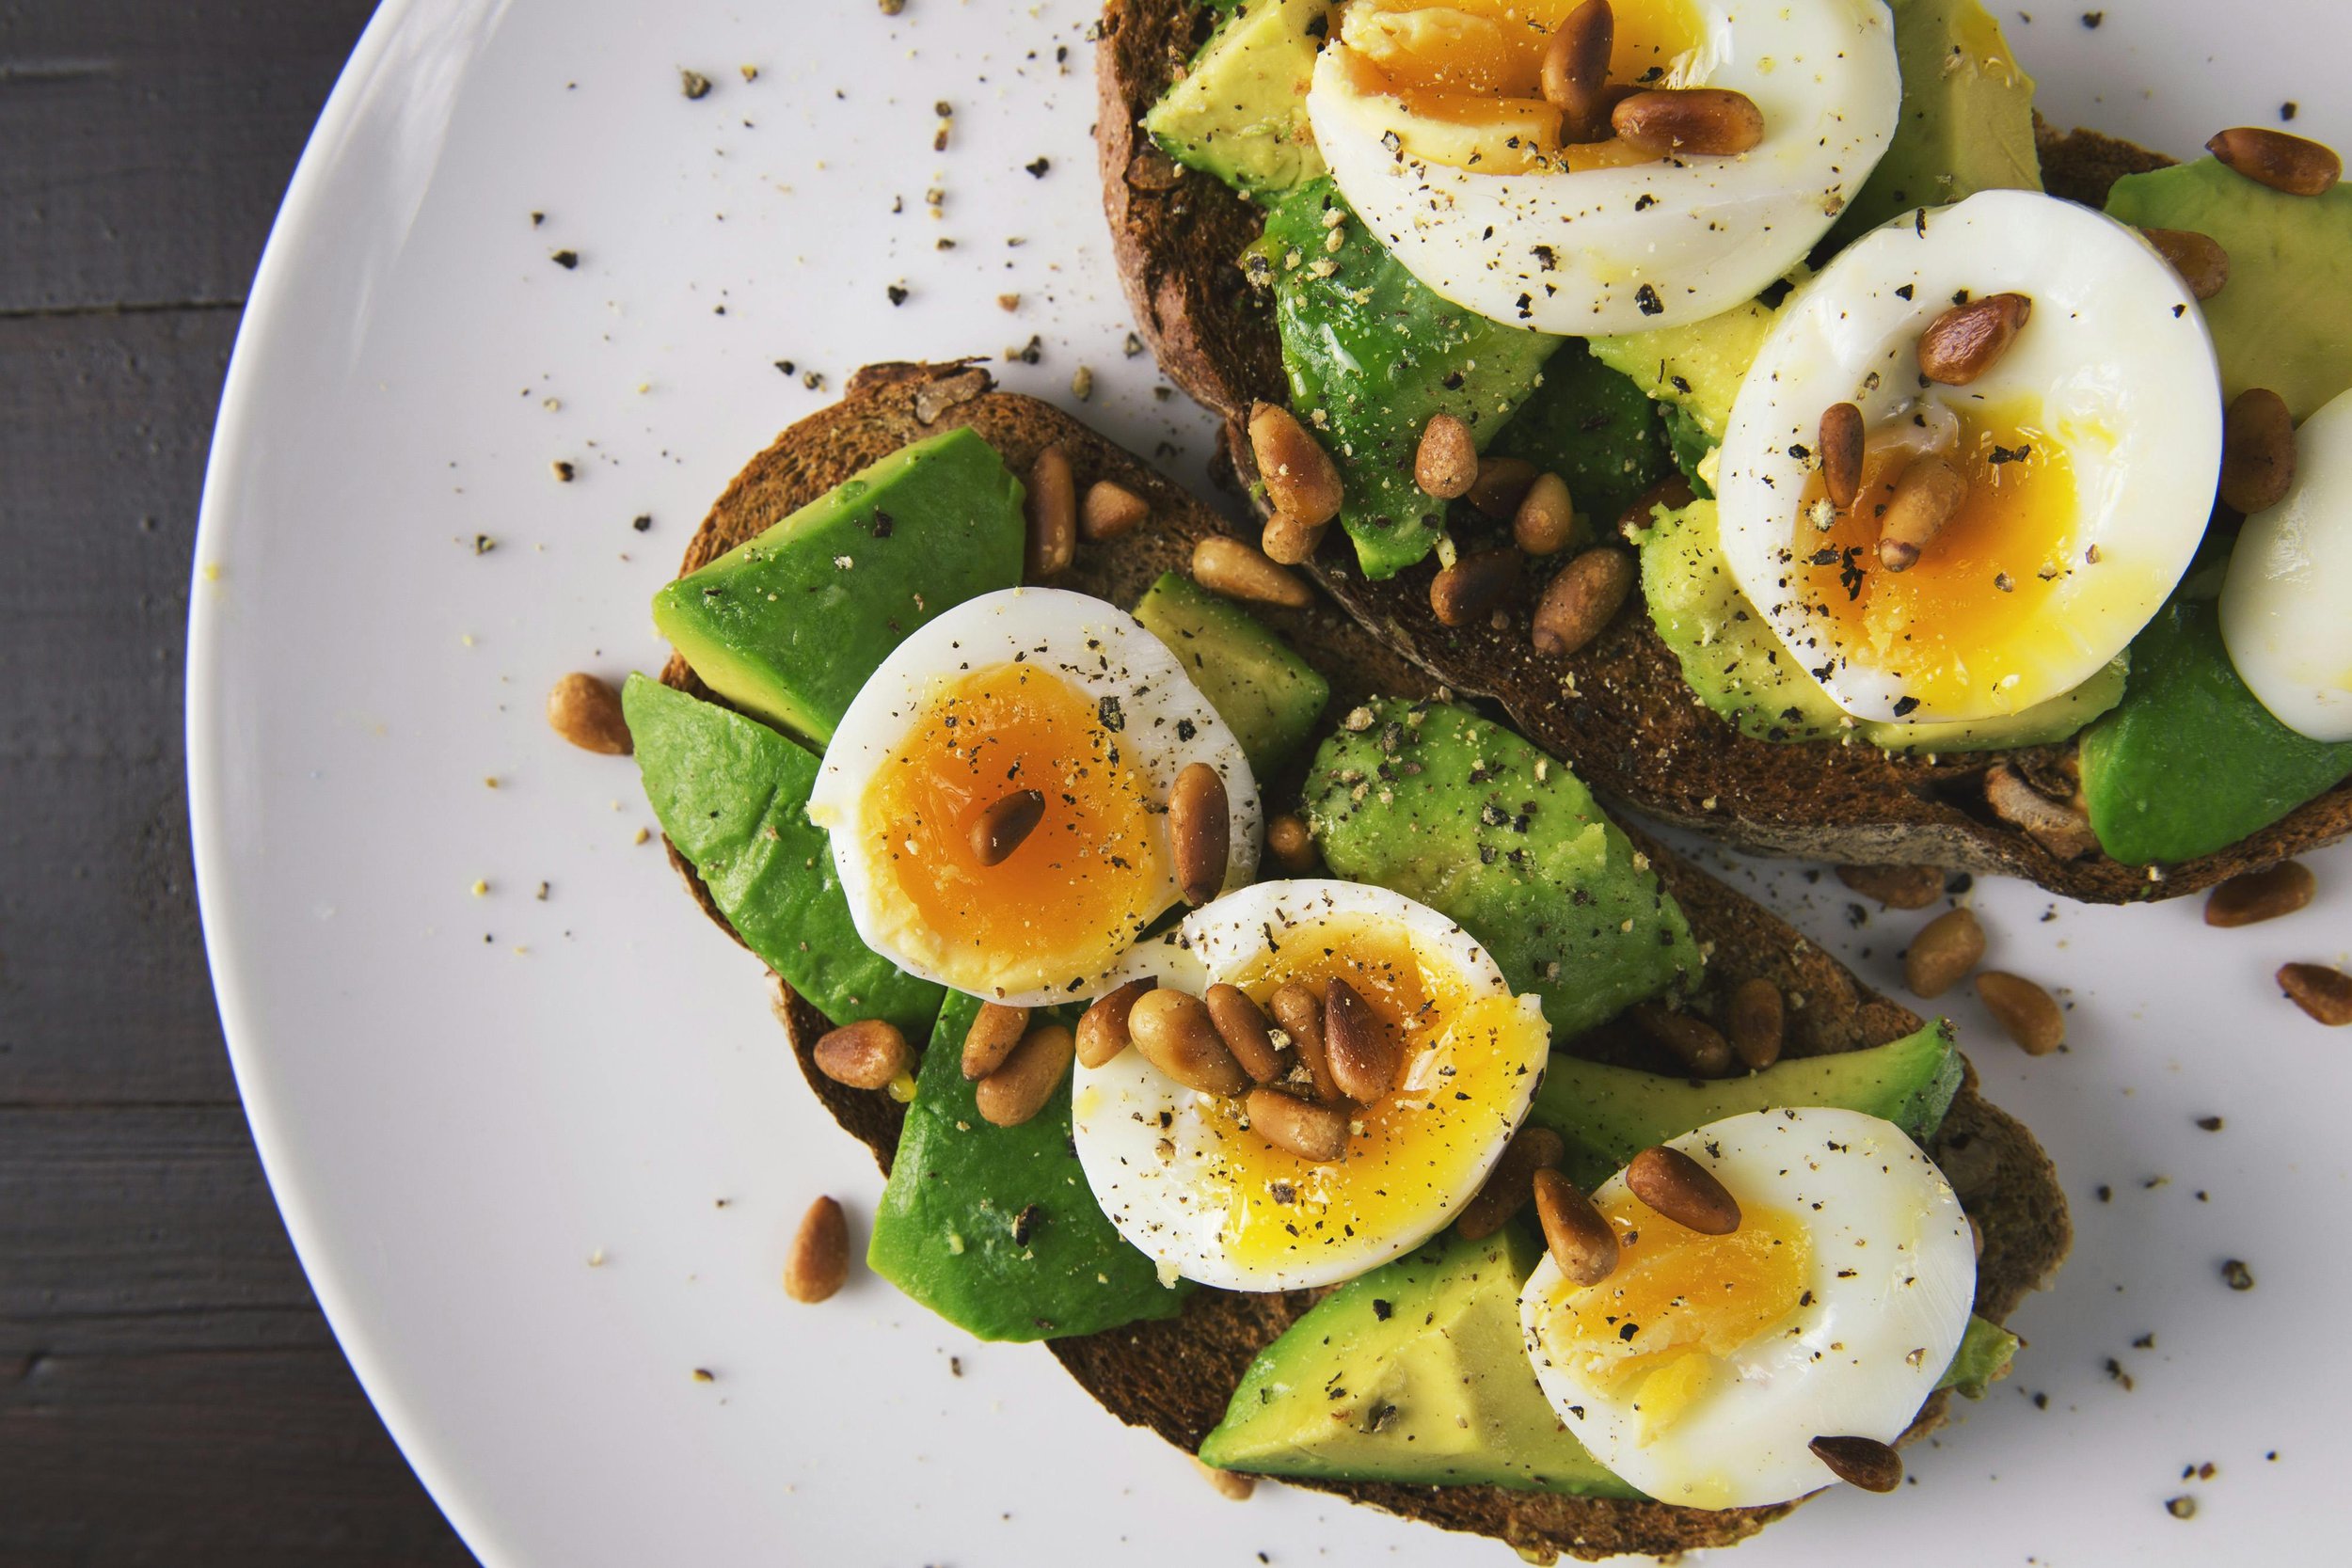
Perseitol, unique to avocados, behaves similarly to sorbitol in the gut. More study of this unique polyol and its potential to trigger IBS symptoms is needed so Monash refrained from reclassifying avocados as low FODMAP for the time being. They did, however, increase the low FODMAP serving size so you can now confidently eat 1/4 - 1/3 of an avocado (up to 2.1 ounces) and that is still considered low FODMAP.
This discovery highlights the complexity of food science and emphasizes the importance of ongoing research in FODMAPs and IBS management. I am thankful Monash University continues to prioritize this science for all of our benefit!
For those missing avocados, I recommend doing your own tolerance testing to see if you truly can increase your avocado intake without triggering symptoms. Don’t know how to do that? I’m always here to help.
Stay tuned for more updates as the Monash team continues to delve into FODMAP science! Read the full article, including all the science, on the Monash Low FODMAP blog.
Looking for Low FODMAP recipes that include avocado? Head on over to my recipe club and type the word “avocado” in the search box. Voila! All my recipes that include avocado. You’re welcome. :-)
More Deliciously Low FODMAP™ tips and tools
Garleek is a vegetable that's a cross between garlic and leeks, and the low-FODMAP greens add a wonderful flavor to your savory dishes
In this blog post I’m sharing 8 strategies to overcome the feelings of discouragement and fear that may be standing in the way of your success.
If you want to try a food that has not yet been tested and added to one of the low-FODMAP apps , one of the most important tools in your low-FODMAP arsenal is self-testing.
In this blog post, I explore some of the ways deep tissue massage can support IBS symptom management, giving you one more tool in your toolbox to find a holistic path to comfort and well-being.
One of the biggest challenges when struggling with gut issues is getting answers to your many questions about cause and treatment. With this in mind, we in the content creator space, work hard to bring you specific and actionable information to help answer your questions.
Since launching IBS Game Changer, I’ve been on a mission to support individuals living with Irritable Bowel Syndrome (IBS) by providing expert coaching, delicious recipes, and essential tips for symptom management.
In this post, I’m sharing many of the essential pantry staples I use in my recipes all the time.
One of the biggest challenges when struggling with gut issues is getting answers to your many questions about cause and treatment. With this in mind, we in the content creator space, work hard to bring you specific and actionable information to help answer your questions.
Monash University recently re-tested avocados for FODMAP content and they made an interesting discovery
In this blog post, I’m addressing the intricate relationship between anxiety and Irritable Bowel Syndrome, exploring how they impact each other, and giving you some specific things you can do to get them both under control.
Not all cheeses are created equal in terms of their compatibility with the low FODMAP diet. This article will help you make informed choices that align with both your preferences and your gut health.
The warmth and soothing nature of bone broth can provide relief from digestive discomfort. Sipping on a warm cup of bone broth may help ease symptoms such as bloating and cramping.
After the holidays or any time you want to improve your relationship with food, use these techniques to master mindful eating and regain control of your health.
From Mindful Munching to making Social Connections — here are some tips for a happy holiday!
Research underscores the point that moderate-intensity exercise often outperforms vigorous exercise in relieving IBS symptoms. But individualization is key.
Taking a moment each day to acknowledge and appreciate the positive aspects of our lives can have a profound impact on our well-being.
How can you ensure your gut biome is in the best shape possible? I’ve put together the top 10 strategies to promote a healthy and diverse gut biome. Read on…
Constipation: What is it? What are some common myths about it? What can you do about it?
A step-by-step guide to assist you in getting through the grocery store and coming out with all the low-FODMAP foods and ingredients you need.
Hot Cross Bun Waffles (Low FODMAP)
15 Minutes prep • 15 Minutes cook • Low FODMAP • Serves 4
15 Minutes prep • 15 Minutes cook • Low FODMAP • Serves 4 • Ok to make ahead: Steps 1-4
This is a delightful twist on a classic Easter treat: Hot Cross Bun Waffles! These waffles infuse all the cozy warmth and spice of traditional hot cross buns into a crisp and delicious breakfast delight. Imagine the comforting aroma of cinnamon, nutmeg, and cardamom wafting through your kitchen as these waffles cook. Topped with a generous drizzle of melted butter and an orangey glaze, they're a surefire way to elevate your breakfast or brunch spread. Whether you're celebrating Easter morning or simply craving a cozy indulgence, these Hot Cross Bun Waffles are guaranteed to delight your taste buds and warm your soul.
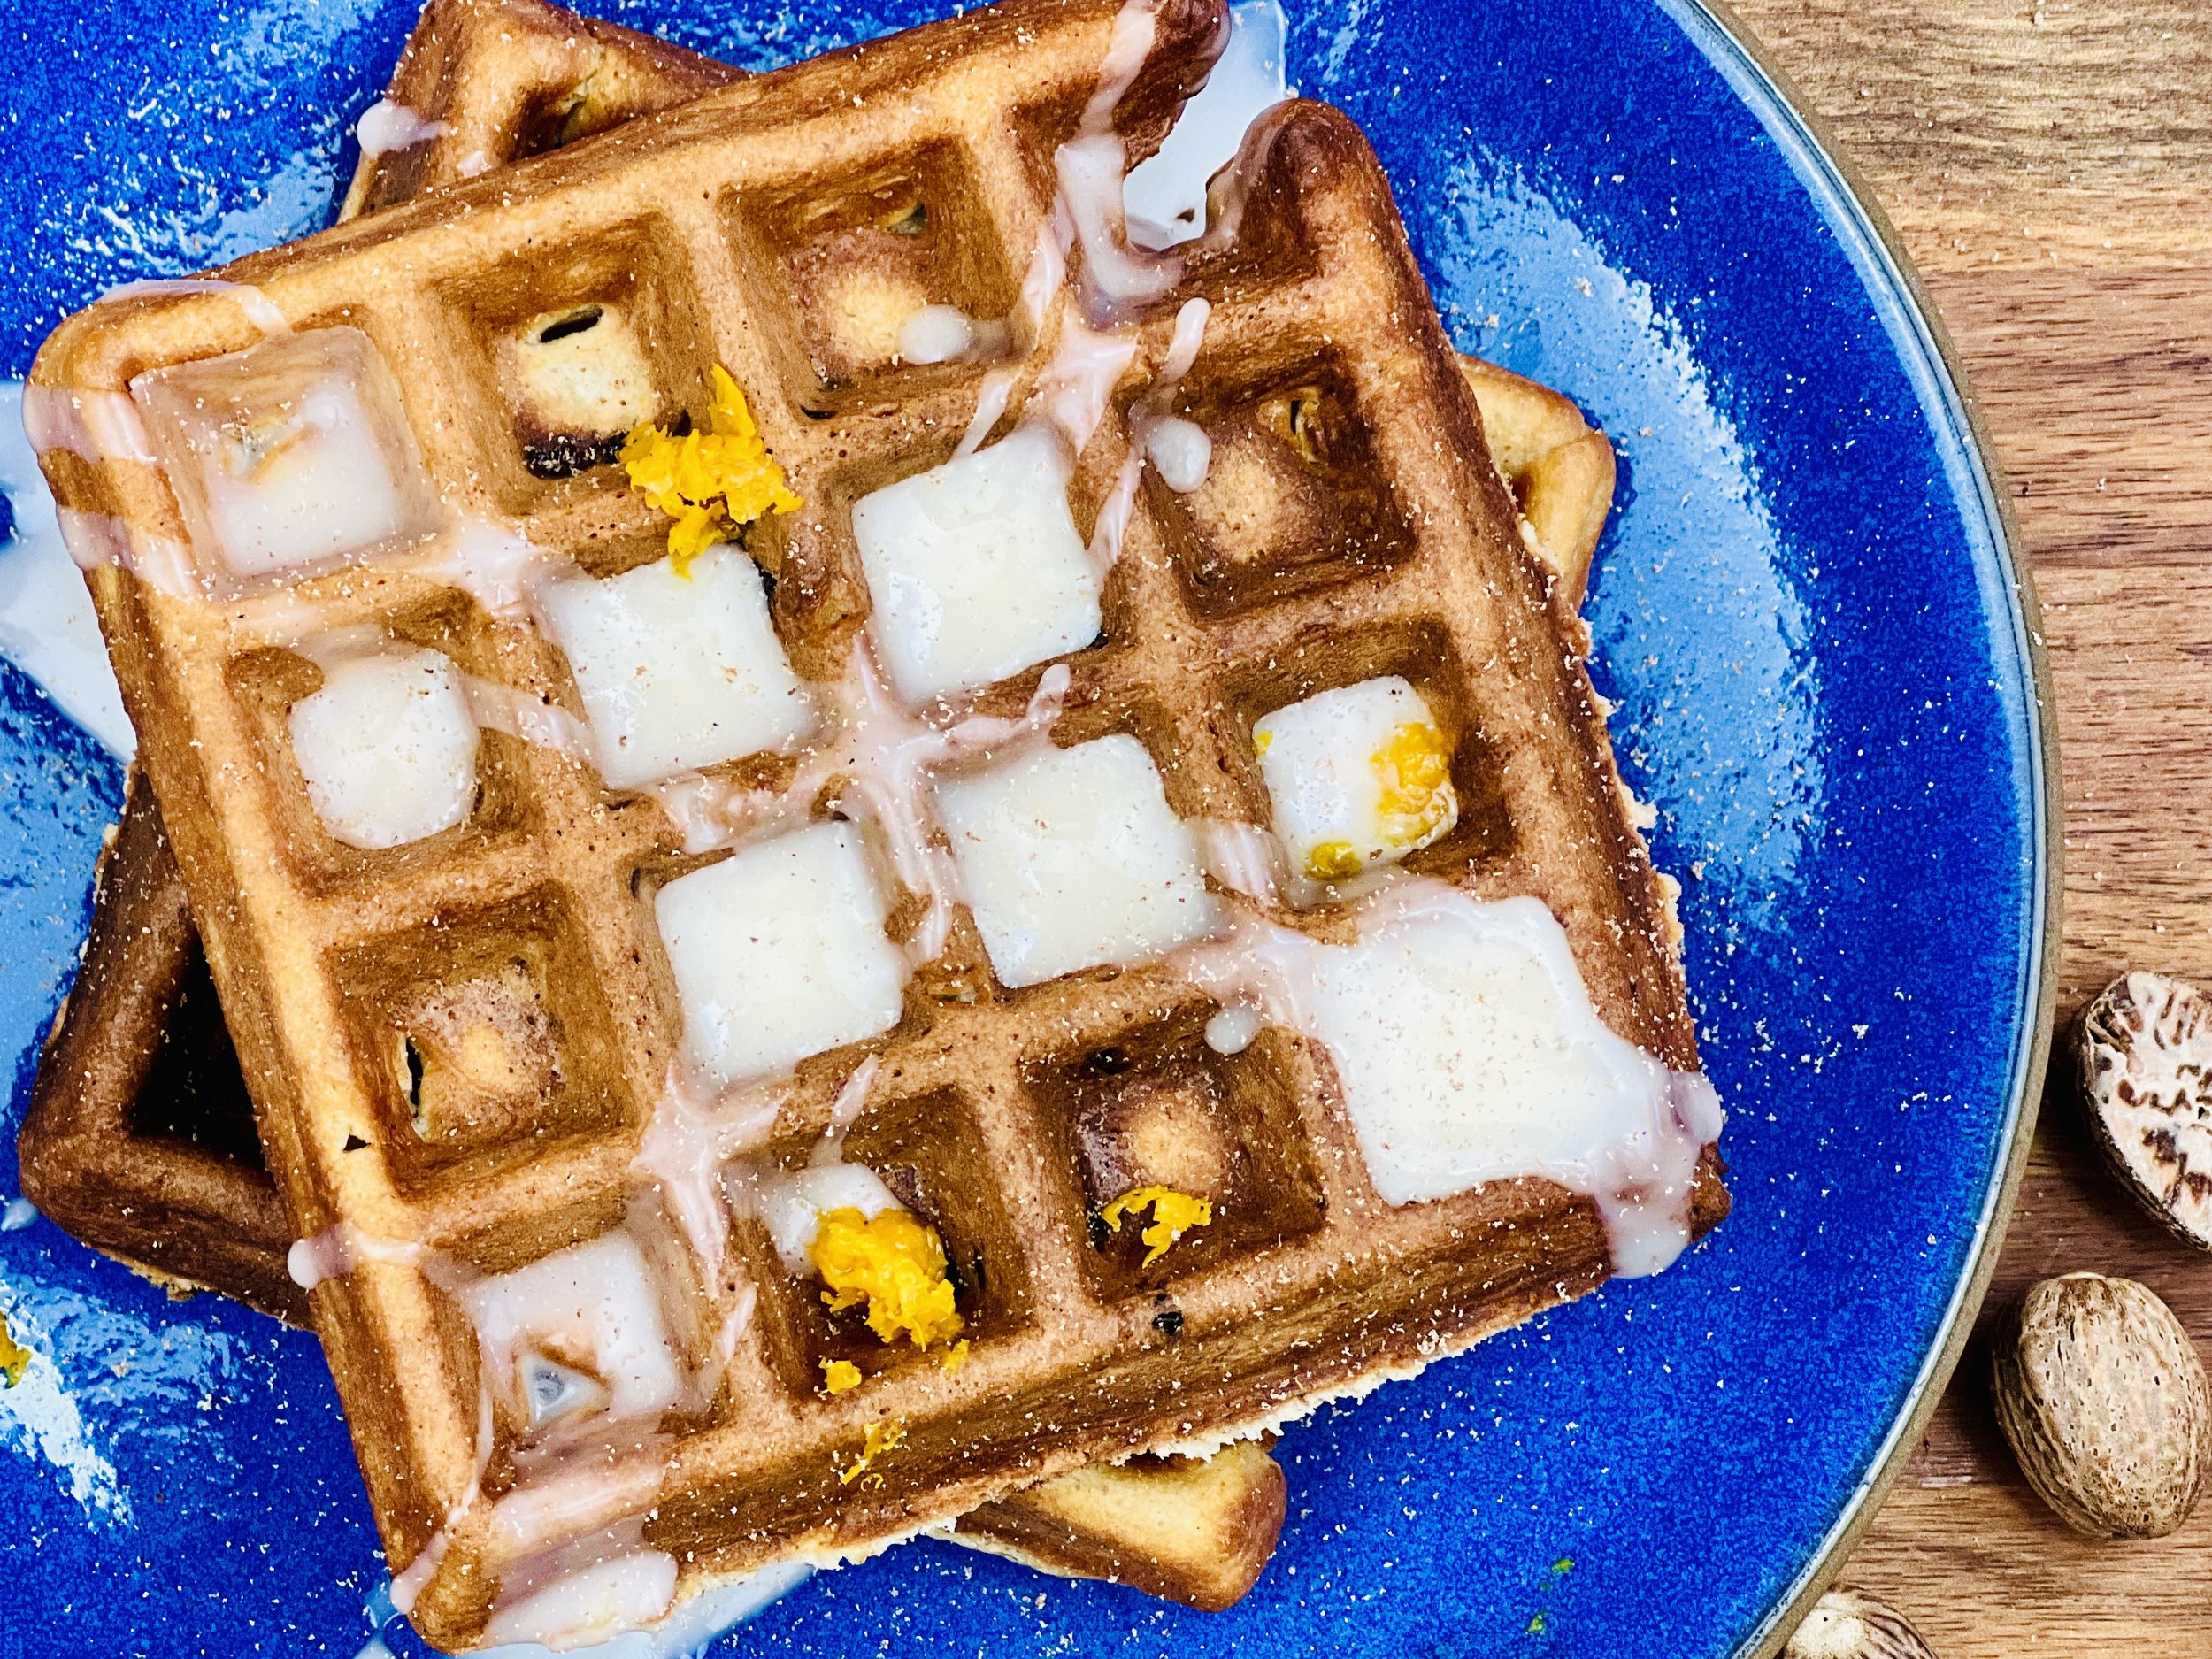
Ingredients: Waffles
2 cups gluten-free flour
1 teaspoon Kosher salt
1 1/2 teaspoons baking powder
2 tablespoons granulated sugar
1/2 teaspoon ground cardamom
1/2 teaspoon cinnamon
1/2 teaspoon allspice
2 cups lactose-free milk
2 eggs, at room temperature
1/2 stick (4 tablespoons) unsalted butter, melted
1 teaspoon vanilla extract
1 teaspoon orange zest
1/4 cup currents (or raising roughly chopped)
Maple syrup and melted butter for serving
Ingredients: Orange Glaze
3/4 cup powdered sugar
1 teaspoon orange juice
1/4 teaspoon fresh grated nutmeg (optional)
Directions
(1) Prepare: Melt the butter, chop the raisins (if using), and zest the orange.
(2) Combine dry ingredients: Put flour, salt, baking powder, sugar, cinnamon, cardamom, and allspice in a medium mixing bowl and whisk to combine.
(3) Combine wet ingredients: In a separate bowl, whisk the milk, eggs, melted butter, and vanilla together.
(4) Blend the batter: Pour the blended wet ingredients over the dry ingredients and stir with a wooden spoon until well combined. Fold in the chopped raisins and orange zest. There’s no need to get all the lumps out.
Make-ahead note: At this point, you can let the batter rest while you preheat the waffle iron, or you can cover the bowl tightly with plastic wrap and keep it in the refrigerator for a day or so until you’re ready to cook the waffles. Bring the batter to room temperature before cooking the waffles so the batter will pour. Add additional milk or melted butter if the batter is too thick after chilling.
(5) Cook the waffles: Once your waffle iron is heated, ladle an equal amount in each segment of the waffle iron. Cook until crisp but not burned. Remove from the waffle to a cooling rack to keep it crisp.
(6) Plate and serve: Serve warm with a drizzle of warm syrup, melted butter, and orange glaze. Top with a sprinkle of grated nutmeg.
Eat and enjoy every bite because you can!
Recipe note: I use Diamond Crystal Kosher salt in all my recipes because it has a wonderful flat and crisp flake that tastes delicious. It is also the least salty salt available so you can use it more liberally as a seasoning than you can table salt or sea salt. If you use another type of salt, you may need to reduce the amount so it is not over-salted.
Have a question you’d like to have answered? Email me at hello@ibsgamechanger.com
Link note: This post may contain affiliate links for you to easily purchase items that are linked. I may earn a small commission from qualifying purchases but none of this costs you a thing so feel free to use the links! In addition, for some items, I have provided a special discount code for IBS Game Changers so be sure to use the code when you purchase an item to get the discount that has been arranged just for you.
More Deliciously Low FODMAP™ breakfast recipes
15 Minutes prep • 30 Minutes cook • Low FODMAP • Serves 4 • Ok to make-ahead: Steps 1 - 2
10 Minutes prep • 20 Minutes cook • Low FODMAP • Gluten-free • Lactose-free • Vegan • Makes 6 cups
I’m here to show you how to fully embrace the flavors of fall while keeping your digestive system happy.
10 Minutes prep • Overnight Chill • Low FODMAP • Gluten-free • Lactose-free • Serves 2 - 4
15 Minutes prep • 45 Minutes cook • Low FODMAP • Gluten-free • Vegetarian • Serves 4 - 6
15 Minutes prep • 15 Minutes cook • Low FODMAP • Gluten-free • Makes 8 Belgian waffle squares
30 Minutes prep • 20 Minutes cook • Low FODMAP • Gluten-free • Vegetarian • Makes 10 Squares
Tuna Salad Lettuce Wraps (Low FODMAP)
10 Minutes prep • Low FODMAP • Gluten-free • Serves 2
10 Minutes prep • Low FODMAP • Gluten-free • Serves 2 • Ok to make ahead: Steps 1-2
This is the perfect energizing lunch. Protein, fiber, plants, and delicious flavor. It’s light and hearty at the same time. The almonds and celery give it a wonderful crunch while the capers provide a depth of flavor that isn’t always common in a tuna salad. And, capers are an especially good source of antioxidants like quercetin and rutin both of which have been well-studied for their ability to alleviate inflammation, enhance wound healing, and promote healthy blood sugar levels.
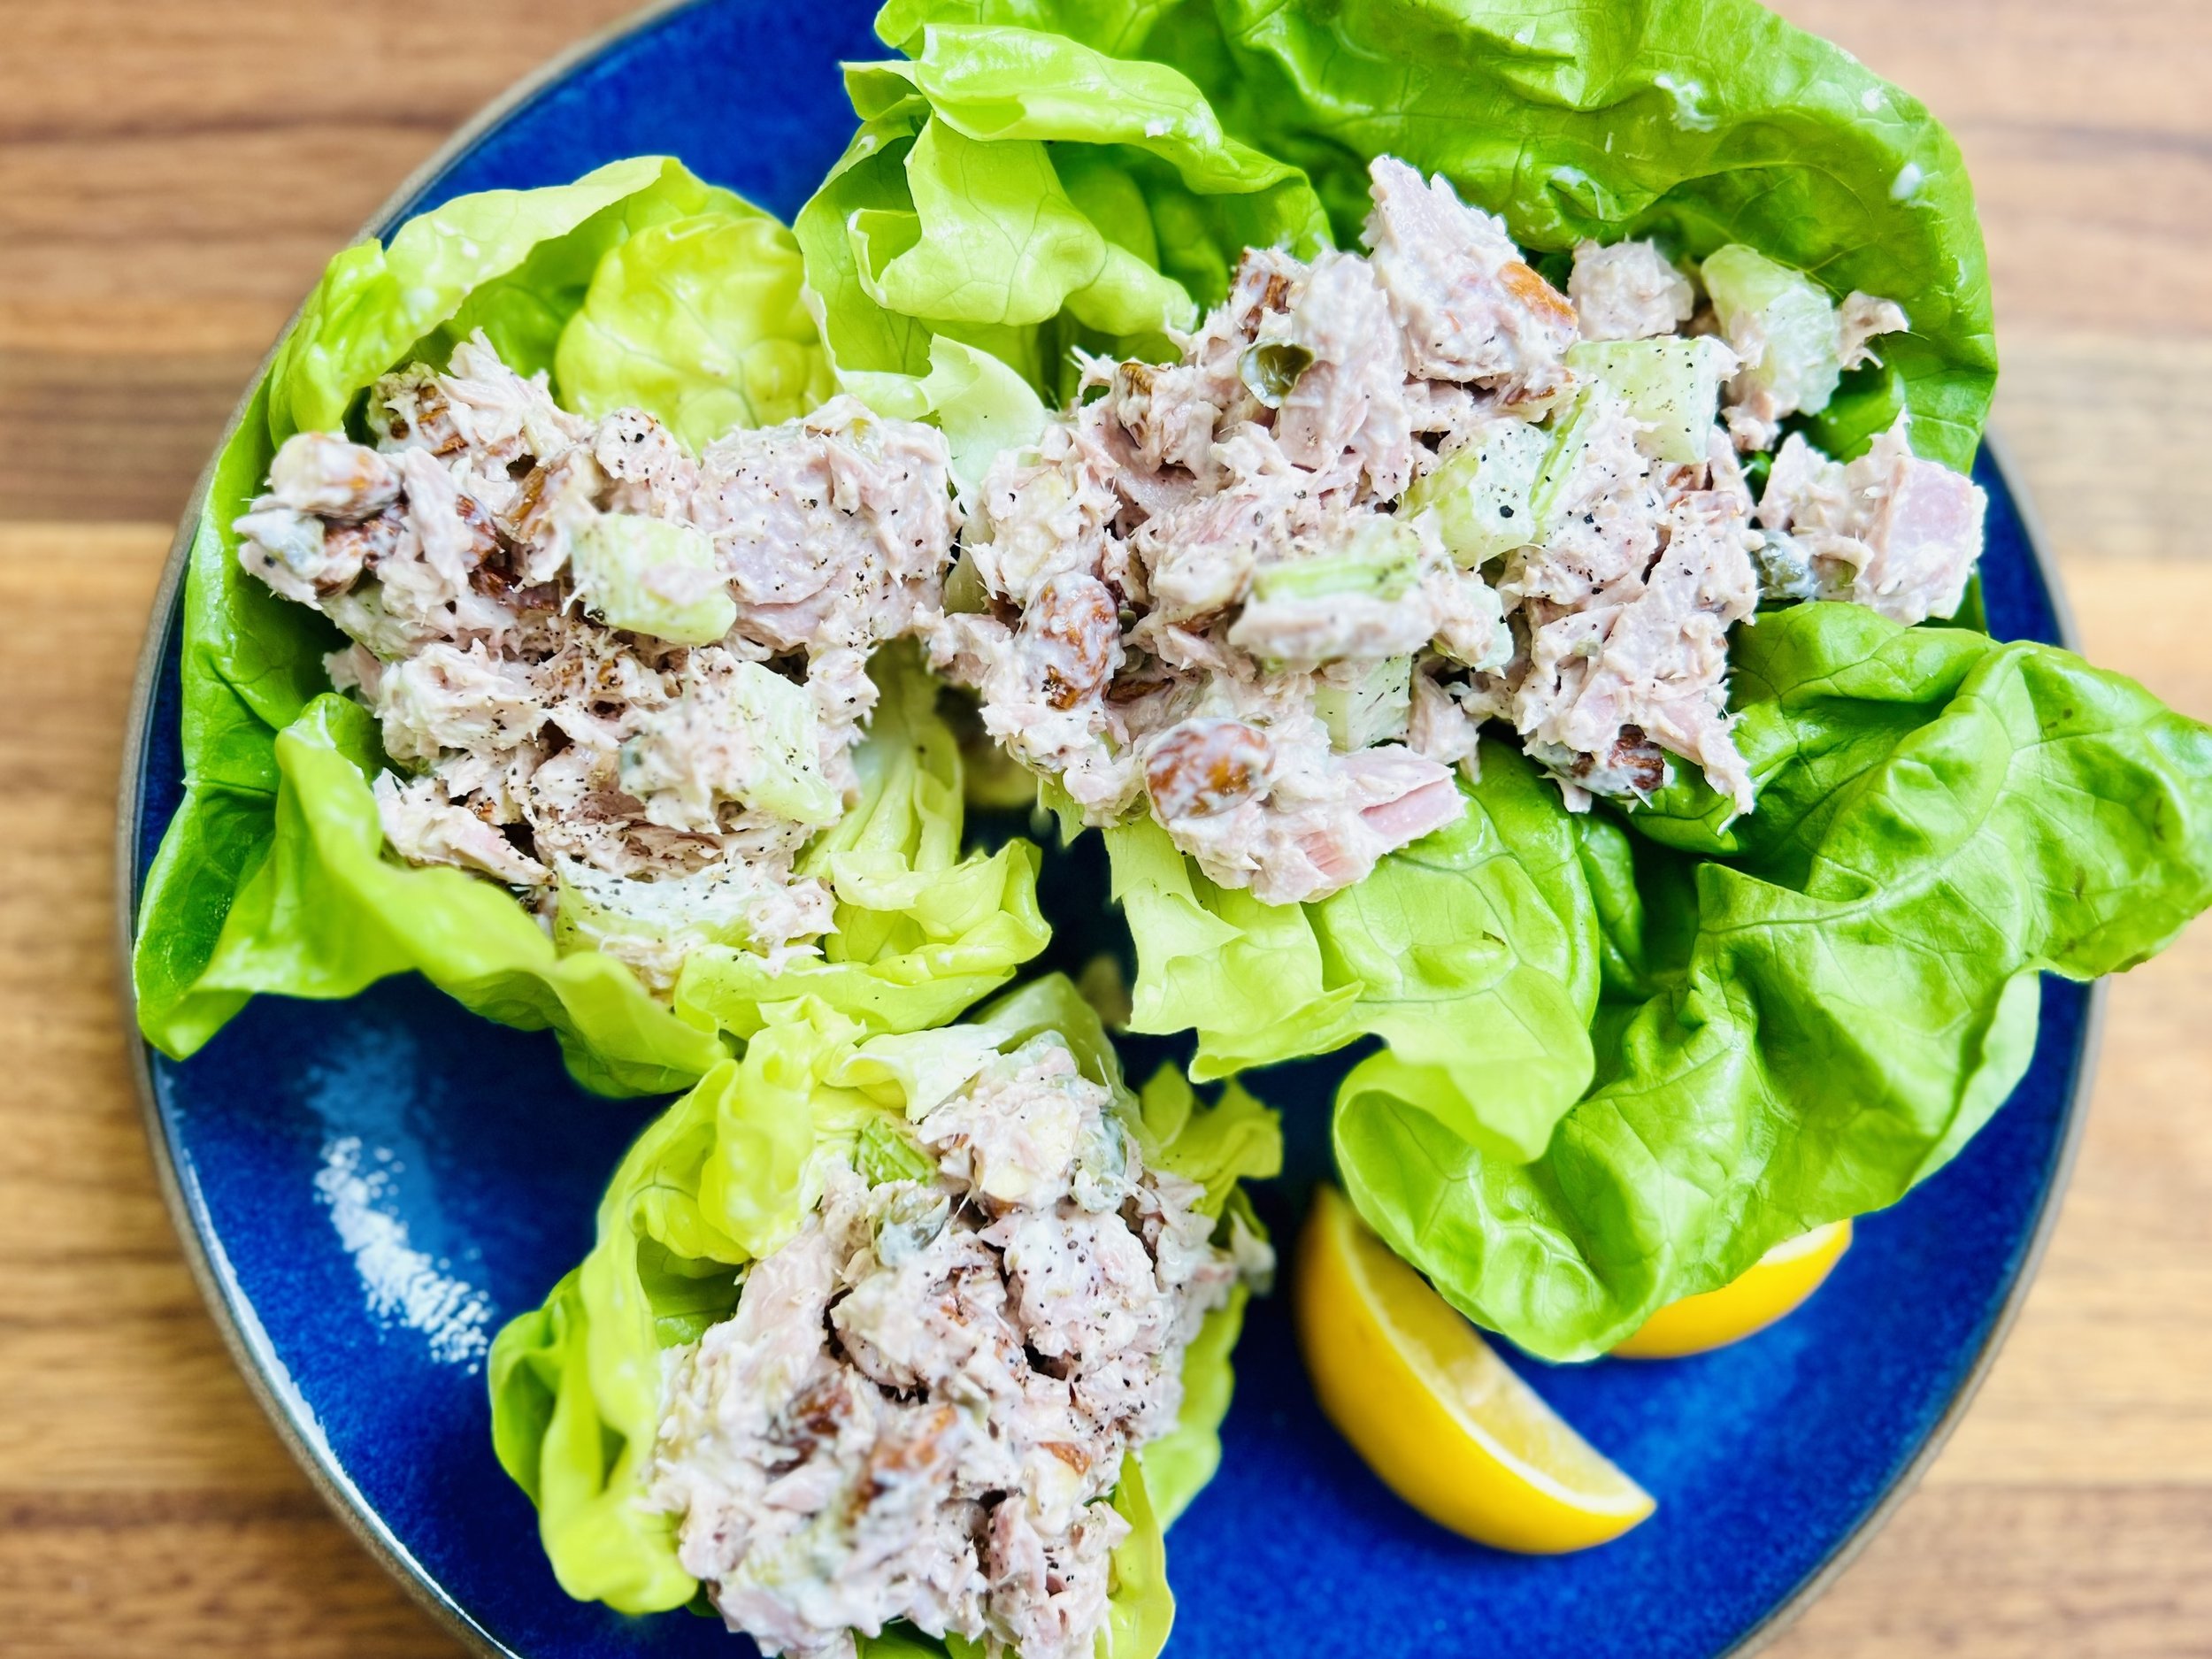
Ingredients
1 can skipjack tuna or yellowfin tuna in water or olive oil (these iare lowest in mercury but you can use any variety you like)
1/2 cup raw almonds, chopped
1/2 stalk celery, chopped
2 - 3 tablespoons avocado mayonnaise (or regular mayo is OK too)
1 teaspoon lemon juice
1 tablespoon (or more) capers, rinsed thoroughly and roughly chopped
1/4 teaspoon Kosher salt
1/4 teaspoon black pepper
6 whole leaves butter lettuce, washed and spun dry
Directions
(1) Prepare: Wash and spin dry the lettuce. Chop the almonds and celery. Rinse and chop the capers. Drain the water or oil out of the tuna.
(2) Make the salad: Combine all ingredients in a bowl using a fork to break up the tuna and blend the ingredients together. Taste and adjust seasoning with additional lemon juice, salt, or pepper if needed.
(3) Plate and serve: Spoon the tuna salad into the lettuce leaves and serve.
Eat and enjoy every bite because you can!
Recipe note: I use Diamond Crystal Kosher salt in all my recipes because it has a wonderful flat and crisp flake that tastes delicious. It is also the least salty salt available so you can use it more liberally as a seasoning than you can table salt or sea salt. If you use another type of salt, you may need to reduce the amount so it is not over-salted.
Have a question you’d like to have answered? Email me at hello@ibsgamechanger.com
Link note: This post may contain affiliate links for you to easily purchase items that are linked. I may earn a small commission from qualifying purchases but none of this costs you a thing so feel free to use the links! In addition, for some items, I have provided a special discount code for IBS Game Changers so be sure to use the code when you purchase an item to get the discount that has been arranged just for you.
More Deliciously Low FODMAP™ salad recipes
5 Minutes prep • 15 Minutes cook • Low FODMAP • Gluten-free • Lactose-free • Vegan • Serves 4
15 Minutes prep • Low FODMAP • Gluten-free • Lactose-free • Vegetarian • Vegan • Serves 4
30 Minutes prep • Low FODMAP • Gluten-free • Lactose-free • Vegetarian • Vegan • Serves 4+ • Serving Size 2 cups
15 Minutes prep • 30 Minutes cook • Low FODMAP • Gluten-free • Lactose-free • Serves 4-6
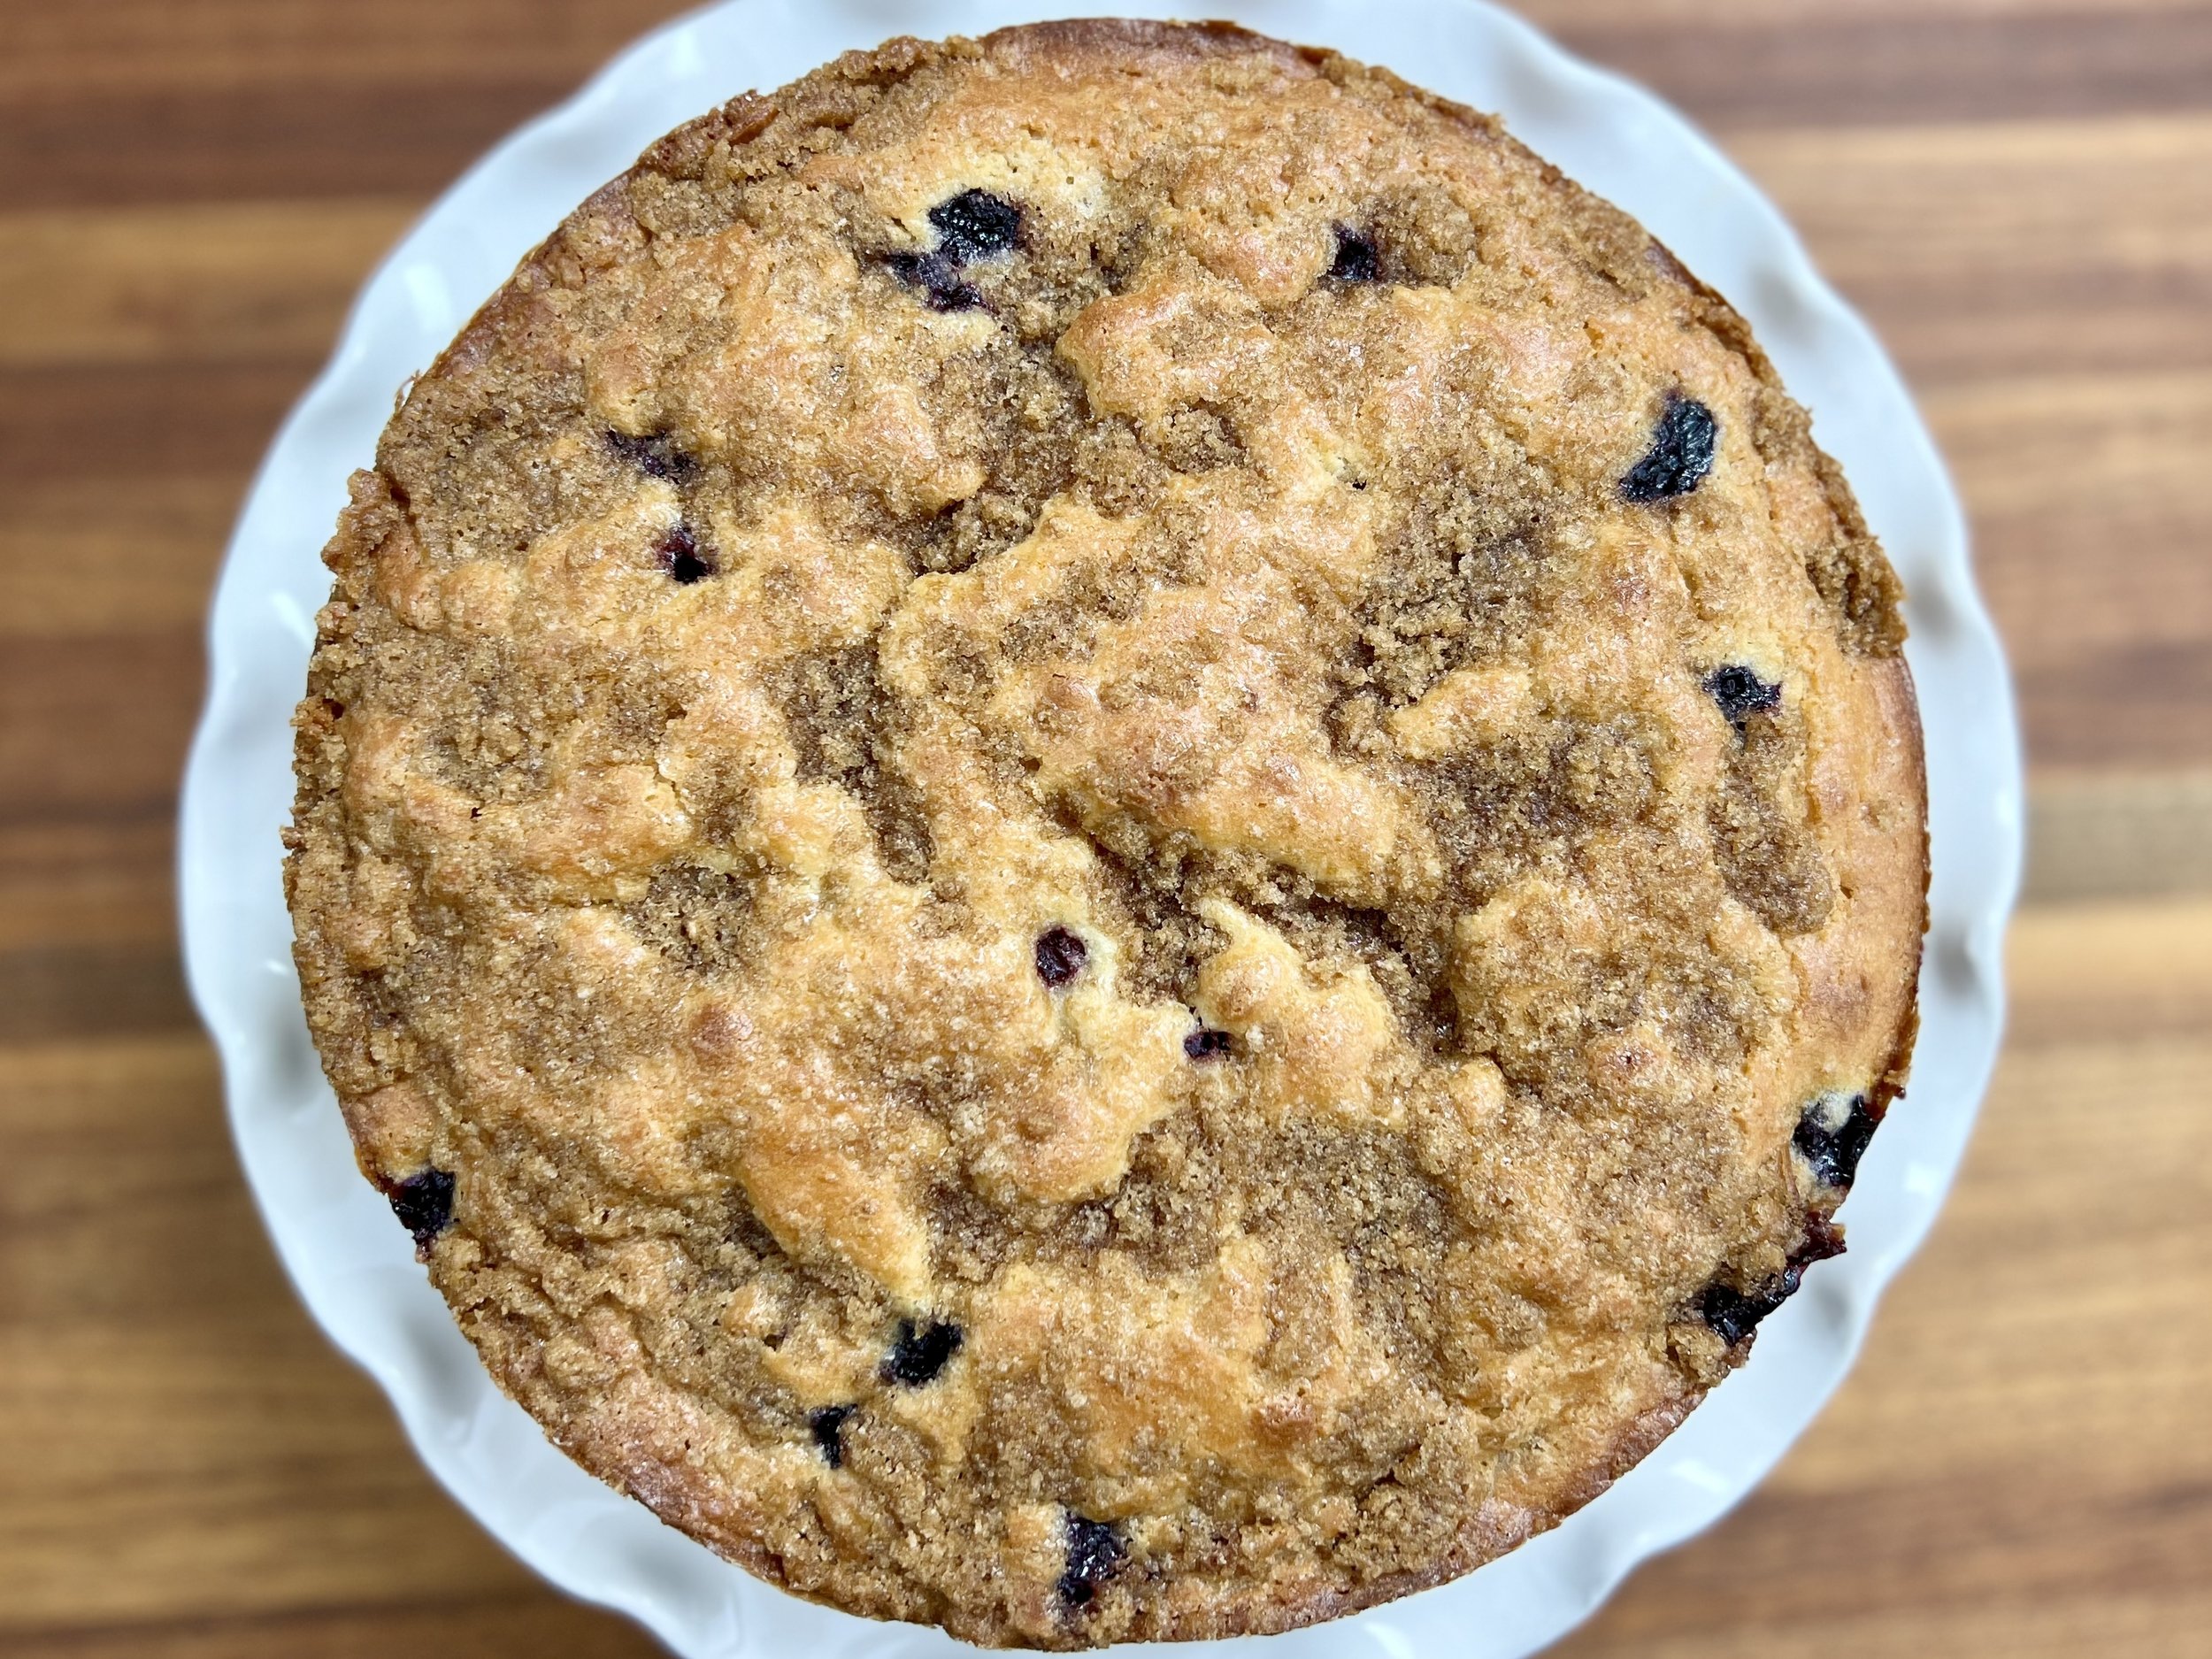
Sour Cream Blueberry Coffee Cake (Low FODMAP)
15 Minutes prep • 45 Minutes cook • Low FODMAP • Gluten-free • Serves 8
15 Minutes prep • 45 Minutes cook • Low FODMAP • Gluten-free • Serves 8 • Ok to make ahead: Steps 1-2
This is a classic. Tender cake with a crunchy streusel on top and in the middle with bright blueberries throughout. It’s comfort food that’s even more delicious when it’s warm with a bit of butter melting into it. Perfect for a slow Sunday morning with a cup of coffee and your slippers on. The kitchen will smell delightful so you’ll have to work fast before the house wakes up and realizes you’ve made something scrumptious!
Ingredients: Coffee Cake
1 stick (8 tablespoons) salted butter, at room temperature
1/2 cup granulated sugar
1 tablespoon lemon zest
1/2 cup lactose-free sour cream
1 tablespoon vanilla extract
3 large eggs, at room temperature
3/4 cup all-purpose gluten-free flour
1/4 cup gf Jules gluten-free flour (makes it lighter, but you can use all gluten-free all-purpose flour if you prefer)
3/4 cup almond flour
2 teaspoons baking powder
1/2 teaspoon Kosher salt
1 cup fresh or frozen blueberries
Ingredients: Streusel
1/2 cup light brown sugar
2 tablespoons gluten-free flour
2 tablespoons butter
Directions
(1) Prepare: Preheat the oven to 375 degrees F. Grease the bottom and sides of a 9-inch springform pan or (9 x 5-inch) loaf pan.
(2) Make the streusel: To make the streusel. Combine all ingredients in a bowl and mix until a crumble forms.
(3) Make the batter: In the bowl of your stand mixer, beat together the butter, sugar, and lemon zest until combined. Add the sour cream and vanilla, beating until smooth. Beat in the eggs, one at a time, until combined. Add the flour, almond flour, baking powder, and salt. Fold in the blueberries by hand so they don’t get crushed.
(4) Finish: Spoon half the batter into the prepared pan. Sprinkle 1/2 the streusel evenly over the batter. Add the remaining batter and then sprinkle evenly with the remaining streusel.
(5) Bake: Bake for 55-60 minutes, or until the center is just set and toothpick comes out clean.
(6) Plate and serve: Slice and serve warm with a pat of butter melting into the streusel topping.
Eat and enjoy every bite because you can!
Recipe note: I use Diamond Crystal Kosher salt in all my recipes because it has a wonderful flat and crisp flake that tastes delicious. It is also the least salty salt available so you can use it more liberally as a seasoning than you can table salt or sea salt. If you use another type of salt, you may need to reduce the amount so it is not over-salted.
Have a question you’d like to have answered? Email me at hello@ibsgamechanger.com
Link note: This post may contain affiliate links for you to easily purchase items that are linked. I may earn a small commission from qualifying purchases but none of this costs you a thing so feel free to use the links! In addition, for some items, I have provided a special discount code for IBS Game Changers so be sure to use the code when you purchase an item to get the discount that has been arranged just for you.
More Deliciously Low FODMAP™ dessert recipes
5 Minutes prep • 10 Minutes cook • Low FODMAP • Gluten-Free • Lactose-Free • Makes 5 cups
15 Minutes prep • 20 Minutes cook • 30 Minutes cool • Low FODMAP • Gluten-free • Makes 18 bars
20 Minutes prep • 10 Minutes cook • Low FODMAP • Gluten-free • Makes 12 Sandwiched Cookies
20 Minutes prep • 20 Minutes cook • Low FODMAP • Gluten-free • Lactose-free • Makes 12 - 24
20 Minutes prep • 2 Hours chill • 10 Minutes cook • Low FODMAP • Gluten-free • Makes 24 - 36
I’m here to show you how to fully embrace the flavors of fall while keeping your digestive system happy.
10 Minutes prep • Overnight Chill • Low FODMAP • Gluten-free • Lactose-free • Serves 2 - 4
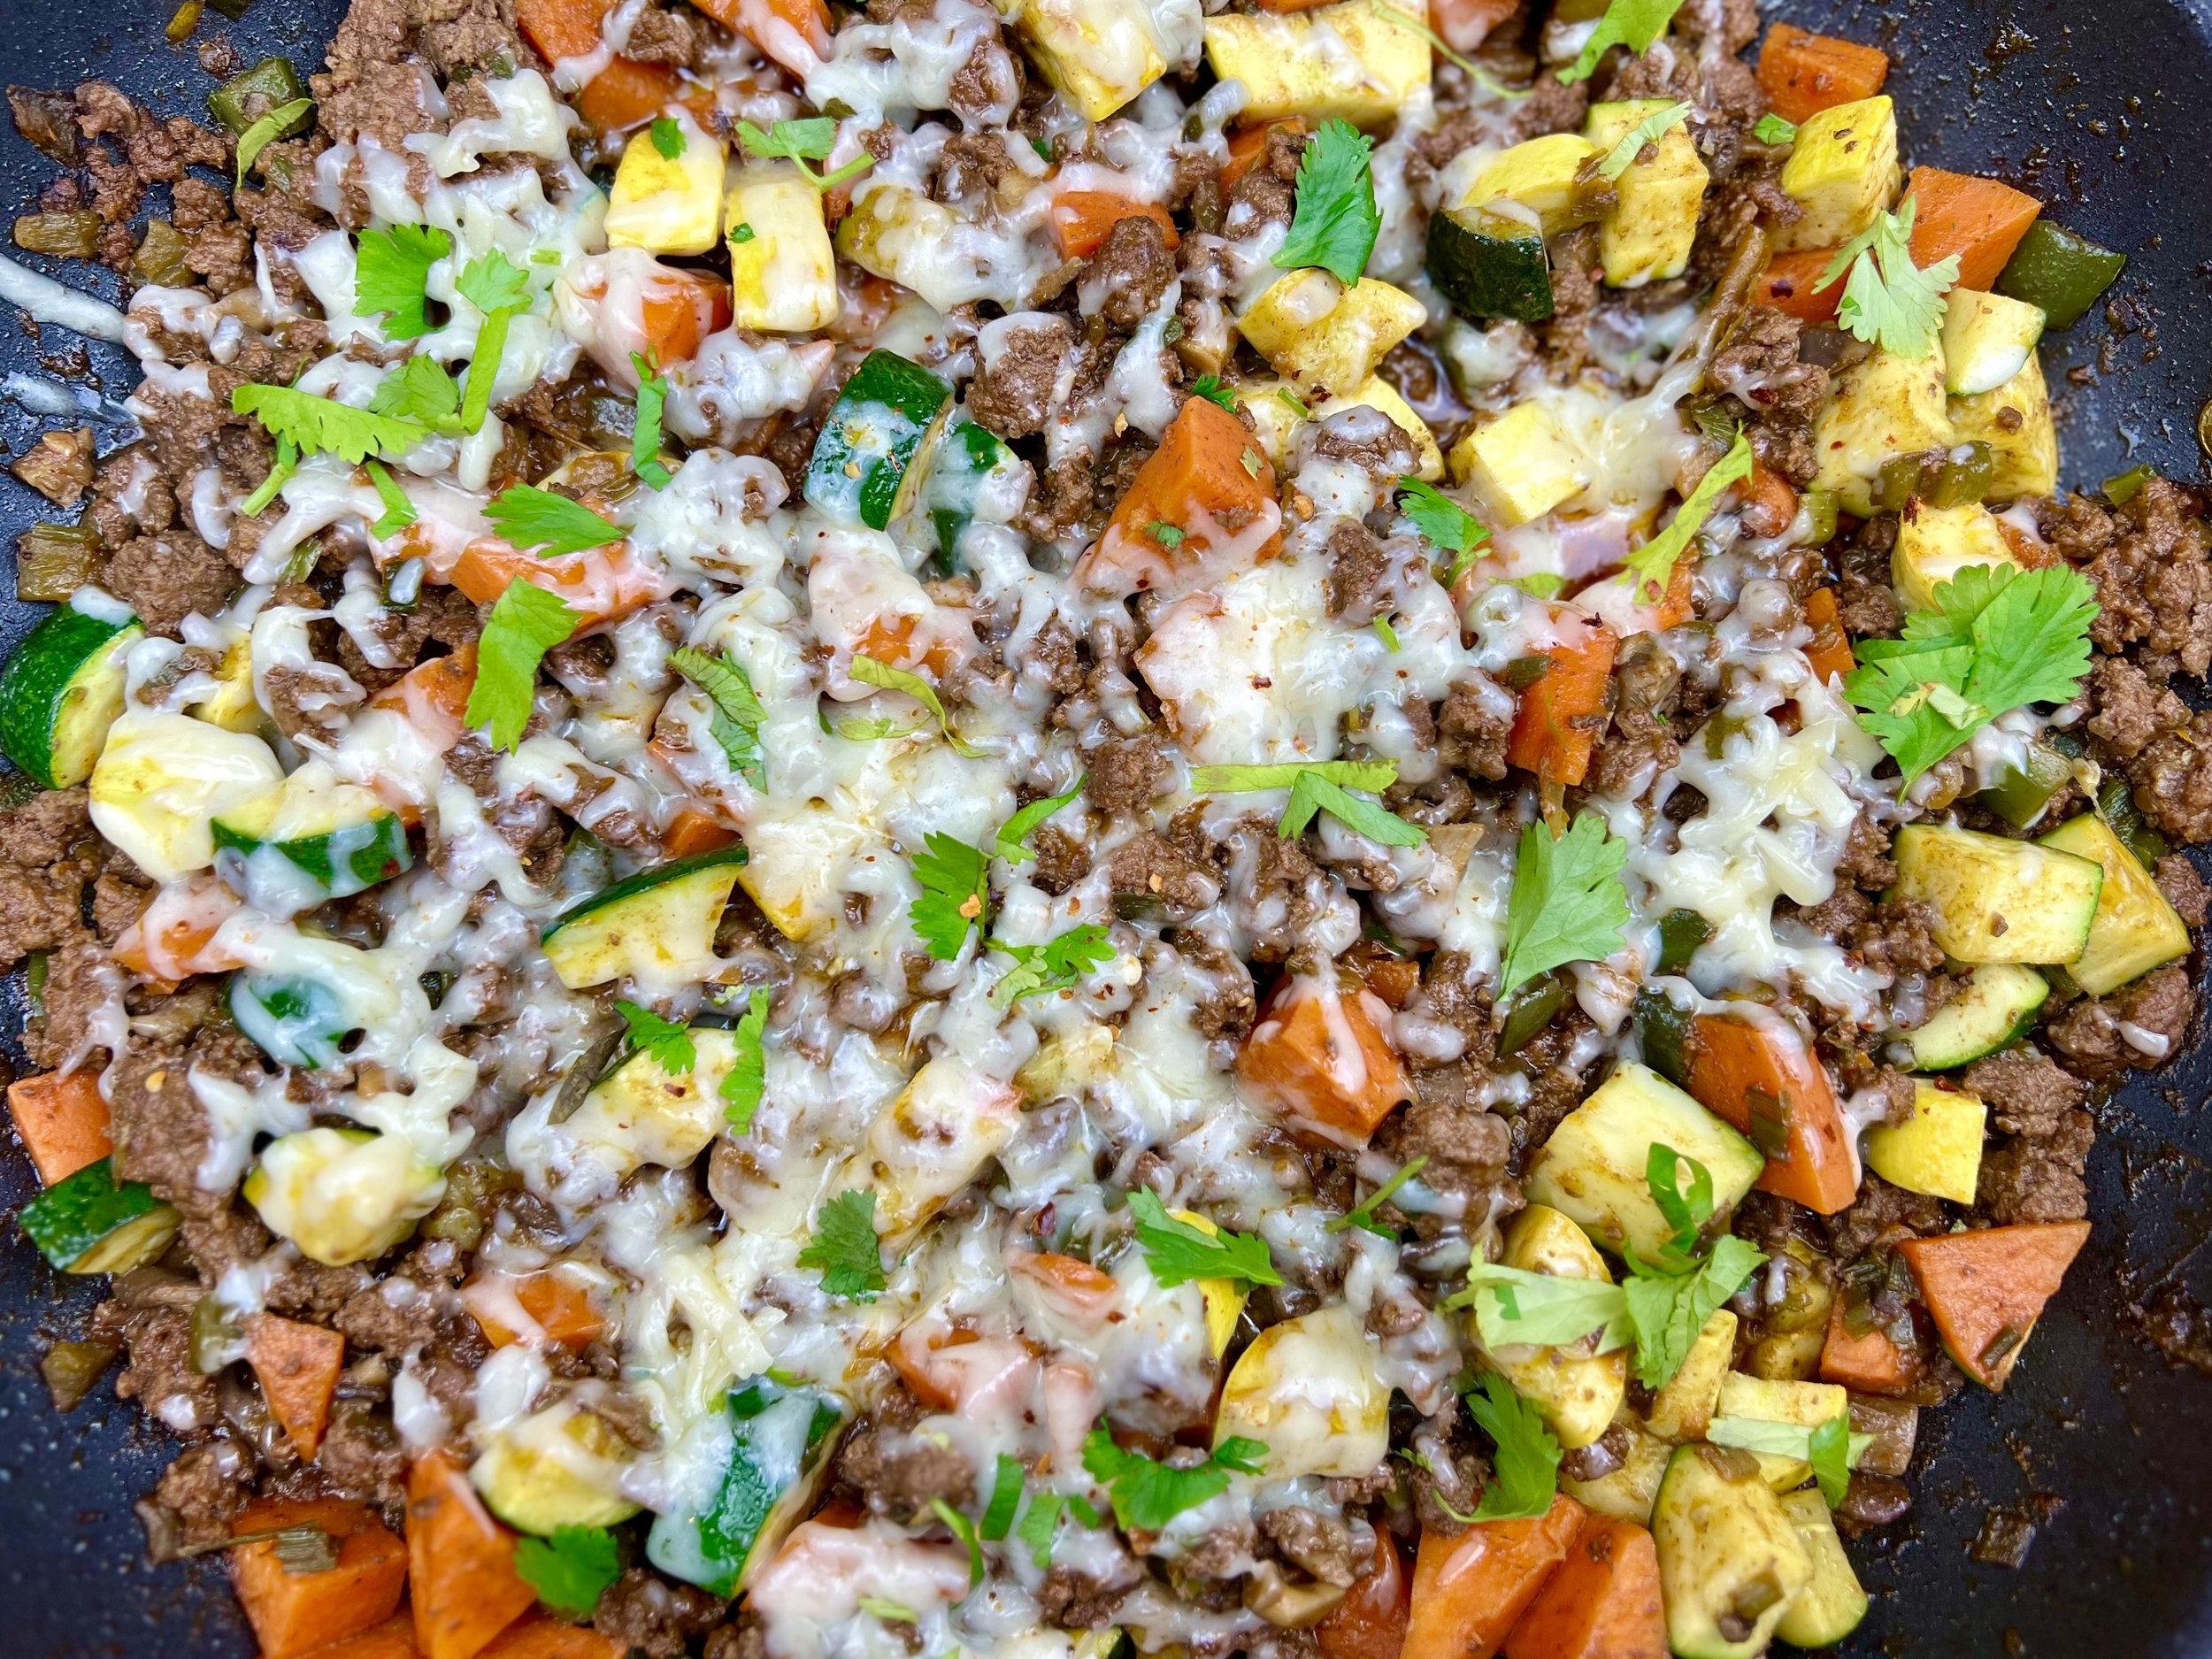
Southwestern Beef and Veggie Skillet (Low FODMAP)
5 Minutes prep • 25 Minutes cook • Low FODMAP • Gluten-free • Serves 4
5 Minutes prep • 25 Minutes cook • Low FODMAP • Gluten-free • Serves 4 • Ok to make ahead: Steps 1-3
This 30-minute one-pan recipe is easy to make and so delicious, the whole family will love it. It packs a cornucopia of plants for your gut biome with as many as 14 different plants in the recipe as written. And, you can add some more if you want to! Serve it on its own or throw it in corn tortillas for some Southwest tacos. Leftovers make a great addition to scrambled eggs for breakfast or brunch.
Ingredients
1 tablespoon garlic-infused olive oil
1 cup green onion greens, chopped
1 pound ground beef, grass-fed organic preferred (or use ground chicken or turkey)
1 tablespoon plus 2 teaspoons chili powder
2 teaspoons ground cumin
1/2 teaspoon Kosher salt
1/4 teaspoon black pepper
1/2 teaspoon each Smoke N Sanity Essence of Garlic Salt and Essence of Onion Salt (Use code IBSGC15 for 15% discount)
2 cups peeled and diced sweet potato
1-2 cups oyster mushrooms, chopped
4 ounces canned diced green chilies
1/4 cup water
1 jalapeño pepper, seeds removed and chopped (optional)
2 cups chicken broth (I use Whole Foods Organic 365 chicken broth or Gourmend low FODMAP Organic Chicken Broth - use code IBSGC15 for 15% discount)
1/4 cup tomato paste
1 medium zucchini, chopped
1 medium summer squash, chopped
3/4 cup shredded extra sharp cheddar cheese or gruyere
Optional for serving: chopped cilantro, lactose-free sour cream, and sliced avocado
Directions
(1) Prepare: Chop the green onion greens, peel and chop the sweet potato, remove the seeds and chop the jalapeño, chop the zucchini and summer squash, and grate the cheese.
(2) Cook the meat: Heat the garlic-infused olive oil in a large skillet over medium-high heat. Add the ground beef and chopped green onion greens and crumble the beef as it cooks. Add 1 tablespoon of chili powder, and 2 teaspoons of cumin, and season with salt, pepper, and Essence of Garlic Salt and Essence of Onion Salt. When the beef is fully browned and cooked, remove from the pan to a plate and set aside.
(3) Cook the veggies: If the pan has a lot of grease from the hamburger, wipe it out. Add the diced sweet potato, chopped mushrooms, green chiles, water, 1 cup of the chicken broth, and 1 teaspoon of chili powder, to the skillet. Stir everything together and cover it with a lid. Reduce heat and let it simmer for about 20 minutes or until the sweet potatoes are tender. Check it a few times and as the sauce cooks down, add more chicken broth and stir it in.
(4) Finish: Add the ground beef mixture to the sweet potatoes and stir everything together. Heat for 2 - 3 minutes until the meat is well heated.
Sprinkle with grated cheese and cover with the lid again for another minute or until the cheese is melted. (Note: if you don’t have a lid for your skillet, a cookie sheet works just fine.)
(5) Plate and Serve: Top with chopped cilantro, lactose-free sour cream, and/or avocado slices, and serve.
Eat and enjoy every bite because you can!
Recipe note: I use Diamond Crystal Kosher salt in all my recipes because it has a wonderful flat and crisp flake that tastes delicious. It is also the least salty salt available so you can use it more liberally as a seasoning than you can table salt or sea salt. If you use another type of salt, you may need to reduce the amount so it is not over-salted.
Have a question you’d like to have answered? Email me at hello@ibsgamechanger.com
Link note: This post may contain affiliate links for you to easily purchase items that are linked. I may earn a small commission from qualifying purchases but none of this costs you a thing so feel free to use the links! In addition, for some items, I have provided a special discount code for IBS Game Changers so be sure to use the code when you purchase an item to get the discount that has been arranged just for you.
More Deliciously Low FODMAP™ main course recipes
15 Minutes prep • 30 Minutes cook • Low FODMAP • Serves 4 • Ok to make-ahead: Steps 1 - 2
10 Minutes prep • 25 Minutes cook • Low FODMAP • Gluten-Free • Serves 6 • Ok to make-ahead: Step 1
Herby Sourdough Baked Chicken (Low FODMAP)
20 Minutes prep • 25 Minutes cook • Low FODMAP • Serves 4
15 Minutes prep • 25 Minutes cook • Low FODMAP • Serves 4 • Ok to make ahead: Step 1
This breadcrumb mixture featuring sourdough bread, capers, parsley, and lemon, is equally good on chicken or fish. It’s simple to make the crumb mixture in your food processor, and so easy to use. You can drizzle this chicken with my Easy Hollandaise Sauce, or just serve it as is alongside my Garlic Parmesan Roasted New Potatoes and one of my delicious salads.
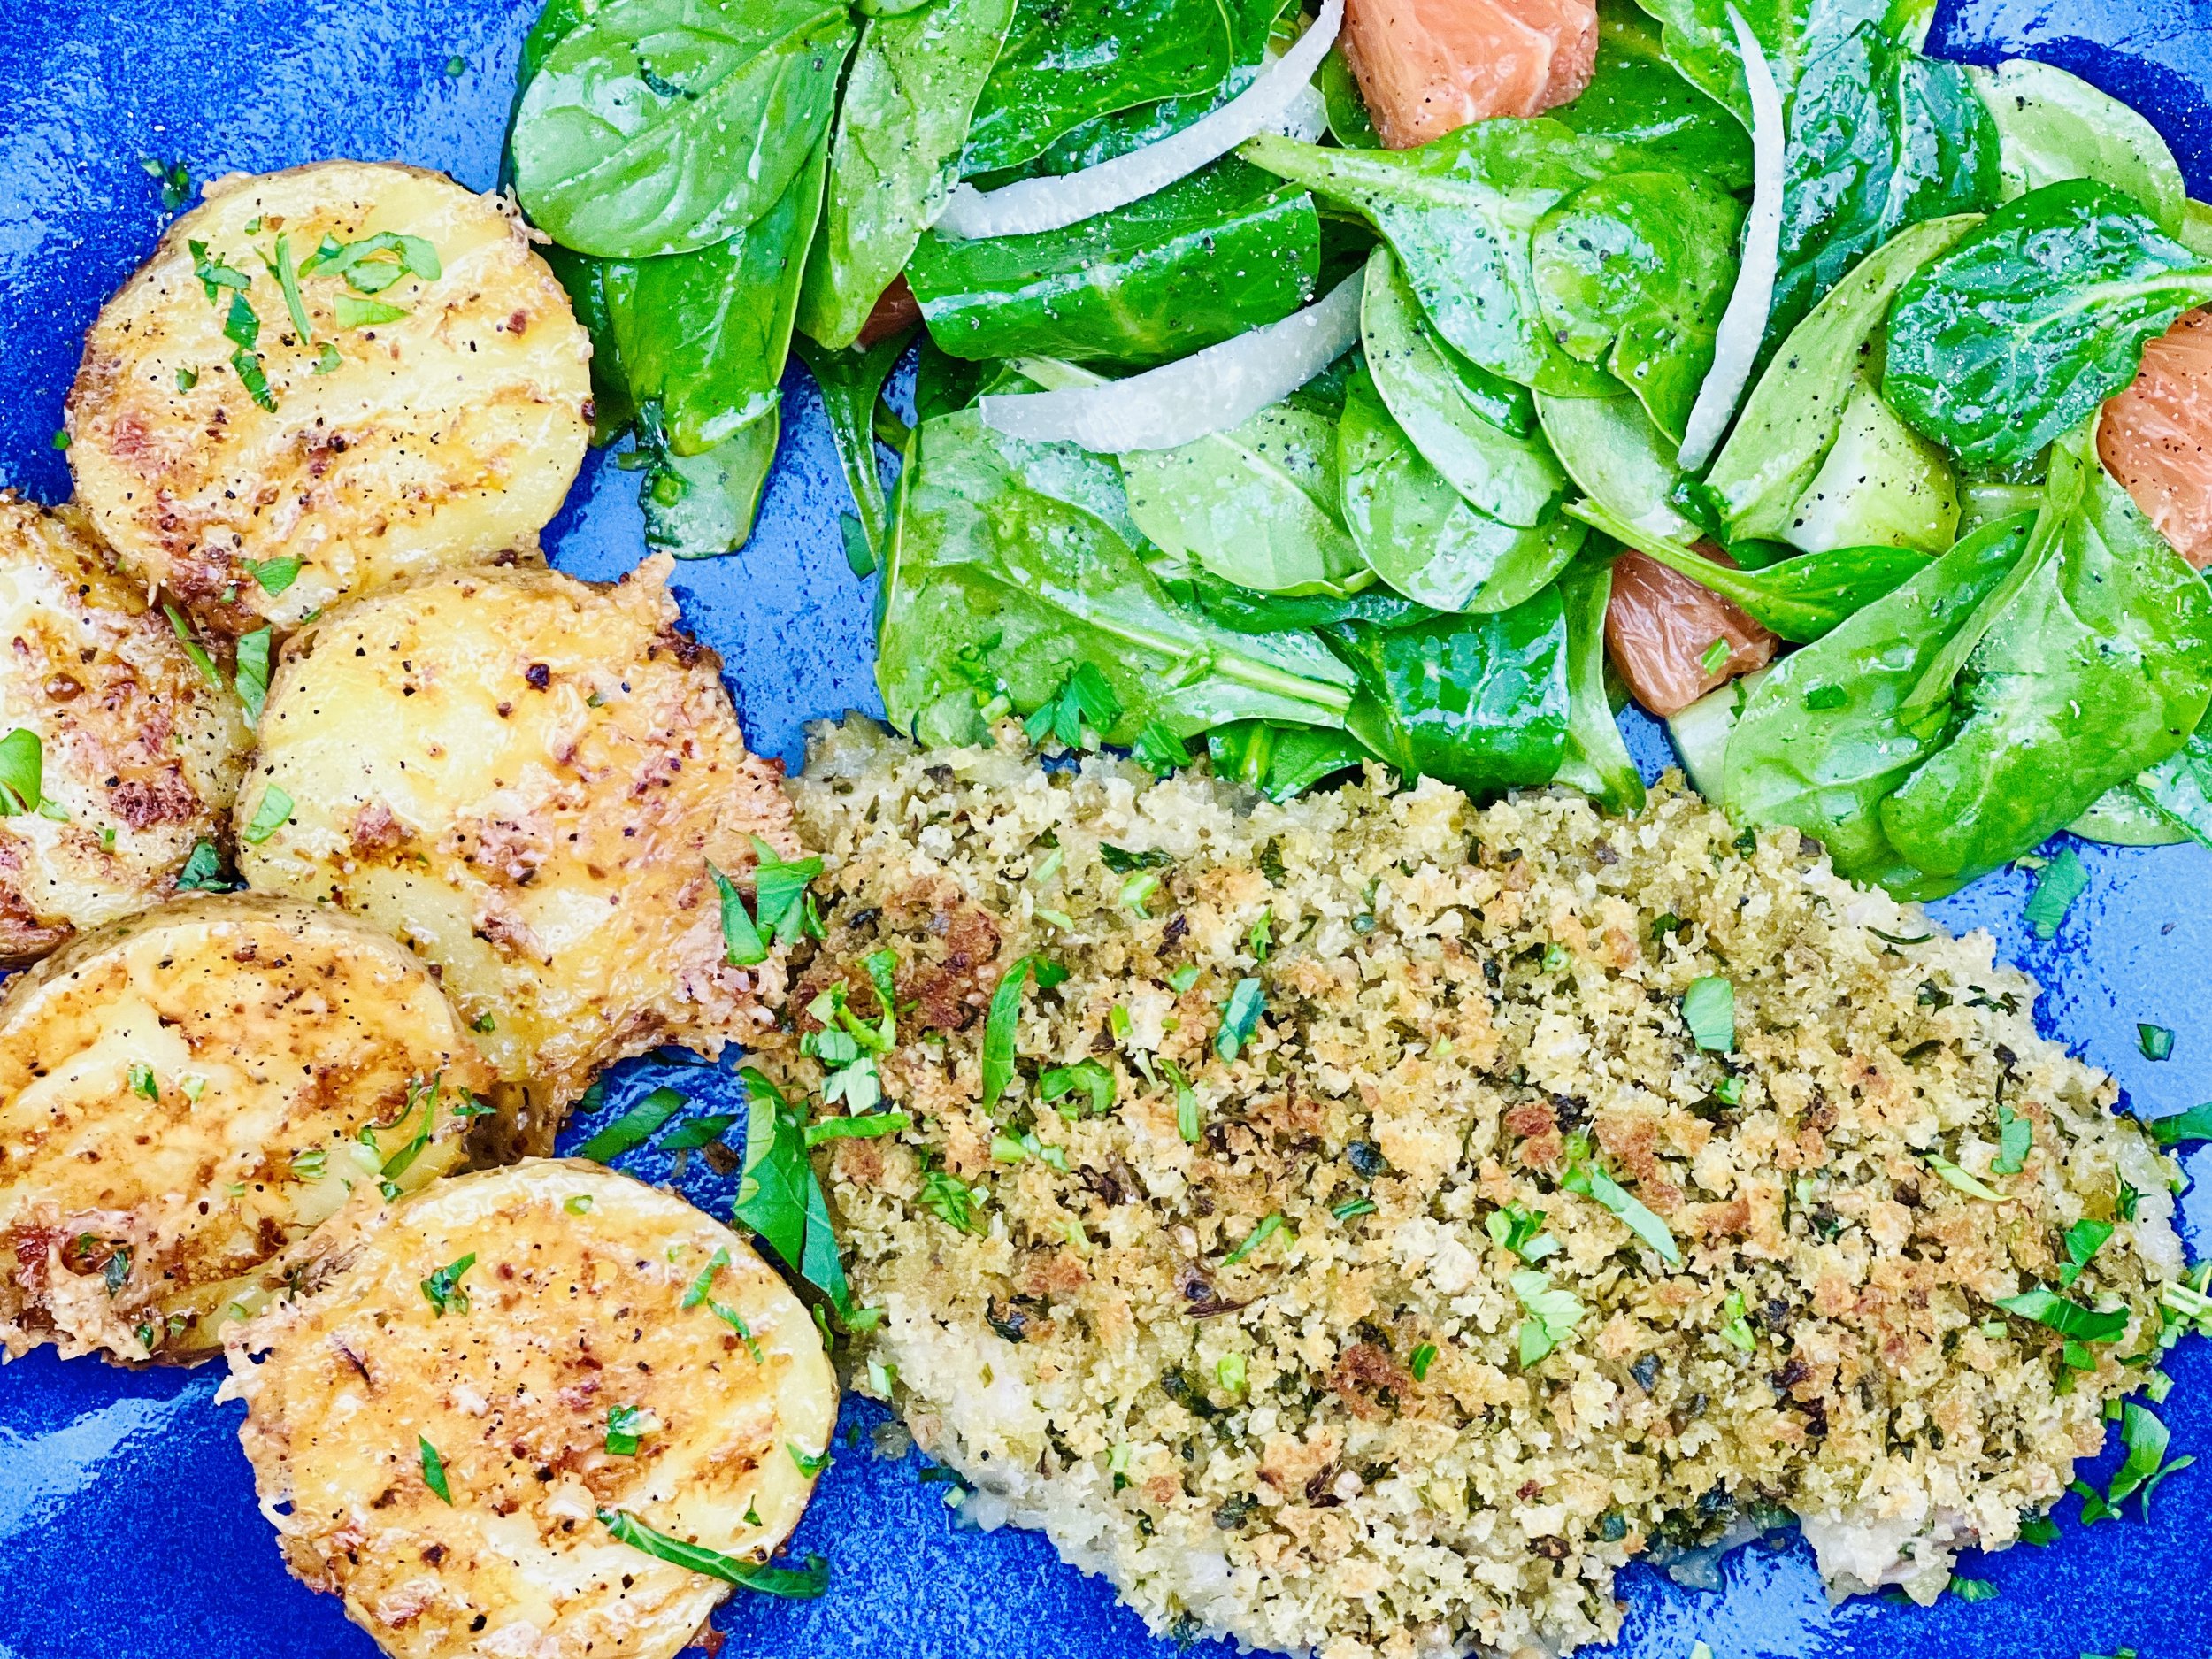
Ingredients
4 small or 2 large chicken breasts
3 slices of real sourdough bread
1/2 cup fresh flat-leaf parsley
2 tablespoons chopped chives or green onion greens
1 tablespoon lemon zest (finely grated lemon peel)
1 tablespoon capers, rinsed and drained
1 tablespoon extra virgin olive oil, plus 1 tablespoon more for drizzling
1/2 teaspoon Kosher salt
1/4 teaspoon black pepper
Directions
(1) Prepare the chicken: If the chicken breasts are quite thick, cut them horizontally to make two thin pieces out of the one thick breast. If you have the time, put the chicken in one layer on a rimmed plate or baking dish. Season both sides of each piece lightly with Kosher salt (about 1/4 - 1/2 teaspoon per side). Cover the dish with plastic wrap and refrigerate until ready to use, ideally about 4 hours before cooking or overnight.
(2) Prepare: Preheat the oven to 400 degrees F. Line a rimmed baking sheet with parchment paper.
(3) Make the breadcrumb mixture: Roughly chop the bread slices and parsley, then put the bread, parsley, chives or green onions, lemon zest, capers, salt, and pepper in the bowl of your food processor. Process until the crumb is even and the ingredients are nicely blended together. Add the olive oil and pulse a few times to blend.
(4) Bake the chicken: Press 1/4 of the crumb mixture onto the top and sides of each piece of chicken to coat. Place the chicken on the prepared baking sheet. Drizzle with the extra olive oil. Bake for 20 - 30 minutes (depending on the thickness of the chicken breasts) until the internal temperature has reached 165 degrees F. Remove from the oven and let rest for a couple of minutes.
(5) Plate and serve: Serve with a drizzle of my Easy Hollandaise Sauce, or just as is alongside my Garlic Parmesan New Potatoes and one of my delicious salads.
Eat and enjoy every bite because you can!
Recipe note: I use Diamond Crystal Kosher salt in all my recipes because it has a wonderful flat and crisp flake that tastes delicious. It is also the least salty salt available so you can use it more liberally as a seasoning than you can table salt or sea salt. If you use another type of salt, you may need to reduce the amount so it is not over-salted.
Have a question you’d like to have answered? Email me at hello@ibsgamechanger.com
Link note: This post may contain affiliate links for you to easily purchase items that are linked. I may earn a small commission from qualifying purchases but none of this costs you a thing so feel free to use the links! In addition, for some items, I have provided a special discount code for IBS Game Changers so be sure to use the code when you purchase an item to get the discount that has been arranged just for you.
More Deliciously Low FODMAP™ main course recipes
15 Minutes prep • 30 Minutes cook • Low FODMAP • Serves 4 • Ok to make-ahead: Steps 1 - 2
10 Minutes prep • 25 Minutes cook • Low FODMAP • Gluten-Free • Serves 6 • Ok to make-ahead: Step 1
Quick and Easy Hollandaise Sauce (Low FODMAP)
5 Minutes prep • 5 Minutes cook • Low FODMAP • Gluten-free • Serves 4
5 Minutes prep • 5 Minutes cook • Low FODMAP • Gluten-free • Serves 4 • Ok to make ahead: Steps 1-4
Hollandaise Sauce is one of those things that can raise a simple dish to a new level of taste, and visual appeal. It’s remarkably easy to make so don’t let its “fanciness” scare you off. Simple ingredients often produce the best results and this recipe is no exception. To make this sauce, you’ll simply heat the butter until it’s nice and hot, and stream it into the blended egg yolk mixture. Voila, you will have created a velvety smooth sauce you can put over eggs Benedict (or my Waffles Benedict 😊 ), or over steamed or roasted vegetables, grilled fish, or meat, or whatever you like! Feel free to double the recipe if you need more than one cup of Hollandaise.
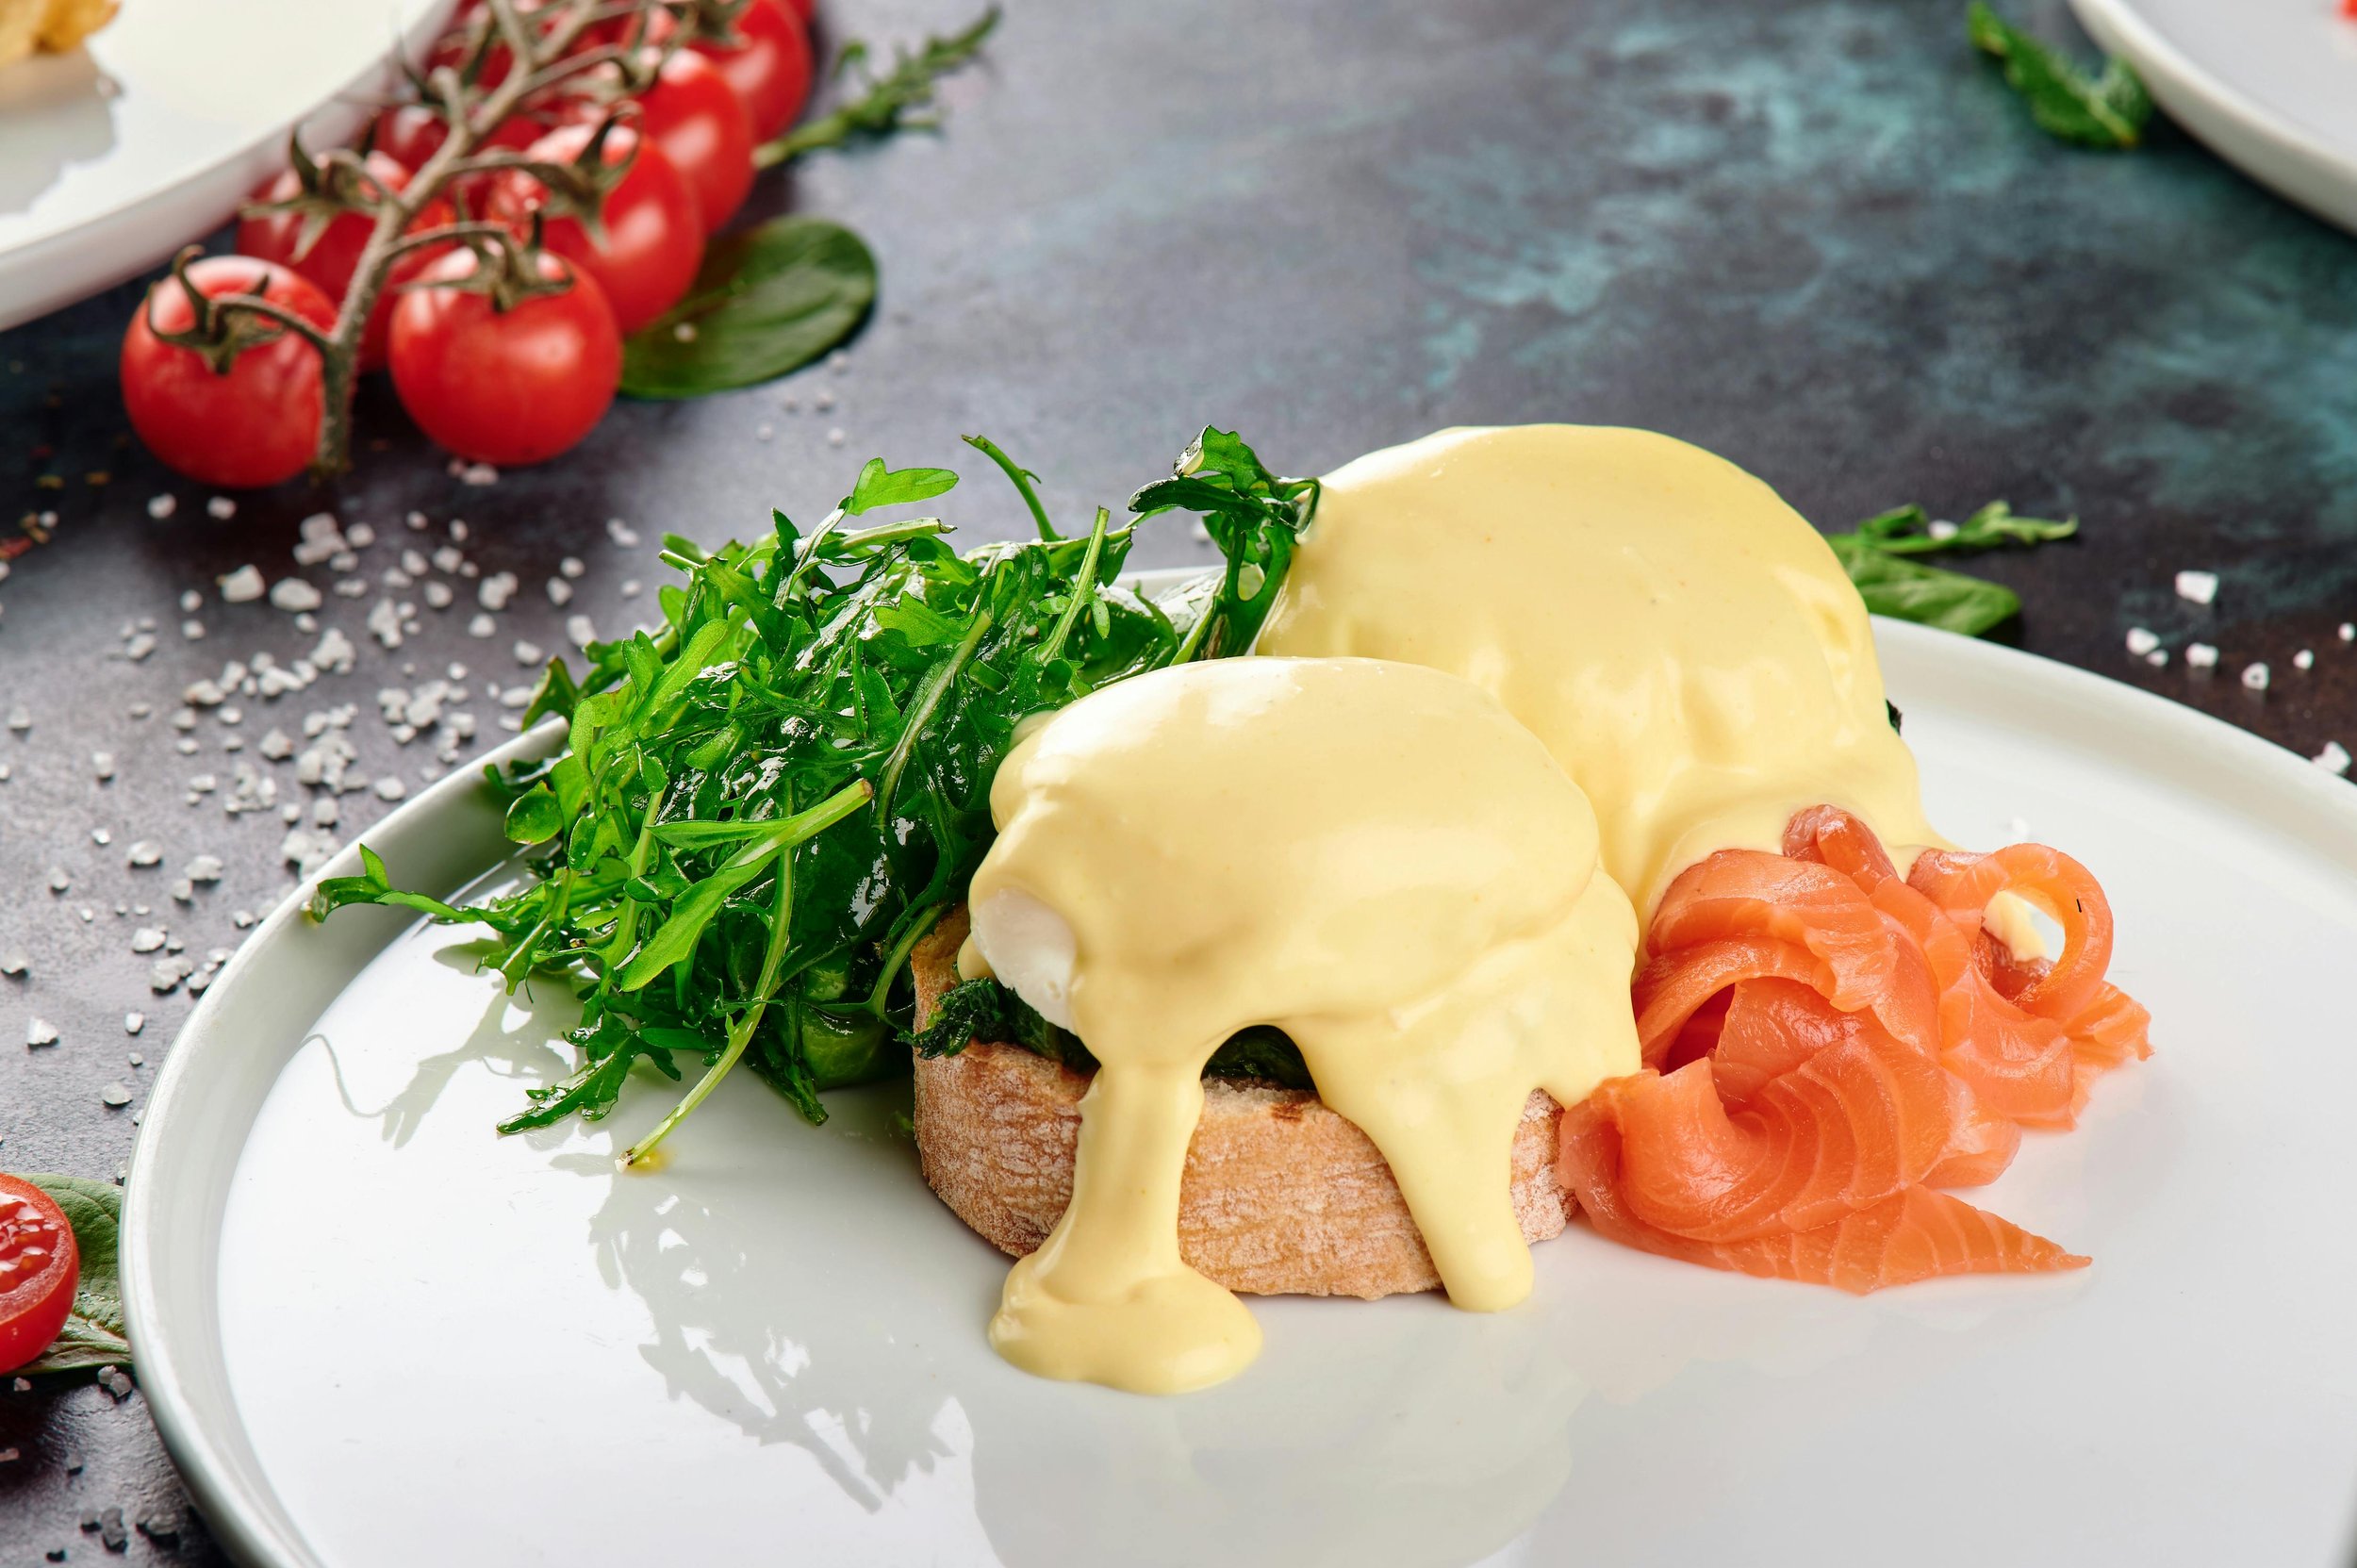
Ingredients
3 egg yolks, at room temperature
1 tablespoon lemon juice (or more to taste)
1 teaspoon Dijon mustard
1/2 teaspoon Kosher salt
1/2 cup salted butter, melted
Directions
(1) Prepare: Separate the eggs and put the egg yolks in a medium-sized mixing bowl or in the jar of a blender. Add the lemon juice, Dijon mustard, and salt. Whisk until well combined or blend on high for about 5 seconds.
(2) Melt the butter: In a small saucepan over medium heat, melt the butter until it’s quite hot (about 130 degrees F) but not starting to brown. Remove from heat.
(3) Make the sauce: While whisking constantly, slowly pour the hot butter into the egg yolk mixture until all the butter is fully incorporated. If using a blender, slowly pour the hot butter into the egg yolk mixture while the blender is running continuously at medium speed. If using an immersion blender, slowly pour the hot butter into the egg yolk mixture with the immersion blender, in the middle of the mixture, running on medium speed.
(4) Finish: Once all the butter is incorporated and your sauce is smooth, taste and add more salt if needed.
(5) Plate and serve: Drizzle over eggs Benedict (or my waffles Benedict), or over steamed or roasted vegetables, grilled fish or meat, or whatever you like!
Eat and enjoy every bite because you can!
Recipe note: I use Diamond Crystal Kosher salt in all my recipes because it has a wonderful flat and crisp flake that tastes delicious. It is also the least salty salt available so you can use it more liberally as a seasoning than you can table salt or sea salt. If you use another type of salt, you may need to reduce the amount so it is not over-salted.
Have a question you’d like to have answered? Email me at hello@ibsgamechanger.com
Link note: This post may contain affiliate links for you to easily purchase items that are linked. I may earn a small commission from qualifying purchases but none of this costs you a thing so feel free to use the links! In addition, for some items, I have provided a special discount code for IBS Game Changers so be sure to use the code when you purchase an item to get the discount that has been arranged just for you.
More Deliciously Low FODMAP™ sauce recipes
5 Minutes prep • 2 Hours simmer • Low FODMAP • Gluten-free • Lactose-free • Makes 2 cups
10 Minutes prep • Low FODMAP • Gluten-free • Lactose-free • Vegetarian • Makes 1 1/2 cups
5 Minutes prep • 15 Minutes cook • Low FODMAP • Gluten-Free • Dairy-free • Makes 1/2 cup
5 Minutes prep • 15 Minutes cook • Low FODMAP • Gluten-free • Lactose-free • Makes 2 Cups
5 Minutes prep • 30 Minutes cook • Low FODMAP • Makes 2 cups • Ok to make-ahead: Steps 1 - 4
Giving your body a break from the comfort food is easy and delicious and you might find it gives you comfort of a different kind!
10 minutes prep • 10 minutes cook • Gluten-free • Vegetarian • Low FODMAP • Makes about 2 cups
5 Minutes prep • 10 Minutes cook • Low FODMAP • Gluten-free • Lactose-free • Makes 3 cups
This low FODMAP recipe is an example of a delicious, alternative to packaged Hoisin sauce.
Garlic Parmesan Roasted New Potatoes (Low FODMAP)
10 Minutes prep • 20 Minutes cook • Low FODMAP • Gluten-free • Serves 4
10 Minutes prep • 20 Minutes cook • Low FODMAP • Gluten-free • Serves 4 • Ok to make ahead: Steps 1-2
These potatoes are the perfect way to welcome friends and family into your kitchen. You’ll know what I mean when you make them and your kitchen smells divine while they’re cooking. Delicious alongside just about anything, you’ll love the garlicky taste (without the FODMAPs thanks to Smoke N Sanity’s Garlic Parmesan Seasoning). Make these potatoes and chill them overnight for a fantastic potato salad base too.
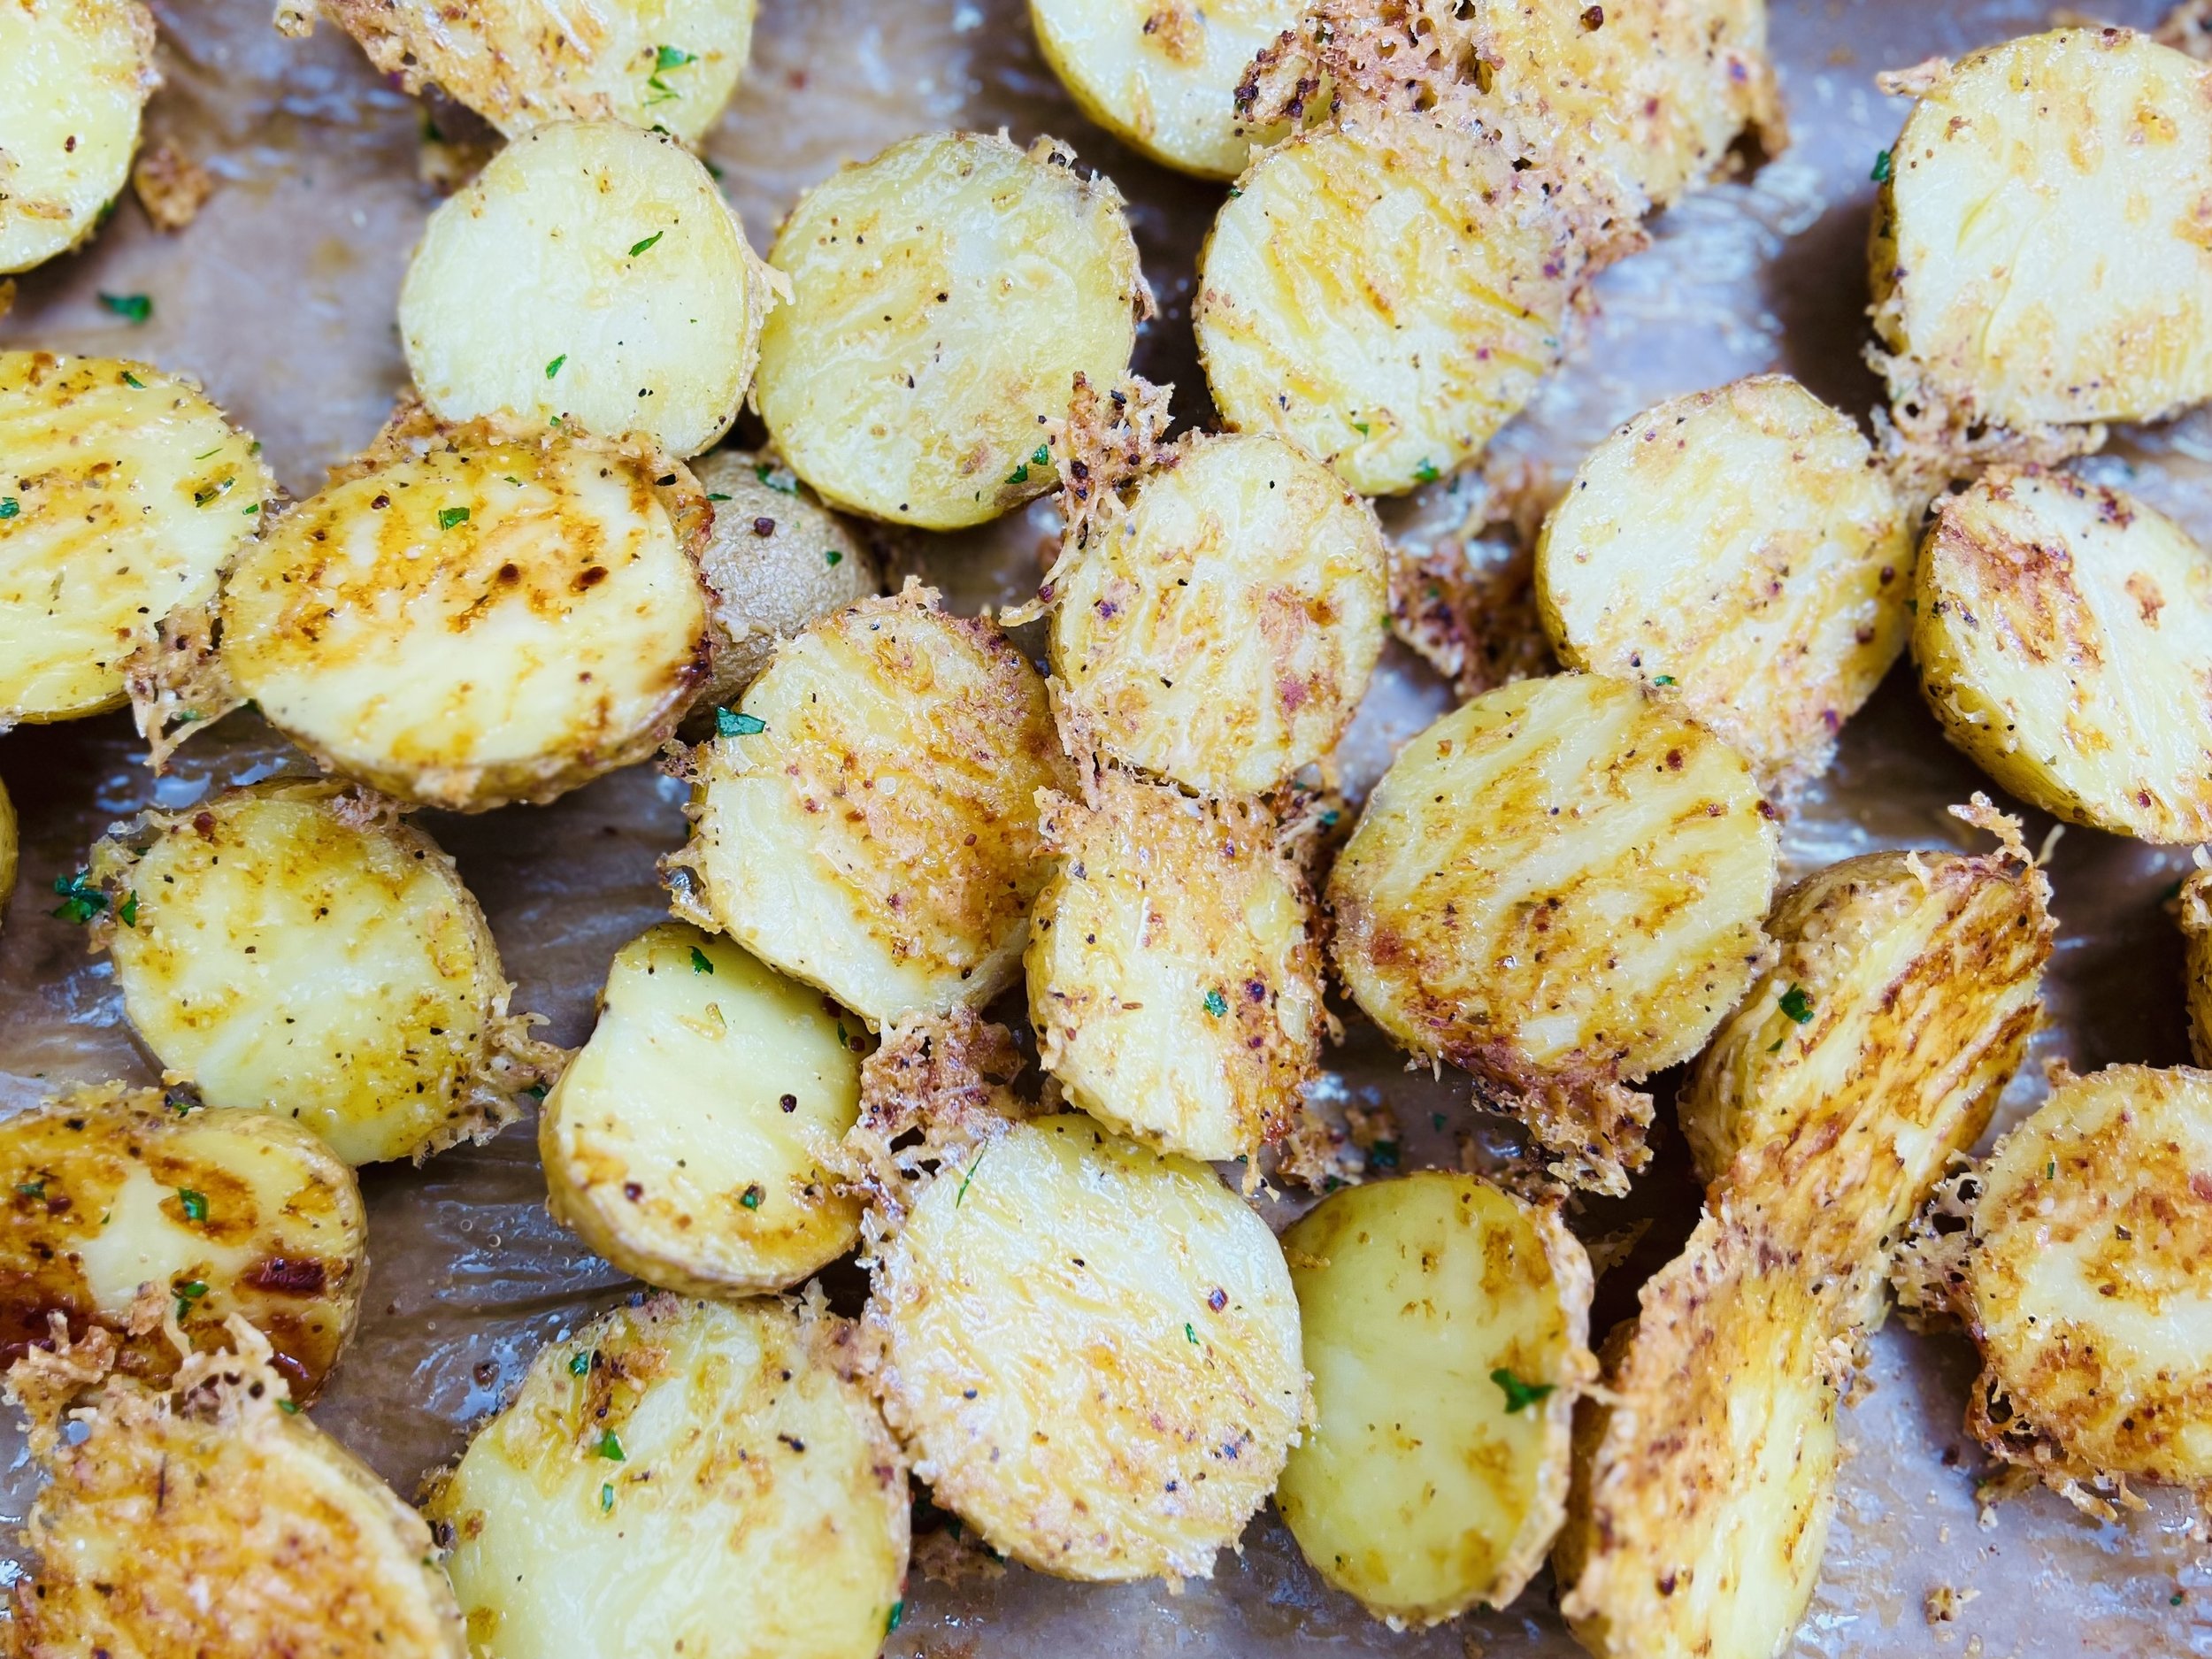
Ingredients
12 medium or 20 small new potatoes
2 tablespoons extra-virgin olive oil
2 tablespoons Smoke N Sanity Garlic Parmesan Seasoning (Use code IBSGC15 for 15% discount)
1 cup extra aged gouda or parmesan, grated
1/2 teaspoon Kosher salt
1/4 teaspoon black pepper
Fresh parsley, chopped, for serving (optional)
Directions
(1) Prepare: Preheat the oven to 400 degrees F. Grate the cheese, wash the potatoes and cut them in half. Line a rimmed baking sheet with parchment paper.
(2) Season the potatoes: Put the halved potatoes in a mixing bowl and drizzle with 2 tablespoons of olive oil. Toss to coat all potatoes. Sprinkle on the Garlic Parmesan seasoning, the salt, and the pepper, and toss again to coat the potatoes.
(3) Bake: Put the potatoes, flat side down, on the prepared baking sheet. Don’t worry about where the cheese ends up, it’s delicious however it cooks (under or on top of the potatoes). Bake for 20 minutes. Check for tenderness with a fork. If they are still pretty firm, cook another 3 - 5 minutes. The fork should easily slide into the potato.
(4) Plate and serve: Serve alongside your favorite main course. Sprinkle with chopped parsley if you like.
Eat and enjoy every bite because you can!
Recipe note: I use Diamond Crystal Kosher salt in all my recipes because it has a wonderful flat and crisp flake that tastes delicious. It is also the least salty salt available so you can use it more liberally as a seasoning than you can table salt or sea salt. If you use another type of salt, you may need to reduce the amount so it is not over-salted.
Have a question you’d like to have answered? Email me at hello@ibsgamechanger.com
Link note: This post may contain affiliate links for you to easily purchase items that are linked. I may earn a small commission from qualifying purchases but none of this costs you a thing so feel free to use the links! In addition, for some items, I have provided a special discount code for IBS Game Changers so be sure to use the code when you purchase an item to get the discount that has been arranged just for you.
More Deliciously Low FODMAP™ side dish recipes
5 Minutes prep • 15 Minutes cook • Low FODMAP • Gluten-Free • Lactose-Free • Makes 2 cups
15 Minutes prep • 30 Minutes cook • Low FODMAP • Serves 4 • Ok to make-ahead: Steps 1 - 2
15 Minutes prep • 18 Minutes cook • Low FODMAP • Gluten-free • Makes 15 • Serving size 2
10 Minutes prep • 10 Minutes cook • Low FODMAP • Gluten-free • Lactose-free • Vegan • Serves 4
10 Minutes prep • 25 Minutes cook • Low FODMAP • Gluten-free • Vegetarian • Plant Forward • Serves 4
20 Minutes prep • 25 Minutes cook • Low FODMAP • Gluten-free • Lactose-free • Vegetarian • Serves 4
10 Minutes prep • 20 Minutes cook • Low FODMAP • Gluten-free • Lactose-free • Vegan • Serves 5
15 Minutes prep • 45 Minutes cook • Low FODMAP • Gluten-free • Vegetarian • Serves 4 - 6
30 Minutes prep • 20 Minutes cook • Low FODMAP • Gluten-free • Vegetarian • Makes 10 Squares
25 Minutes prep • 40 Minutes cook • Low FODMAP • Gluten-free • Vegetarian • Serves 4 - 6
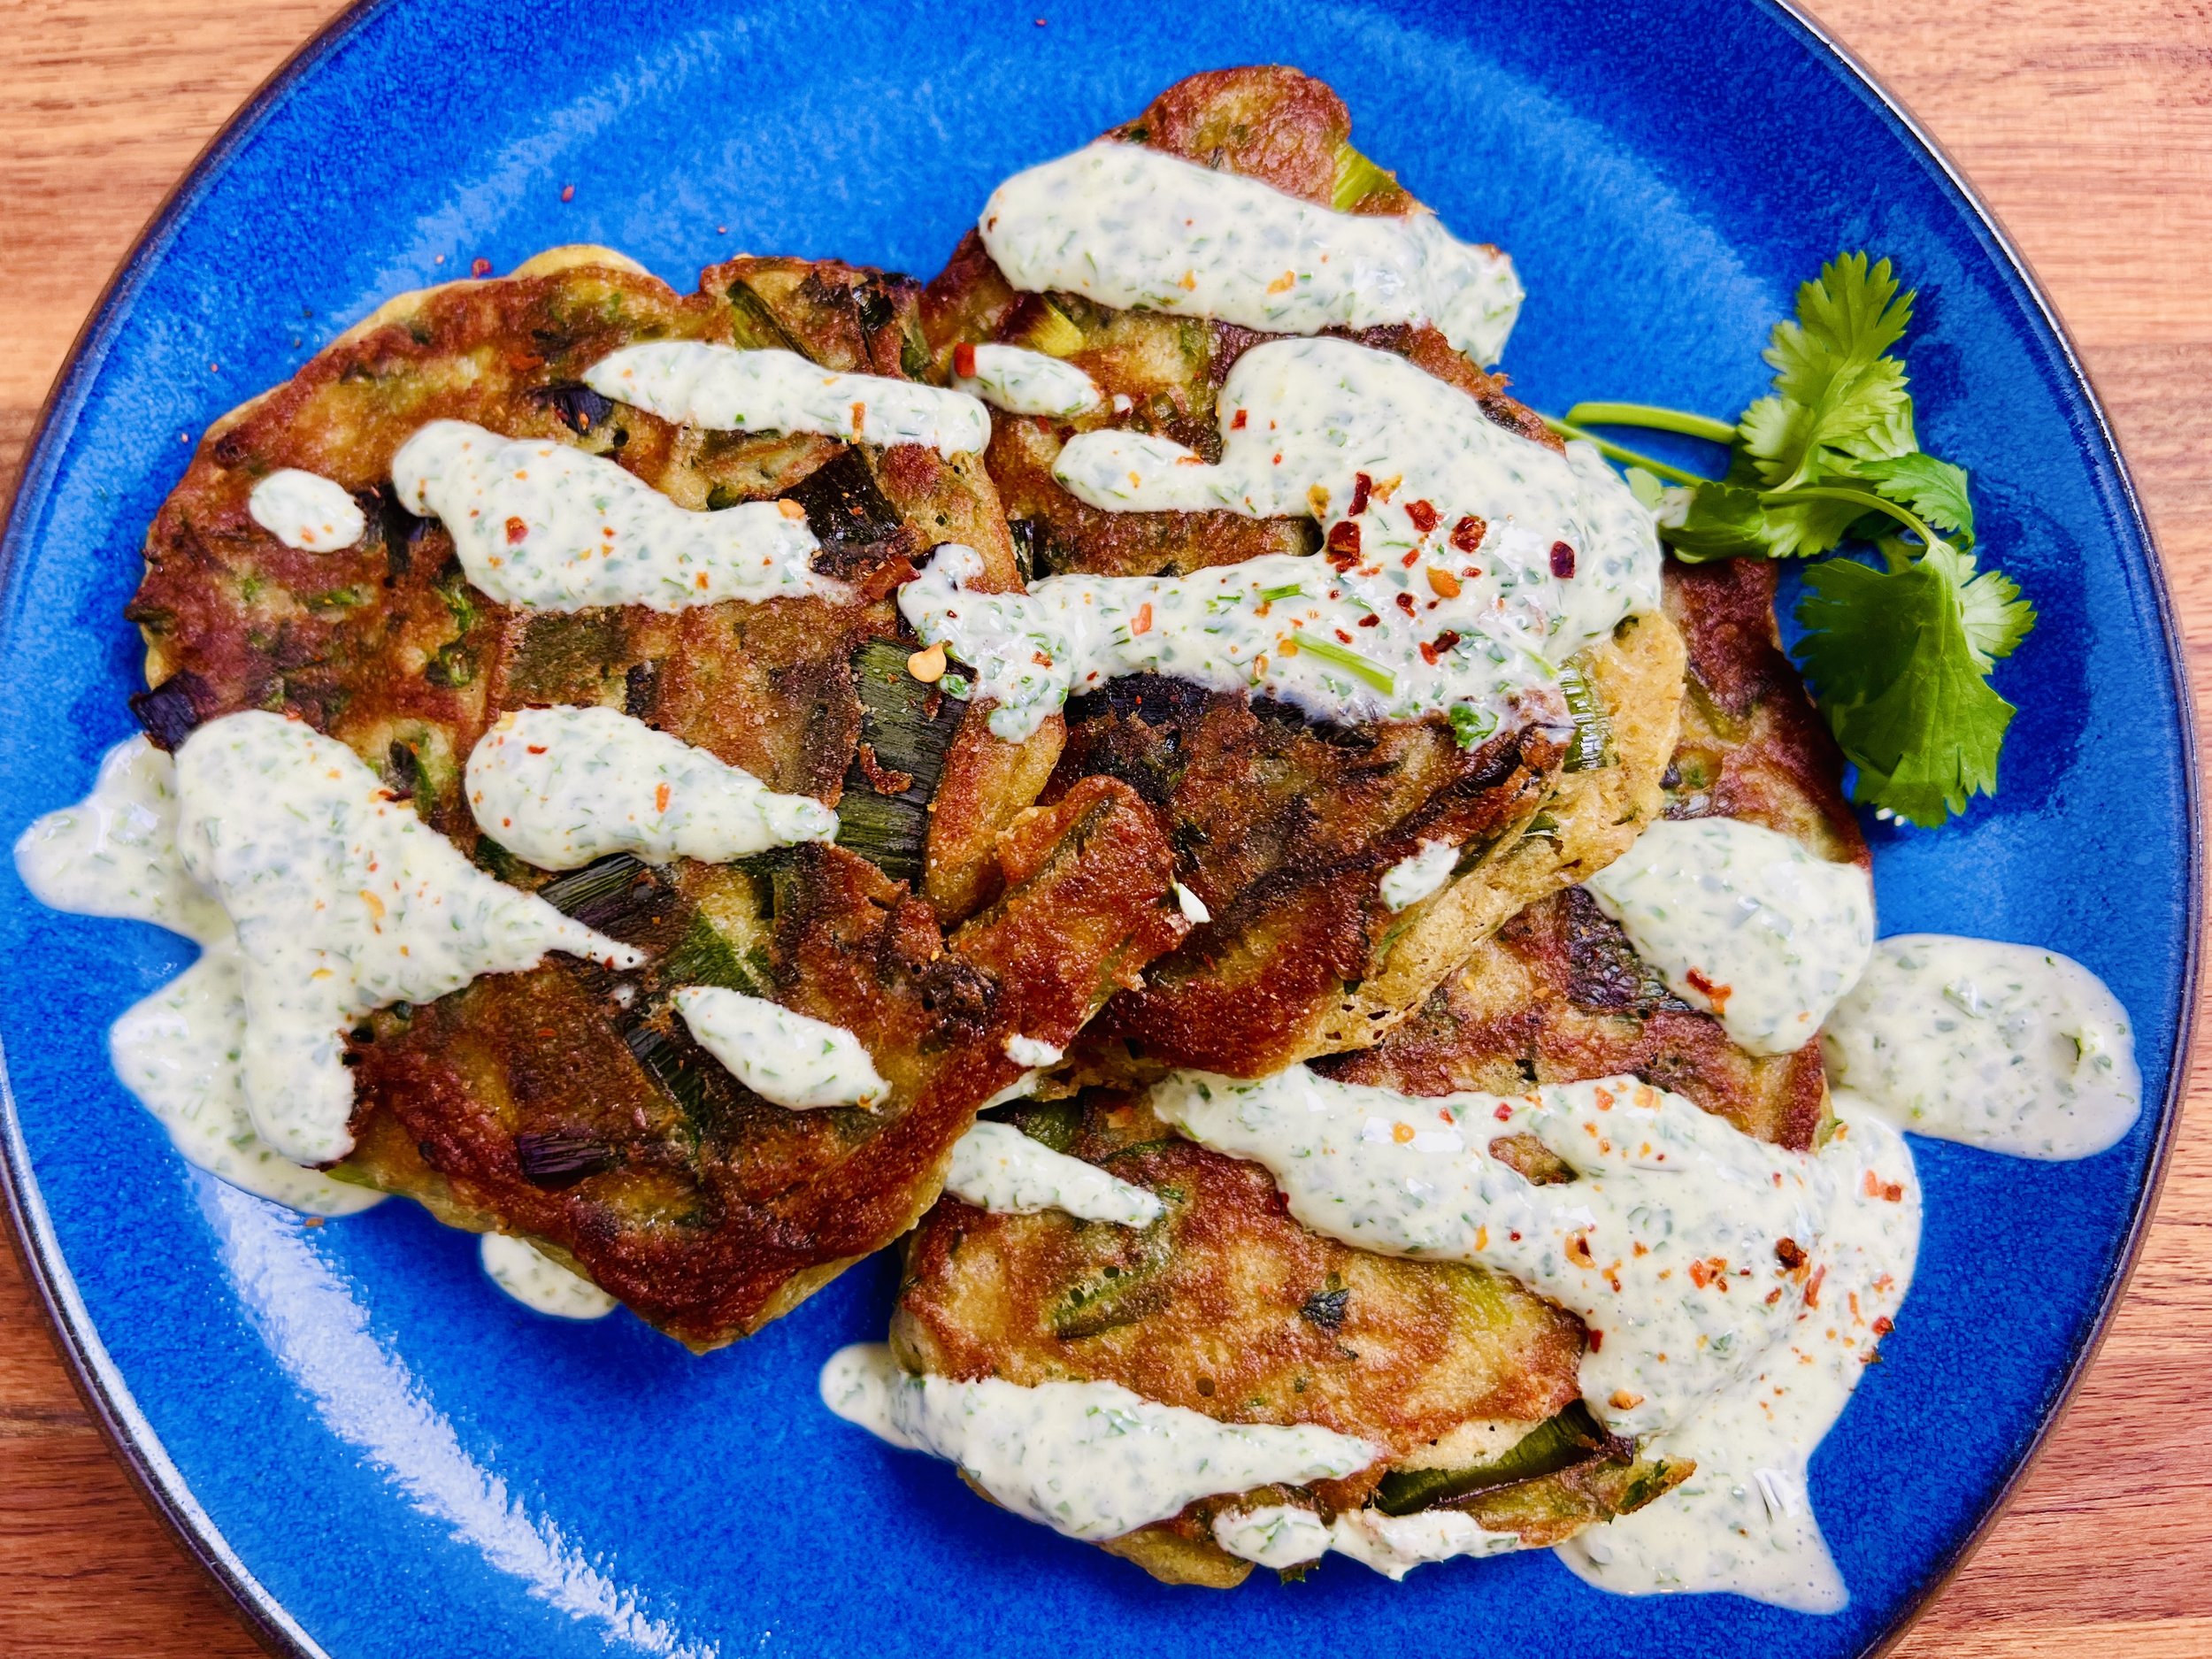
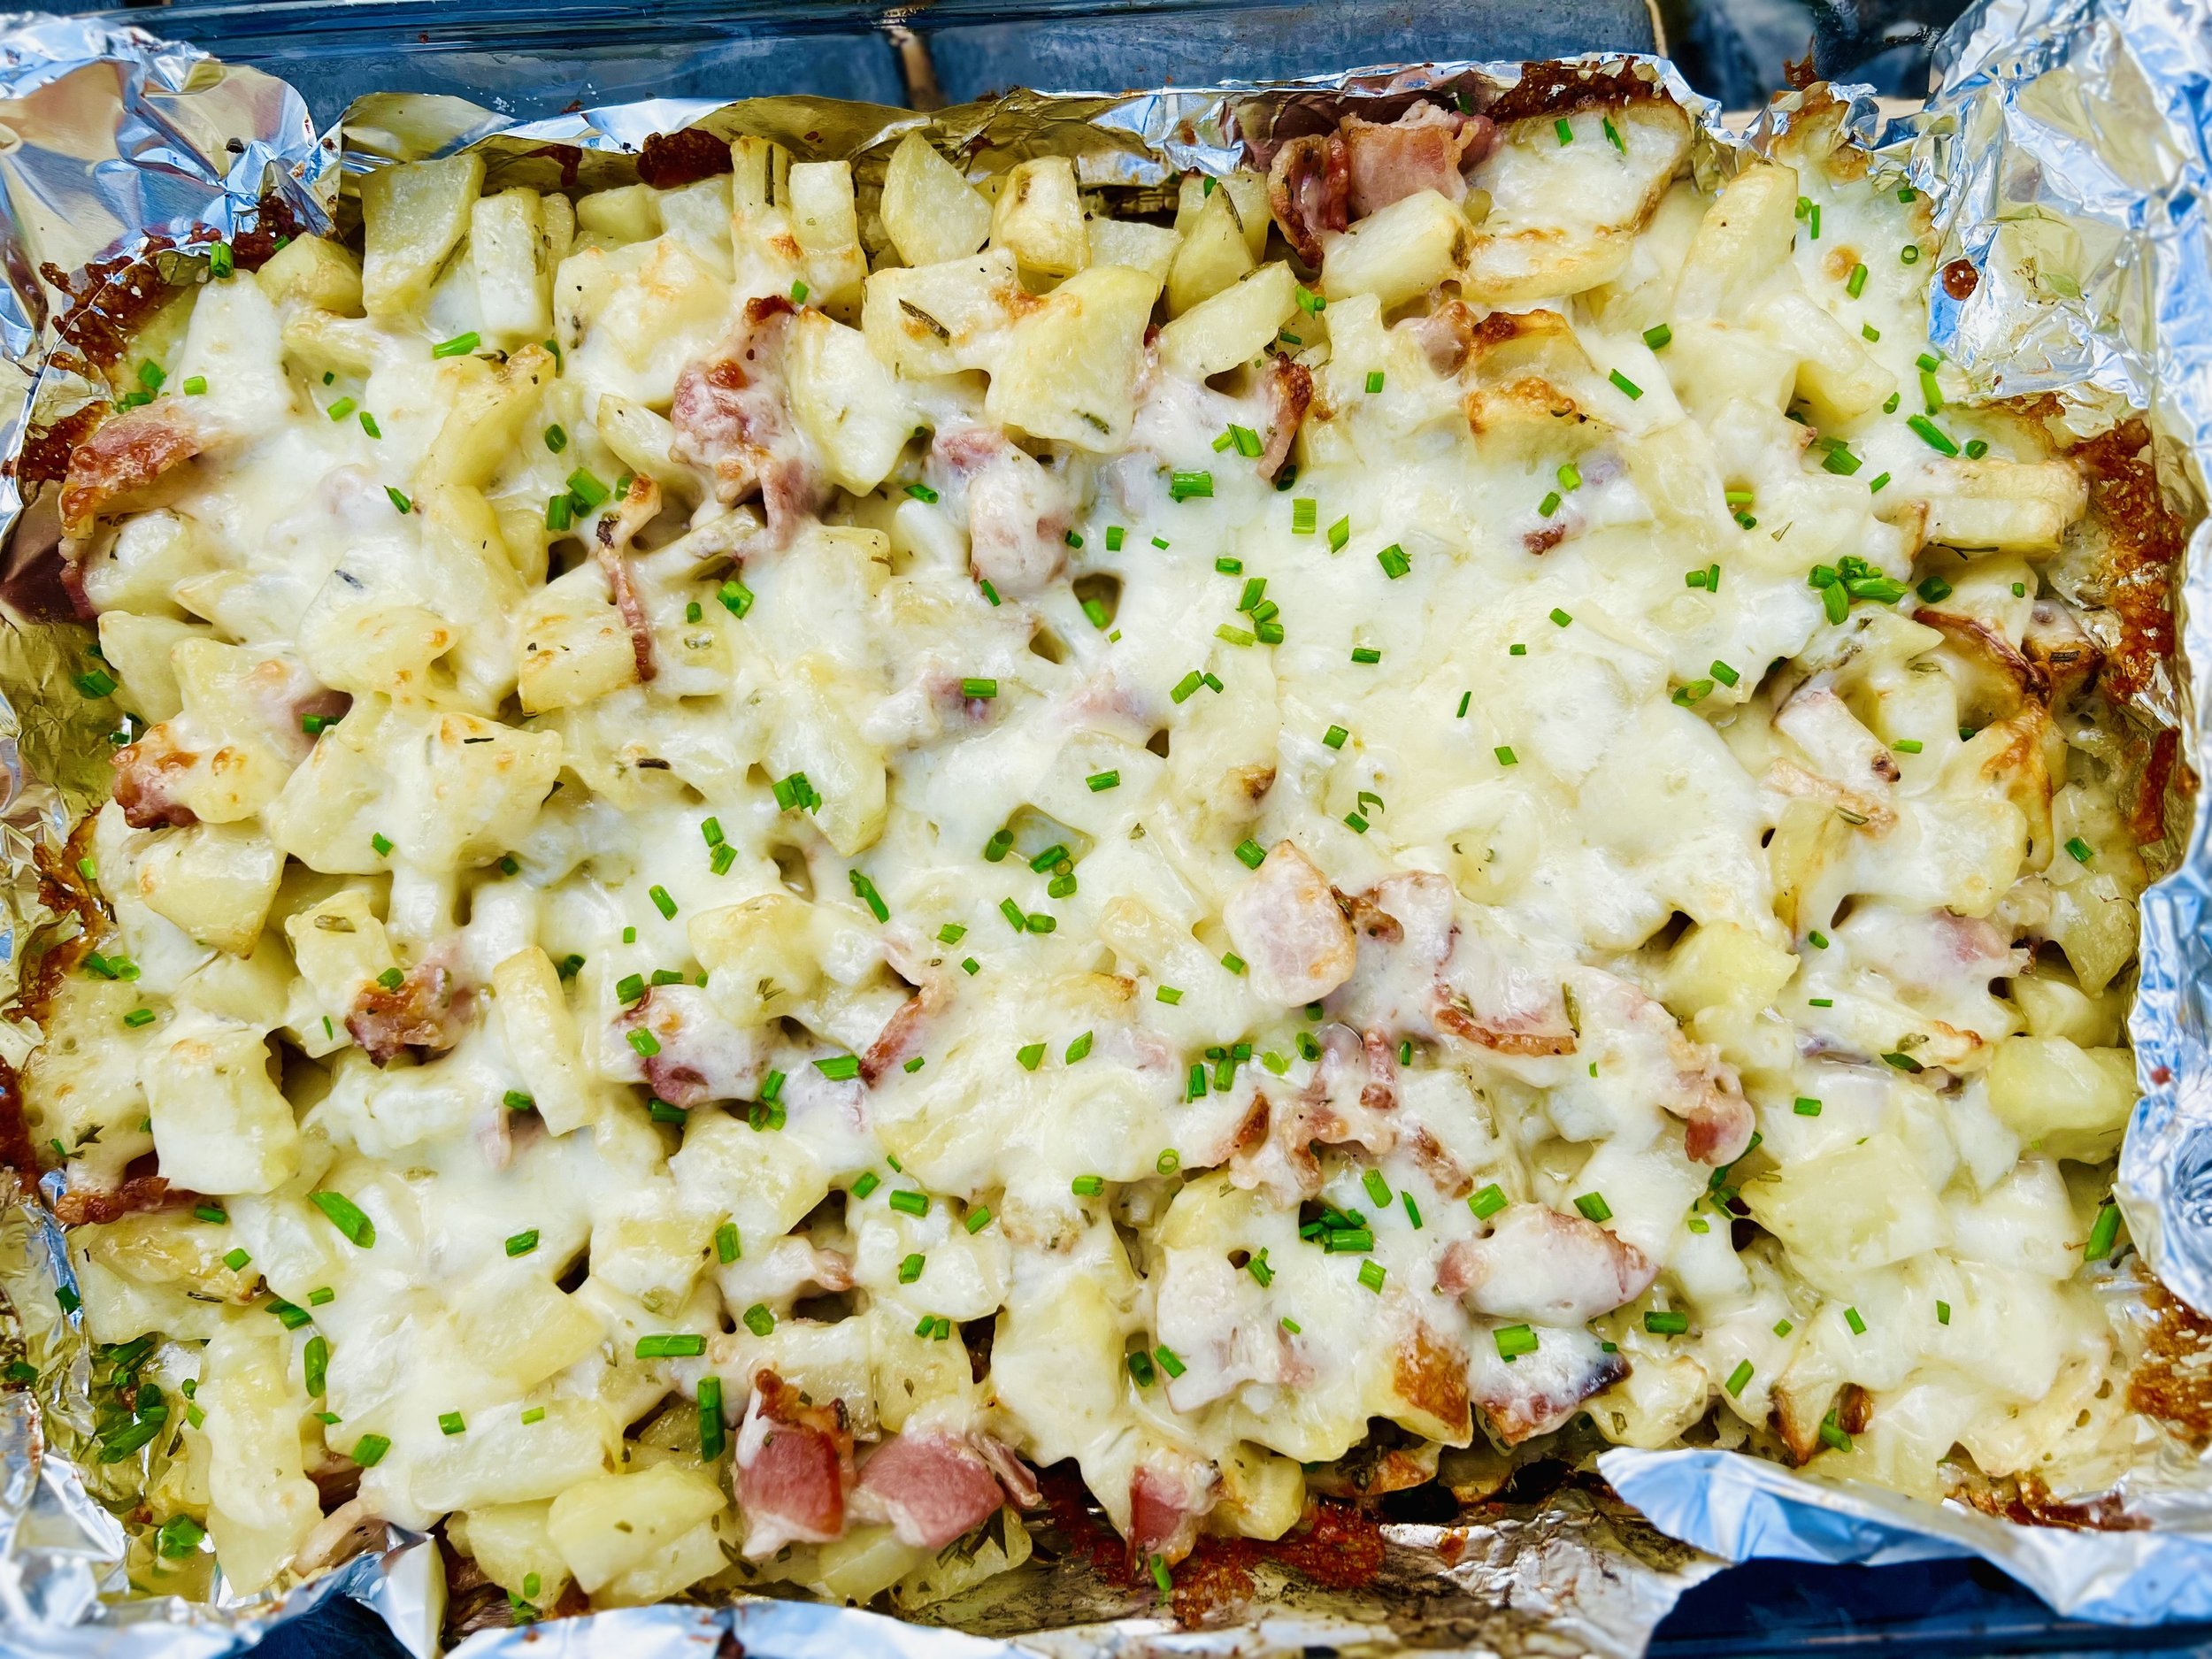

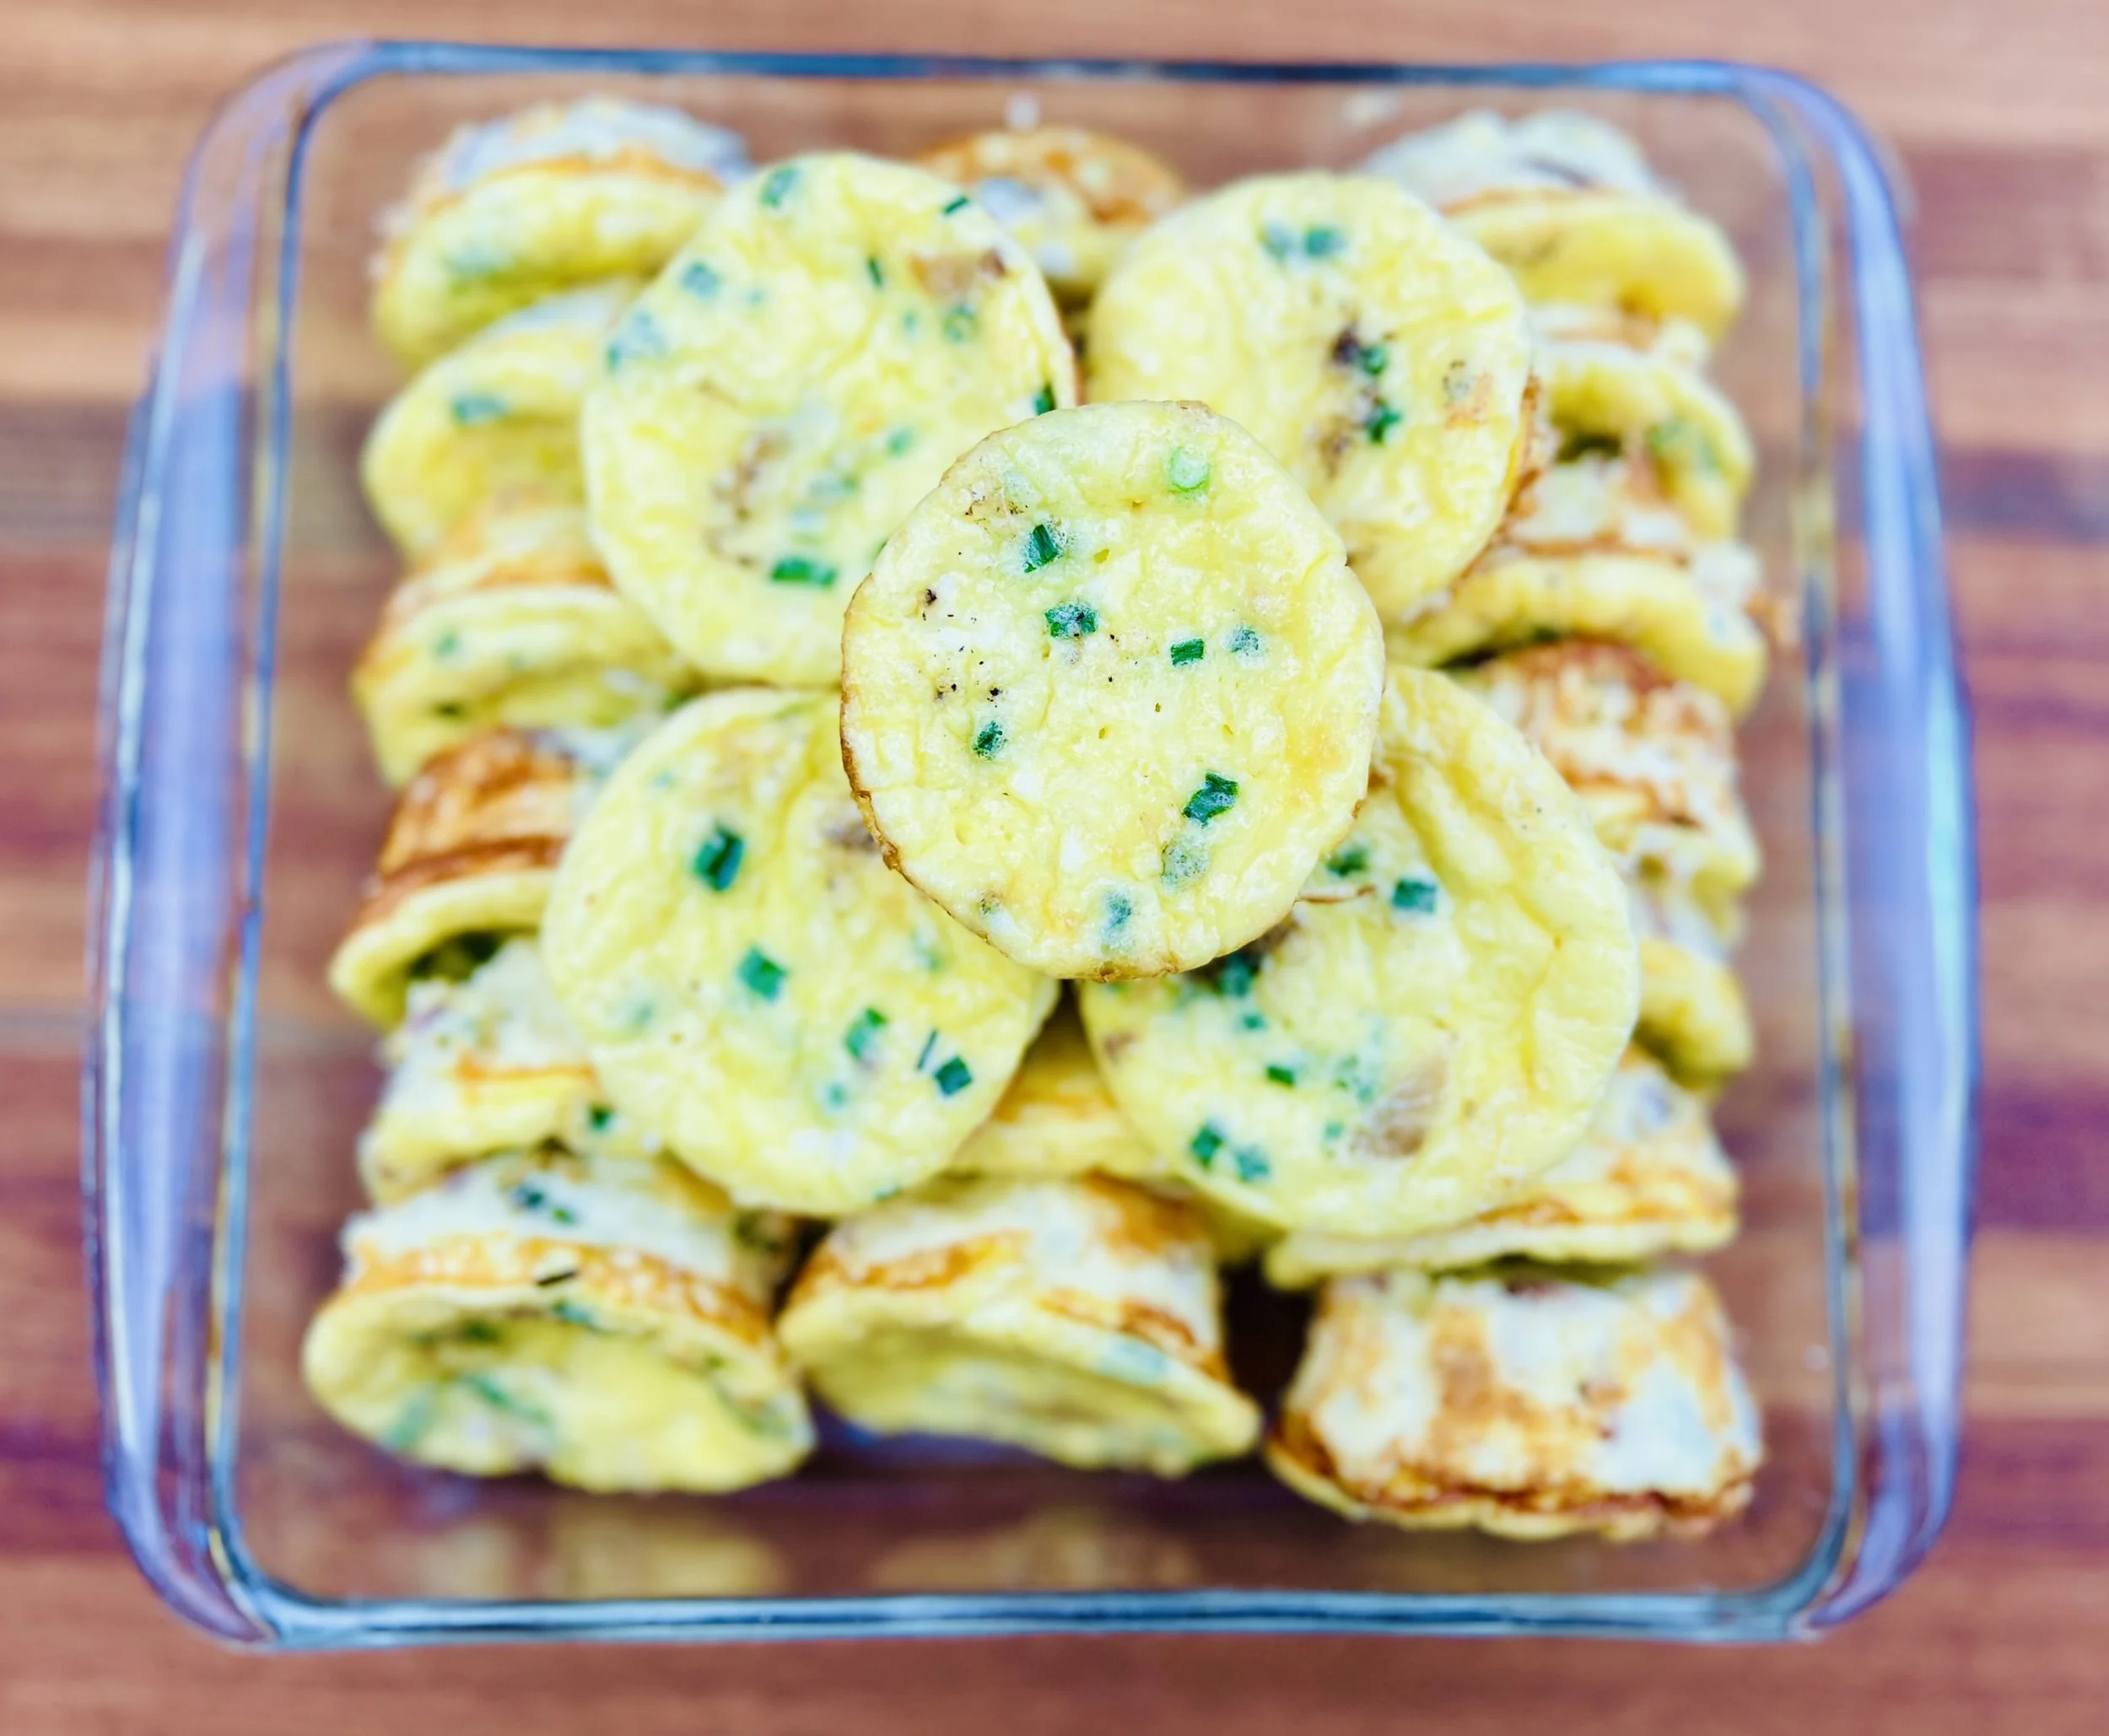
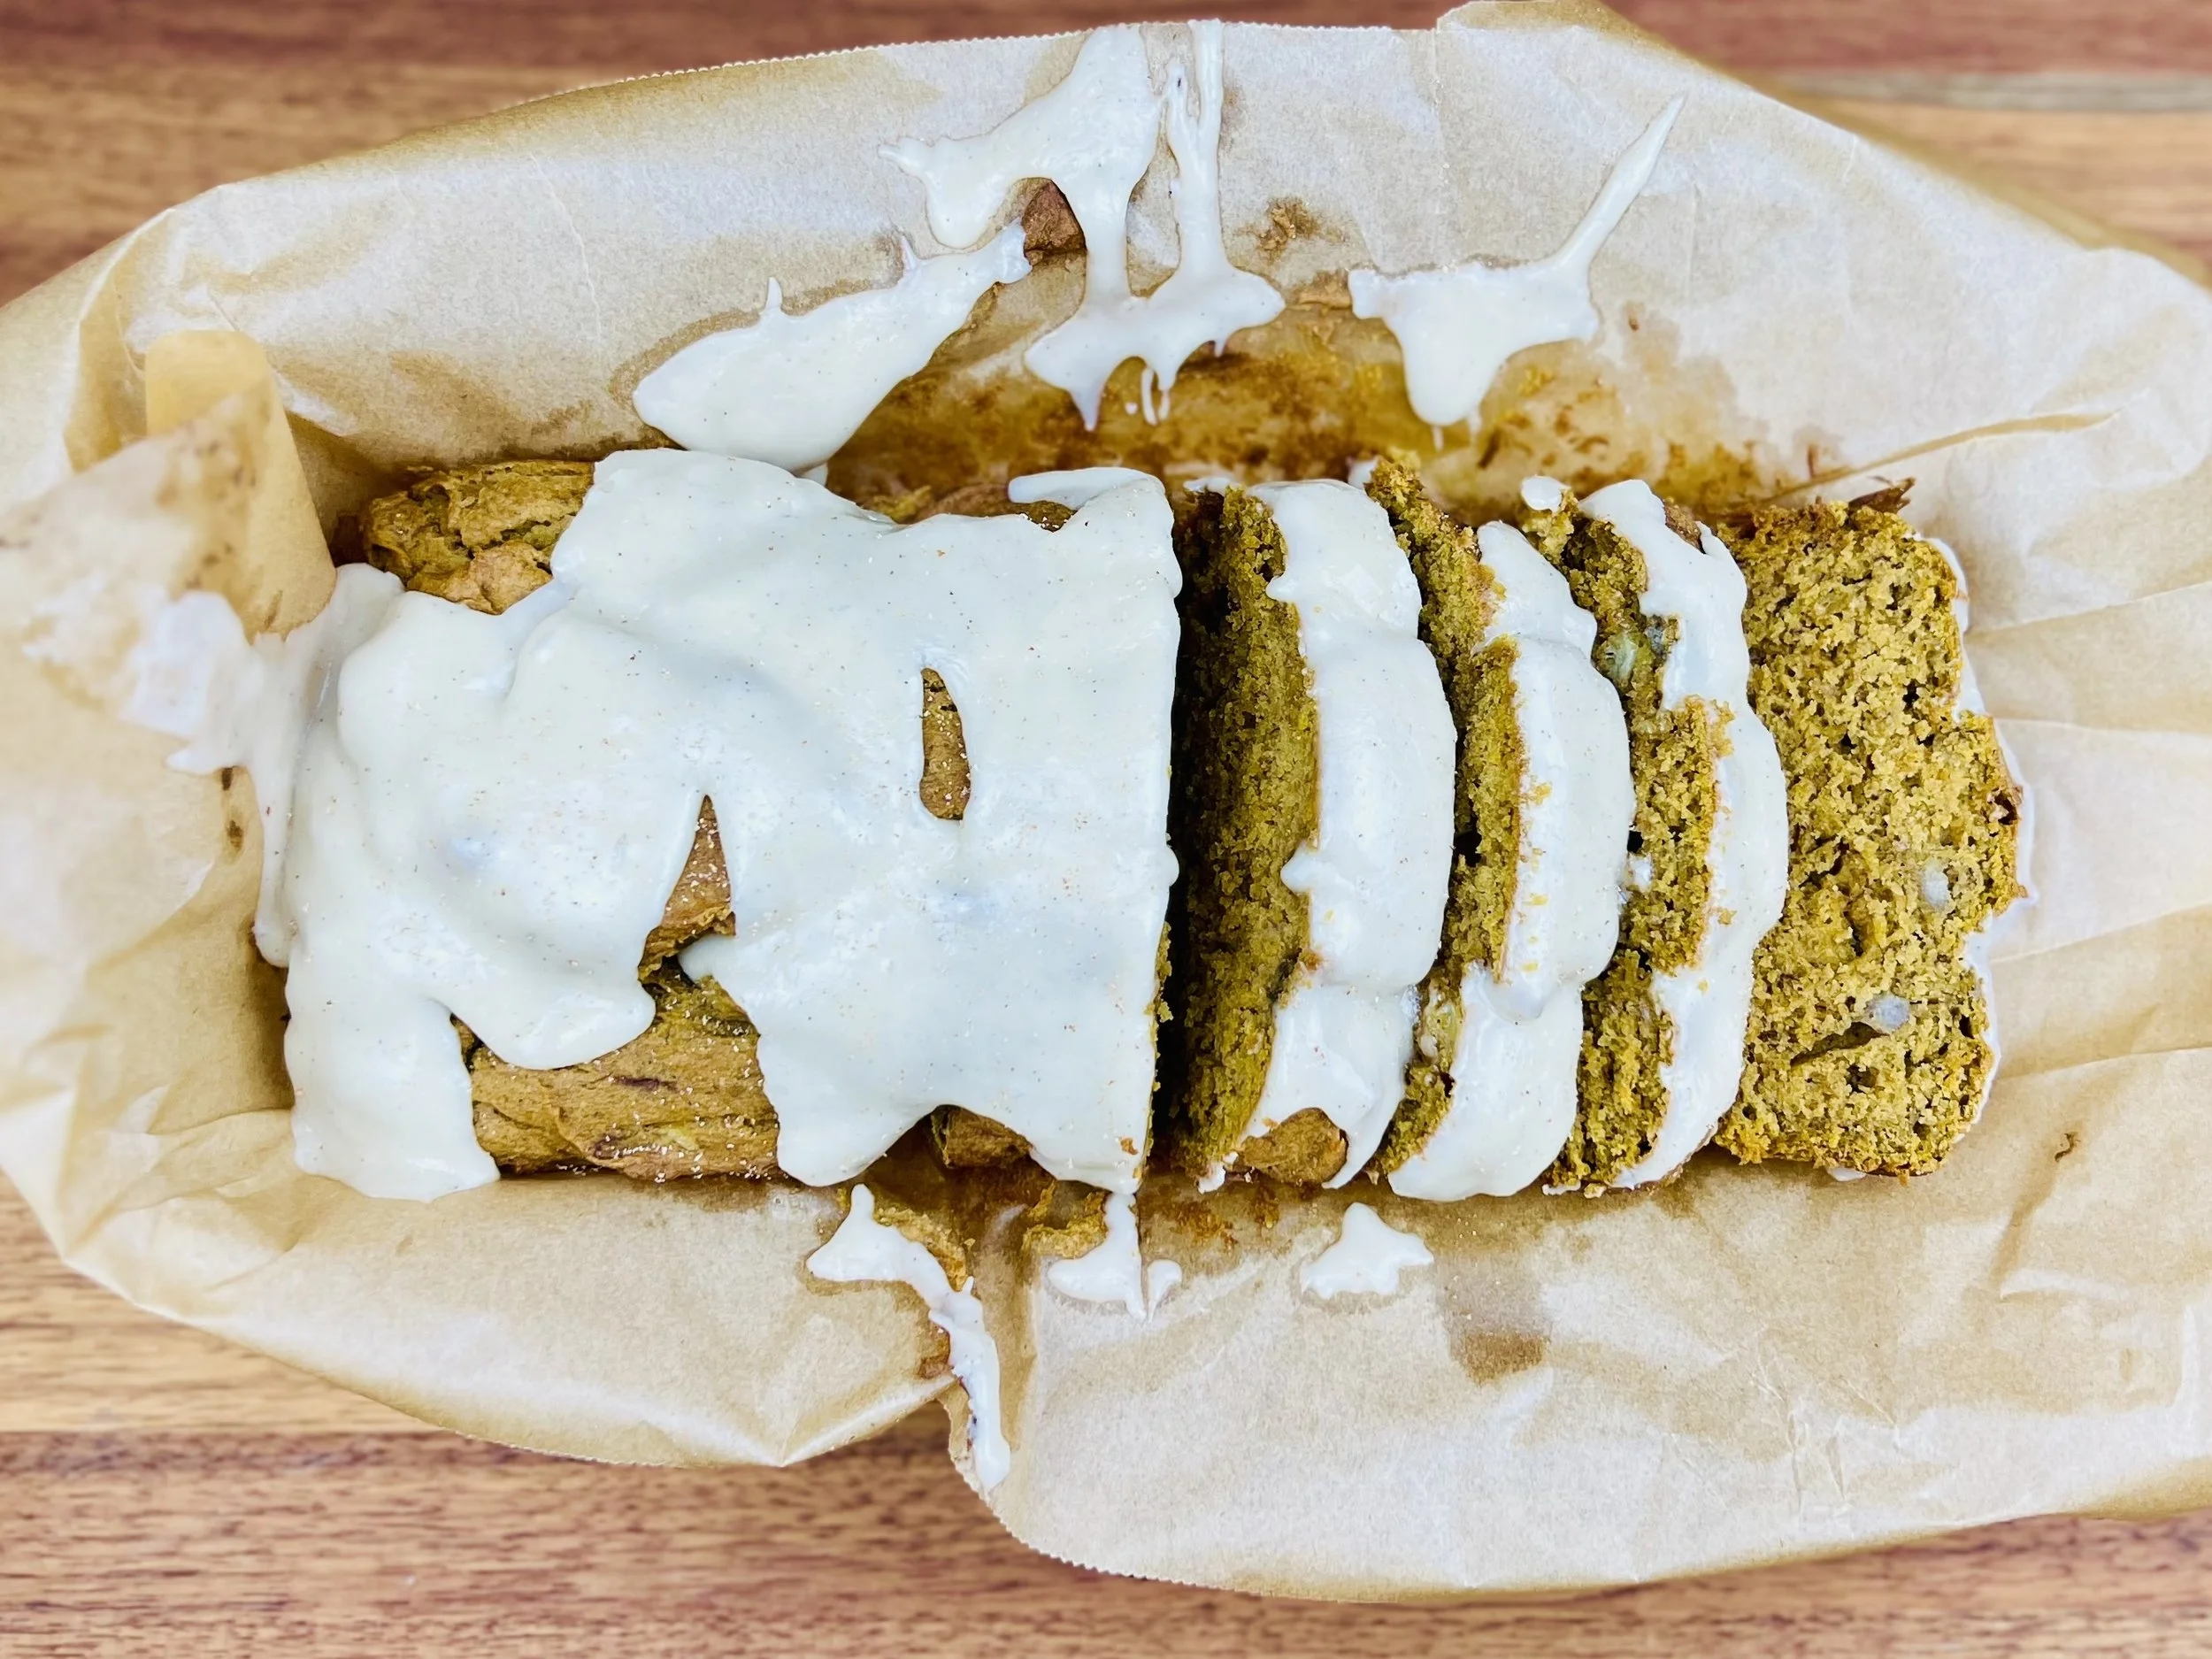
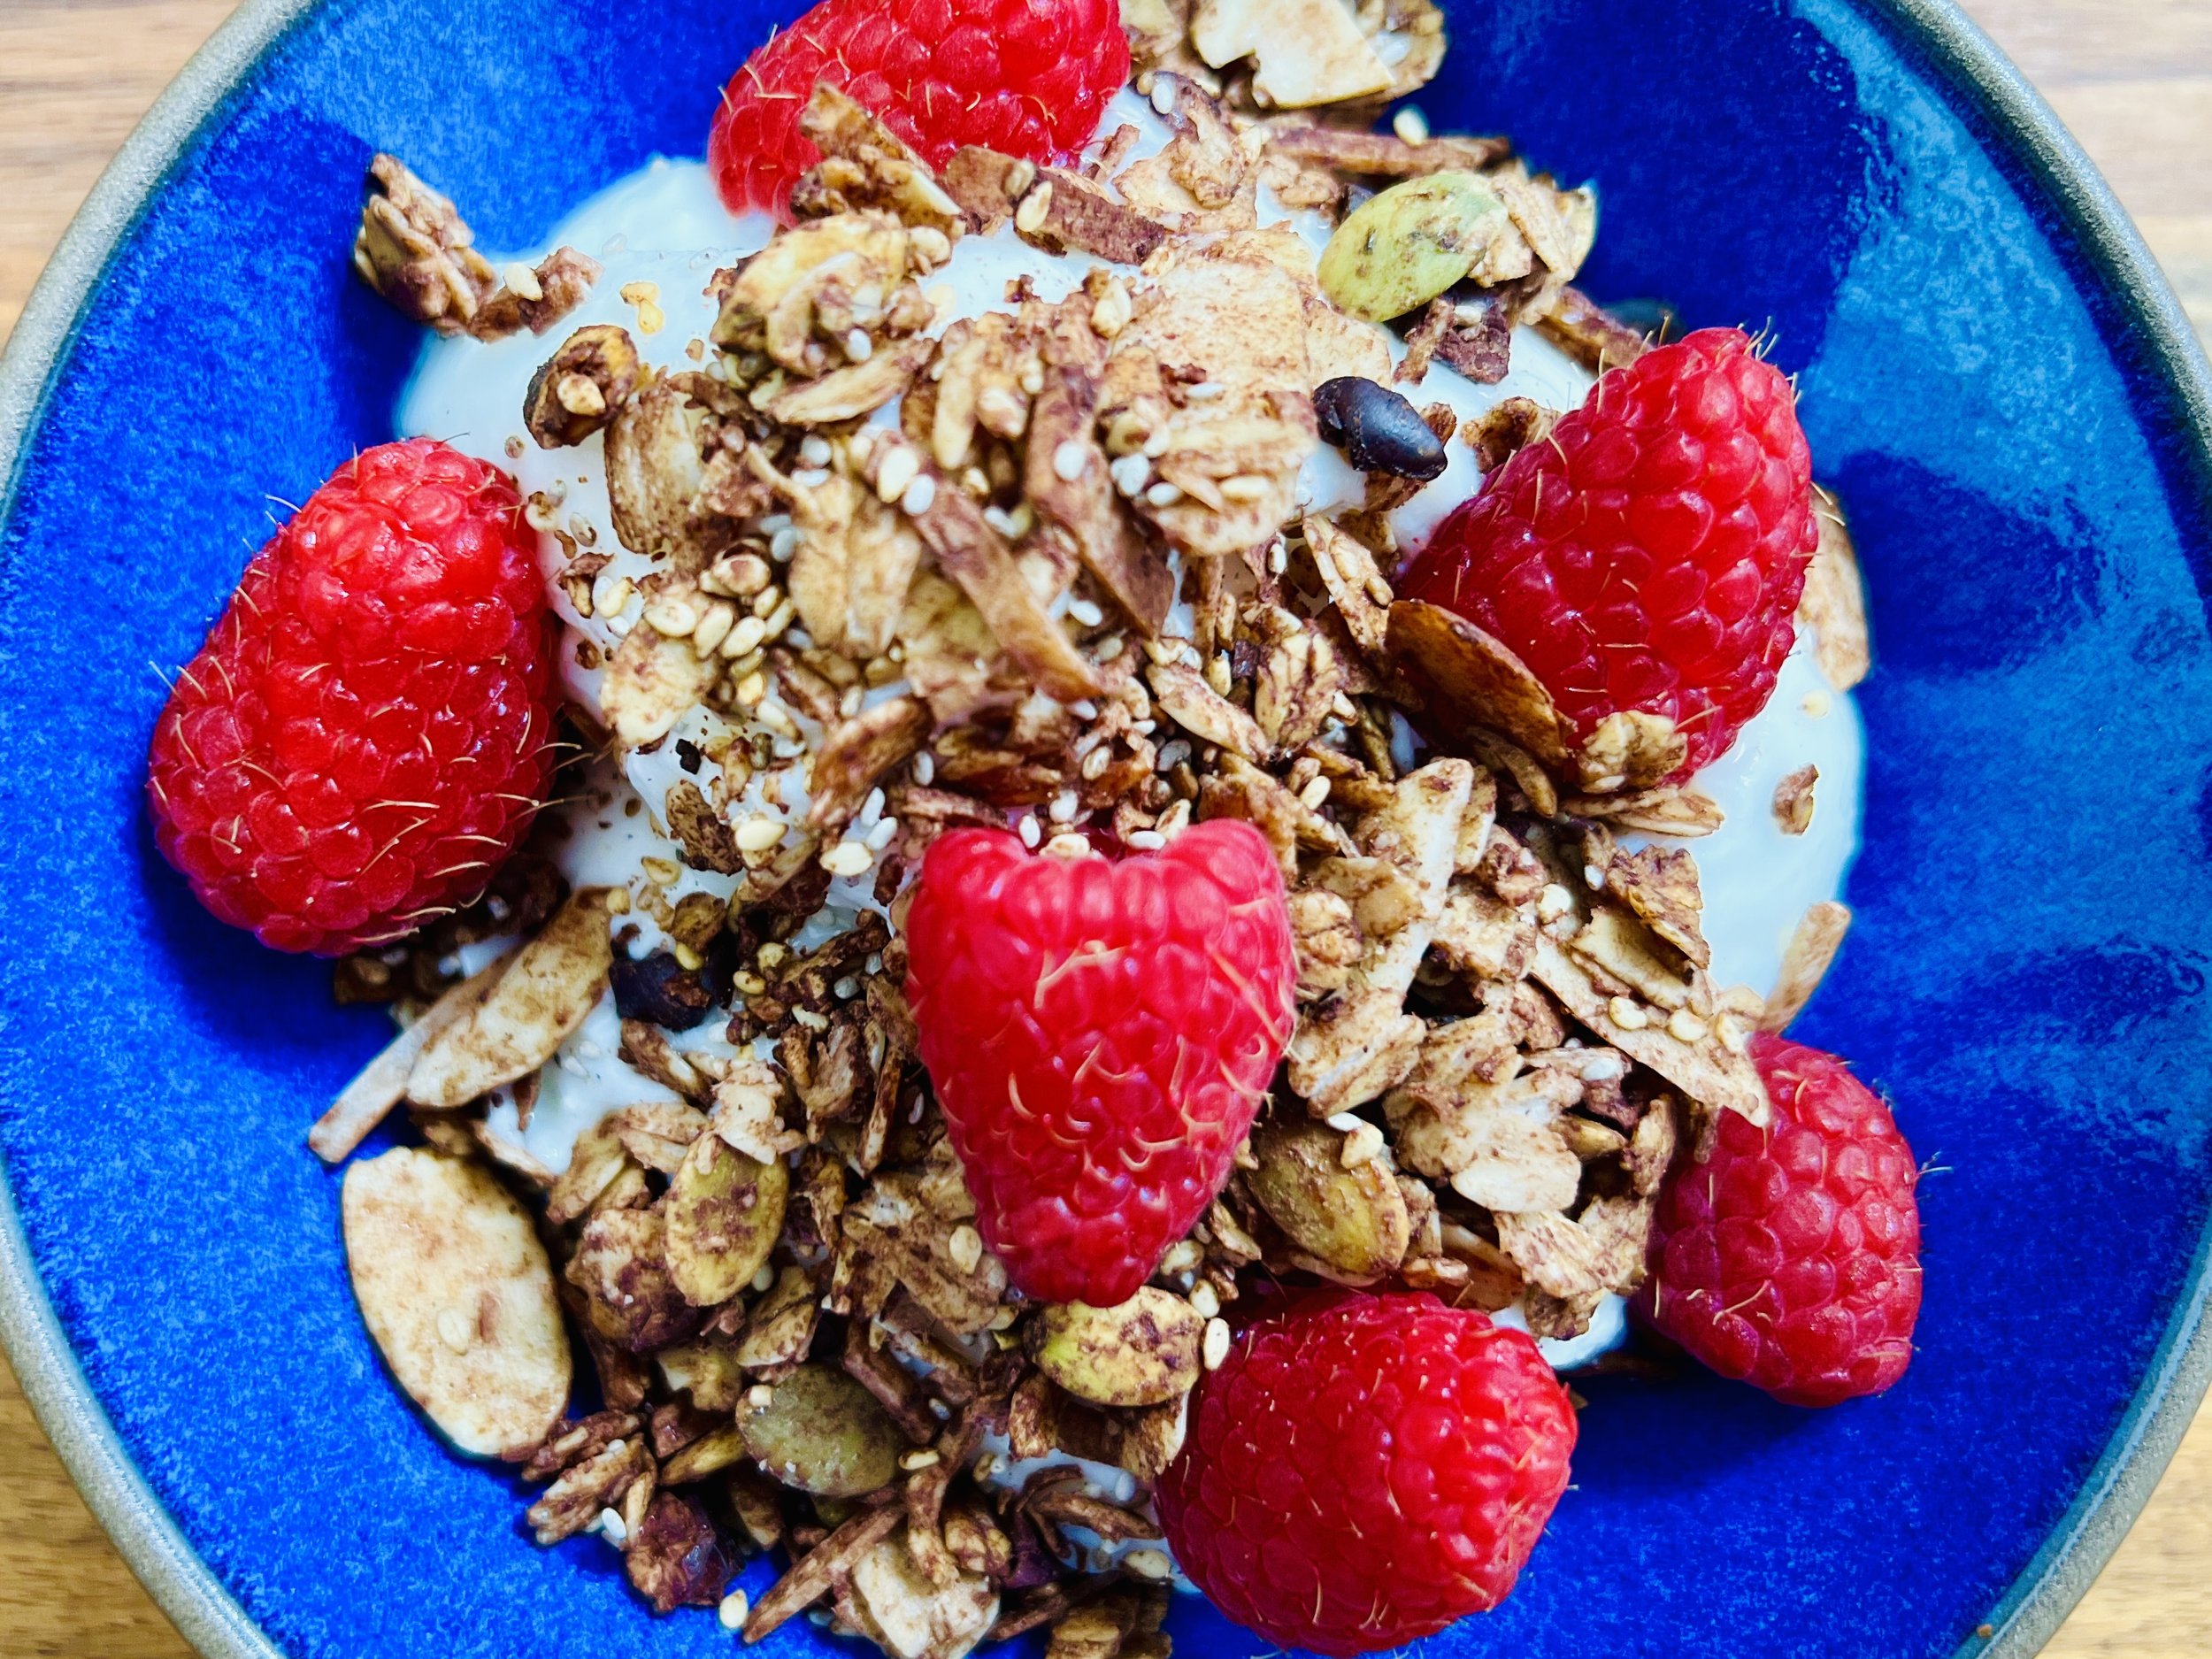
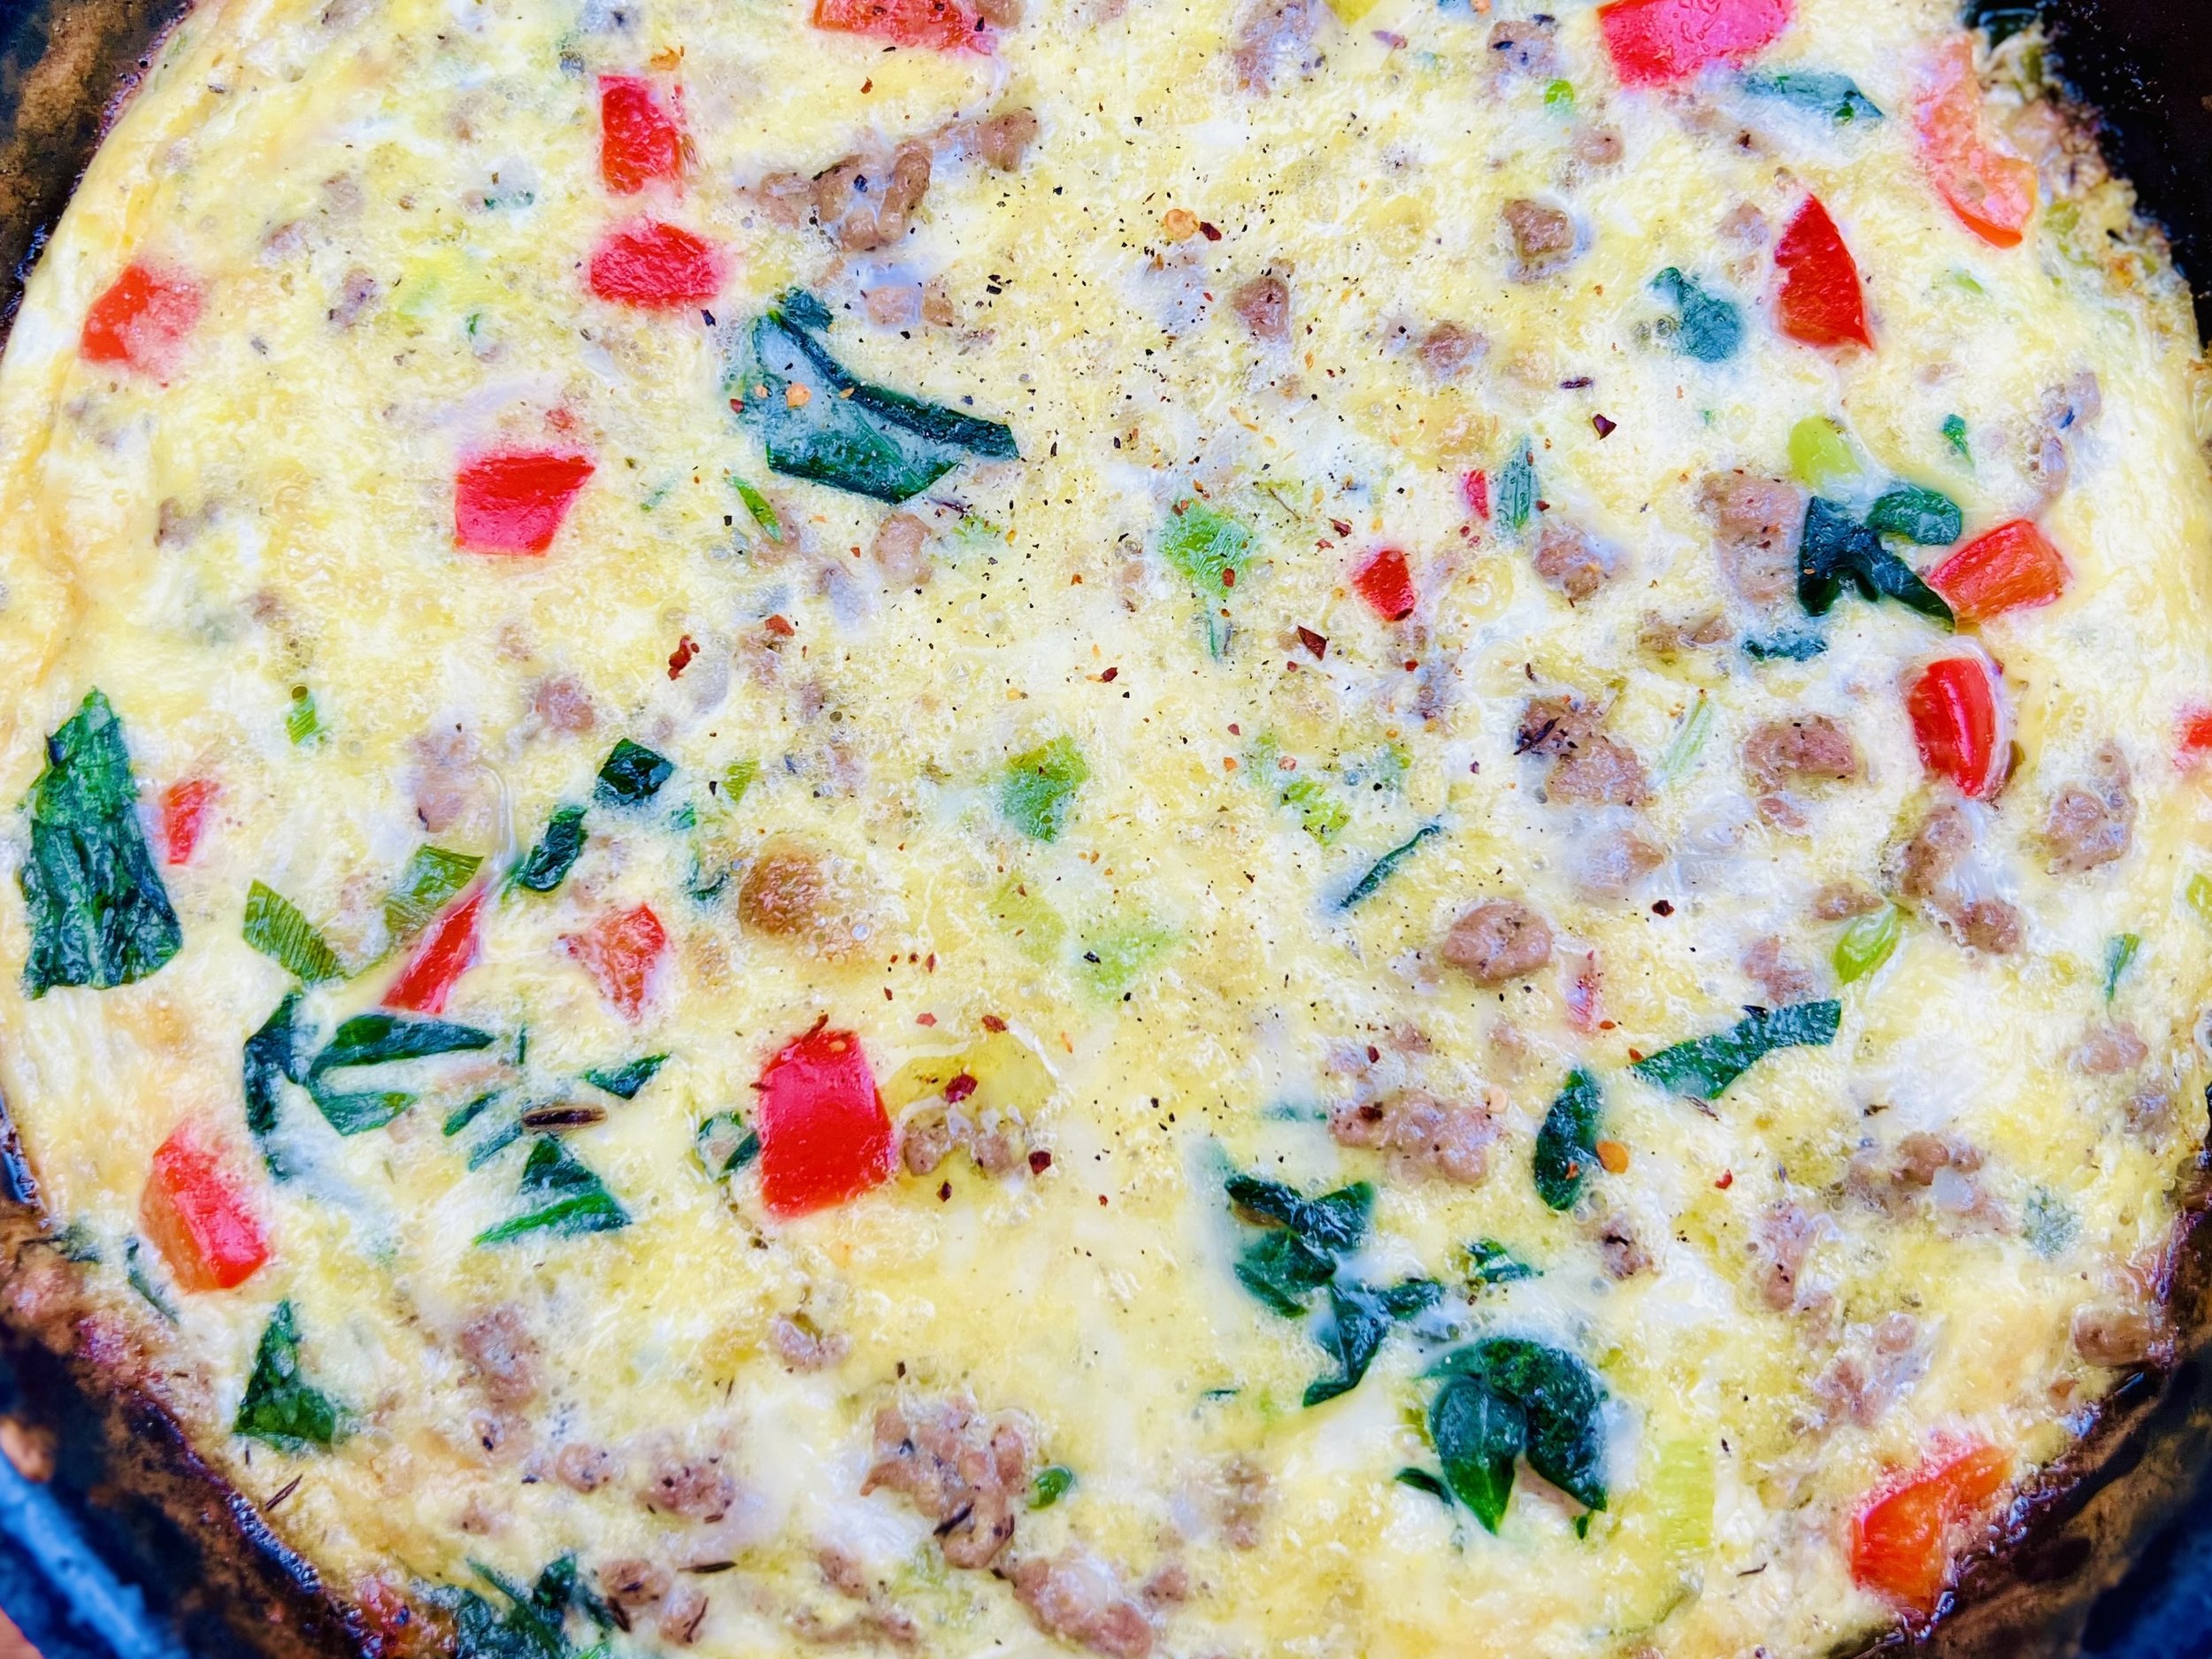
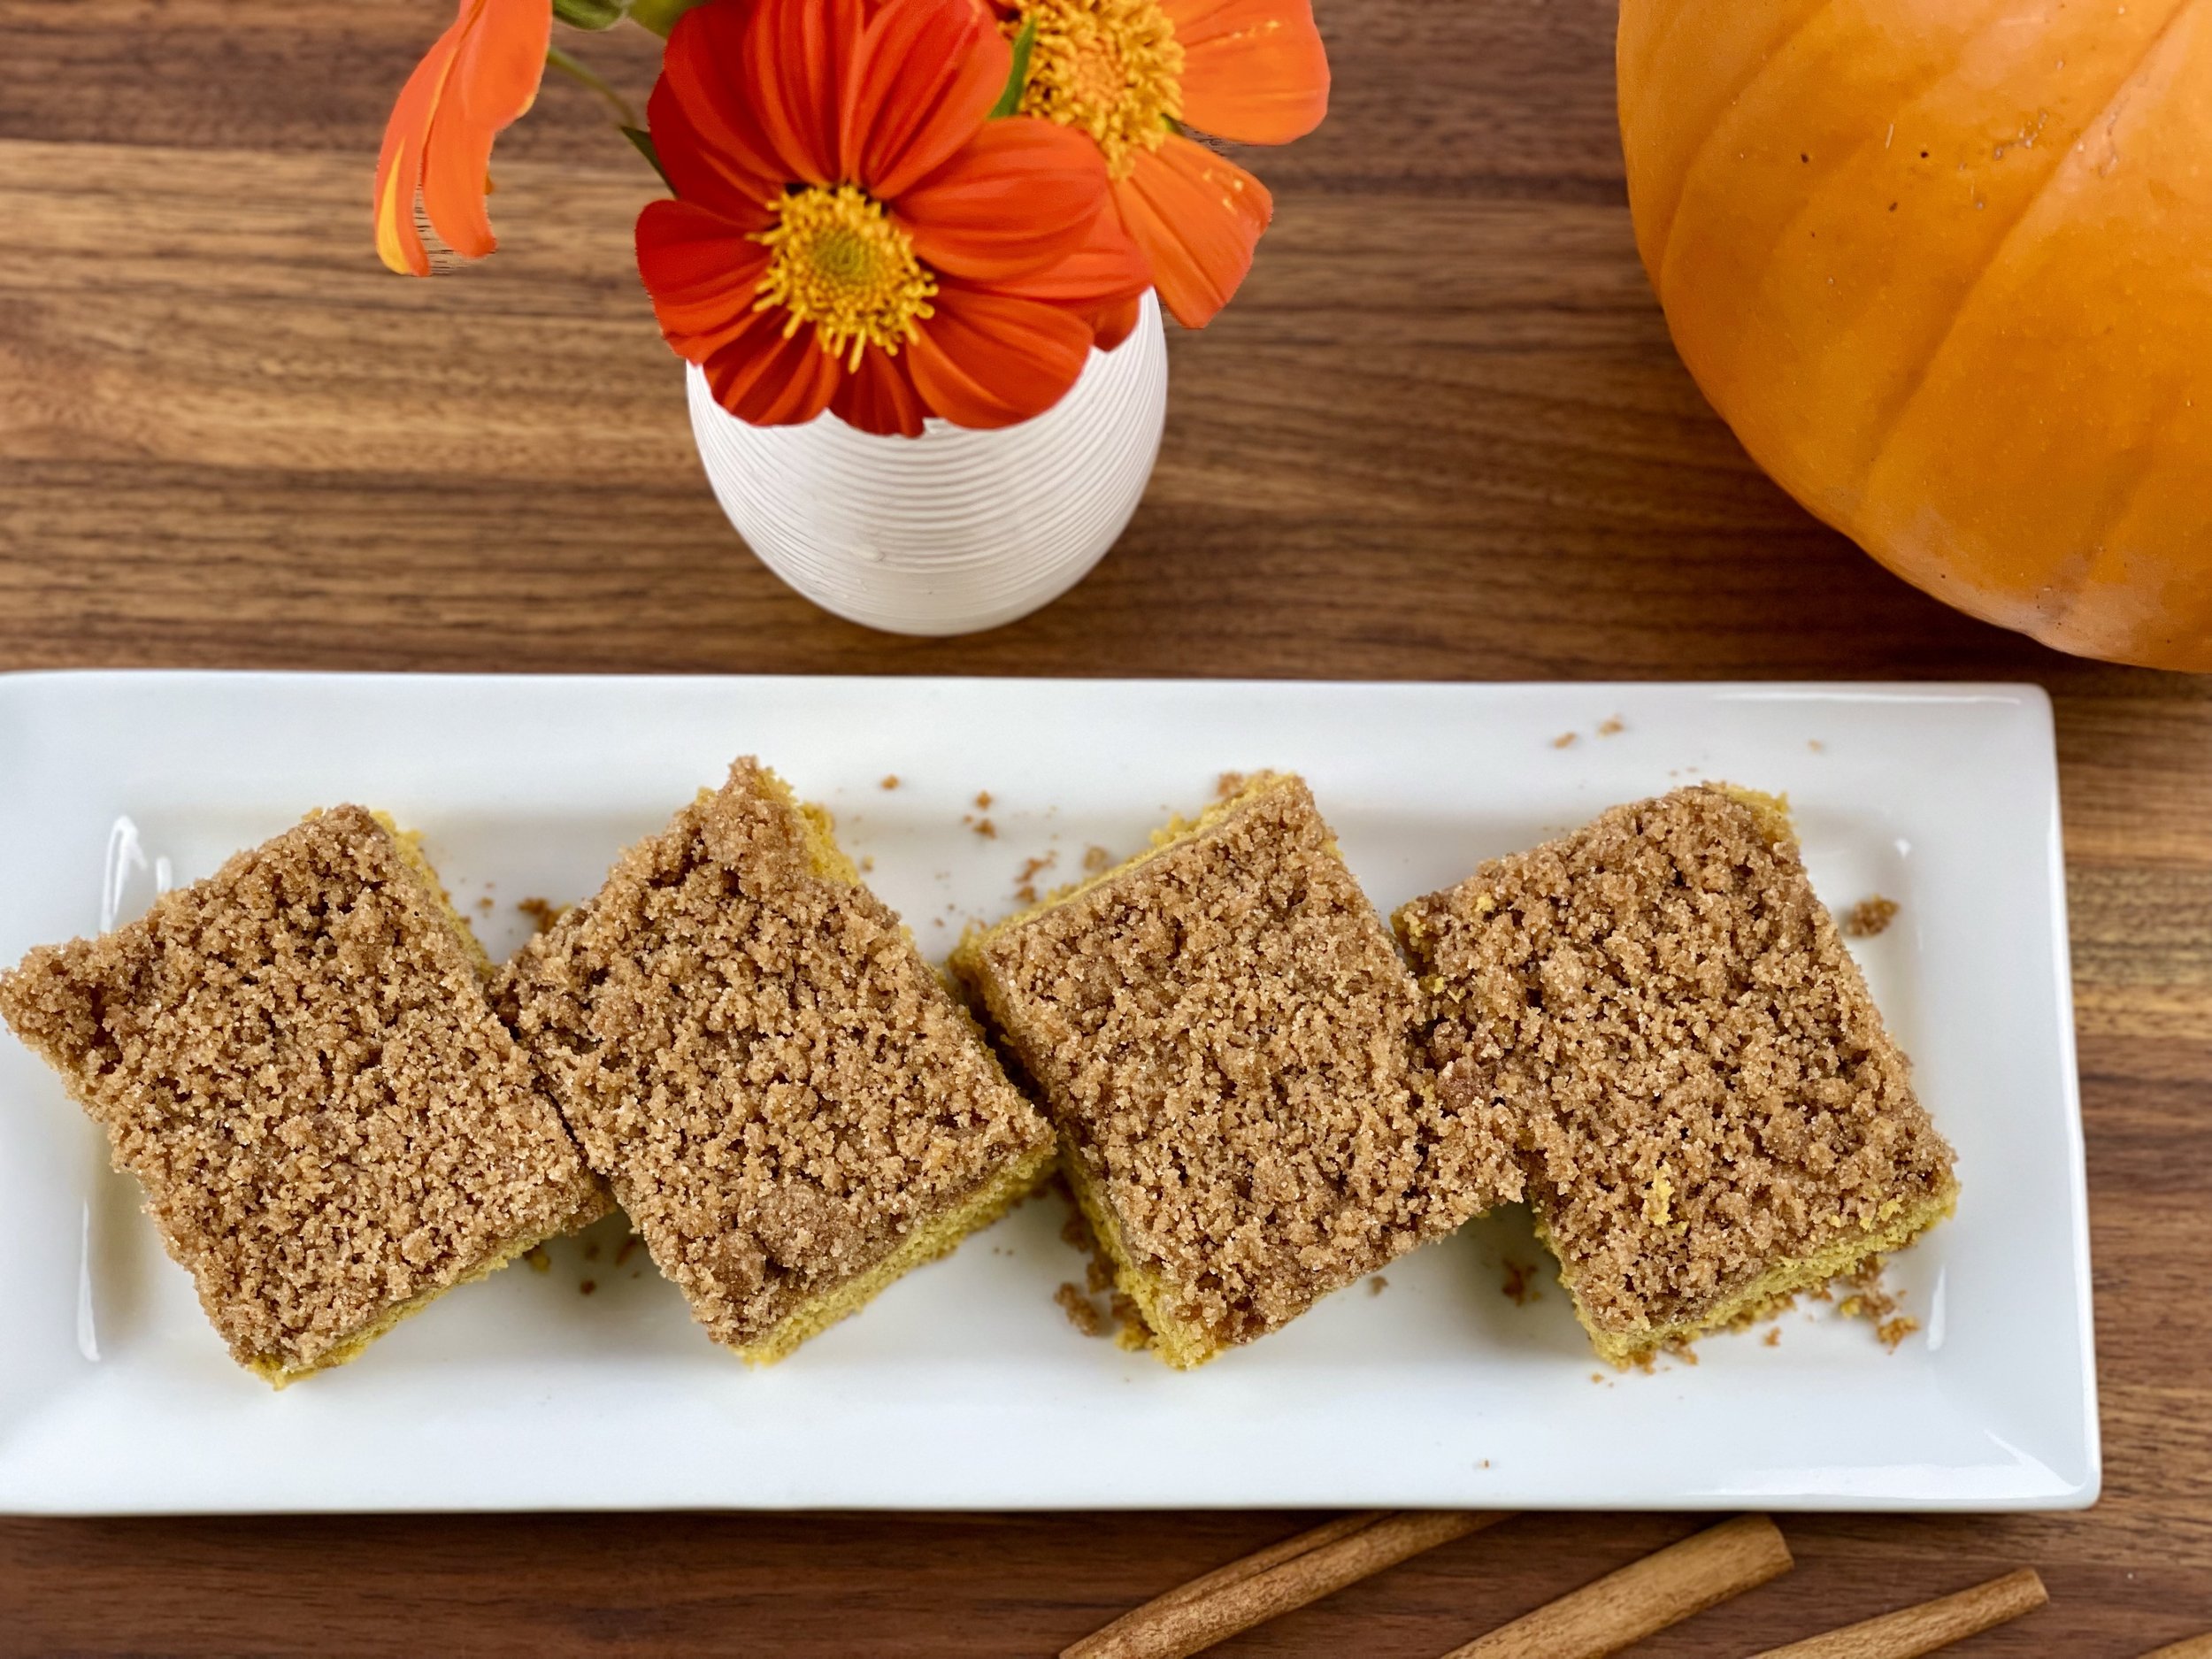
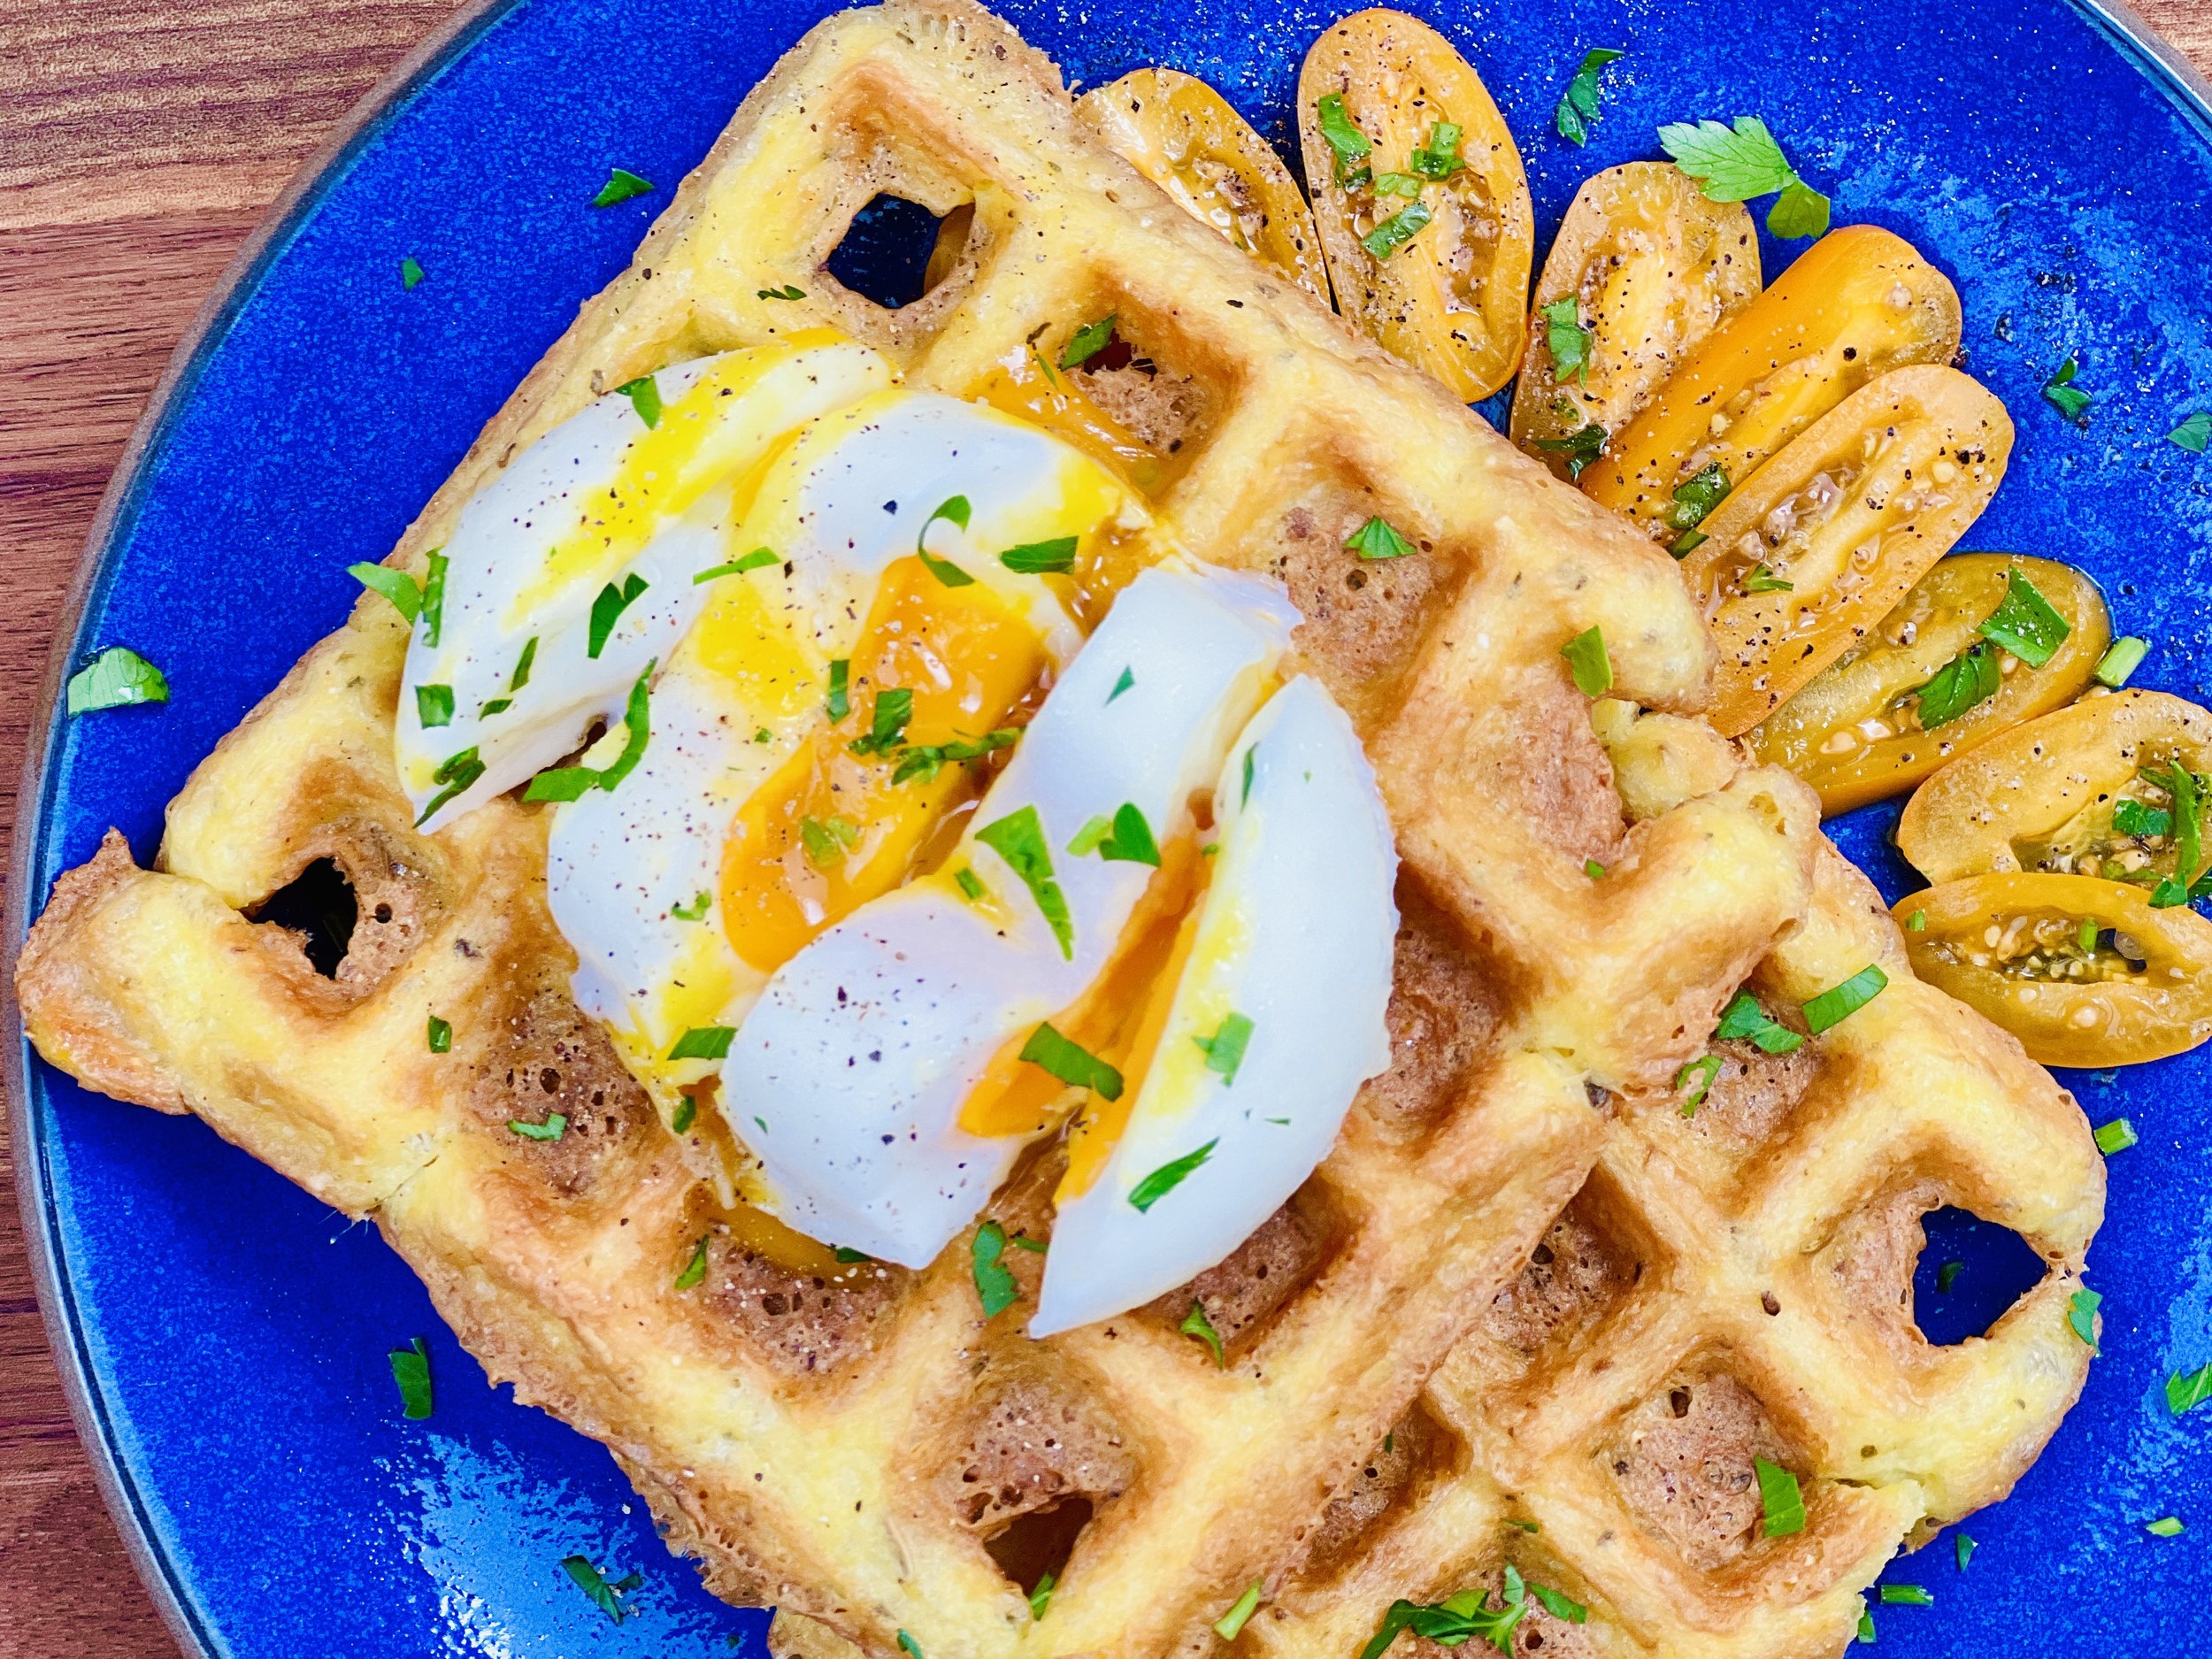
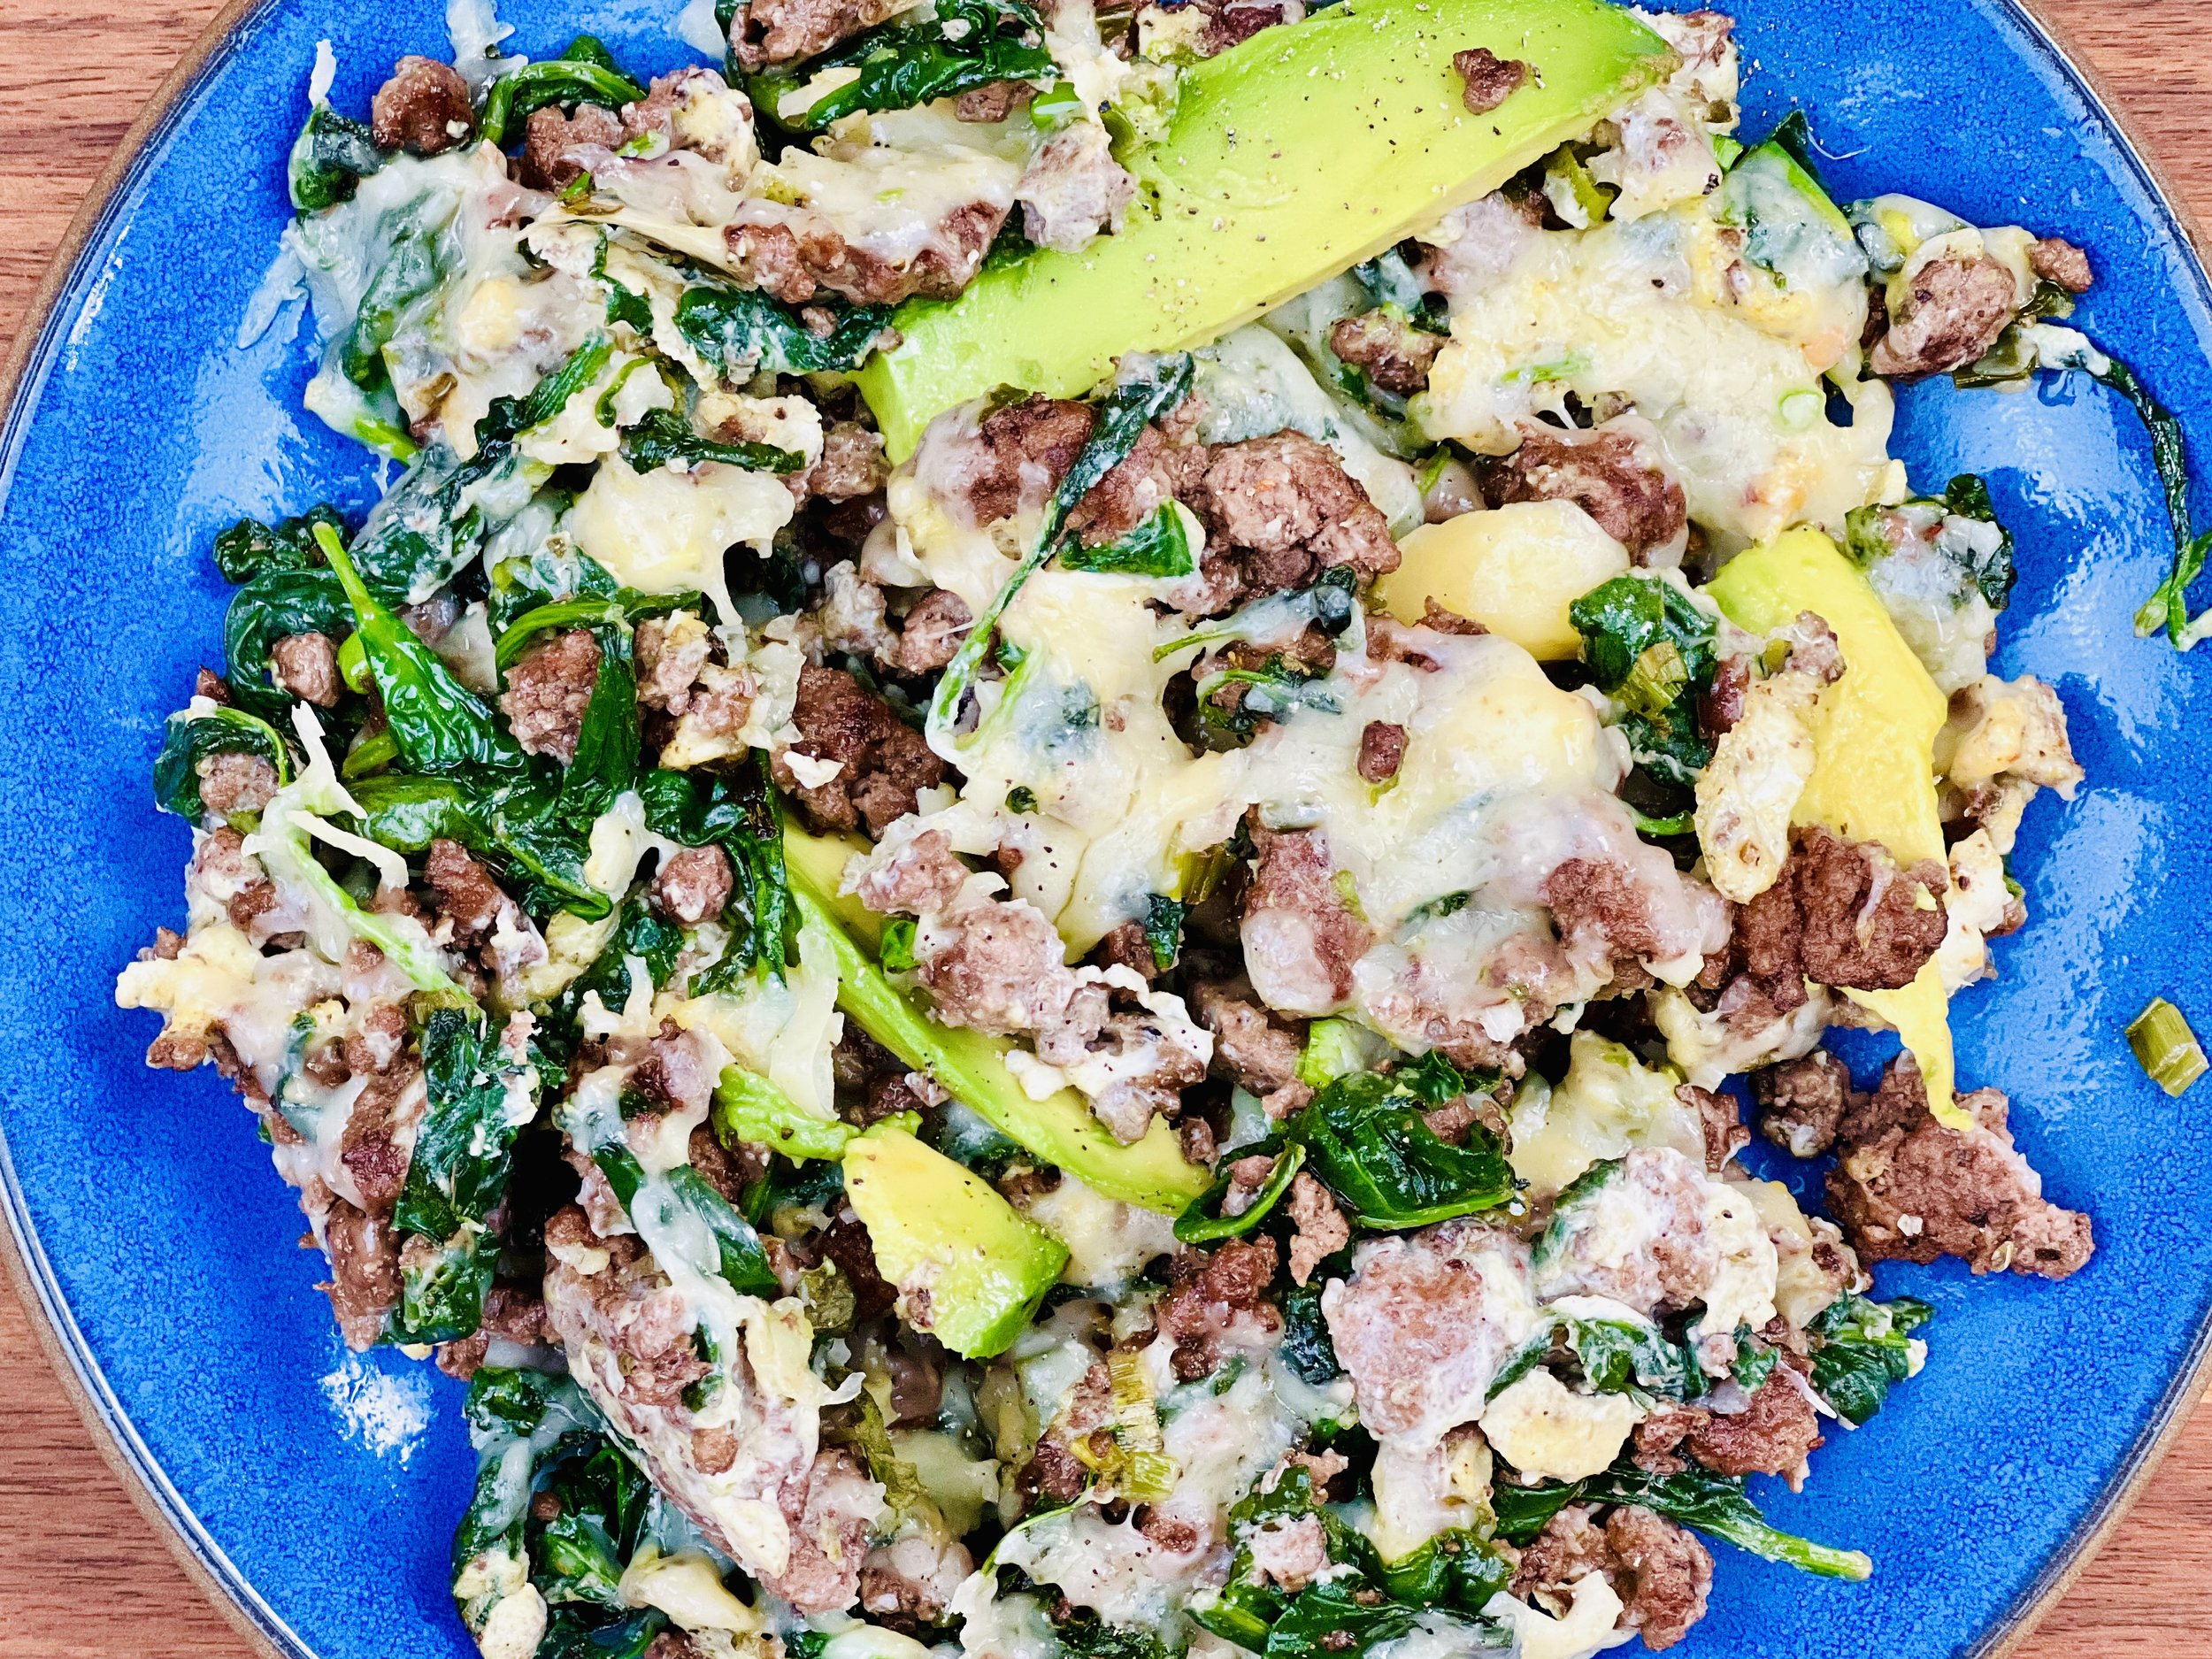
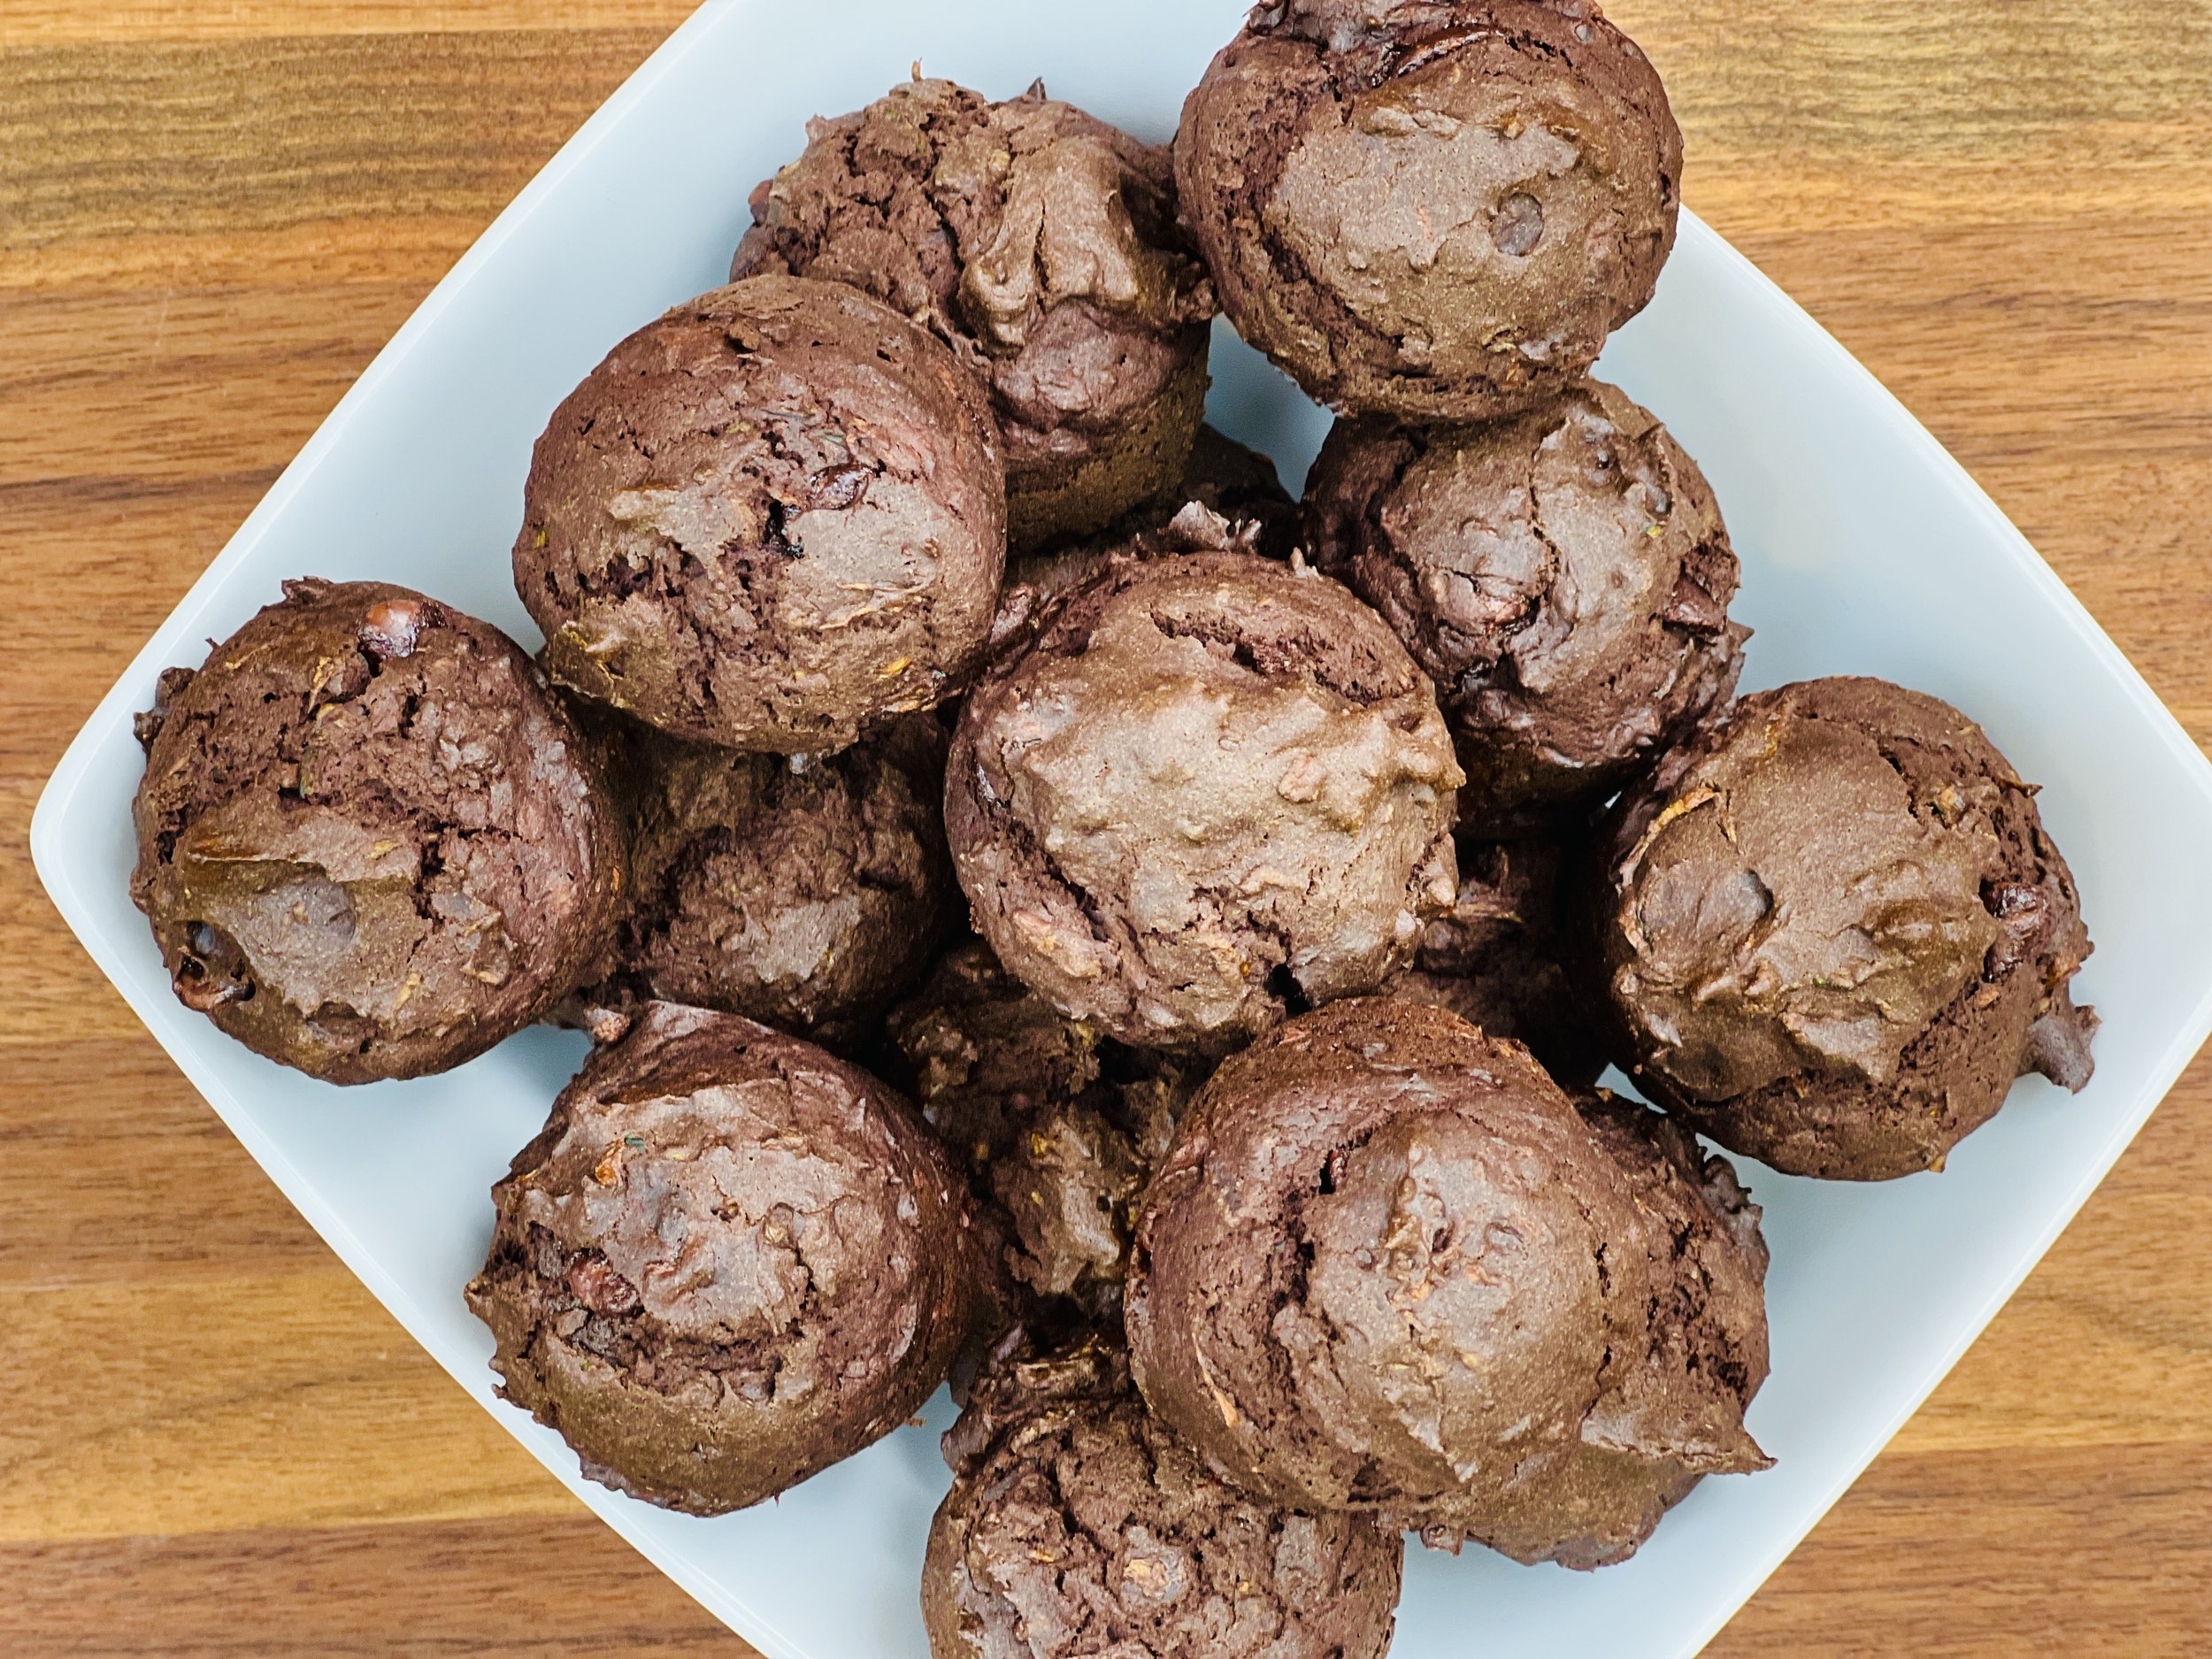
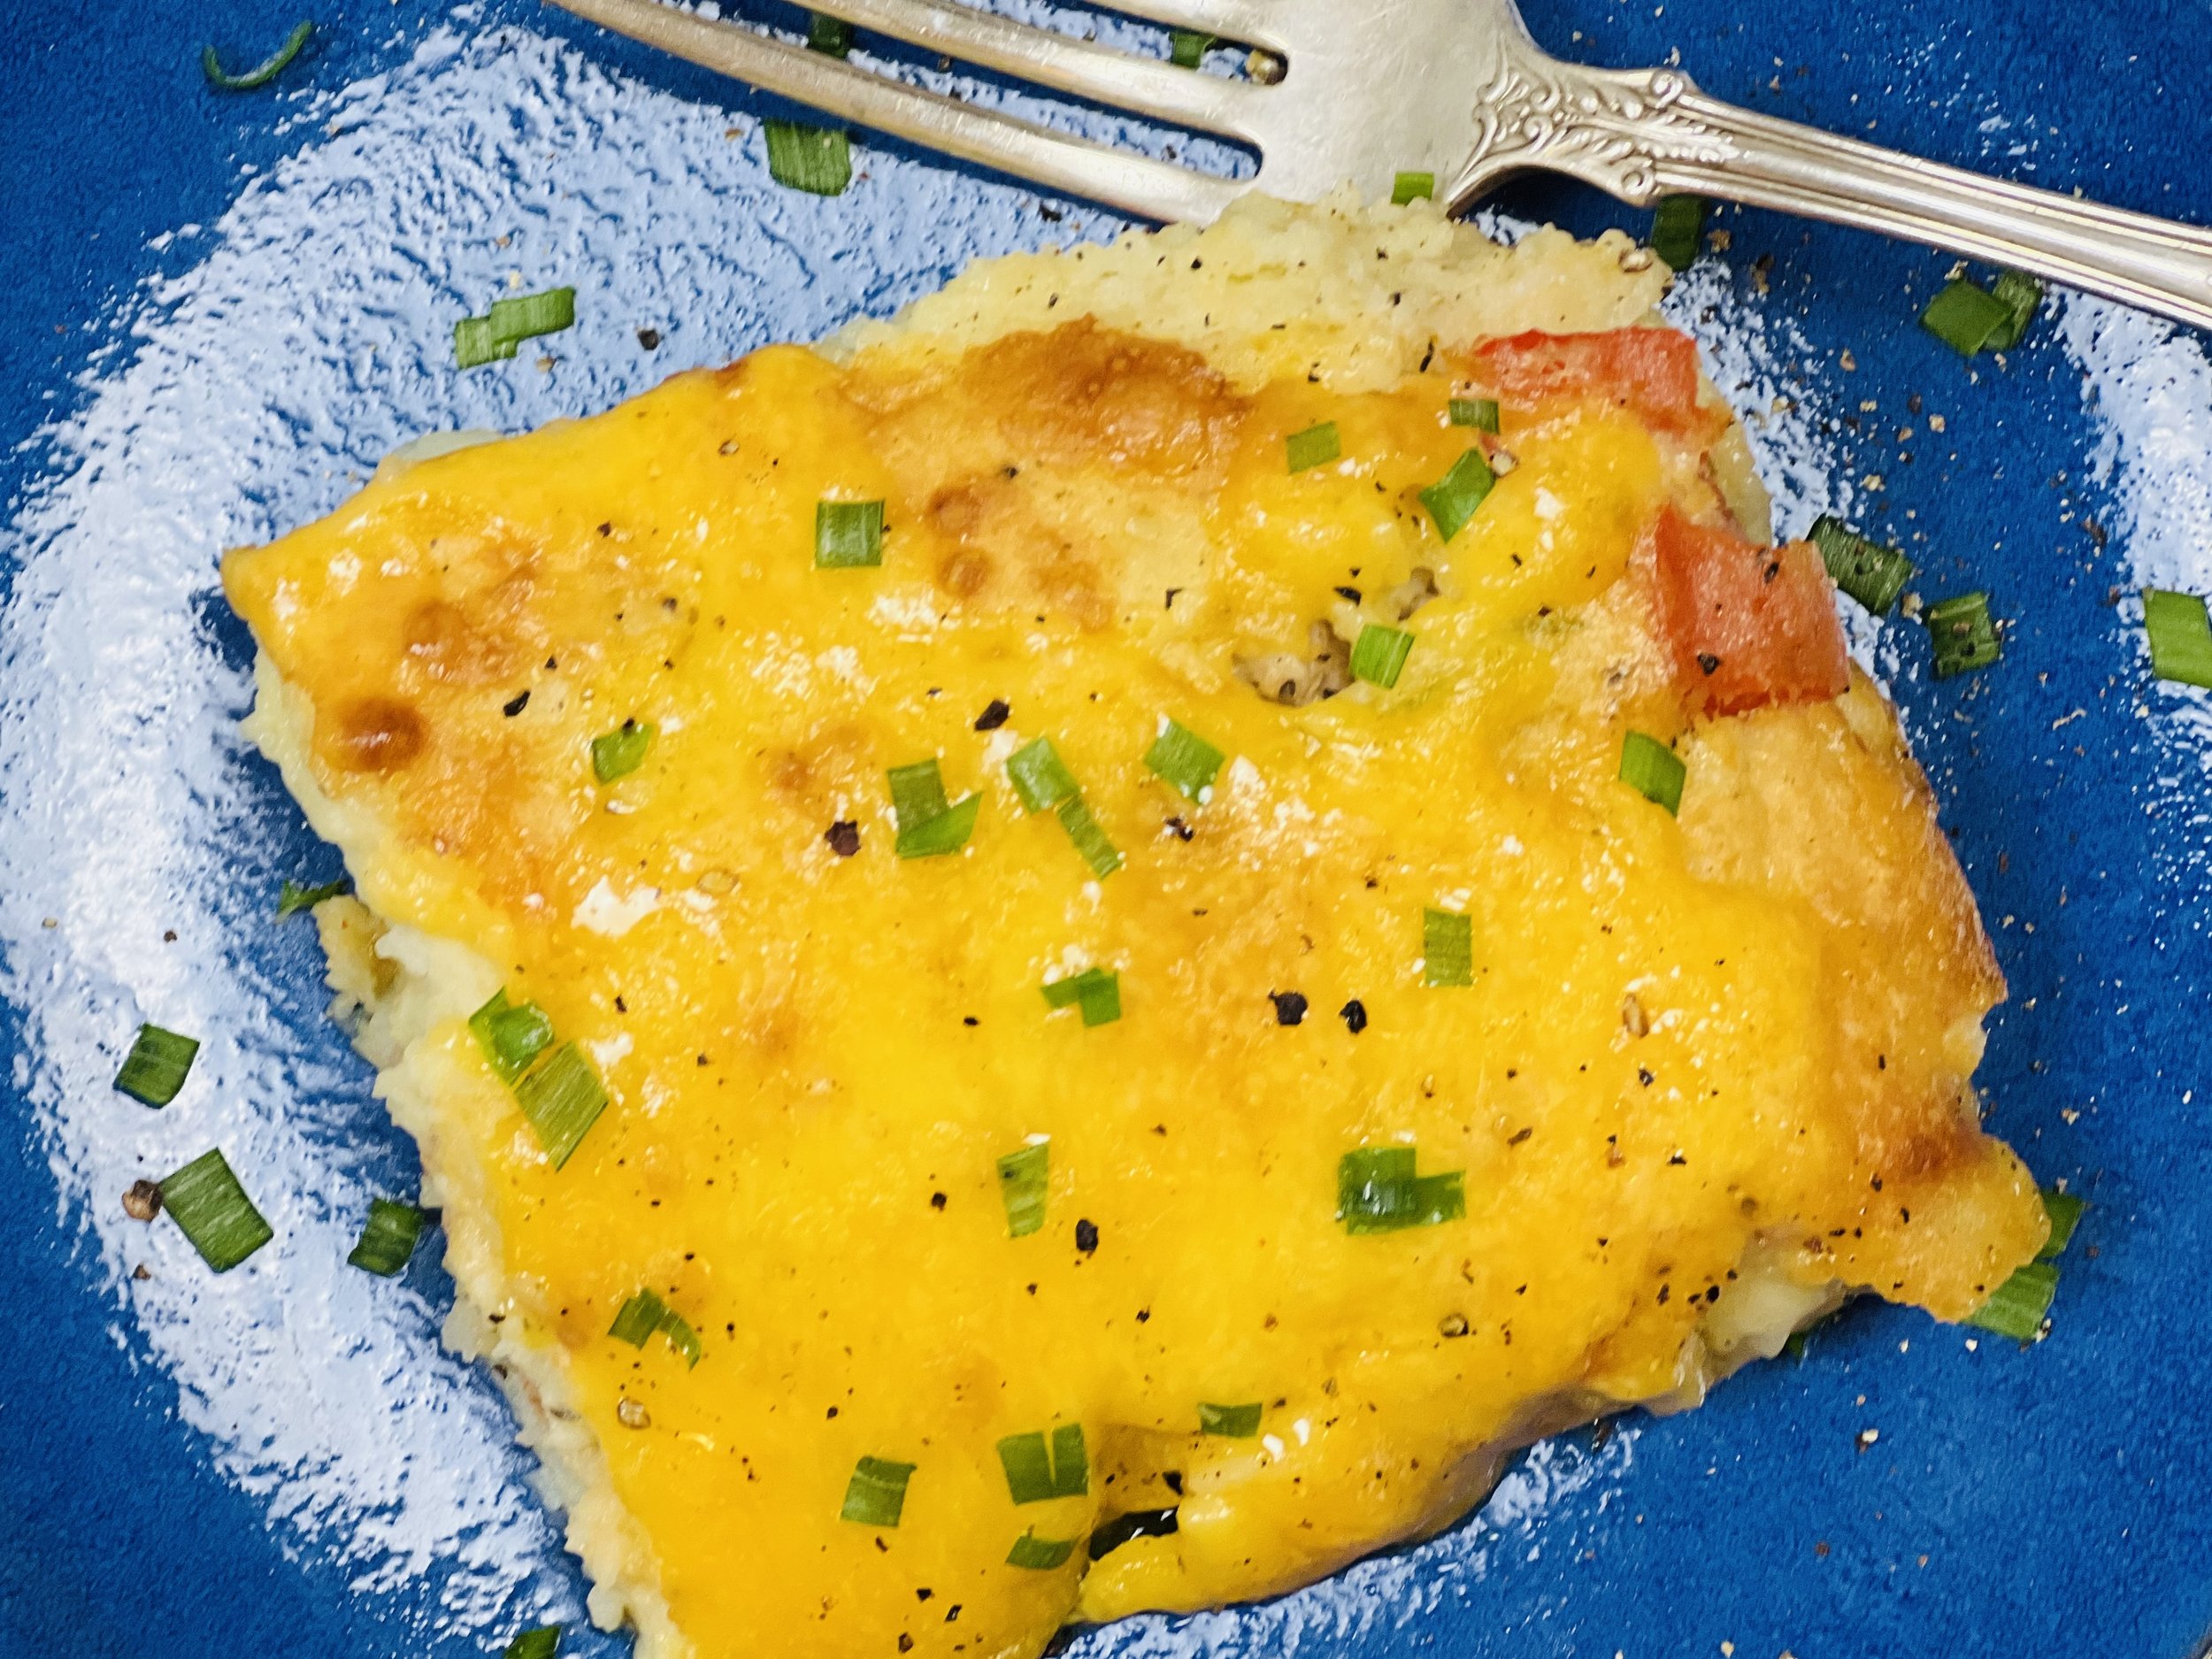
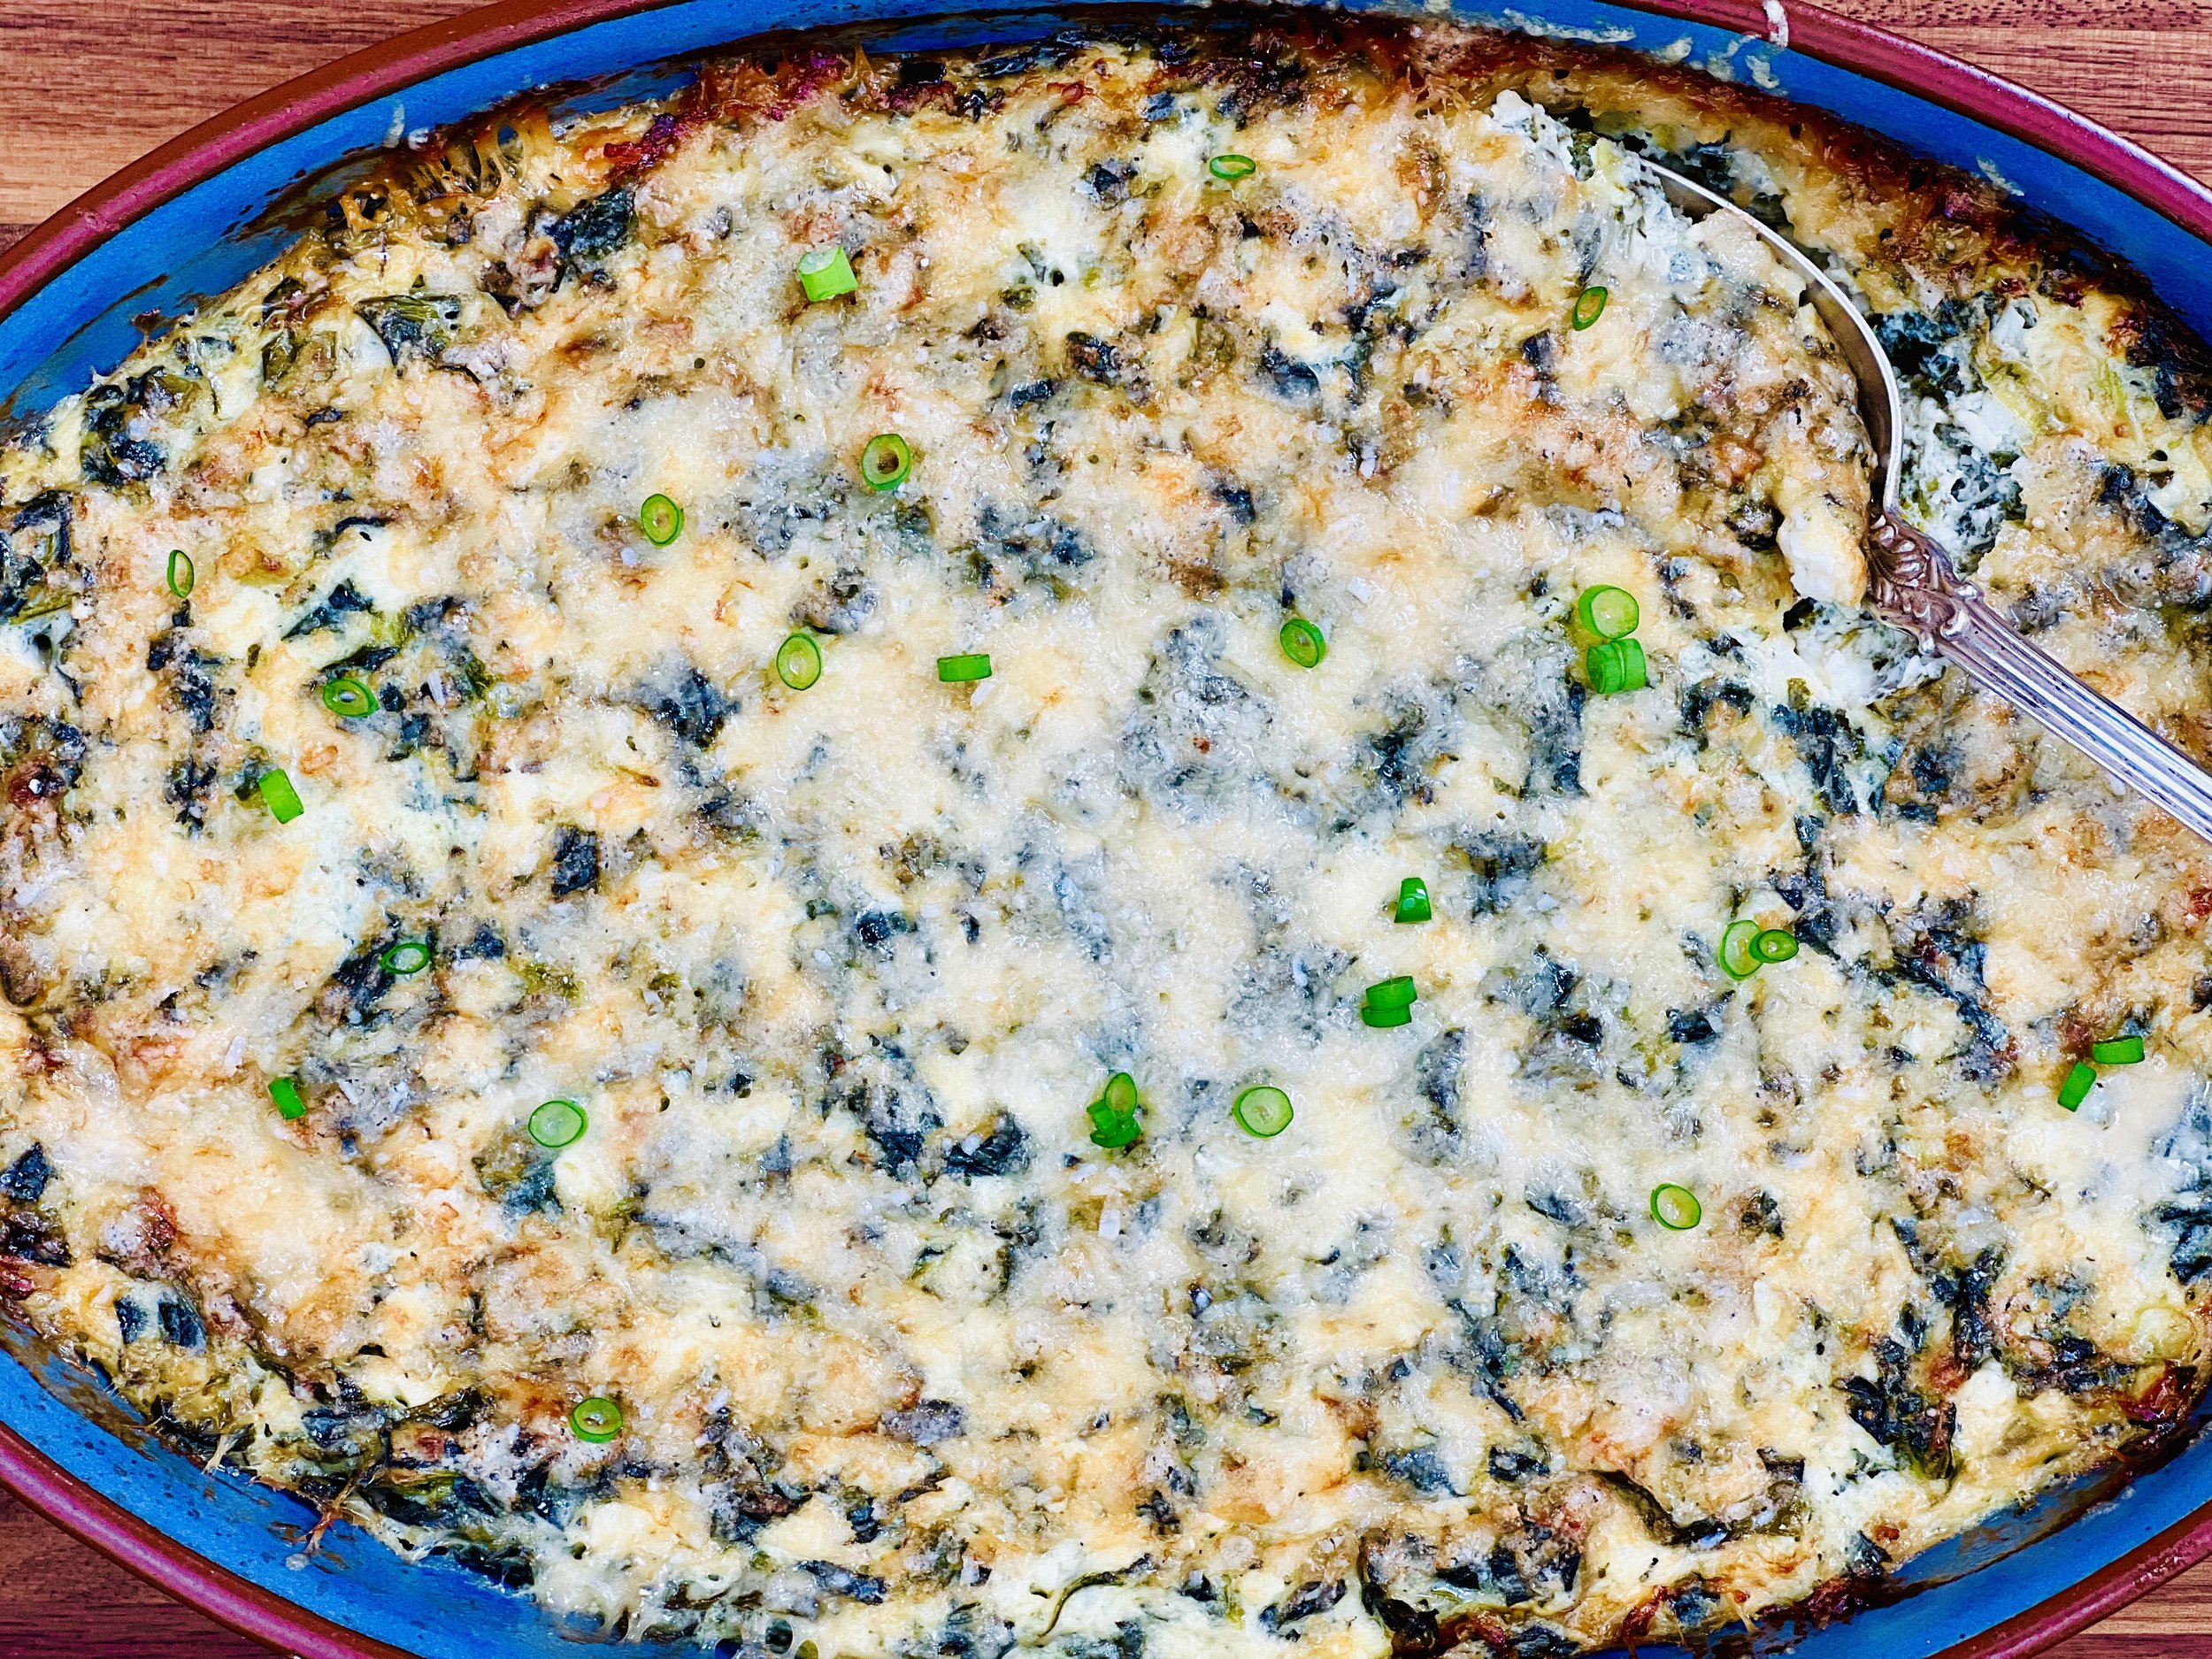
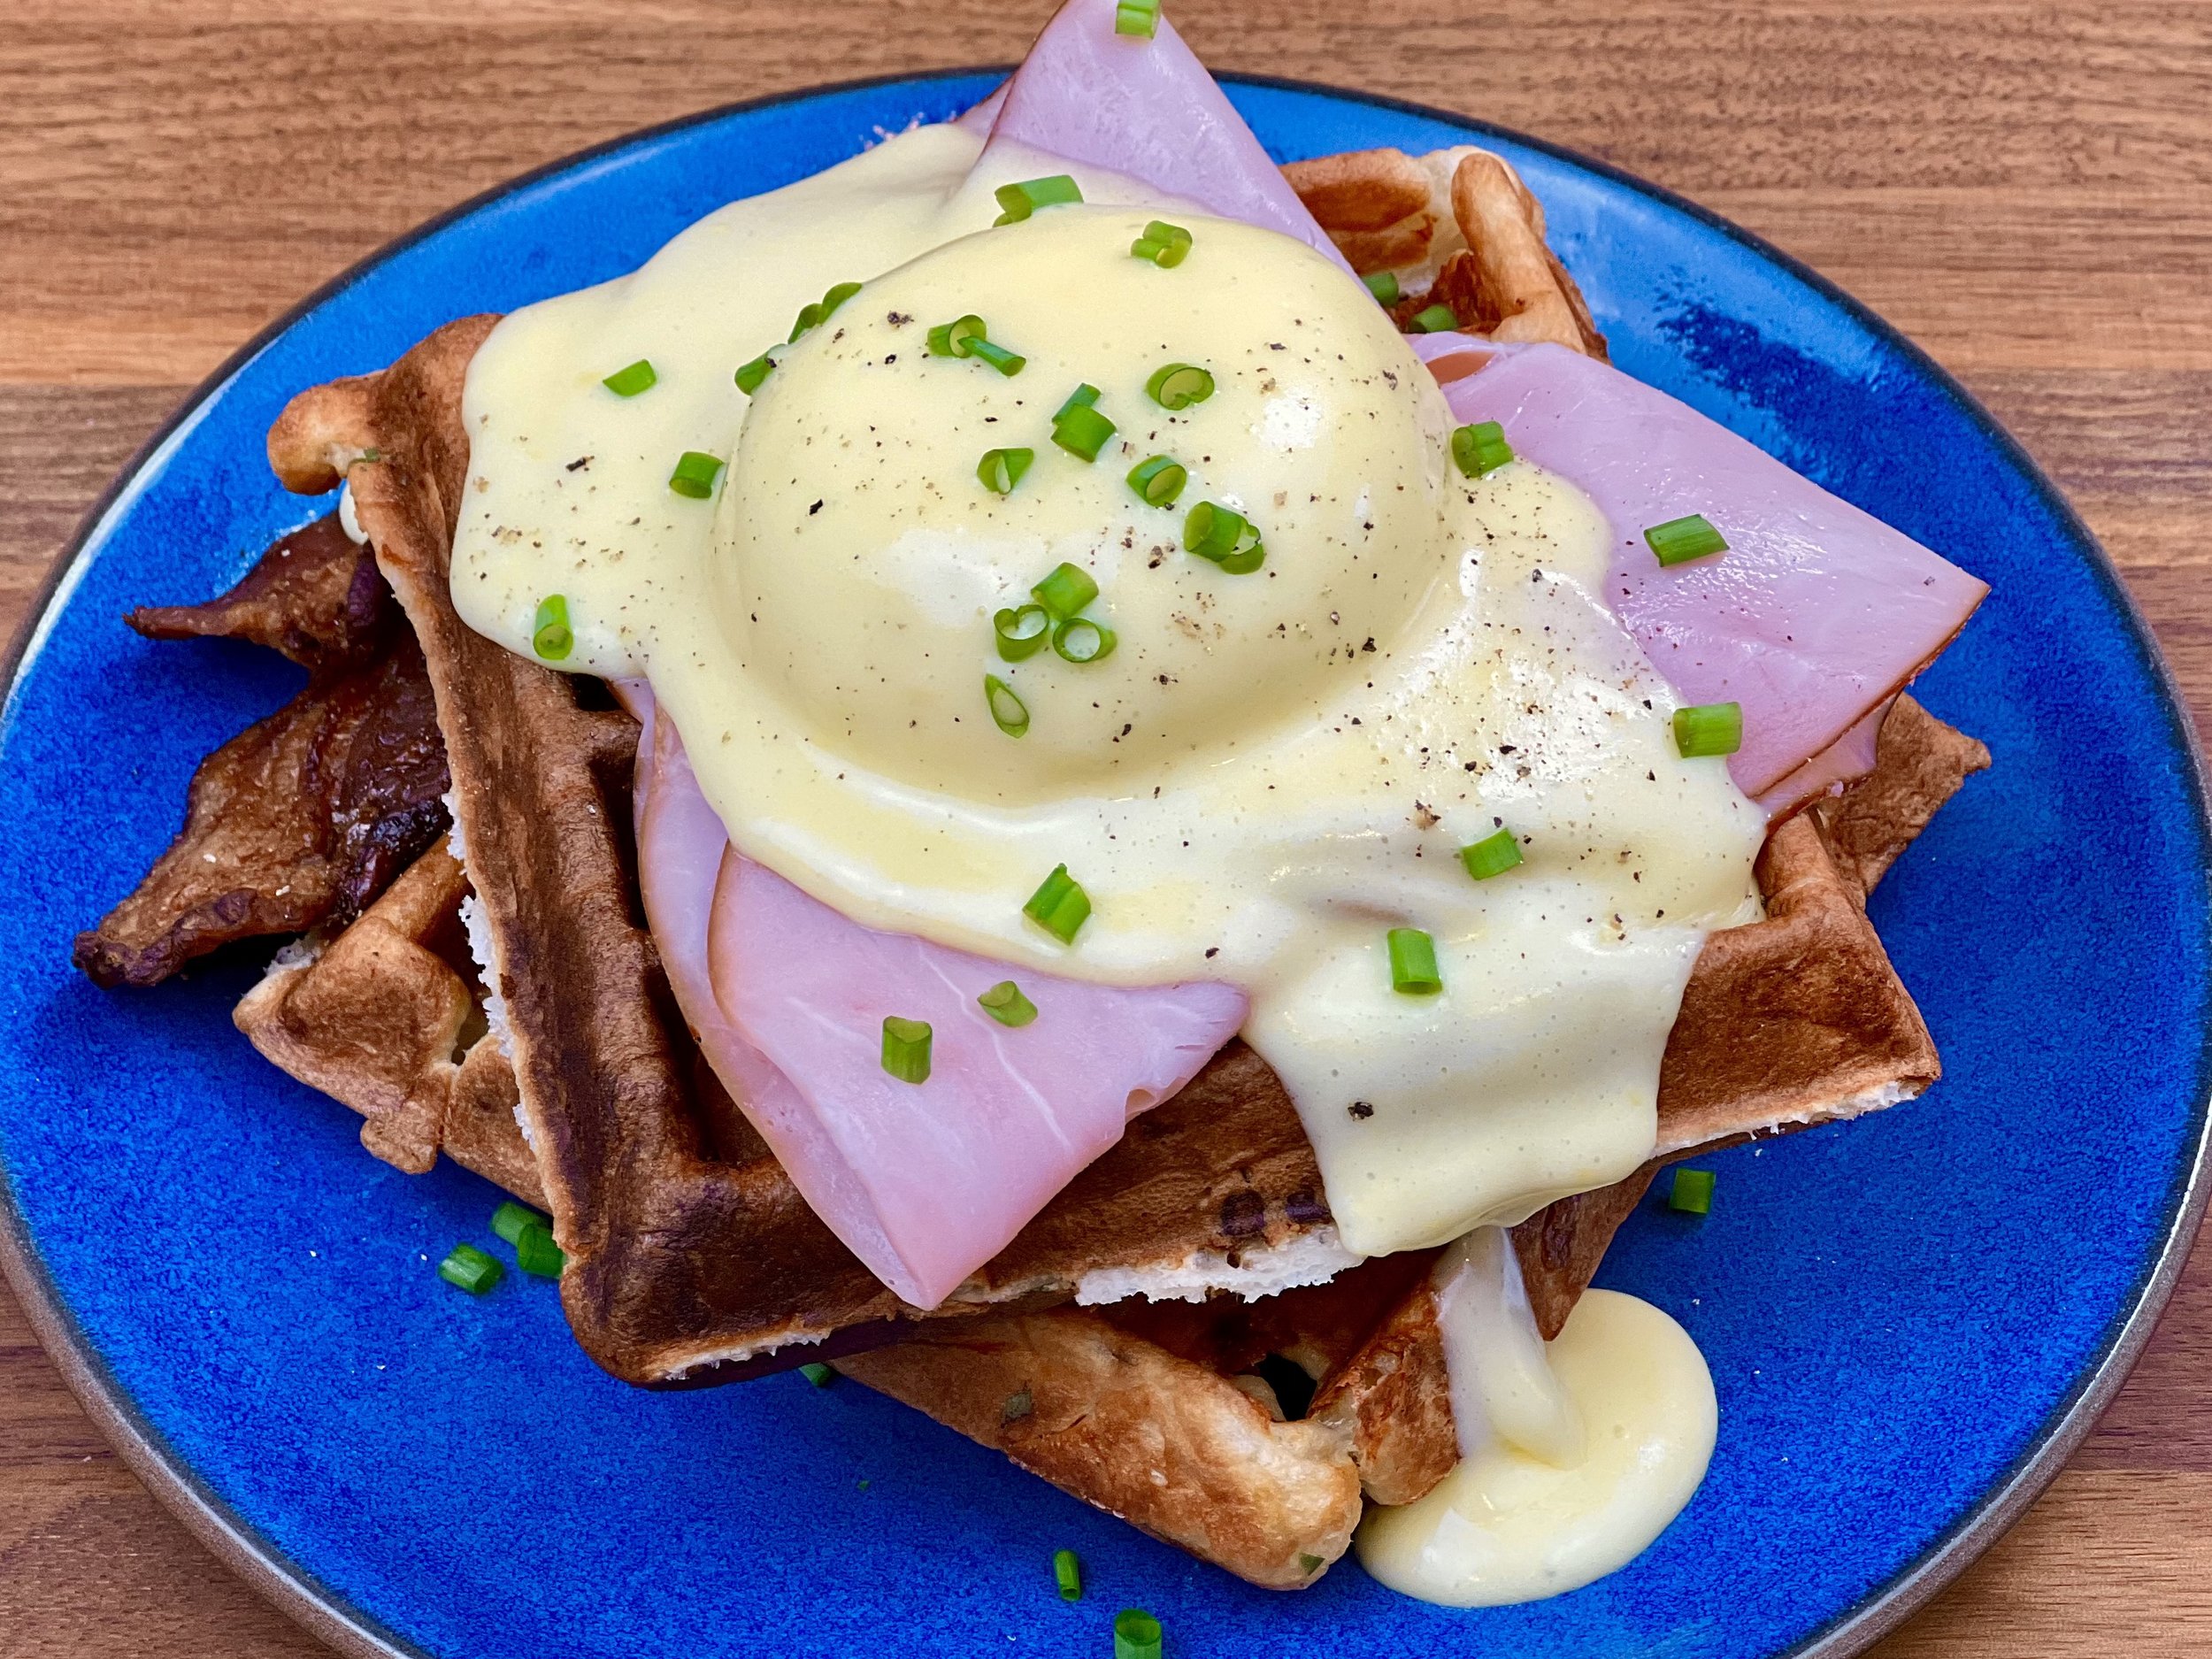
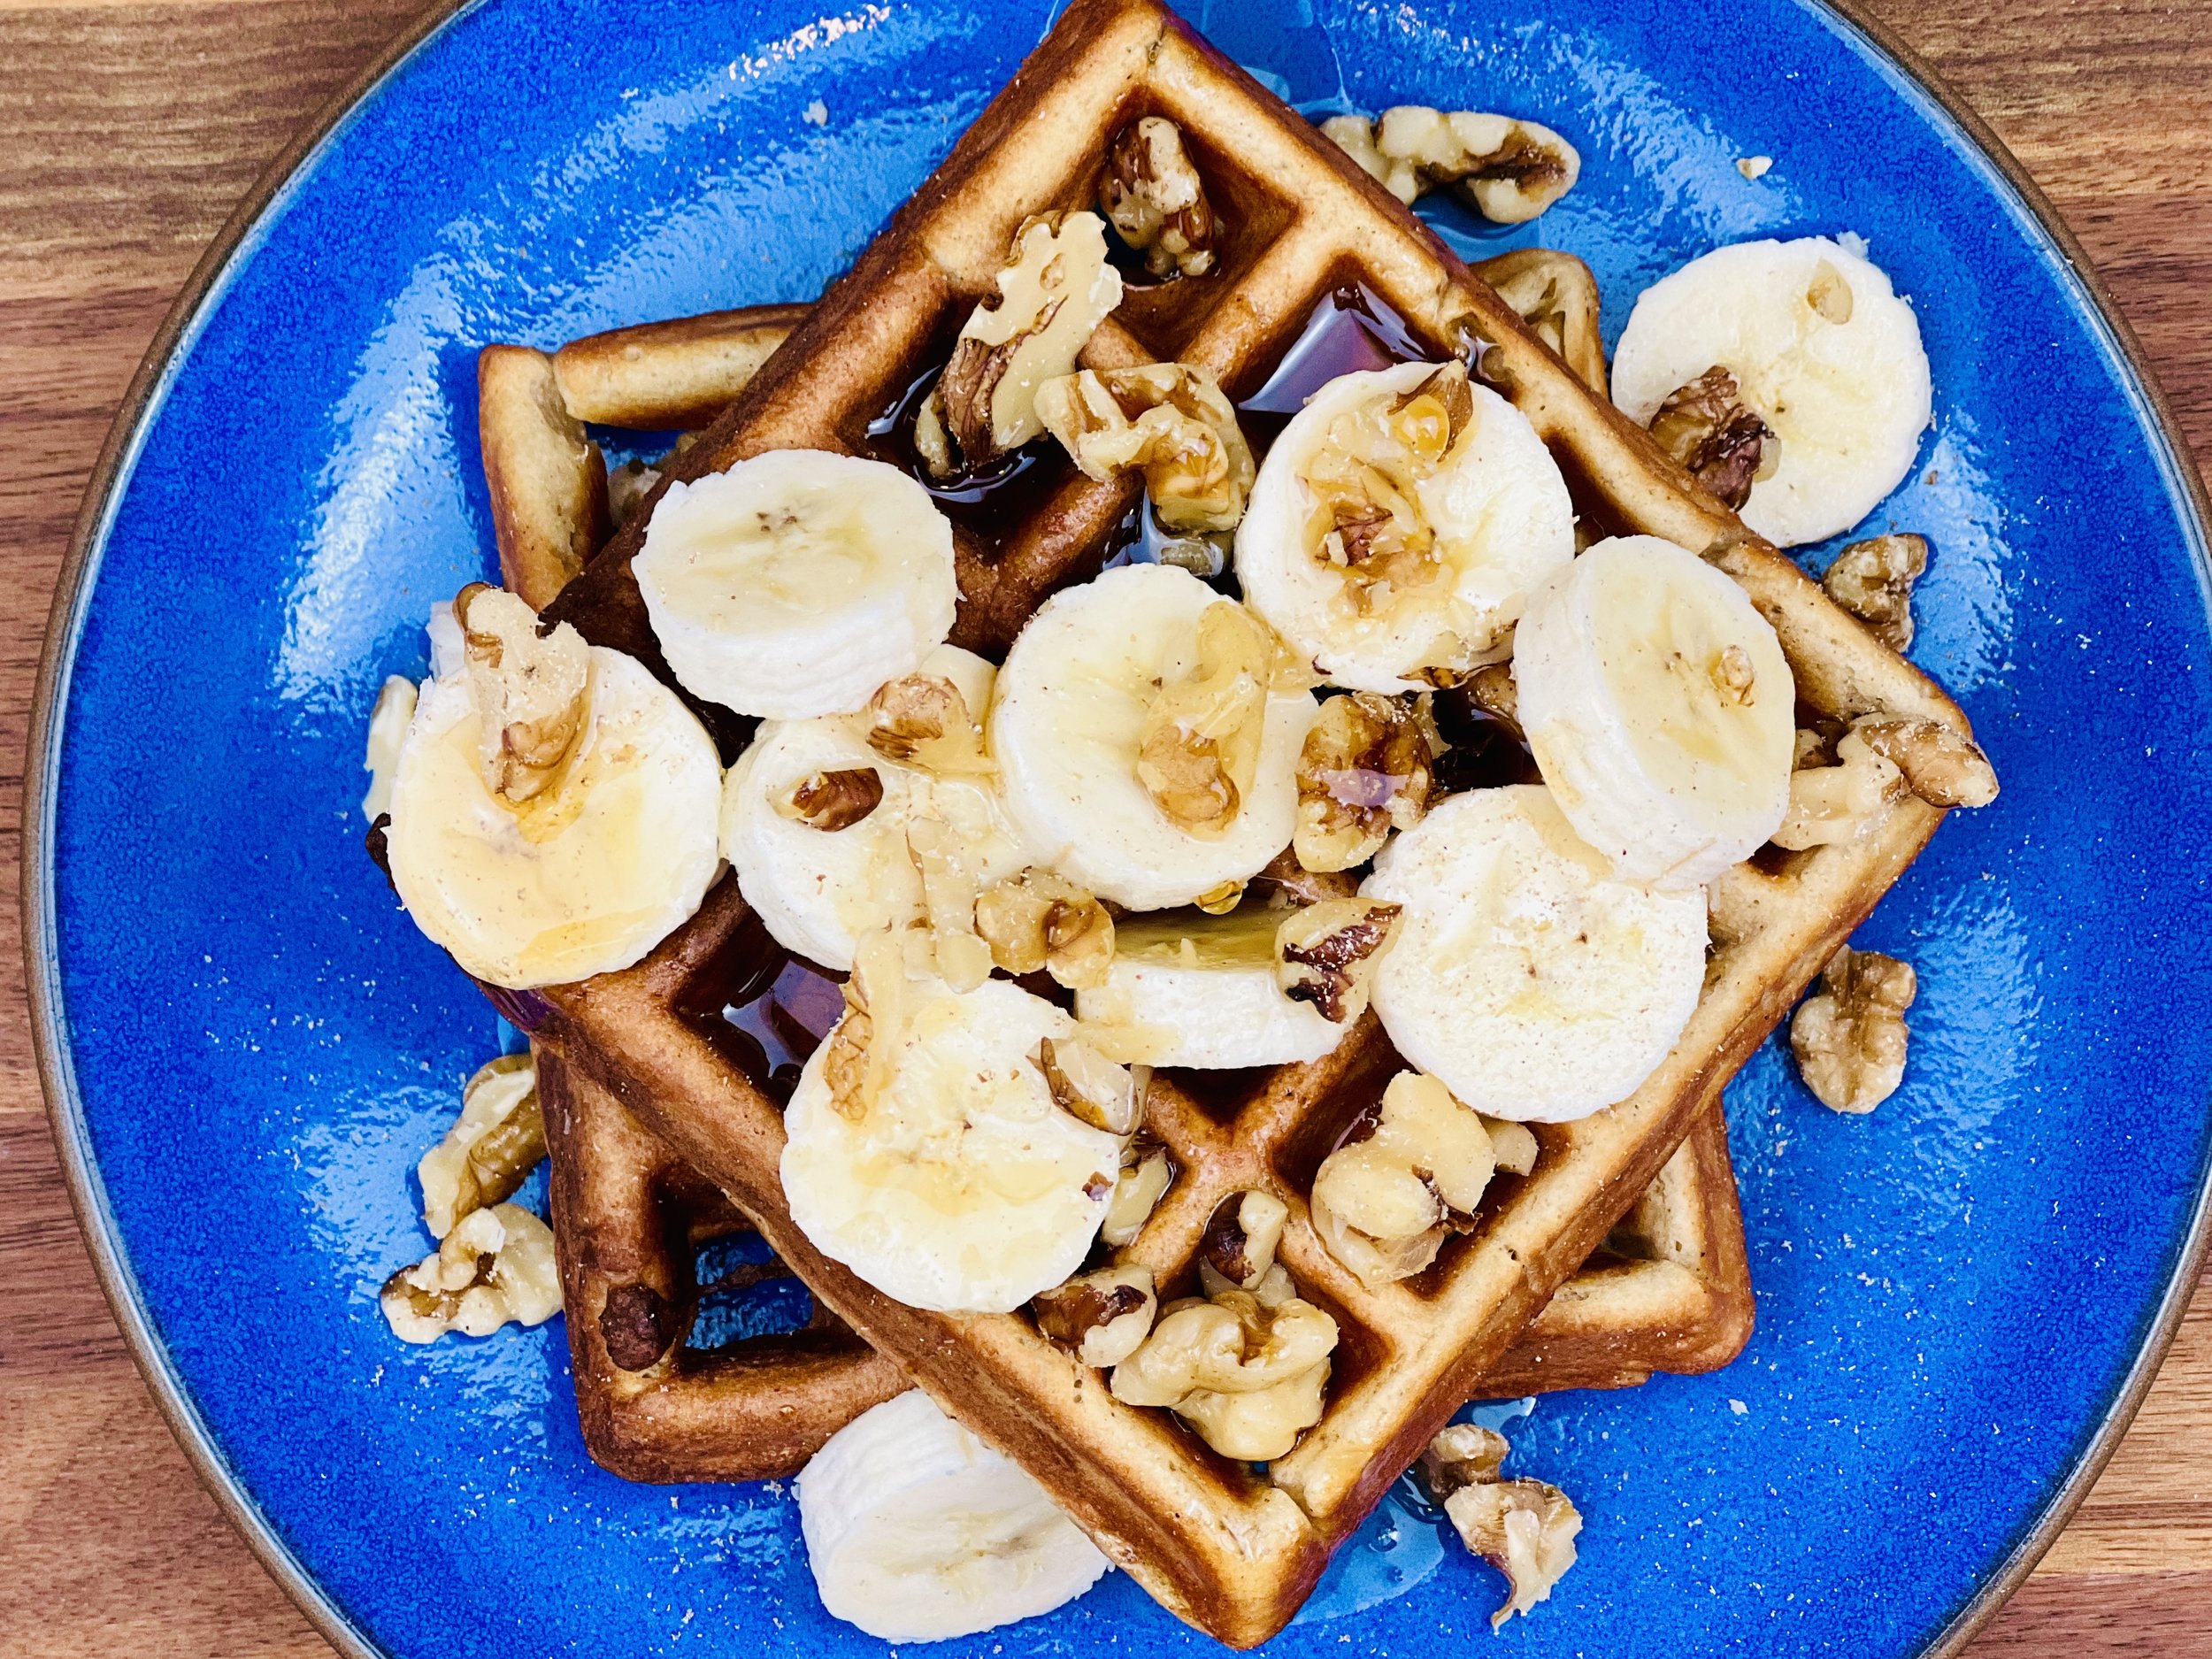
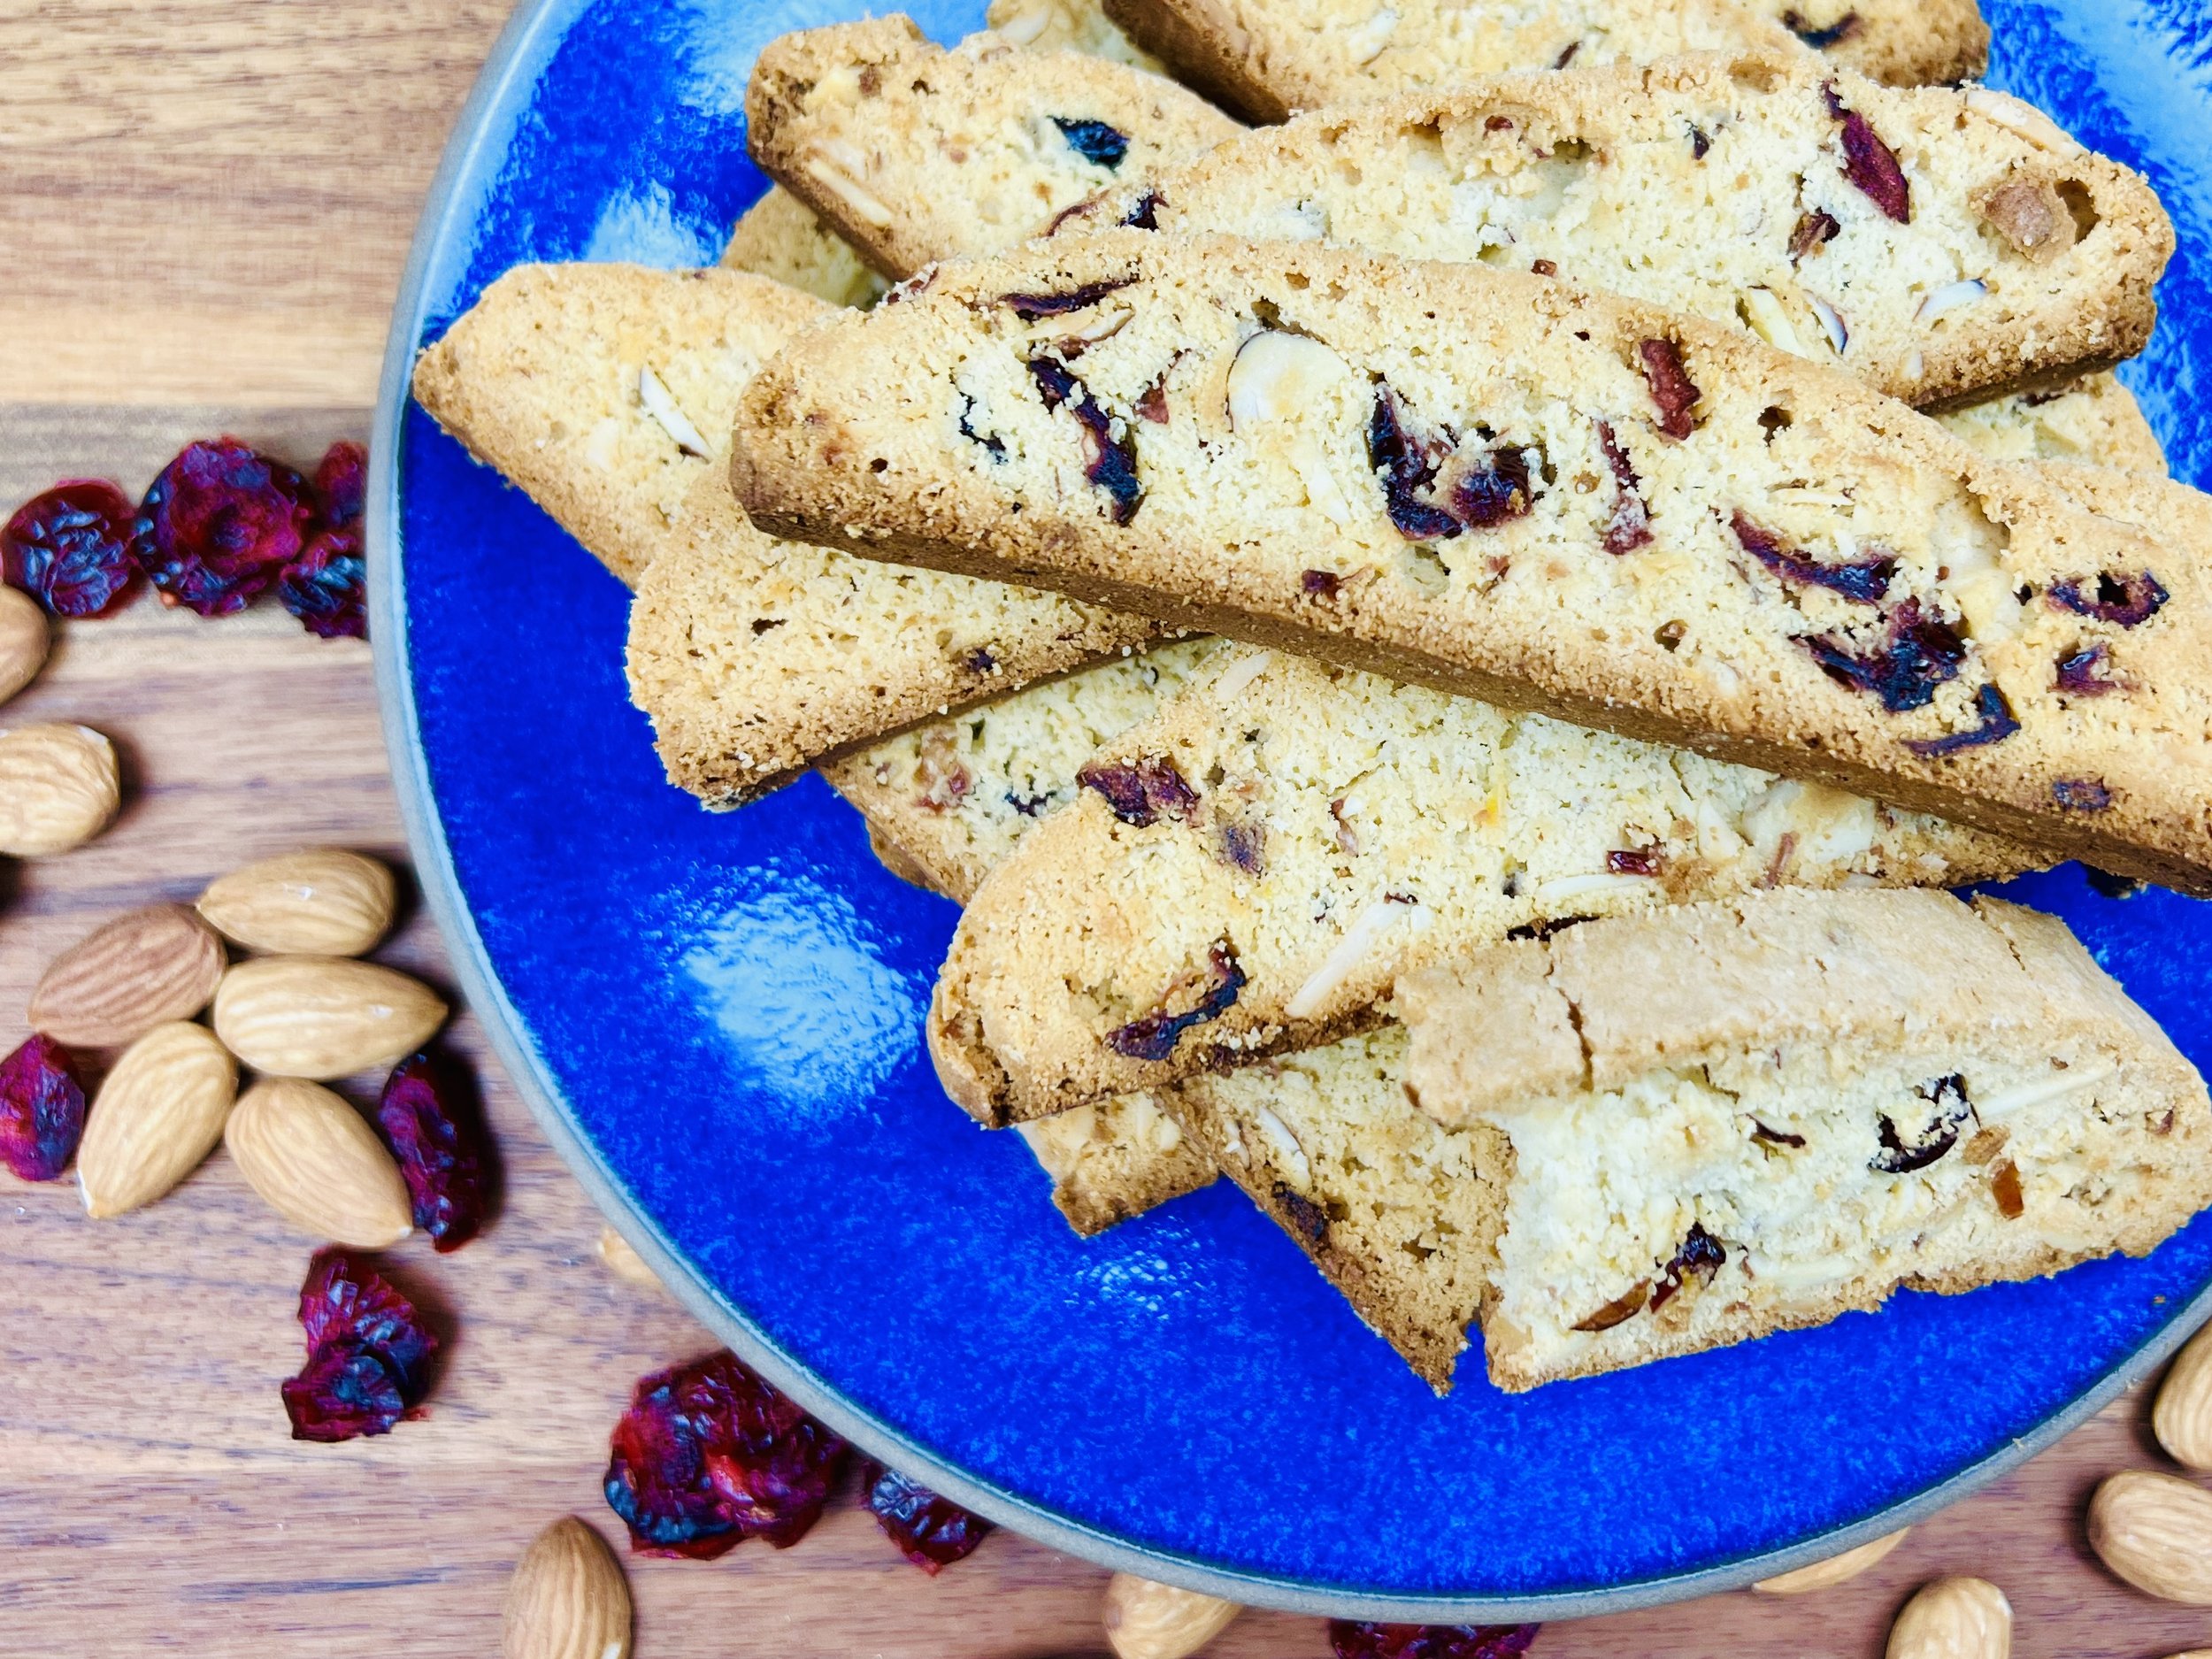
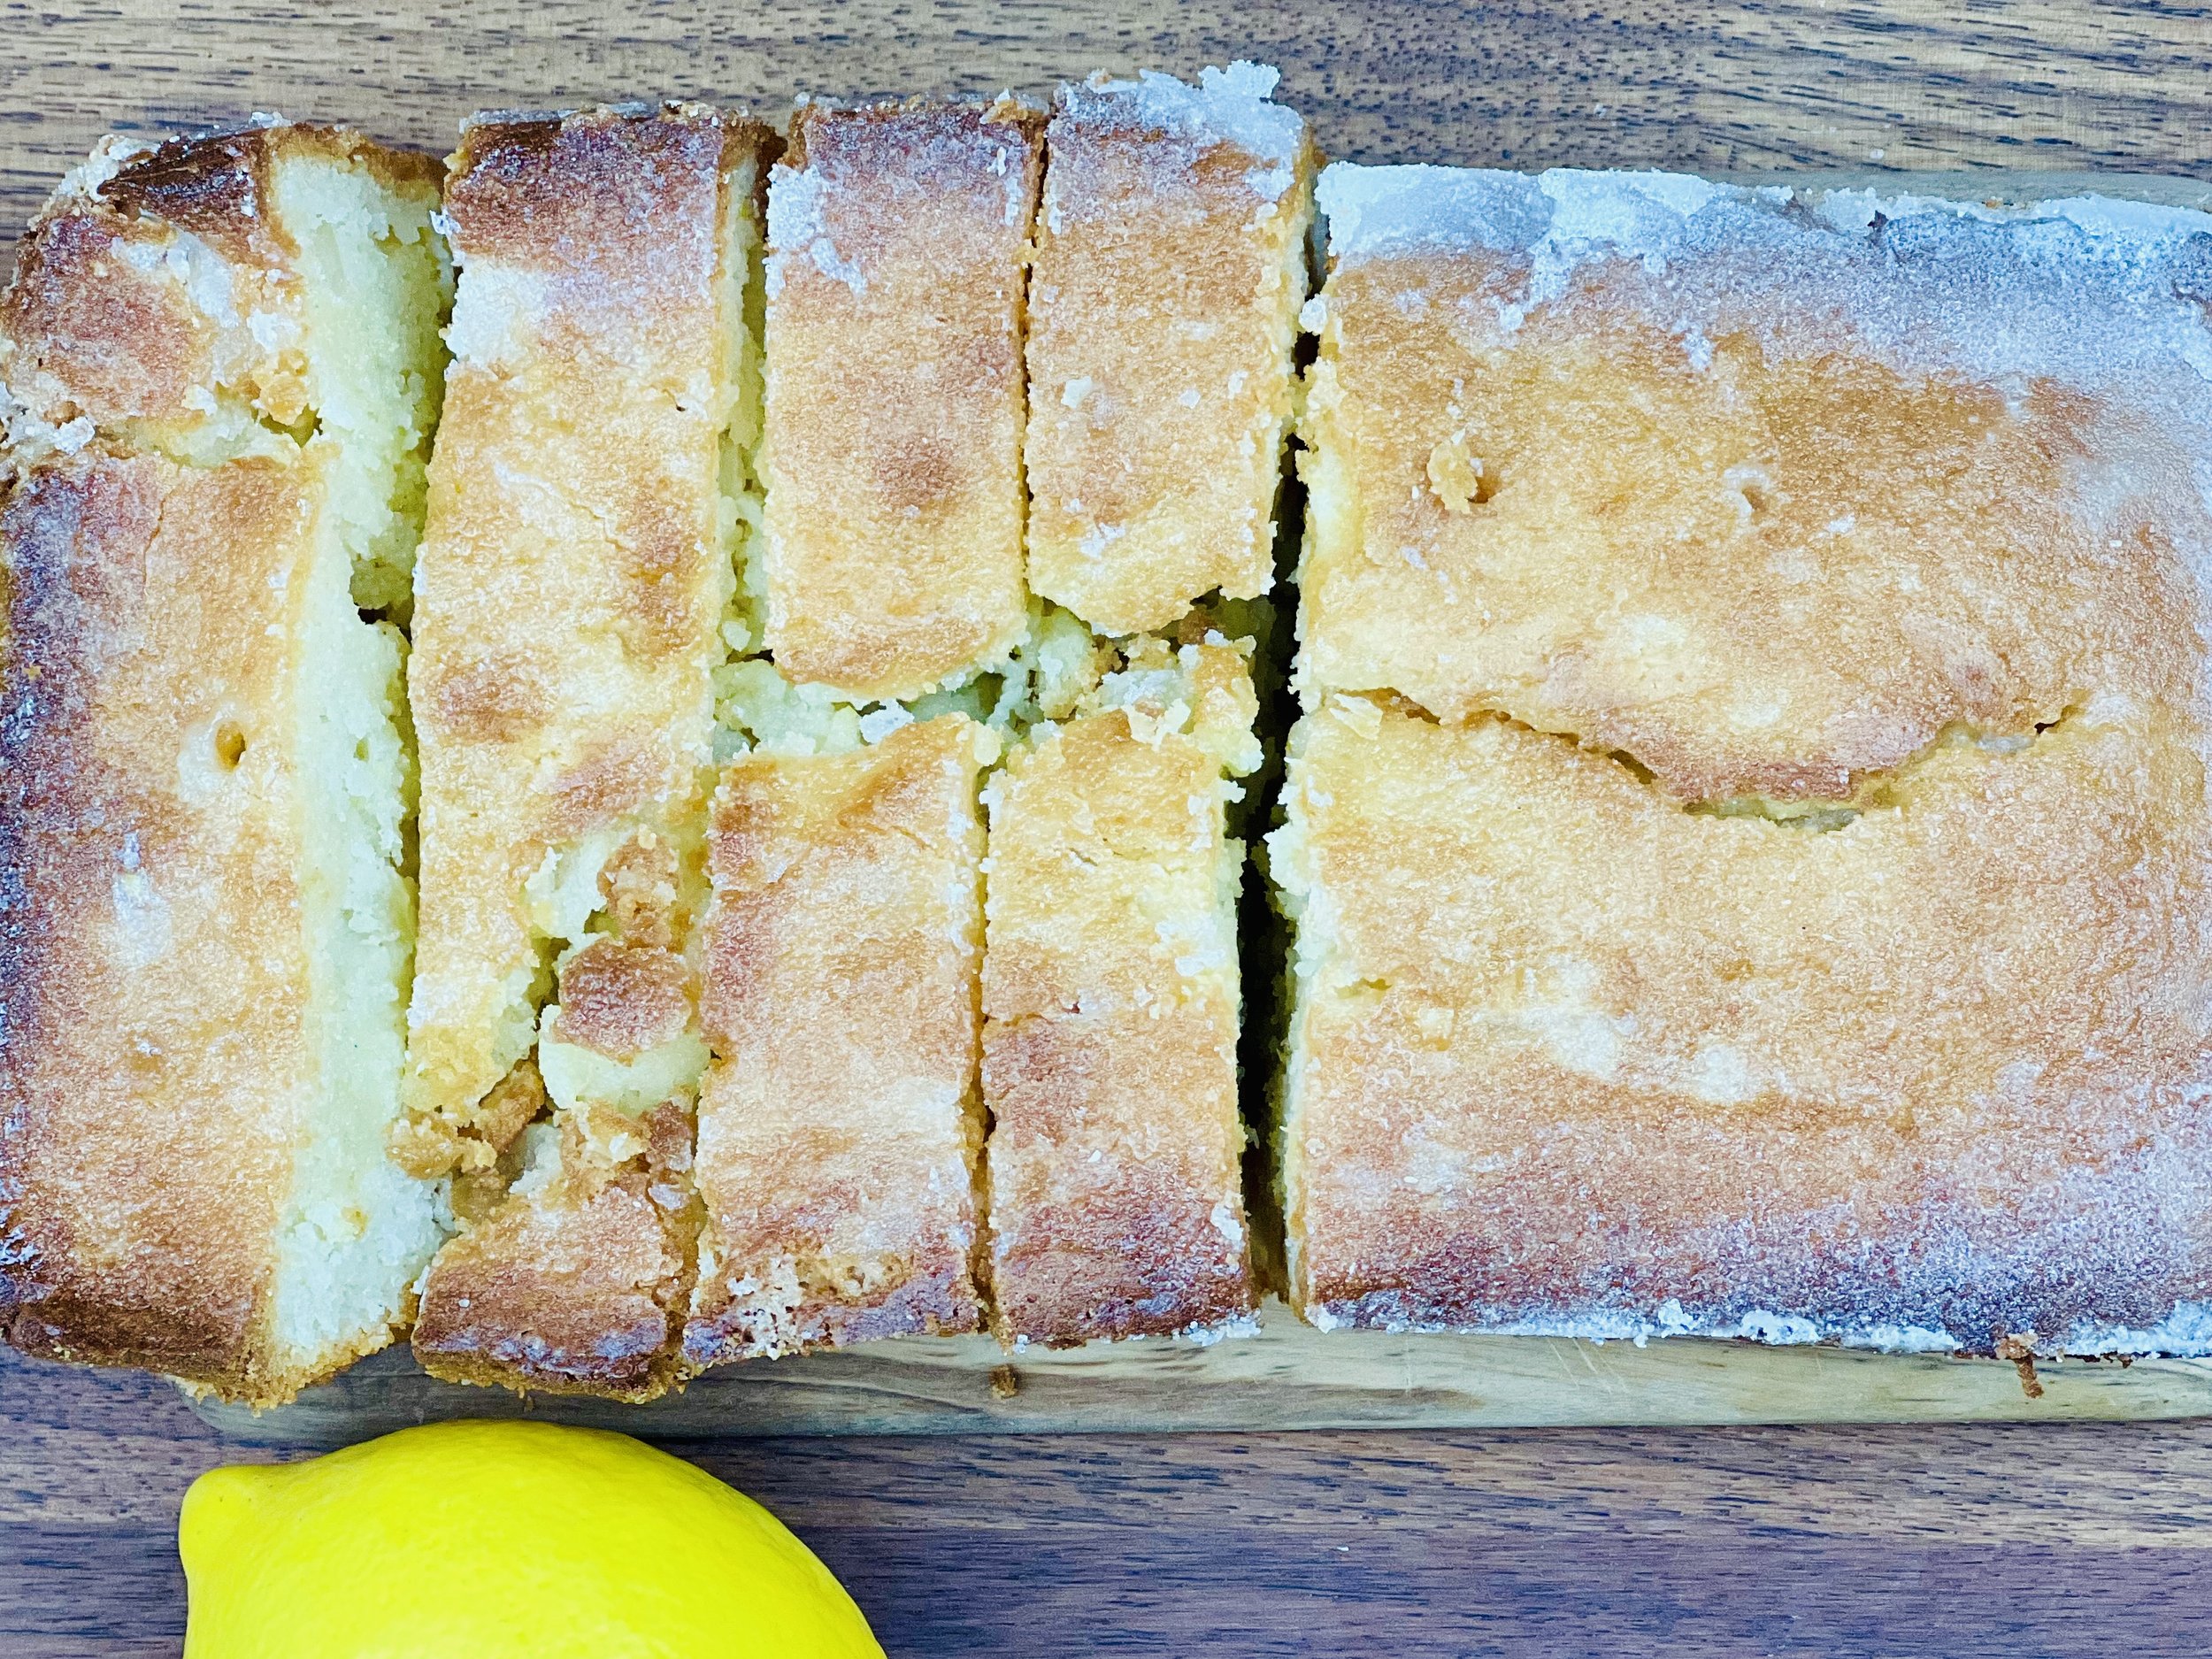
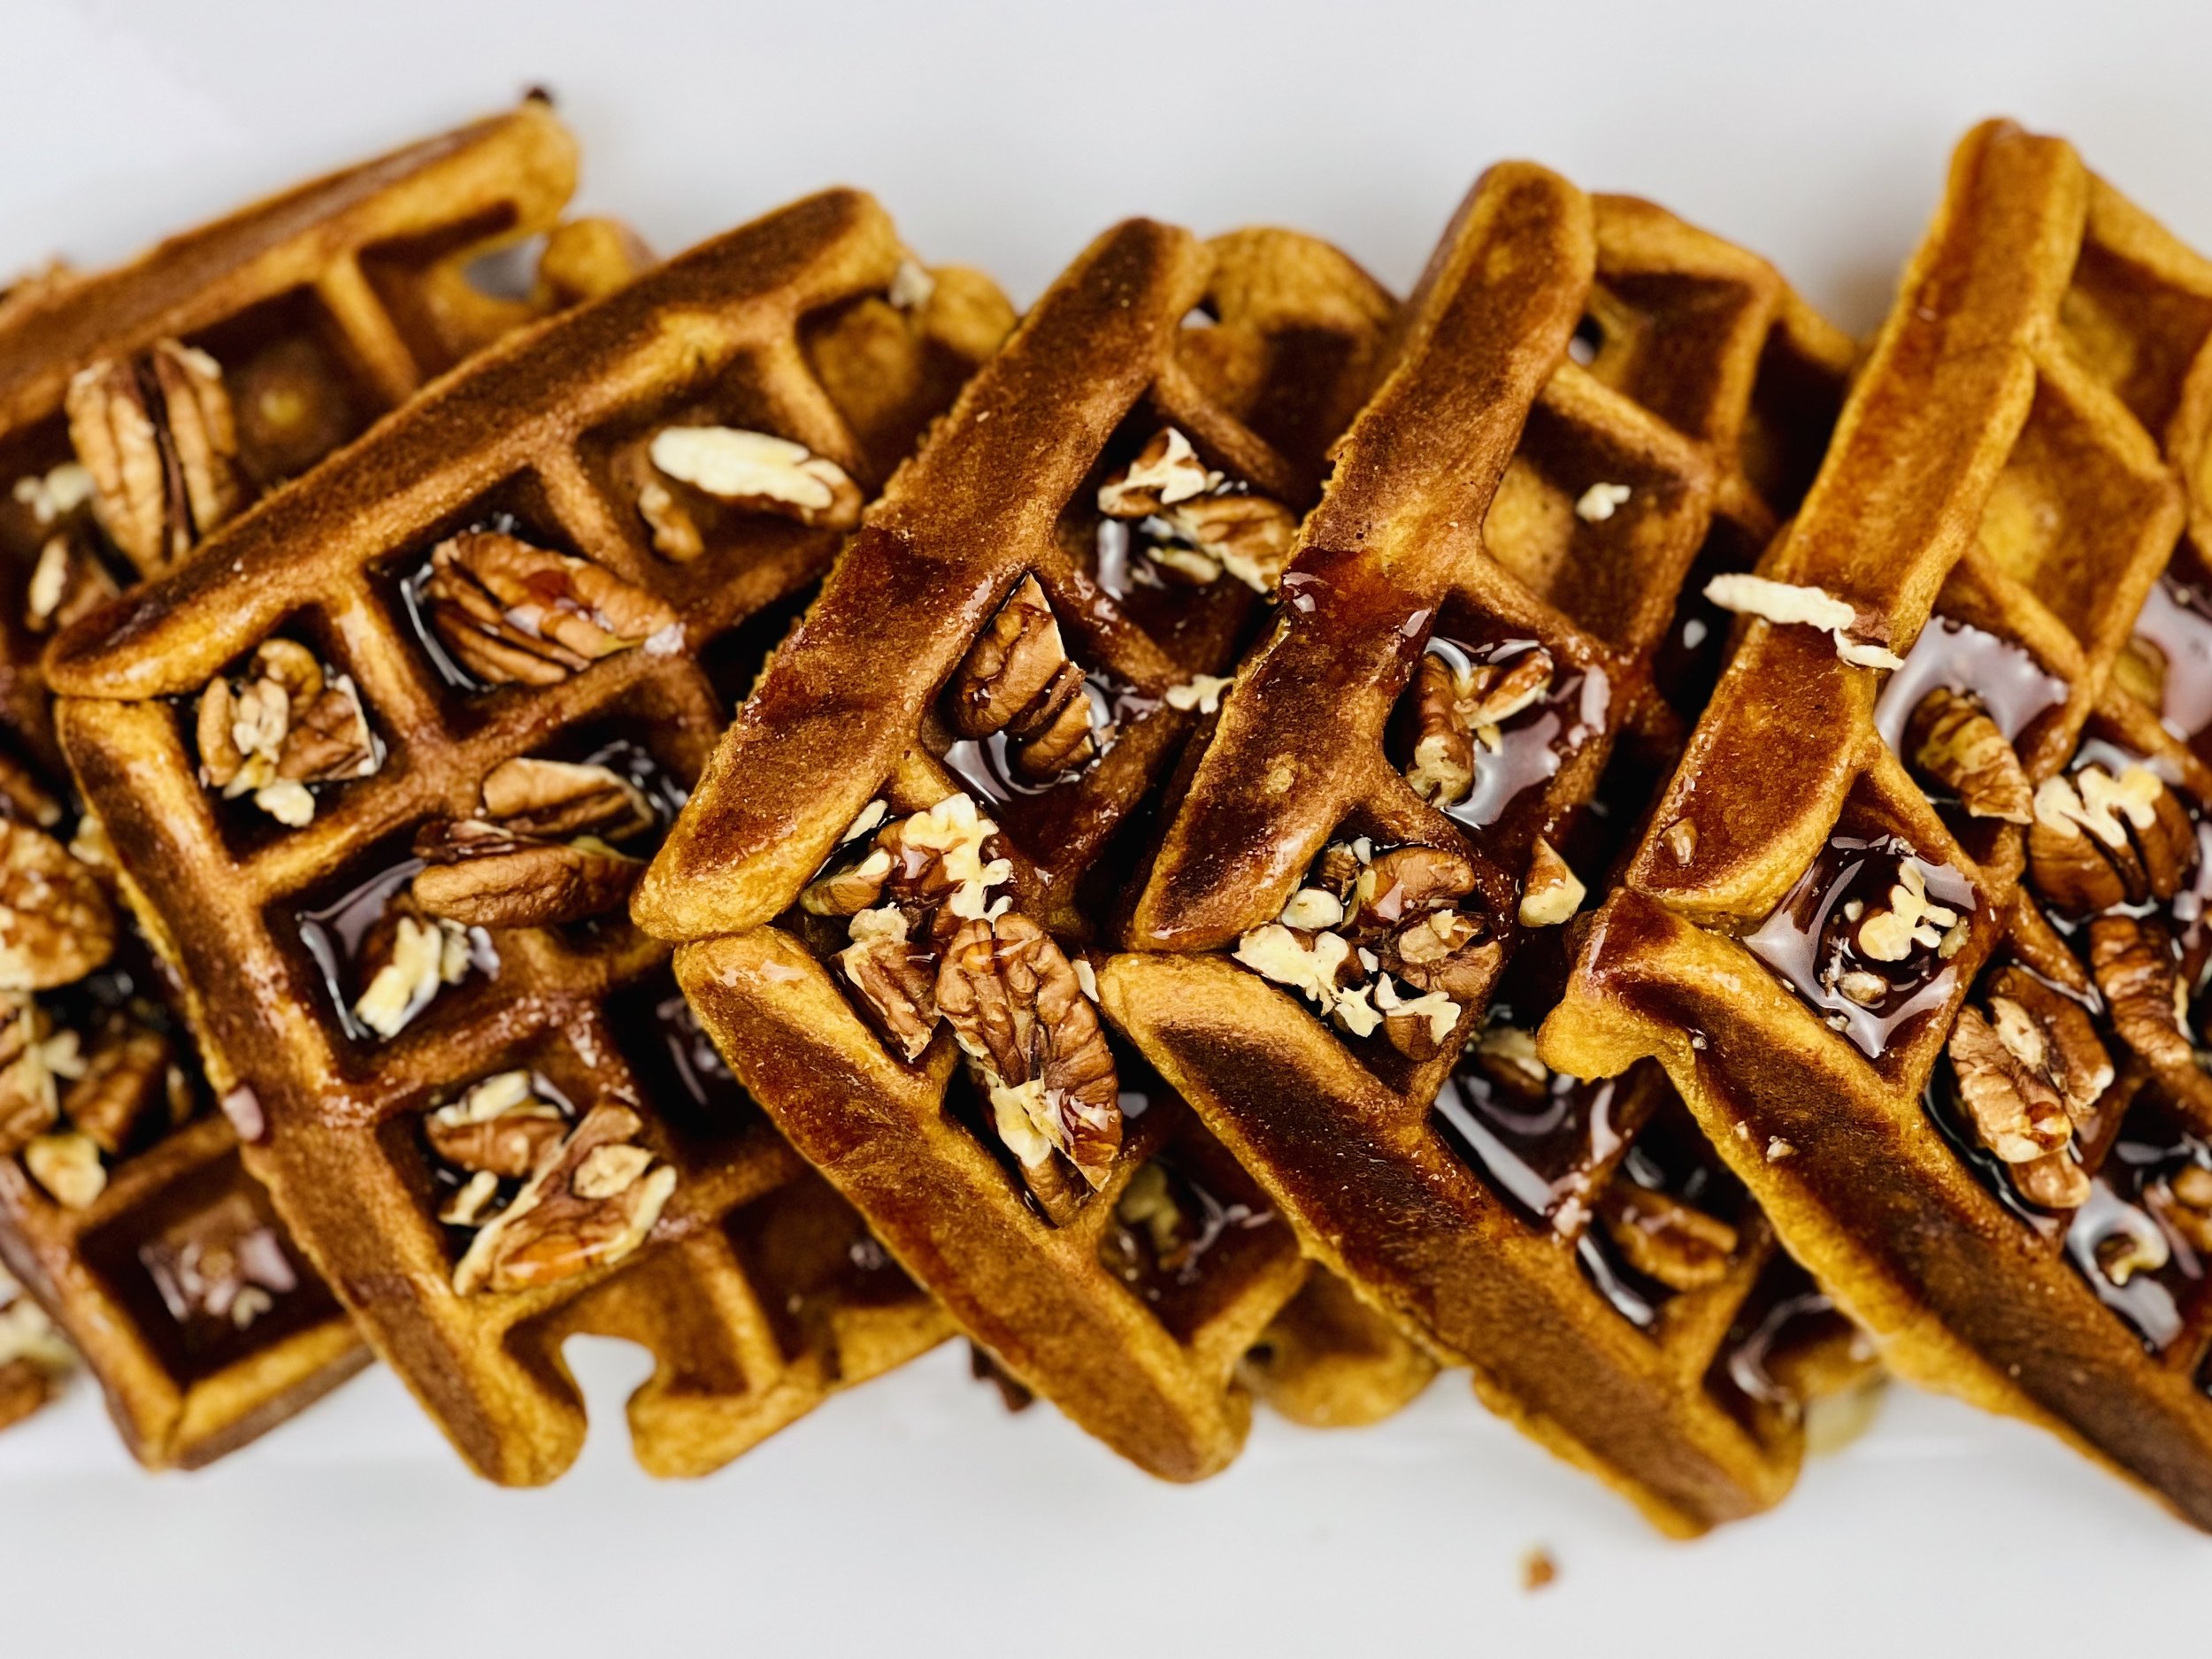
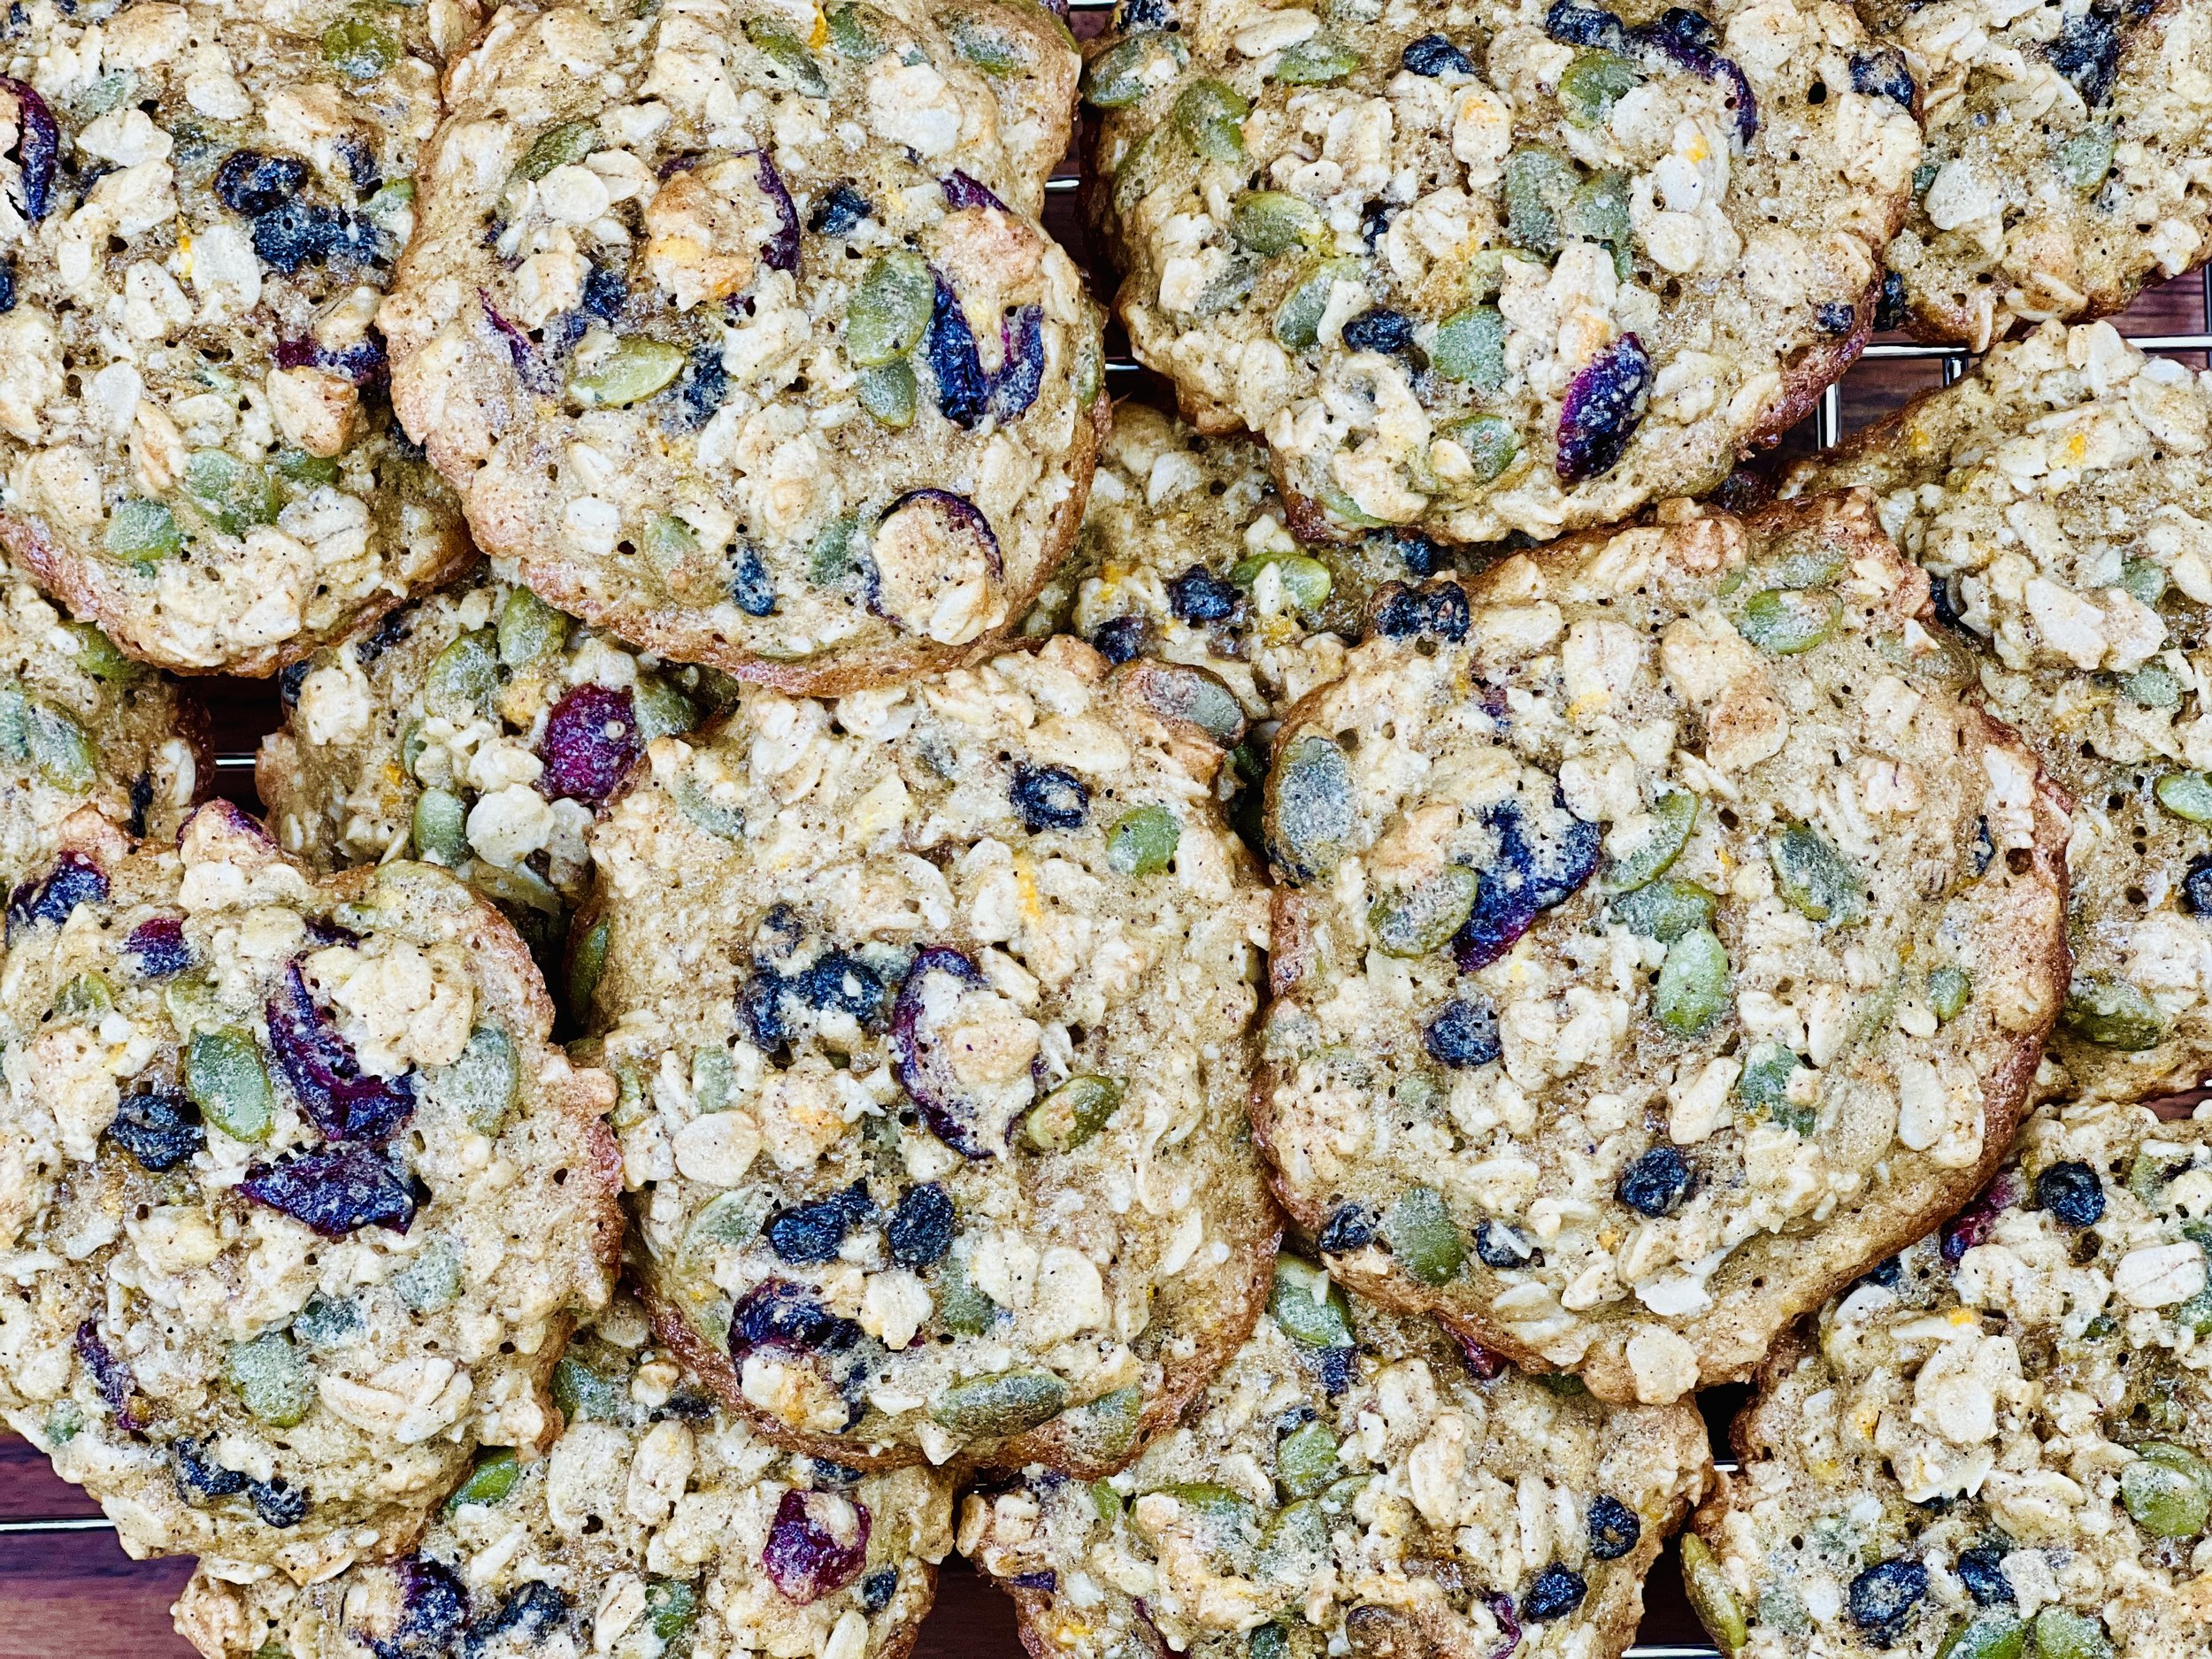
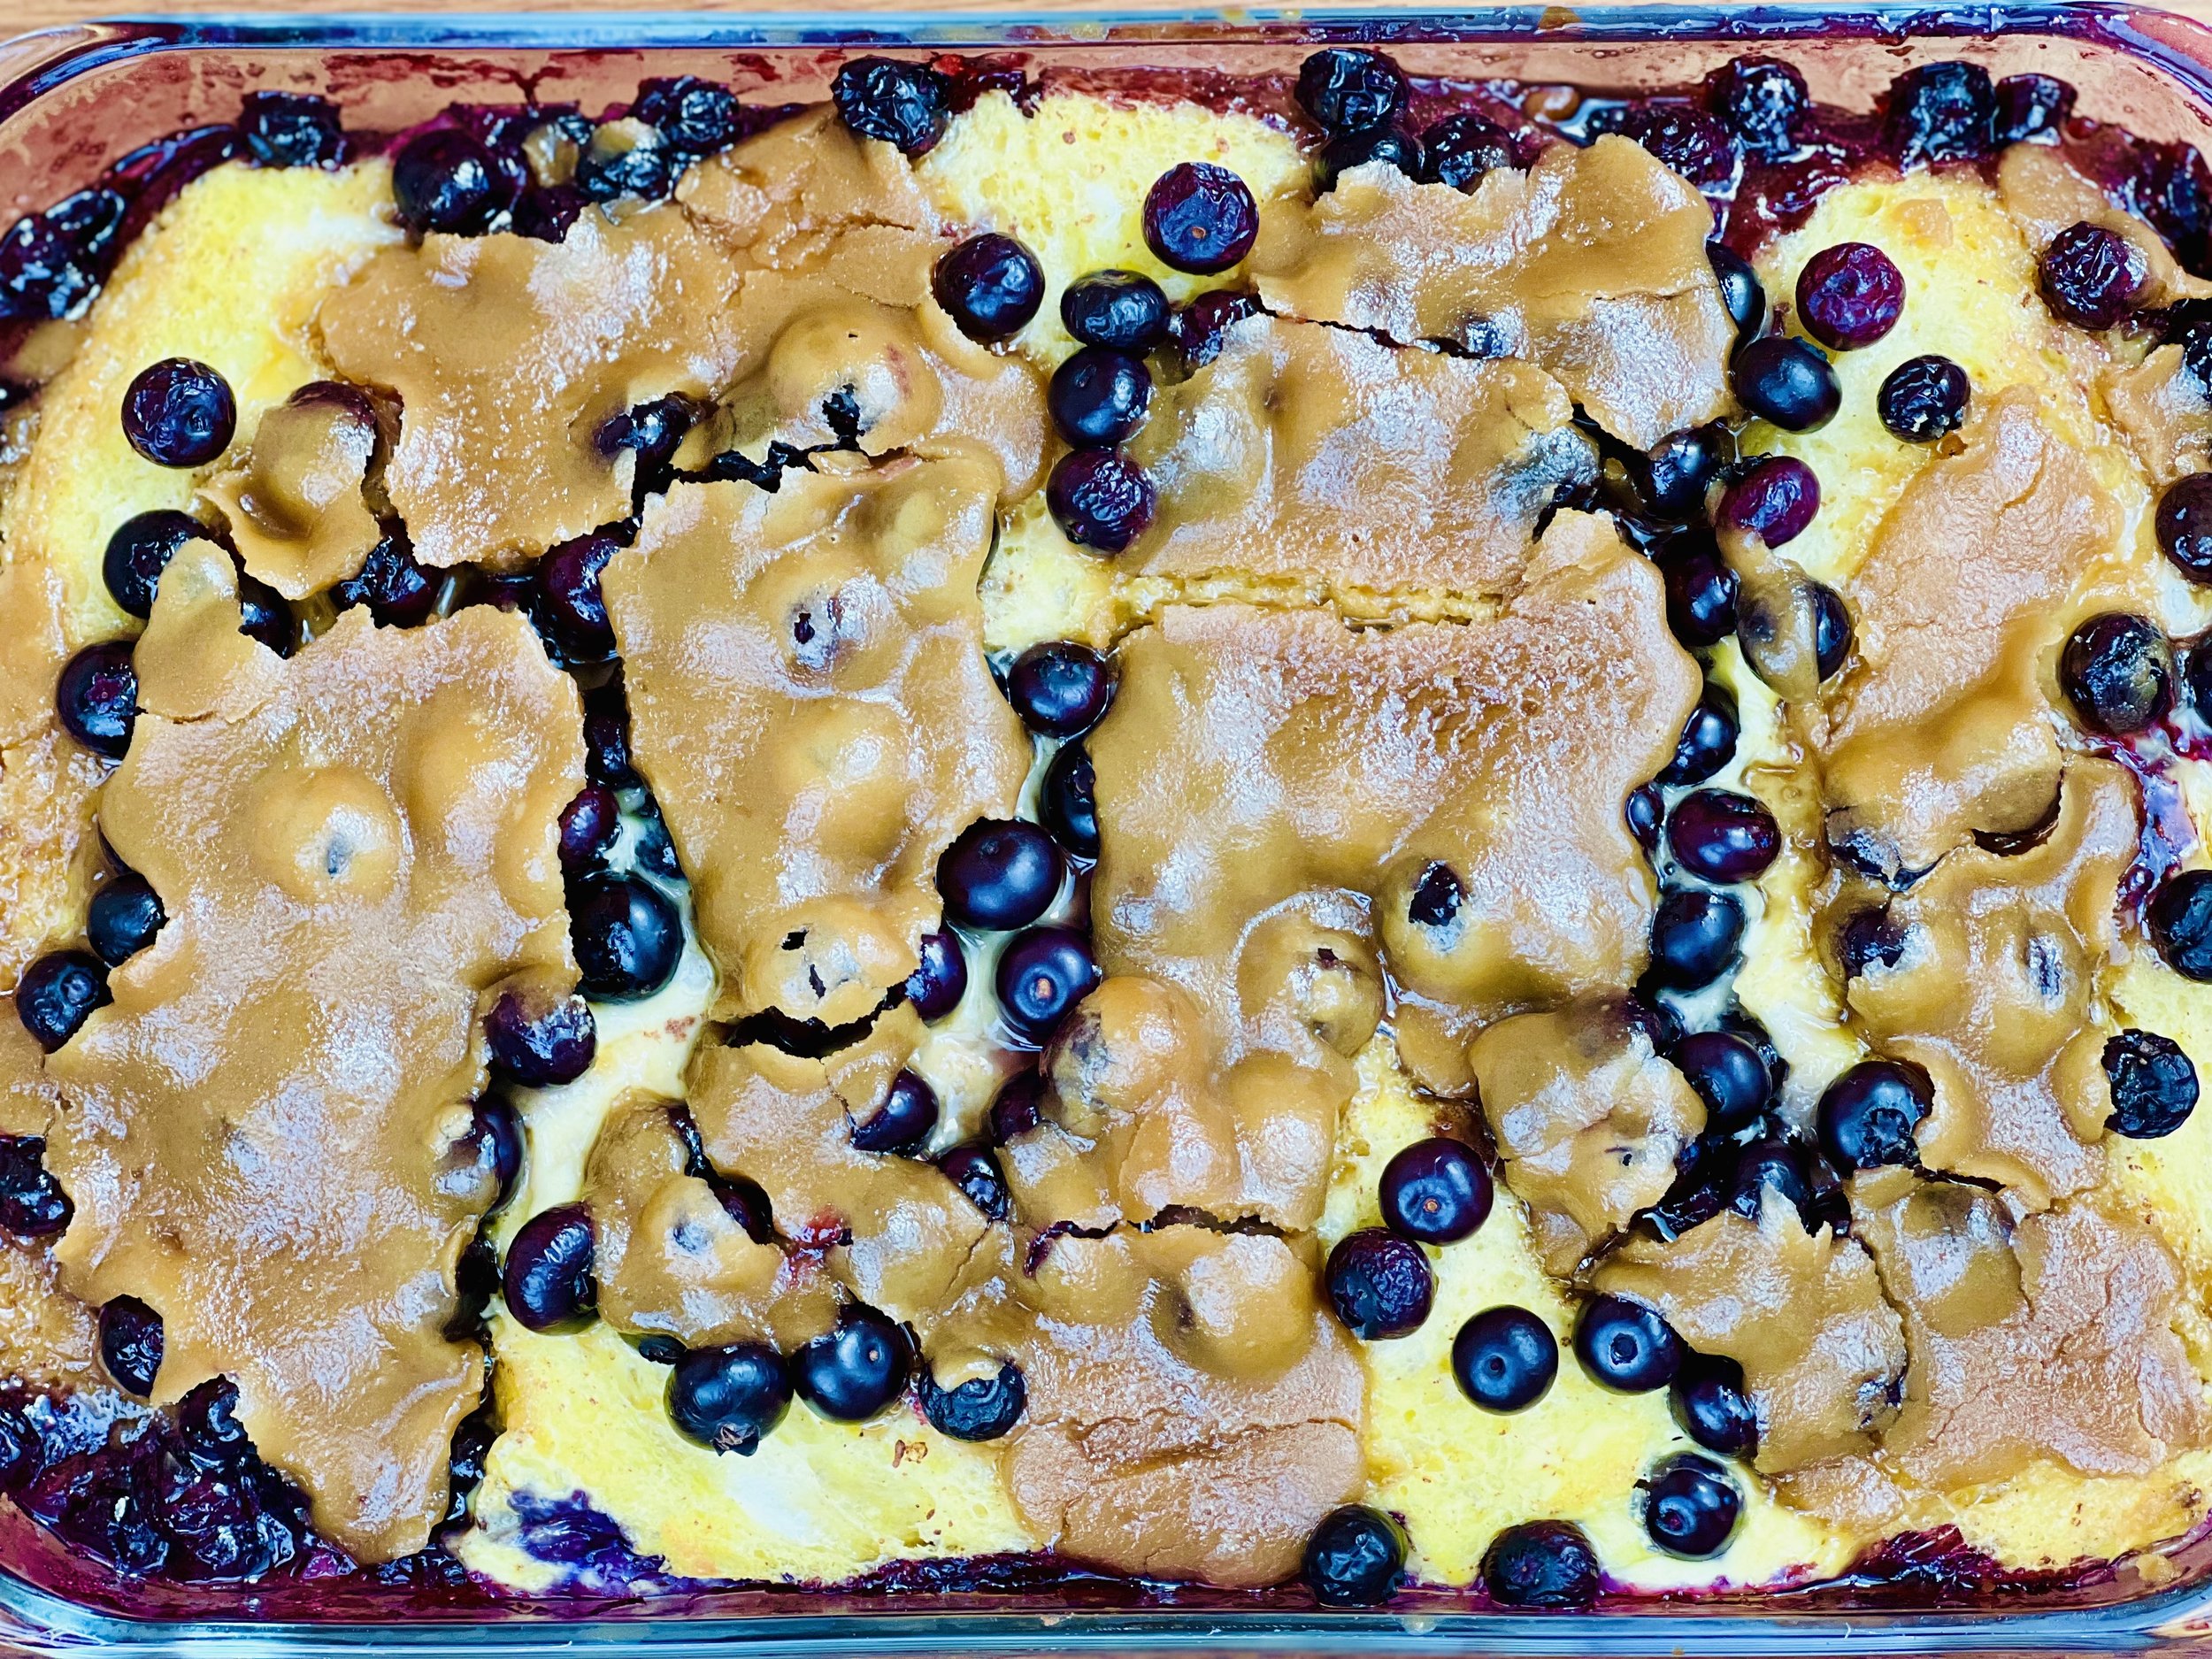
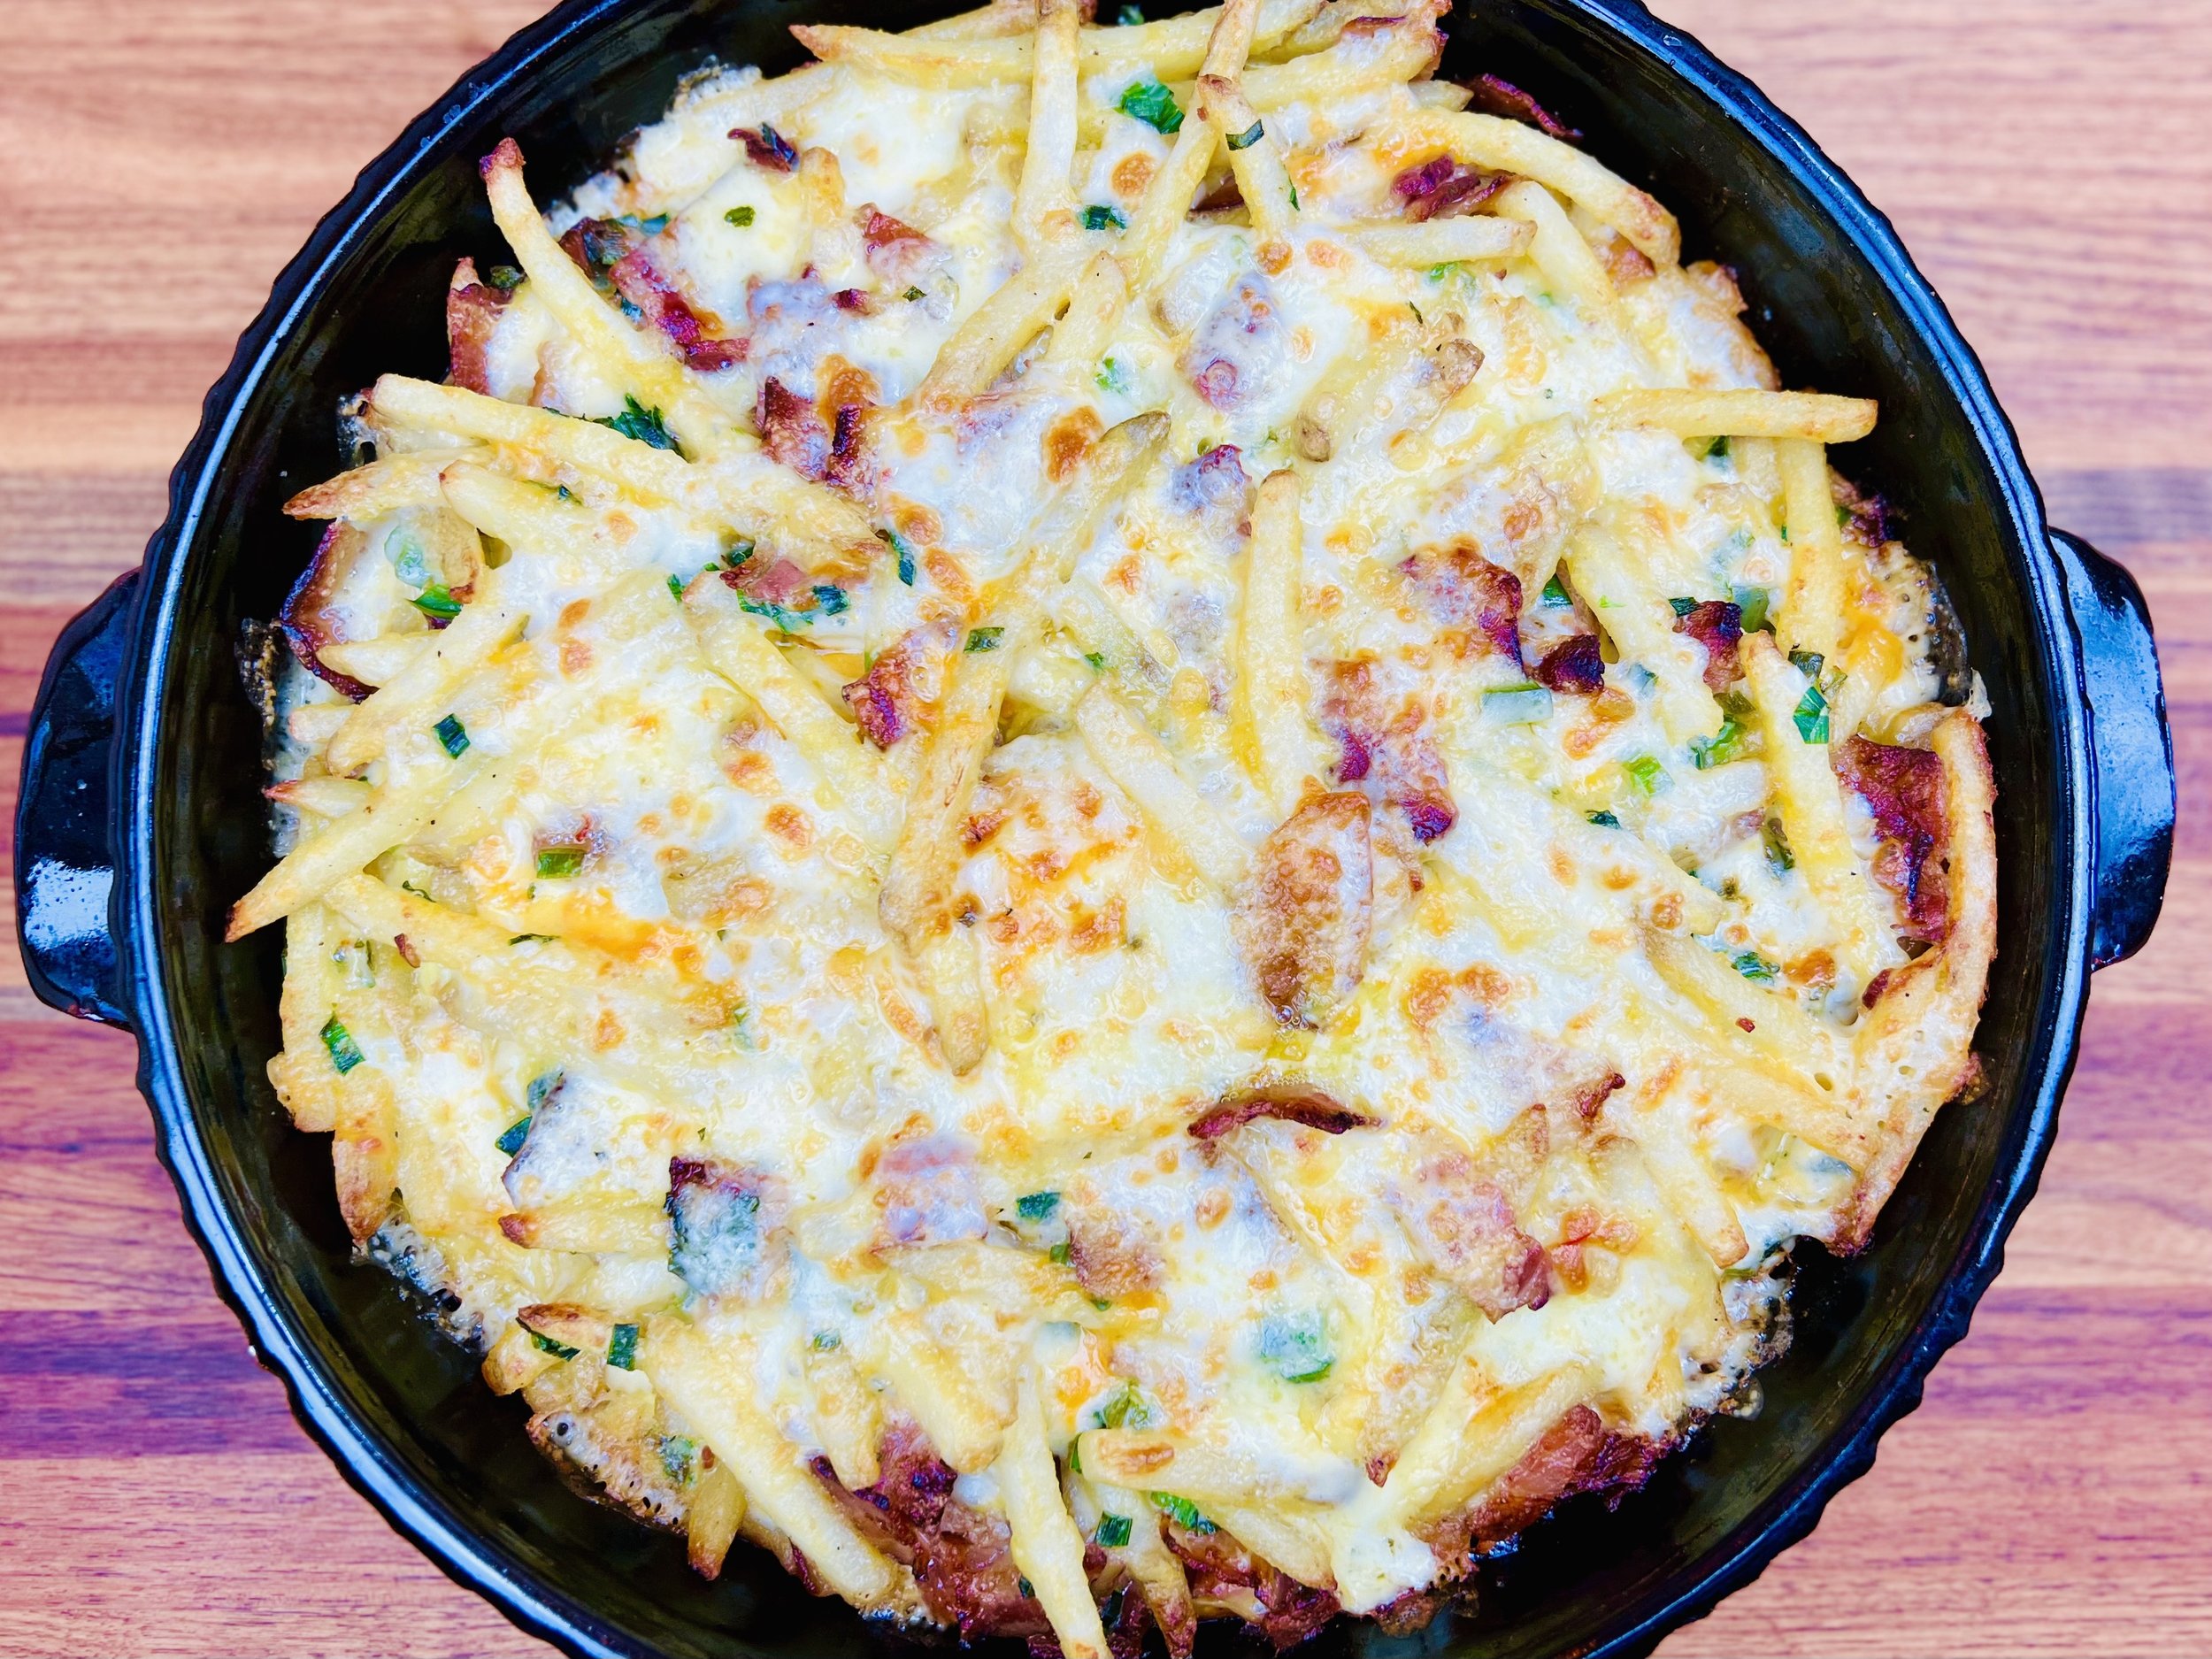
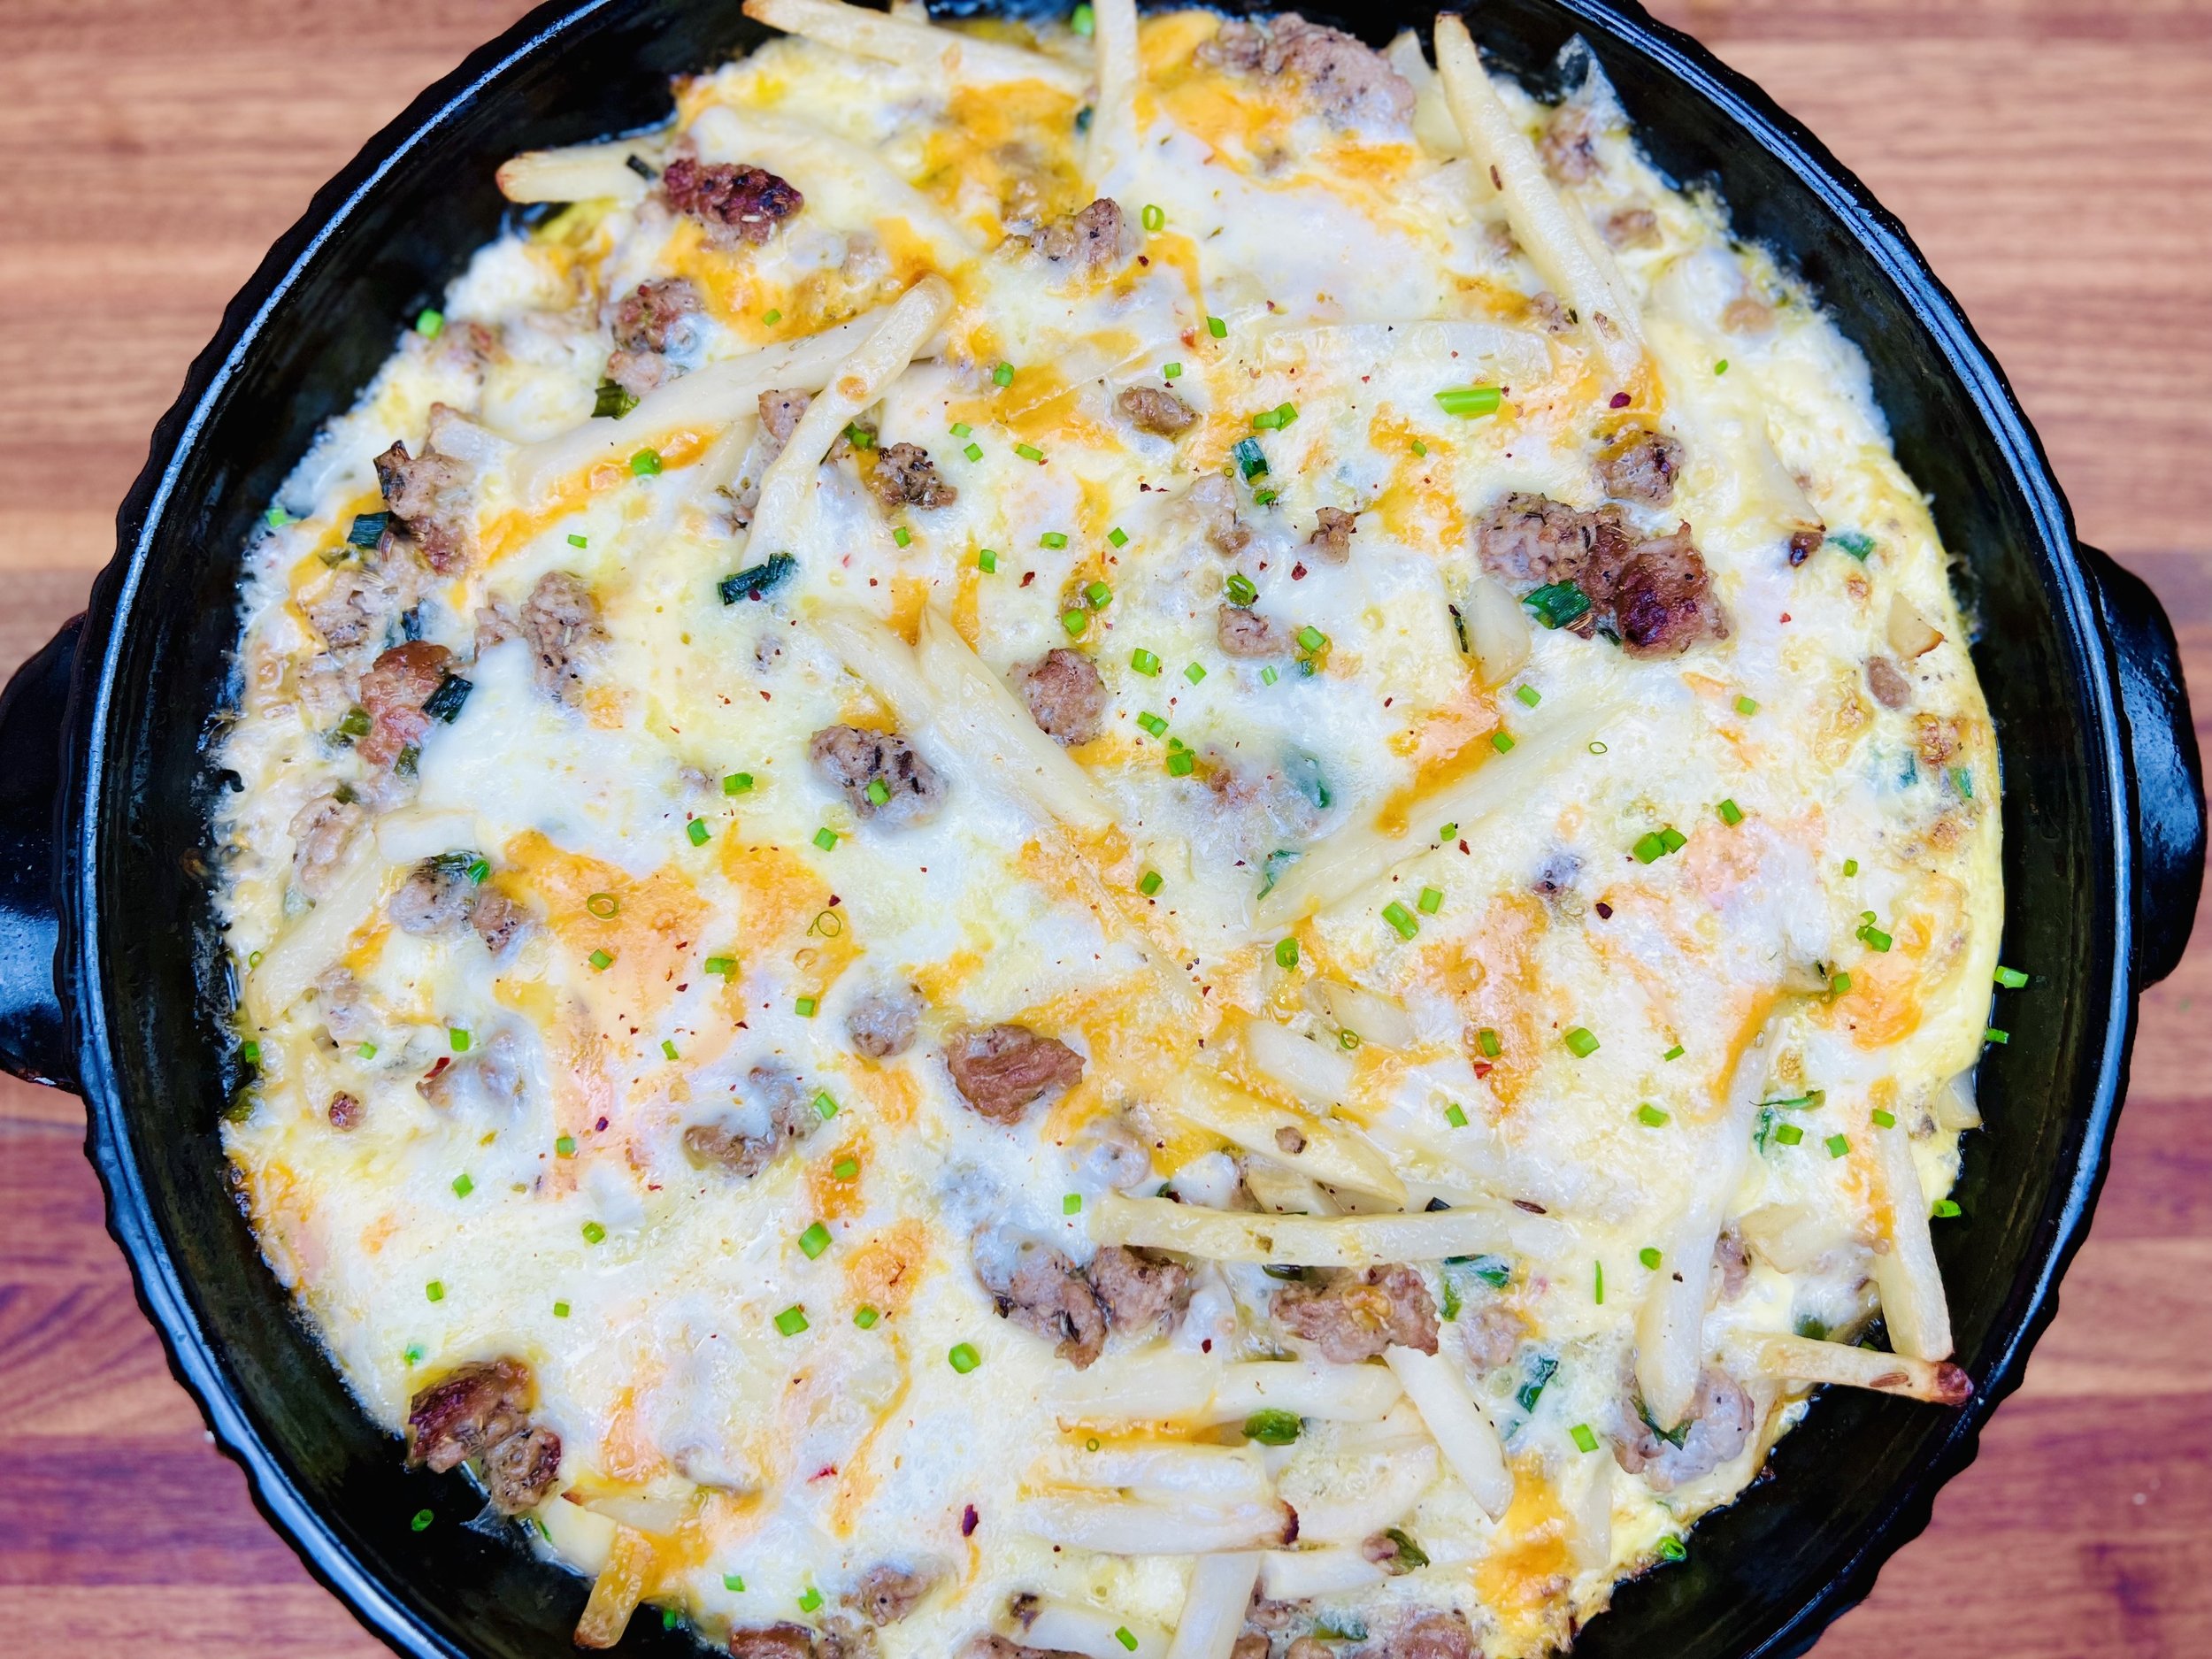
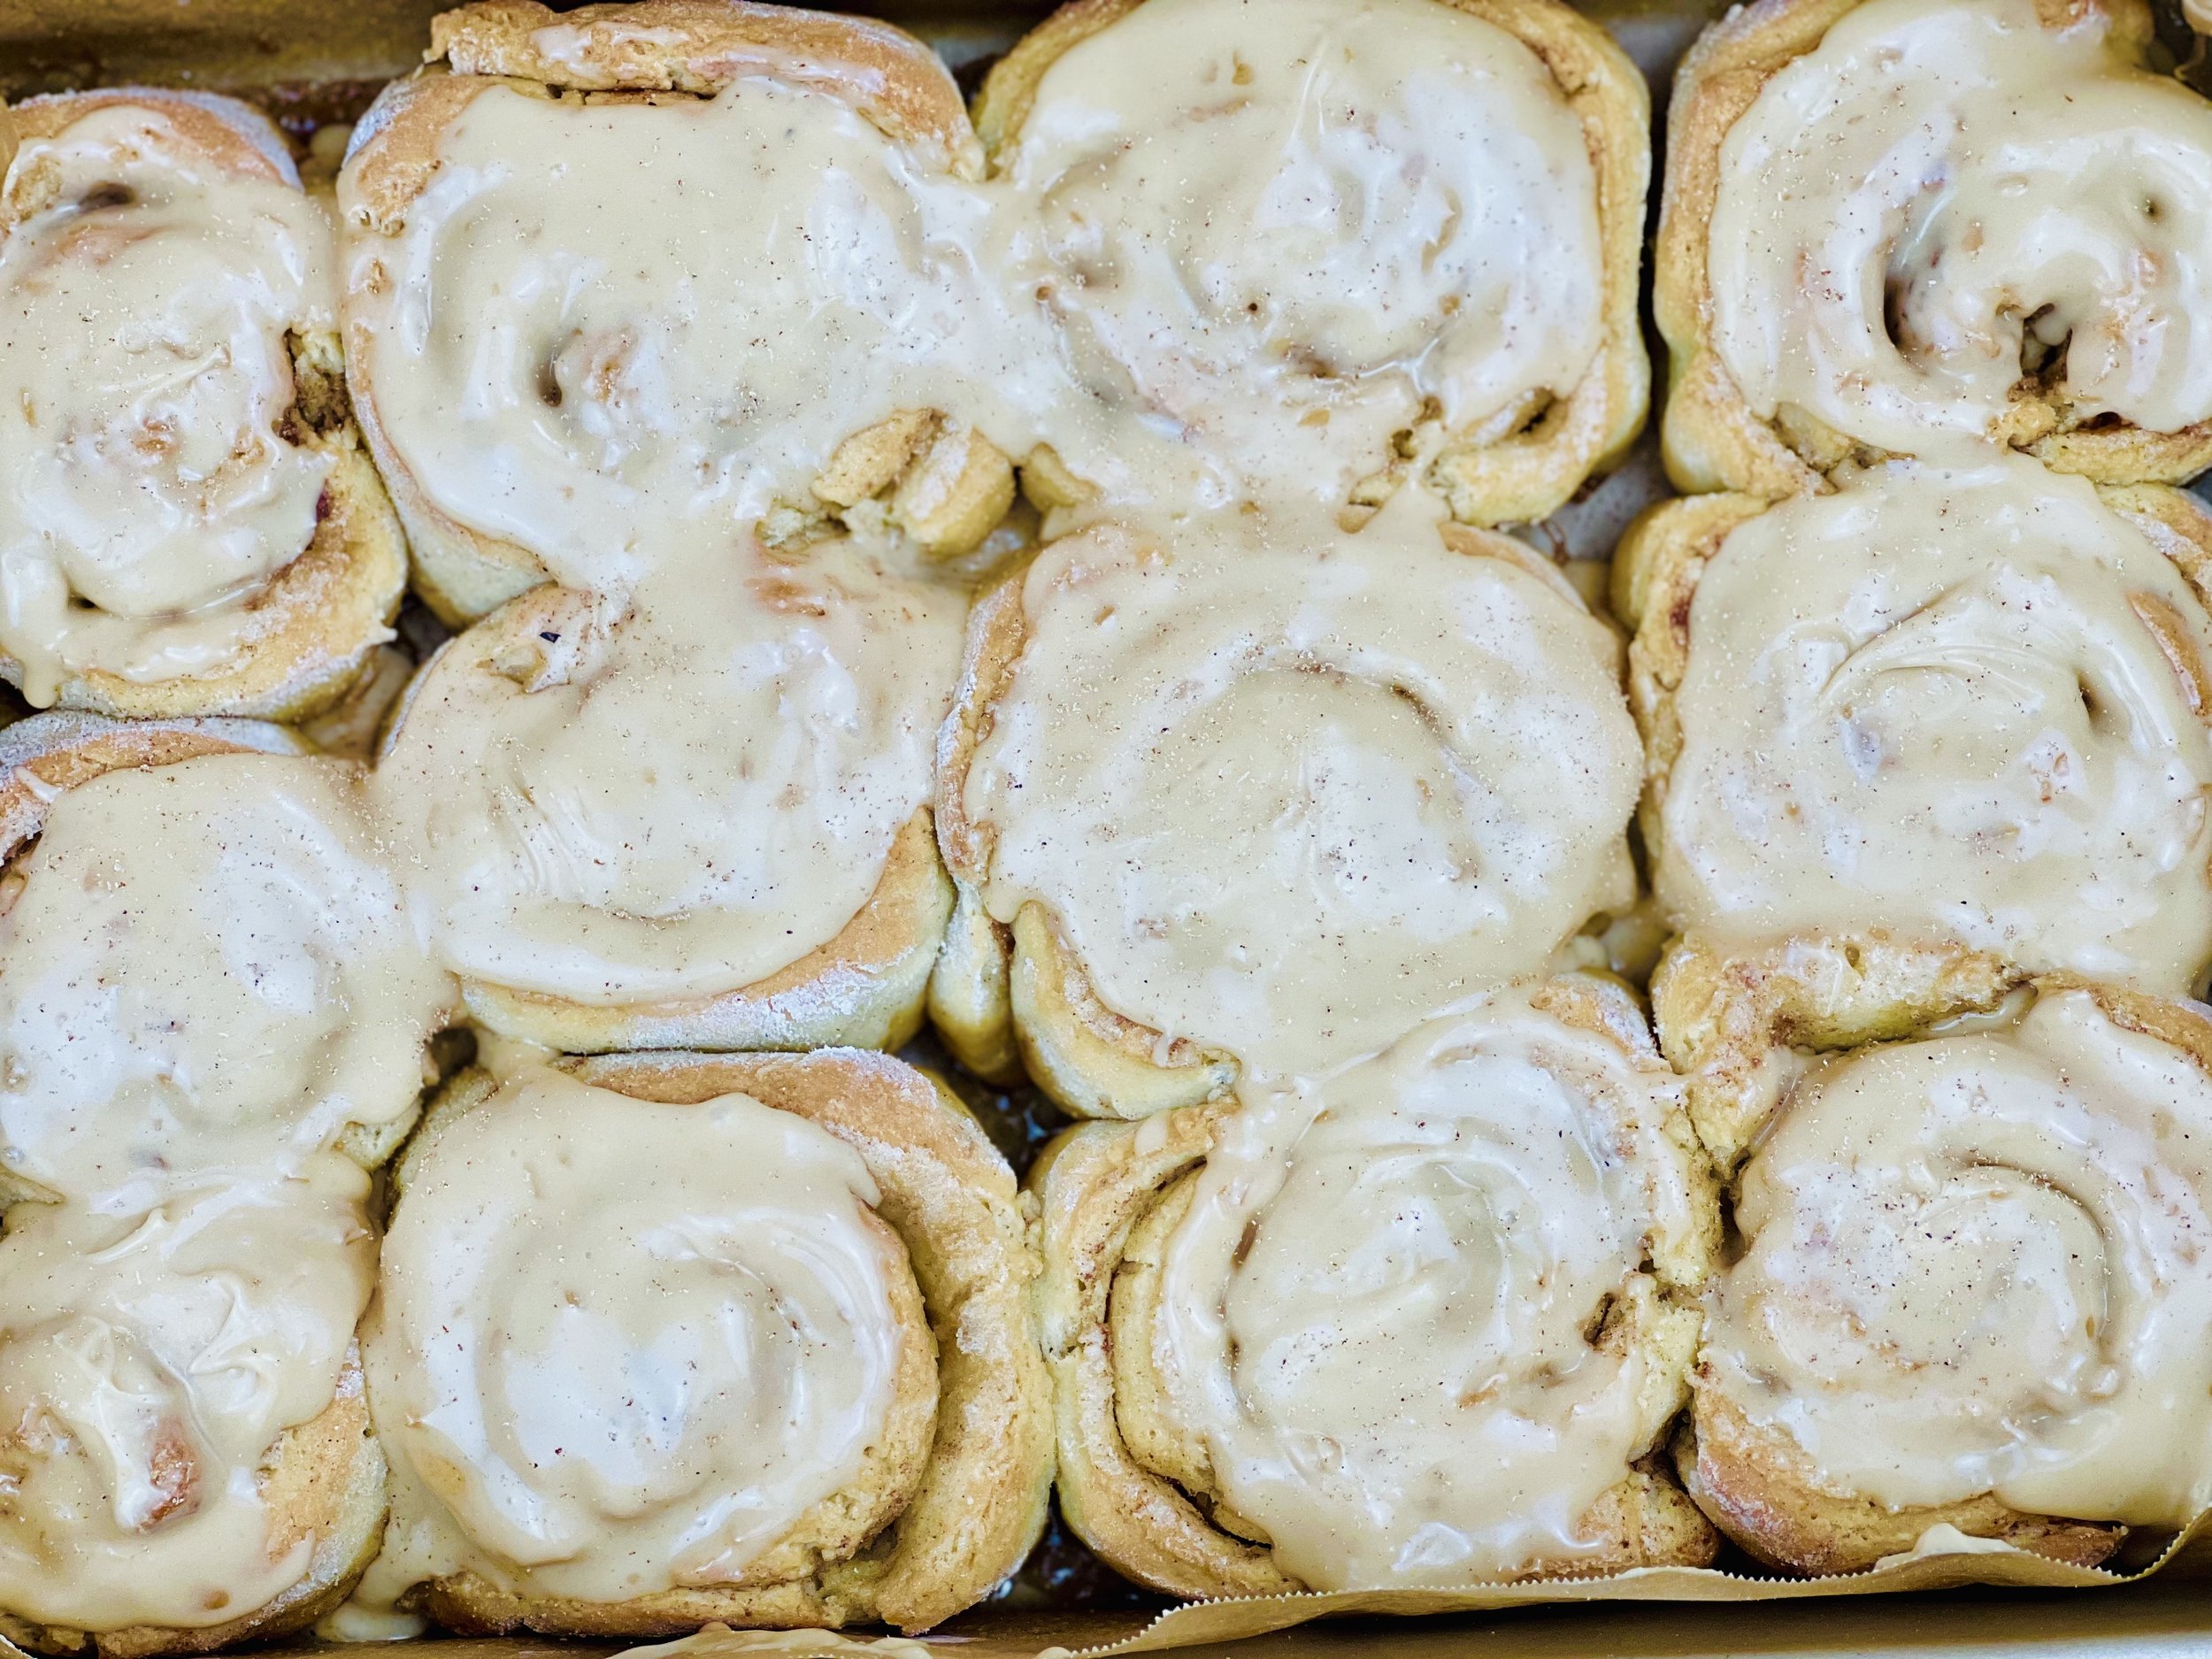


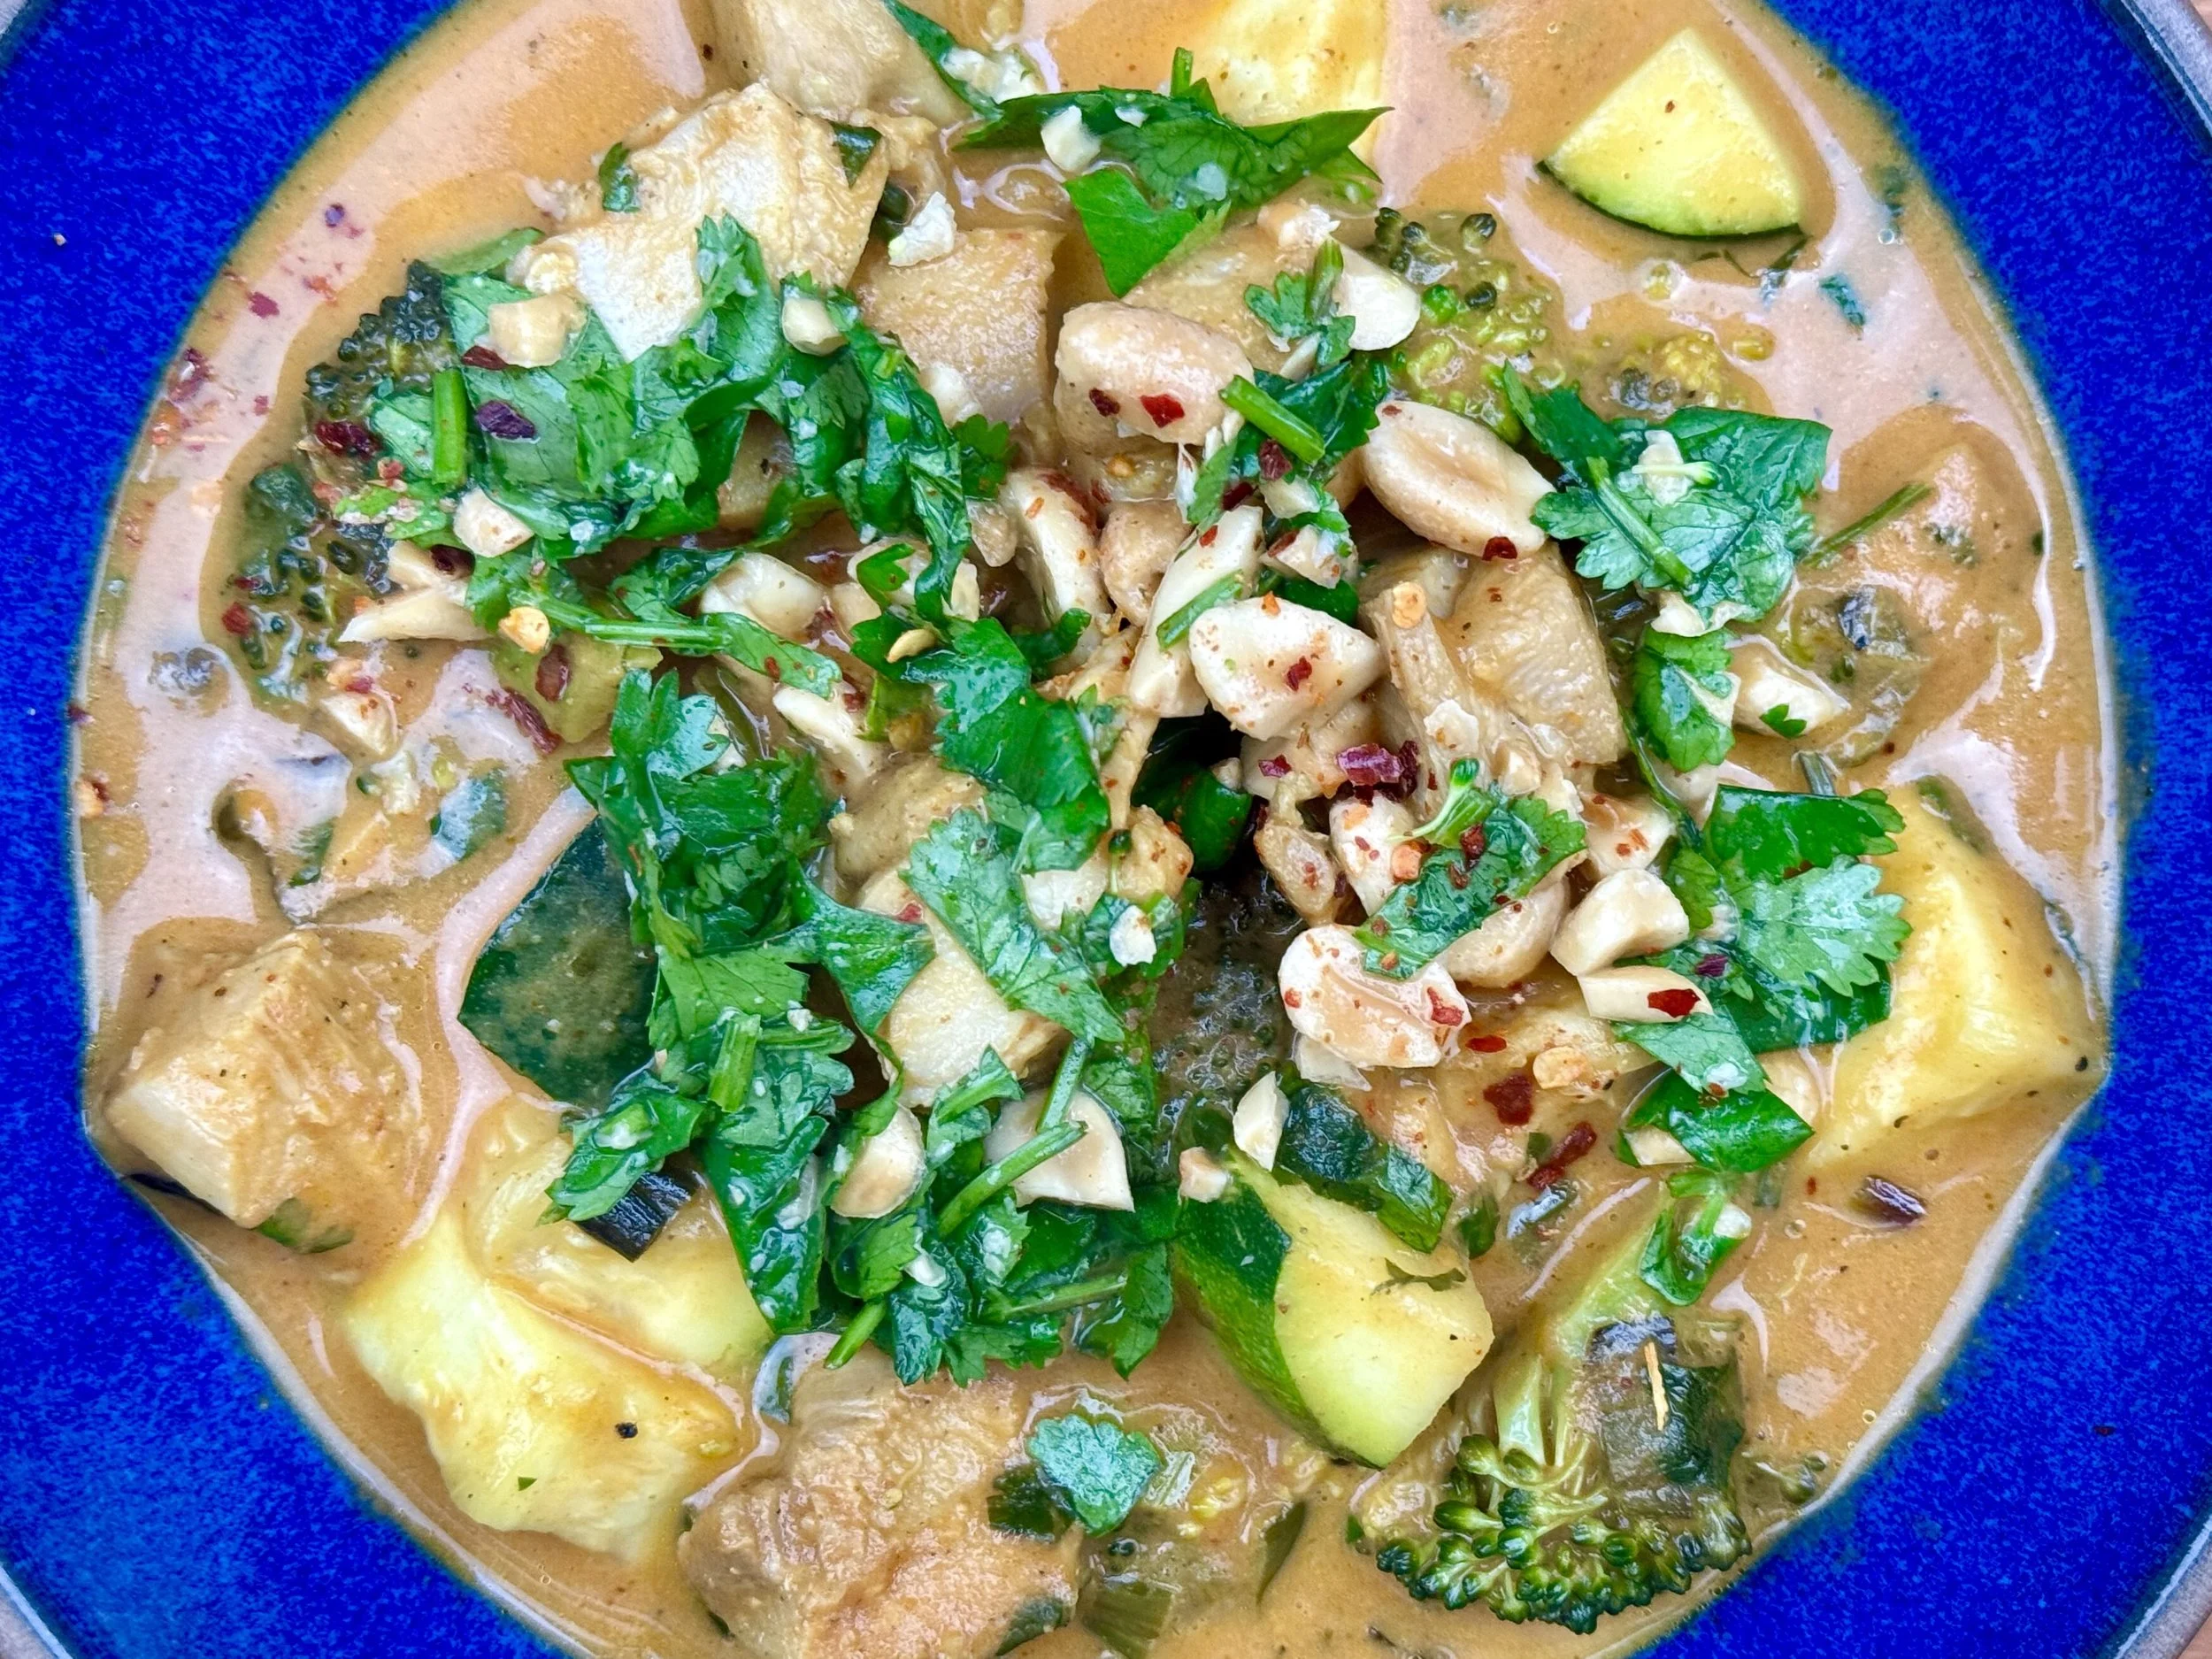


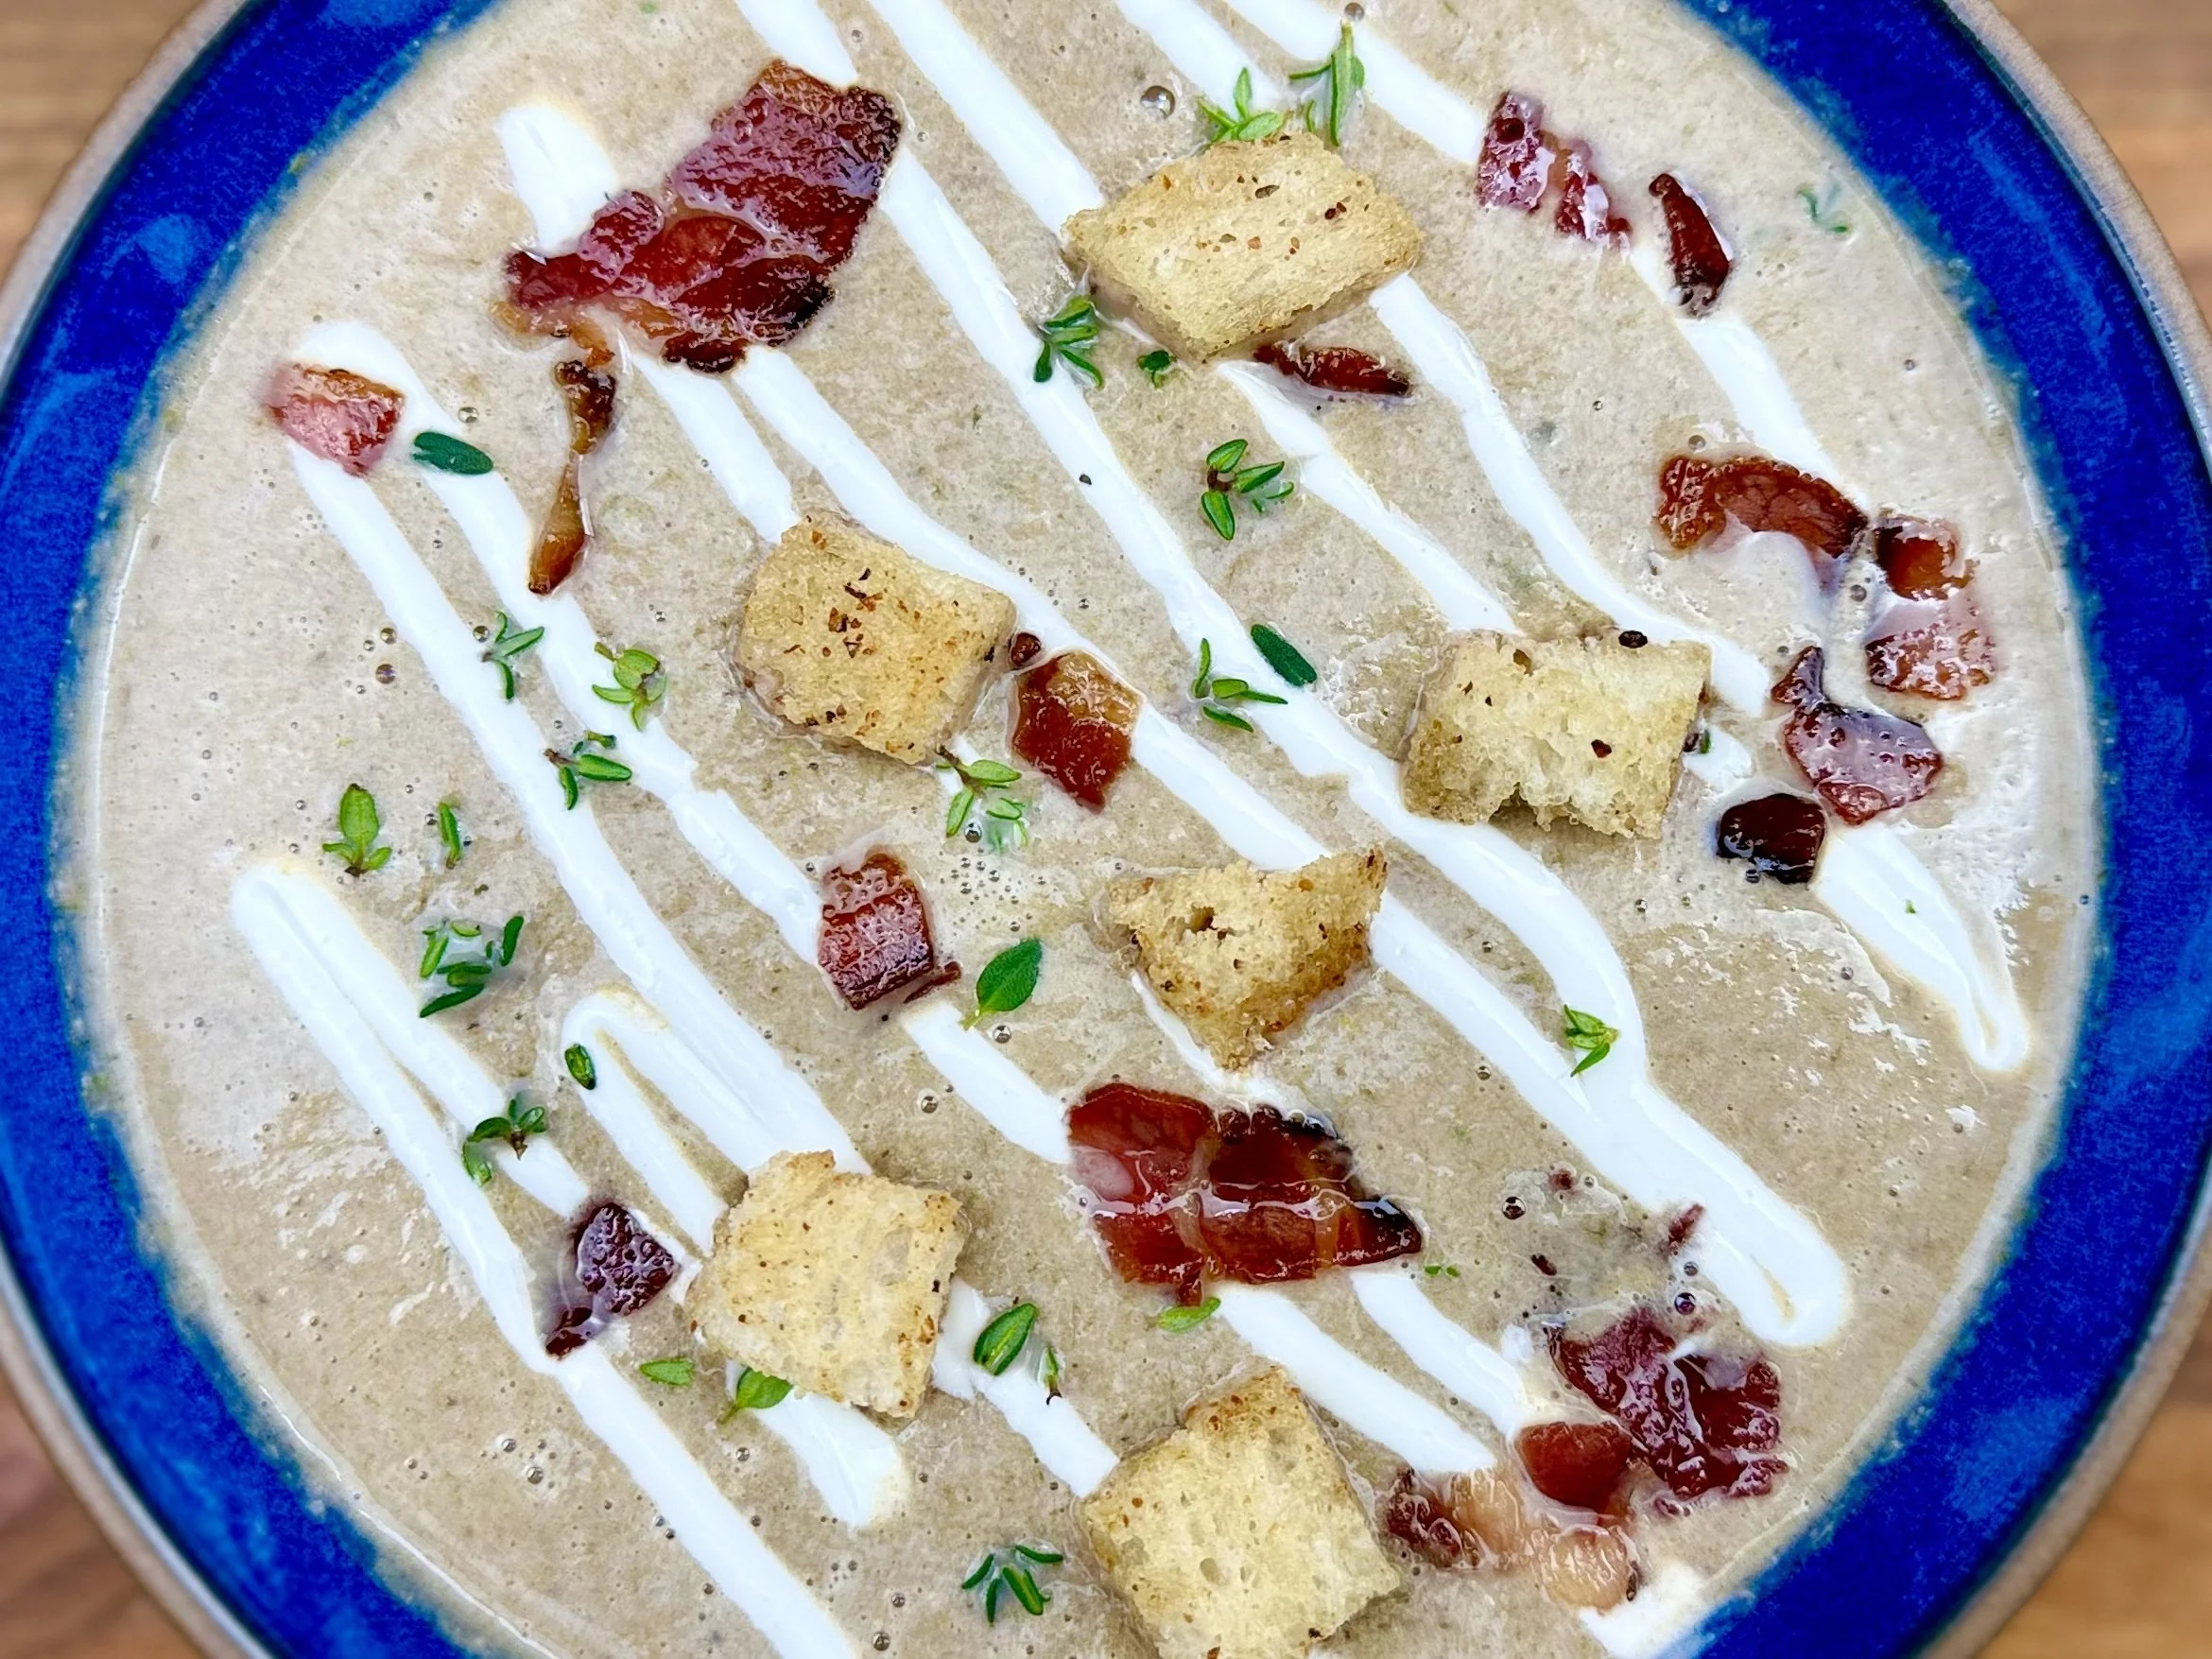
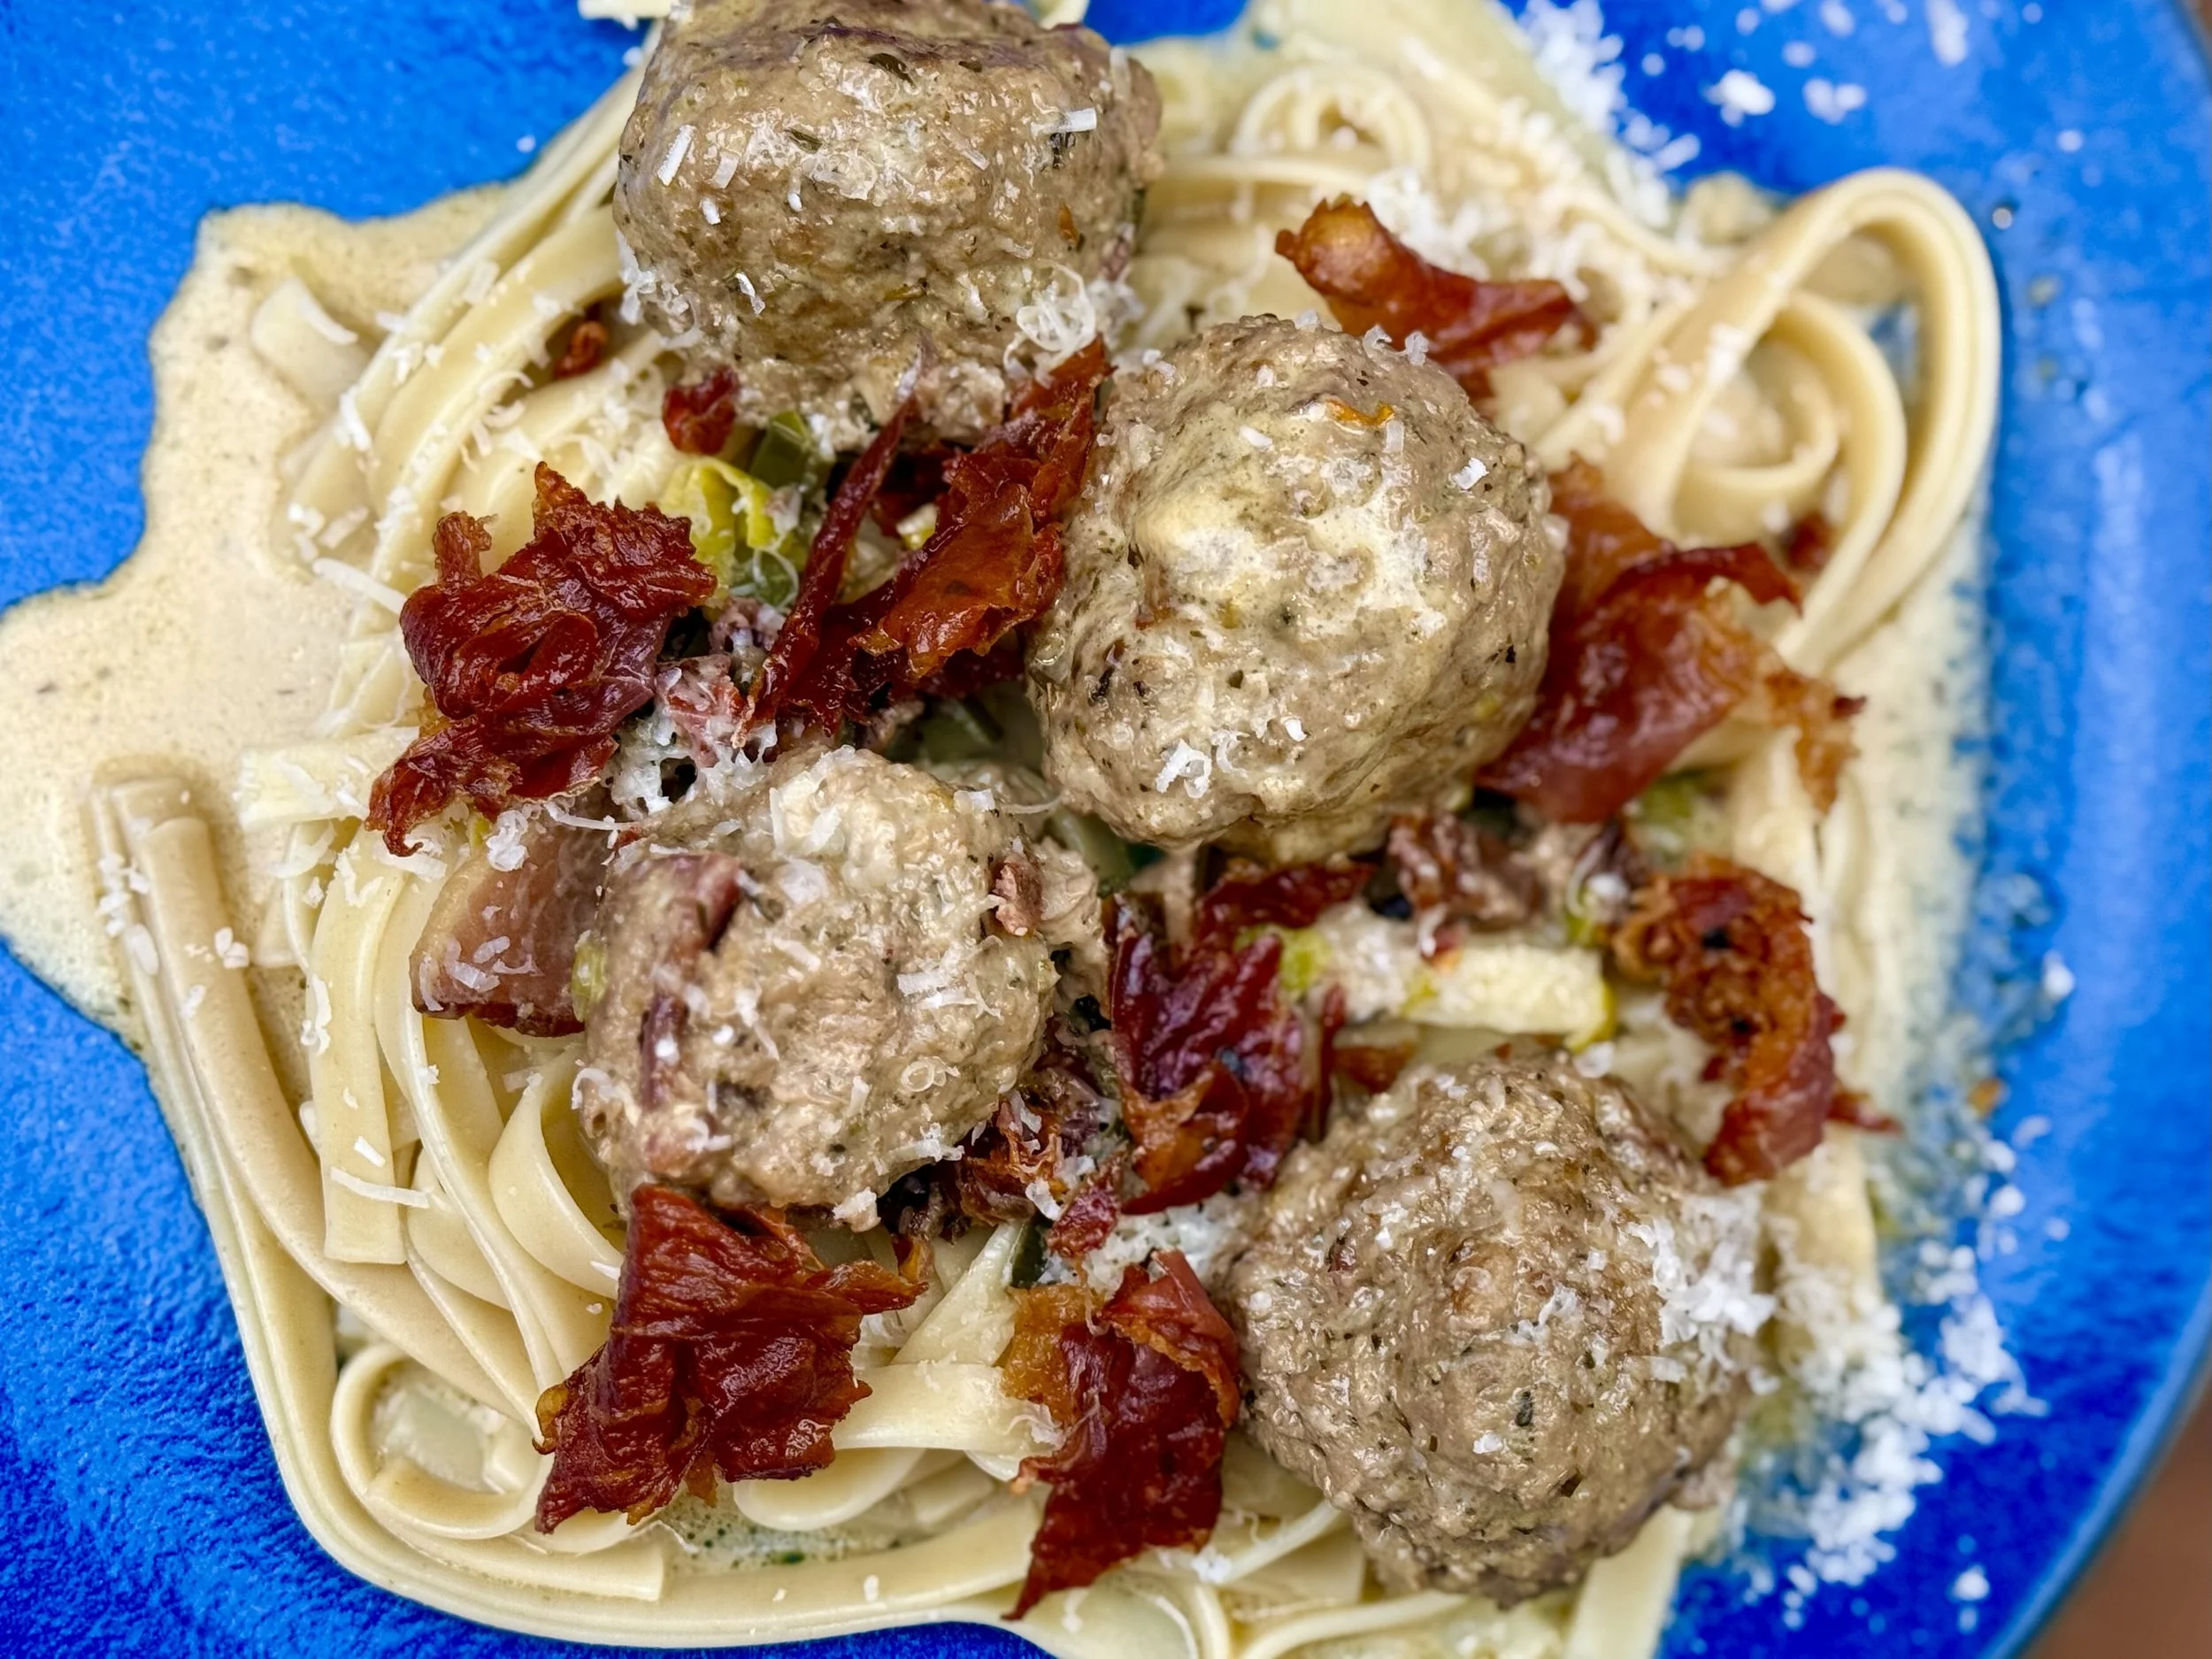
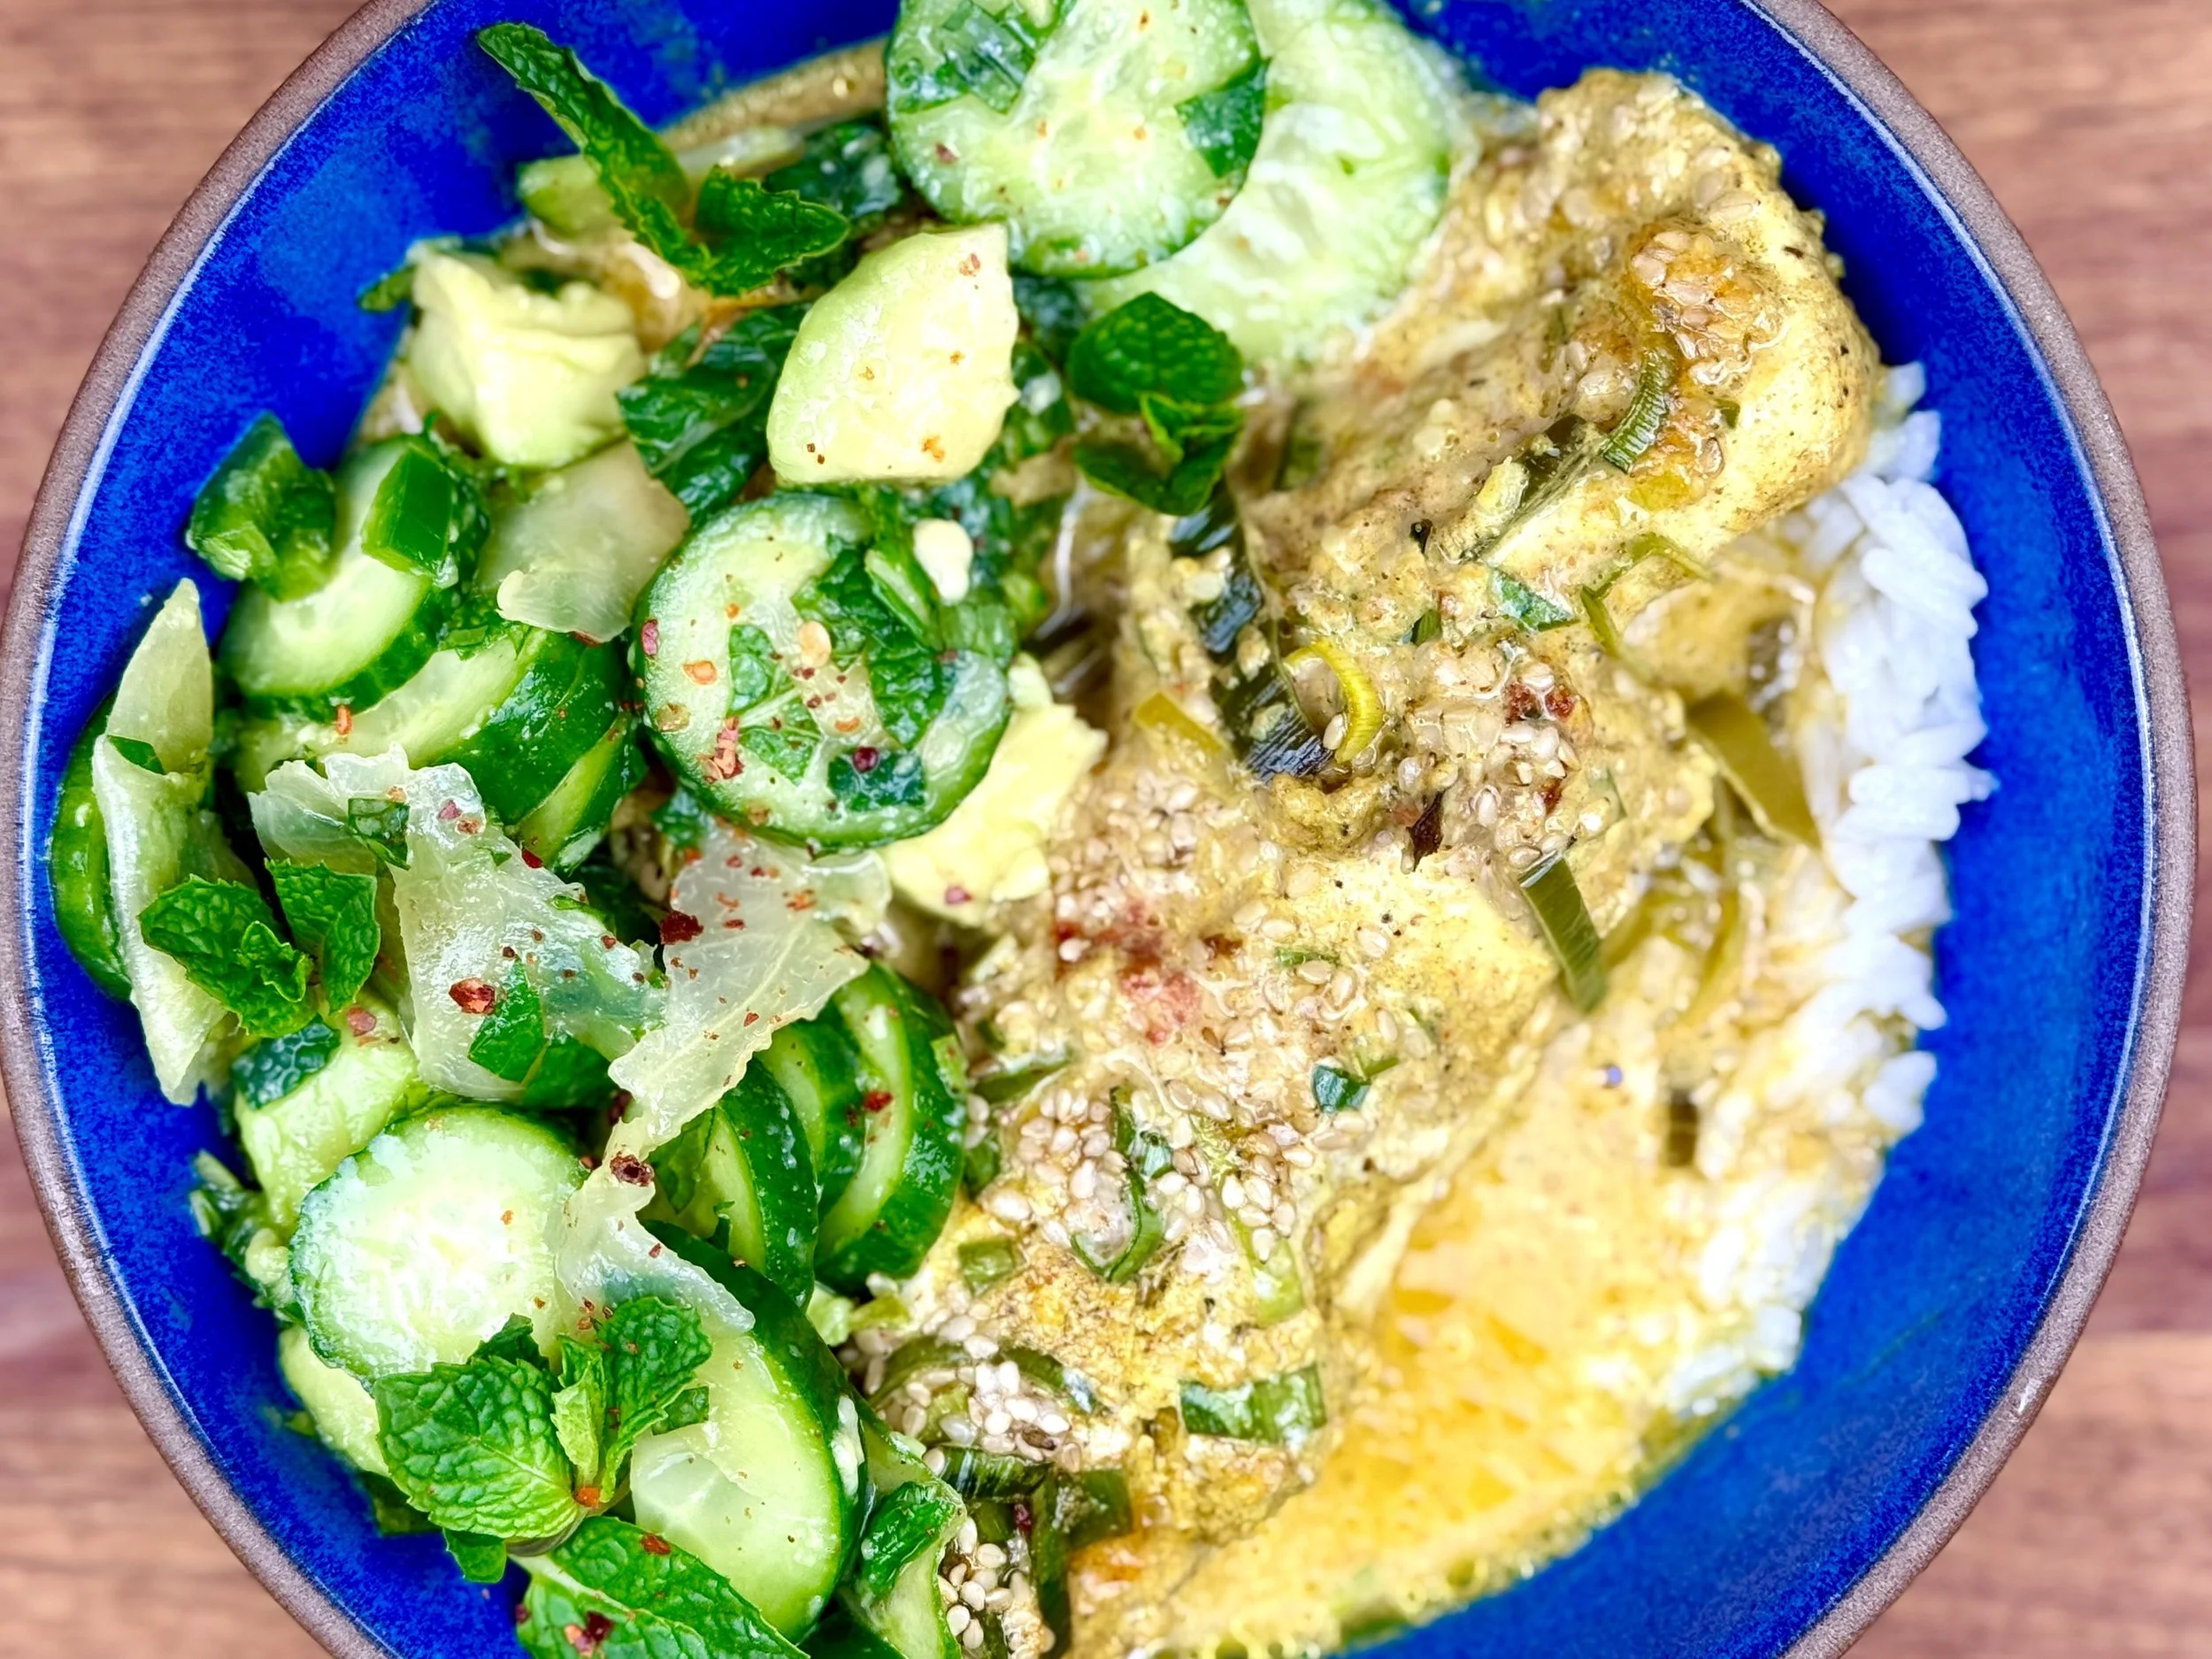
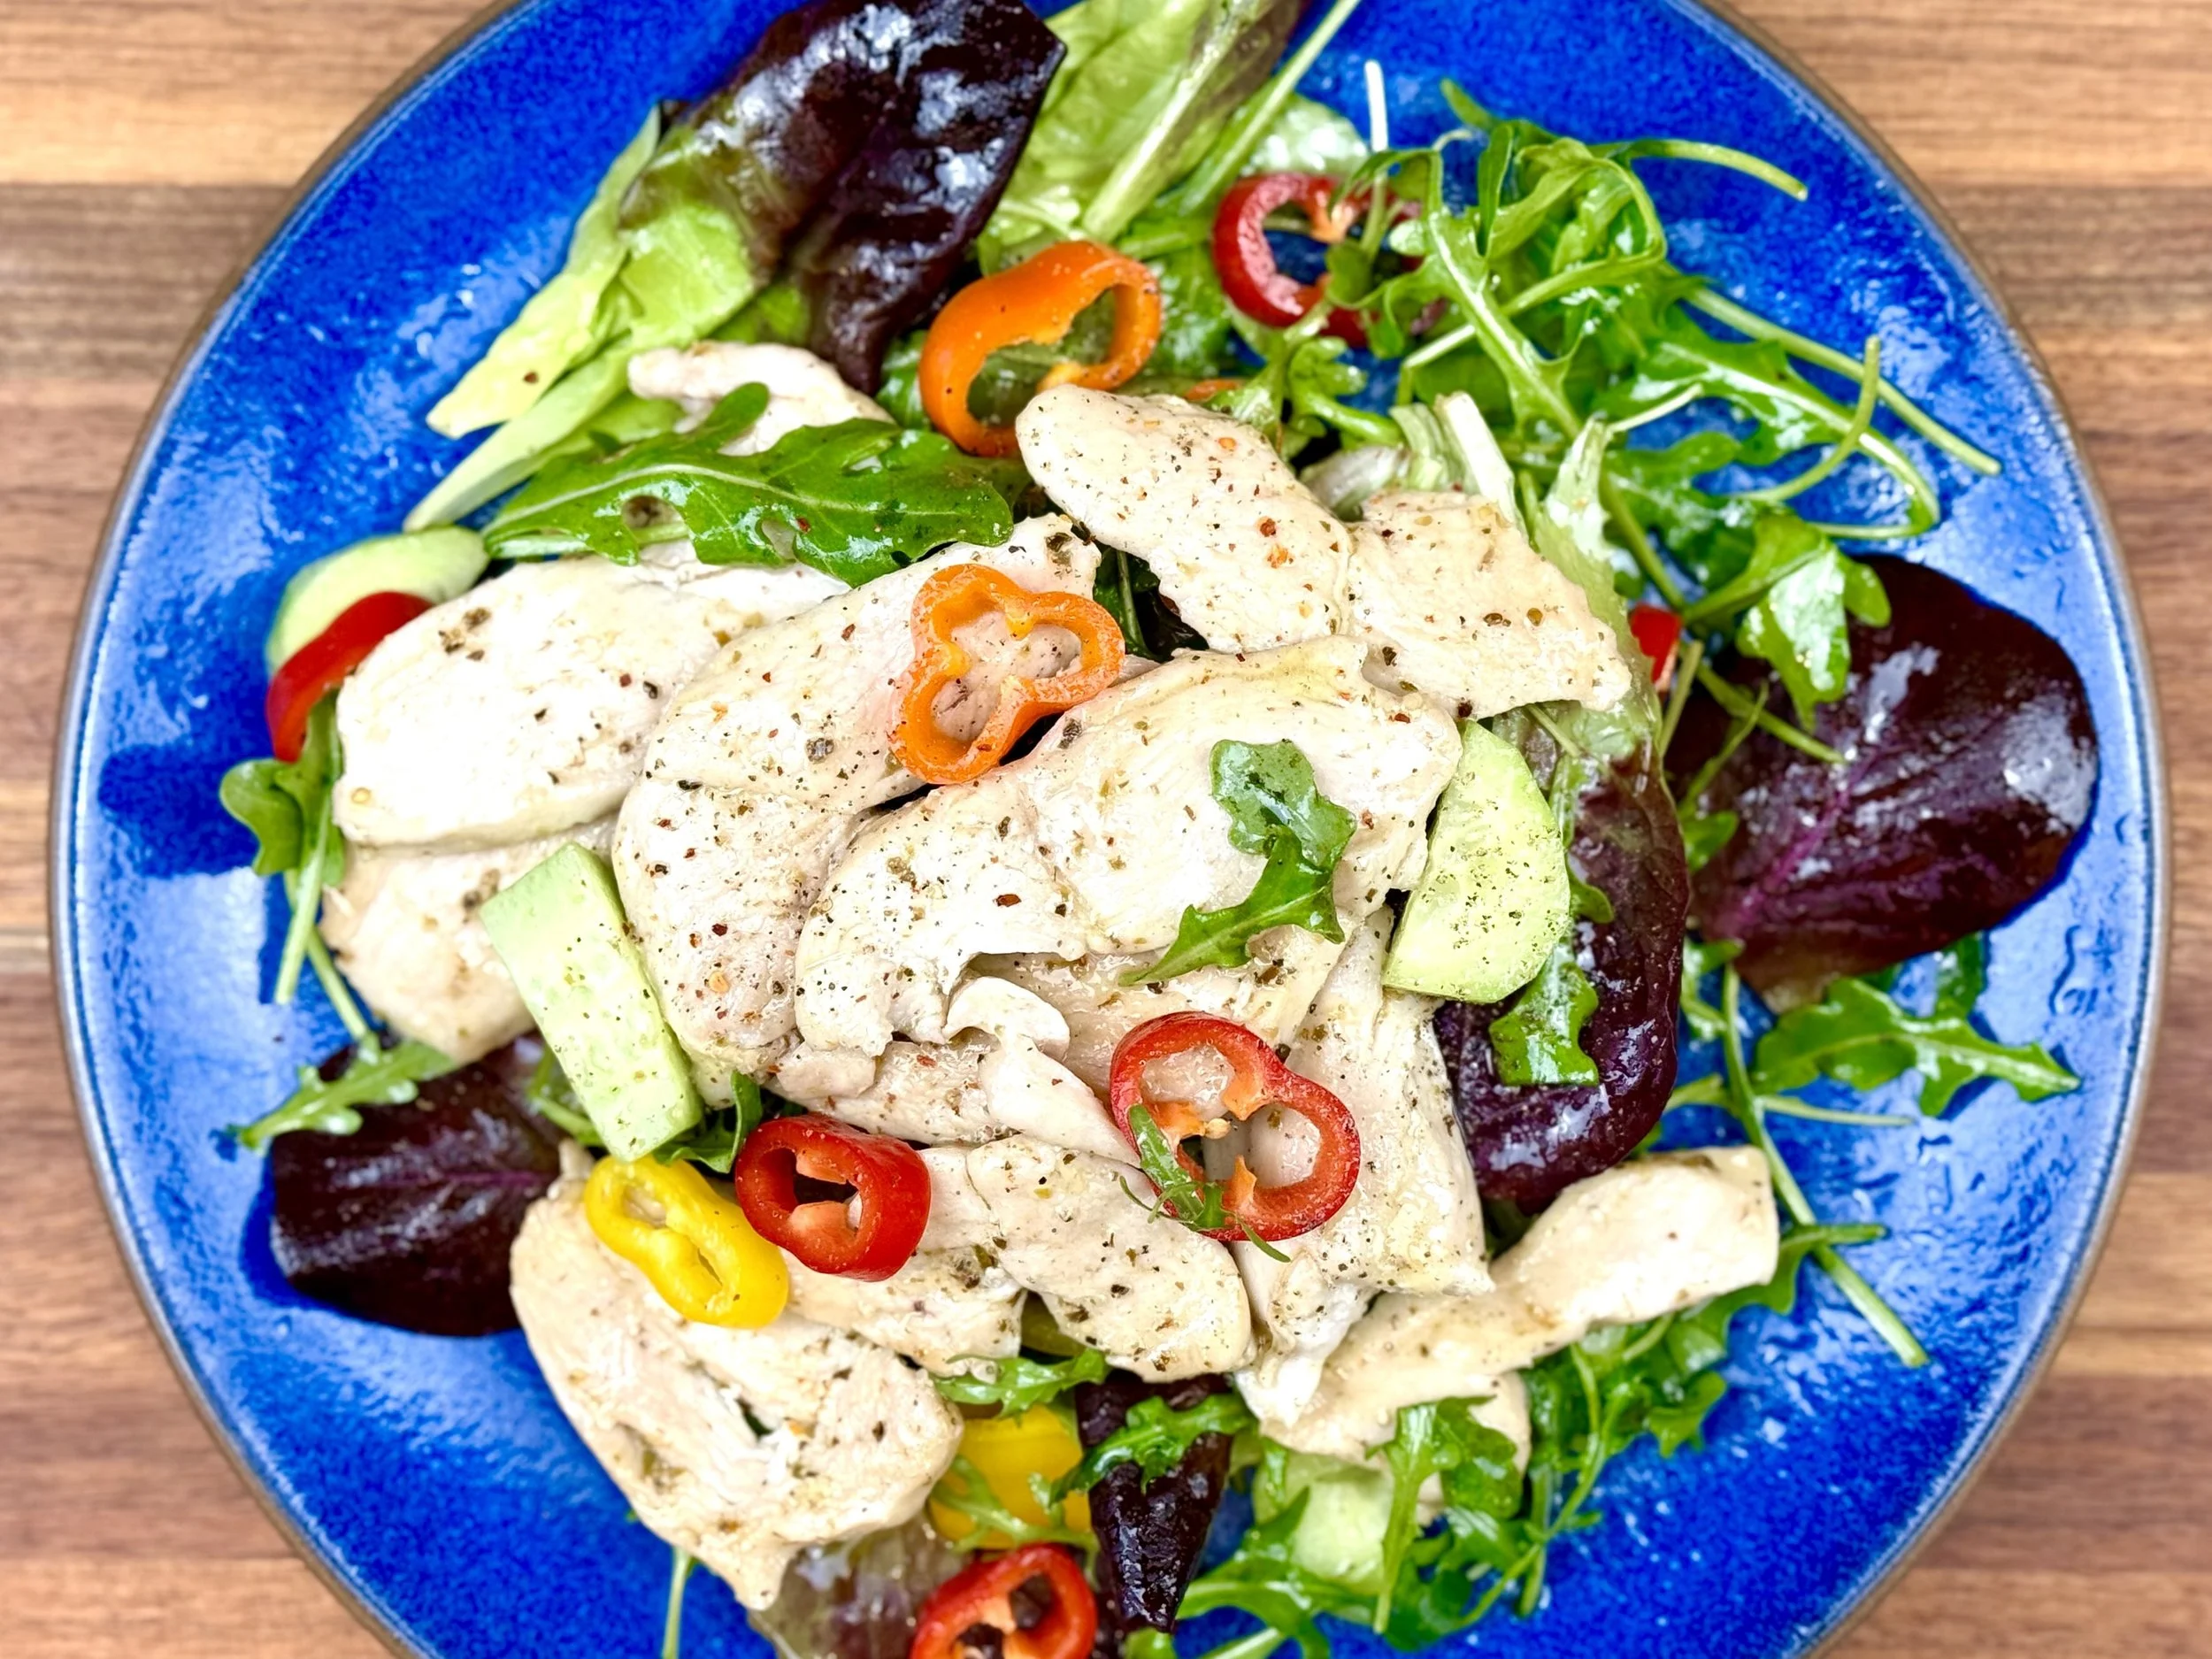
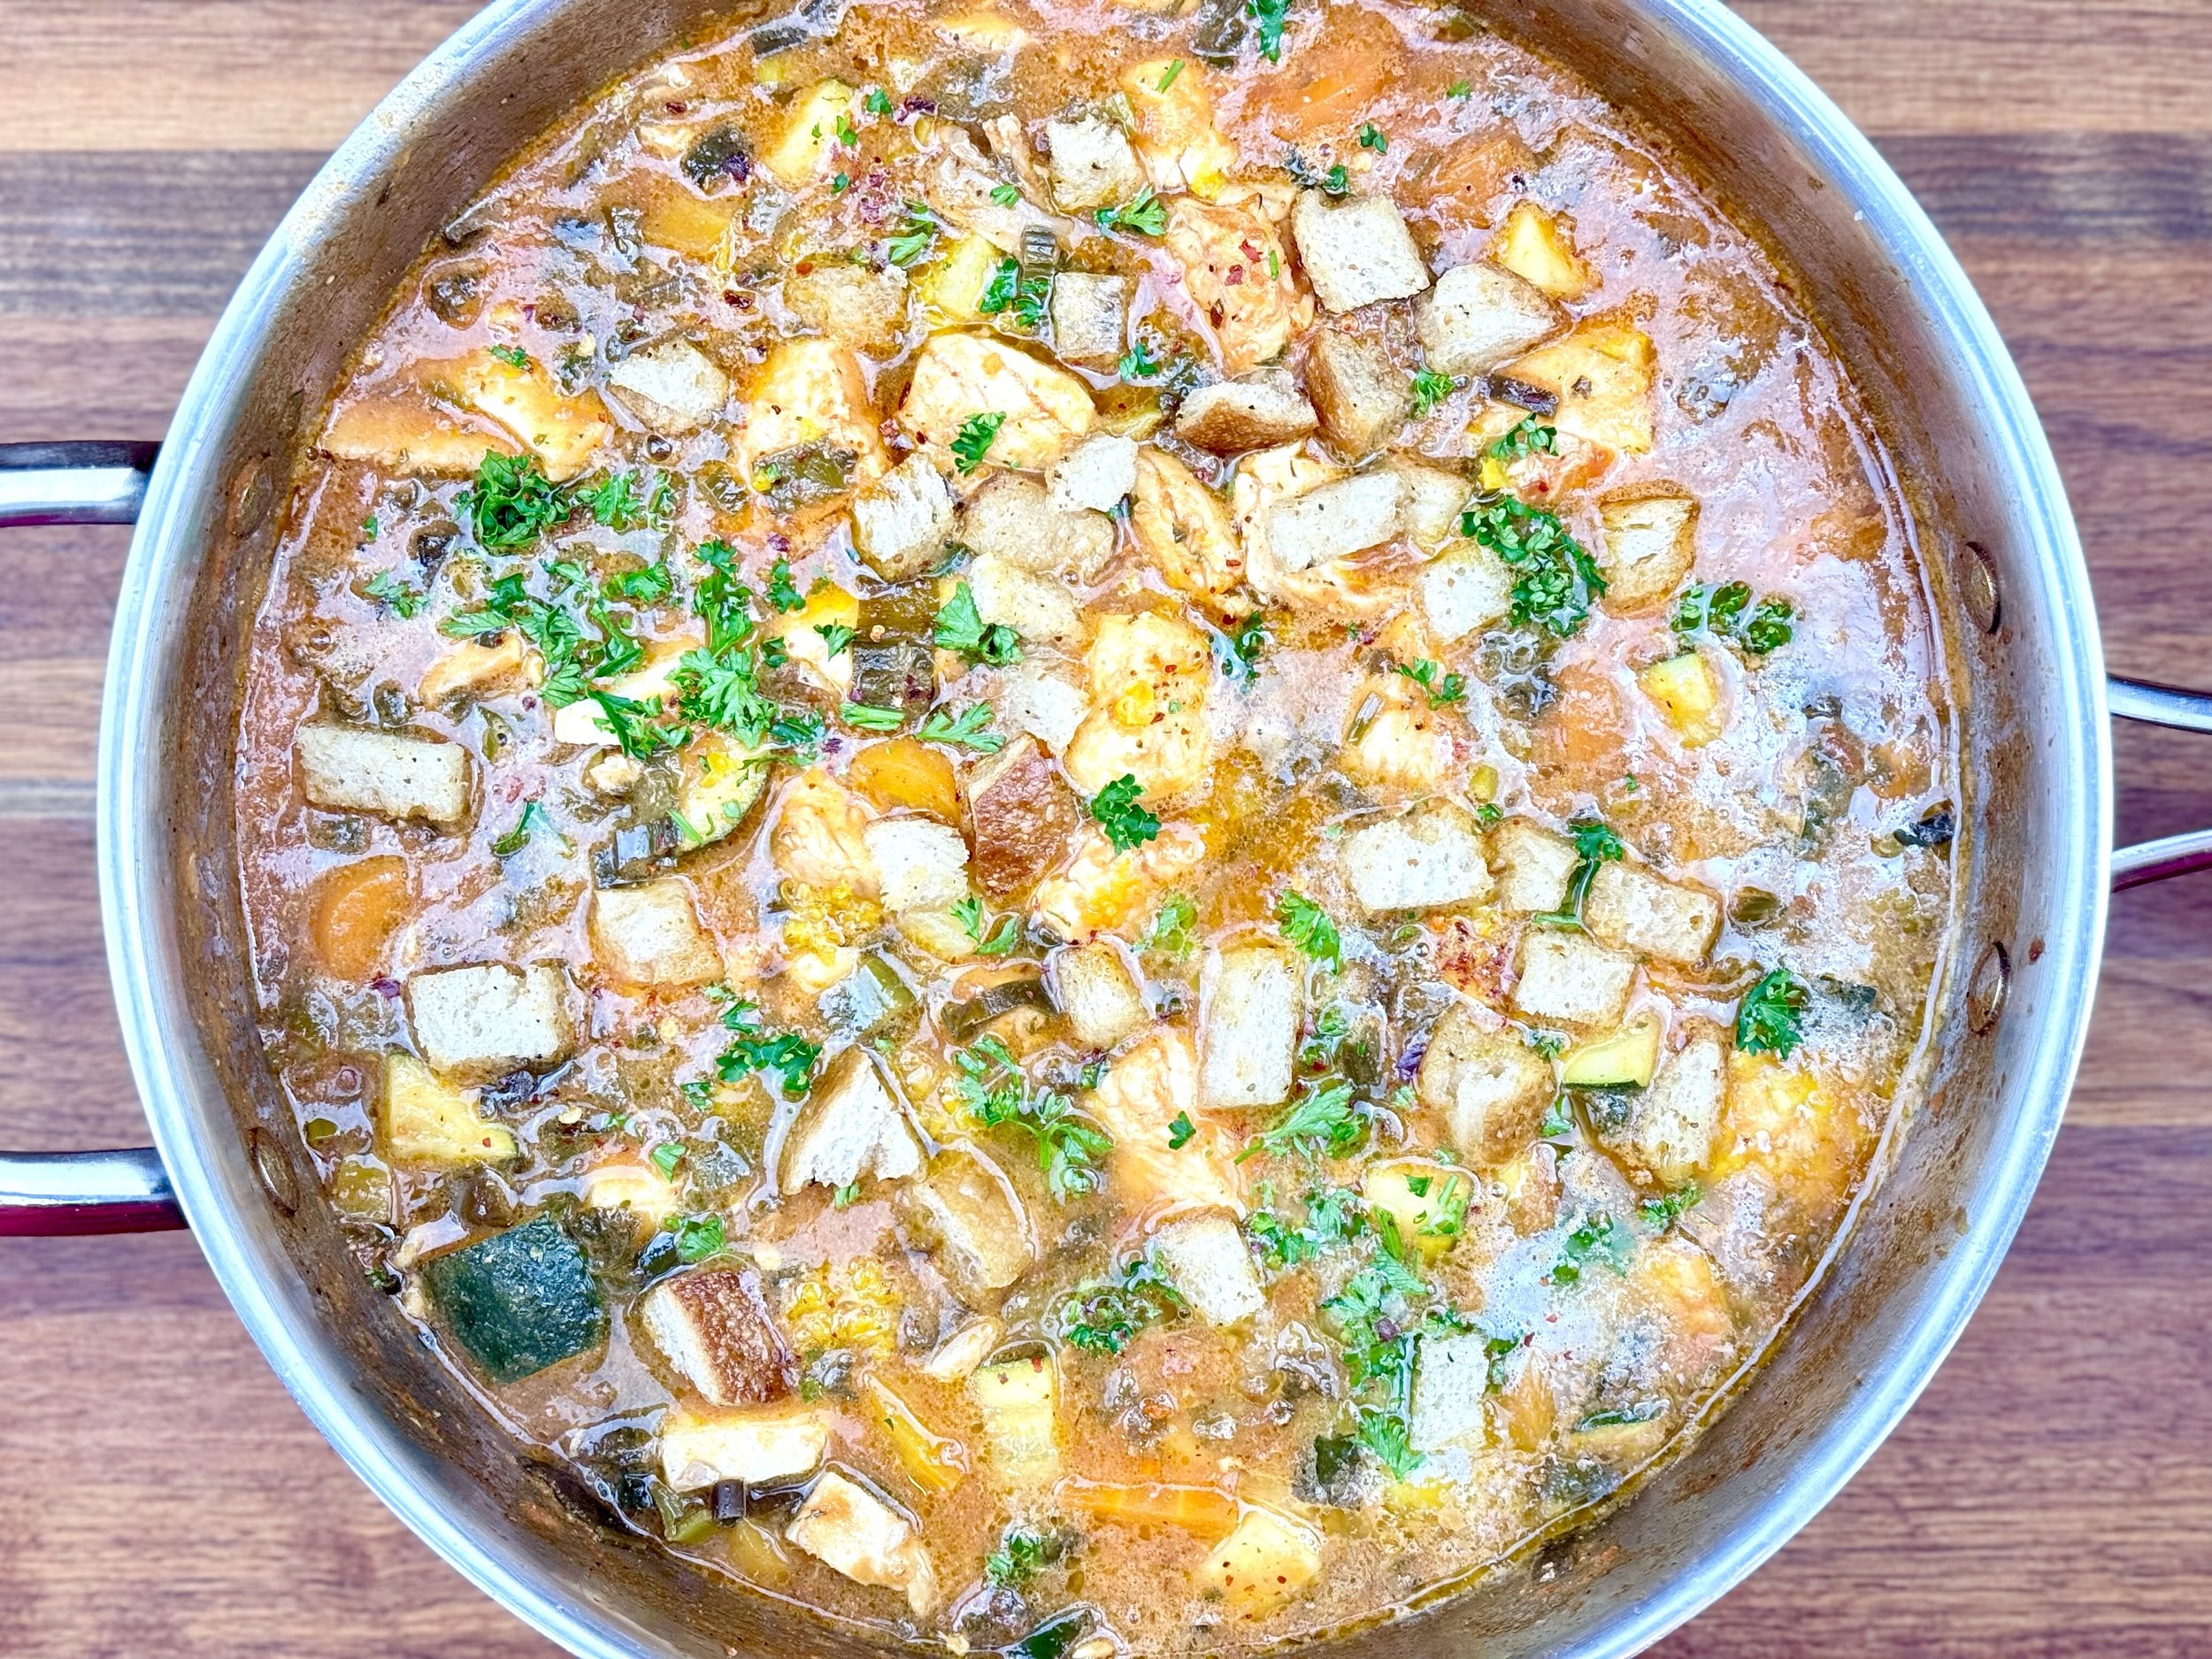

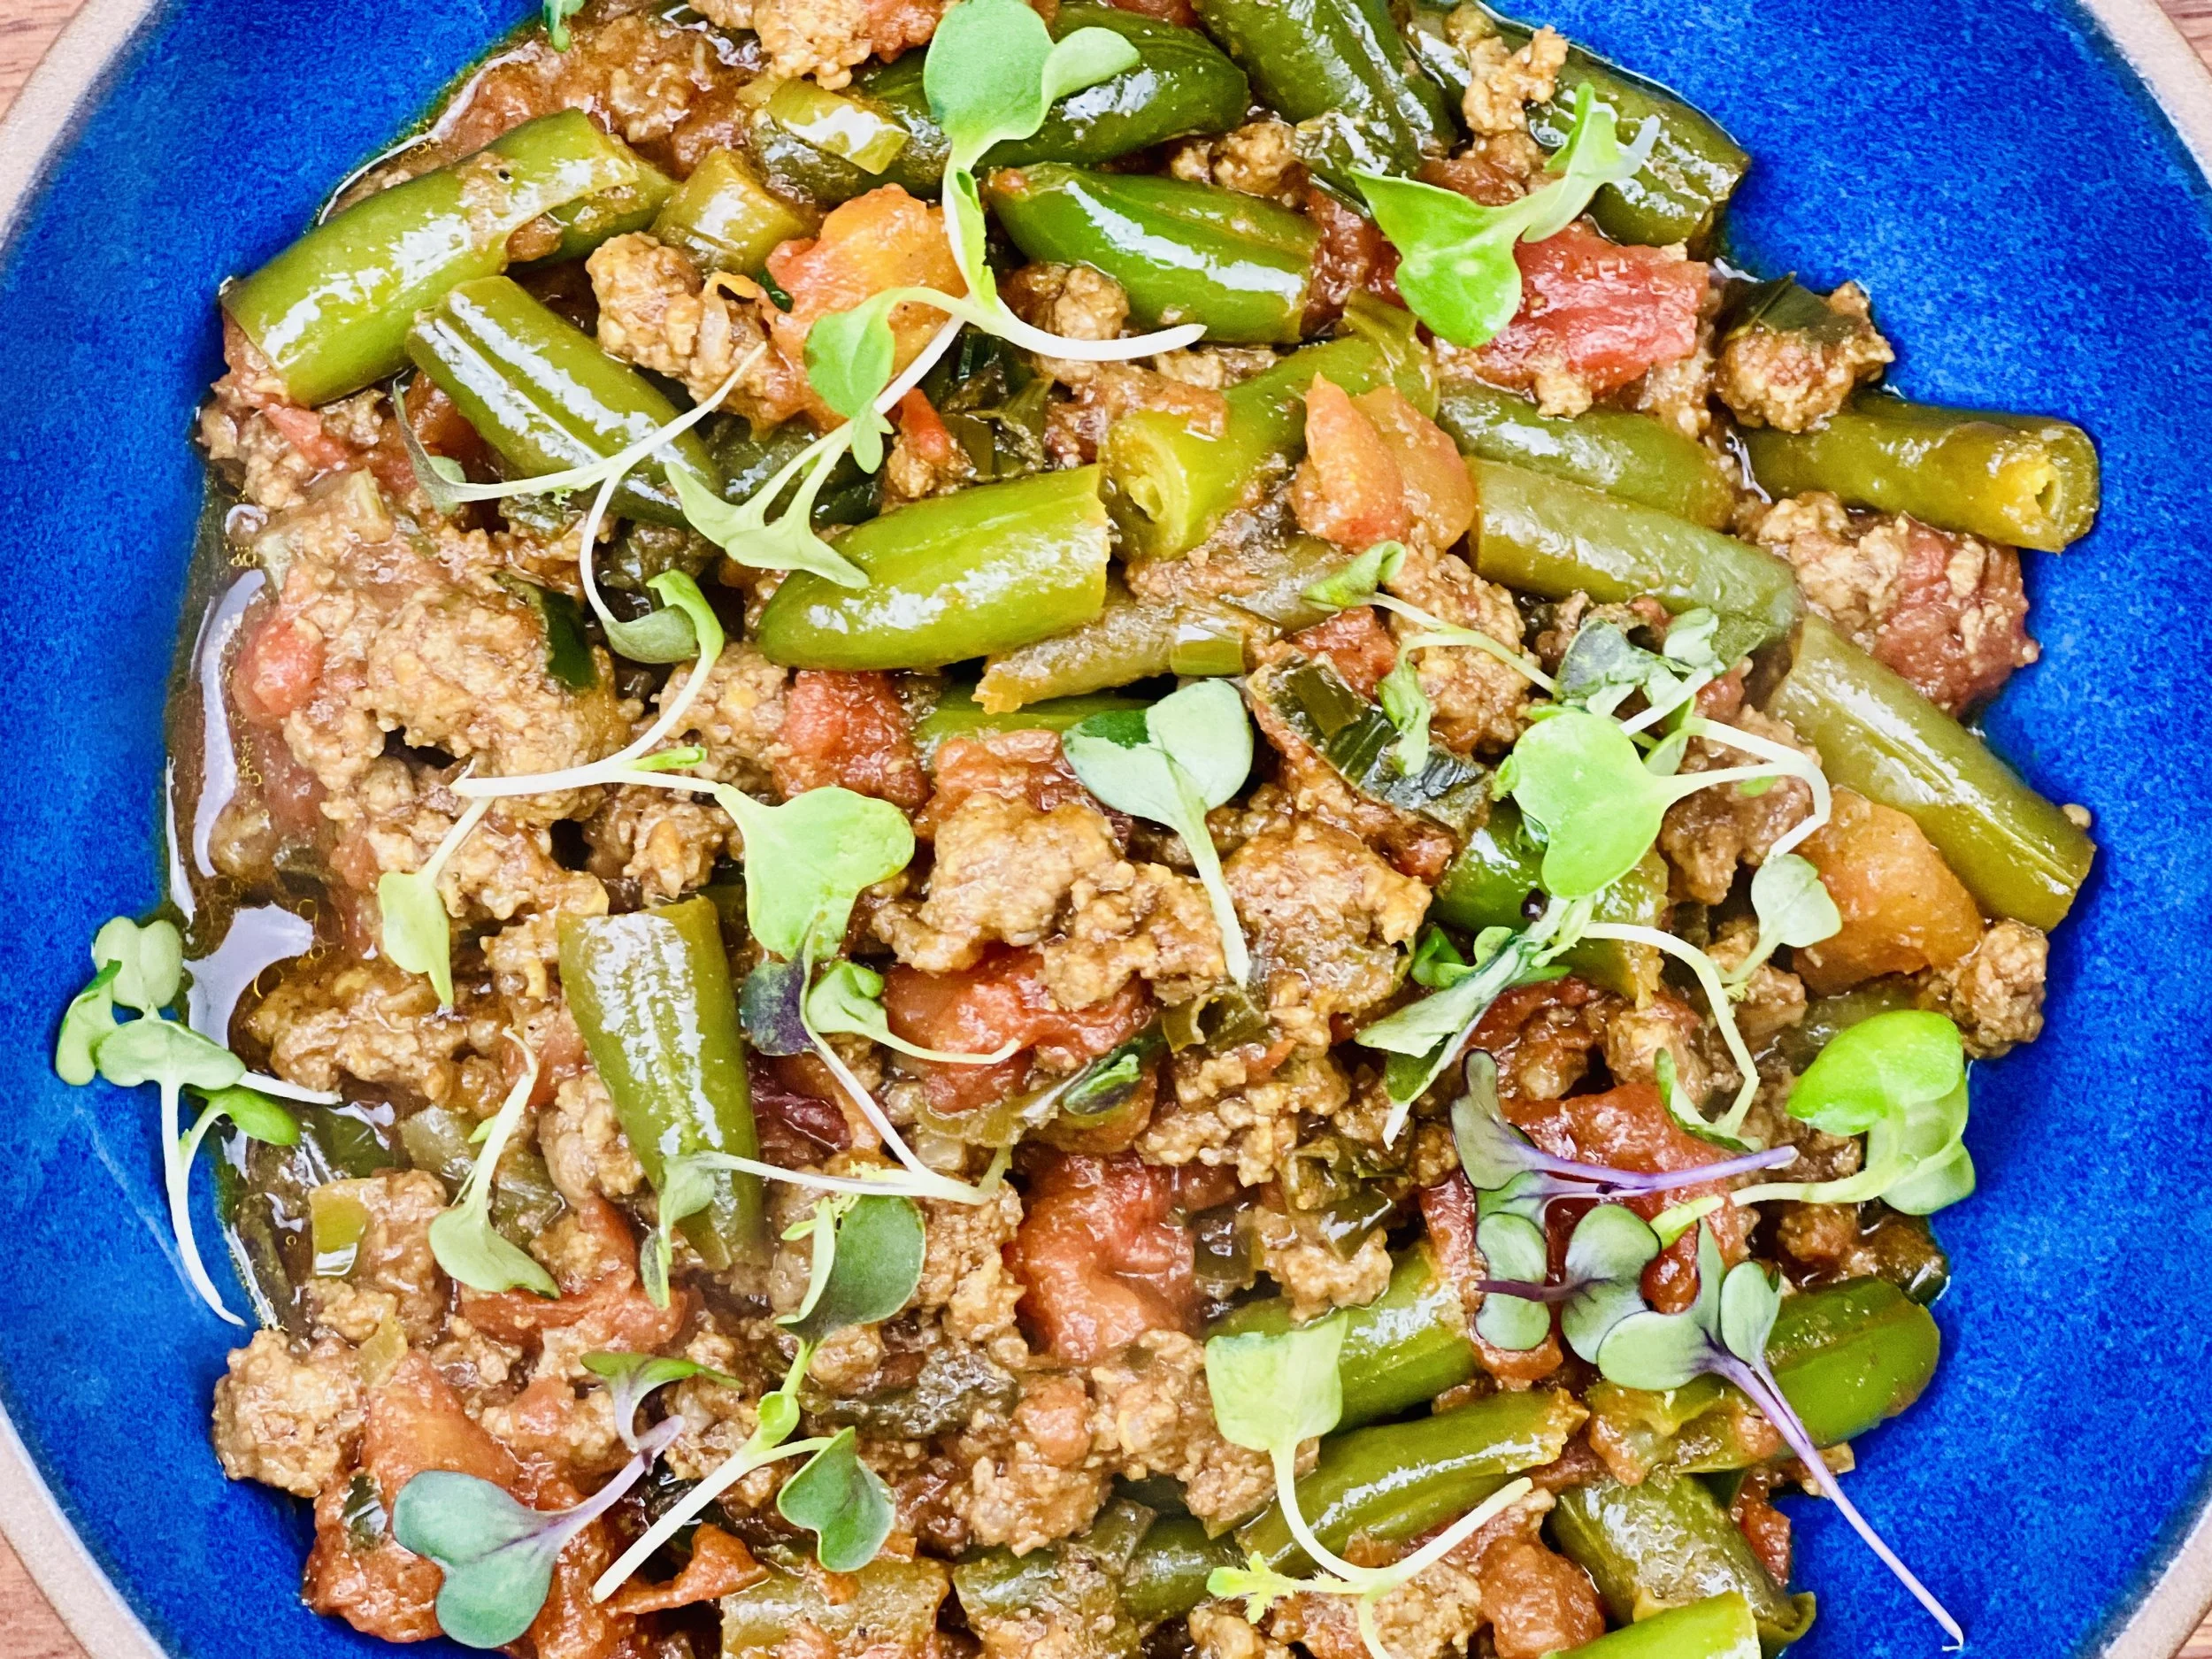
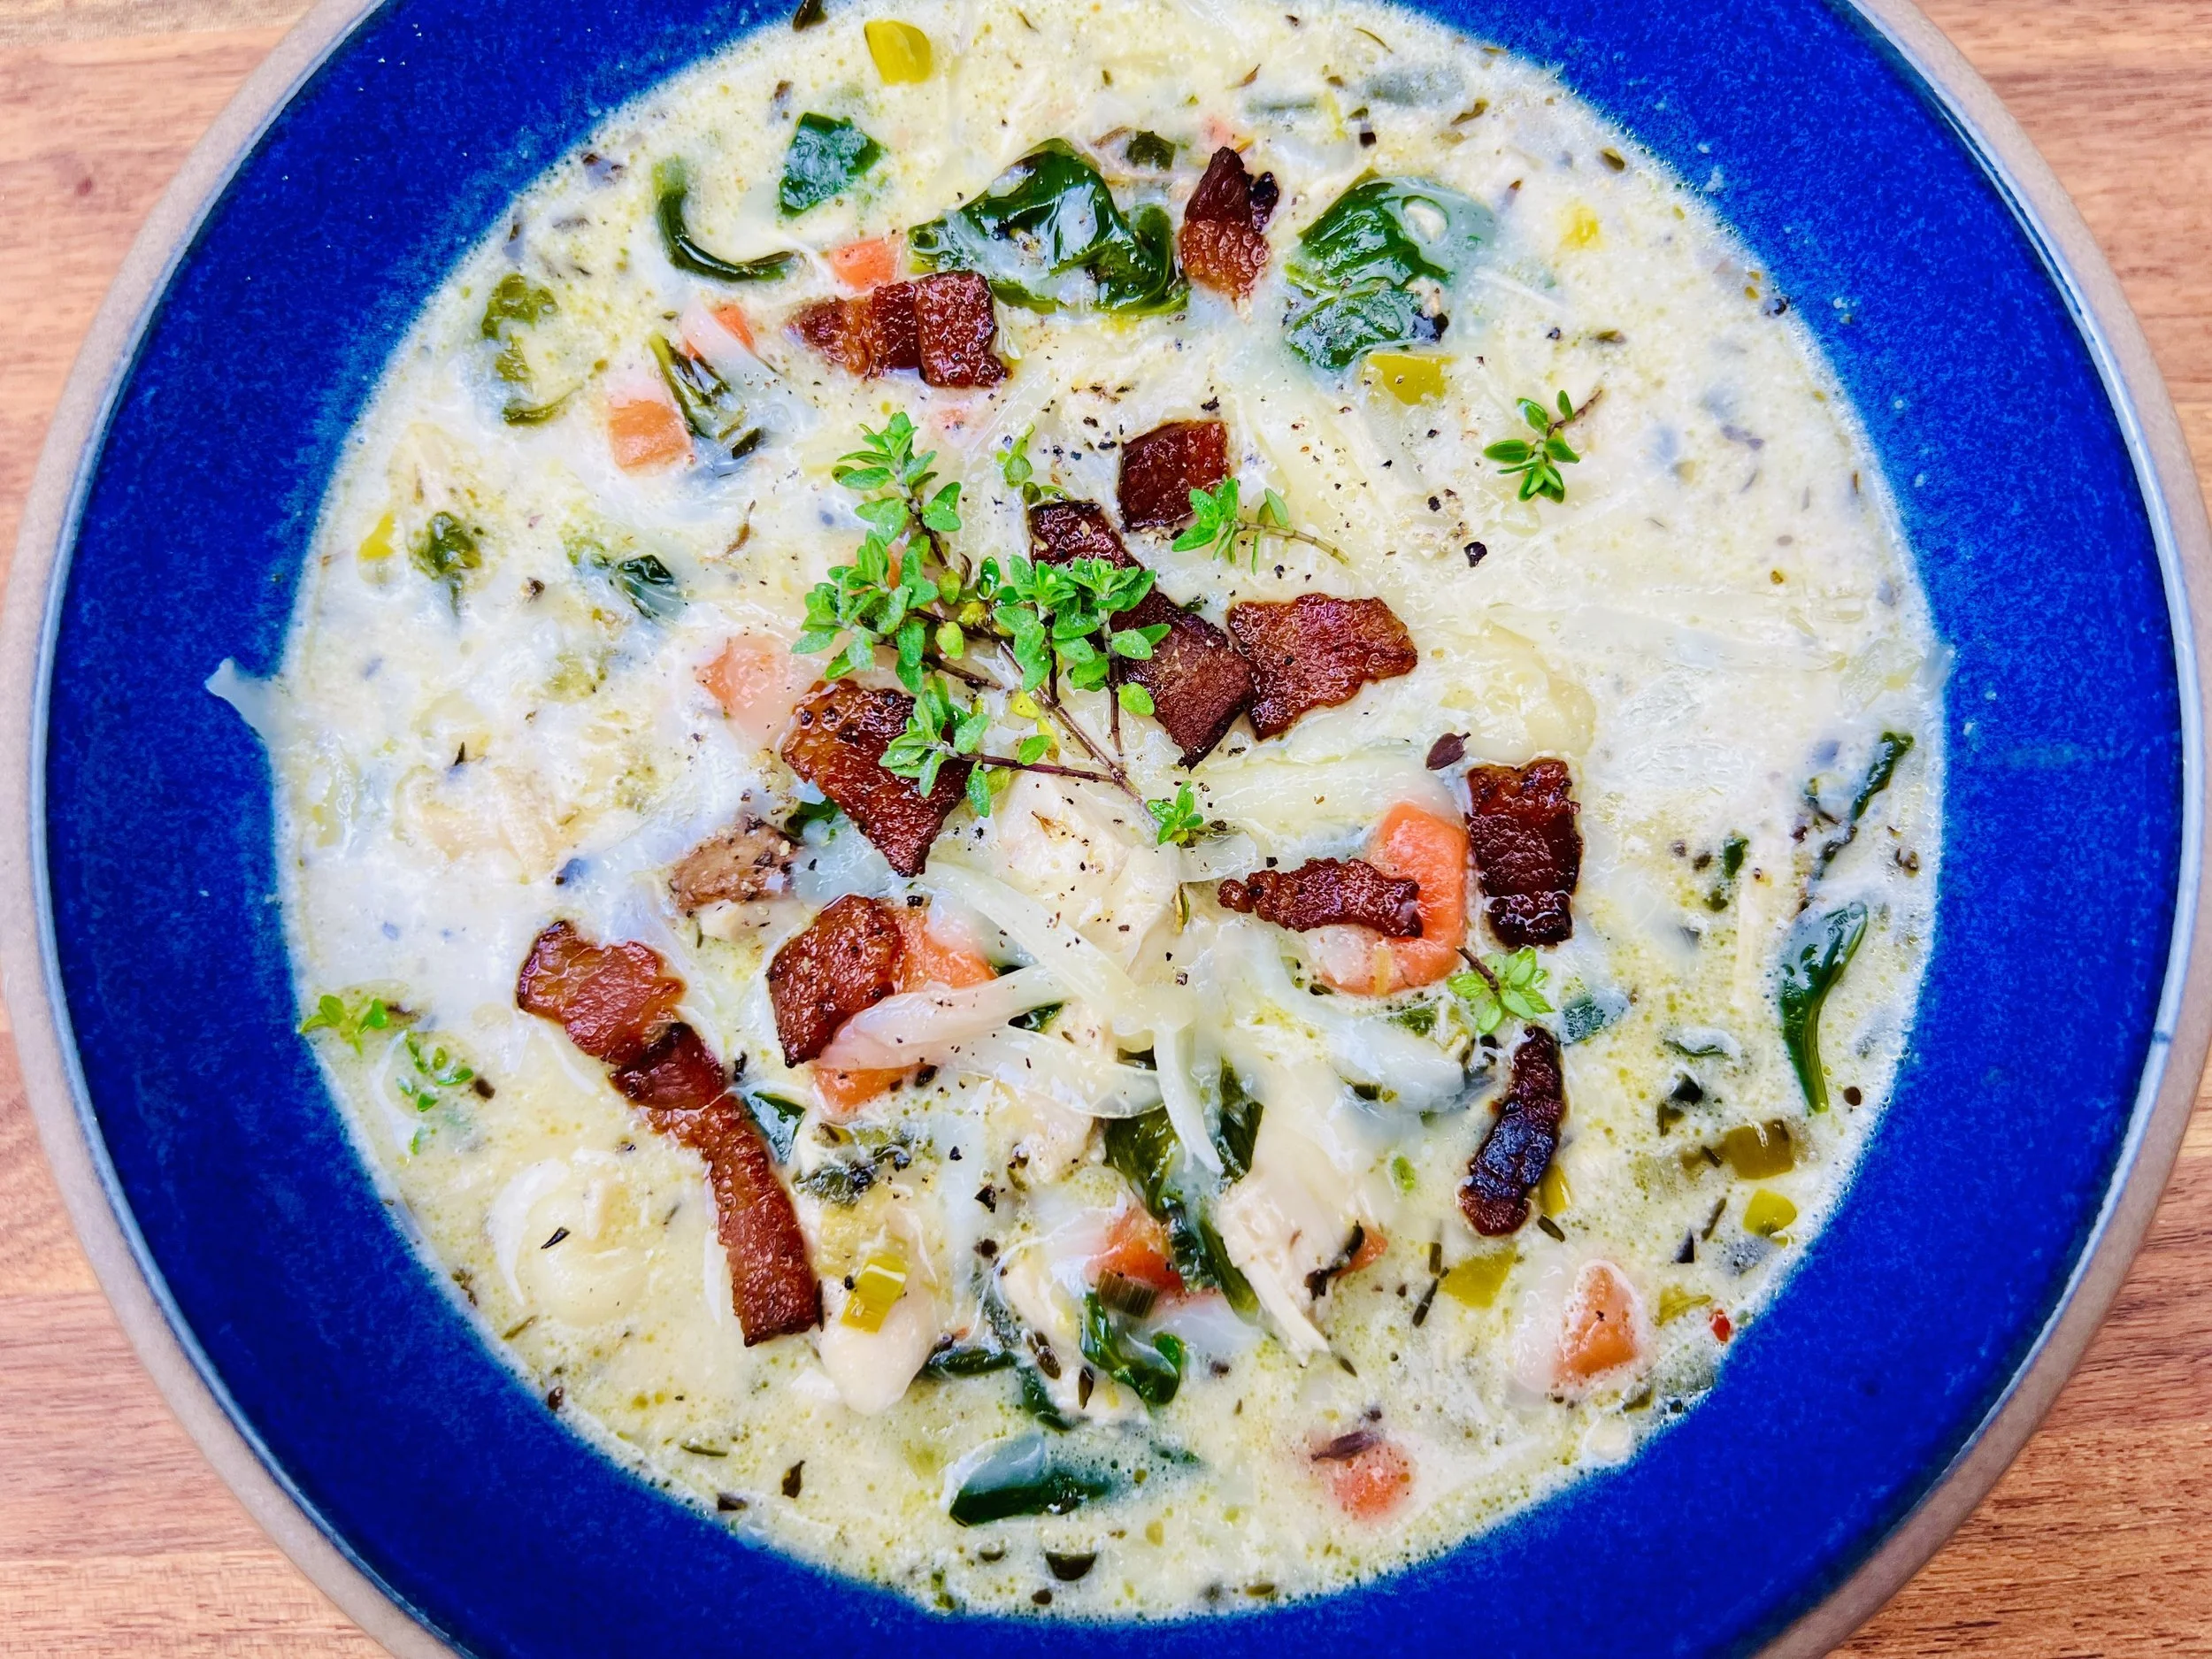
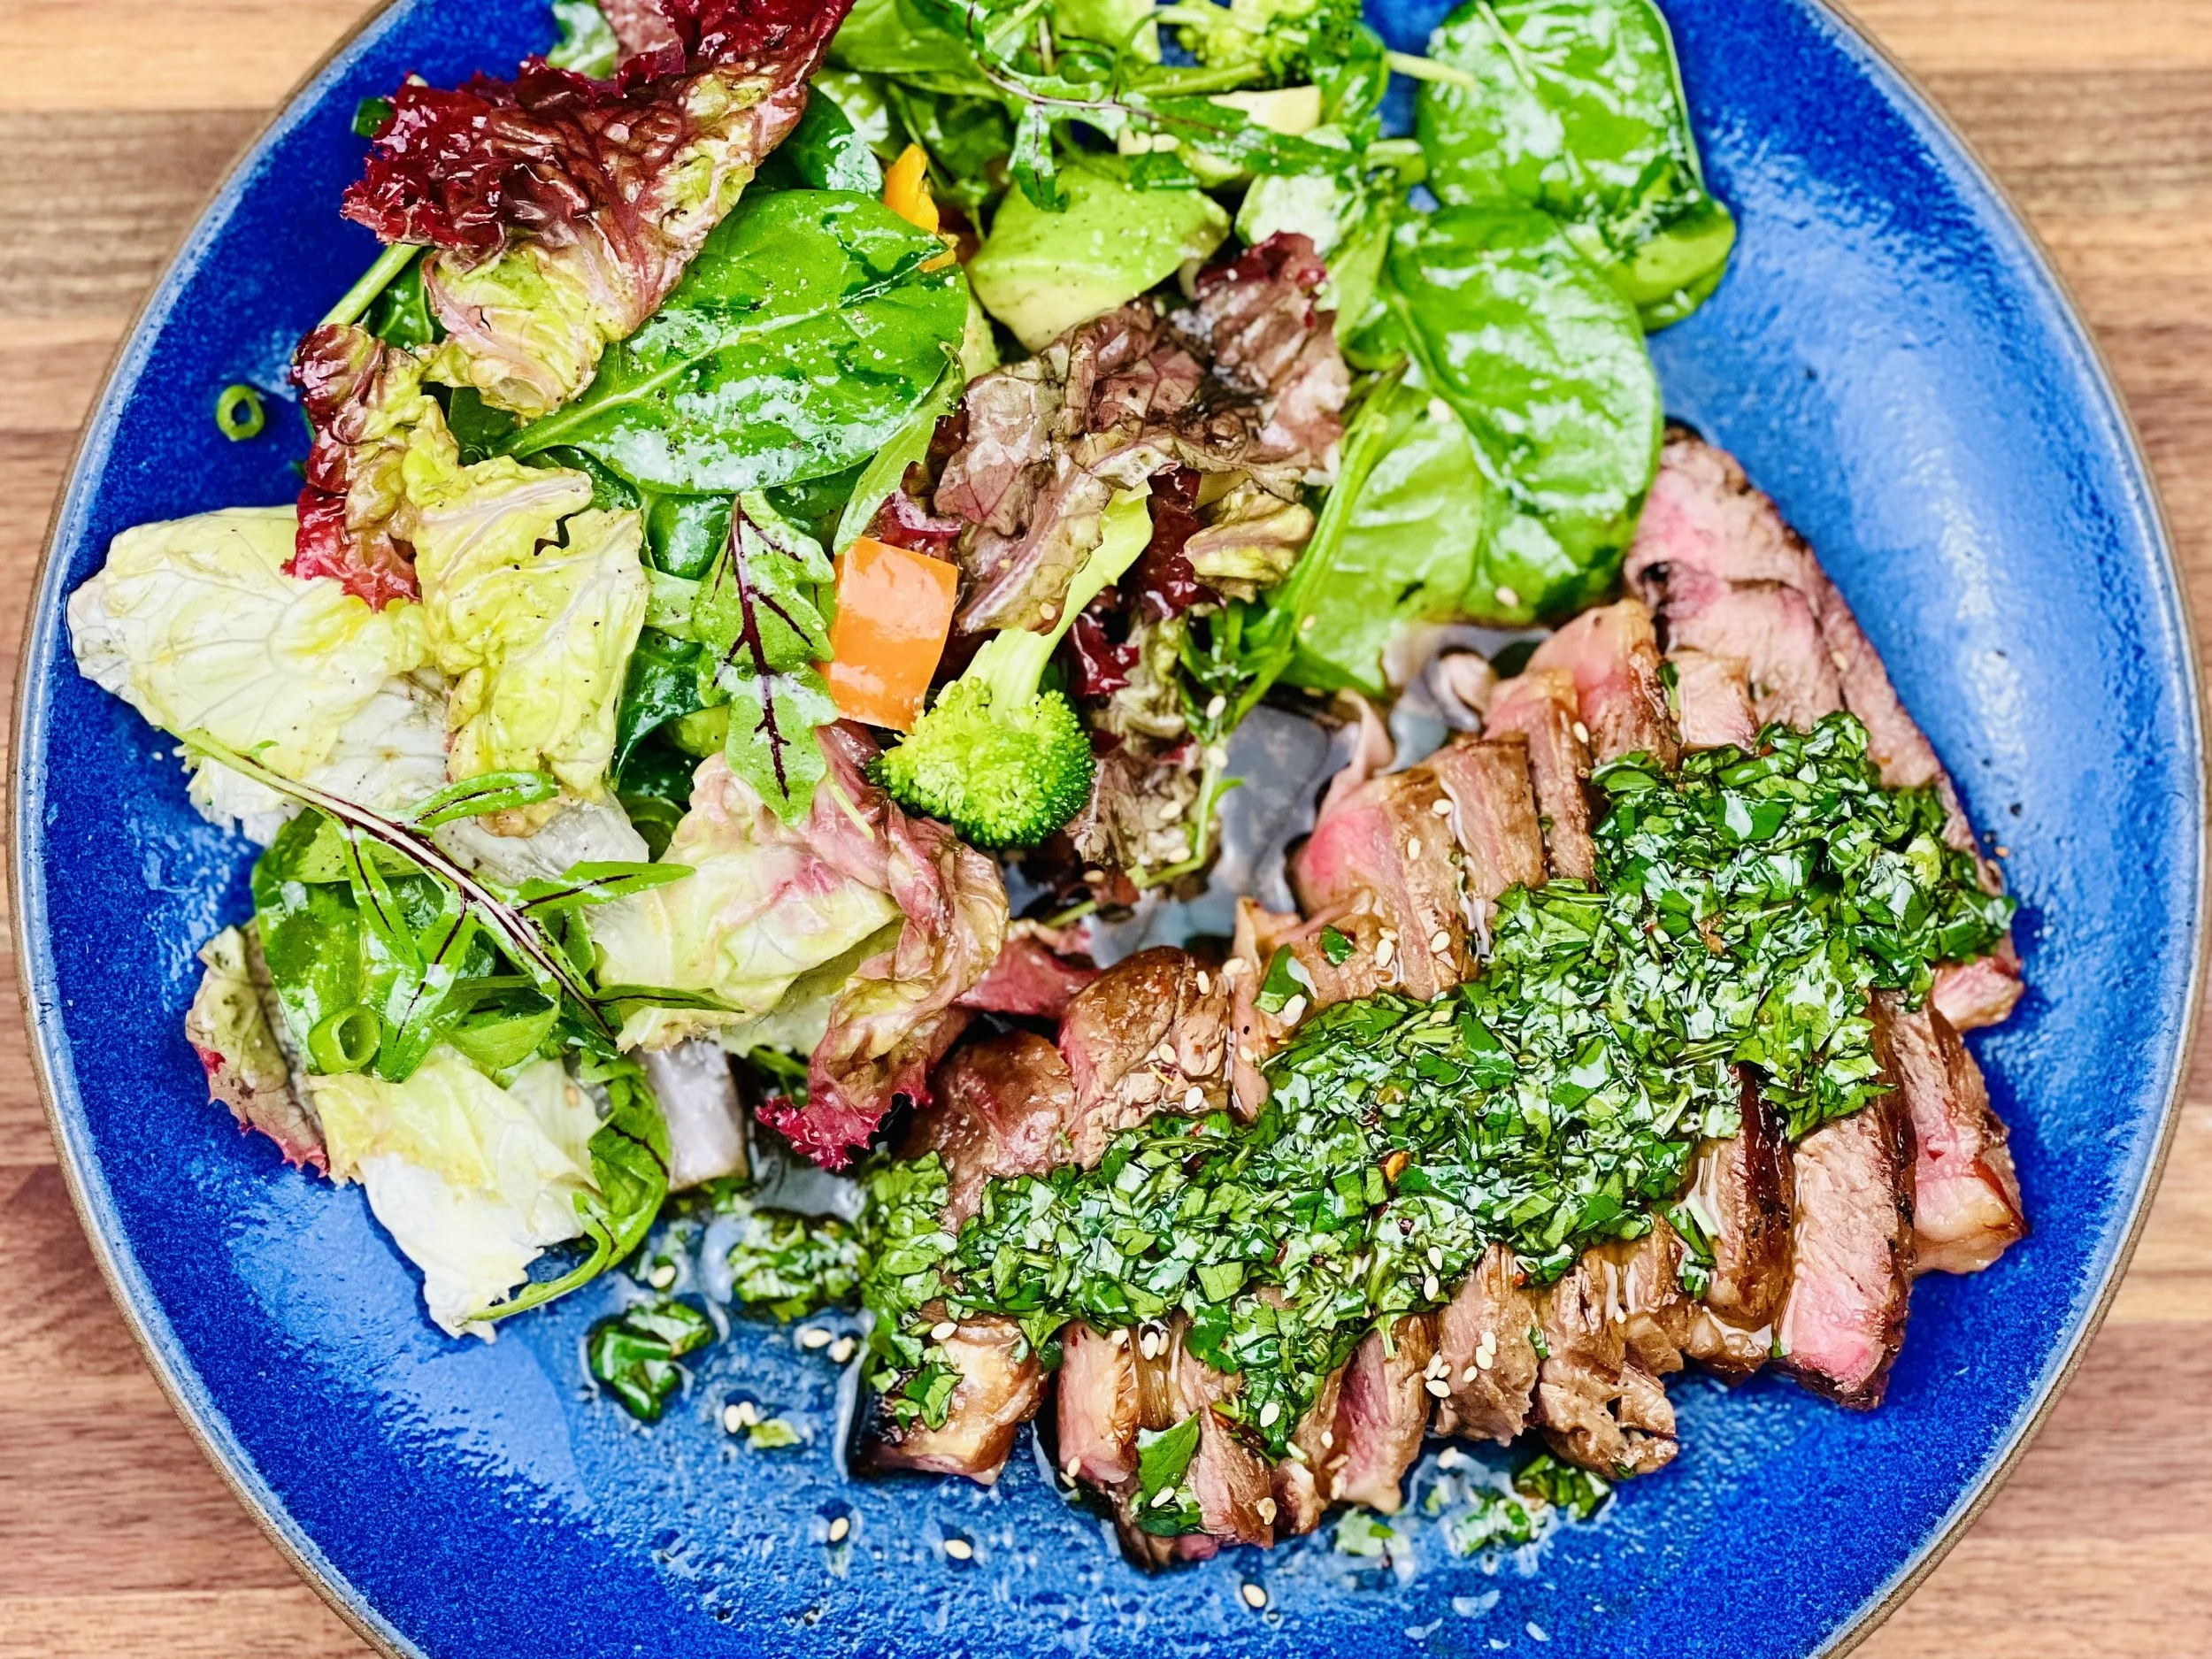
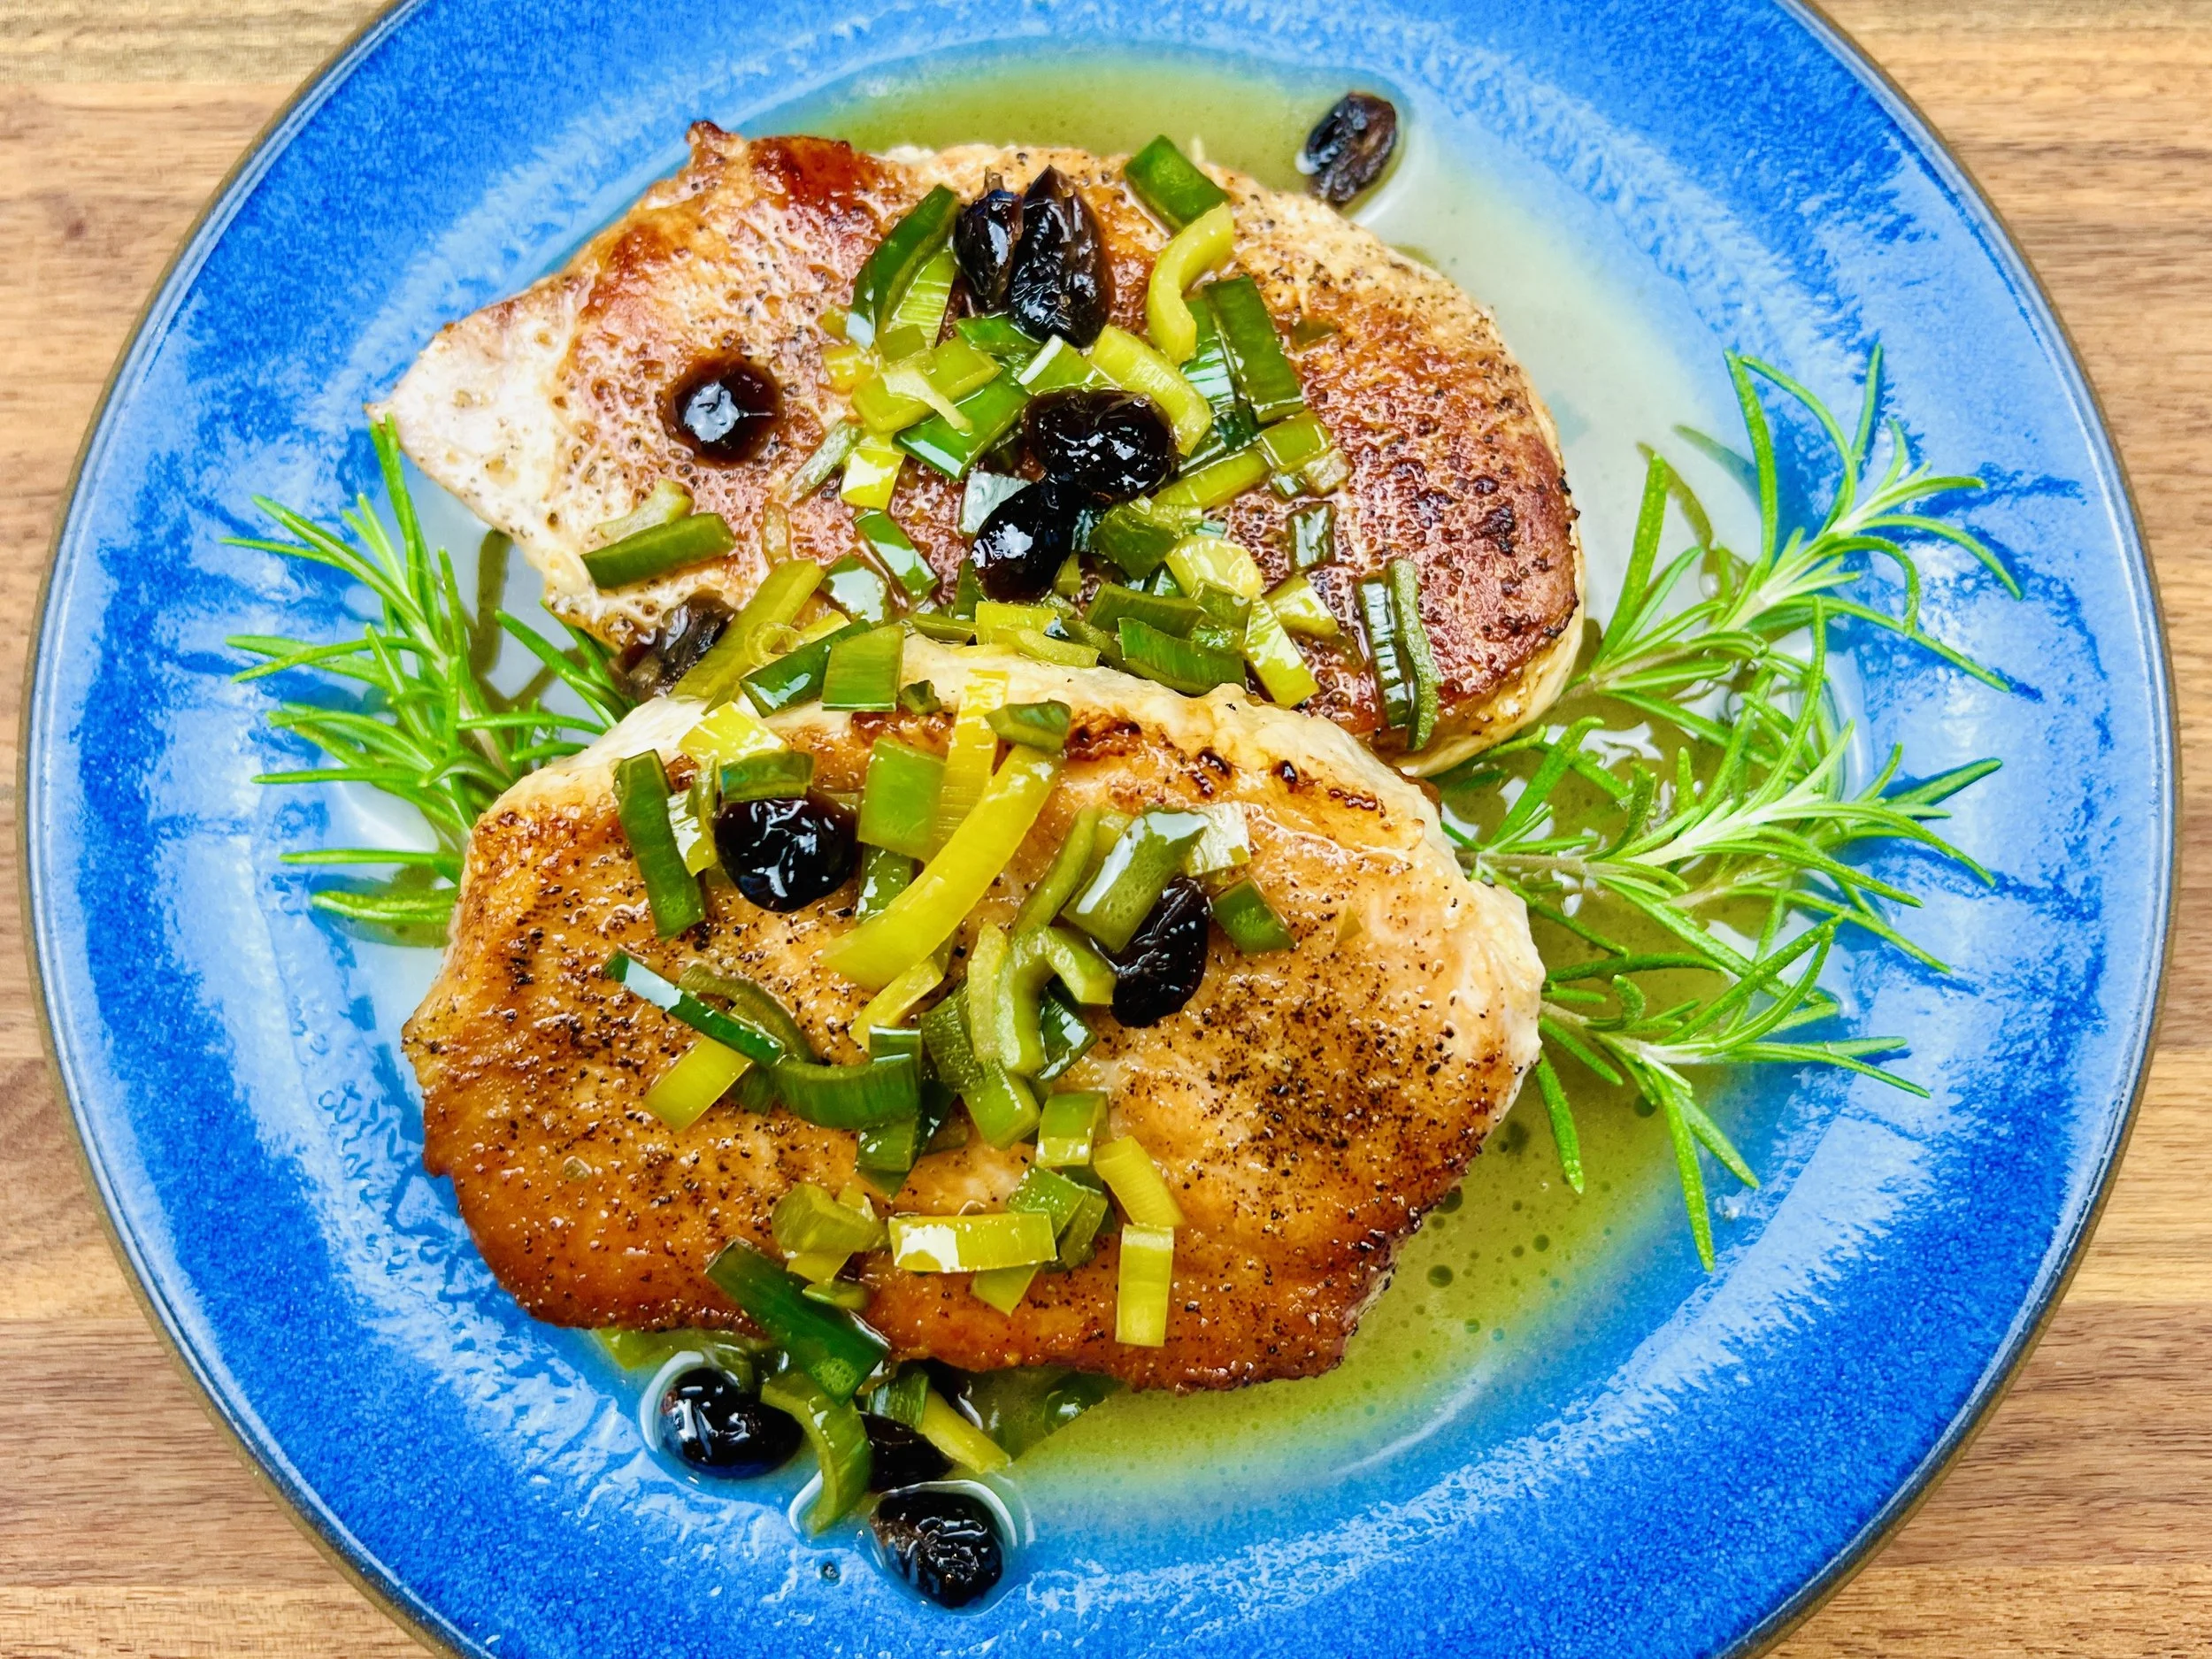


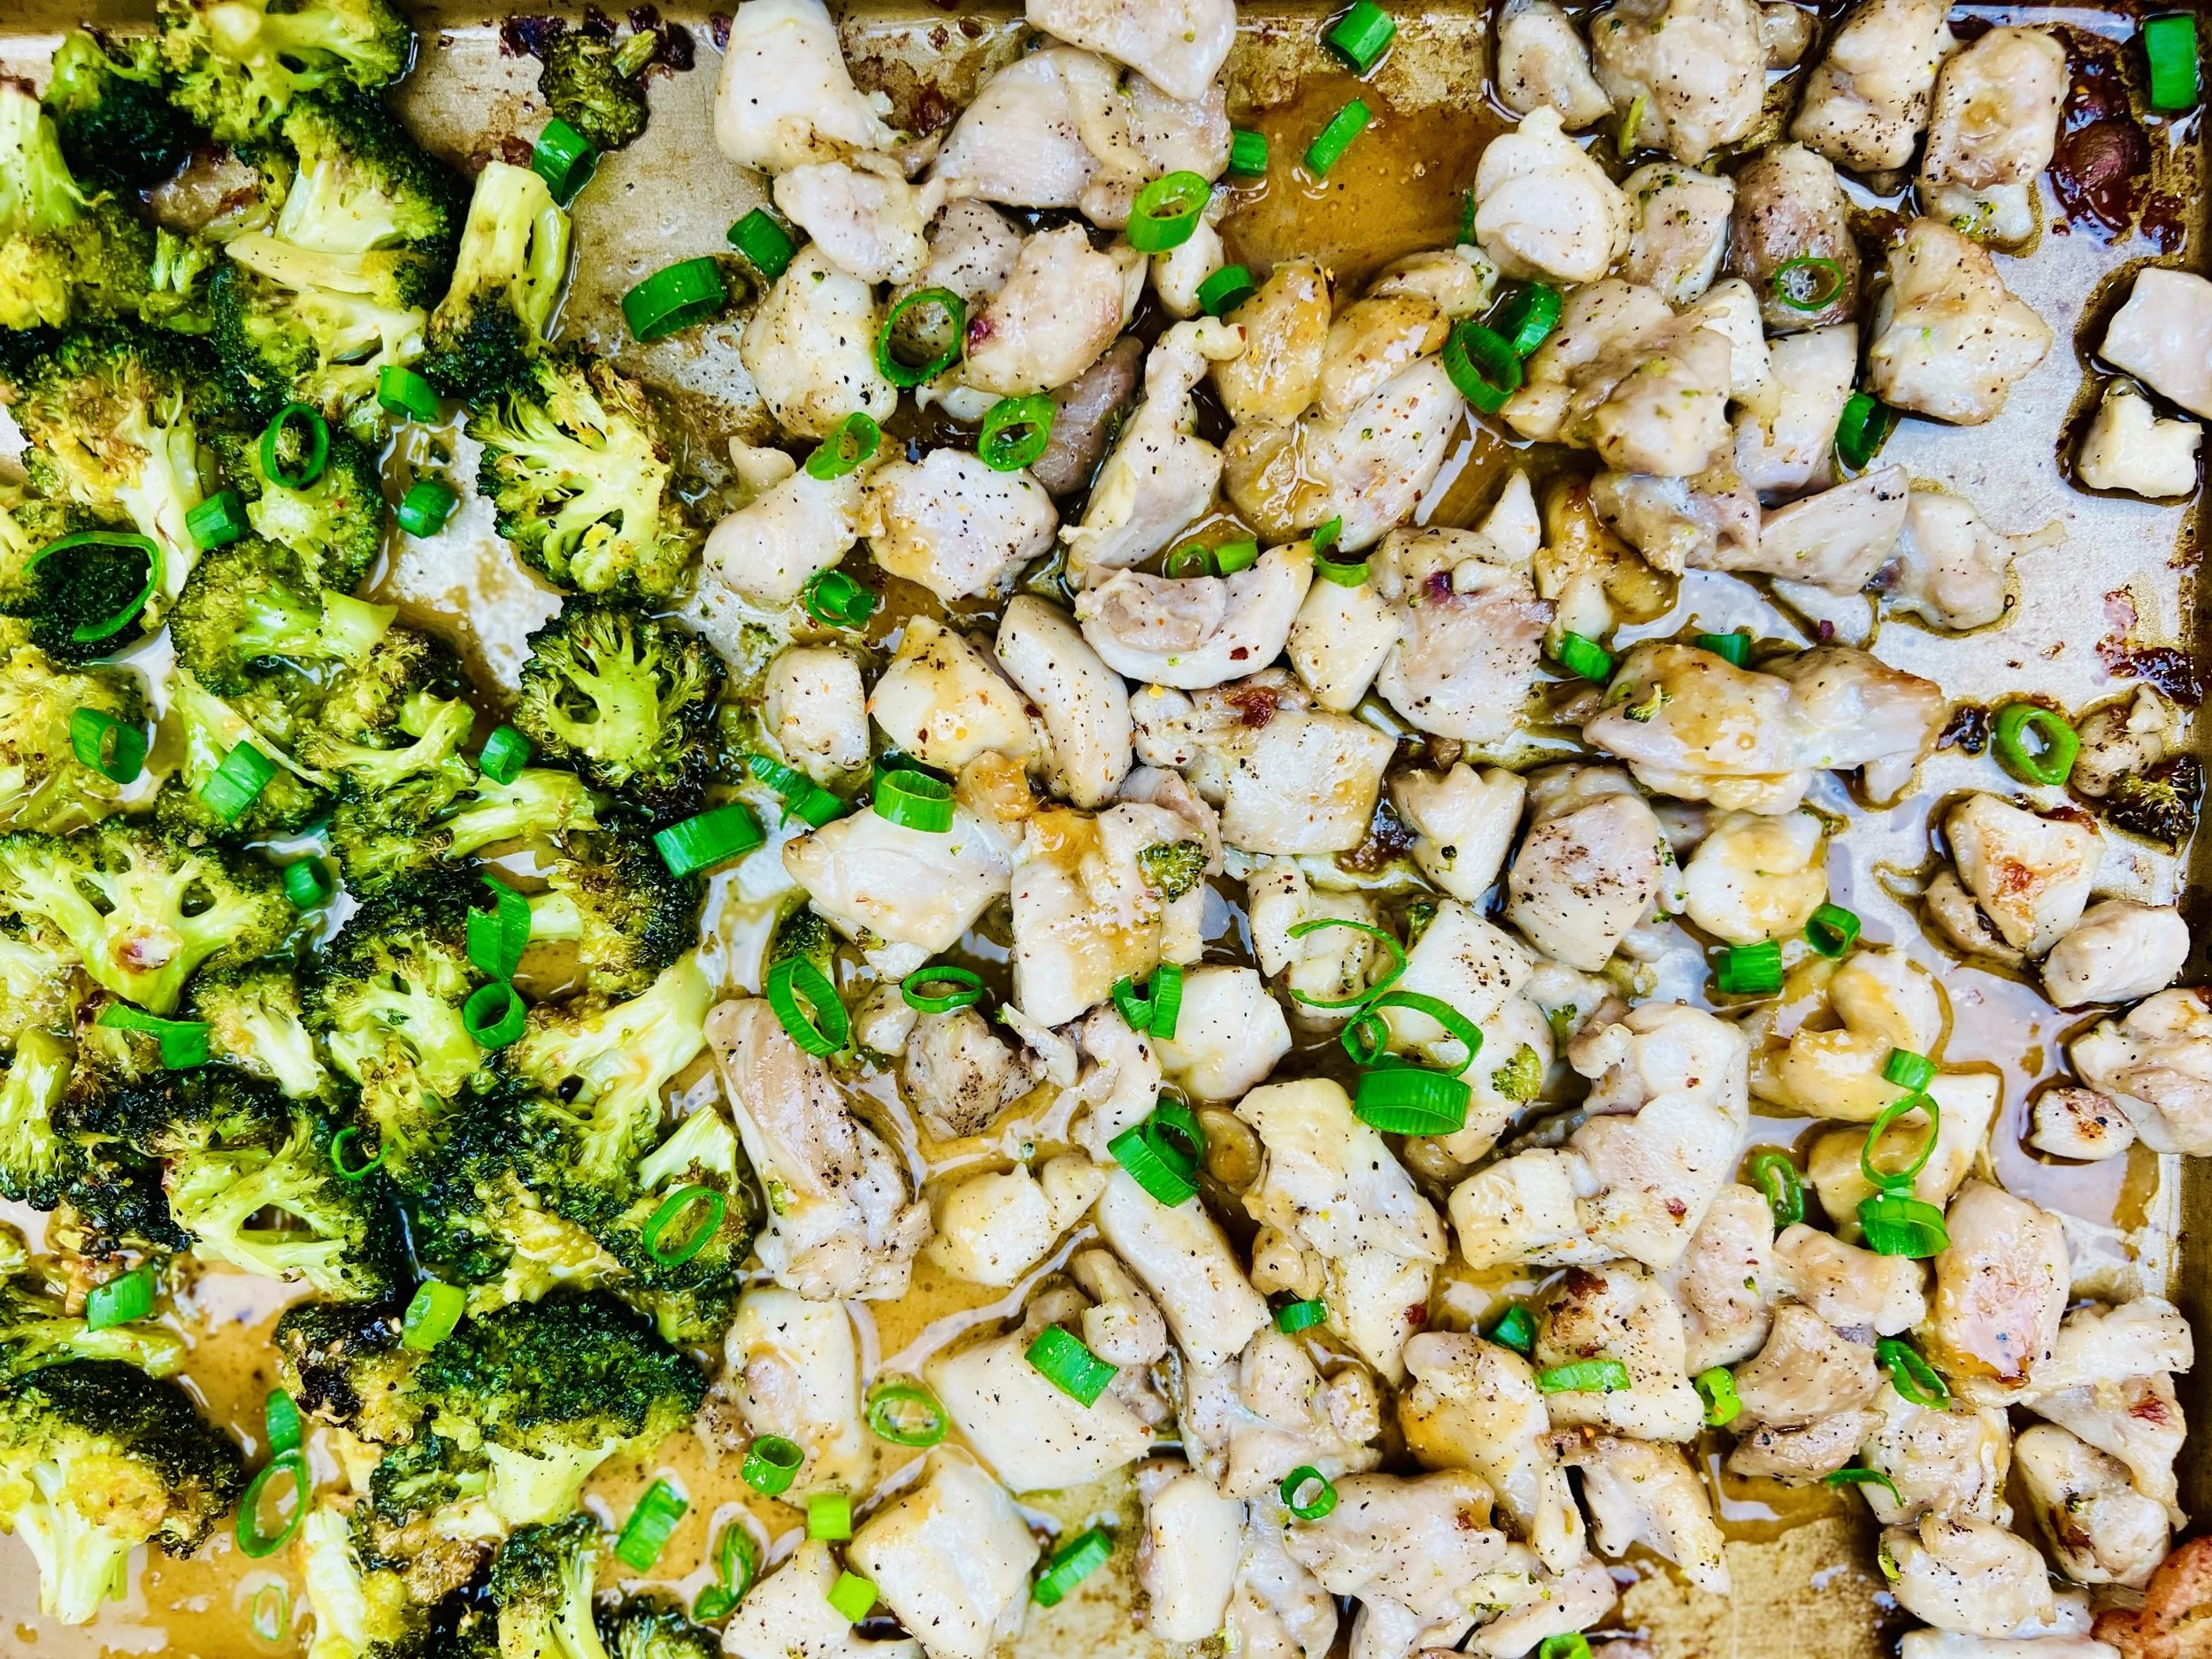
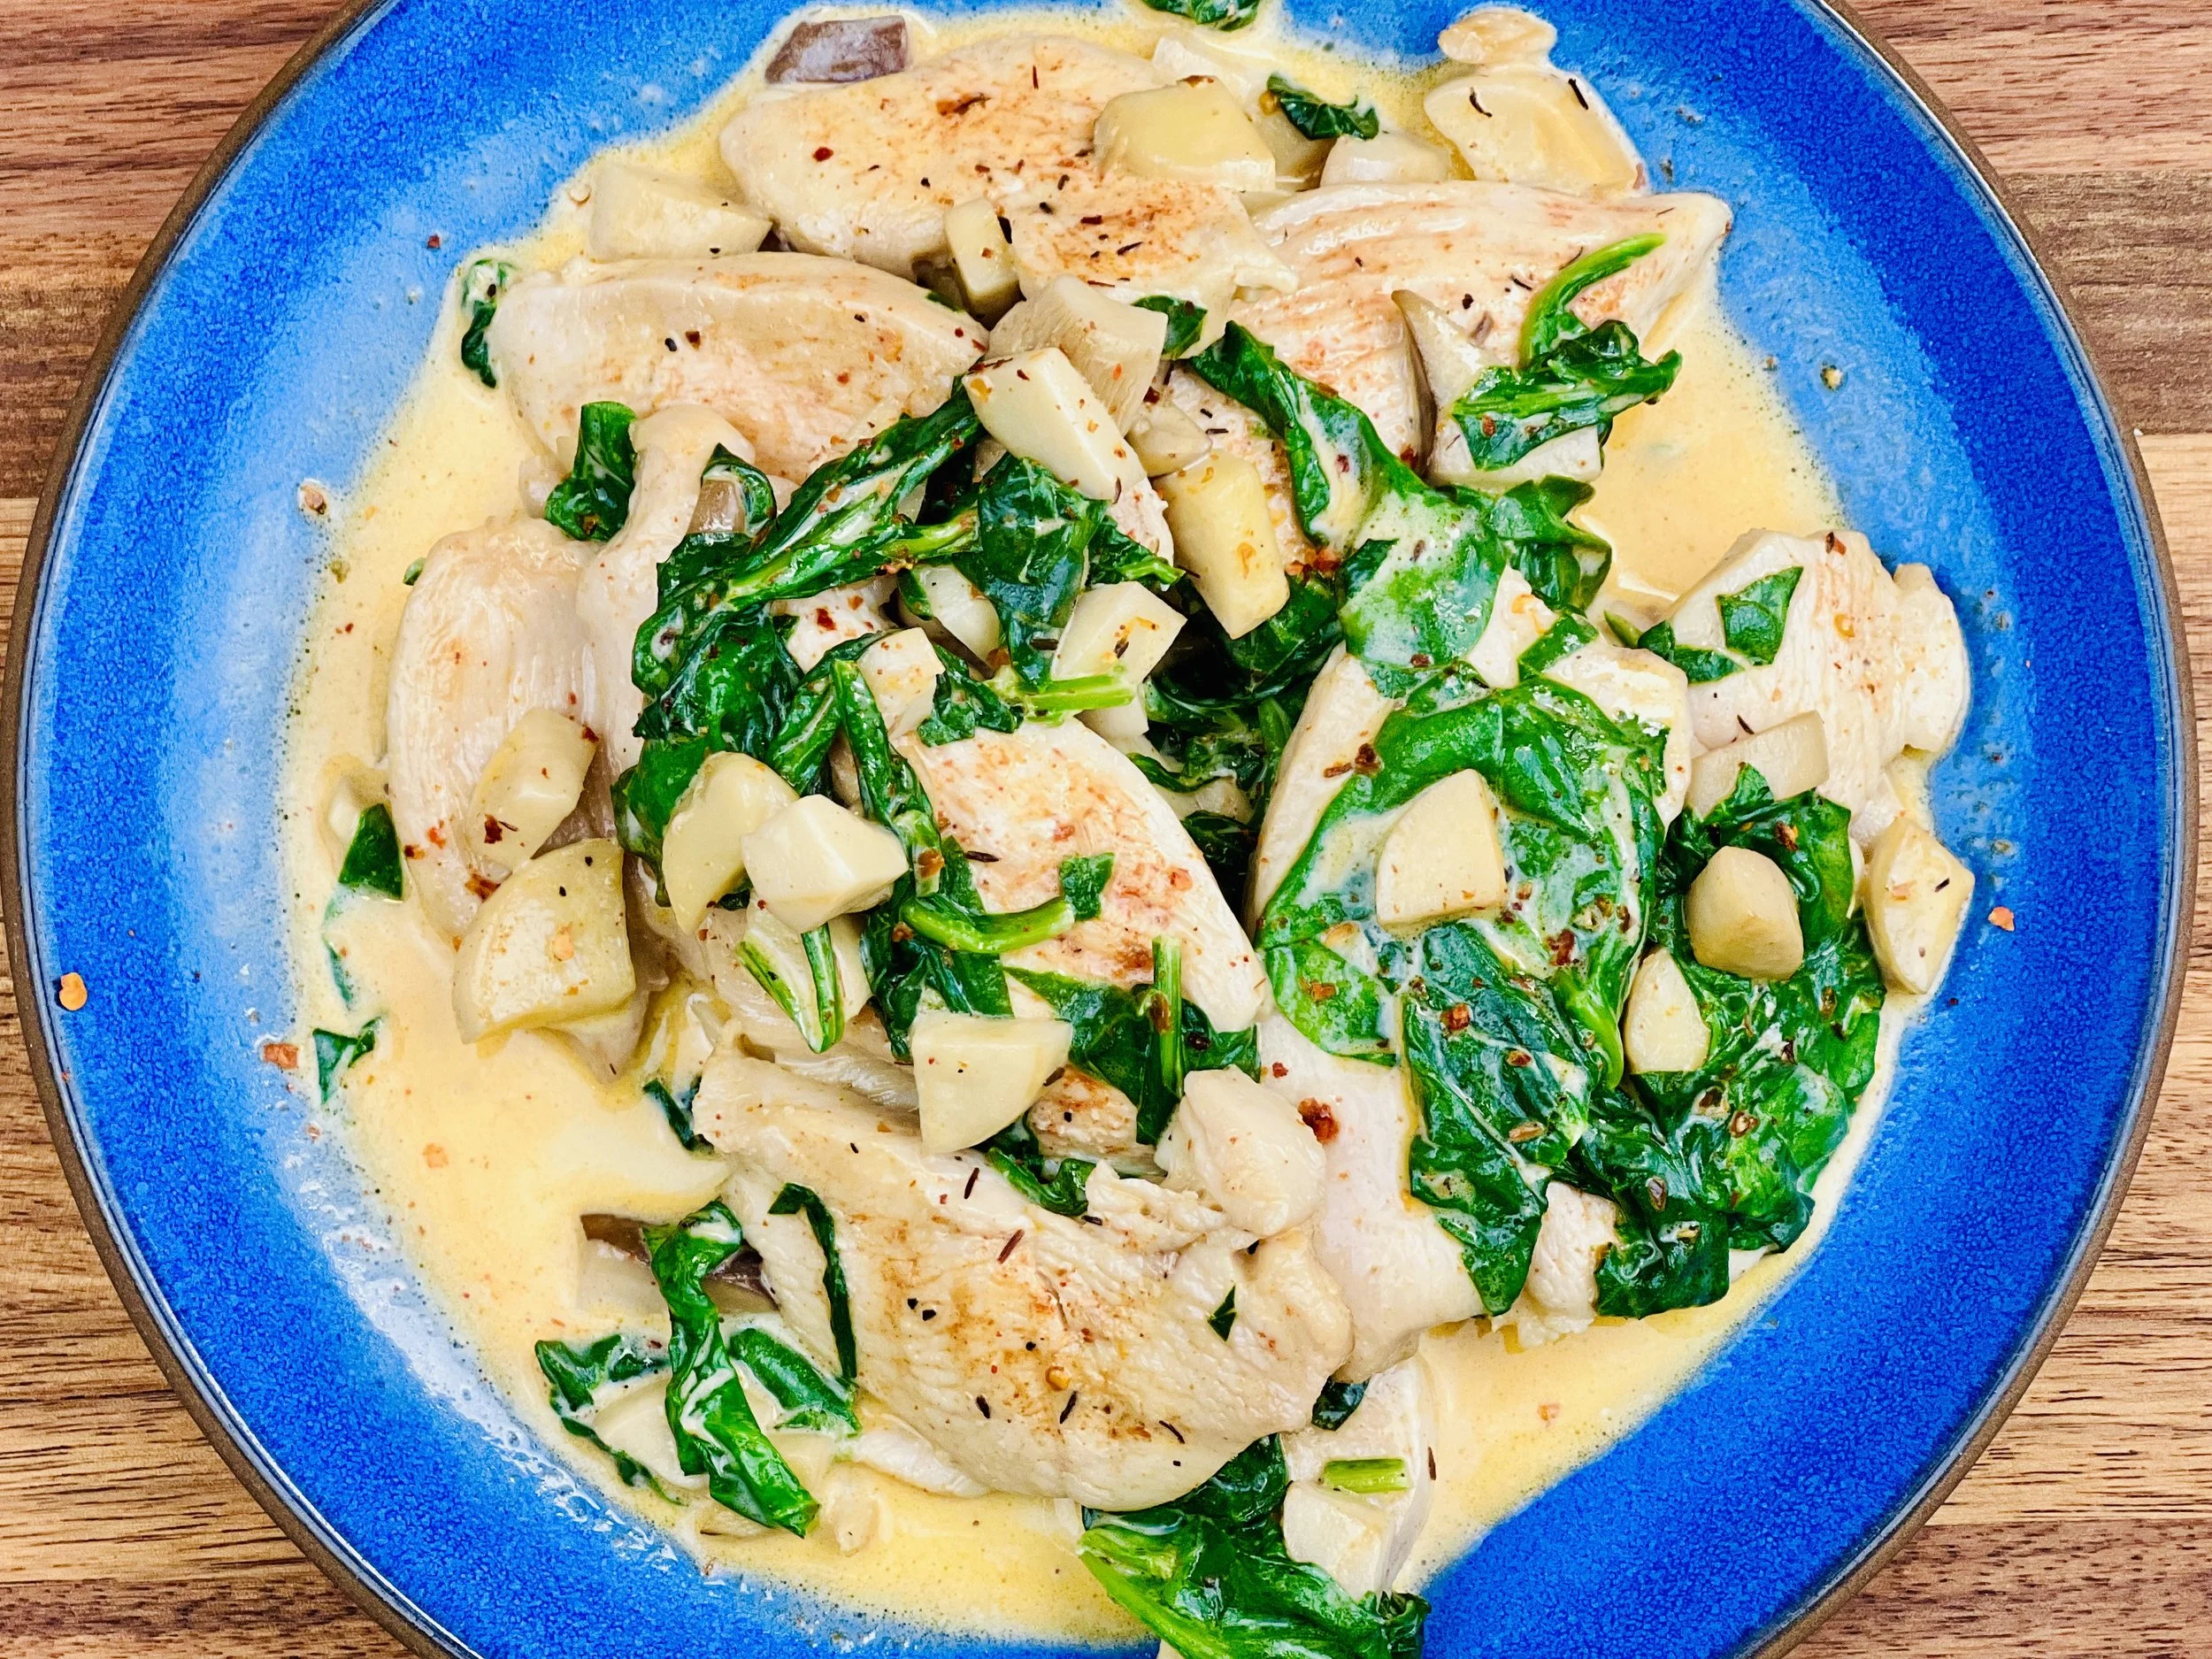
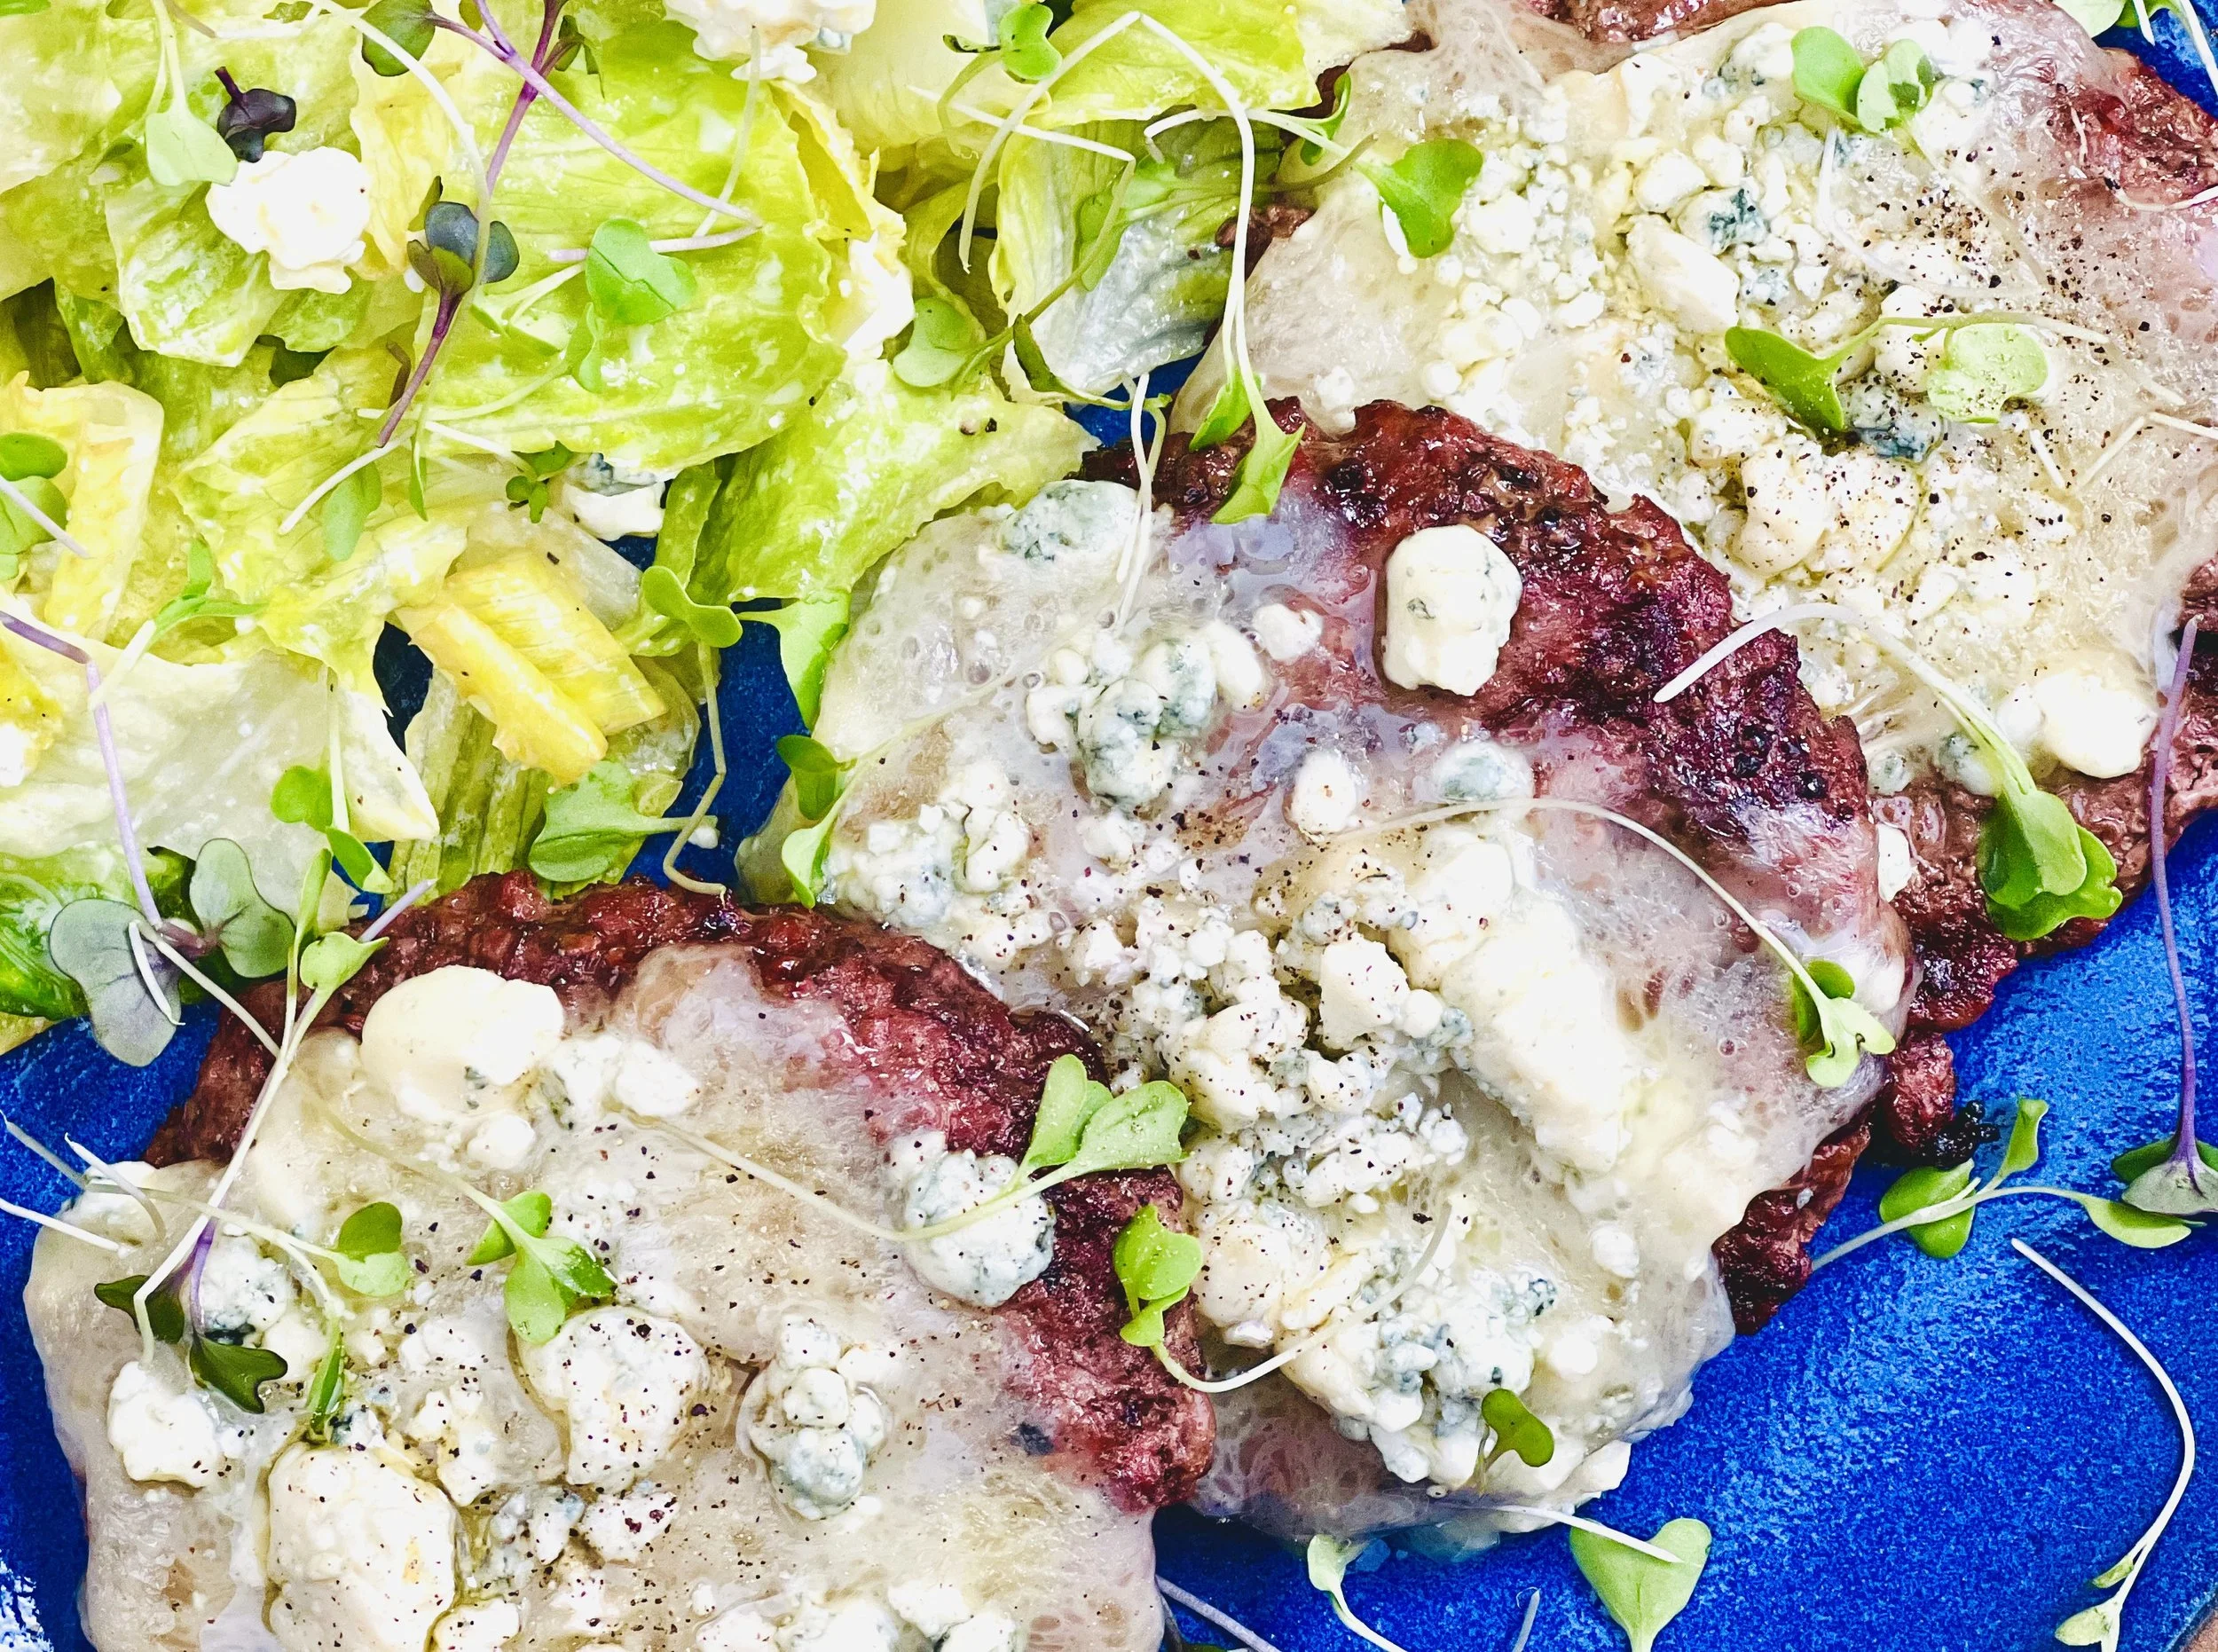
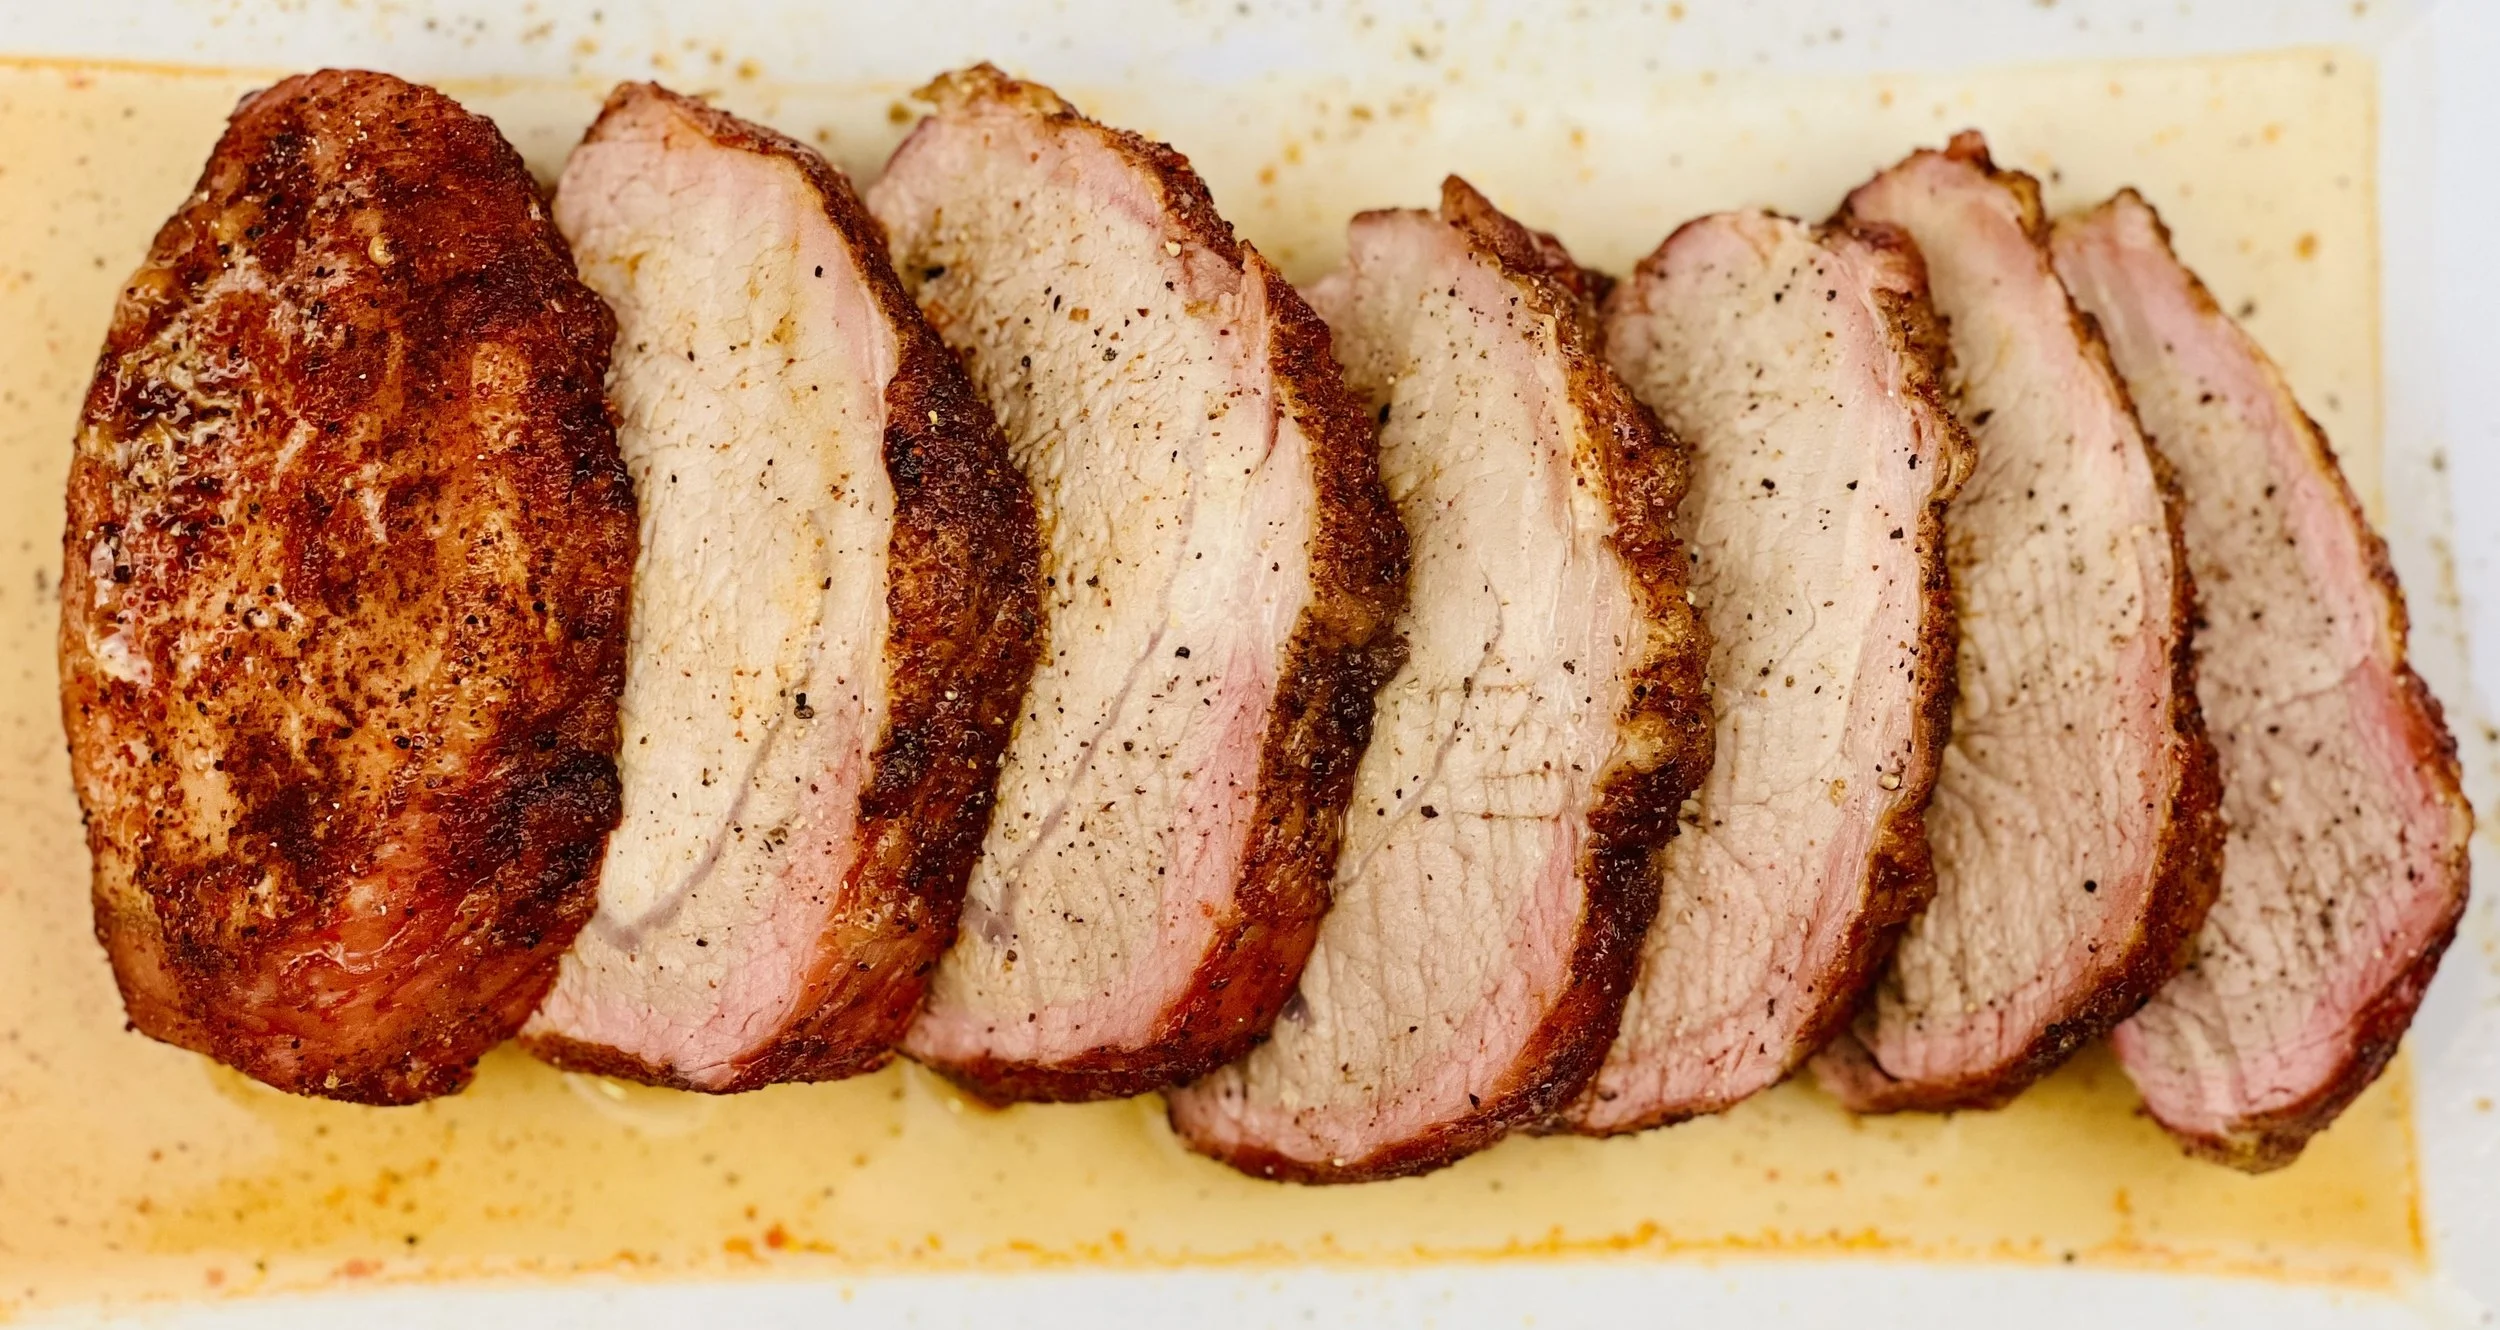
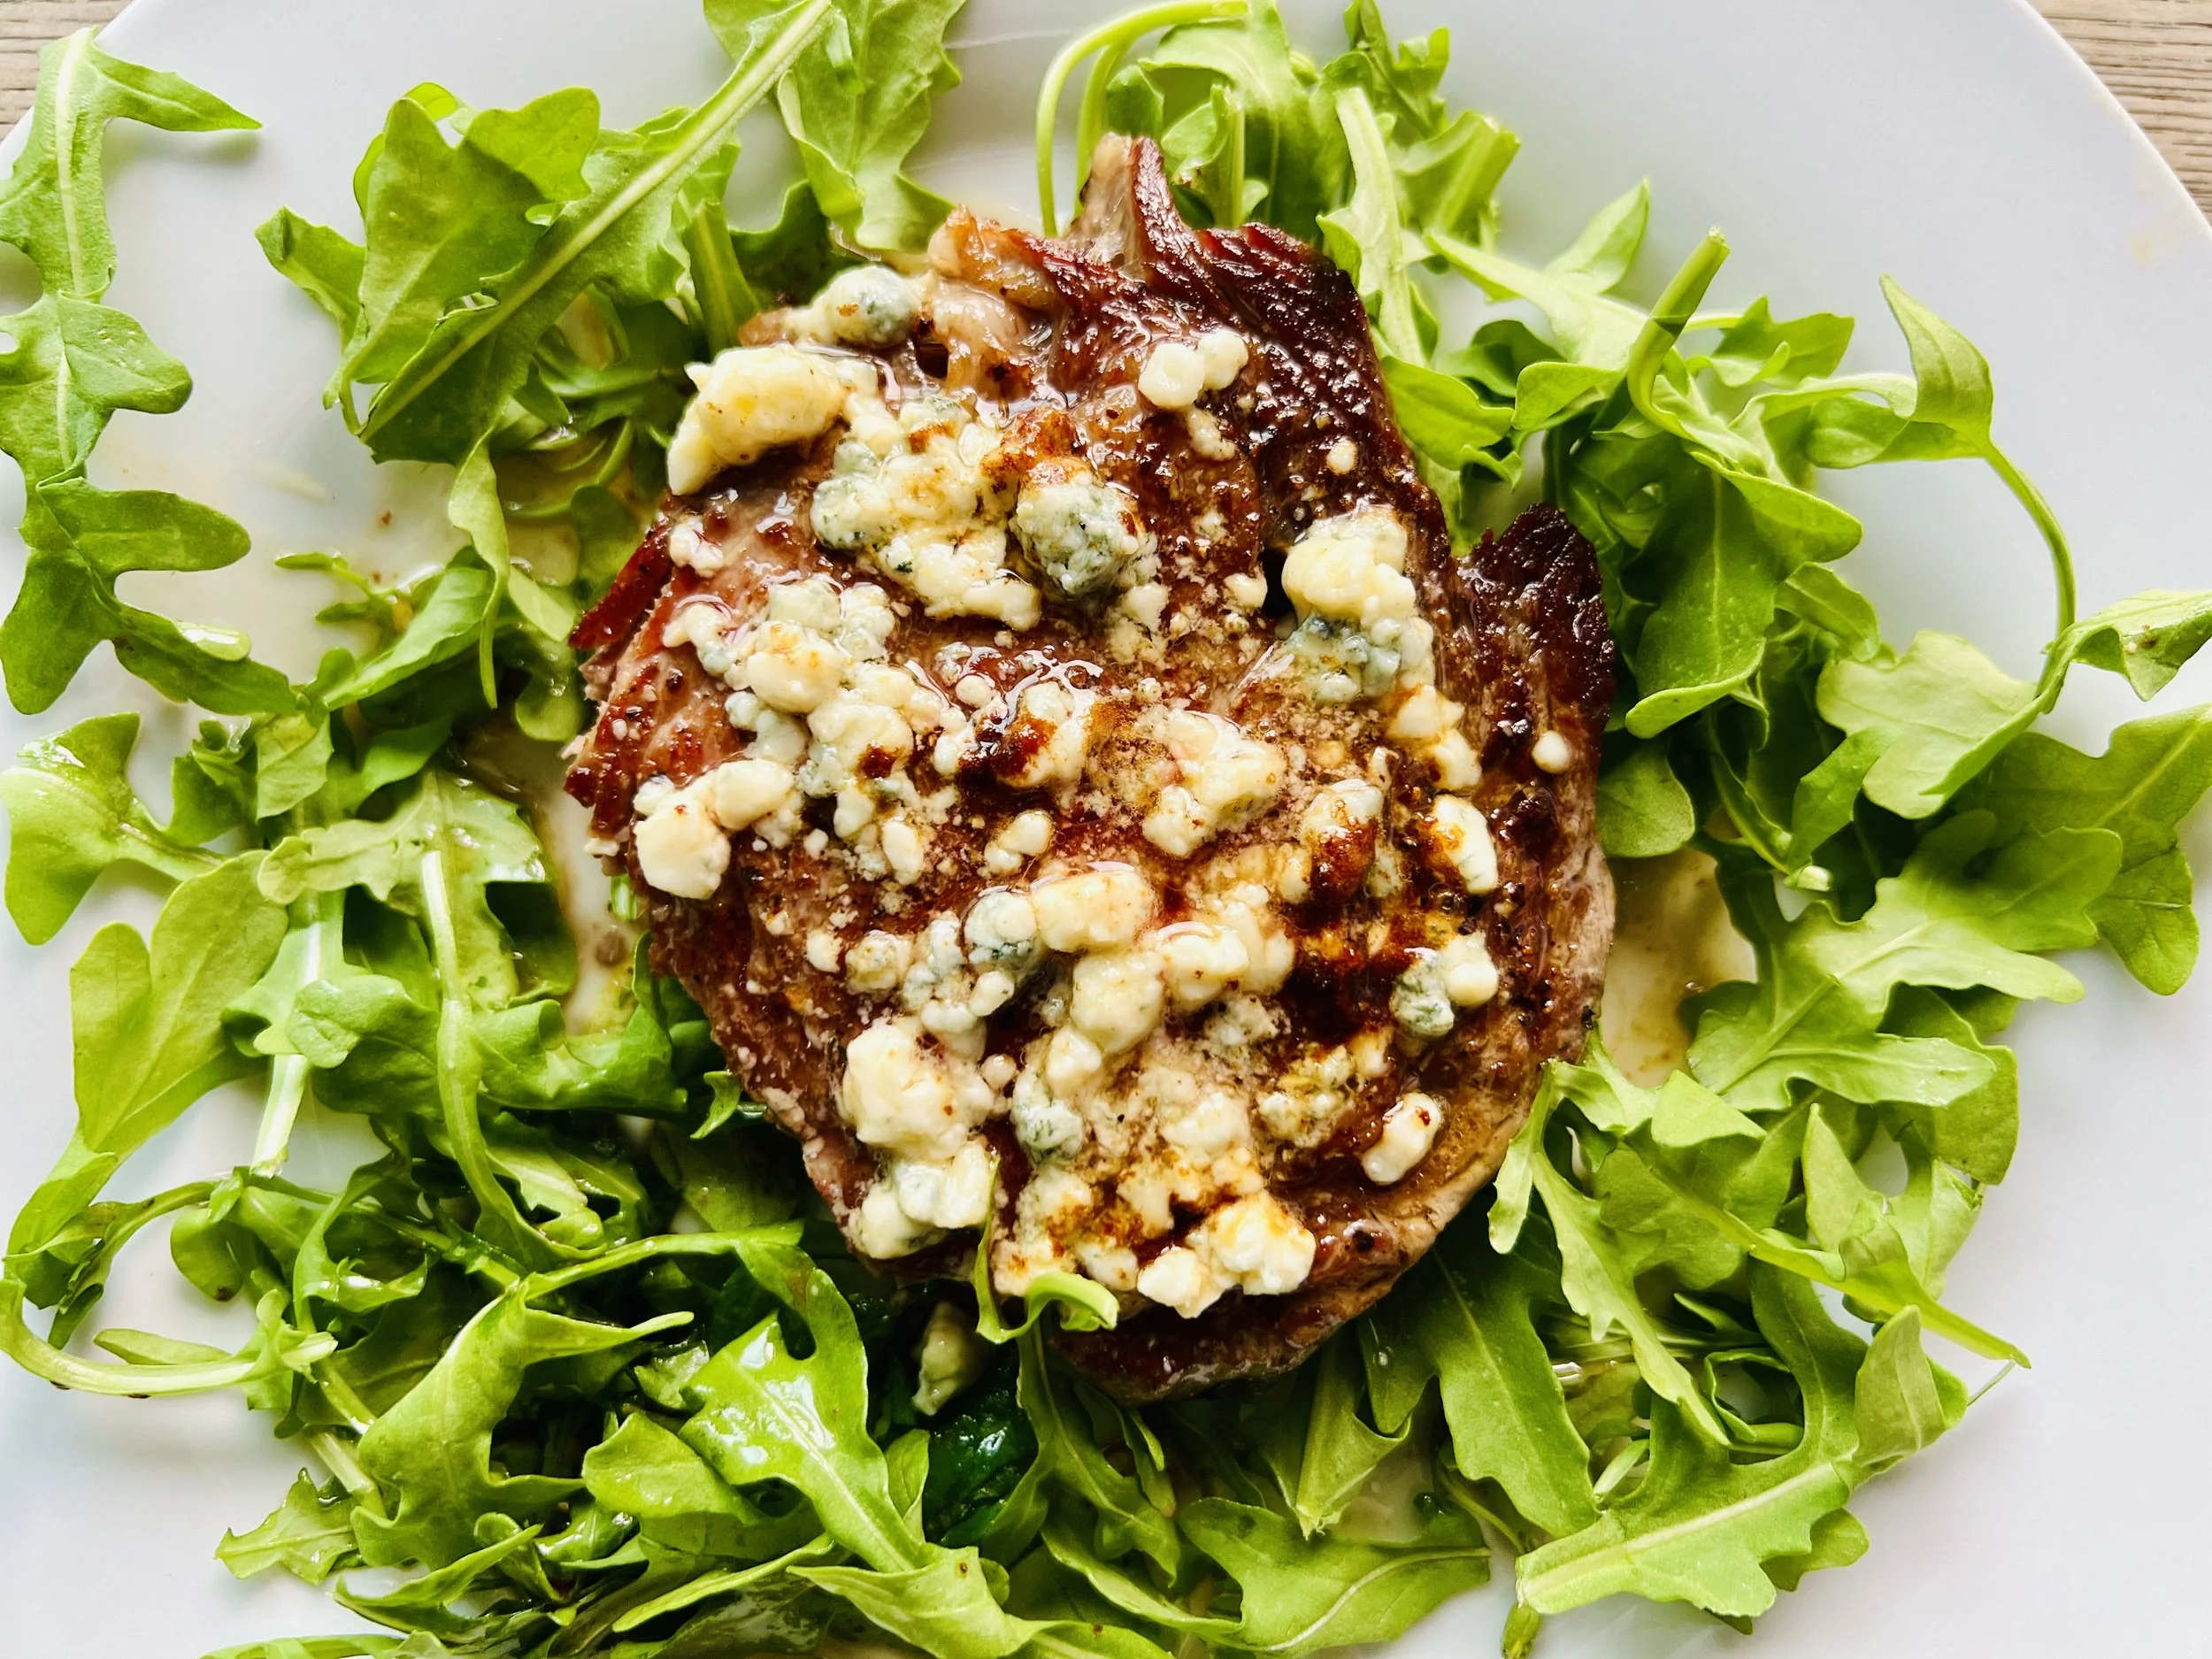
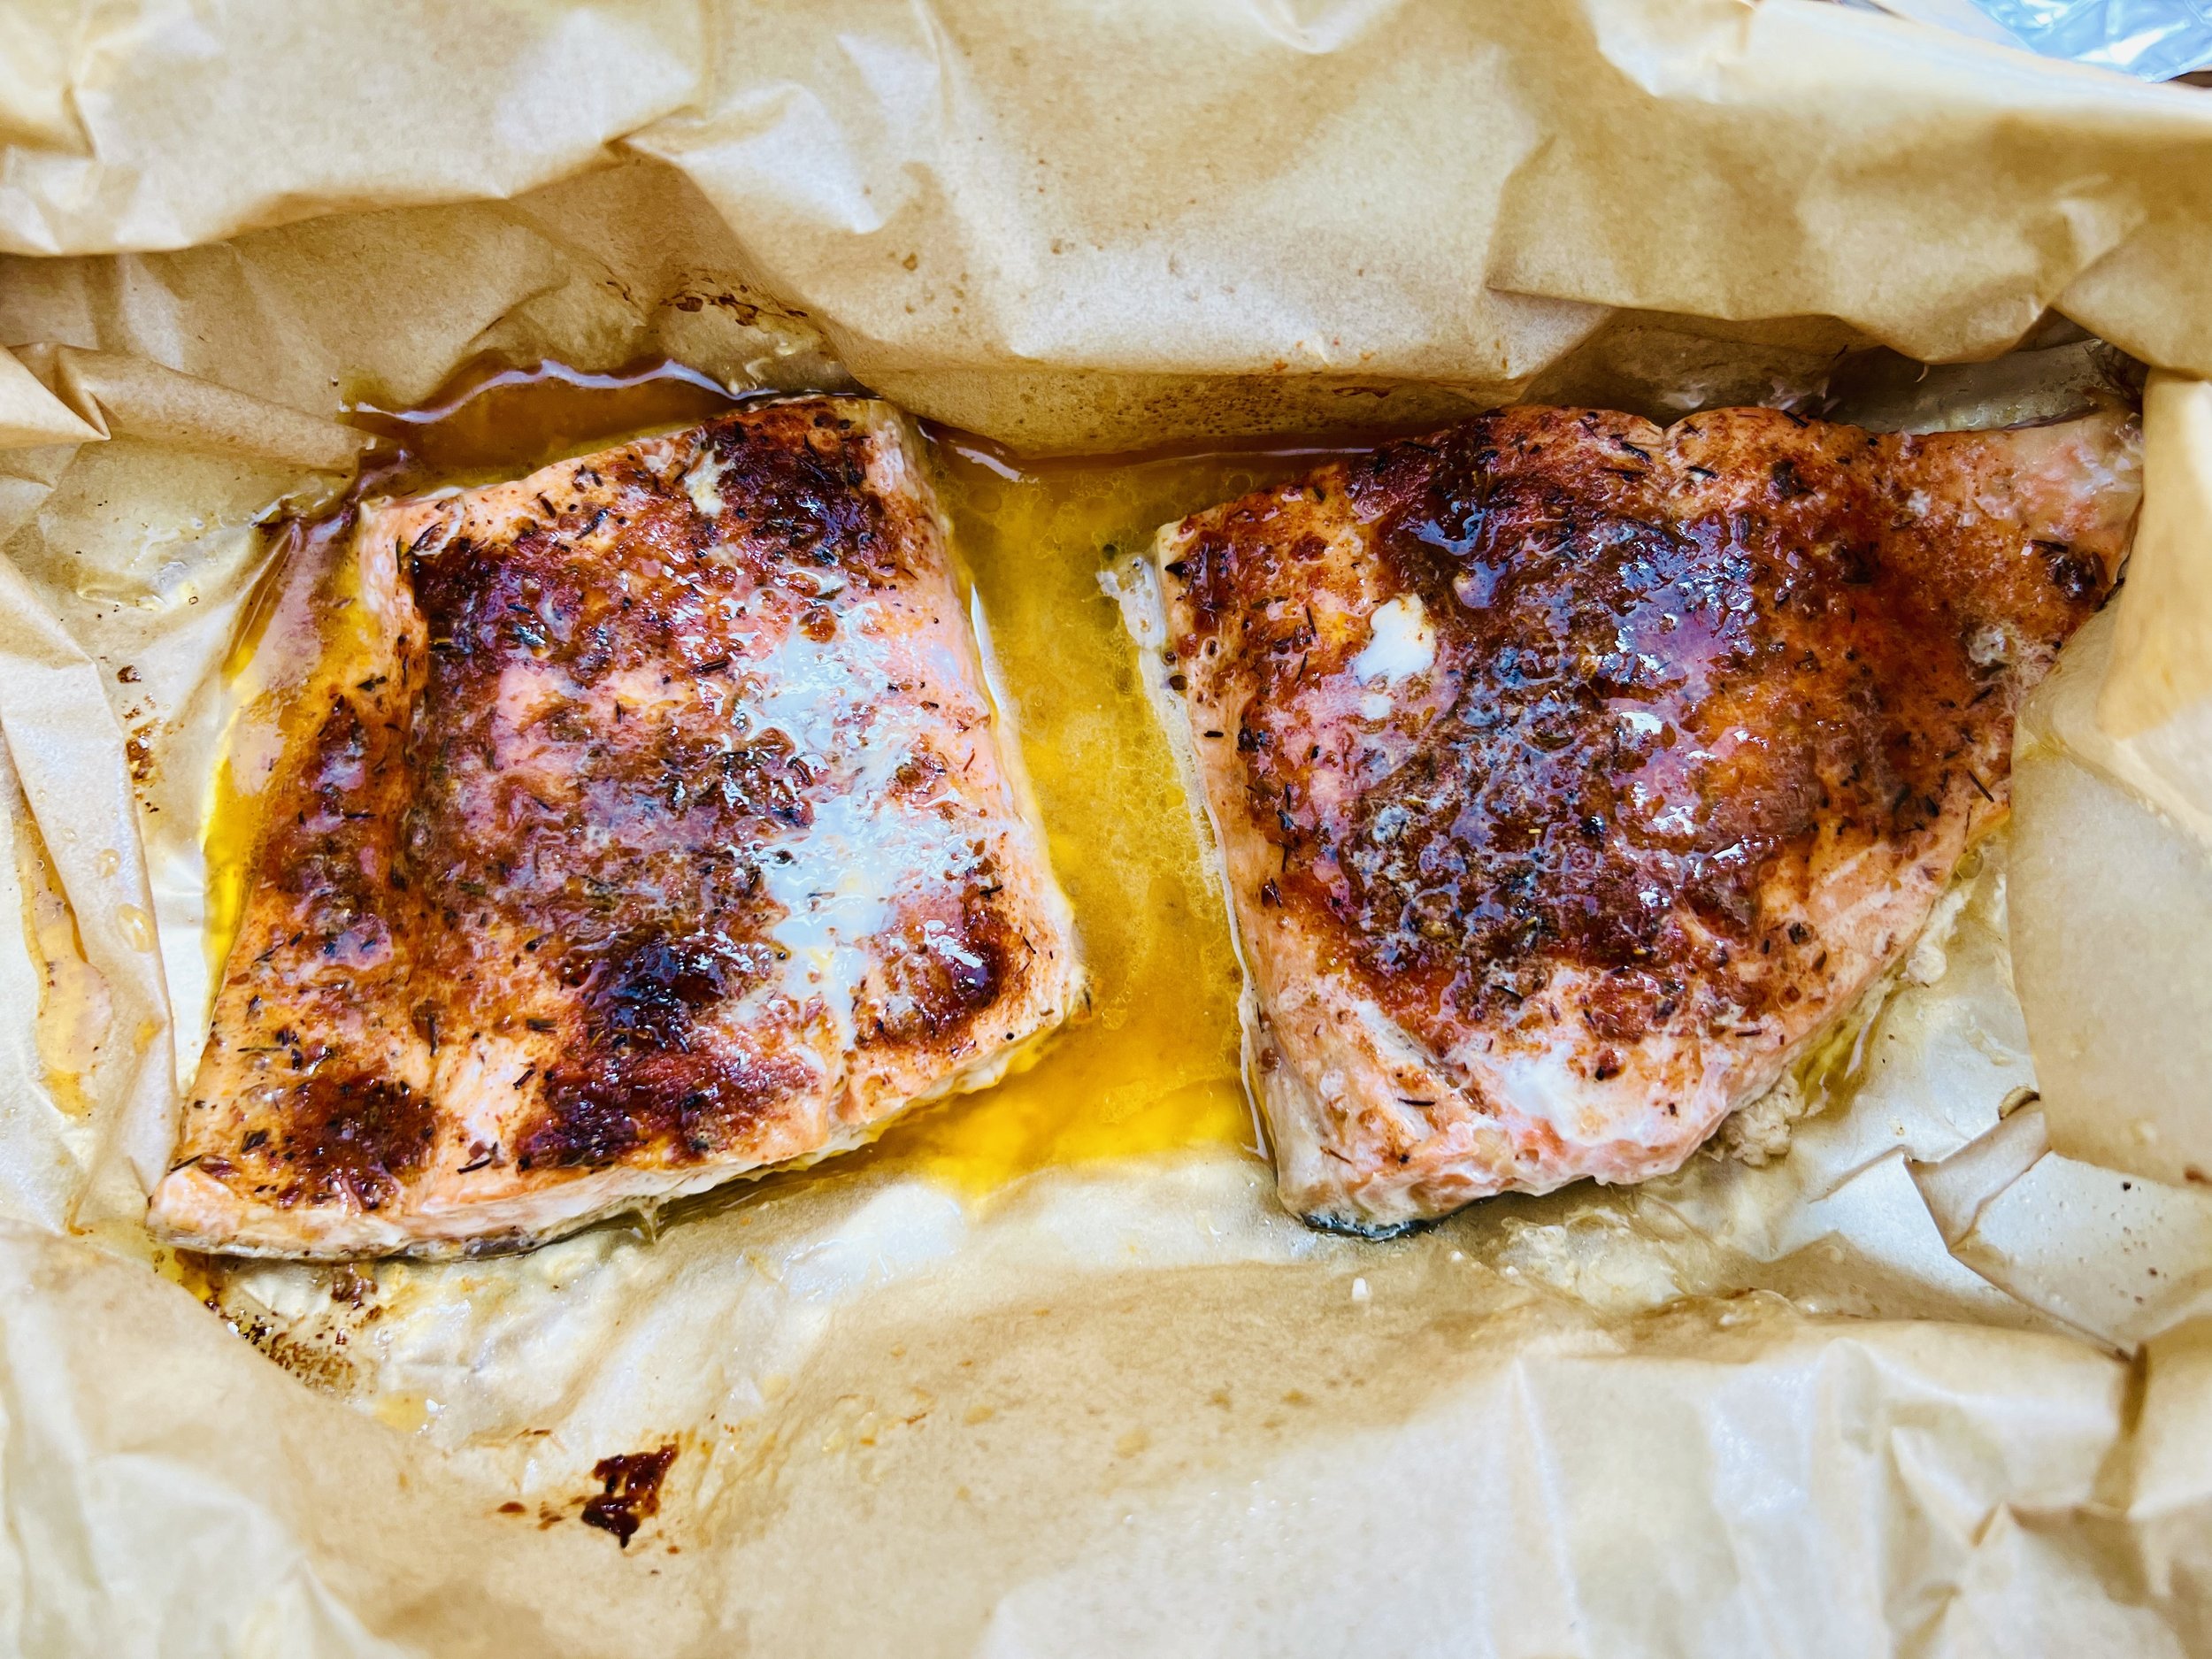


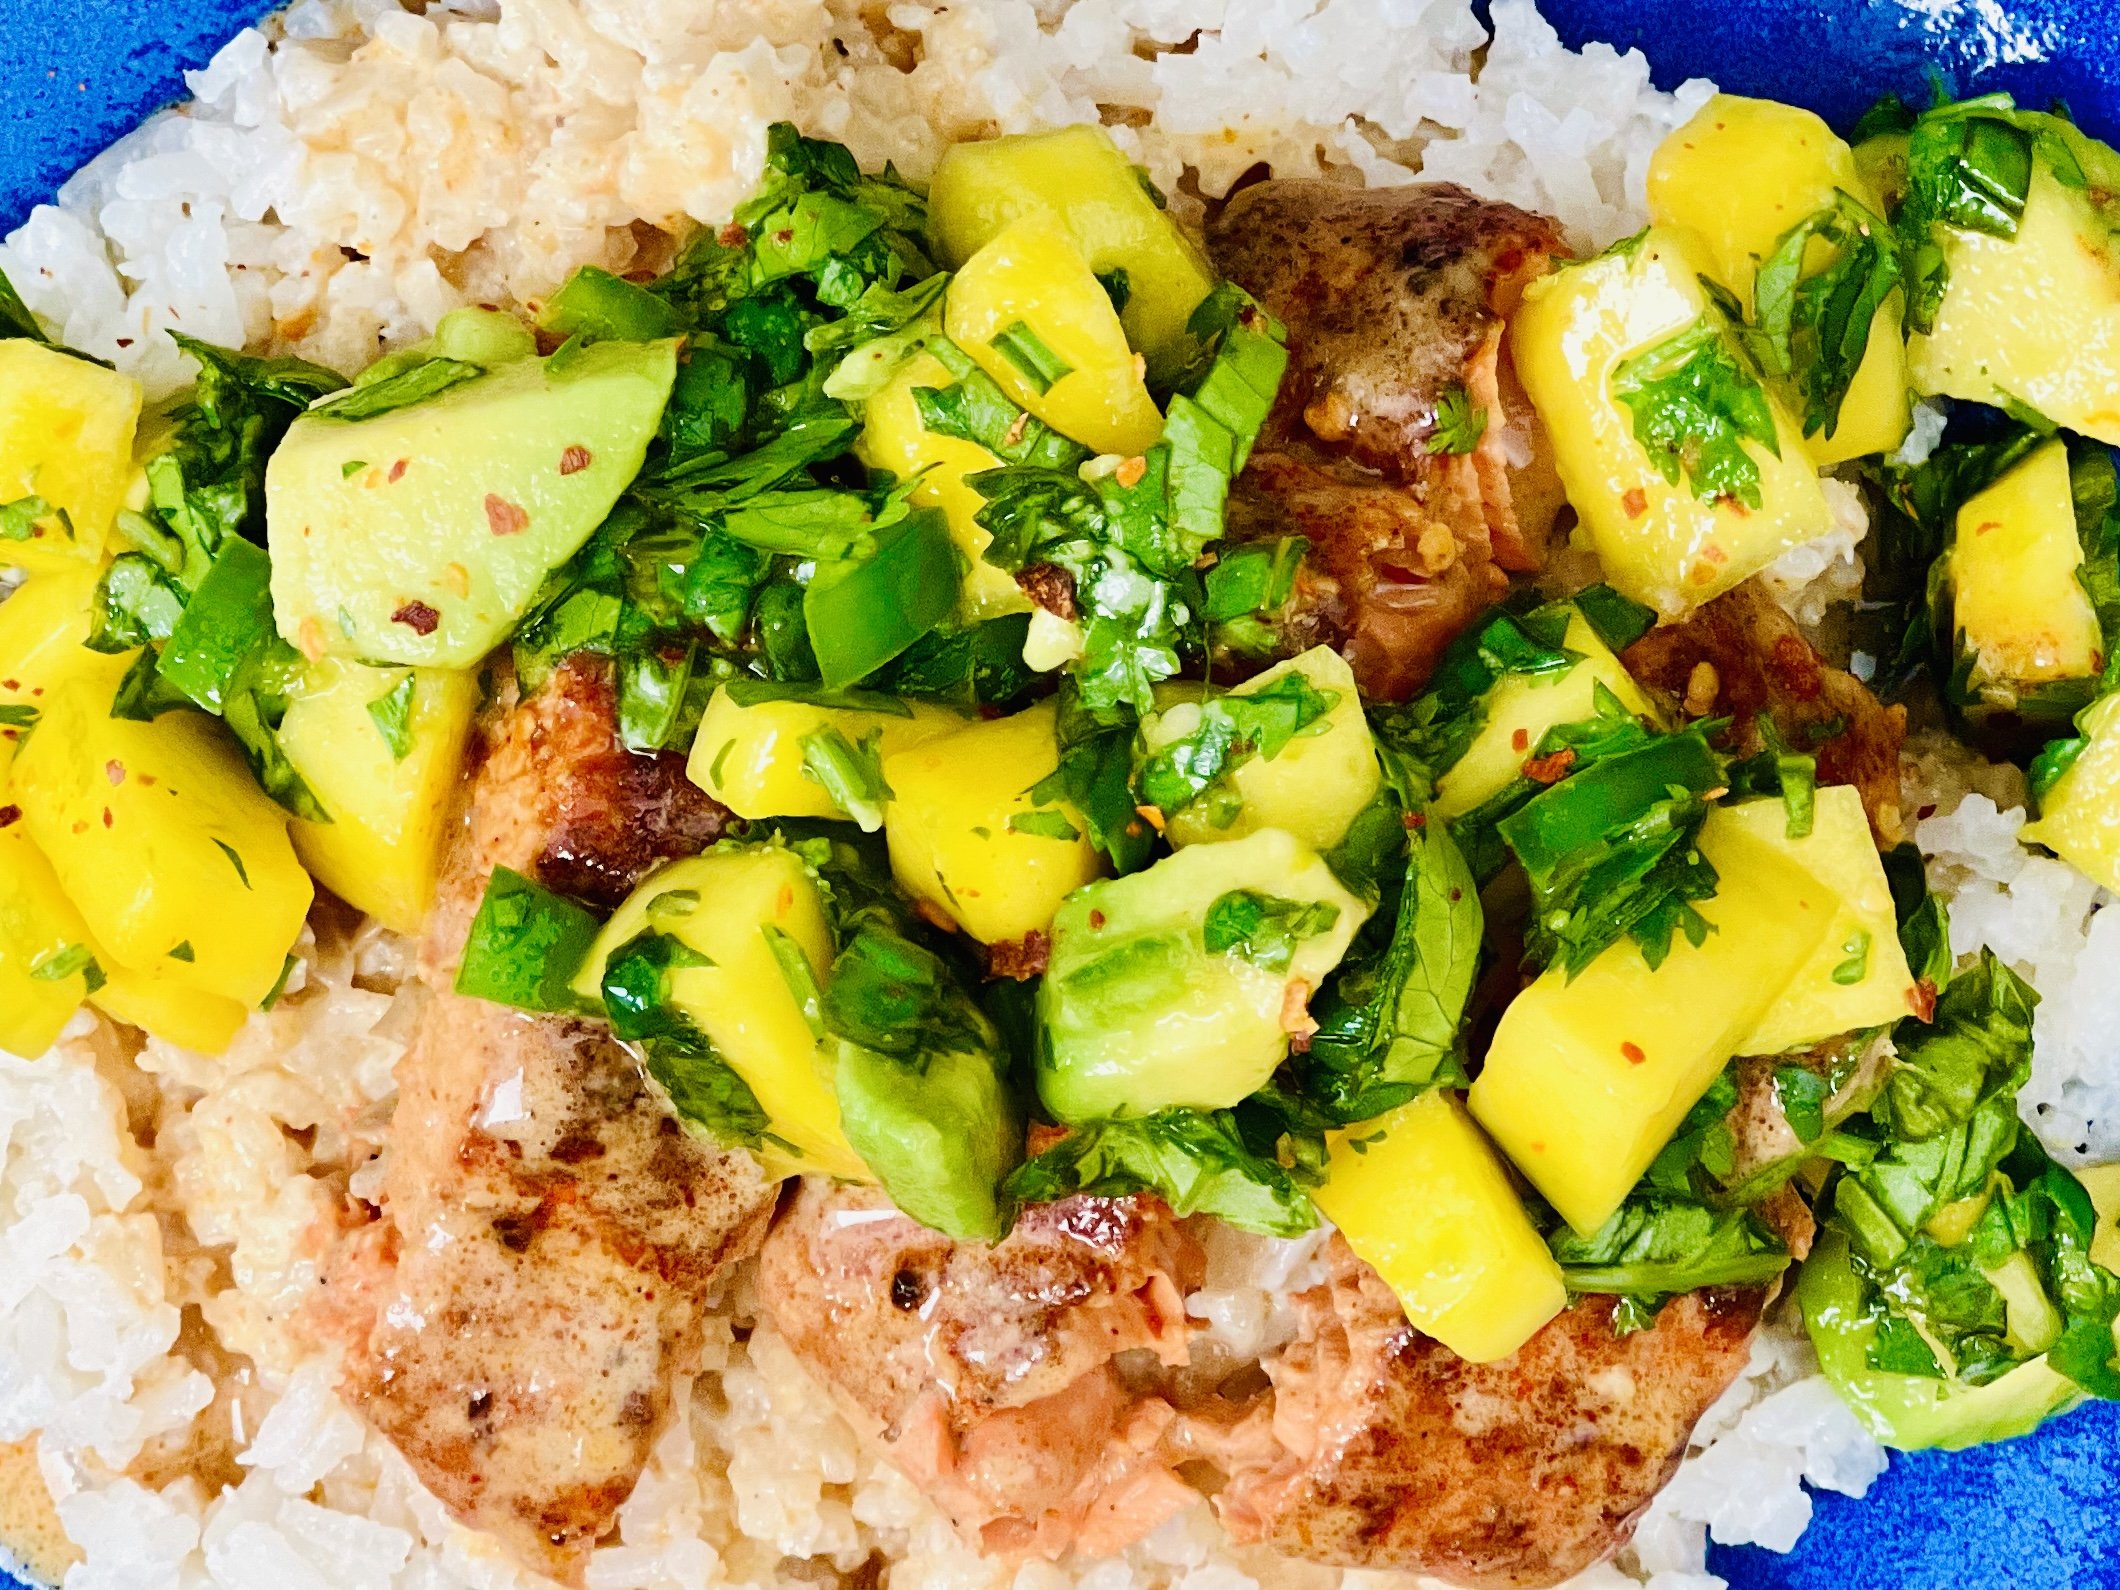
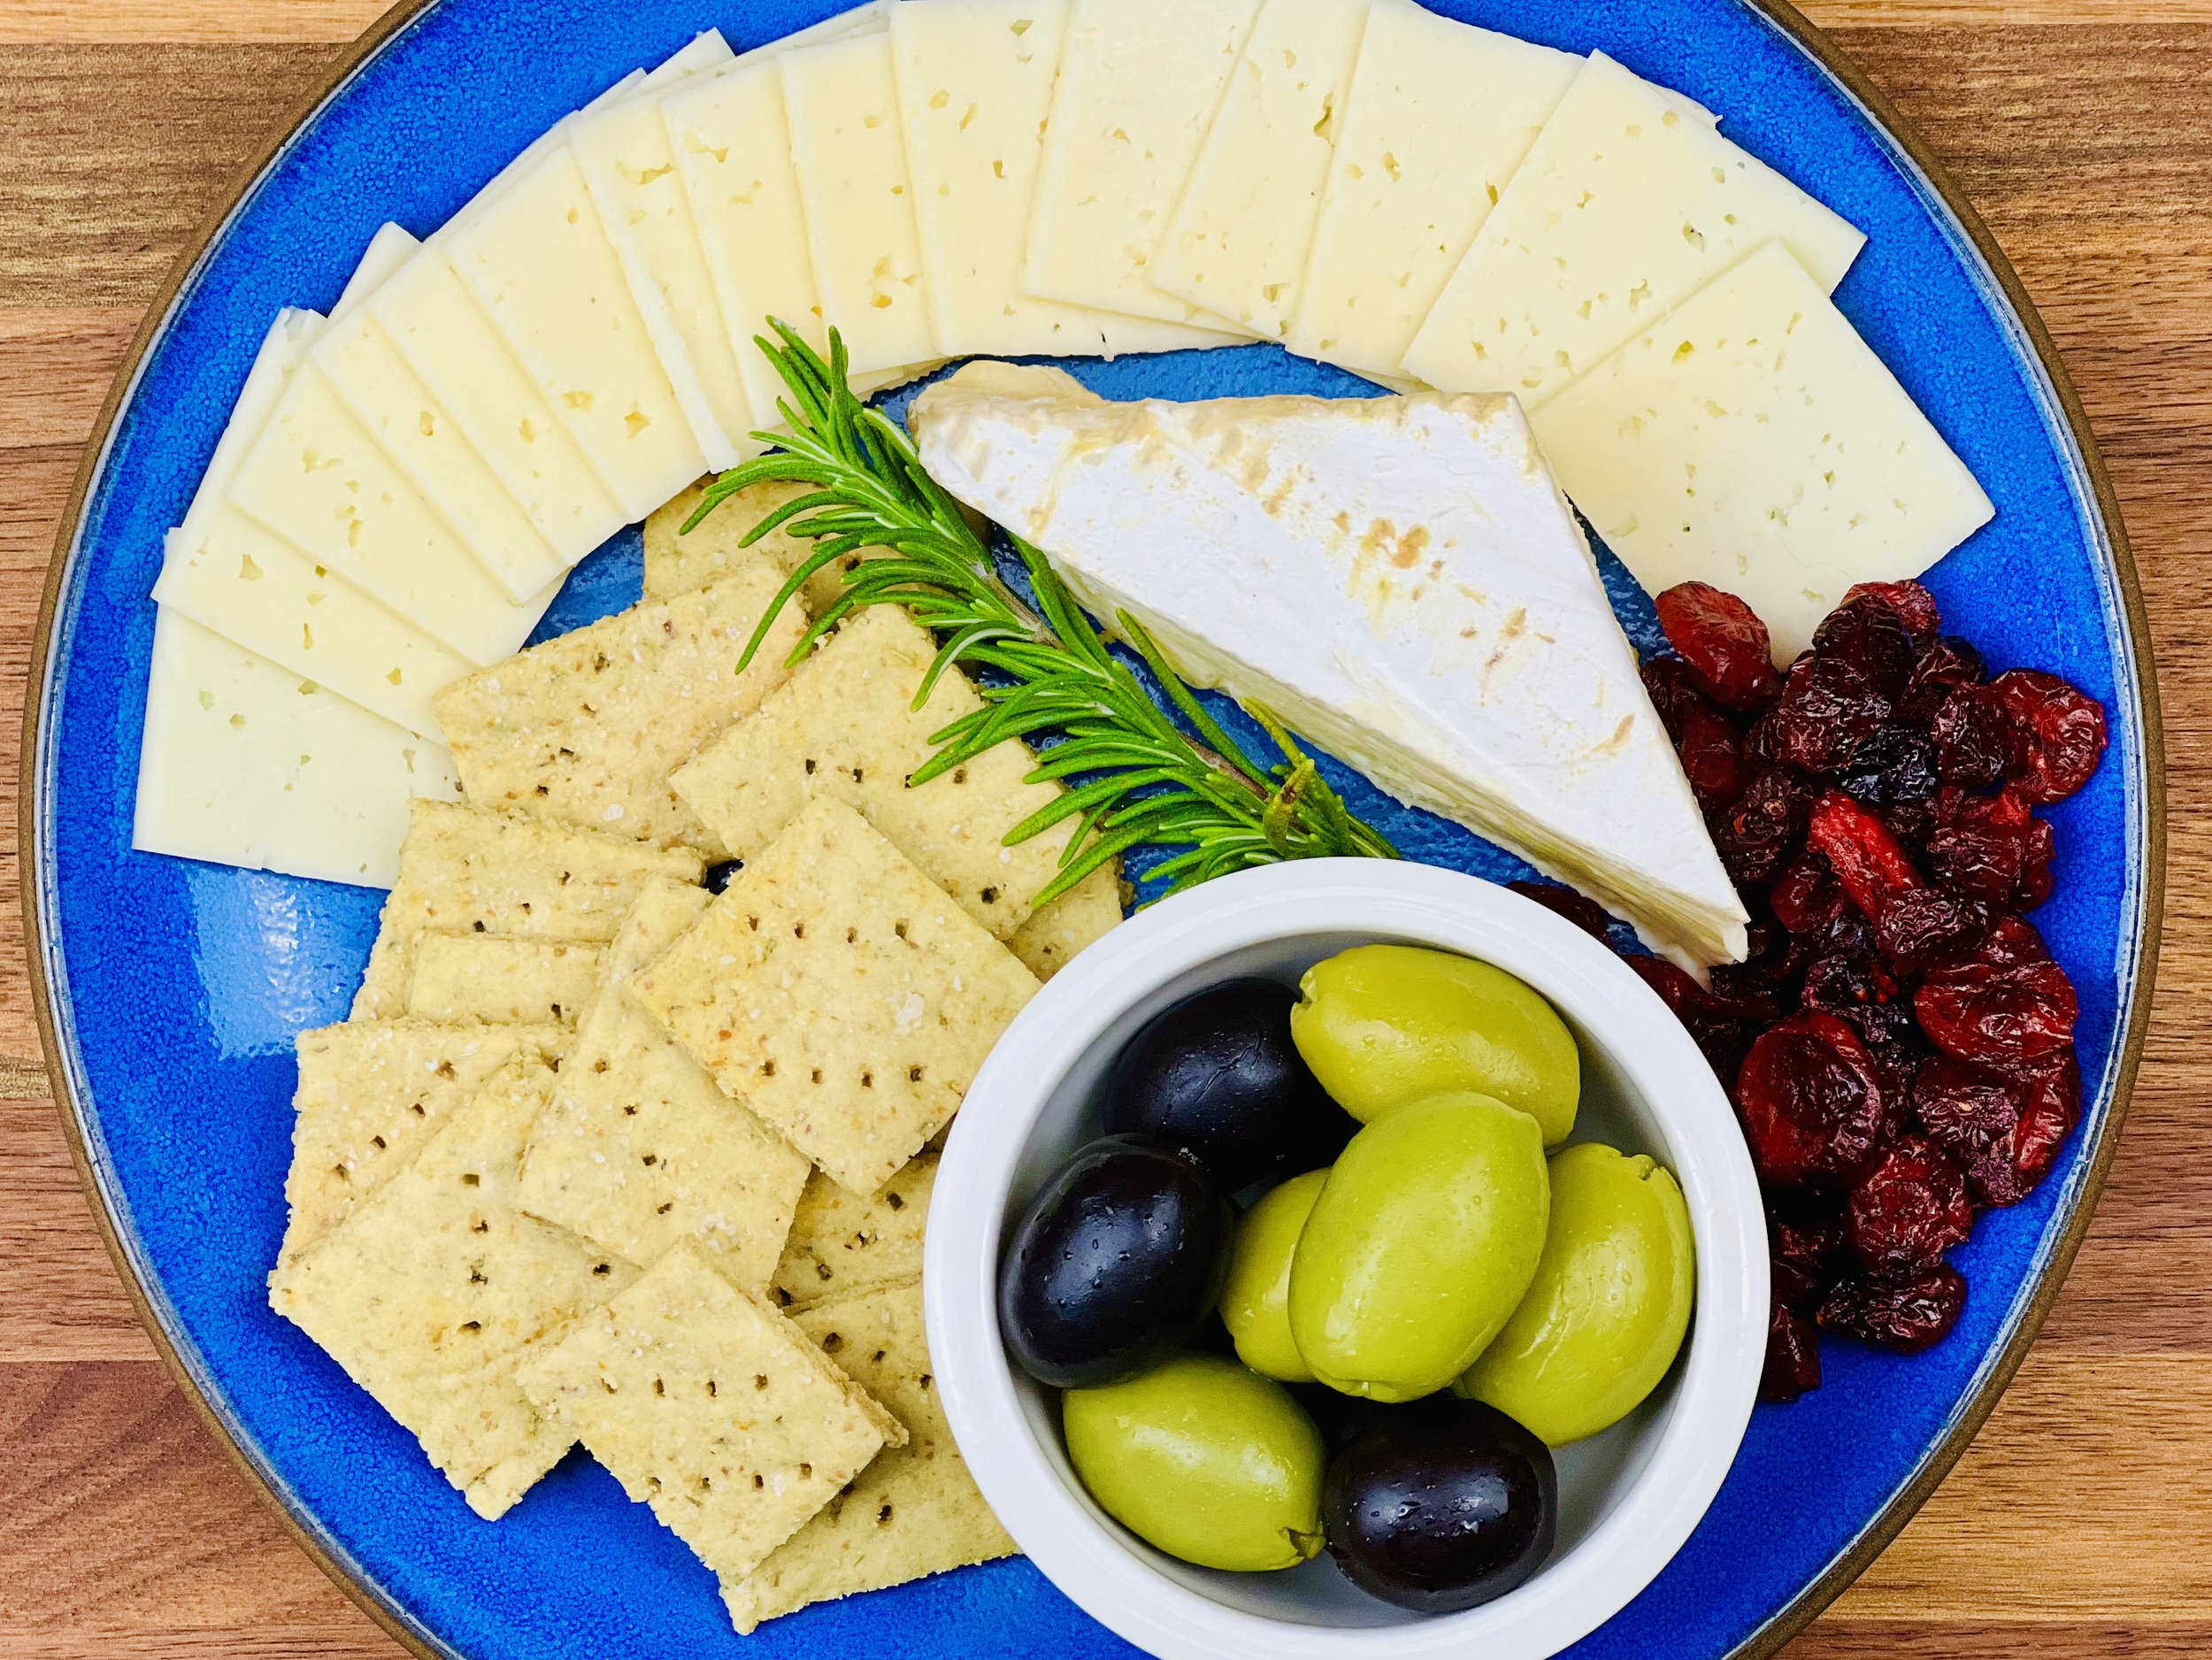
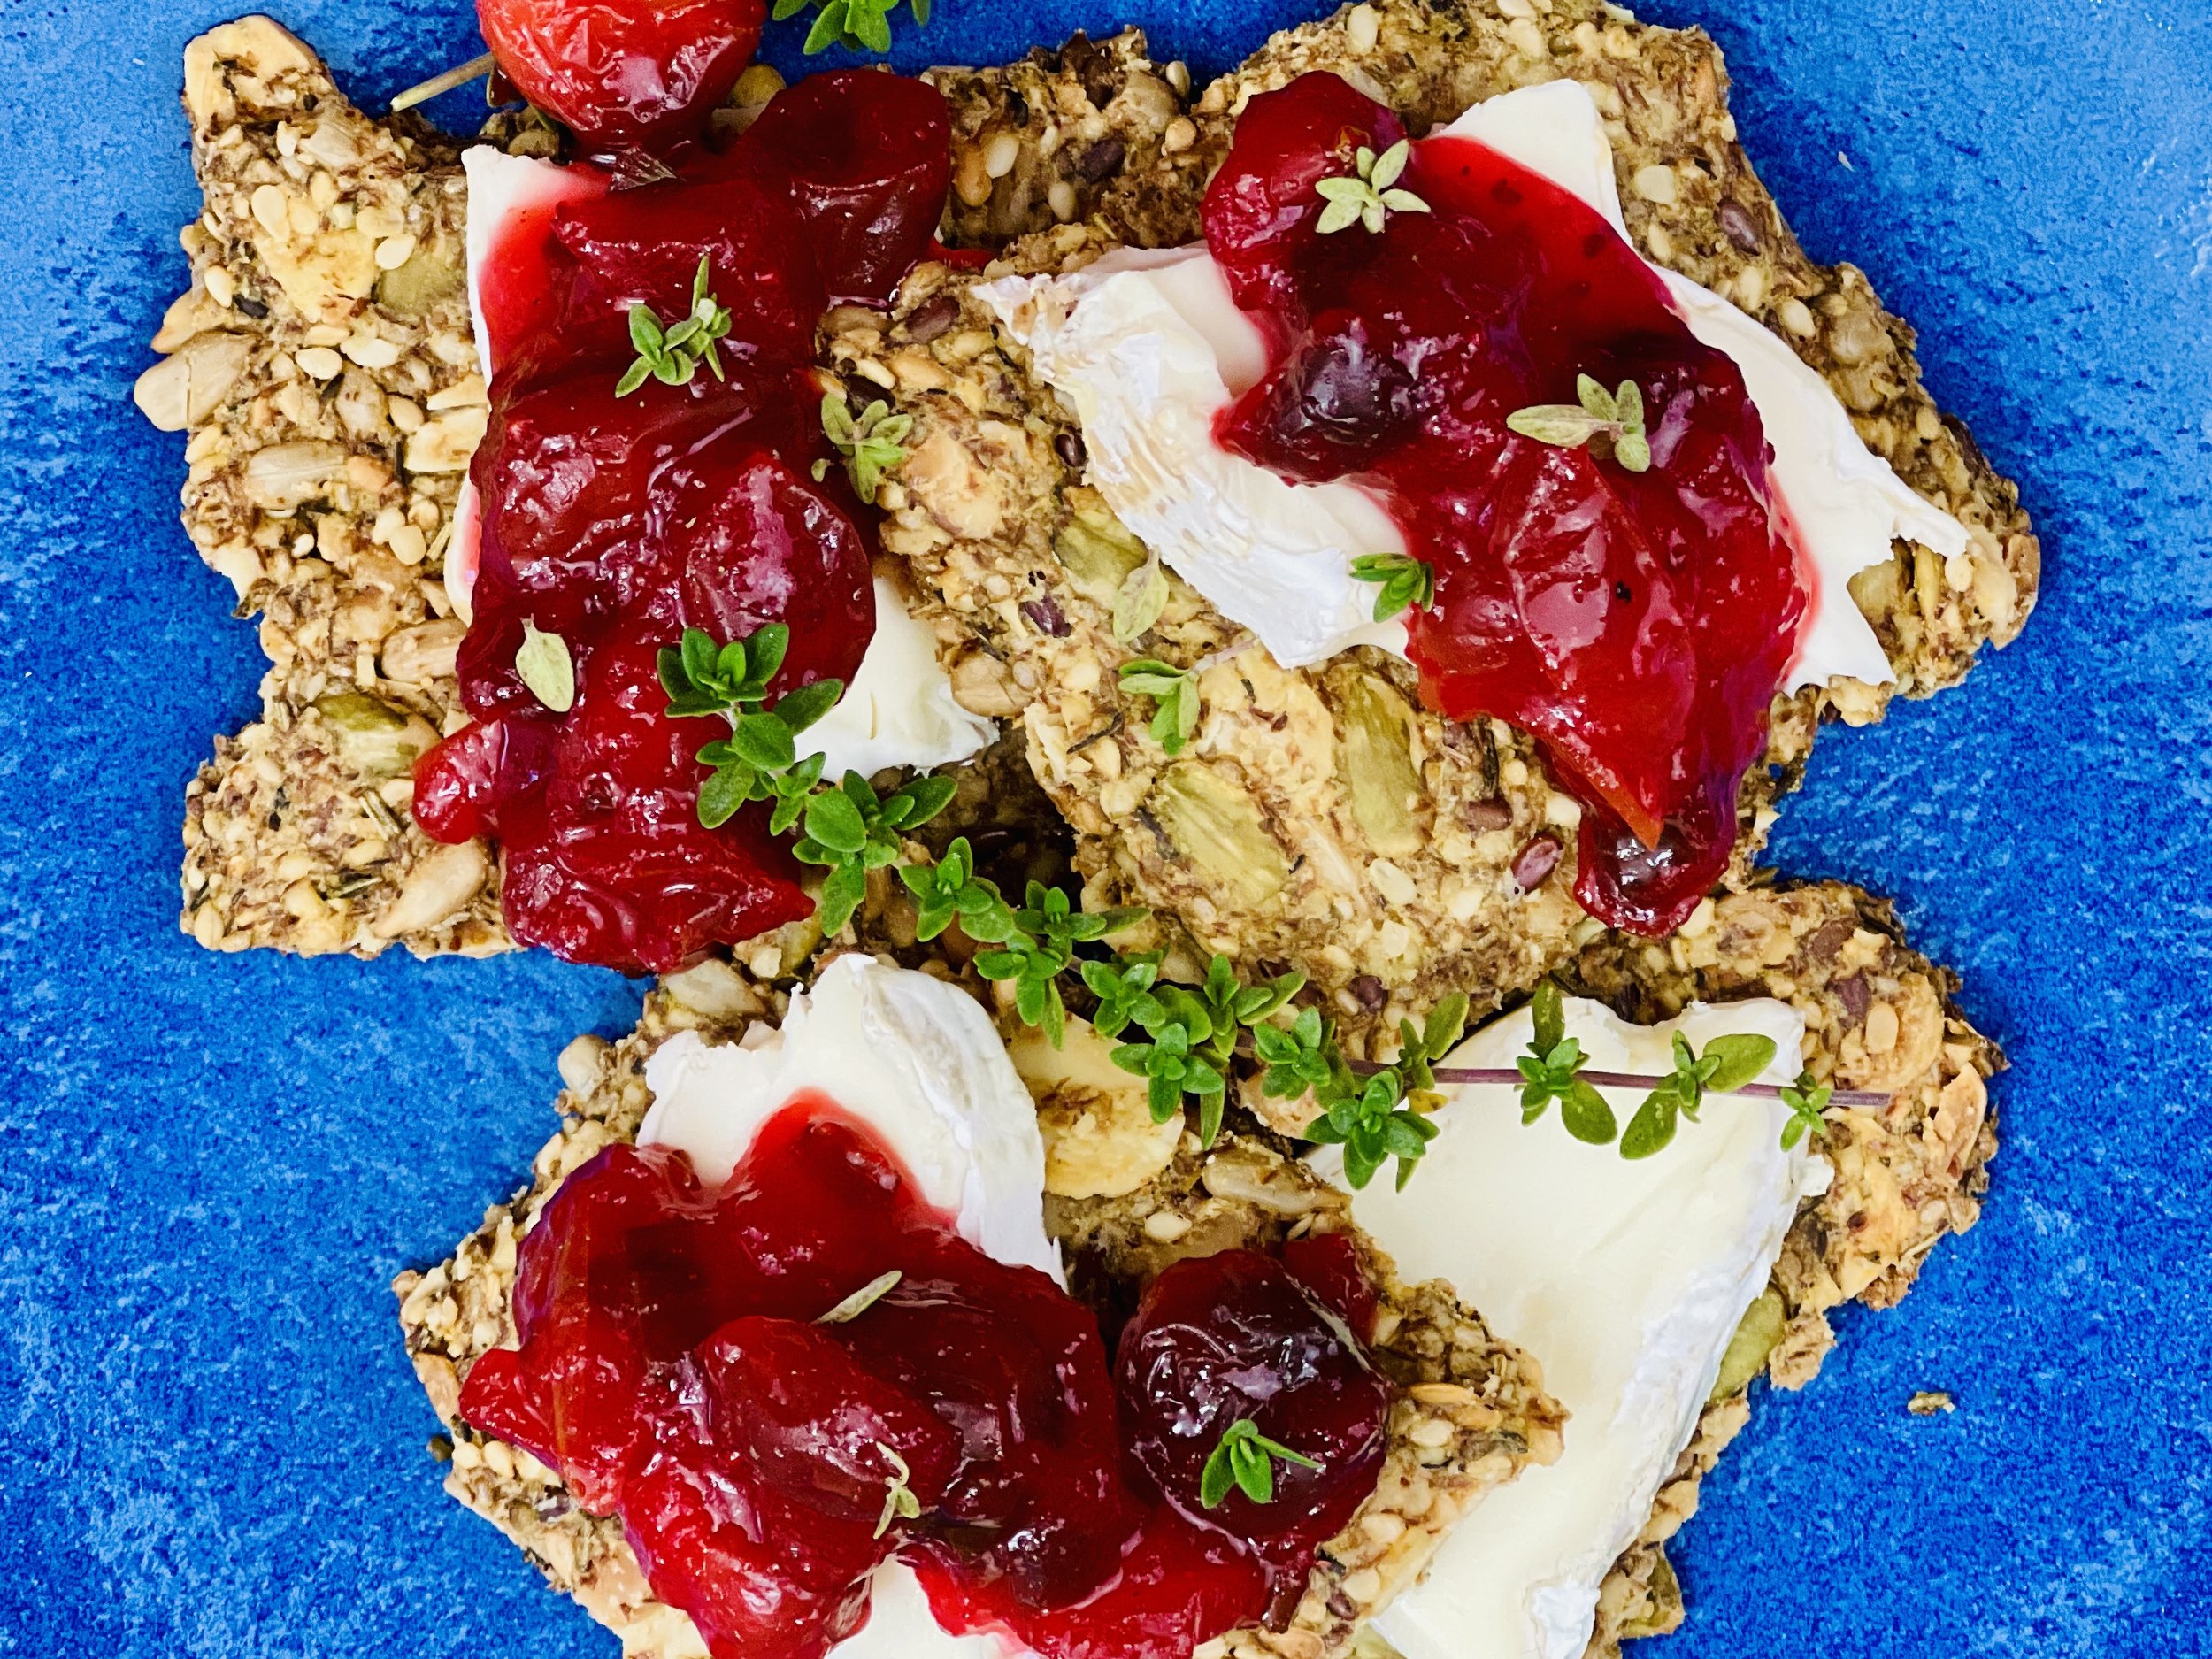
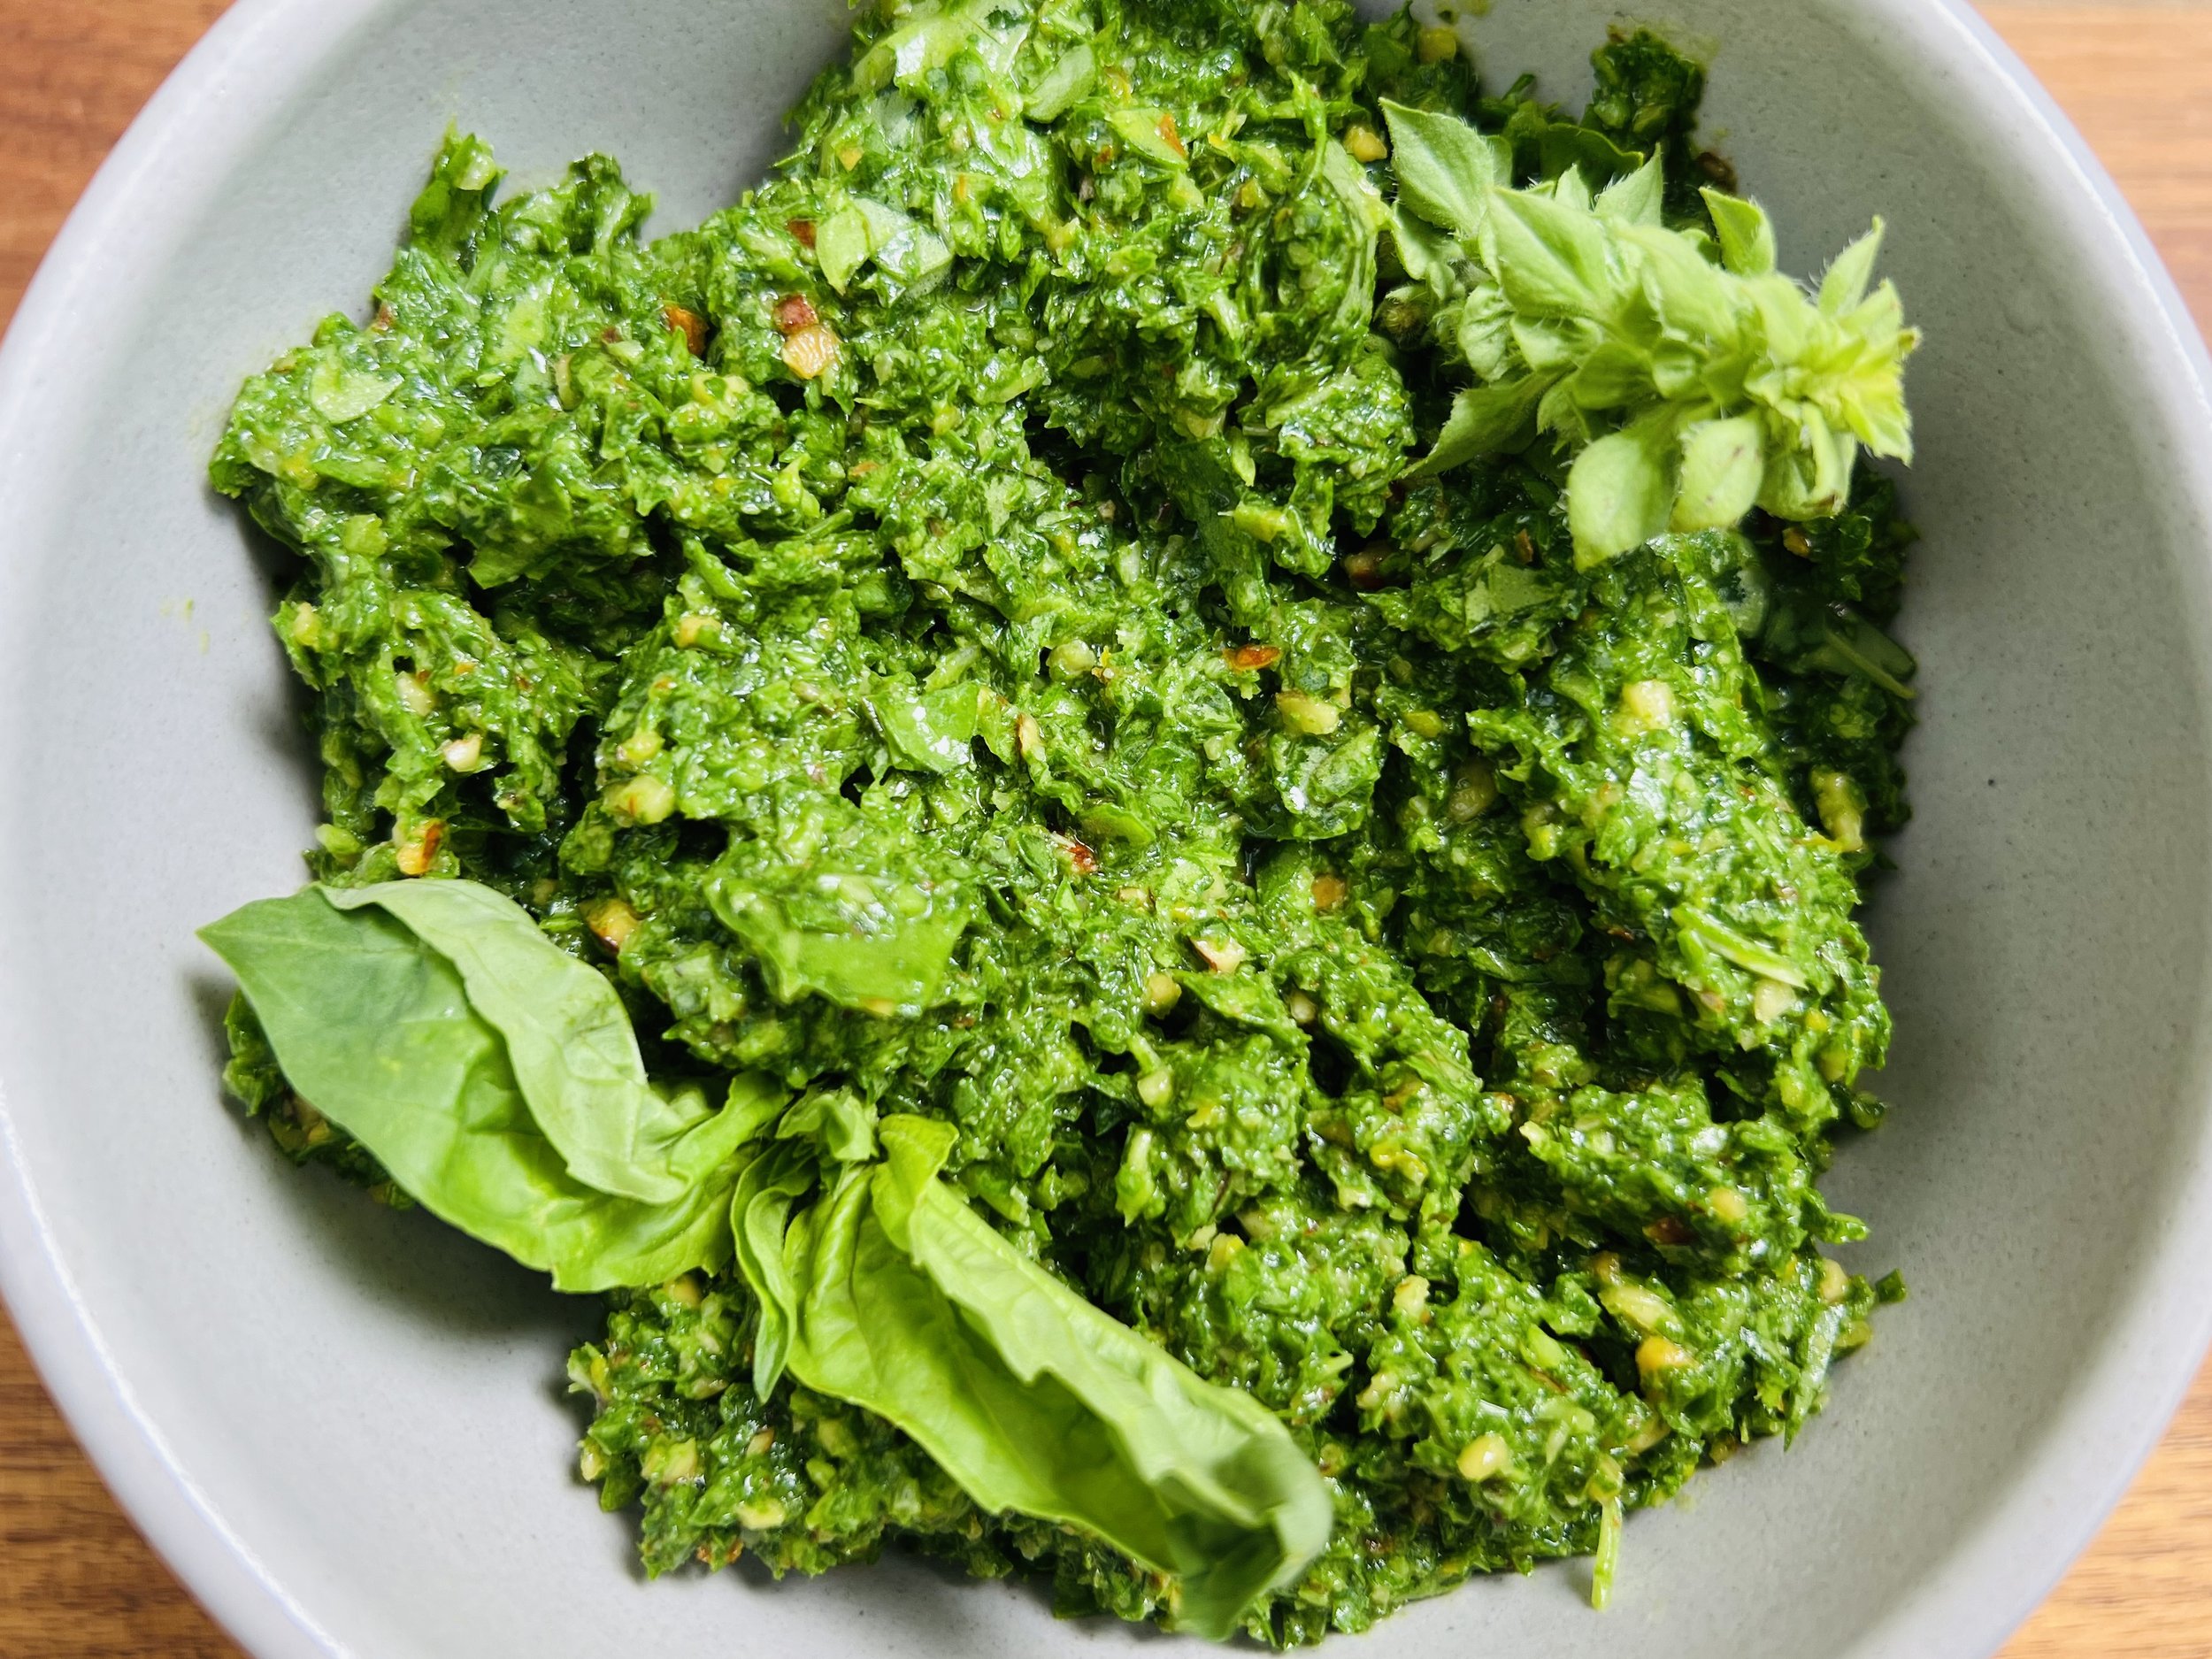

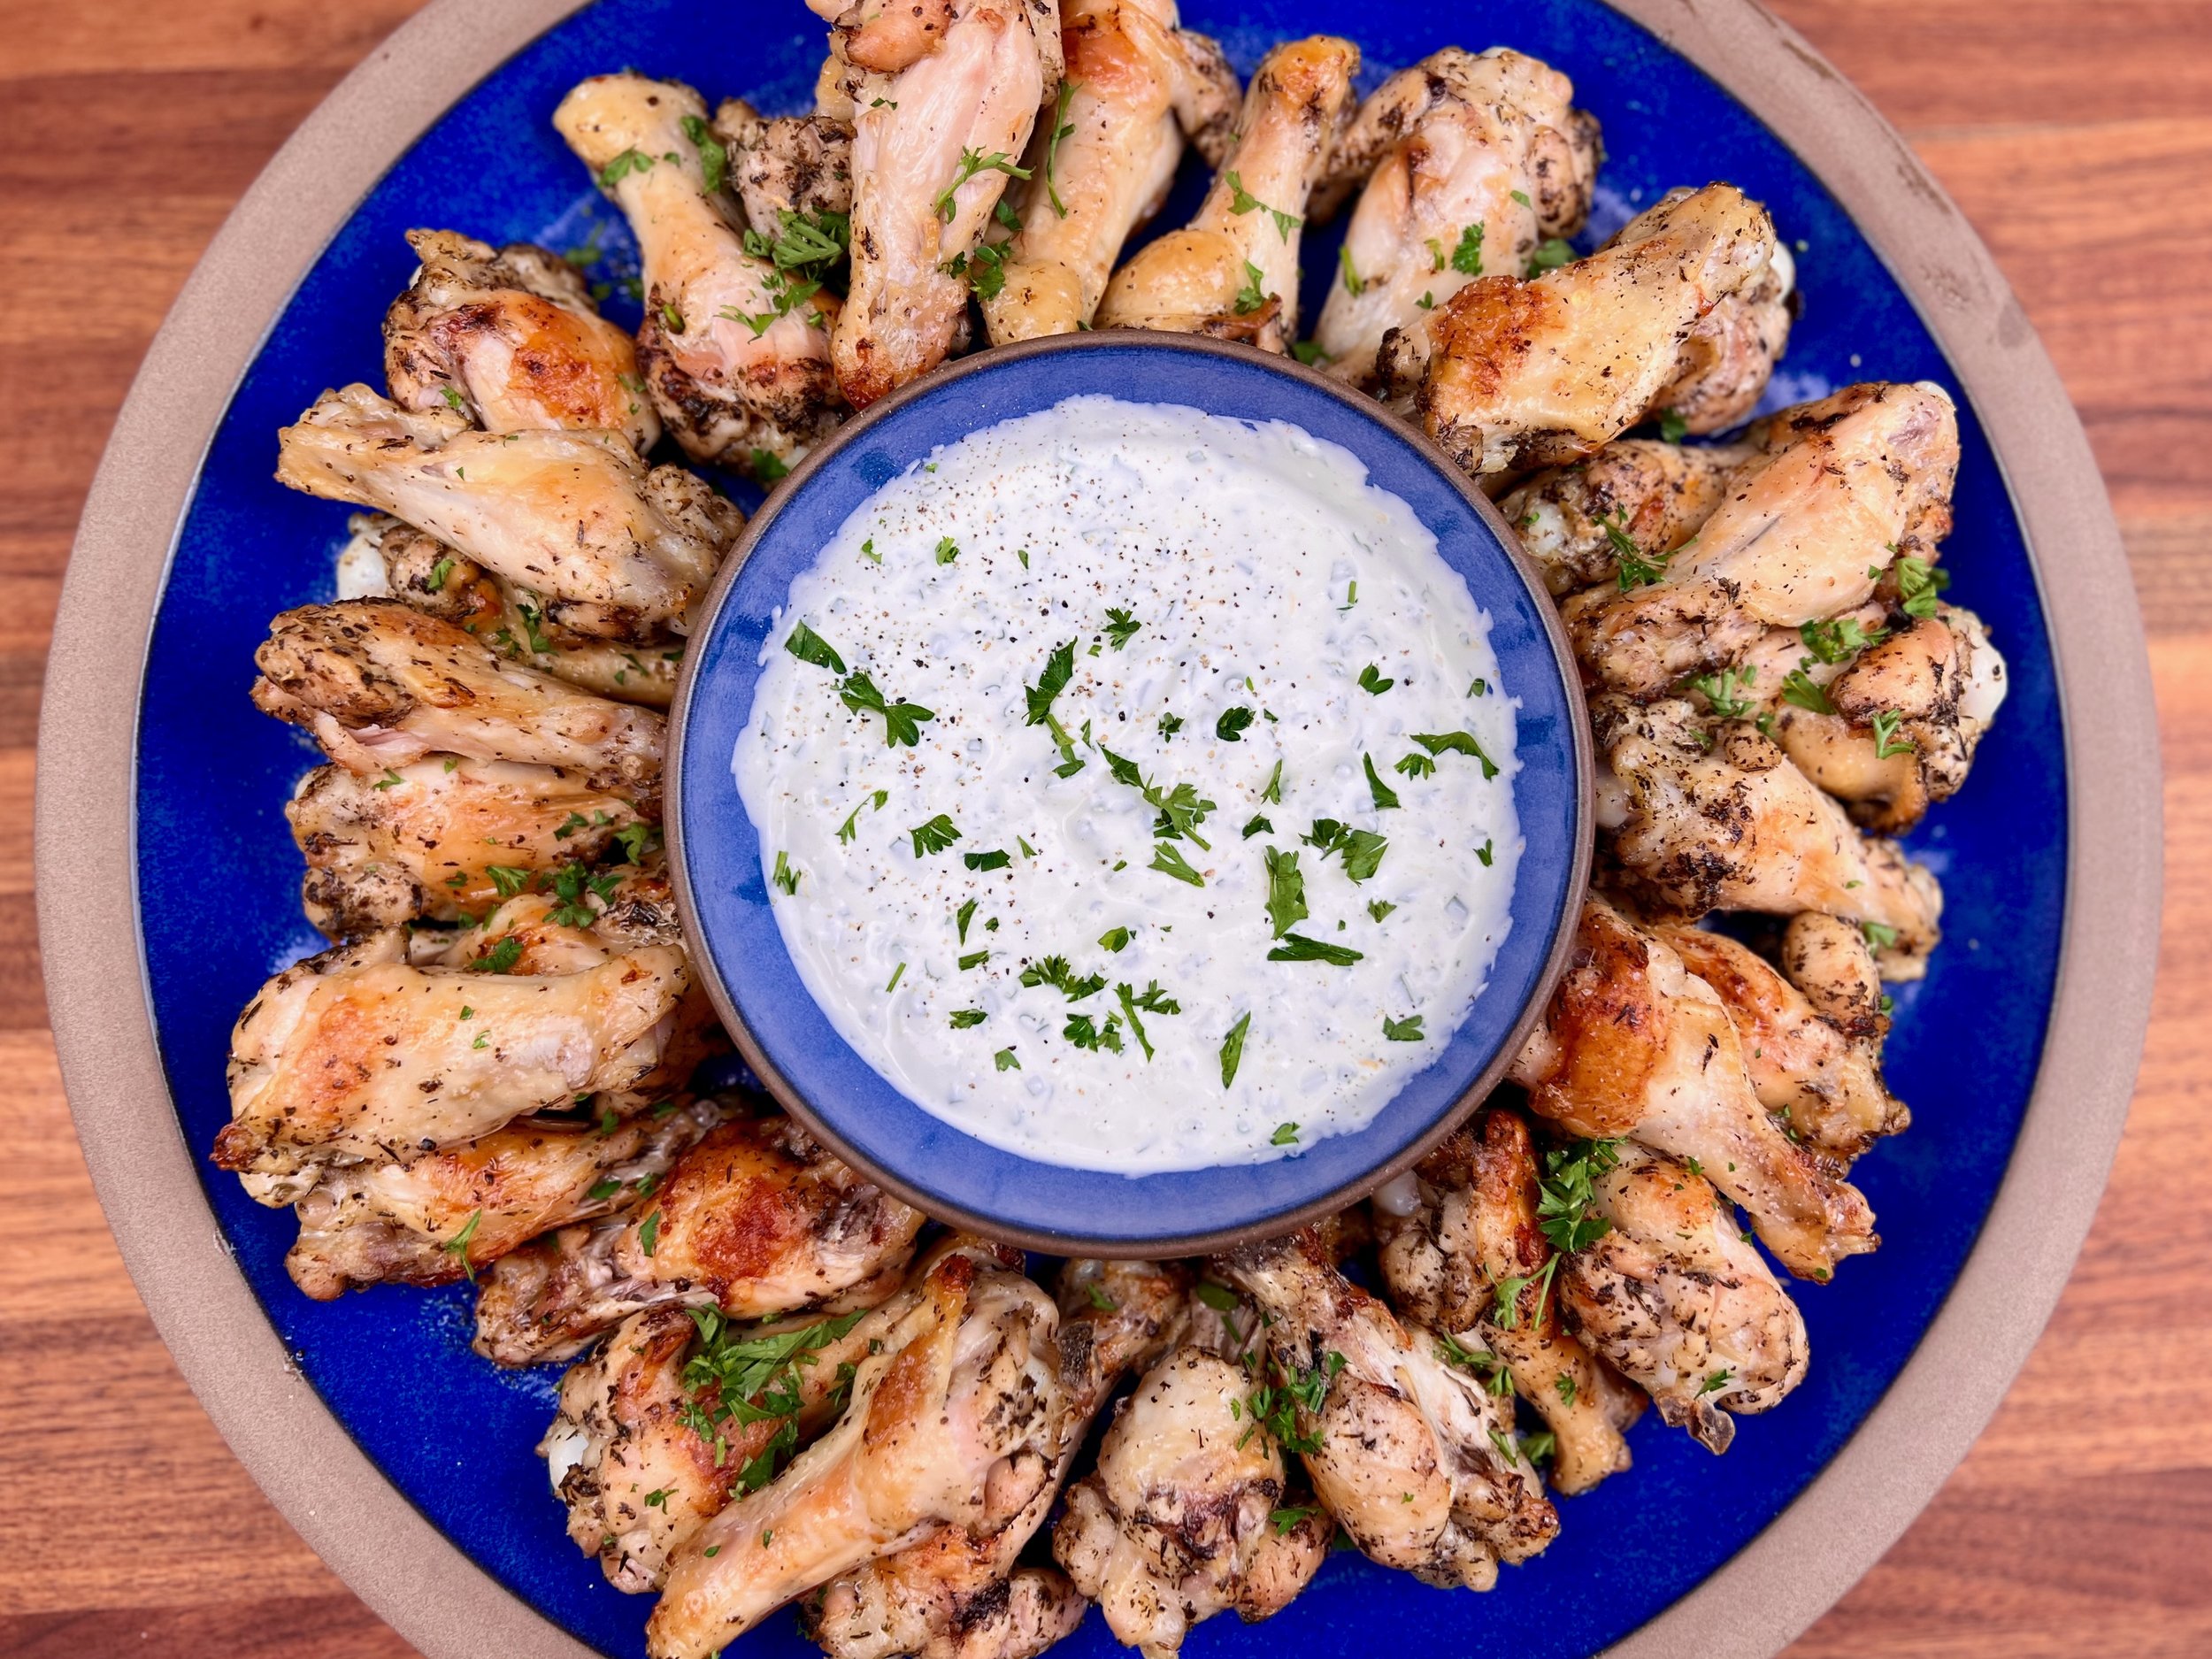

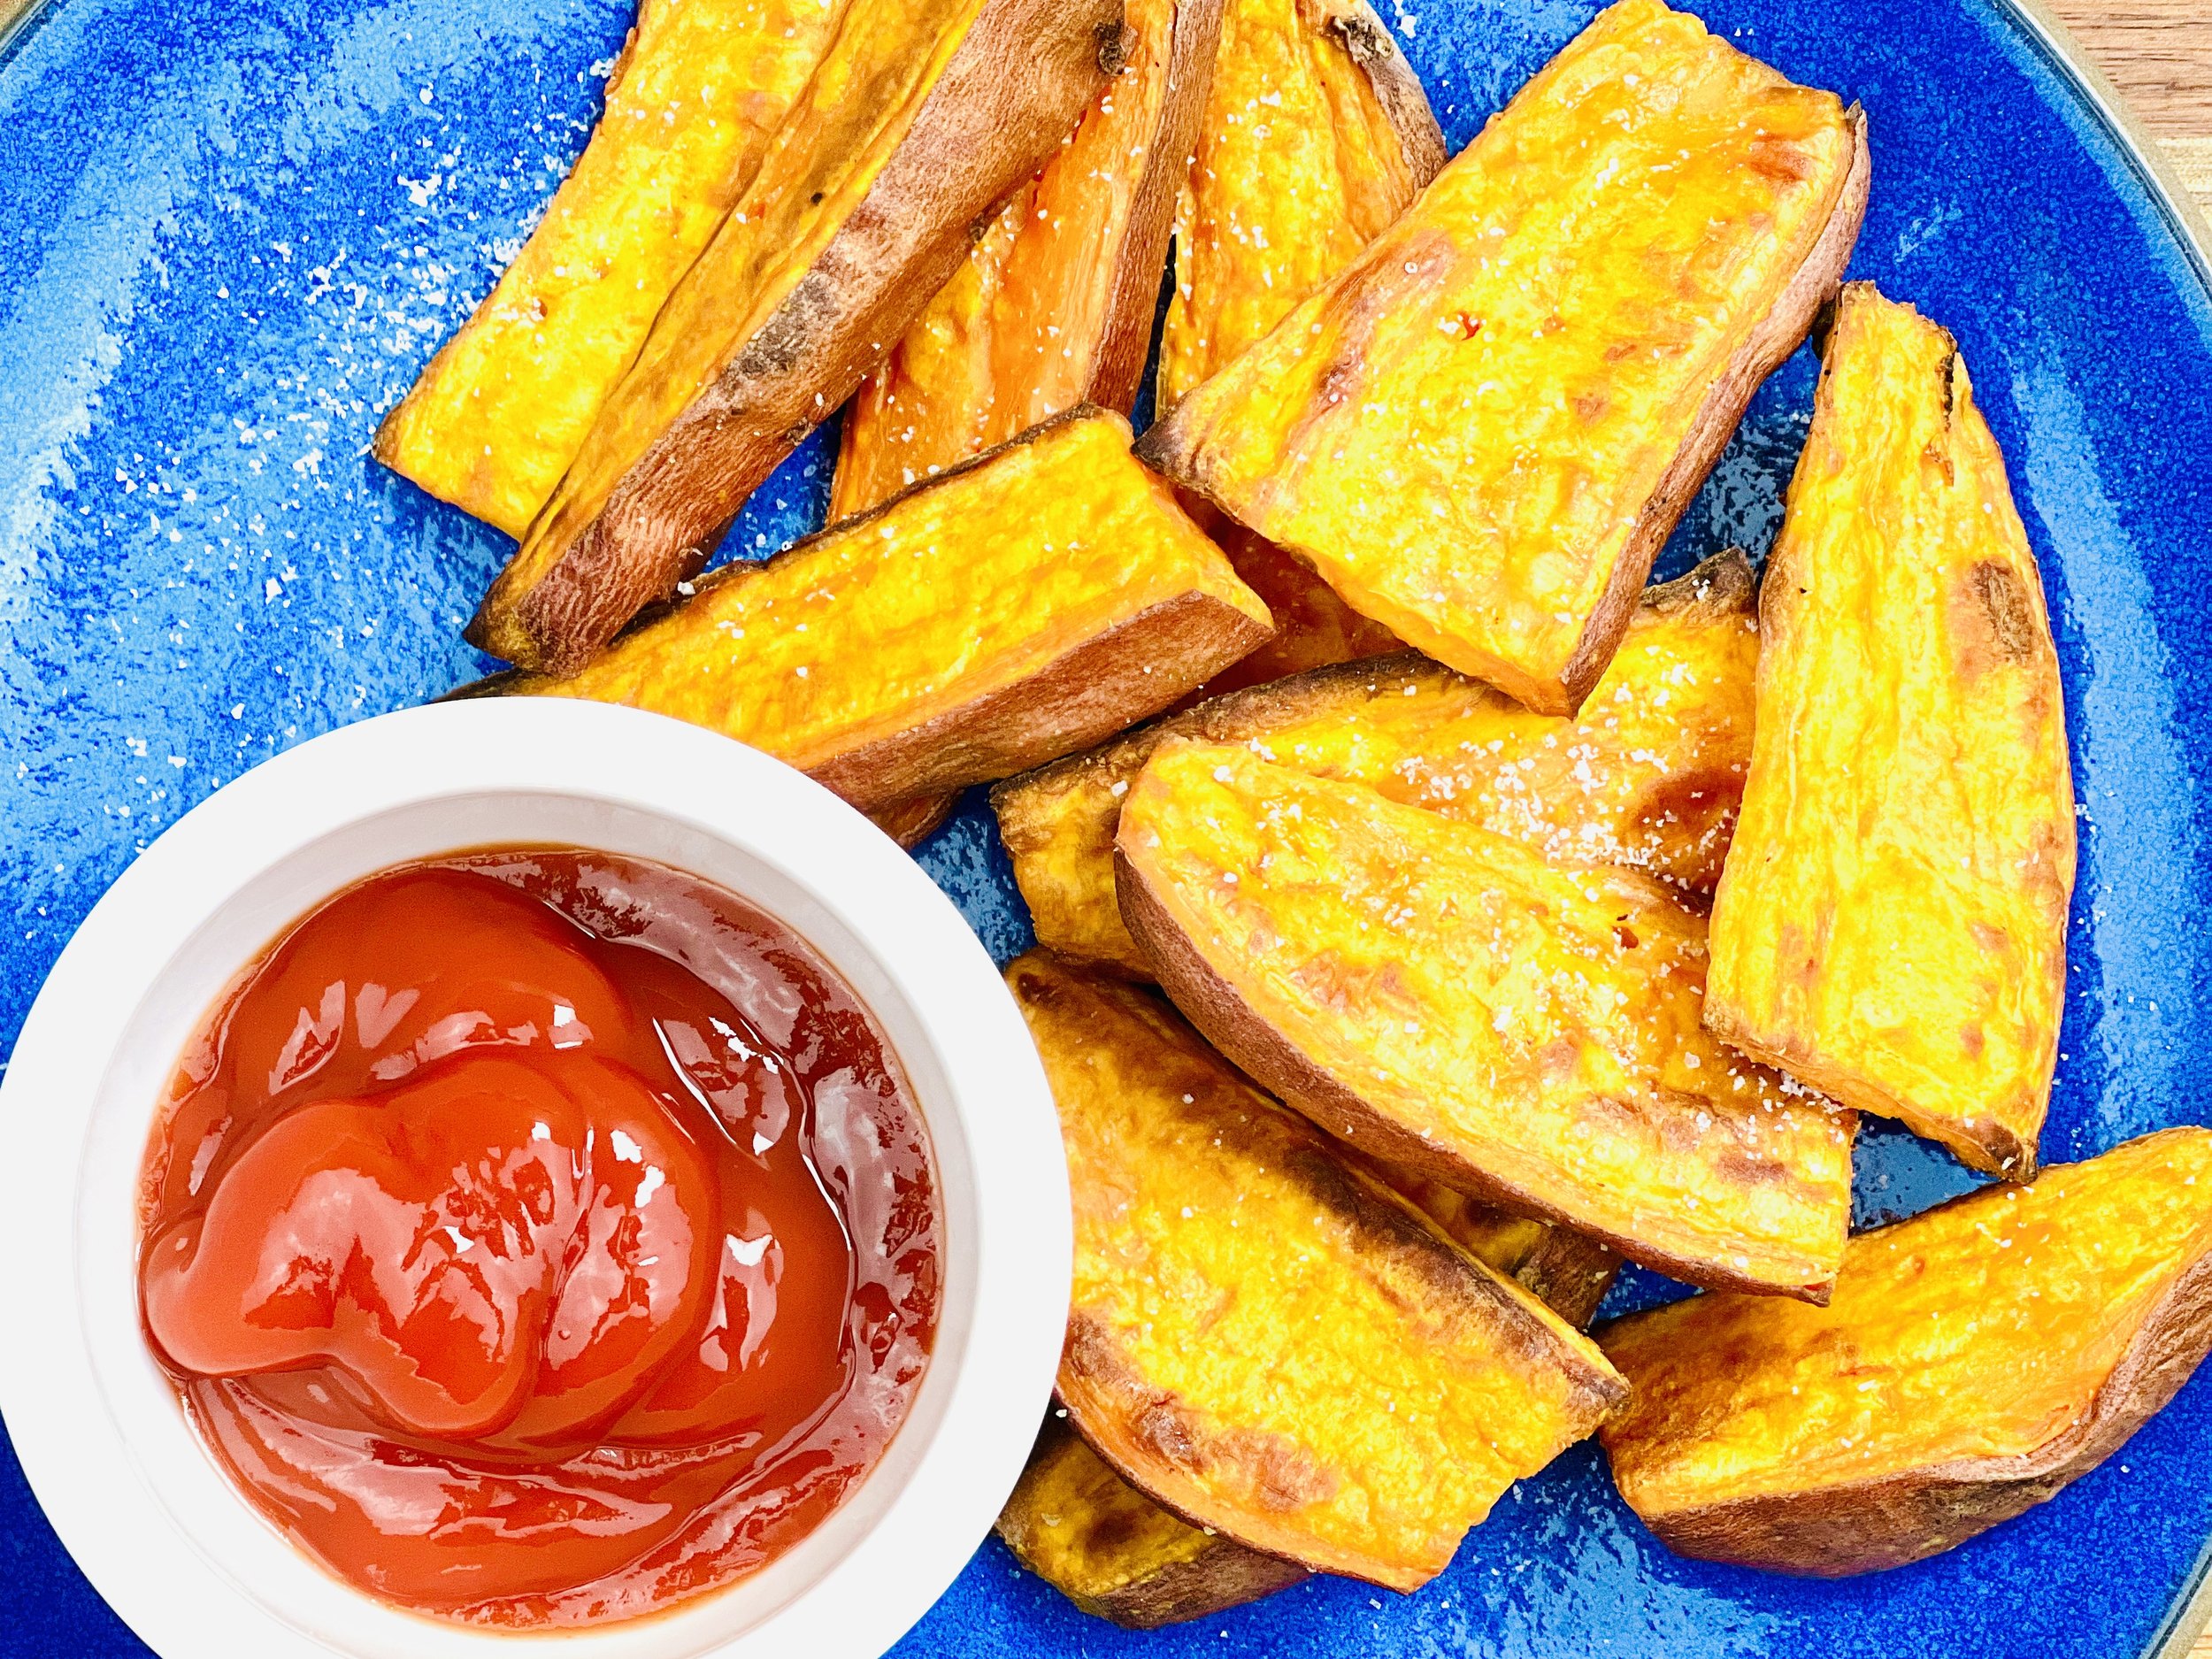
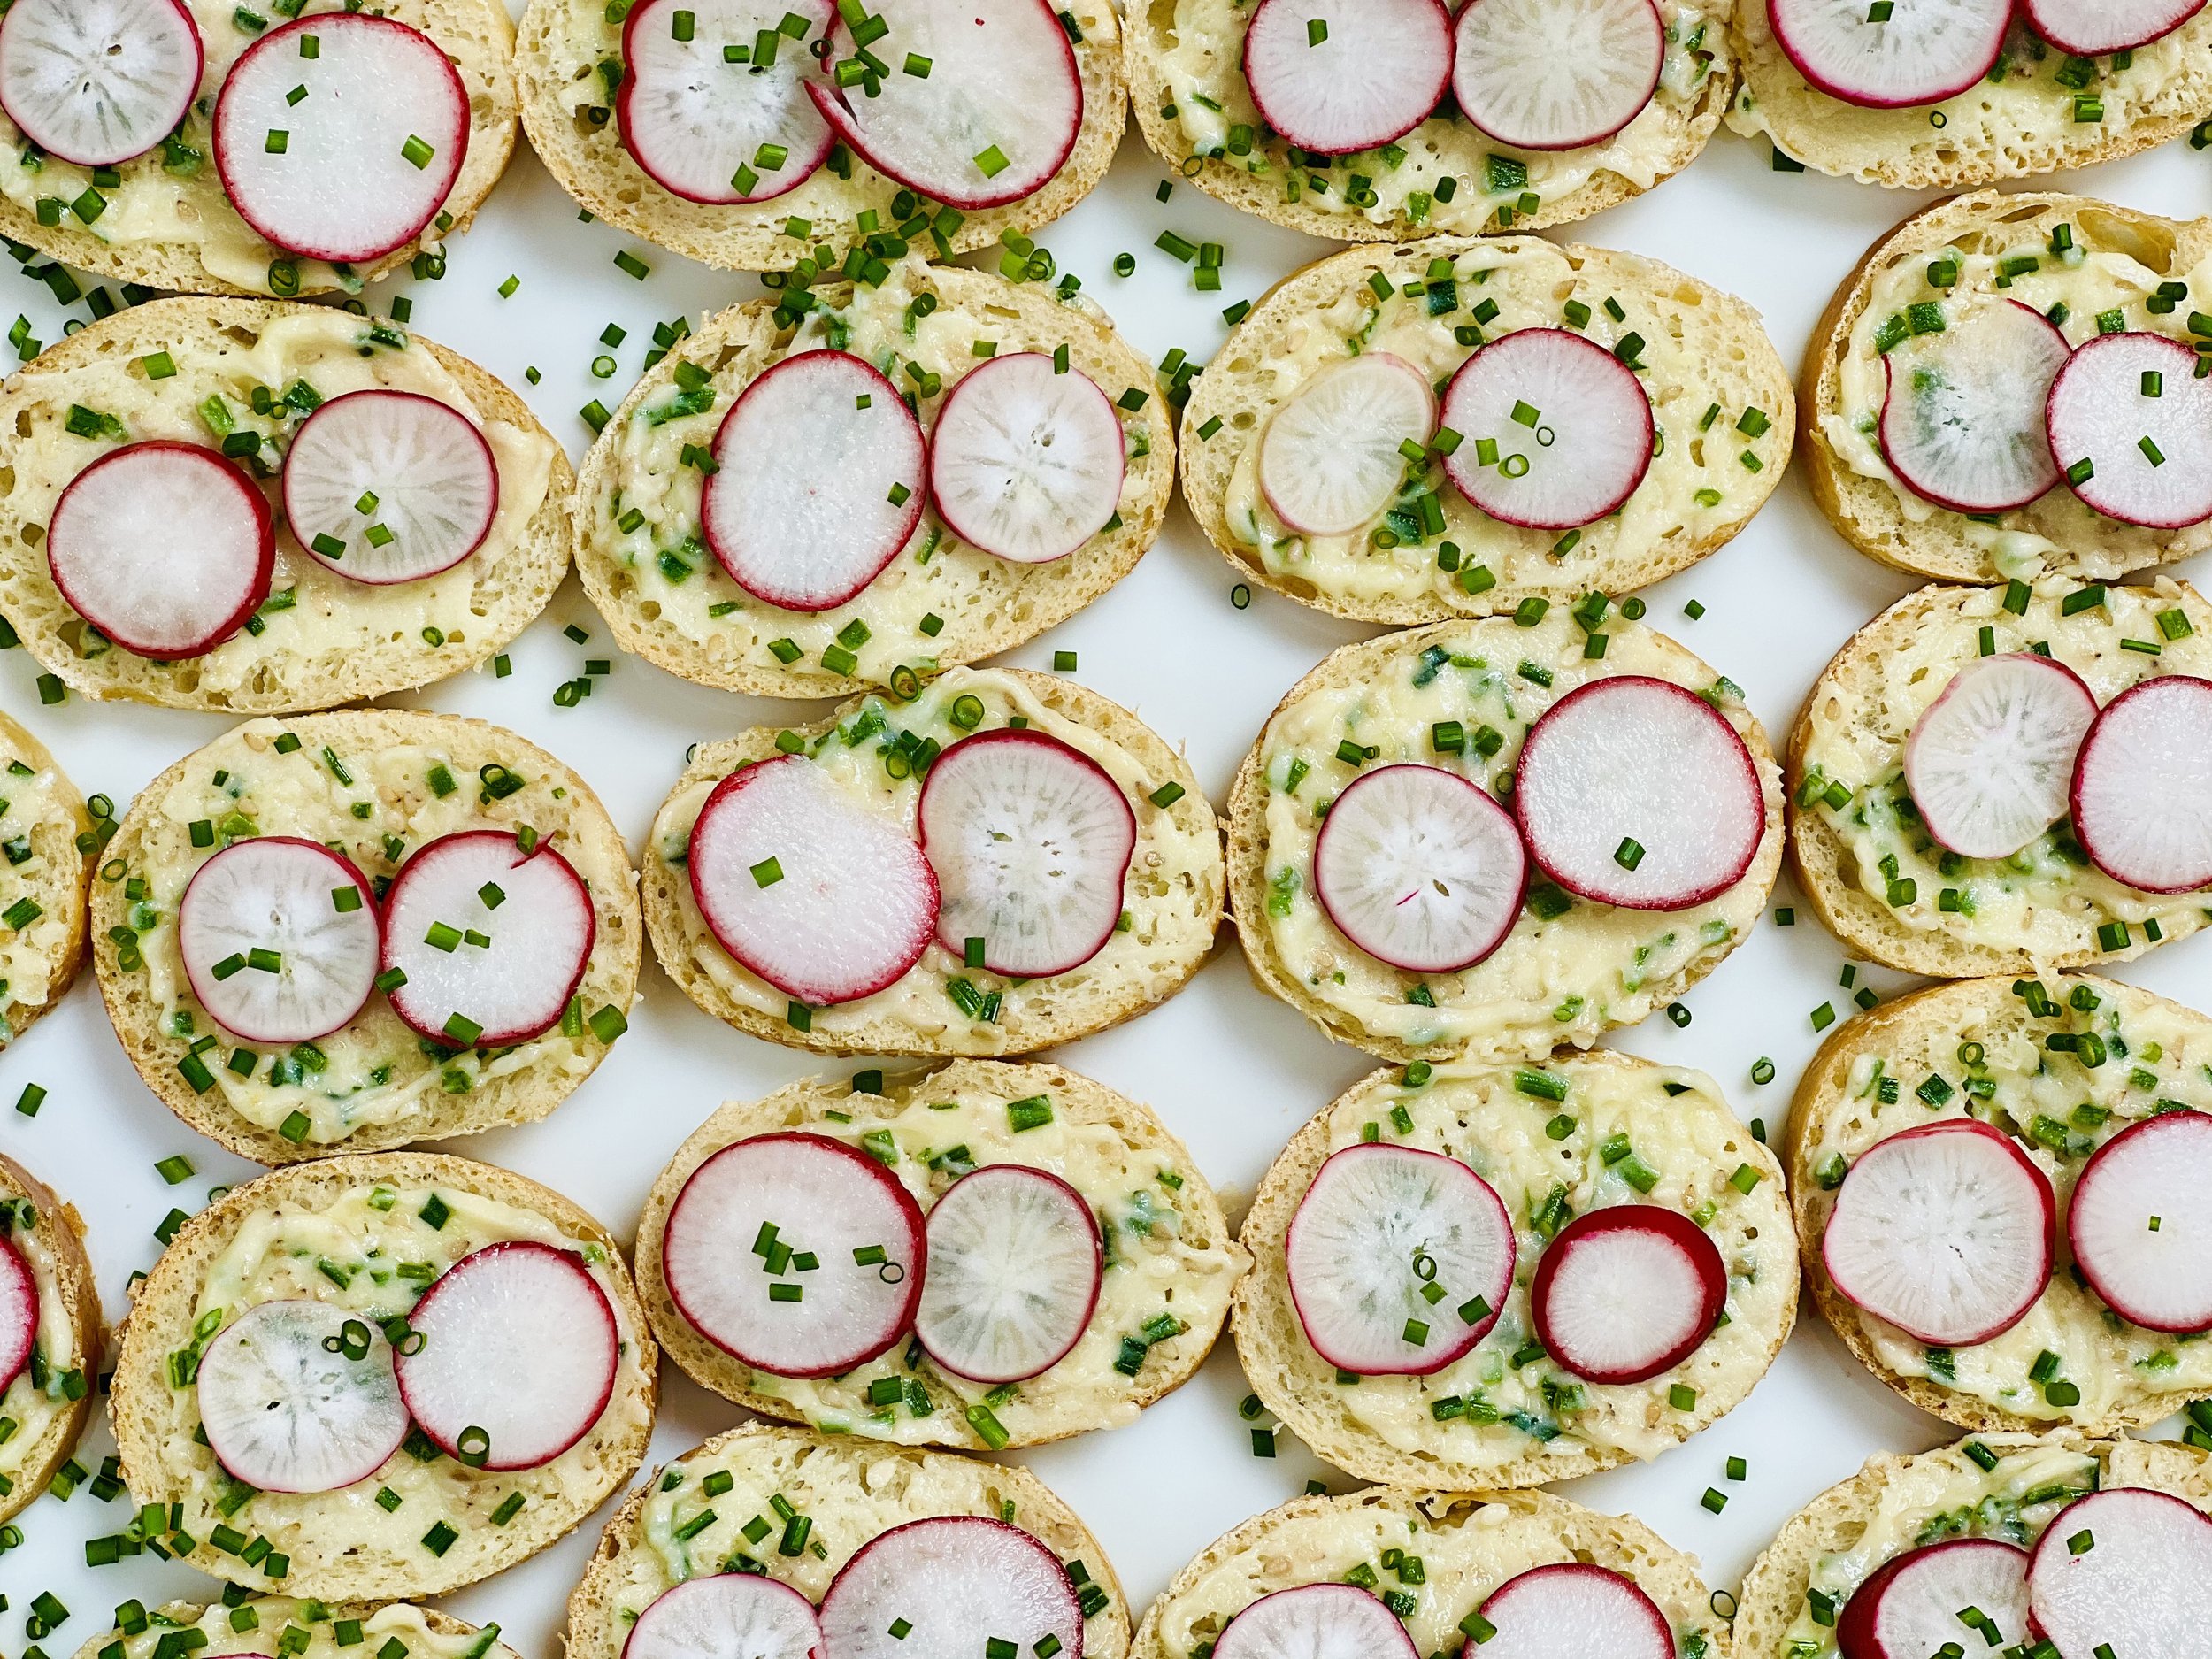
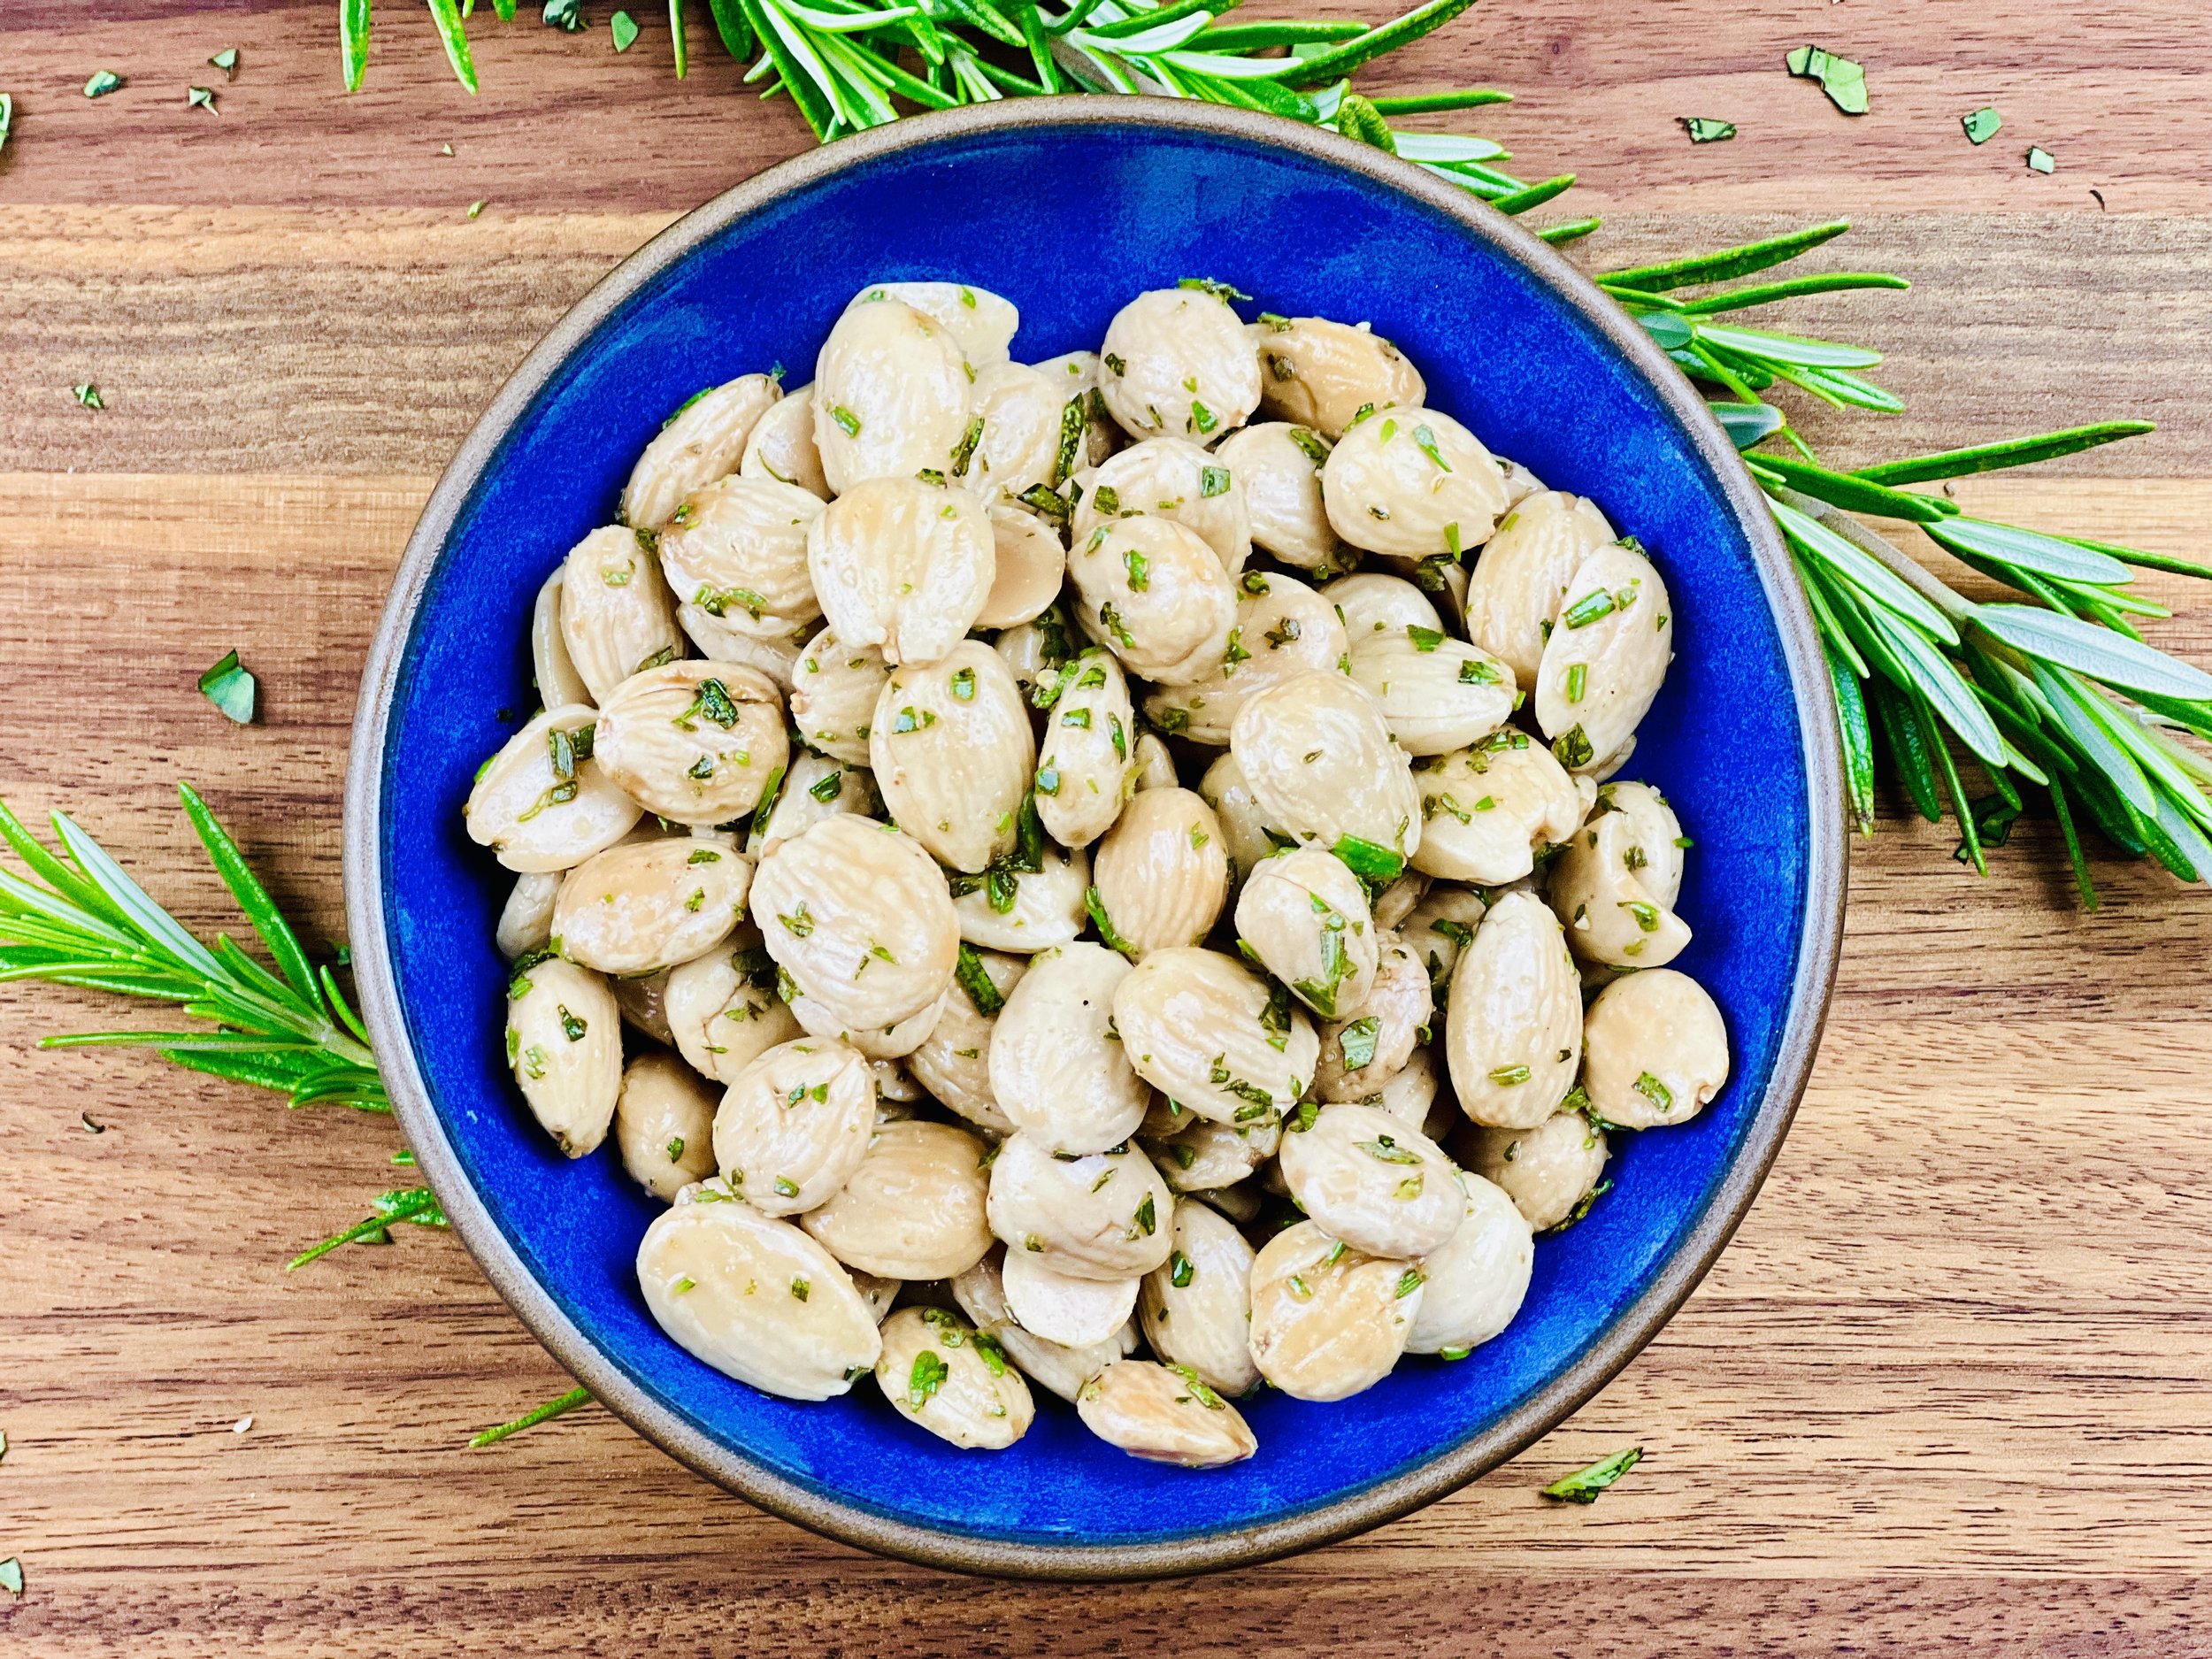
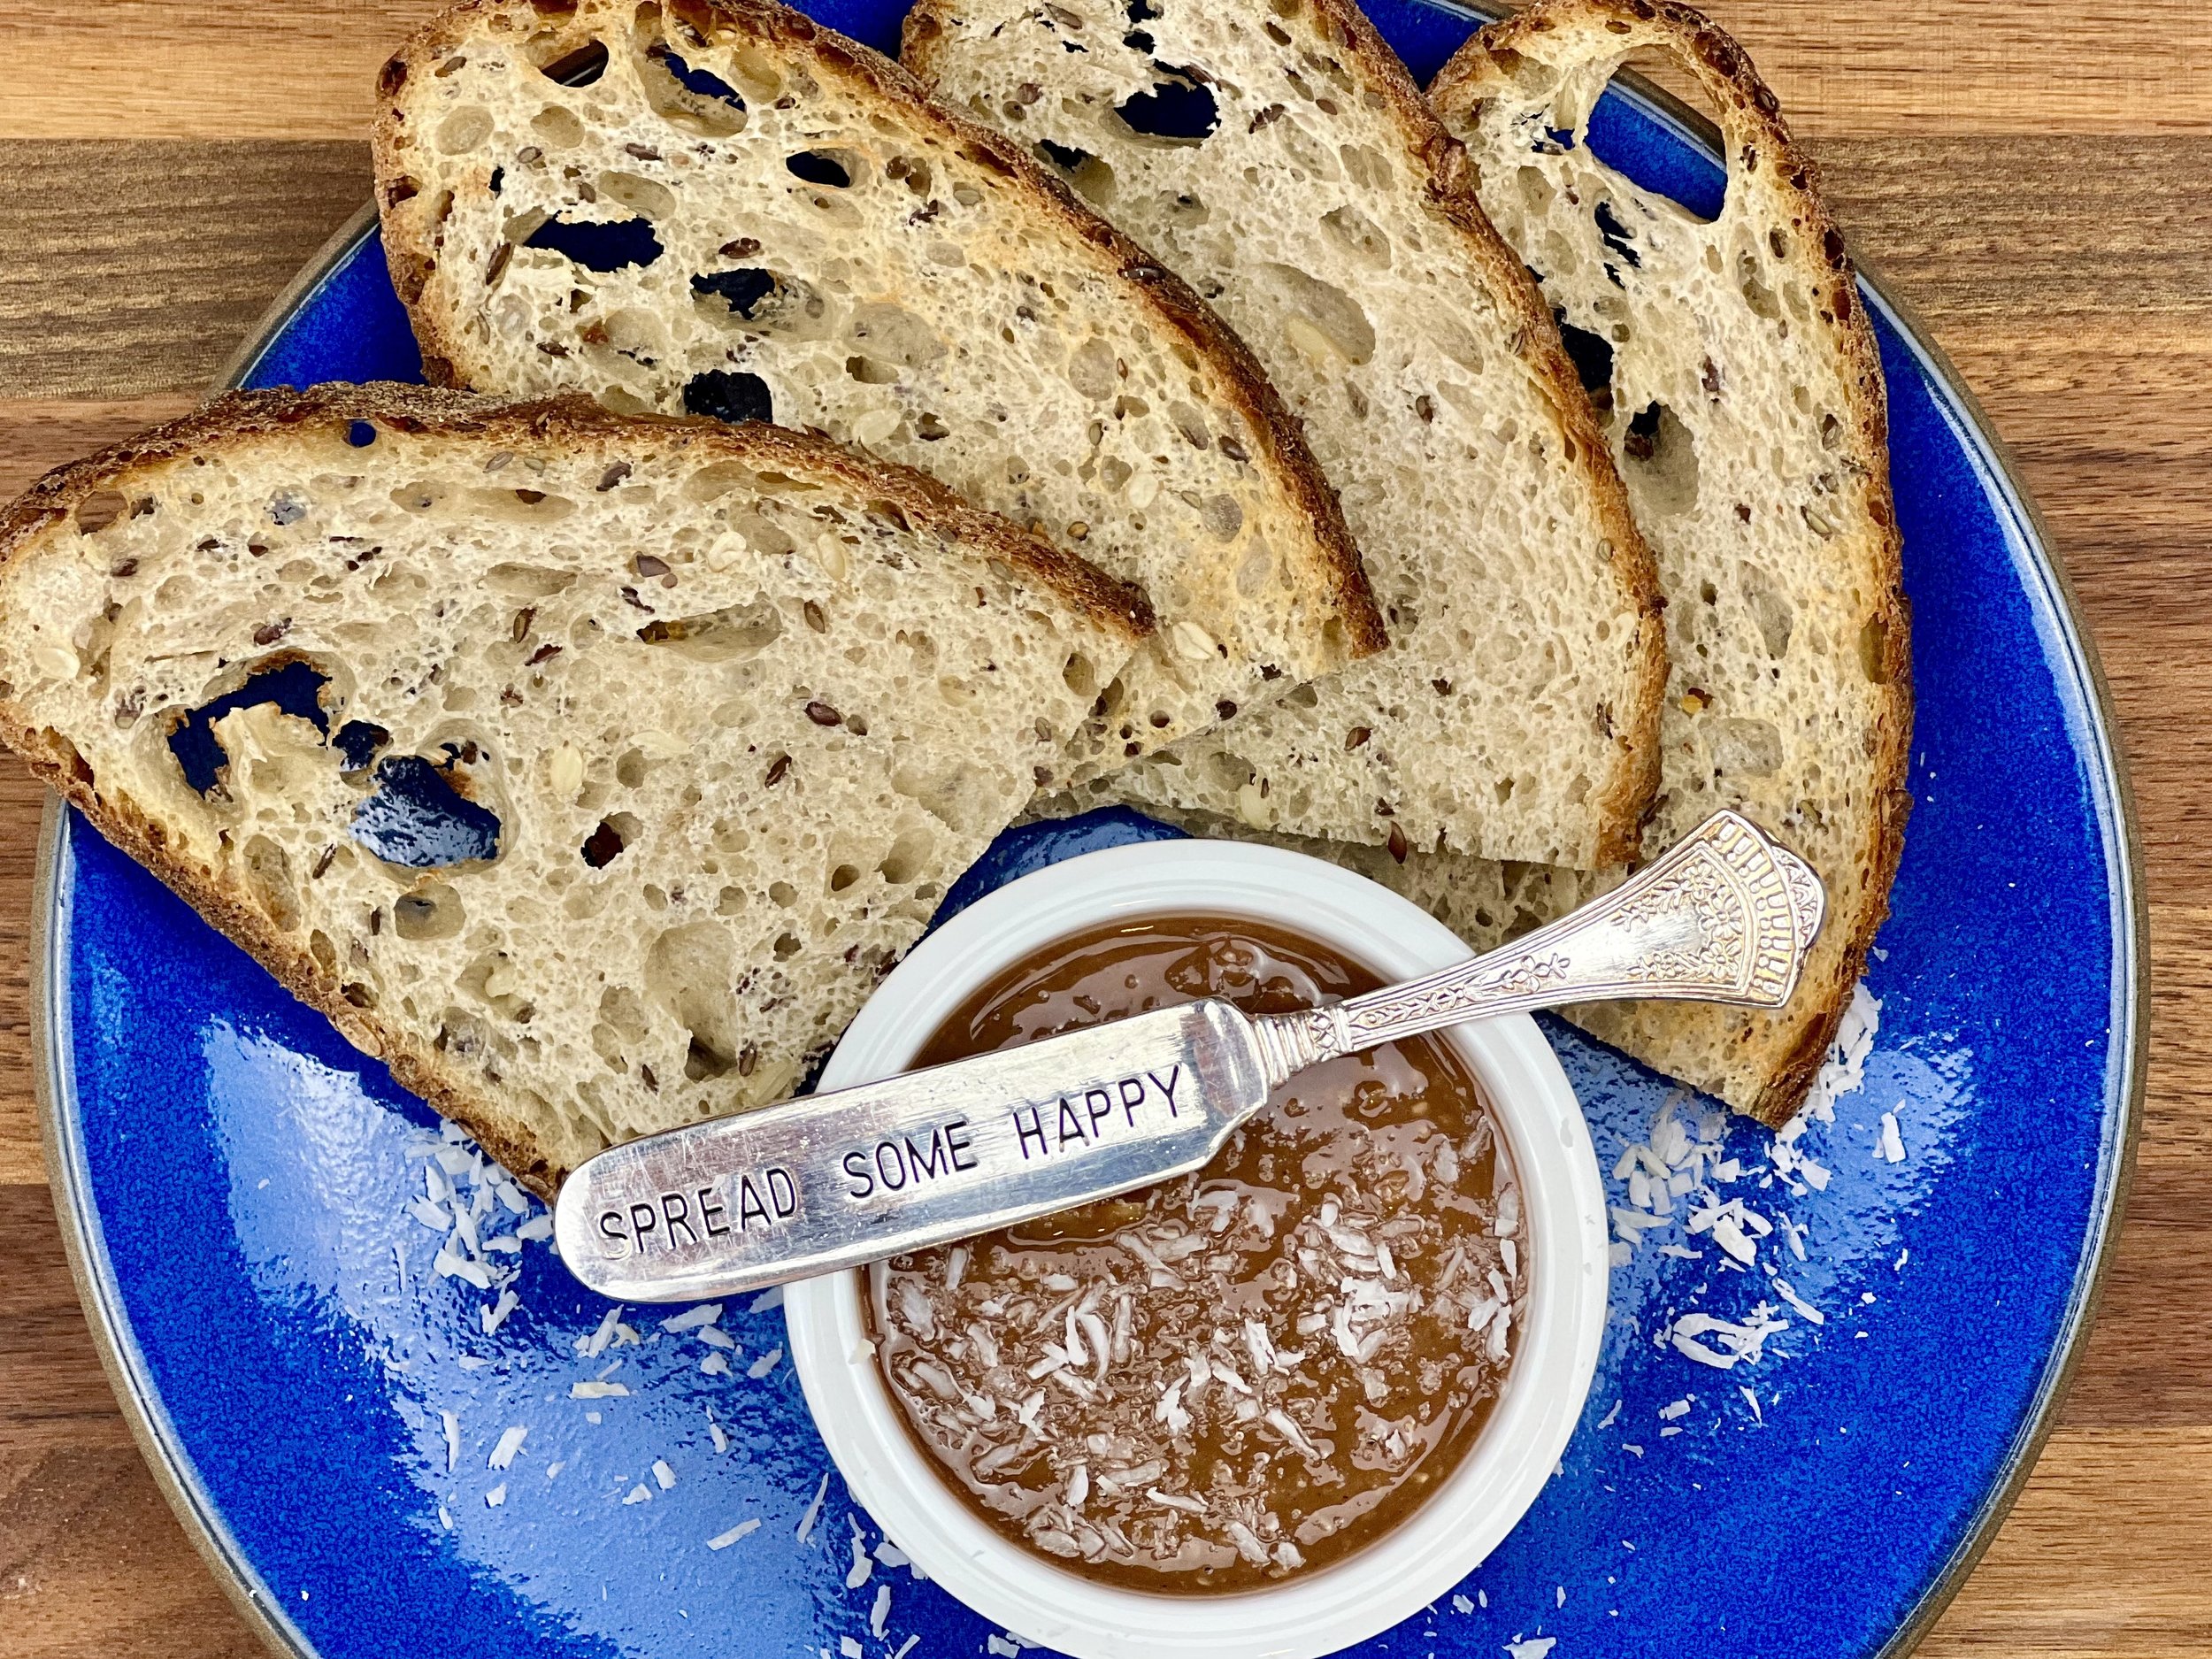
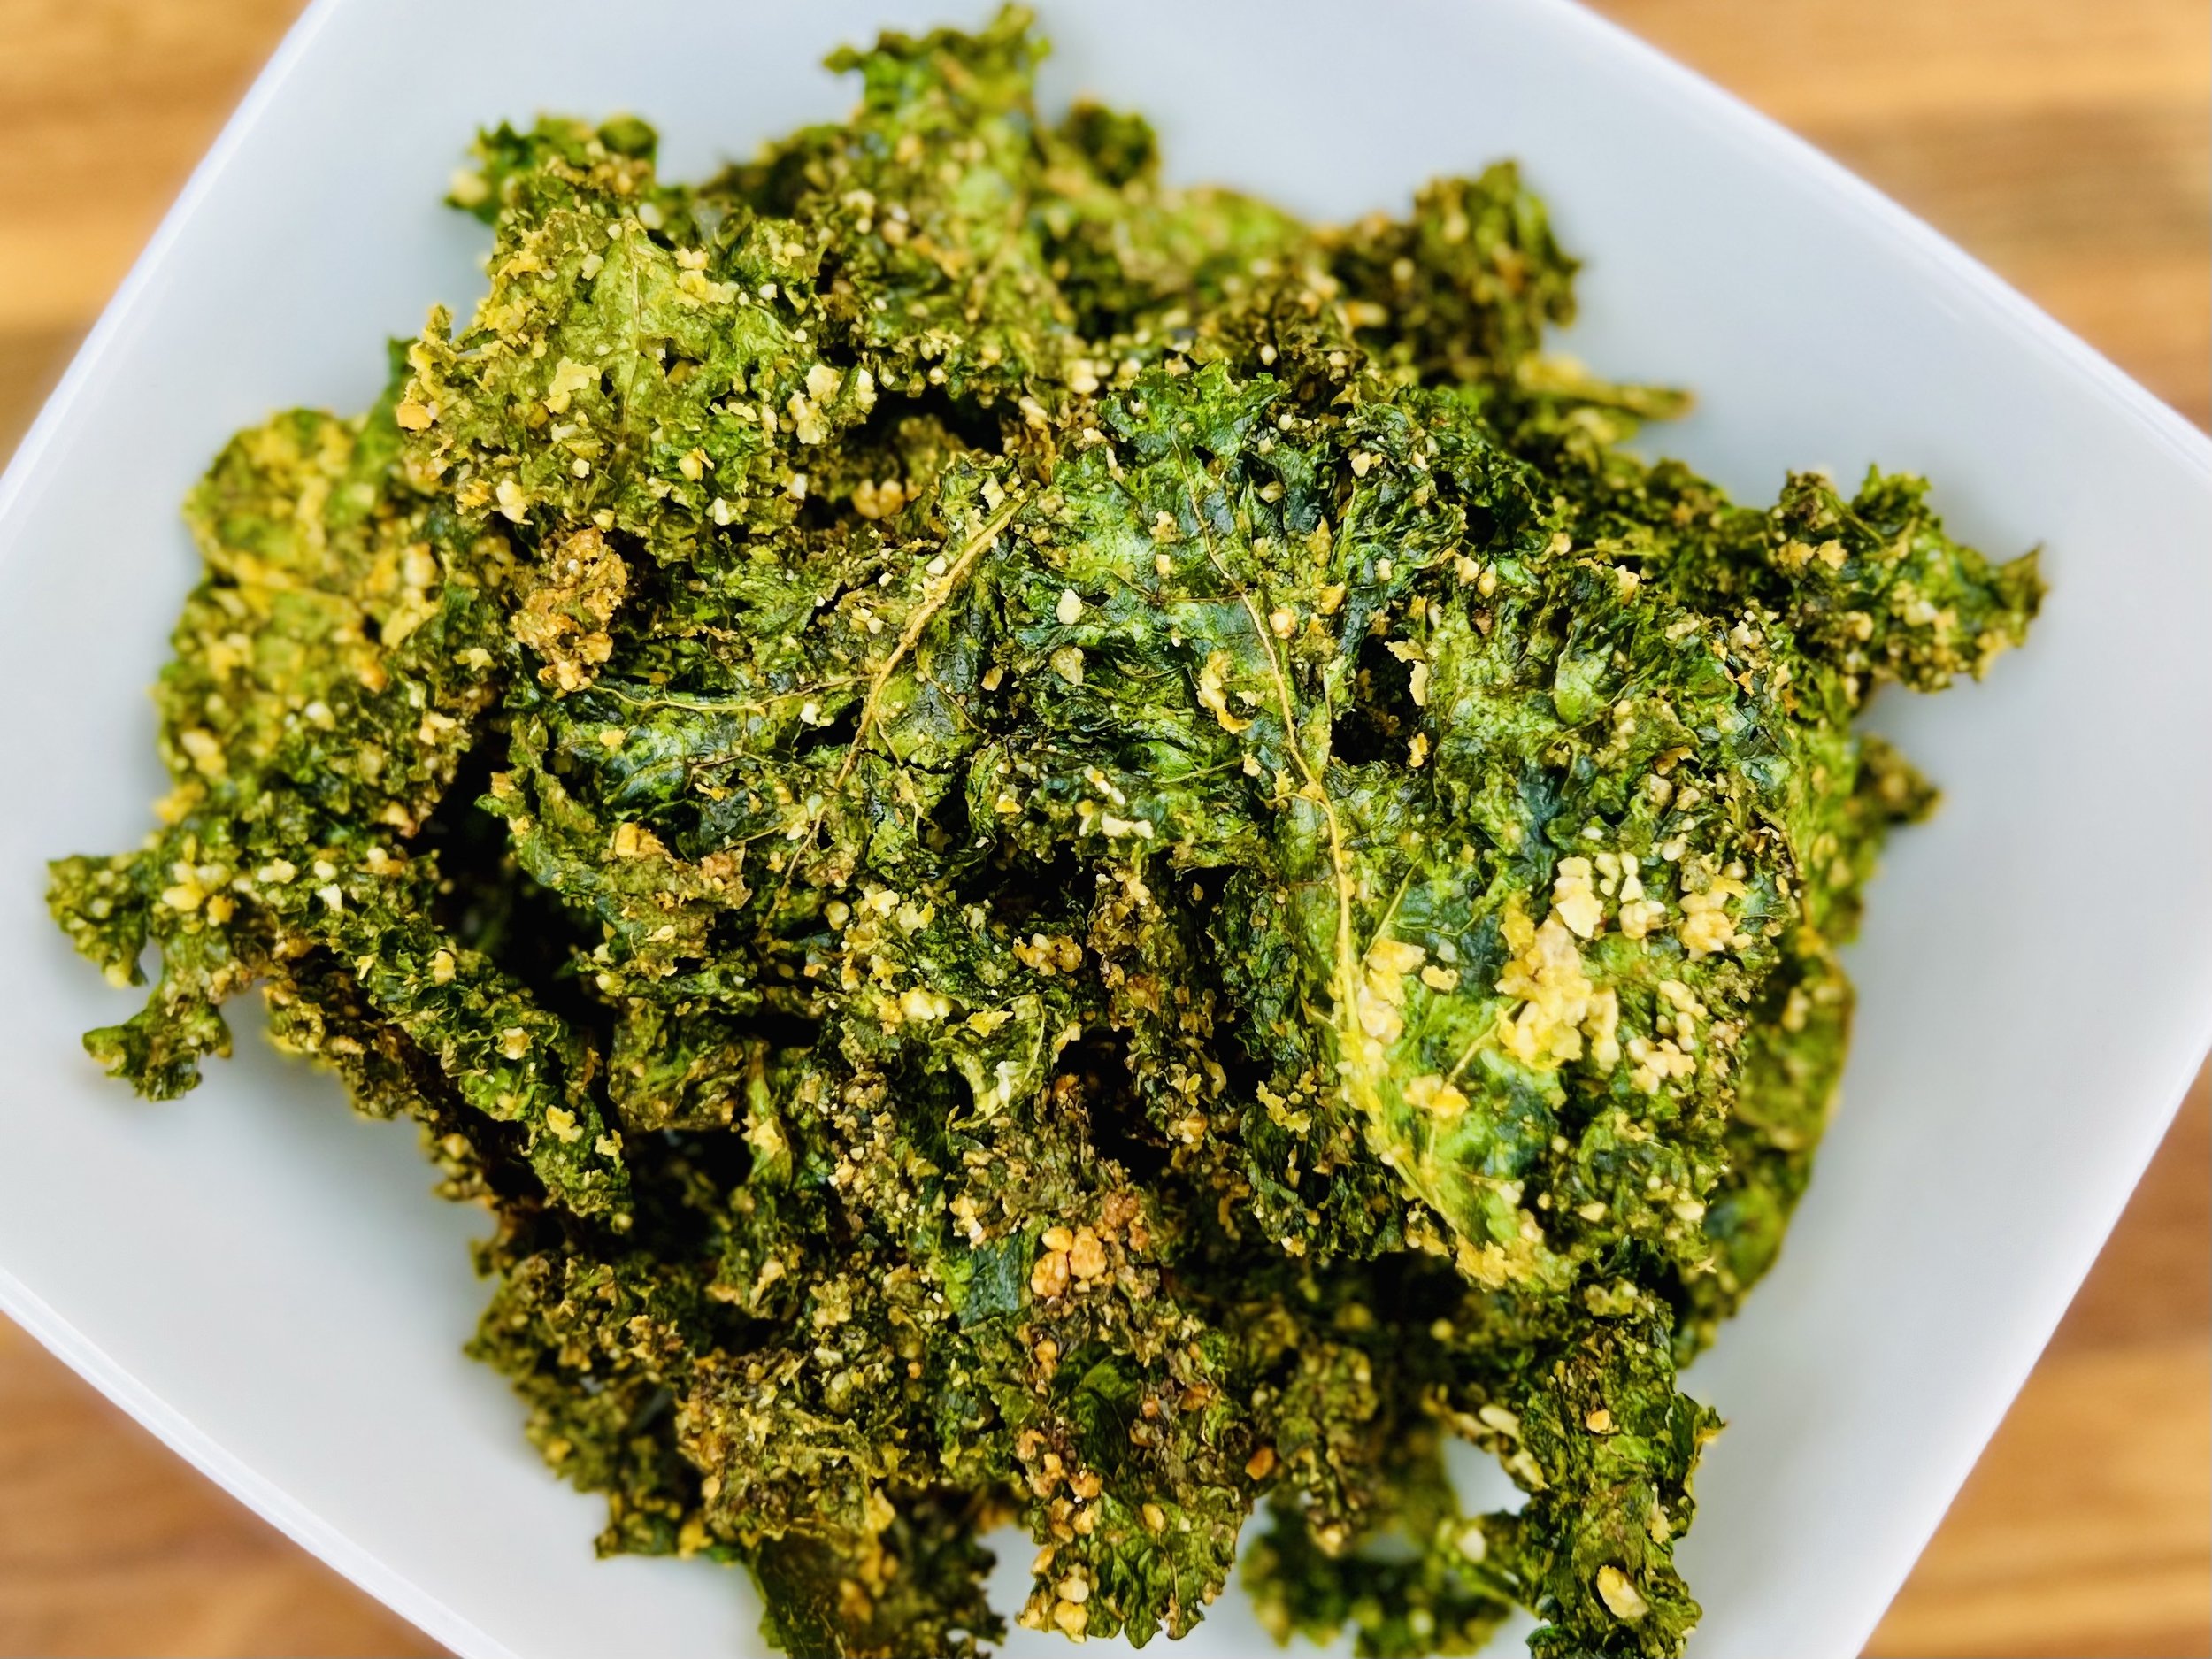

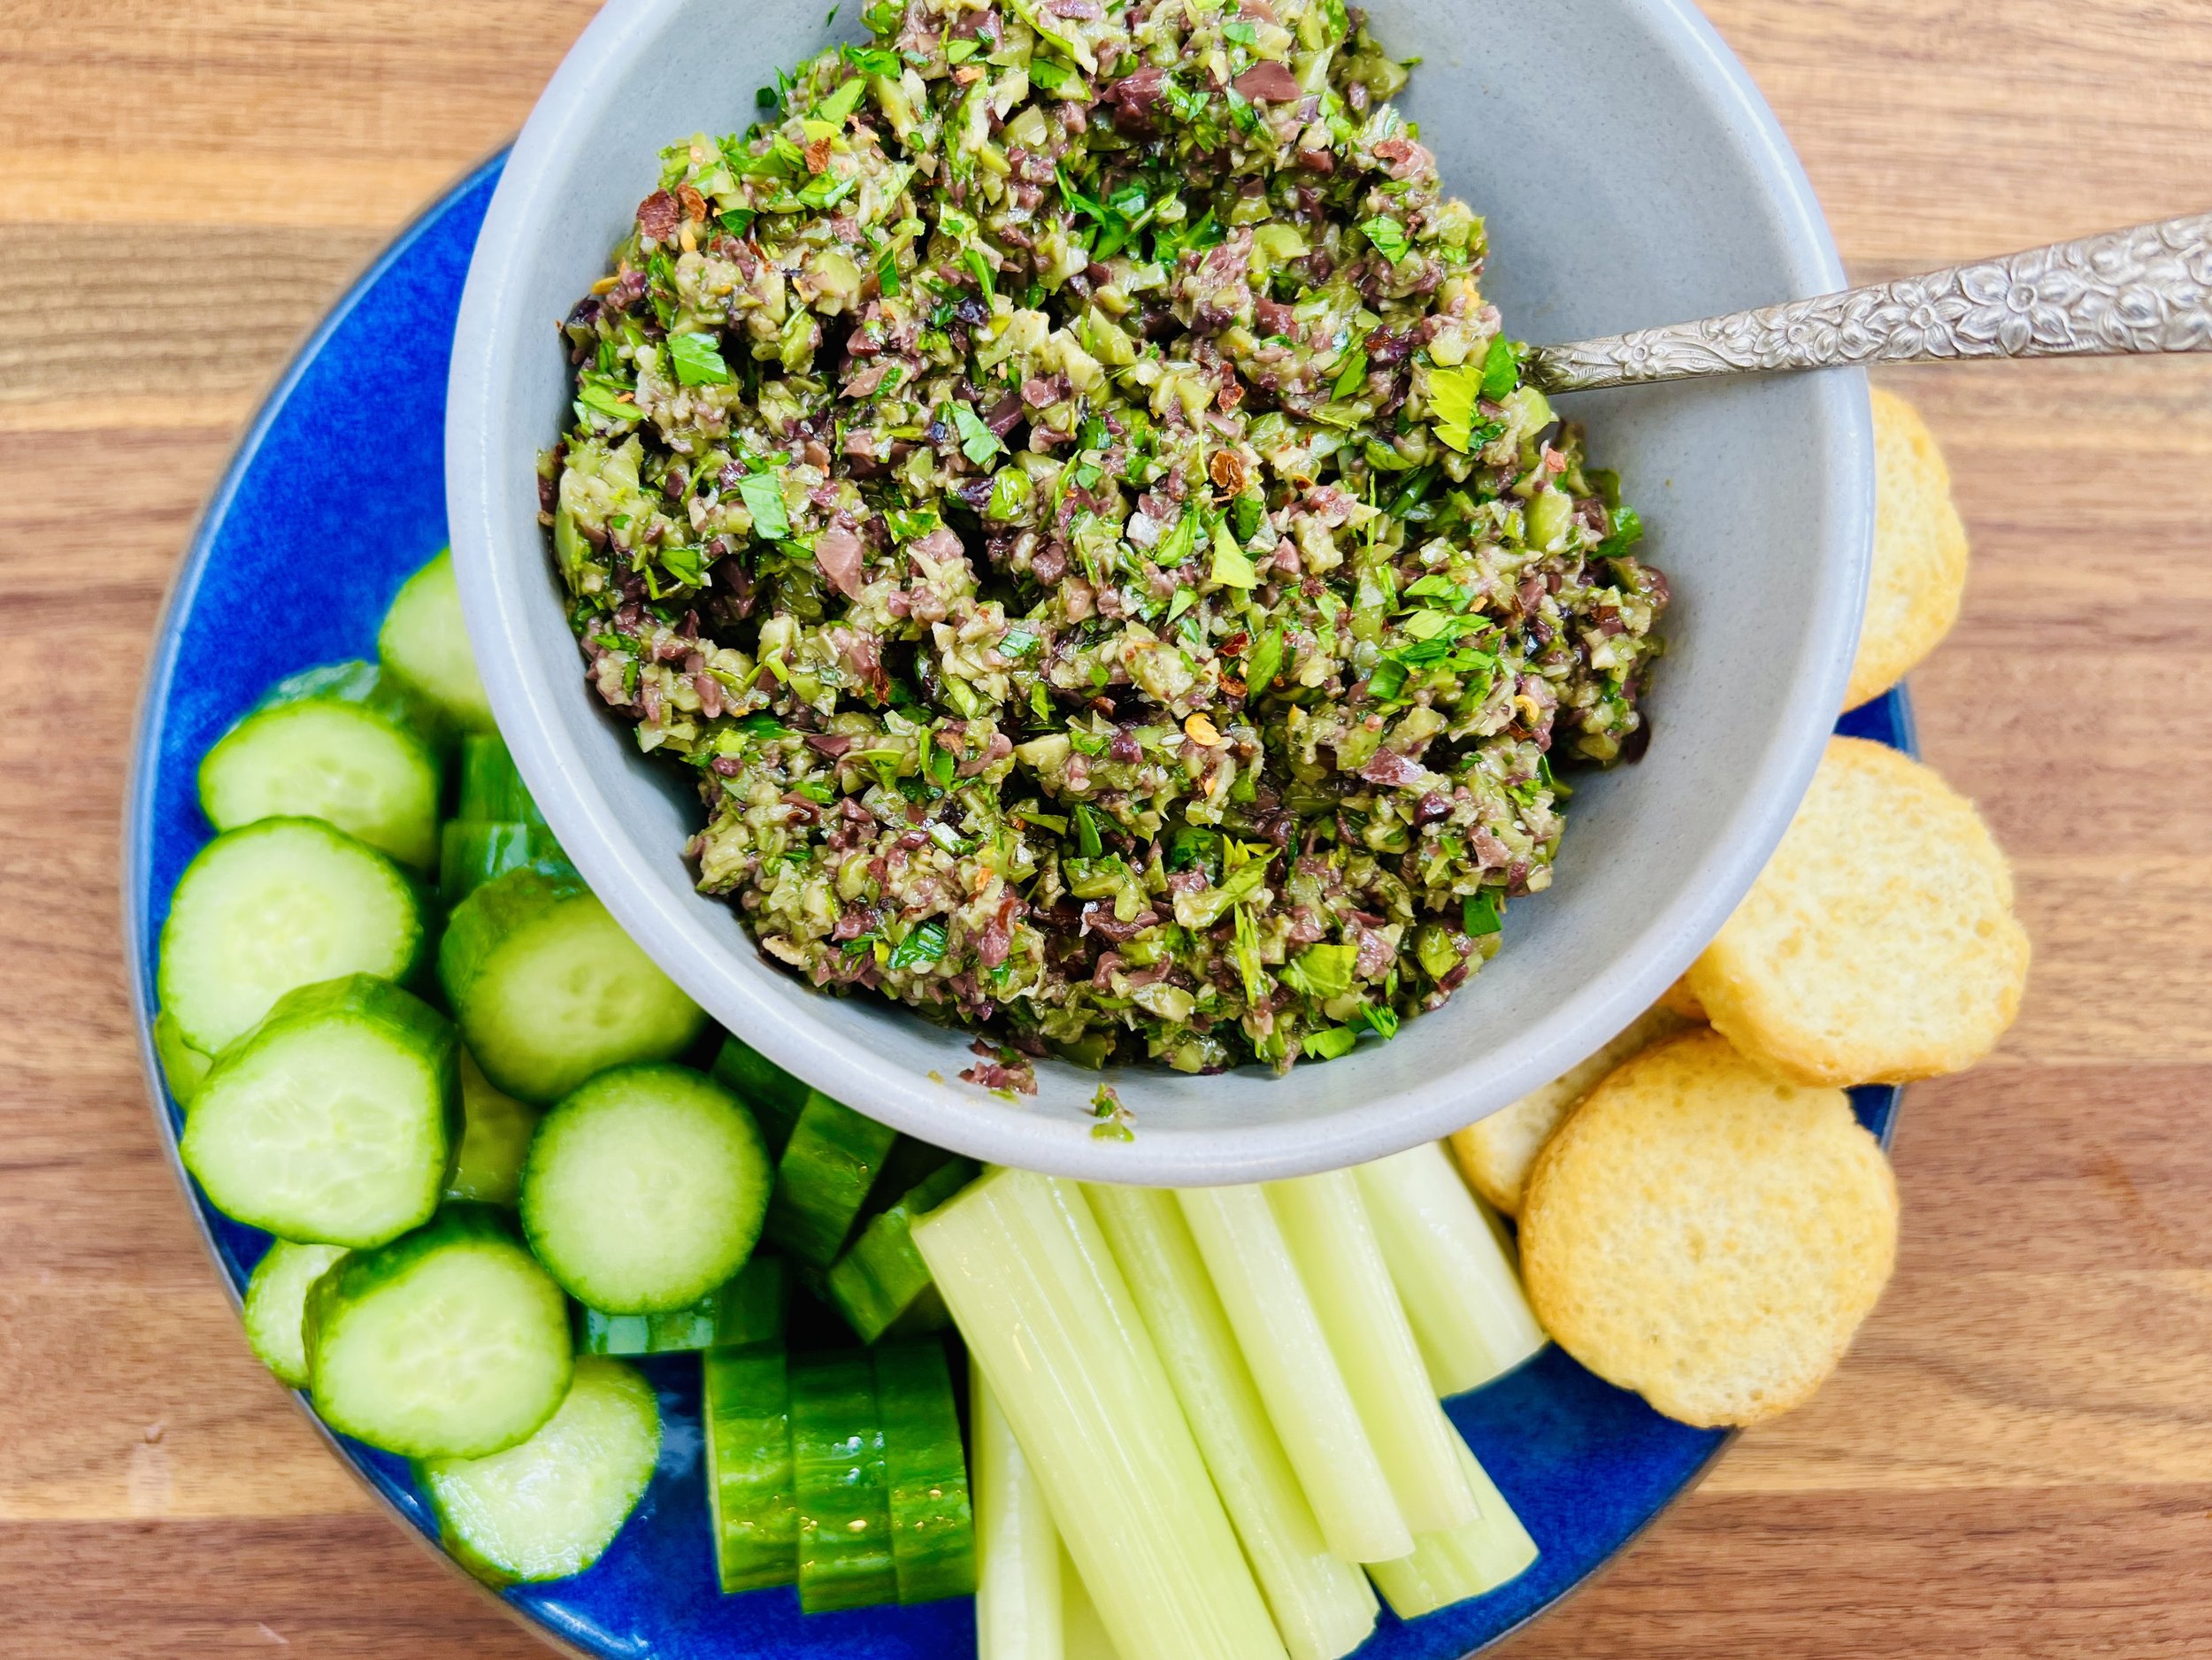
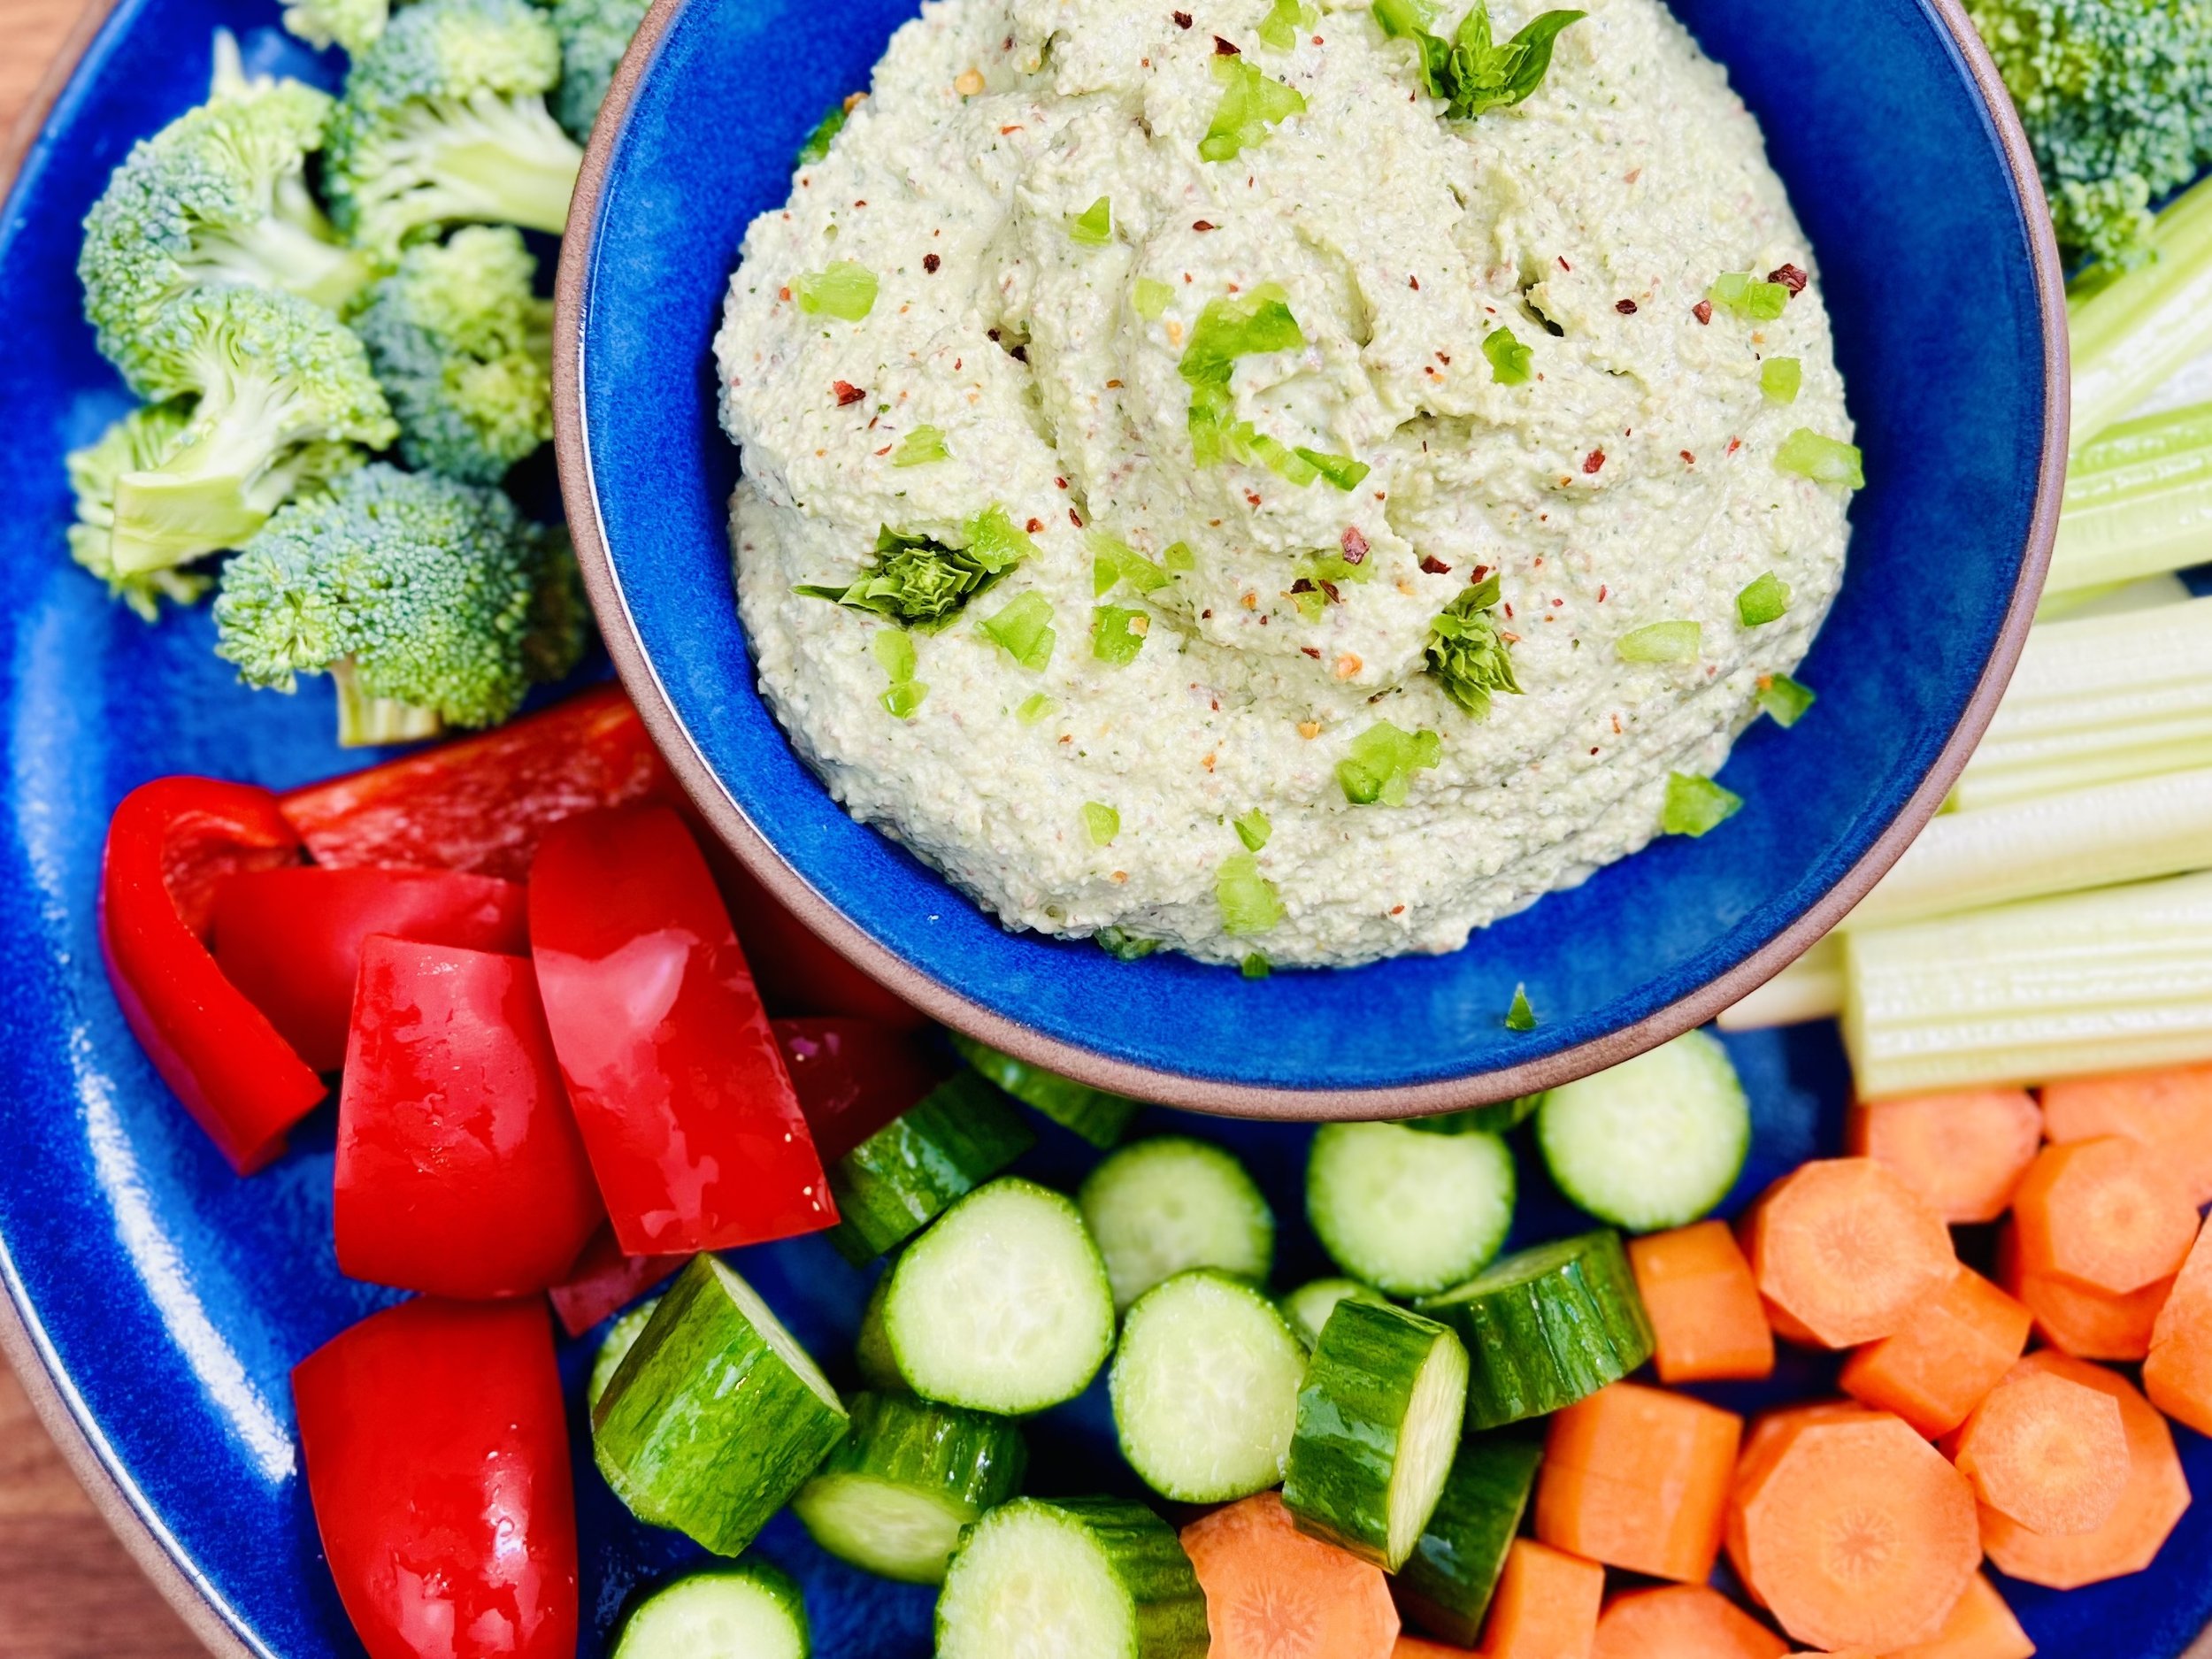
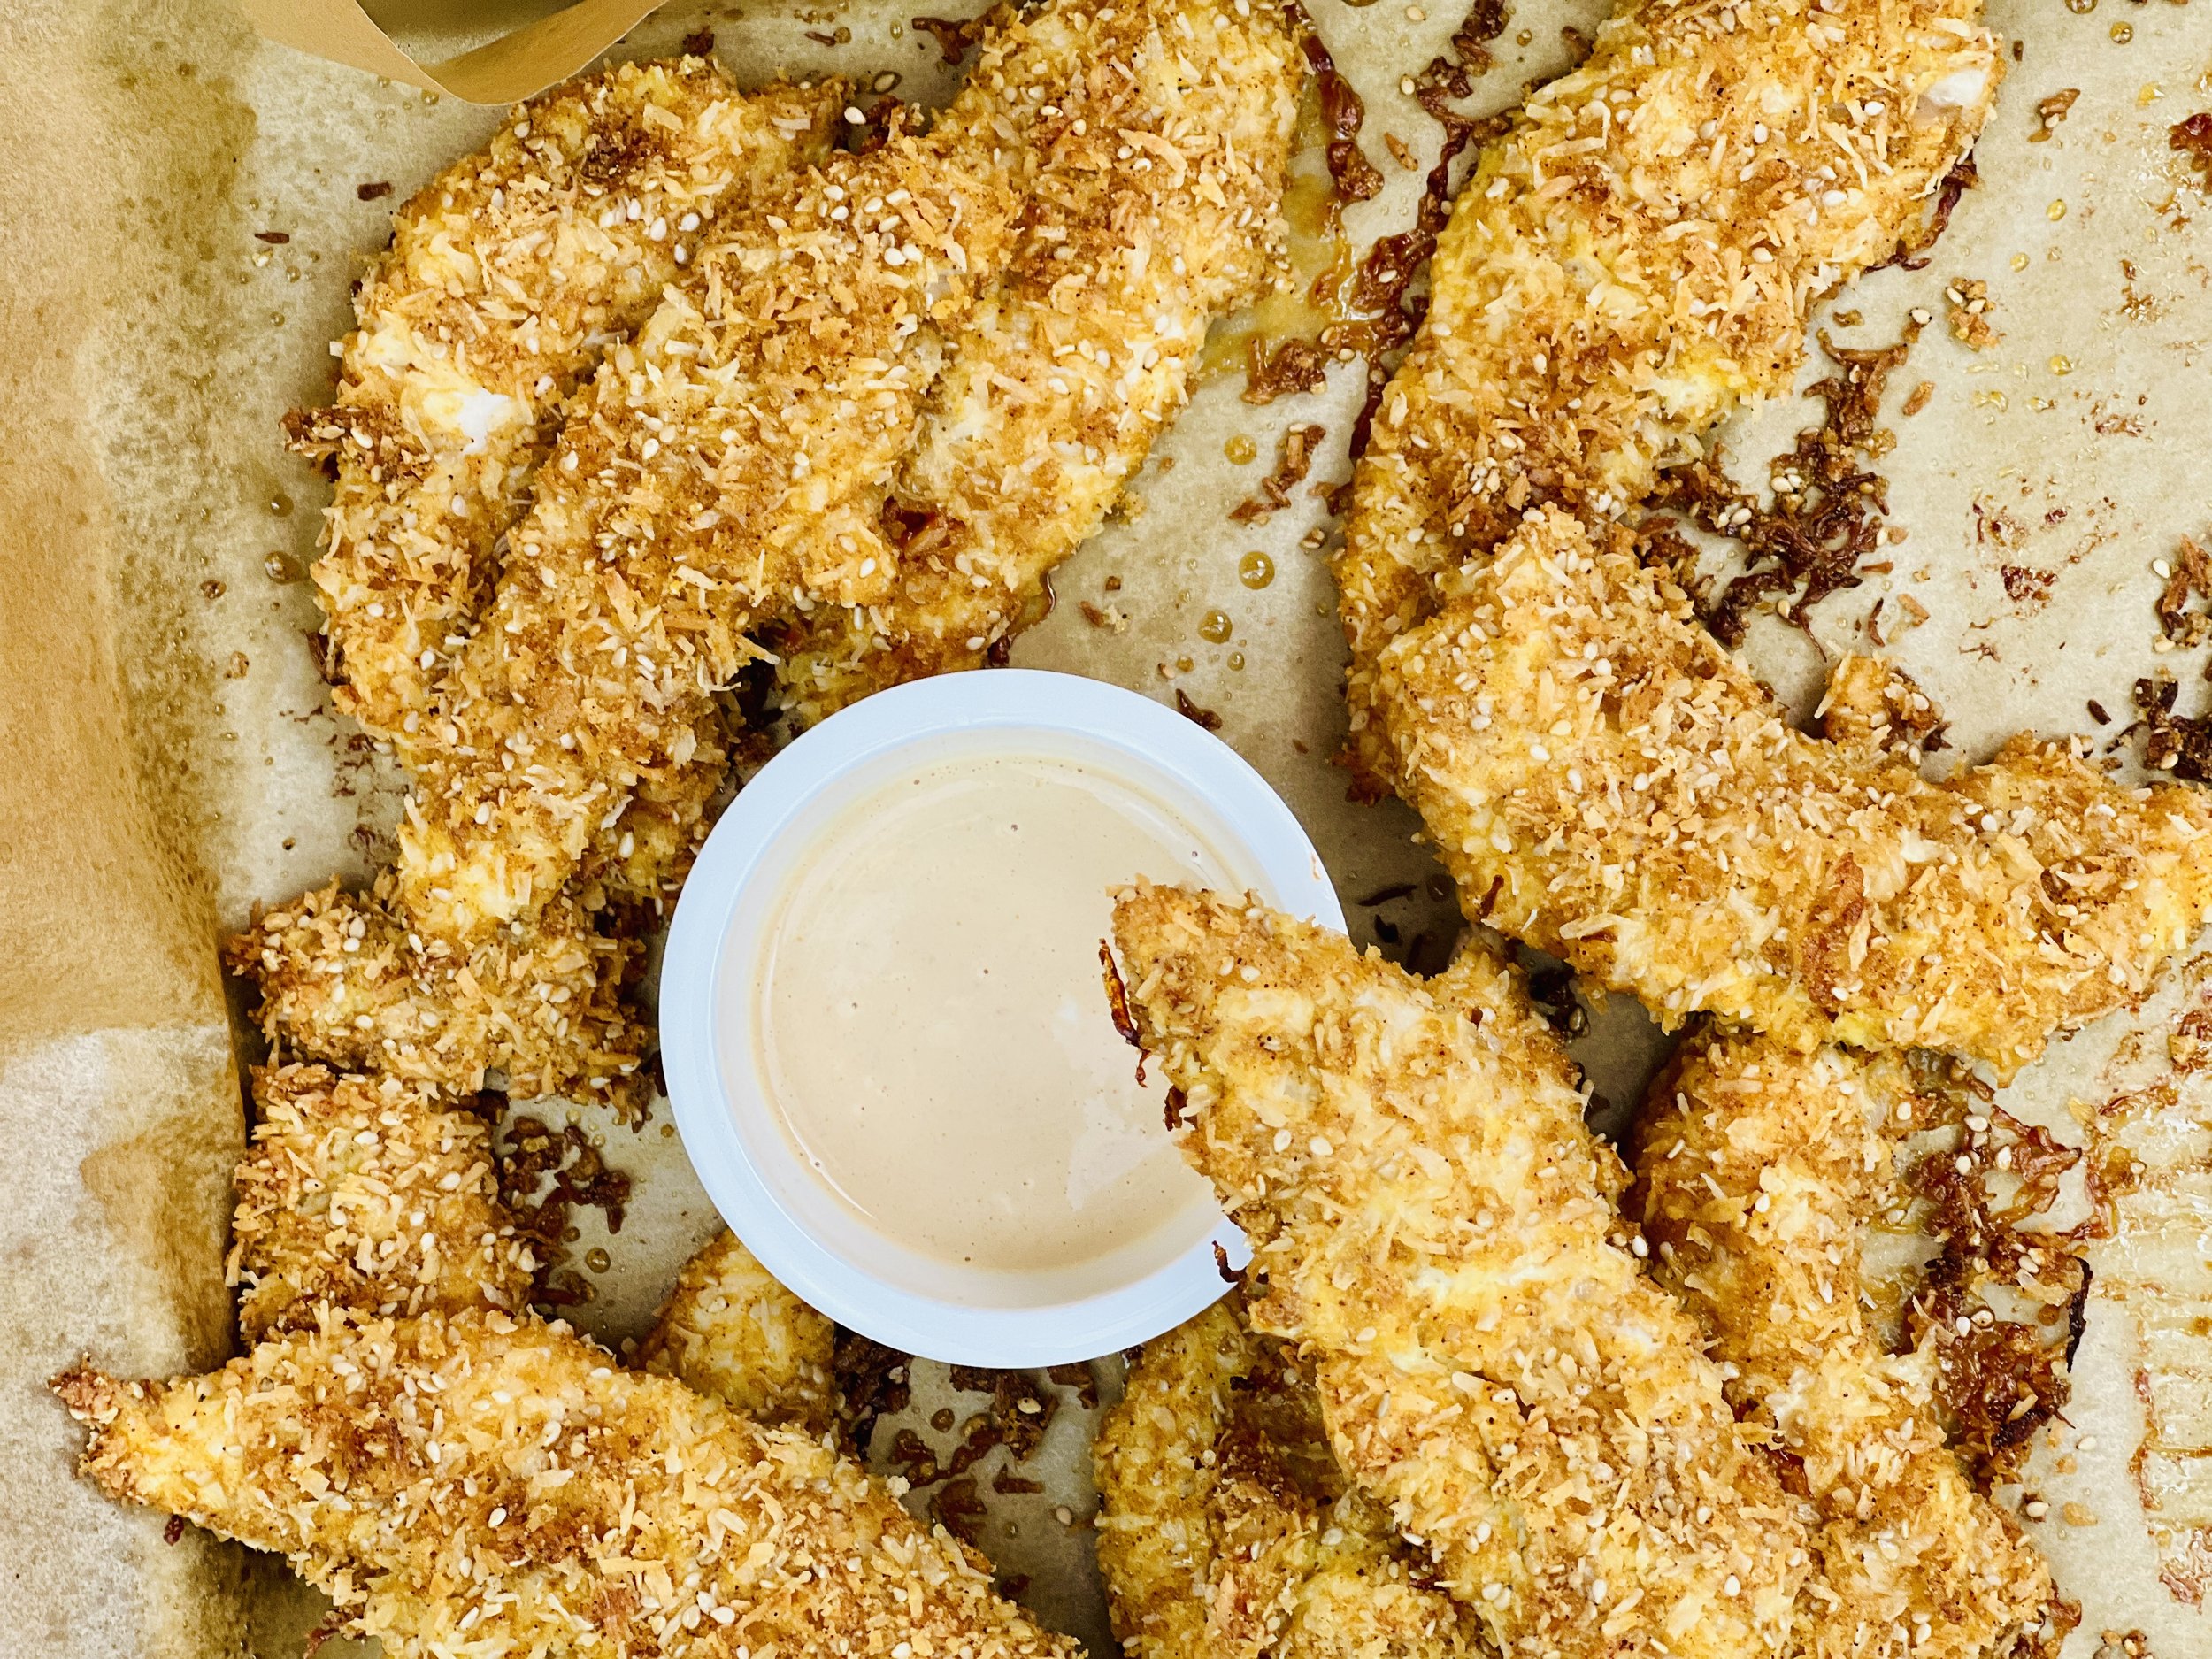
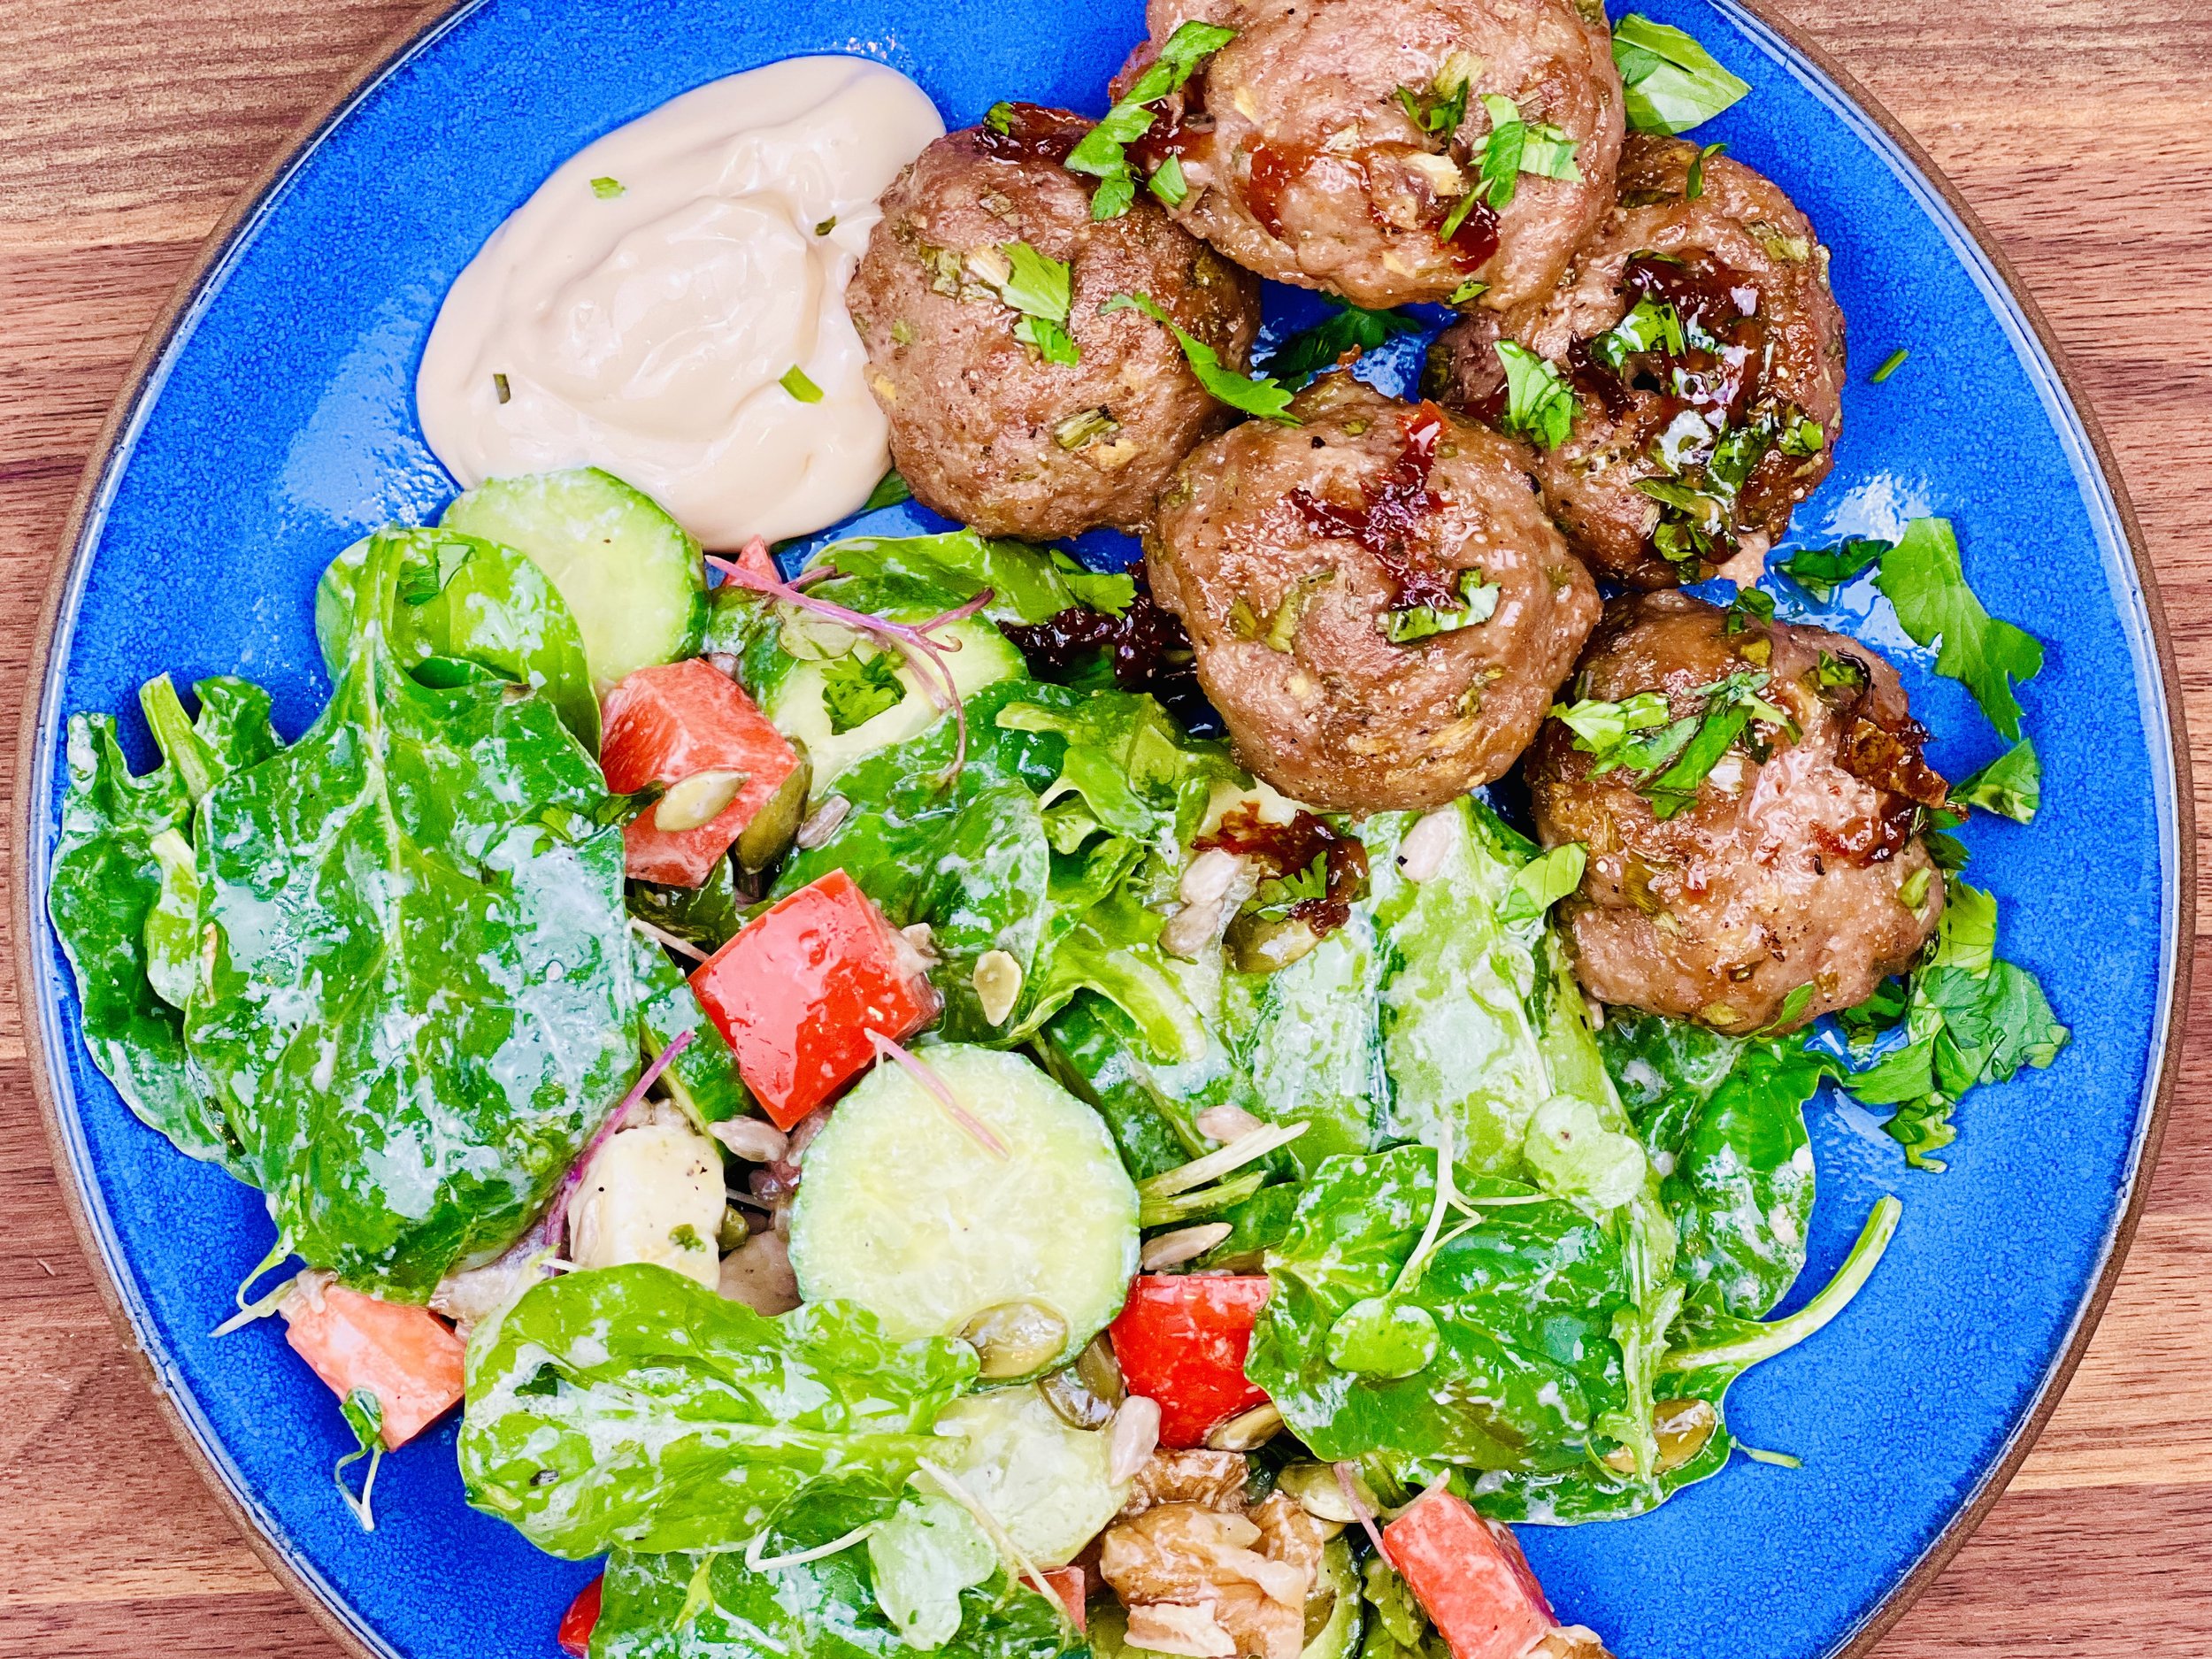
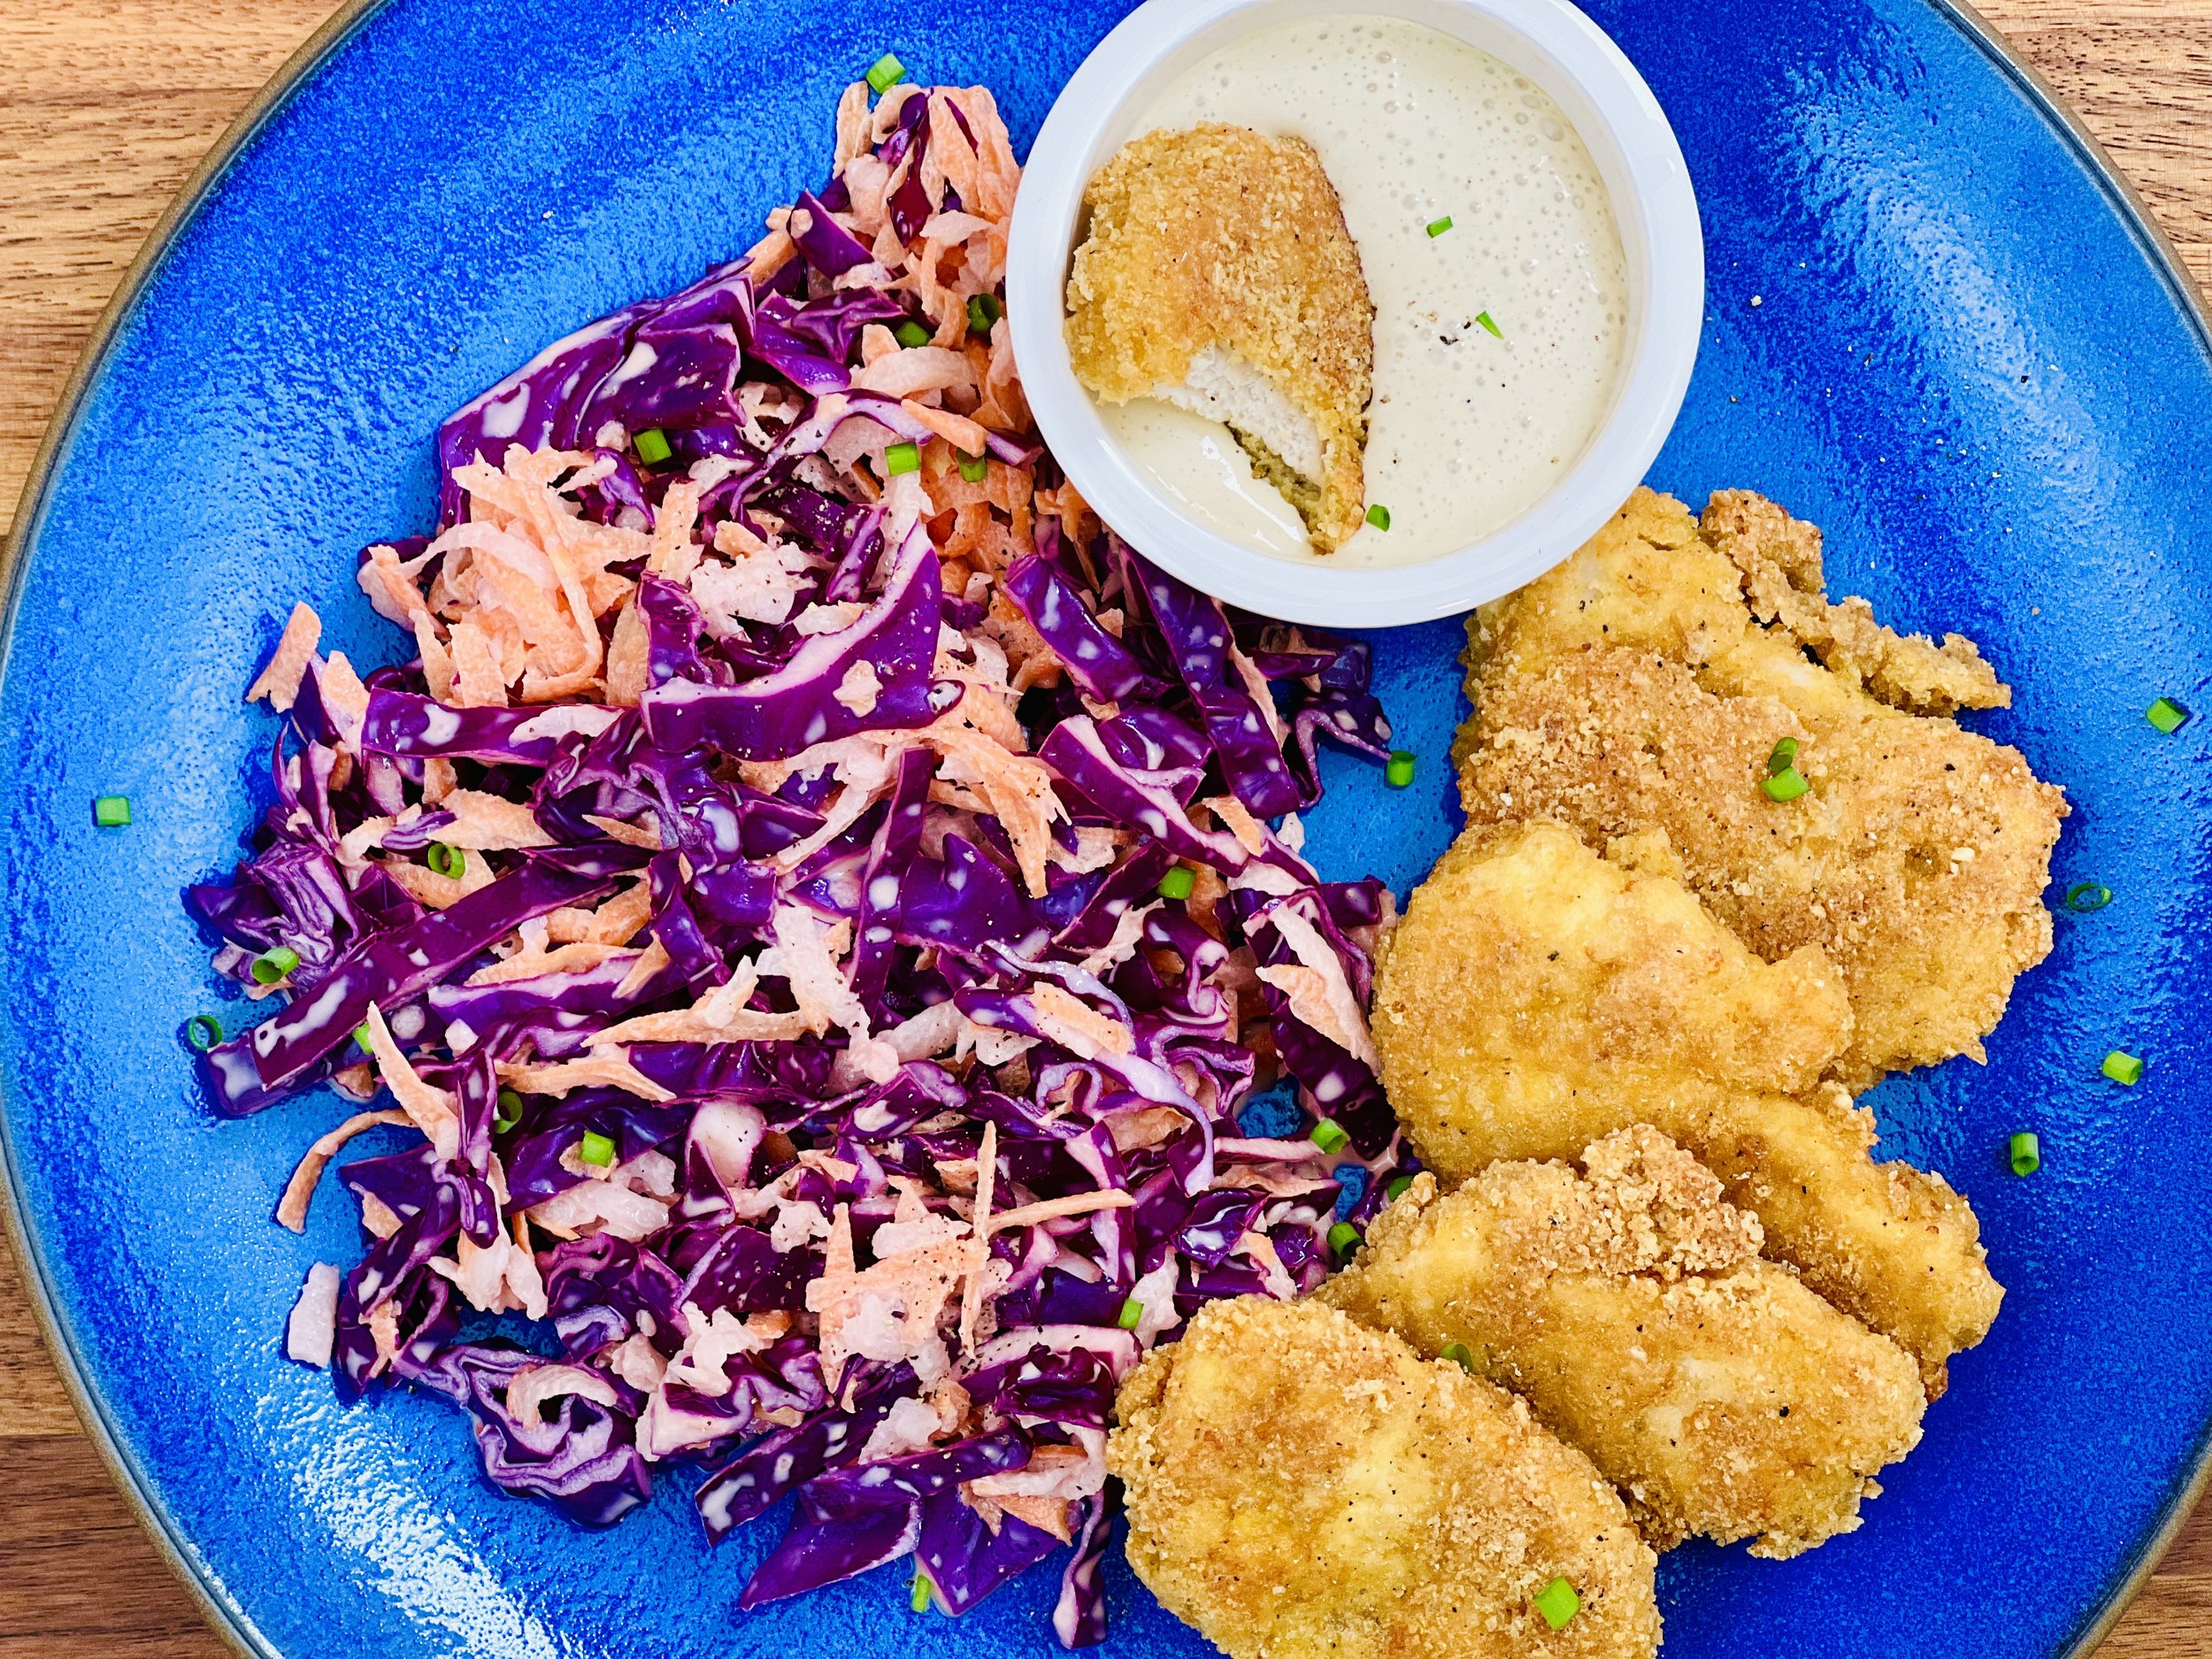

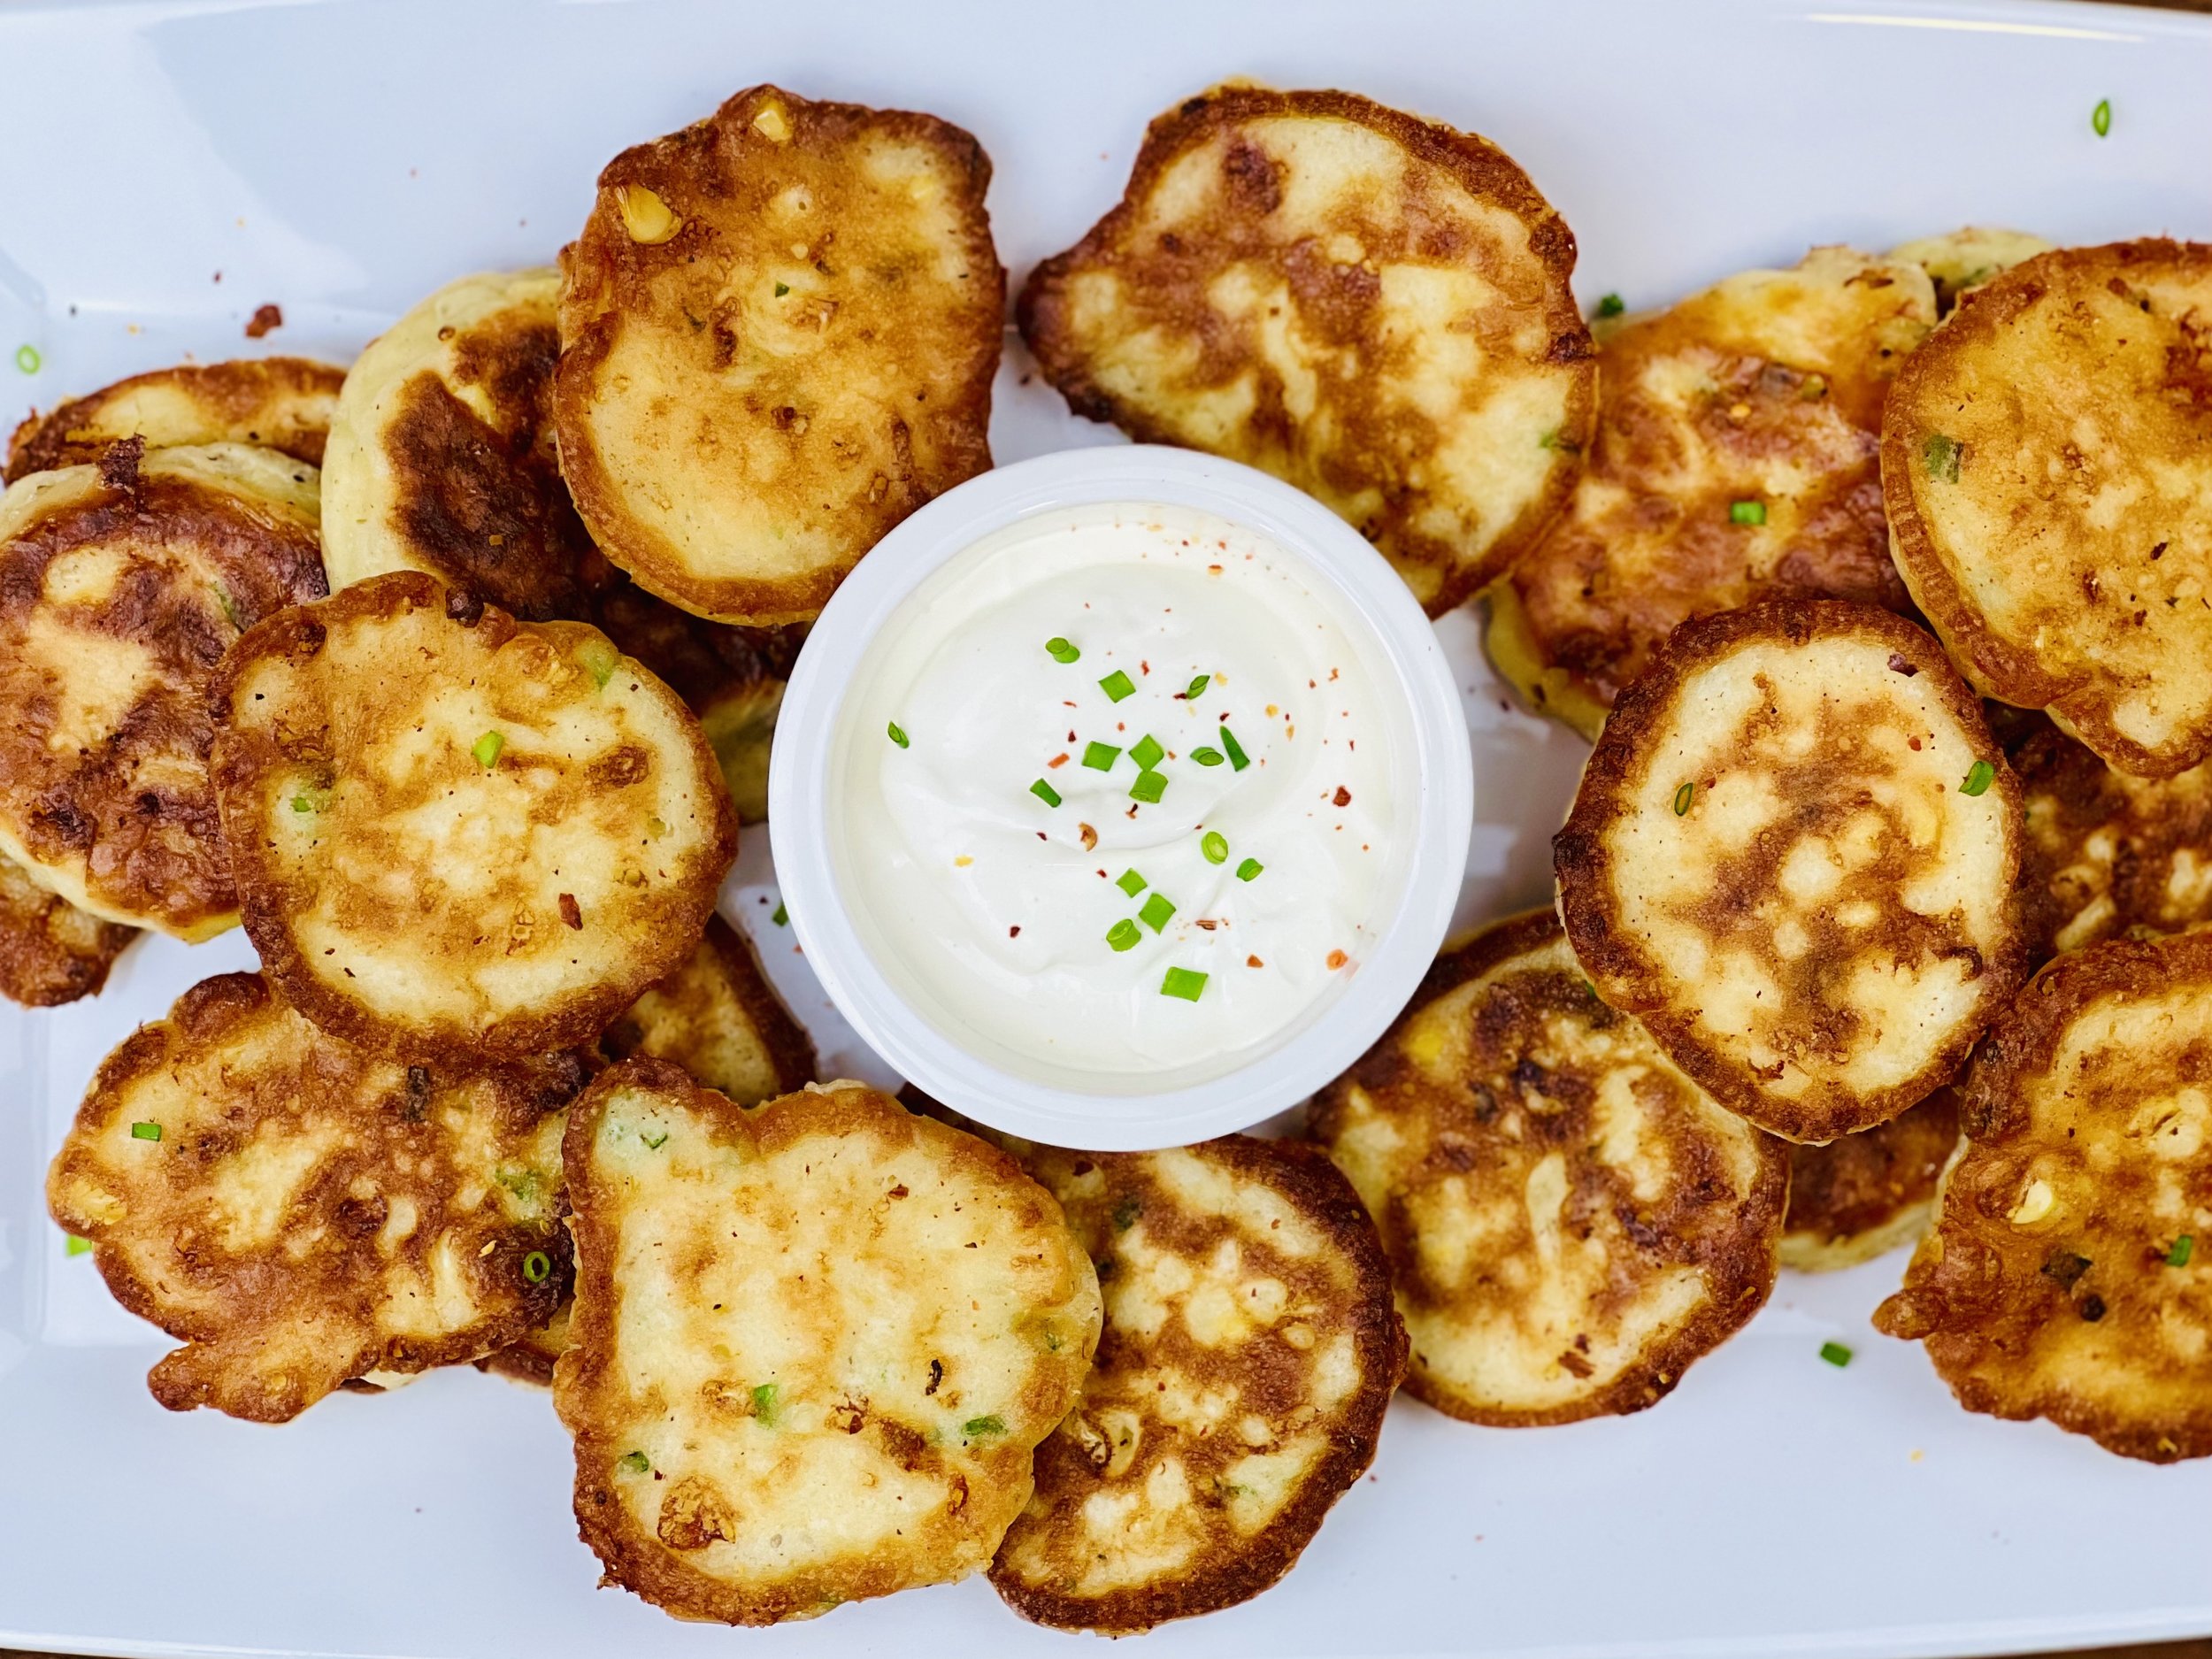
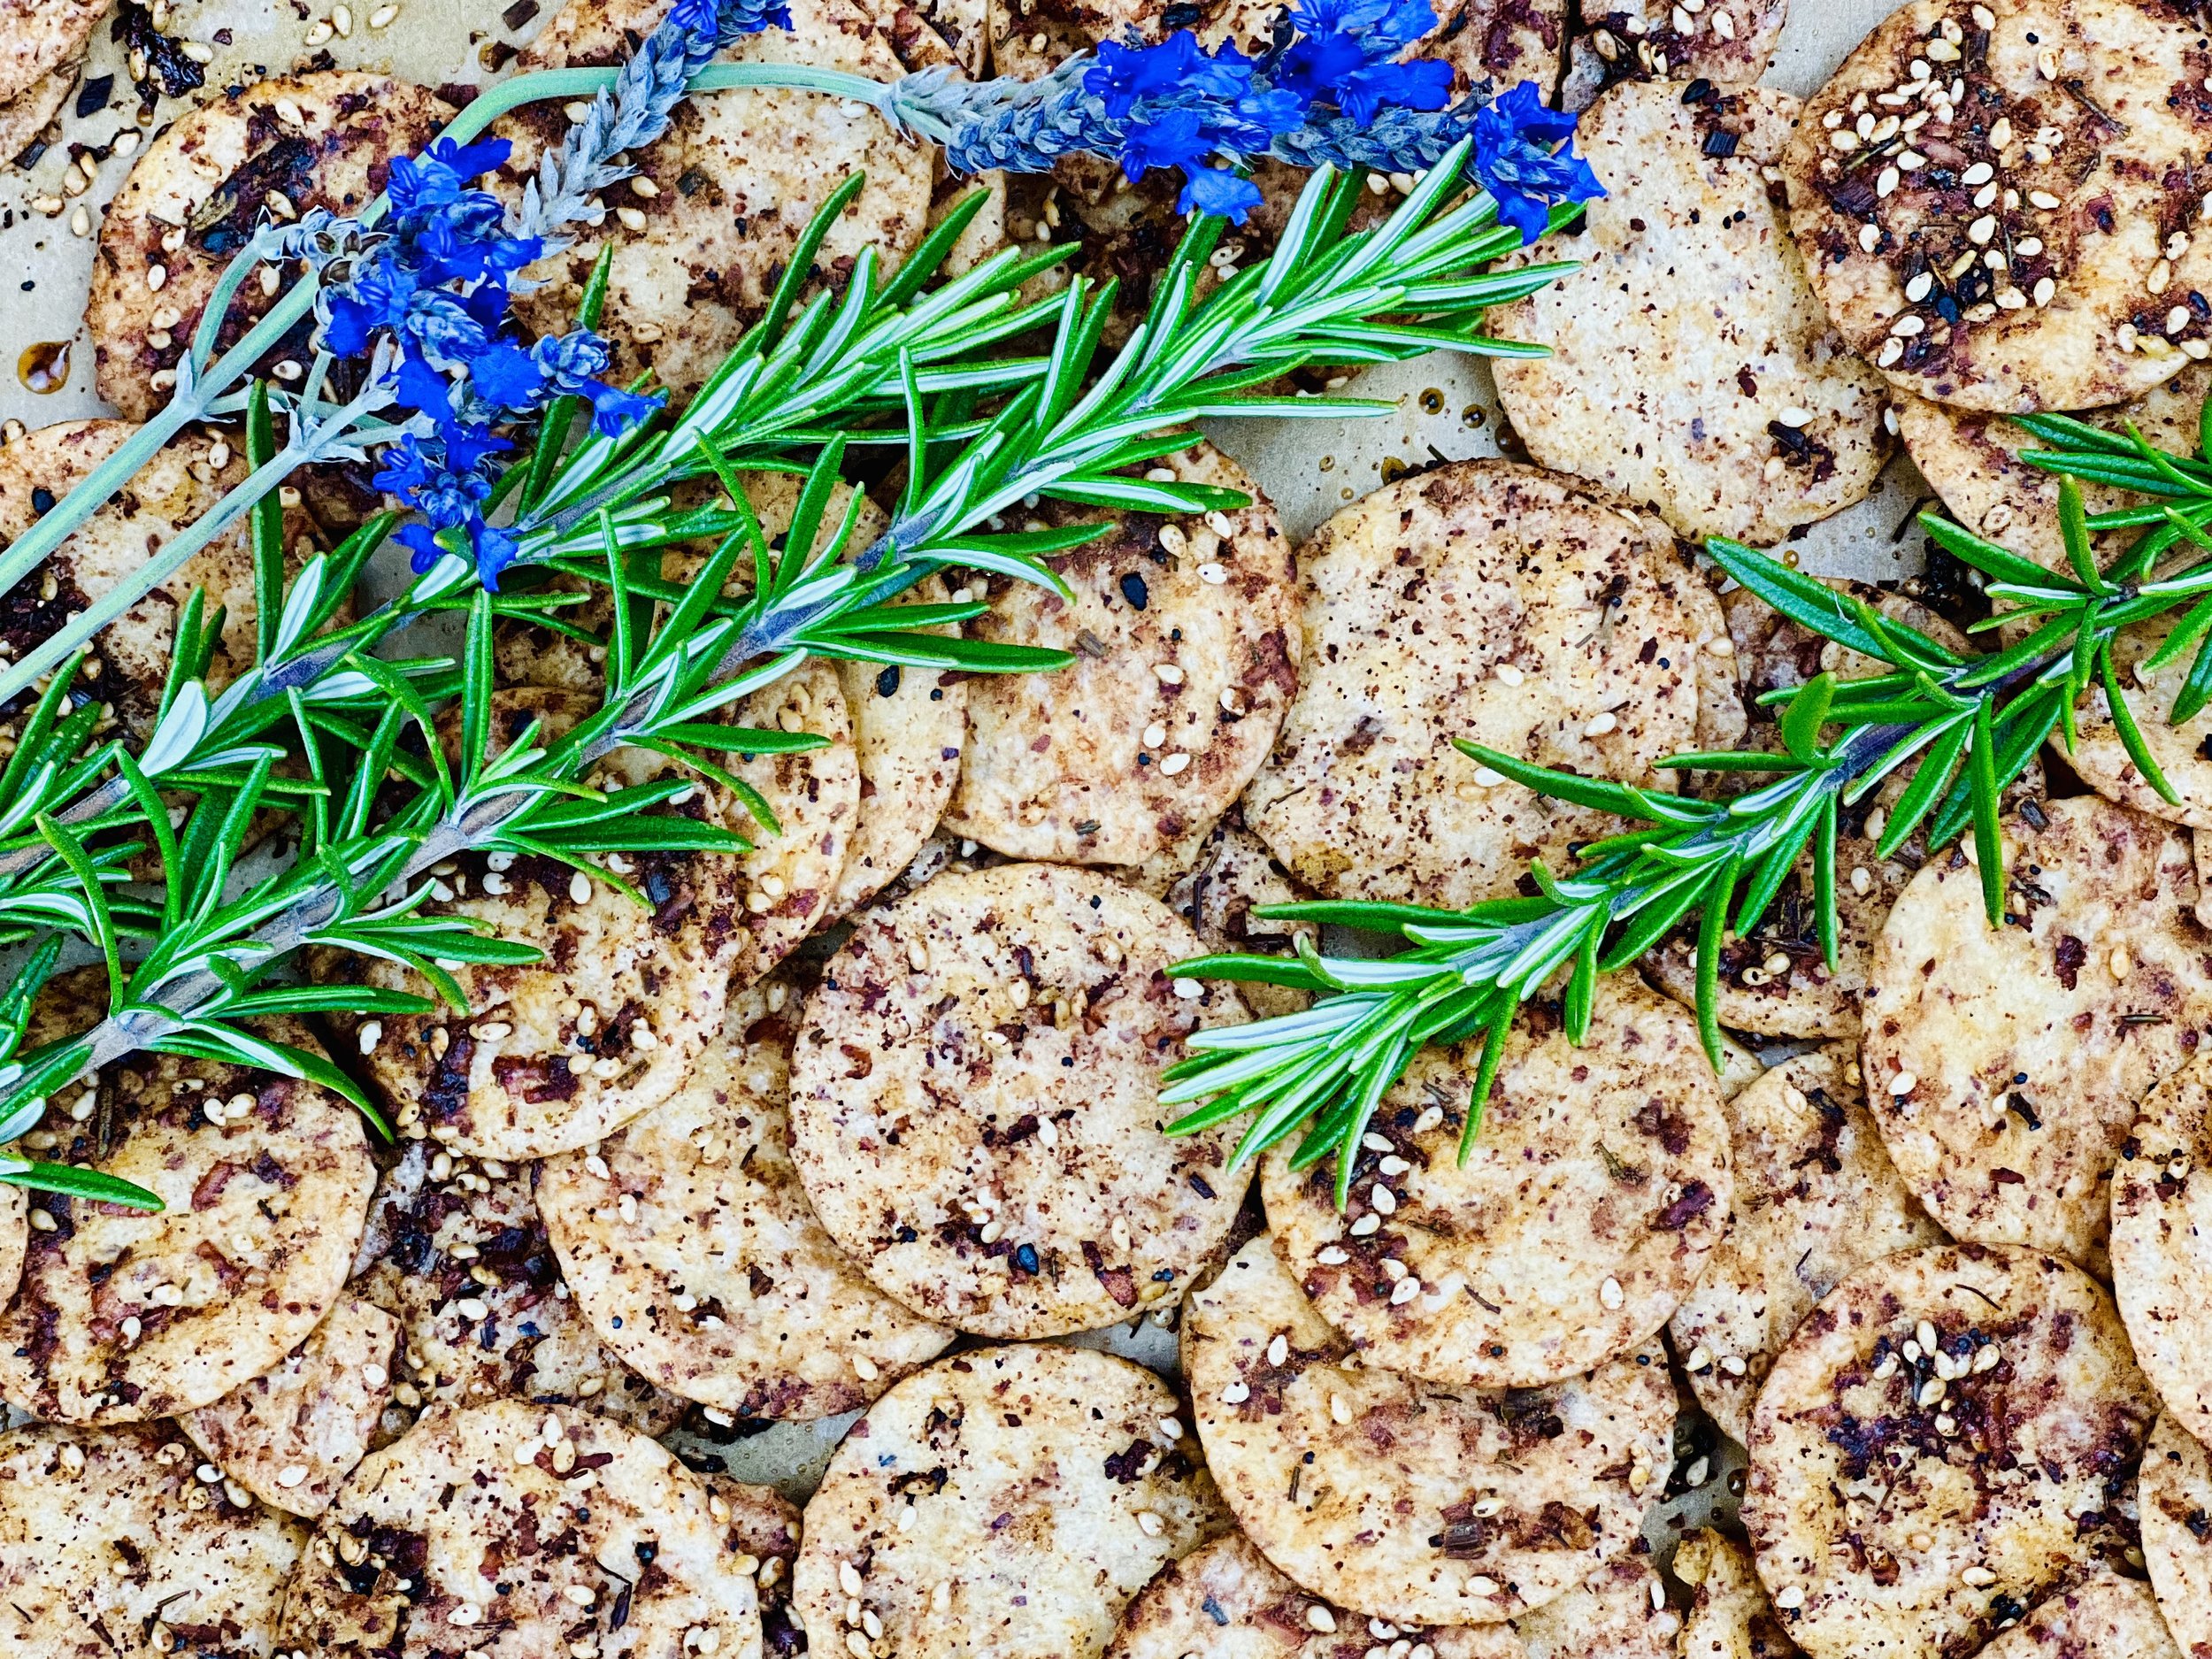
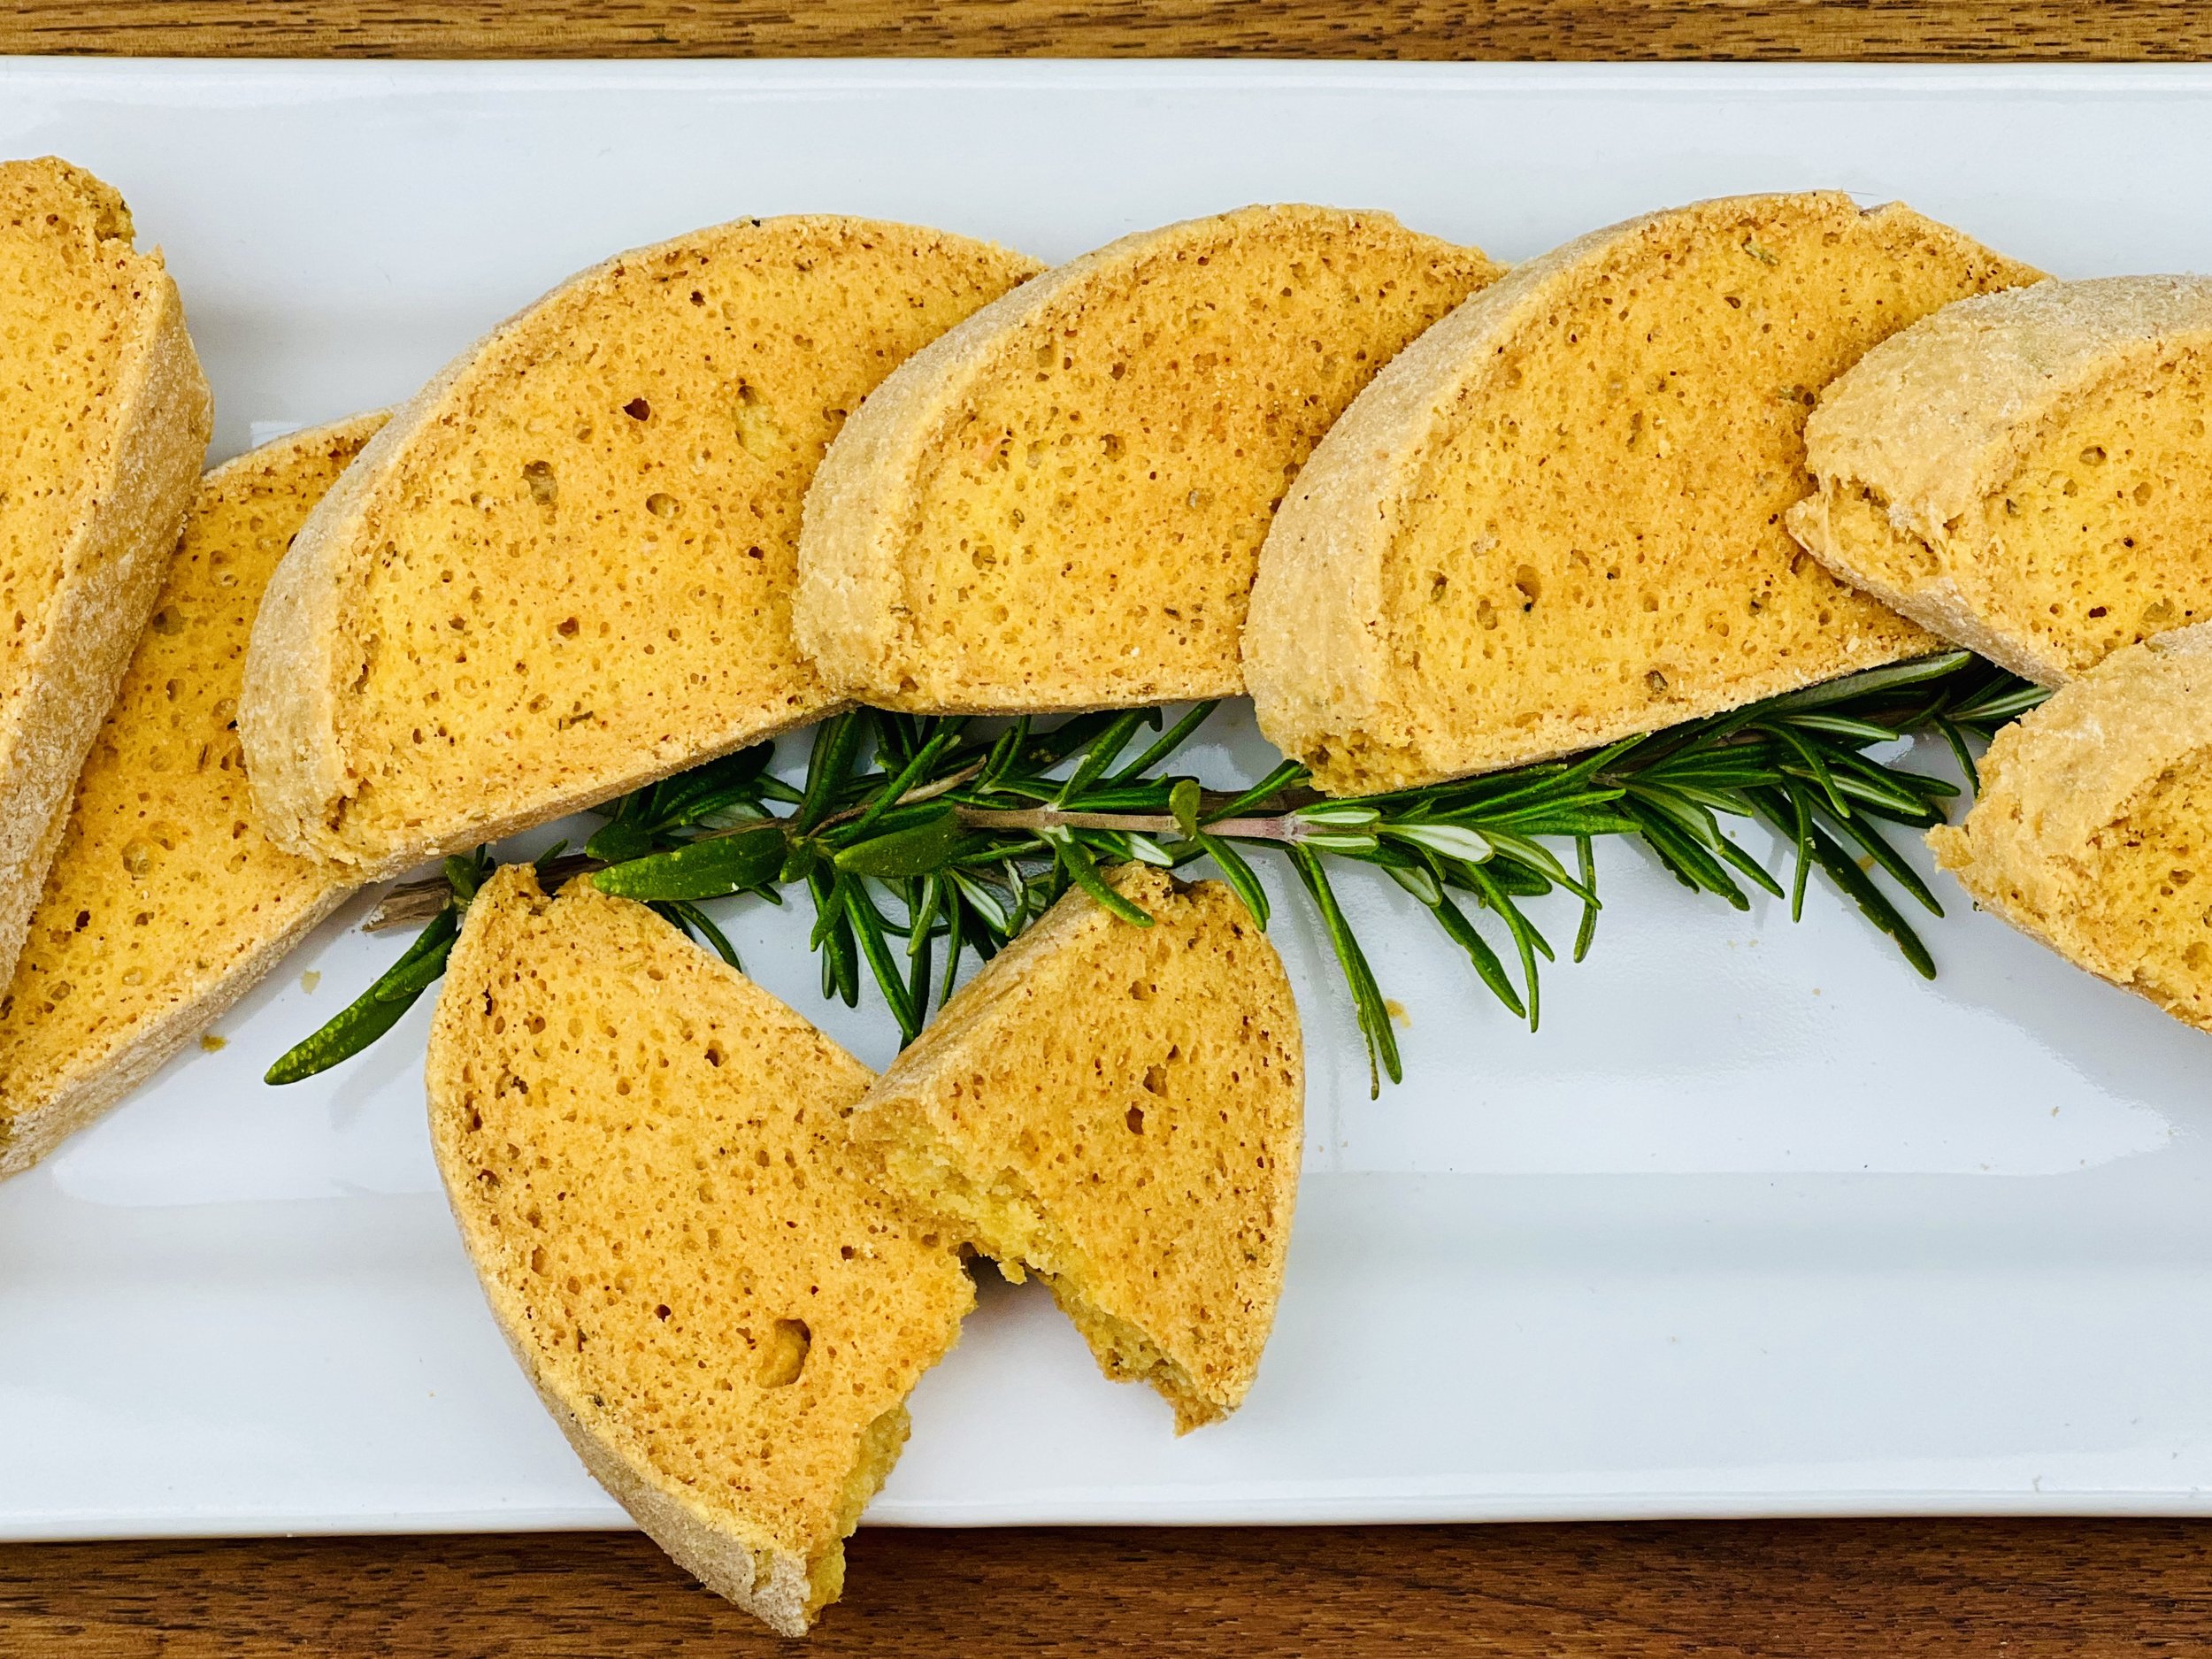
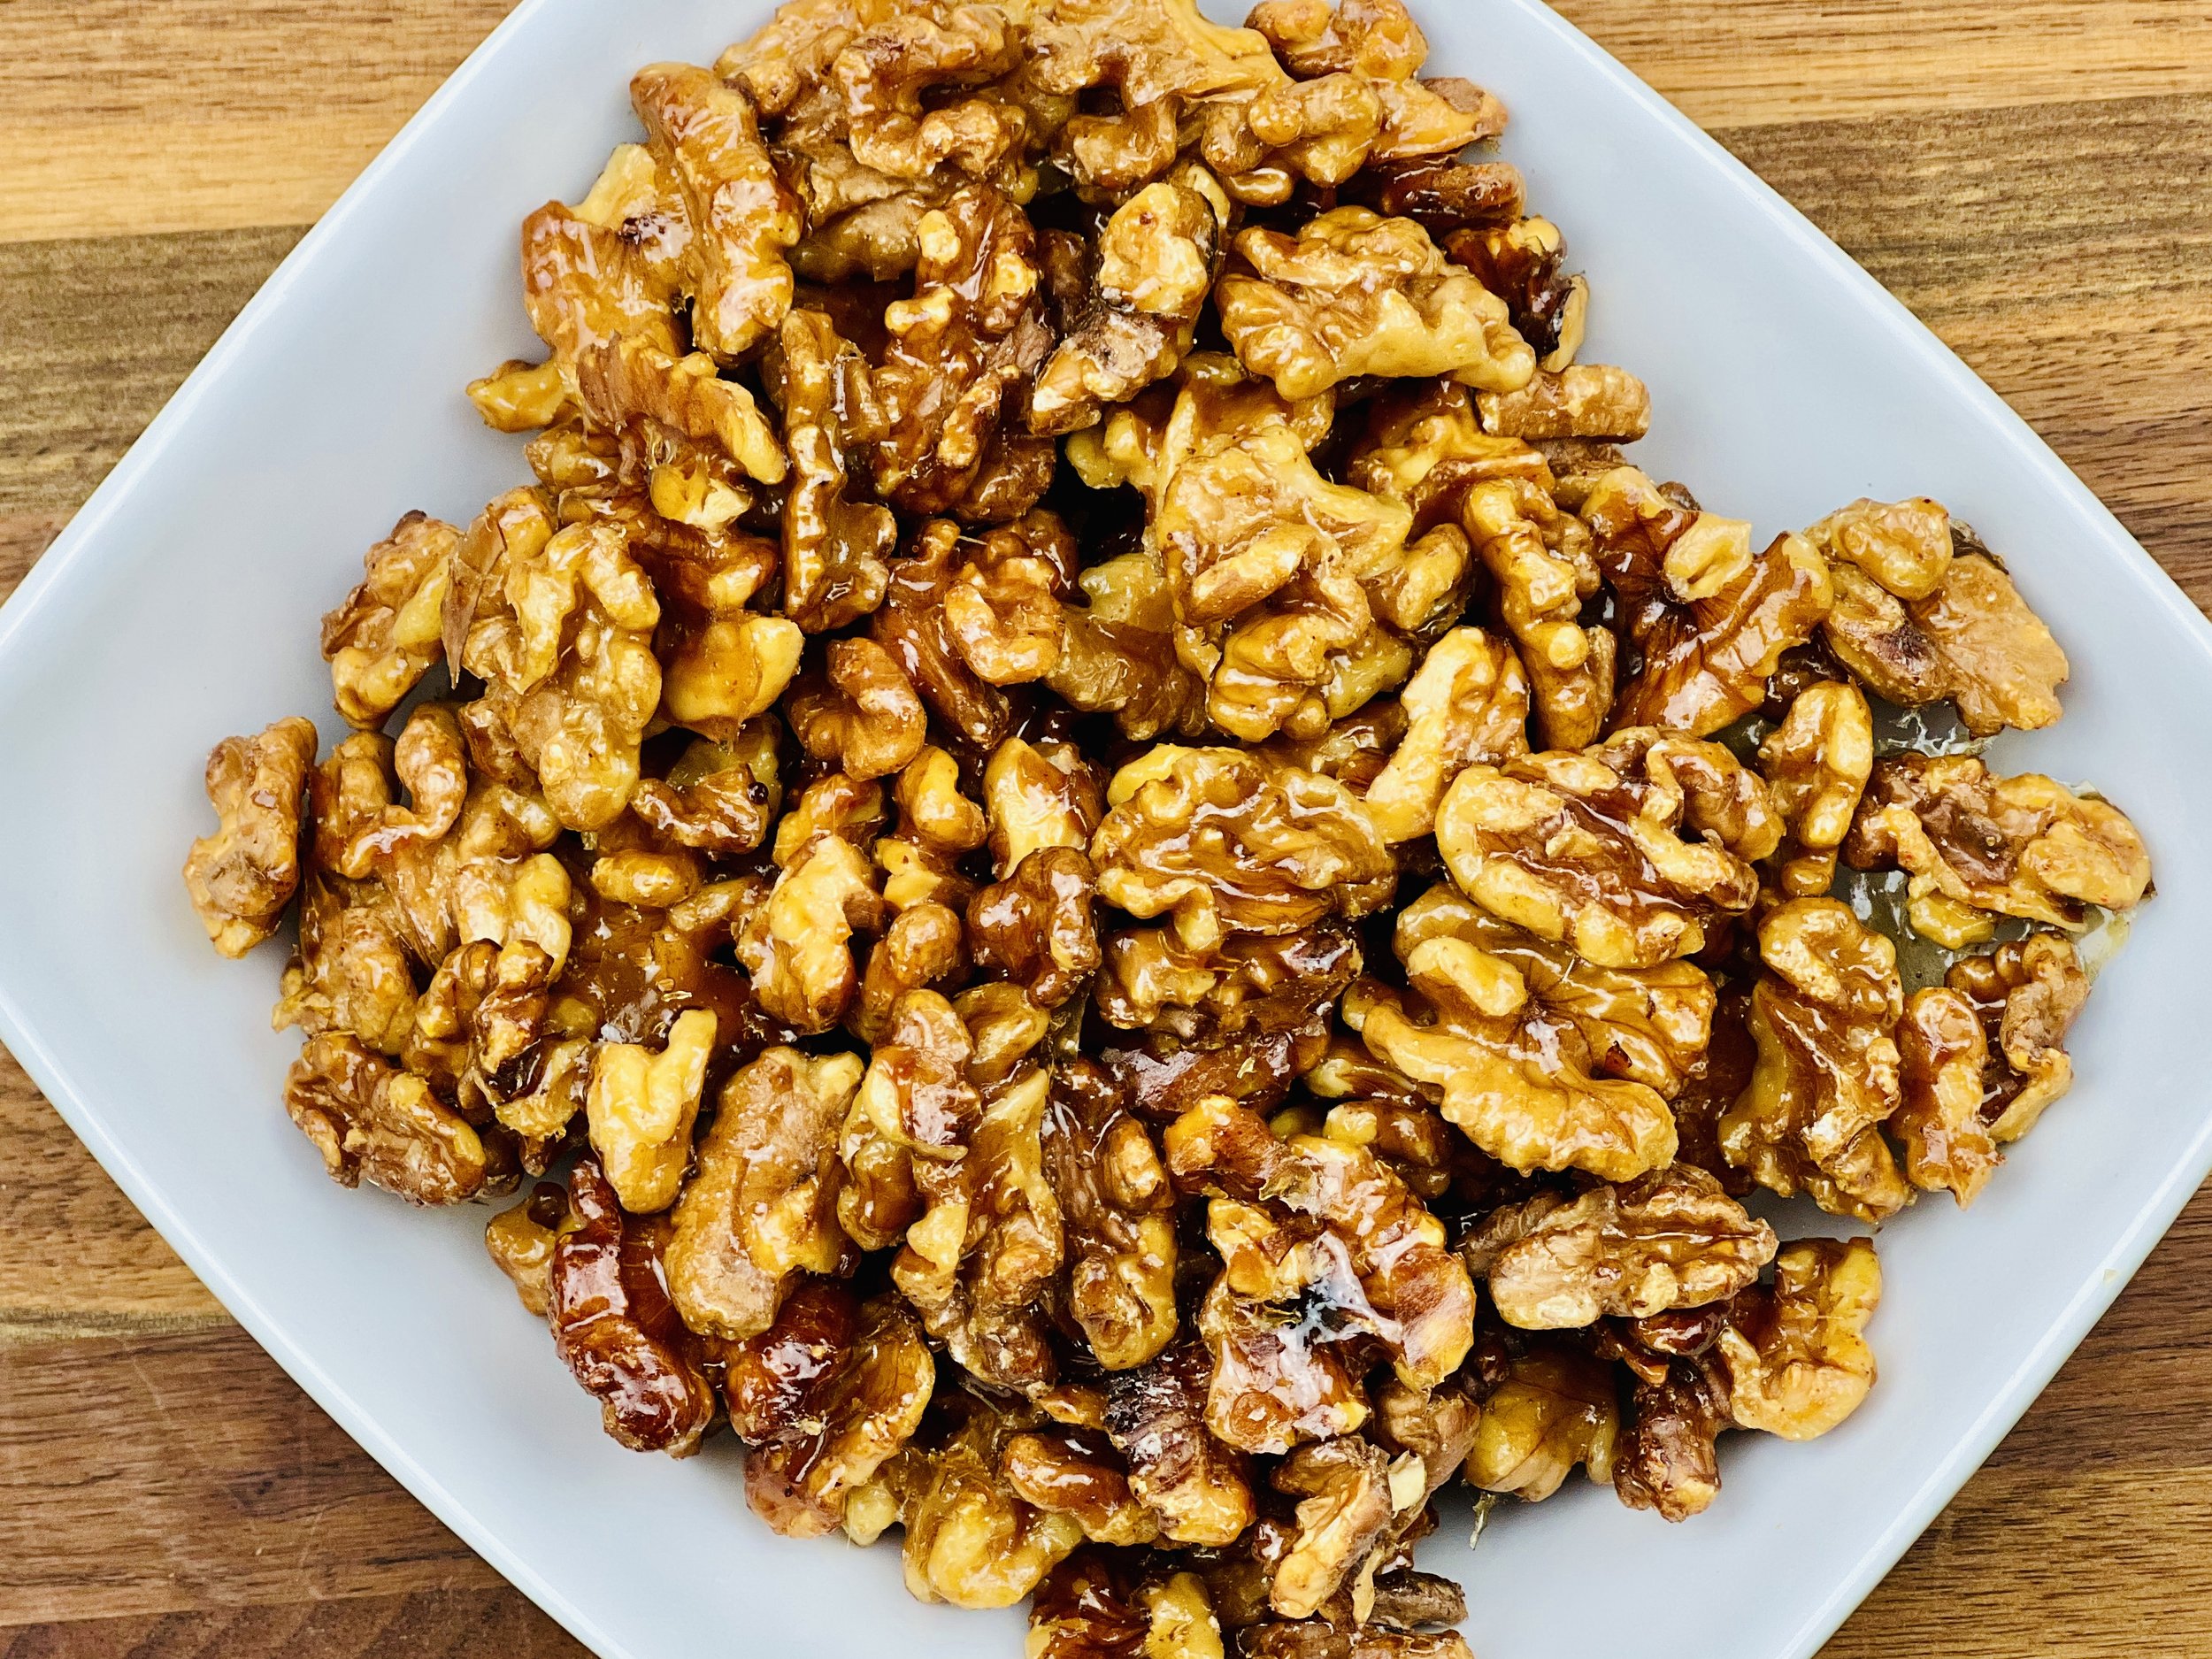
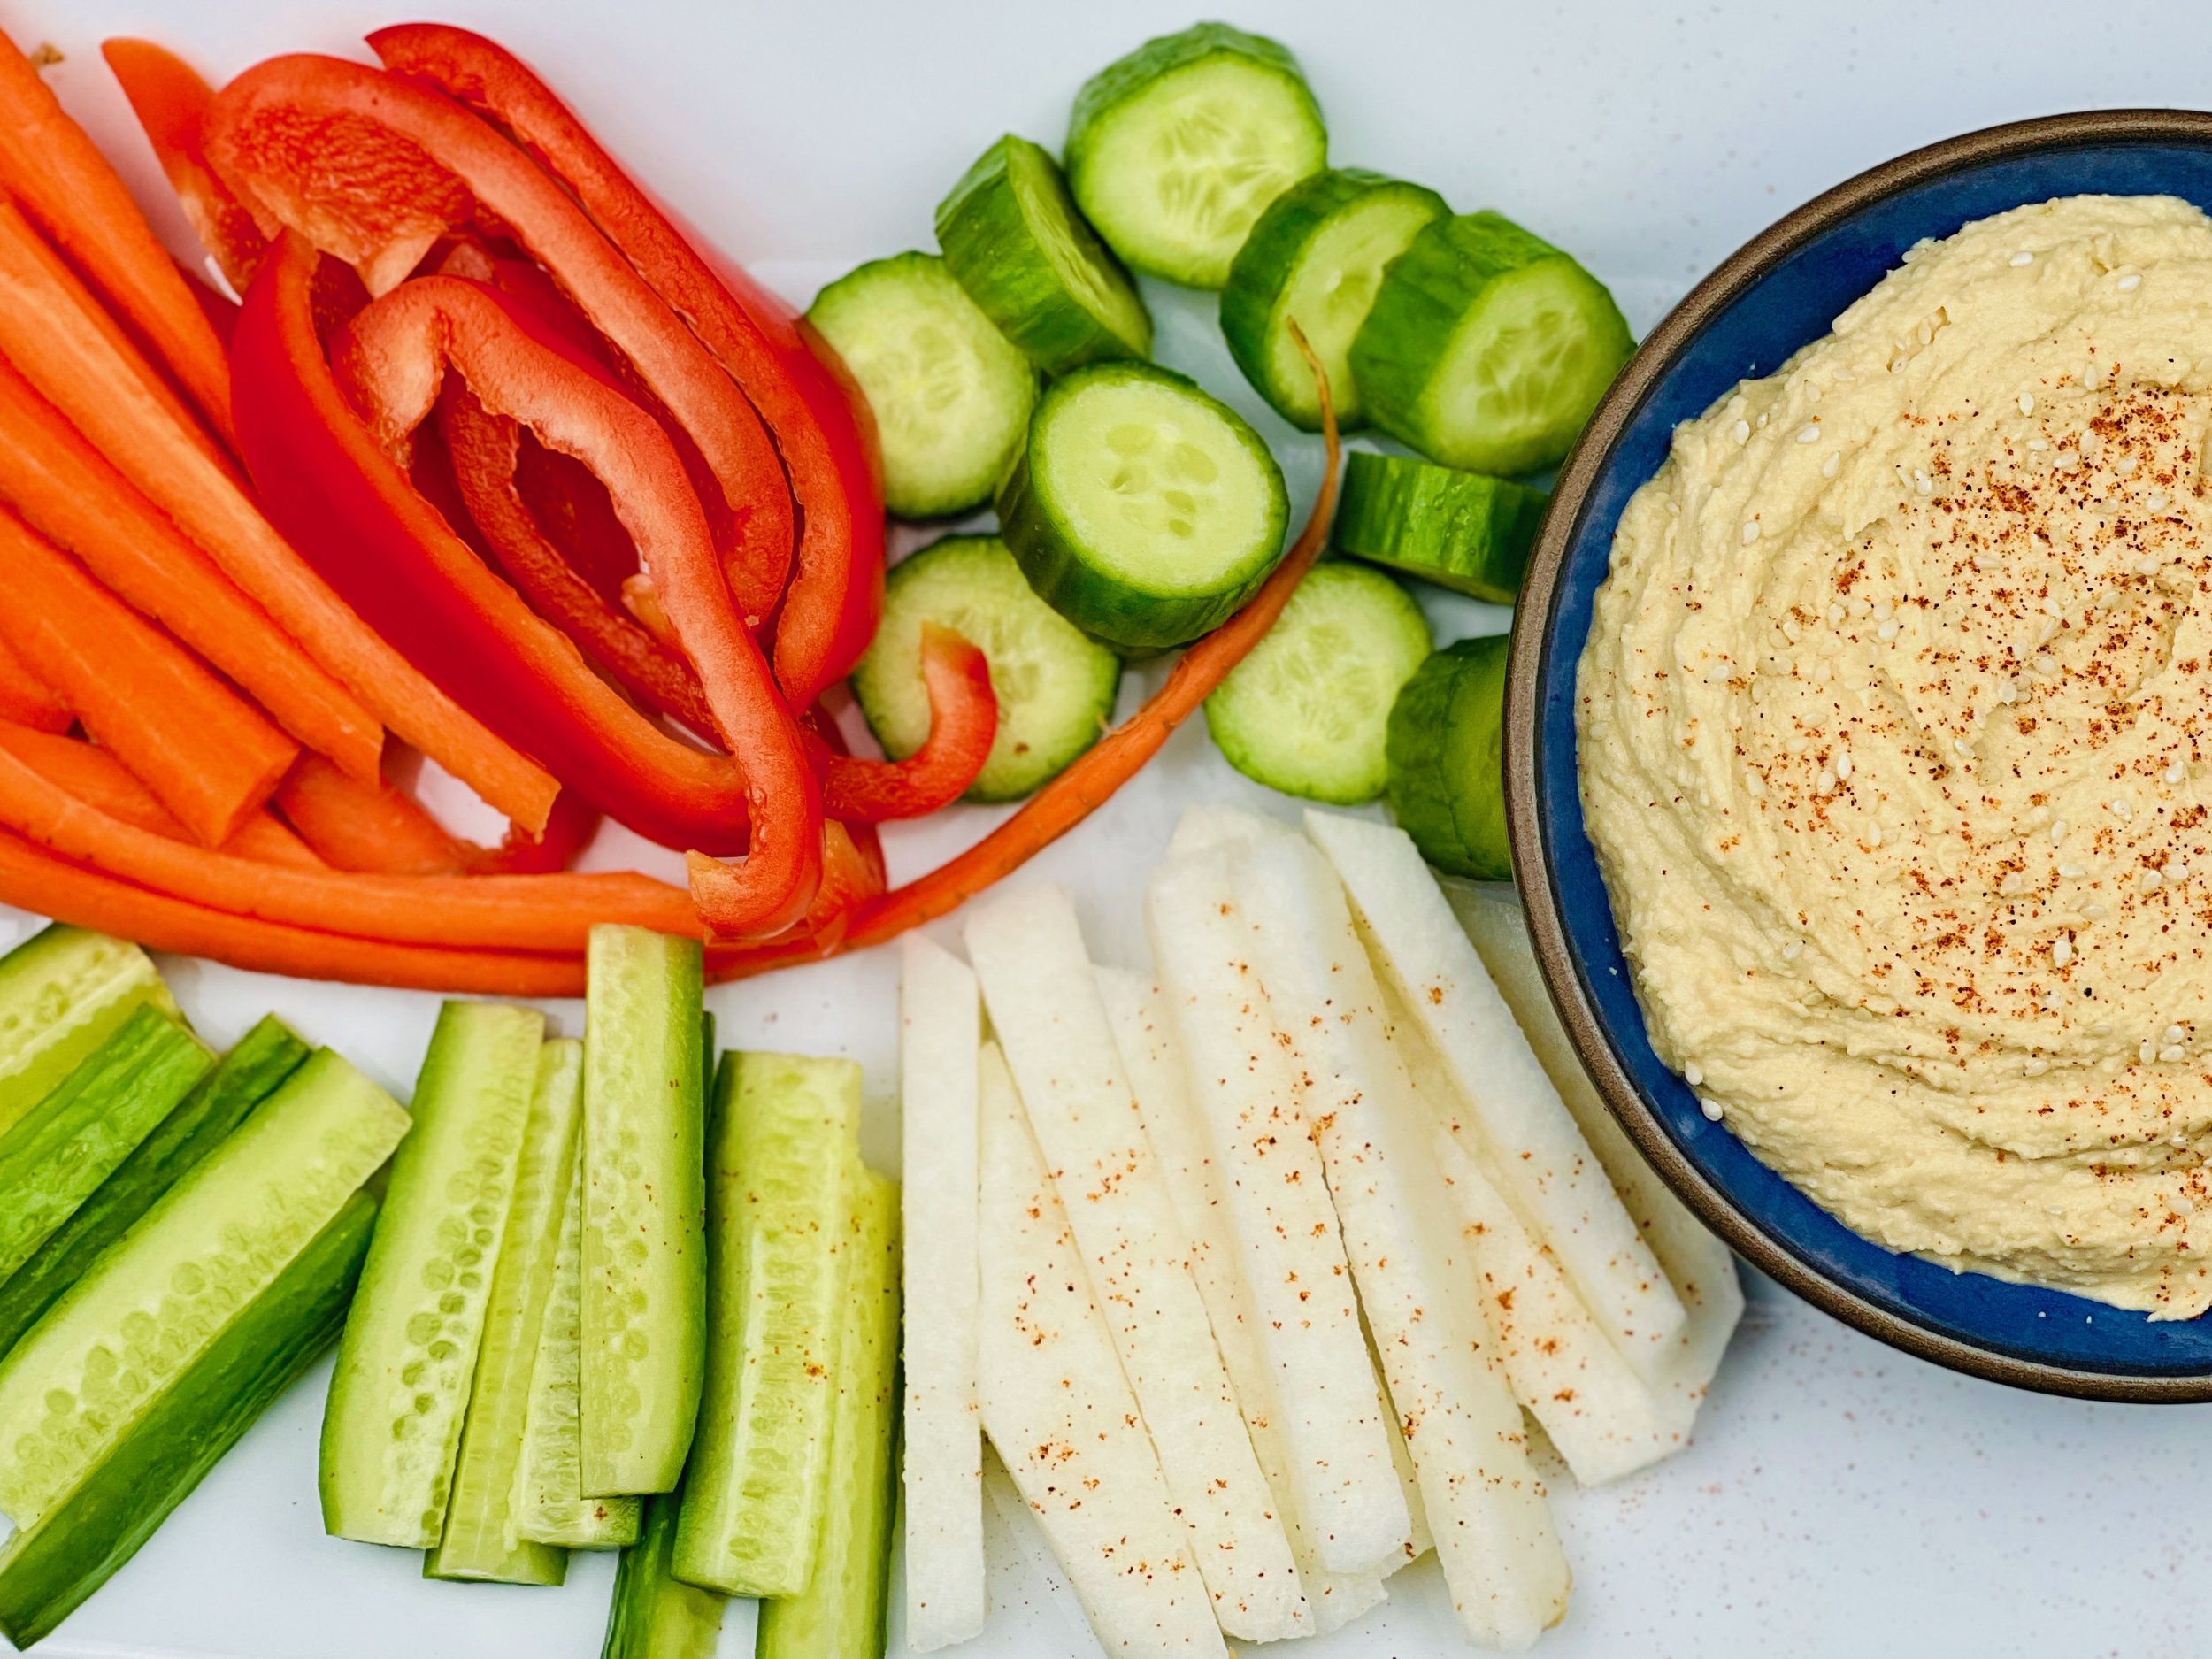
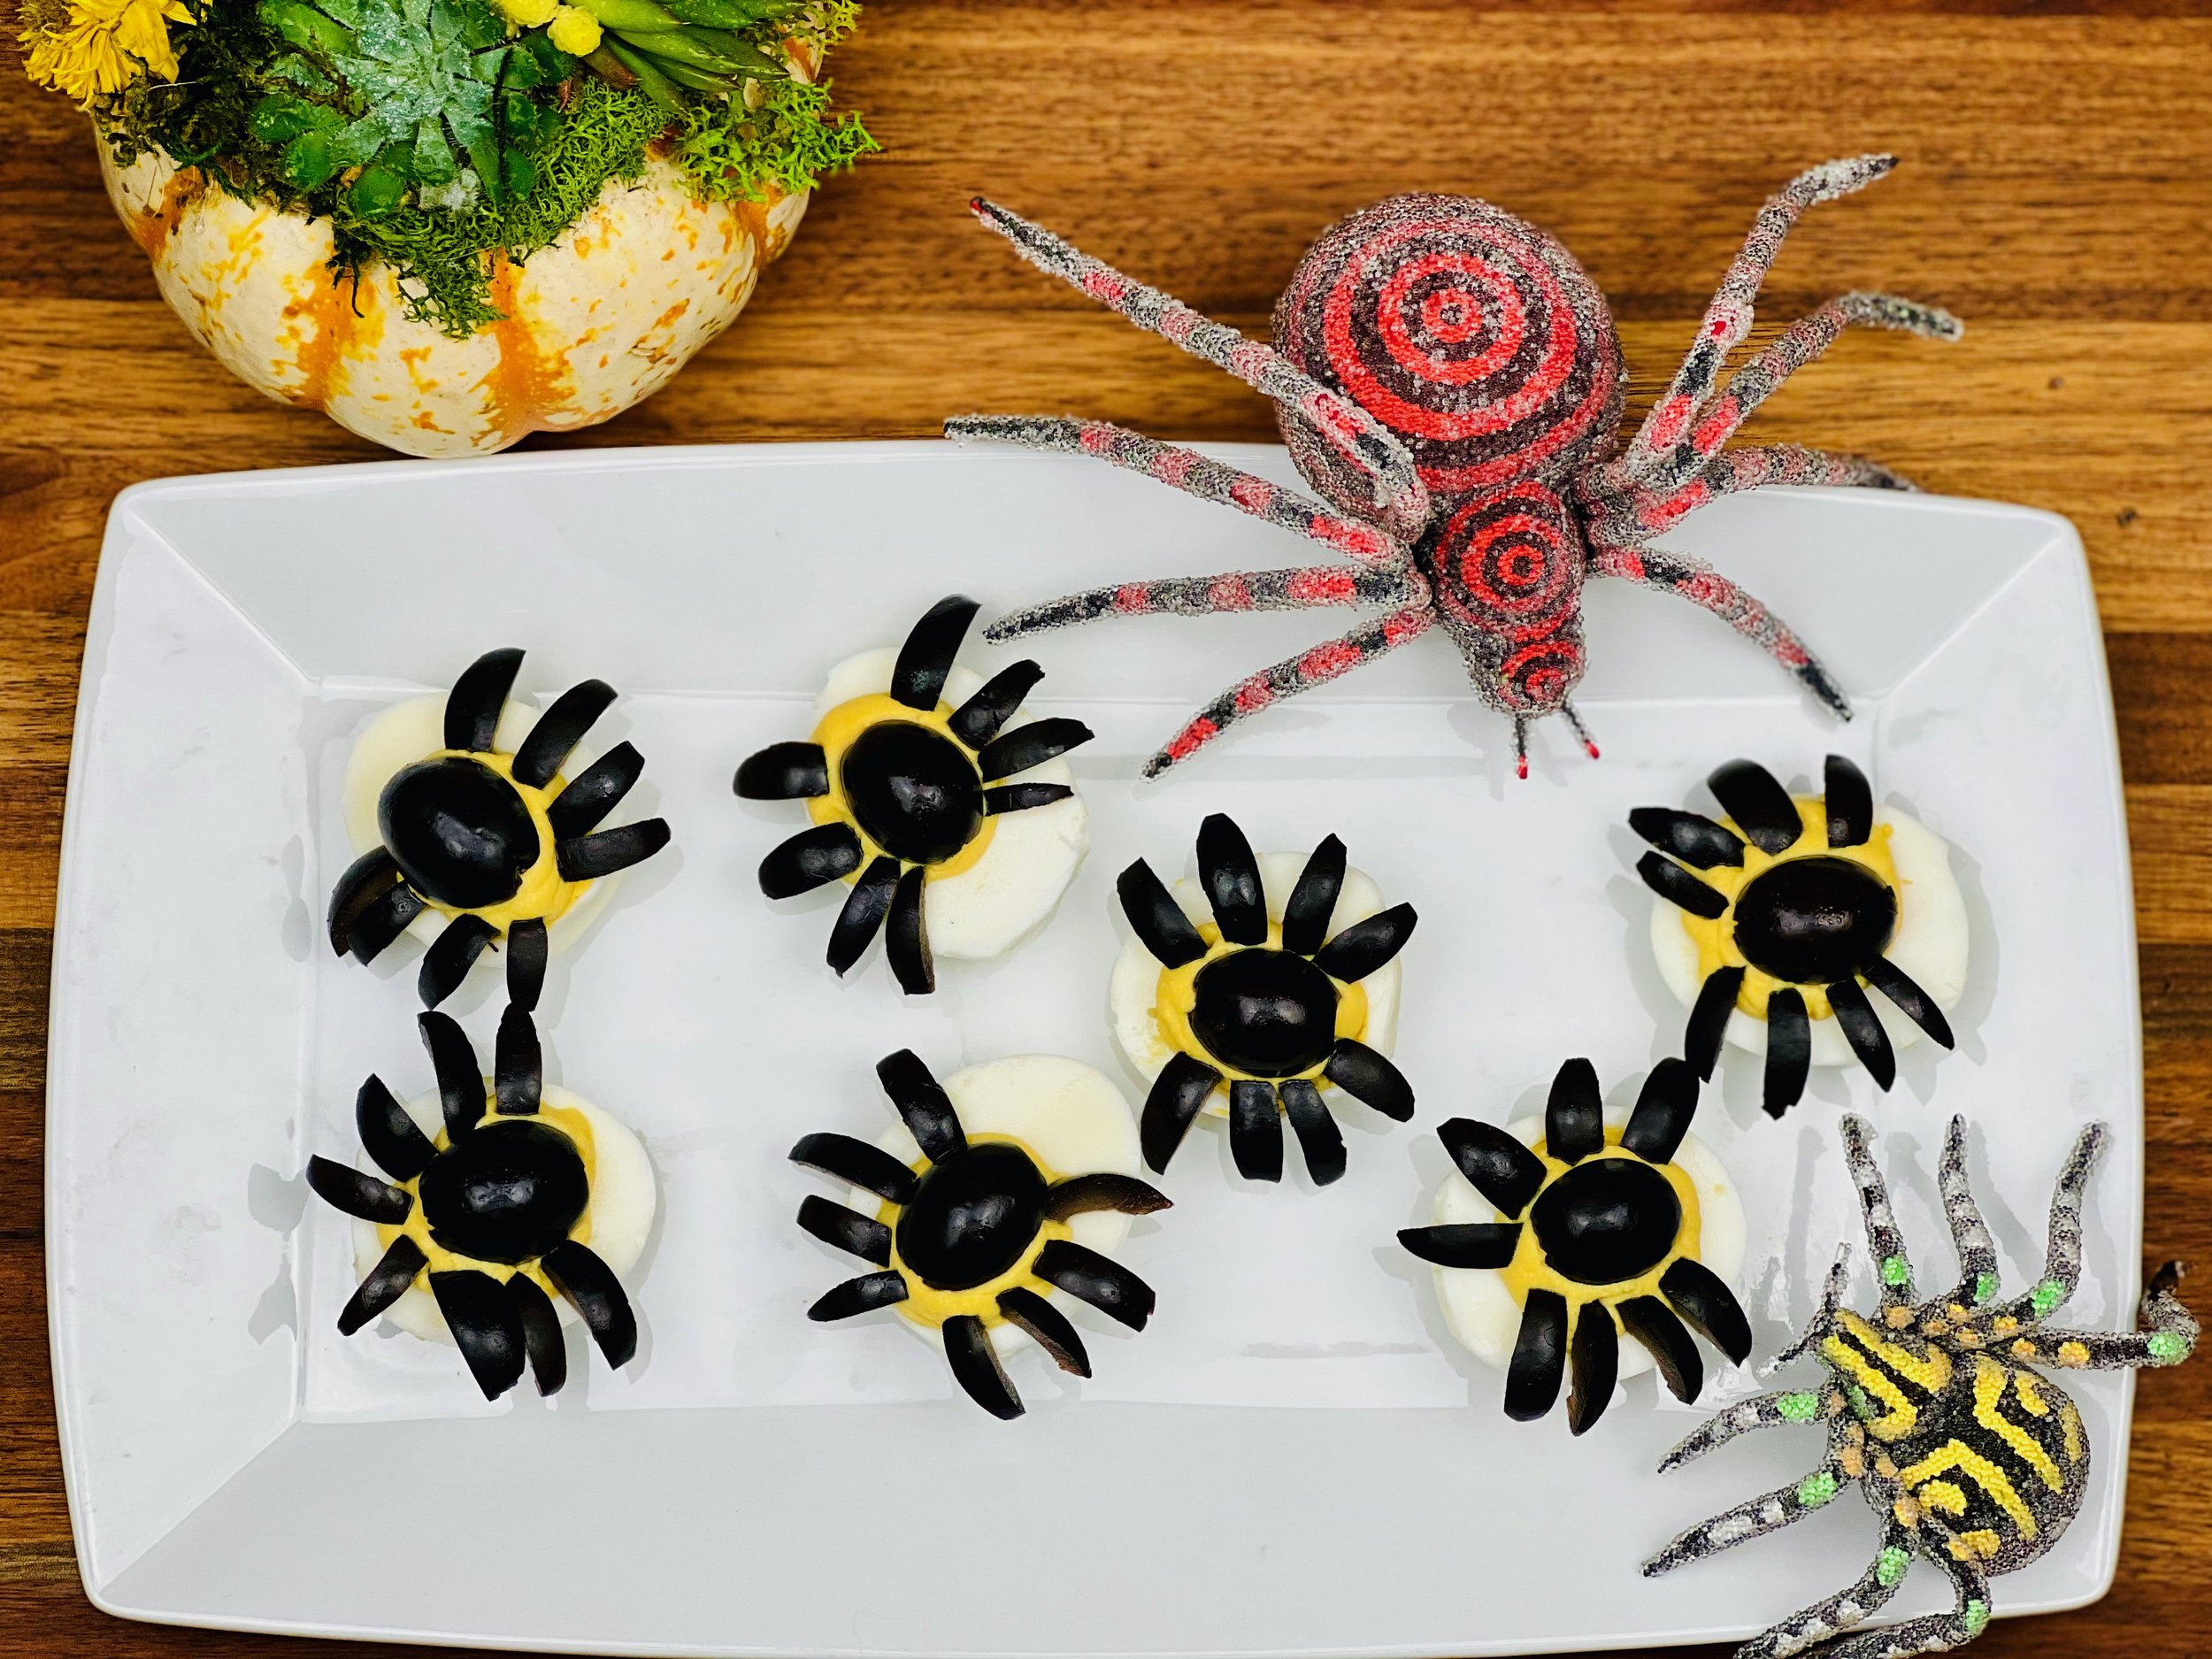
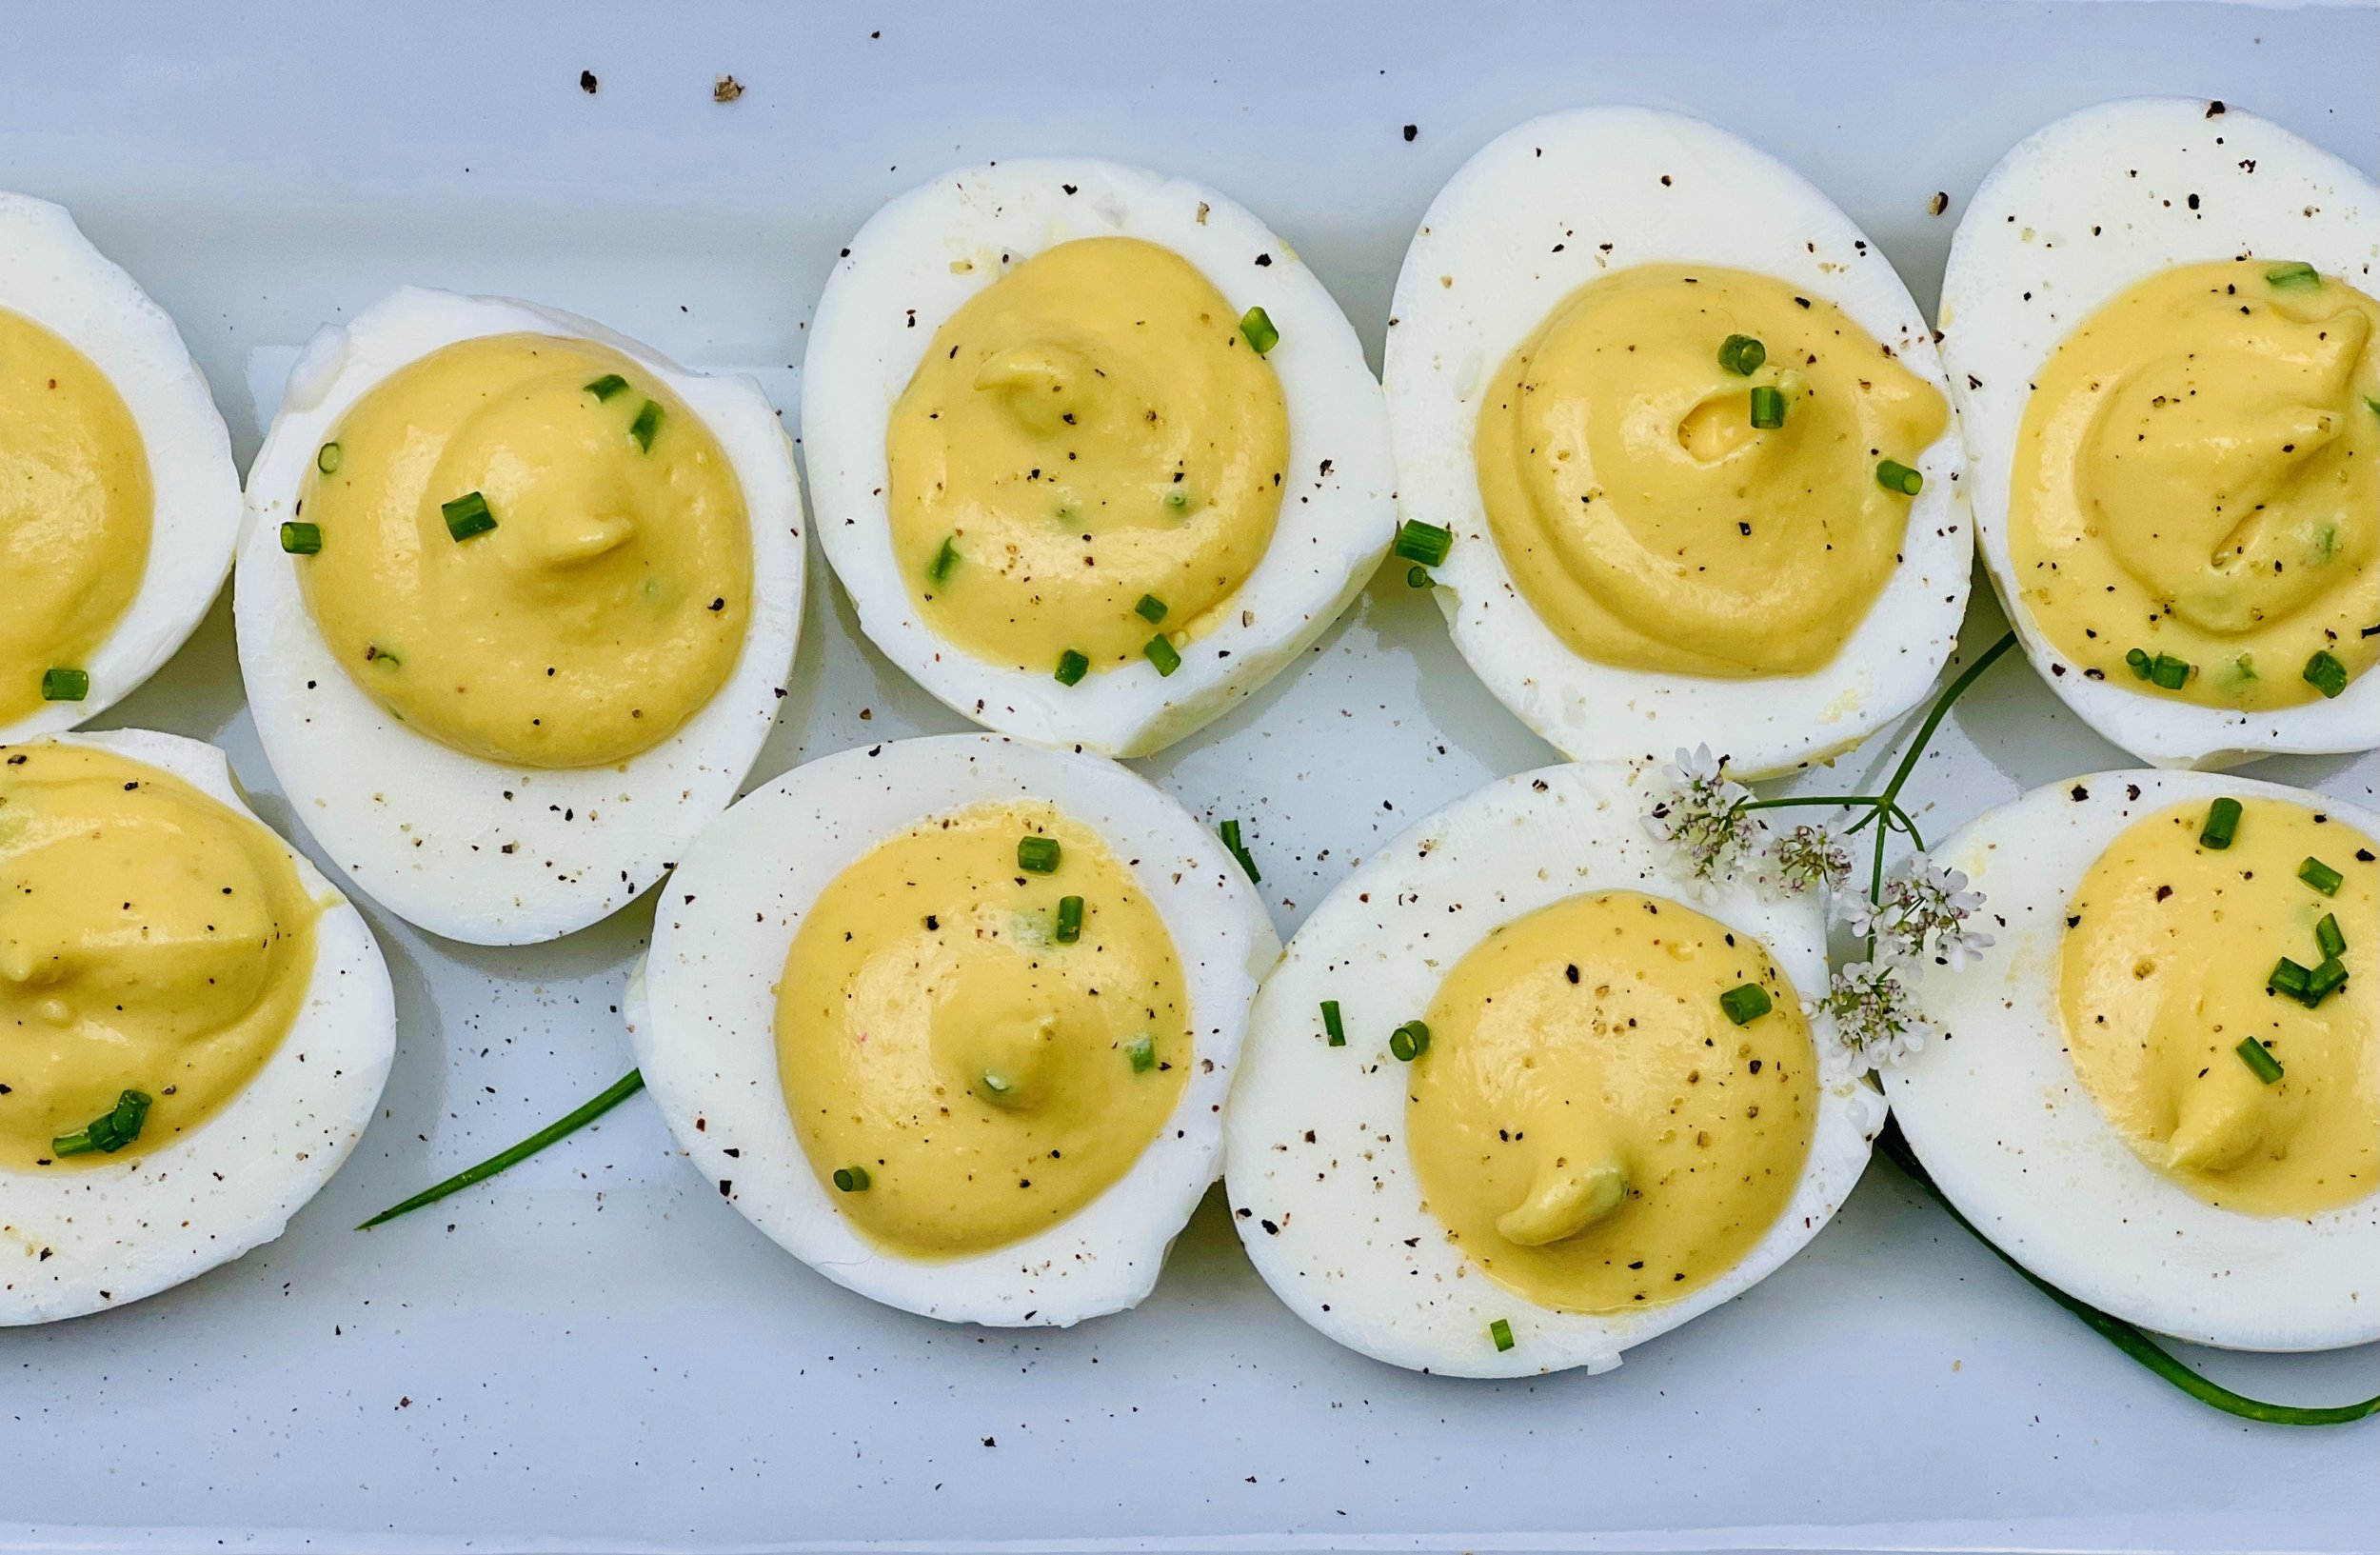
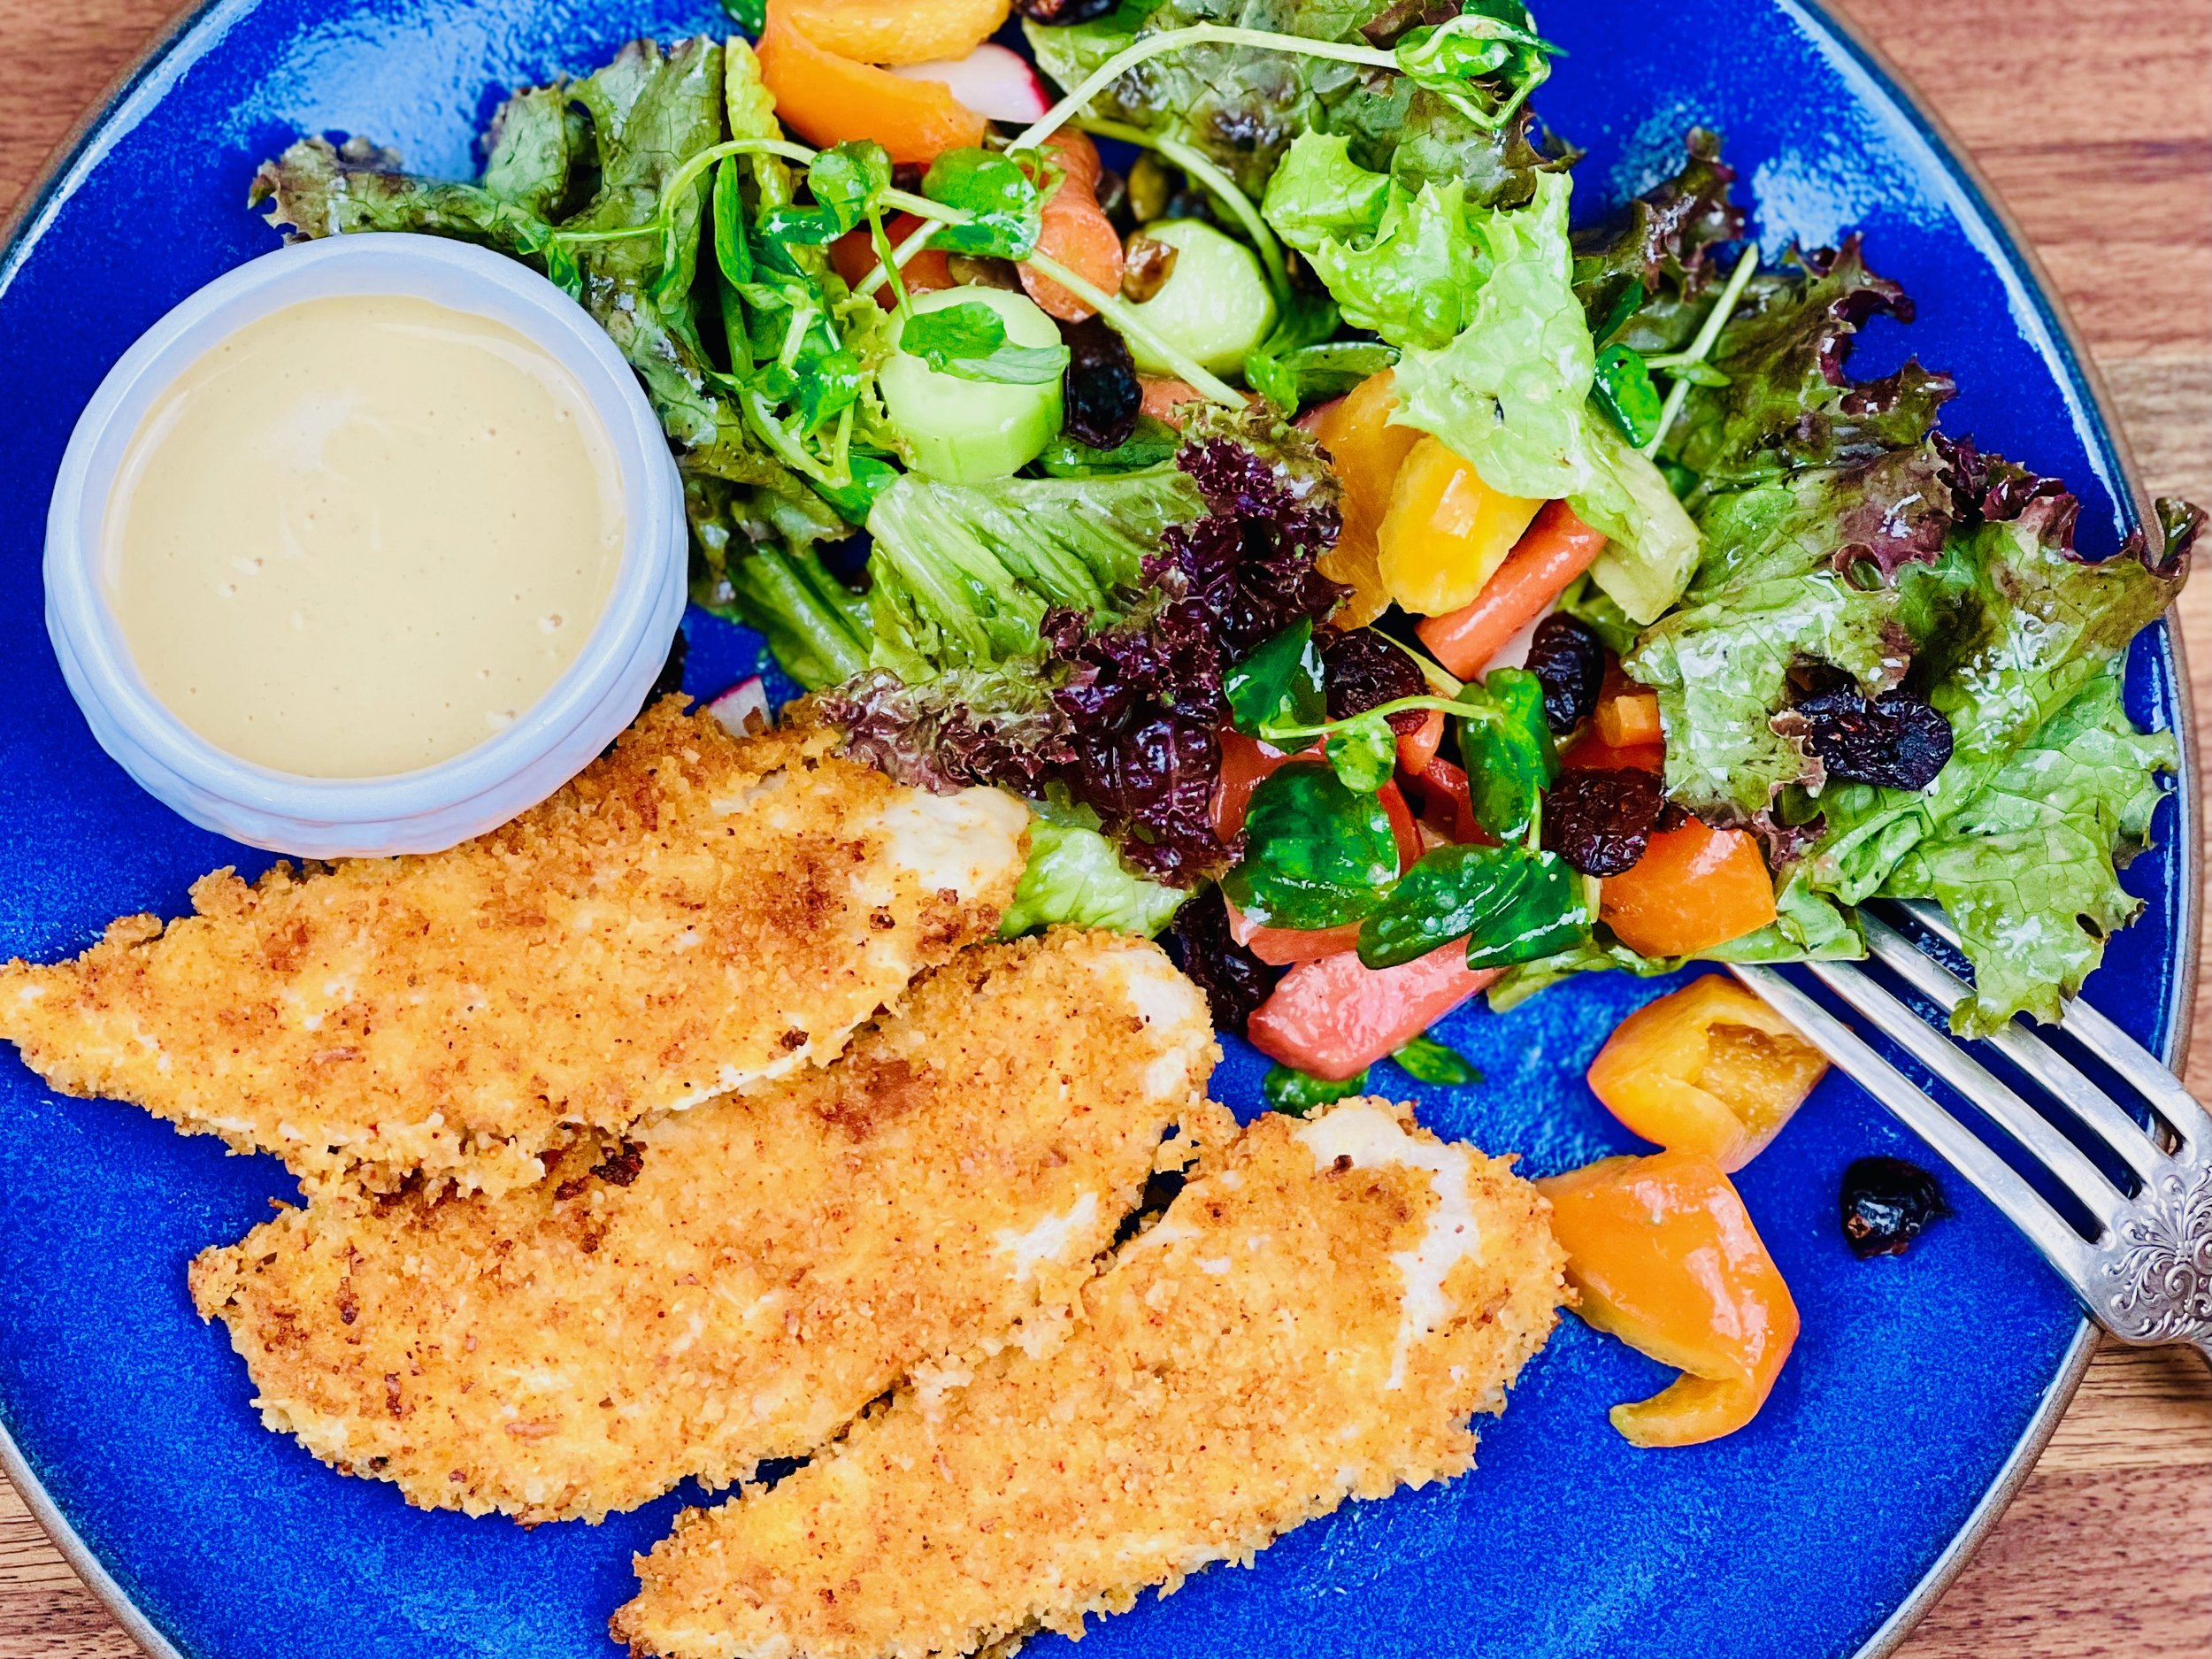
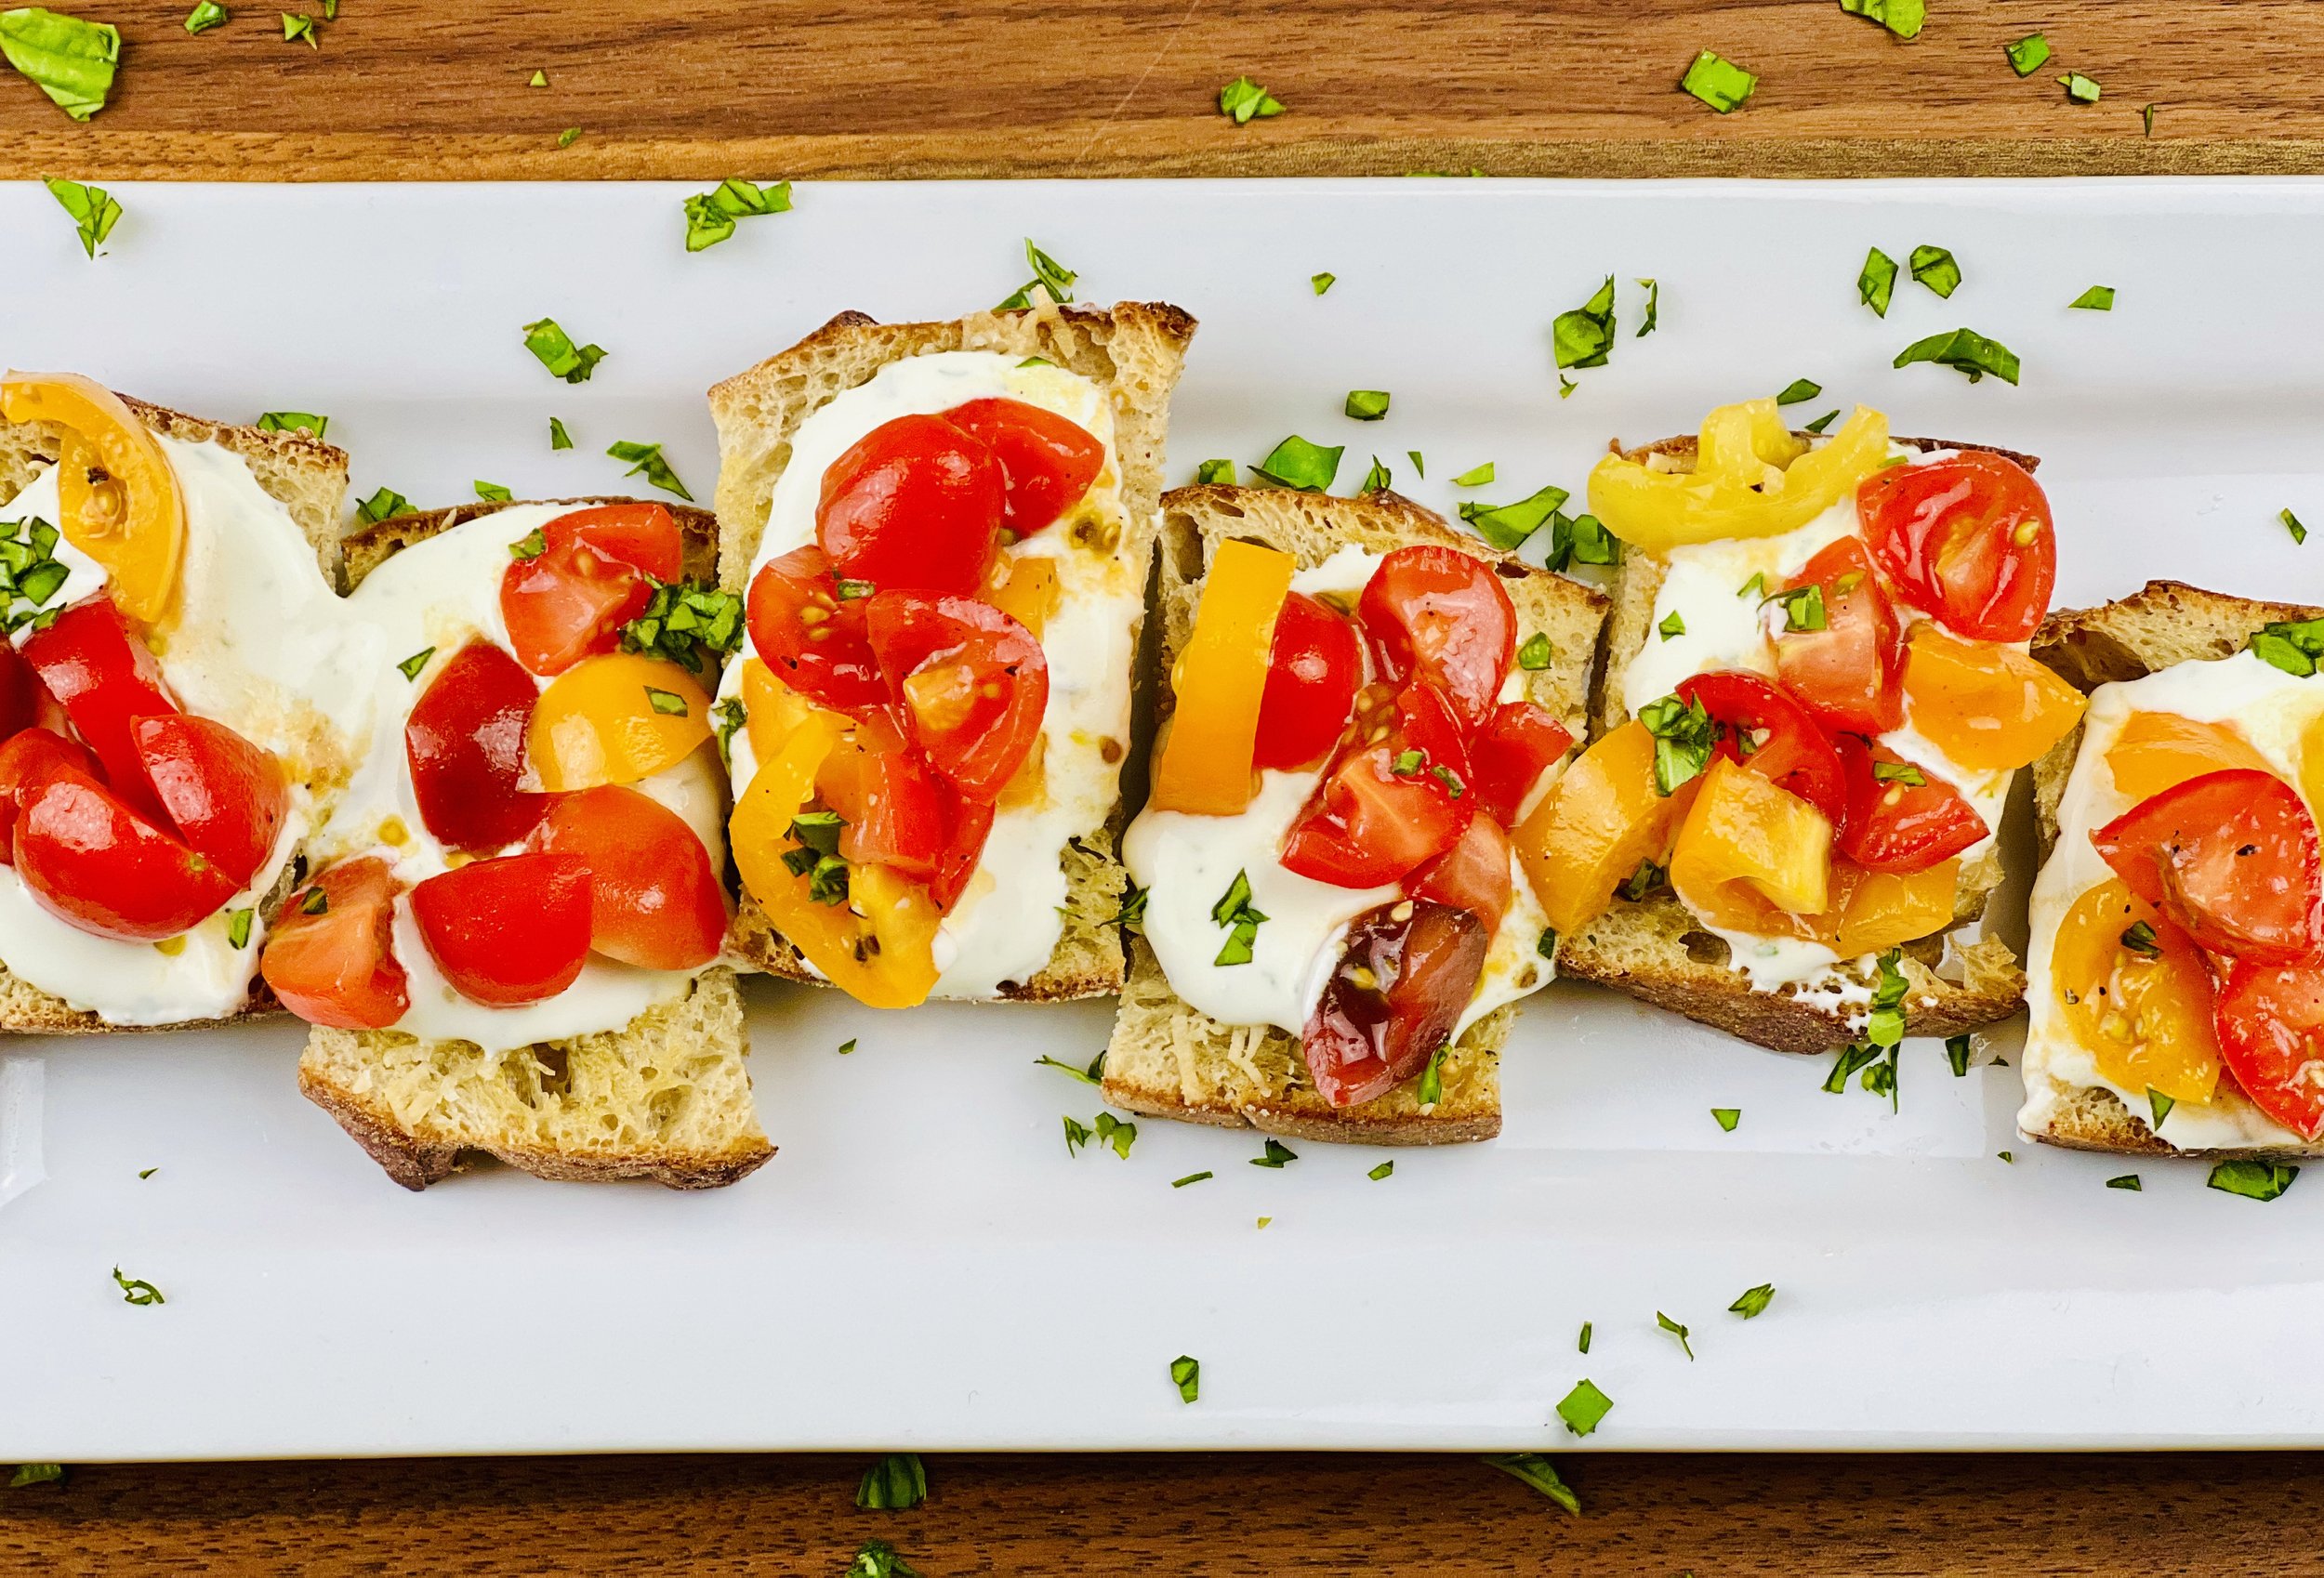
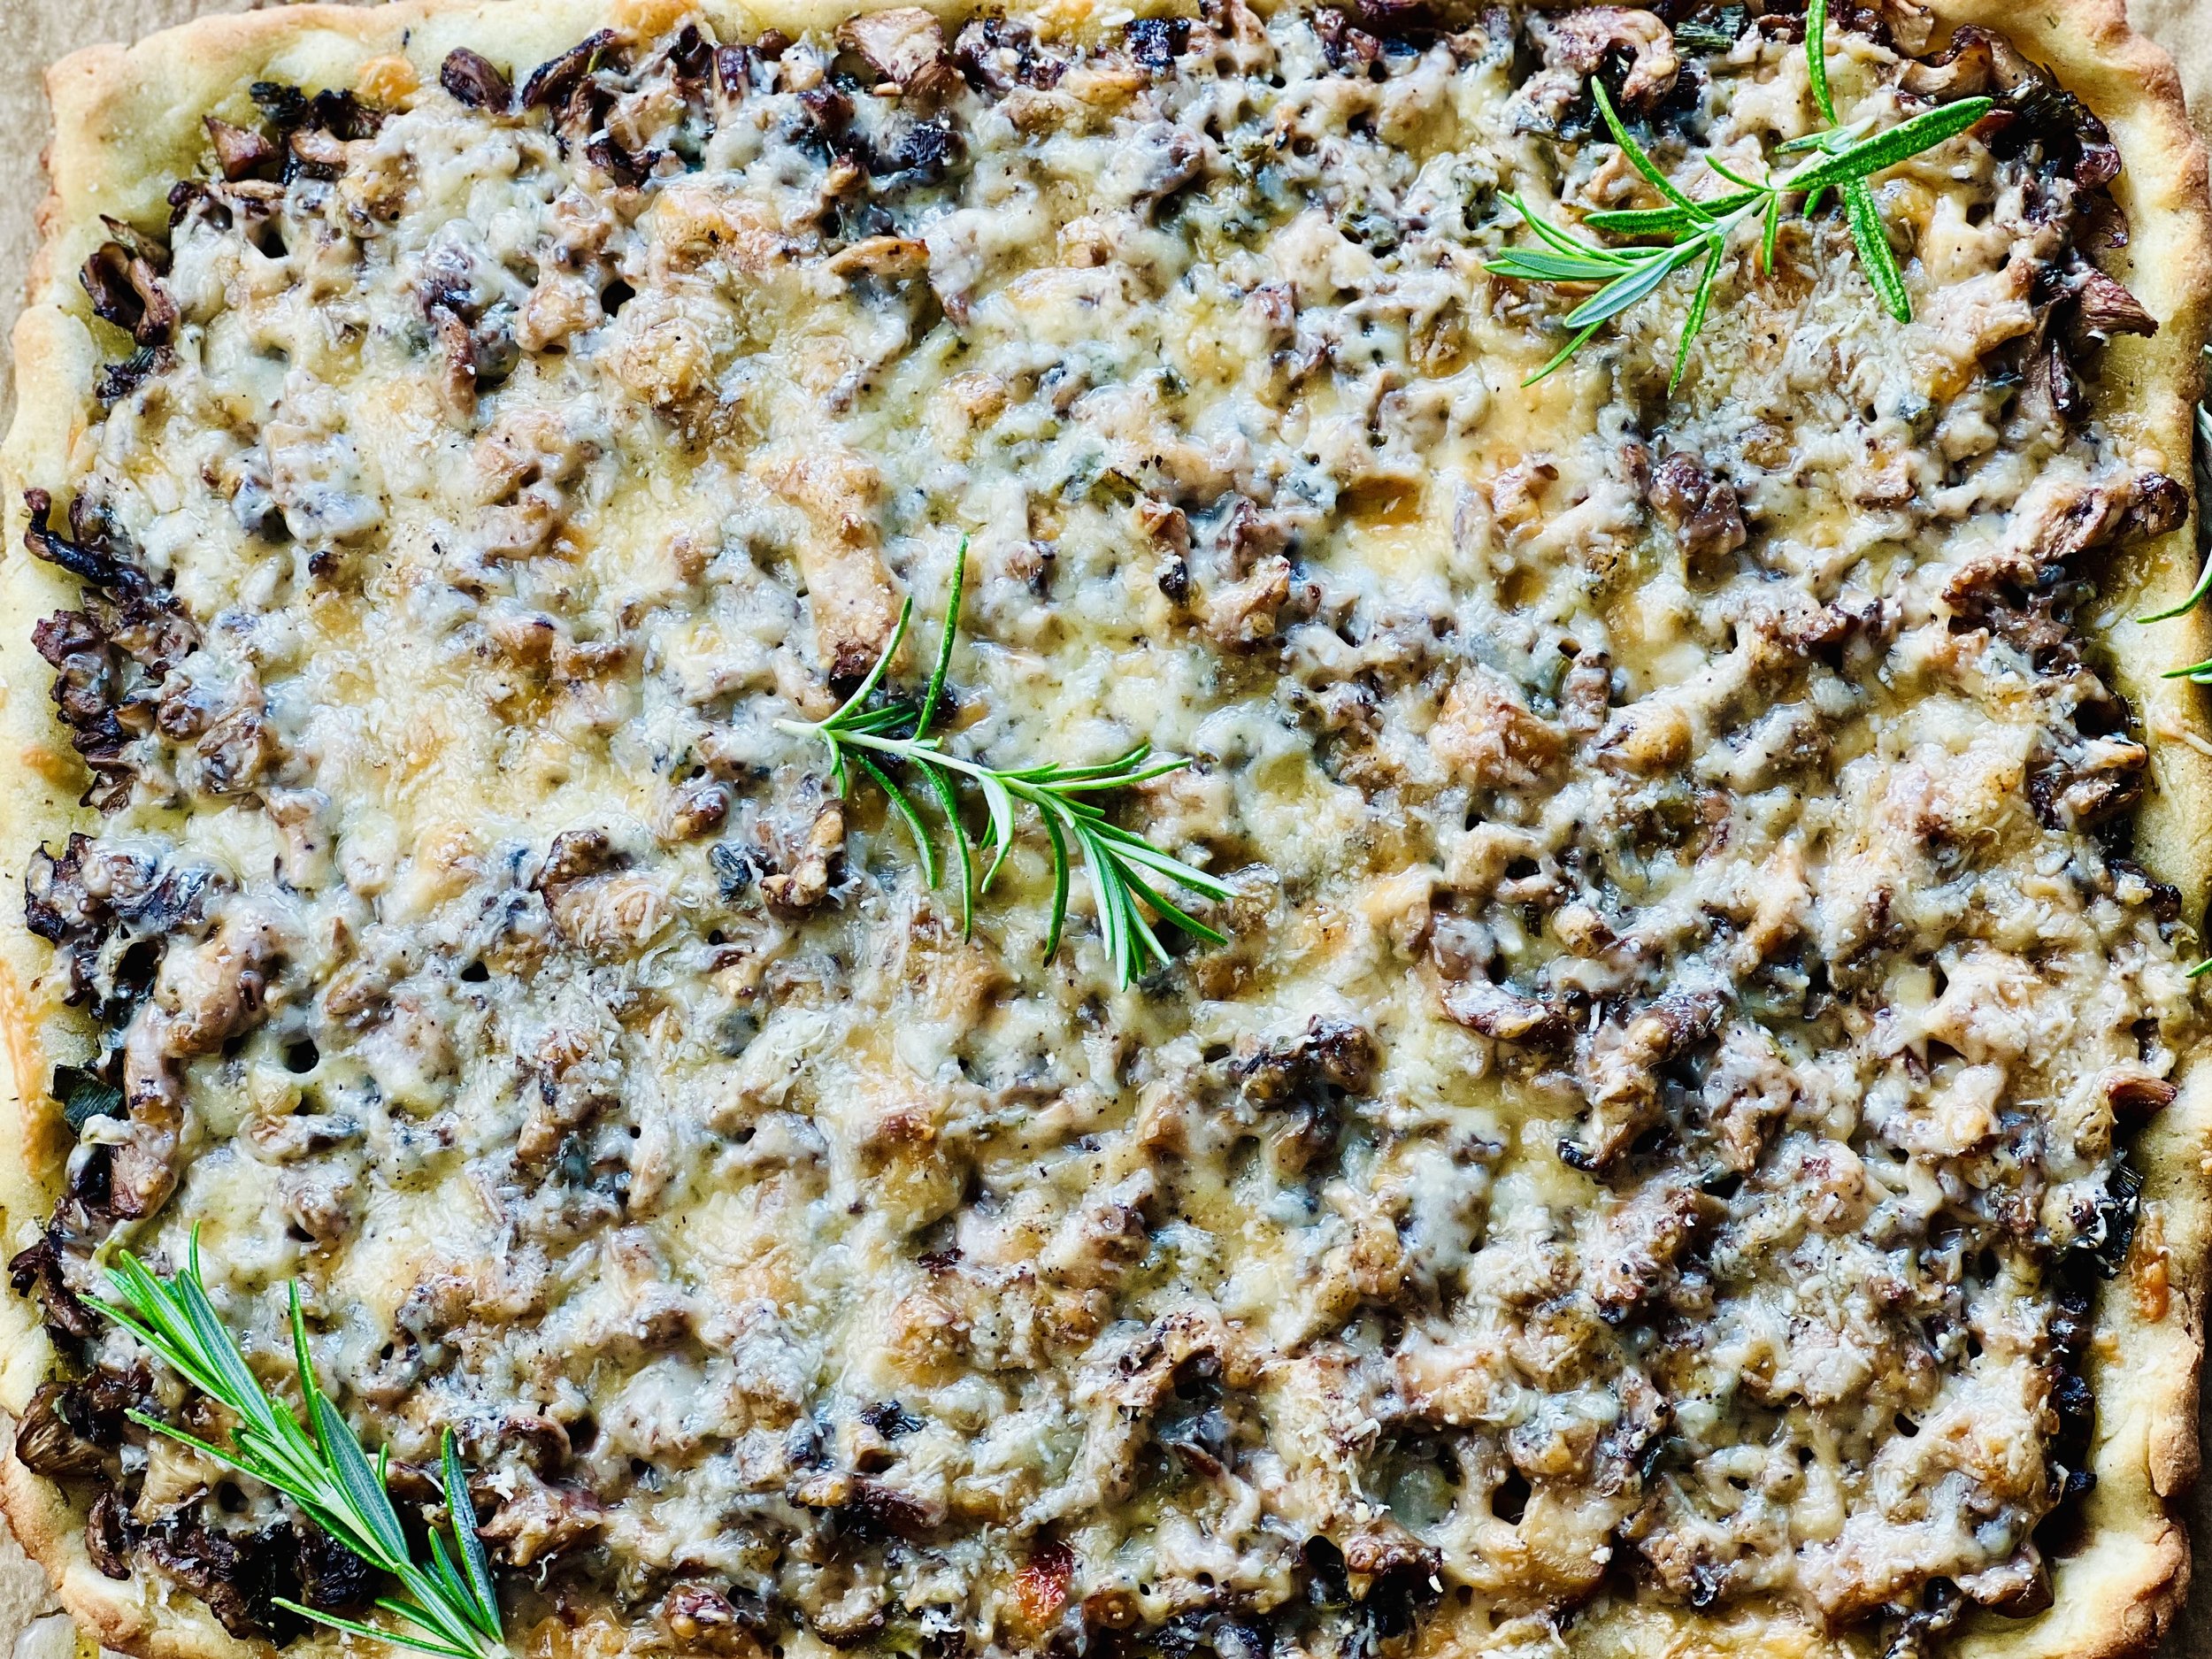
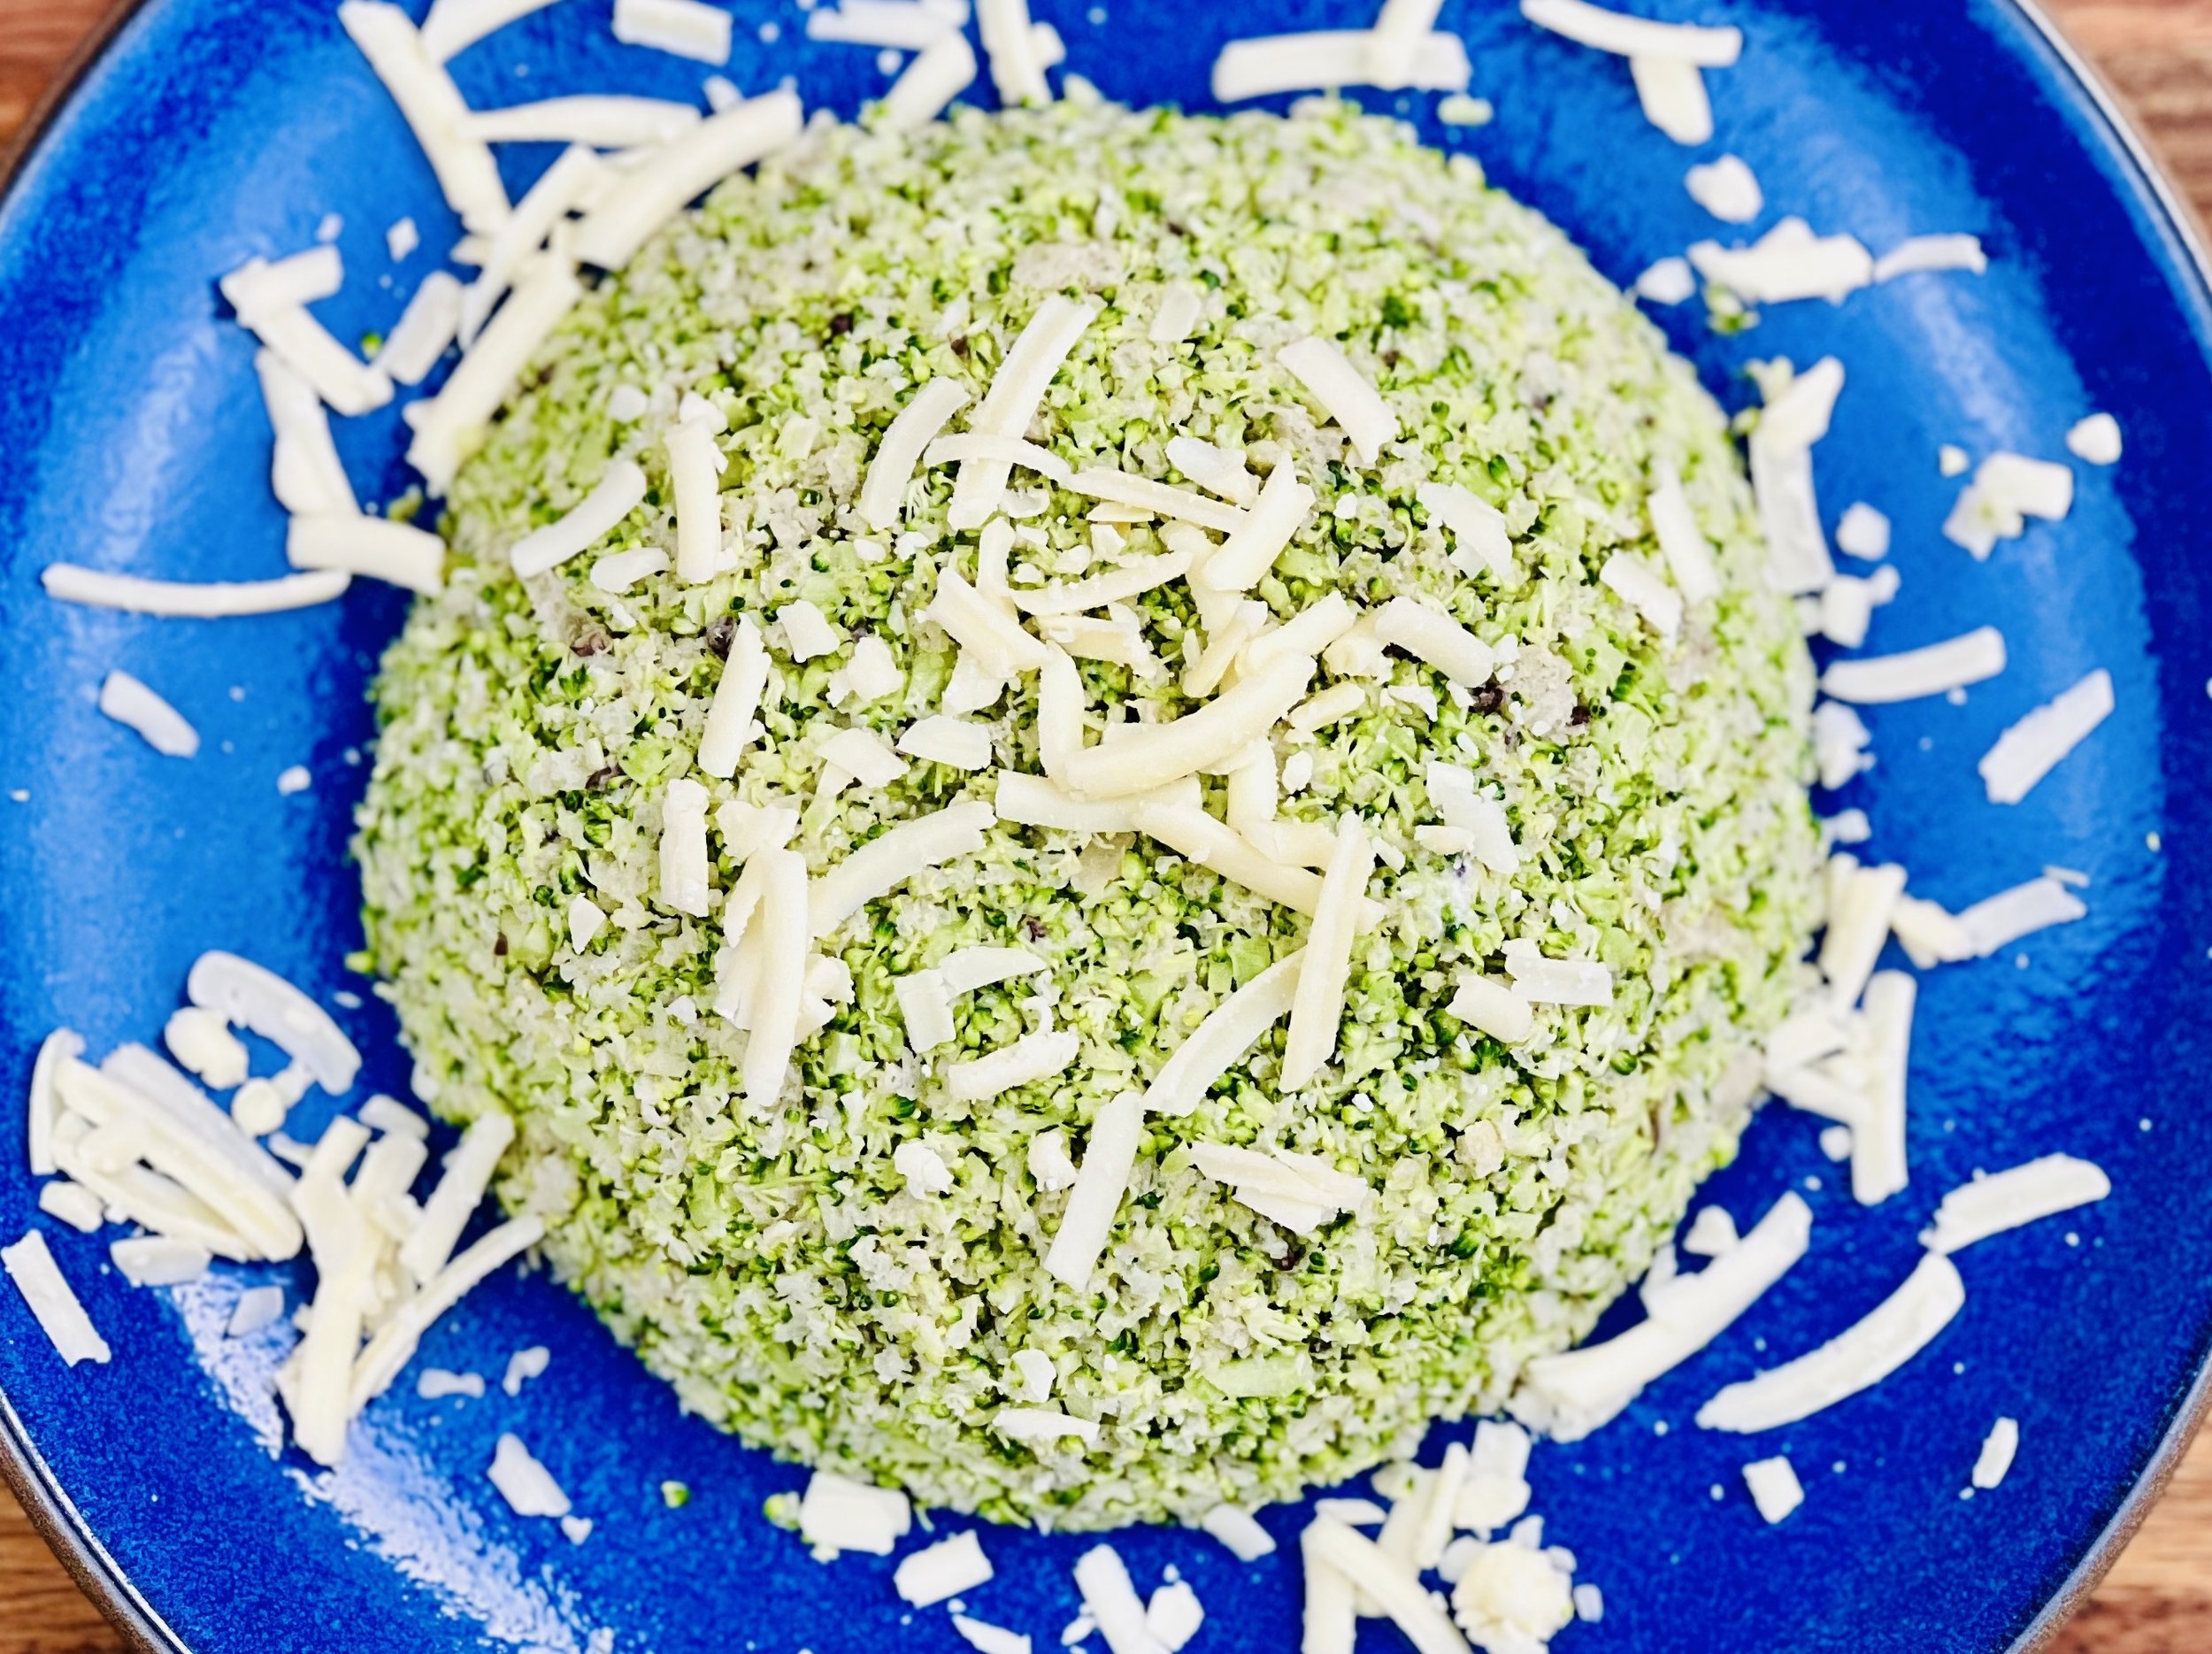
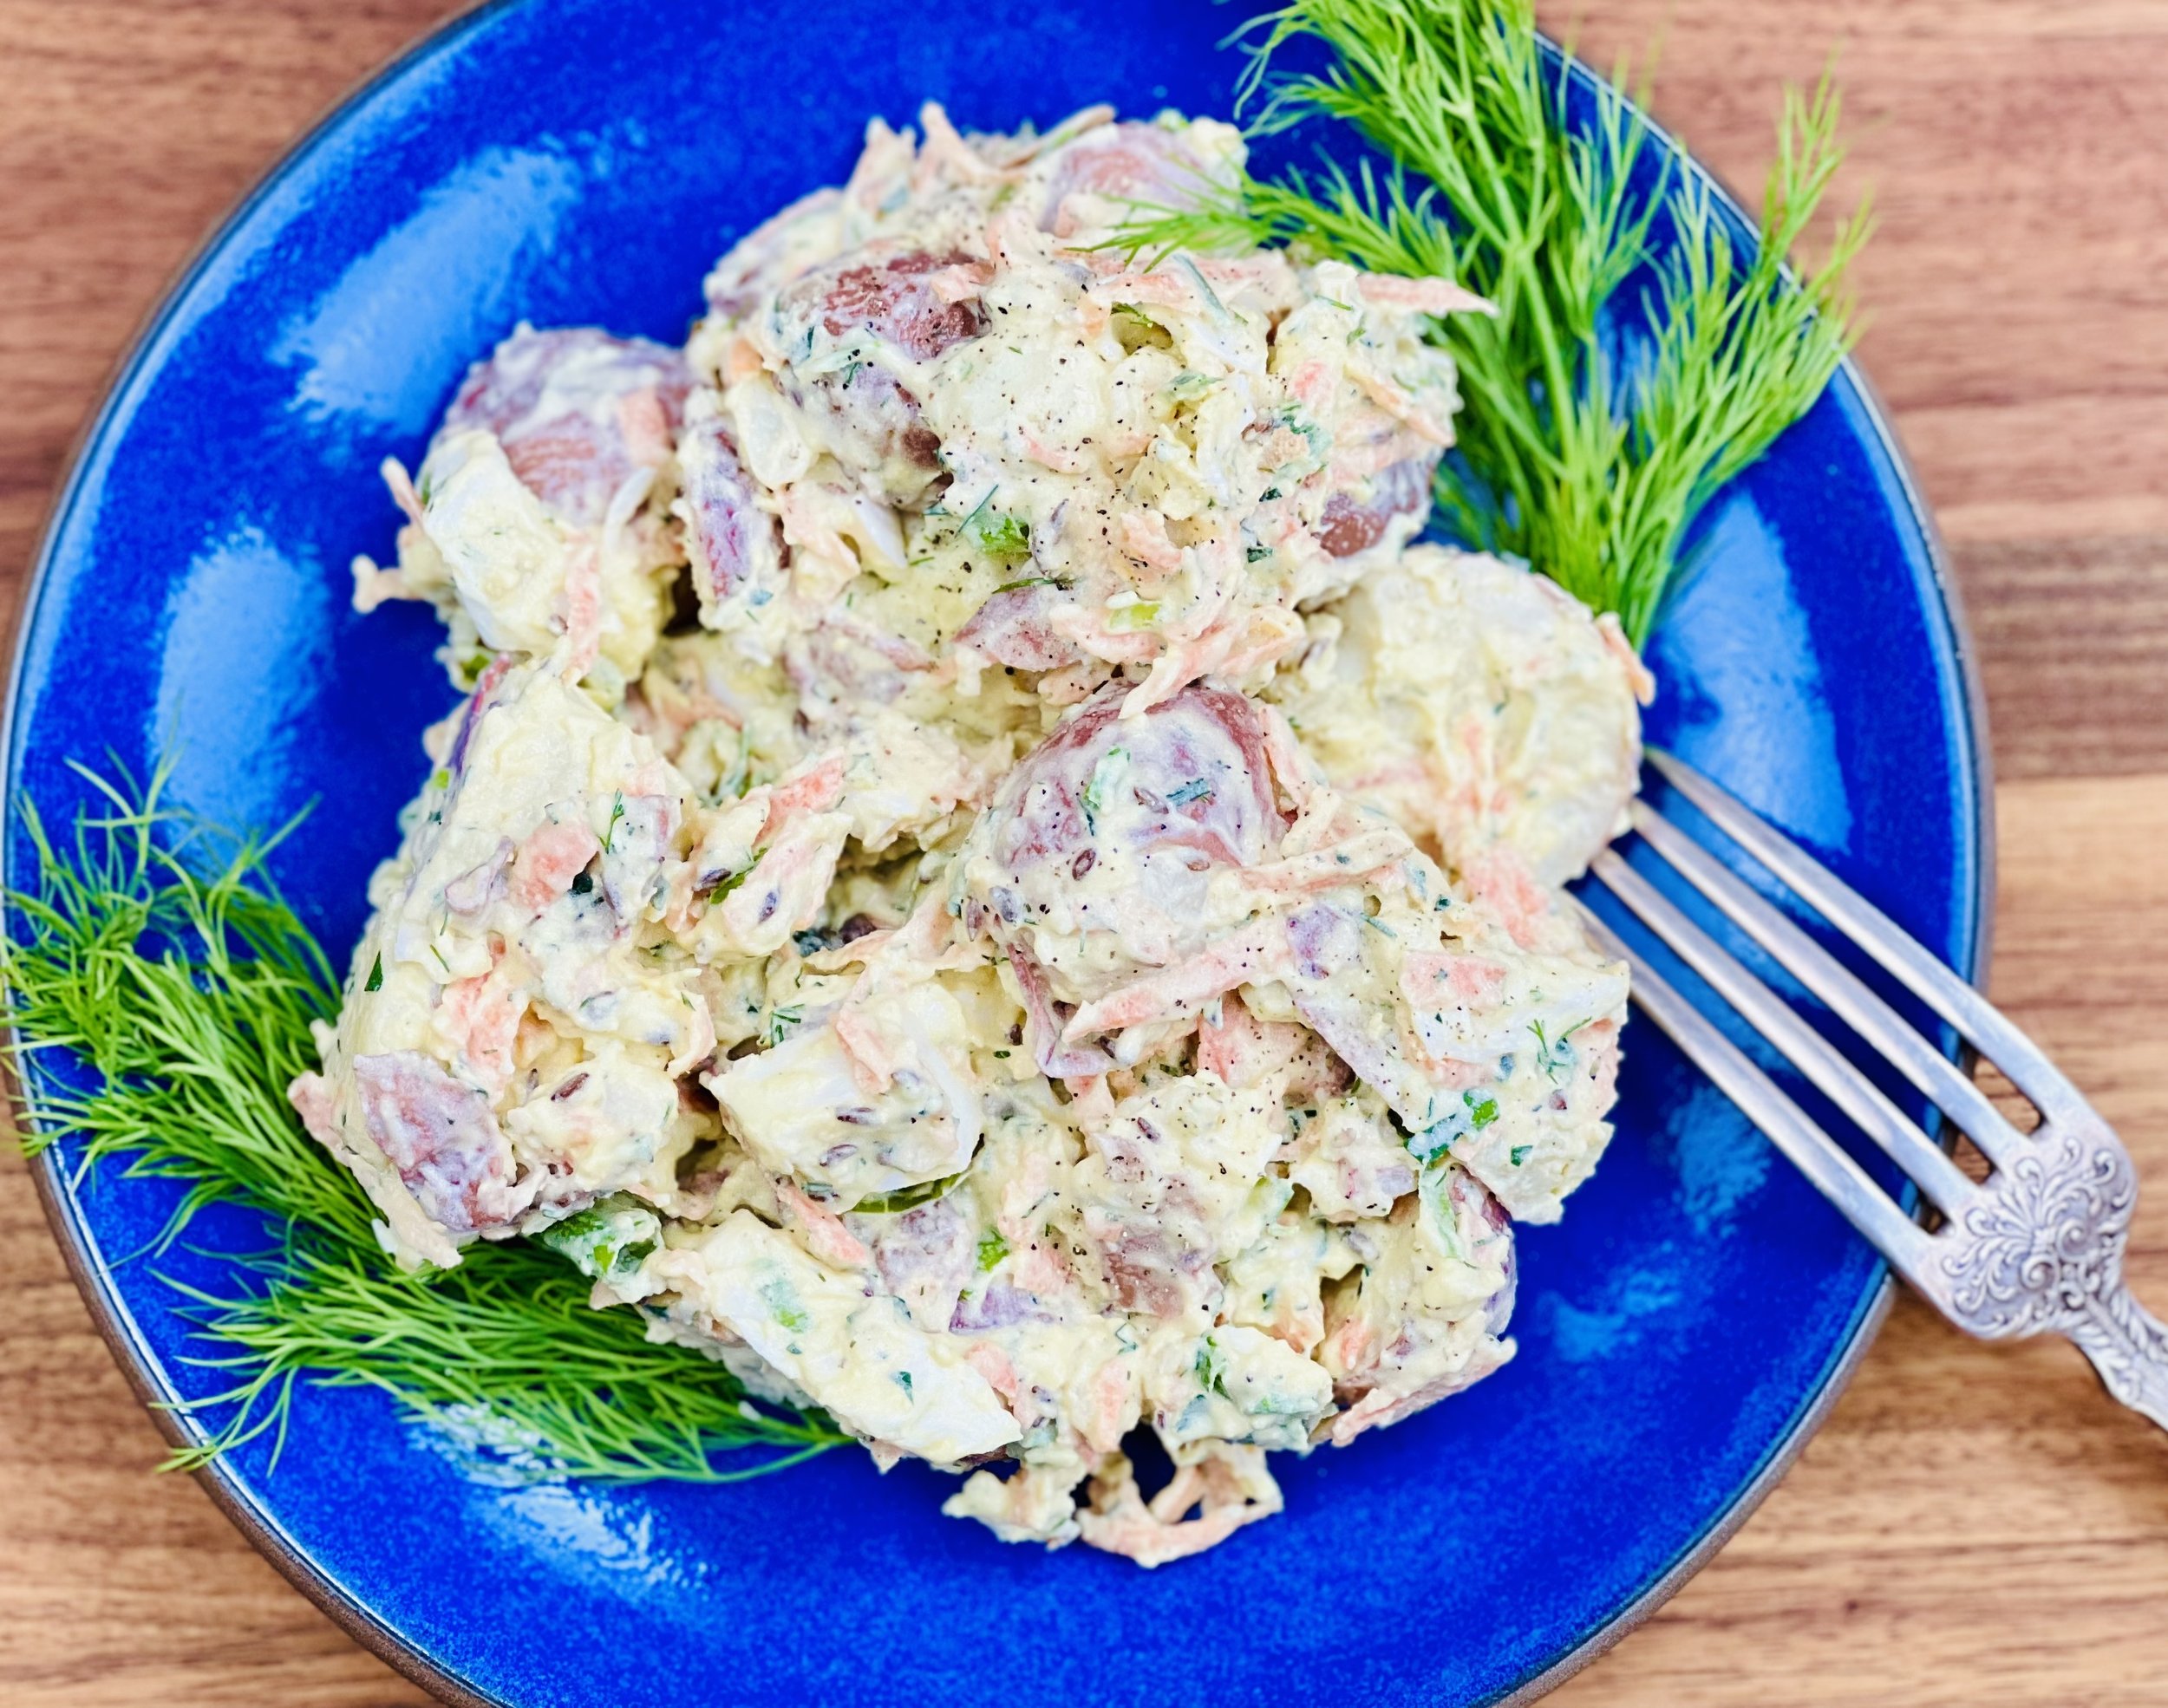
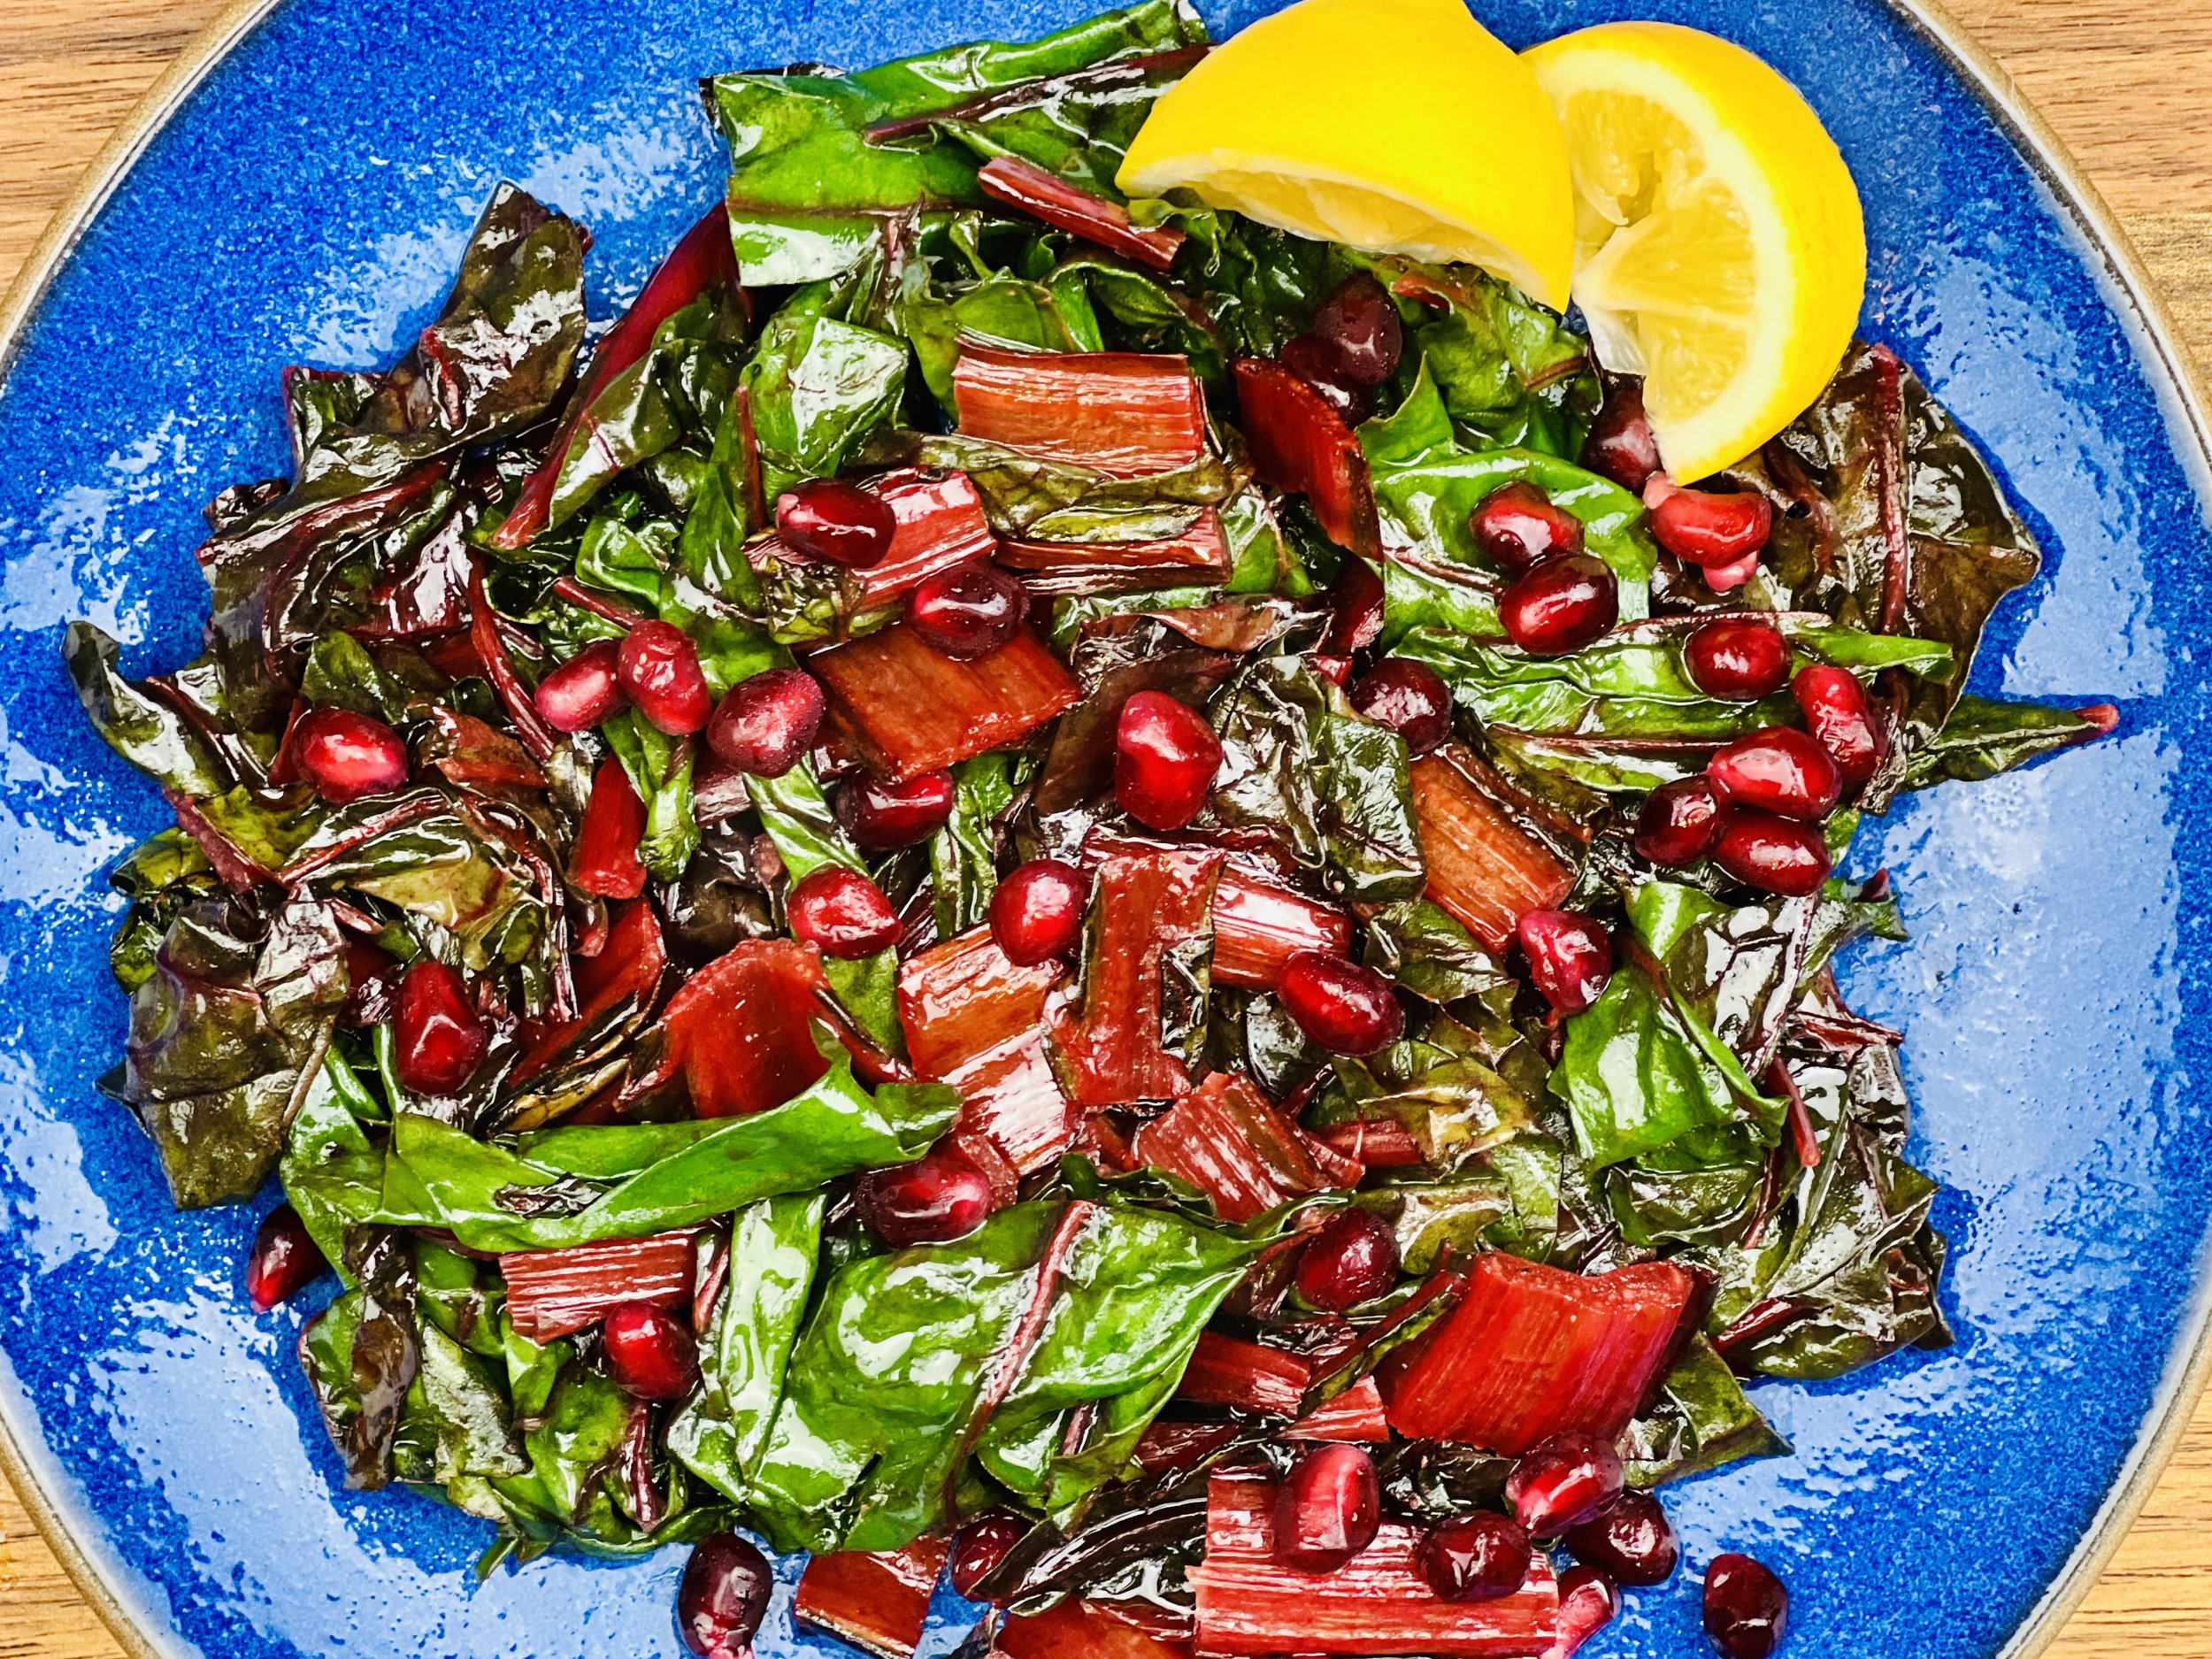
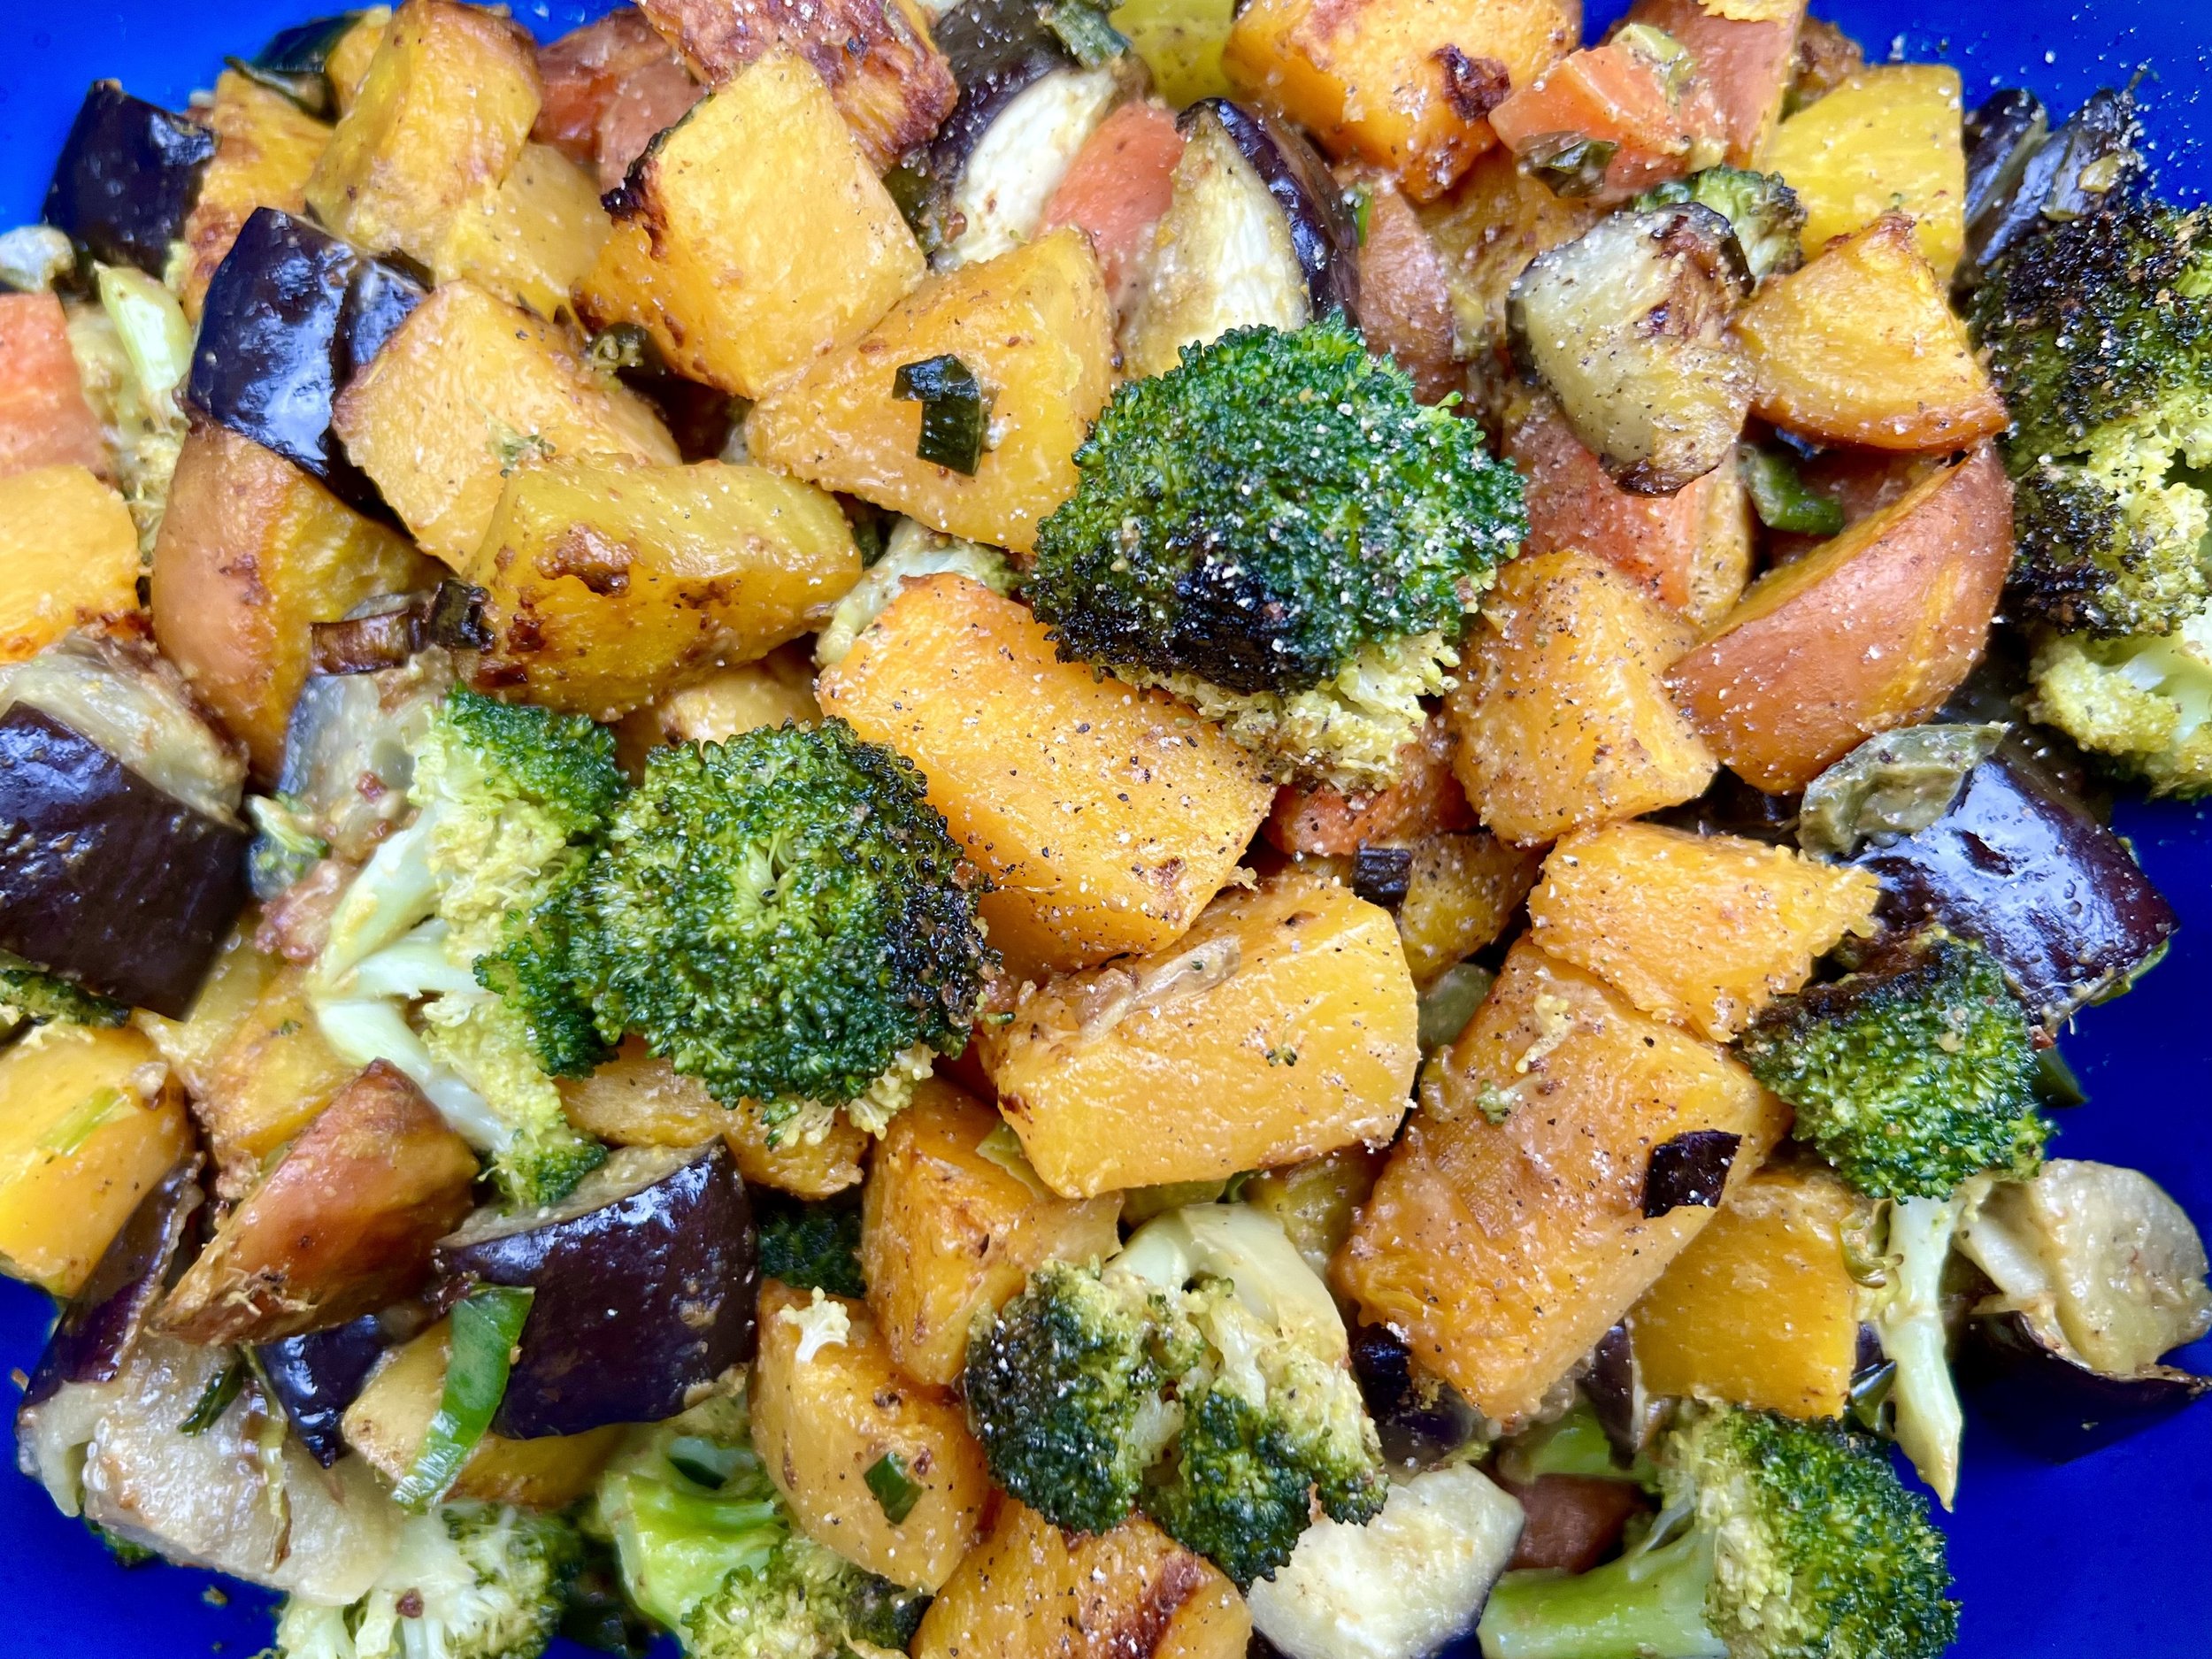
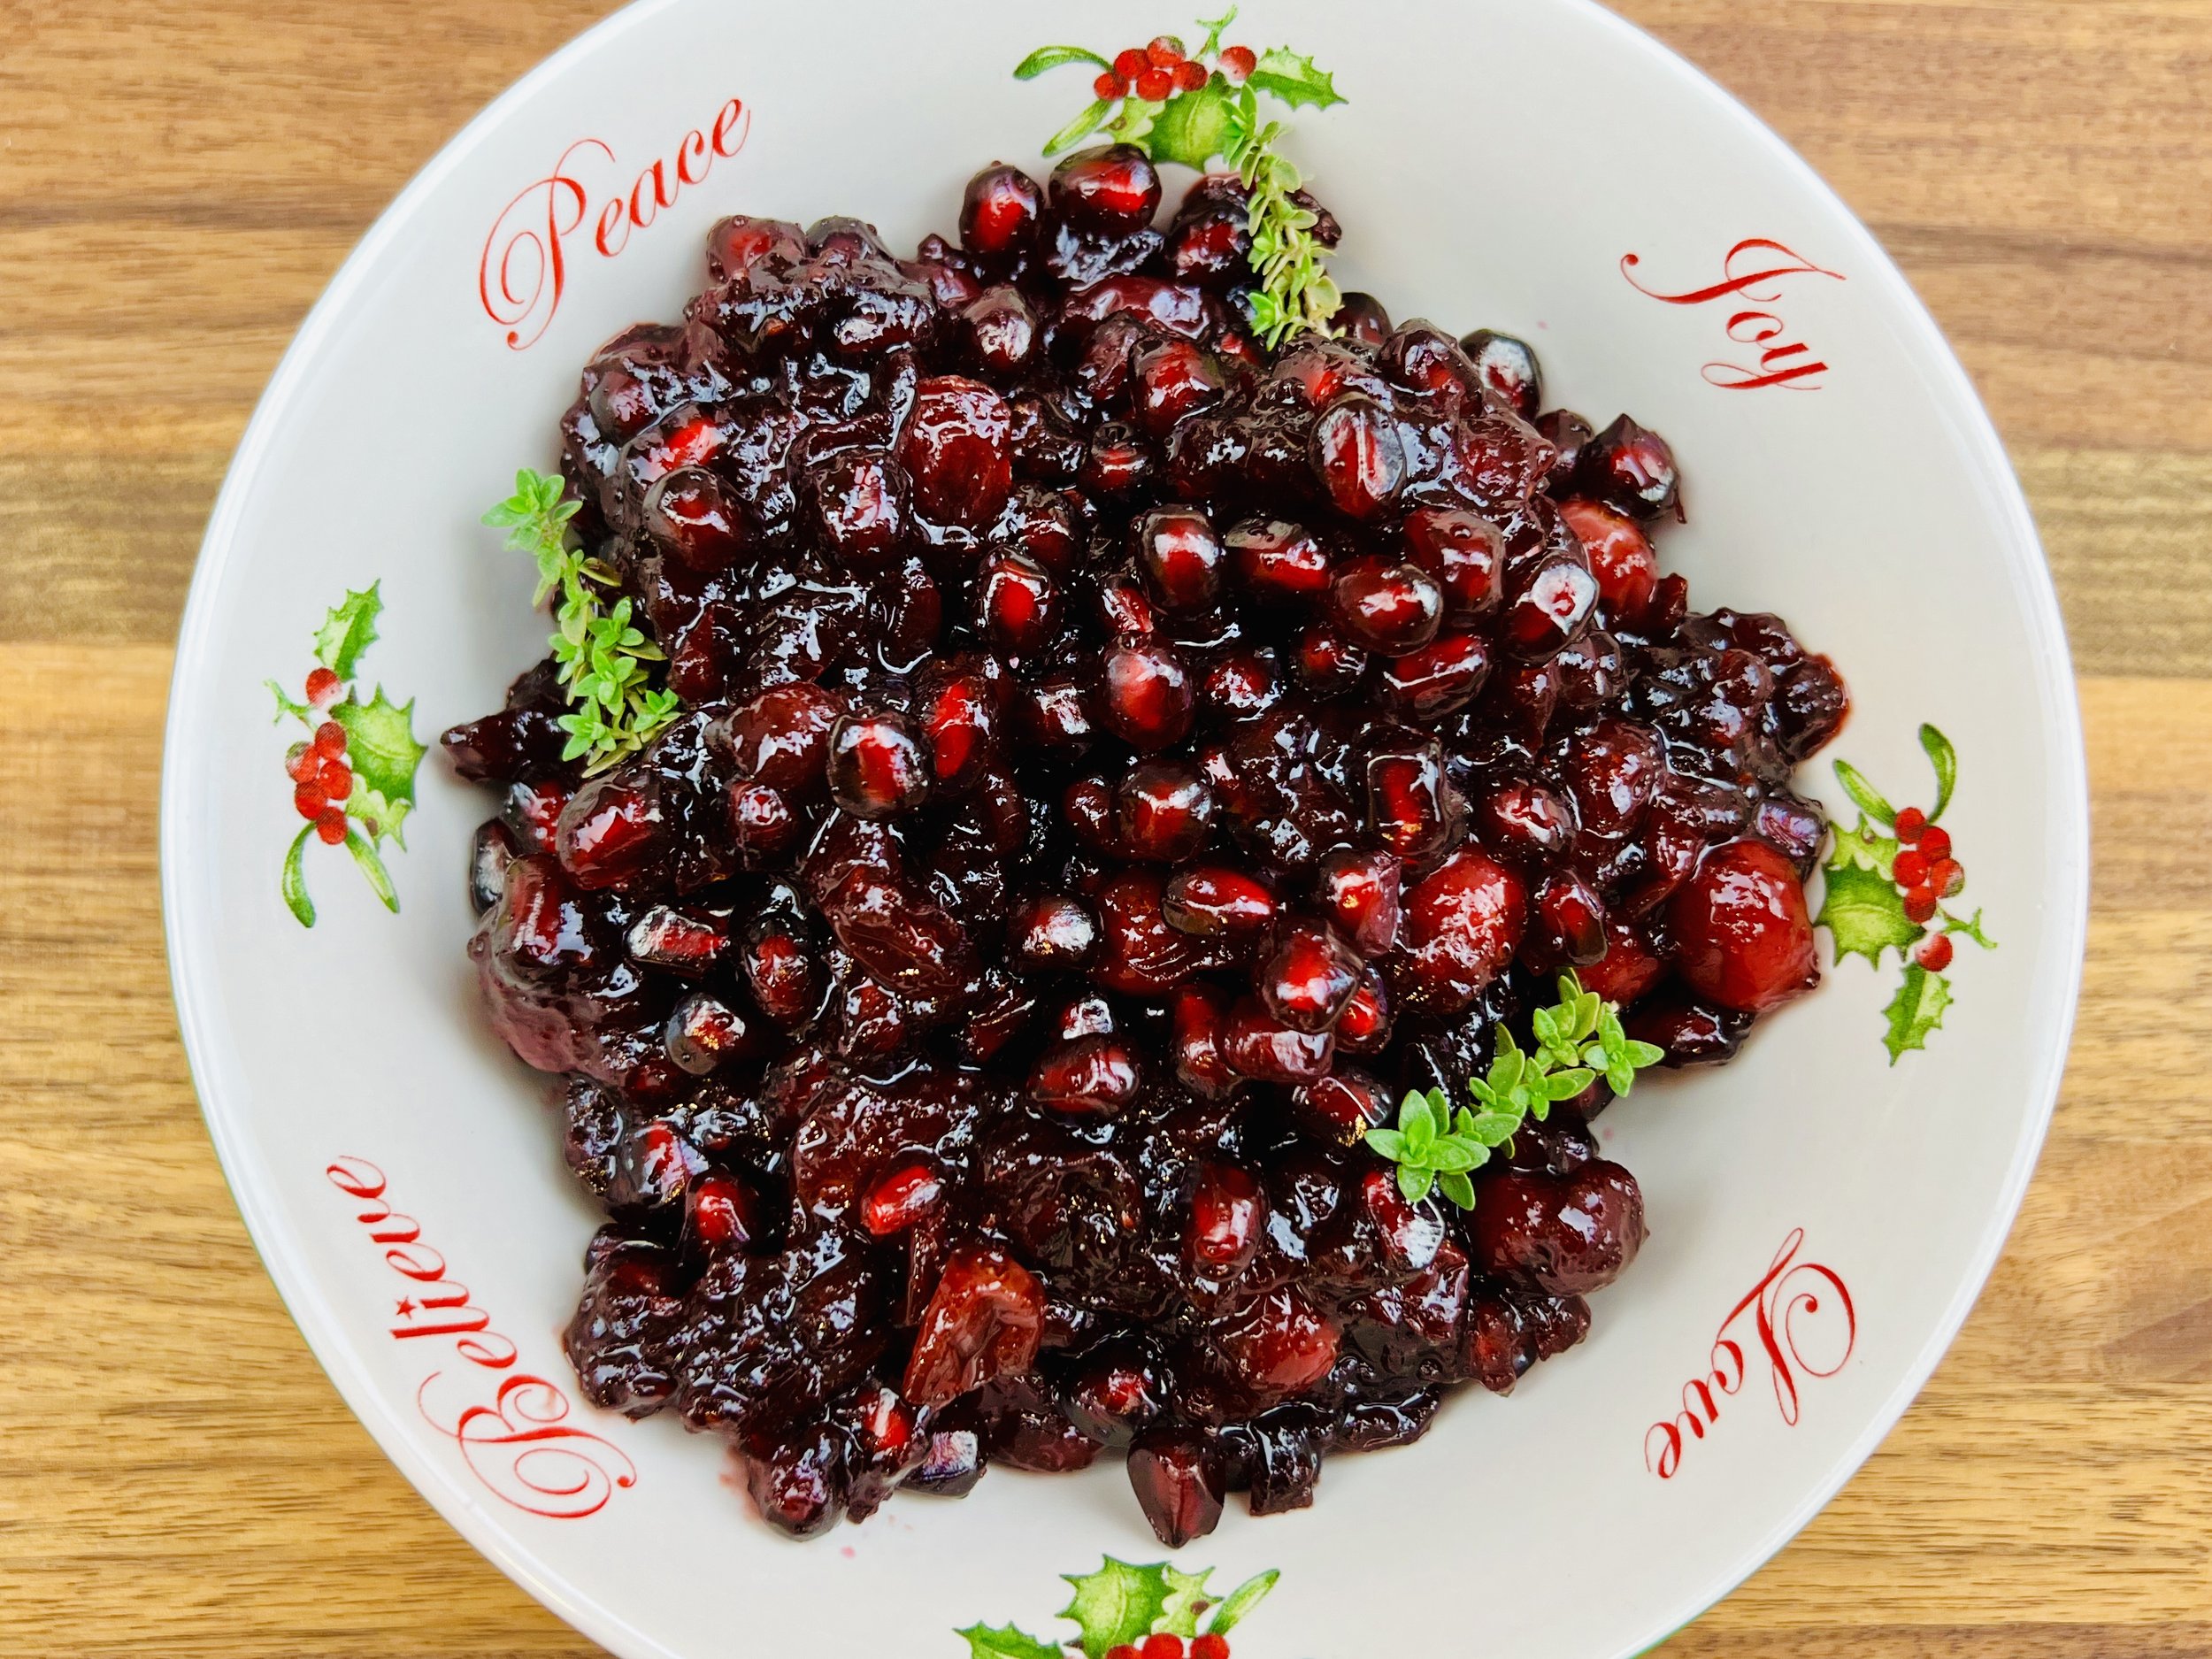
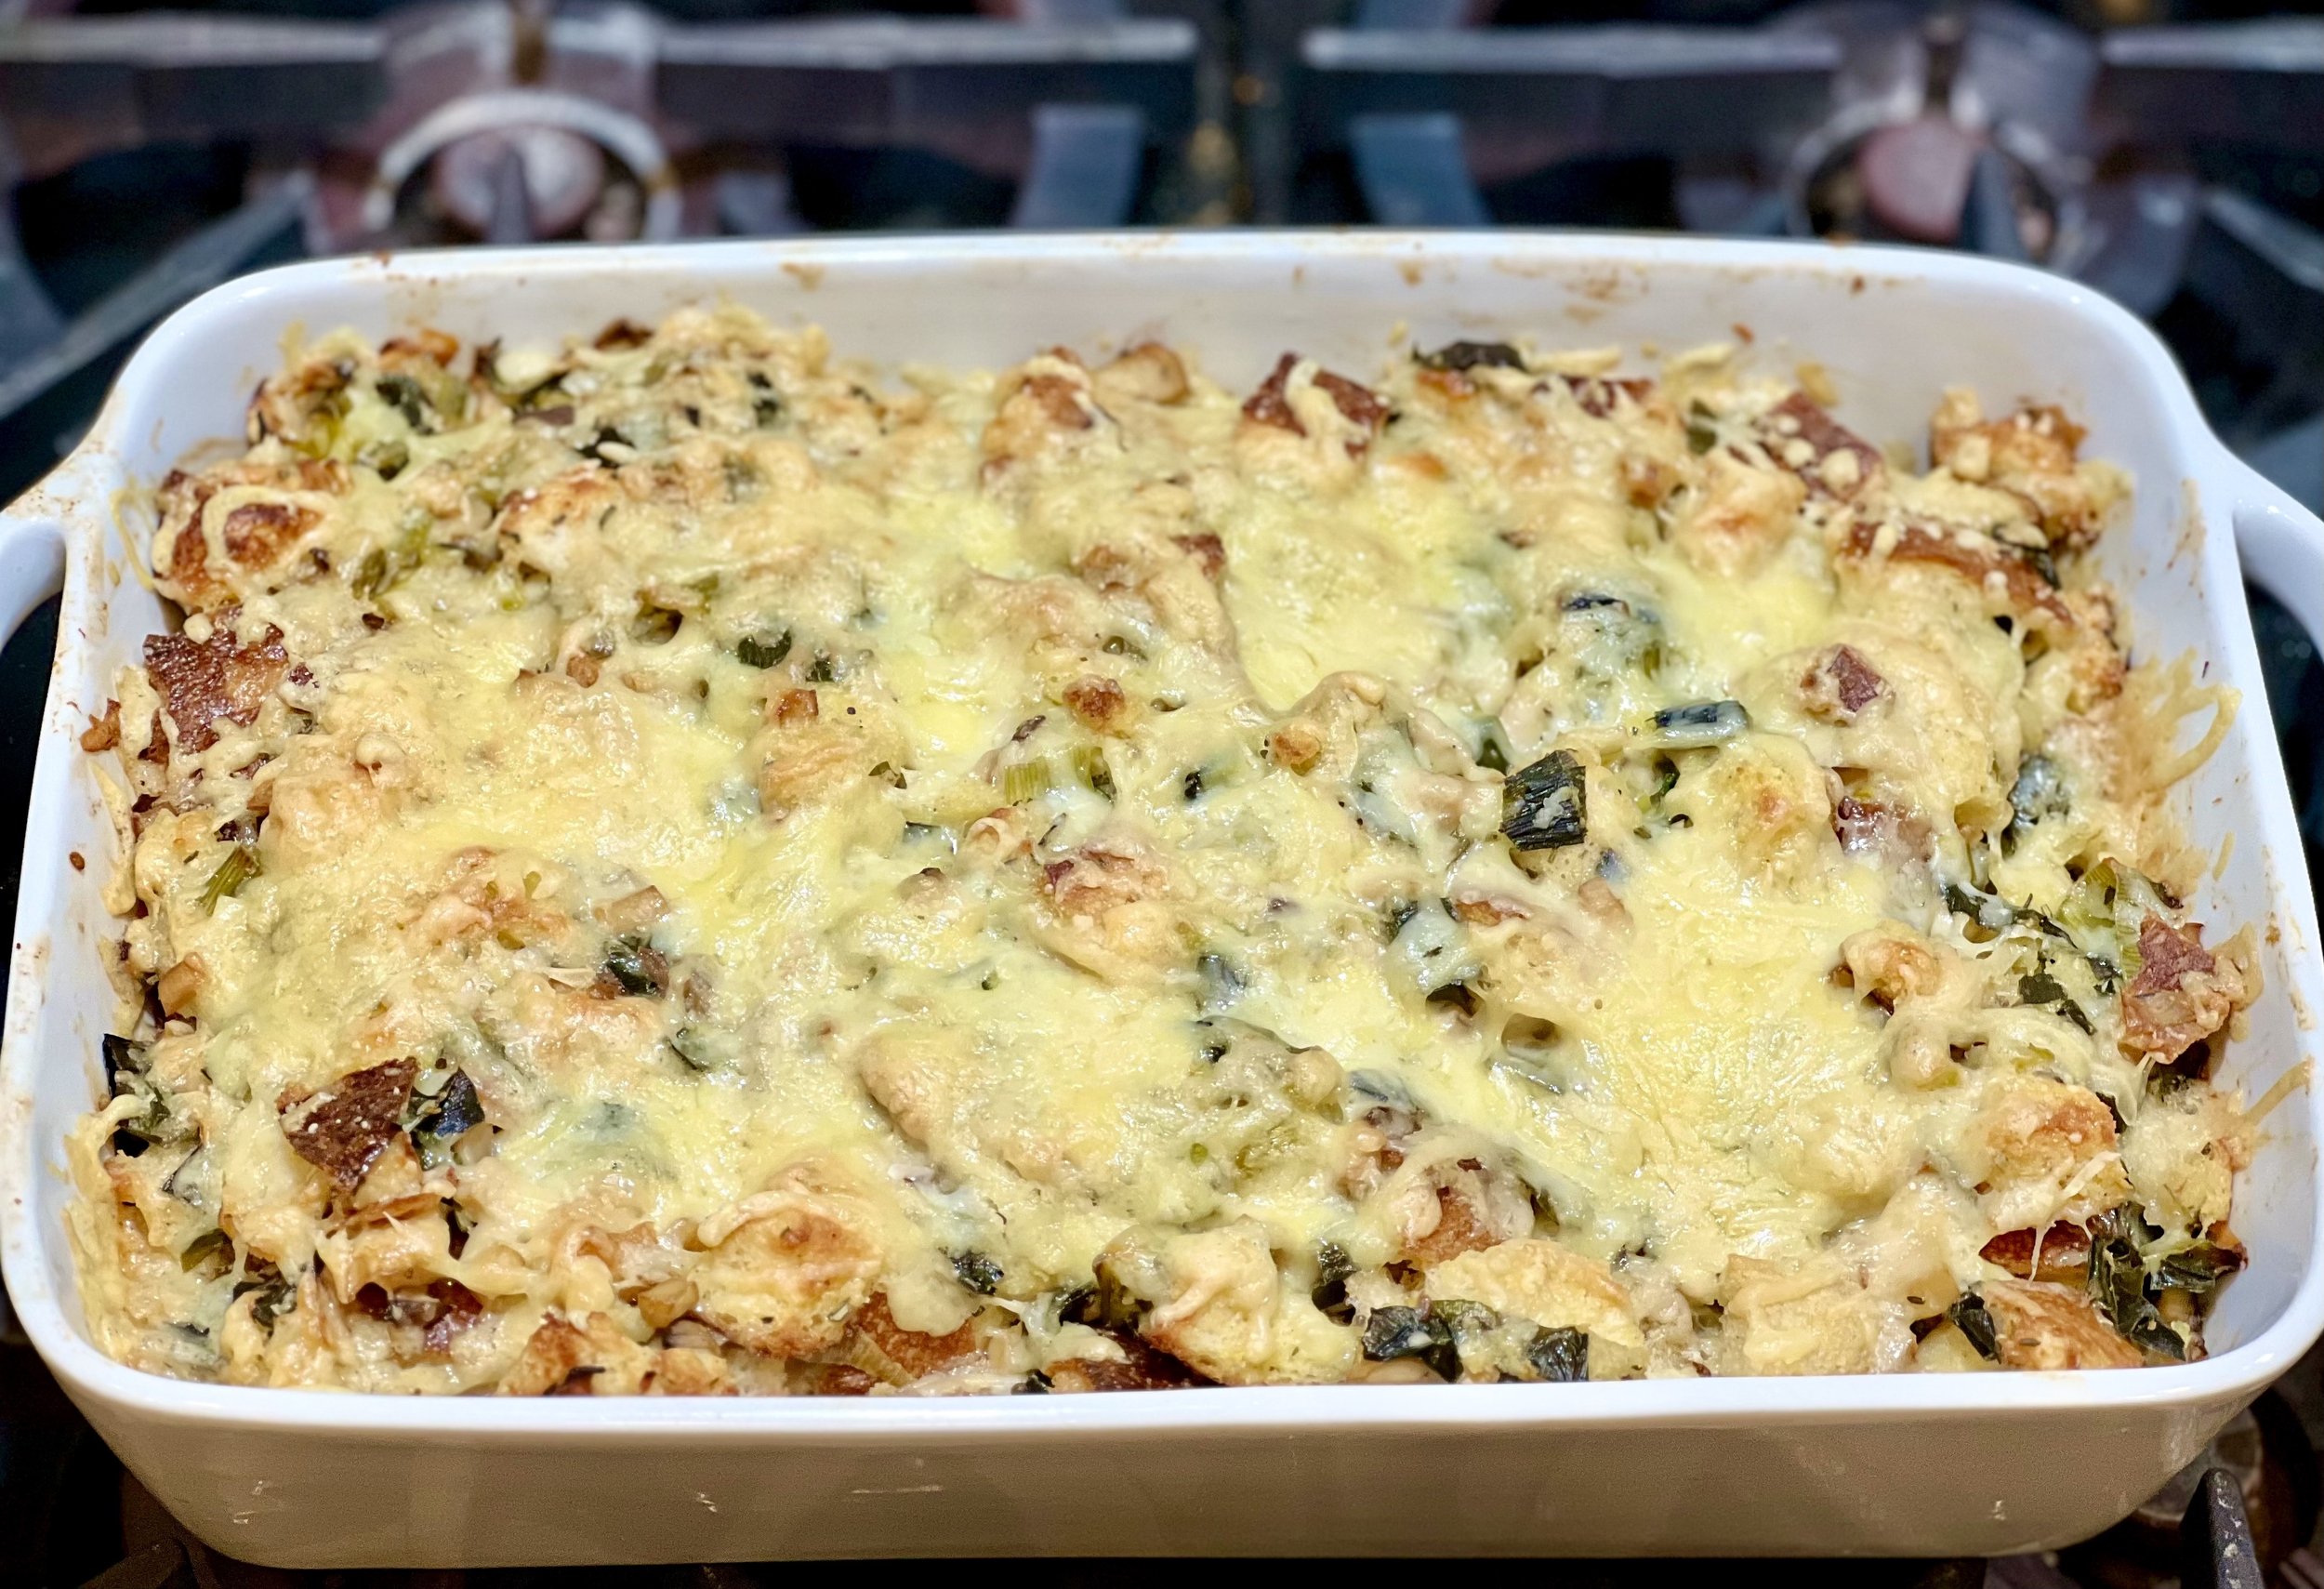
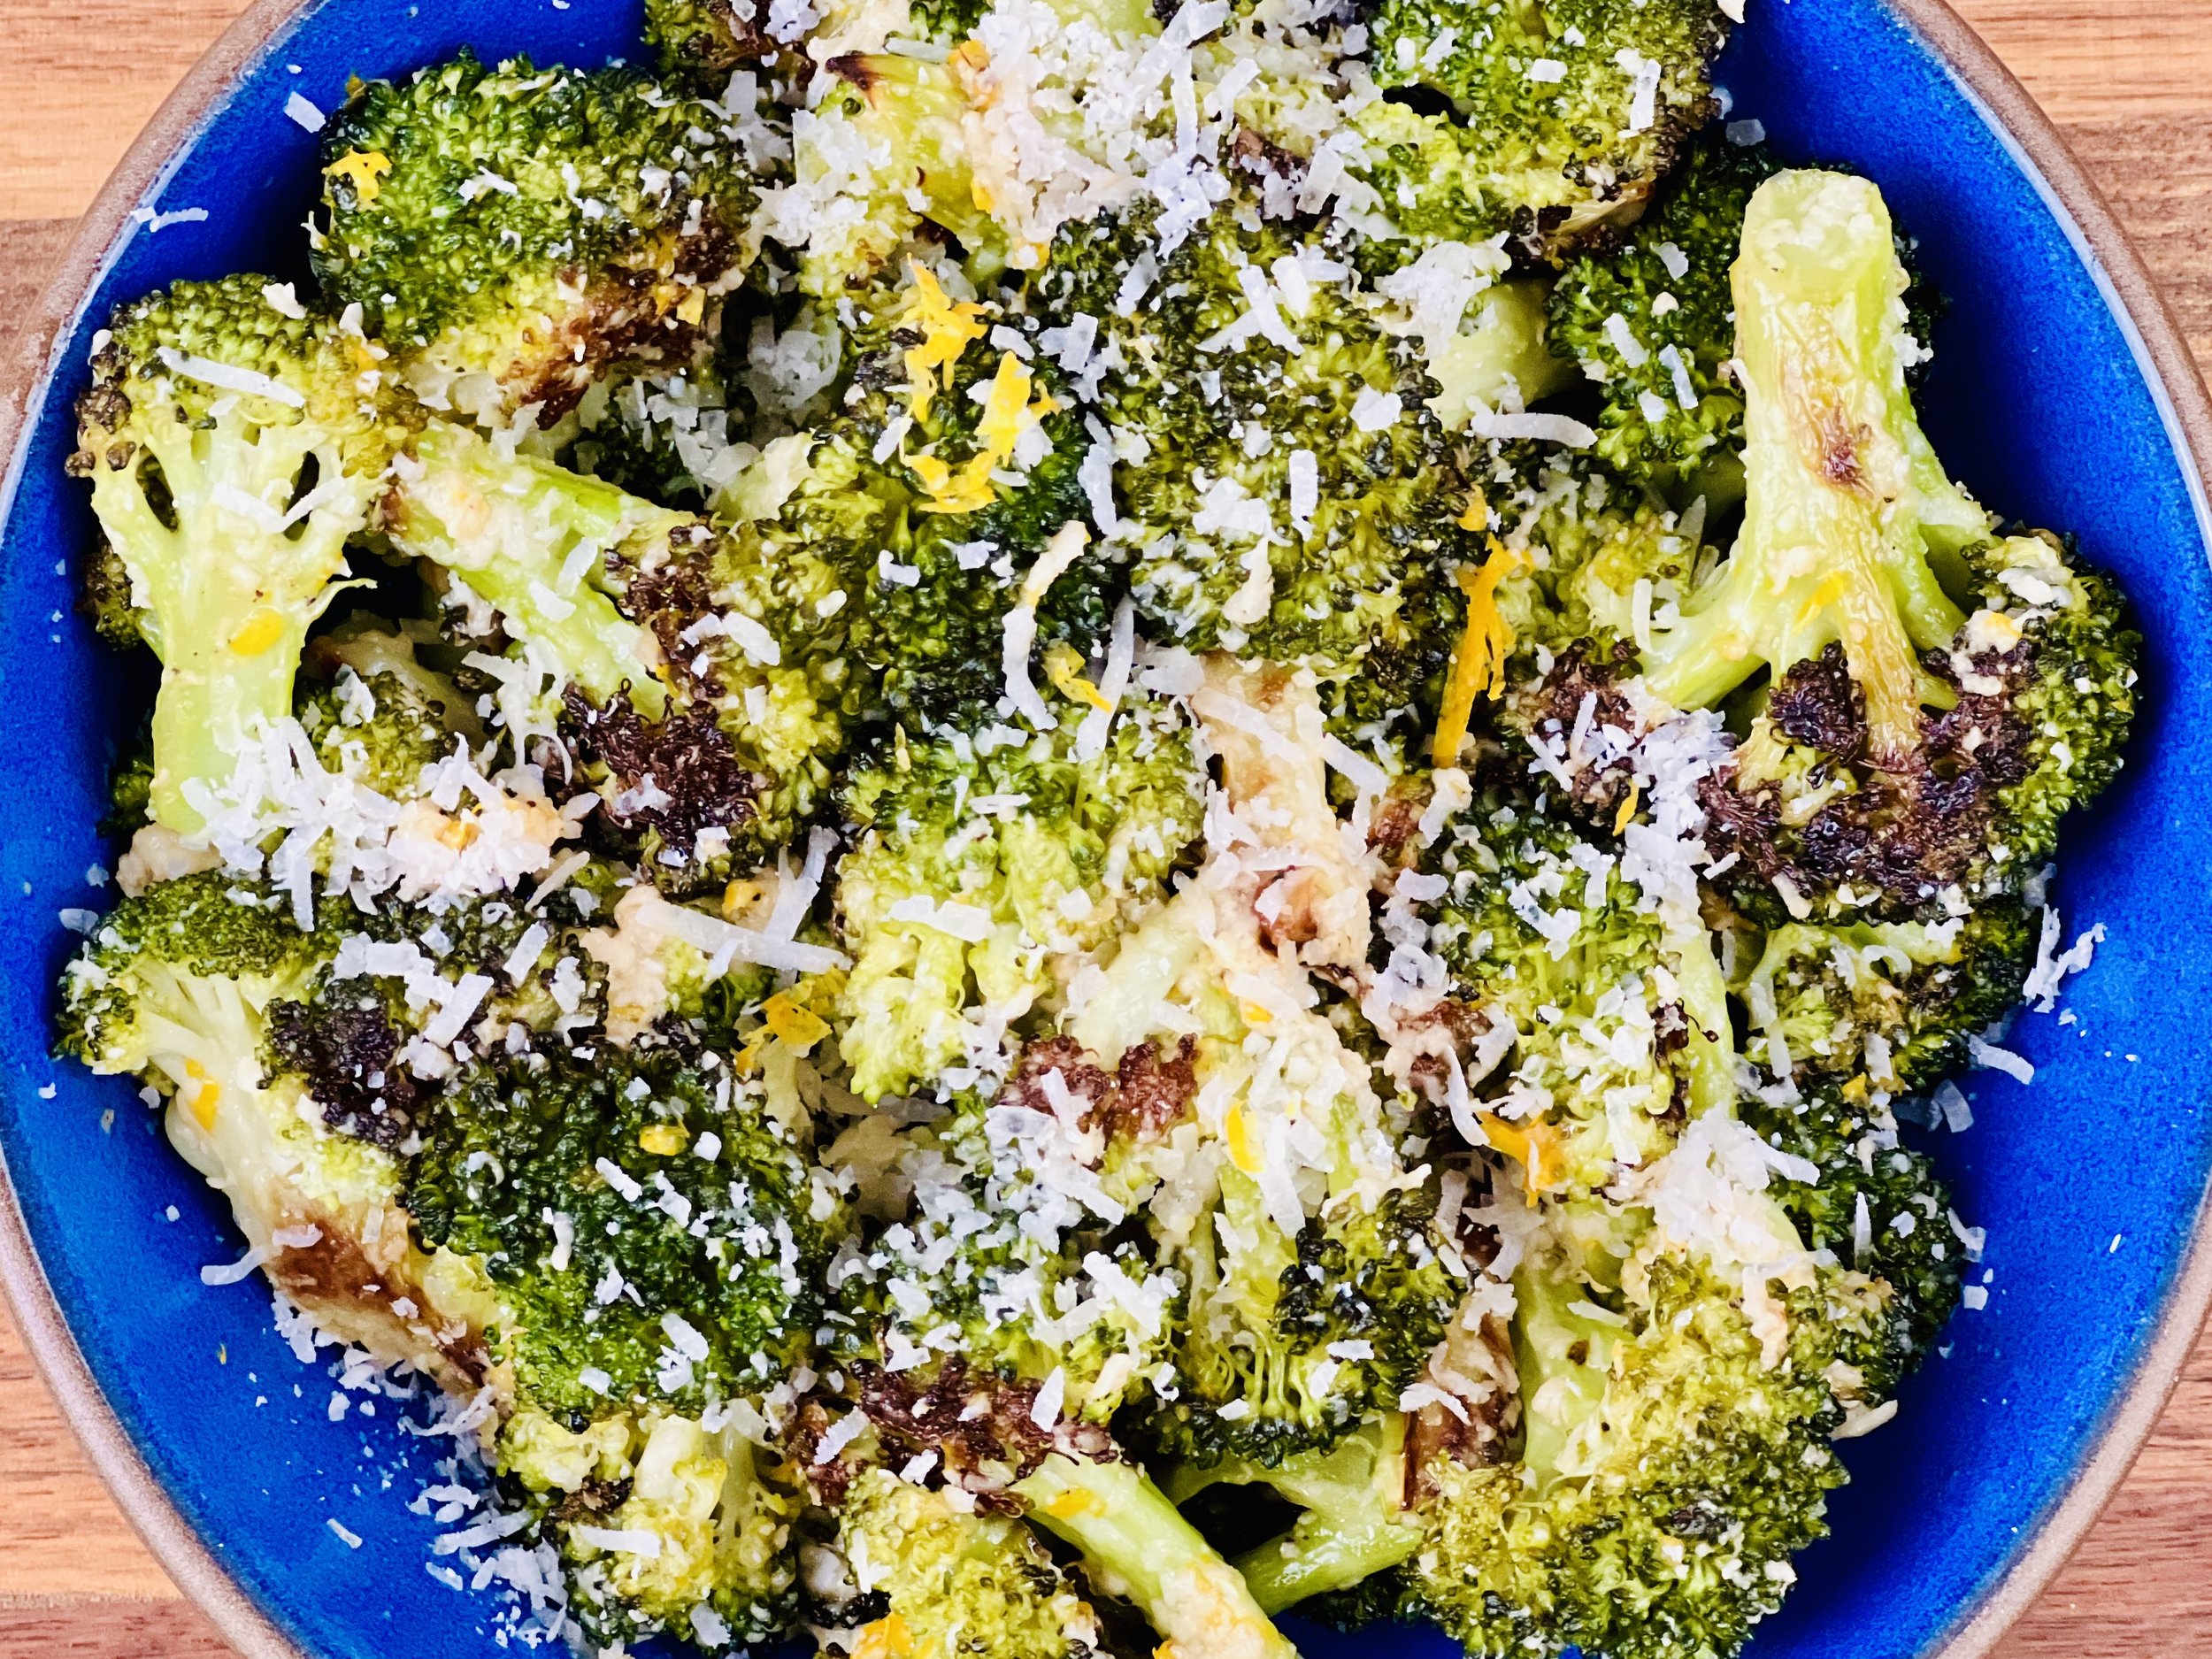
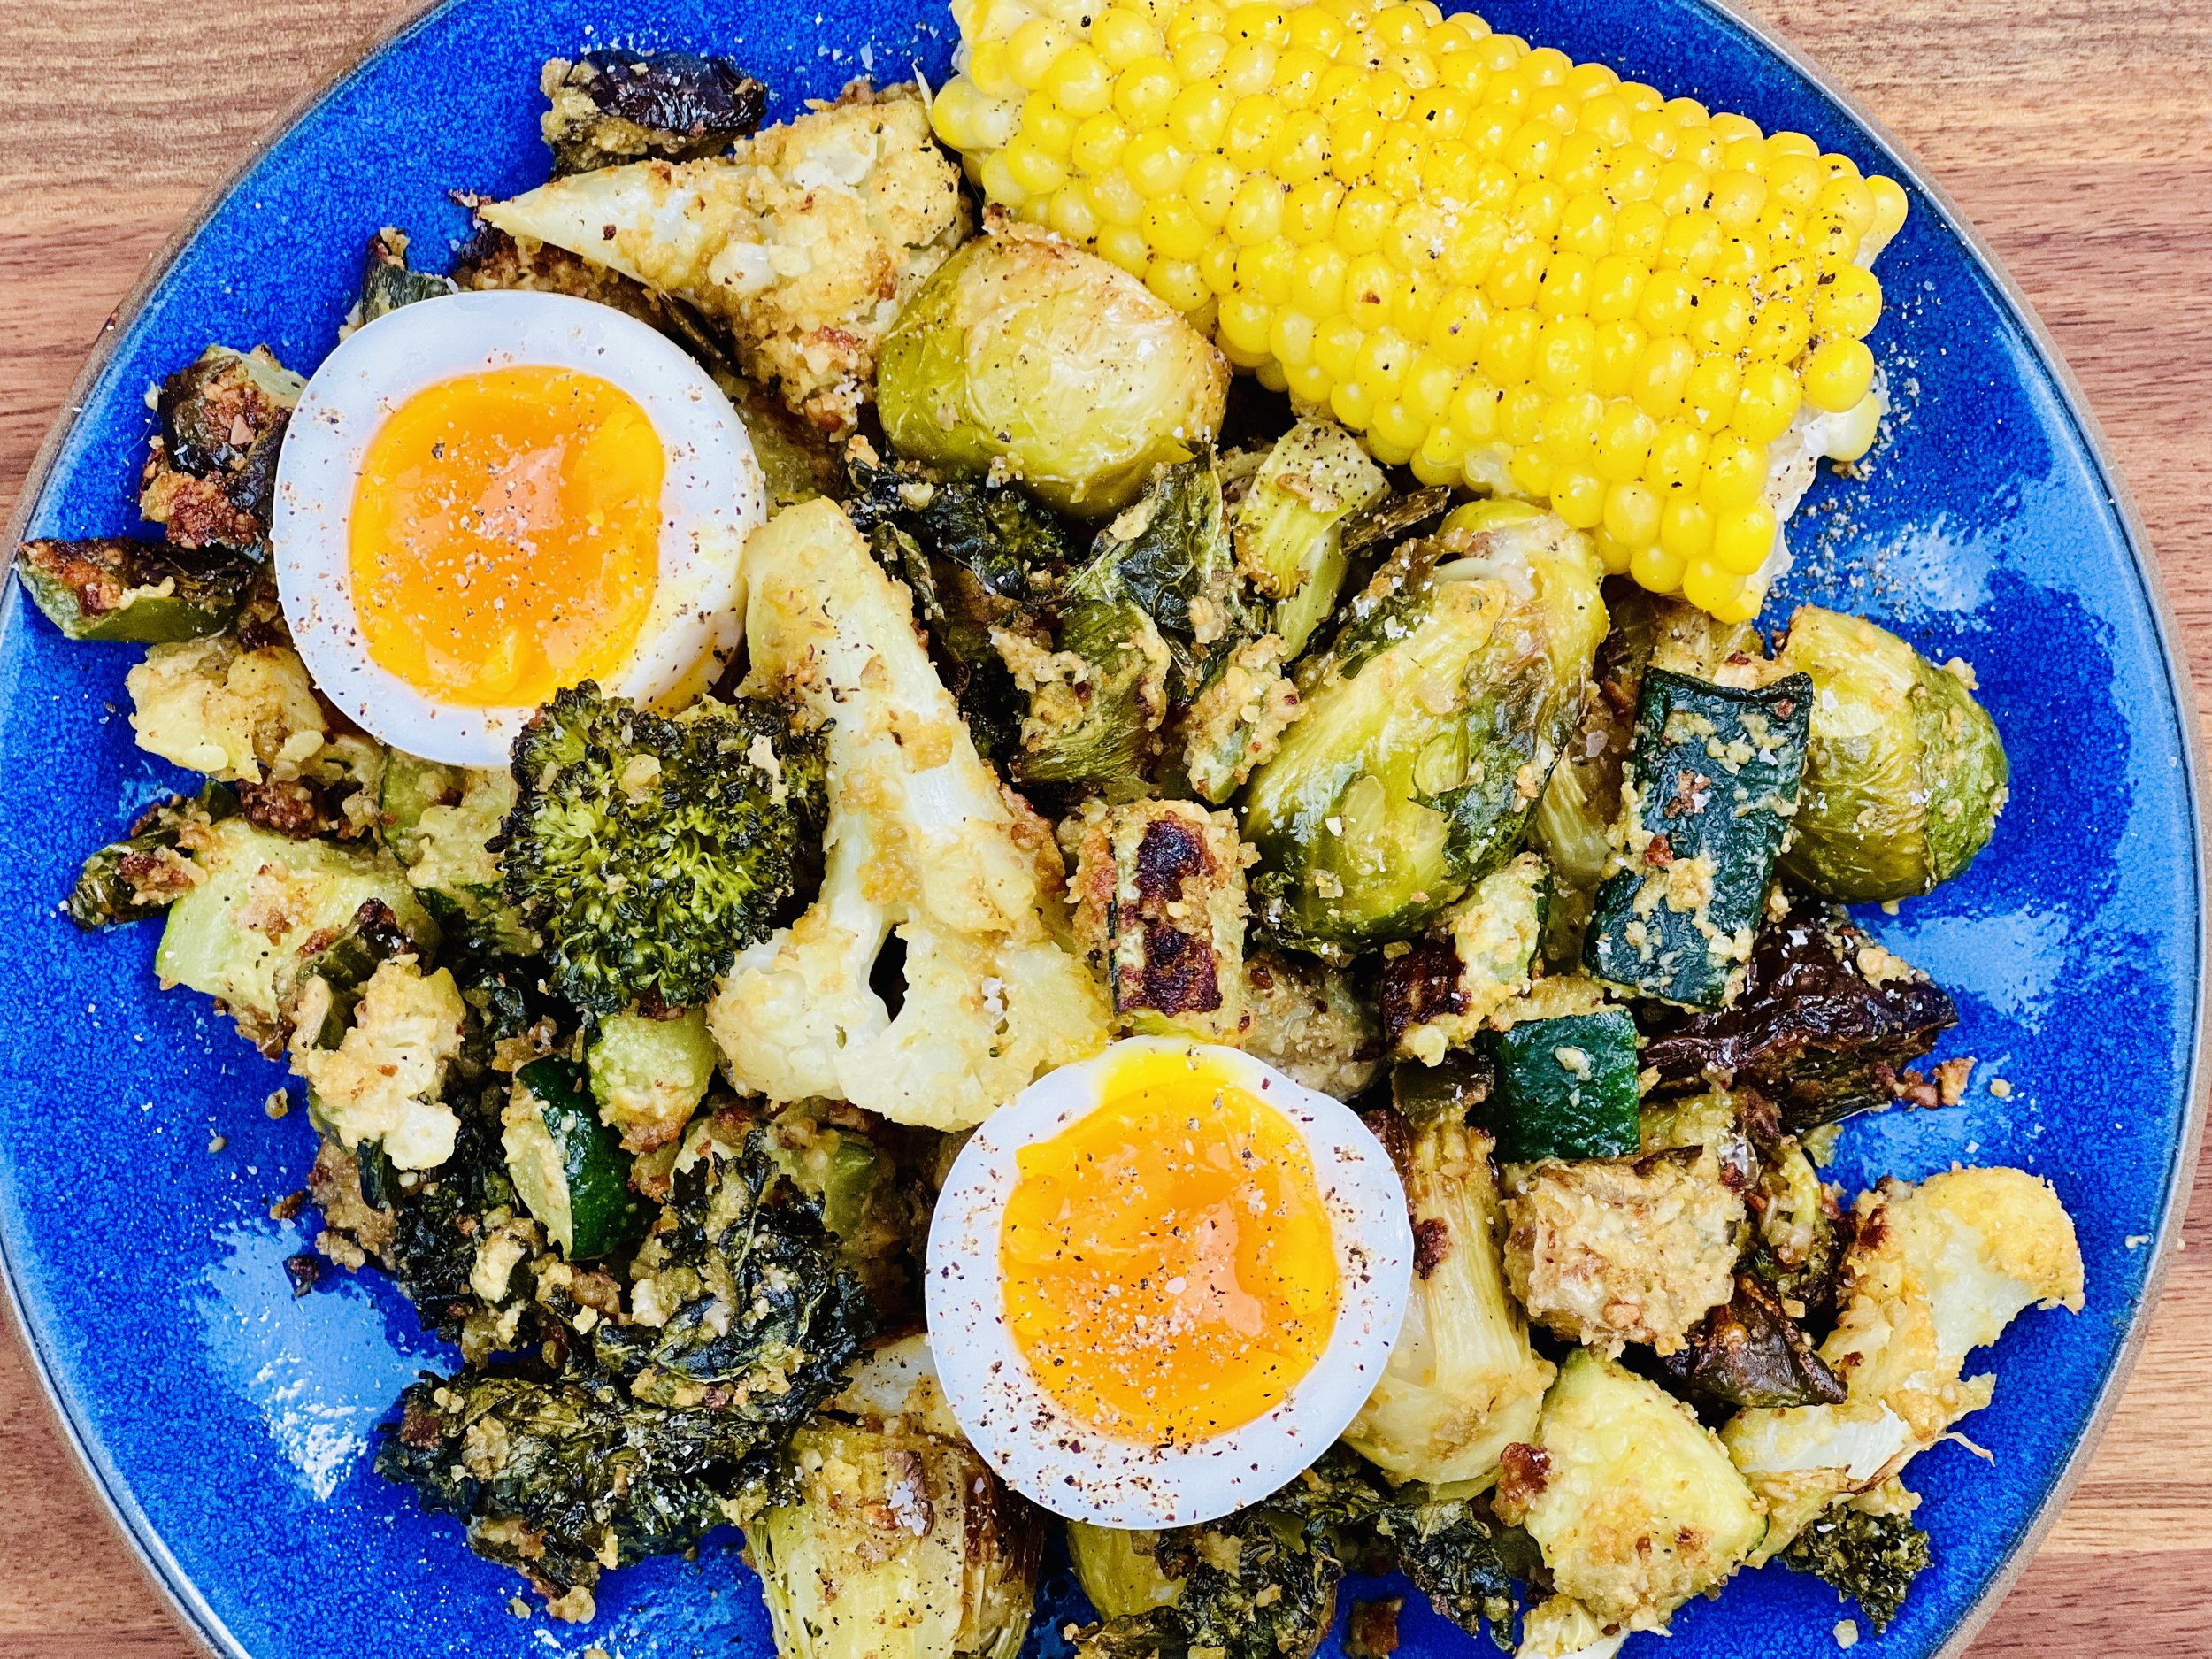
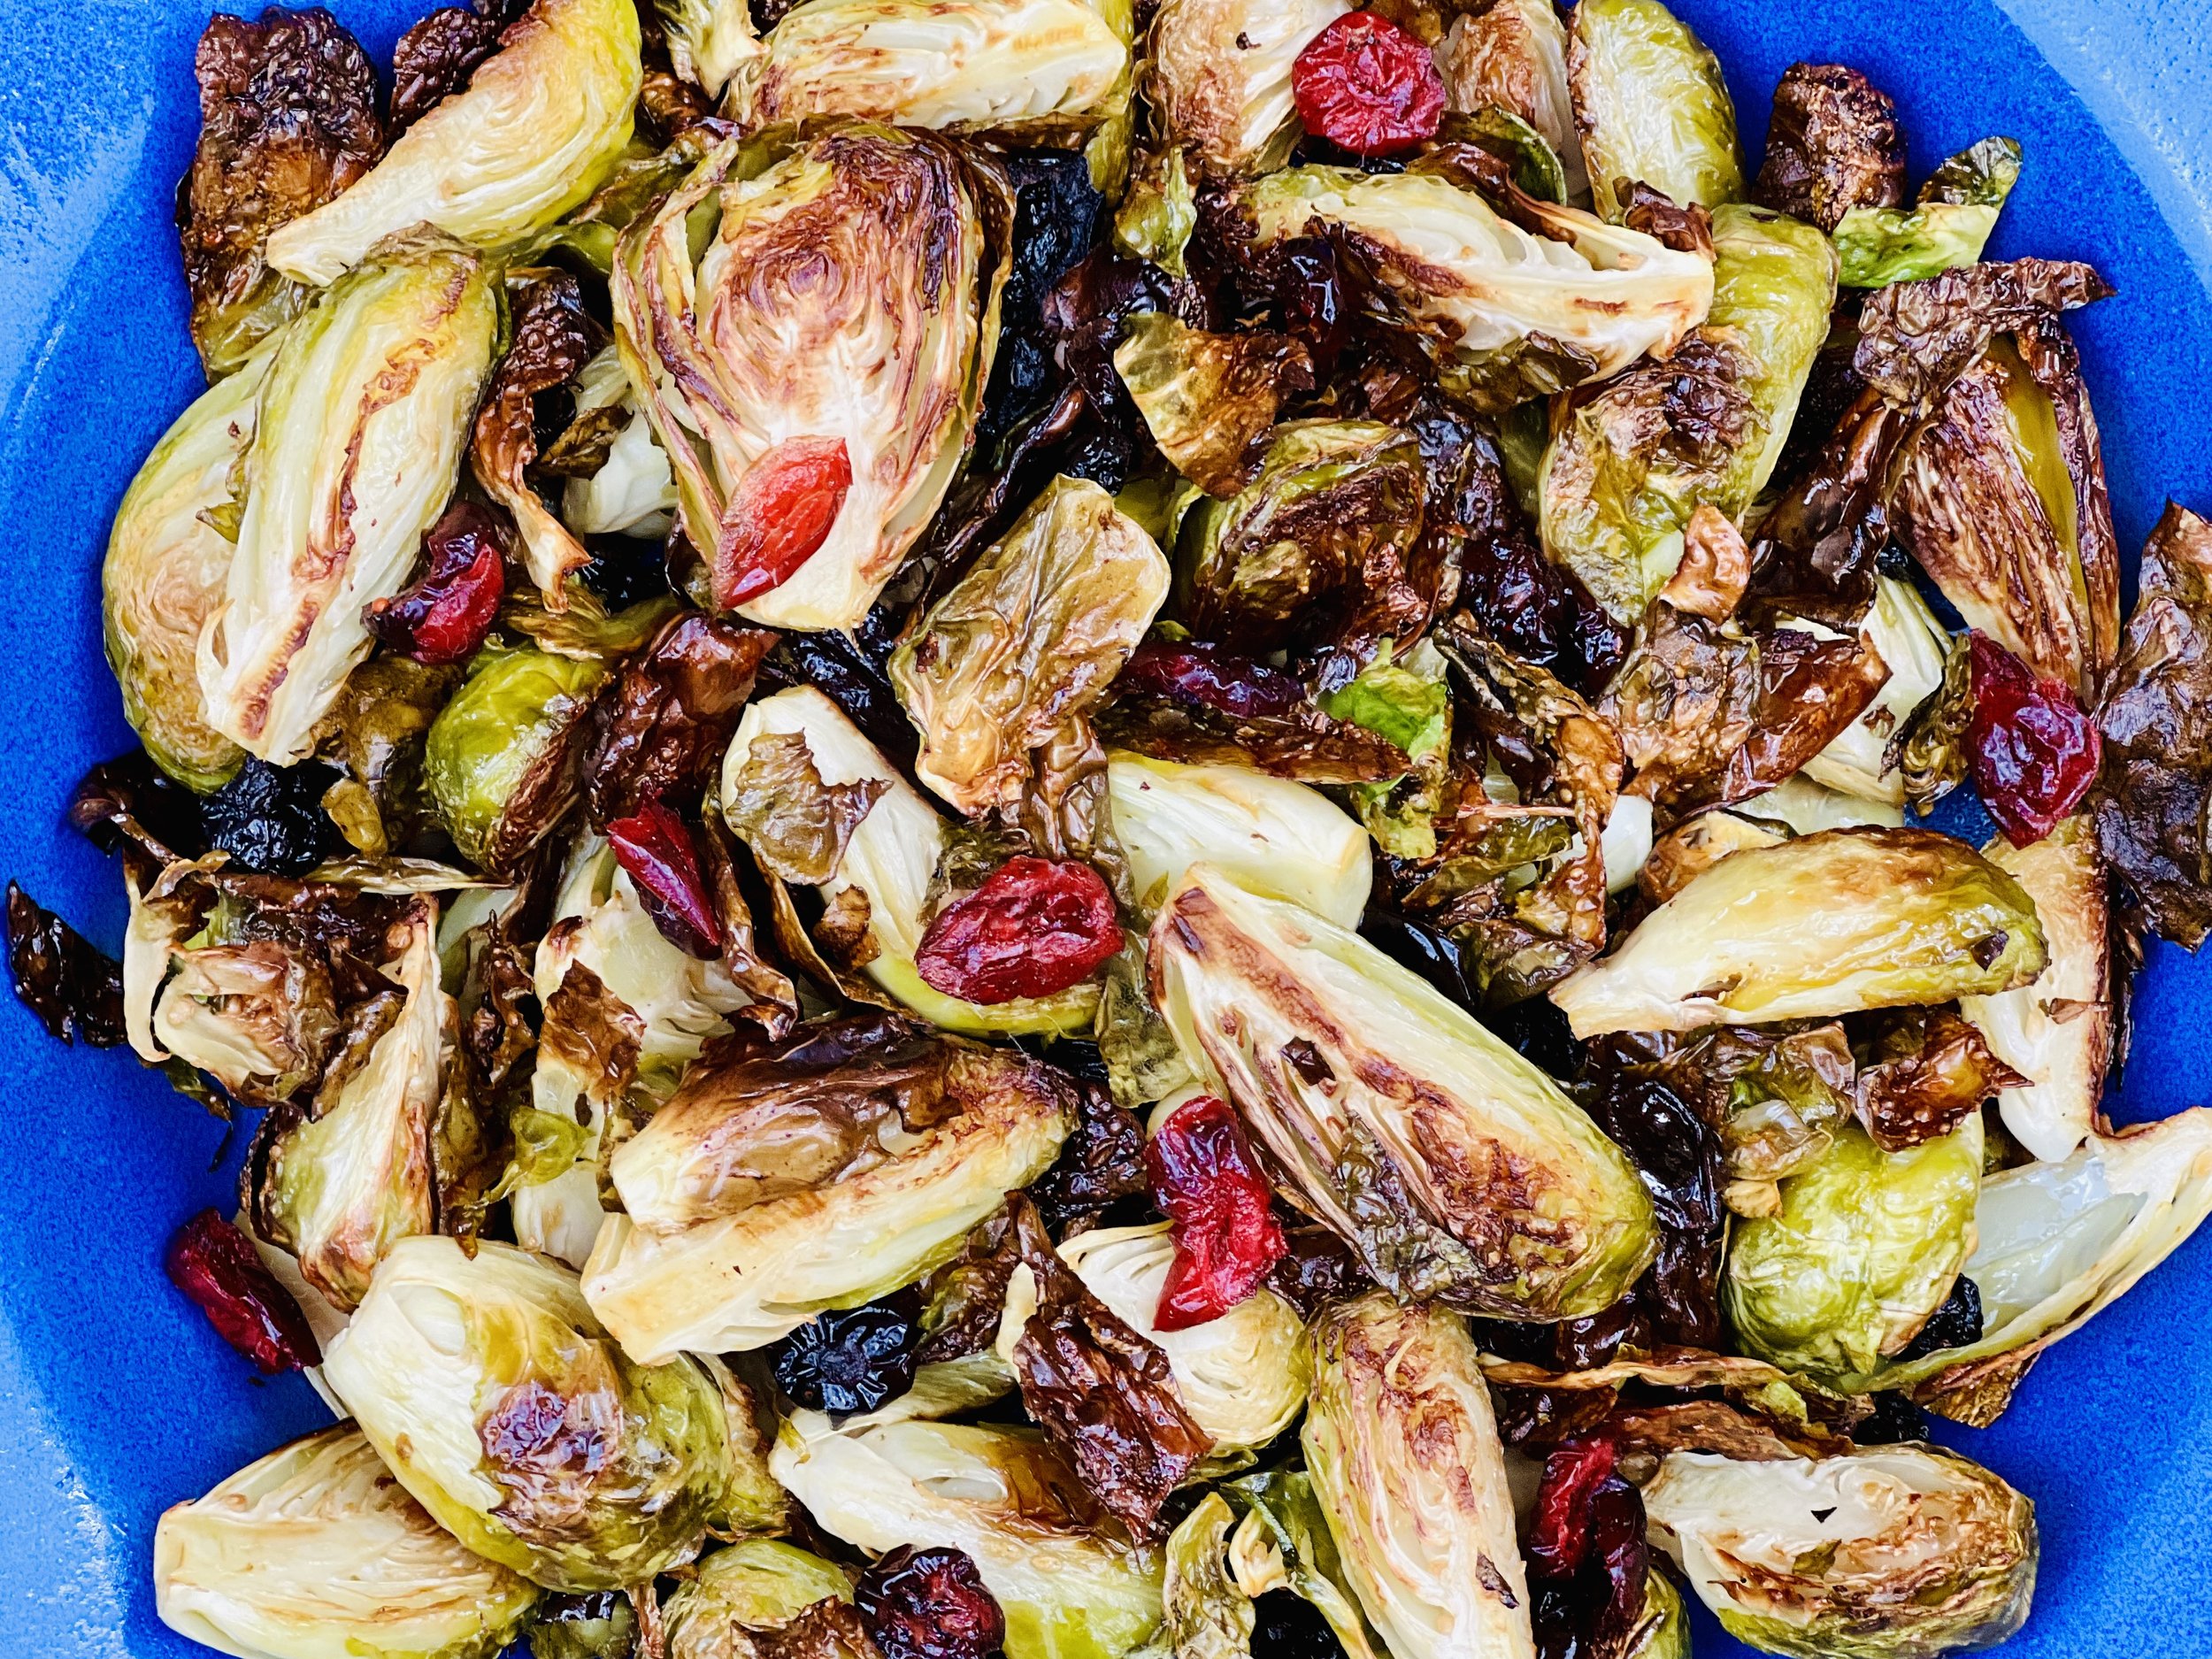
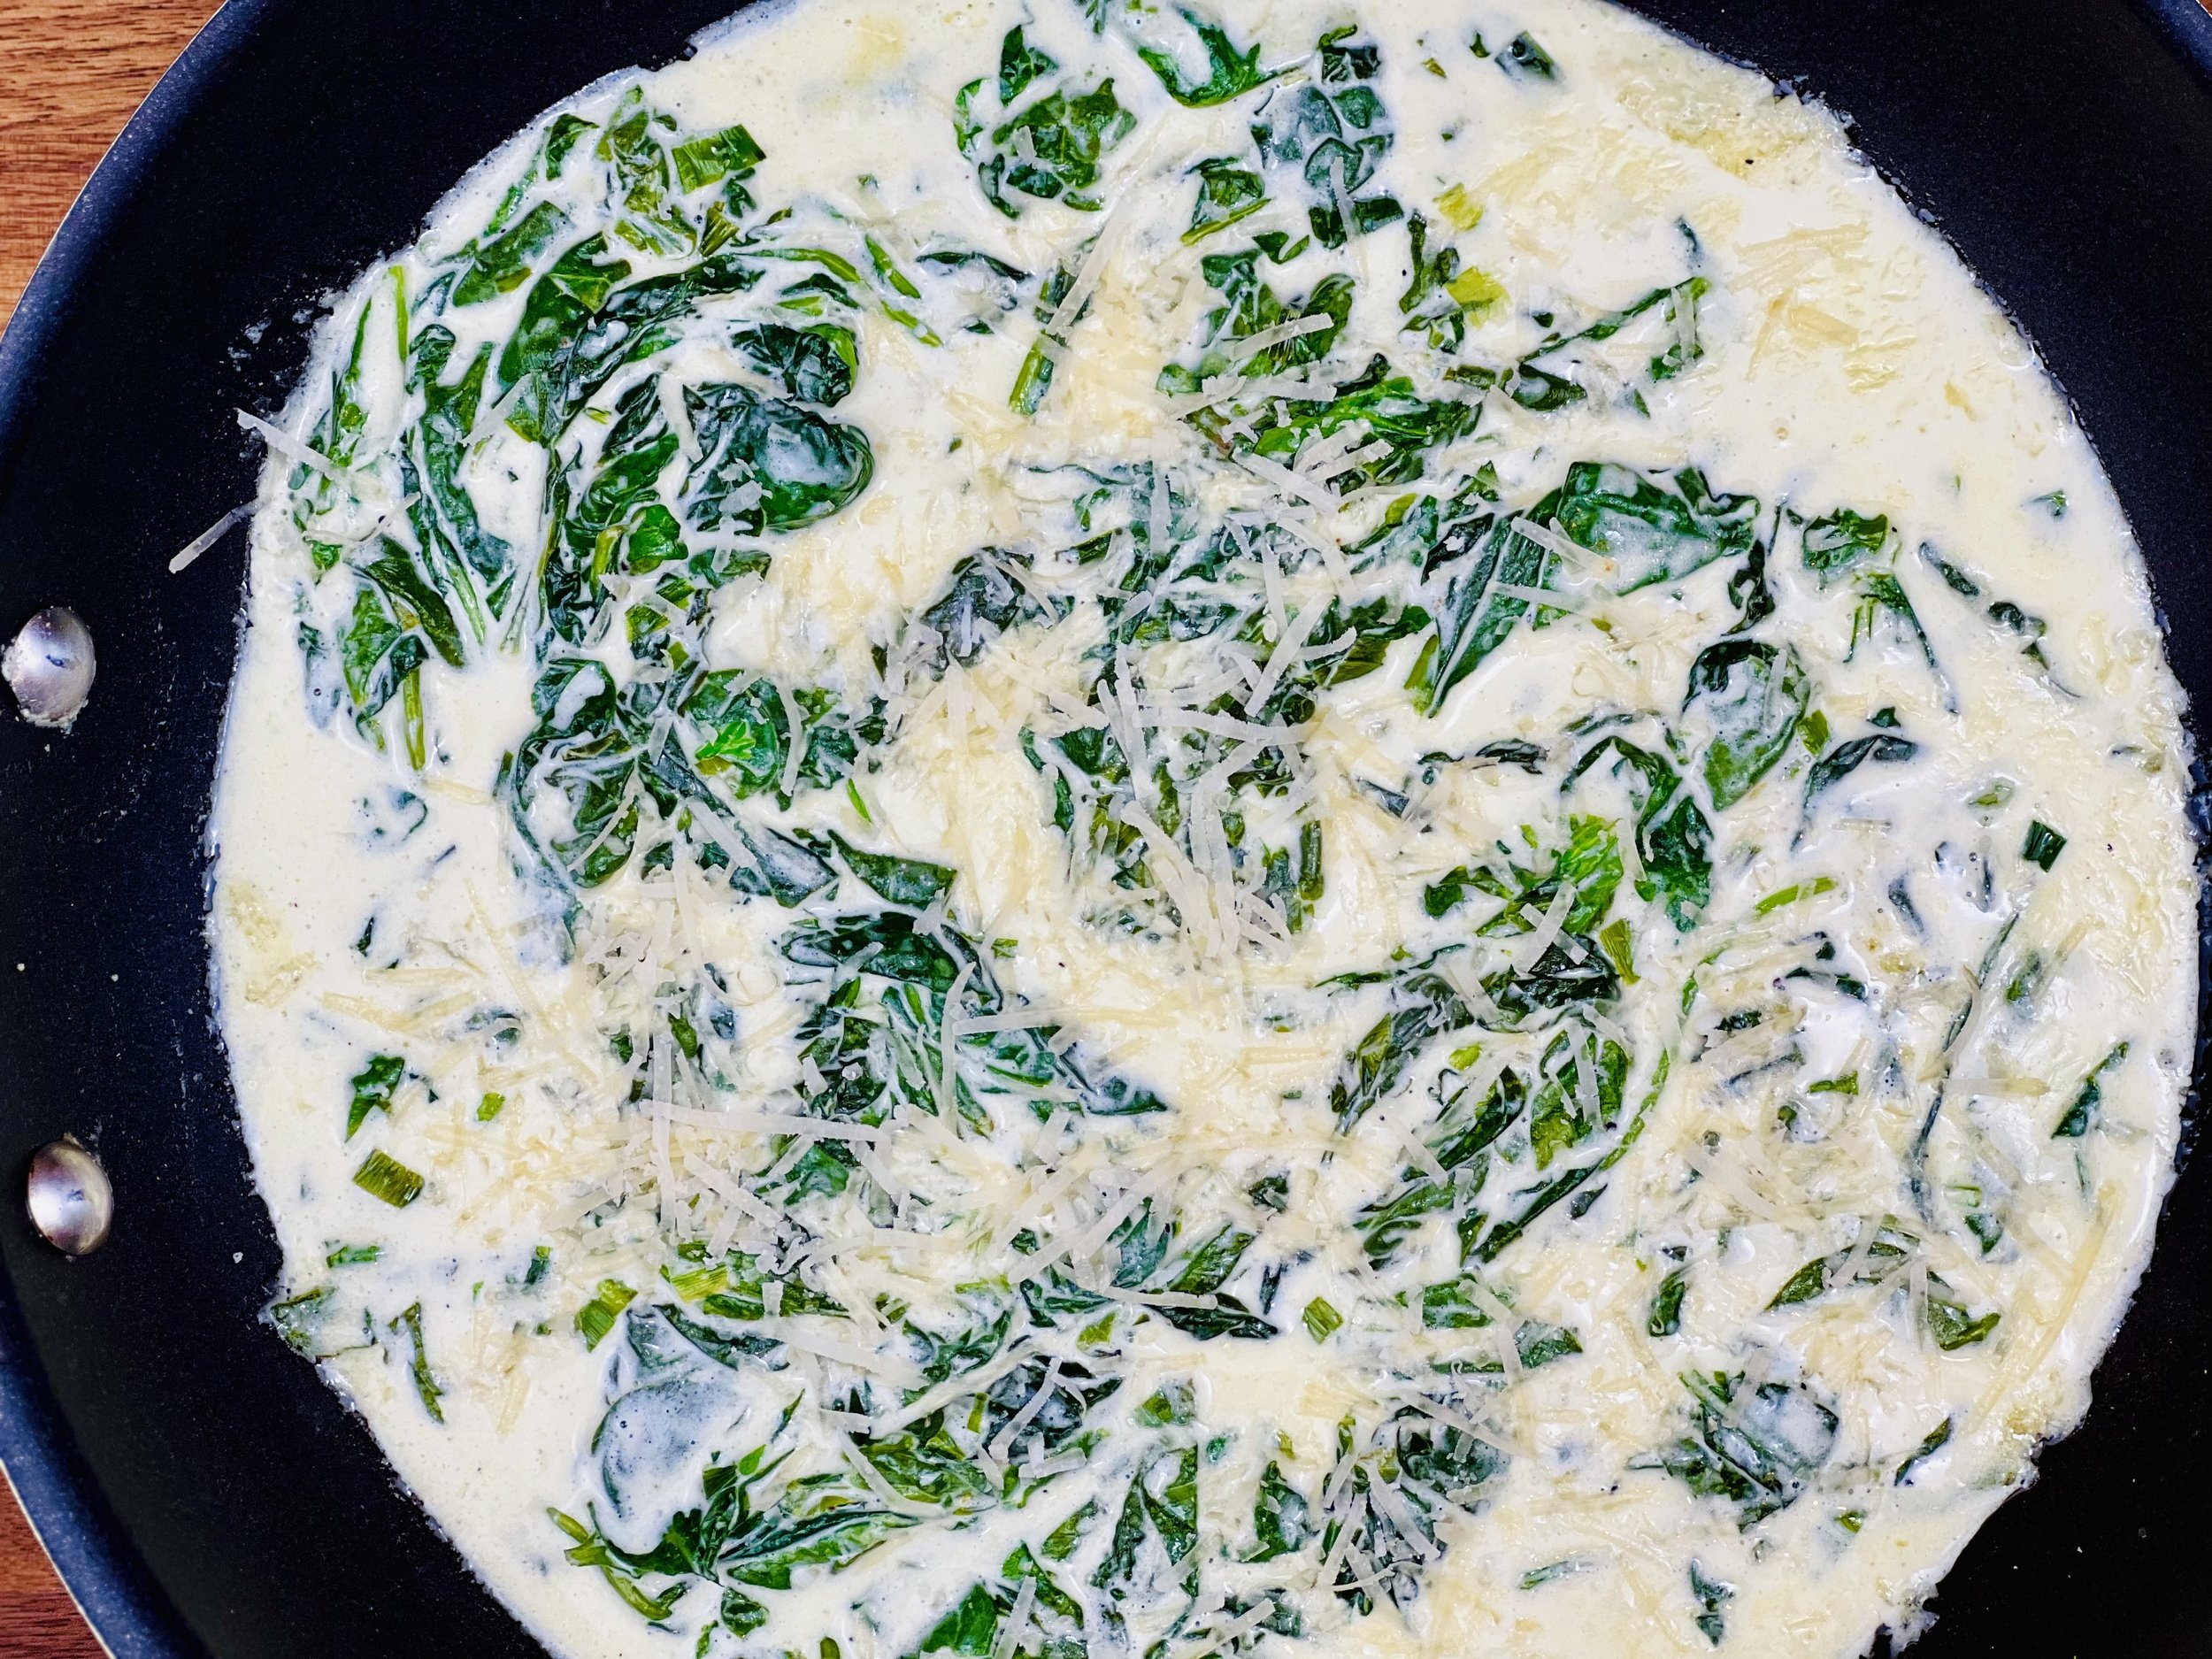
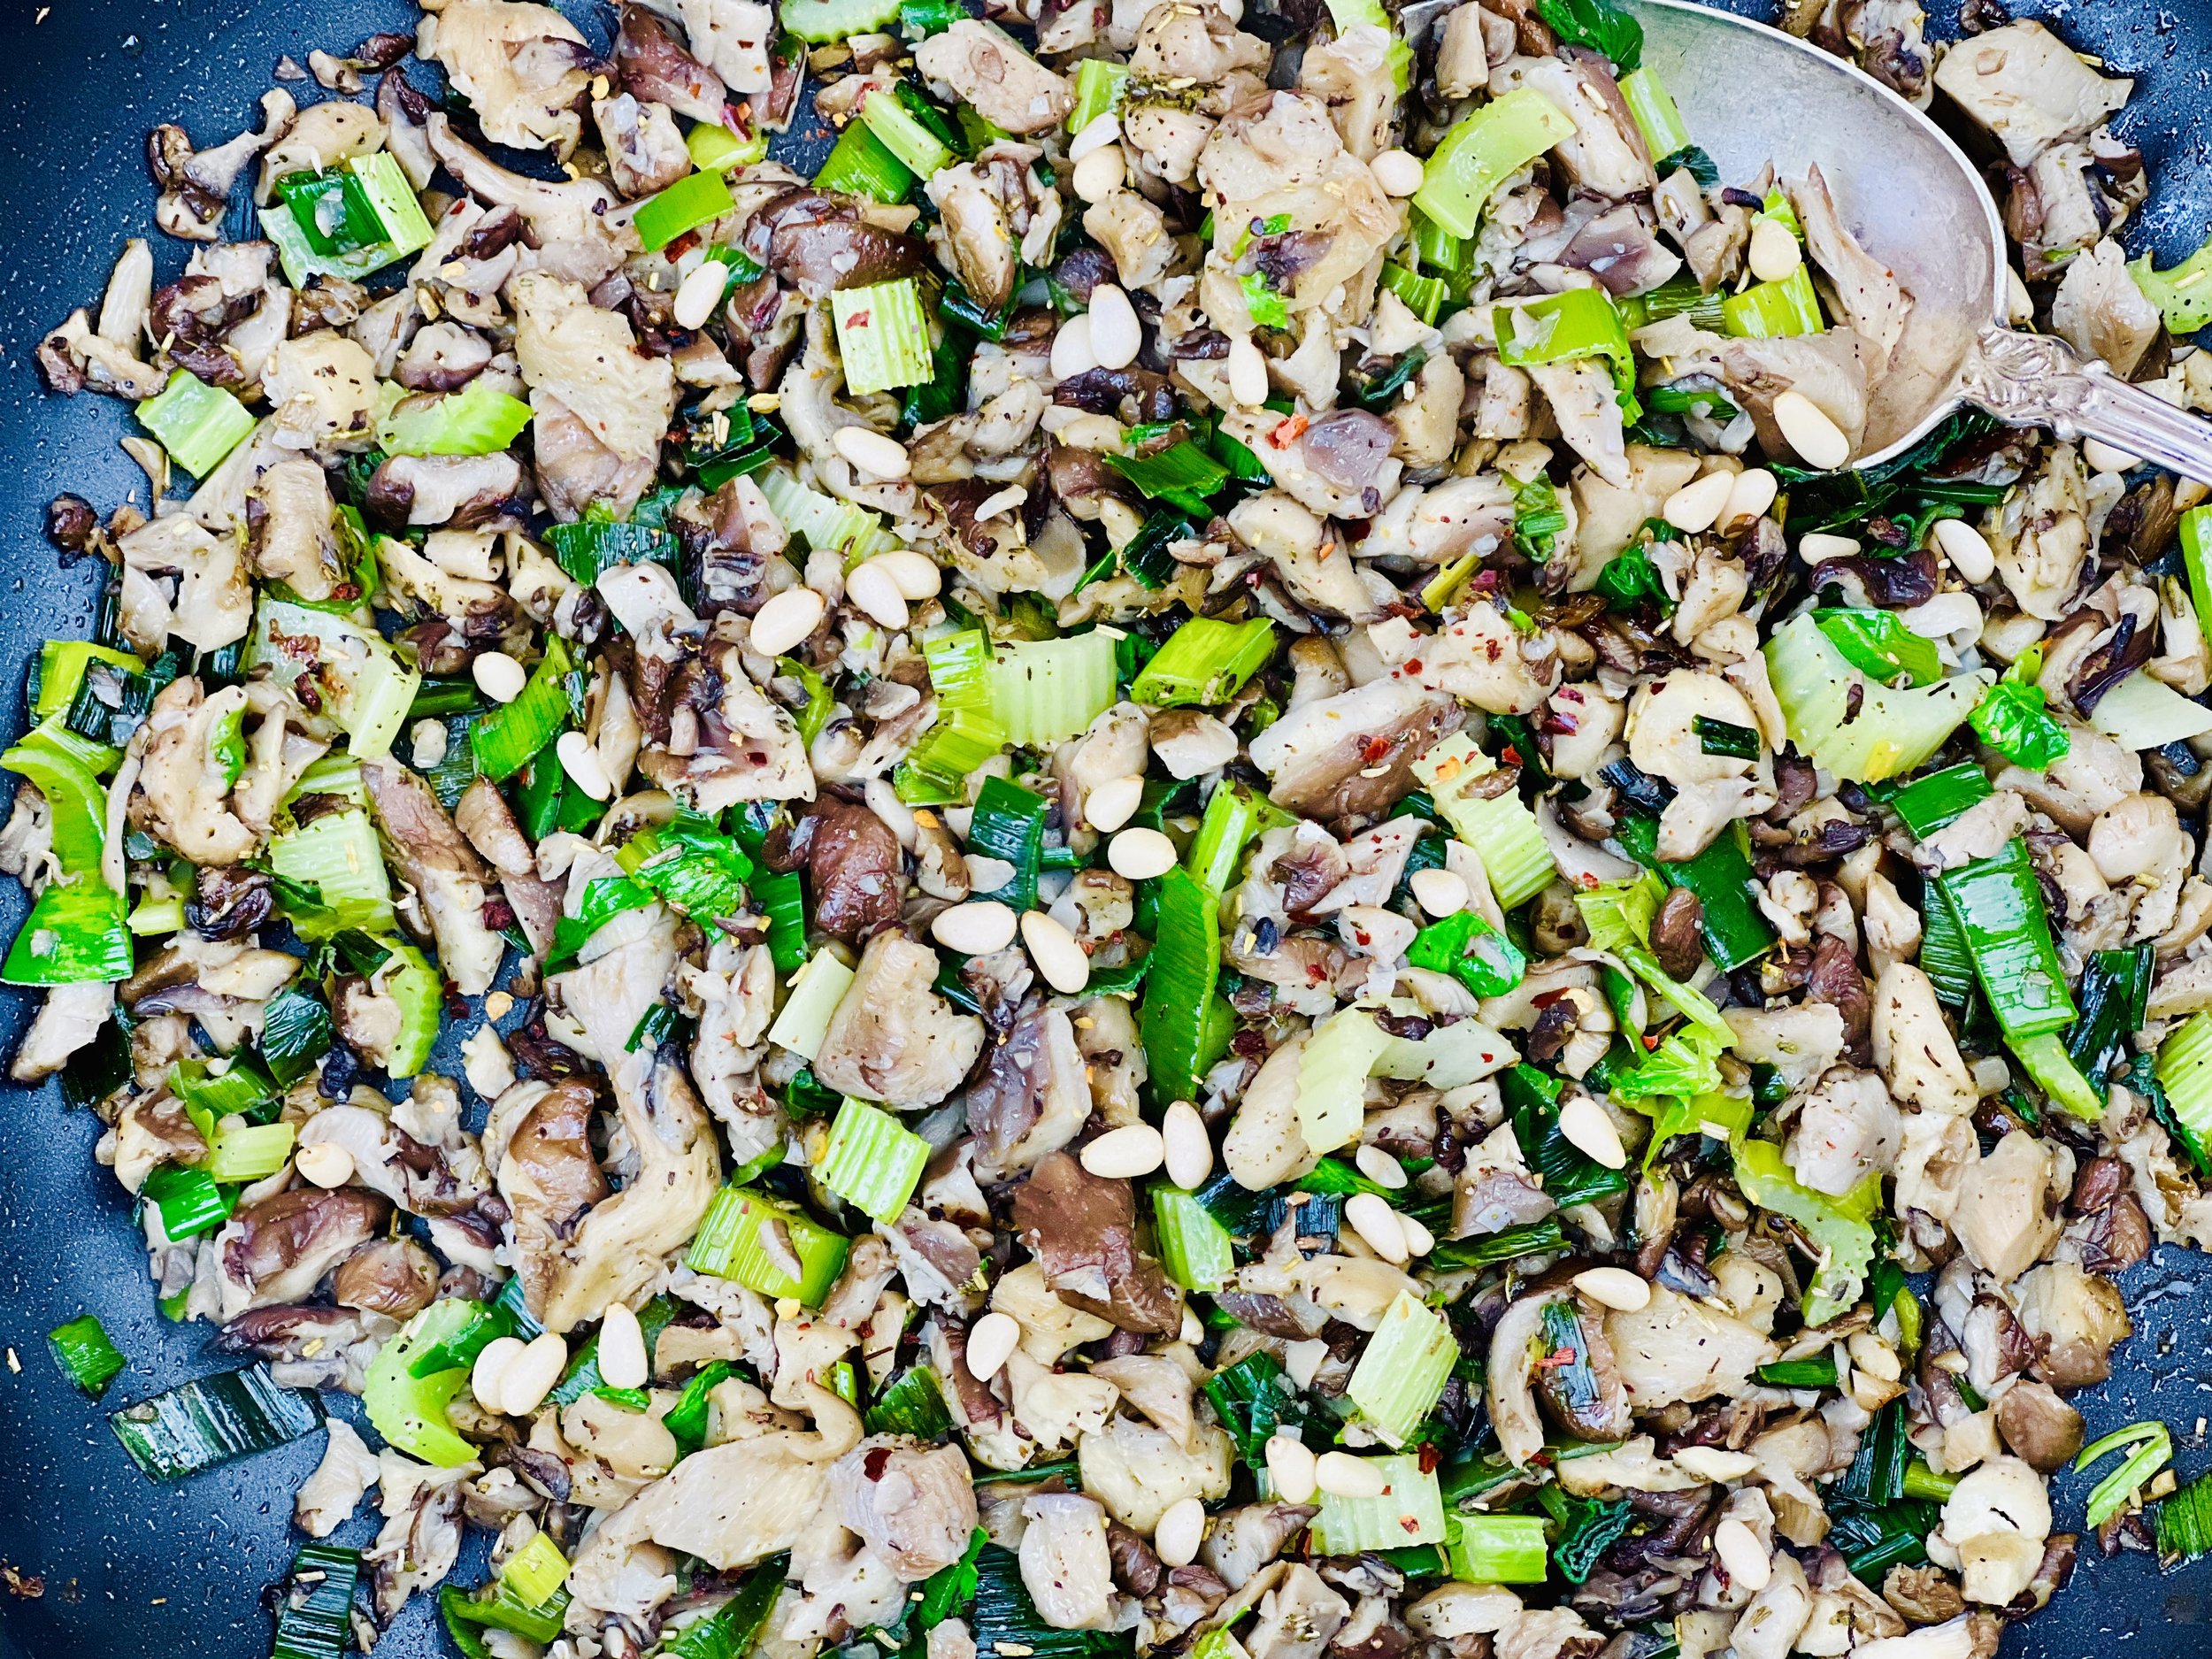
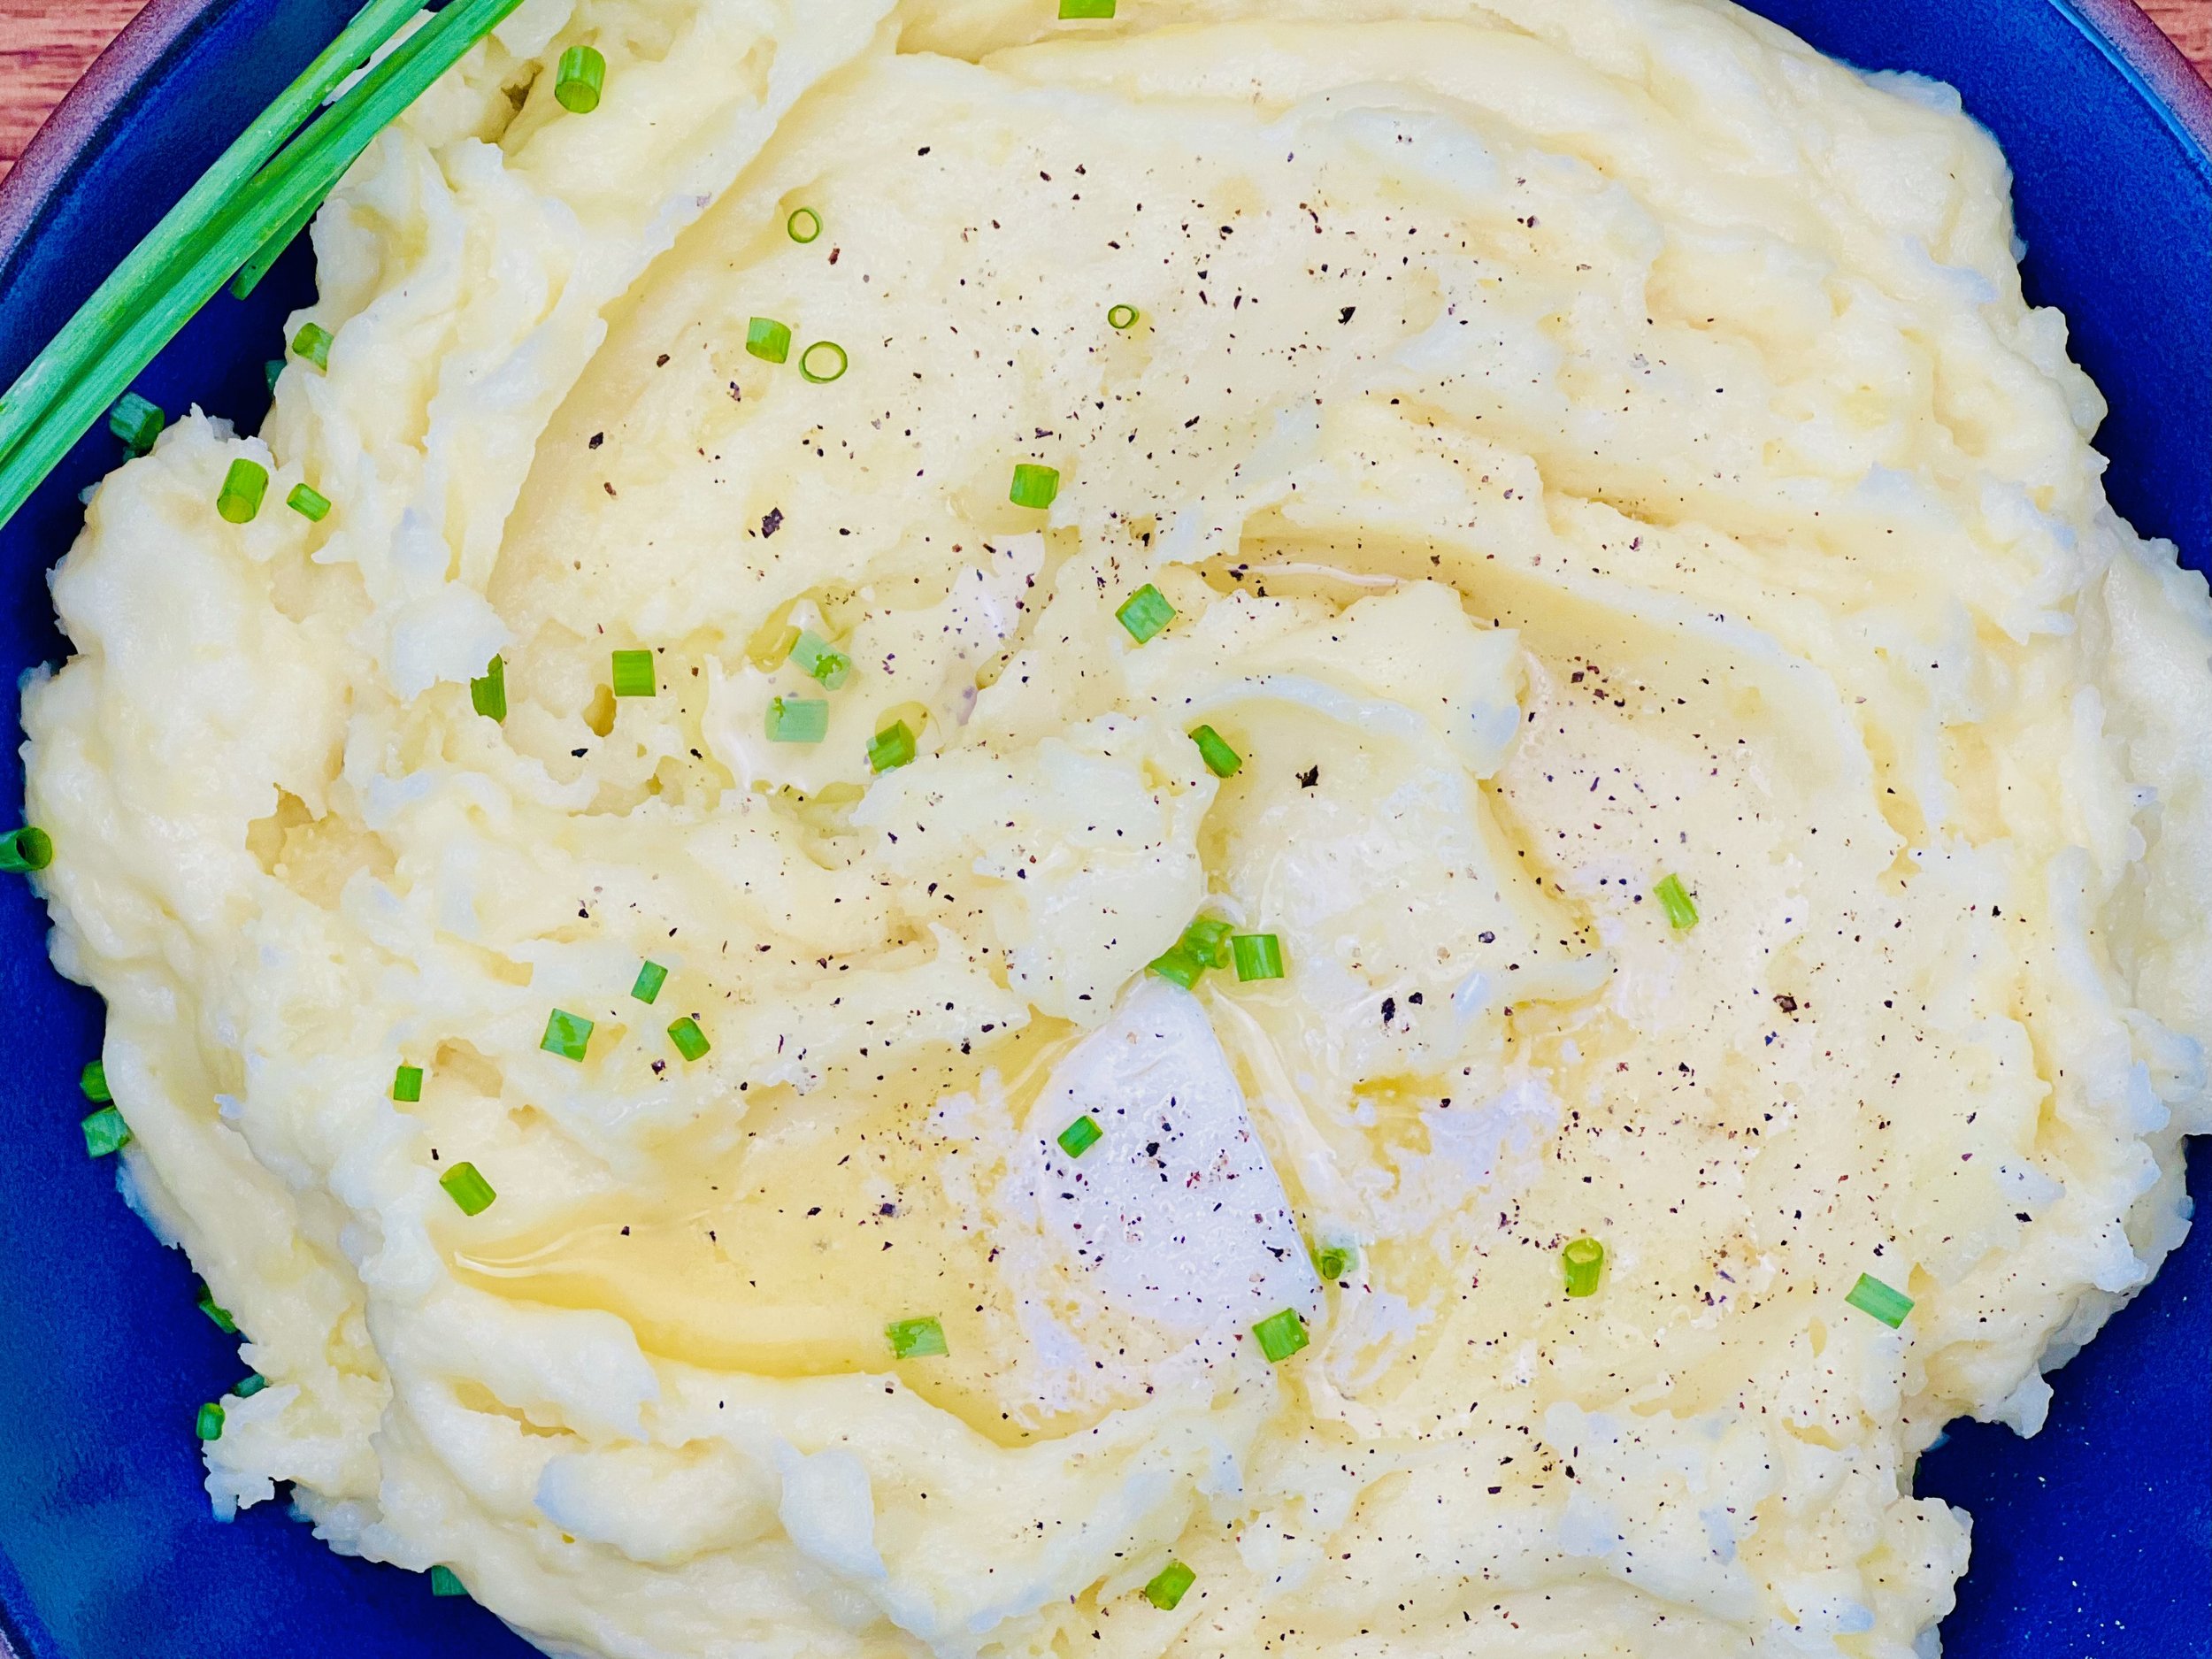
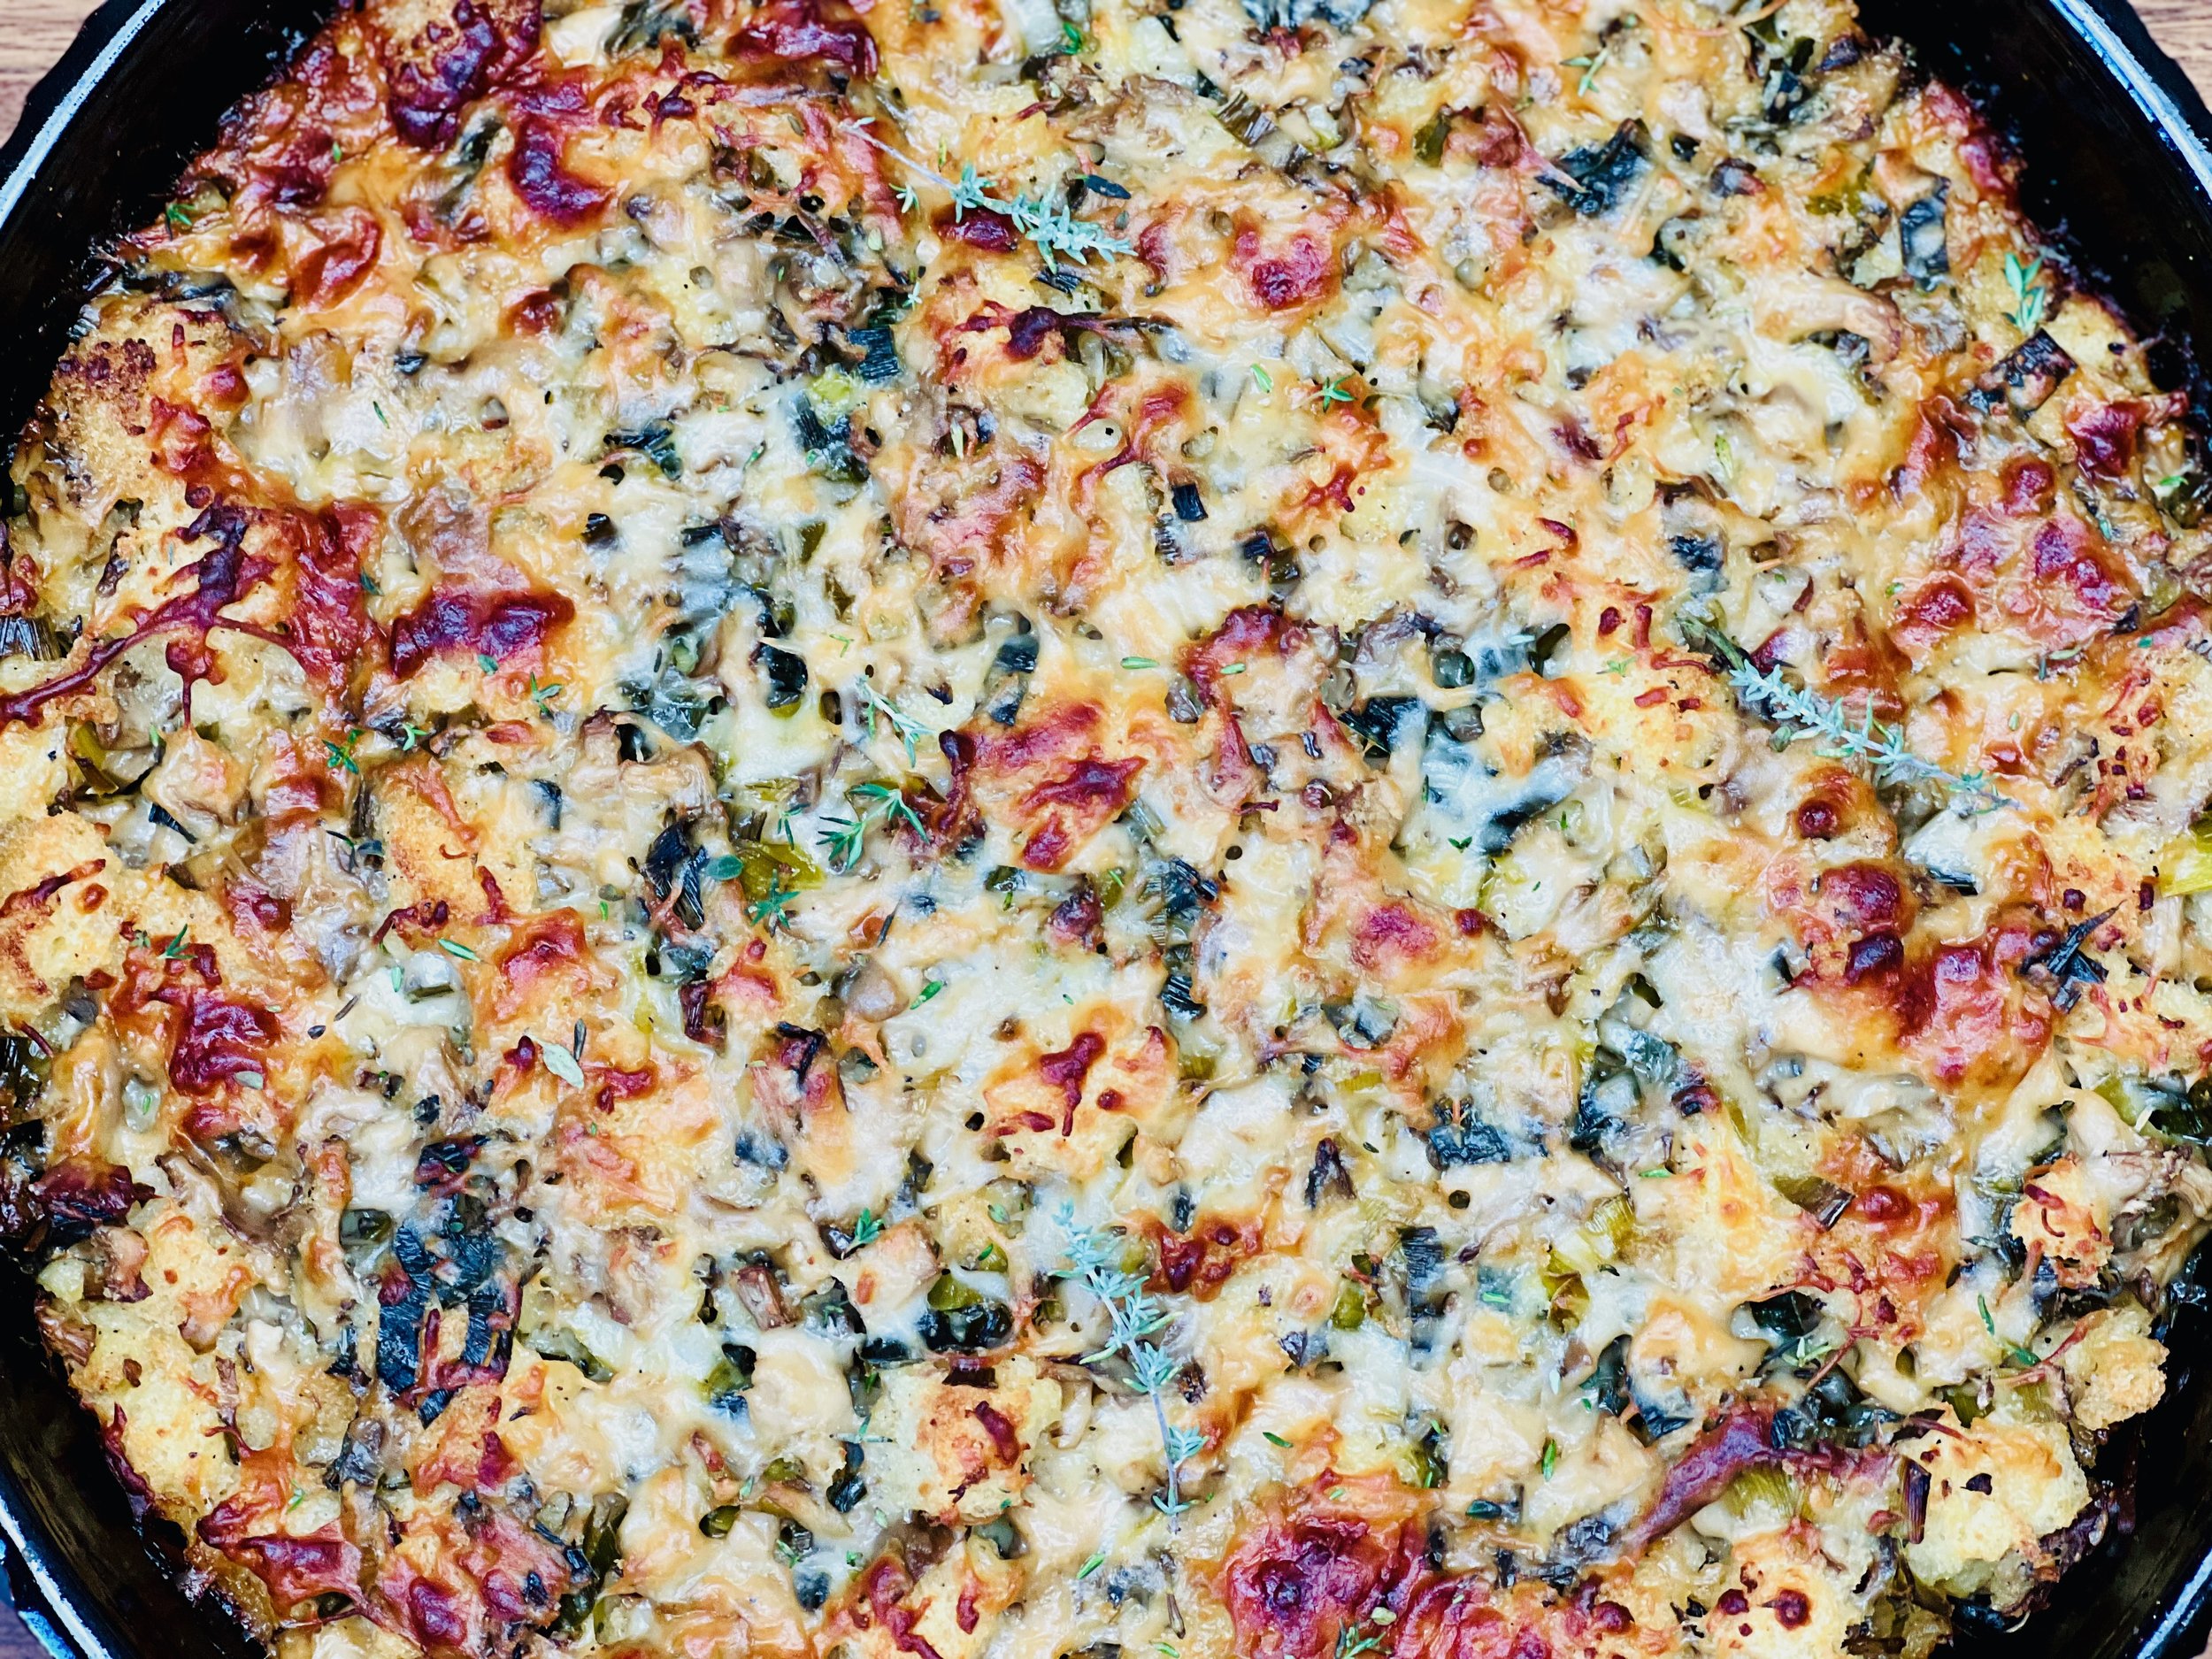
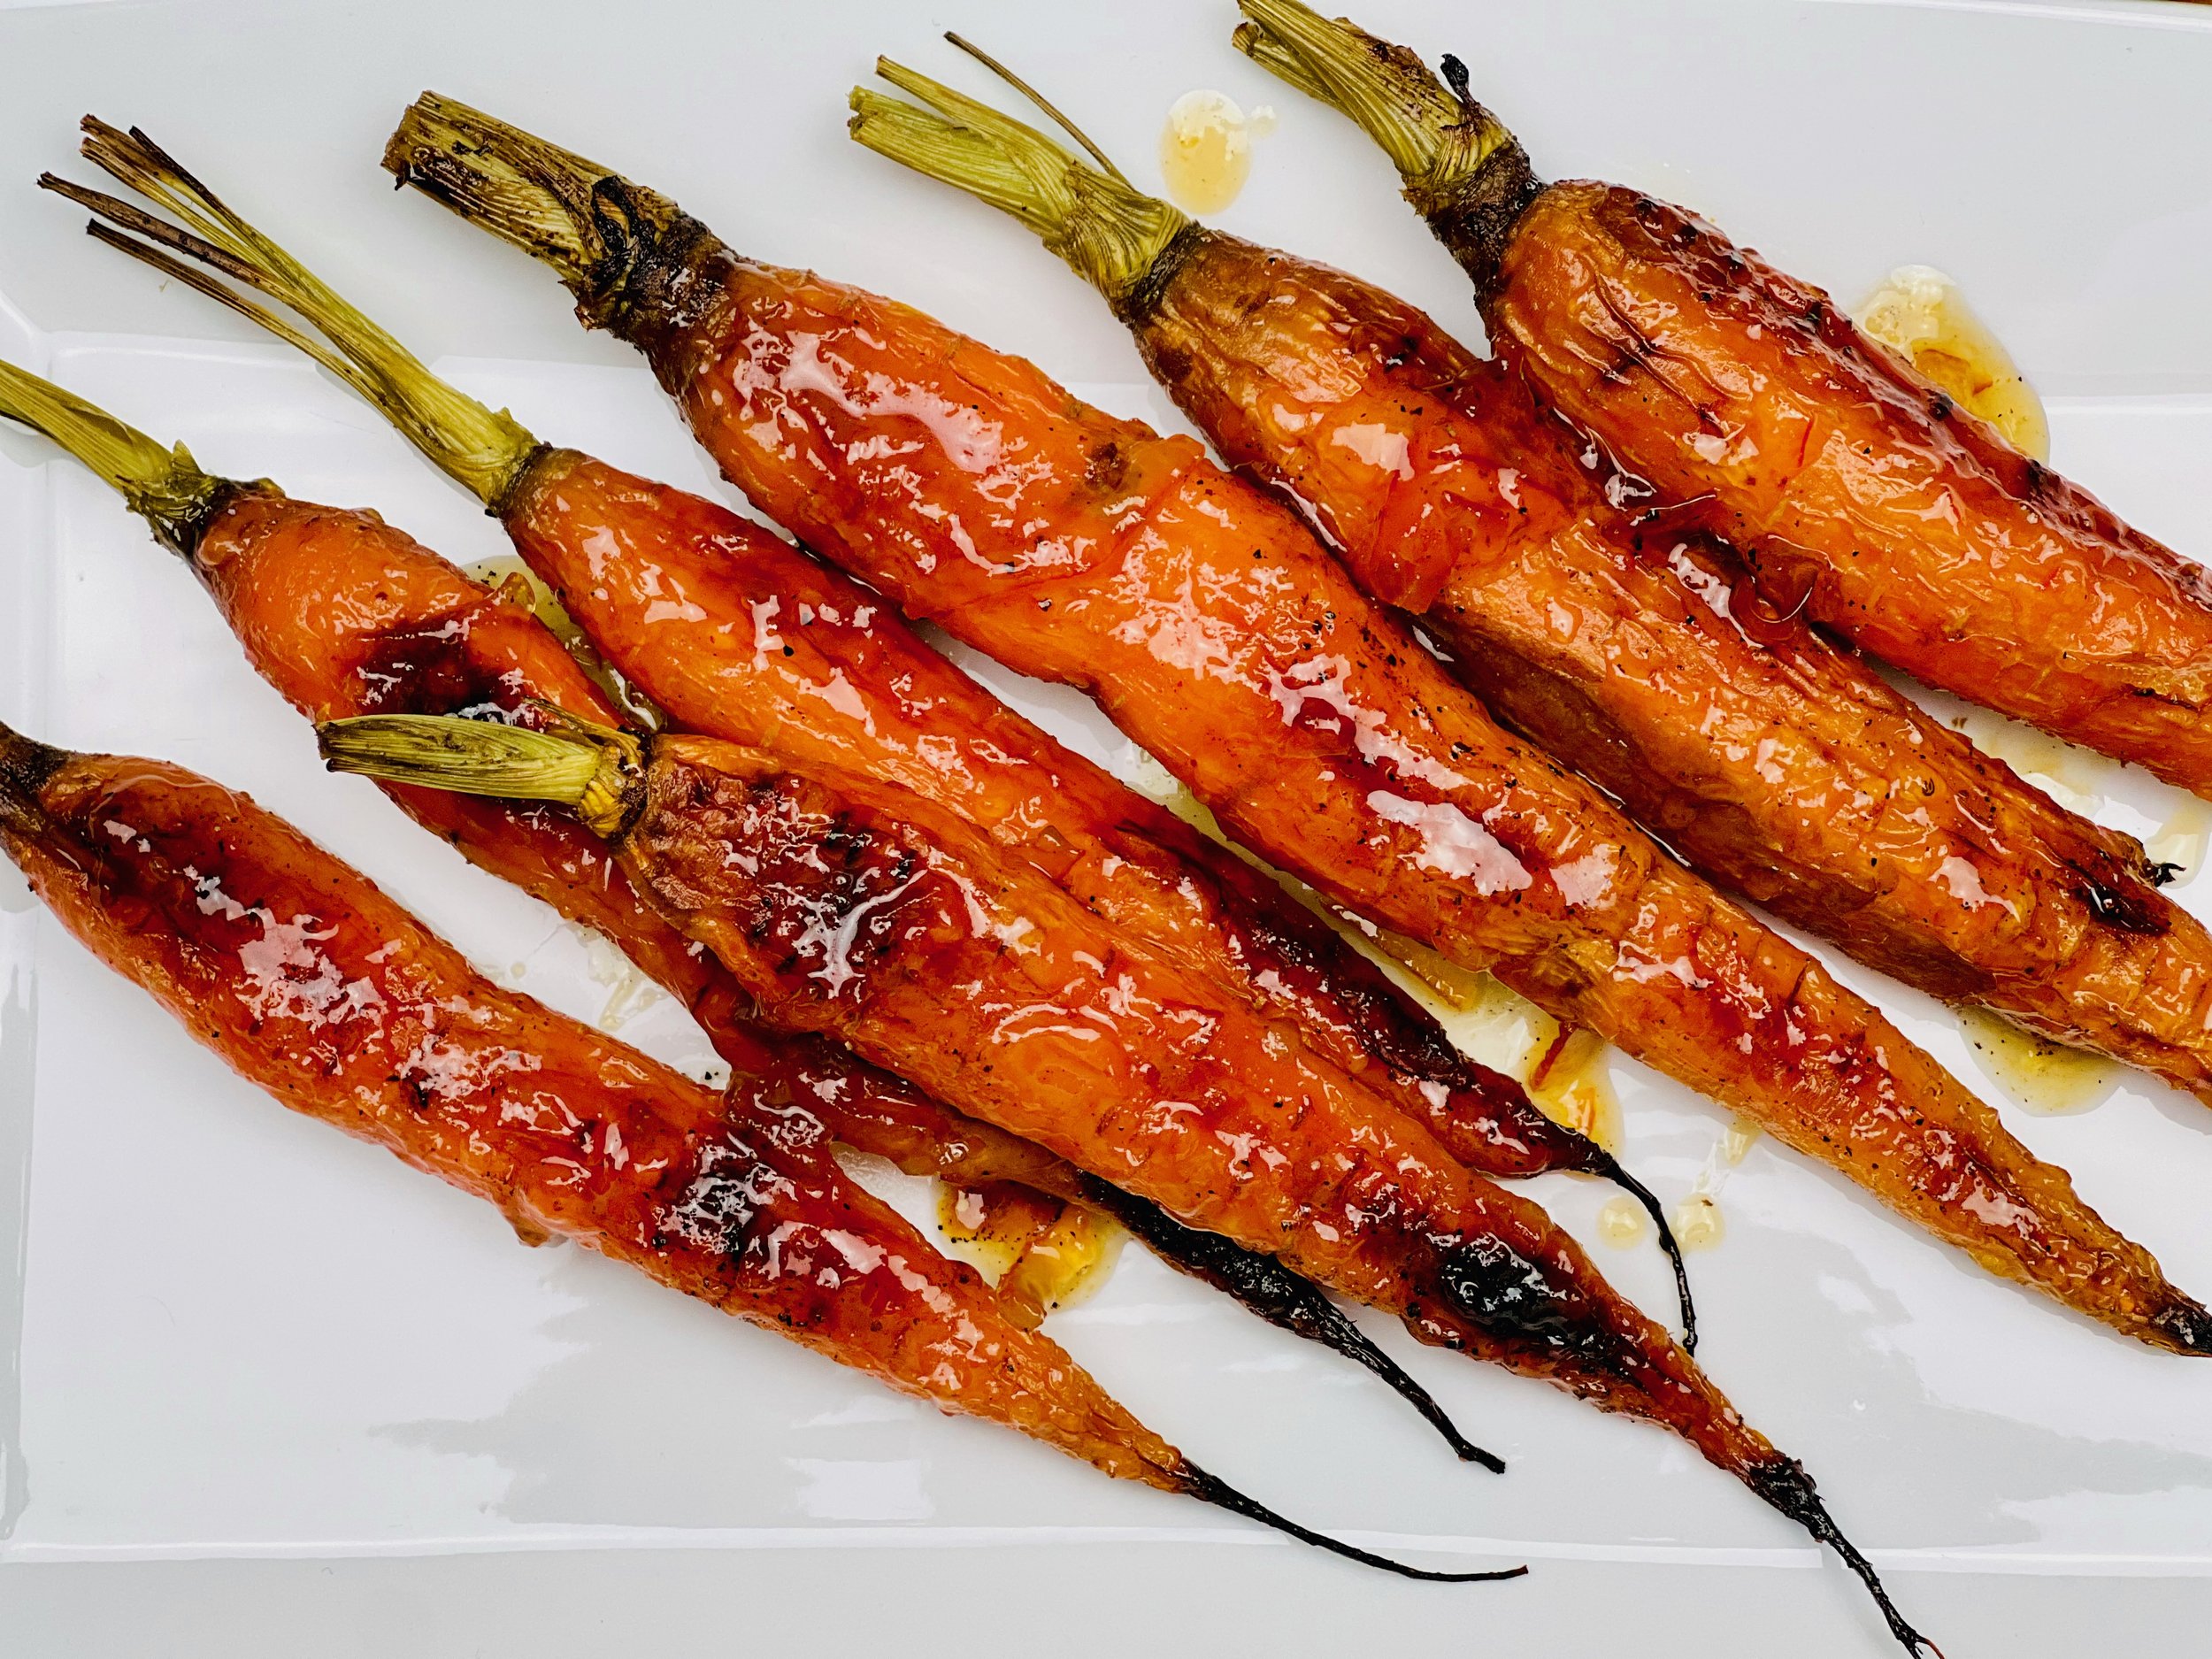
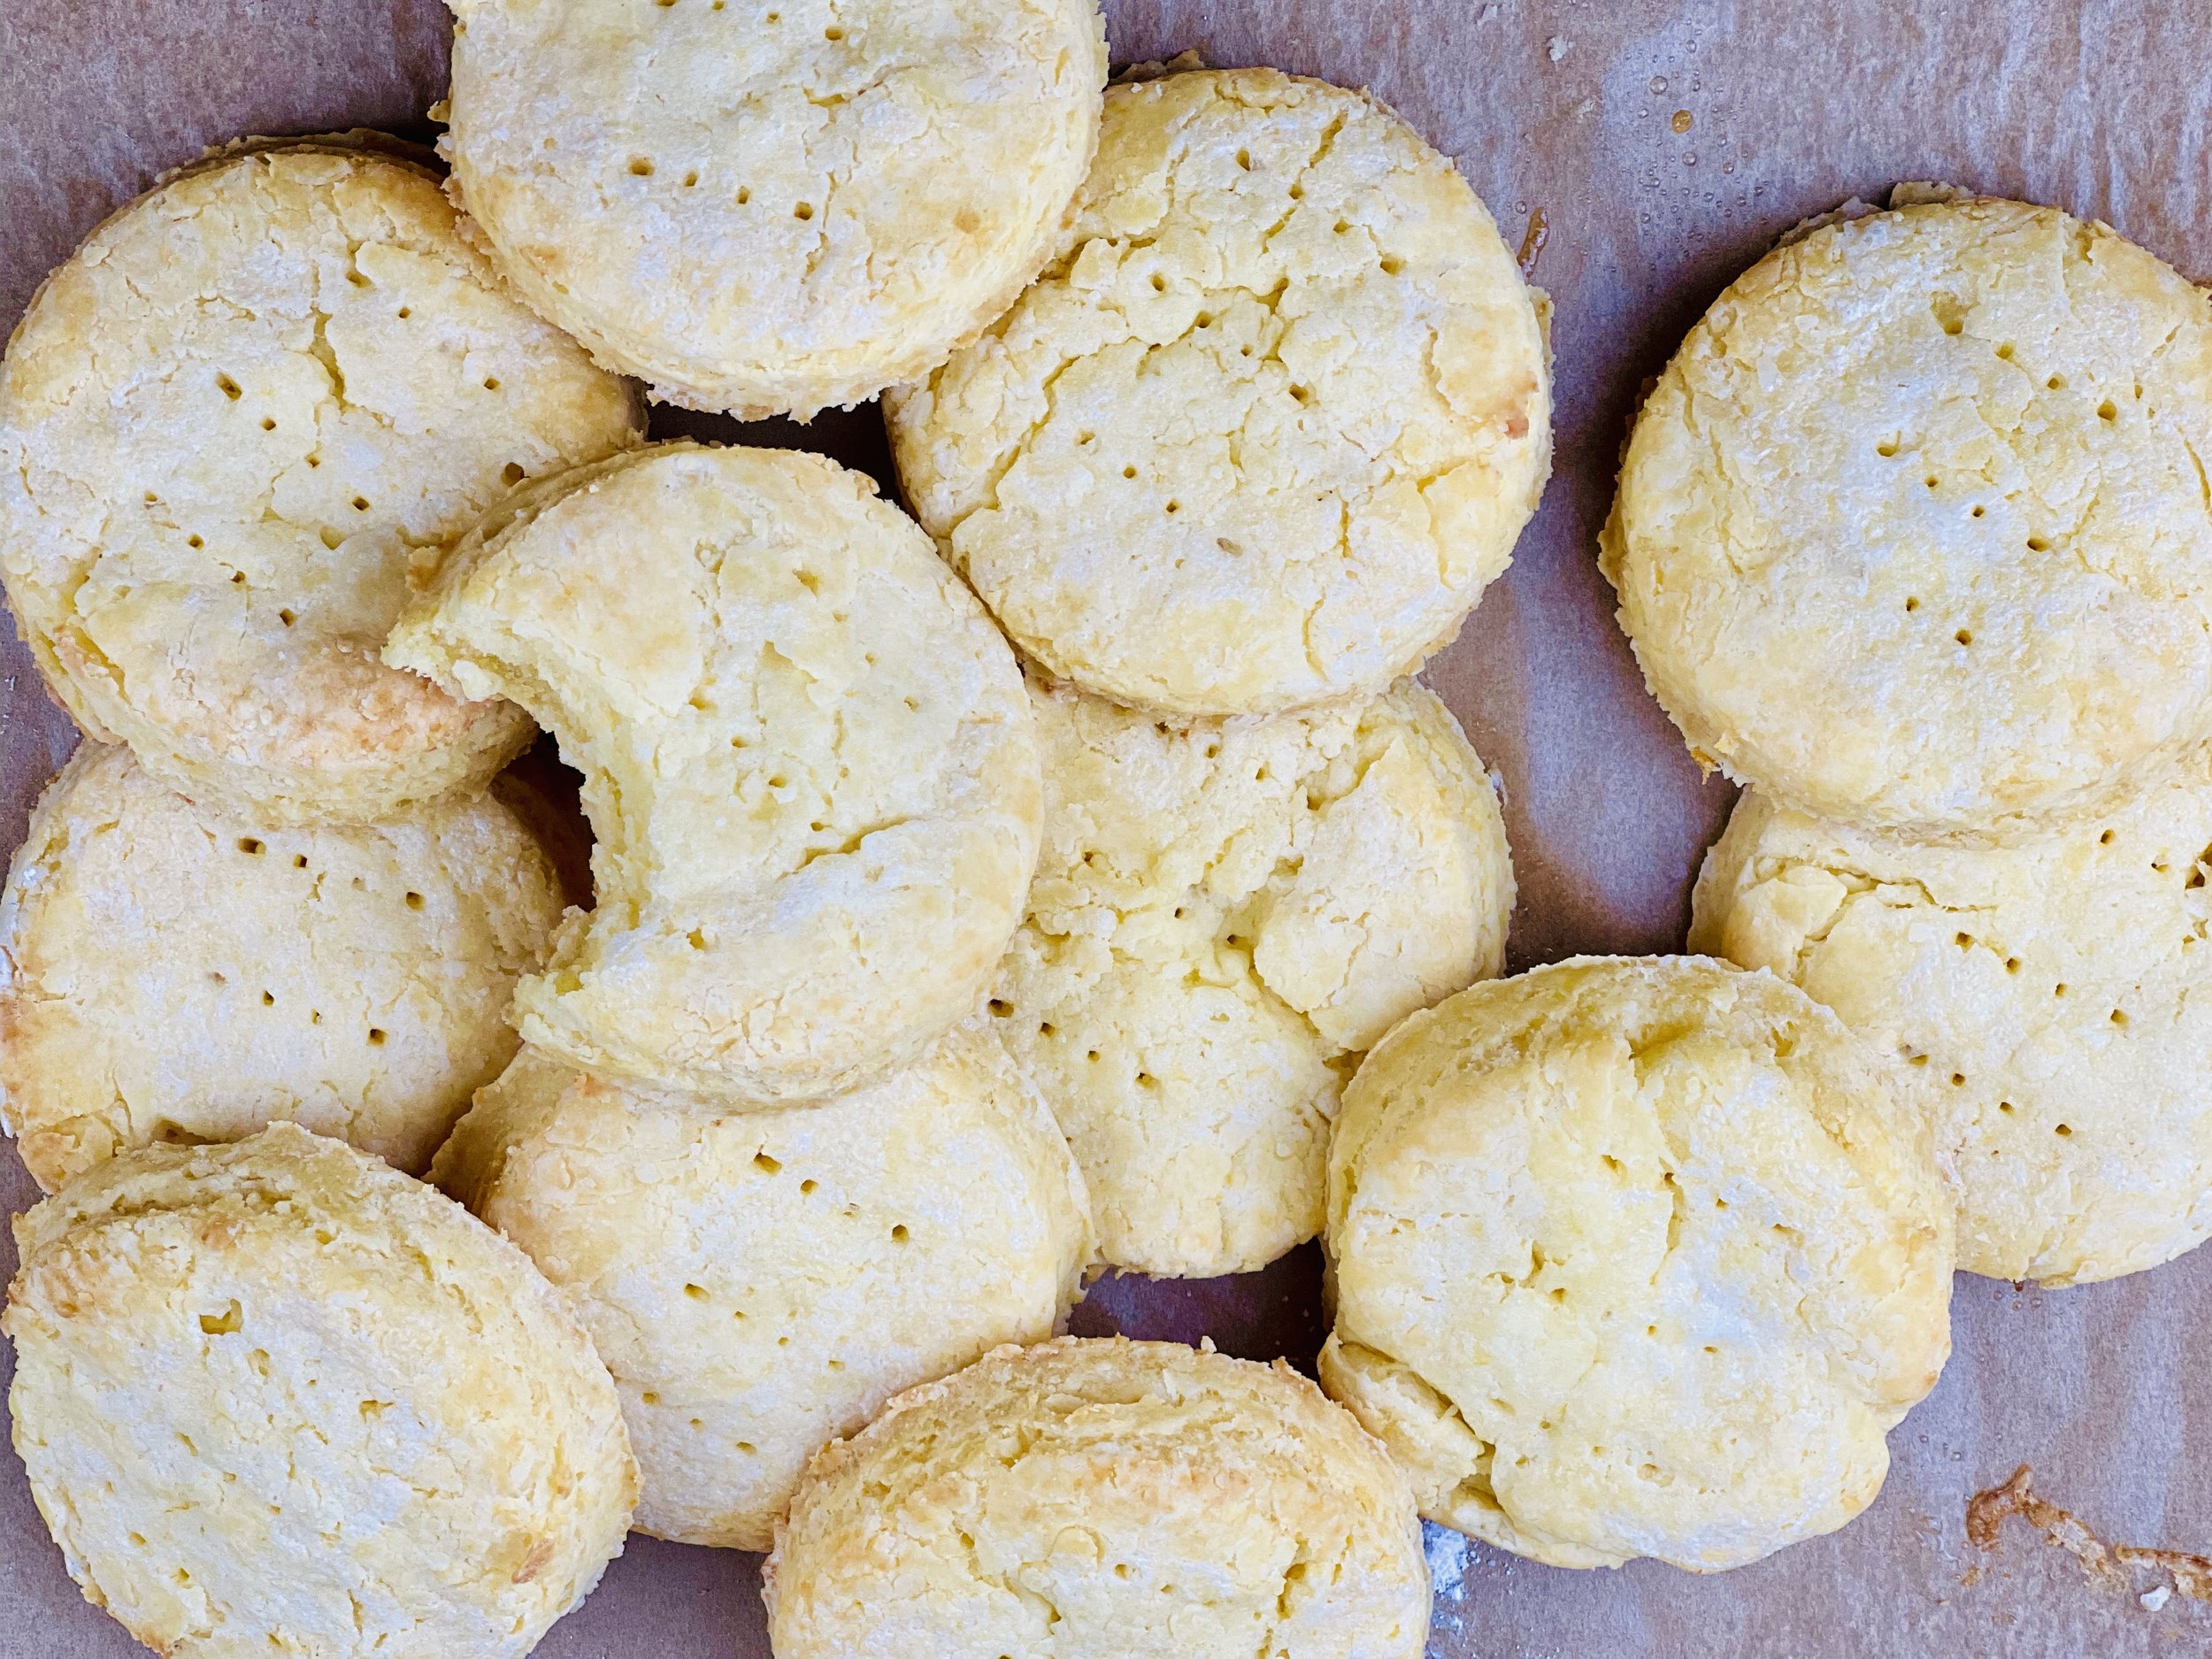
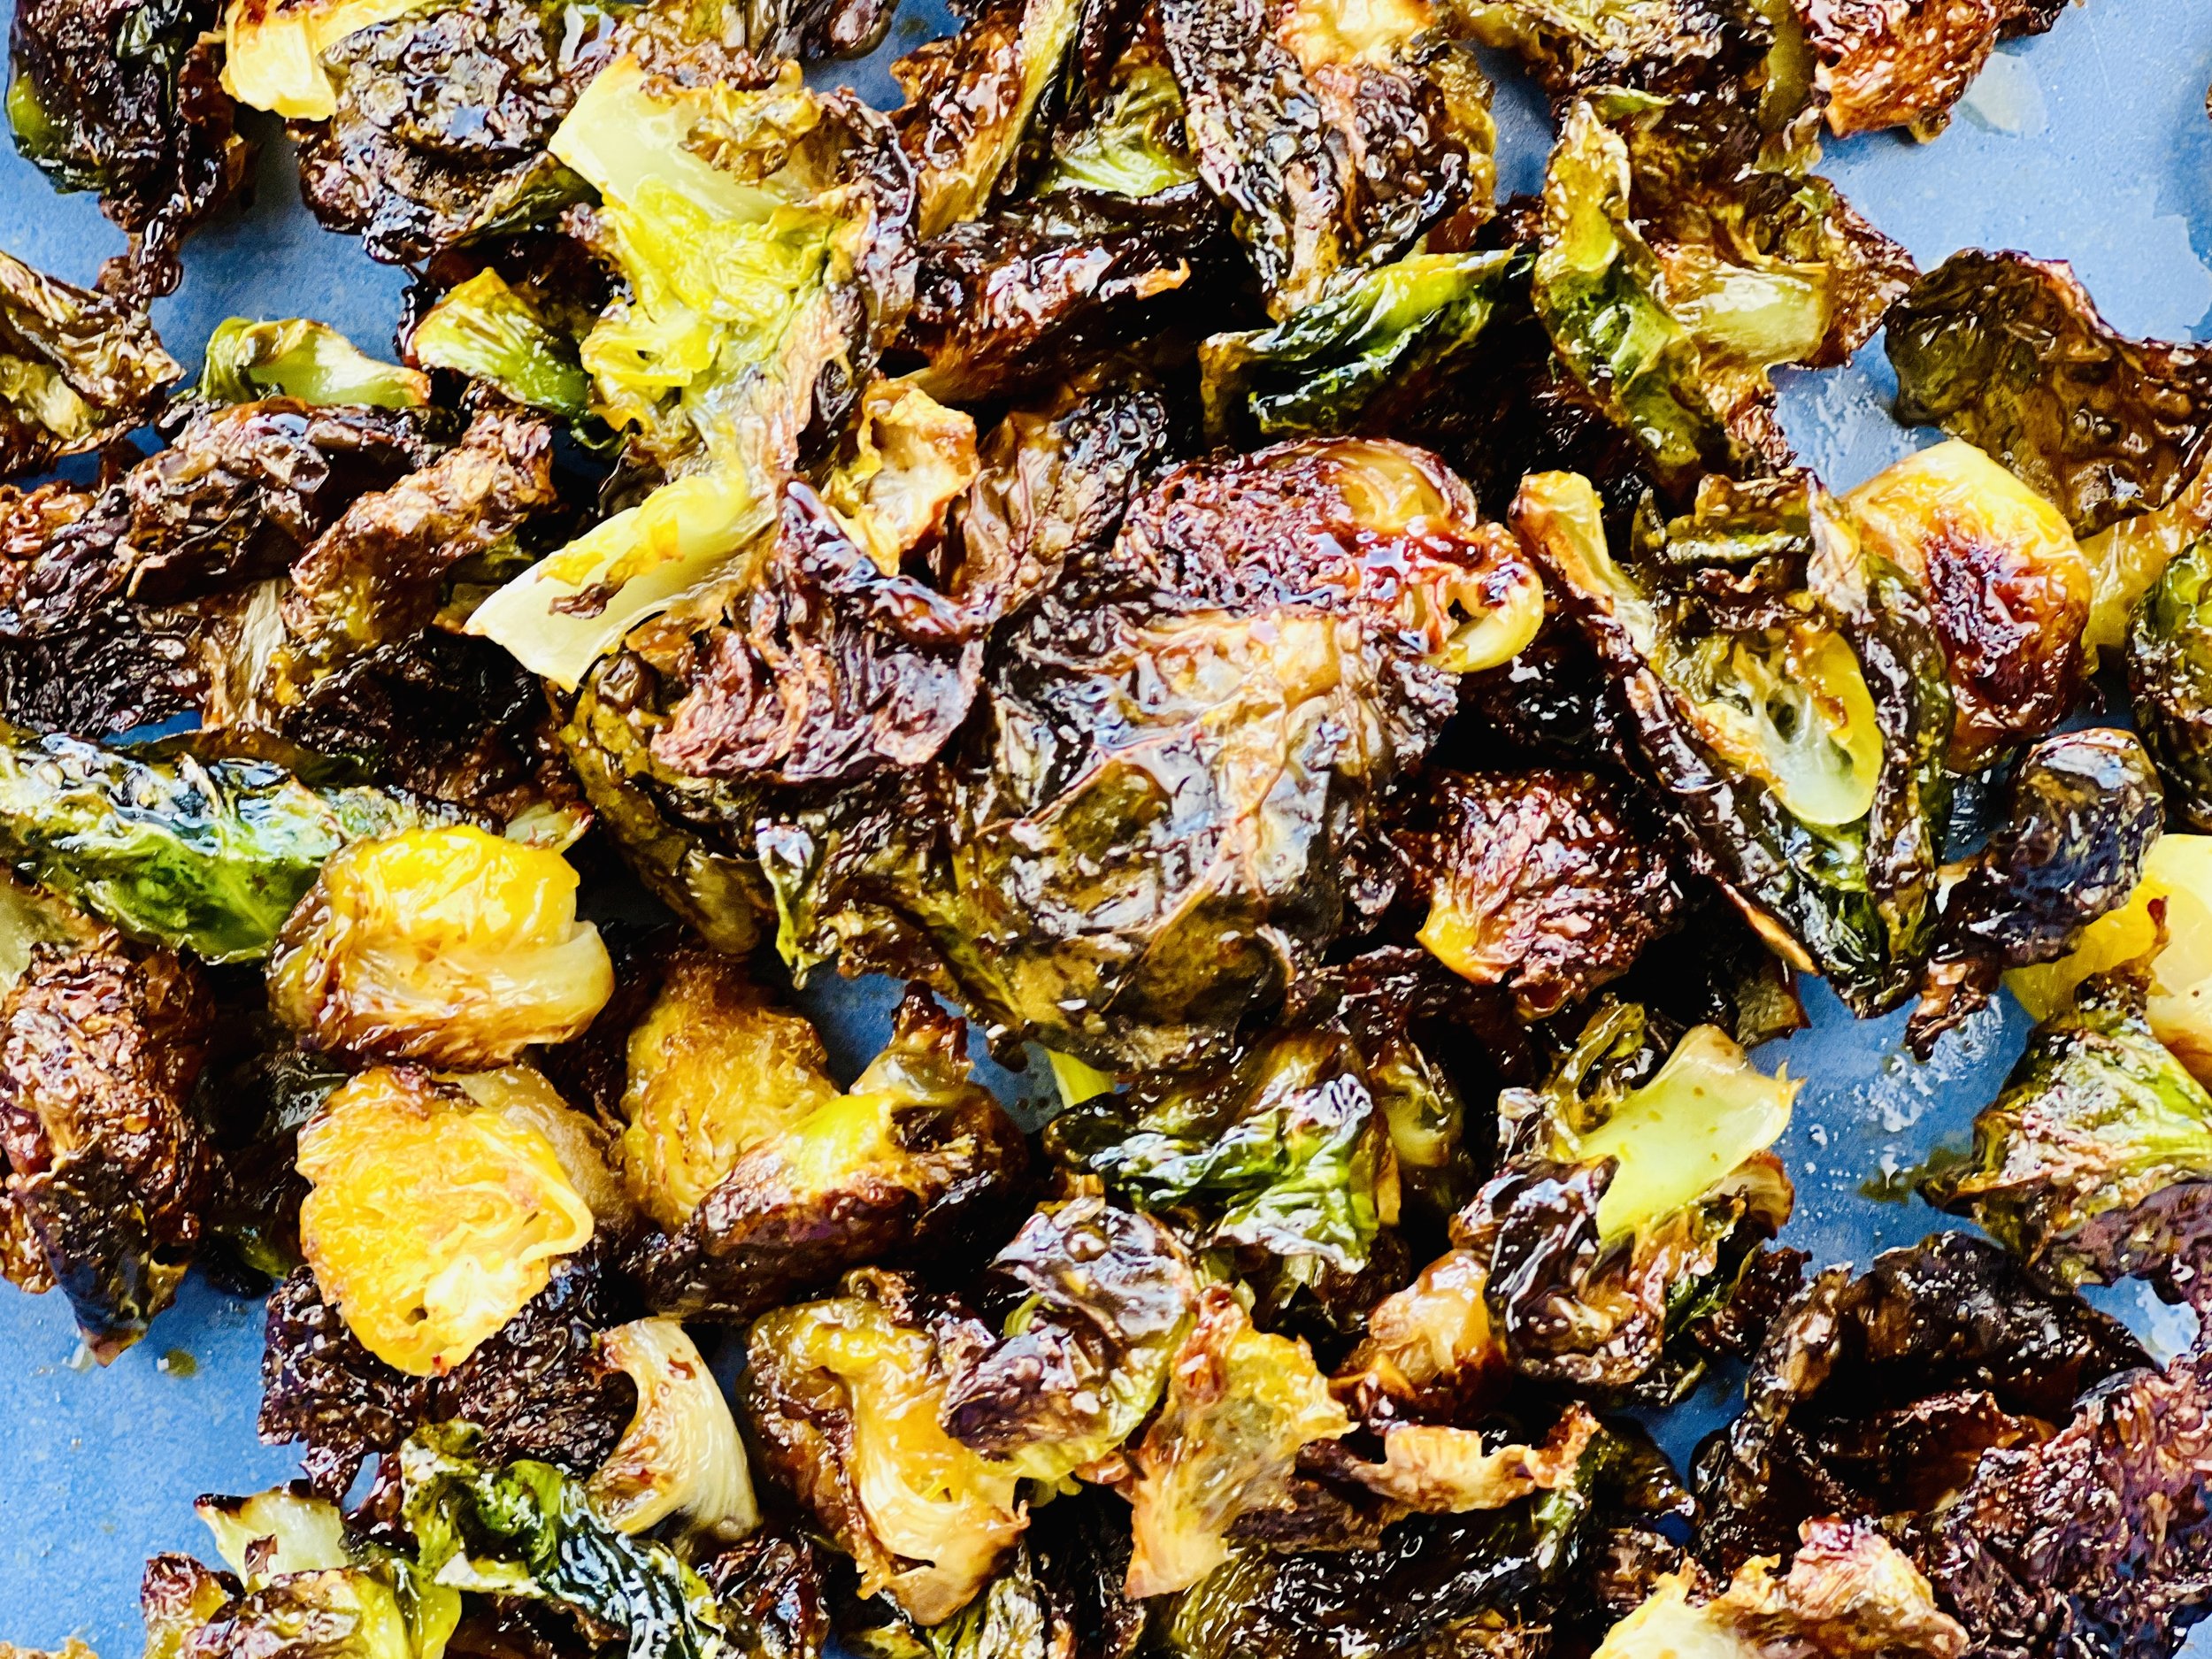

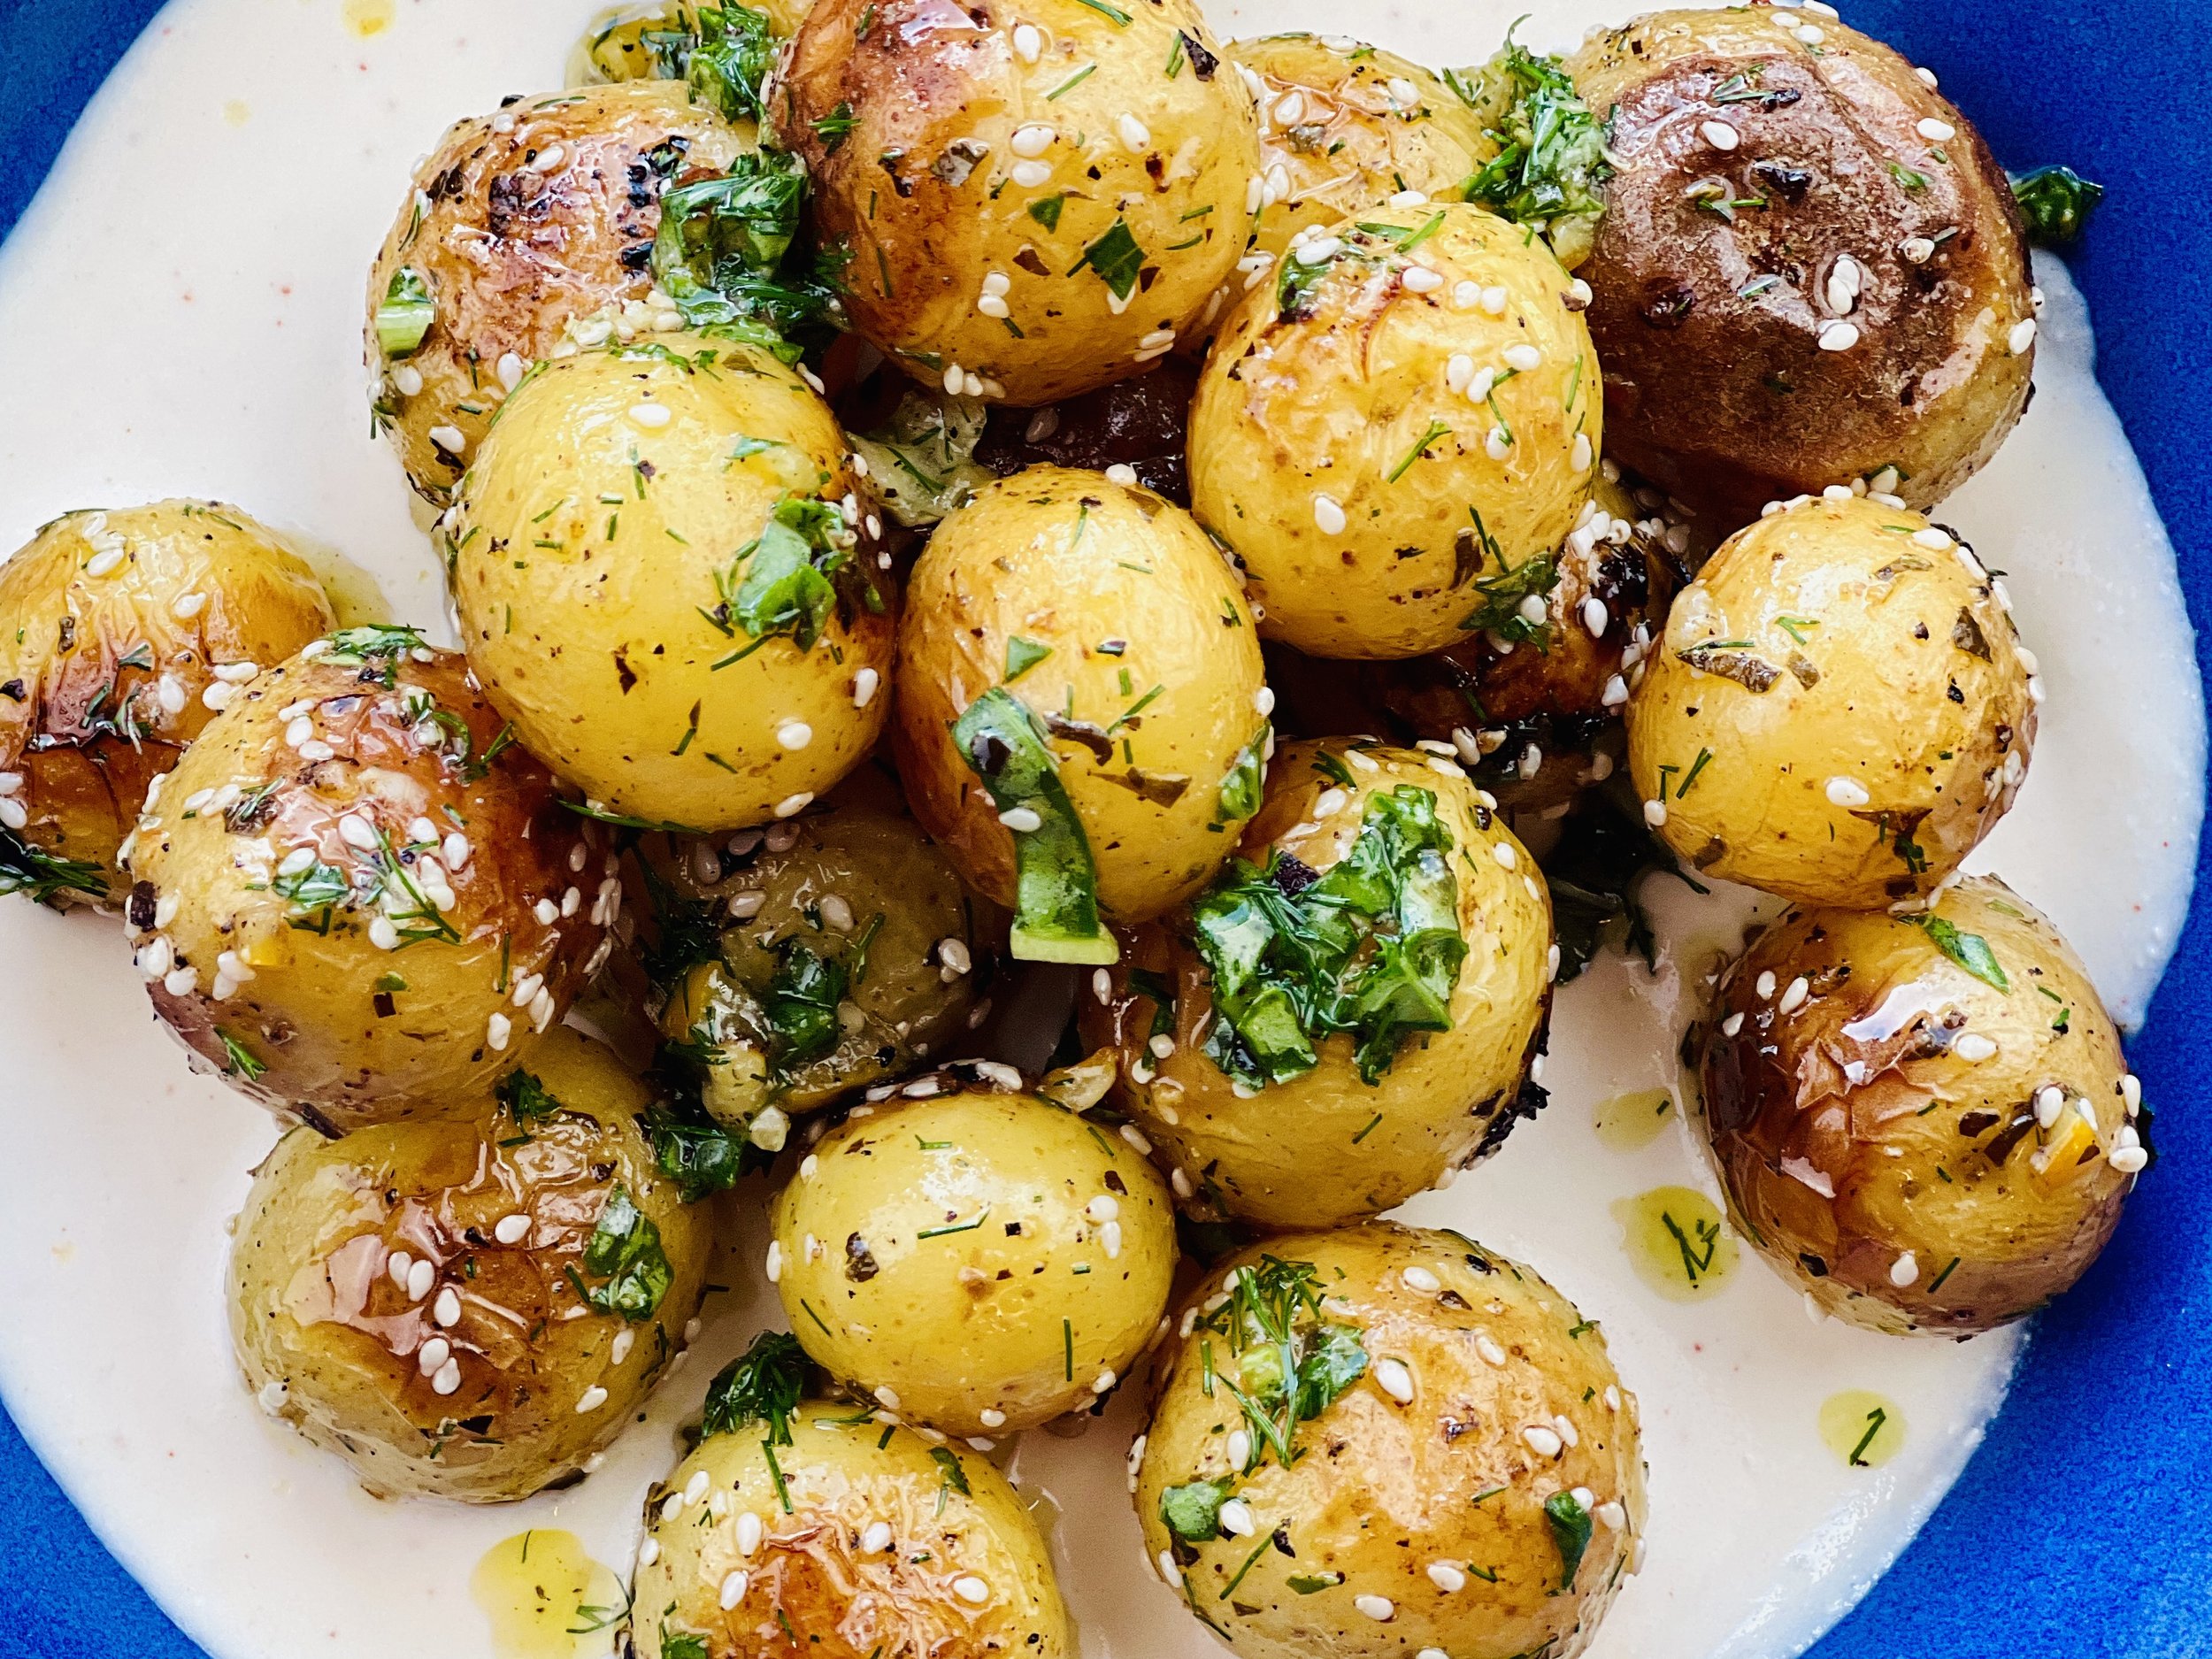
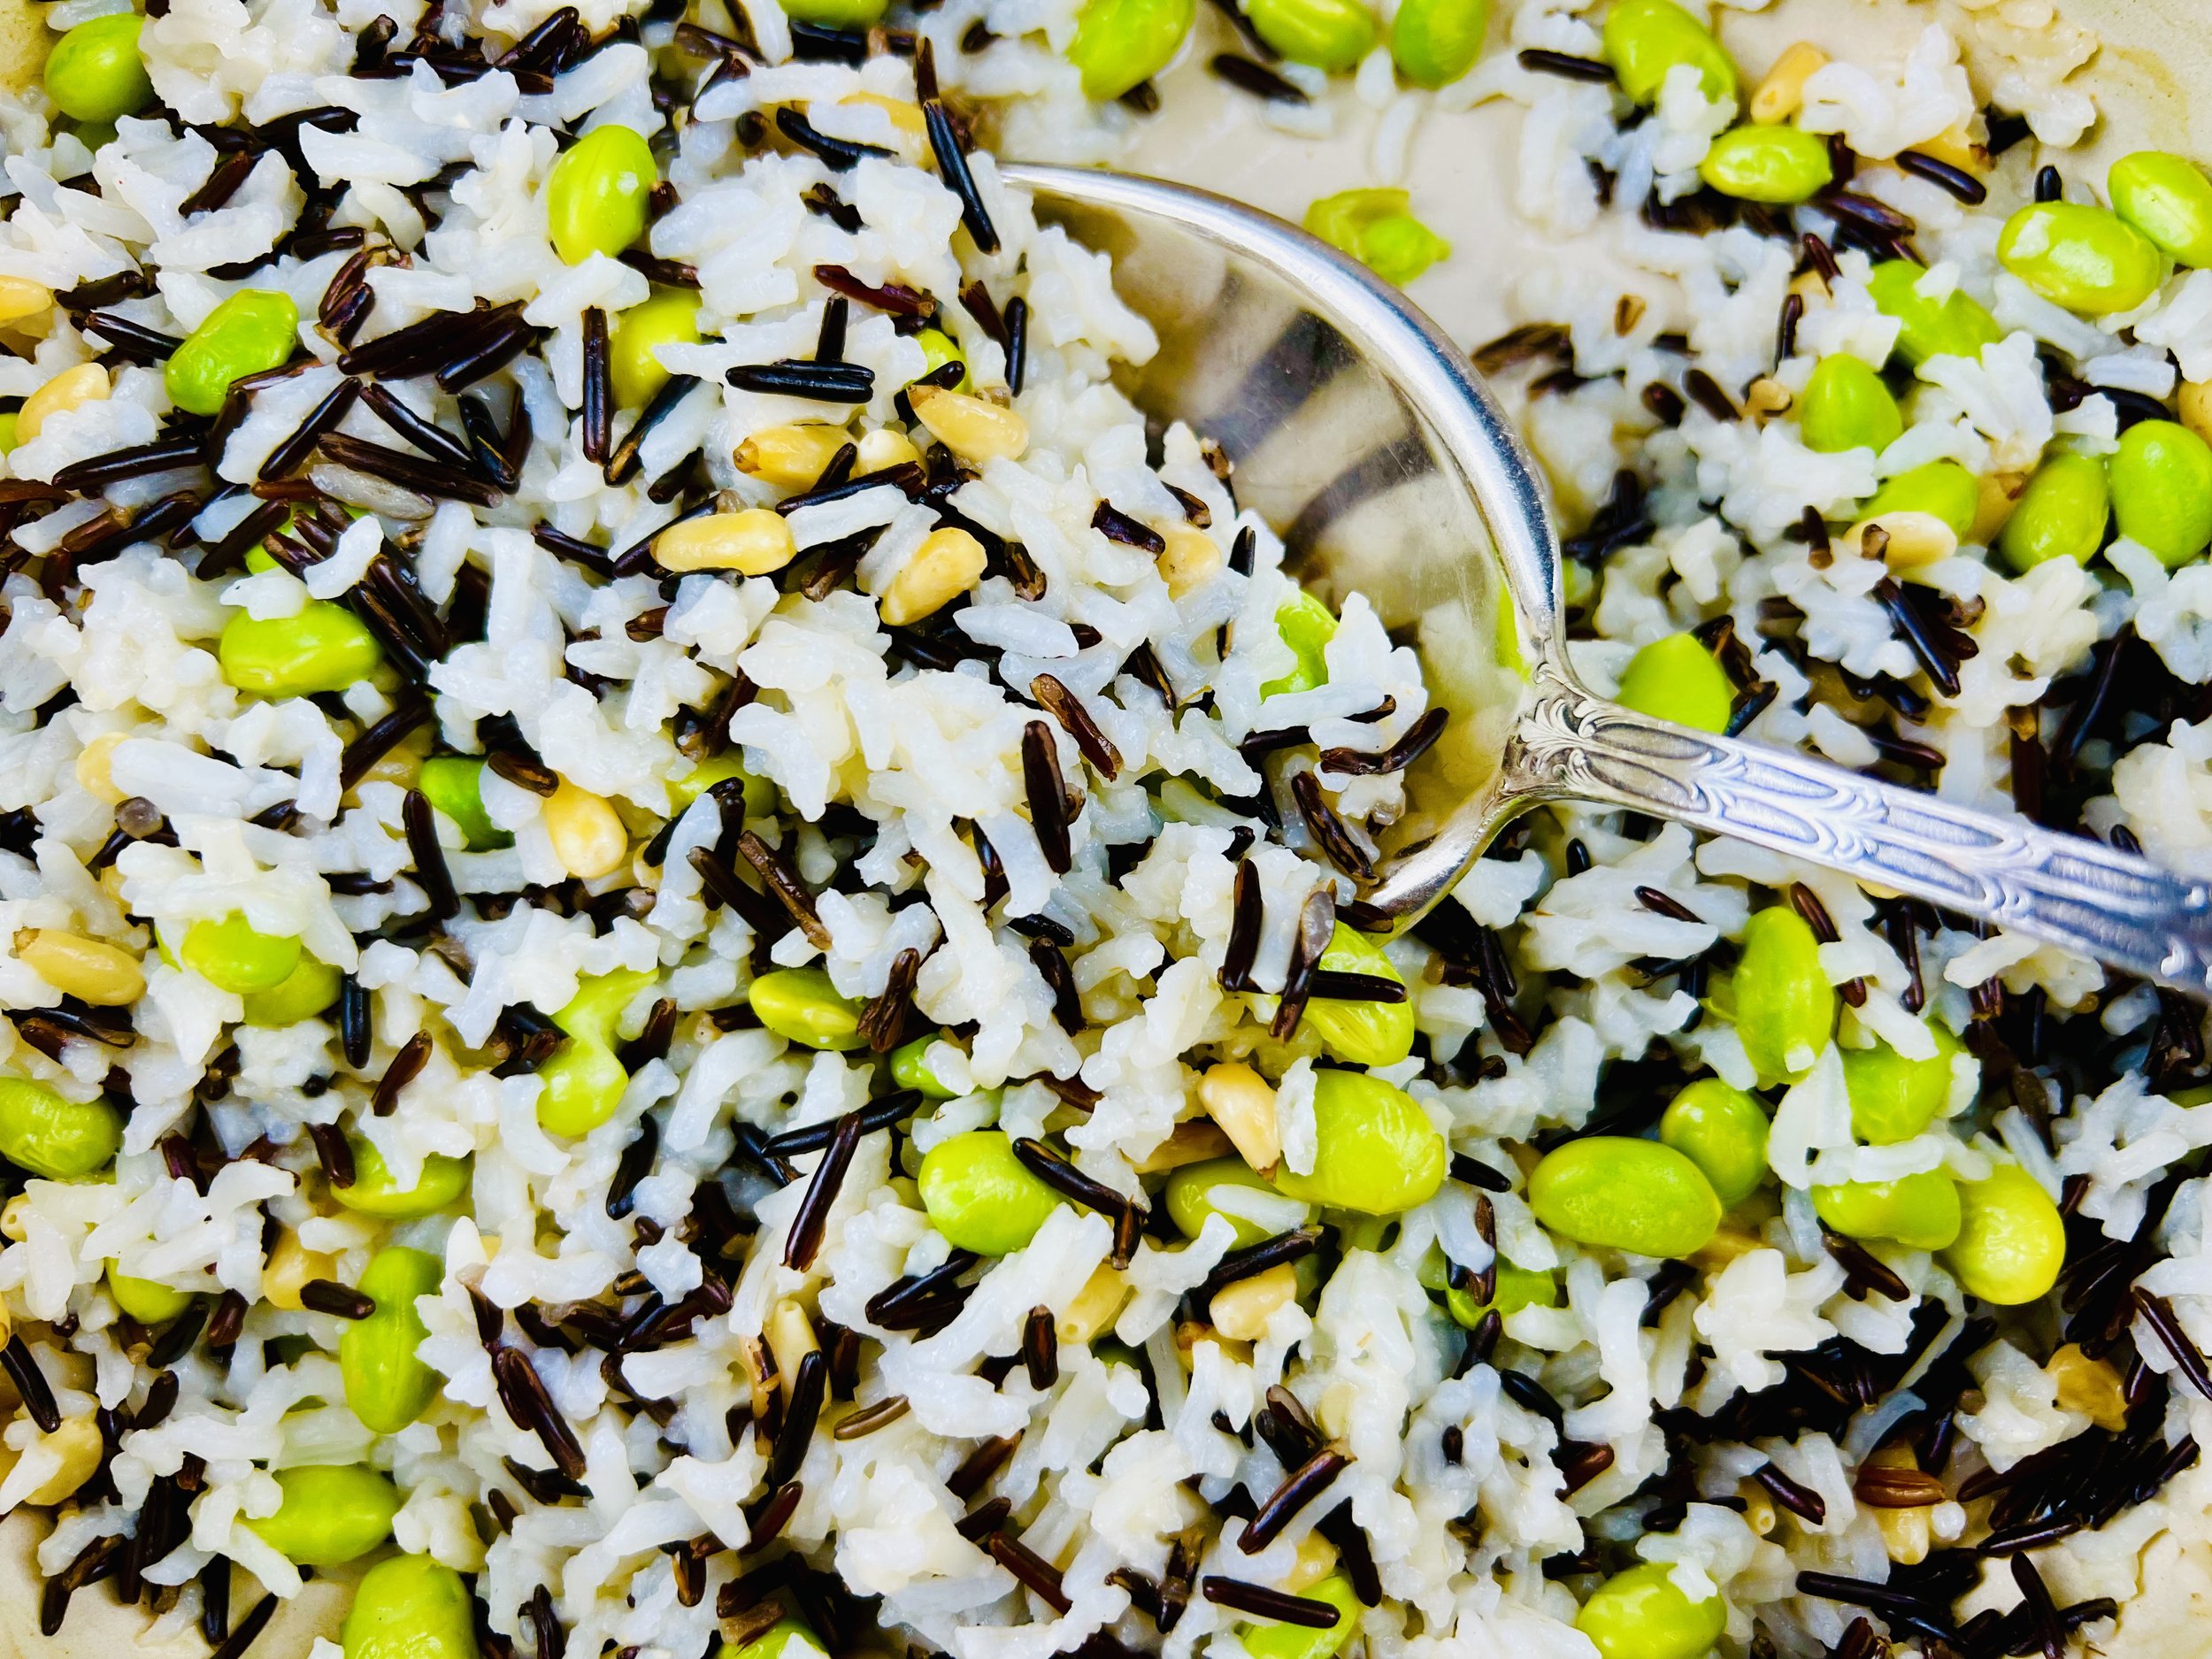
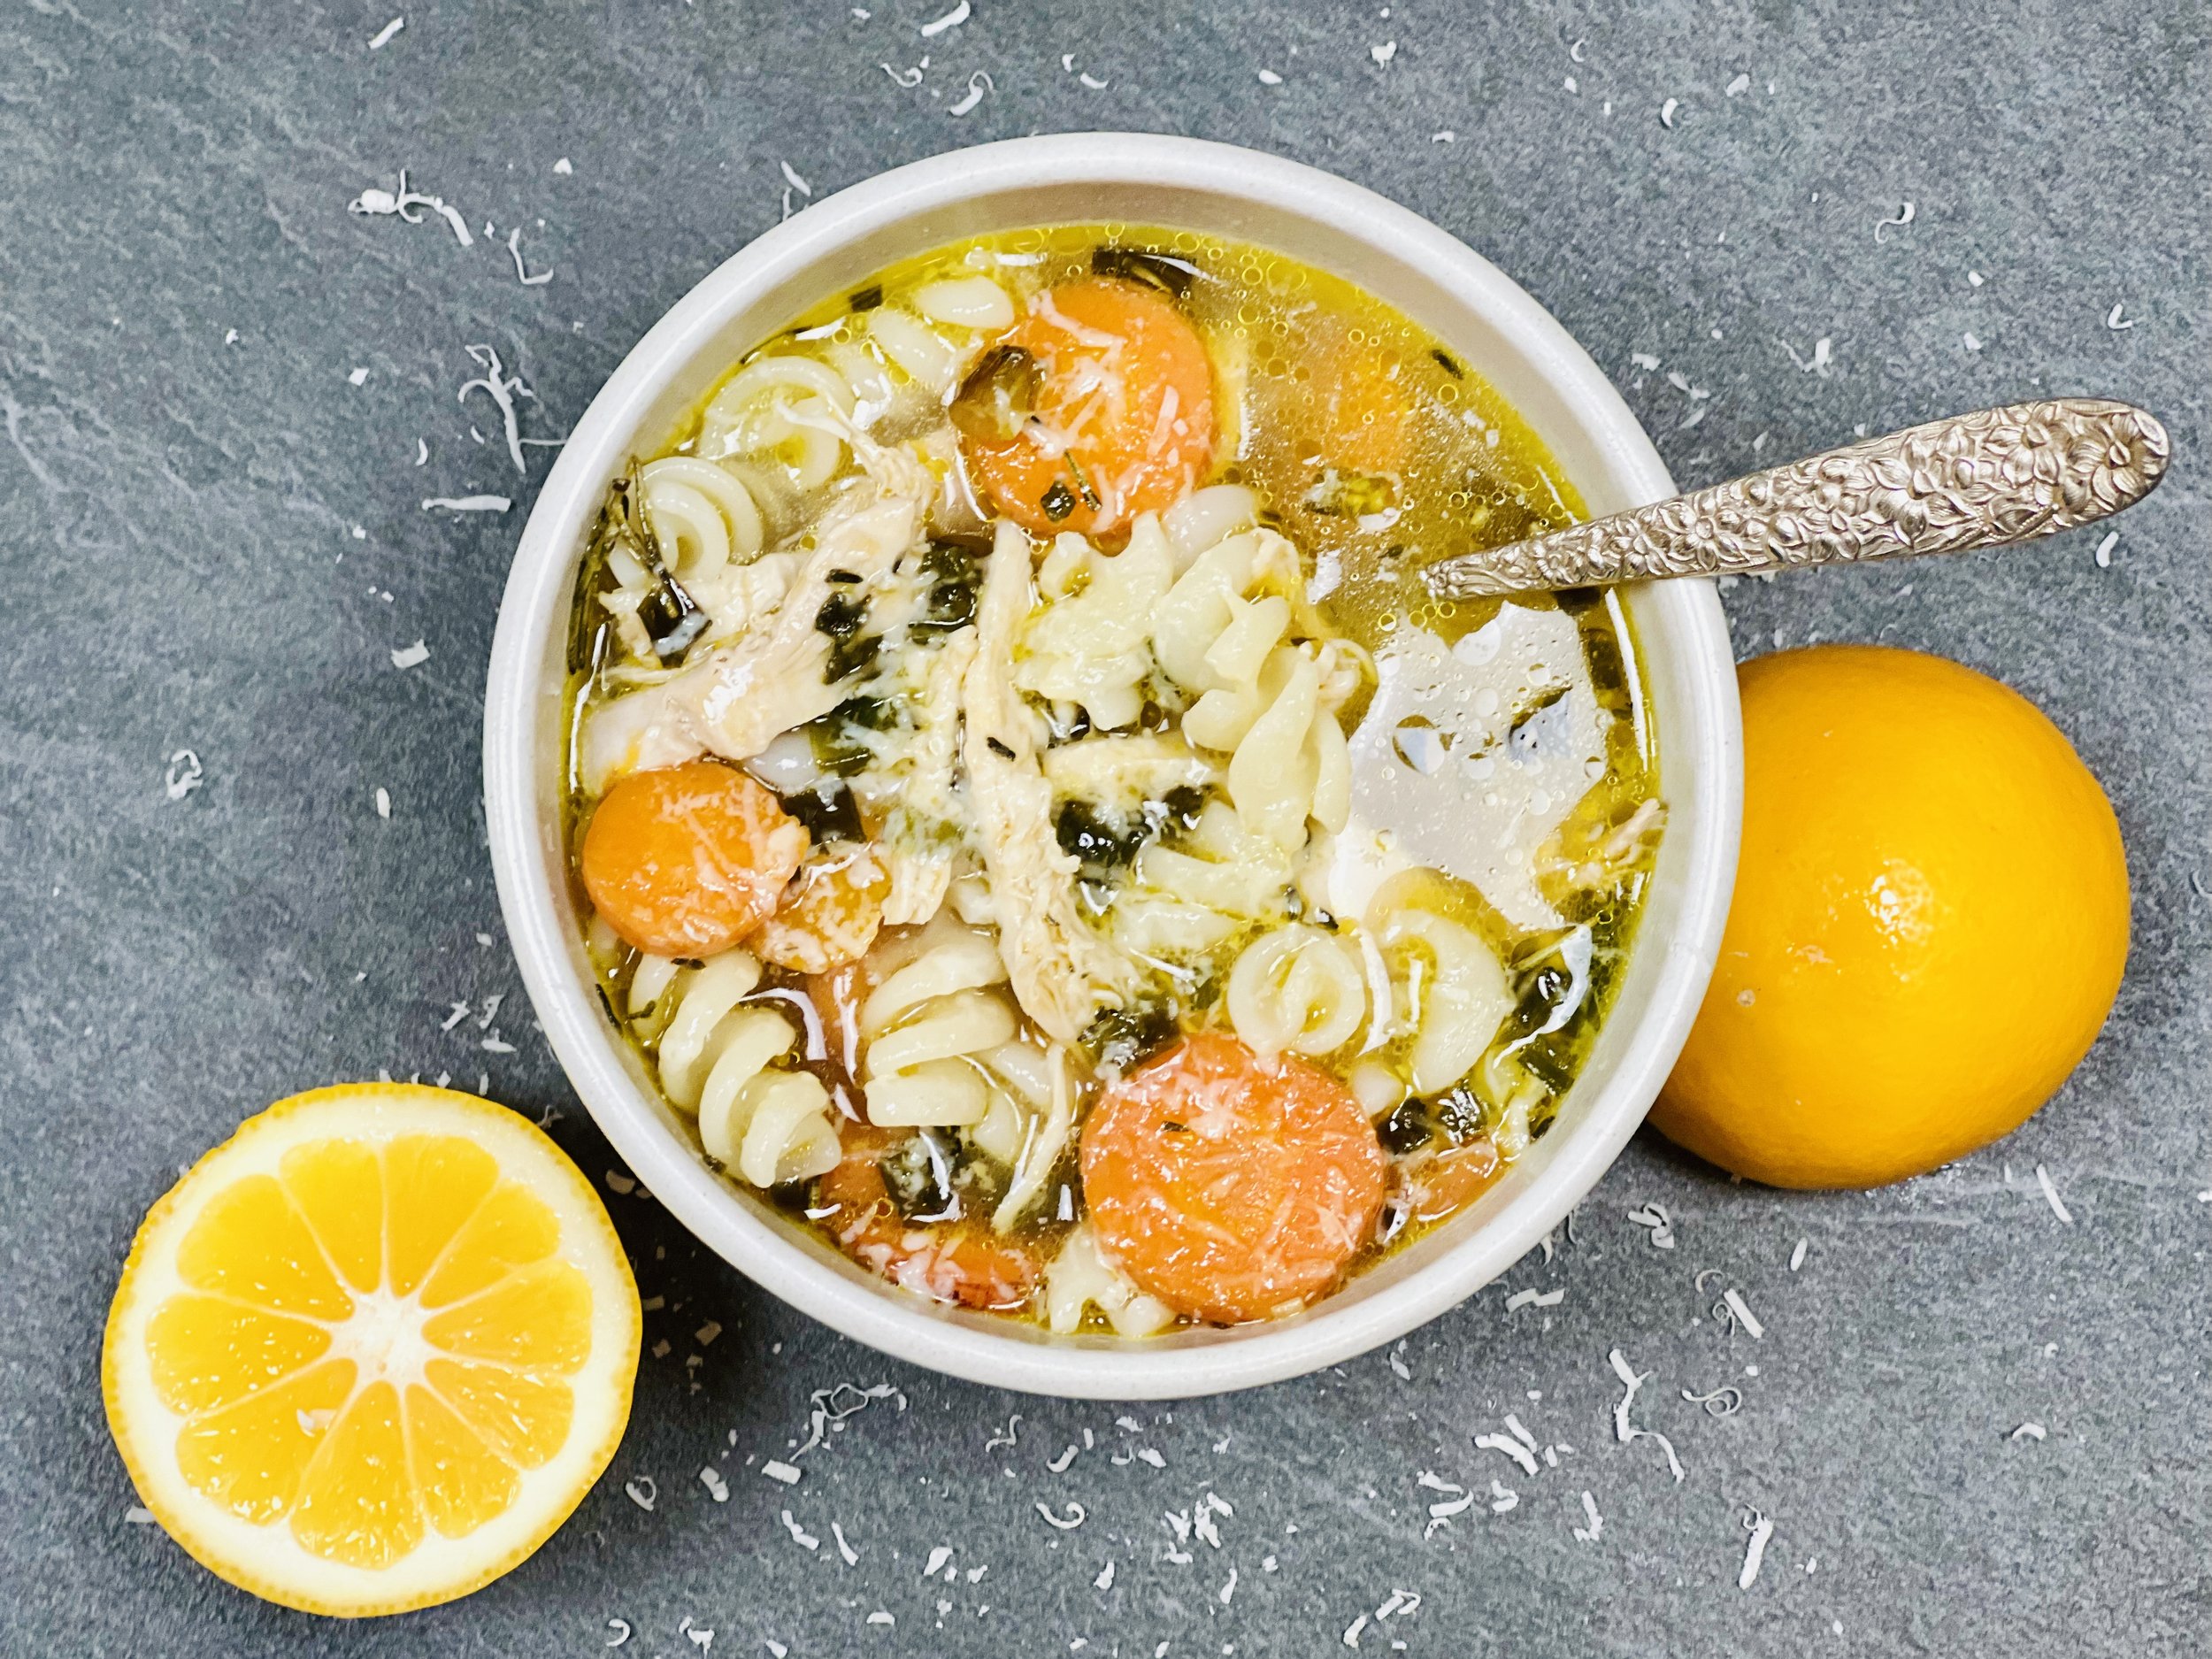
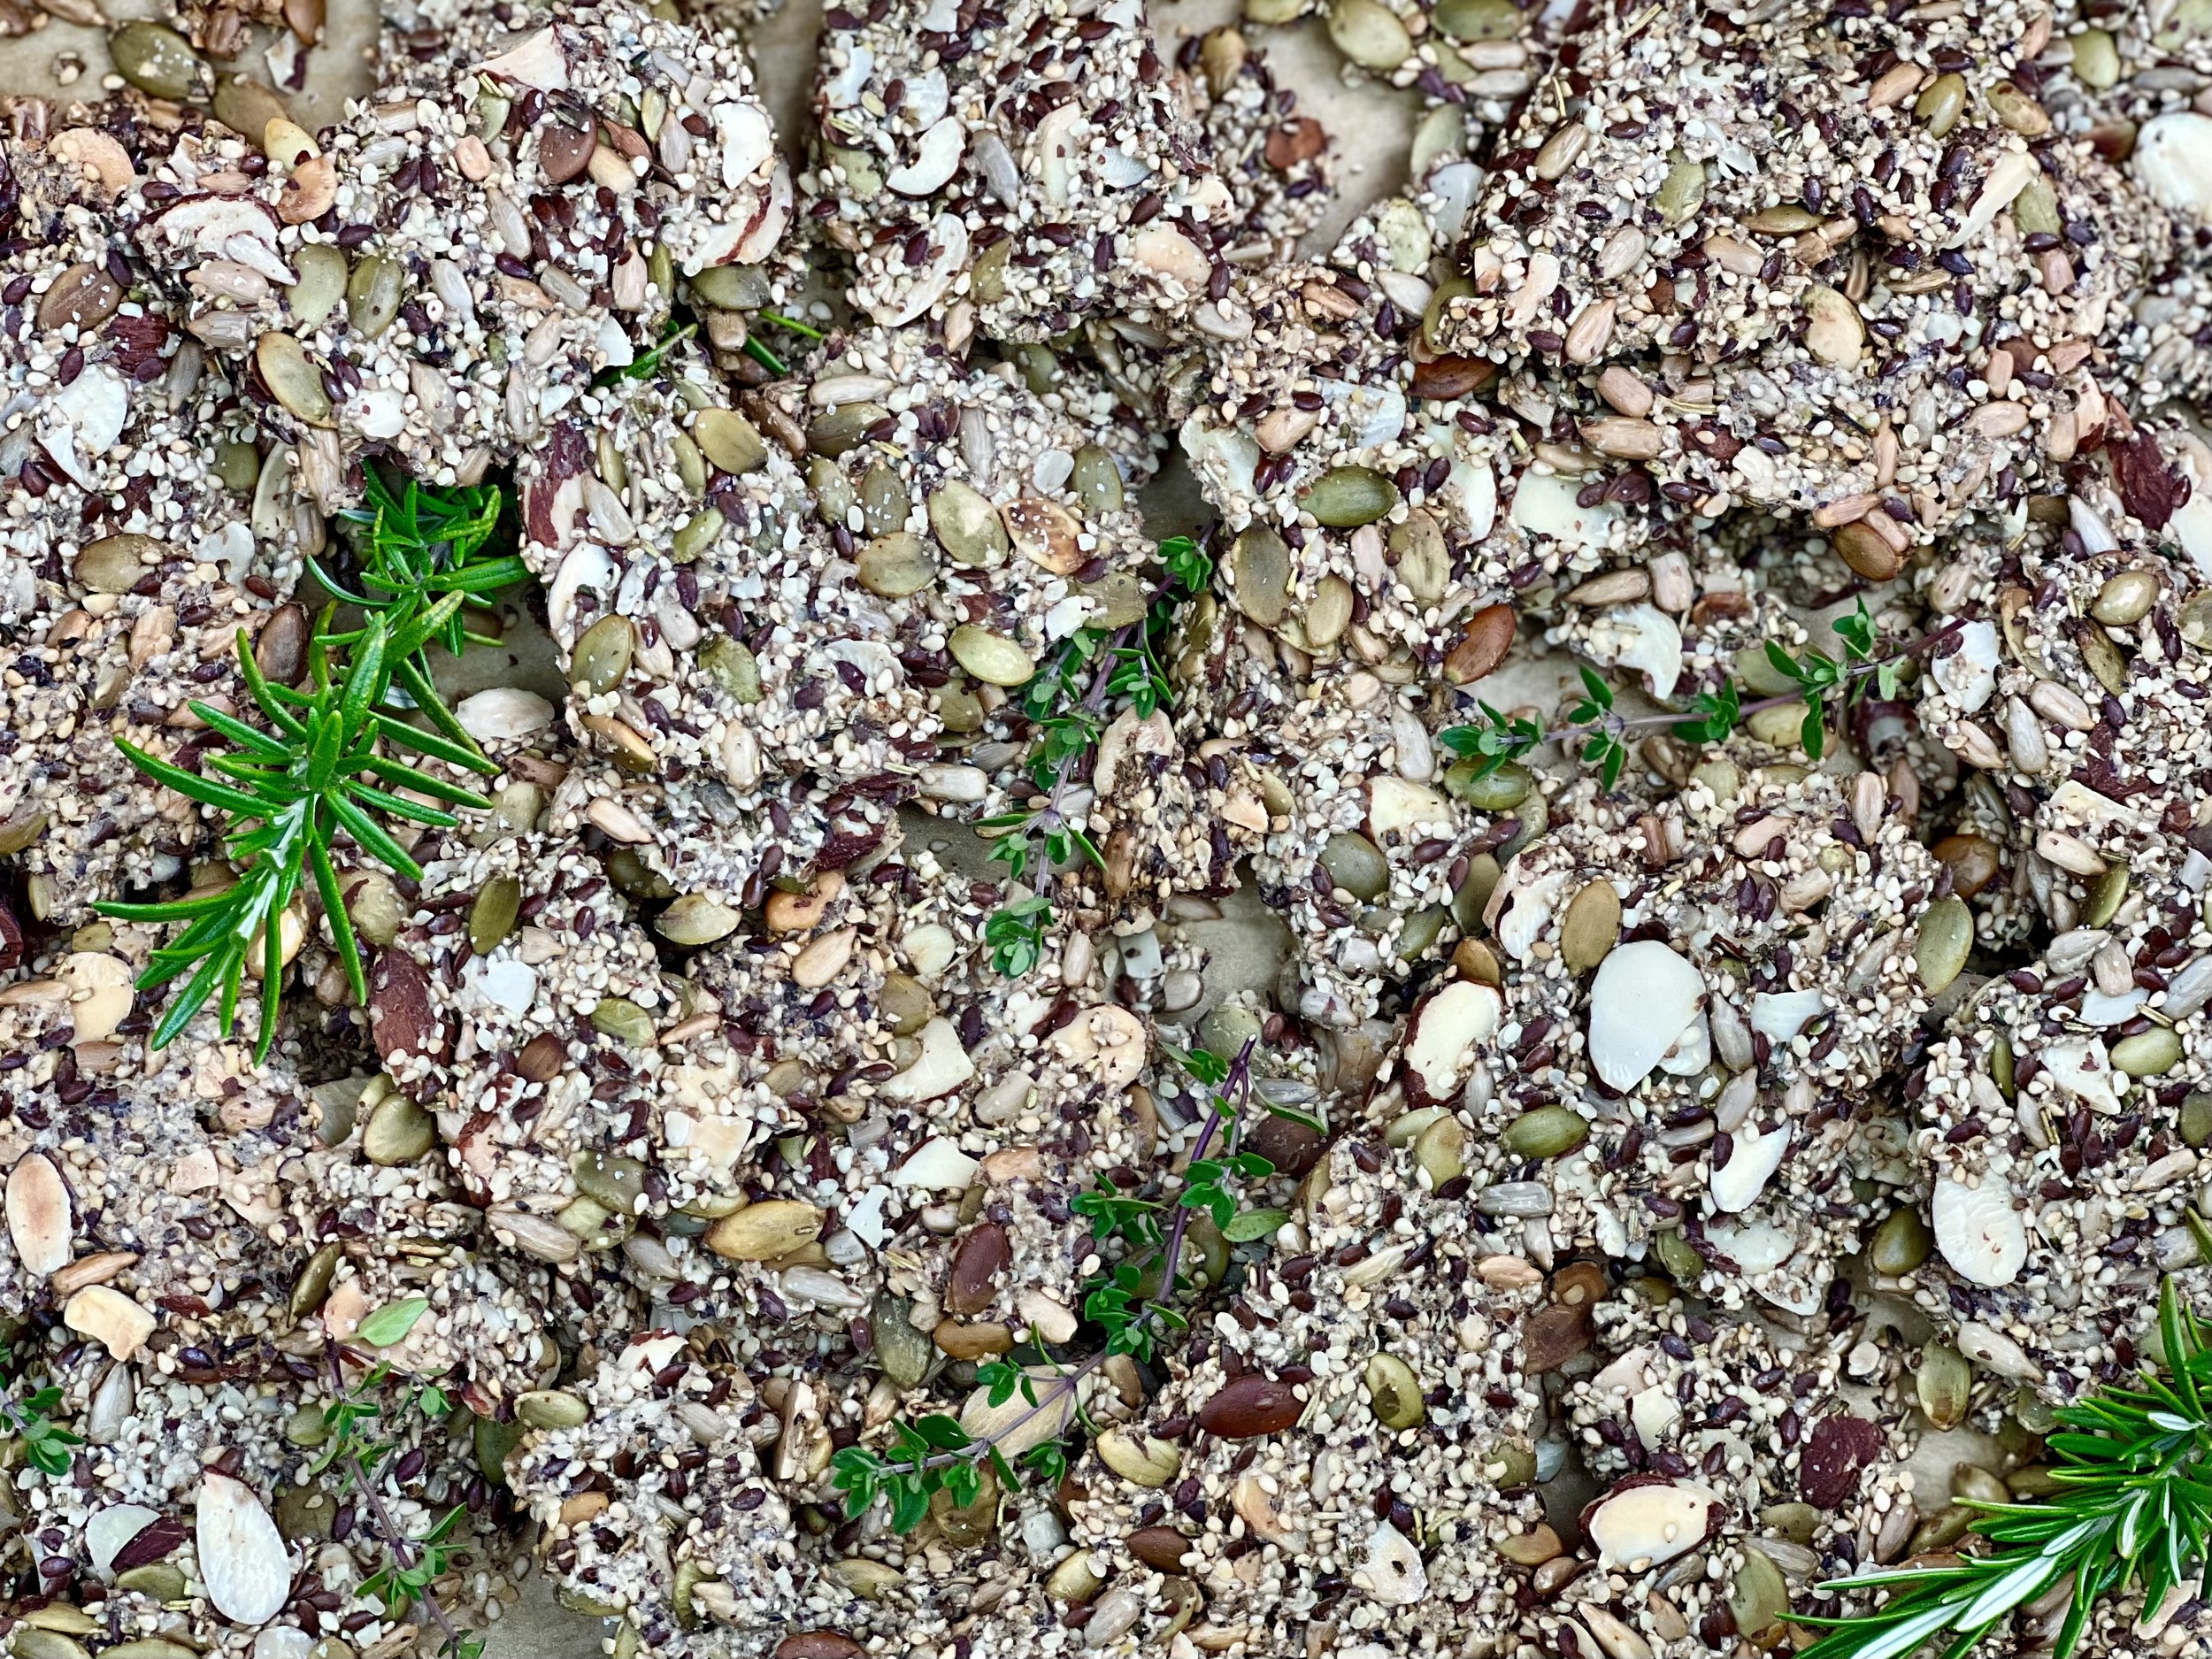
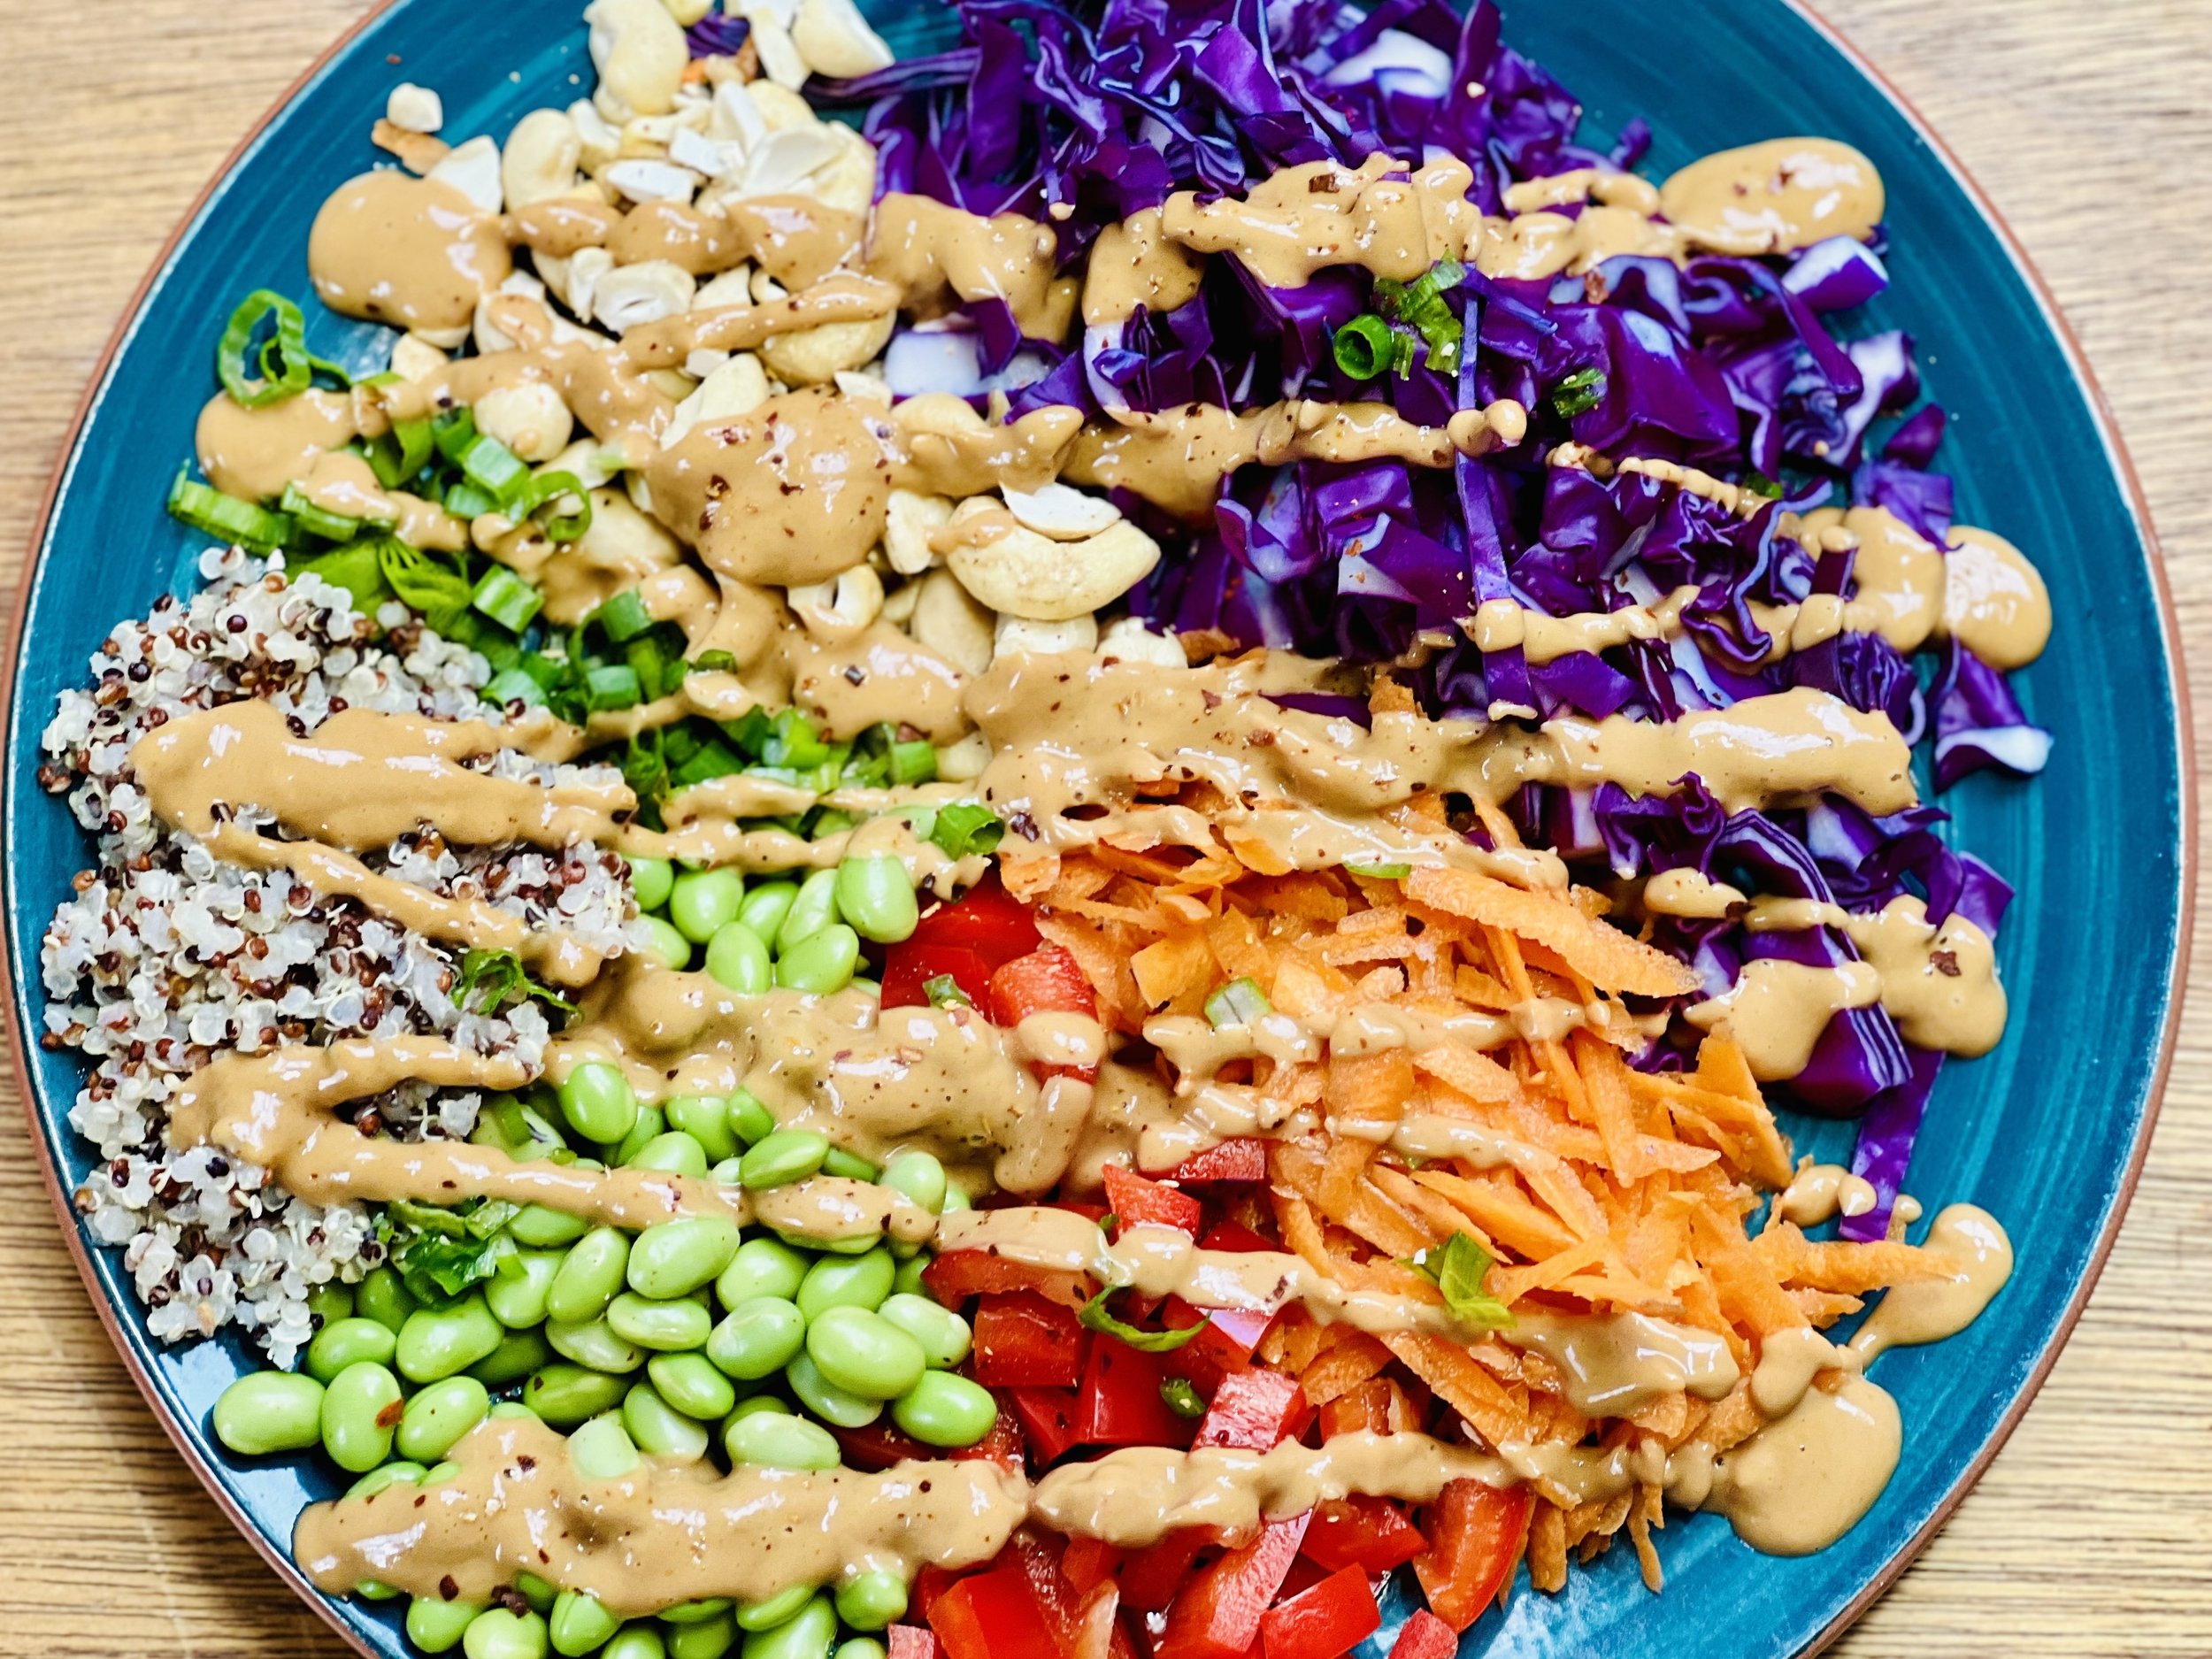
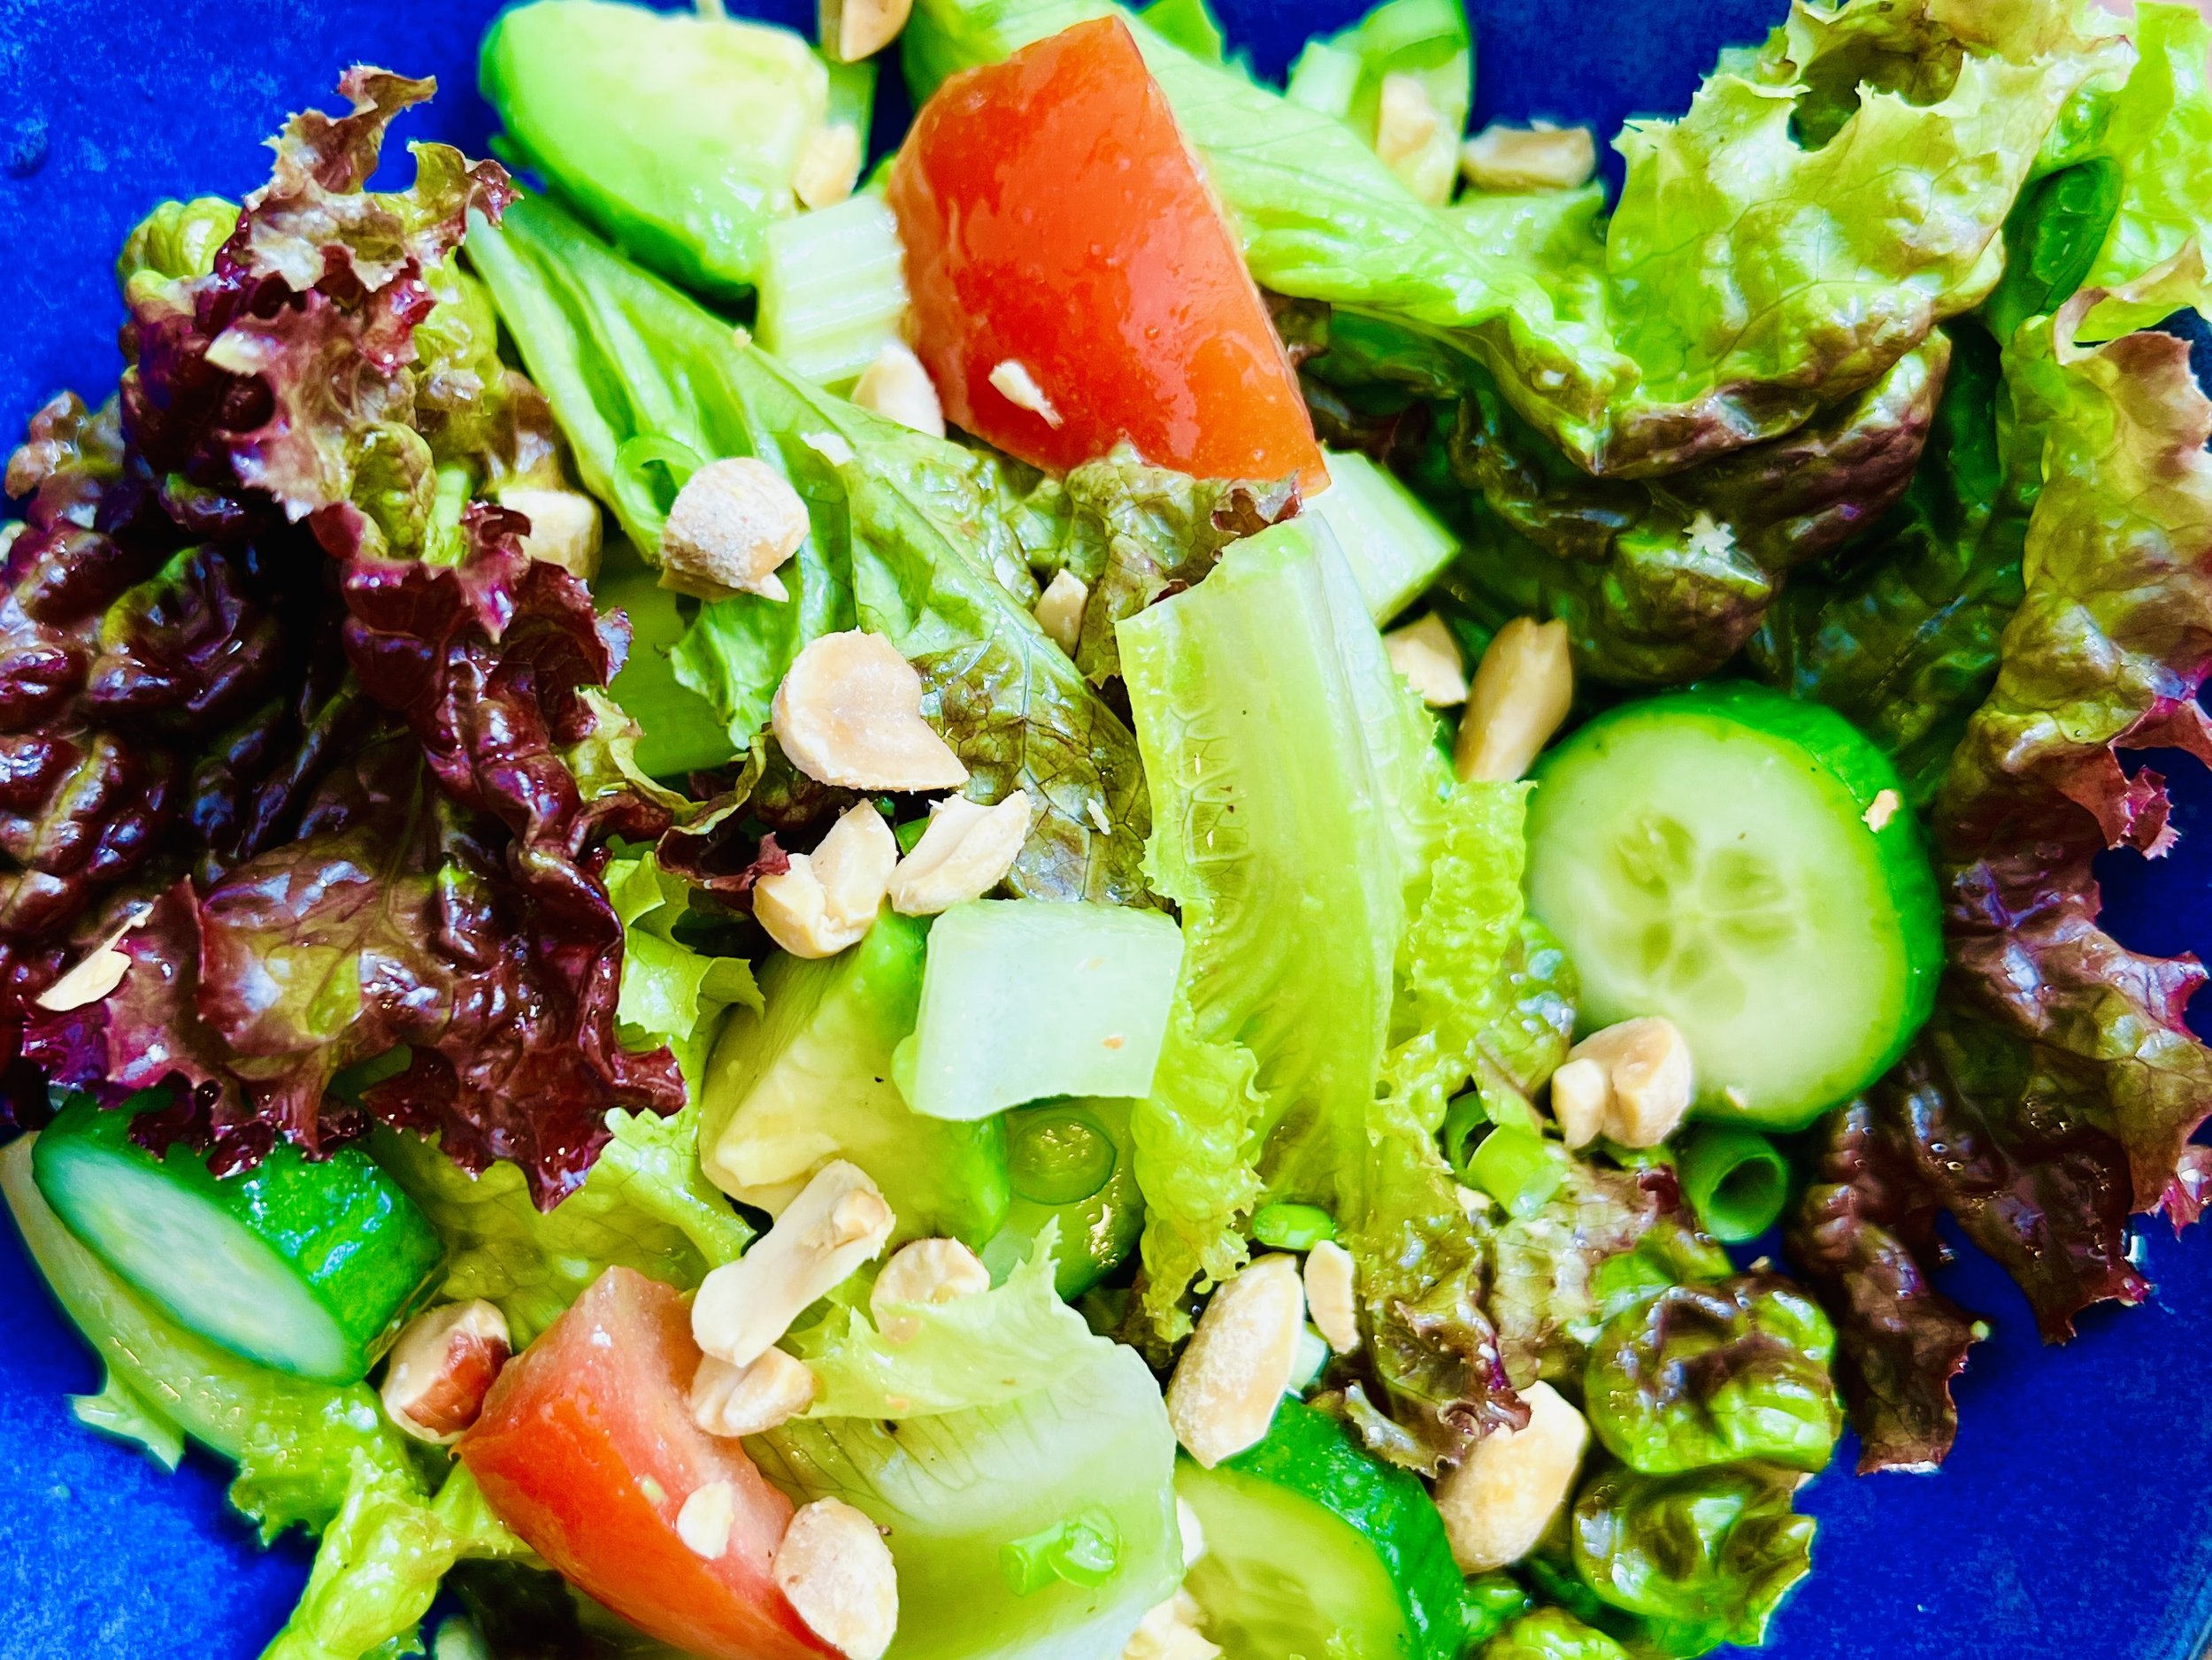
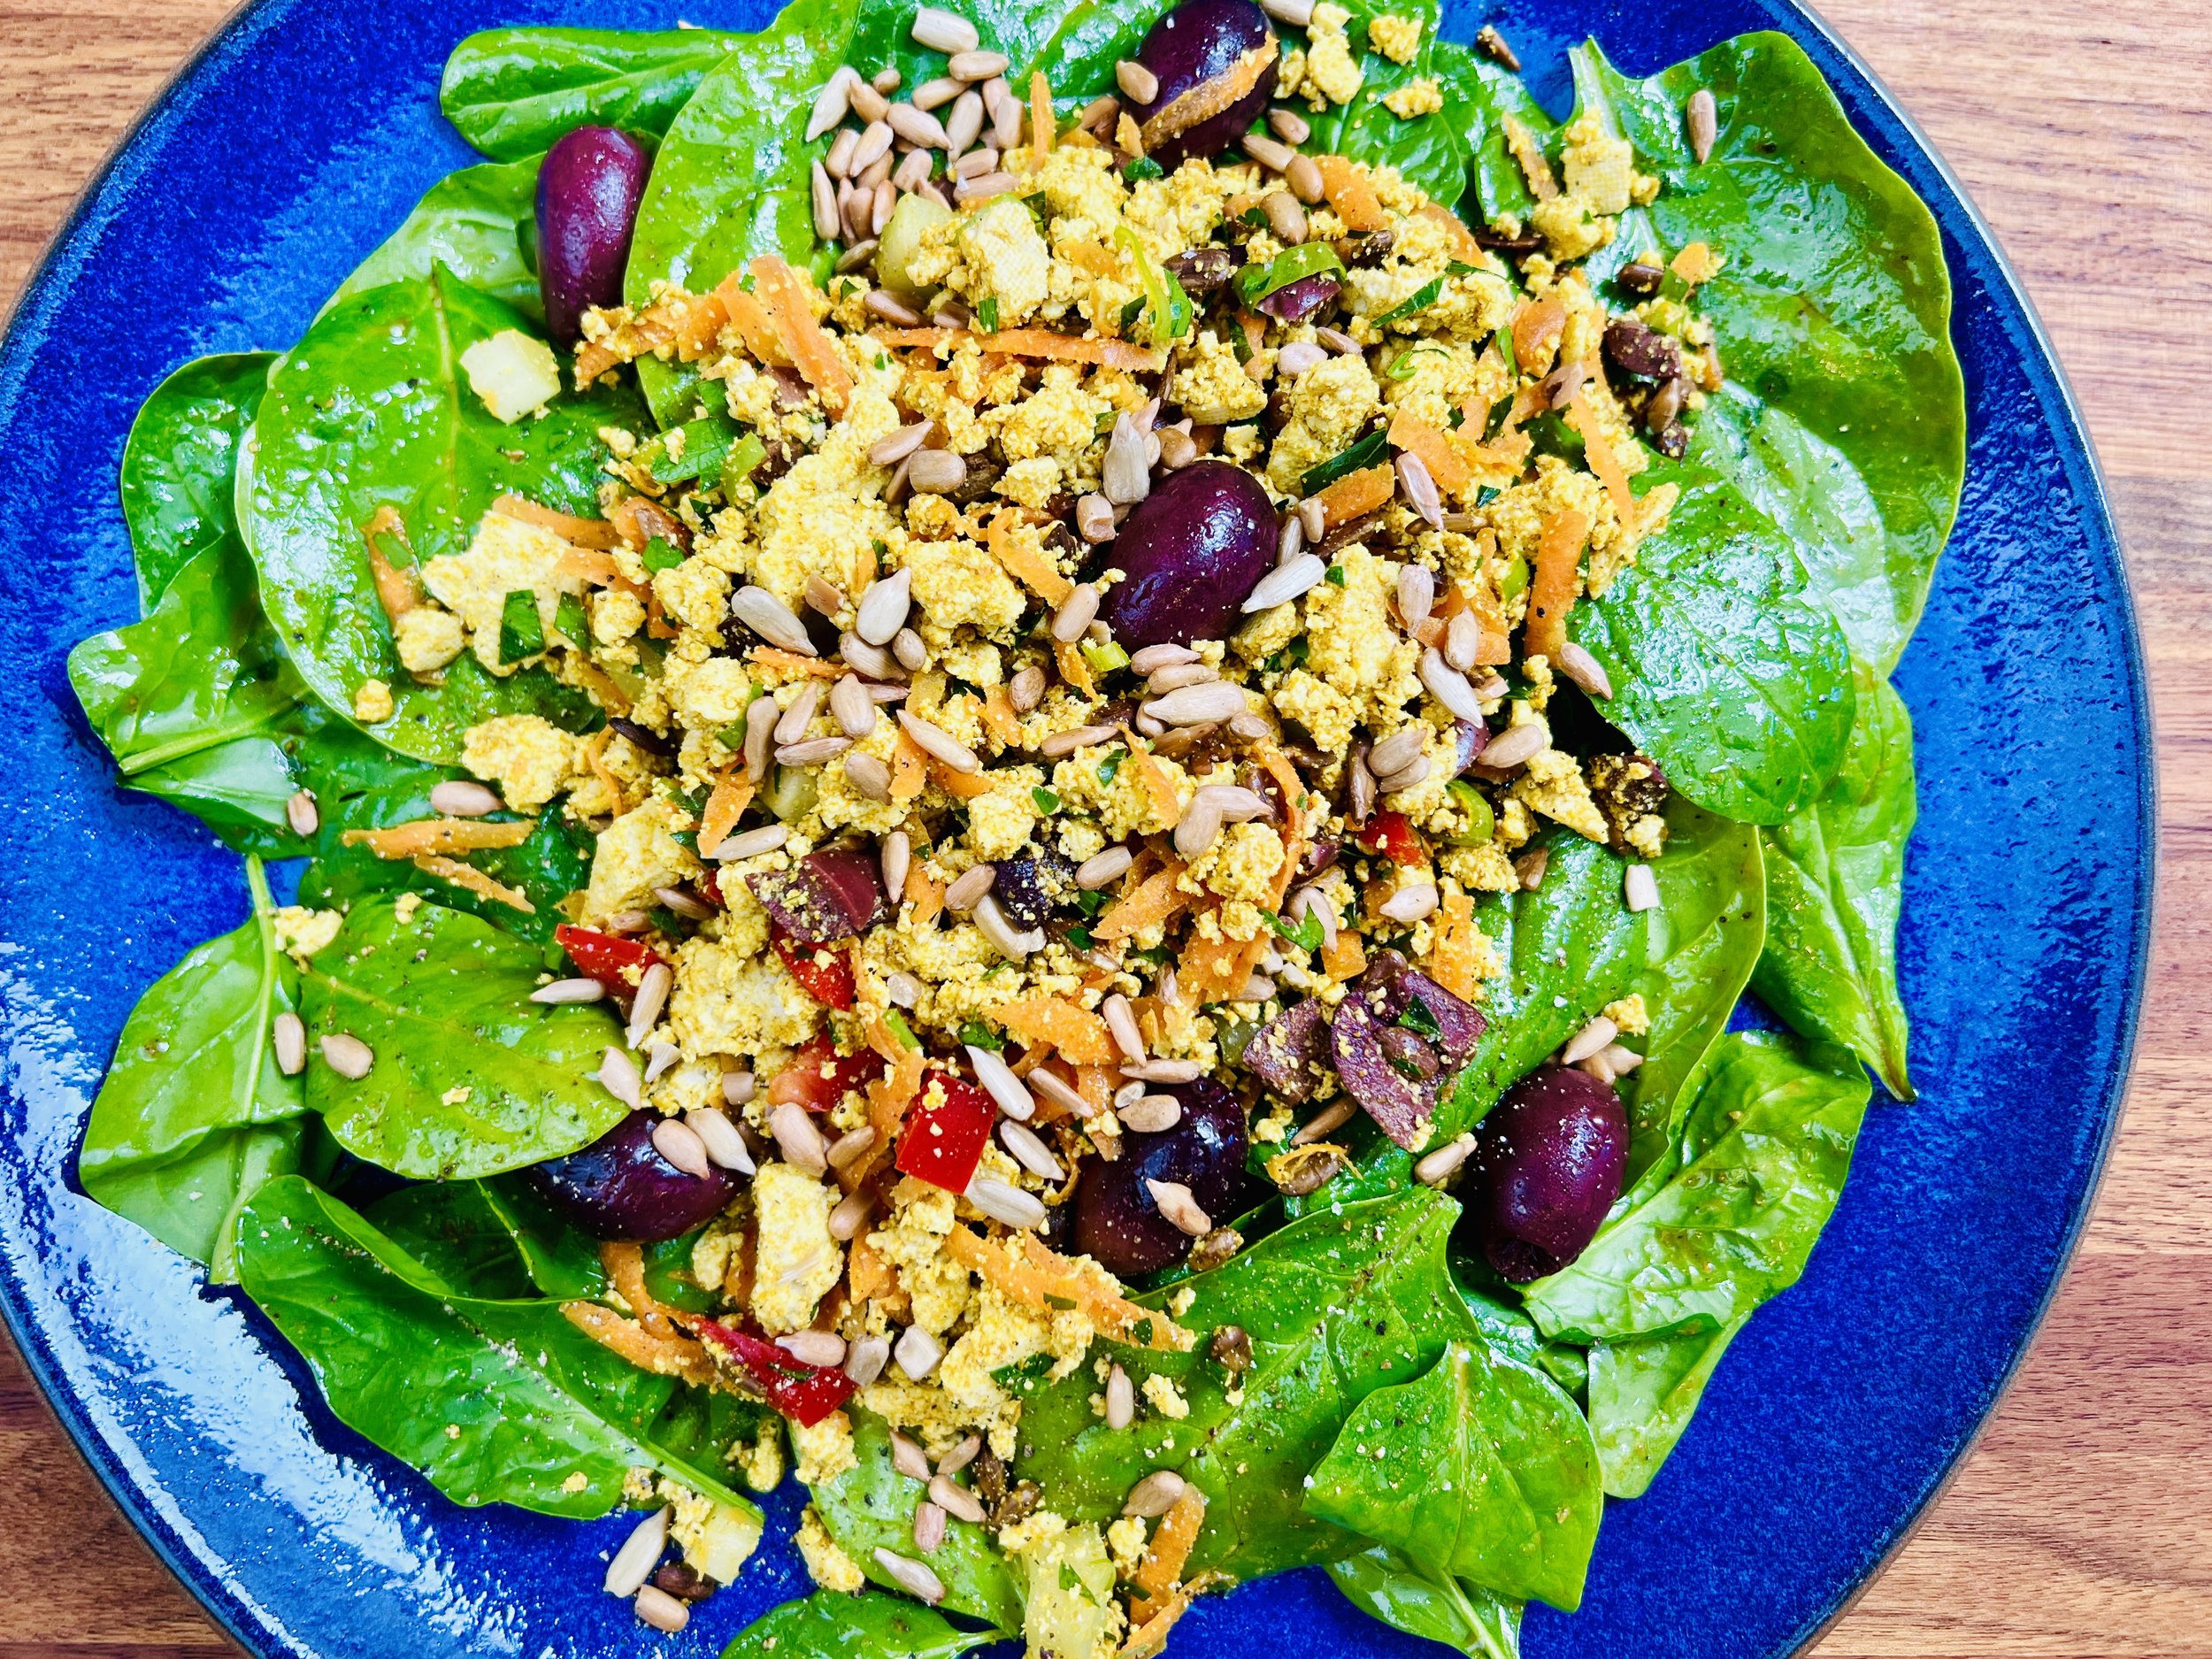
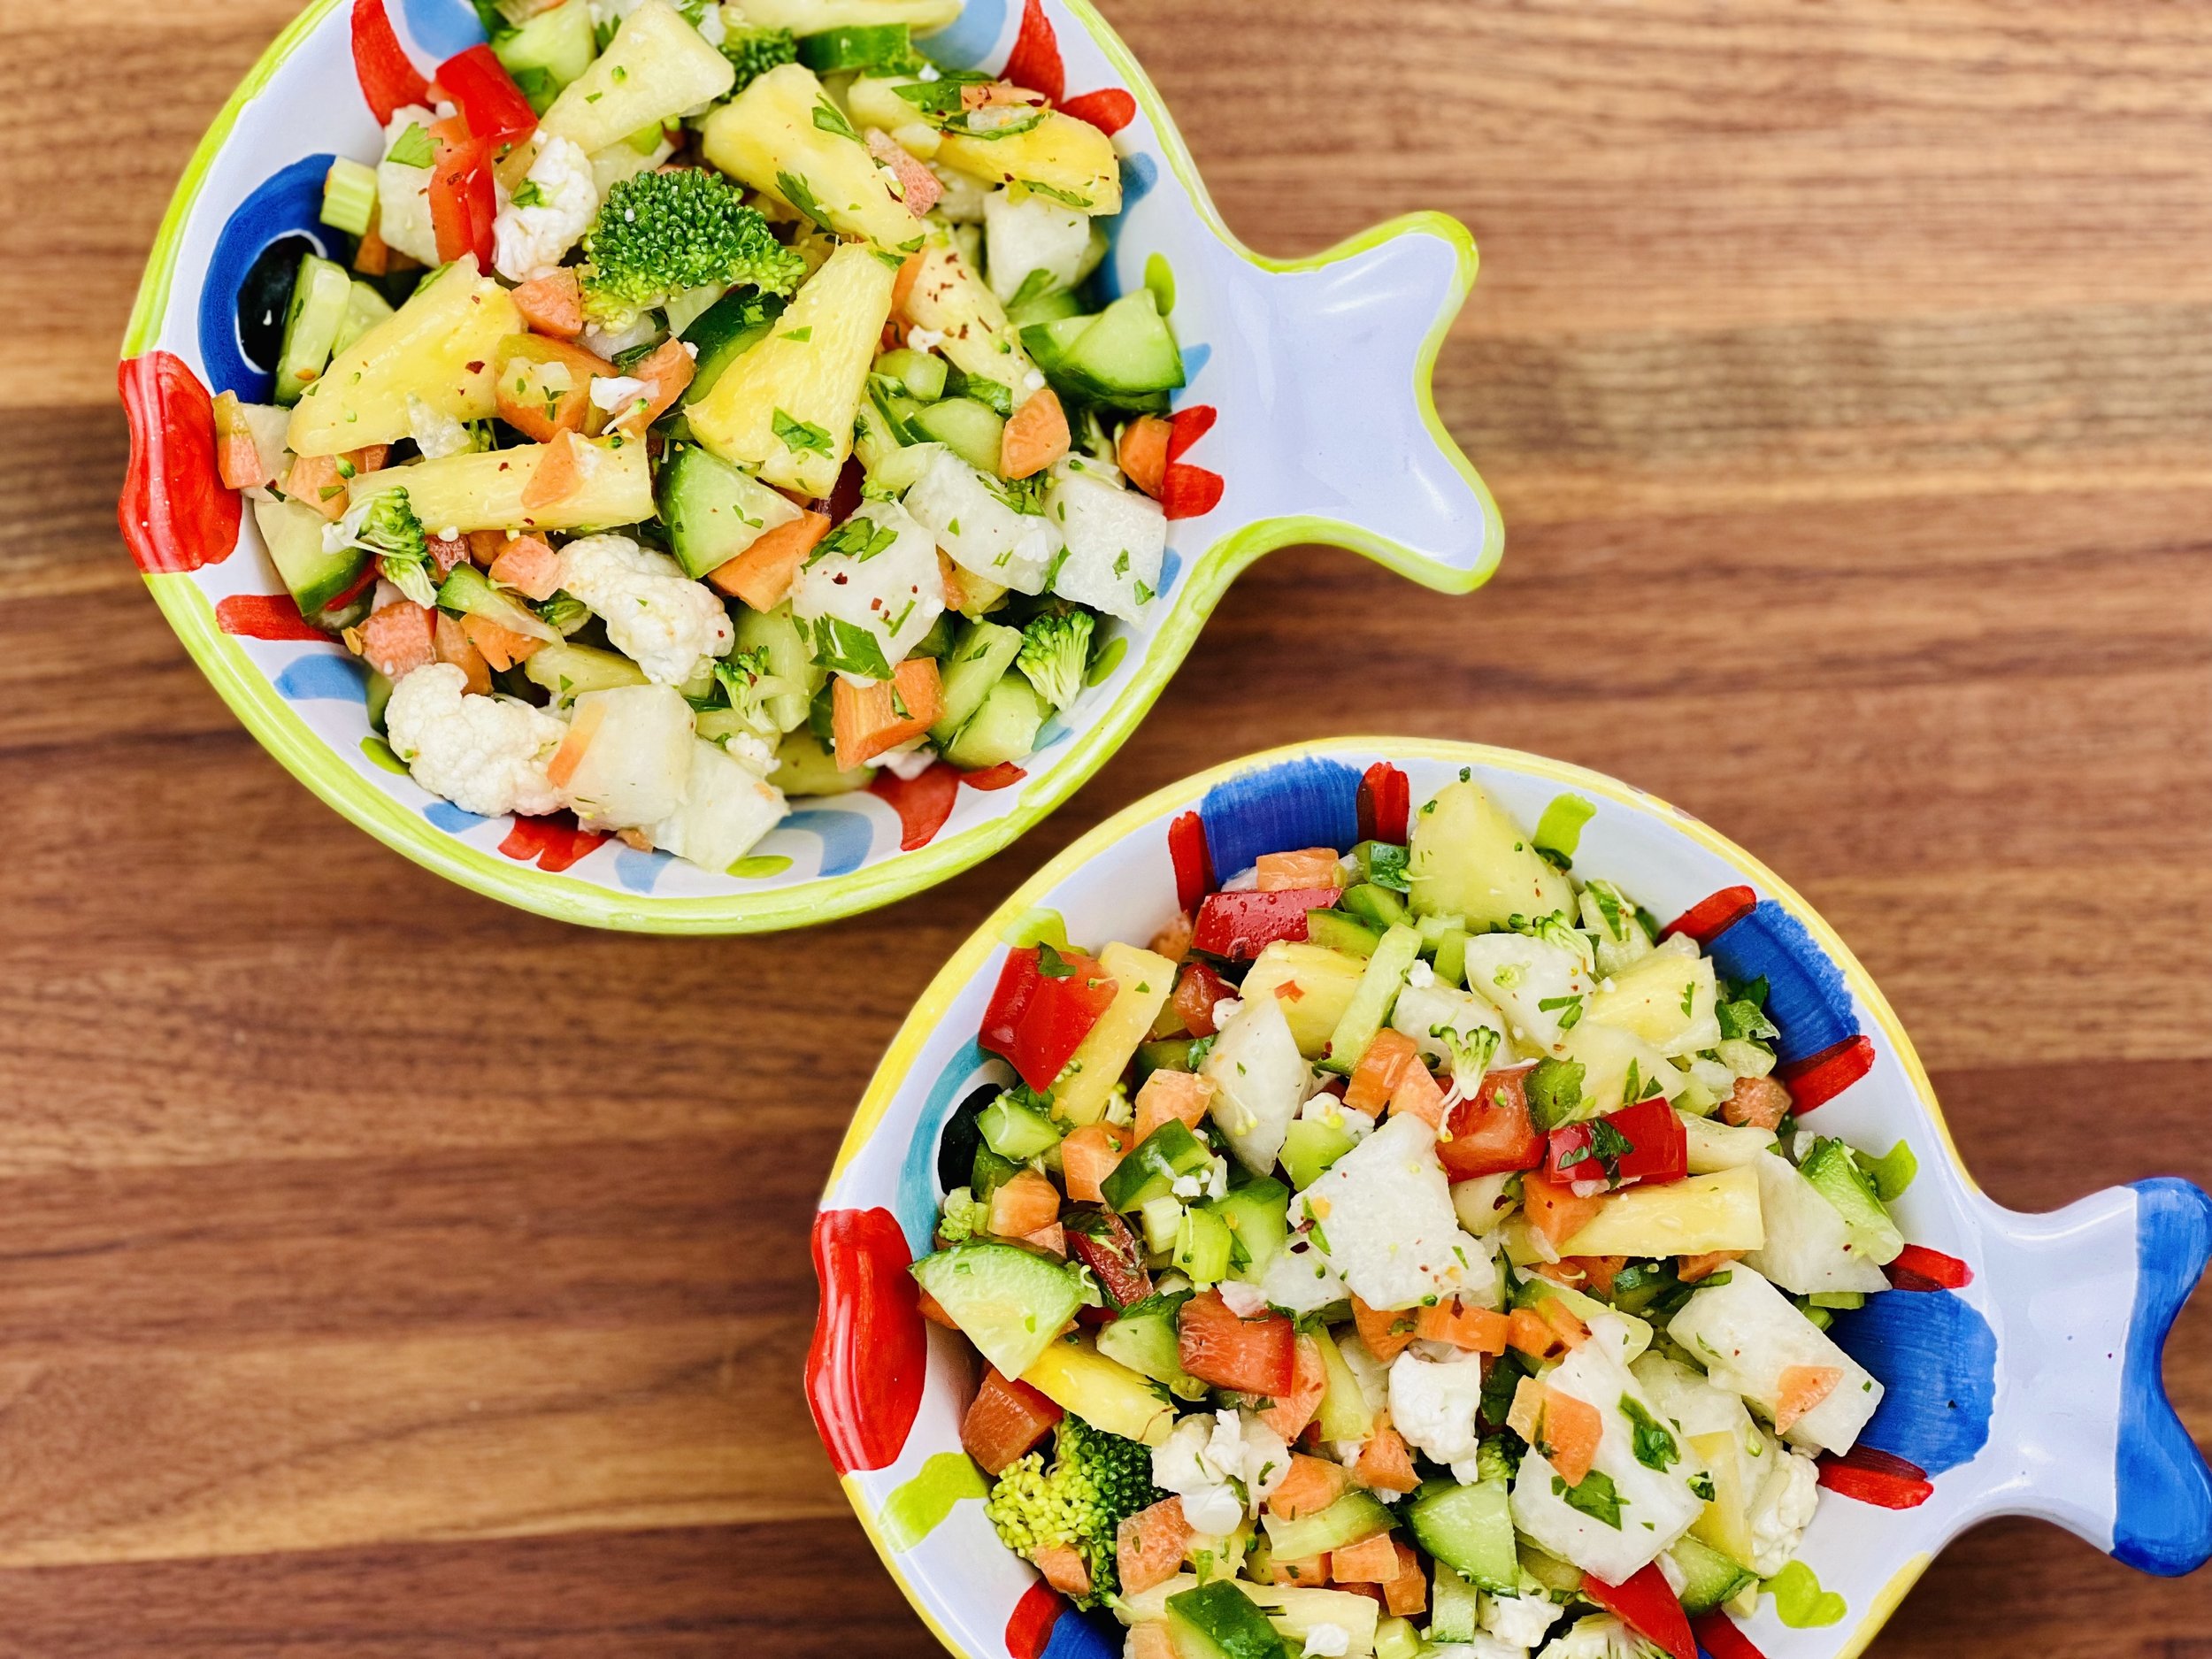
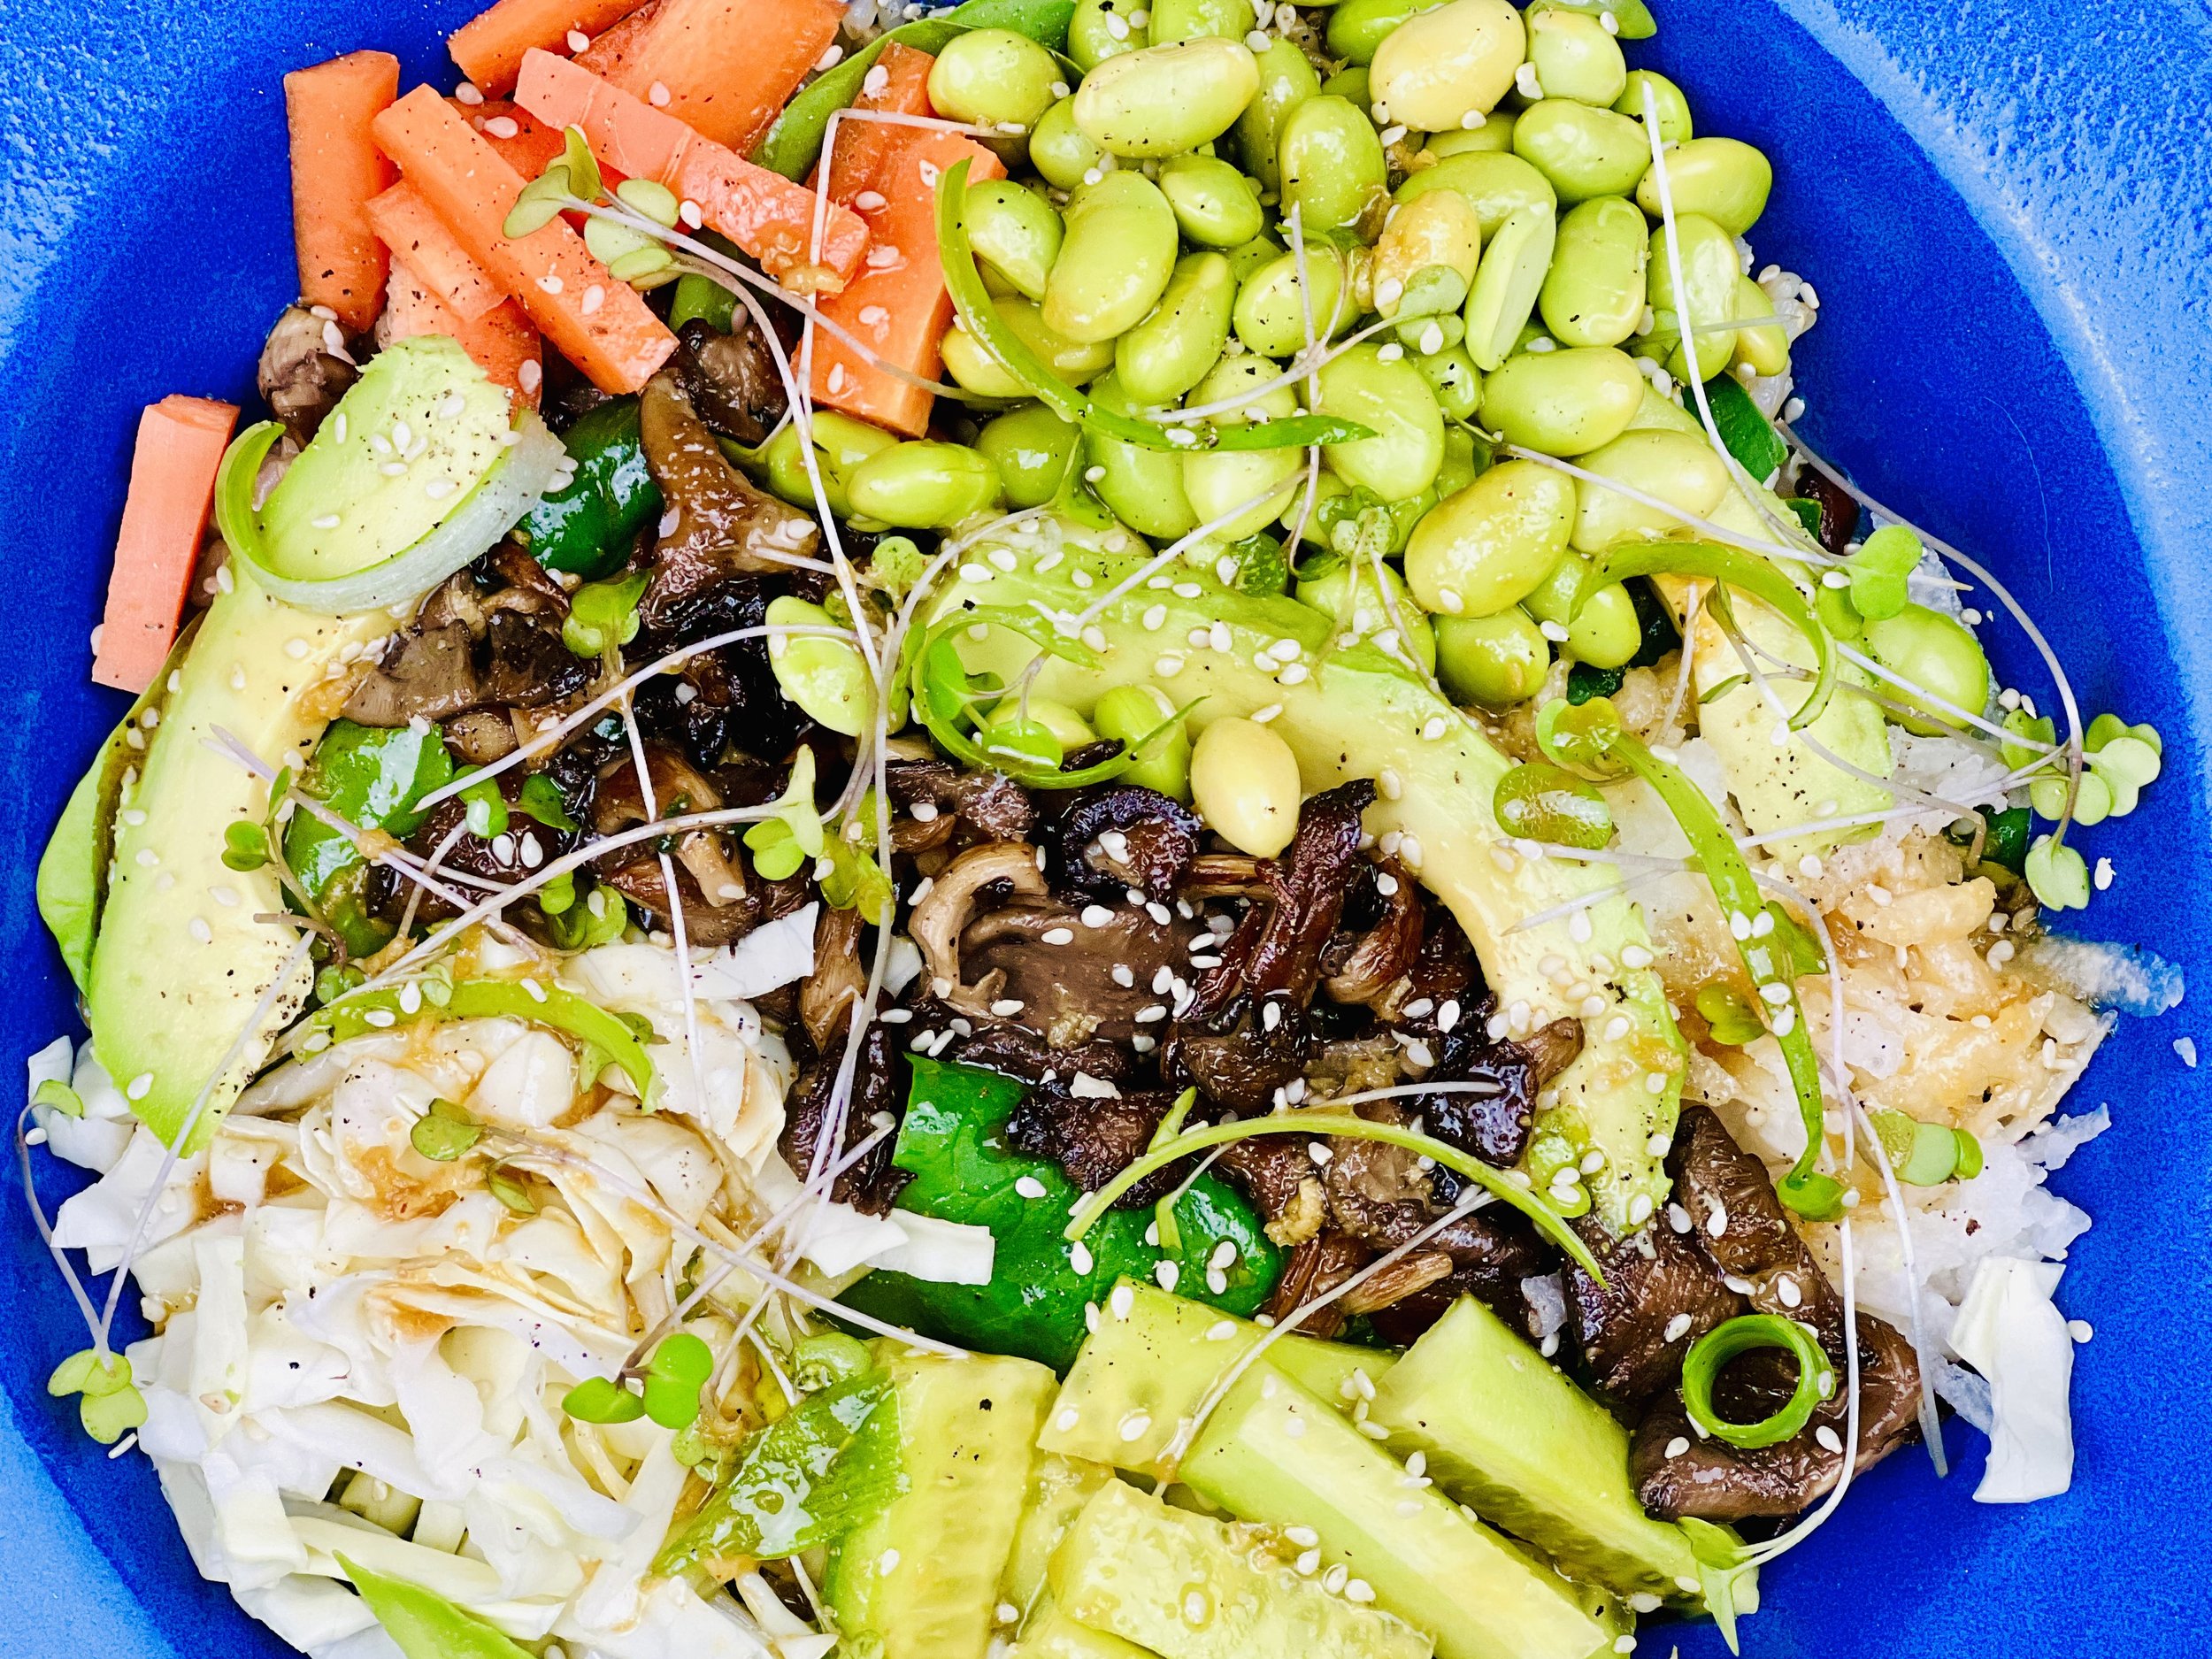
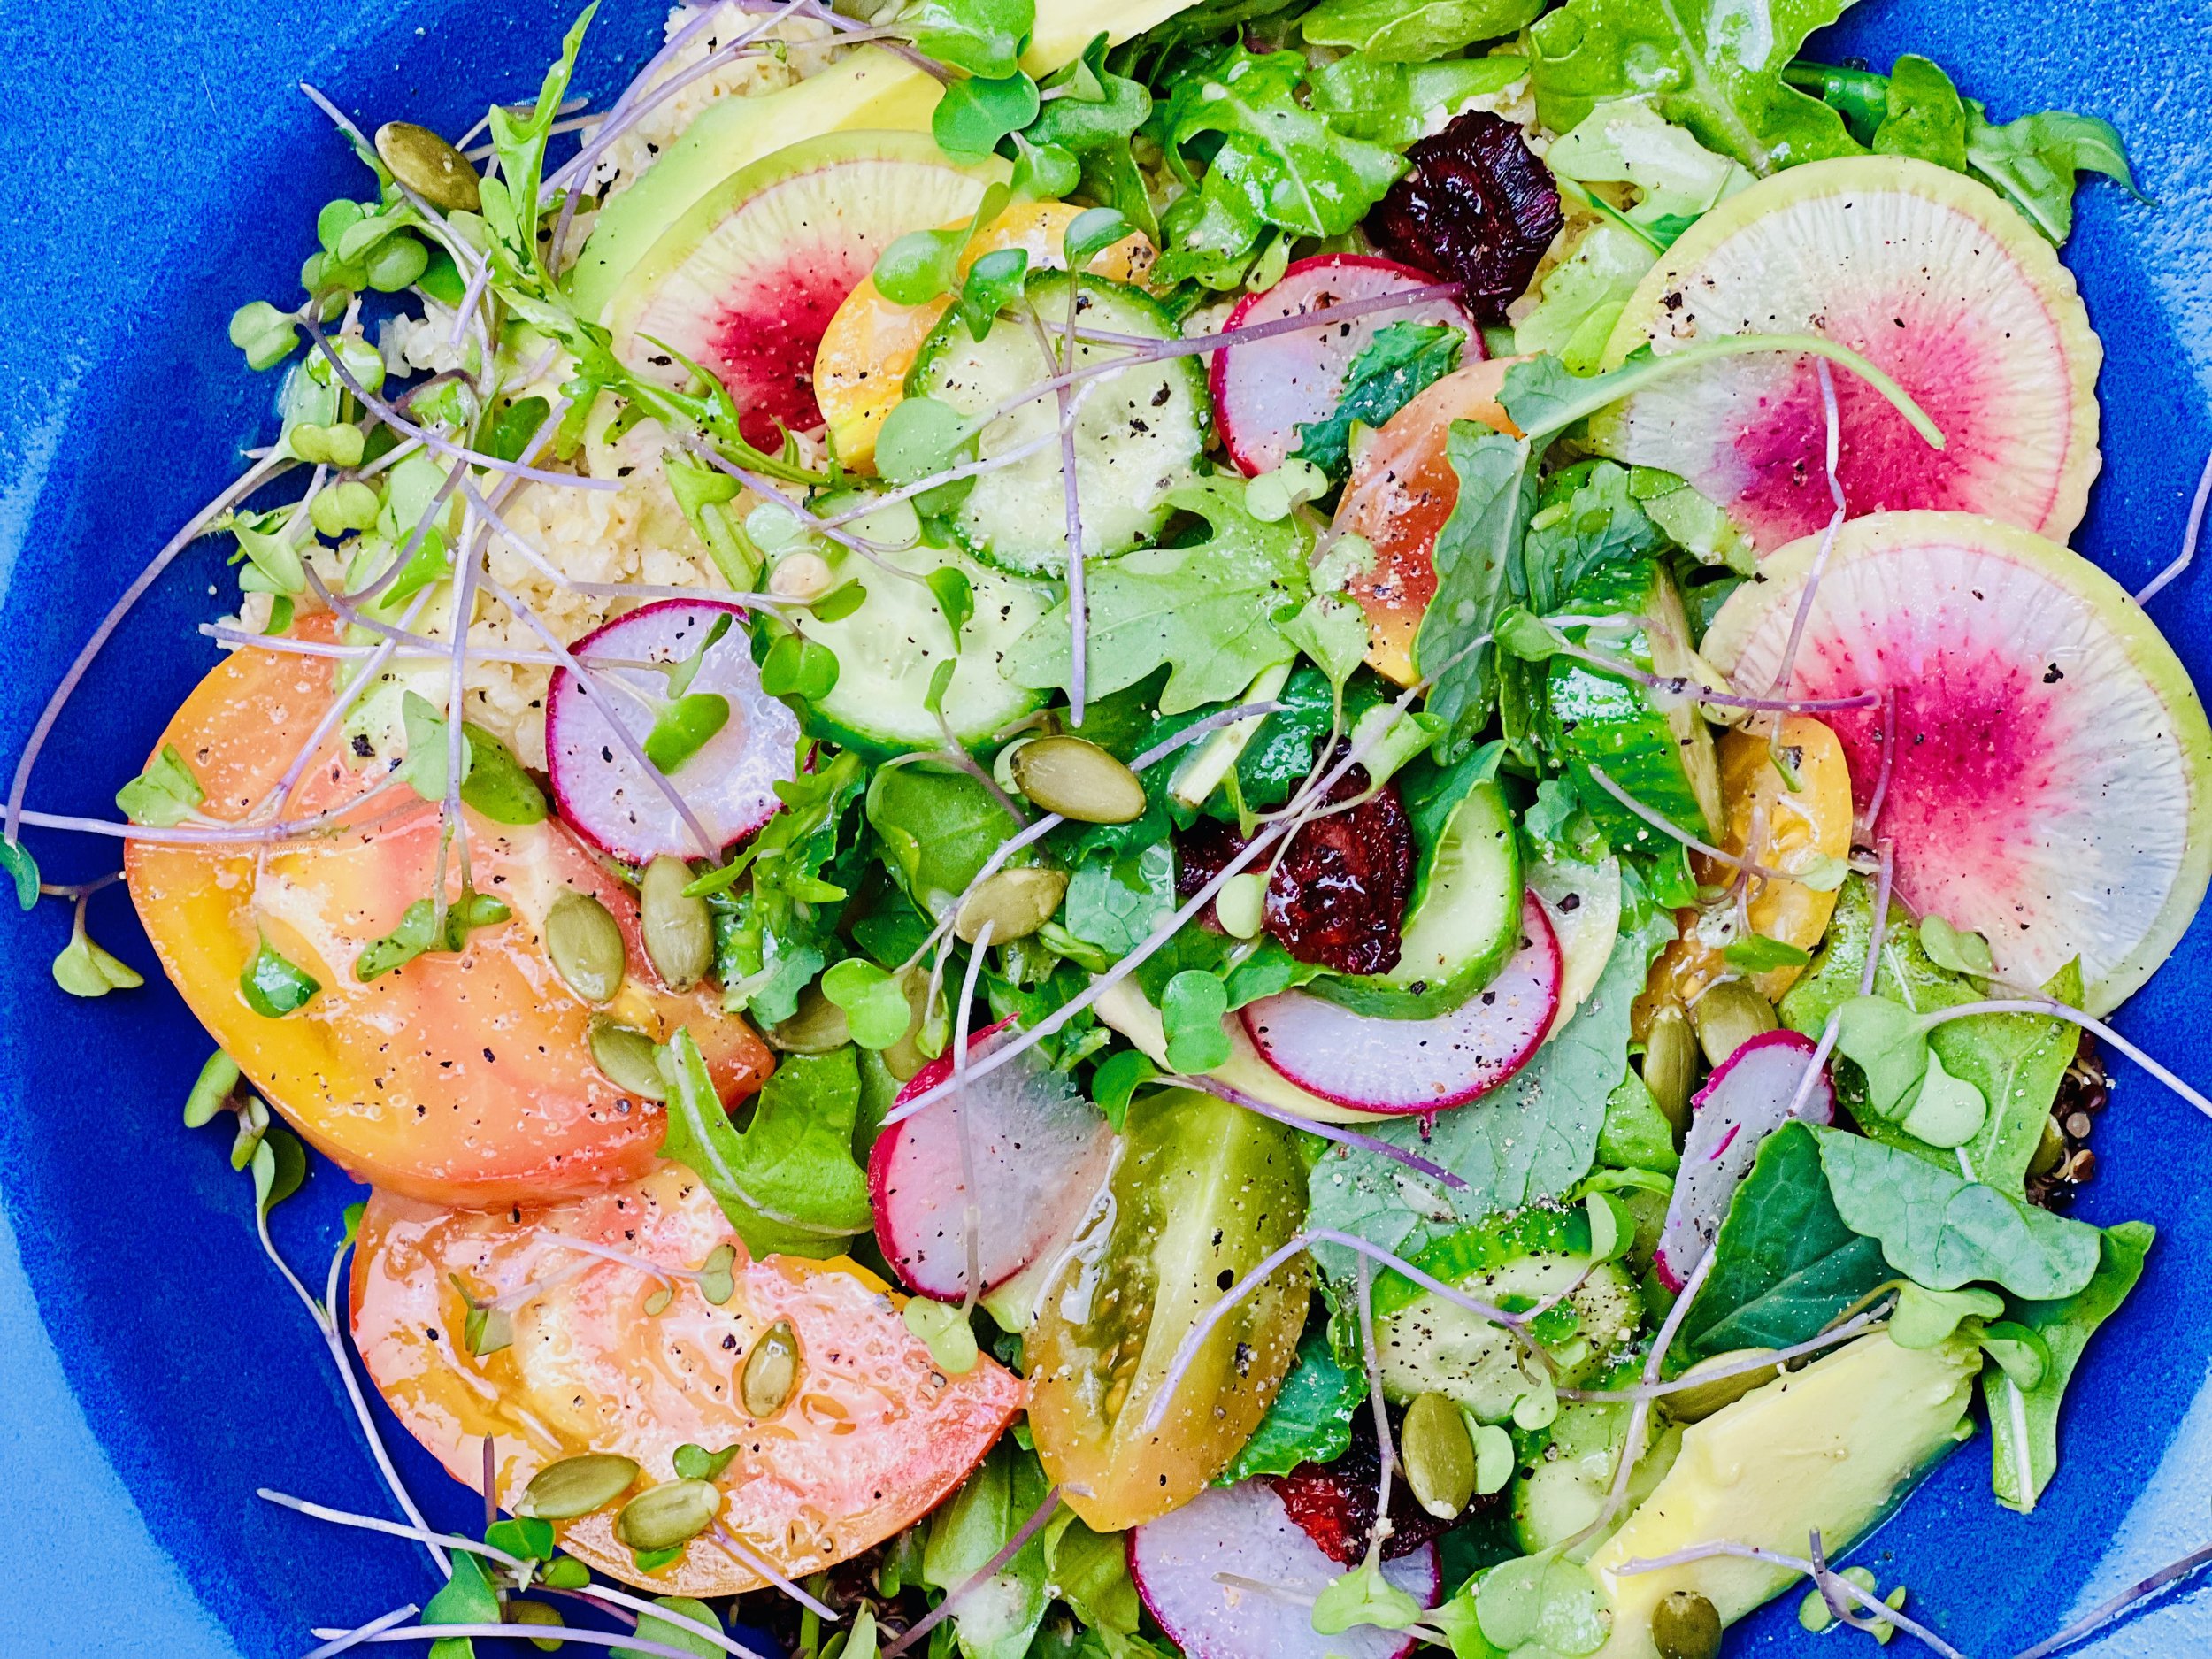
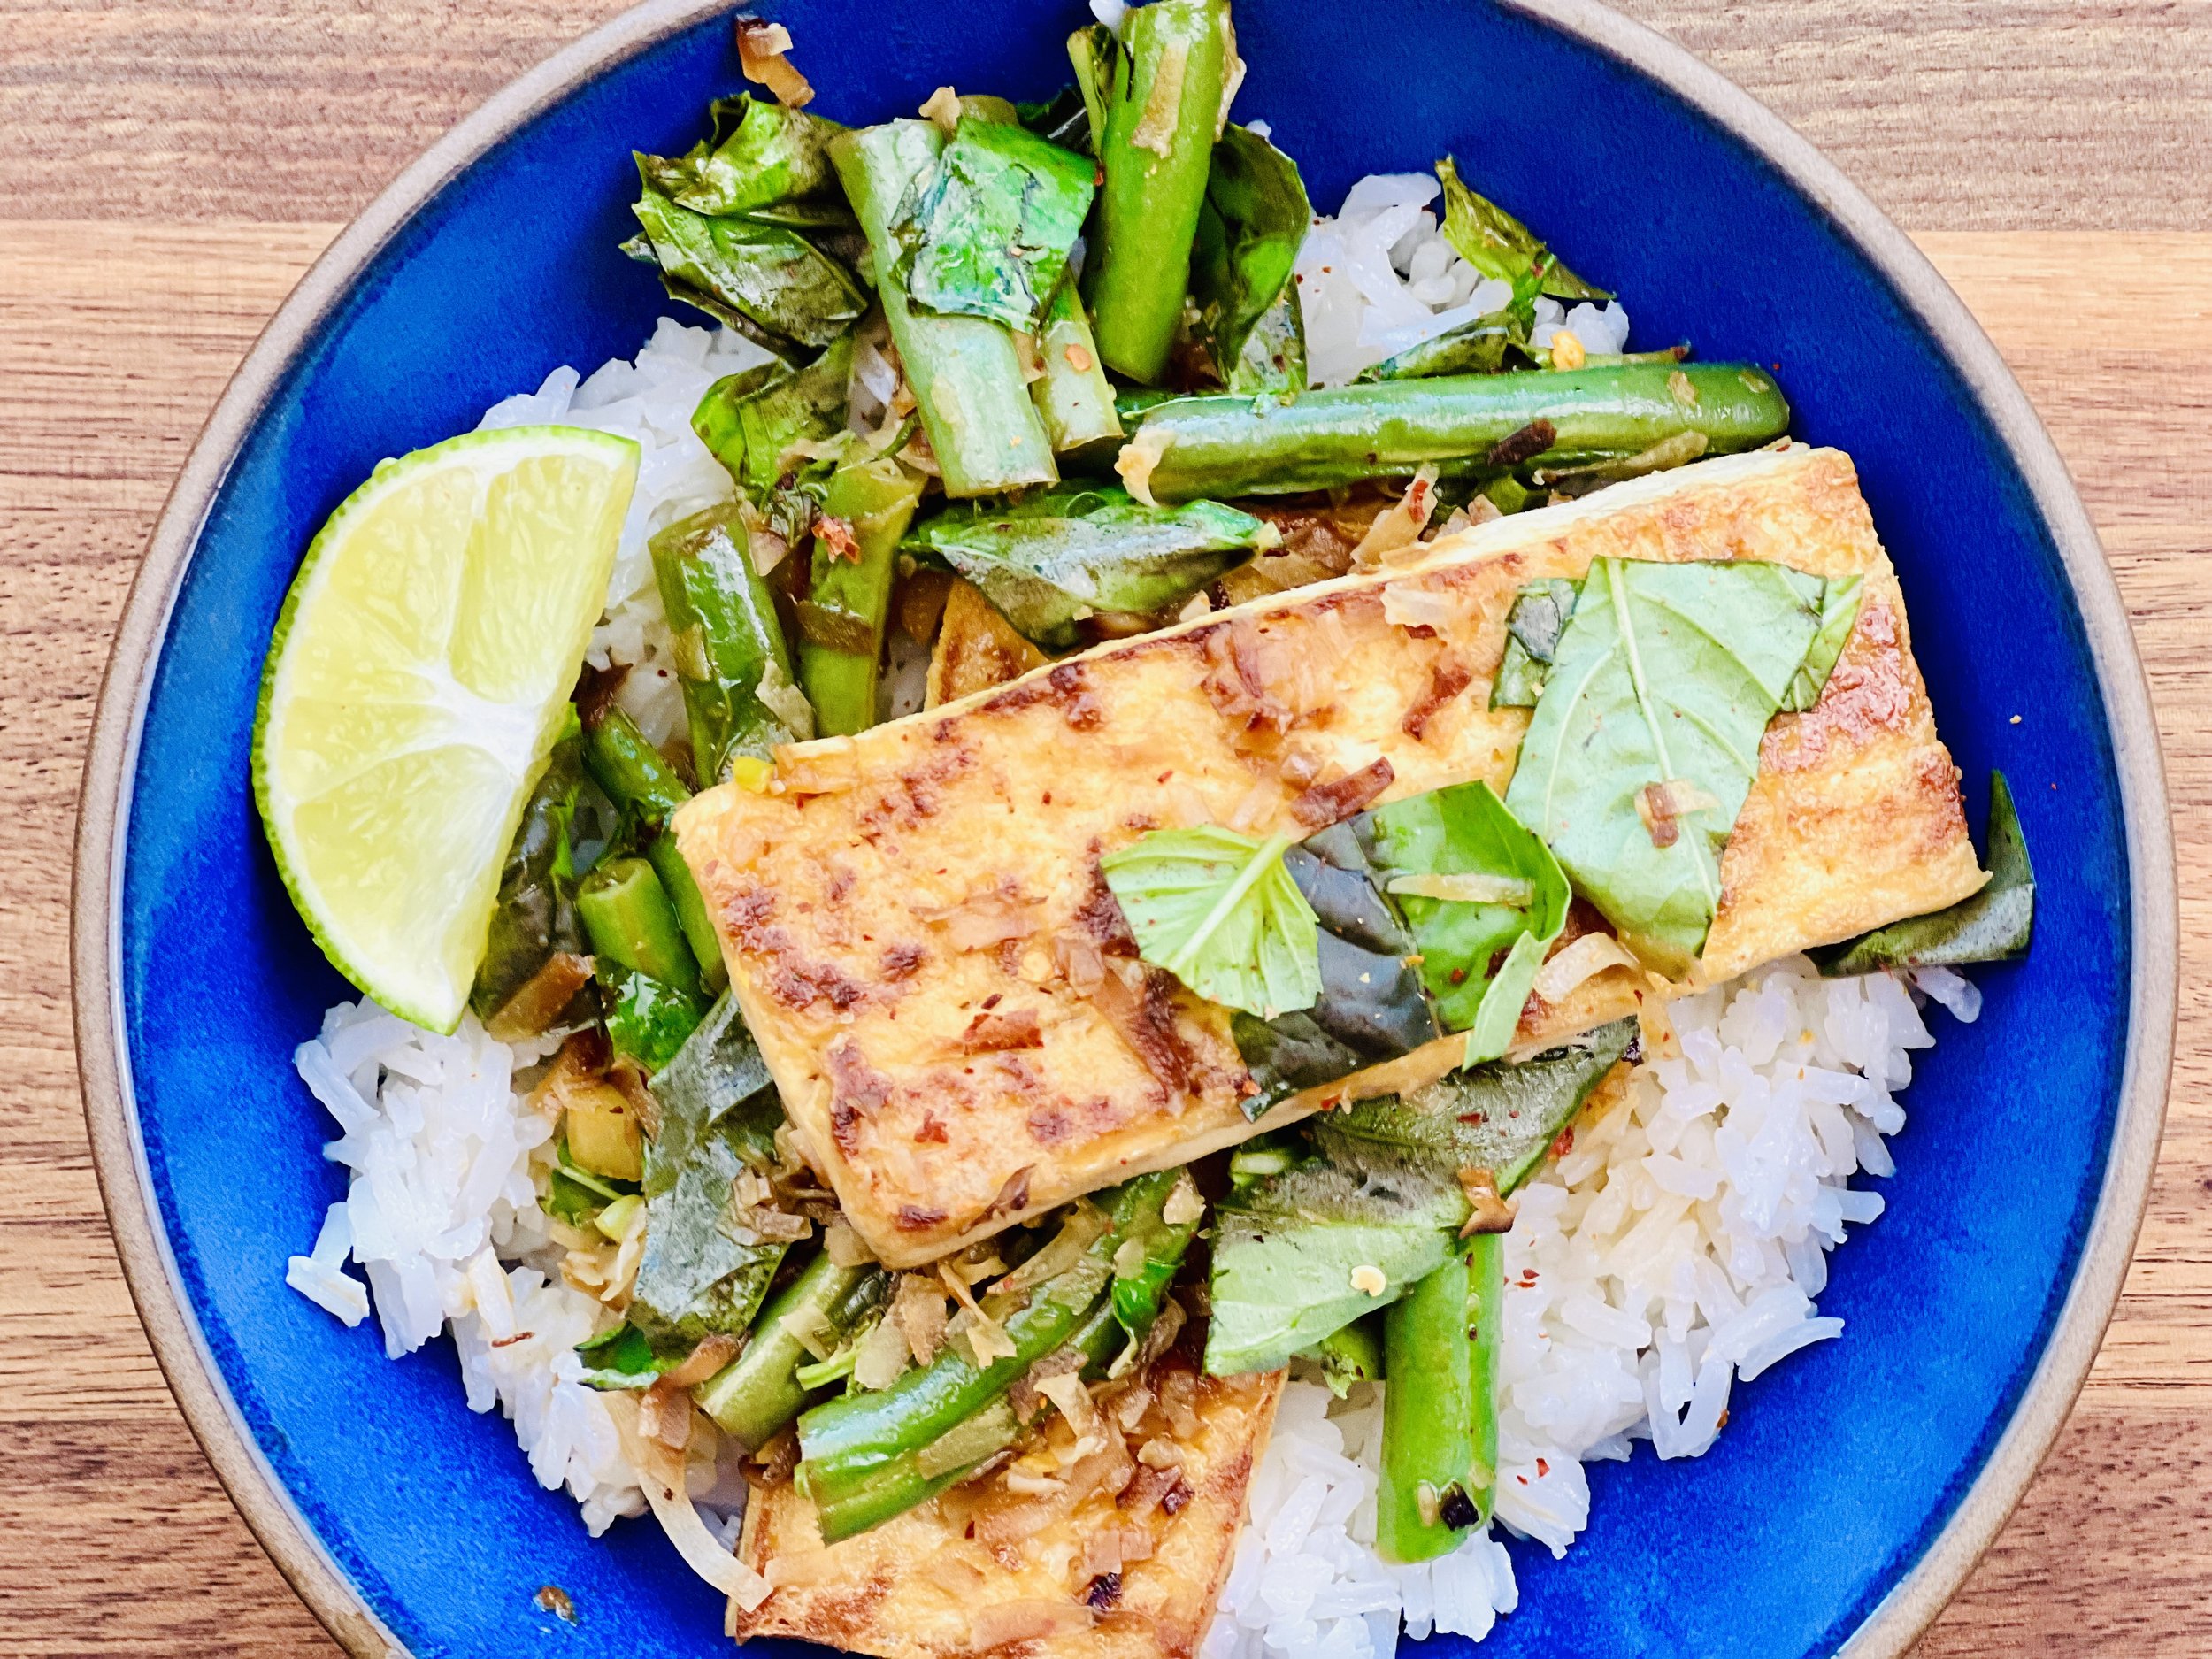
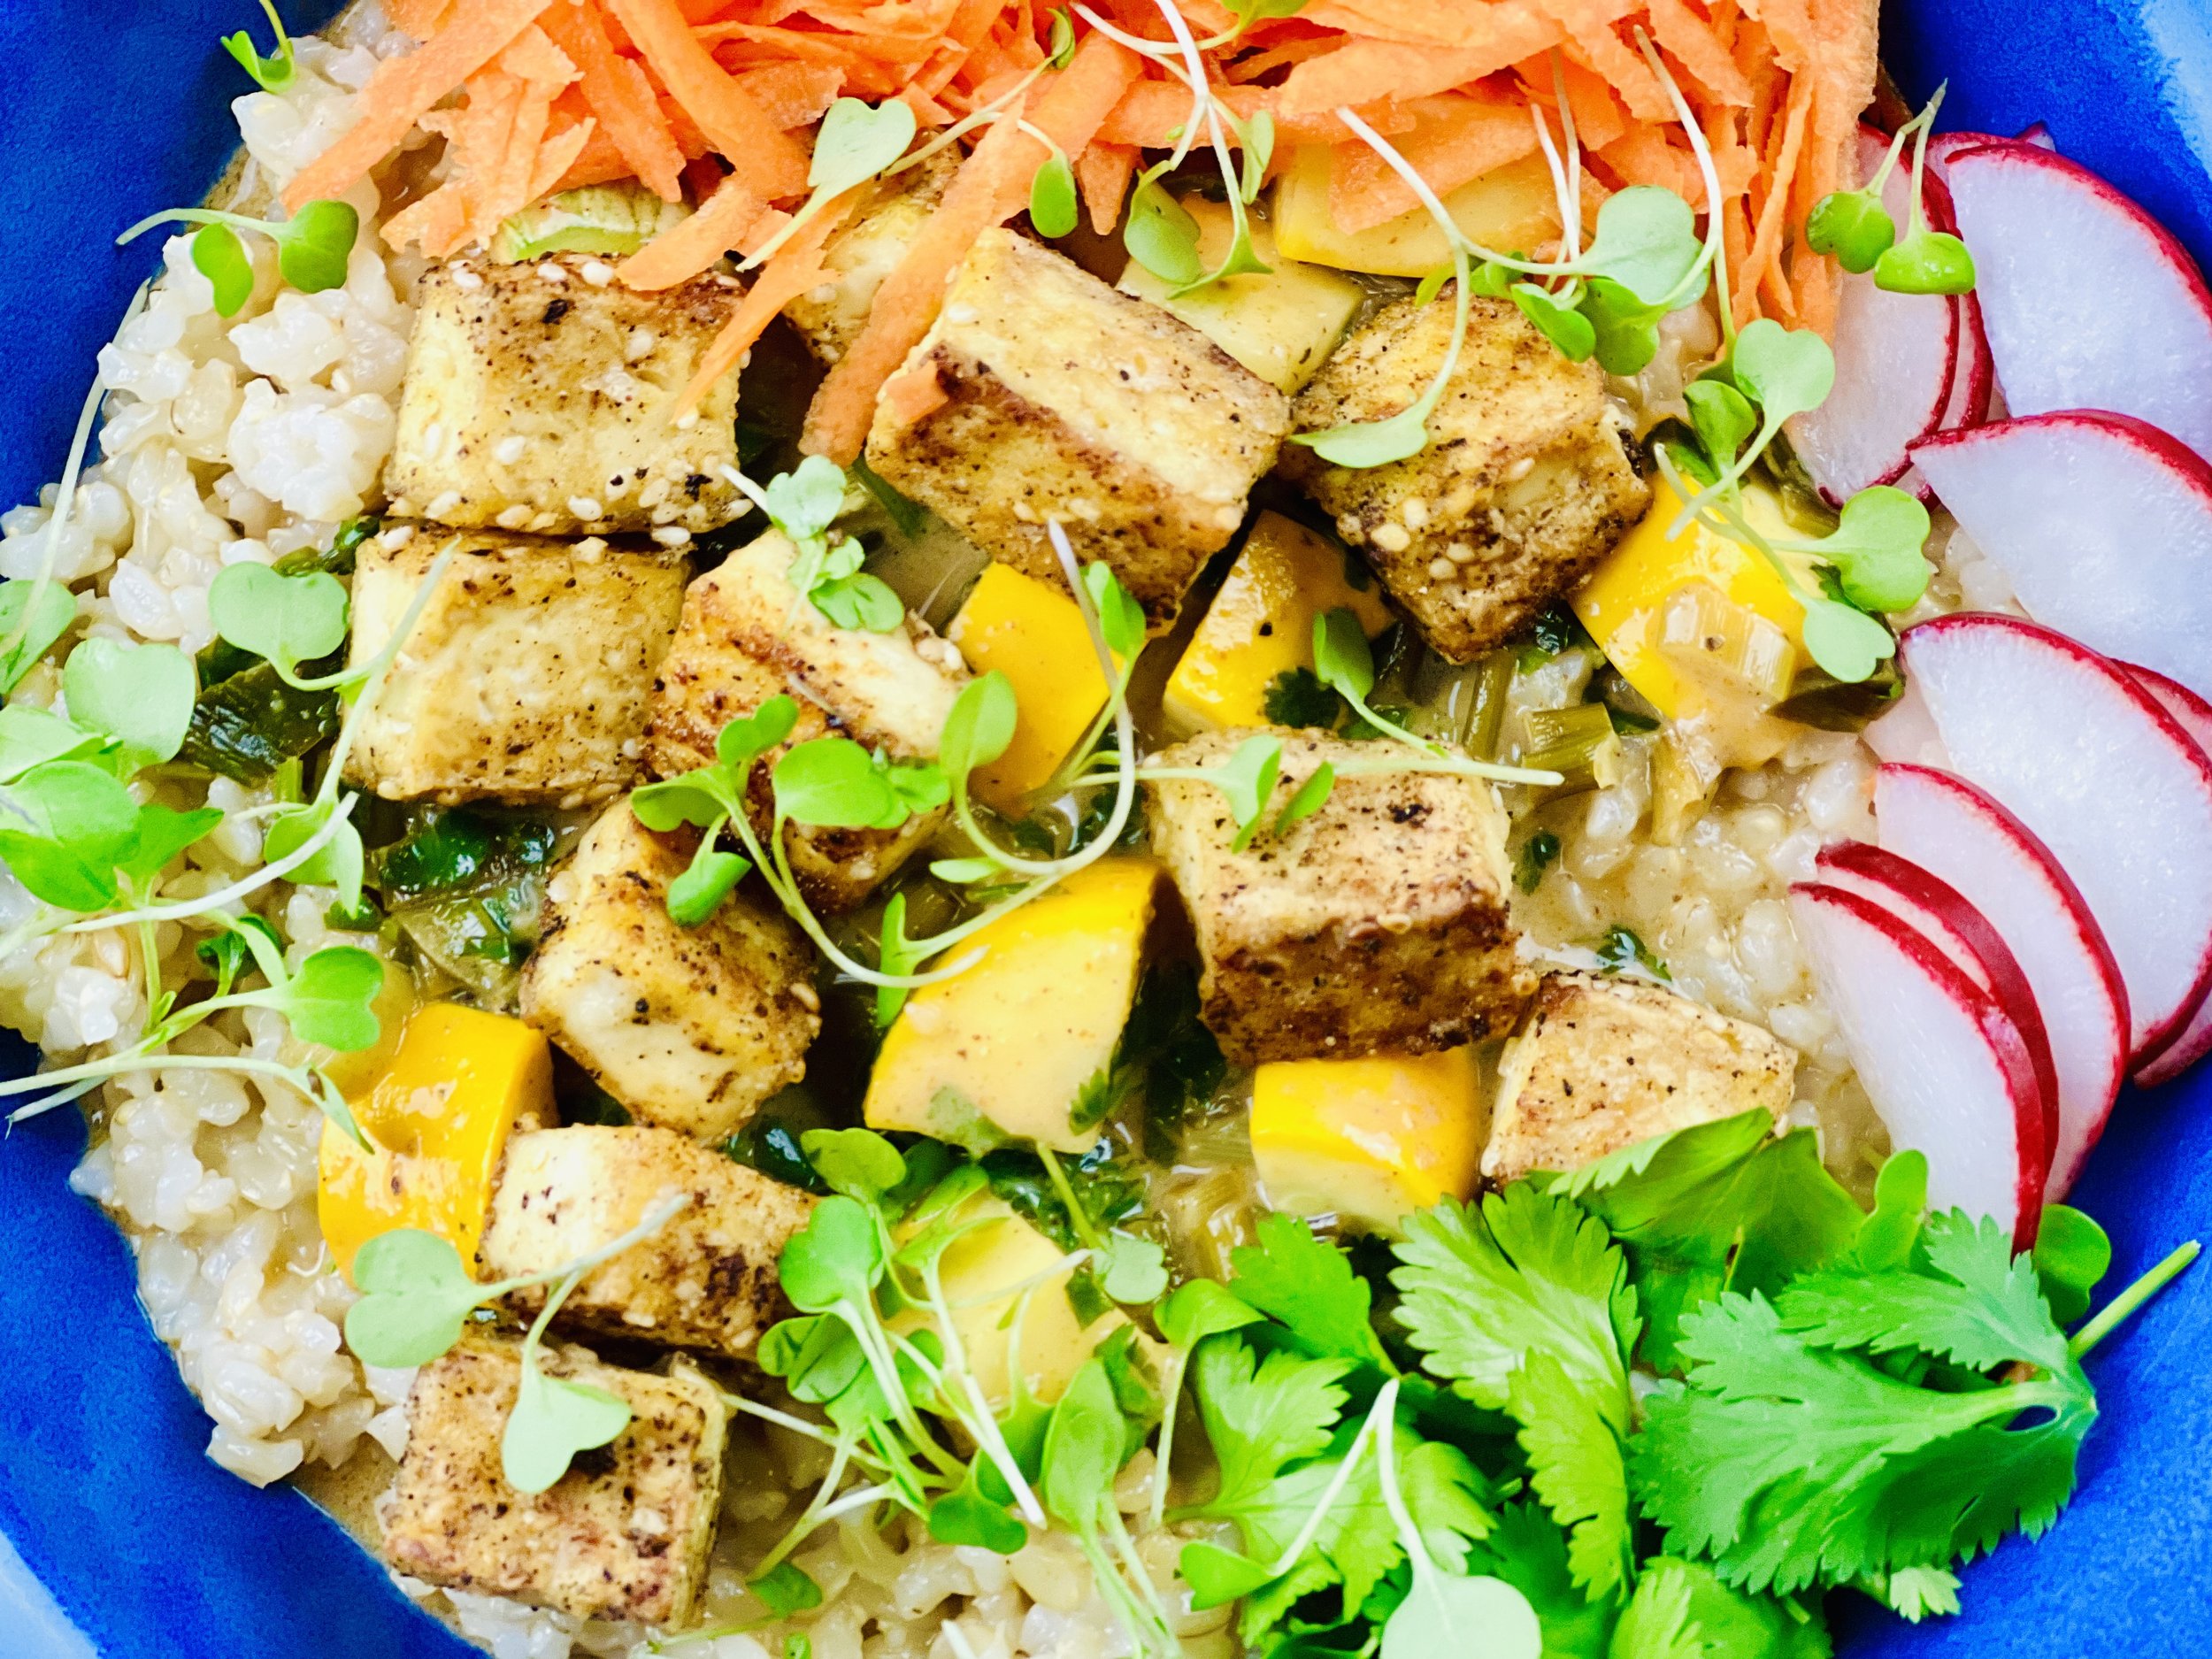
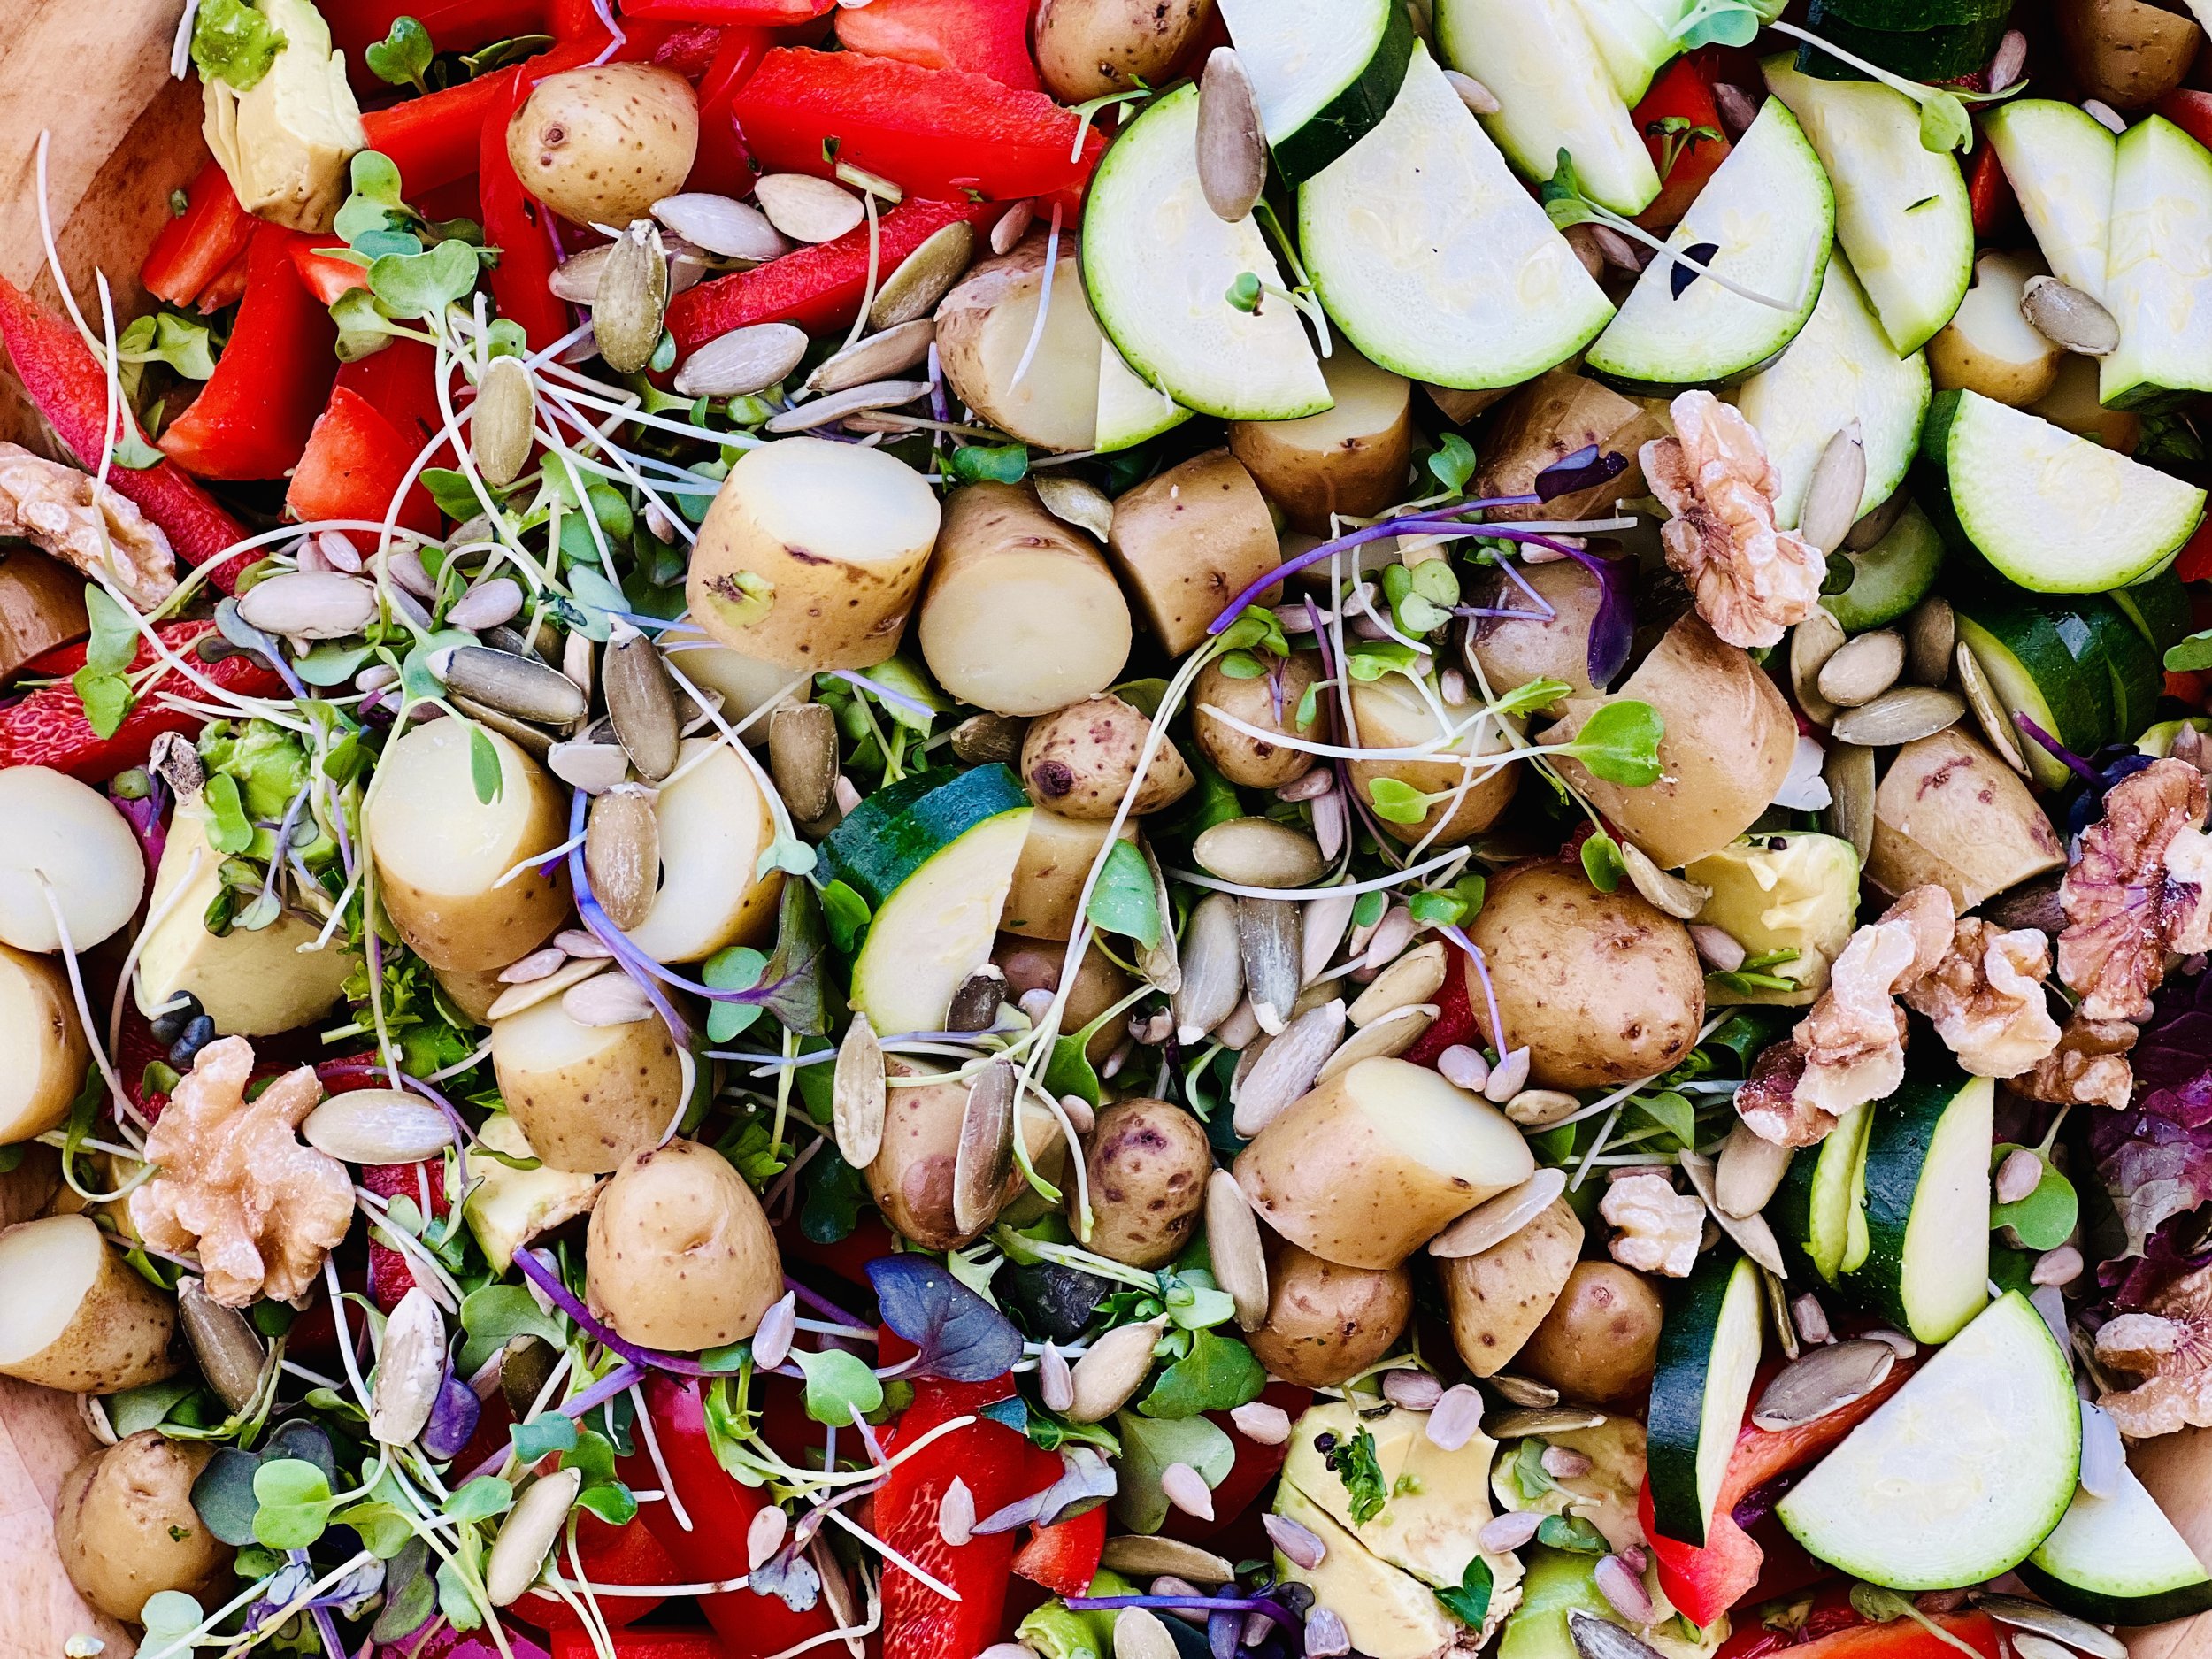
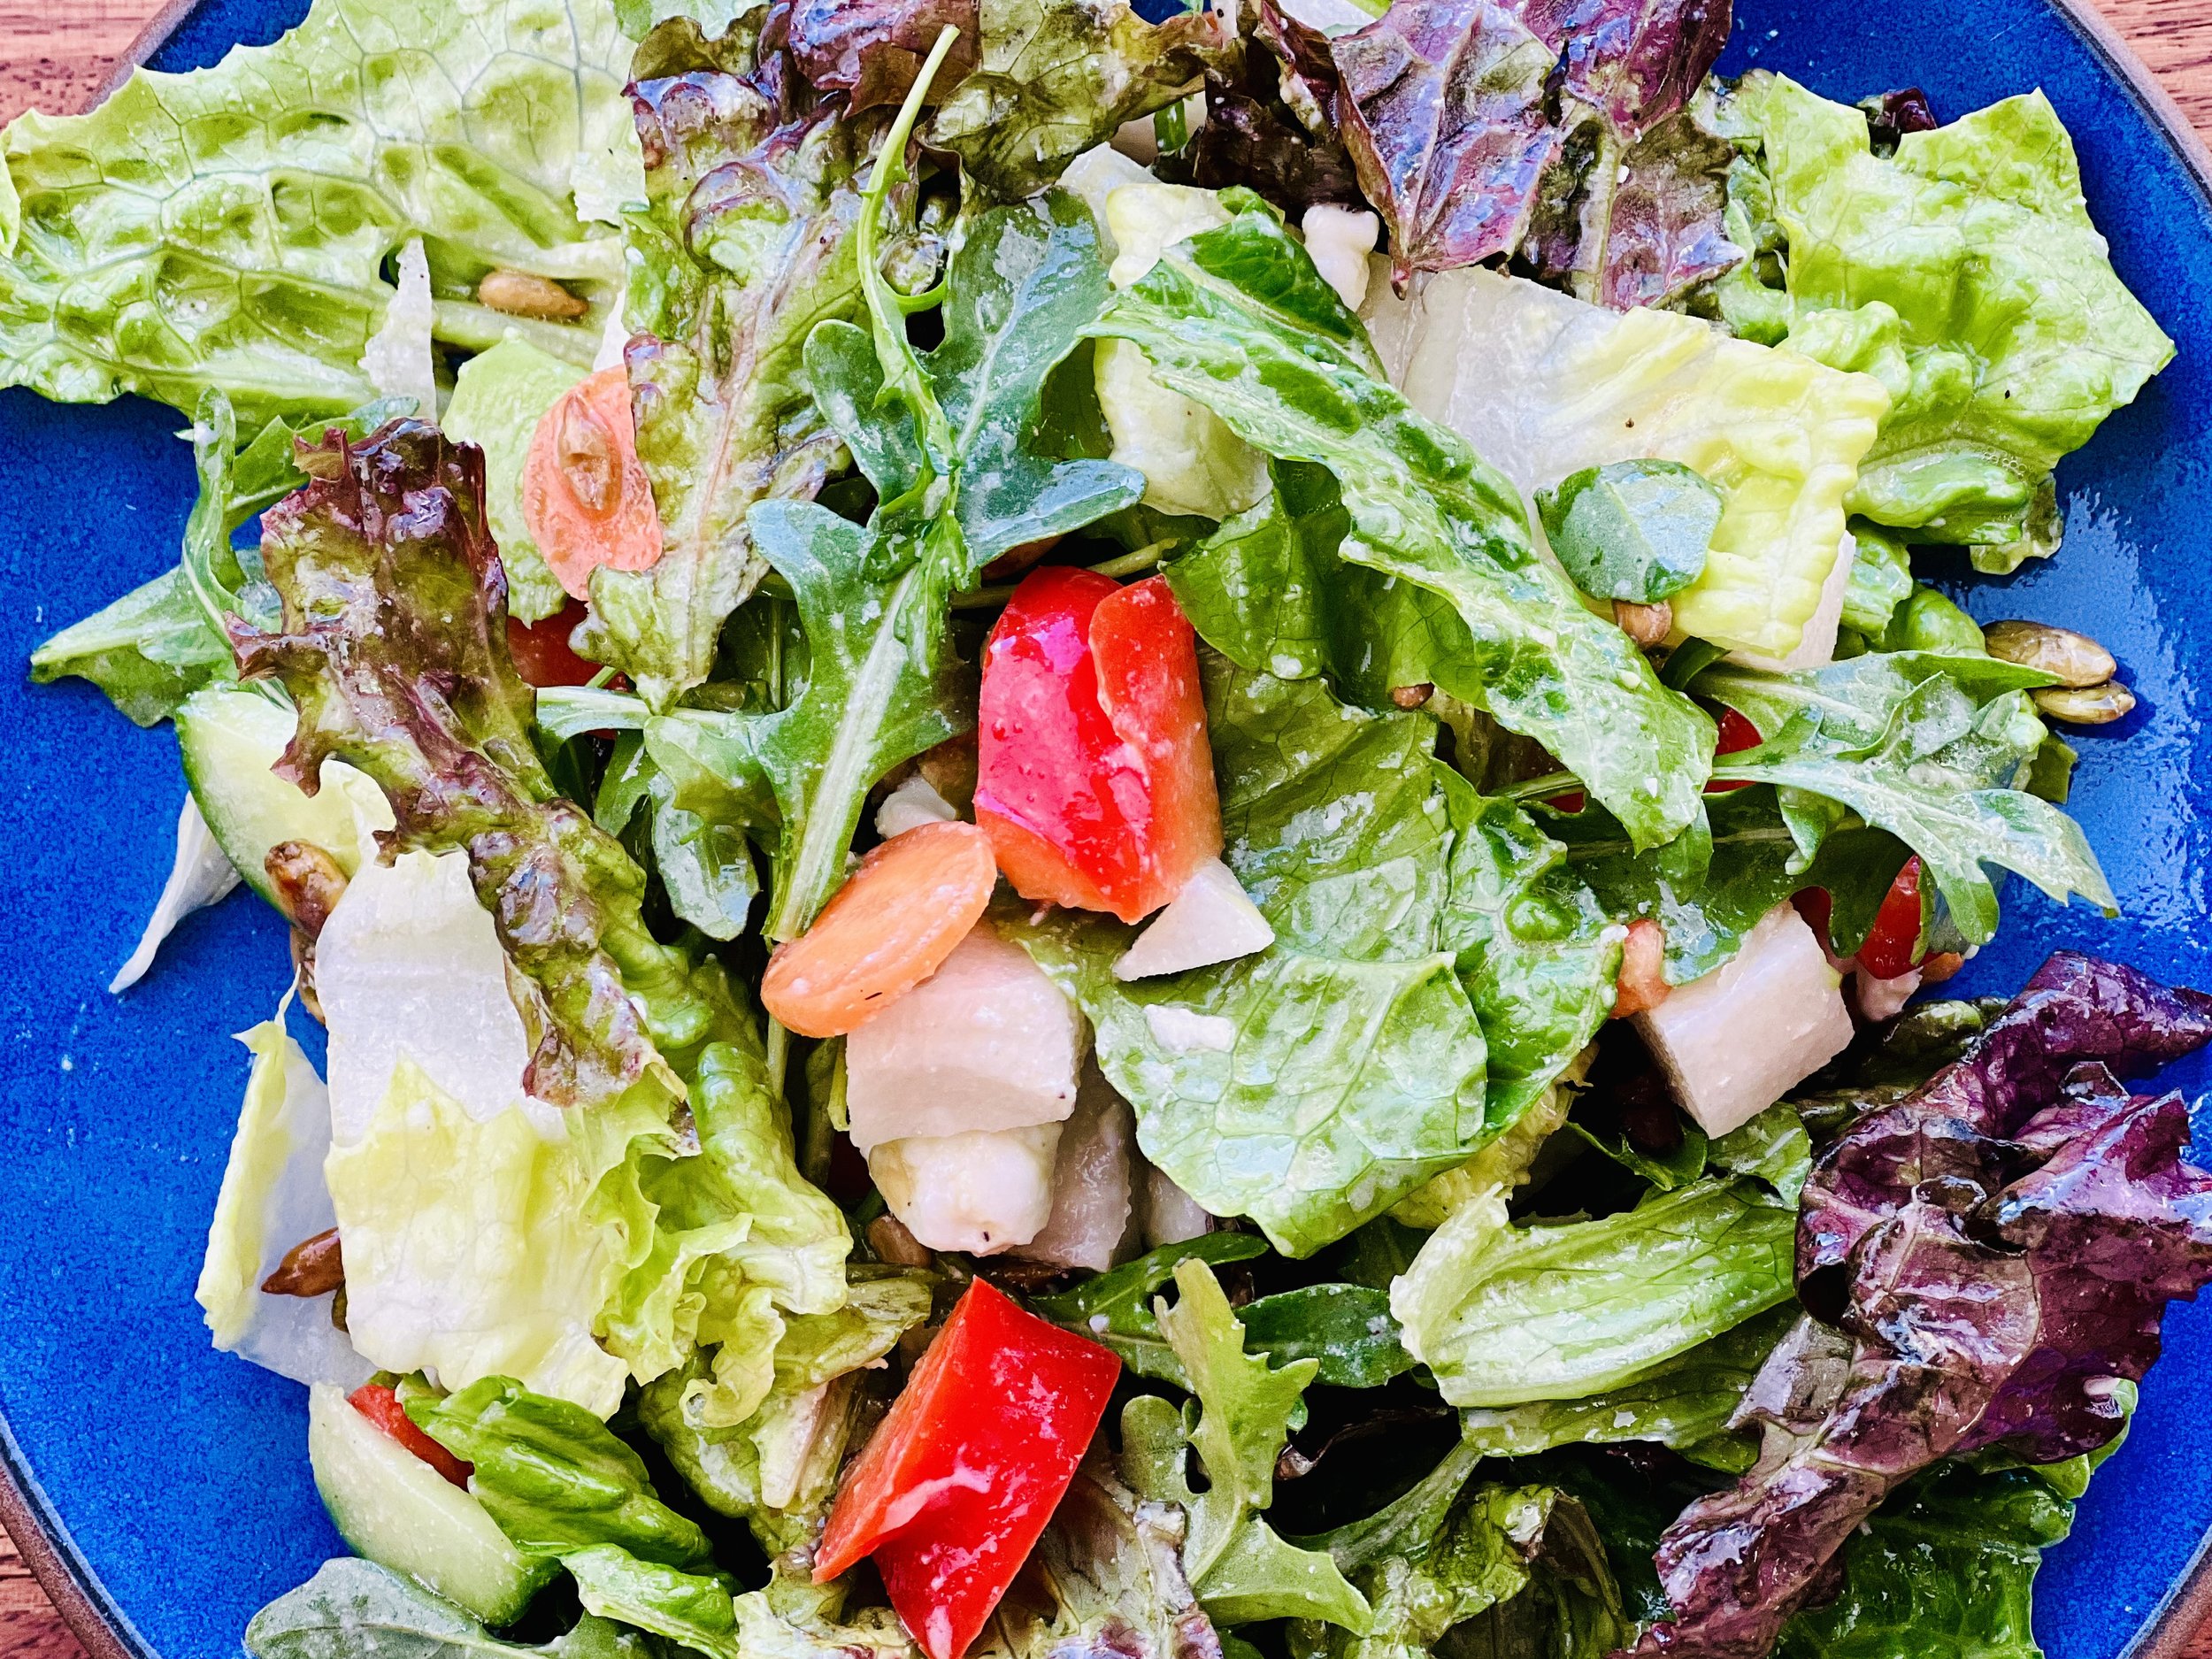
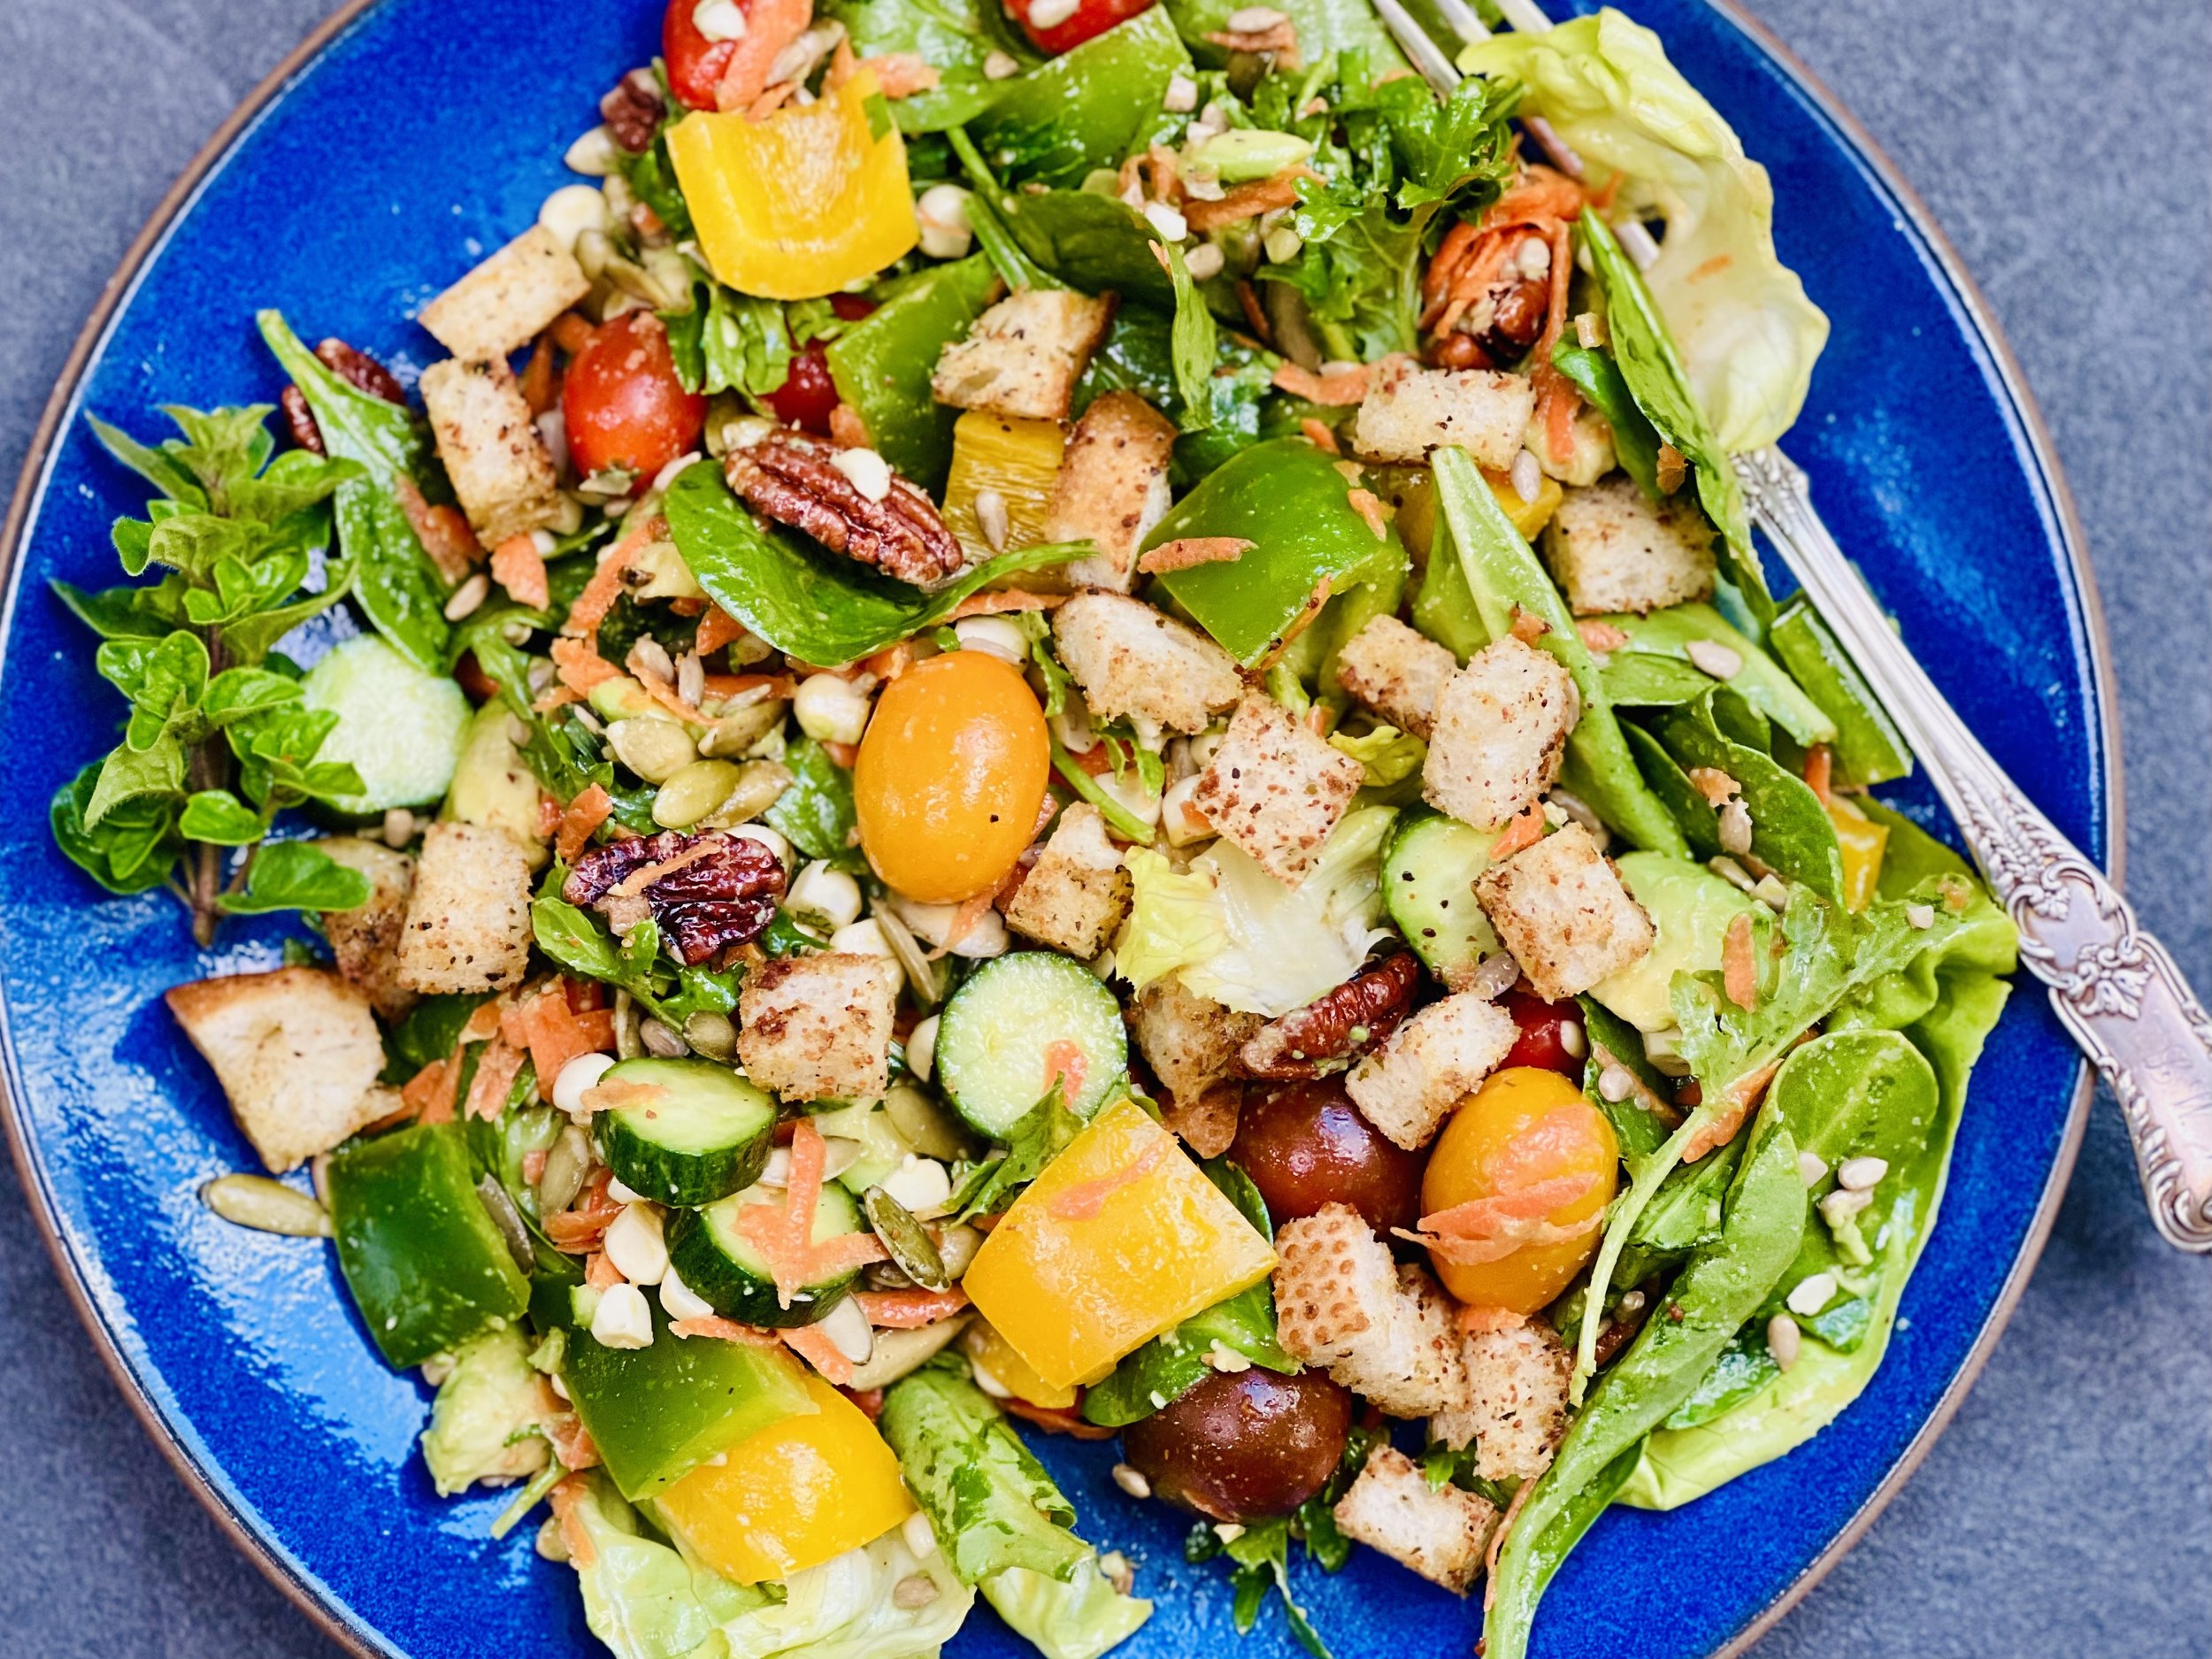
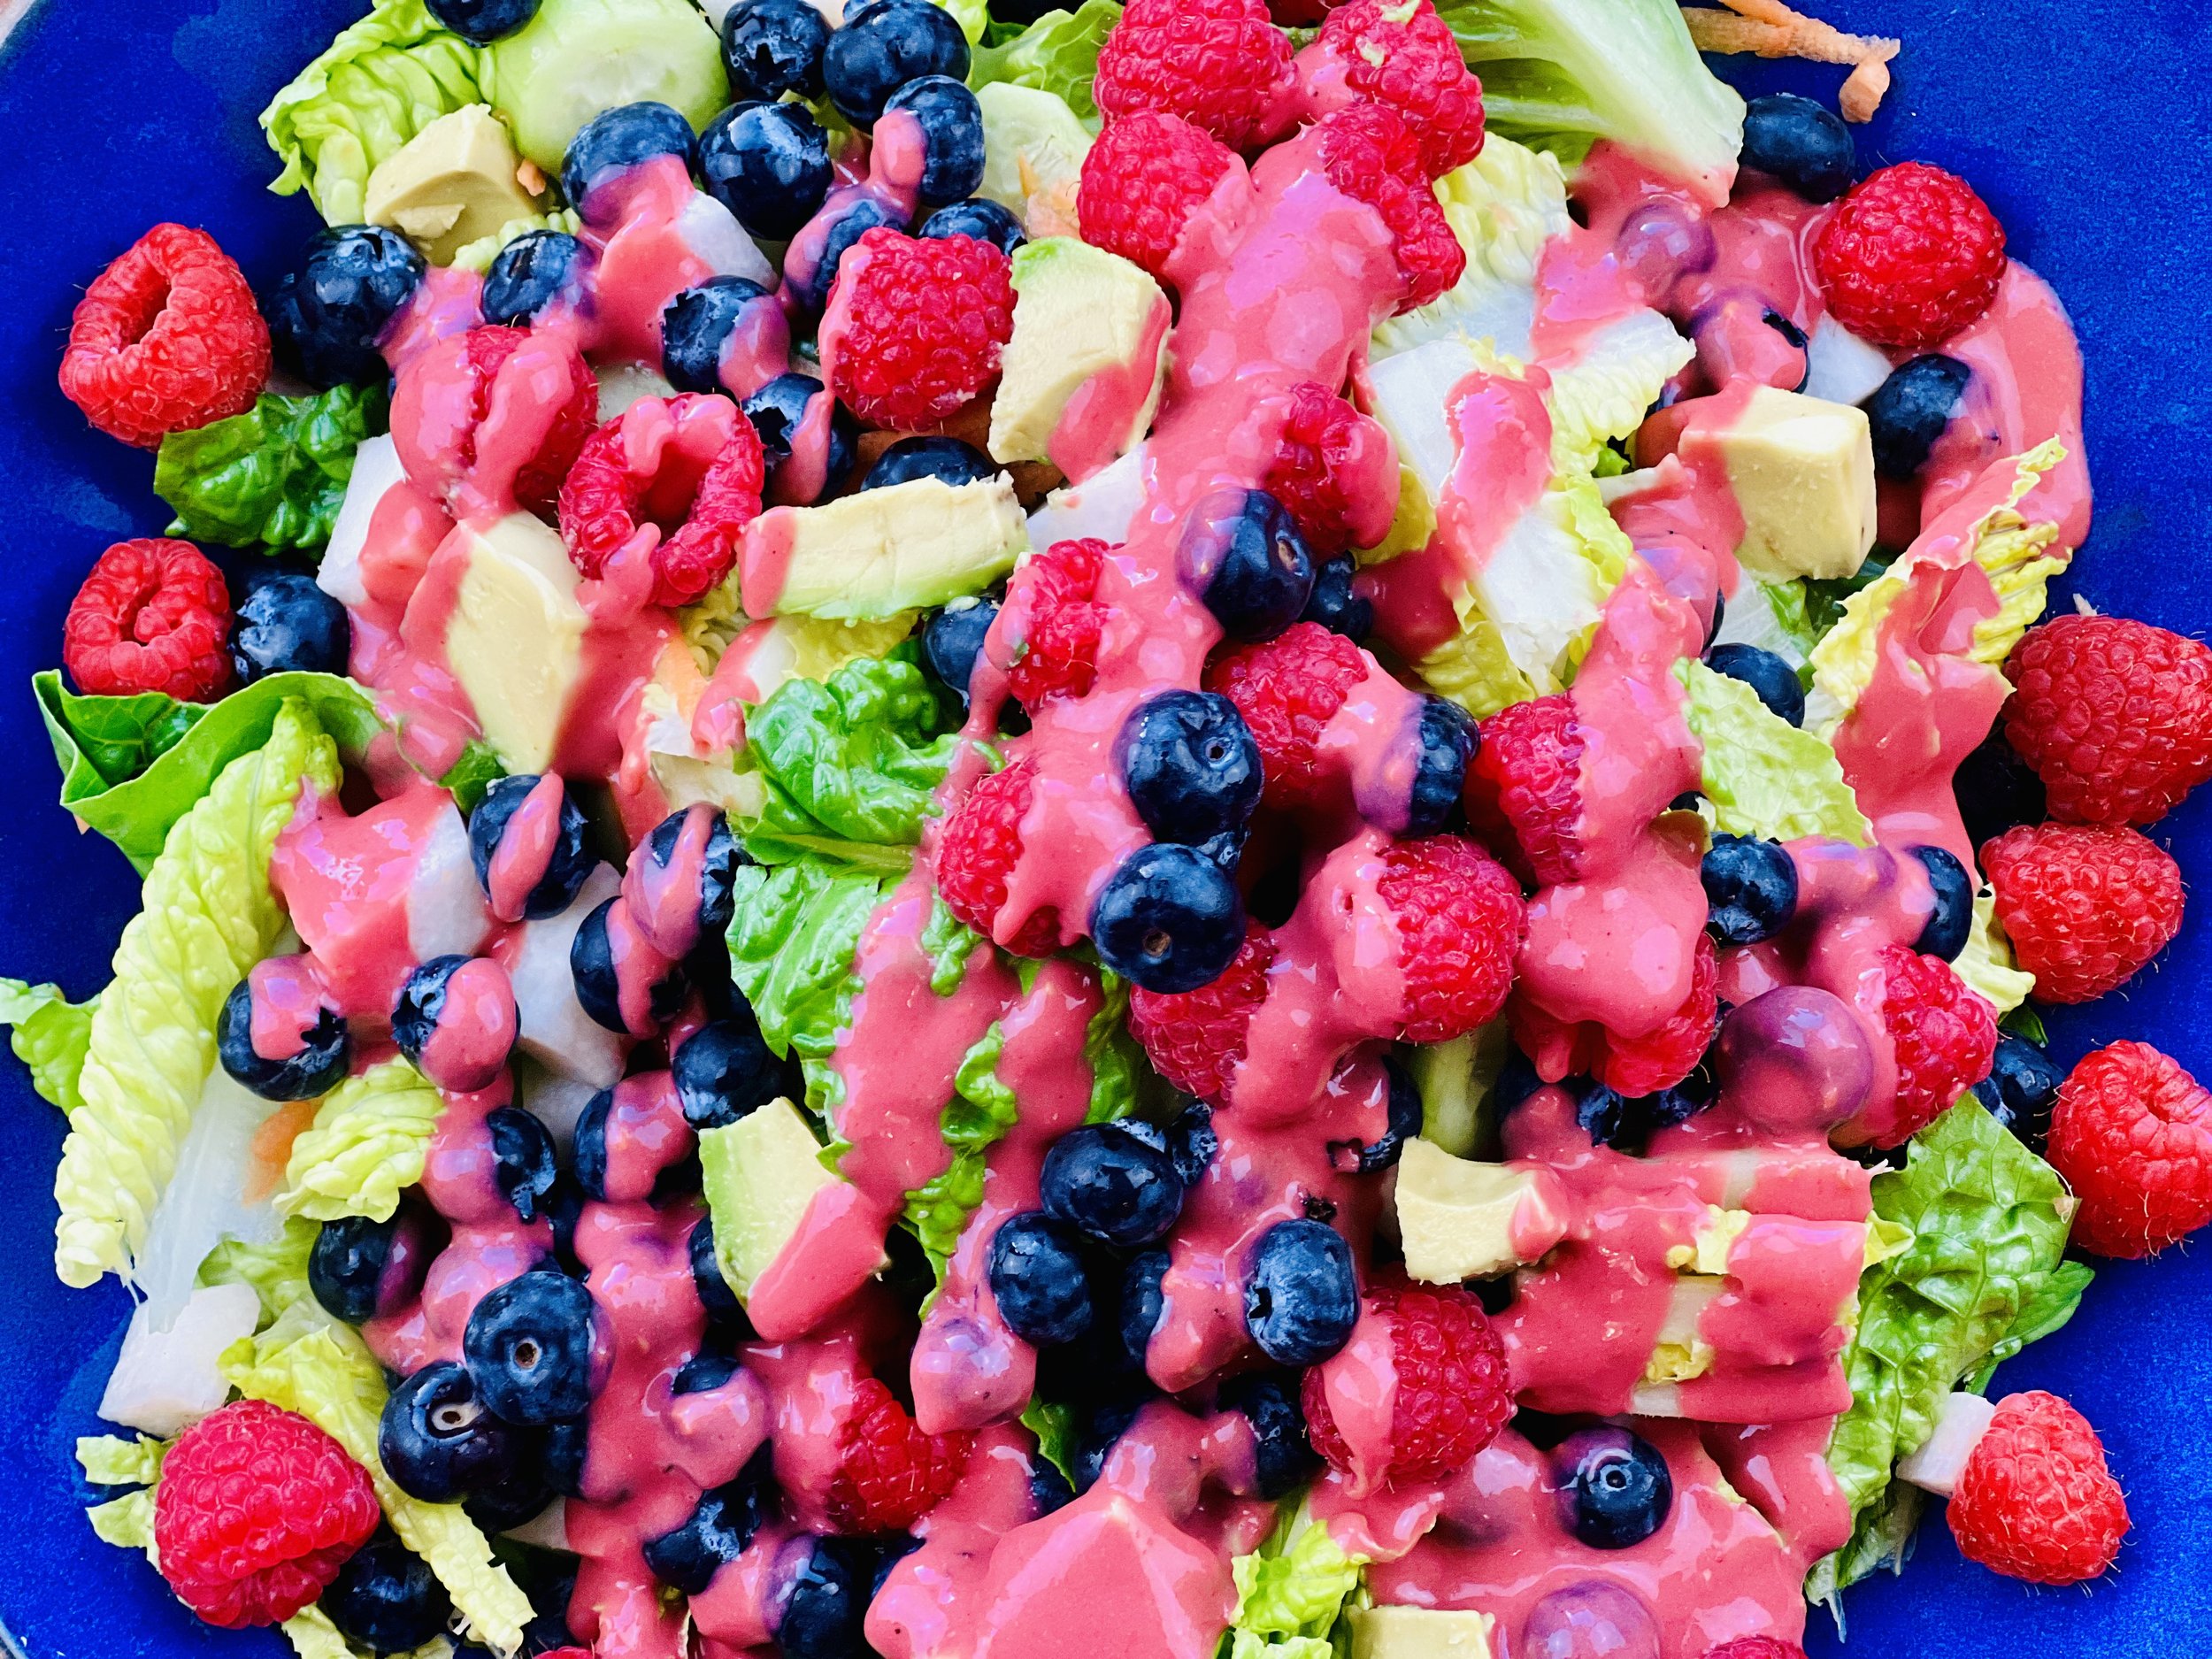
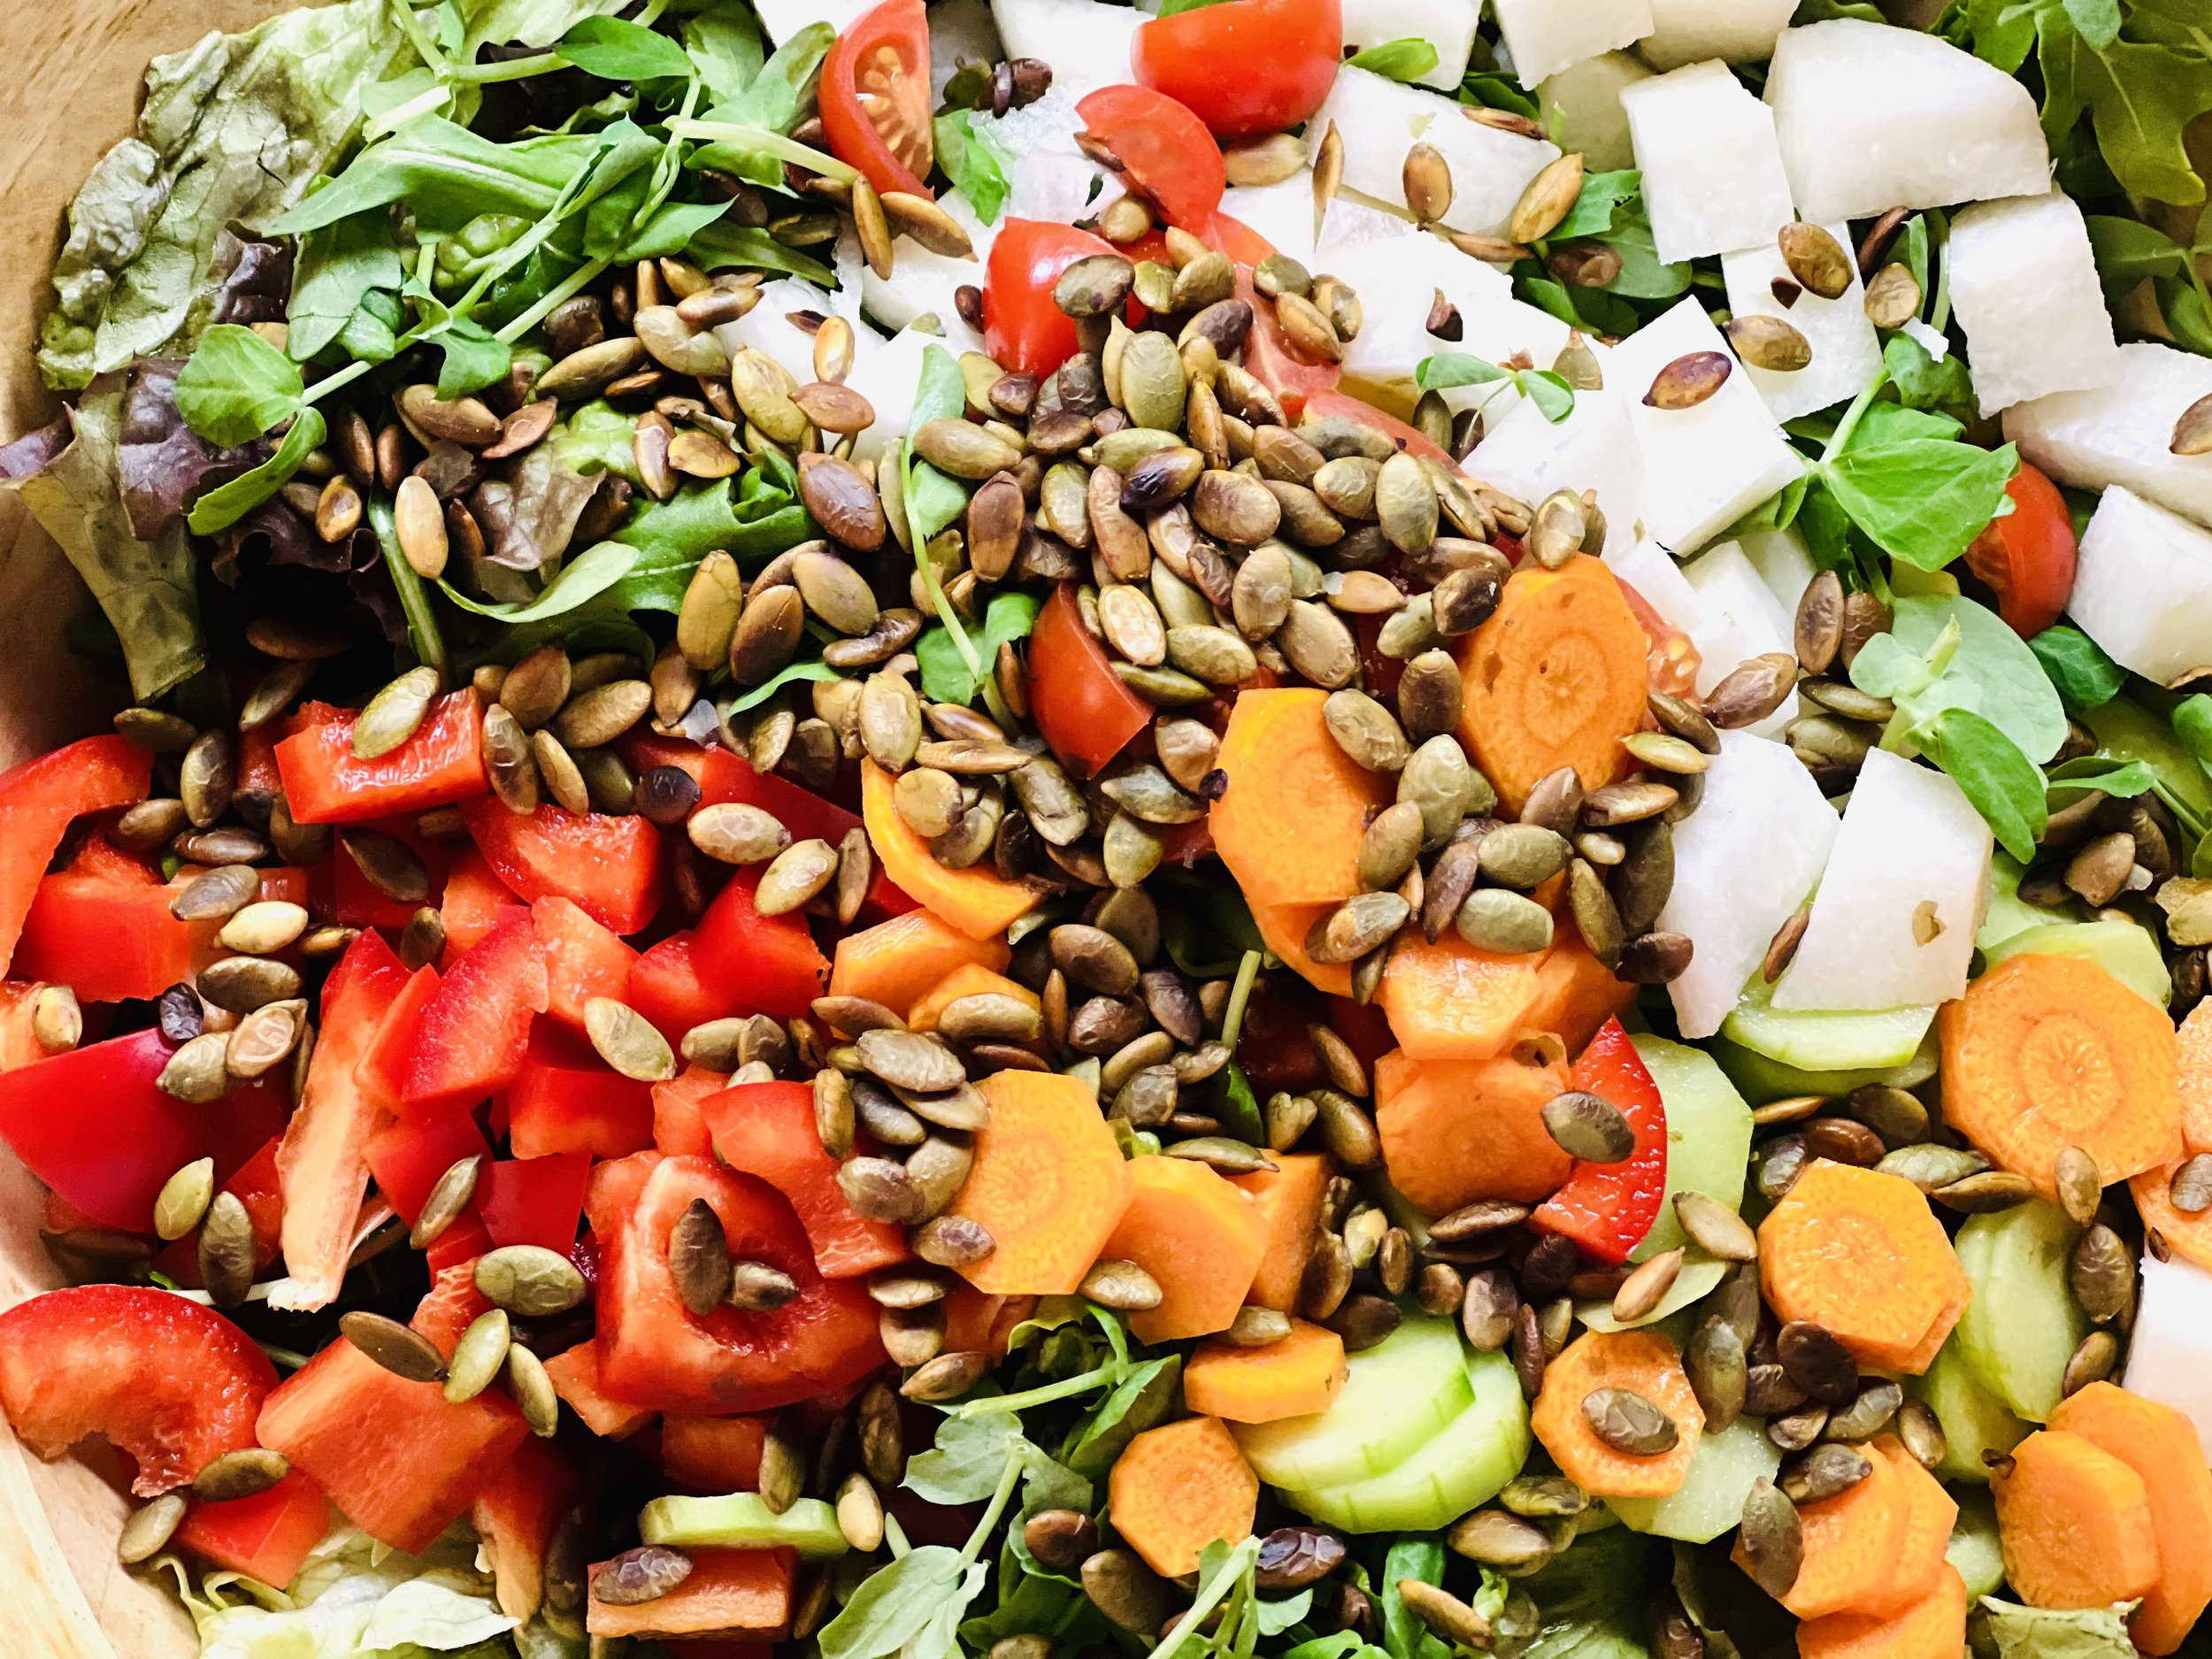
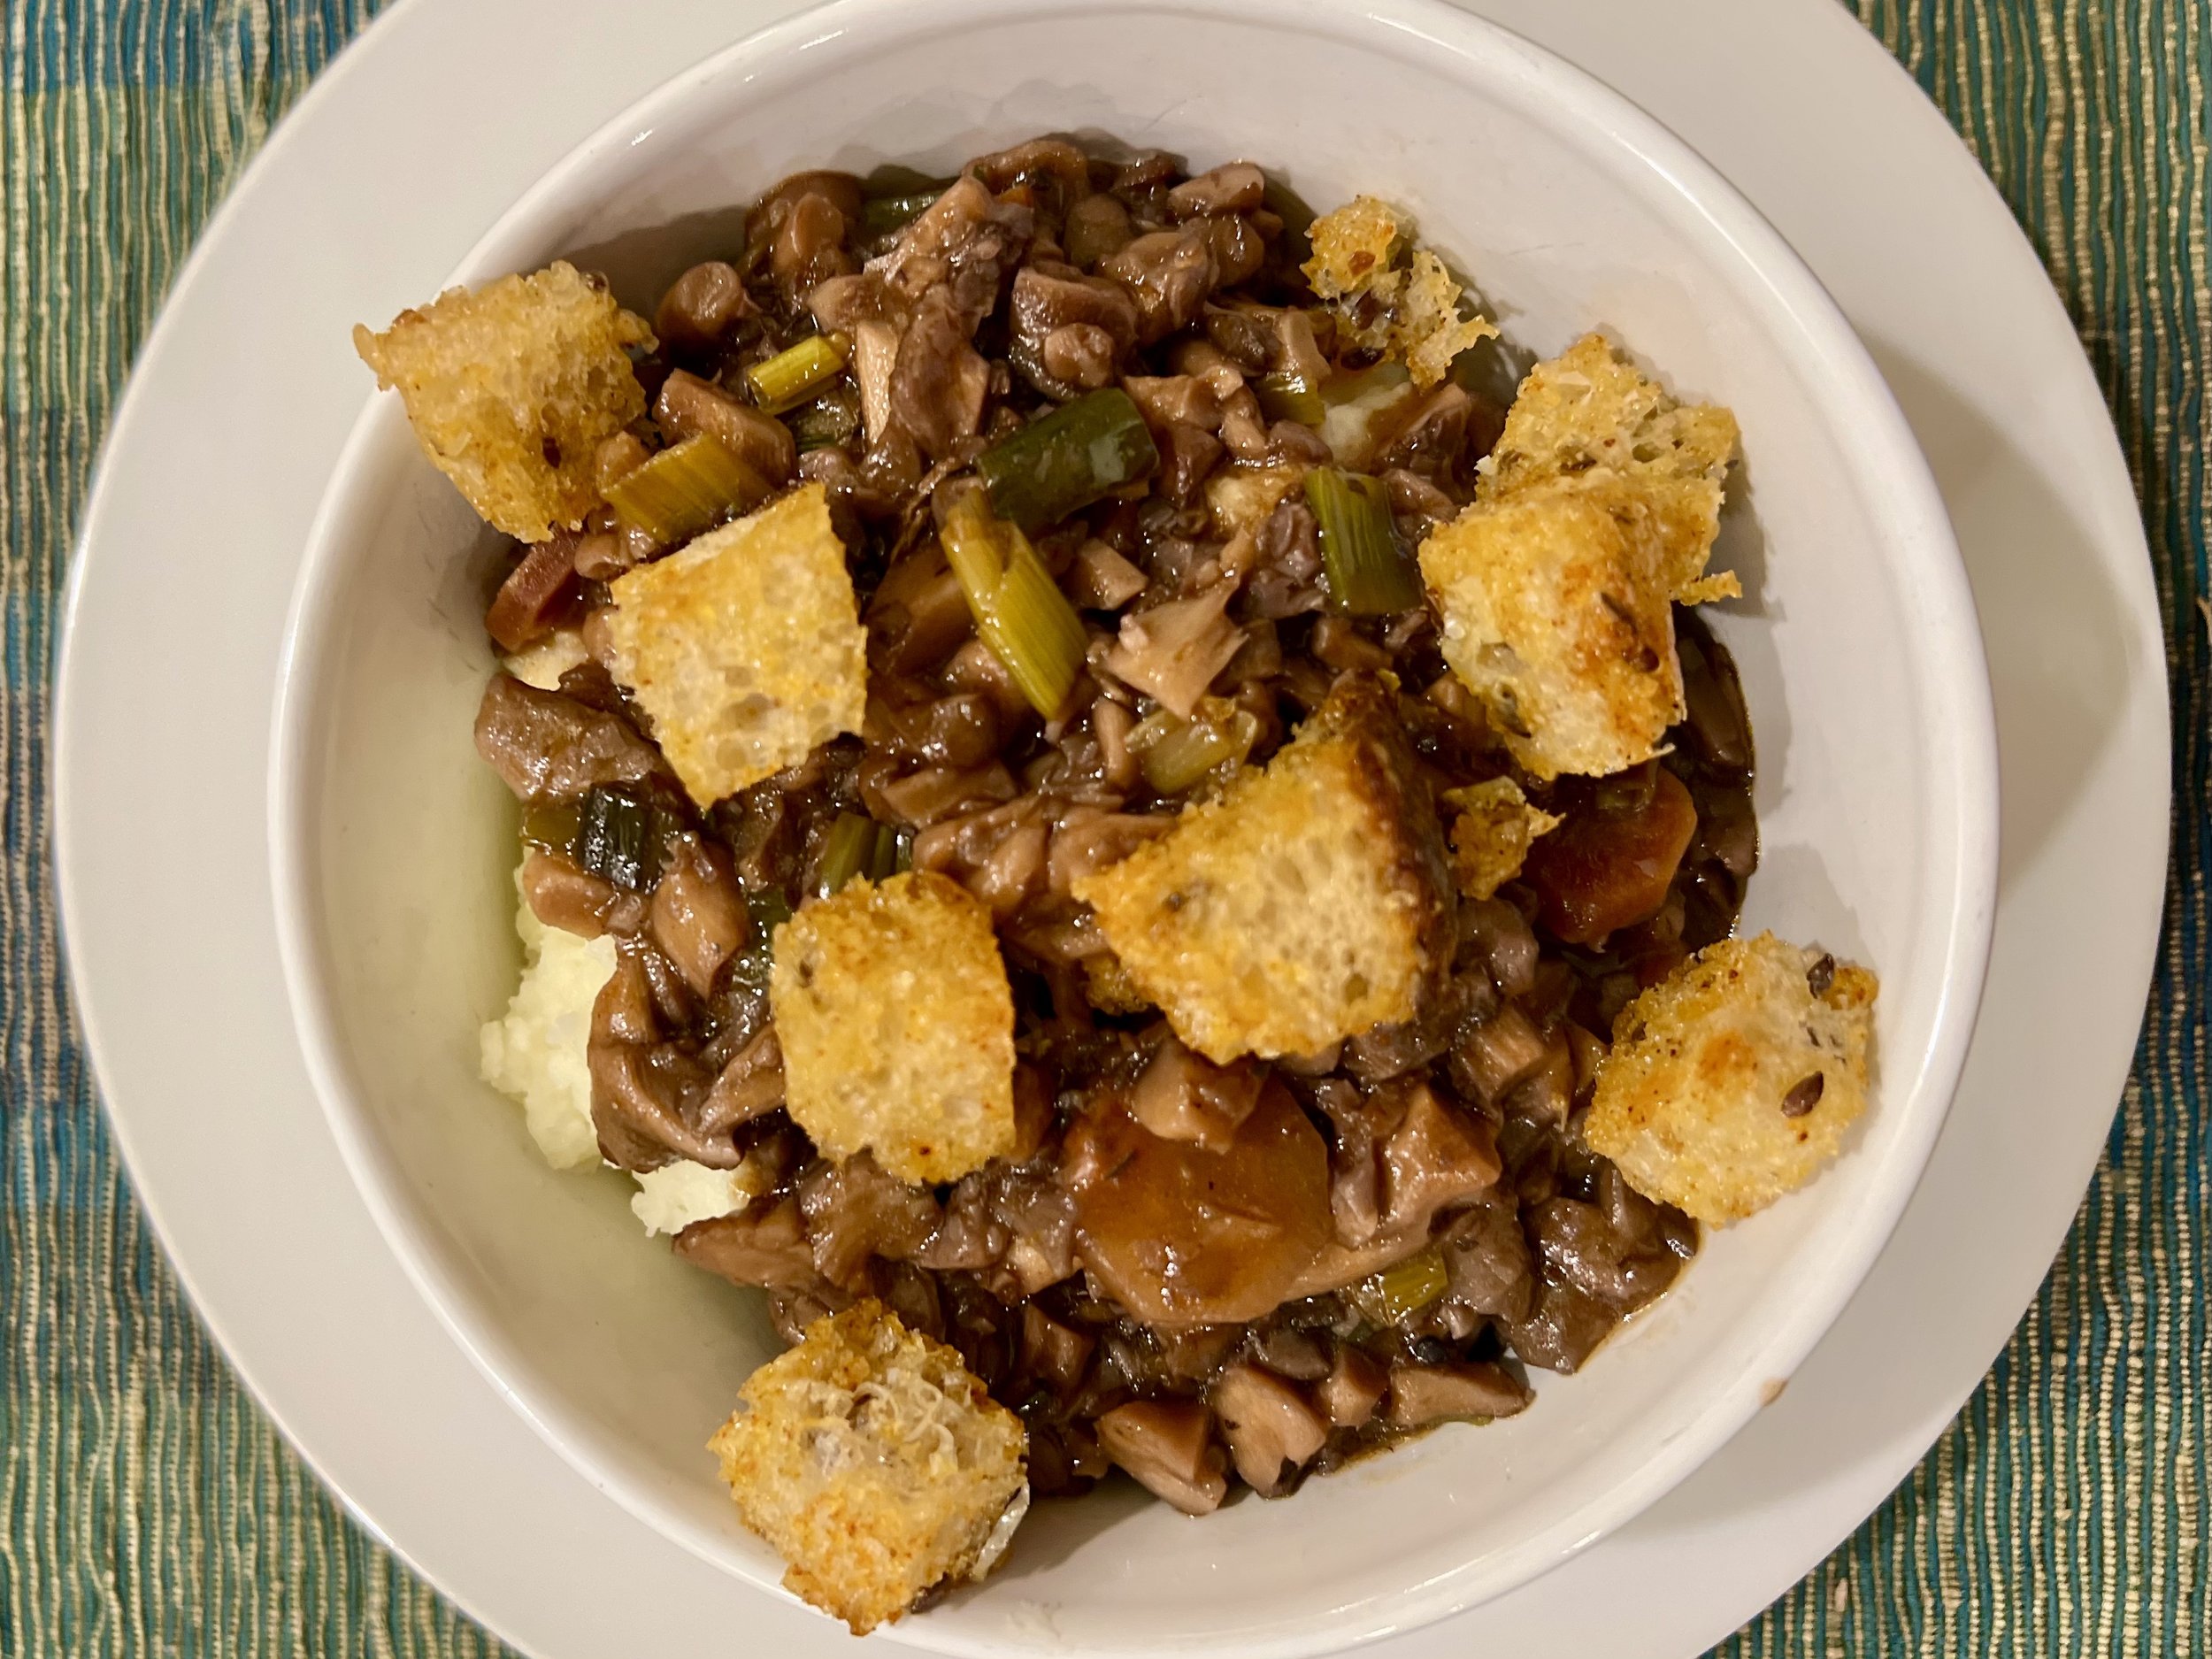
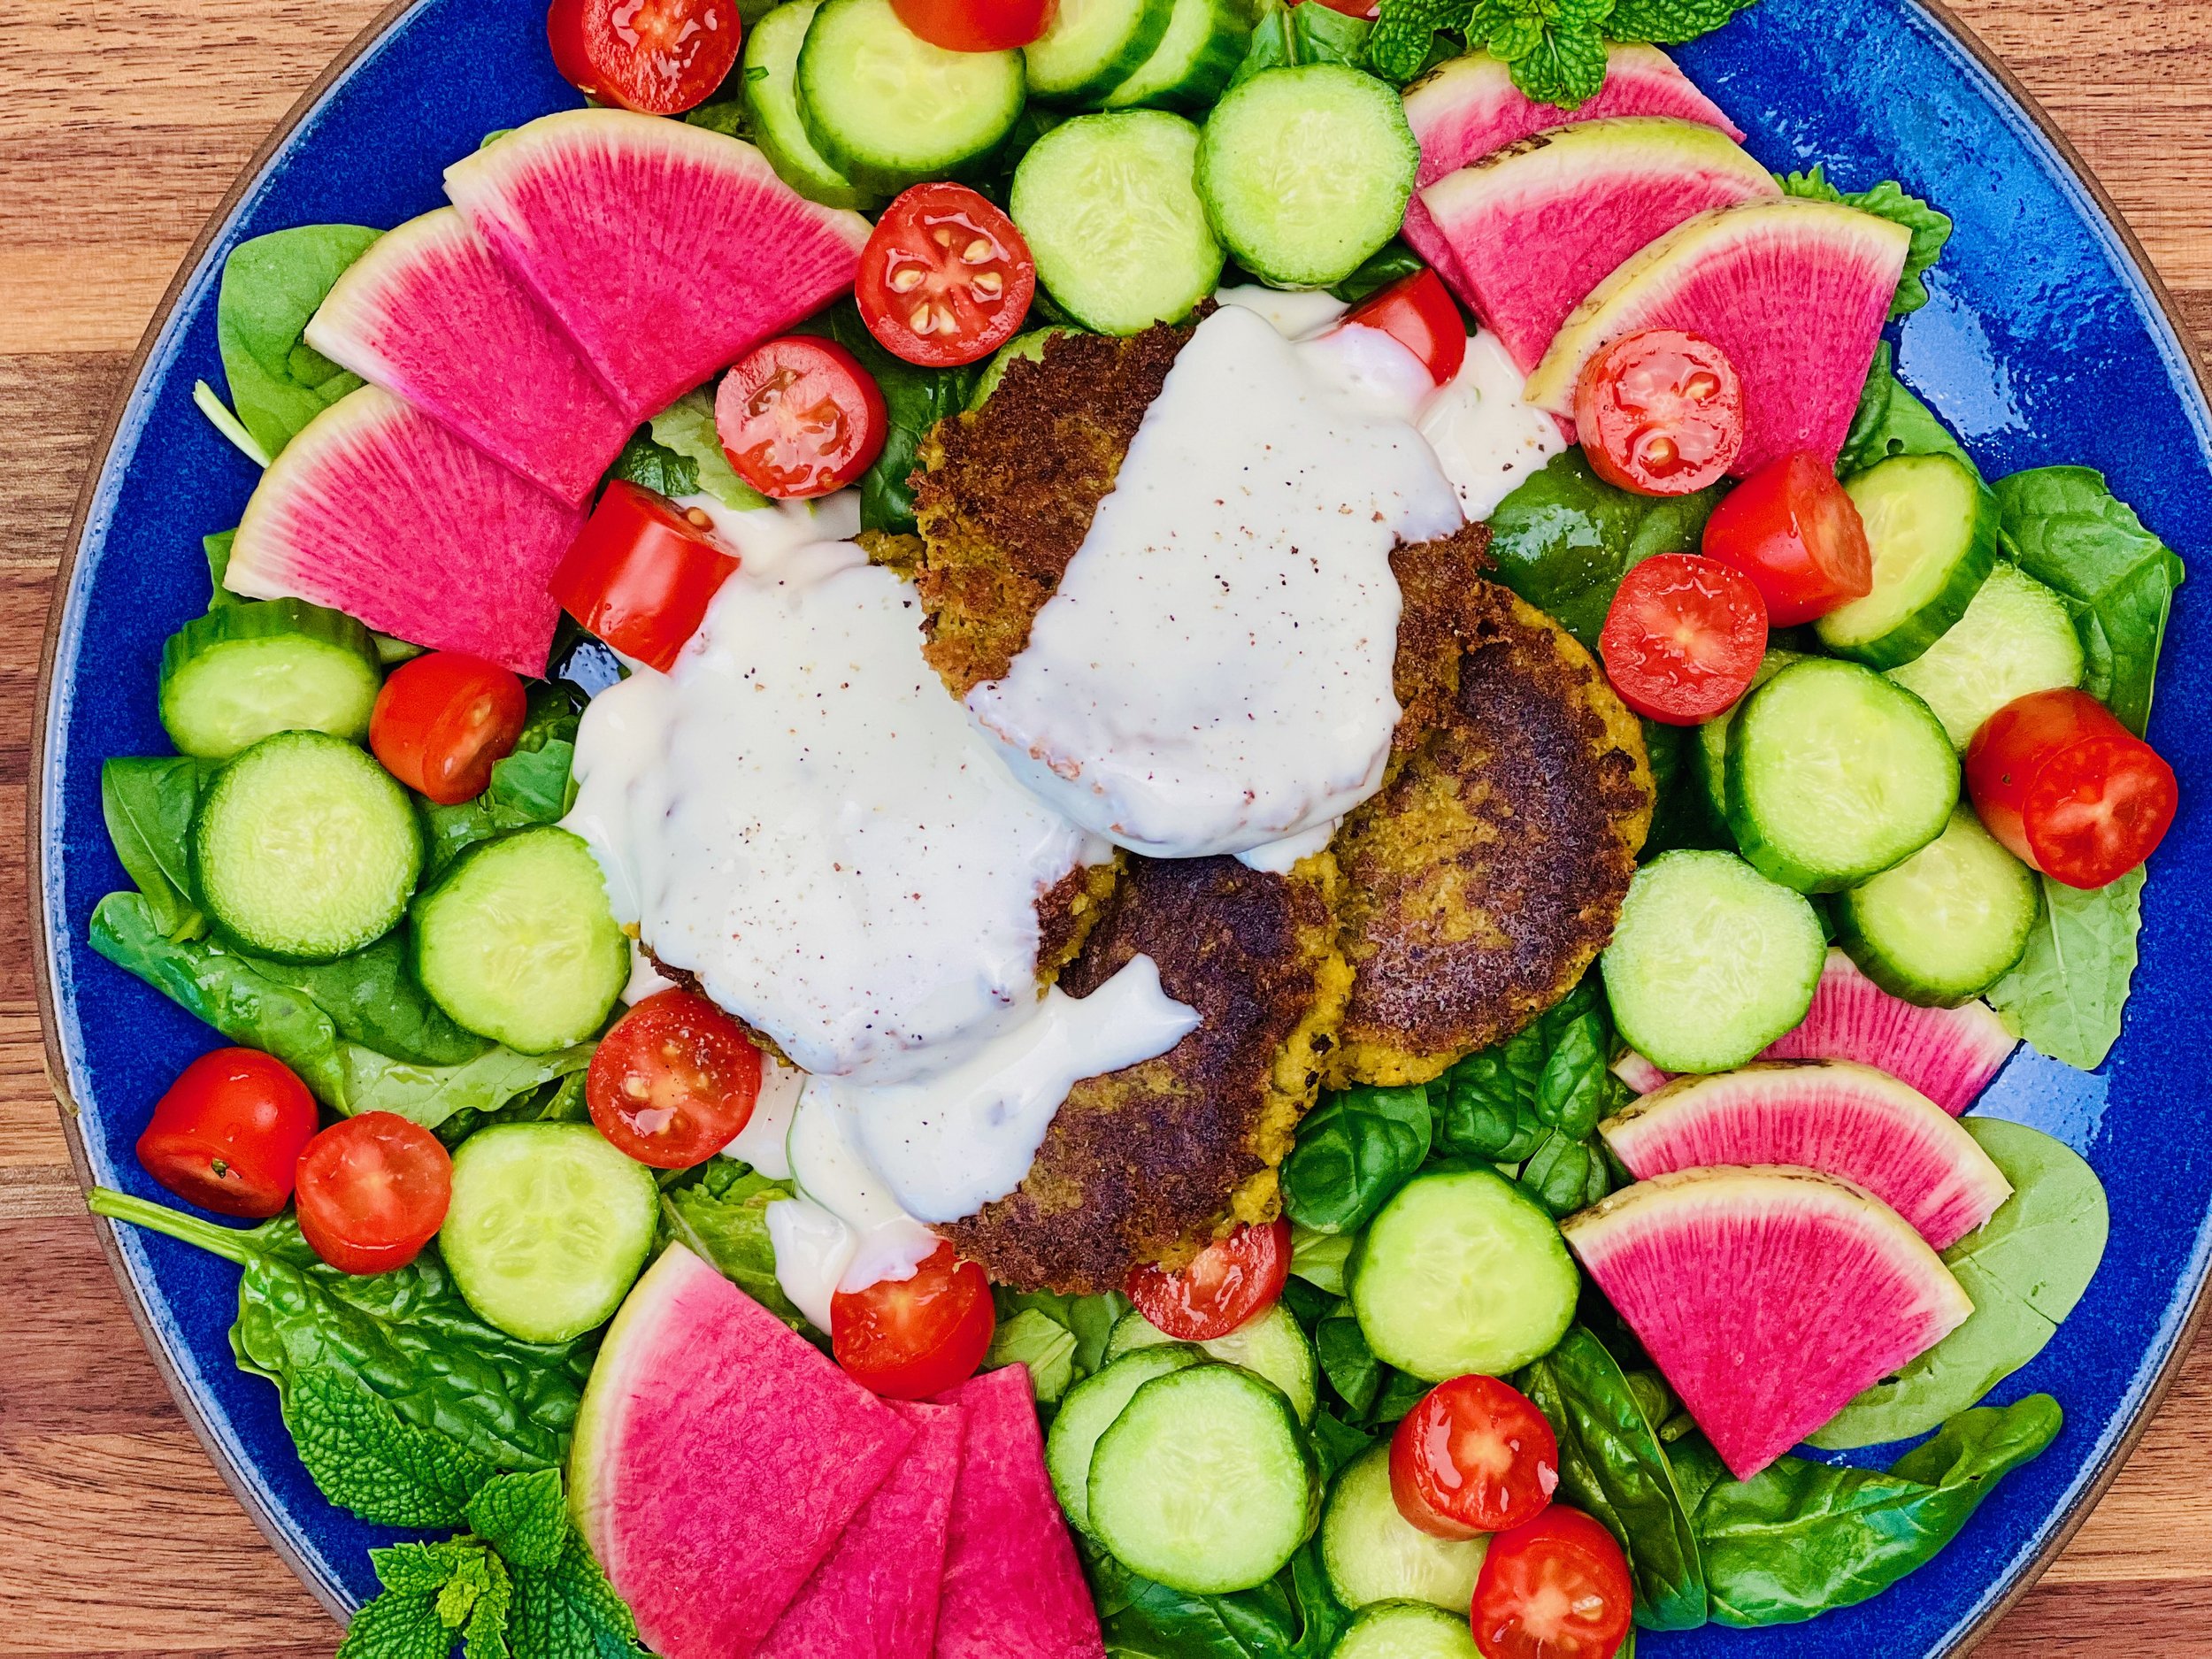
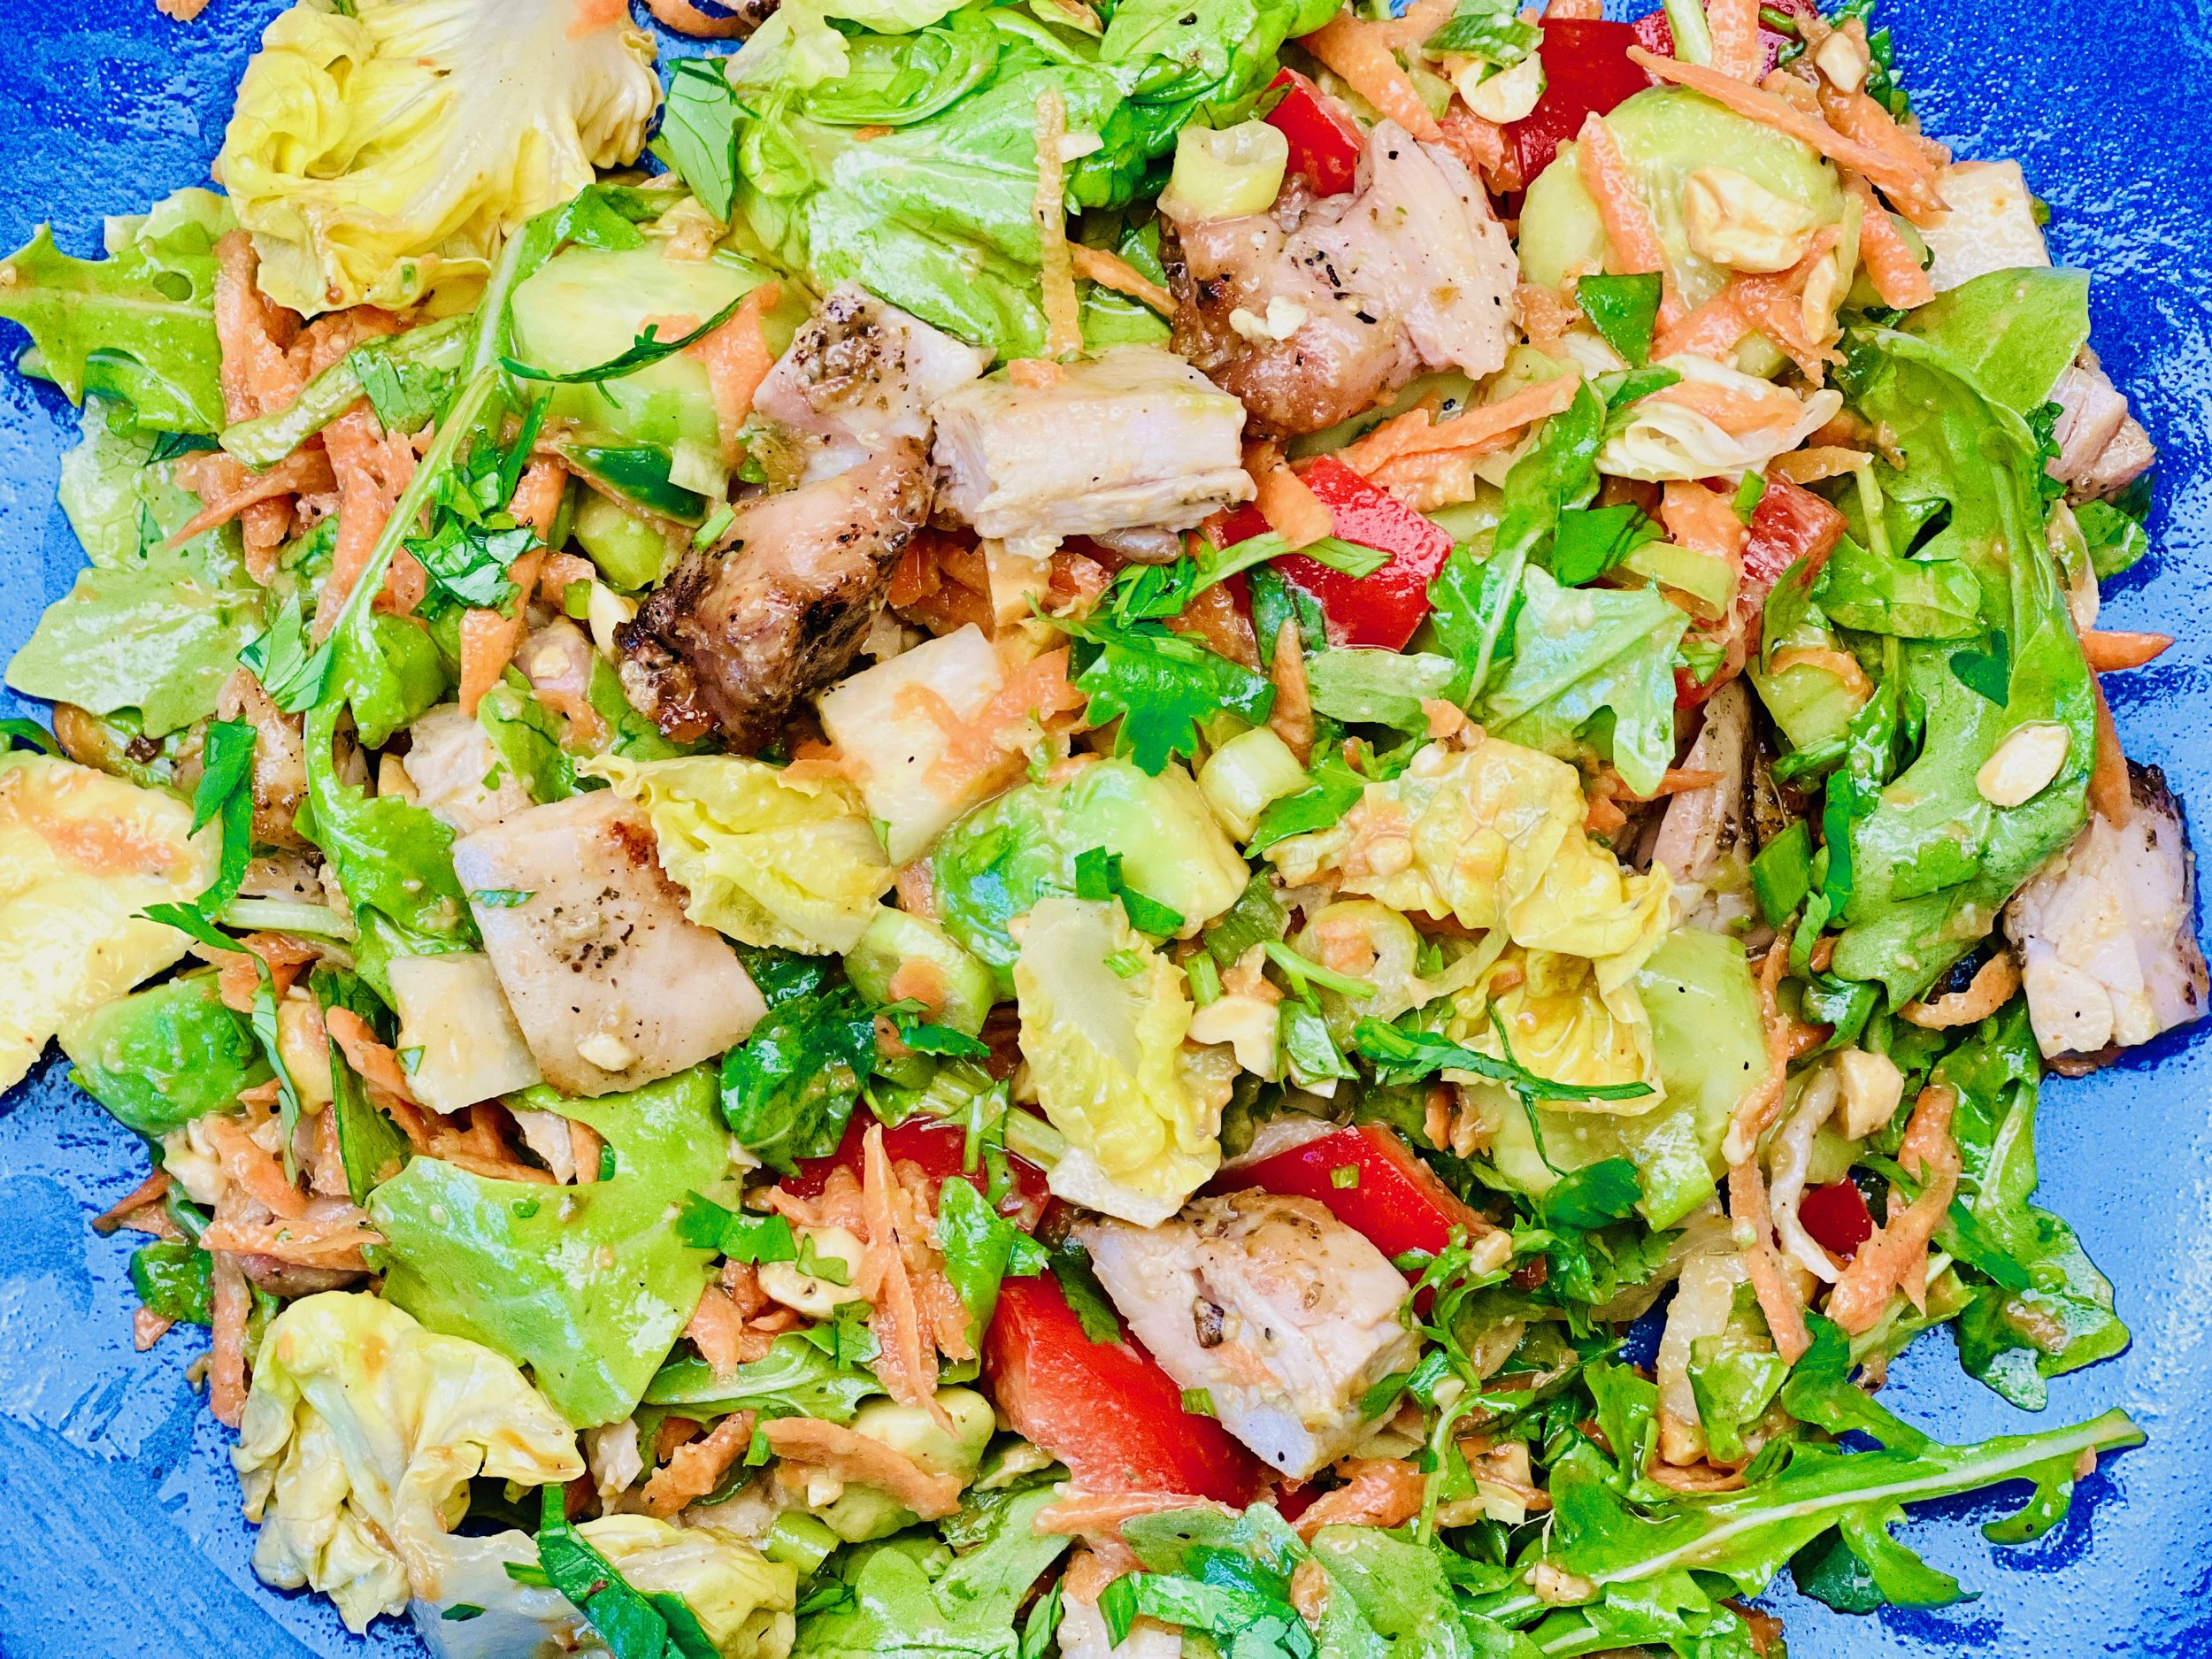

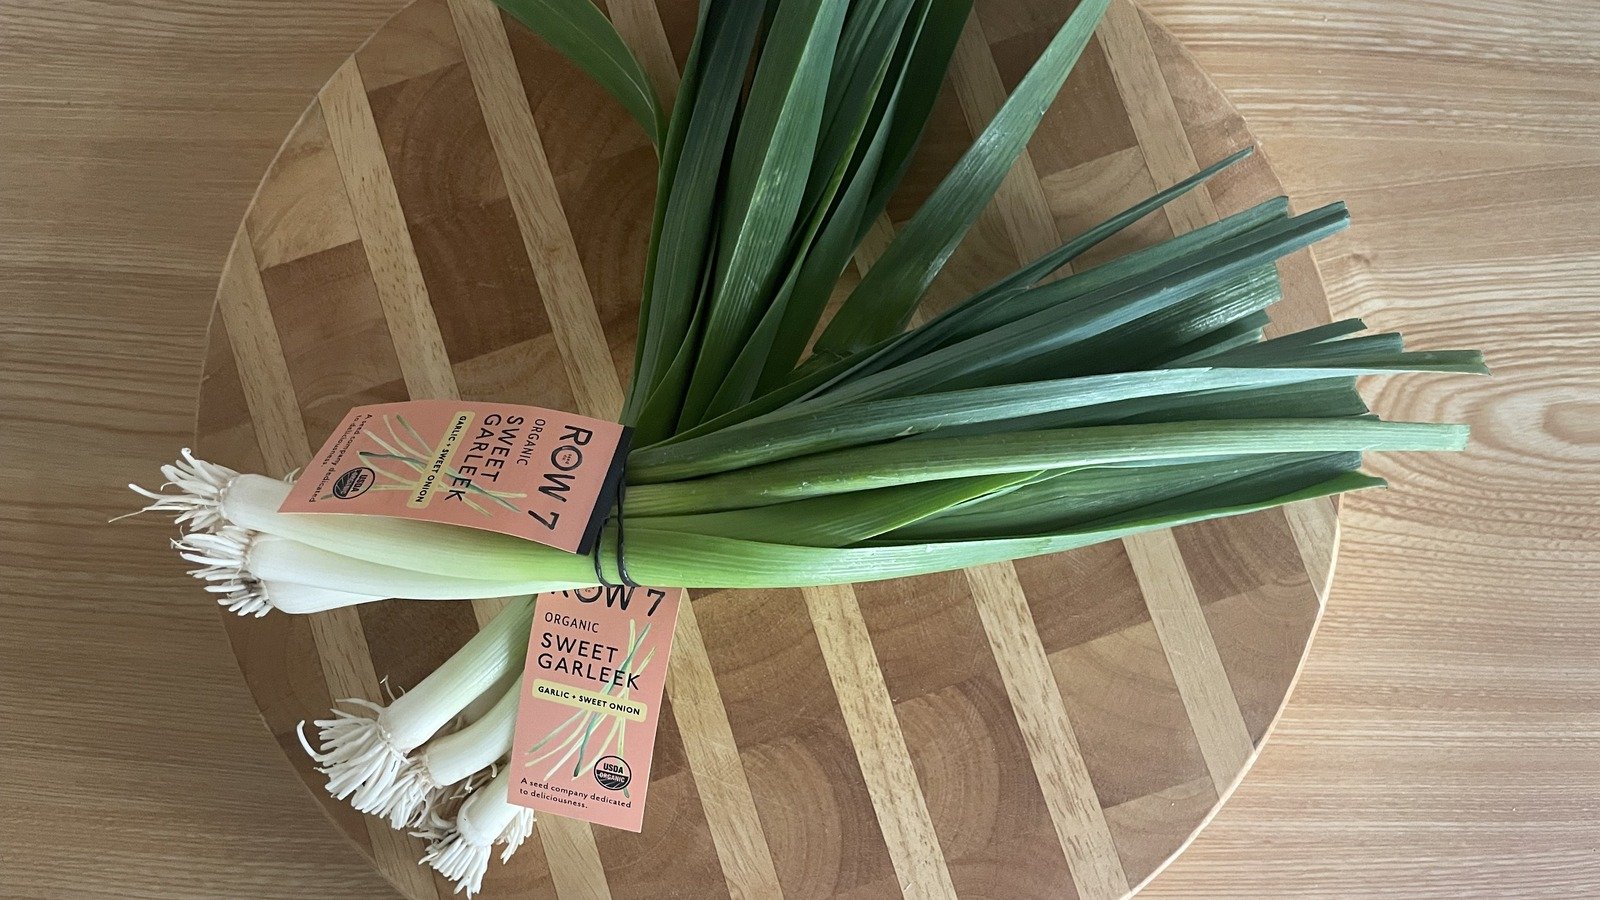

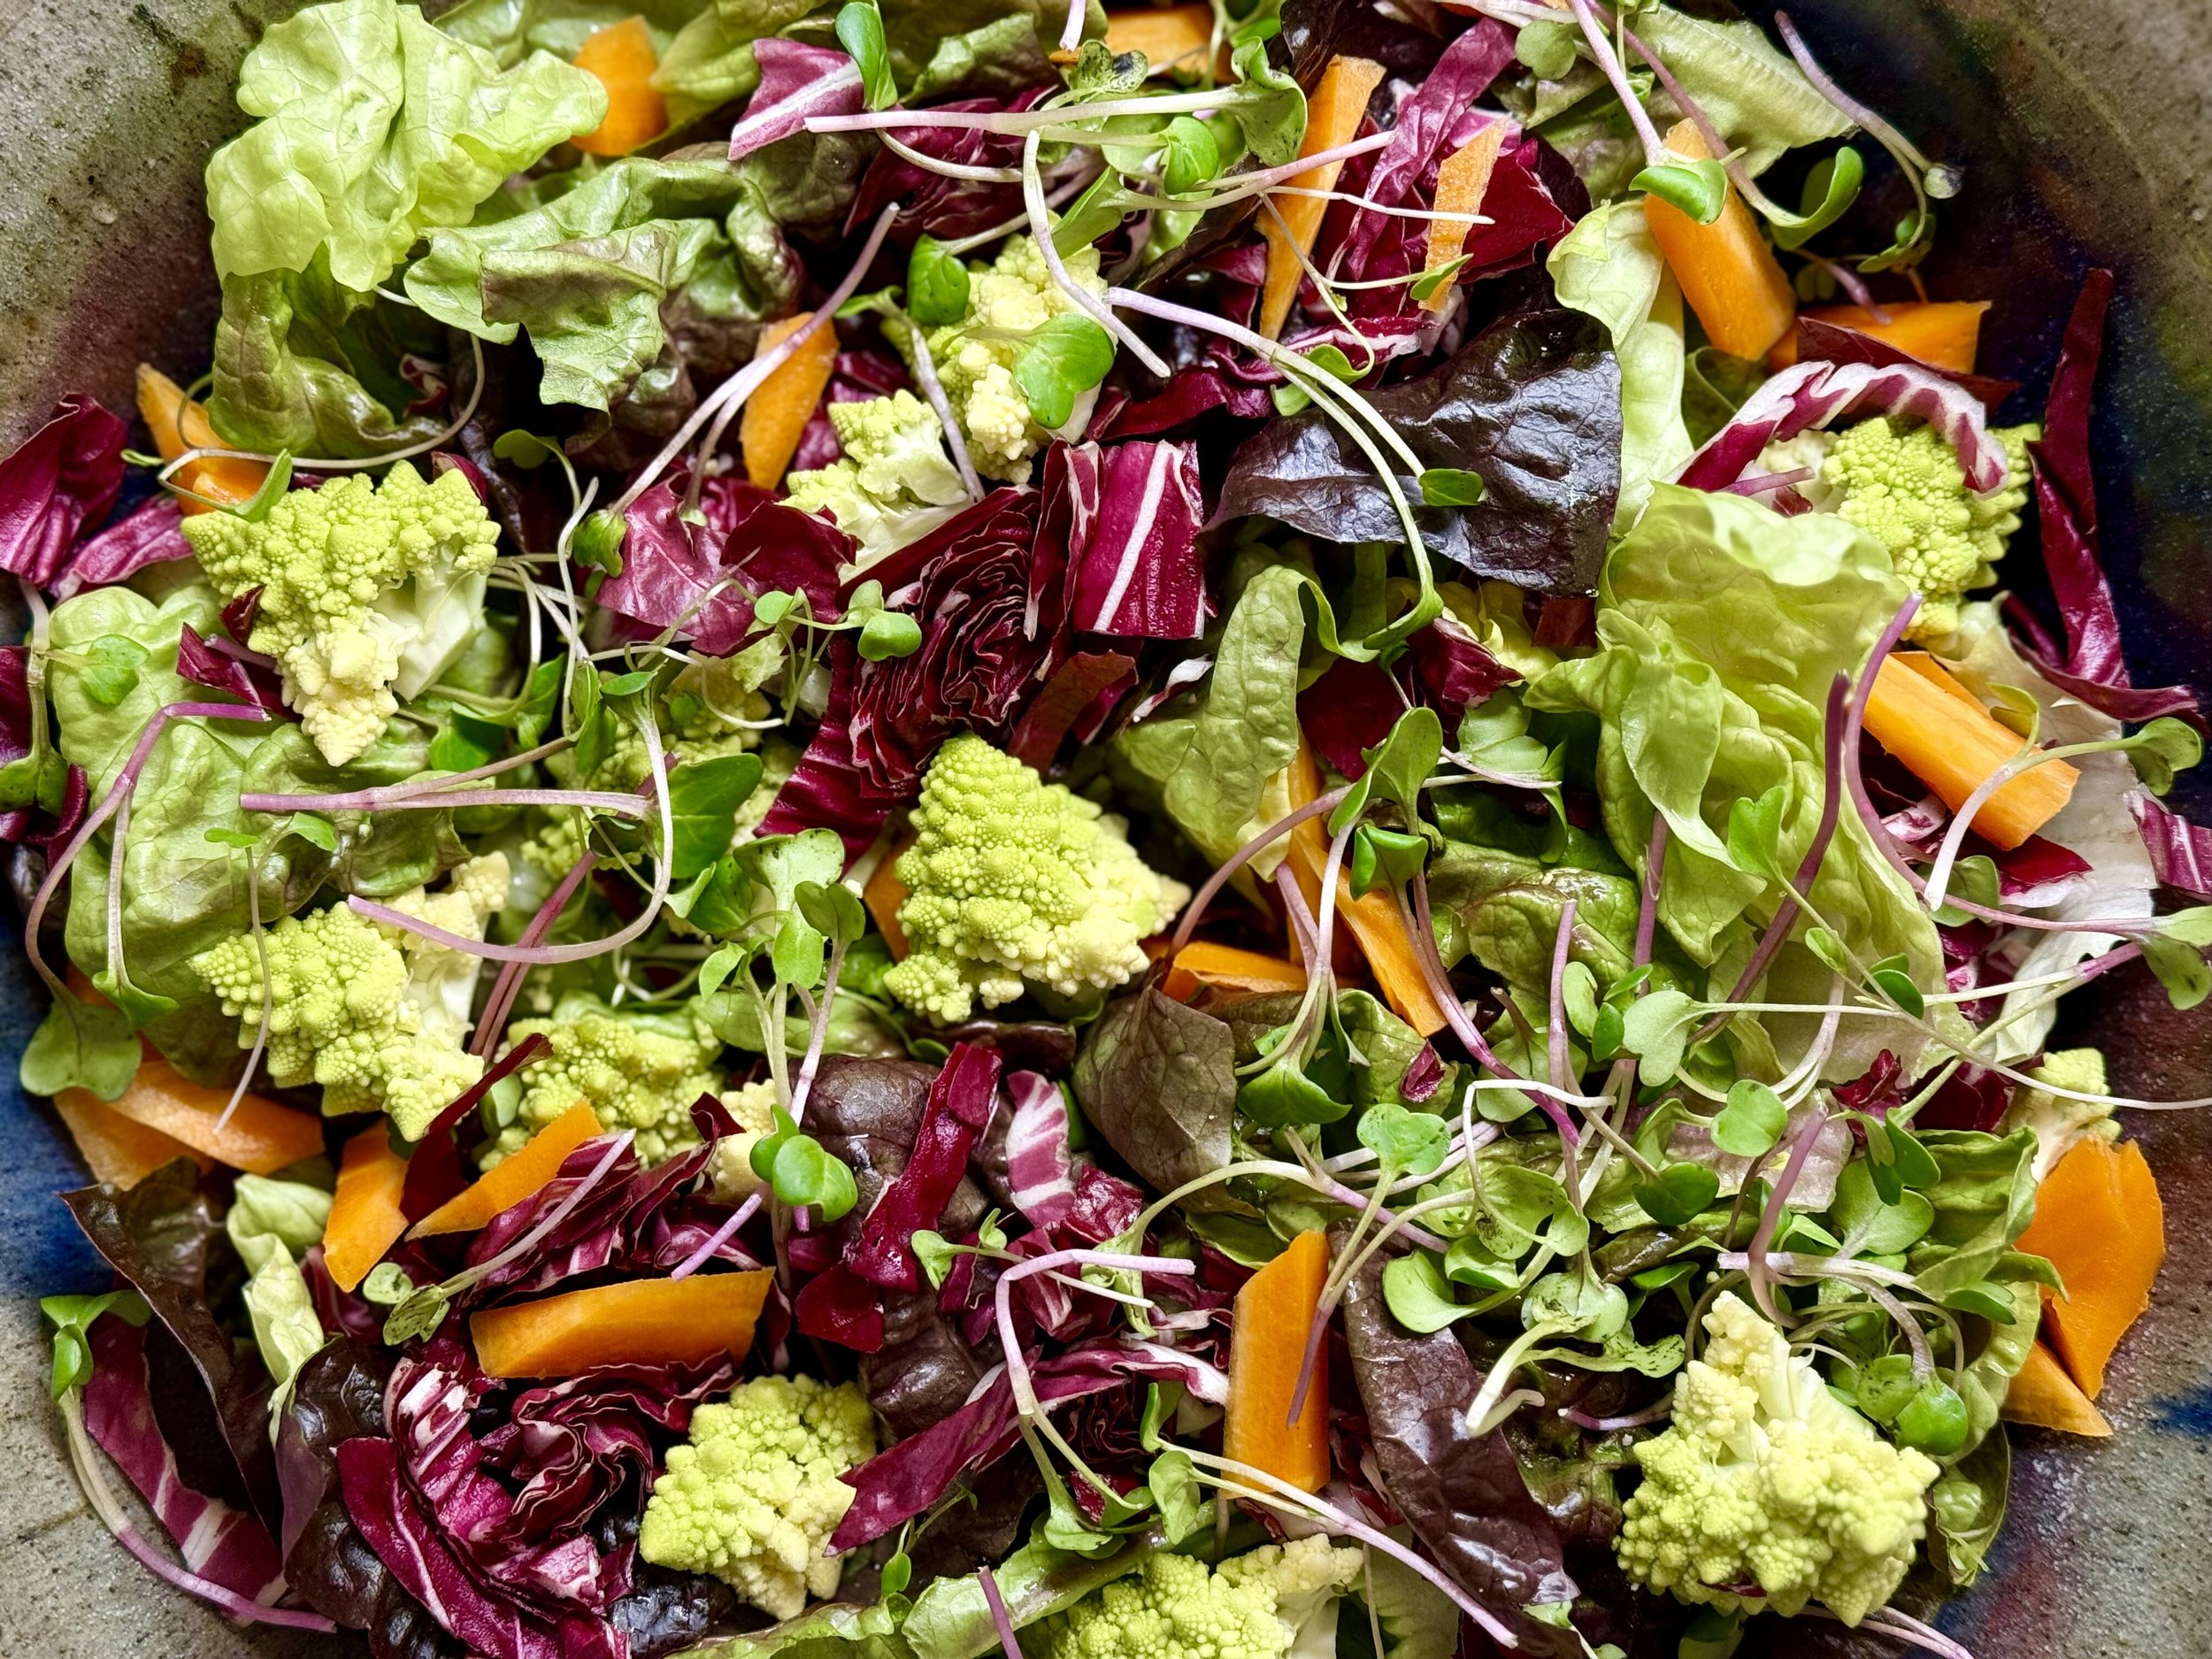




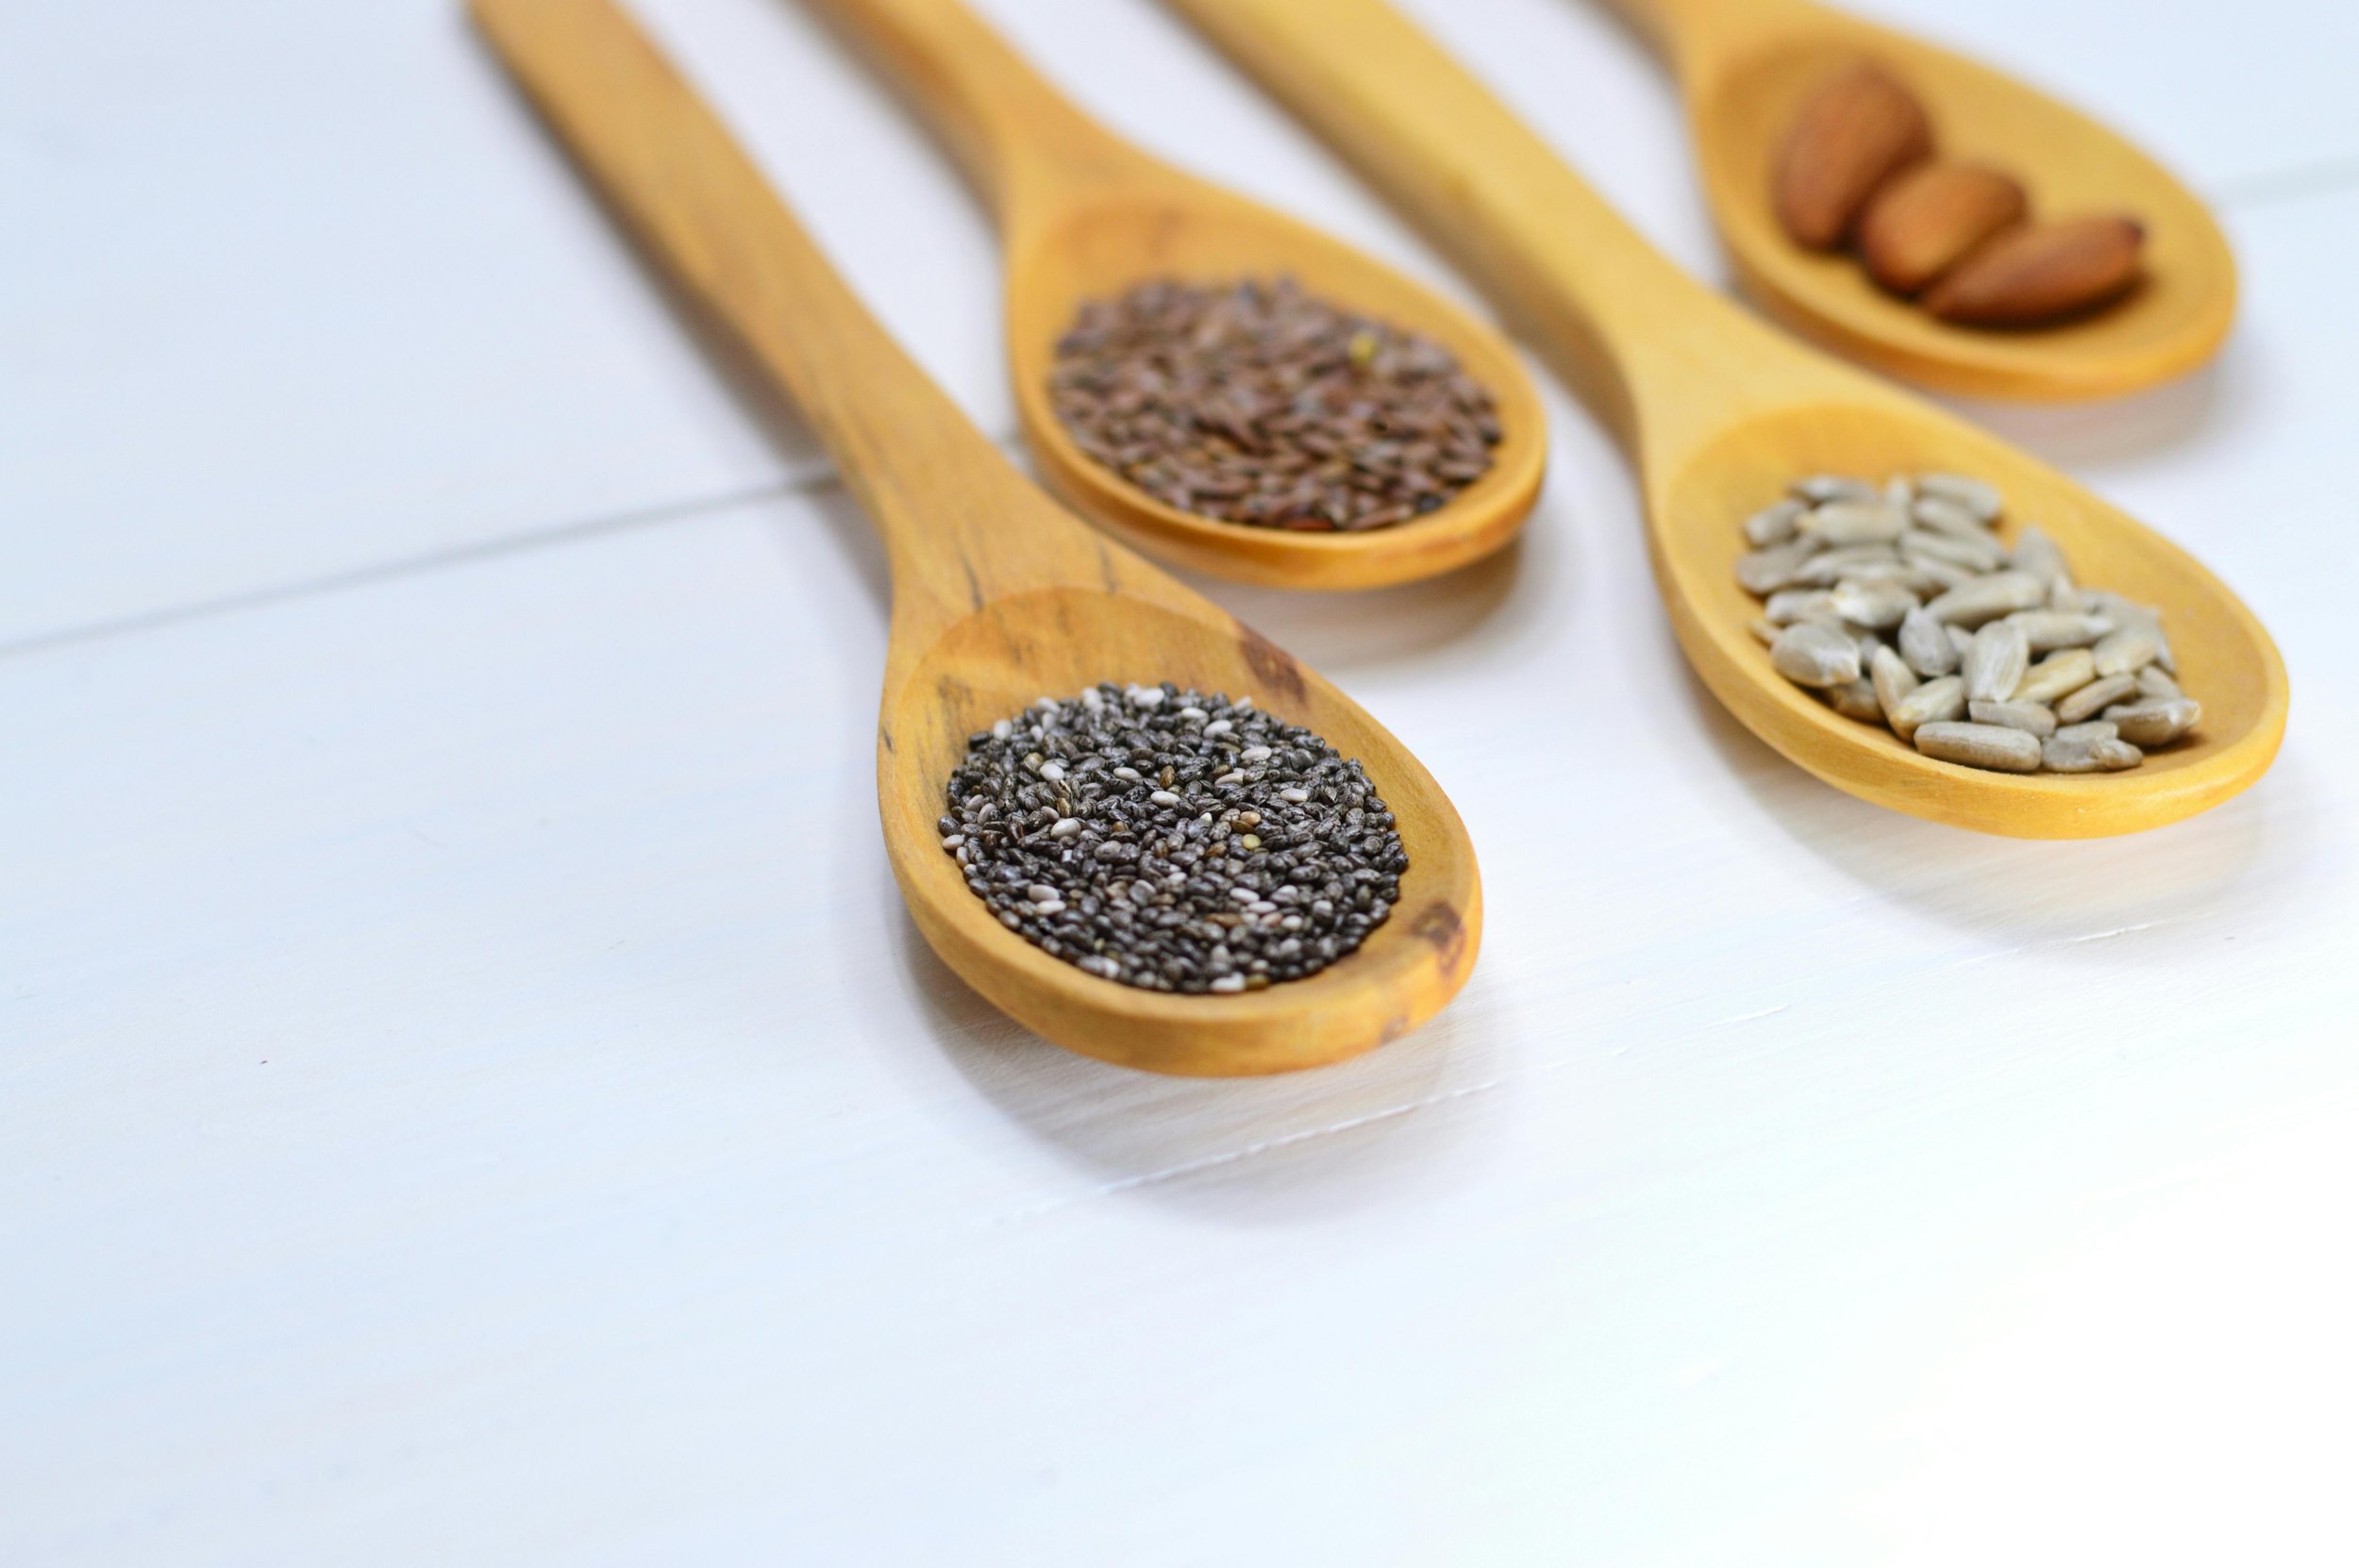

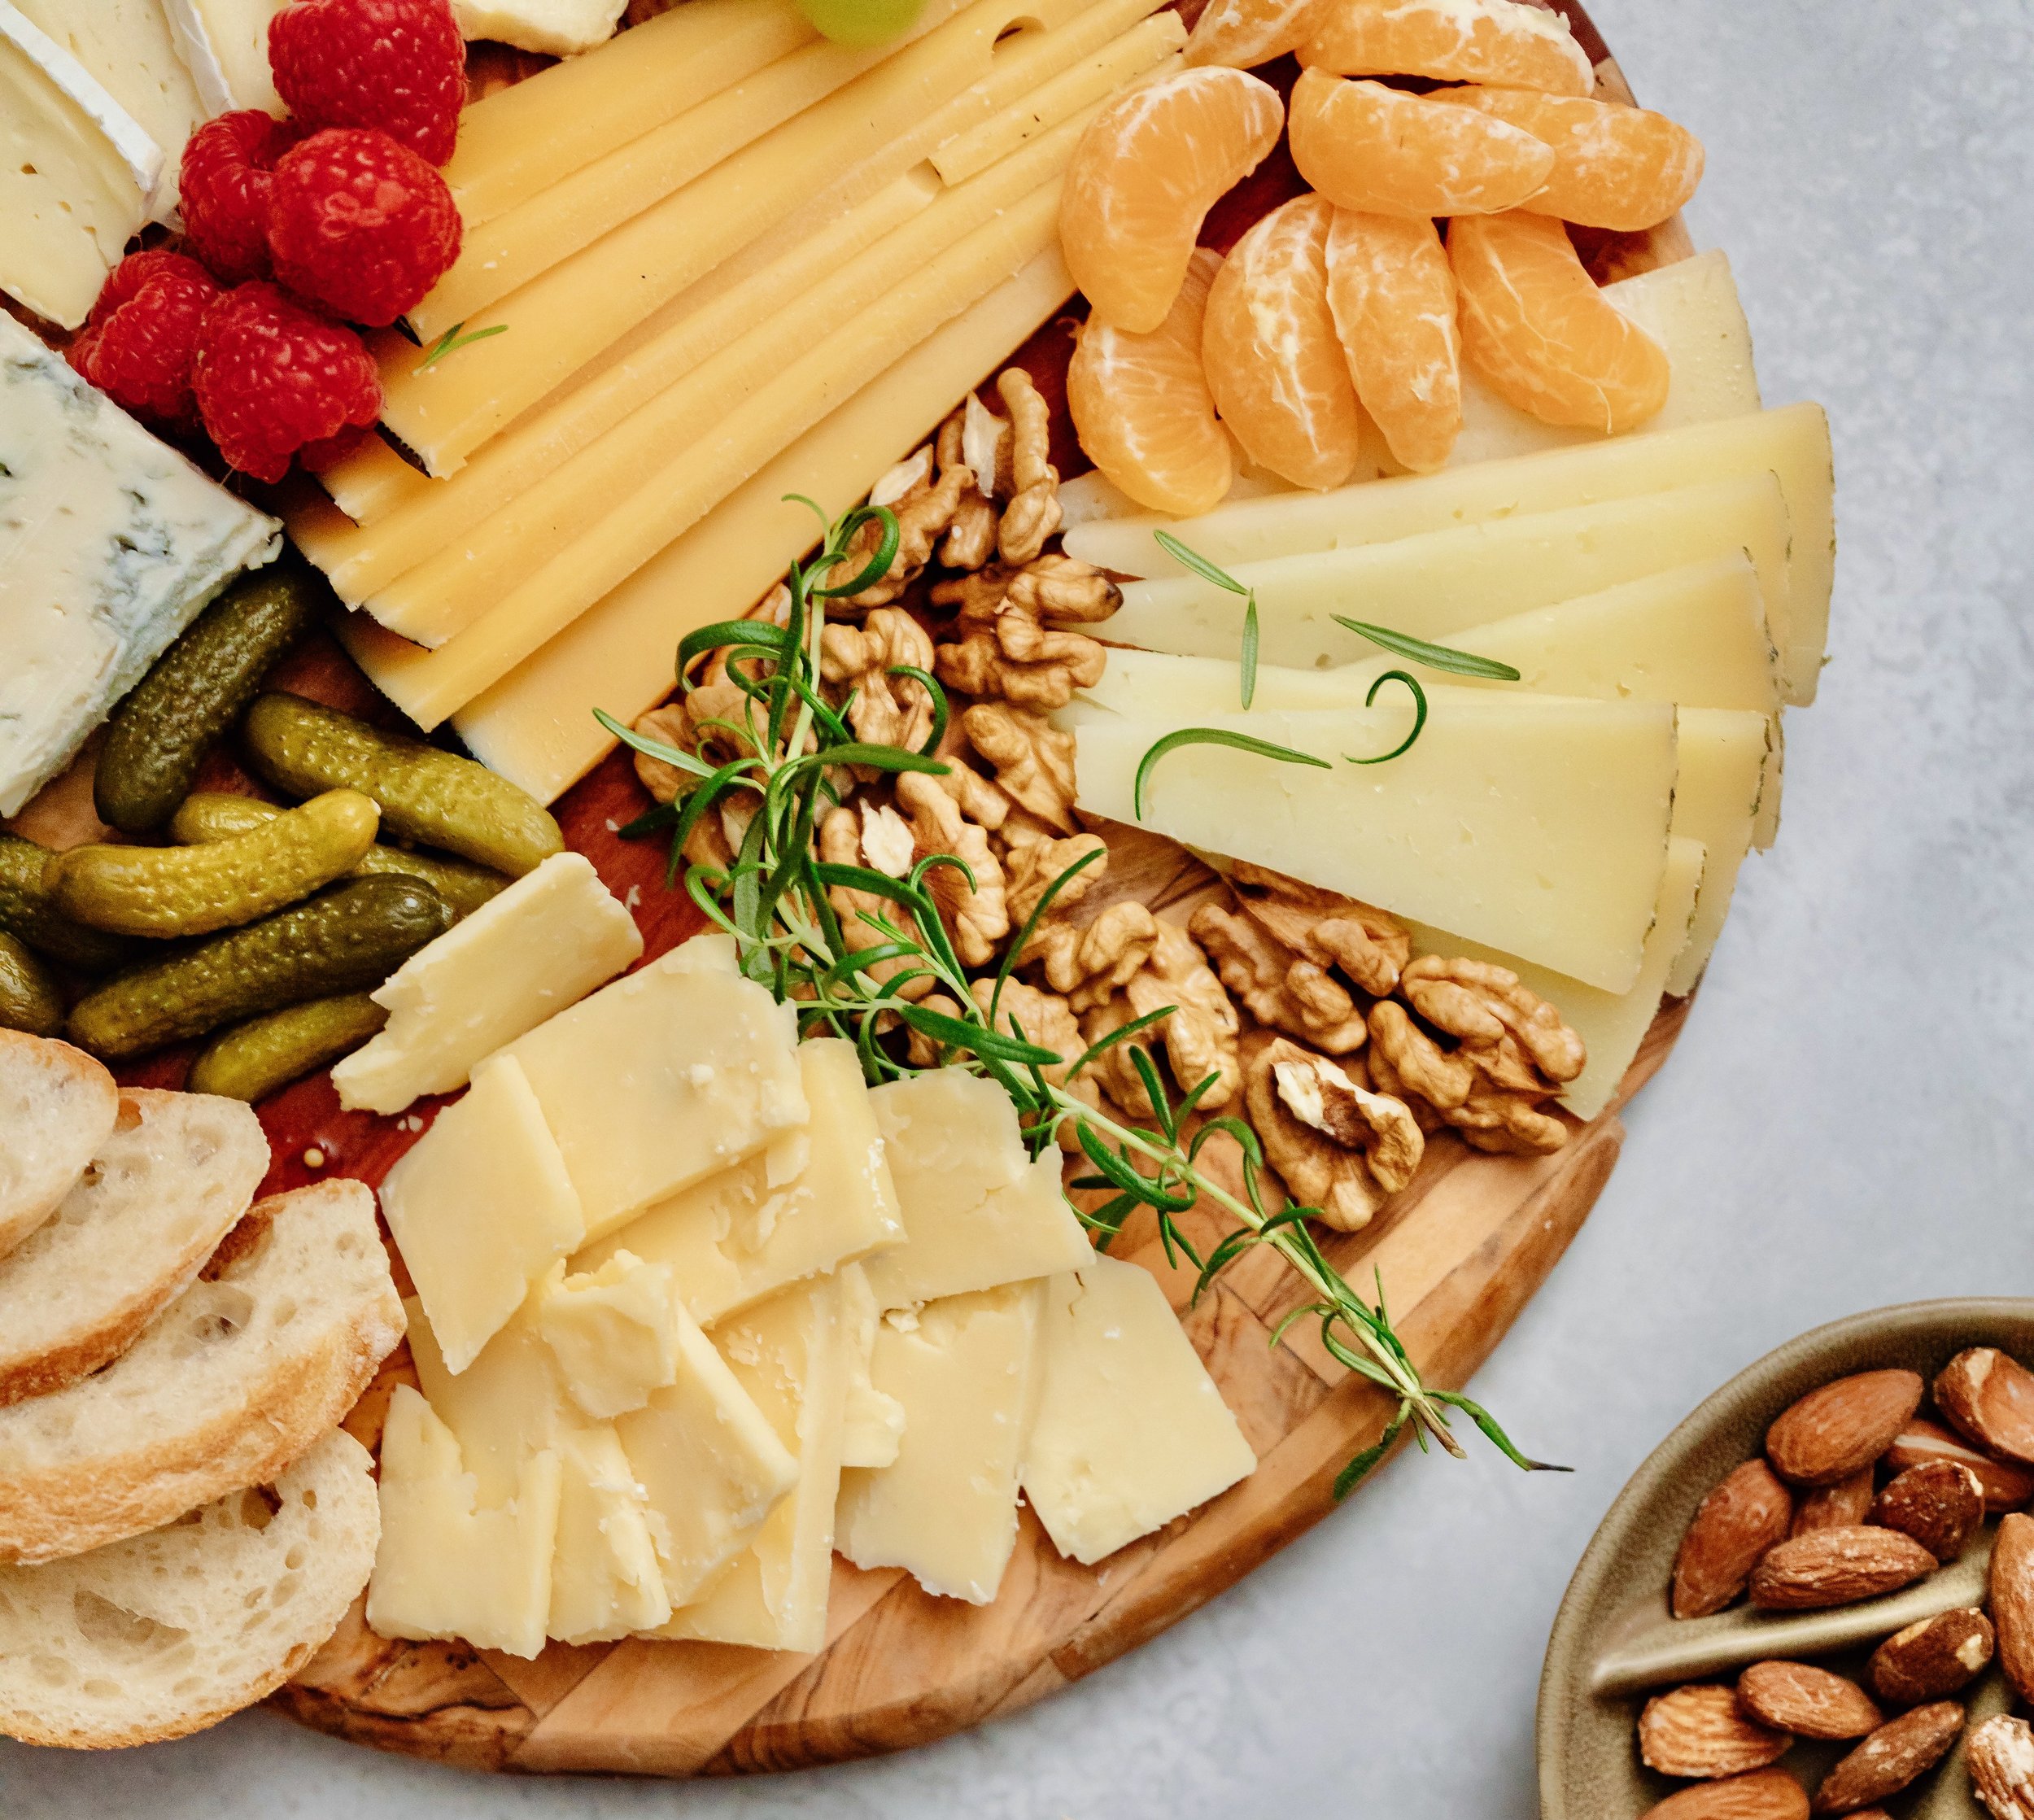
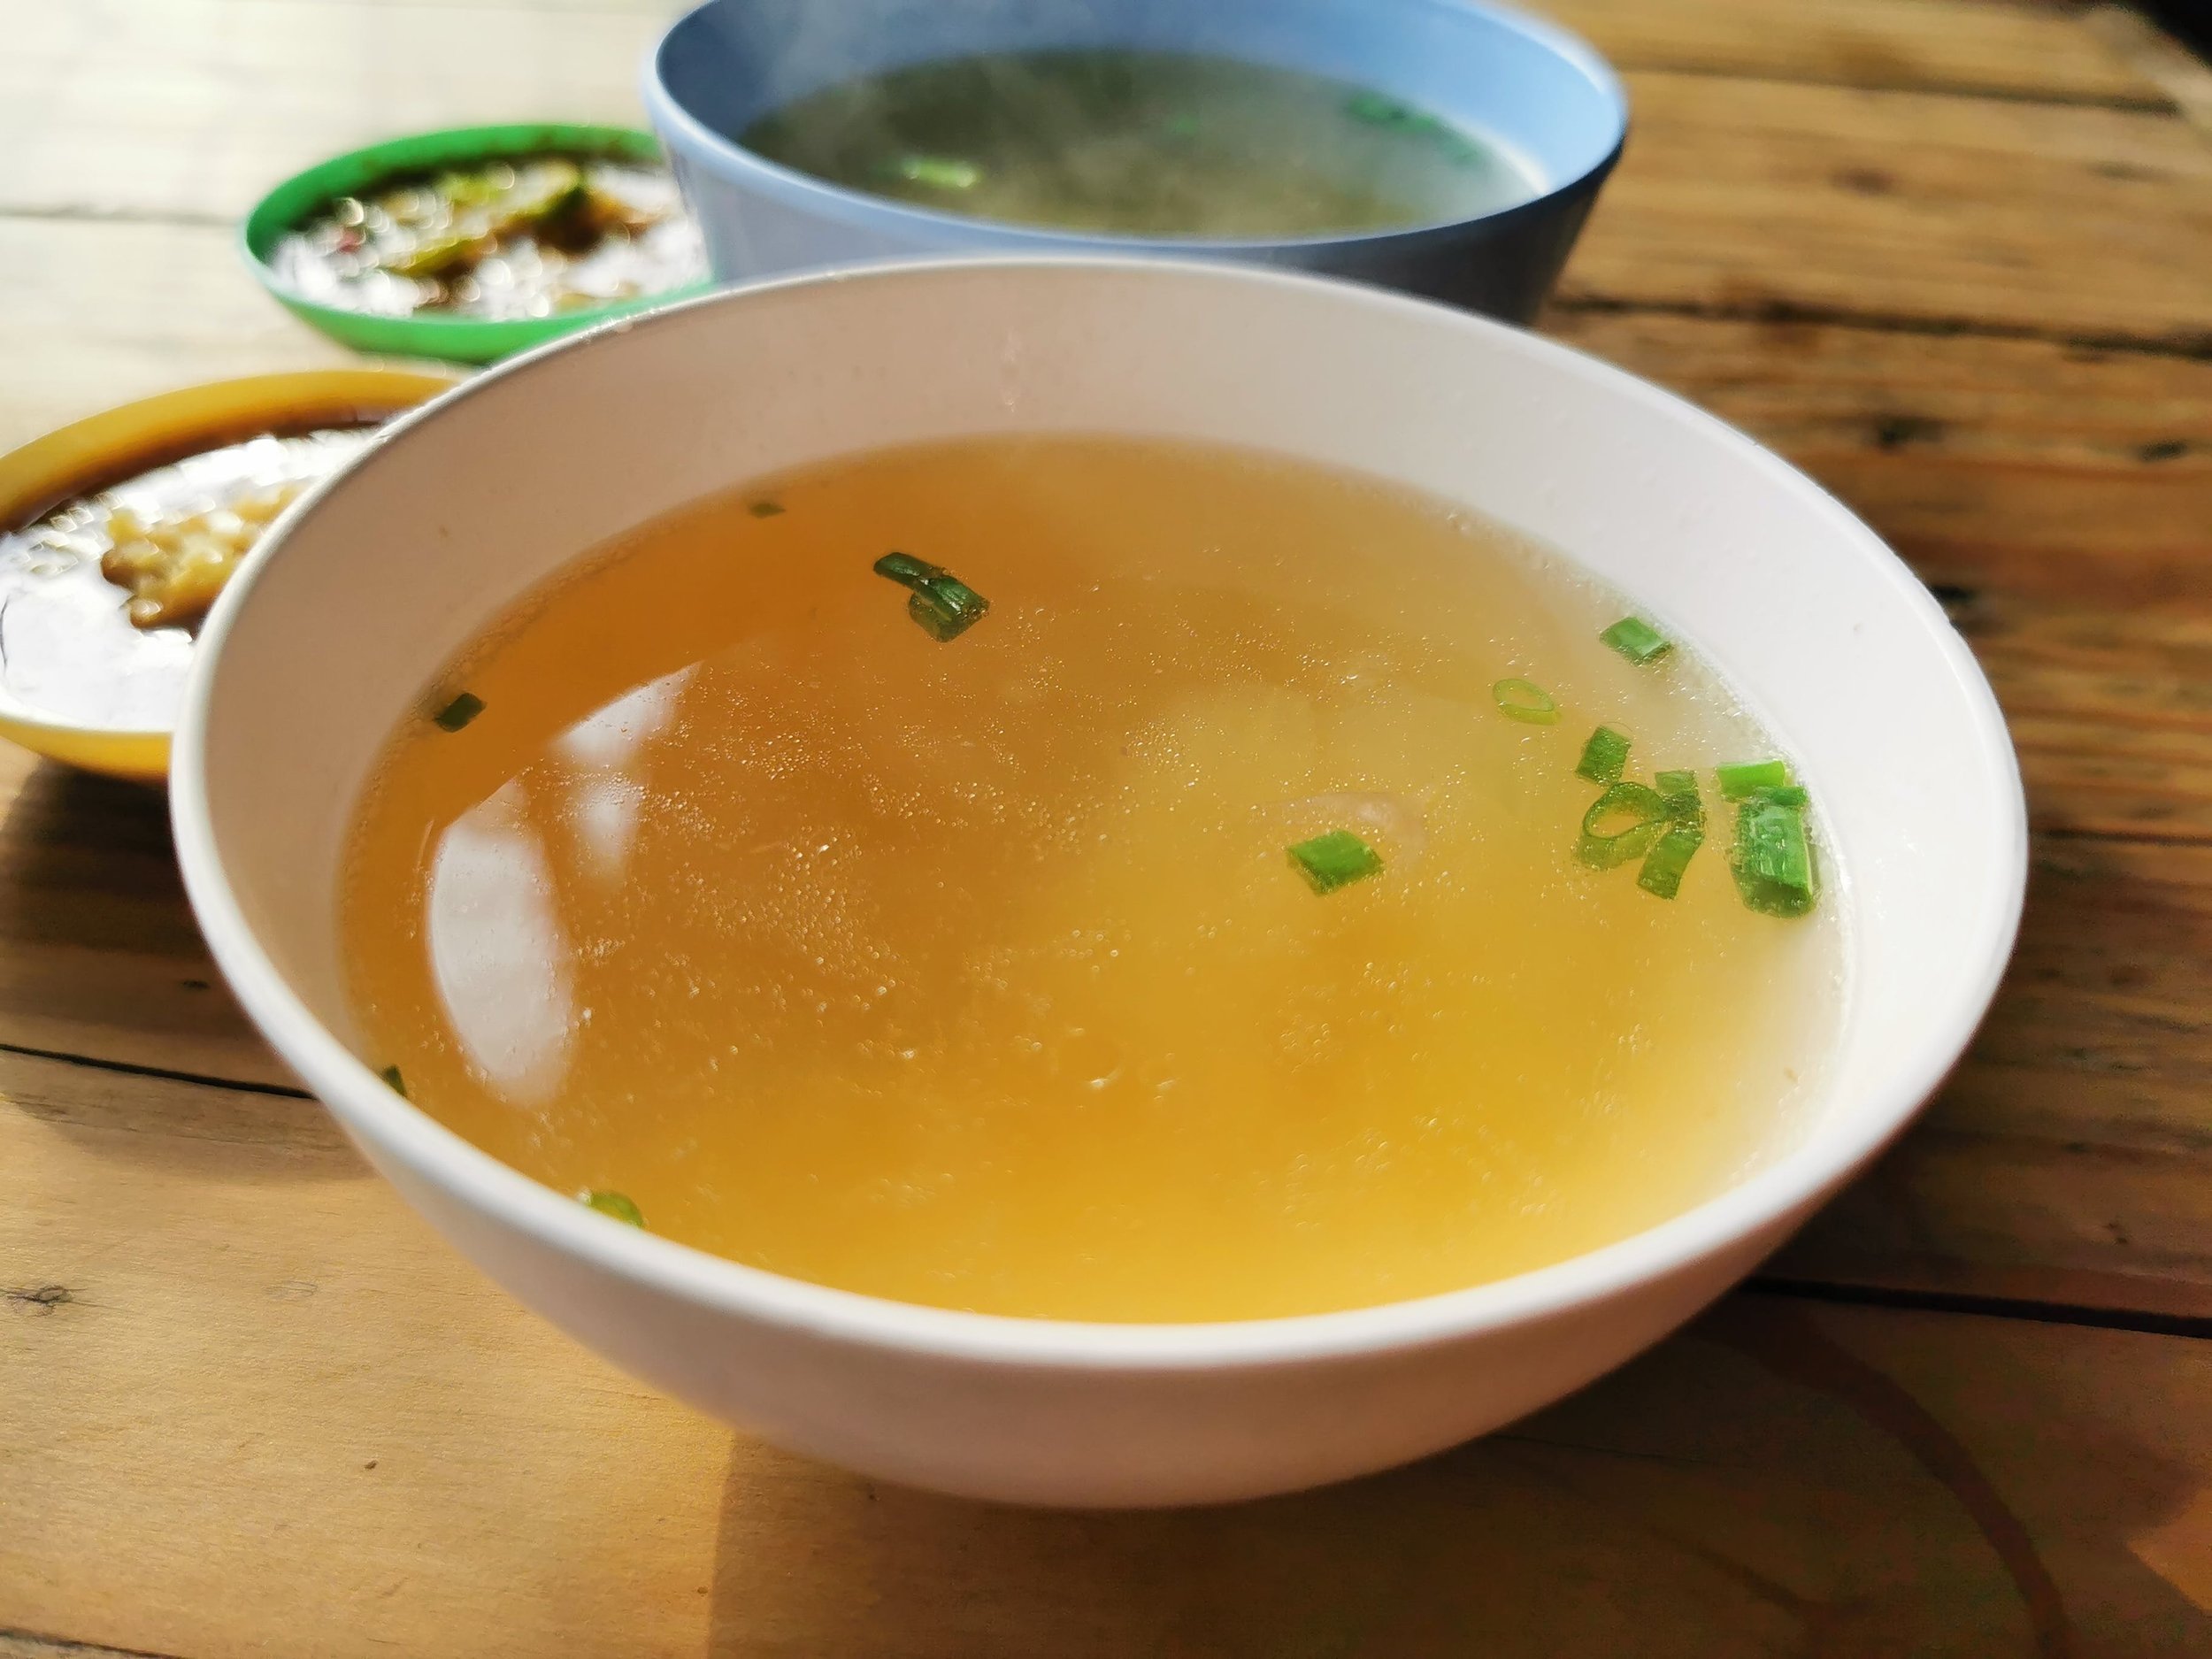







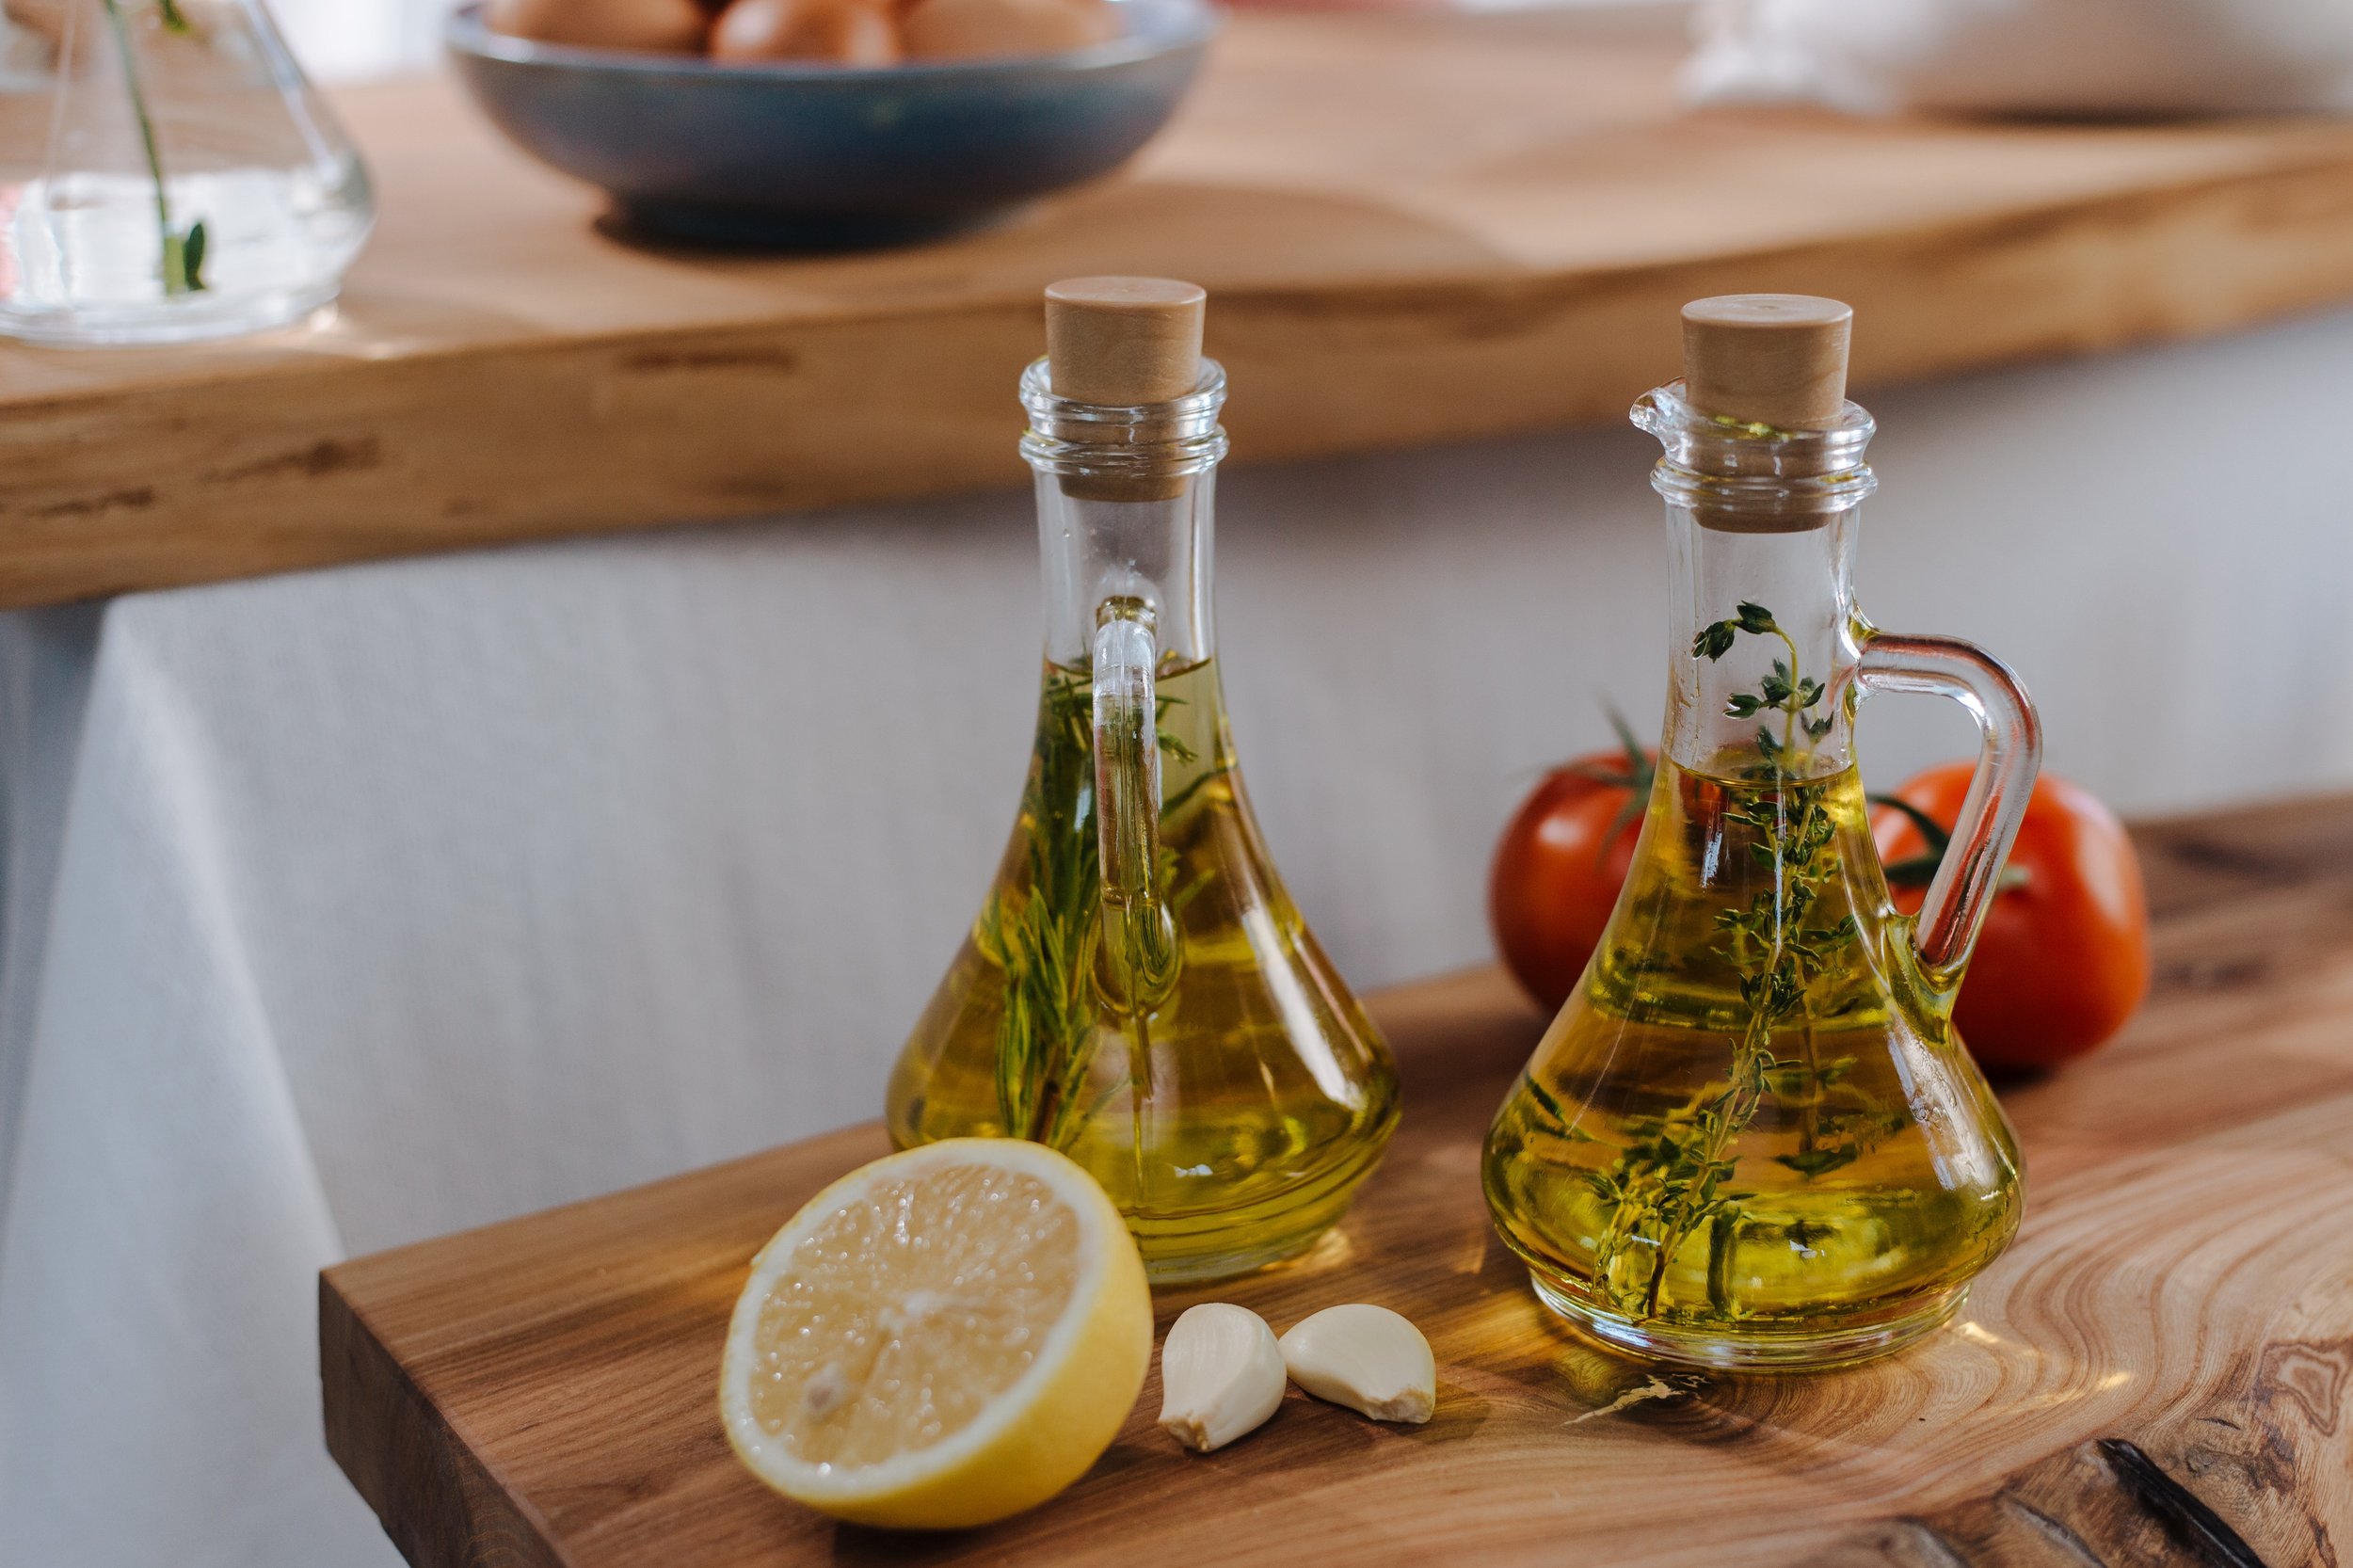
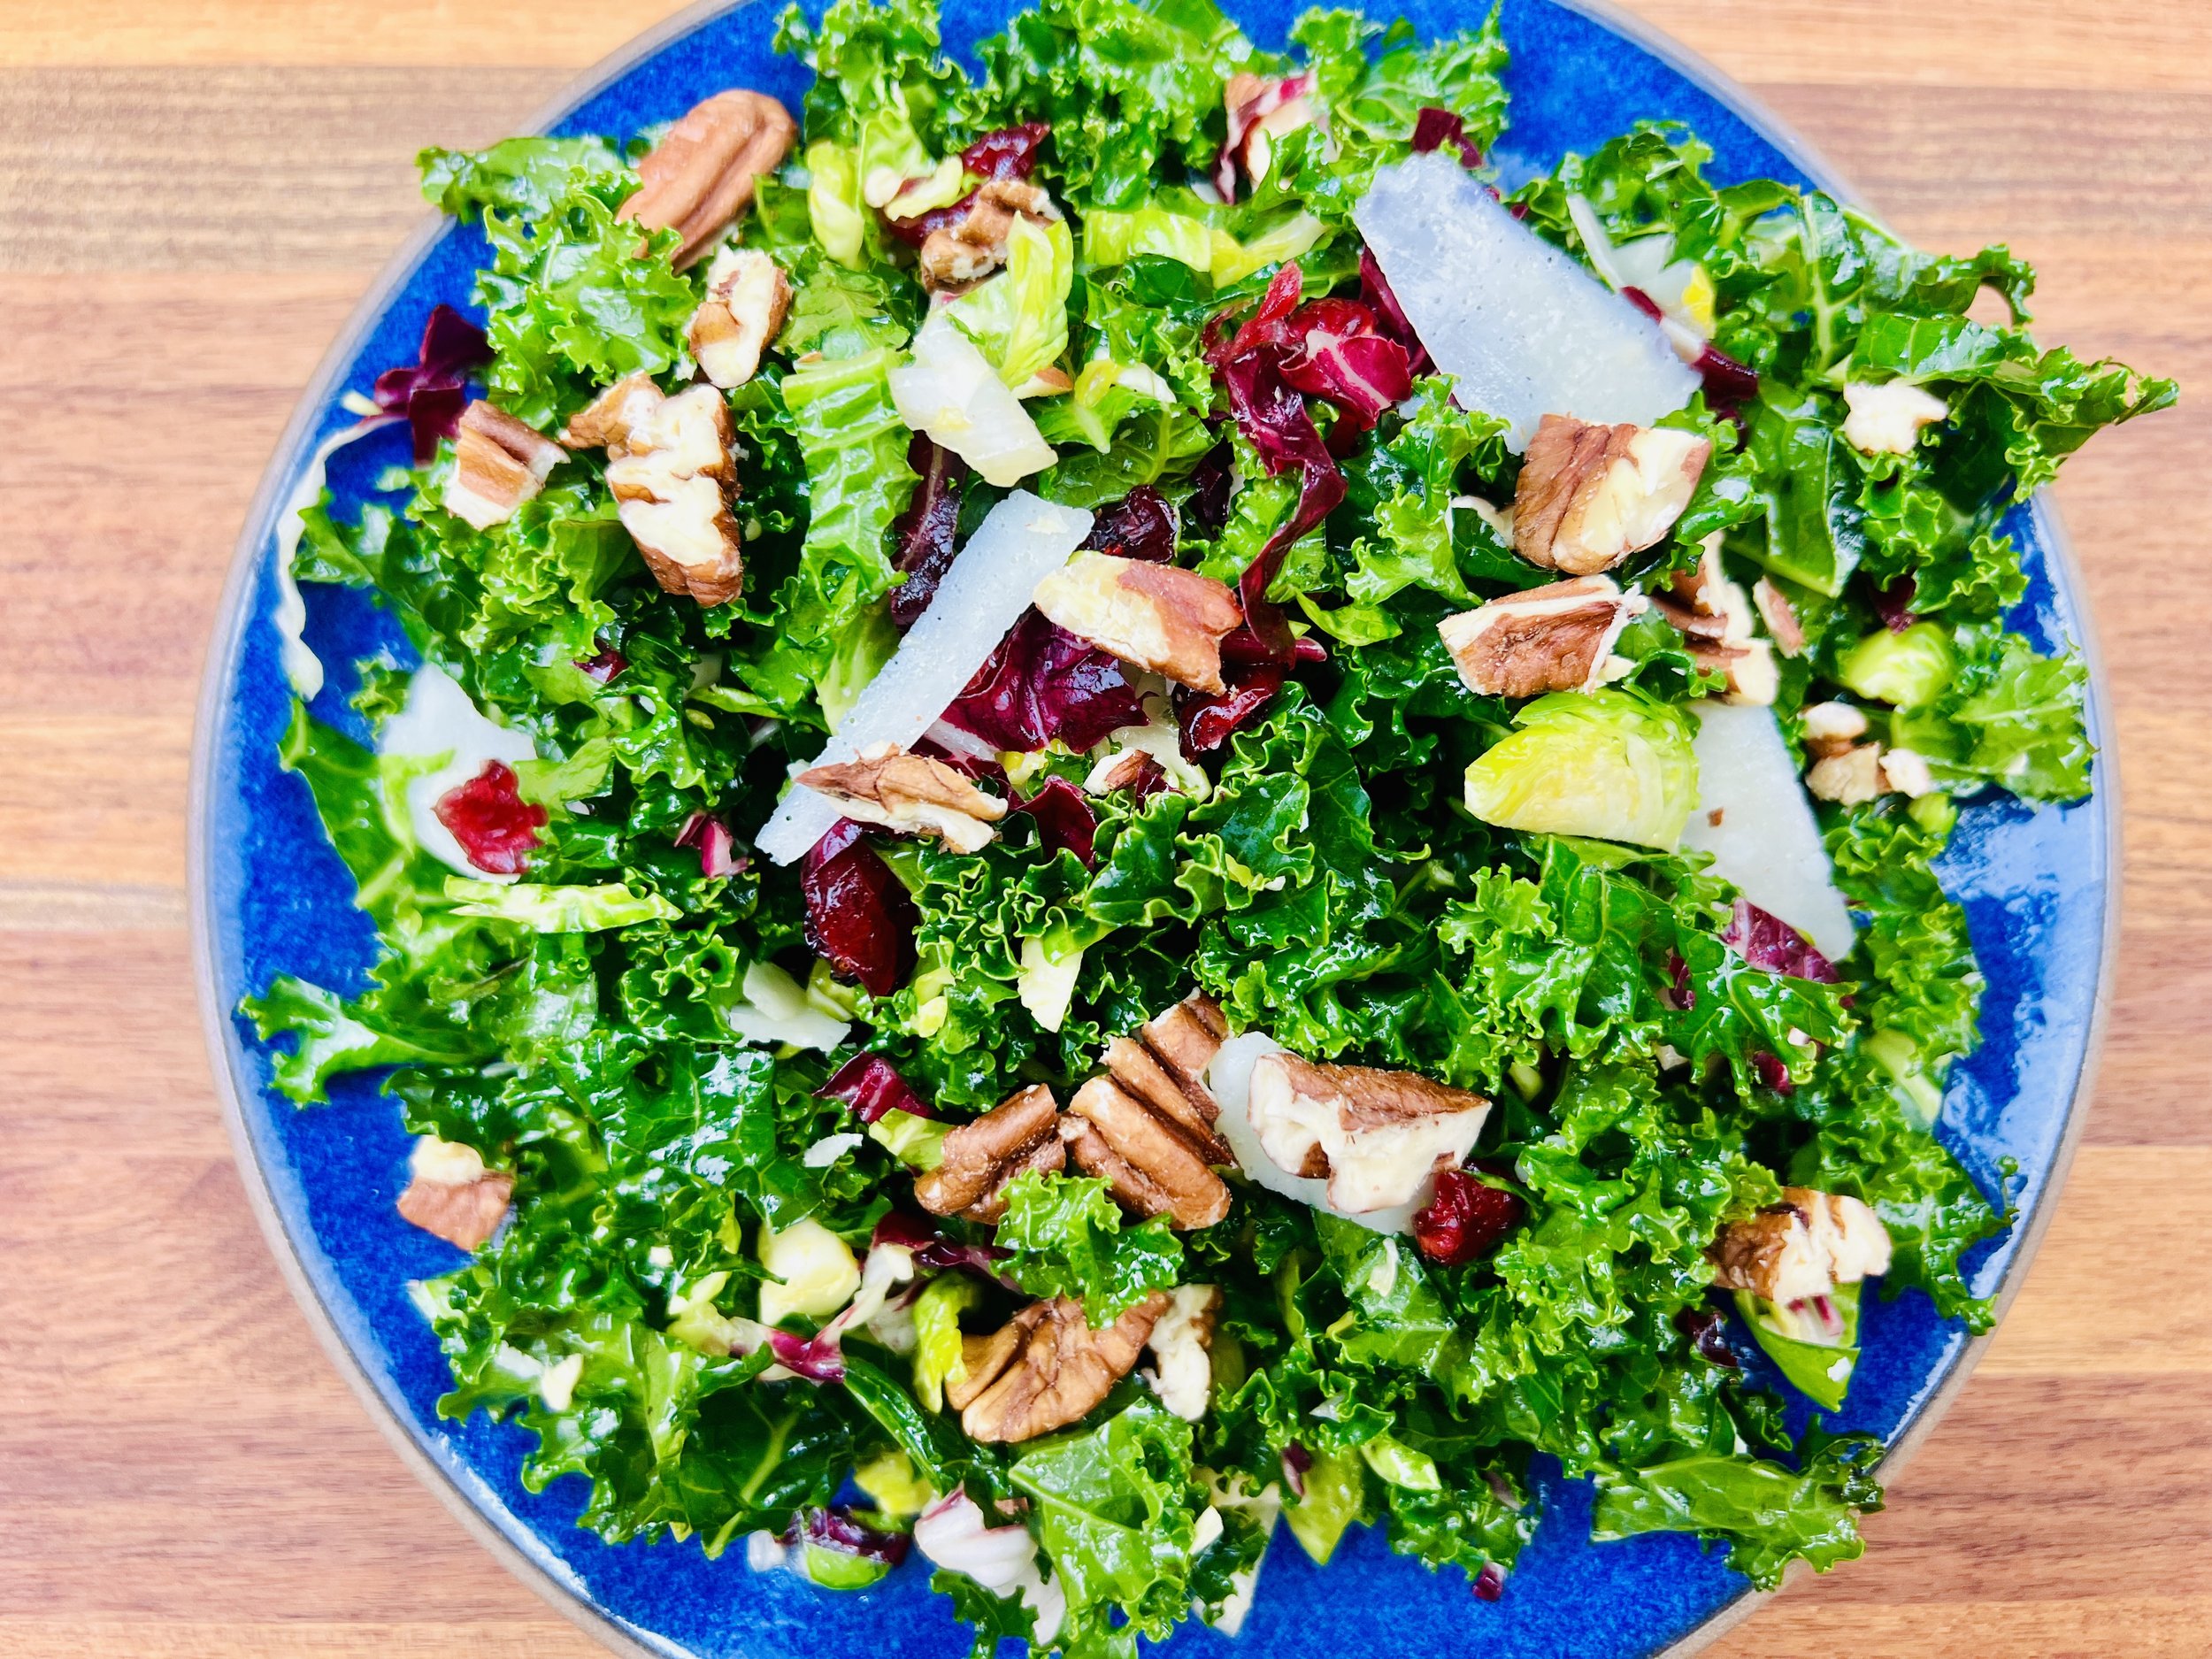
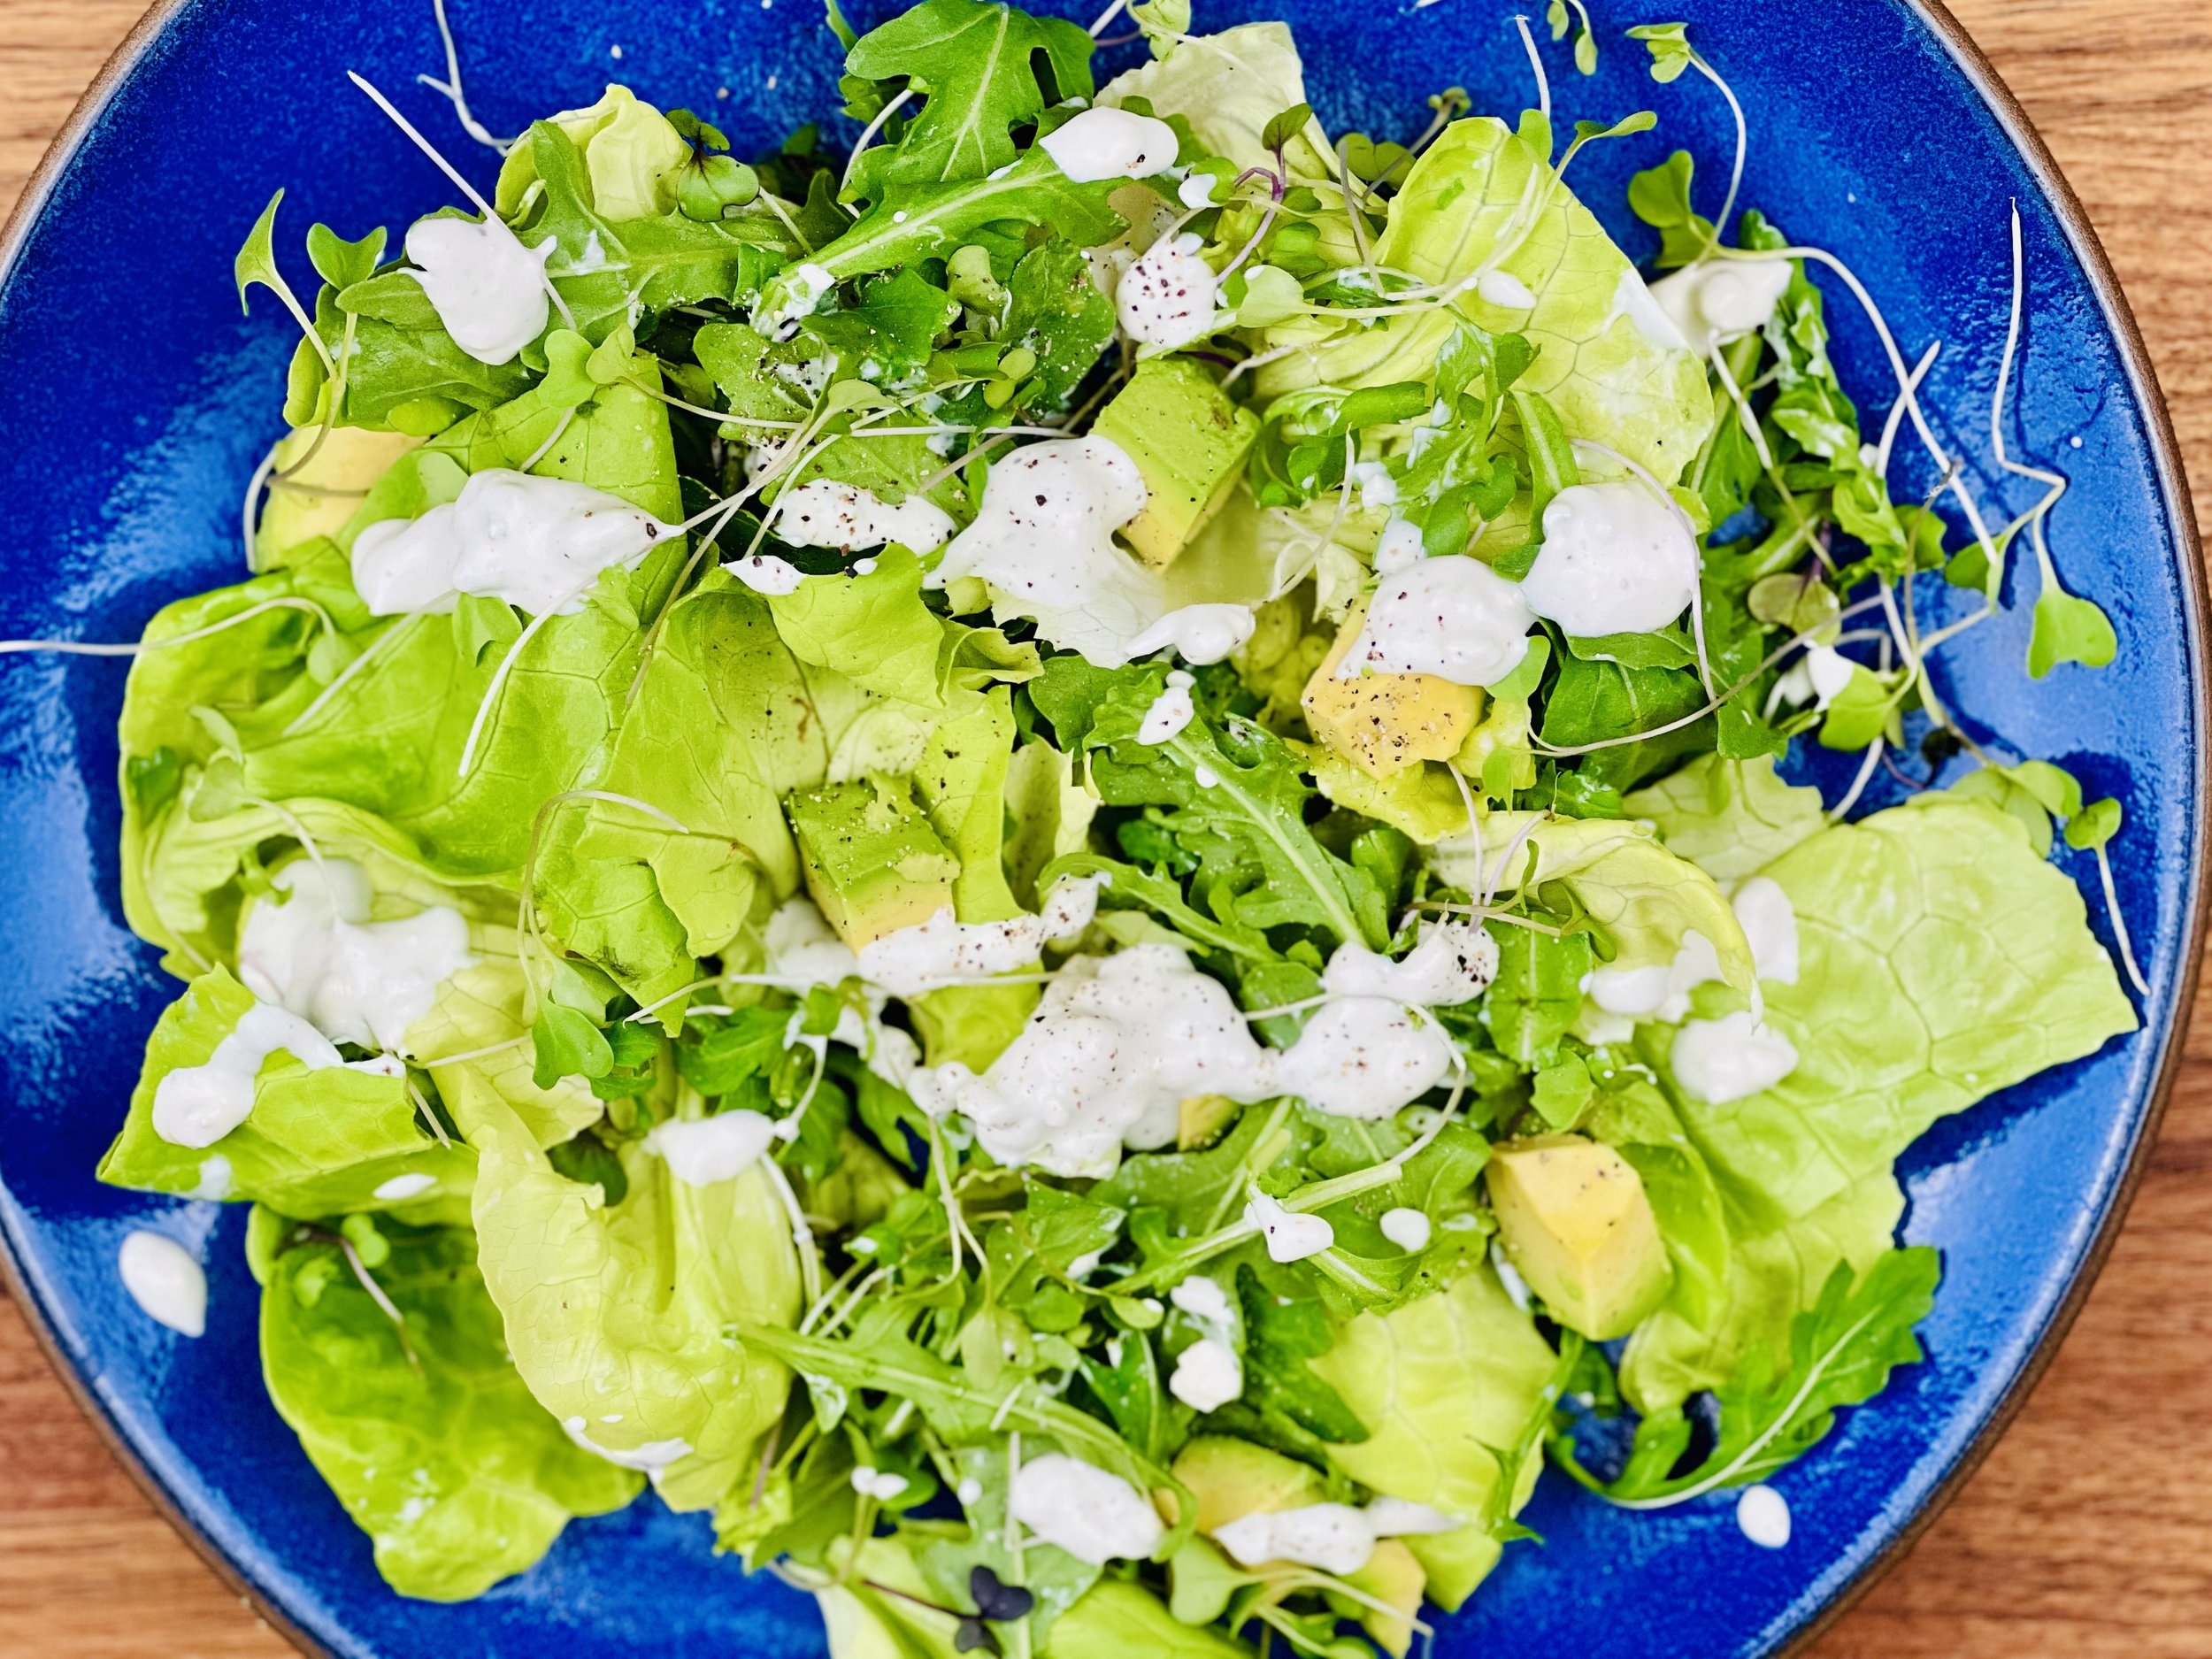
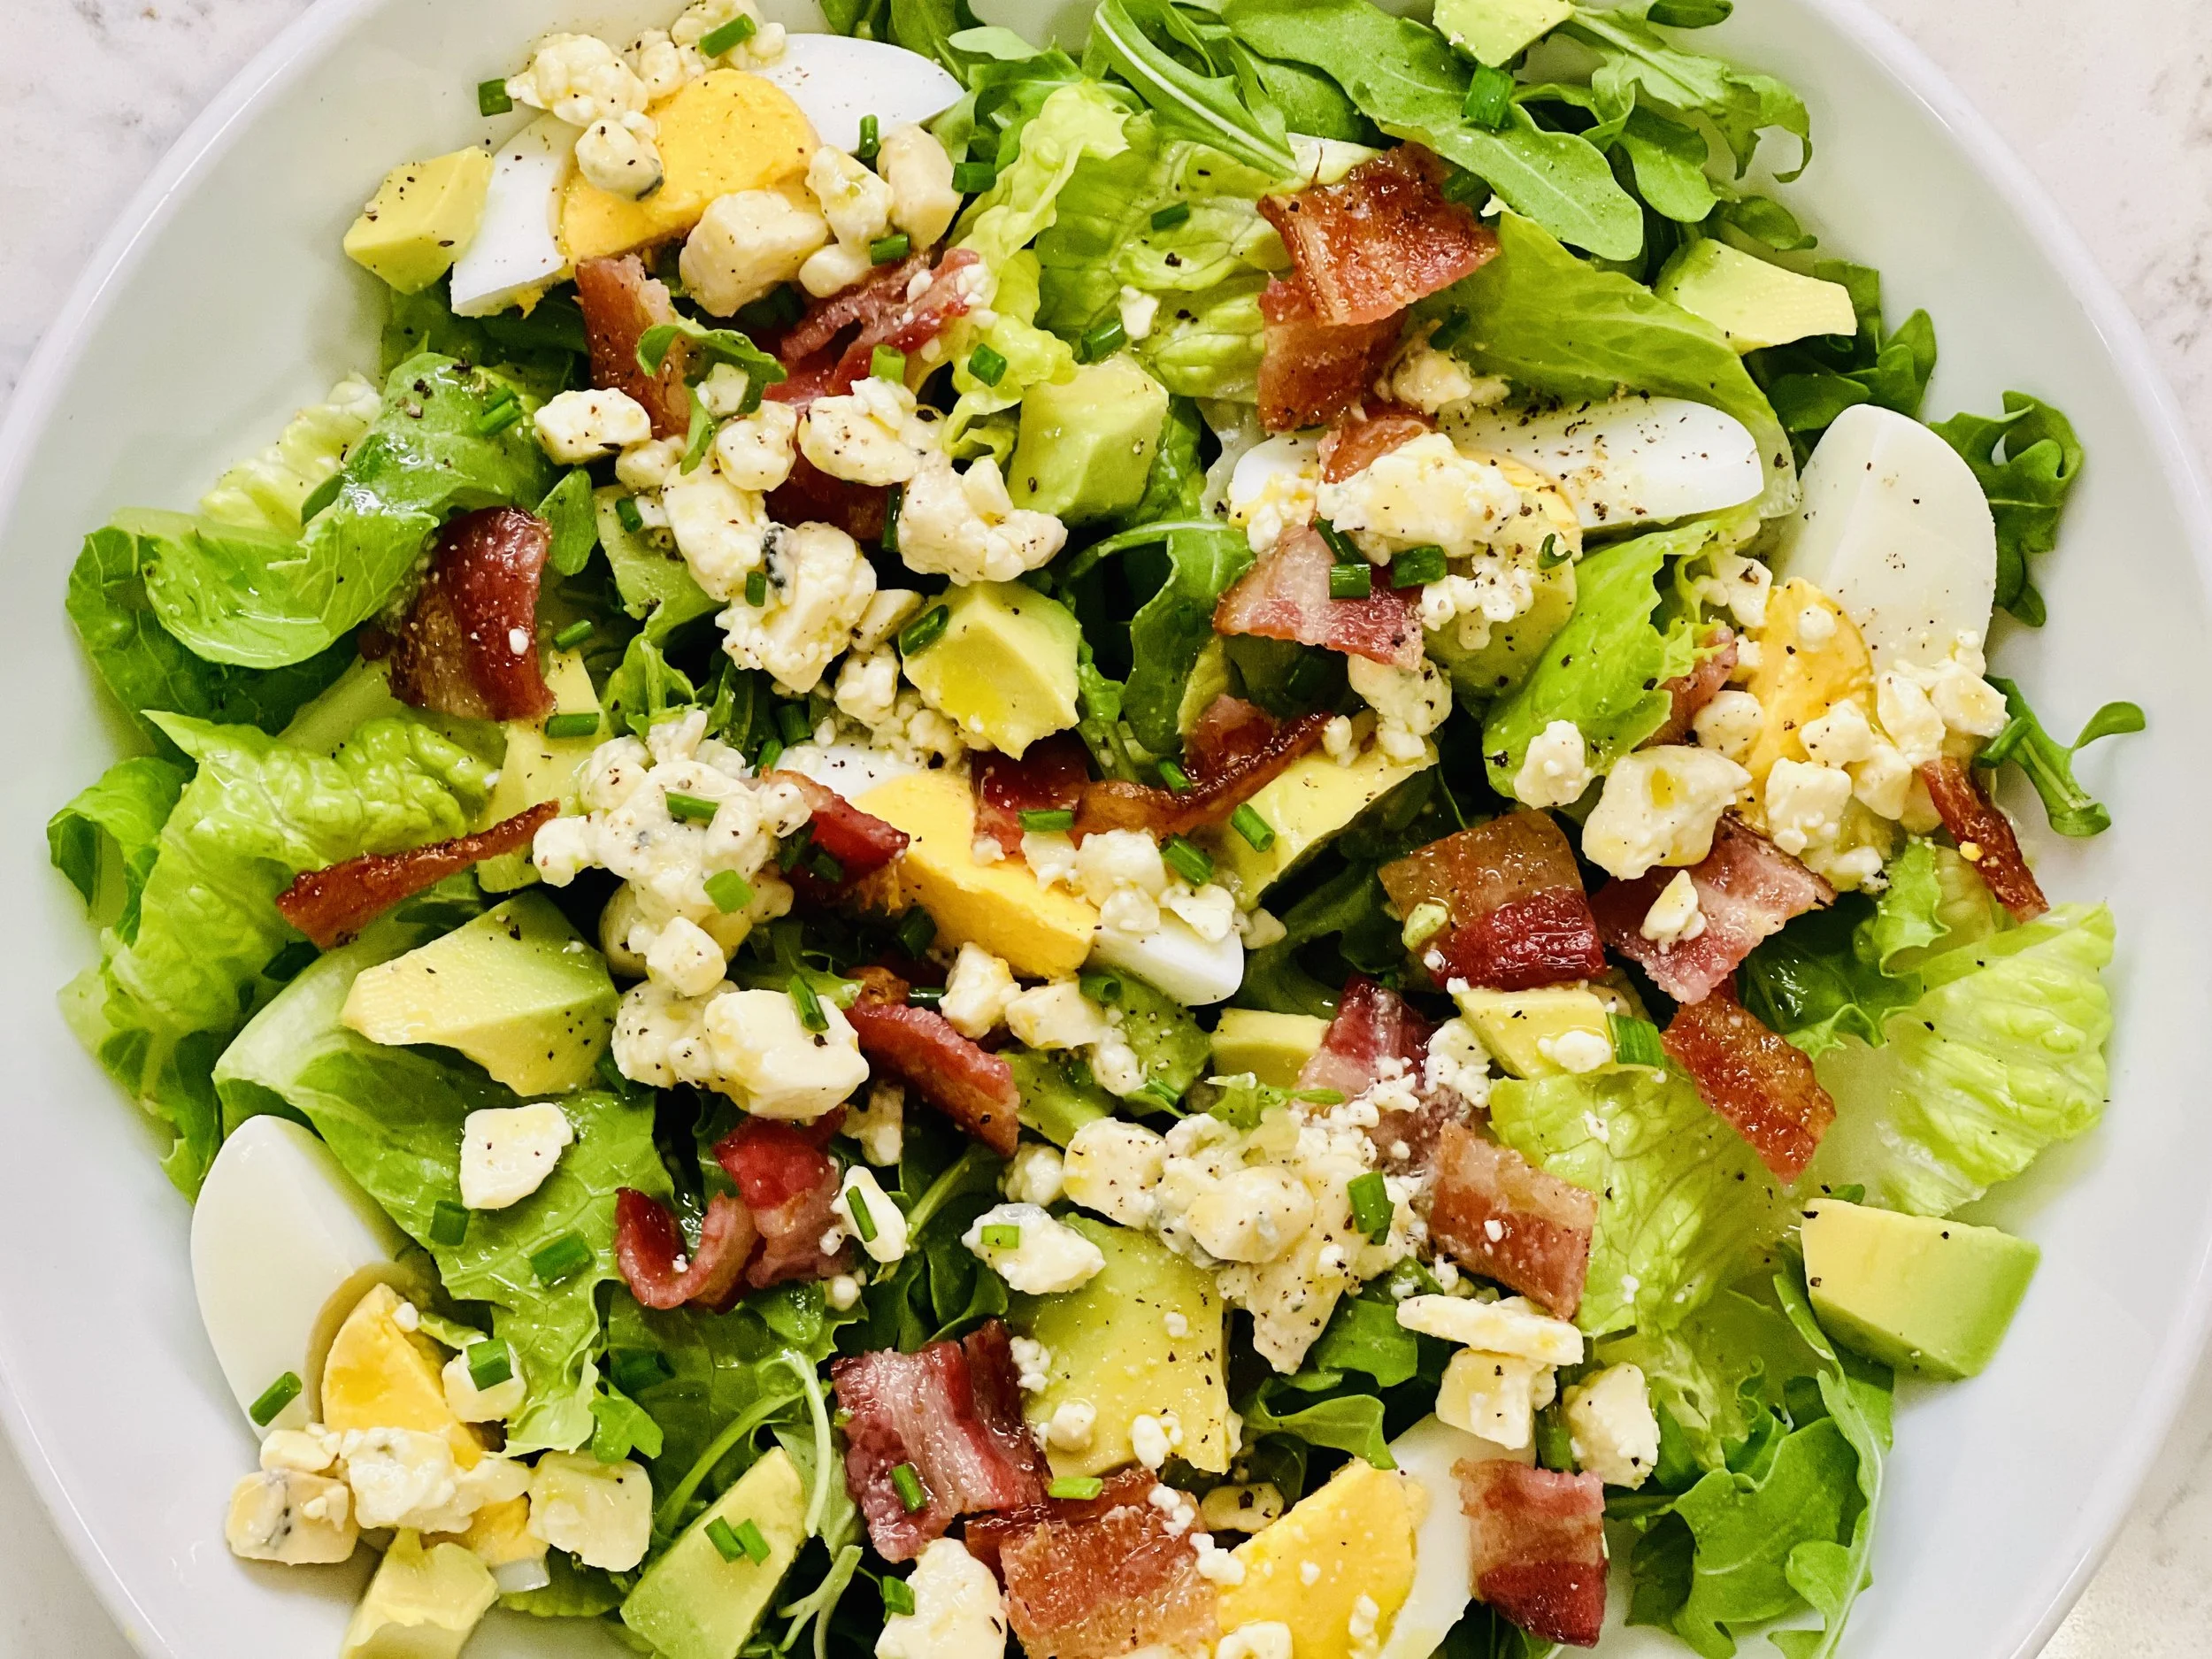
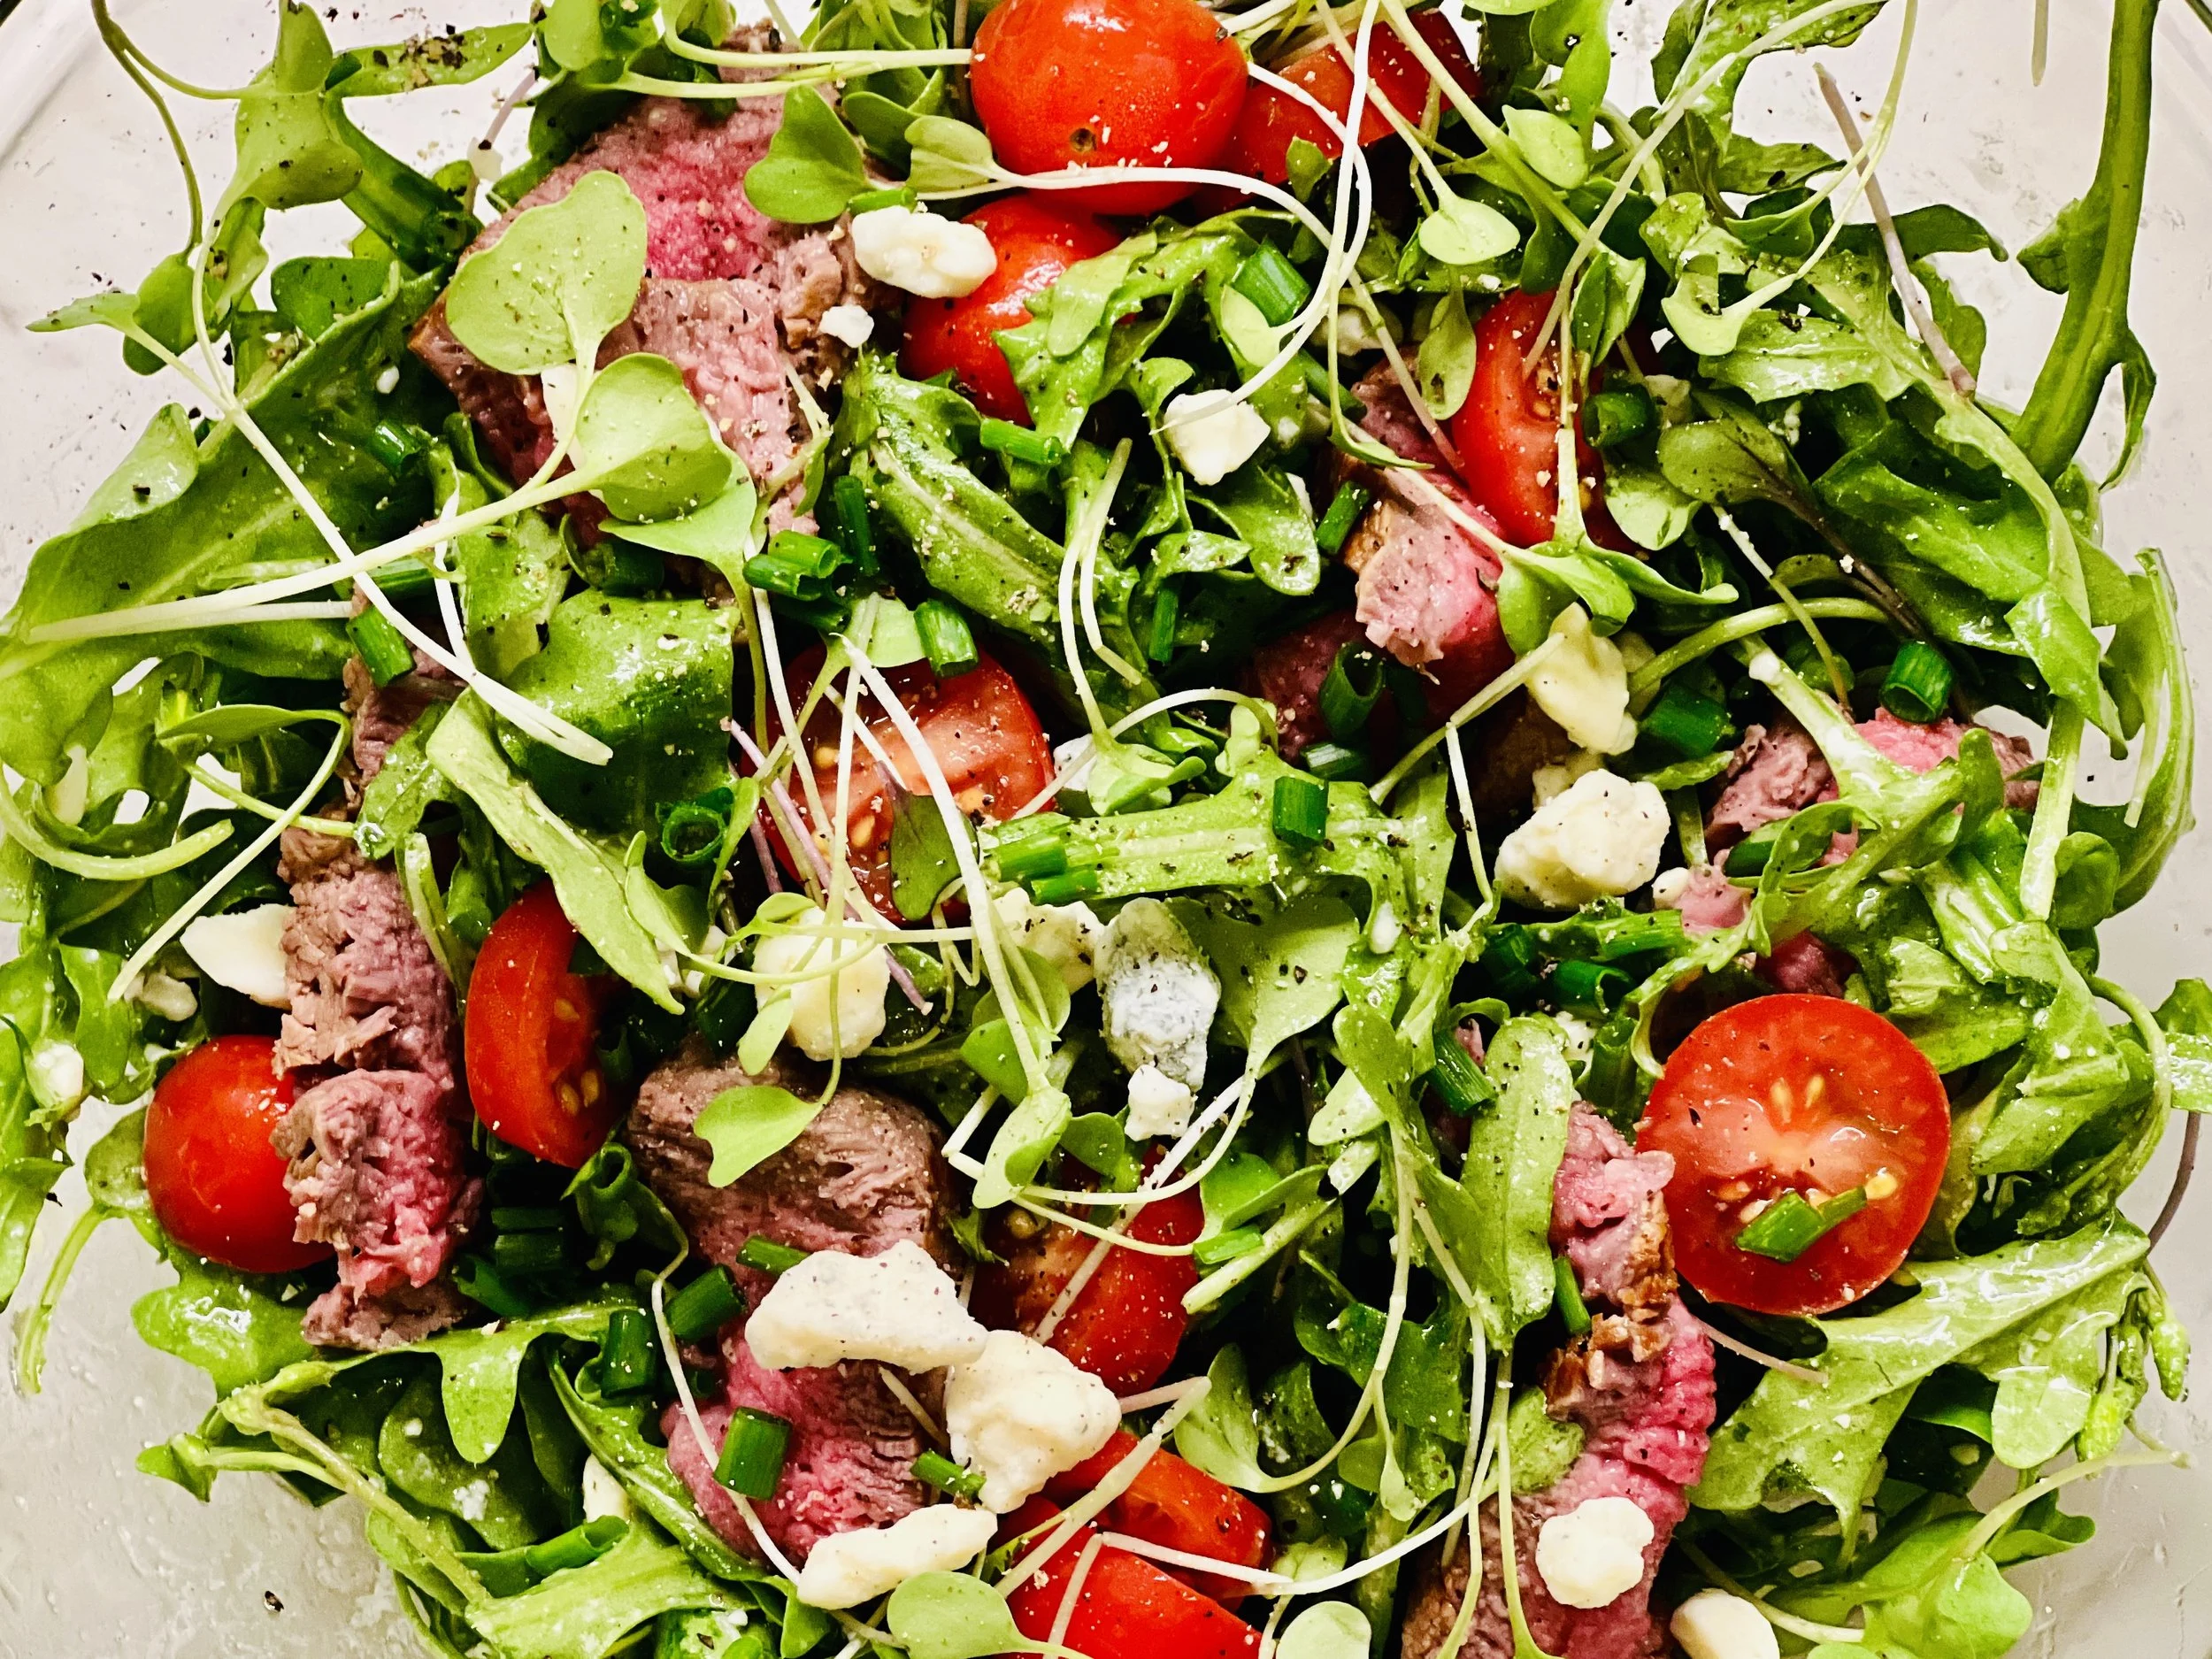
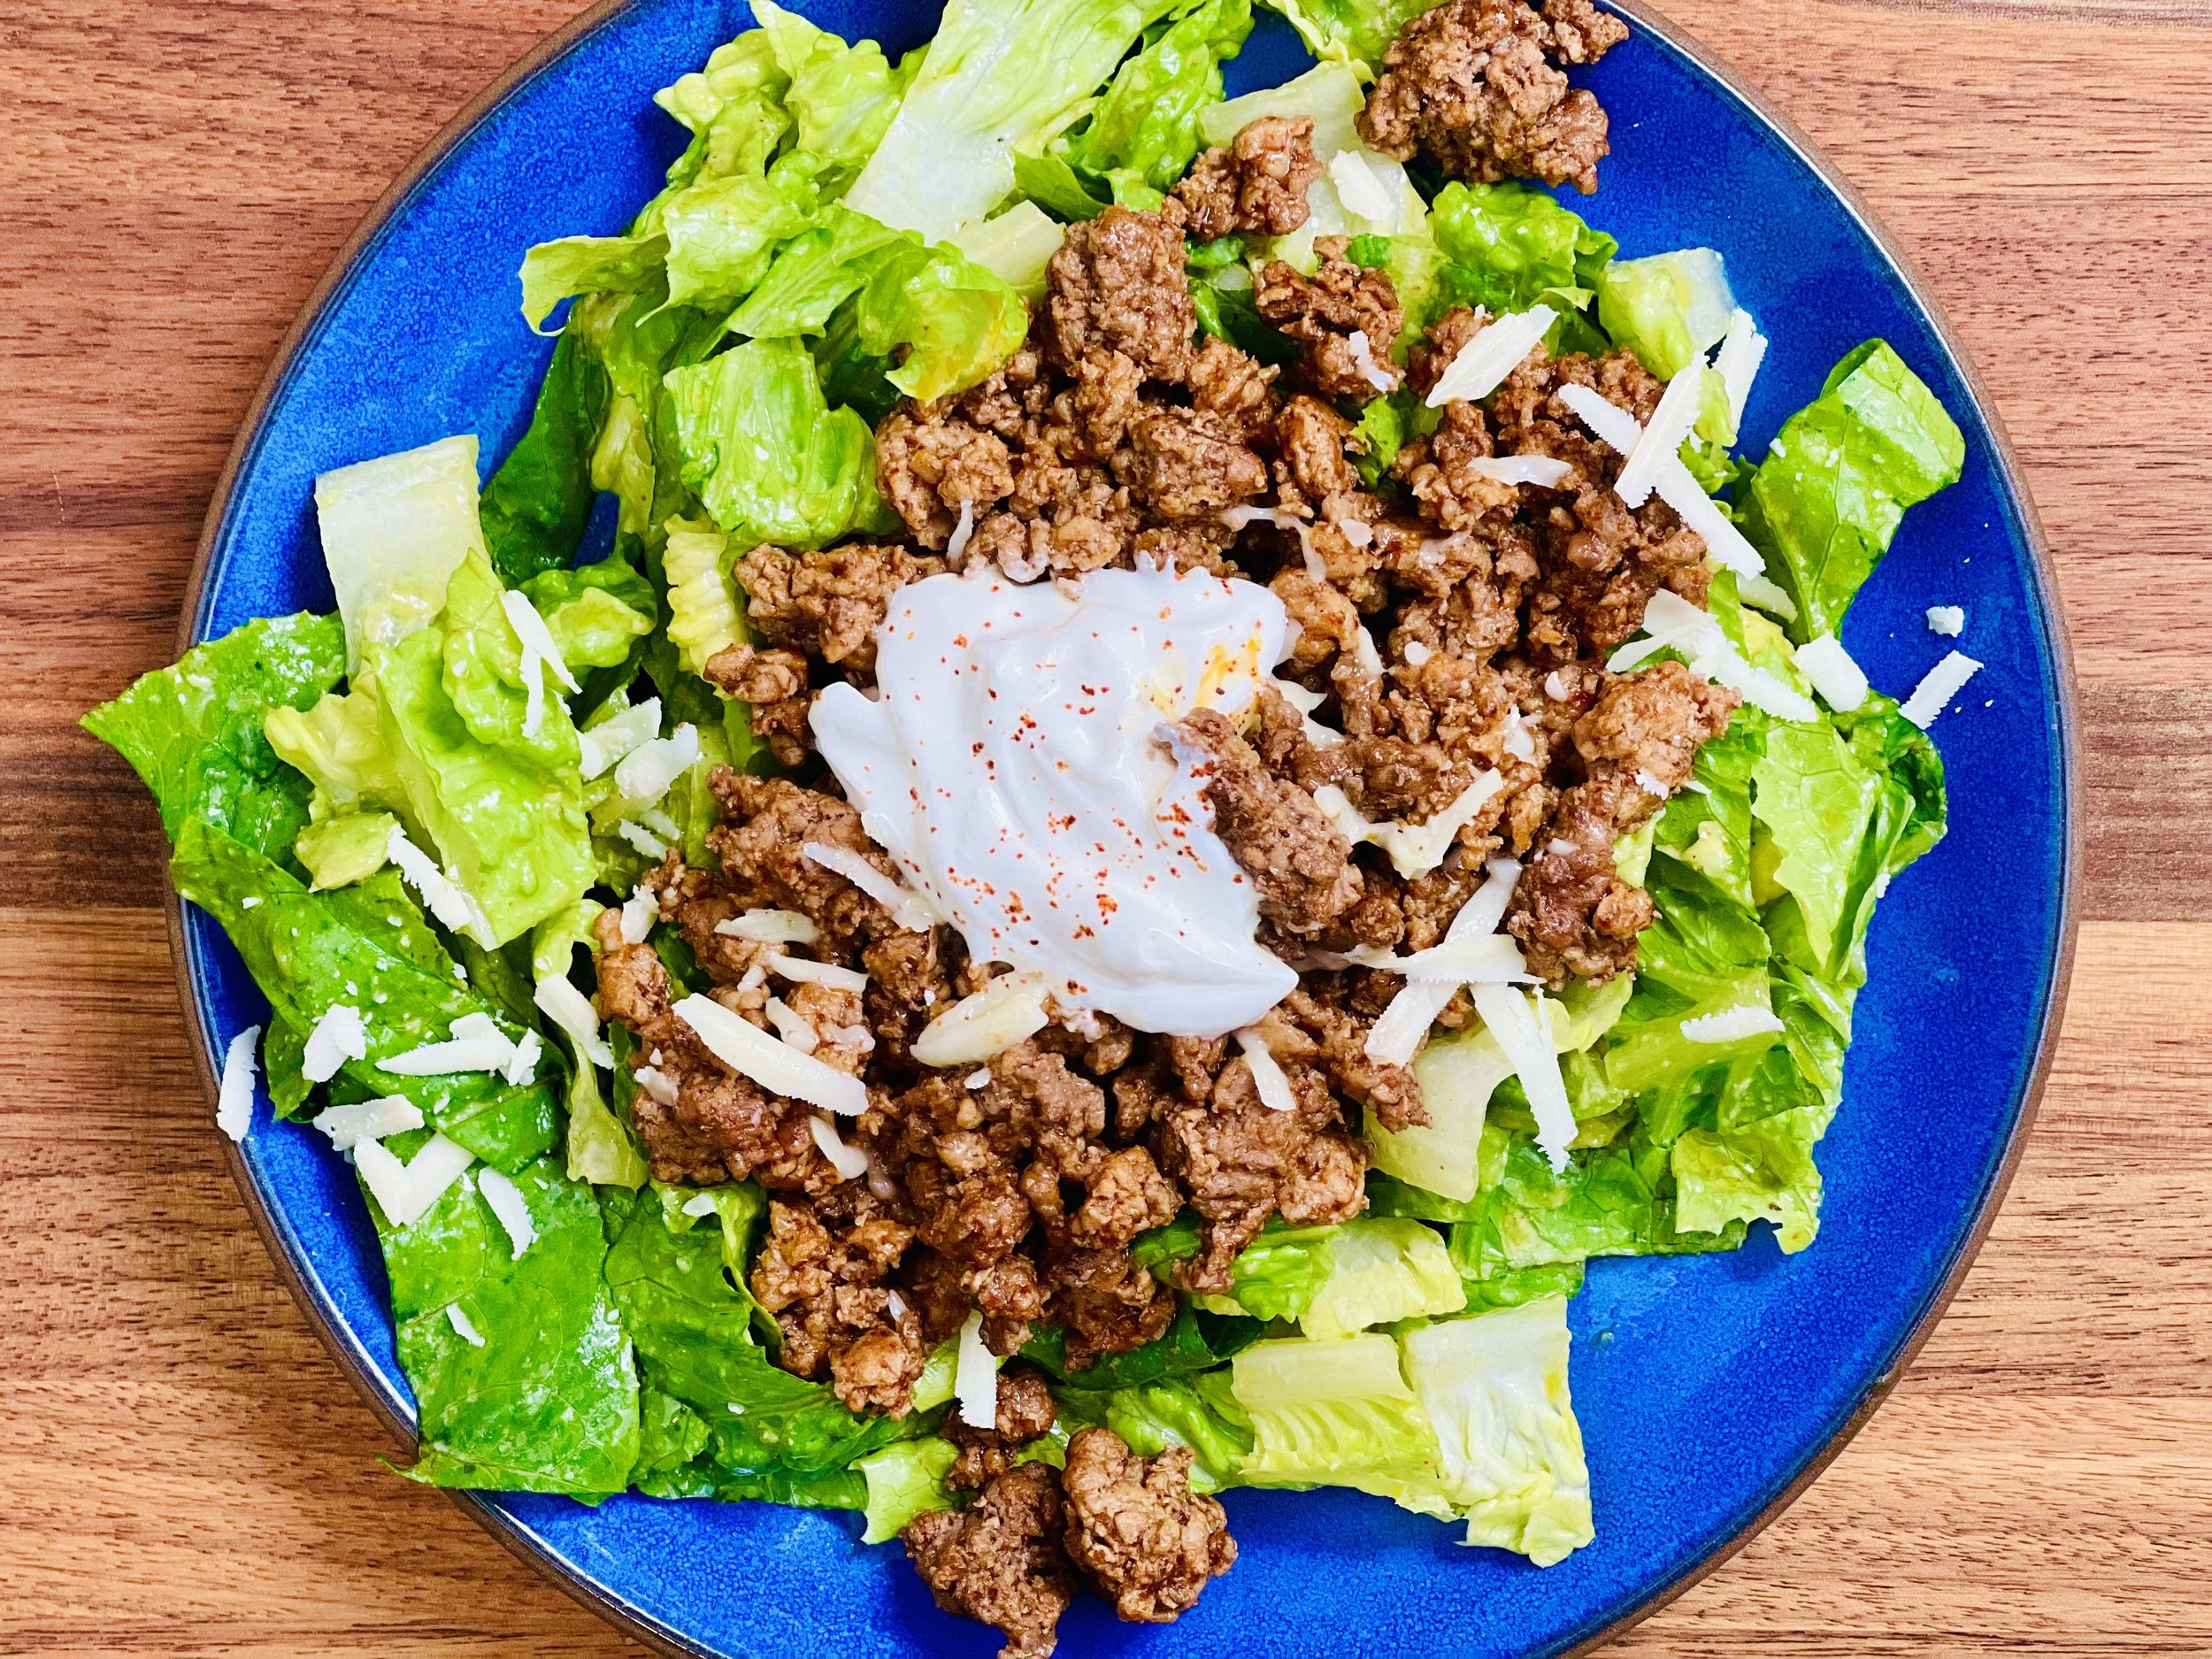
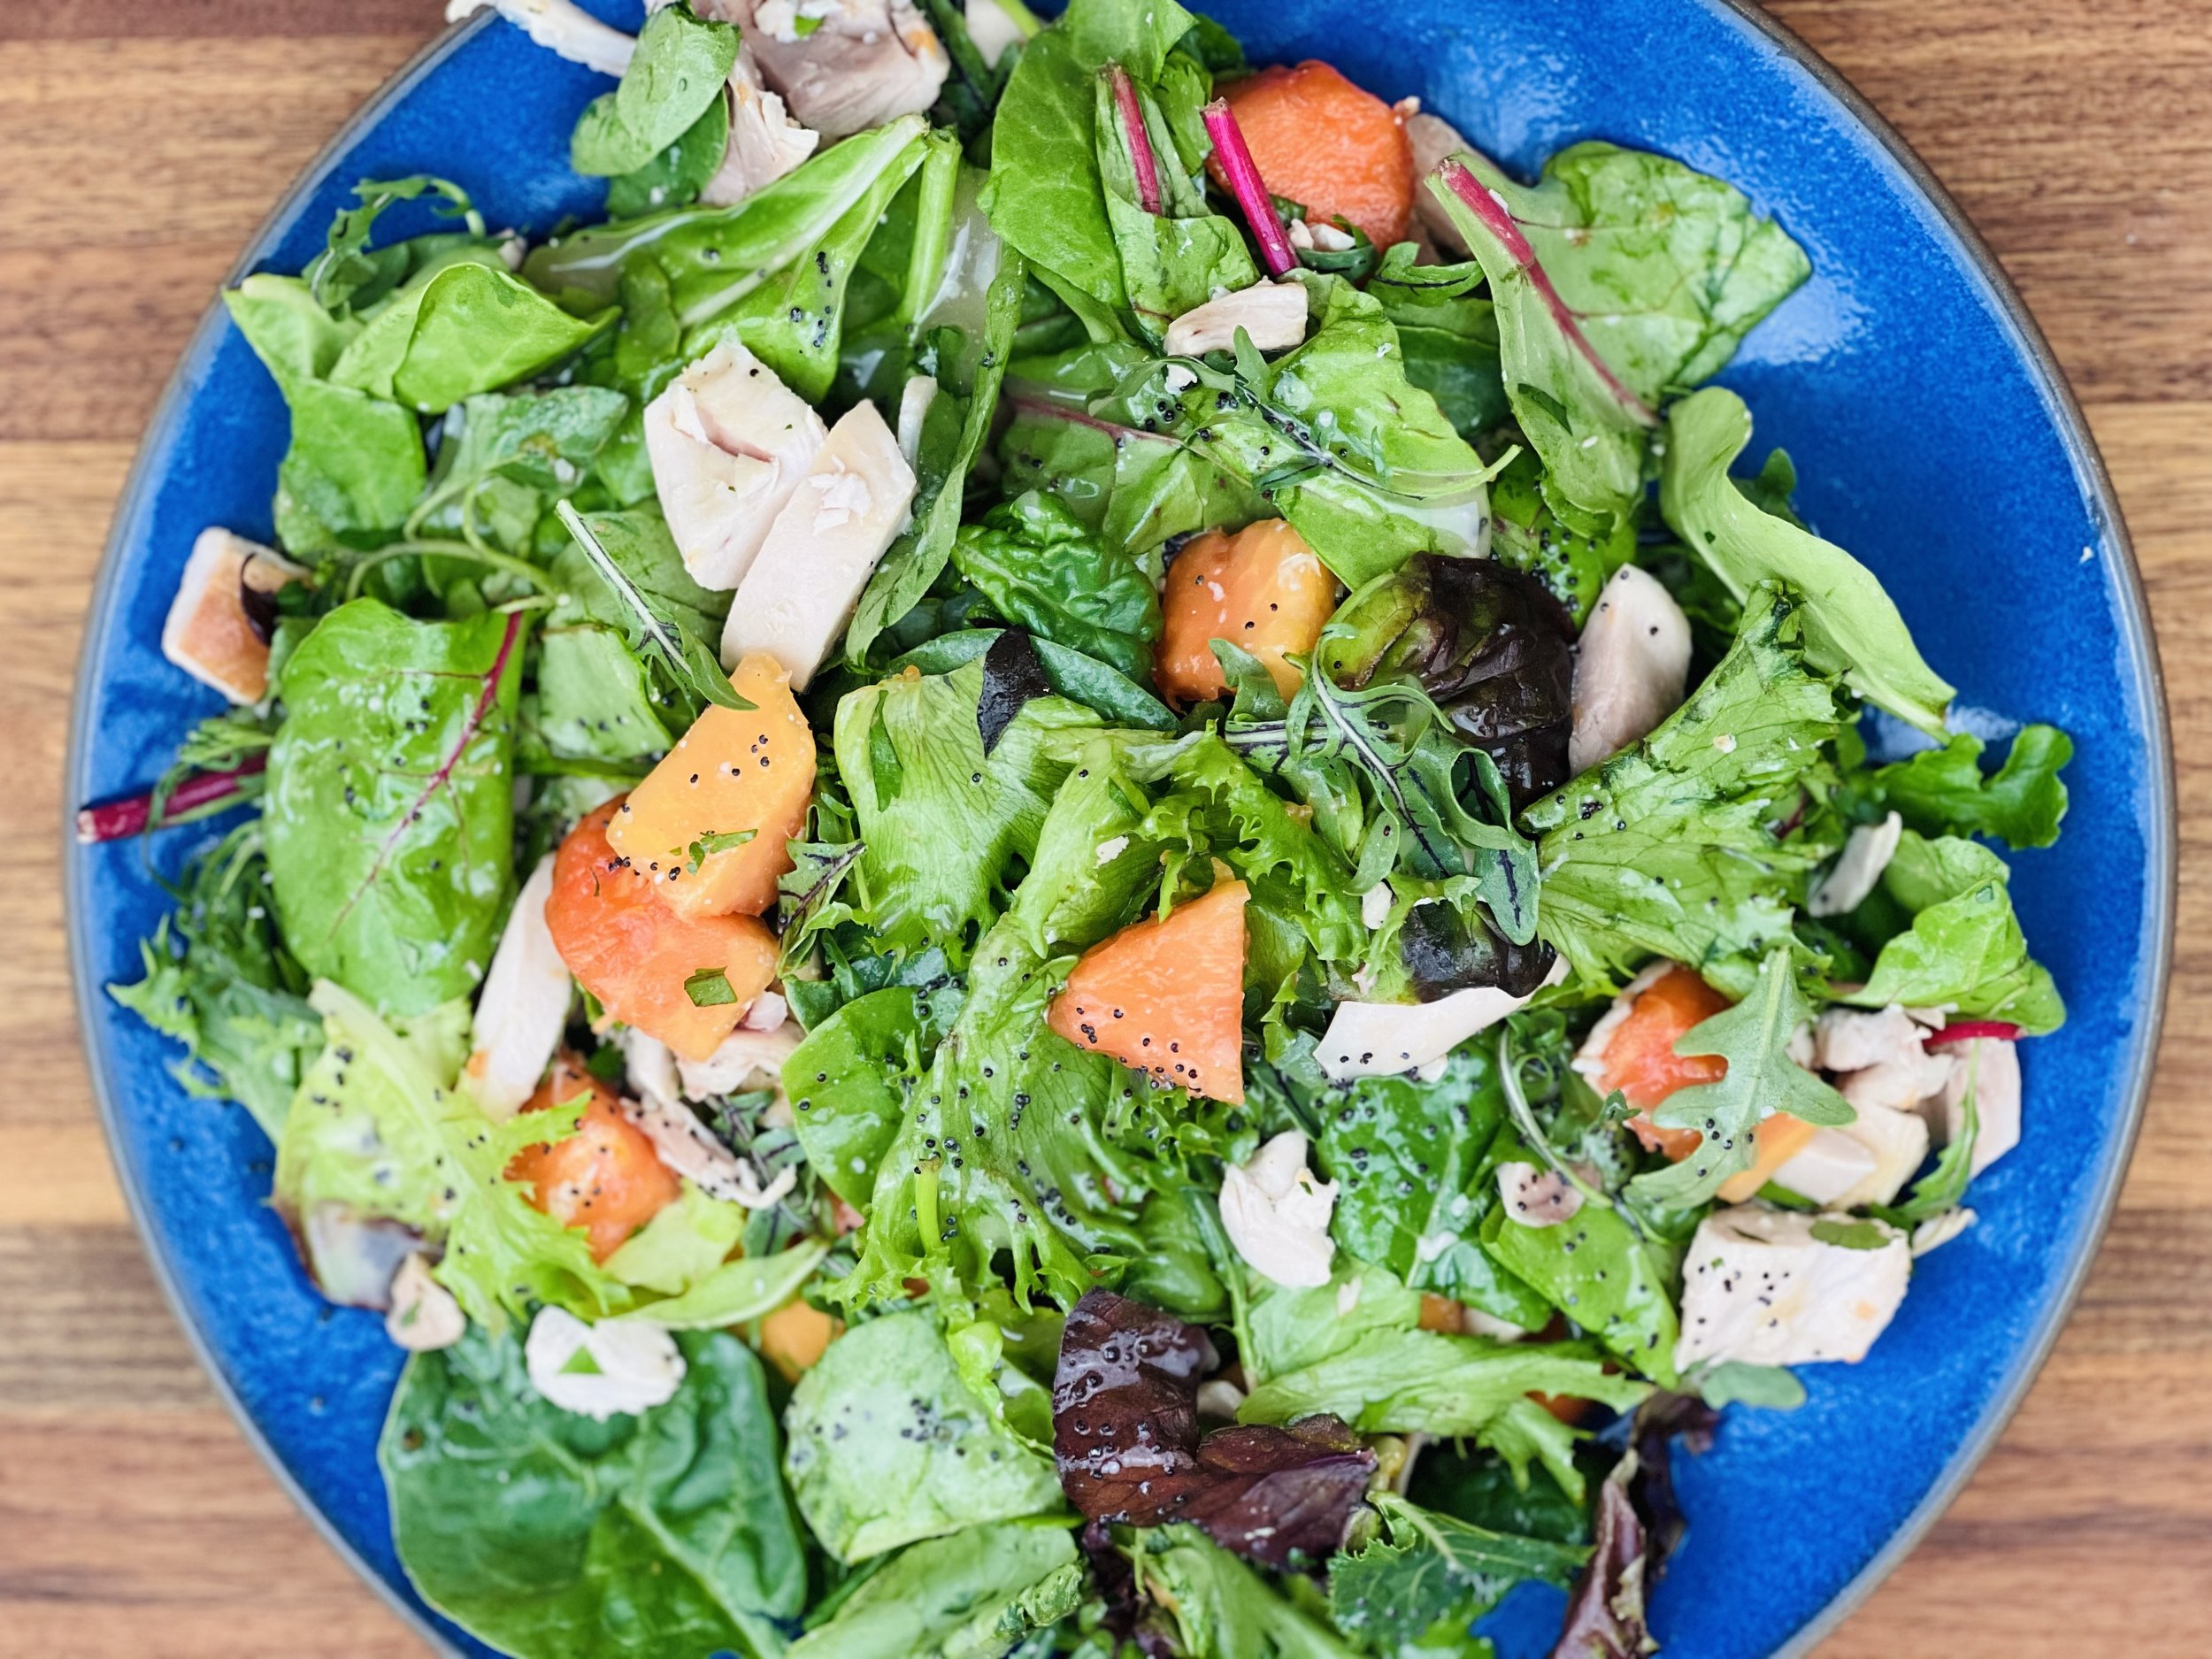
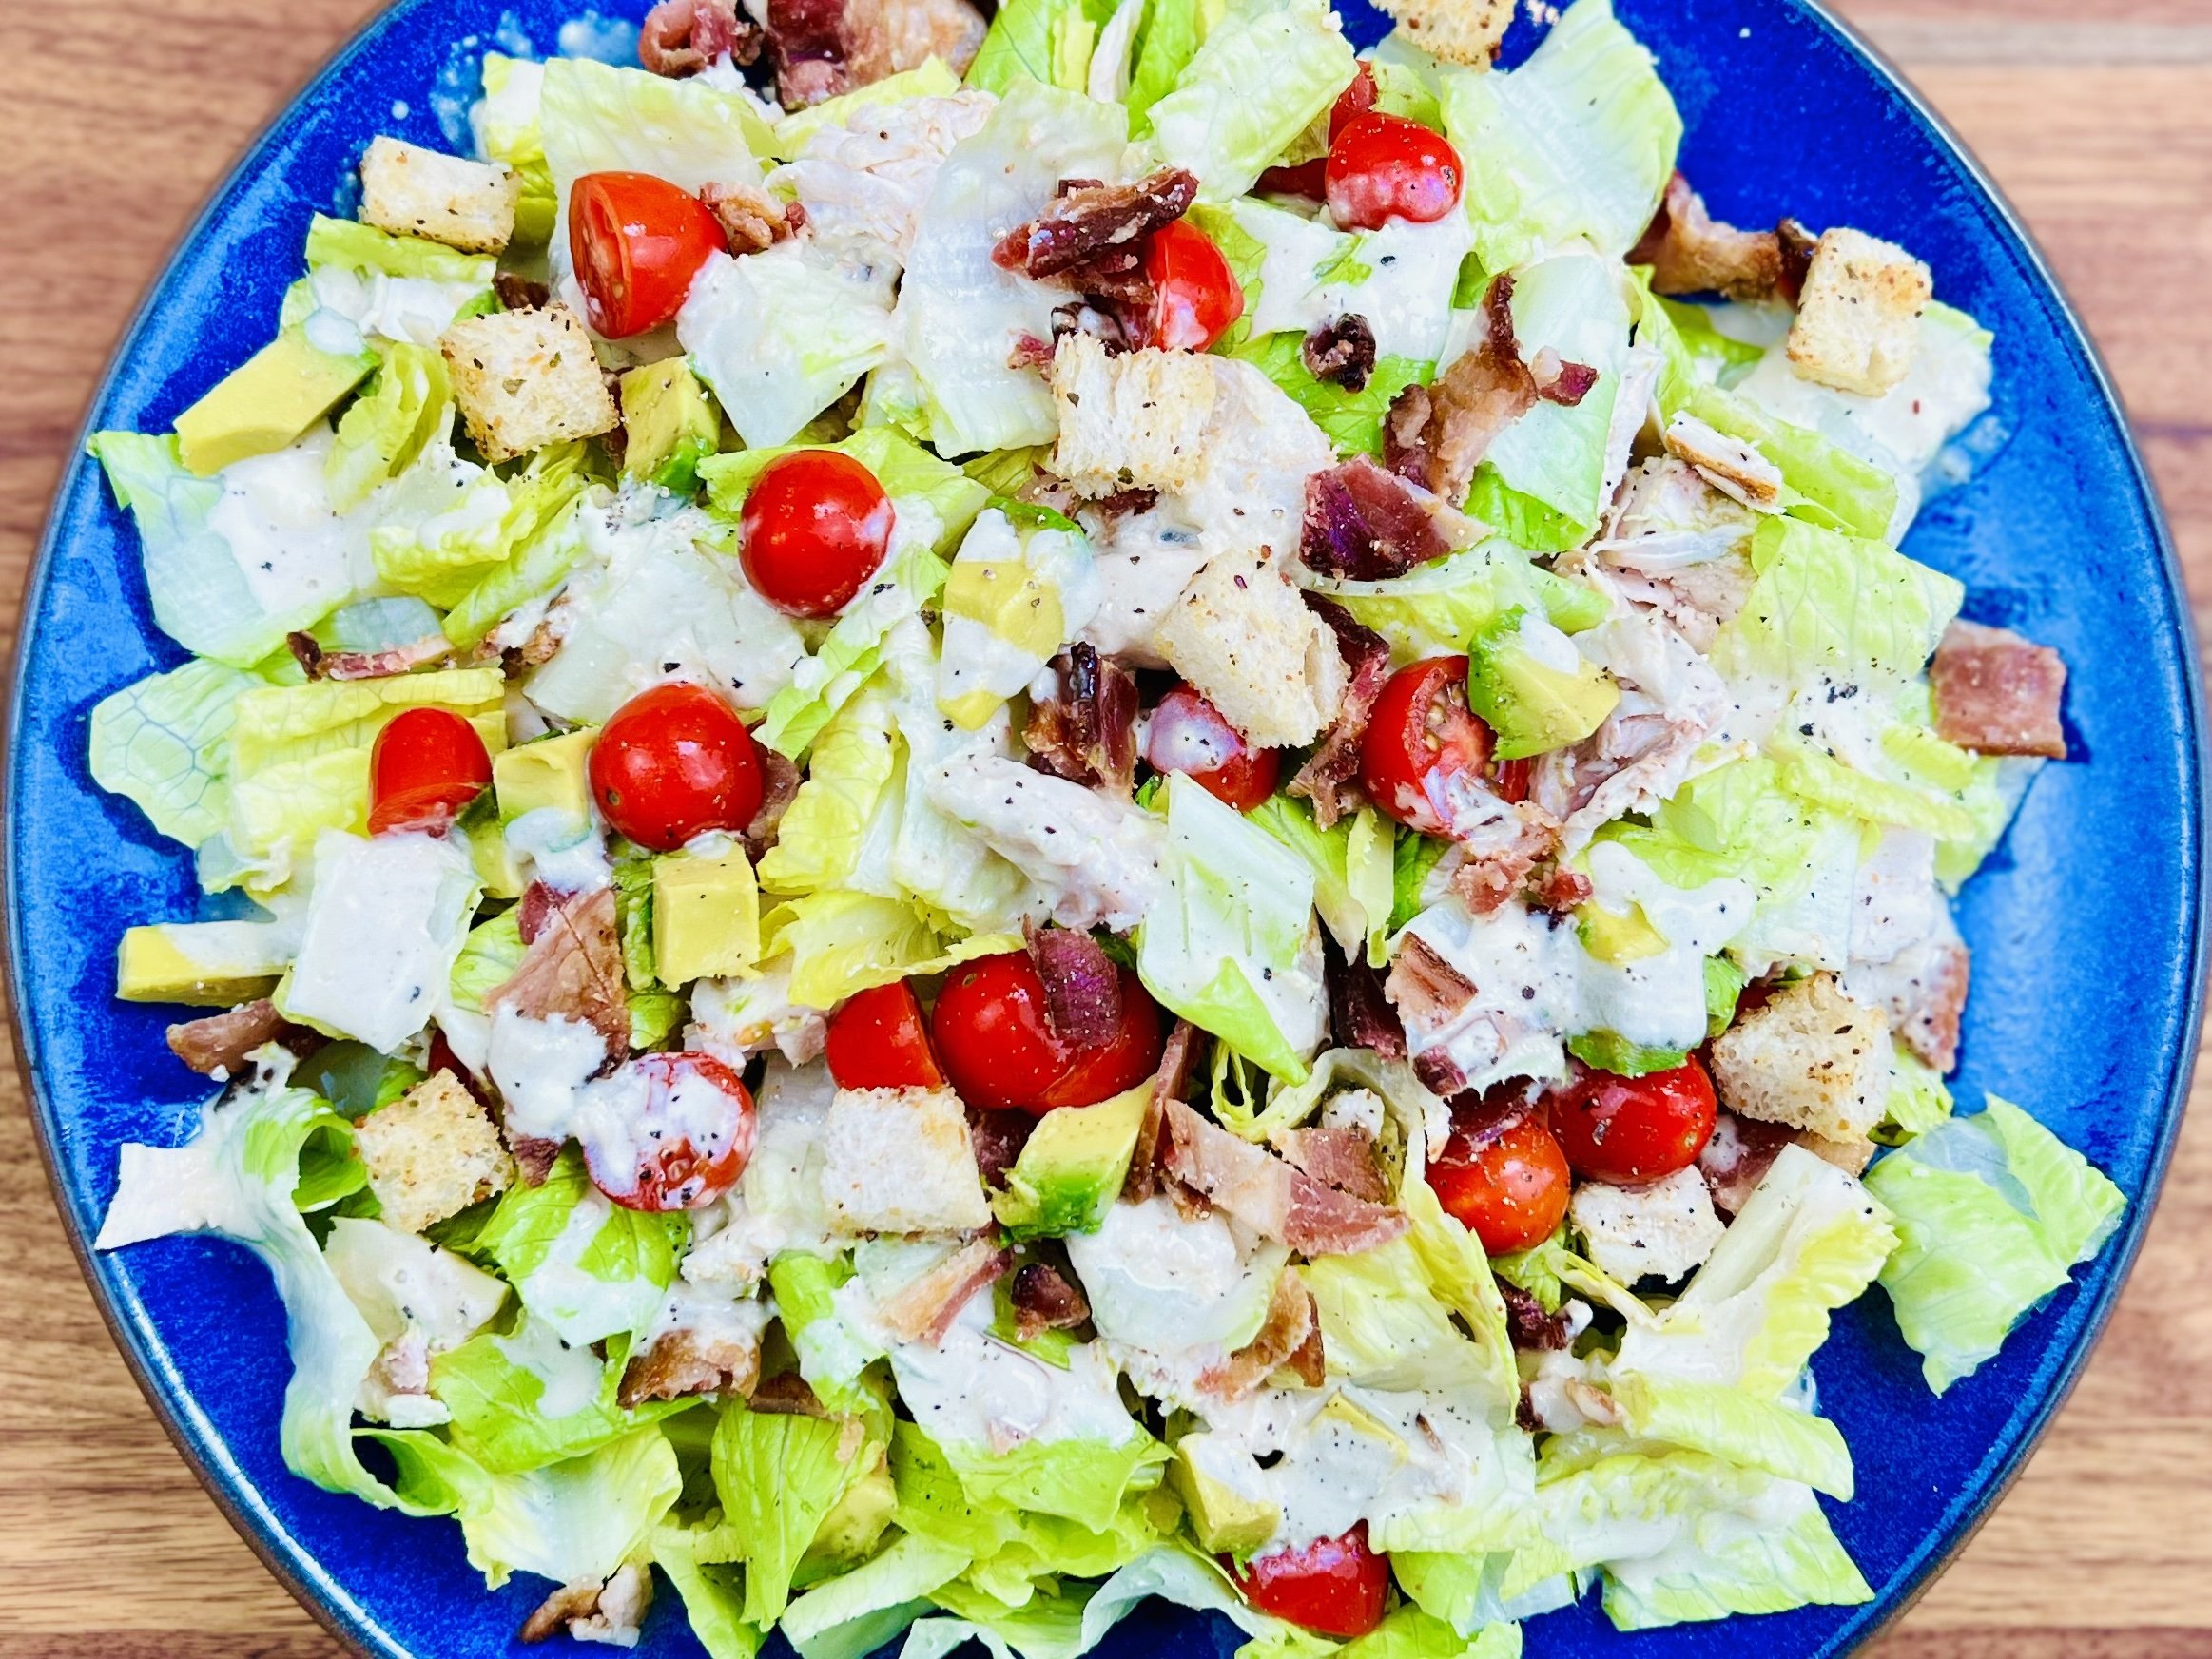
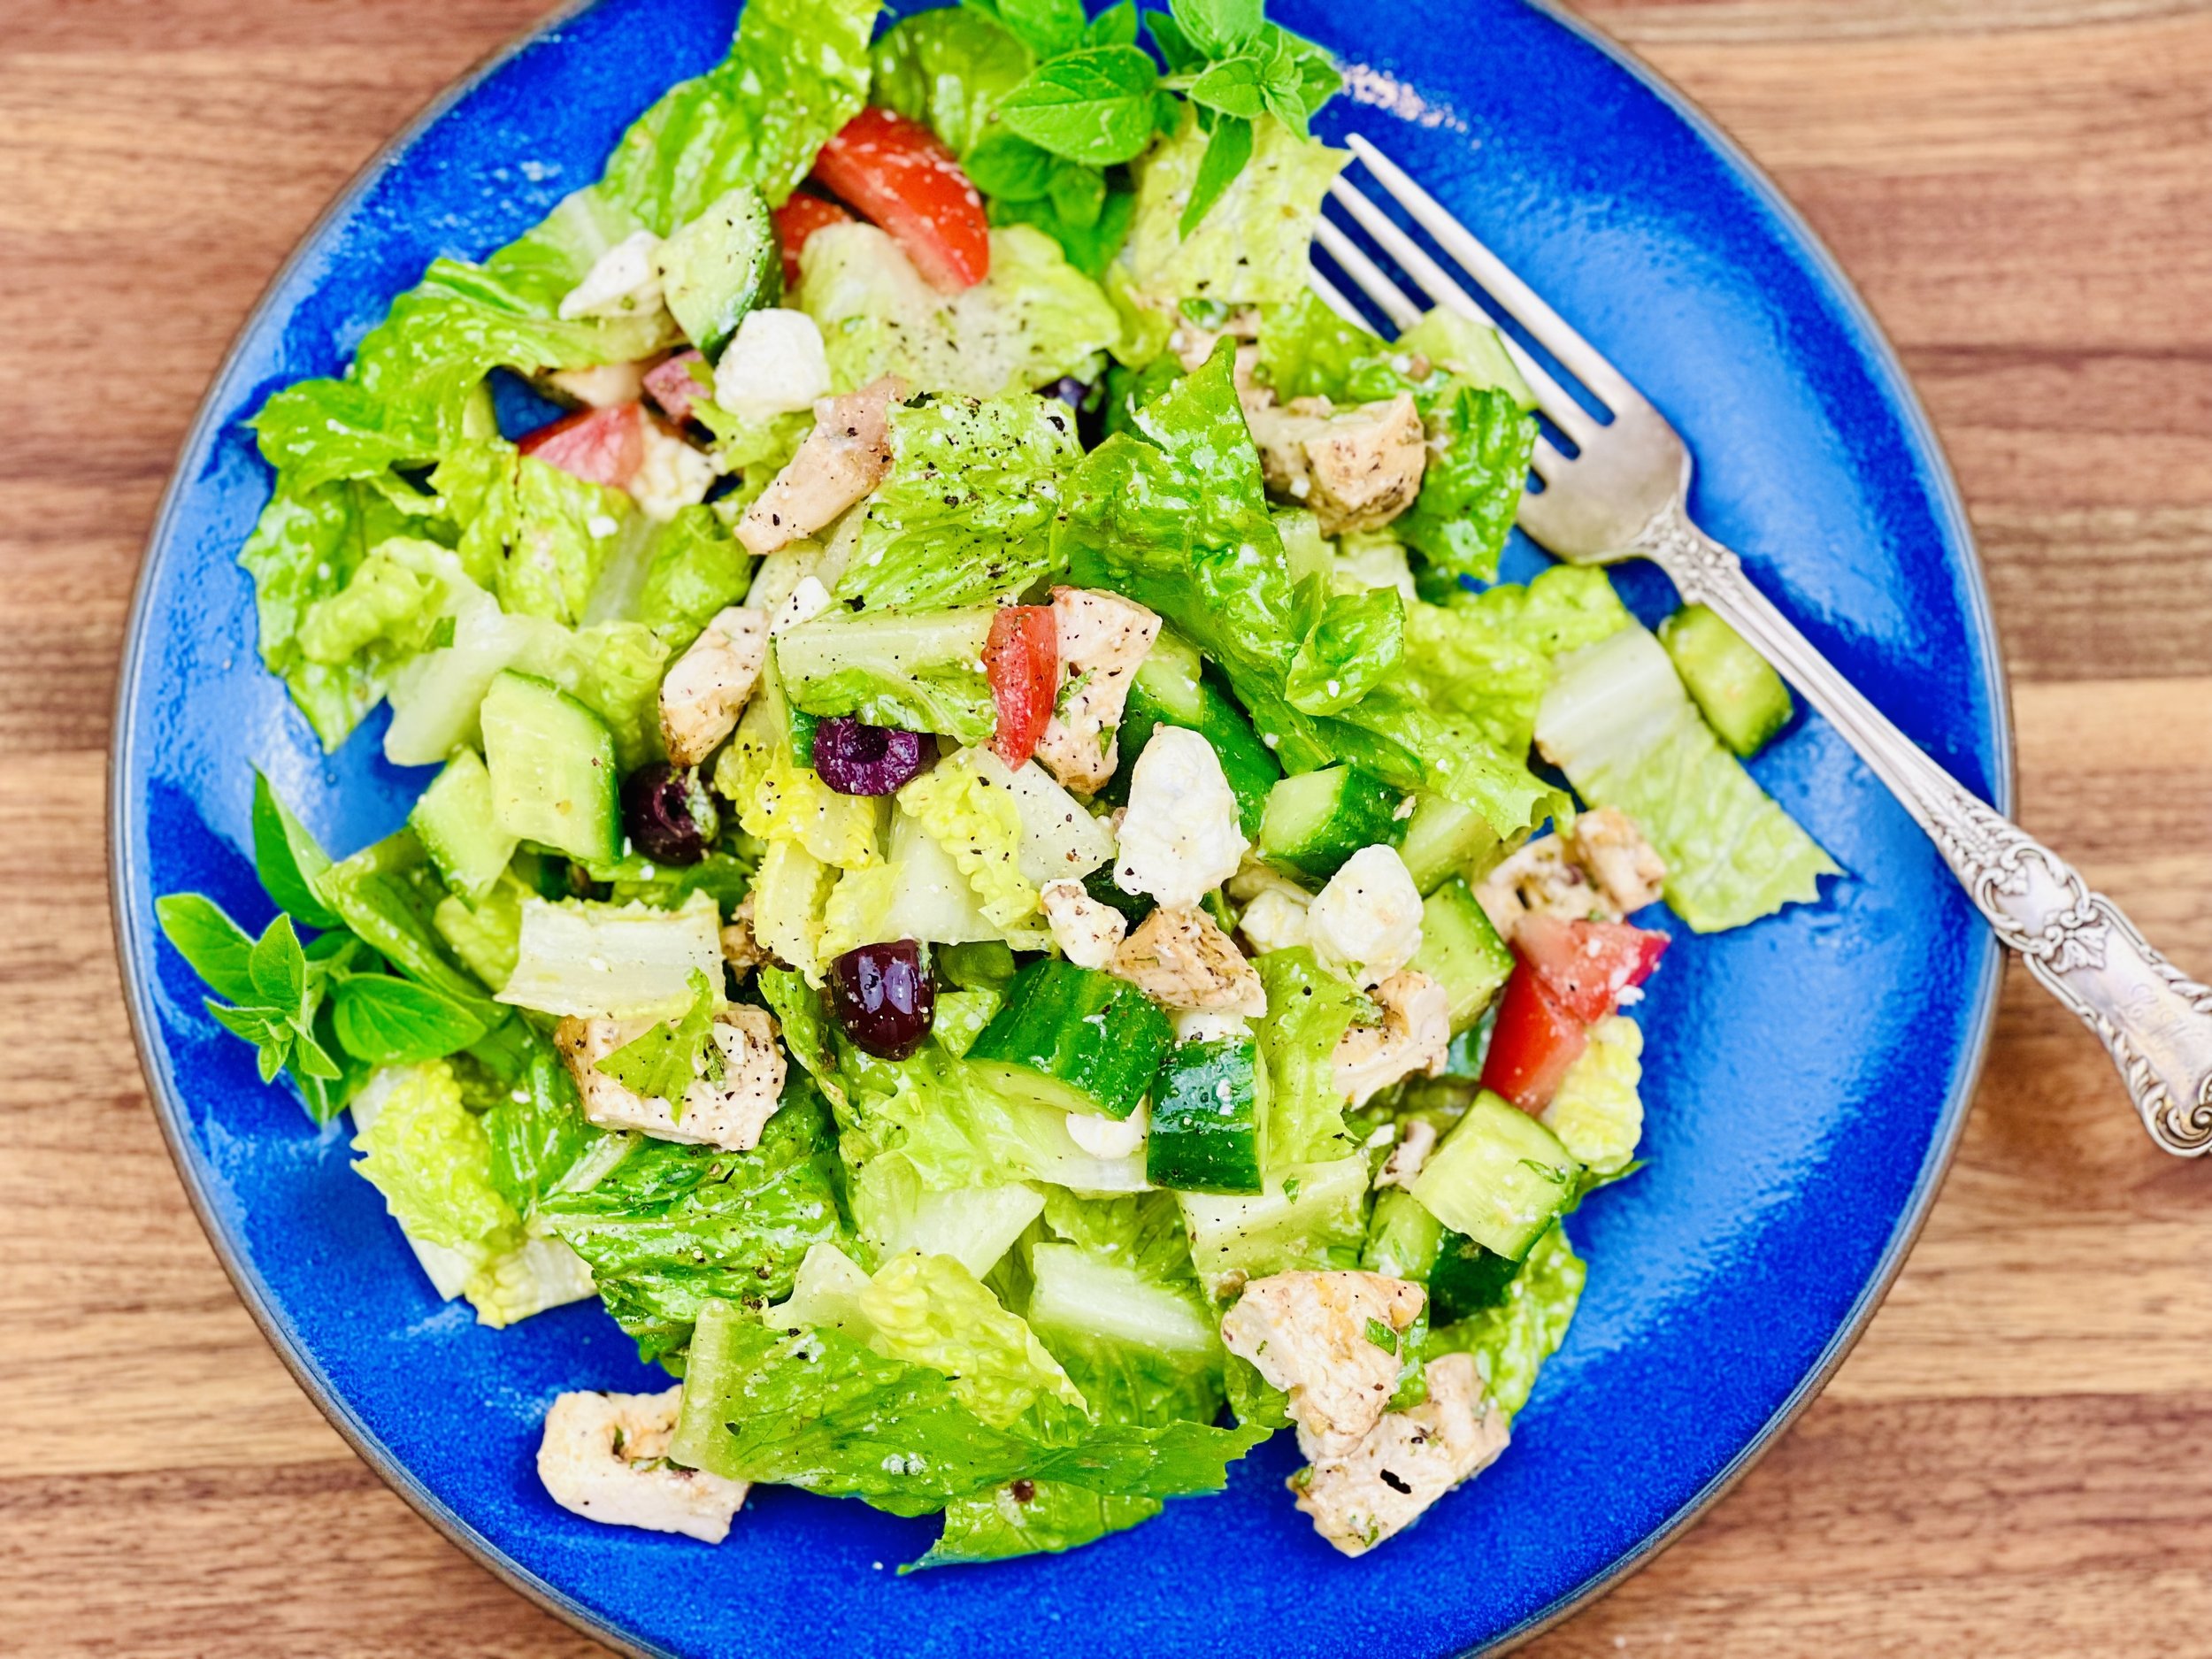
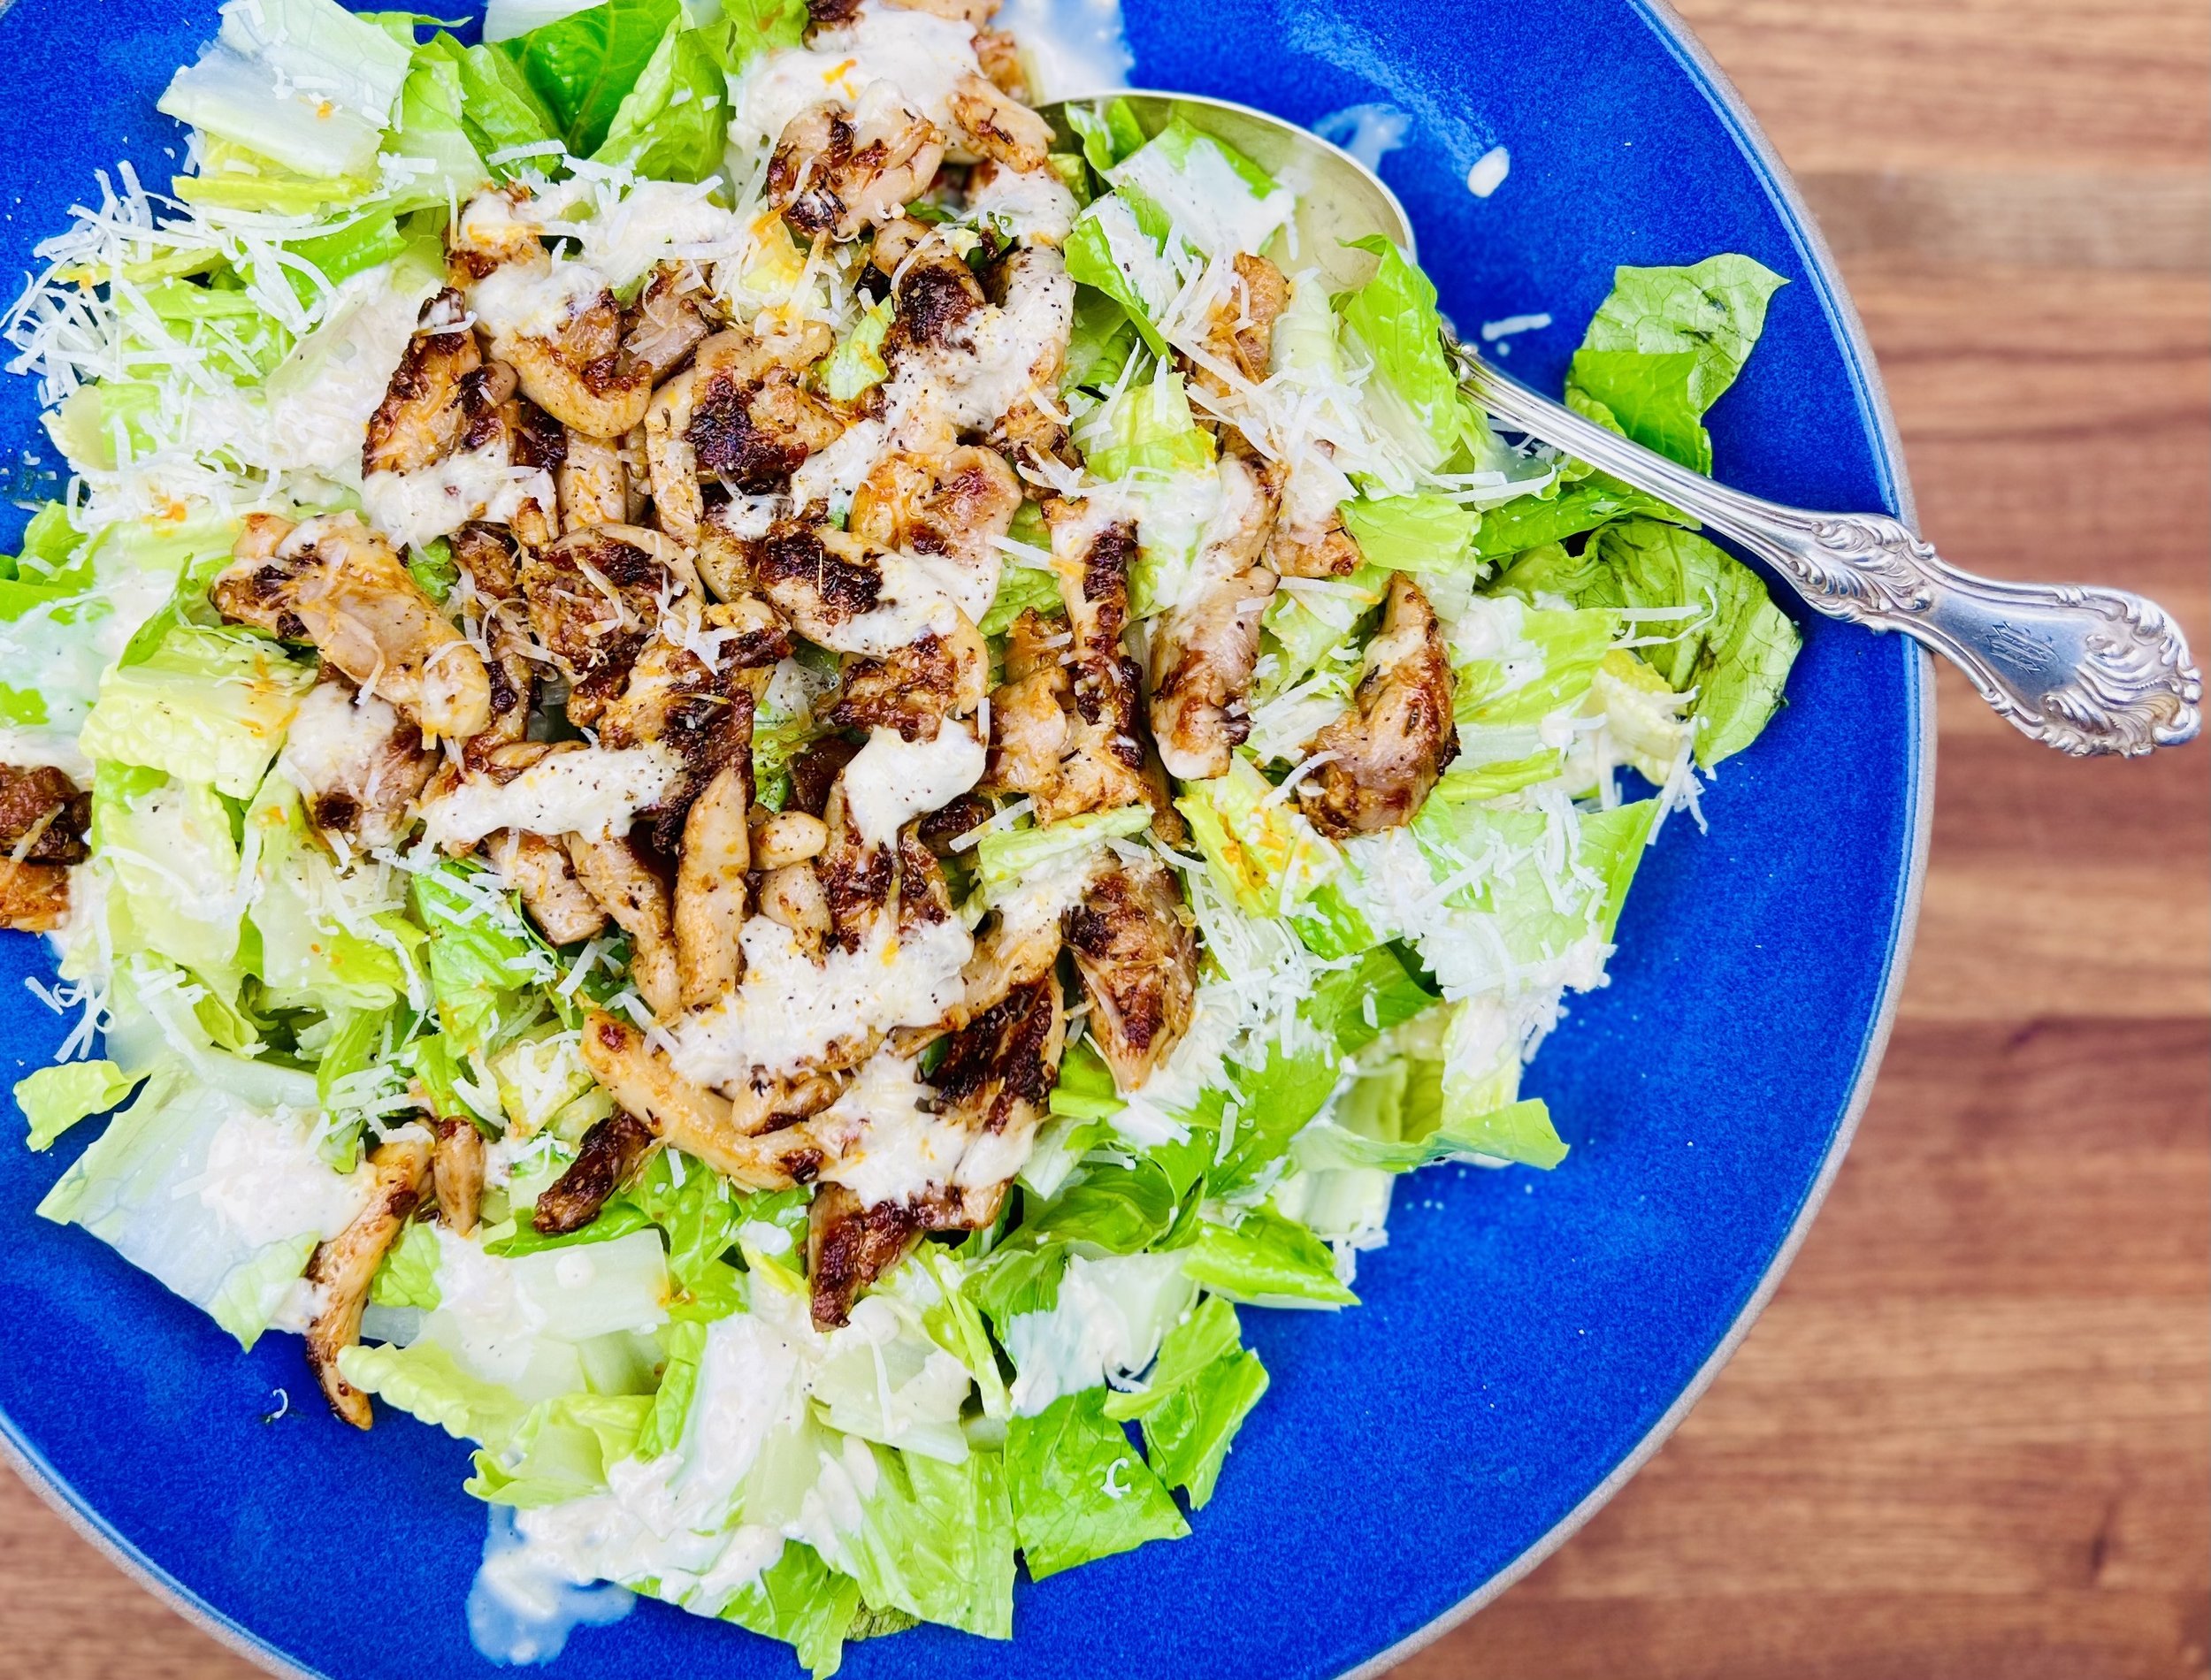

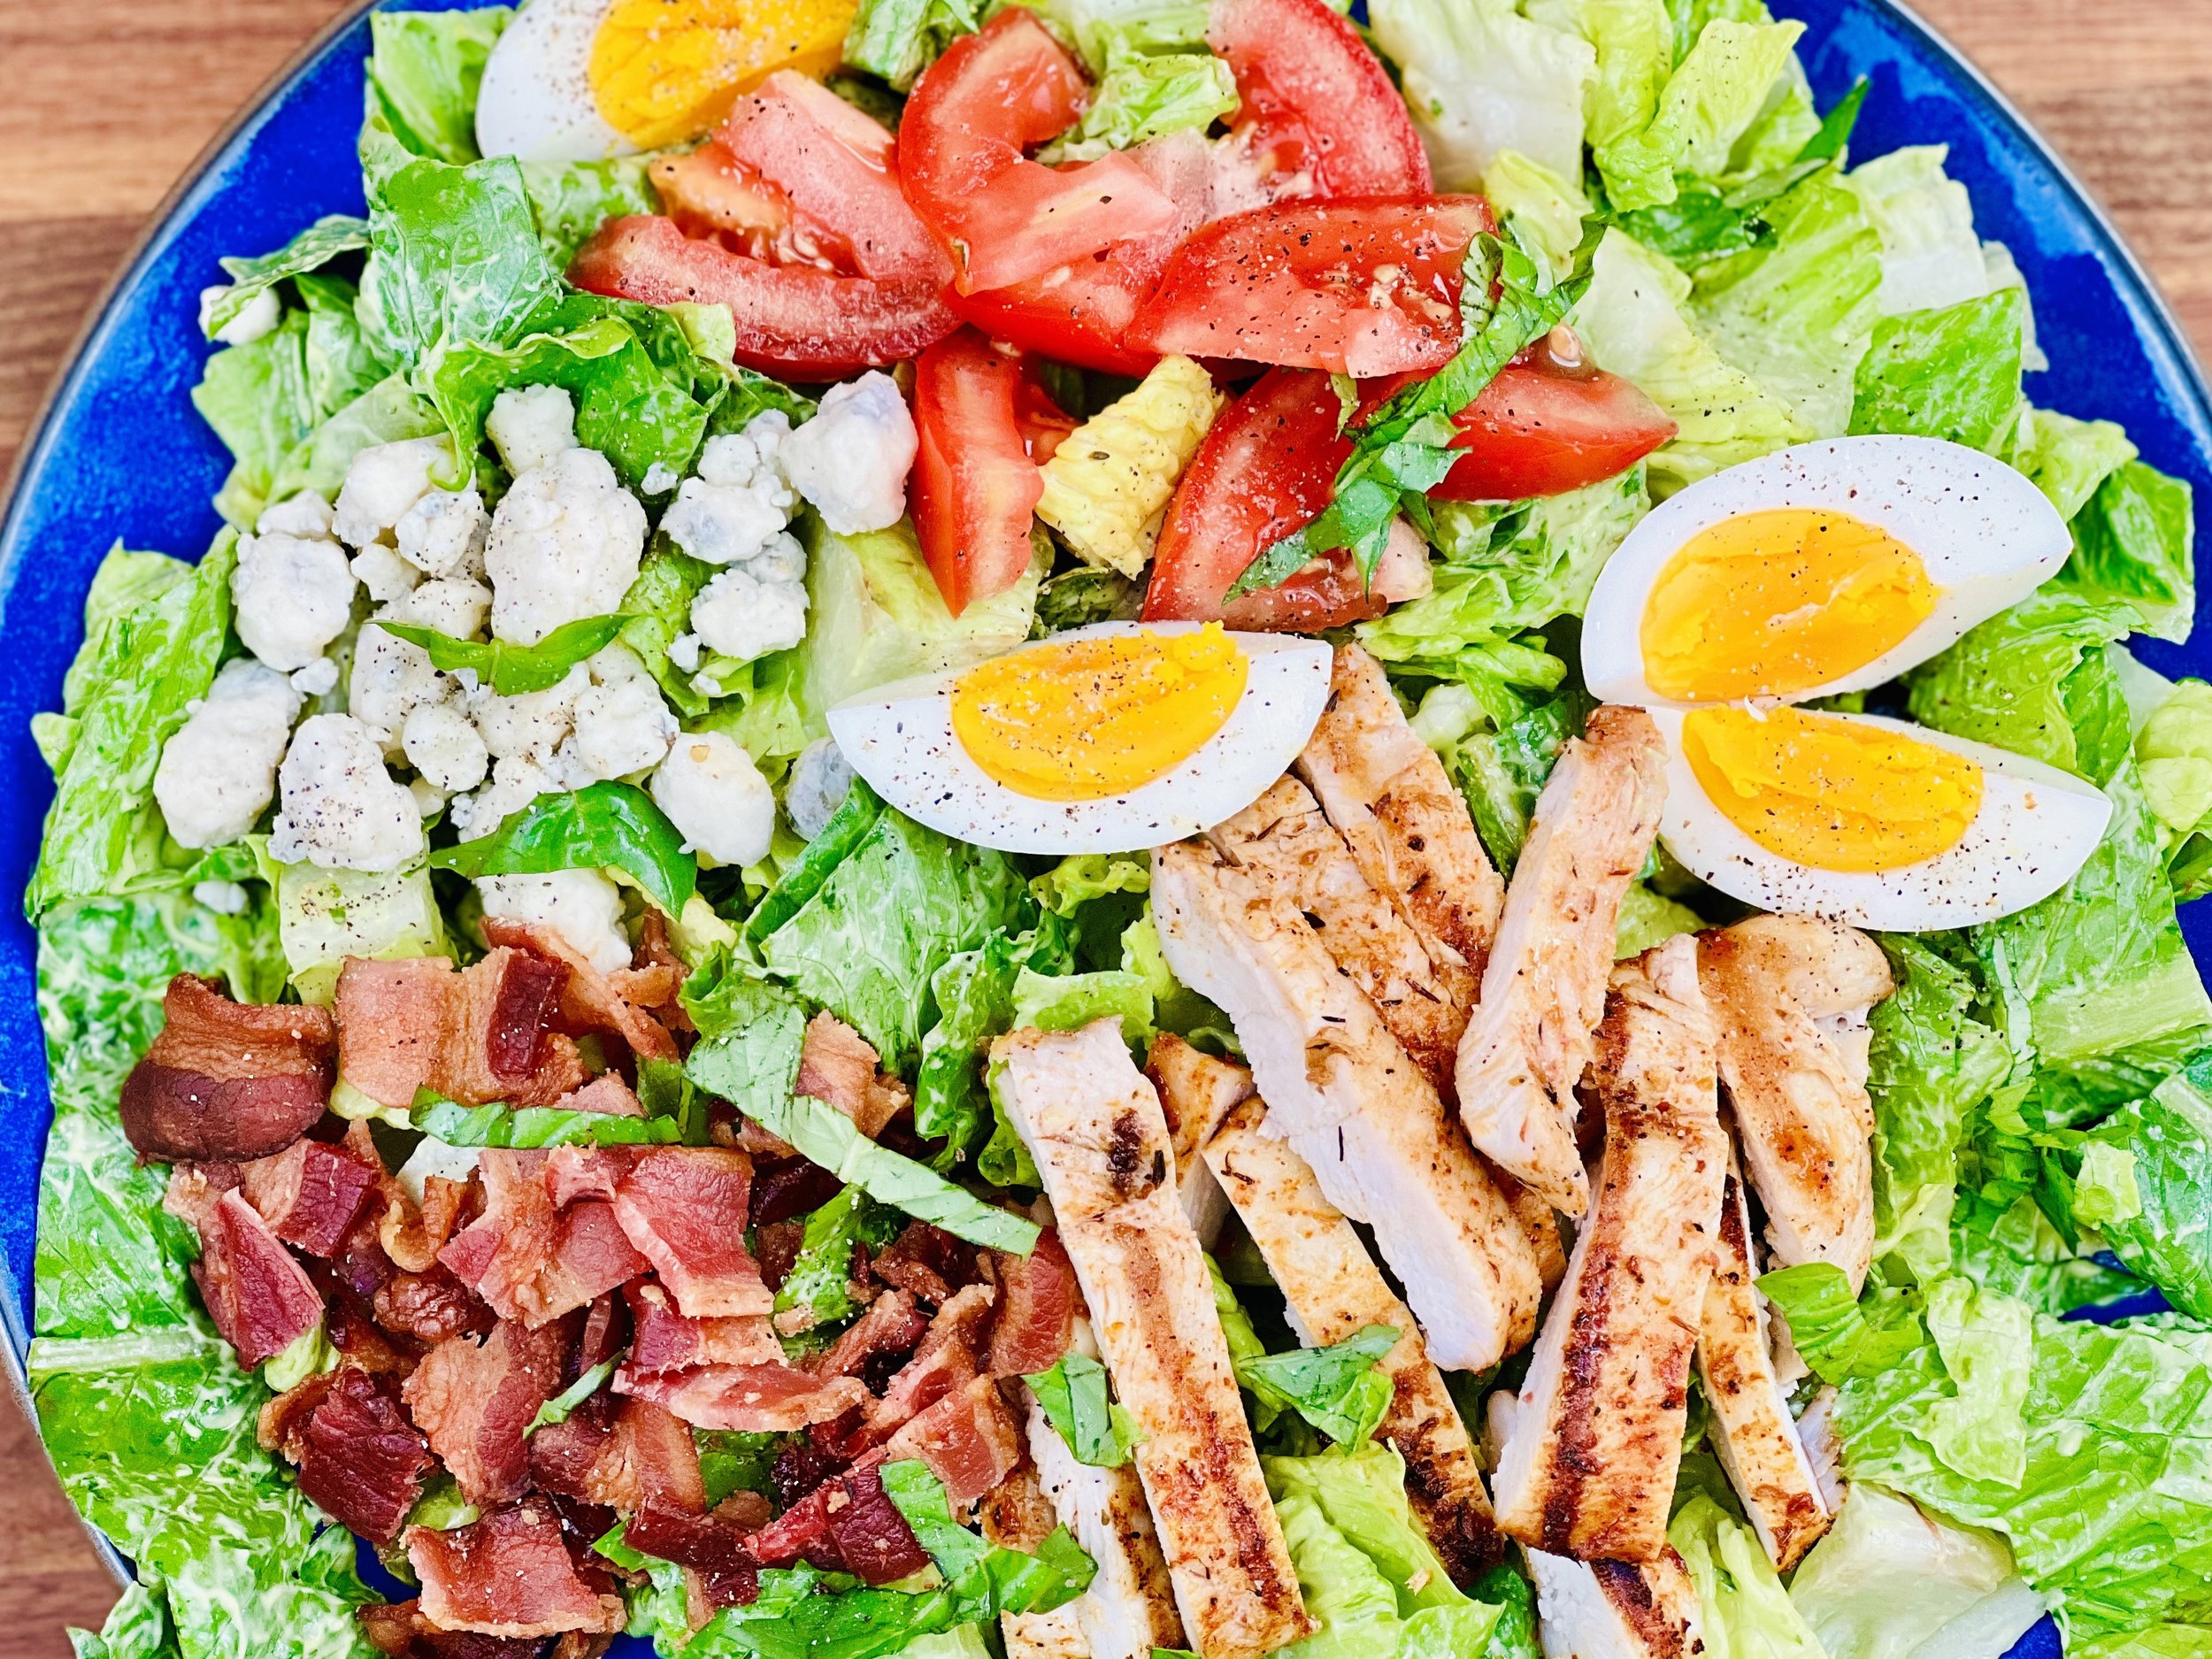
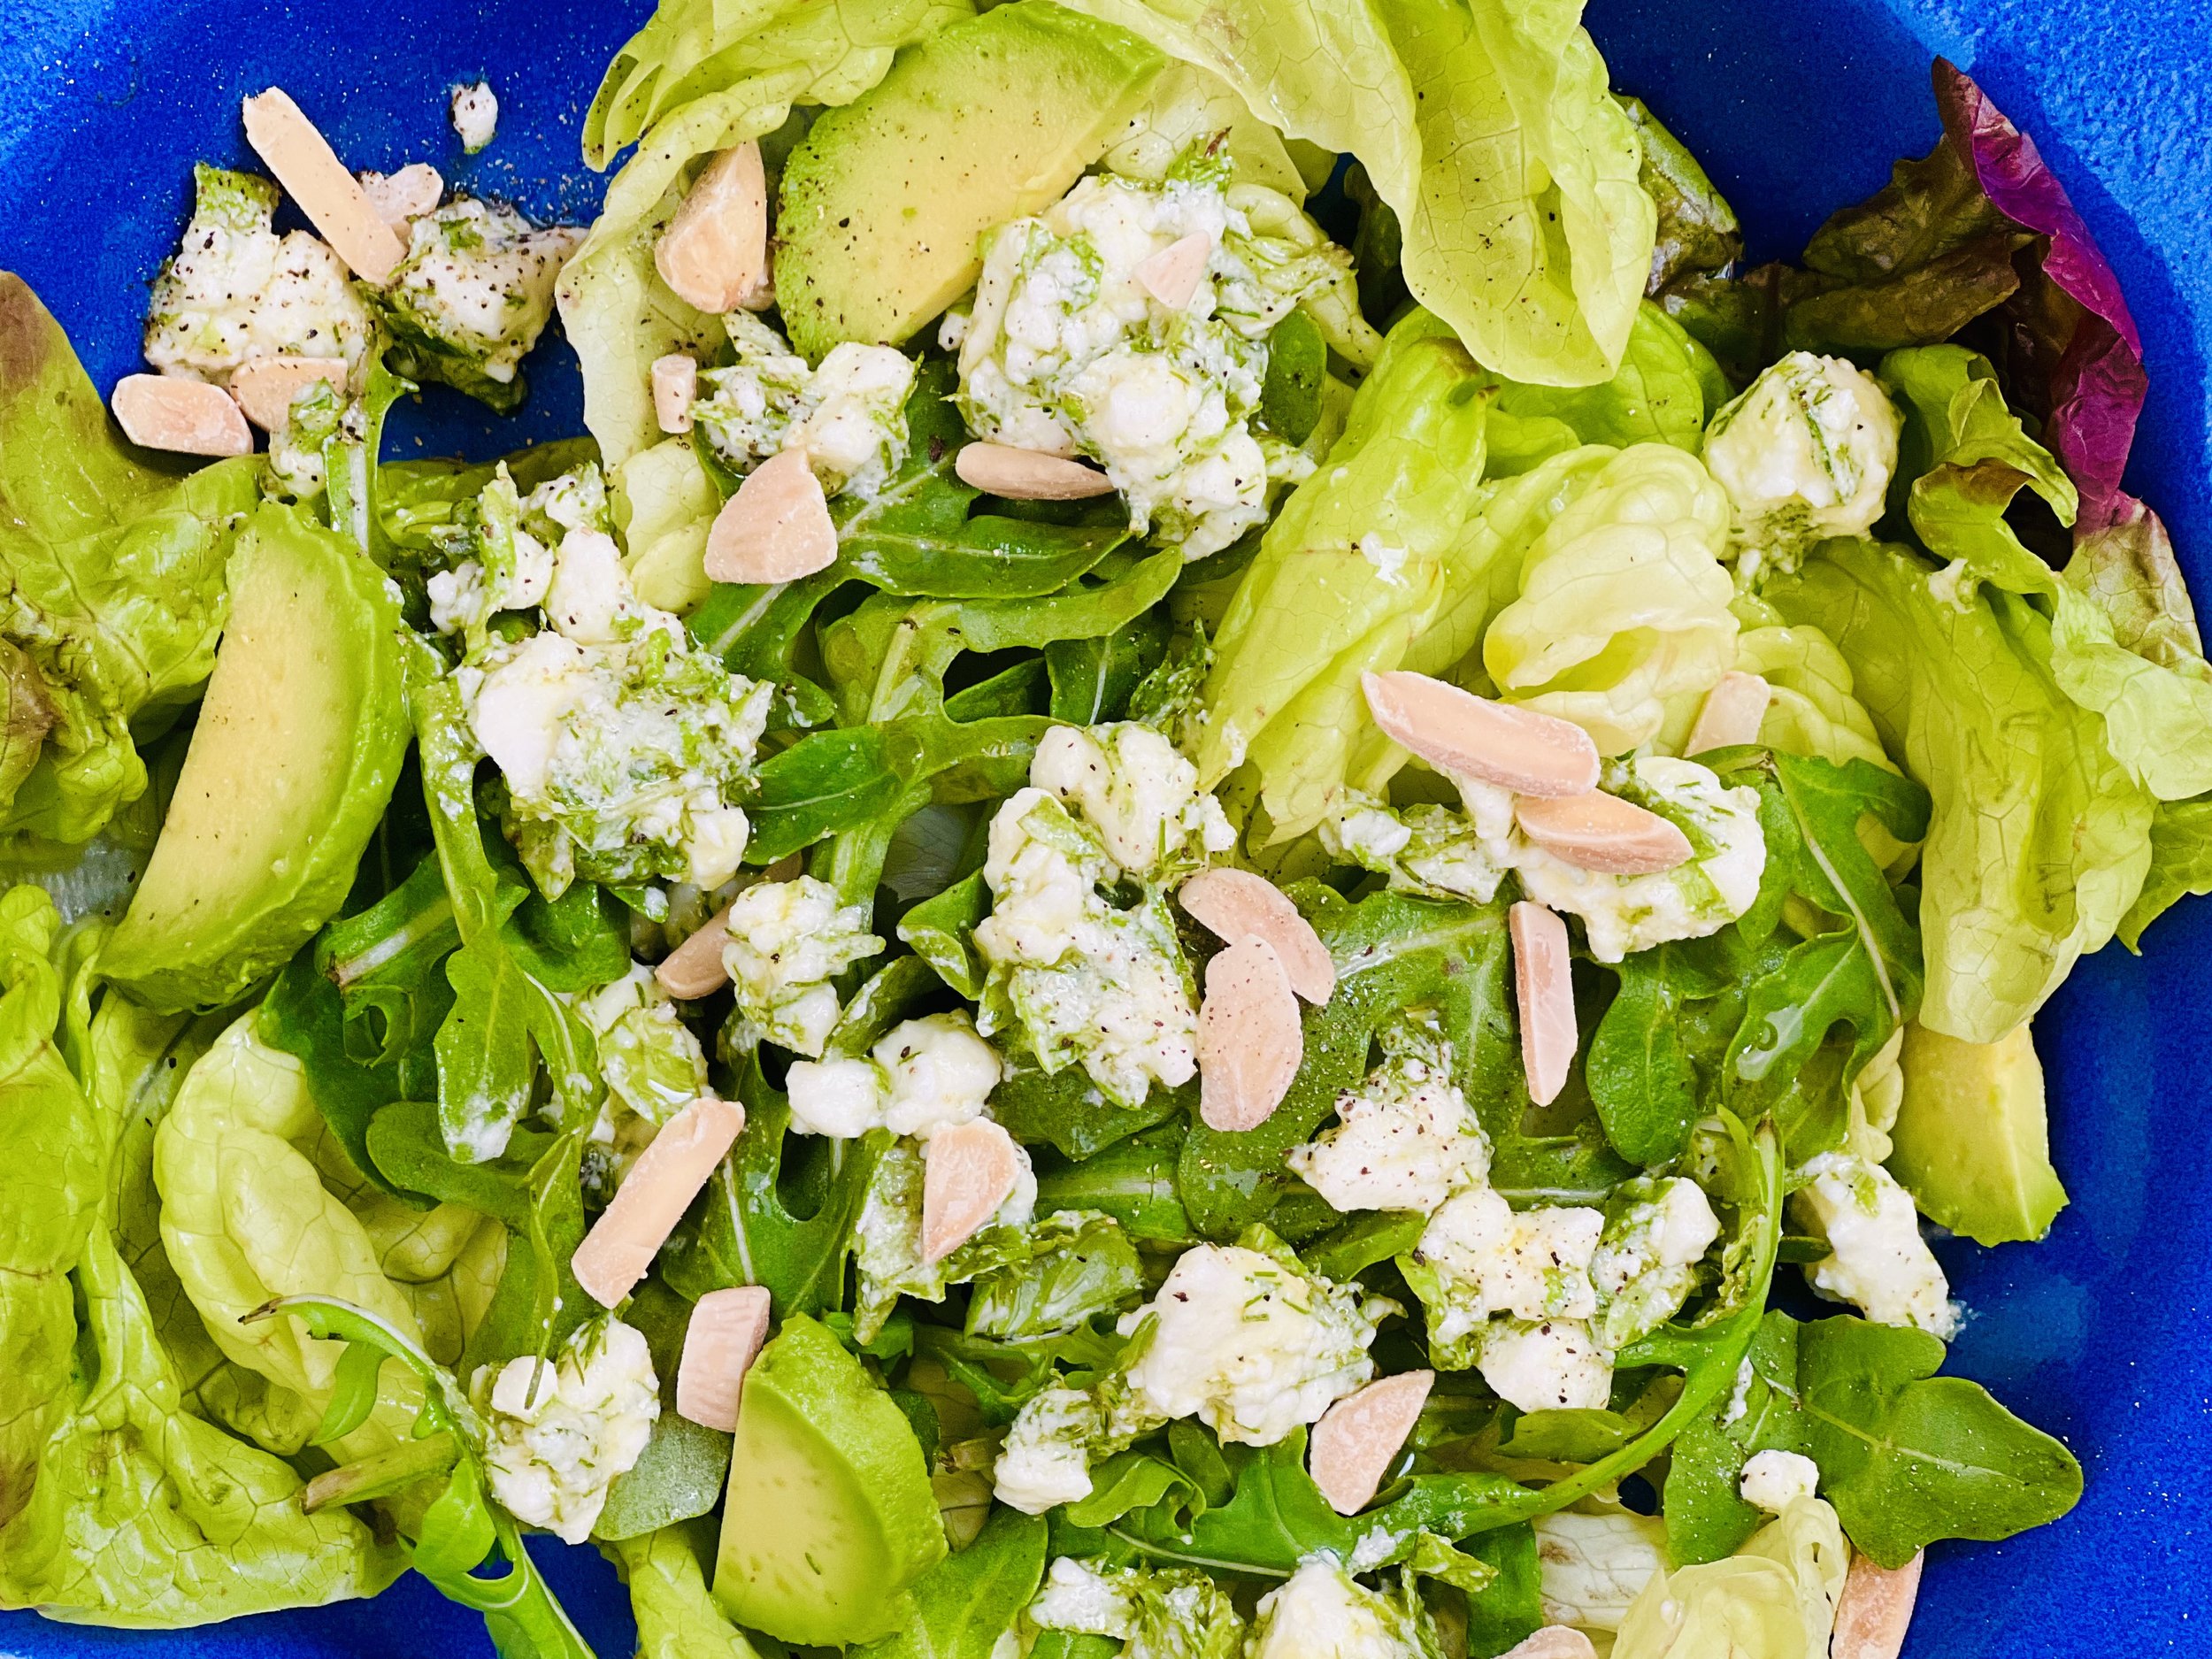
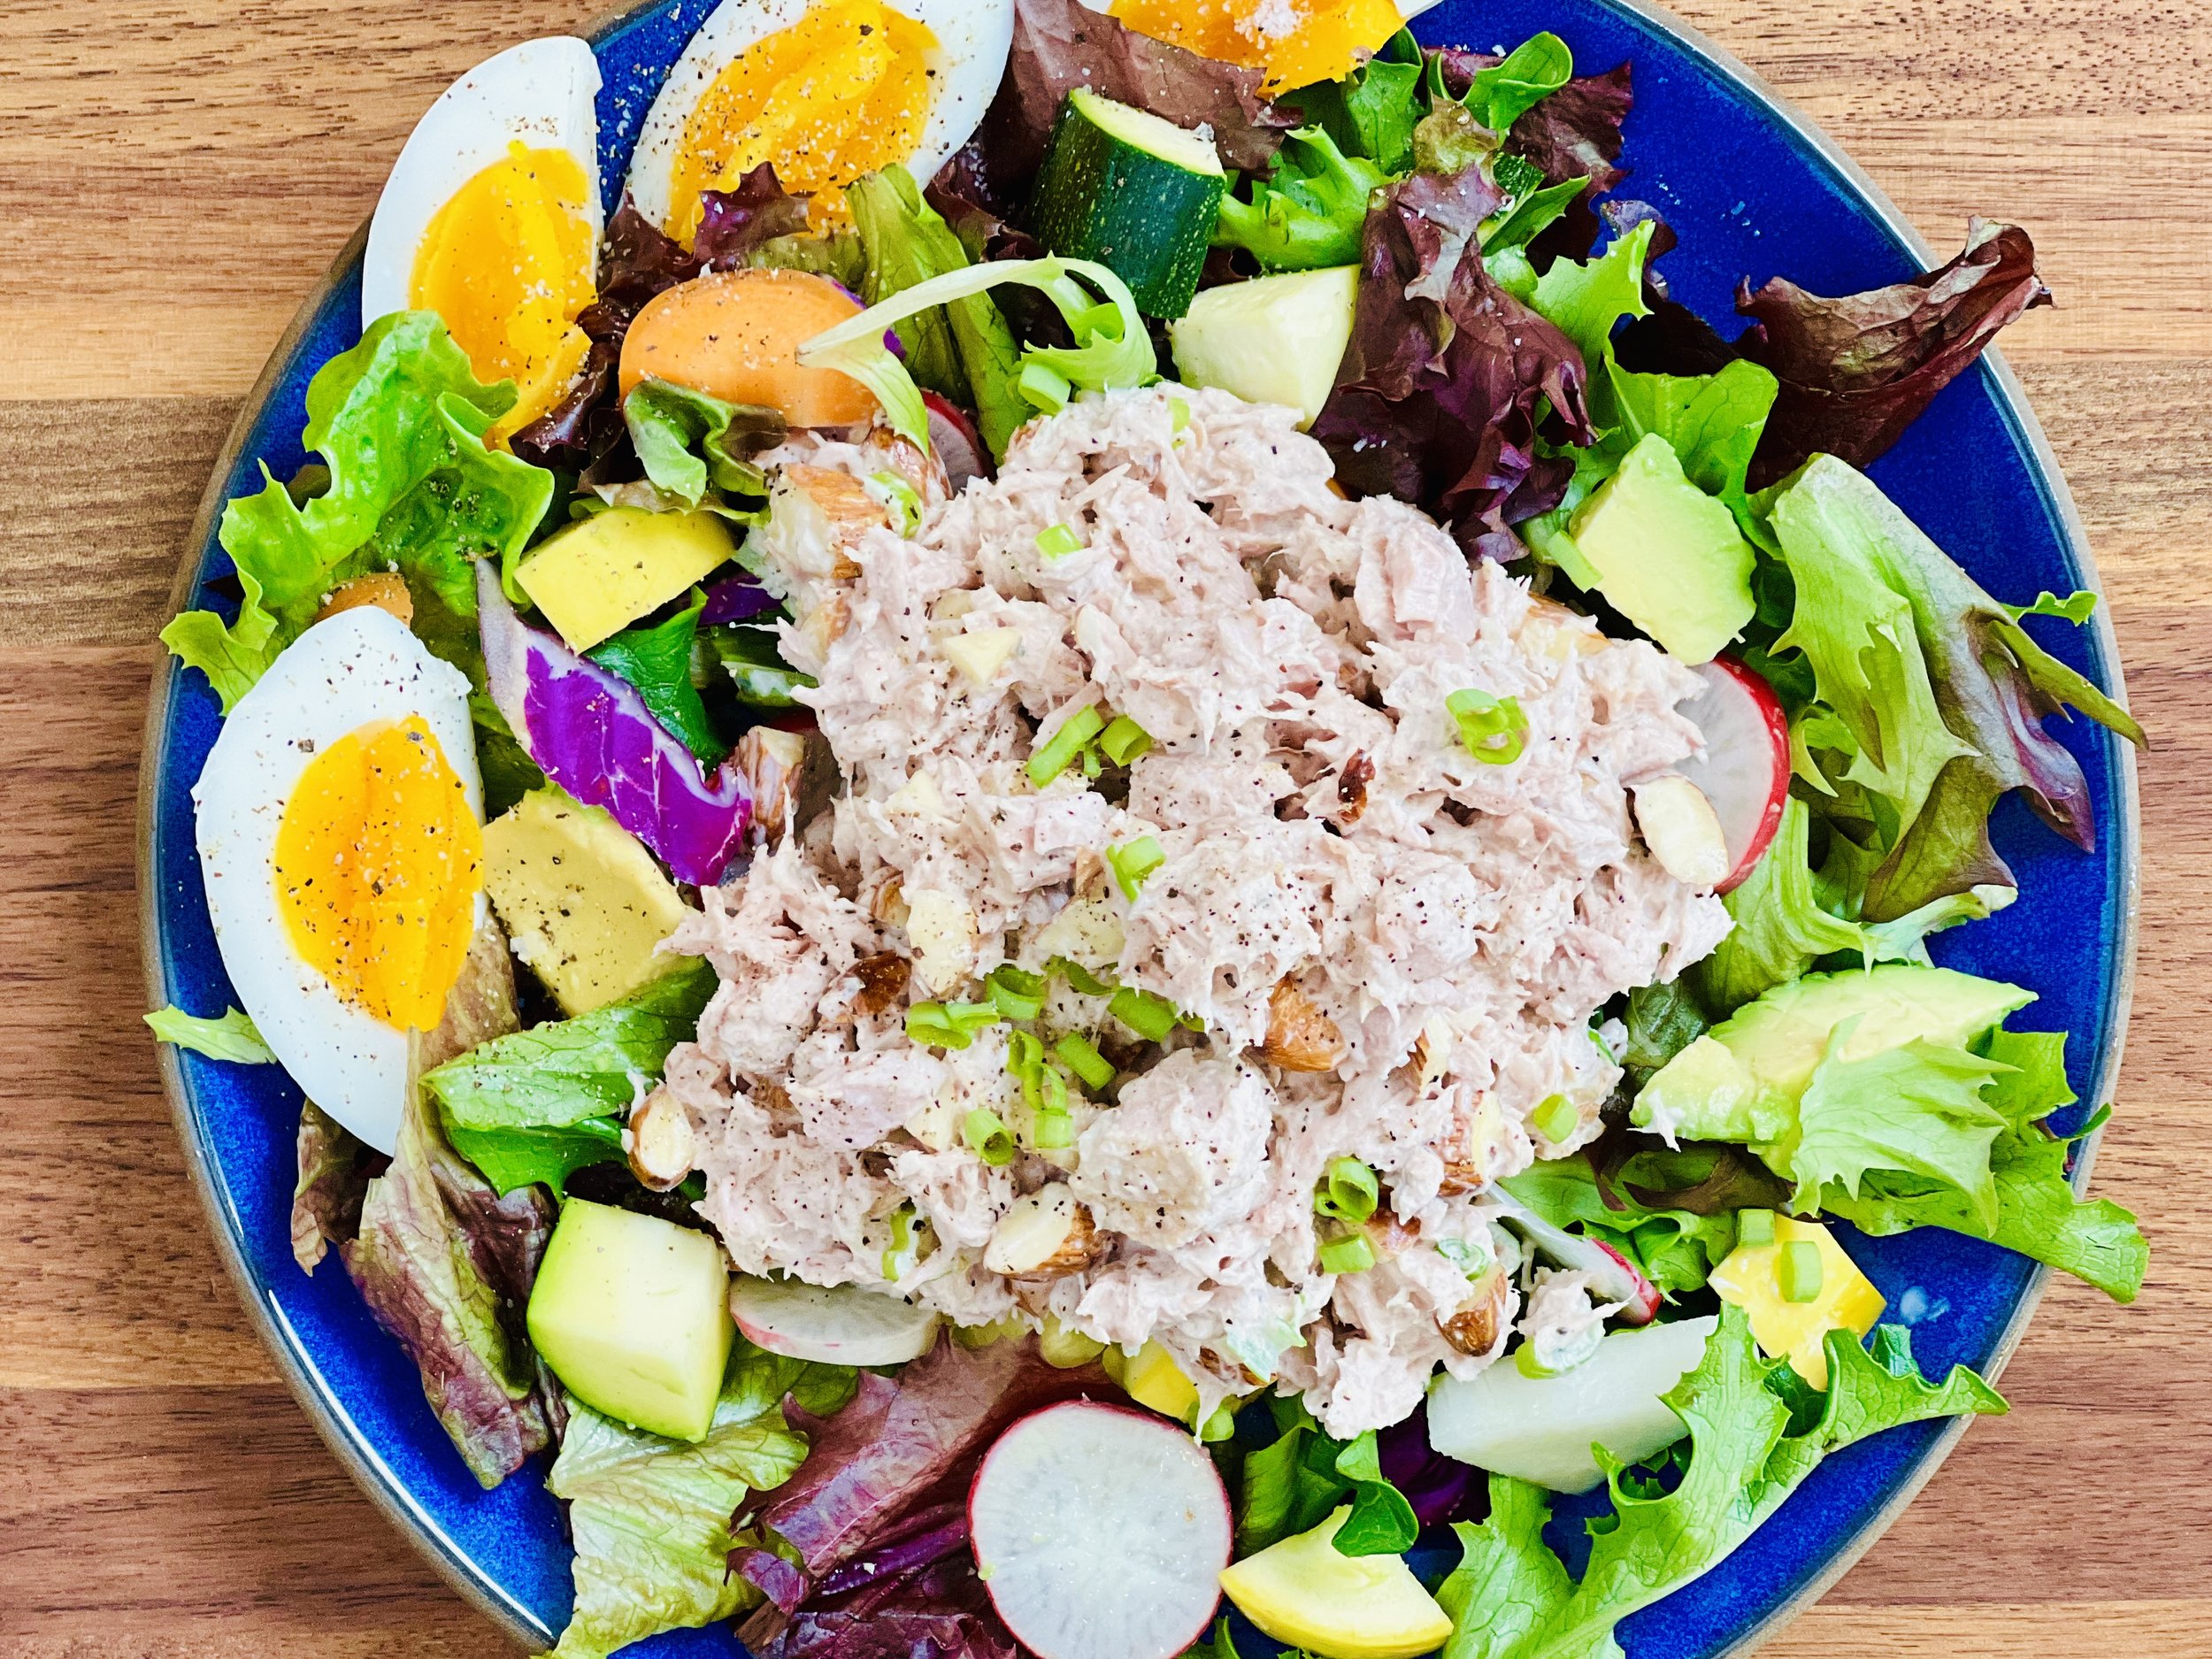
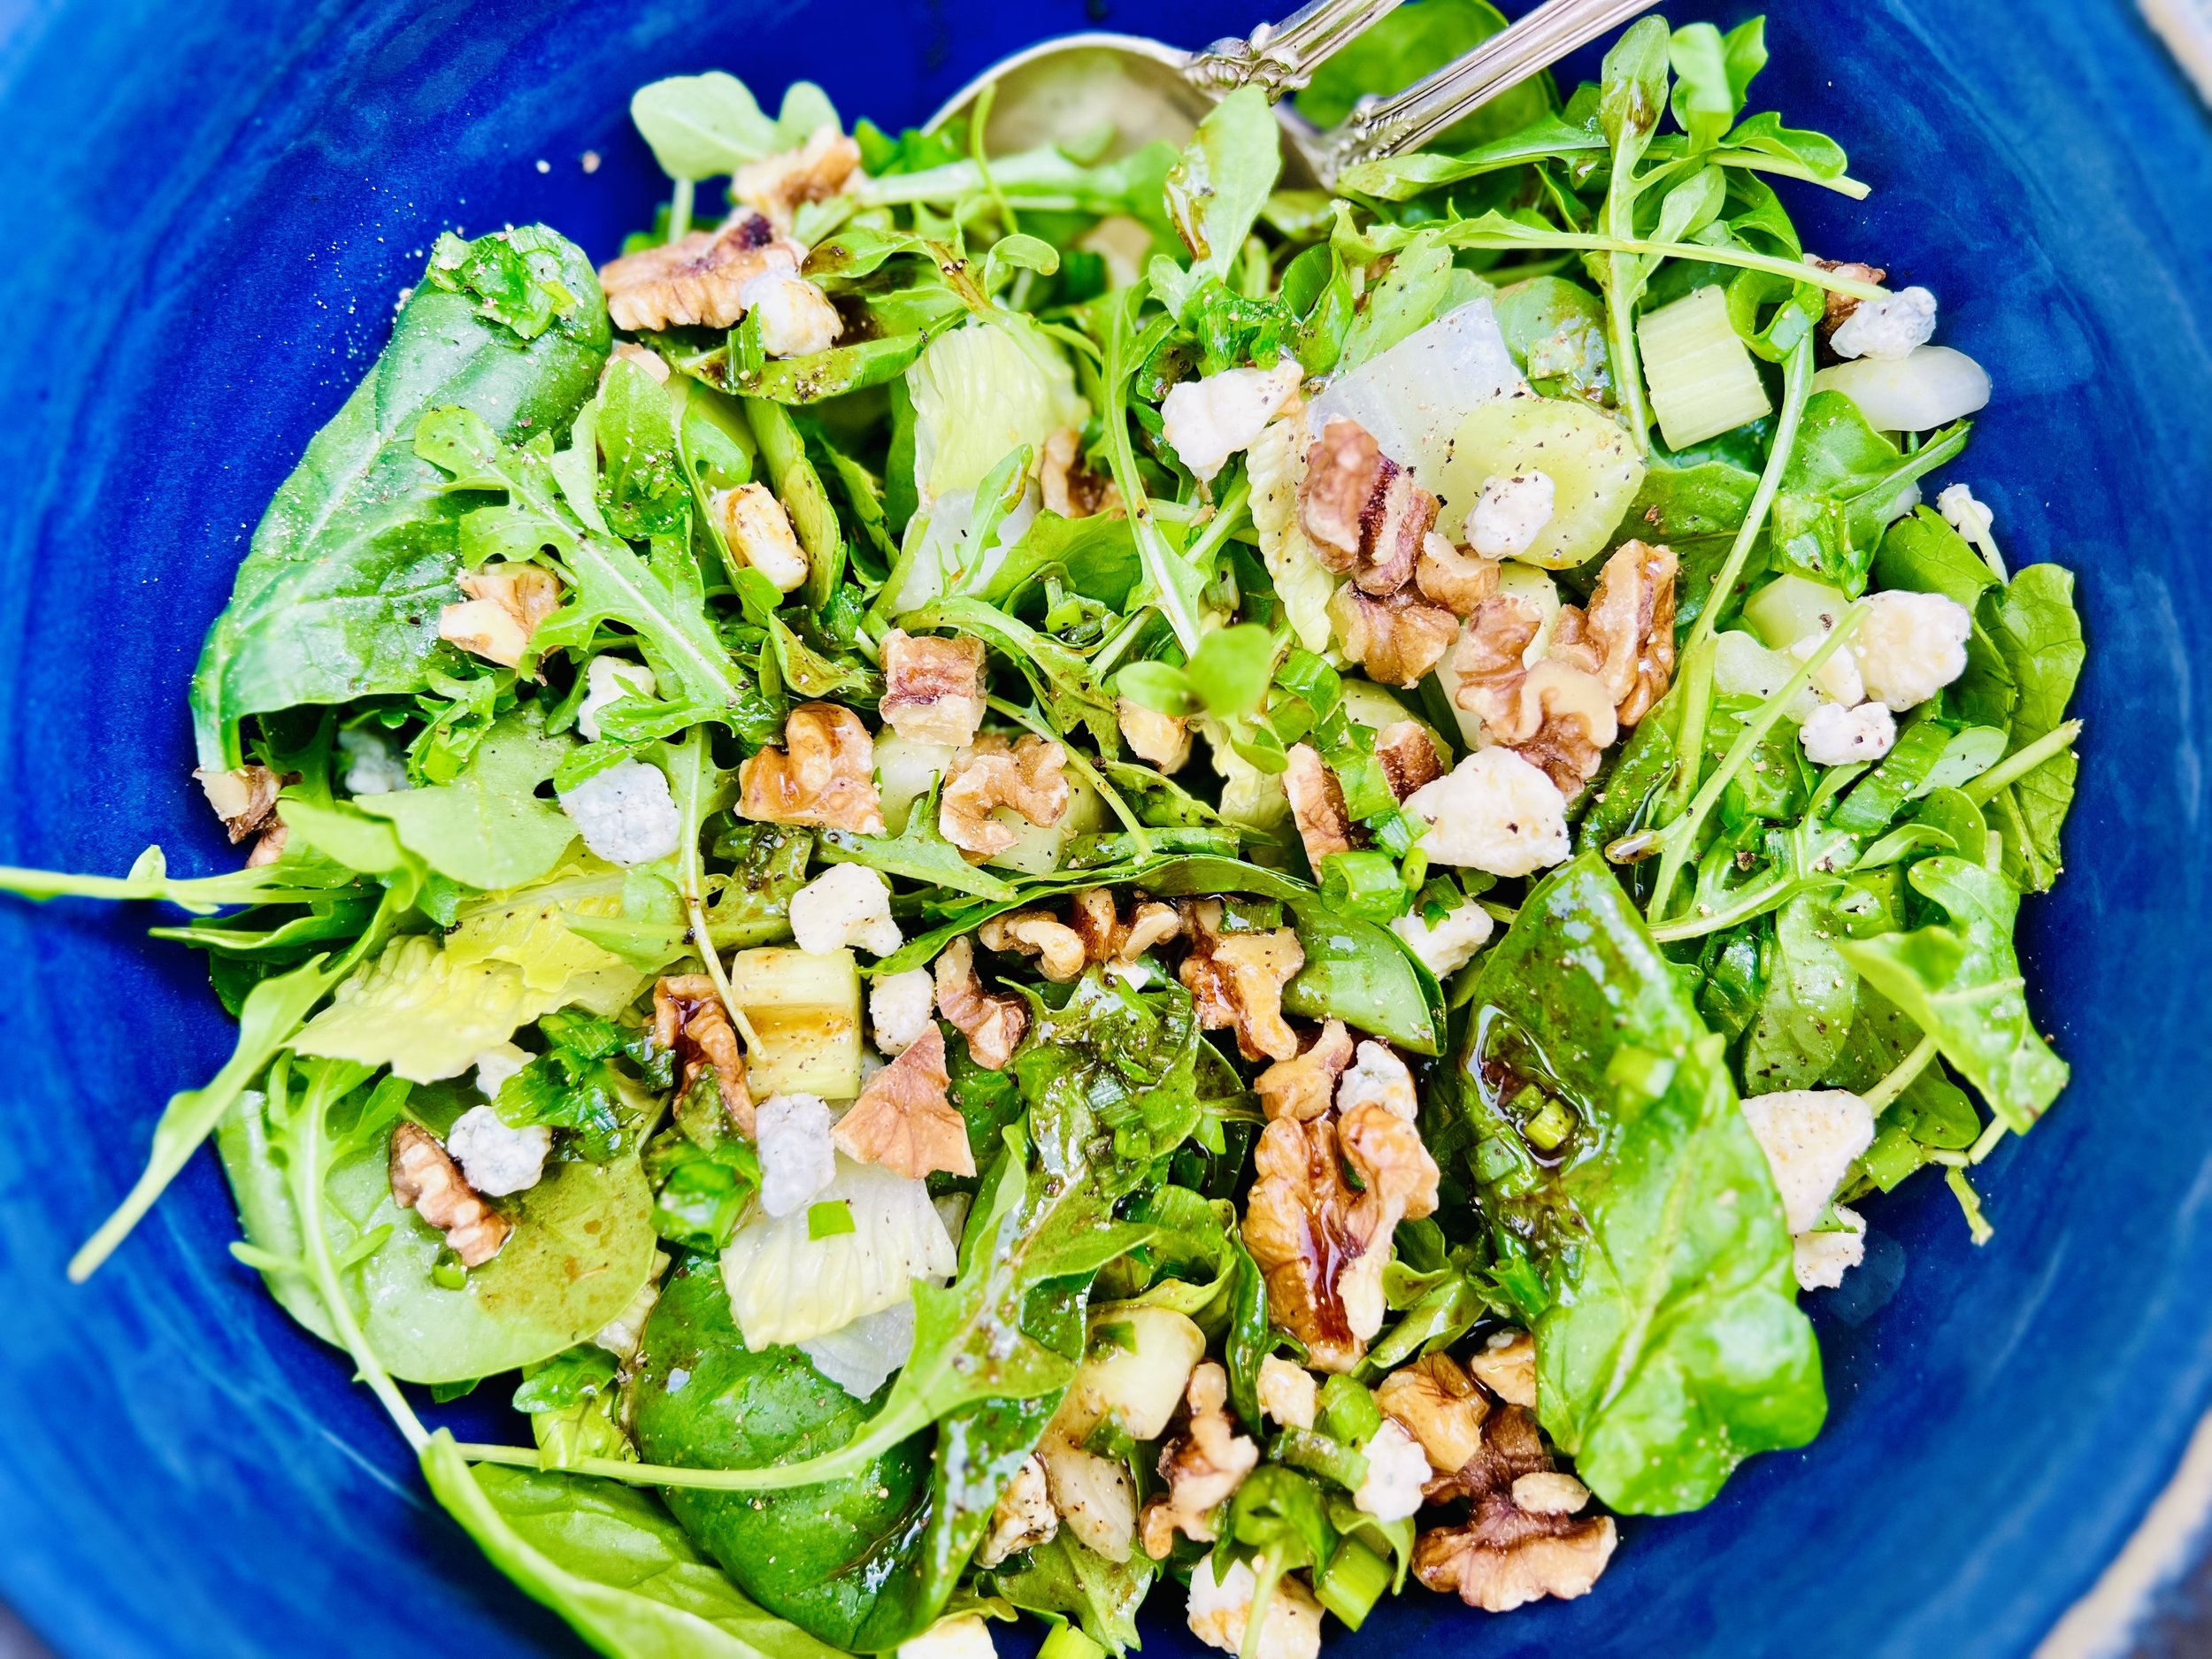
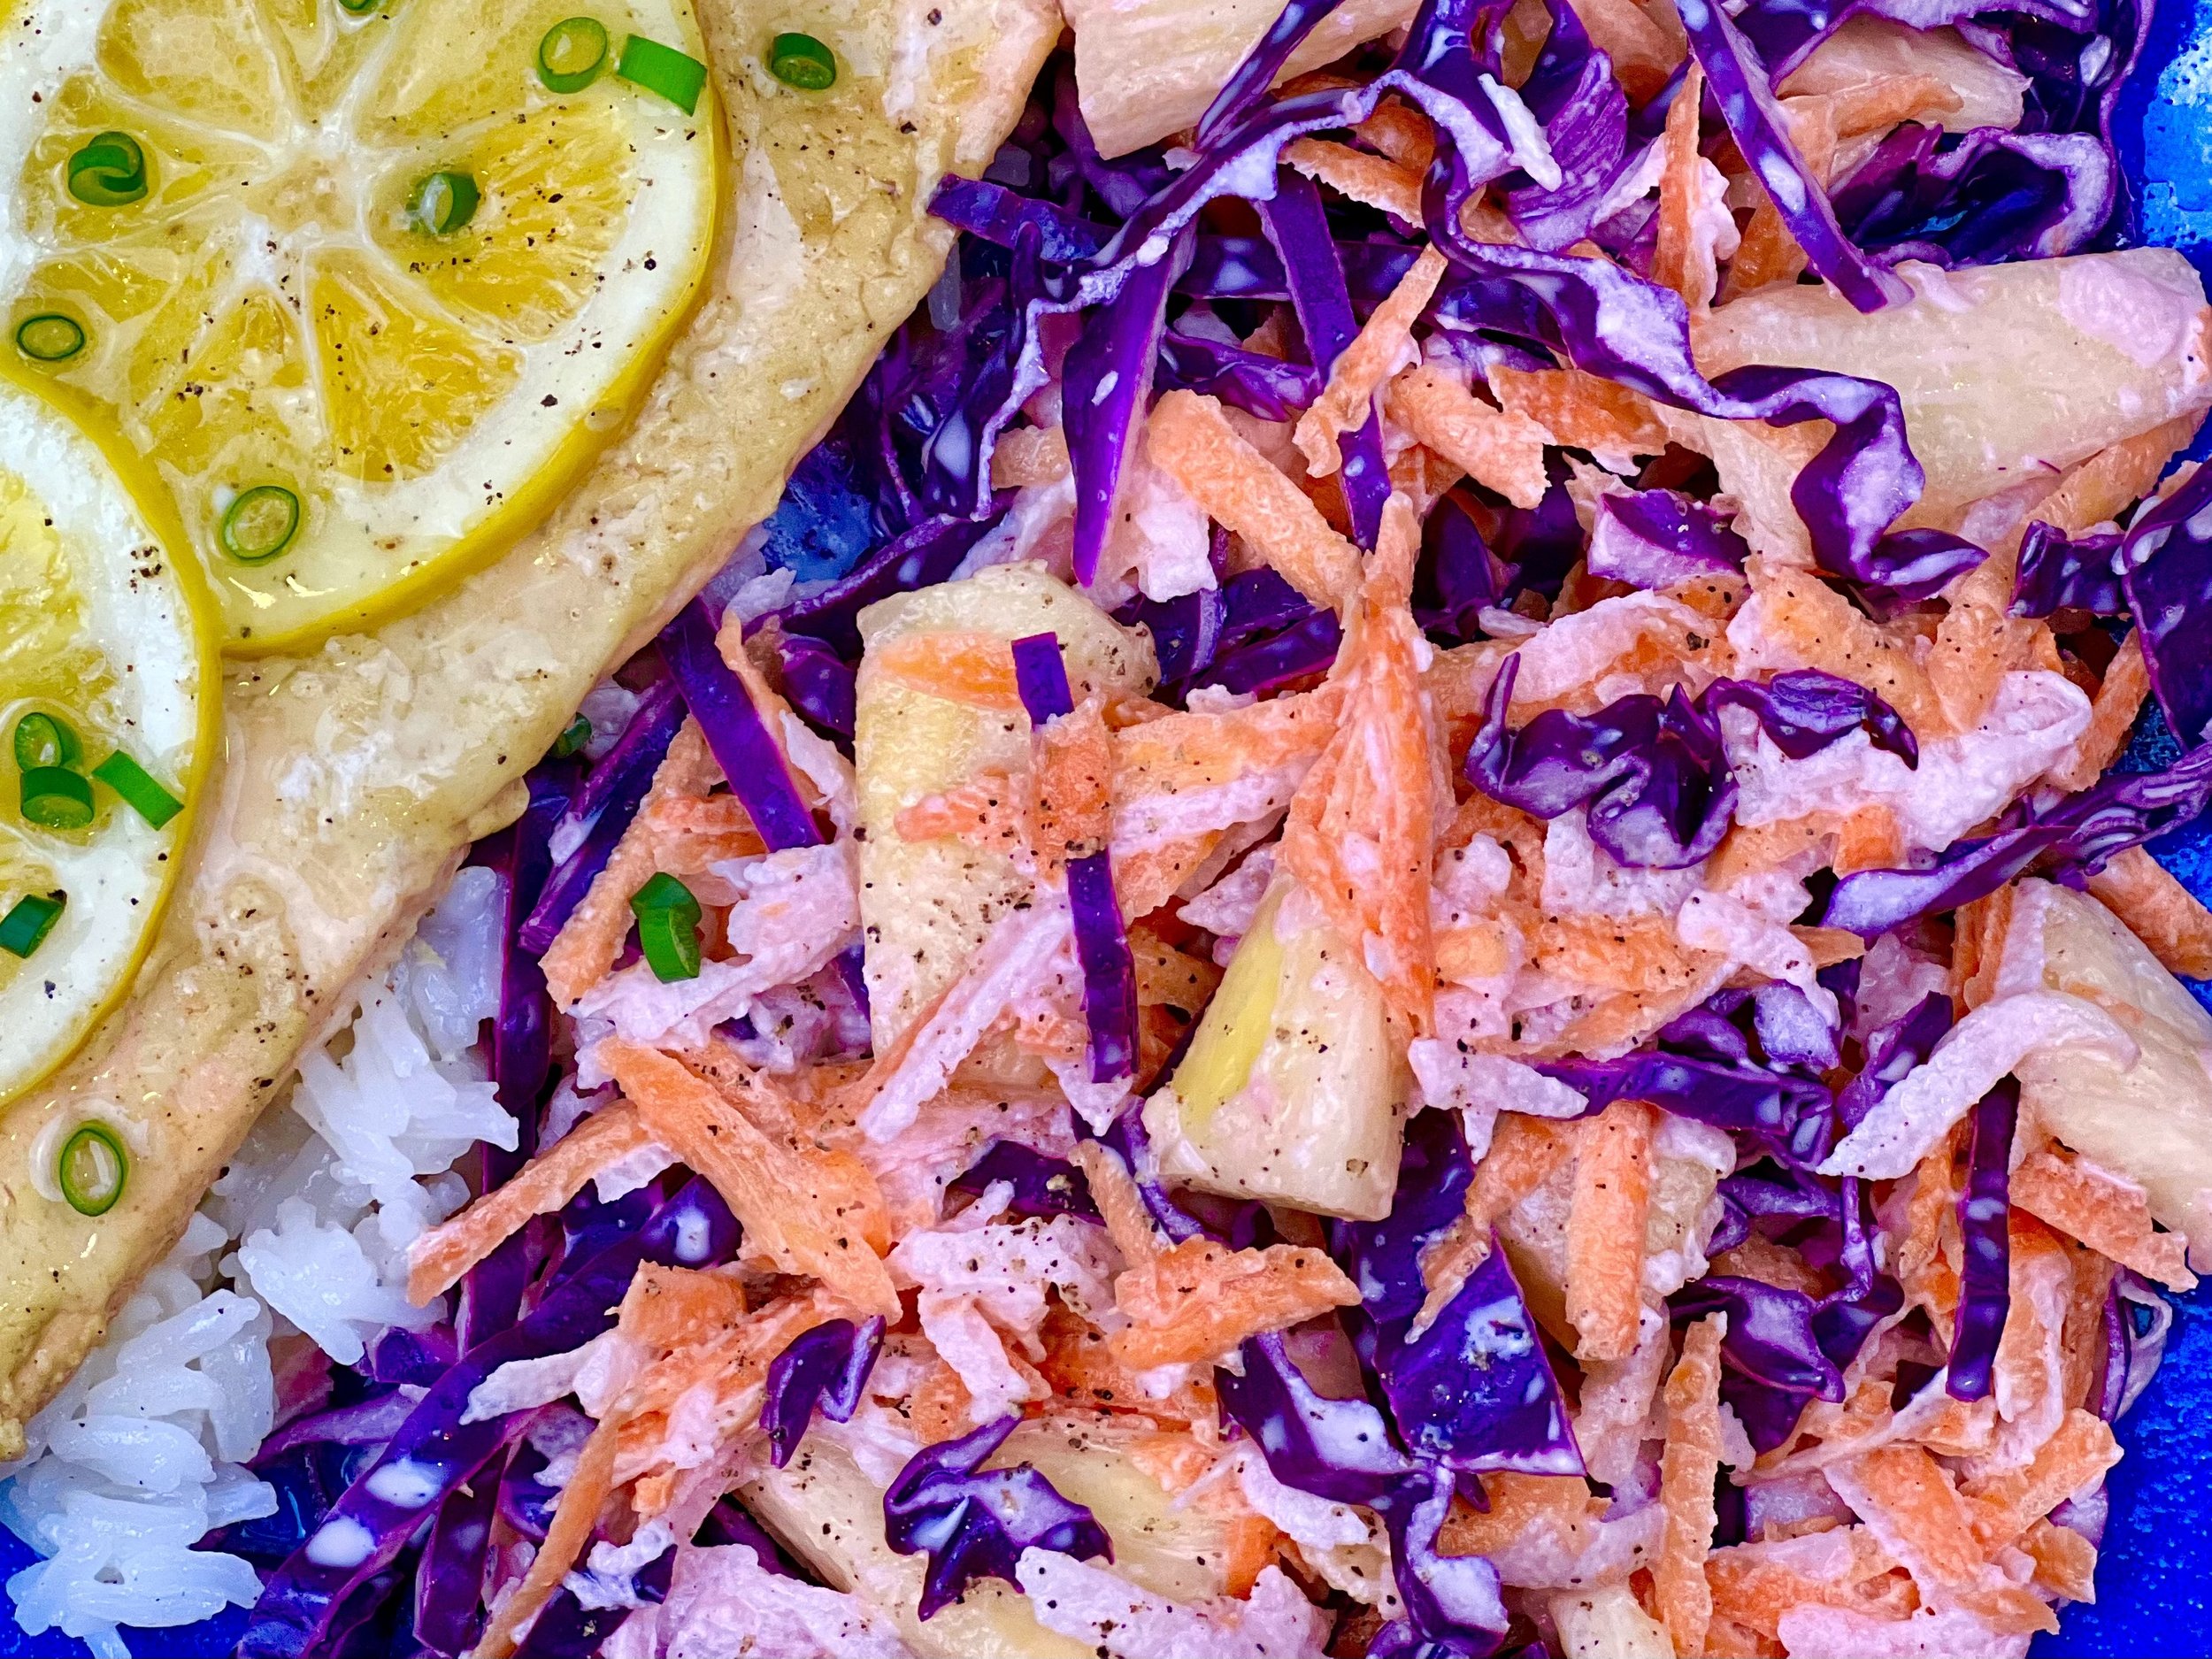
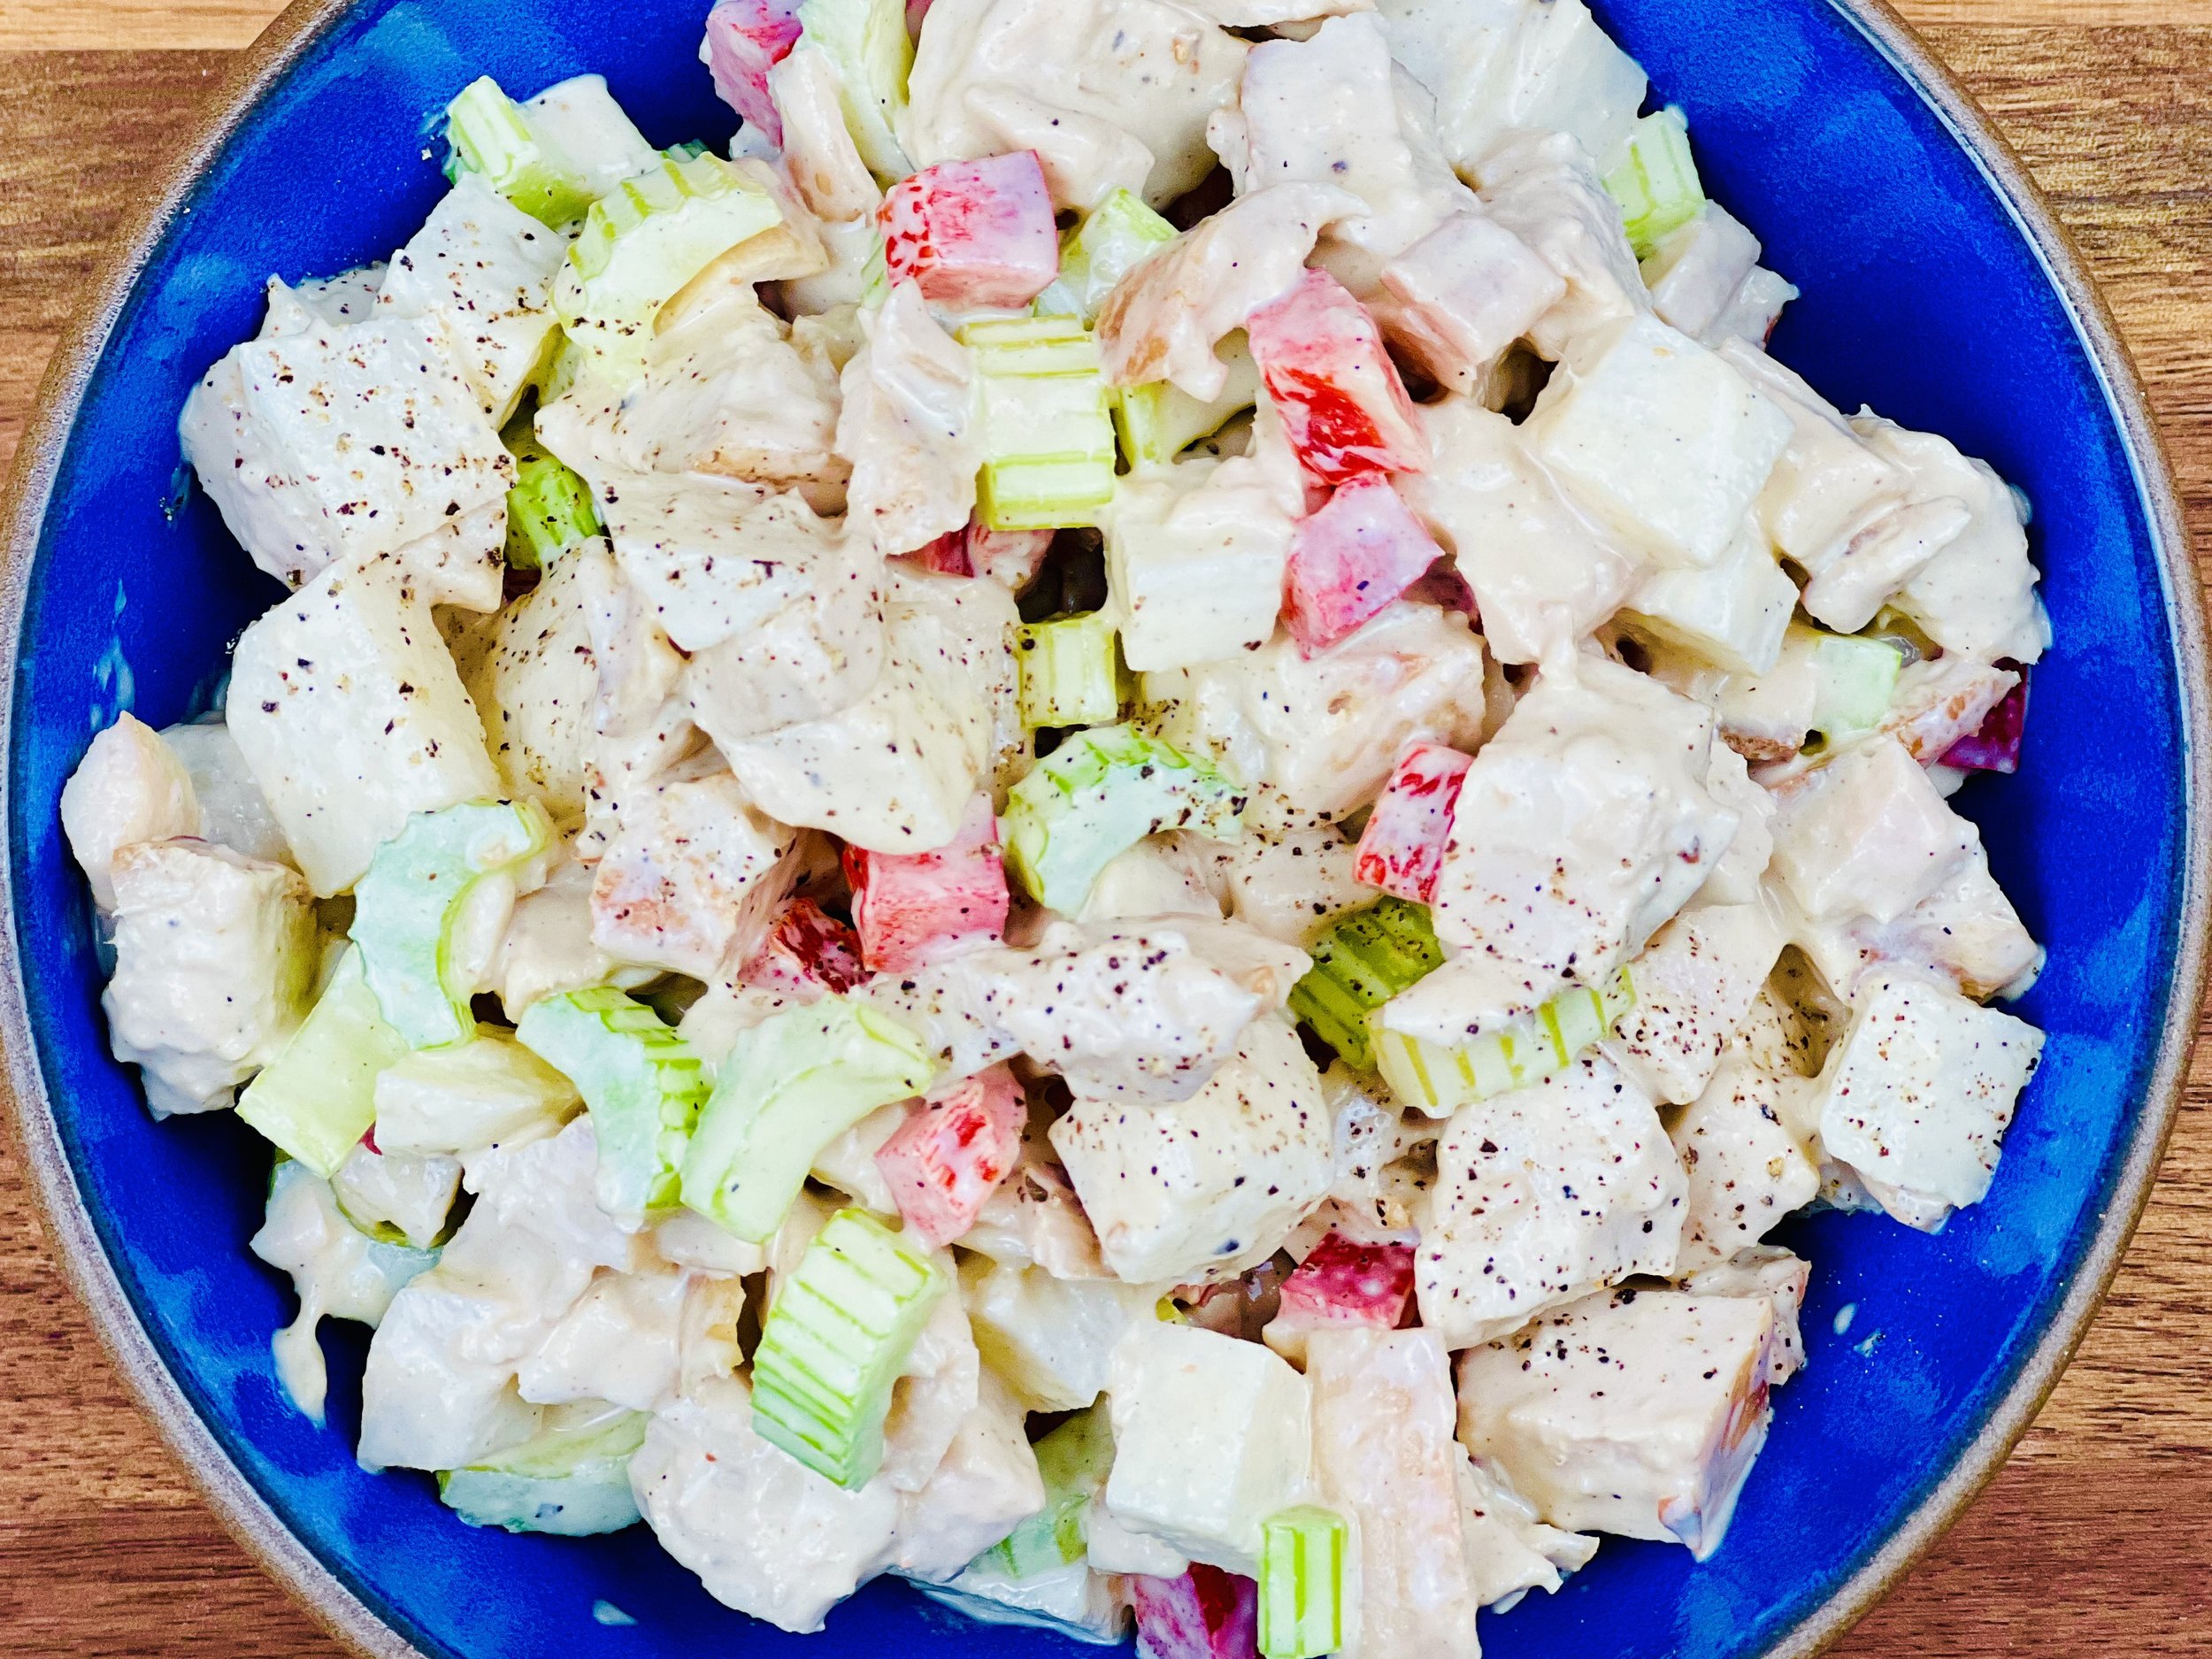

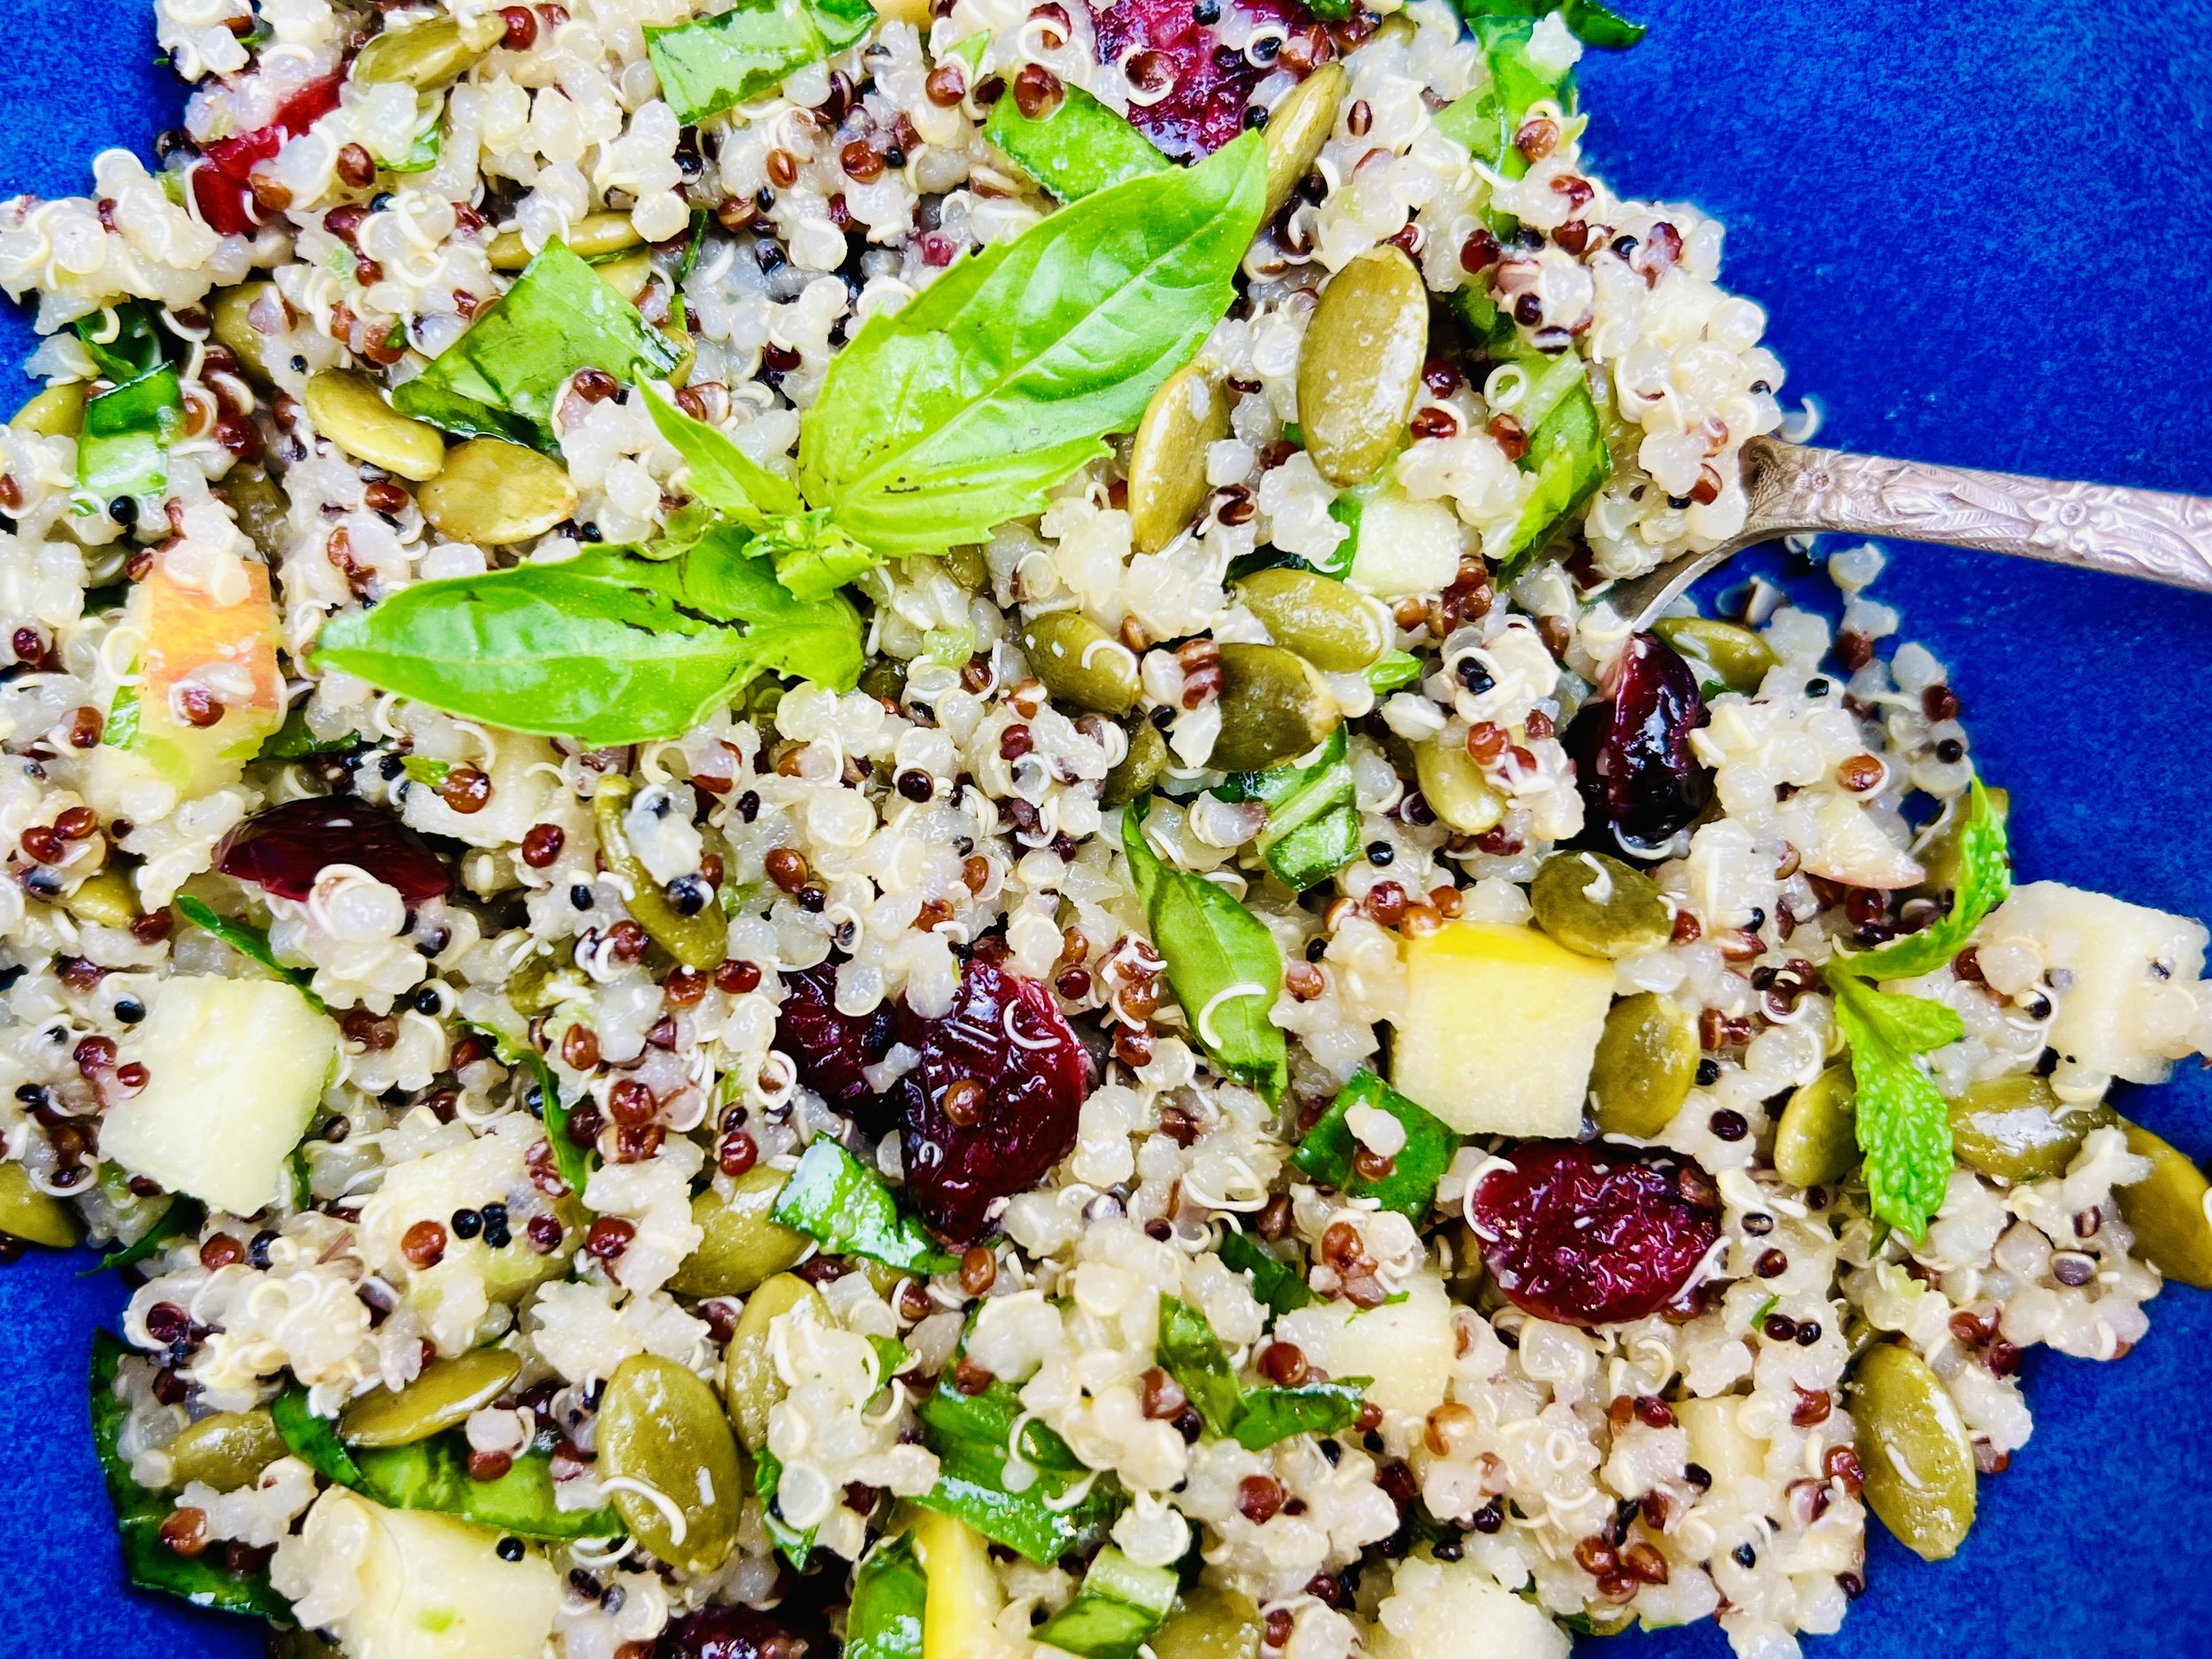
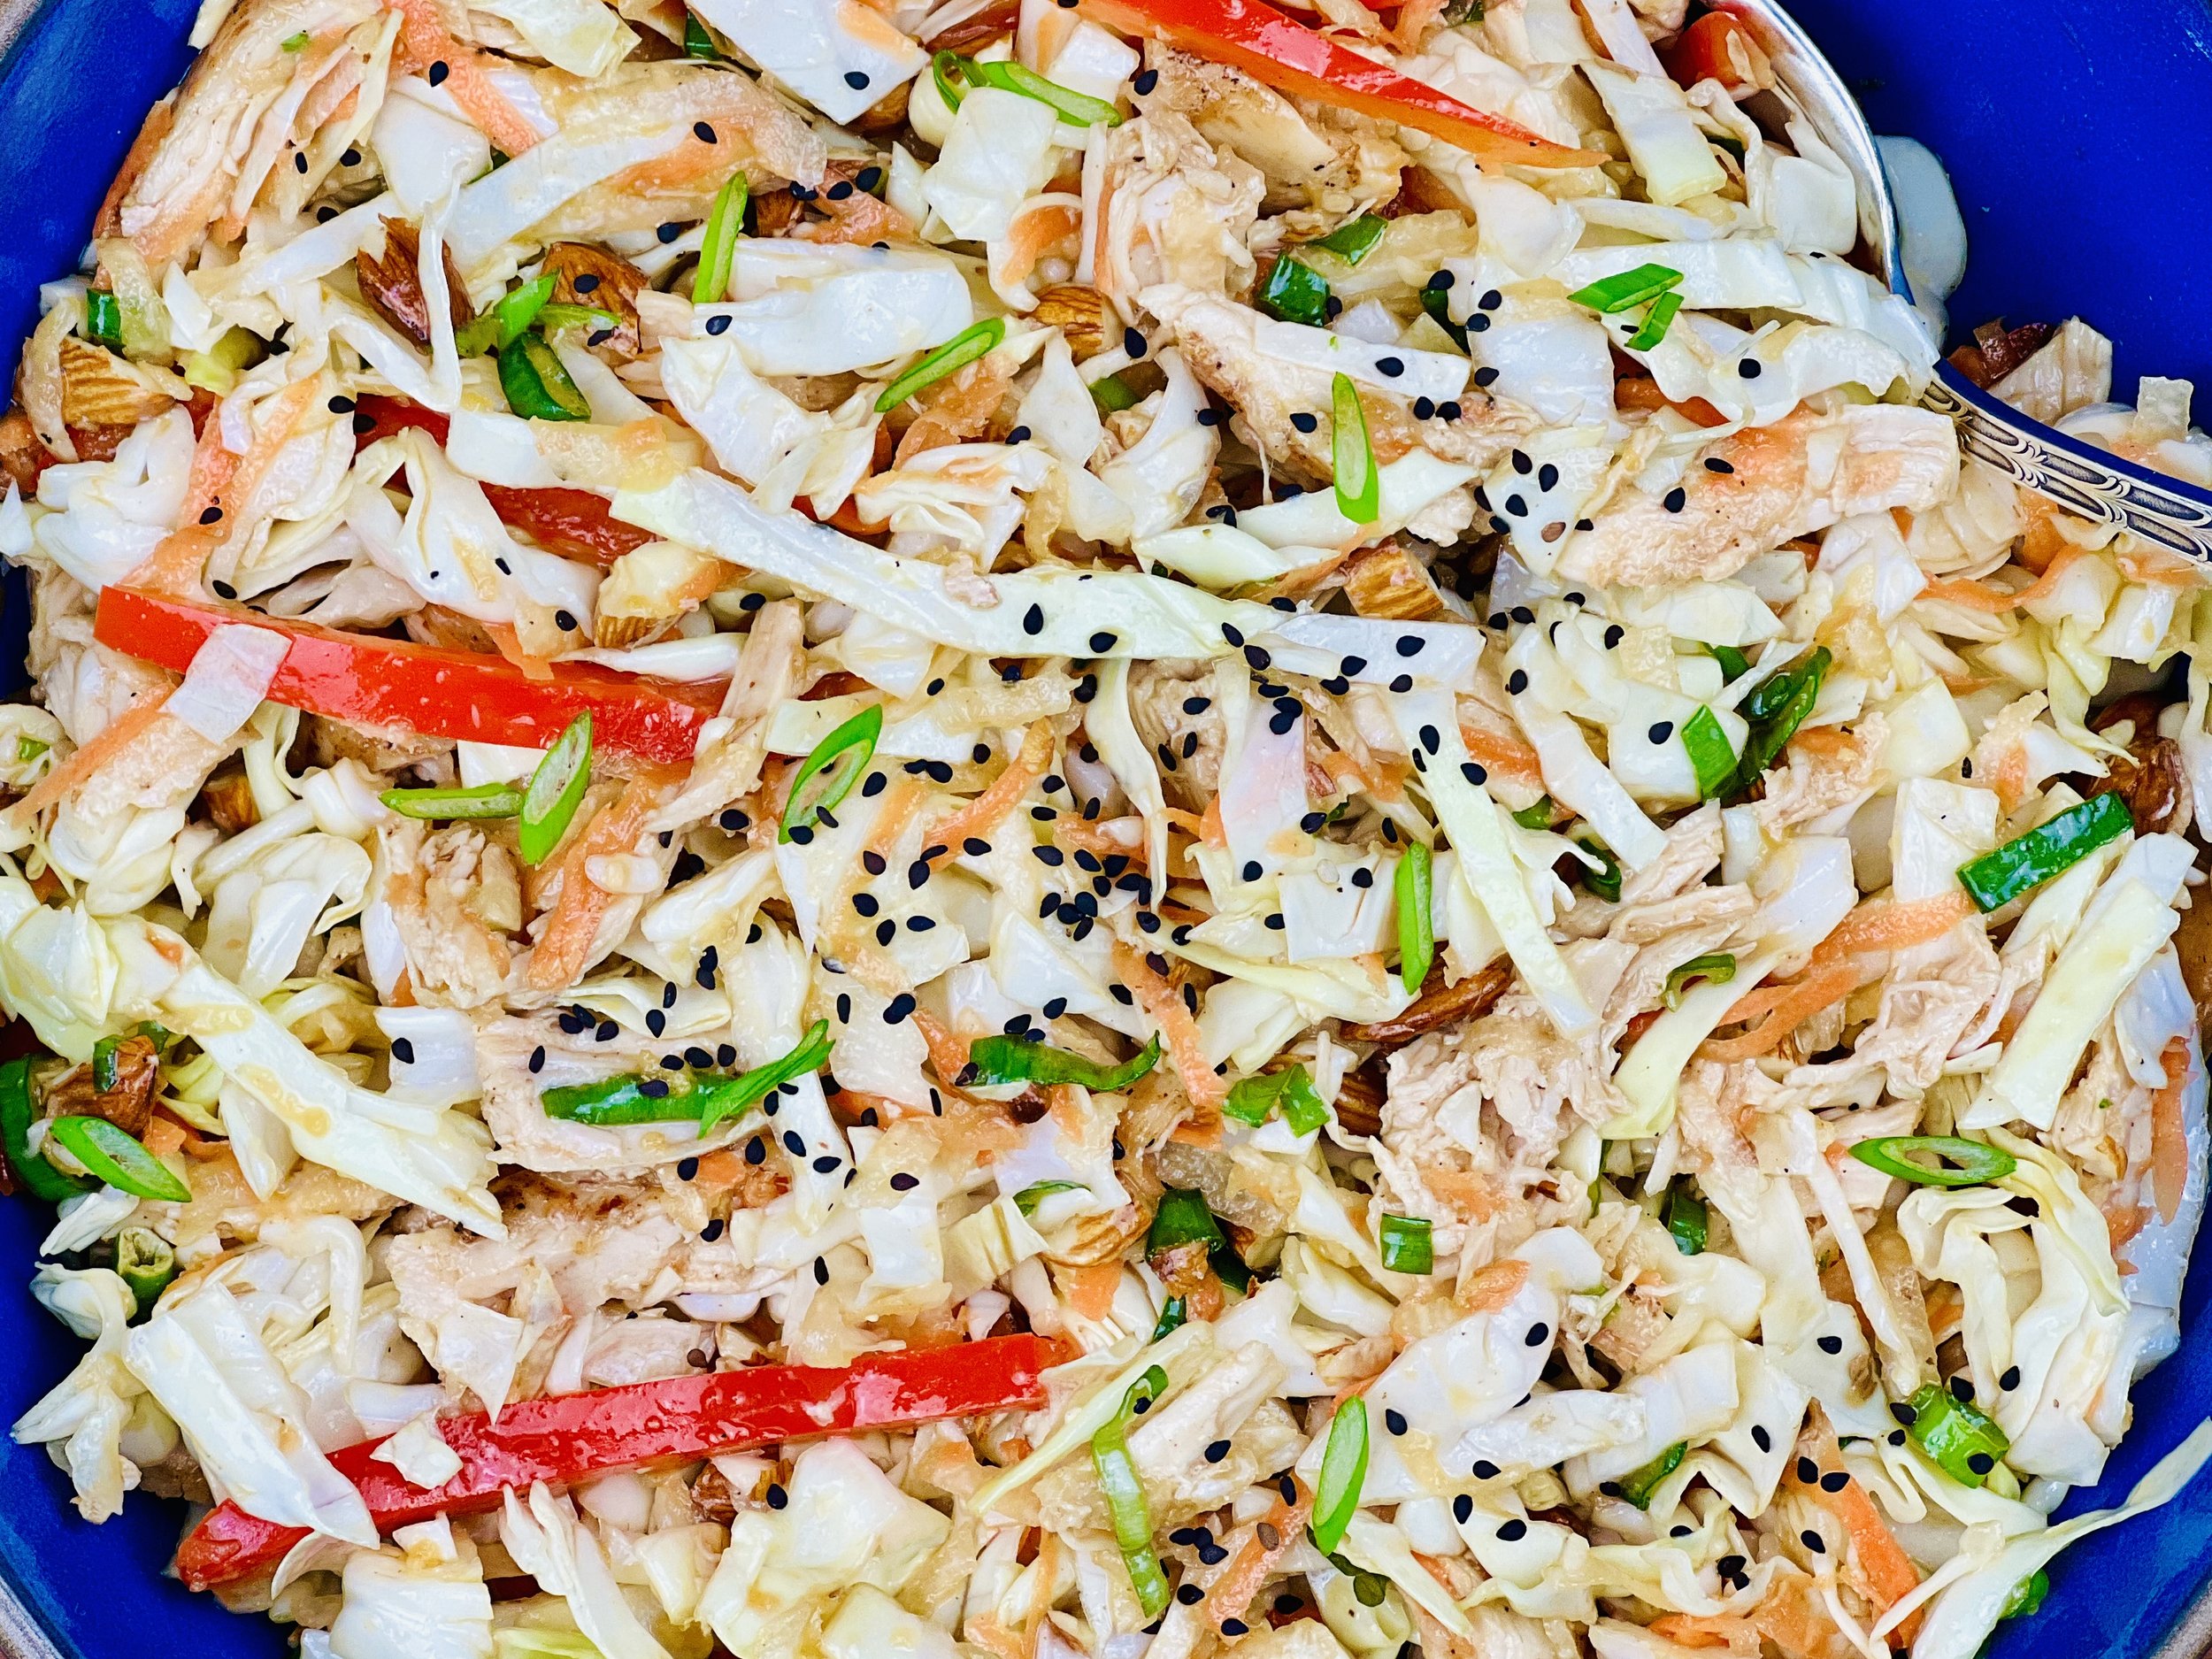
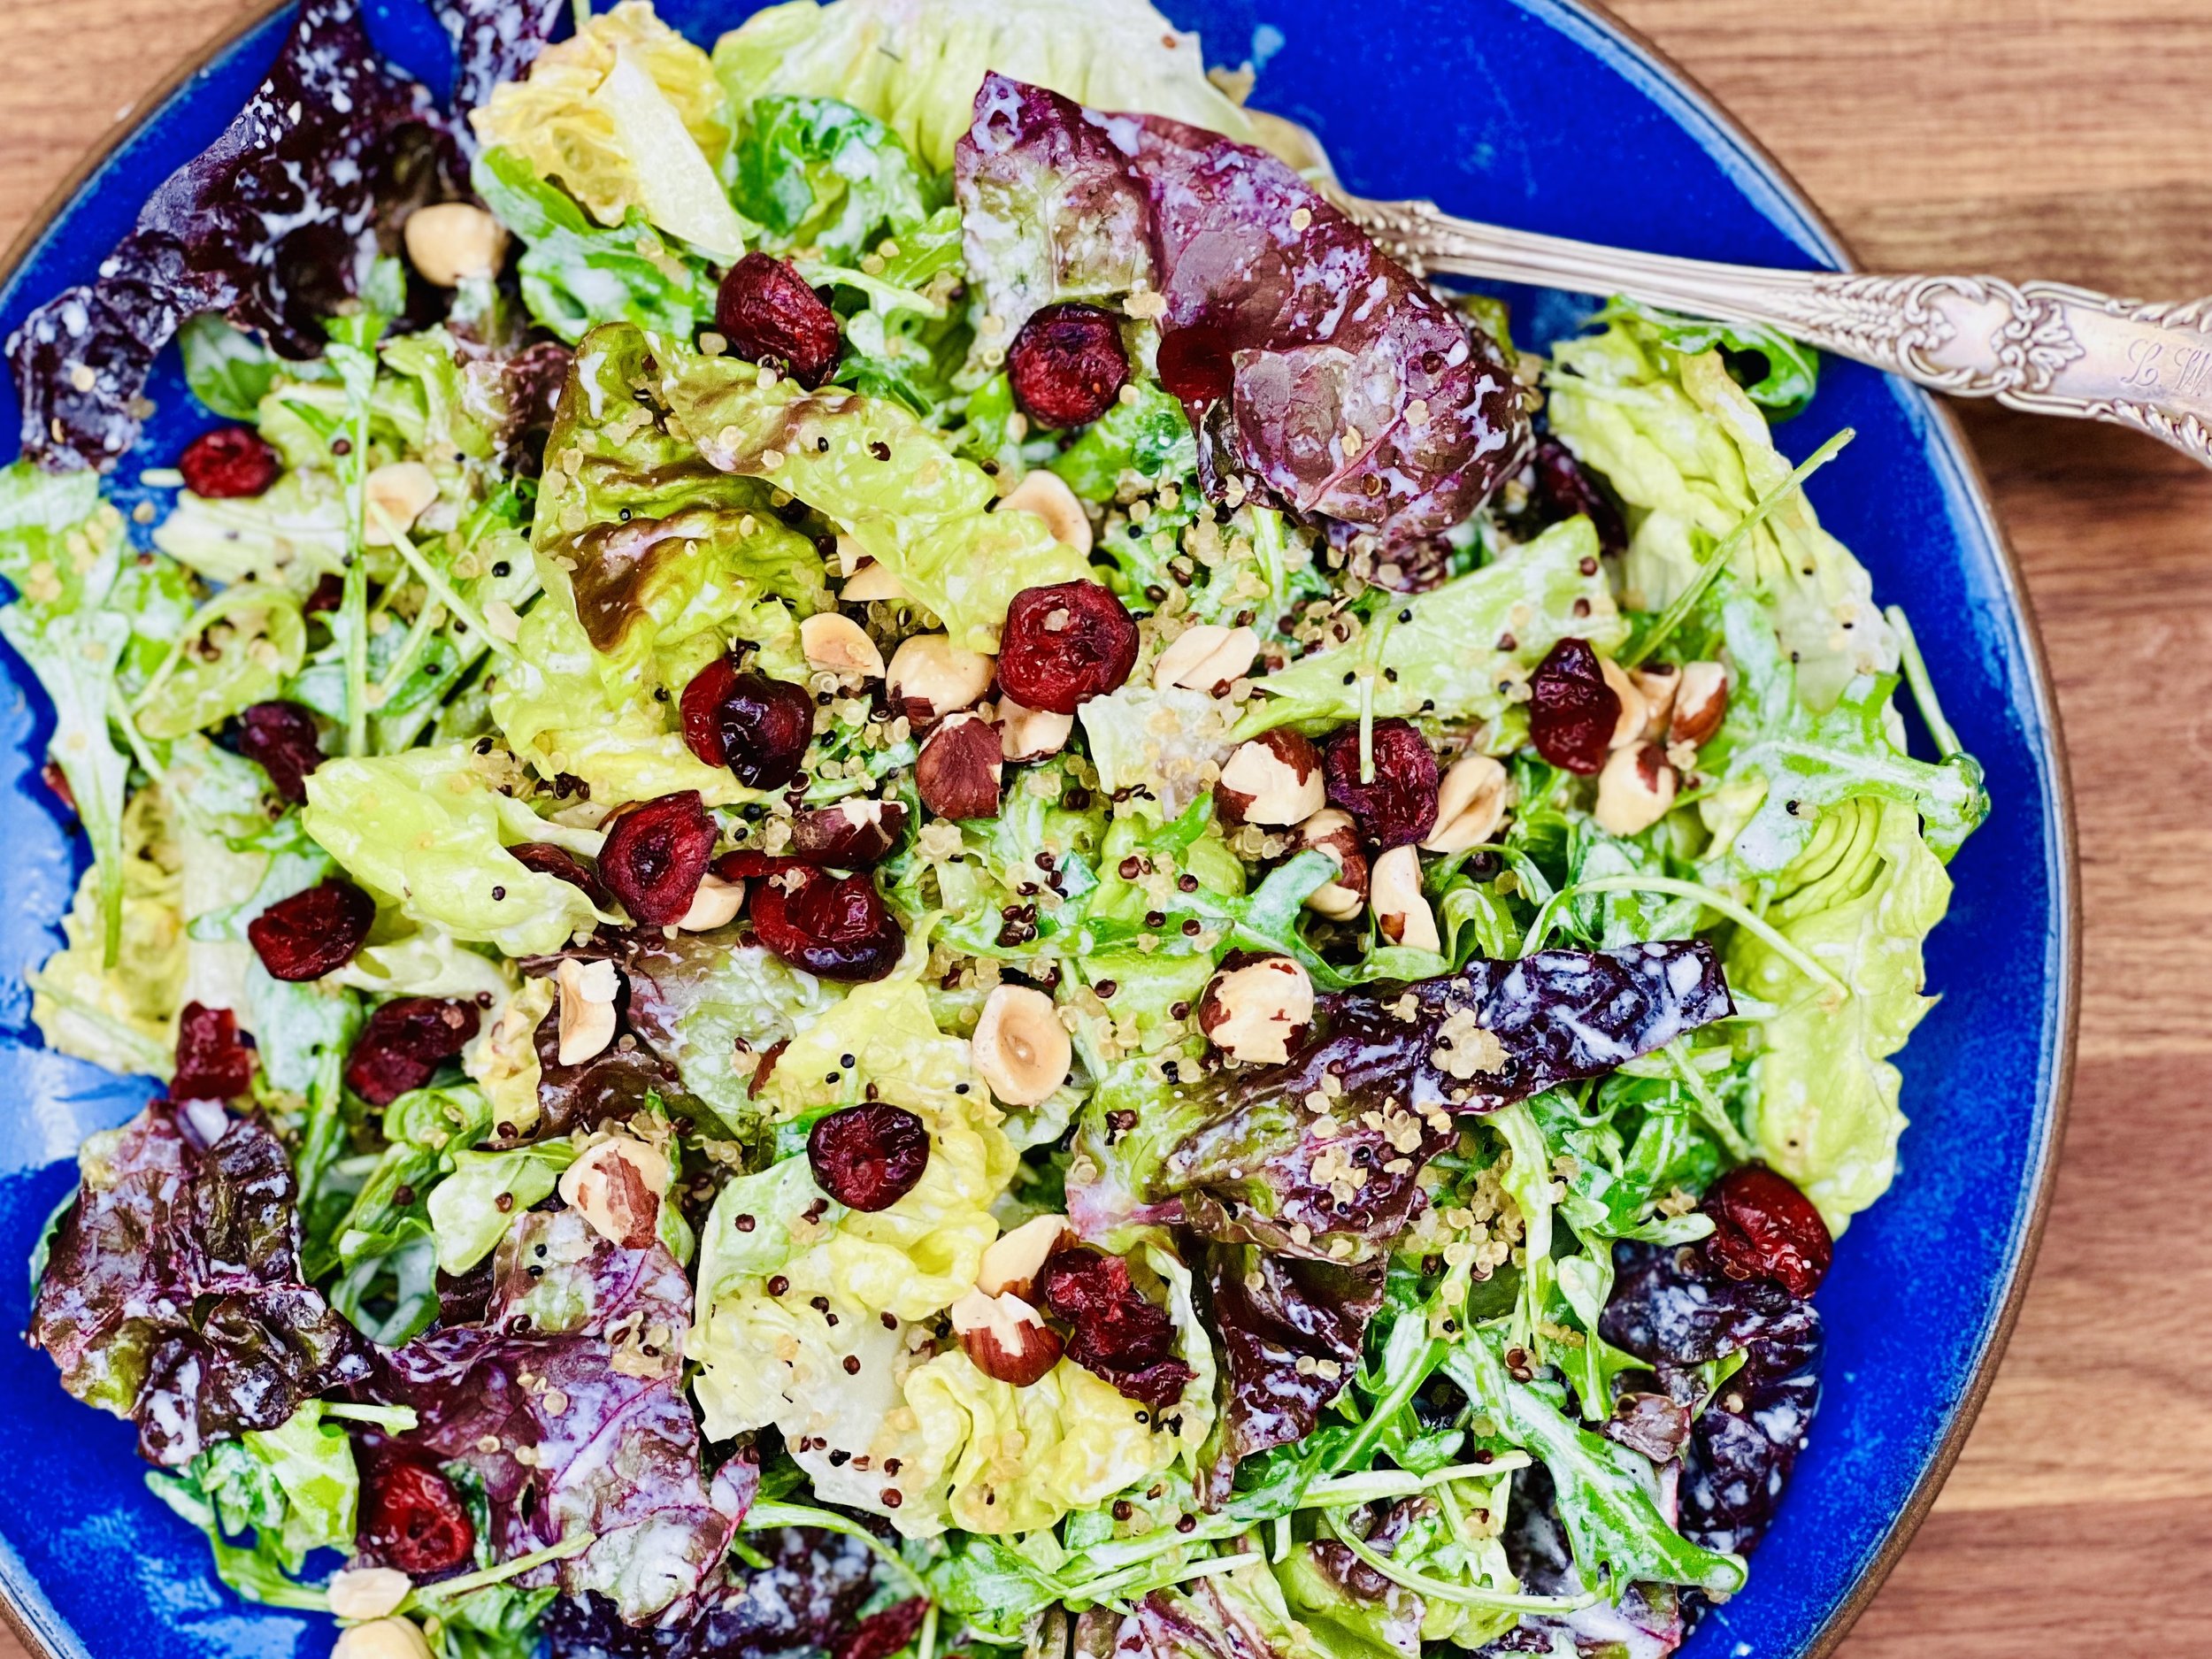
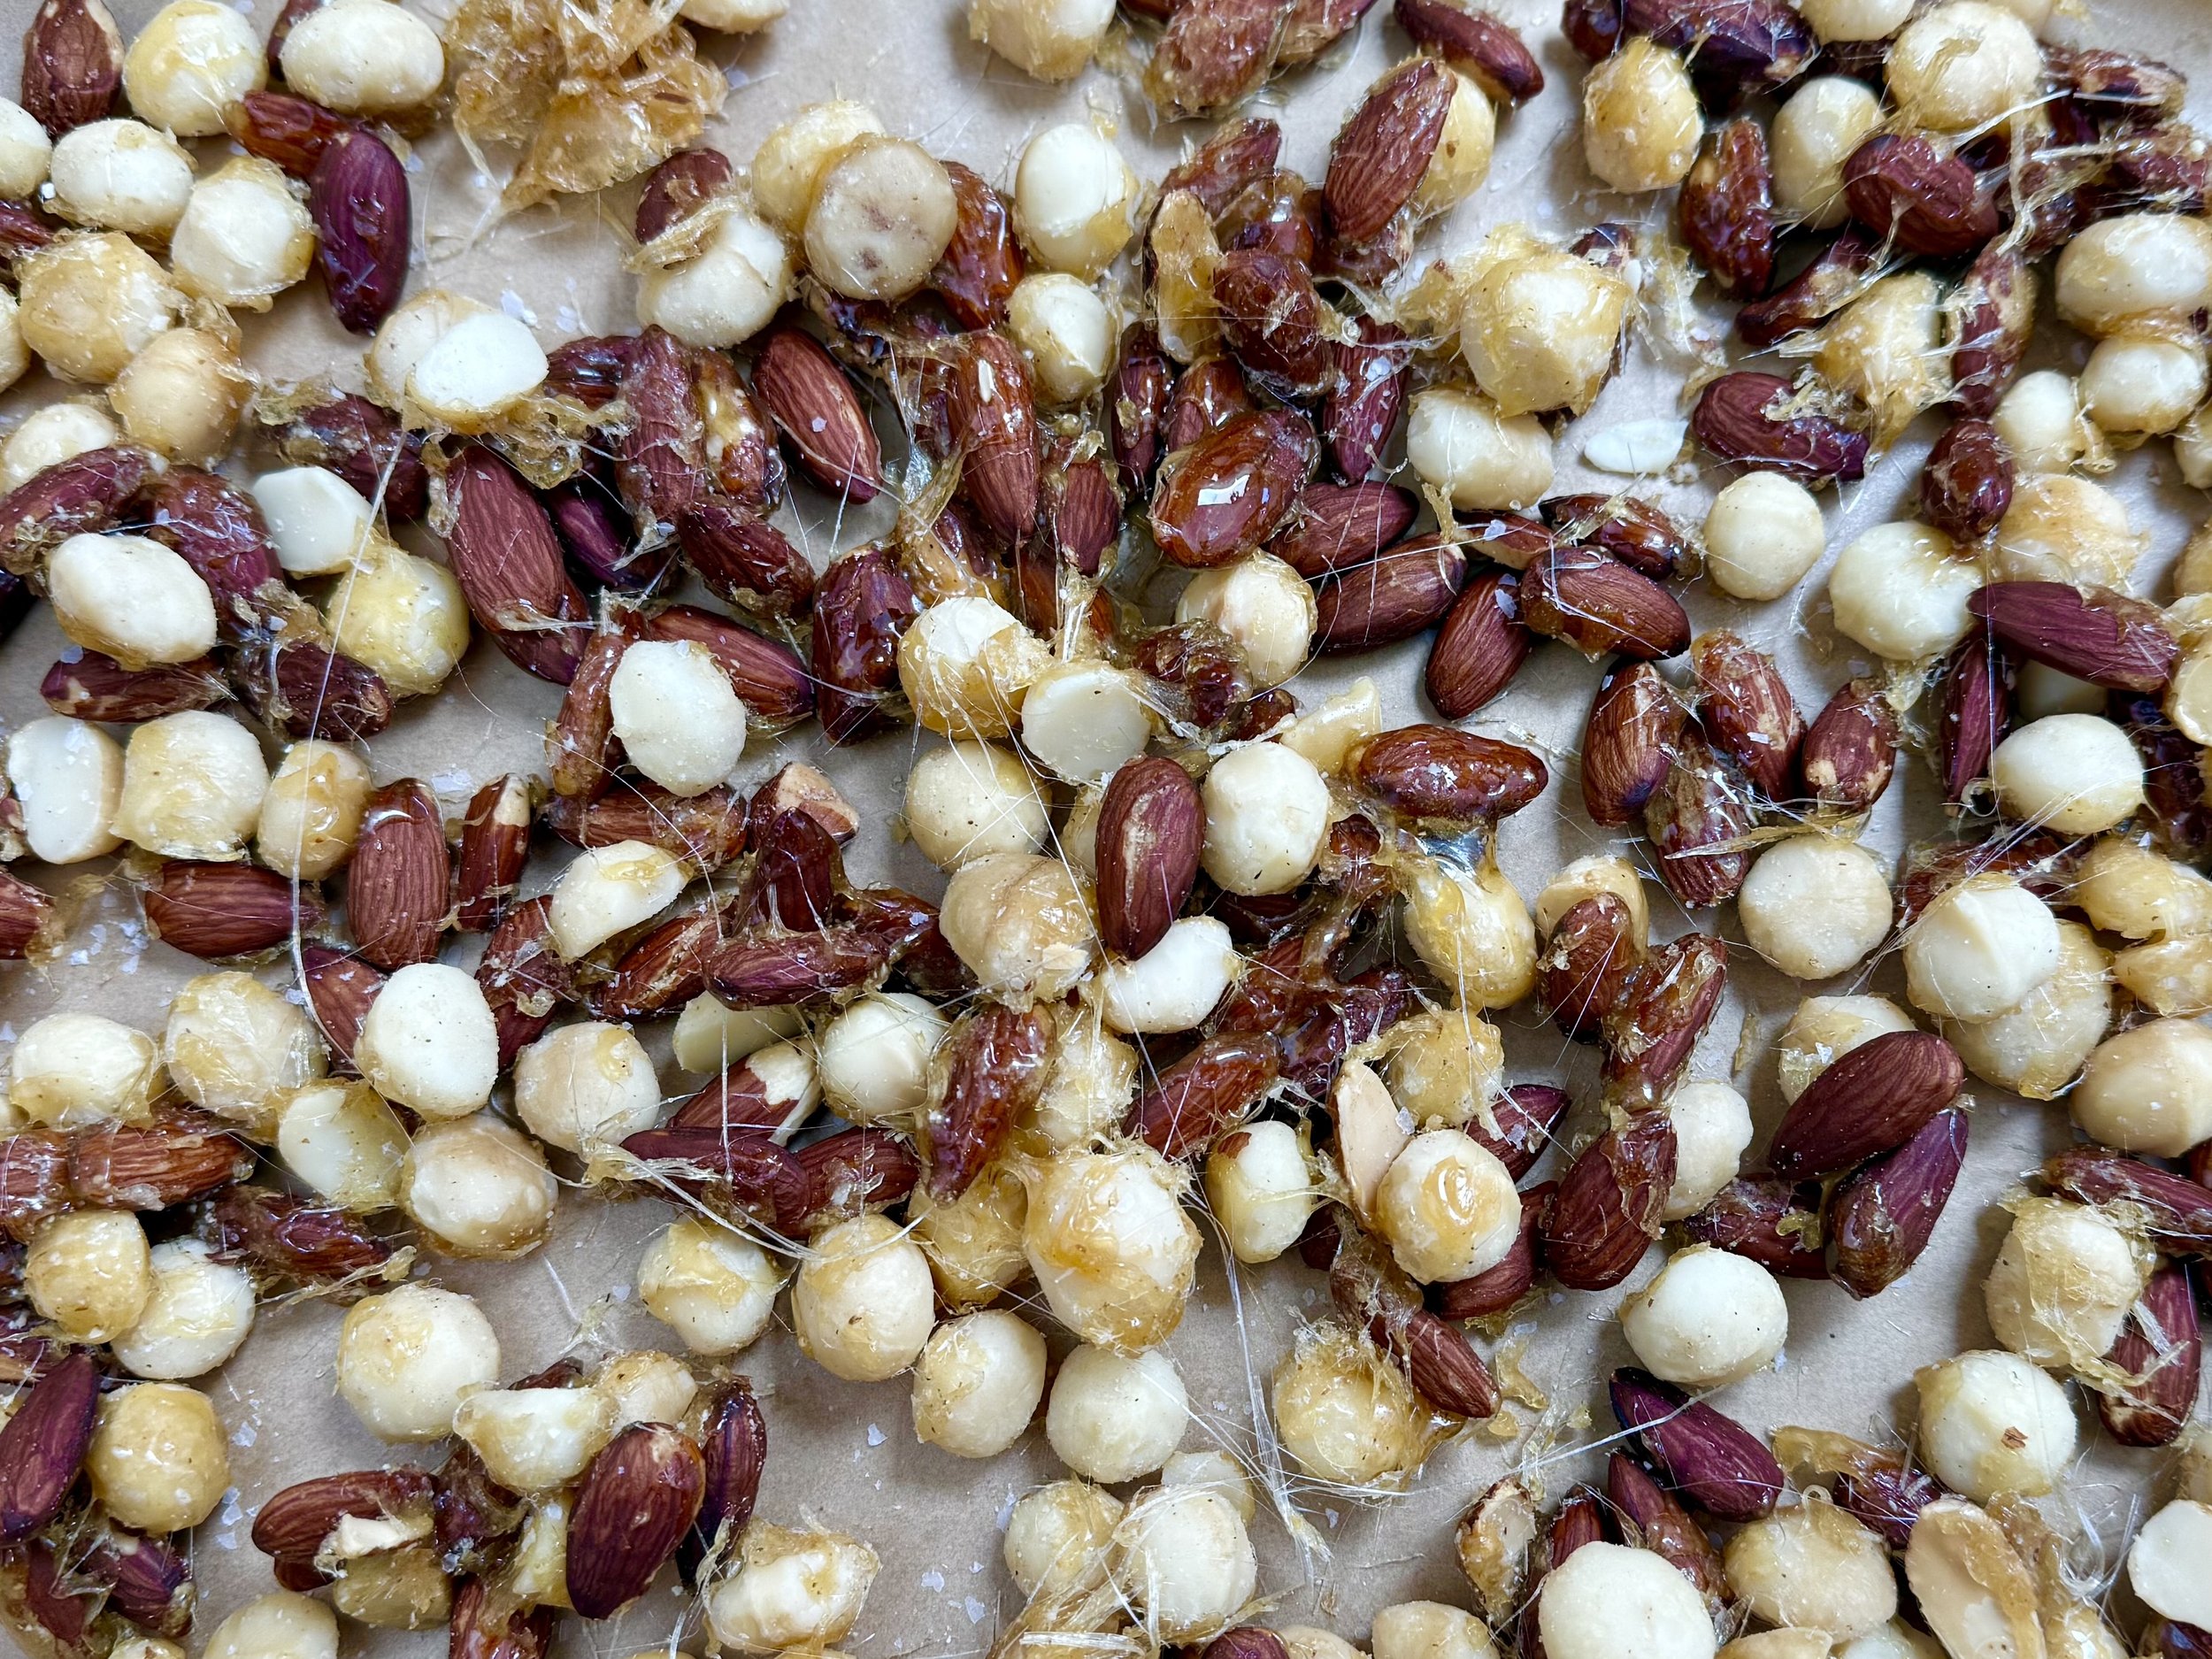

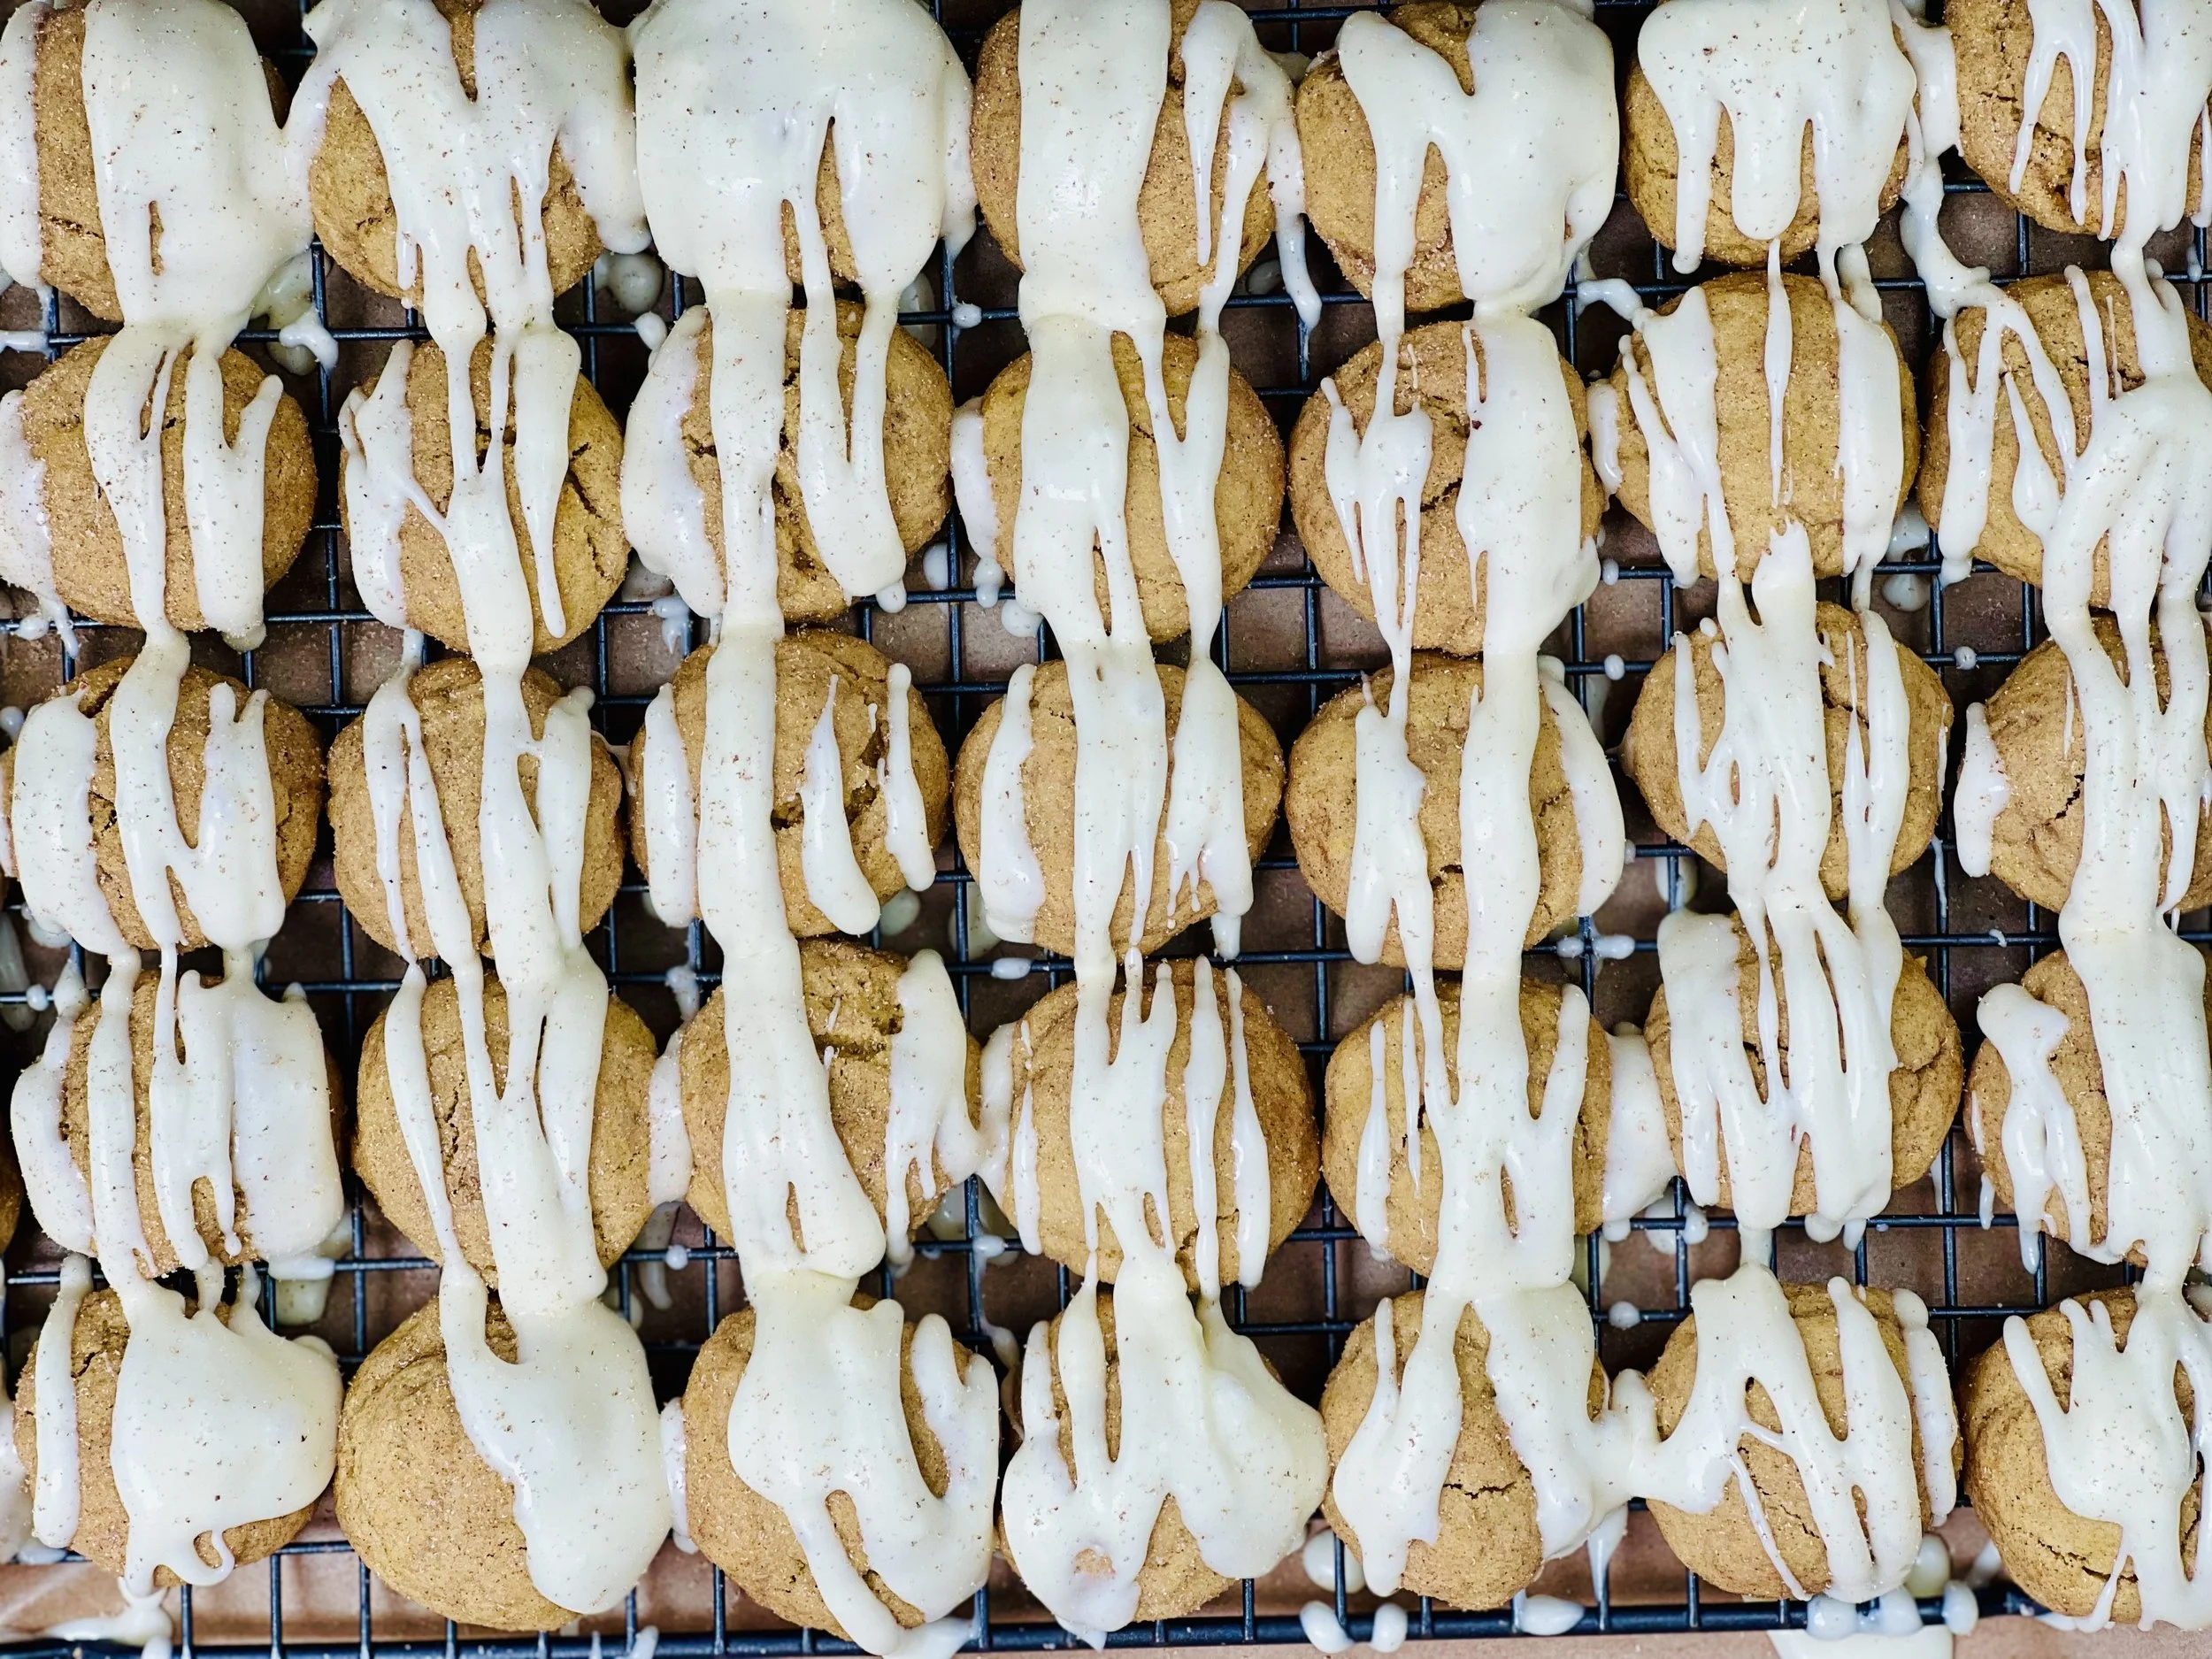
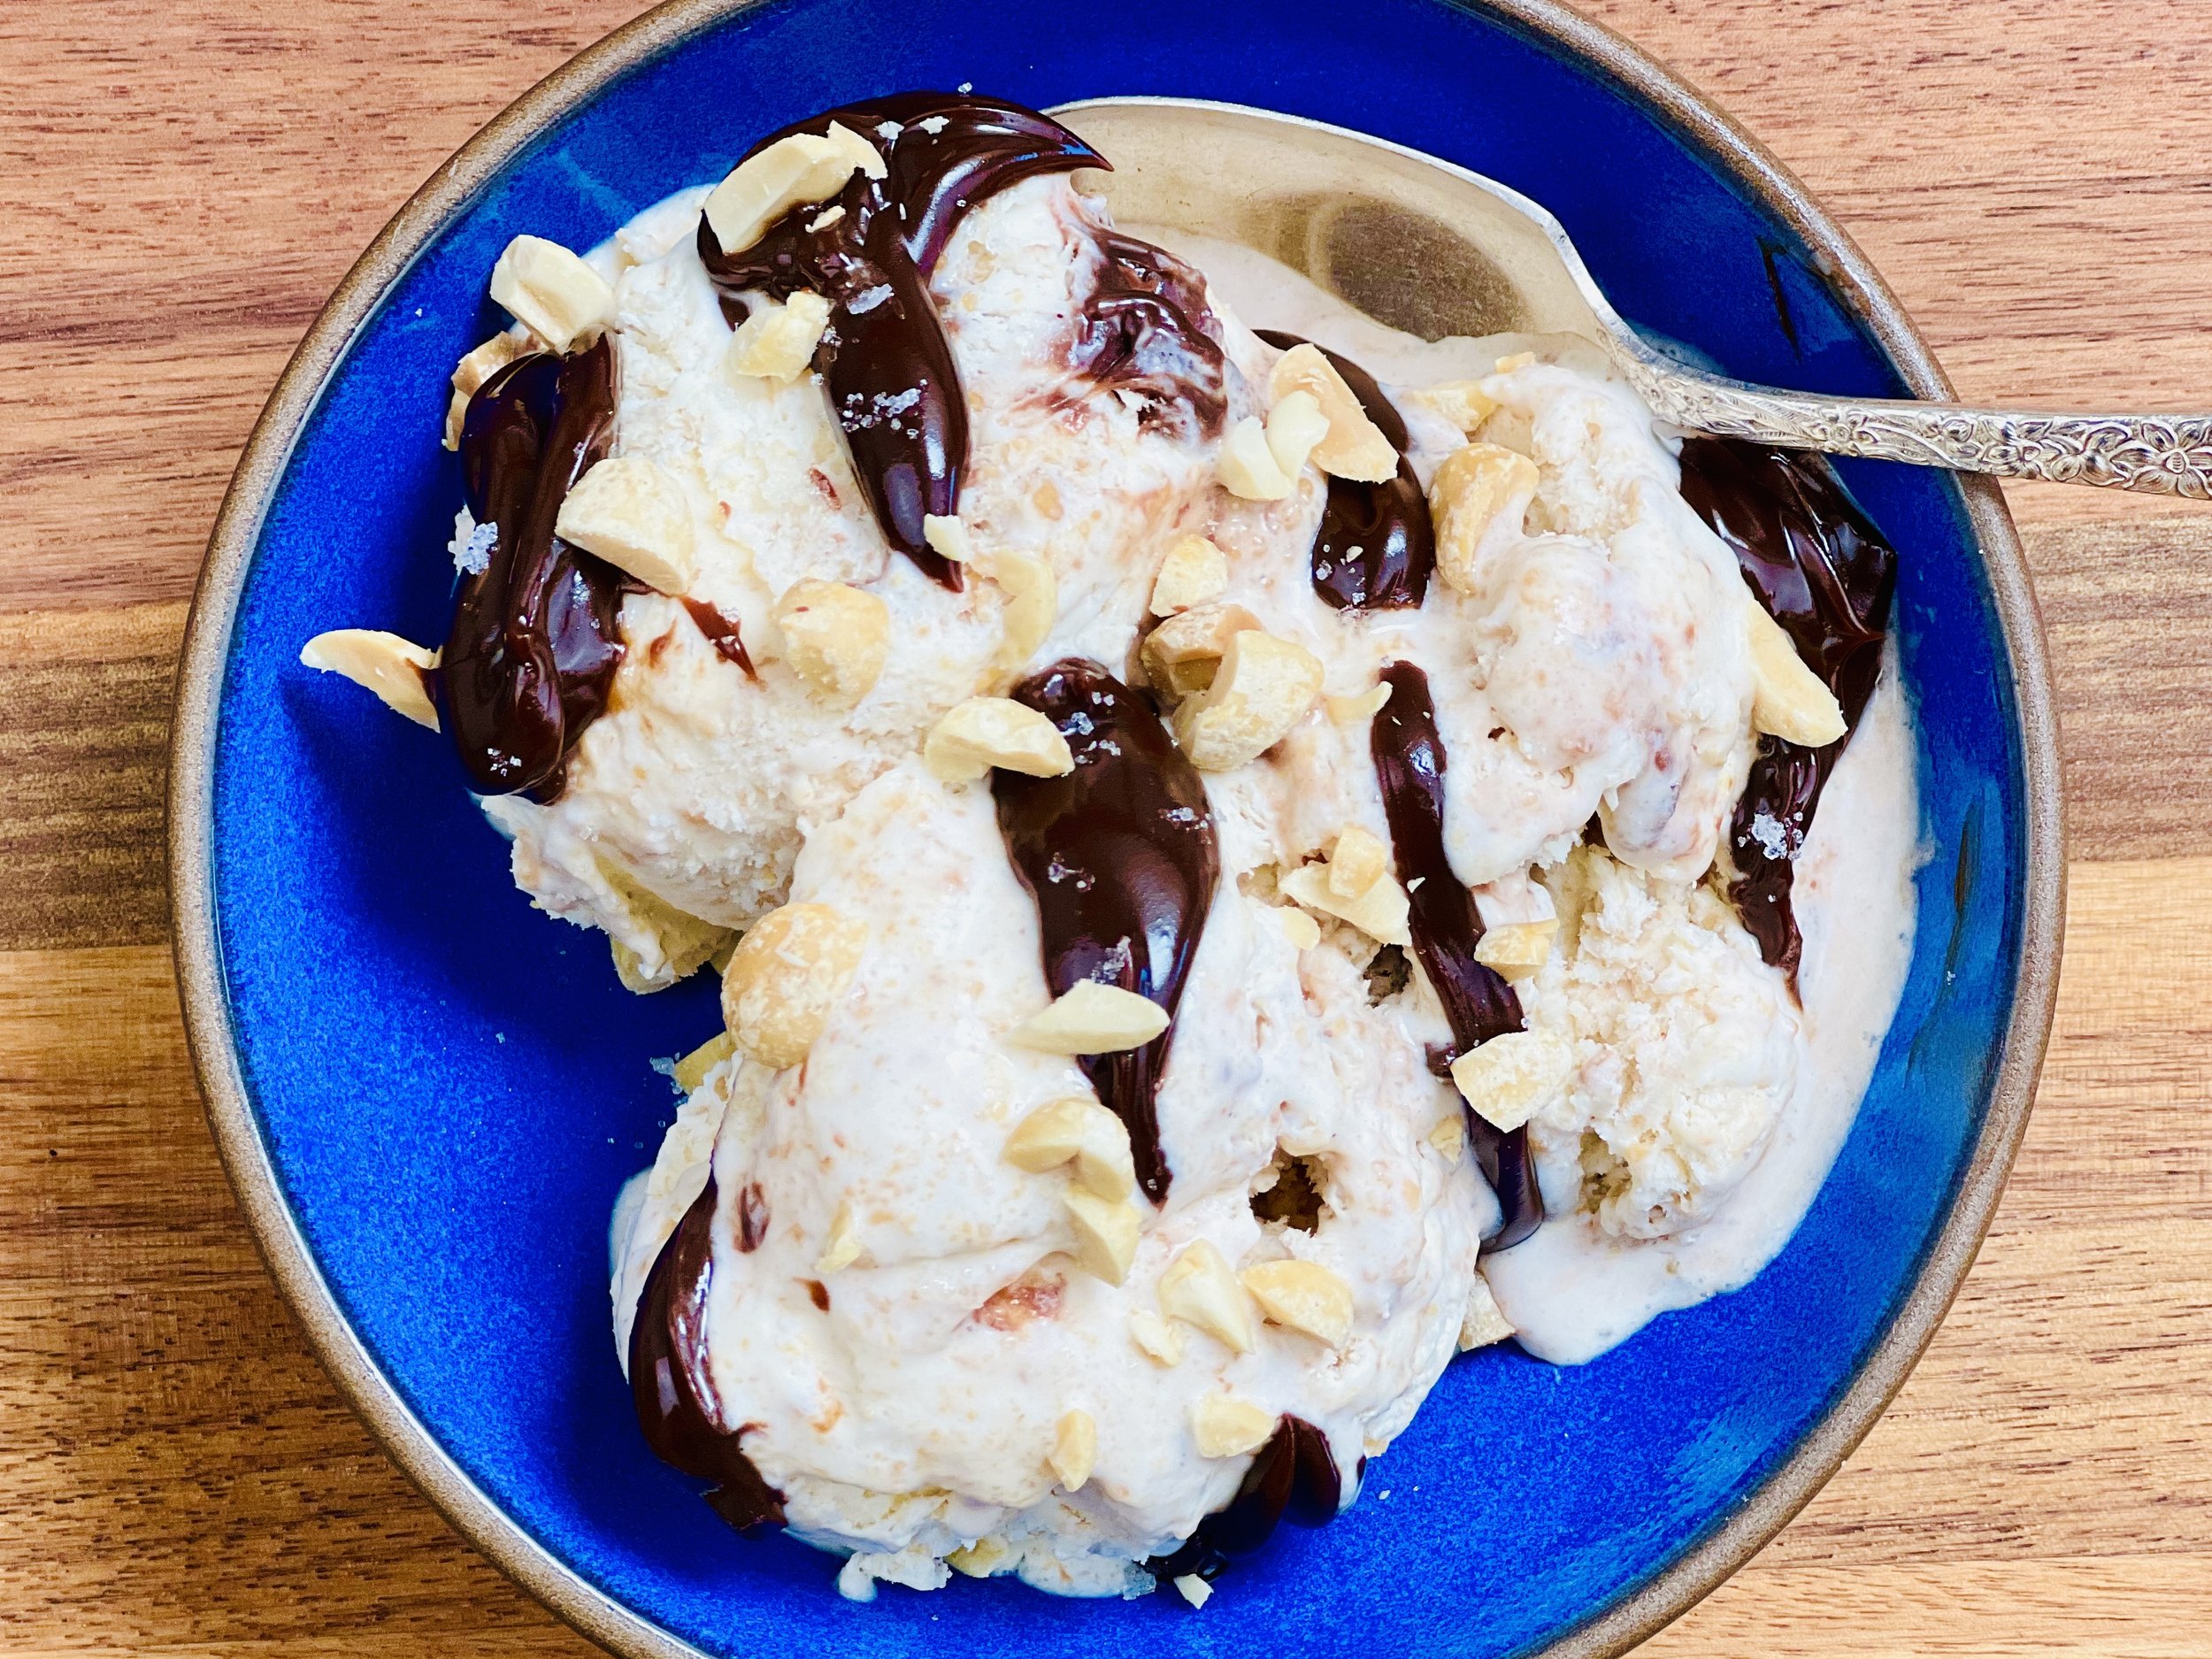
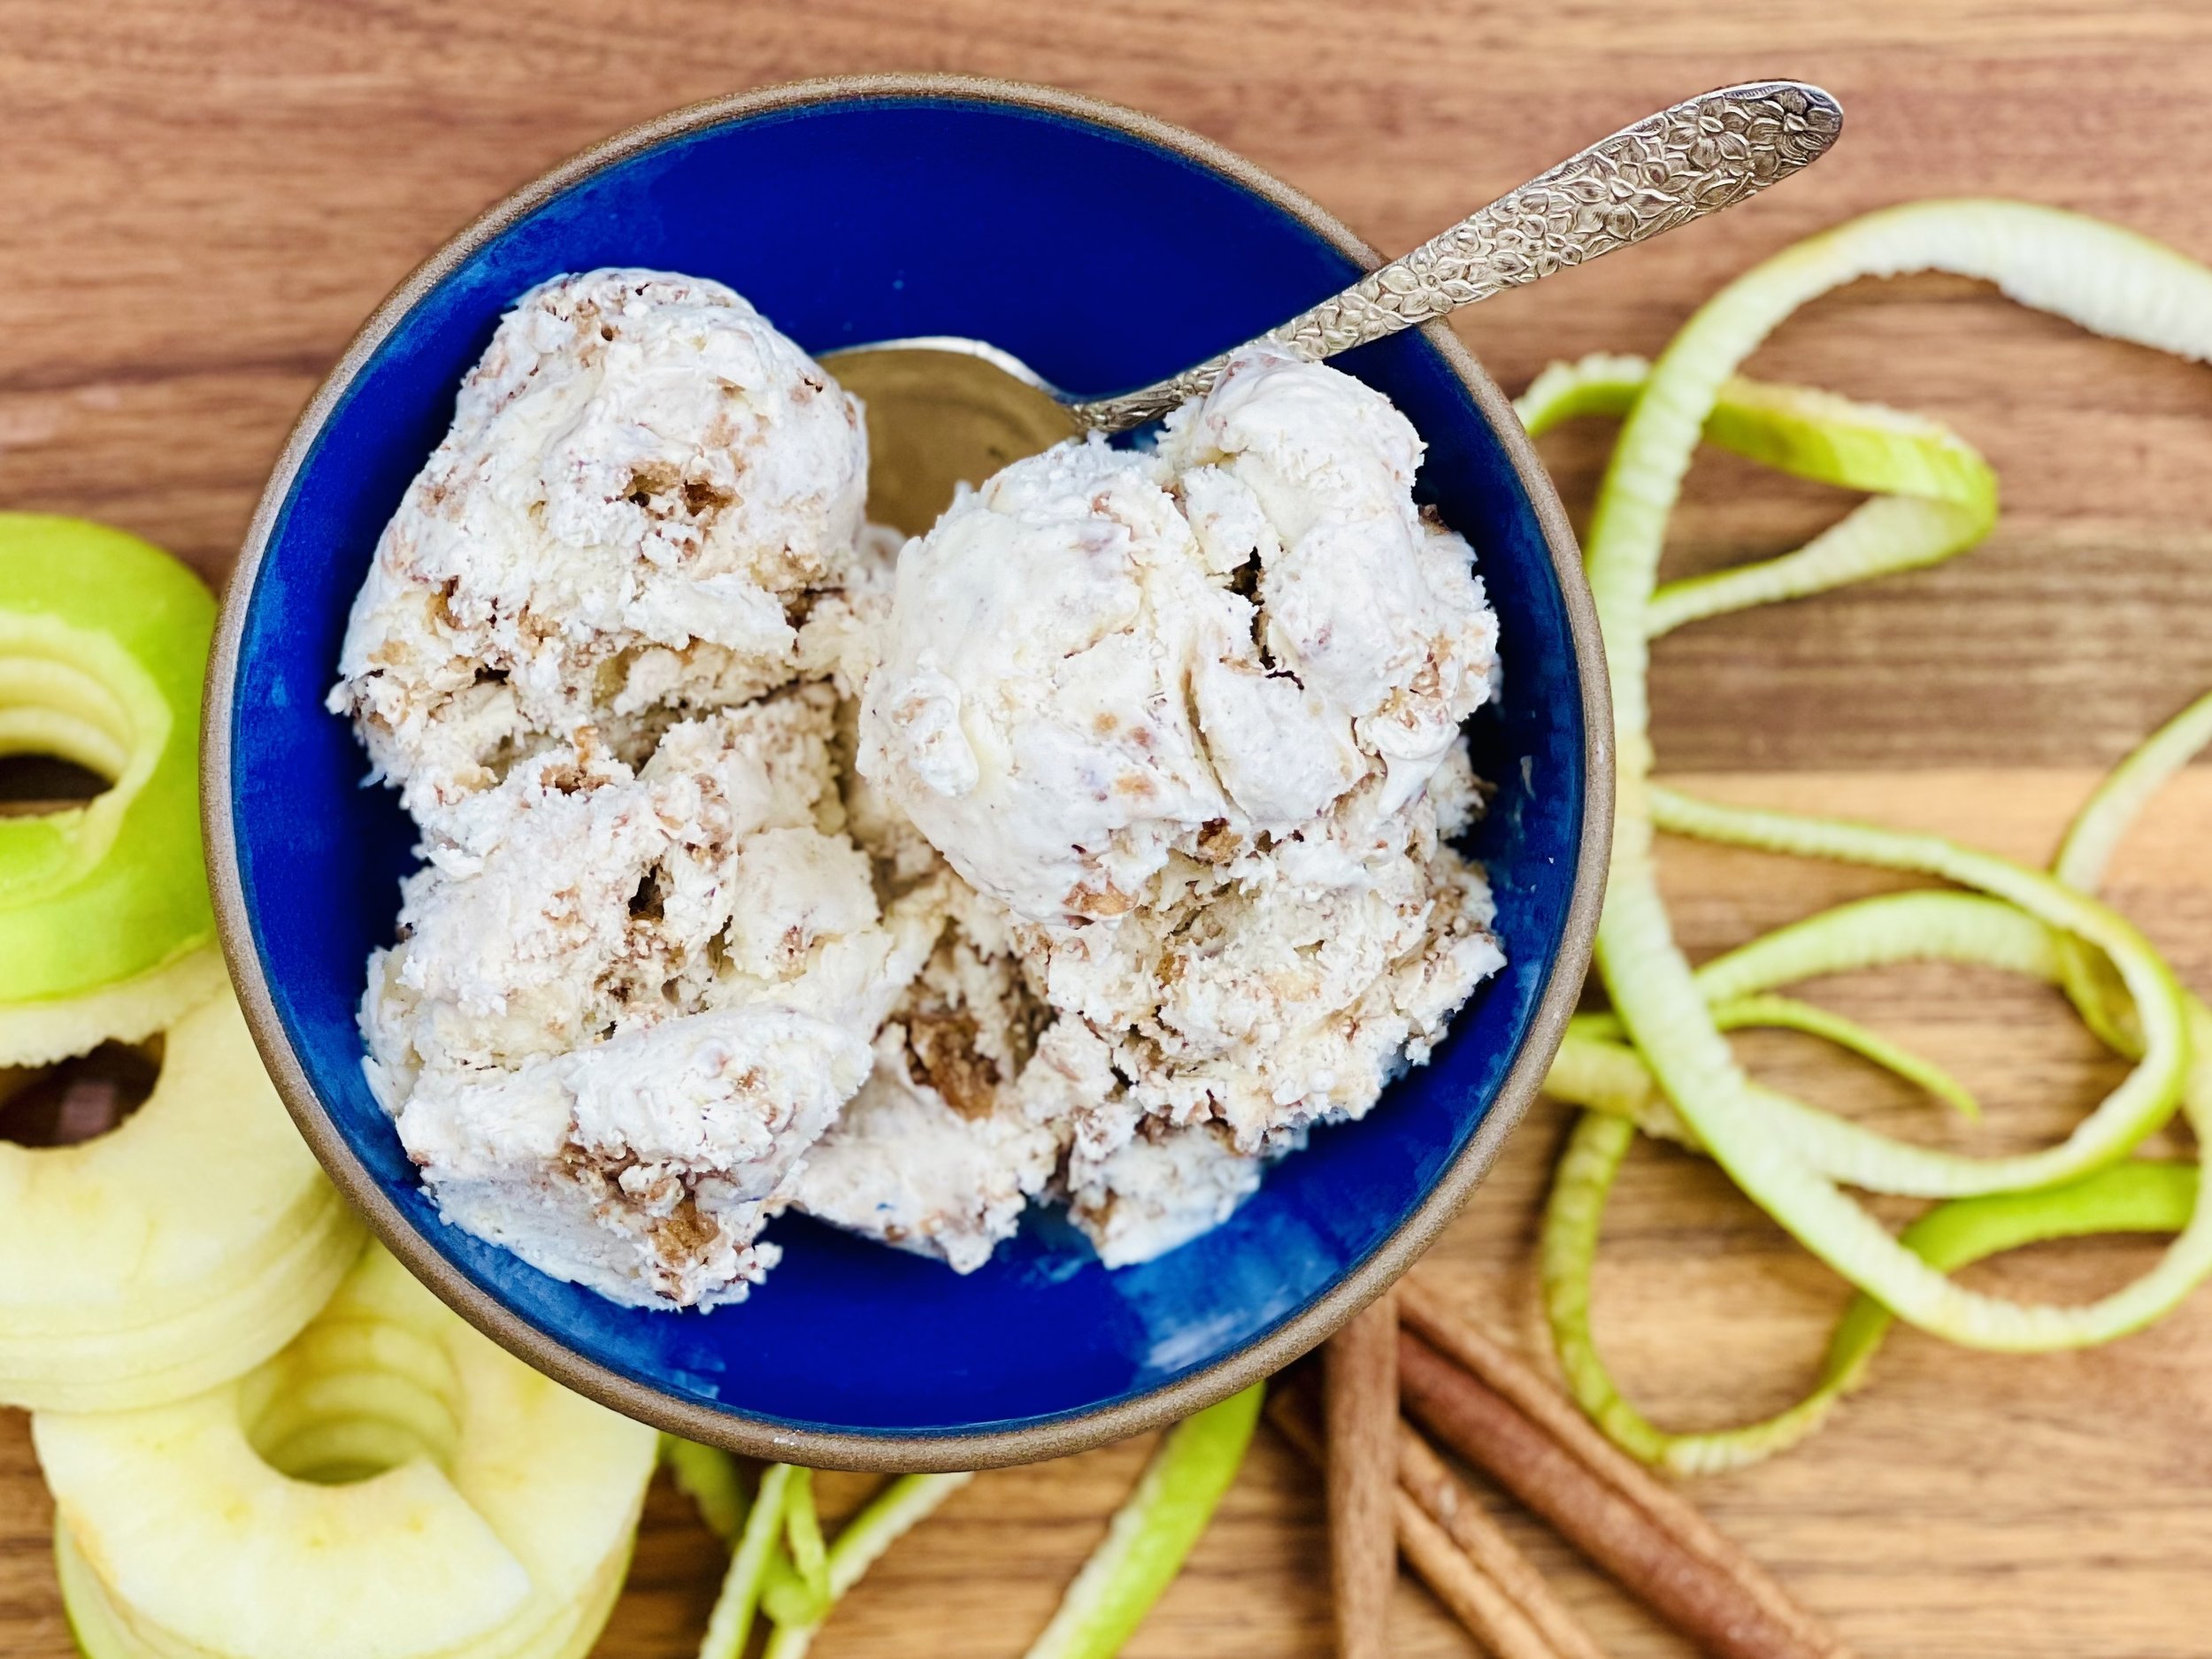
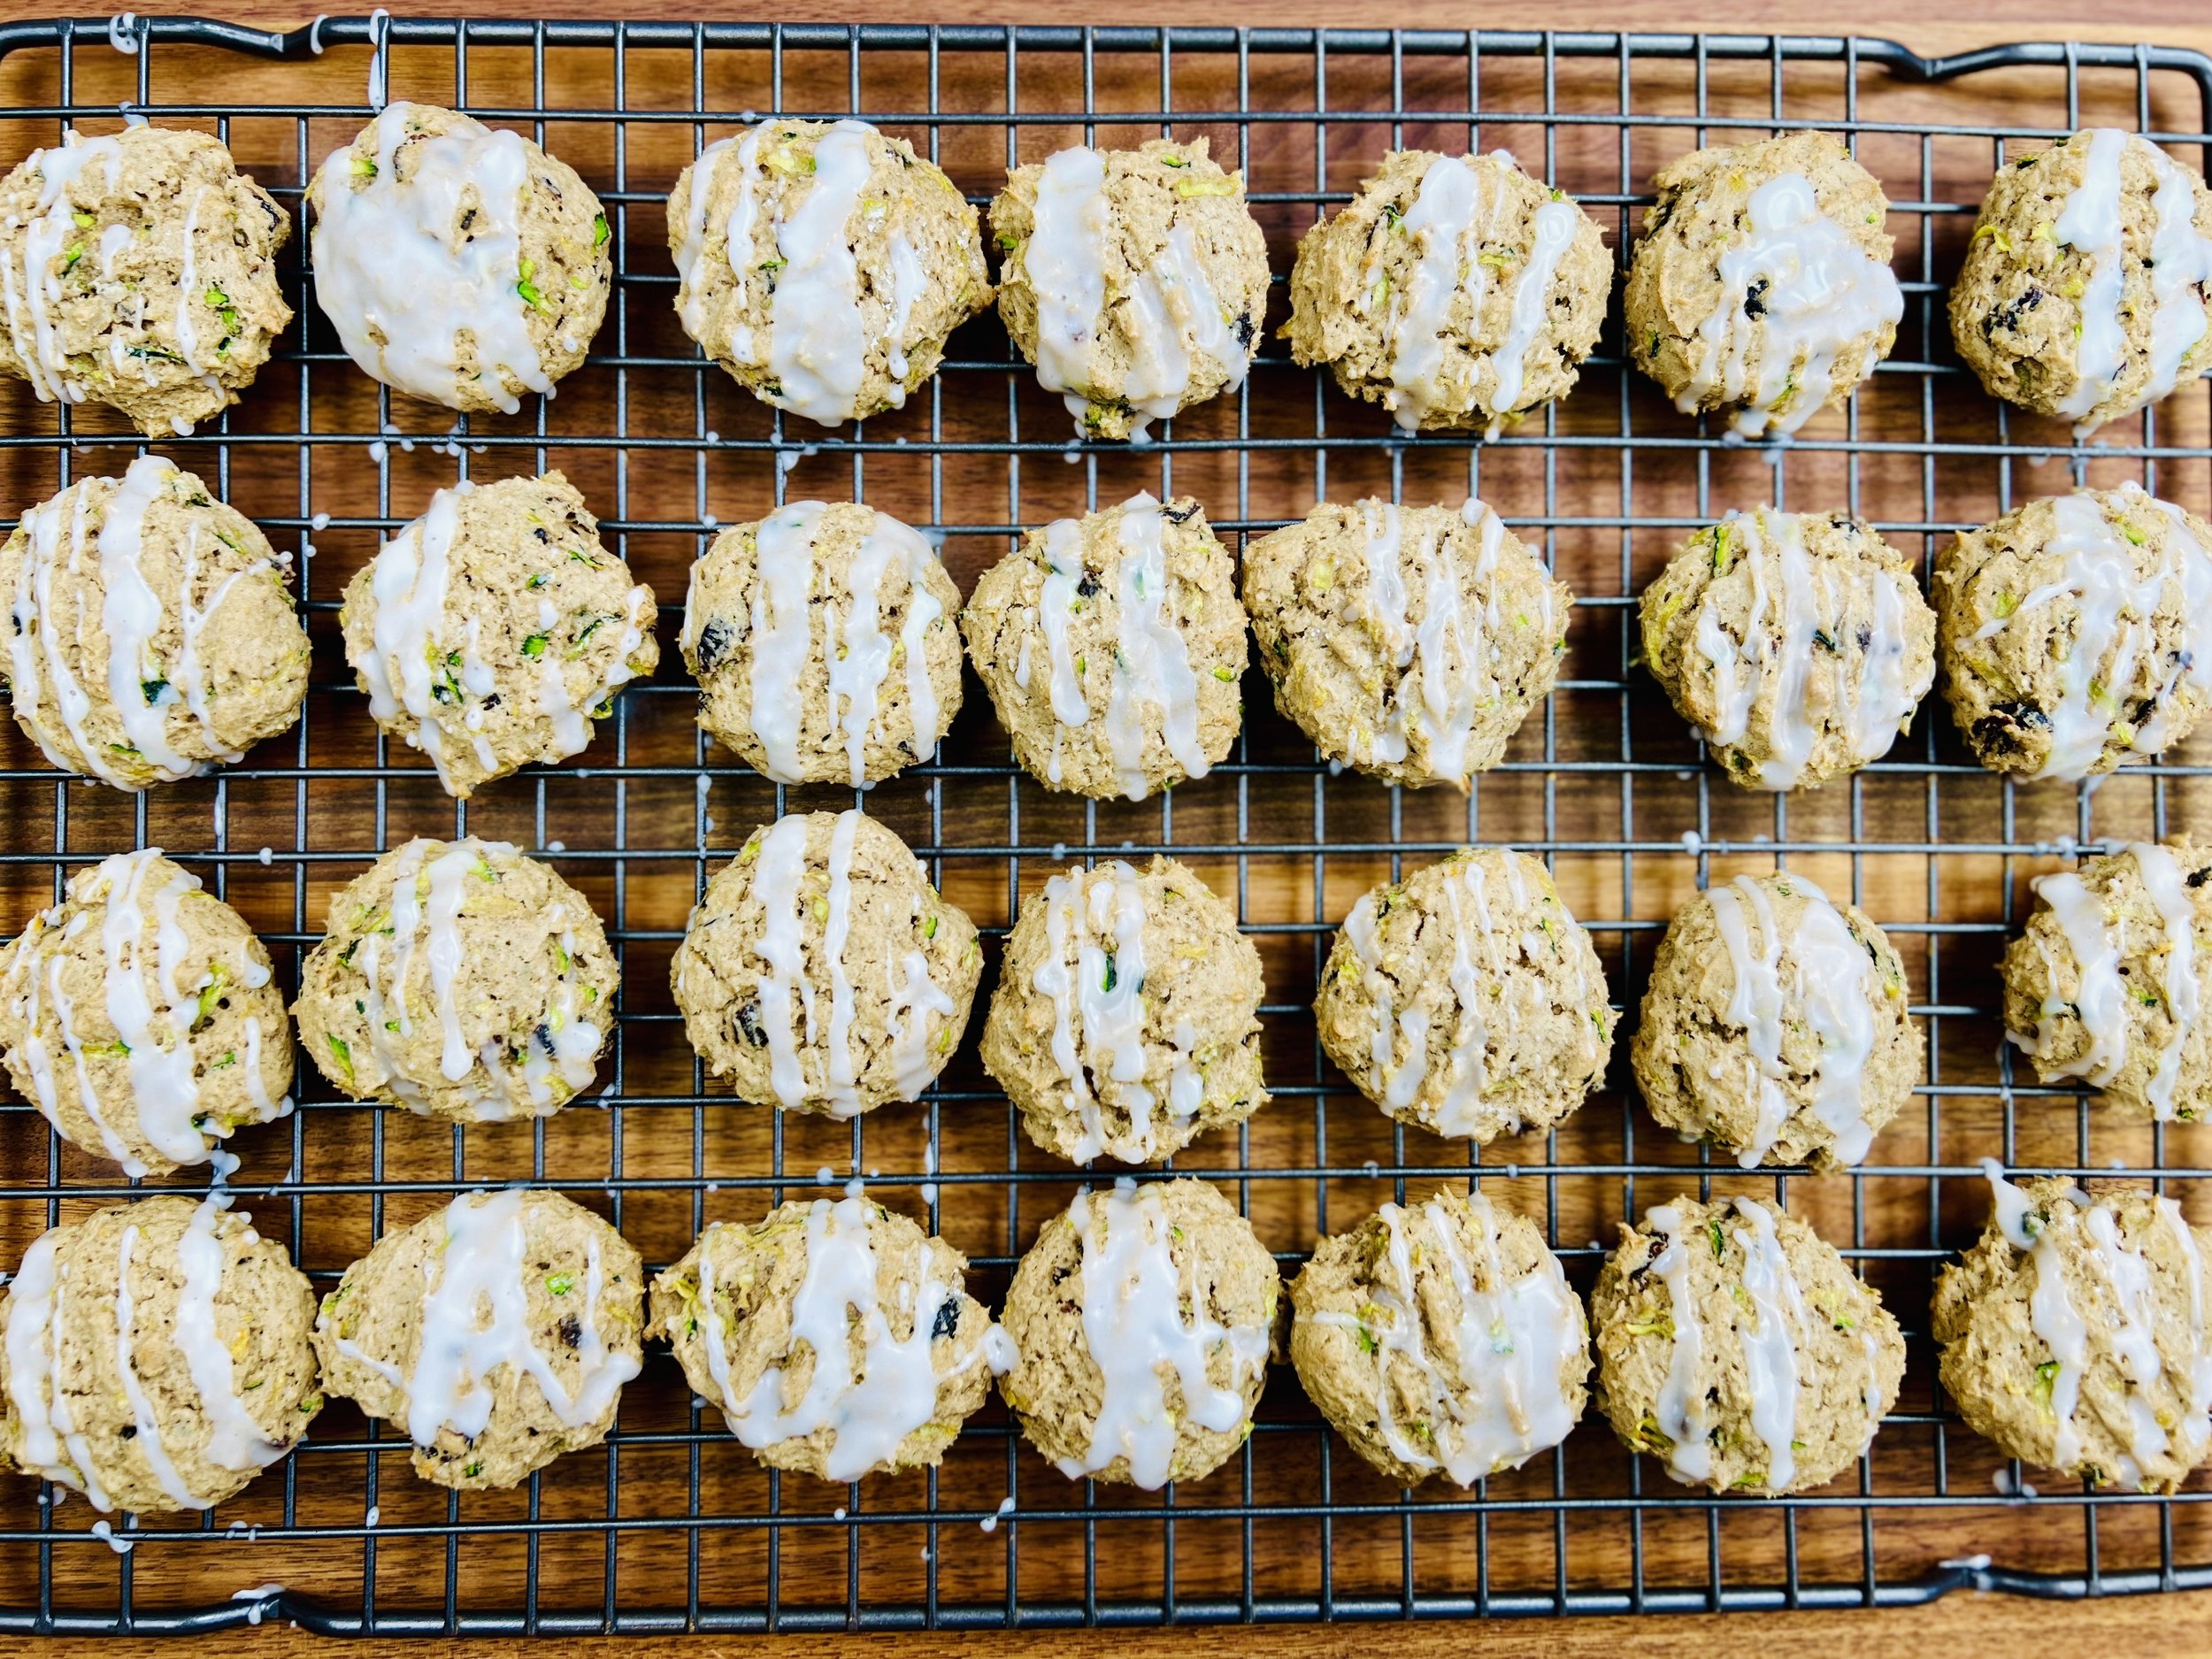
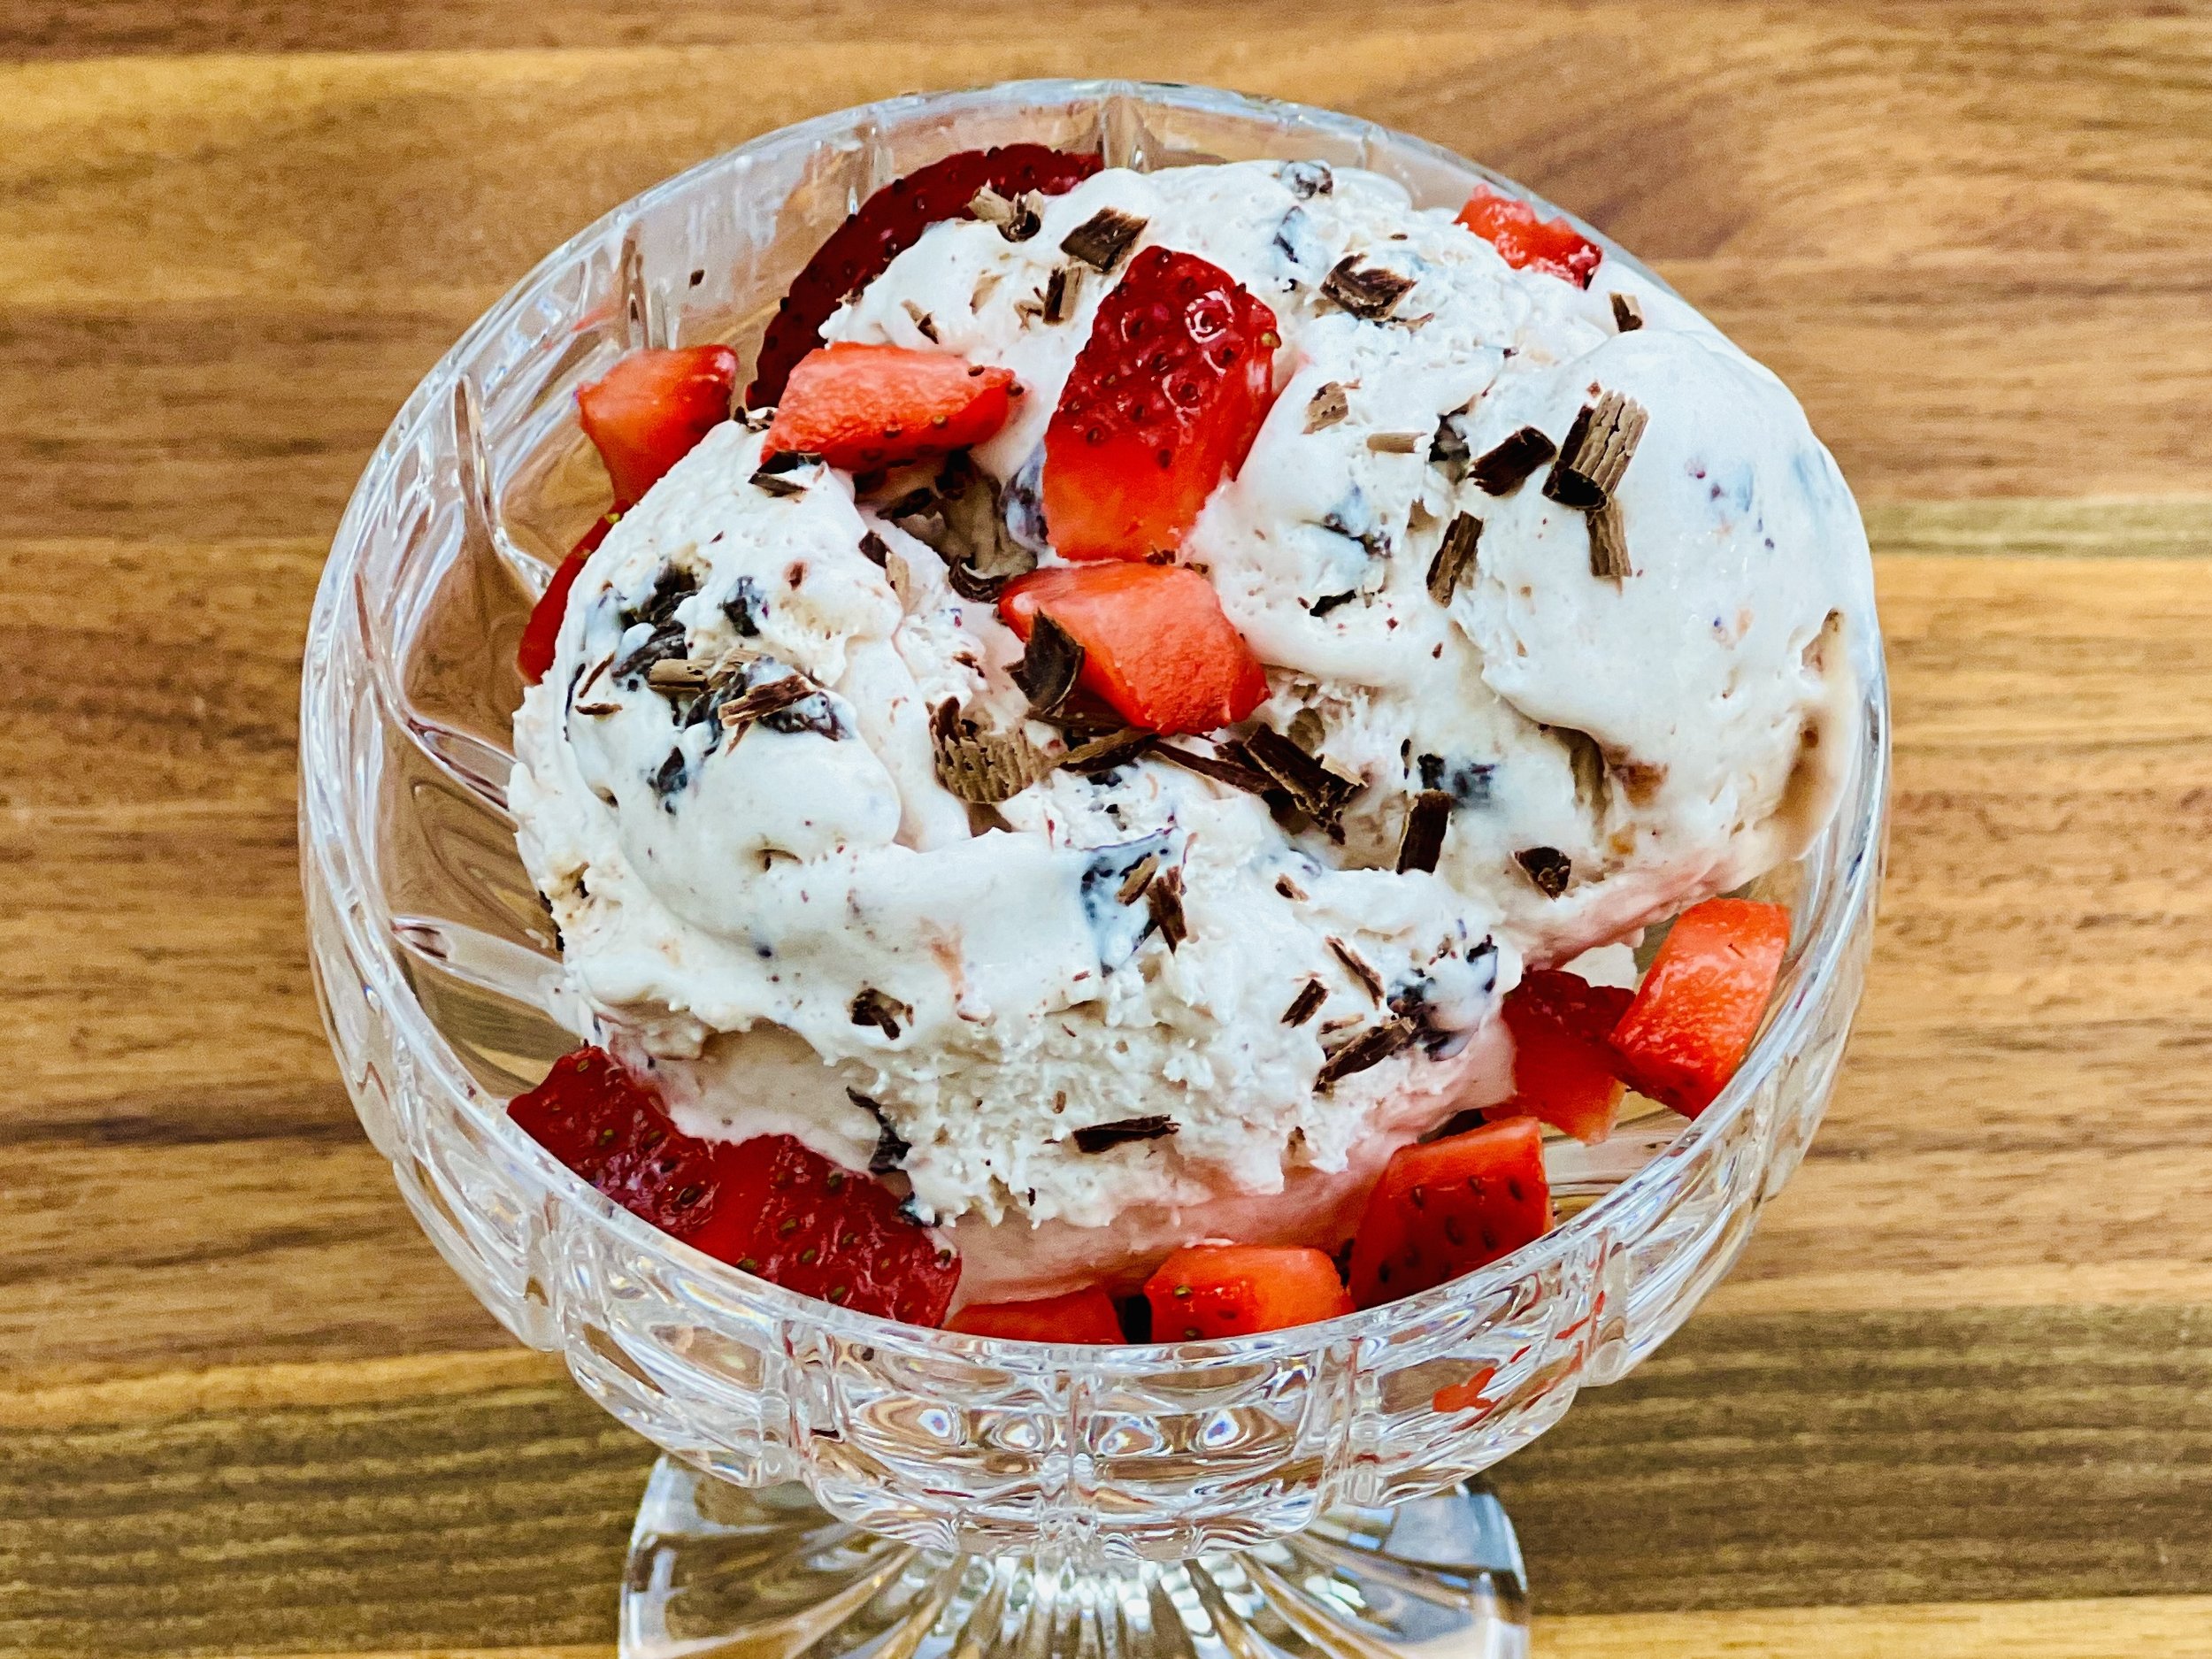
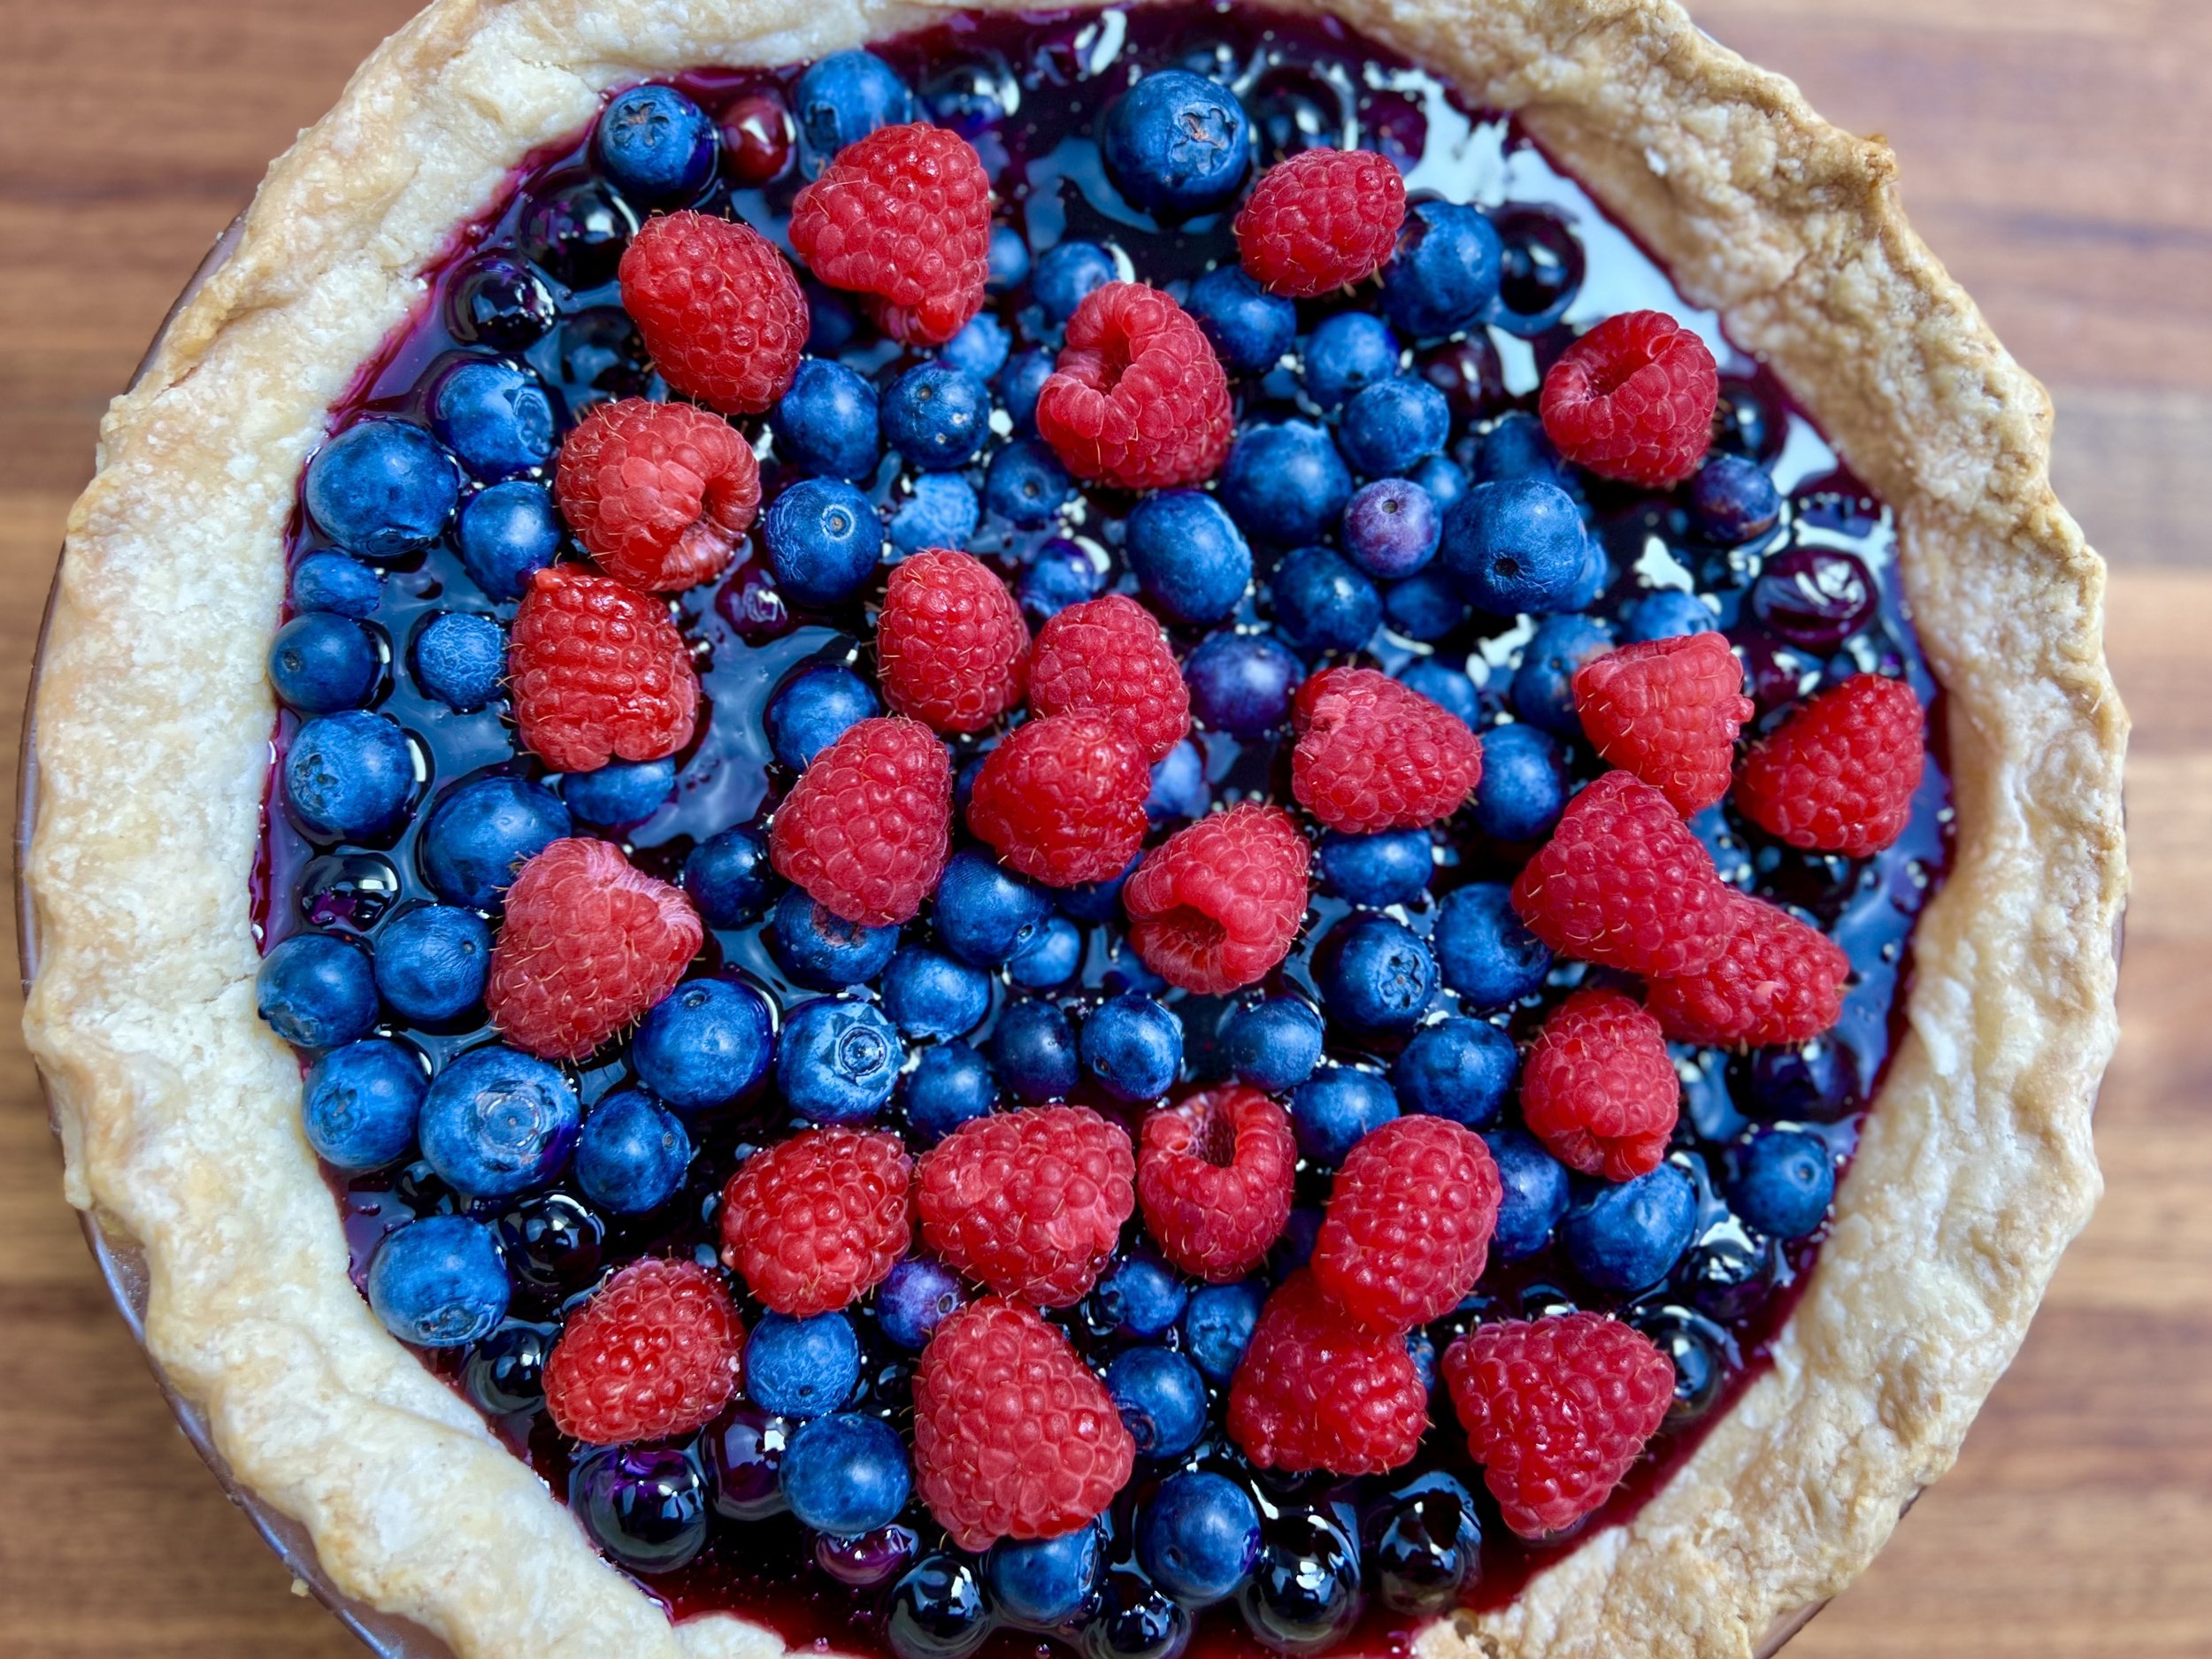
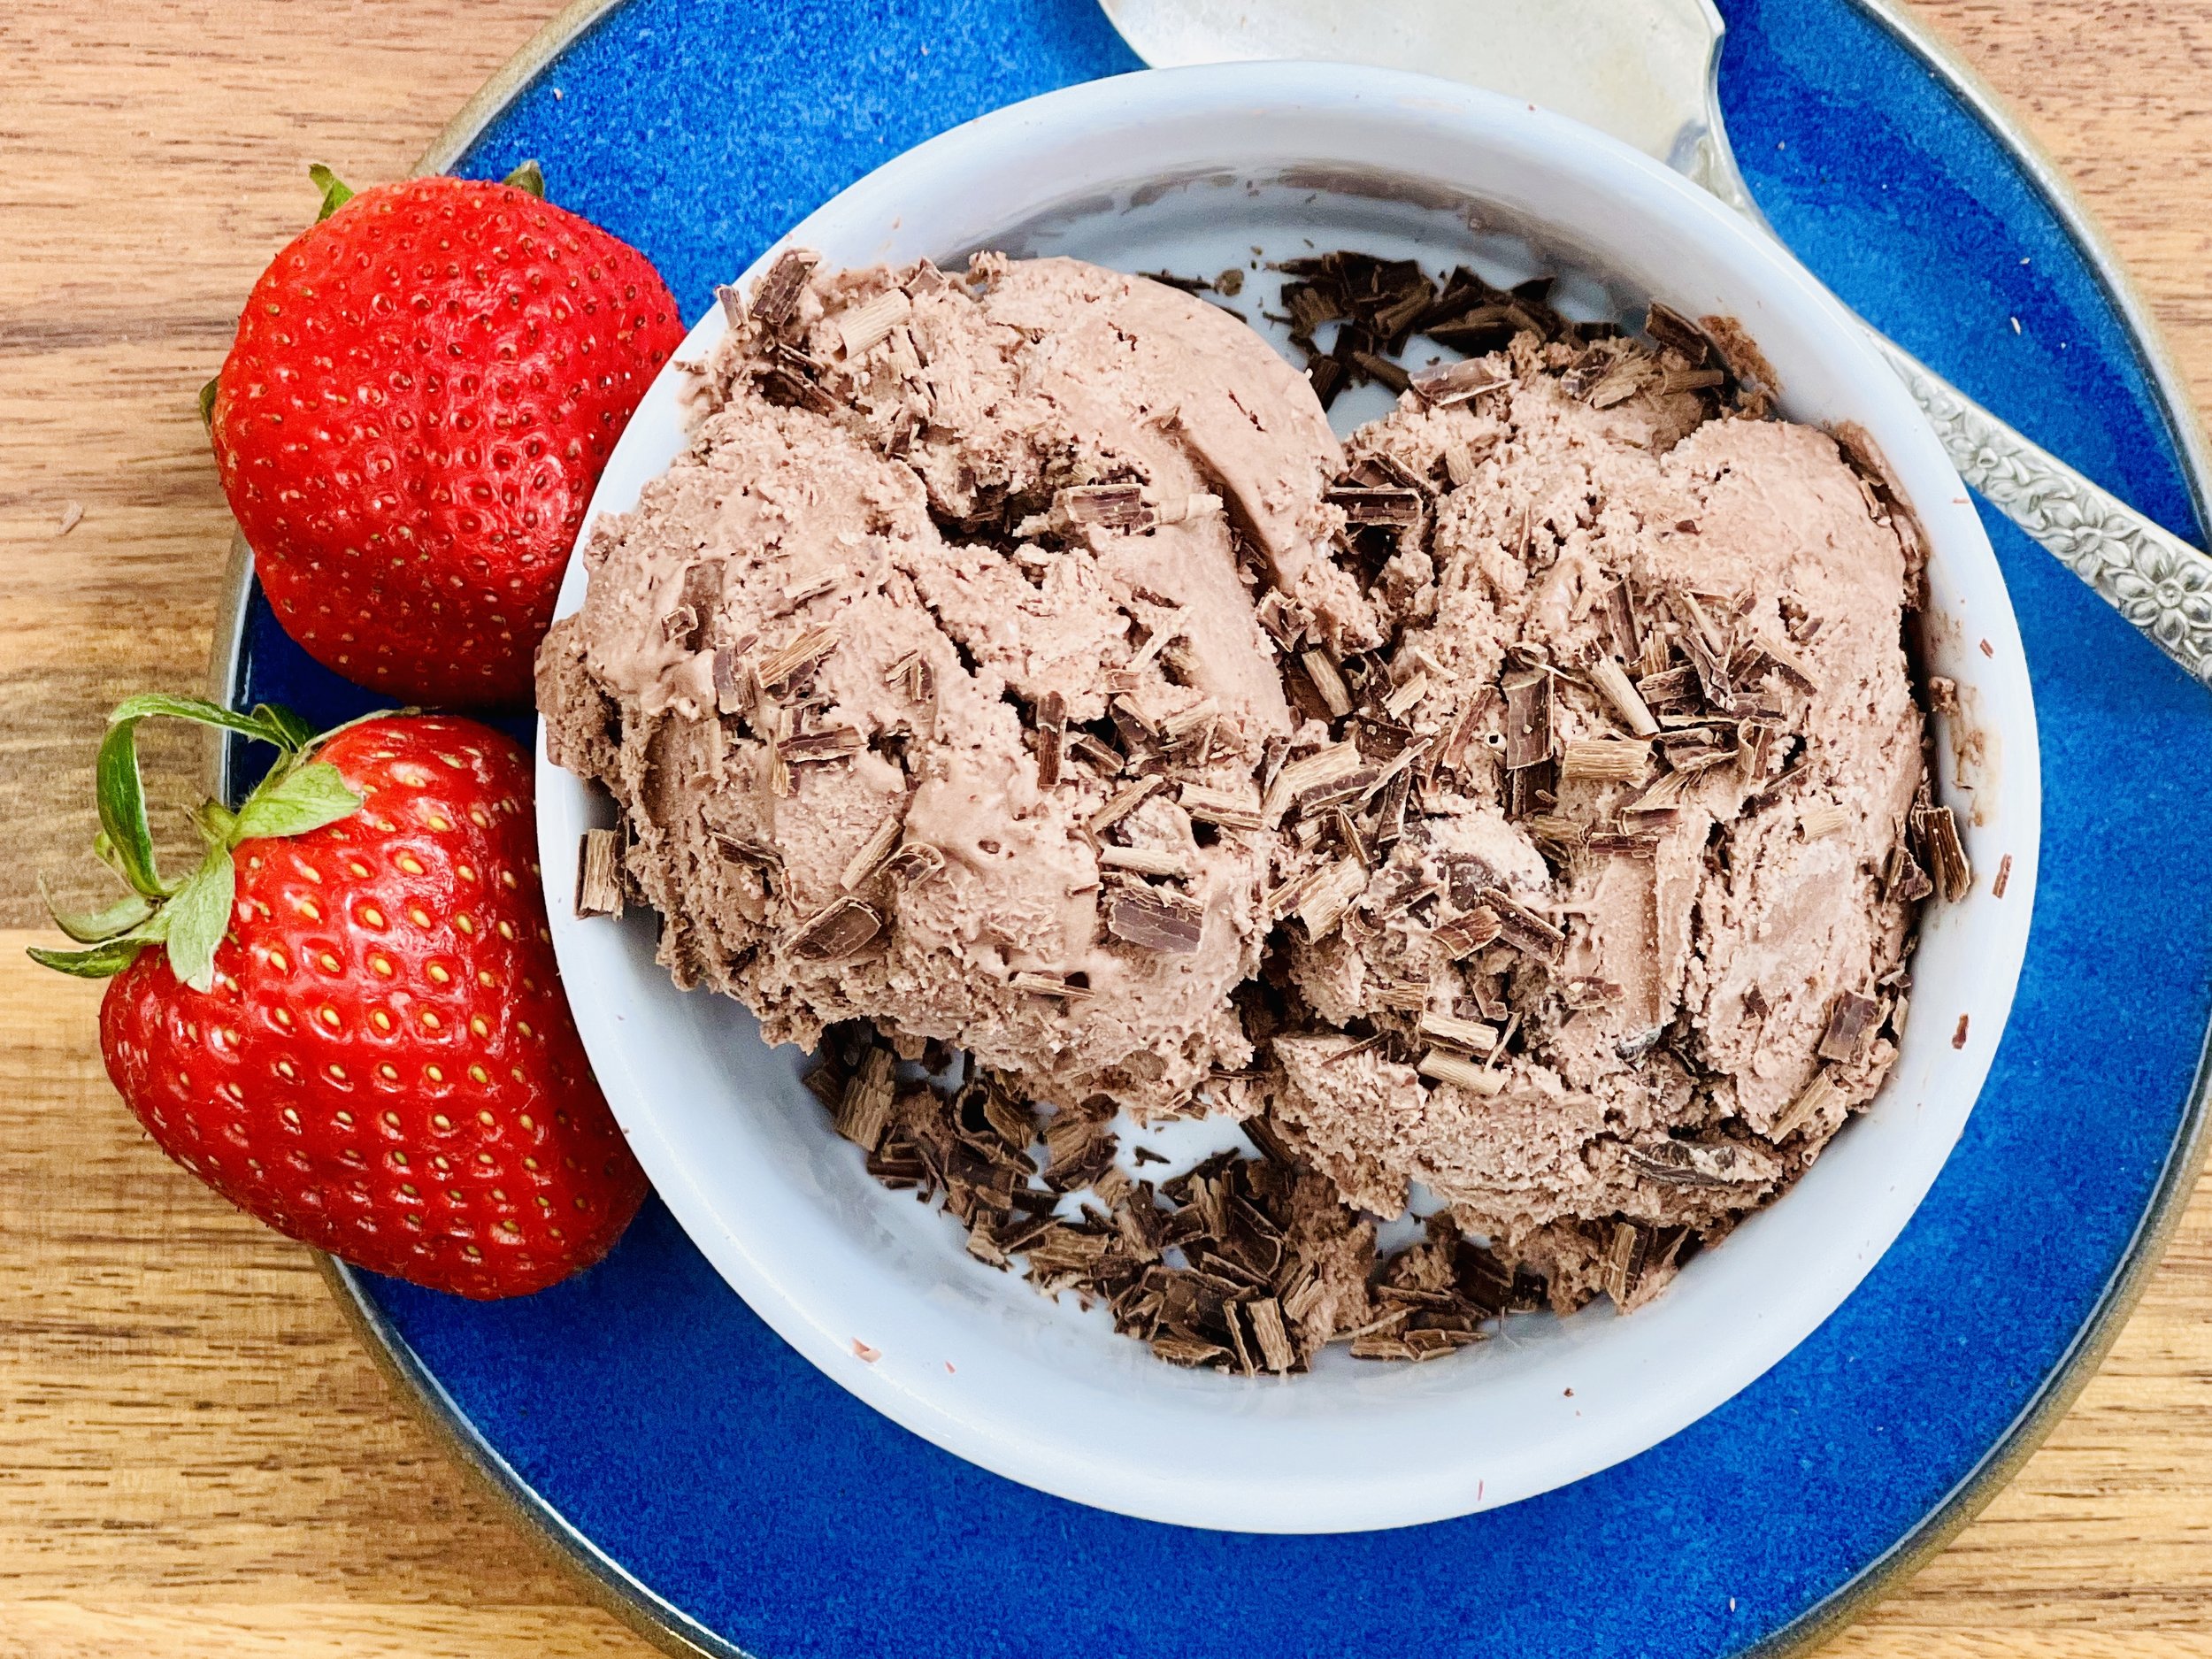
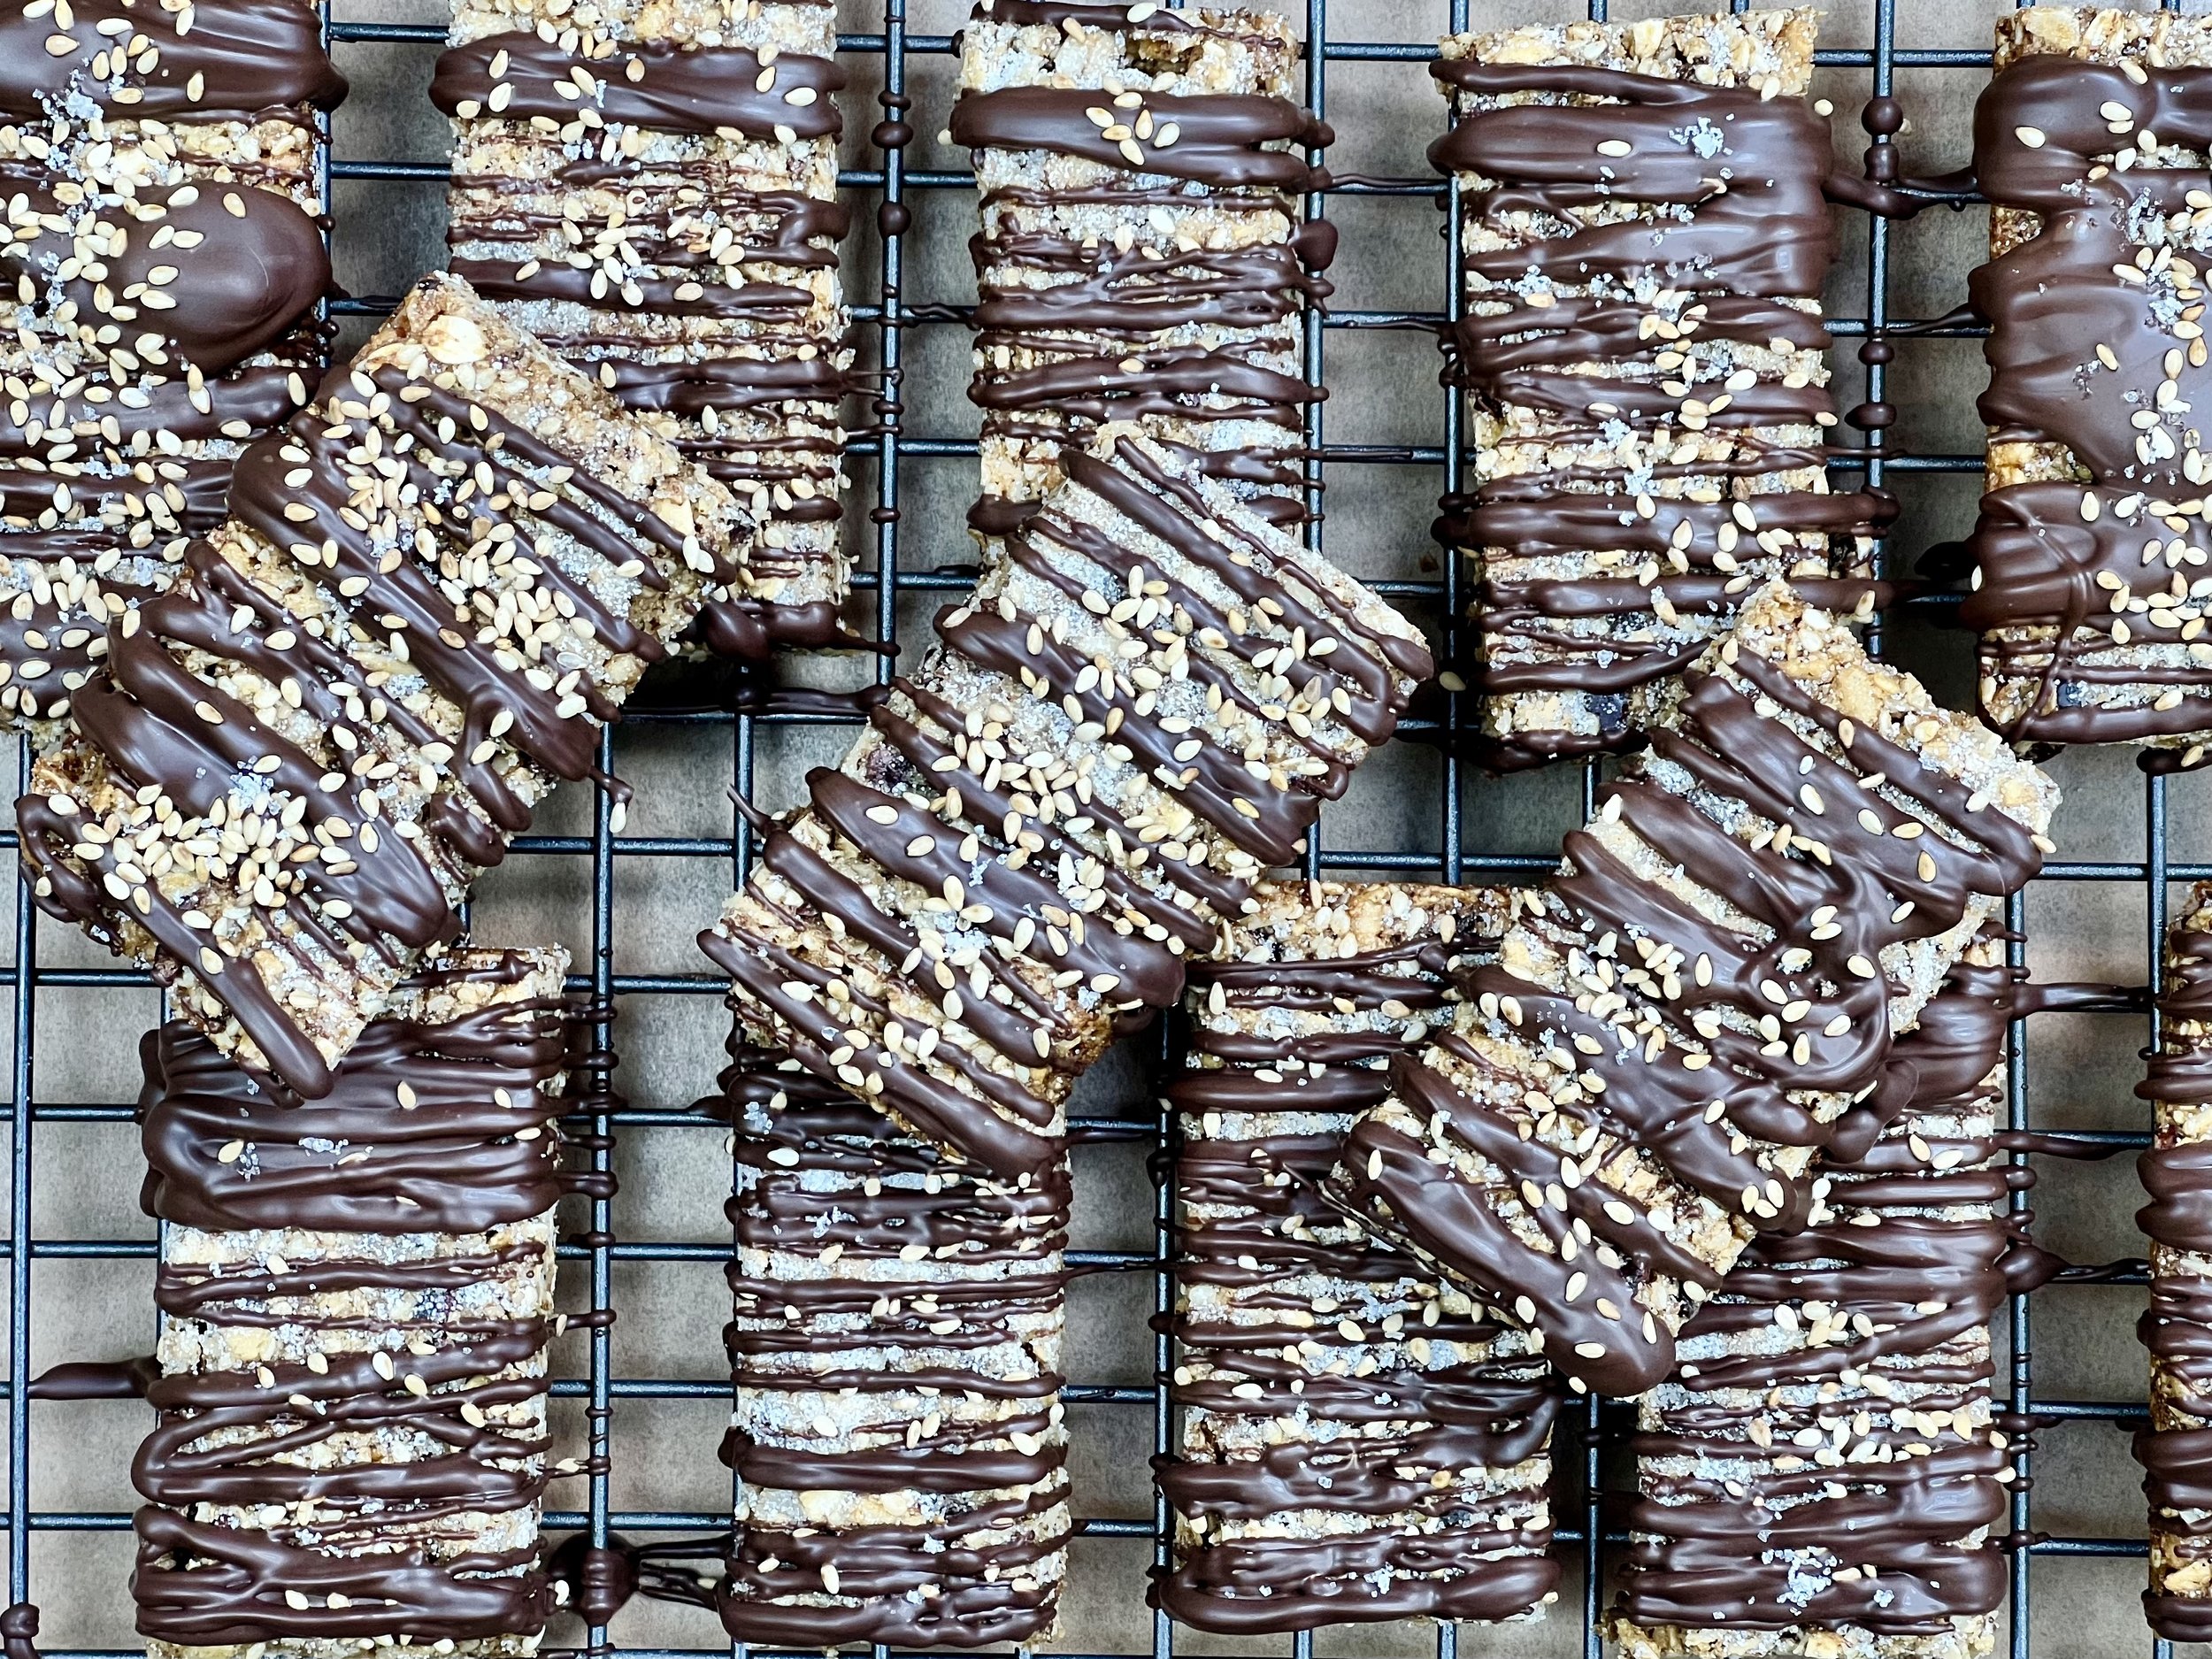
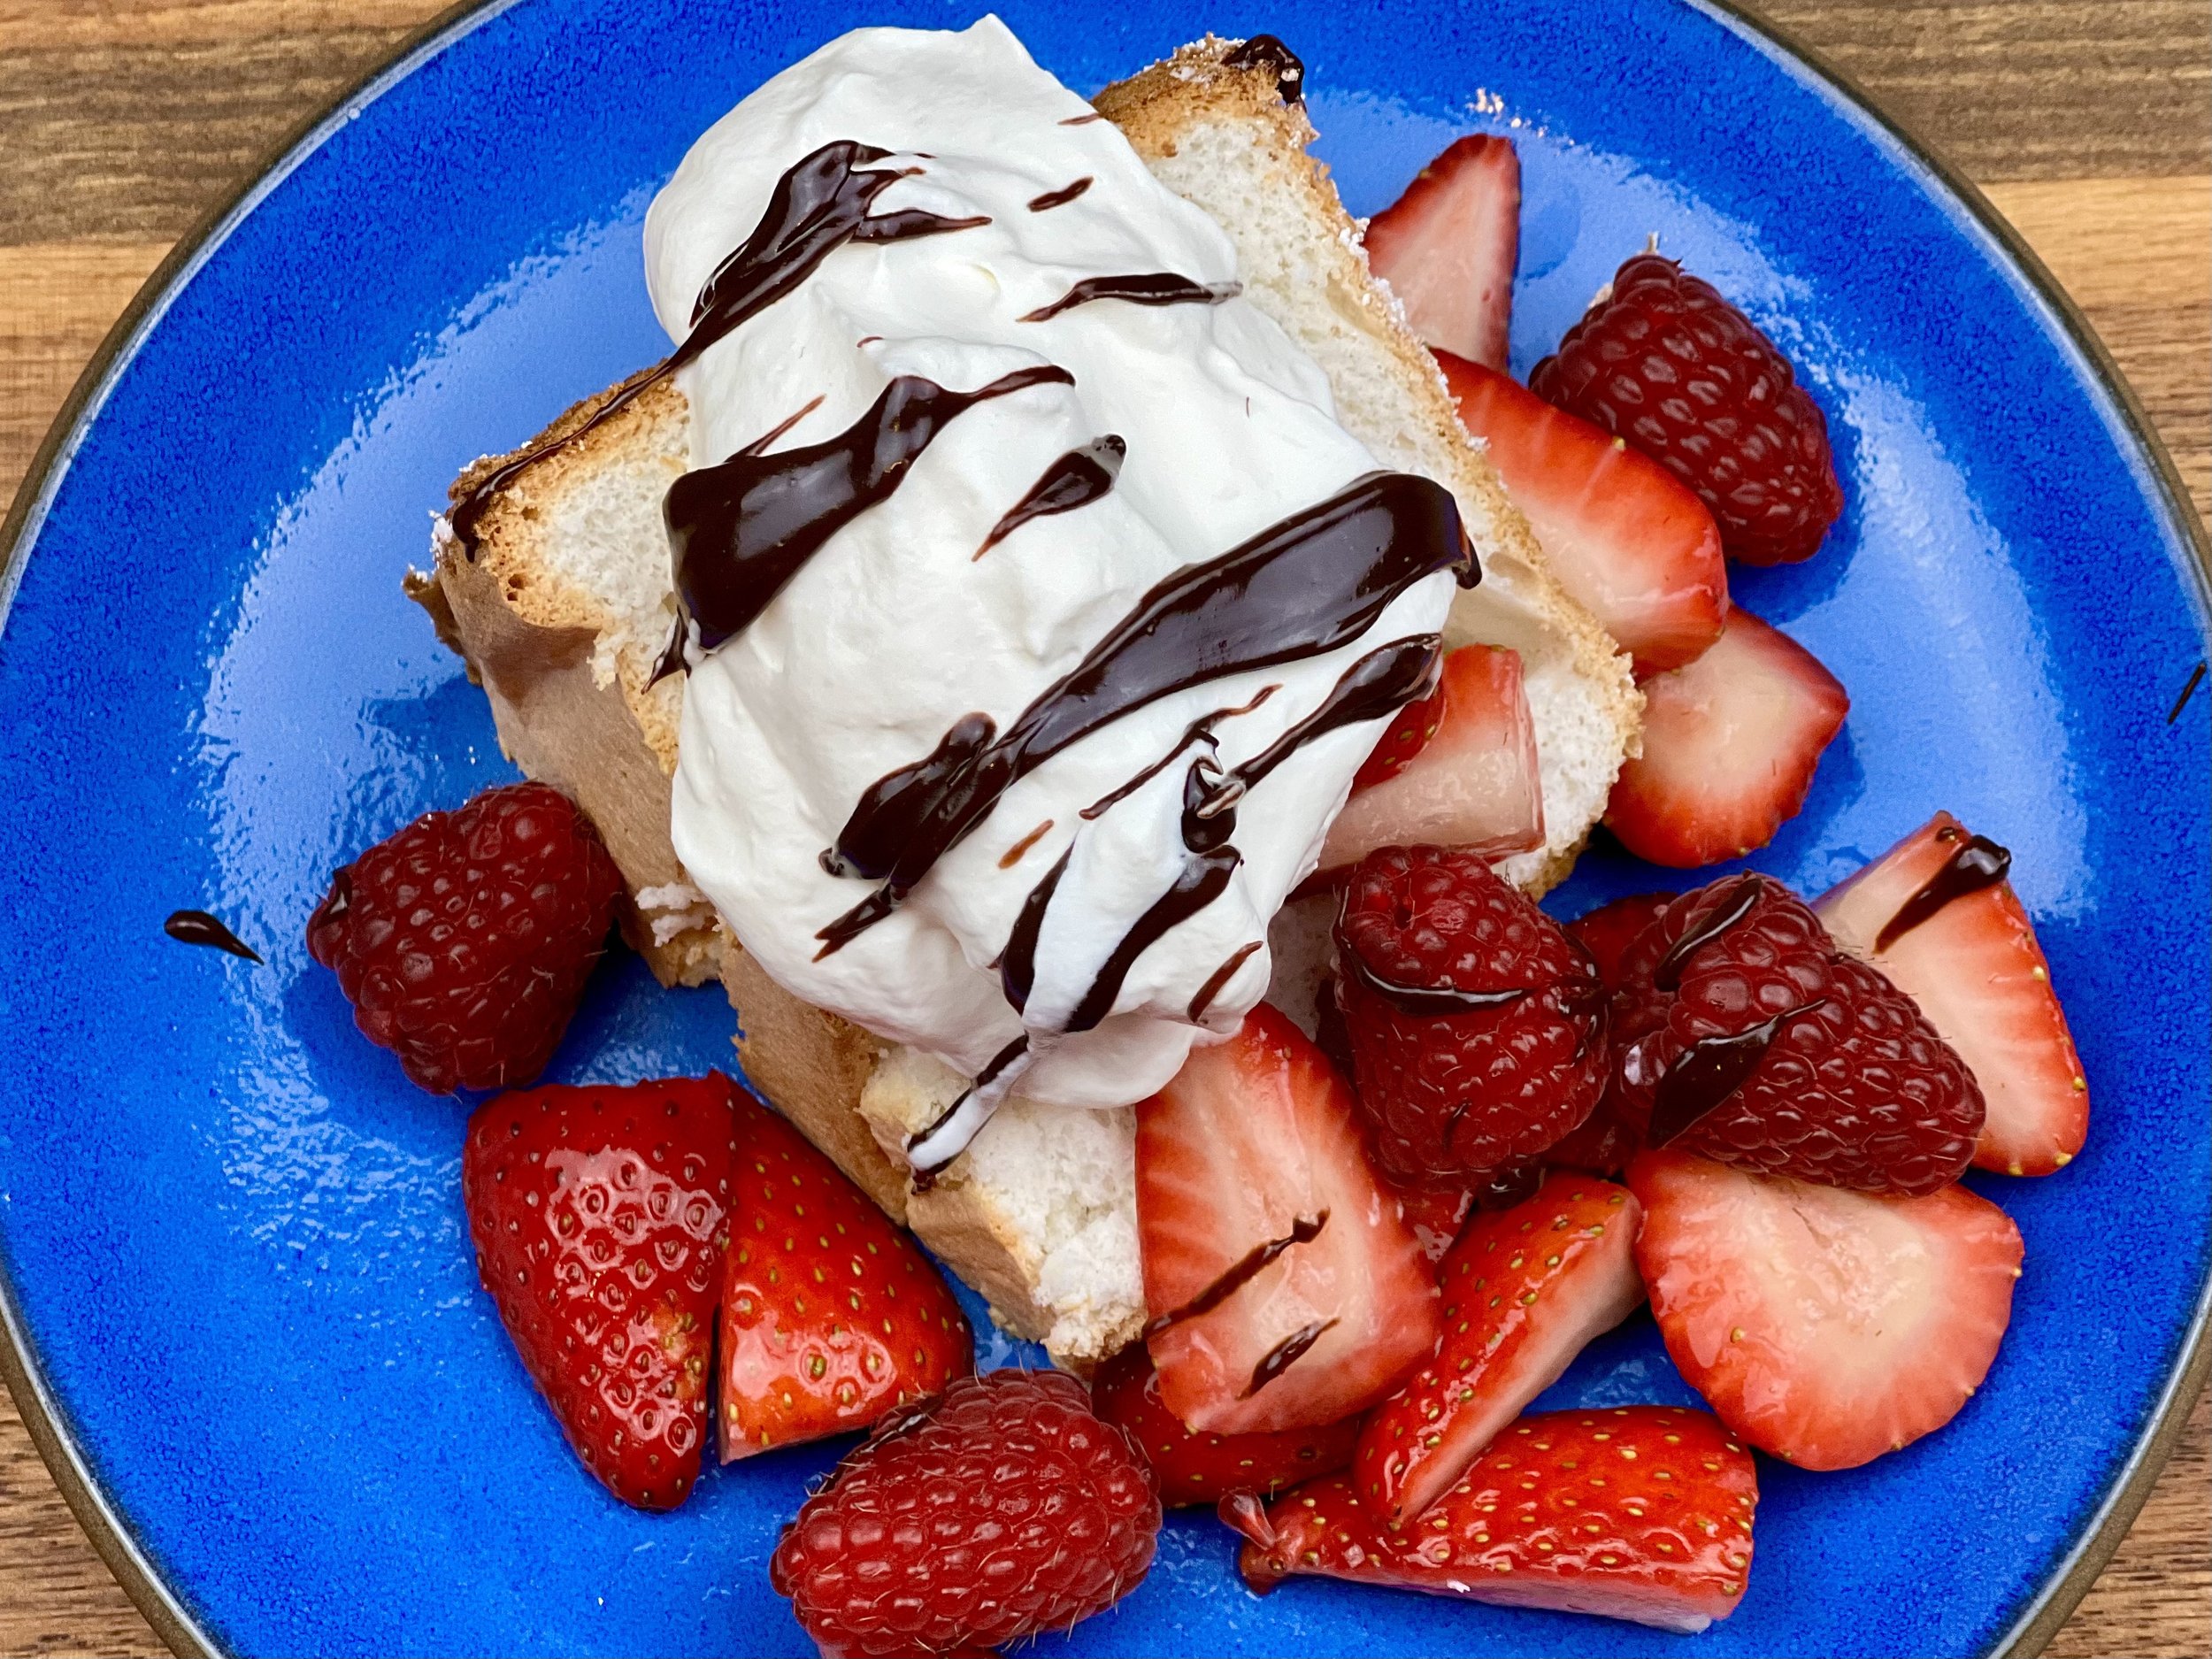
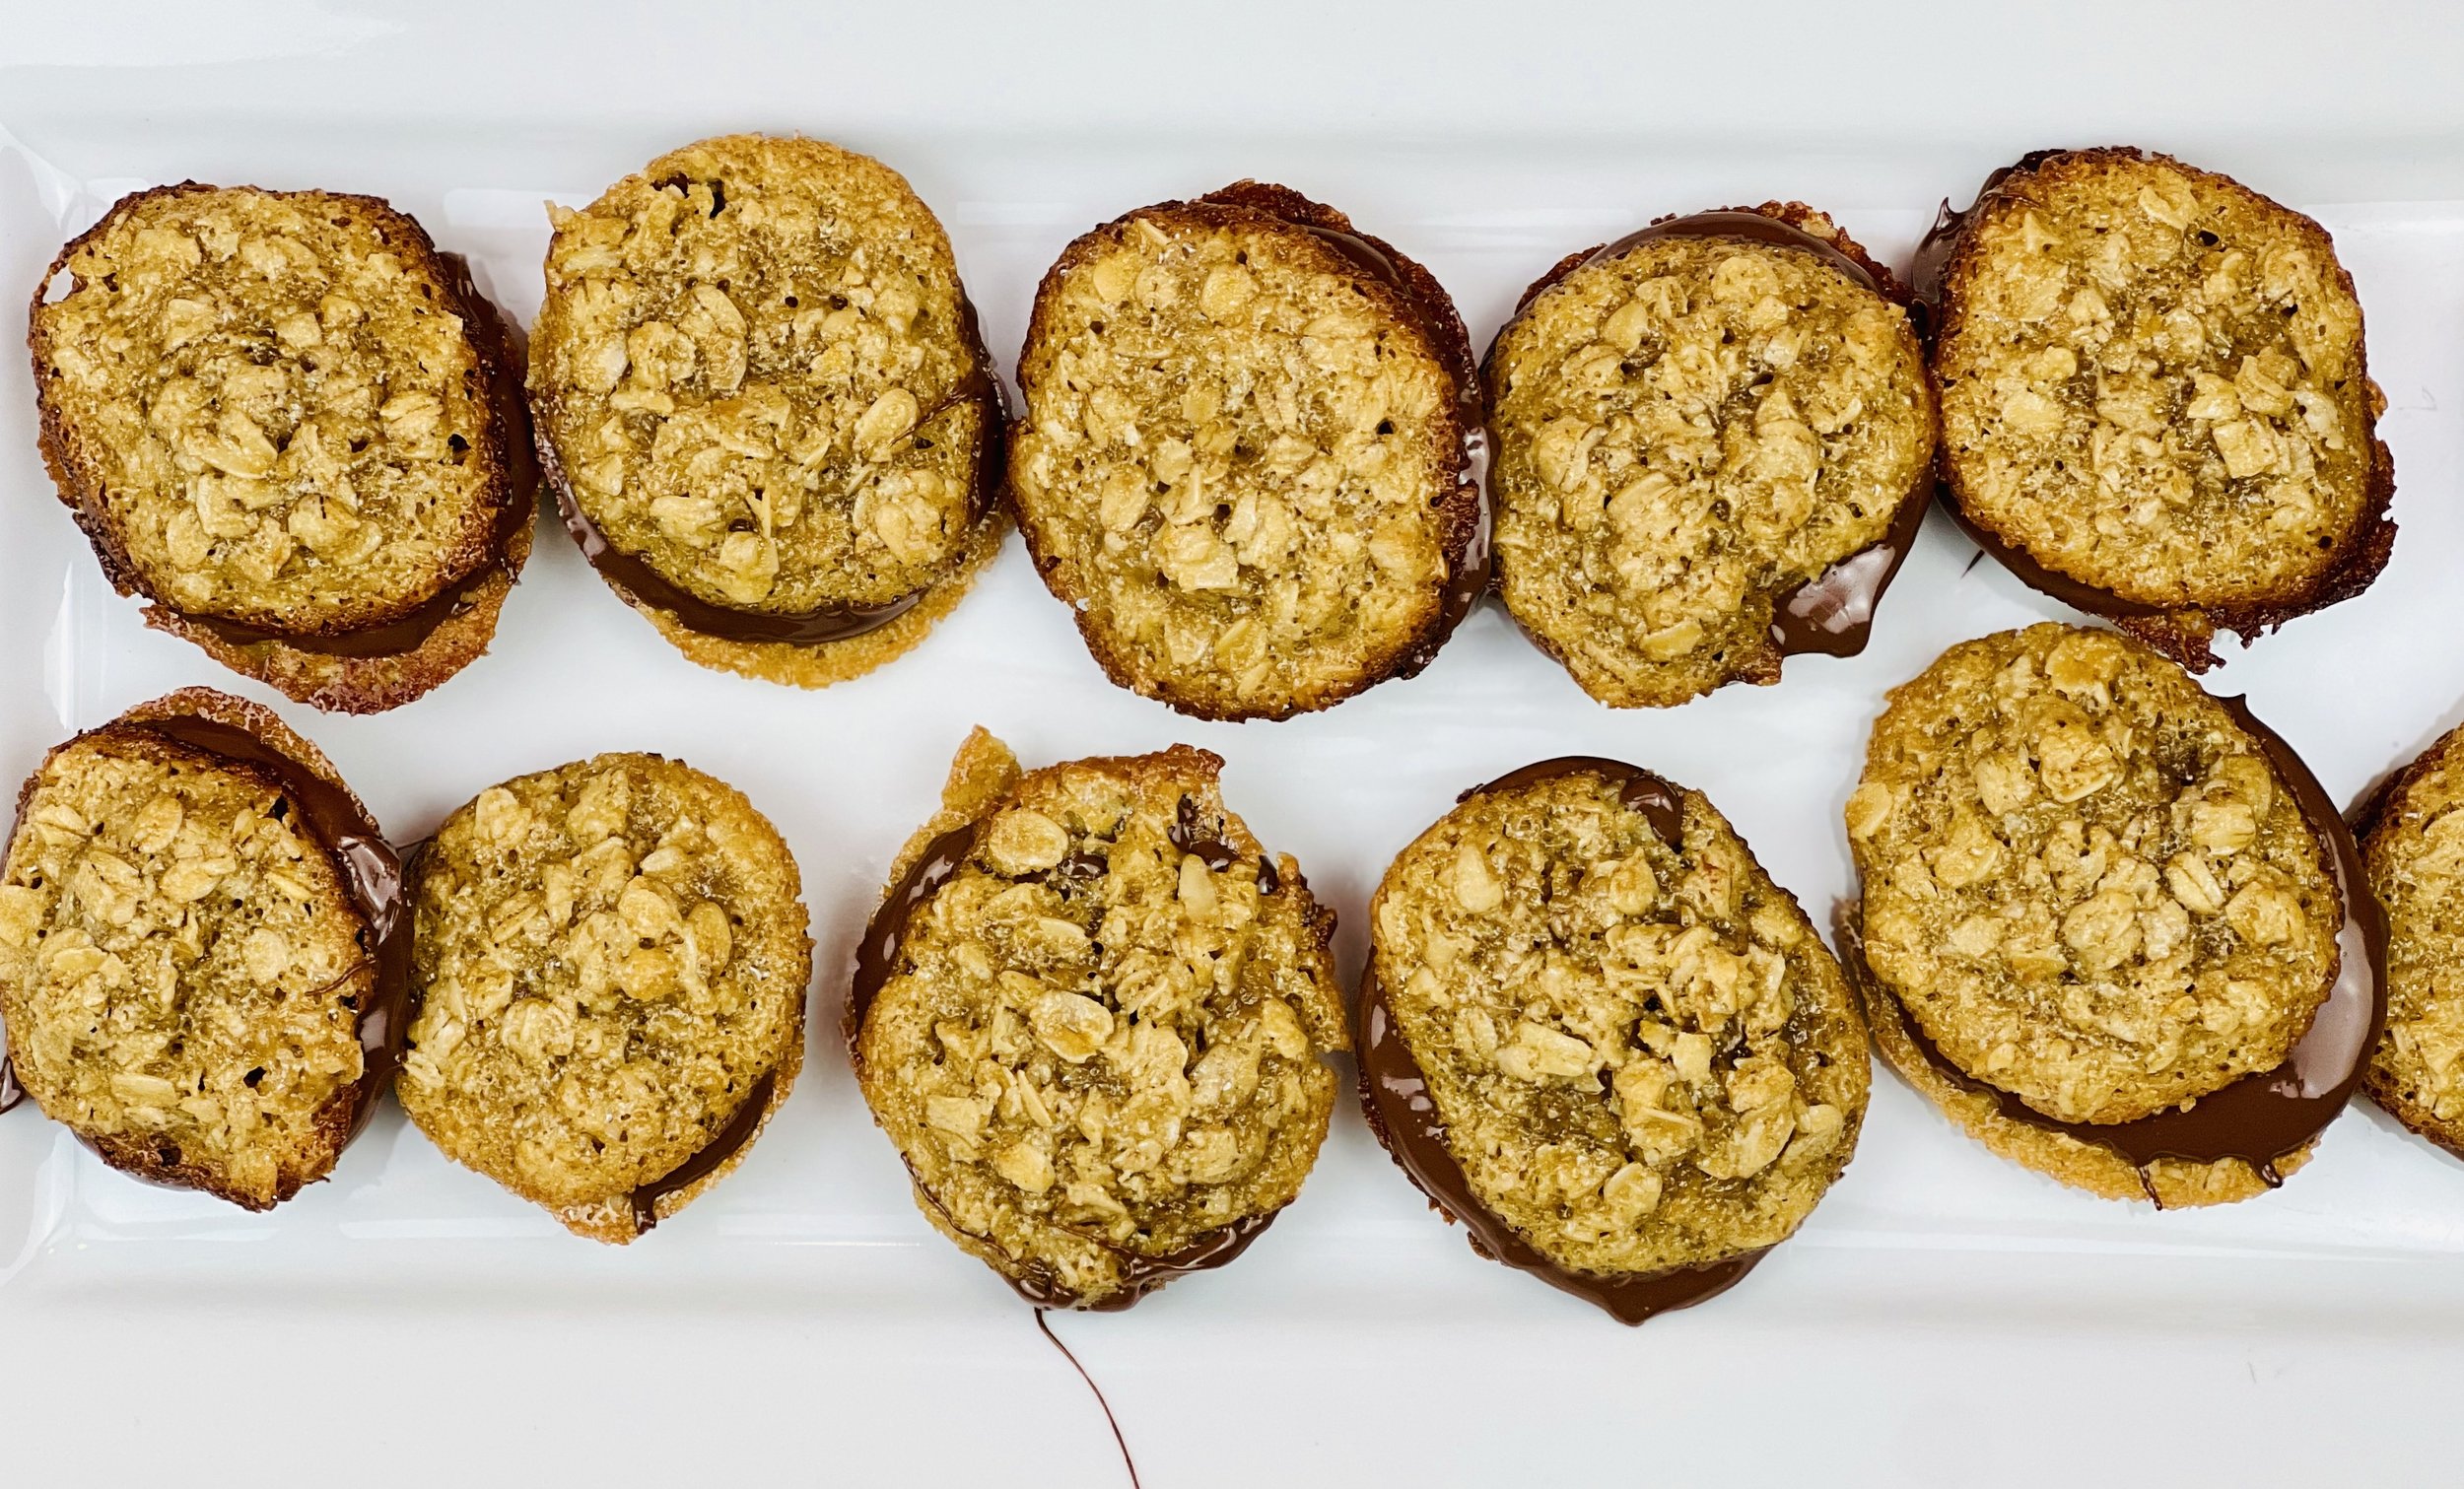
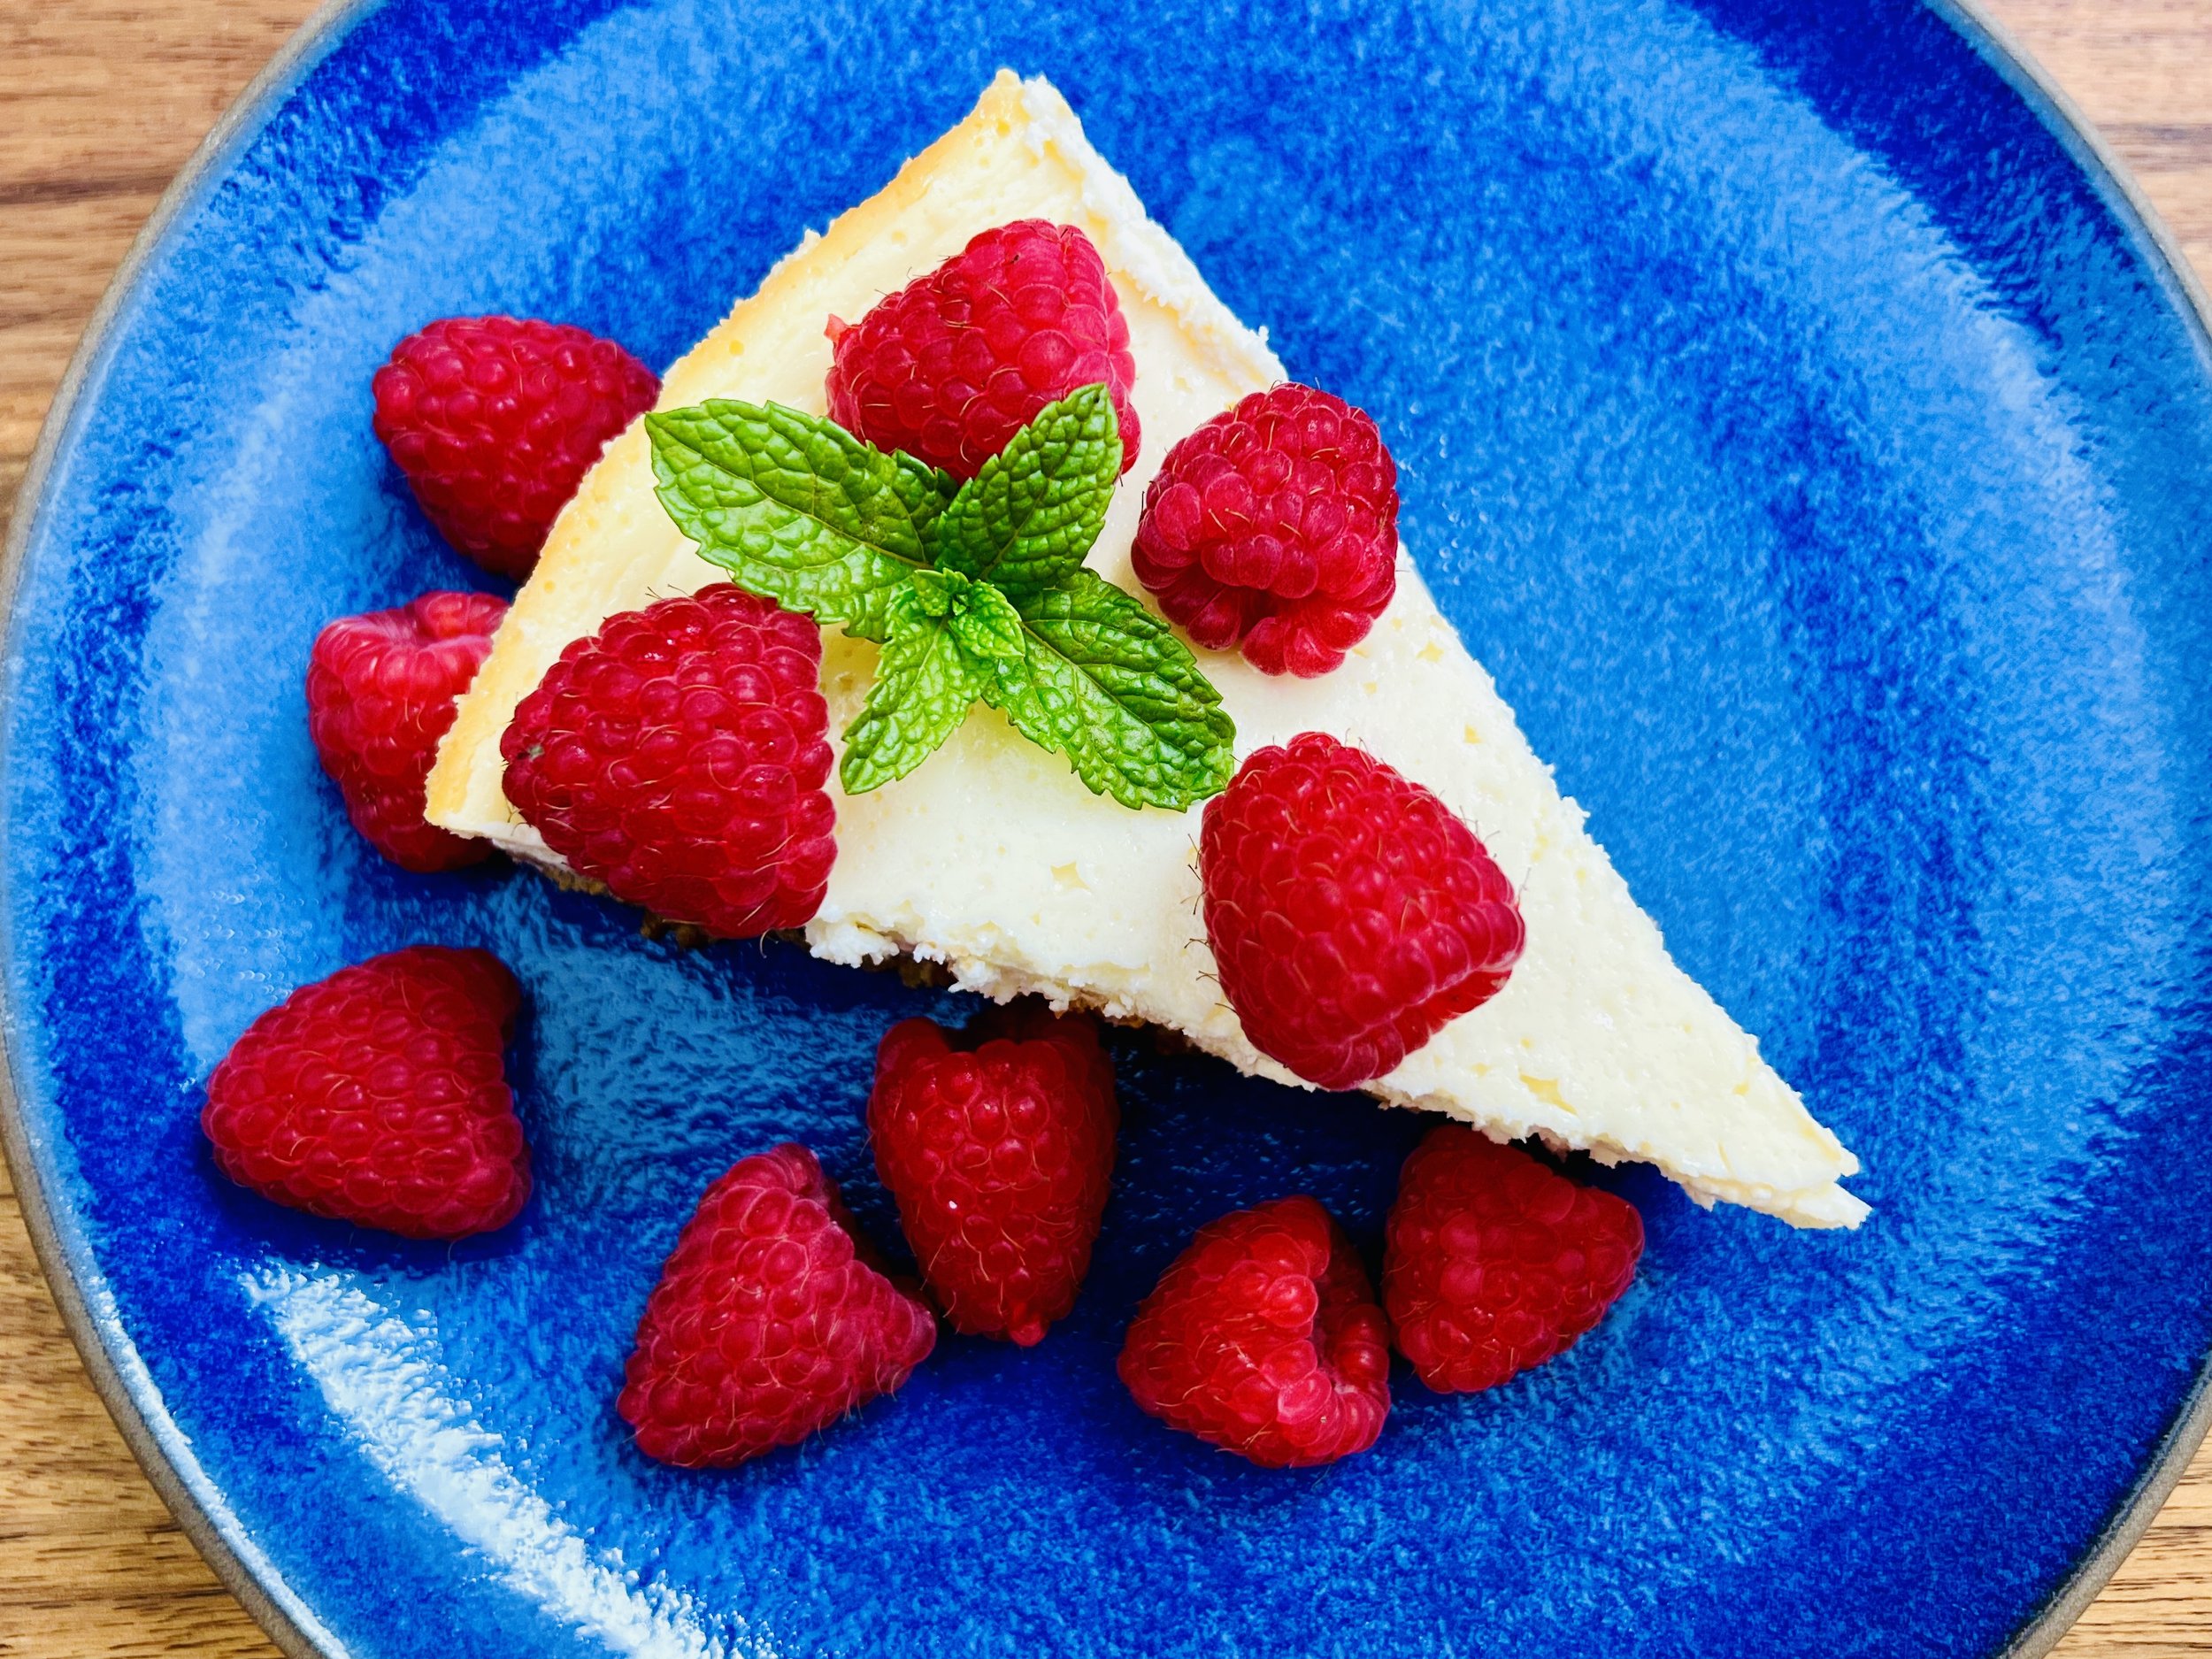
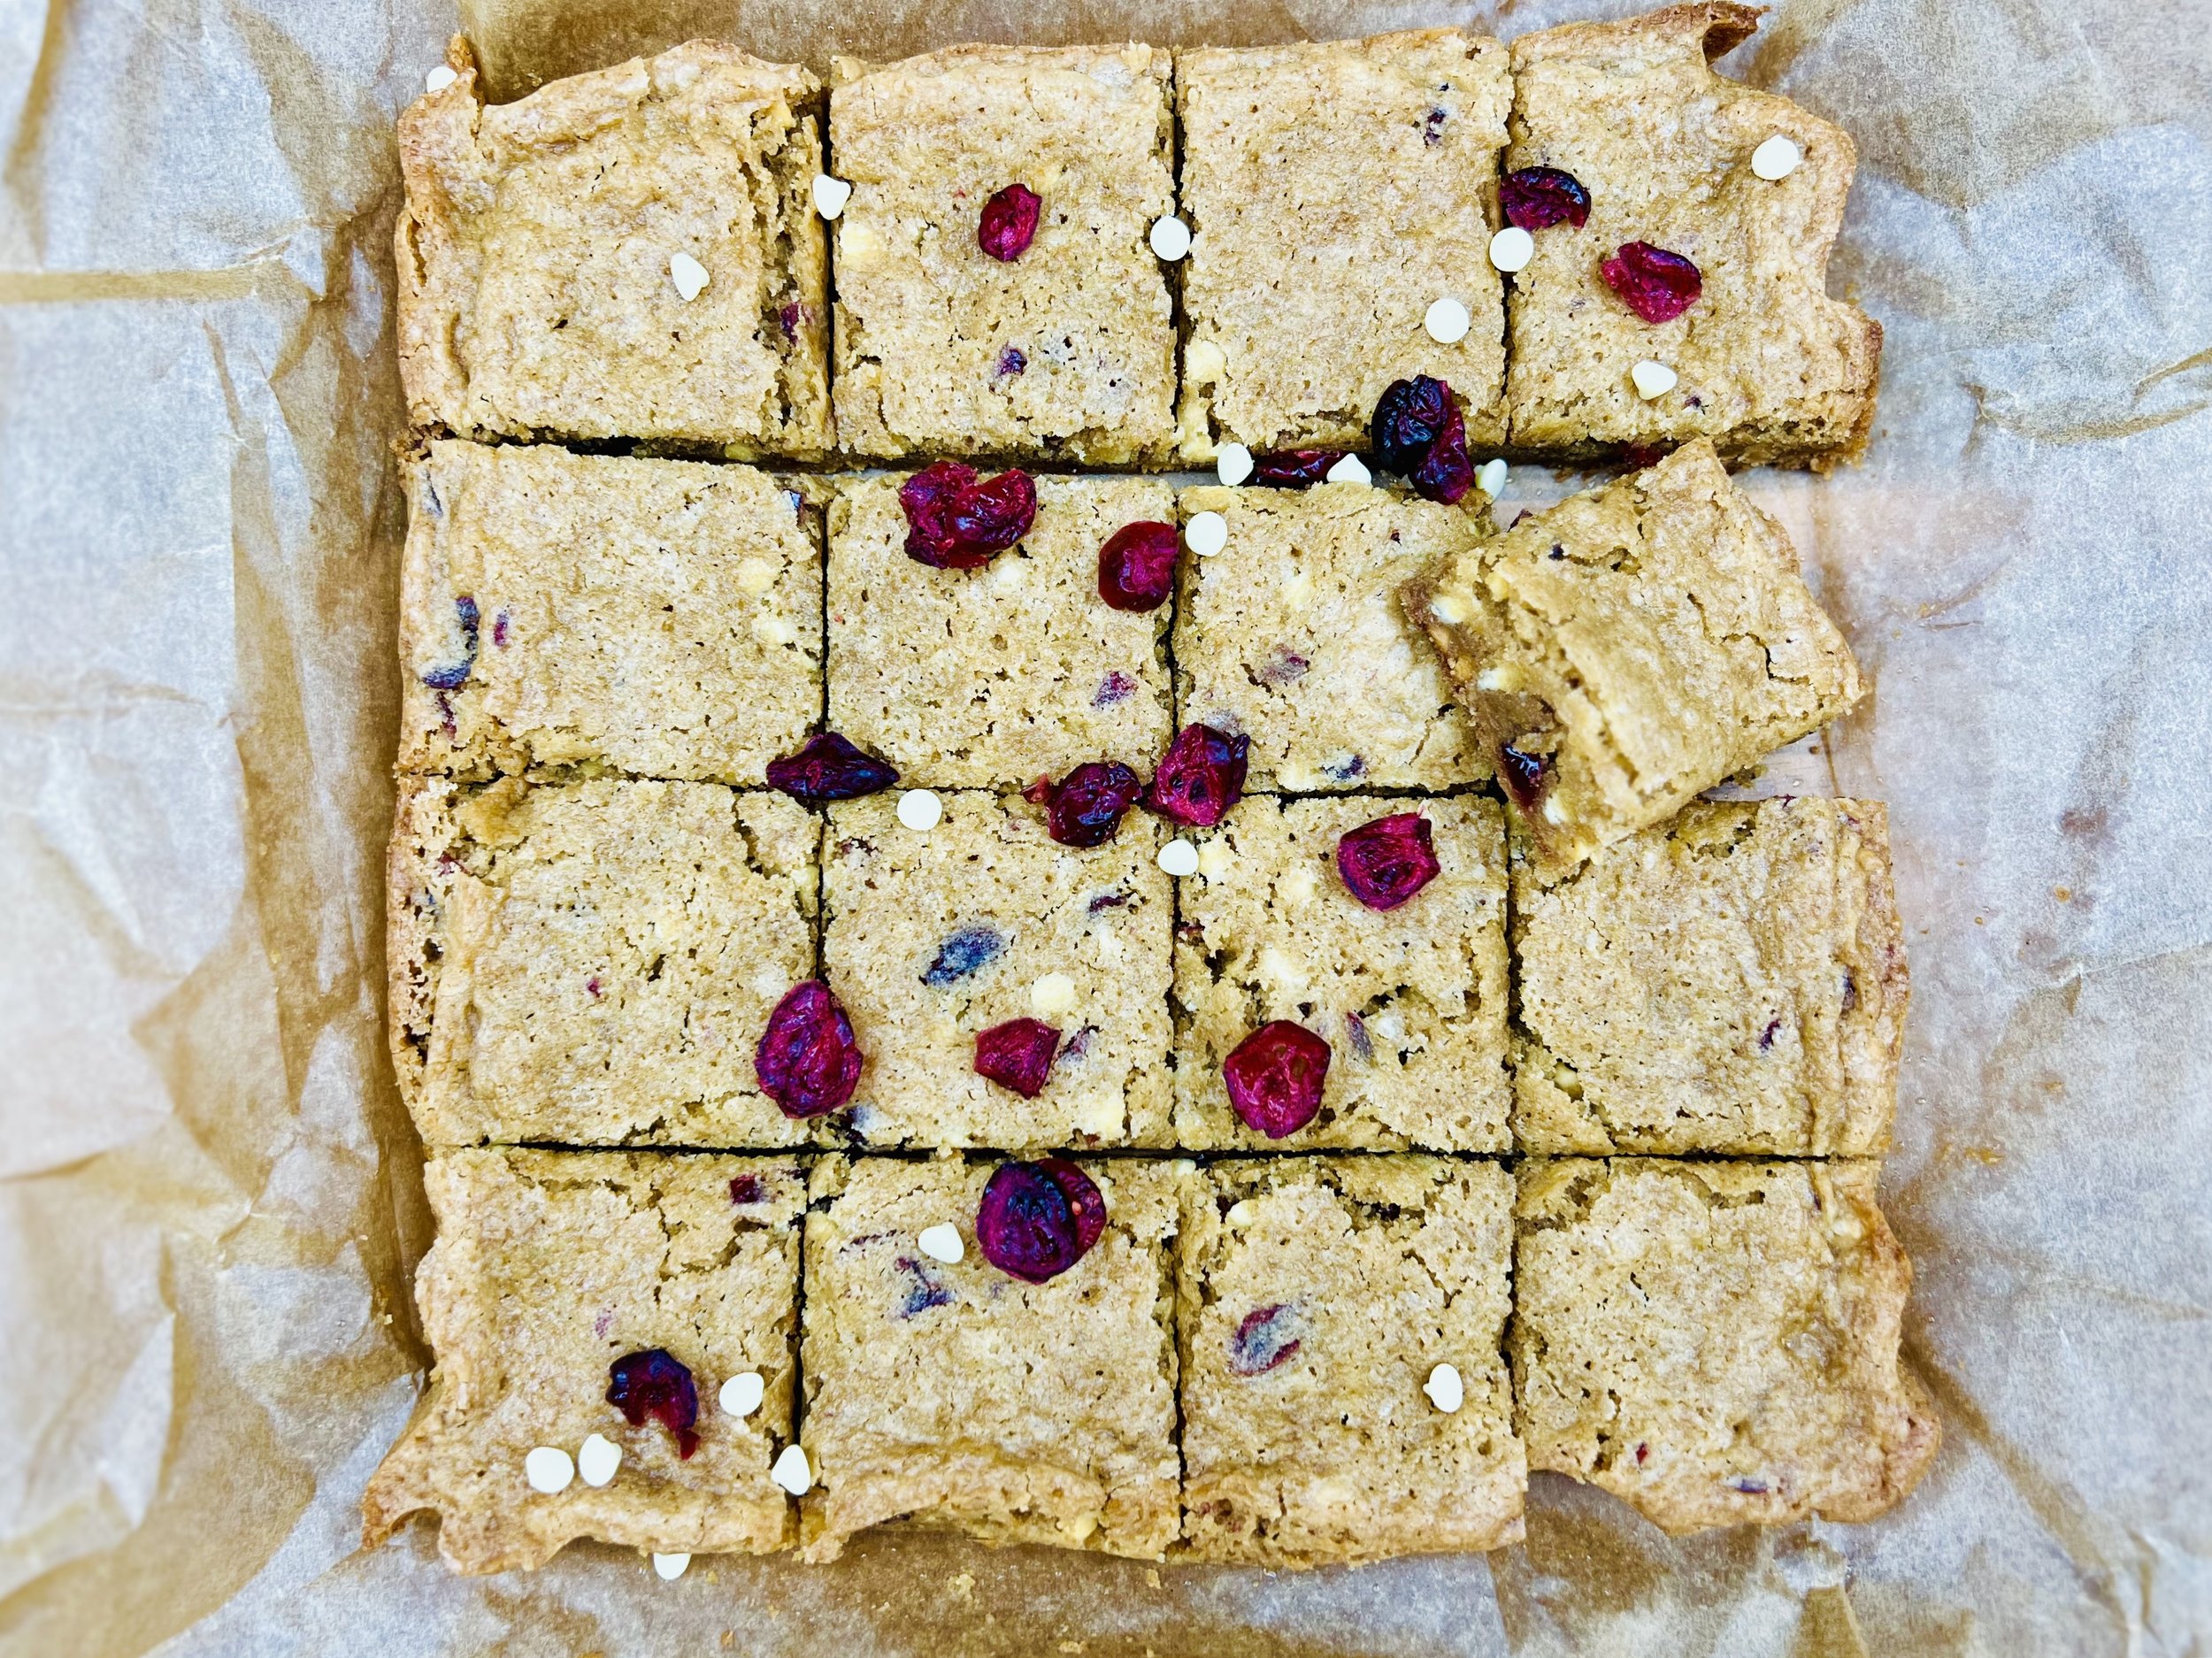

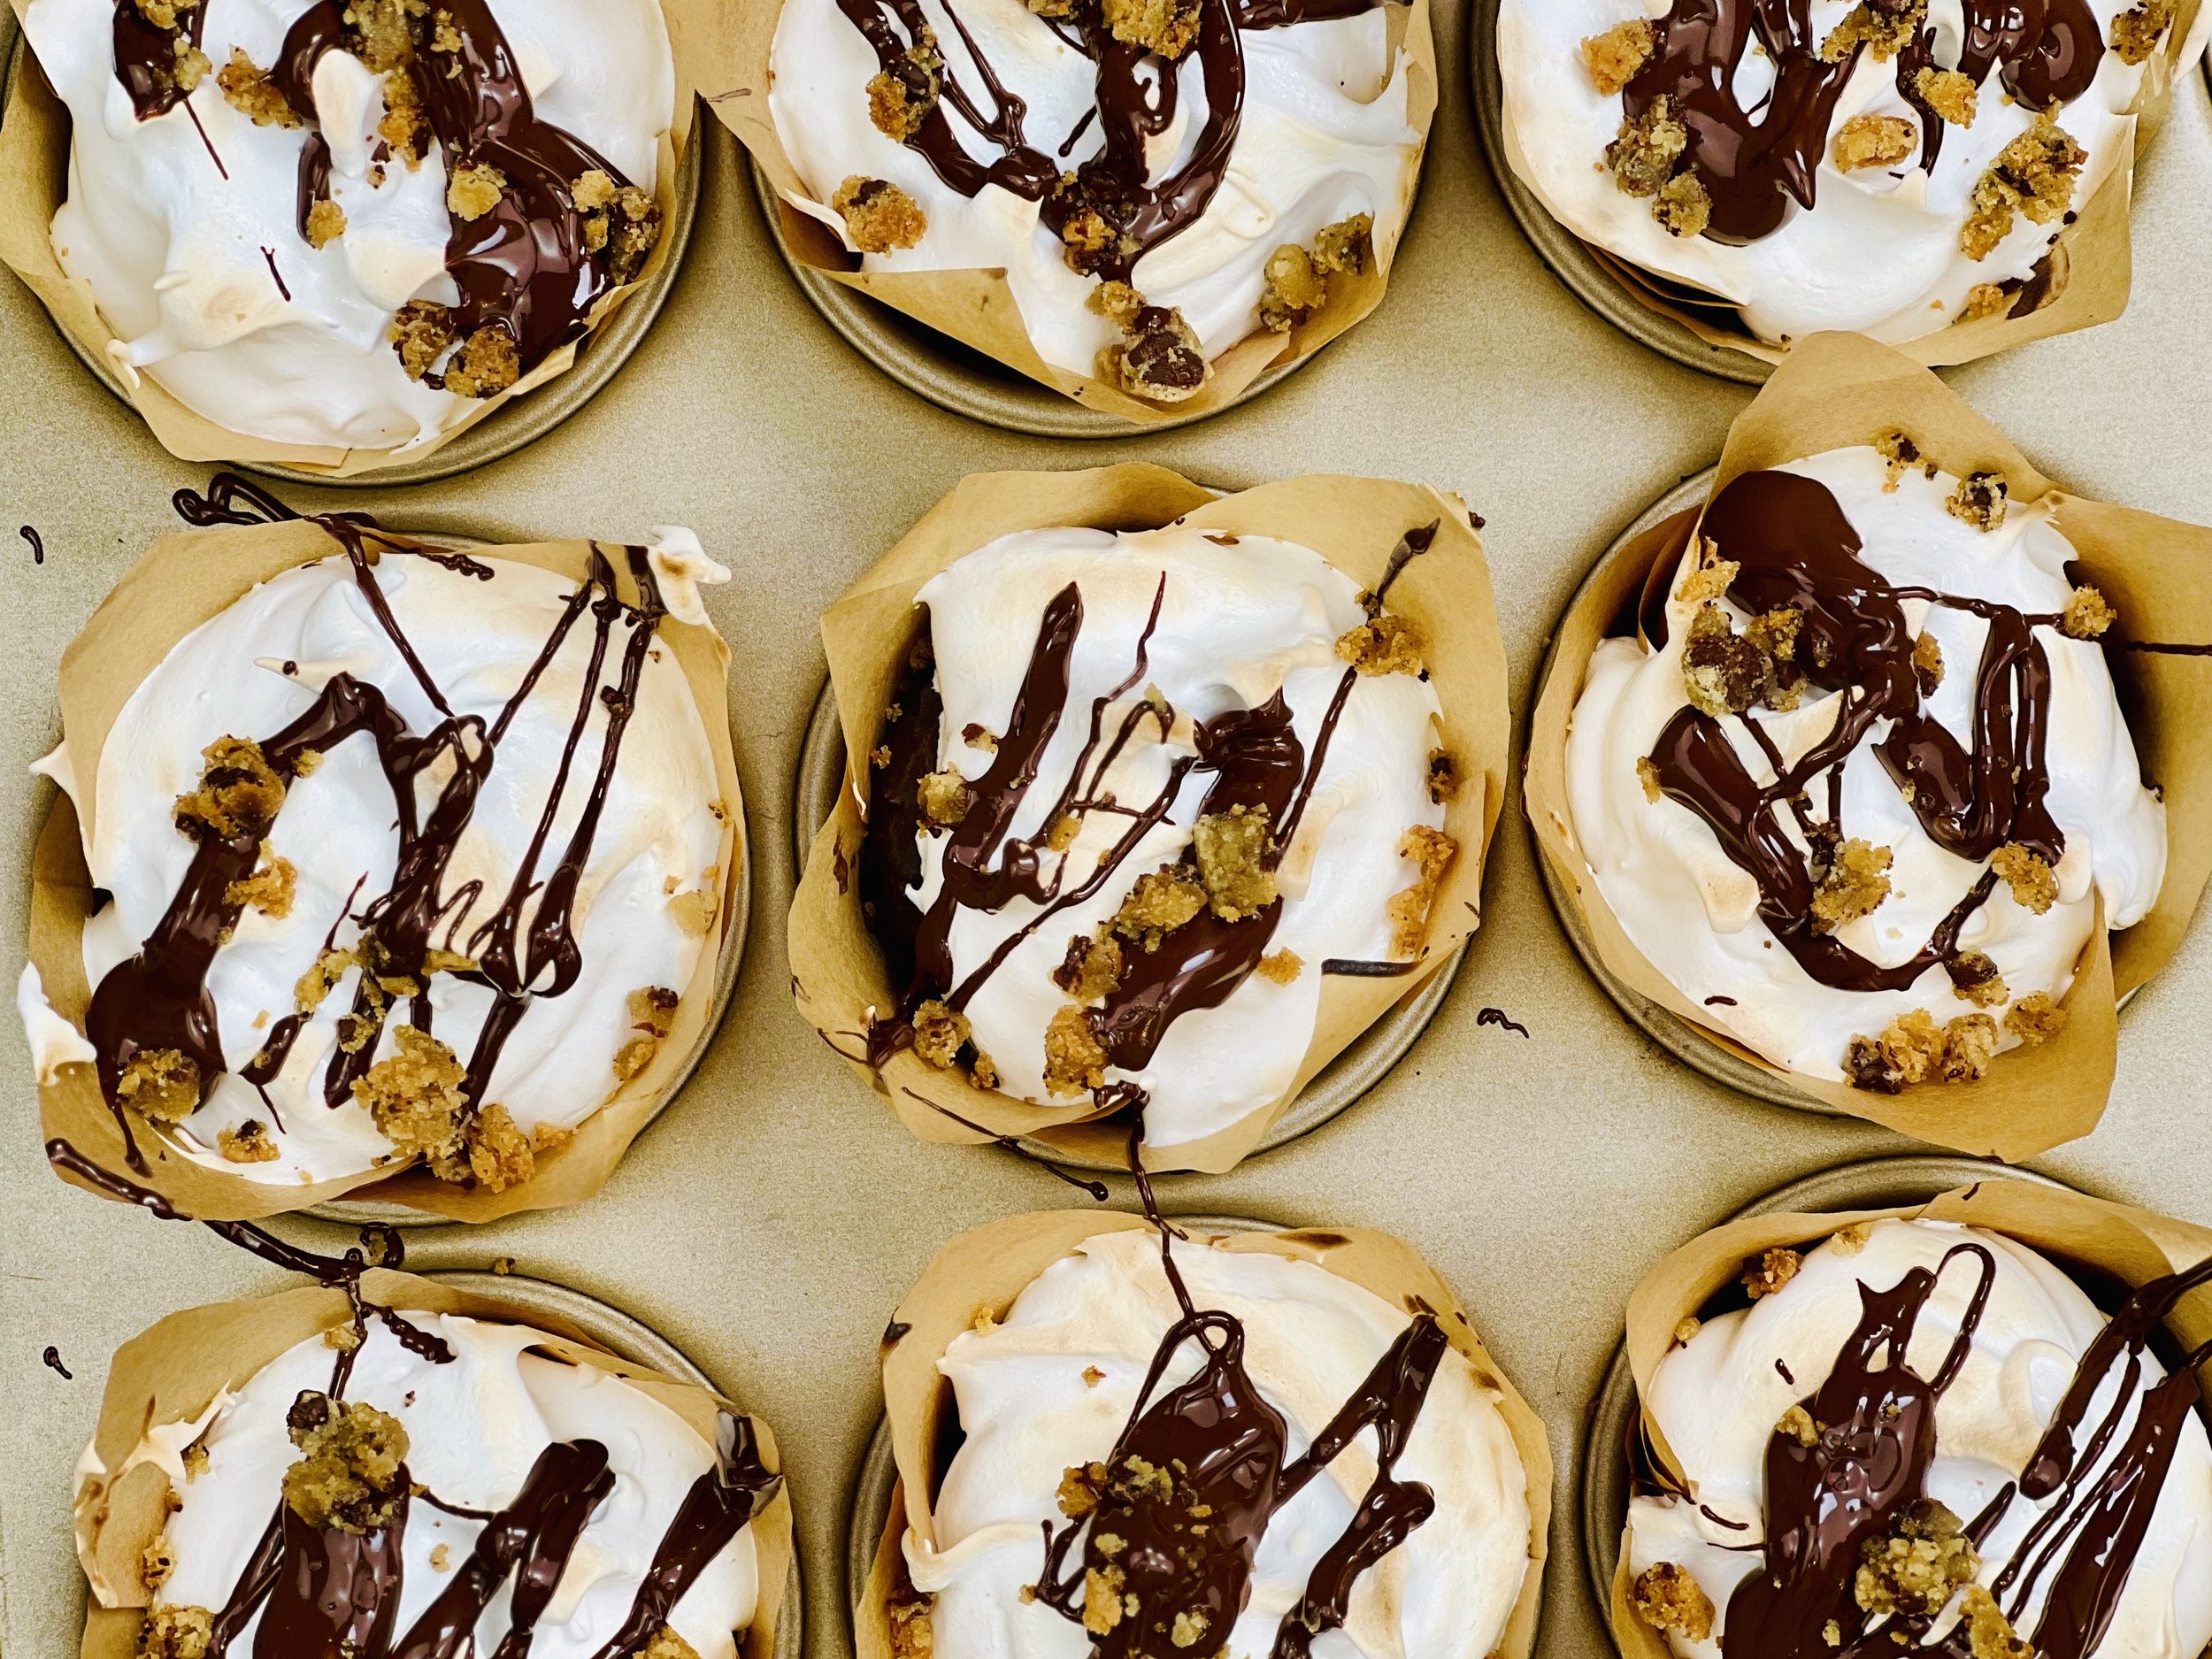
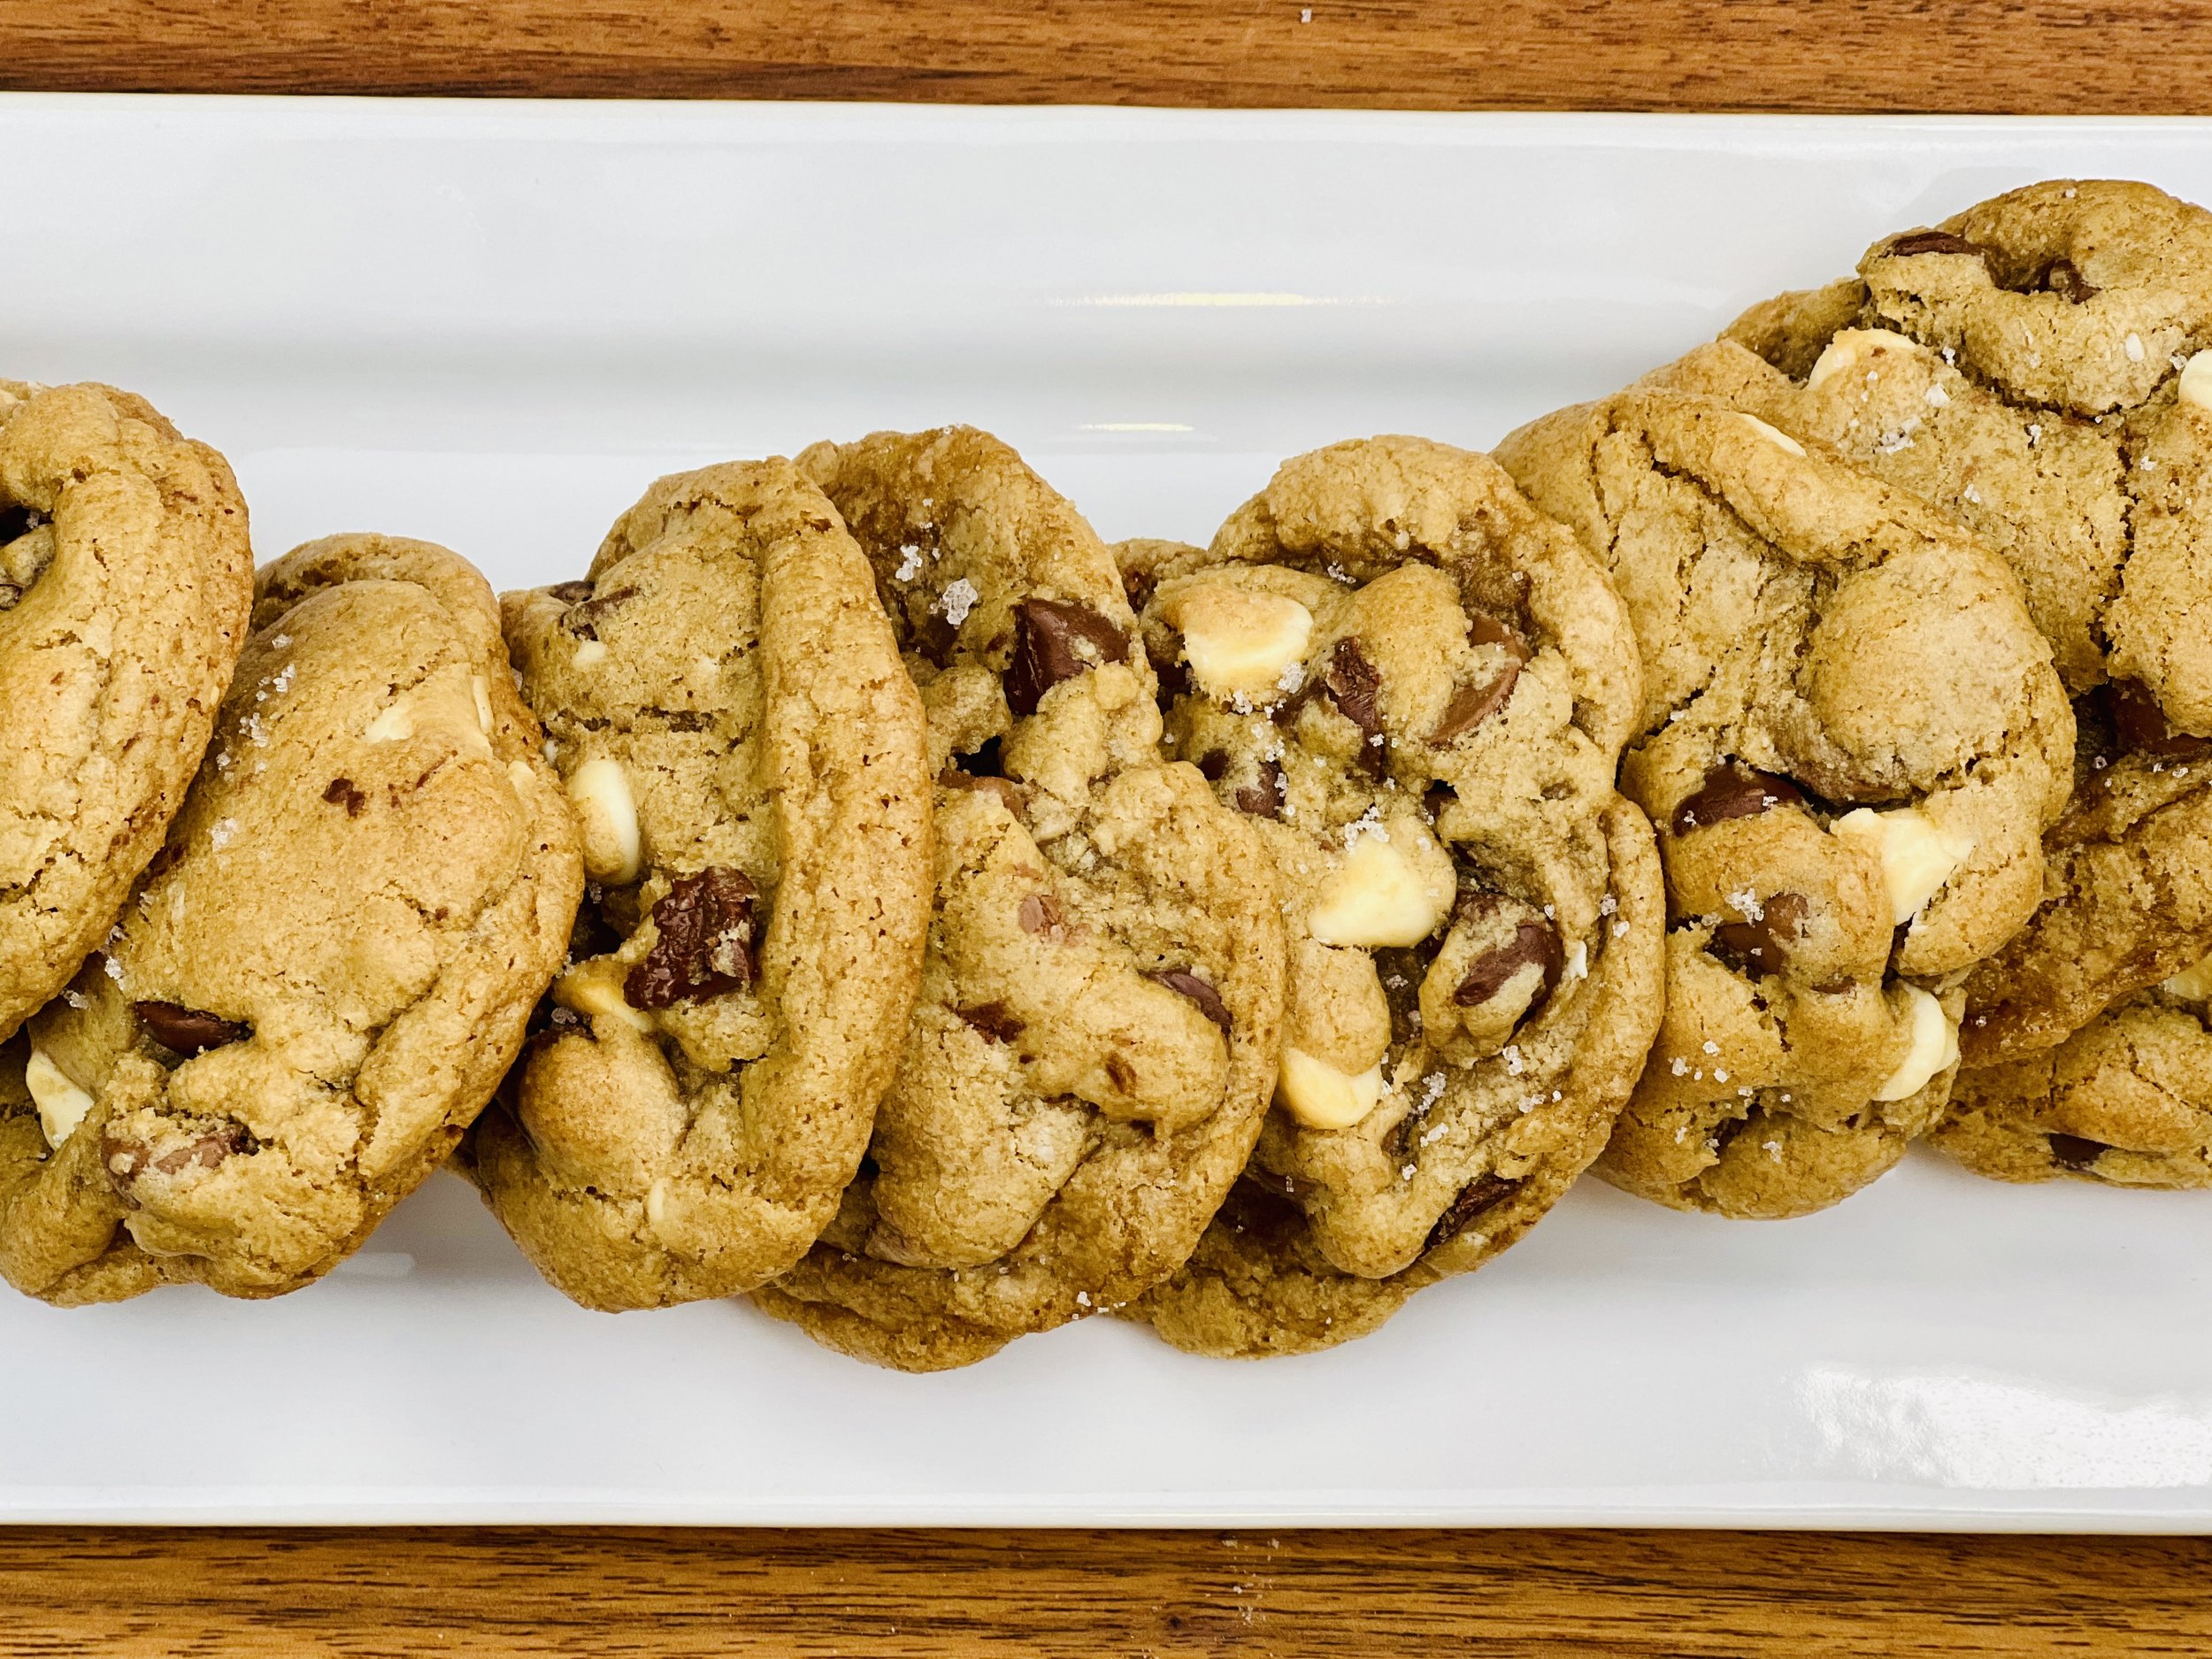
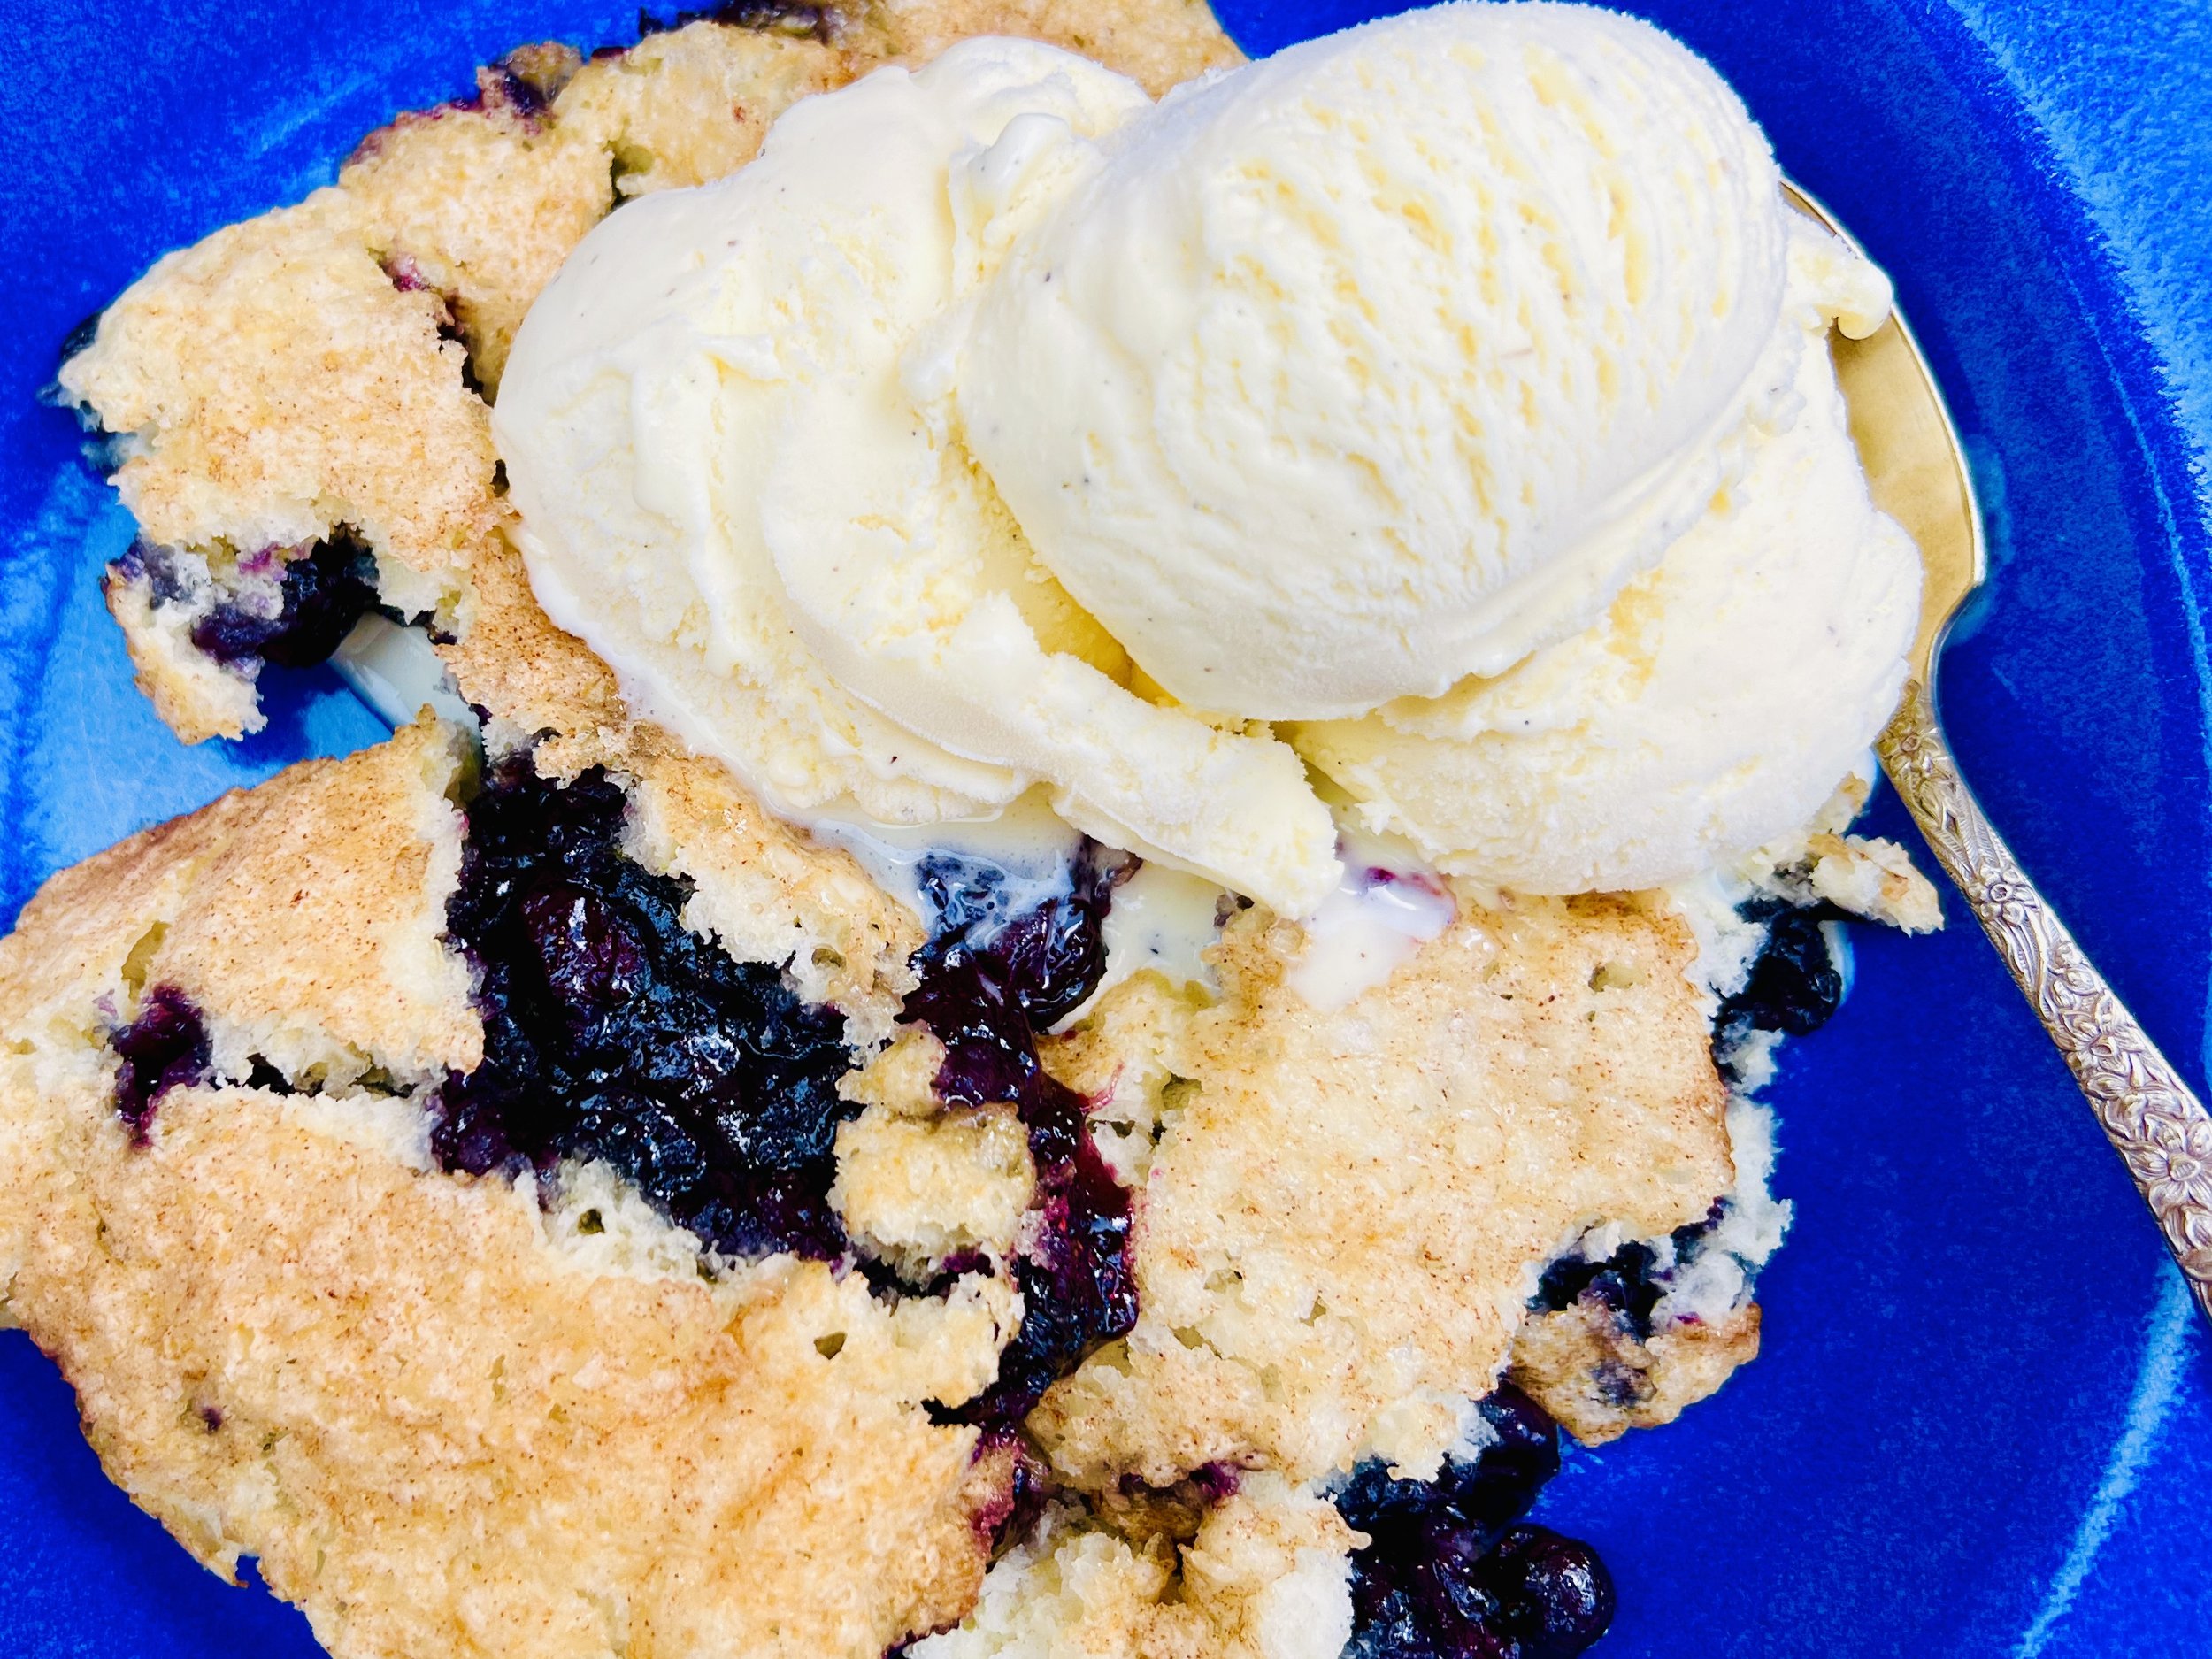
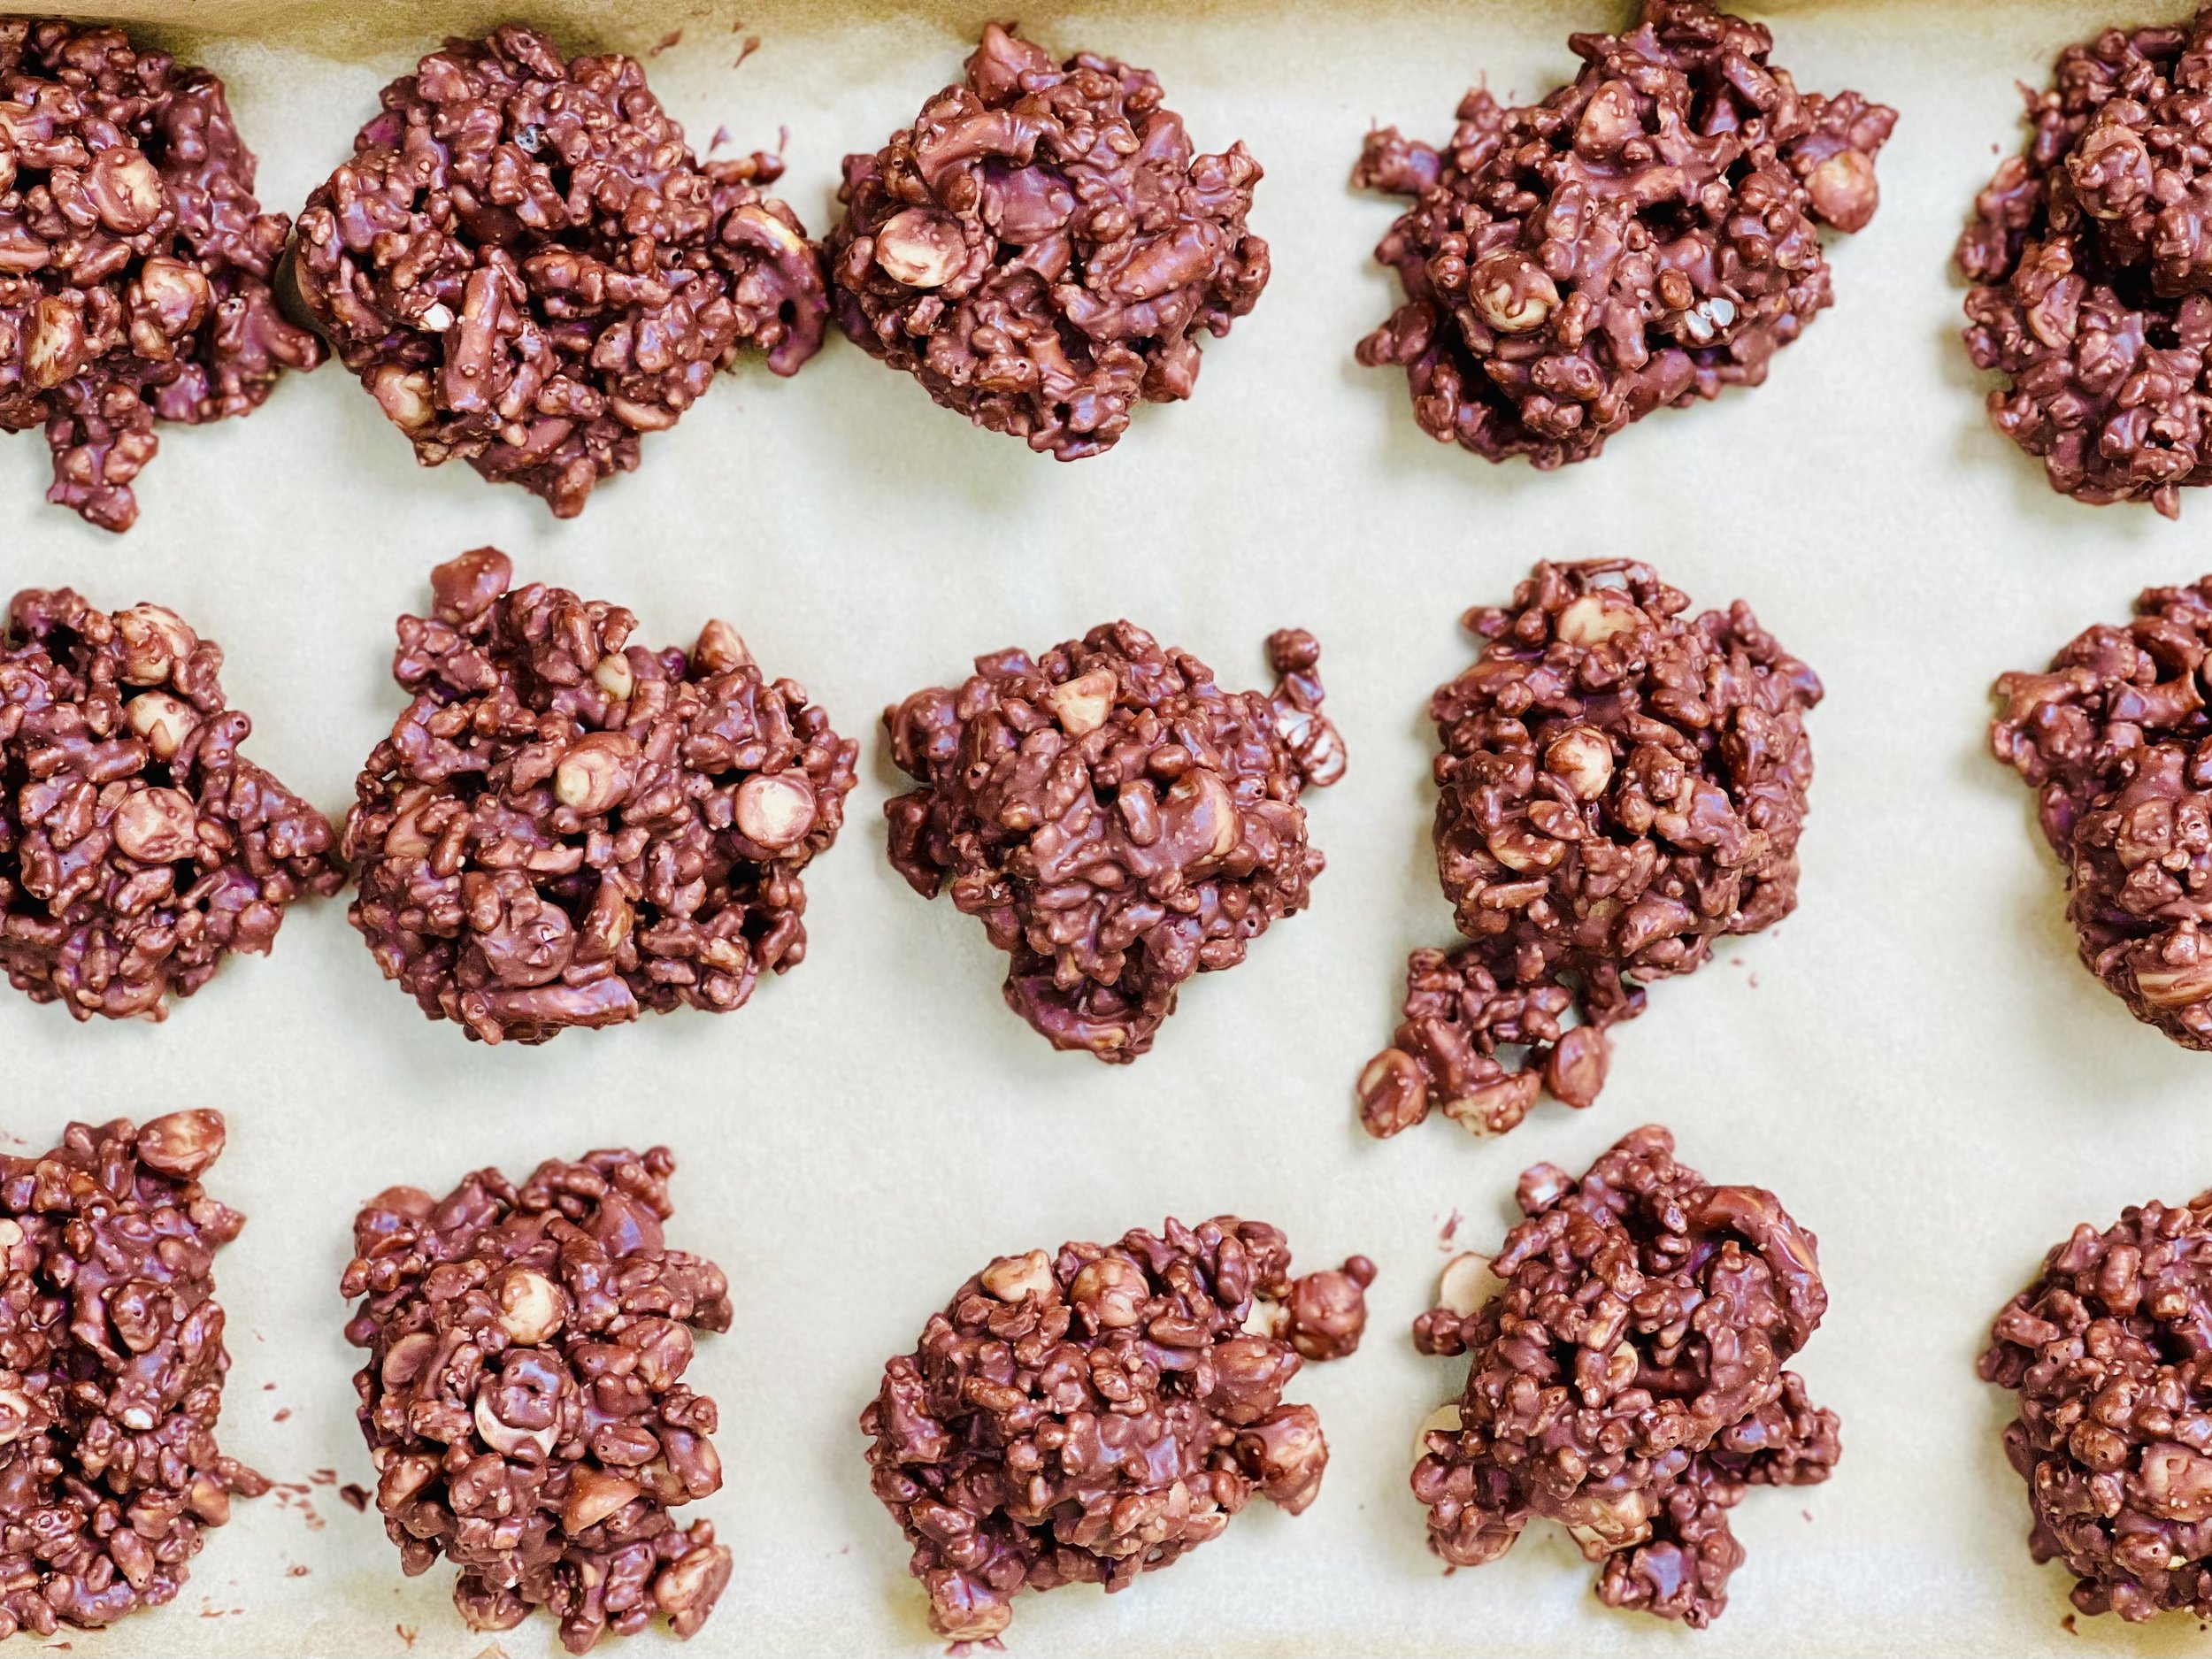
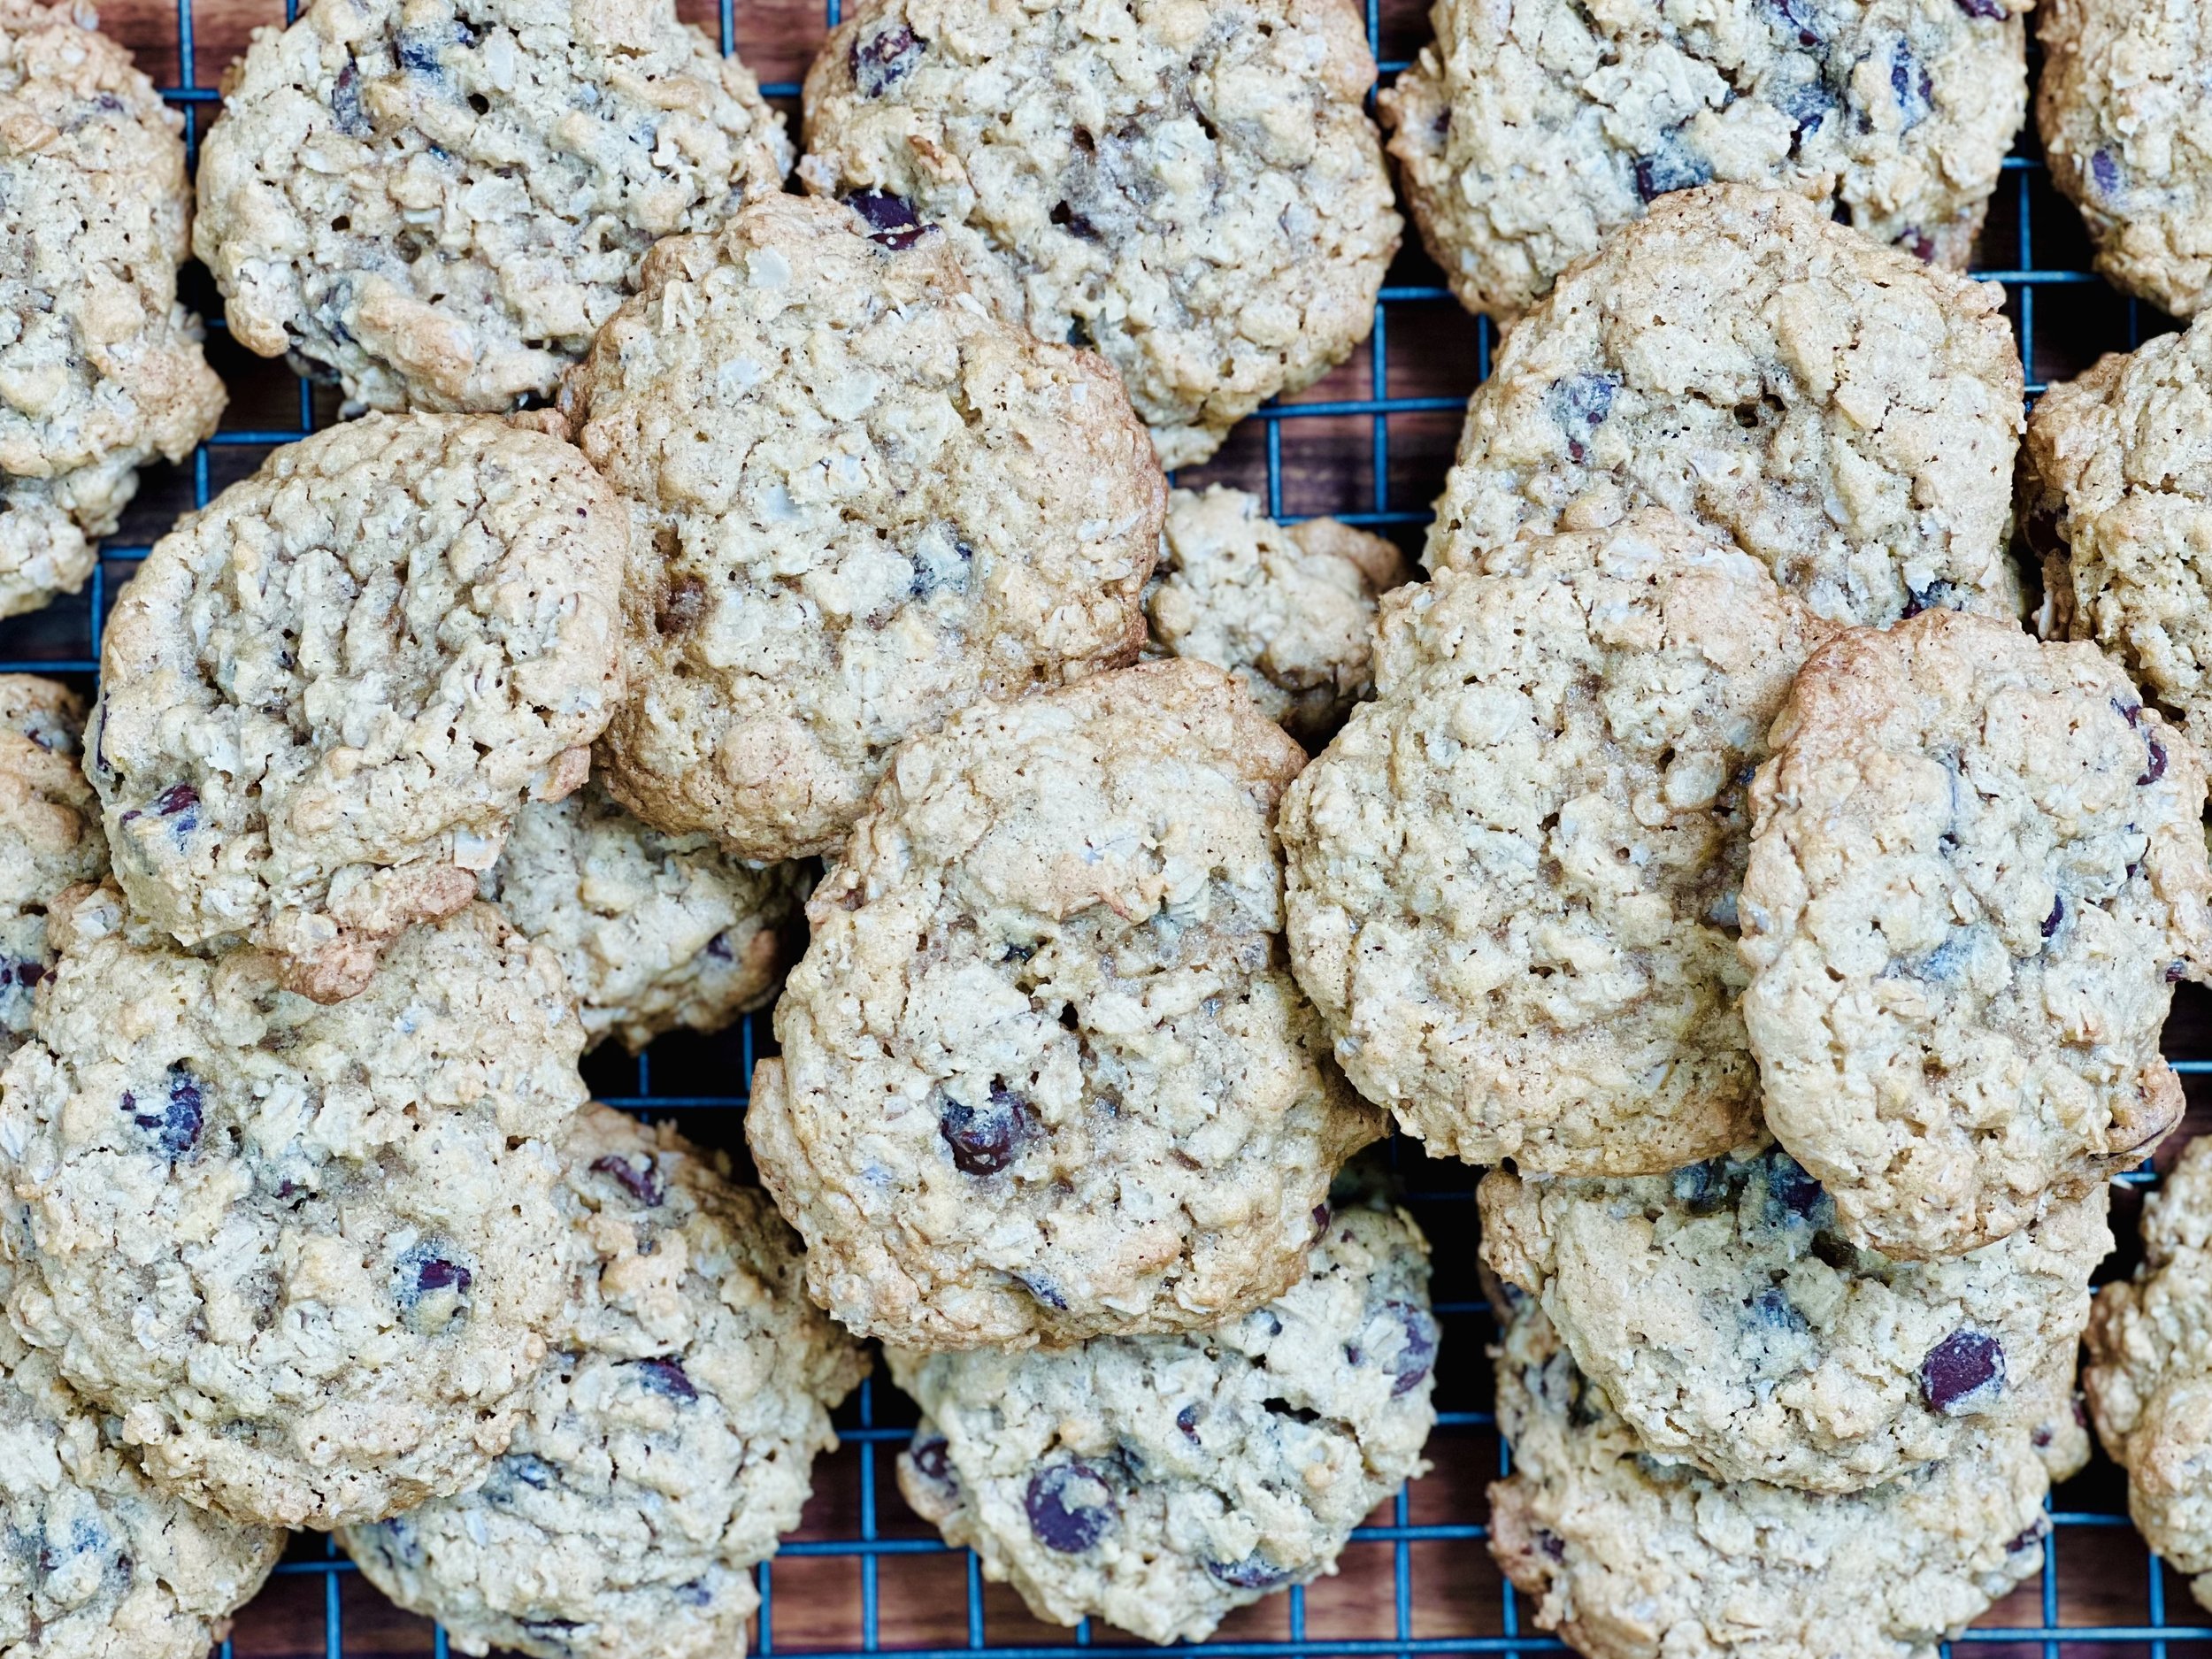
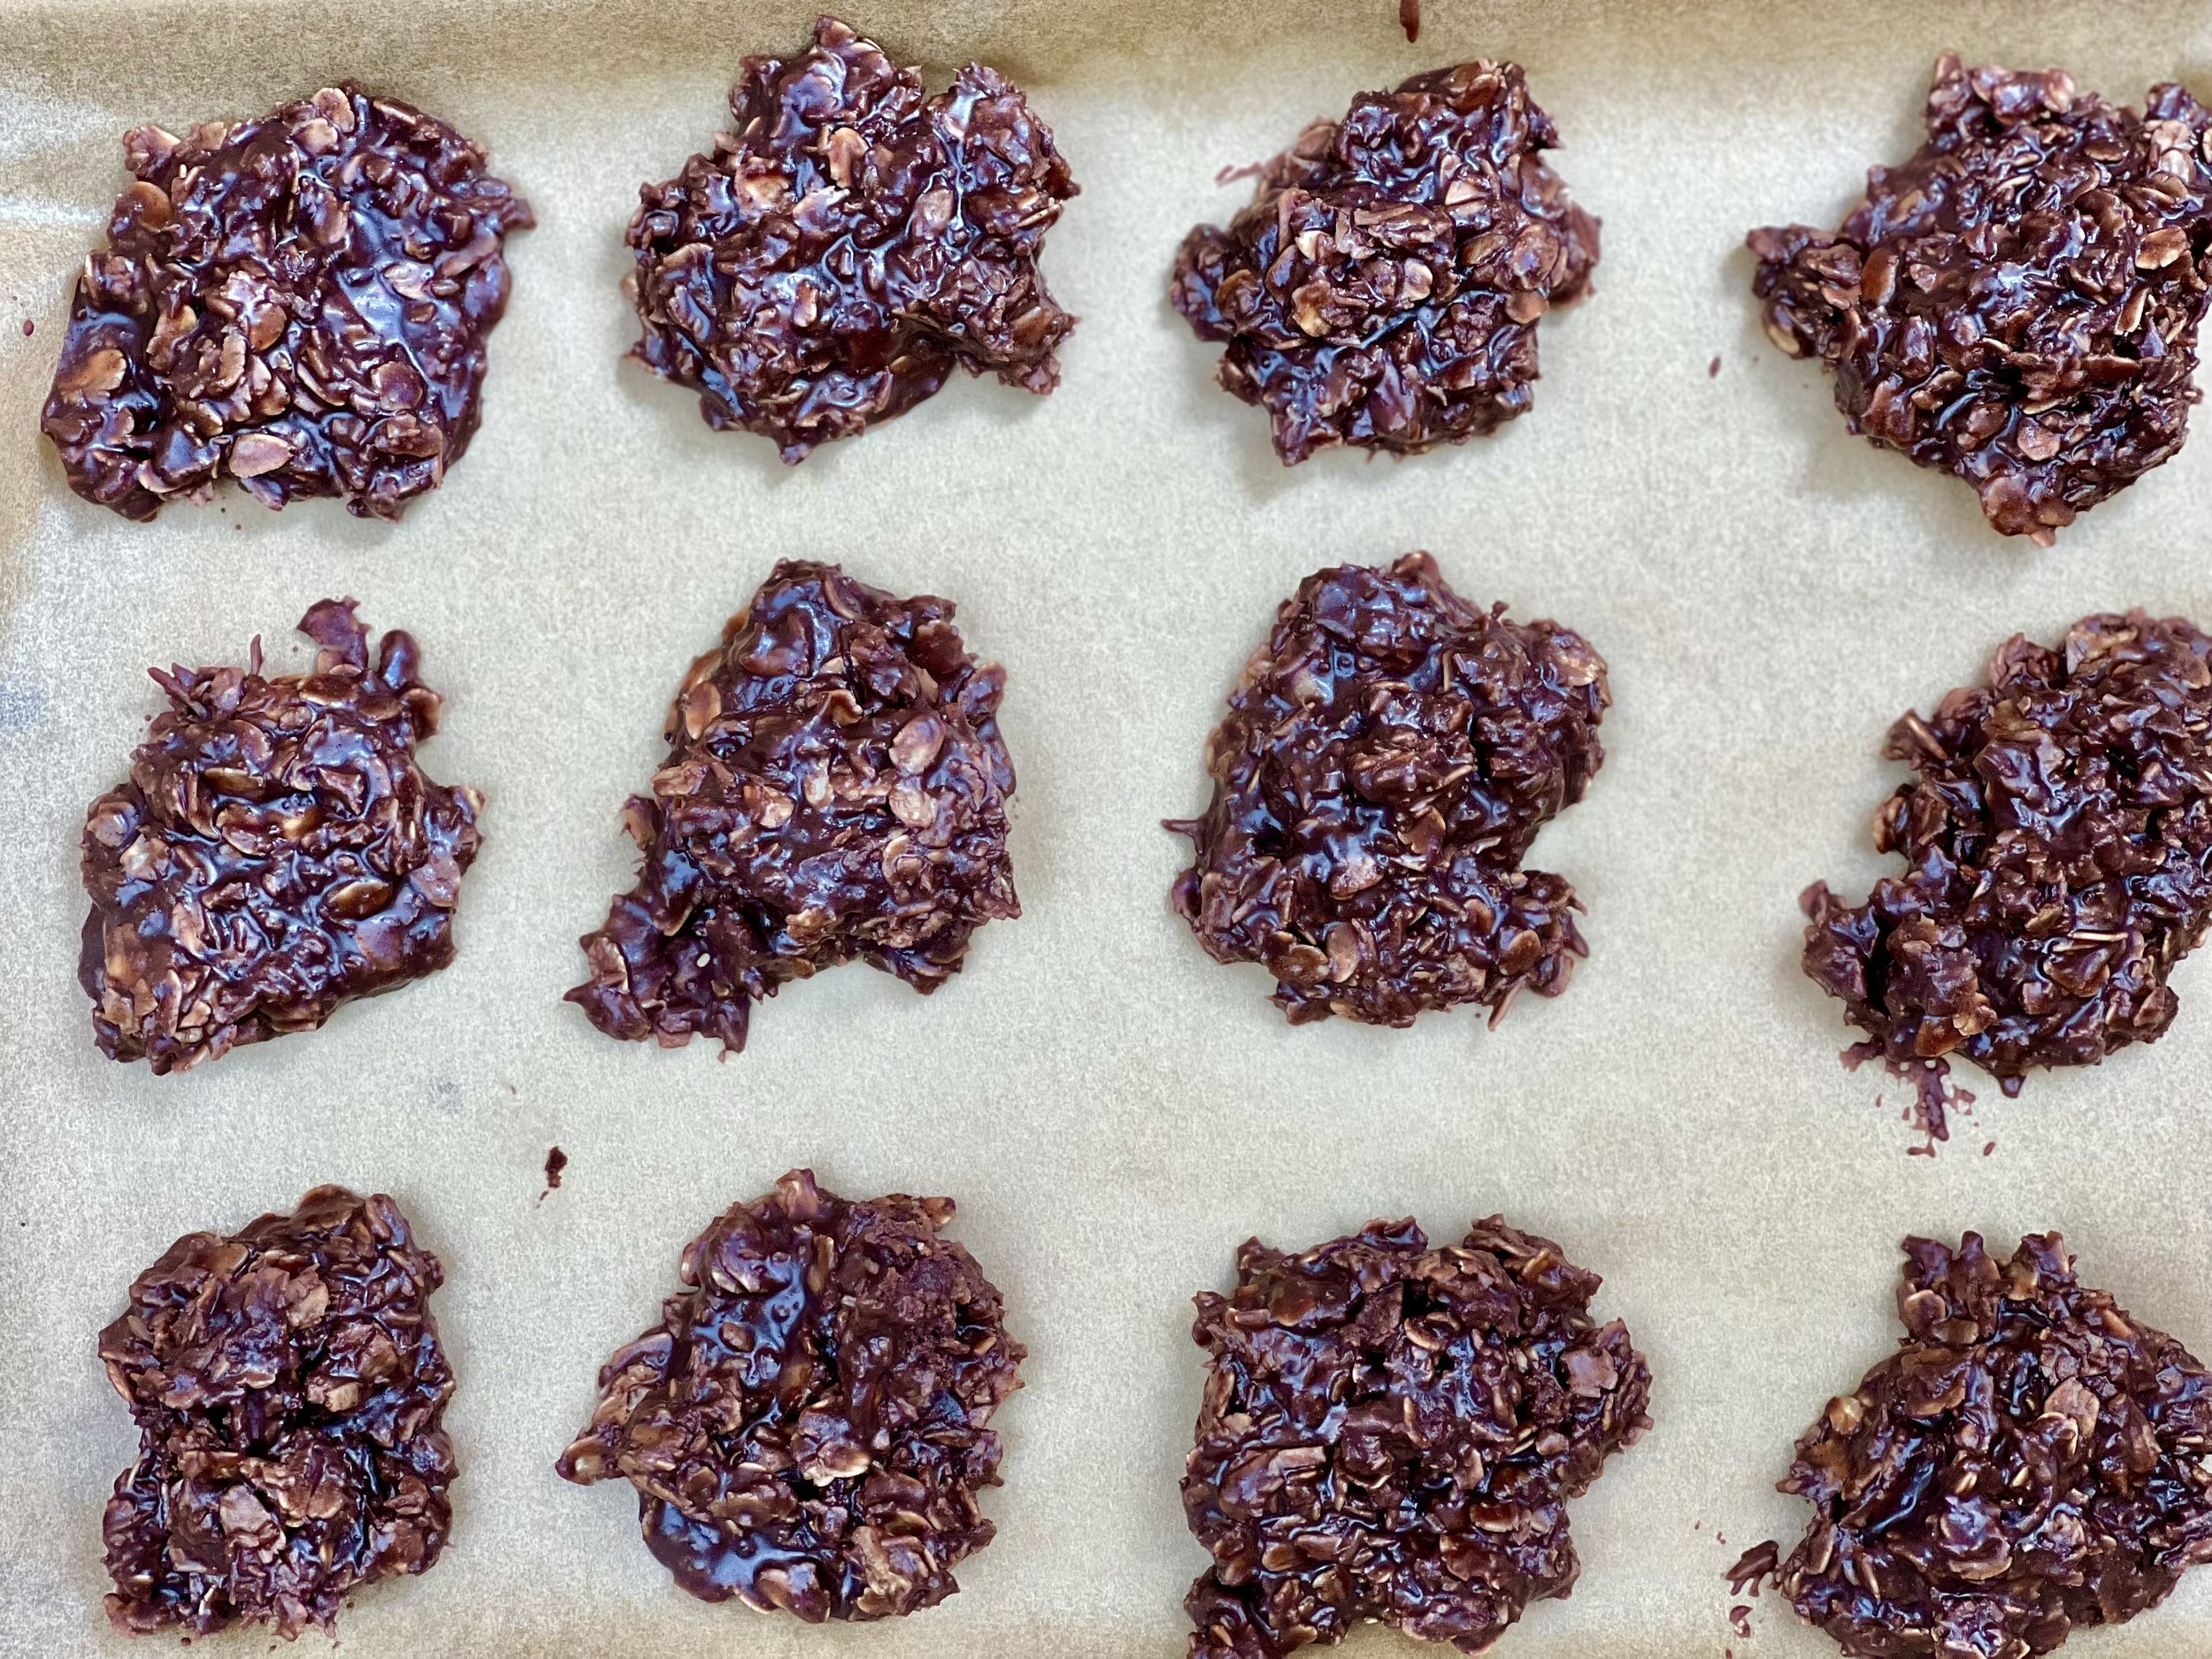
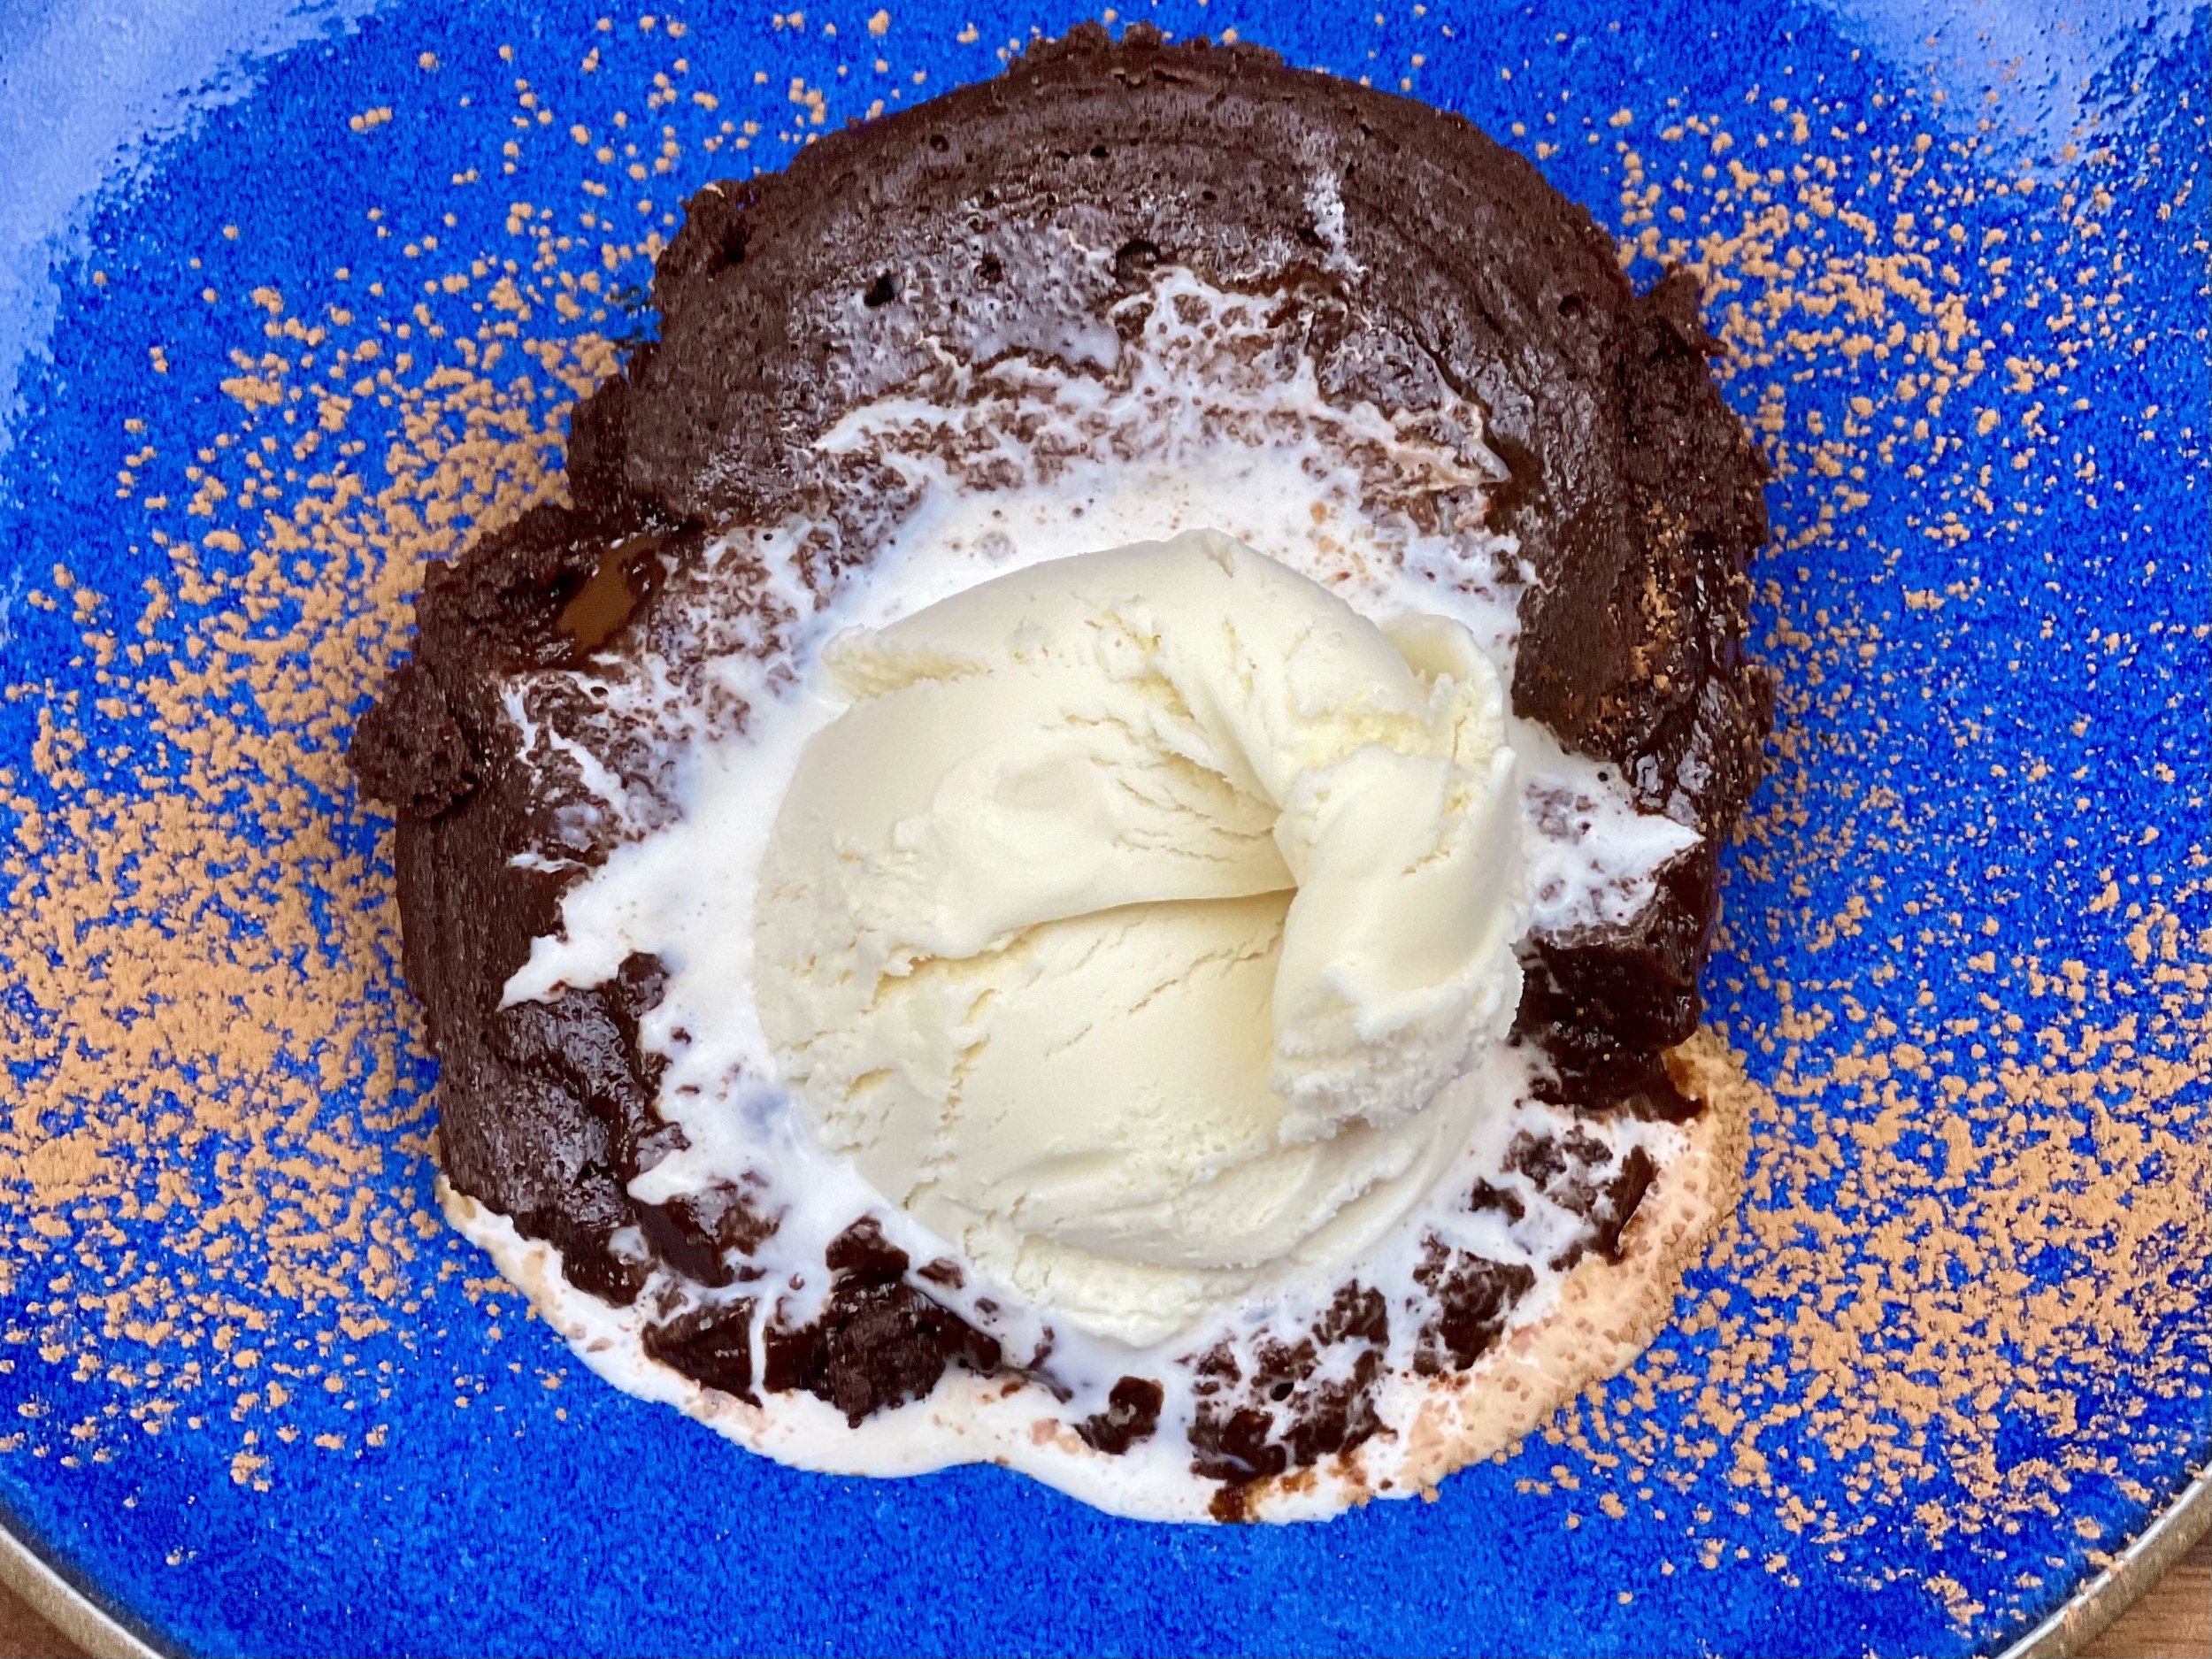
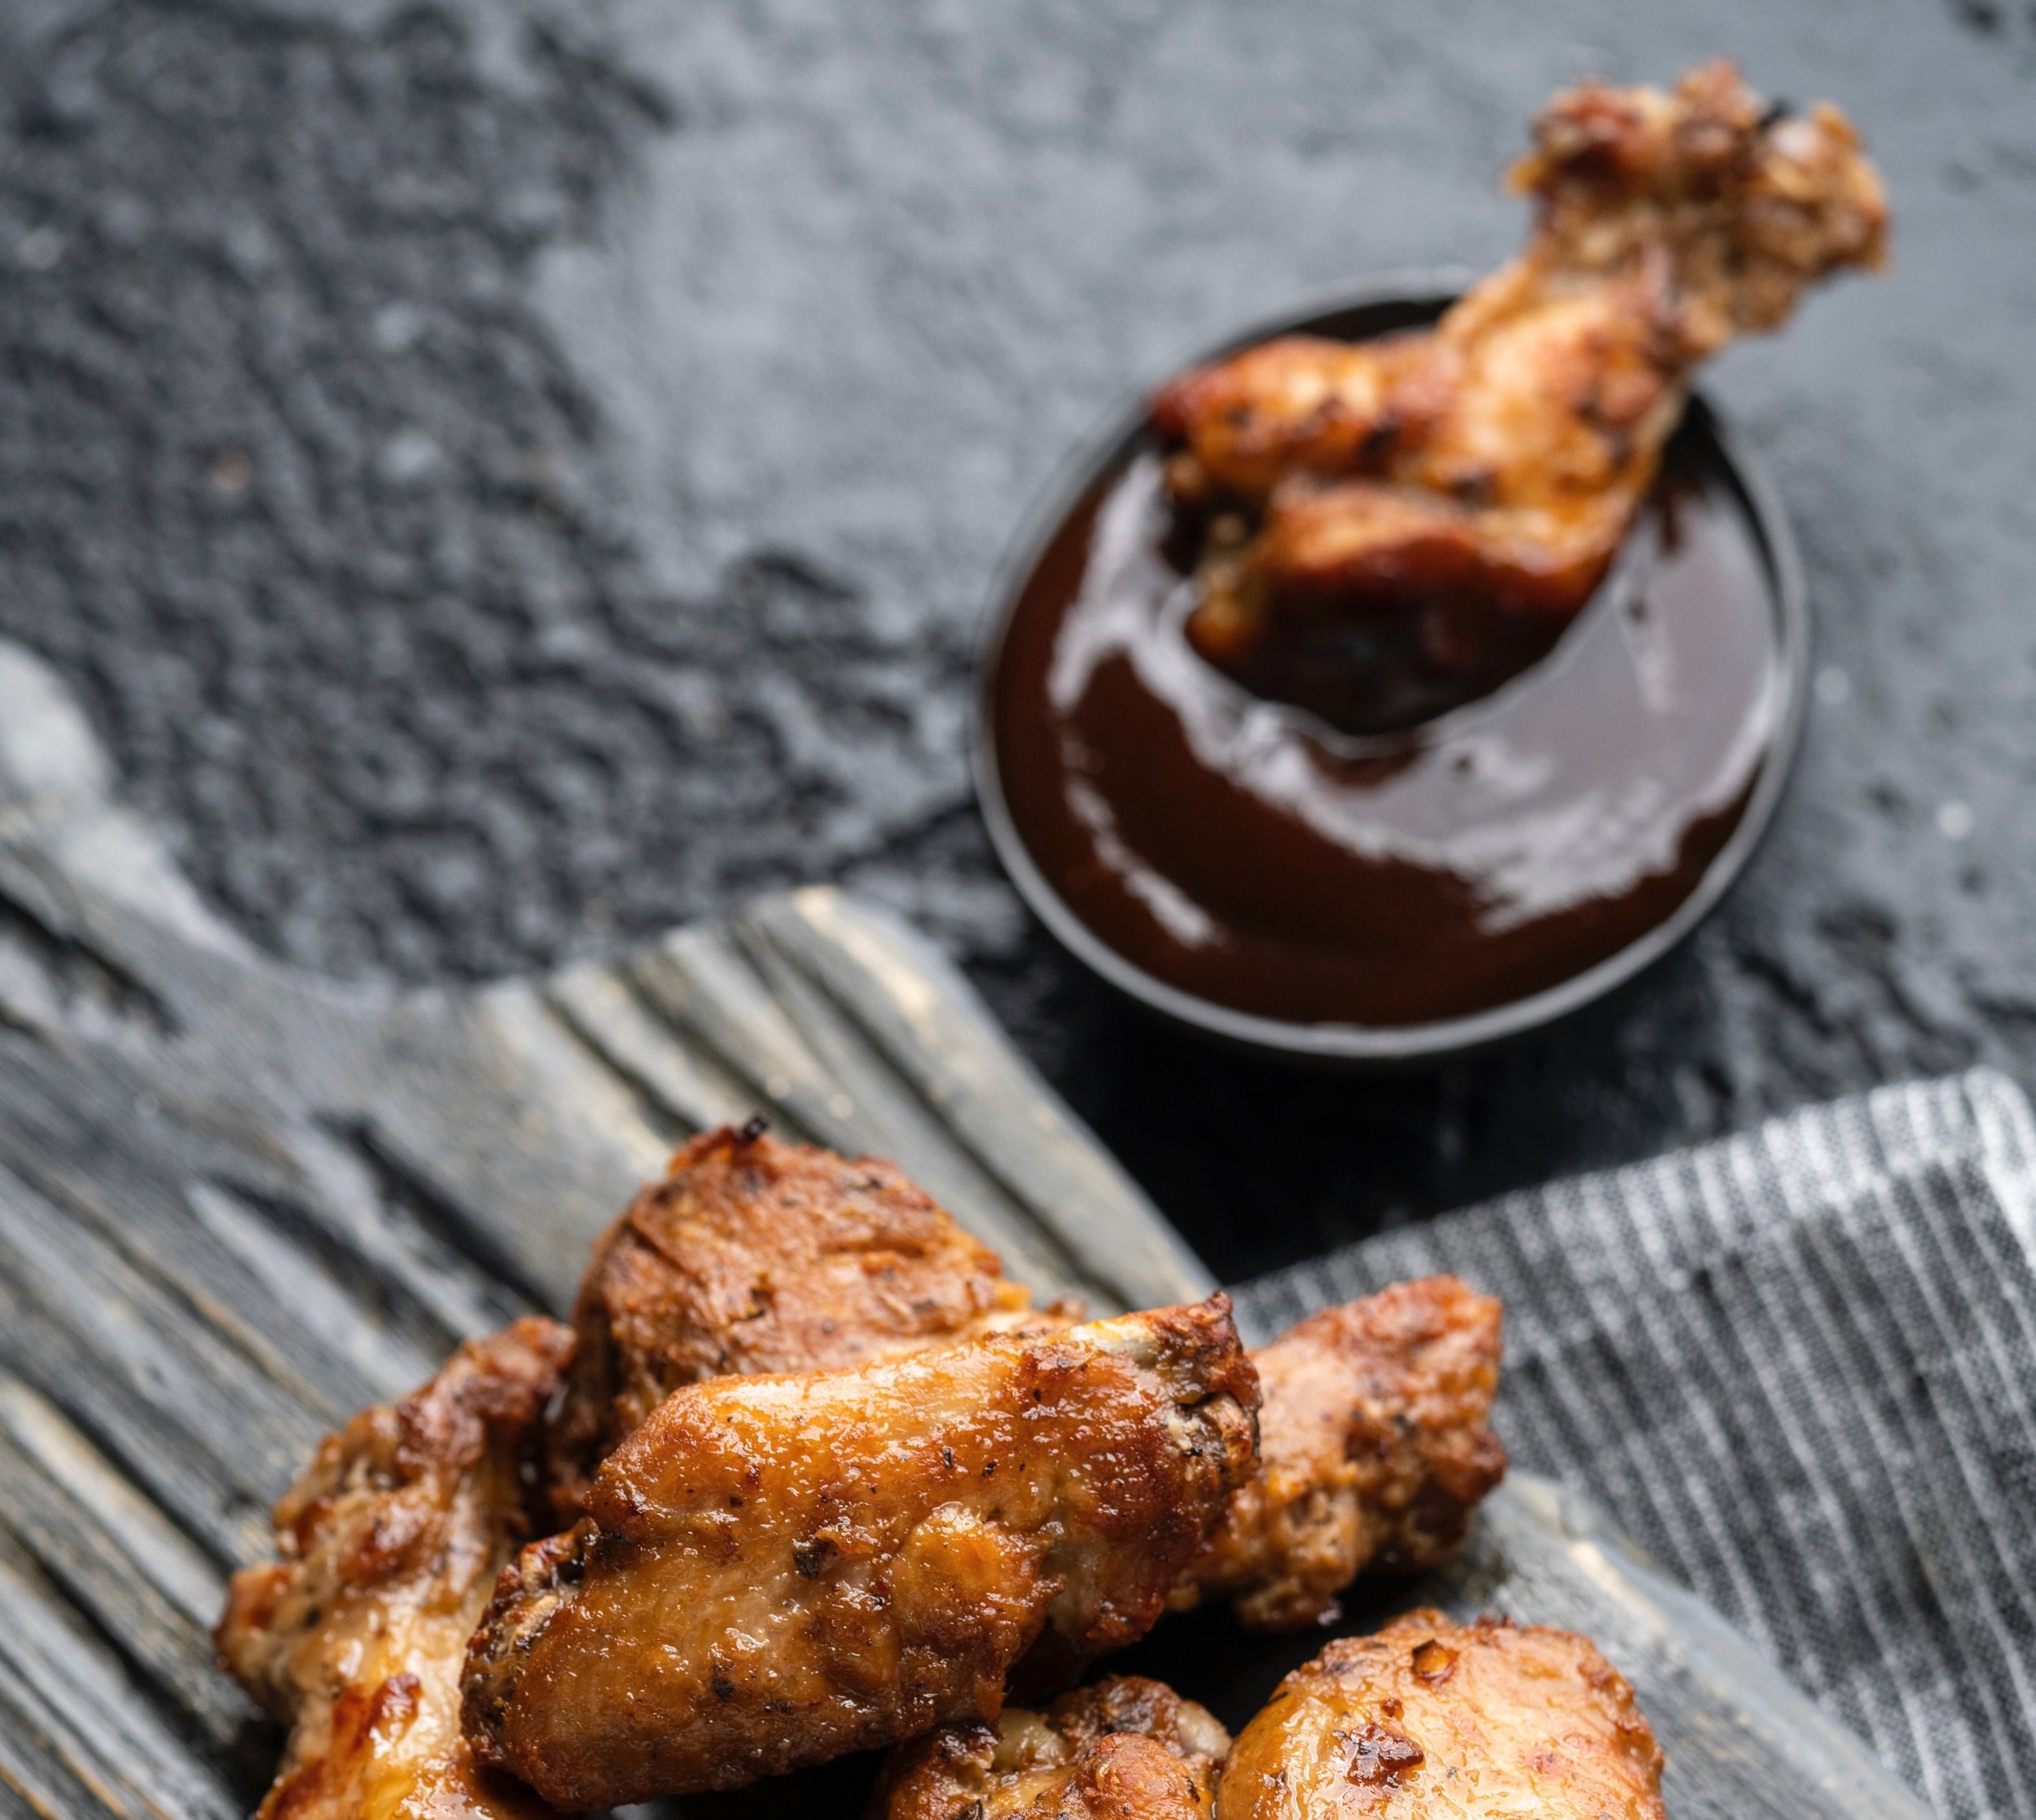
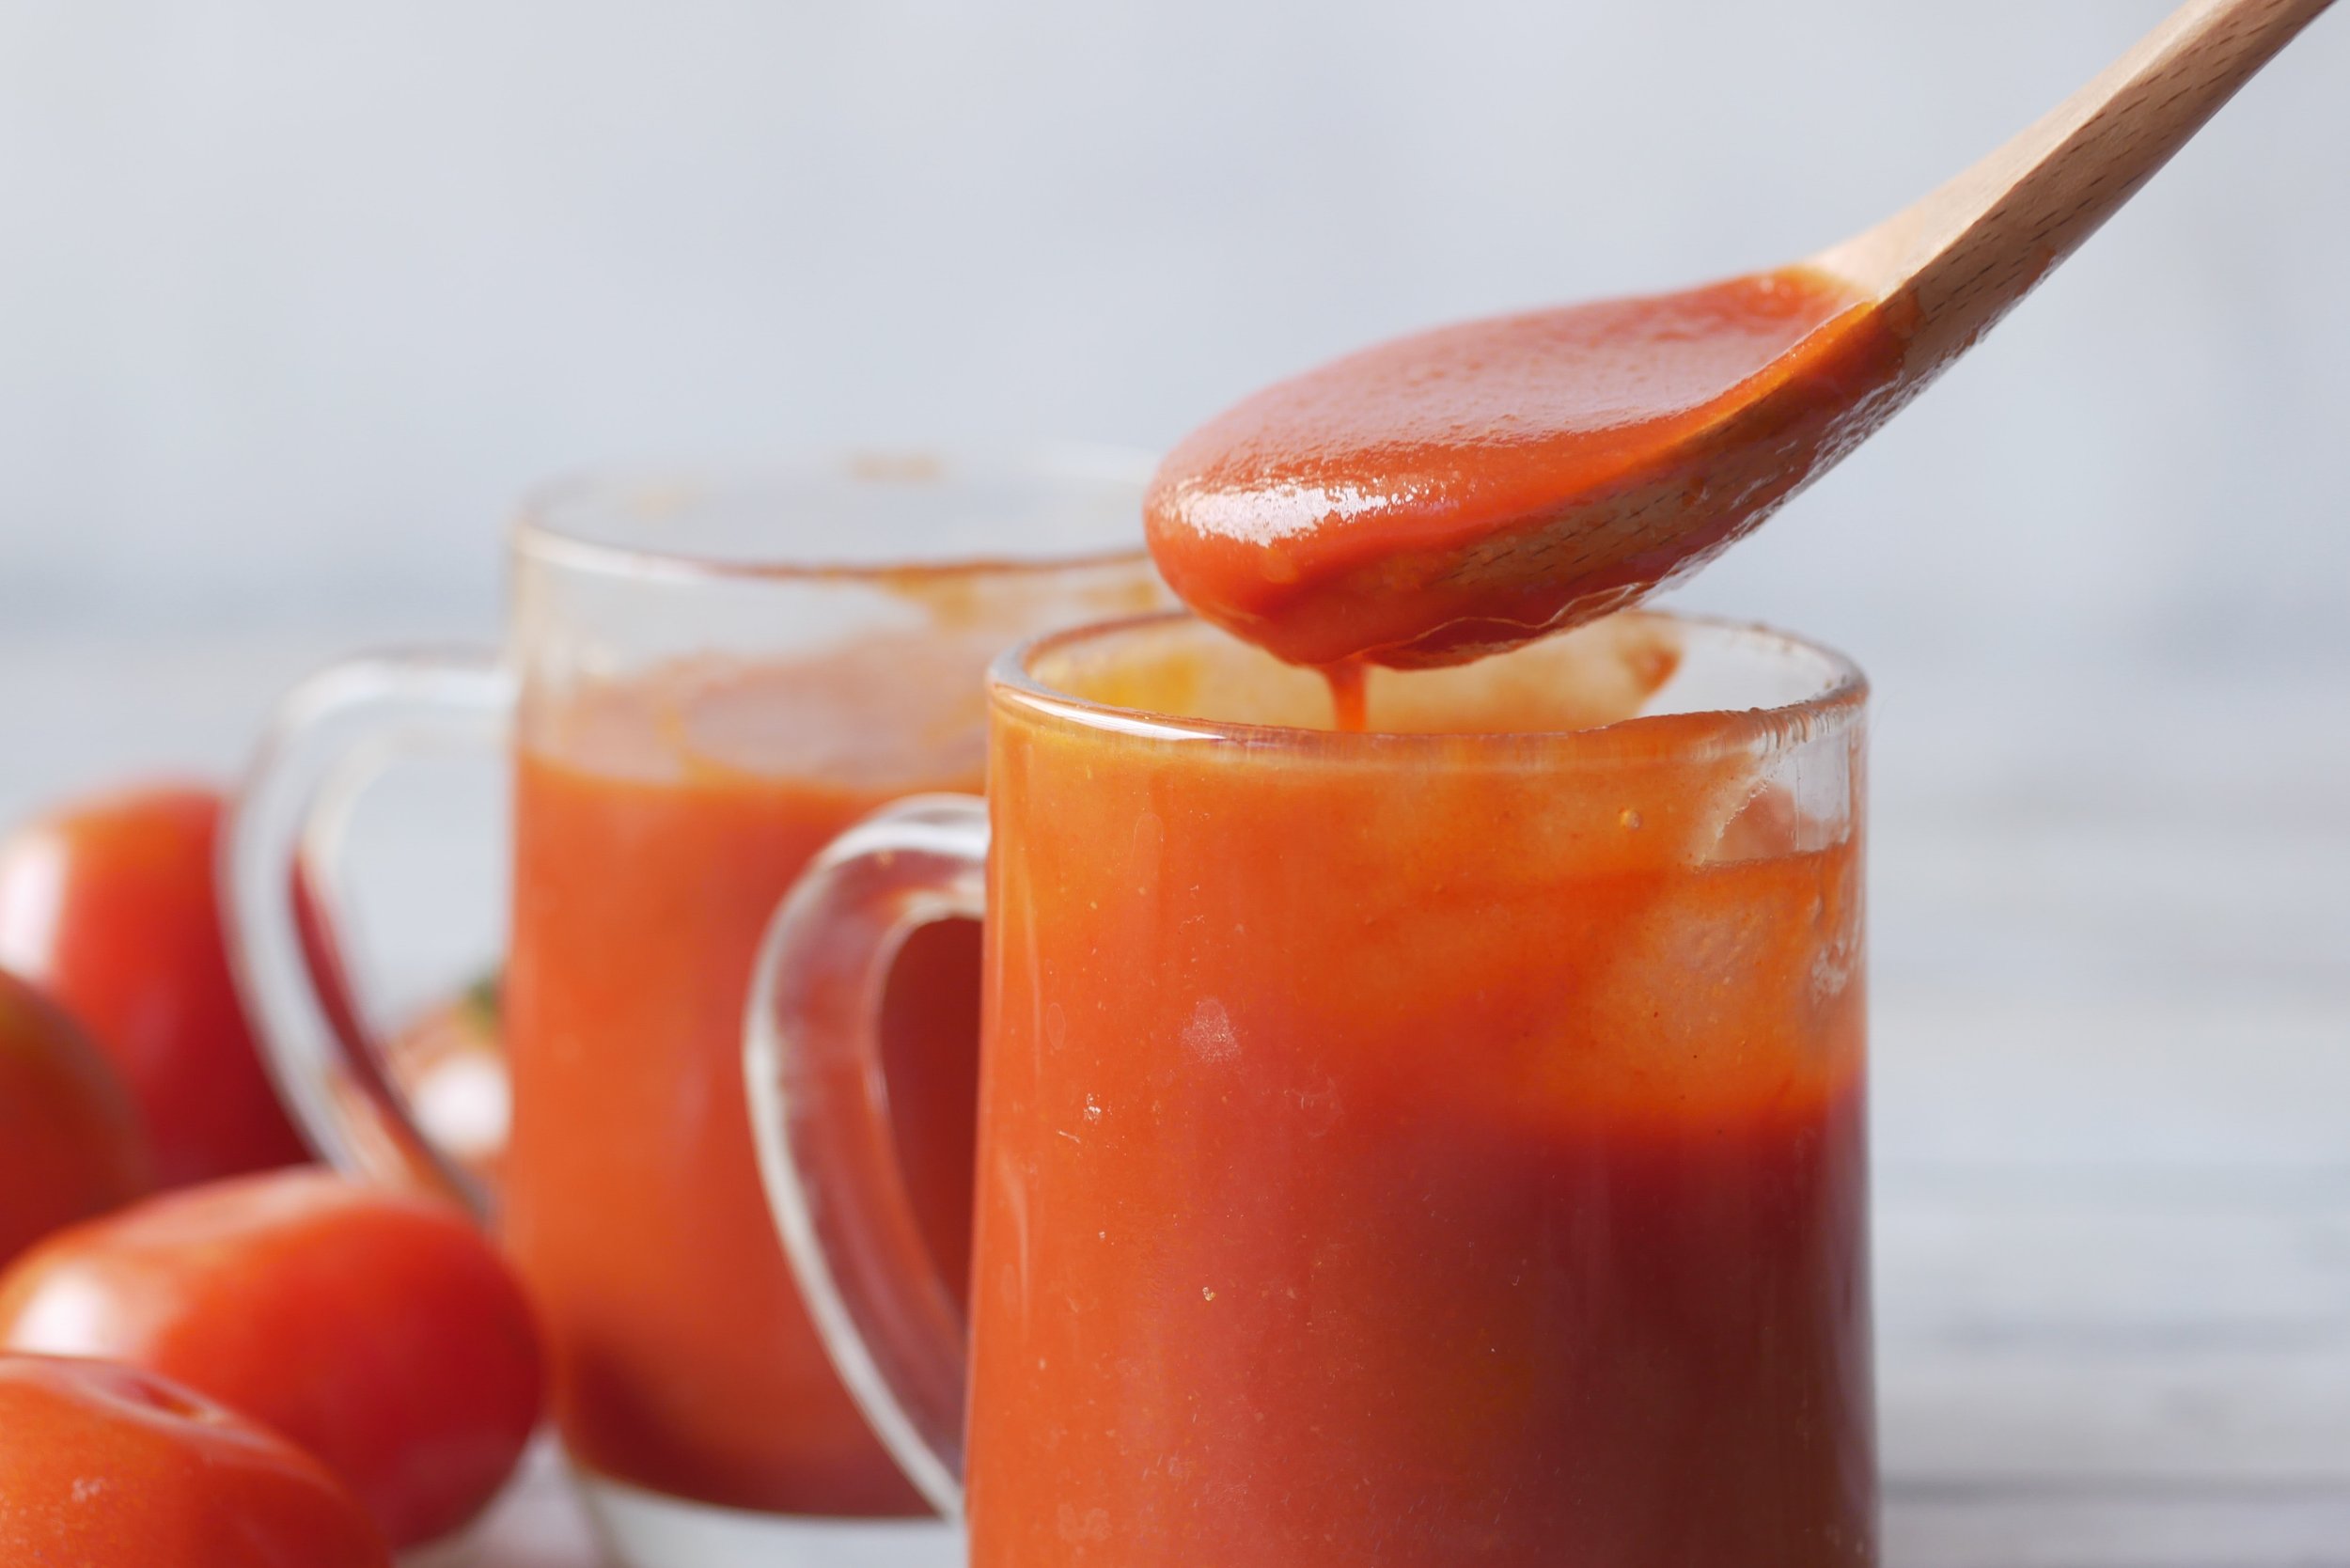
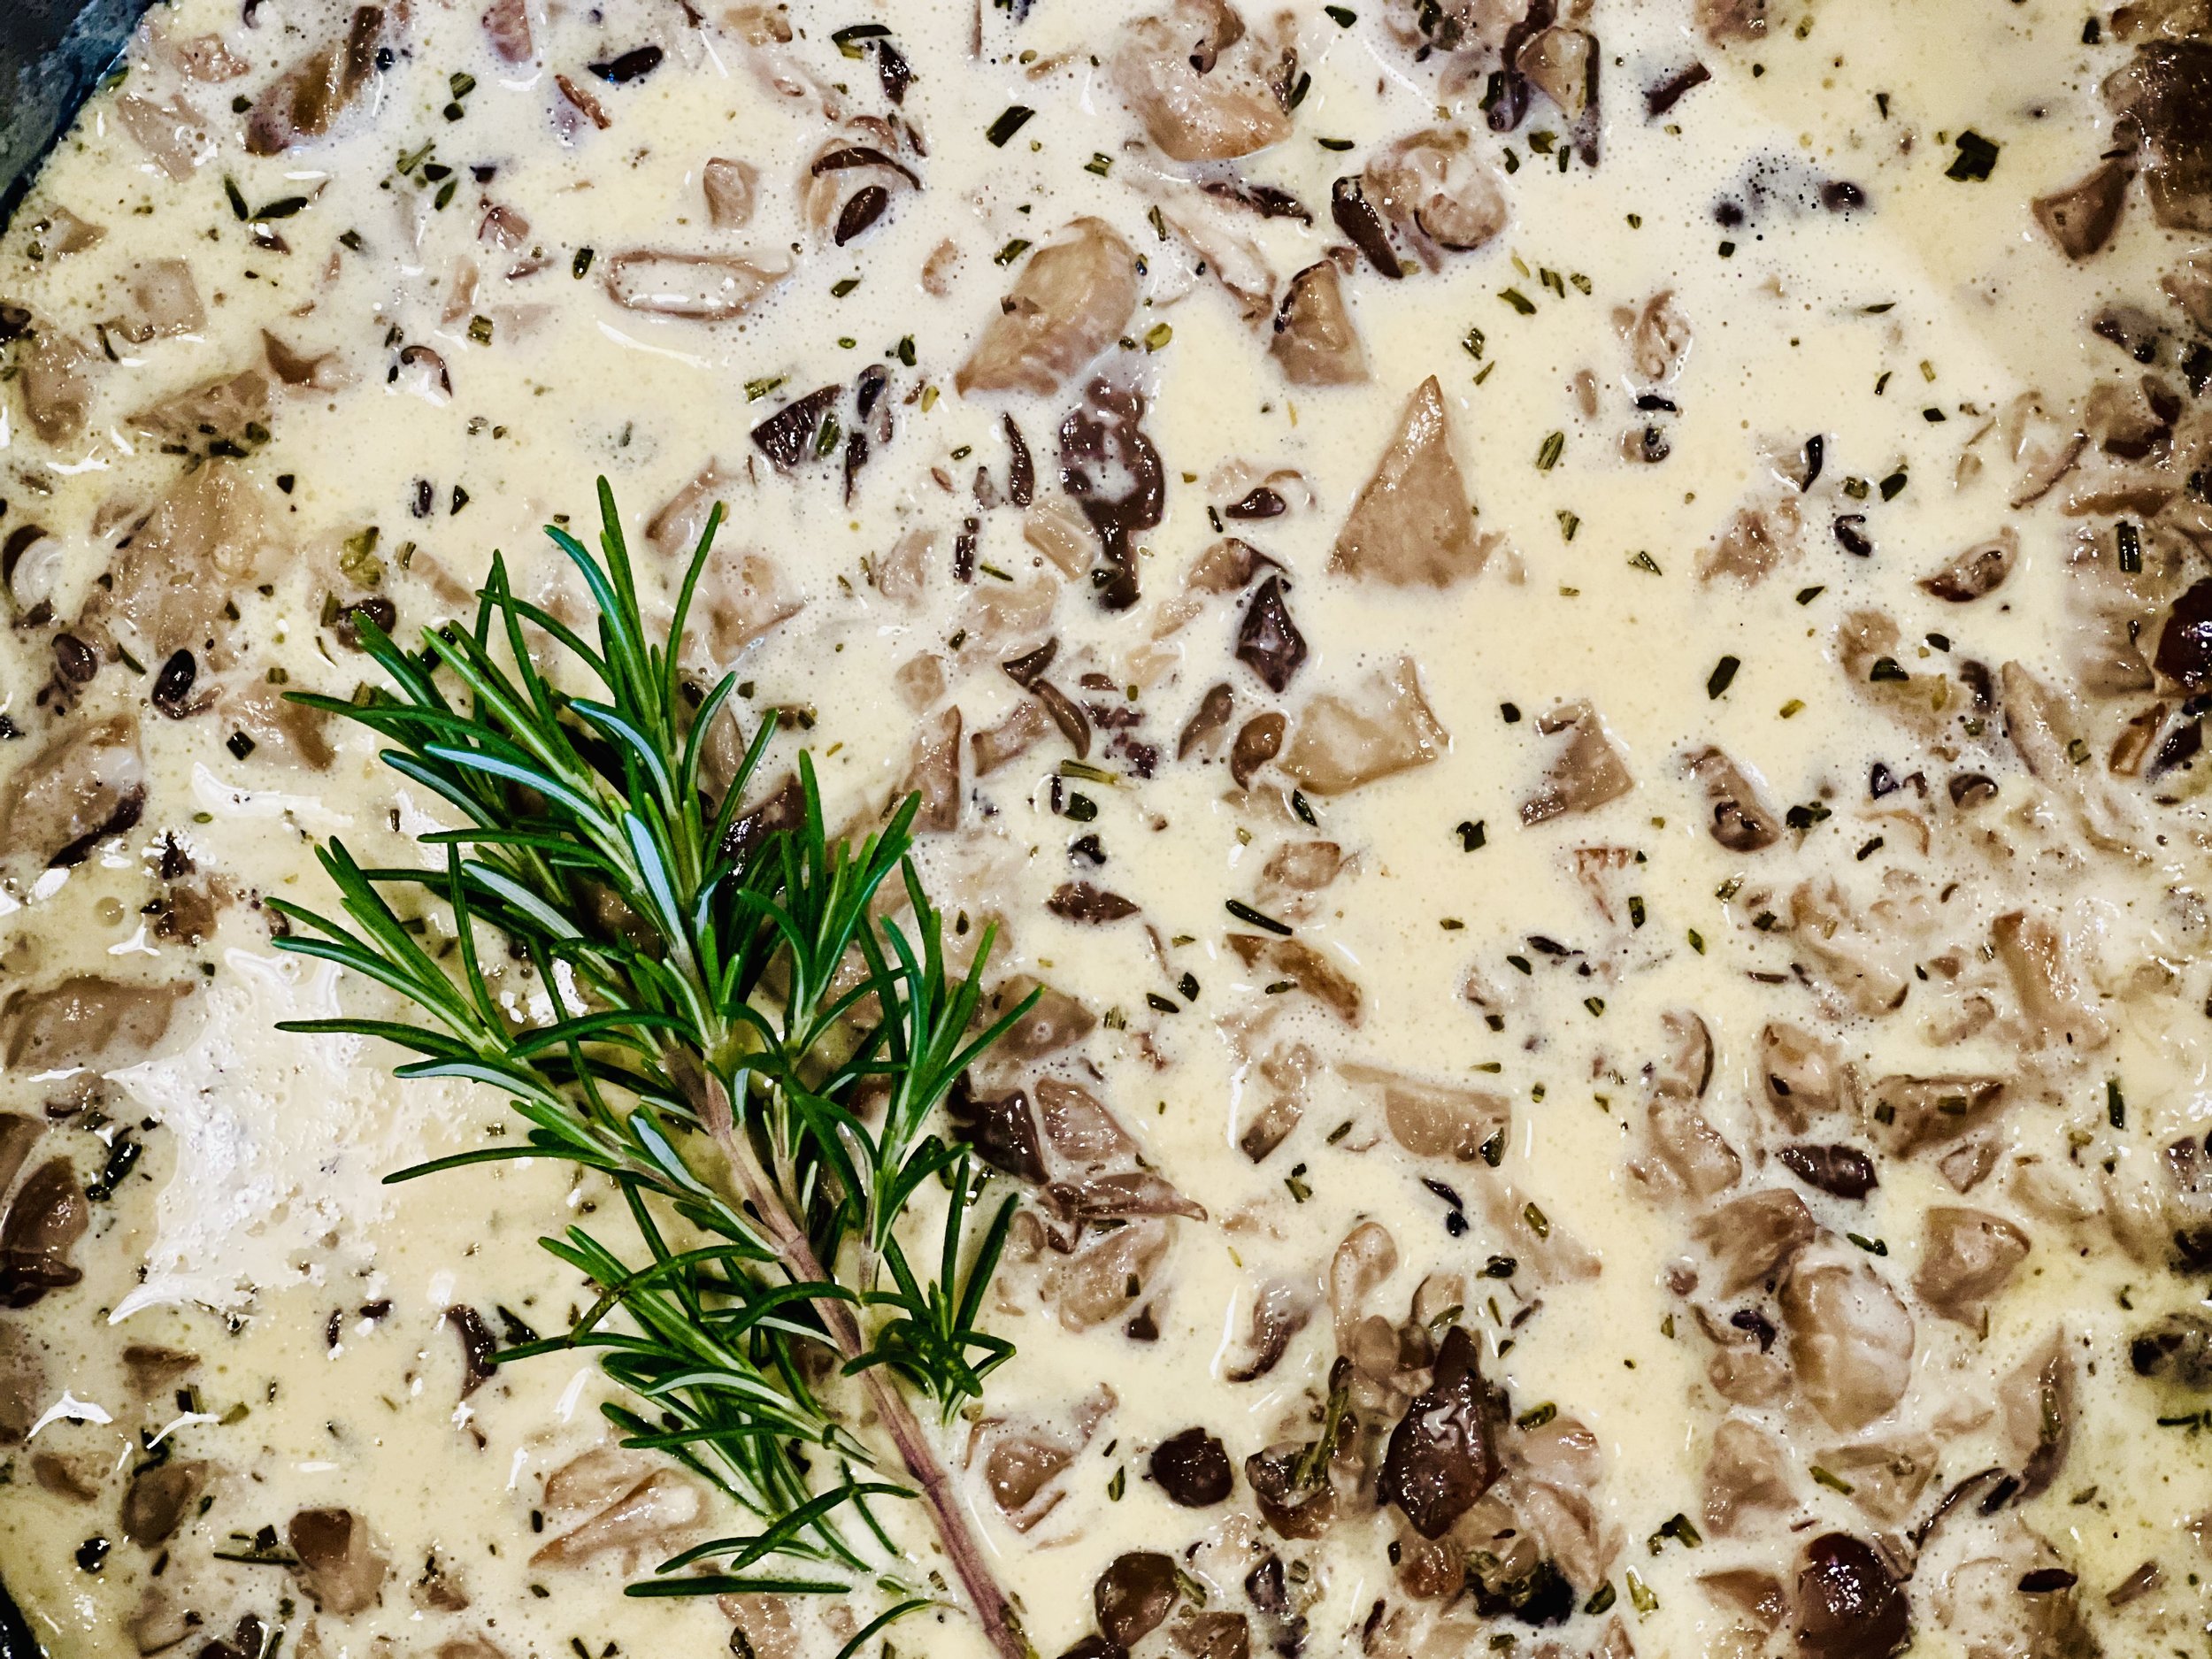
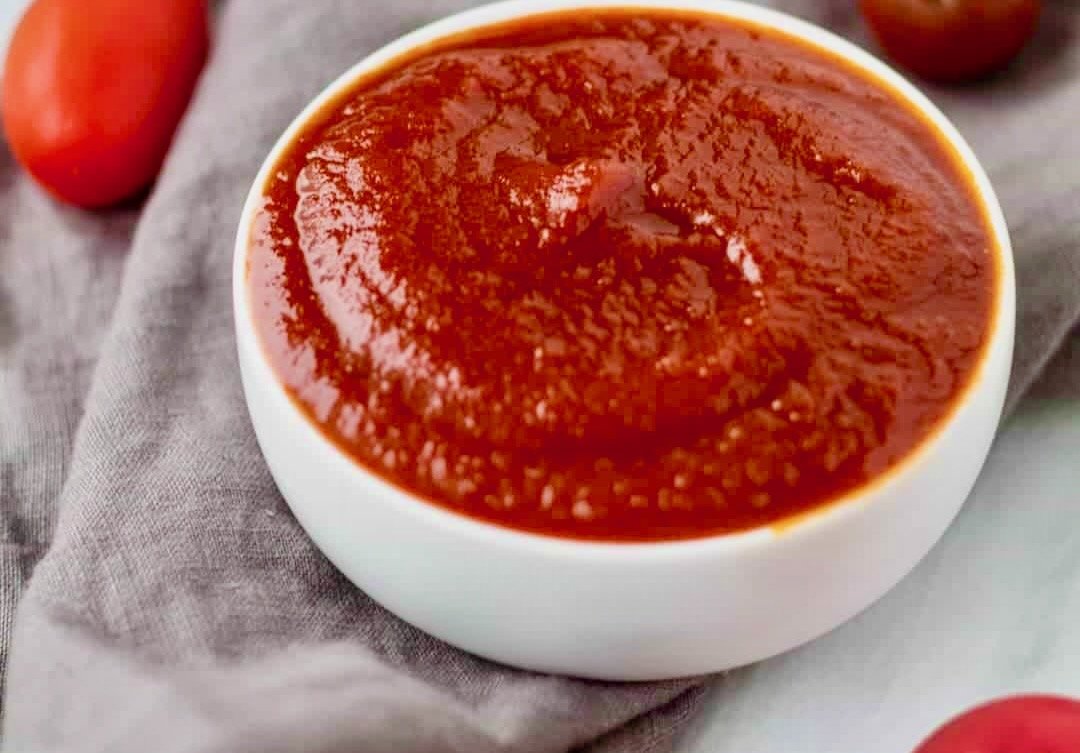
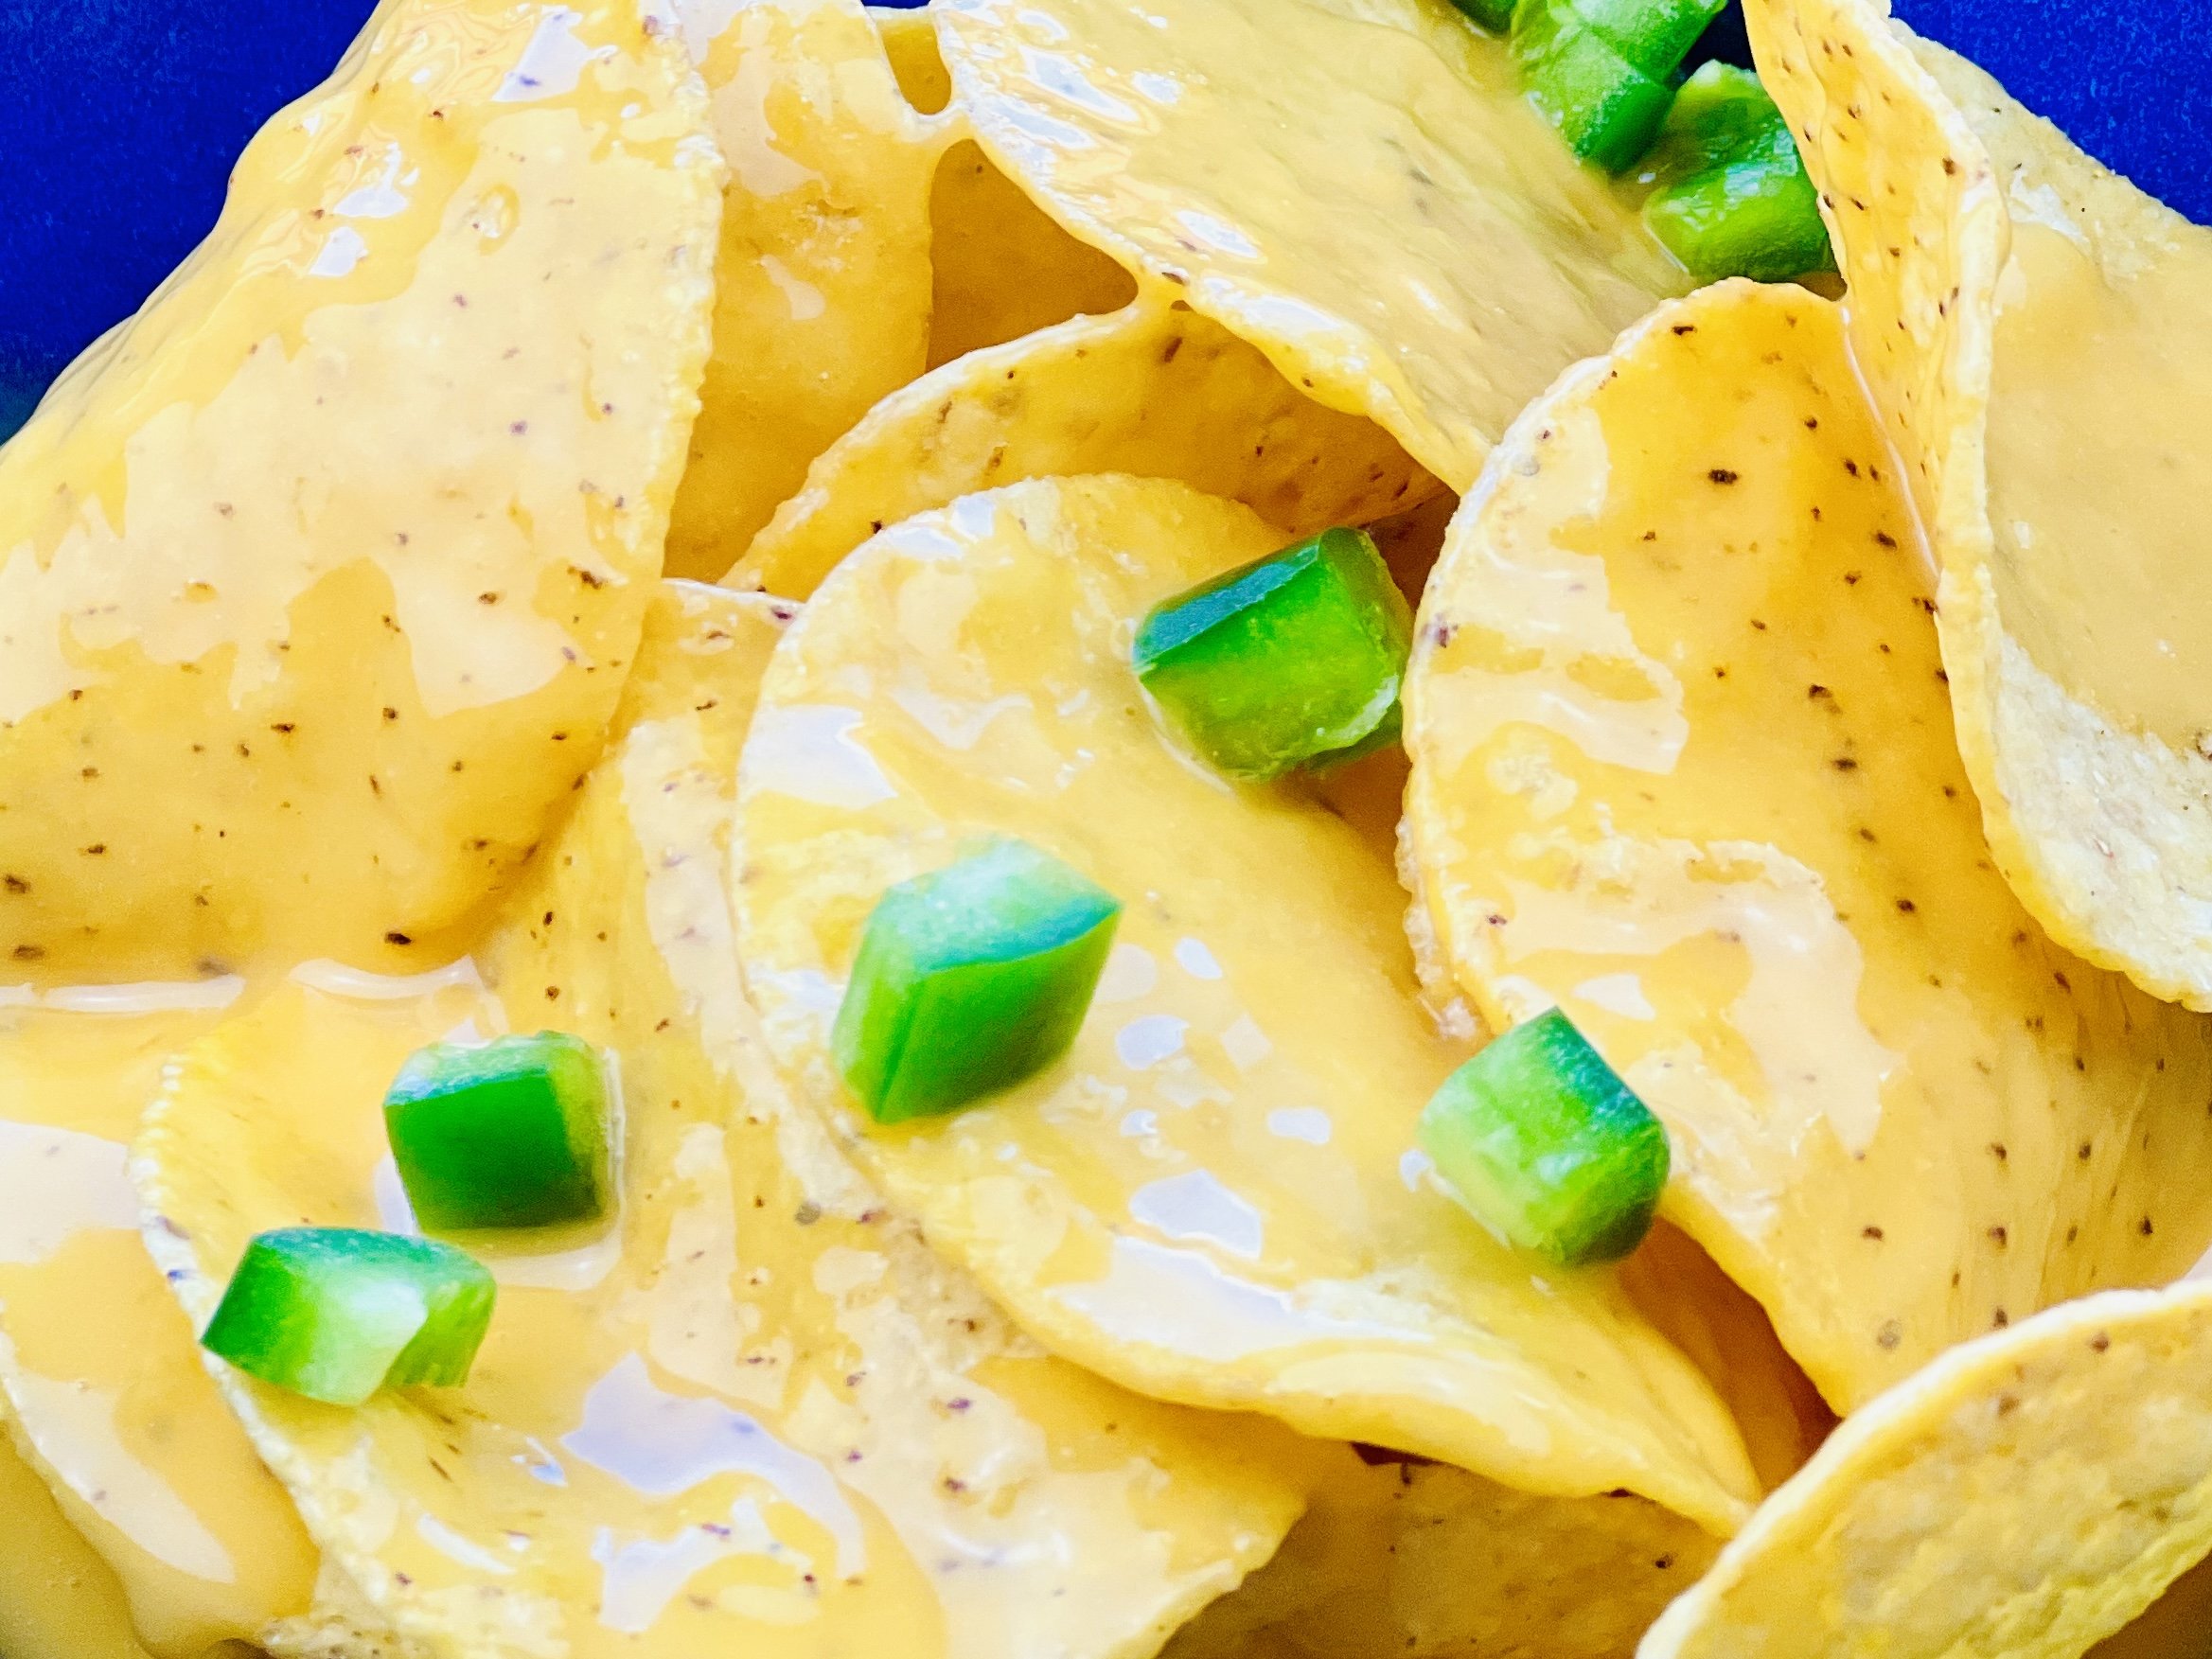
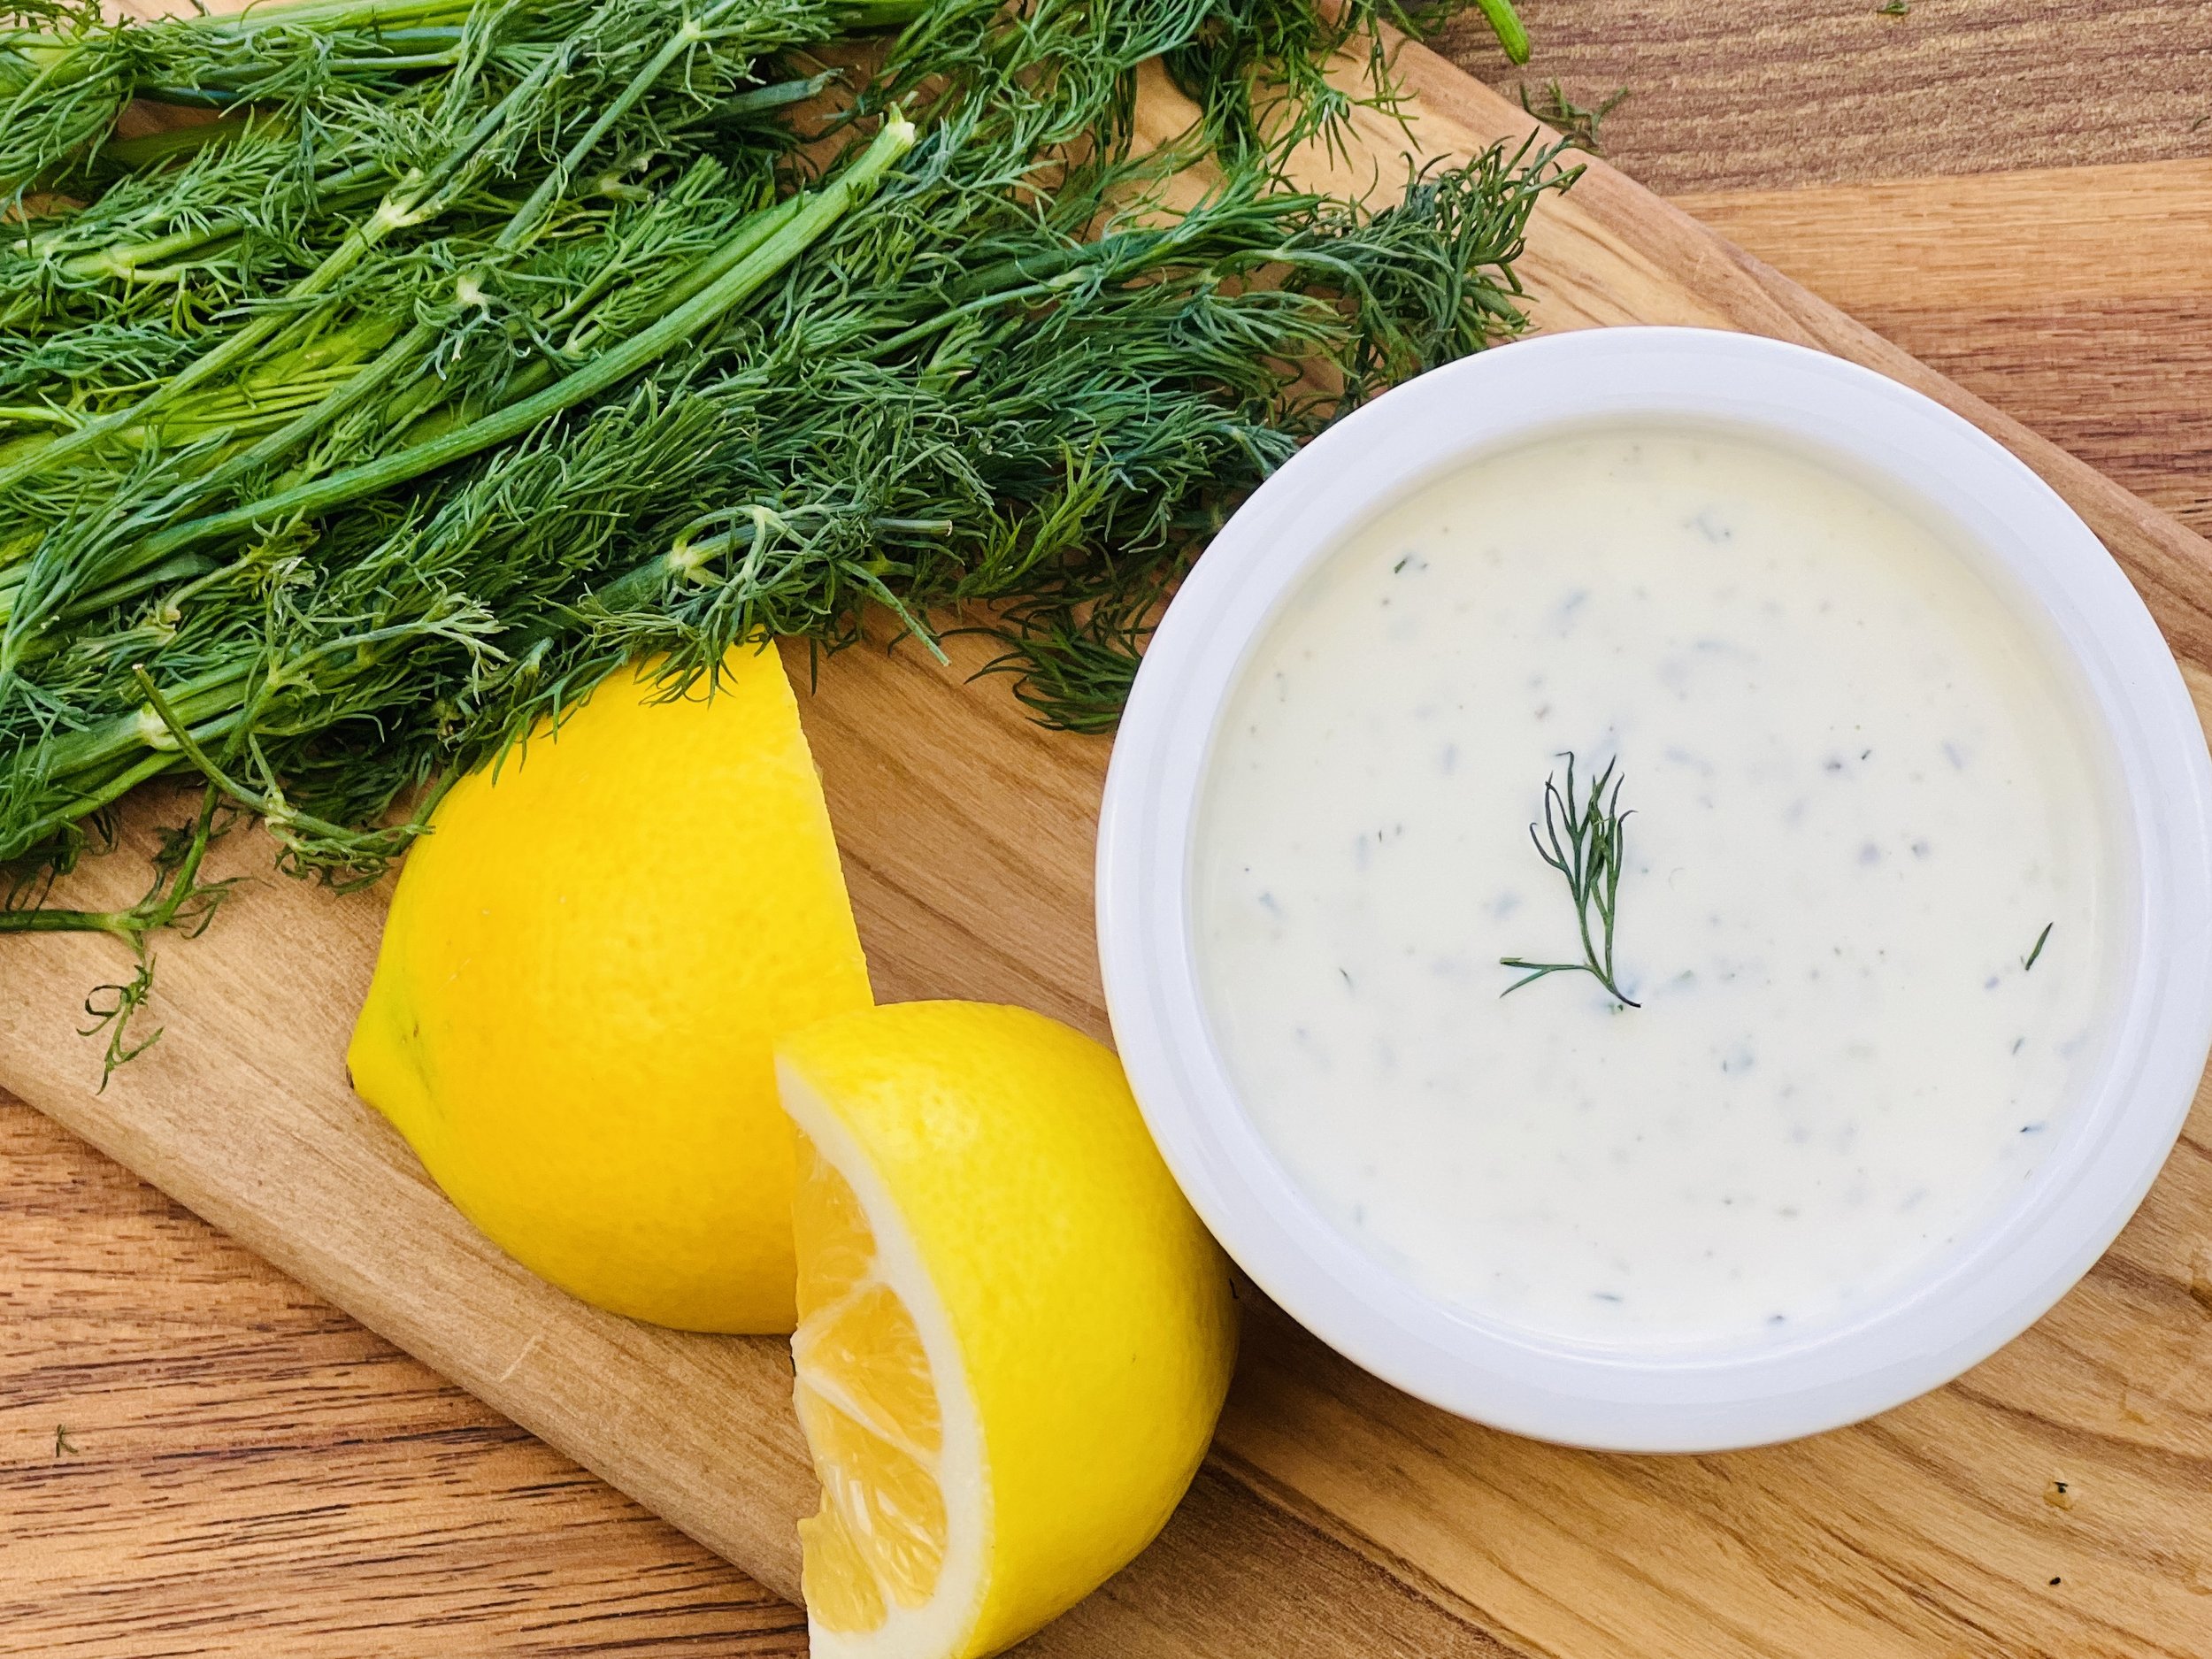
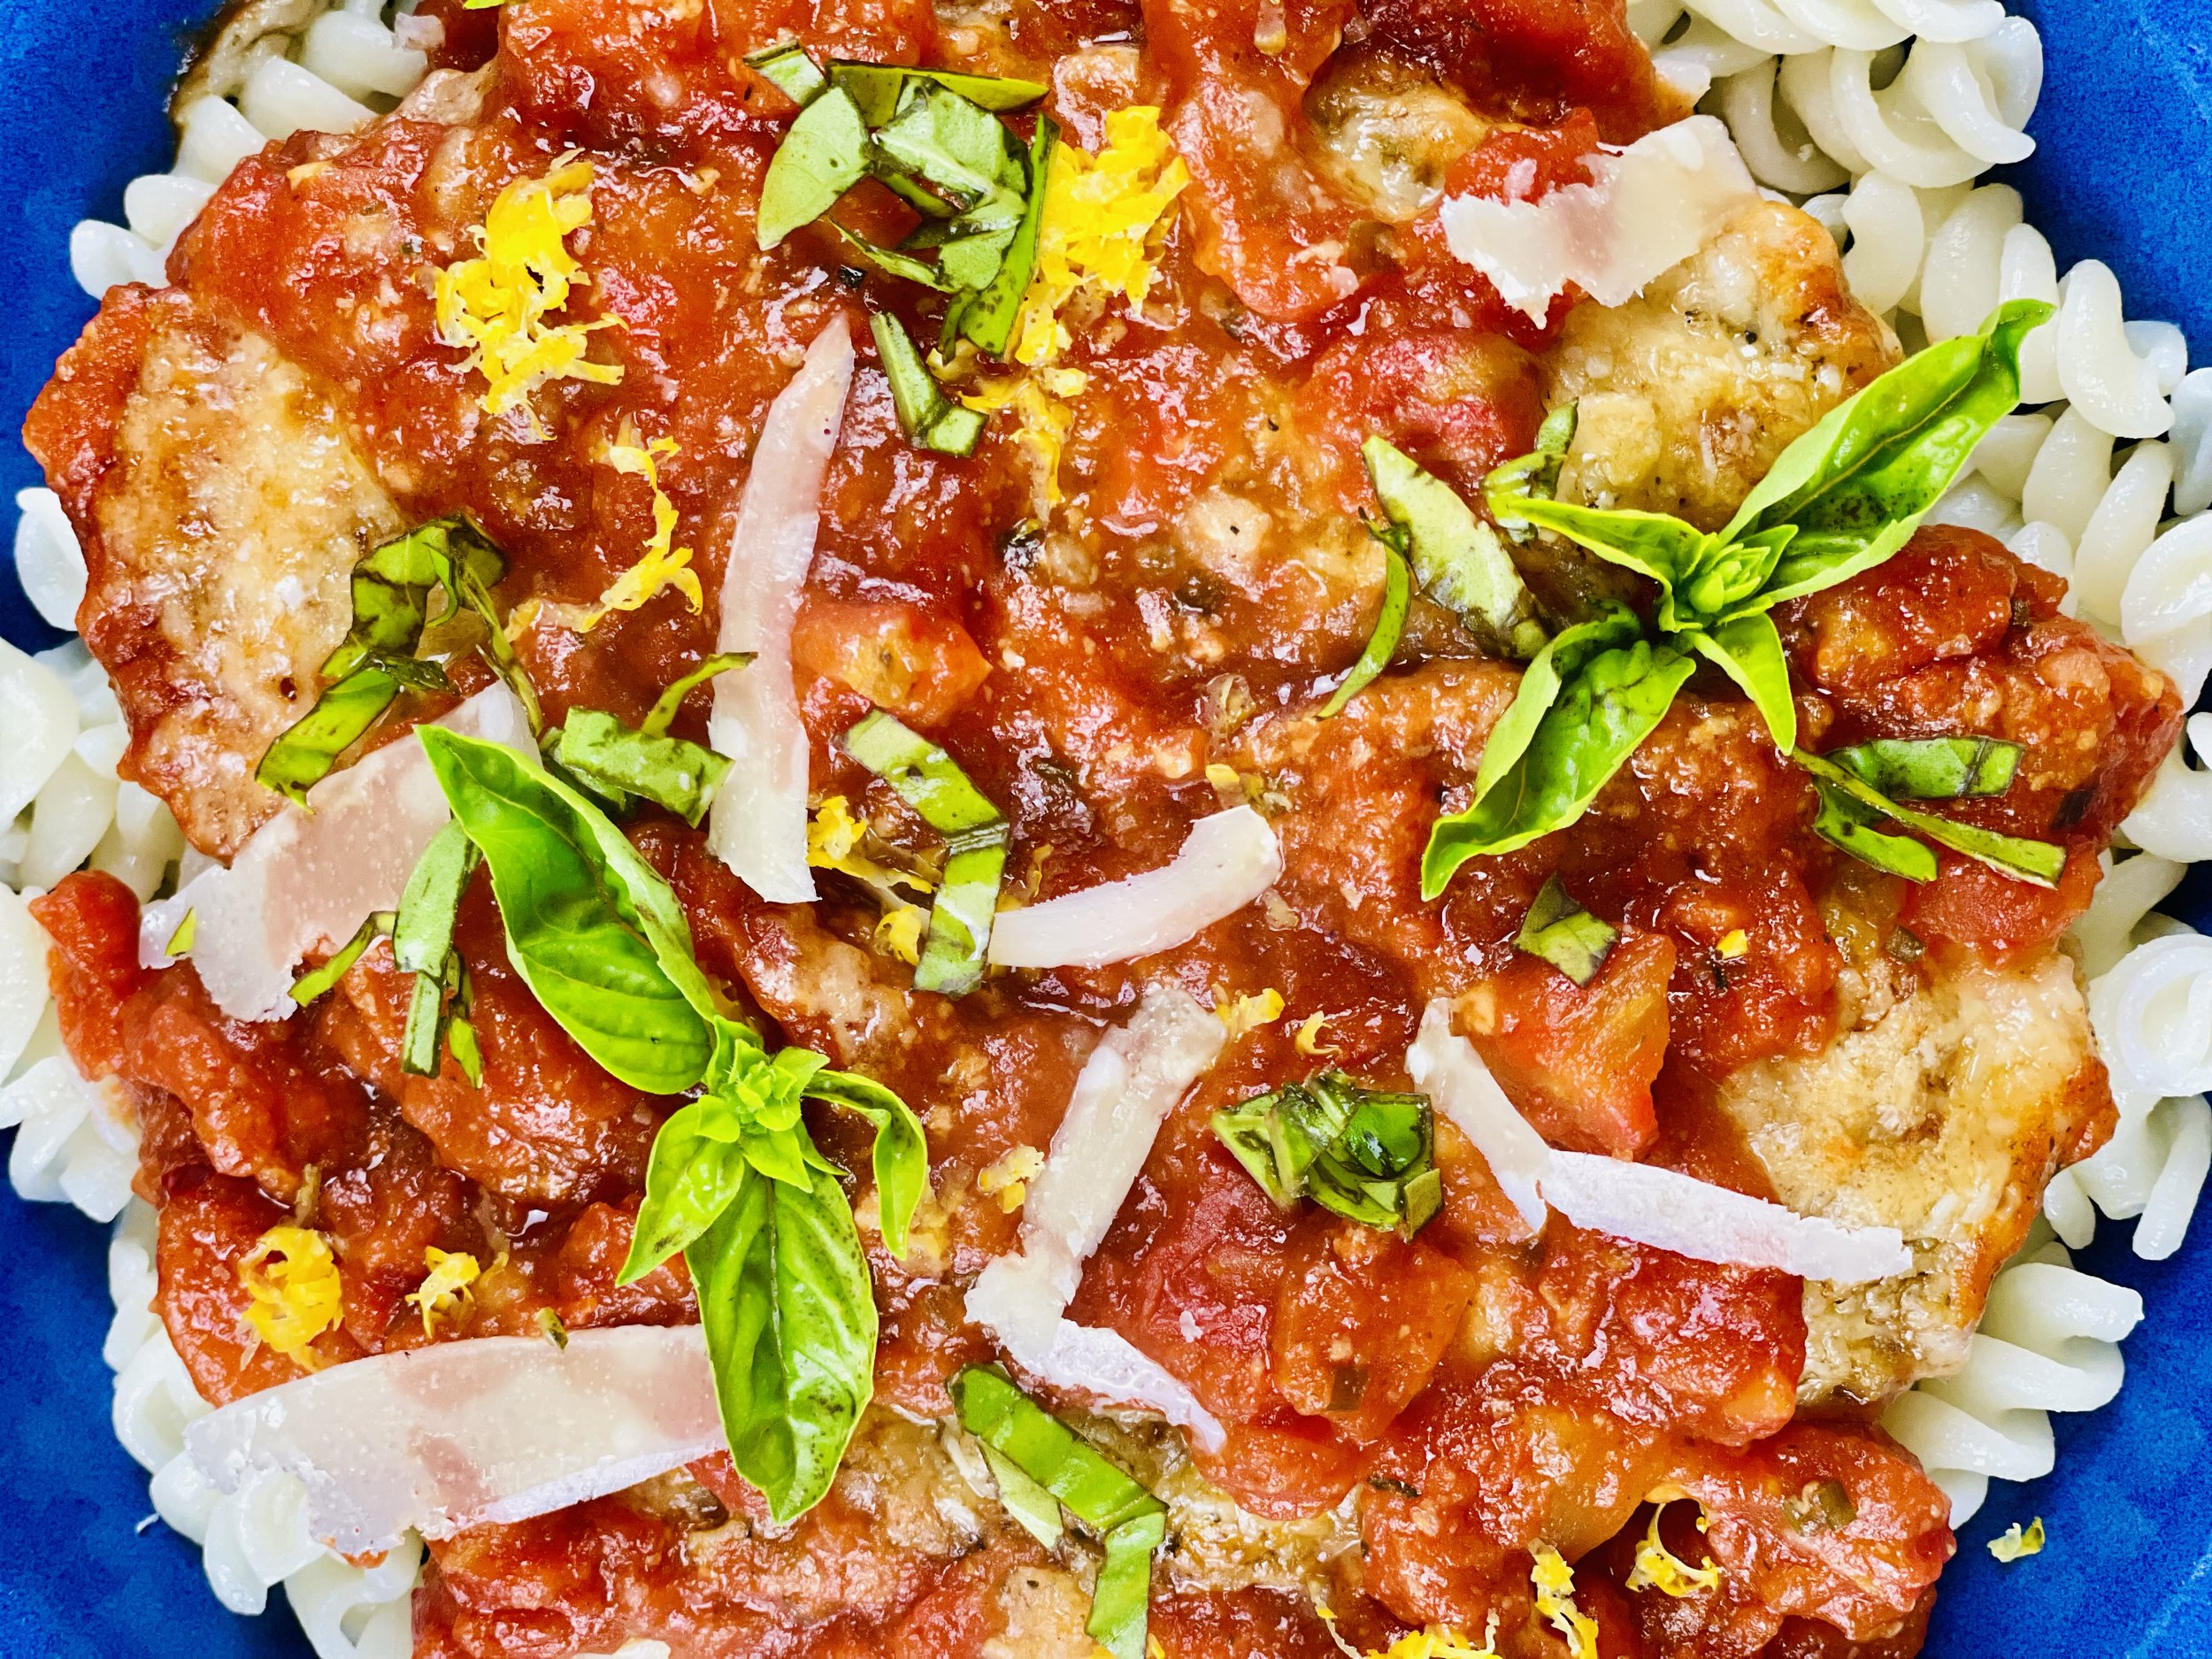
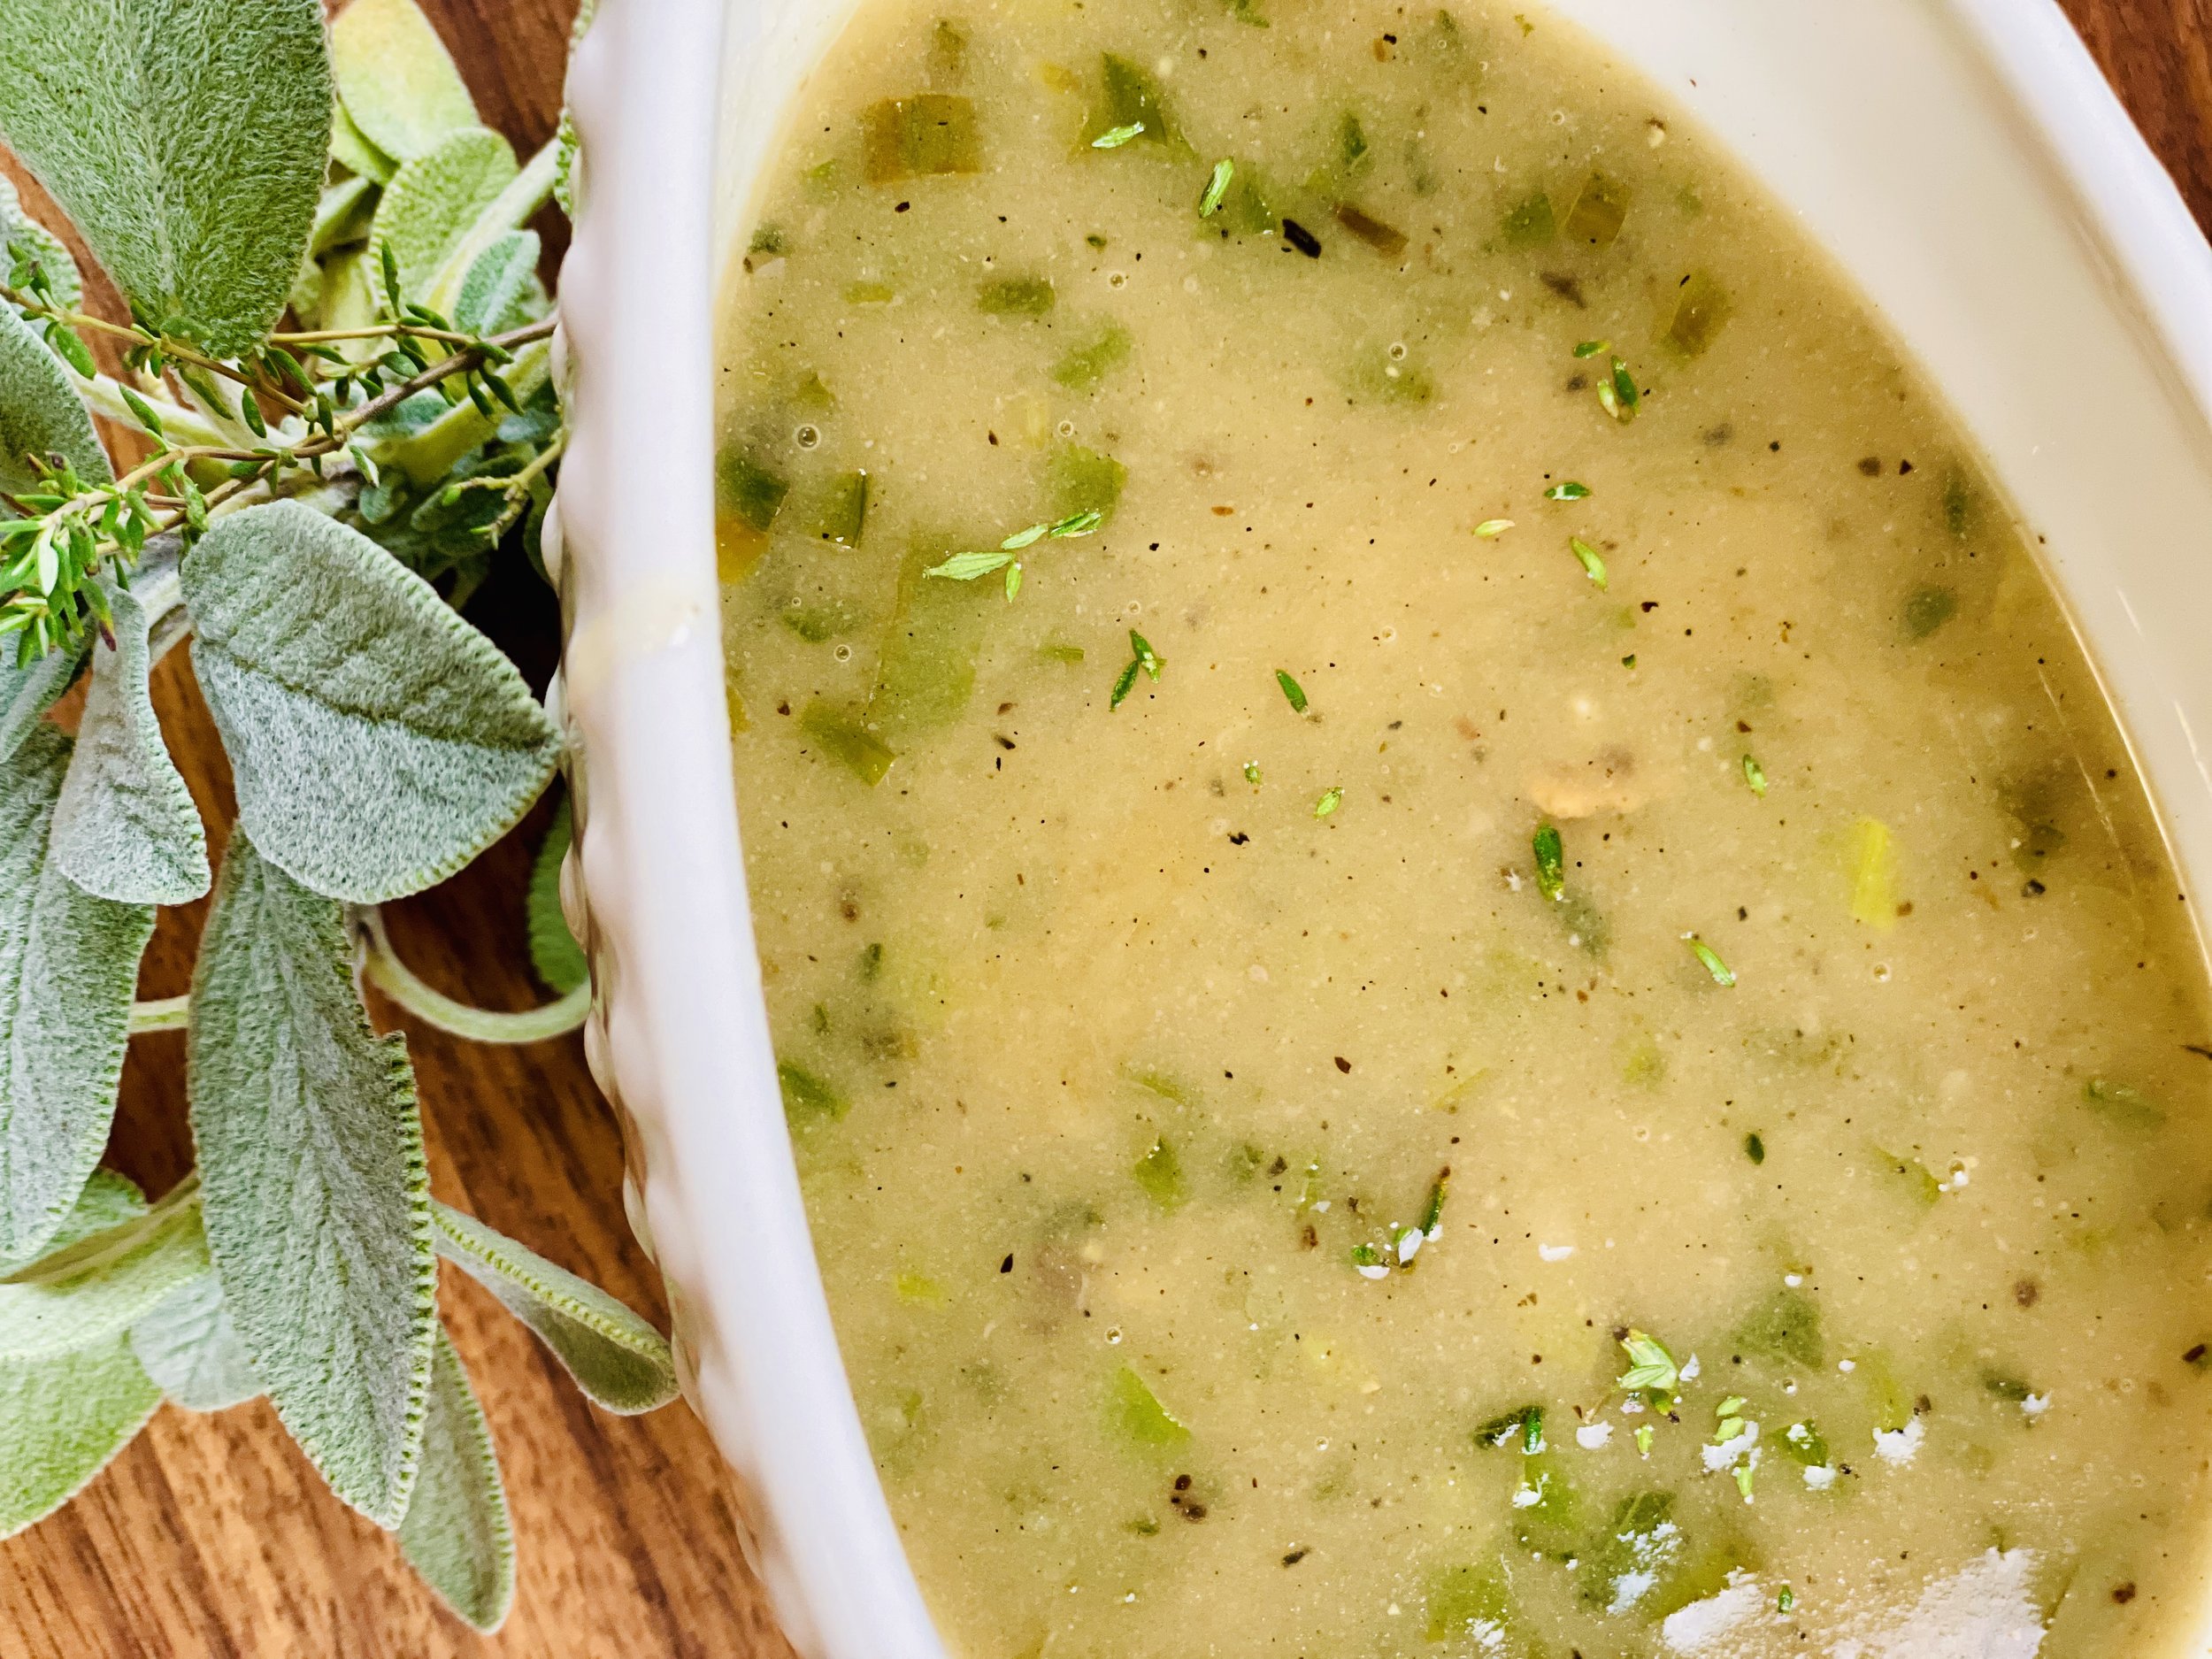
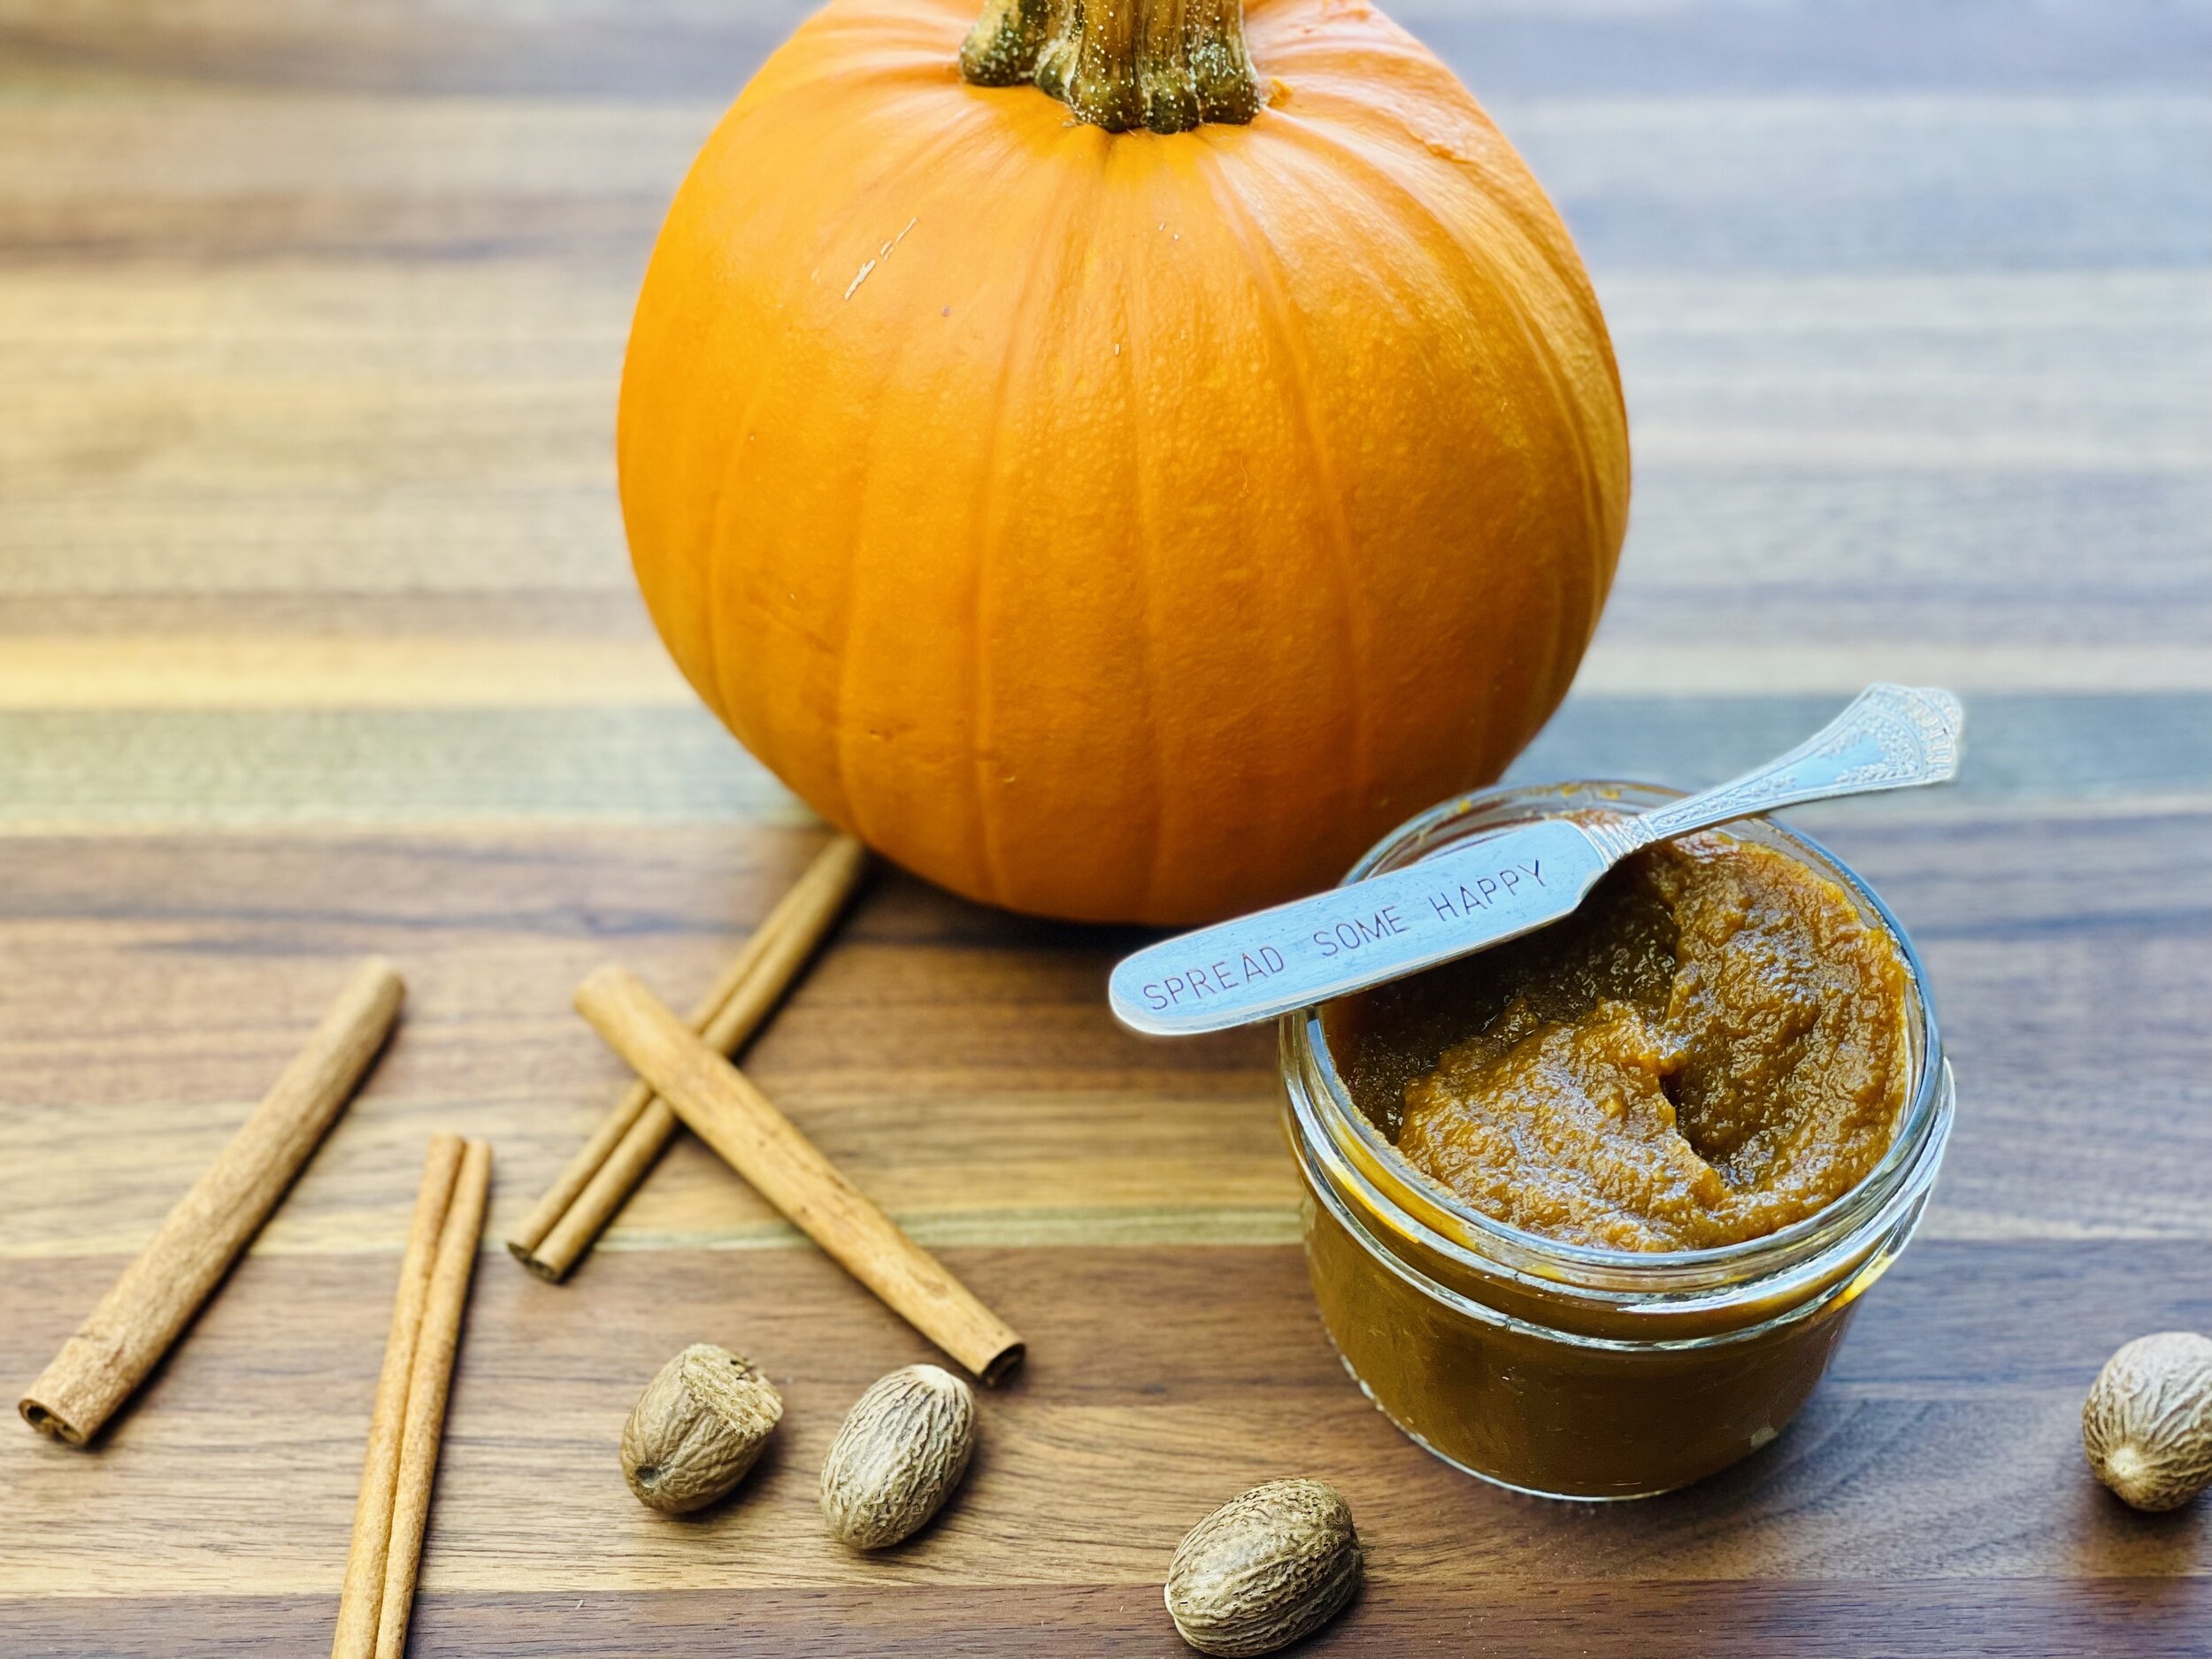
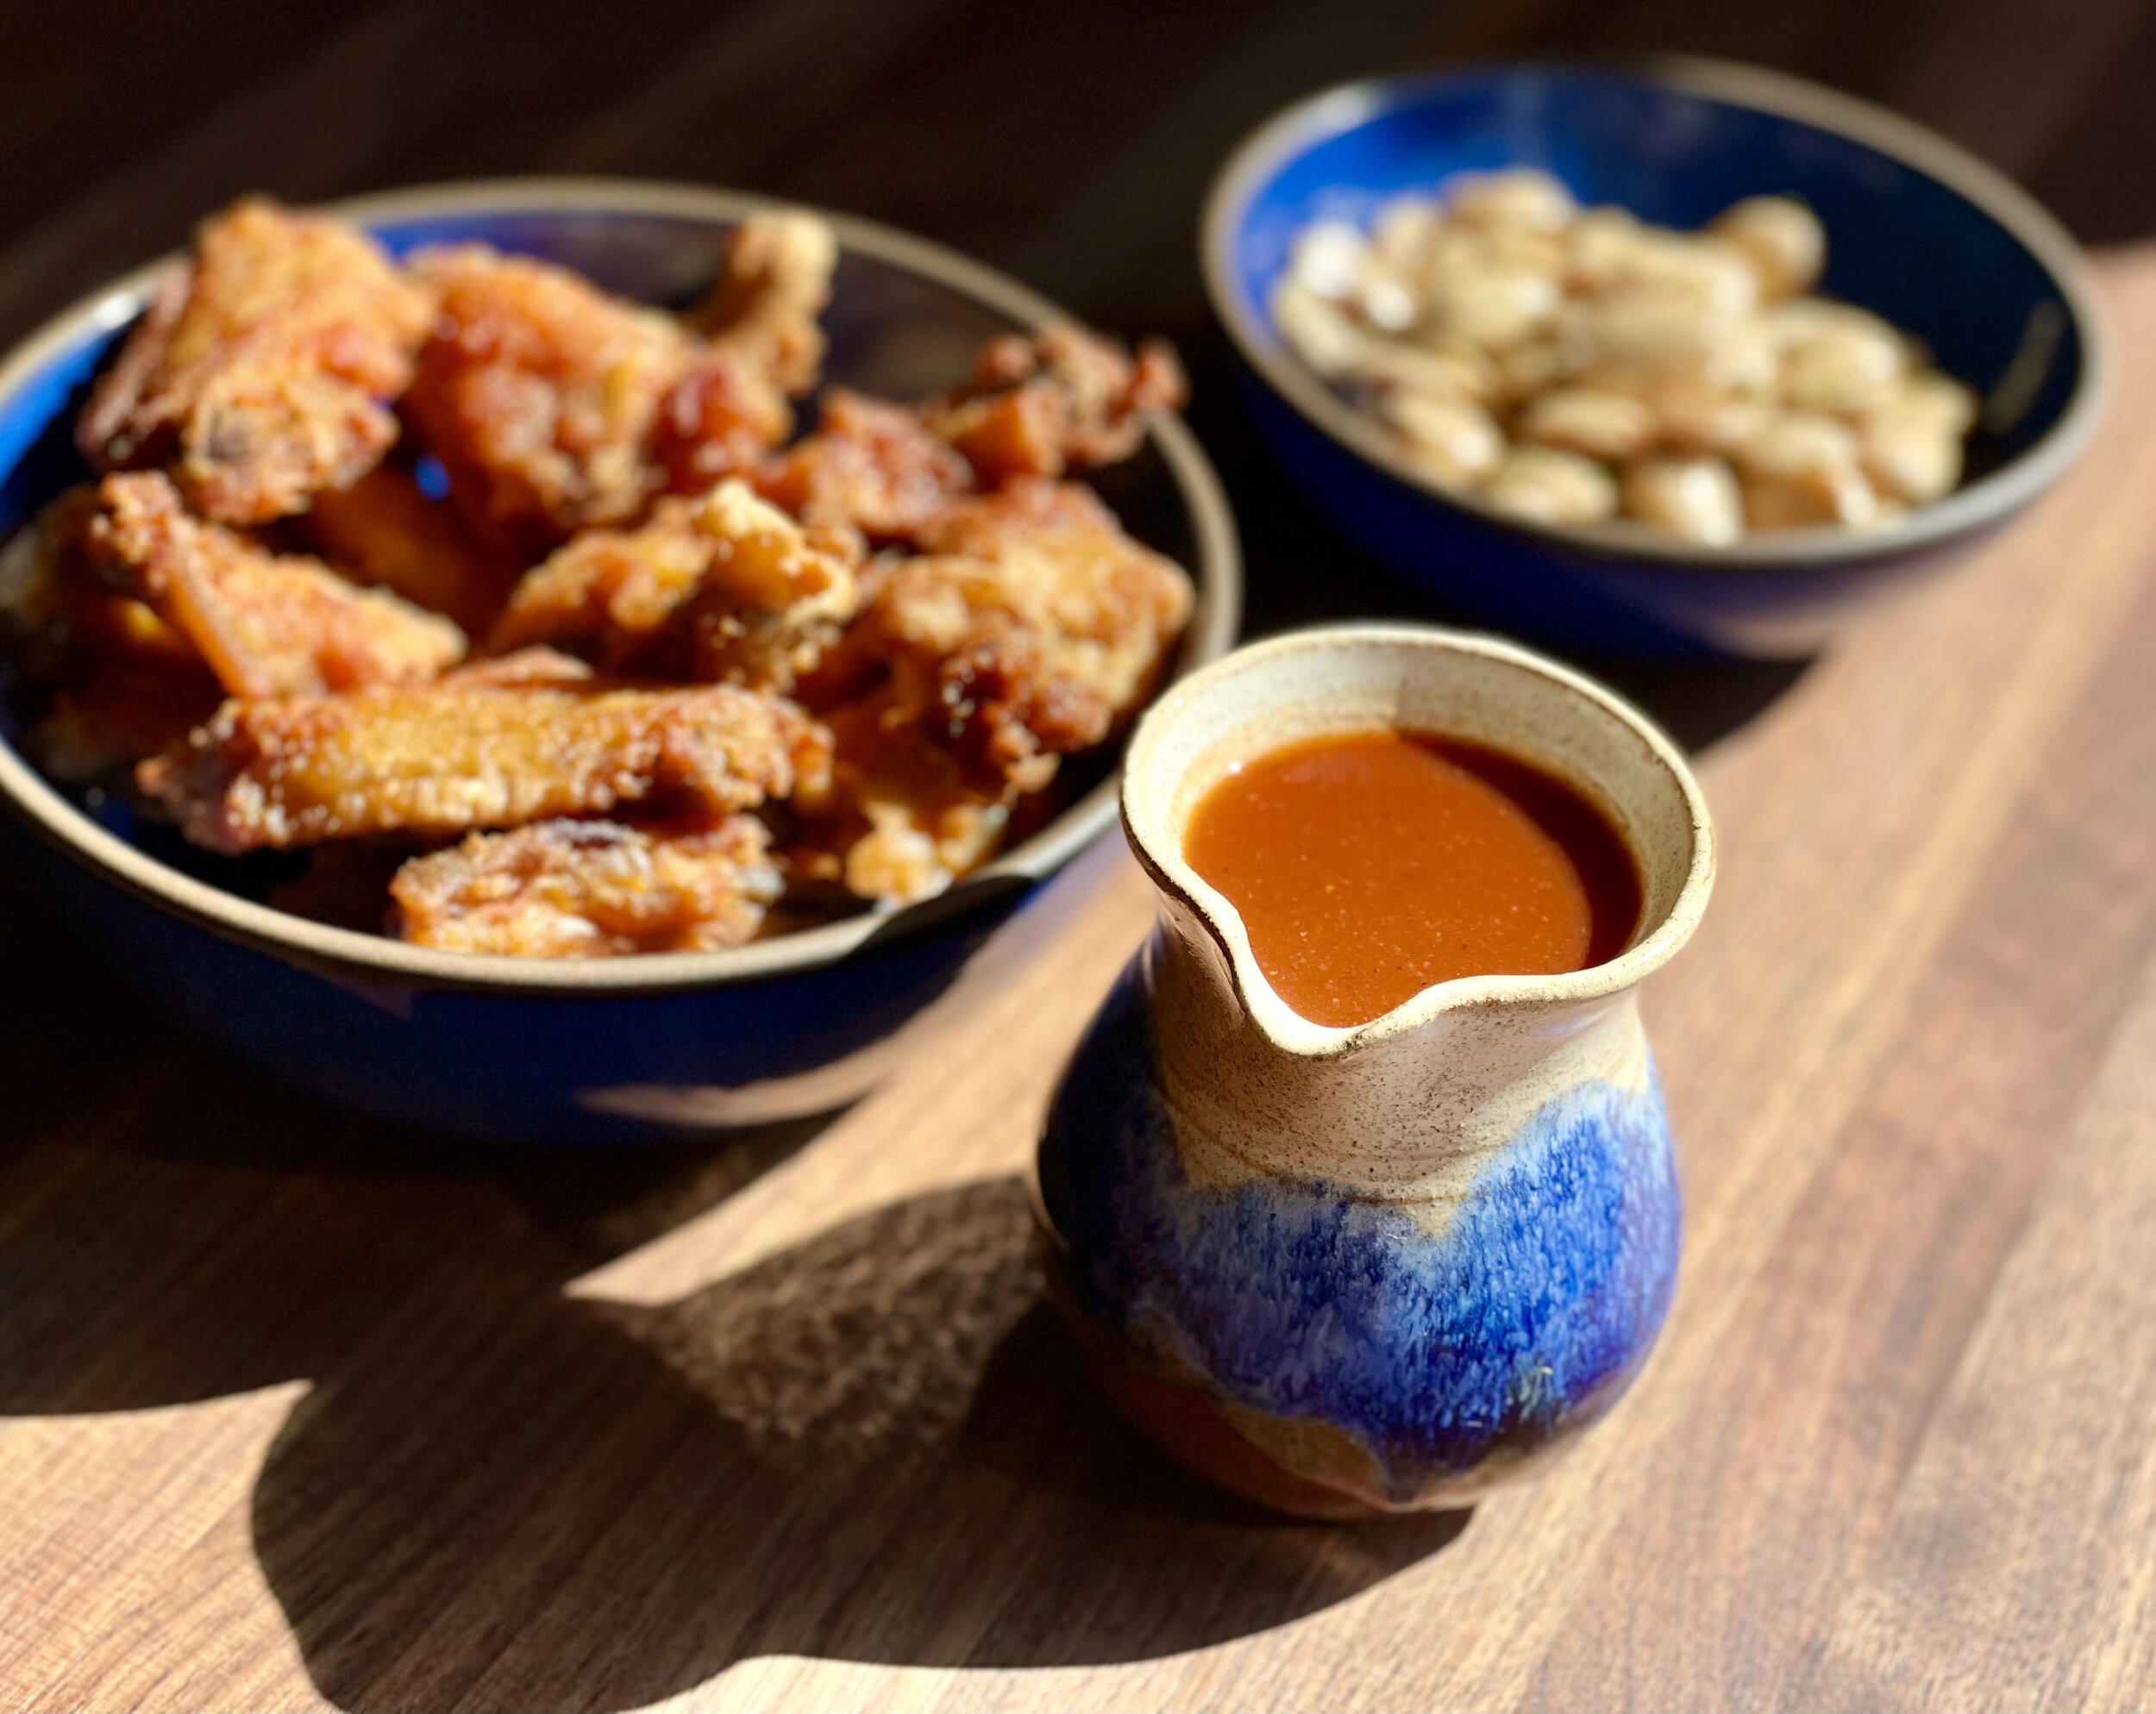
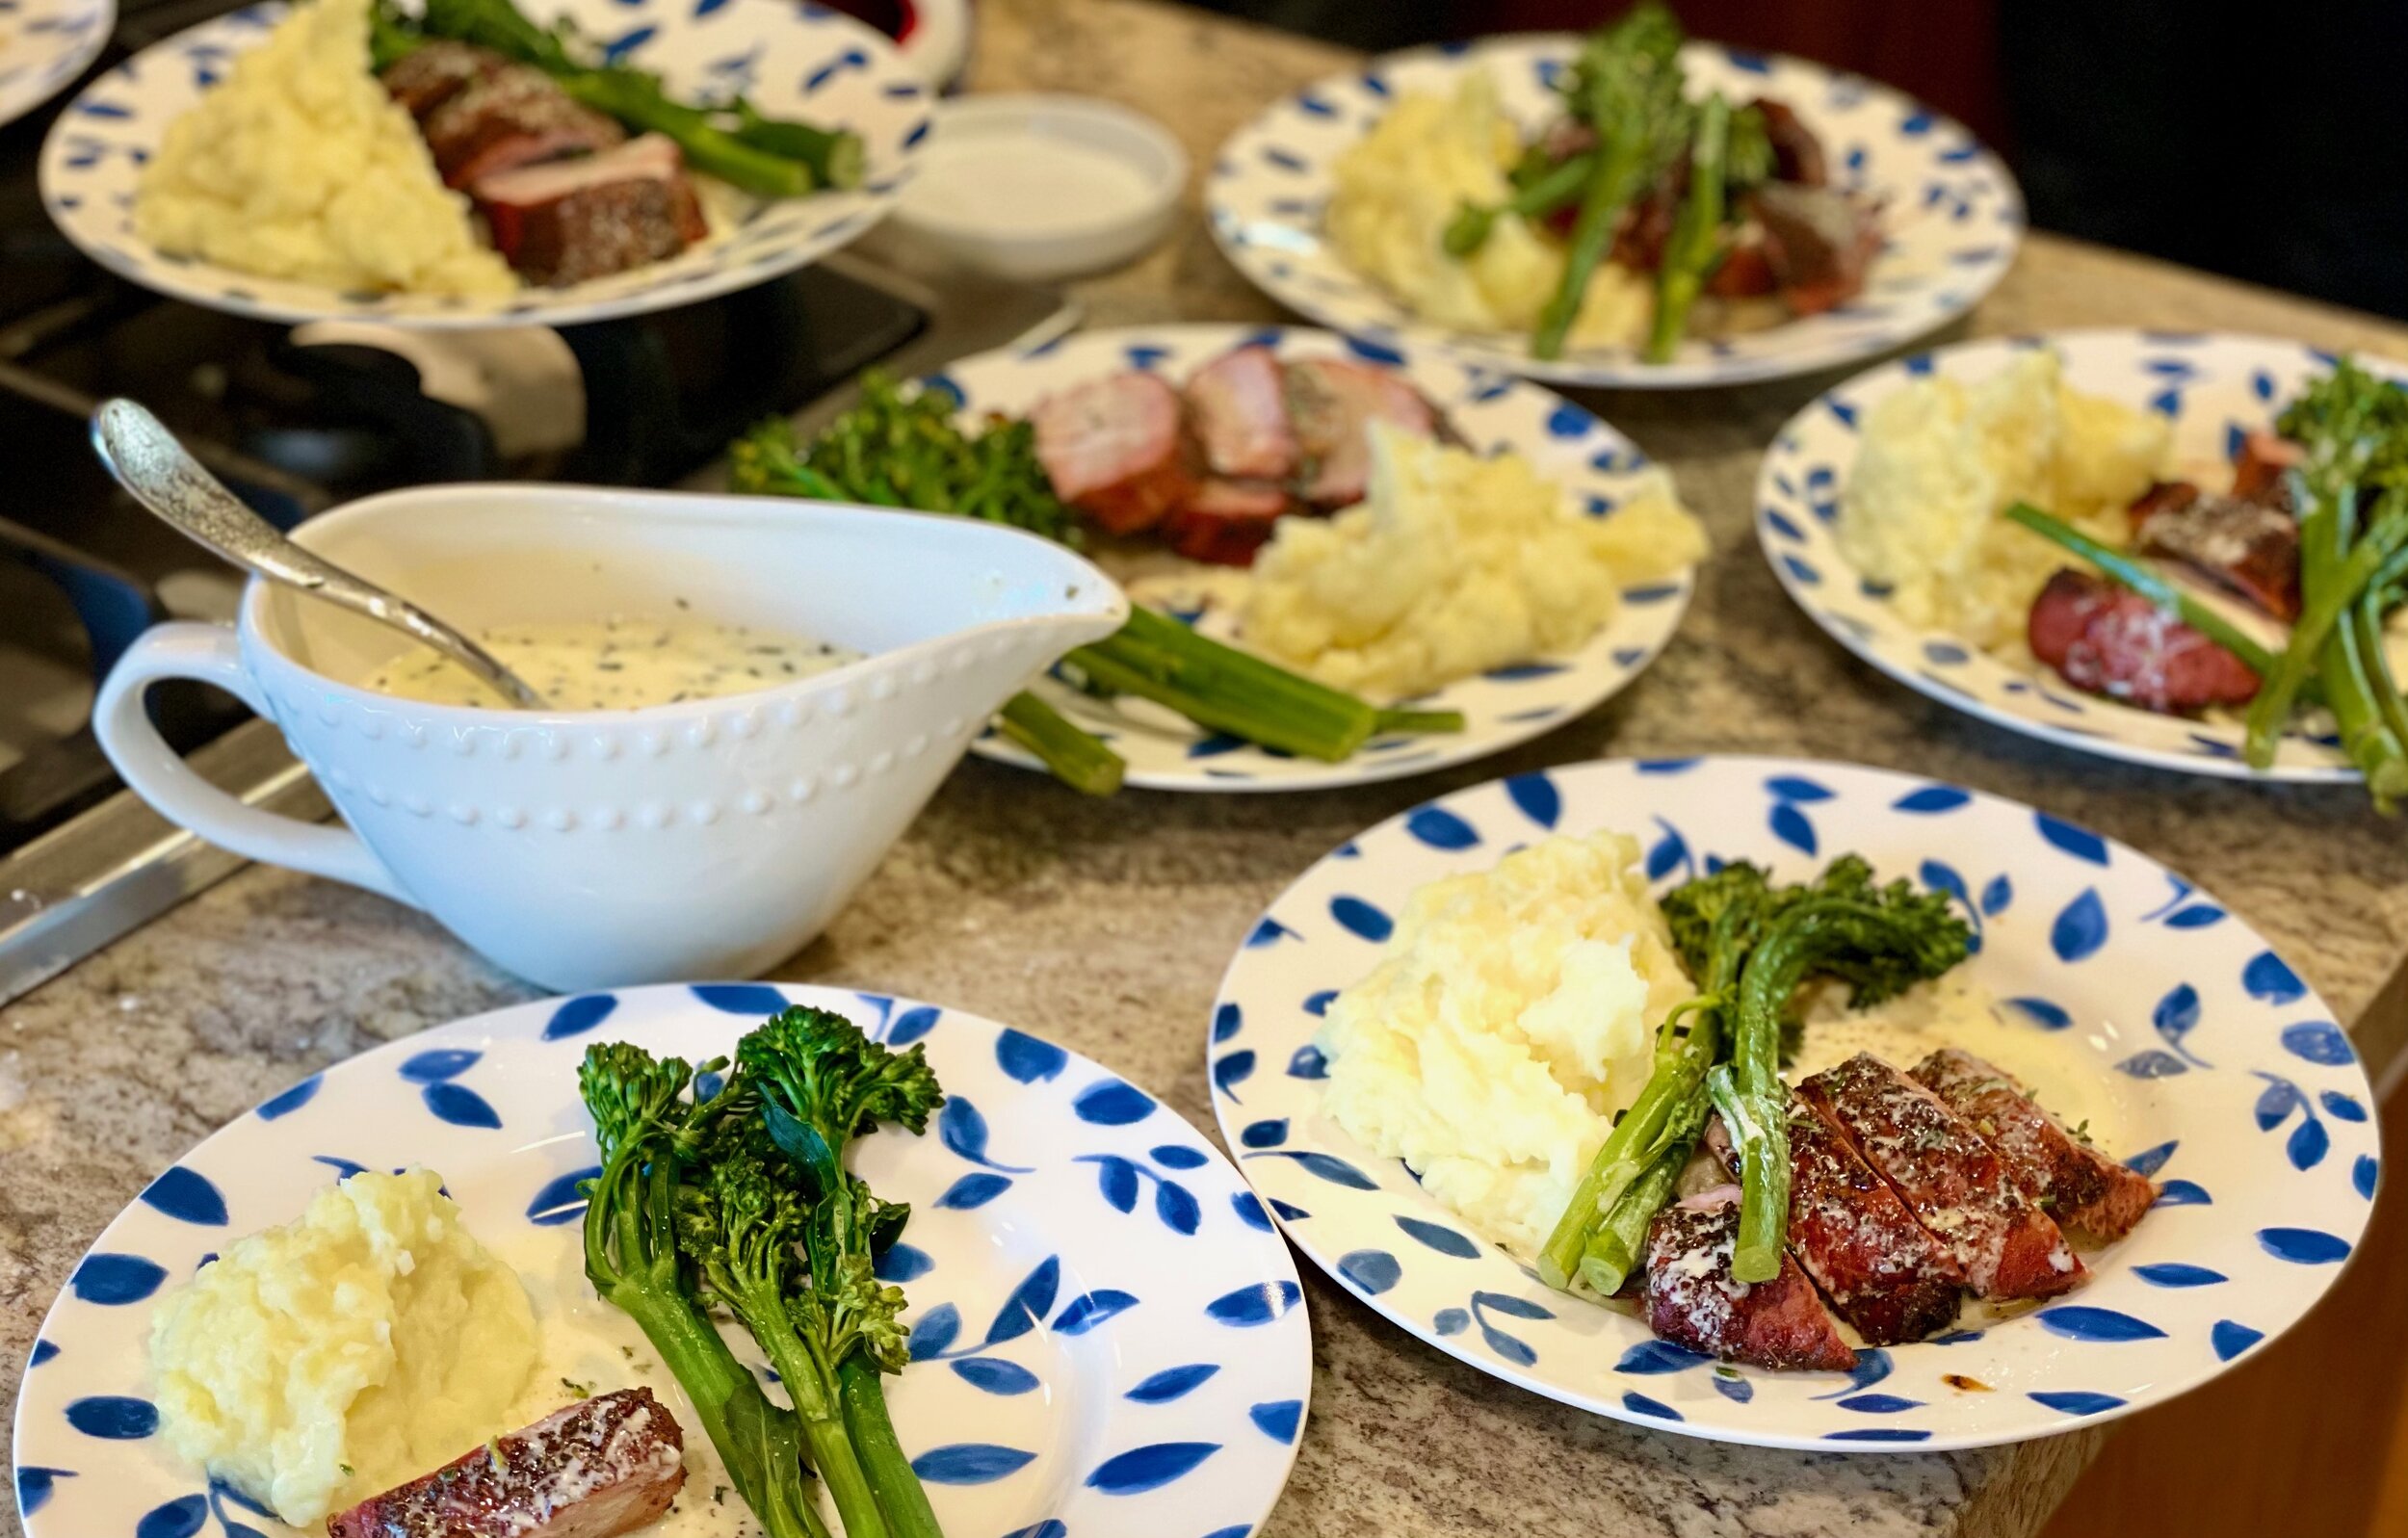
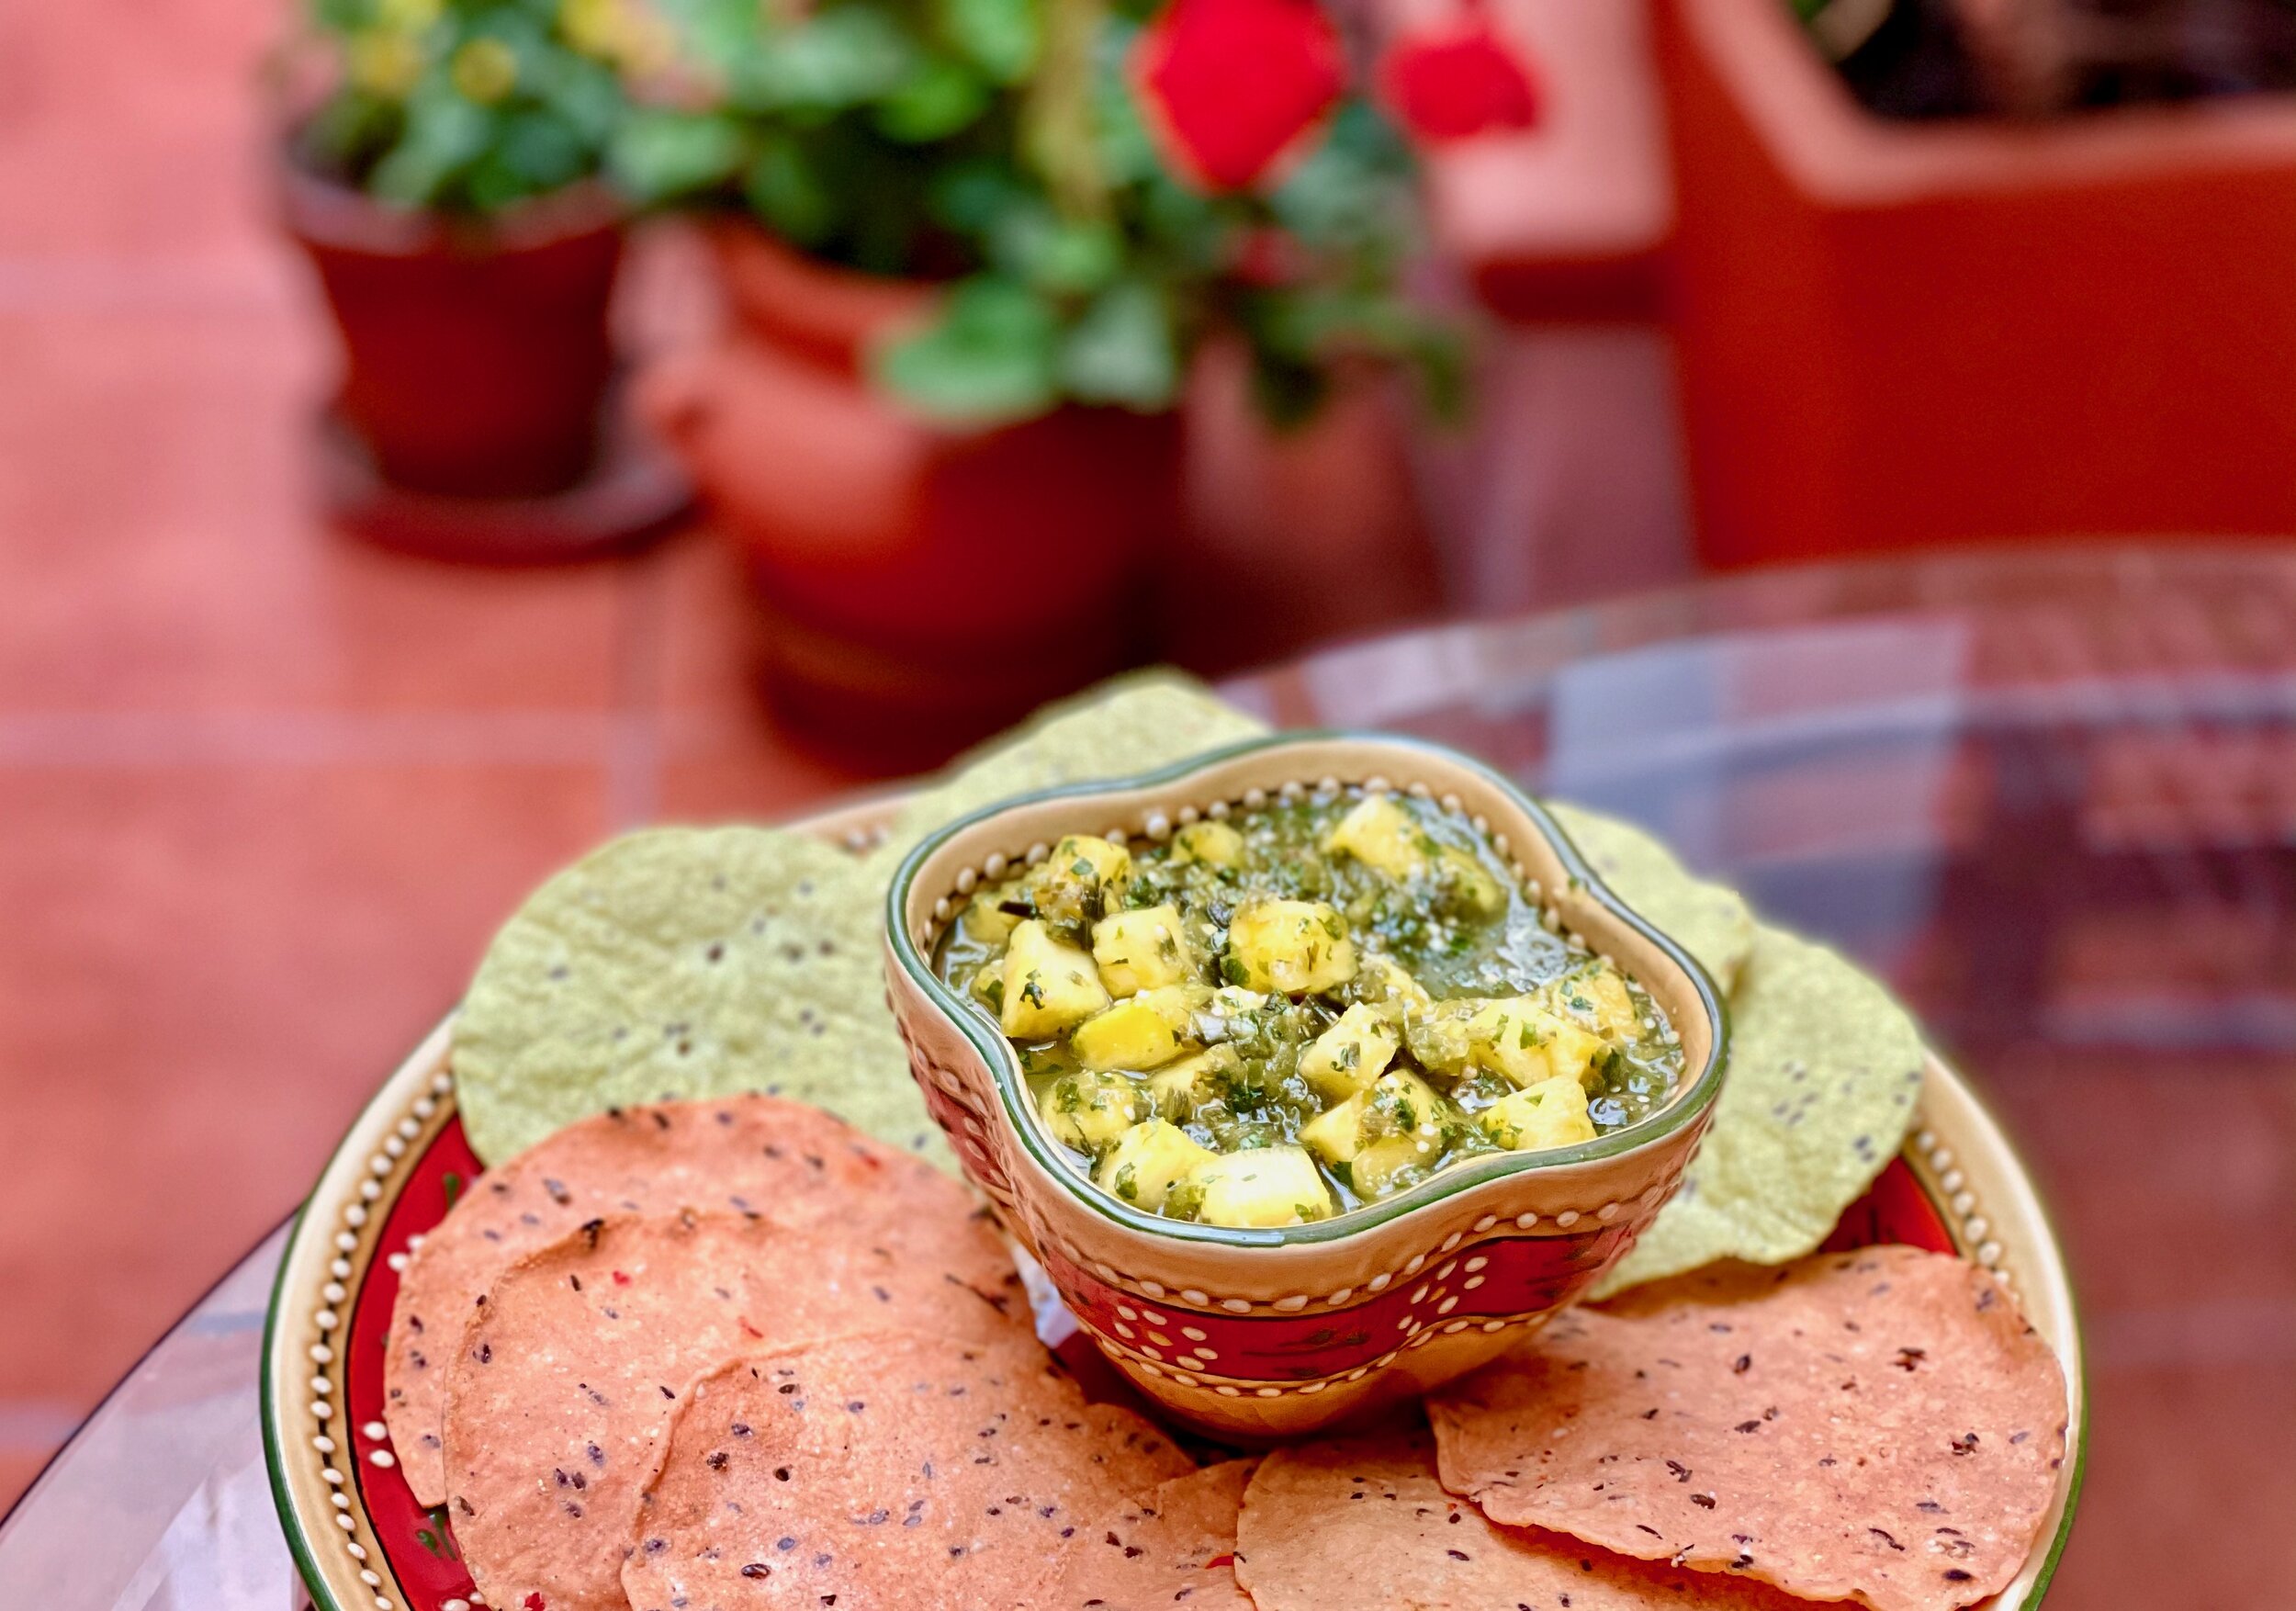
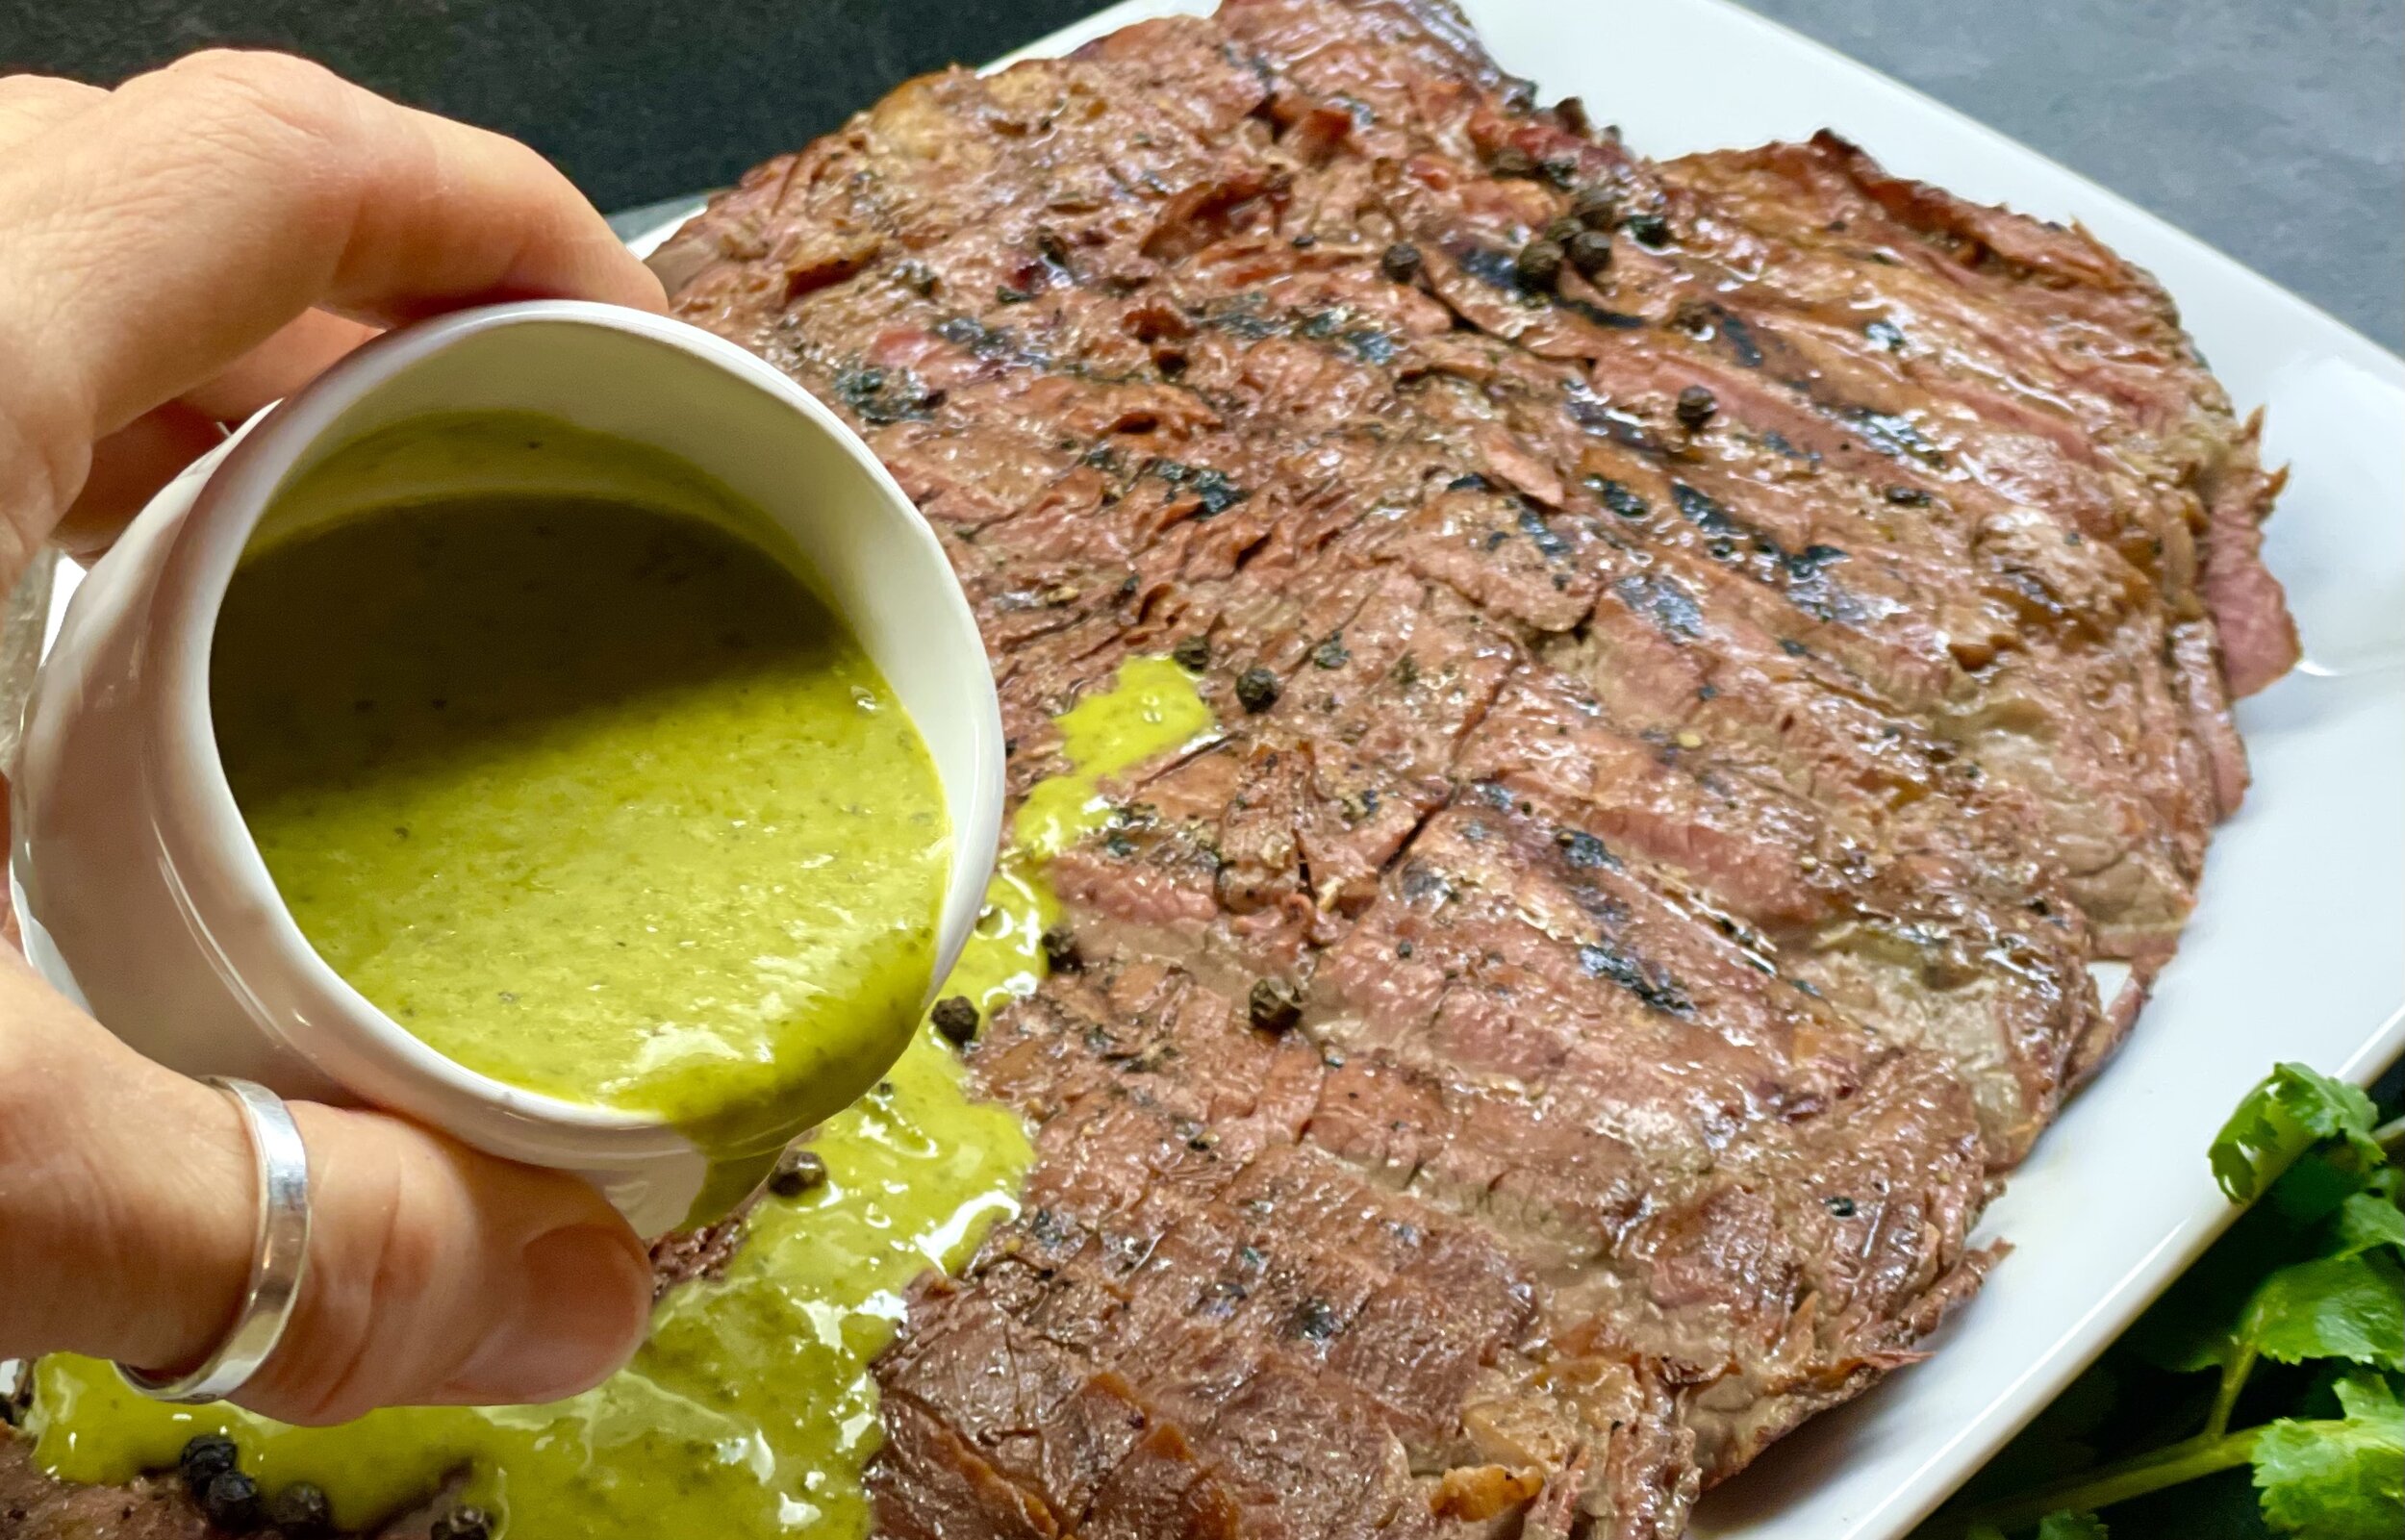
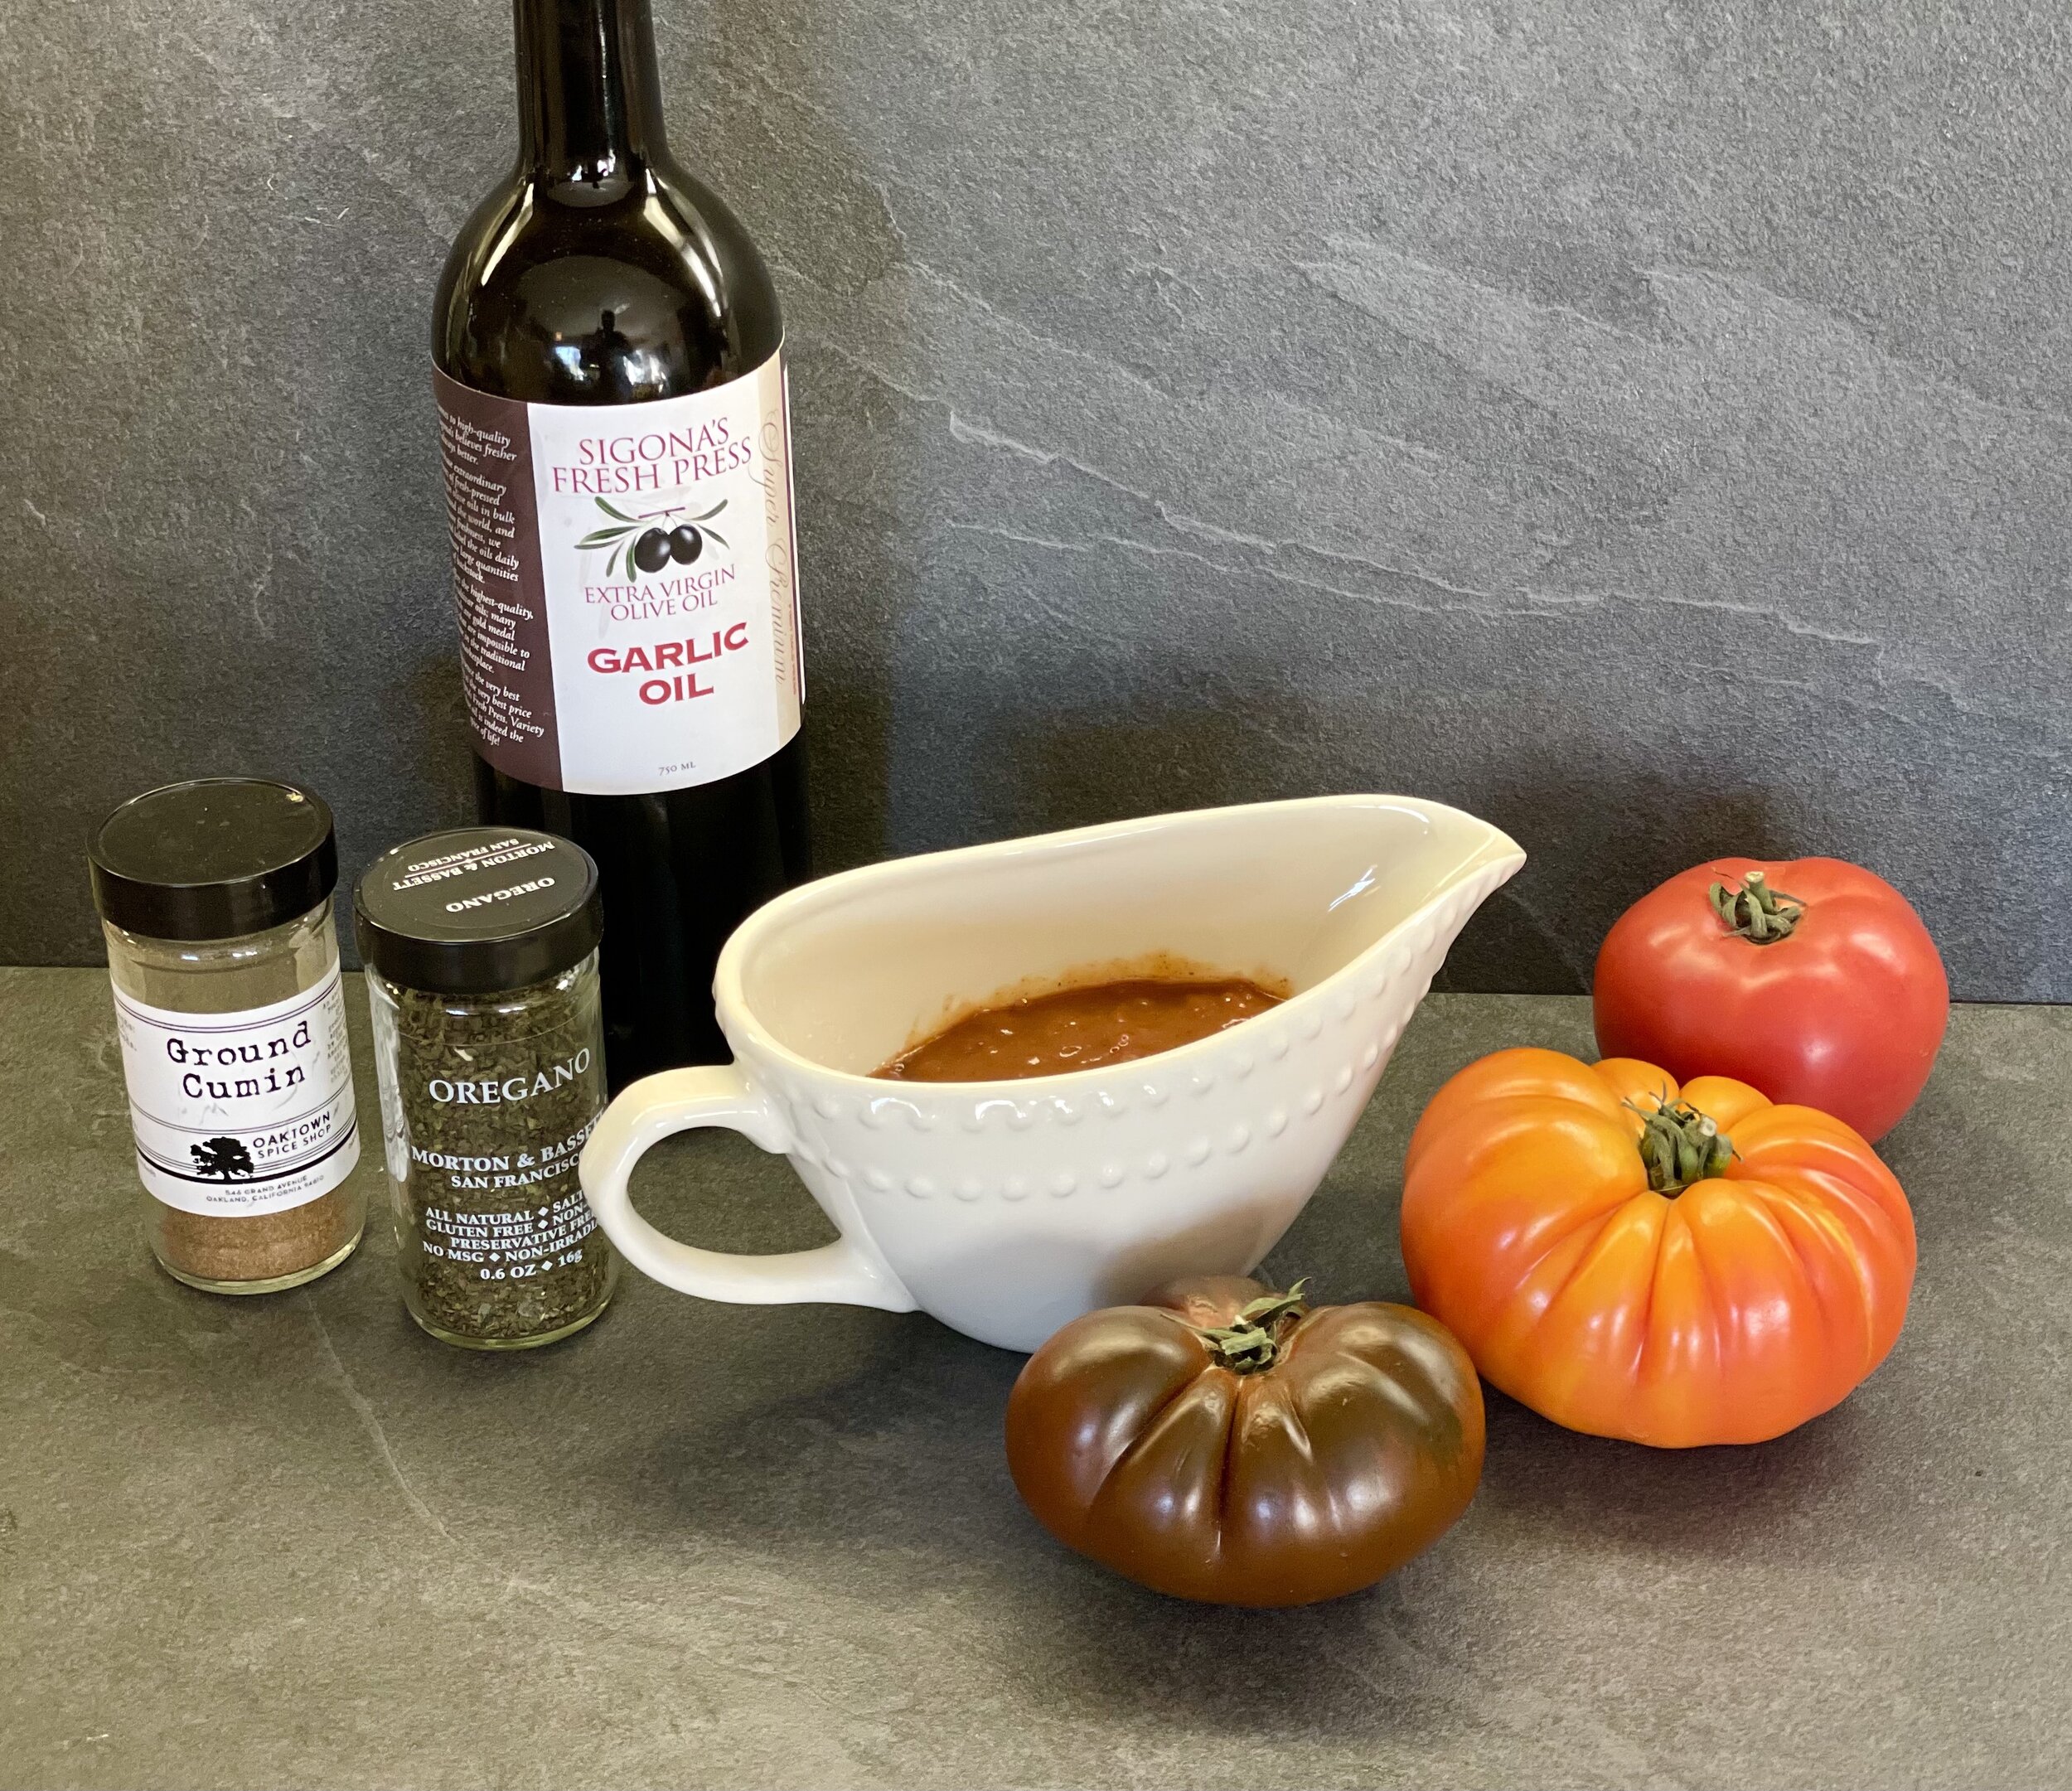


10 Minutes Prep • 50 Minutes Cook • Gluten-free • Dairy-free • Low FODMAP • Serving size 3-4 crackers